DIY Arduino UNO Bluetooth | How to Make Arduino Uno Can Be Upload Code Via Bluetooth
by bluino_electronics in Circuits > Arduino
2209 Views, 7 Favorites, 0 Comments
DIY Arduino UNO Bluetooth | How to Make Arduino Uno Can Be Upload Code Via Bluetooth
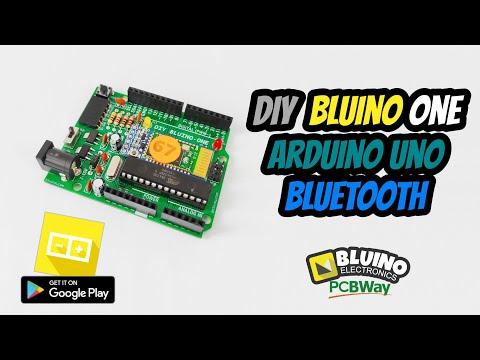
Hi everyone, now I will show you how I made arduino uno board using the atmega328p can be upload code via bluetooth HC-05 called as "DIY Bluino One". A year ago I have made a series of tutorials about how to configure bluettoh HC05 for upload code via bluetooth. This is kind of a updated version of that.
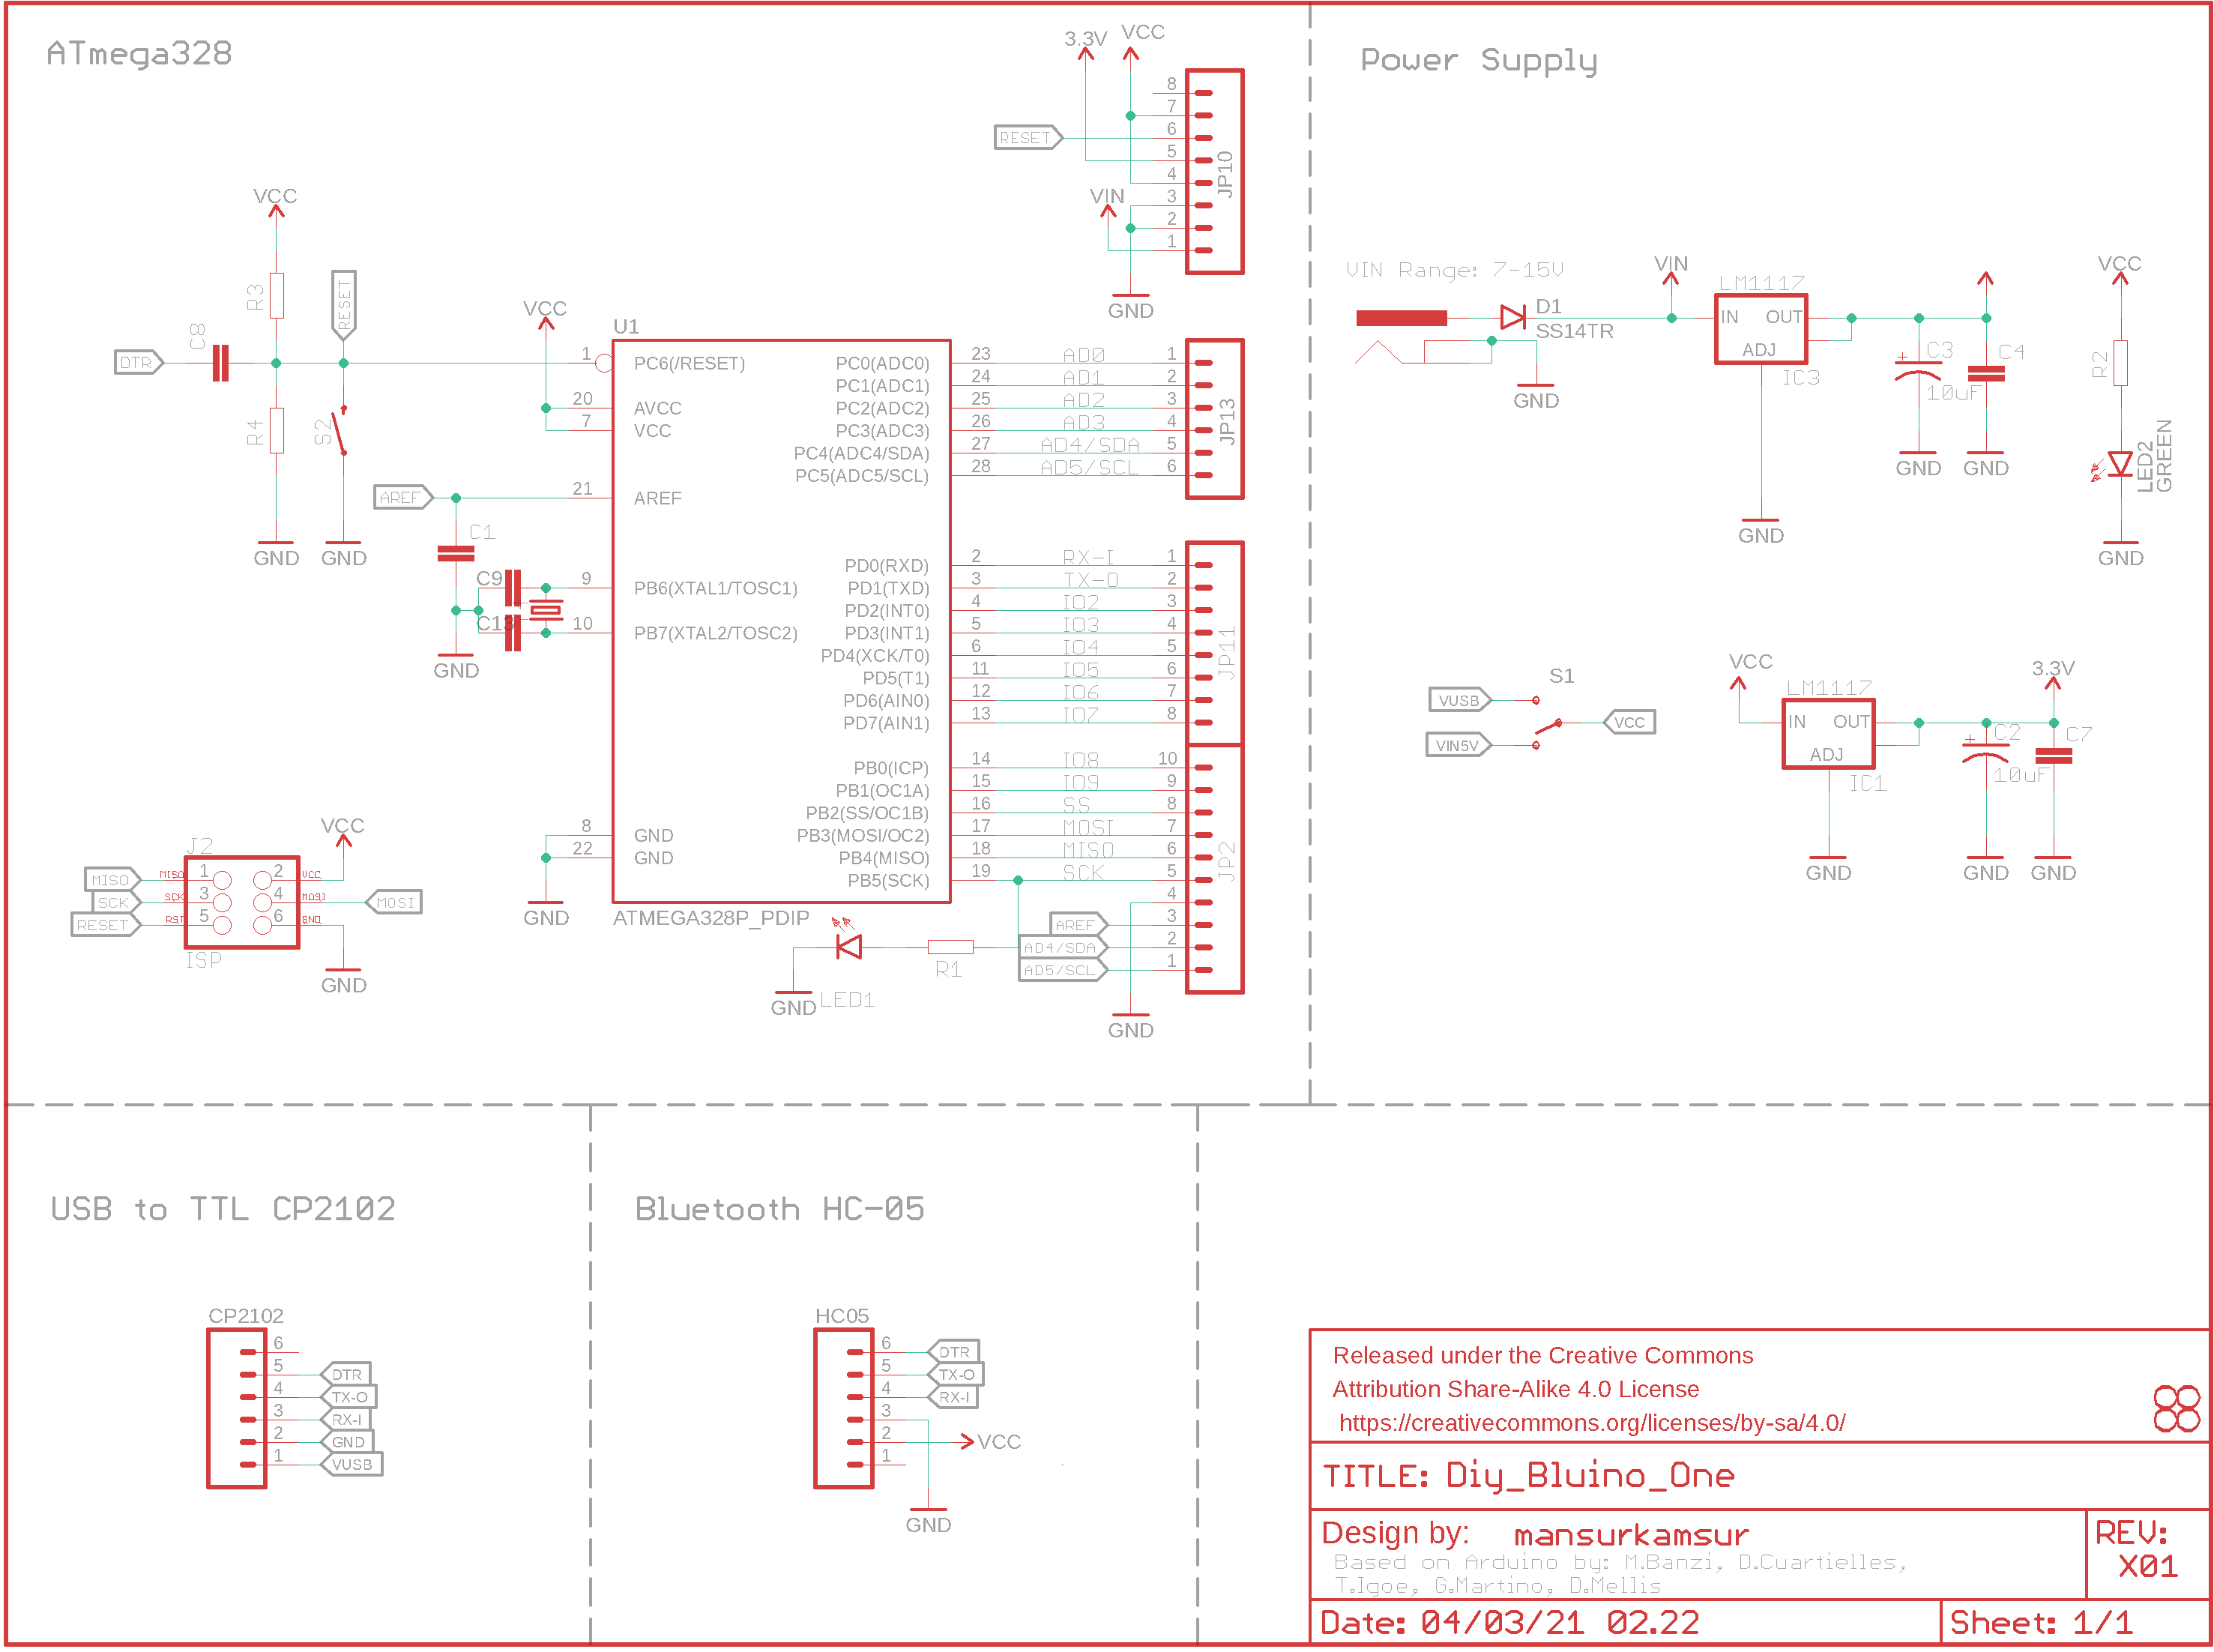
So in this tutorial we will be looking into the schematic of DIY Arduino Uno Bluetooth, modify it a little to our needs, make a PCB out of it and solder the required components to make the final product. But before starting let me tell you that I will only using 2 SMD components (AMS117 3V3/5V) to make my version of arduino because not everybody has a hard to soldering a lot of SND components. Moreover through hole components are cheaper than SMD components in most of the cases.
I have also made a detailed video step by step the whole process in youtube, so if you don't feel like reading the whole doc here, watch that video. You will be sorted.
This article is proudly sponsored by PCBWAY. PCBWAY make high quality prototyping PCBs for people all over the world. Try it for your self and get 10 PCBs for just $5 at PCBWAY with very great quality, Thanks PCBWAY.
Schematic
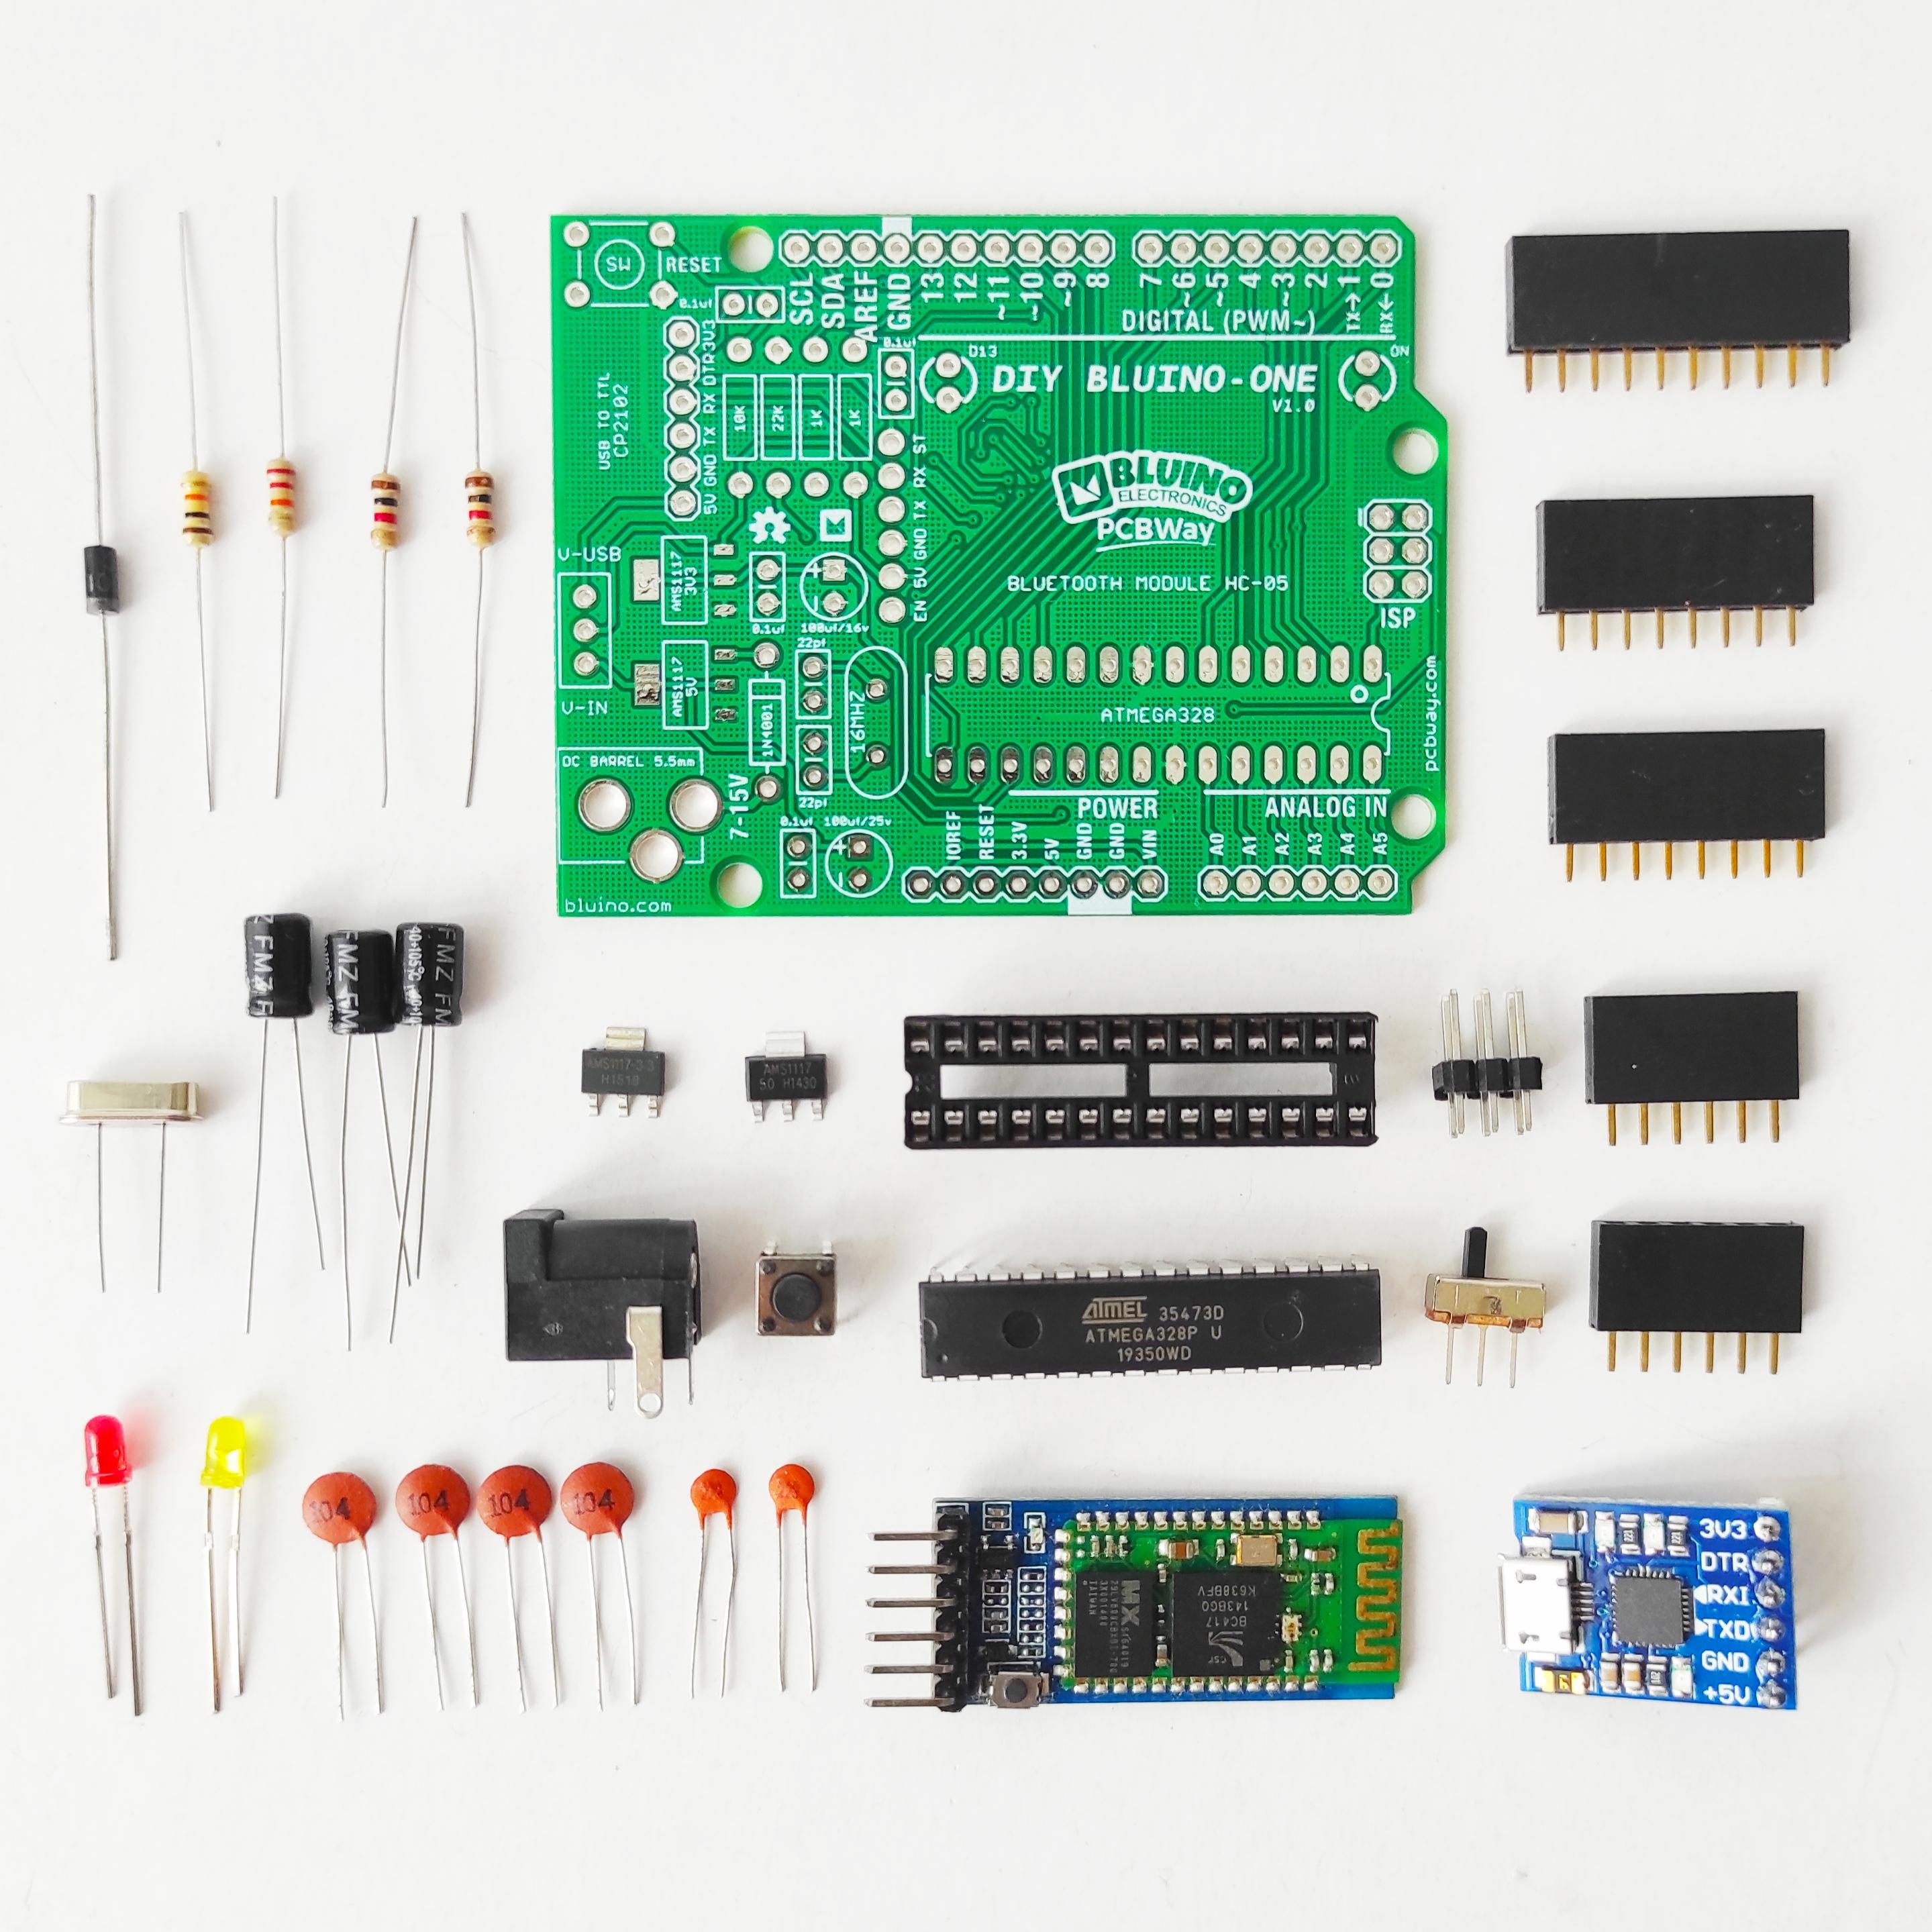
Part List:
.jpg)
Here are the components that you will need to make DIY Bluino One:
- 1 x PCB DIY Bluino One (PCBWAY)
- 1 x Bluetooth HC-05 module
- 1 x USB to TTL CP2102 Module
- 1 x IC Atmega328P DIP
- 1 x IC Socket 28 Pin
- 1 x Voltage Regulator AMS1117 3V3
- 1 x Voltage Regulator AMS1117 5V
- 1 x Crystal 16MHz
- 1 x Diode 1N4001
- 1 x LED Red 3mm
- 1 x LED Yellow 3mm
- 2 x Resistor 1K Ohm
- 1 x Resistor 10K Ohm
- 1 x Resistor 20K Ohm
- 2 x Capacitor 100uF/16V
- 4 x Capacitor 0.1uF (104)
- 2 x Capacitor 22pF (22)
- 1 x DC Barrel Socket 5.5mm
- 1 x Tact Switch 6x6mm
- 1 x SPDT Slide Switch
- 1 x 10 Pin Male Header
- 2 x 8 Pin Male Header
- 2 x 6 Pin Male Header
- 2 x 3 Pin Male Header
Order PCB on PCBWay
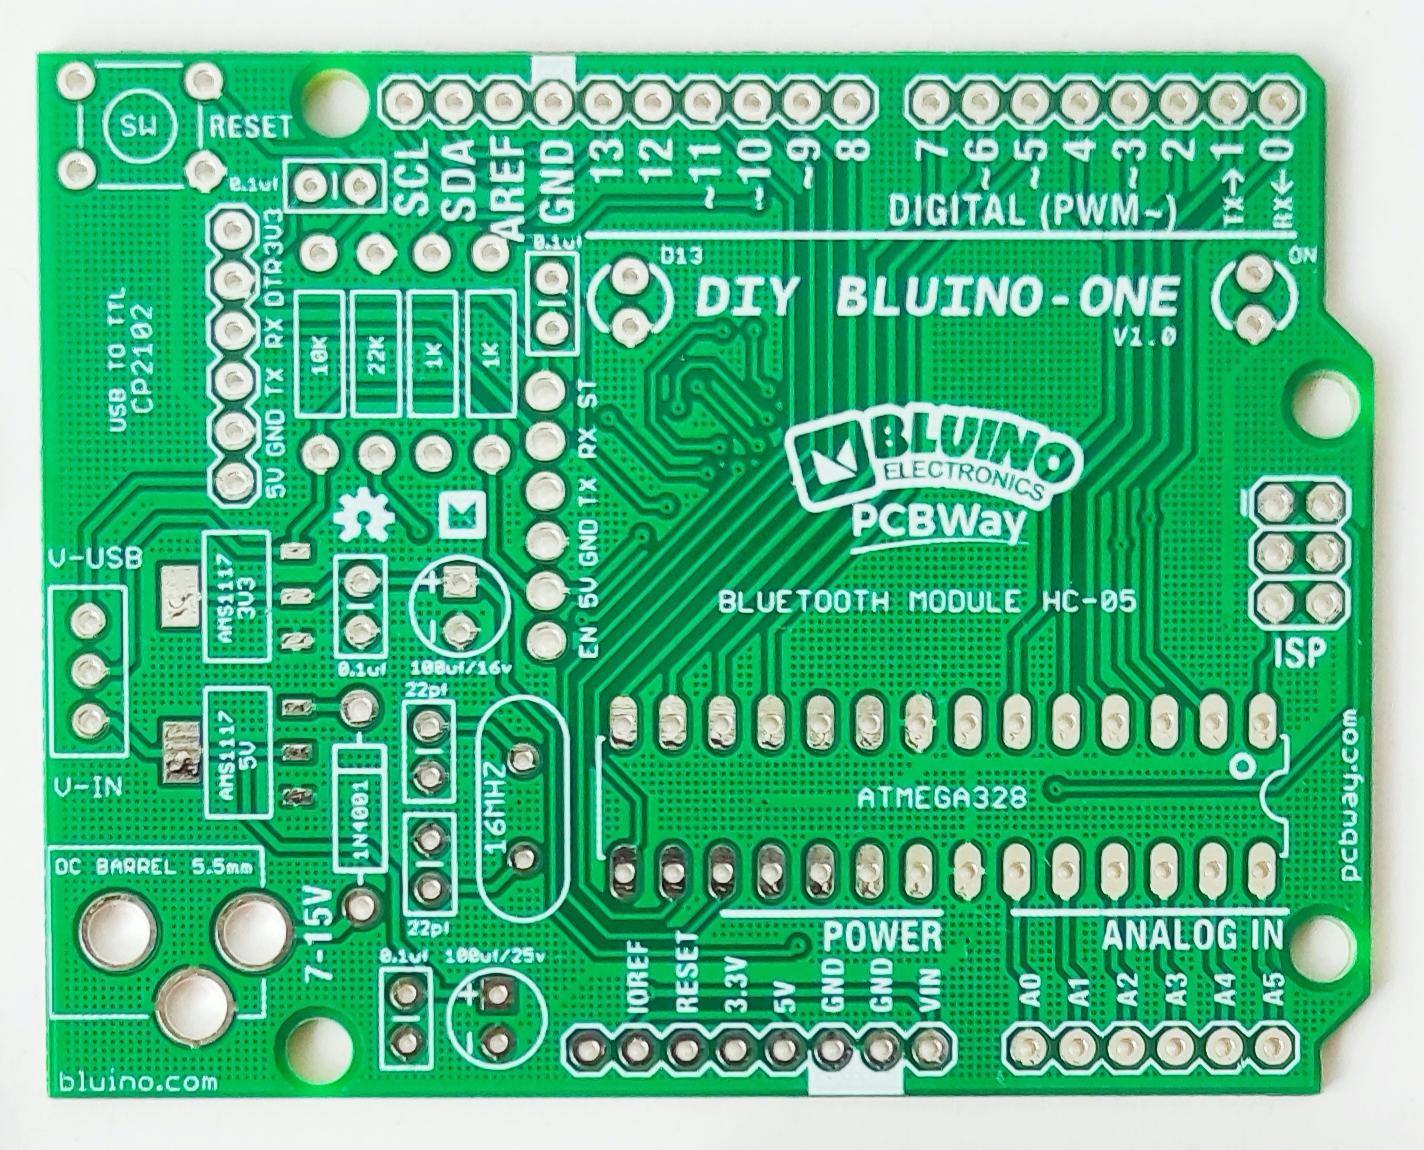 copy.jpg)
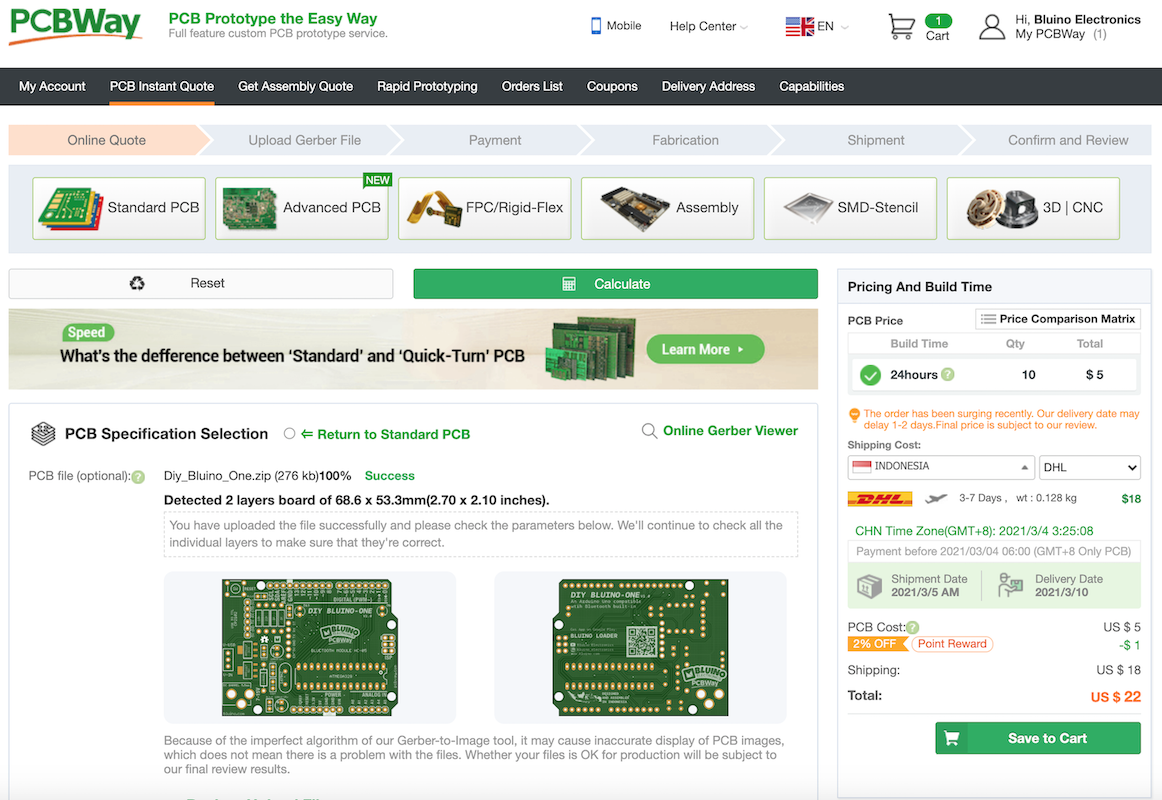
To make this project you need to order a prototype PCB on PCBWAY. How to order is very easy and you will get 10 Pcs PCB for $5 with very great PCB quality.
Step to Order:
1. SignUp/Log in on pcbway.com
2. Open this PCB project link DIY Bluino One
3. Click Add to cart.
4. Wait moment for PCB review, then Click Check Out.
Solder SMD Component (AMS1117 3V3 & 5V)
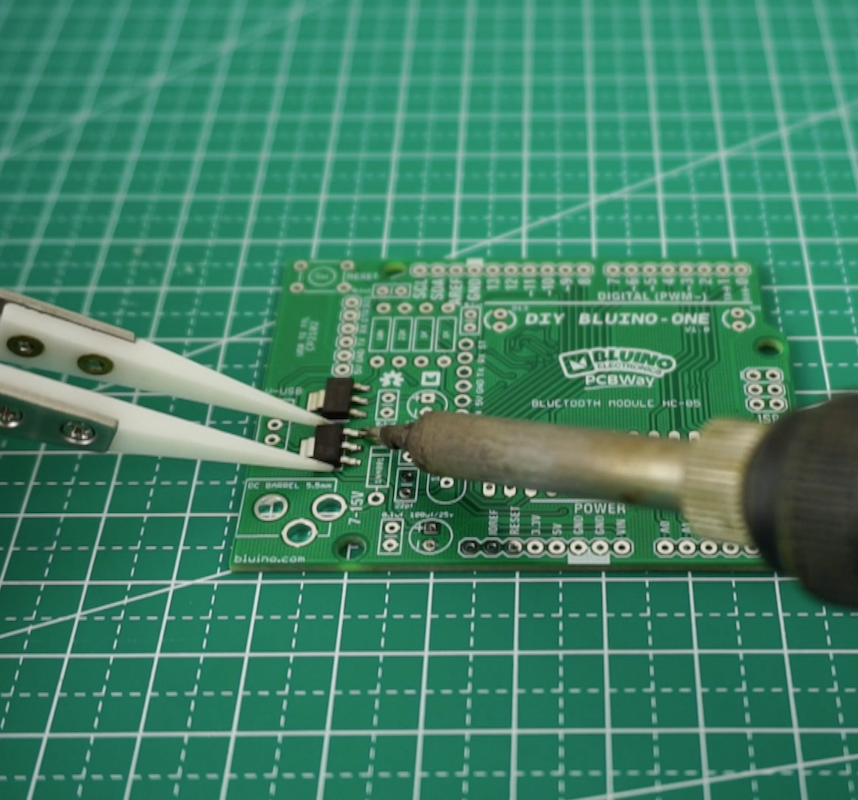
This project has two SMD component, it is not too difficult to solder because the size of the SMD component is quite large, so don't worry. You will need tweezers as a tool to hold the components when soldered.
Place the Through Hole Components
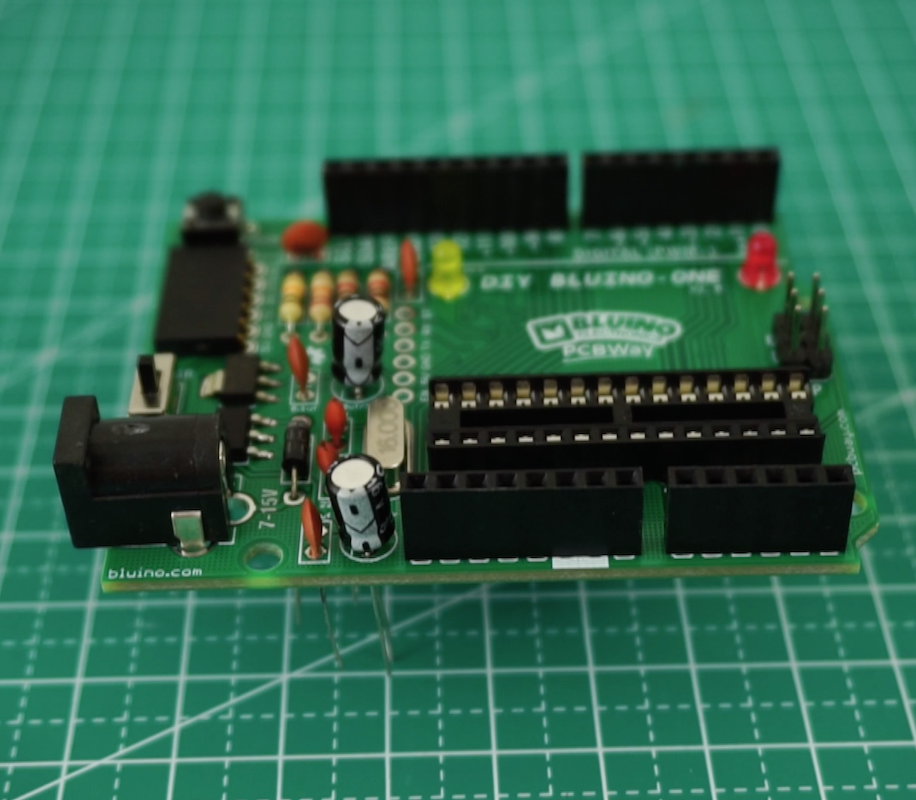
After finish solder SMD component, next attach other trough hole components on the PCB following the pictures and symbols on the PCB, for details you can follow step by step in the video.
Soldering
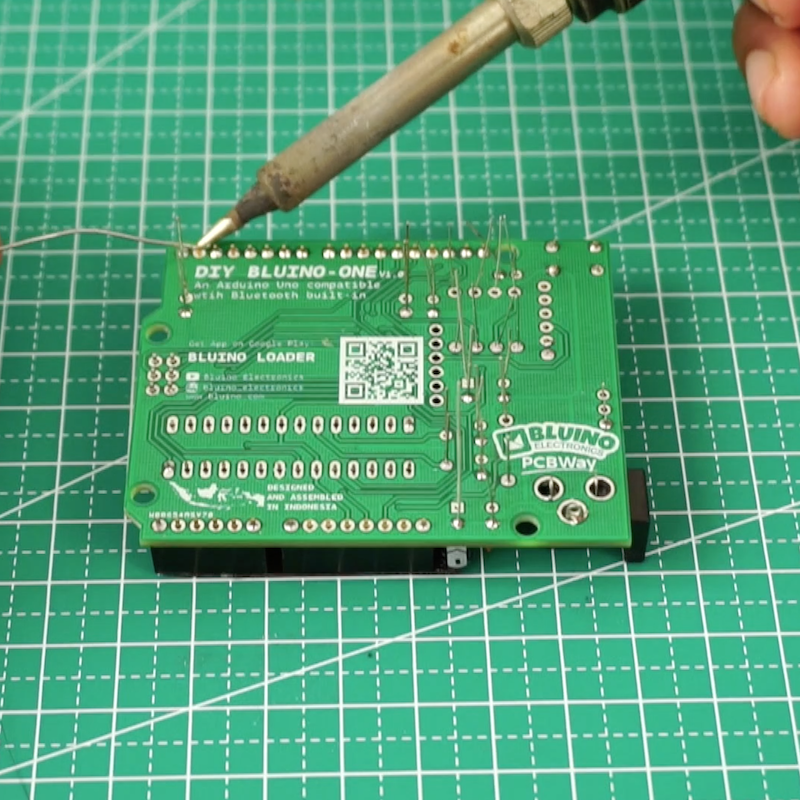
Solder all the component legs on the back of the PCB, for details you can follow step by step in the video.
After finish solder, cut all the long legs of the component wire
Cutting Wire
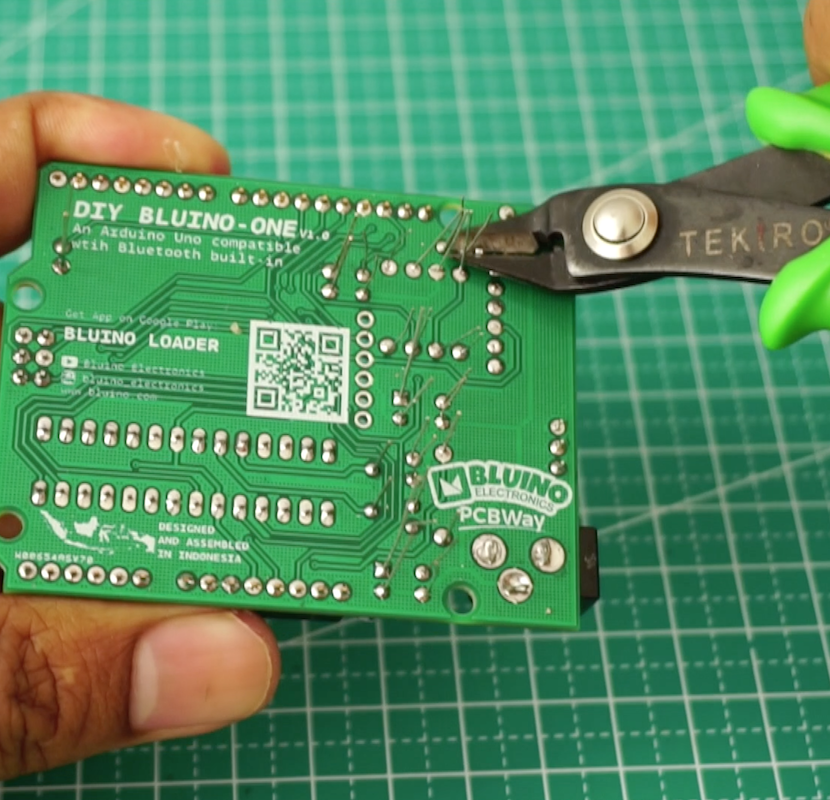
Cut all the long legs of the component wire
Configure Bluetooth Module HC-05
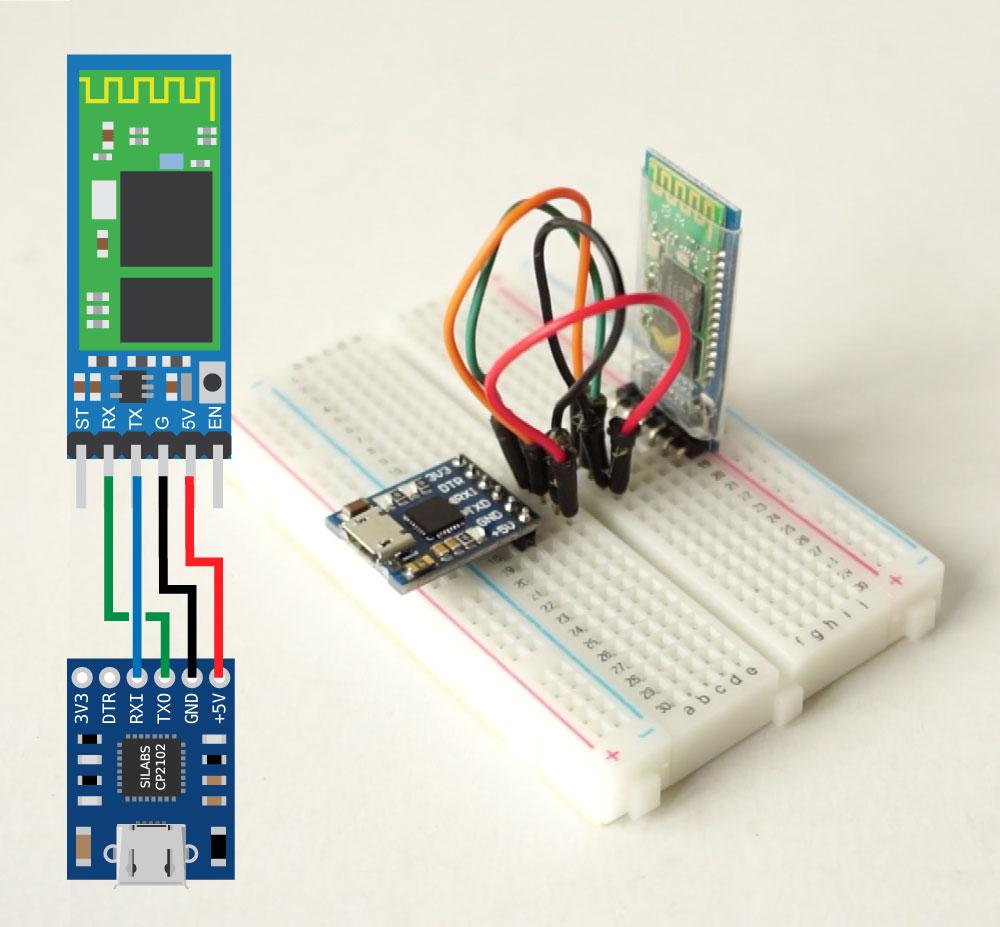
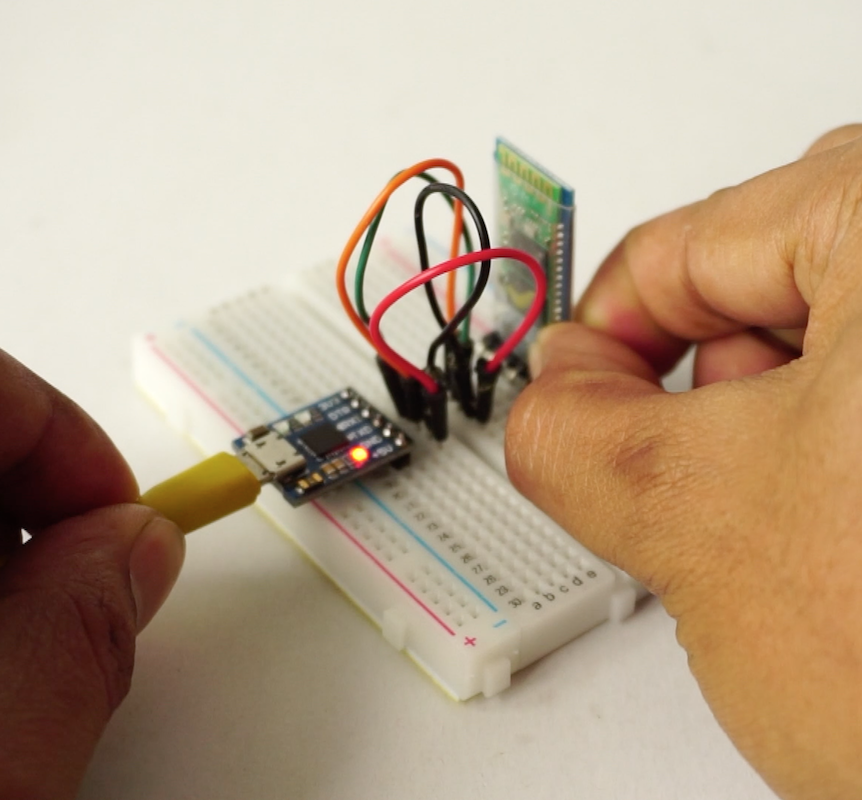
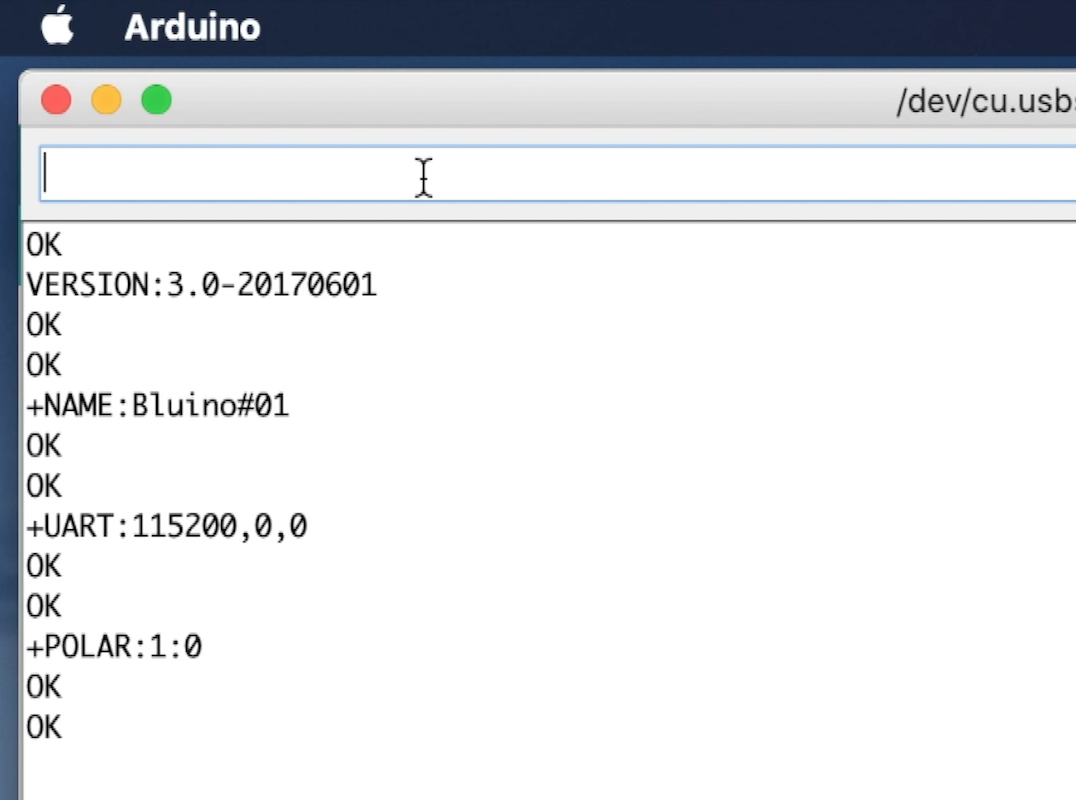
Basically in this step how to setup HC-05 over At command, this step same with the tutorial on instructables before here. You only can use Bluetooth module HC-05 with firmware version 2.0 or 3.0, because of HC-05 with firmware version 4.0 don't have parameter POLAR to be set up.
With following this step you will set HC-05 to some parameters.
- Connect bluetooth HC-05 with USB to TTL module CP2102 following schematic
- Press and hold button on HC-05 while you powered the CP2102 (to enter AT+Command mode)
- Open Serial Monitor on Arduino IDE or other Serial Software
- Set baudrate to 38400 and set end of send string with "Both NL & CR" (New Line & Carriage Return)
- Send string bellow to set up:
- AT+NAME=XXXX
- AT+UART=115200,0,0
- AT+POLAR=1,0
Attach & Soldering Bluetooth Module HC-05
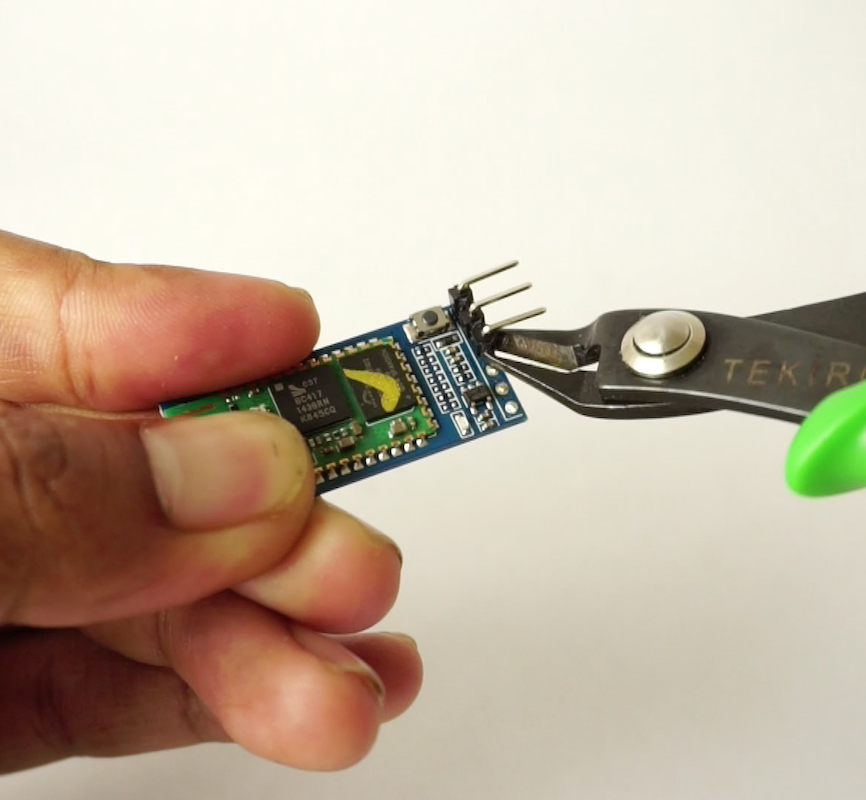
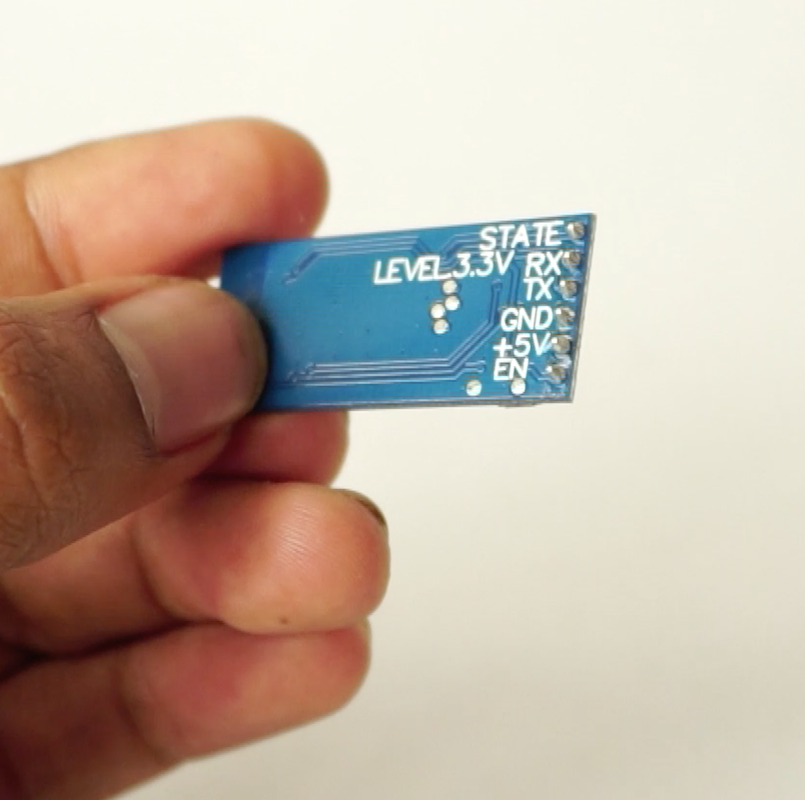
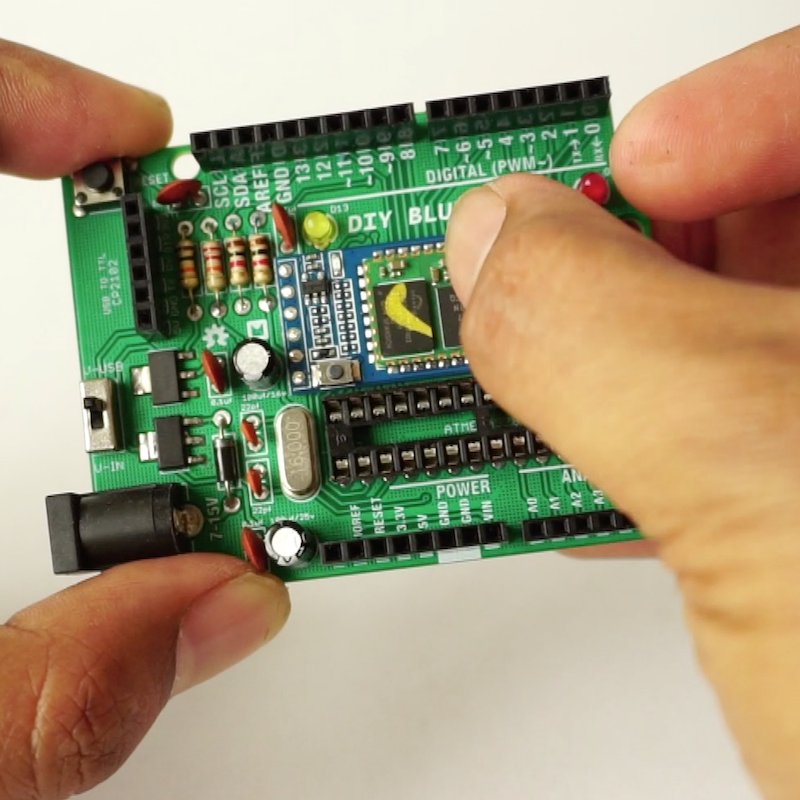
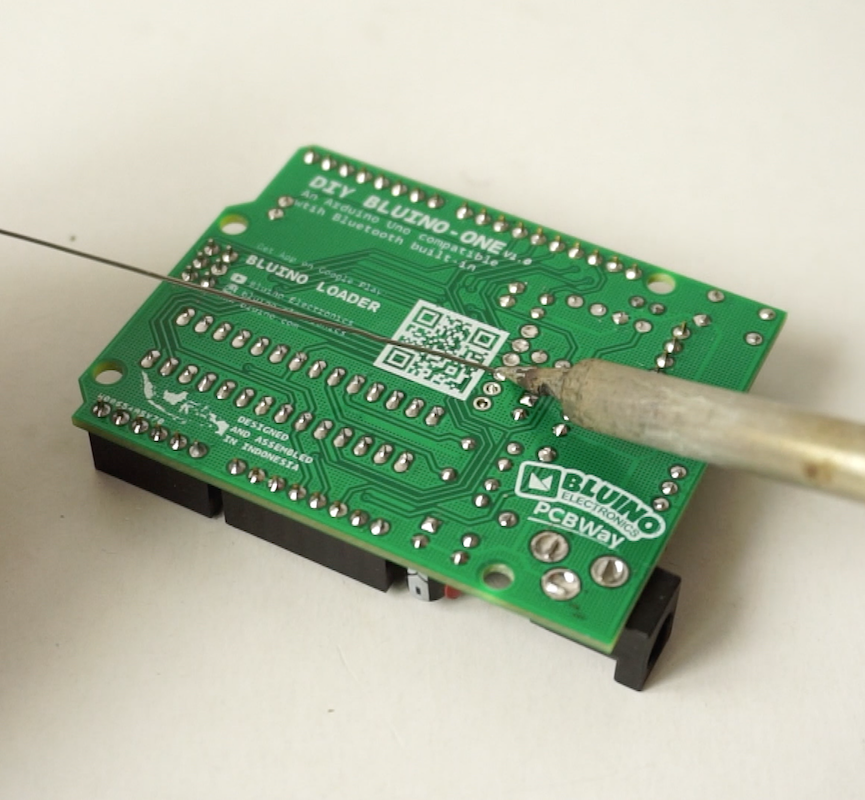
After finish set up bluetooth module HC-05. Next remove the condom plastic on bluetooth module HC-05, cut of long legs of pin header (see picture) or follow the step on video, then attach to to the PCB then solder on the back side of PCB.
Attach IC Atmega328P & CP2102
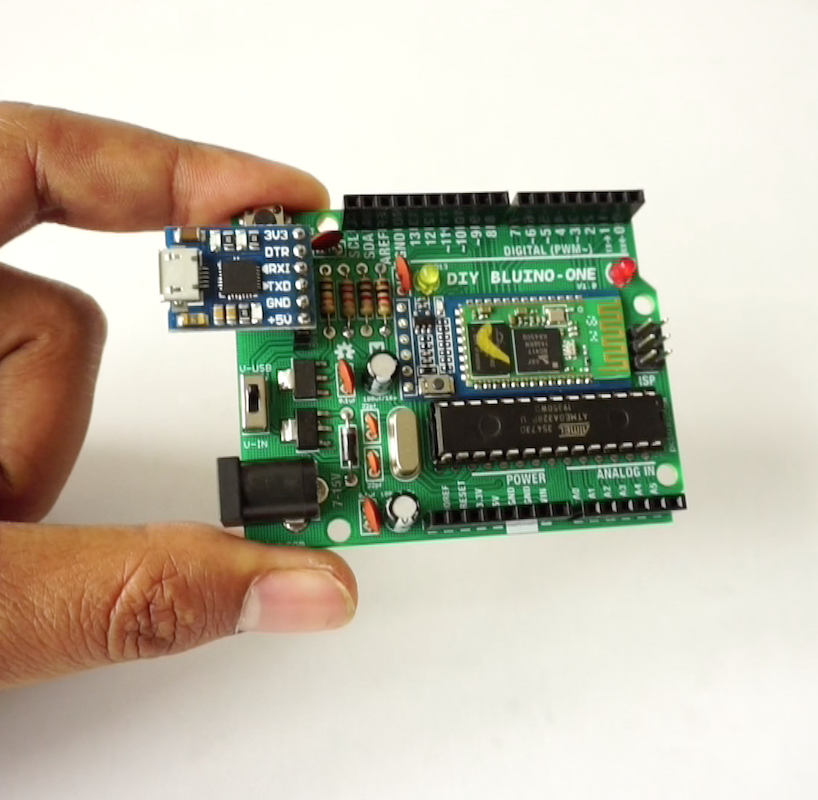
The Arduino is based on the Atmega328 IC and it is also the heart of the circuit. All the processing and everything else is done by the IC. The Atmega328 has to have a arduino boot loader flashed on to it to program it using the Arduino IDE.
The arduino uno is made of three parts :
- Atmega328 IC
- Voltage Regulators
- Serial Programmer
You can purchase an Atmega328 IC with the Arduino boot-loader pre-installed or you can also install it yourself but you will need an Arudino uno to install the boot-loader. So it is recommended to get a Atmega328 with a pre-installed boot-loader.
In this project use serial programmer USB to TTL CP2102, you can also use other types of serial programmer like FTDI232, only it won't plug and play directly into the PCB you need jumper cable to connect the appropriate pins.
DONE: Upload Code Use Android or PC Over Bluetooth
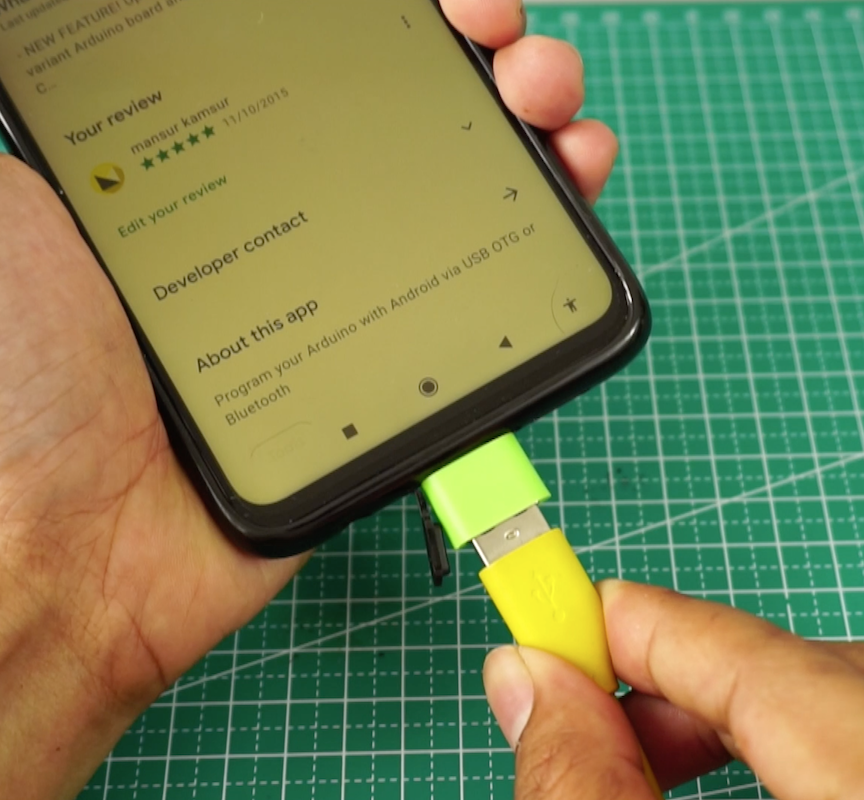
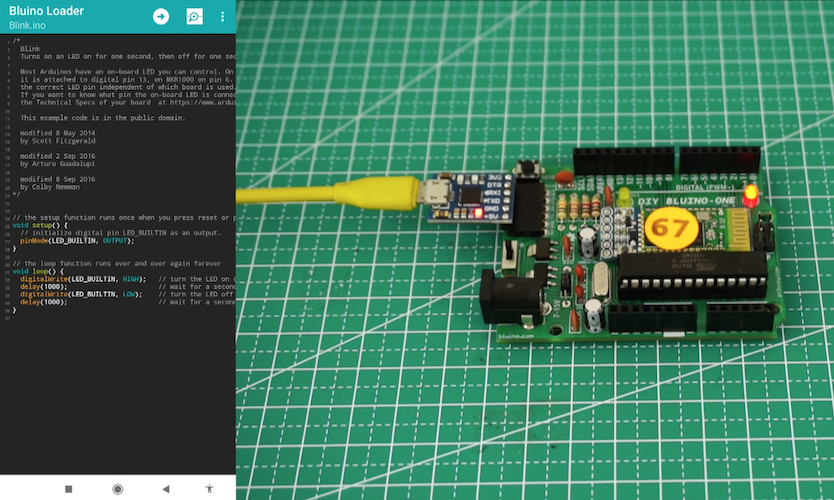
Done! You are finish made a hardware development board "DIY Bluino One" (Arduino Uno Bluetooth). Now, time to try upload first sketch to hardware, the way to upload sketch you can use software Arduino IDE on computer, upload via Bluetooth or USB. The other way you can upload sketch use Android smartphone via Bluetooth or USB OTG. Get Android app from Google Playstore Bluino Loader, this app is for working with the Arduino Uno (DIY Bluino One), you can write, edit and upload sketches to DIY Bluino One over Bluetooth HC-05/USB OTG.