DIY Arduino Bluetooth Fan
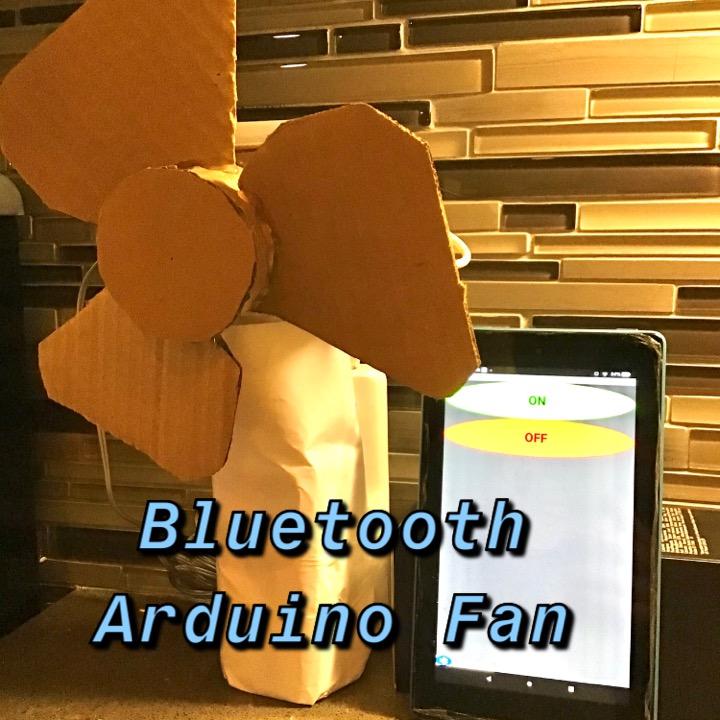
This is an Arduino Bluetooth Powered fan! This idea randomly came to my mind when I was in my workshop, feeling super hot and sweaty. I then decided to make a fan but with just a little of touch to it. You can show this project to your friends and family, and take them by a breeze! This is a super easy and cool project that'll surely cool you off!
Supplies
You will need:
1x Arduino Nano/Uno/Mega
1x dc motor
1x HC-05 Bluetooth Module
1x breadboard
1x breadboard power supply
1x 9v battery
1x L293D chip
1x 1k ohm resistor
1x 4.7k ohm resistor
13x jumper wires
4x 30x30 cm cardboard
1x ruler
1x pen
1x plastic water or soda bottle with cap
1x scissors or box cutter
1x hot glue or super glue
1x Android device
1x computer, phone, or tablet
1x power bank
Making the Circuit
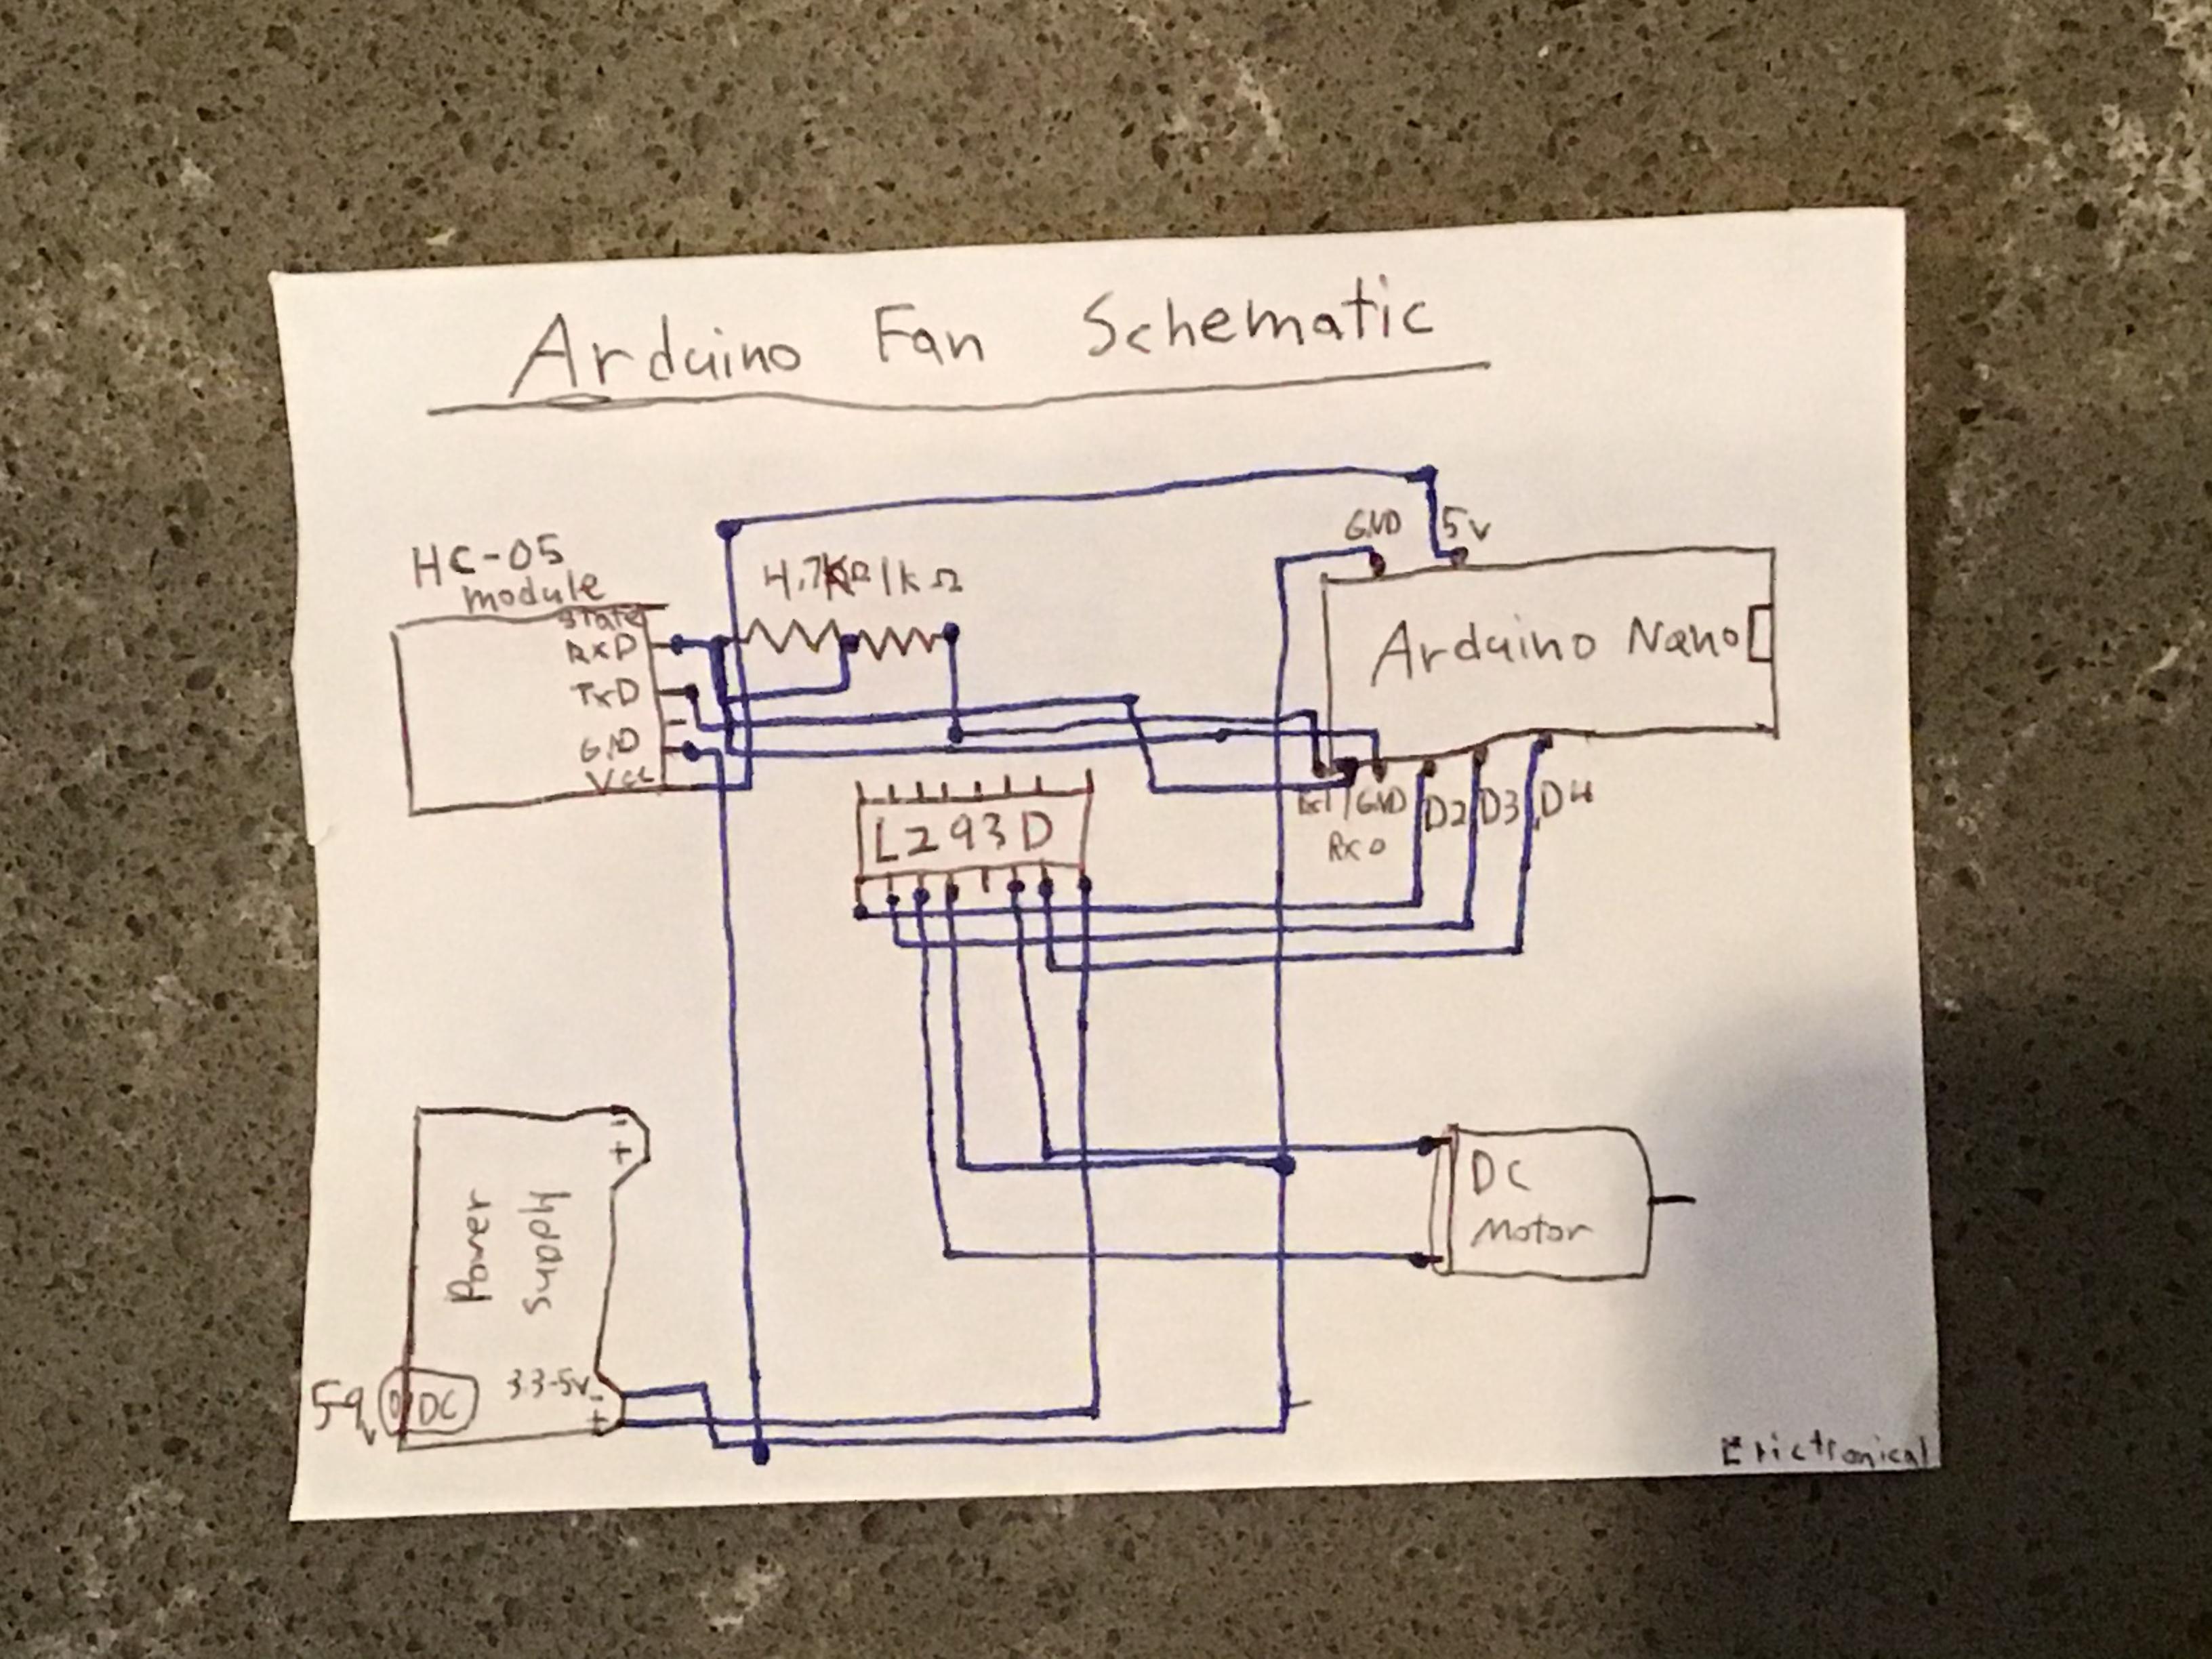
Follow this schematic and place the components onto your breadboard.
How to Download Arduino Software
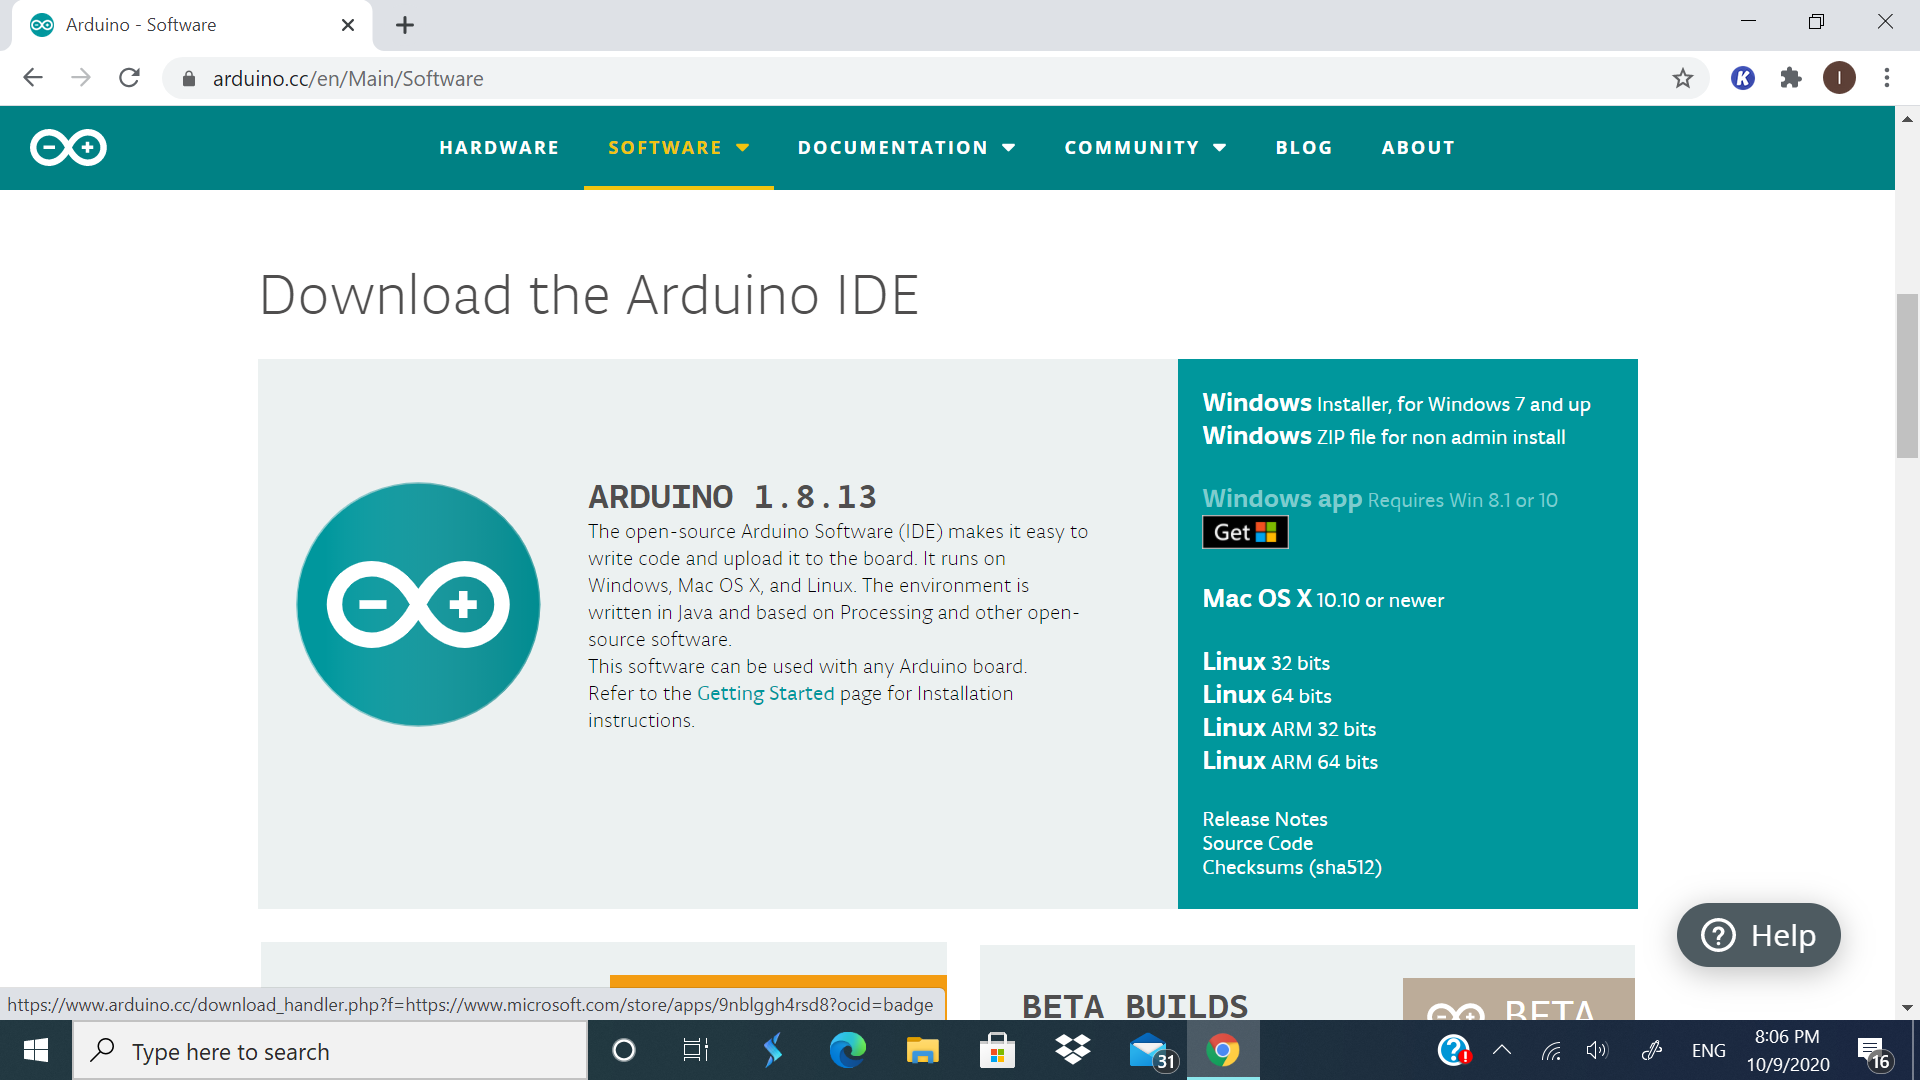
You can visit this link and download Arduino IDE on your device. Without it, this project cannot run or function correctly.
Site: https://www.arduino.cc/en/Main/Software
The Actual Program
Now we're going to program the fan and in order to do that, copy my code onto your Arduino IDE (note: your Arduino board should be connected to your computer).
Paste this into your source code:
int speedPin = 2;
int dir1 = 3;
int dir2 = 4;
char IncomingValue = 0;
void setup() { // put your setup code here, to run once:
pinMode(speedPin, OUTPUT);
pinMode(dir1, OUTPUT);
pinMode(dir2, OUTPUT);
Serial.begin(9600); }
void loop() { // put your main code here, to run repeatedly:
while(Serial.available()>0){ IncomingValue = Serial.read();
Serial.print(IncomingValue);
Serial.print('\n');
if(IncomingValue == '1'){
digitalWrite(speedPin, HIGH);
digitalWrite(dir1, HIGH);
digitalWrite(dir2, LOW); }
if(IncomingValue == '0'){
digitalWrite(speedPin, LOW);
digitalWrite(dir1, LOW);
digitalWrite(dir2, LOW);
}
}
}
Creating the Housing
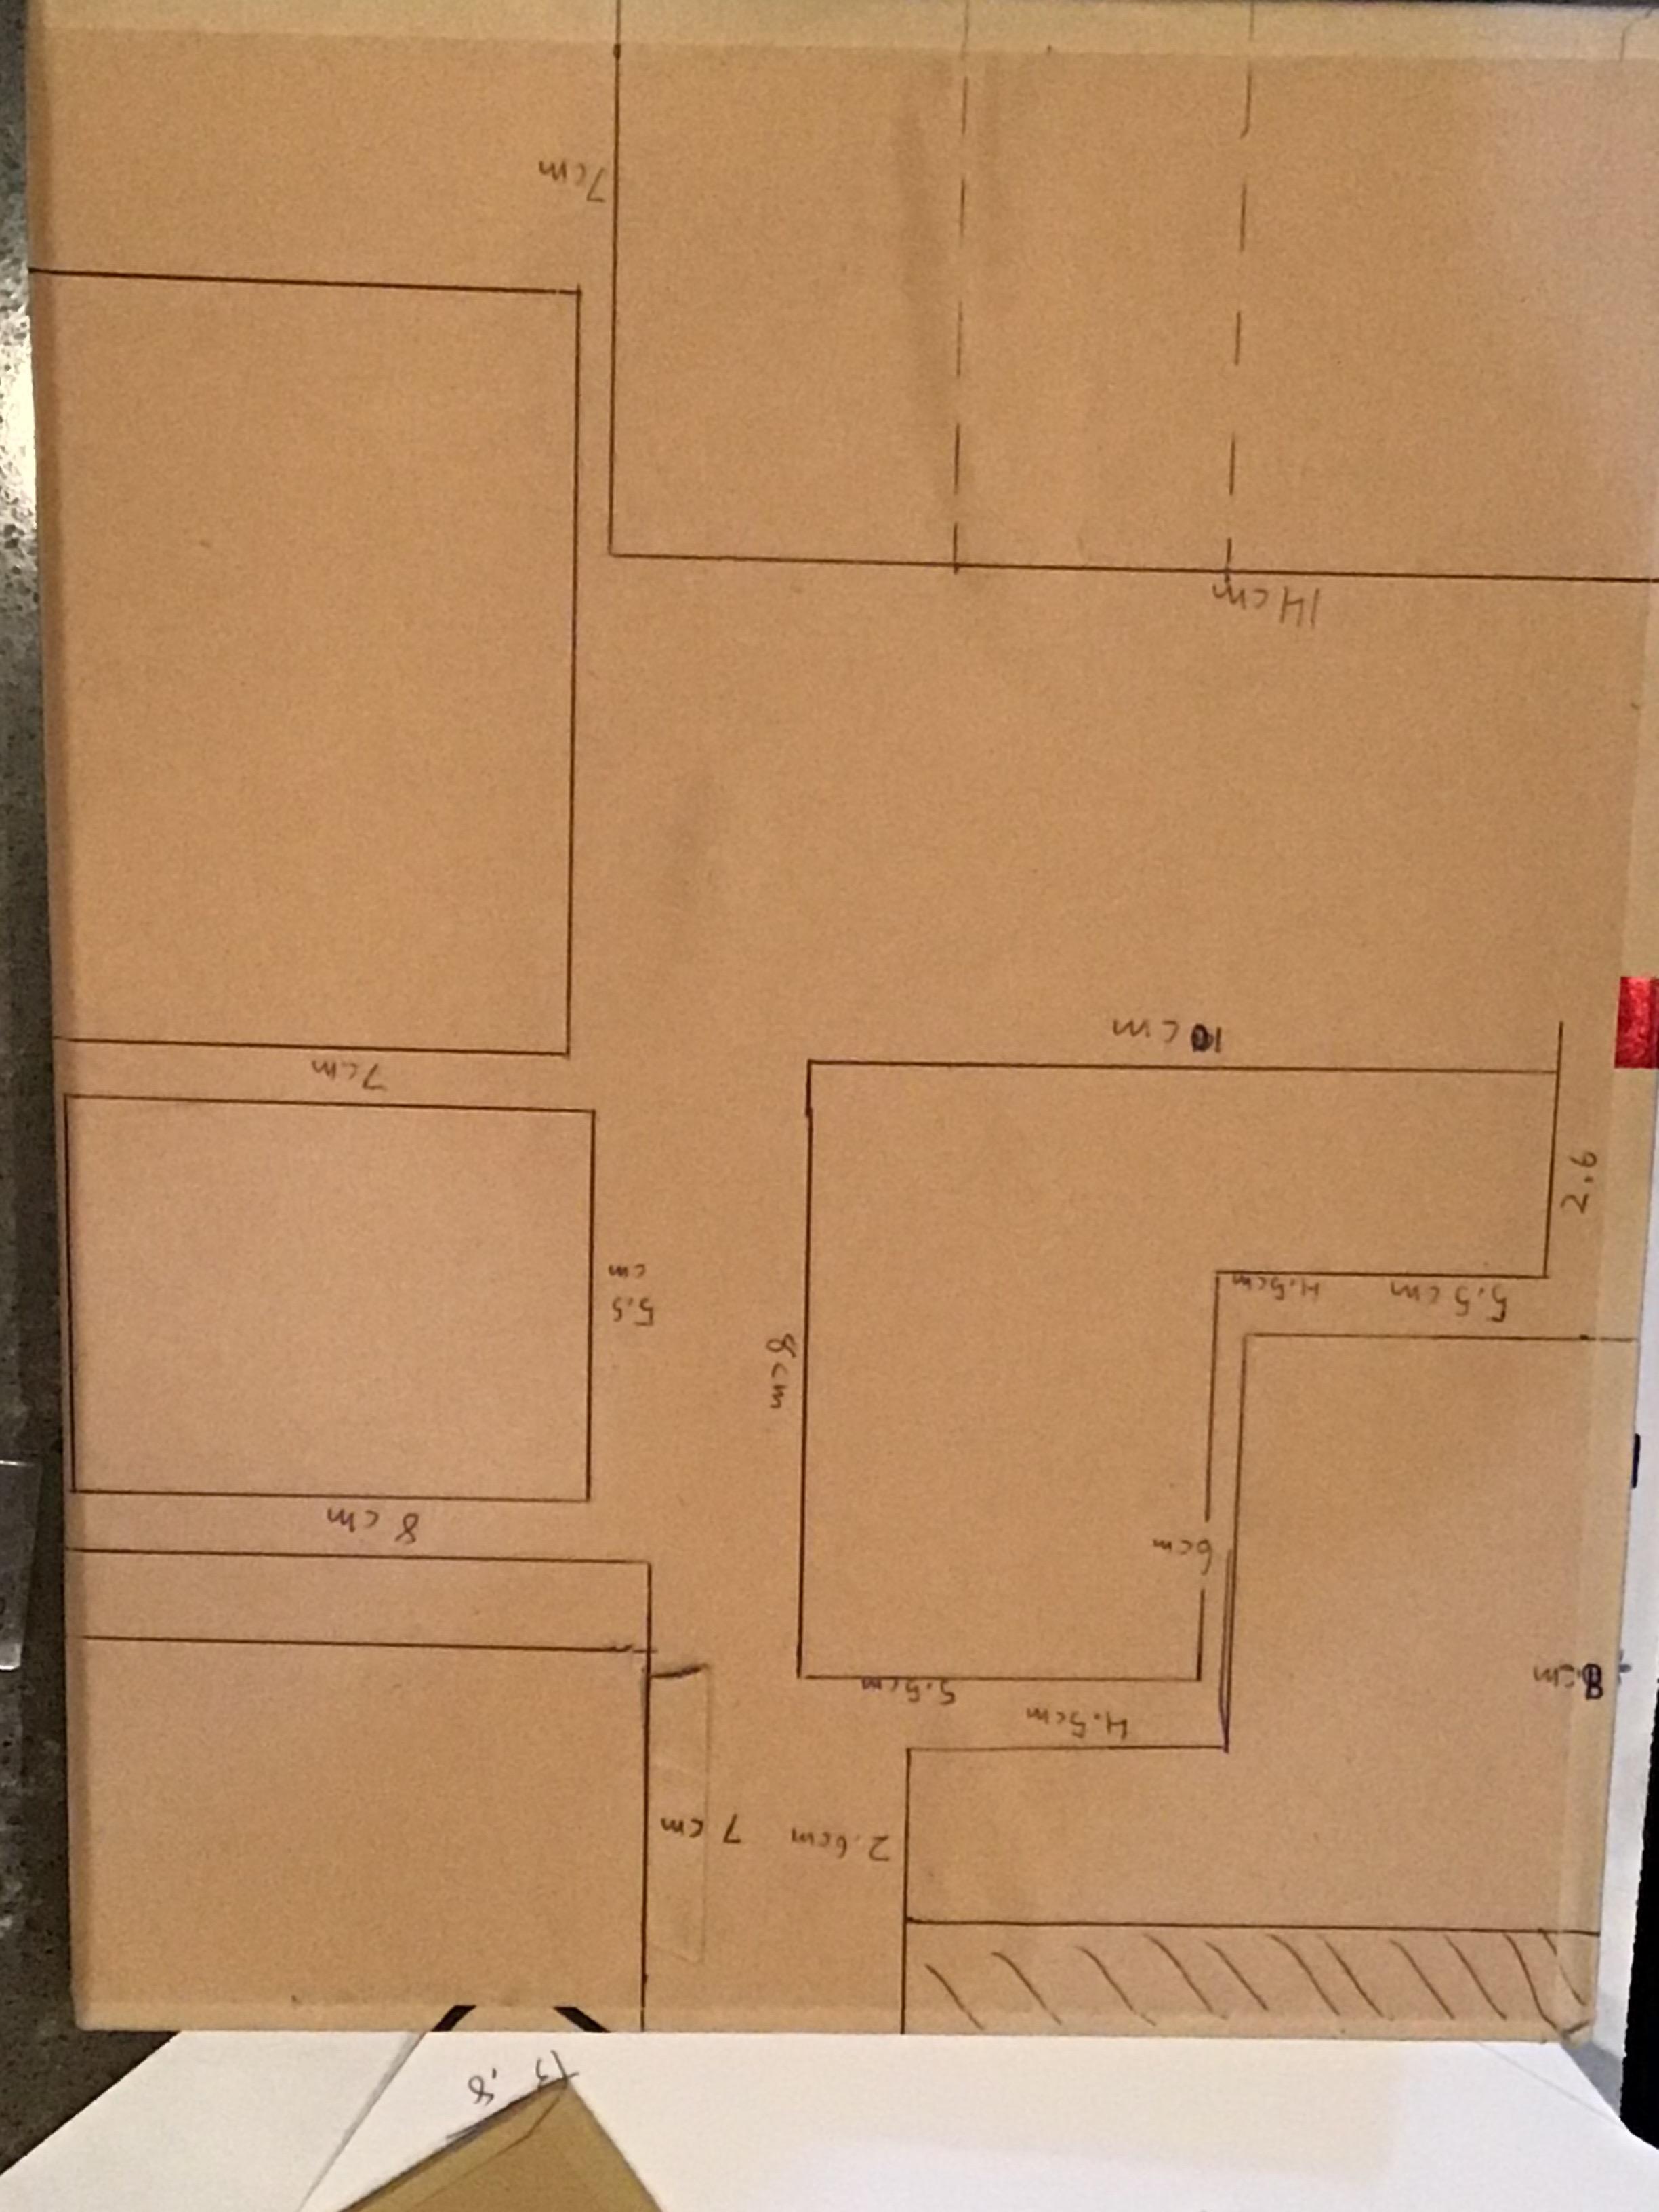
We’re now going to make the outter housing for this fan. Follow the measurements shown in here and cut them out once you’re finished.
Congrats you've just made the housing!
Making the Fan Blades
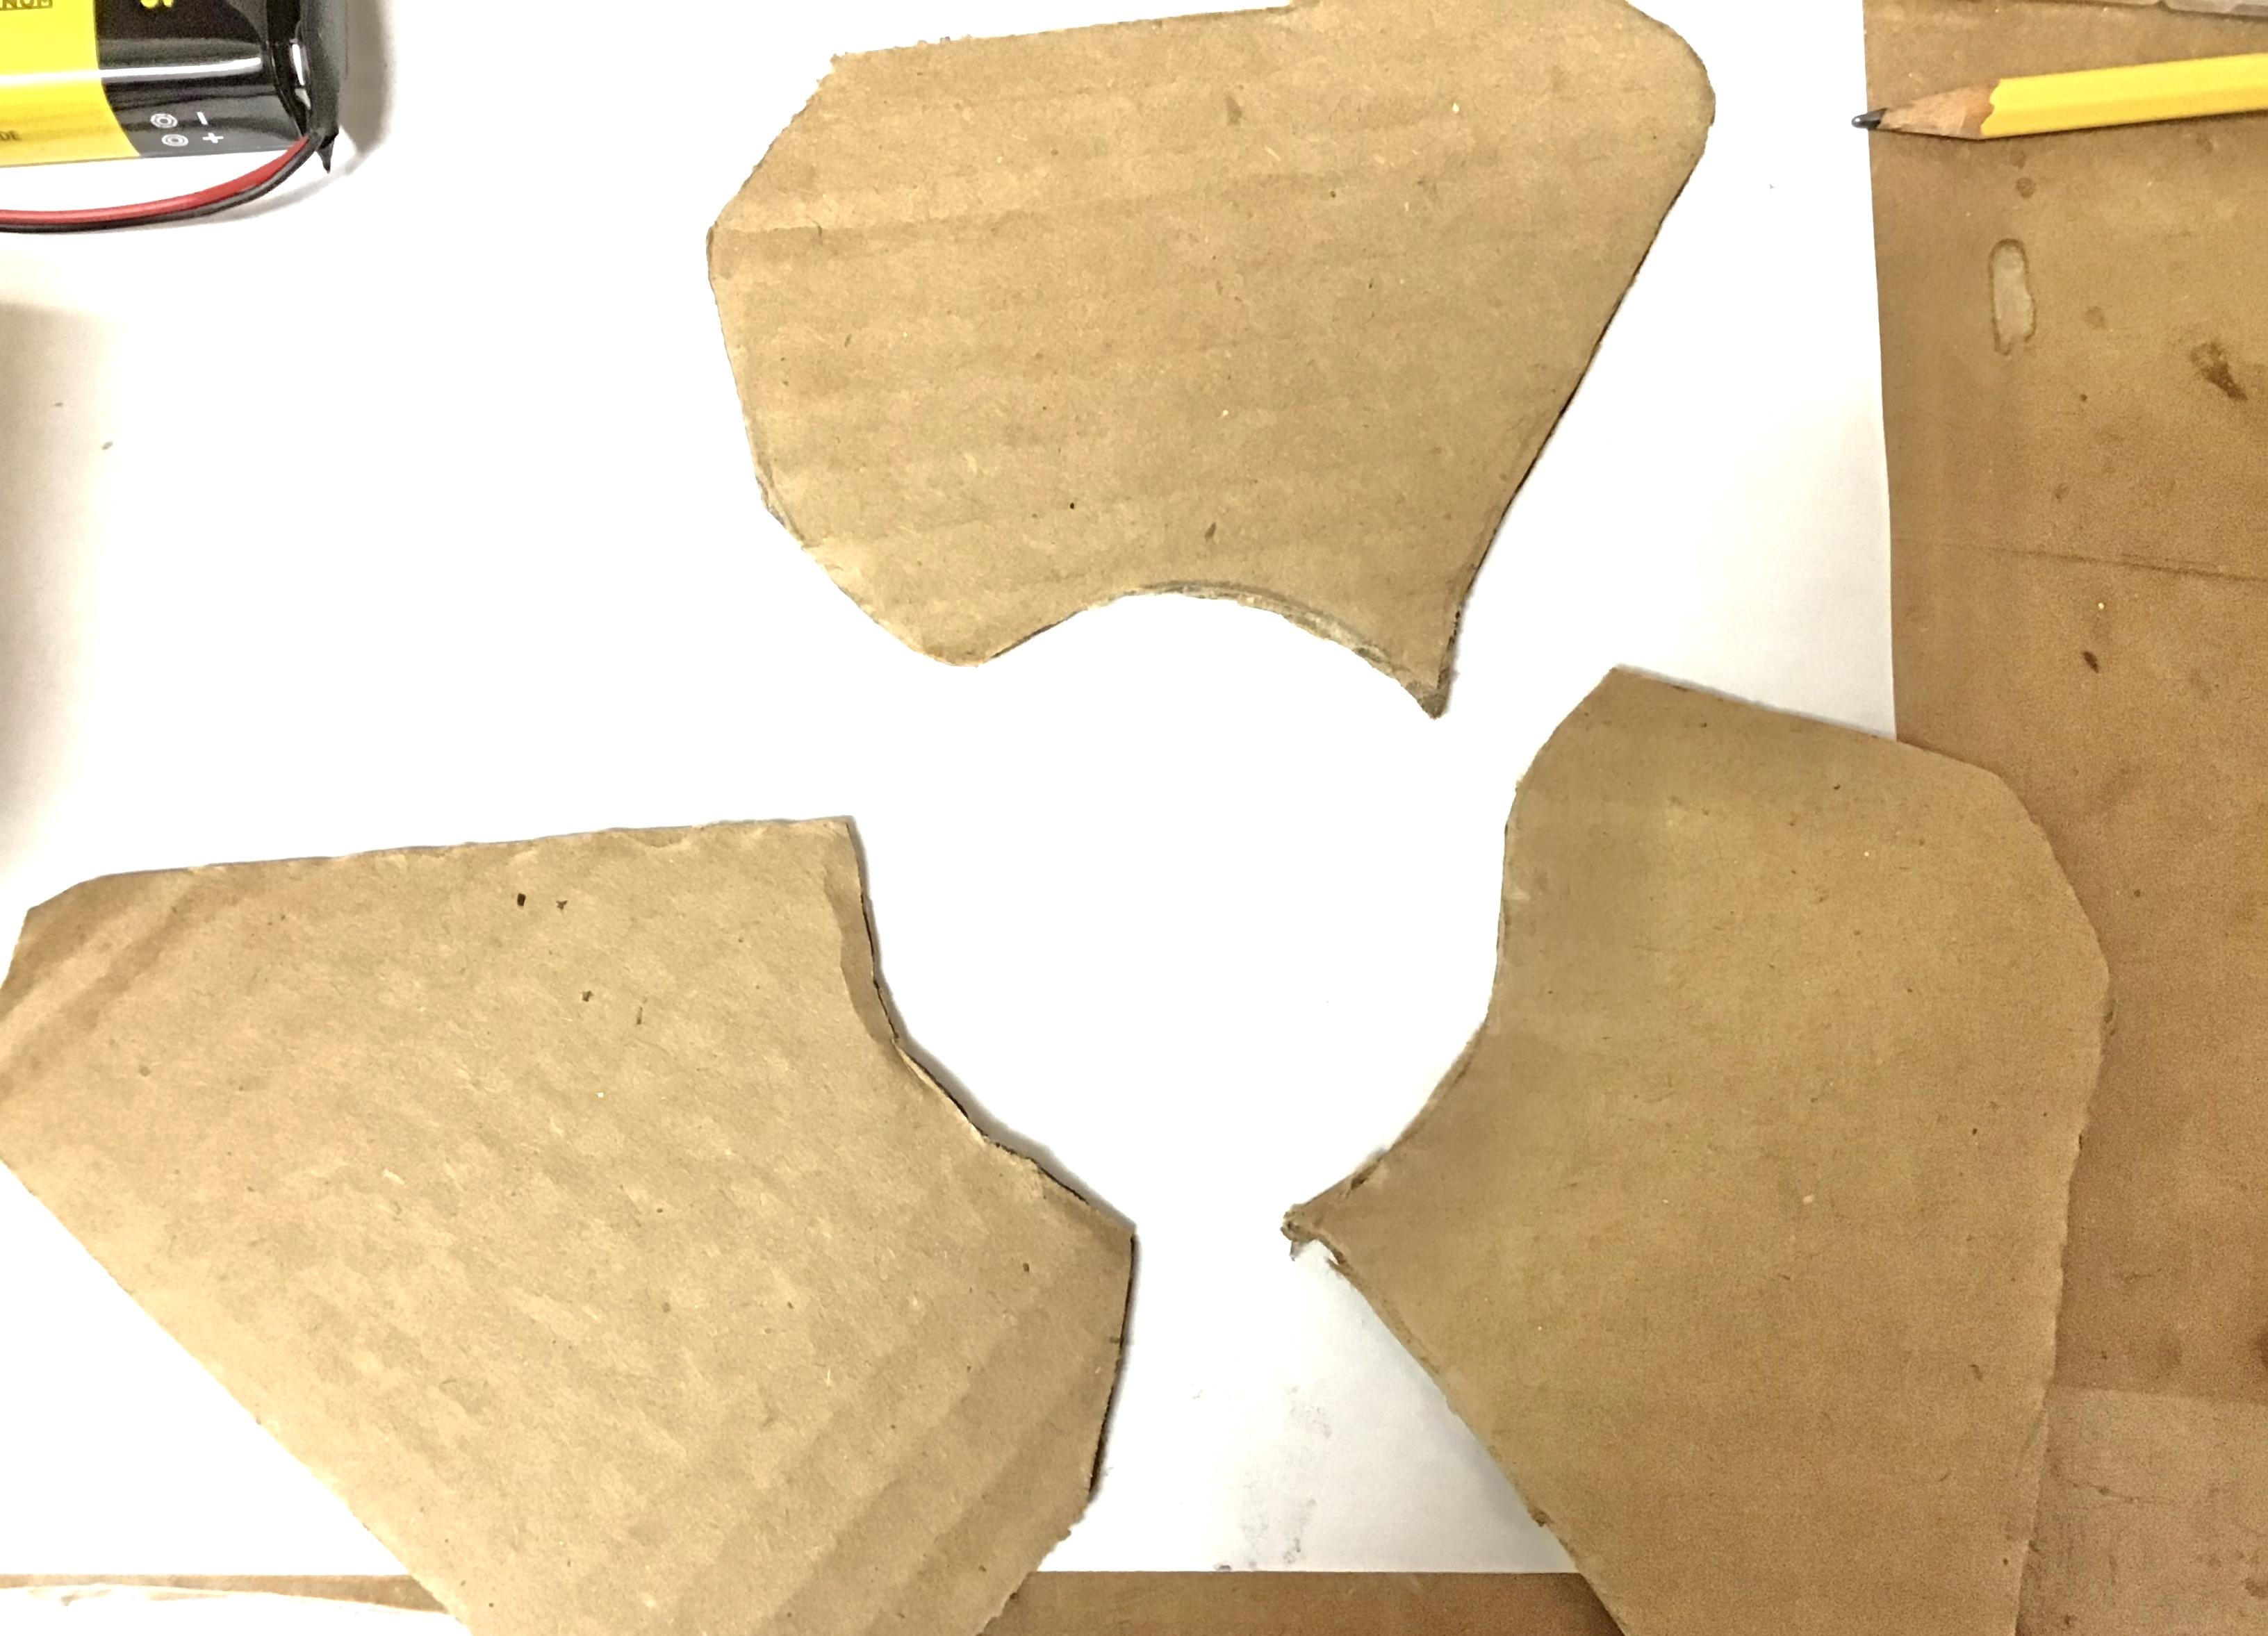

Follow the measurements as shown and cut them out. You can also just print out the fan template that I've provided below, and adjust the blade size of your liking.
Congrats you've just made the fan blades!
Making the Center Piece for the Fan
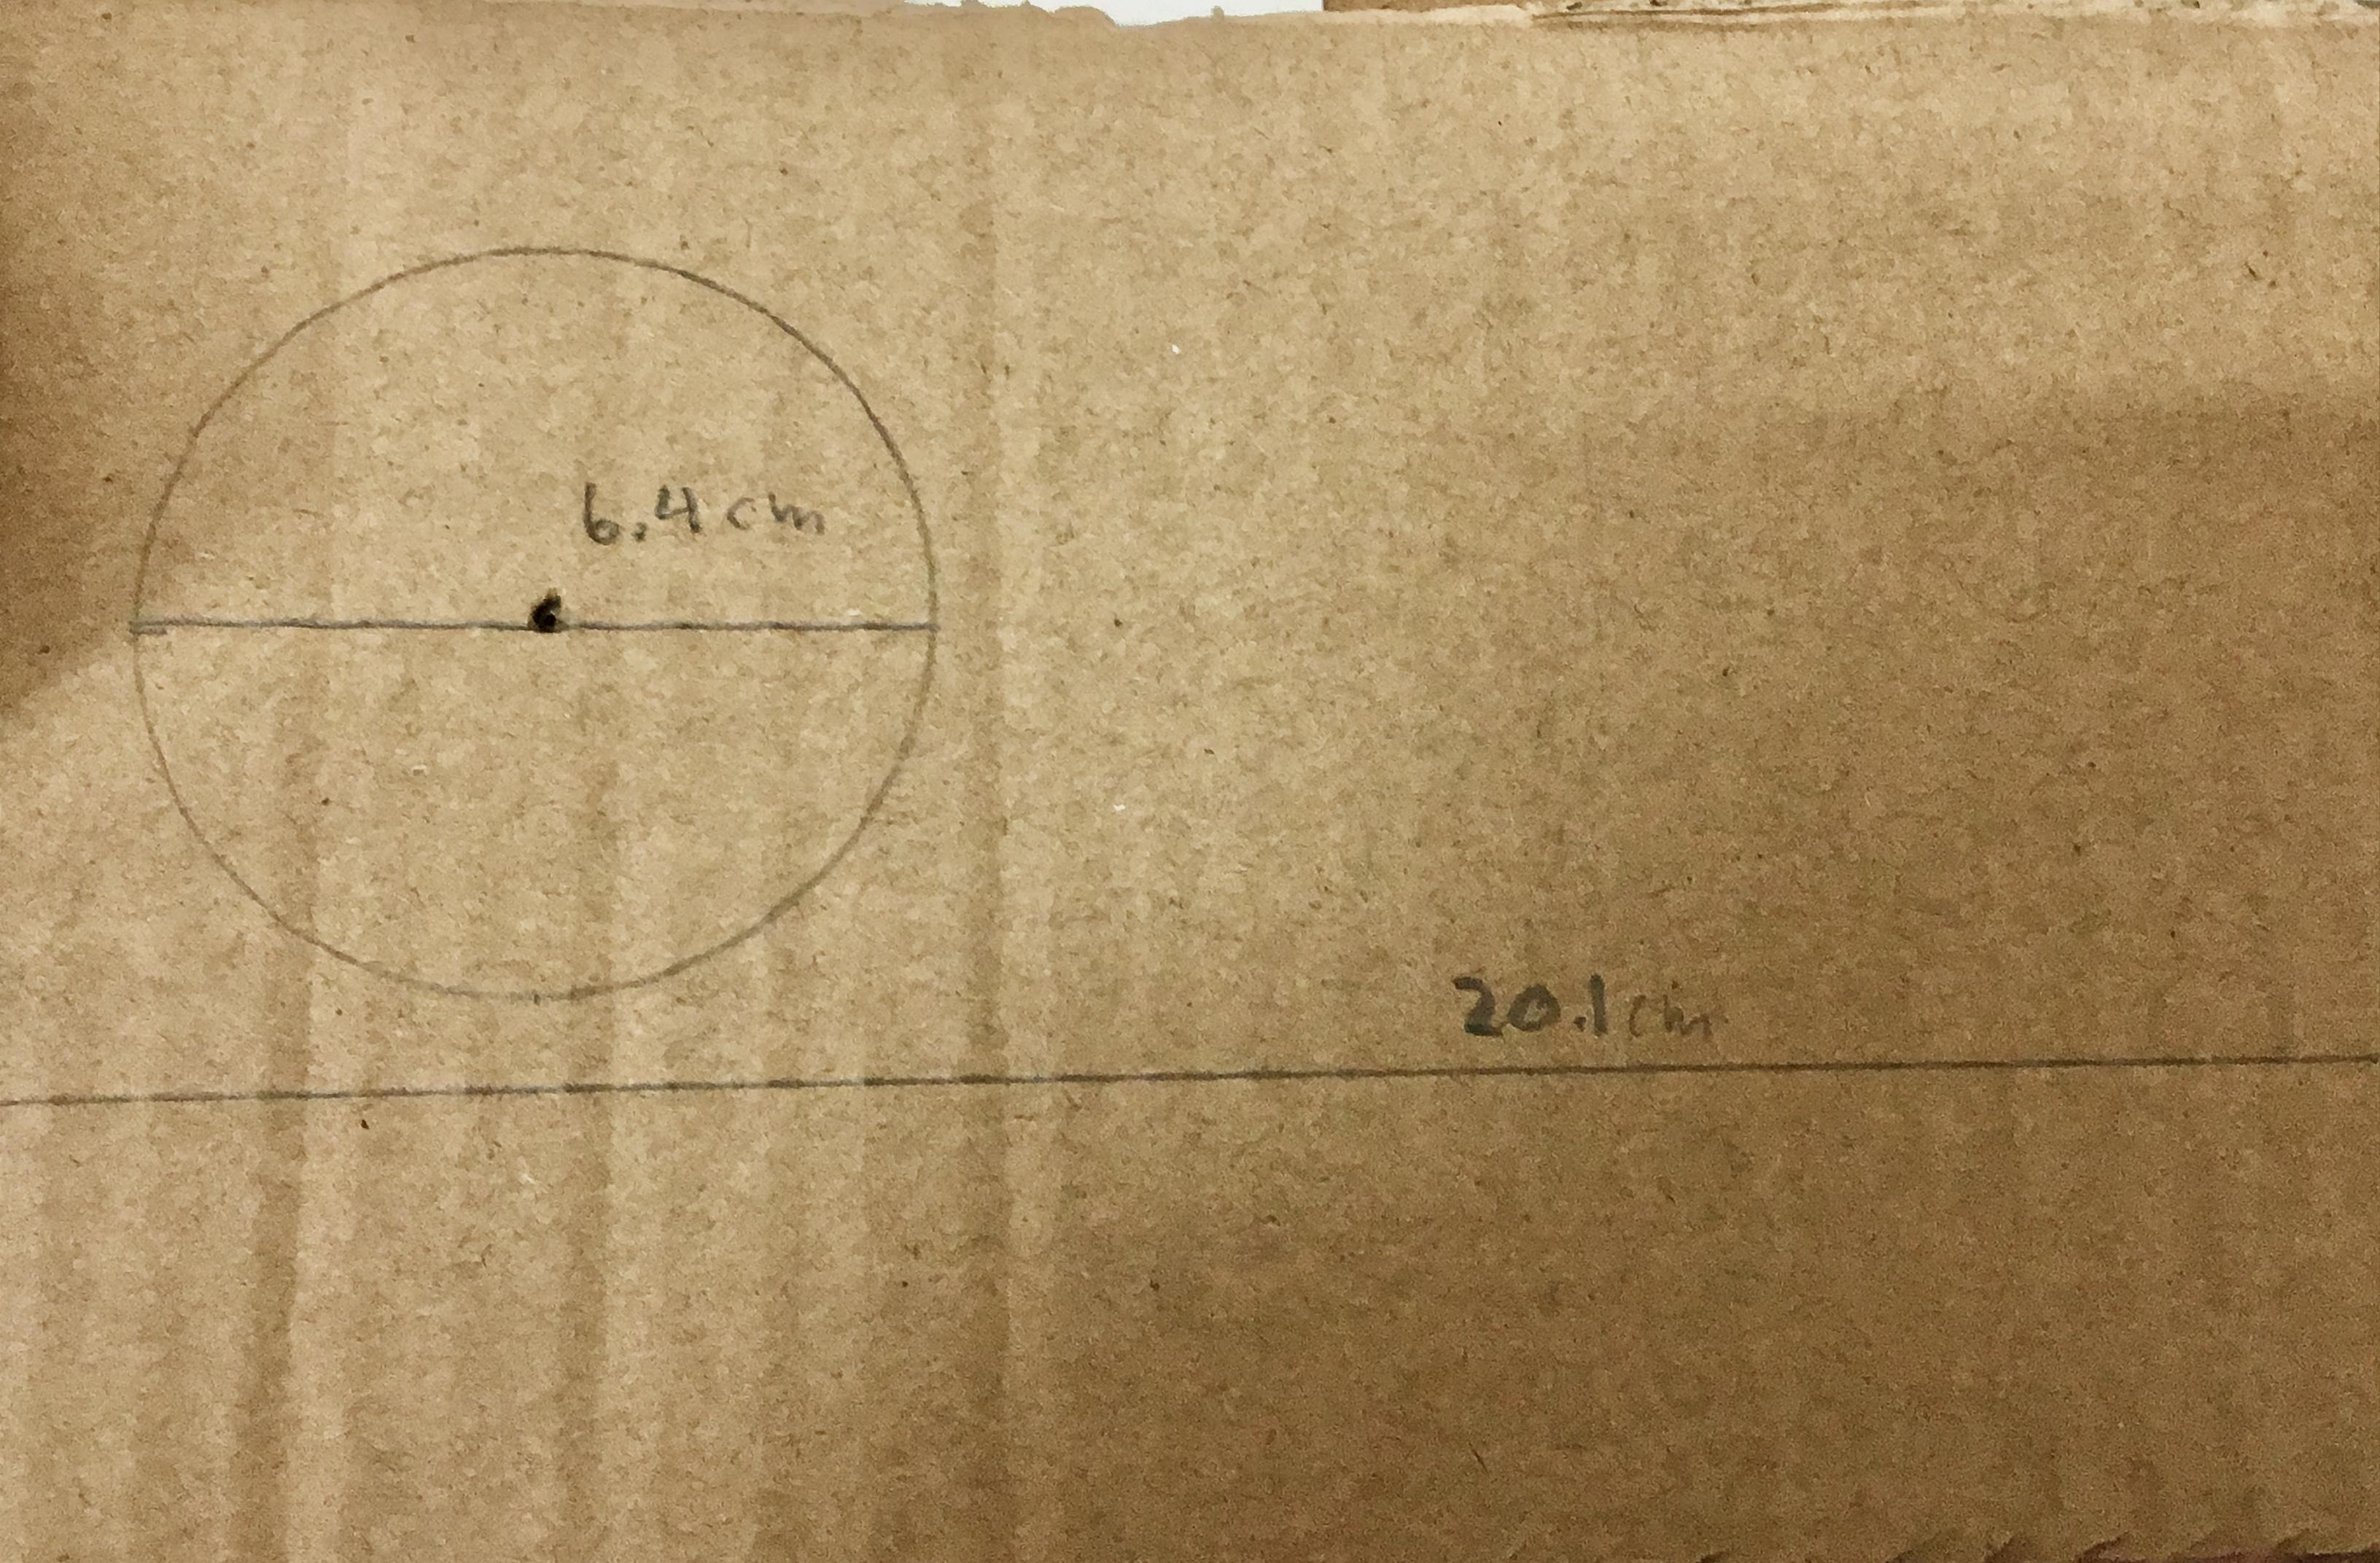
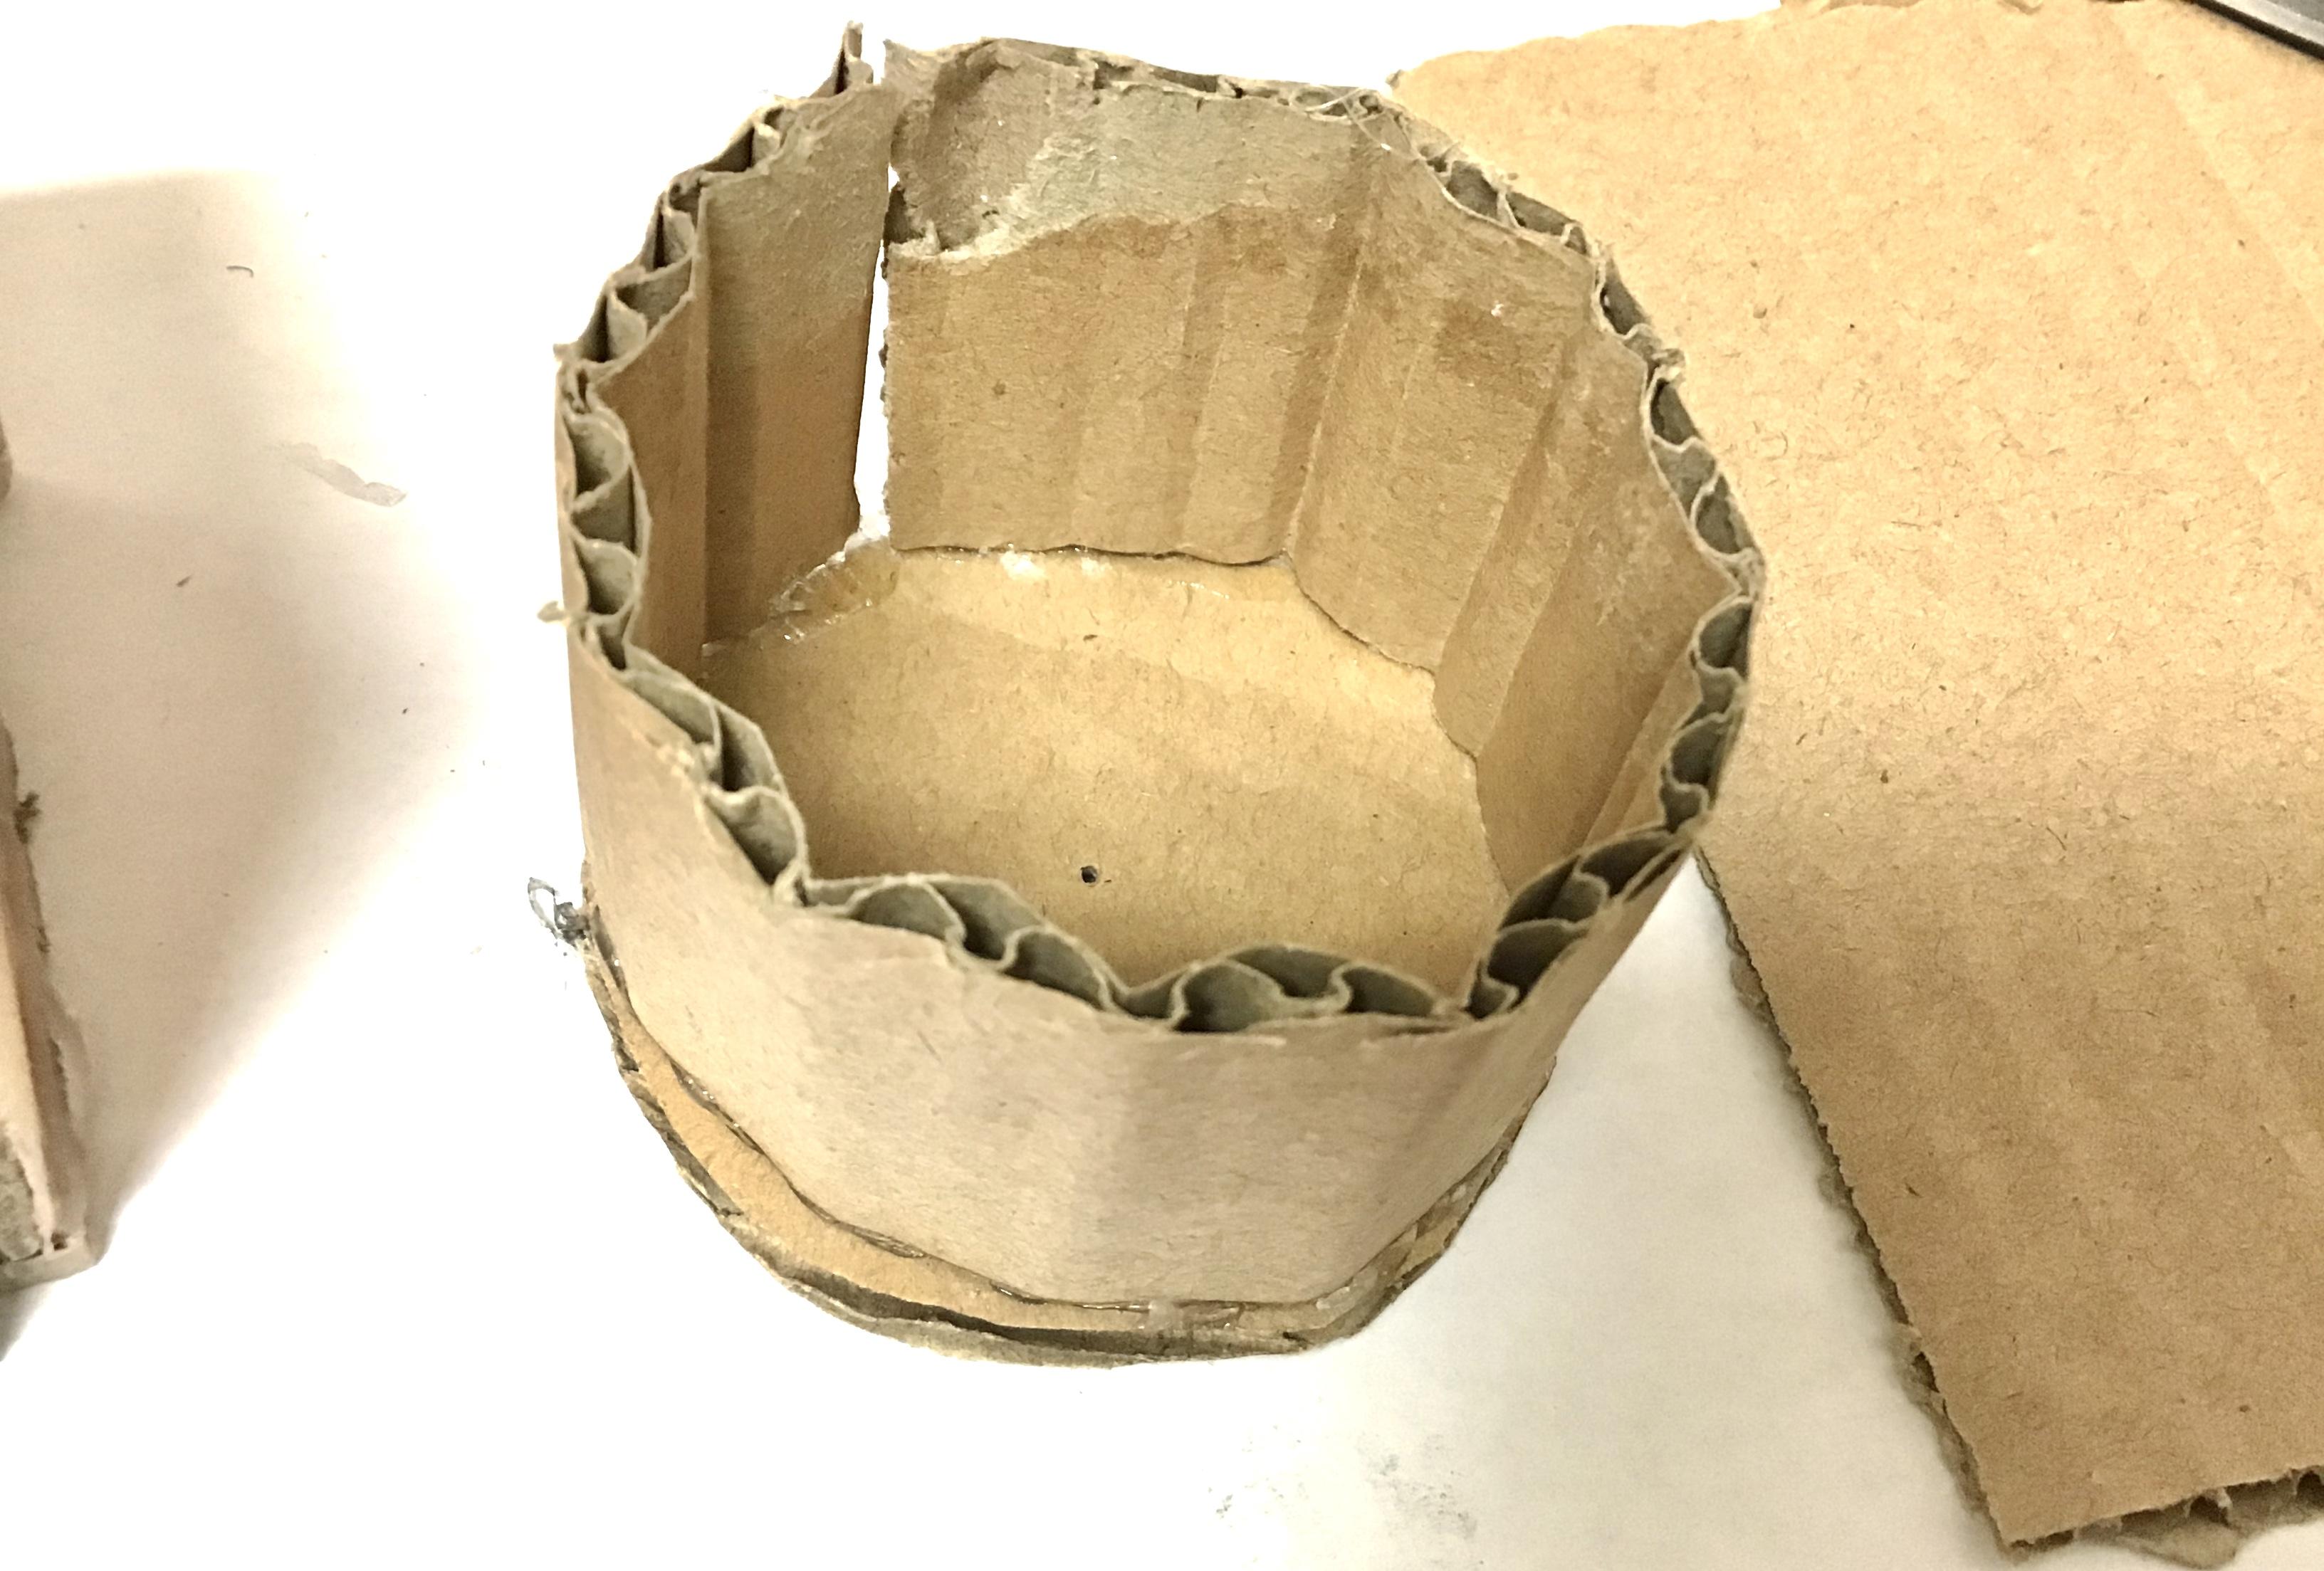
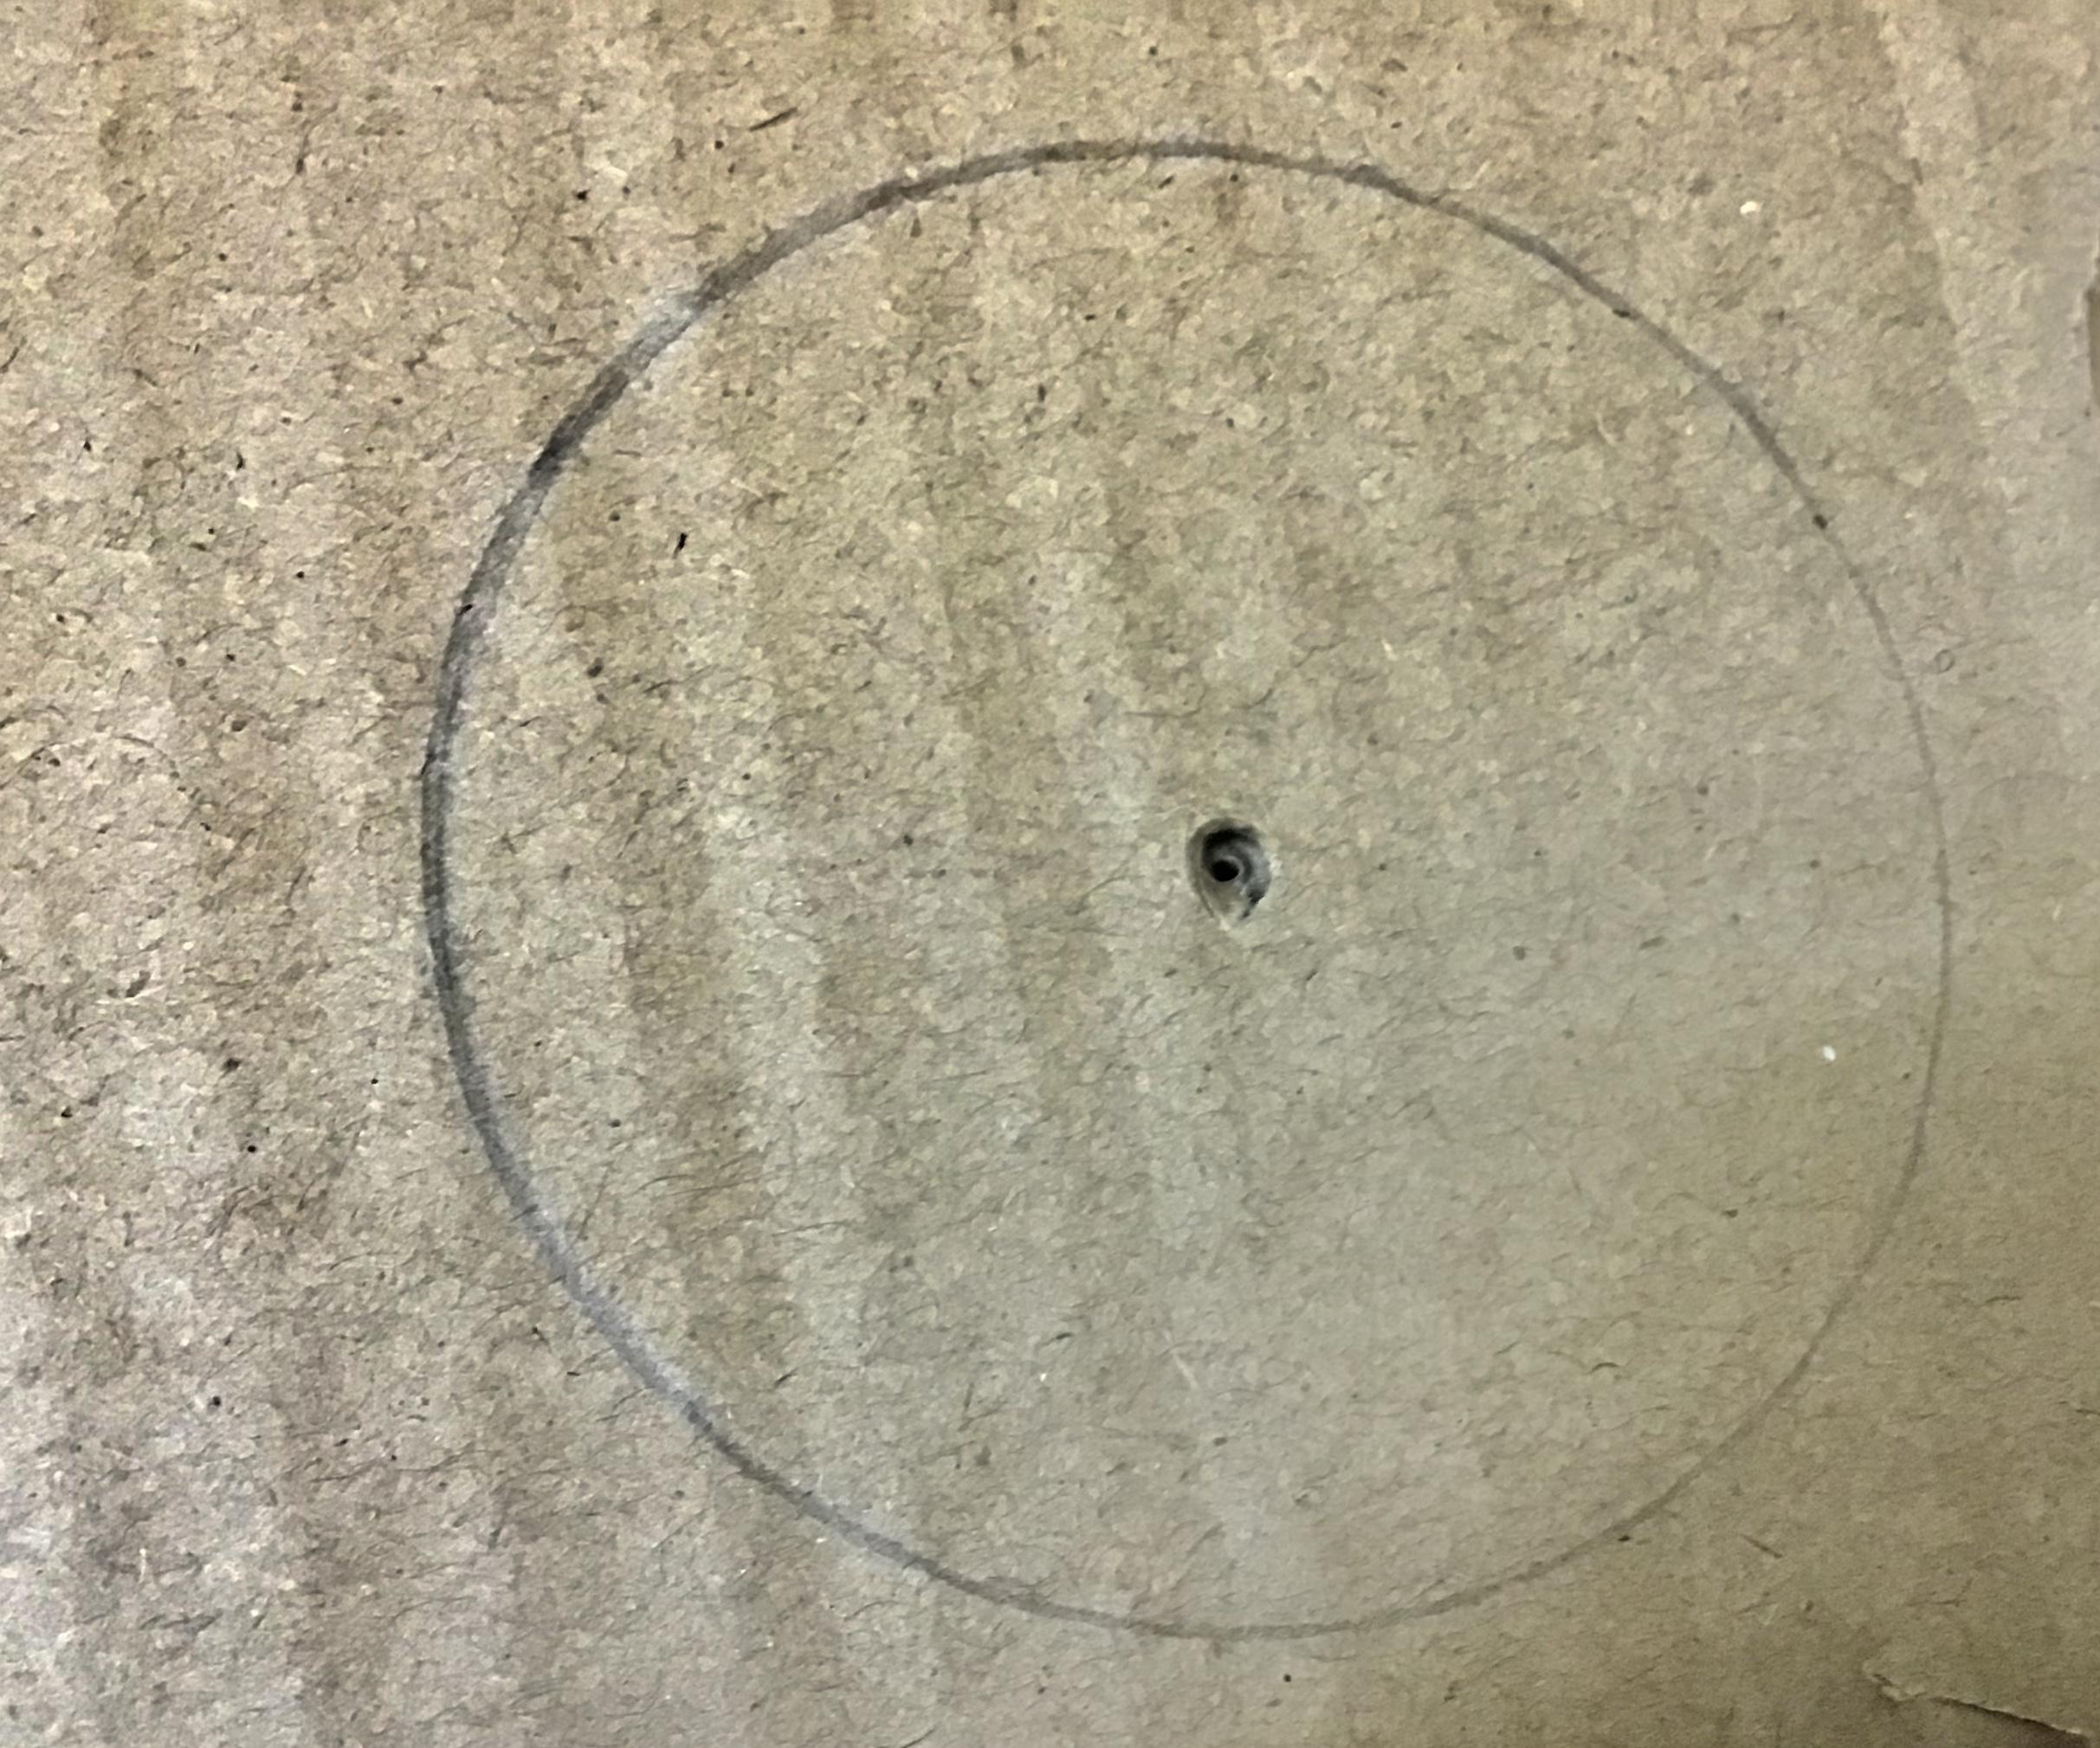
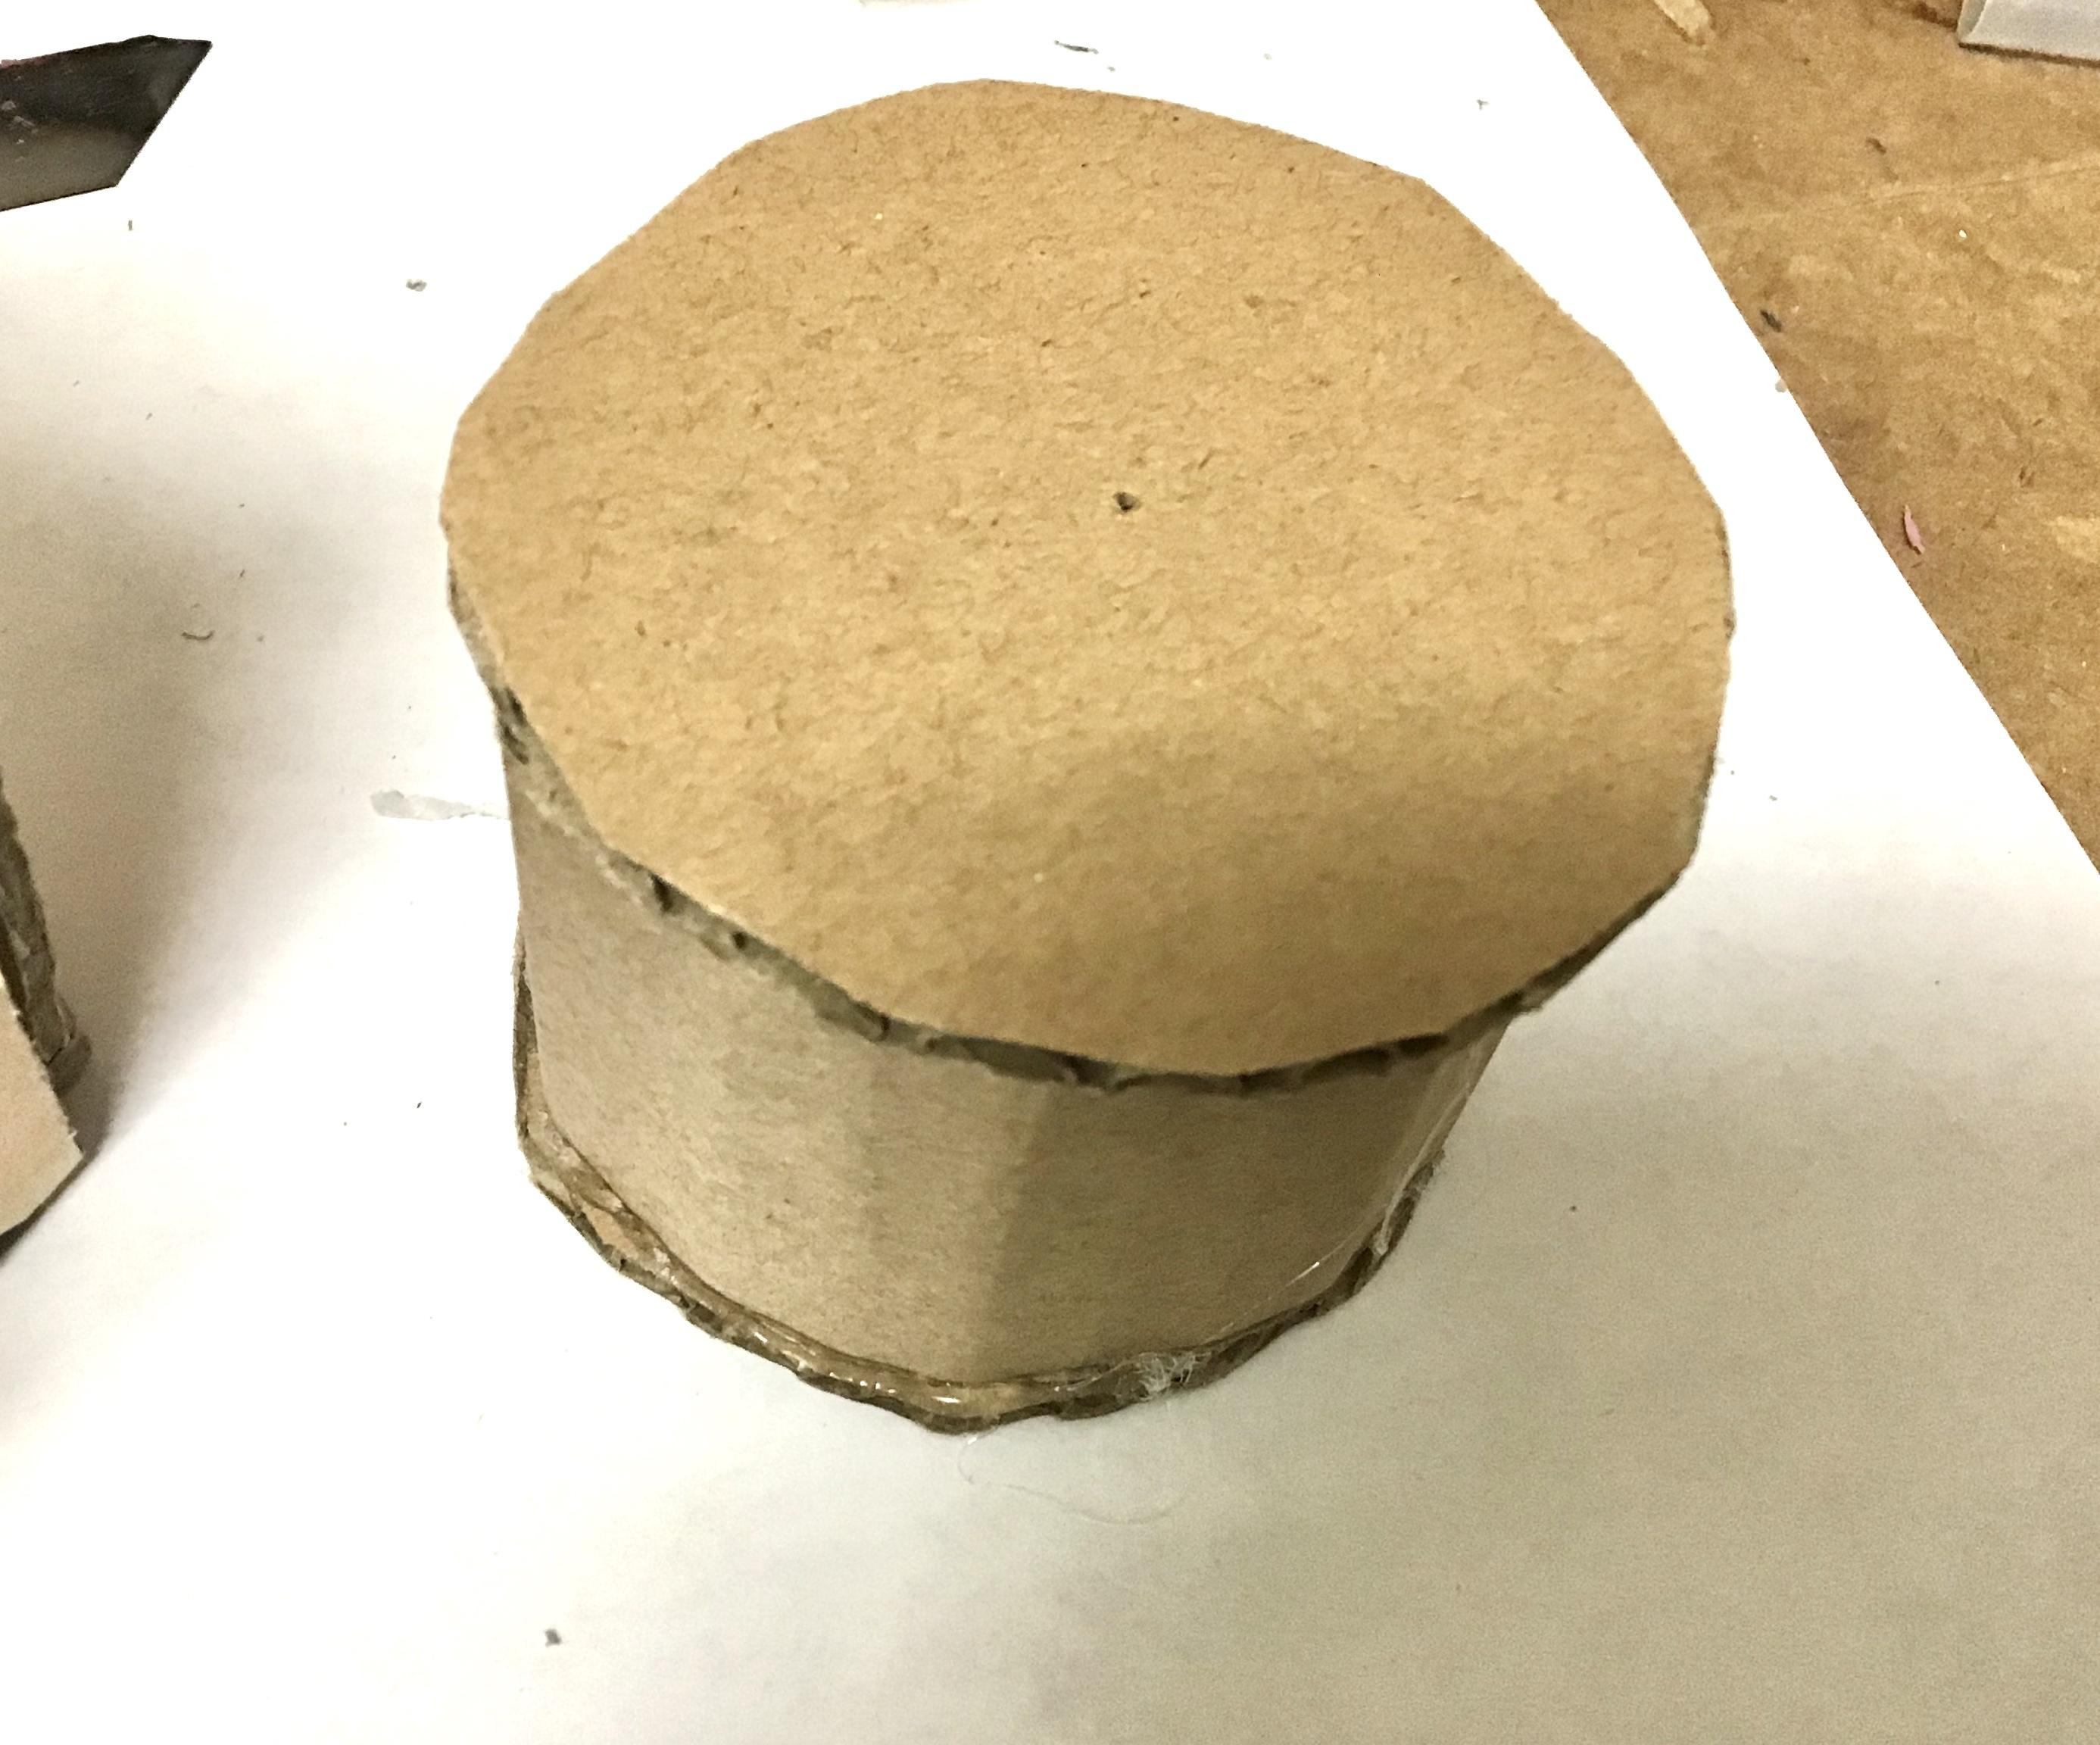
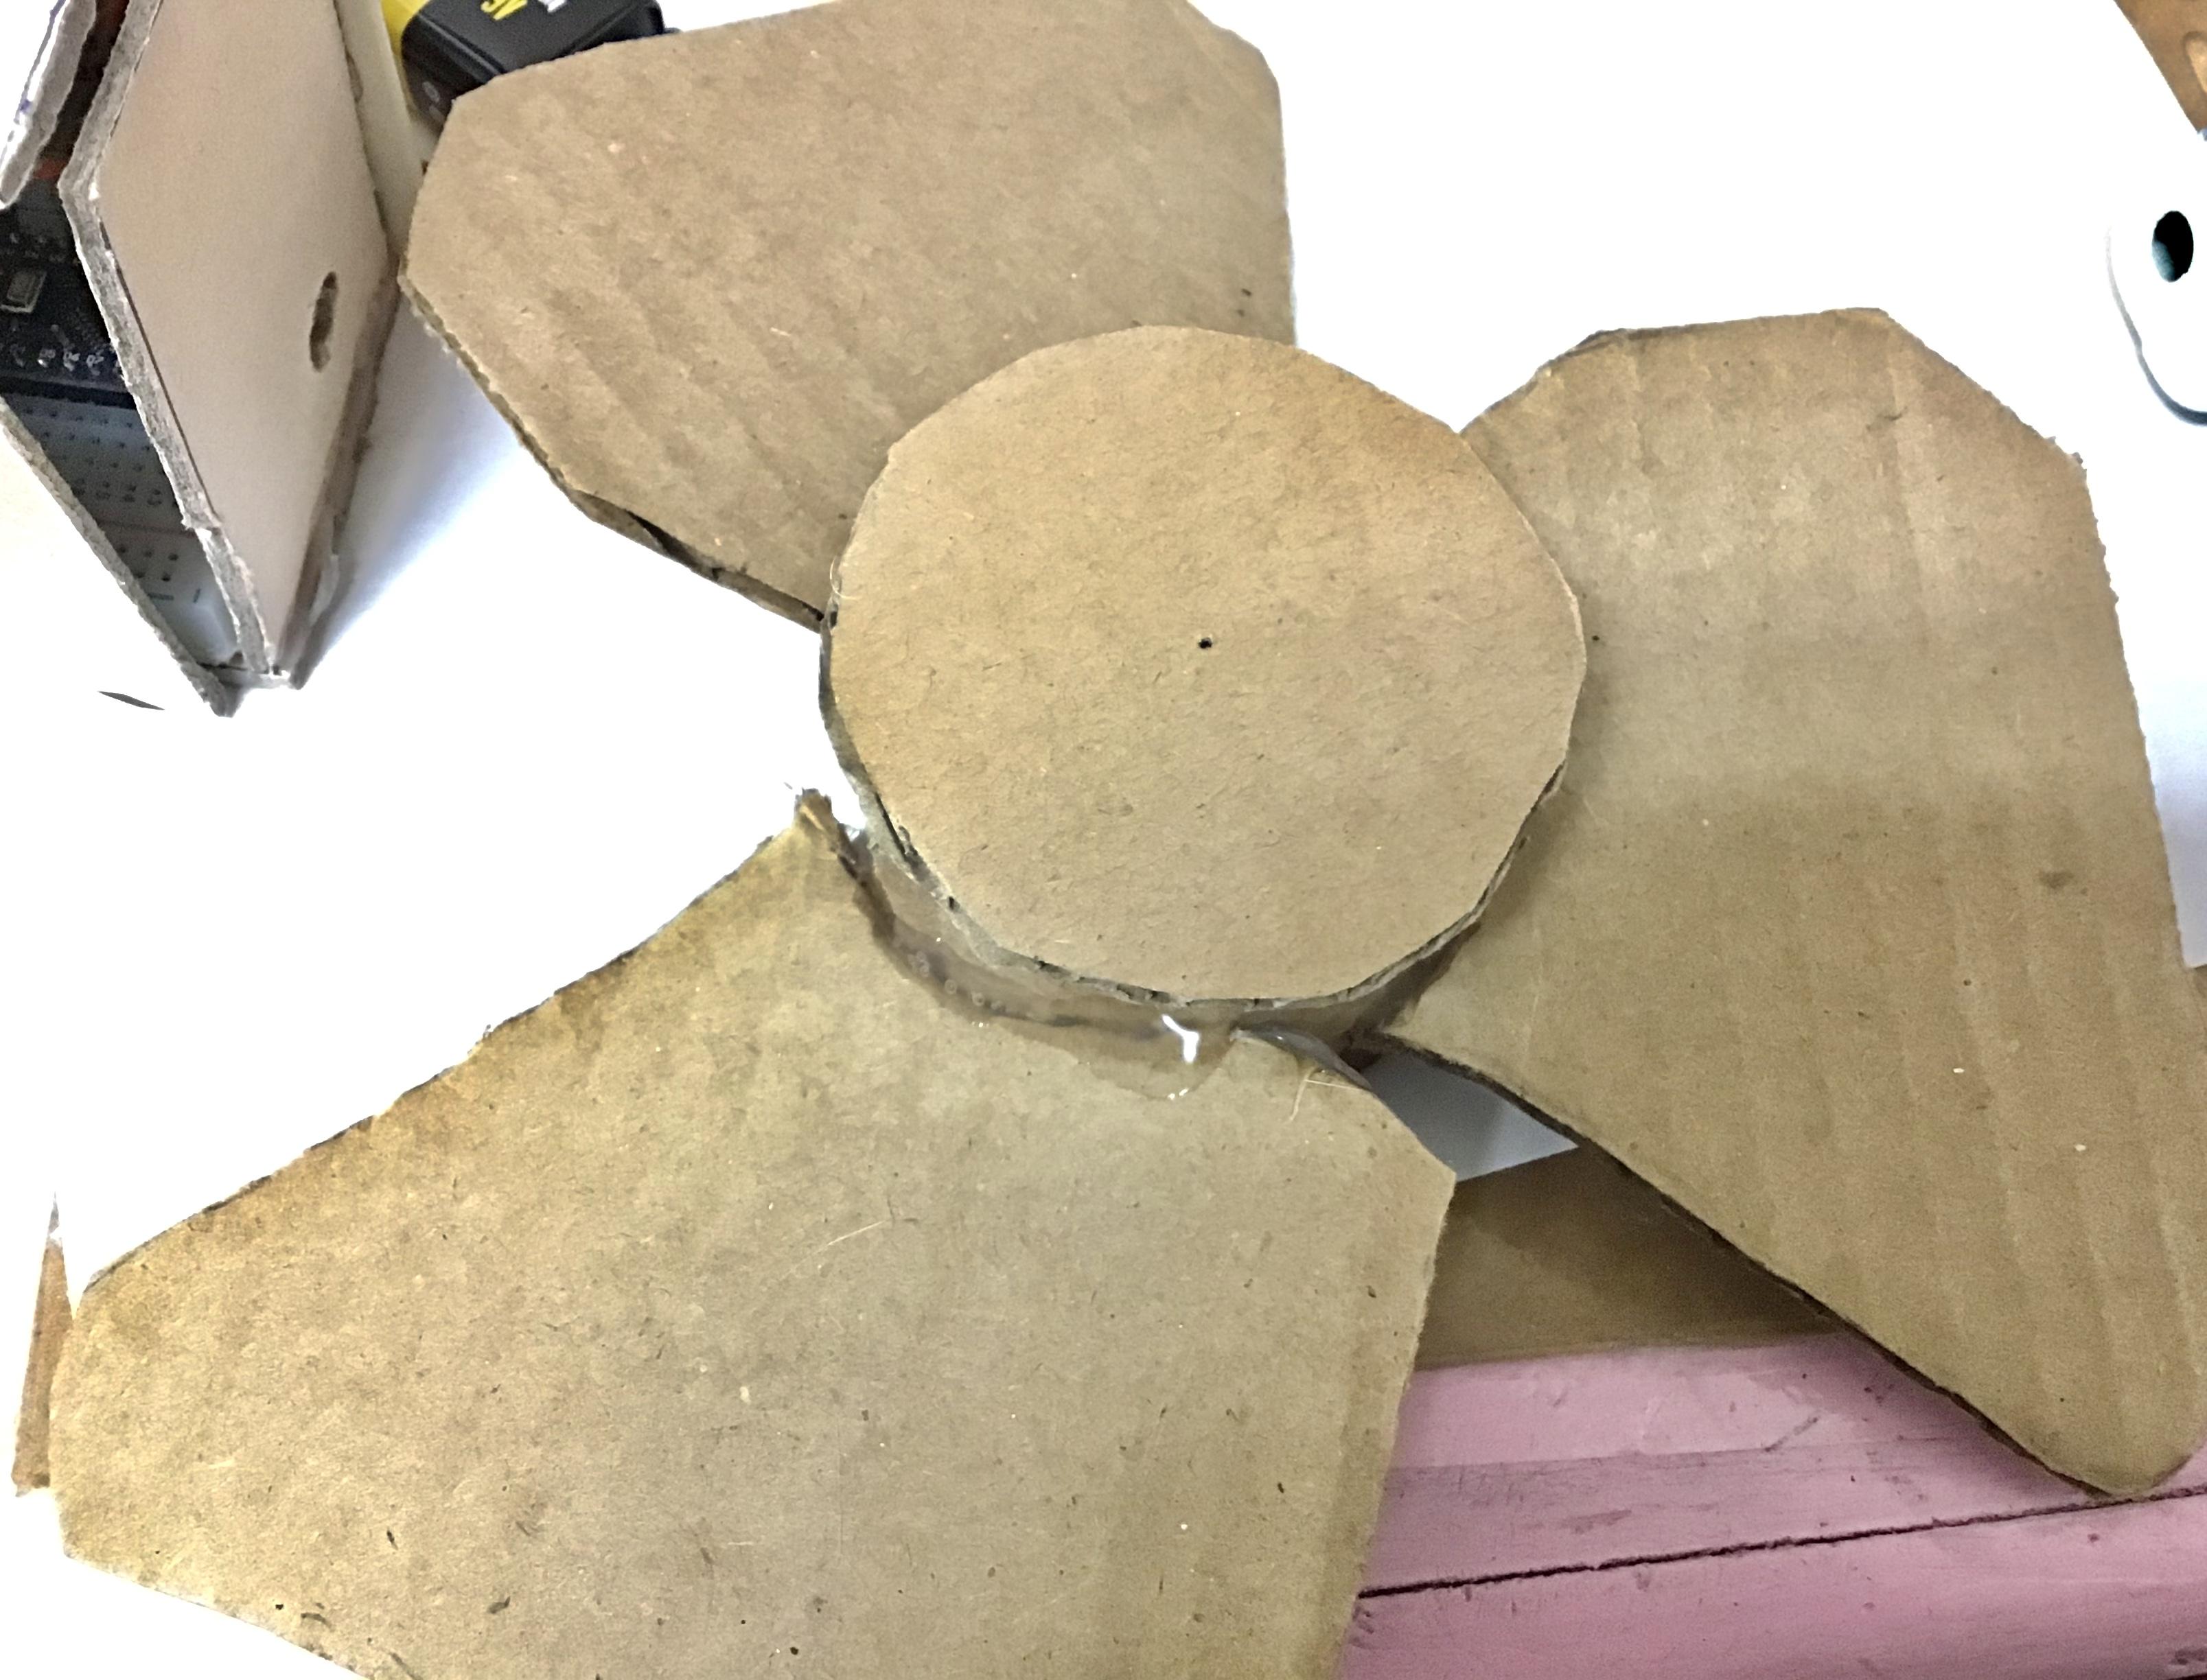
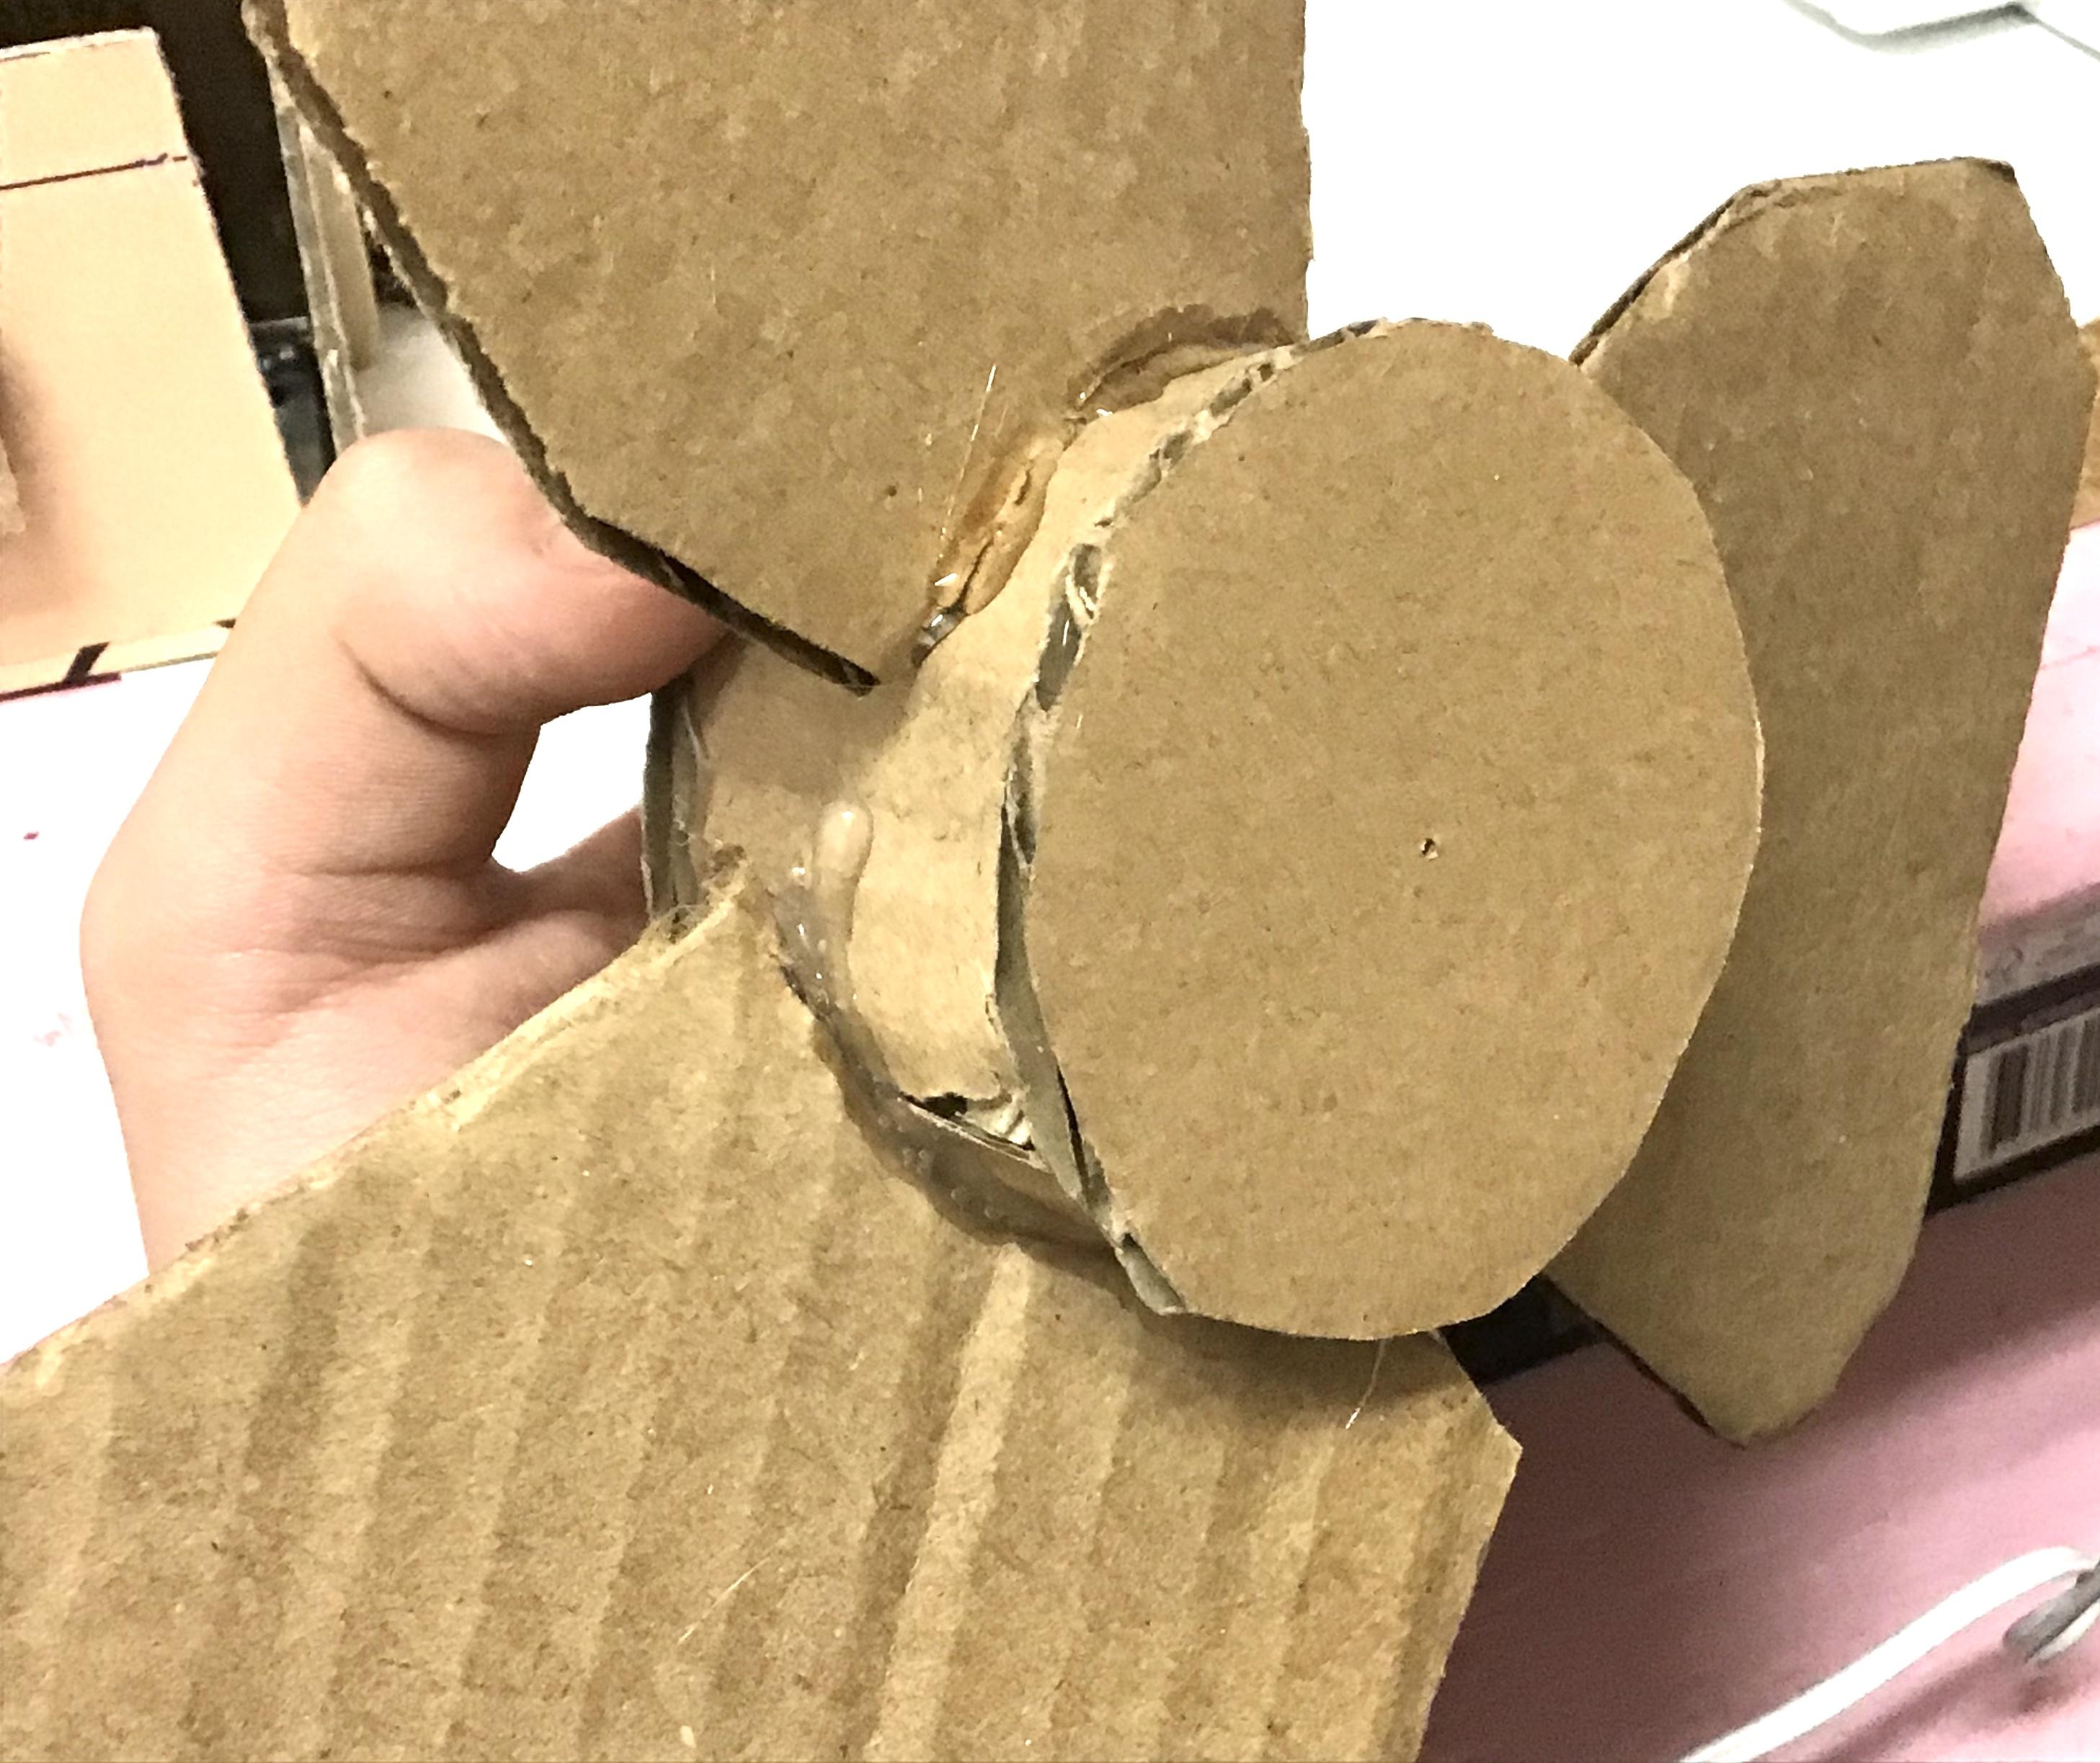
Now we're going to make the center piece of the fan, where it attaches to the dc motor.
1. Cut out a piece of circle.
2. Measure it's diameter and multiply by 3.14 to determine it's circumference.
3. Take that circumference and measure it out onto a piece of cardboard.
4. Draw a retangle with the circumference x 1 in.
4. Cut those two shapes out.
5. Make a small hole in the center of the circle for the motor.
6. Glue the two pieces together with the help of glue.
Congrats you've just made the center piece!
Assembling the Housing
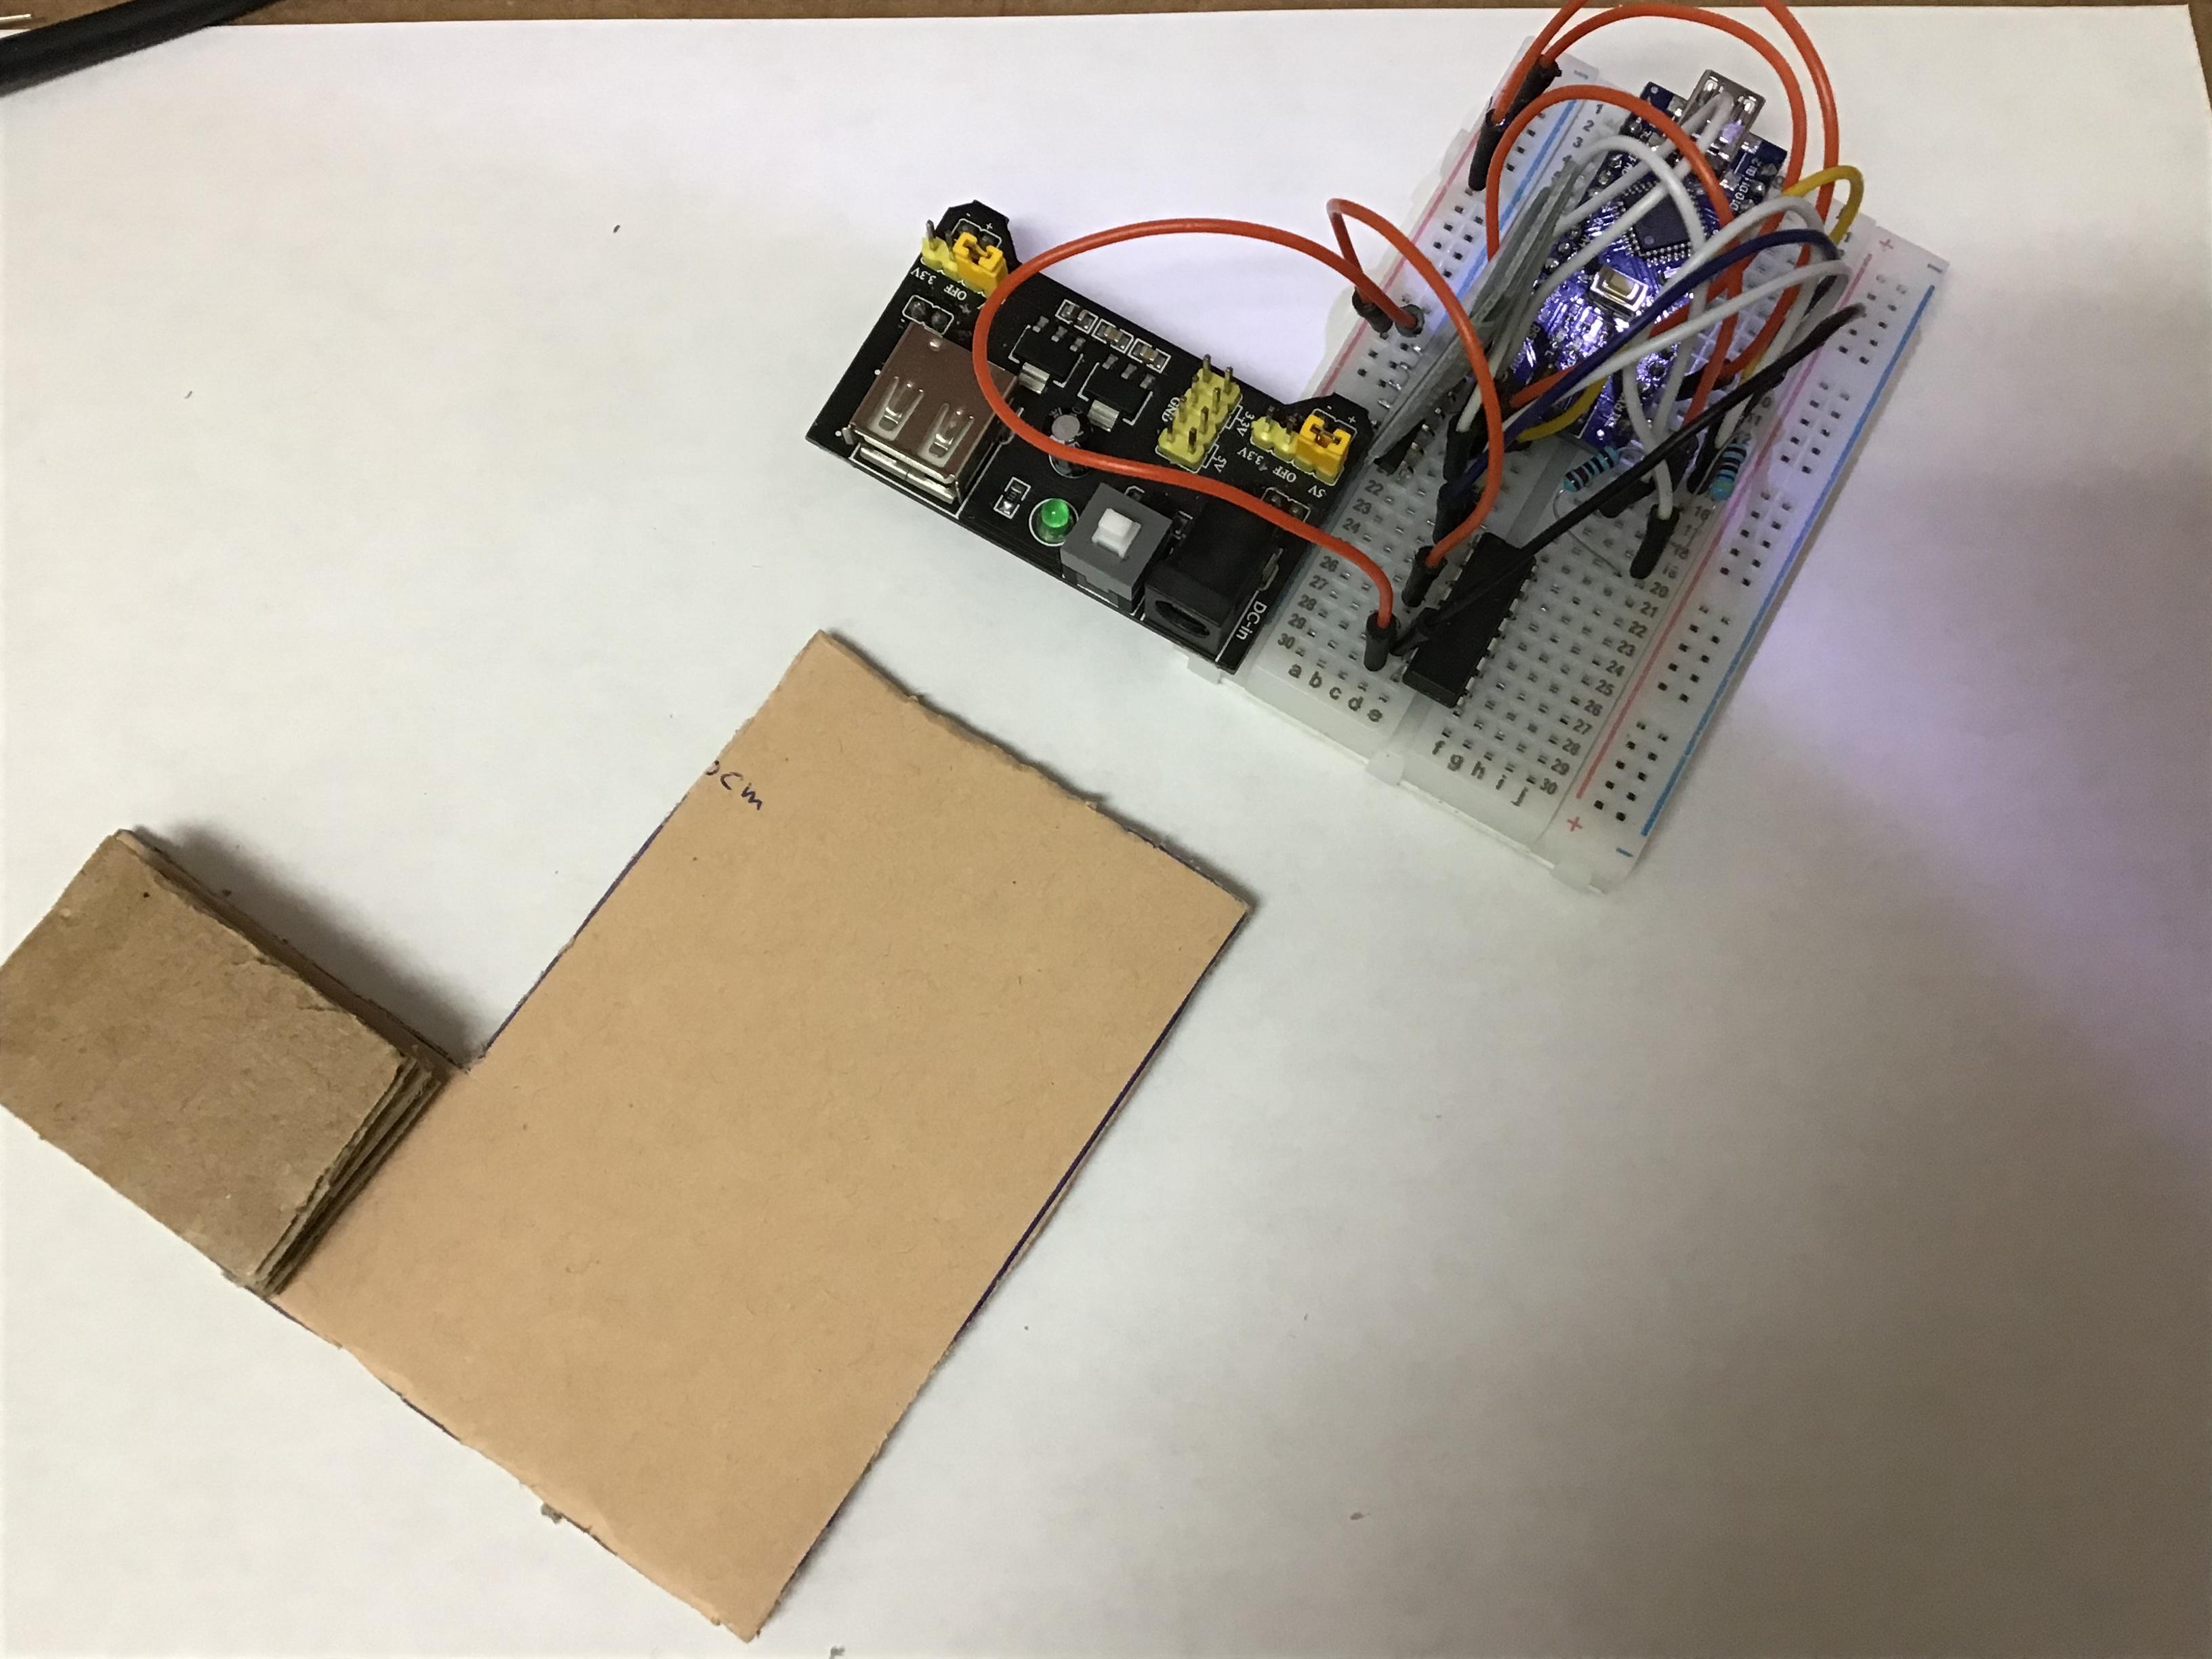
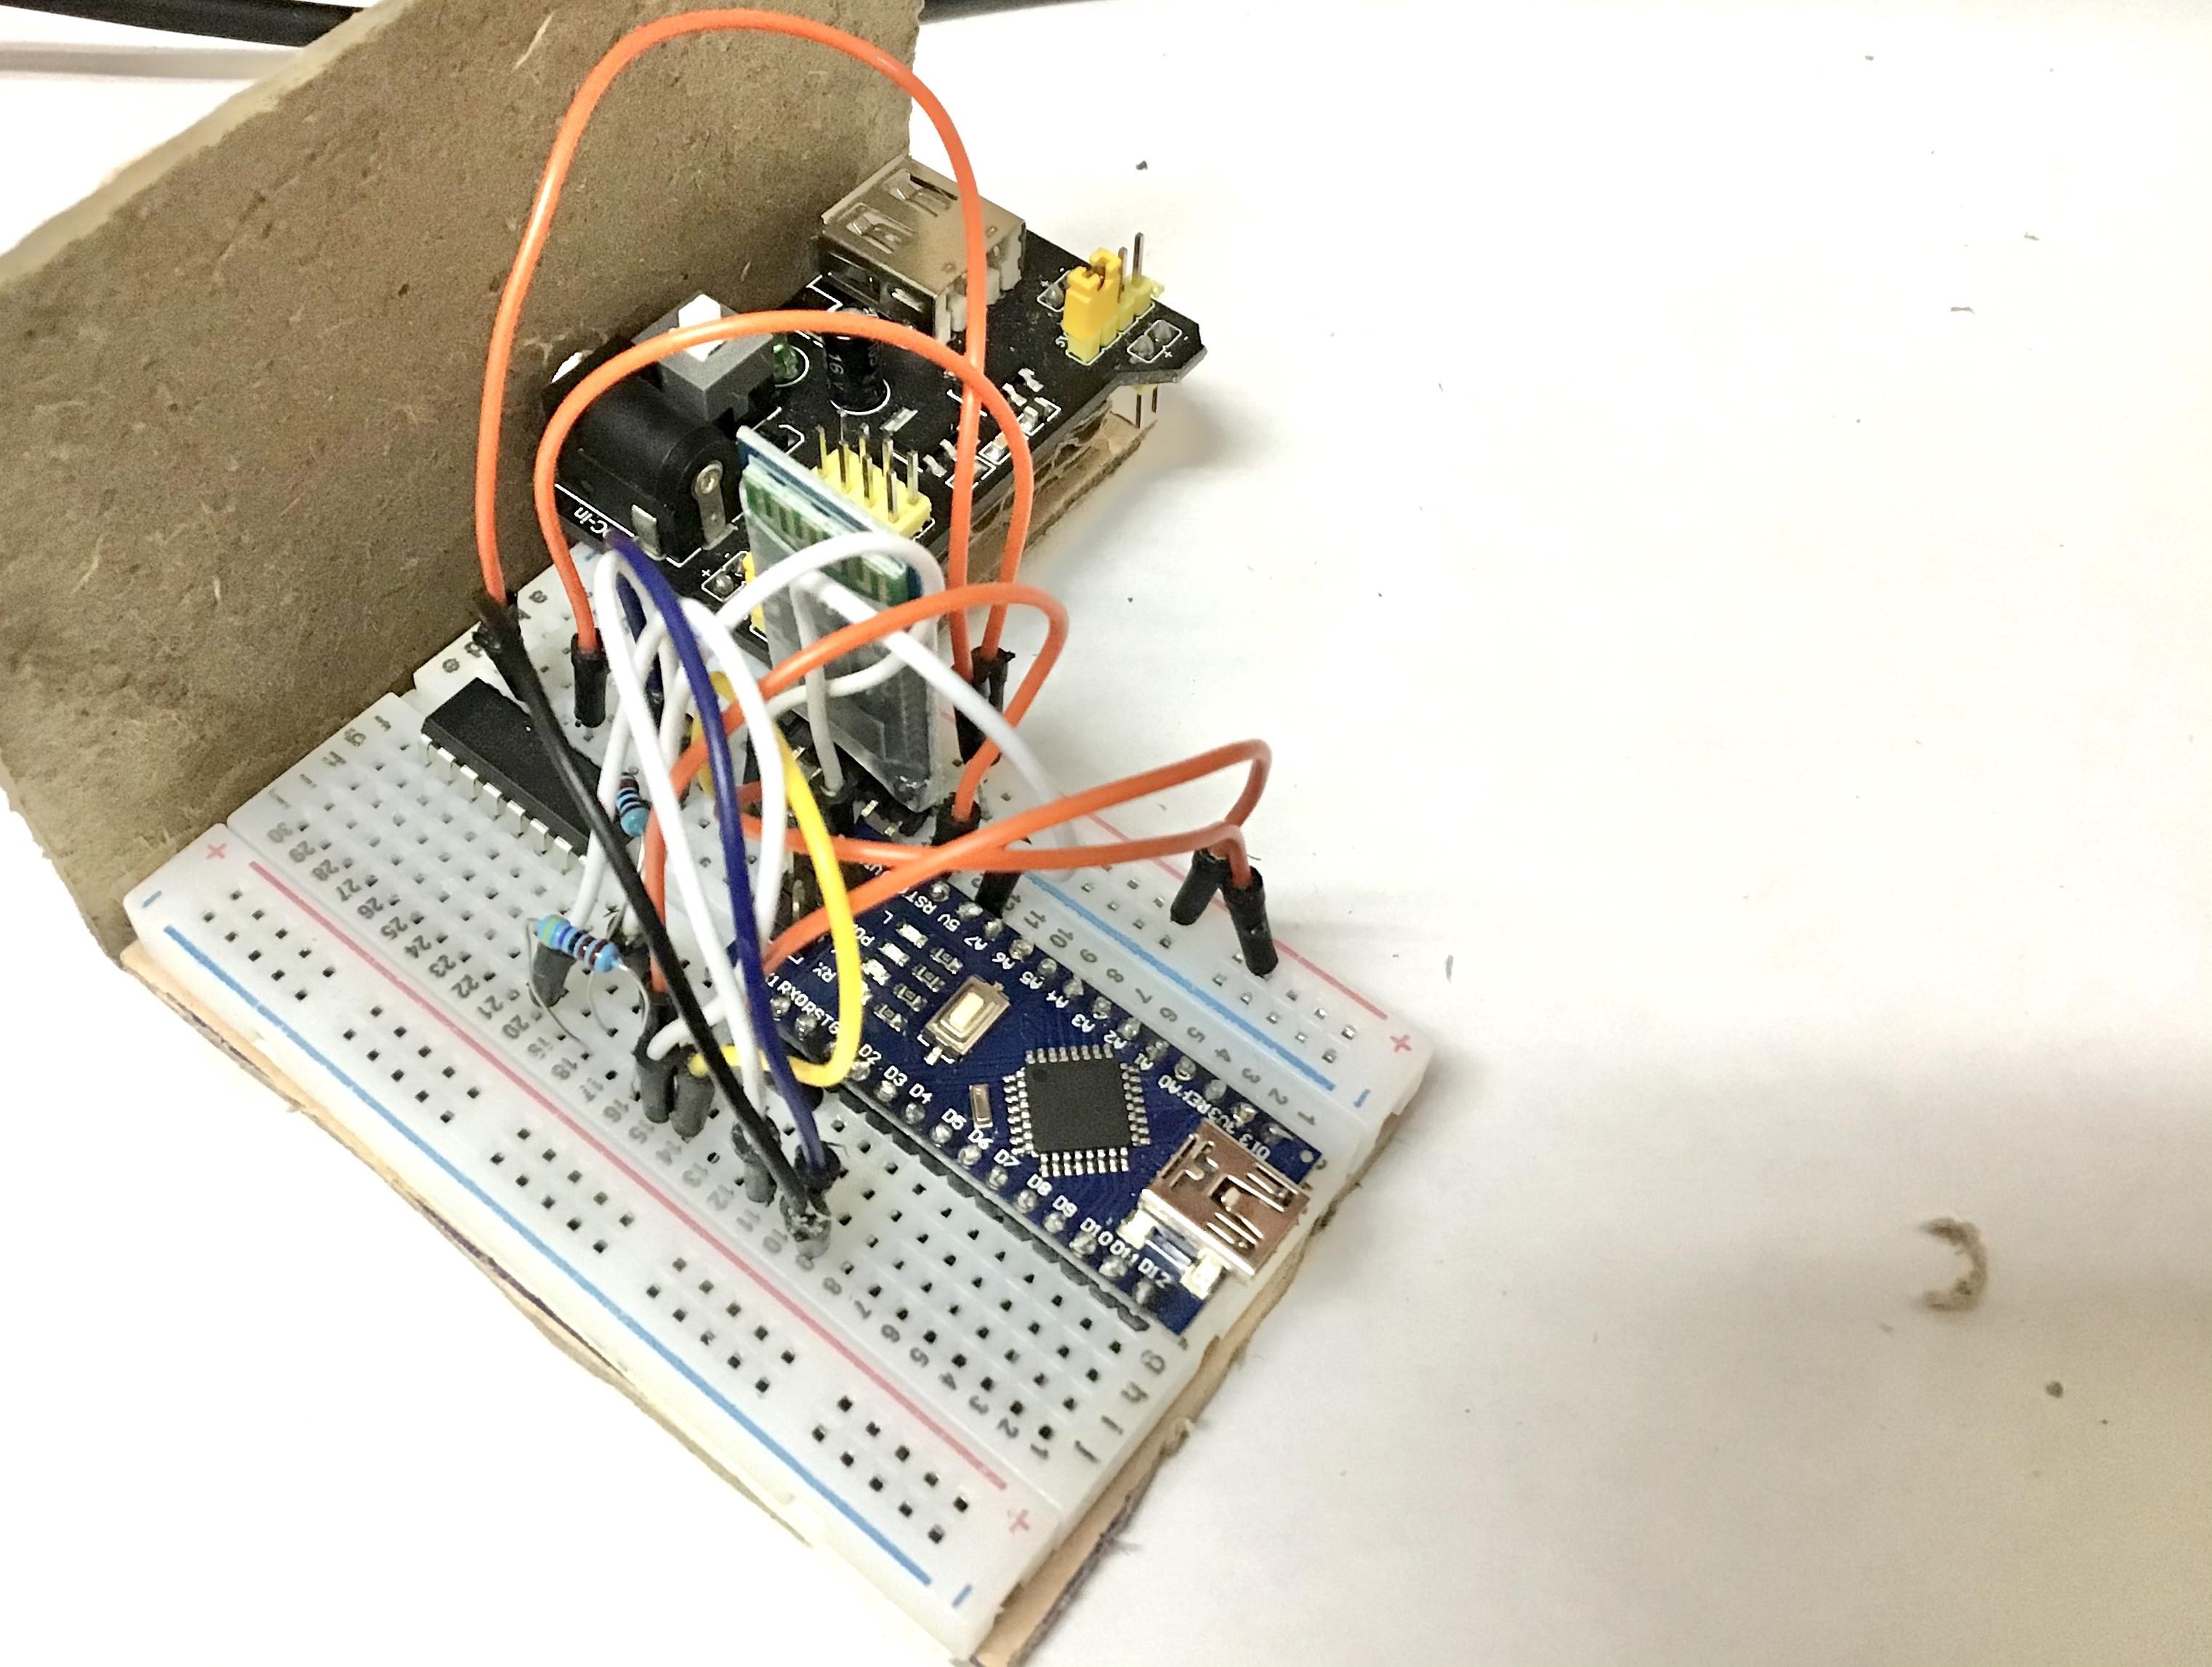
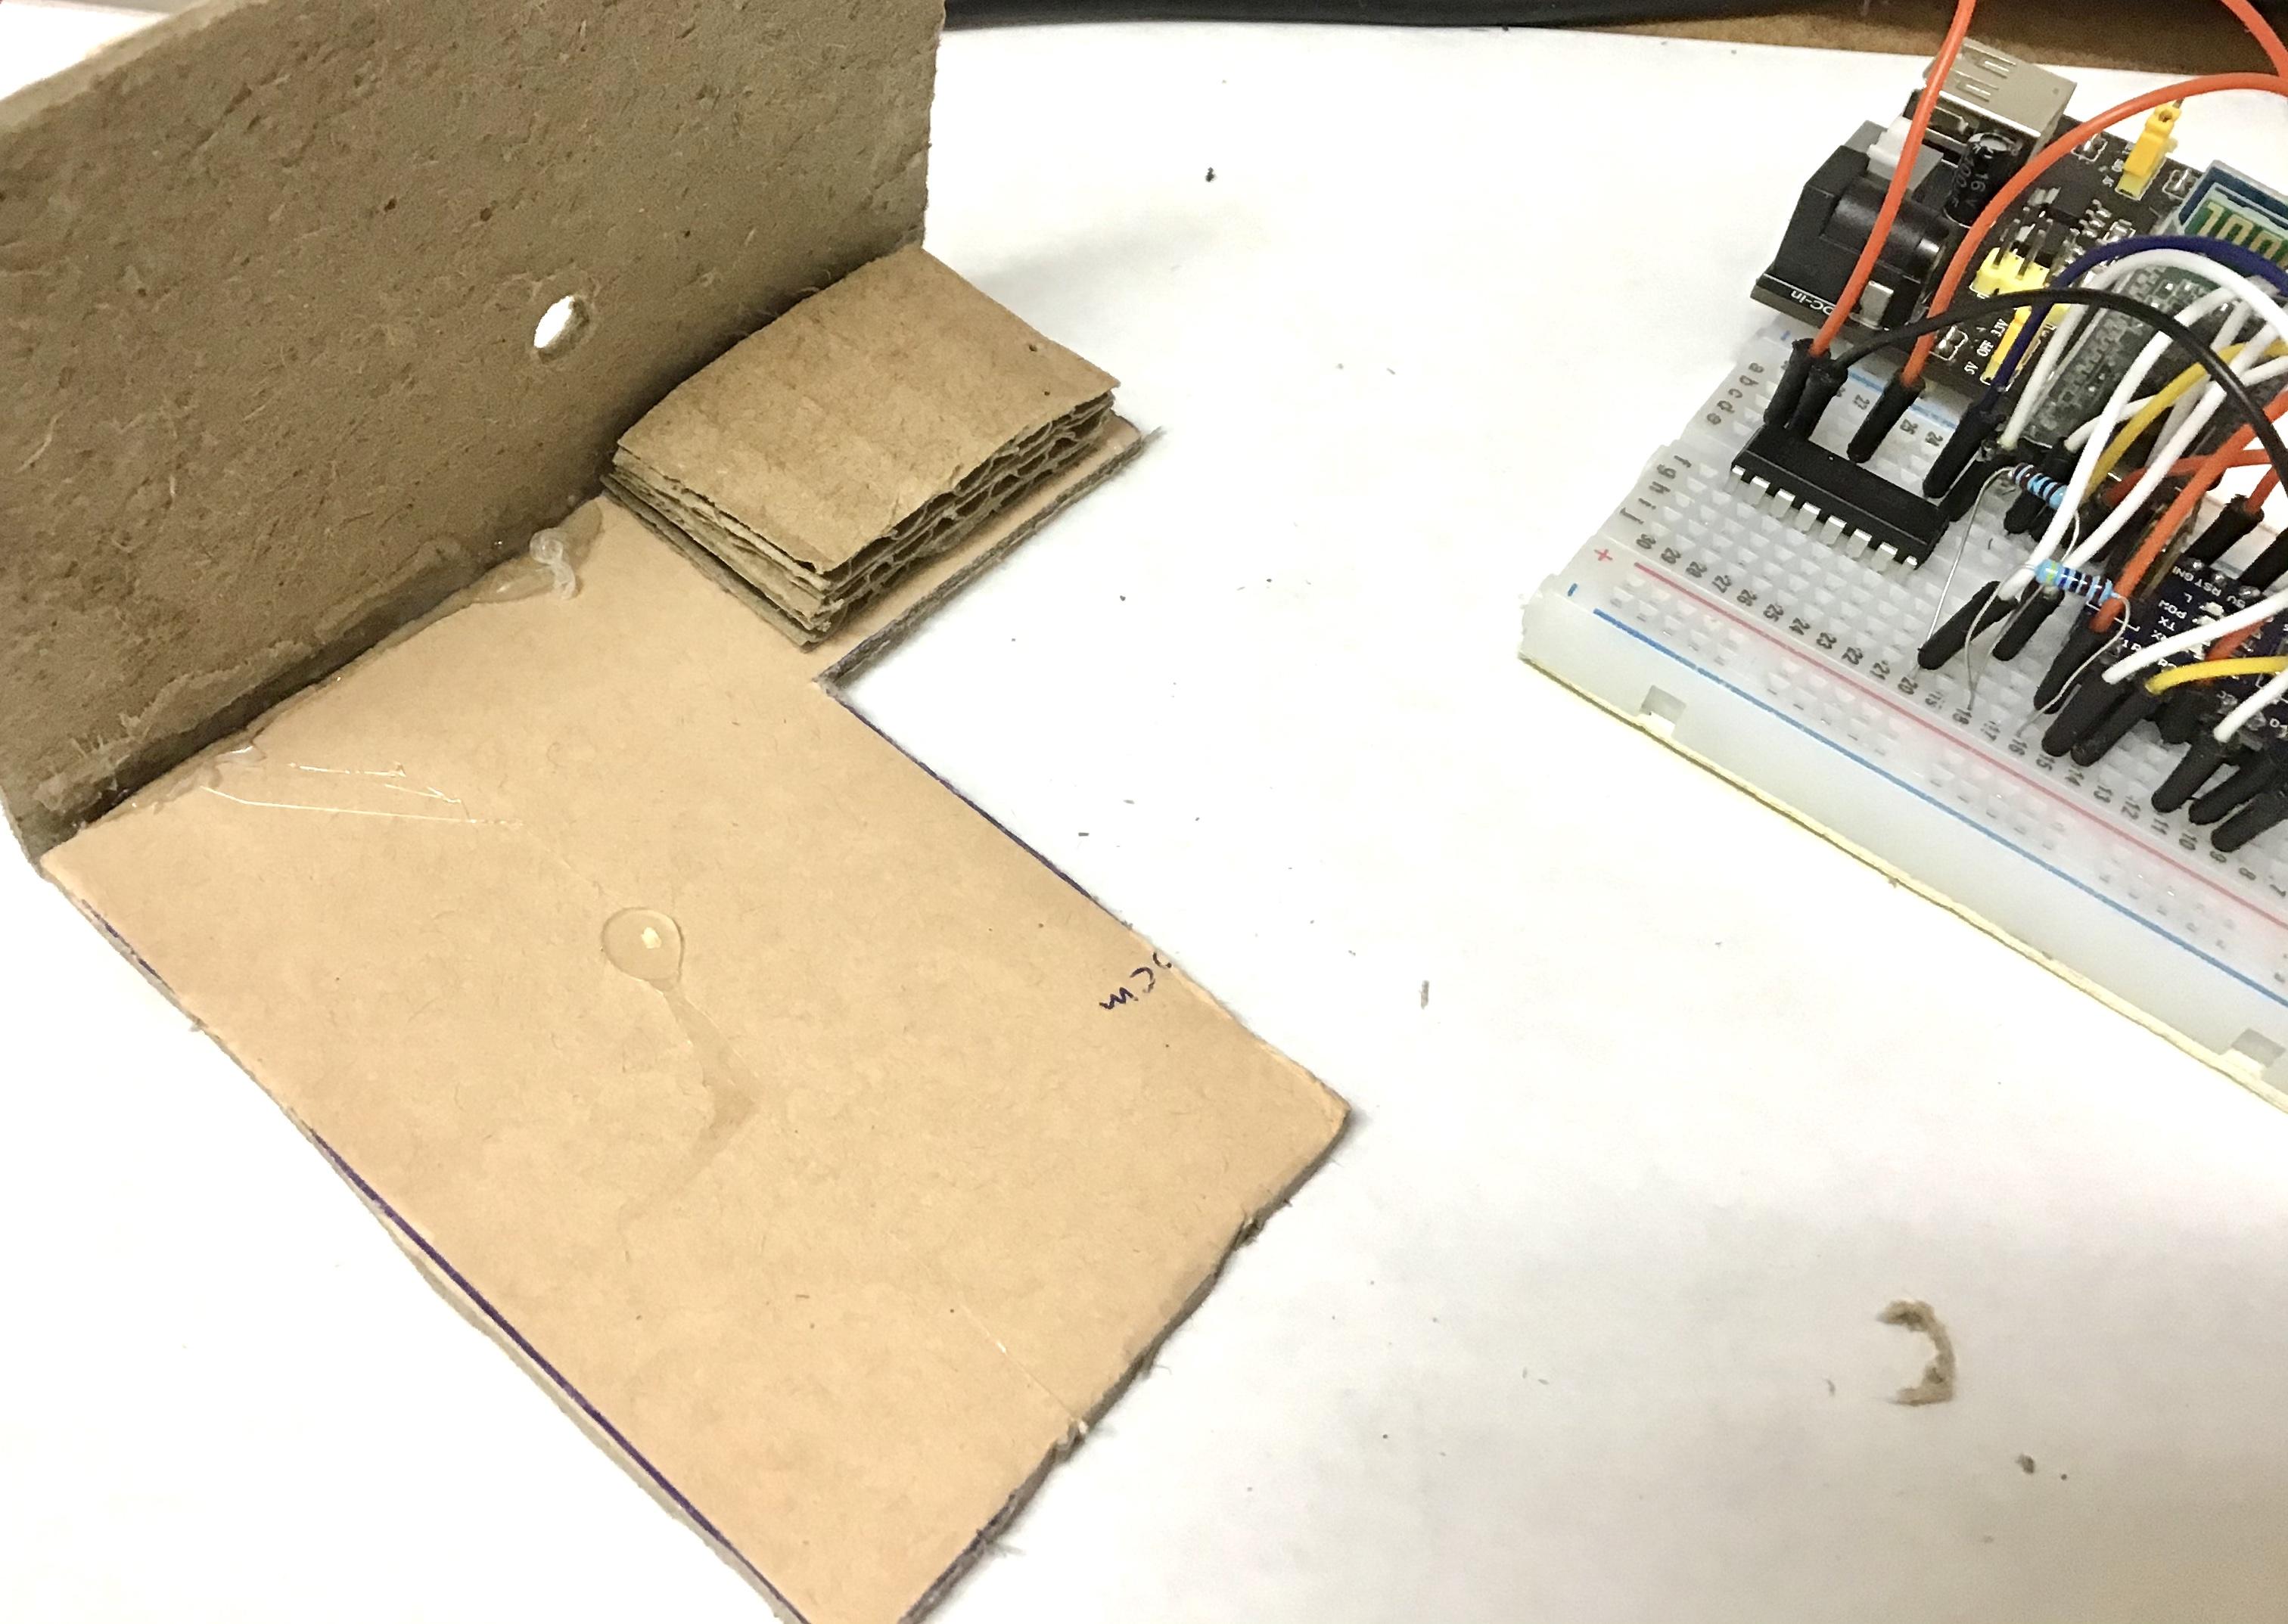
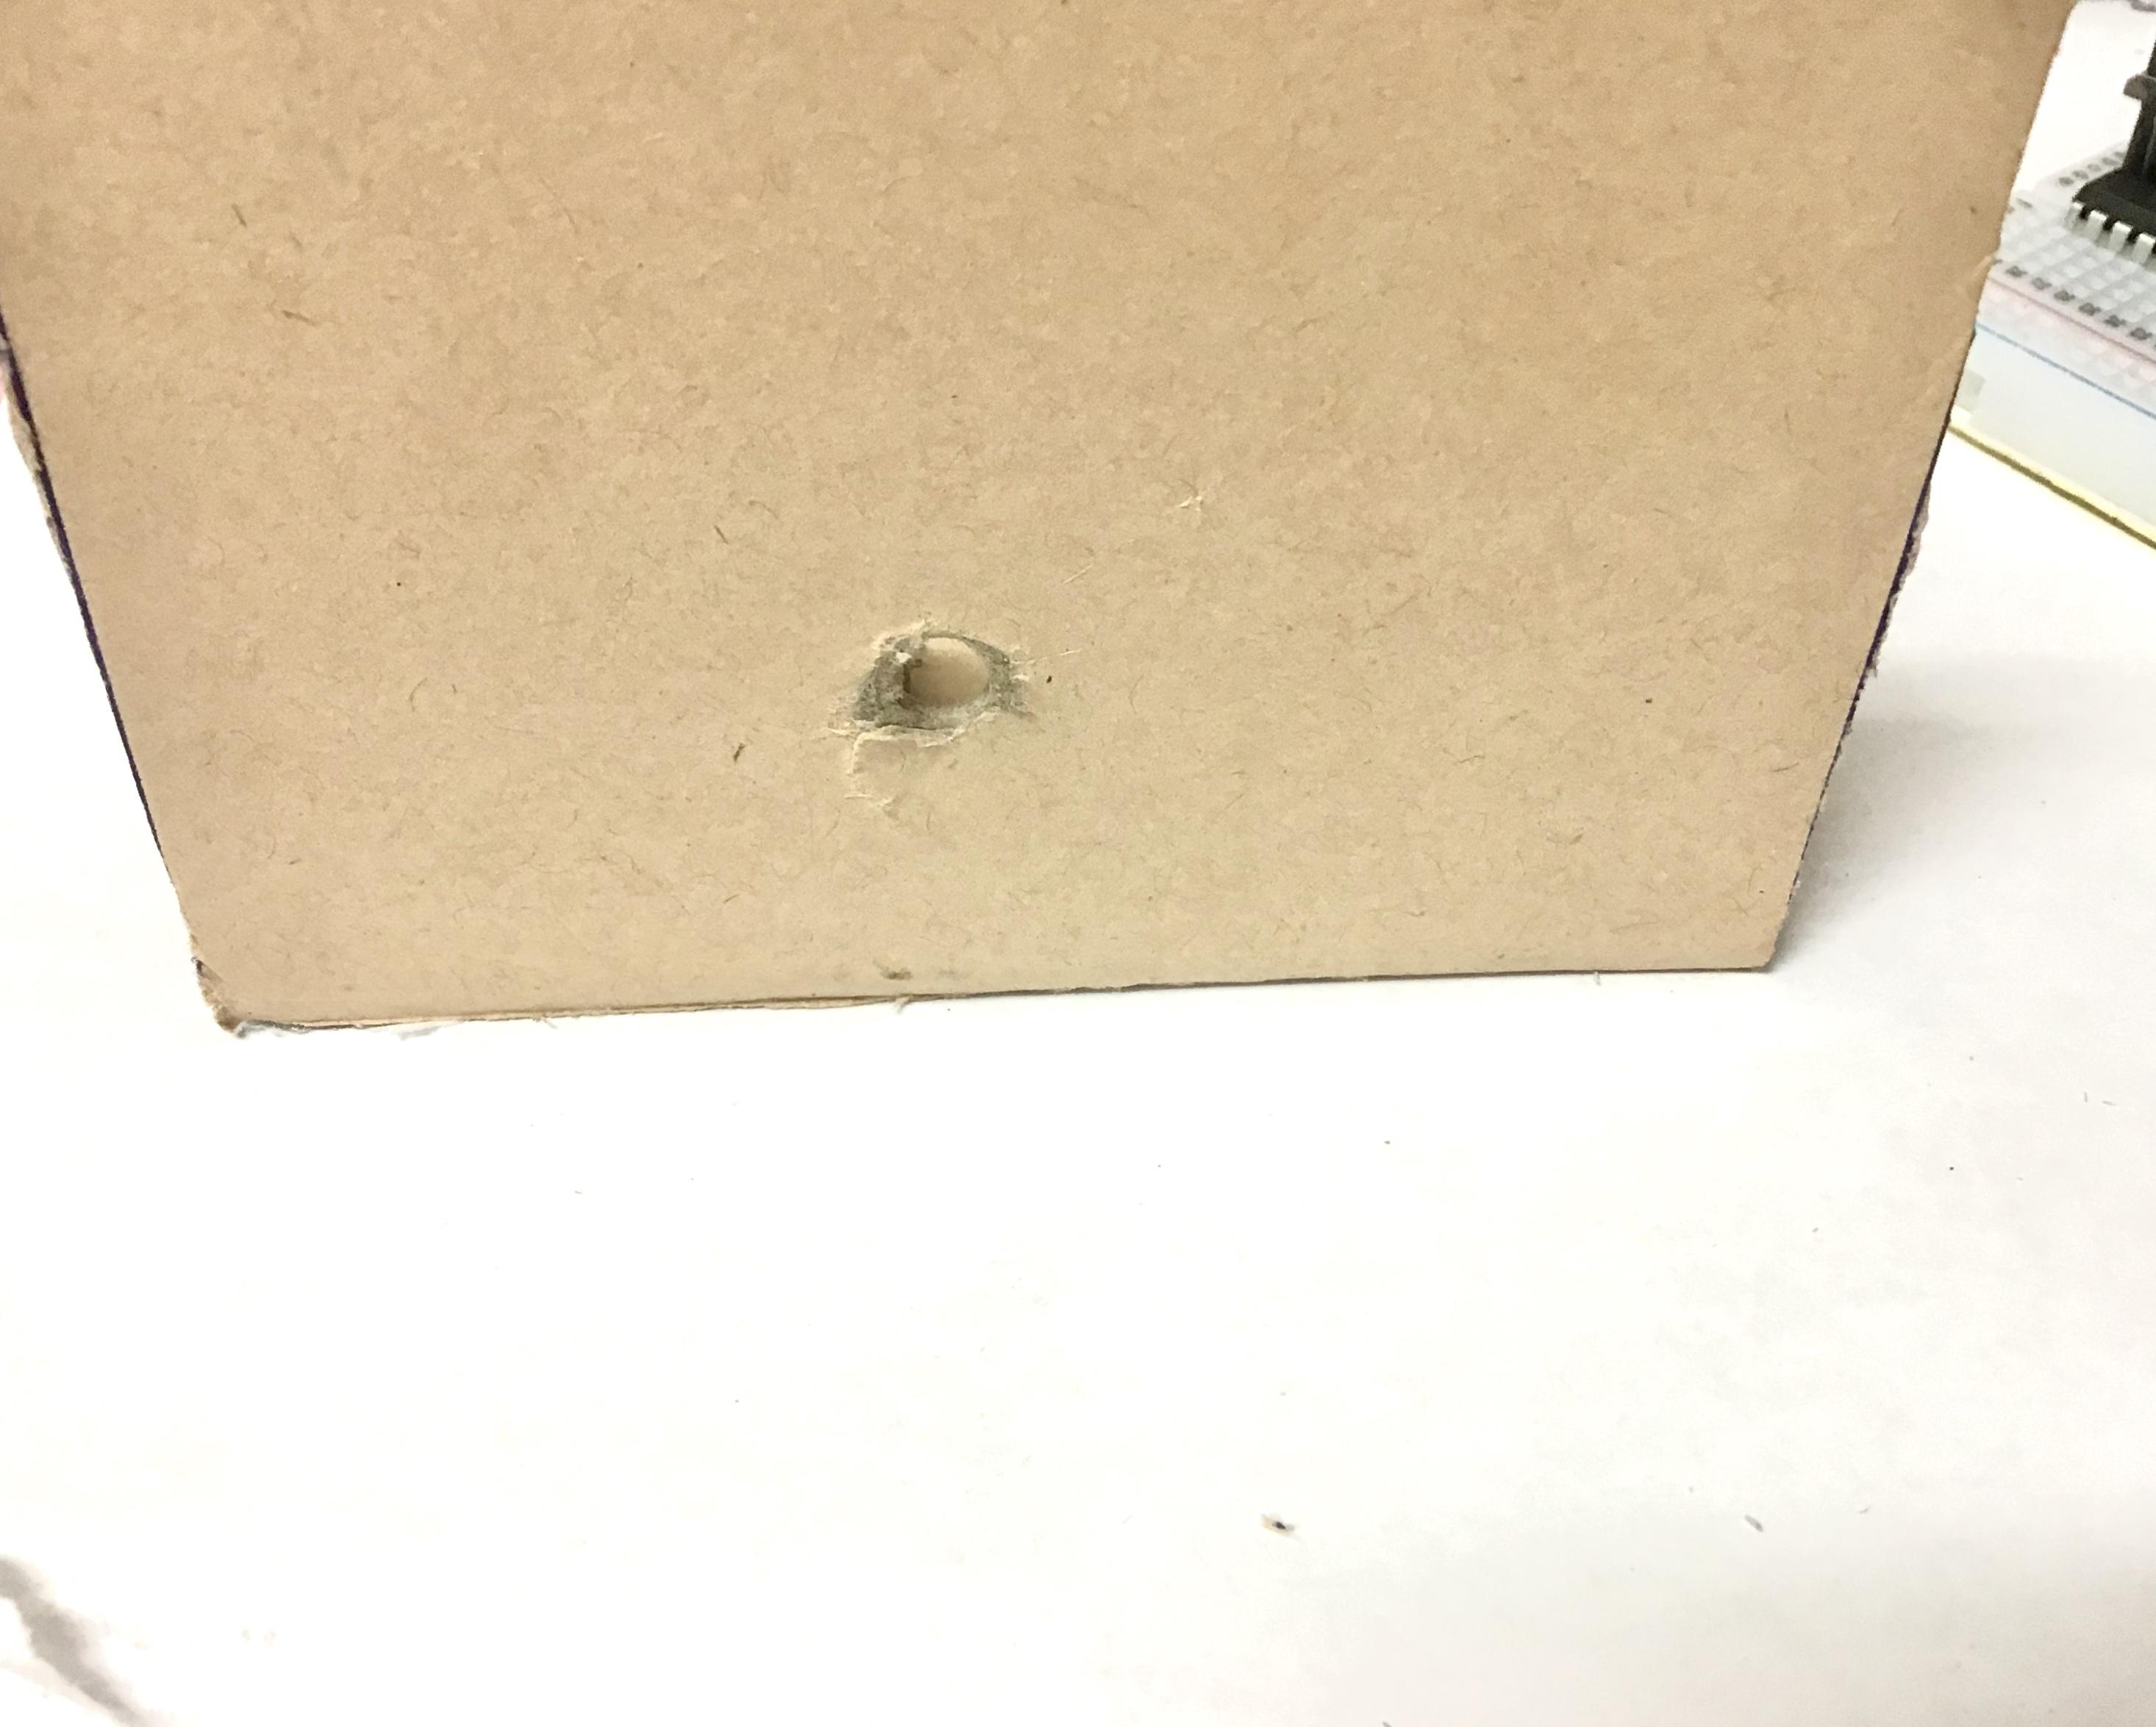
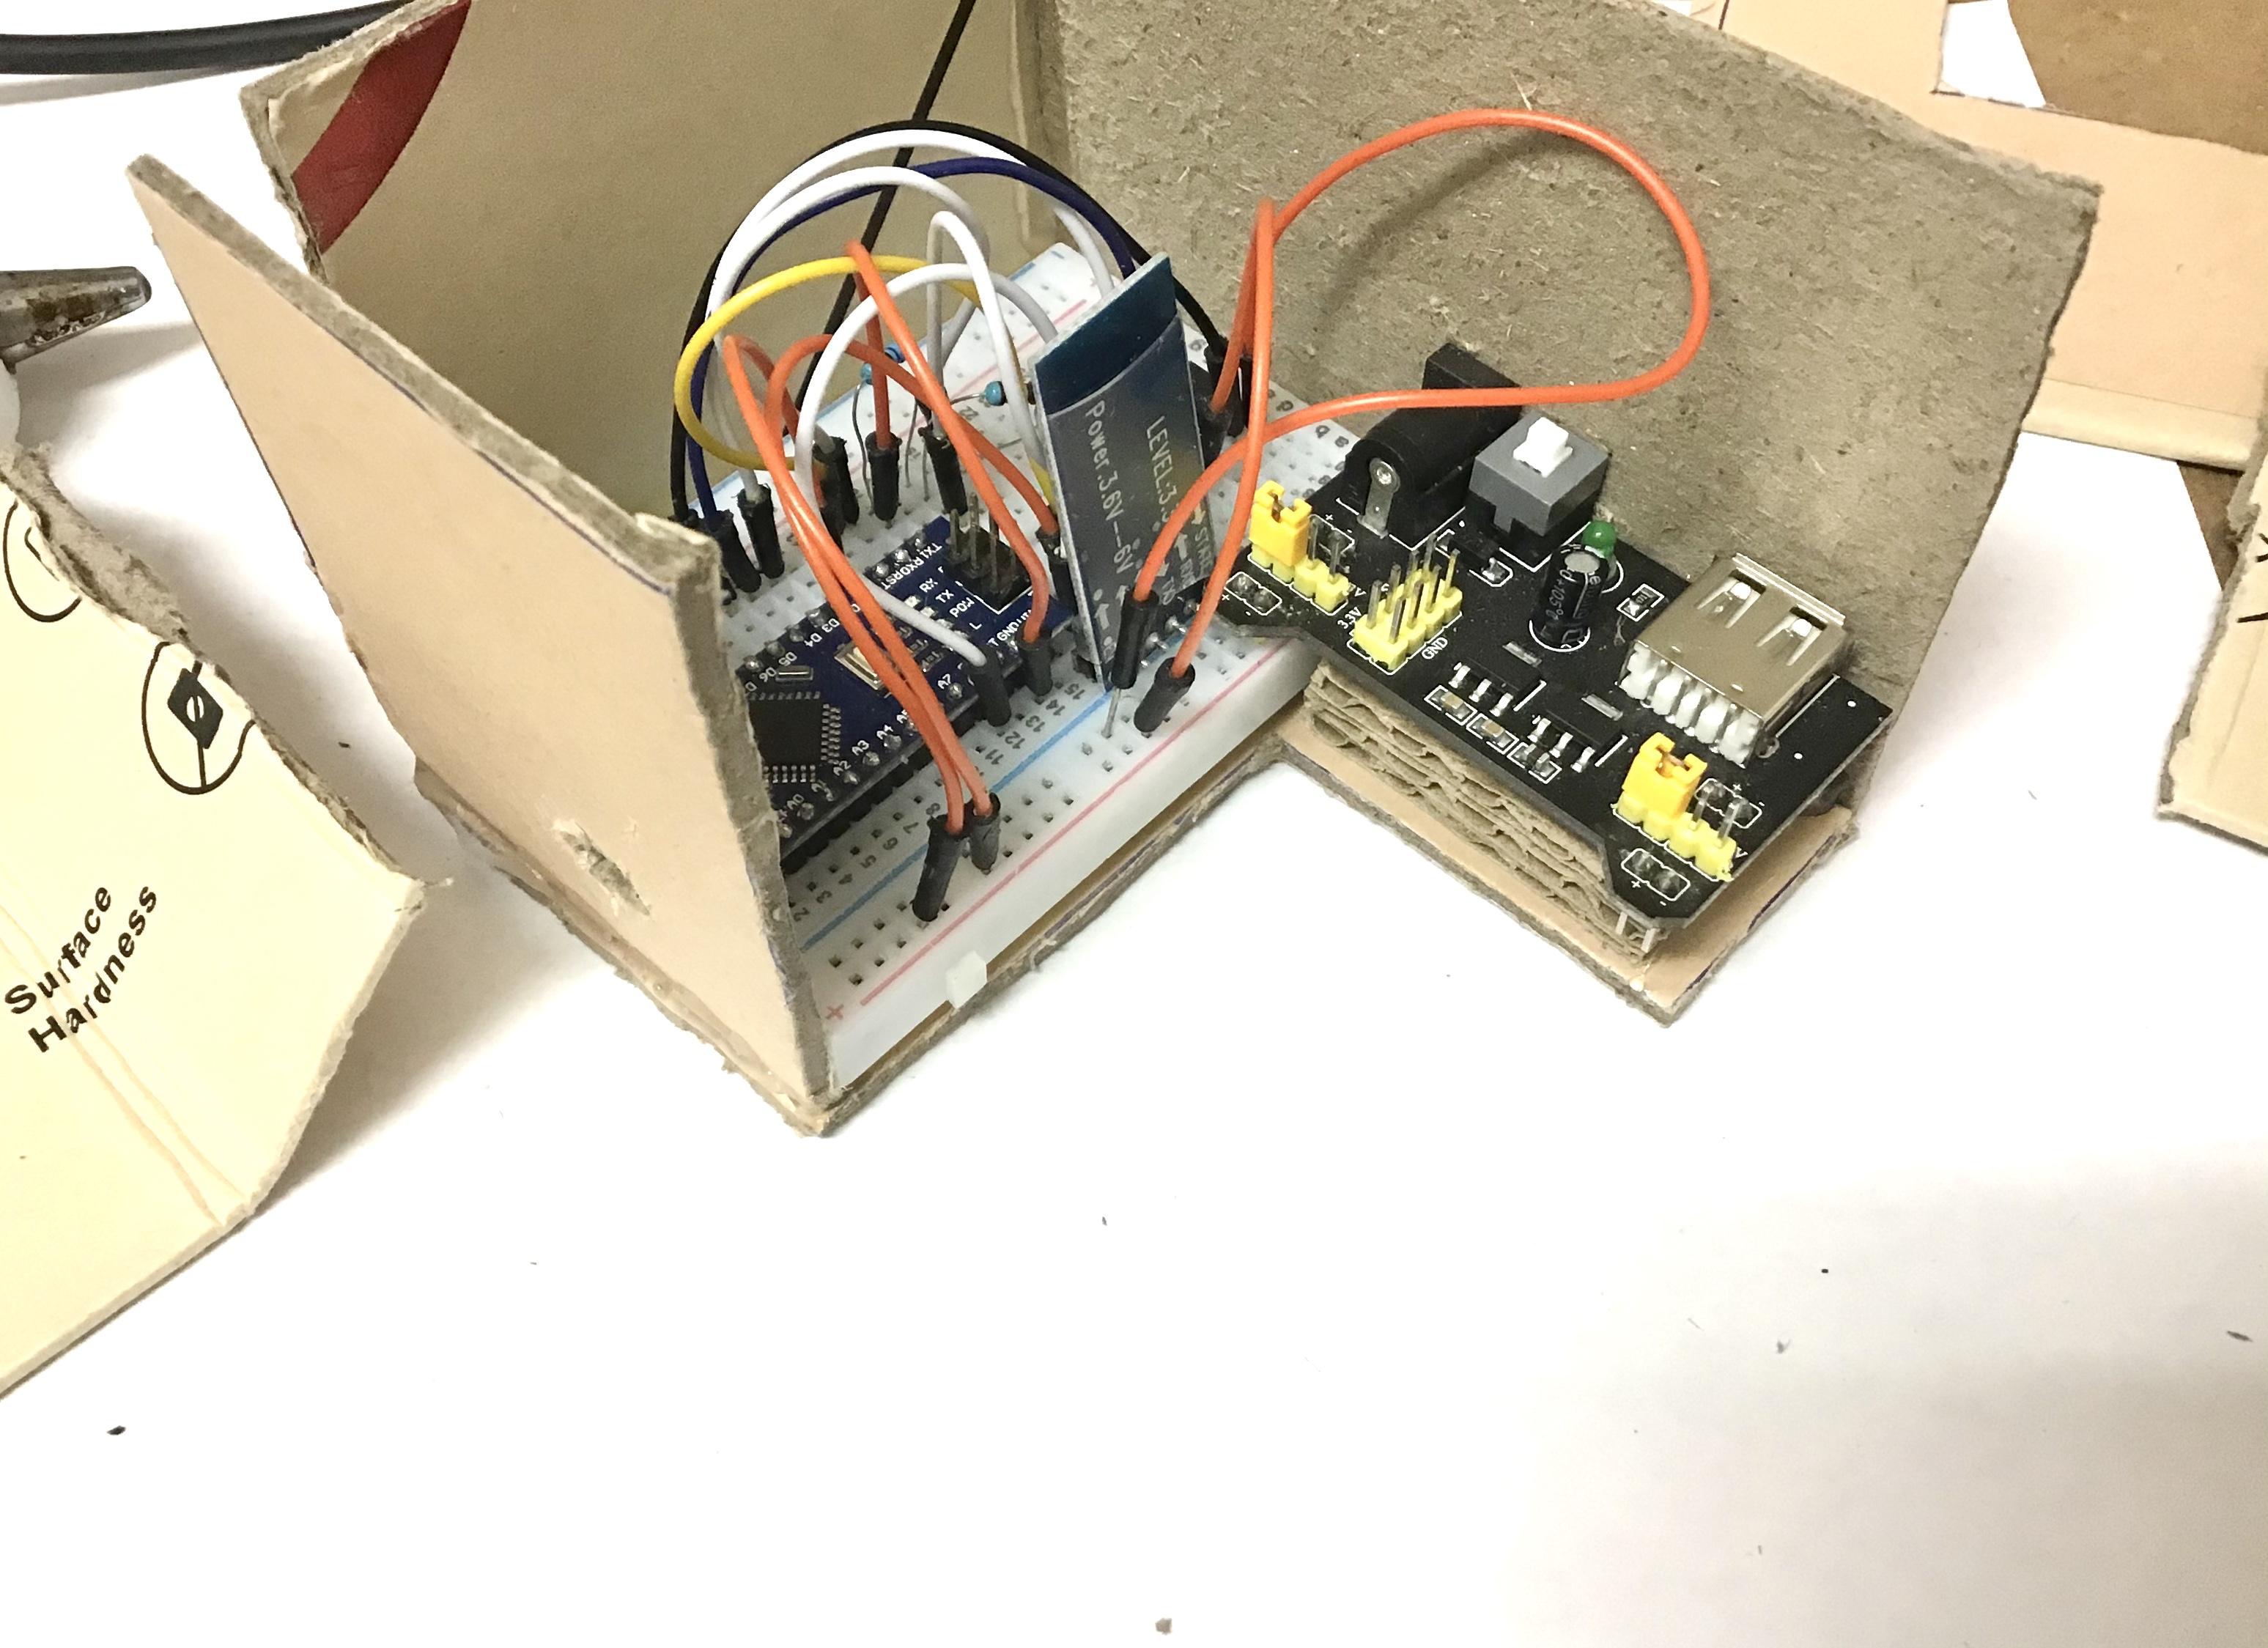
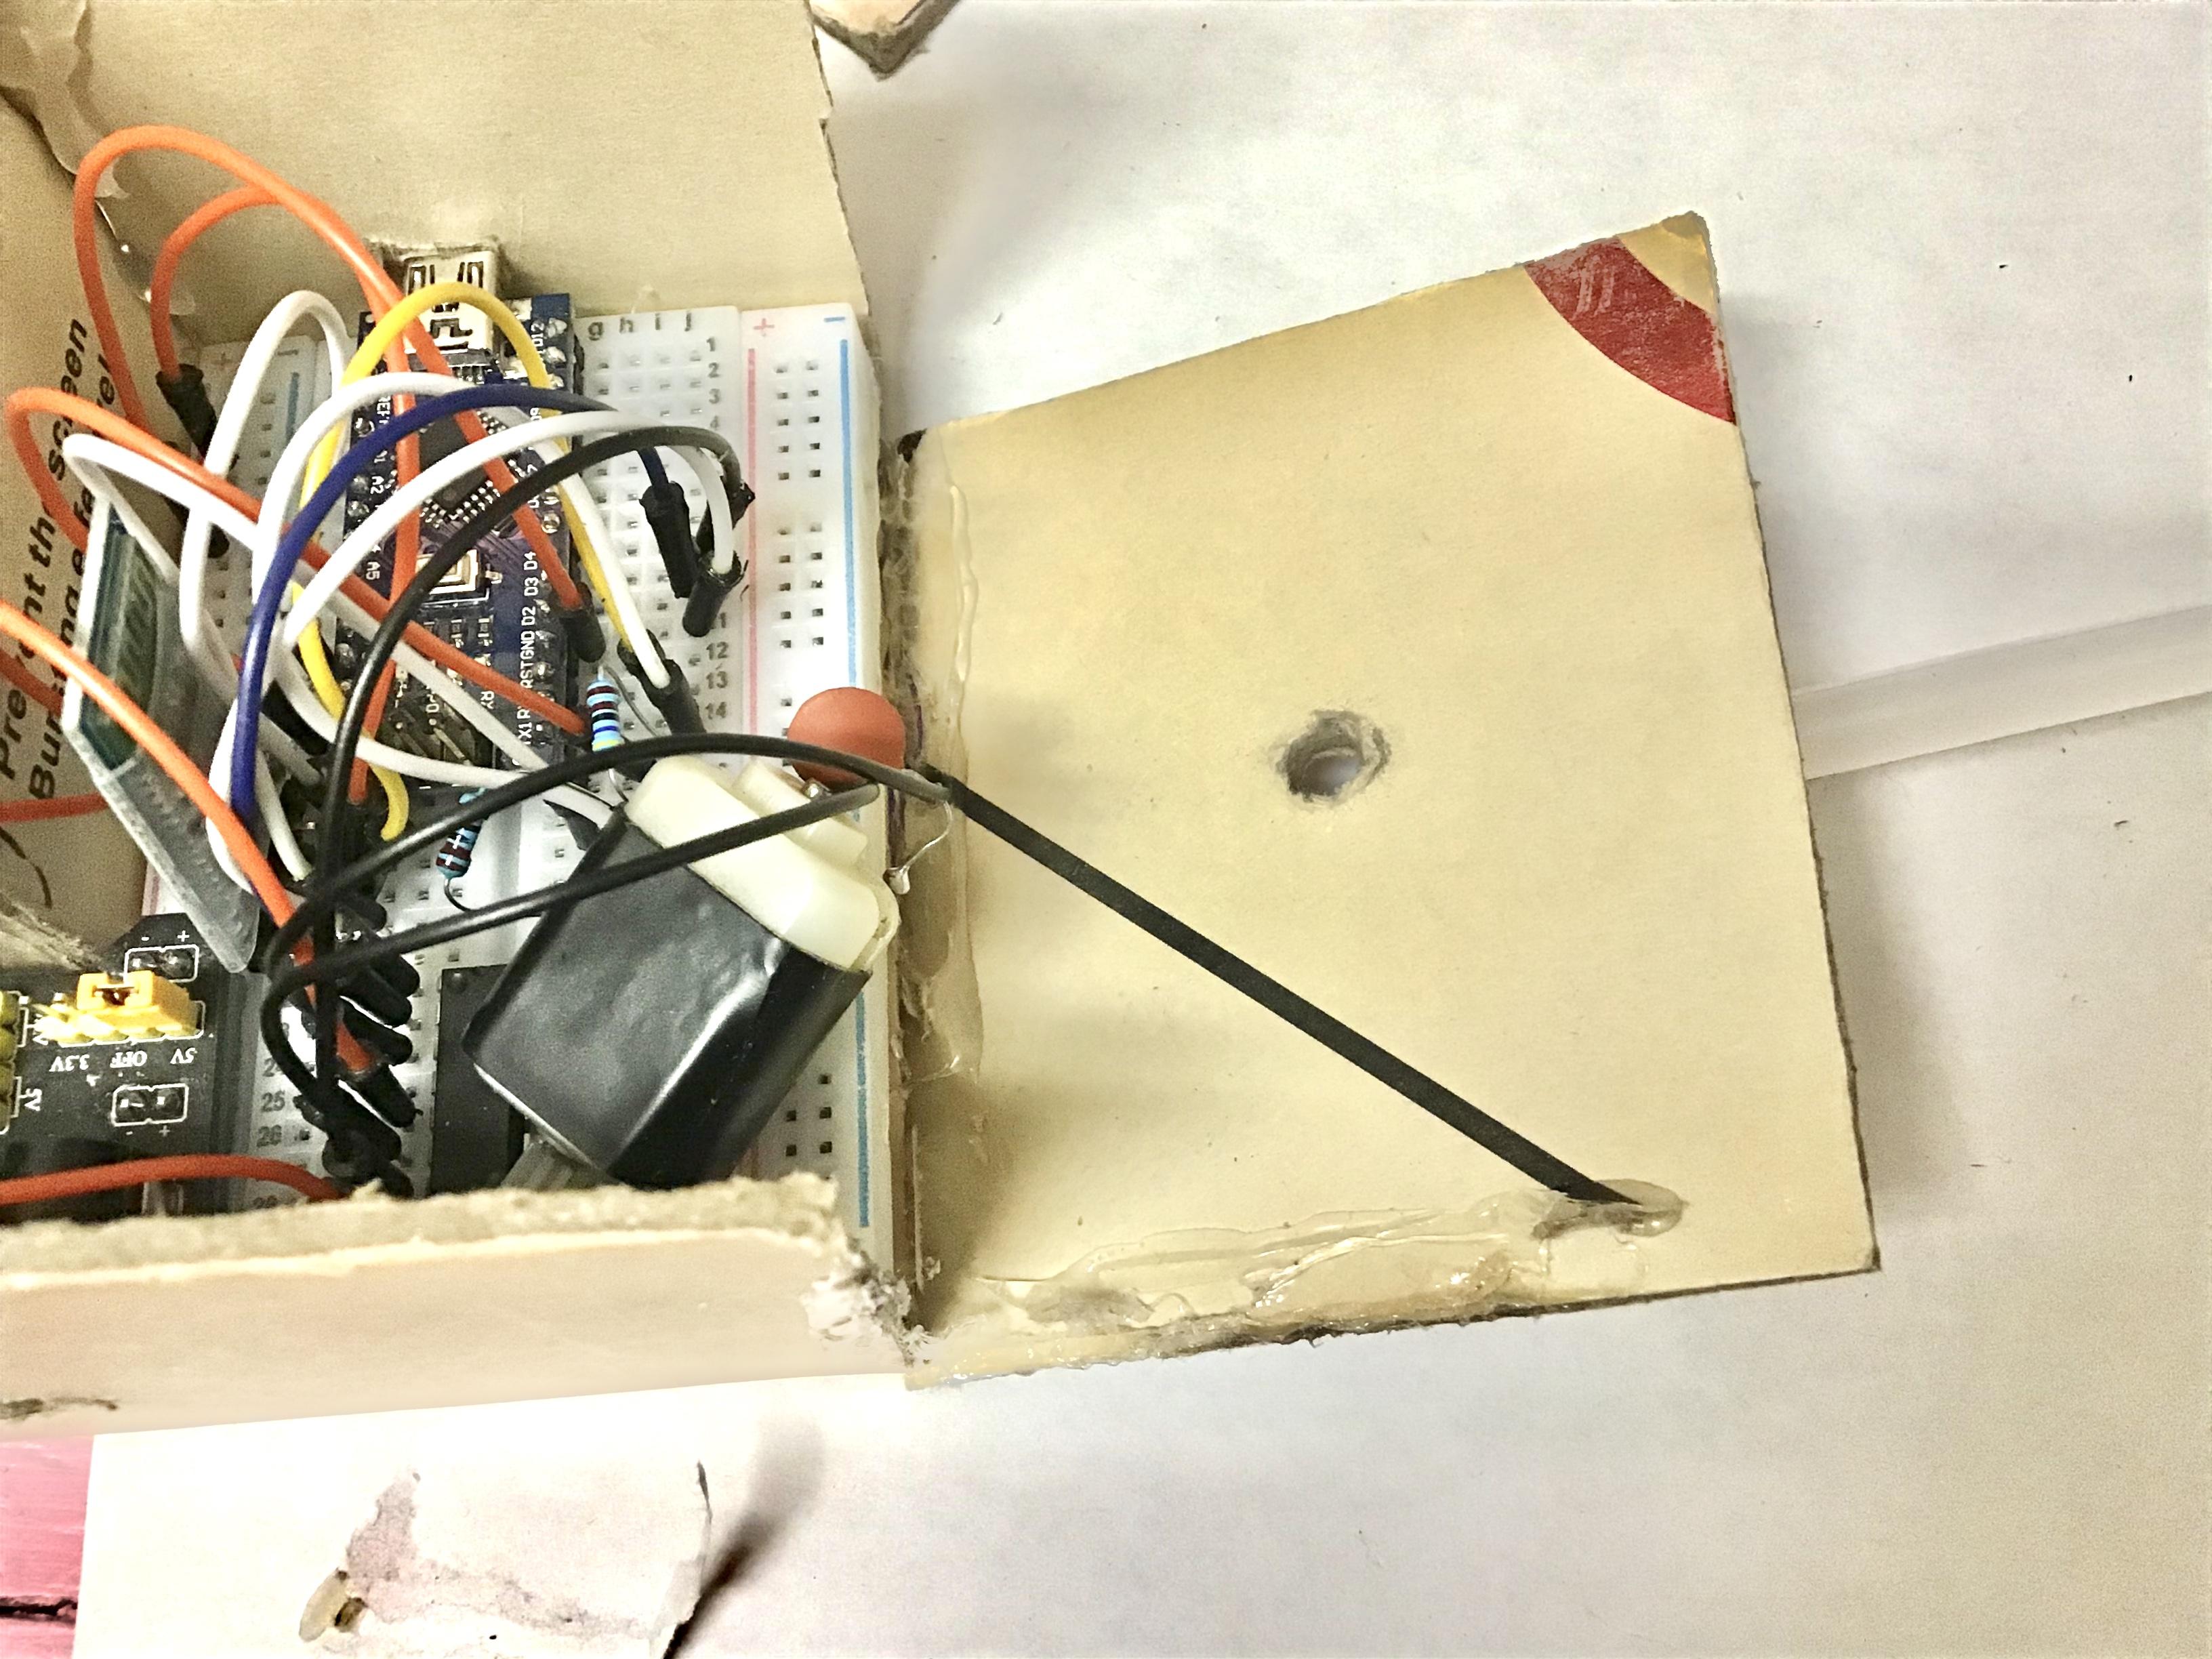
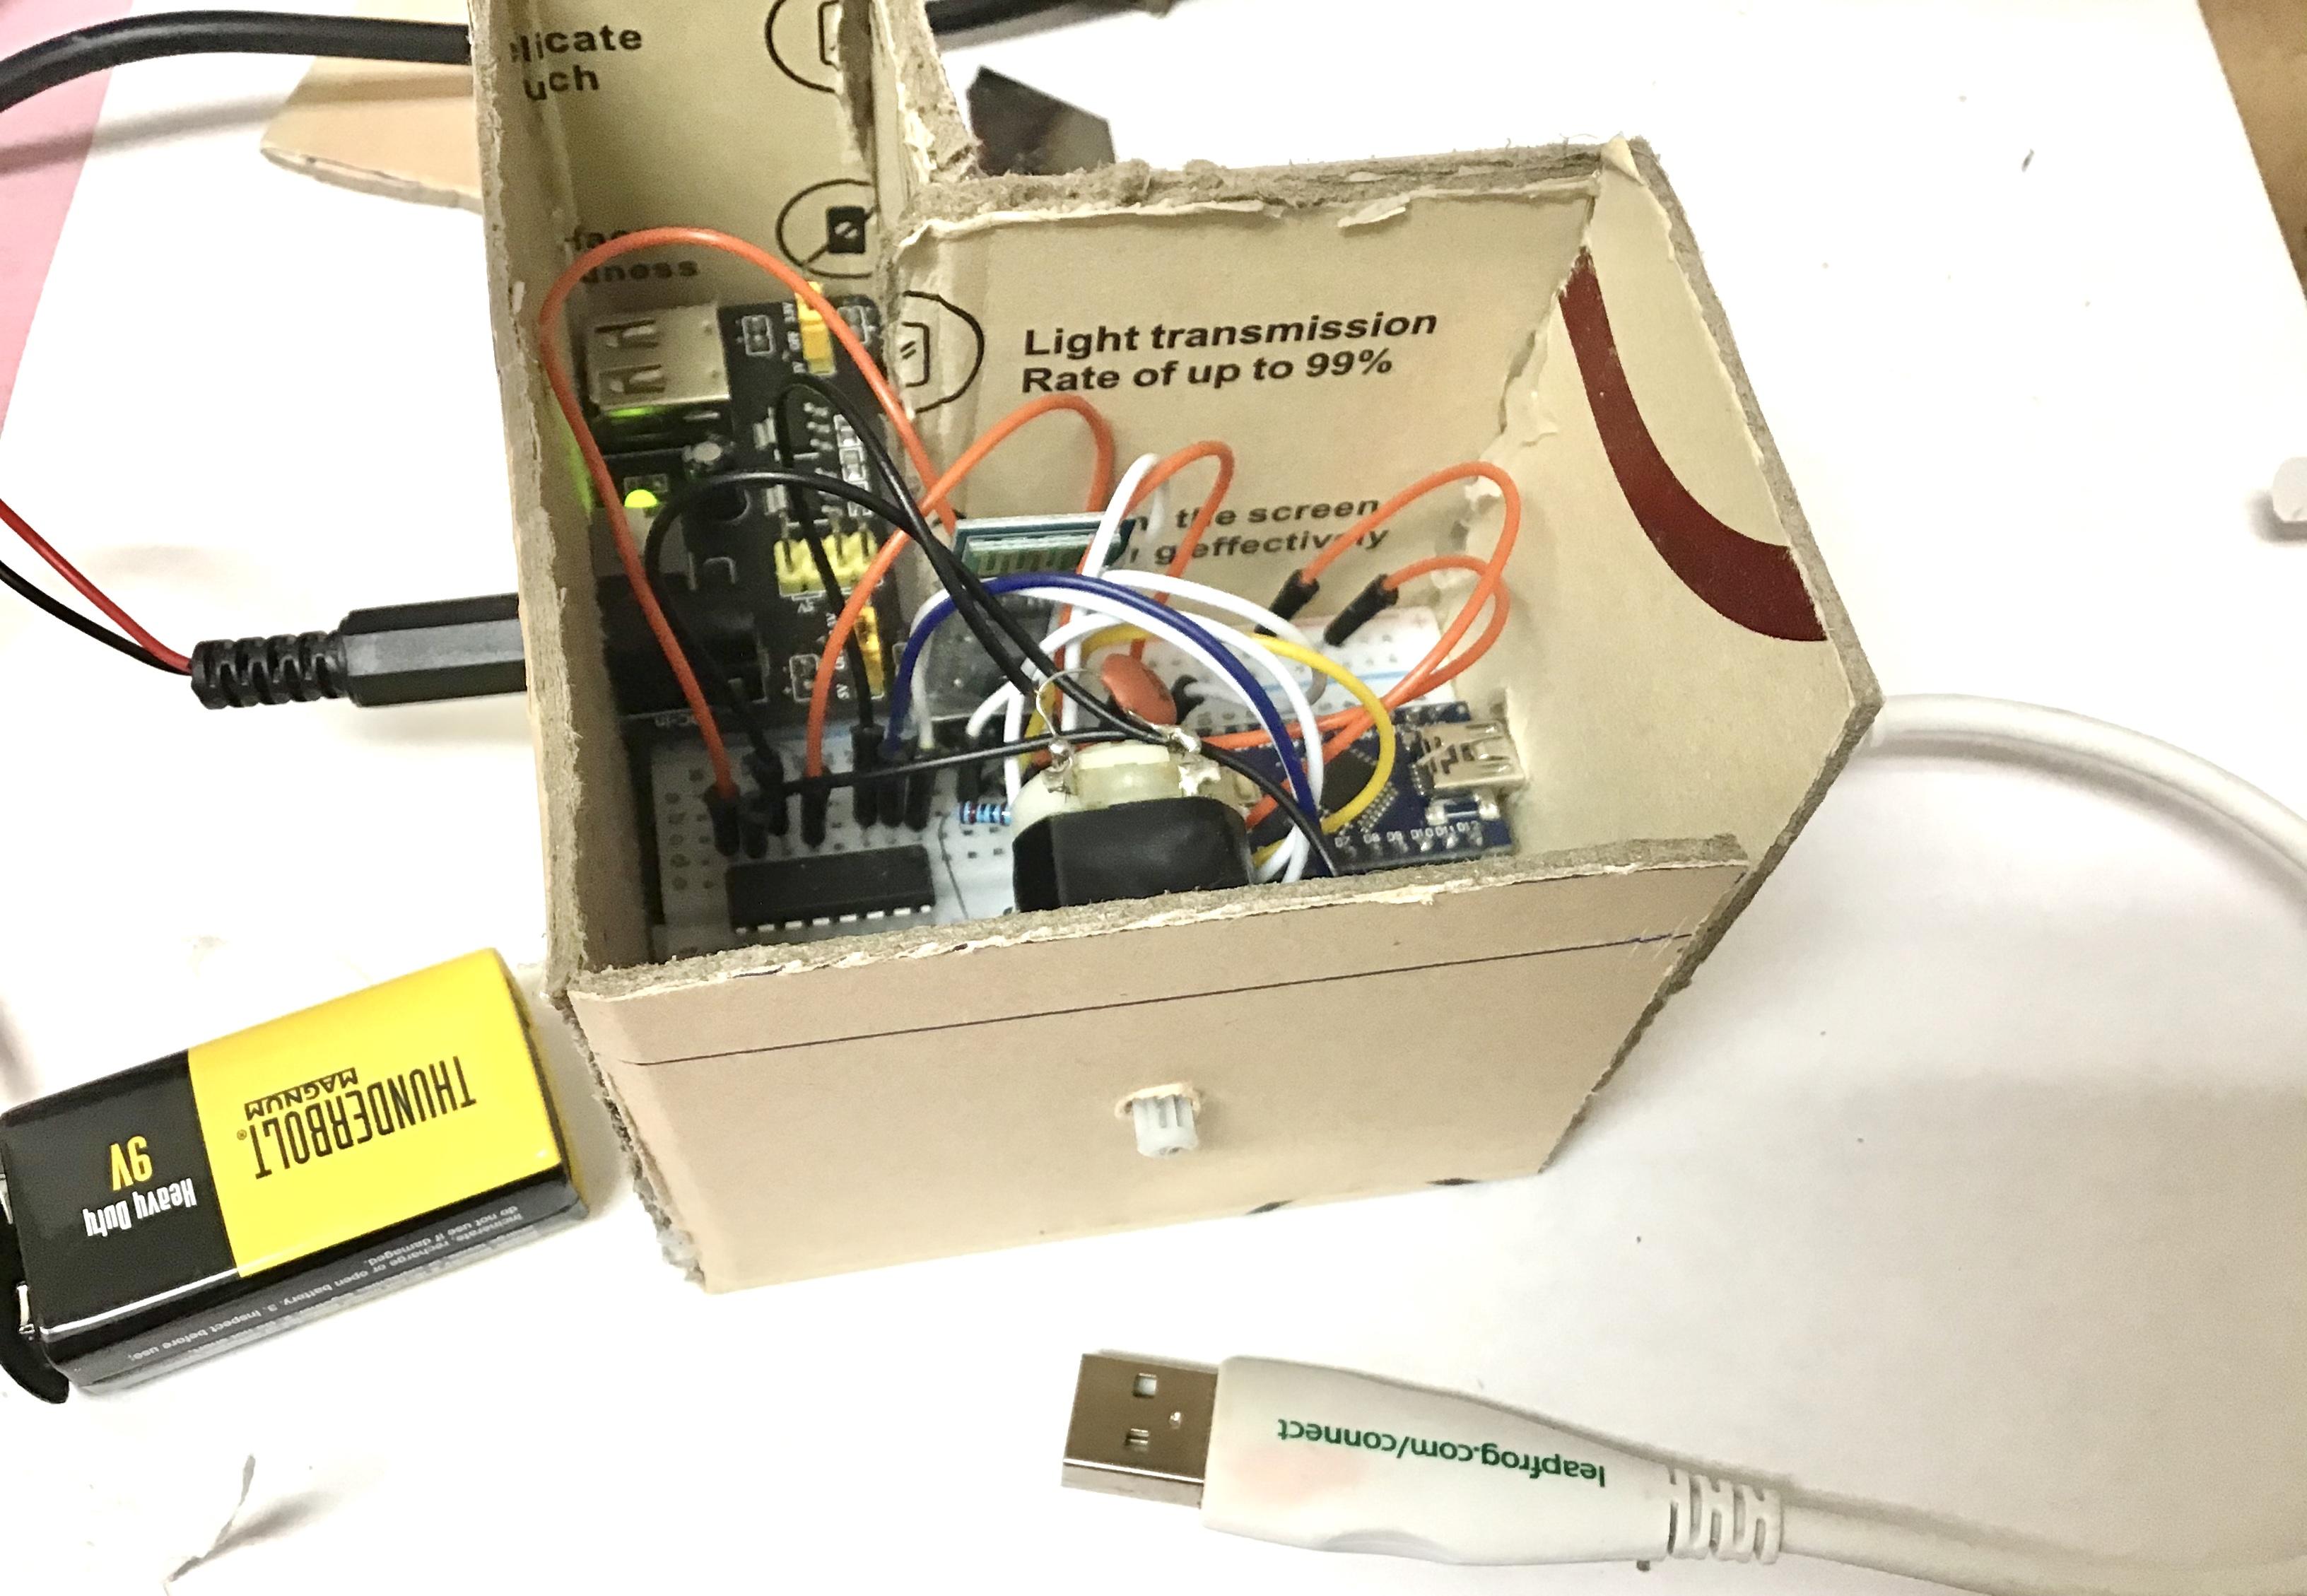
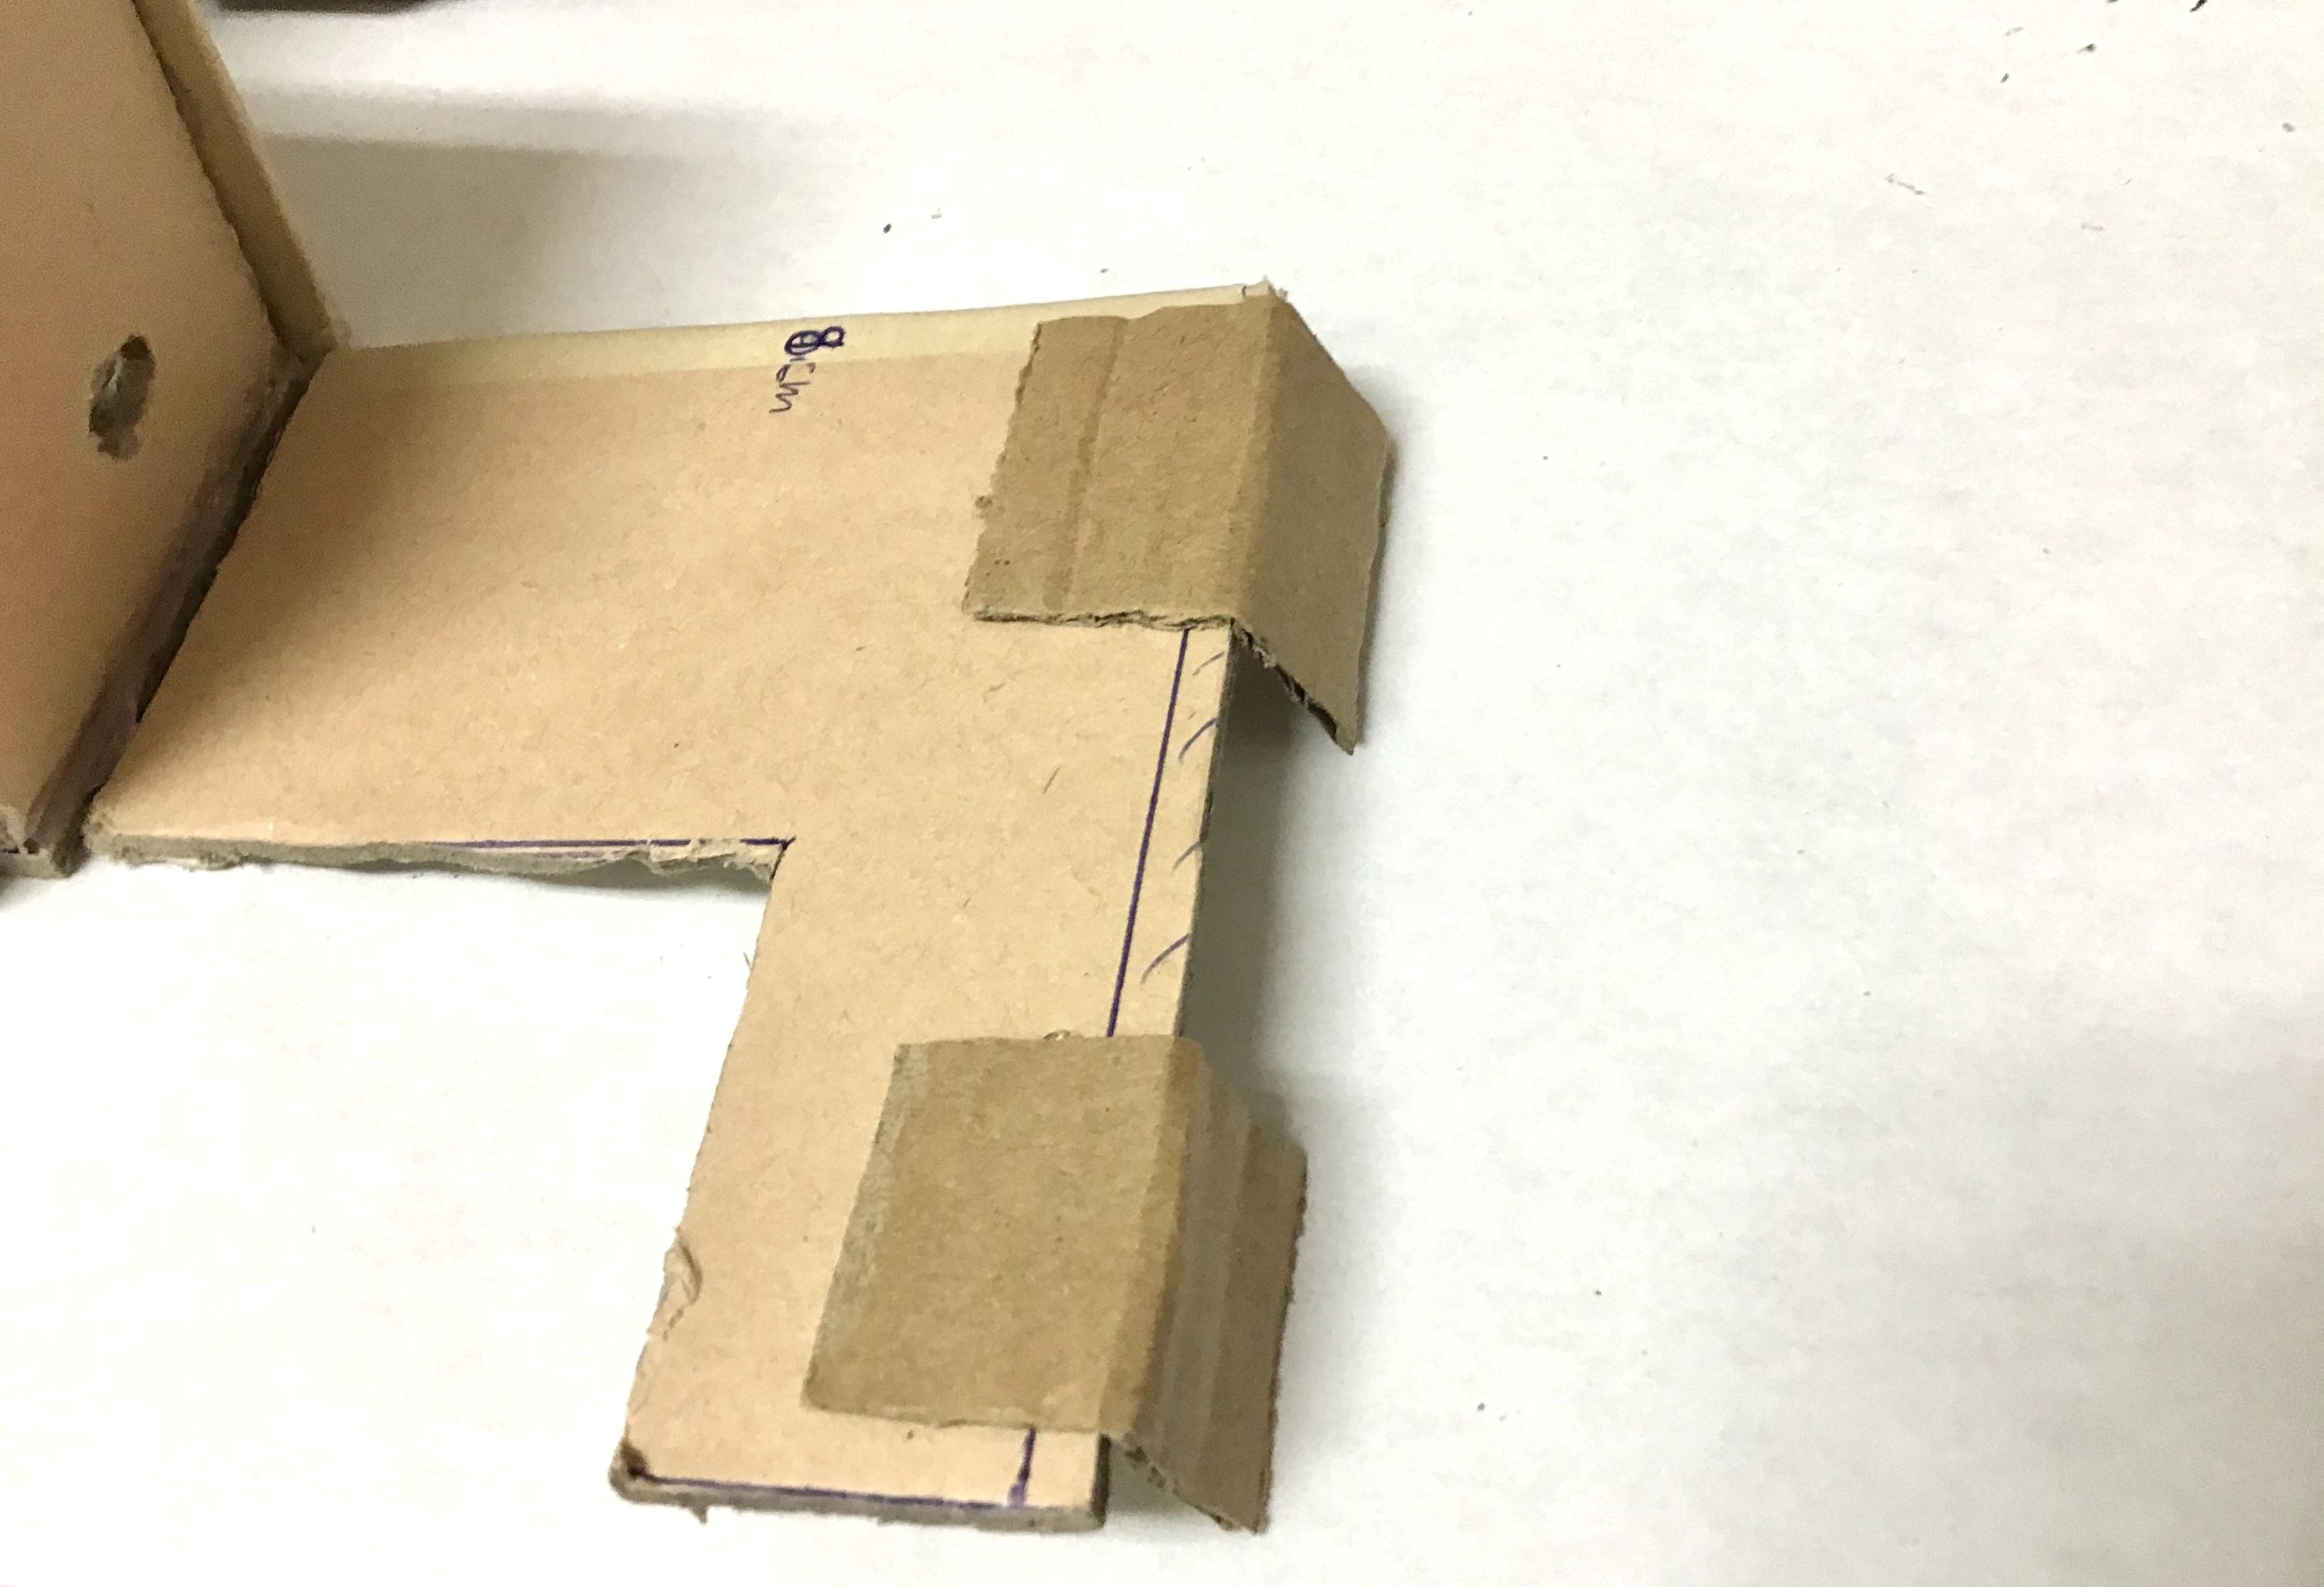
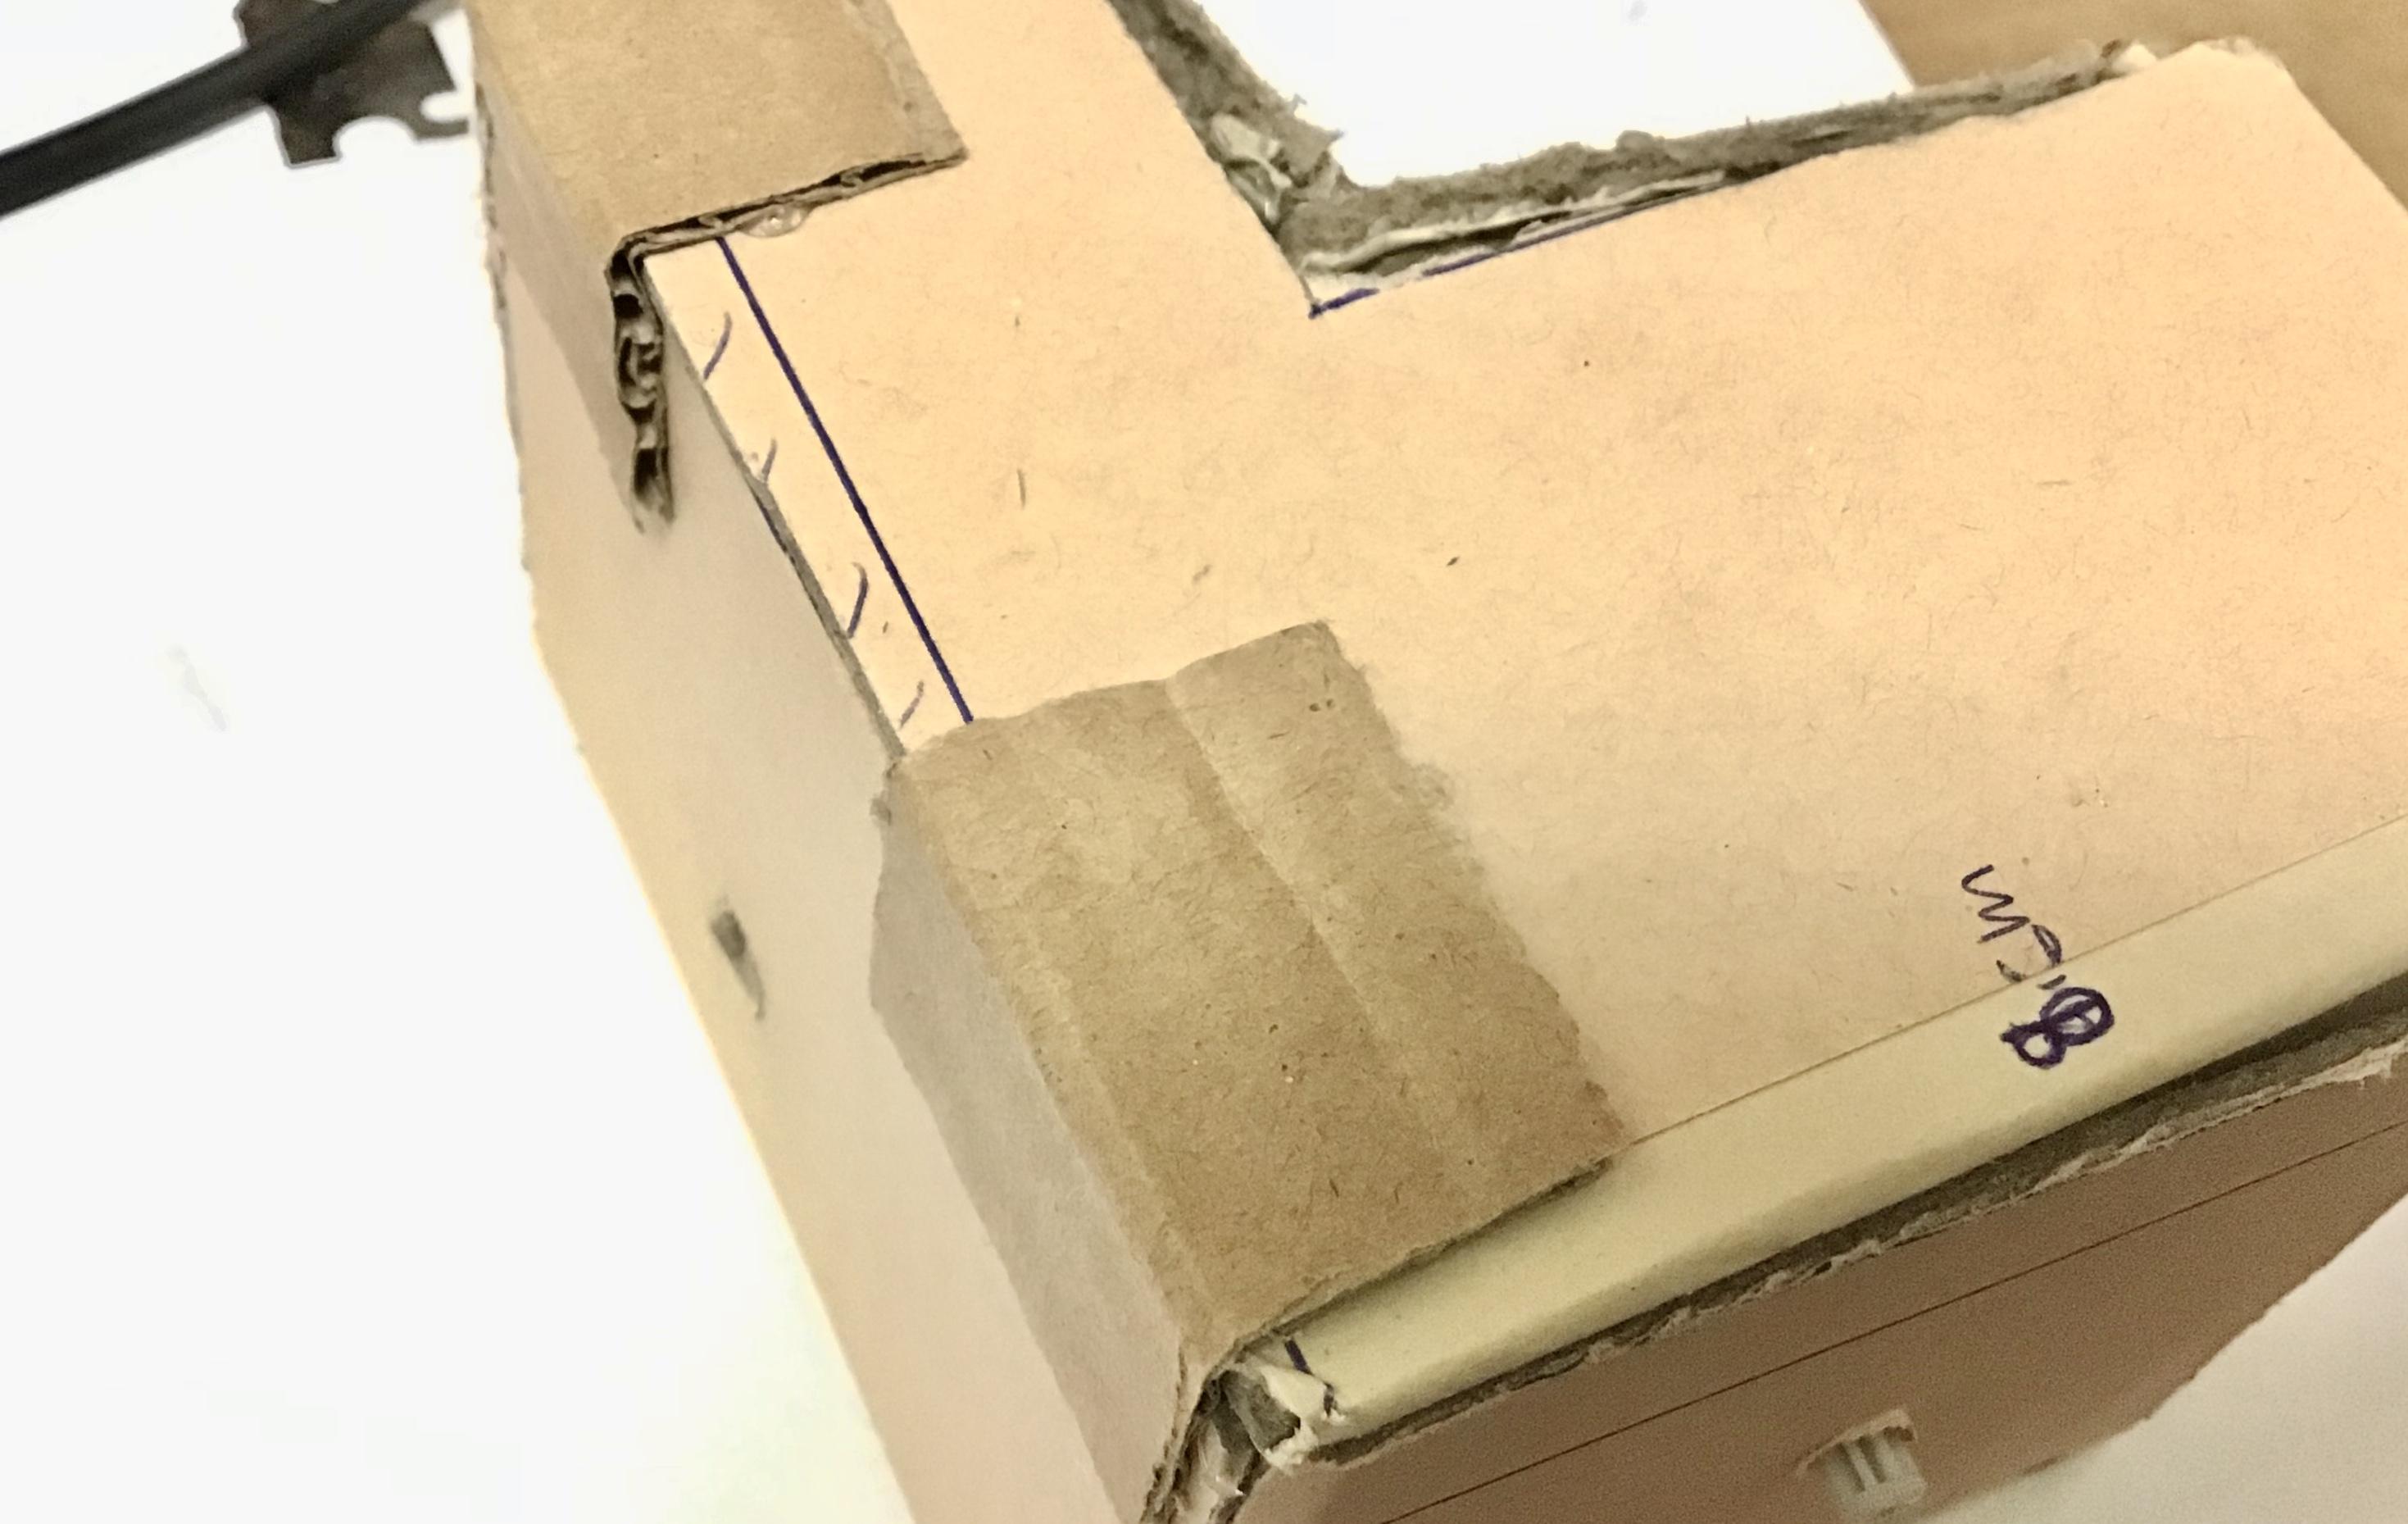
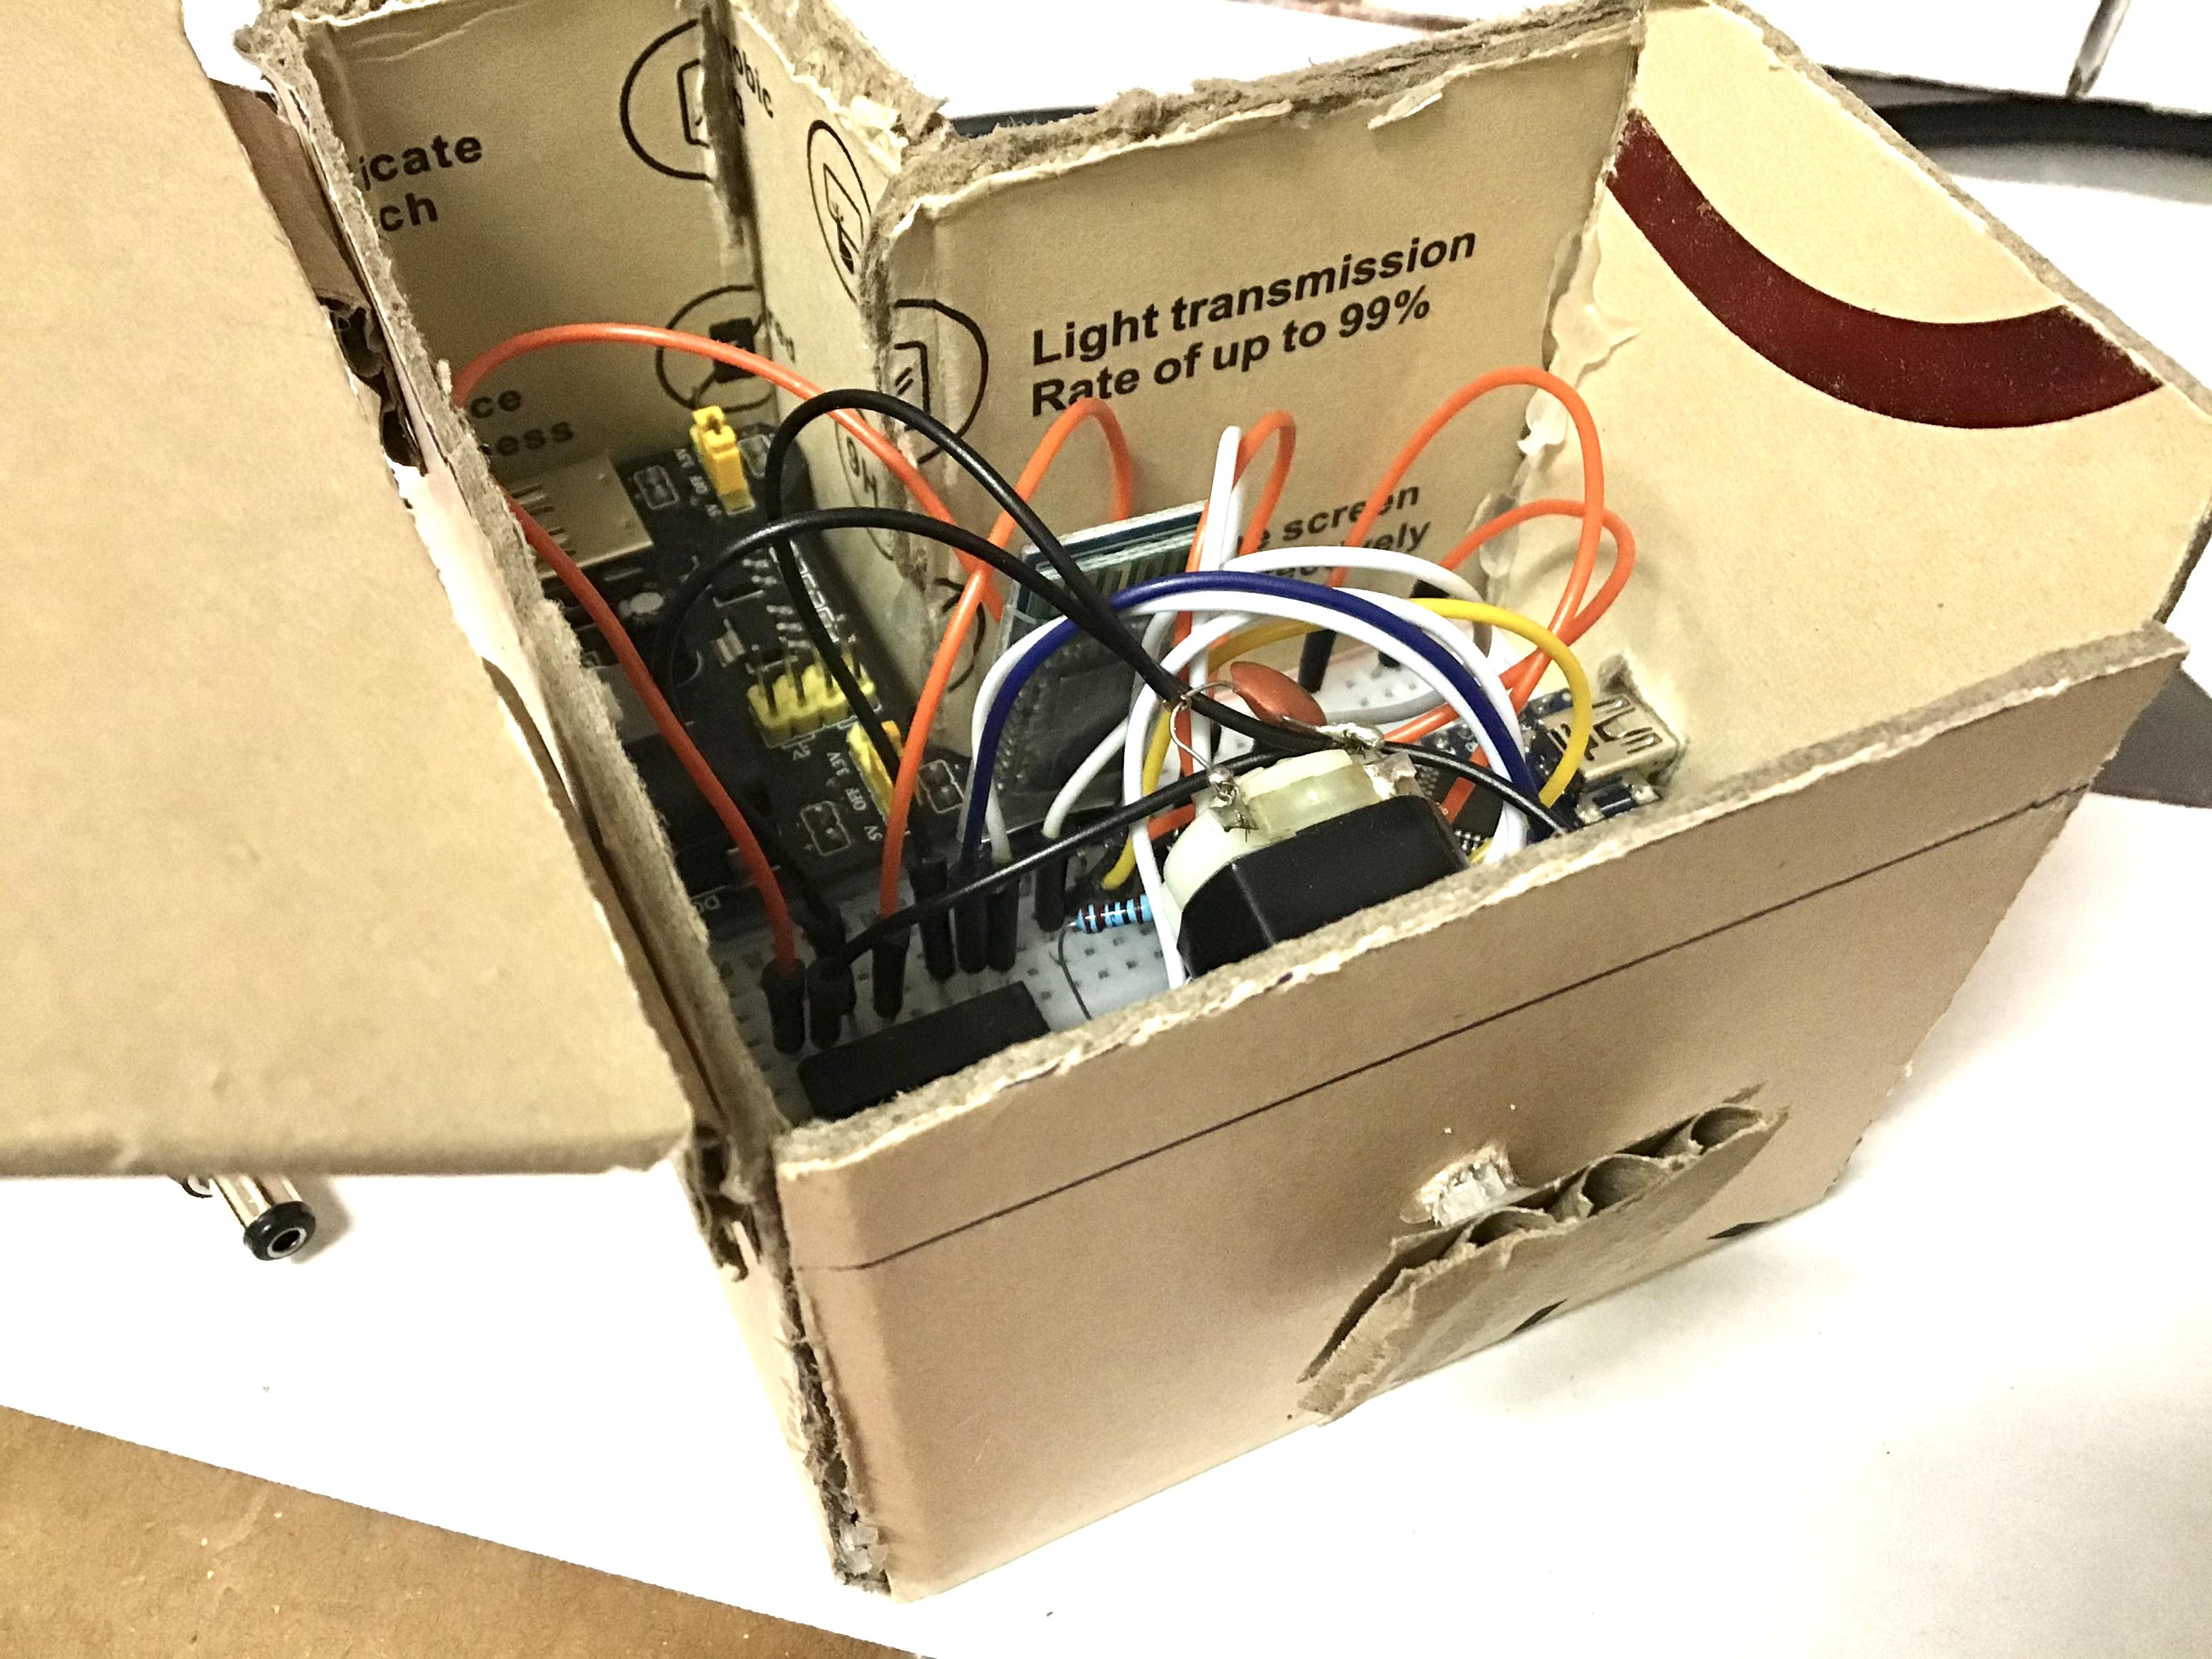
Now we're going to put together the housing for the components.
1. Take your components and attach it to the "L" shaped piece .
2. Glue the rest of the outter cutouts onto the "L" piece.
Congrats you've just assembled the housing!
Putting Both Things Together...
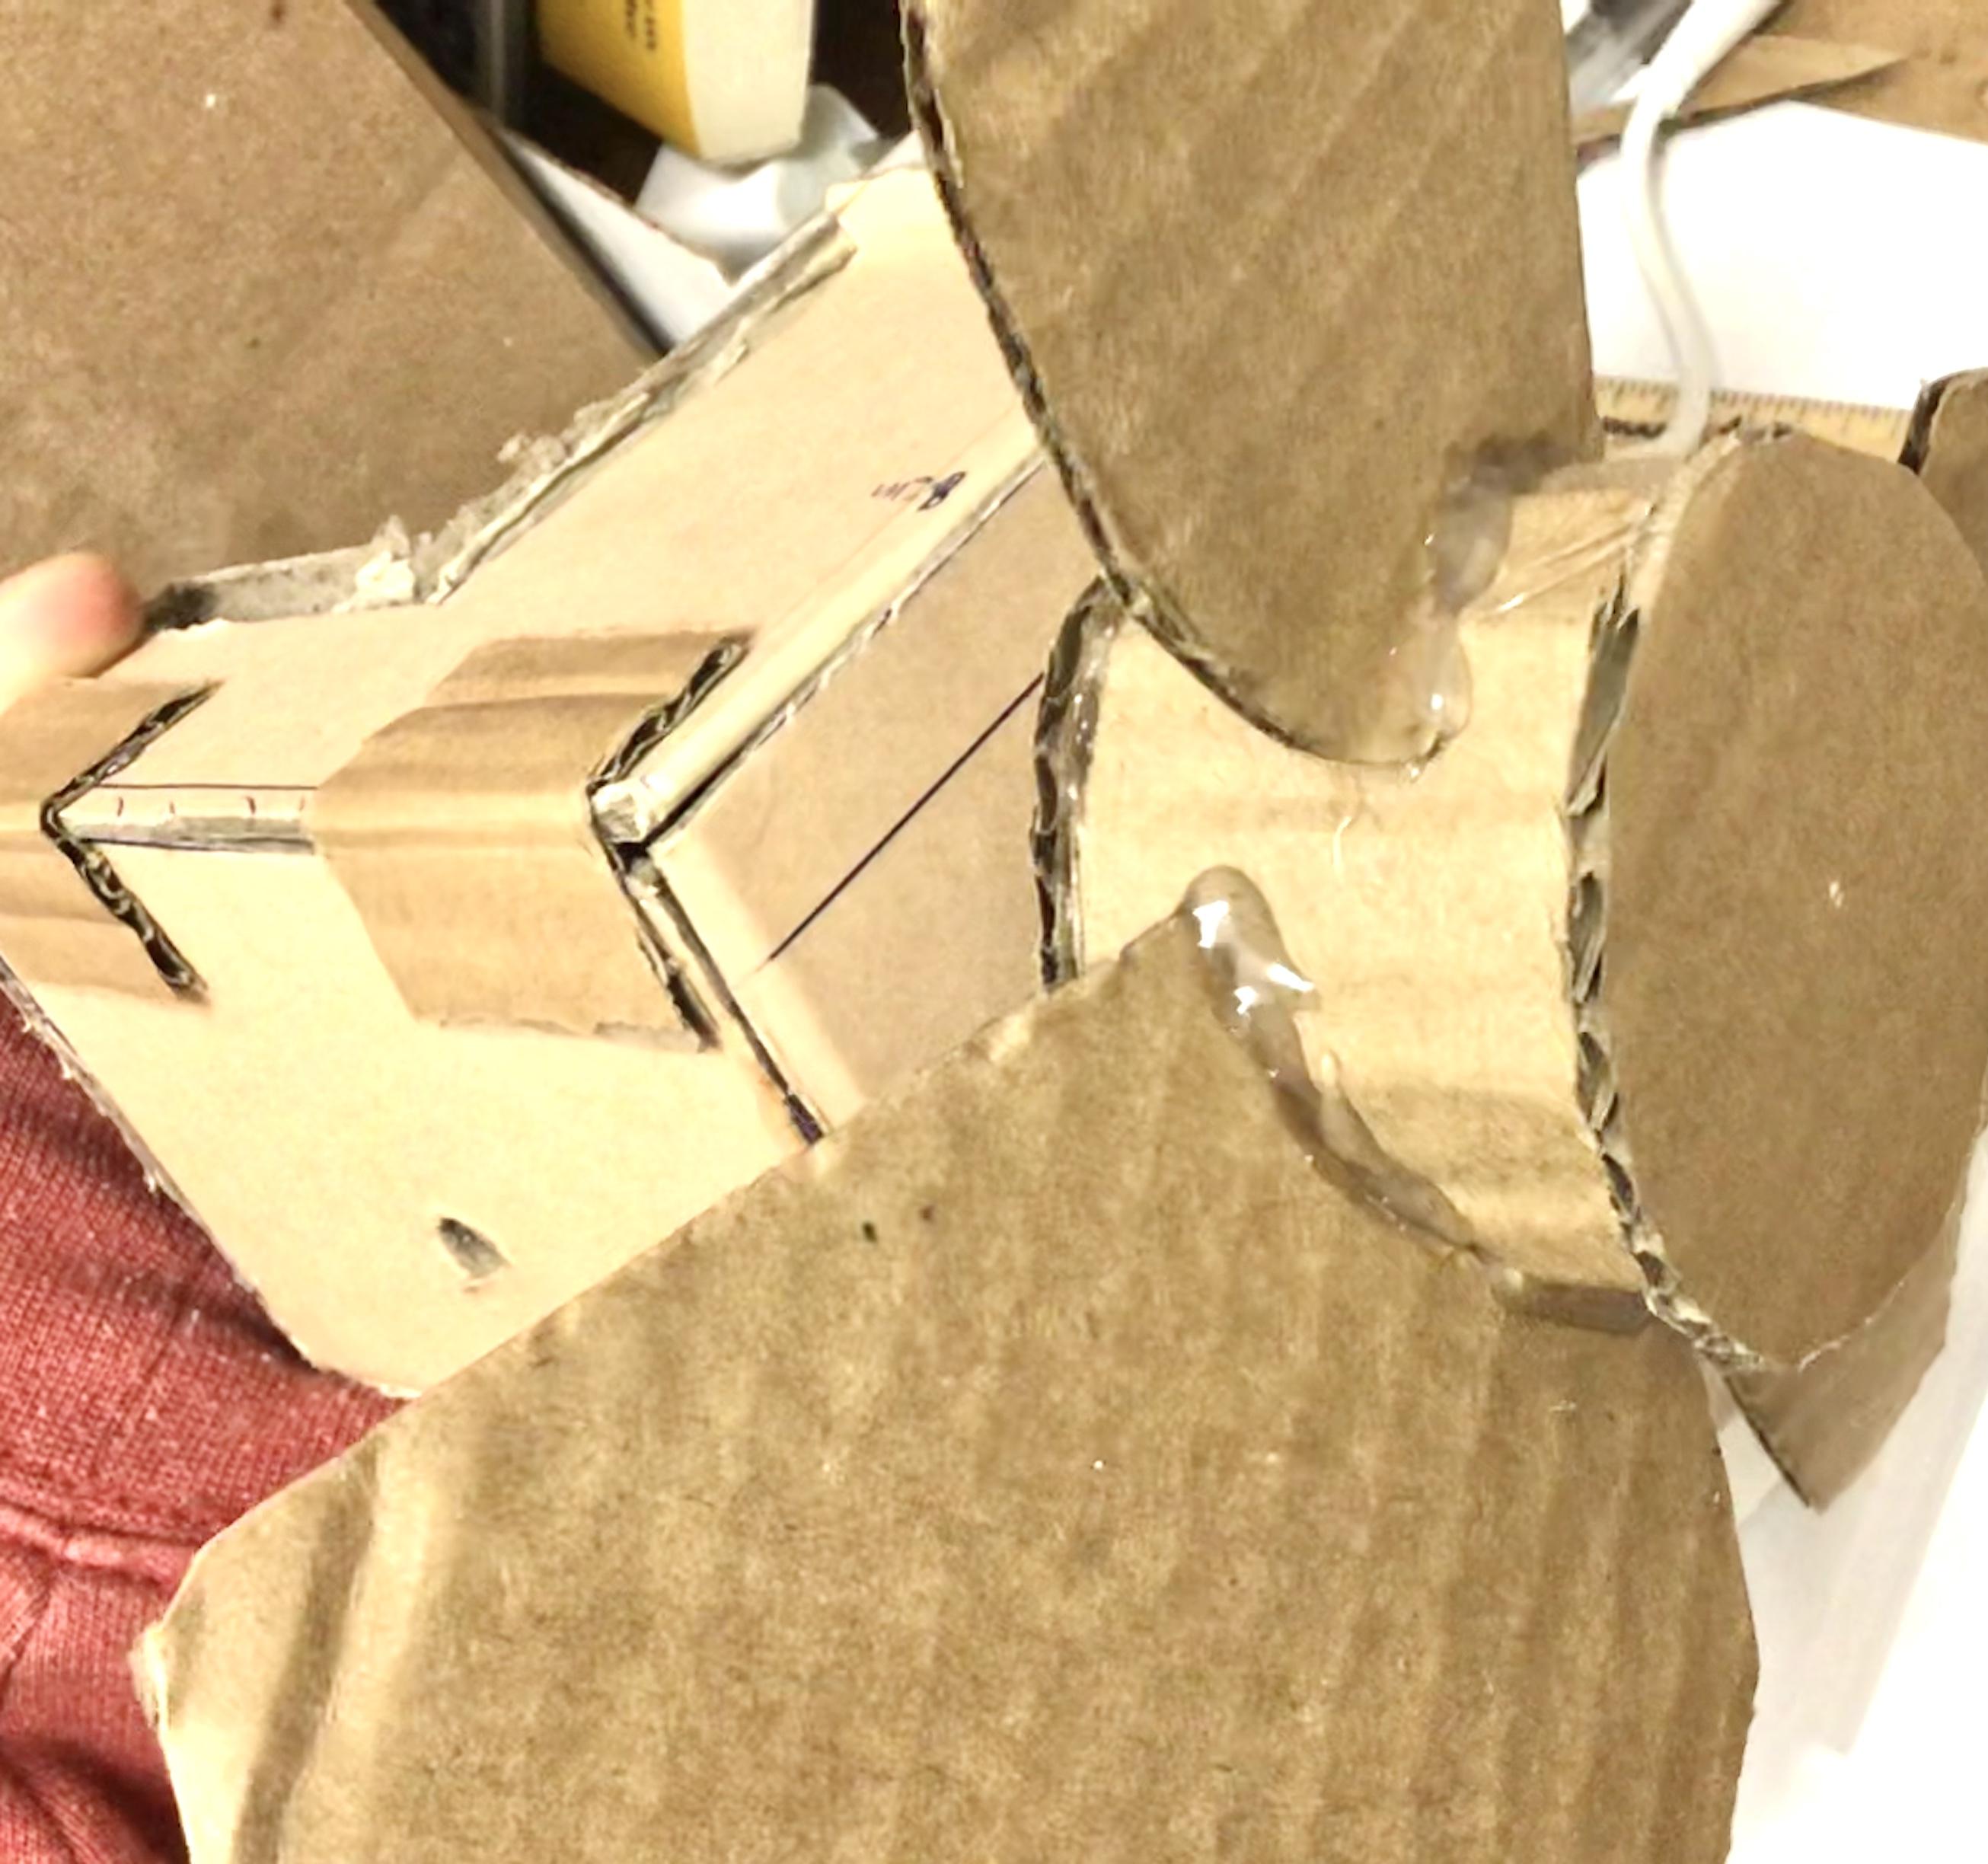
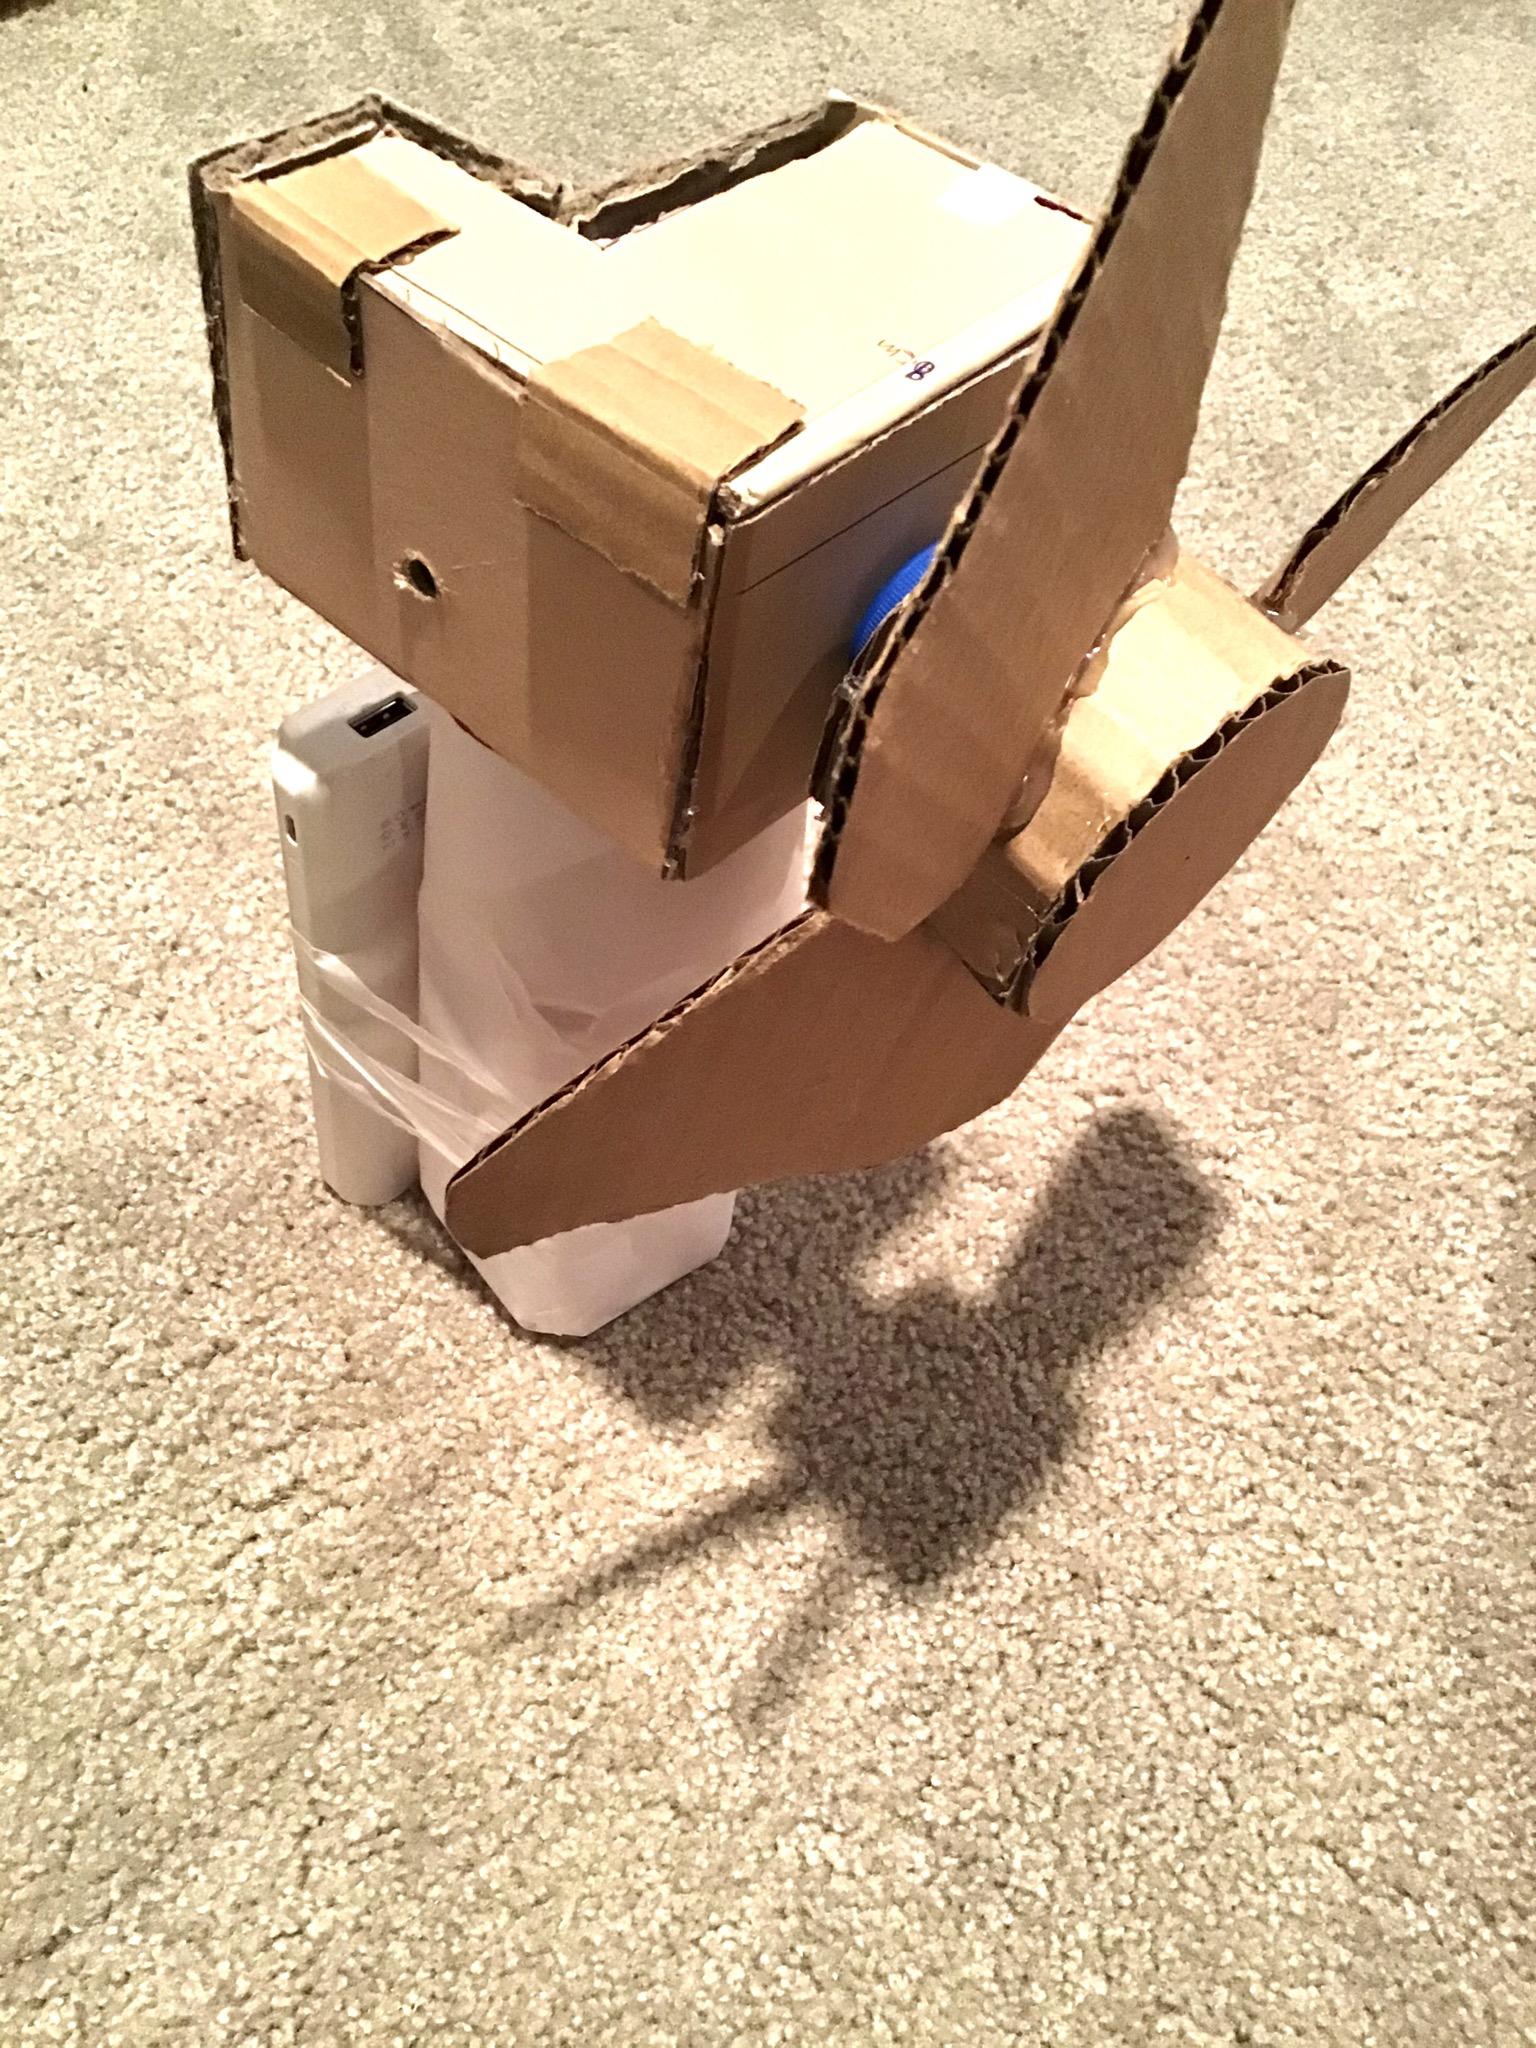
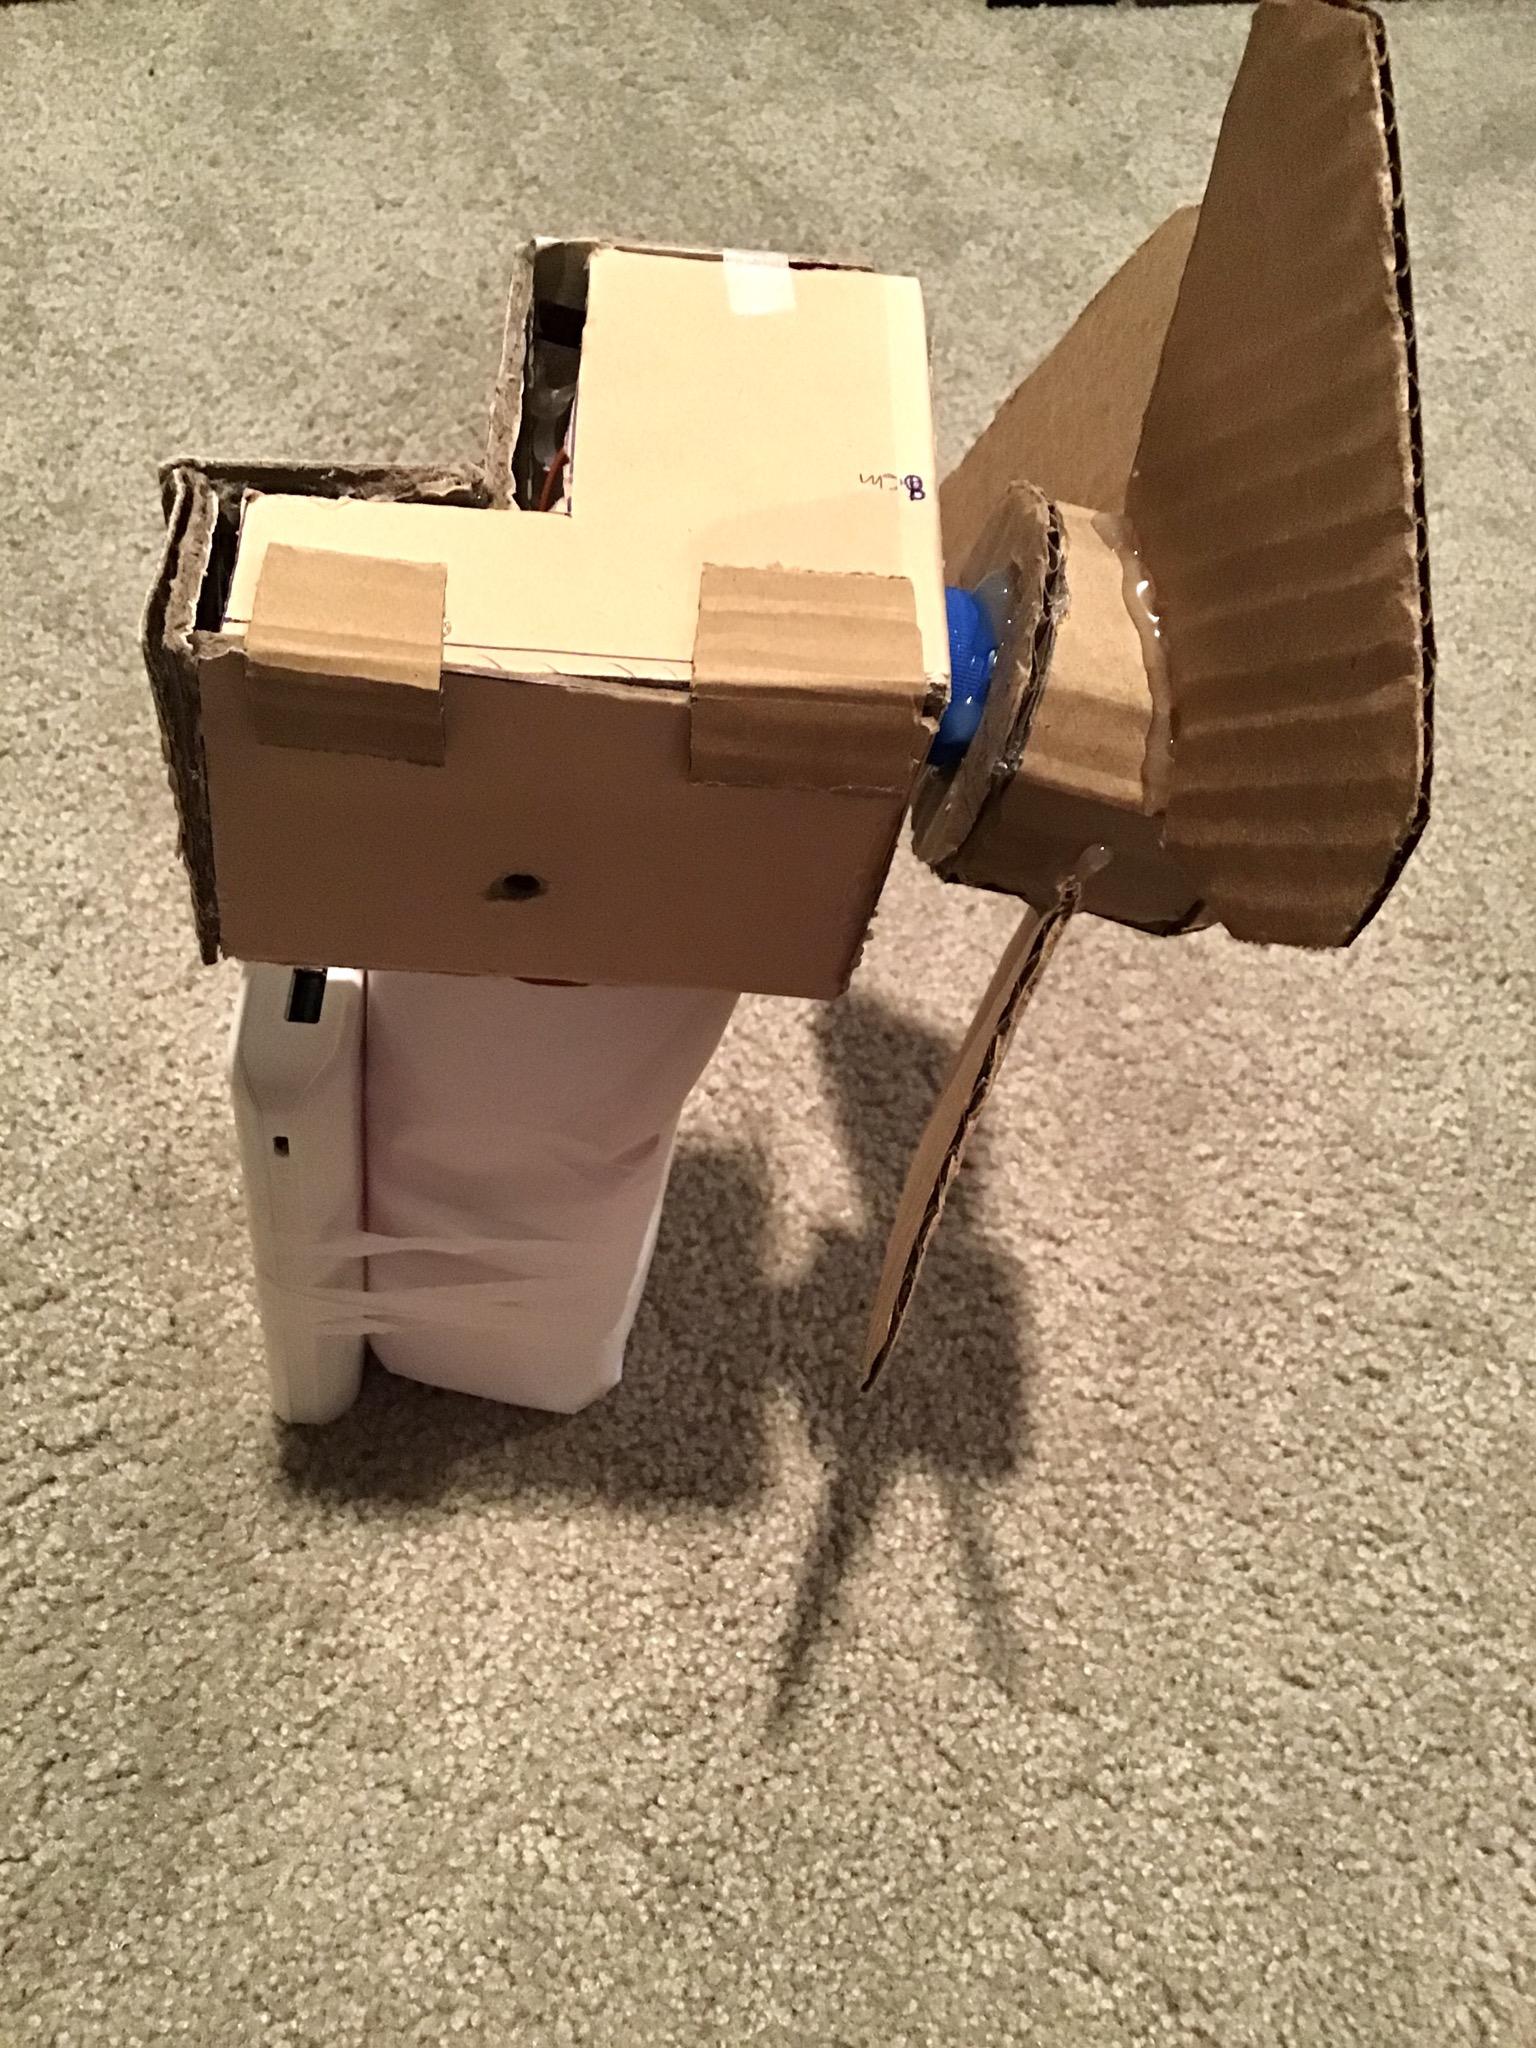
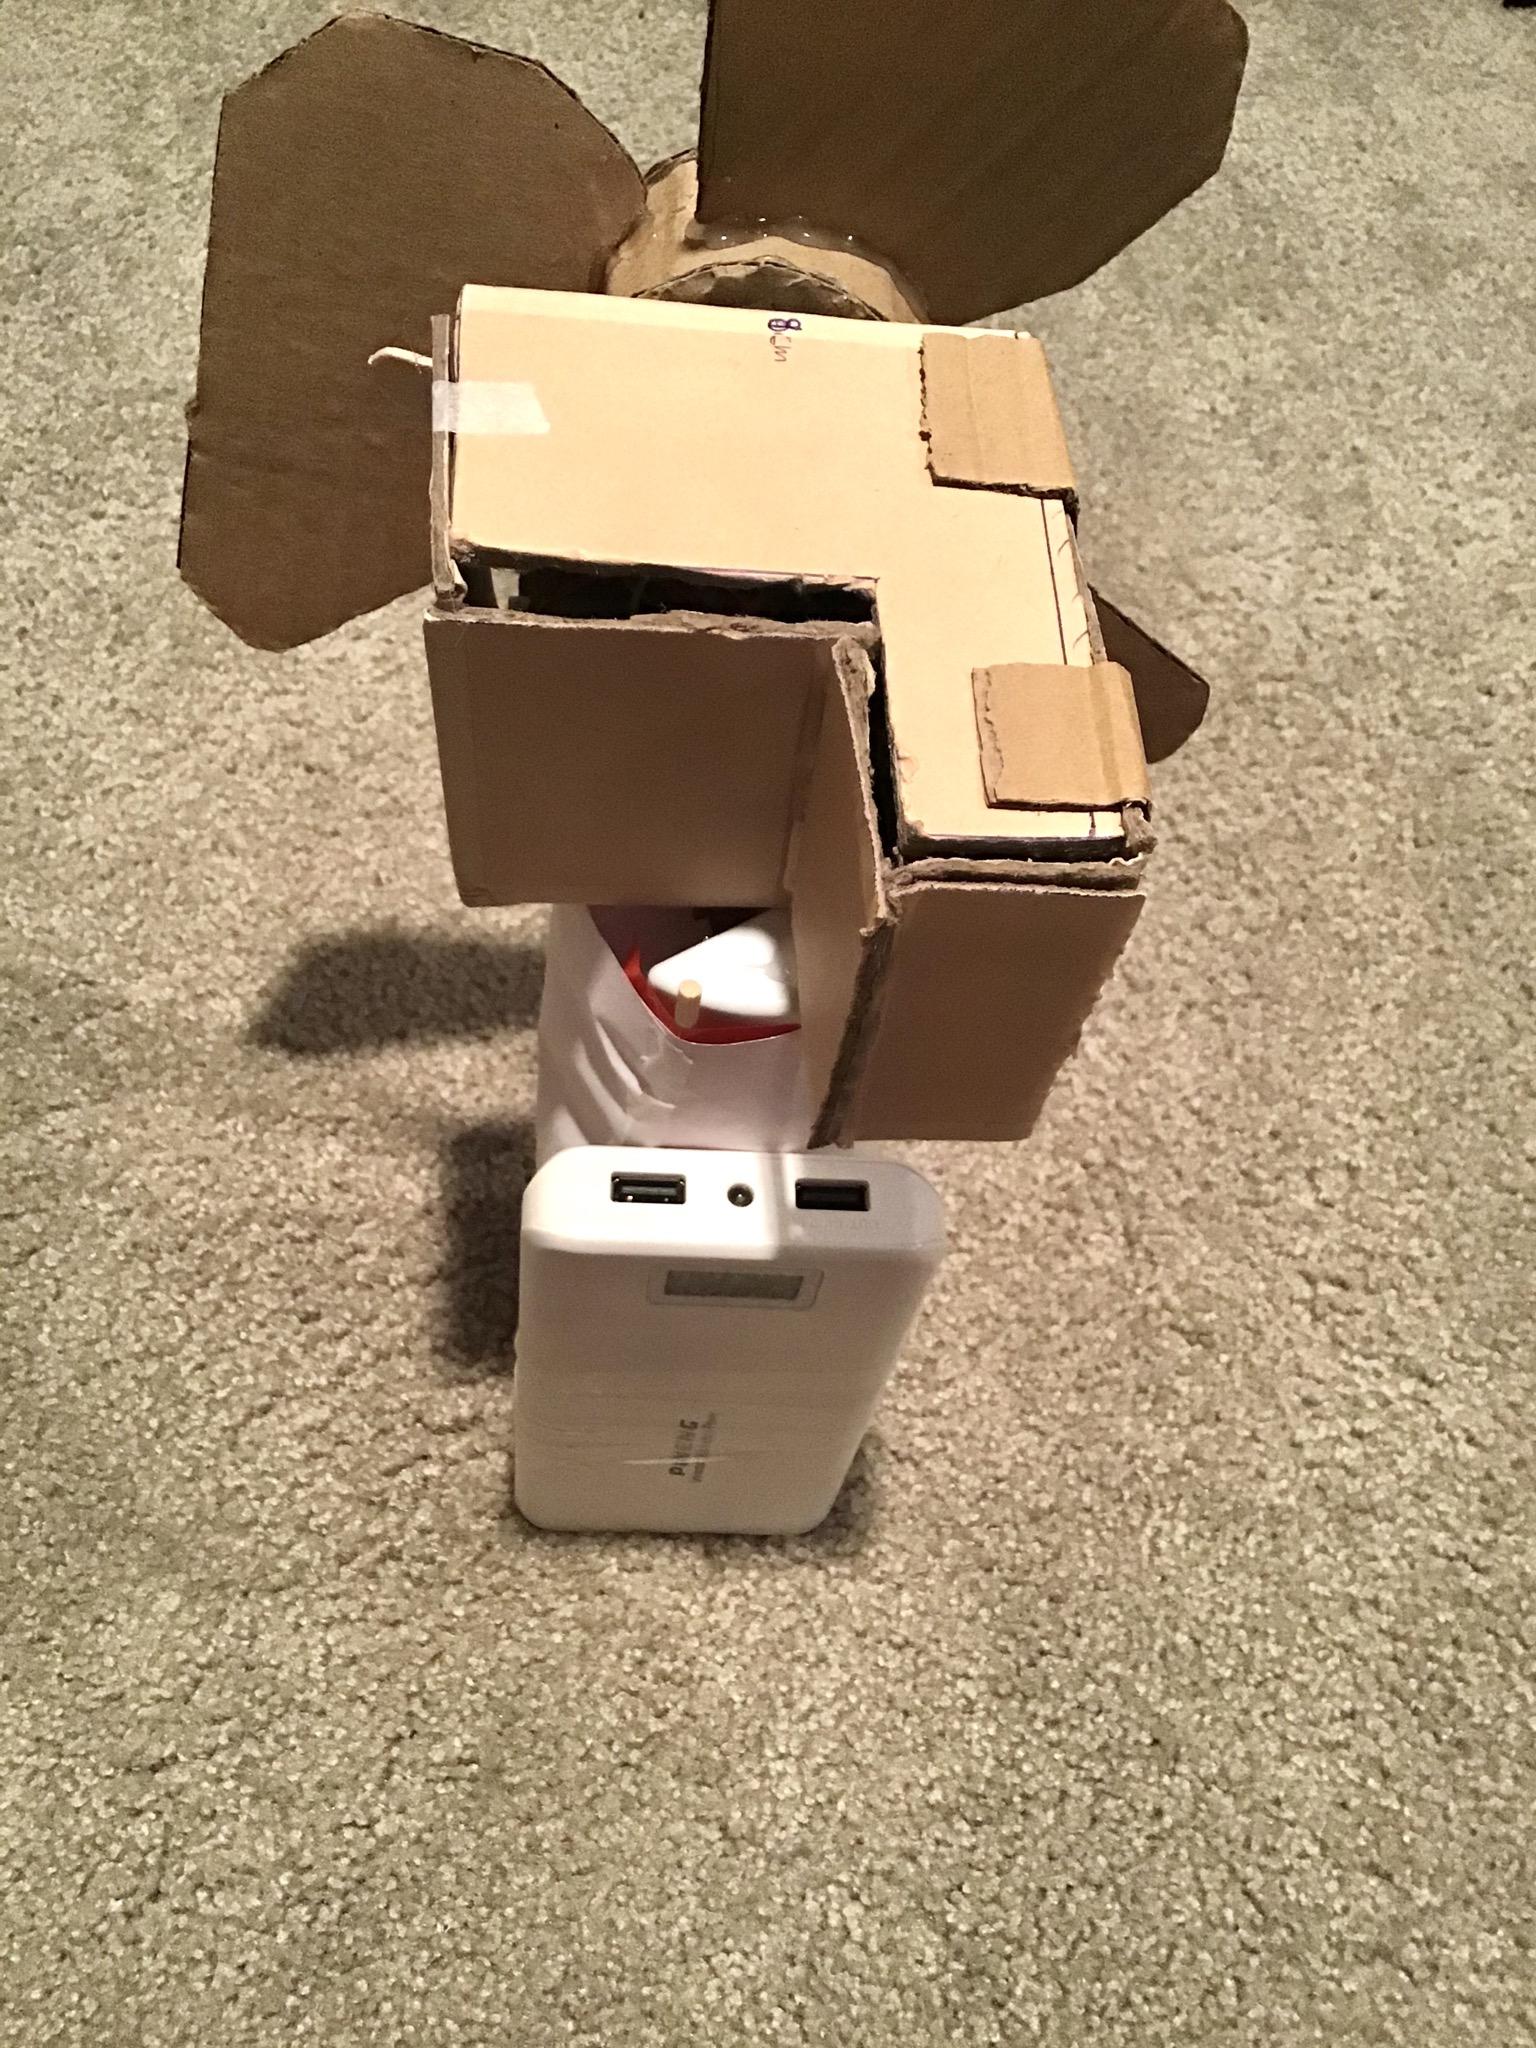
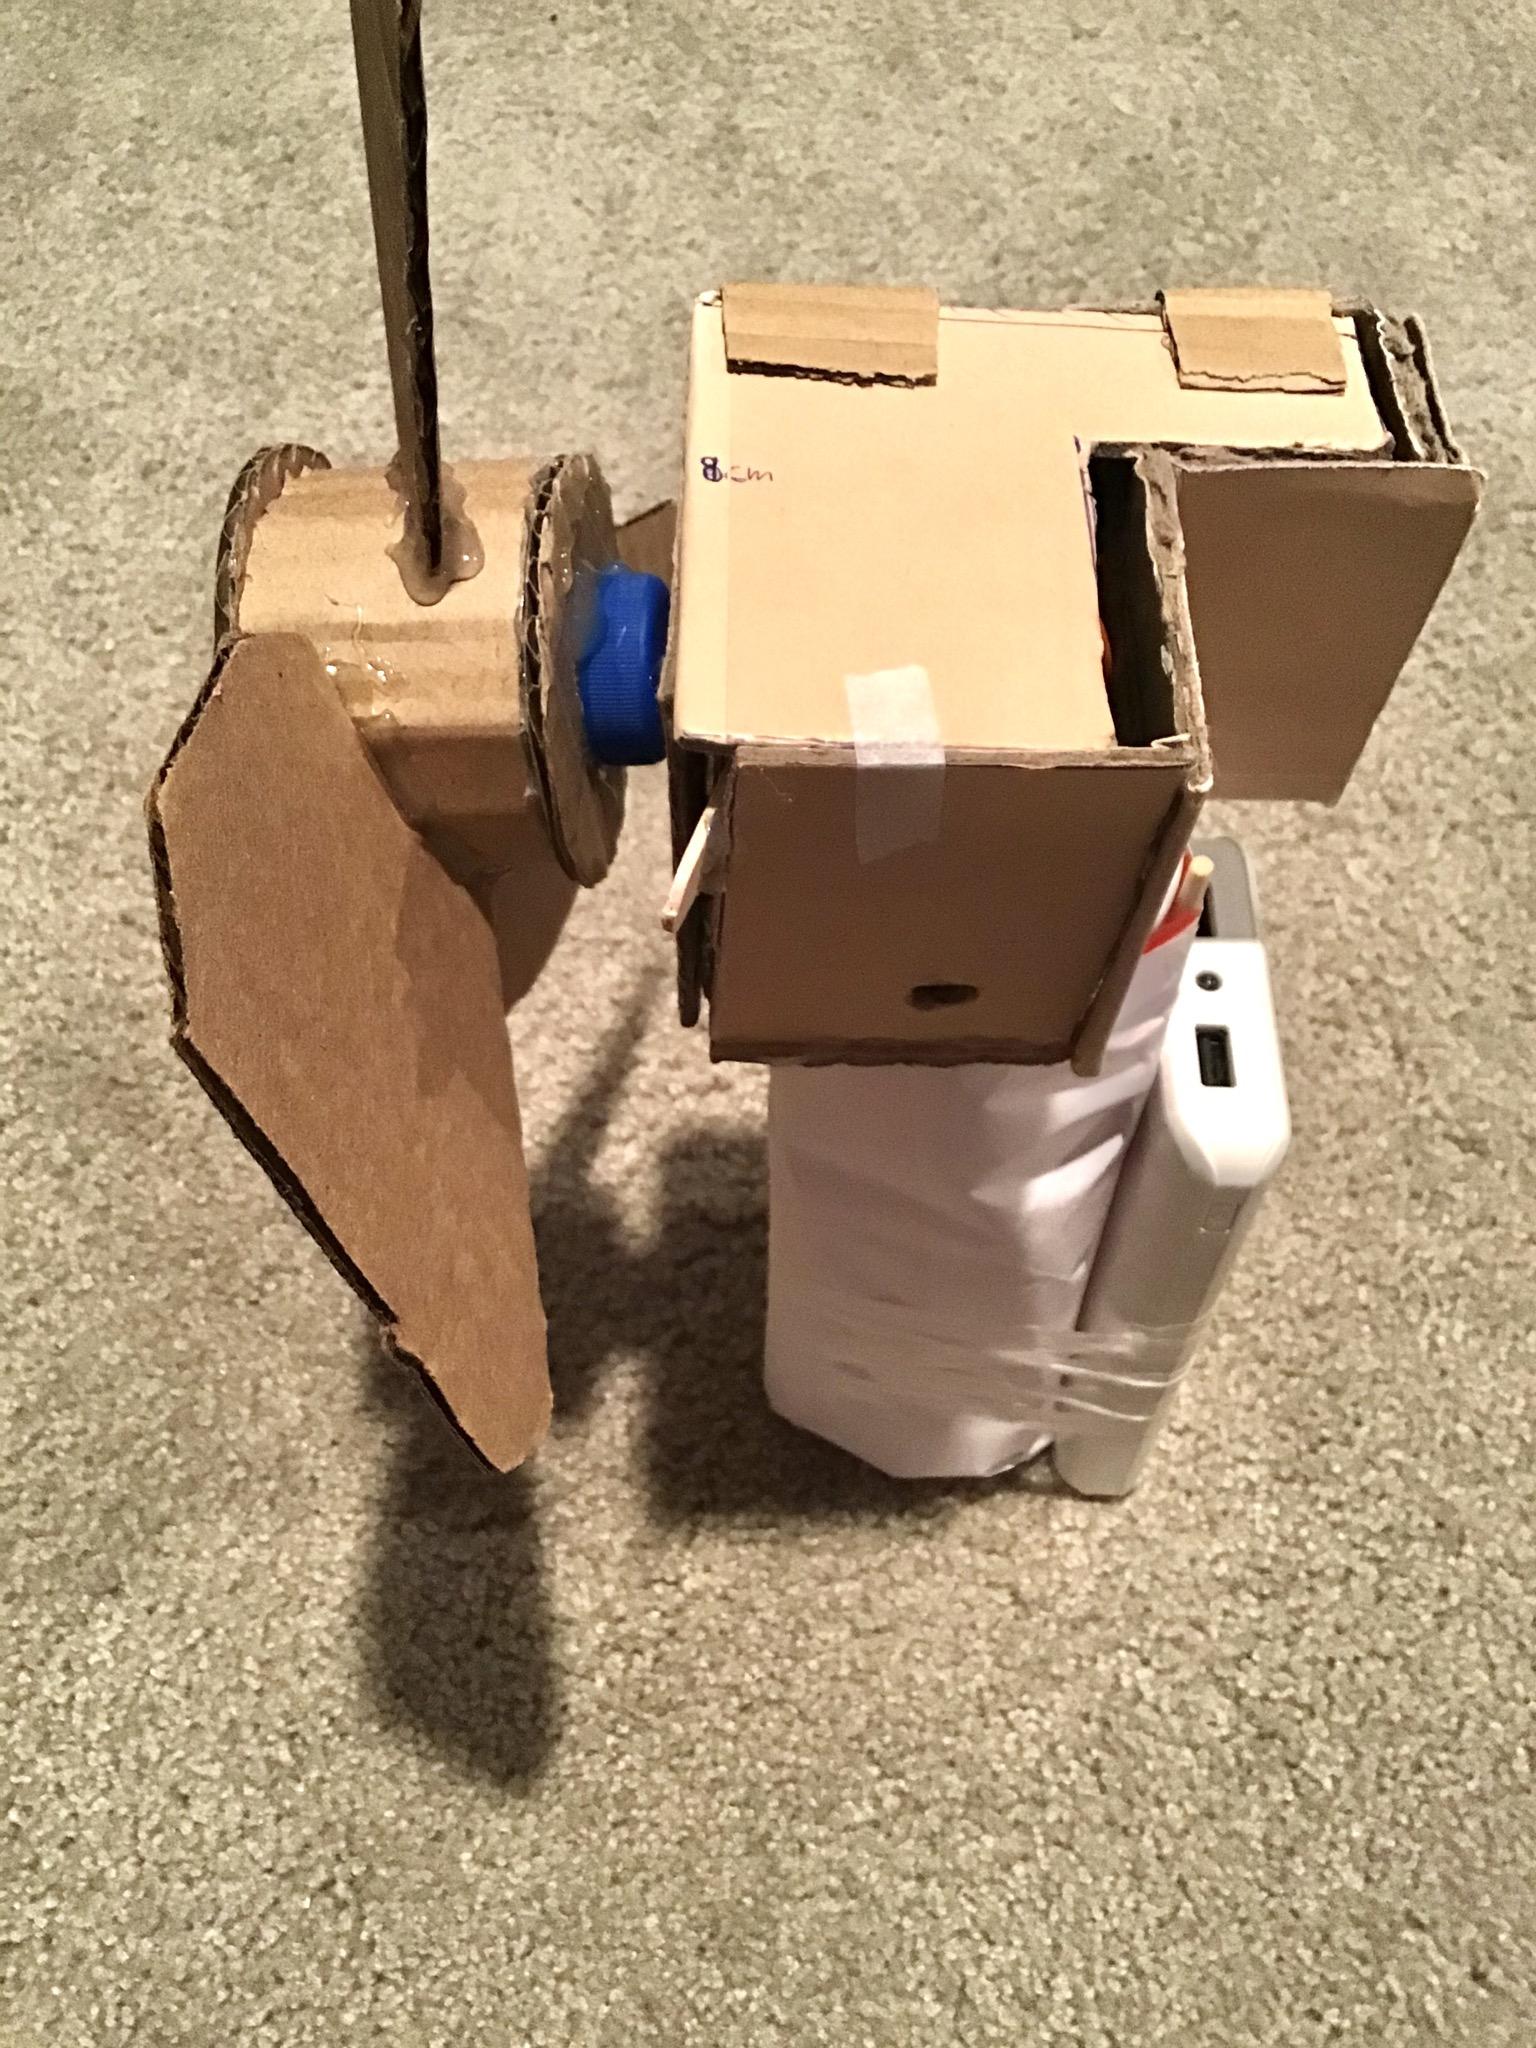
We're now going to assemble everything together.
1. Get the hard cardboard platform and glue the plastic bottle on top of it.
2. Attach the hosuing on top of the bottle (make sure it's safely secured and glued on).
3. Assemple the fan blades onto the motor by glueing it.
4. Add any extra details you like onto the fan.
Congrats! You've just asssembled the fan itself!
Making the App to Control the Fan.
.png)
.png)
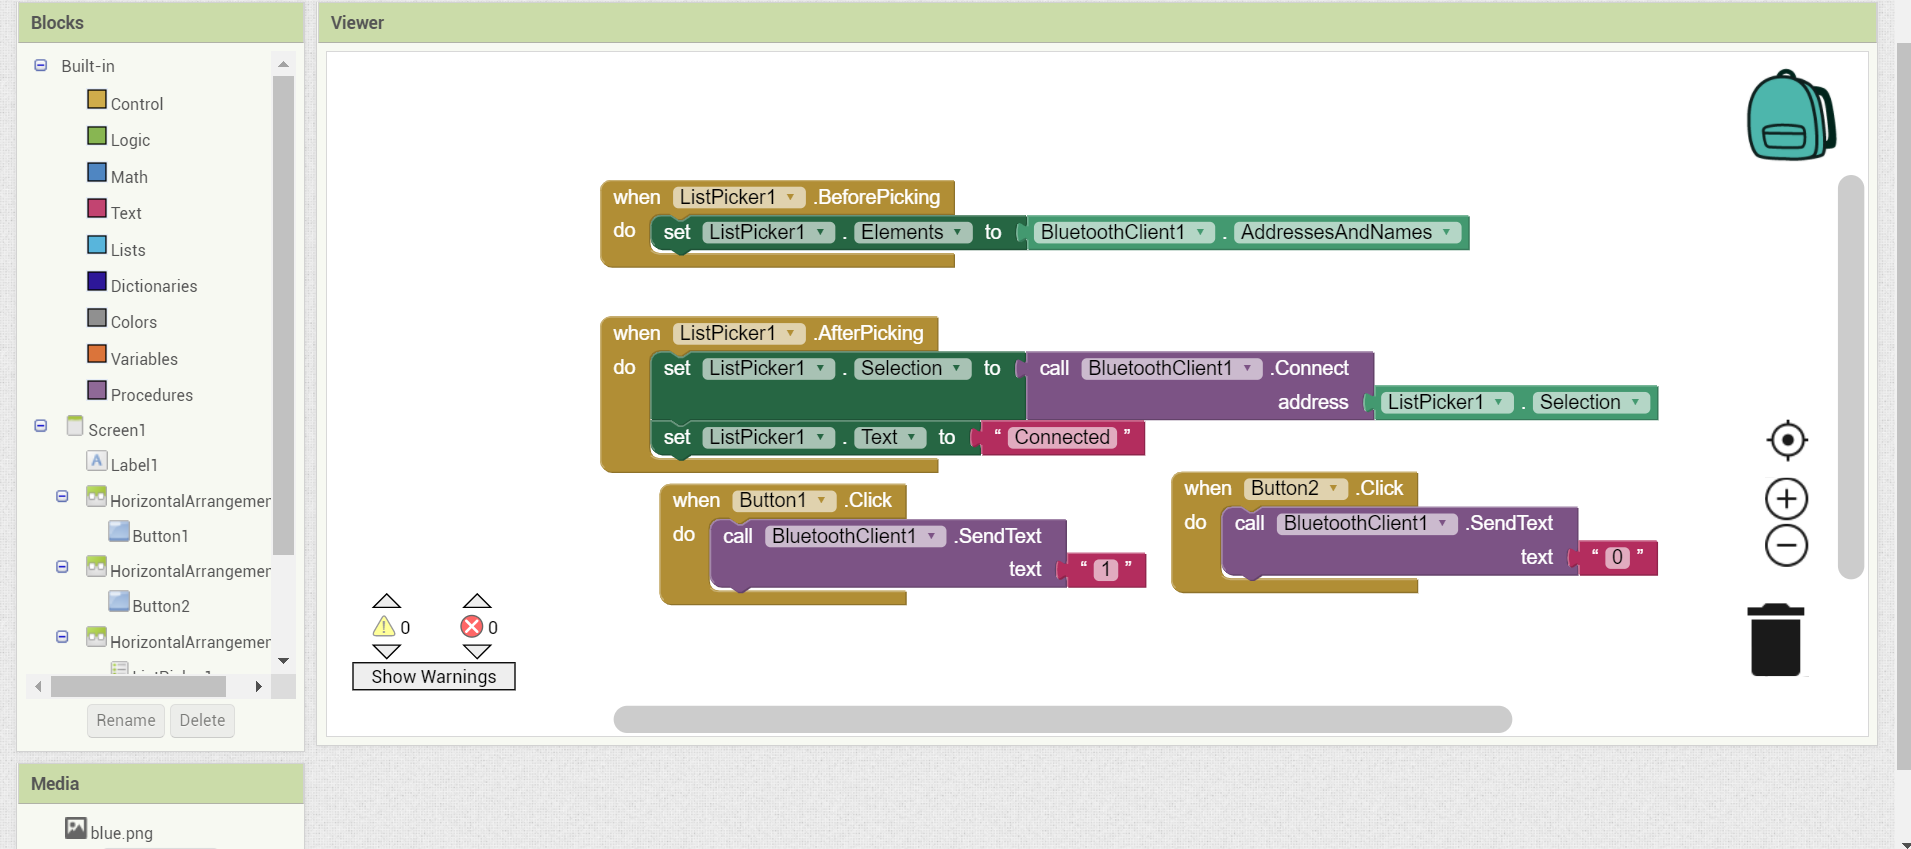
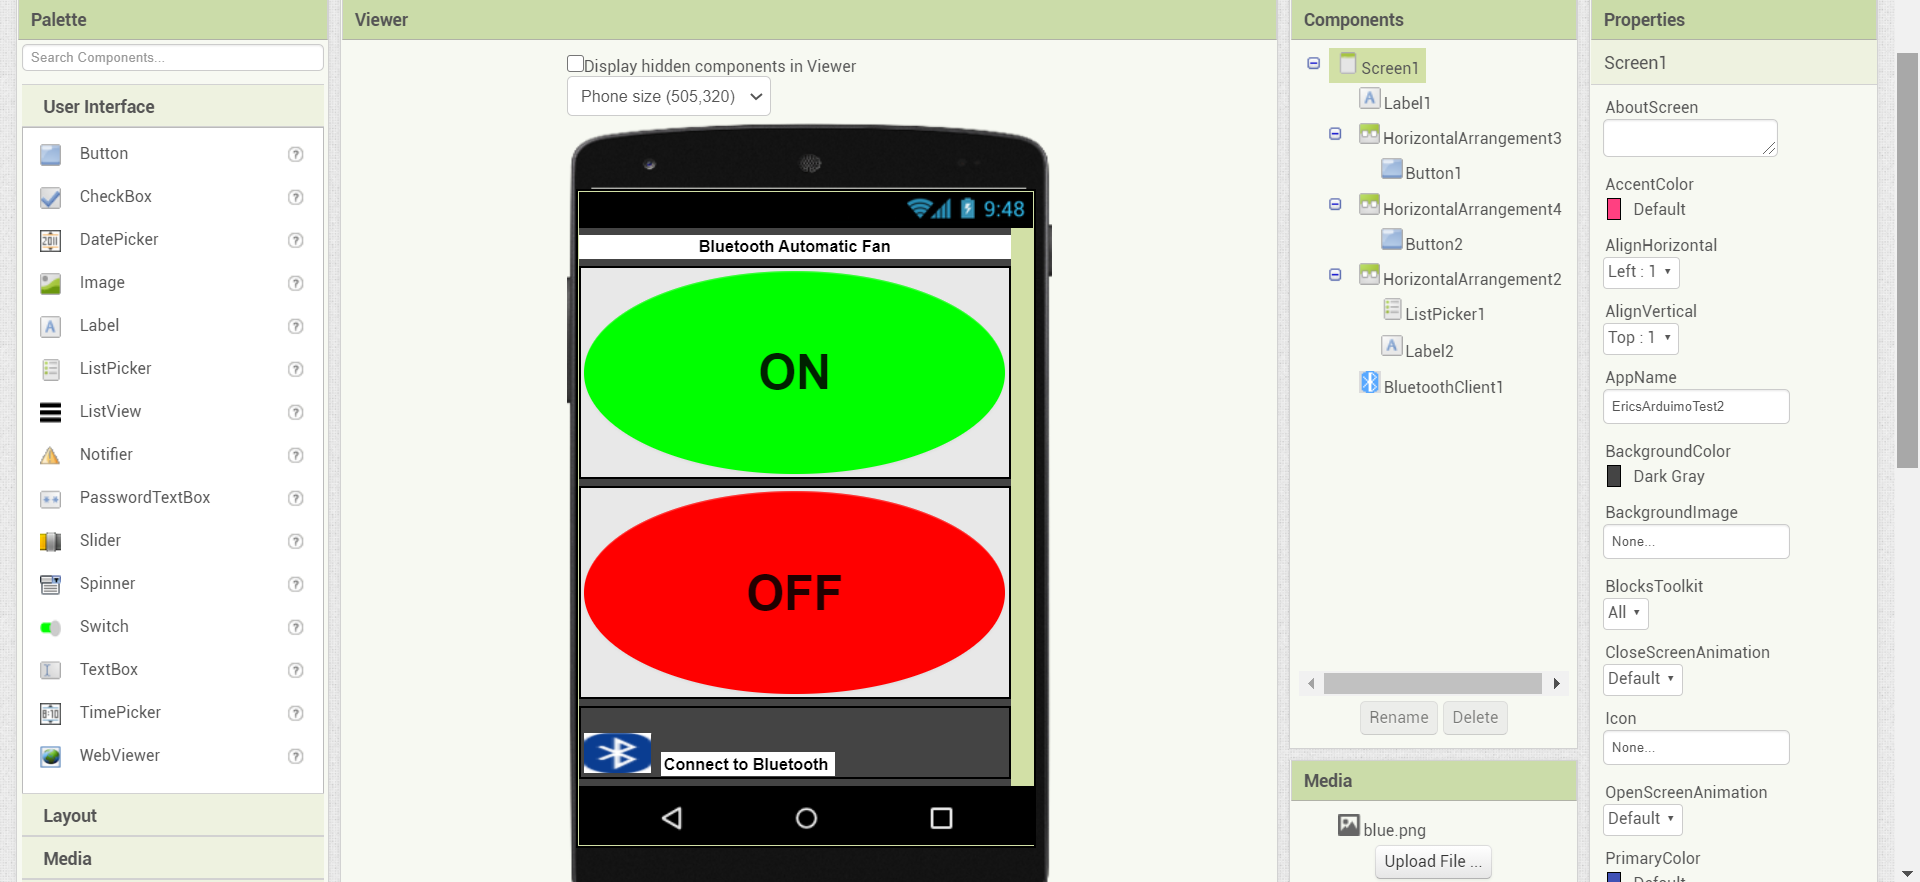
We’re going to be using MIT App Inventor to control the Bluetooth fan.
1. Go to https://appinventor.mit.edu/ and sign in.
2. Create a new app
3. Put in 2 buttons and label each of them "ON" or "OFF"
4. Put in bluetoothclient1
5. Go to designer at the right hand corner
6. Copy the building blocks as shown.
Downloading Your App
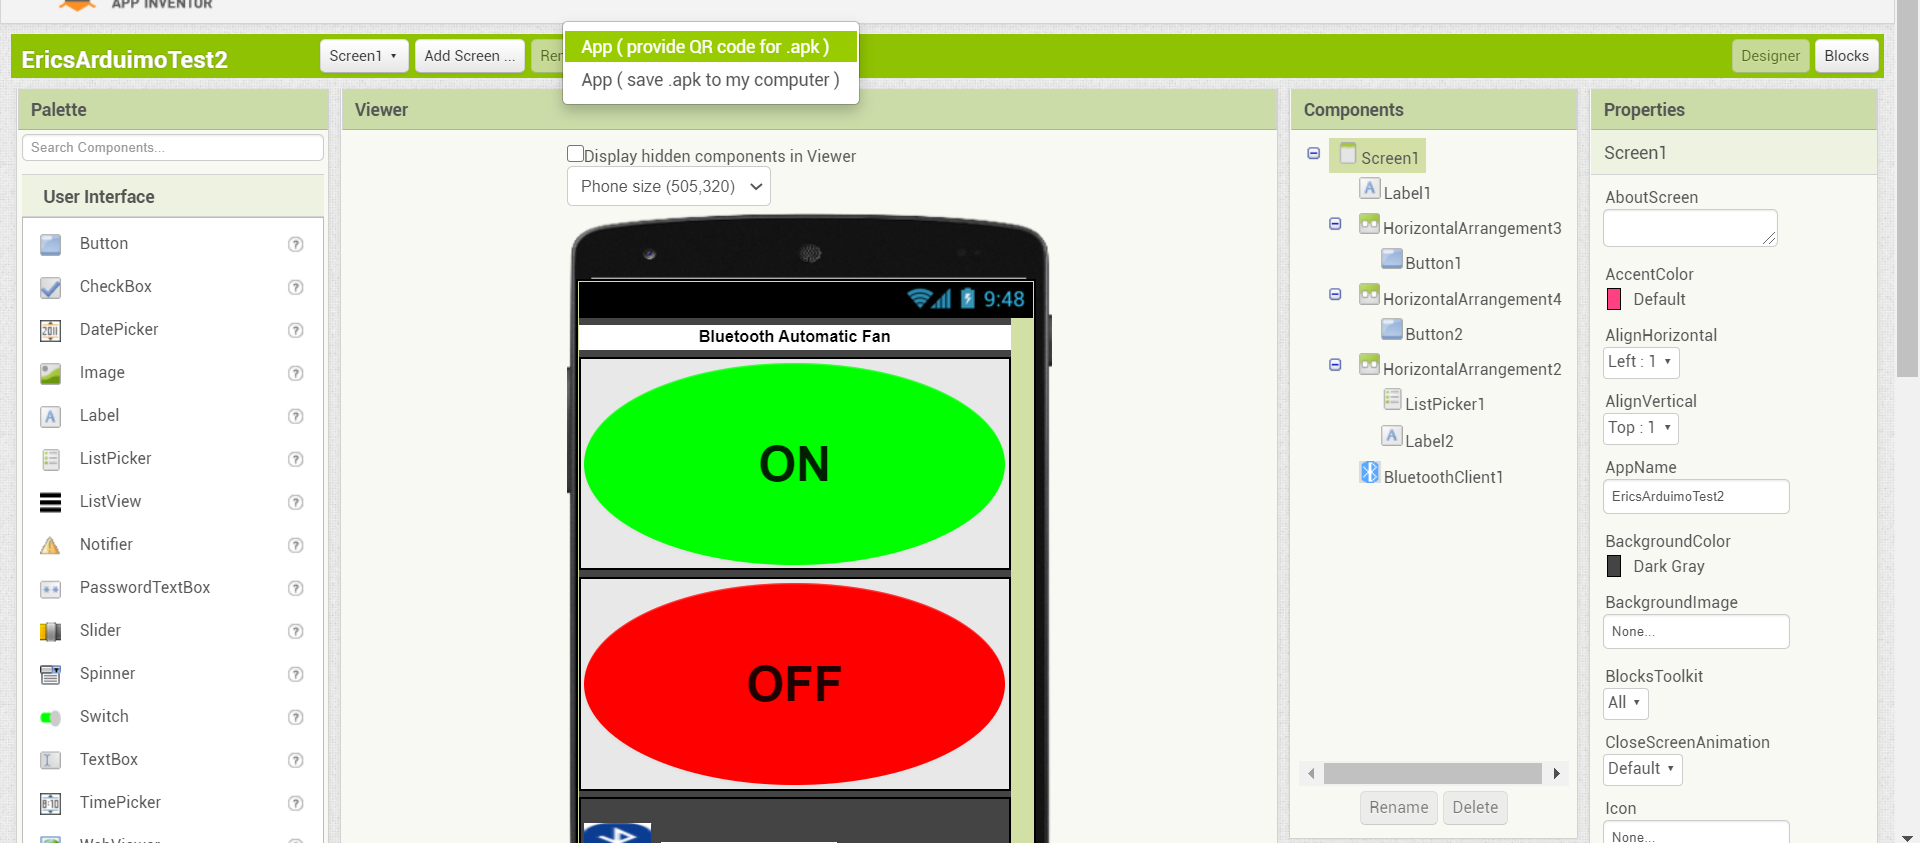.png)
Now we're ready to dowload your app on your Android device(note: it has to be an Android device, otherwise this won't work).
1. Go to "build" at top of your screen
2. Click on " App ( provide QR code for .apk ) "
3. Download the MIT APP INVENTOR app on your andoid device, located in the google play store (it's free to download so no need to charge).
Link to emulator: https://appinventor.mit.edu/explore/ai2/setup-emulator.html
4. Open up the app and press on " scan QR code "
5. hover your device over the barcode on your computer and download the .apk.
6. Open up your app and test it!
All Set! Test Out Your Fan!
1. Power up your fan using the 9v battery and an USB cable
2. Wait till the HC-05 module is blinking red
3. Open up your app, and connect to Bluetooth by clicking on the Bluetooth logo (make sure the Hc-05 module is connected to Bluetooth in your Android device).
4. Press "ON" to tur it on and "OFF" to turn it off.
5. CONGRATULATIONS!!! You've just built a Bluetooth fan!