DIY Amazon Alexa
The Amazon Alexa is a marvelous piece of technology. It has revolutionized how we interact with our environment using technology and how we receive information.
Getting into the IoT category is hard if you are trying to not buy something pre-built. There are many solutions that offer it in a simpler way but why not do it the nitty gritty way and do it yourself!
It is not as hard as you think to do something like this. There isn't even any soldering required!
Here is what you will need:
- A Raspberry Pi (Zero W preferably or 3 B - Either work)
- Micro SD card (At least 8GB)
- A micro USB cable (I had a micro USB adapter that would plug into the wall directly)
- A charging brick (If you do not have an all in one adapter)
- A USB microphone (You can pick up a PS Eye or use any other USB microphone)
- Speaker (3.5mm or bluetooth - 3.5 preferably)
- Internet connection
Setting Up the Pi
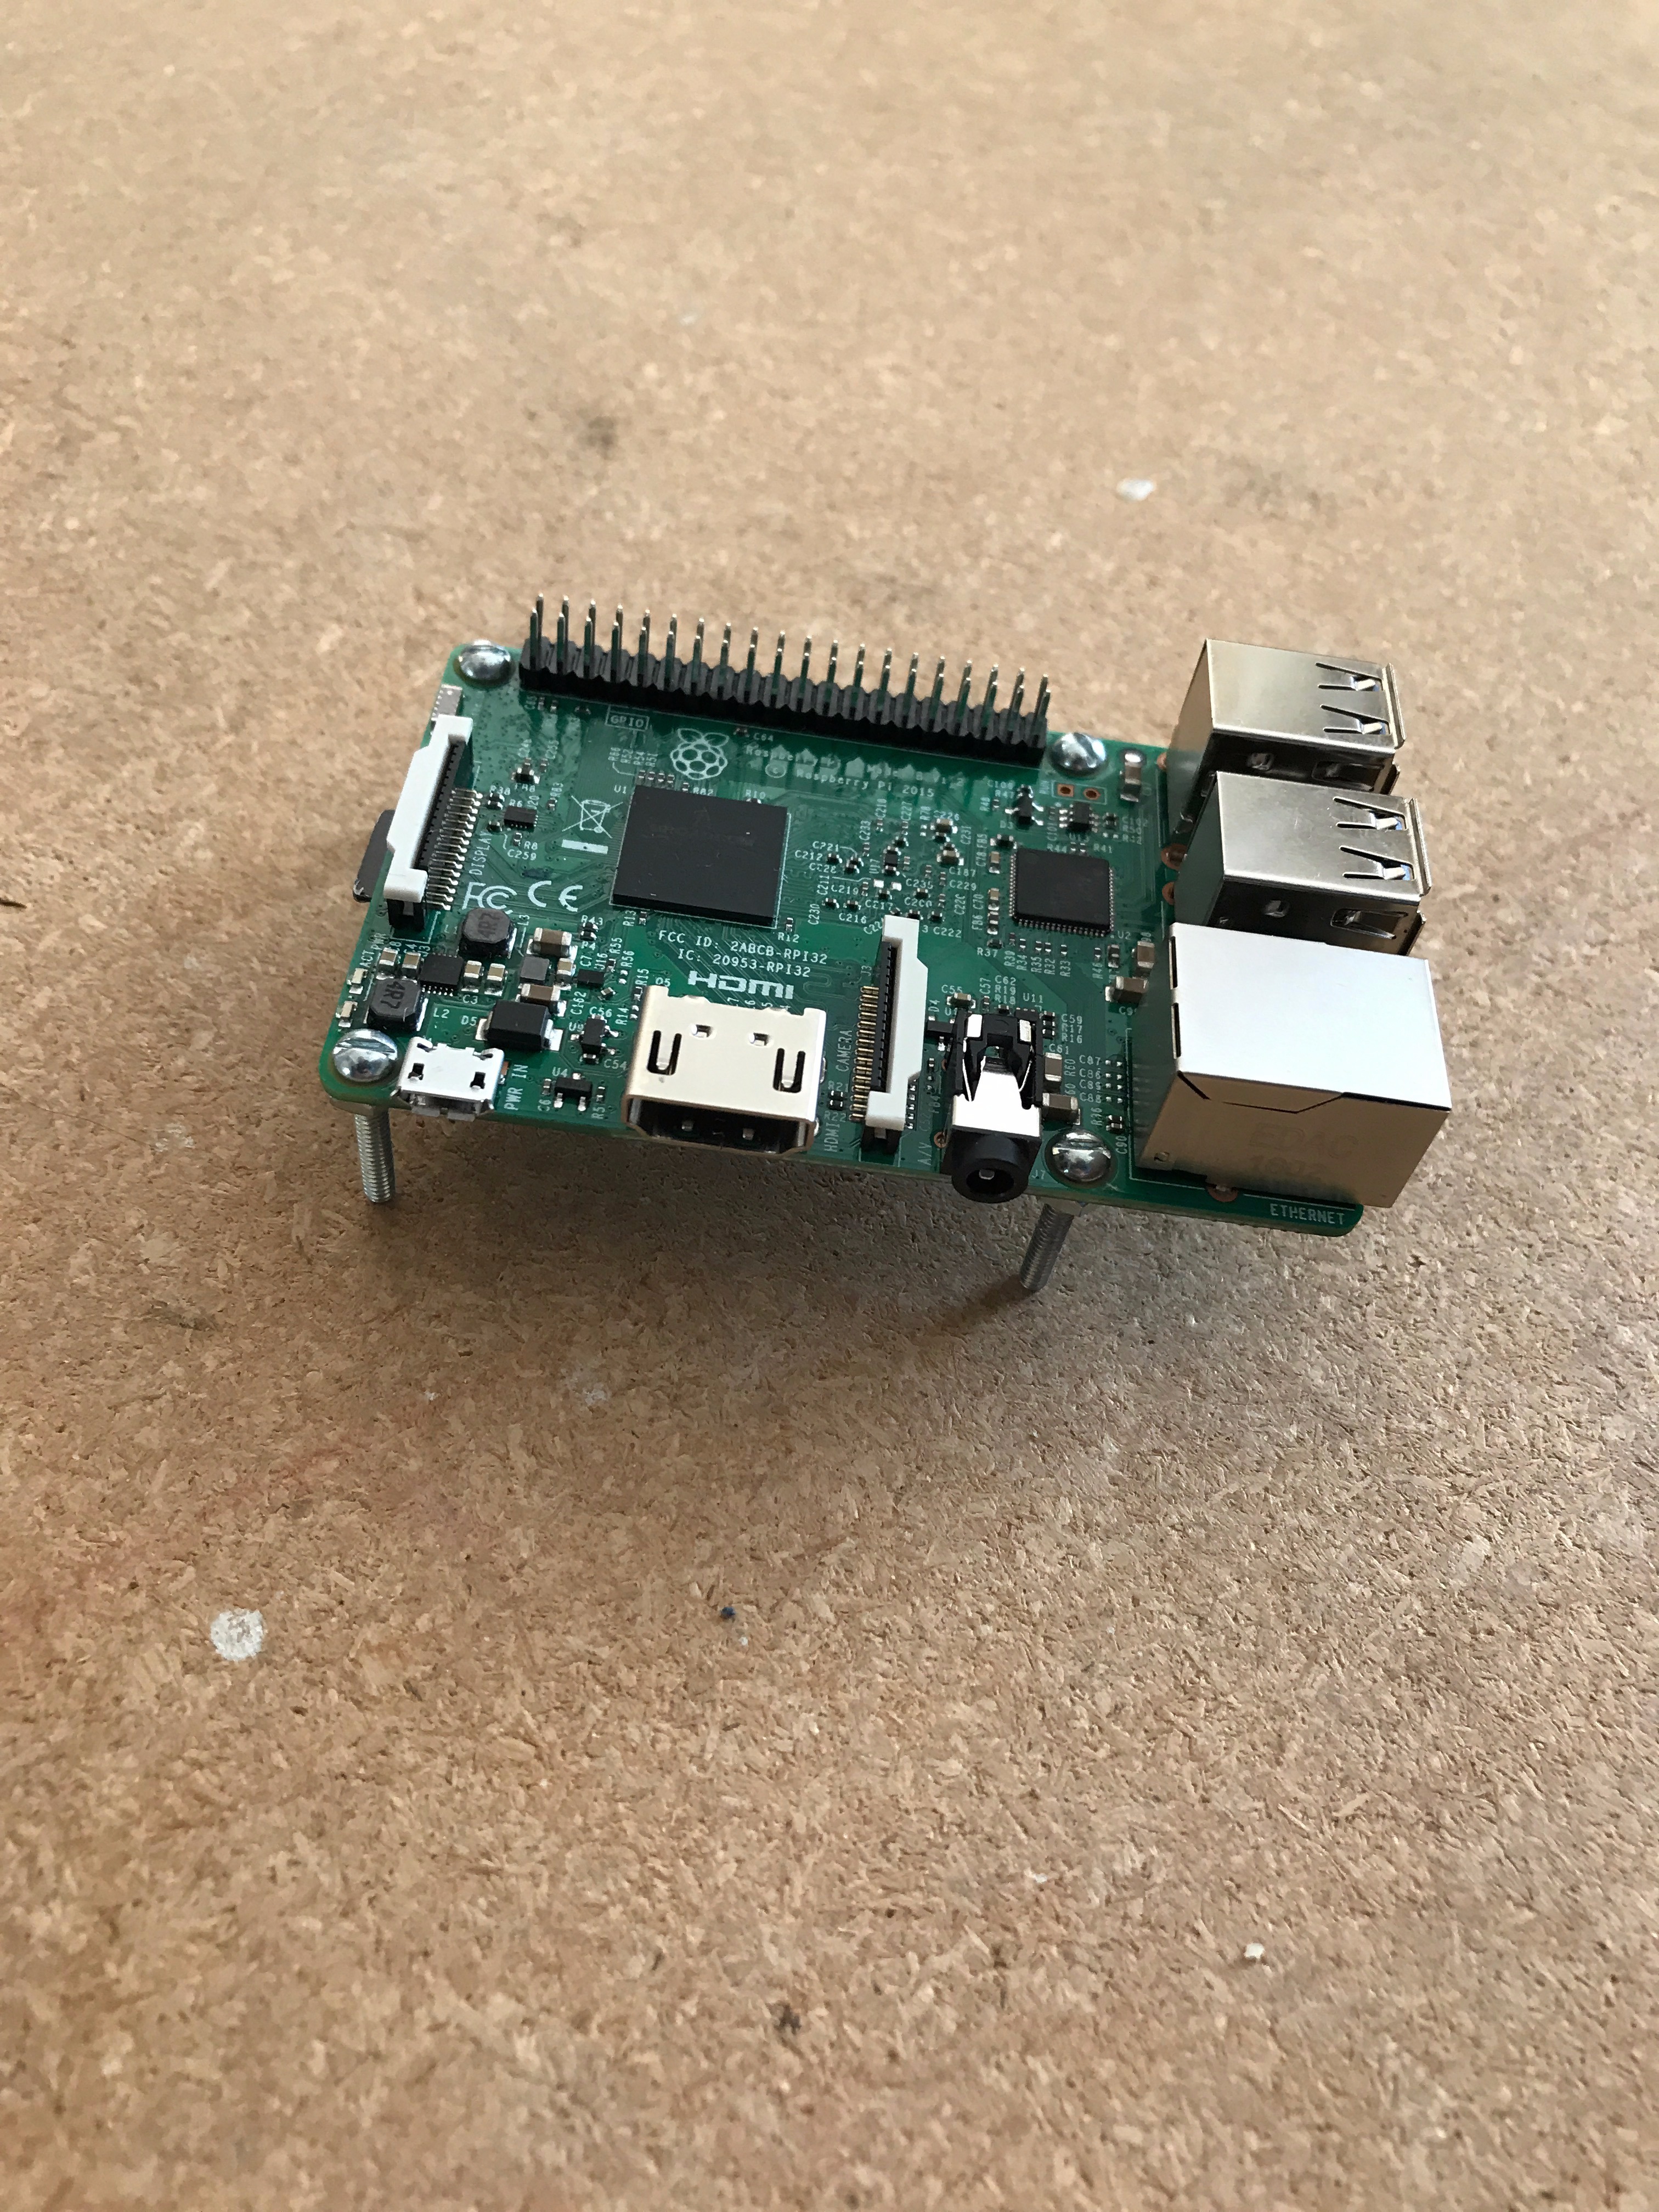
I used Raspbian for my Raspberry Pi. You can use NOOBS but I would say that Raspbian works better for this purpose.
Windows:
- Download Raspbian and insert your Micro SD card (adapter may be needed)
- Download Win32diskimager
- Open Win32diskimager
- Browse to Raspbian .img
- Write to disk MAKE SURE YOU SELECT THE RIGHT DISK
- Eject disk
MacOS:
- Download Raspian and insert your Micro SD card (adapter may be needed)
- Download Etcher
- Open Etcher
- Browse to Raspbian .img
- Write to disk MAKE SURE YOU SELECT THE RIGHT DISK
- Eject disk
If you are planning on using SSH instead of a display with keyboard and mouse follow these steps below:
- Insert the Micro SD card again (adapter may be needed)
- Open the SD card files
- Create a BLANK file (you can copy and paste config.txt, rename, and remove all contents)
- Name it SSH
- Eject disk
Next:
- Put Micro SD in the Pi
- Connect ethernet to Pi
- Connect power to Pi
Give the Pi a couple of seconds to boot up then open terminal.
If you are using SSH:
- Download Fing or some other network IP scanner
- Scan your network (same one Pi is connected to)
- Find IP of "raspberry pi"
- Ex: 192.168.x.x
- If on Mac: Open terminal; type "ssh pi@192.168.x.x(The IP you JUST got from fing)"; password is "raspberry"
- If on Windows: Download Putty; type "pi@192.168.x.x(The IP you JUST got from fing)"; password is "raspberry"
- You should be in!
Getting Your Amazon Account Ready.
- Login at https://developer.amazon.com and go to ALEXA, then Alexa Voice Service.
- Register a Product Type > Device.
- You are at Device Type Info left tab.
- For the Device Type ID and Display Name use something like AlexaPi or whatever you want.
- You are at Security Profile left tab.
- From the drop-down menu choose Create a new profile.
- Choose whatever for Security Profile Name and Security Profile Description.
- Hit Next.Under Web Settings horizontal tab hit Edit and:
- Allowed Origins put
- http://localhost:5050 and http://ALEXA.DEVICE.IP.ADDRESS:5050
- replace ALEXA.DEVICE.IP.ADDRESS with the IP that you got from fing. This is especially necessary when you are installing from another computer than your Pi is going to run on.
- Allowed Return URLs put
- http://localhost:5050/code and http://ALEXA.DEVICE.IP.ADDRESS:5050/code
- replace ALEXA.DEVICE.IP.ADDRESS with the IP that you got from fing. This is especially necessary when you are installing from another computer than your Pi is going to run on.
- Fill in the rest (if there is anything to fill out)
Installing AlexaPi
Enter sudo by entering:
sudo su
Navigate to /opt:
cd /opt
Update and install git:
apt-get update && apt-get upgrade
apt-get -y install git nano
Clone the AlexaPi repo:
git clone <a href="https://github.com/alexa-pi/AlexaPi.git" rel="nofollow"> https://github.com/alexa-pi/AlexaPi.git</a><br>
Start the setup script:
sudo ./AlexaPi/src/scripts/setup.sh
Follow the instructions and copy and paste information from Amazon's Developer site
Post-installation
To run AlexaPi reboot or run:
sudo systemctl start AlexaPi.service
Check status of AlexaPi:
<p>sudo systemctl status AlexaPi.service</p>
Now you want to create the AlexaPi user:
<p>chown -R alexapi:alexapi /var/lib/AlexaPi/<br>usermod --home /var/lib/AlexaPi alexapi</p>
Next:
<p>sudo adduser pulse audio</p><p>sudo adduser pi pulse-access</p><p></p><p>sudo adduser alexapi pulse-access</p>
Now you need to edit a file, open:
<p>sudo nano /etc/systemd/system/pulseaudio.service</p>
In the new blank file write:
<p>[Unit]<br>Description=PulseAudio Daemon</p><p>[Install]
WantedBy=multi-user.target</p><p>[Service]
Type=simple
PrivateTmp=true
ExecStart=/usr/bin/pulseaudio --system --realtime --disallow-exit --no-cpu-limit</p>
Save by entering "[ctrl] + x & y & [enter]"
Now run the following command to ensure that pulse runs:
<p>sudo systemctl enable pulseaudio.service</p>
Lastly we need to edit the config file for AlexaPi:
nano /etc/opt/AlexaPi/config.yaml
In the sound section change the following values:
<p>input_device: "pulse"<br>output: "pulse"
output_device: ""</p>
I would recommend installing VLC:
<p>apt-get -y install vlc</p>
and finally:
reboot
The Working Alexa
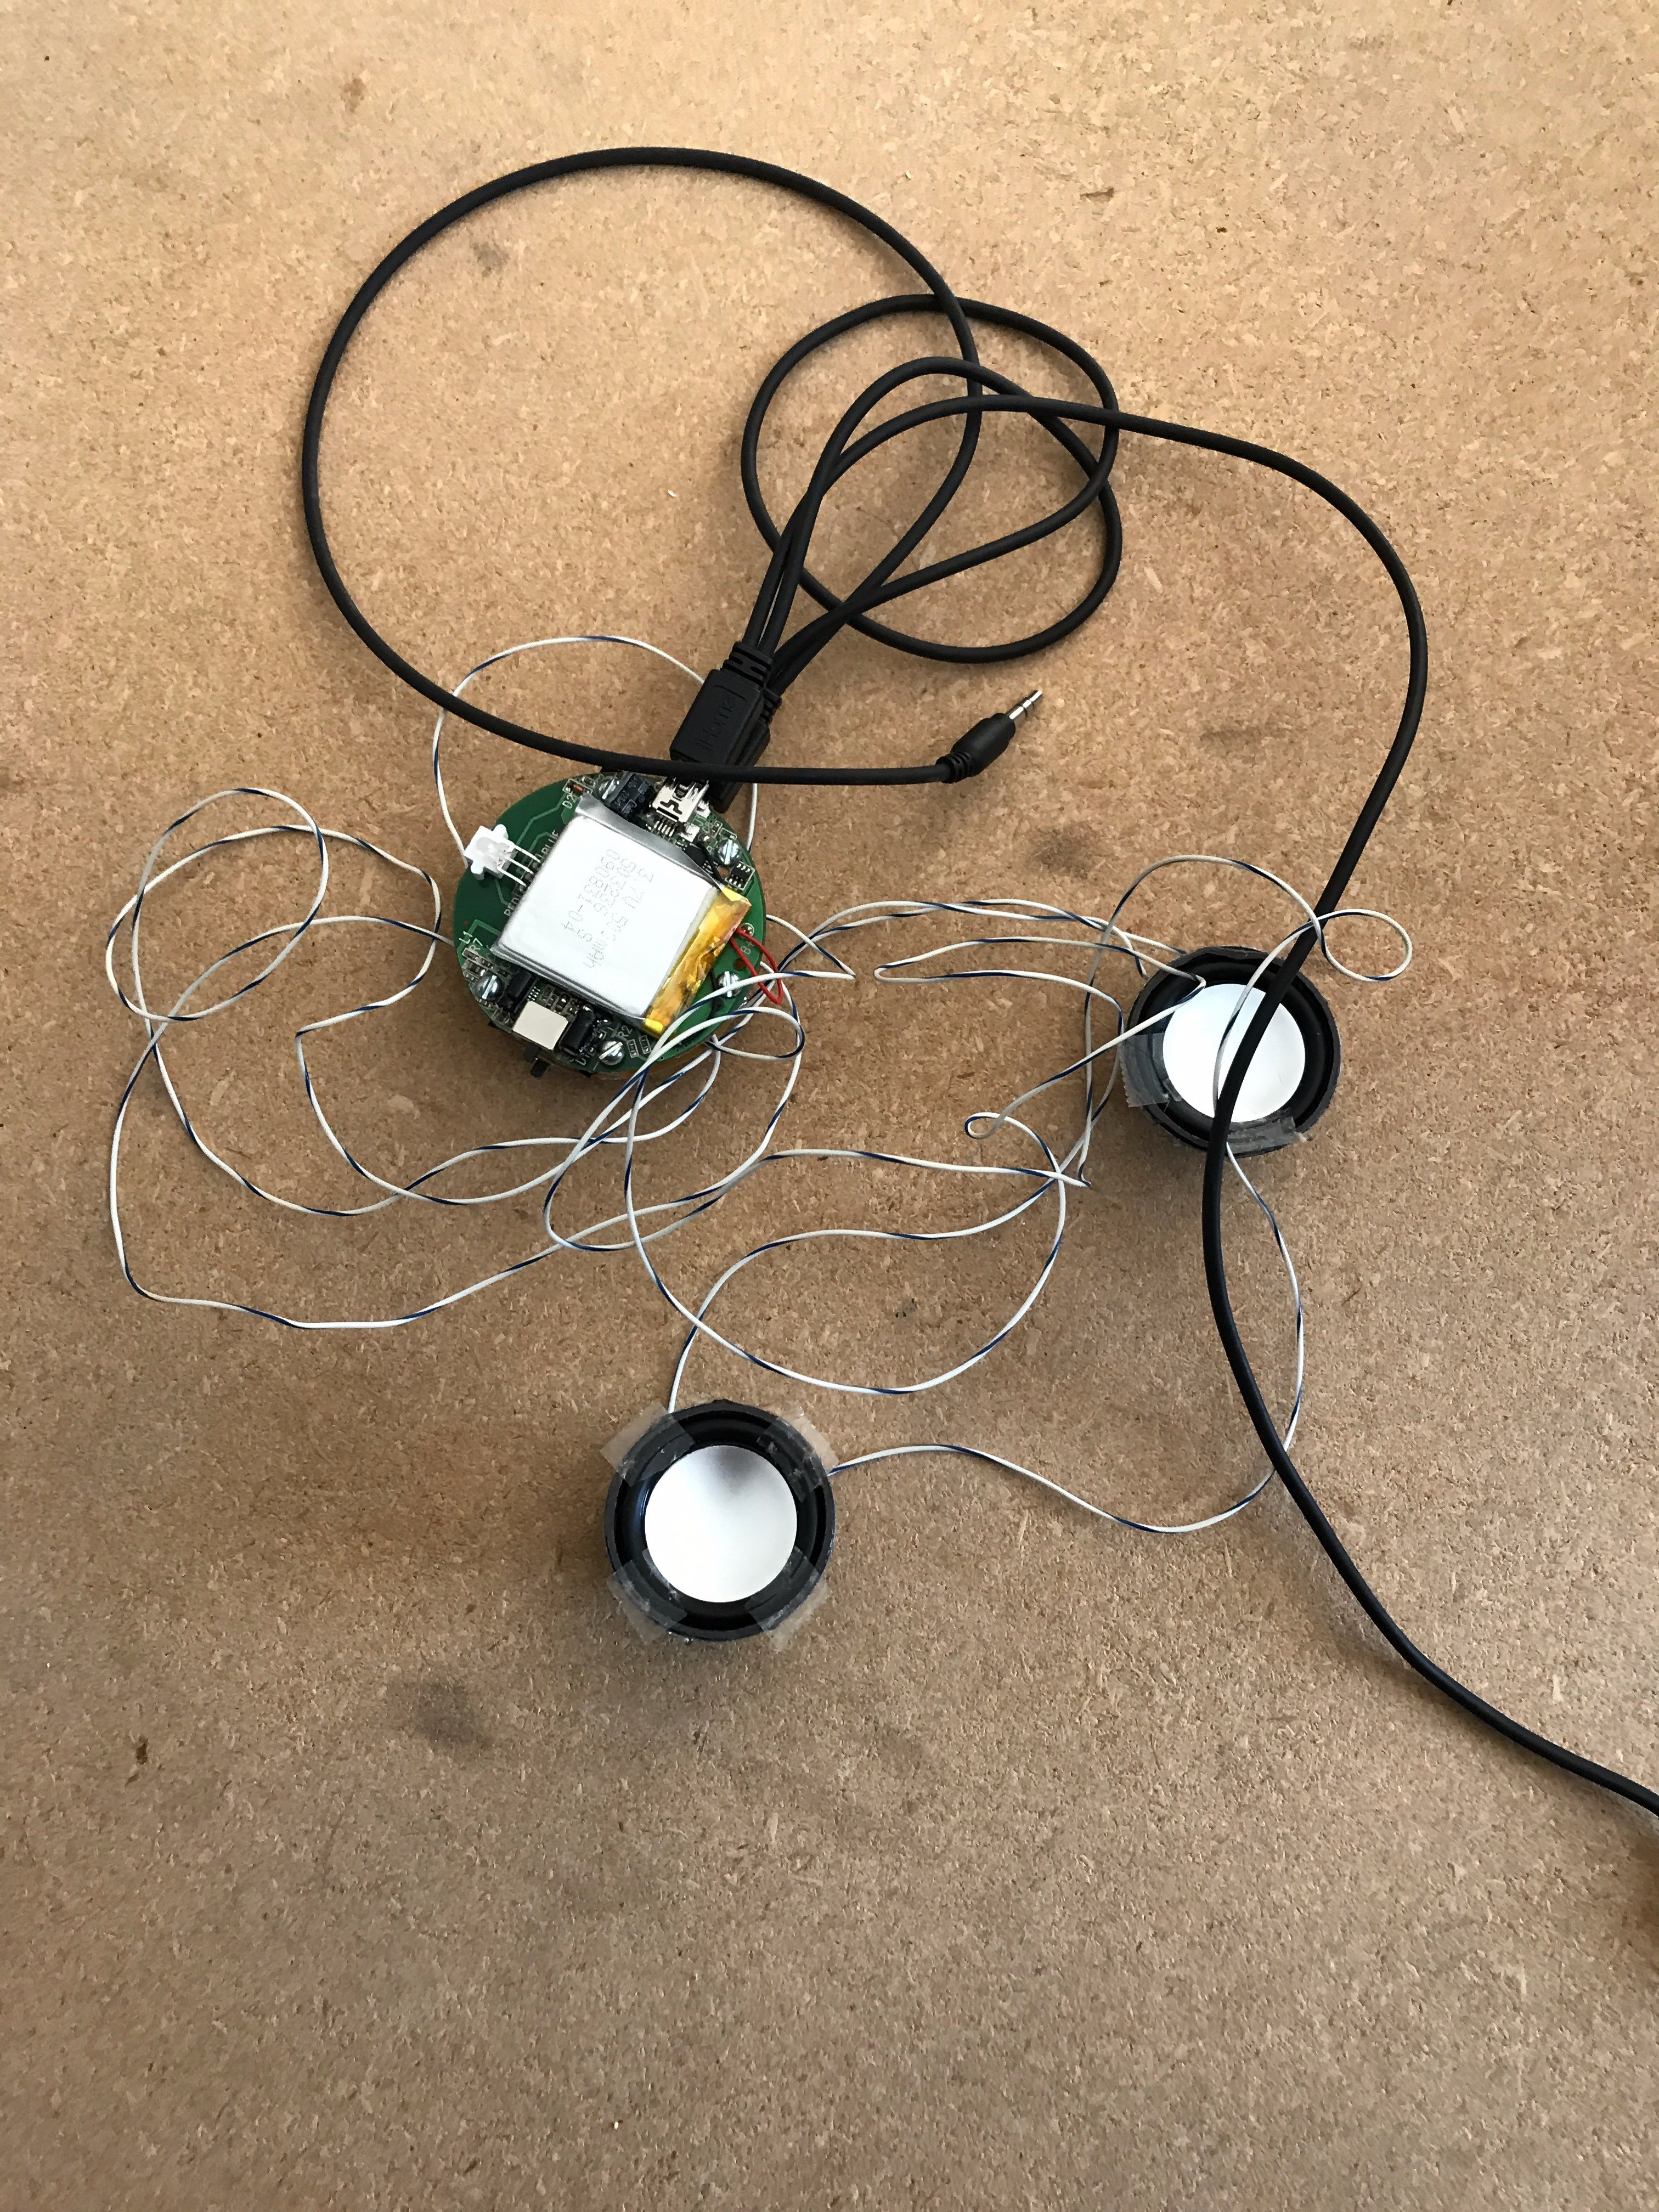
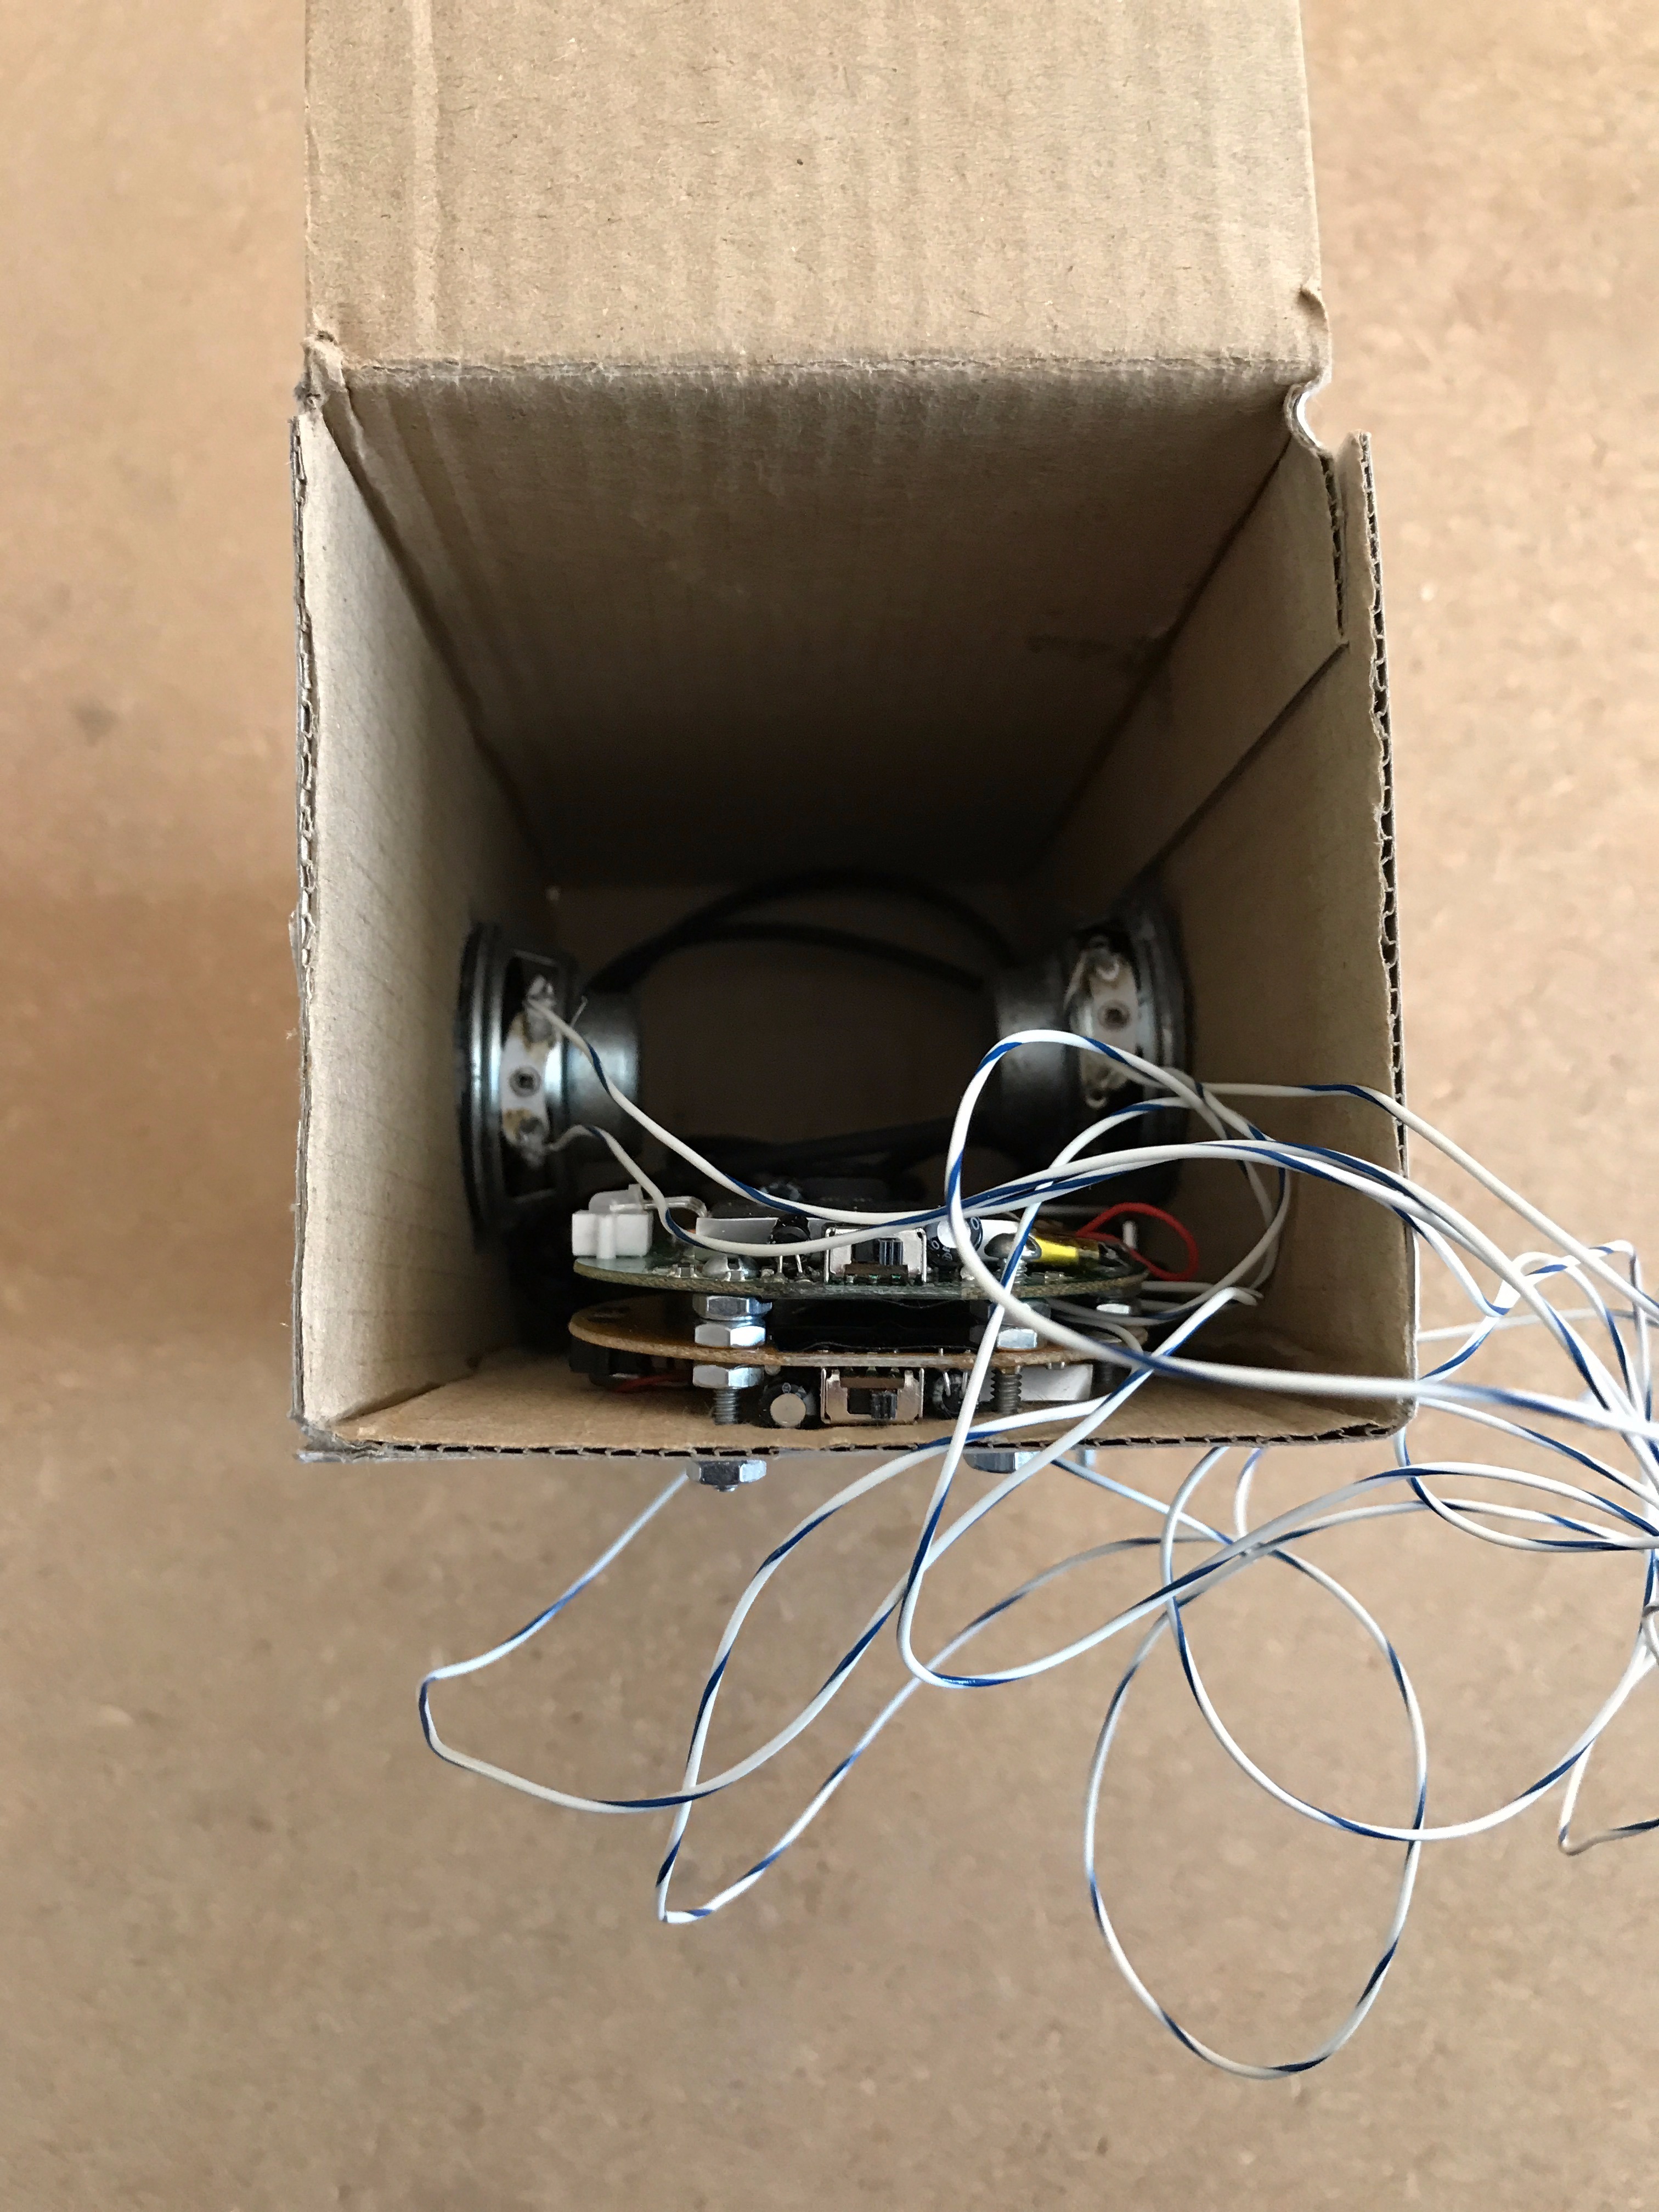
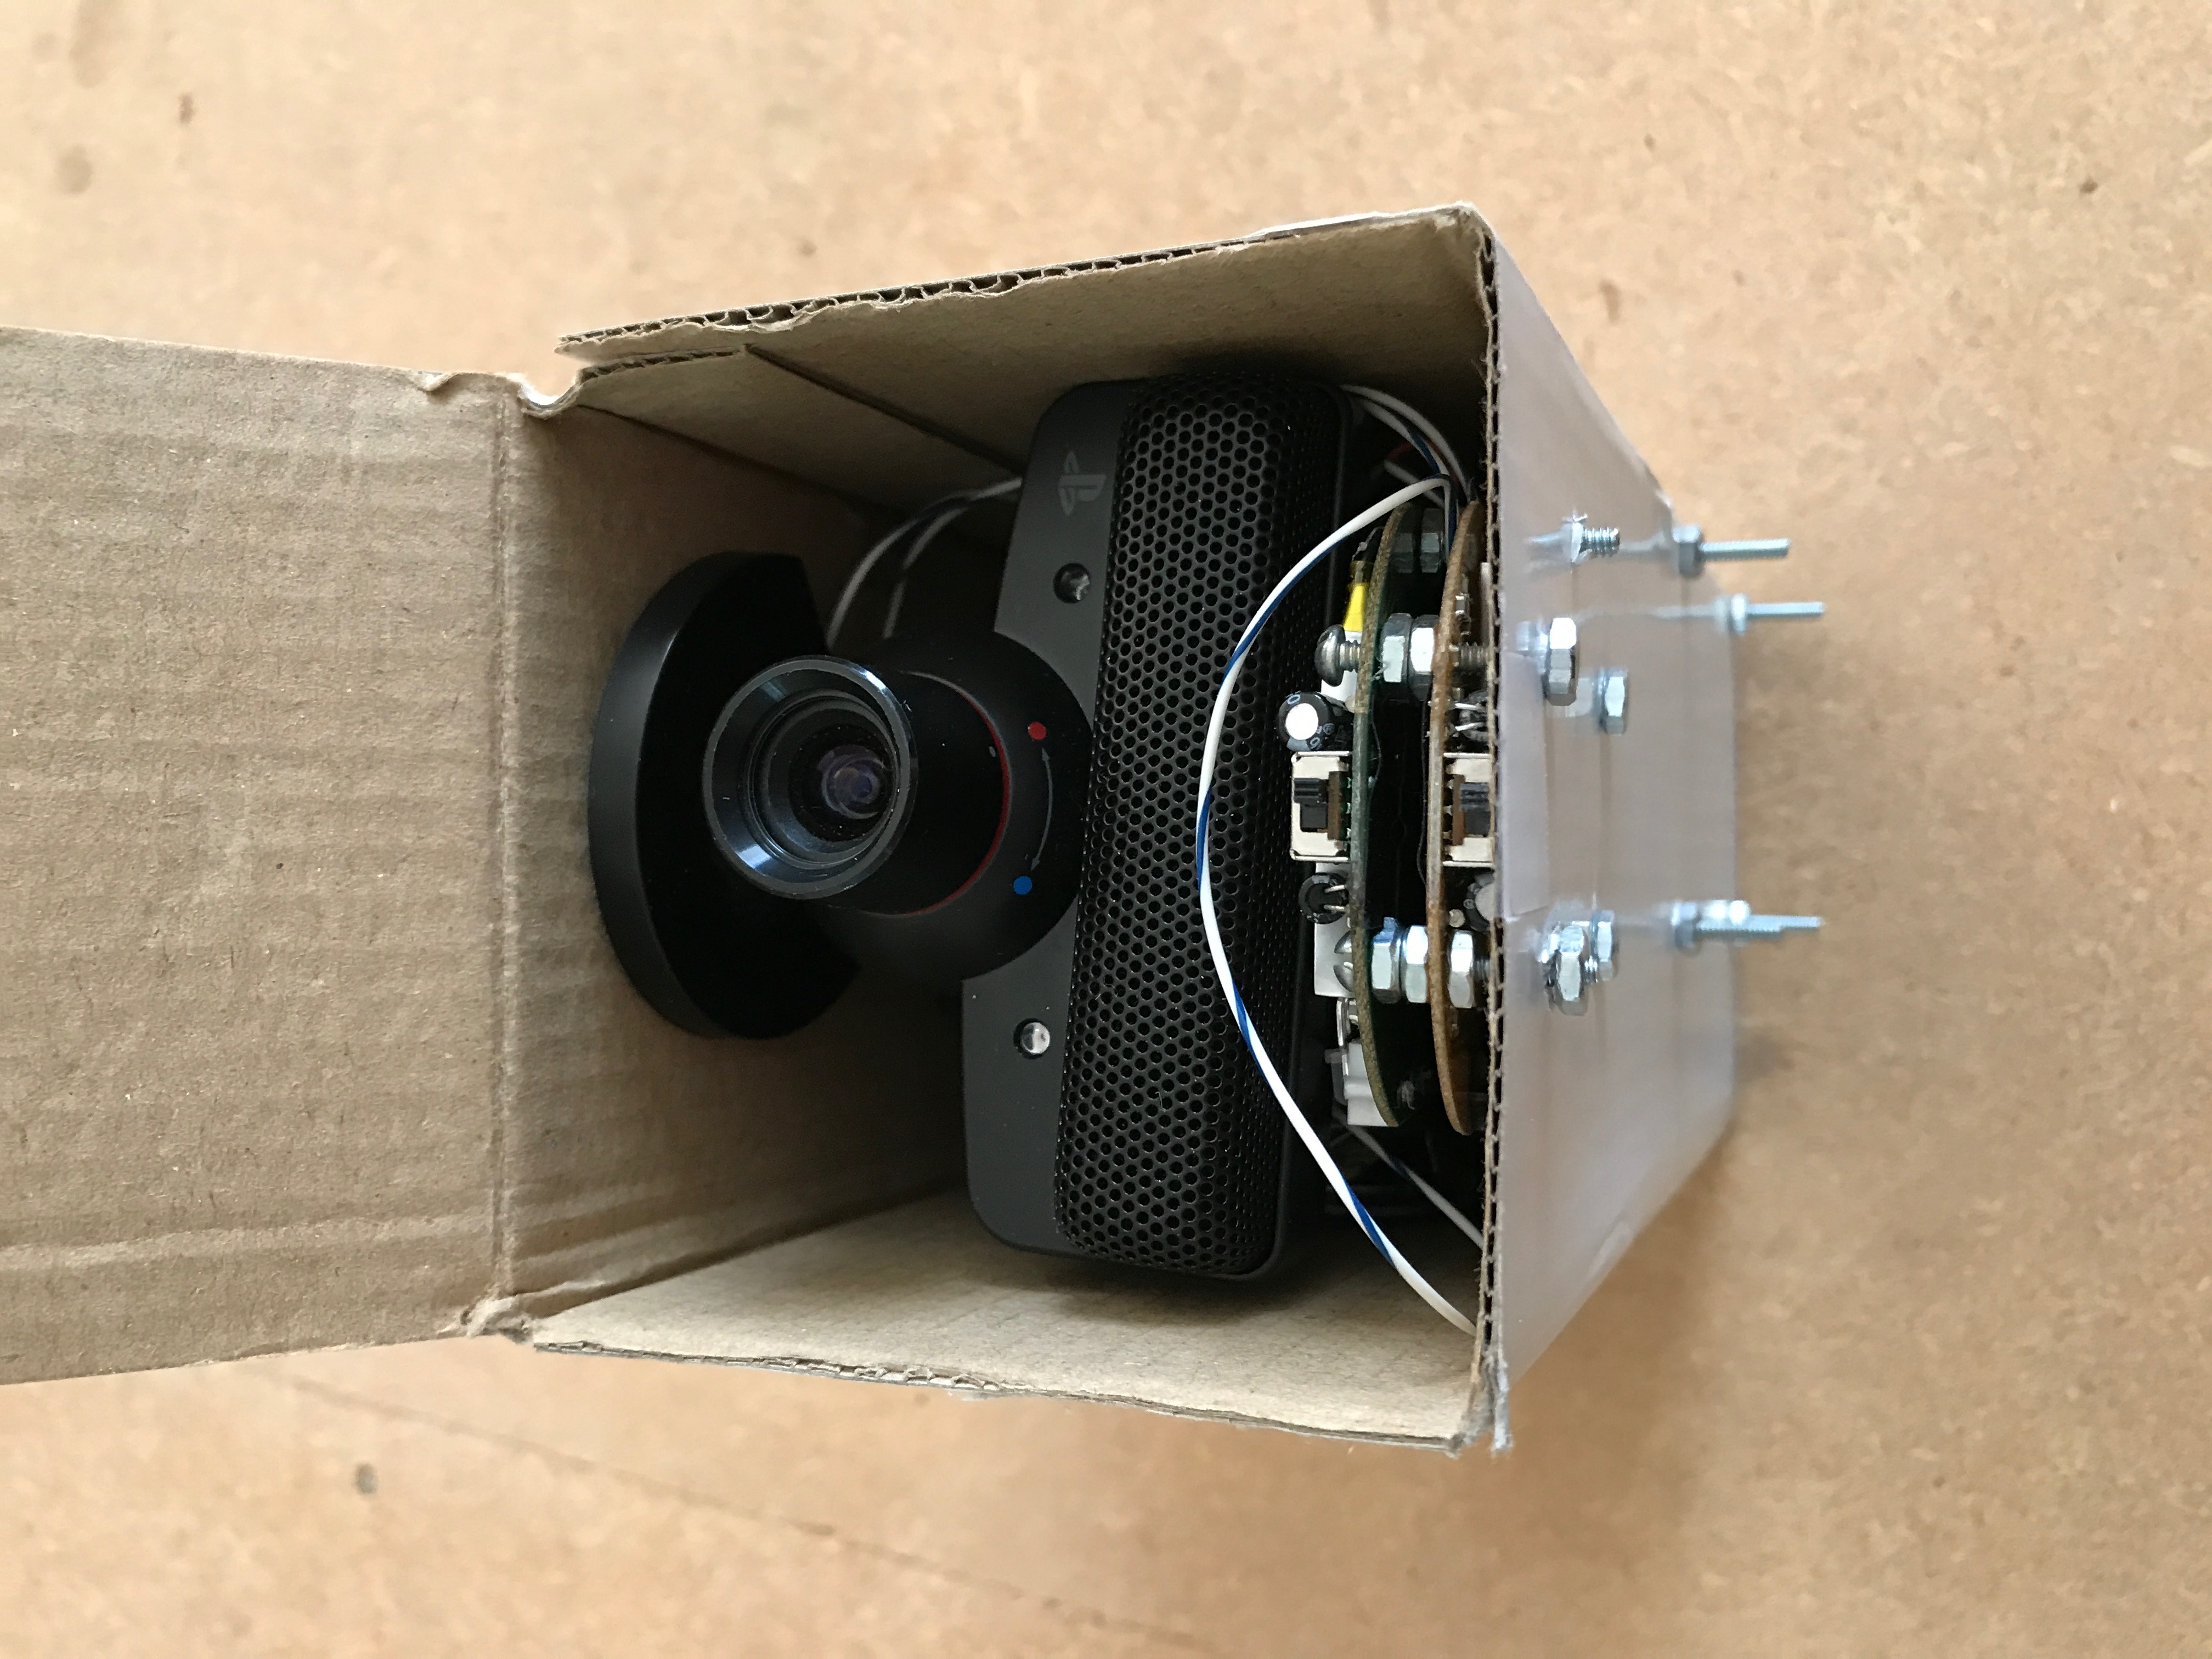
By now, the Alexa should have rebooted and said "Hello".
Now you say, "Alexa", it will respond with "Yes" and you are good to go!
Additional Step: Wifi
Use this tutorial offered by the documentation of the Raspberry Pi. Then reboot!