DIY ARGB ARC REACTOR
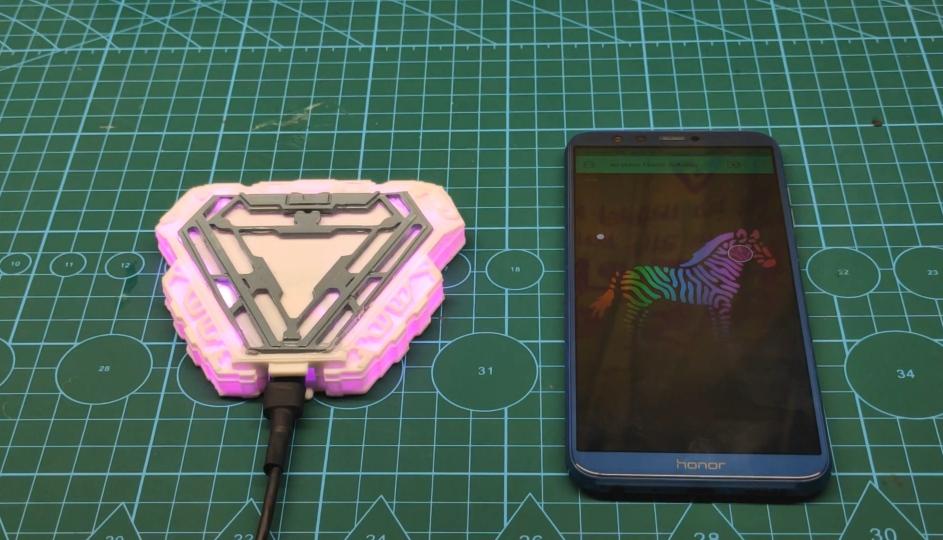
Hii Friends Today I'll Show You How To Make Simple DIY Arc Reactor Using WemosD1
SO LET'S Make It🔥
Please Subscribe My Channel For More
Supplies
Hardware:
WemosD1
Ws2812b RGB Led Strip
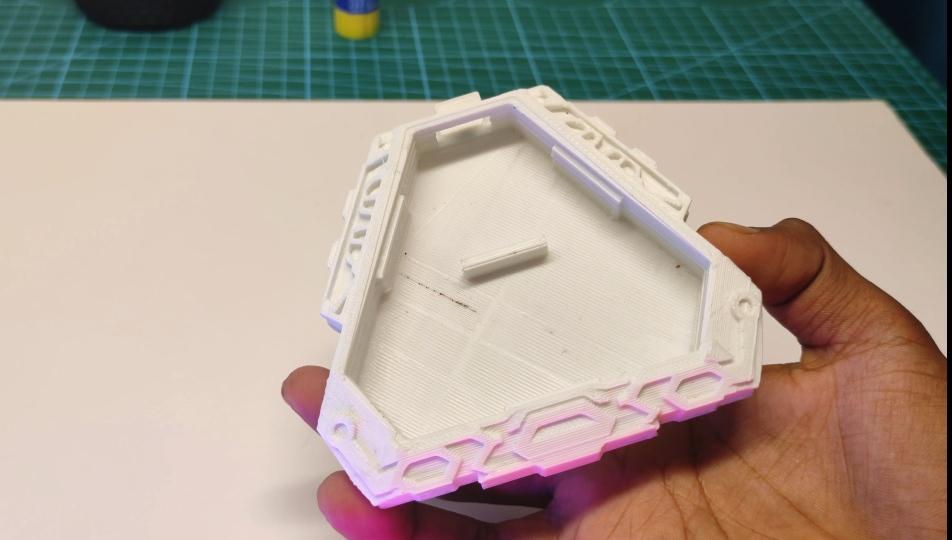
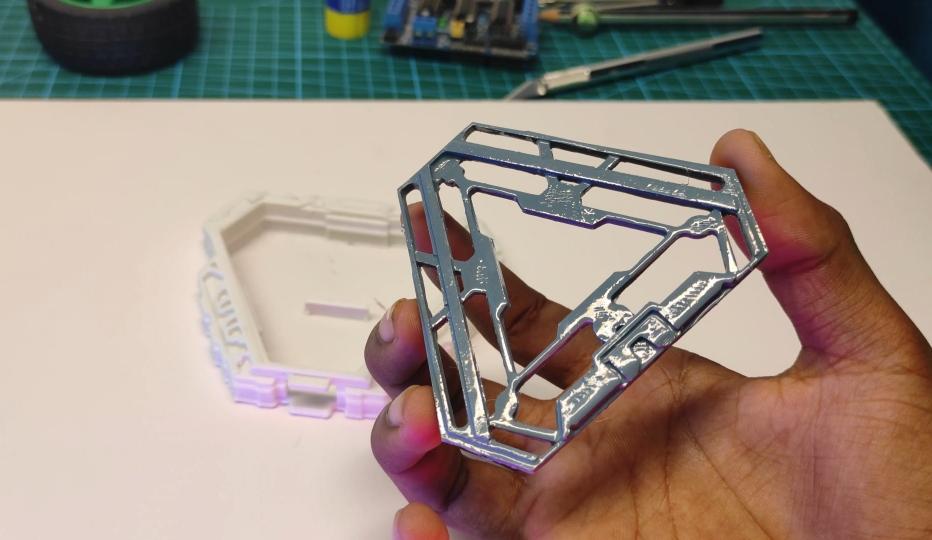
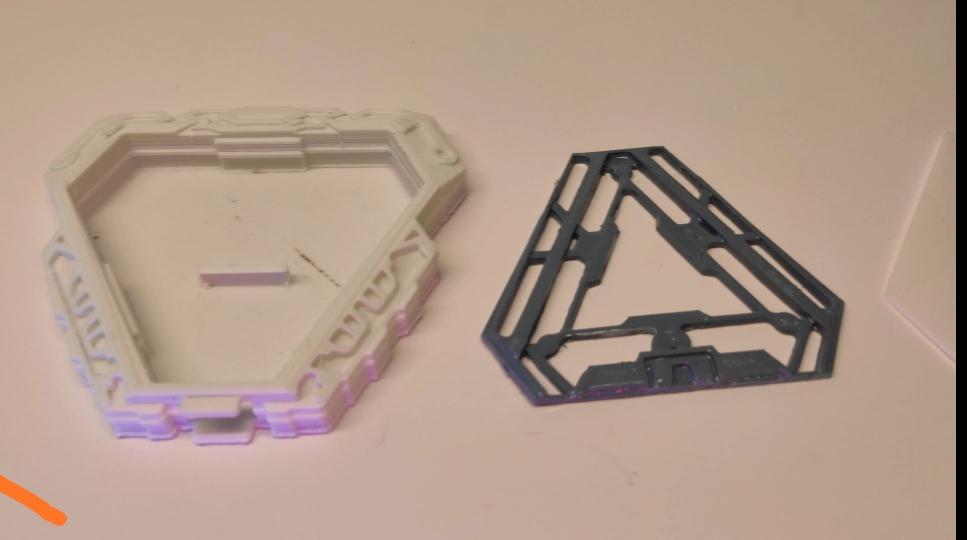
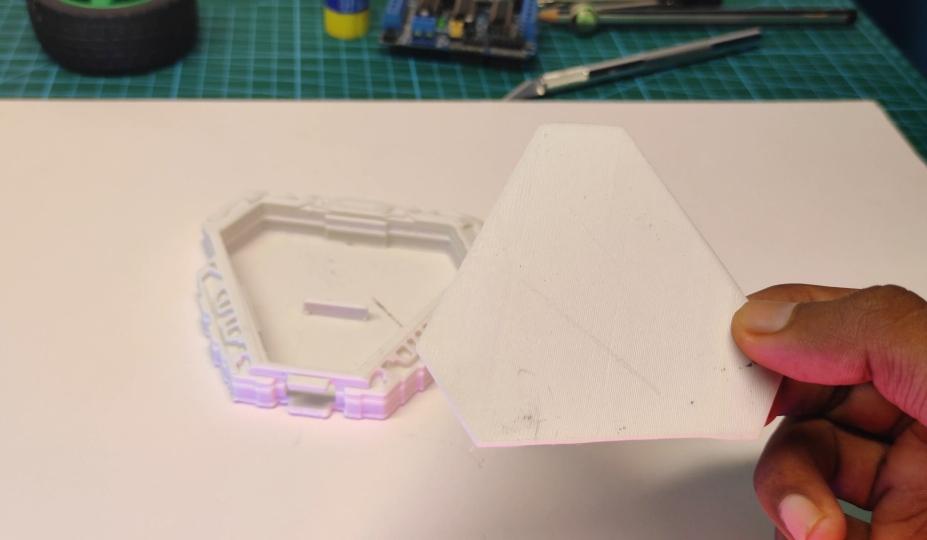
3D printed Box
Some Wires
5V Adapter
: Buying these from local shops would be a better
Software
:- Arduino IDE
Blynk
Step 1: WS2812B LED (Neopixe L) Strips Are Individually Addressable LED Strips
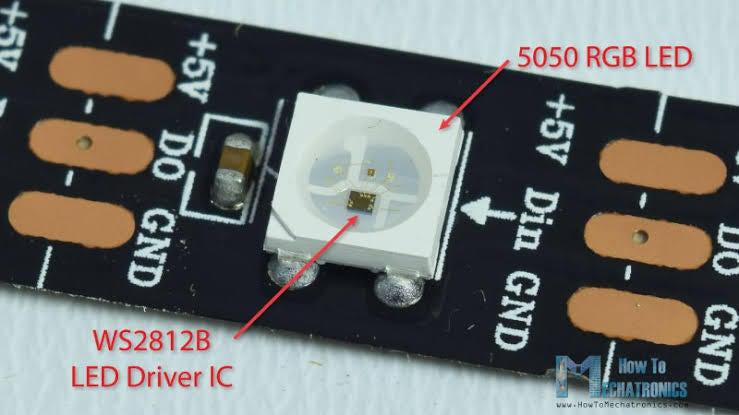
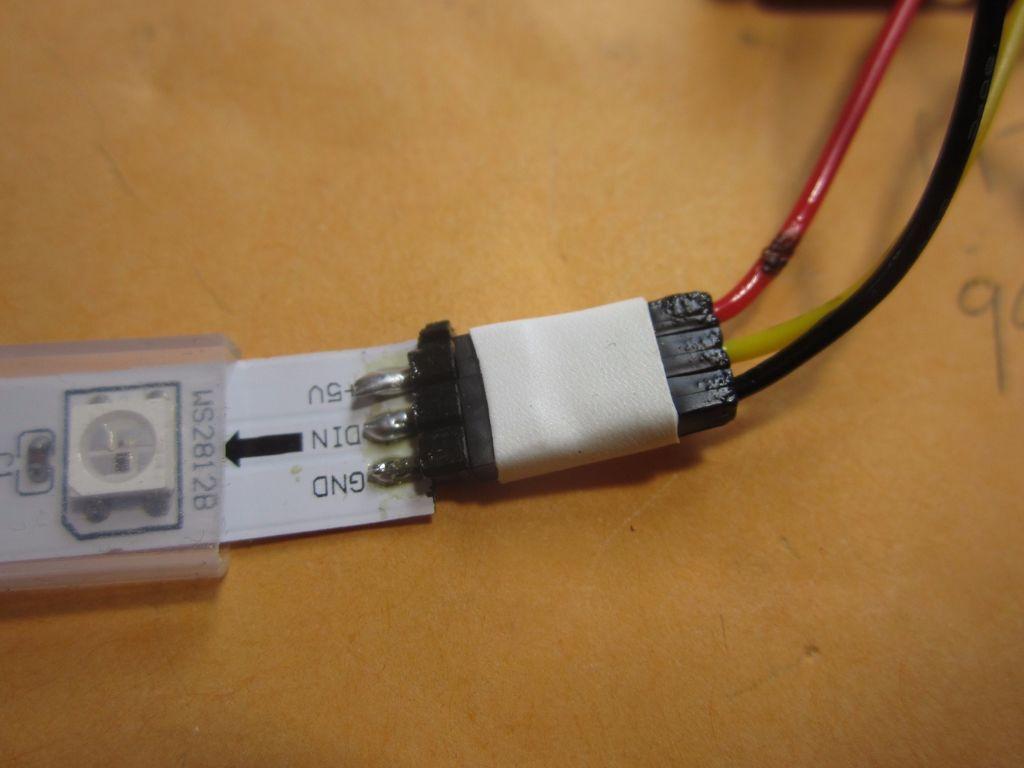
WS2812B LED (Neopixel) Strips are individually addressable LED strips. These are awesome tools. The ability to program each LED individually using only one data line is amazing. The pad on the strips allow you to solder directly to this semi-flexible PCB, but I find that a little cumbersome. Here's how I make modular hookups for these types of strips or the older 4-pin style of addressable strips.
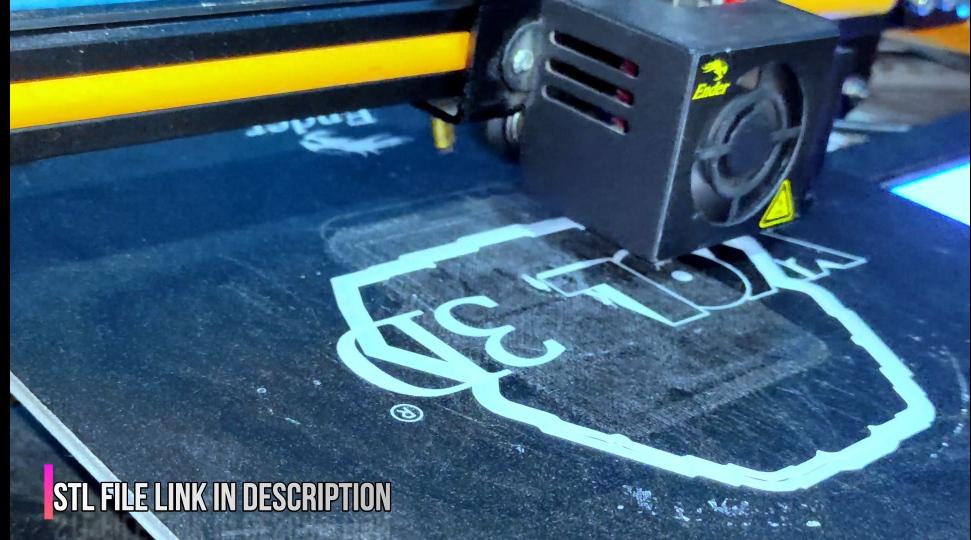
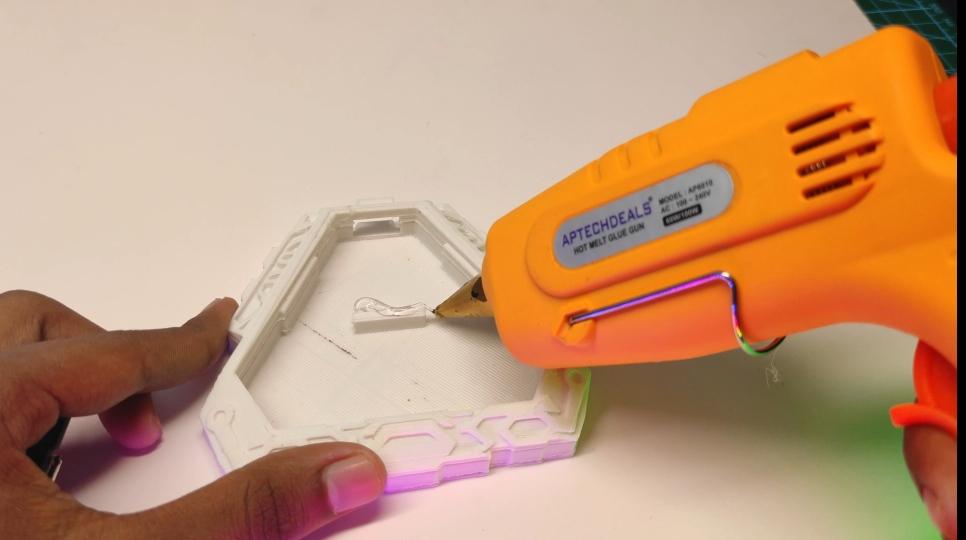
Print Your Arc Reactor With 3D Printer
Put the Wemos D1 in Arc Reactor
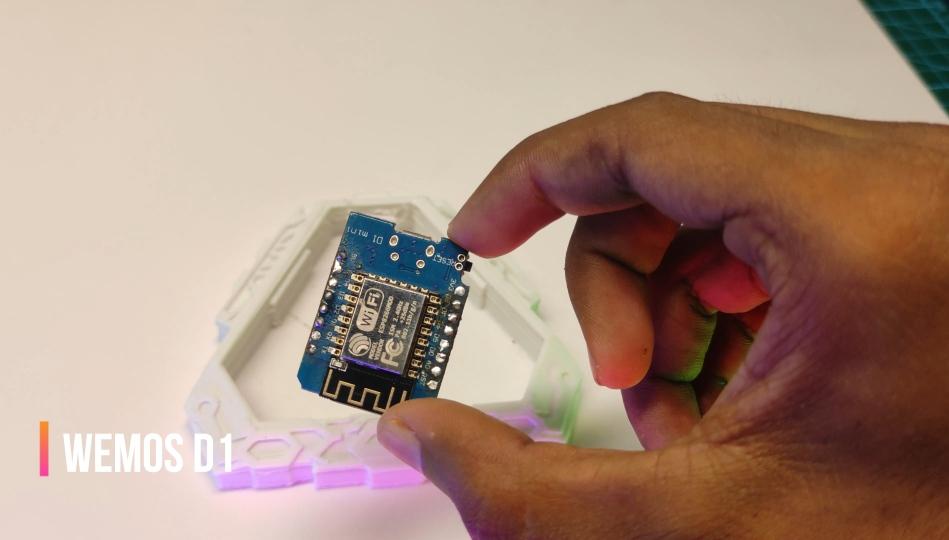
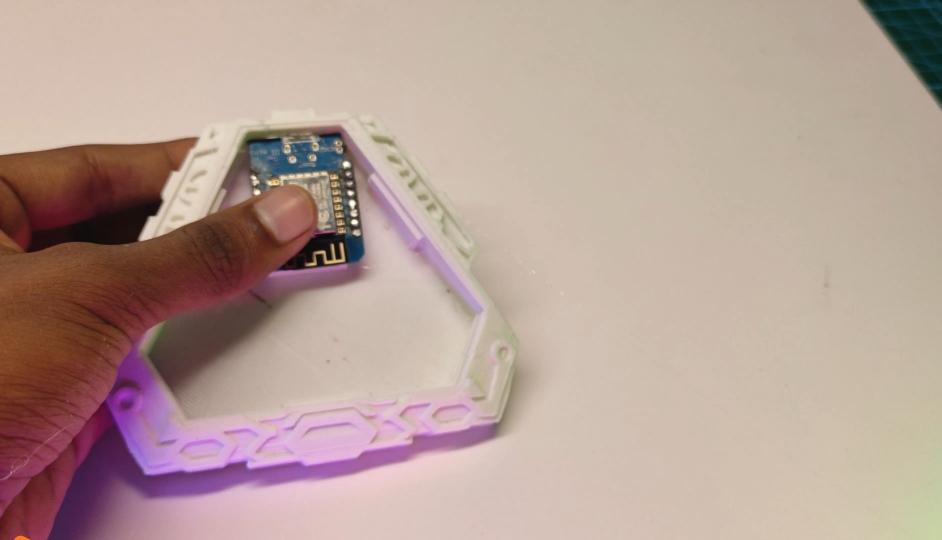
You can also use Nodamcu
RGB STRIP LED
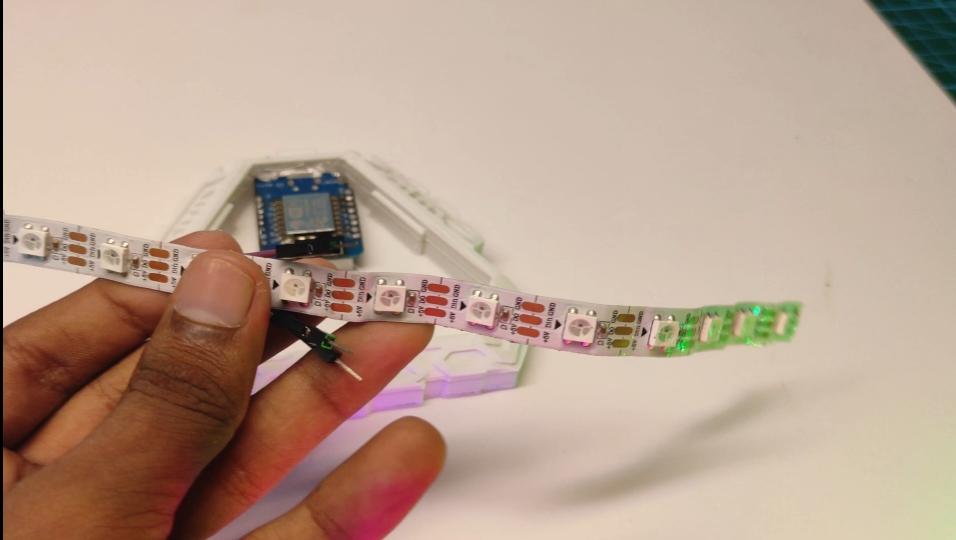
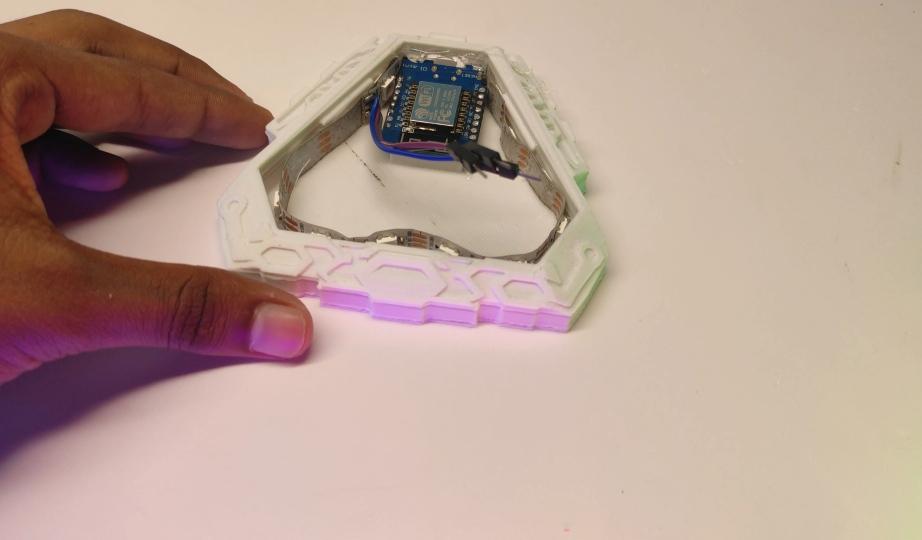
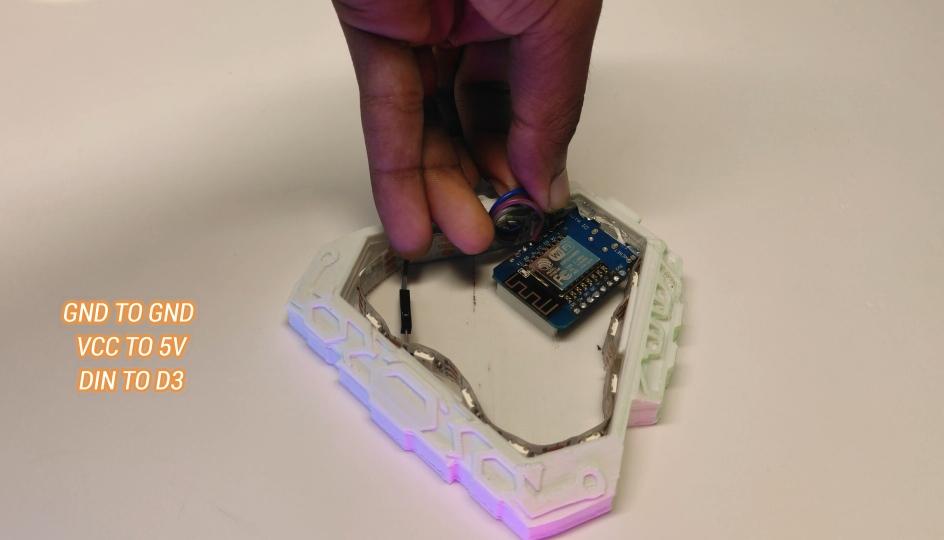
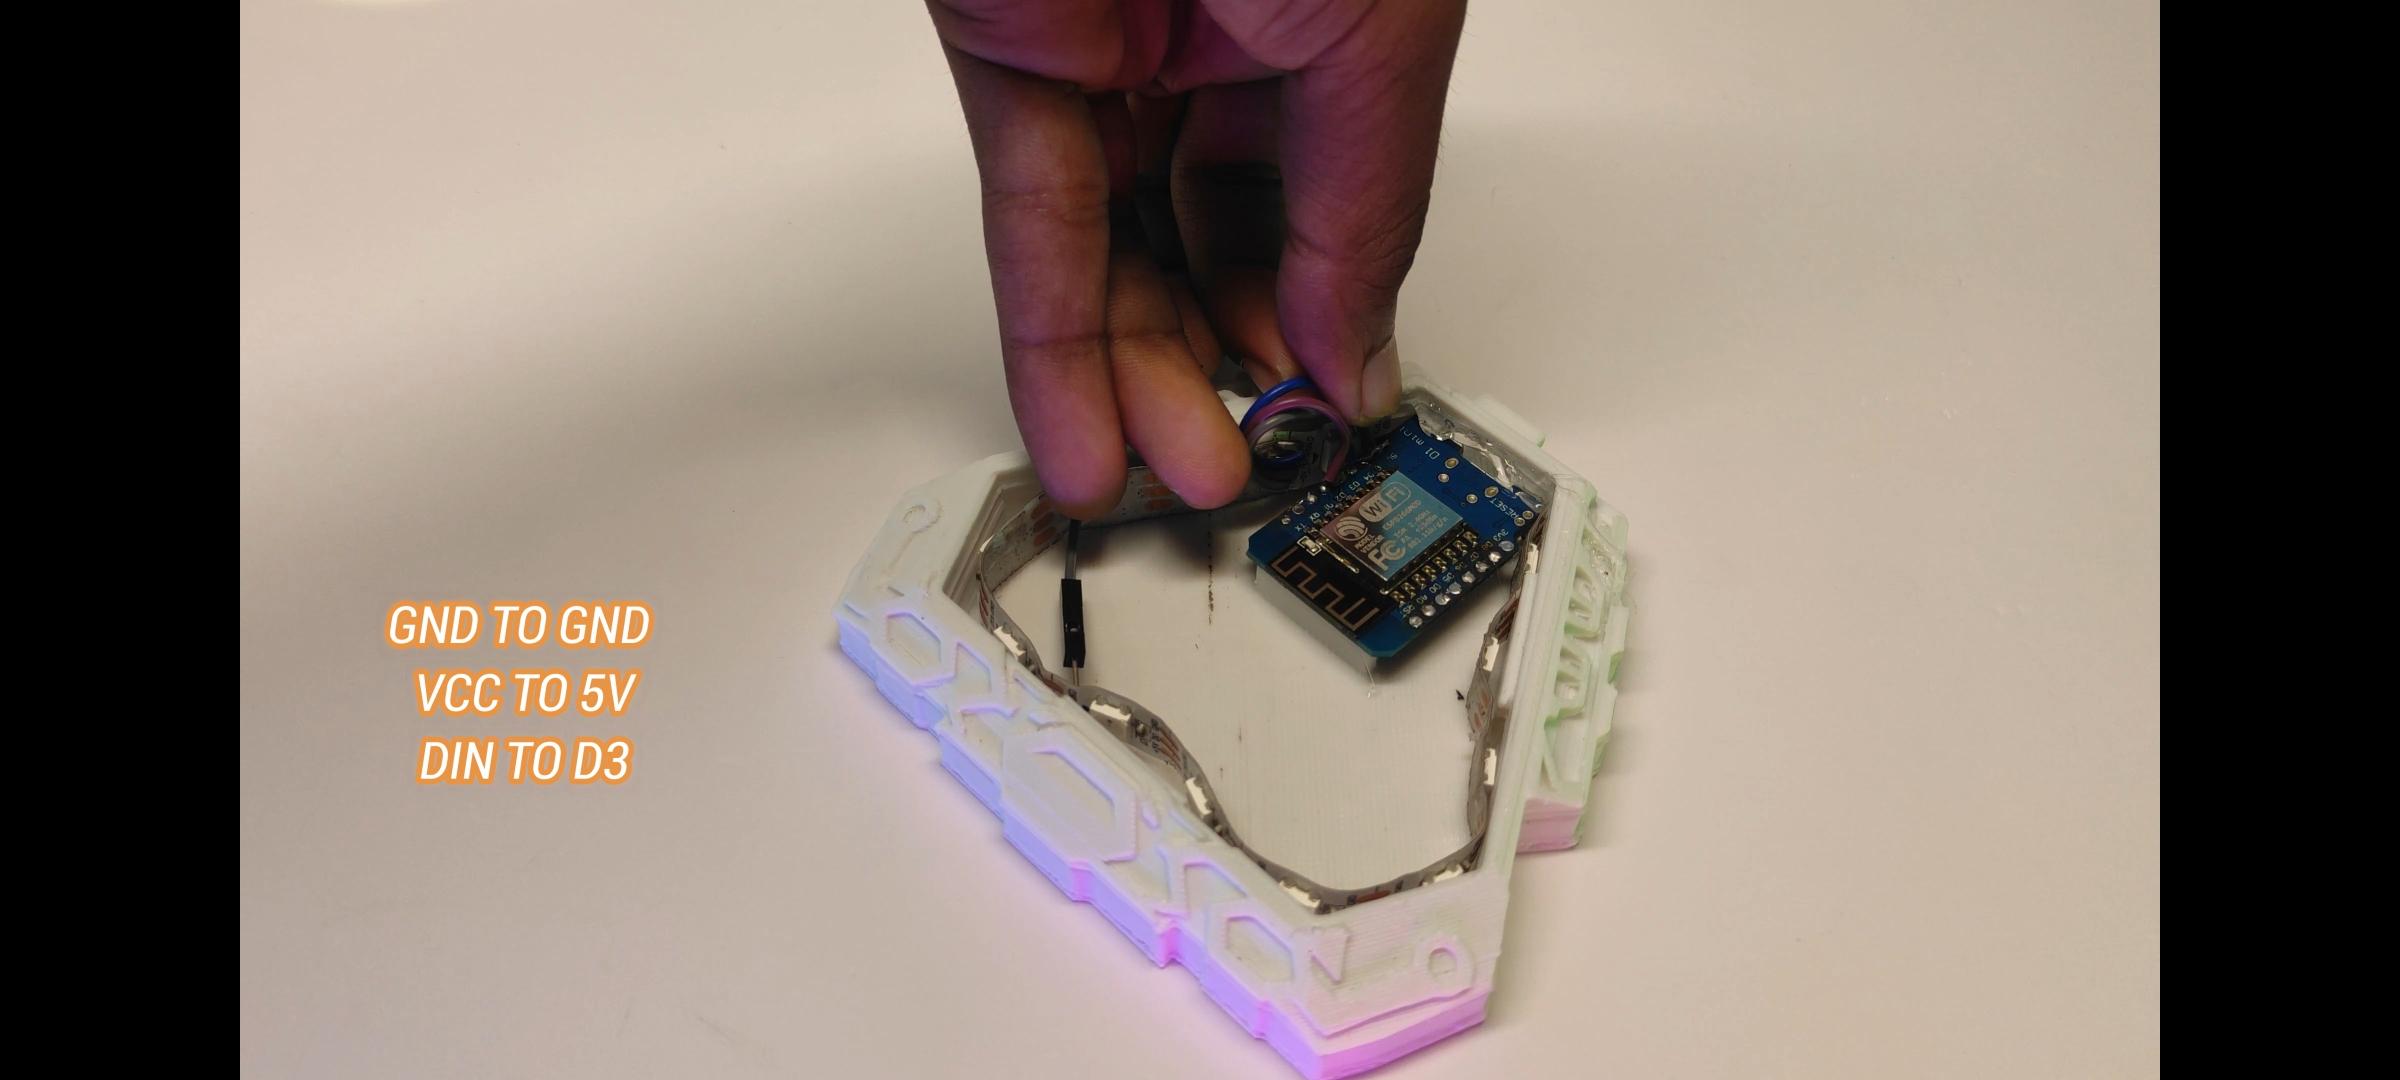
I used this W2812b RGB Strip led in it
I would advise you to use the same as they are very good
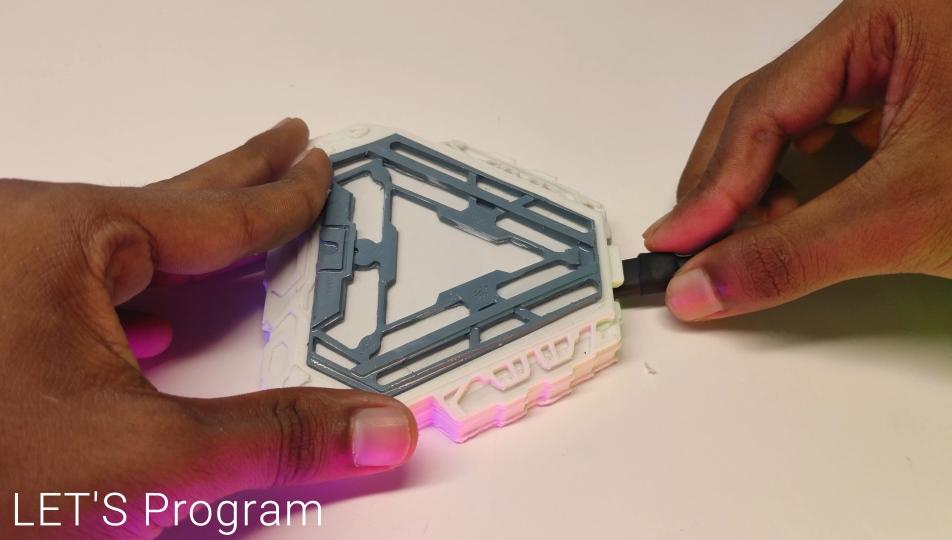
Now you put the strip led in a REACTOR
As shown in the image
Connections :-
Vcc to 5V
GND to GND
Din pin to D3
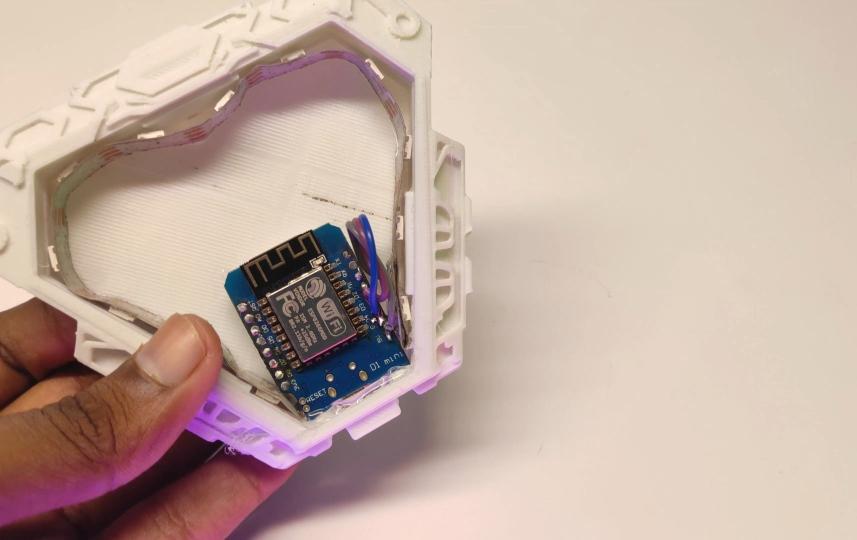
Put All Part in Arc Reactor
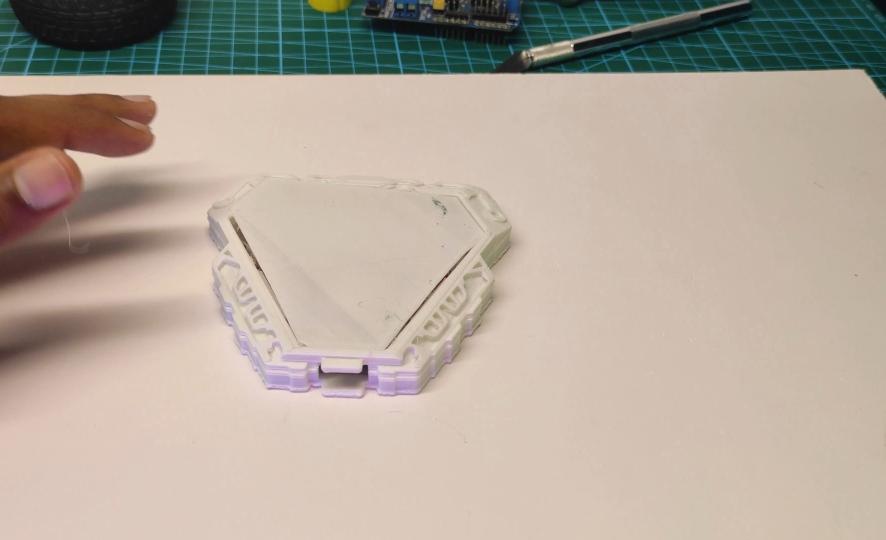
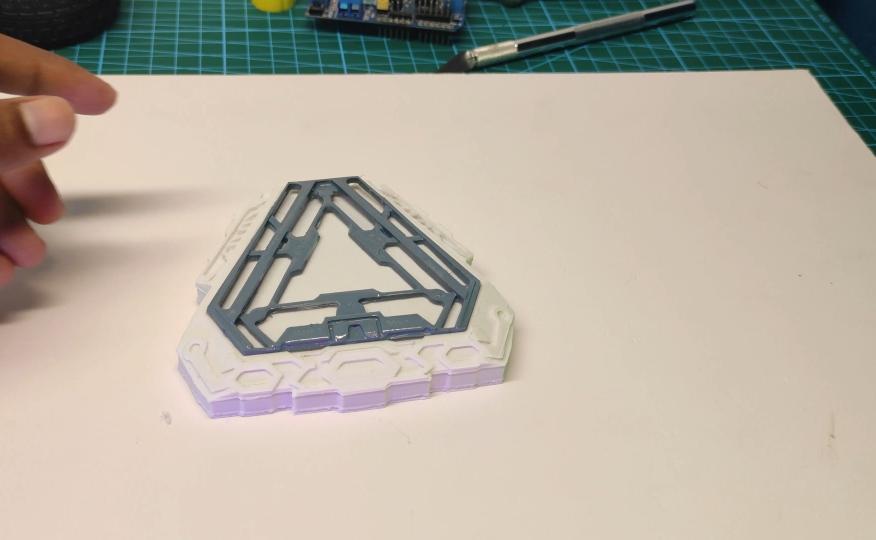
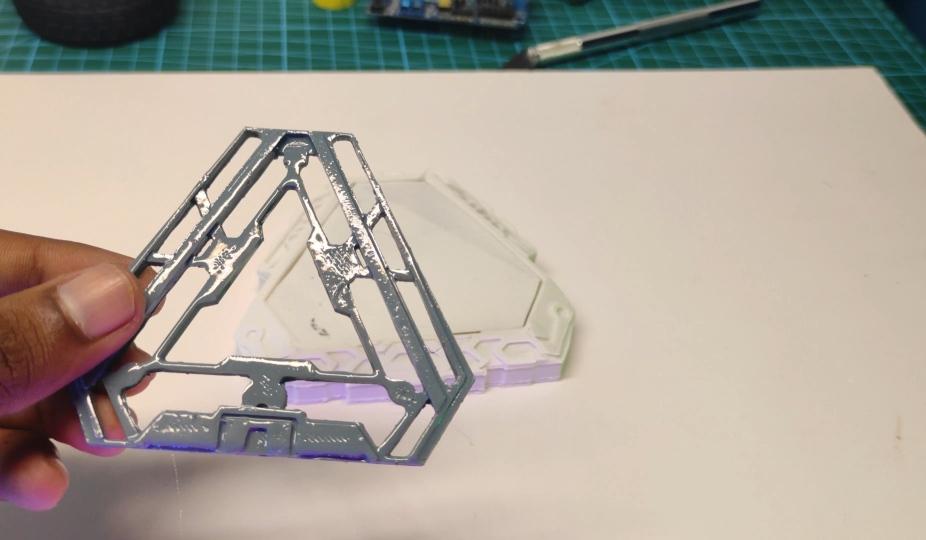
Let's Programming
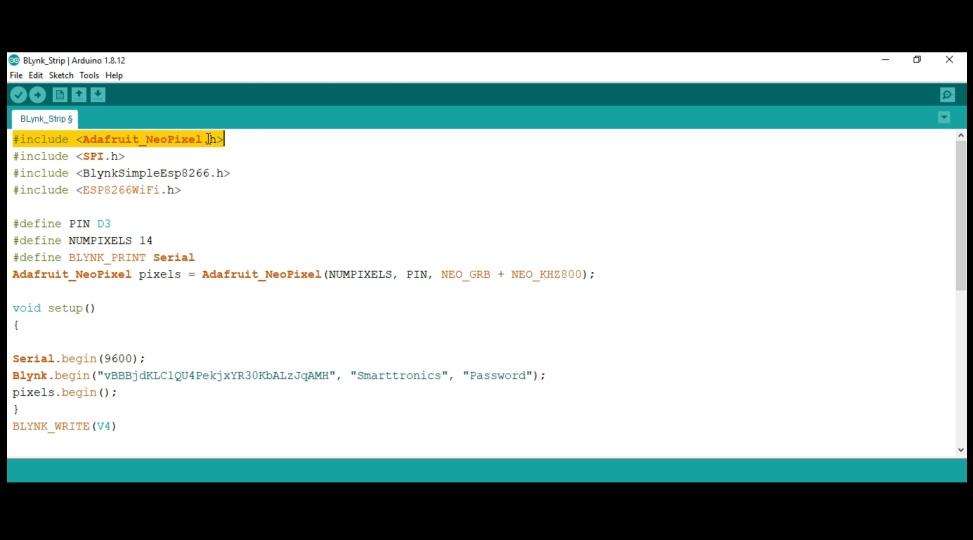
First we will need the adafruit neopixel library to control the LEDs. It can be found in the libraries manager, just search for 'adafruit neopixel' and select the one shown and install it....
Then to download the board definitions, open prefrences and paste ..
http://arduino.esp8266.com/stable/package_esp8266c... into the 'additional board URLs' box. Then open boards manager and search for 'esp8266' it should be the first one, click on it and install it....
Code
Create a new sketch and name it 'neopixels on WemosD1 with blynk' (or something that you're going to remember). Paste in the code. Change 'yourAuthCode' to the auth code for your project. (found in the 'nut' icon in blynk app) Change your wifi name and password to those of your network. Set the number of neopixels to the length of your strip. Plug your MCU into your computer, select Wemos D1 from the board menu in the ide, select the COM port and baud rate(115200) but ignore all the rest, it should be pre-configured.
Then upload!!
BLYNK
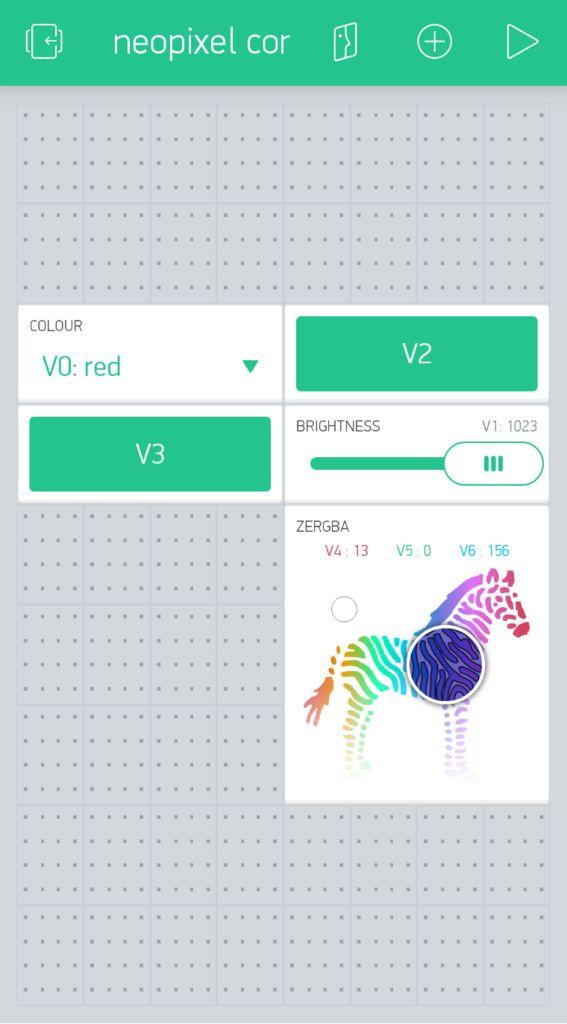
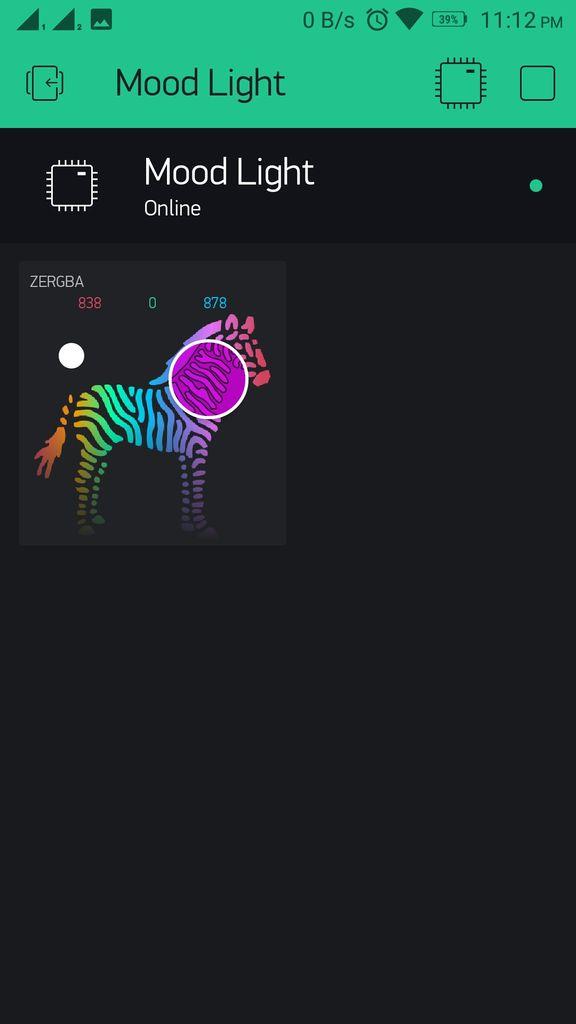
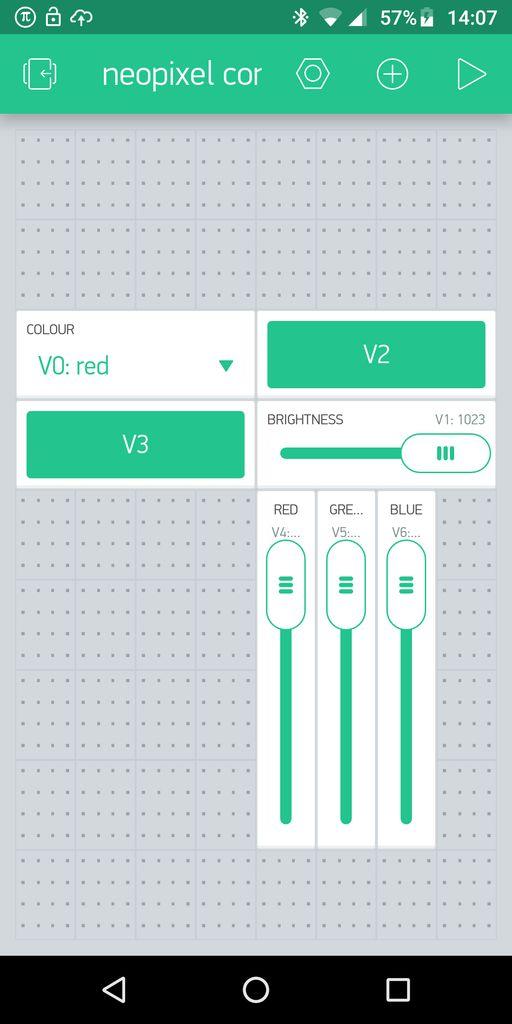
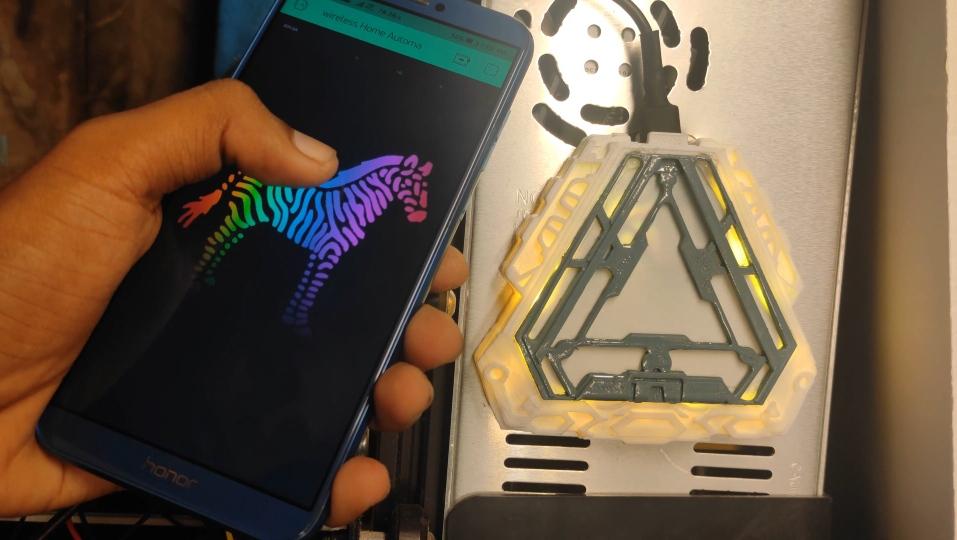
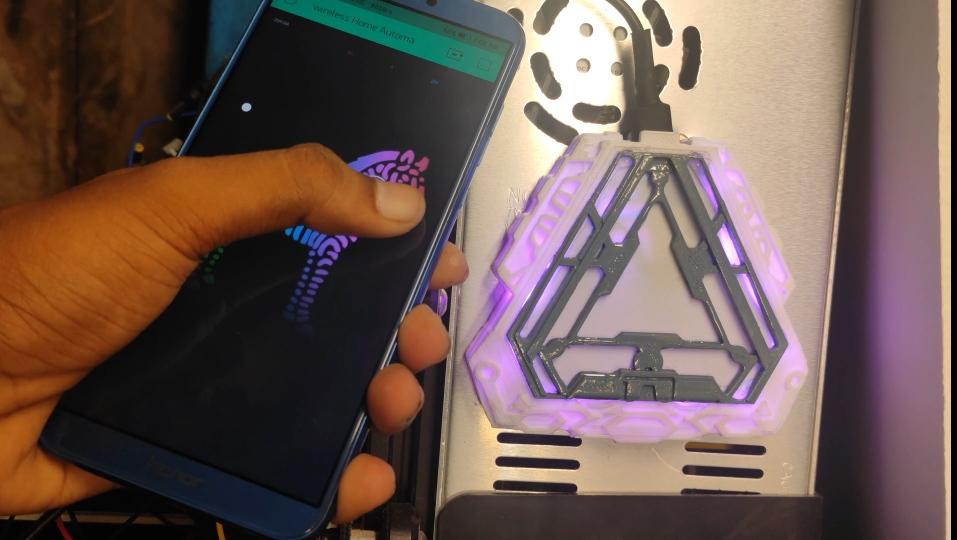
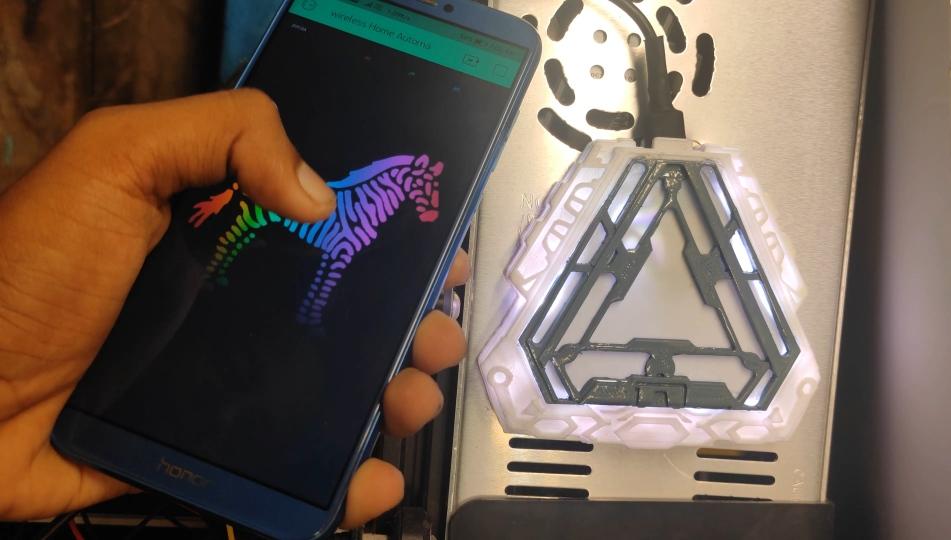
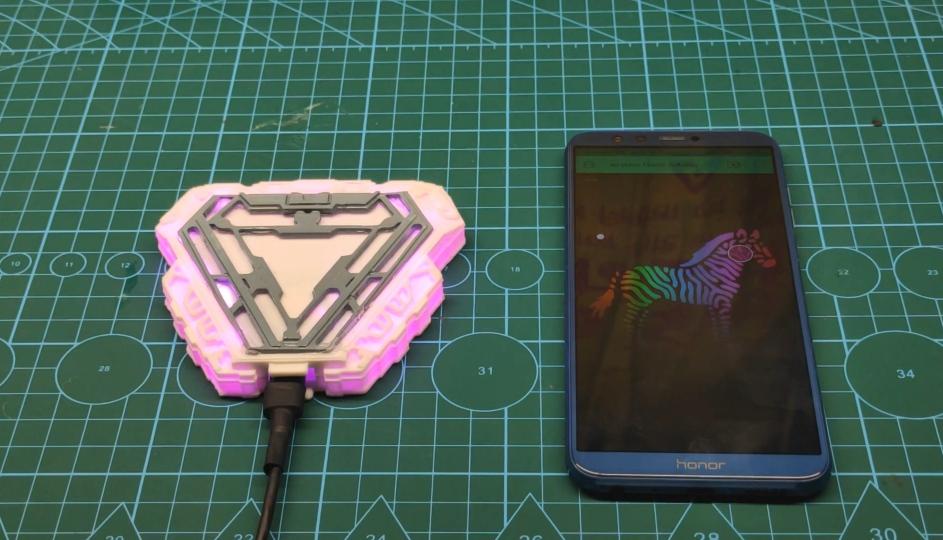
Create a New Project in BLYNK app.Write Project Name and Select Wemos or WemosD1 from dropdown.An AUTH token will be sent to your registered email, note this down.Tap on the screen and add a ZERGBA WIDGET on screen..
Note: This will change colors only over WIFI not over internet.
Finished
Thanks For watch
❤️
If you have any doubt, please ask in the inbox❤️
Thanks Nextpcb for Sponsoship
.jpeg)

As per my circuit diagram, I have made a PCB layout and order it on Nextpcb.com
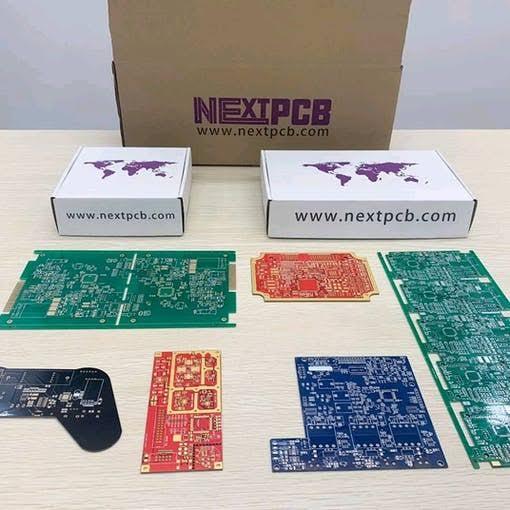
I have received this PCB after 7 days, the PCB quality is very good and also the price of PCB is also low
If you don't make your PCBs yourself, where do you make them?Personally, I do not have the space and the courage (nor the skill) to do them myself.For SF, I turn to Util-Pocket, because I find that the quality is excellent for the price.For the DF (with metallic holes), I tried several companies, all of which do a good job, but it costs a lot.This time I addressed myself here. I had 3 circuits to do, totaling an average surface of 49 cm2.When I saw that the minimum quantity to order was 5 PCBs, I continued my order out of curiosity, just to see the quote.And when I saw the asking price, I placed the order.NEXTPCB