DIY 3D Printed LED Poster | W/ Neopixels or RGB LED Strips
by mcmchris in Workshop > 3D Printing
15804 Views, 209 Favorites, 0 Comments
DIY 3D Printed LED Poster | W/ Neopixels or RGB LED Strips
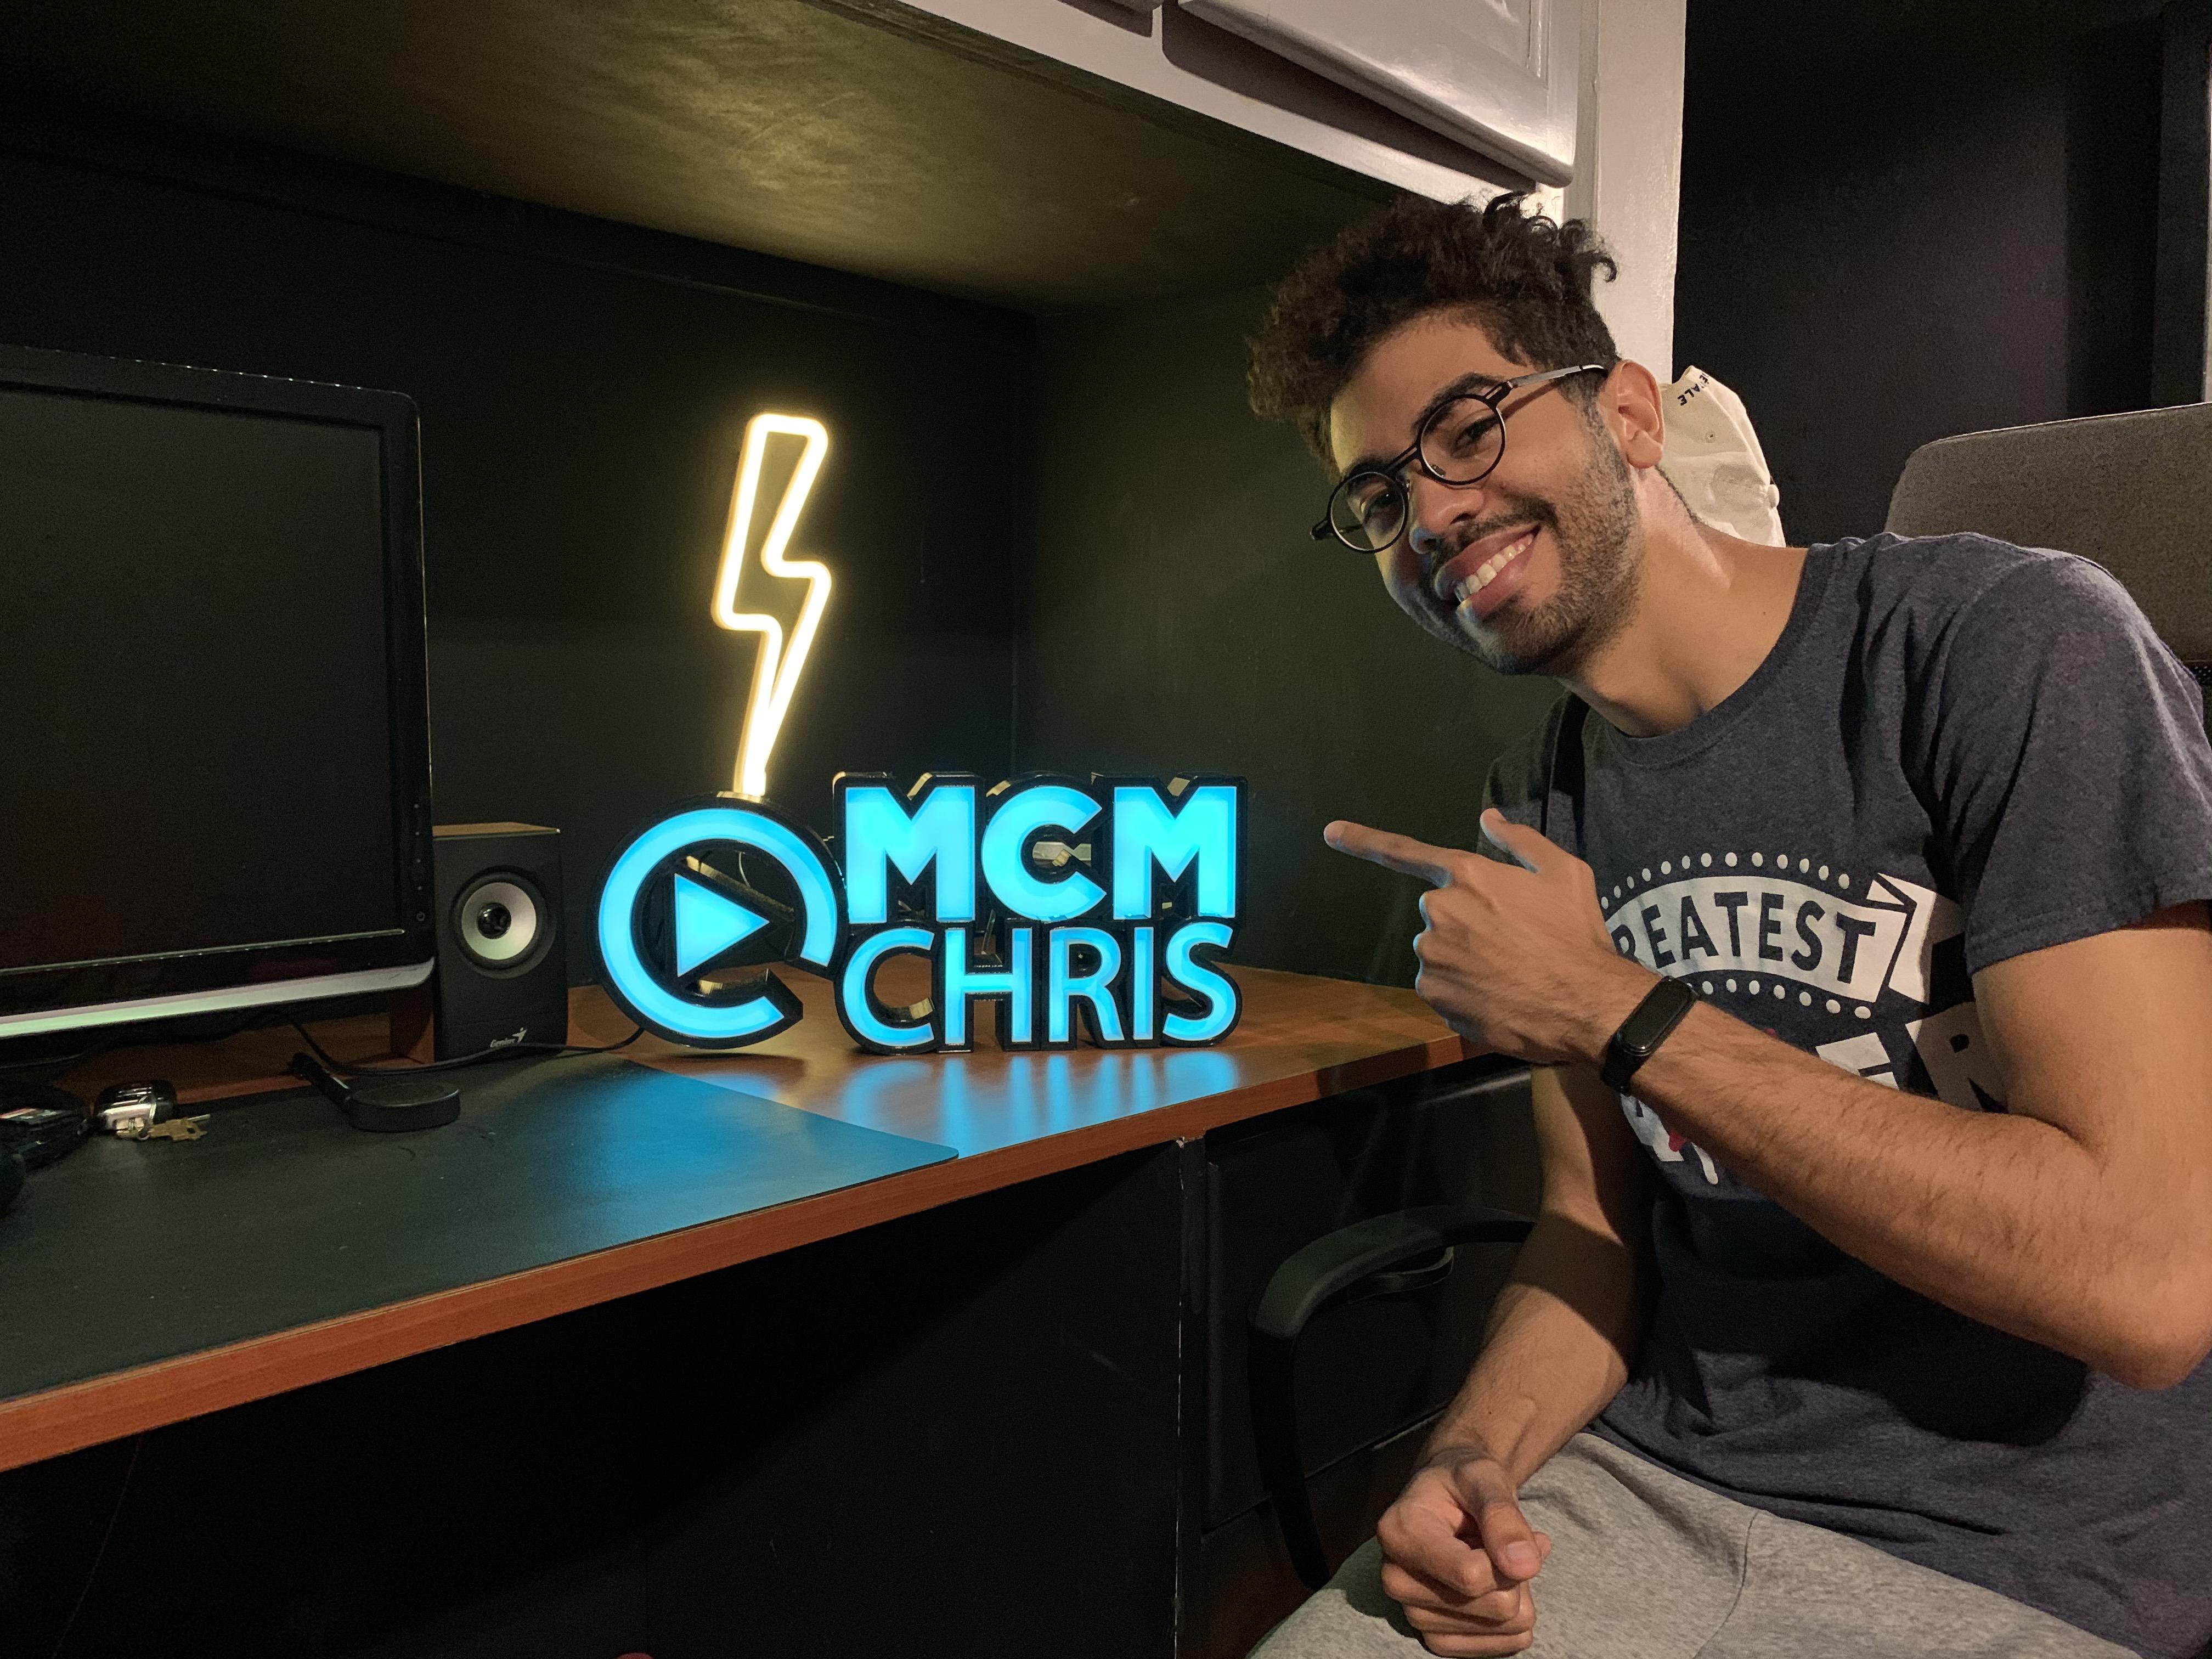
I am new to 3D printing and I am in this stage where I am experimenting a lot with my Ender 3 Pro to know it capabilites. Today I am here to show you how to create your own 3D printed LED Poster.
You can make yours based on a phrase, or a logo as in my case, using your favorite LED strips, RGB, Neopixels, etc.
Here I leave you a tutorial with all the information so you can make your own version.
If you are a visual learner I know that a video worth more than 1000 words, so here is a 2 parts Tutorial video. (I am a Spanish speaker, so please consider turning on English subtitles):
Skills Required:
This project may seem difficult or very complex, but it is definitely not completely, since you will have all the guidance for the construction, it was difficult for me to design it to make life a little easier for you. Any conceptual doubt, you are free to ask it without problems.
You should have an understanding of:
- 3D Printing
- Using of Fusion 360
- Handling of cutting tools and drills.
- How to solder (if you need to join several LED strips)
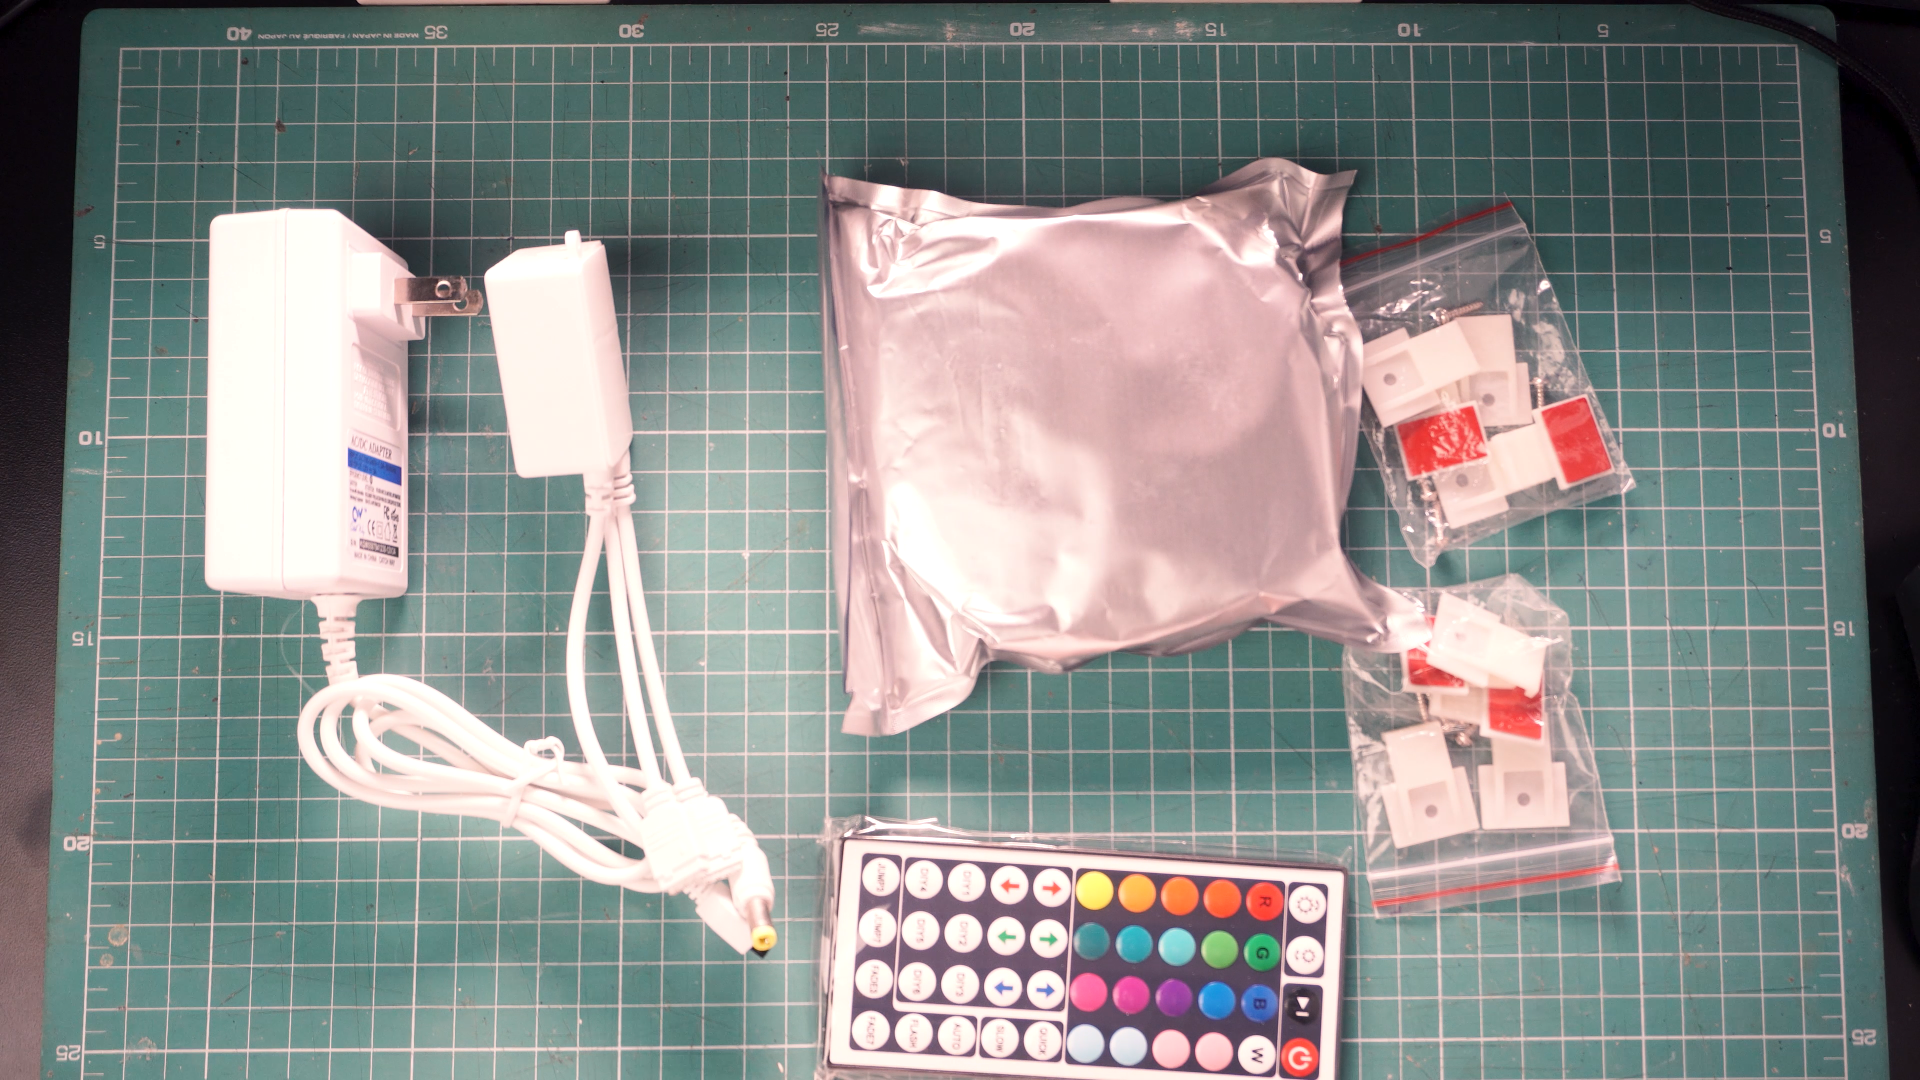
Components and Parts List

- Here is the list of what you will need for the whole process:
- 3D Printer: https://amzn.to/38w59ui
- LED Strip: https://amzn.to/3nuRZ4N
- Some Glue and cutting tools.
- Fusion 360 software.
- Slicer software (ex.CURA)
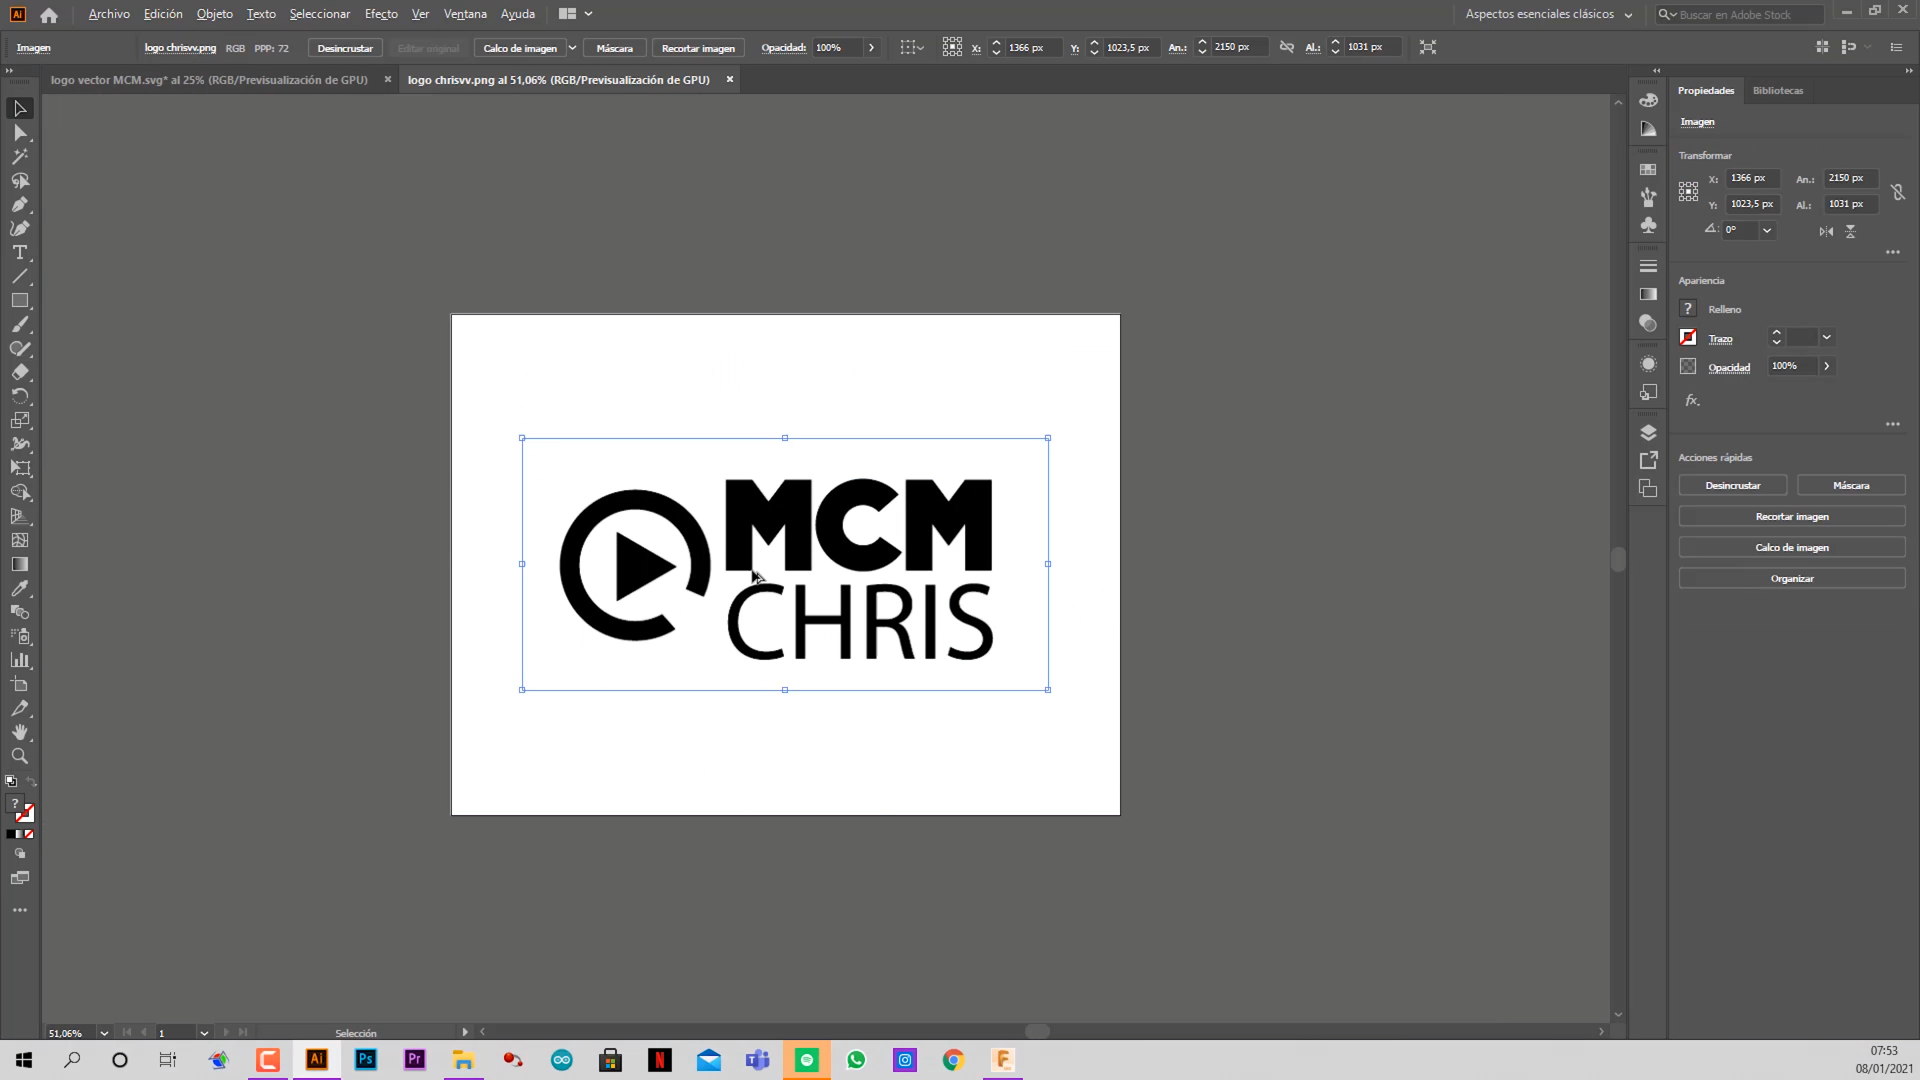
Vectorizing Your Logo
.png)
.png)
.png)
.png)
.png)
.png)
.png)
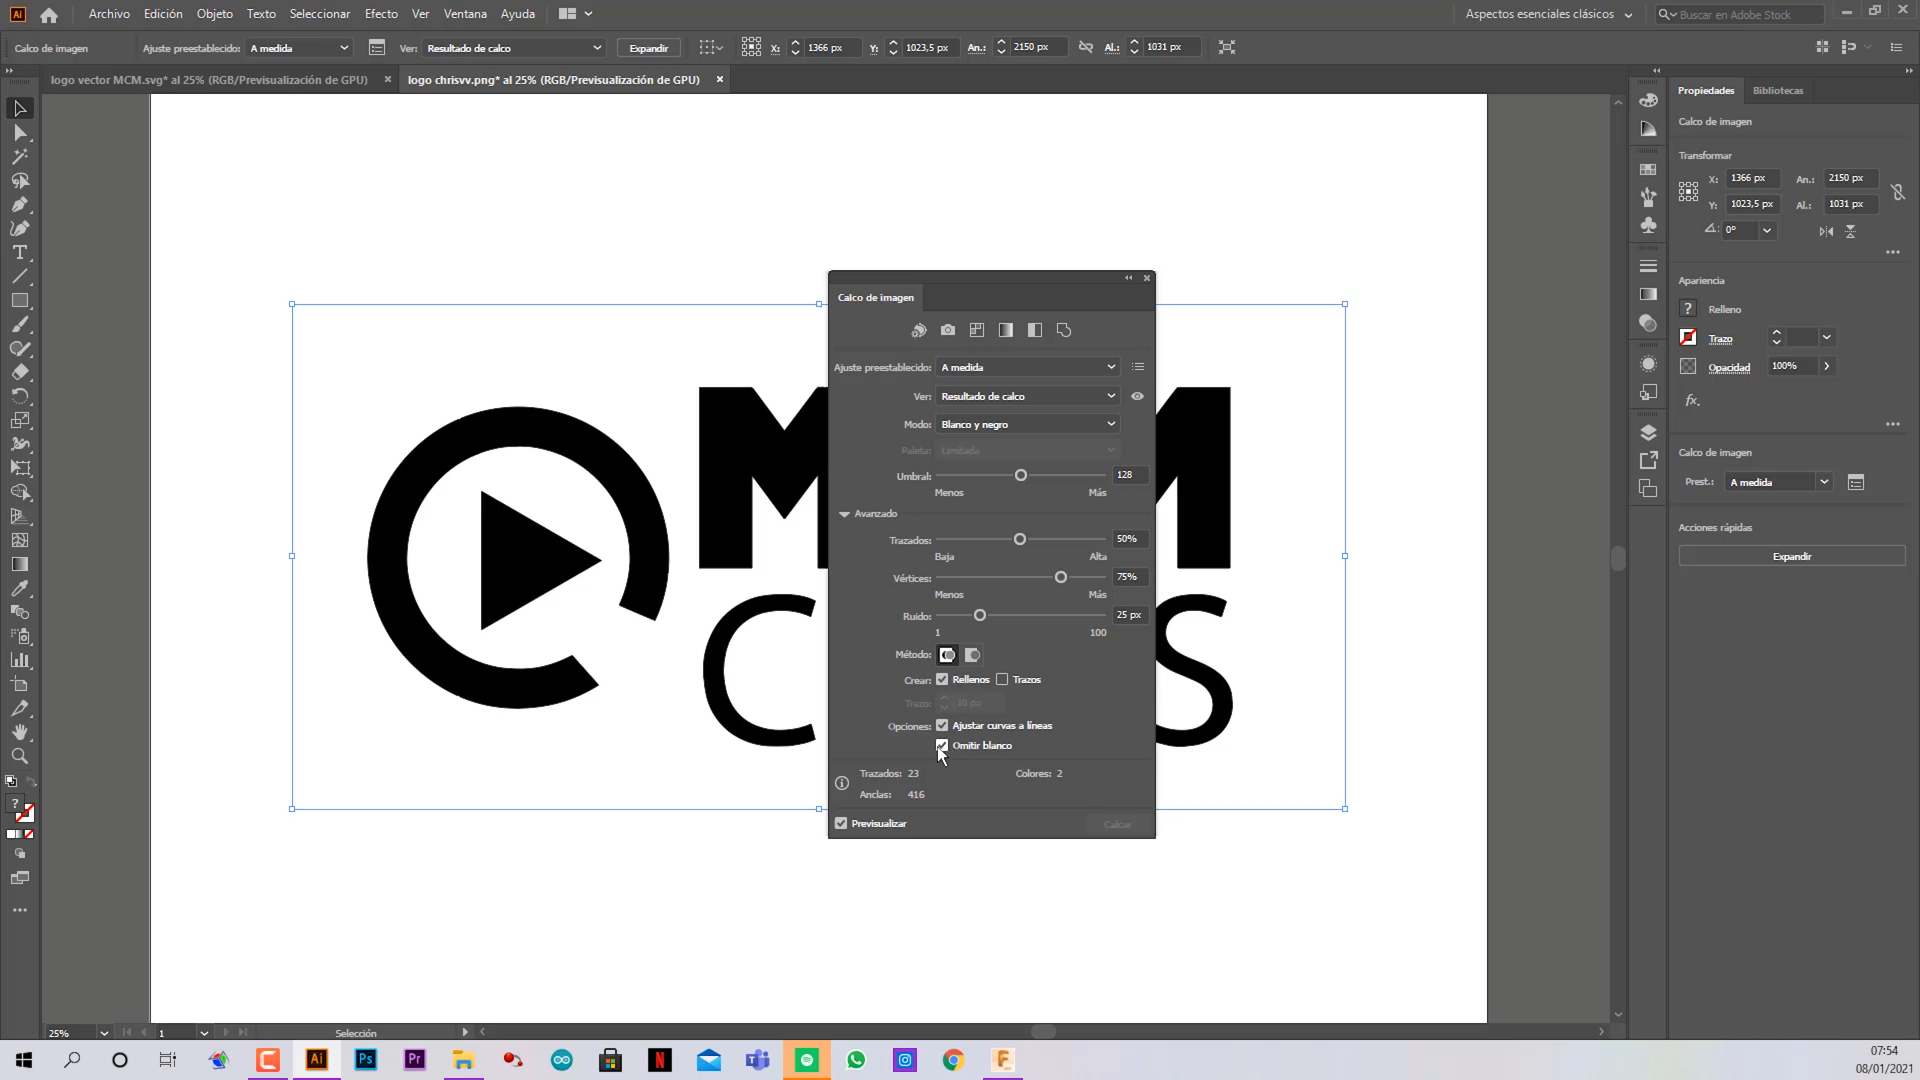
- Open Adobe Illustrator software.
- Drag your jpg (img) of your LOGO.
- In the upper menu click on "image tracing".
- In the upper menu open de options of image tracing.
- In advance options, checkmark "skip white".
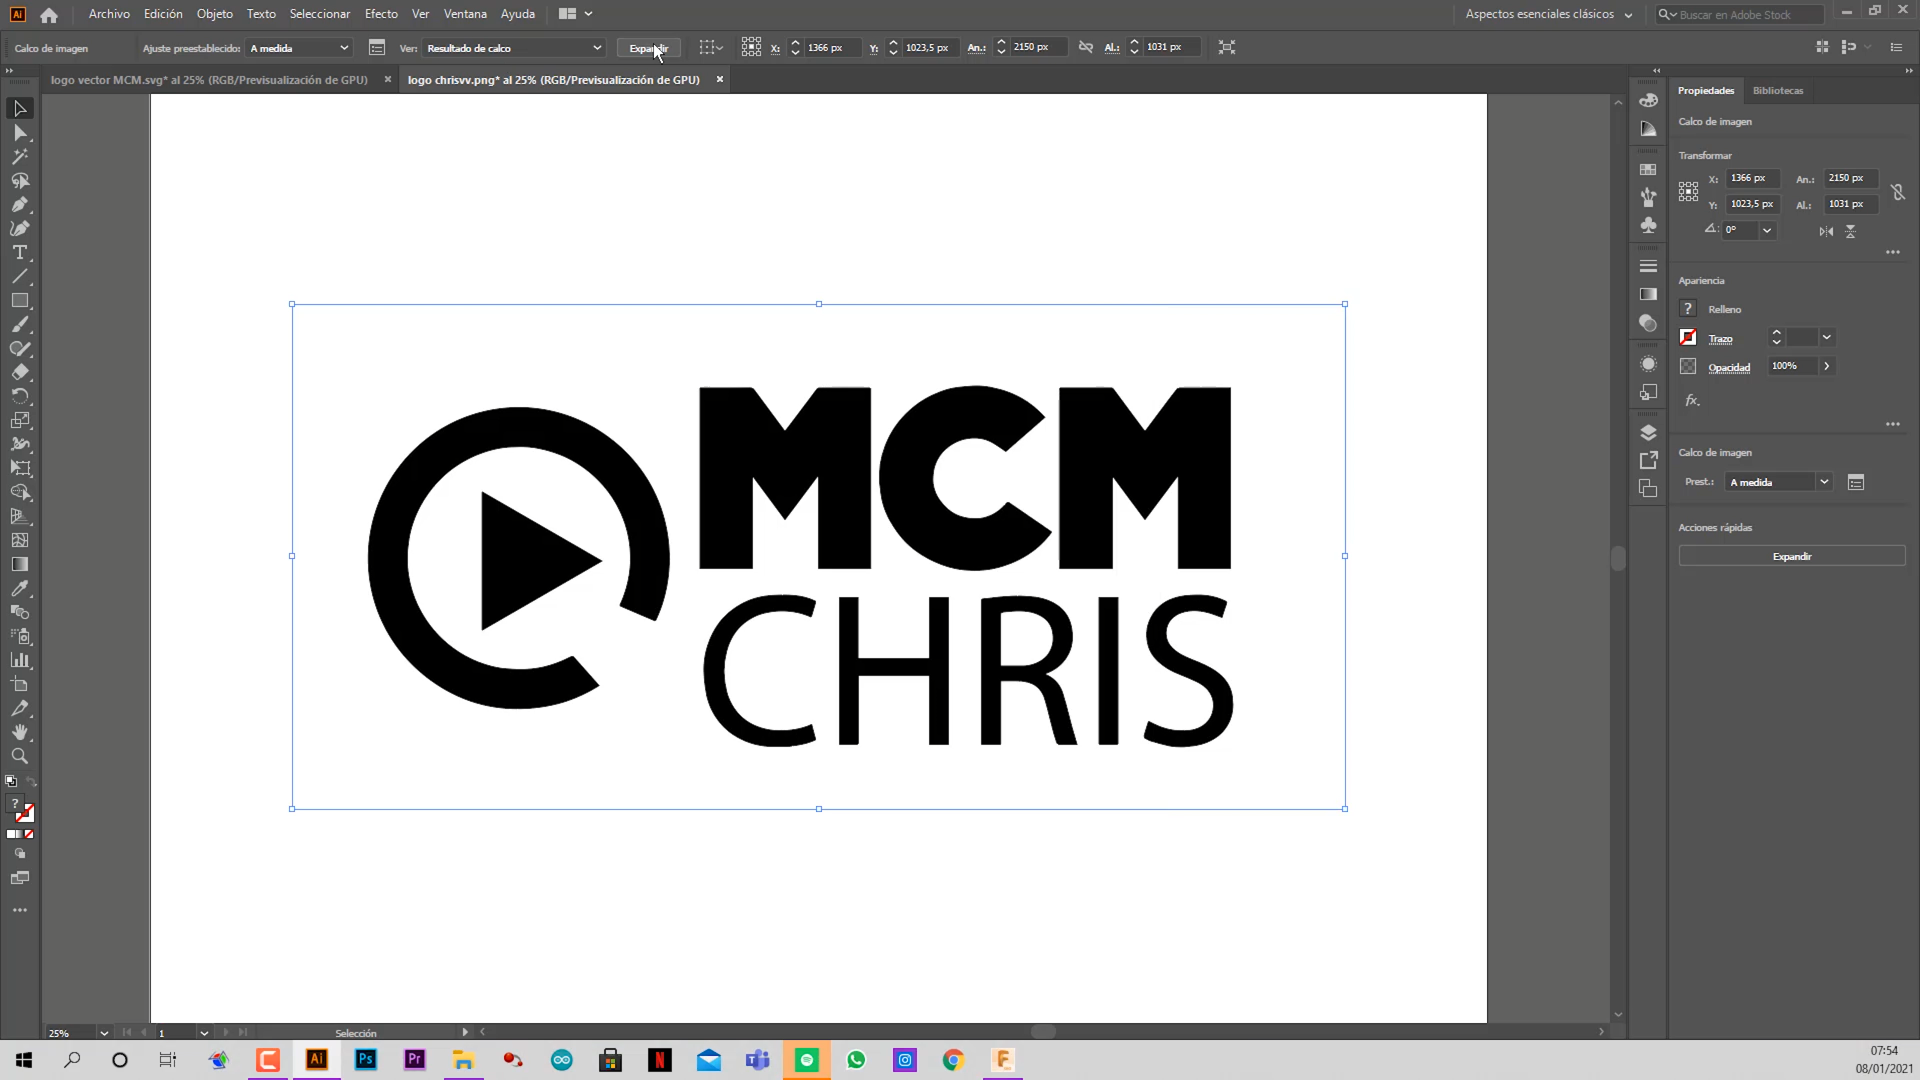
- Click on "Expand"
- Now your logo is vectorized
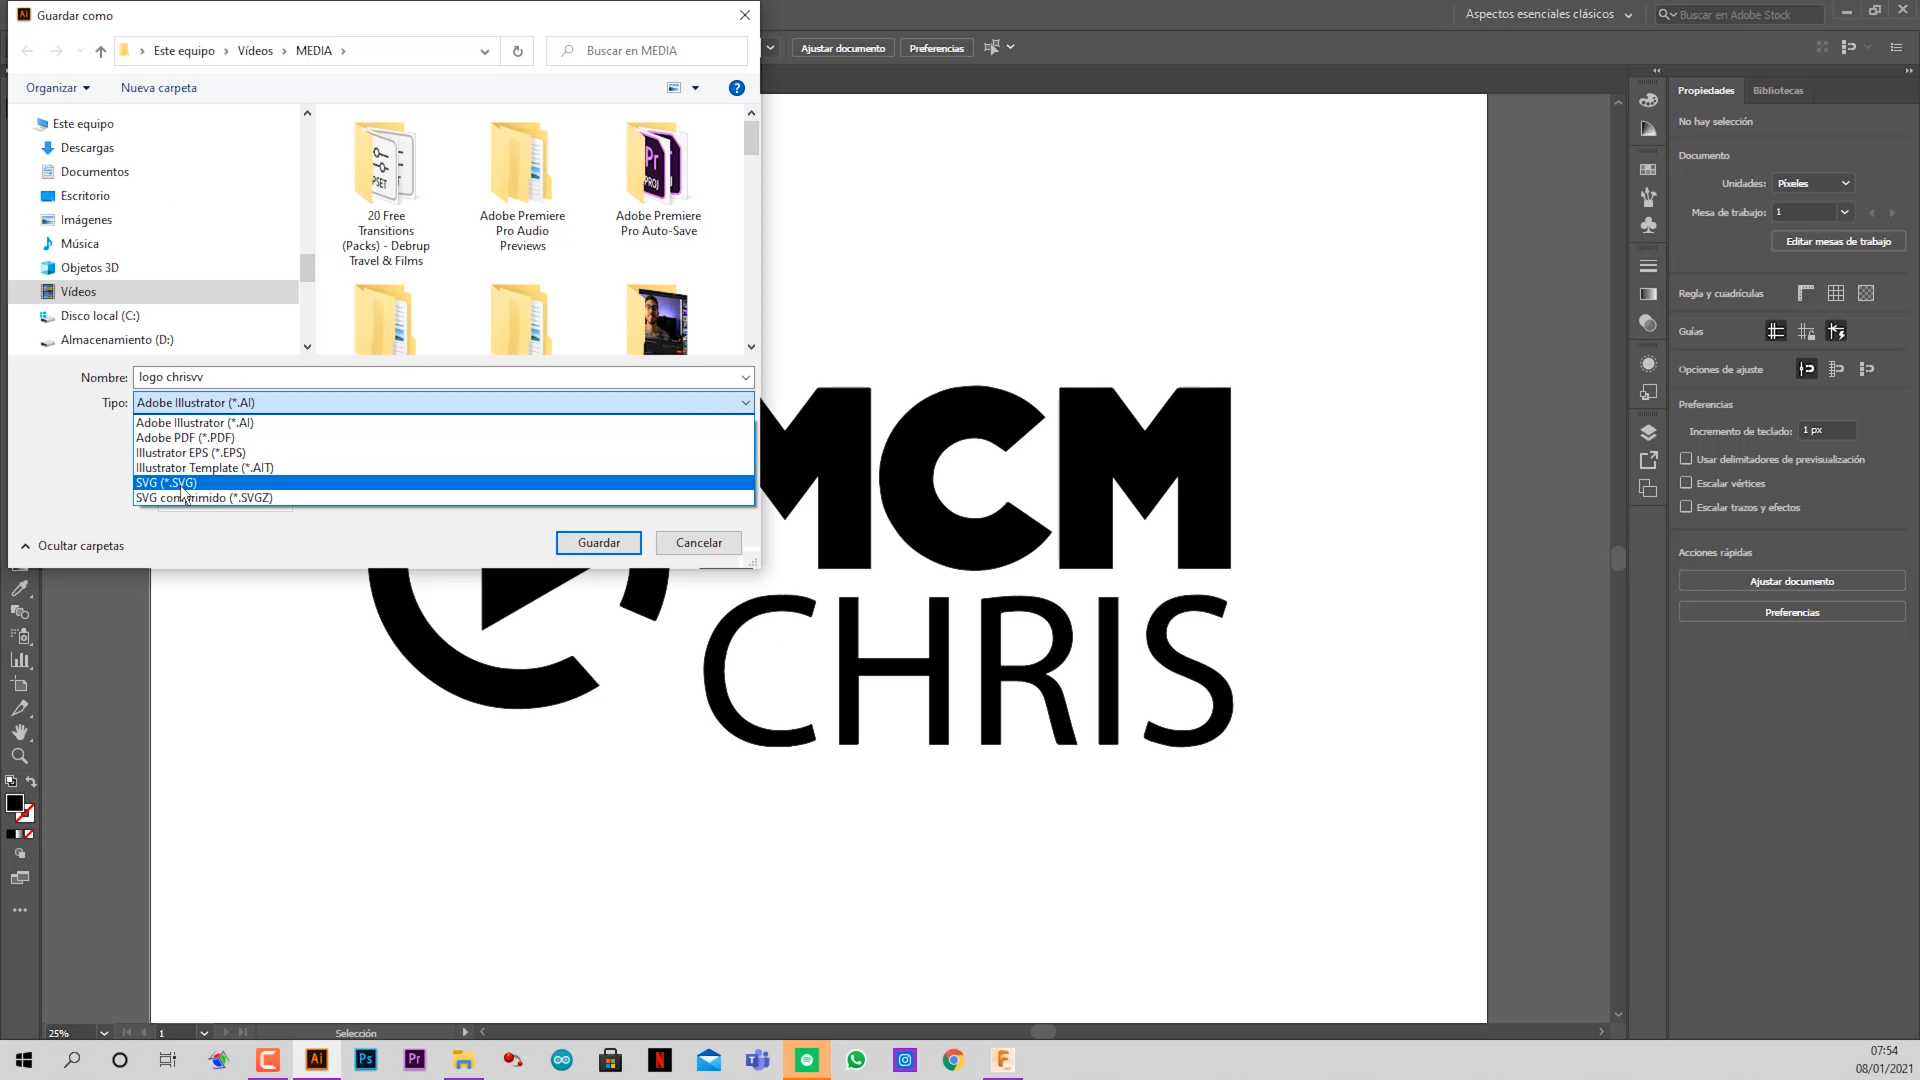
- Save as SVG.
Modeling Your Poster on Fusion 360
.png)
.png)
.png)
.png)
.png)
.png)
.png)
.png)
.png)
.png)
.png)
.png)
.png)
.png)
.png)
.png)
.png)
.png)
.png)
.png)
.png)
.png)
.png)
.png)
.png)
.png)
.png)
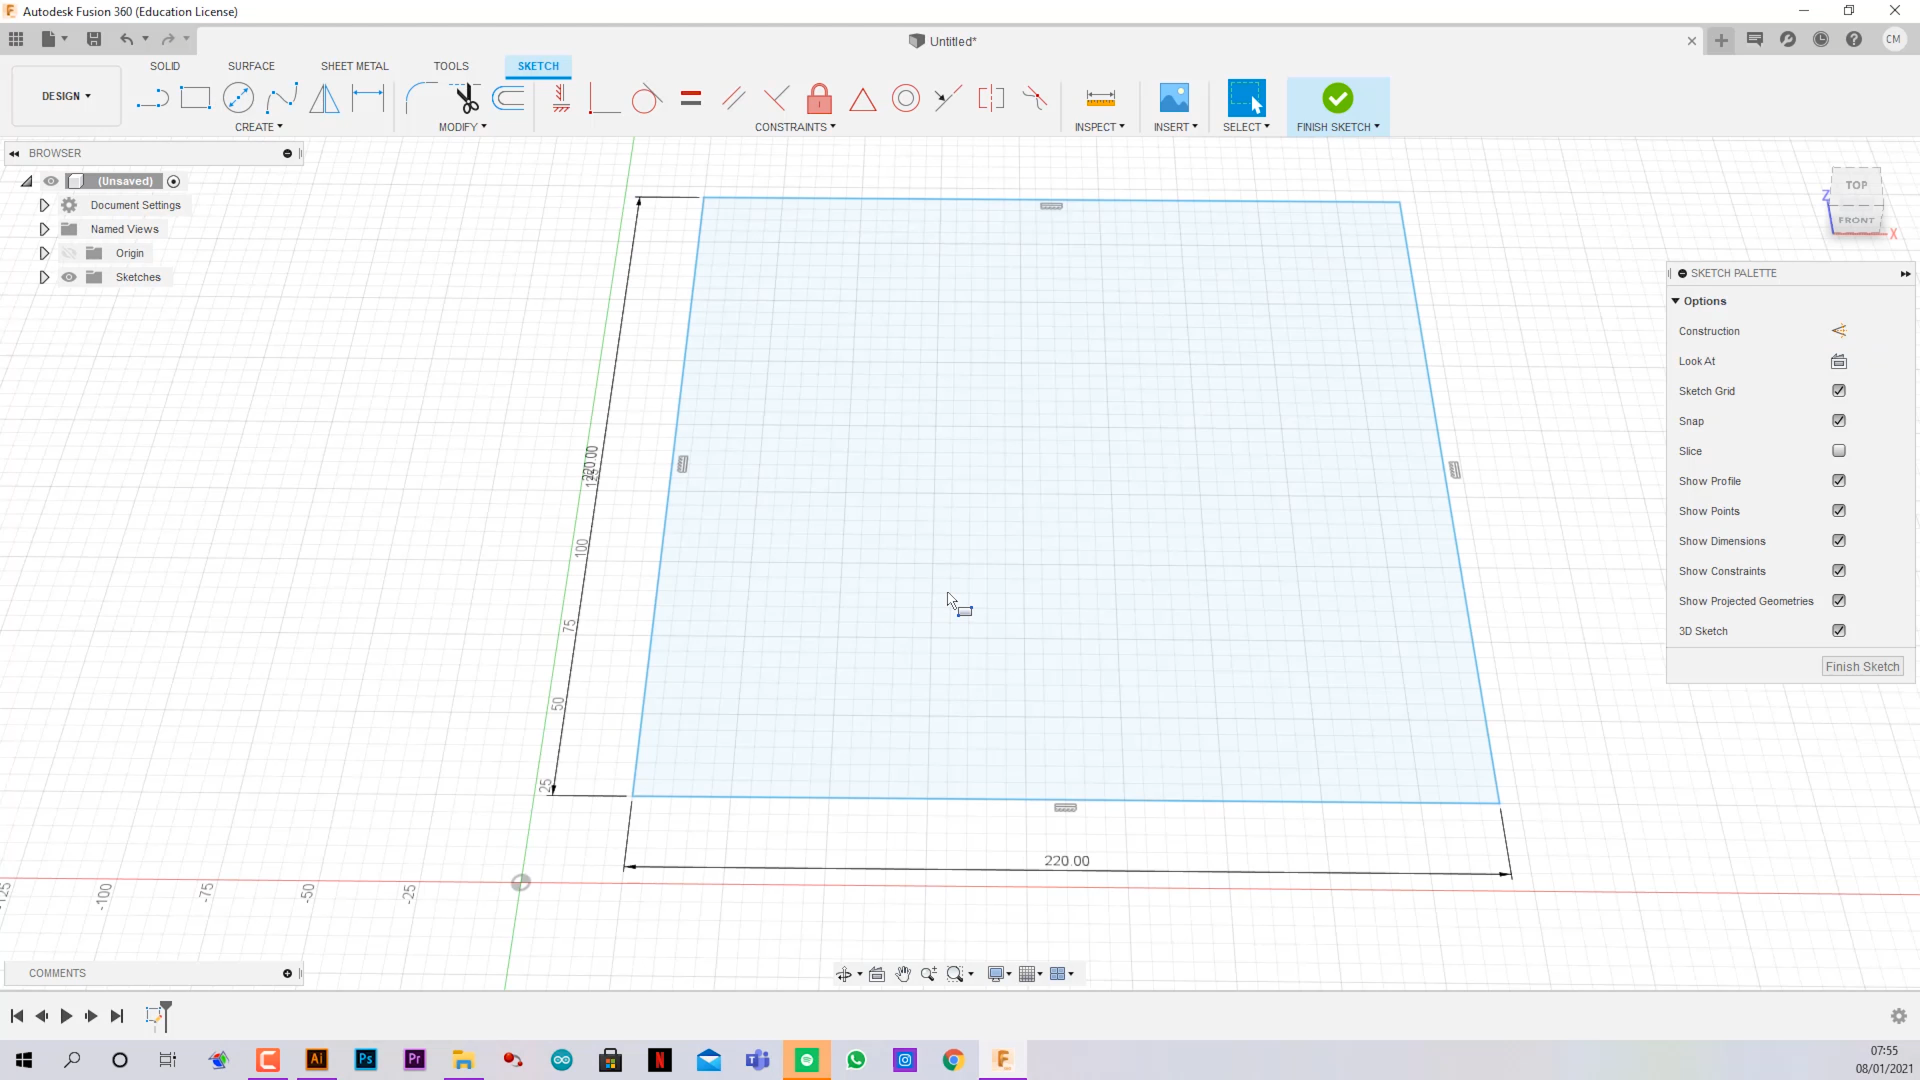
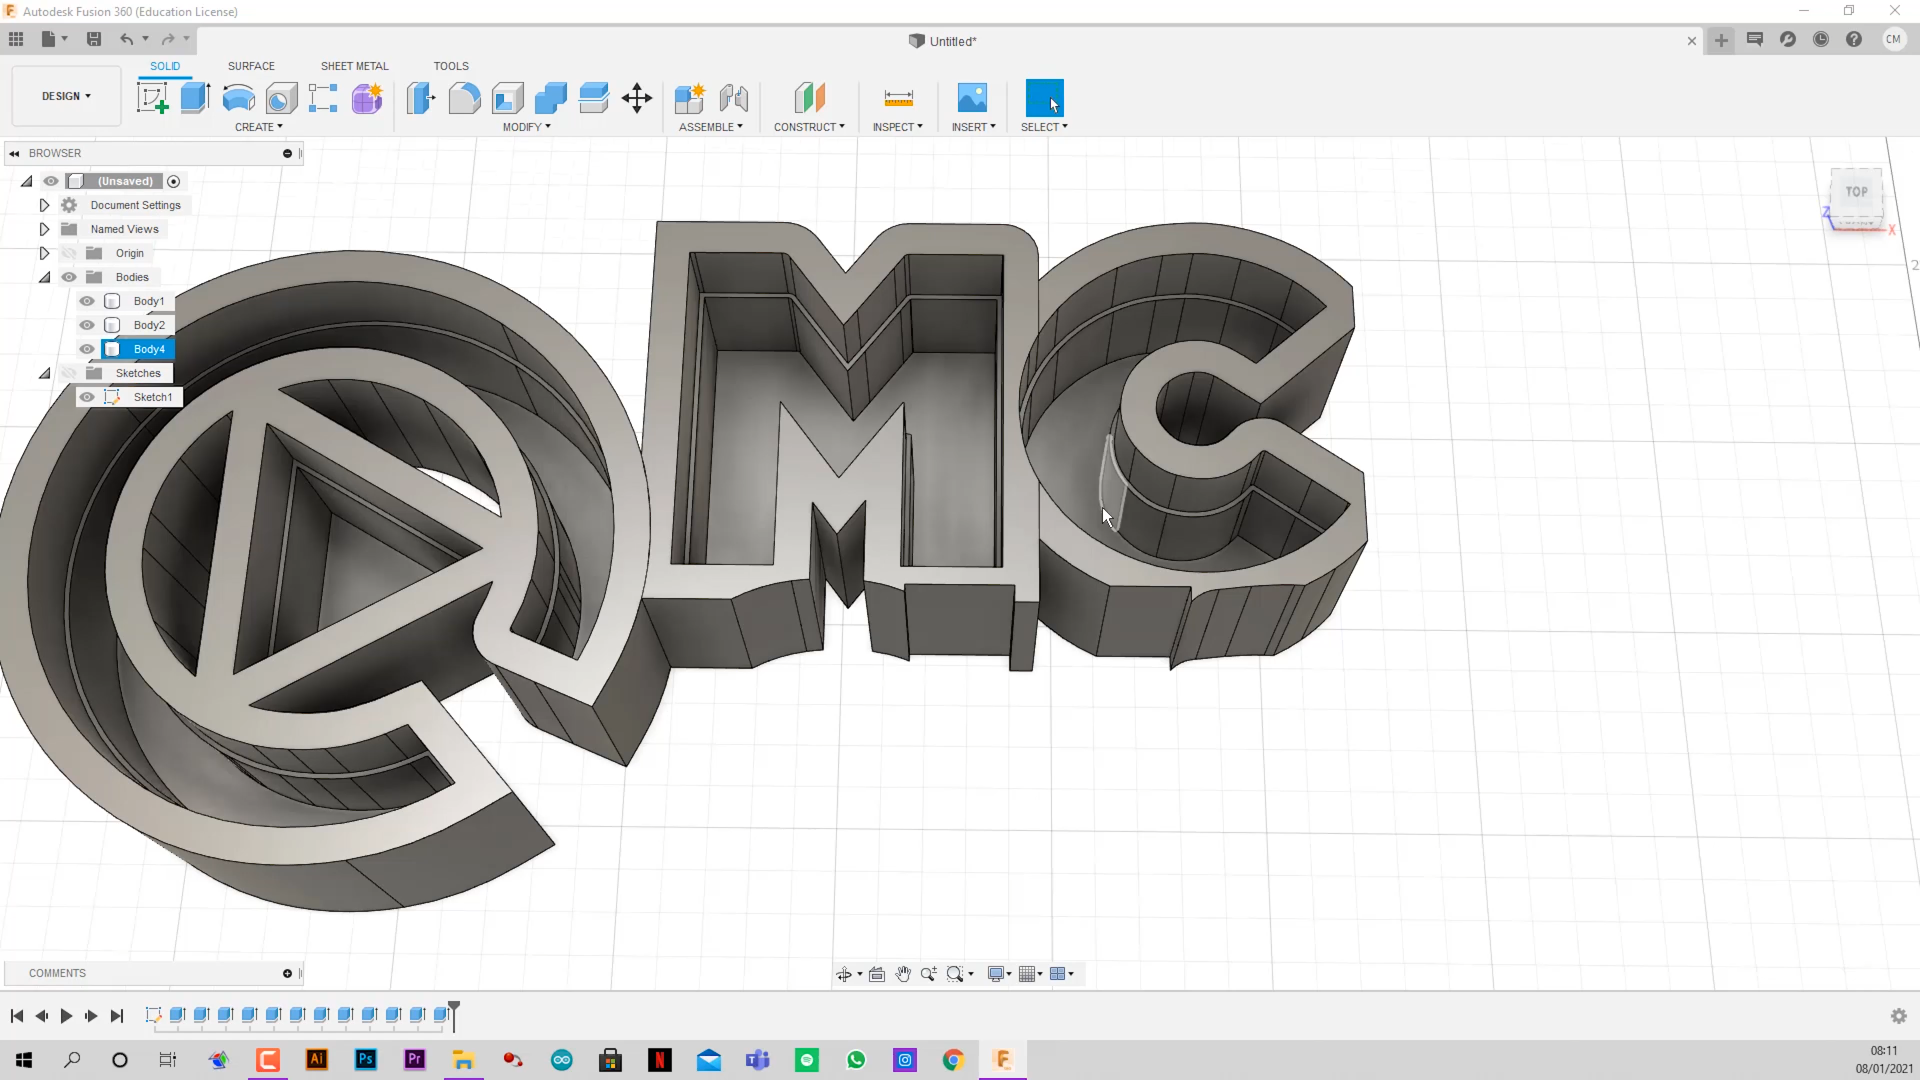
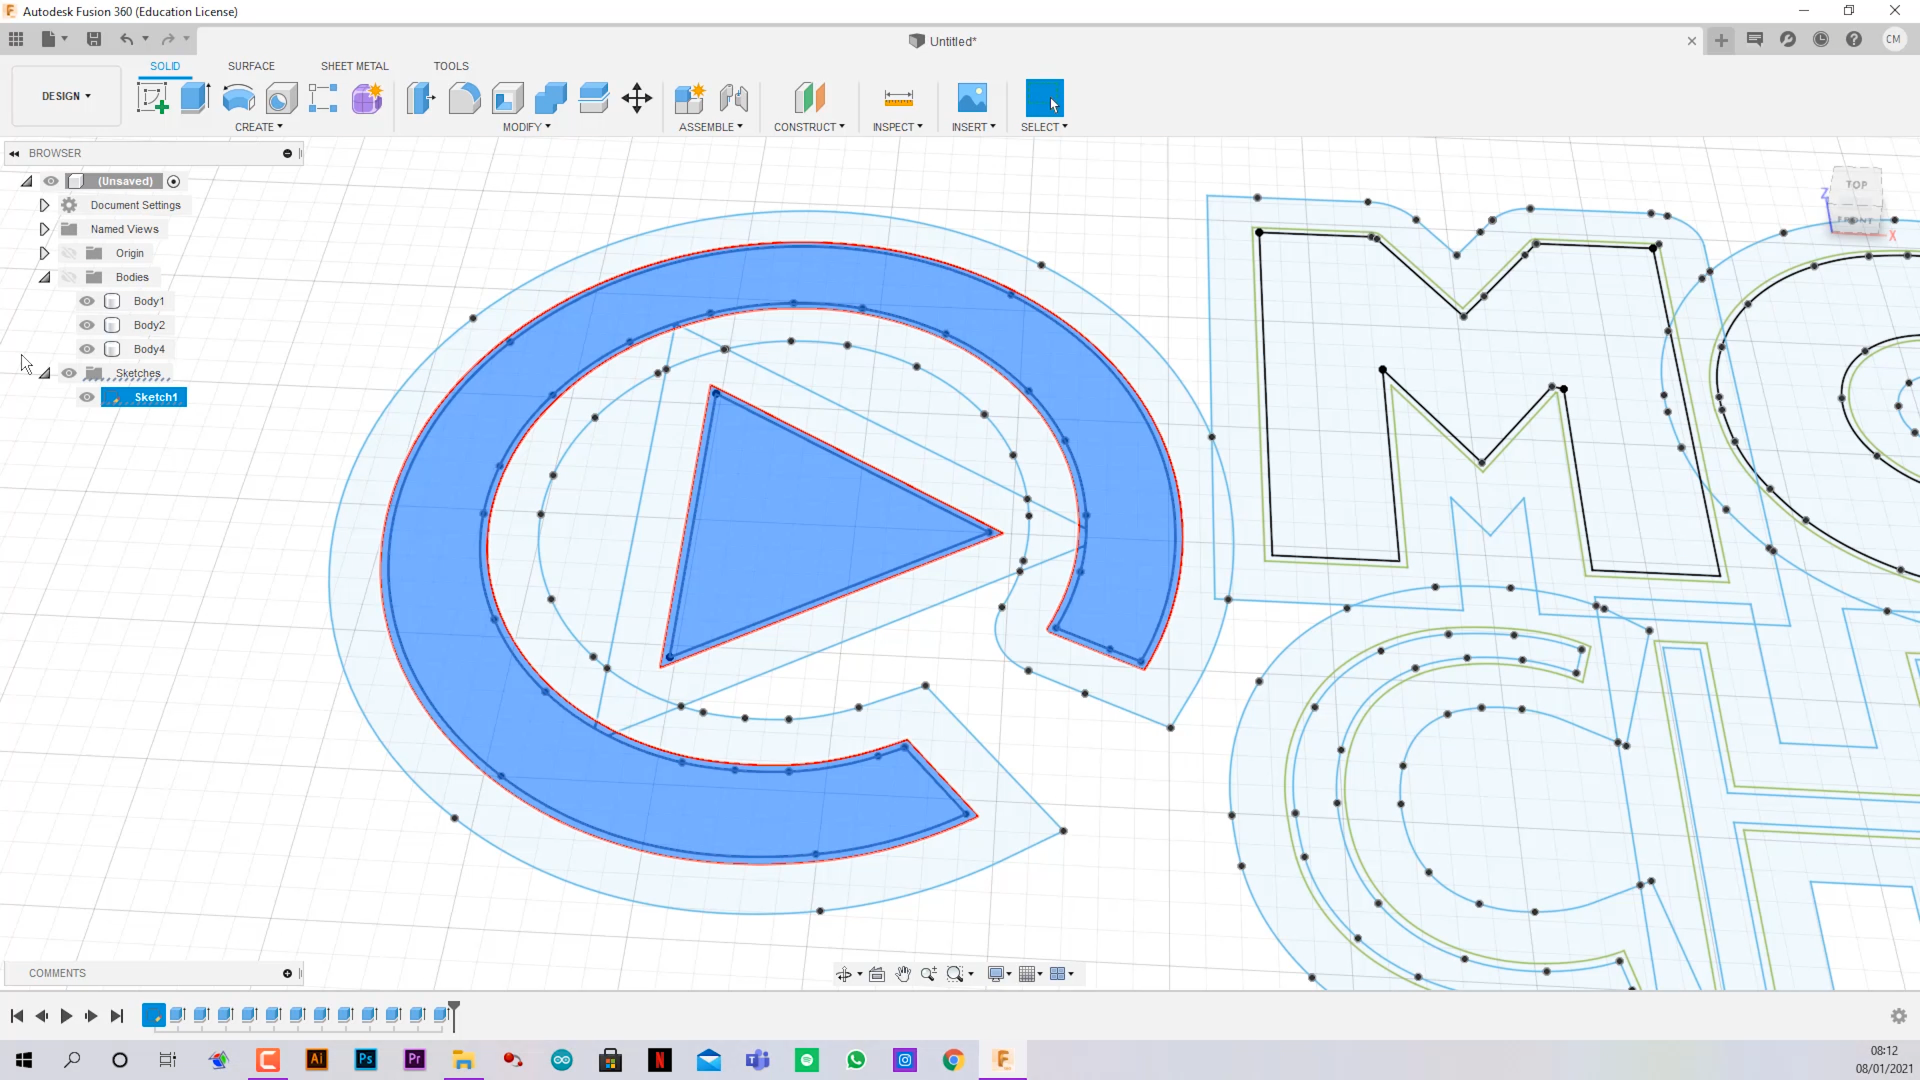
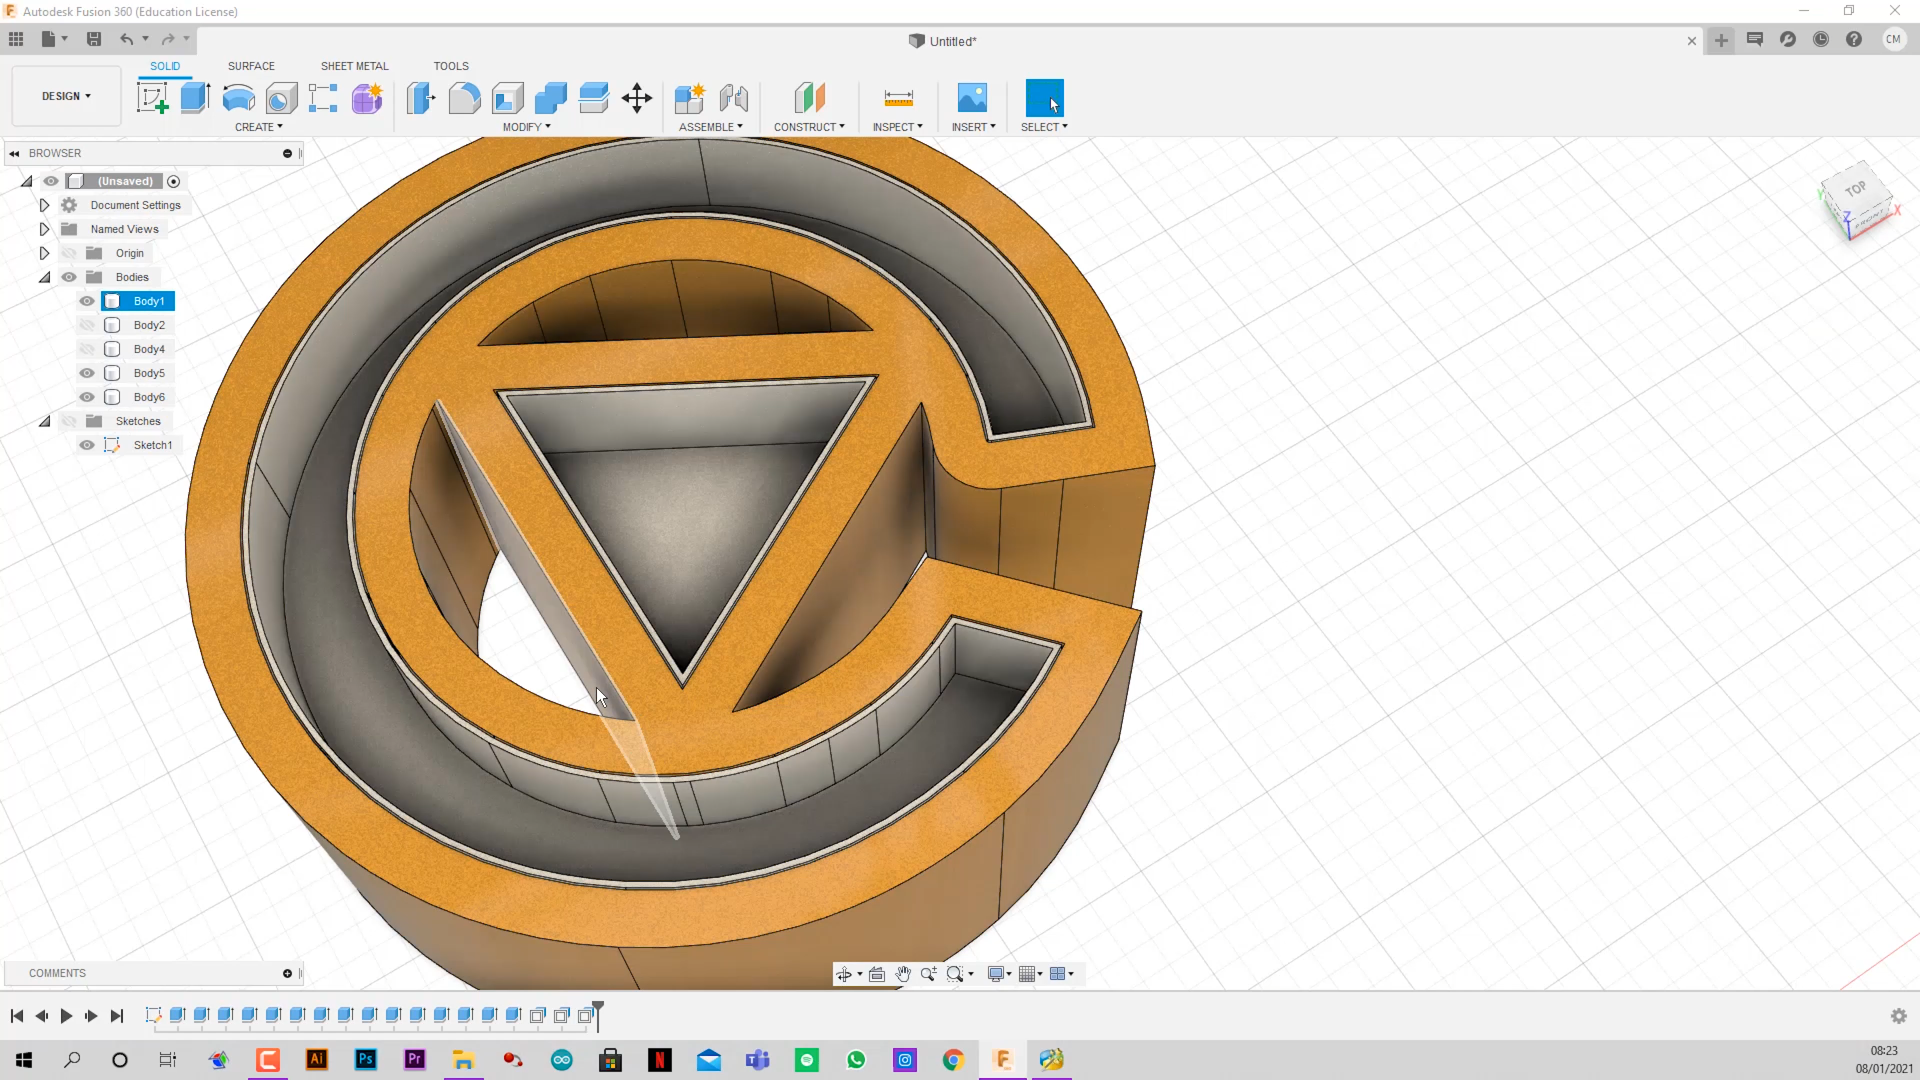
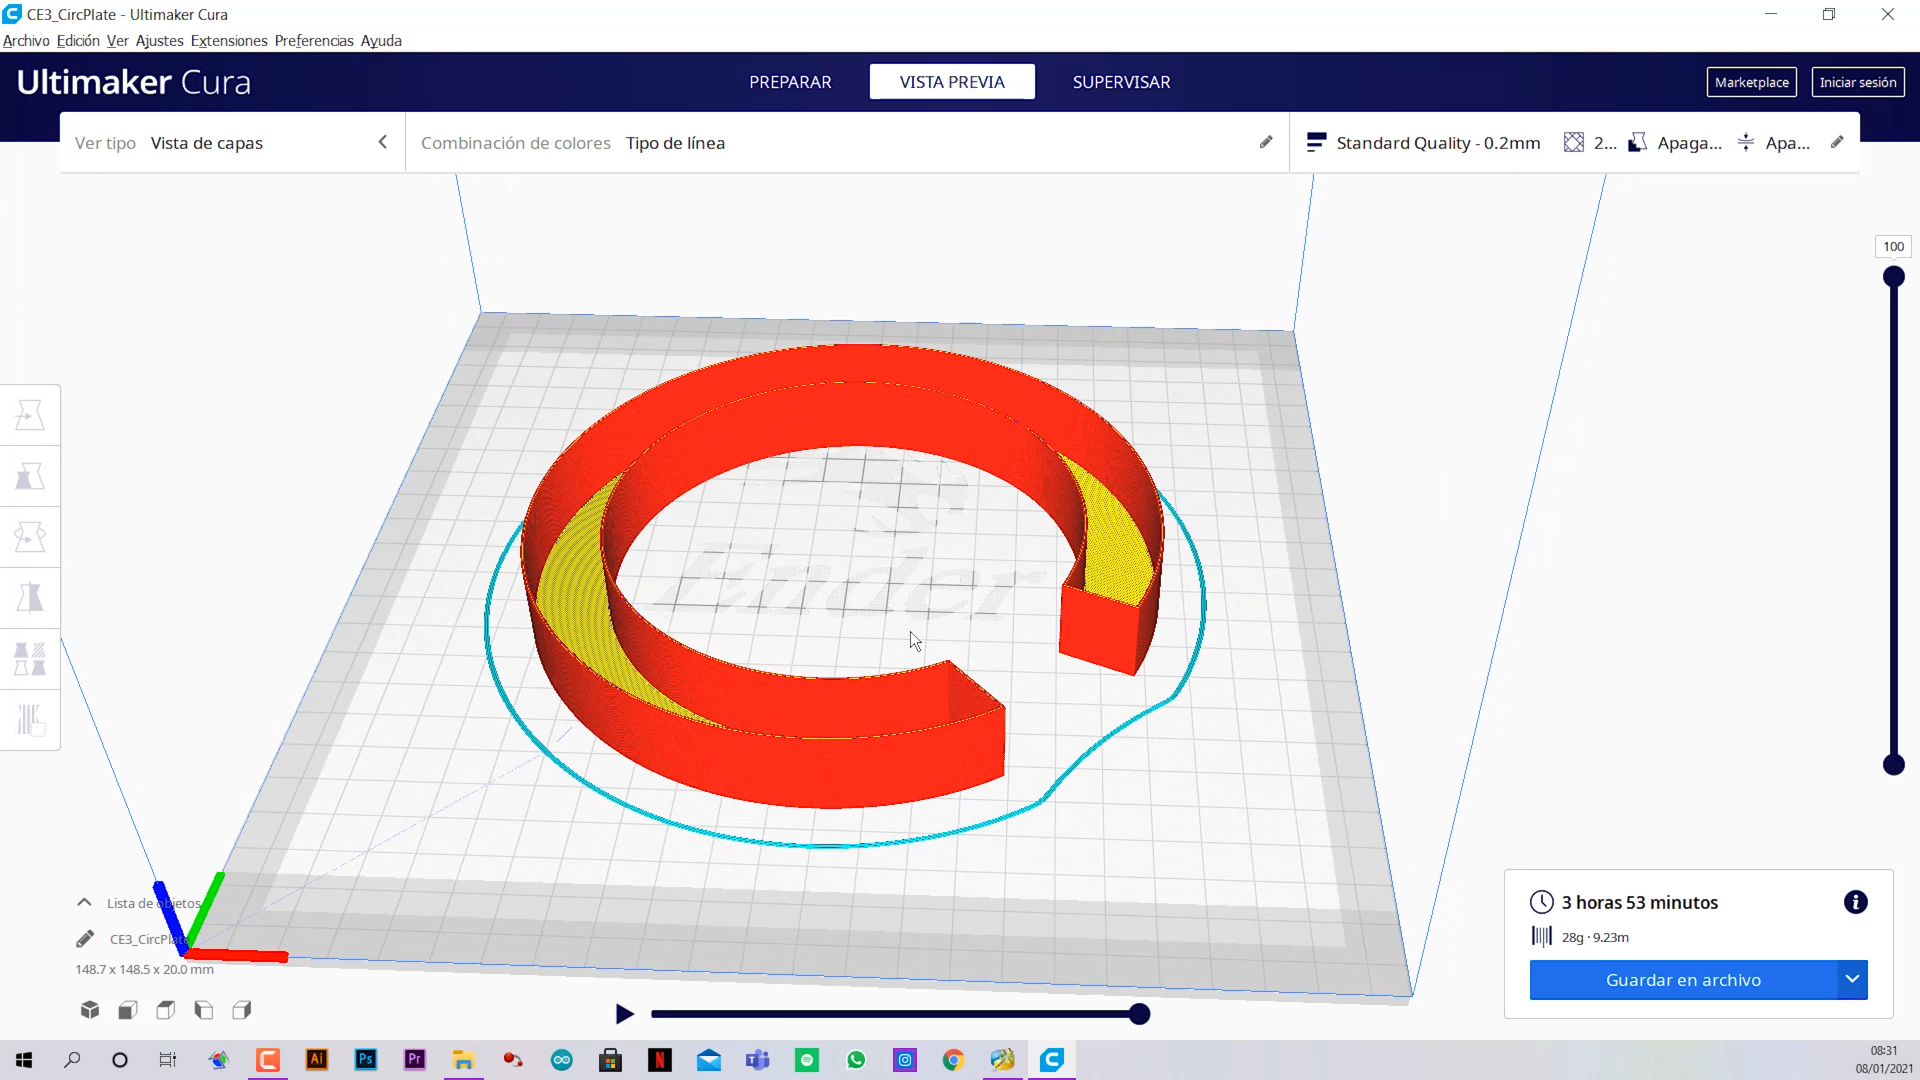
- Draw a square with the dimentions of the bed of your 3D Printer. (220*220mm)
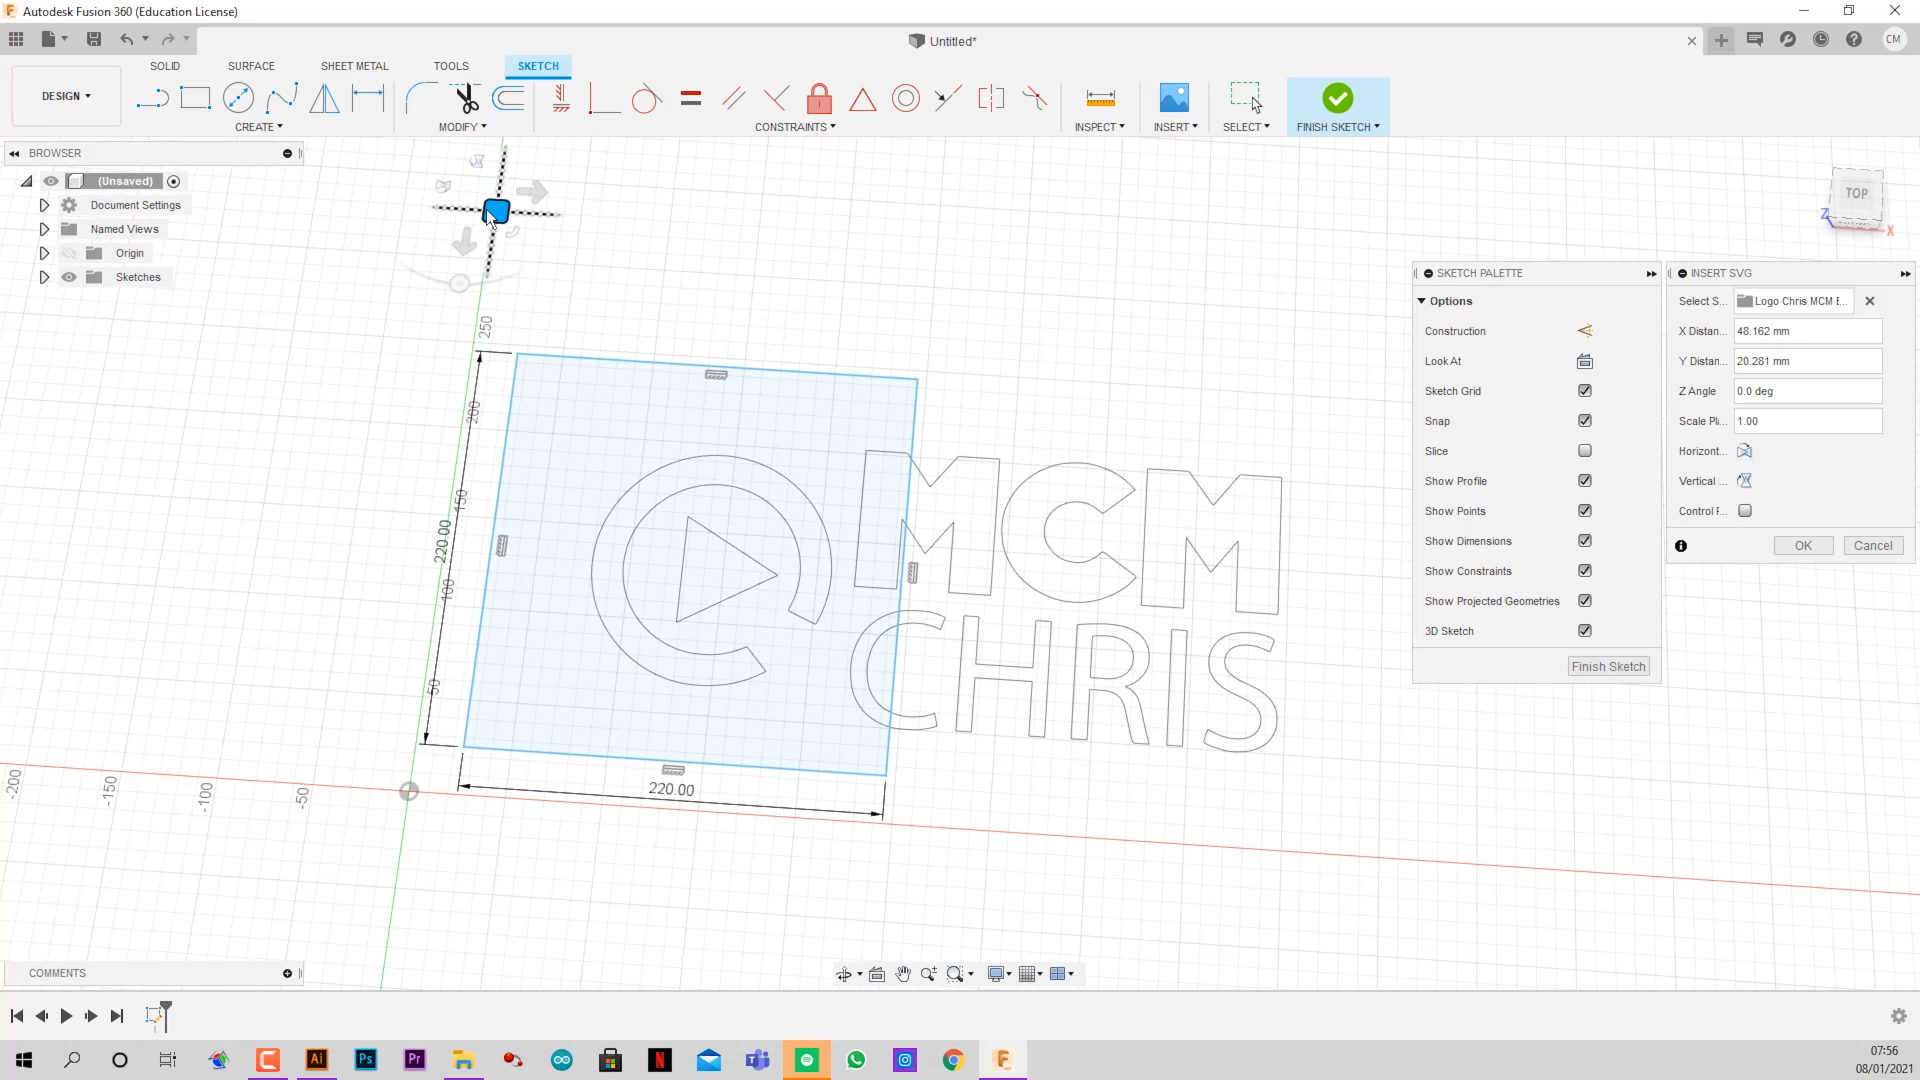
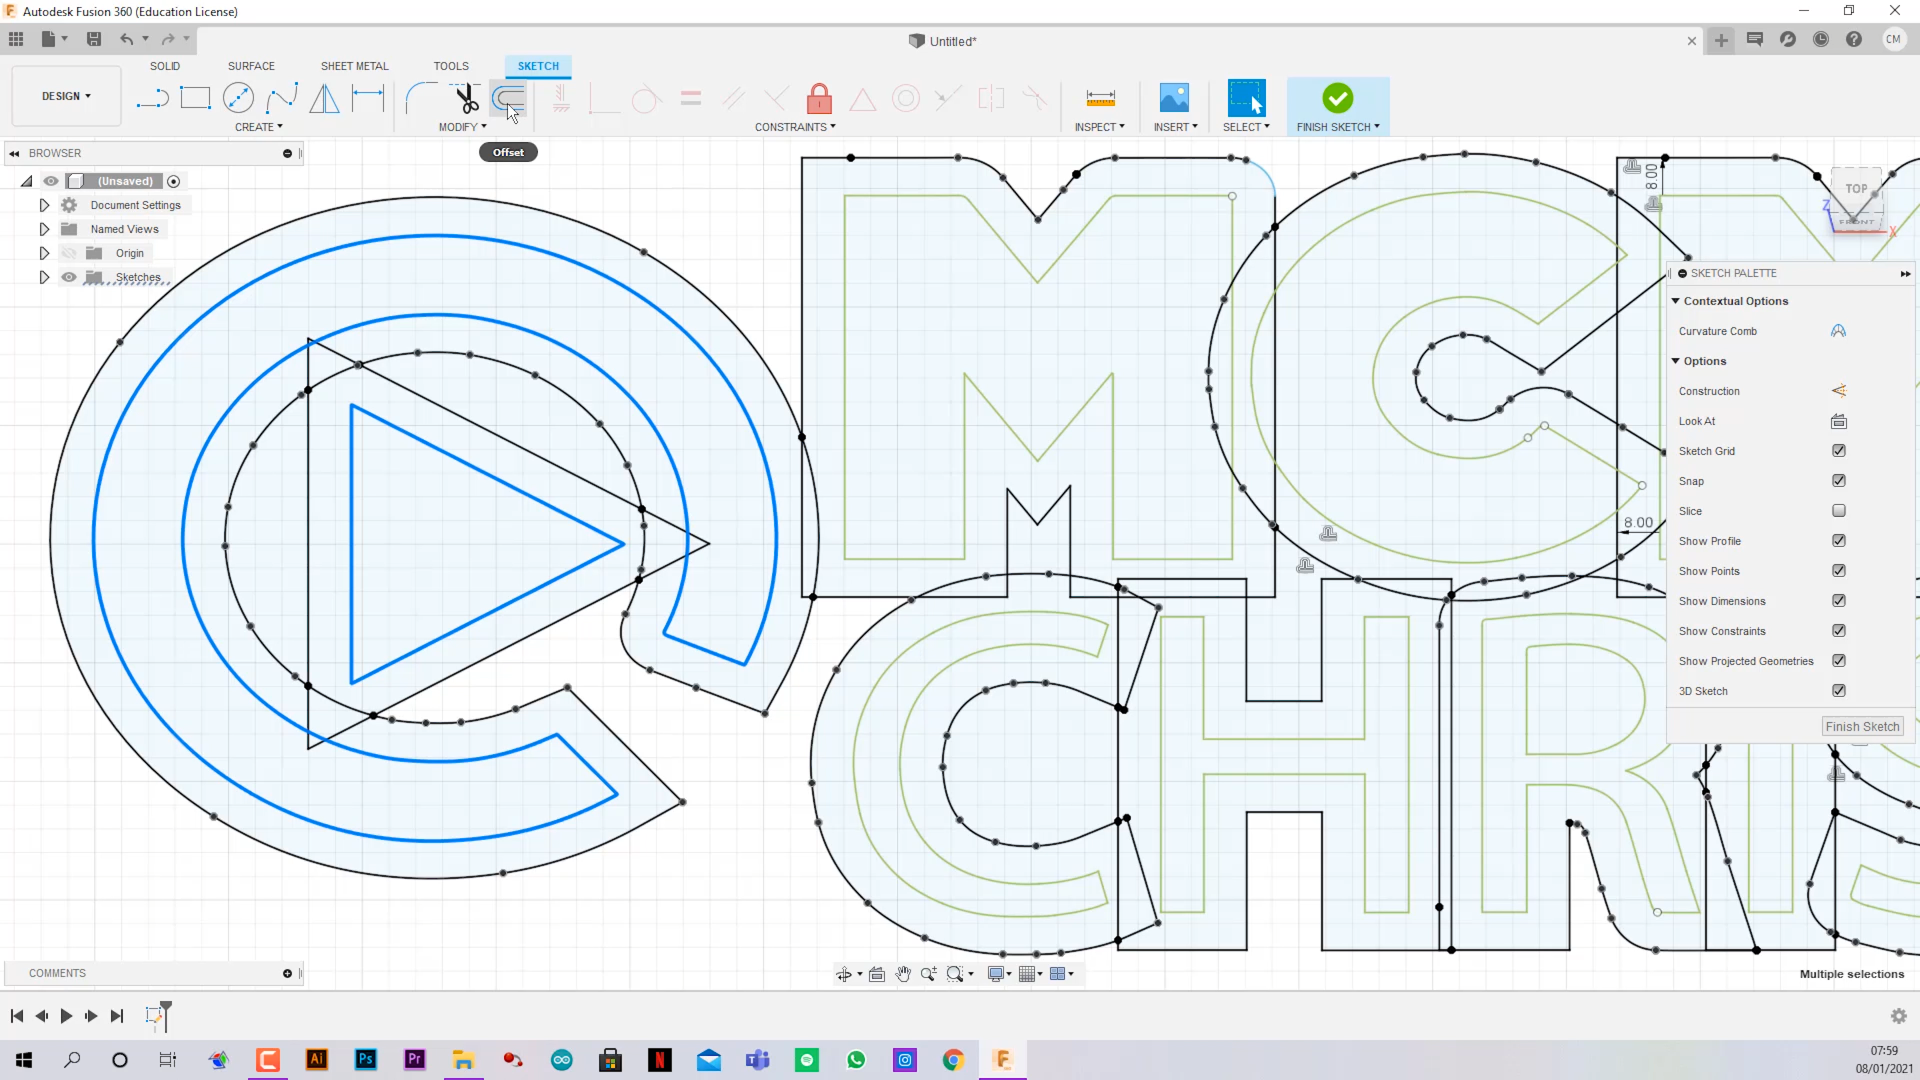
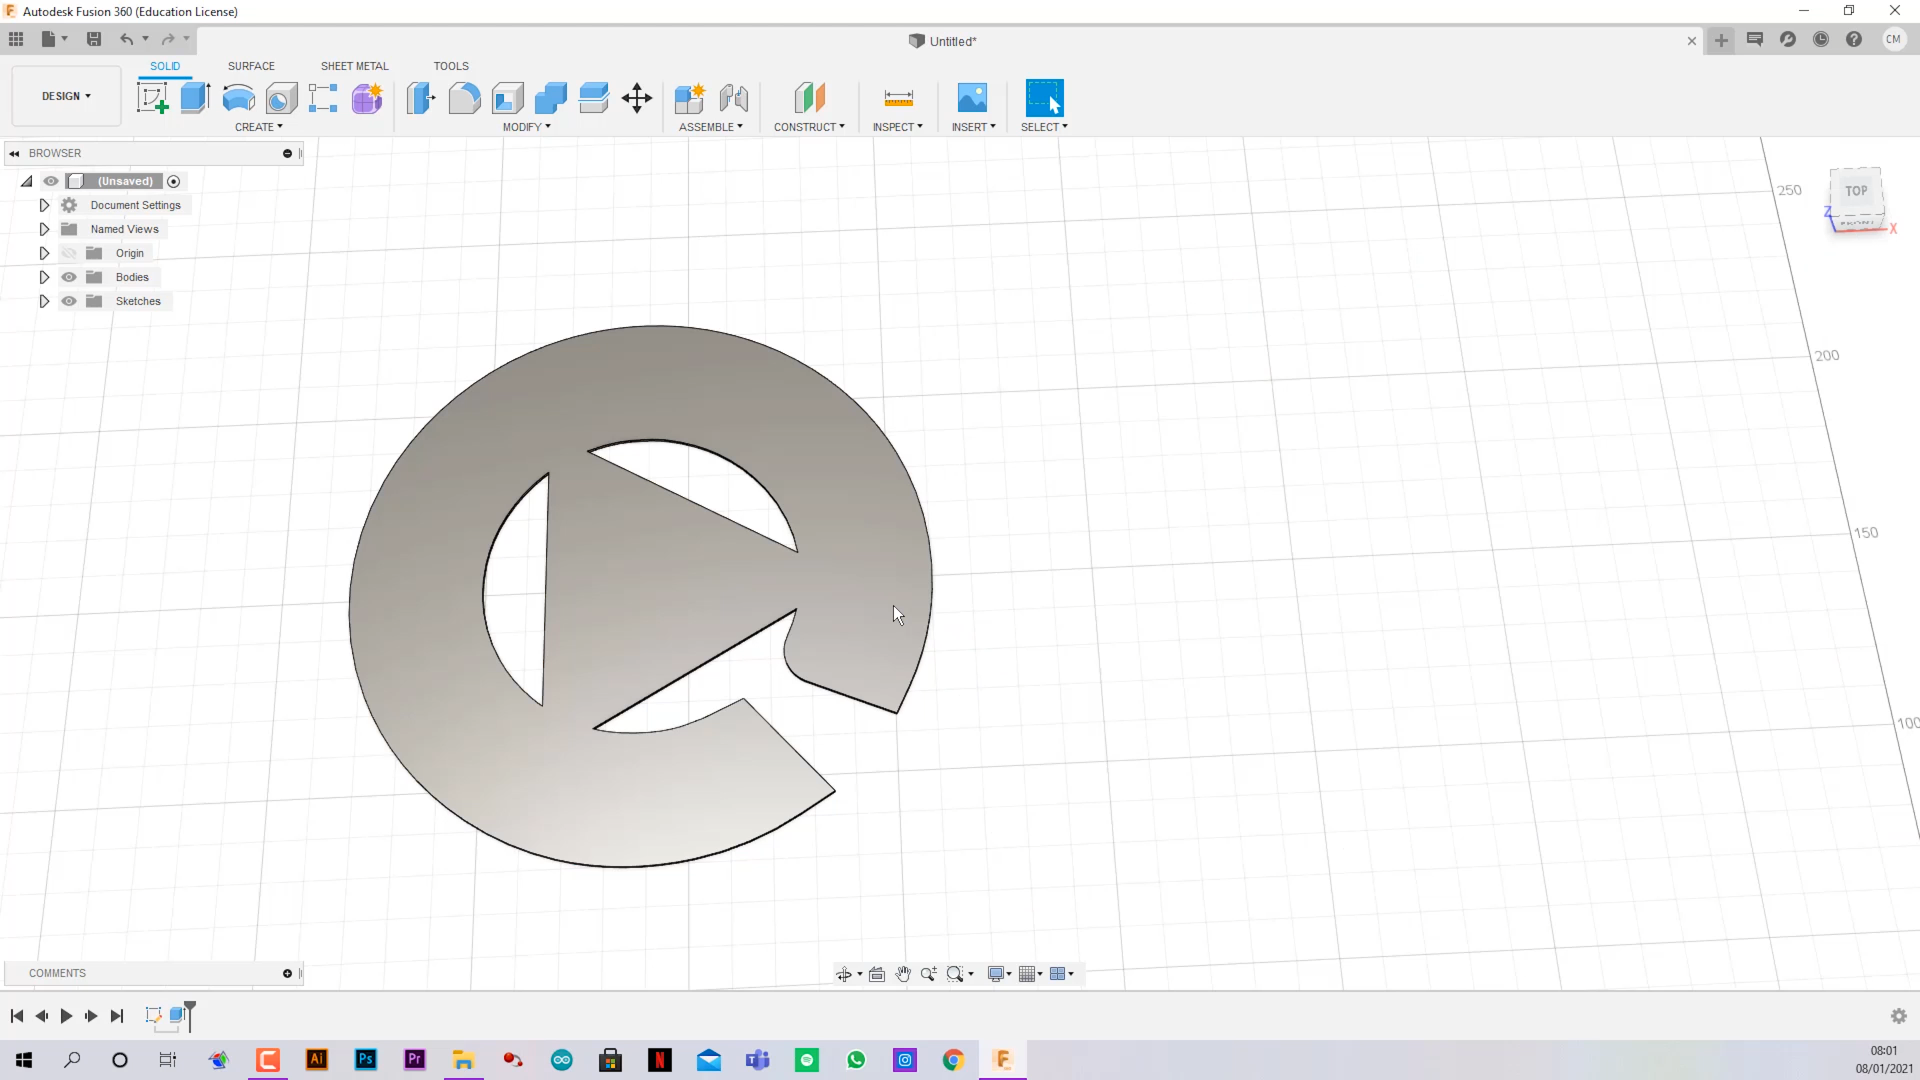
- Open a Sketch, and Insert > Insert SVG > Find your vectorized logo.
- Scale the logo so the pieces fix on your 3D Printer bed.
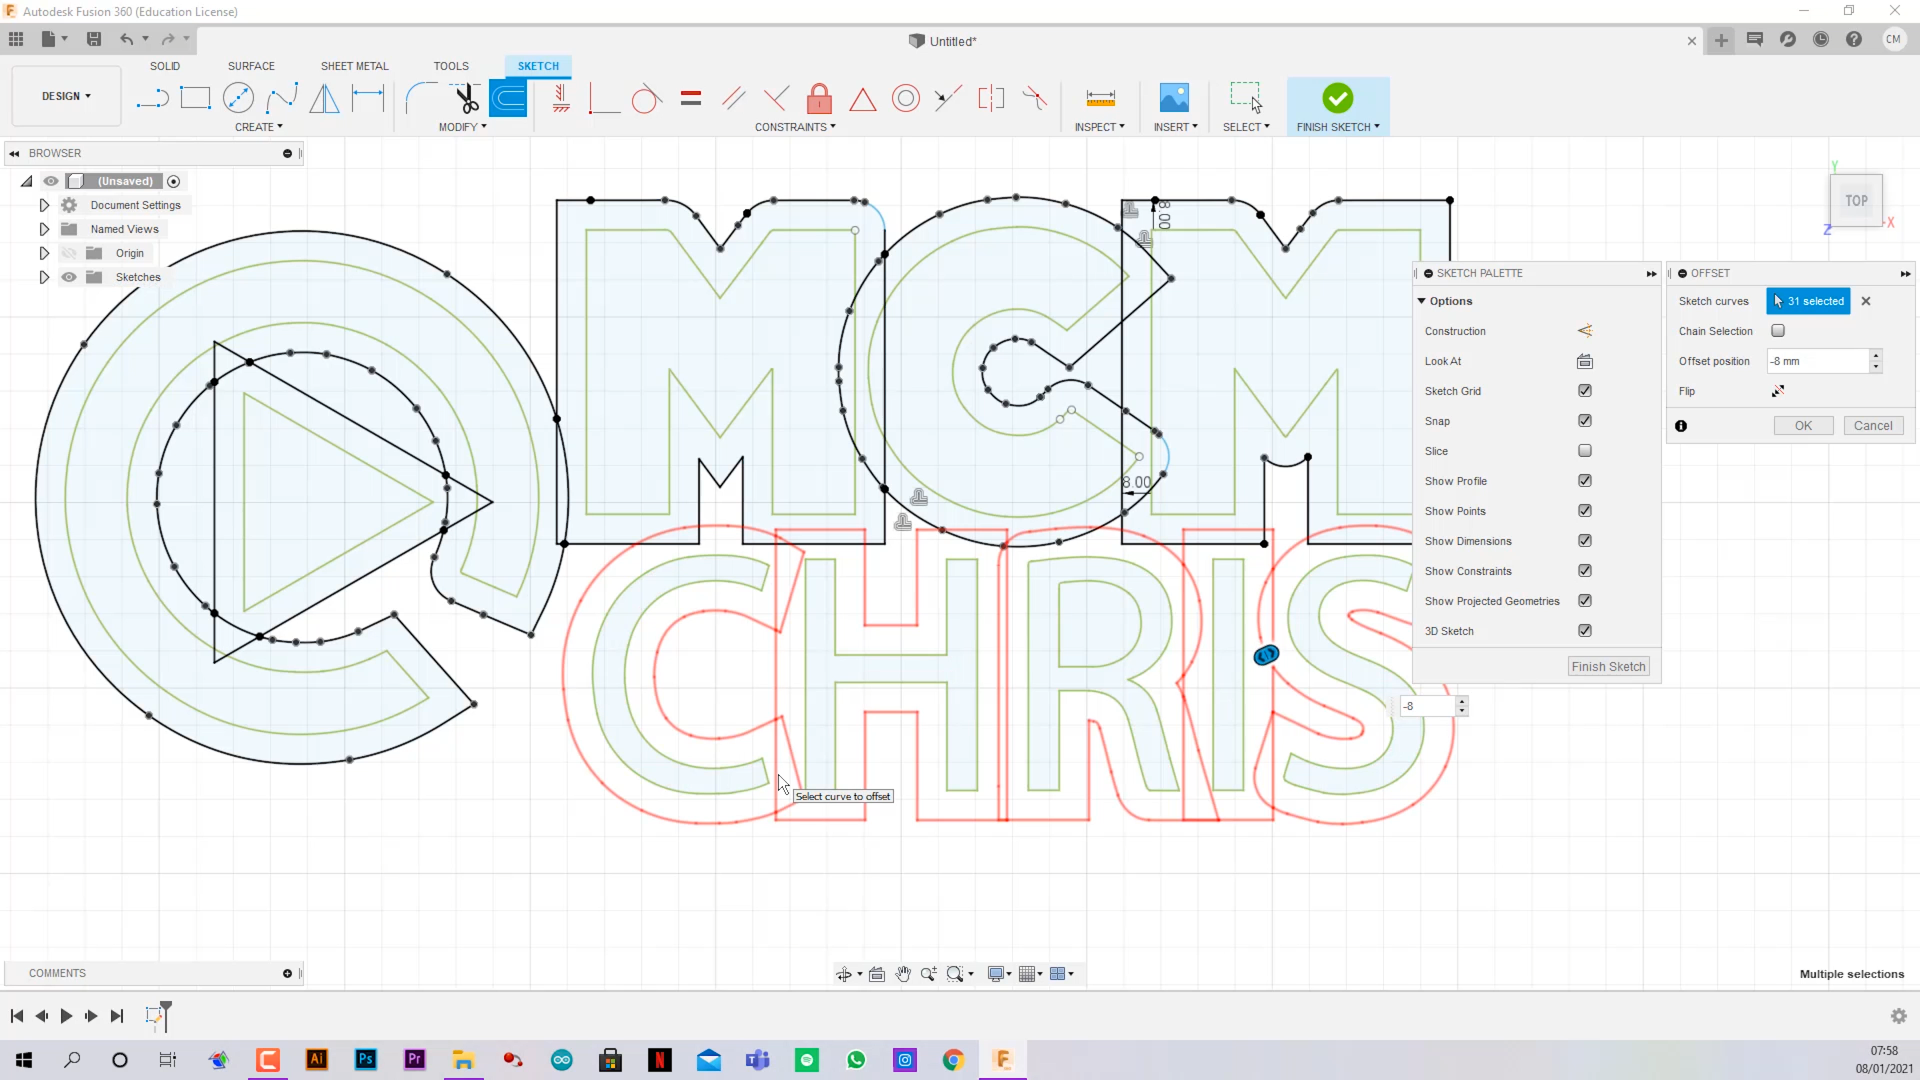
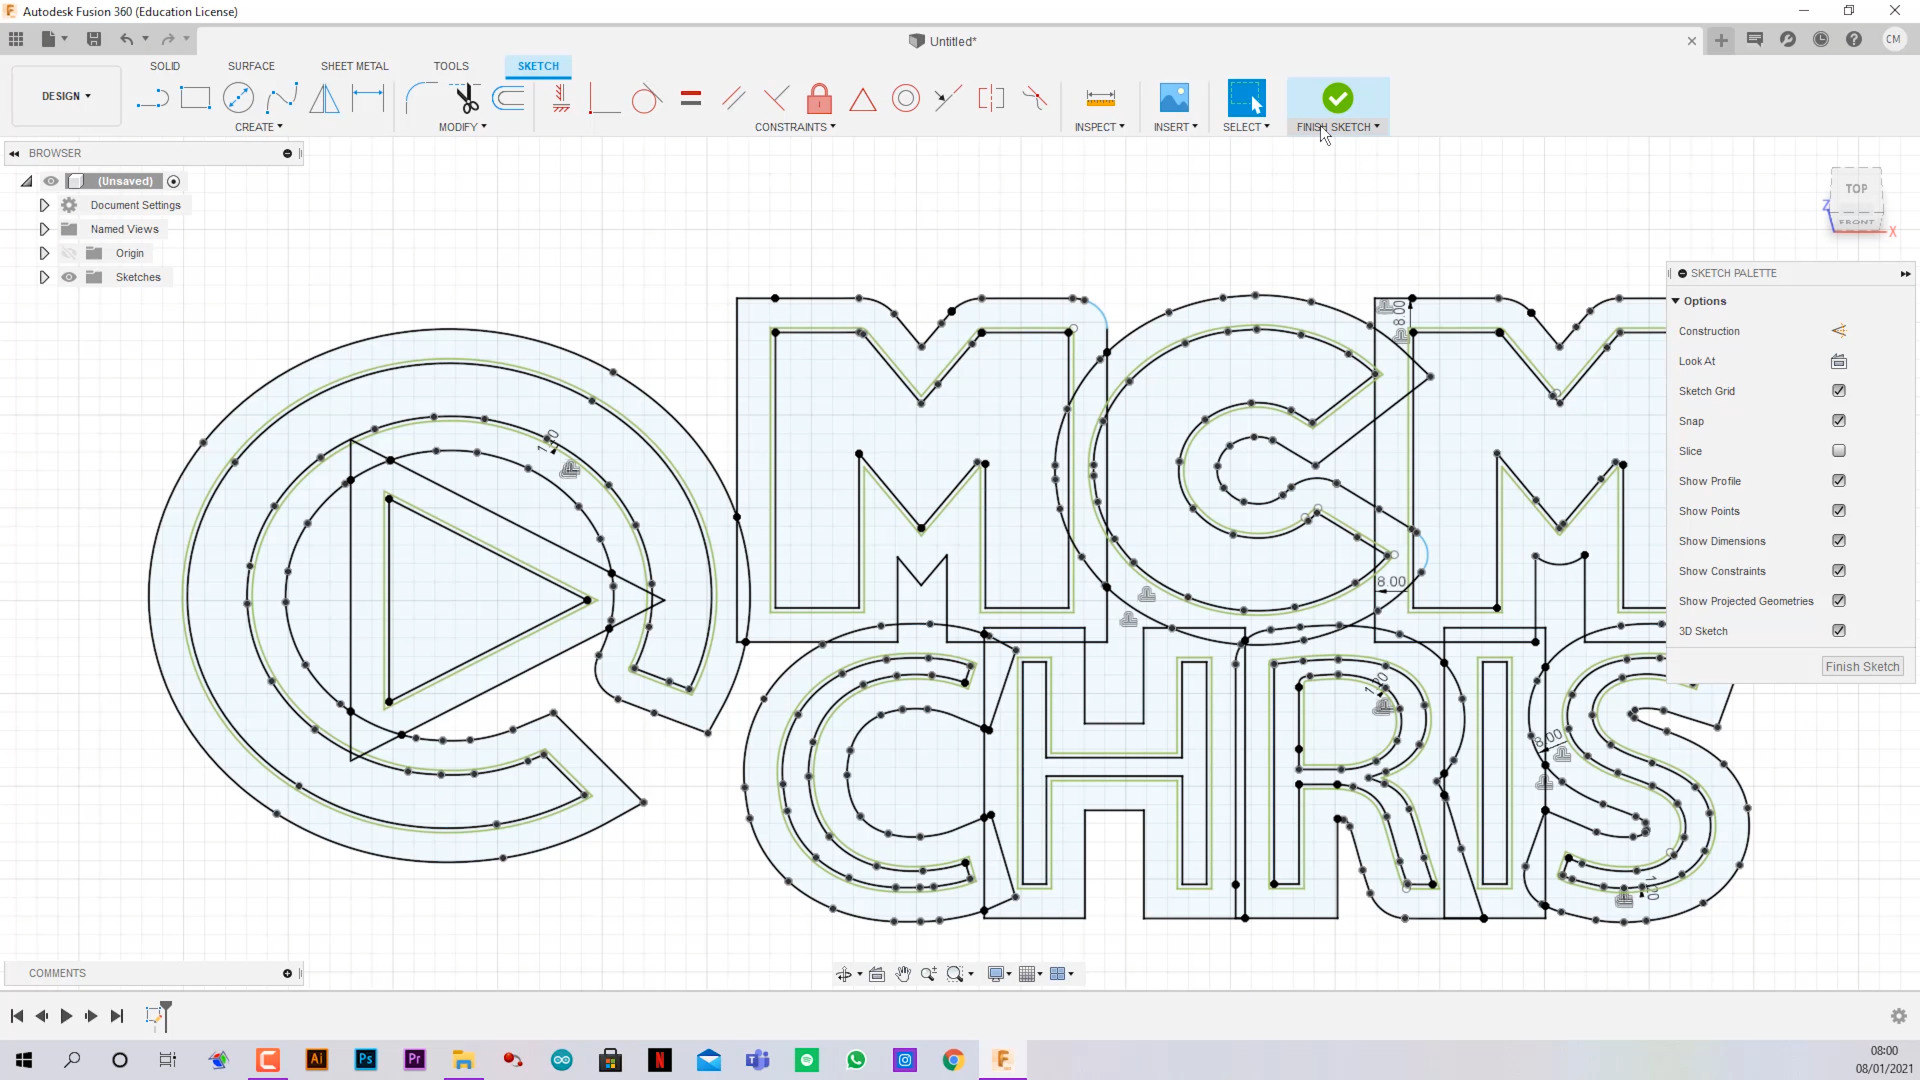
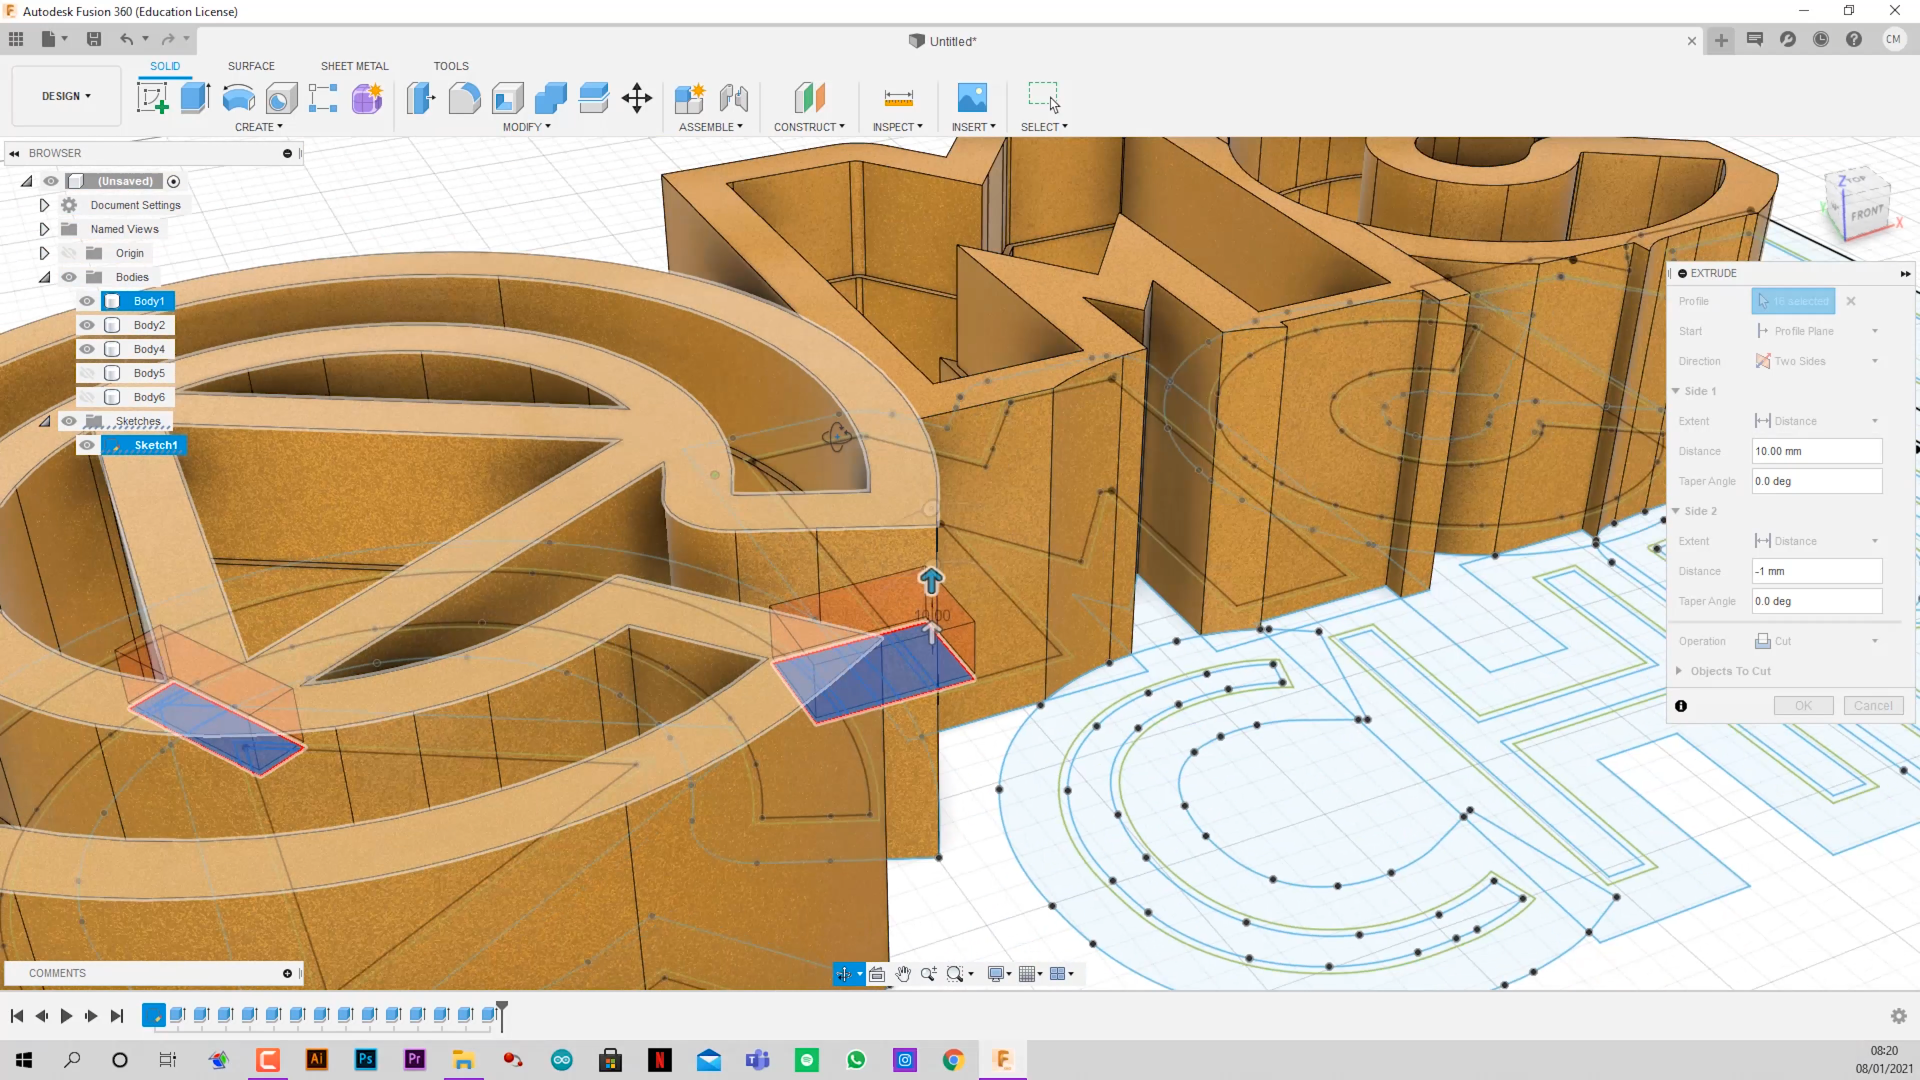
- Select the perimeters of your logo and make an outside 8mm offset and inside 1.2mm offset.
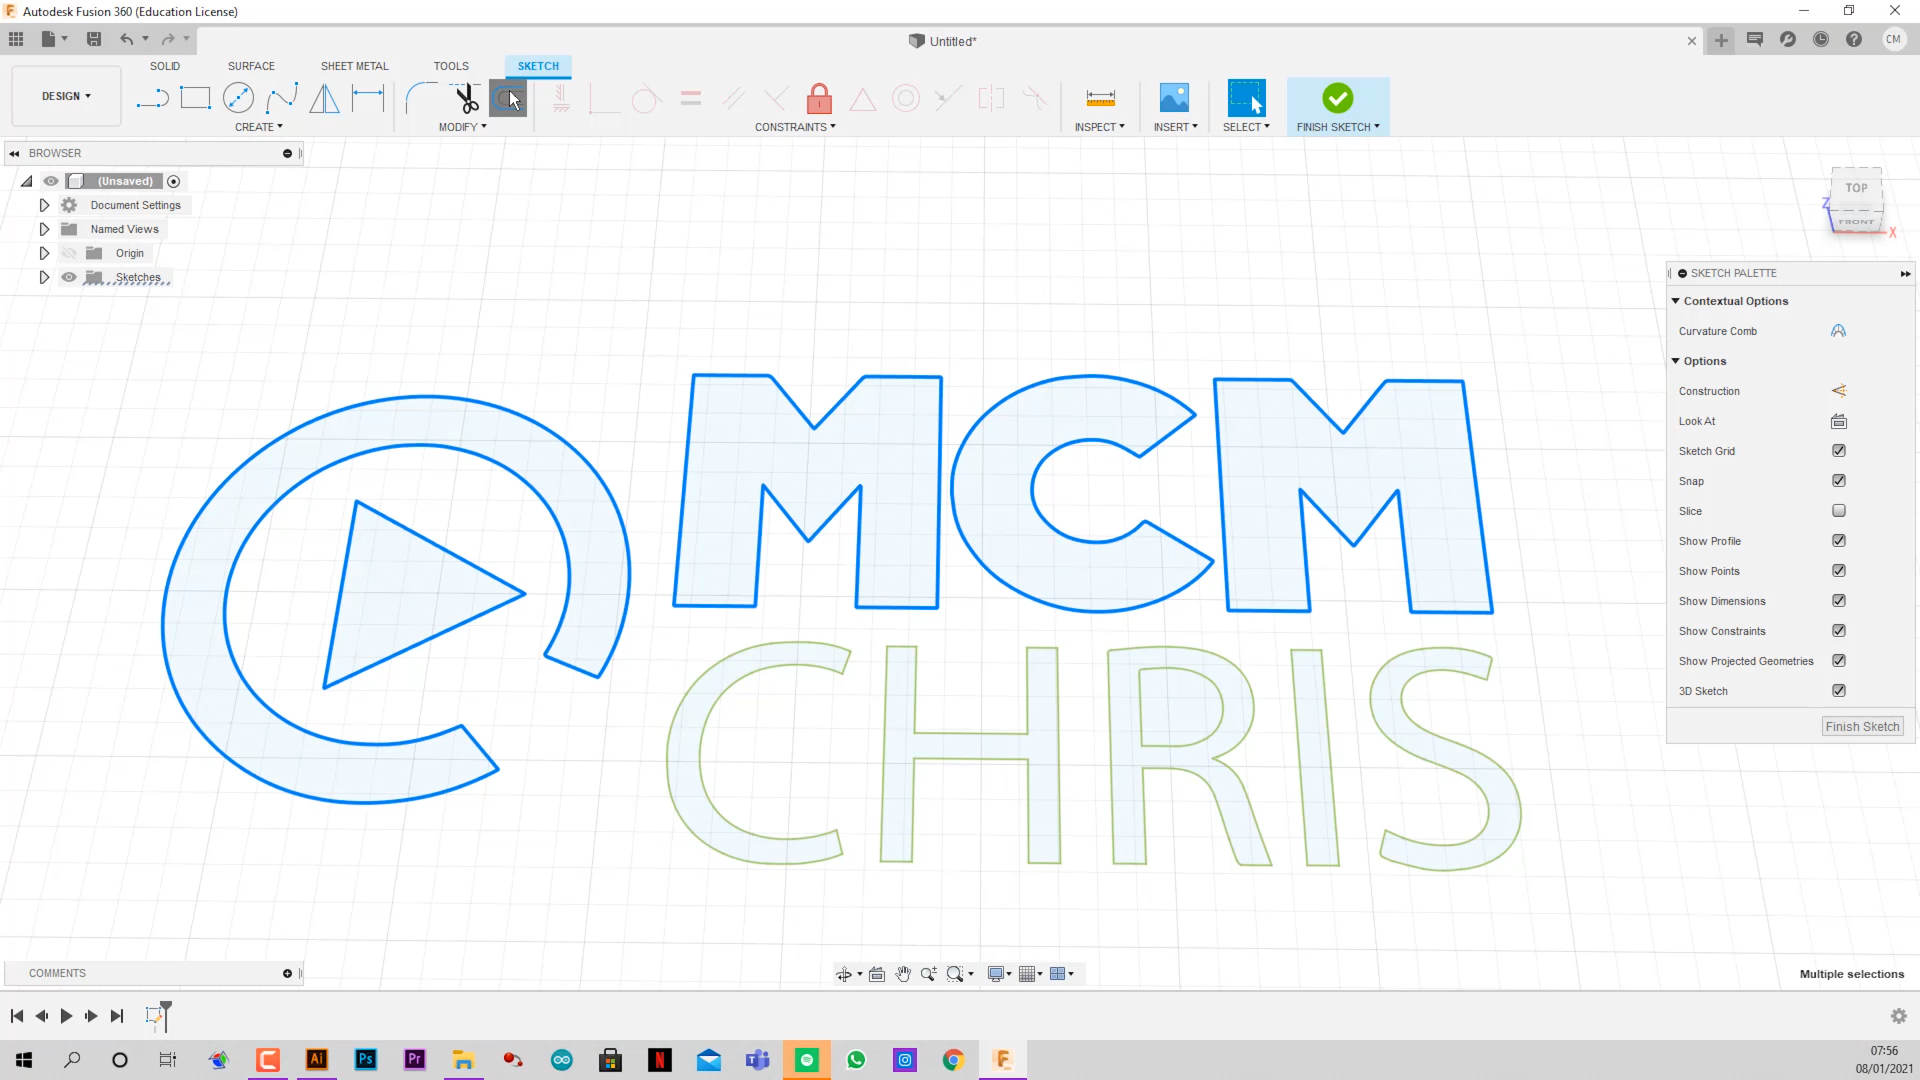
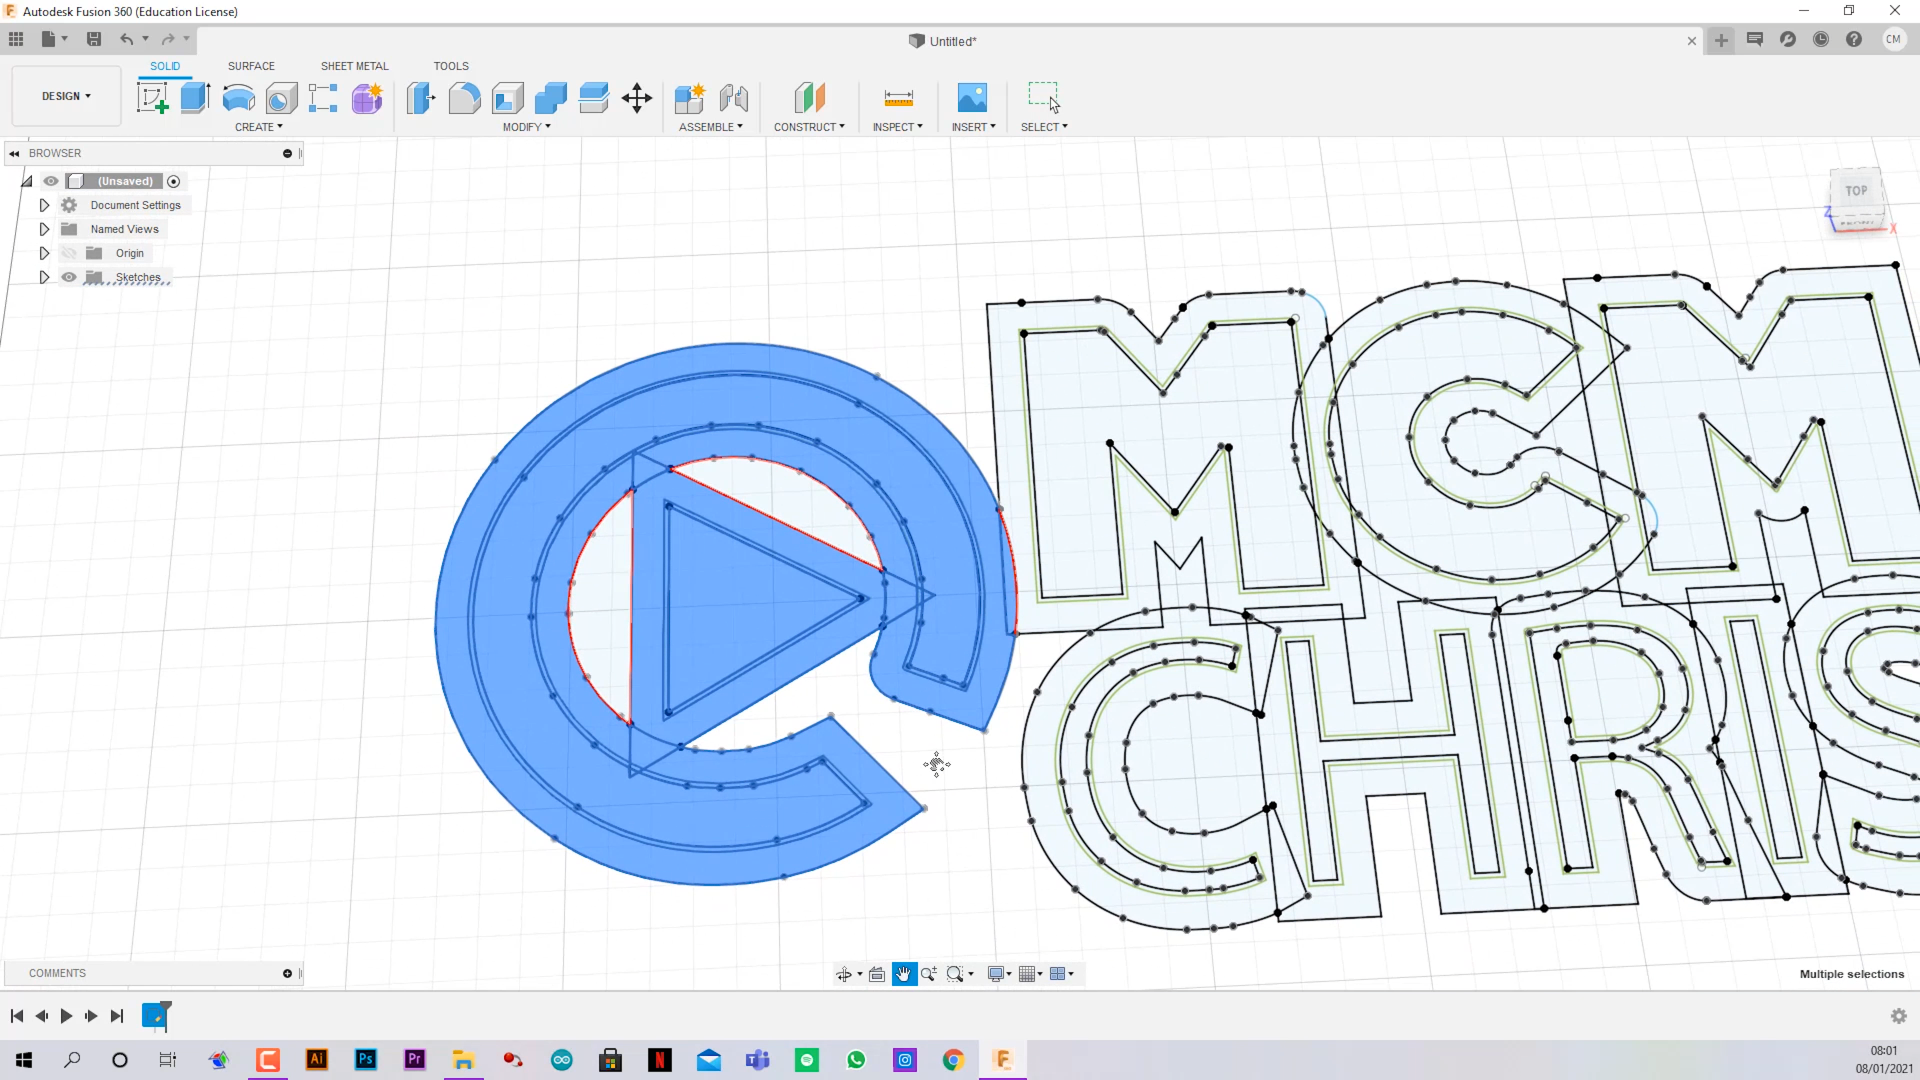
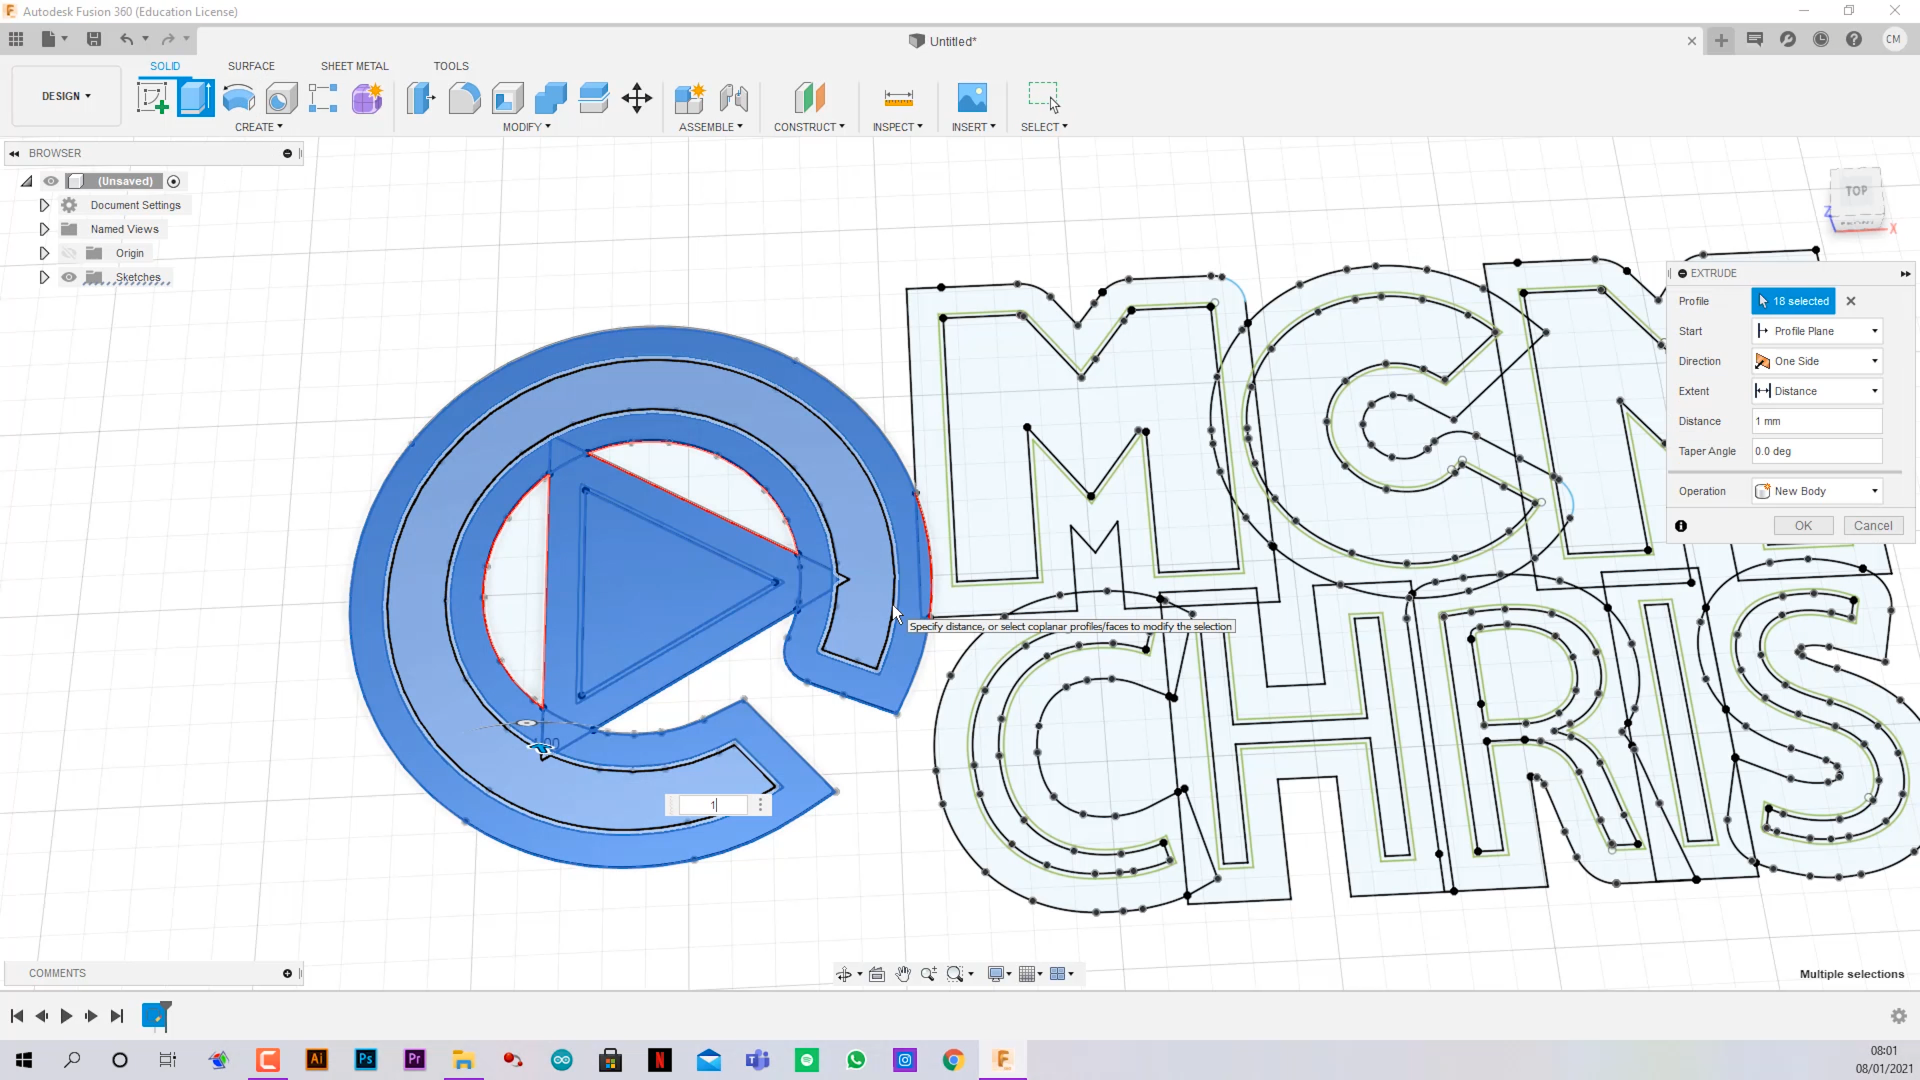
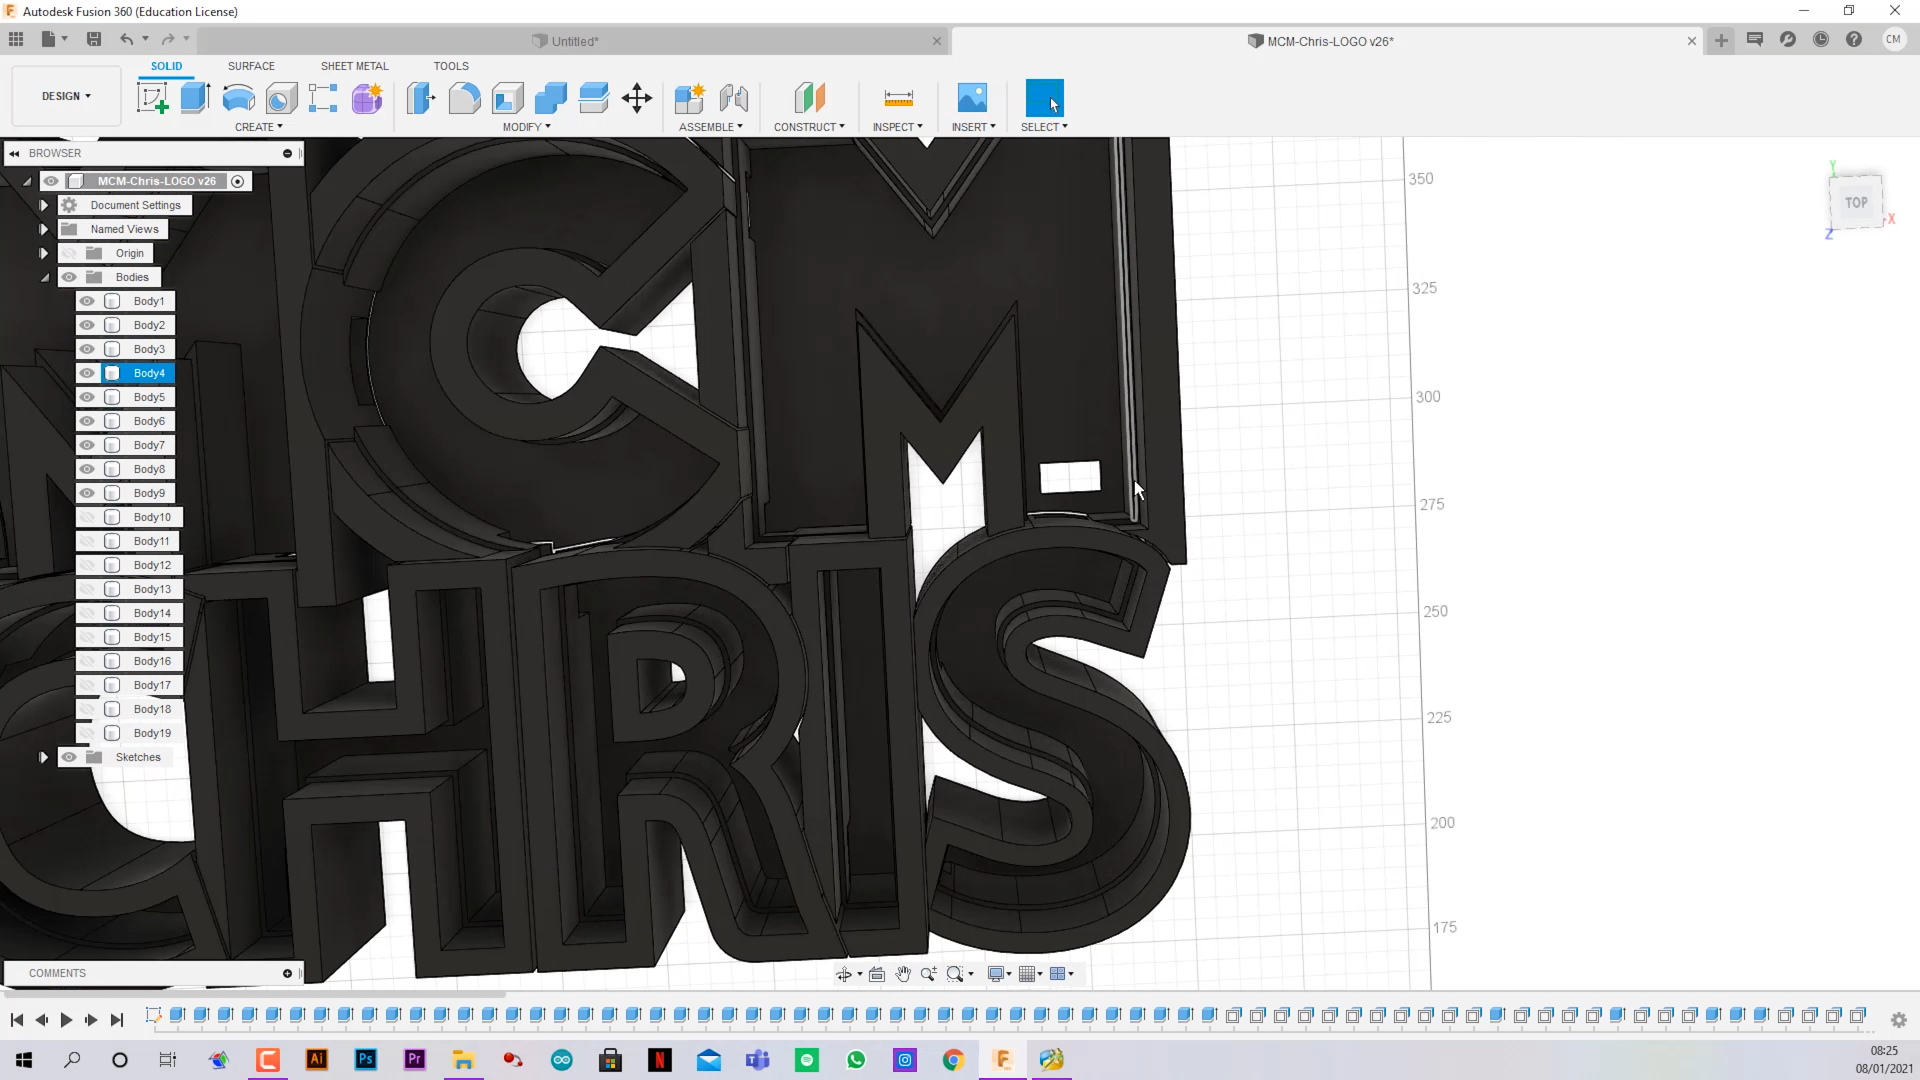
- Select letter by letter and extrude 1mm up.
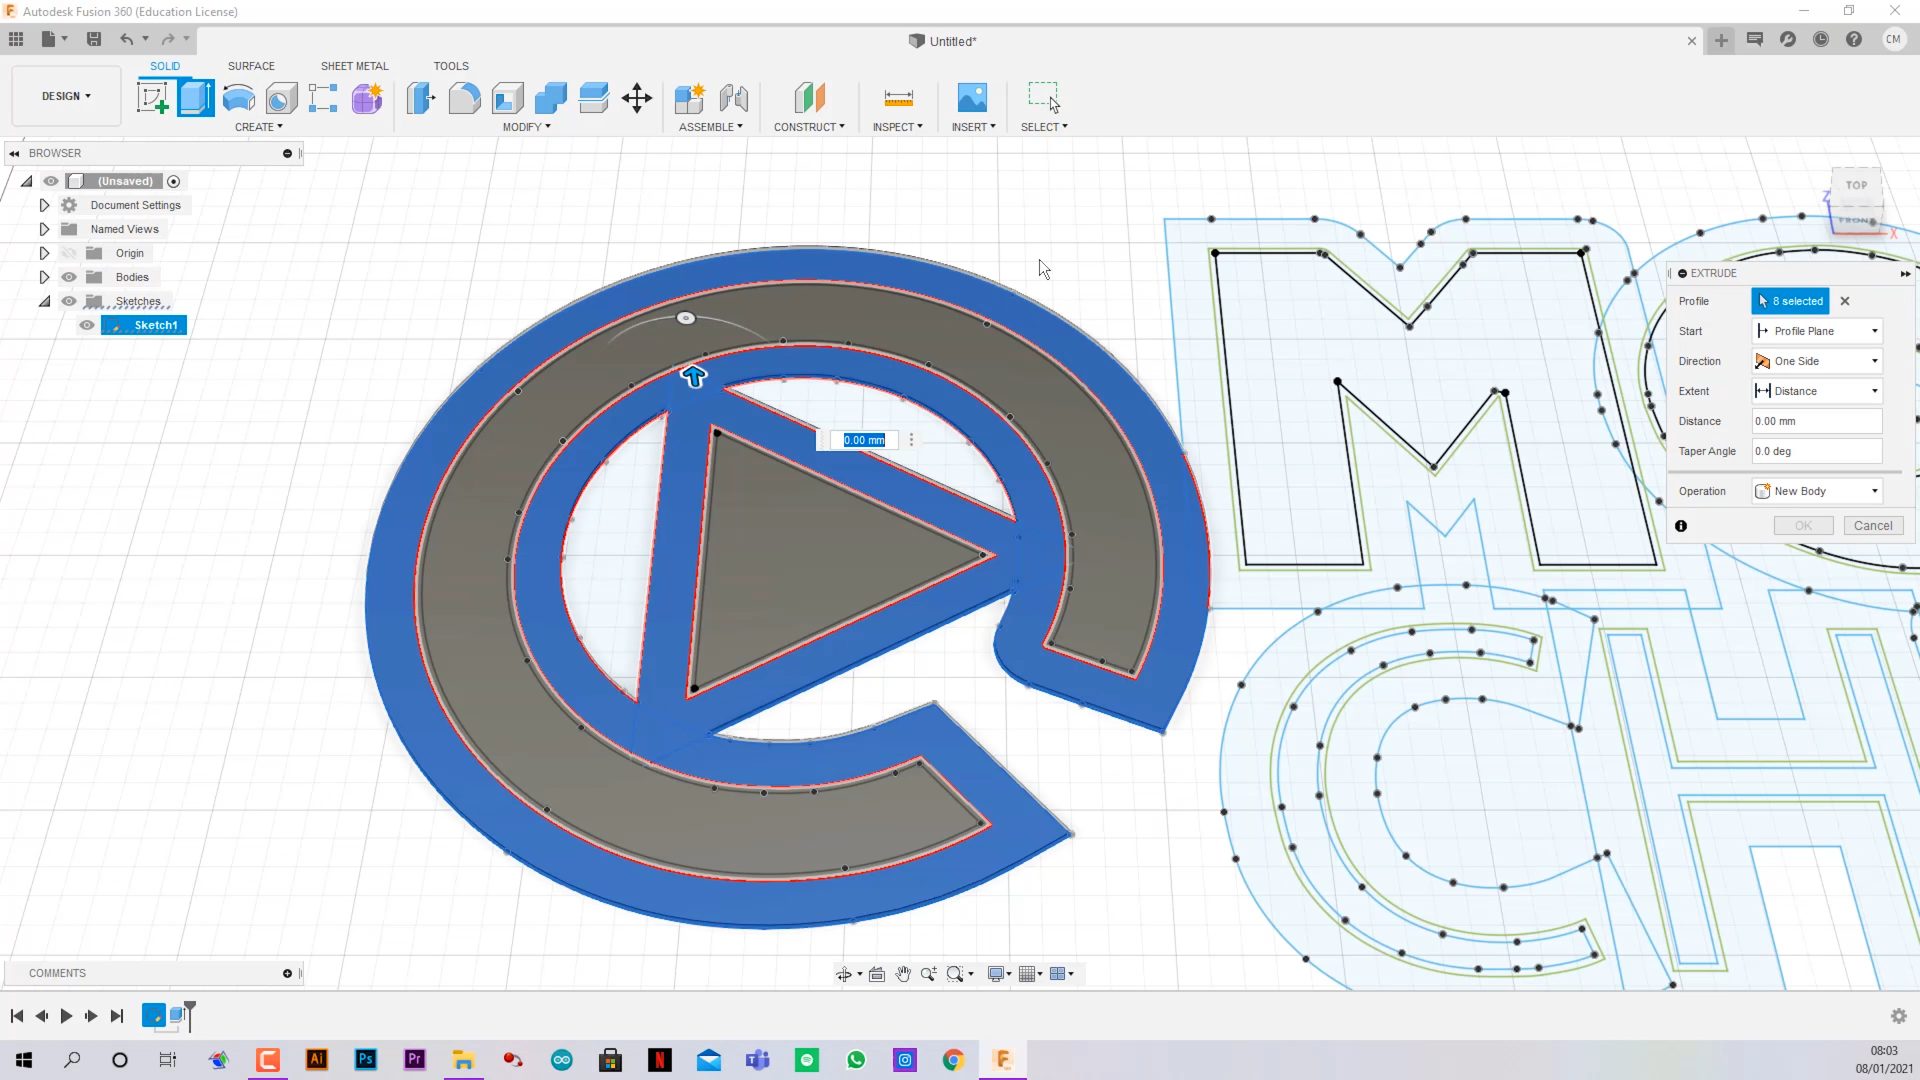
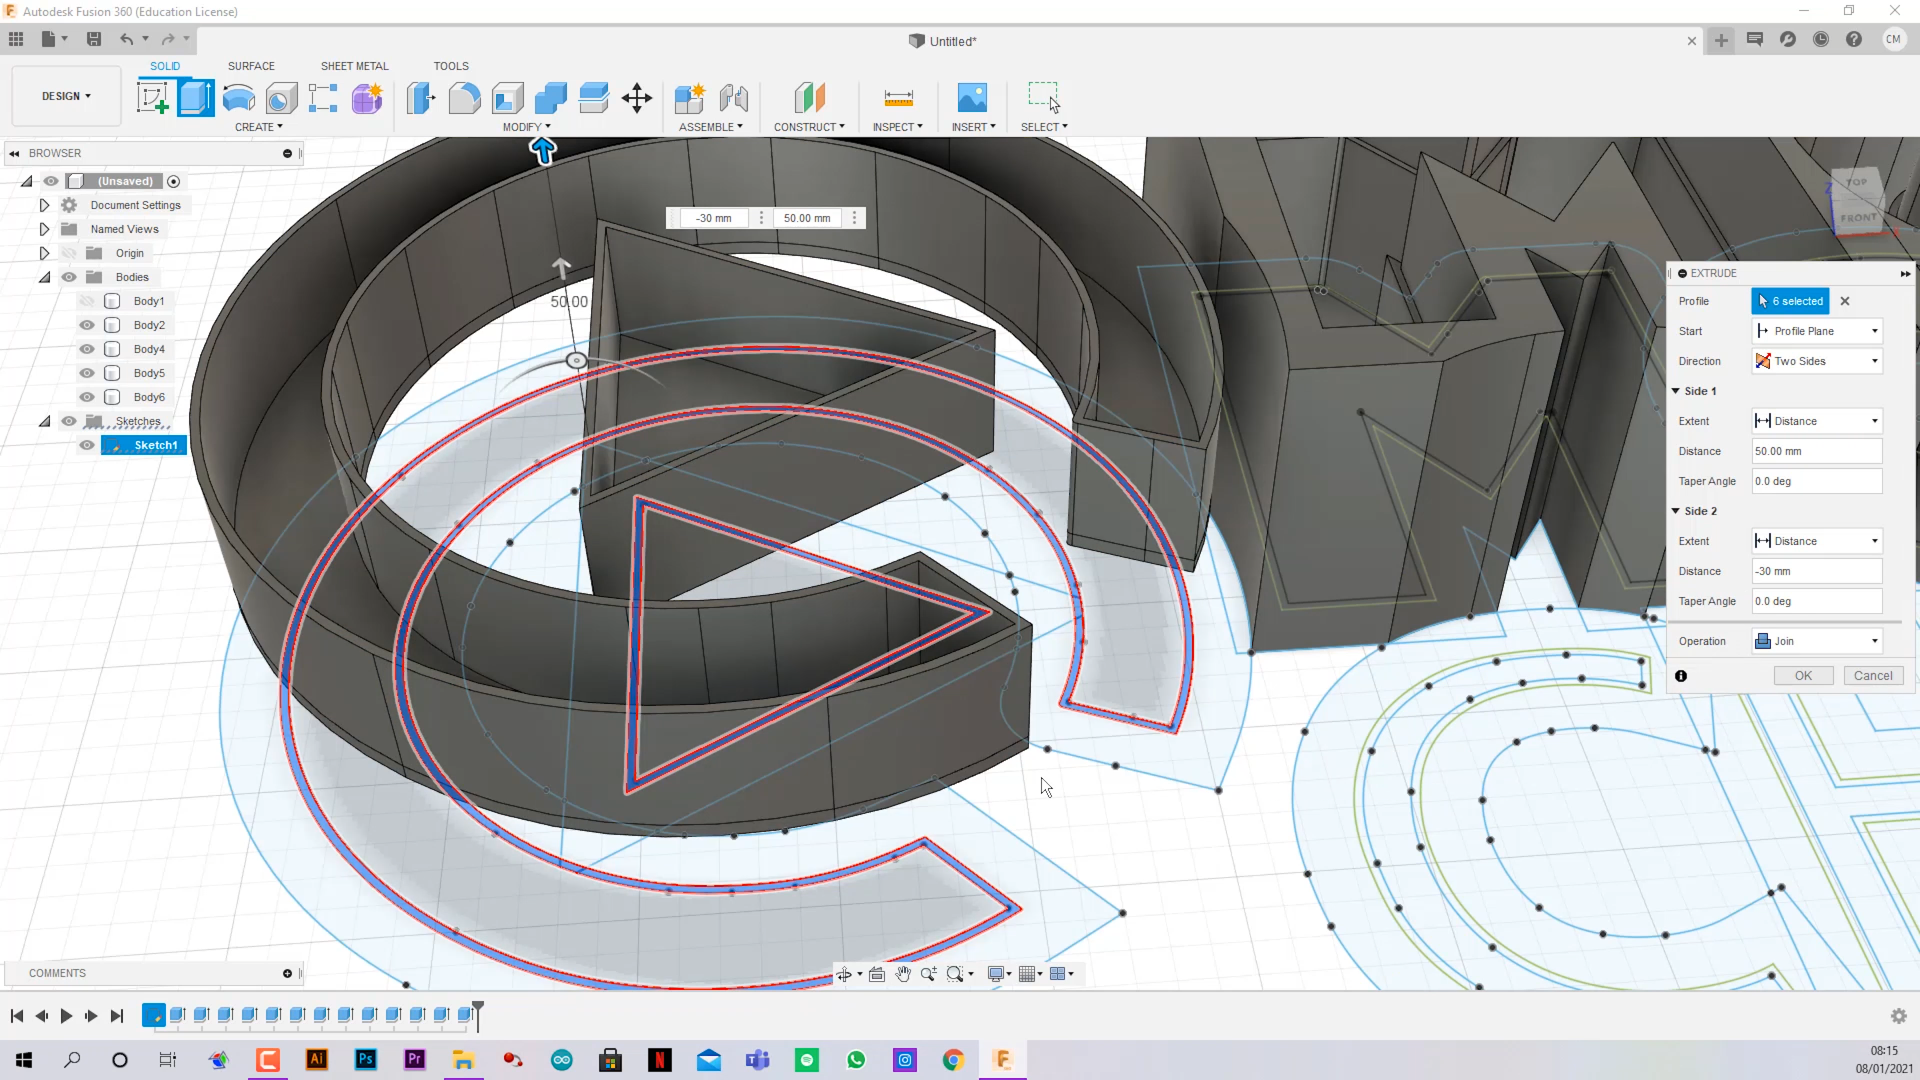
- Select the borders of each letter (one by one) and extrude 50mm up.
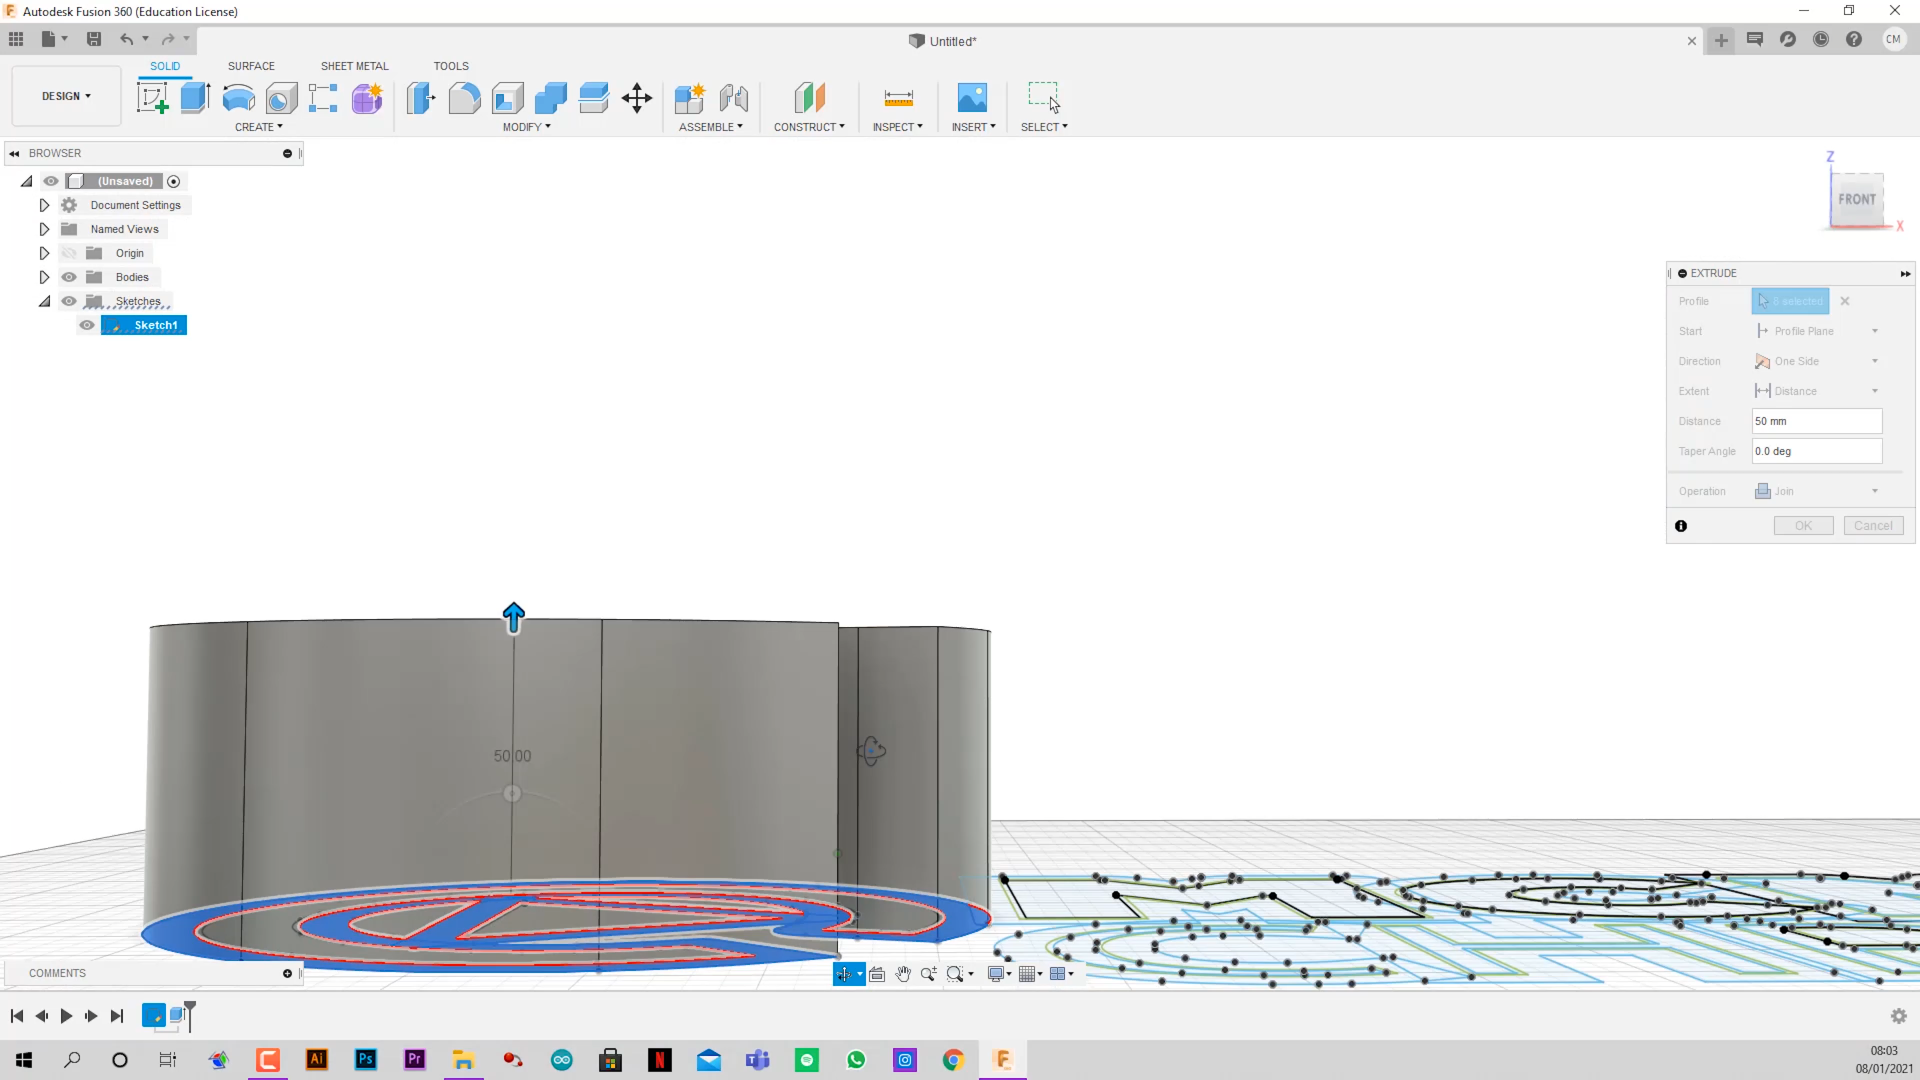
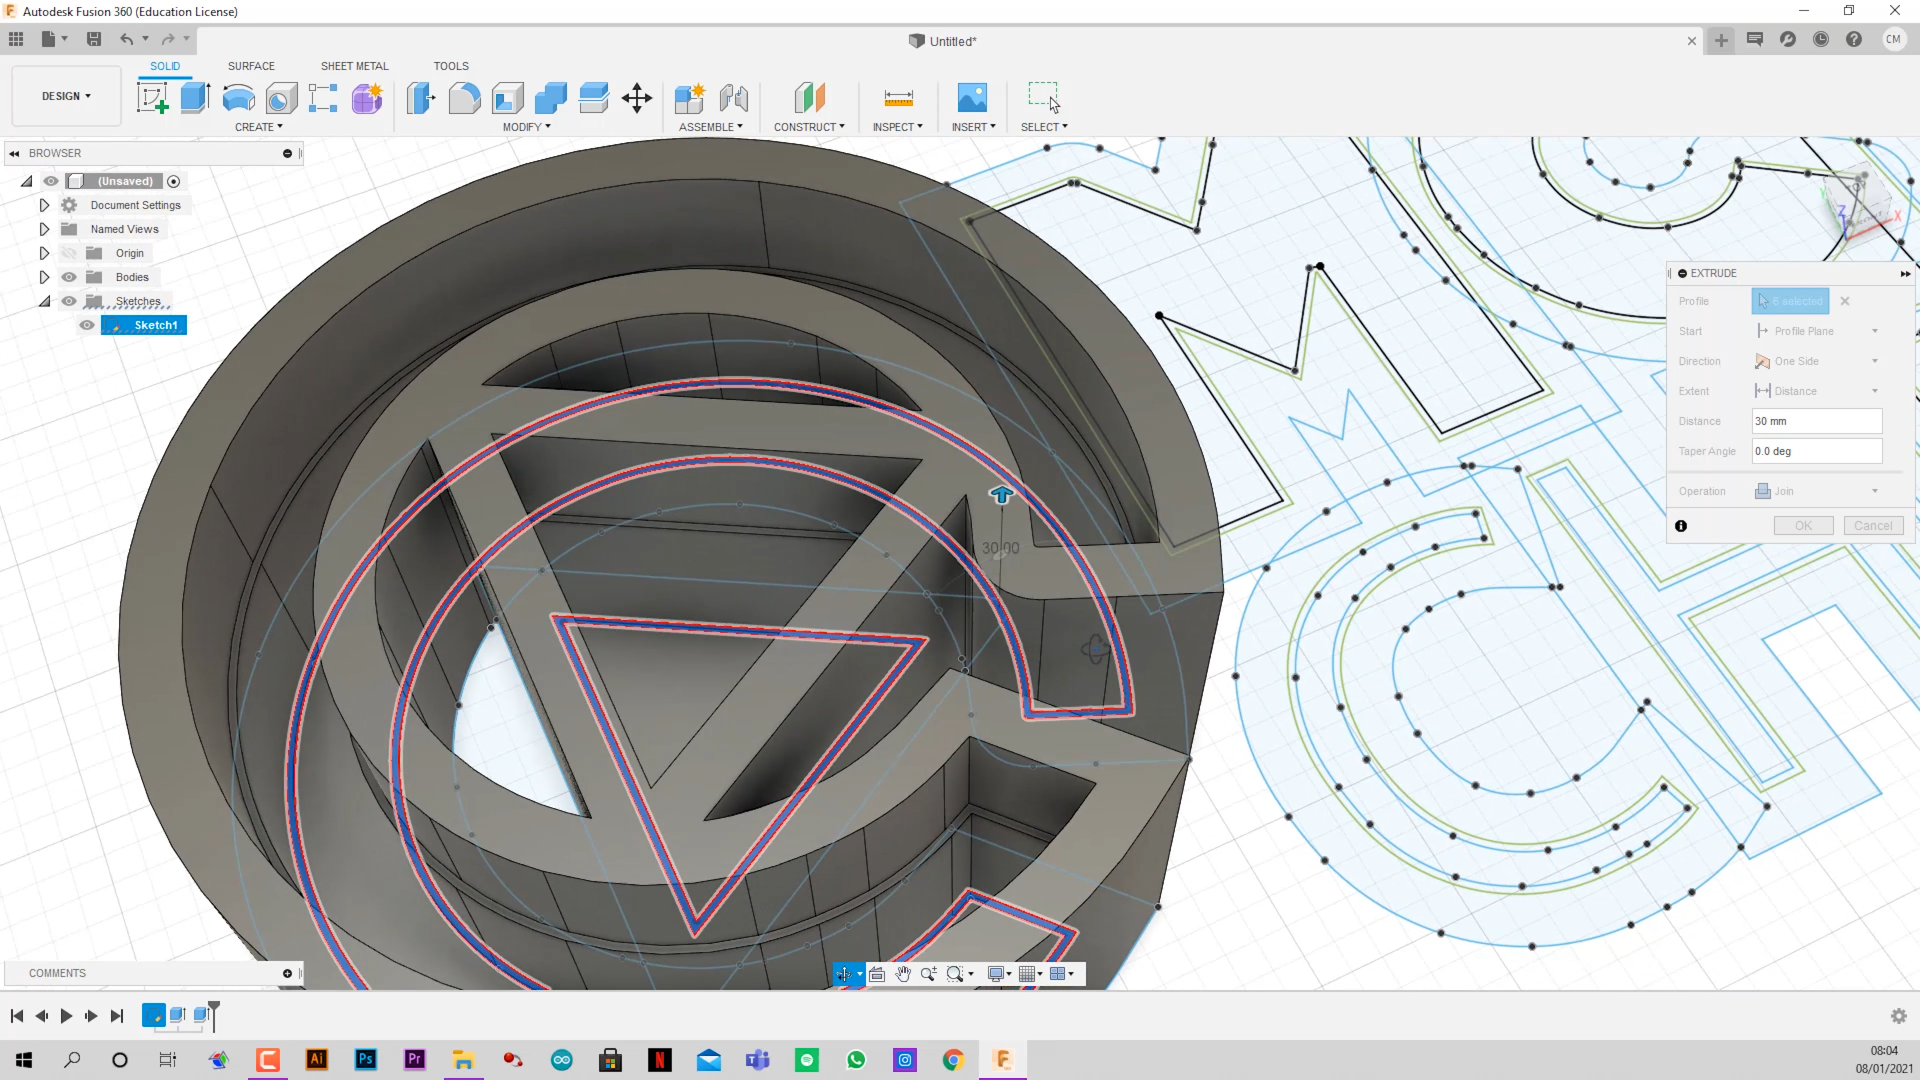
- Select the 1.2mm border of each letter and extrude 30mm up (joined).
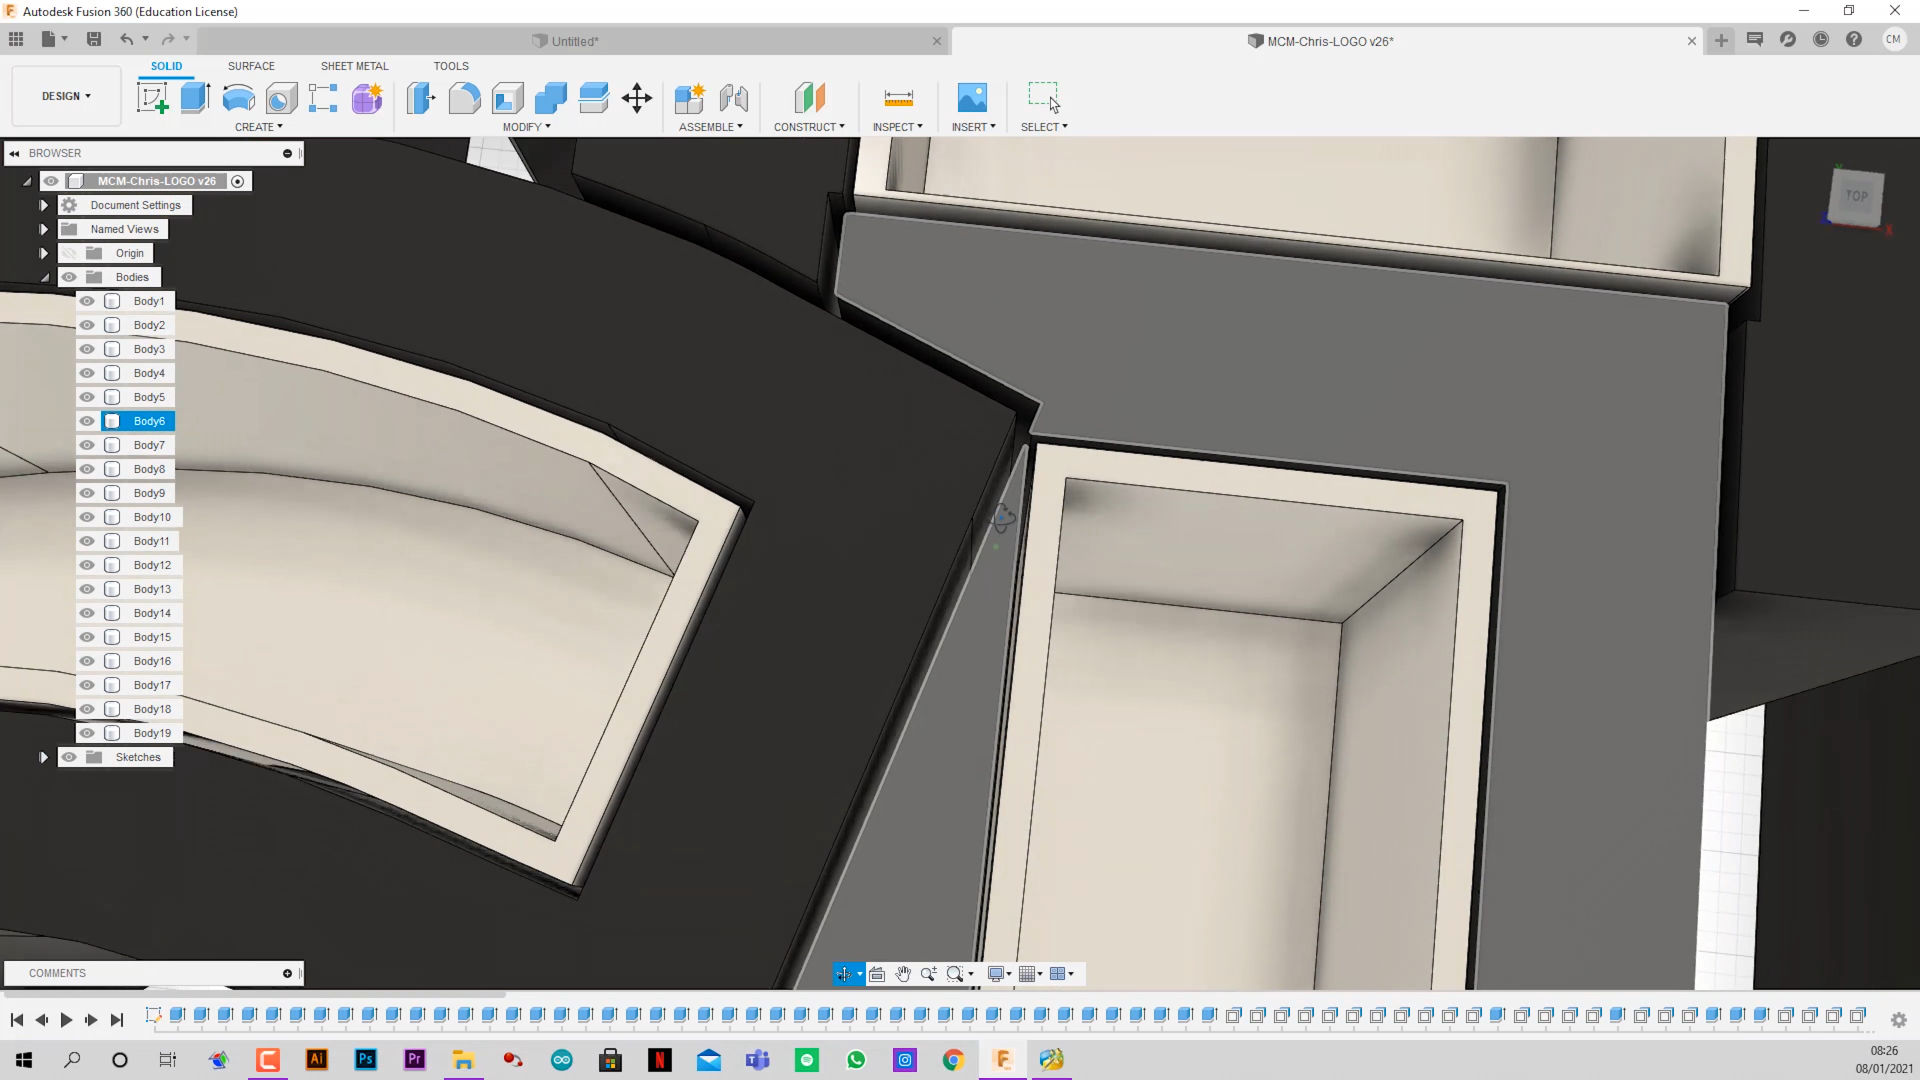
- Select the area of the diffusers and apply a two sides extrude (-30mm , 32mm).
- Select the 1.2mm borders of the difussers and apply a two sides extrude joined (-30mm , 50mm)
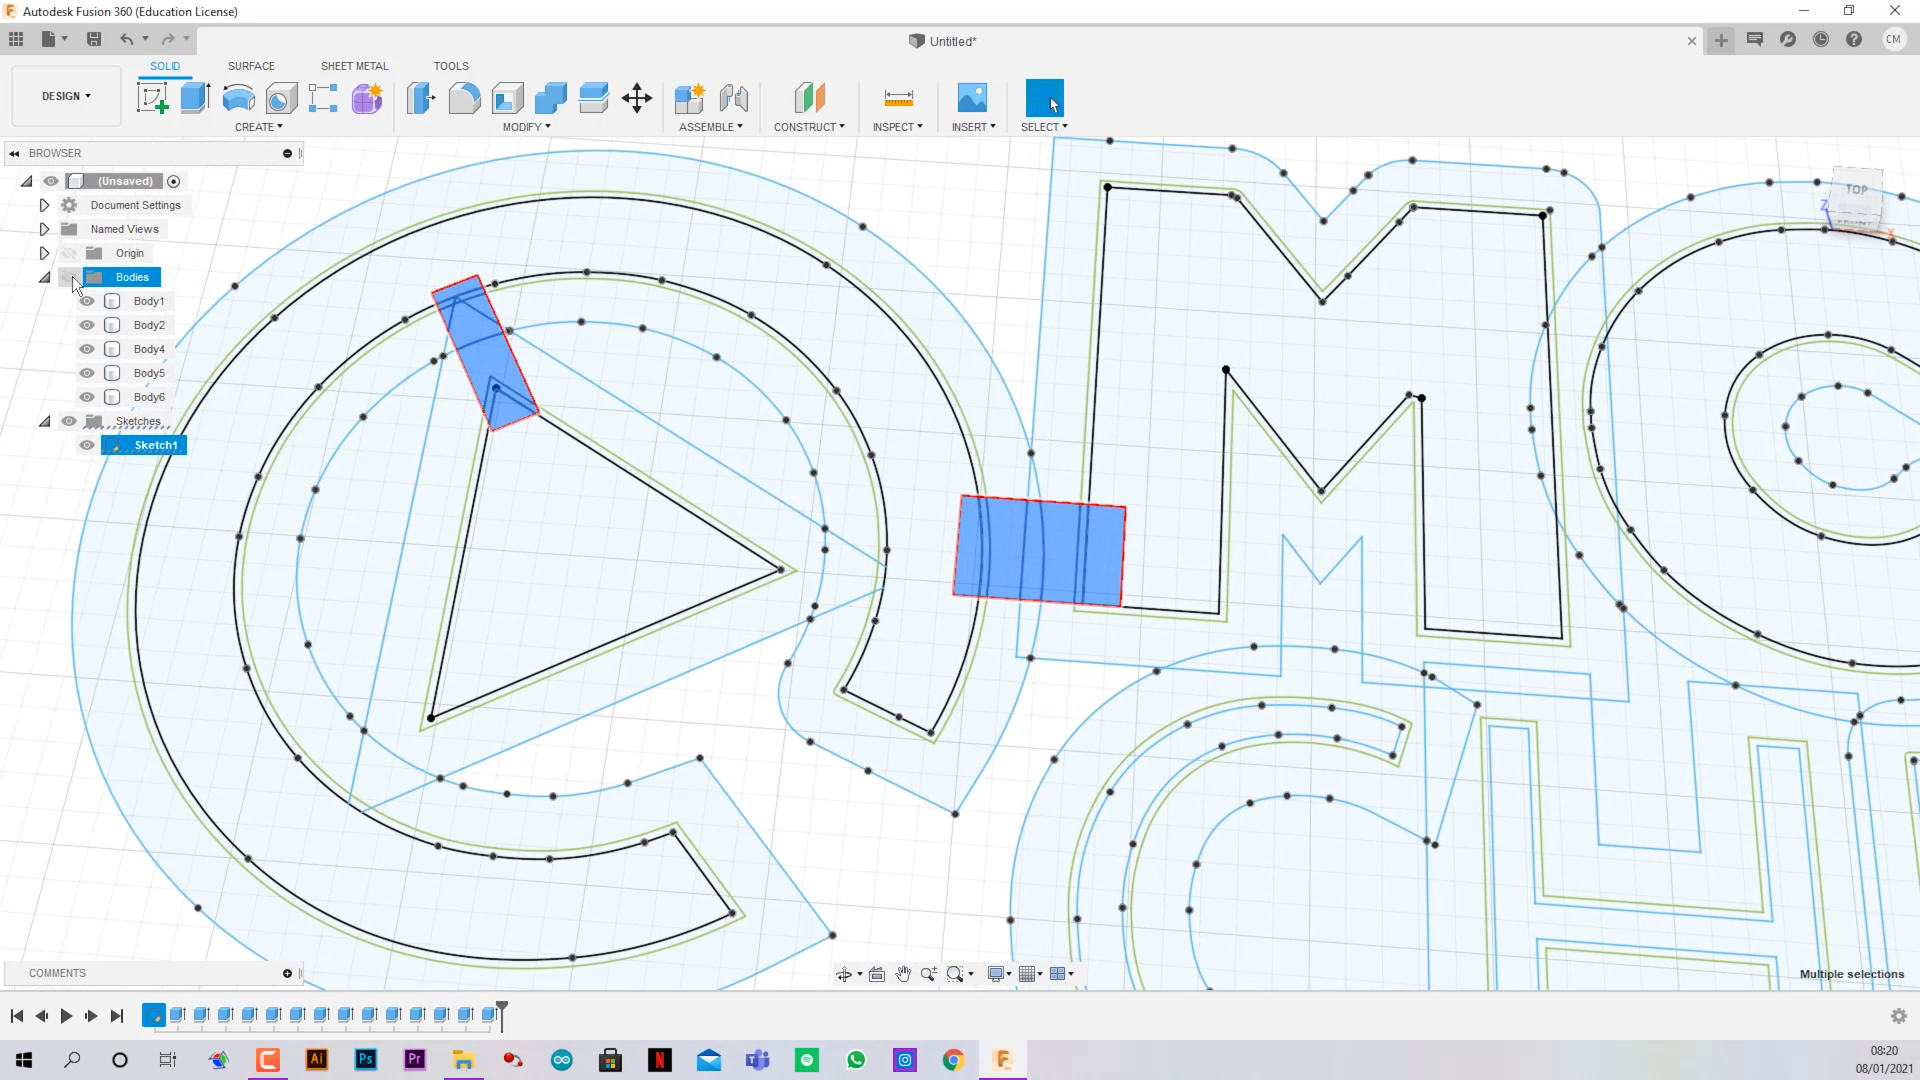
- Draw some rectangles in the union of each letter where you want to pass the LED strips.
- Select those rectangles and extrude a cut of +10mm height (LED strips are 10mm normally).
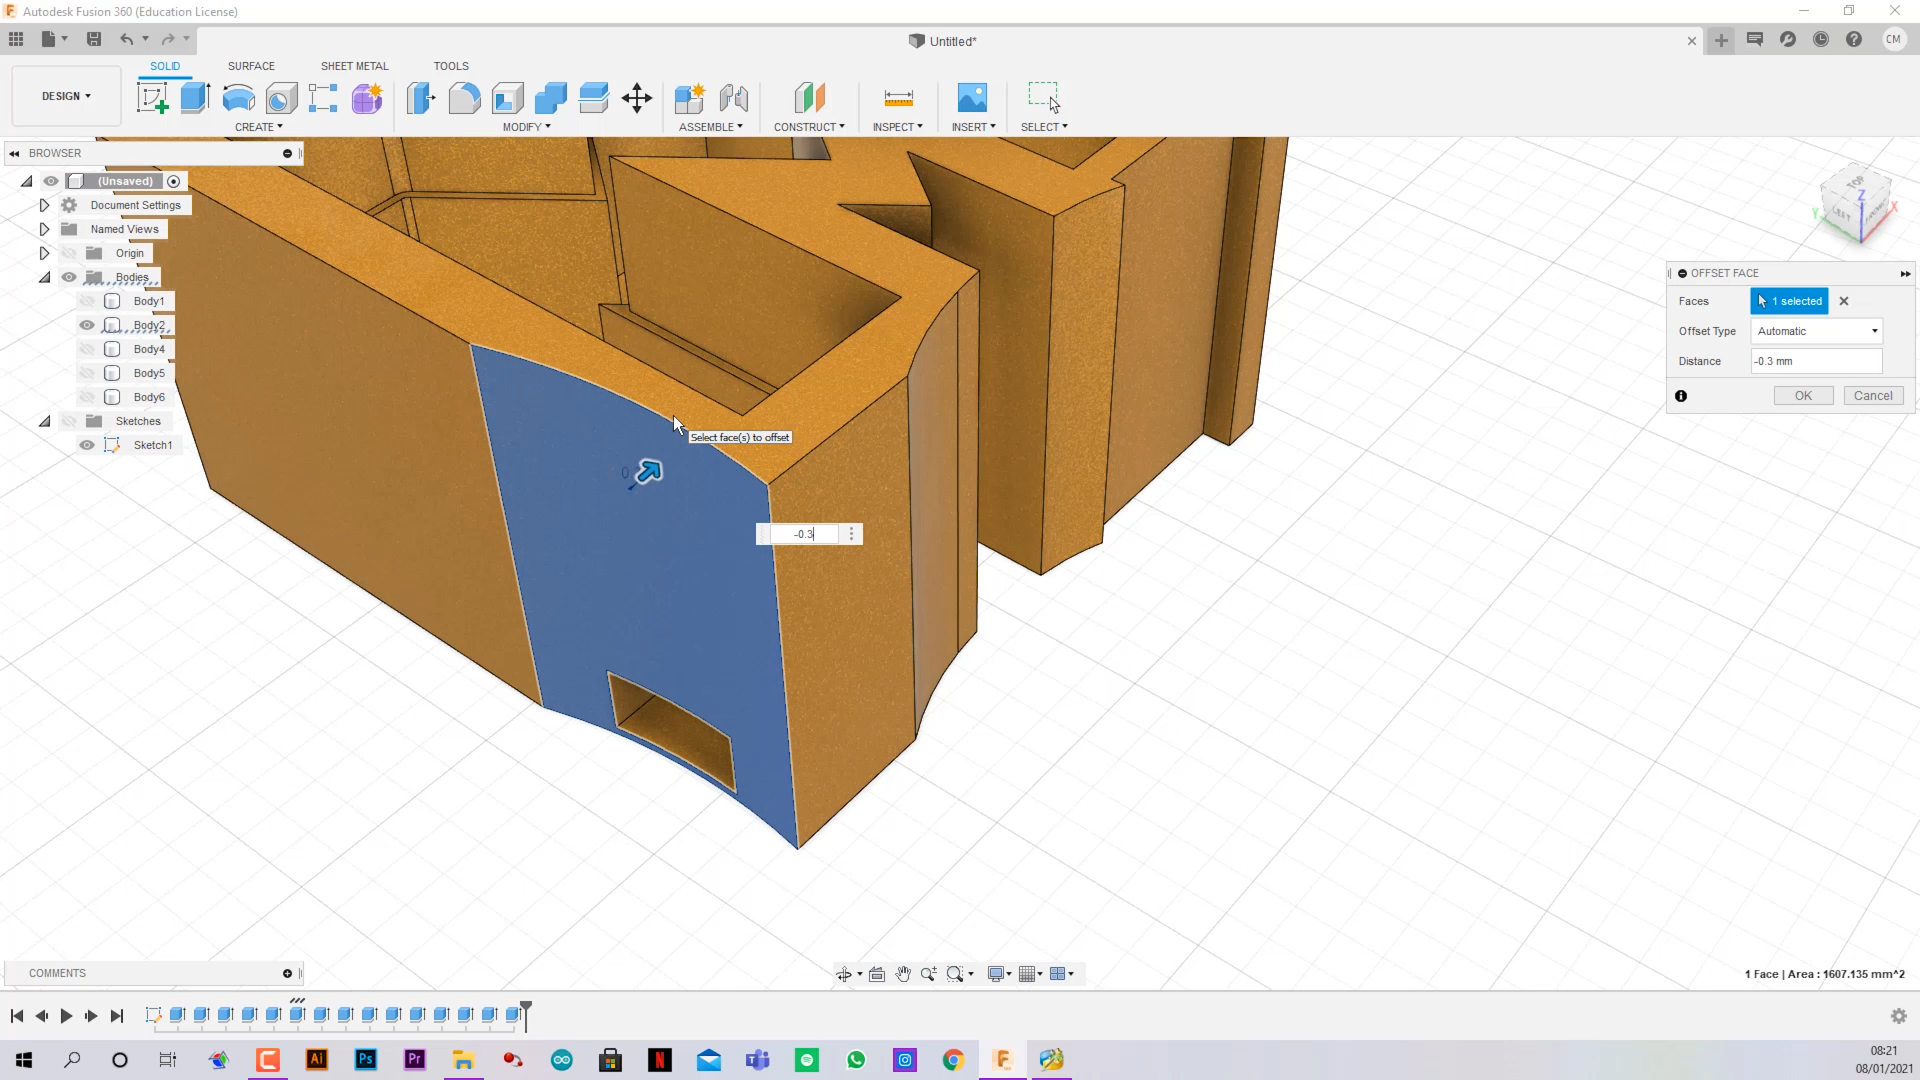
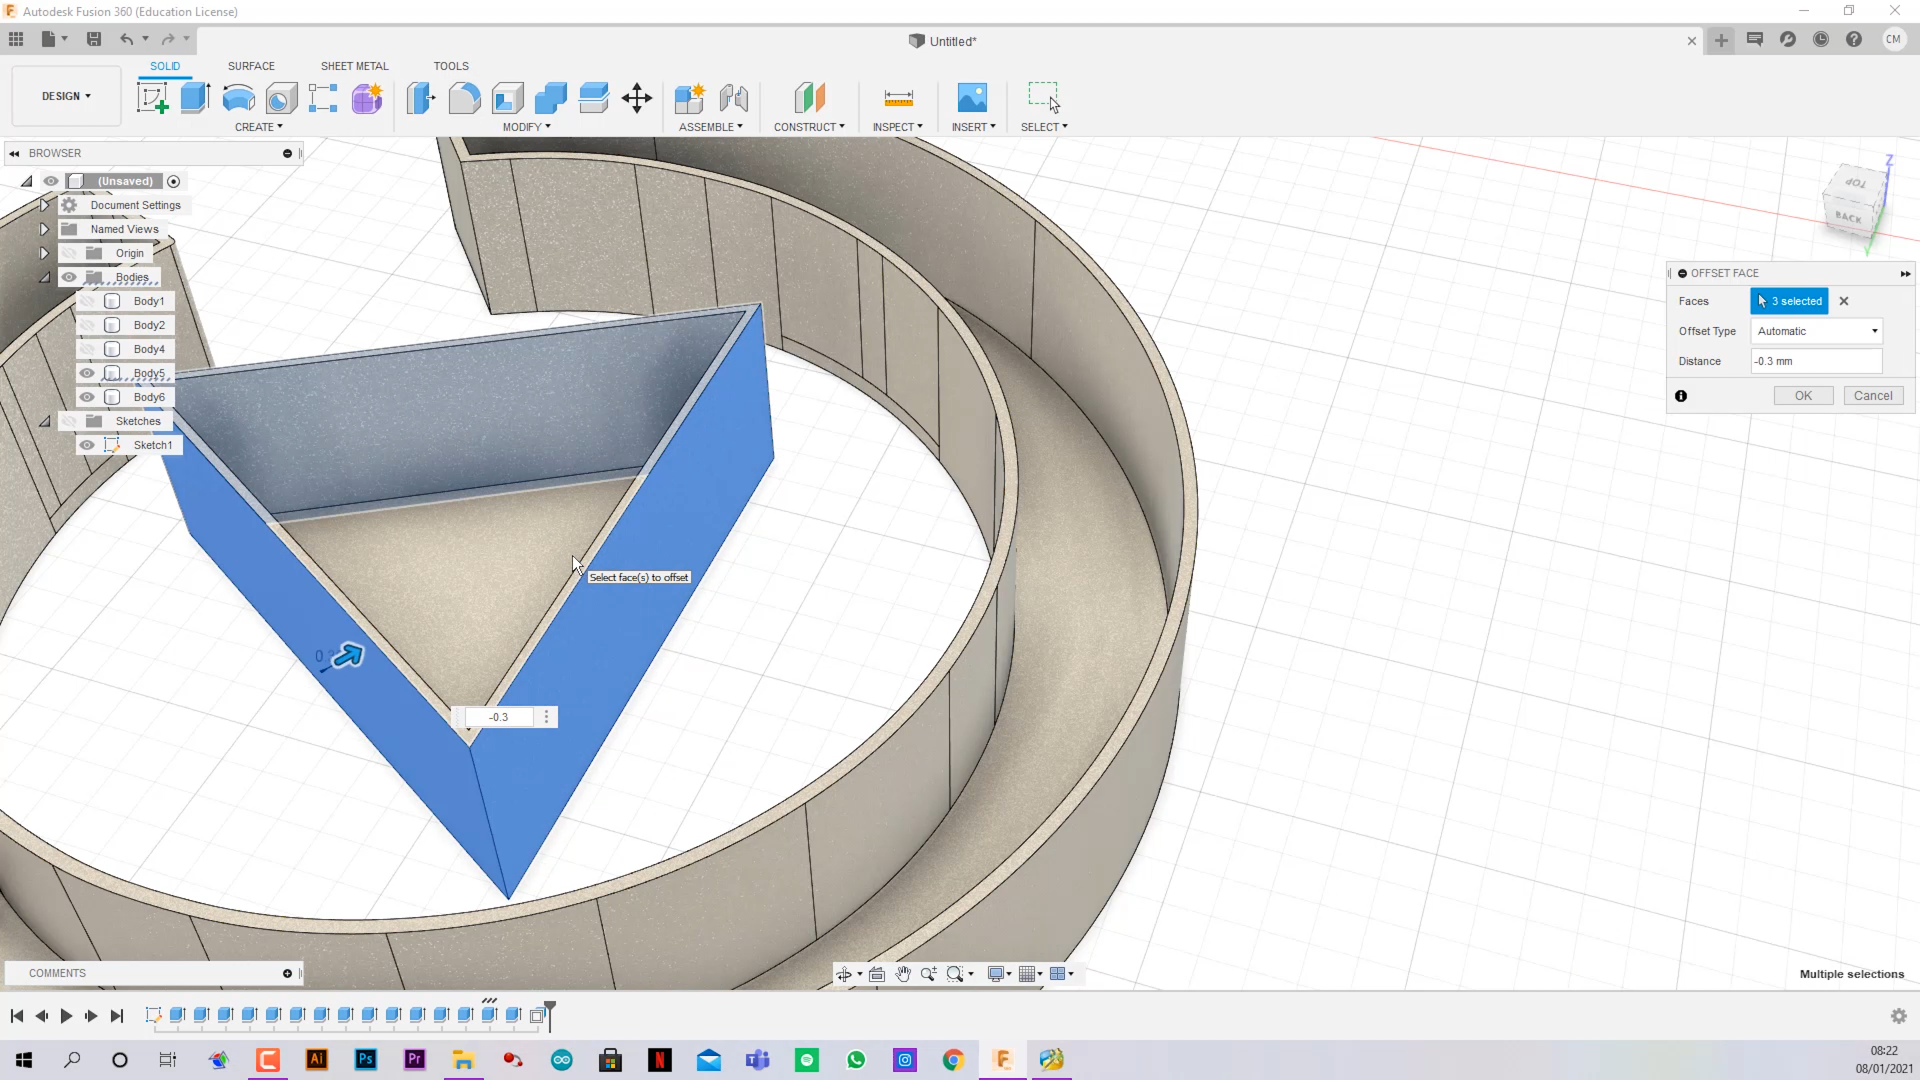
- Make shure to make an offset of 0.3mm in every piece union, including diffusors.
- This is because the pieces expand and grow a little when printed and they wont fix without the offset.
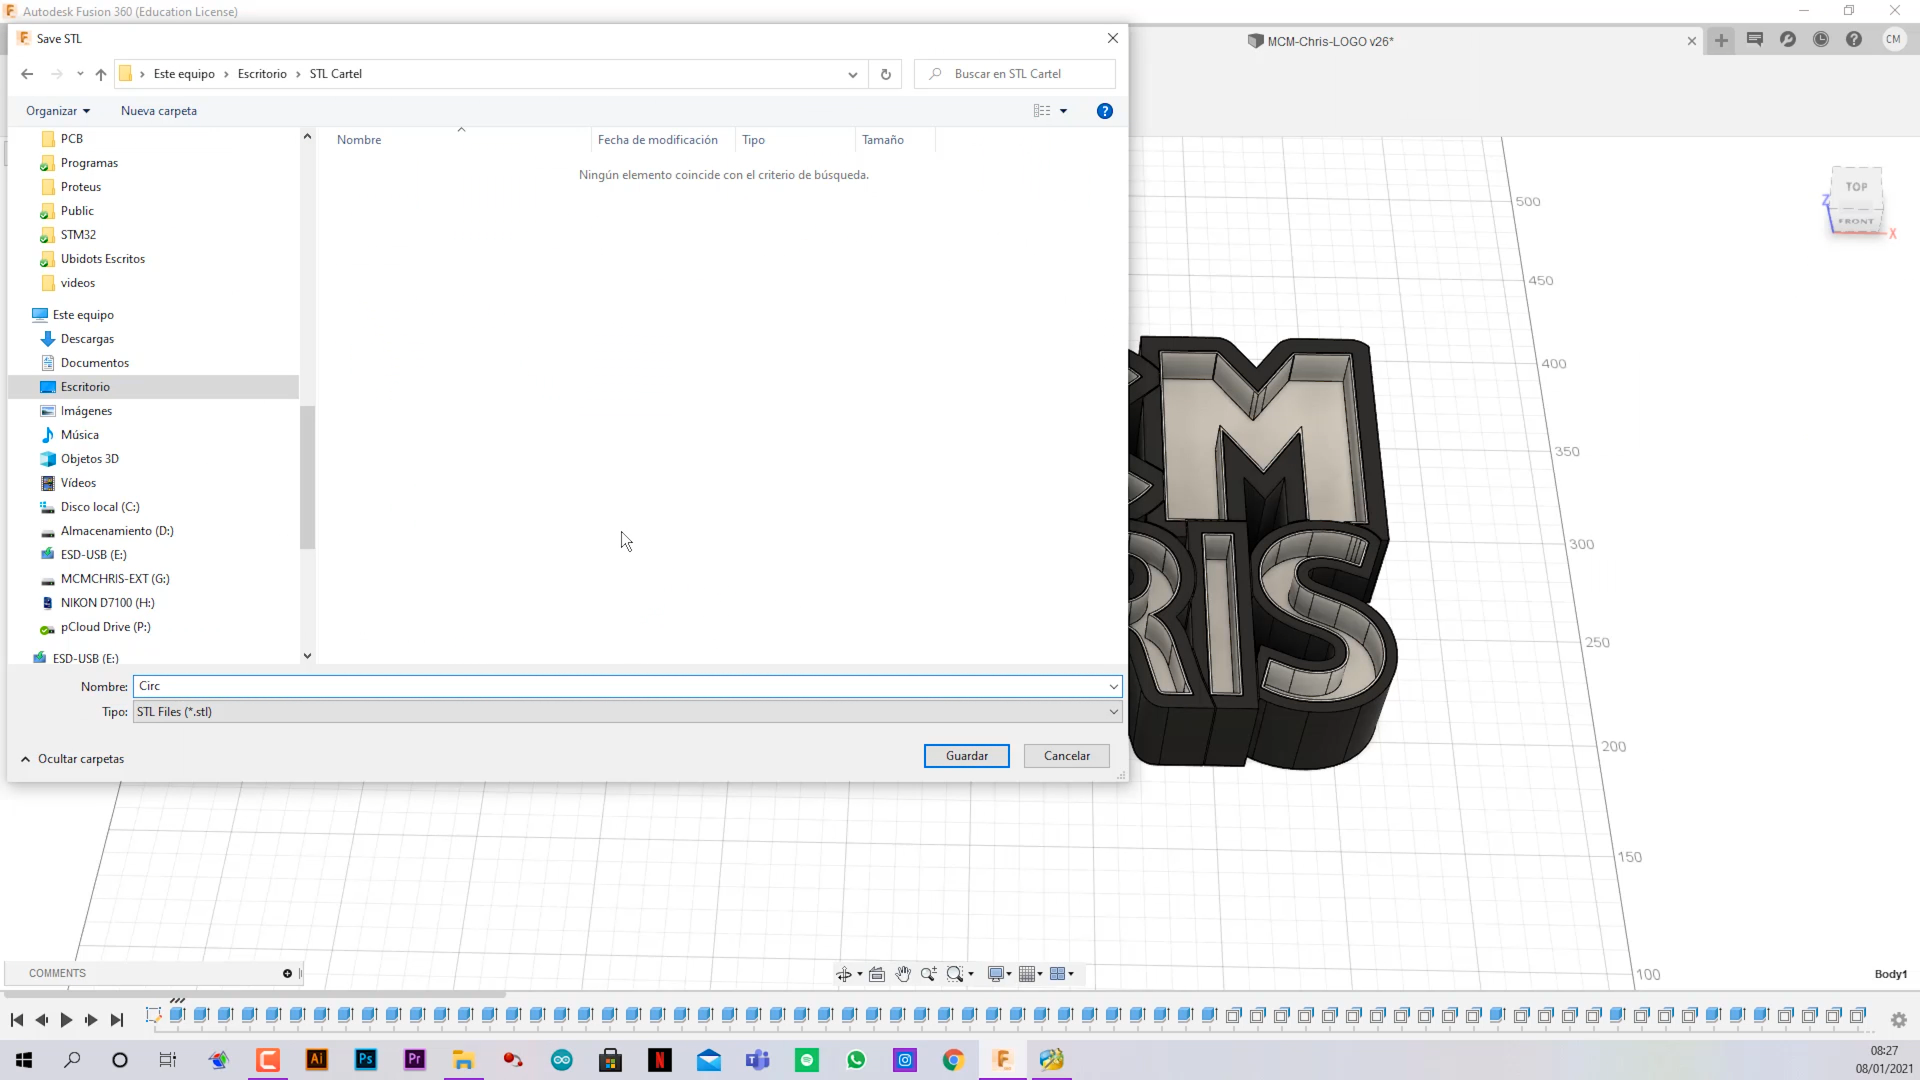
- Save your pieces one by one as STL.
- Open them on your slicer and print them.
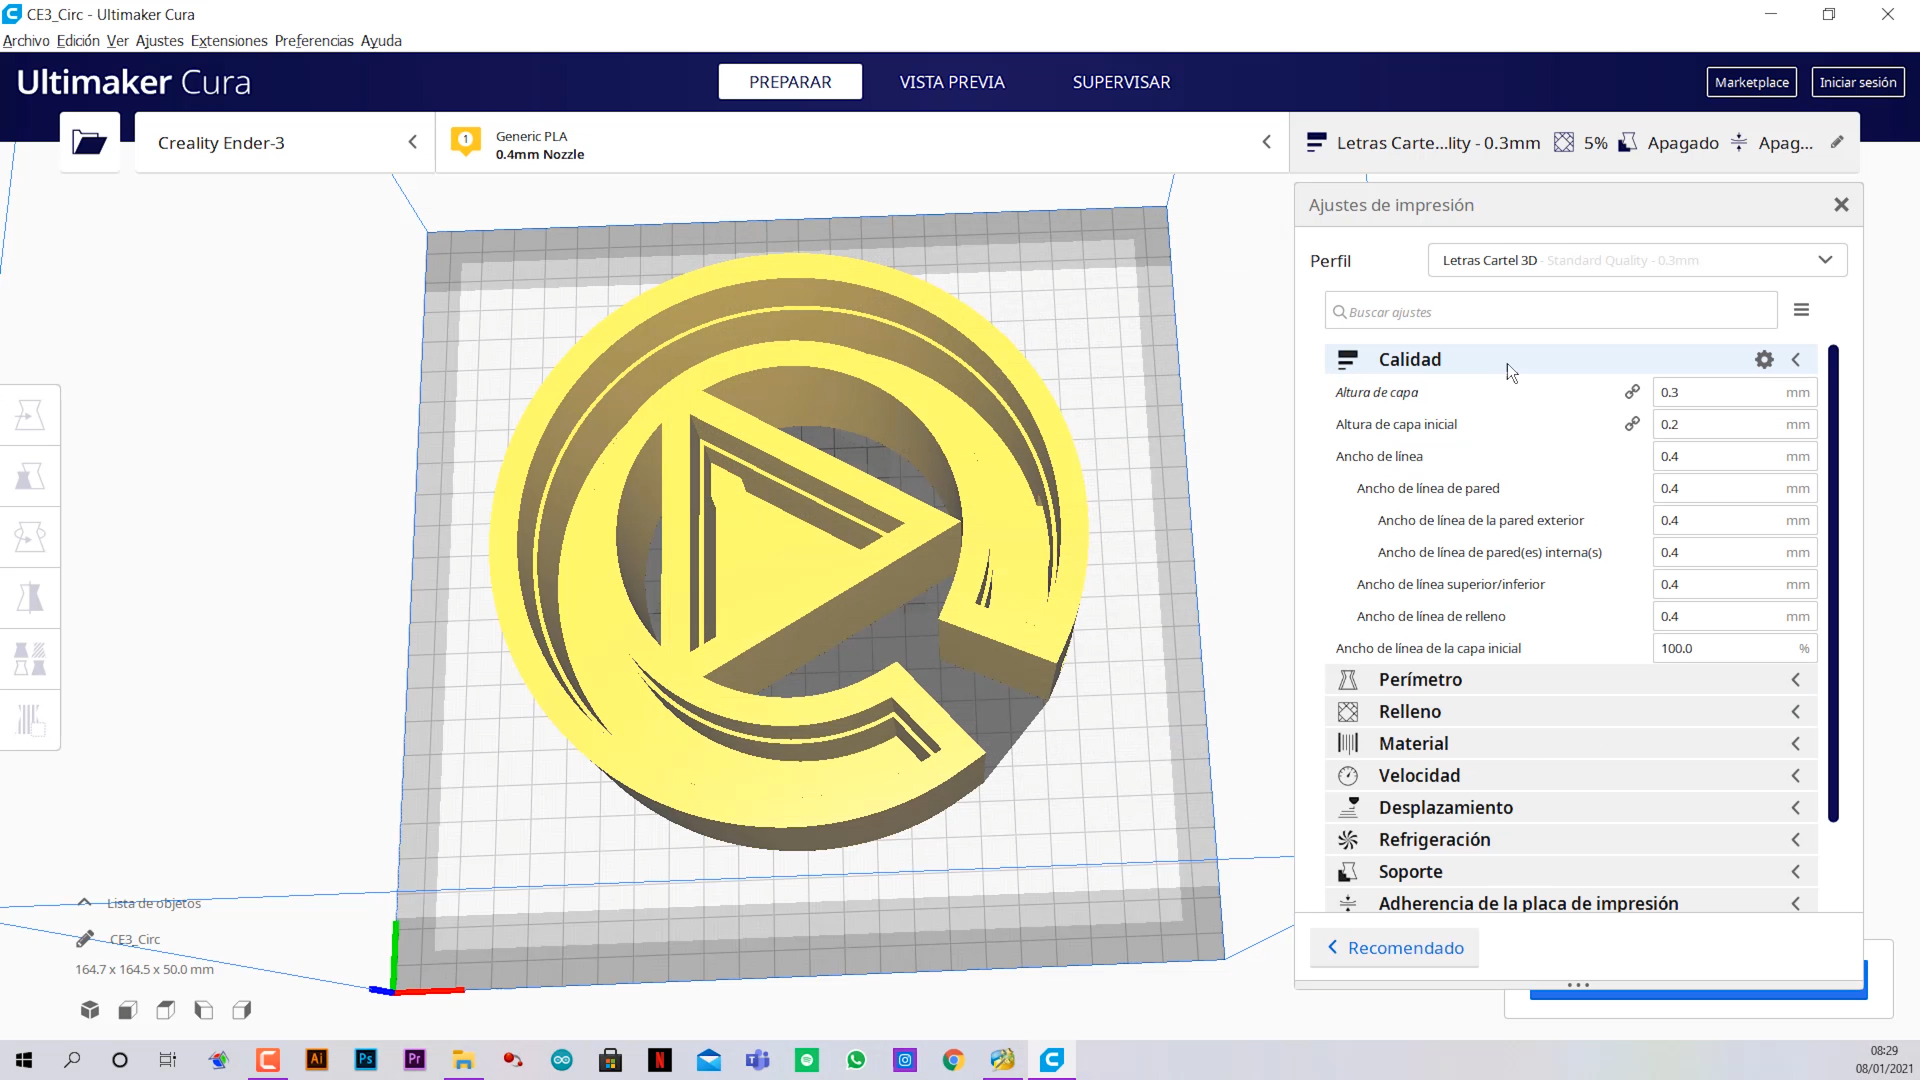
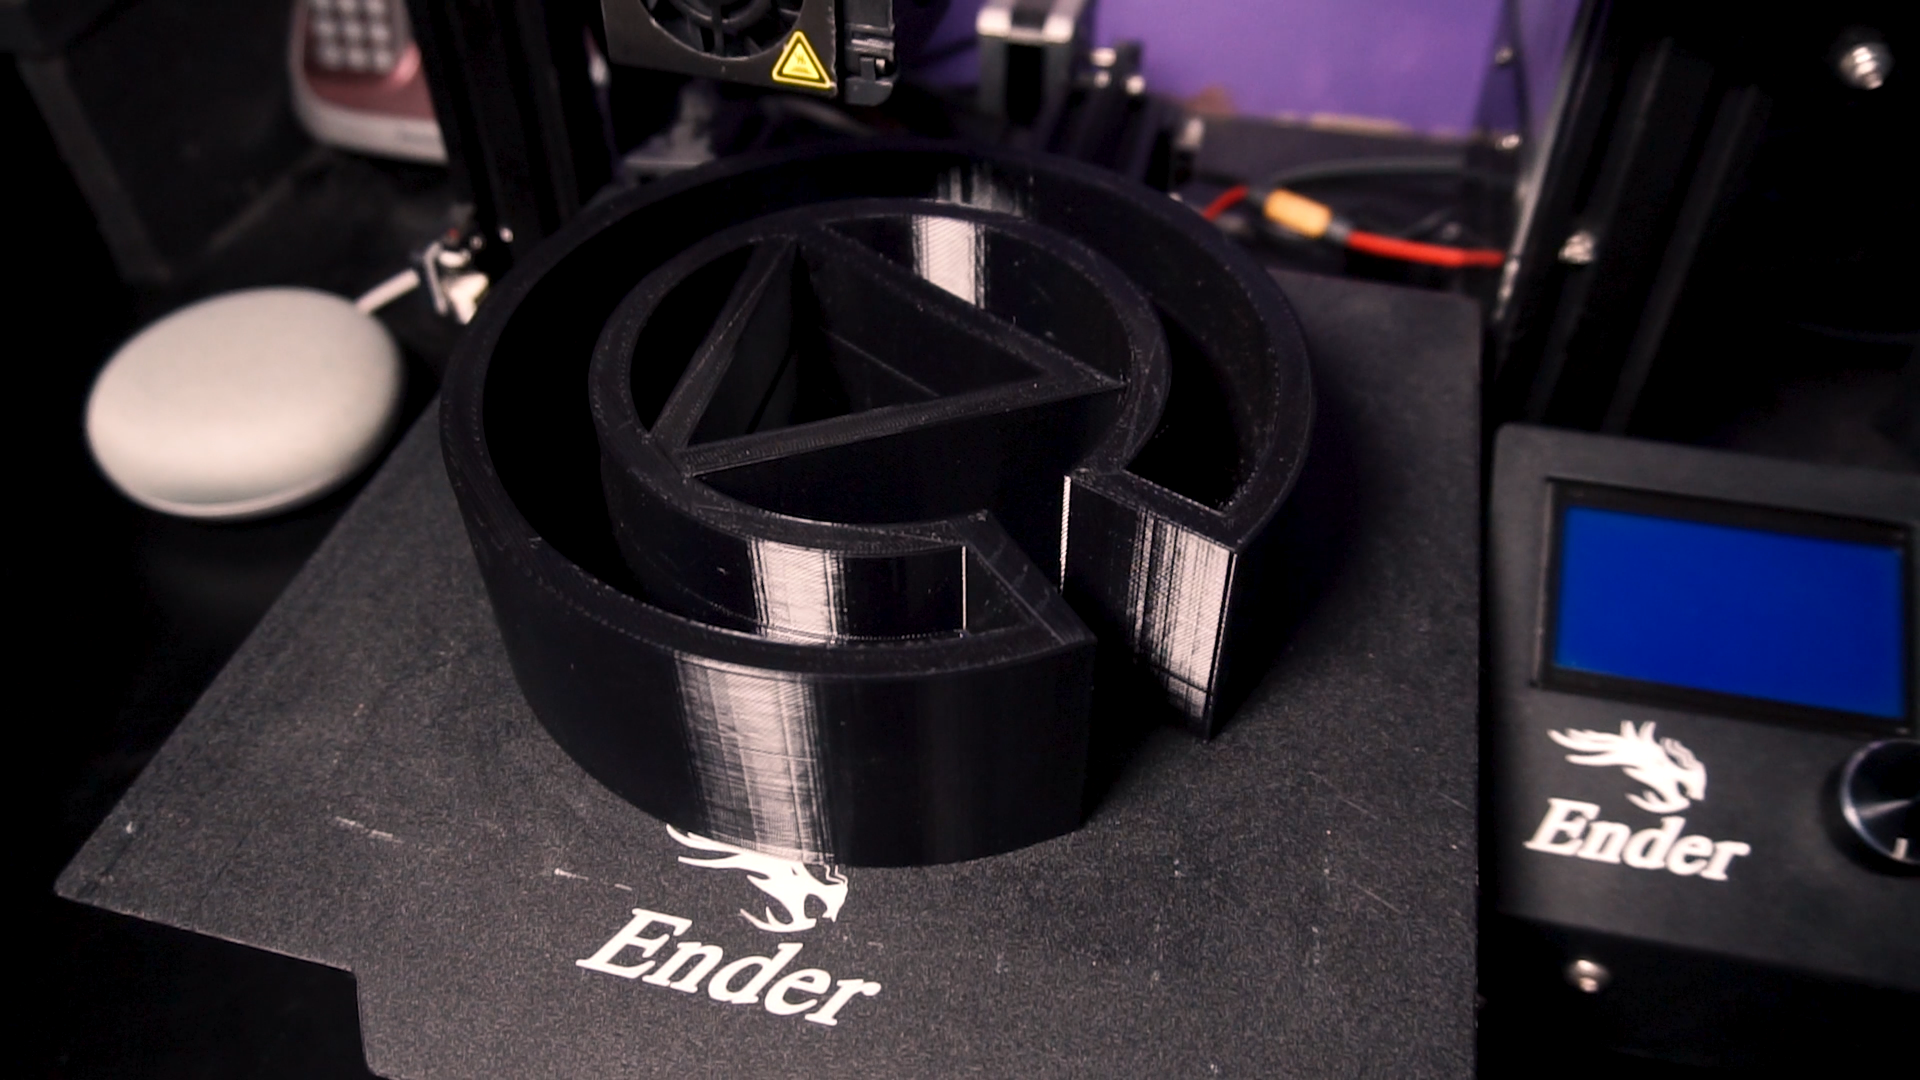
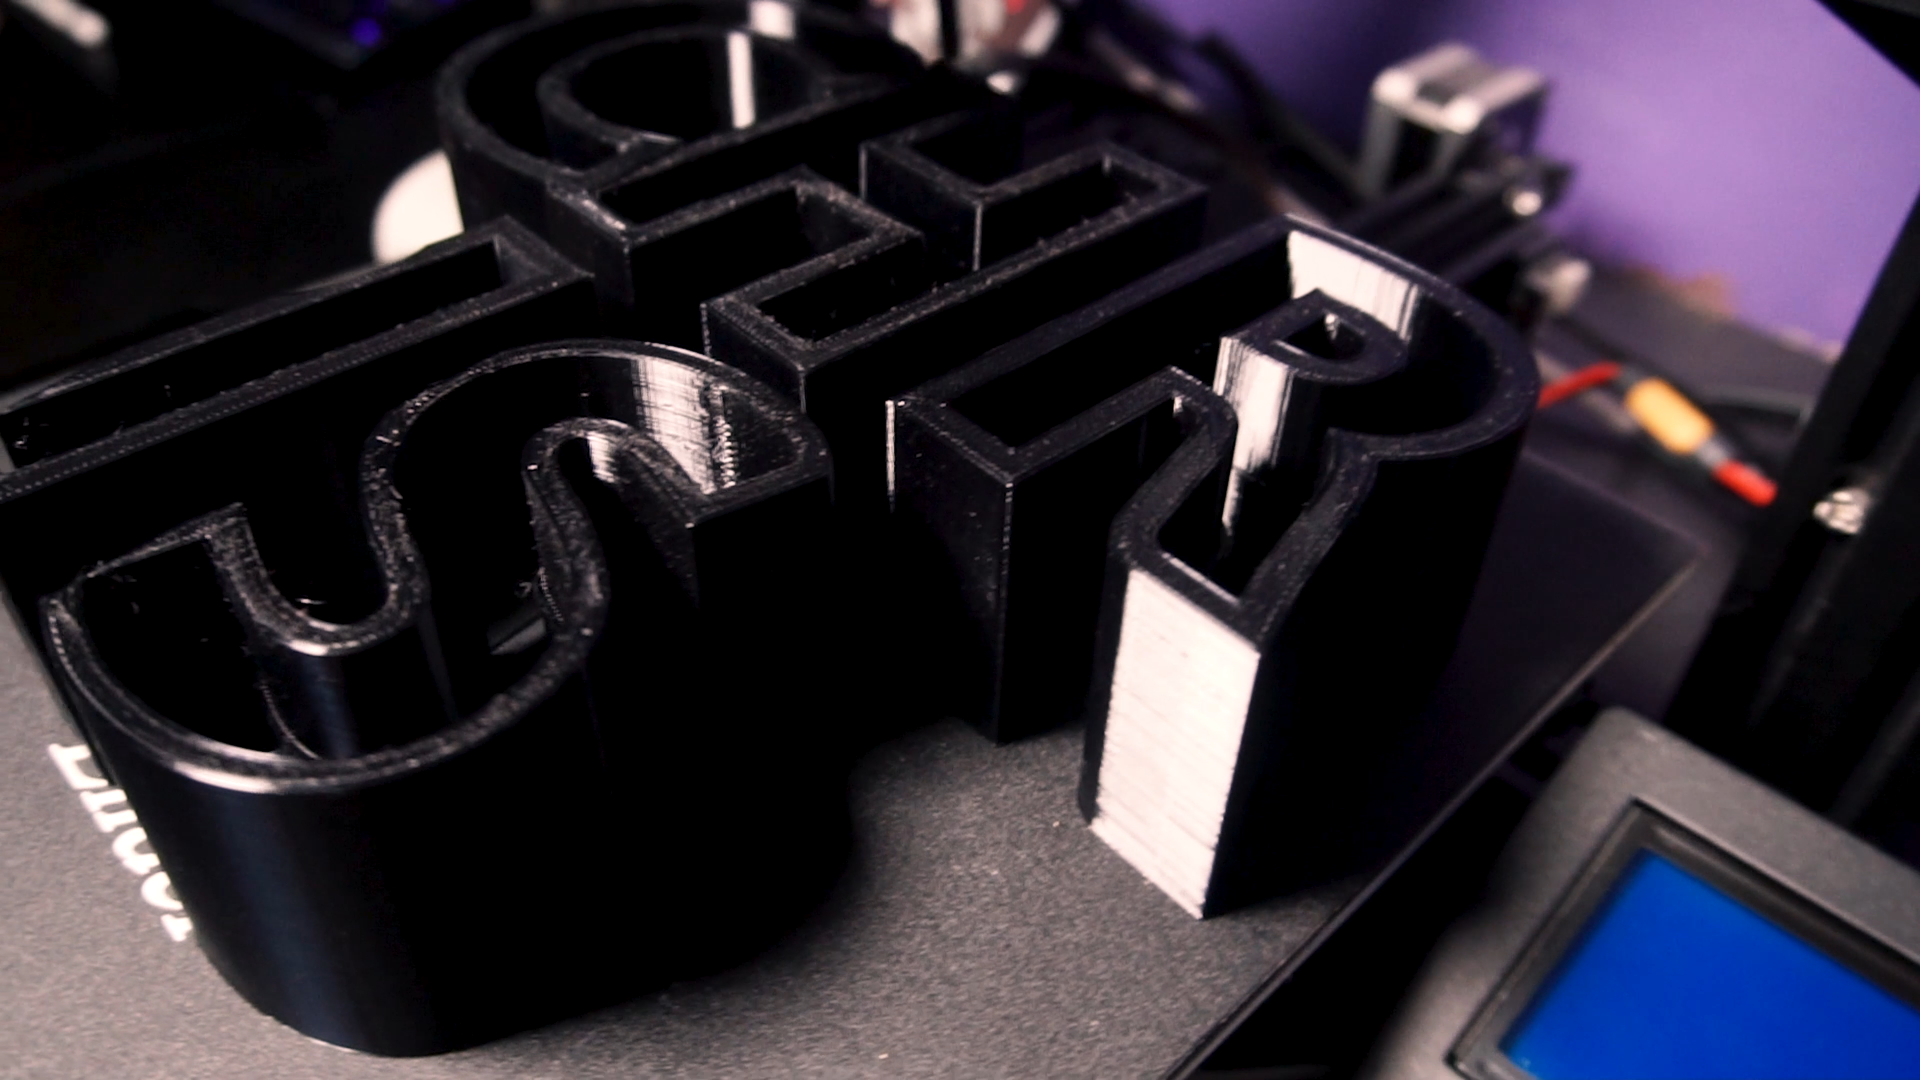
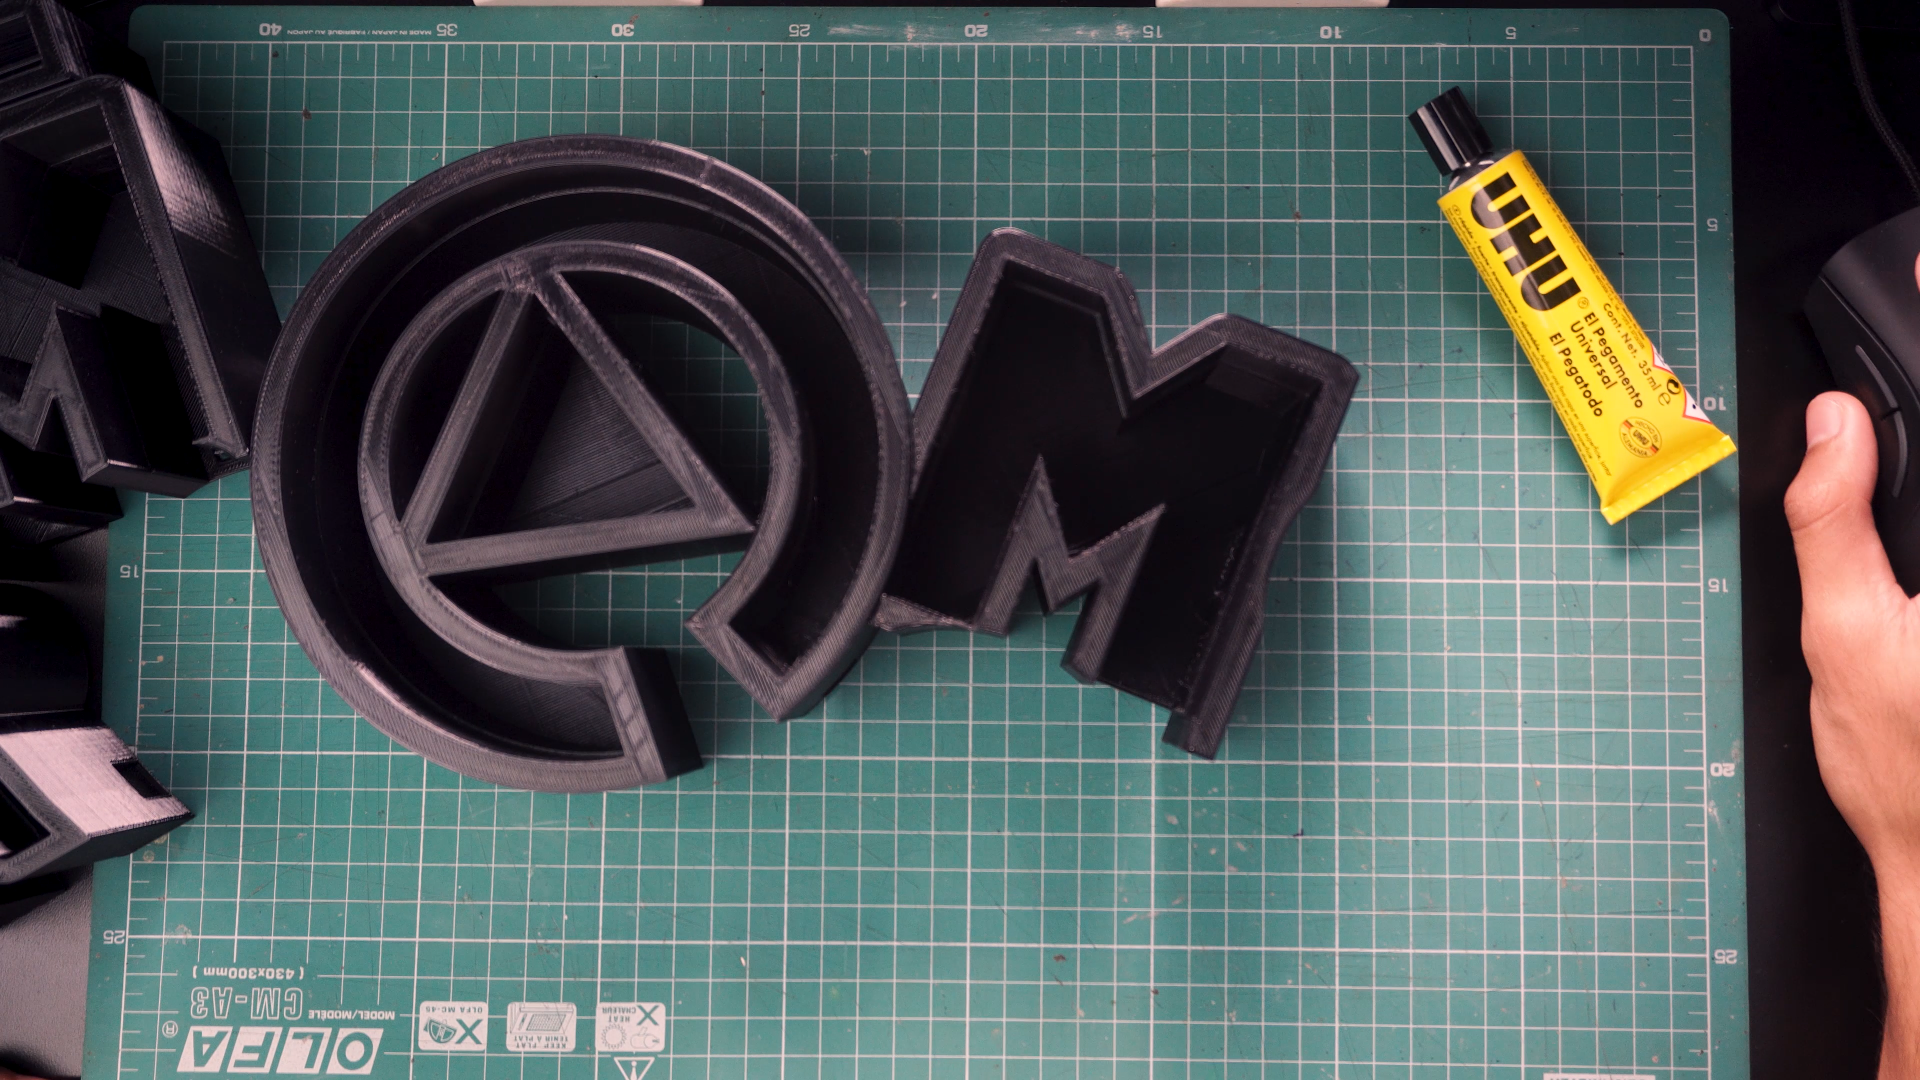
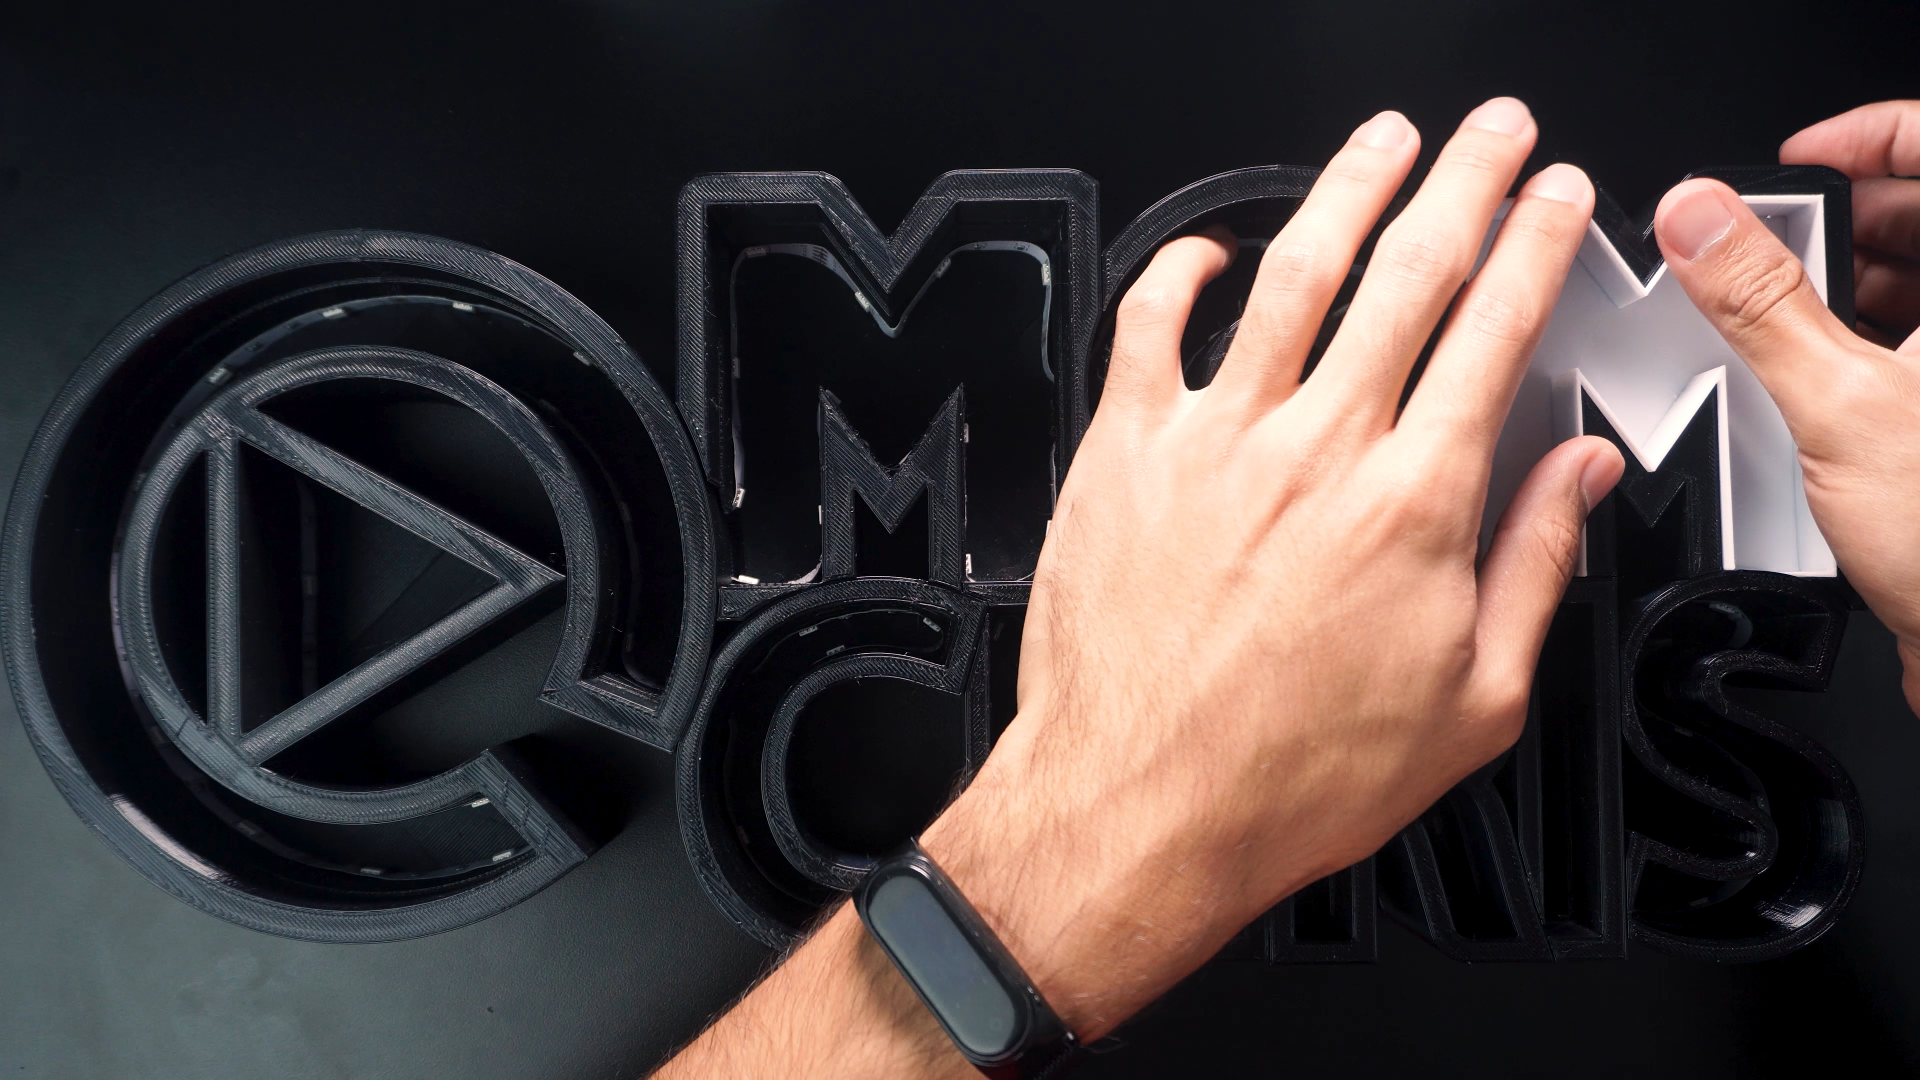
3D Print the Pieces
.png)
.png)
.png)
I used 0.3mm layer height for the black parts so I can reduce the time, and the quality was nice.
I used the standard quality of 0.2mm layers of Cura settings for the diffusors (white parts).
Neopixel Option
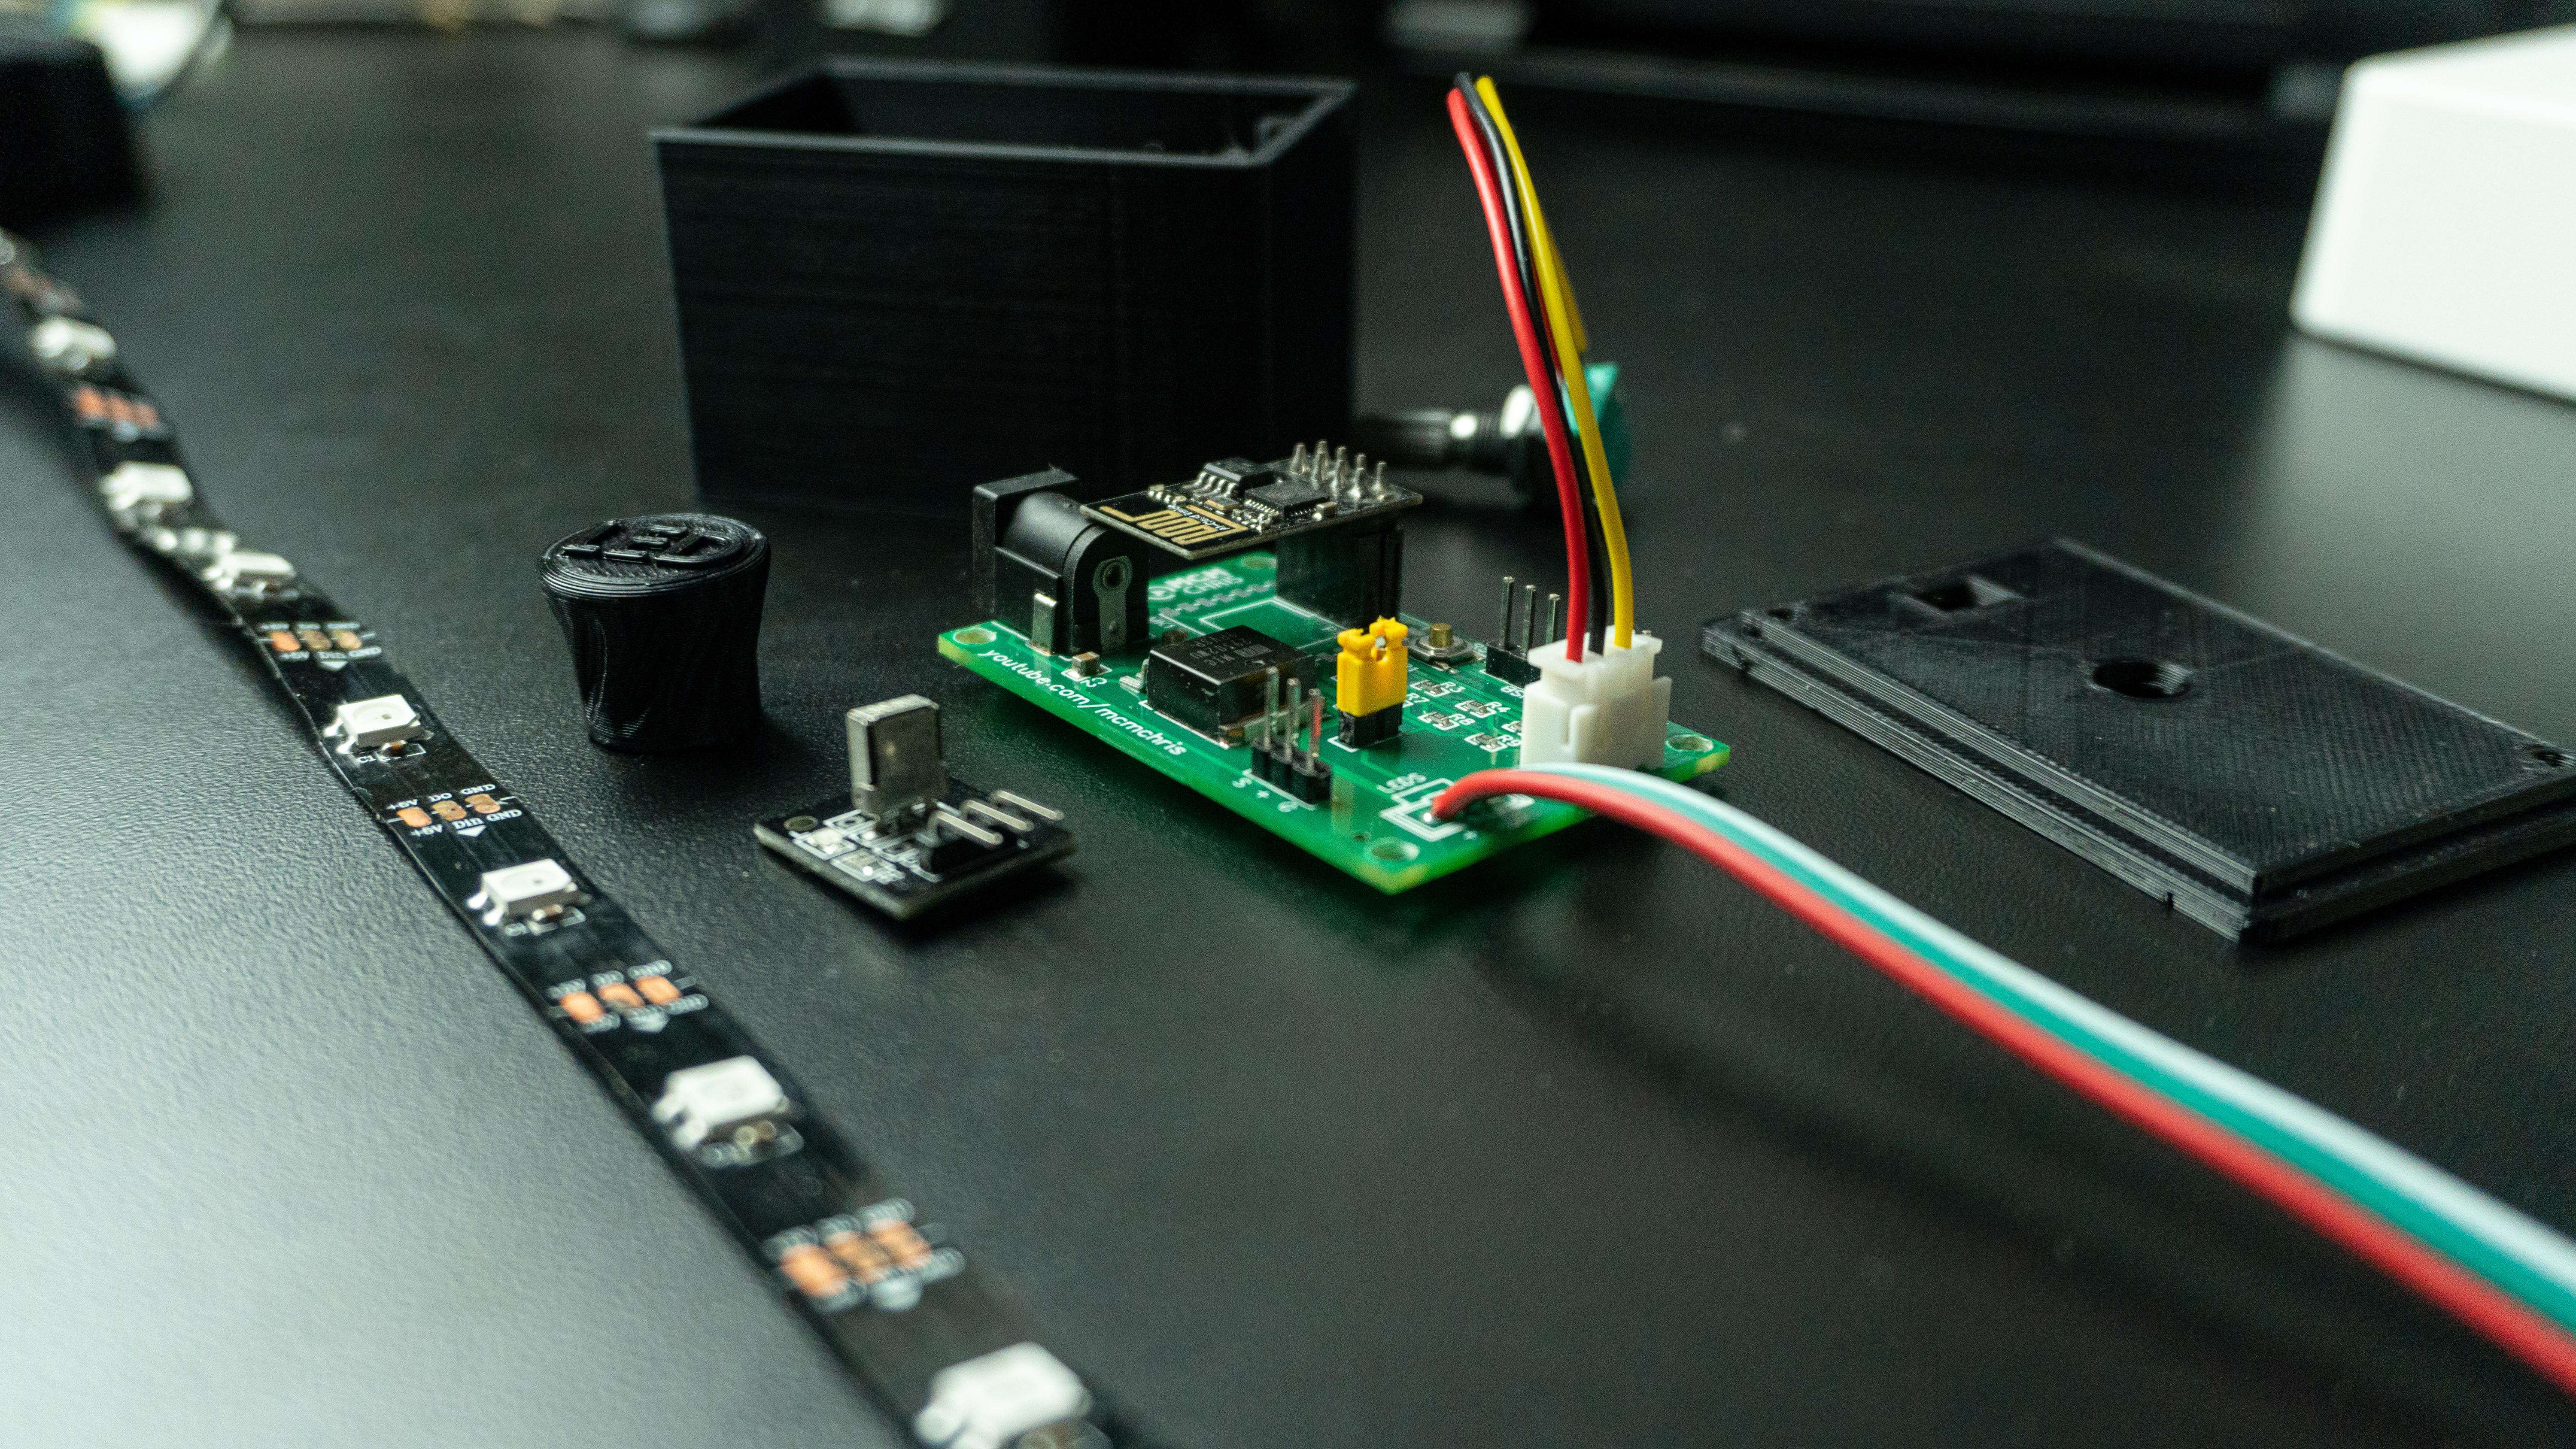
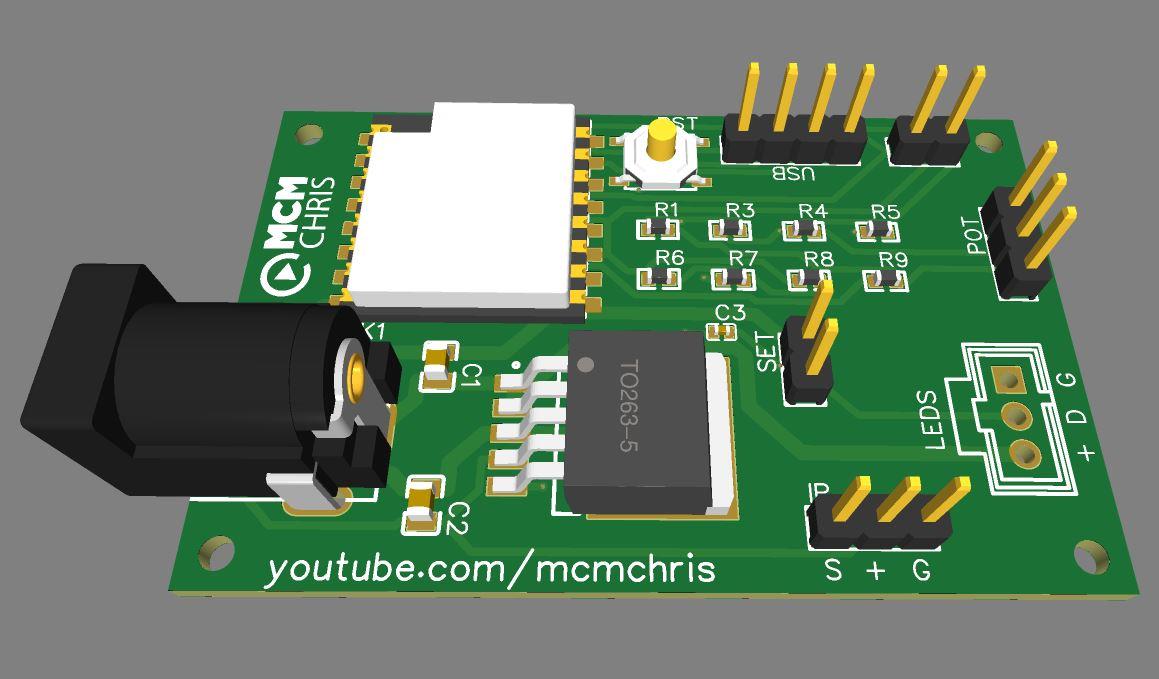
.png)
You can replicate my last project (Neopixels LED strip controller): https://www.instructables.com/Smart-Desk-LED-Light...
And make your LED poster smartter, Neopixels will let you control the color of each letter or piece of your Logo, phrase or forms.
In this attached article I give you all the instructions to make the PCB, circuit diagram, code and build process.
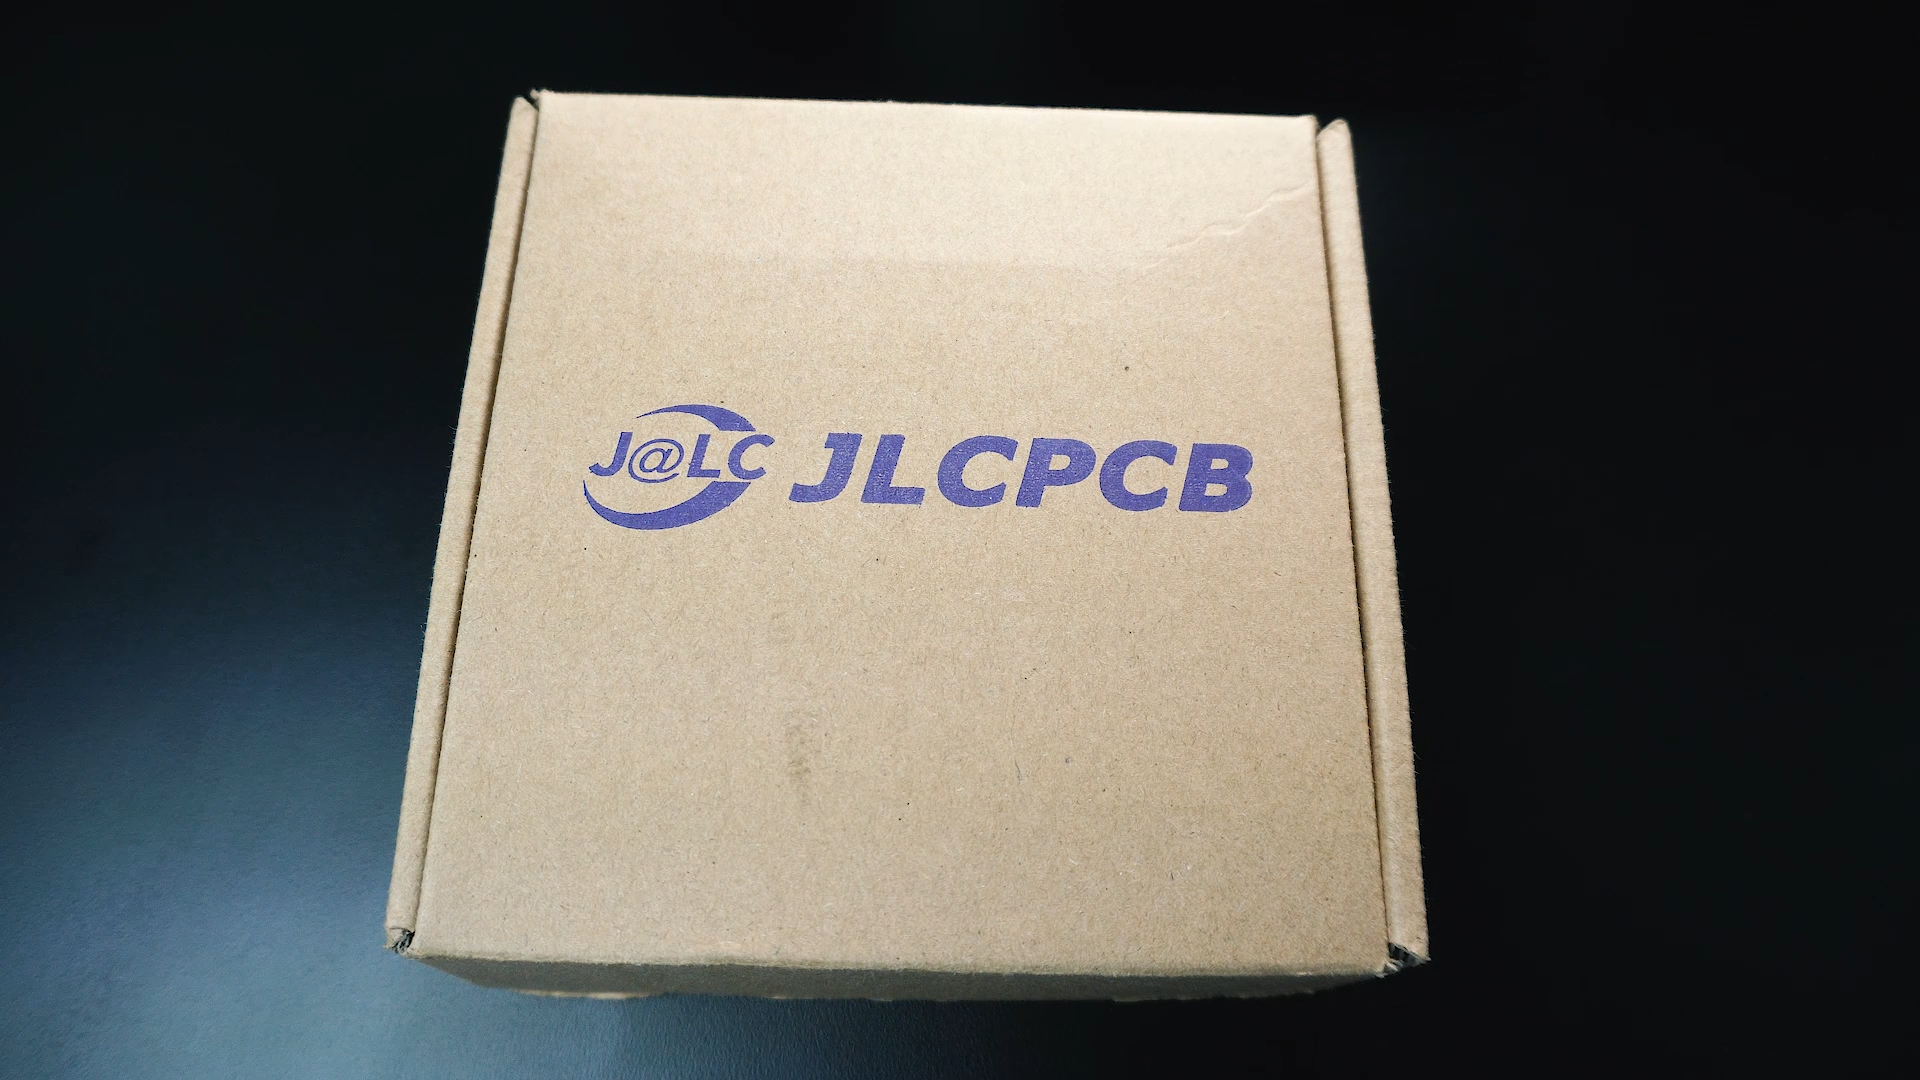
I highly recommend JLCPCB to order your custom PCBs so you can make your own version of the project.
📦$2 for 5 PCBs & cheap SMT (2 Coupons)
A good place I can recommend to find your components, it's MakerFocus, it's an Open Source Hardware Store!
1. PCB I really recommend to use JLCPCB SMT Services to order yours.
6. 3D Printer.
7. IR Sensor
8. Remote controller, could be your TV one.
Assembly and Test
.png)
.png)
.png)
.png)
.png)
.png)
.png)
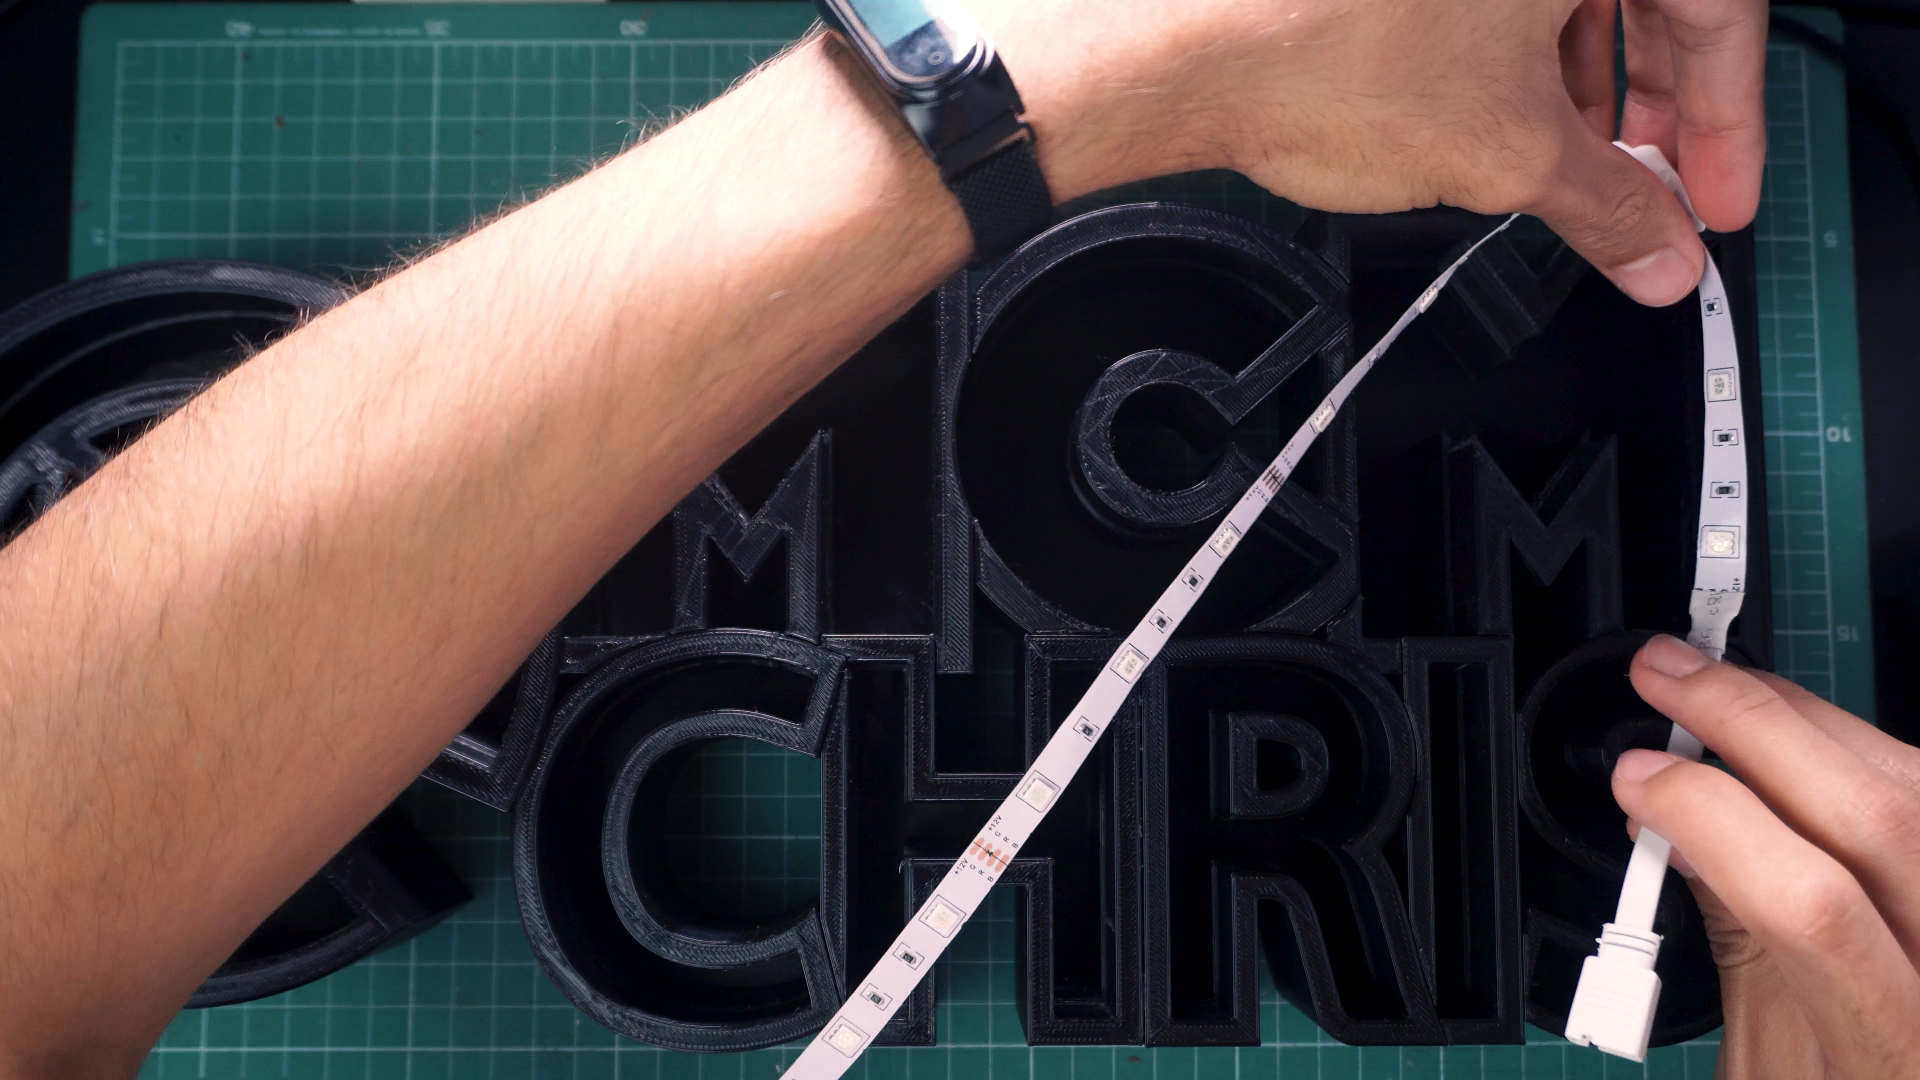
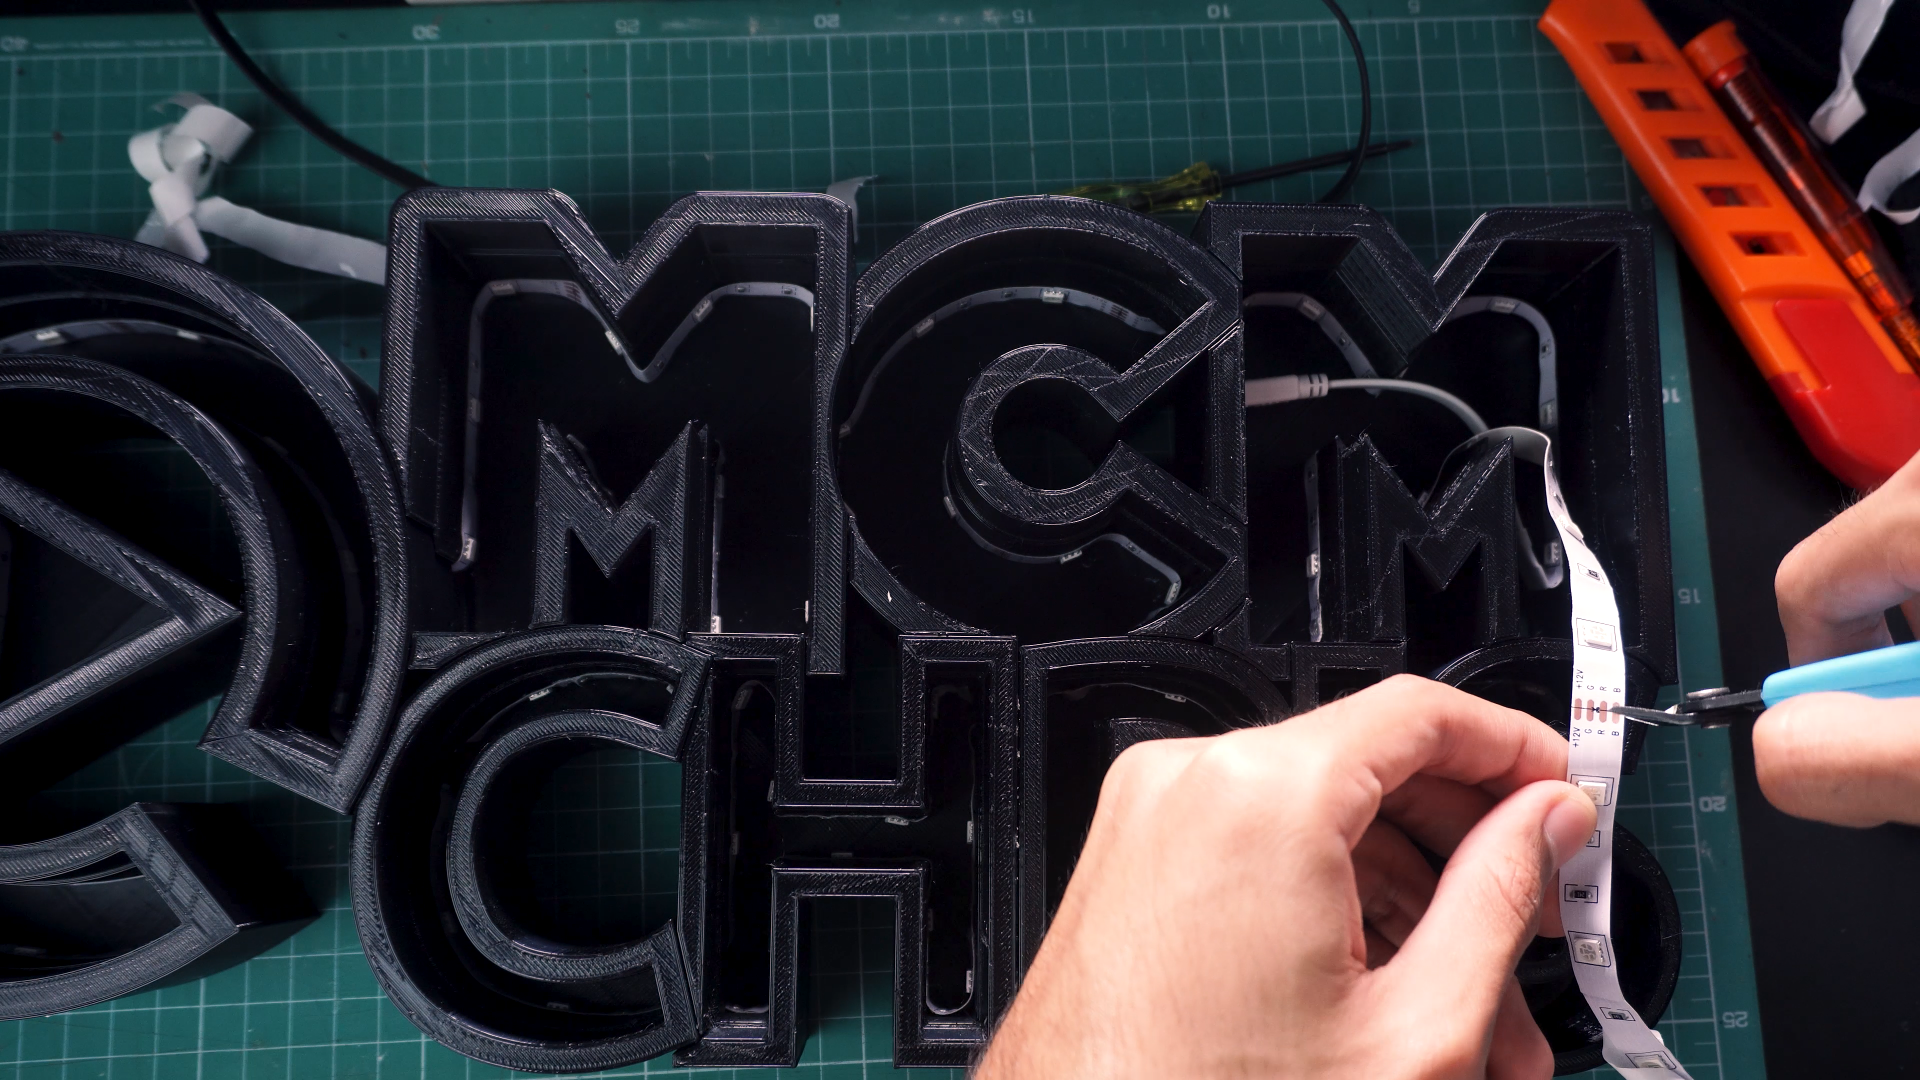
- Glue all the pieces together been sure of aligning all the LED strips tunnels
- Let it dry.
- Start gluing the LED strips all the inside border of the letters, so you can achieve all the perimeter without interrupting the loop. (think it well while designing the Strips tunnels).
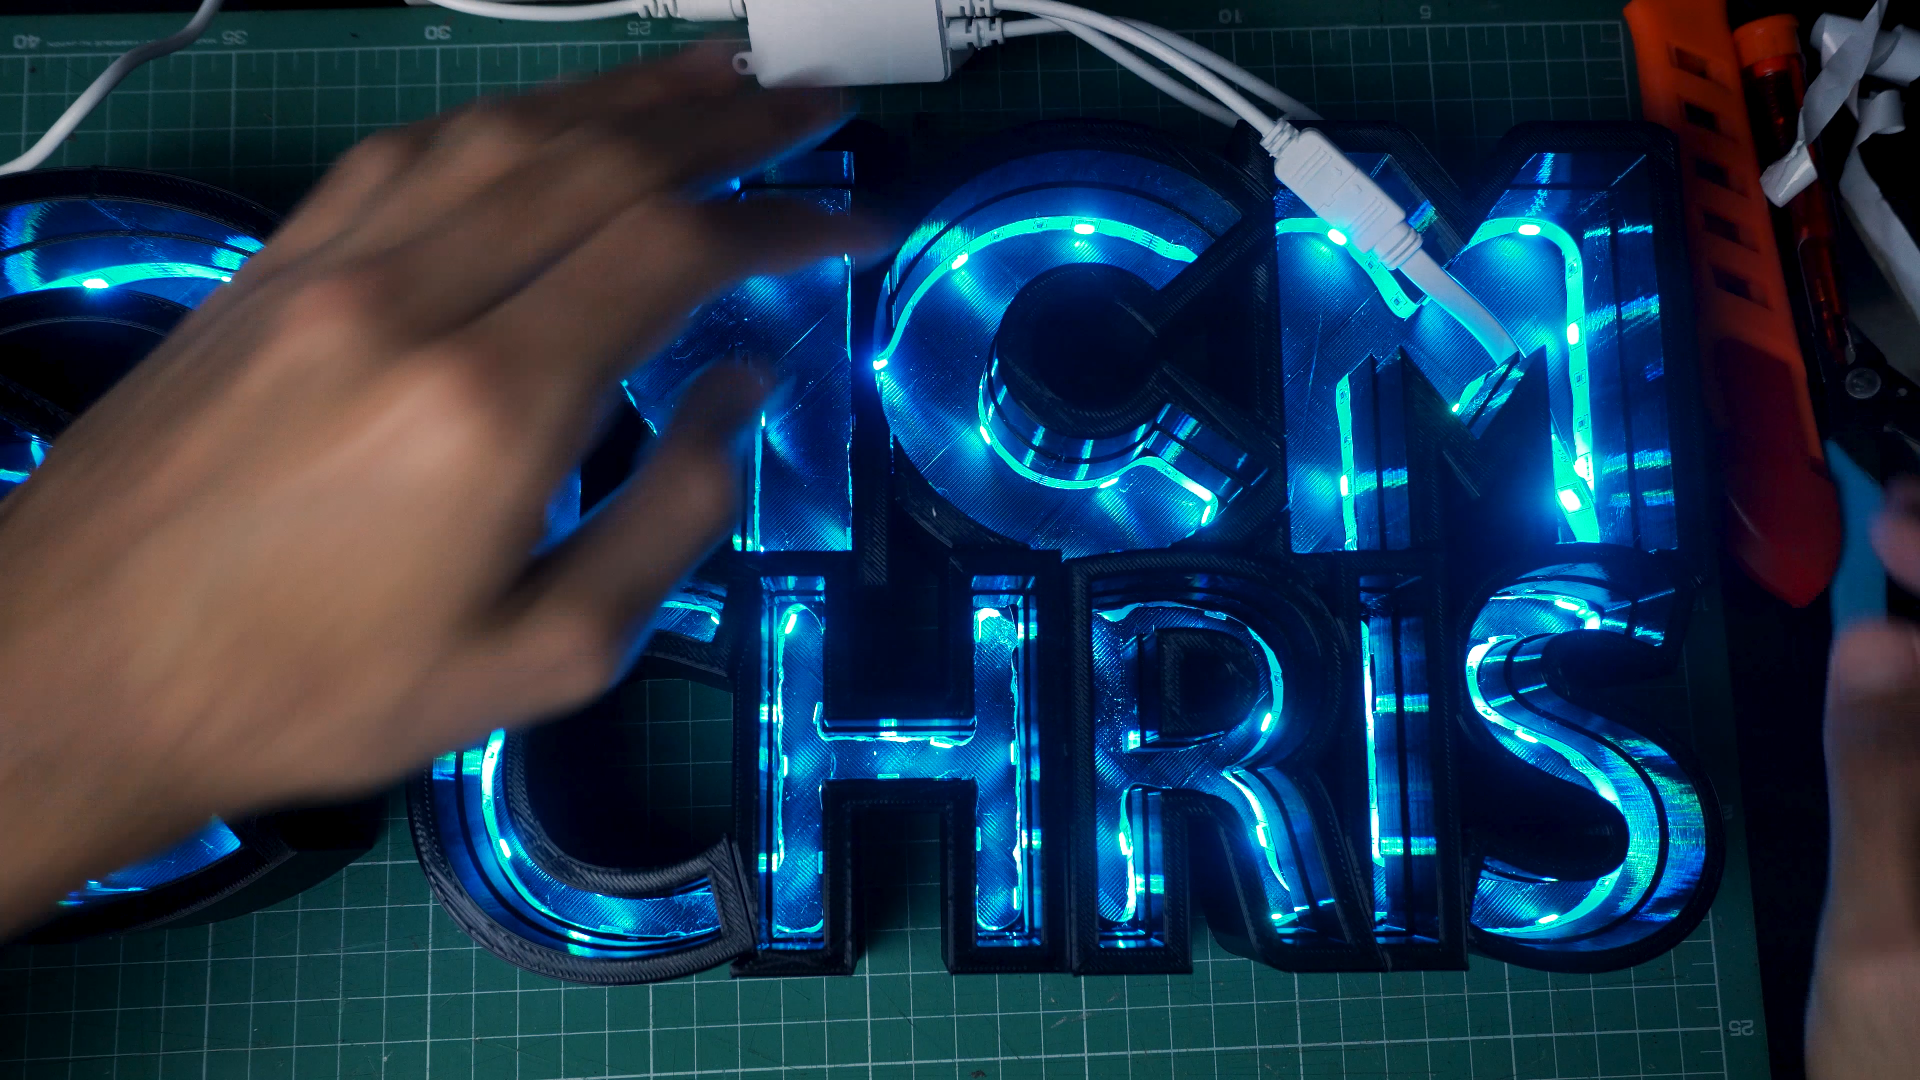
- Test the strip once inside and fixed.
- Put on the diffusers.
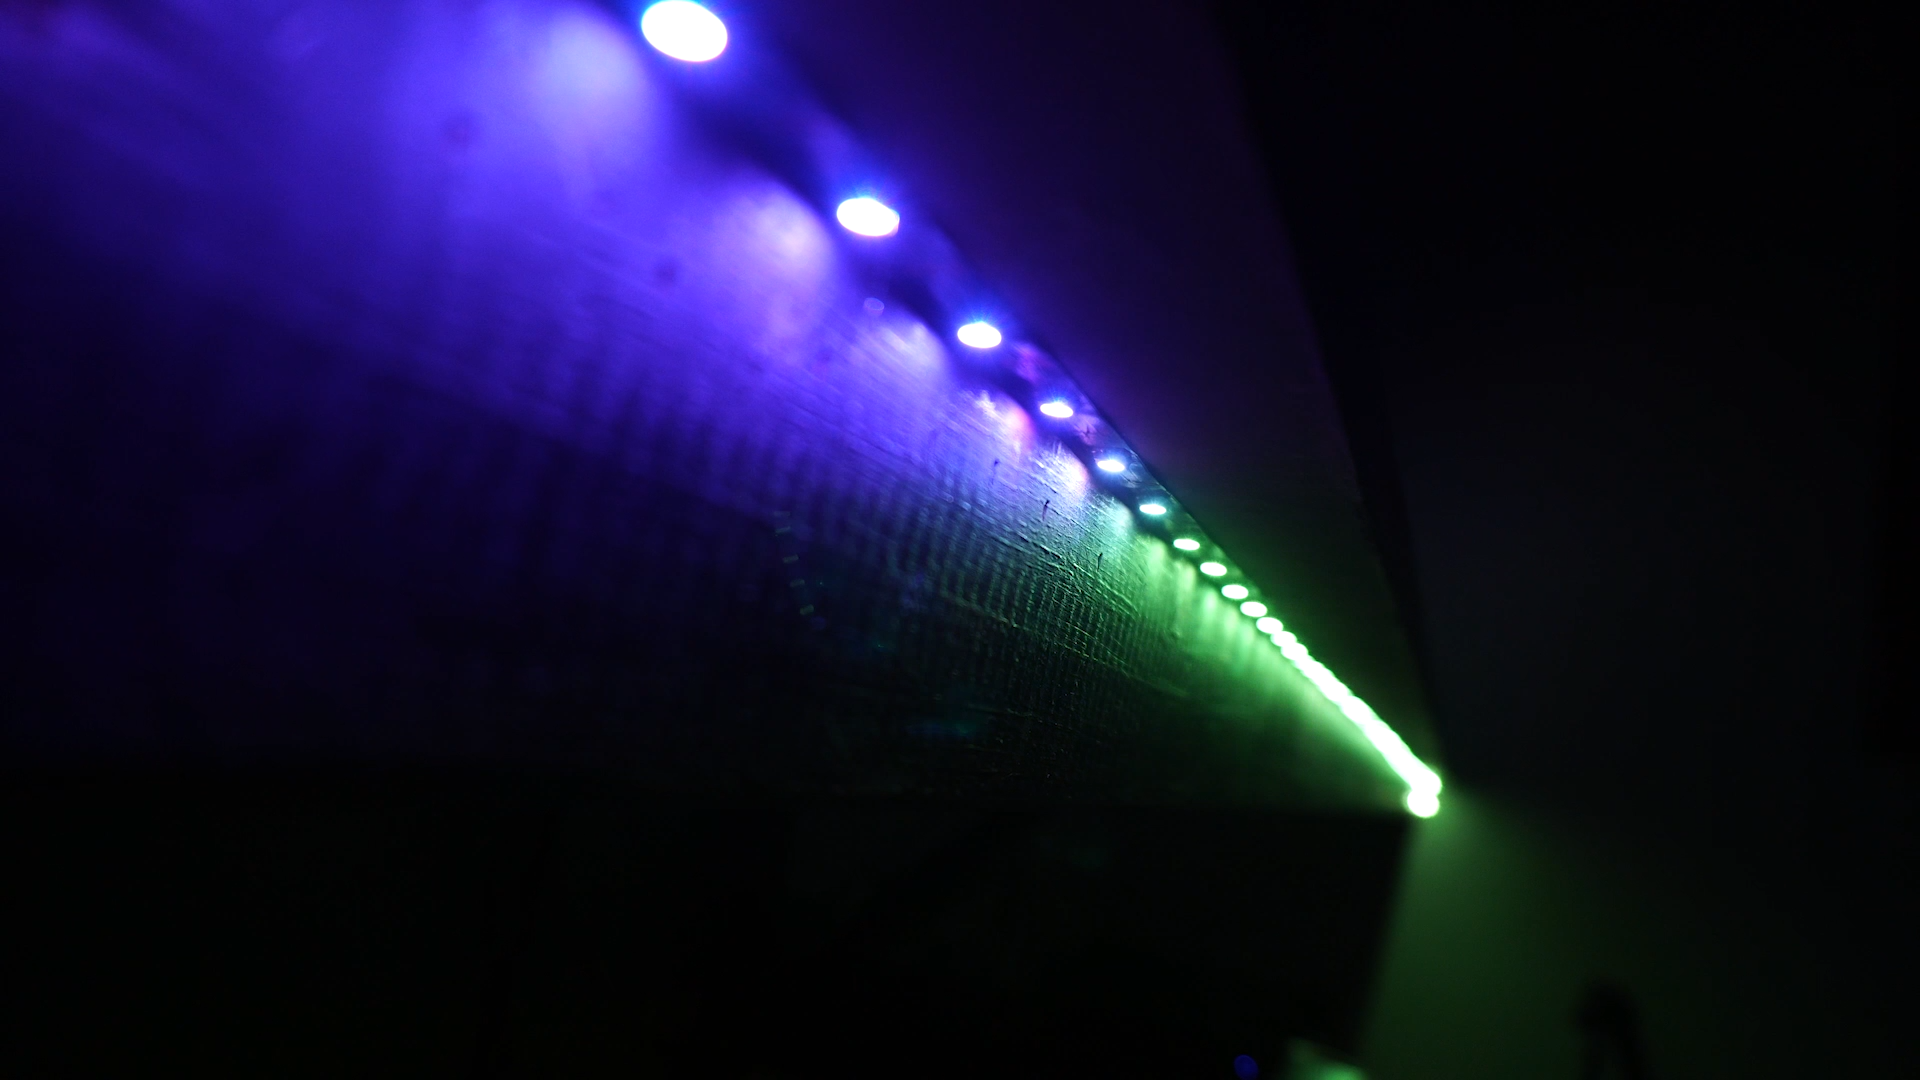
Final Result


Enjoy your new LED poster and make it shine however you want.