DIY 18650 Battery Charging Station
by Ashu Mhr Projects in Circuits > Electronics
981 Views, 3 Favorites, 0 Comments
DIY 18650 Battery Charging Station

It can be frustrating when our electronics die at the most inopportune times, but have no fear! In this DIY project, I show you how to build a 18650 battery charging station for all of those batteries. You won't believe what you can get for just a couple bucks.
Supplies
.png)
.png)
.png)
.png)
.png)
.png)
.png)
.png)
.png)
.png)
.png)
.png)
- Get all the components ready.
Get Your PCB Ready!
.png)
.png)
.png)
Talking about electronics.
- After making the circuit diagram I transformed it into a PCB design to produce it, to produce the PCB, I have chosen JLCPCB the best PCB supplier and the cheapest PCB provider to order my circuit. with the reliable platform, all I need to do is some simple steps which we will talk later.
- Related Download Files
- As you can see in the pictures above the PCB is very well manufactured and I’ve got the same PCB assembled with all the components that we want to use for our main board and all the labels and logos are there to guide me during the soldering steps. You can also download the Gerber file for this circuit from the download link below in case you want to place an order for the same circuit design.
Place All the Components on PCB and Solder It Properly.
.png)
.png)
.png)
.png)
.png)
.png)
- Soldering all the components to PCB.
Soldering Battery Holder.
.png)
.png)
.png)
- Soldering battery holder to the PCB.
- Note: Take care of polarities.
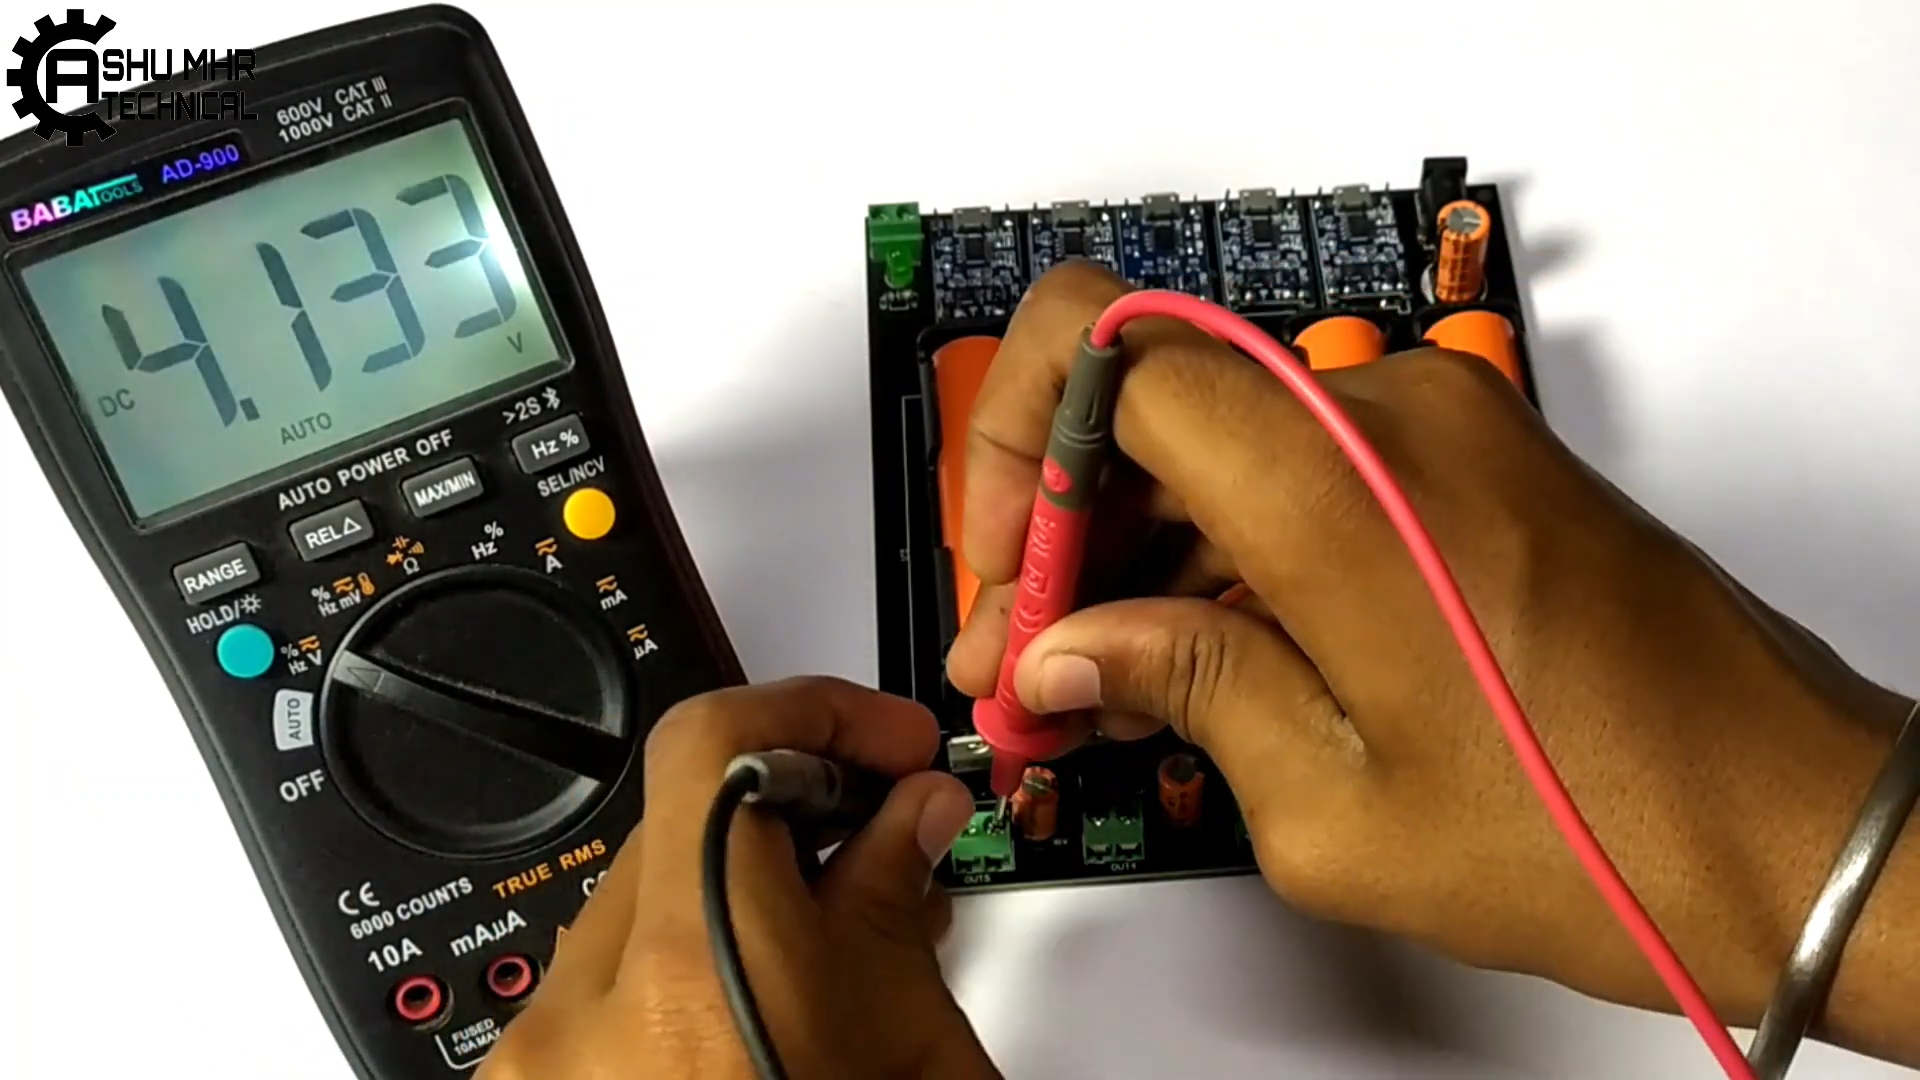
Measuring the Battery Voltage.
.png)
.png)
.png)
.png)
- Measuring the battery voltage before charge using multimeter.
Battery Starts Charging.
.png)
.png)
.png)
.png)
.png)
- Insert the Batteries in battery holders.
- Power the circuit using adapter.
- The Red Led will glow showing that battery is charging.
Battery Is Fully Charged.
.png)
.png)
.png)
- Finally, the DIY 18650 Battery Charging Station charged the batteries indicating with blue light.
- Verifying the charged battery by measuring the voltage using multimeter.
- Download Gerber file from HERE.
New users will also get some coupons while registering at JLCPCB via this blue link.
Thank you for reading this guide, hopefully, this guide provides full steps to help you to create your own DIY Charging Station. If you have any questions please post them in the comment section below.