DHT22
DHT22
Supplies


Used materials:
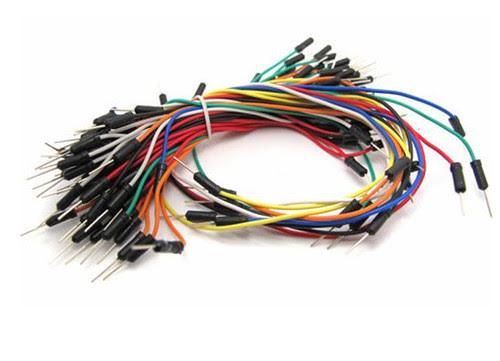
- 3 jumper wires.
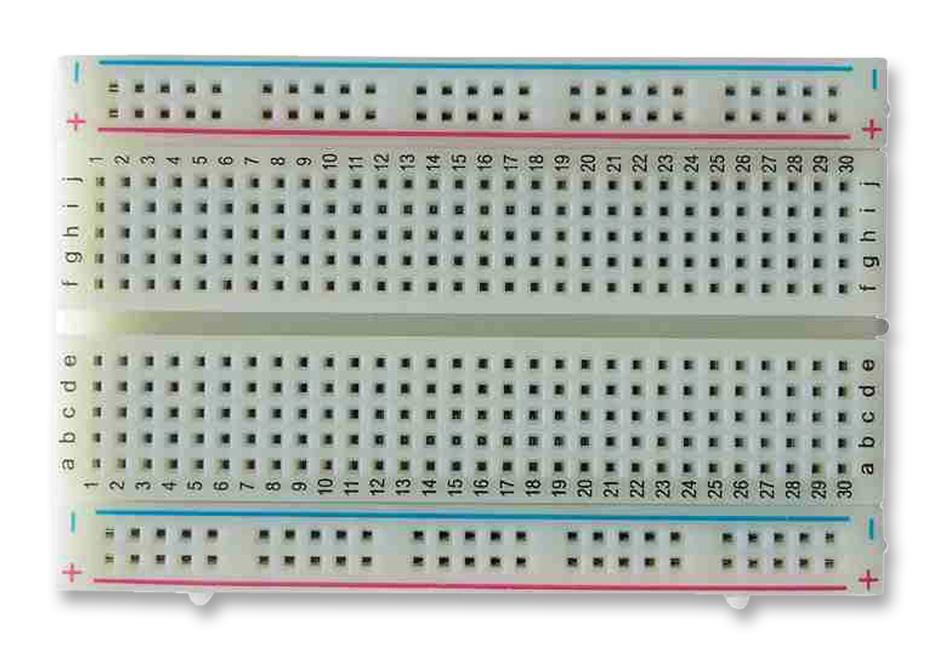
- Breadboard.
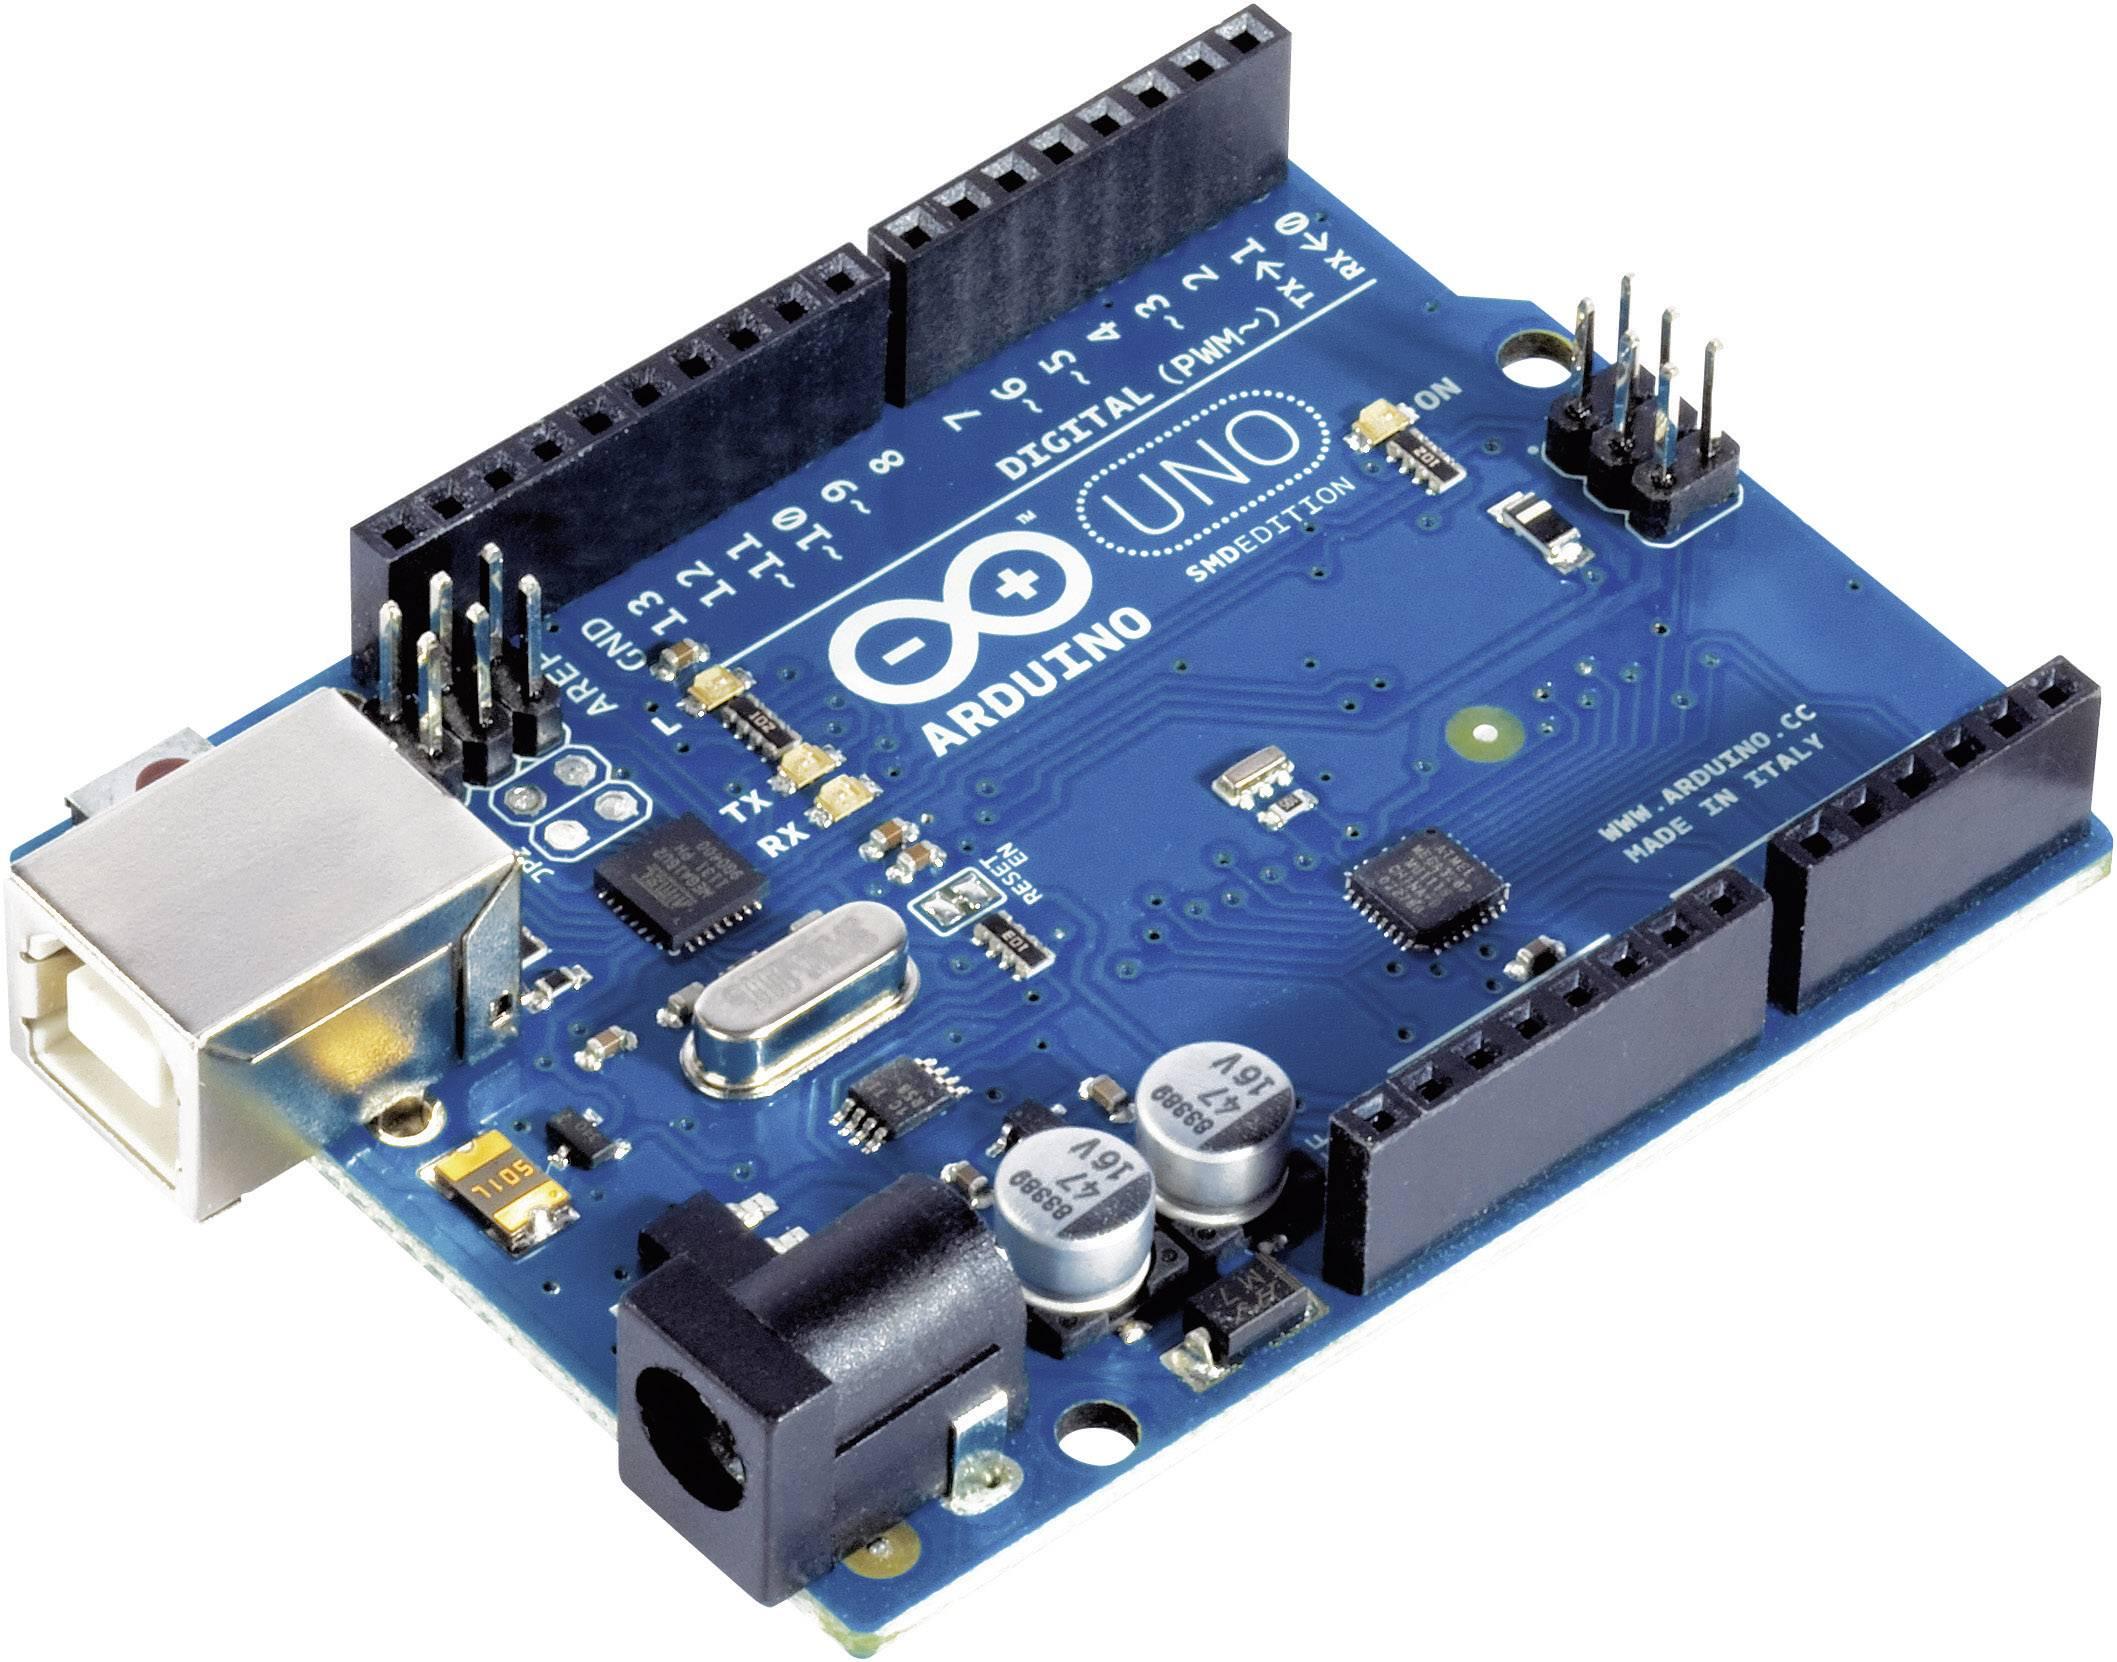
- Arduino-board UNO.
- USB for Arduino.
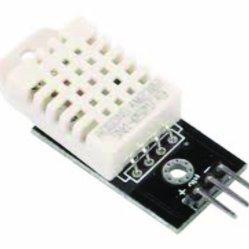
- DHT22-Humidity-and-Temperature-sensor.
- Computer or laptop.
- Arduino Editor to import the code. (https://create.arduino.cc/editor)
CONNECT THE WIRES
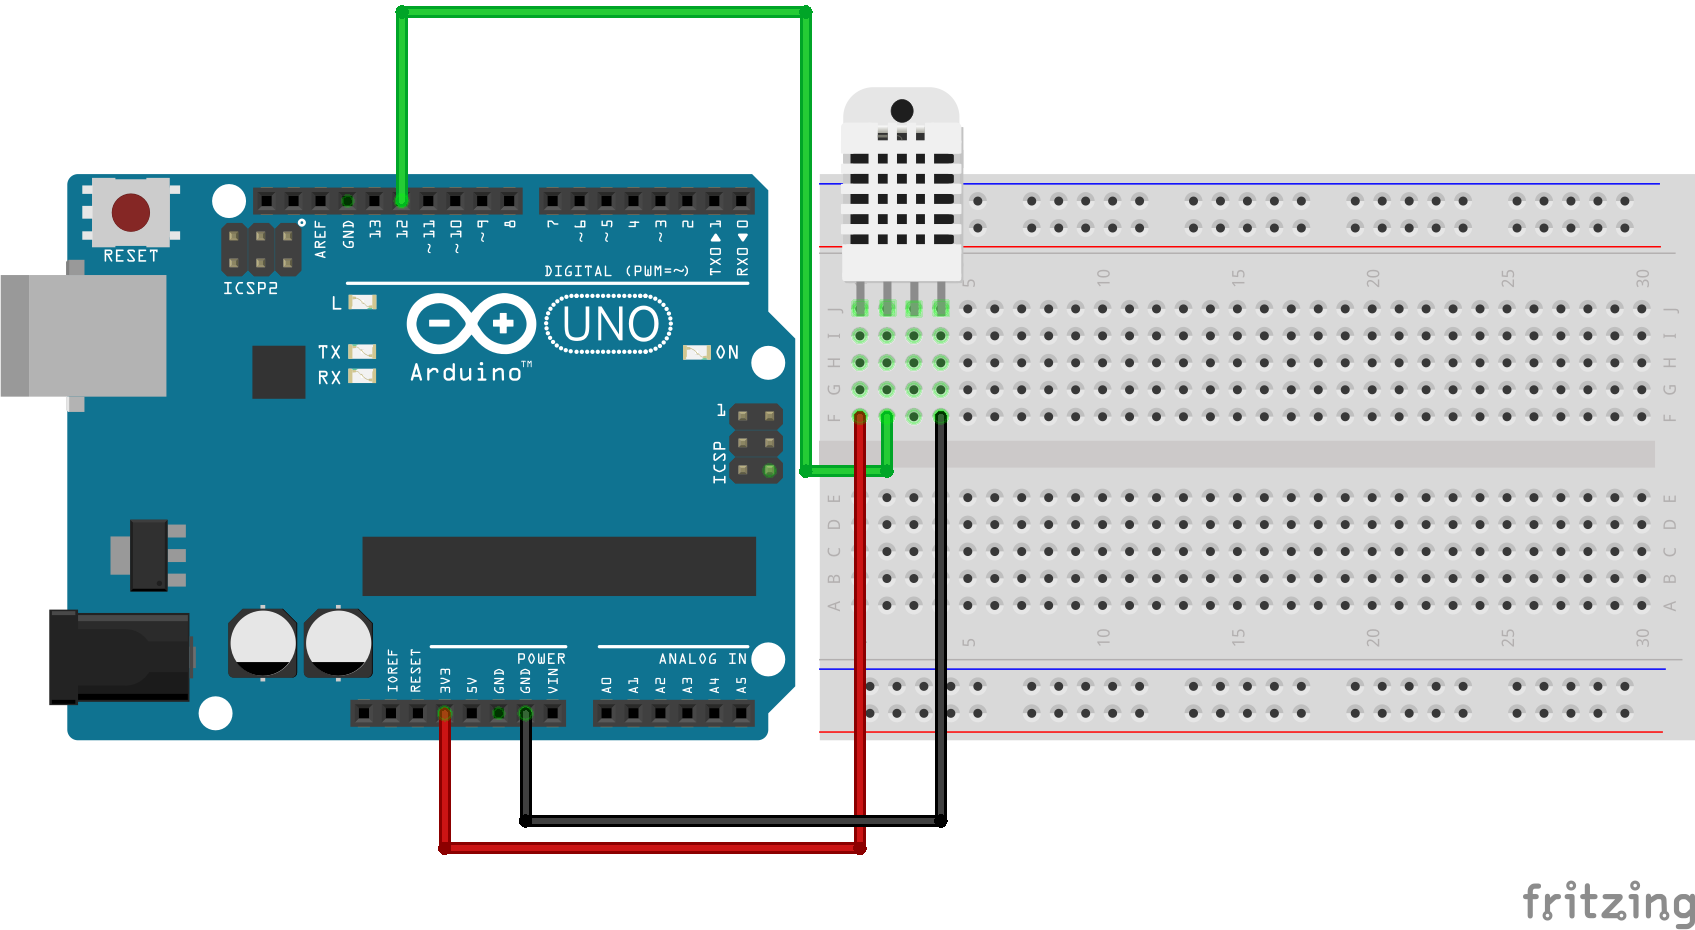
- Connect a wire with input 12 on the Arduino to F2 on the breadboard.
- Connect the second wire with input 3V3 on the Arduino to F1.
- Connect the last wire with input GND on the Arduino to F4.
- Login on arduino editor to import the code from step 2.
- If you open a new sketch you will see that there is already some code on it, remove that code and copy the code from step 2.
- Paste the code on your empty sketch.
PROGRAMMING
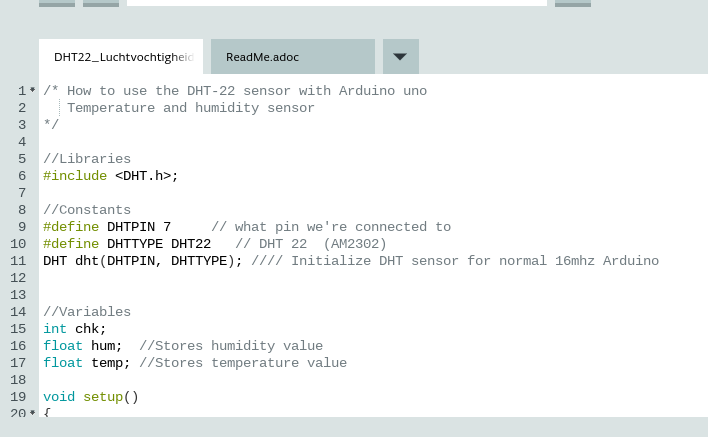
/* How to use the DHT-22 sensor with Arduino uno
Temperature and humidity sensor
*/
//Libraries
#include <DHT.h>;
//Constants
#define DHTPIN 7 // what pin we're connected to
#define DHTTYPE DHT22 // DHT 22 (AM2302)
DHT dht(DHTPIN, DHTTYPE); // Initialize DHT sensor for normal 16mhz Arduino
//Variables
int chk;
float hum; //Stores humidity value
float temp; //Stores temperature value
void setup()
{
Serial.begin(9600);
dht.begin();
}
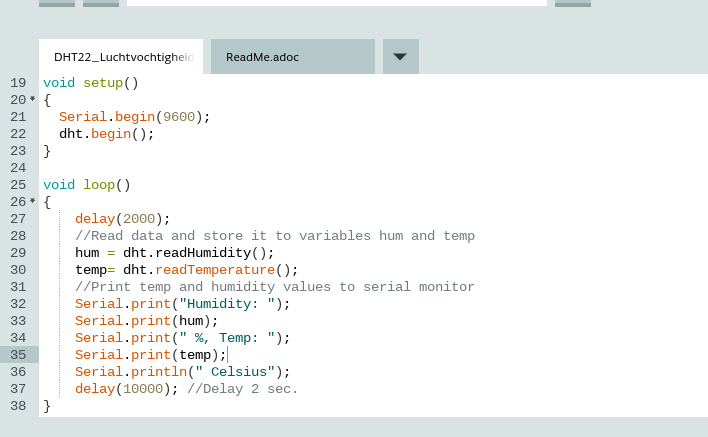
void loop()
{
delay(2000);
//Read data and store it to variables hum and temp
hum = dht.readHumidity();
temp= dht.readTemperature();
//Print temp and humidity values to serial monitor
Serial.print("Humidity: ");
Serial.print(hum);
Serial.print(" %, Temp: ");
Serial.print(temp);
Serial.println(" Celsius");
delay(10000); //Delay 2 sec.
}
TEST IT OUT
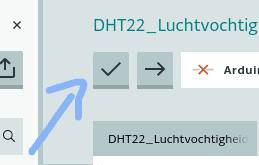


- Press the save button.
- Press upload.
- Press on monitor to see the results.