DC MOTOR Hand Gesture Control Speed & Direction Using Arduino
by RonFrtek in Circuits > Arduino
2024 Views, 4 Favorites, 0 Comments
DC MOTOR Hand Gesture Control Speed & Direction Using Arduino
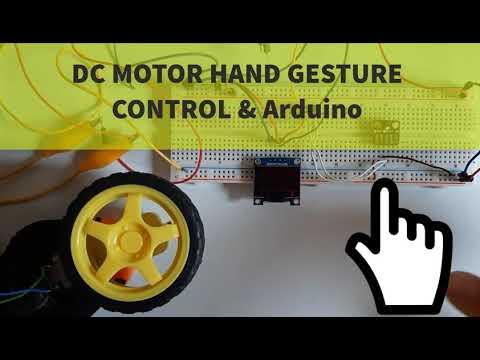
In this tutorial we will learn how to control a DC motor with hand gestures using arduino and Visuino.
Watch the video!
Also check out this: Hand gesture Tutorial
What You Will Need
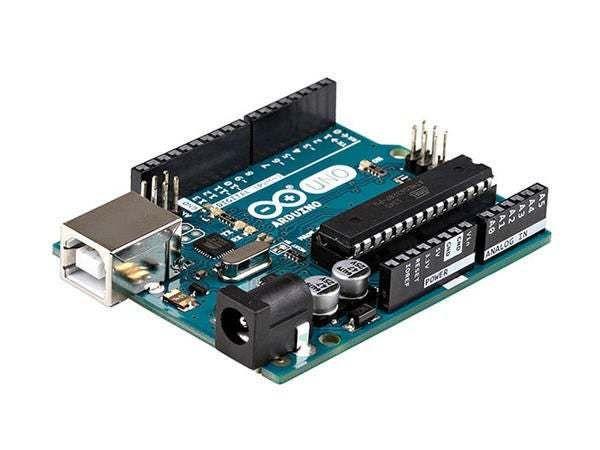
- Arduino UNO (or any other board)
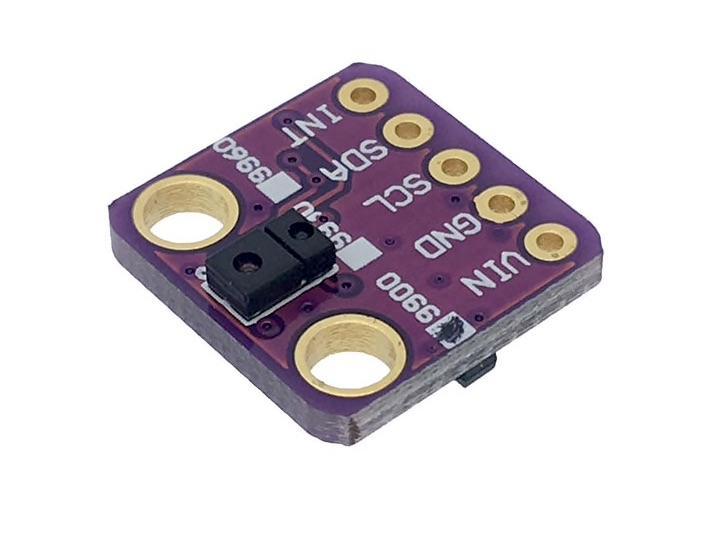
- APDS9960 proximity gesture sensor
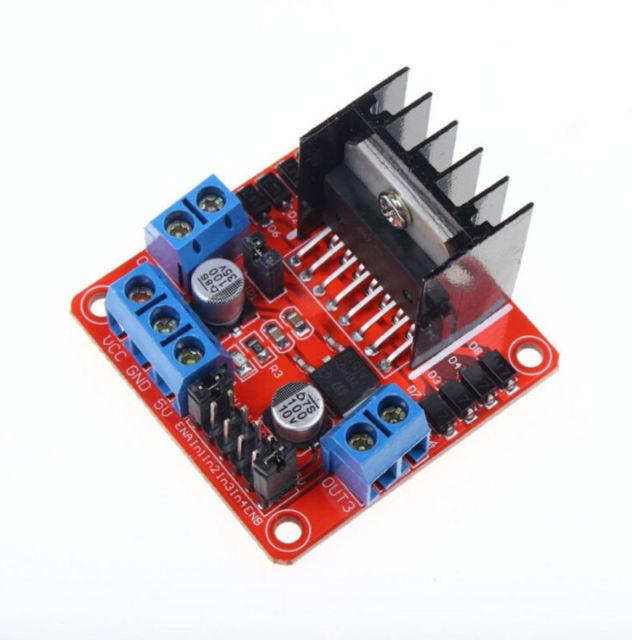
- L298N DC MOTOR CONTROLER Driver
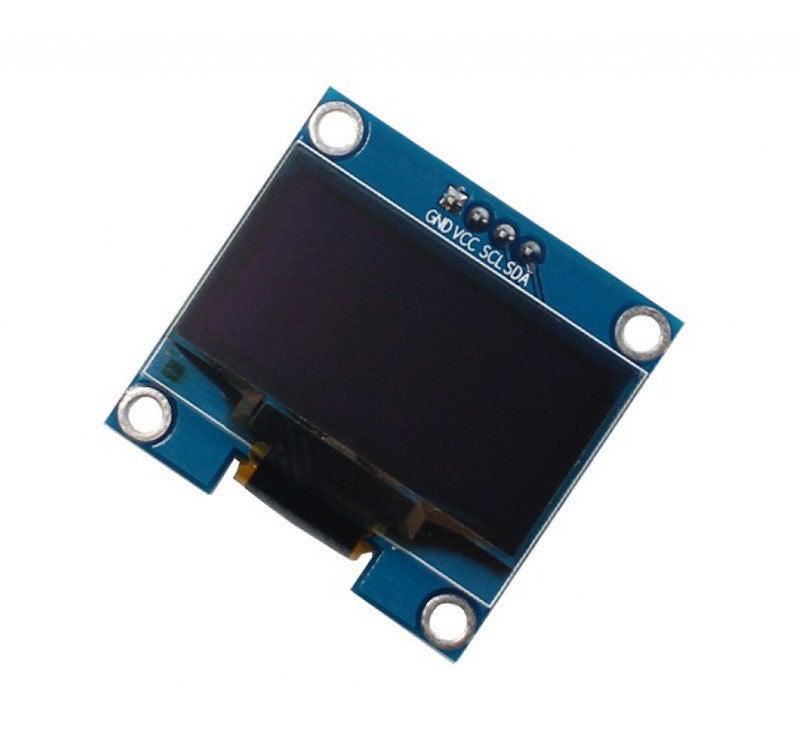
- OLED Display
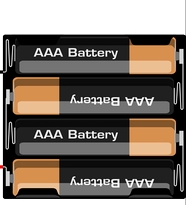
- Batteries
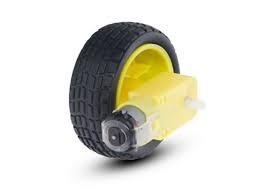
- DC Motor
- Breadboard
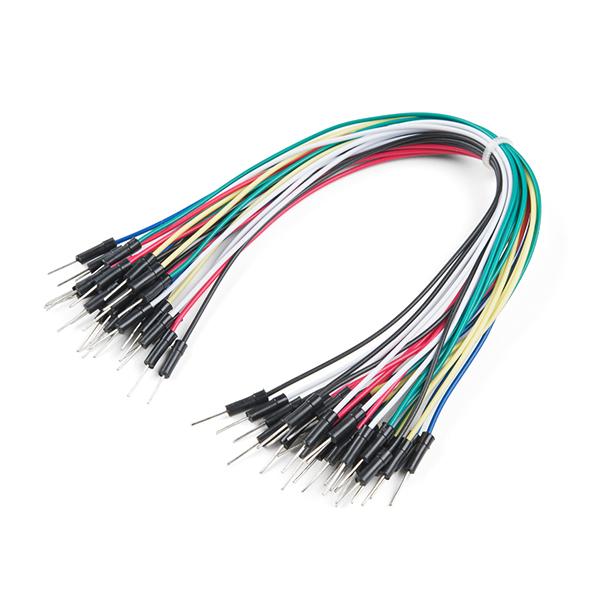
- Jumper wires
- Visuino program: Download Visuino
The Circuit
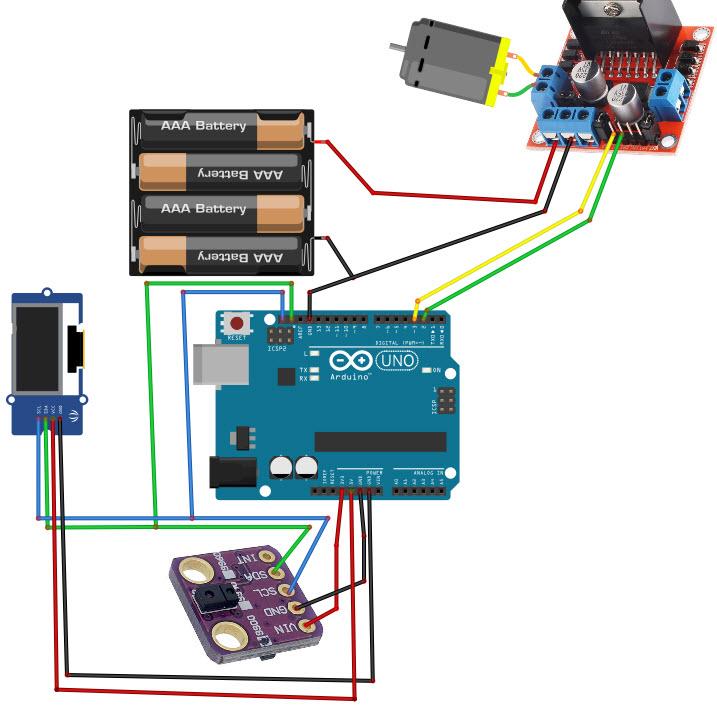
- Connect digital pin(2) from Arduino to motor driver pin (IN2)
- Connect digital pin(3) from Arduino to motor driver pin (IN1)
- Connect DC one motor to one side of motor driver
- Connect Power supply (batteries) pin (gnd) to motor driver controler pin (gnd)
- Connect Power supply (batteries) pin (+) to motor driver controler pin (+)
- Connect GND from Arduino to motor driver controler pin (gnd)
- Connect OLED Display pin (GND) to Arduino pin (GND)
- Connect OLED Display pin (VCC) to Arduino pin (5V)
- Connect OLED Display pin (SCL) to Arduino pin (SCL)
- Connect OLED Display pin (SDA) to Arduino pin (SDA)
- Connect Sensor Pin [GND] to Arduino board pin [GND]
- Connect Sensor Pin [Vin] to Arduino board pin [3.3V]
- Connect Sensor Pin [SDA] to Arduino board pin [SDA]
- Connect Sensor Pin [SCL] to Arduino board pin [SCL]
Start Visuino, and Select the Arduino UNO Board Type
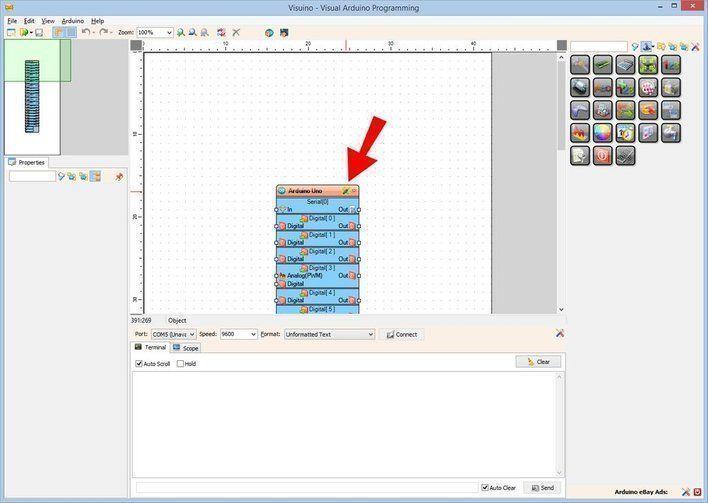
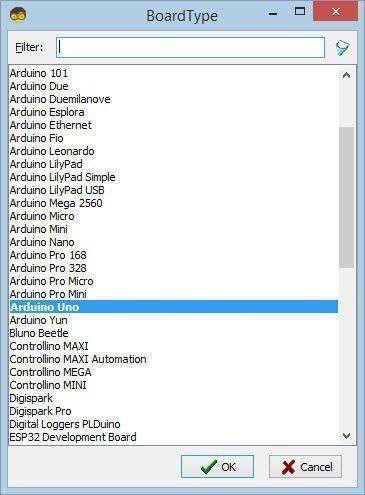
The Visuino: https://www.visuino.eu needs to be installed. Start Visuino as shown in the first picture Click on the "Tools" button on the Arduino component (Picture 1) in Visuino When the dialog appears, select "Arduino UNO" as shown on Picture 2
In Visuino Add Components
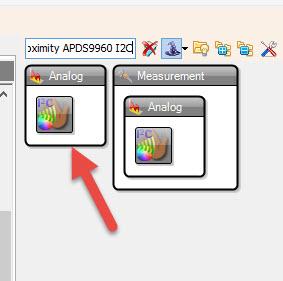
- Add "Gesture Color Proximity APDS9960 I2C" component
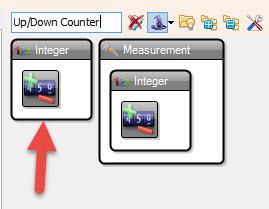
- Add "Up/Down Counter" component
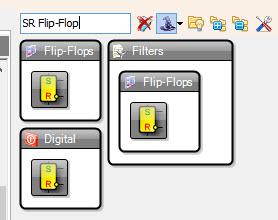
- Add "SR Flip-Flop" component
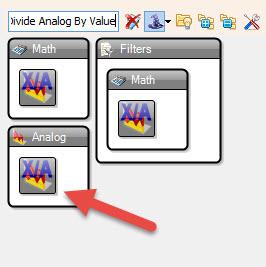
- Add "Divide Analog By Value" component
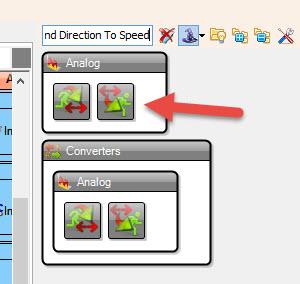
- Add "Speed and Direction To Speed" component
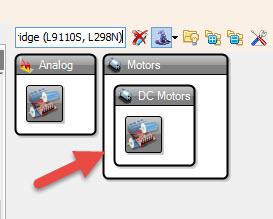
- Add "Dual DC Motor Driver Digital and PWM Pins Bridge (L9110S, L298N)" component
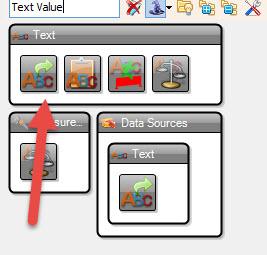
- Add "Text Value" component
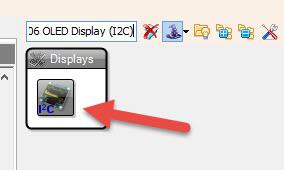
- Add "SSD1306/SH1106 OLED Display (I2C)" component
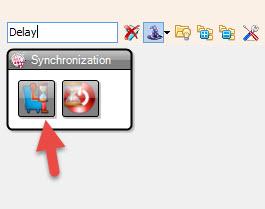
- Add "Delay" component
In Visuino Set Components
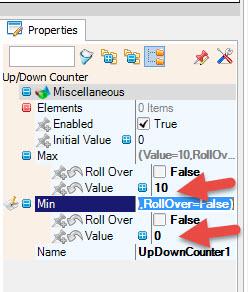
- Select "UpDownCounter1" component and in the properties window set Max>value to 10
- Select "UpDownCounter1" component and in the properties window set Min>value to 0
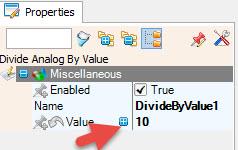
- Select "DivideByValue1" component and in the properties window set value to 10
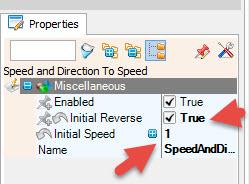
- Select "SpeedAndDirectionToSpeed1" component and in the properties window set Initial Reverse to True, and Initial Speed to 1
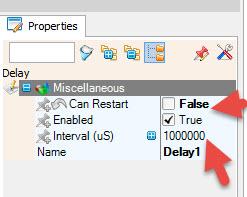
- Select "Delay1" component and in the properties window set Can Restart to False and Interval (uS) to 1000000
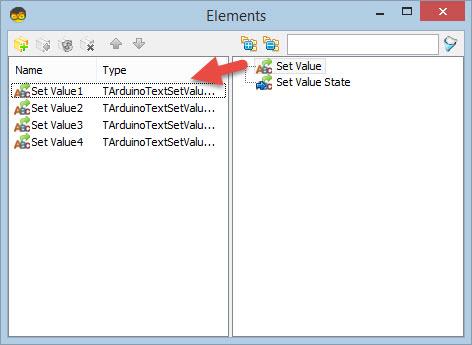
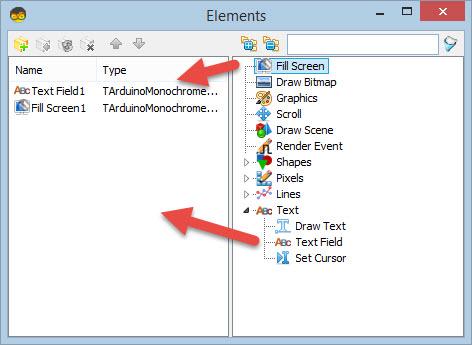
- Double click on the "TextValue1" component and in the Elements window drag 4X "Set Value" to the left side
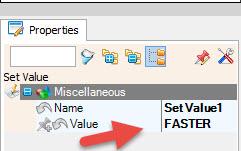
- On the left side select "Set Value1" and in the properties window set Value to "FASTER"
- On the left side select "Set Value2" and in the properties window set Value to "SLOWER"
- On the left side select "Set Value3" and in the properties window set Value to "LEFT"
- On the left side select "Set Value4" and in the properties window set Value to "RIGHT"
- Close the Elements window
- Double click on the "DisplayOLED1" component and in the Elements drag "Text Field" to the left and "Fill Screen" to the left
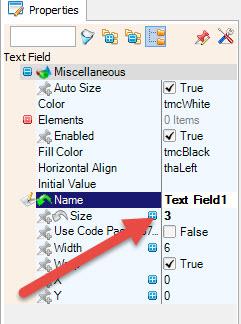
- On the left side select "Text Field1" and in the properties window set size to 3
- Close the Elements window
In Visuino Connect Components
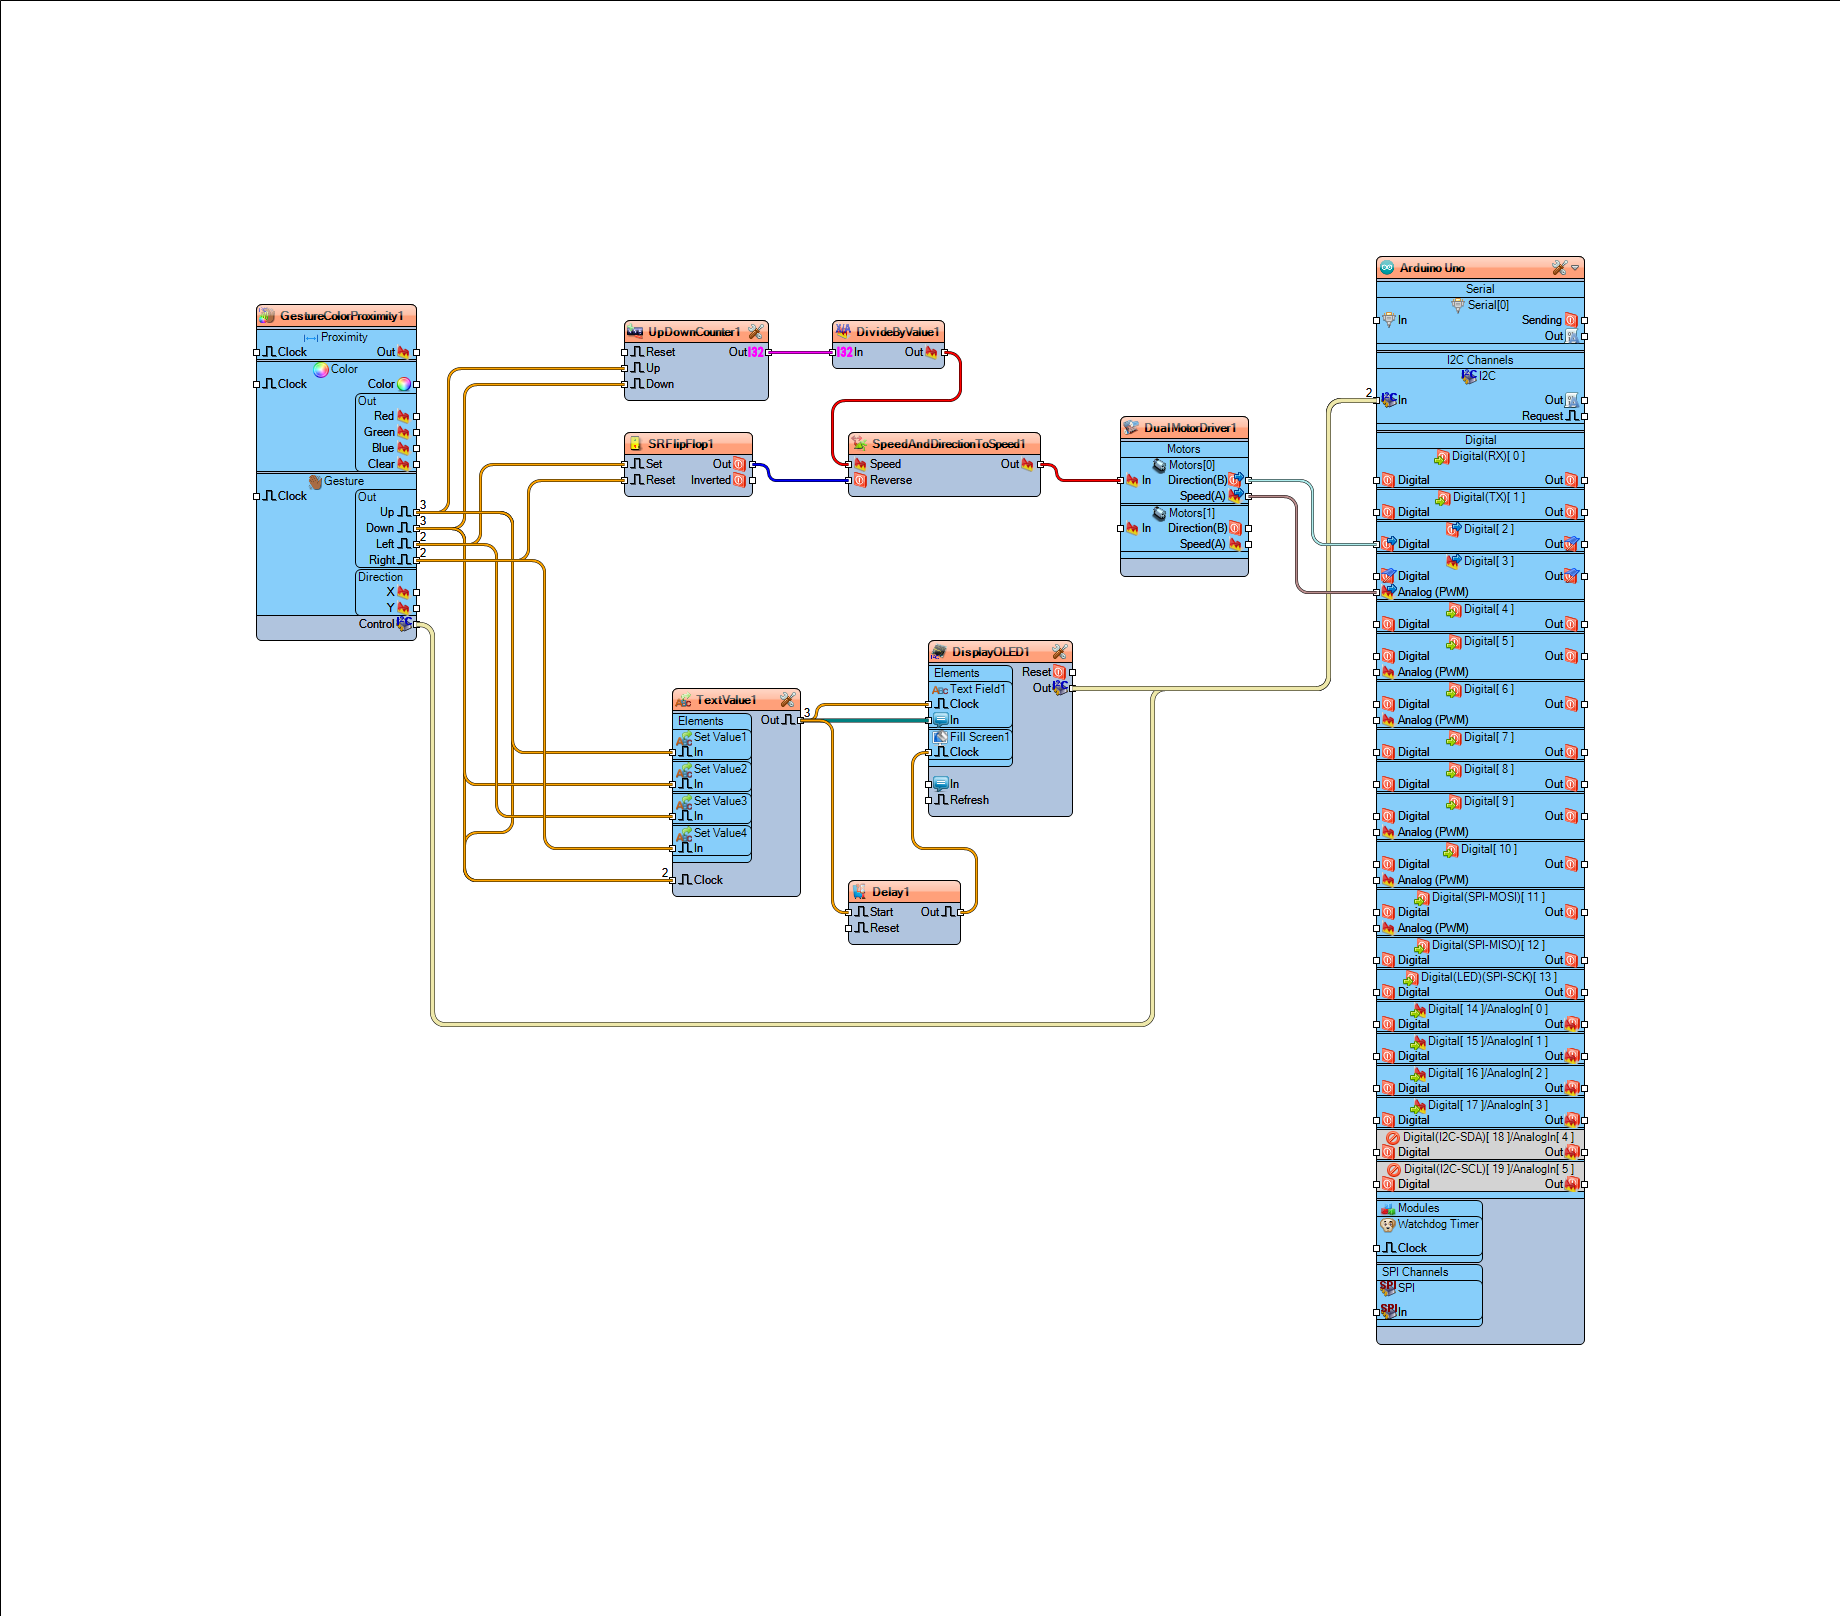
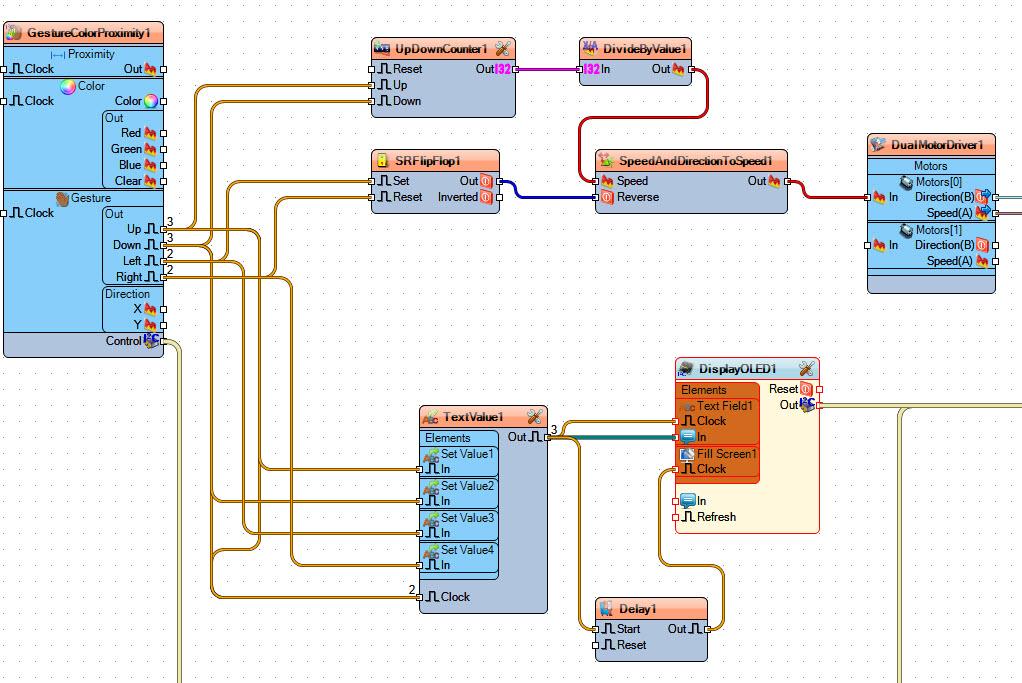
Connect "GestureColorProximity1" pin Gesture>Up to "UpDownCounter1" pin Up
Connect "GestureColorProximity1" pin Gesture>Up to "TextValue1>Set Value1" pin In
- Connect "GestureColorProximity1" pin Gesture>Down to "UpDownCounter1" pin Down
- Connect "GestureColorProximity1" pin Gesture>Down to "TextValue1>Set Value2" pin In
- Connect "GestureColorProximity1" pin Gesture>Left to "SRFlipFlop1" pin Set
- Connect "GestureColorProximity1" pin Gesture>Left to "TextValue1>Set Value3" pin In
- Connect "GestureColorProximity1" pin Gesture>Right to "SRFlipFlop1" pin Reset
- Connect "GestureColorProximity1" pin Gesture>Right to "TextValue1>Set Value4" pin In
- Connect "GestureColorProximity1" pin Control I2C to Arduino board pin I2C In
- Connect "UpDownCounter1" pin Out to "DivideByValue1" pin In
- Connect "DivideByValue1" pin Out to "SpeedAndDirectionToSpeed1" pin speed
- Connect "SRFlipFlop1" pin Out to "SpeedAndDirectionToSpeed1" pin Reverse
- Connect "SpeedAndDirectionToSpeed1" pin Out to "DualMotorDriver1" Motors[0]>In
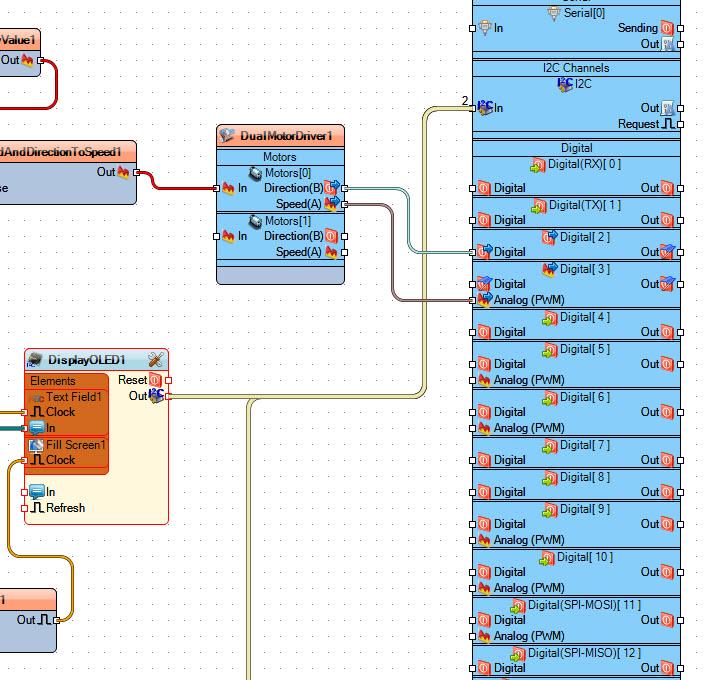
- Connect "DualMotorDriver1" Motors[0] pin Direction(B) to Arduino board digital pin 2
- Connect "DualMotorDriver1" Motors[0] pin Speed(A) to Arduino board digital pin 3
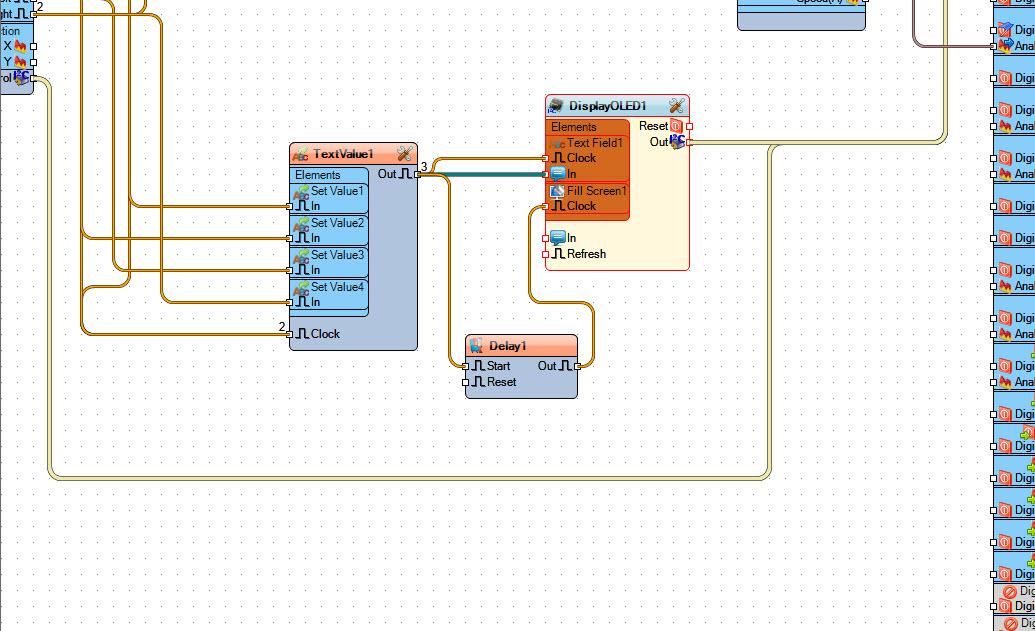
- Connect "TextValue1" pin Out to "DisplayOLED1" > Text Field1>Clock
- Connect "TextValue1" pin Out to "DisplayOLED1" > Text Field1>In
- Connect "TextValue1" pin Out to "Delay1" pin Start
- Connect "Delay1" pin Out to "DisplayOLED1" > Fill Screen1>Clock
- Connect "DisplayOLED1" pin Out I2C to Arduino board pin I2C In
Generate, Compile, and Upload the Arduino Code
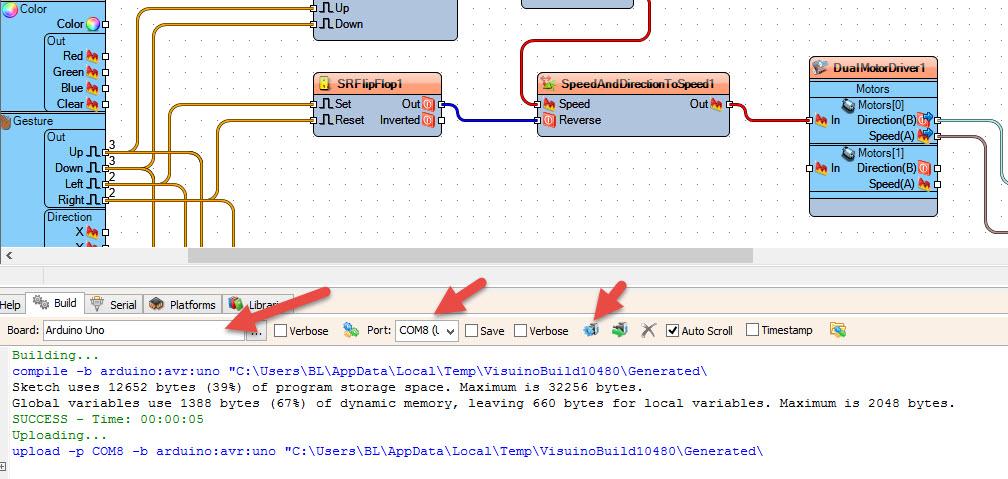
In Visuino, at the bottom click on the "Build" Tab, make sure the correct port is selected, then click on the "Compile/Build and Upload" button.
Play
If you power the Arduino UNO module, and make a gesture over the proximity gesture sensor the motor will start to move and the OLED Display will start to show the Direction, watch the video for the detail demonstration.
Congratulations! You have completed your project with Visuino. Also attached is the Visuino project, that I created for this Instructable, you can download it and open it in Visuino: https://www.visuino.eu