D20 Dice Pouch
My husband is a huge role-playing games fan. In fact, the first gift I have ever given him was a set of dice. So this year for Easter, I decided that I wanted to get him a pouch for all his dice.
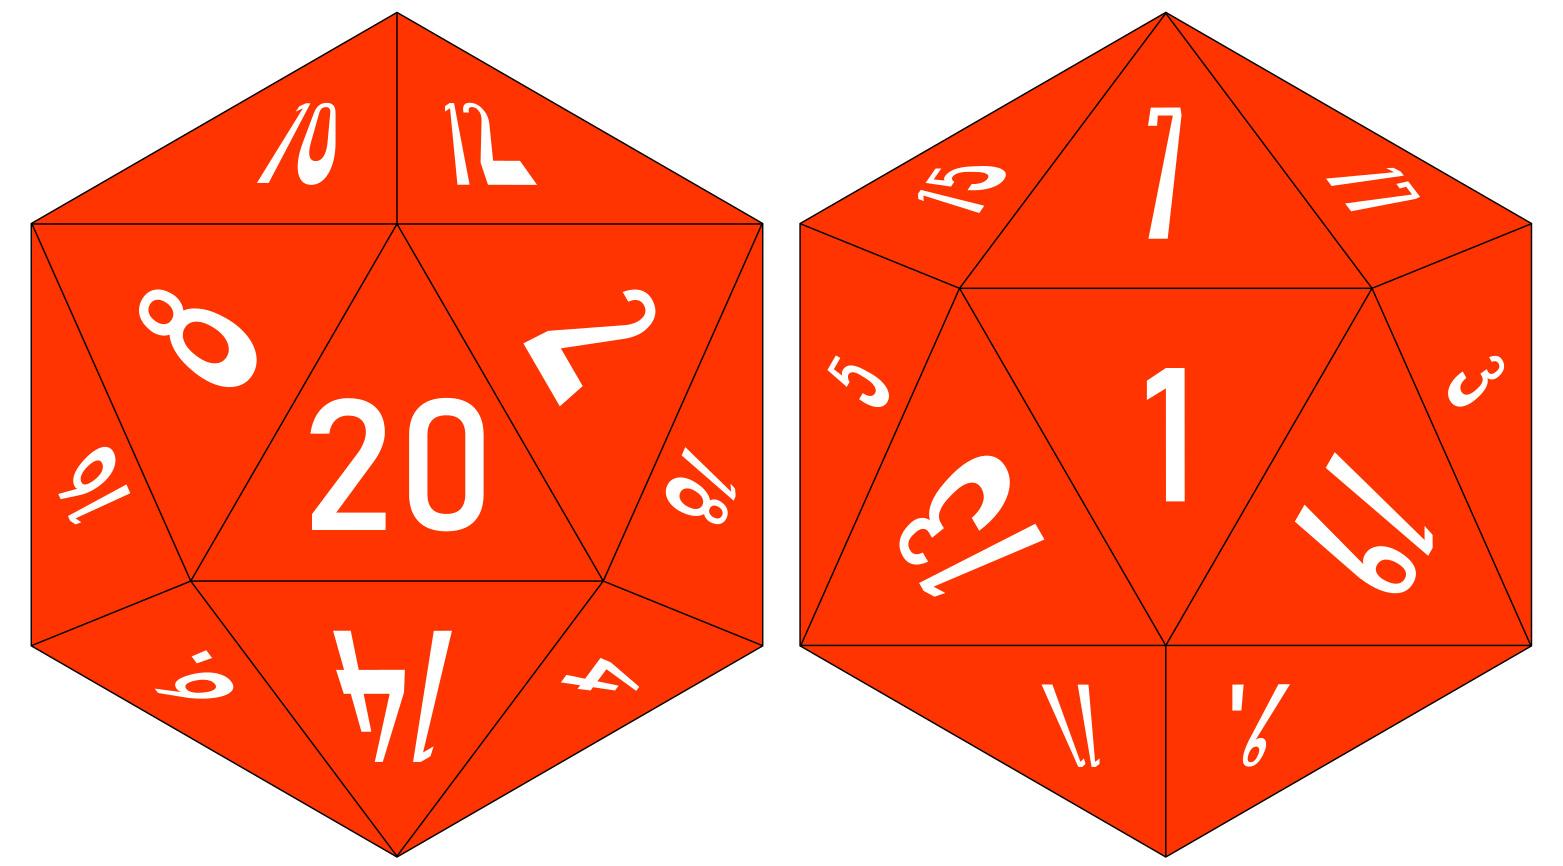
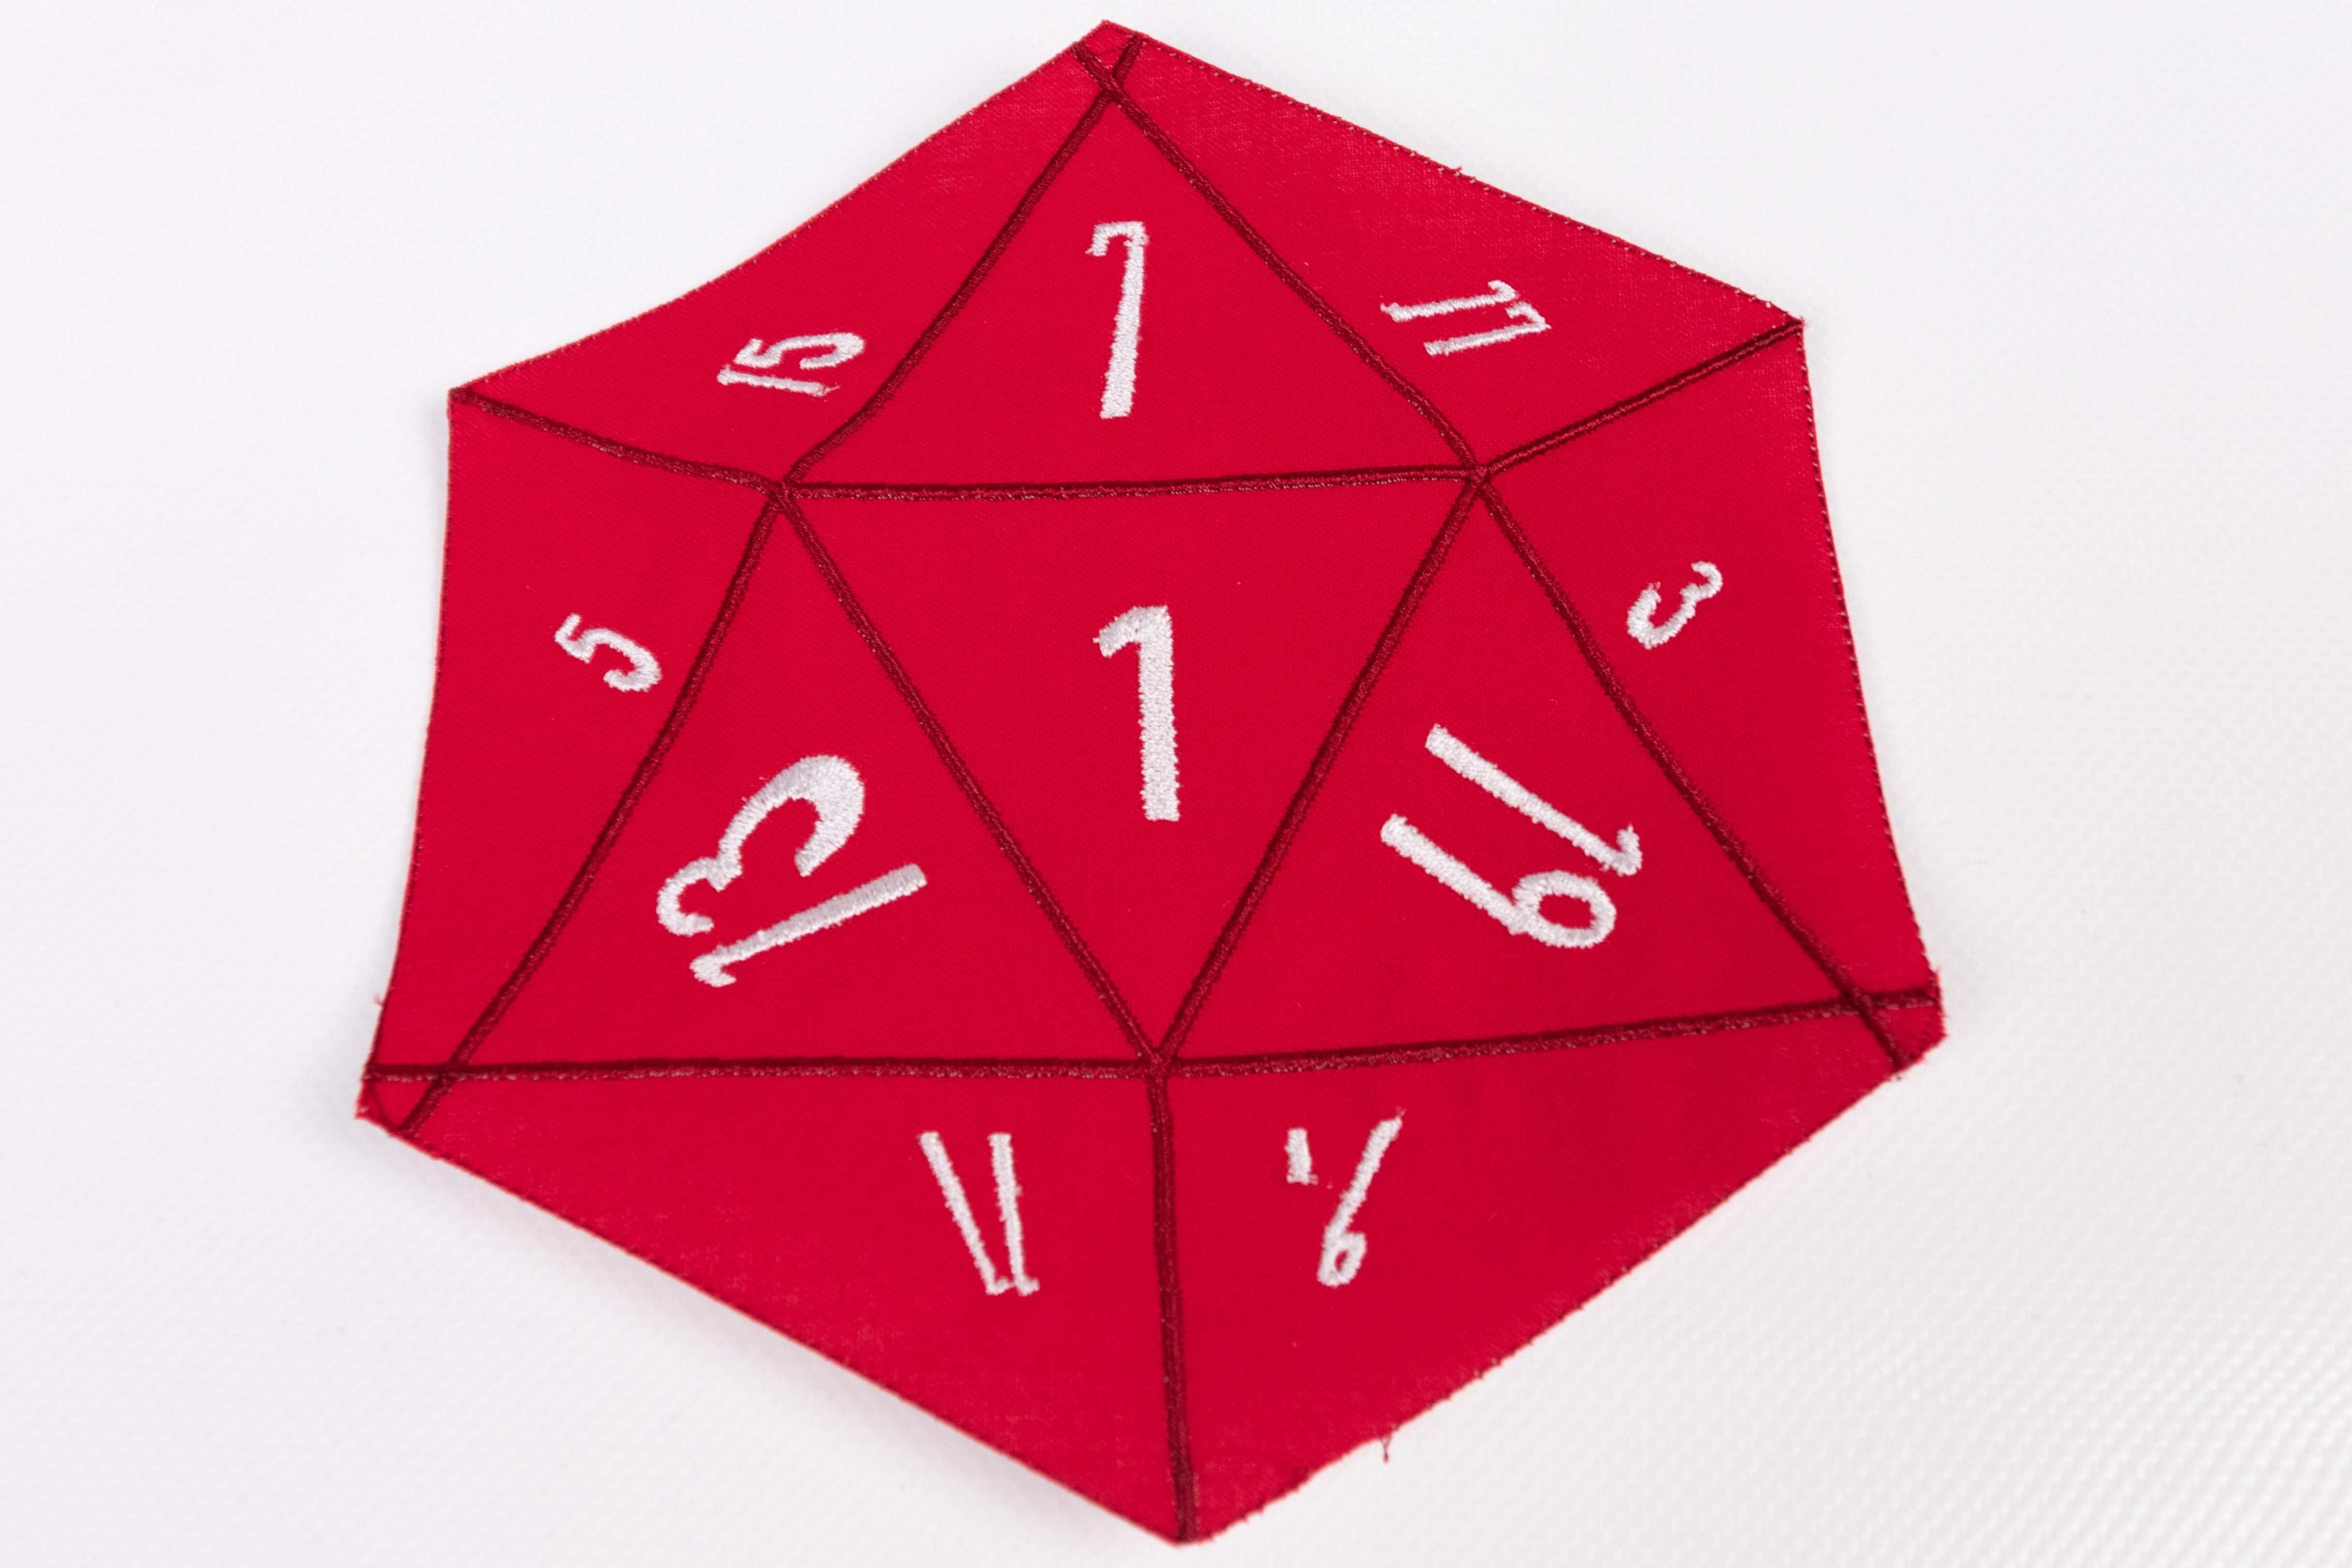
After a bit of brainstorming, I decided that there is only one design that would make sense - a D20 dice. So I googled a bit and found a few pouches that looked like D20 dice, but they were actual 3D versions, which I found impractical. I wanted something he could just toss in his bag without having to worry about it, that wouldn't need too much space and that could be washed. I also wanted him to be able to fit a pen into it and the ones I found online couldn't. So I decided to design my own pseudo-3D version.
You can easily use my design to create your own with an embroidery machine. But don't worry if you don't have one, I uploaded my graphic files in vector format so that you can draw the design onto the fabric and just use a normal sewing machine.
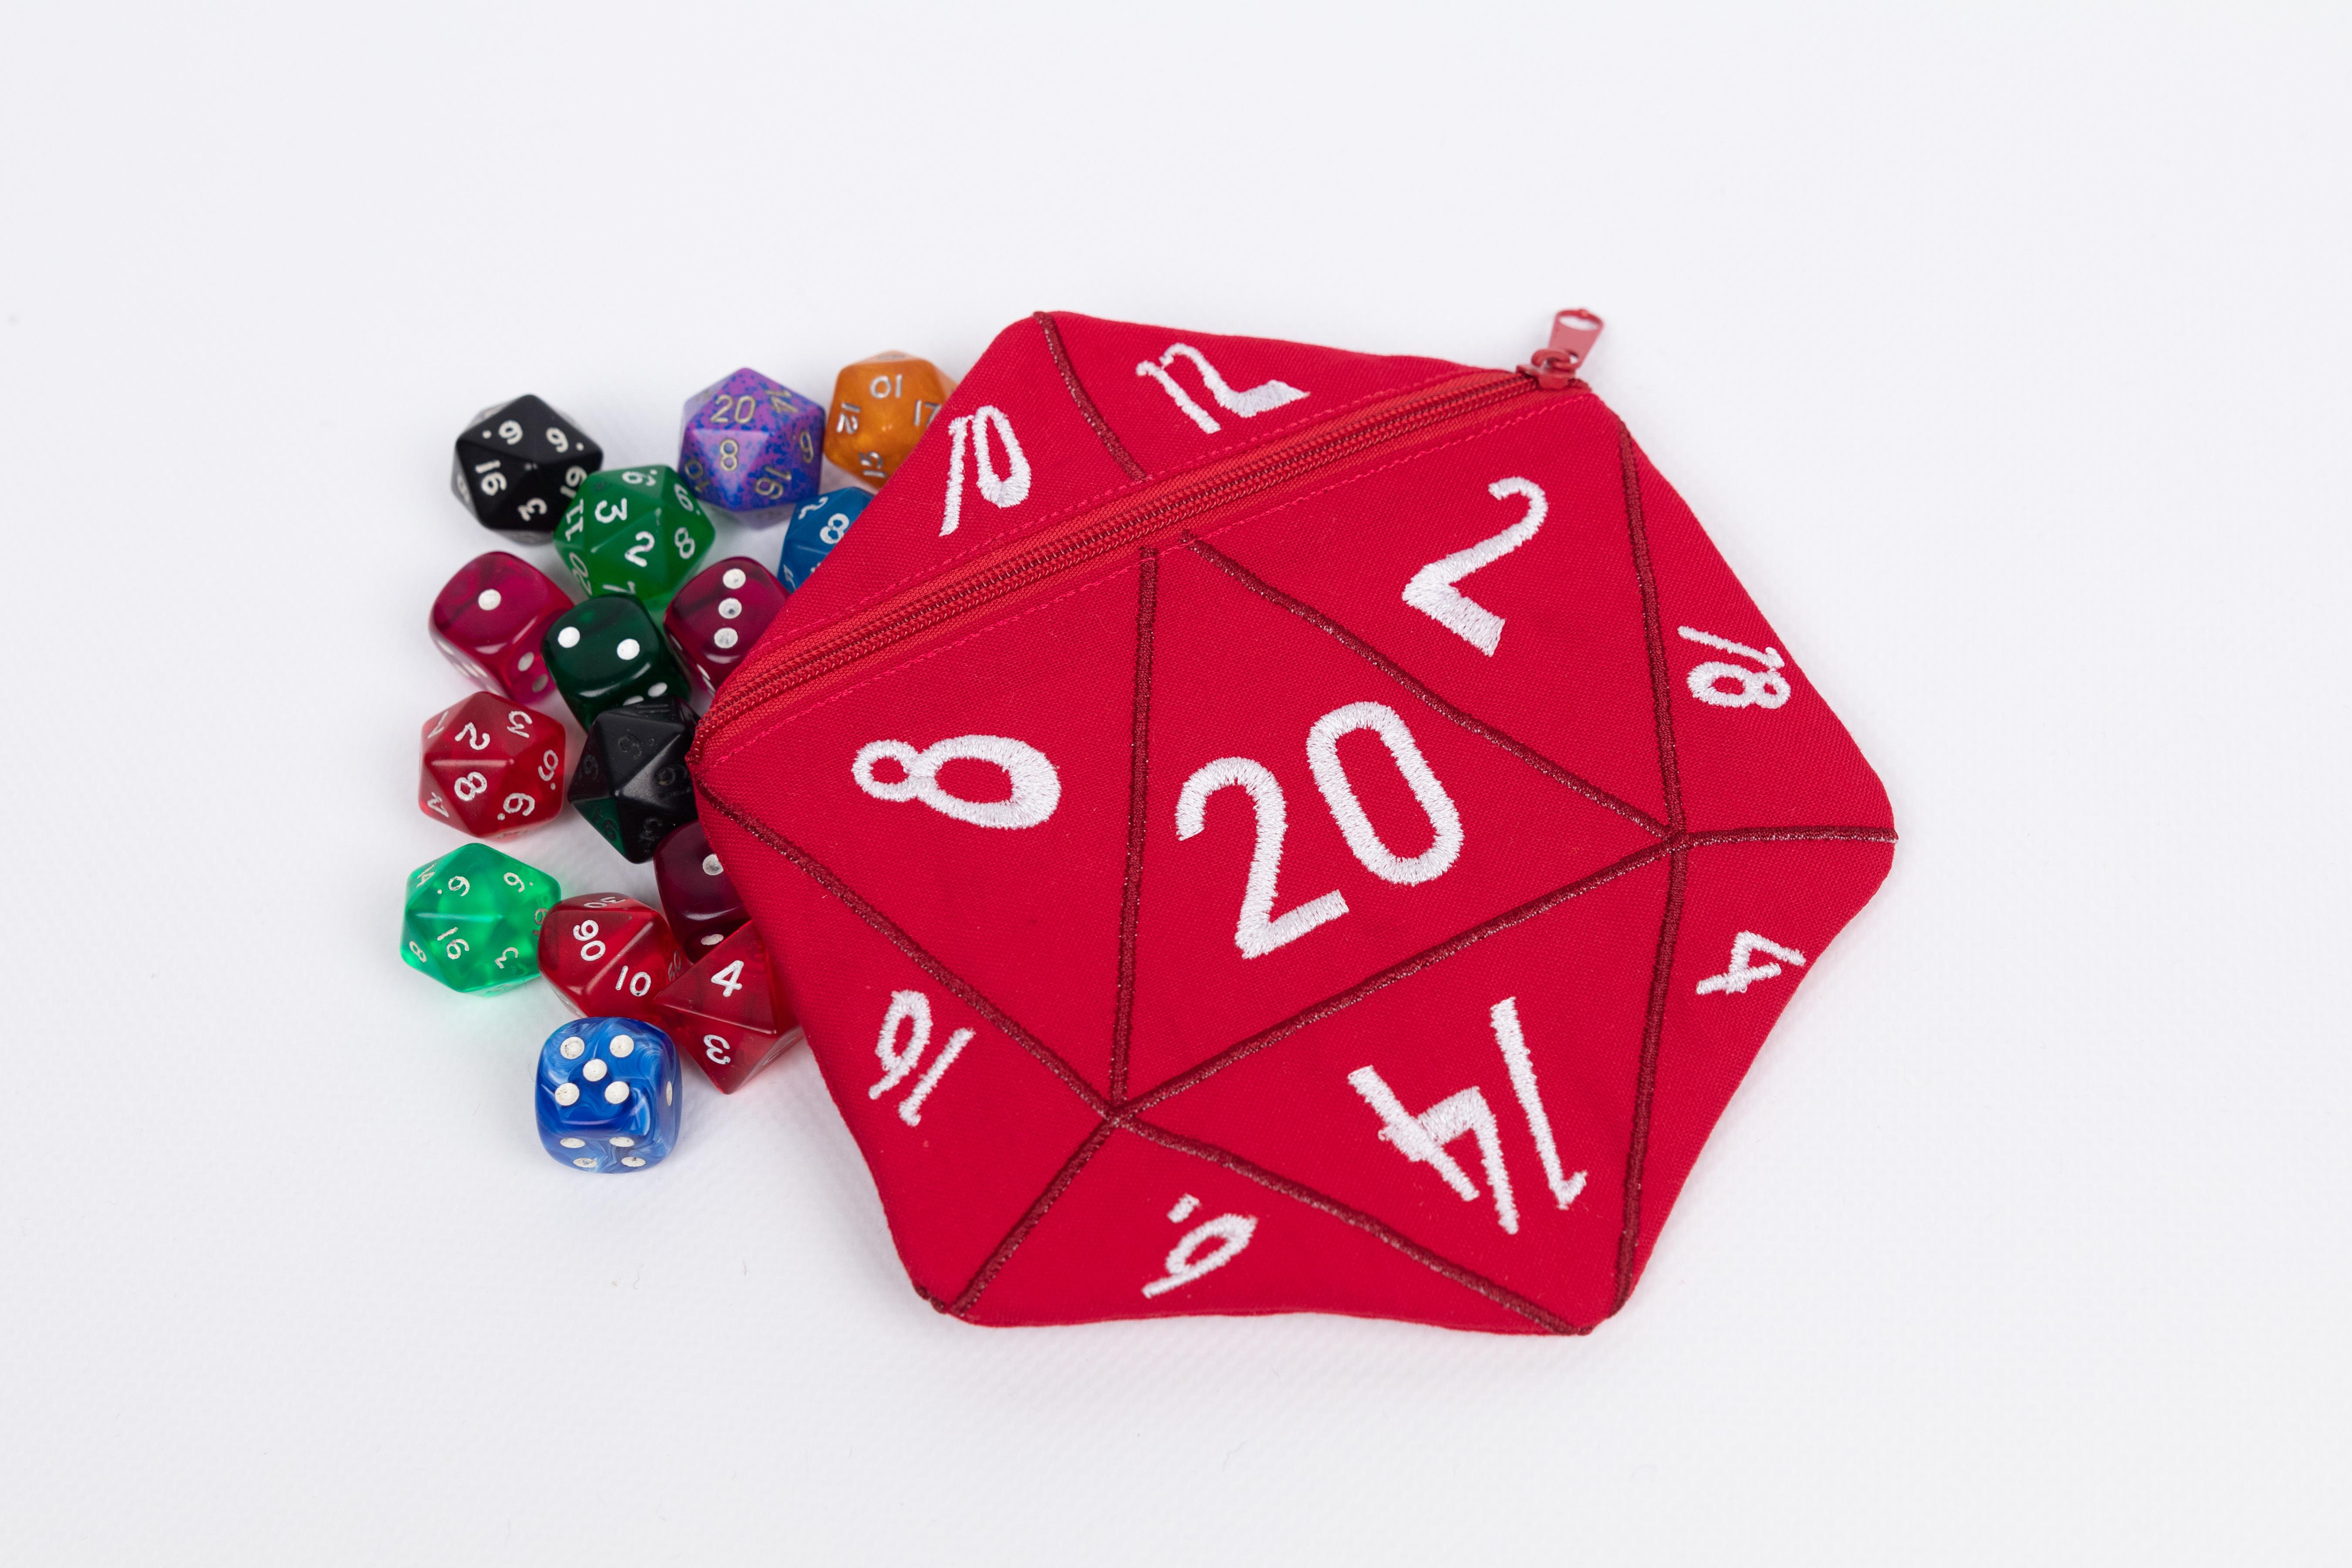
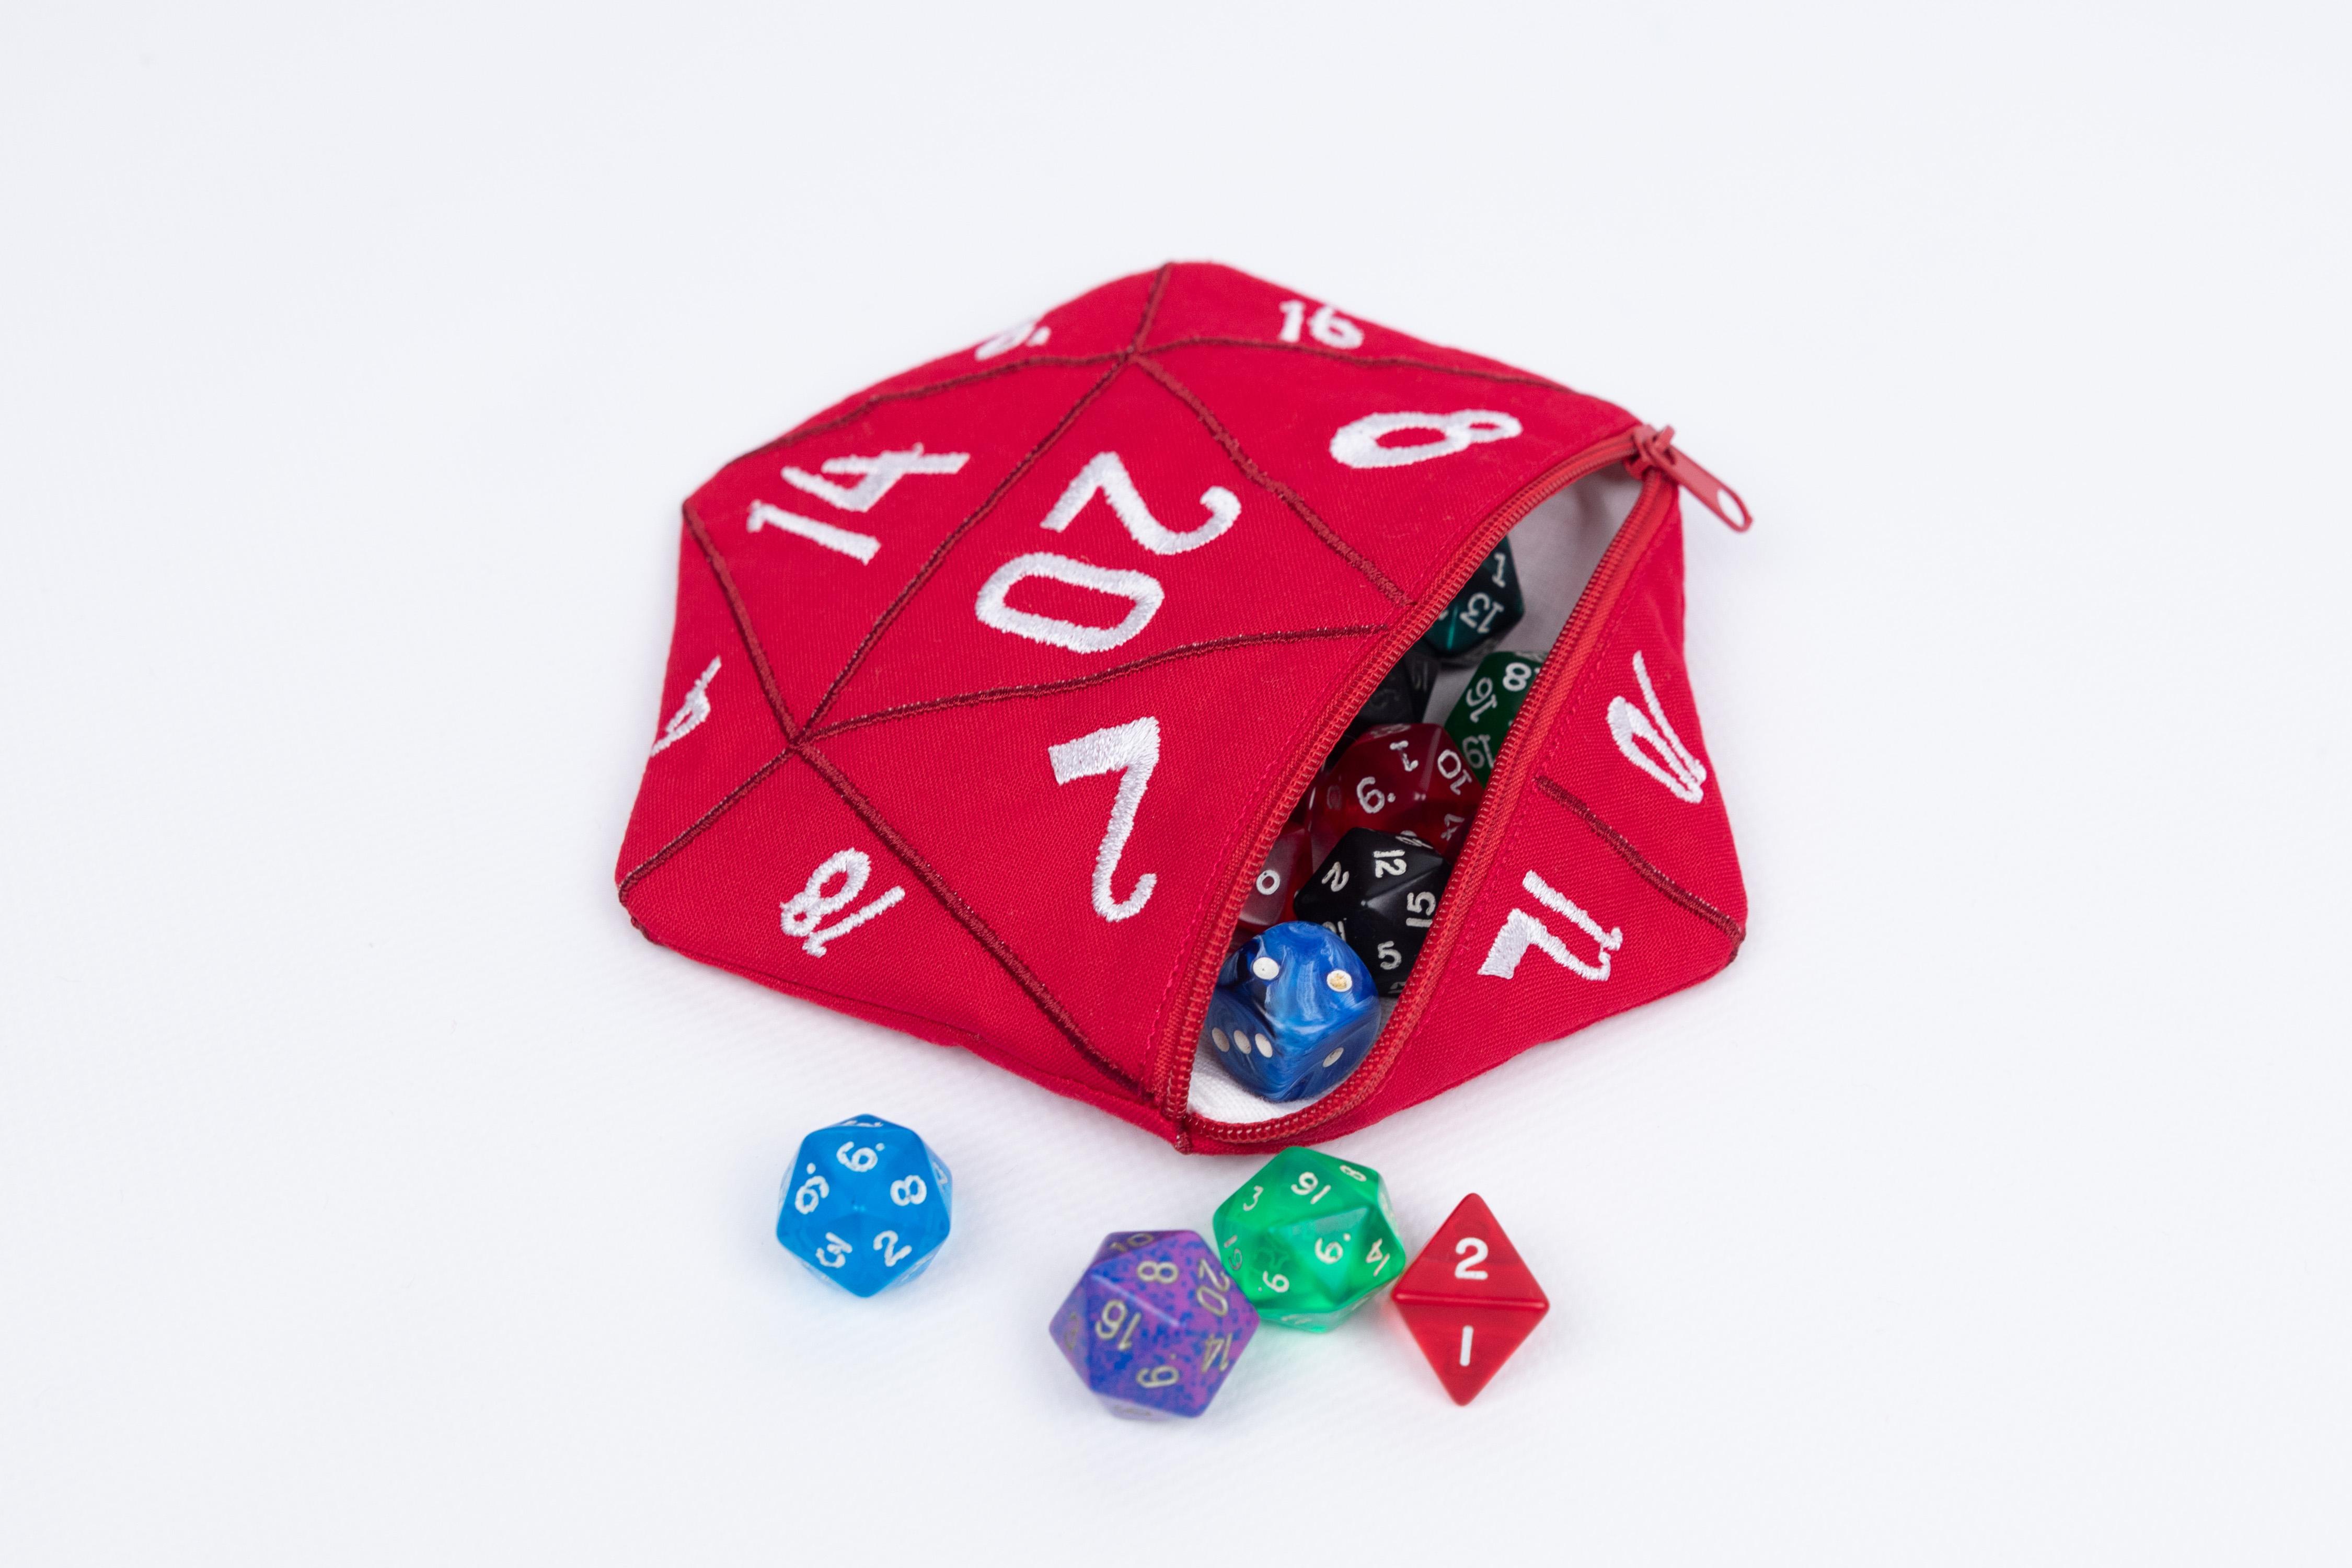
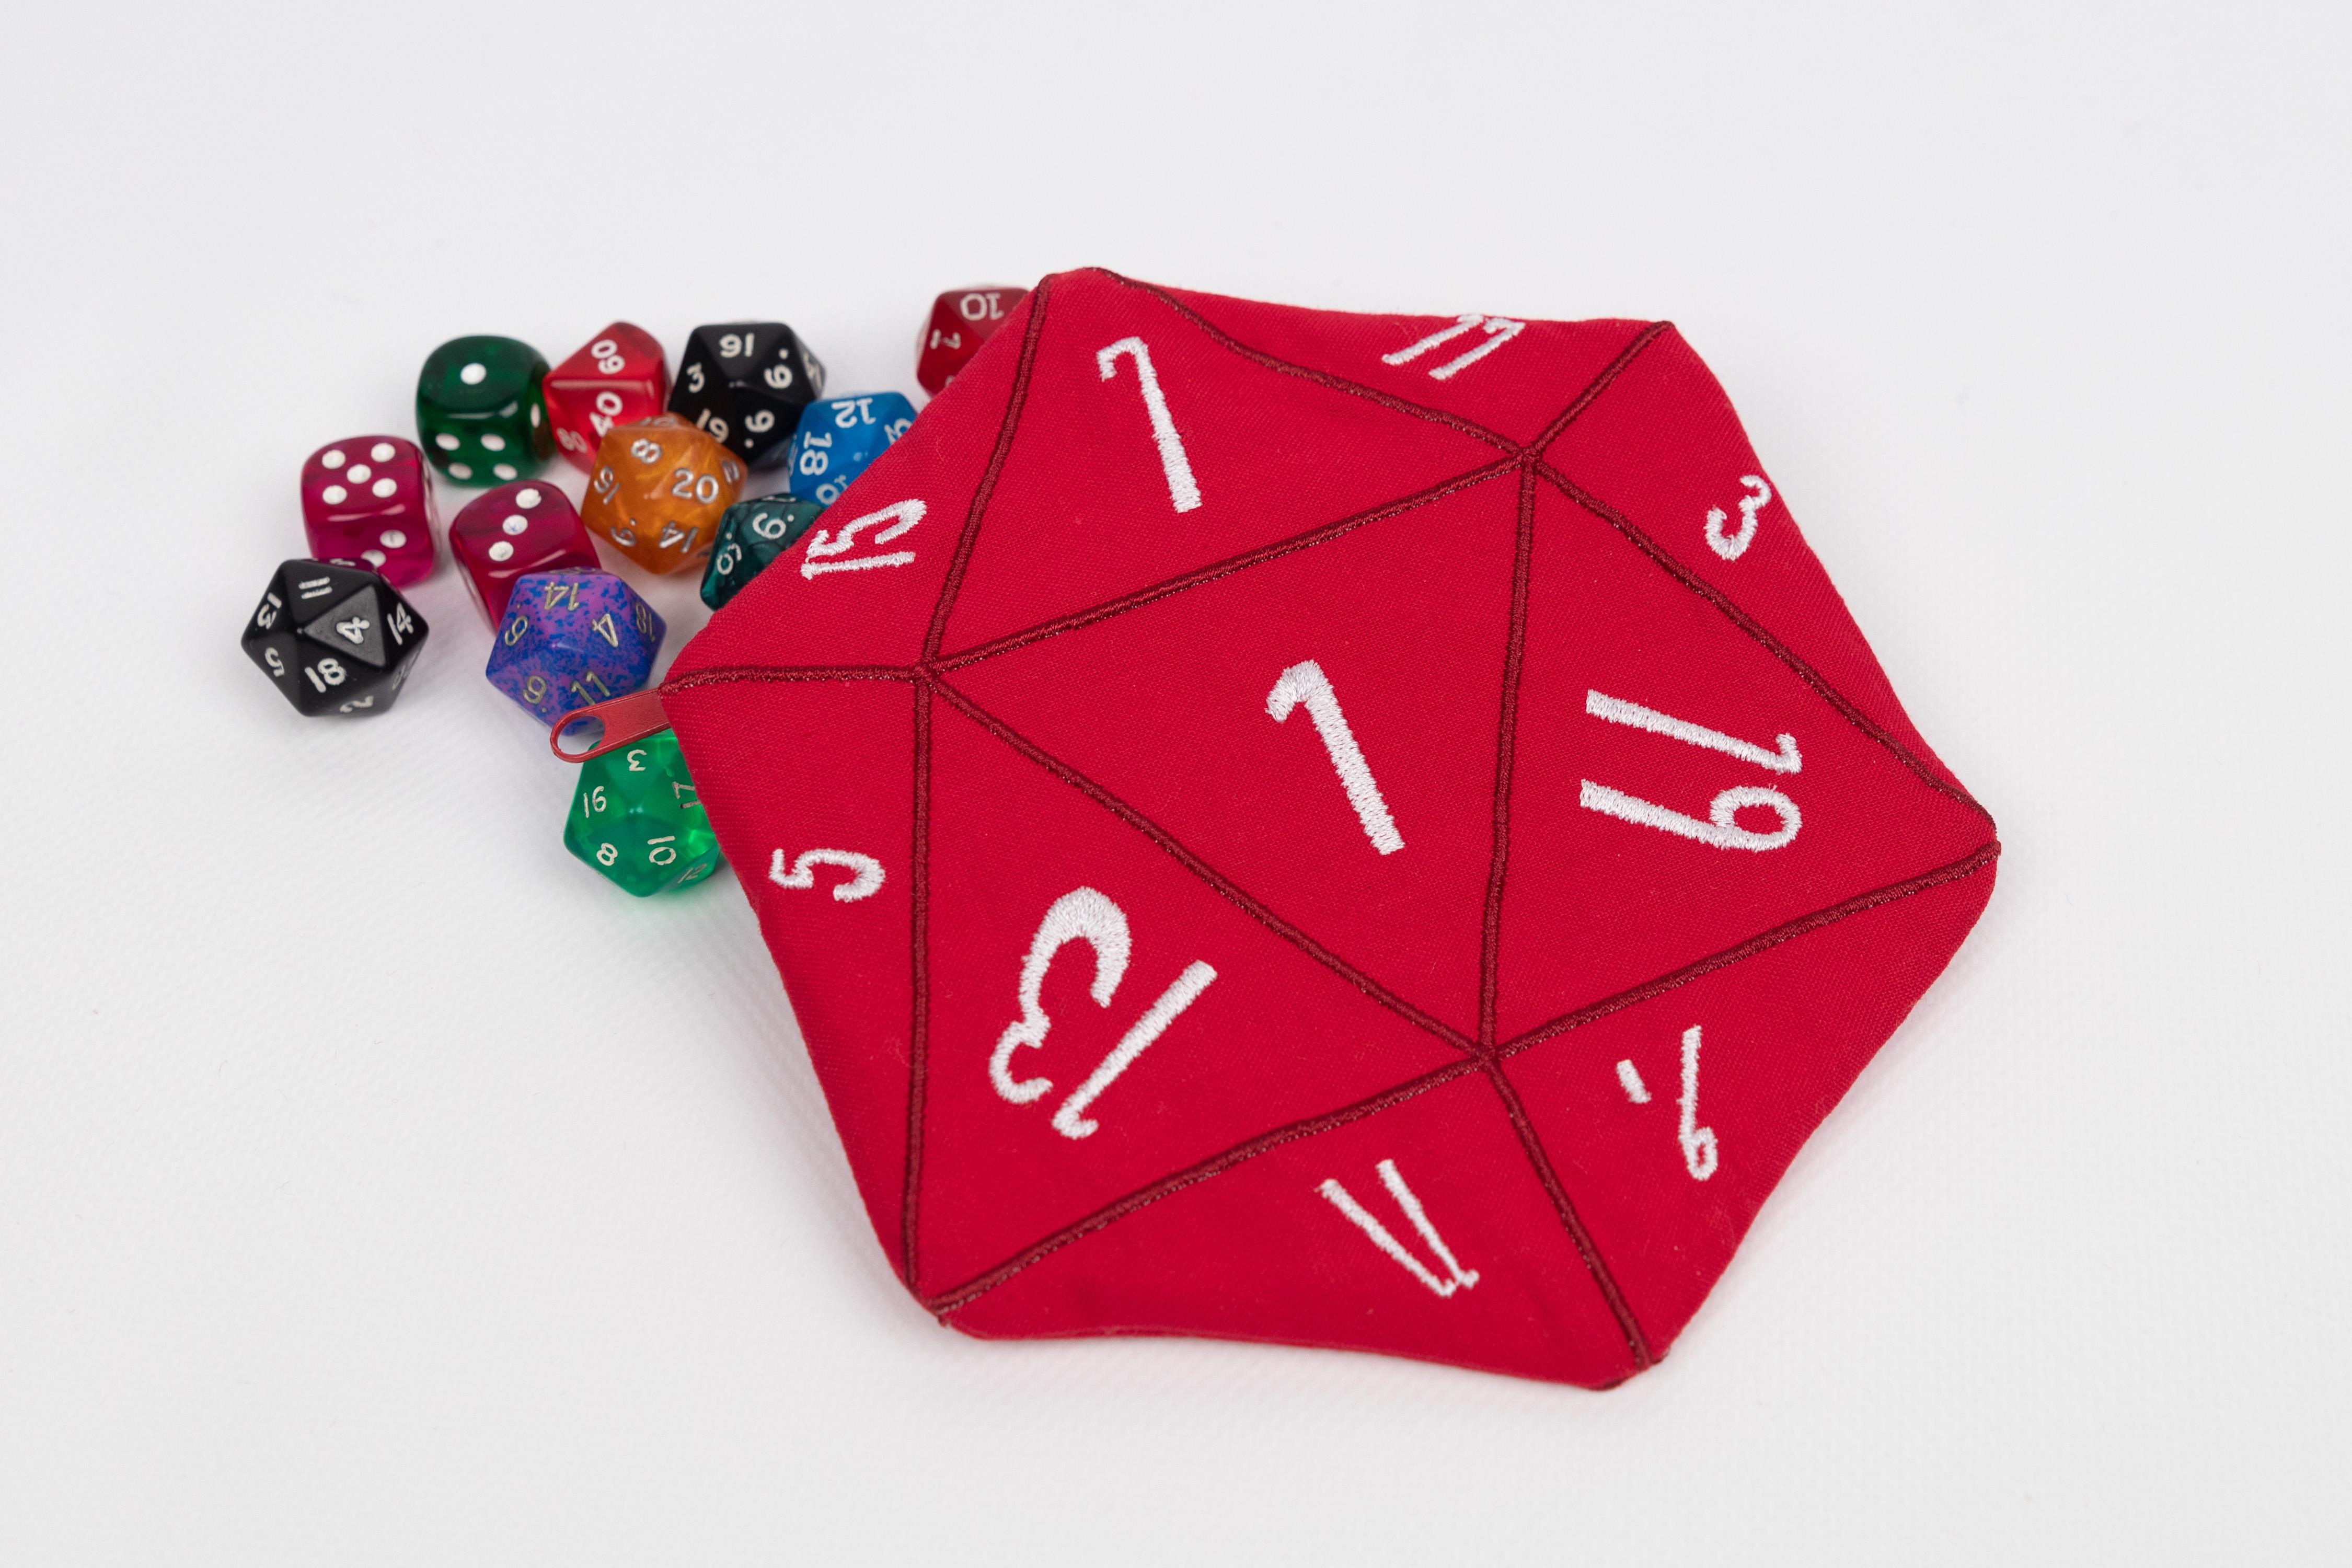
The way the bag is designed, there will be no visible seams on the inside. As you can see in the pictures, I wanted the zipper to be part of the design and use it as a side of the dice. I am really happy with how it turned out.
The Design
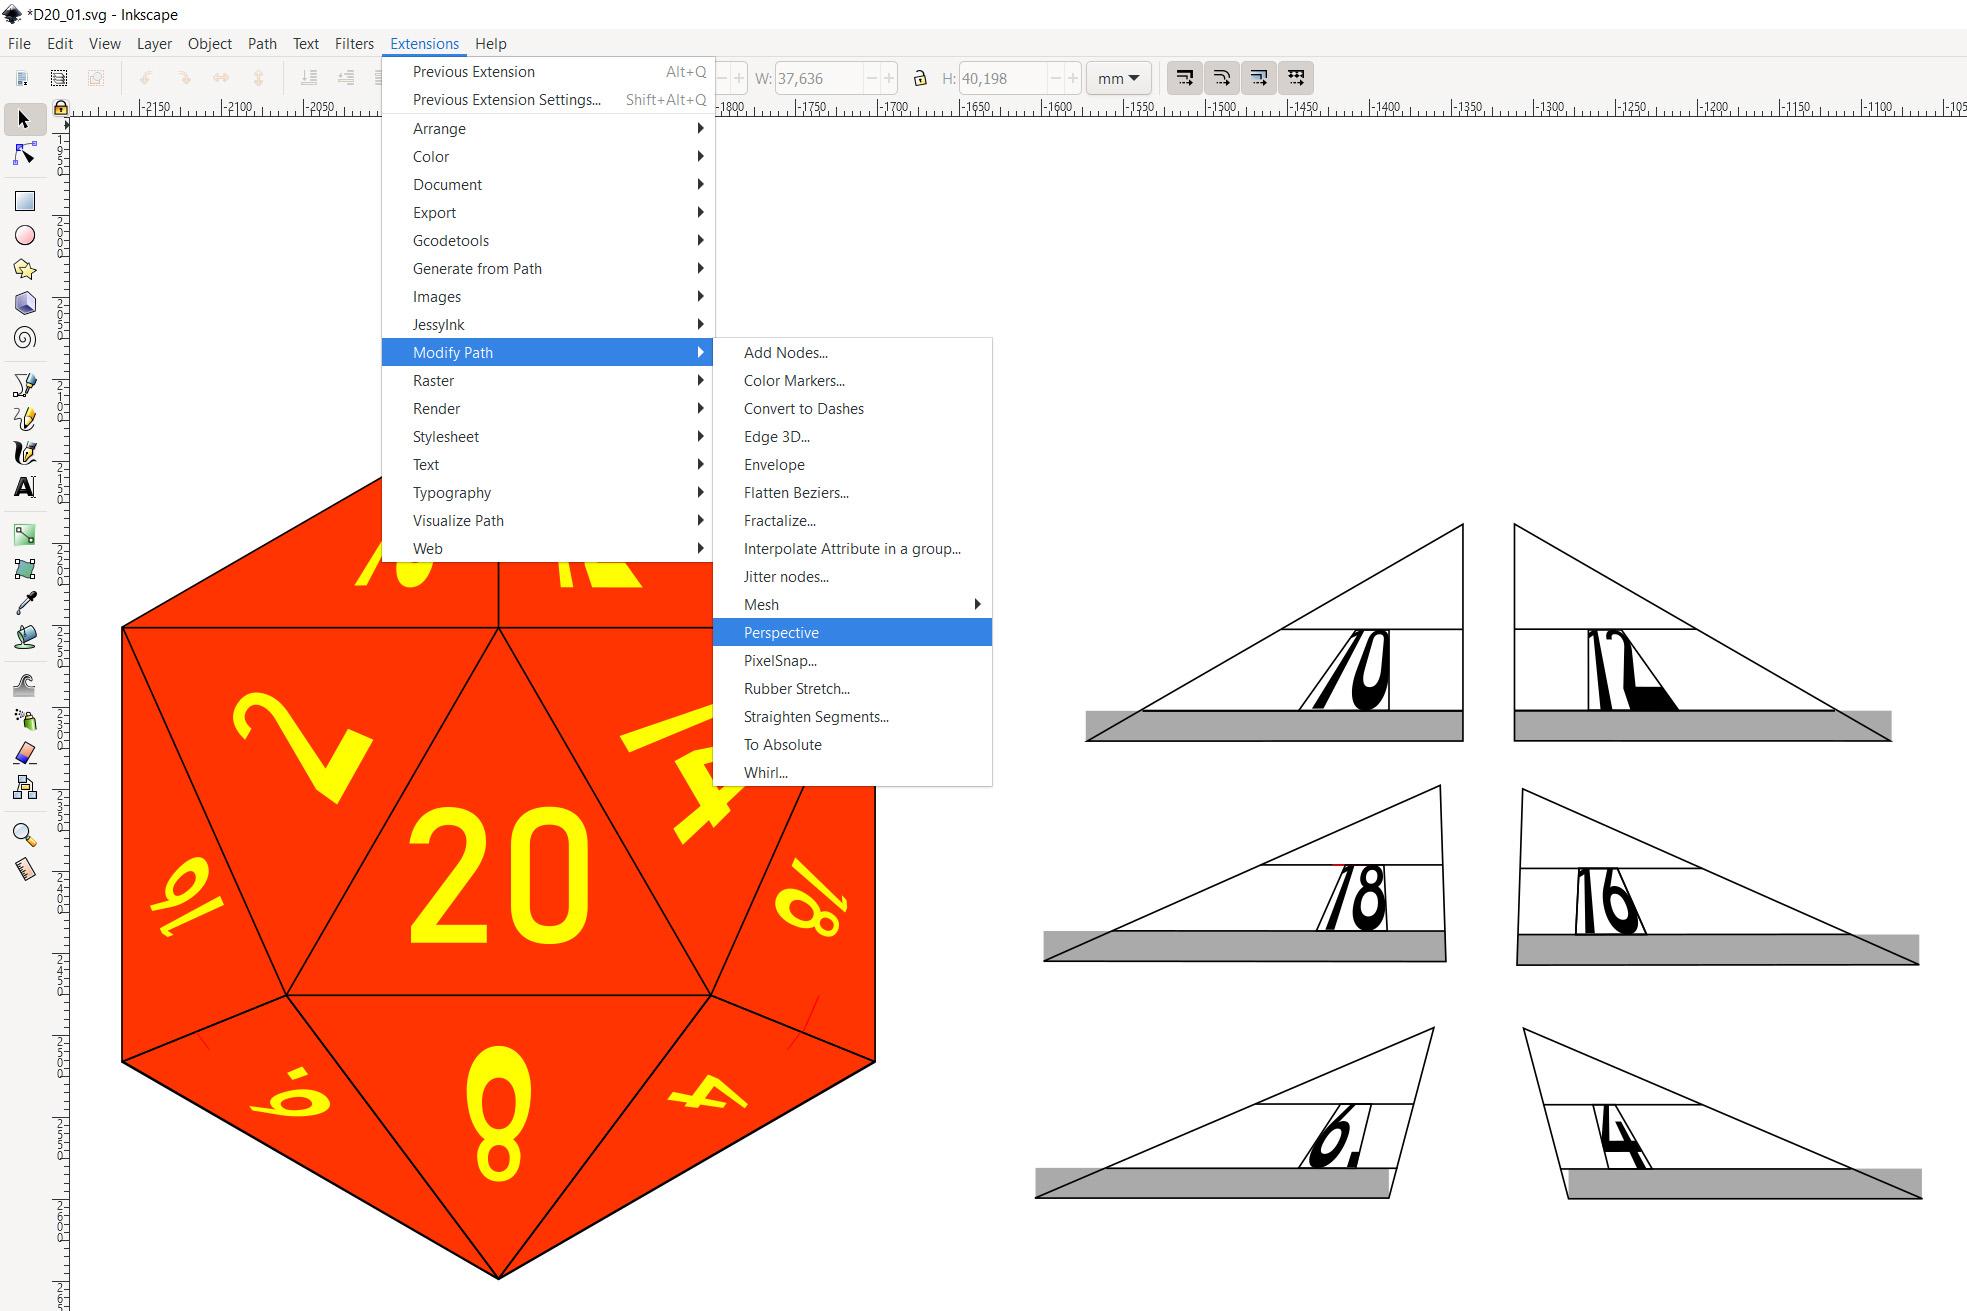
I designed the pouch in Inkscape. In order to give the numbers a pseudo-3D look, I used the perspective tool. I found using it tricky. If you would like to use it, there are a few things you will have to consider.
- You'll have to convert the numbers into paths, otherwise, the conversion doesn't work. Go to "Path>Object to Path" in order to do so.
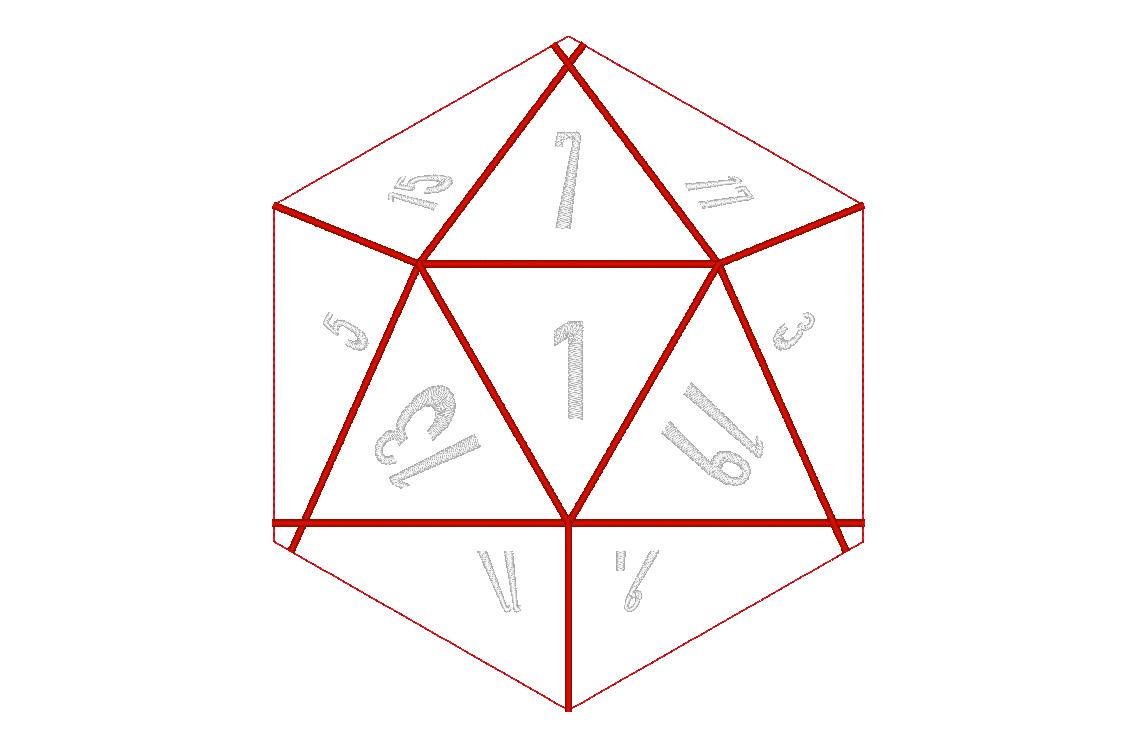
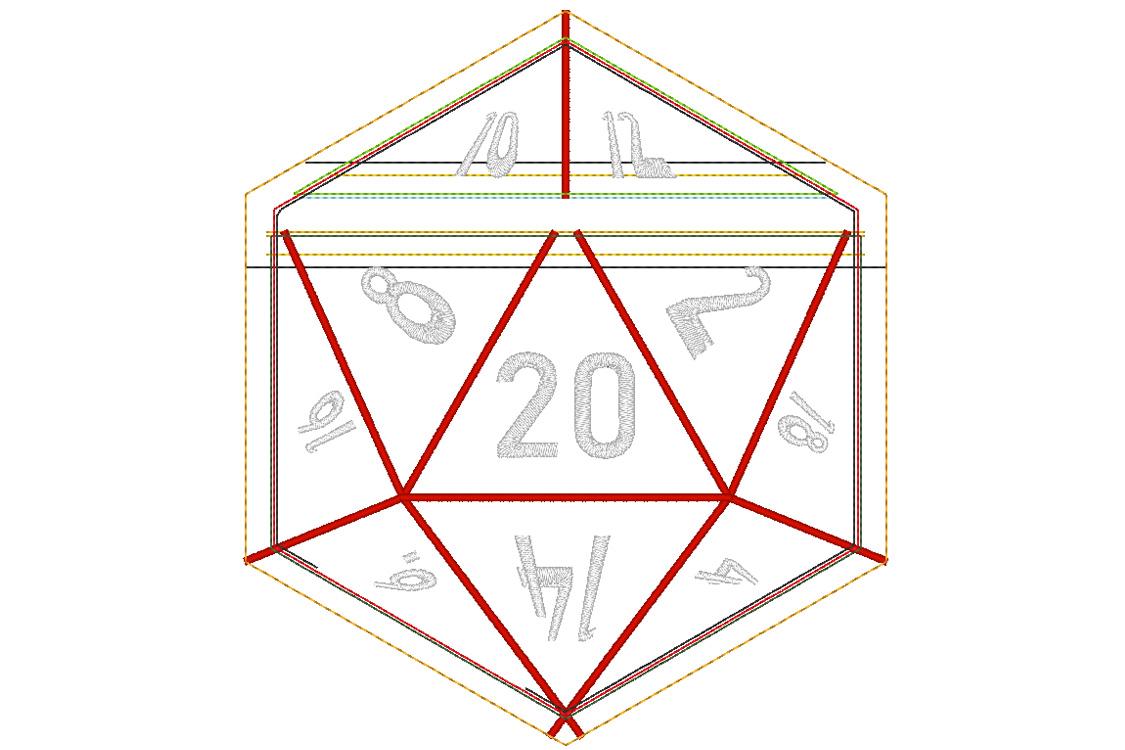
- Next, you will have to draw a 4-sided polygon with the "Draw Bezier curves and straight lines" tool. As you can see in the picture the numbers will get distorted in order to fit in the polygon.
- The points have to be drawn clockwise starting from the bottom left corner. Otherwise, weird things are going to happen. As you can see in the picture, I redrew the sides of the dice and drew the polygon into it. This way it was easier for me to get the orientation right.
- It is important that the sides of the polygon are straight lines.
- You must select the number first, hold shift and then click on the polygon.
Once you have followed all the steps, you can go to "Extensions>Modify Path>Perspective".
After I was done designing the file in Inkscape, I open it in PE design. I am using an old version of PE design, which works great with my embroidery machine from Brother. There I can select the stitch type, the stitch order and all the necessary sewing attributes.
What You Need
In order to make the pouch, you will need the following things:
- Embroidery machine (The embroidery area has to be at least 160 x 183 mm (6.3 x 7.2 inch))
- Tear Away Embroidery Stabilizer (e.g. here*)
- Fabric (for the outside): You will need three pieces: 18 cm x 20 cm; 18 cm x 14 cm; 18 cm x 6 cm
- Fabric (for lining the pencil case); You will need three pieces as well in the same size as the outside fabric. (18 cm x 20 cm; 18 cm x 14 cm; 18 cm x 6 cm)
- Embroidery Thread
- Tape (I used masking tape*)
- Zipper (about 18 cm long)
- Scissors
I have uploaded my design files, as well as my embroidery files to this step. You can open the design files in Inkscape.
The archives contain all the embroidery file types I can export.
* Affiliate link. I earn from qualifying purchases. Thanks a lot for the support!
Getting Started
We are going to start with the back of the pouch.
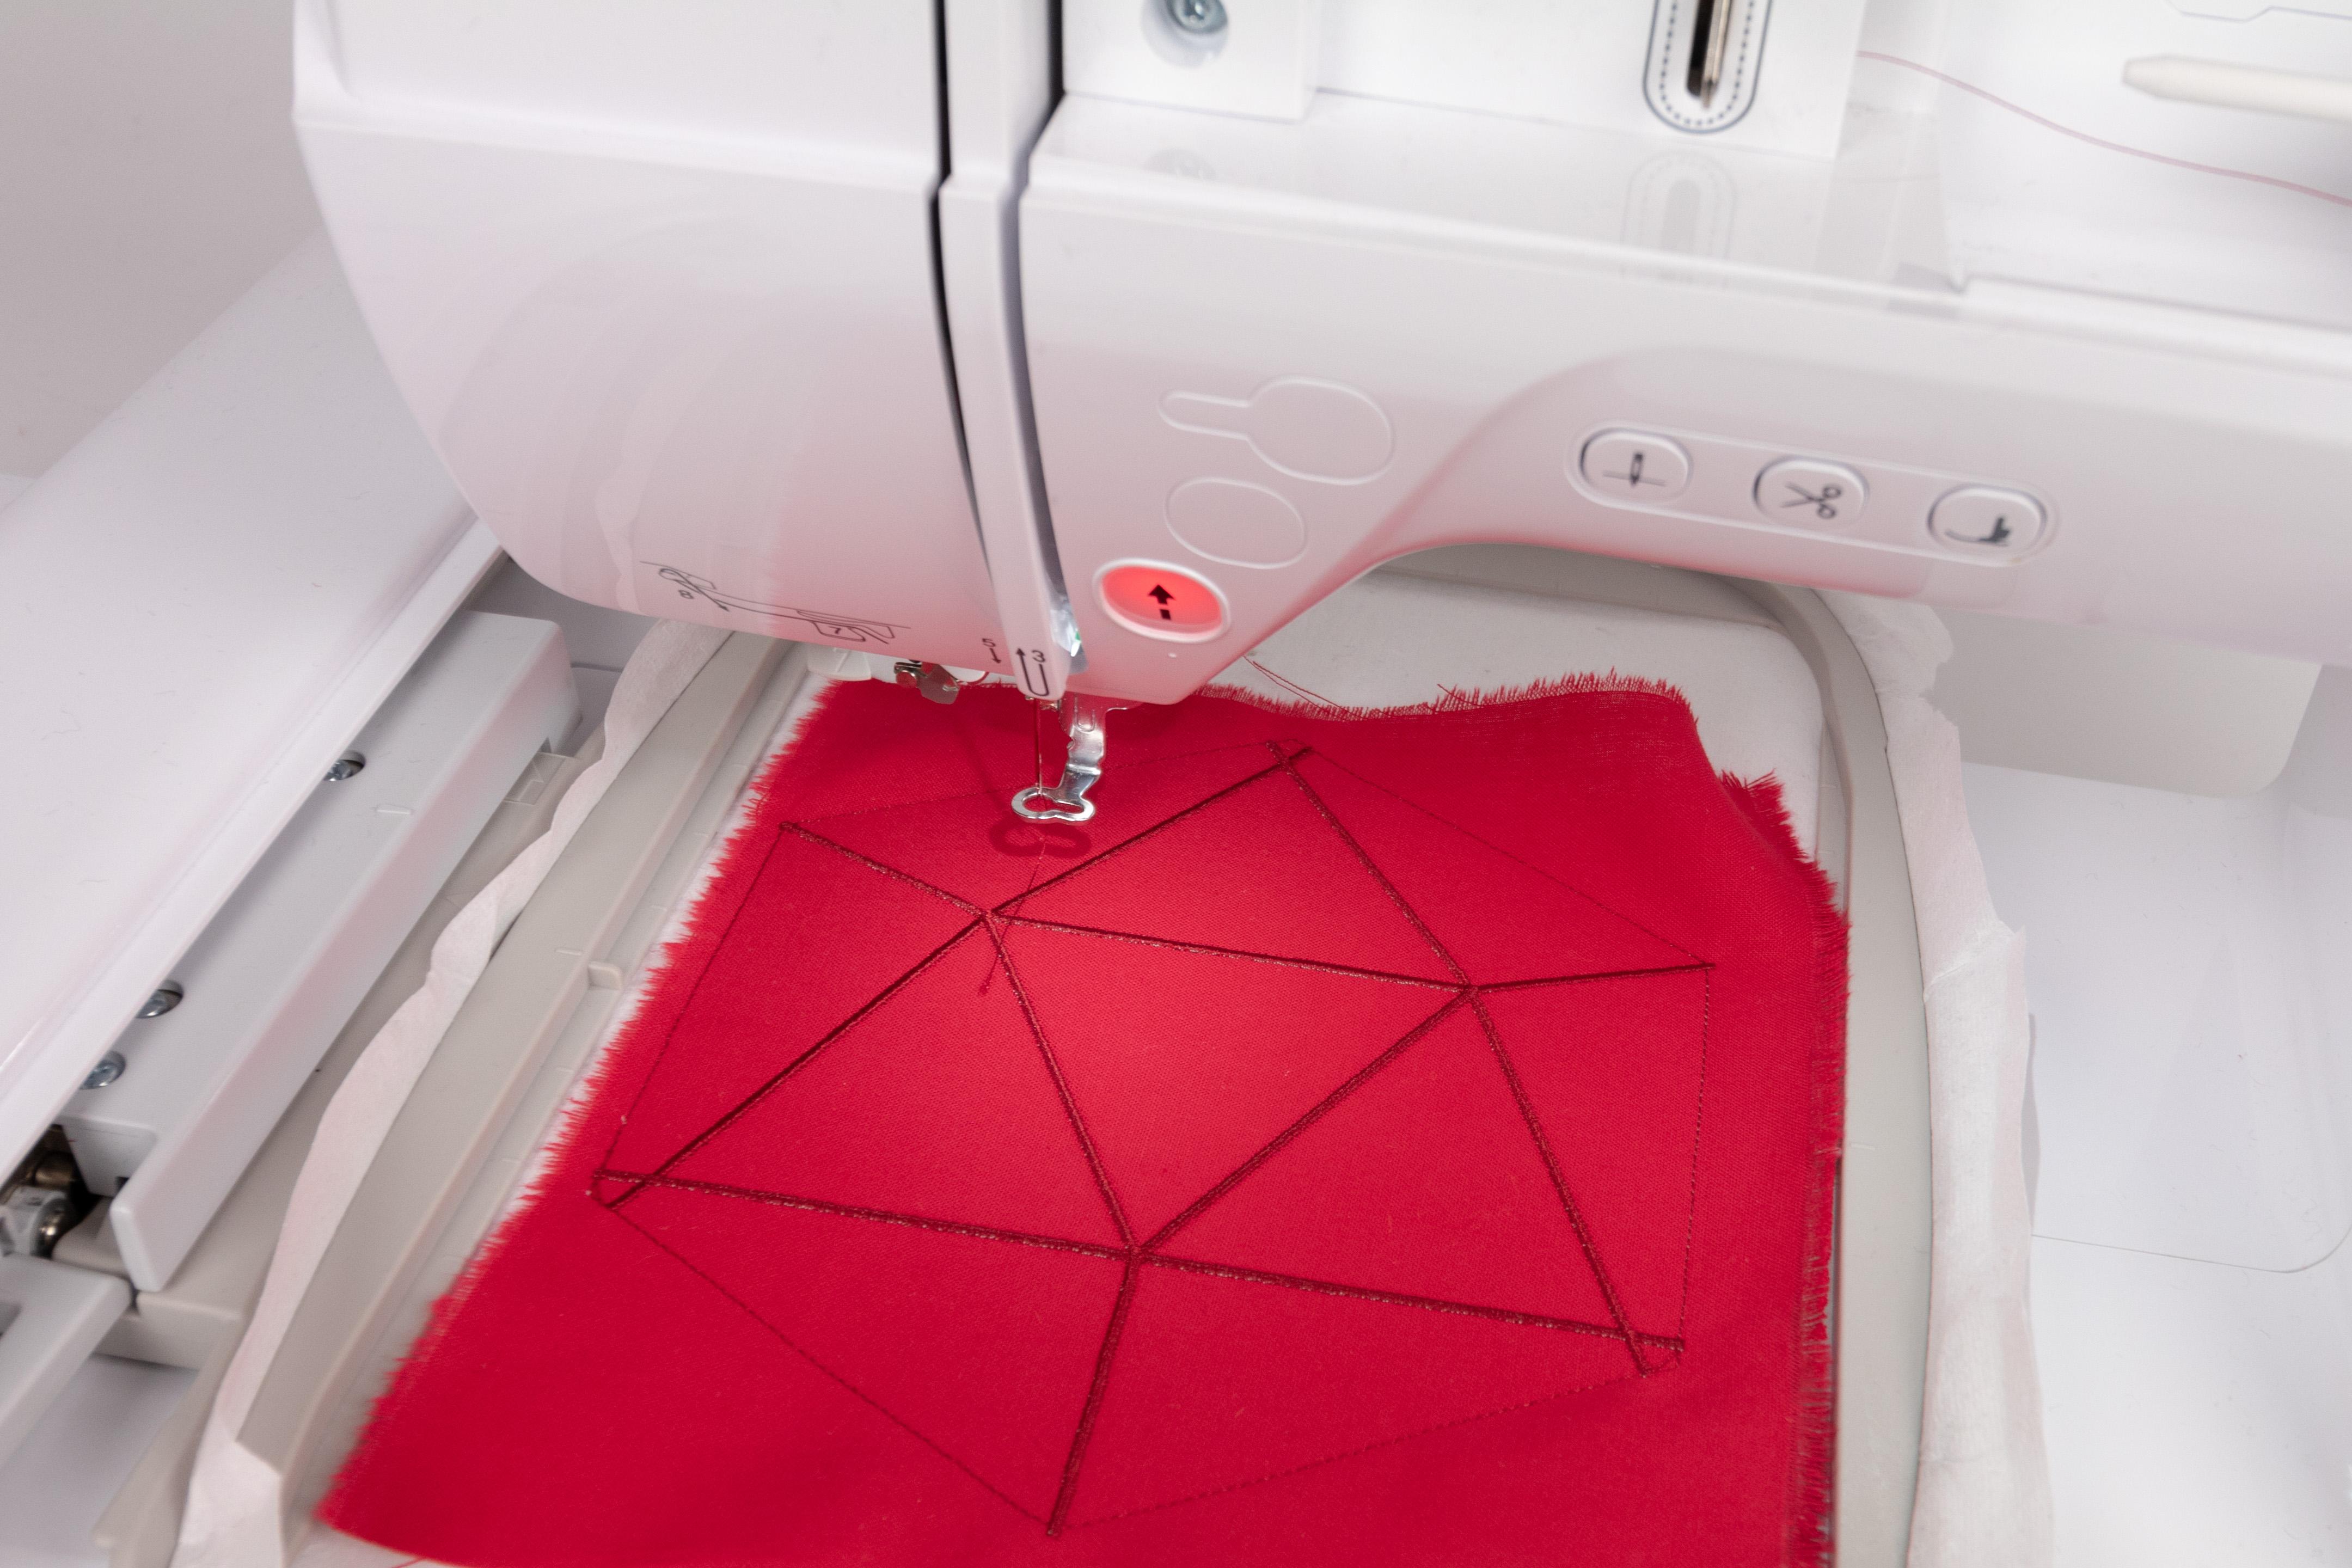
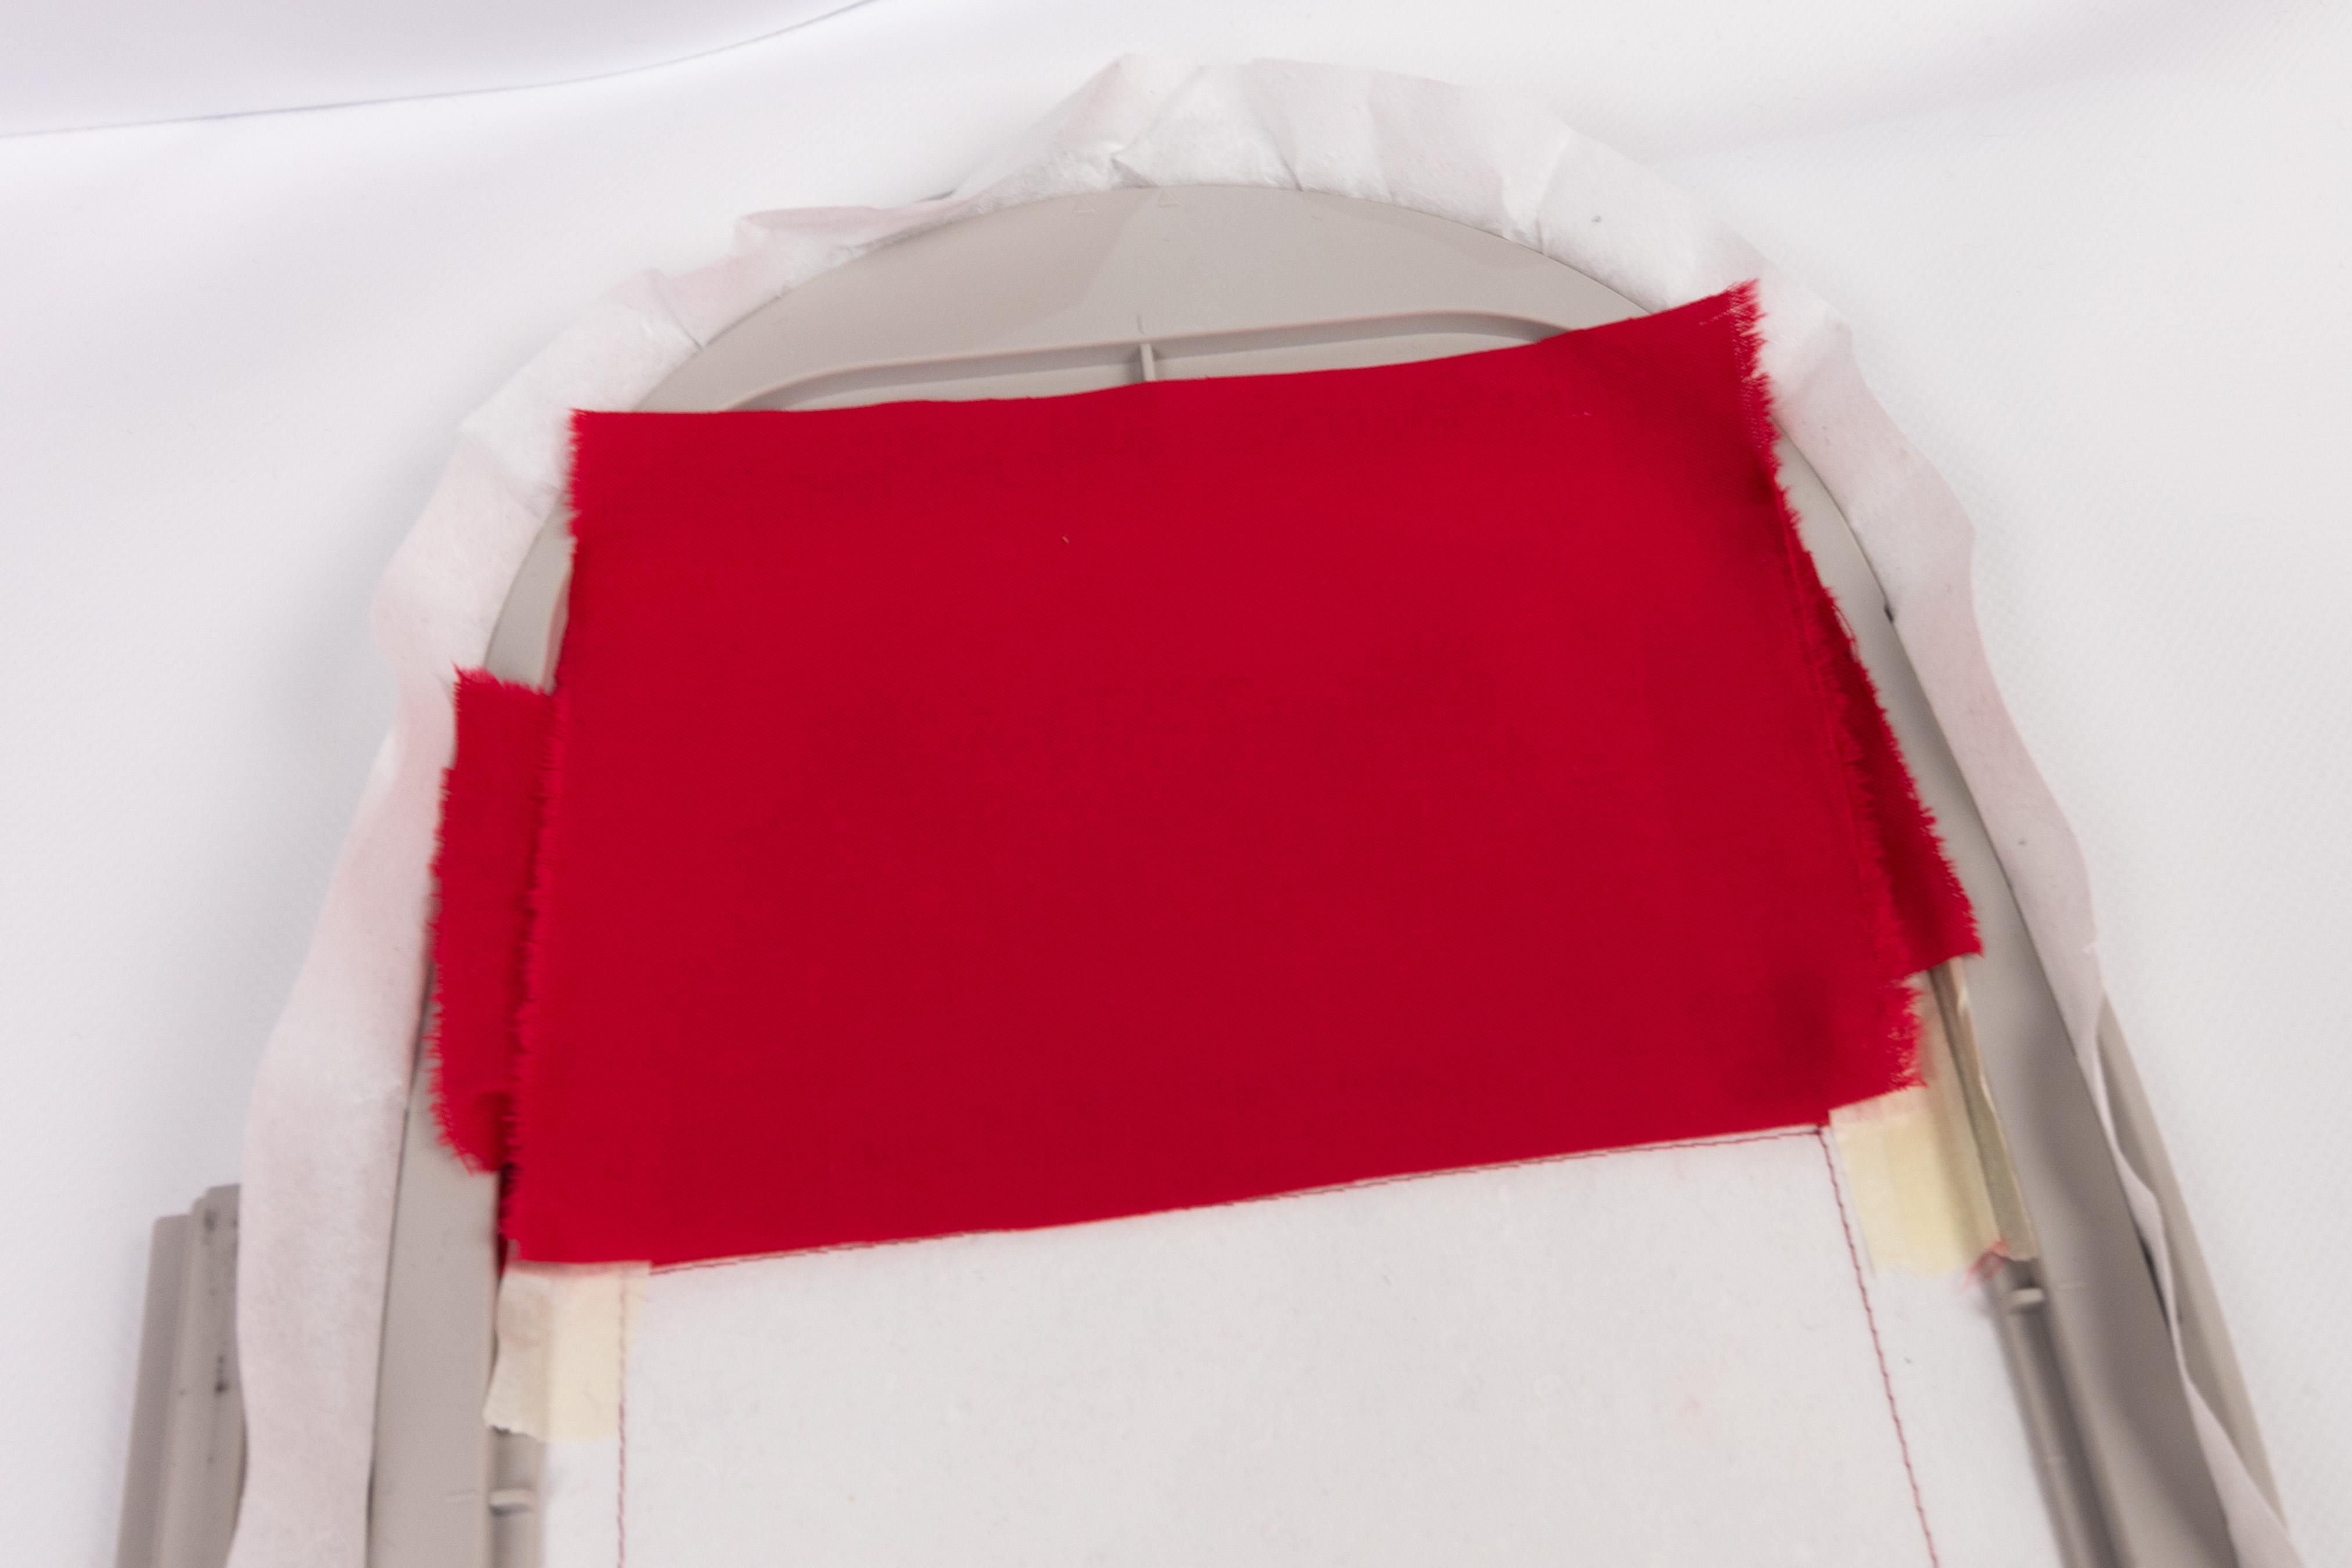
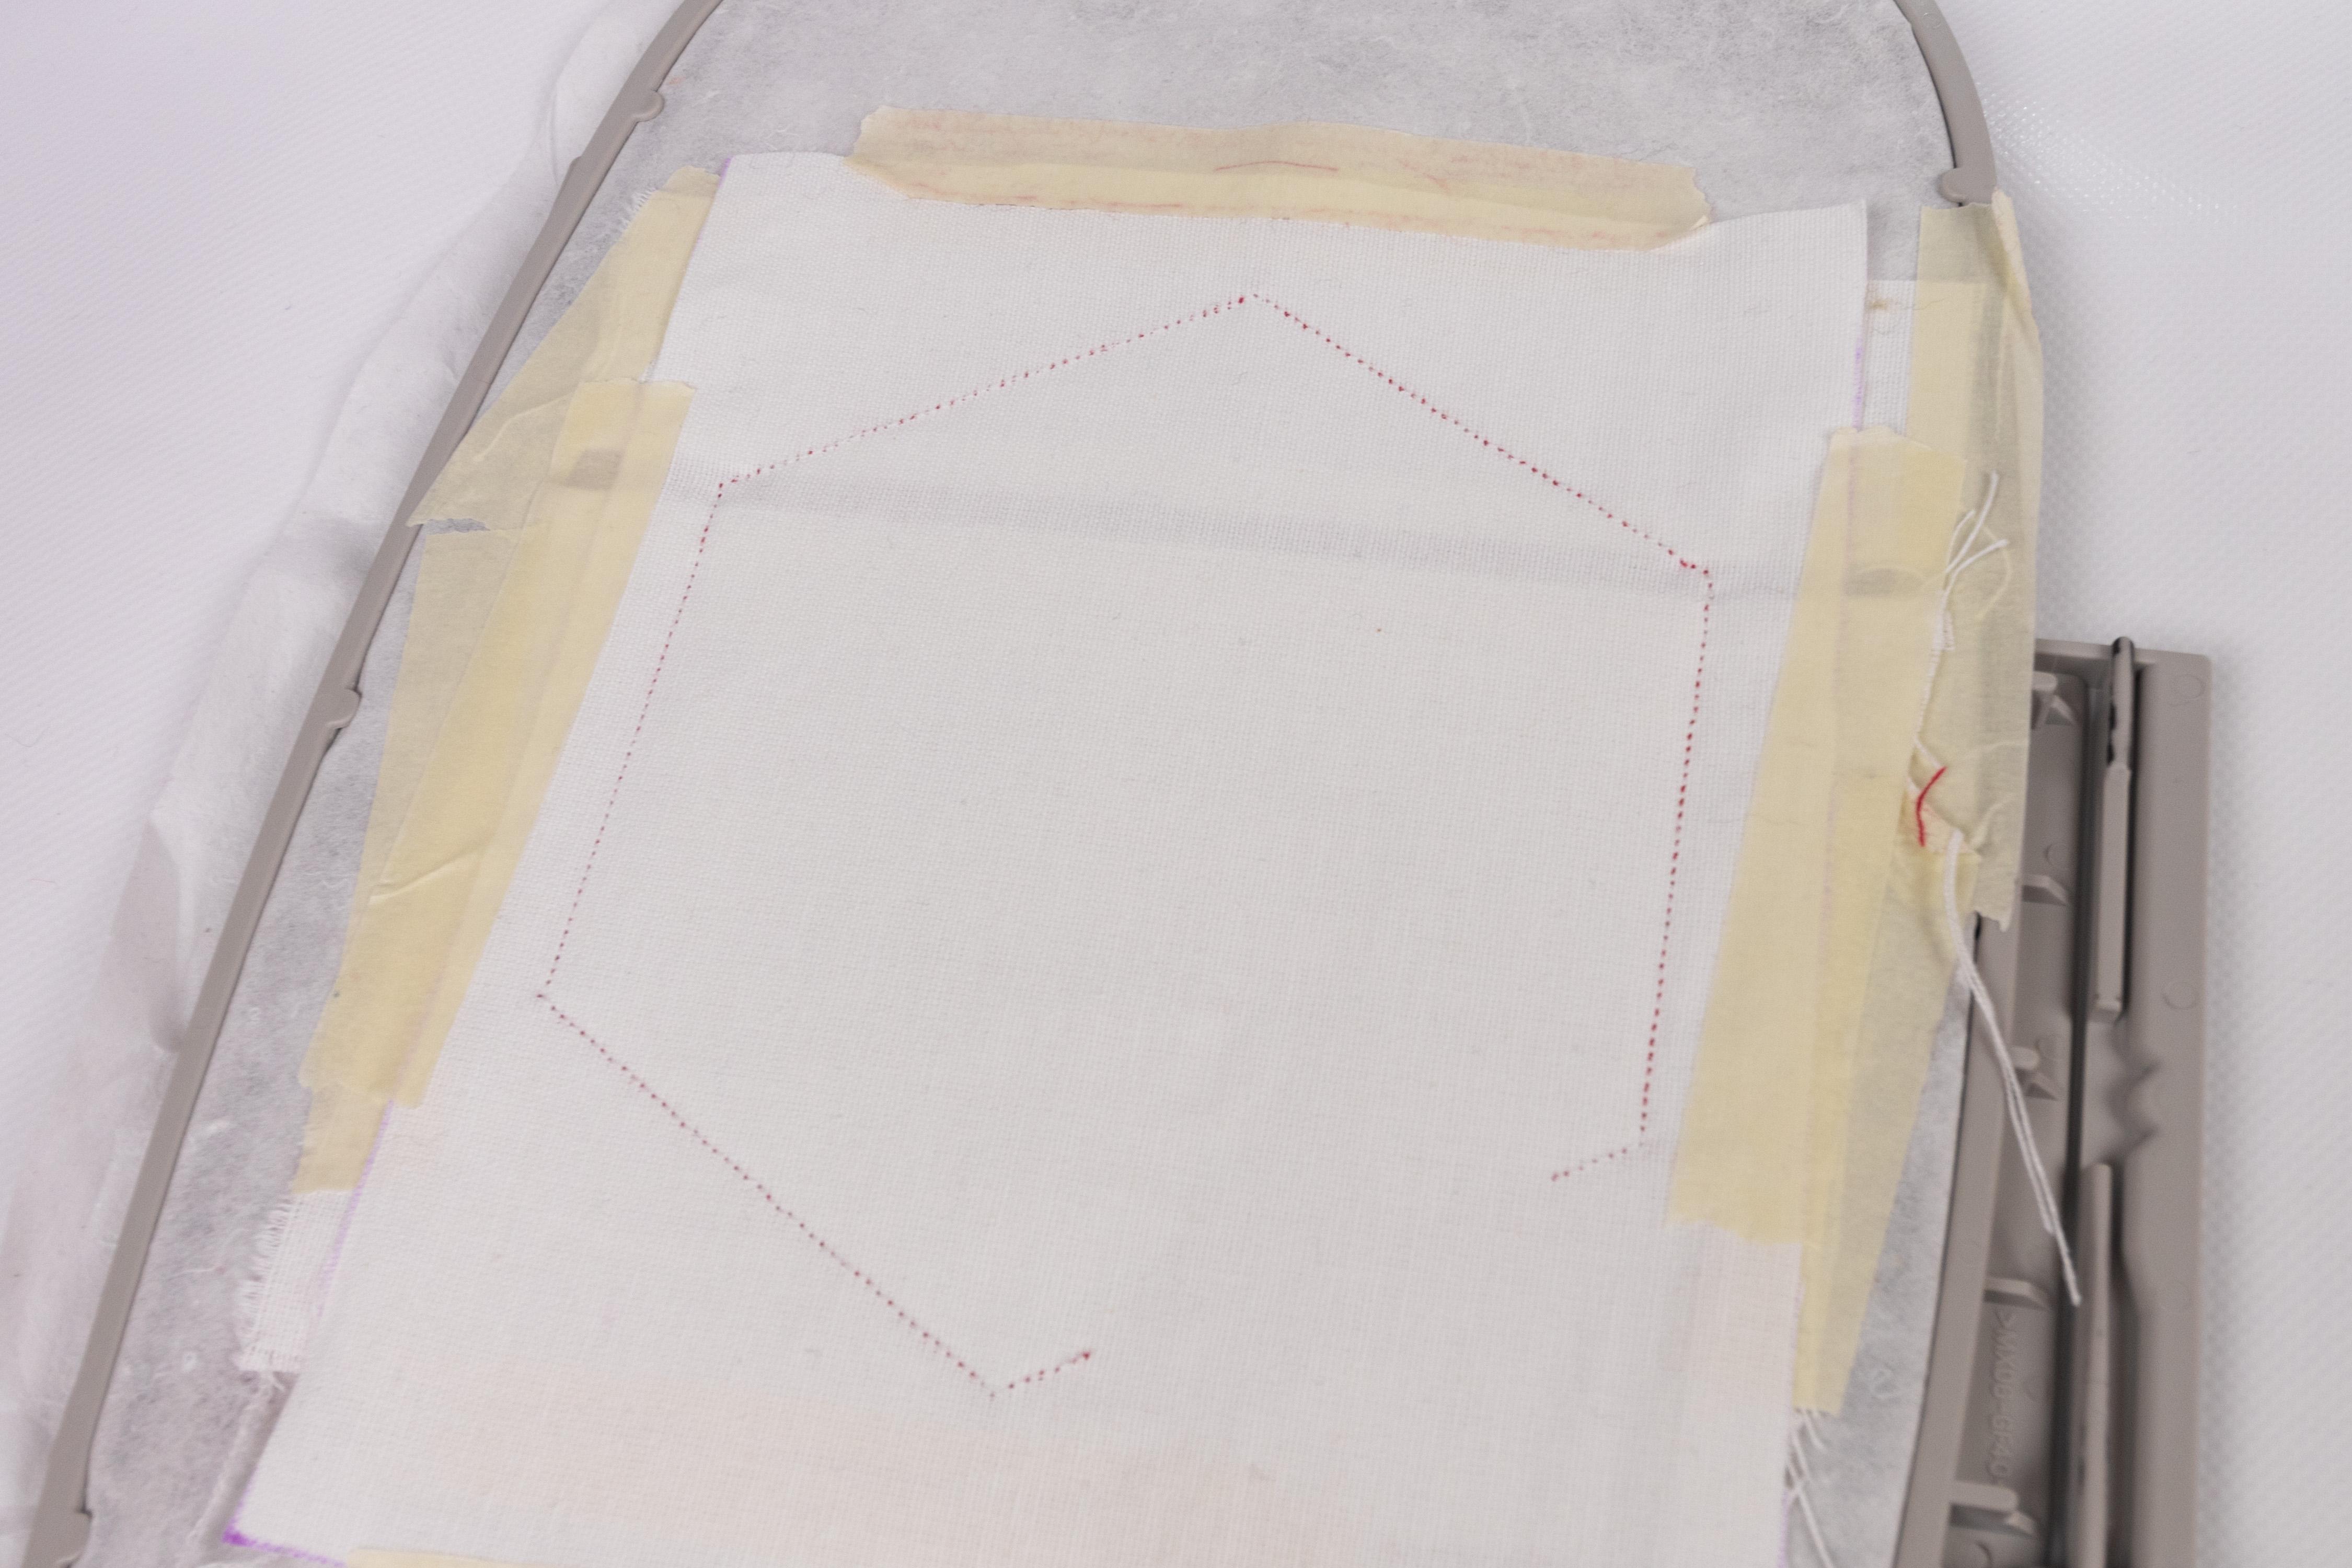
Hoop the stabilizer and place your 20 cm x 18 cm piece of the outside fabric in the middle (right side up). Now you can run the first stitch, which is going to hold the fabric in place. The thread colour doesn't really matter, since it can't be seen later.
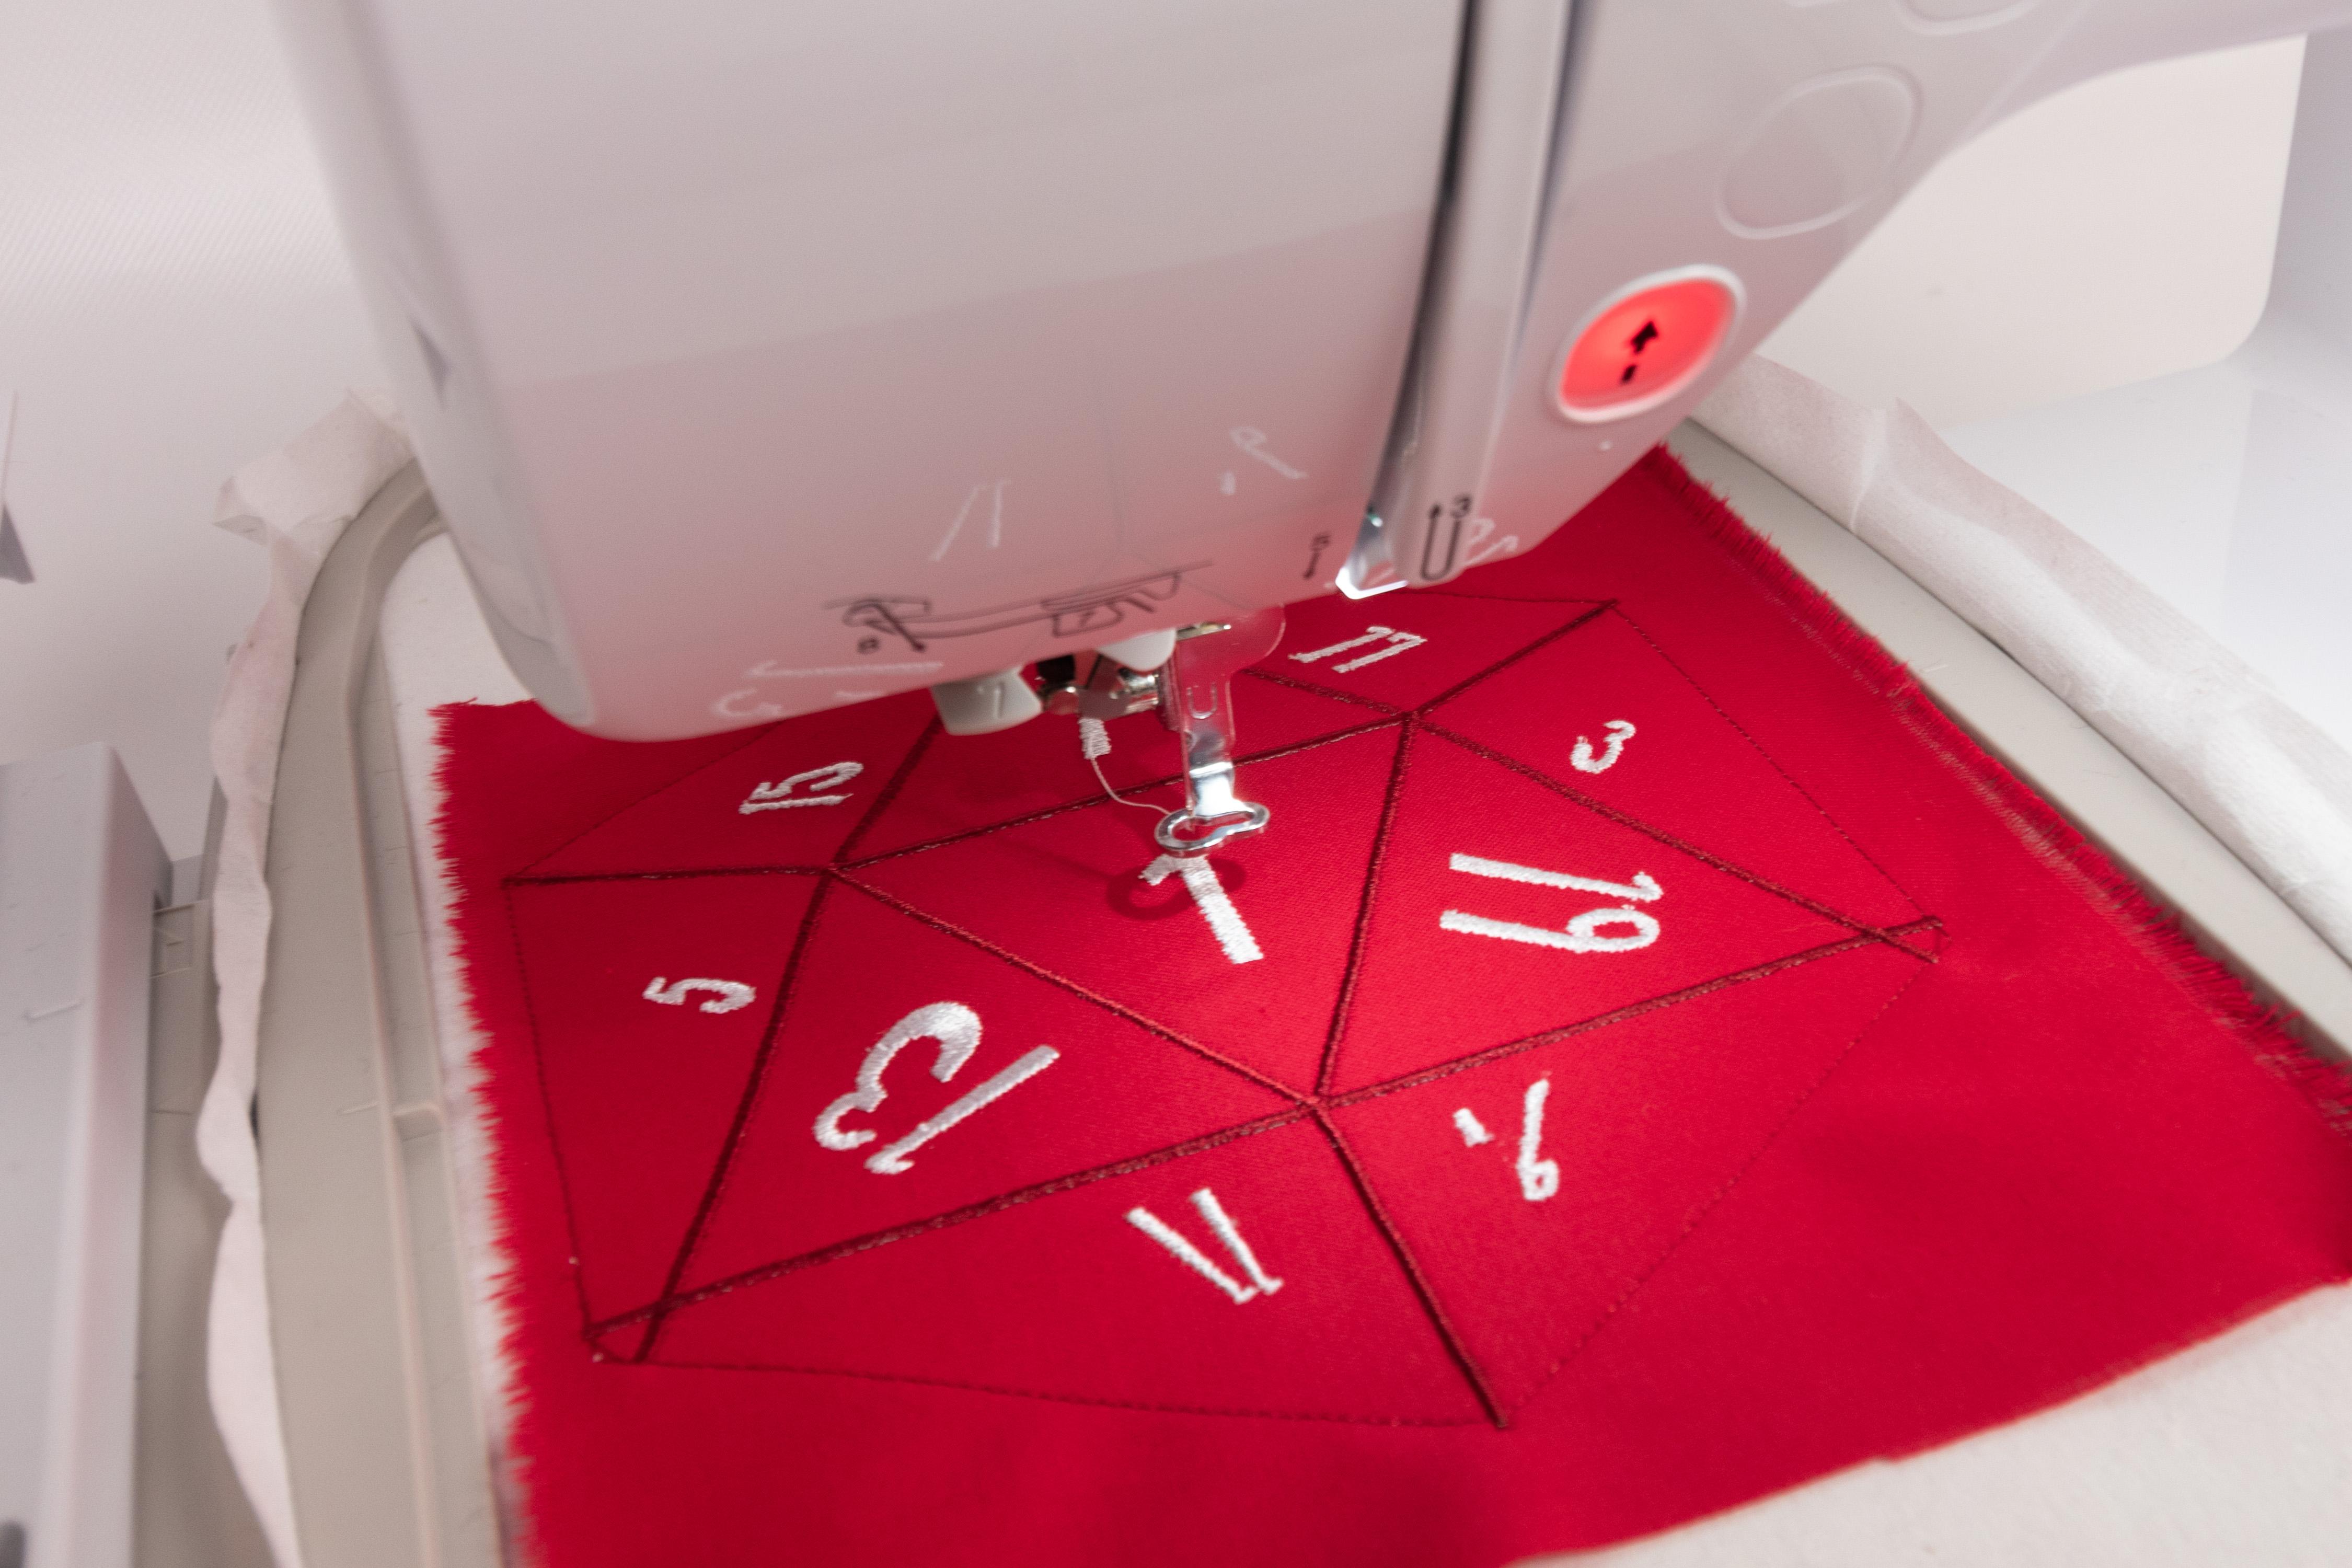
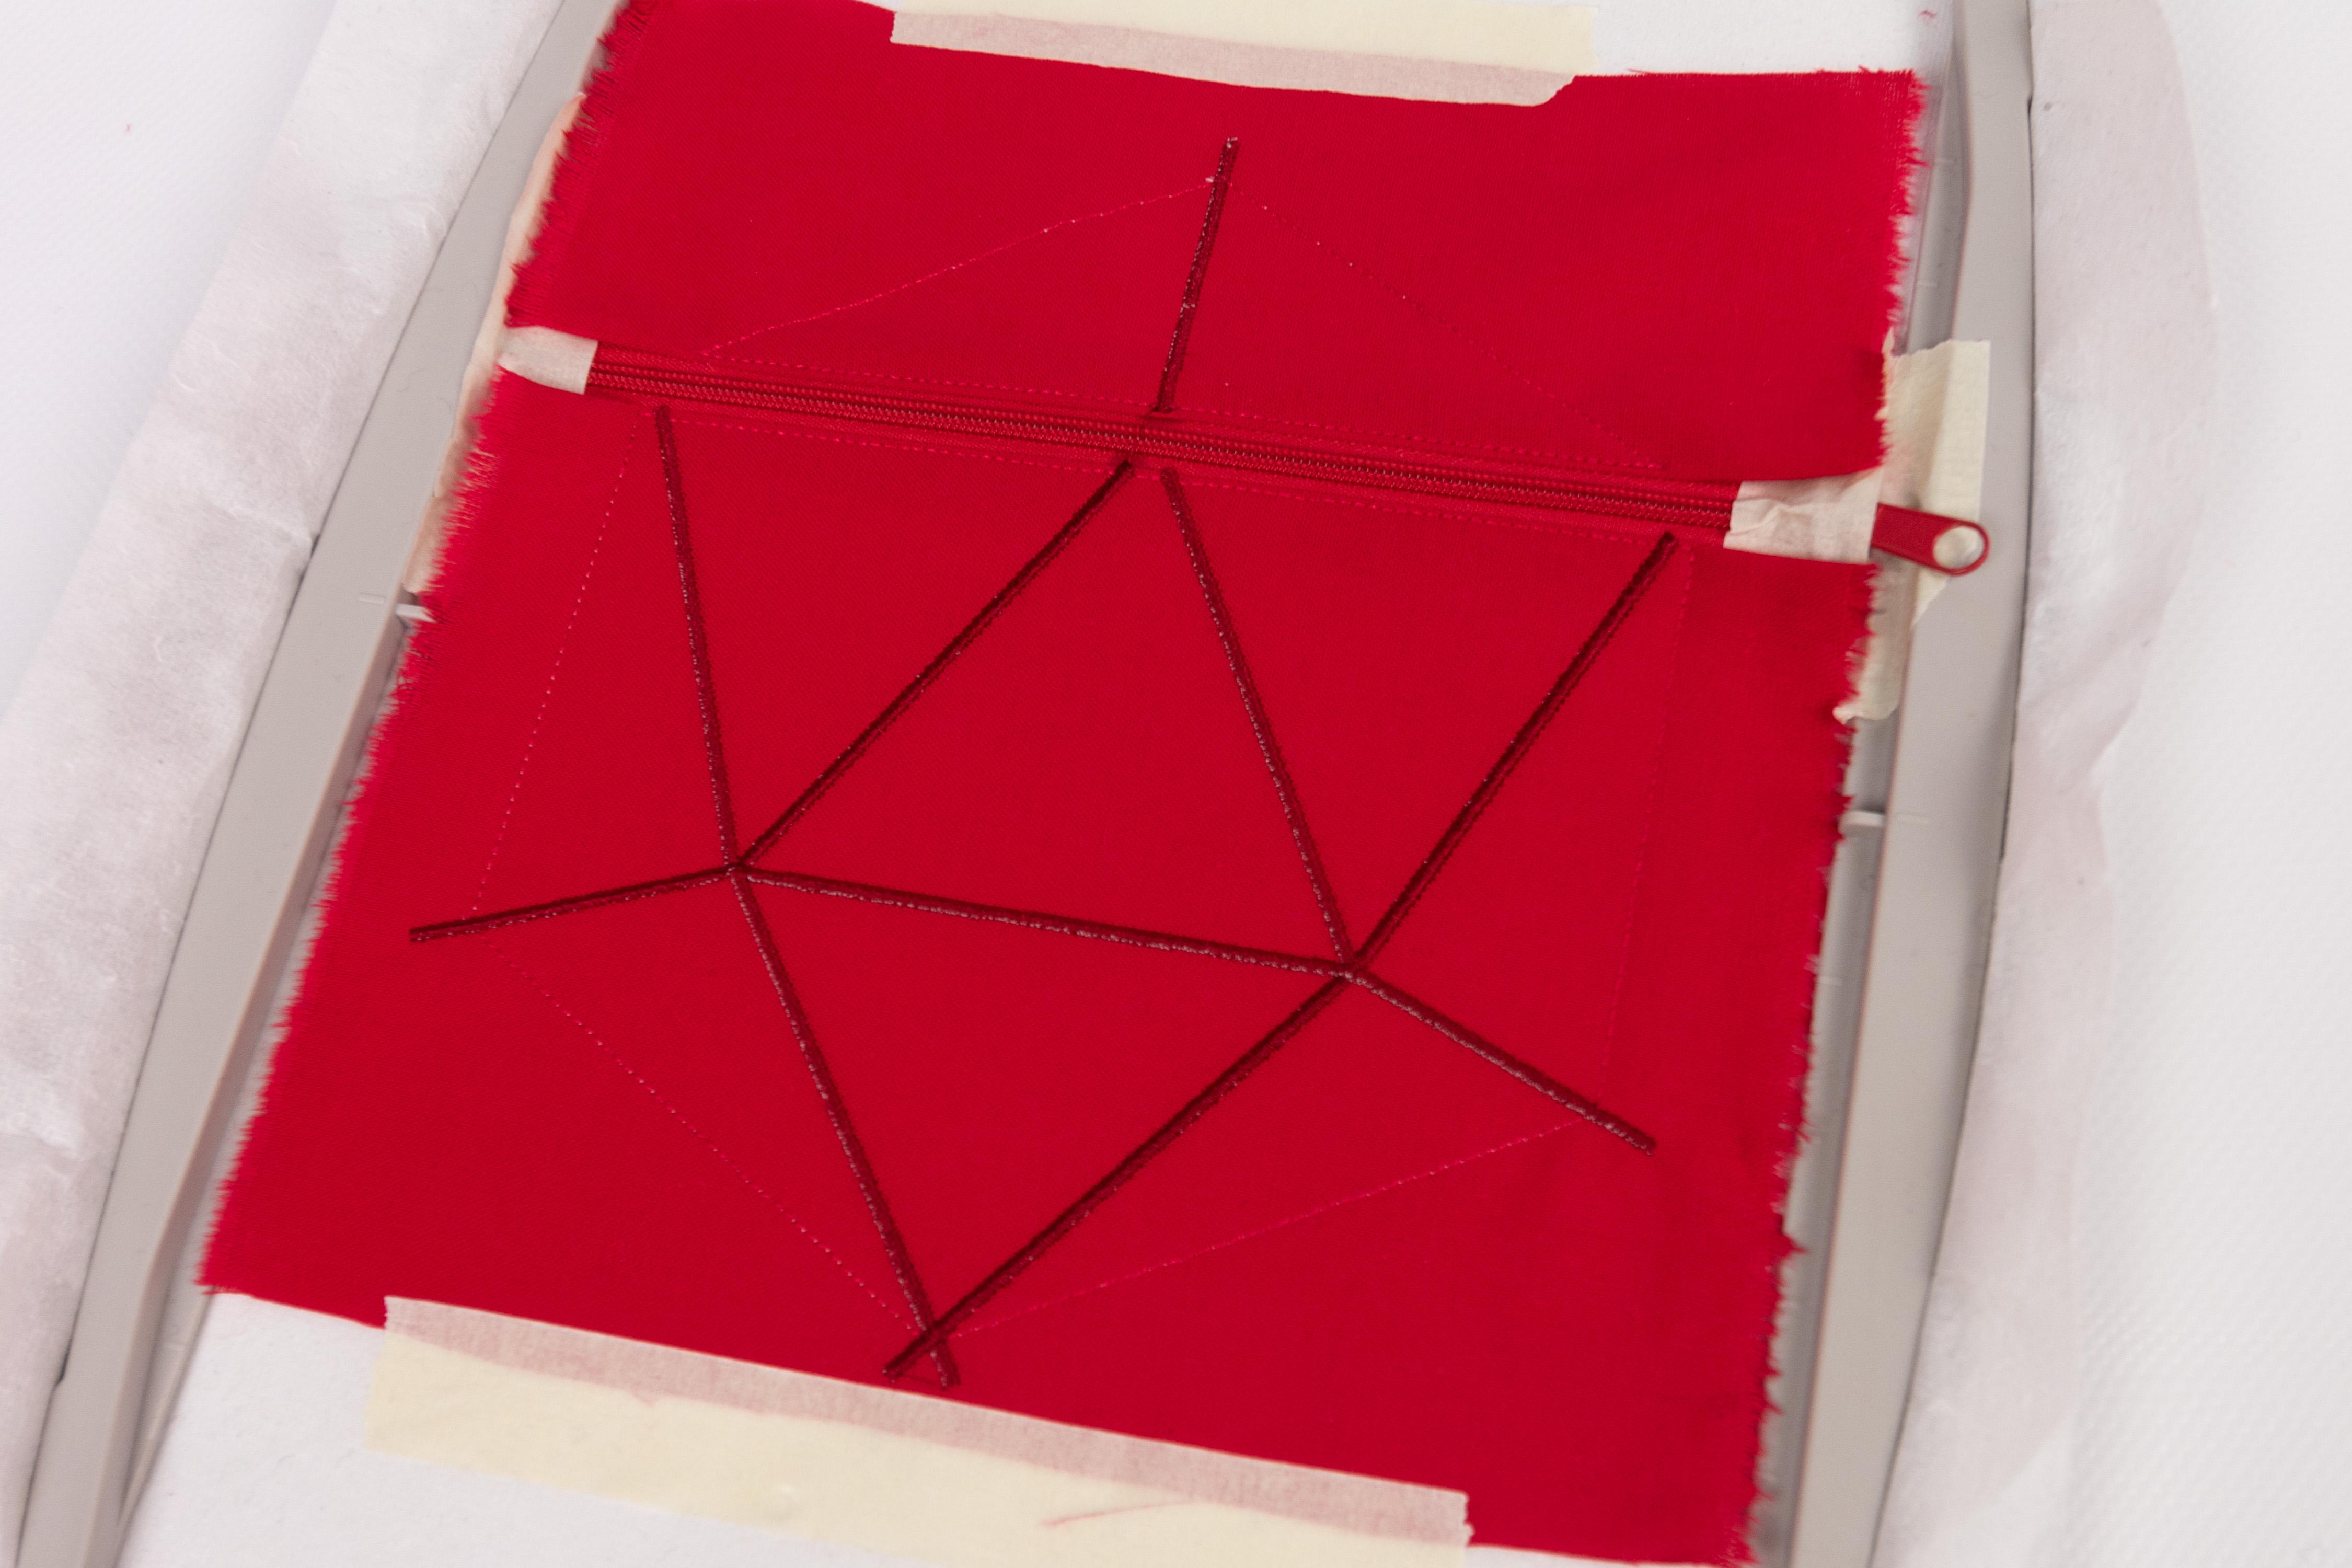
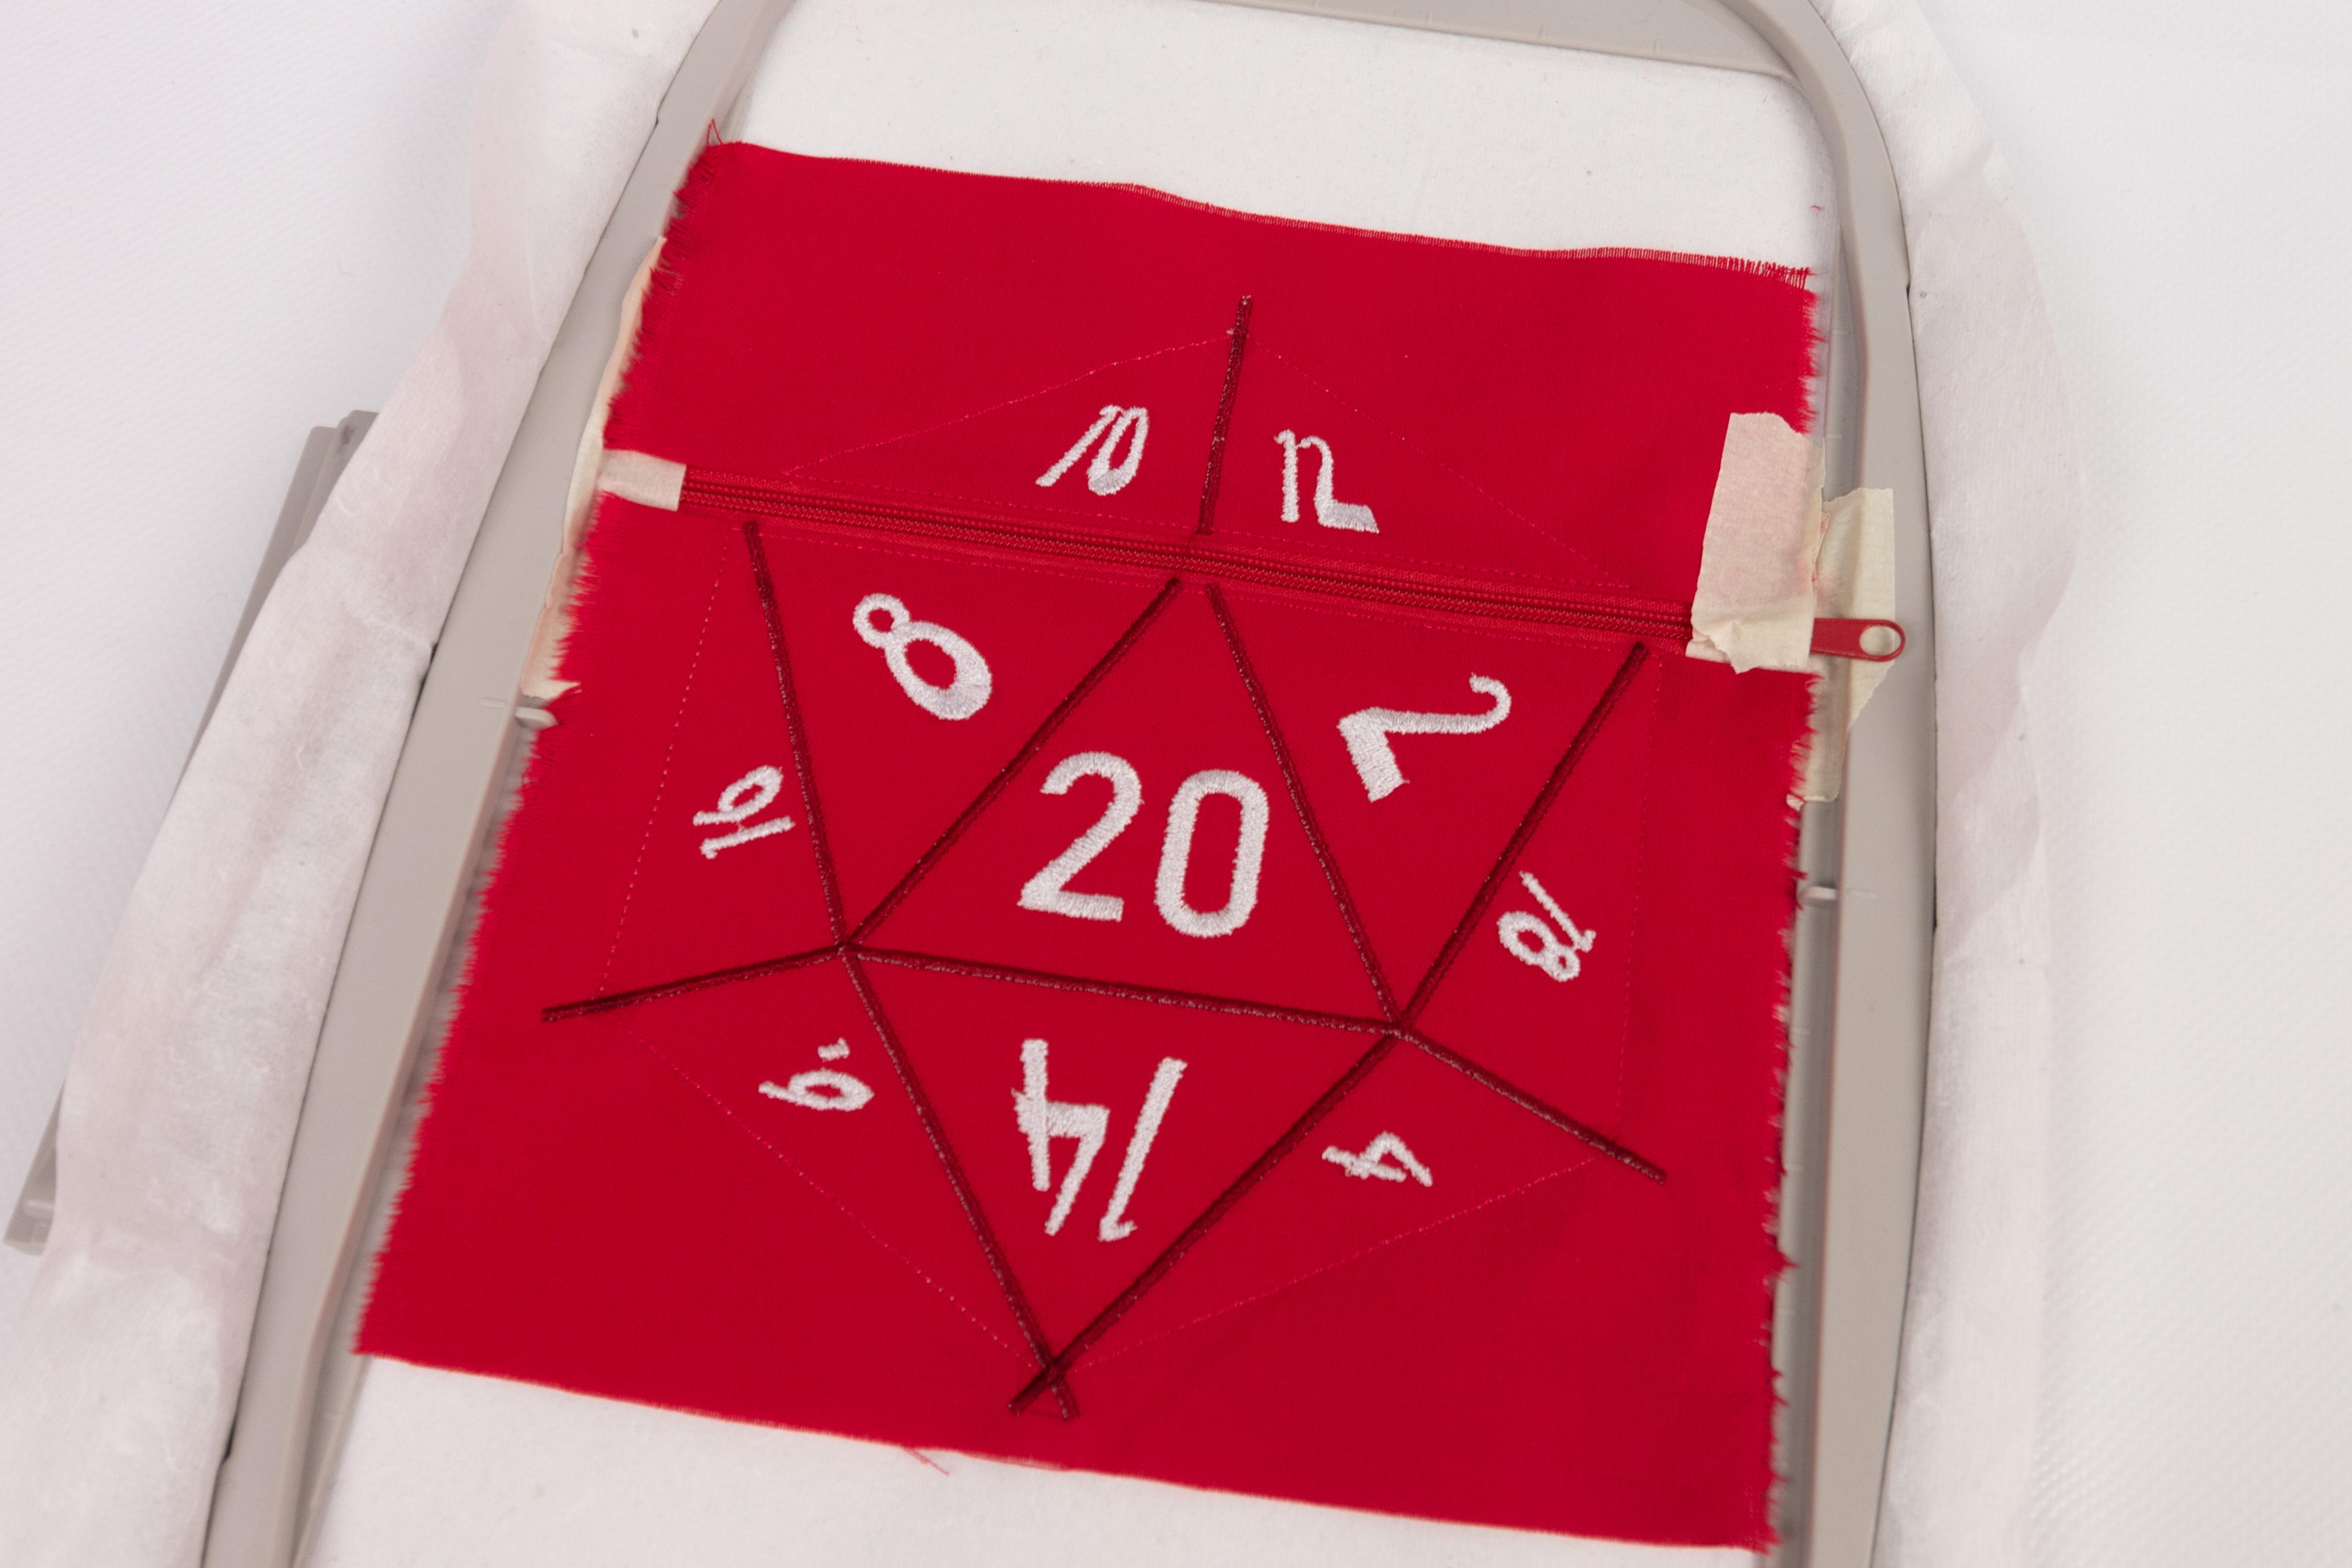
Next, the lines are stitched. I decided to go with a slightly darker colour than my fabric, but you can of course pick any colour fabric and yarn you like. Afterwards, the numbers are stitched.
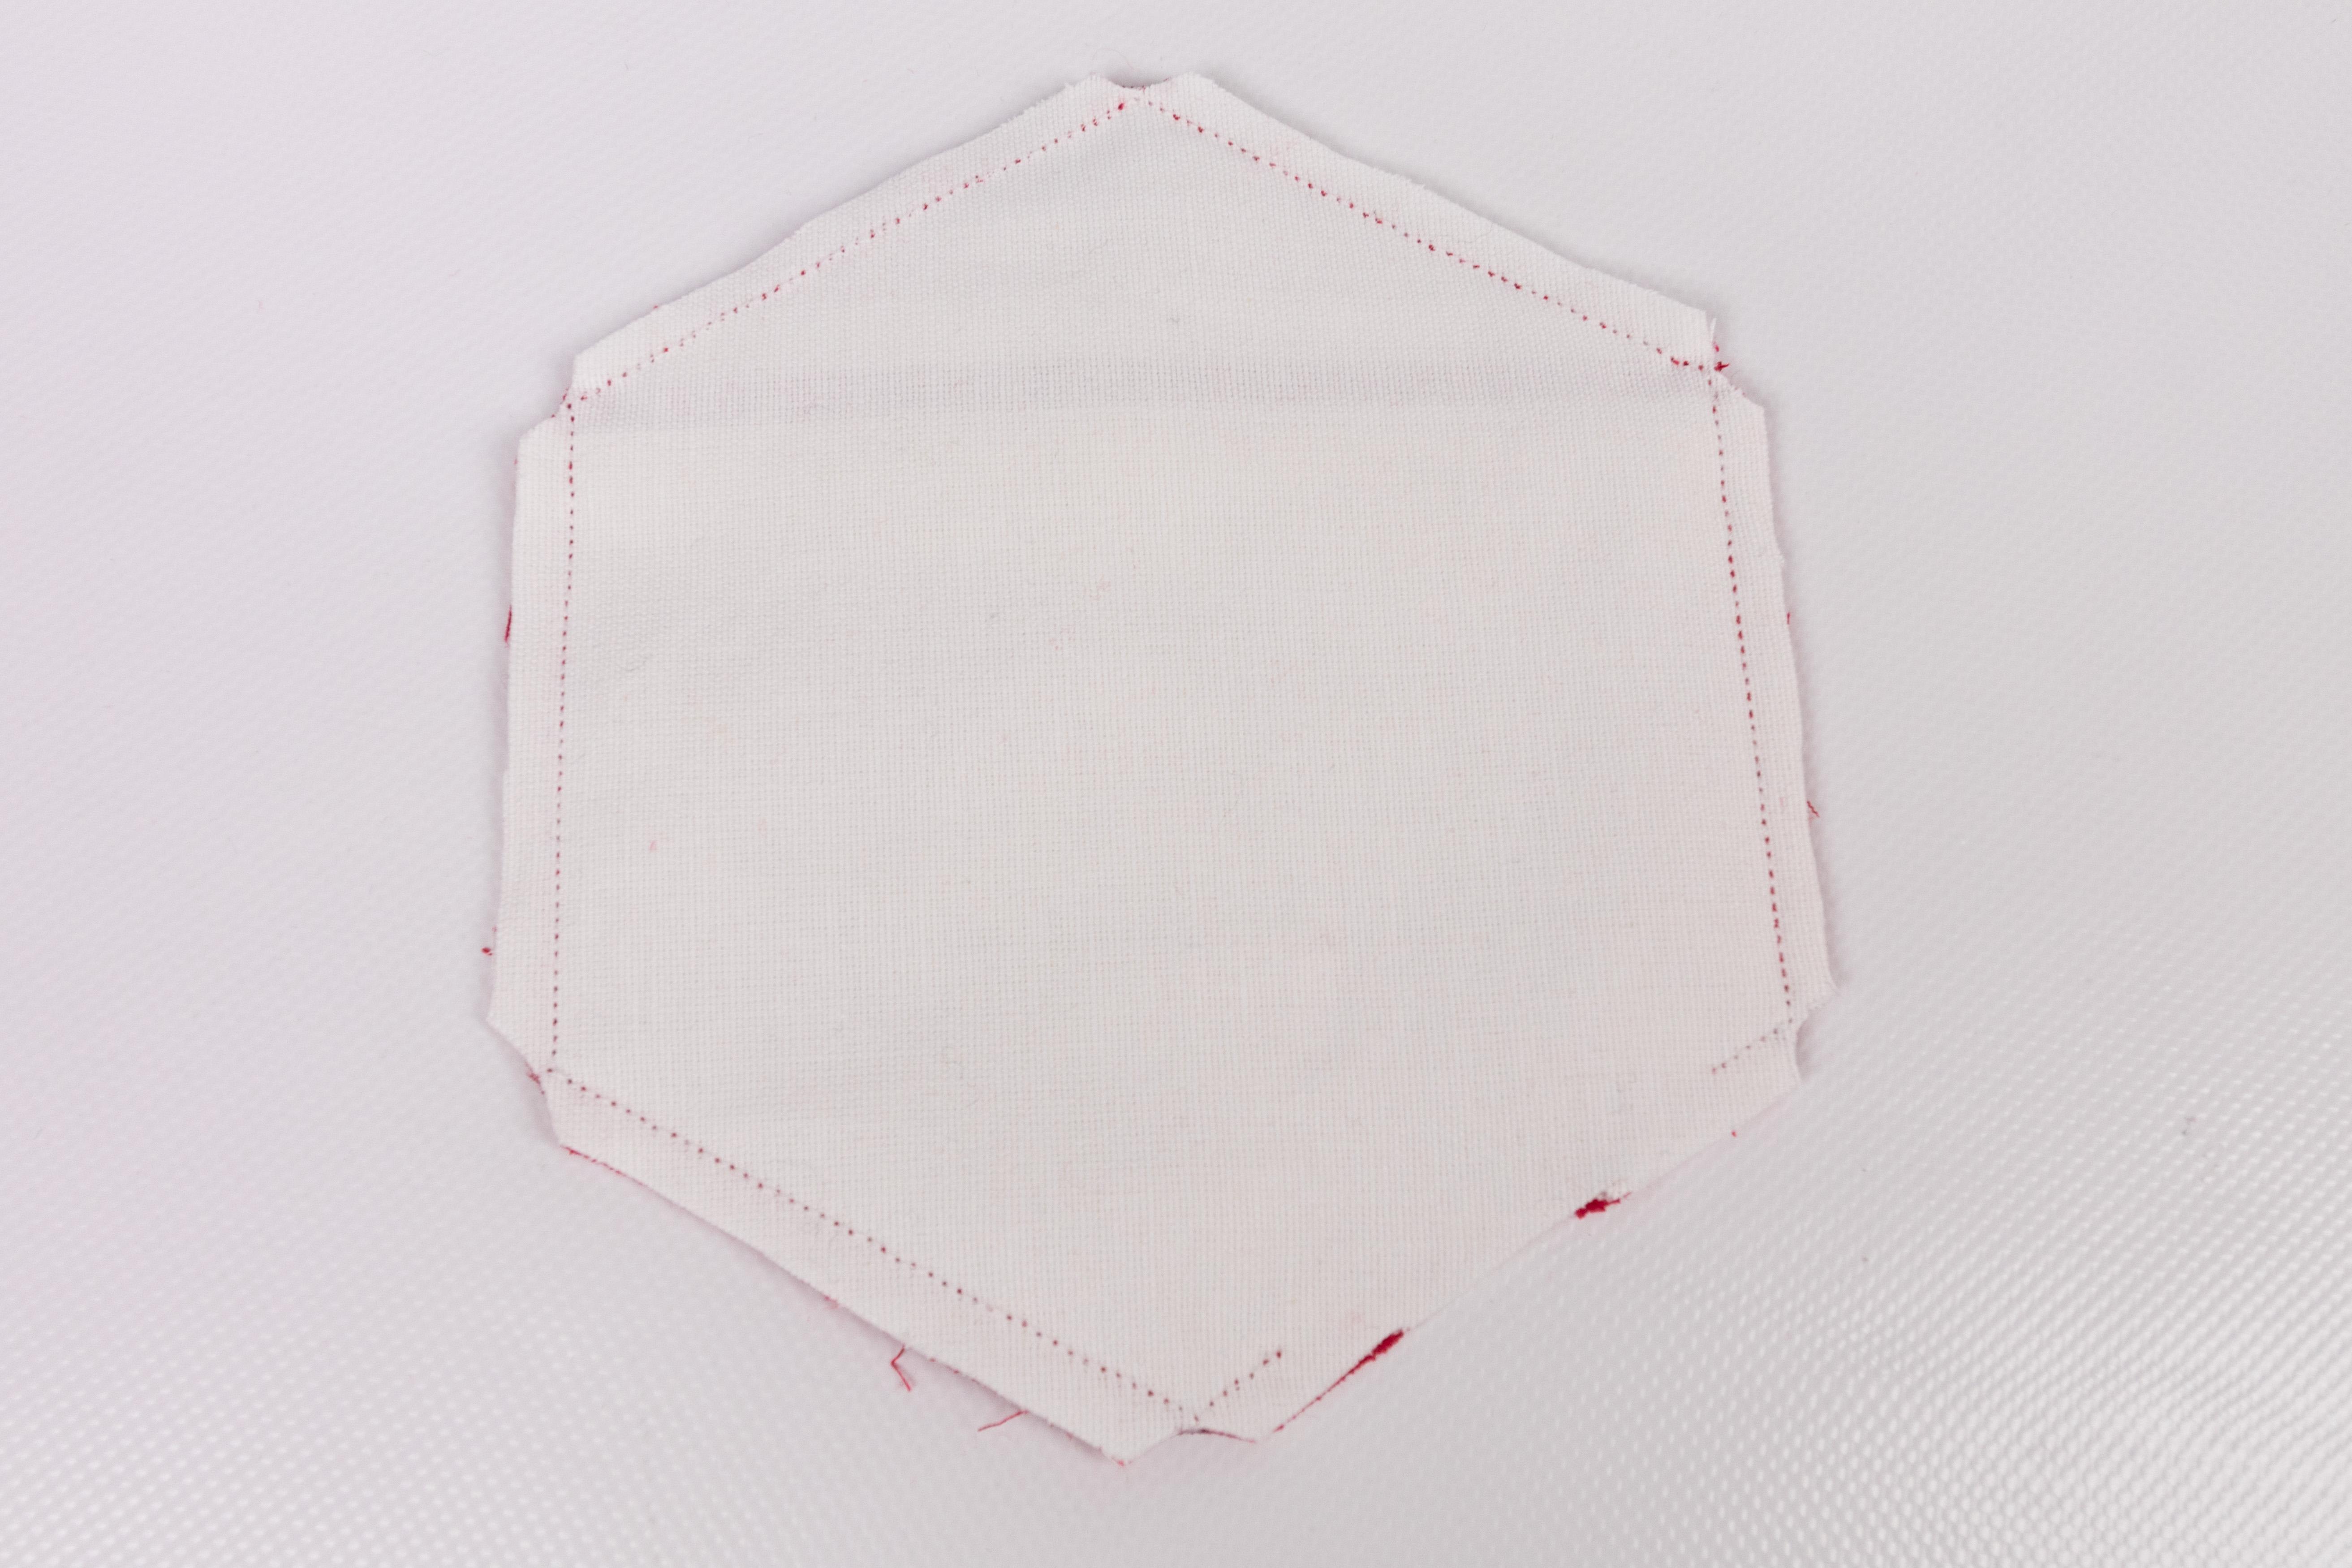
Finally, you can cut it out and remove the stabilizer, as shown in the last picture.
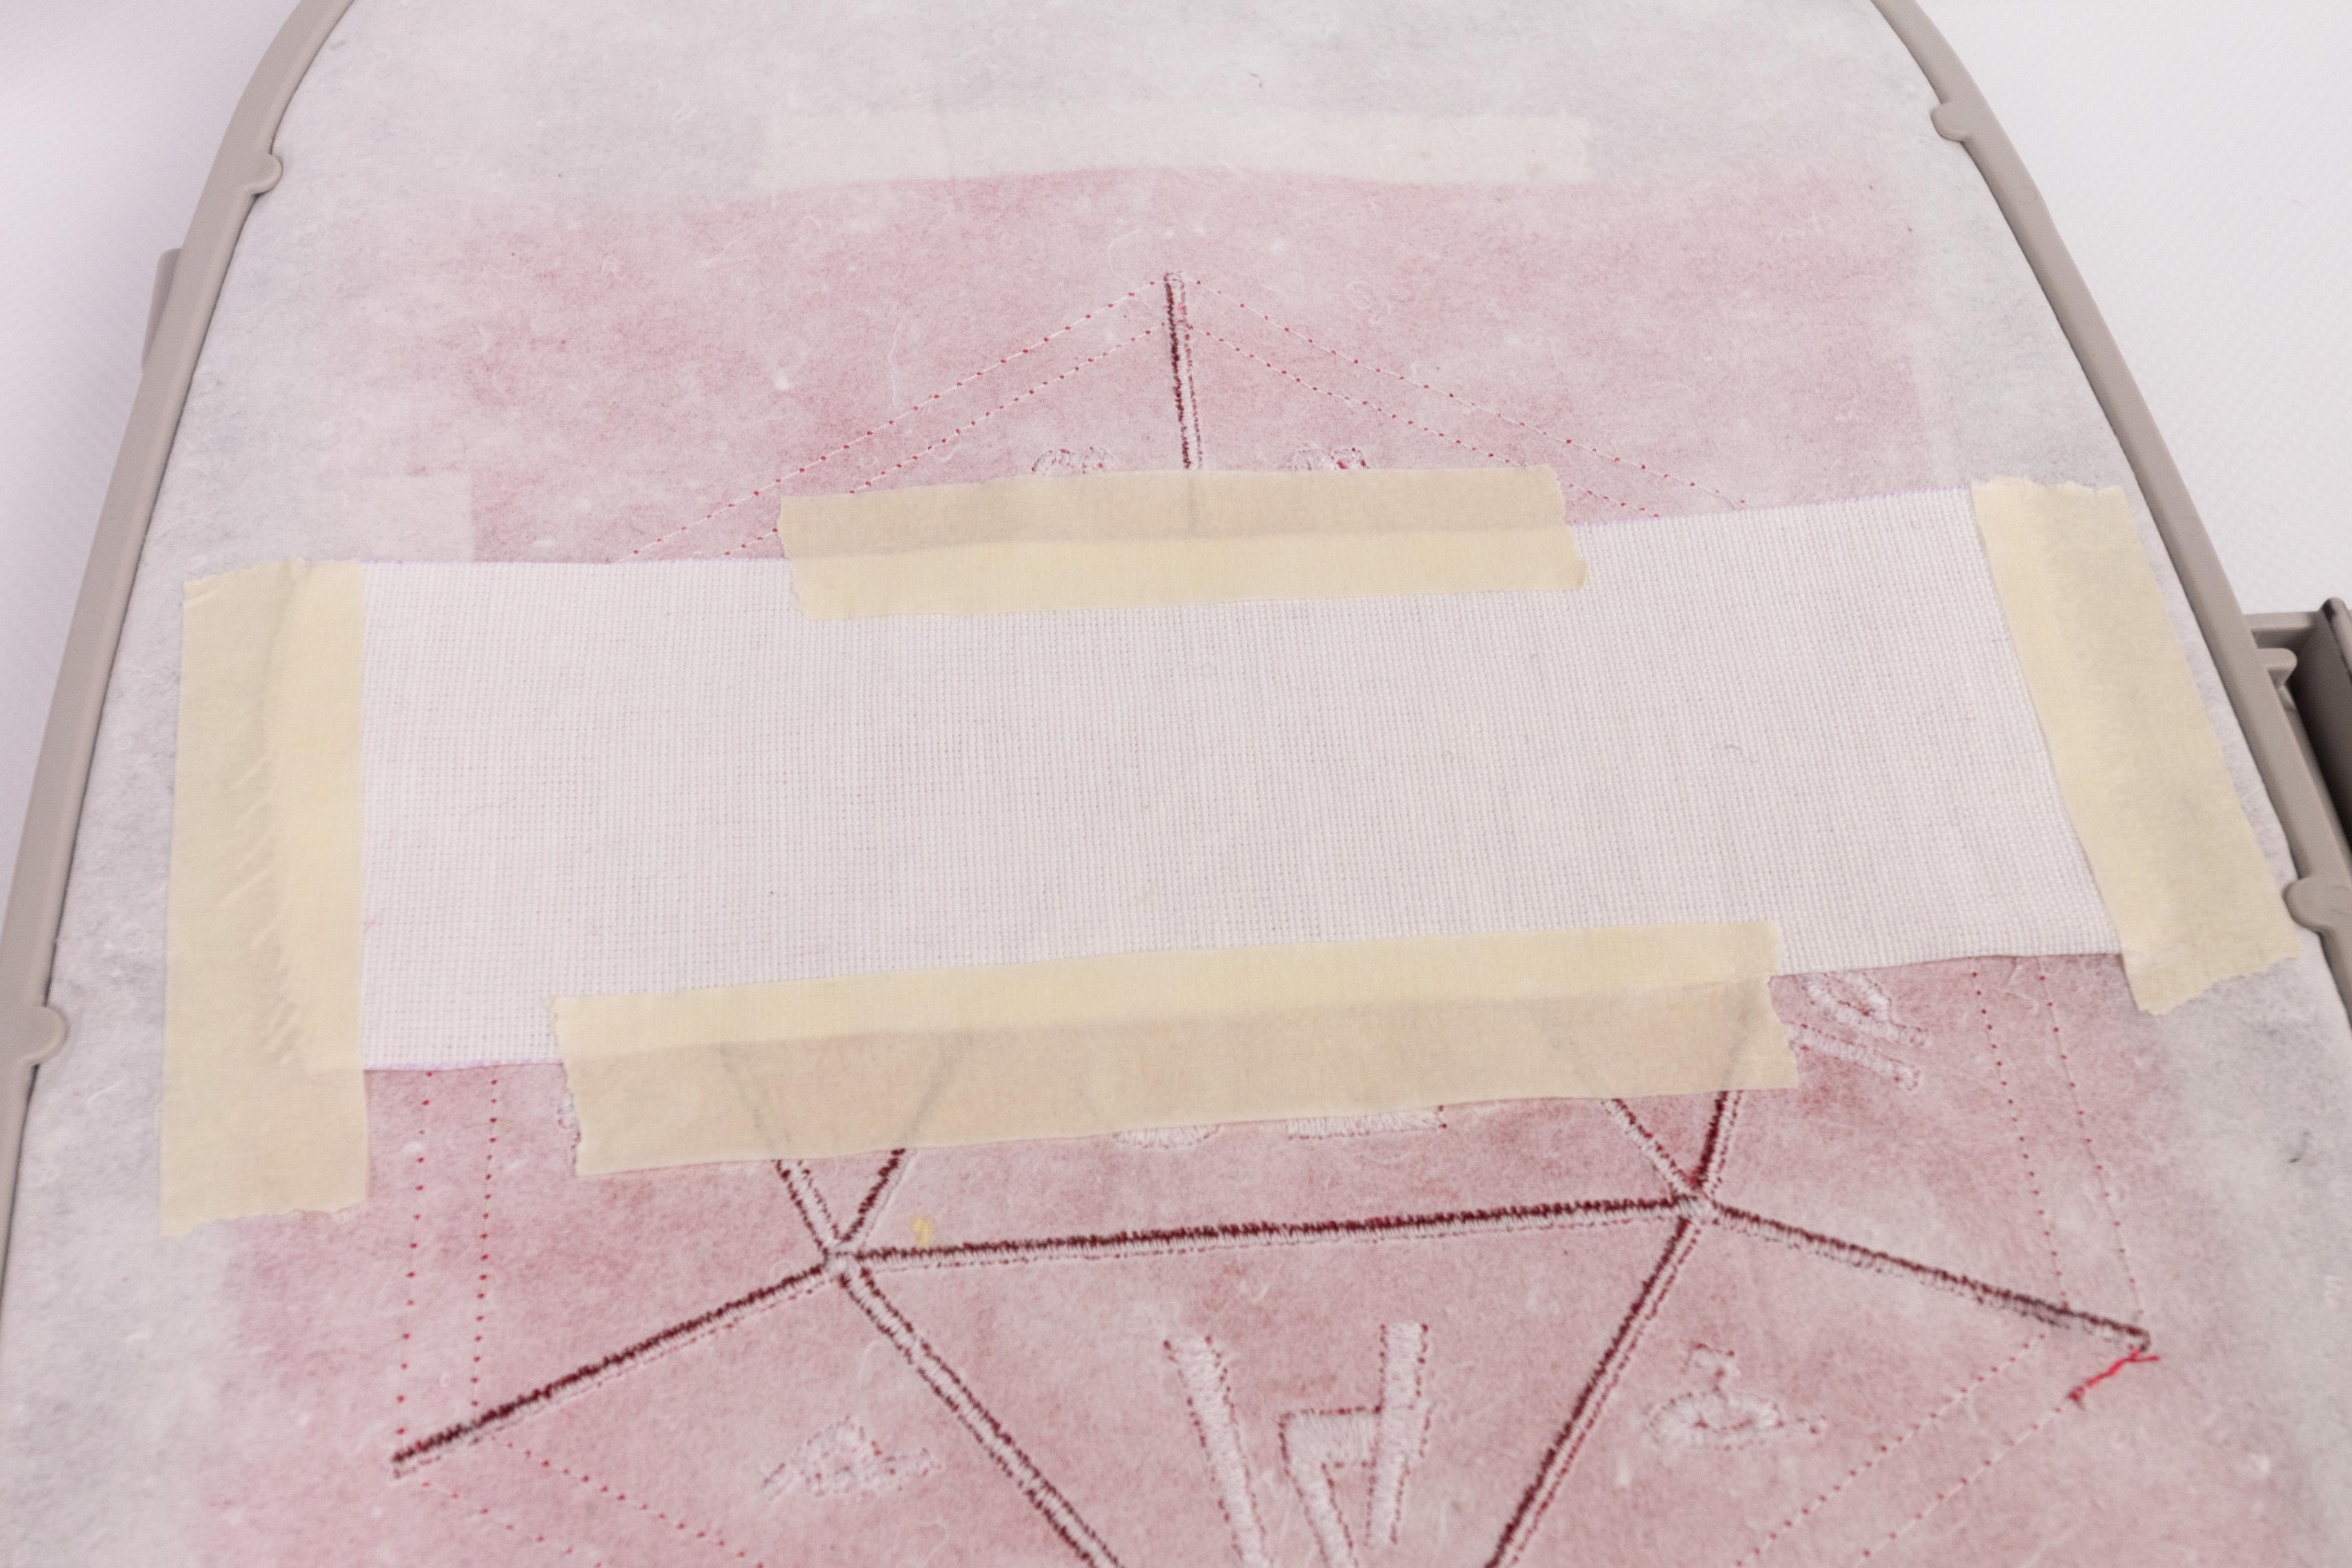
Starting With the Front
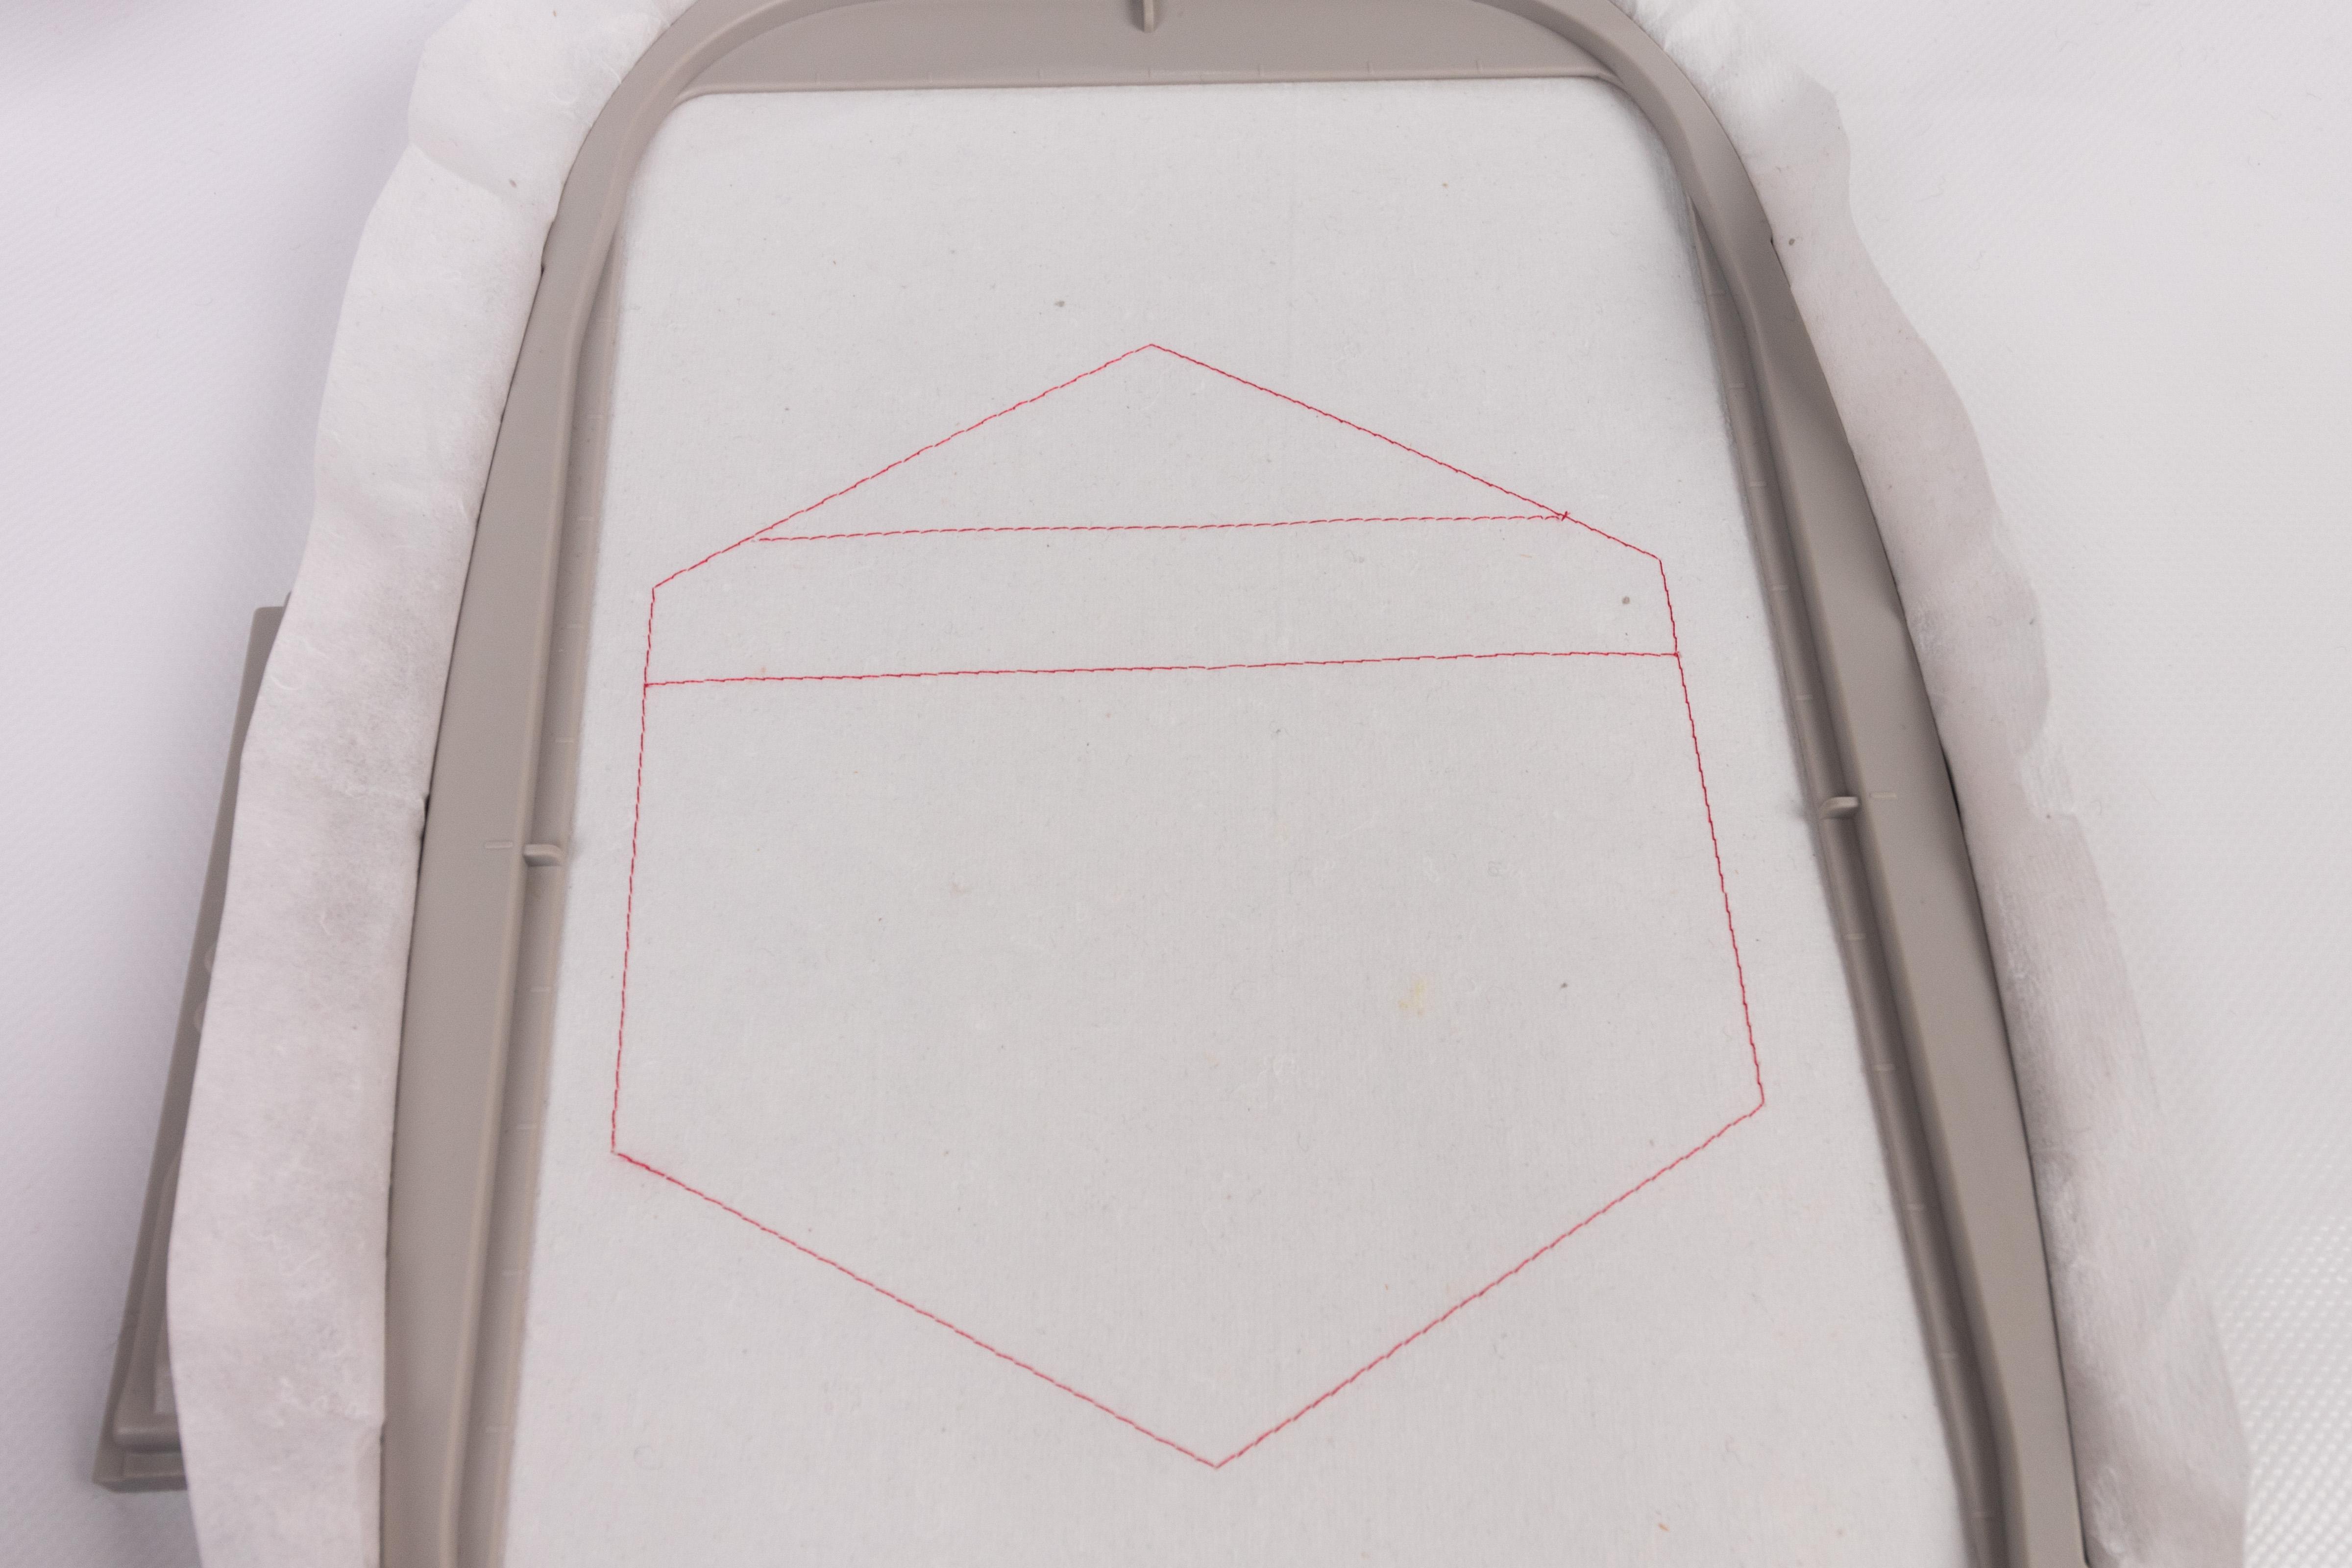
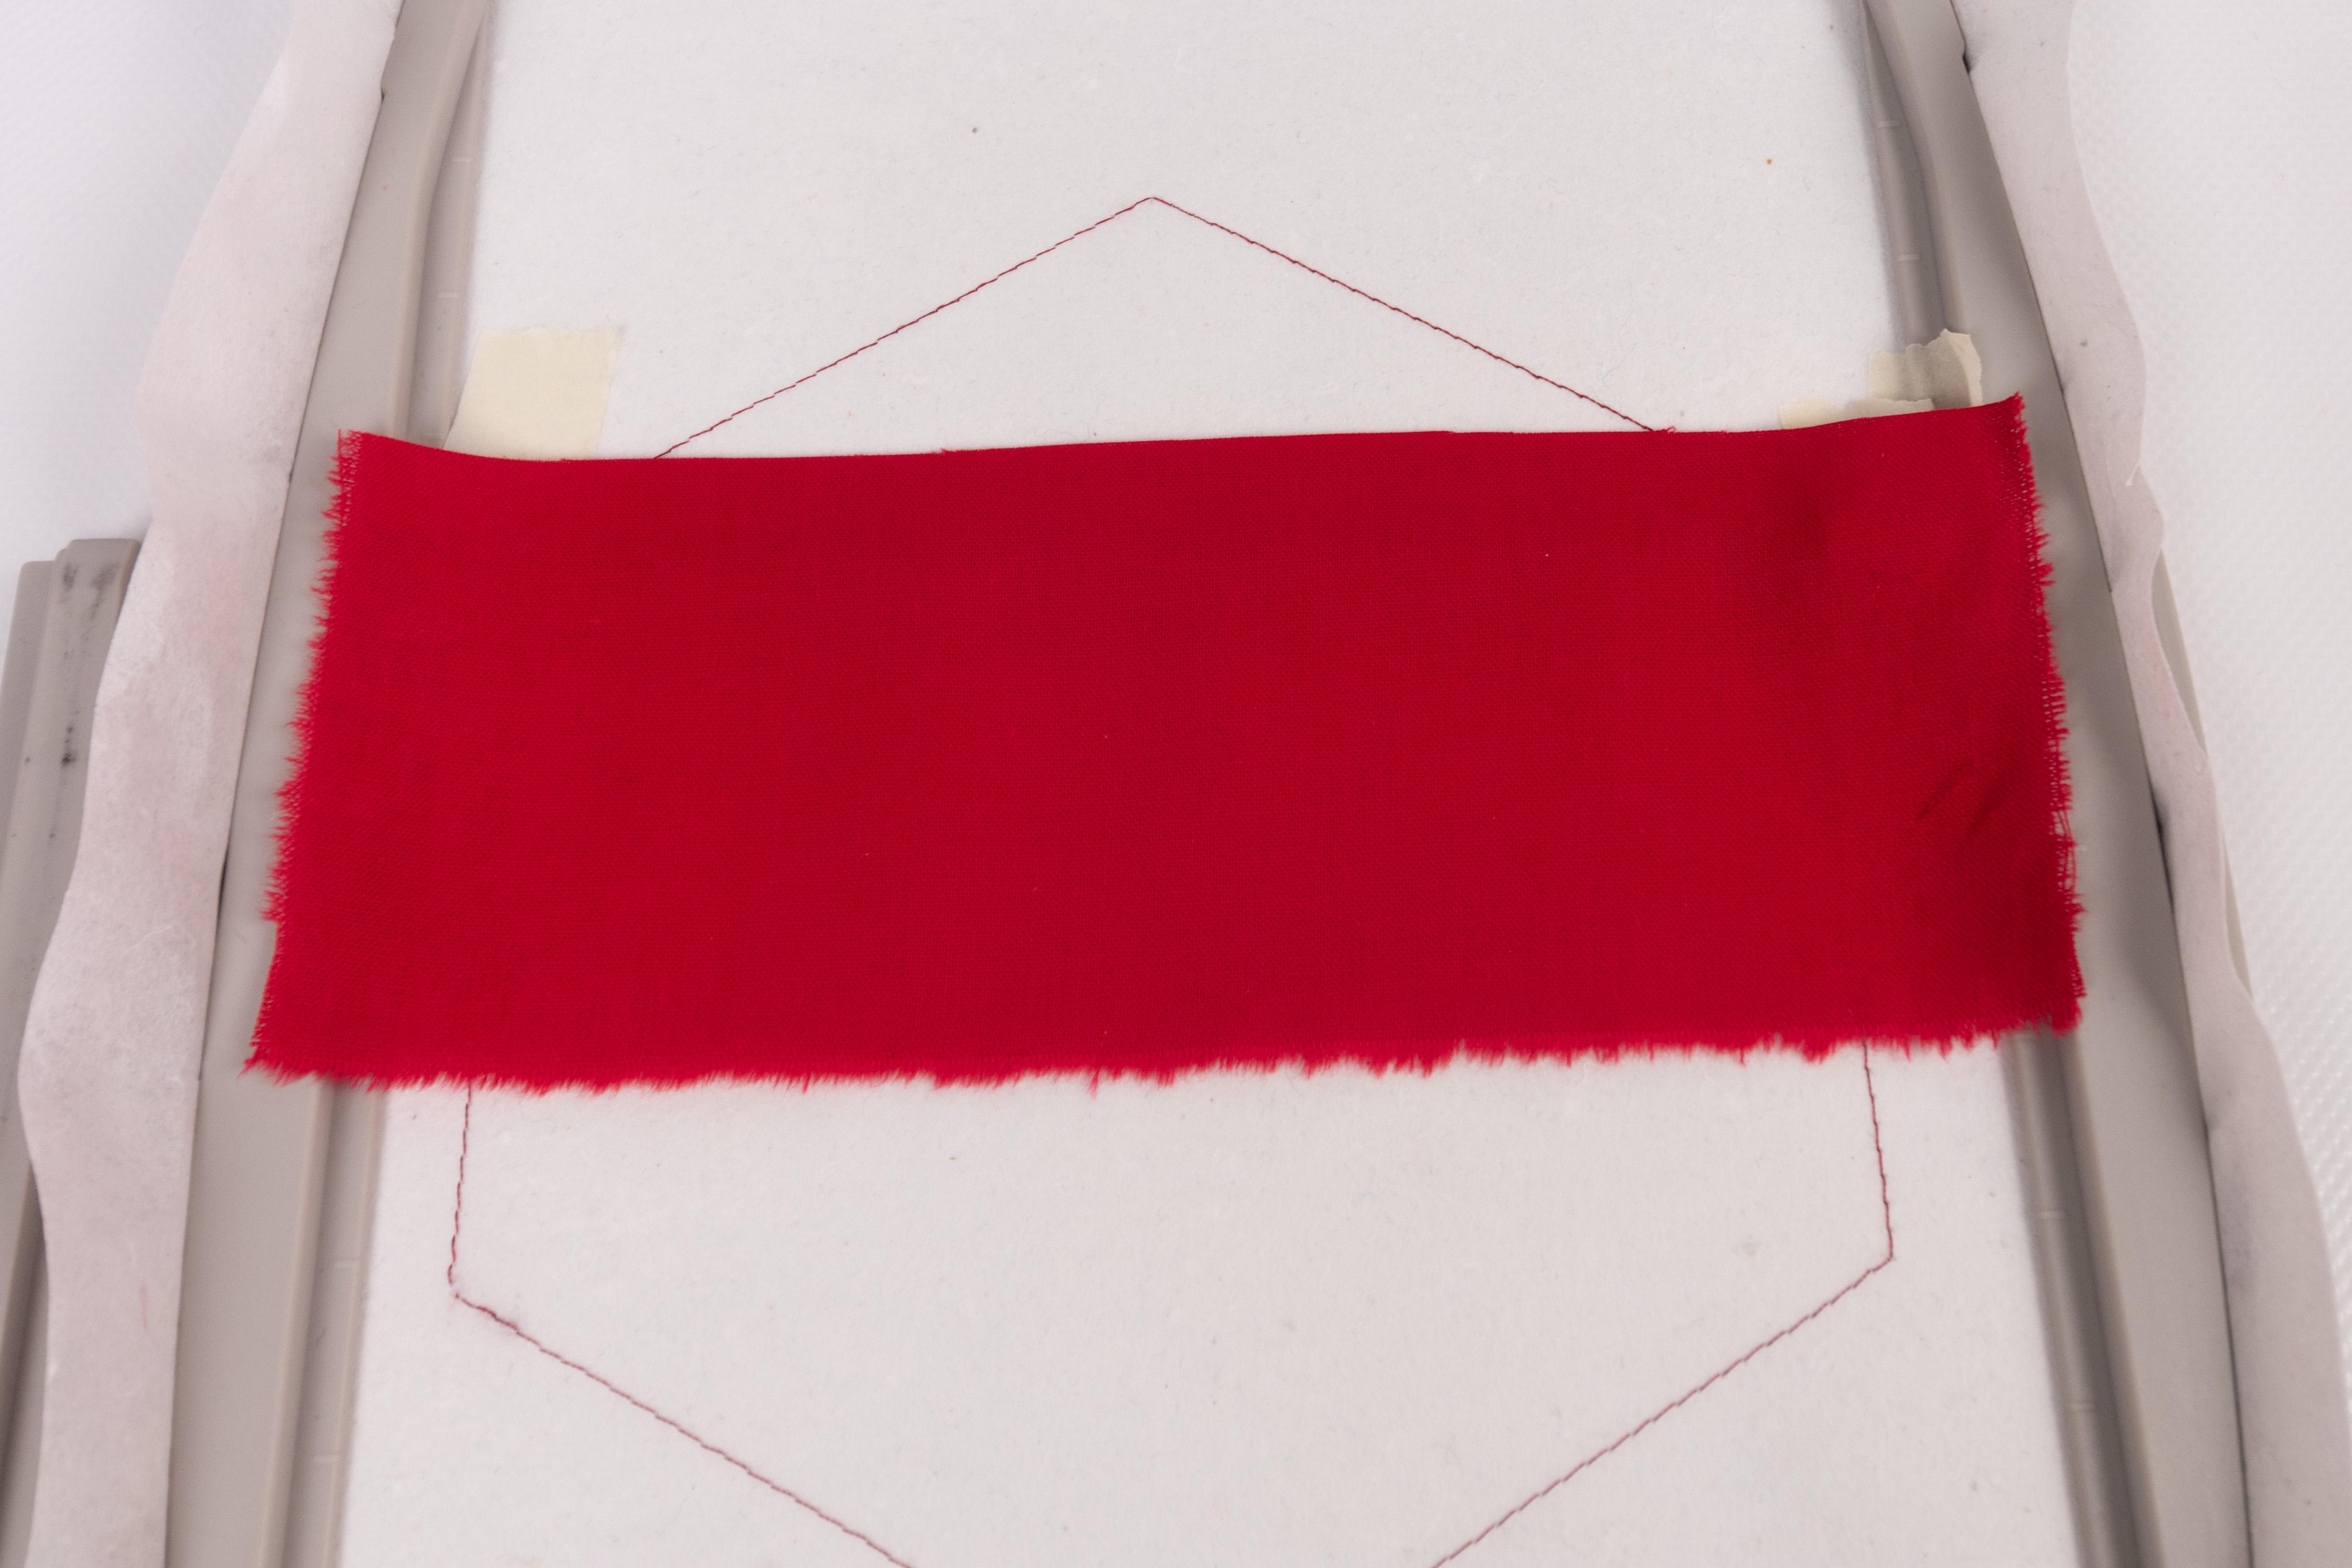
Start by hooping a new piece of stabilizer and run the first two stitches. The first stitch shows the outline of the design and the second stitch shows you the placement of the zipper.
Zipper
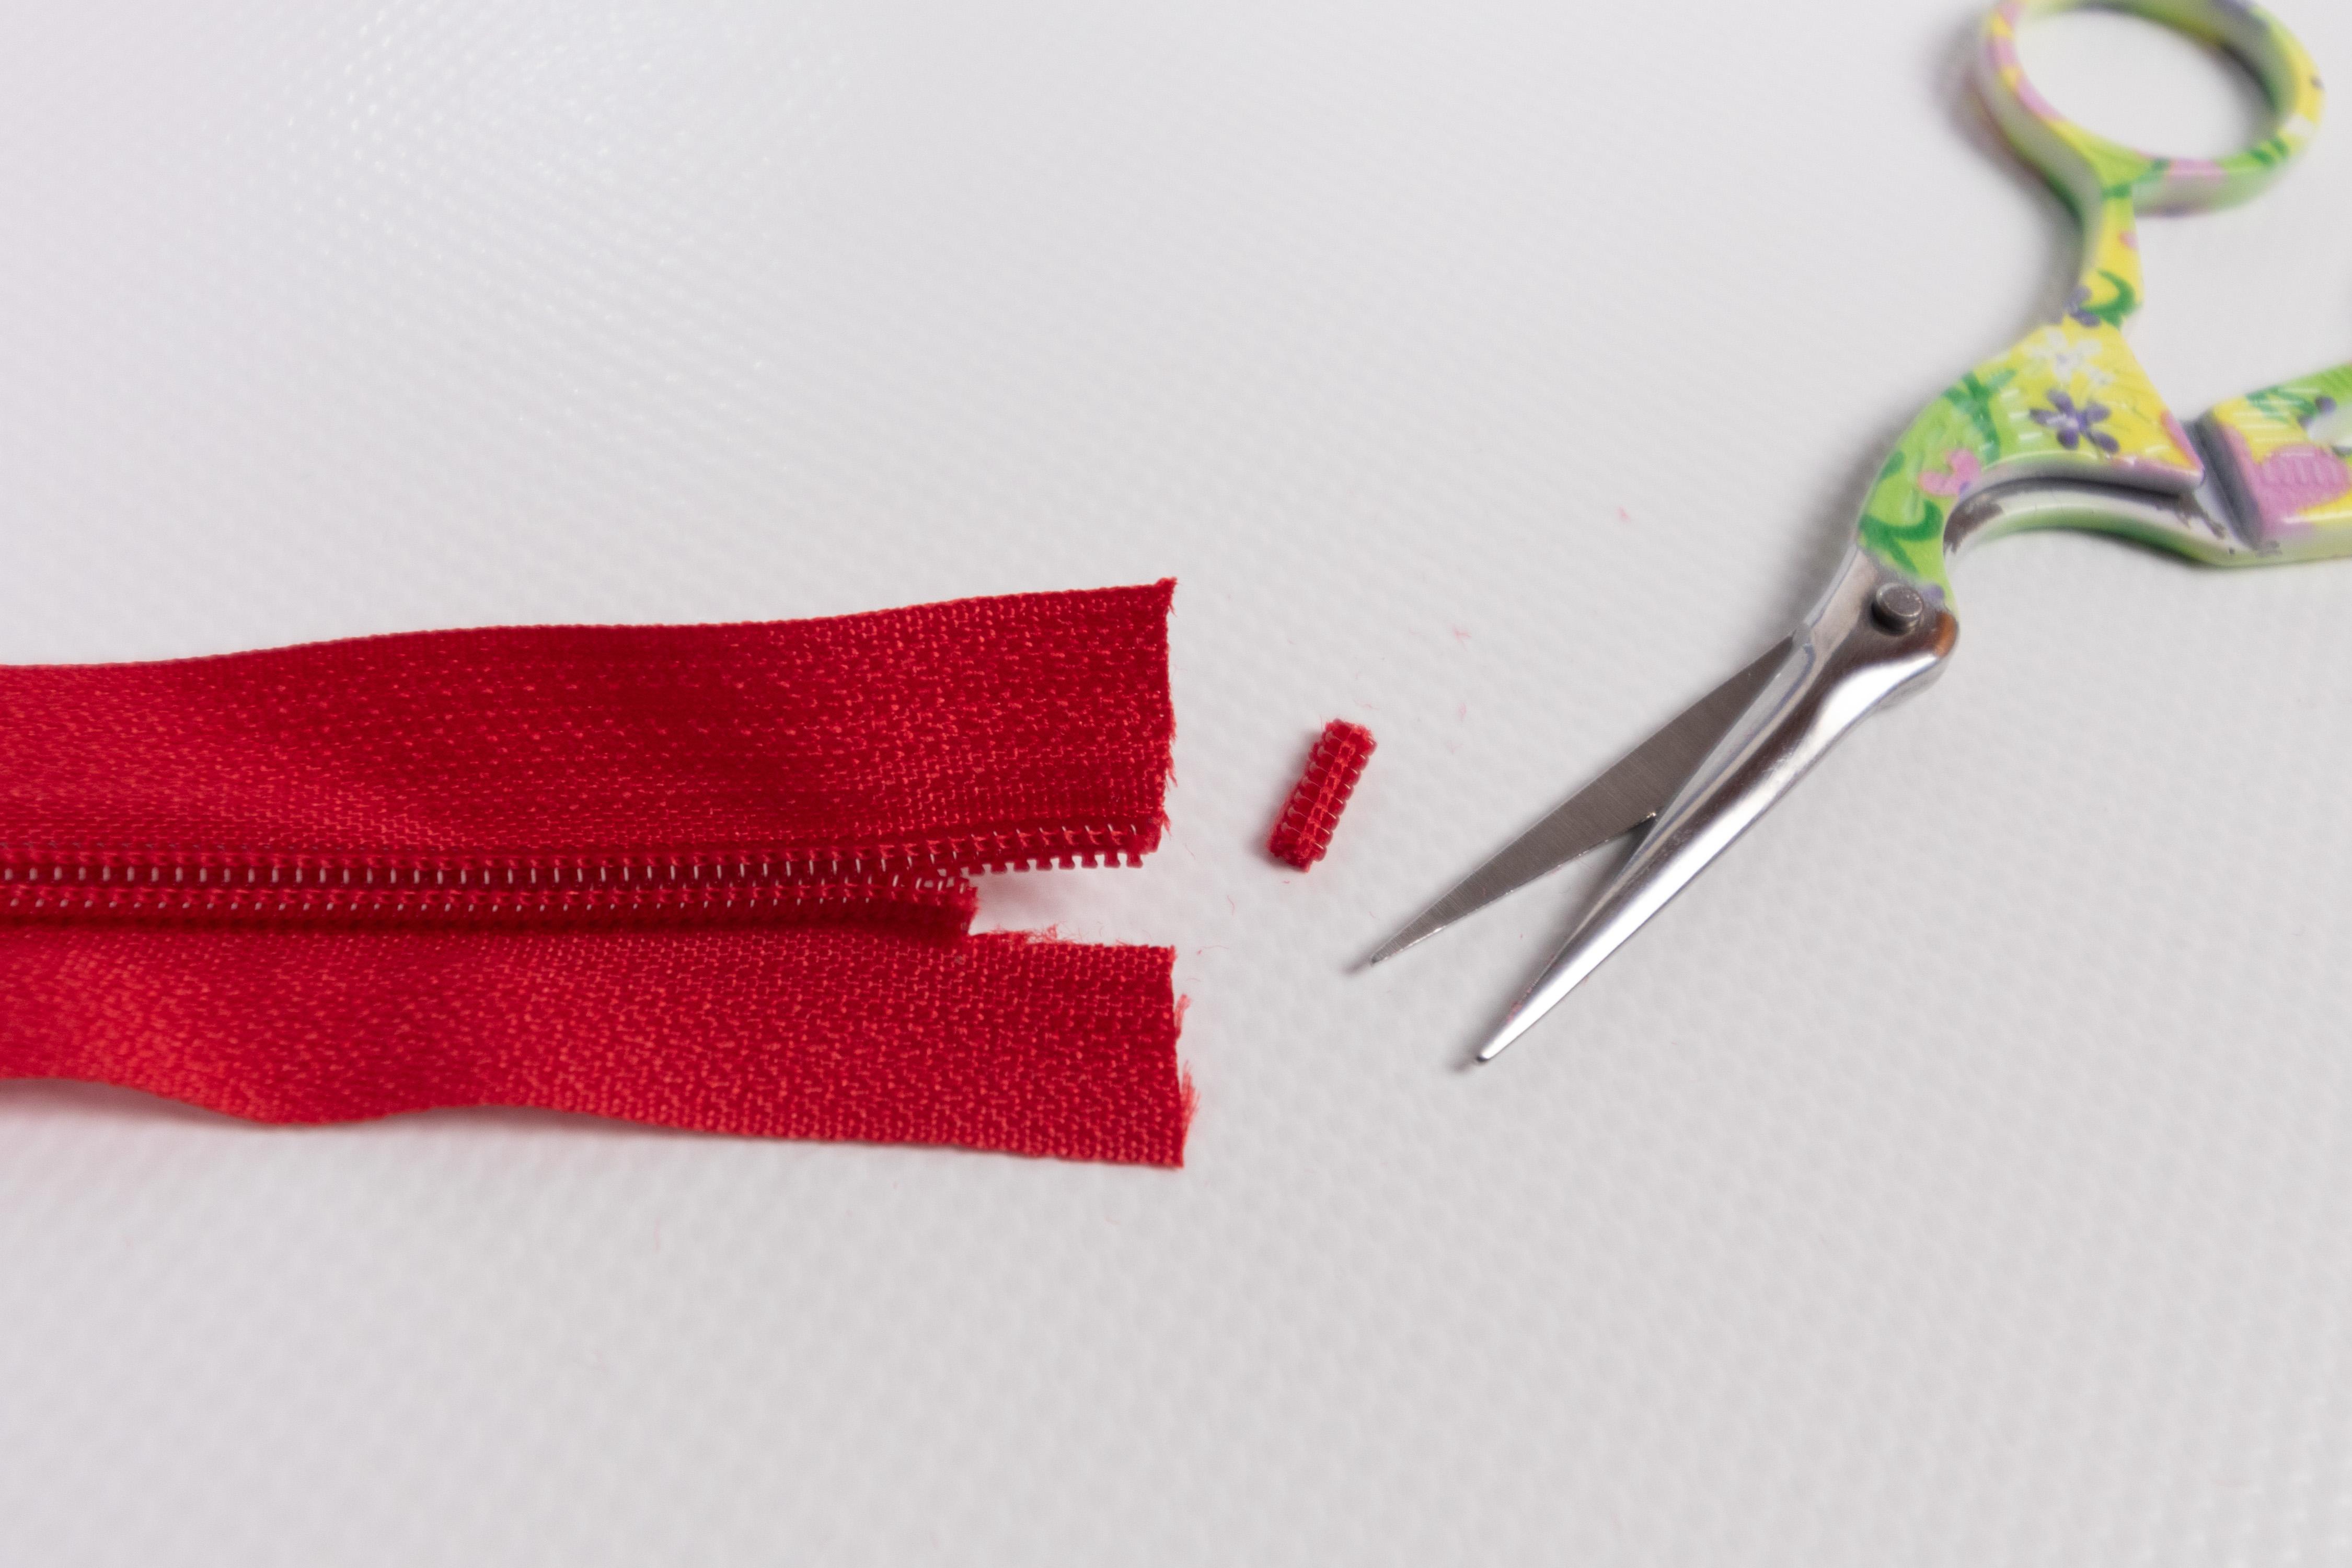

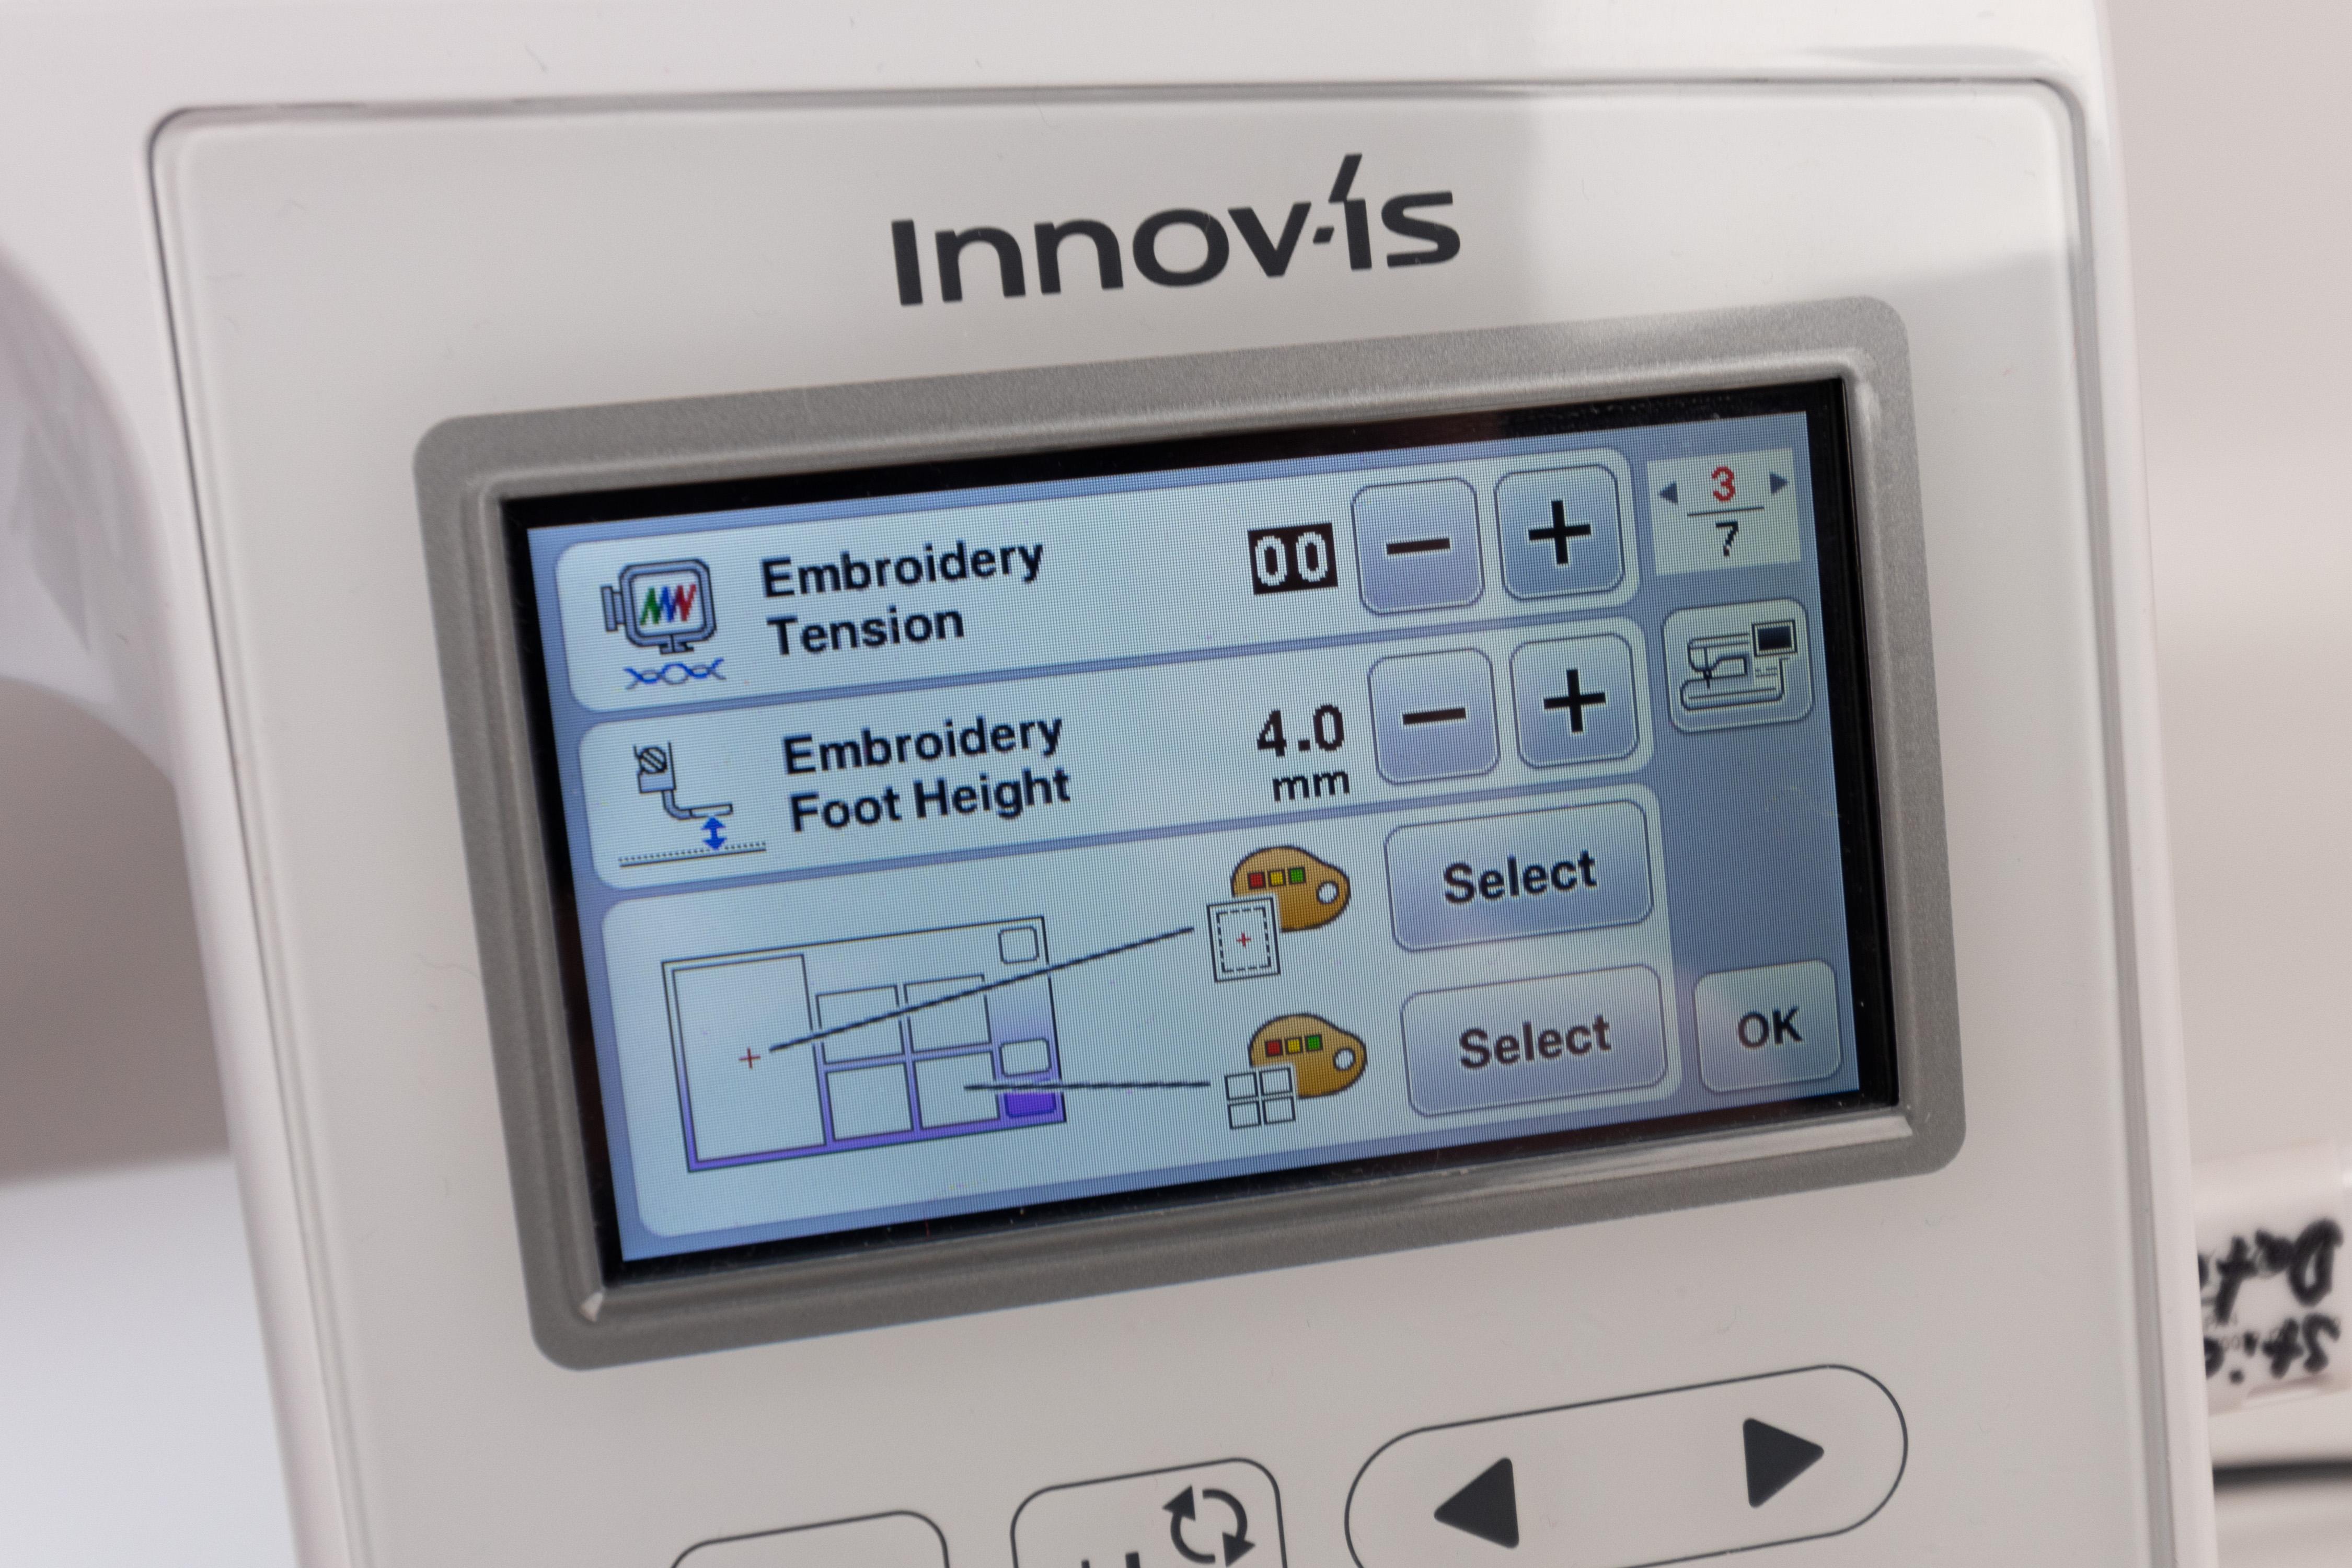

I used an endless zipper and therefore the first thing I had to do was to attach the slider. An easy way to do this is by cutting away the first few teeth on one side, then placing the slider onto the other side. Afterward, you will have to hold both ends down and place the slider onto the end where you cut the teeth away. Now you should be able to pull the slider up. You'll have to lift your embroidery foot quite a lot since it is going to move over the zipper and if you are going to leave it at the standard height of 1.5 mm (about 0.06 inch) it is going to catch on it. Close the zipper and place it between the two lines in the middle. Use tape to hold it in place, as shown in the last picture of this step. Place your hoop back into your embroidery machine and run the third stitch.
Attaching the Fabric
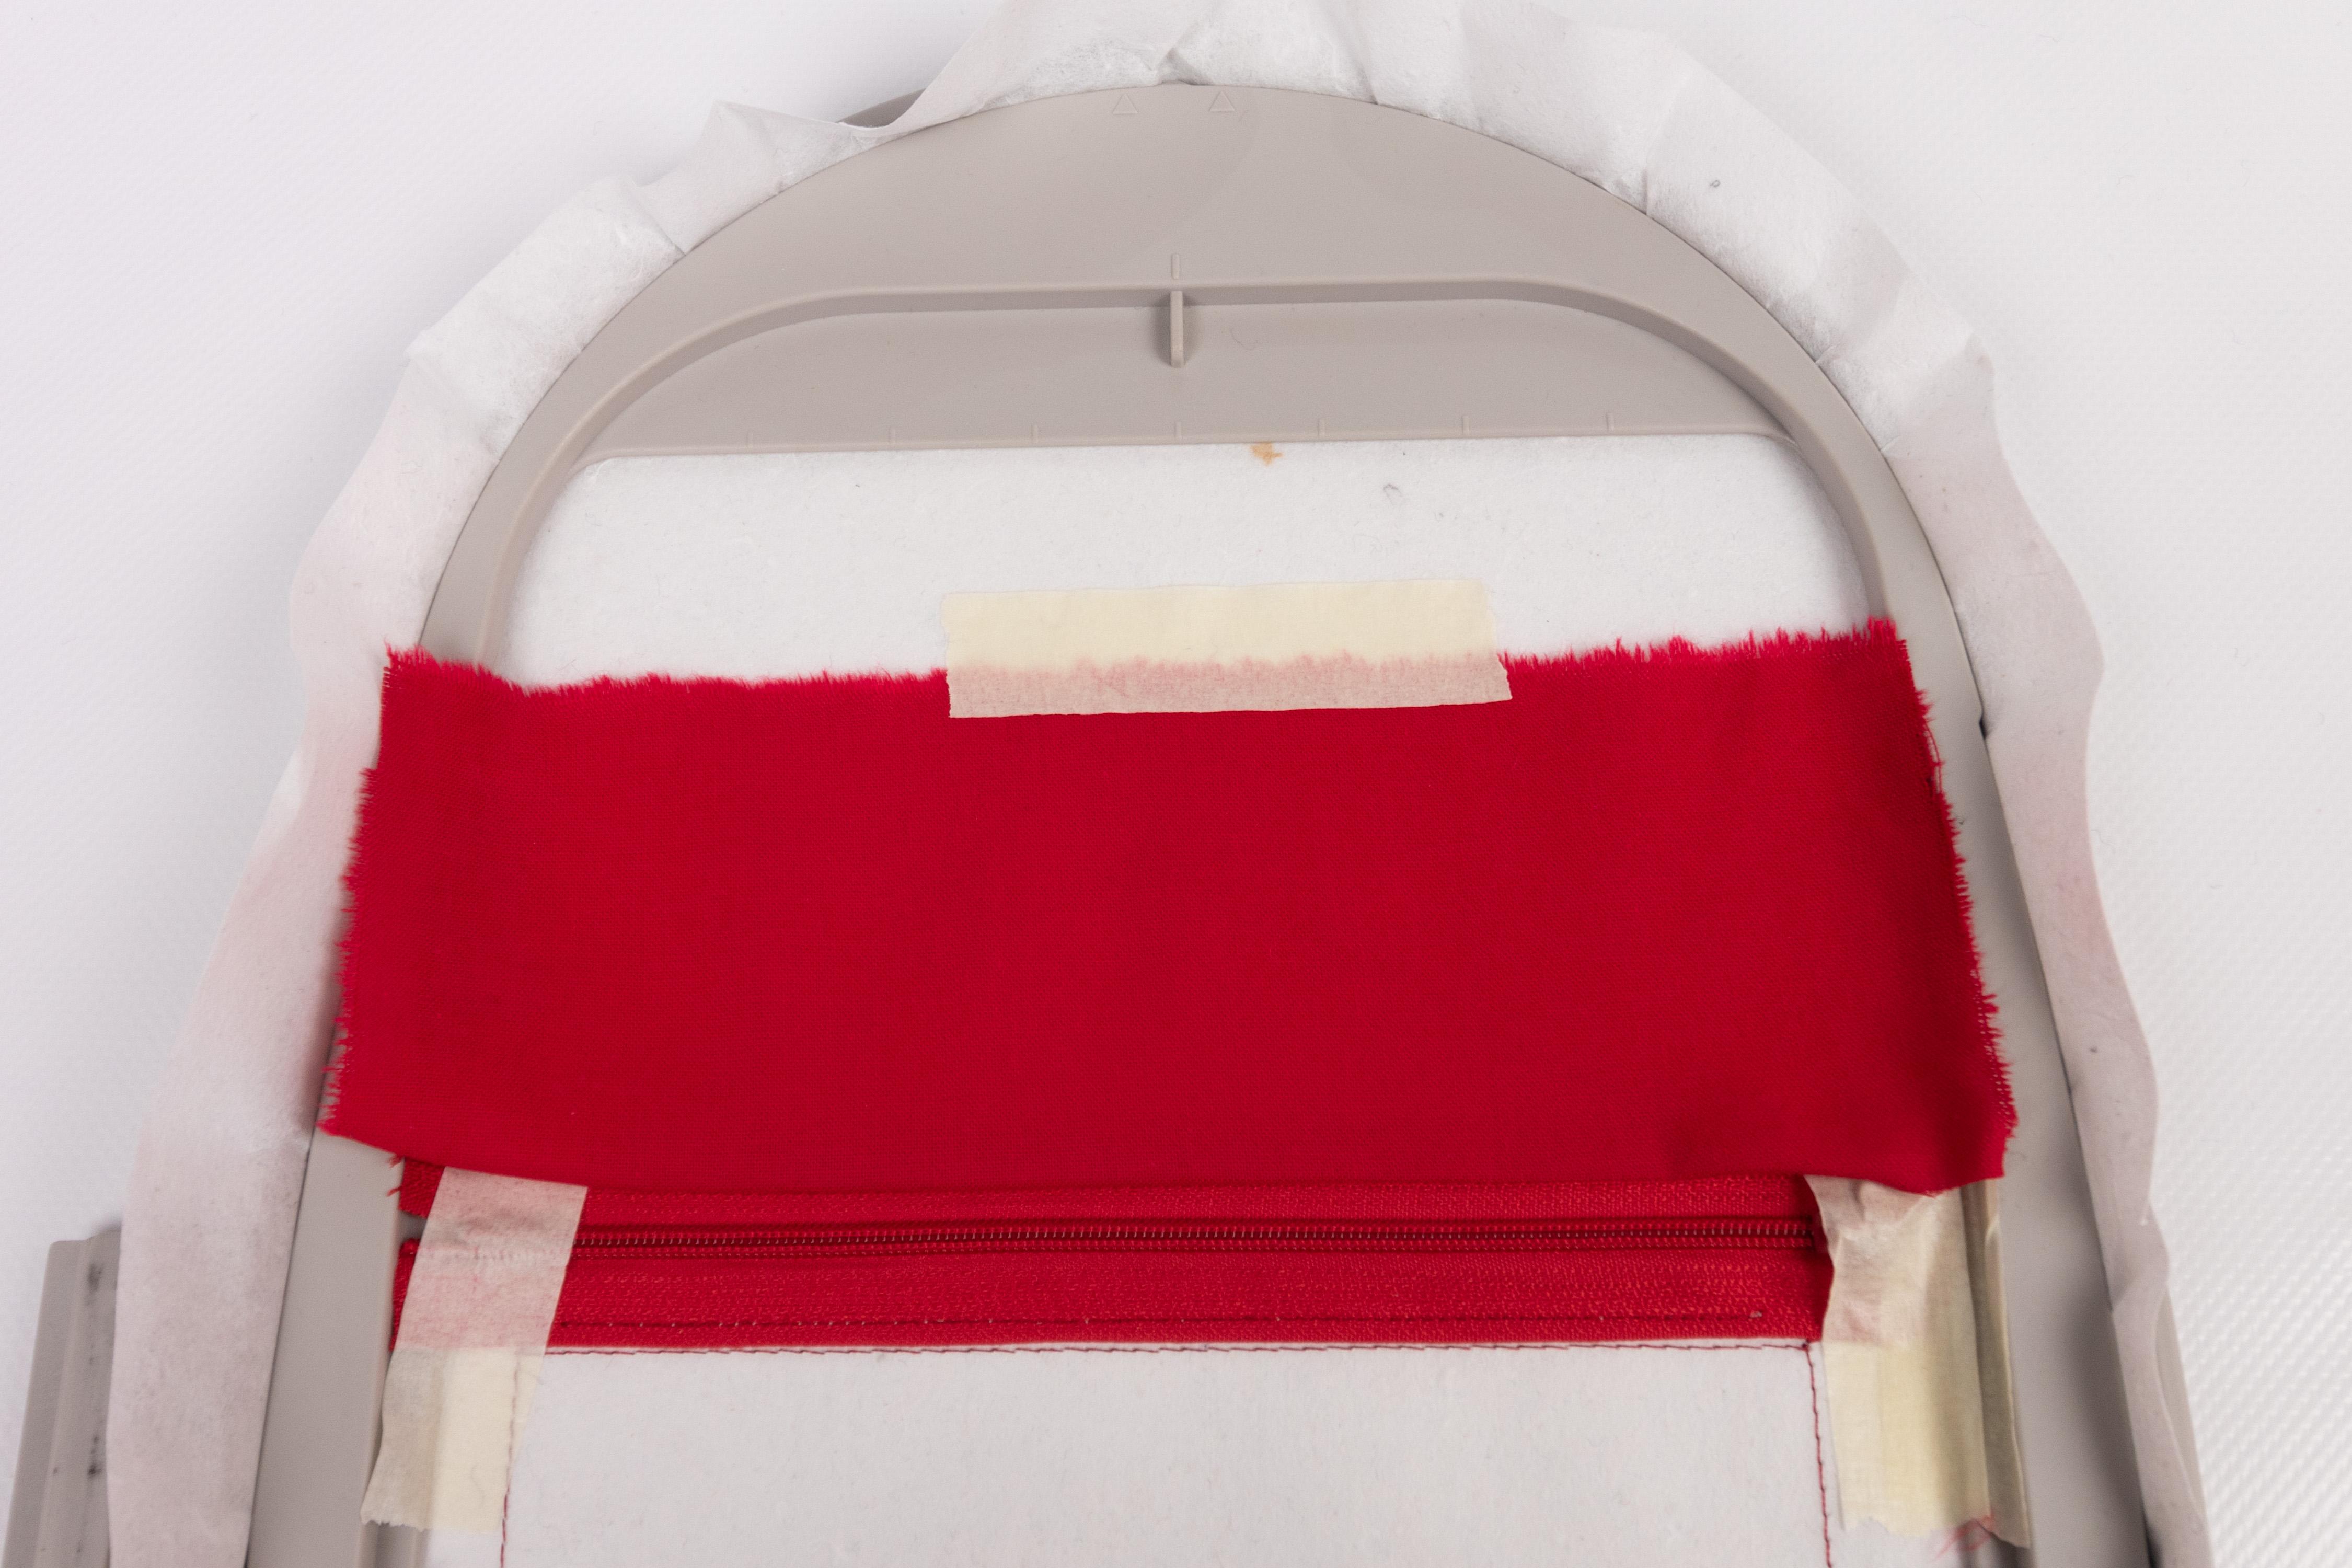
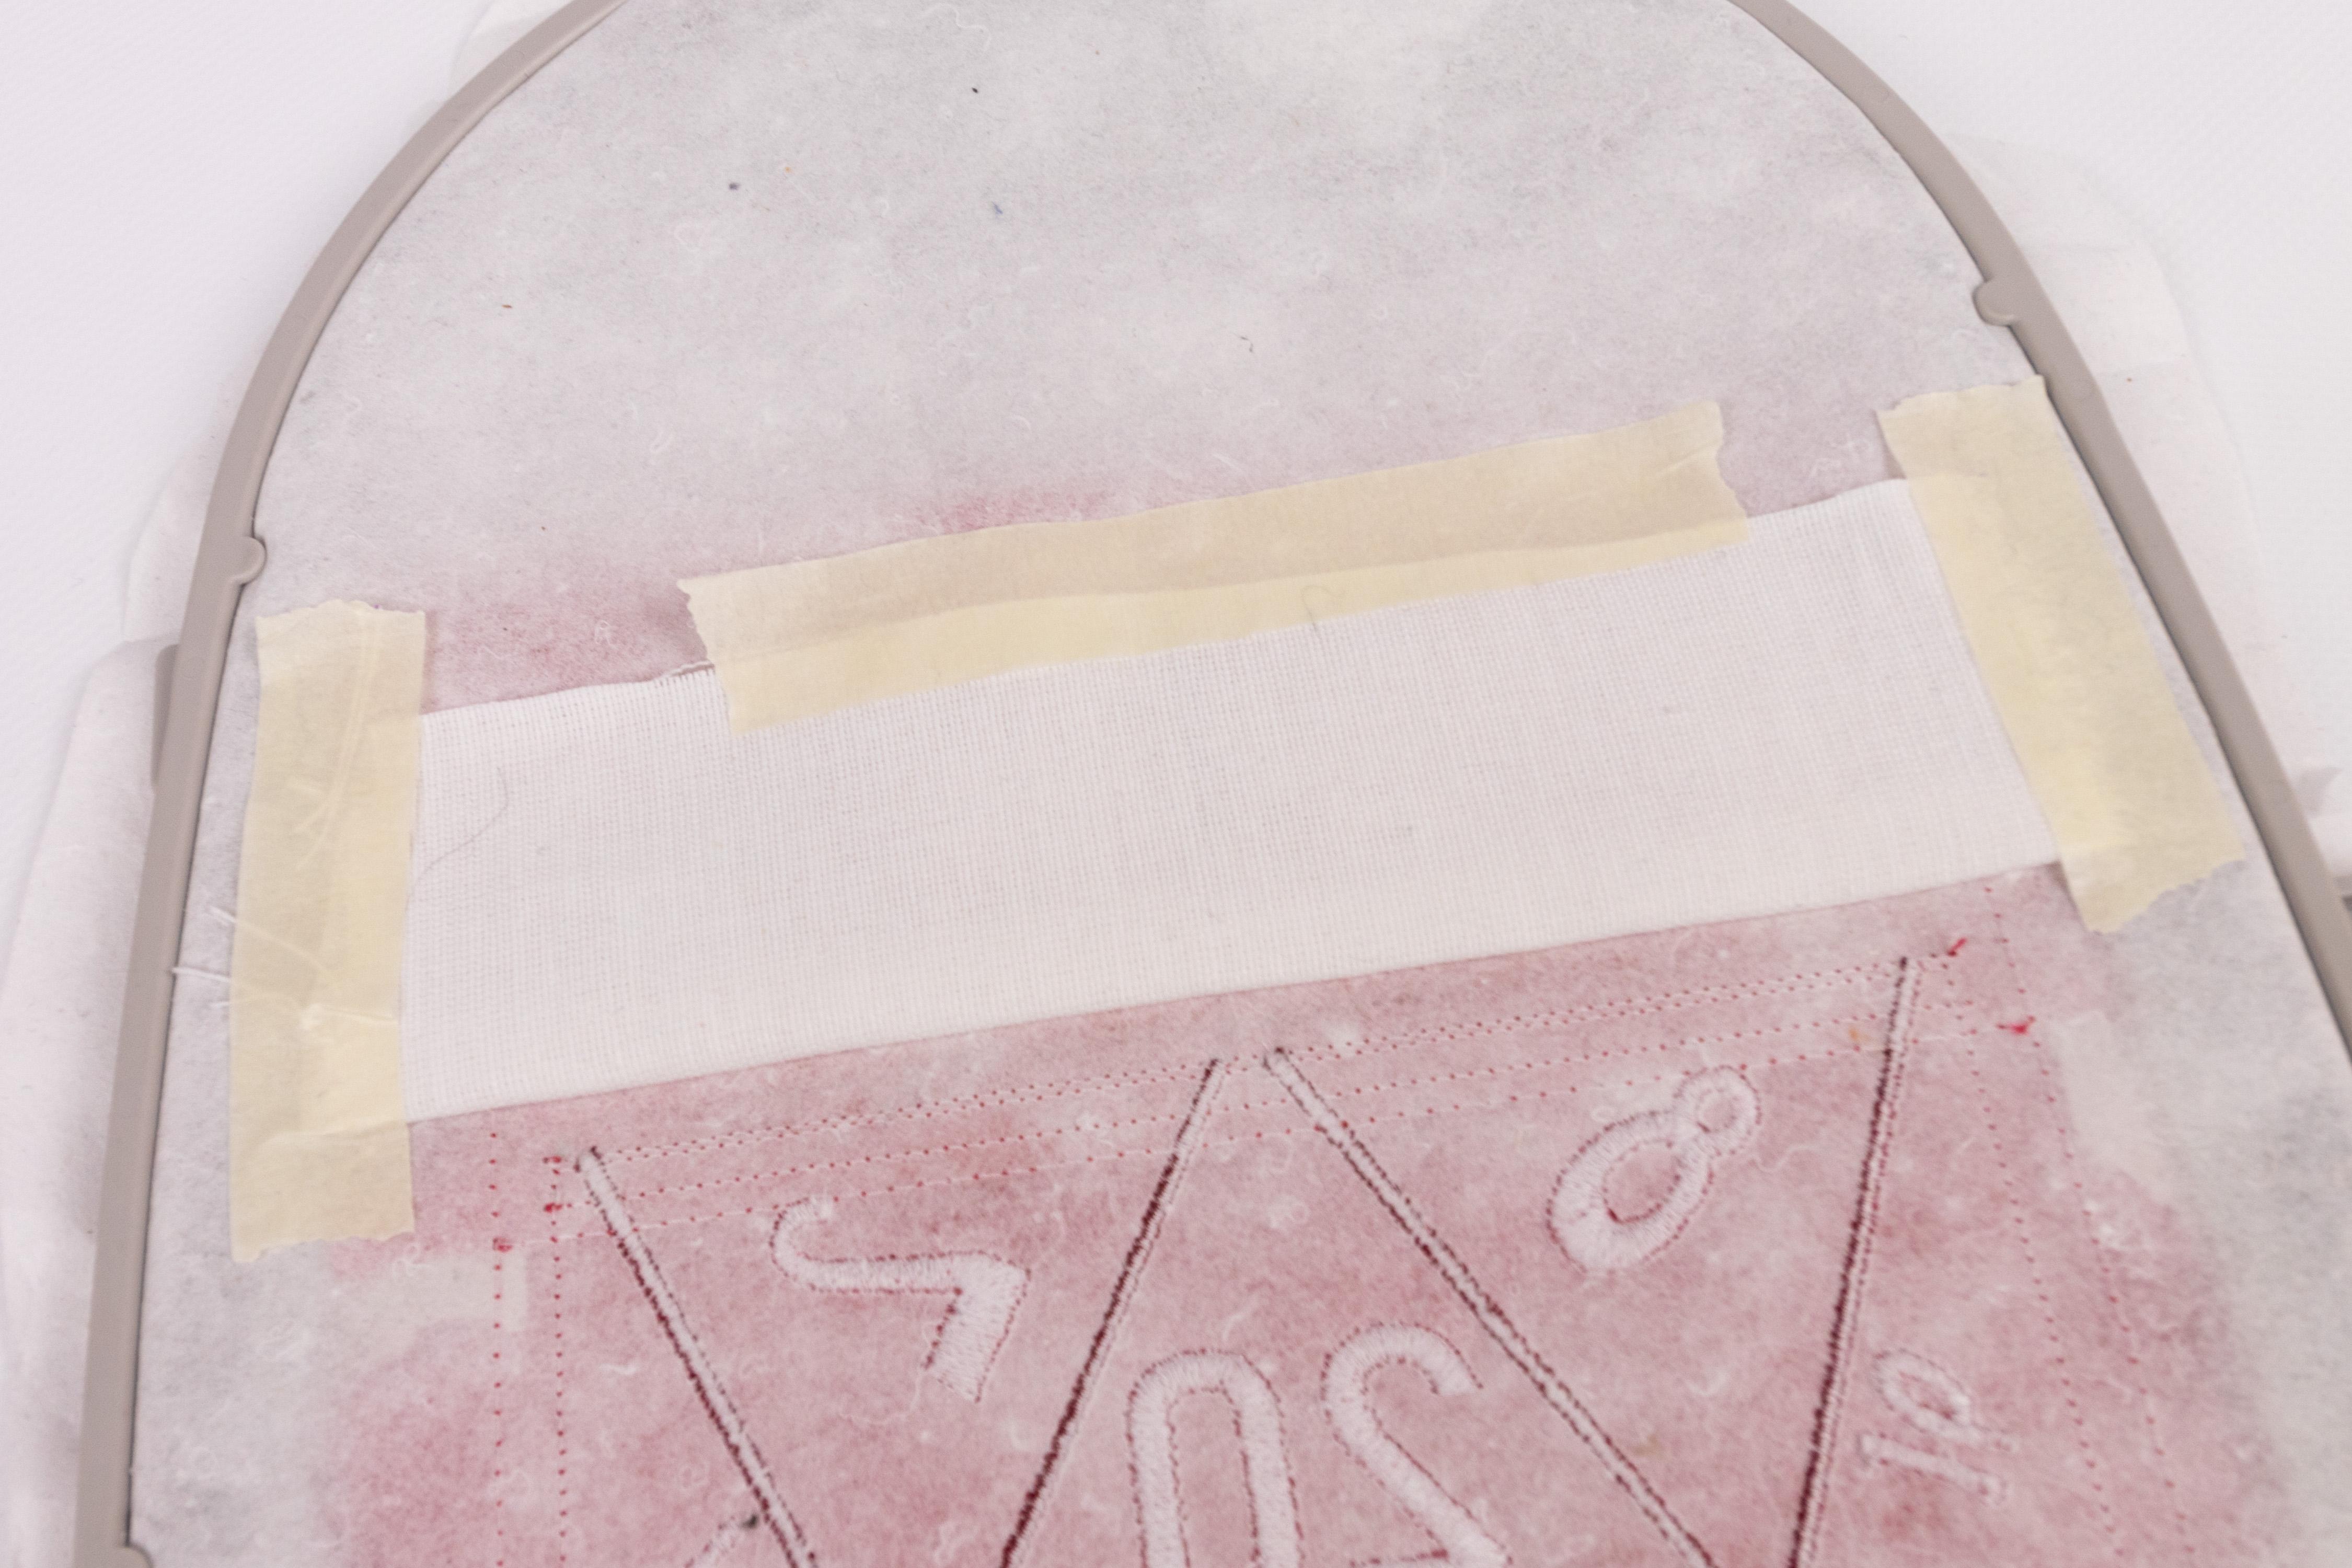
Next, we are going to attach the outside fabric. Starting with the top. The piece has to be about 18 cm x 6 cm.
Place the piece onto the zipper, as shown in the first picture. It is going to be folded over later on, so the pattern side has to lie face down onto your stabilizer. This didn't matter in my case since I used a plain piece of cotton and the "wrong" and "right" side of the fabric looked the same.
Run the next stitch. Once it is done, fold the fabric over the stitch and tape it in place, as shown in the second picture. The next stitch is going to hold it in place. You can of course hold it in place, but I prefer to use tape. Parts of the stitch will be visible later, so pick a yarn color that blends into your fabric.
Attaching the Fabric #2

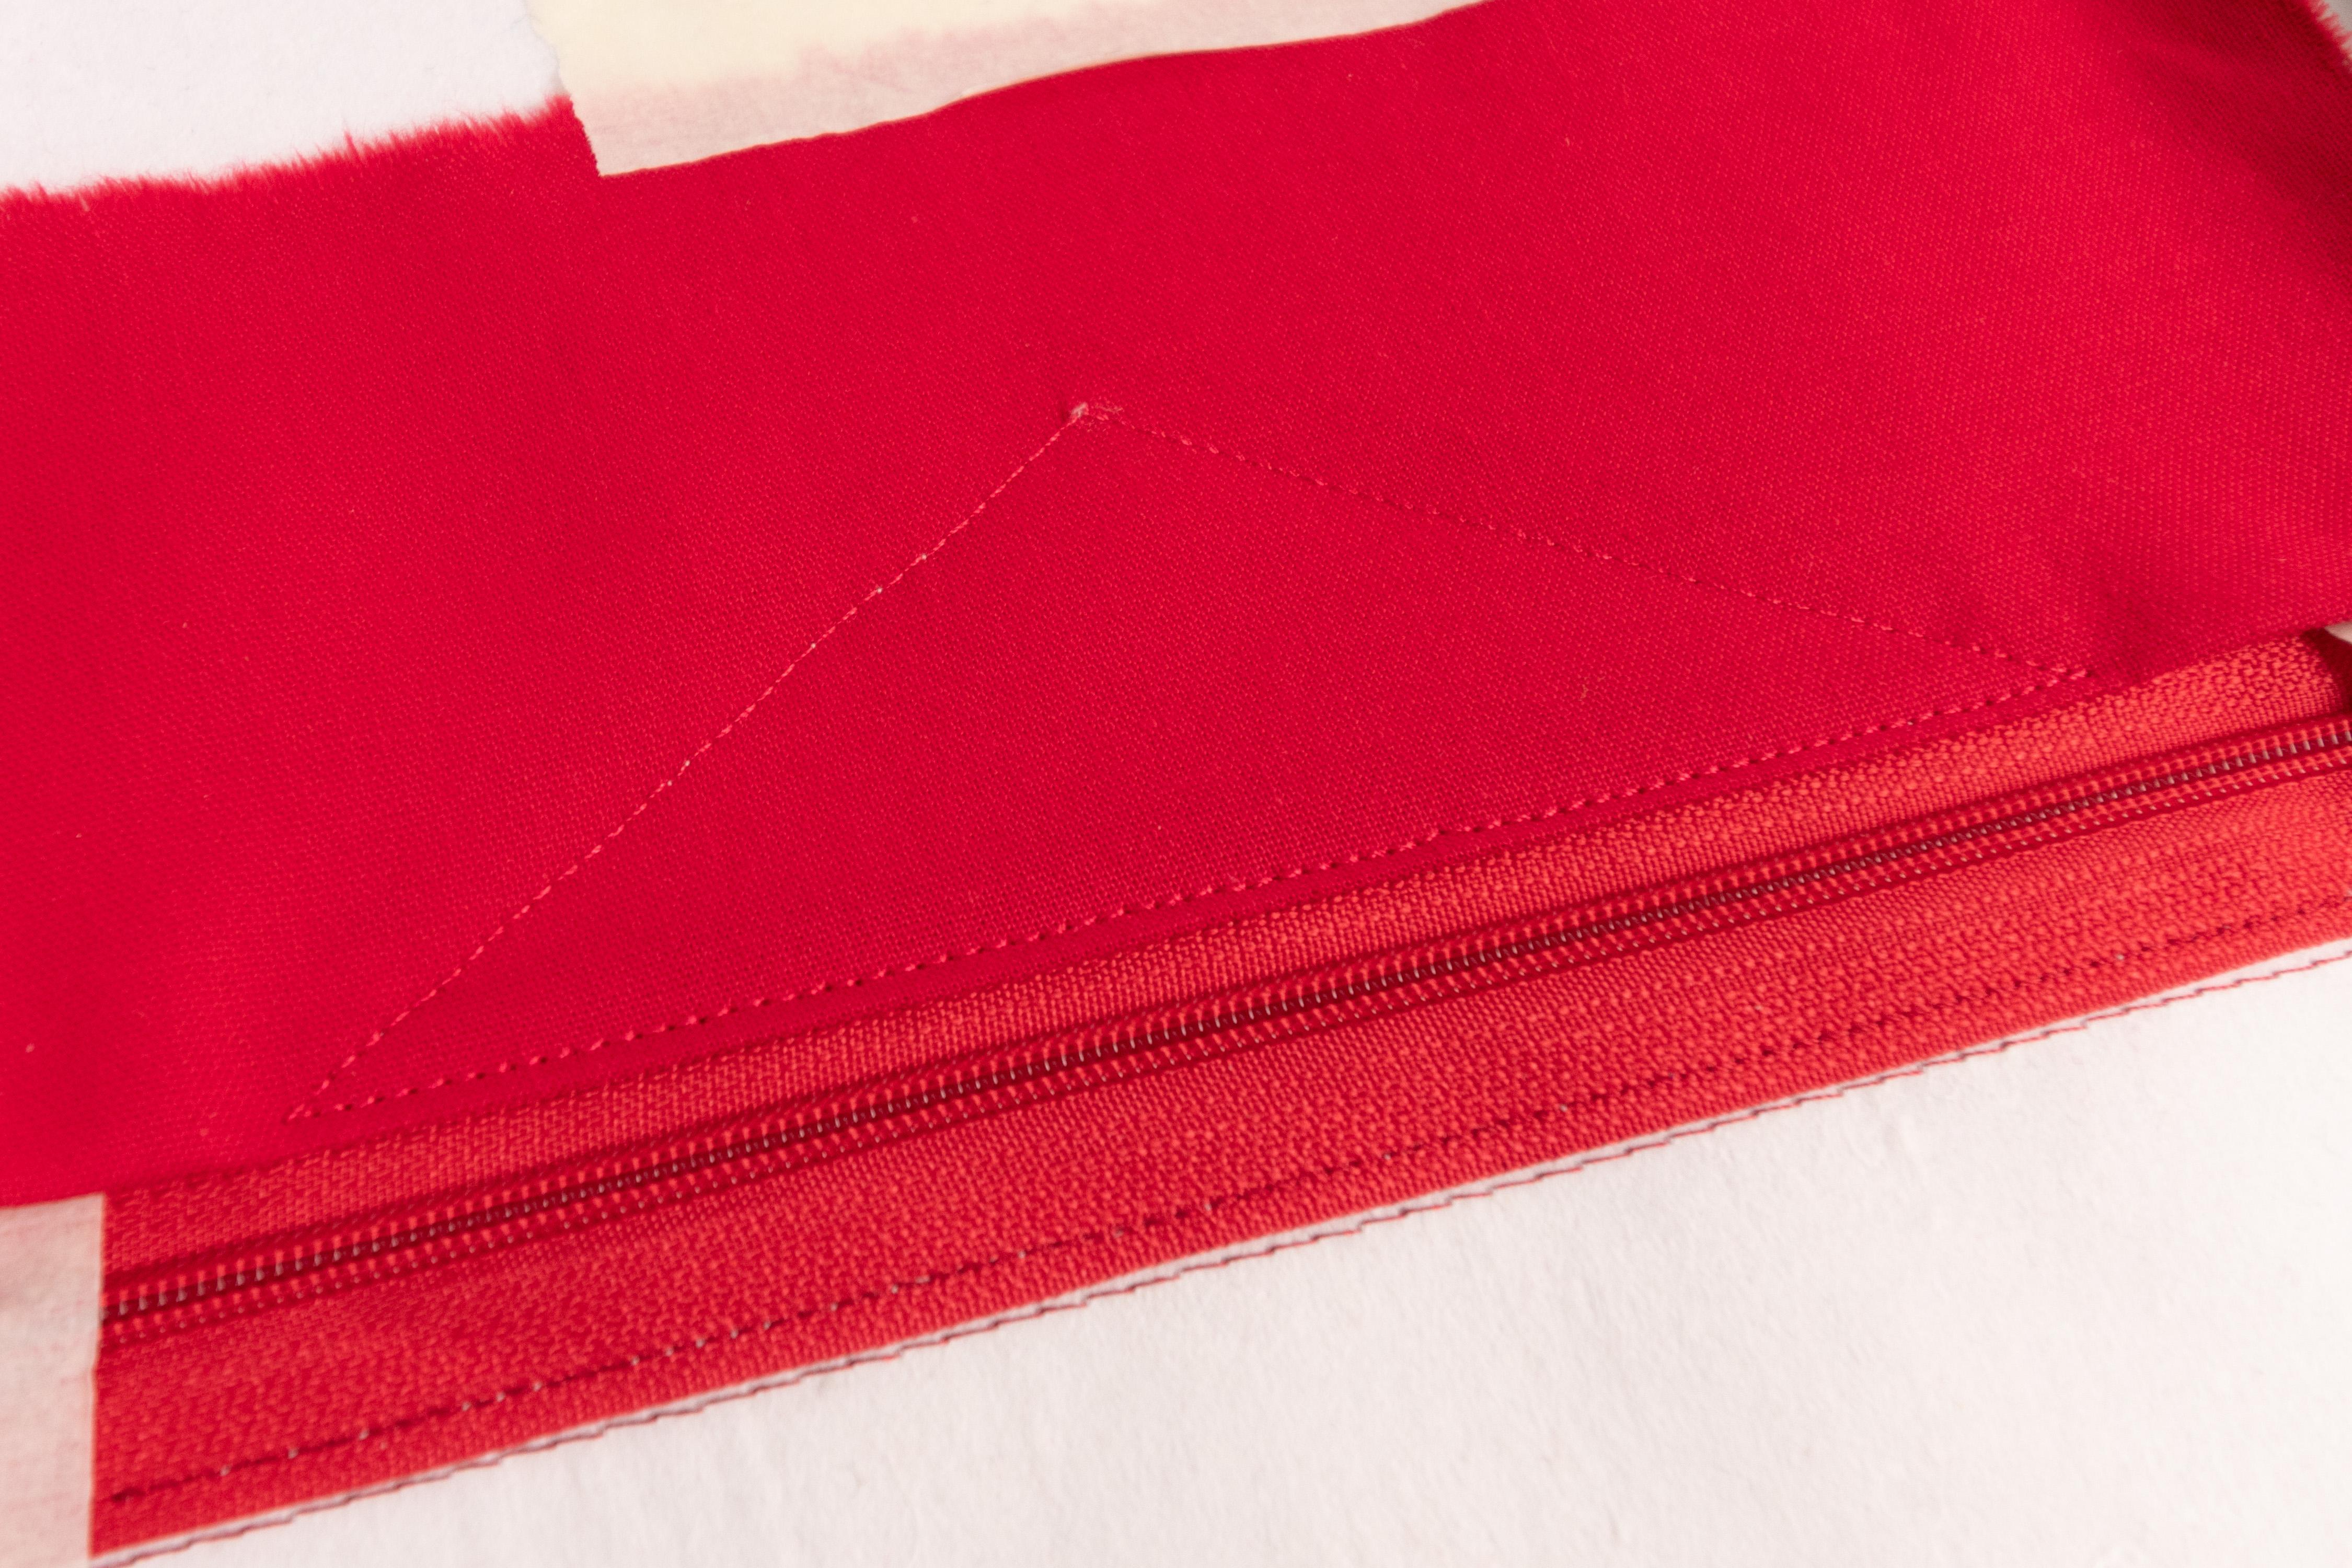
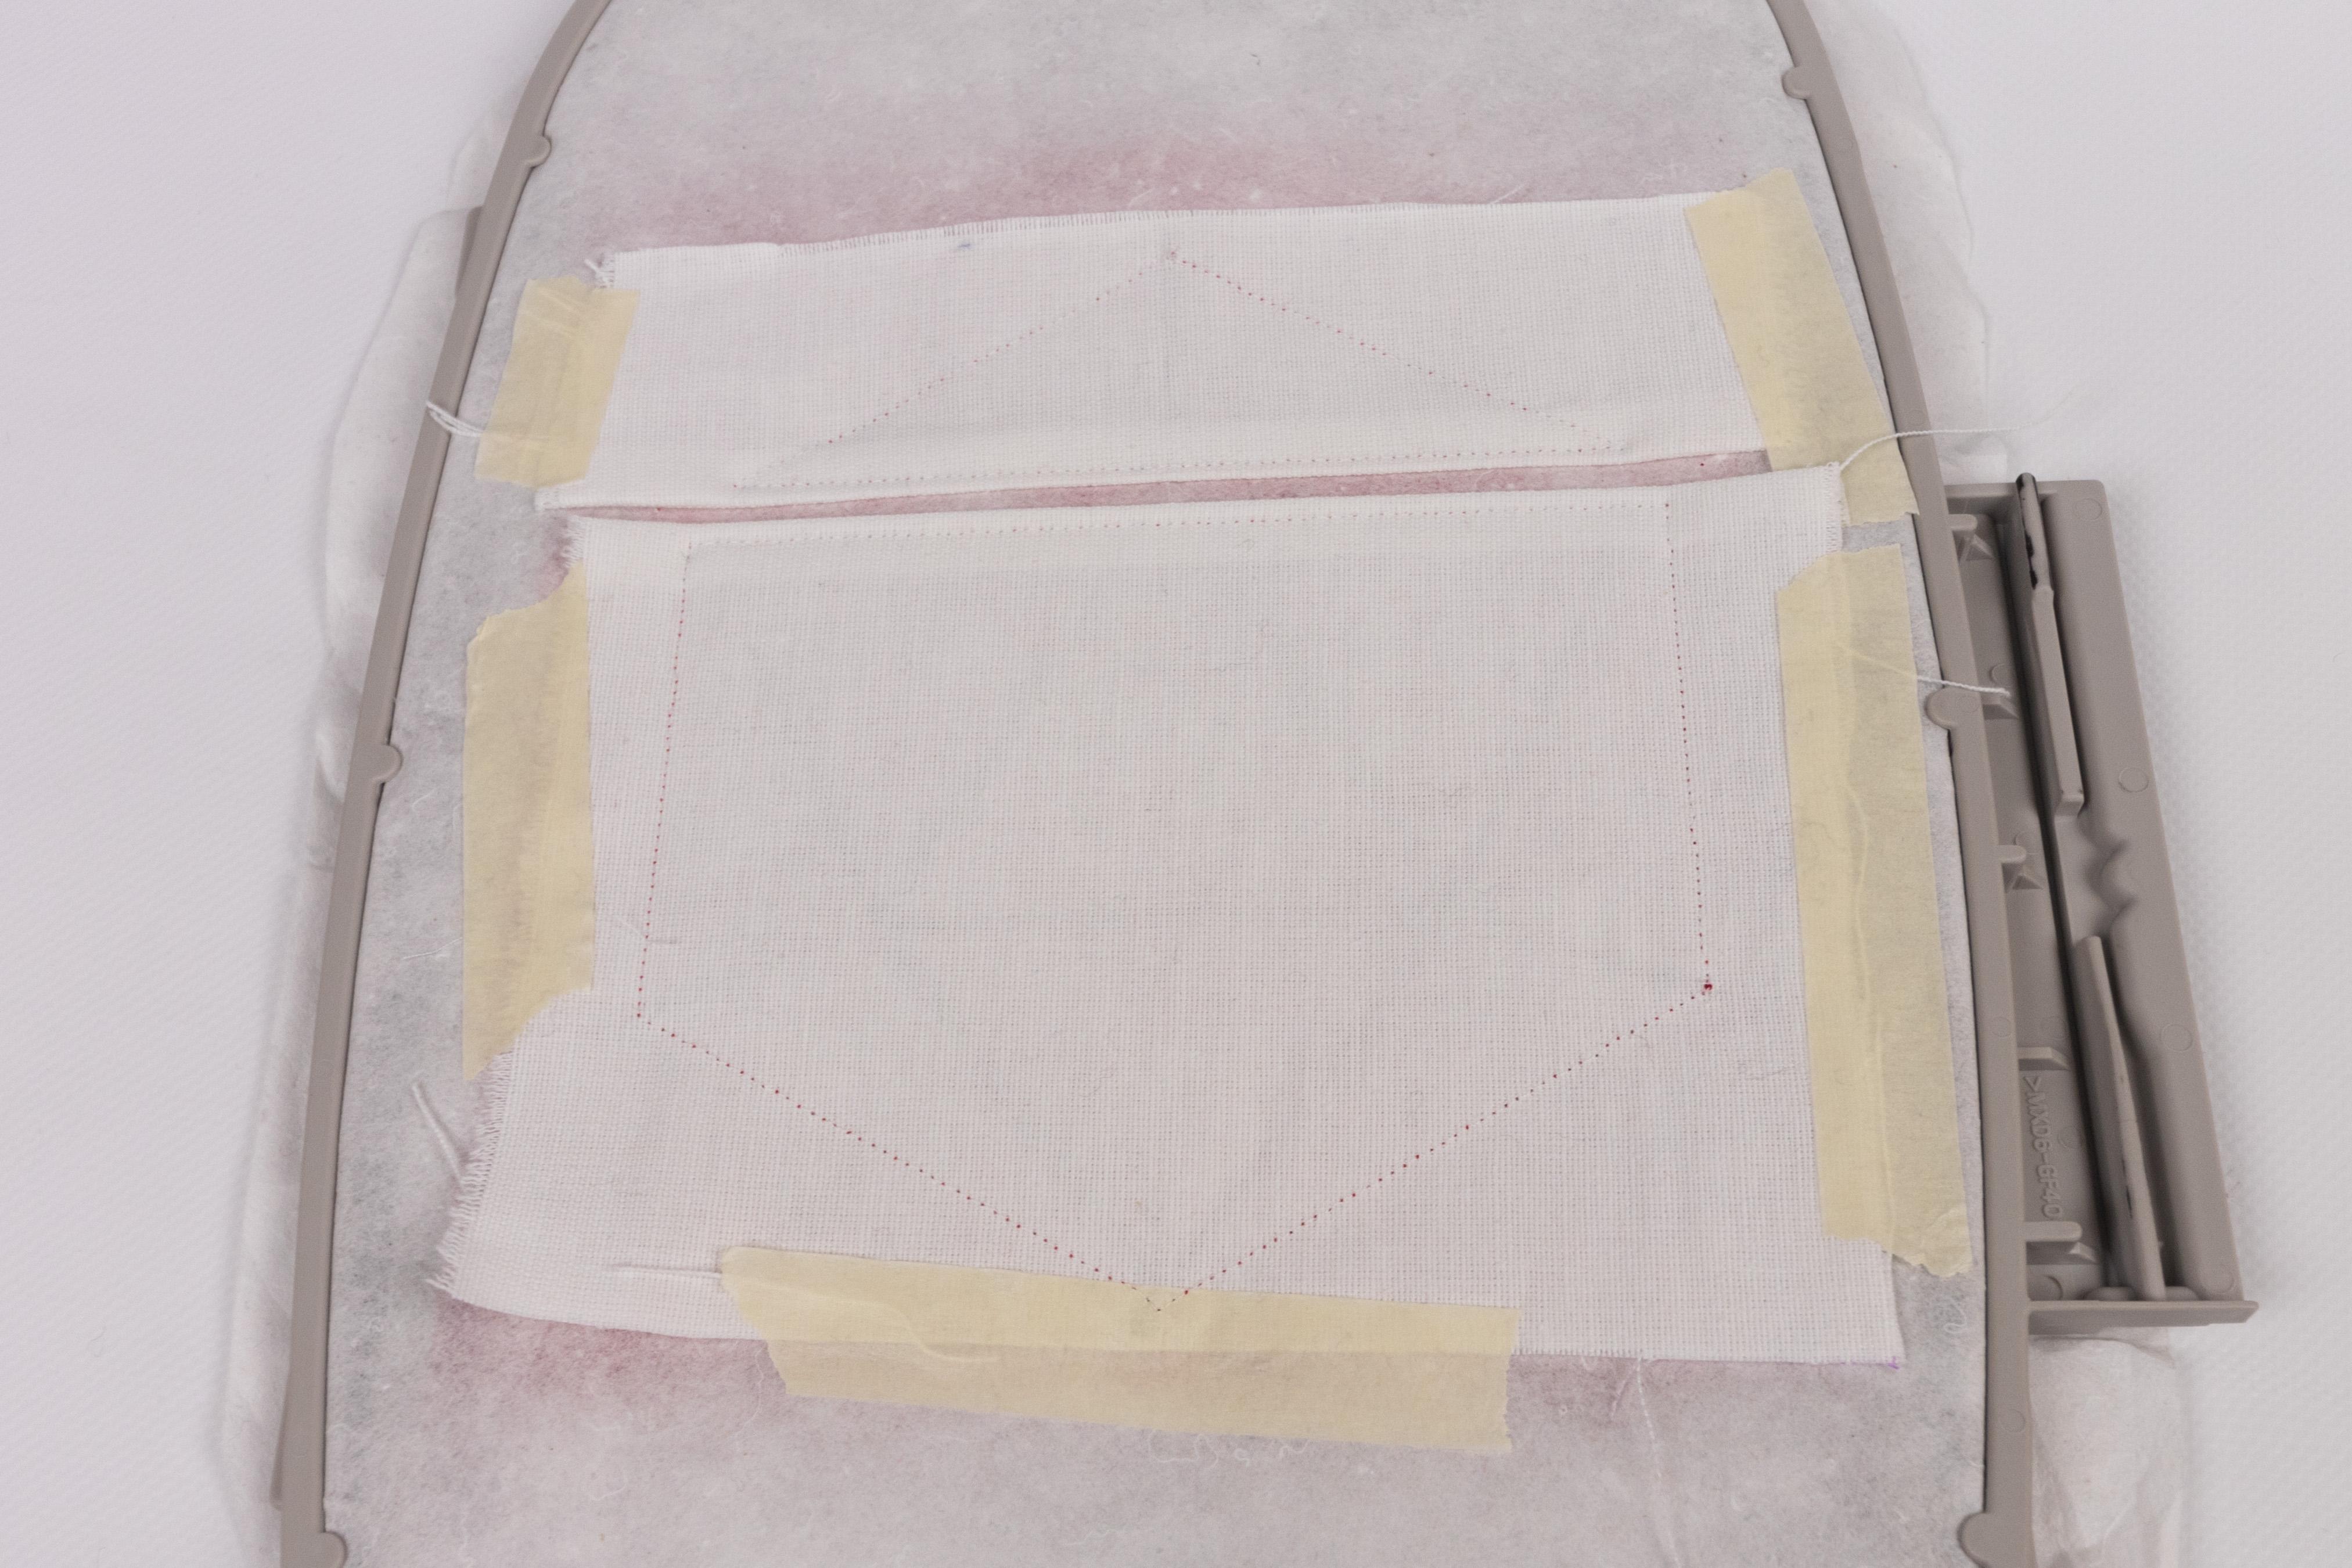
Now, we are going to attach the second piece. it has to be about 18 cm x 14 cm.
Place the piece onto the zipper, as shown in the first picture. Once again, the piece is going to be folded over later on, so the pattern side has to lie face down onto your stabilizer.
Run the next stitch. After it is done, fold the fabric over the stitch and tape it in place, as shown in the second picture. Once again, the next stitch is going to hold it in place. Parts of the stitch will be visible later, so pick a yarn color that blends into your fabric.
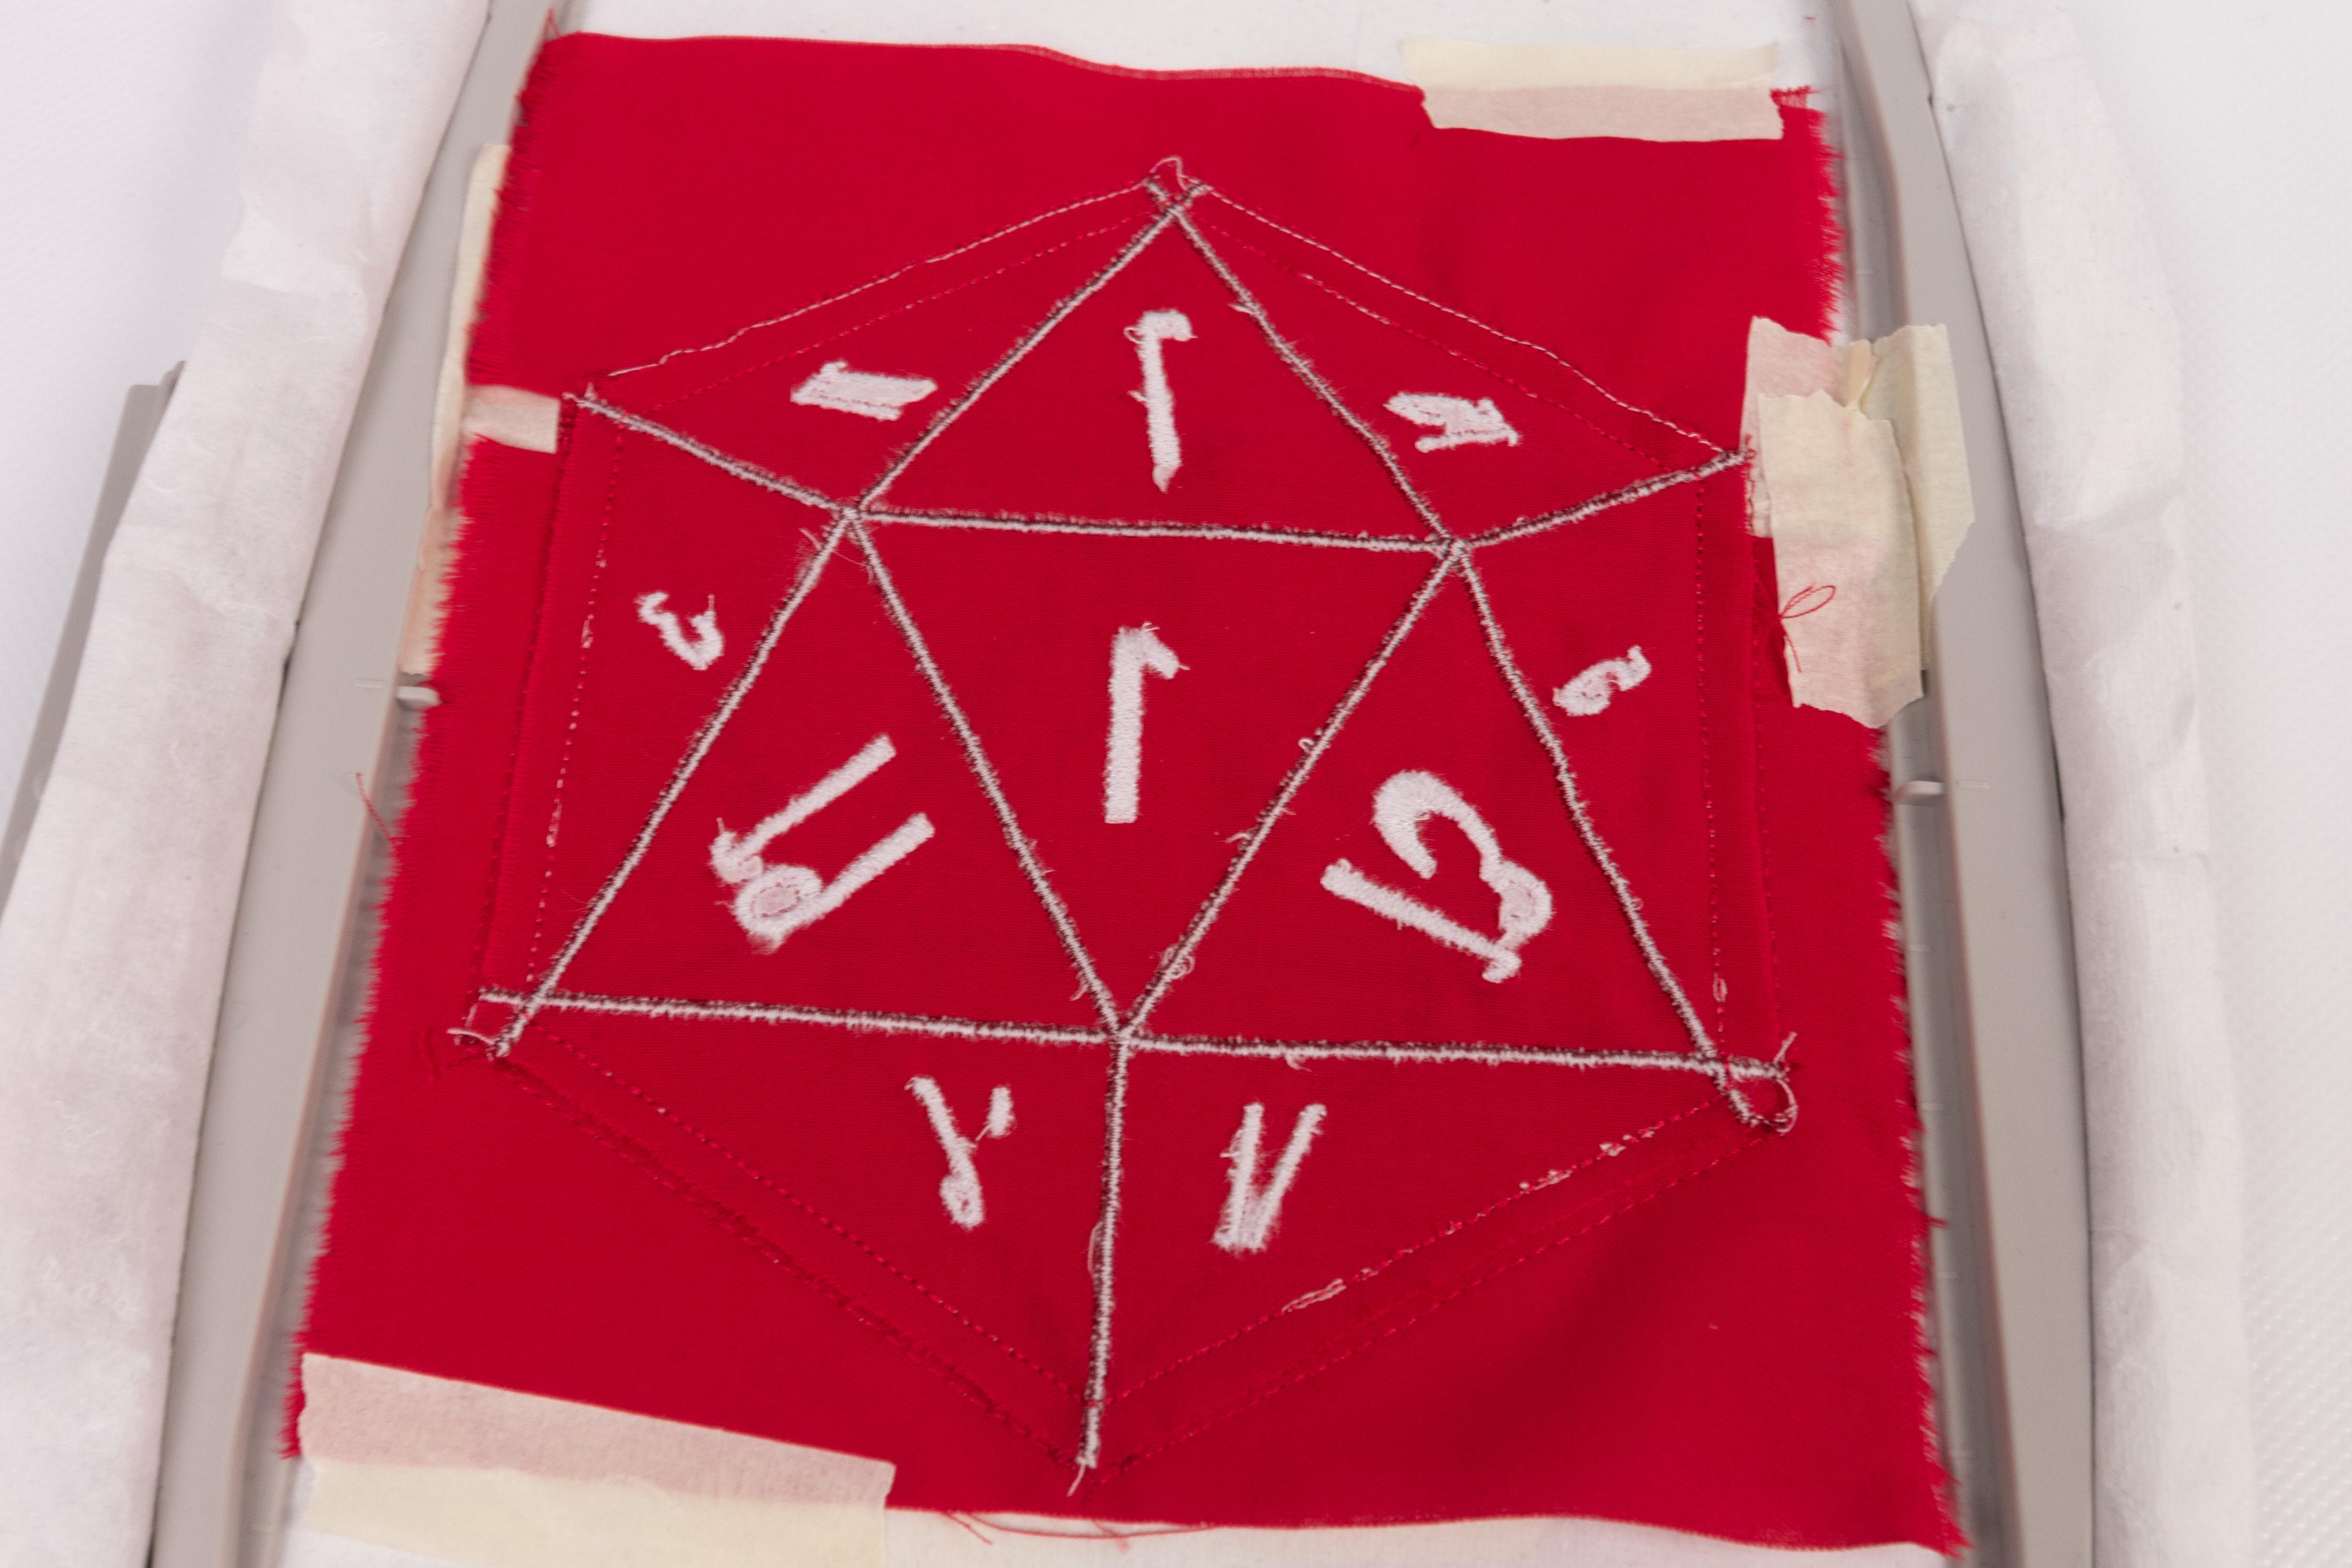
Lines and Numbers
The next two stitches are going to add the lines and the numbers.
Covering the Stitches

Next, we are going to cover the stitches. Turn the hoop over and attach an 18 cm x 6 cm piece of fabric to the back with tape, as shown in the first picture. It has to be aligned with the top of the zipper.
Once again, the piece is going to be folded over later on, so the pattern side has to lie face down onto your stabilizer. Place the embroidery hoop back into your machine and run the next stitch. Once it is done, fold the fabric over the stitch and tape it in place, as shown in the second picture. The next stitch is again going to hold it in place. Since parts of the stitch will be visible on the front of the pouch, you should pick a yarn color that blends into your fabric.
As before, we are going to attach the fabric underneath the zipper next. Tape an 18 cm x 14 cm piece to the back as shown in the third picture. Run the next stitch and once again fold the fabric down. The next stitch is going to hold it in place. Like with the last part, parts of the stitch will be visible on the front of the pouch, so pick a yarn color that blends into your fabric.
Finishing the Embroidery
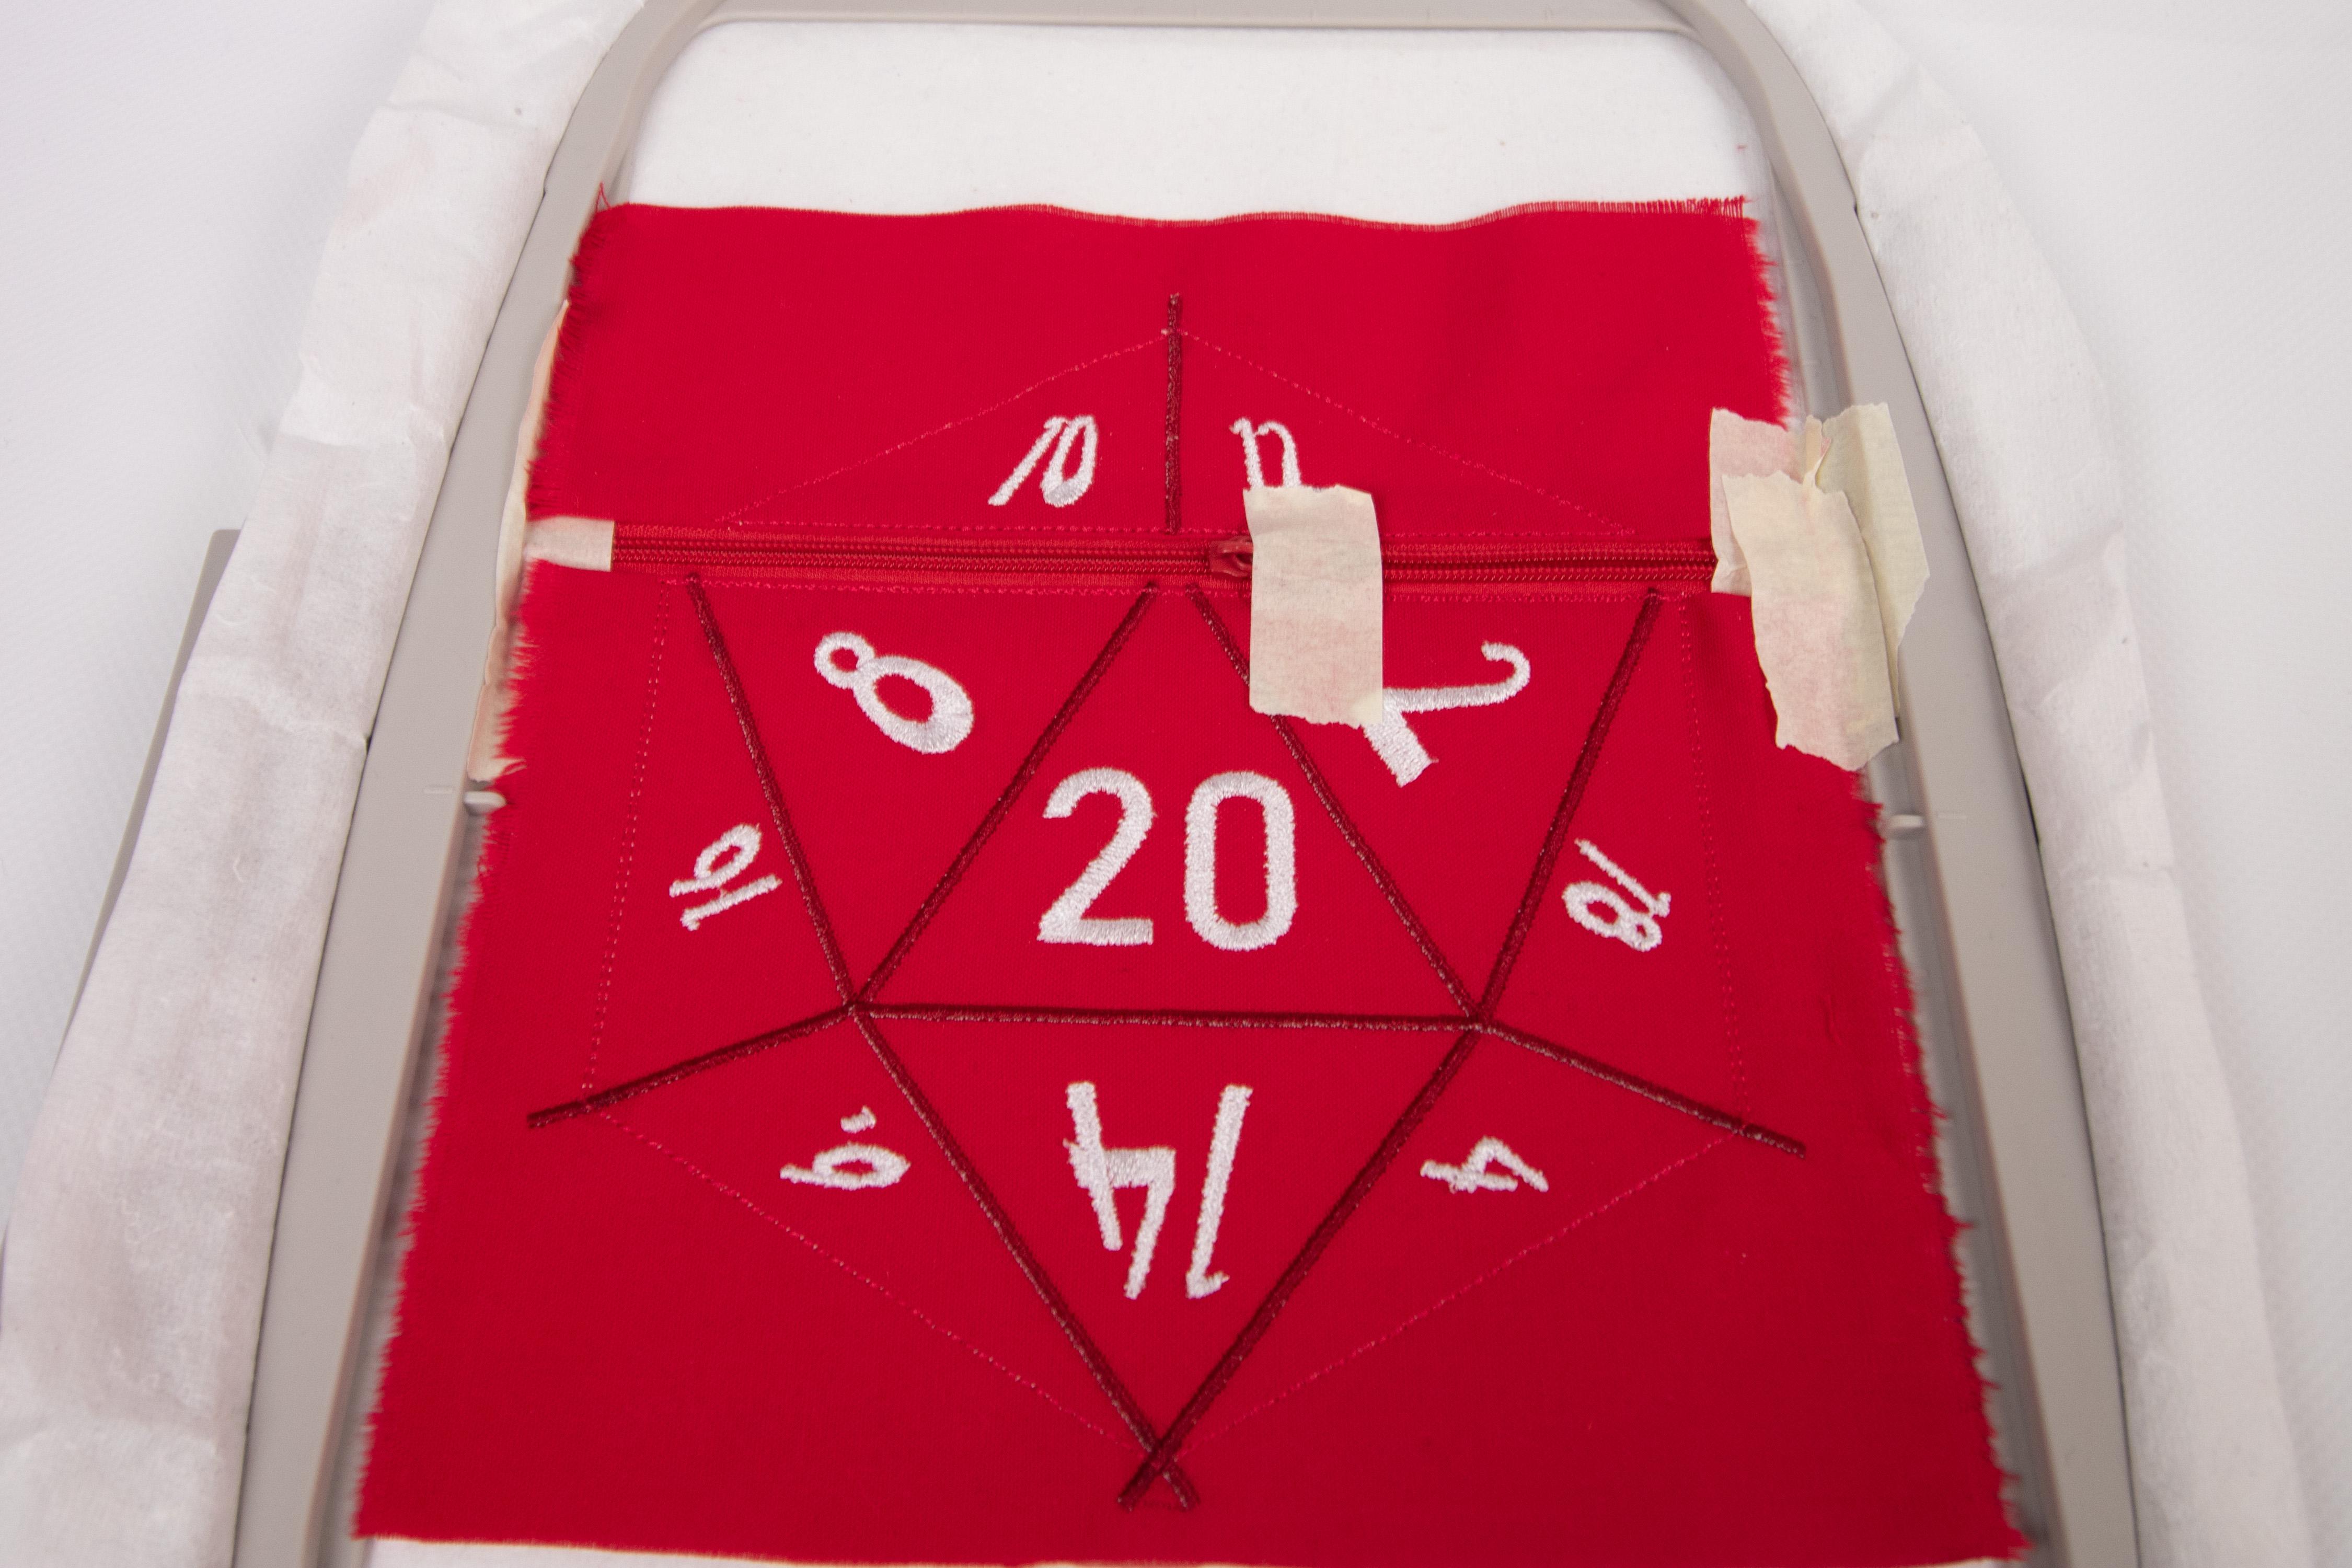
Now we are going to finish the embroidery. Start by moving the zipper to the middle and tape it in place.
The next stitch is once again a placement stitch. After running it, place the back fabric we embroidered before with the wrong side up onto your embroidery and run the next stitch to hold it in place.
All that is left to do, is to tape another piece of your secondary fabric (20 cm x 18 cm) to the back and run the last stitch to hold it in place.
Finalizing

Unhoop your bag and cut off the excess fabric, as shown in the first picture of this step.
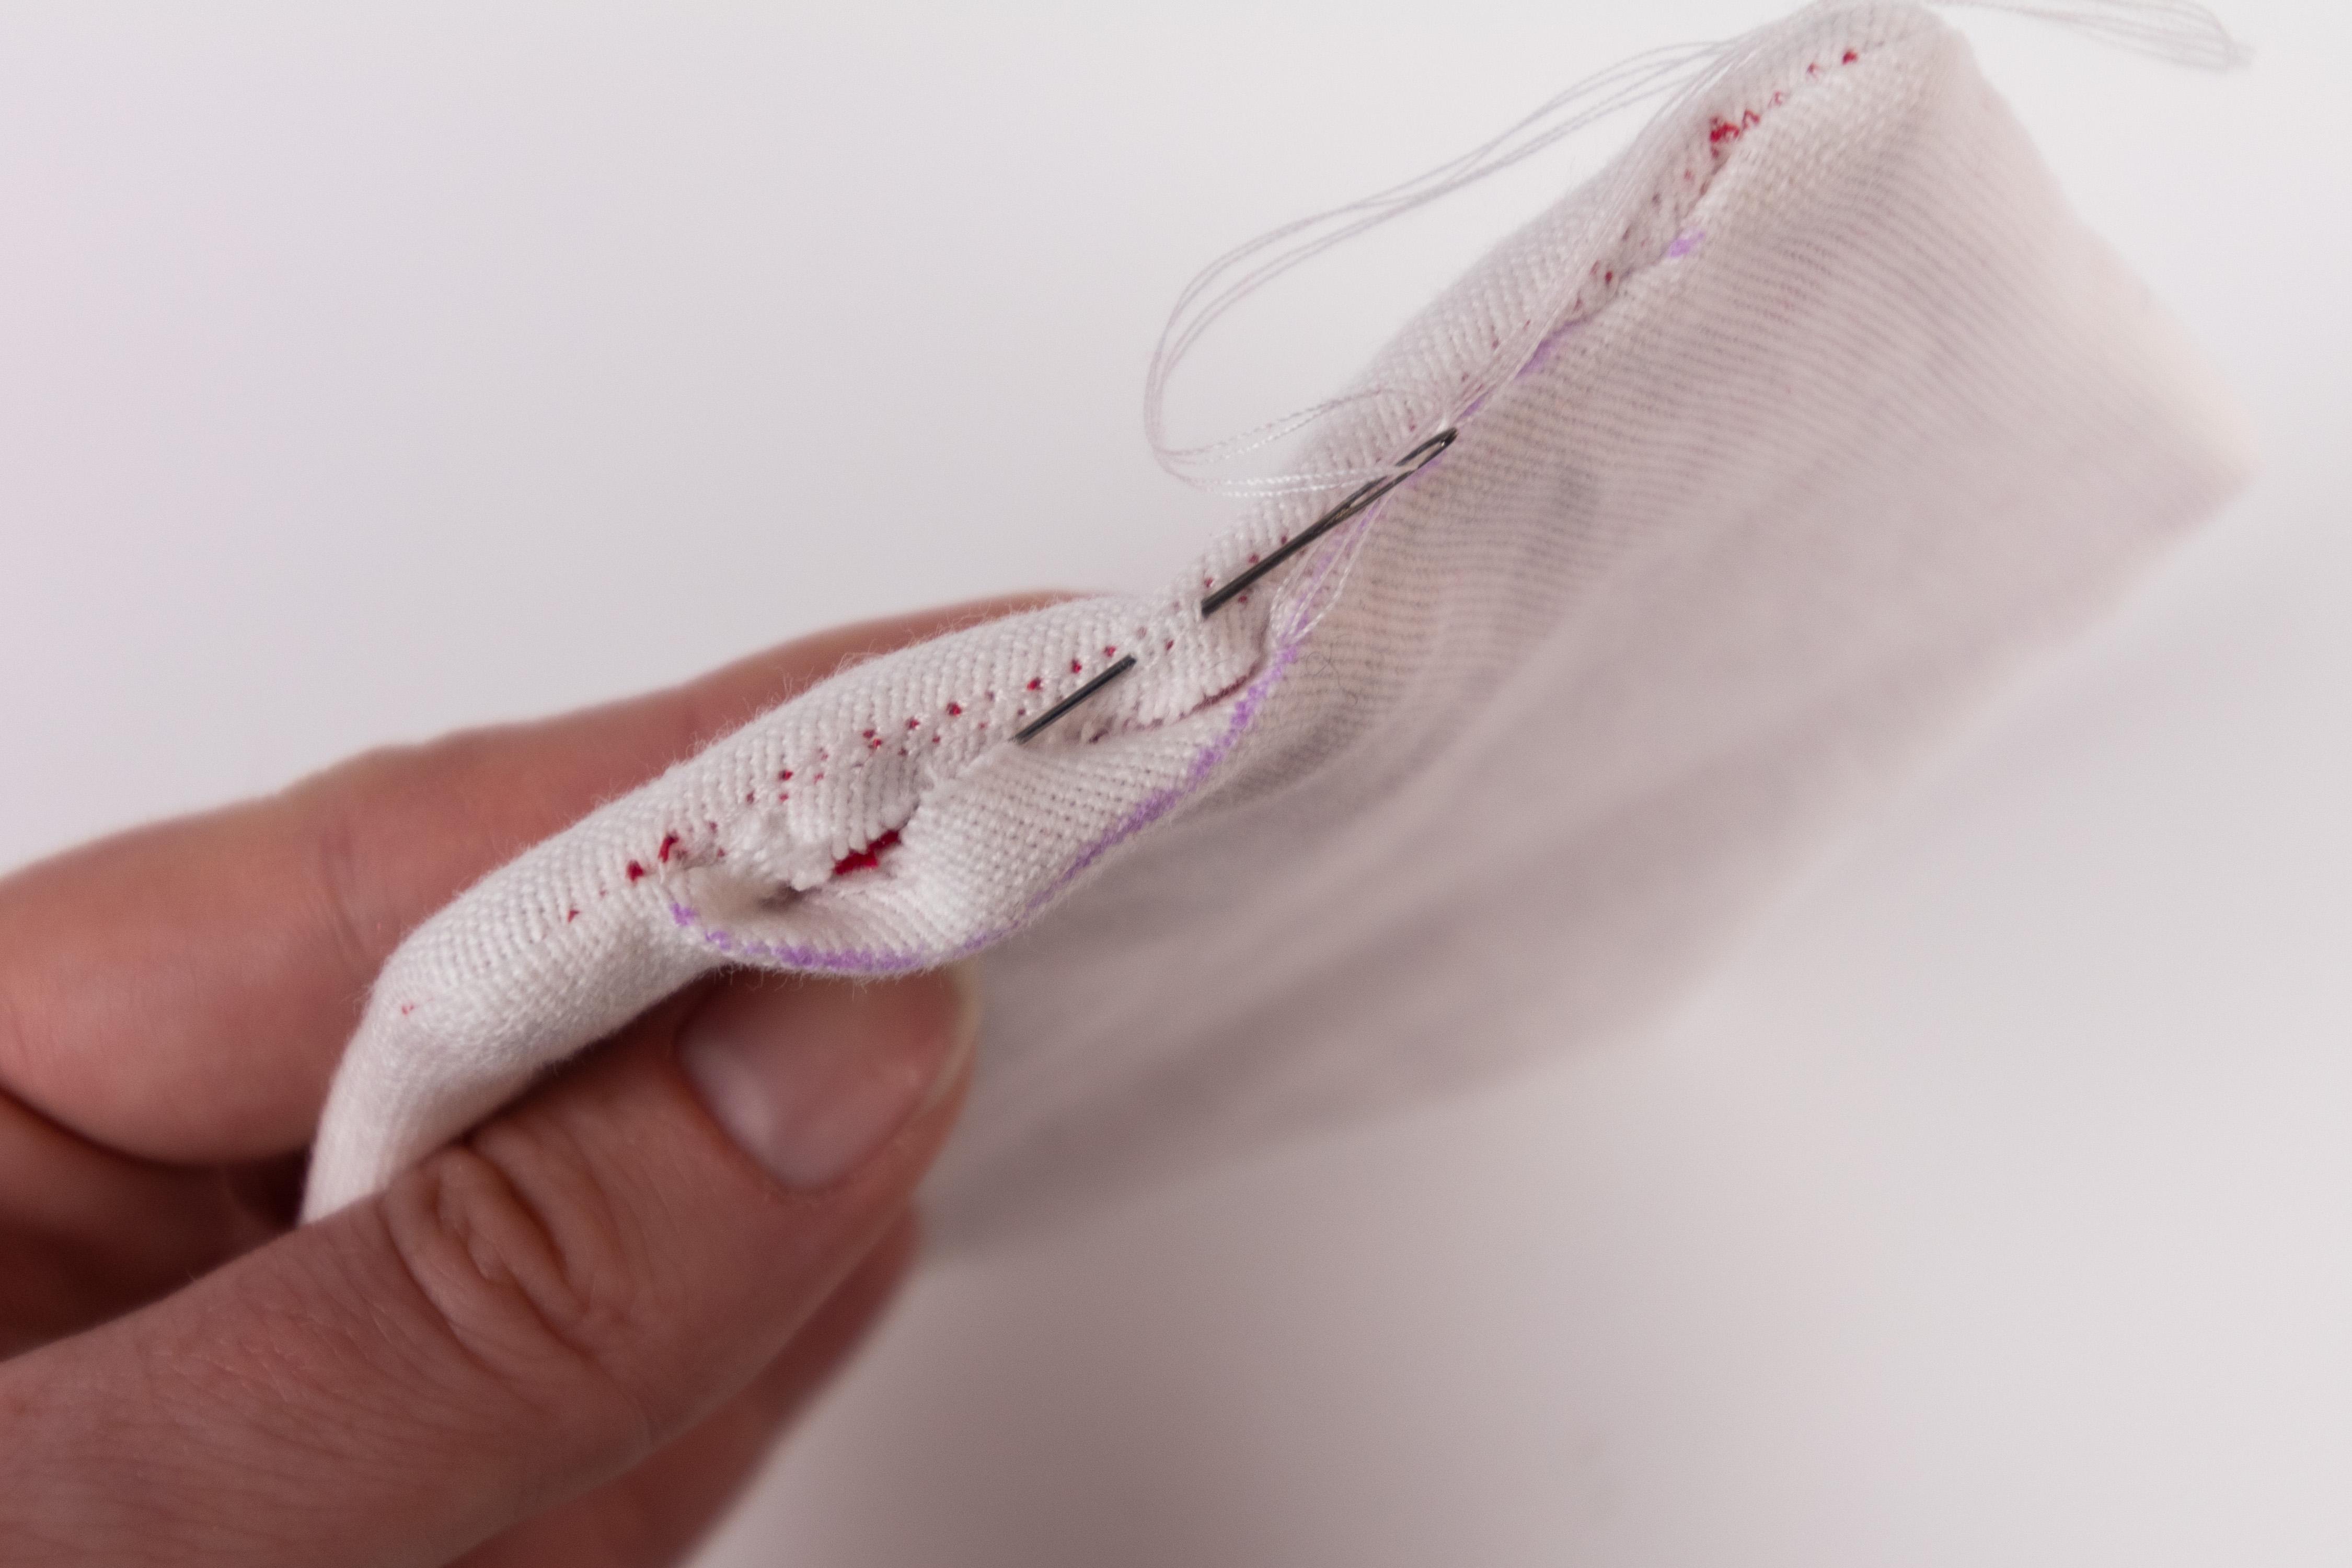
Next, pull the bag through the opening in the stitching. Remove the stabilizer from the zipper and use a slip stitch to close the seam. As you can see in the second picture, there are no seams visible on the inside of the bag.
Finally, pull the bag through the zipper and you are done.