Cyborg Photo Manipulation With Photoshop Cs6
by sircaptaintigerotter in Design > Digital Graphics
5677 Views, 4 Favorites, 0 Comments
Cyborg Photo Manipulation With Photoshop Cs6
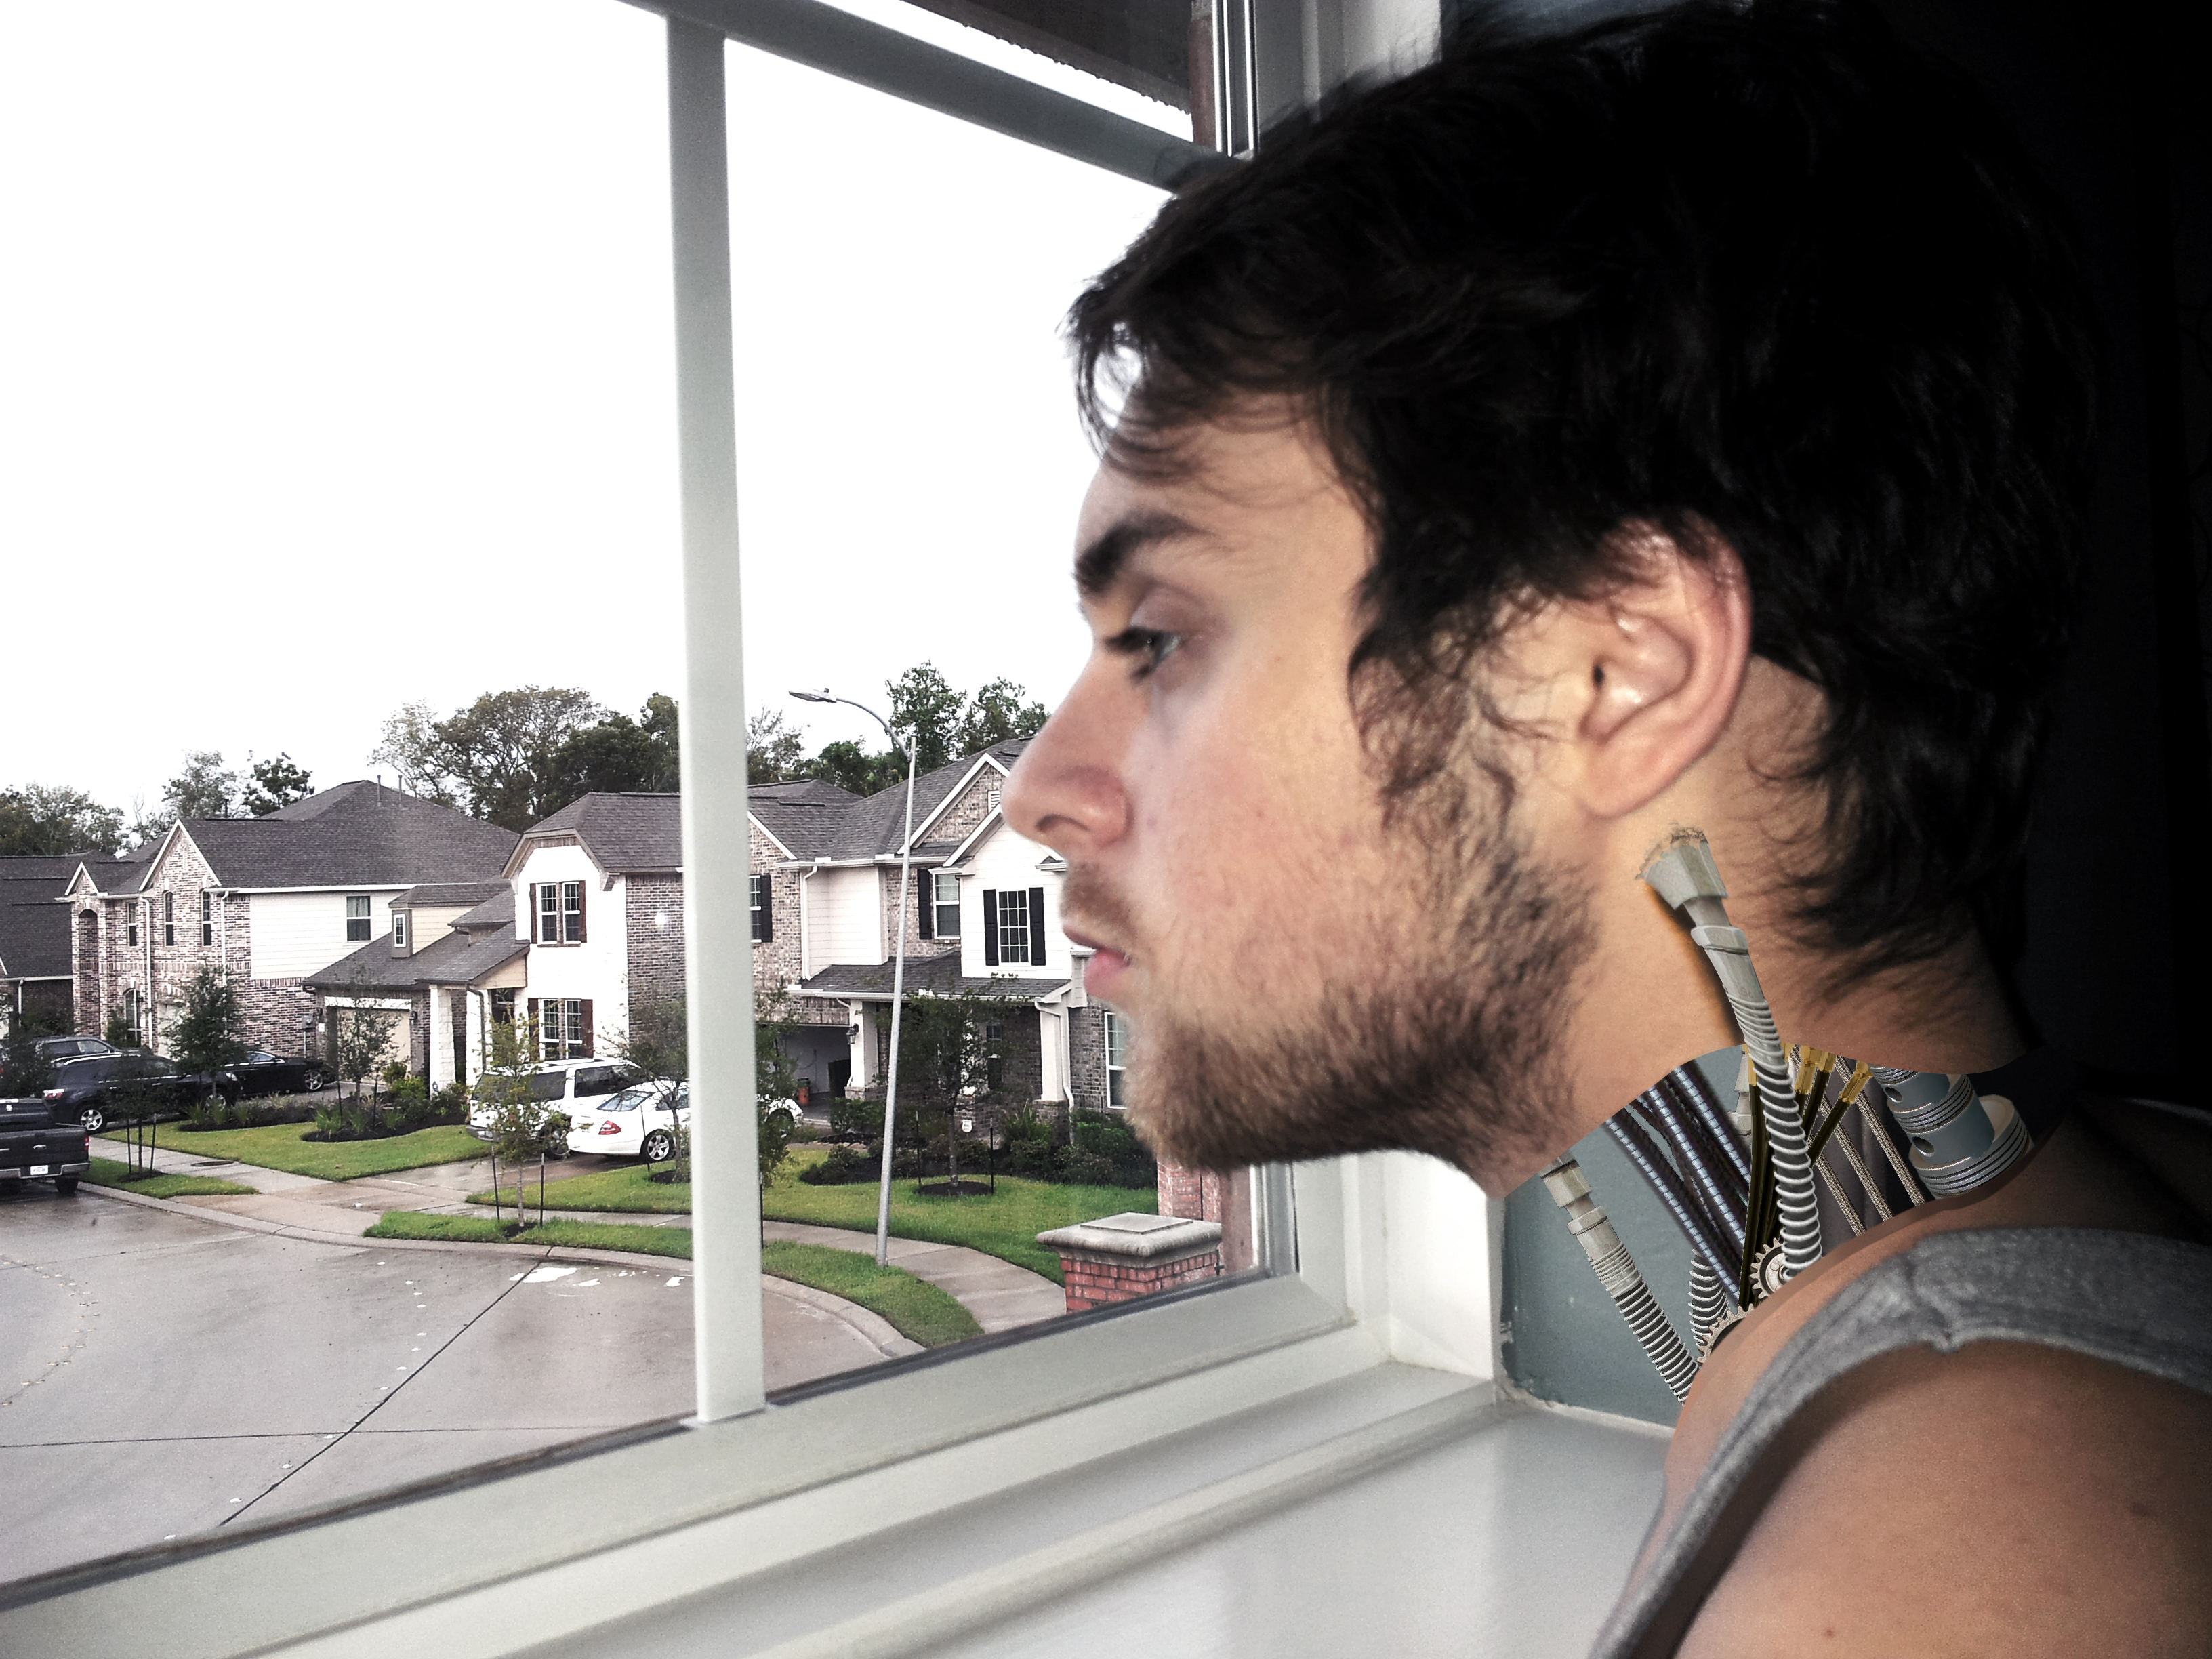
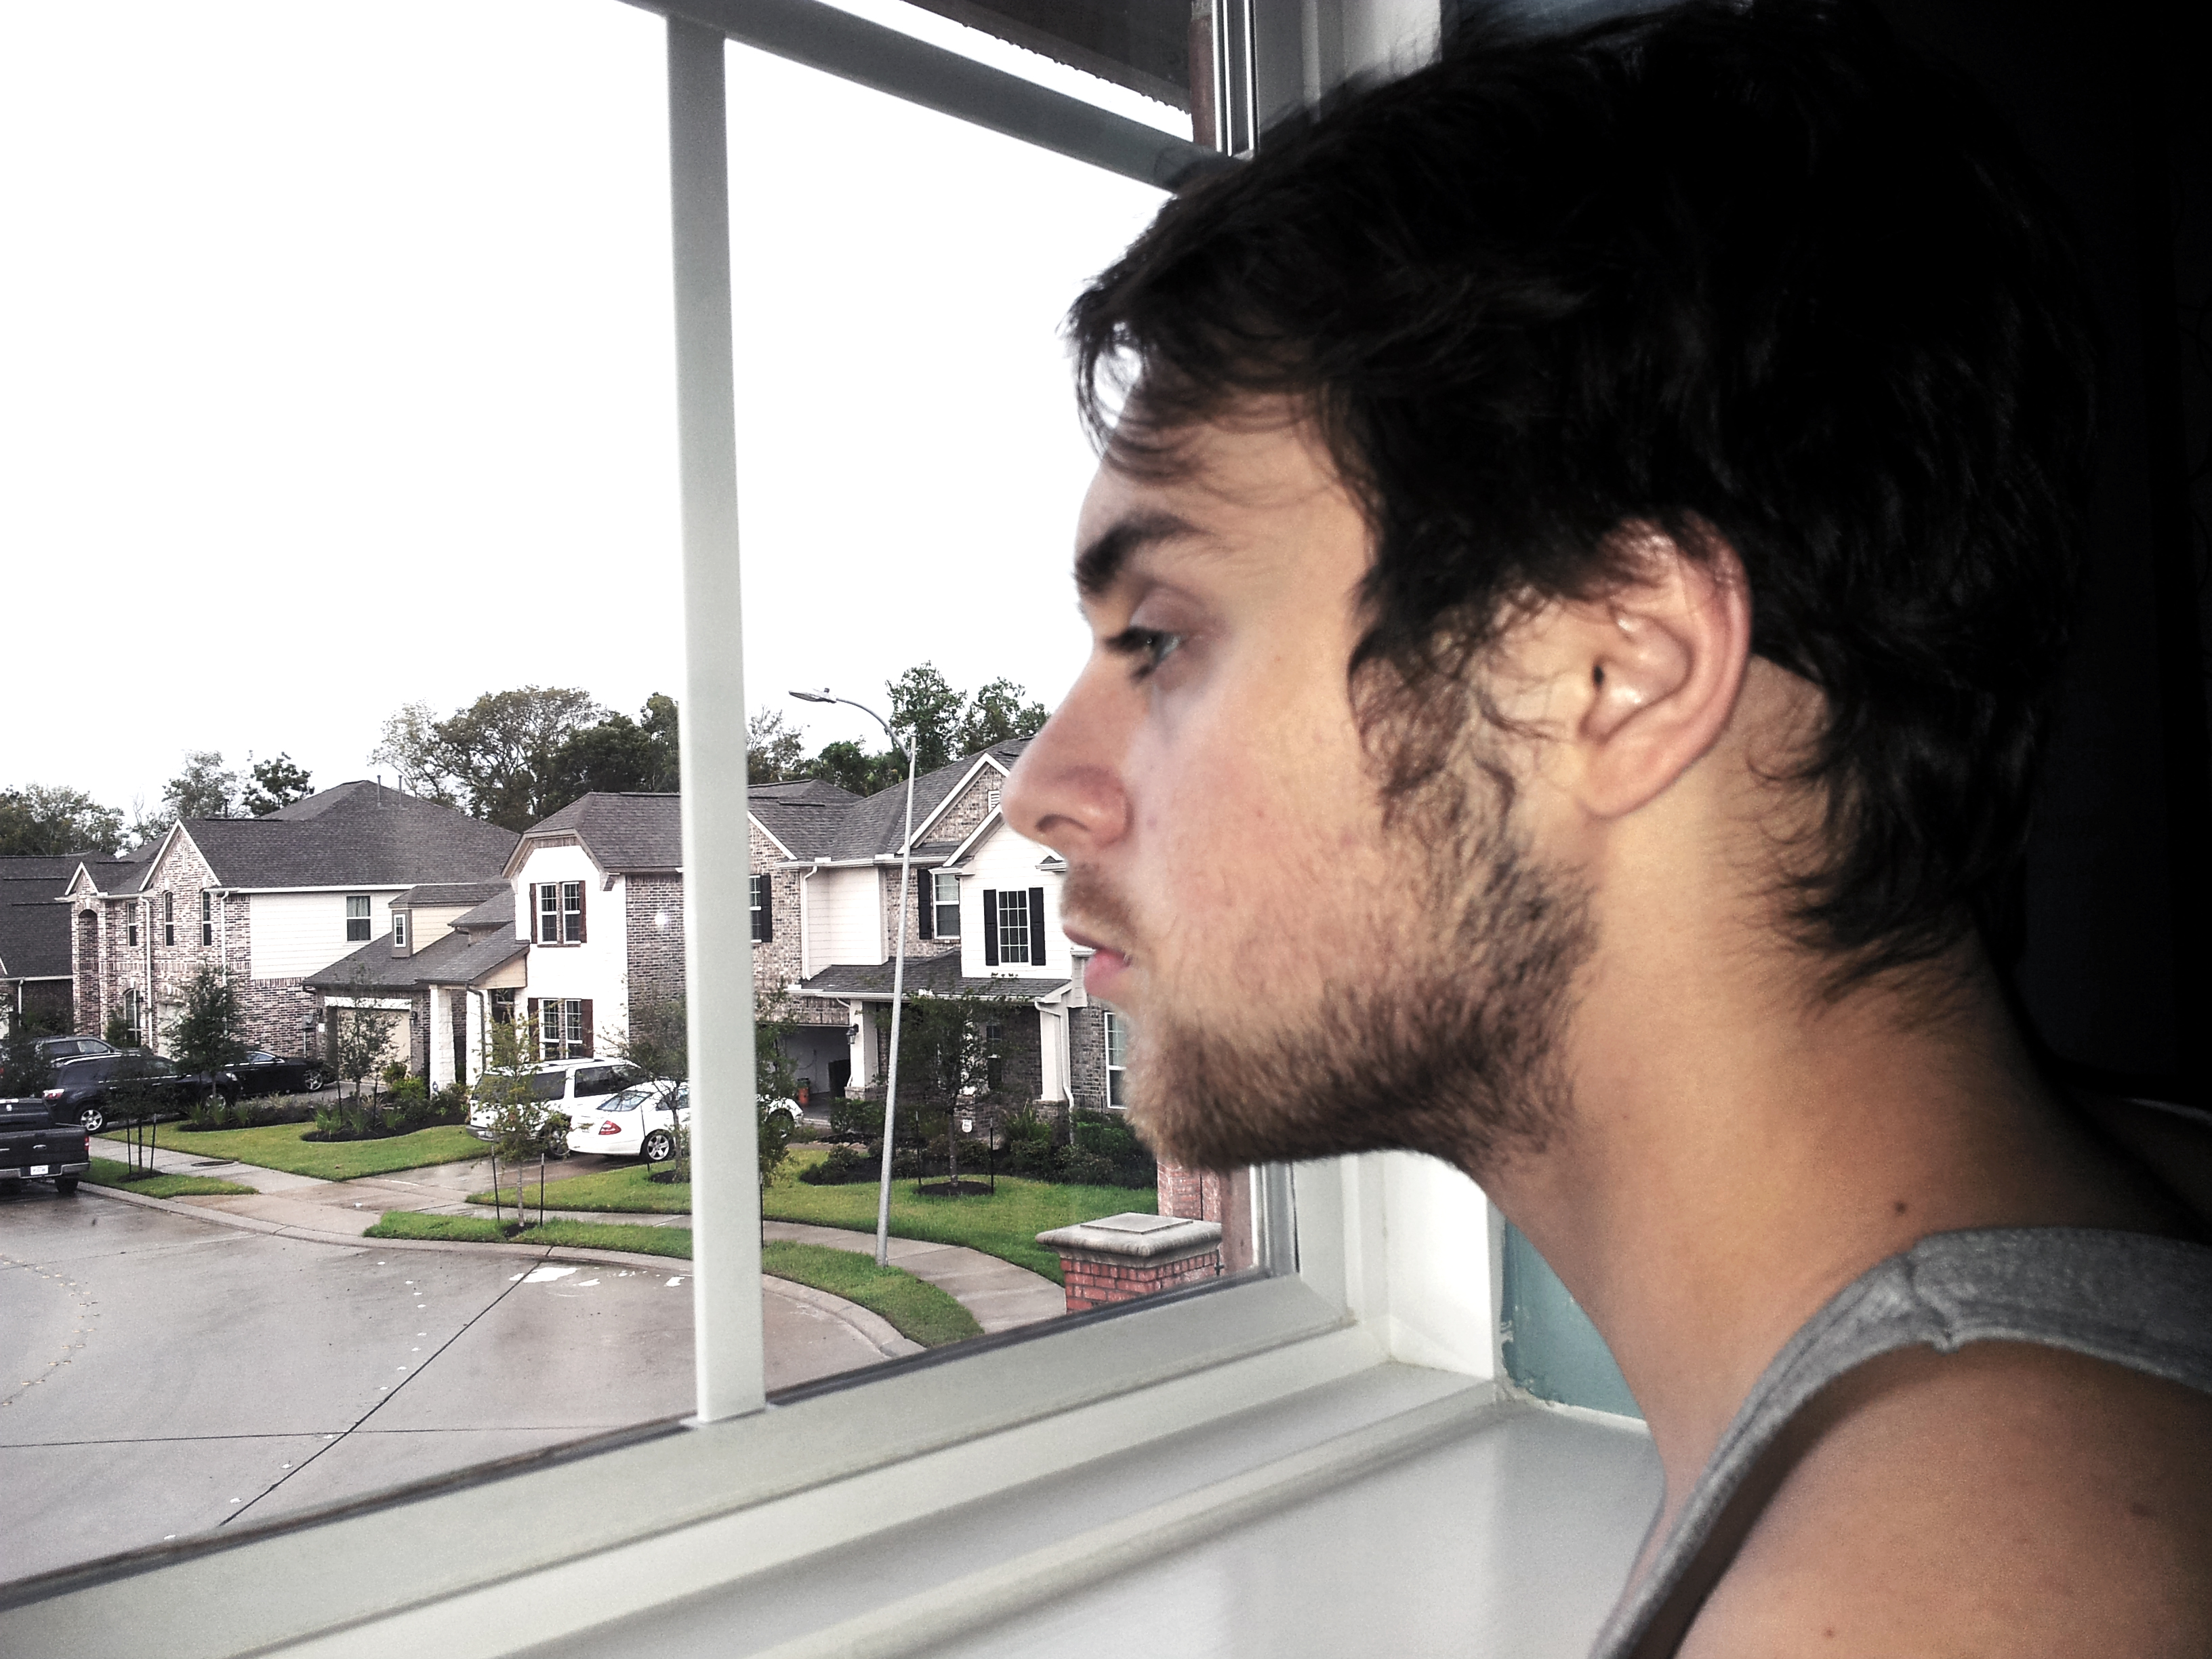
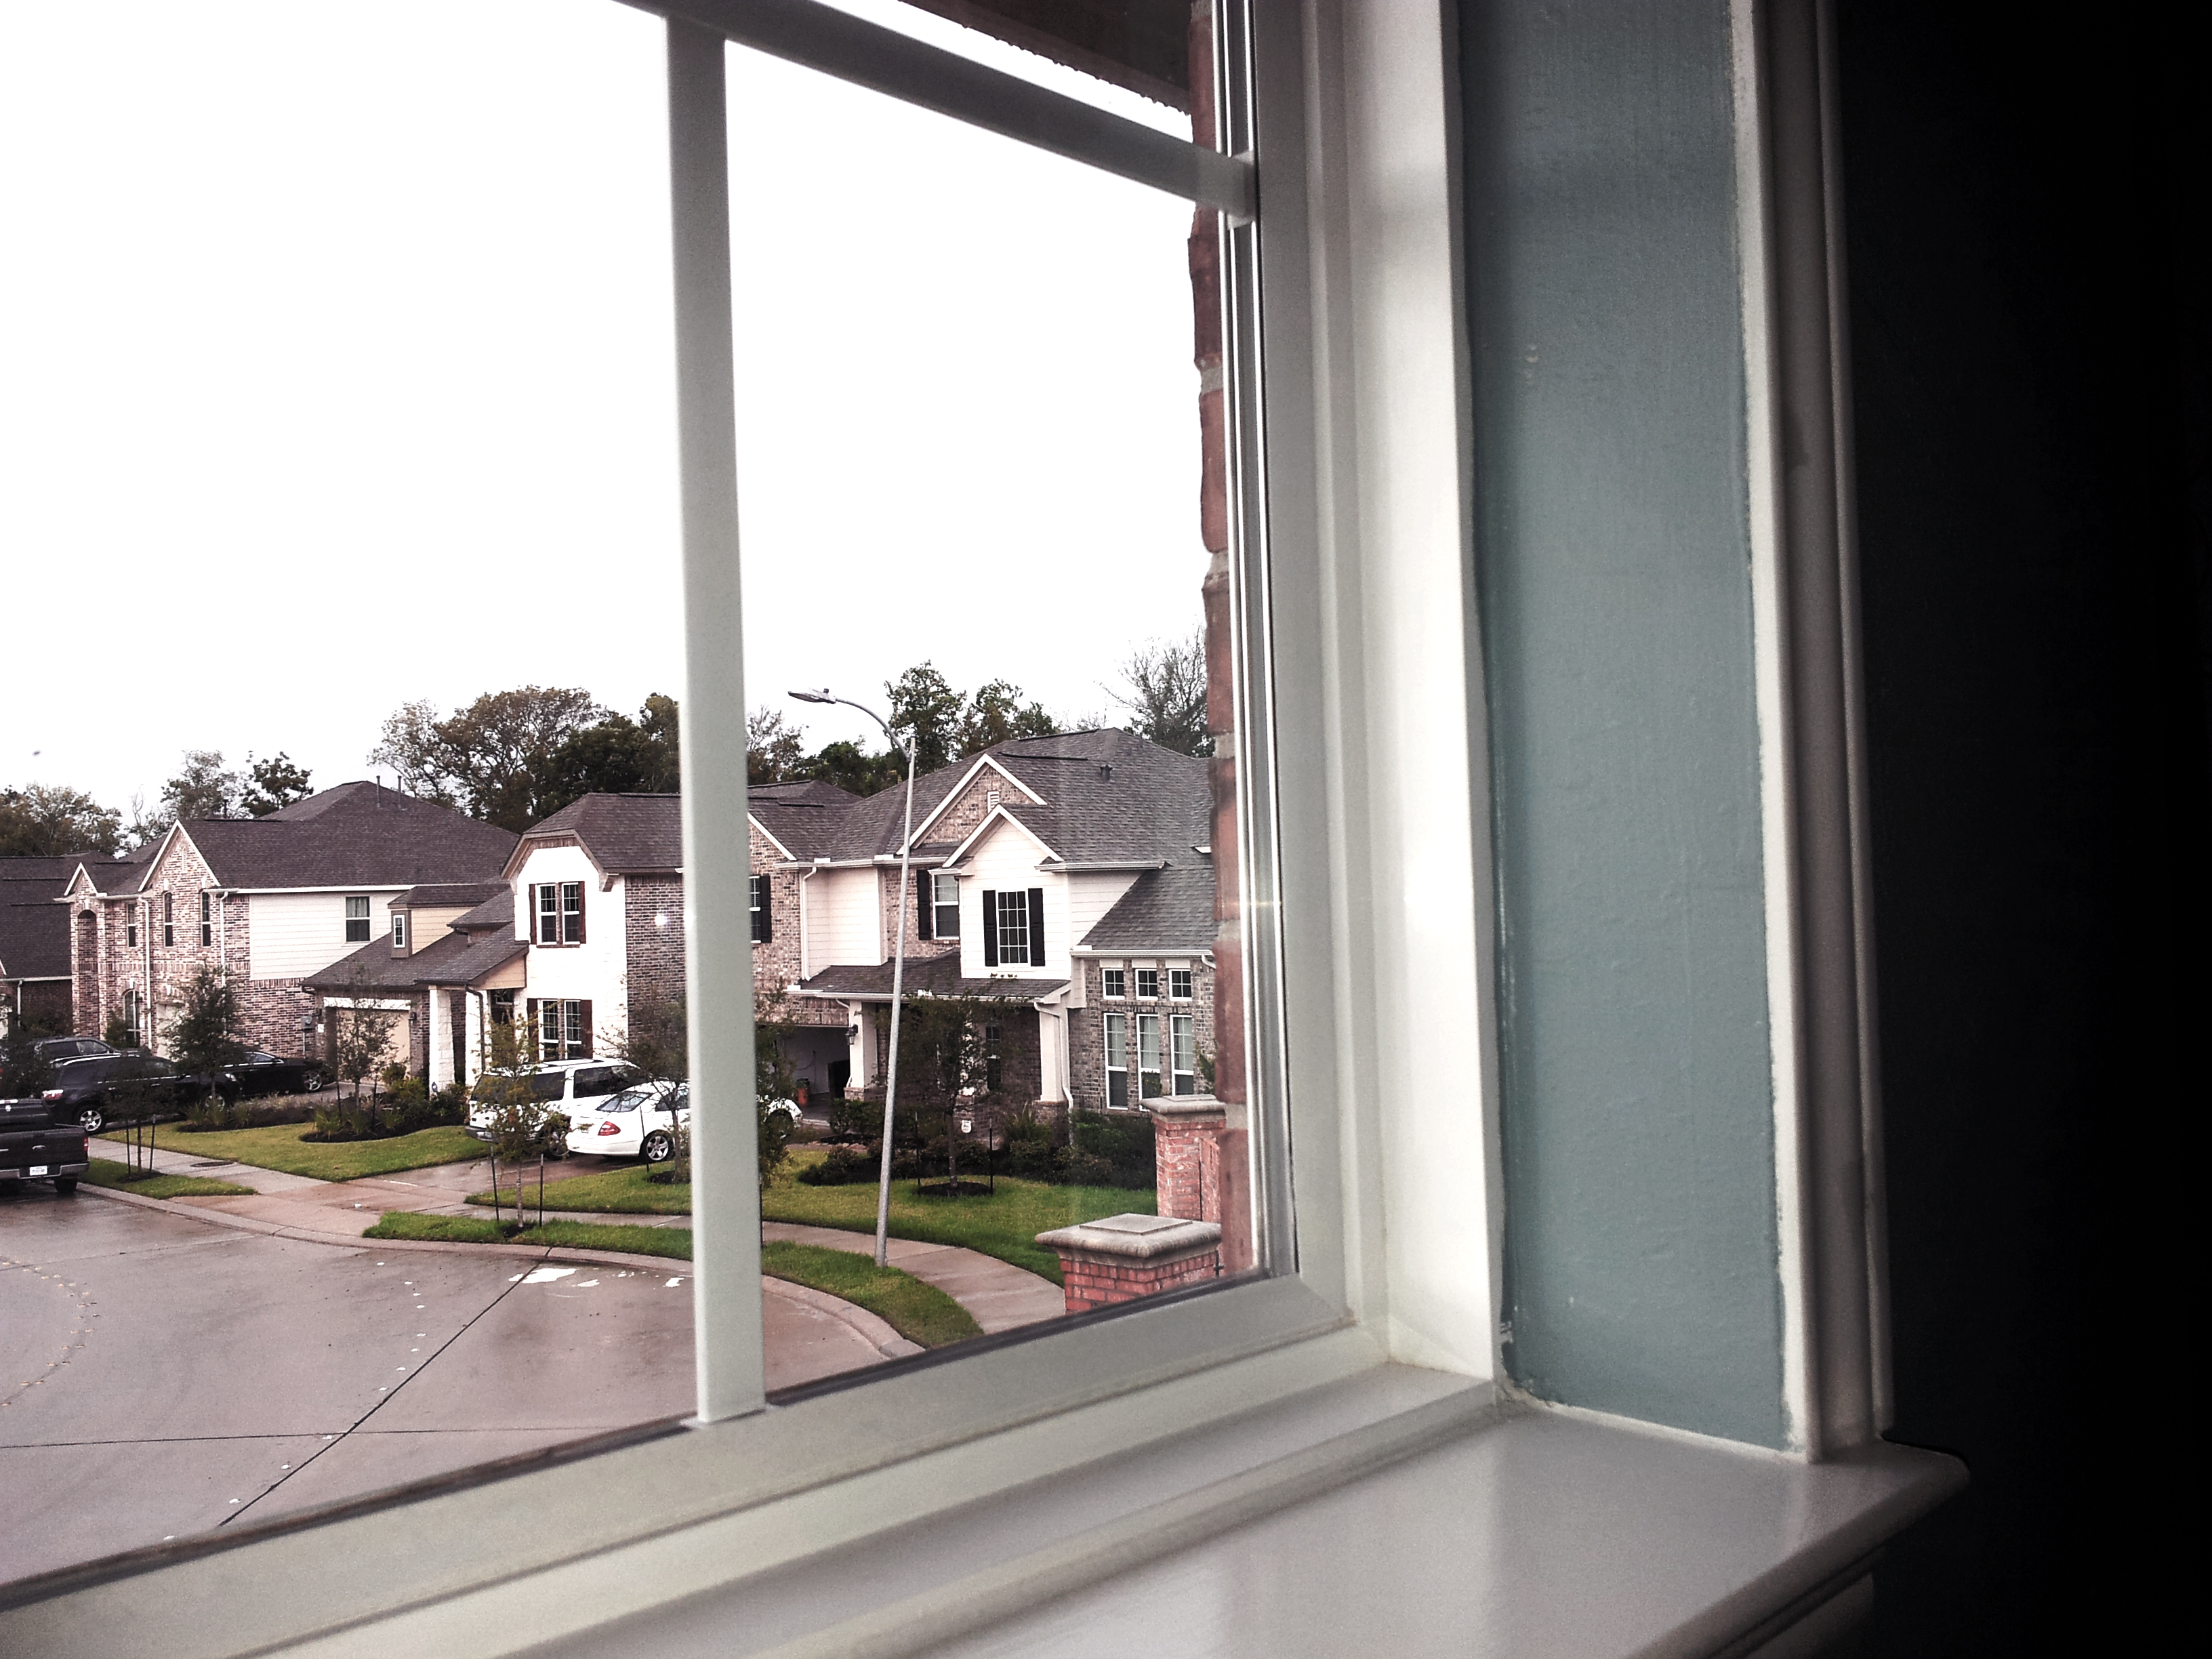
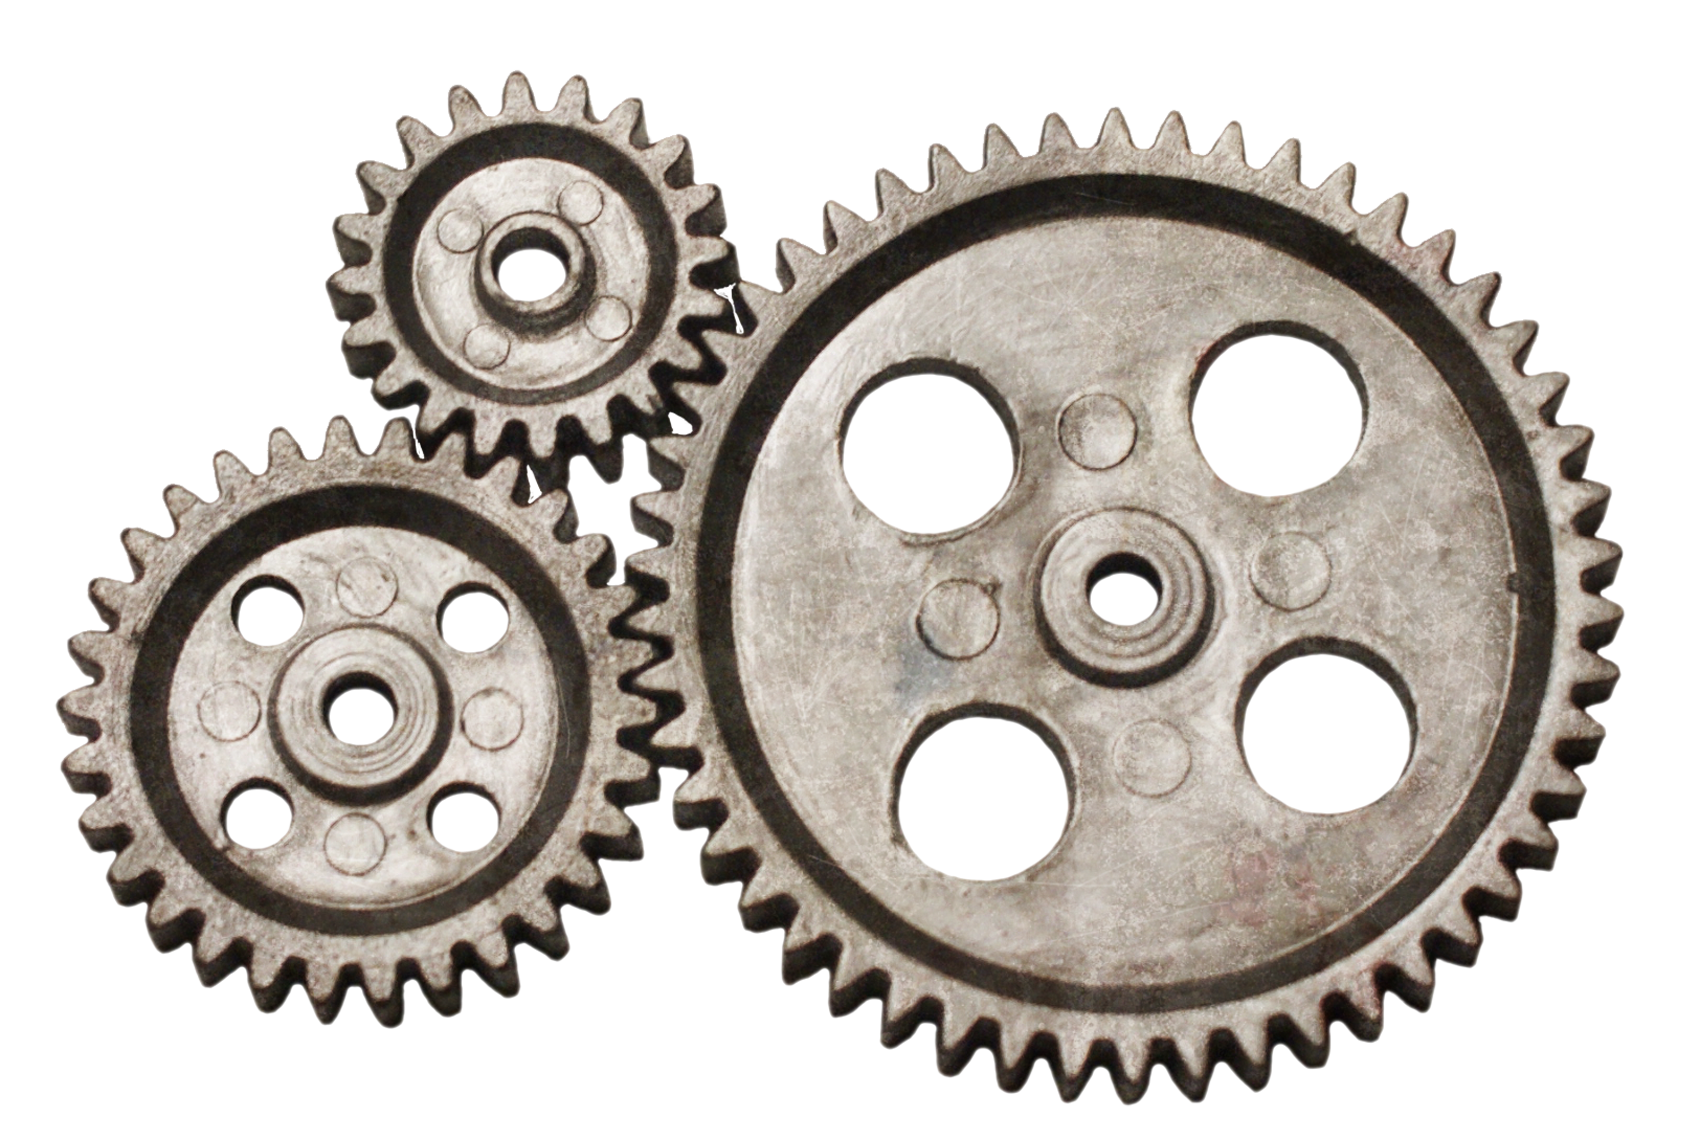
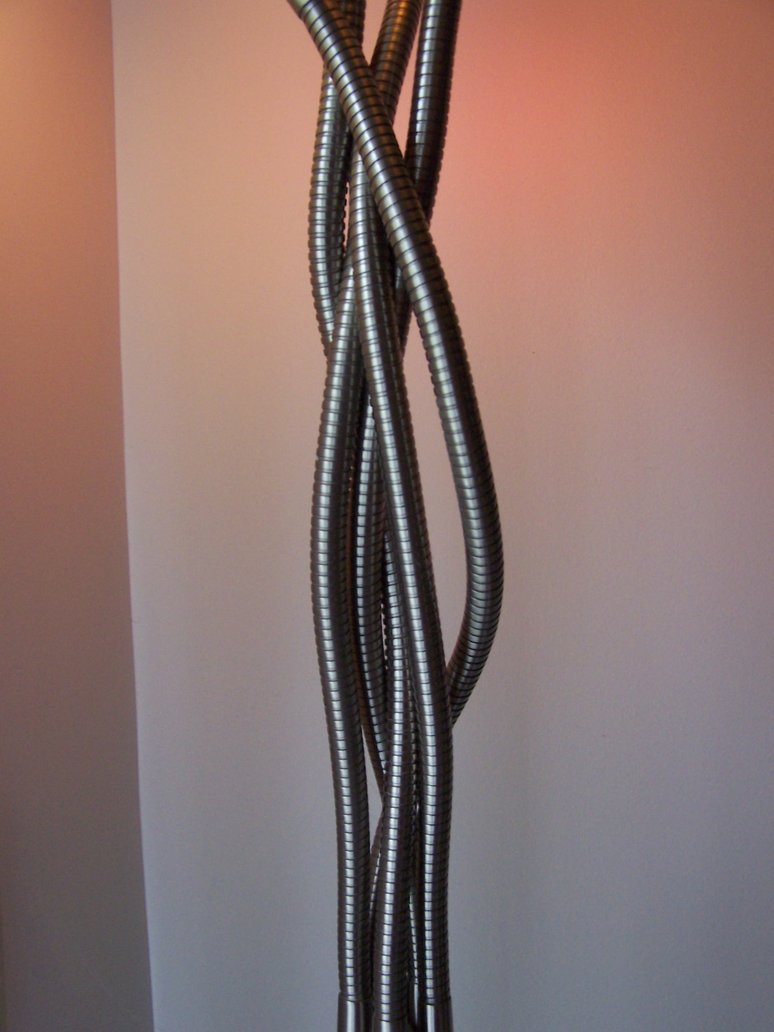
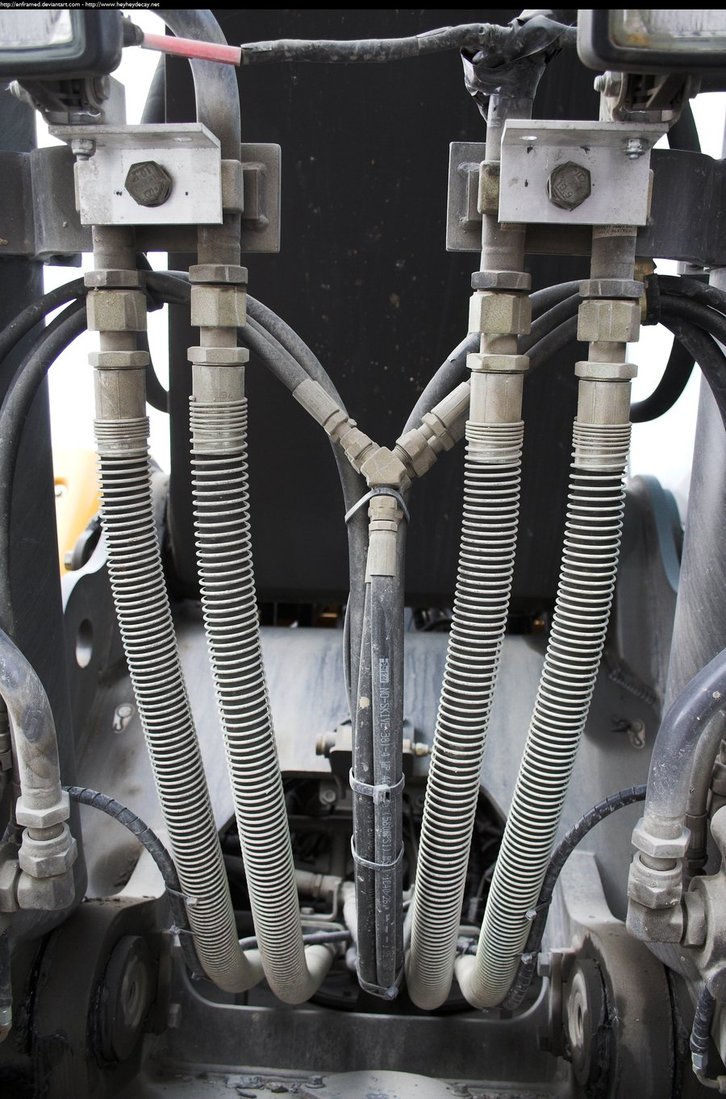
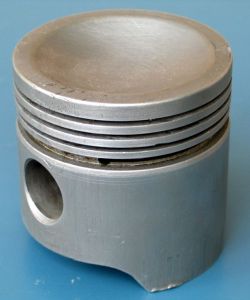
I once say a picture someone had done using pipes, wires, cables and gears to make themselves into a cyborg, so I decided to give it a try and make an instructable. I have included all the stocks i used, the psd, and my original portrait for your use. Now remember this is a medium difficulty tutorial I will try my best to explain the how, why, and where the best I can.
since the .psd is big you have to go to my deviant art here.
NO specail brushes, textures, or tools where used just what was on Photoshop.
Also sorry my hair and side burns are all crazy in this photo X3X
Any questions drop them down below. ALSO check out my Android tutorial.
and if you are going to leave a rating leave a comment on y you rated it low or high so i can improve my ibles. However, if ur leaving bad ratings cuz ur jelly leave bro, come at me XD.
Removing the Neck
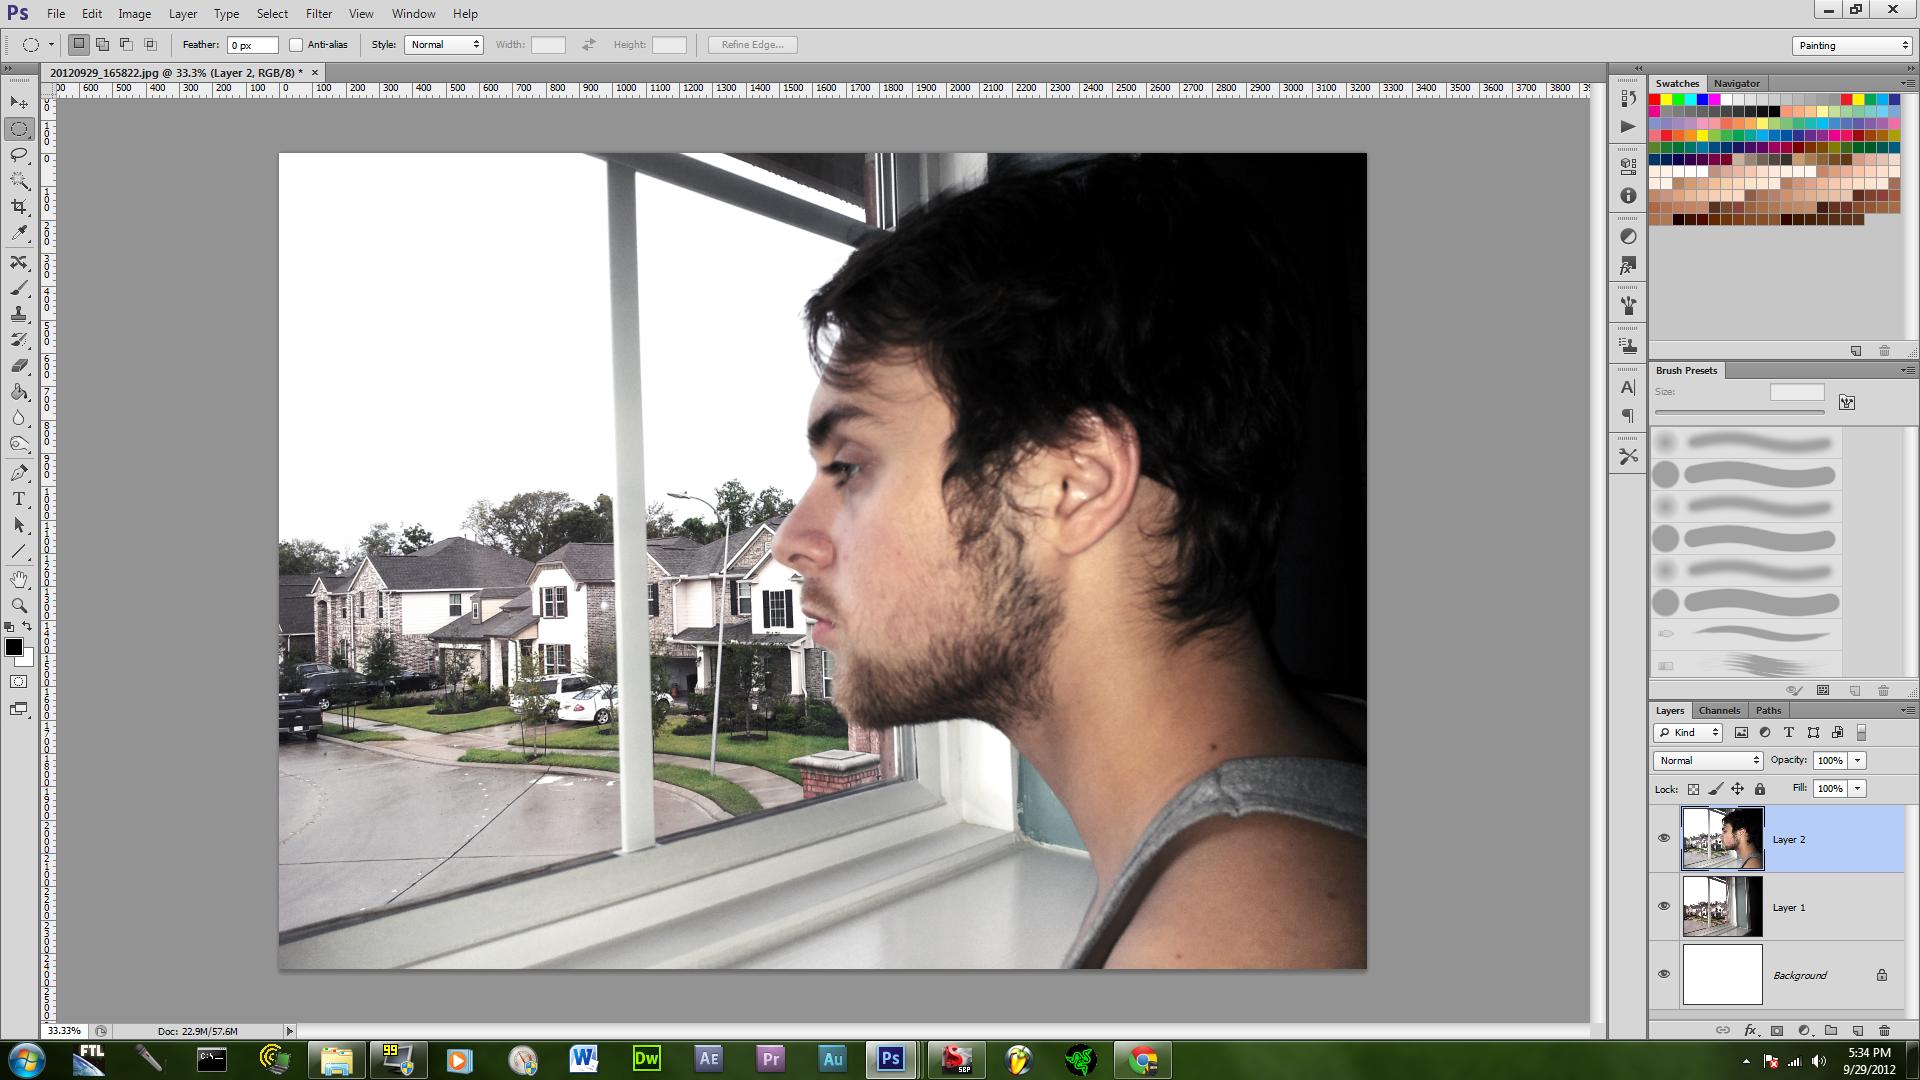
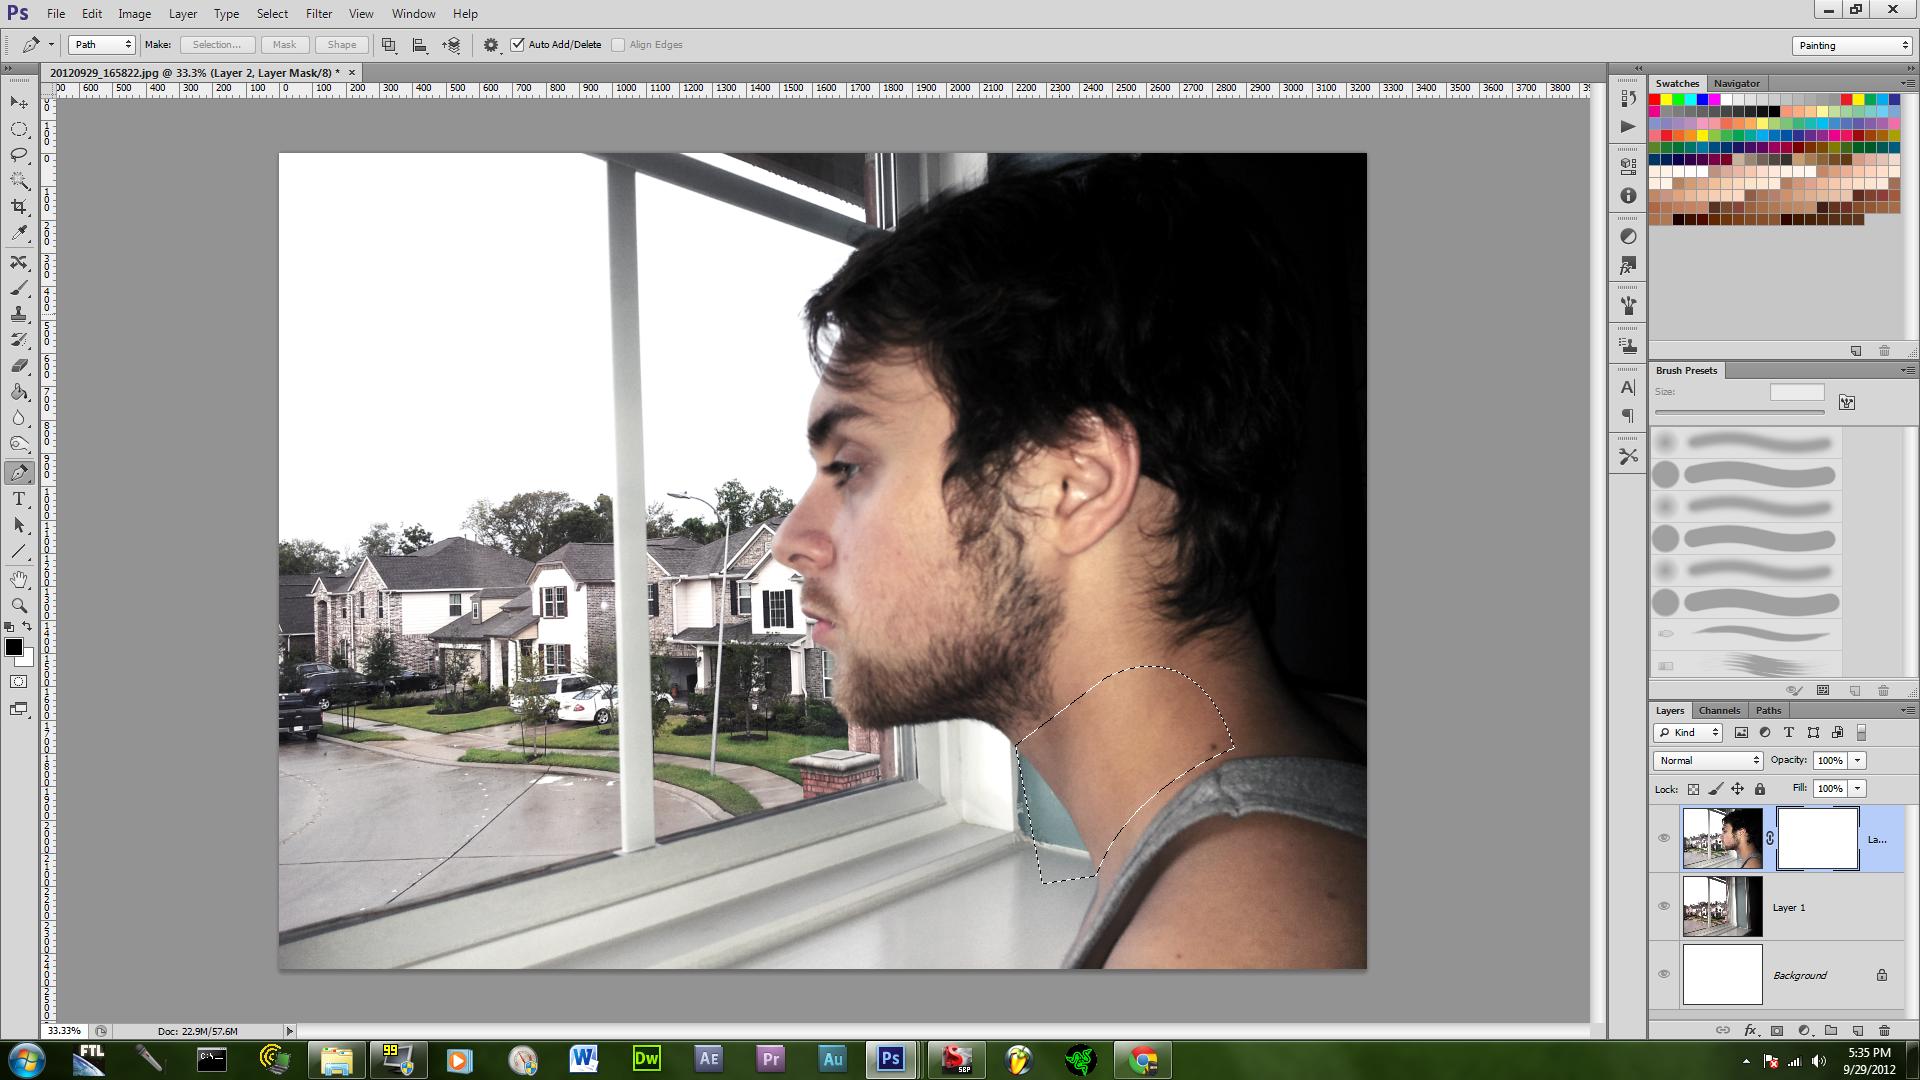
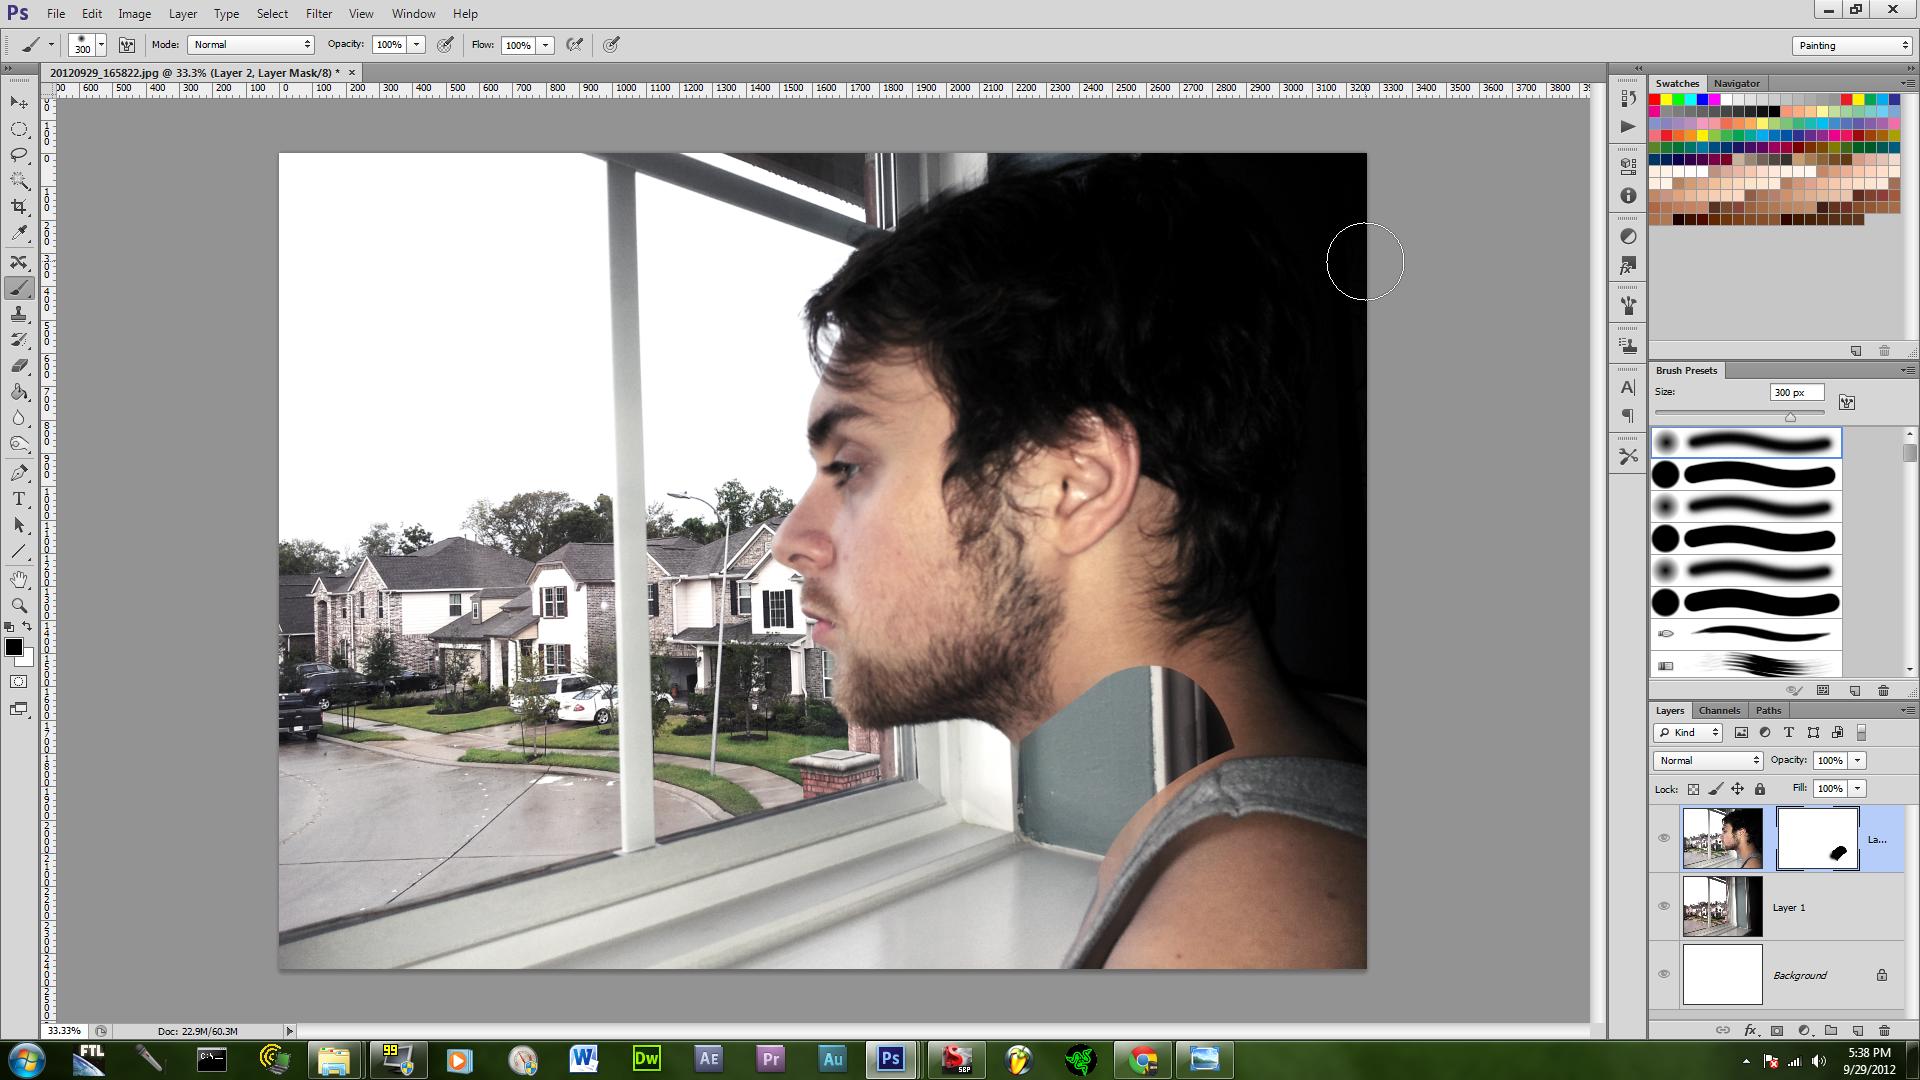
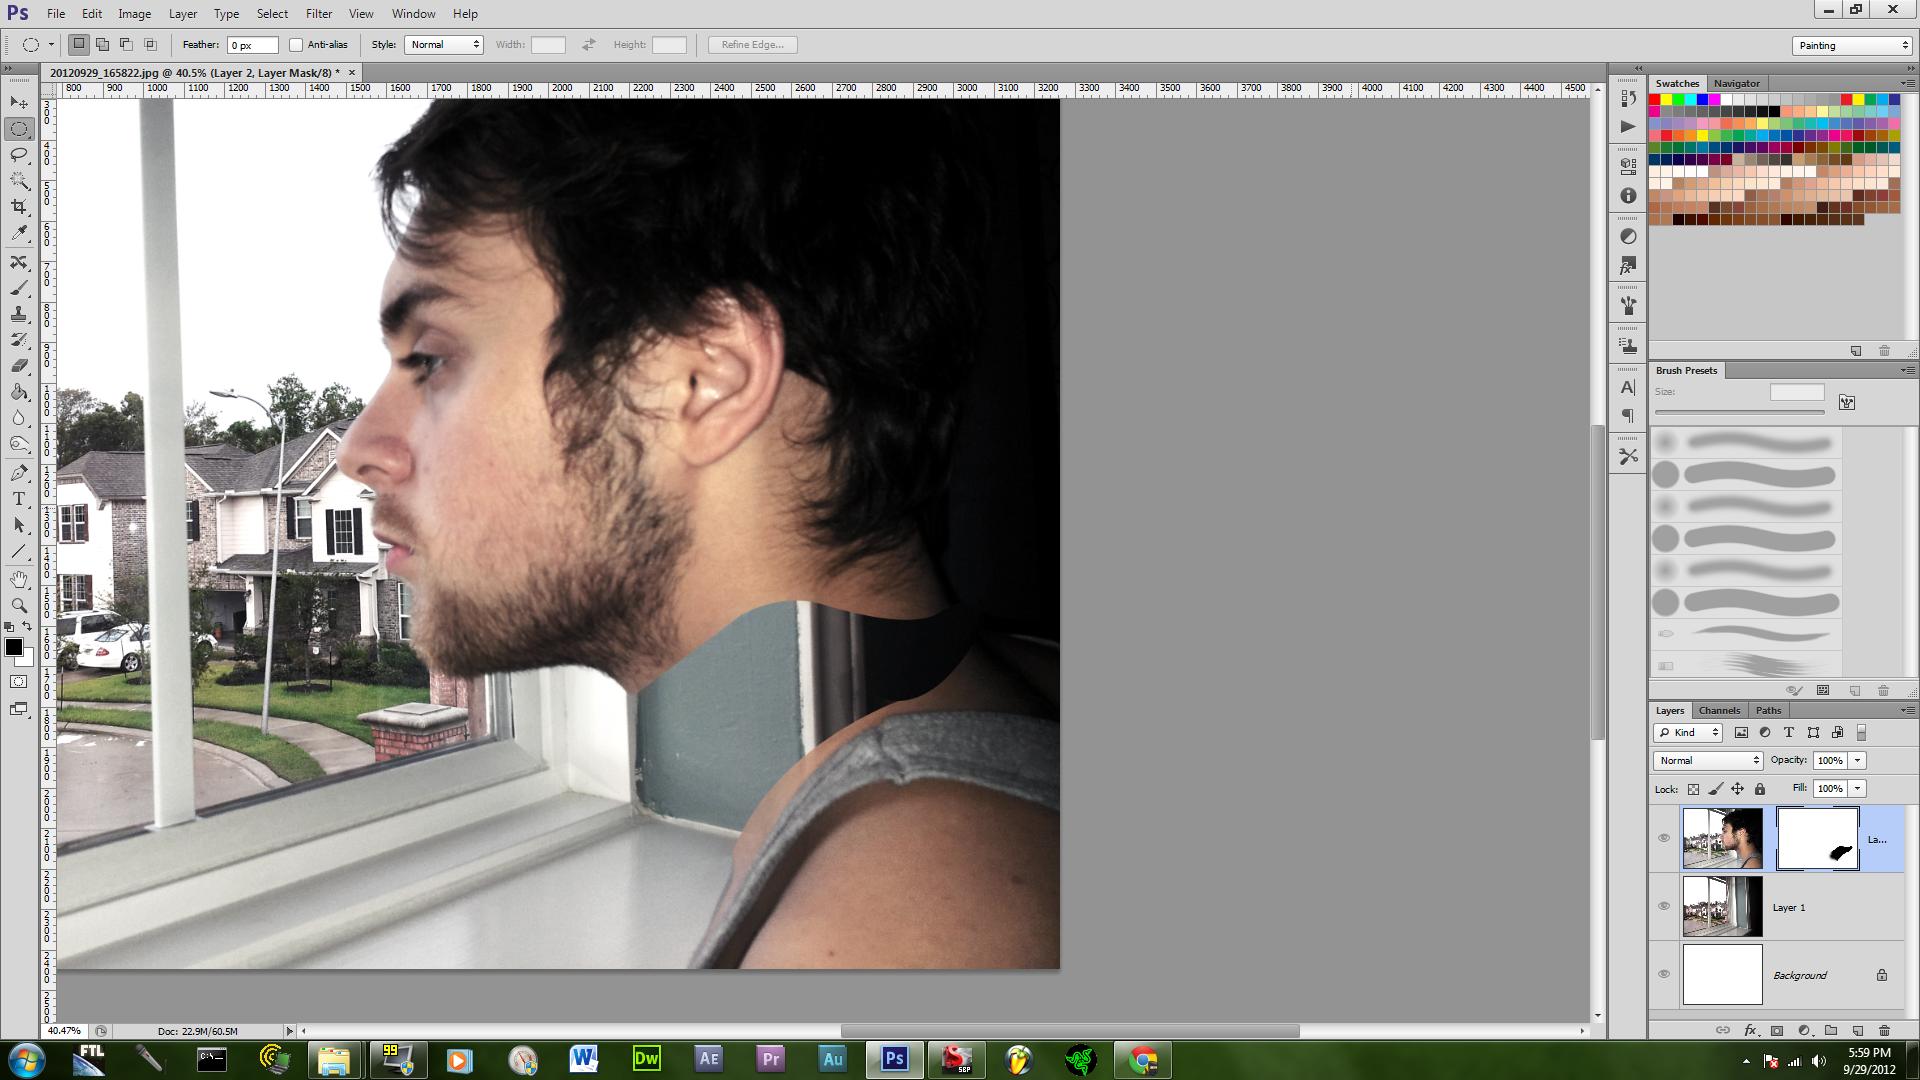
This is a very important part, so pay attention. The tools you will need to use are pen, mask, and selection to remove the neck. Okay to set this up you will need a picture of your subject then a picture of you back ground I suggest using a tripod. Placing the layer with the subject on top and the blank background below it, with the subject layer selected on the layer panel click the mask button and create a mask. After the mask has been created use the pen tool to make a selection then once you make a closed shape with the pen tool right click and click on "make selection", then click the brush tool and then click on the mask then color in the selection with black it should hide your neck.
Making an Edge
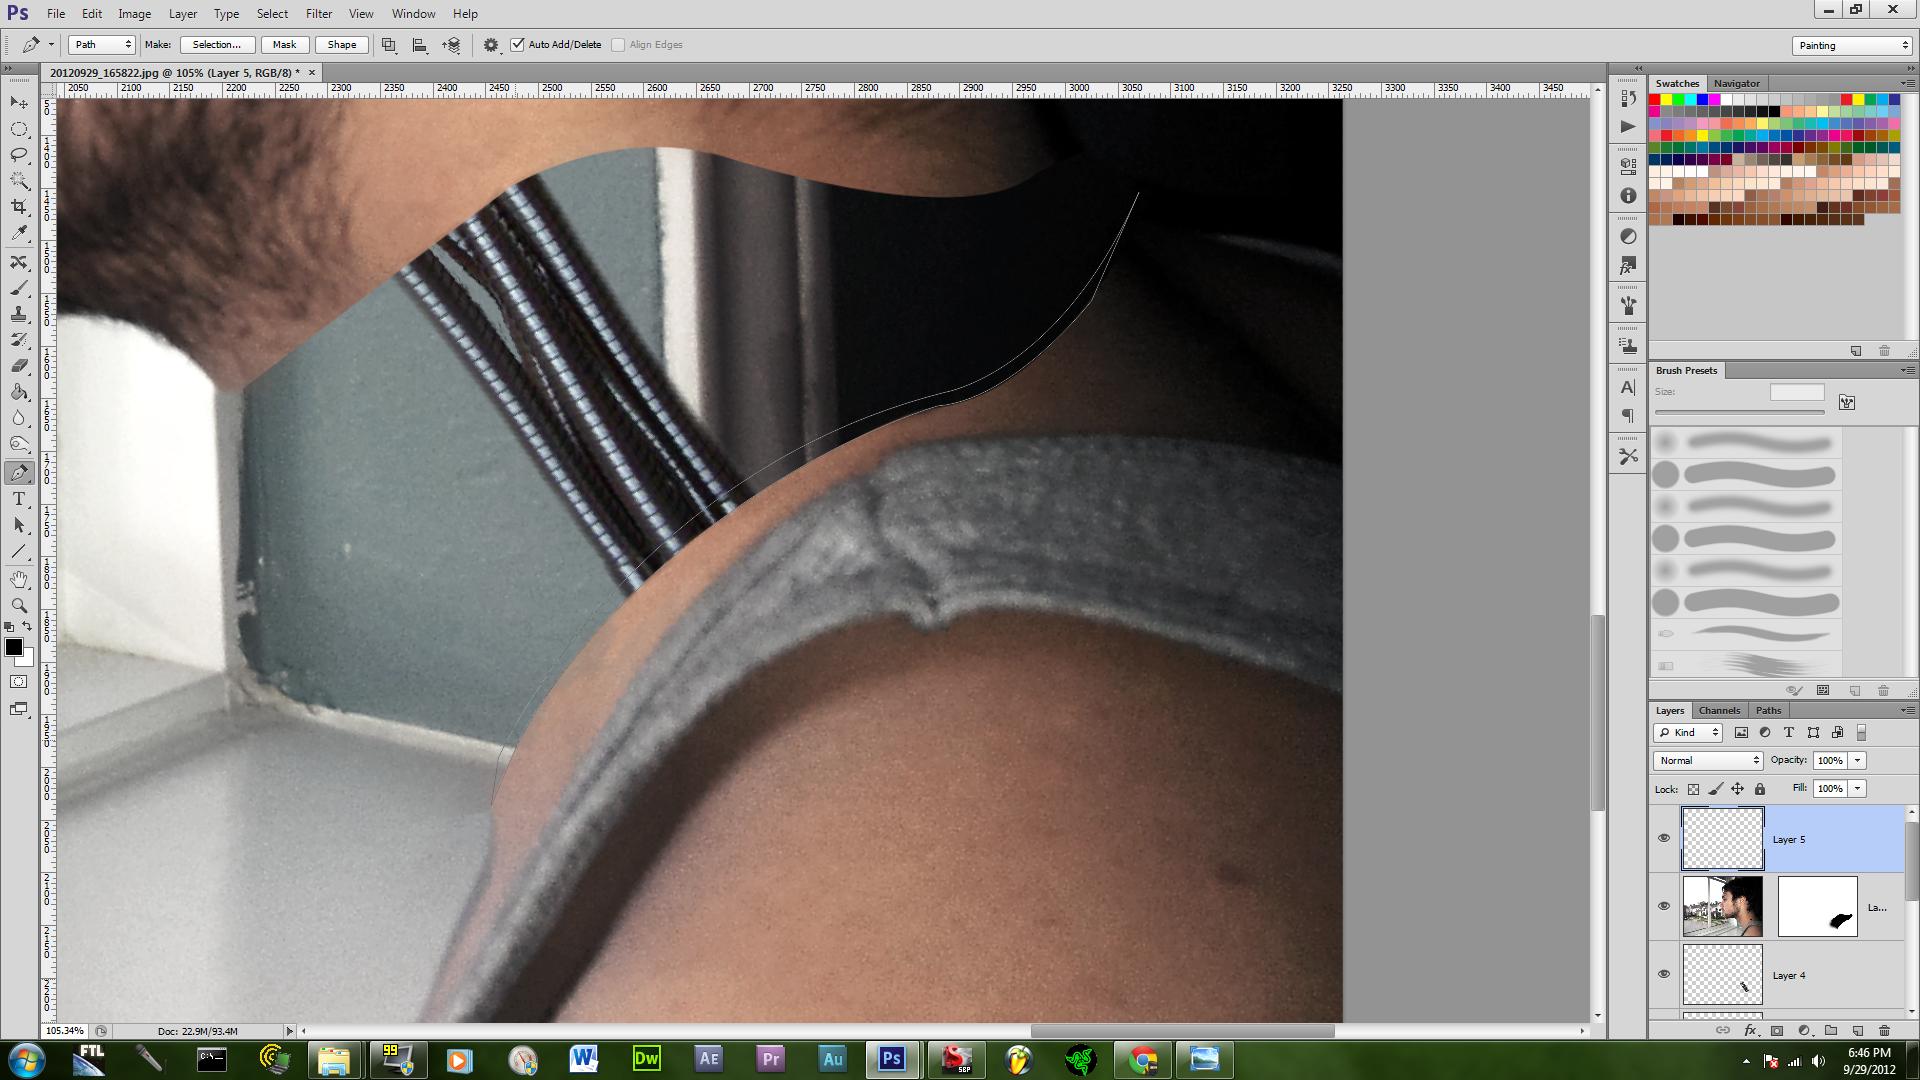
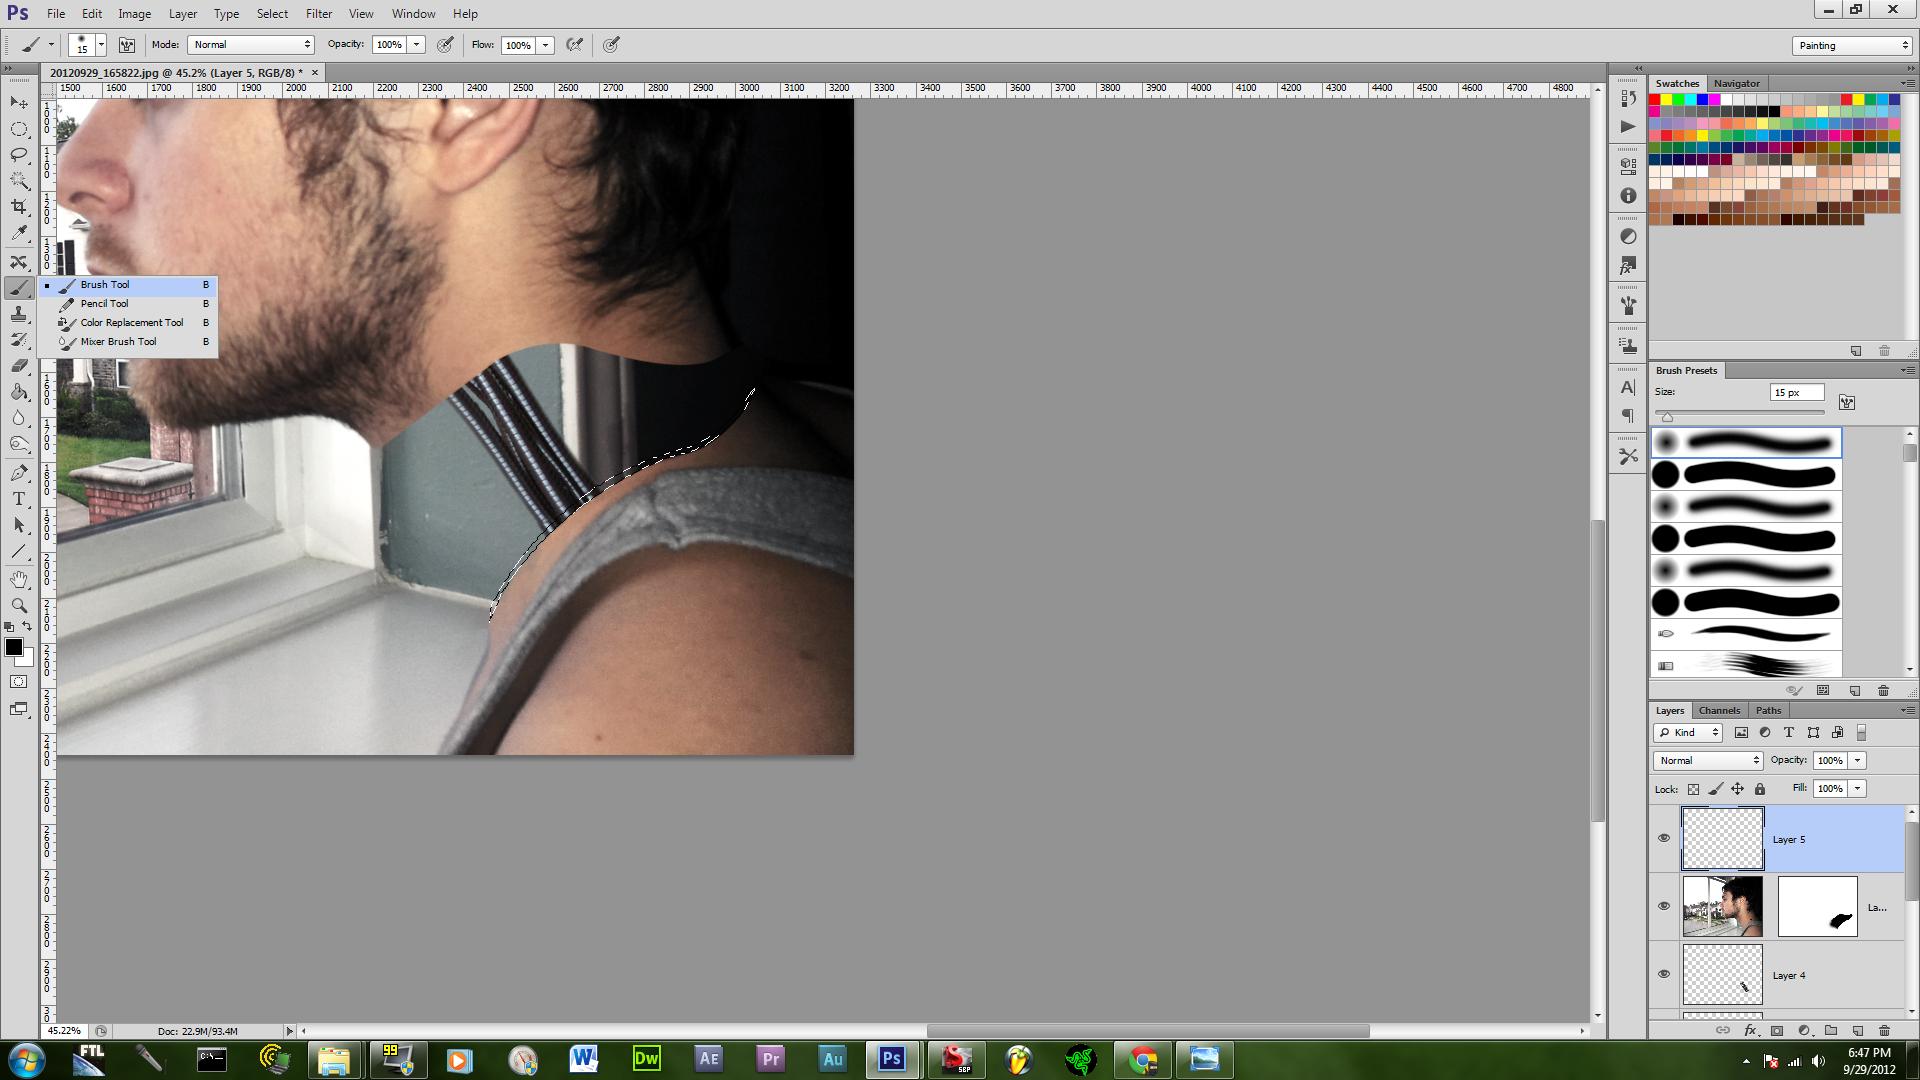
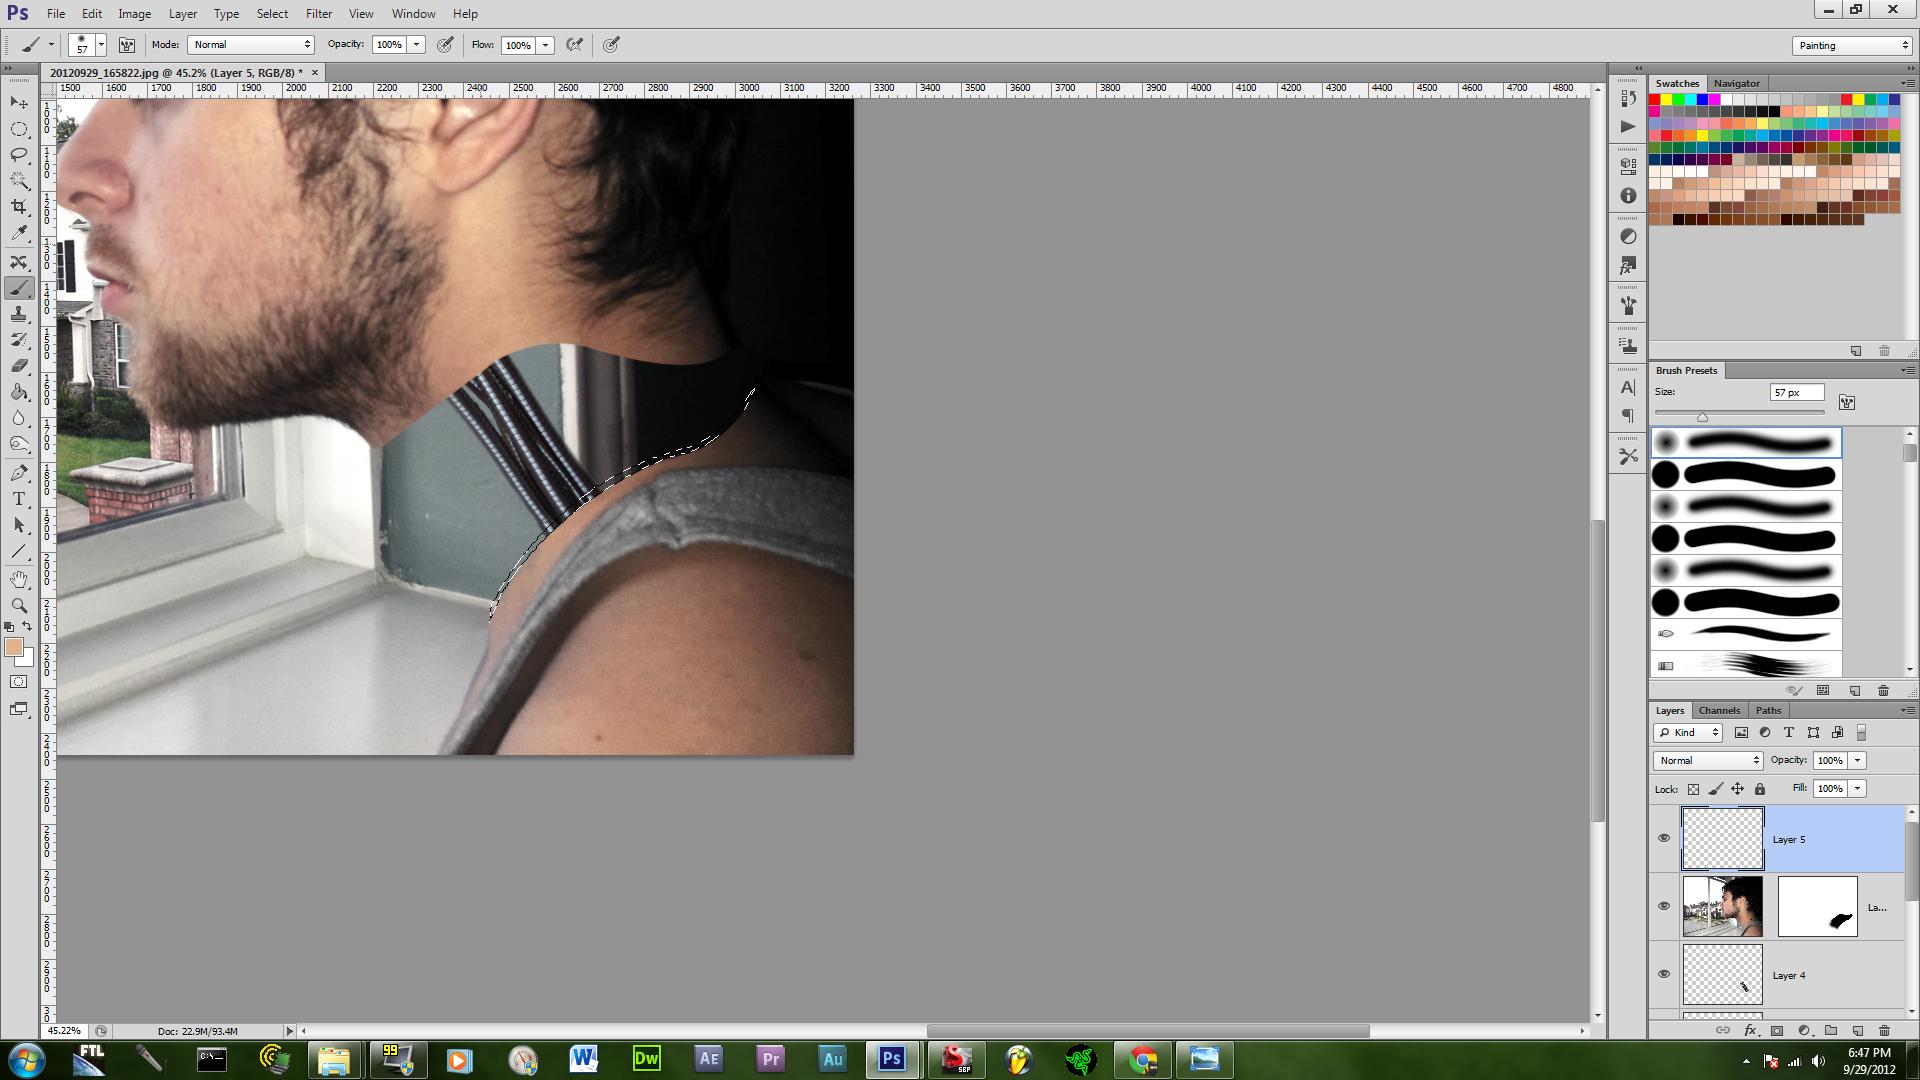
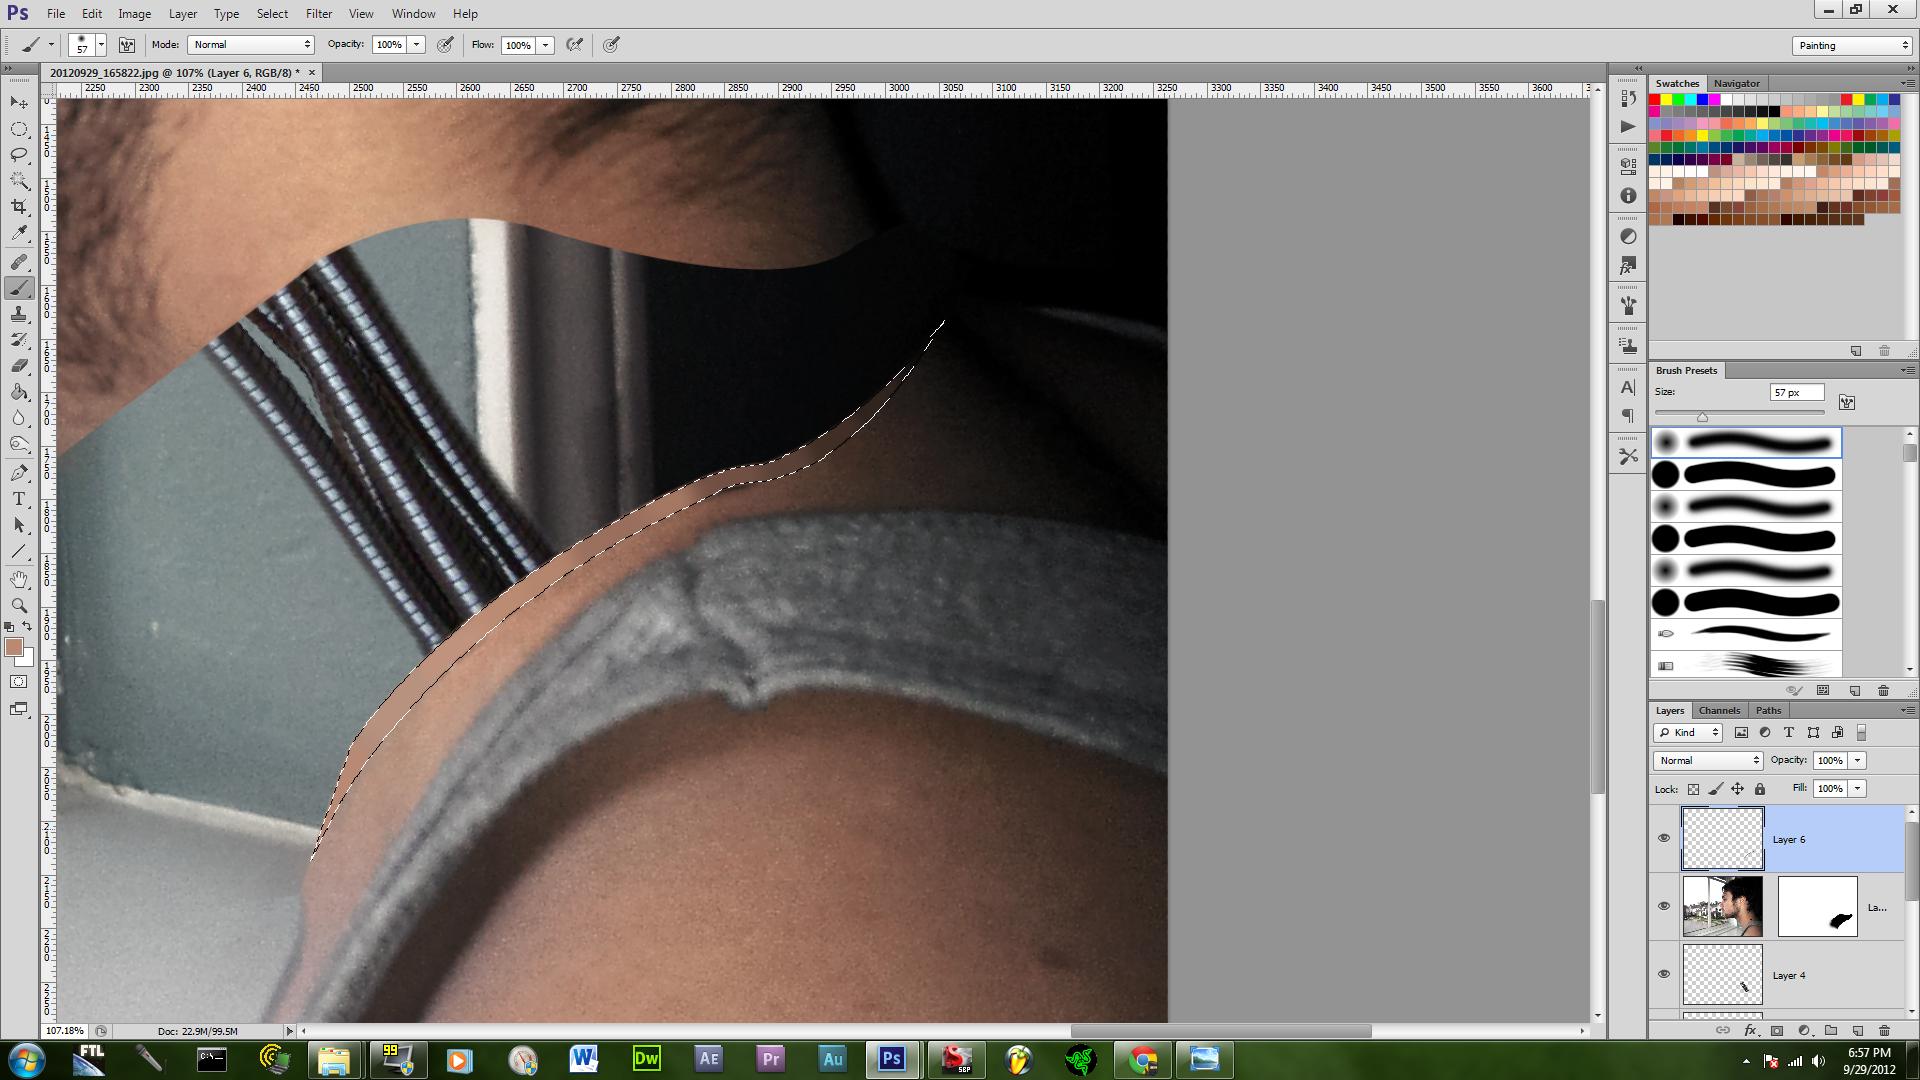
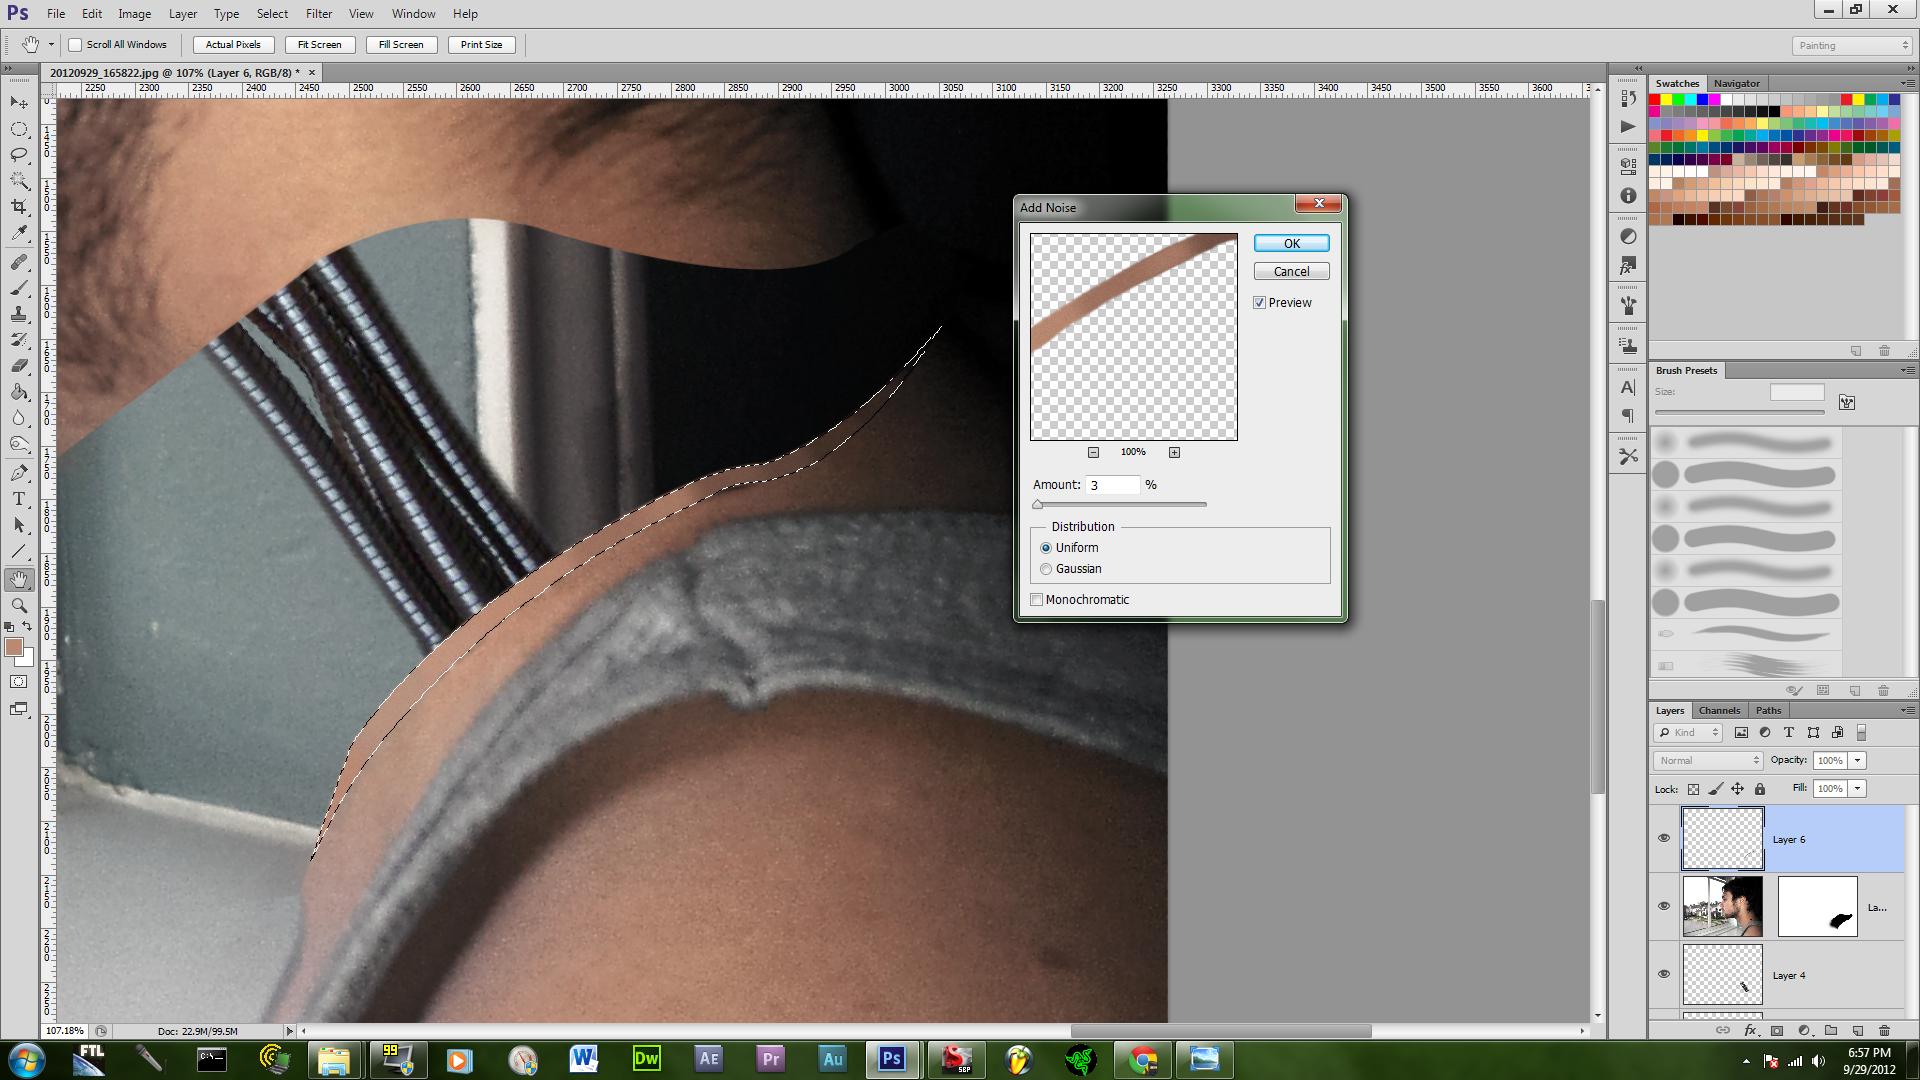
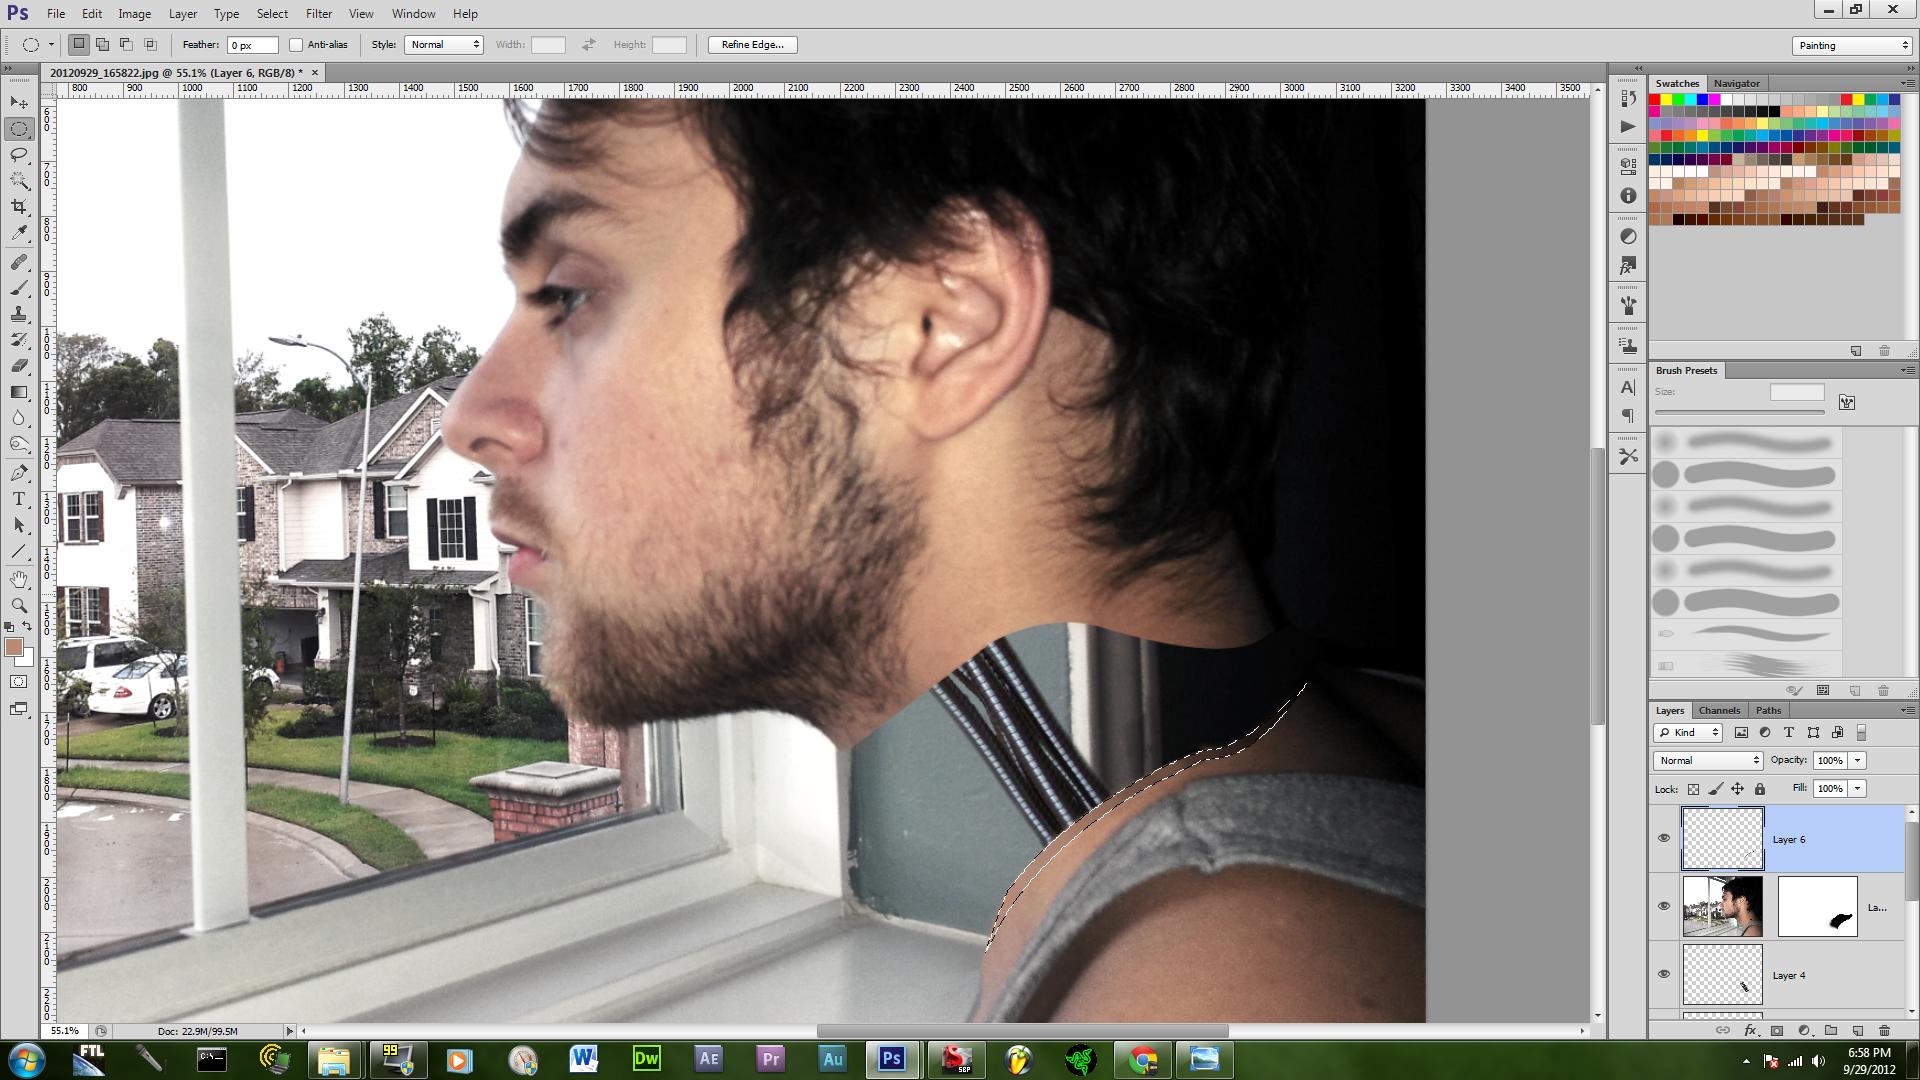
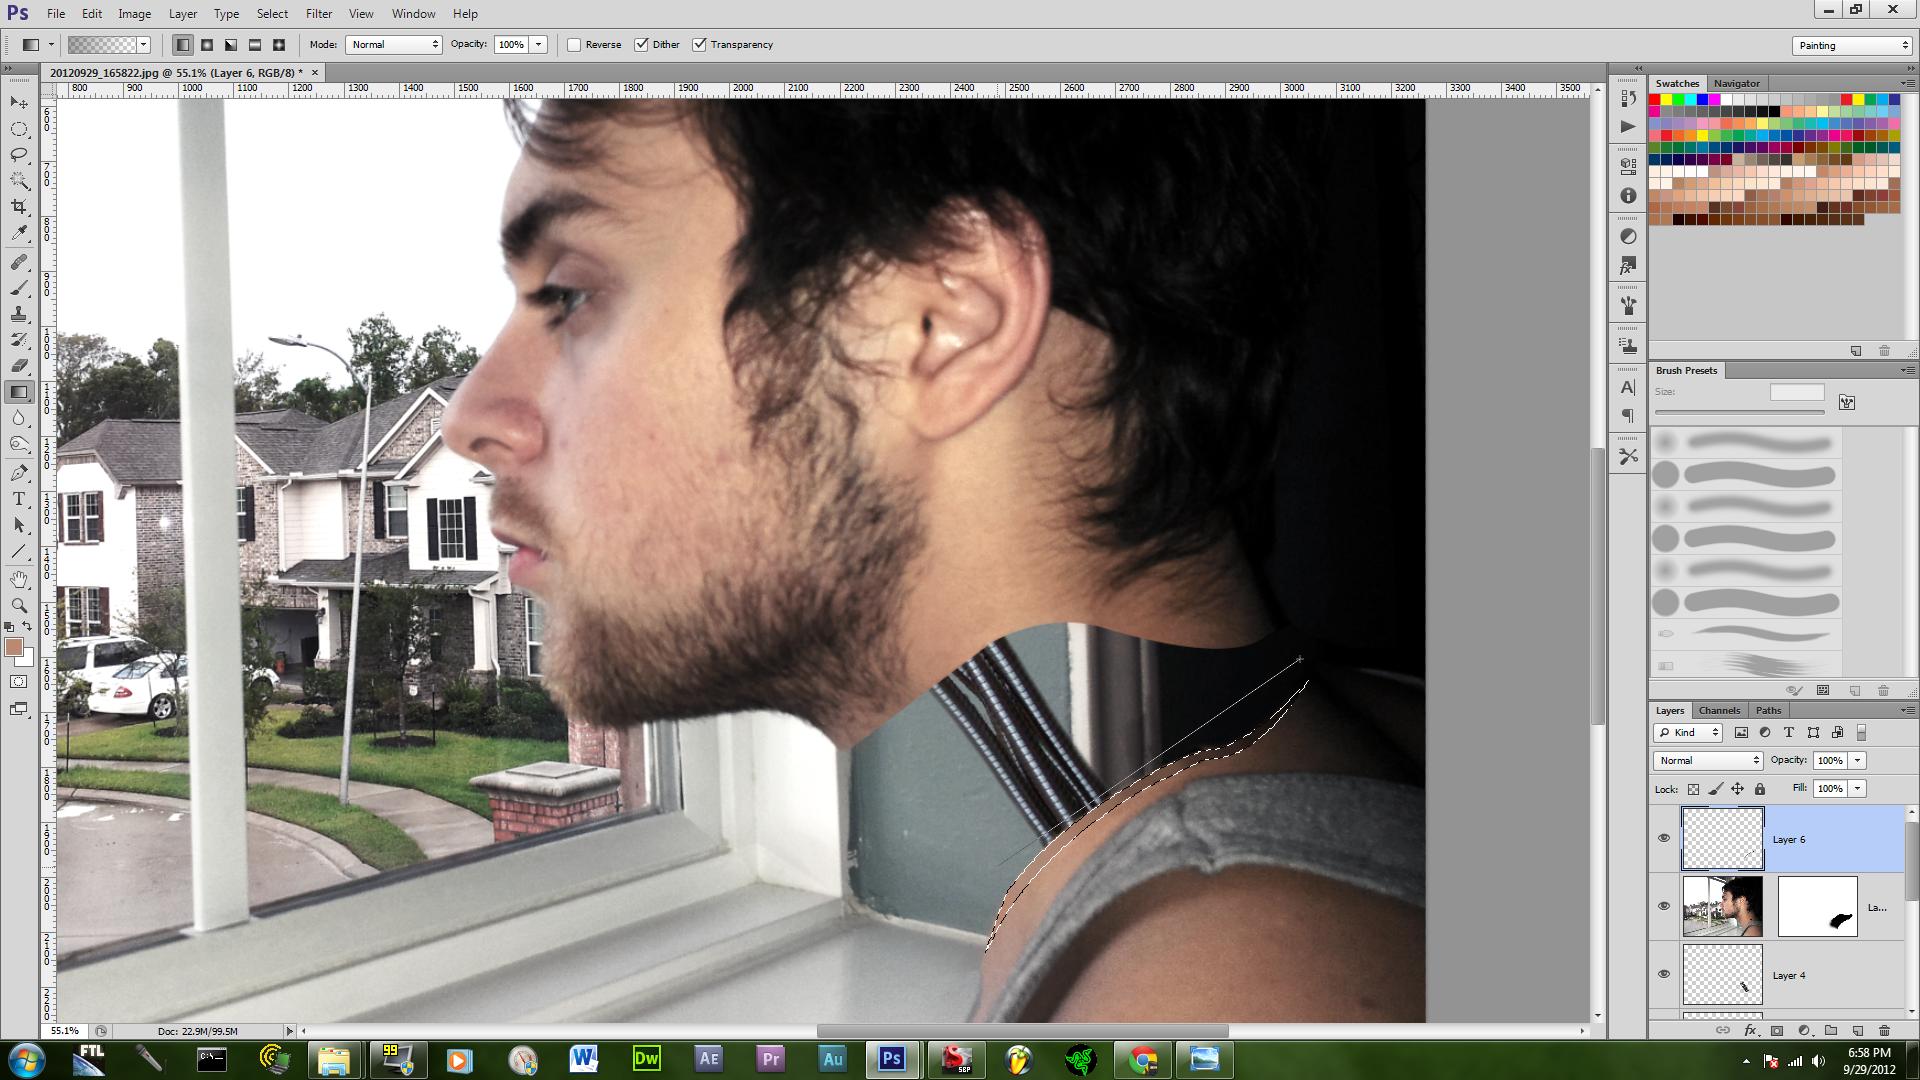
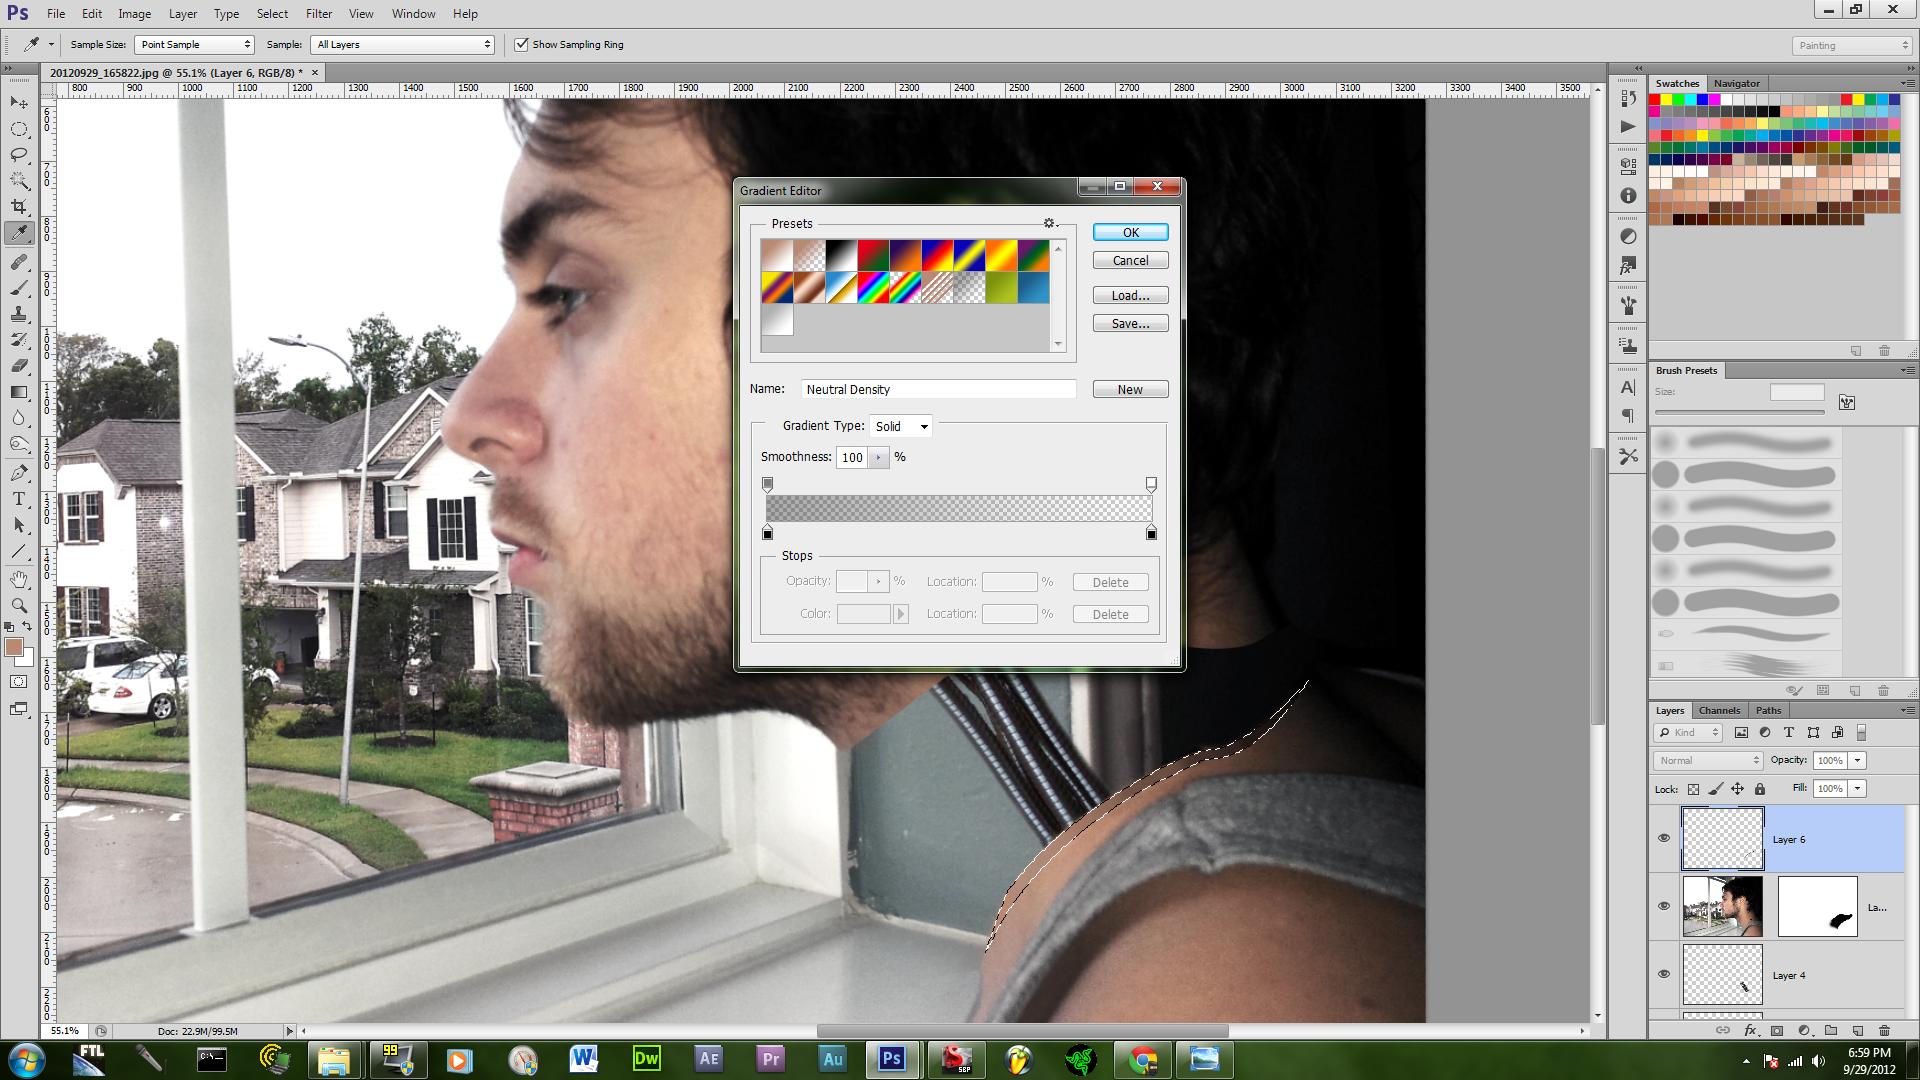
Ignore the cables that is in the next step I forgot to hide them. The bottom of your neck needs a edge added, so using the pen tool to make a selection on a new layer. Afterwards, click the brush tool and on the surrounding flesh press and hold "ALT" on your keyboard in order to sample the colors and do it that way then with the colors you painted on go up filter and go down to noise click "Add Noise" and do it by 3%. If there are gaps between the edge and the mask go to the mask and color it to fill in the gaps.
Adding the Cables and Wires
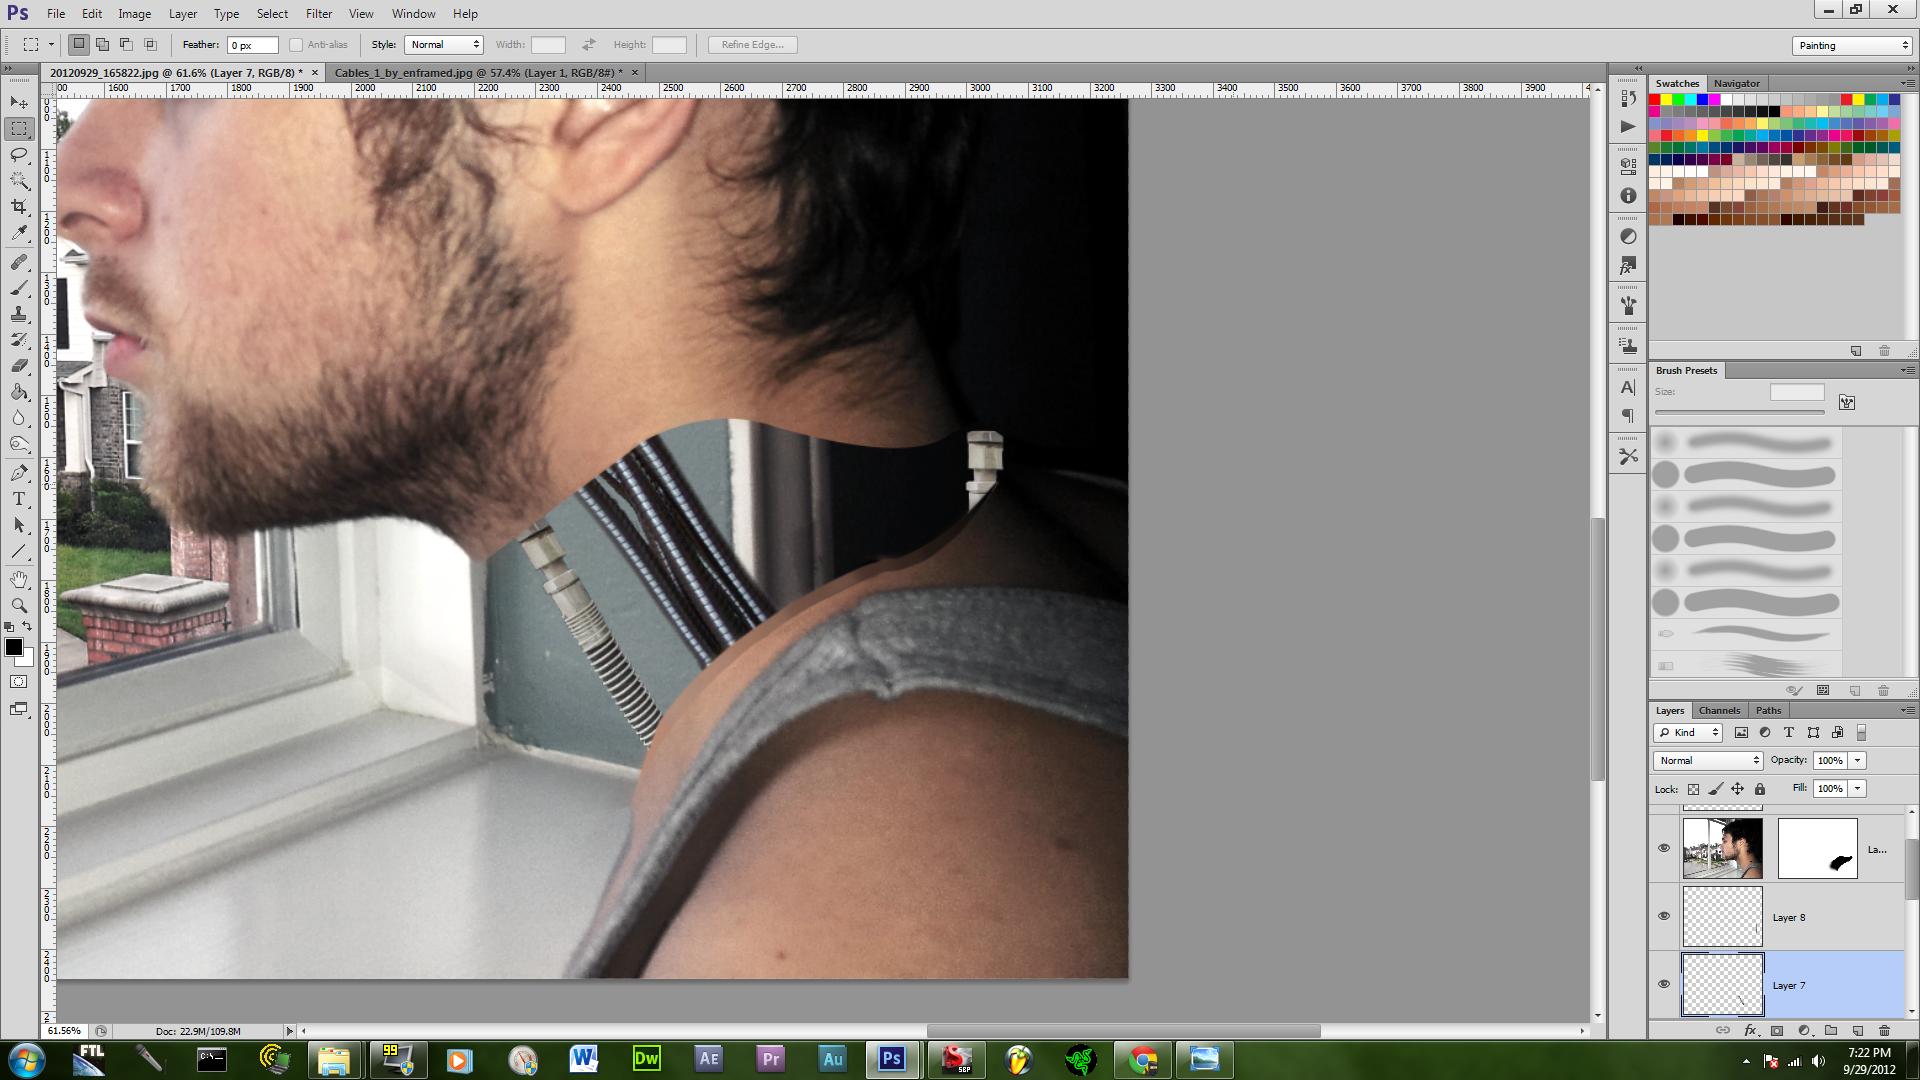
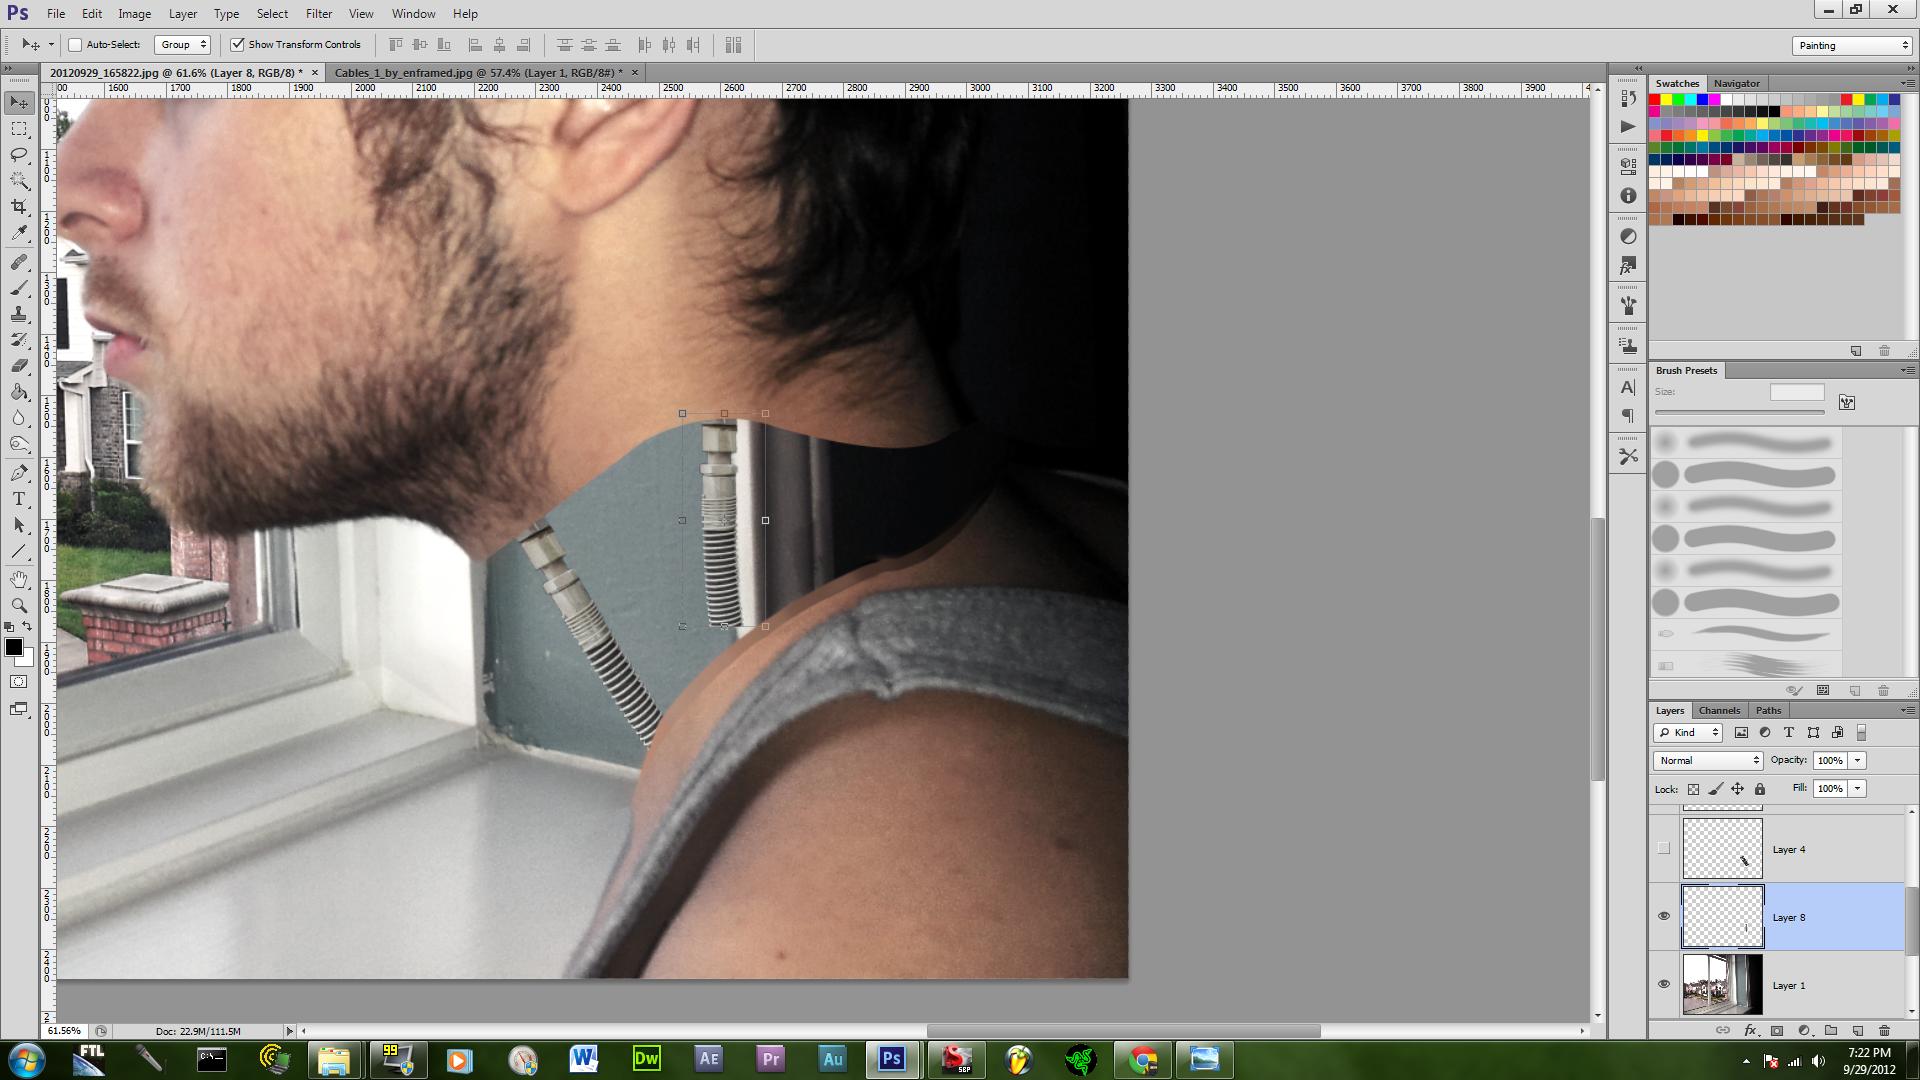
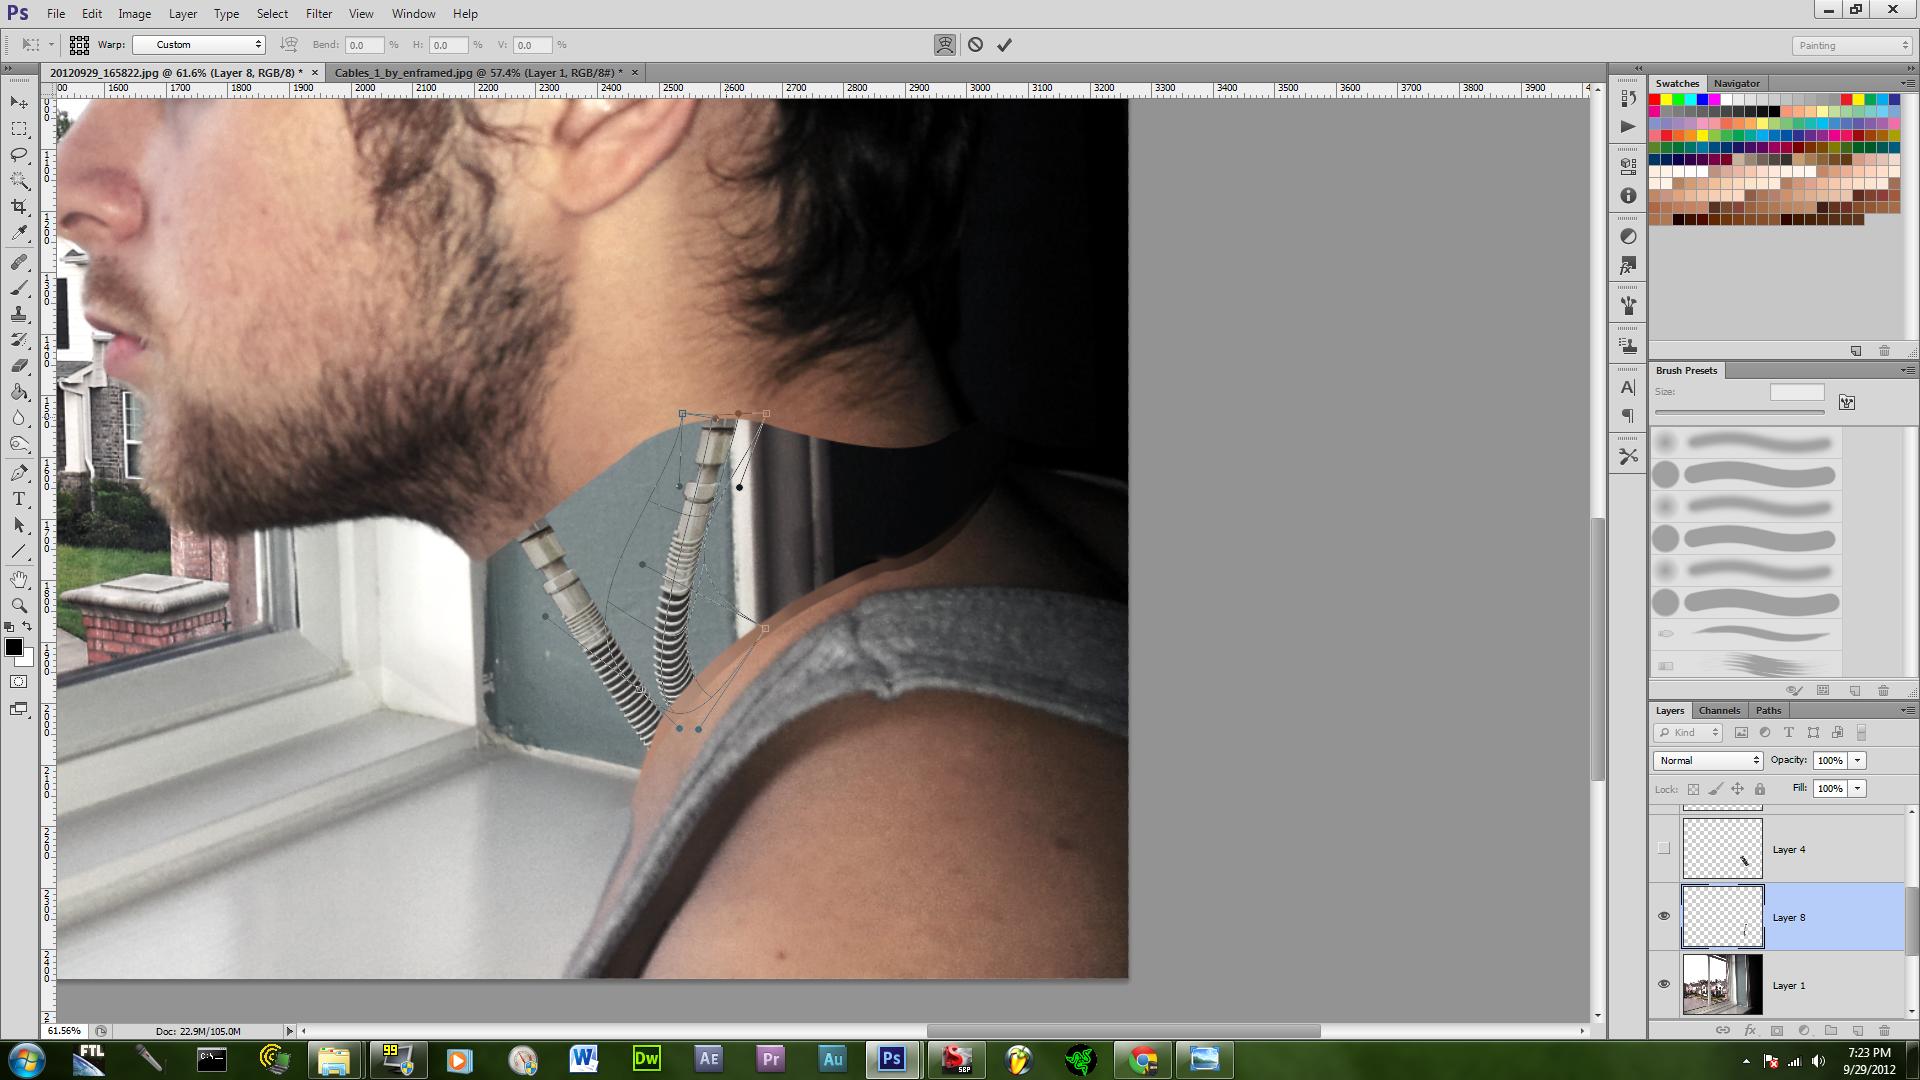
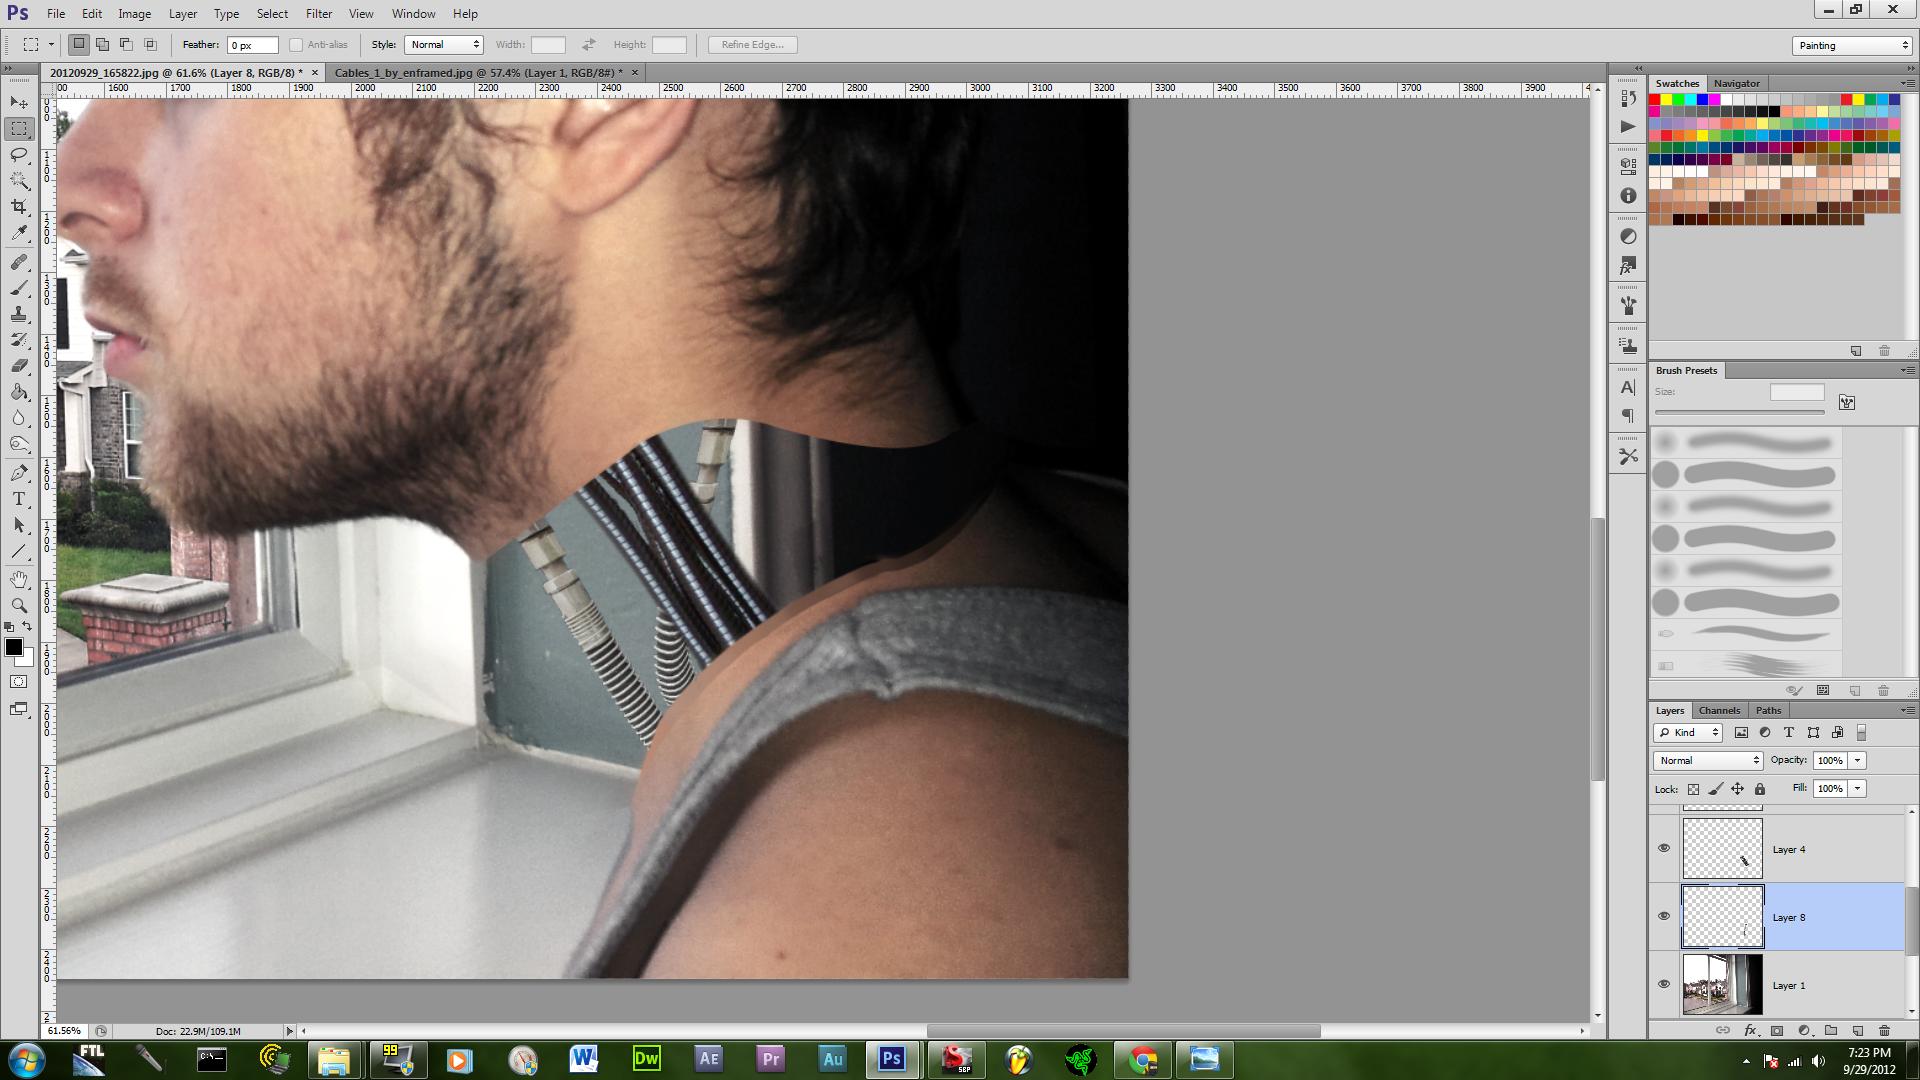
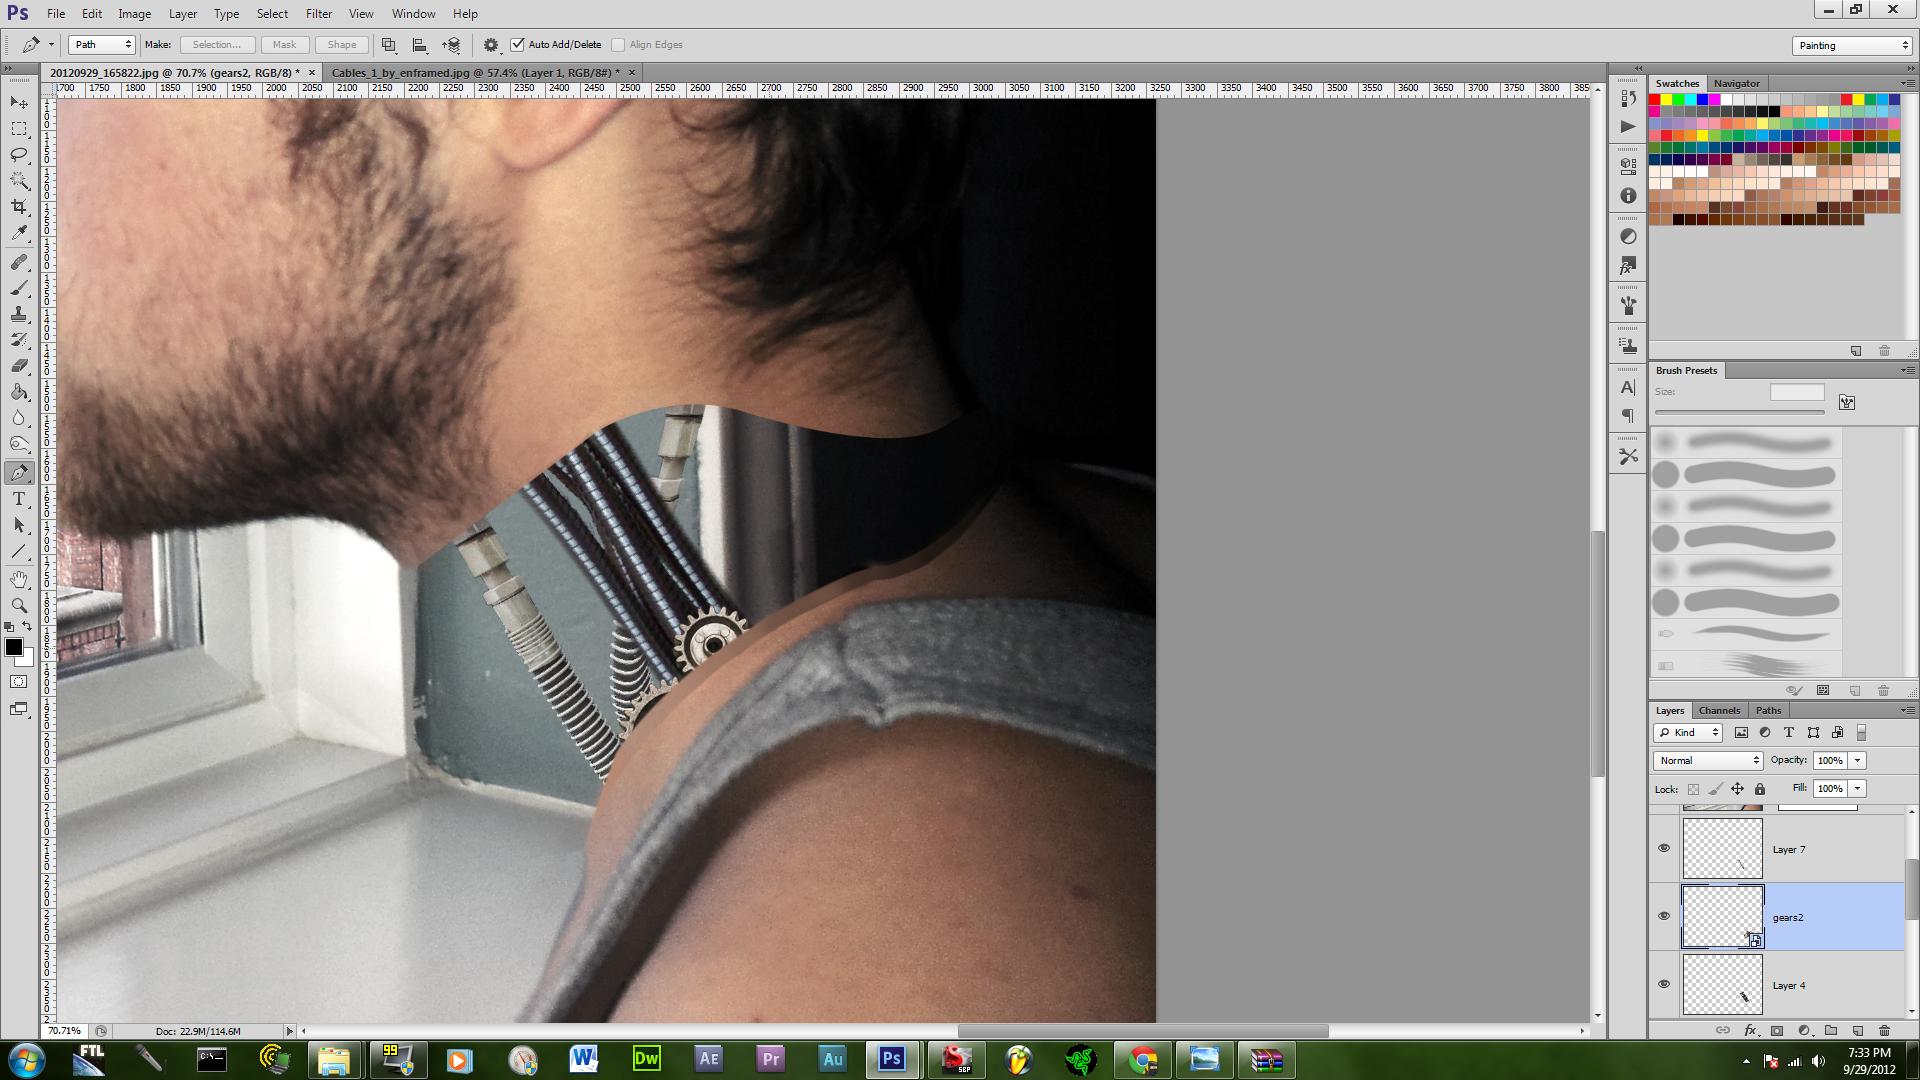
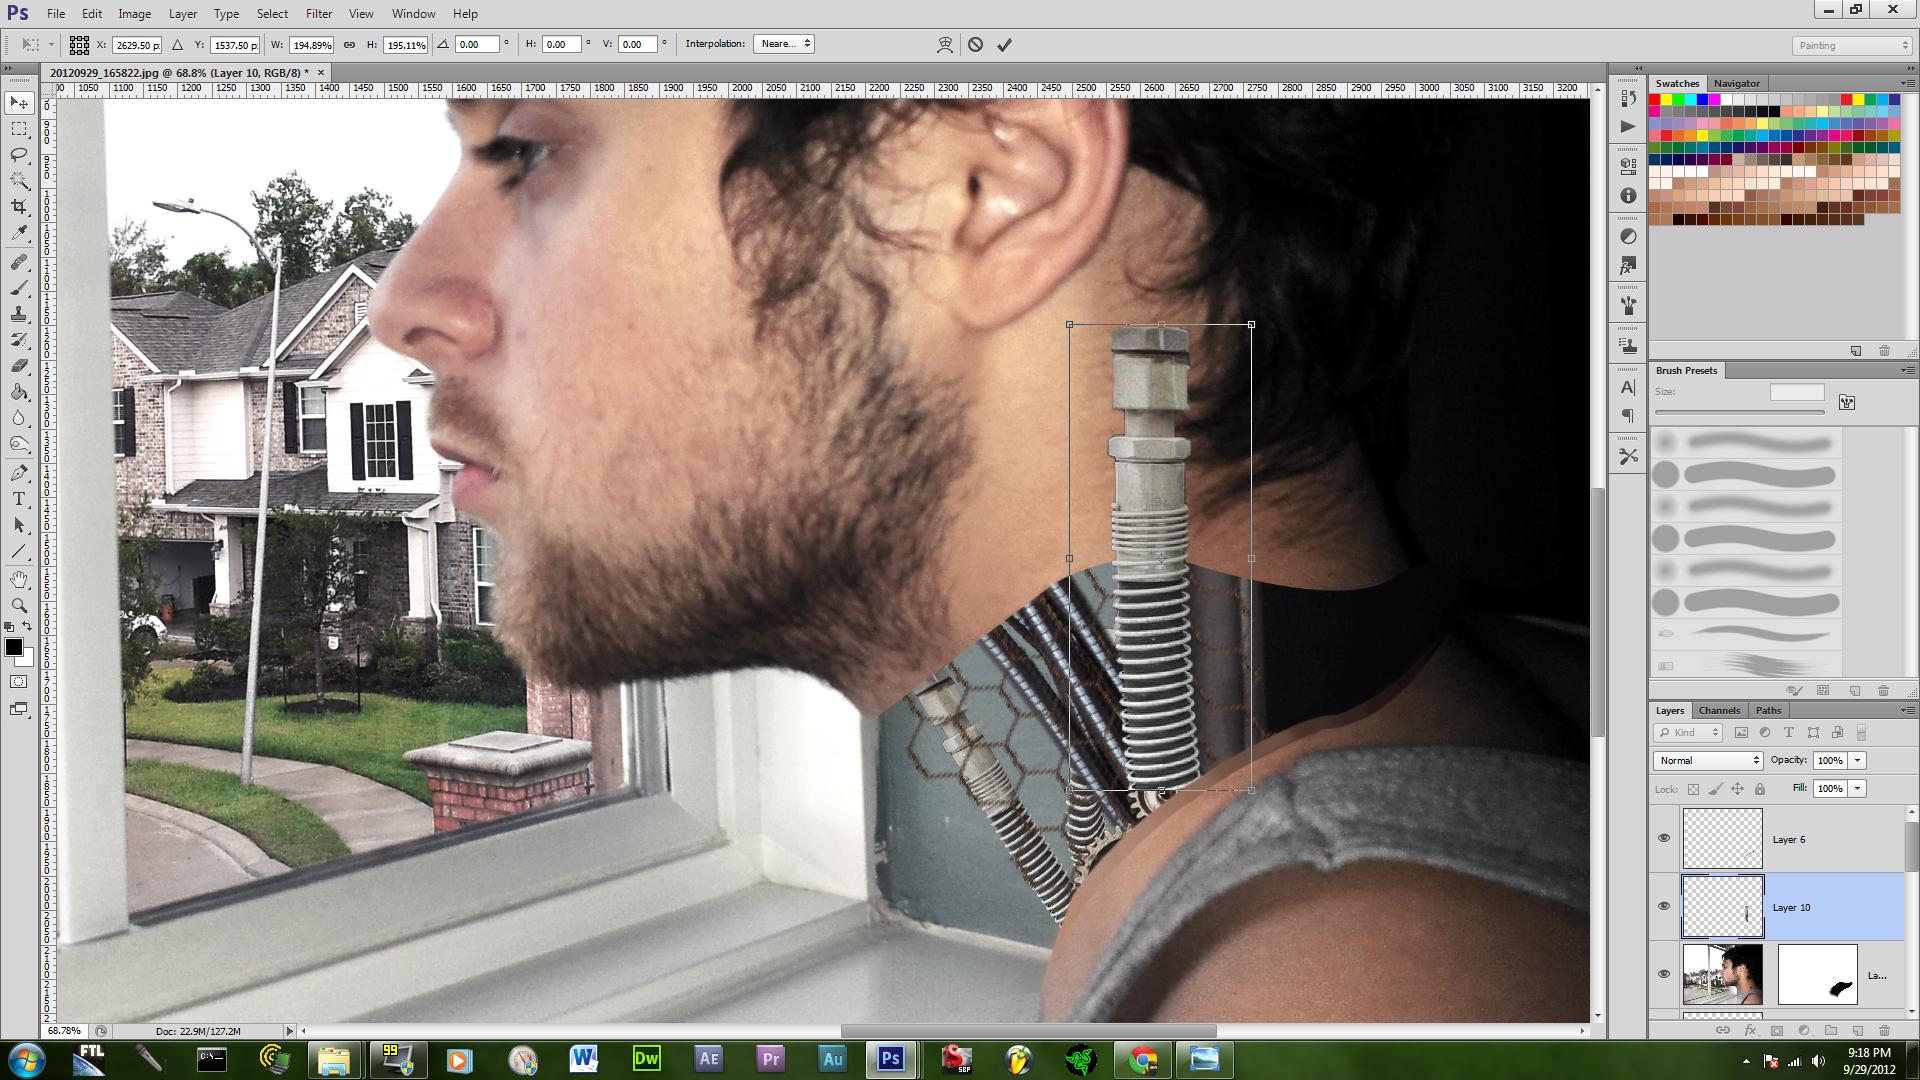
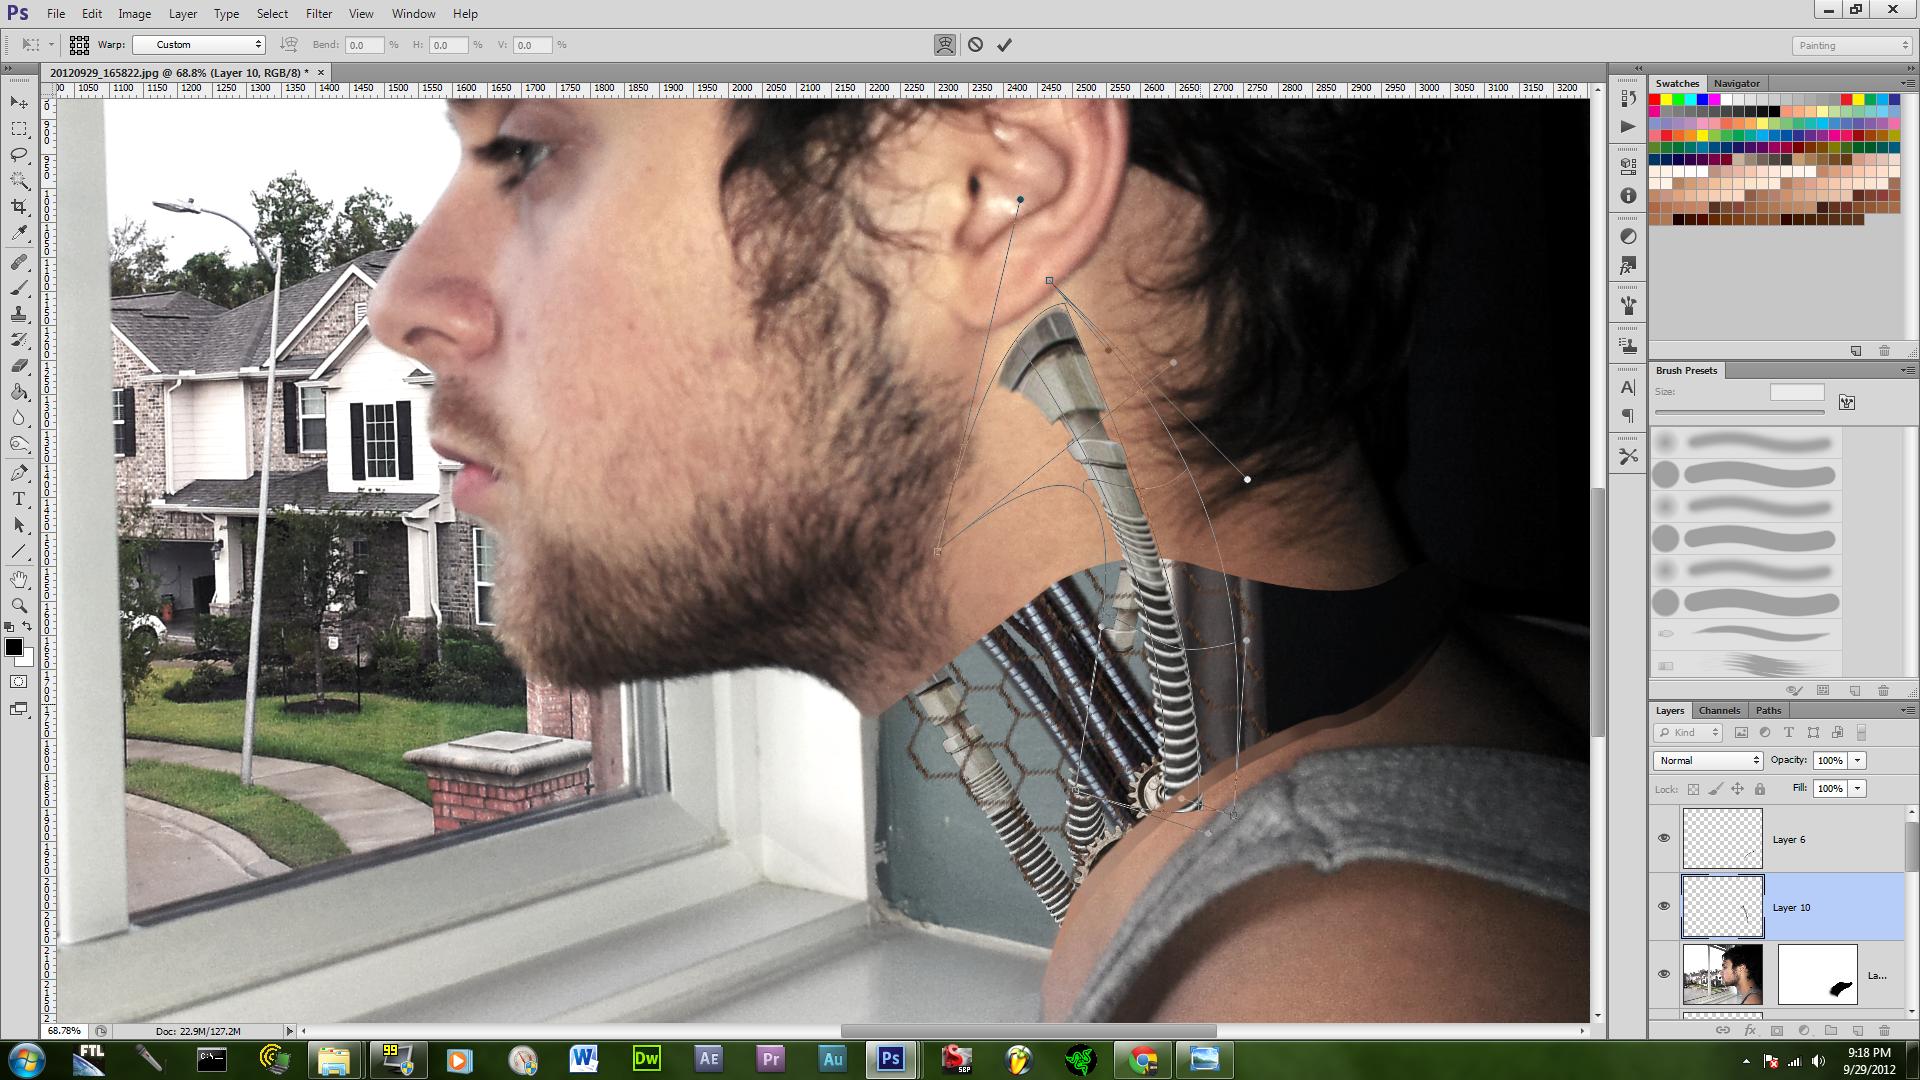
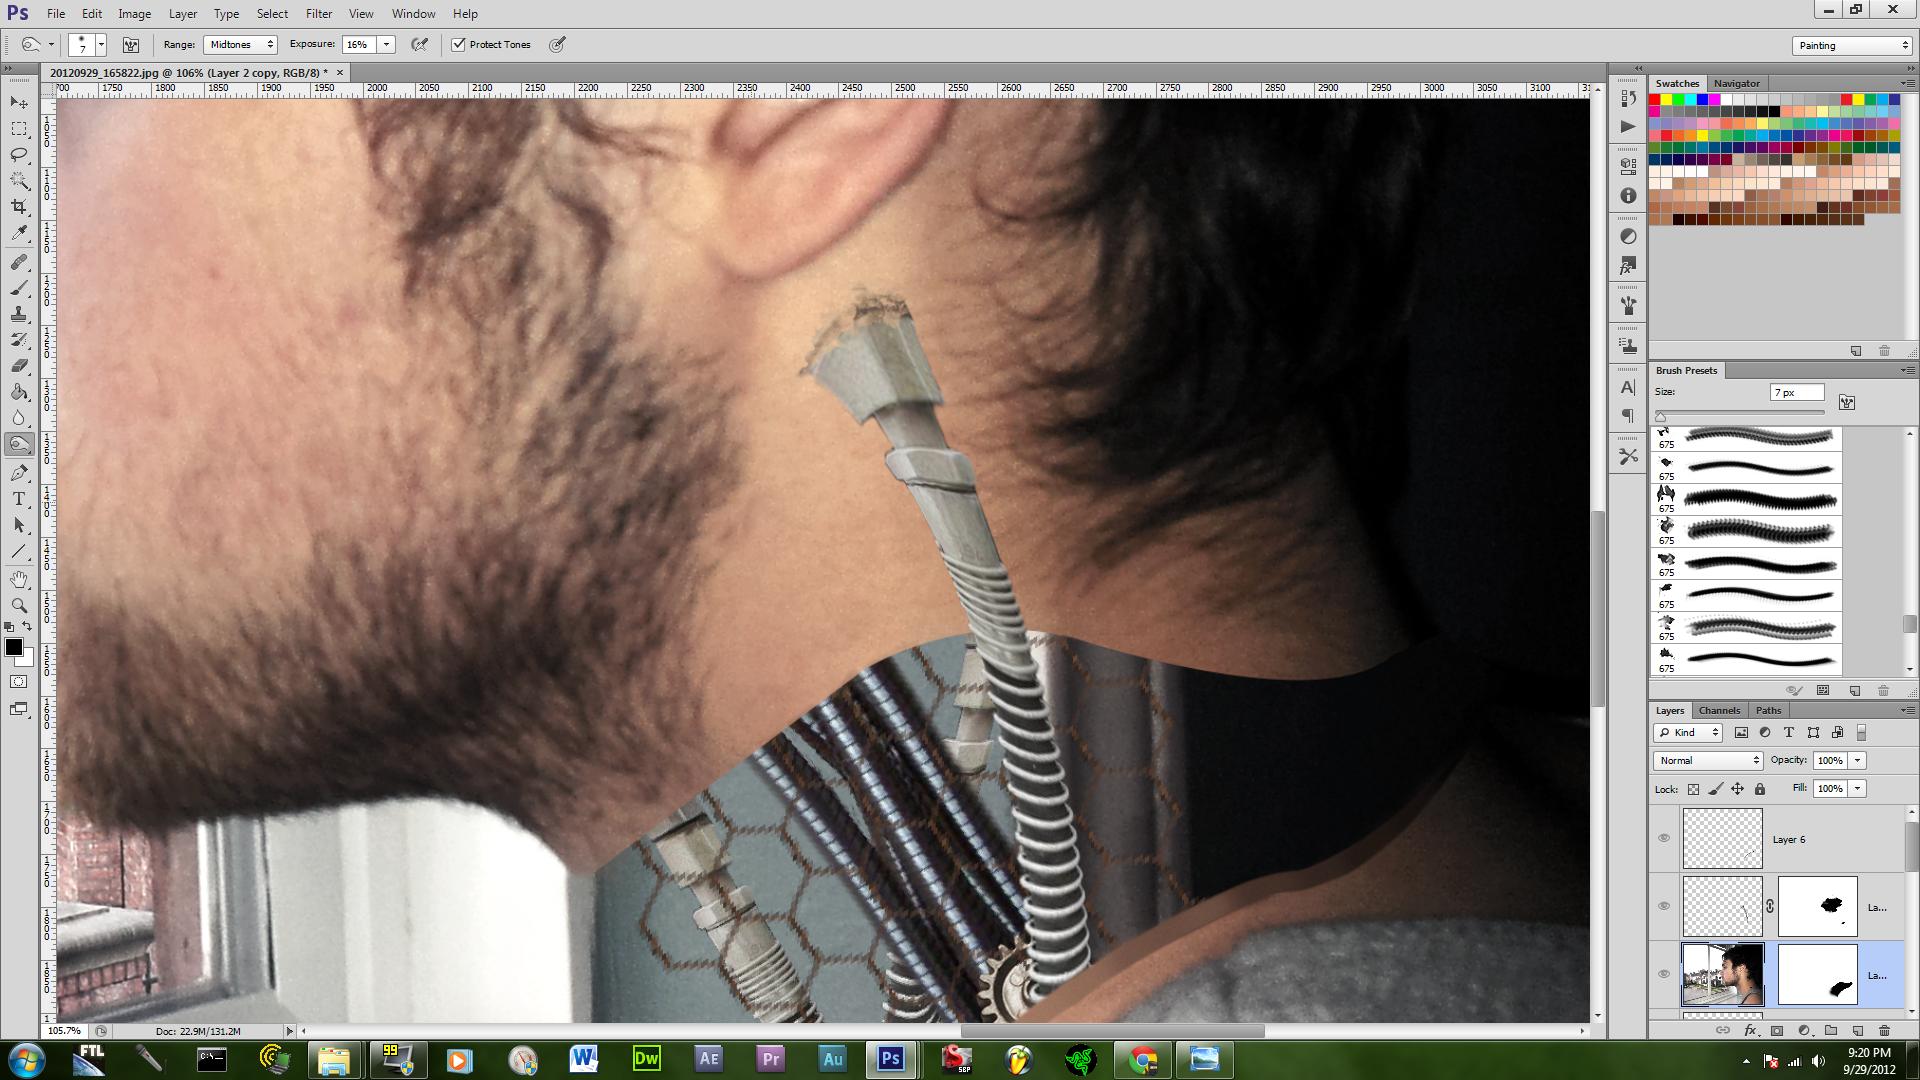
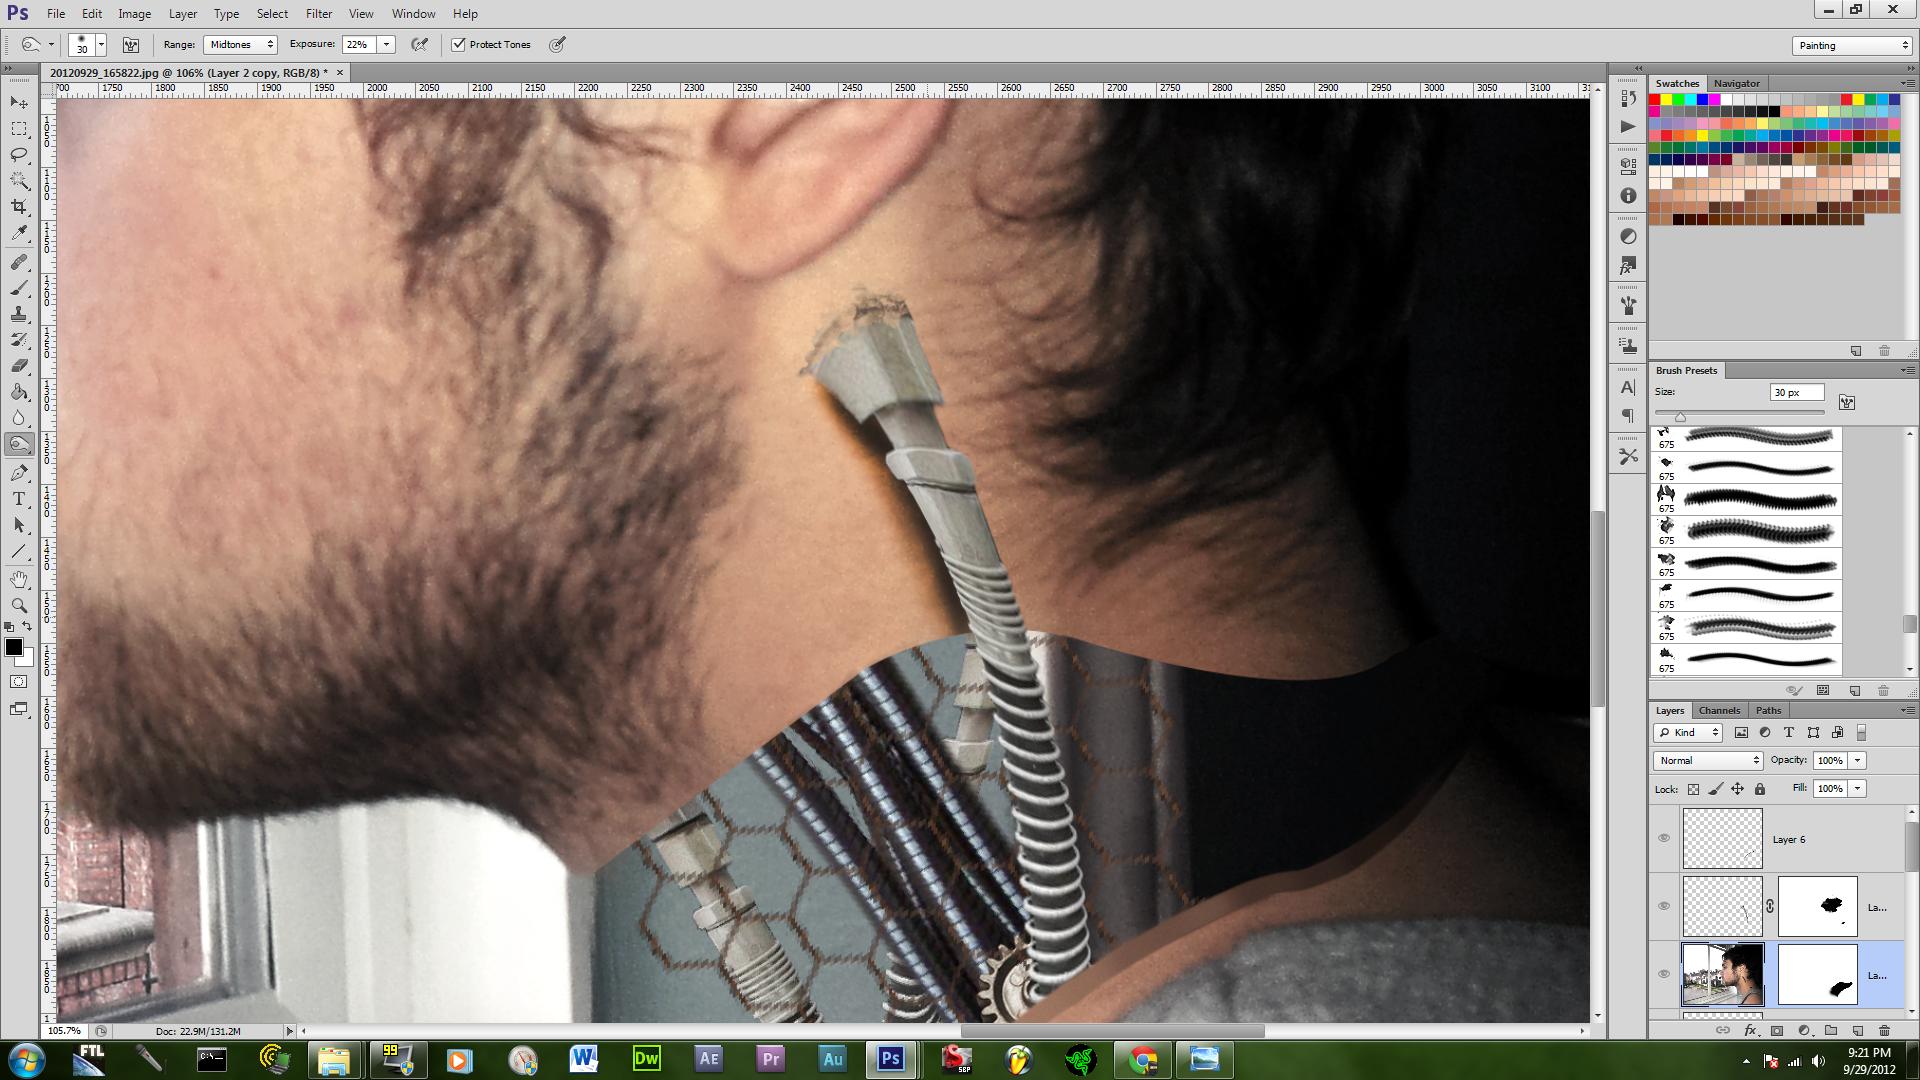
take assets that have been rendered out and just begin to add them in on separate layers and began to chose the order of the cables and wires. The more advance technique is to use the warp tool to bend the pipes as you can see i did that for the pip in my neck and i used some default random brushes to the skin over the pipe by putting a mask and coloring the mask. Afterwards i added a shadow to my subject layer. I had added chicken wire to it but decide i didn't like it. Try to find your own wires and cables to practice rendering on.
The Neck Vertebra
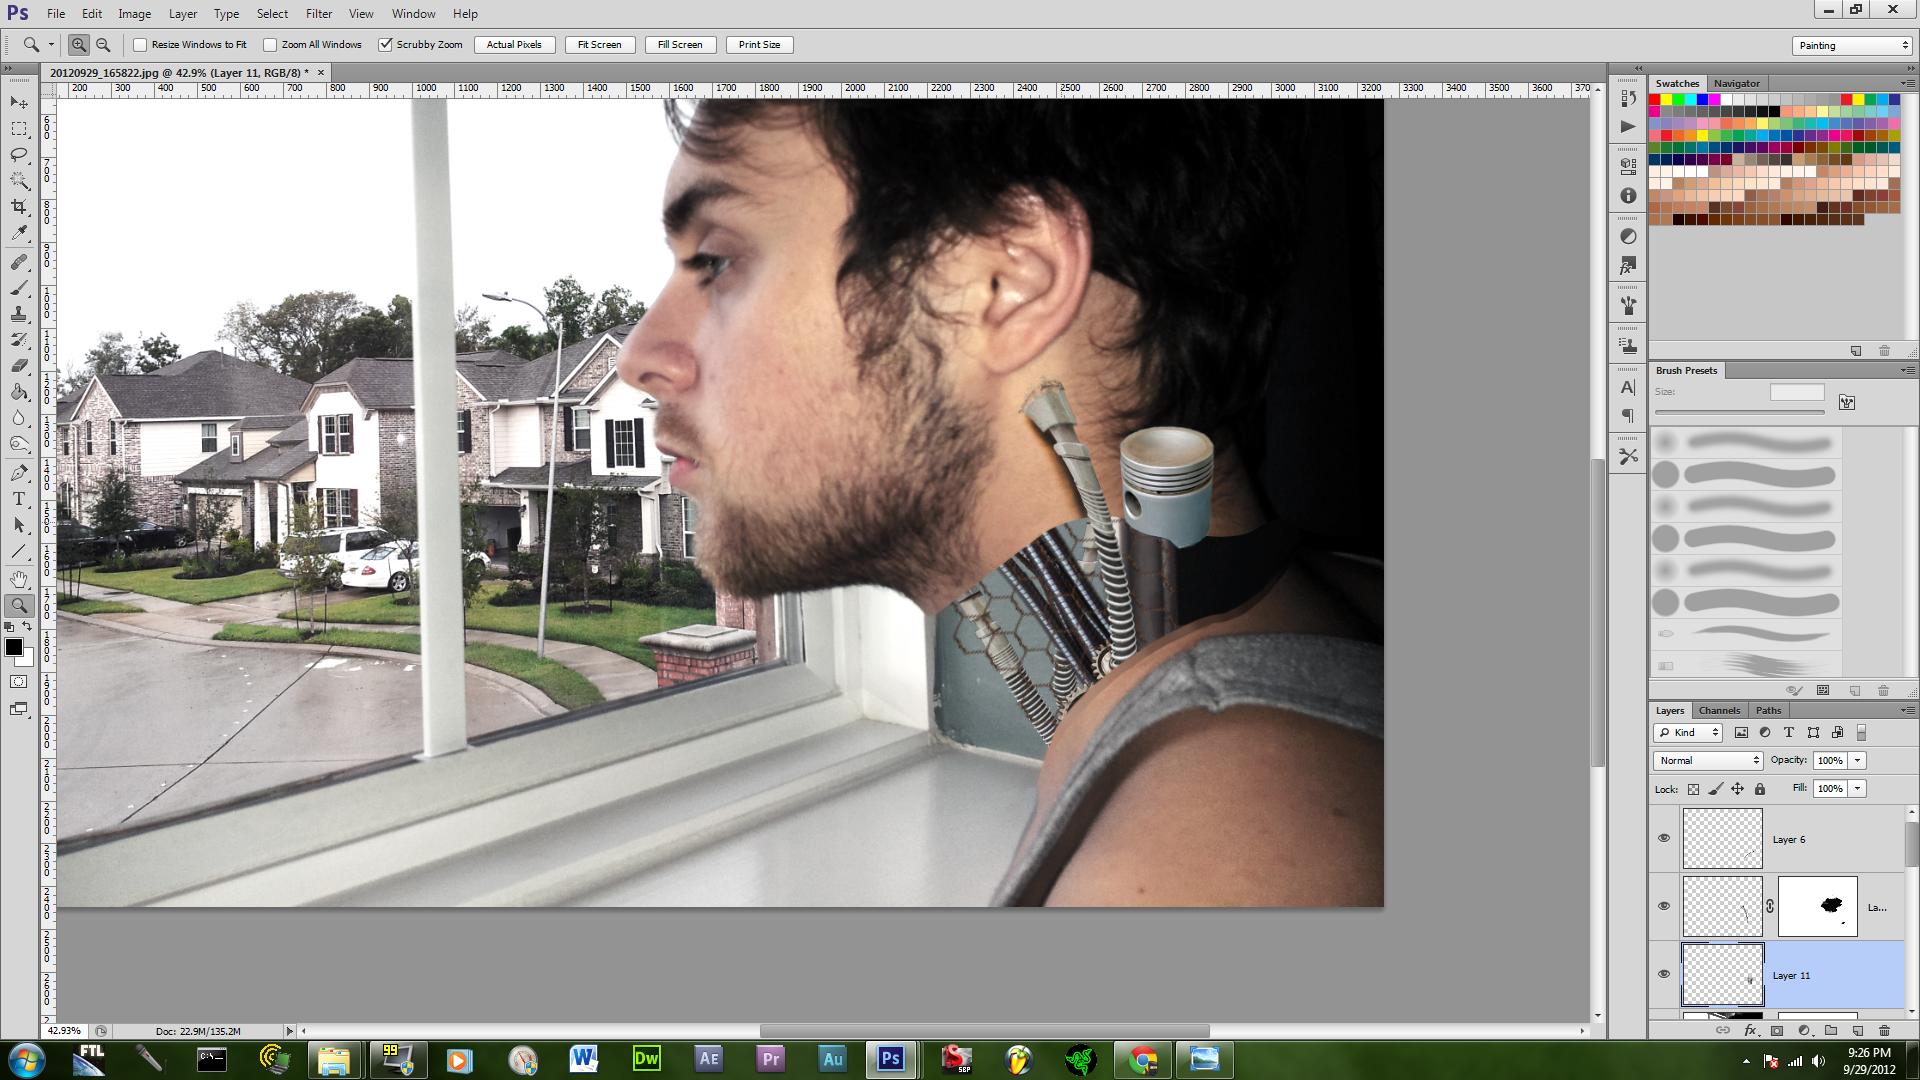
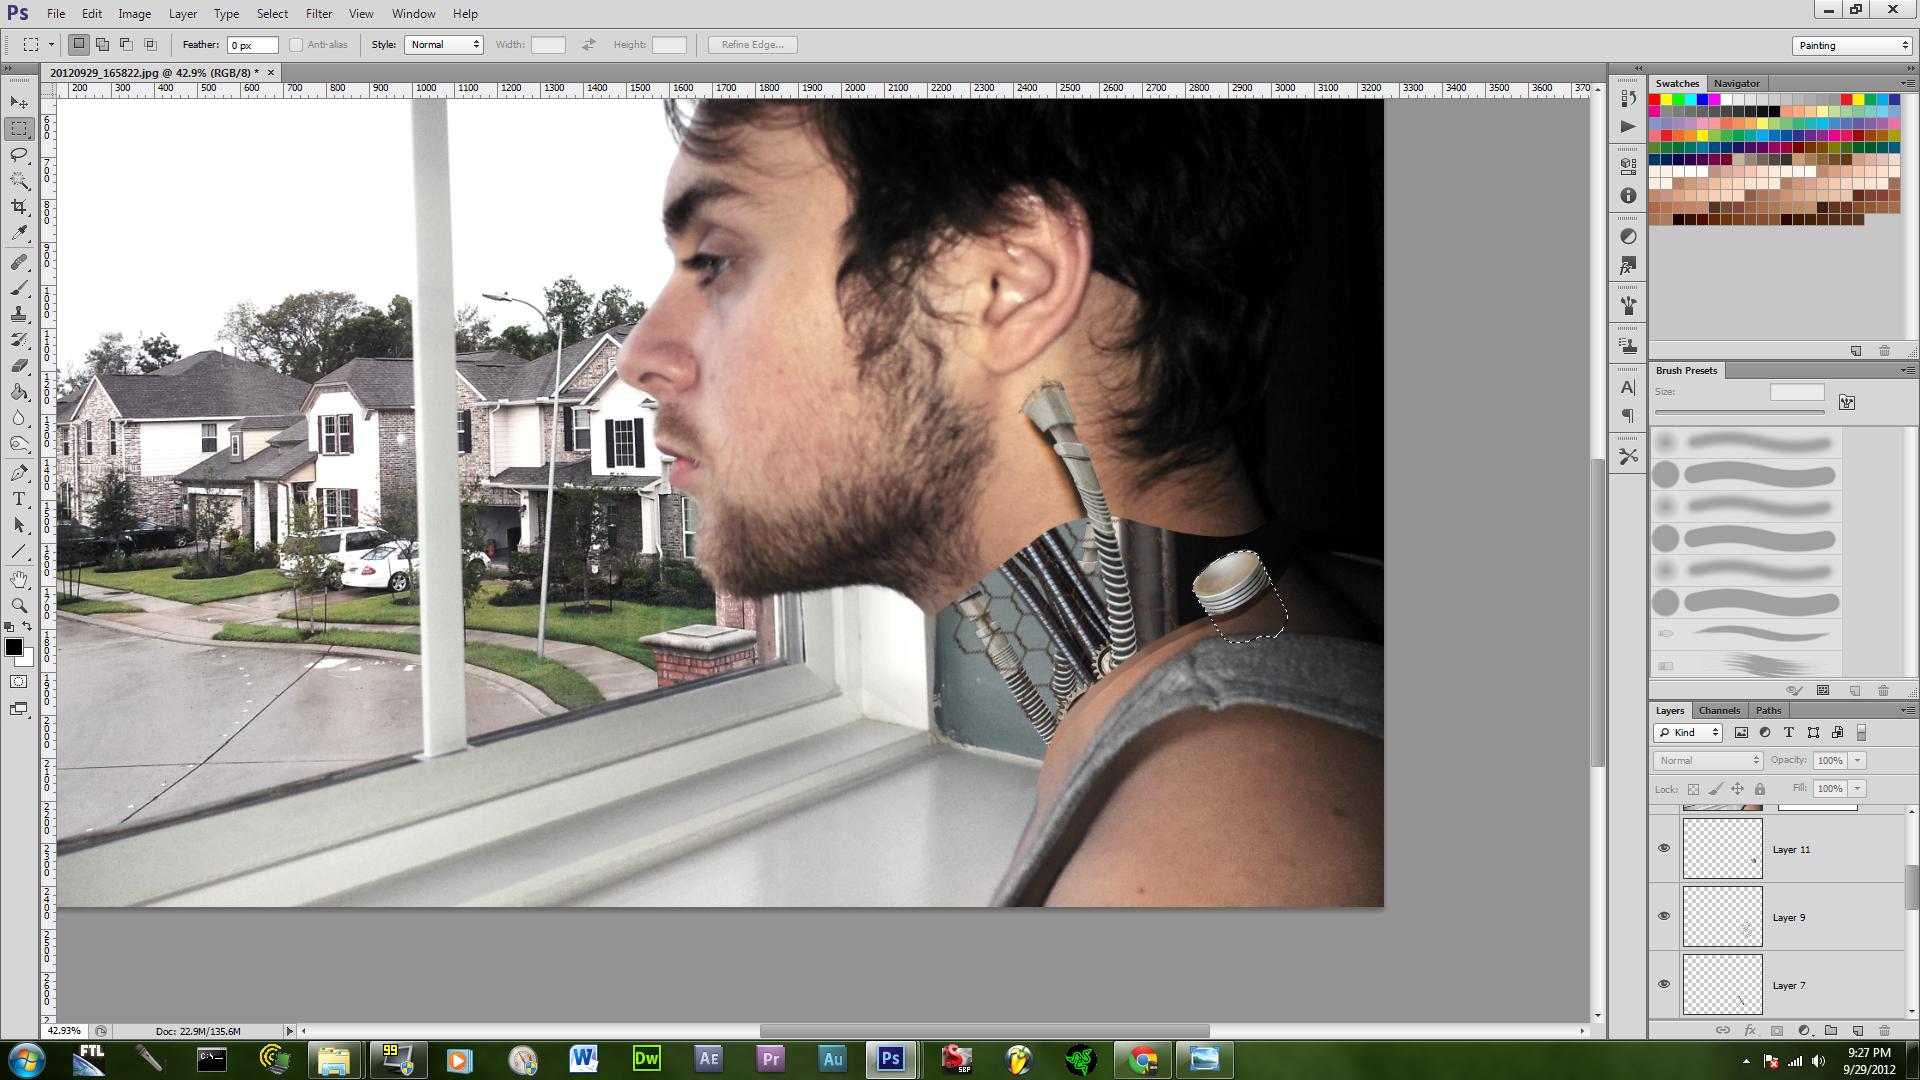
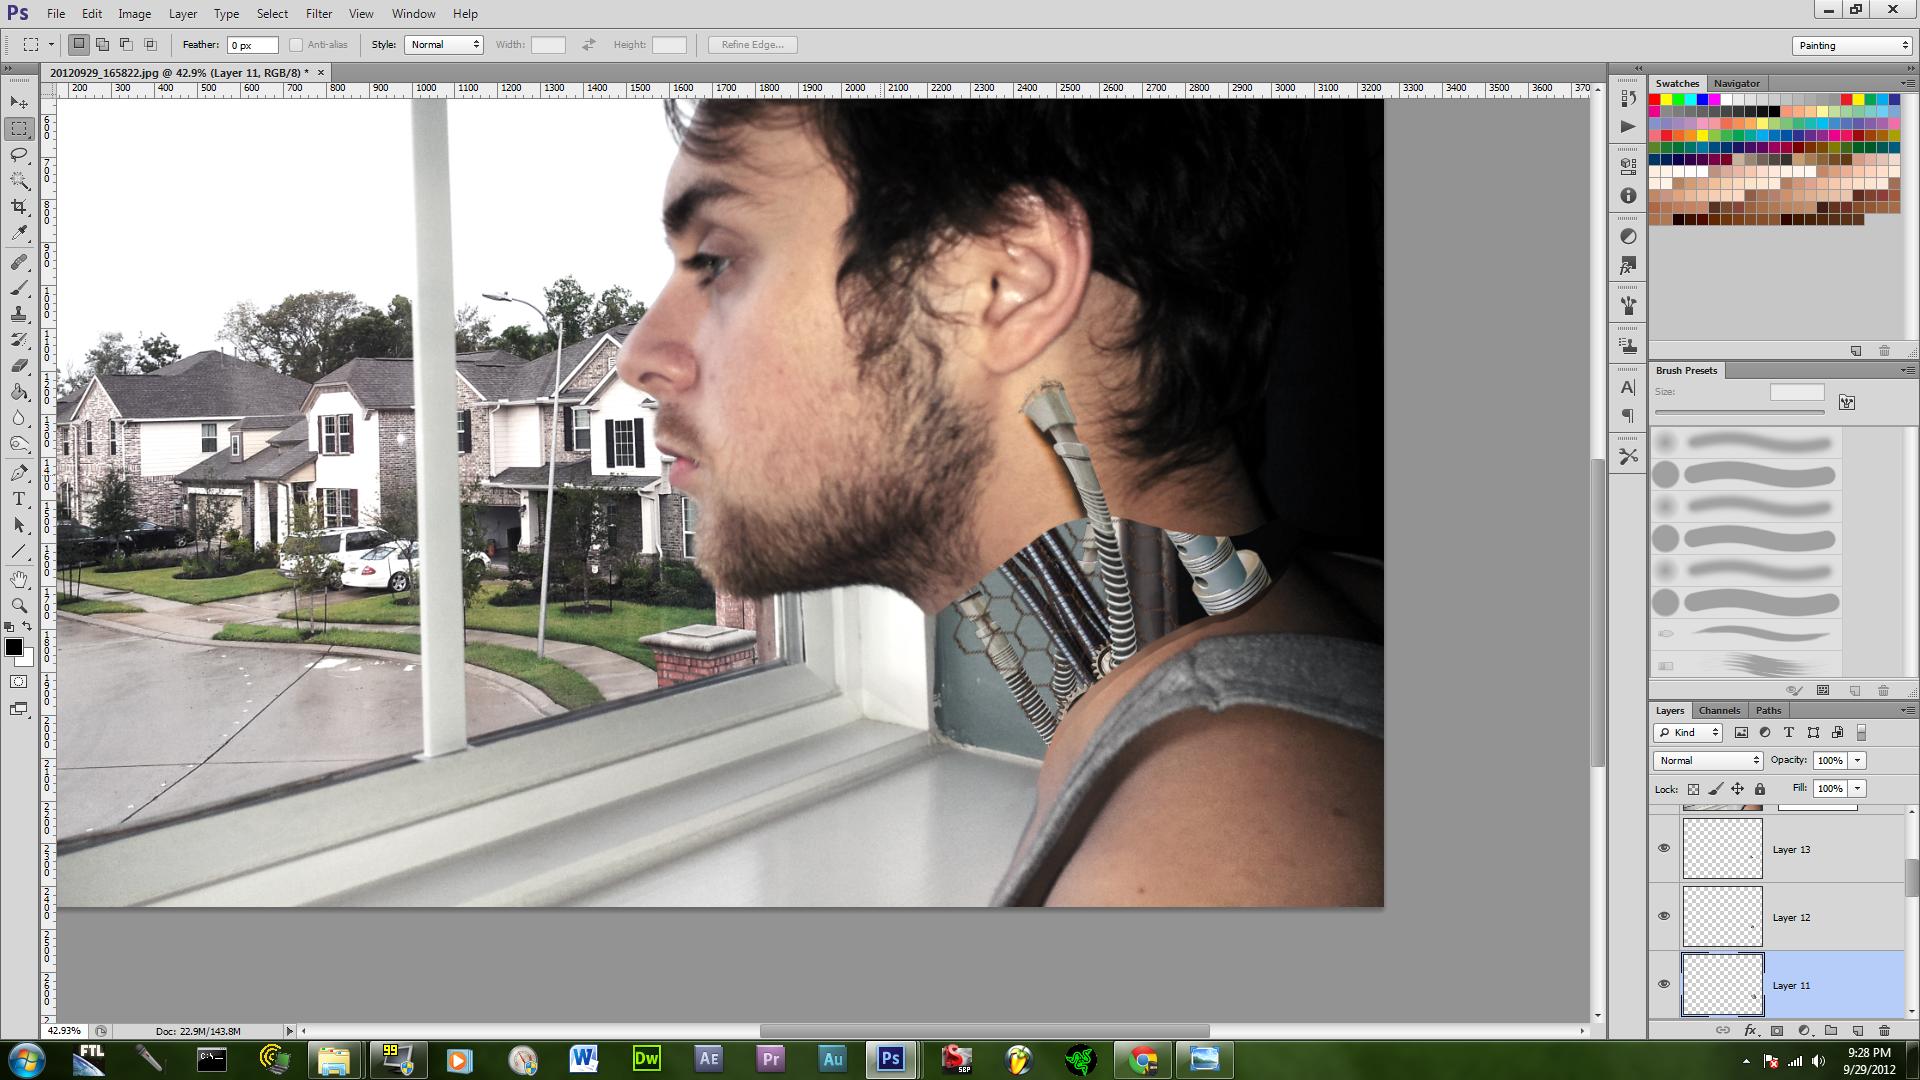
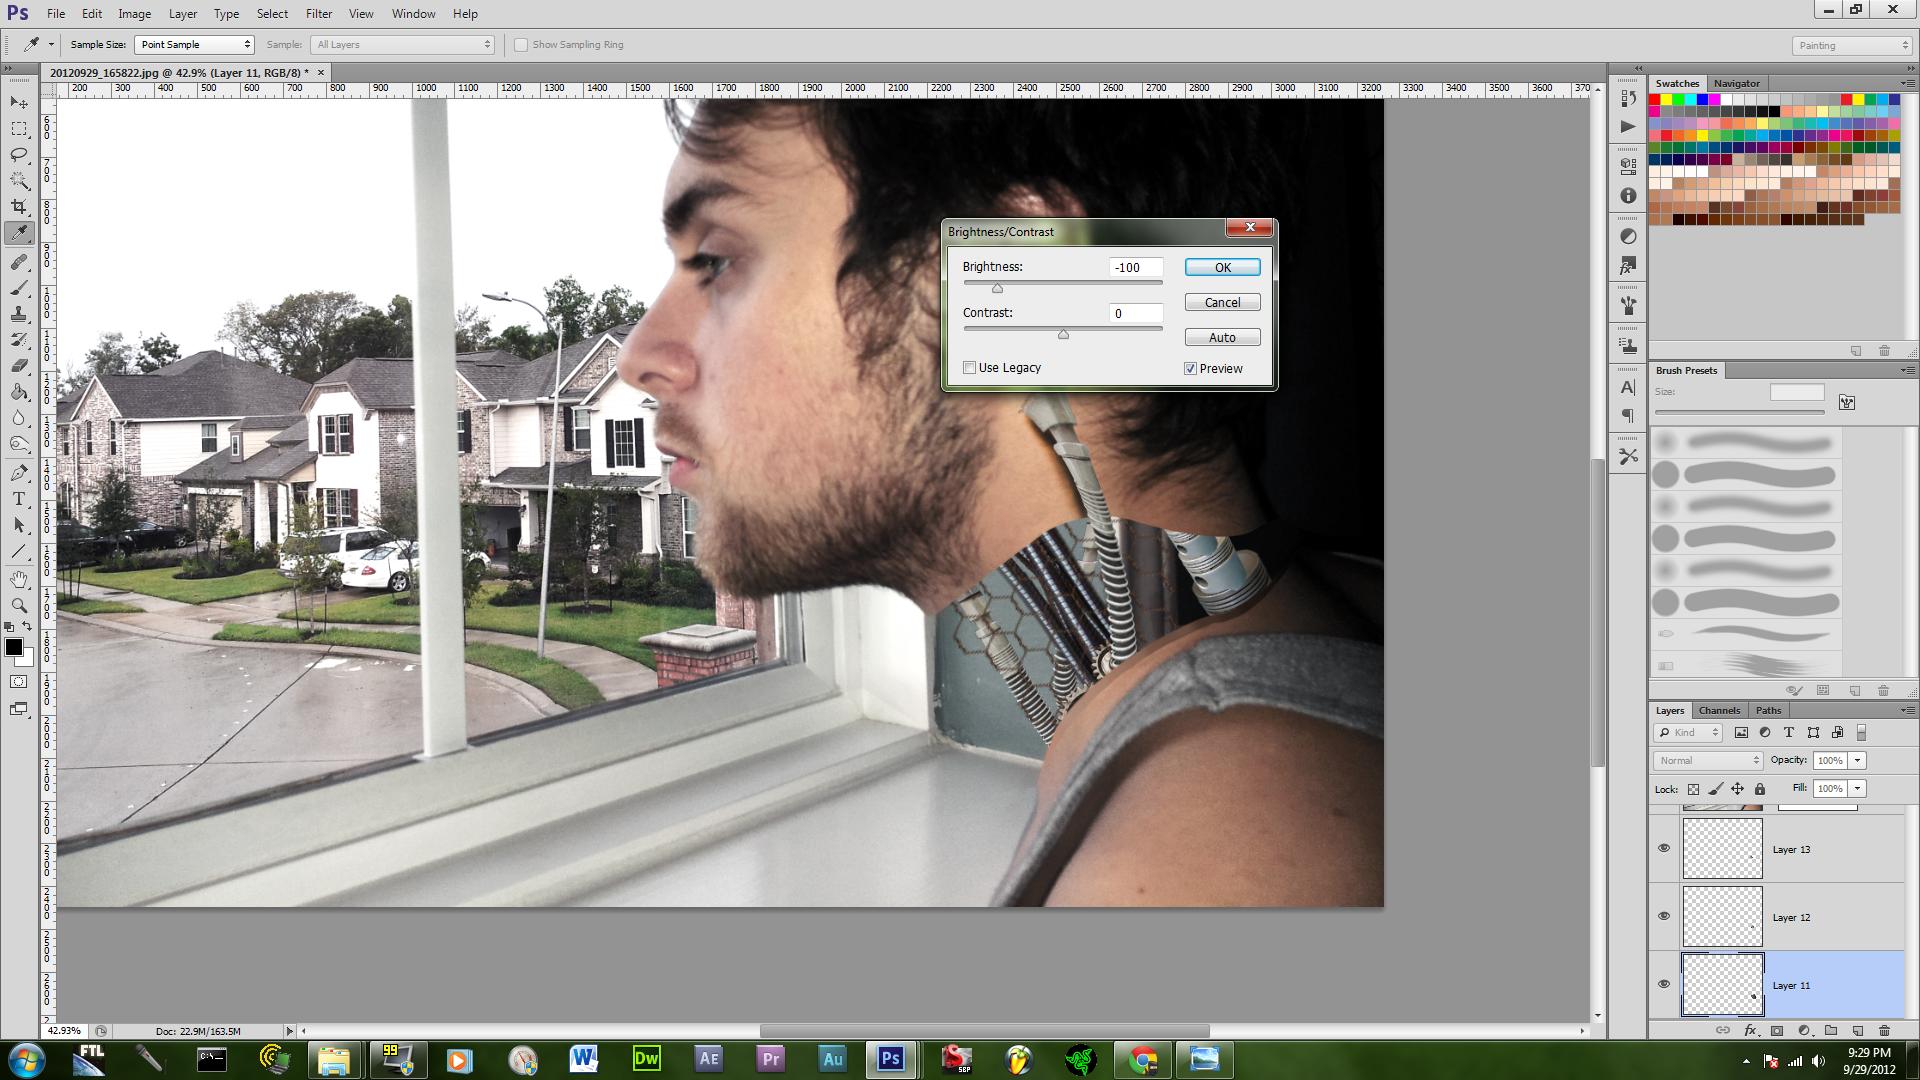
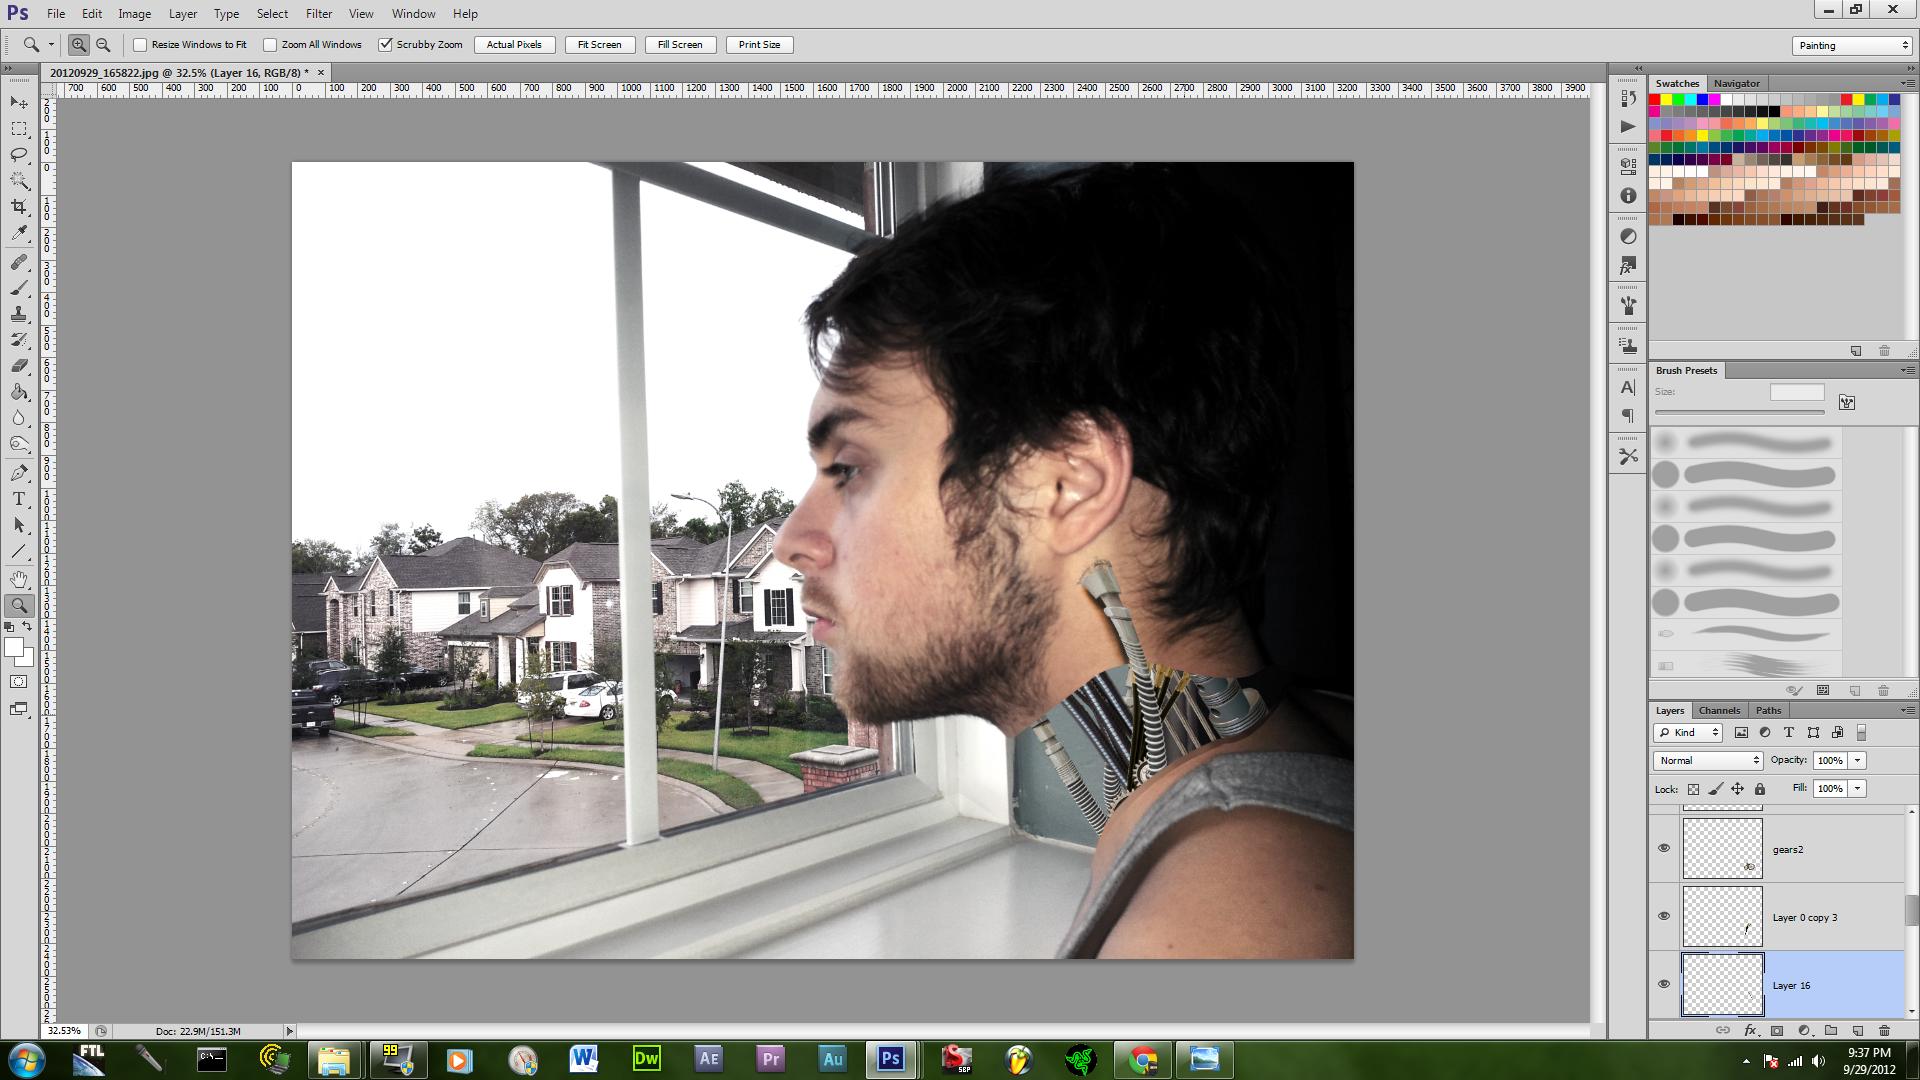
okay so here you will want to take the piston and then rotate it to line up with the neck then make a duplicate layer and make it smaller and move it up then do it again. Afterwards, on each layer go to image then go to adjustment and click on the brightness and contrast then change the brightness to -100% for each layer.