Cyborg Light Painting Gloves! (an Easy LED Switch)
by partsandcrafts in Circuits > LEDs
21914 Views, 25 Favorites, 0 Comments
Cyborg Light Painting Gloves! (an Easy LED Switch)
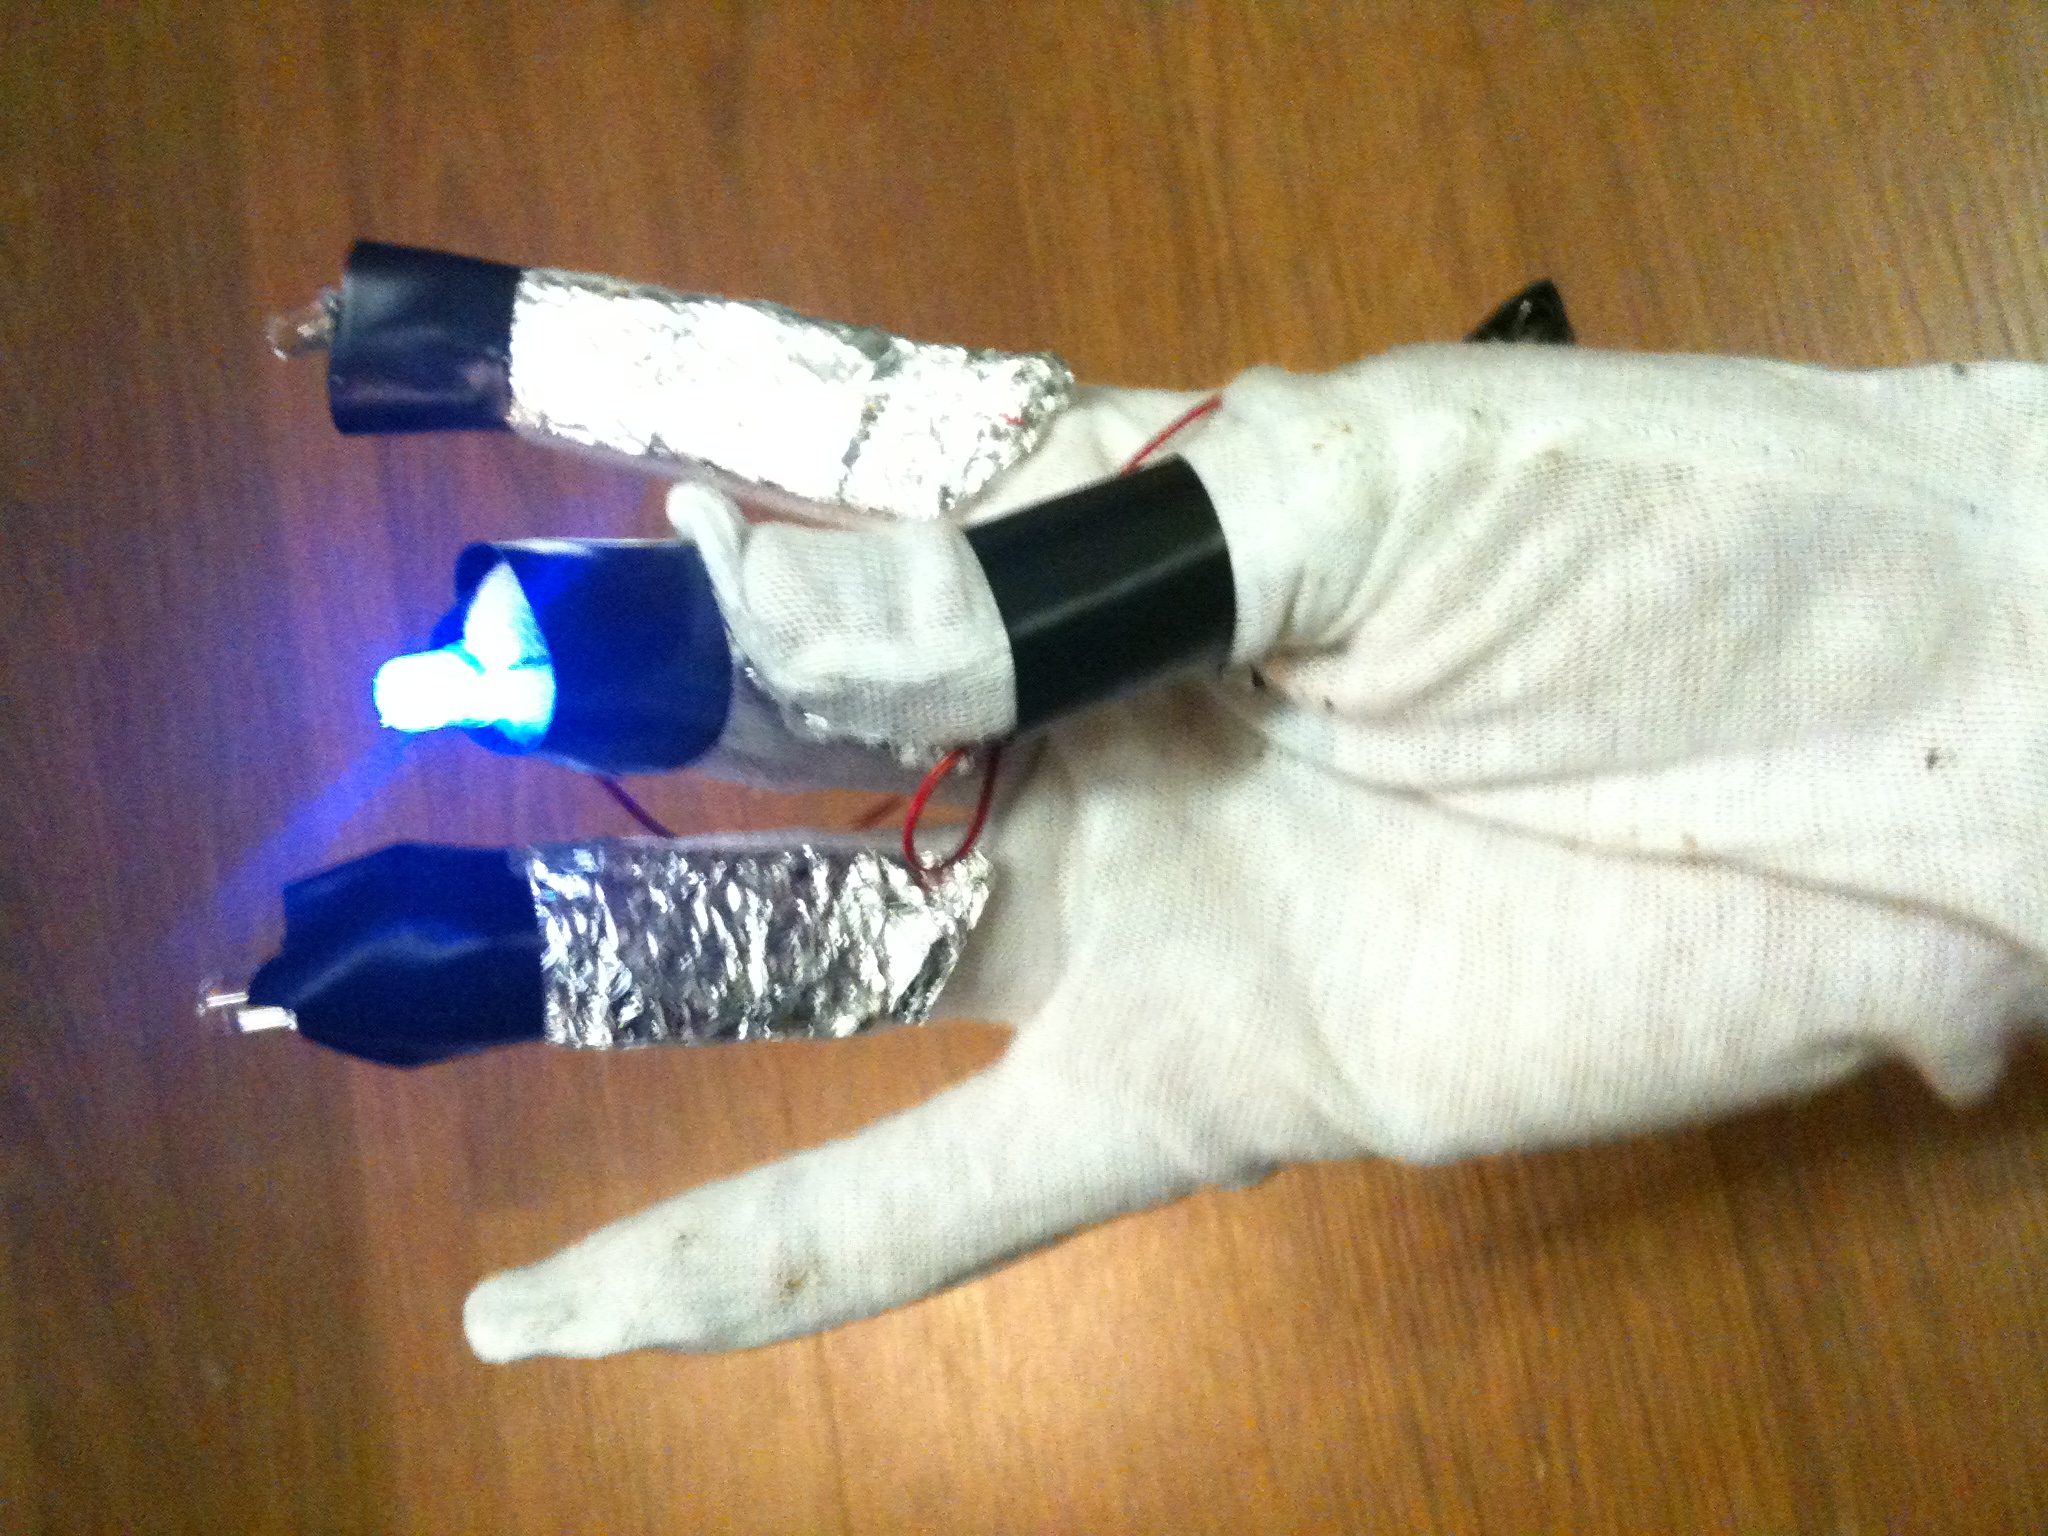
A few months ago I came across this great how-to on light painting from the Exploratorium. The process is incredibly simple -- you can do it with any camera that has a manual setting (so you can set to long exposure) and a light source. The tutorial included a guide for programming a PicoCricket to easily switch lights so you can paint in different colors without switching "brushes." Seemed cool! The problem is that our PicoCricket got mixed in with the LEGOS and hopelessly taken apart. Rather than going through the giant bag and try to find all the pieces, we decided to make a low-tech alternative using a glove, a few LEDs, a coin battery, some wire, and a little bit of tinfoil.
What You'll Need
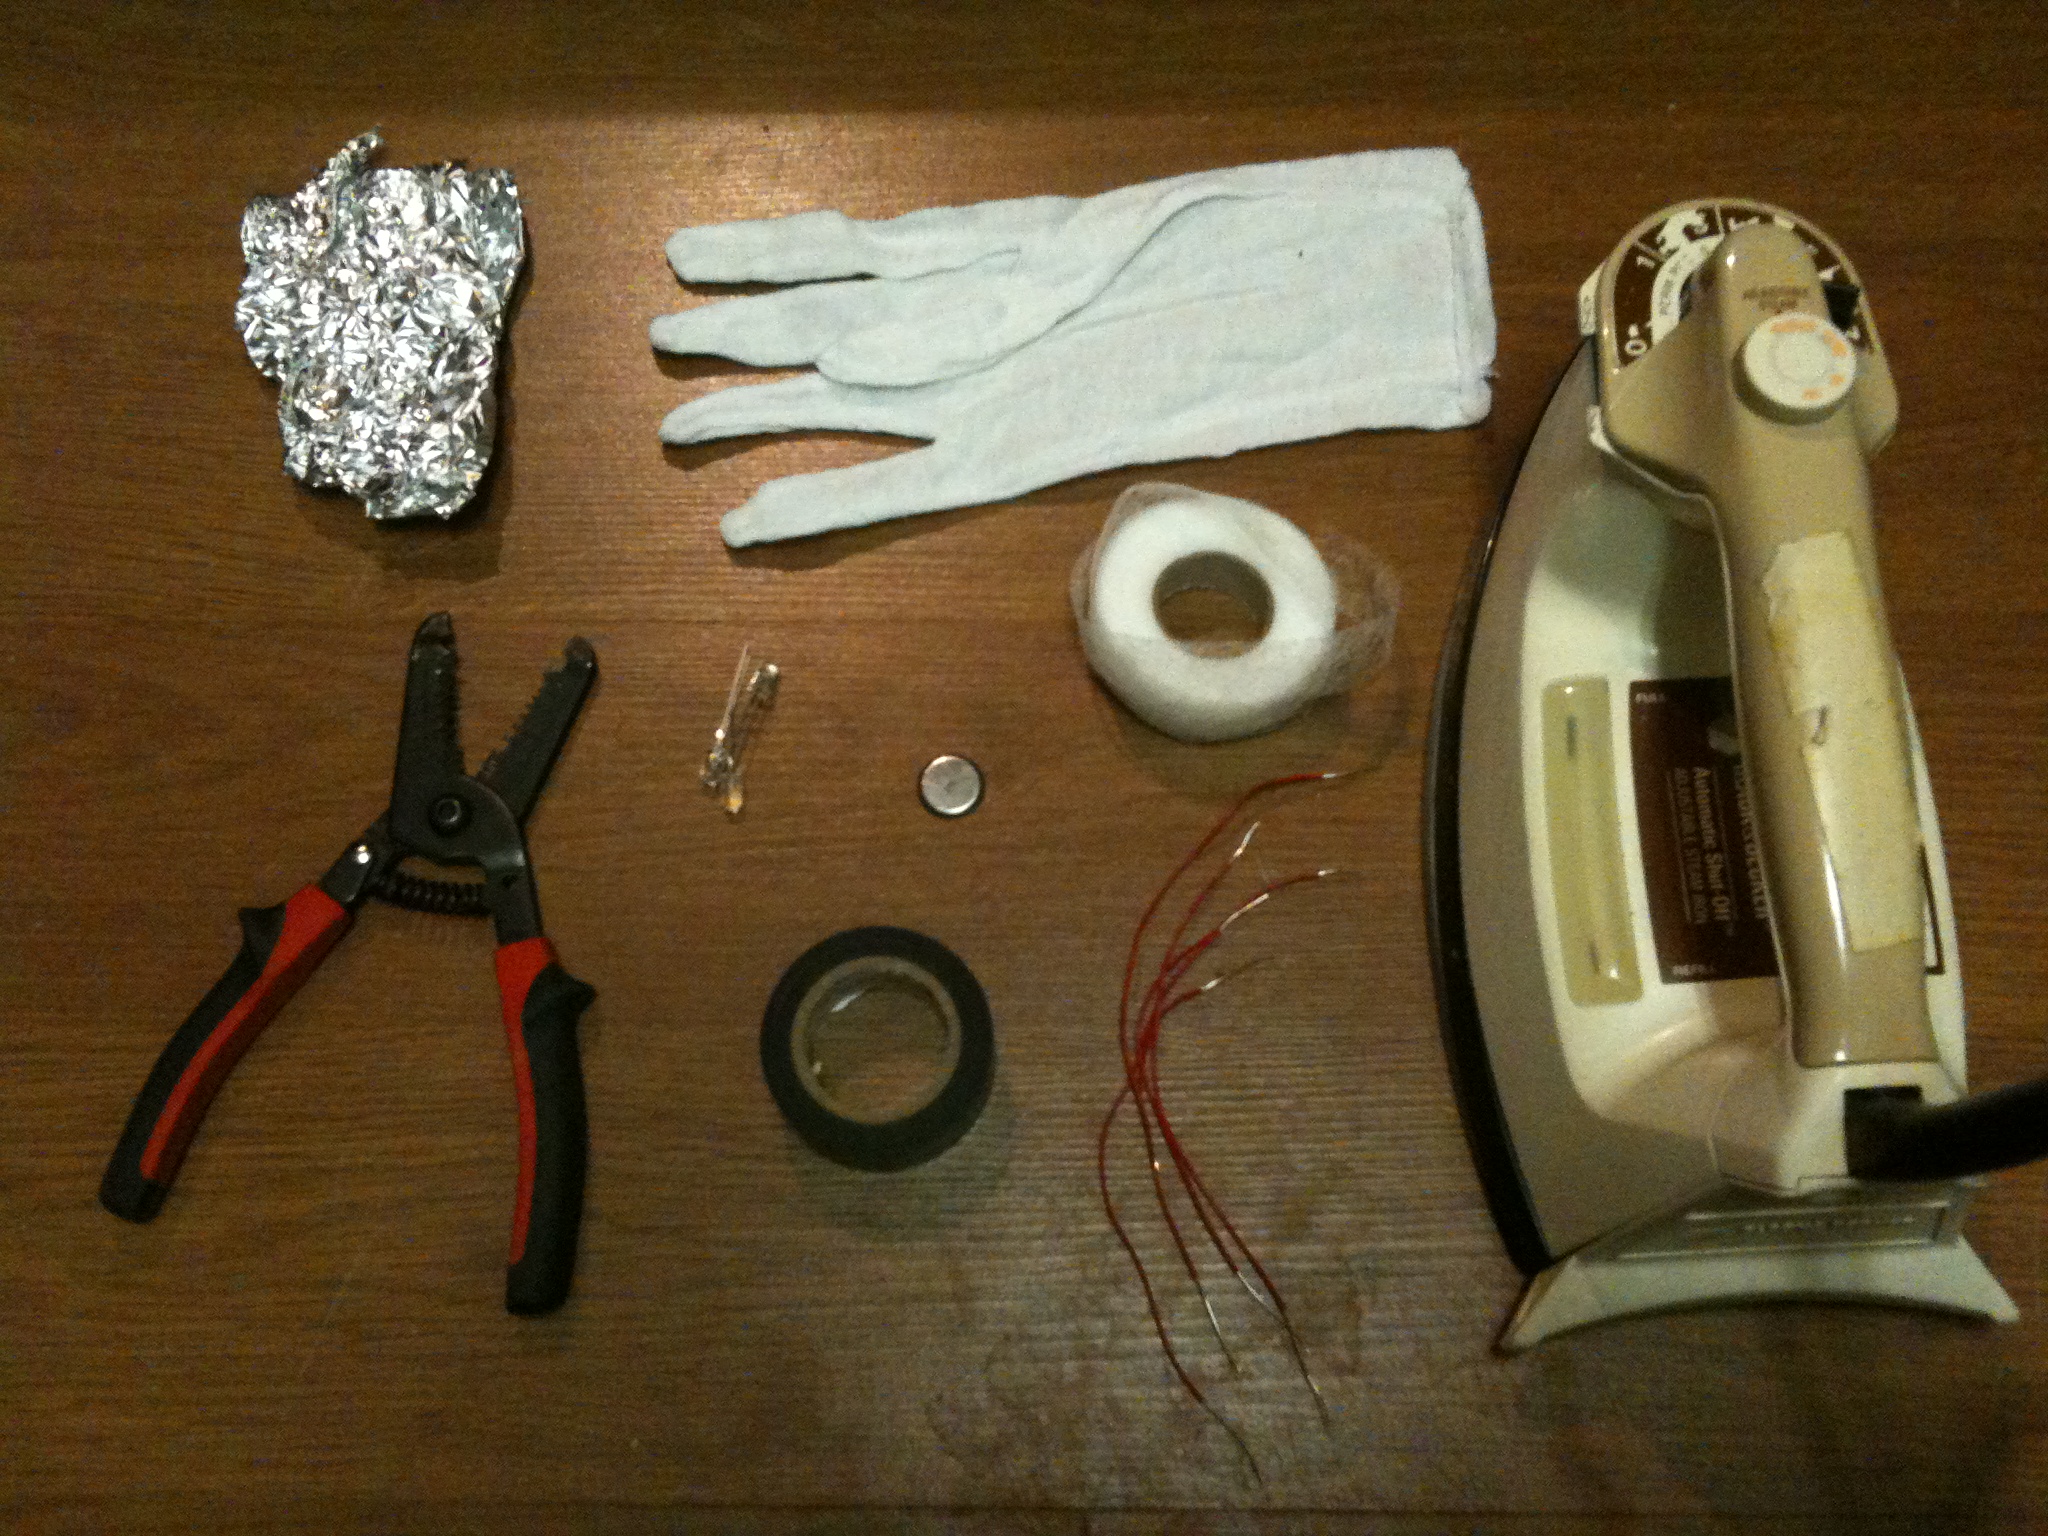
Materials:
-- A glove
-- Three or four LEDs of different colors
-- Insulated wire
-- Black electrical tape
-- 3V coin battery (you can use a battery pack, but it's a little more unwieldy)
-- Fusible interfacing (iron-on -- available at a sewing supply store)
-- Tinfoil
-- A binder clip
Tools:
-- Wirestrippers
-- An iron
-- Hot glue gun (optional)
Step 1: Iron on Tinfoil Pads
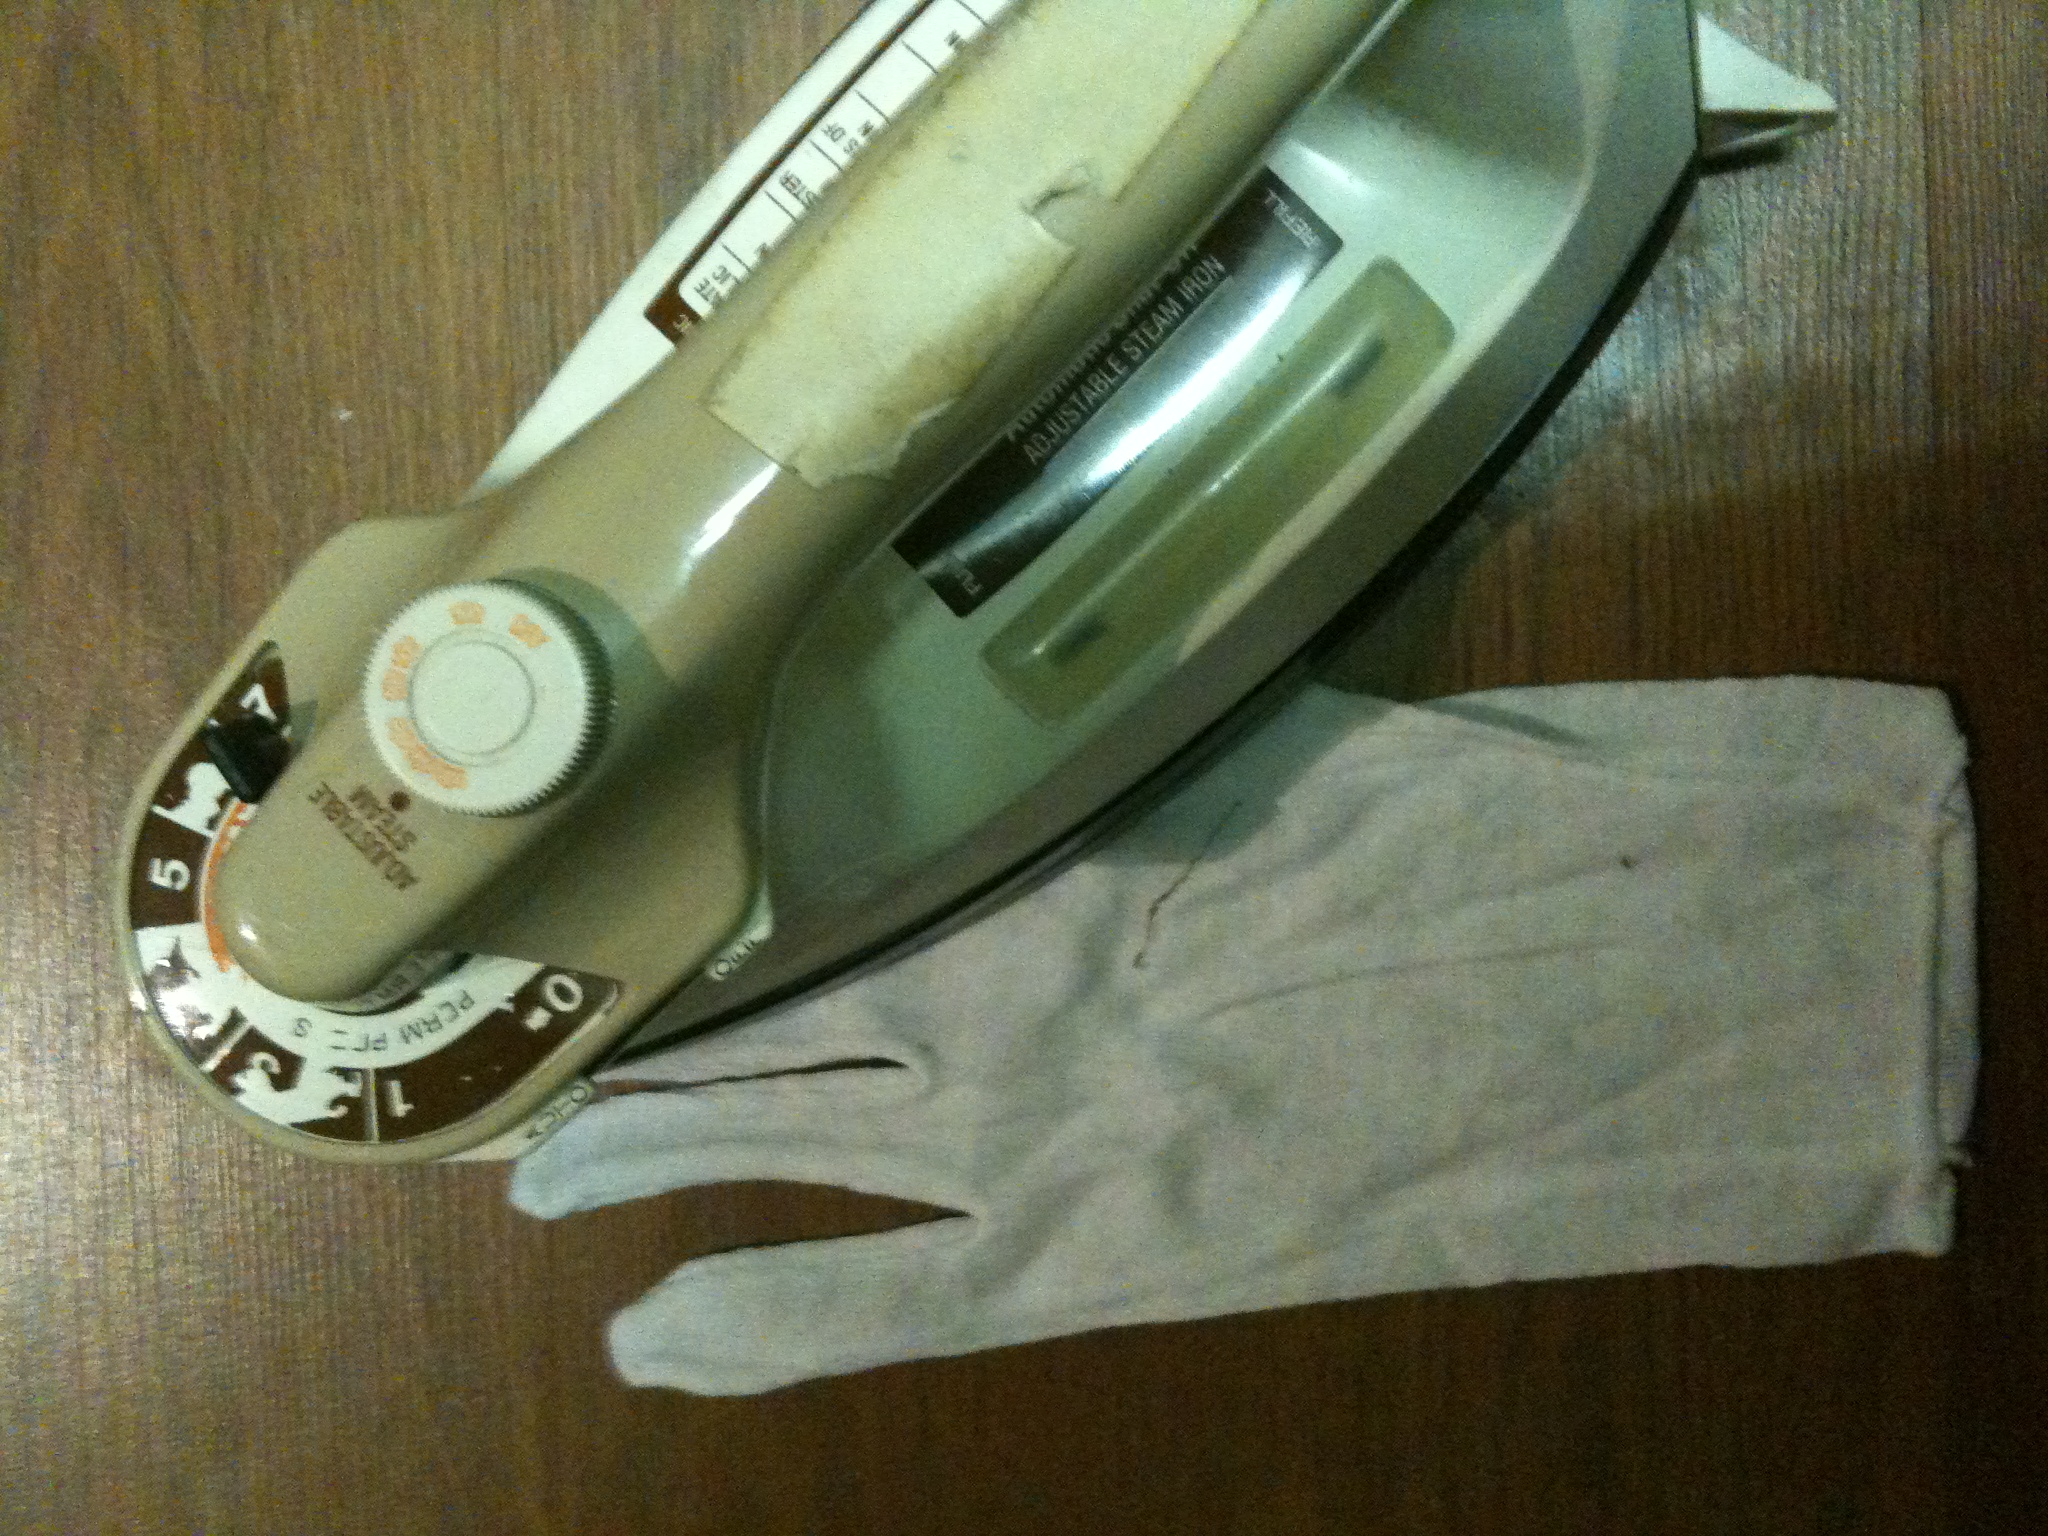
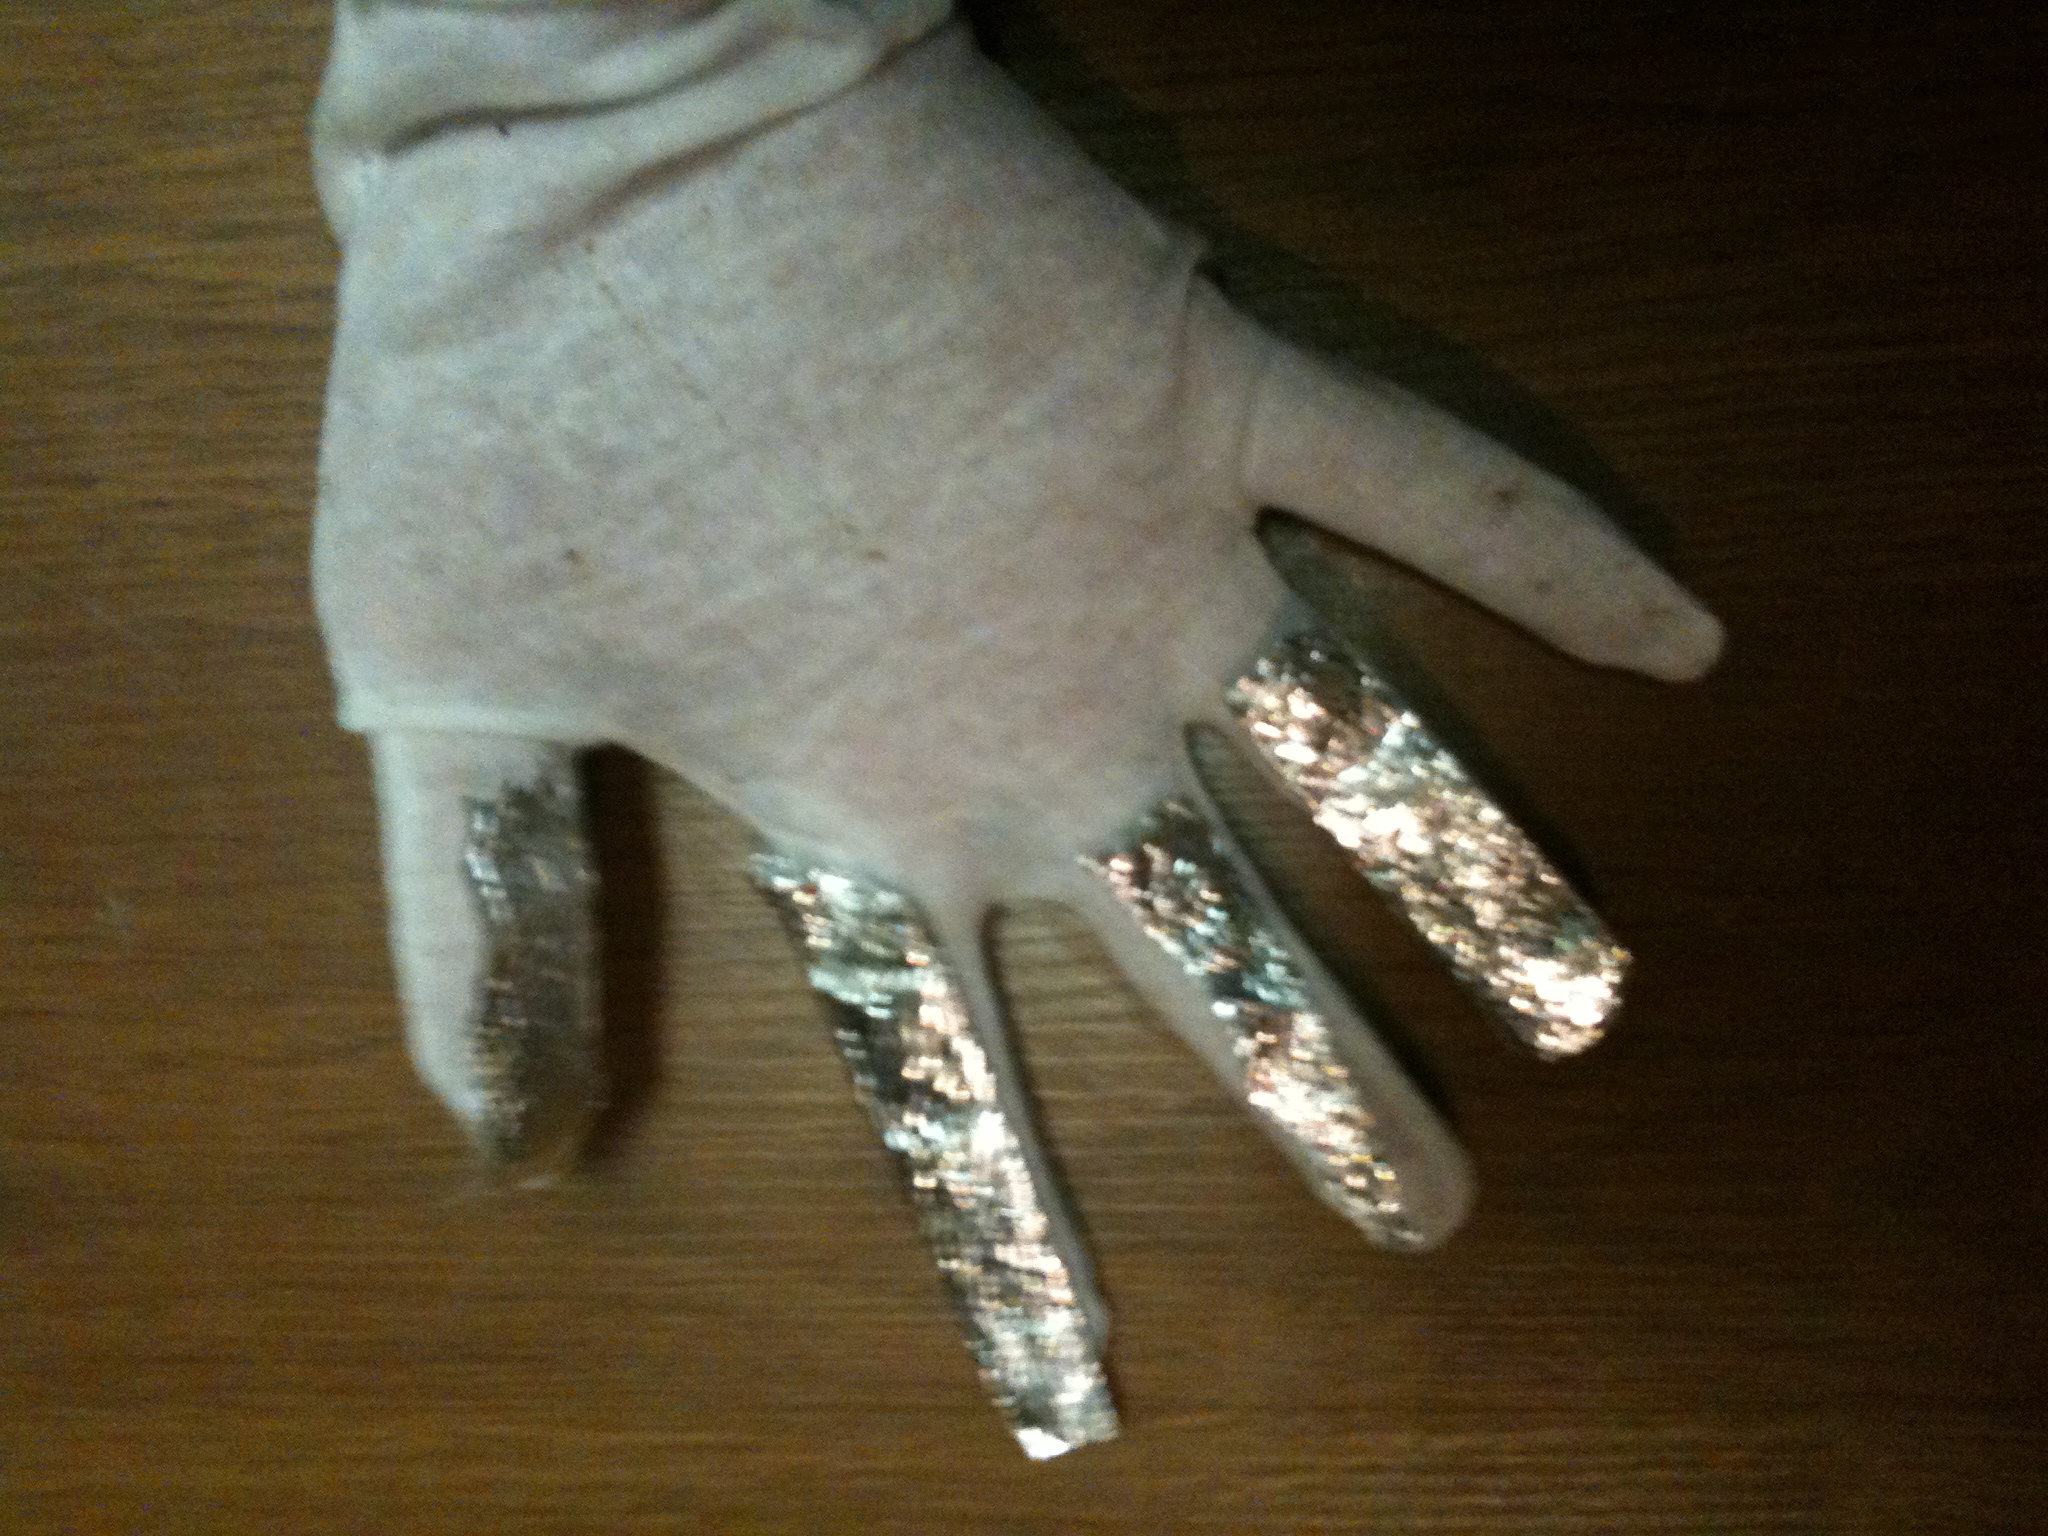
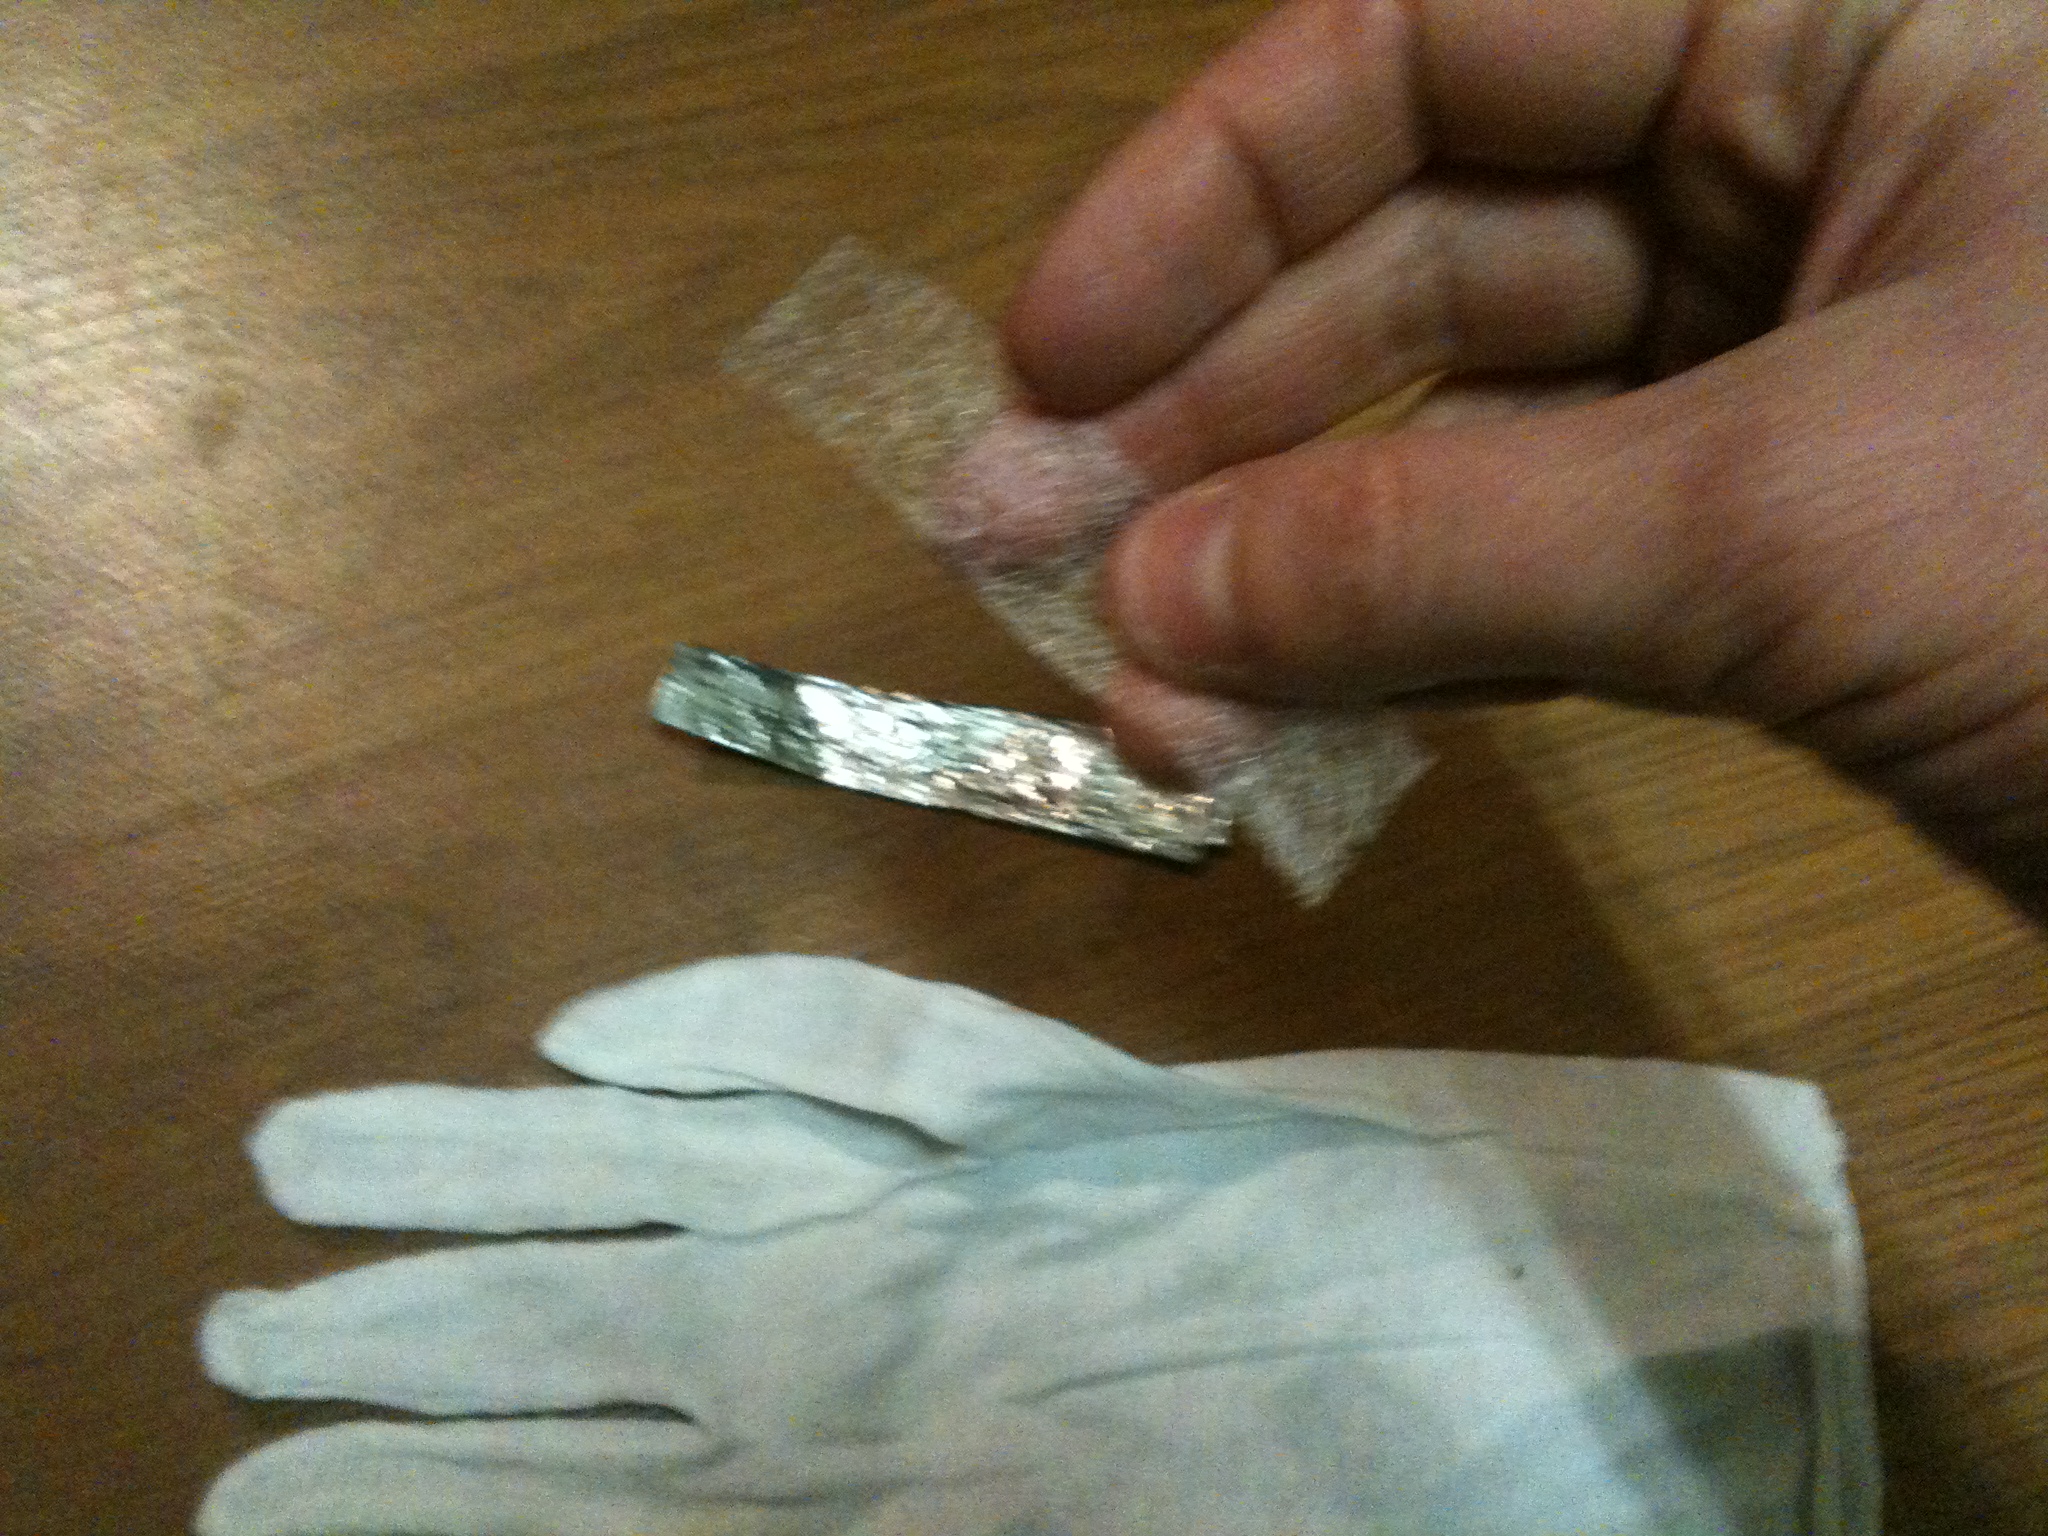
The first time we did this we used latex gloves and electrical tape, and it was a giant mess -- kids could pretty much only use them once, and then they'd fall apart. Conductive fabric seemed expensive and required a sewing machine --- and then we found this great how-to for substituting tinfoil and fusible interfacing.
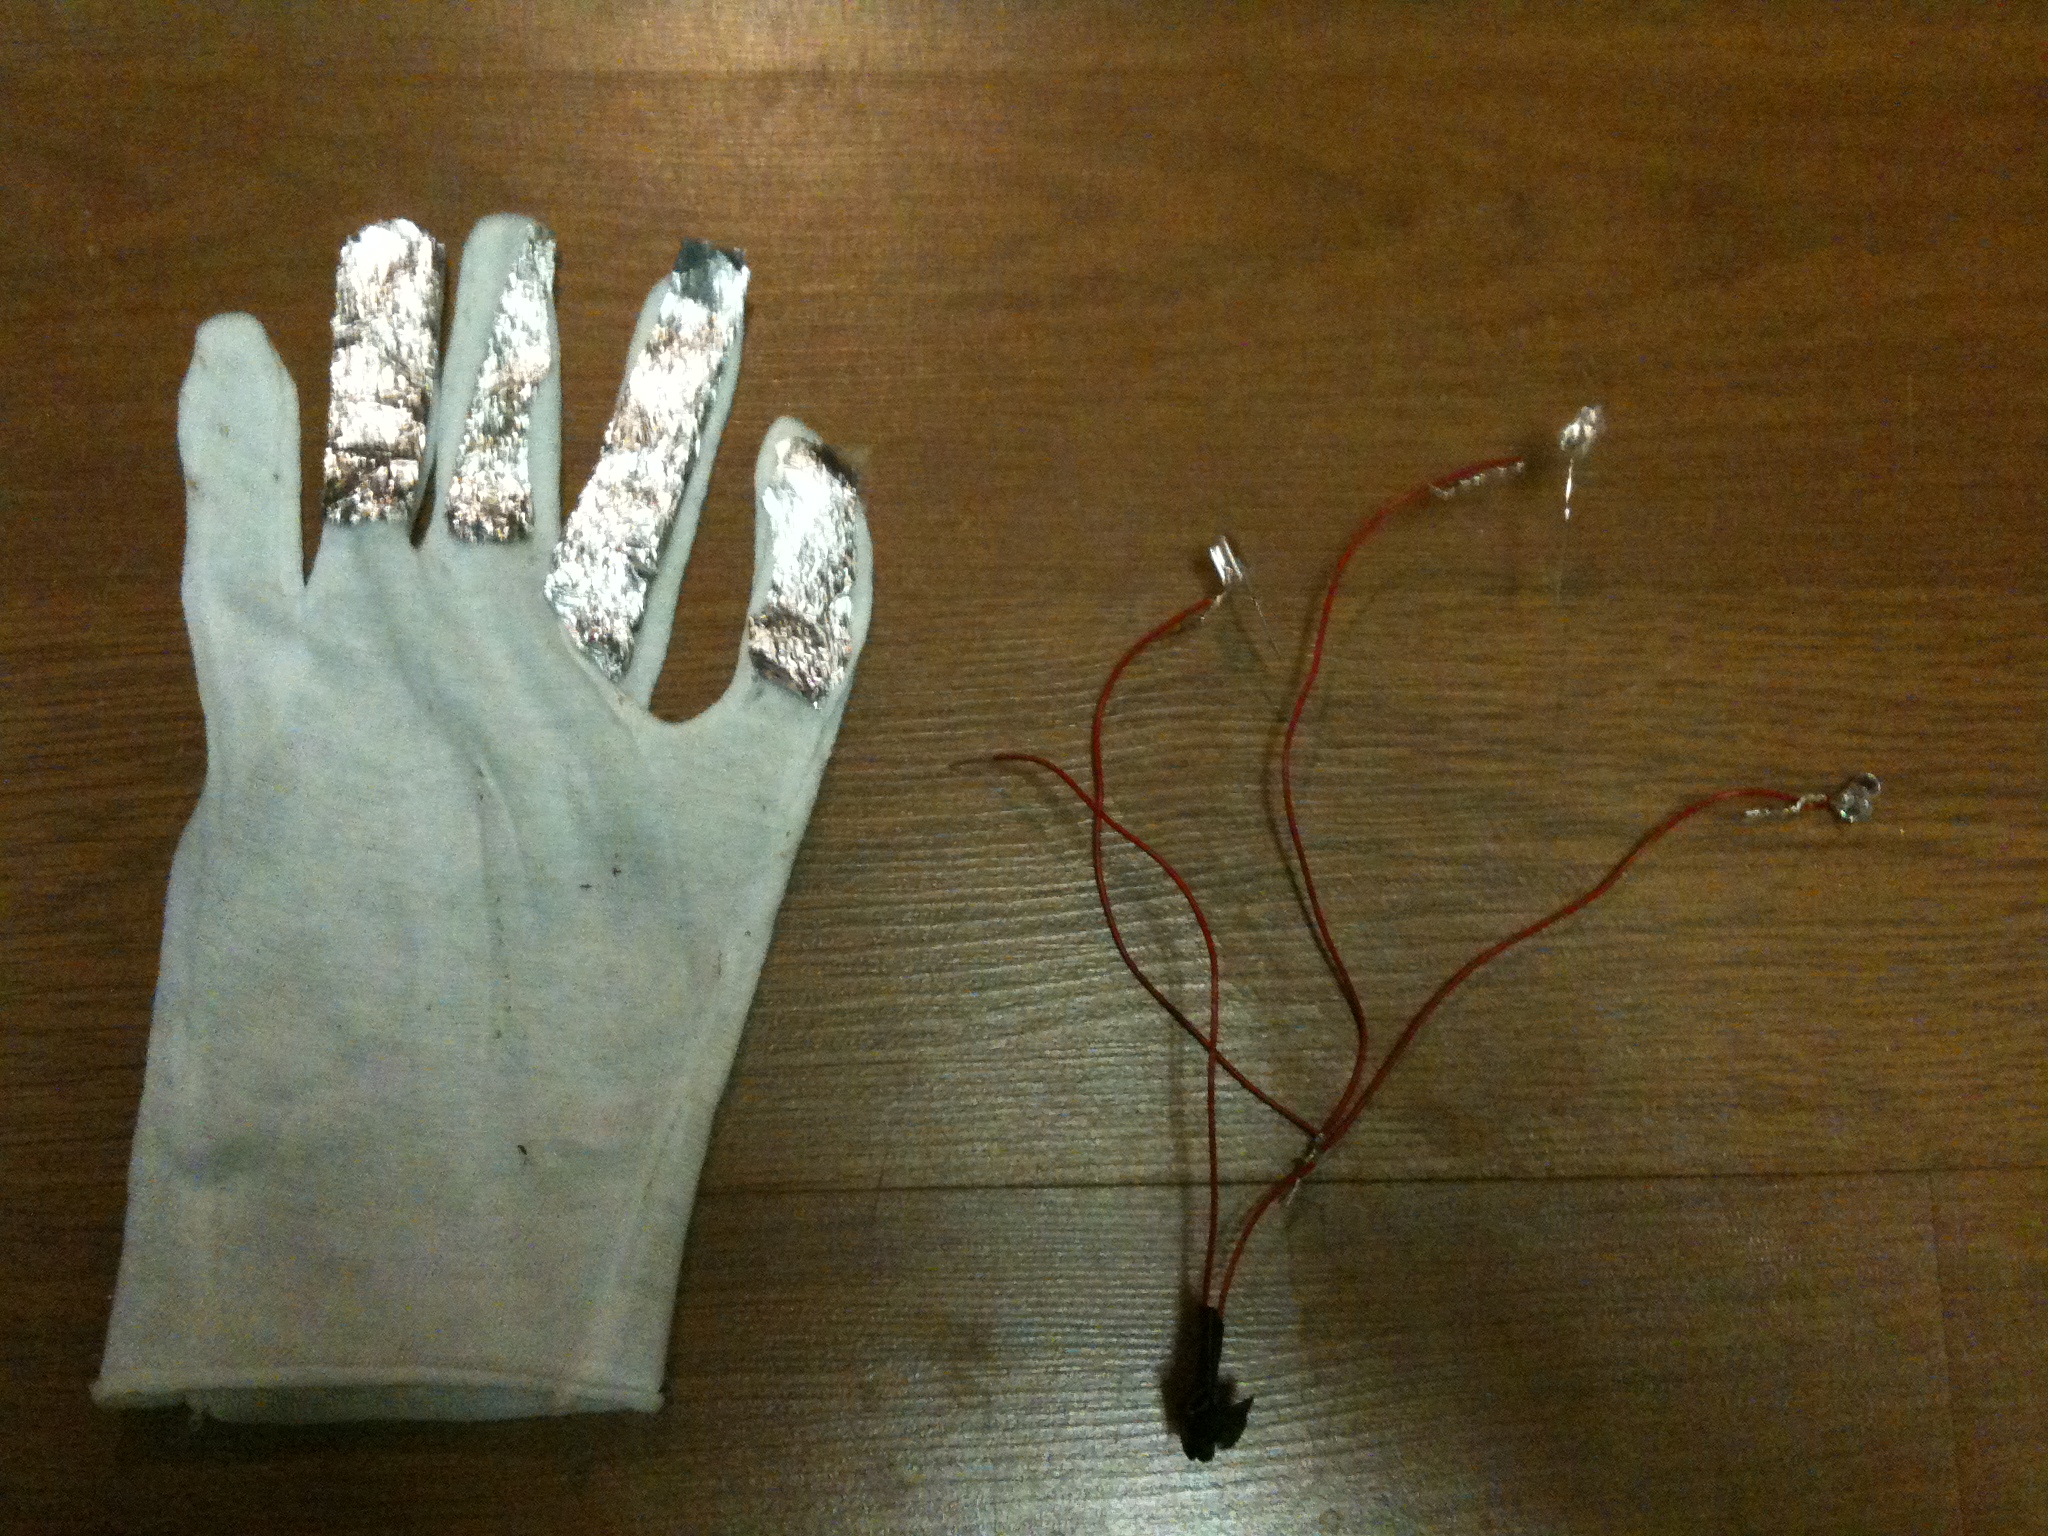
1. Cut a 3x3 piece of tinfoil (should be about the length of your finger, and able to be folded over a few times) Fold it so it's about the width of your finger. Do this three times.
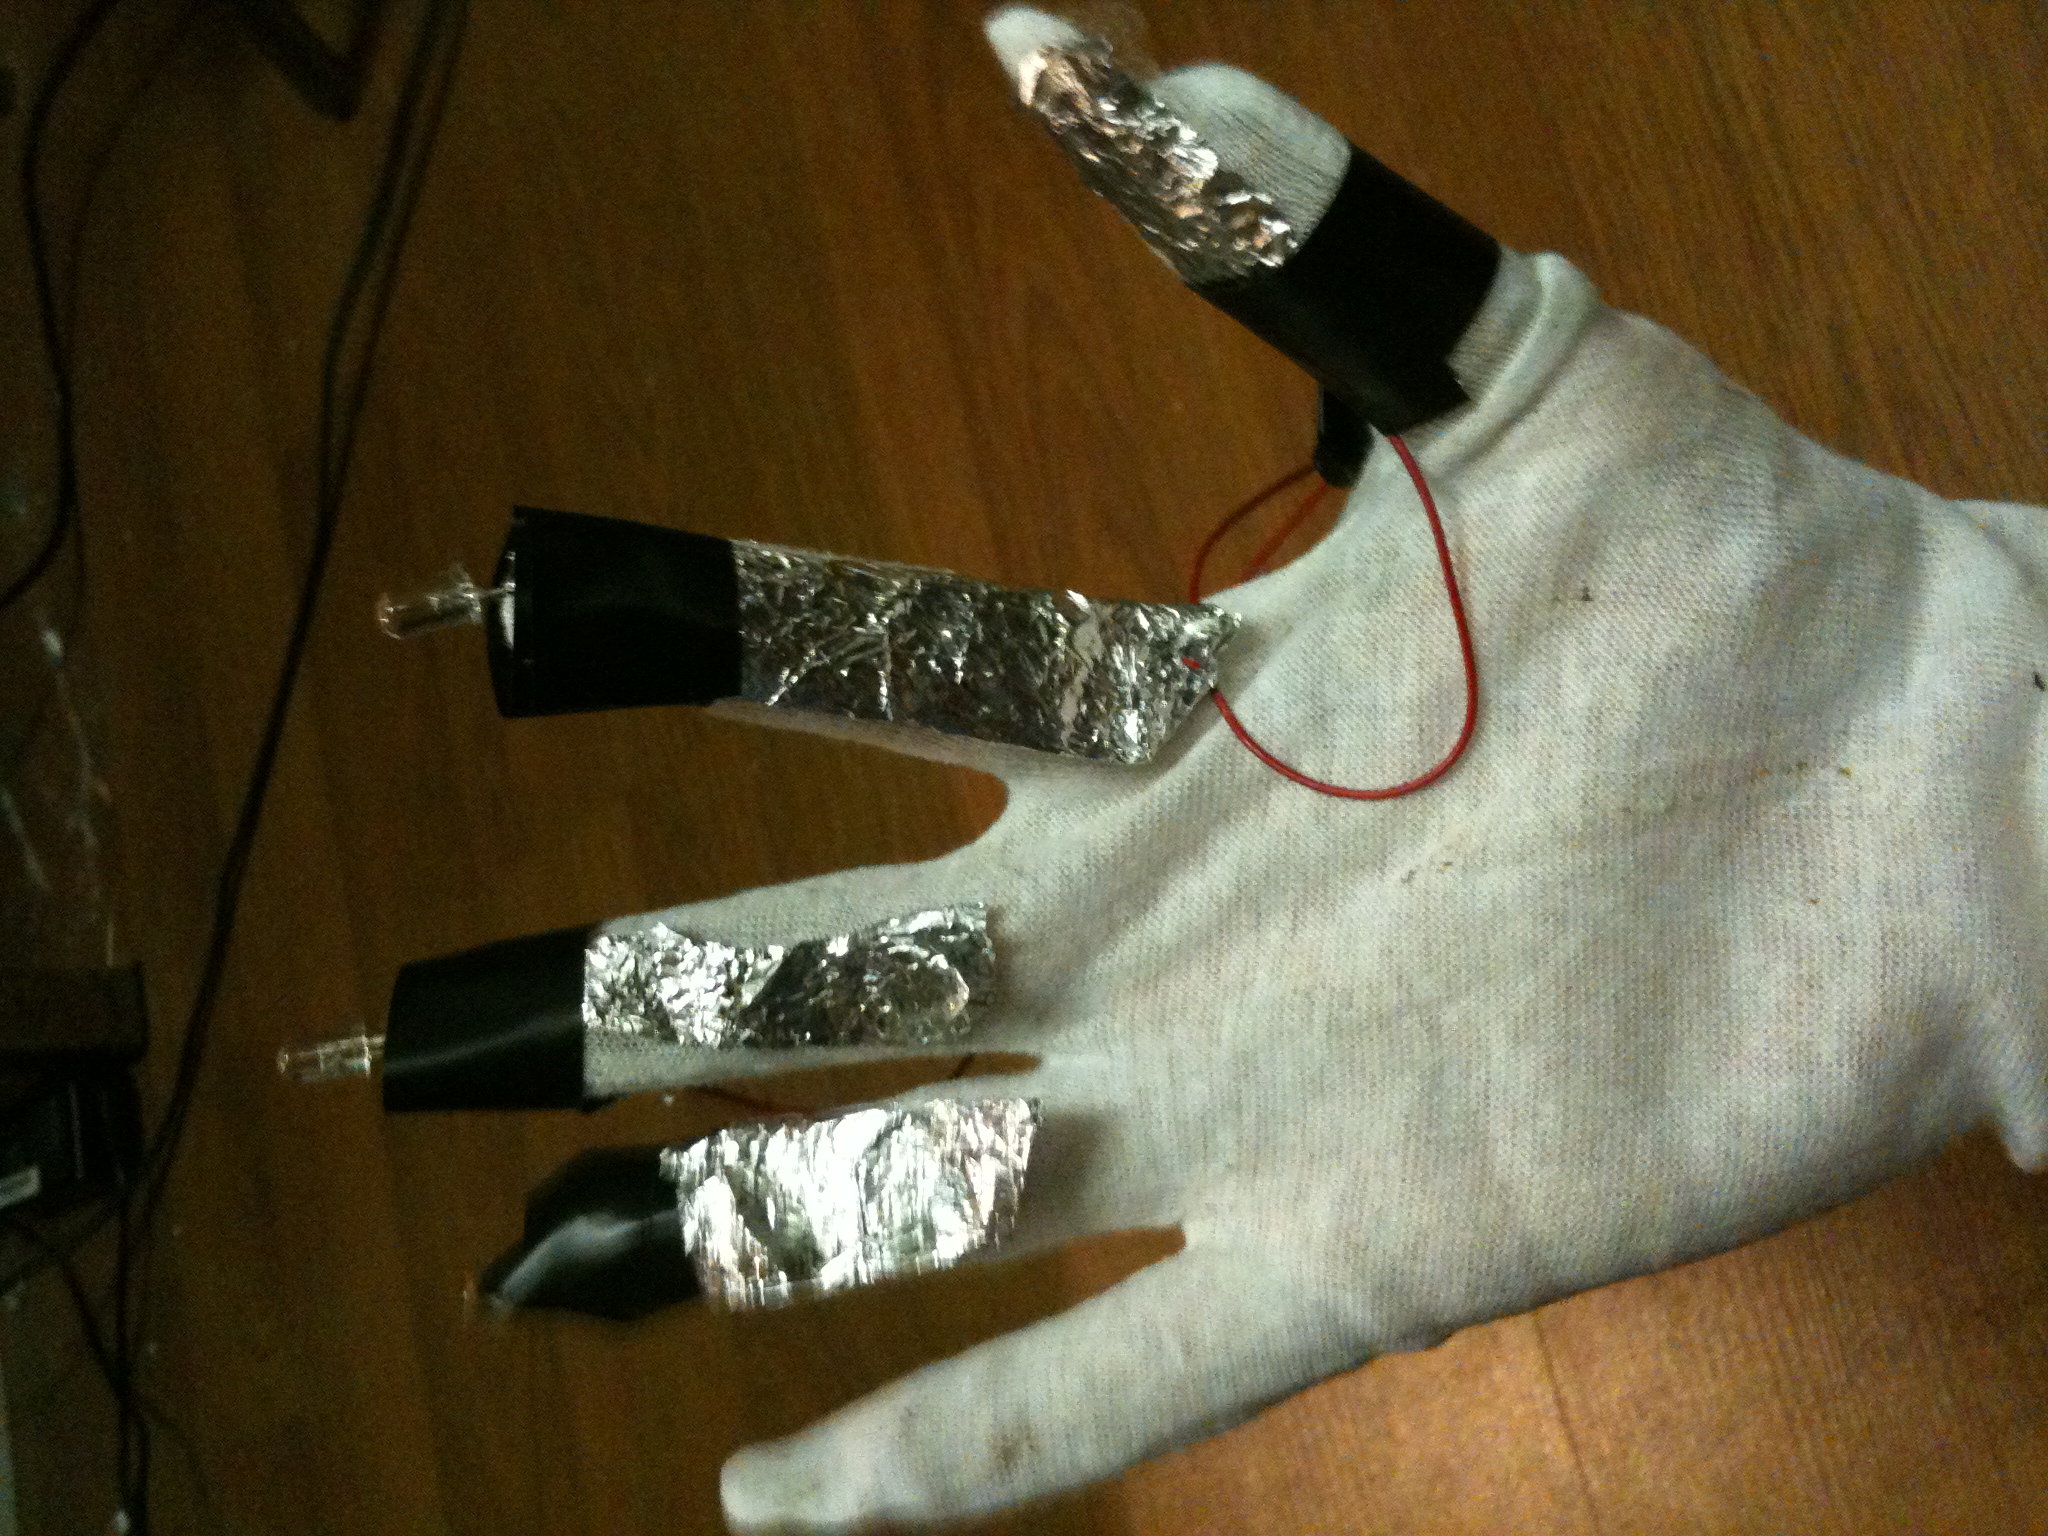
2. Iron on the tinfoil to the first three fingers of the glove using the interfacing. It should be about the length of your finger -- the bigger the patch, the easier it is to make the connection. Cut off any extraneous bits of foil around the edges.
3. Do the same thing with the thumb (make sure it's long enough to be able to cover up a portion with tape and still make the connection. Test to make sure your connections are easy to reach.
Step 2: Make the Circuit!
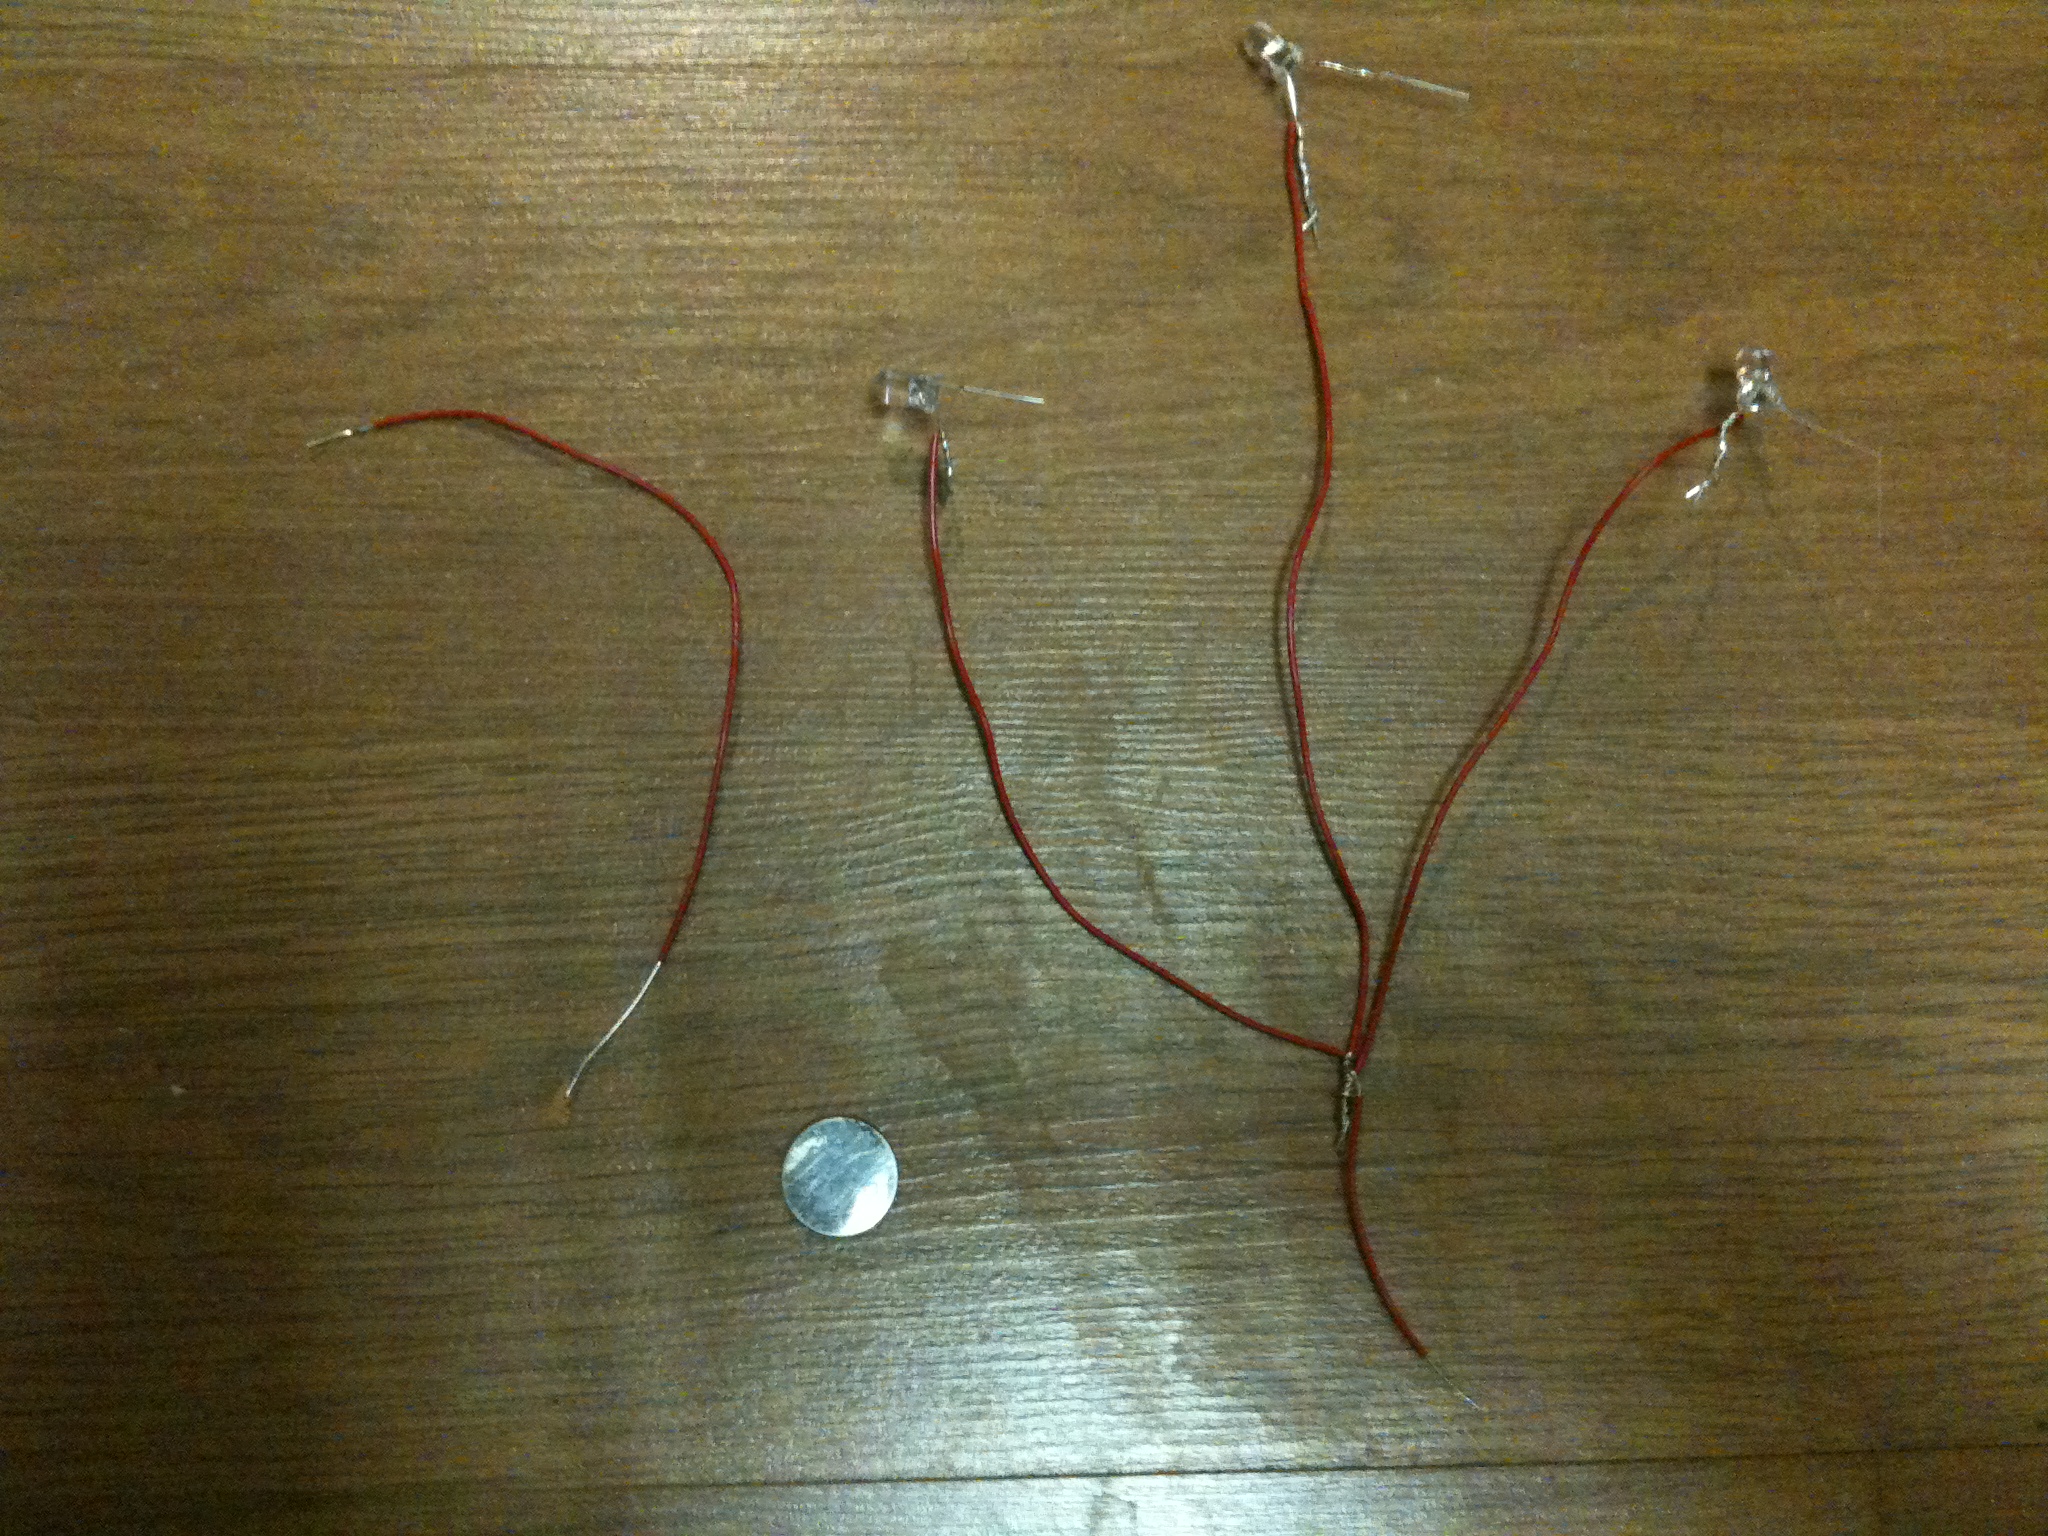
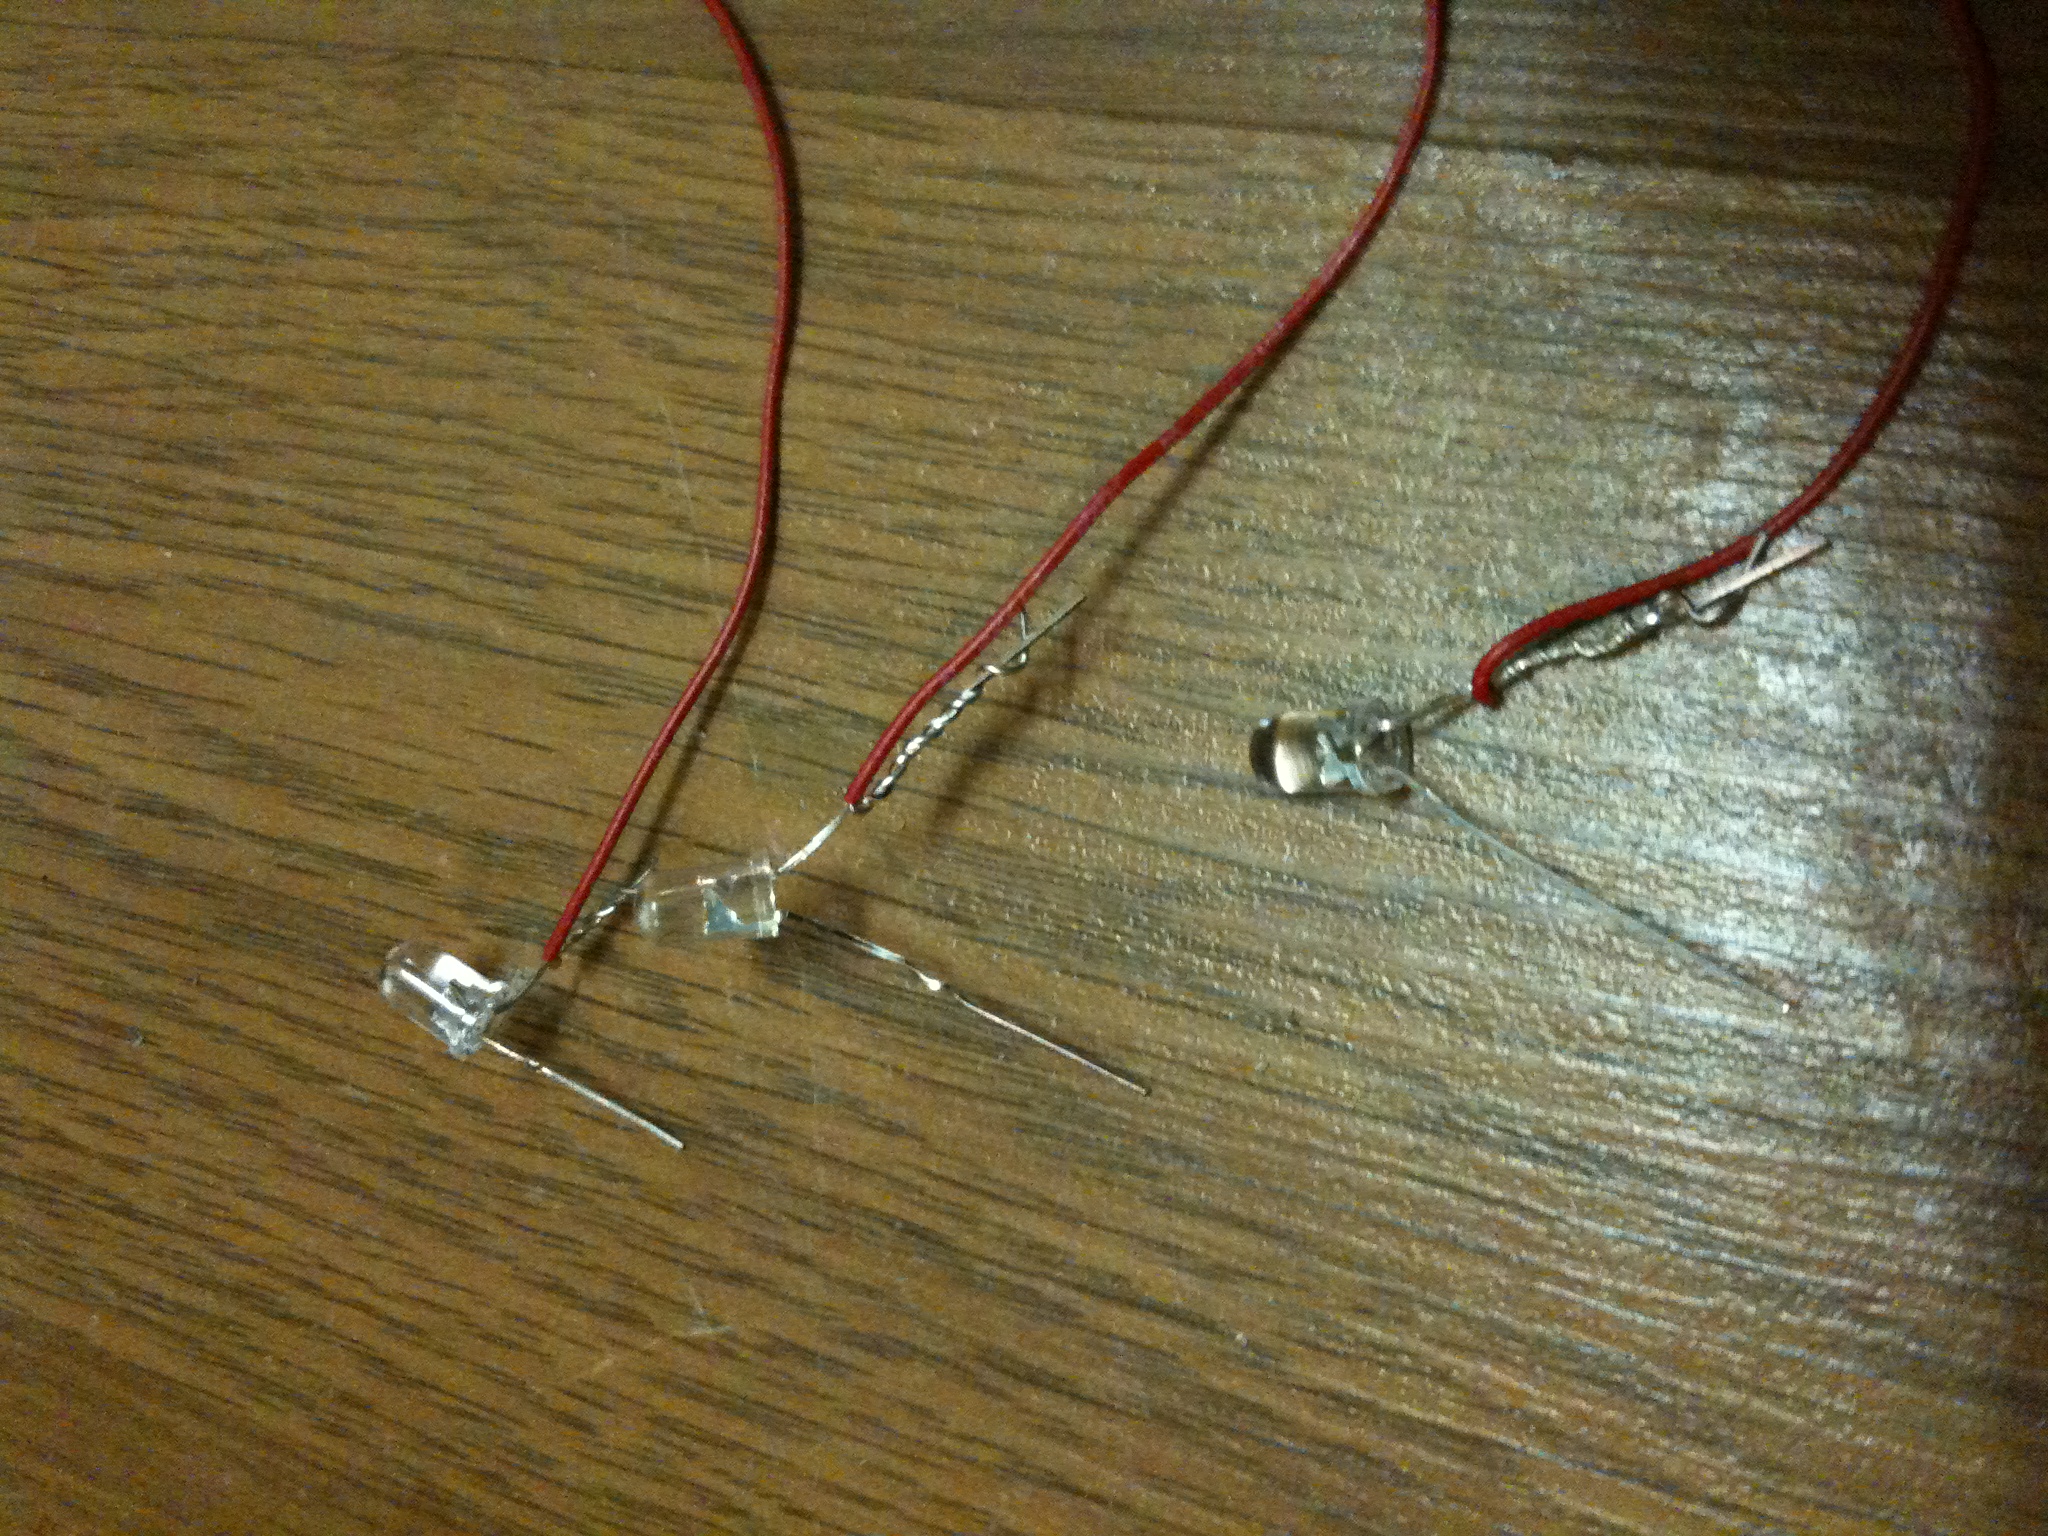

In this configuration, the positive side is on the back of the hand, with three wires extending from the + side of the coin battery to the long legs of each of the LEDs. The negative side is the thumb. We're going to lengthen the legs of all the LEDs so they're long enough to reach the battery and still let you move your hand.
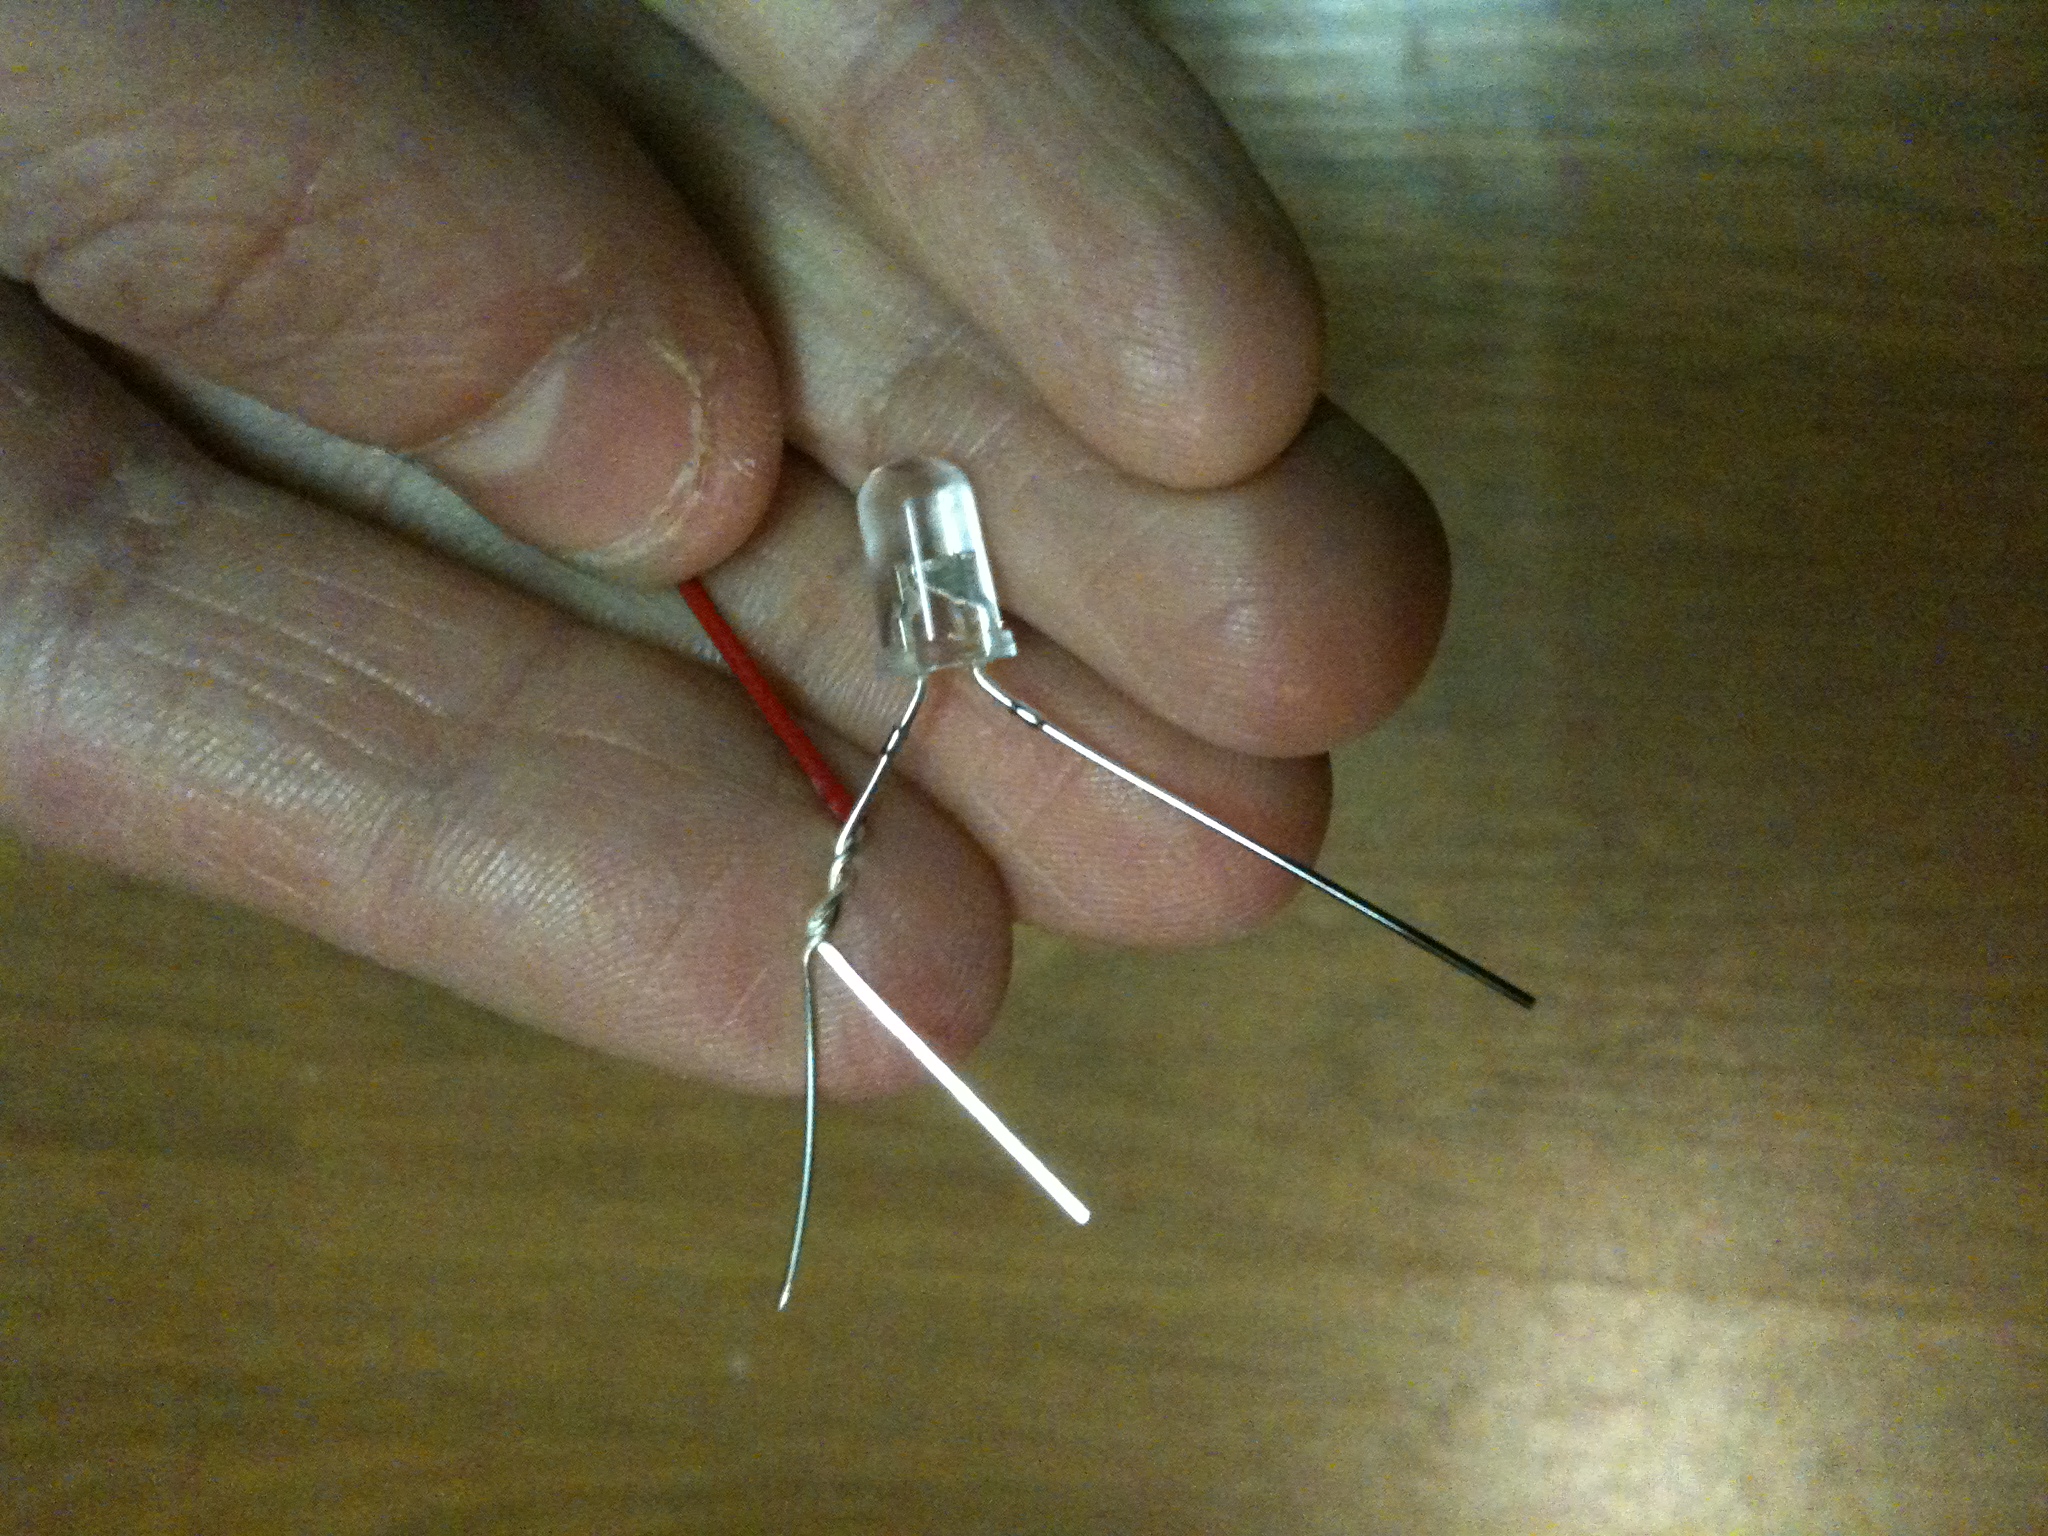
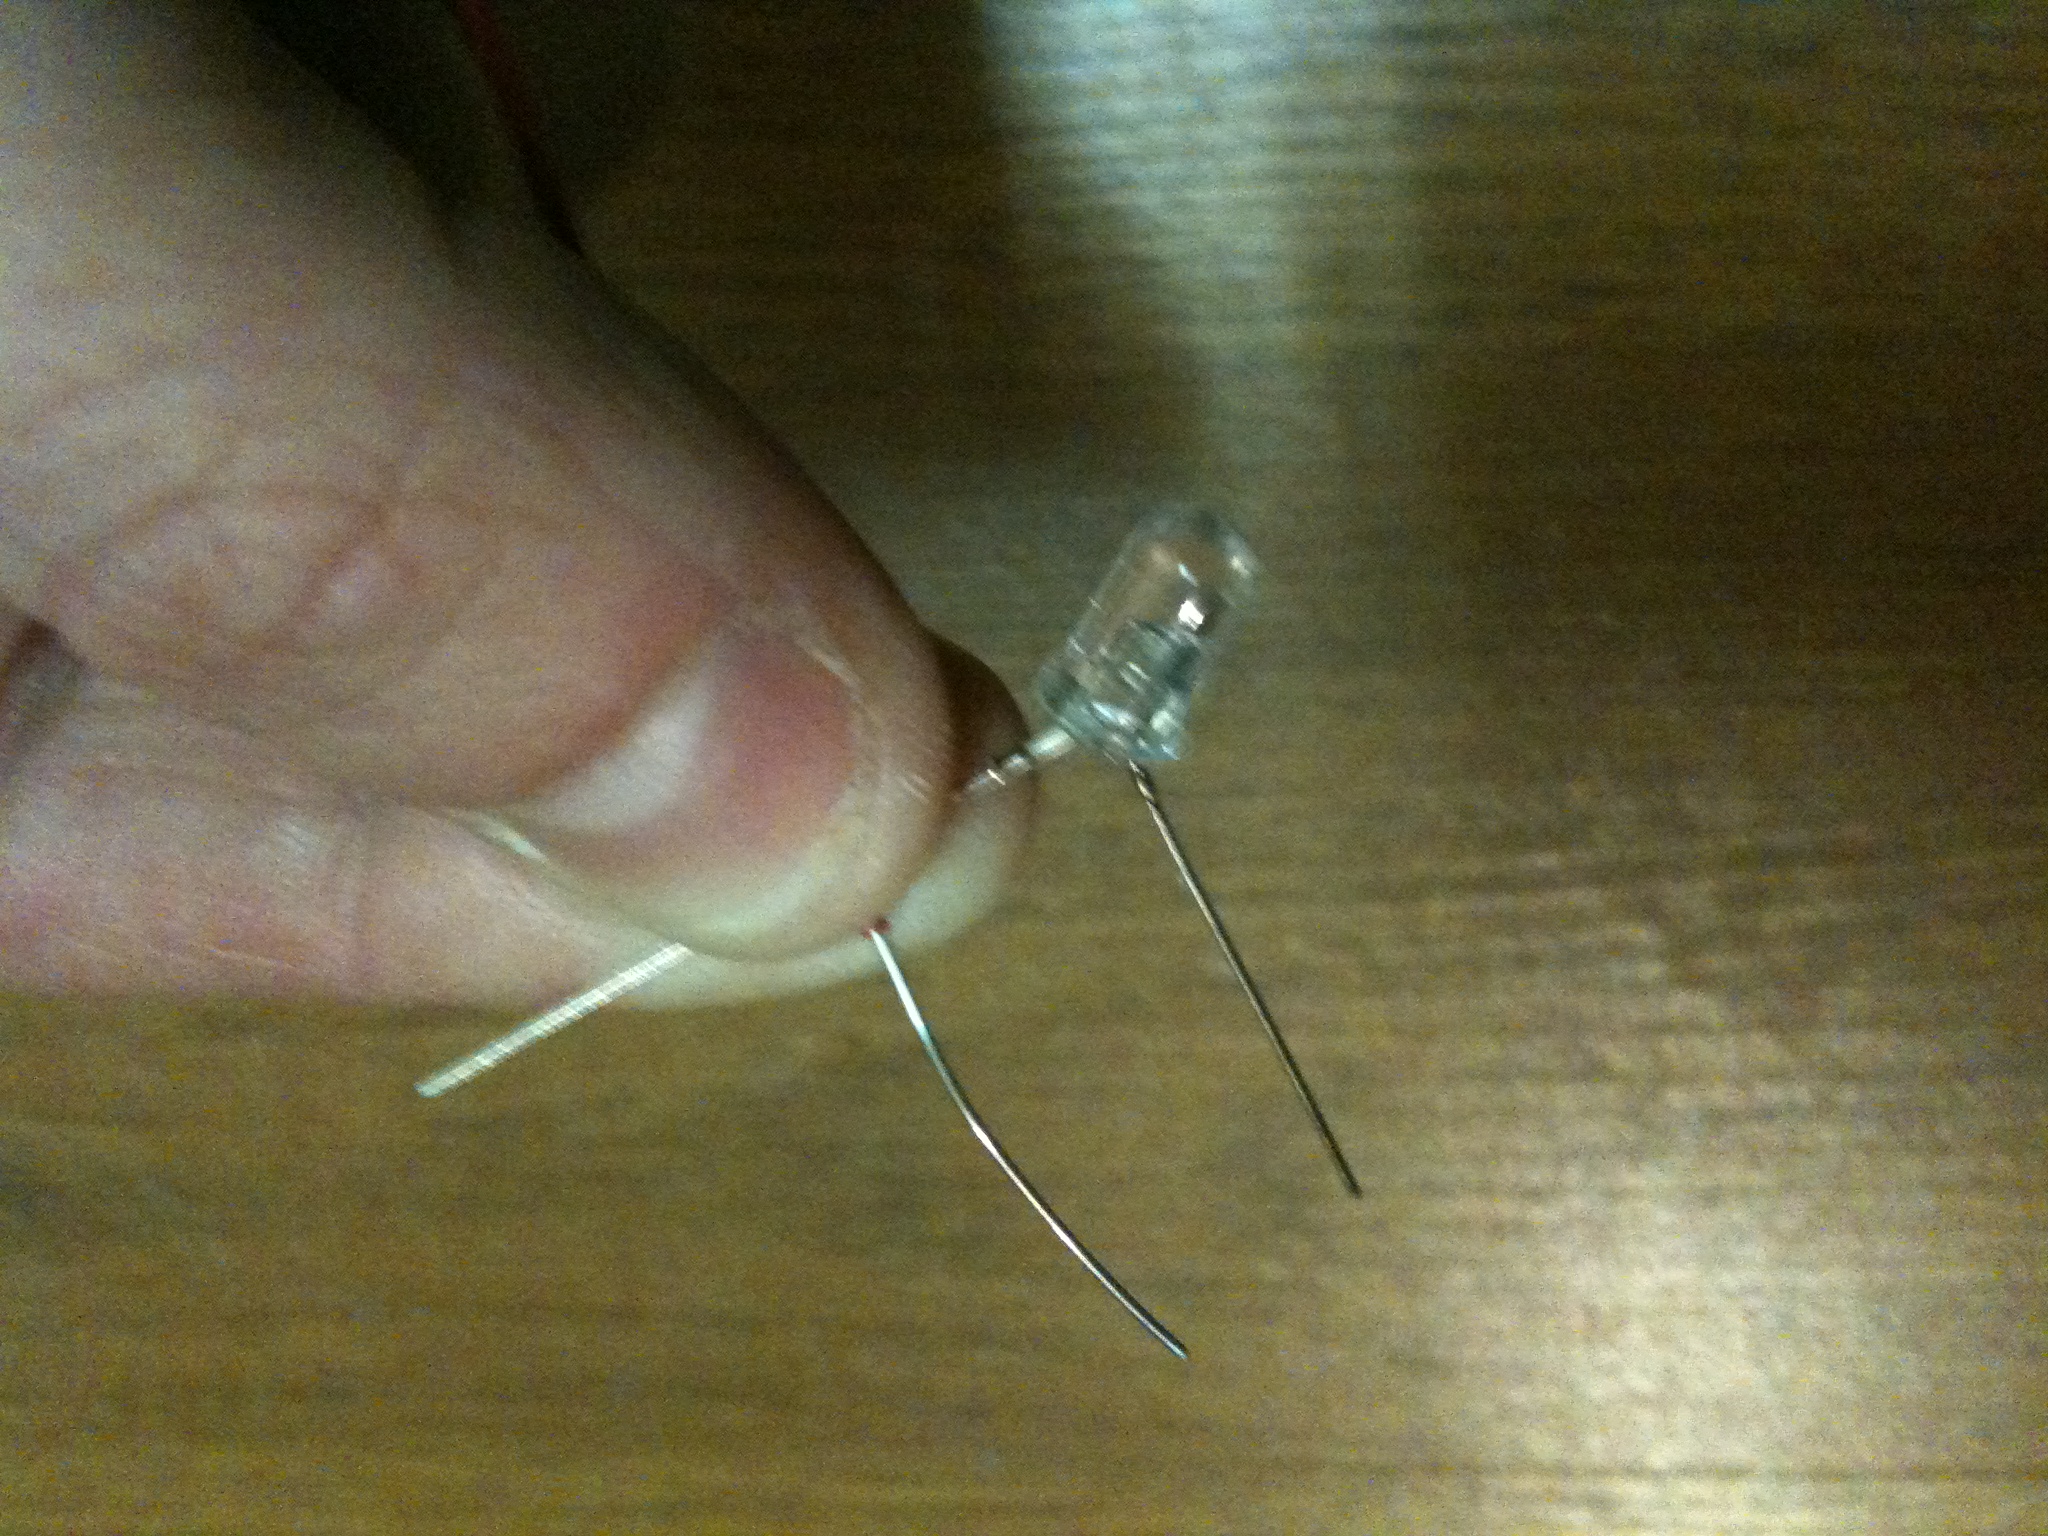
Start by twisting a wire around each of legs. Here's how you twist a wire so that it actually stays:
1. Cross the leg and the wire so they make a "v" shape
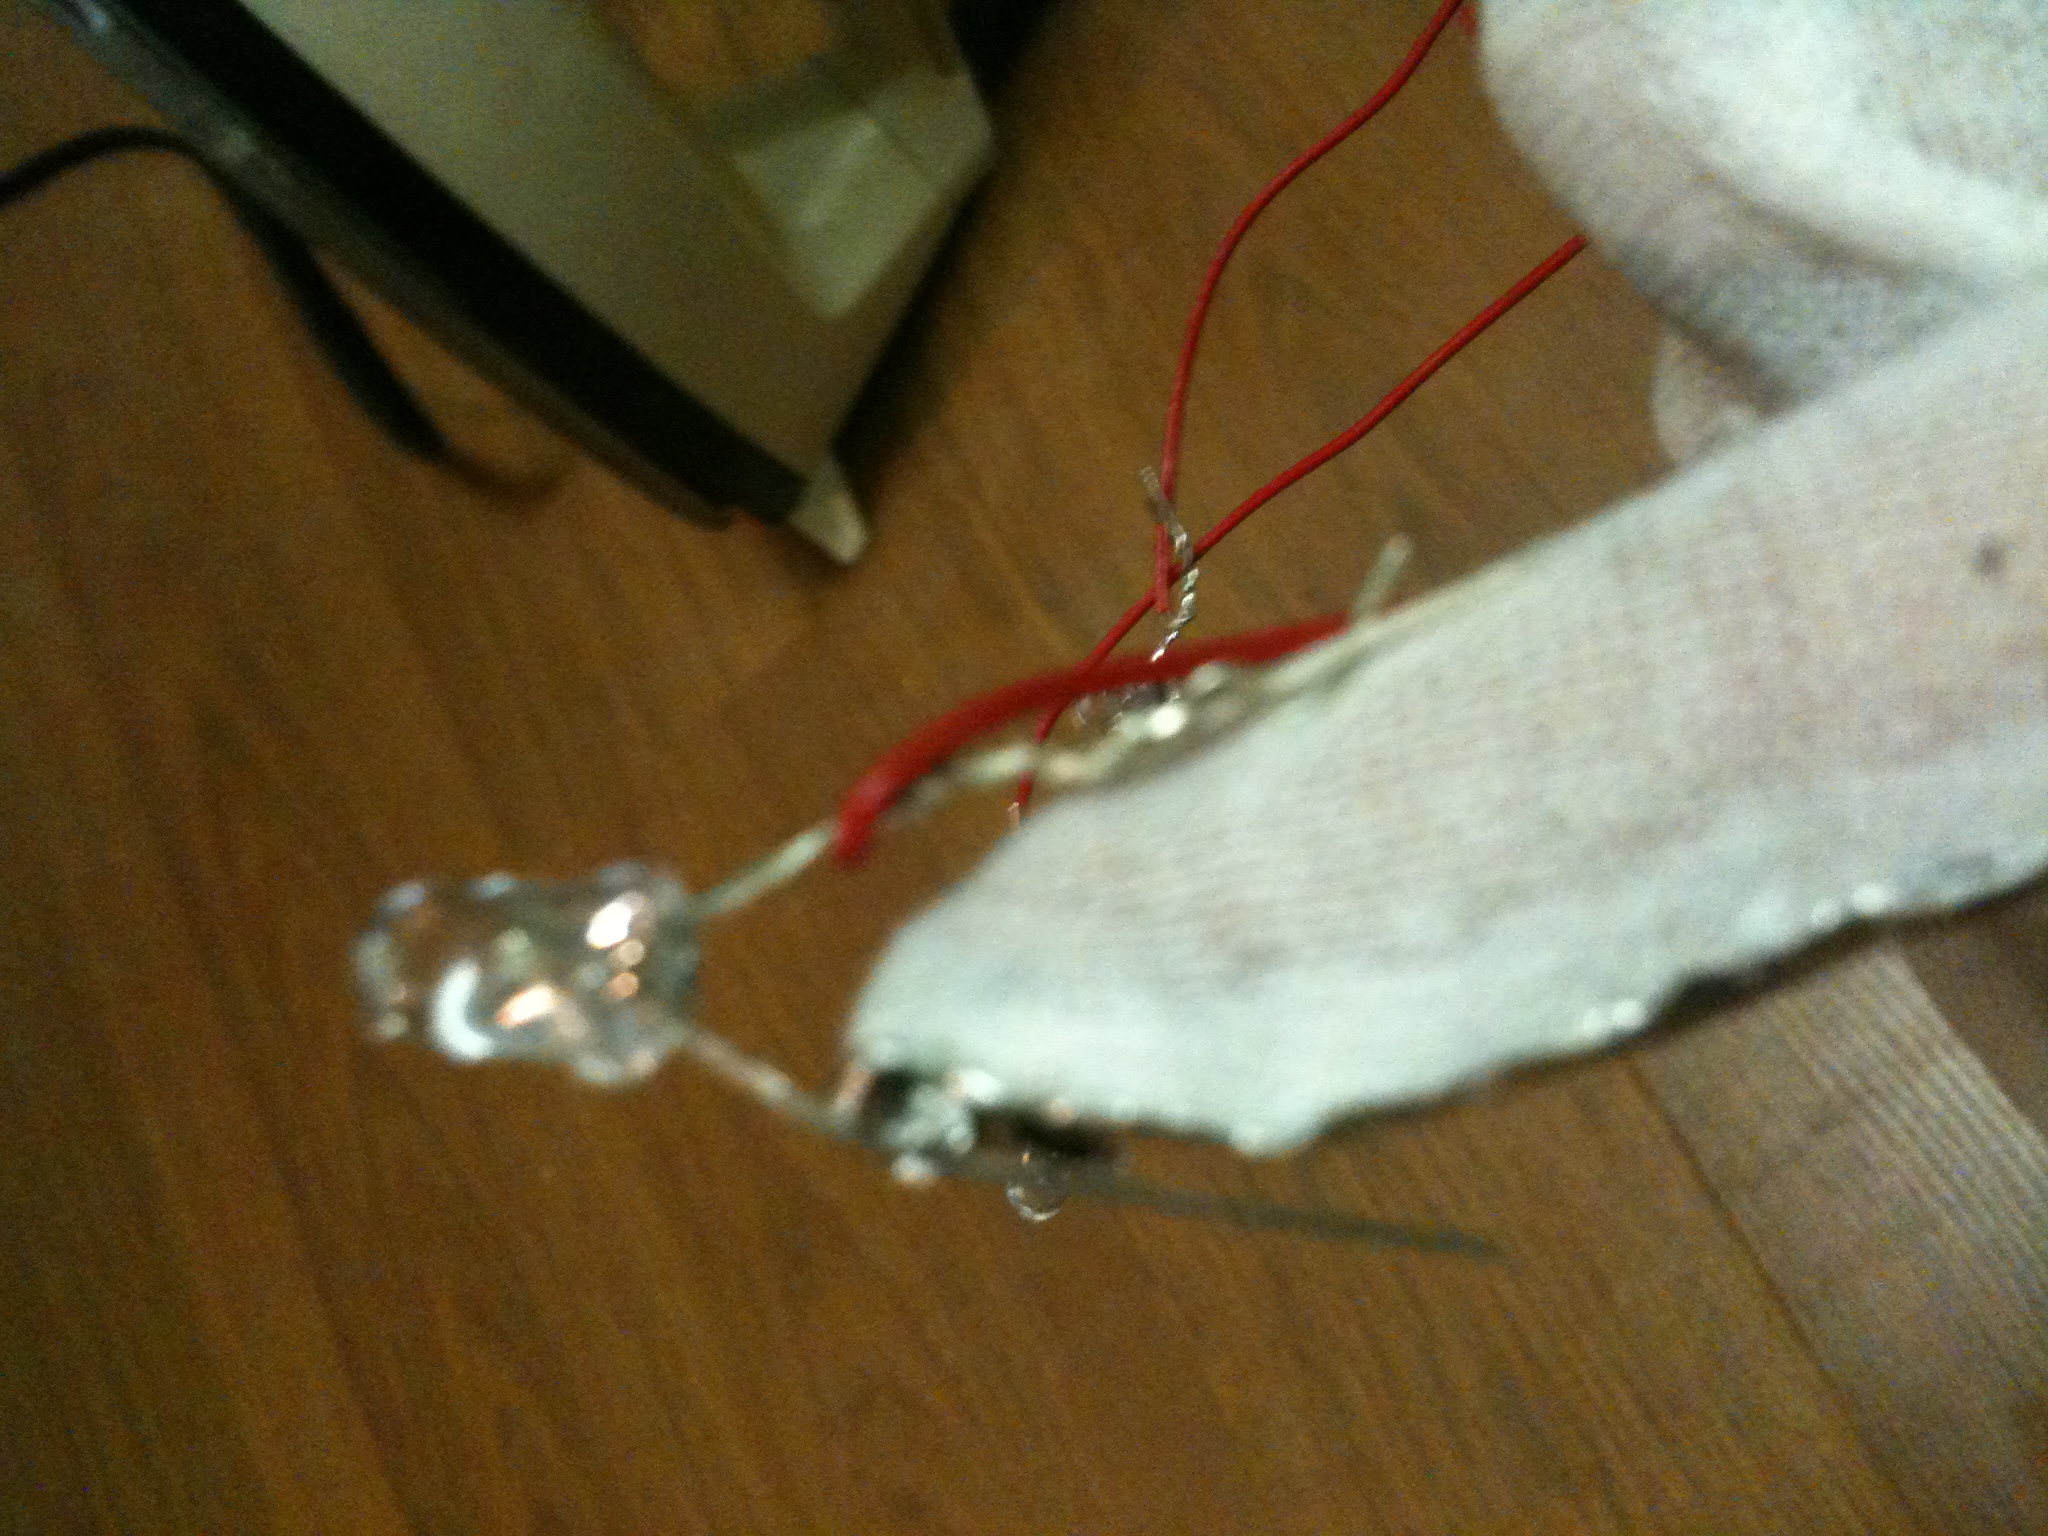
2. Twist them *around* each other (they should both bend) as close to the cross as possible -- if you wrap them both, they'll stay in place. Your connection should look like the one in the picture.
3. Do this for each leg (long side only)
Now take the LONG legs (positive) of each LED, and connect all three wires together, one after another. You should wind up with something that looks like this:
3. Attach the Battery
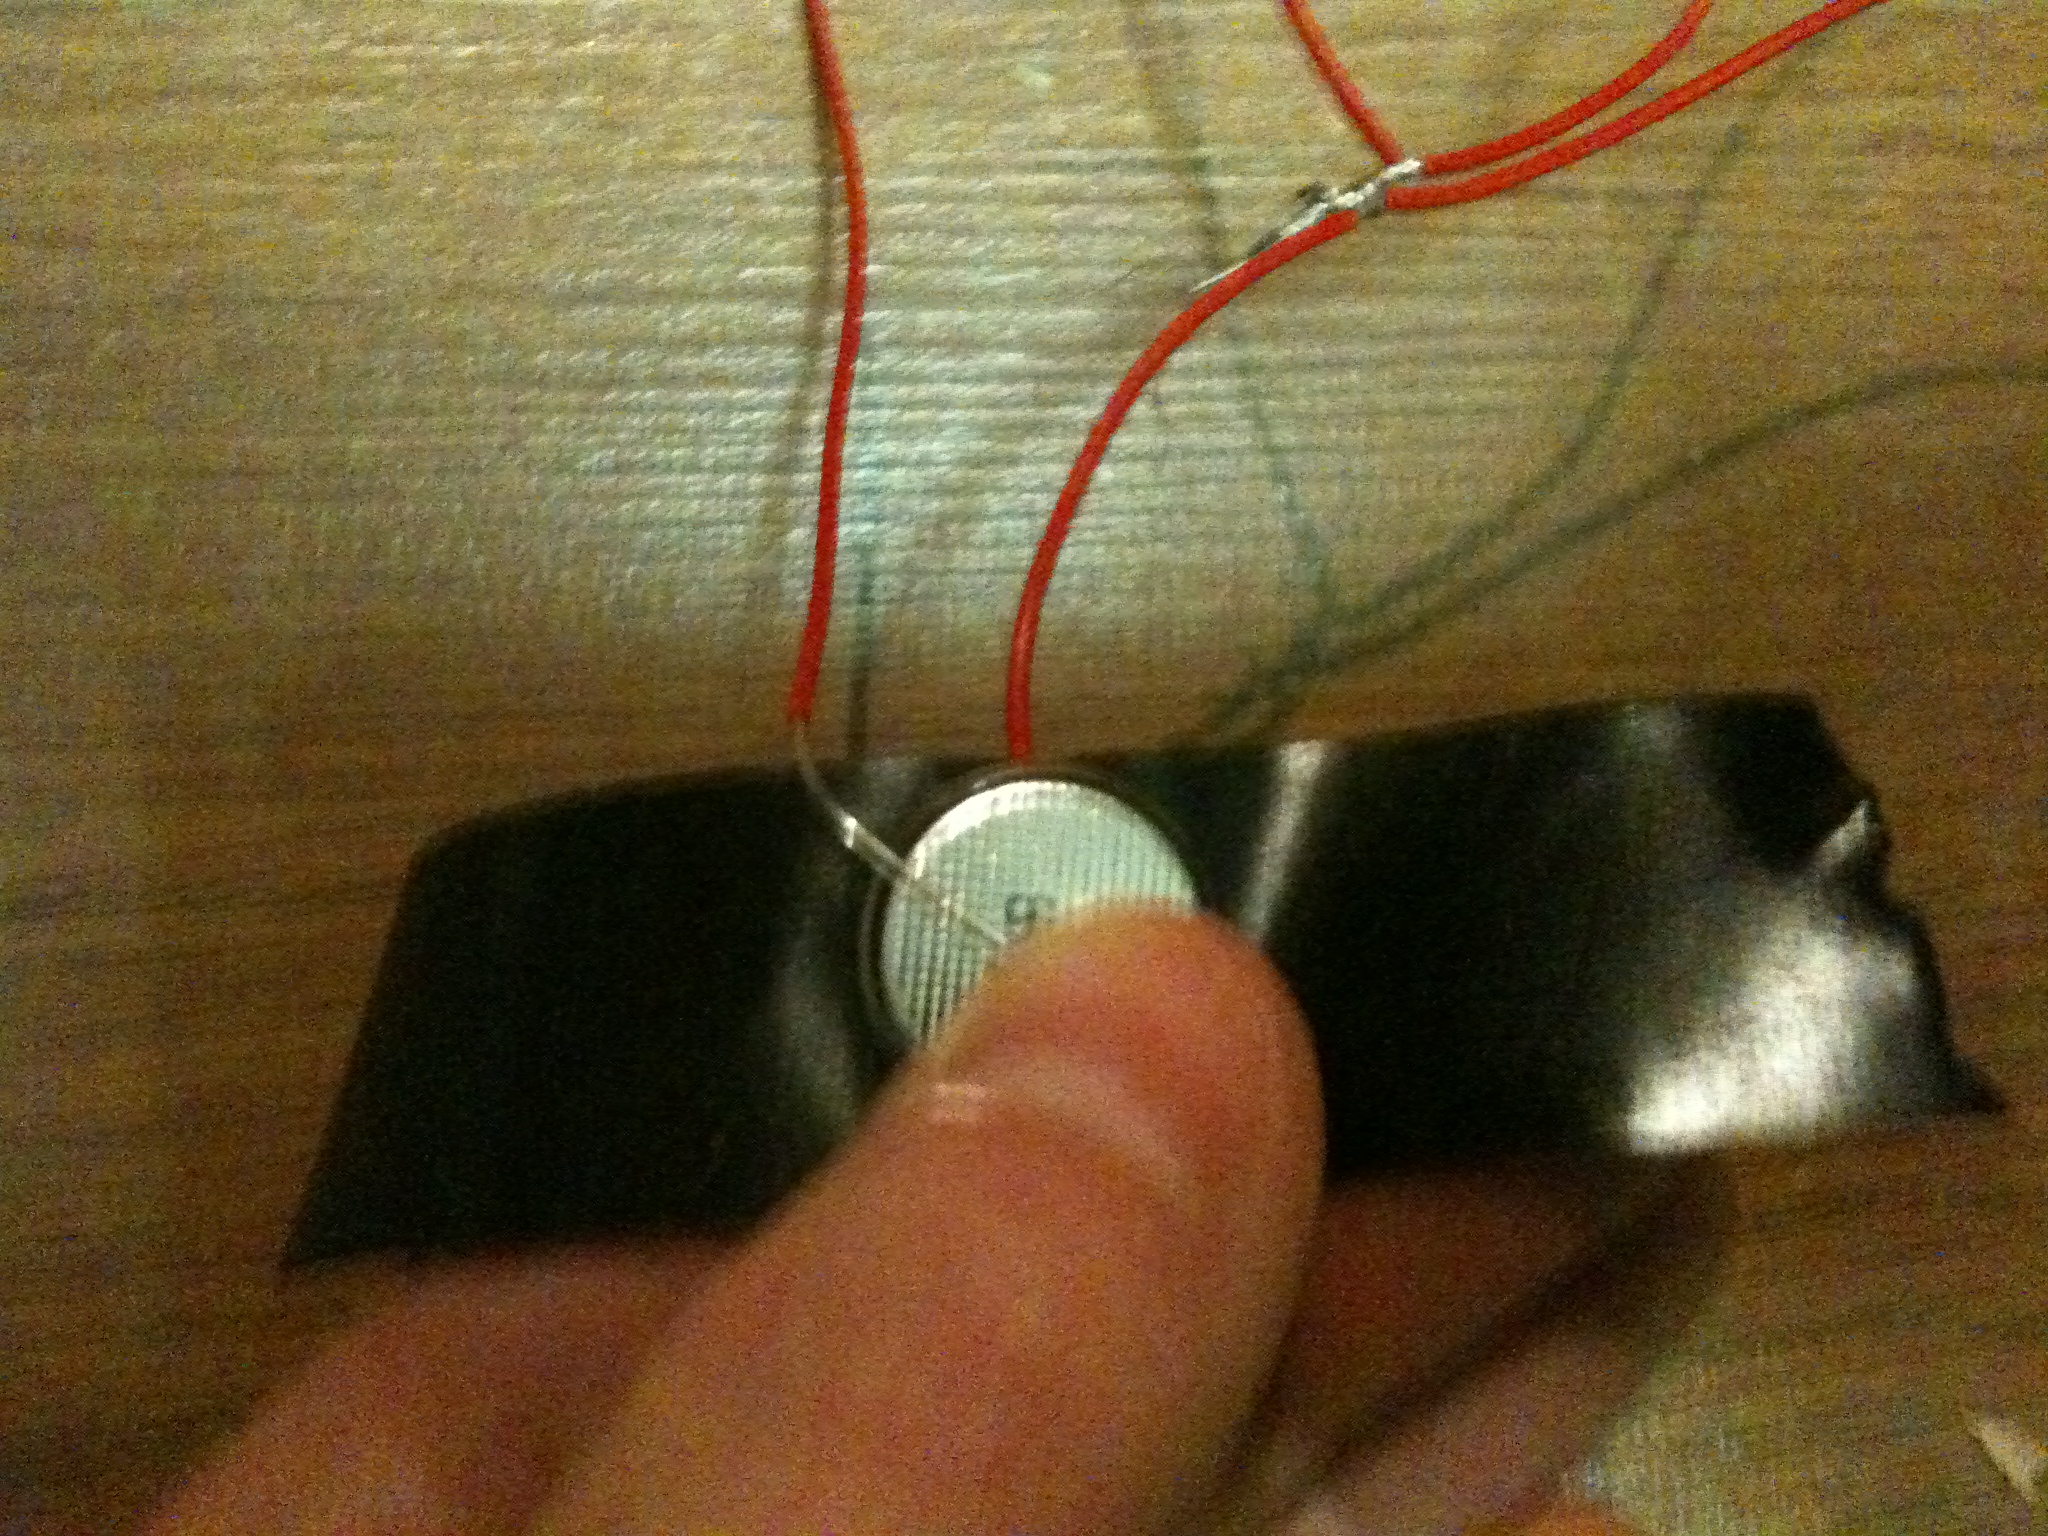
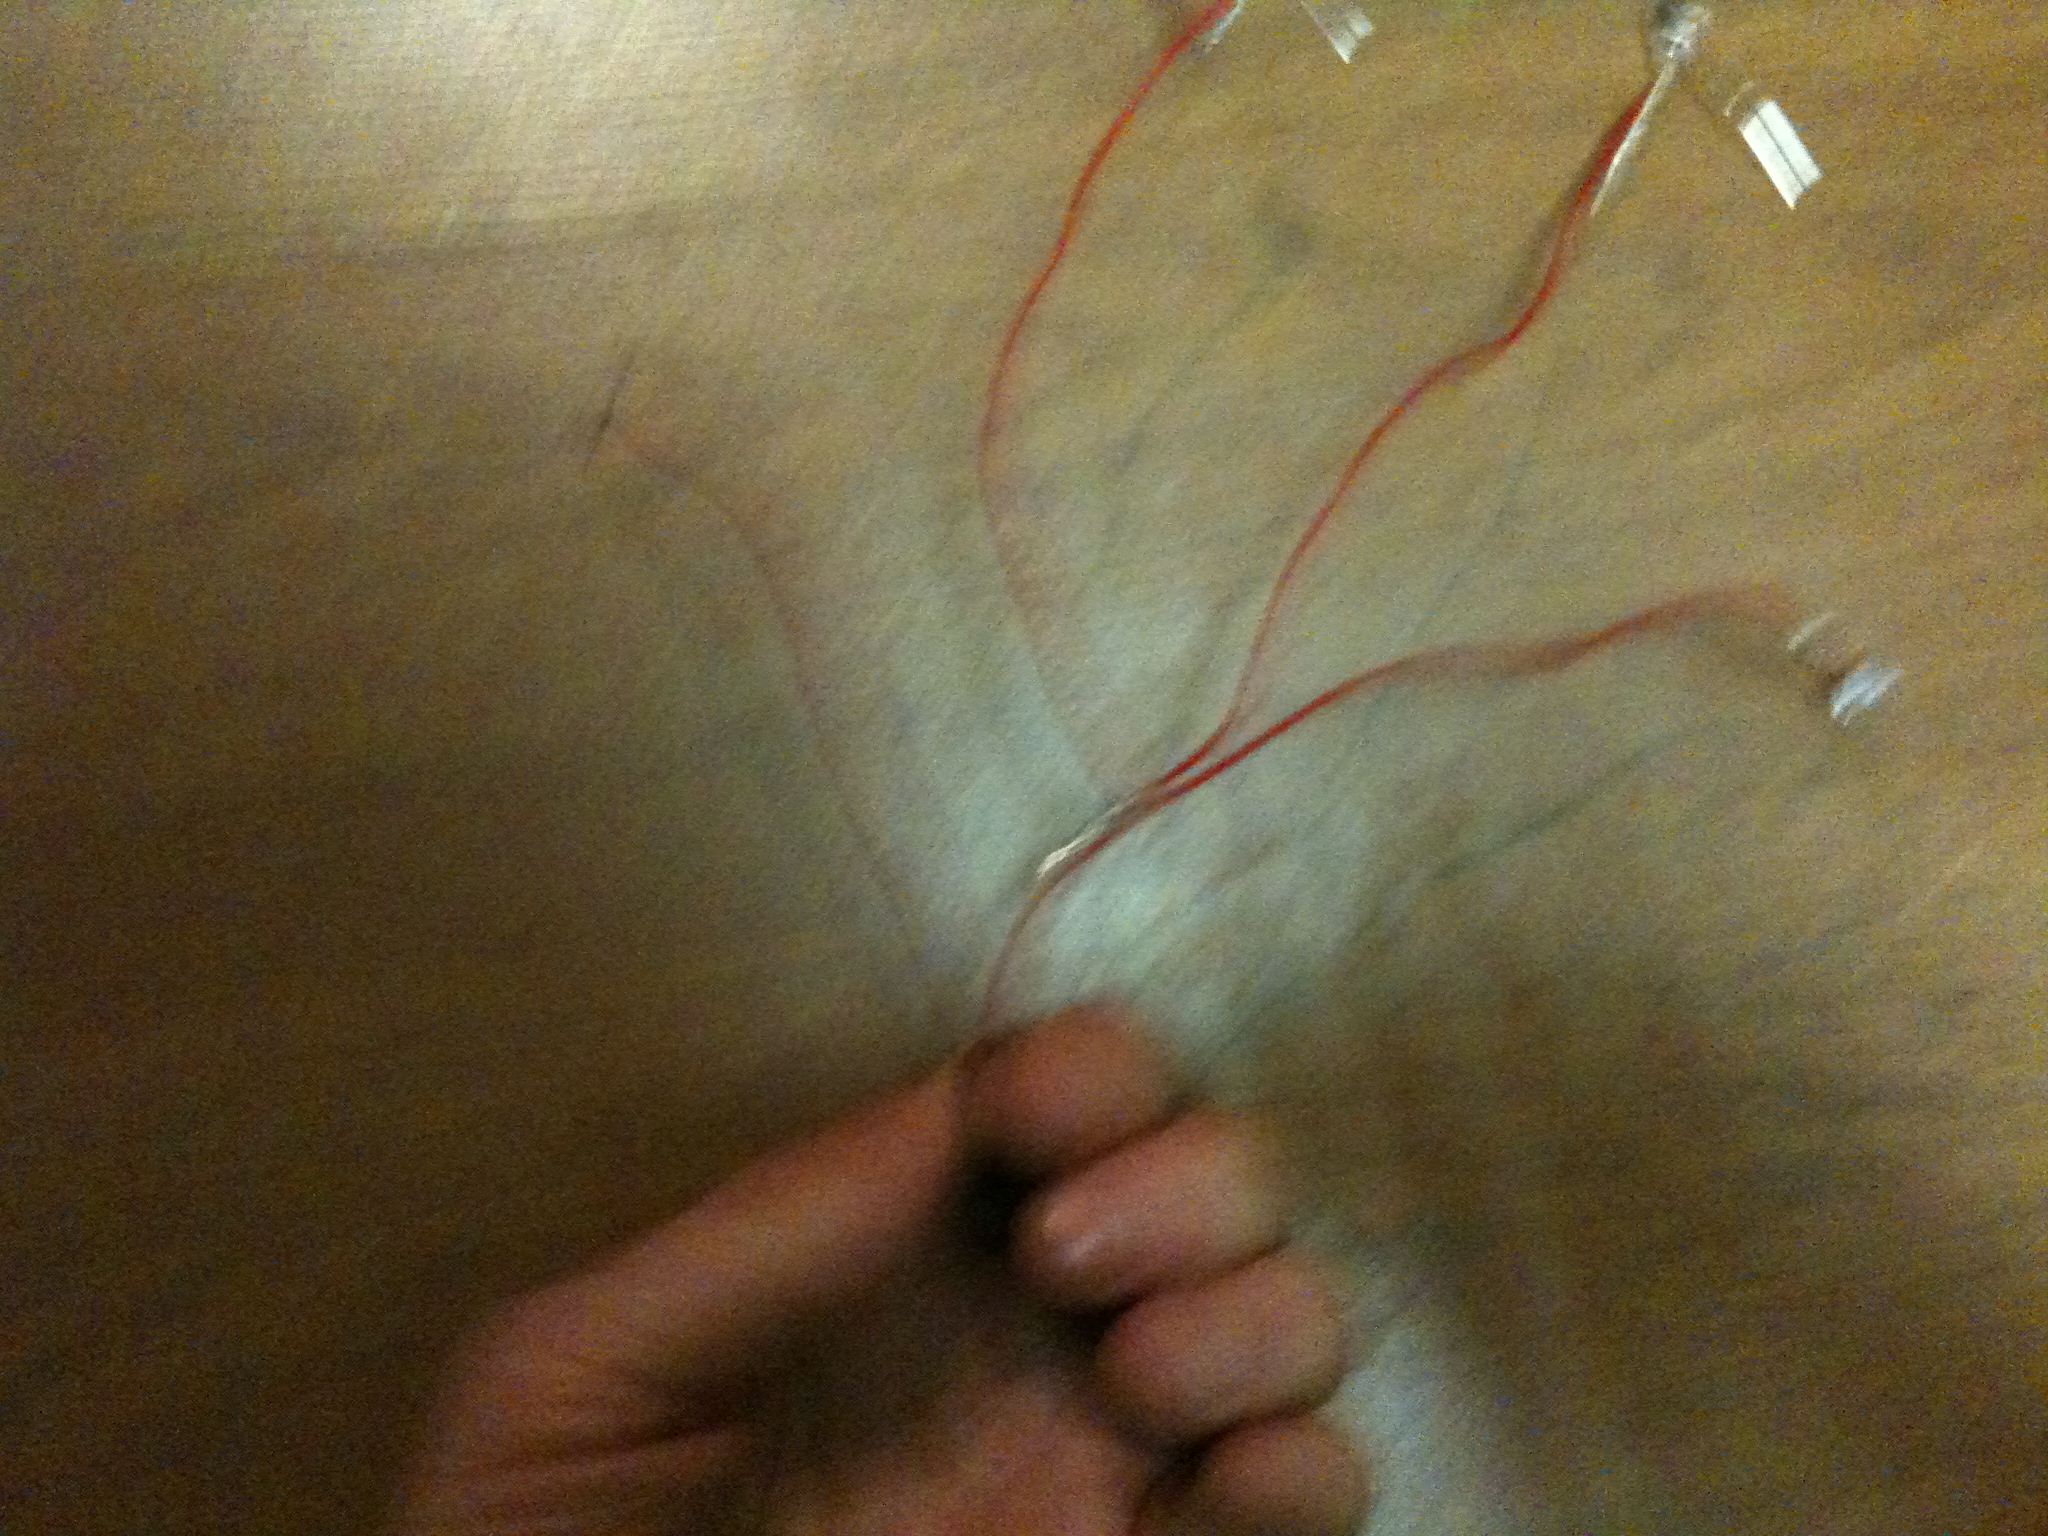
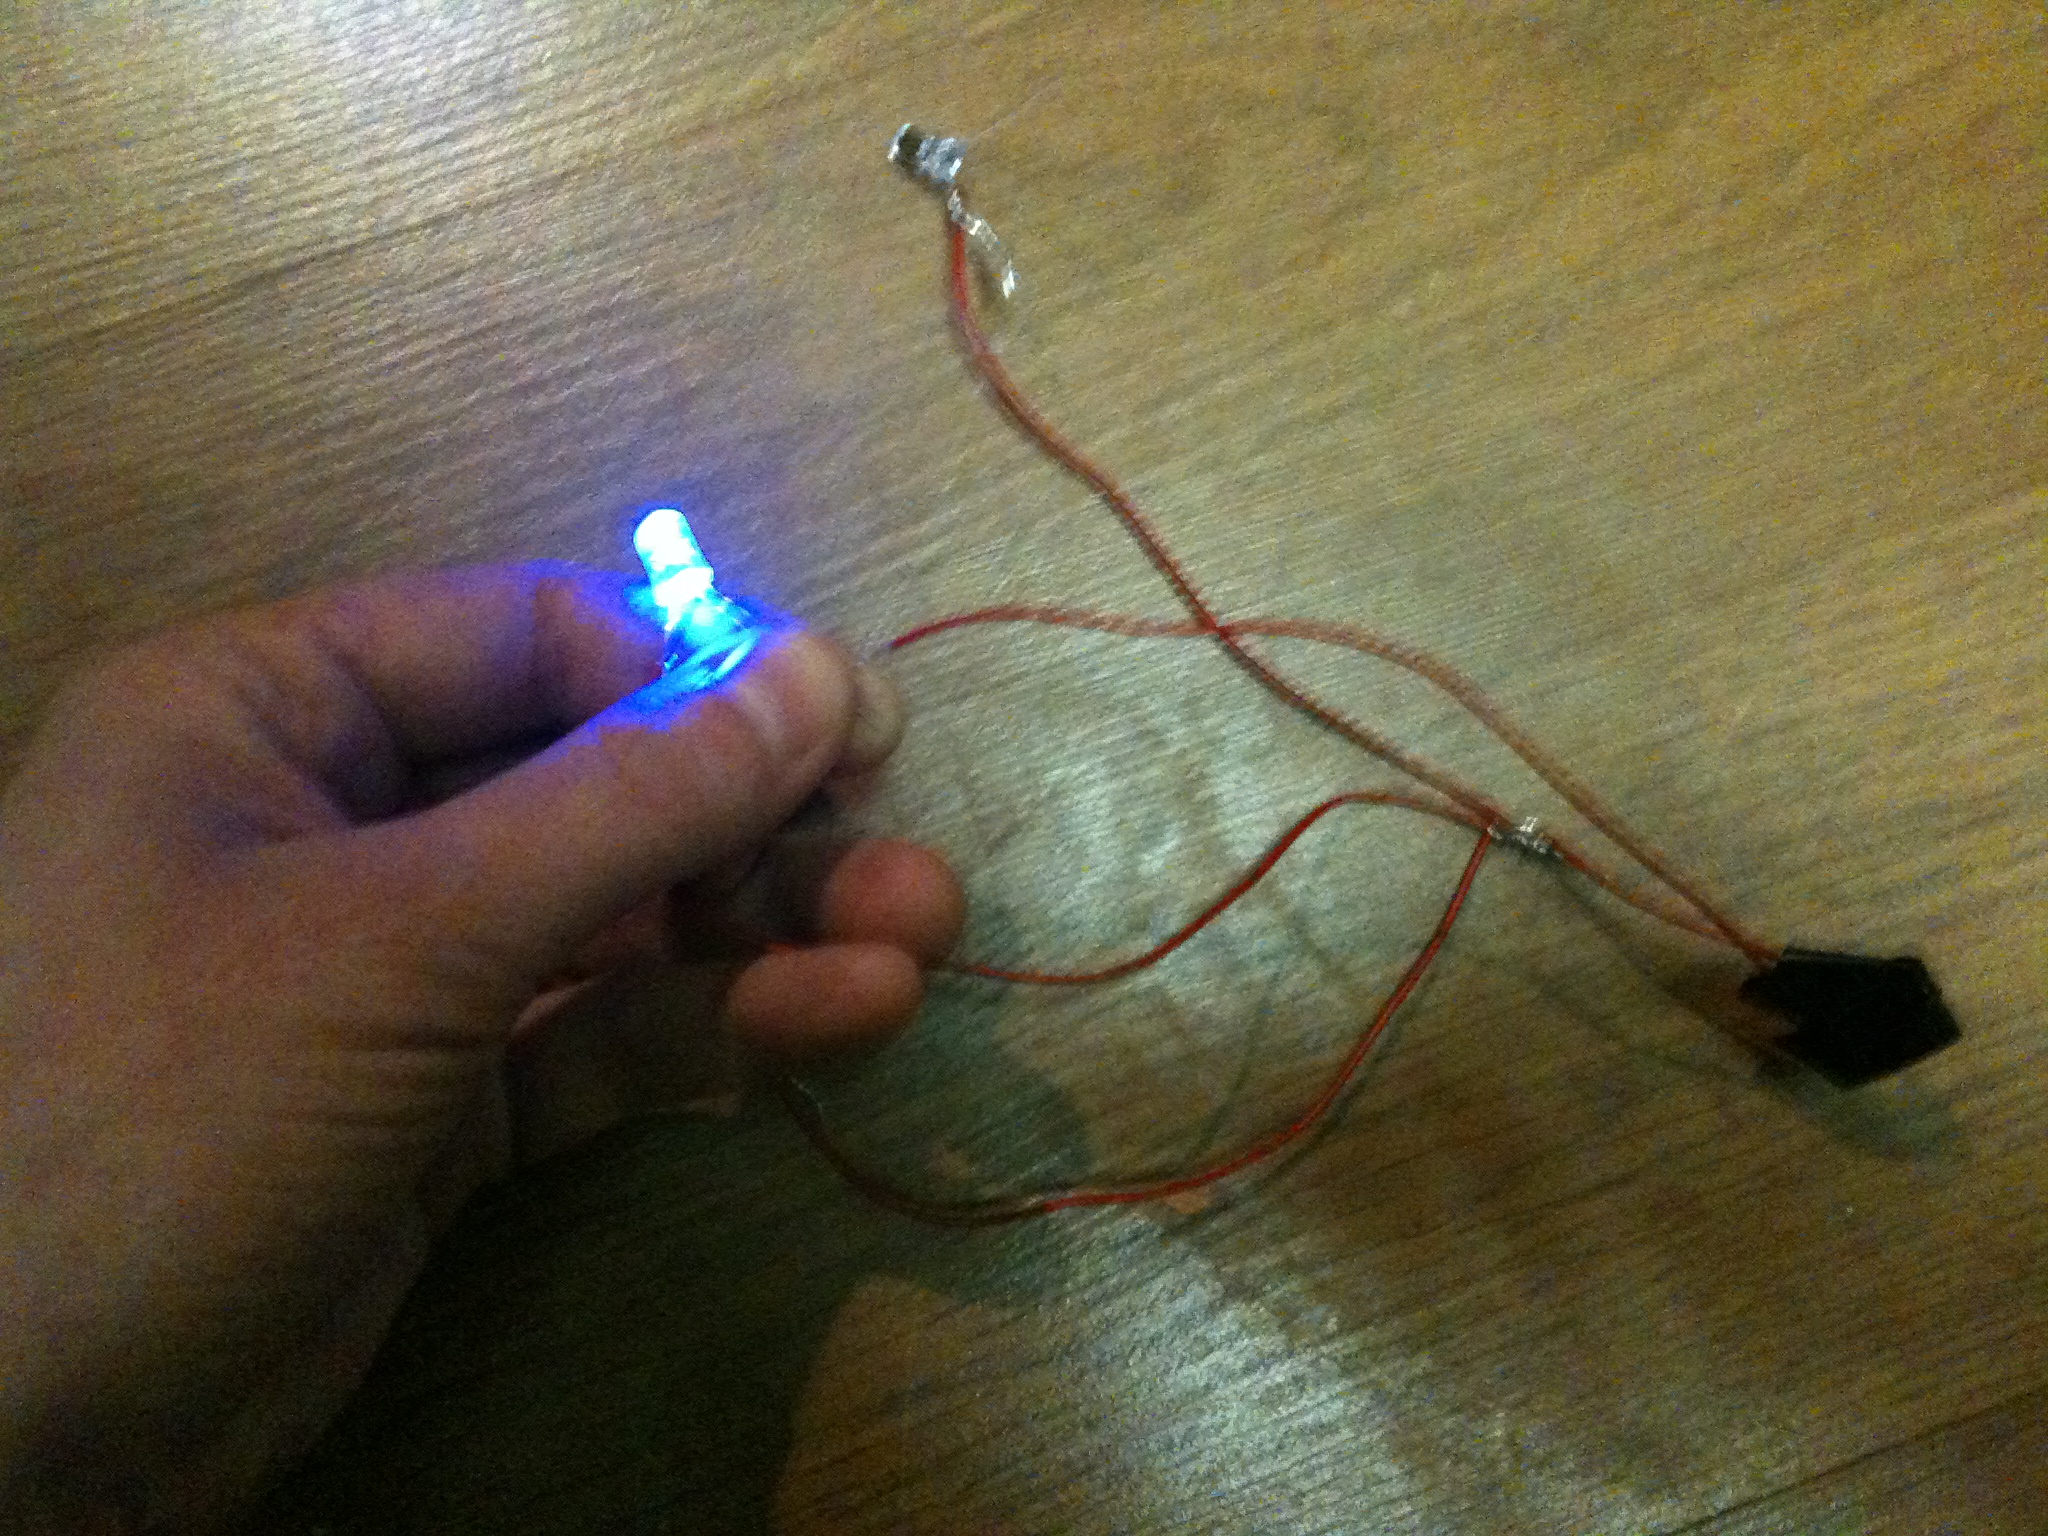
Once you've got your three-pronged connection, you want to extend all three of them with another small piece of wire. This is going to go to the battery -- to ensure a strong connection, we're only going to attach one wire to the battery, so things don't jiggle around too much.
1. Tape the end of the wire to the positive side of the battery (the flat side). You should have one piece of wire left. Tape this to the other side. Wrap the wires as tightly as you can with black electrical tape, and secure it with the binder clip.
2. Test your LEDs to make sure they work -- lightly touch the negative (-) wire to each of the ends of the LEDs and see if they light up. If they don't, check your connections to make sure they're firmly wrapped.
4. Attach the Circuit to the Glove
You might need a friend for this step!
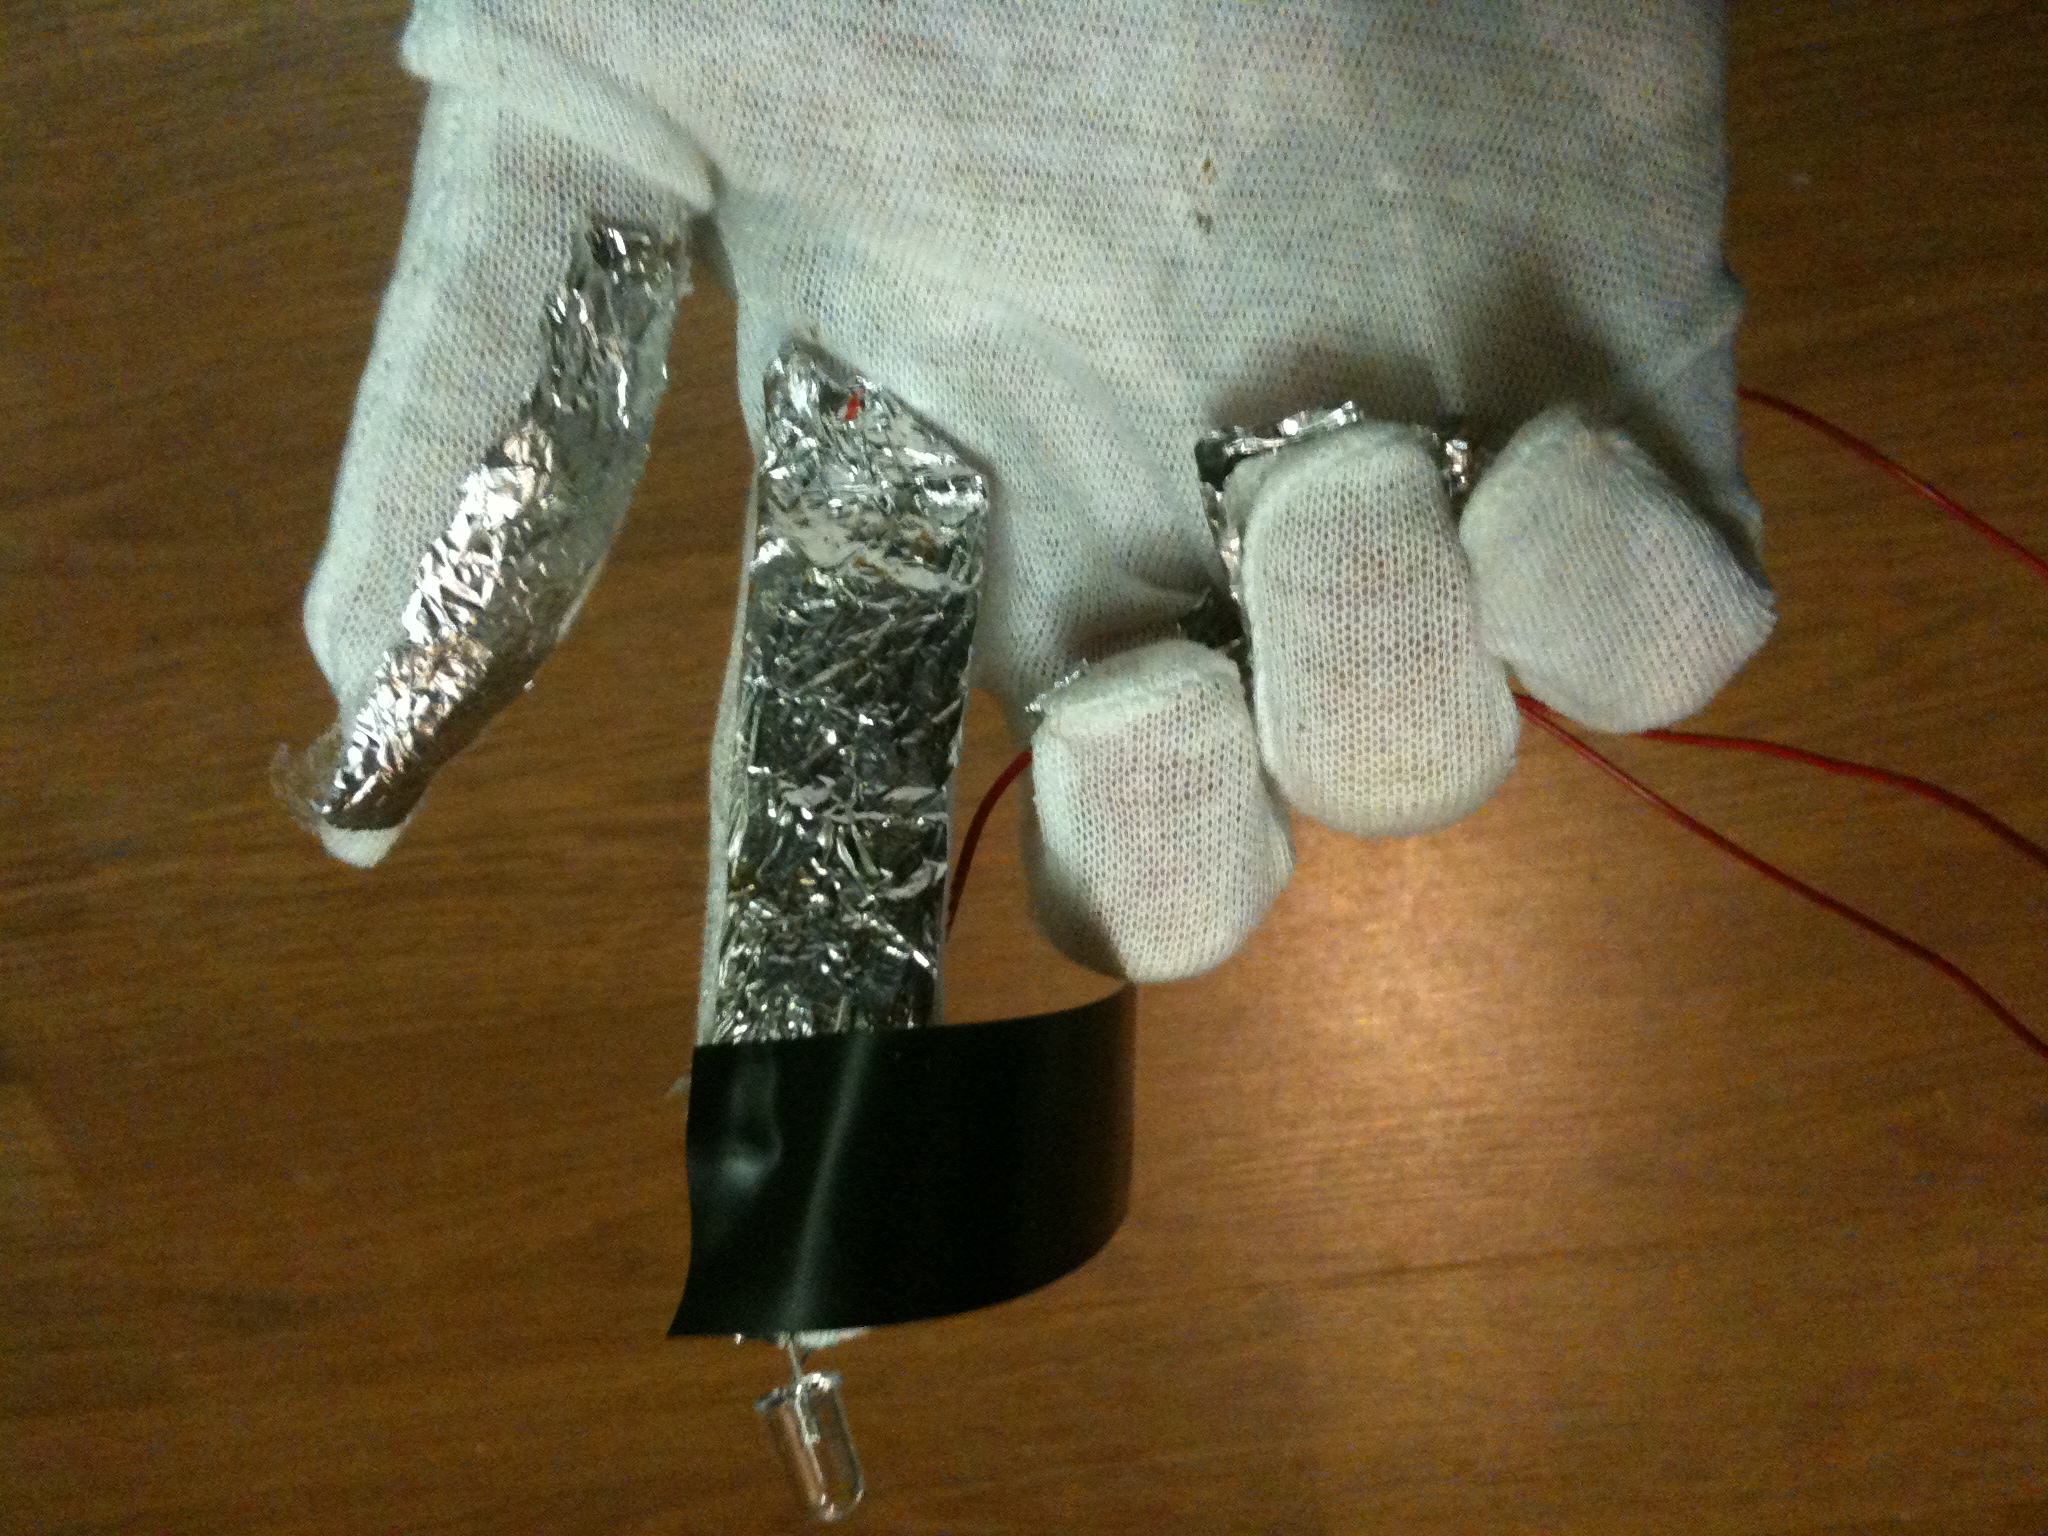
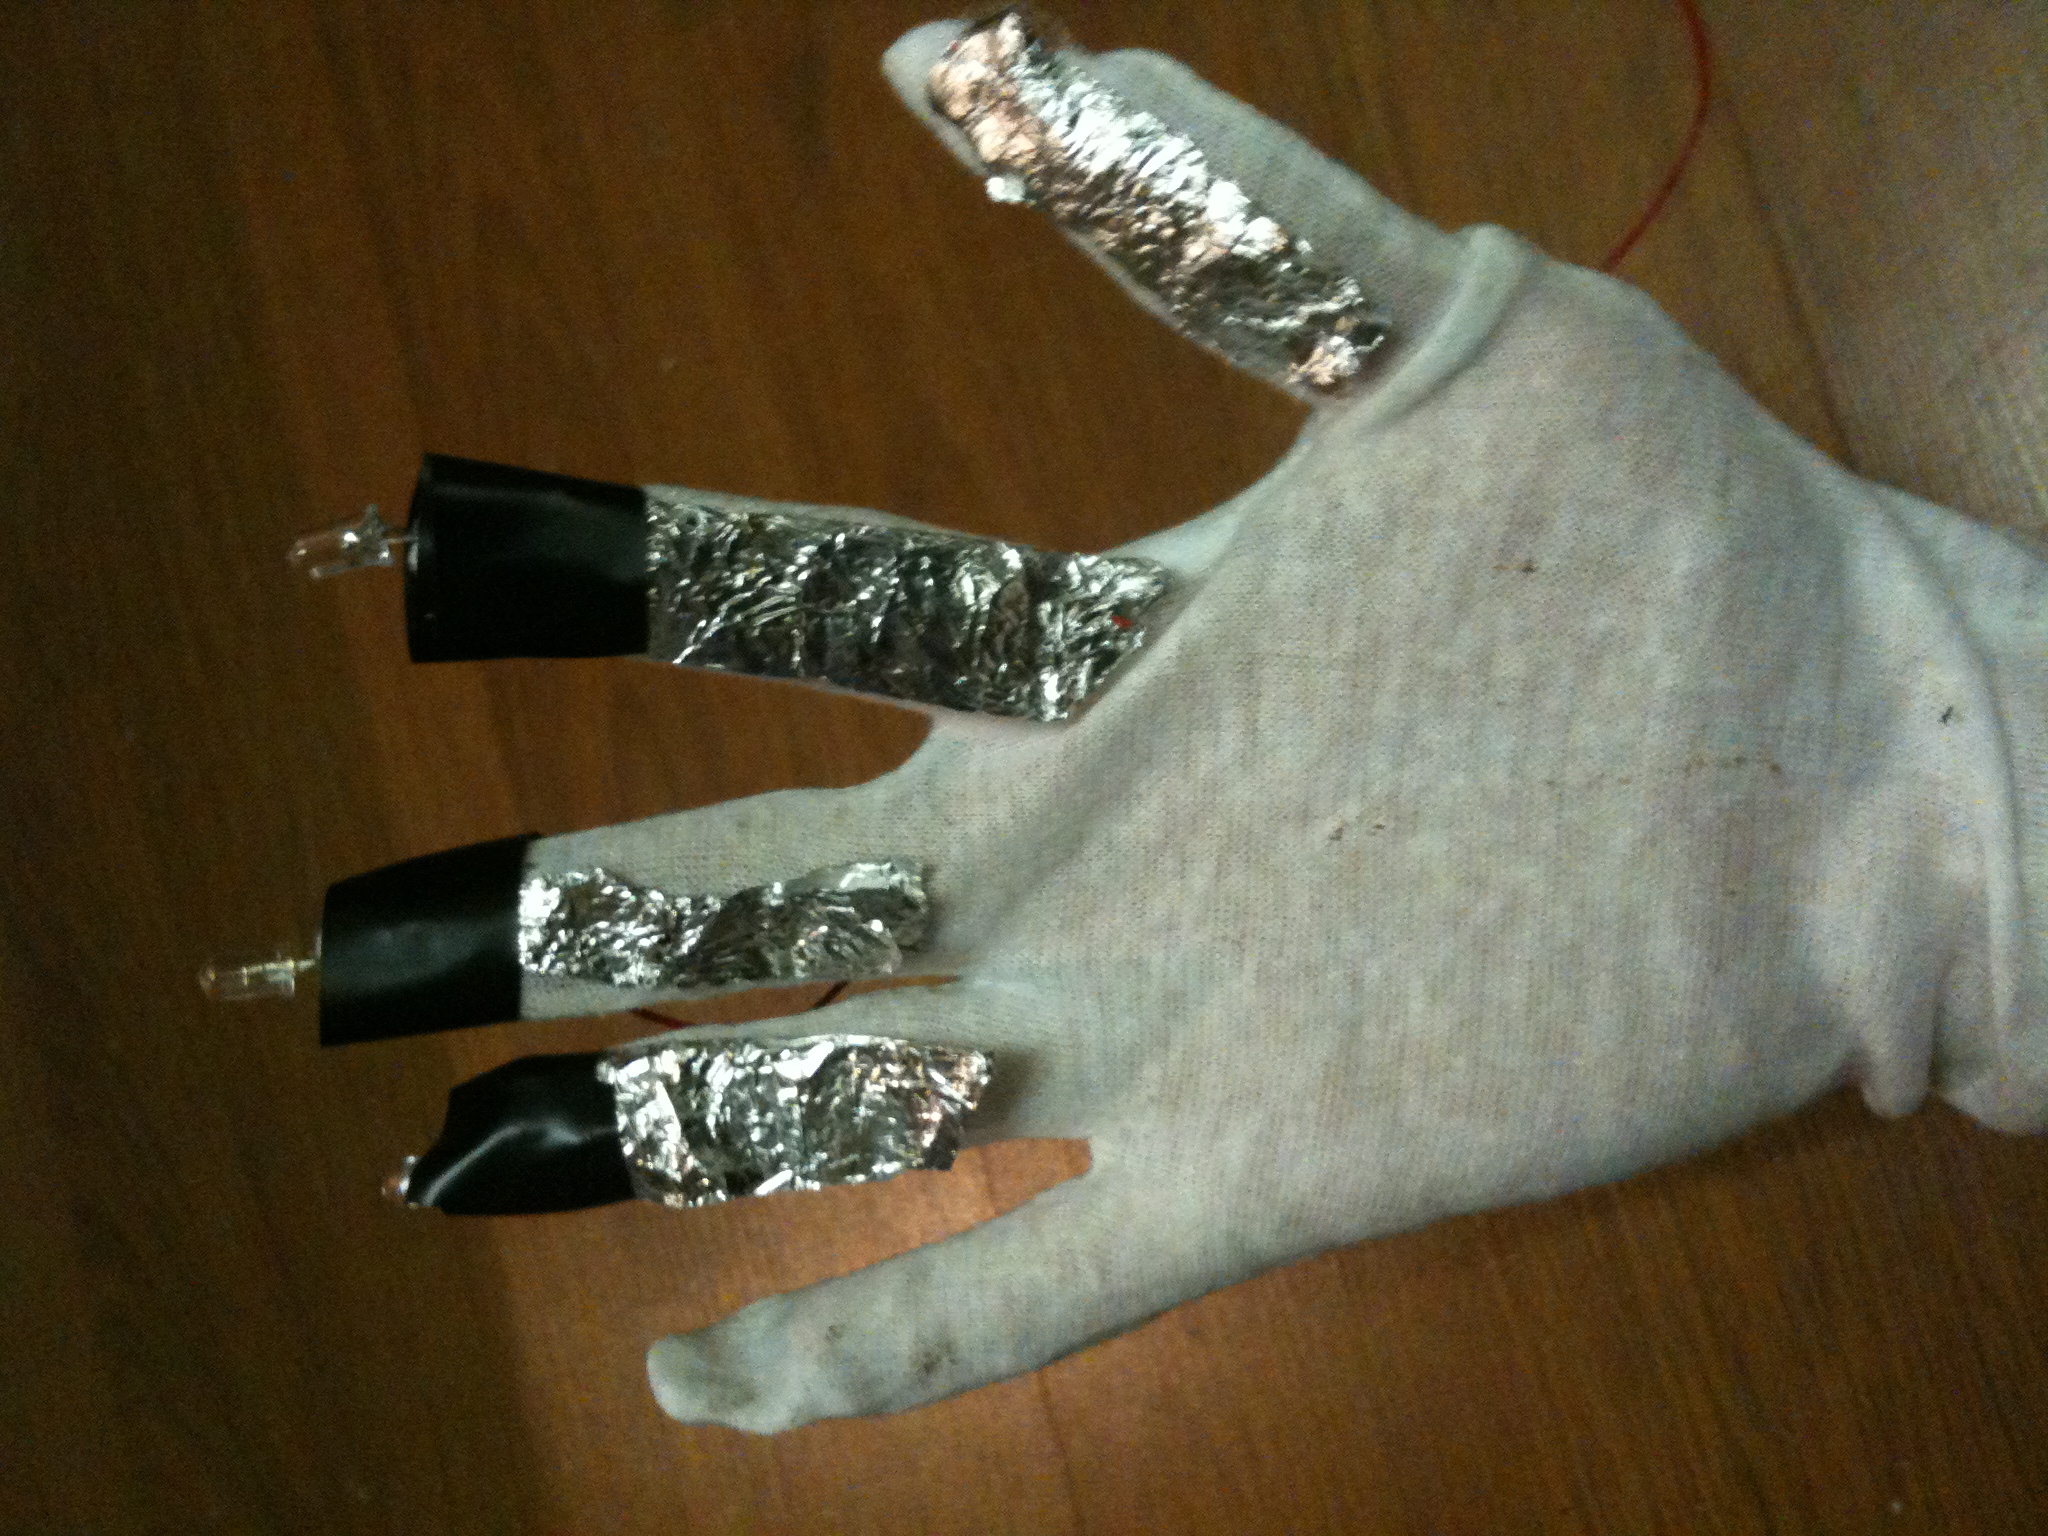
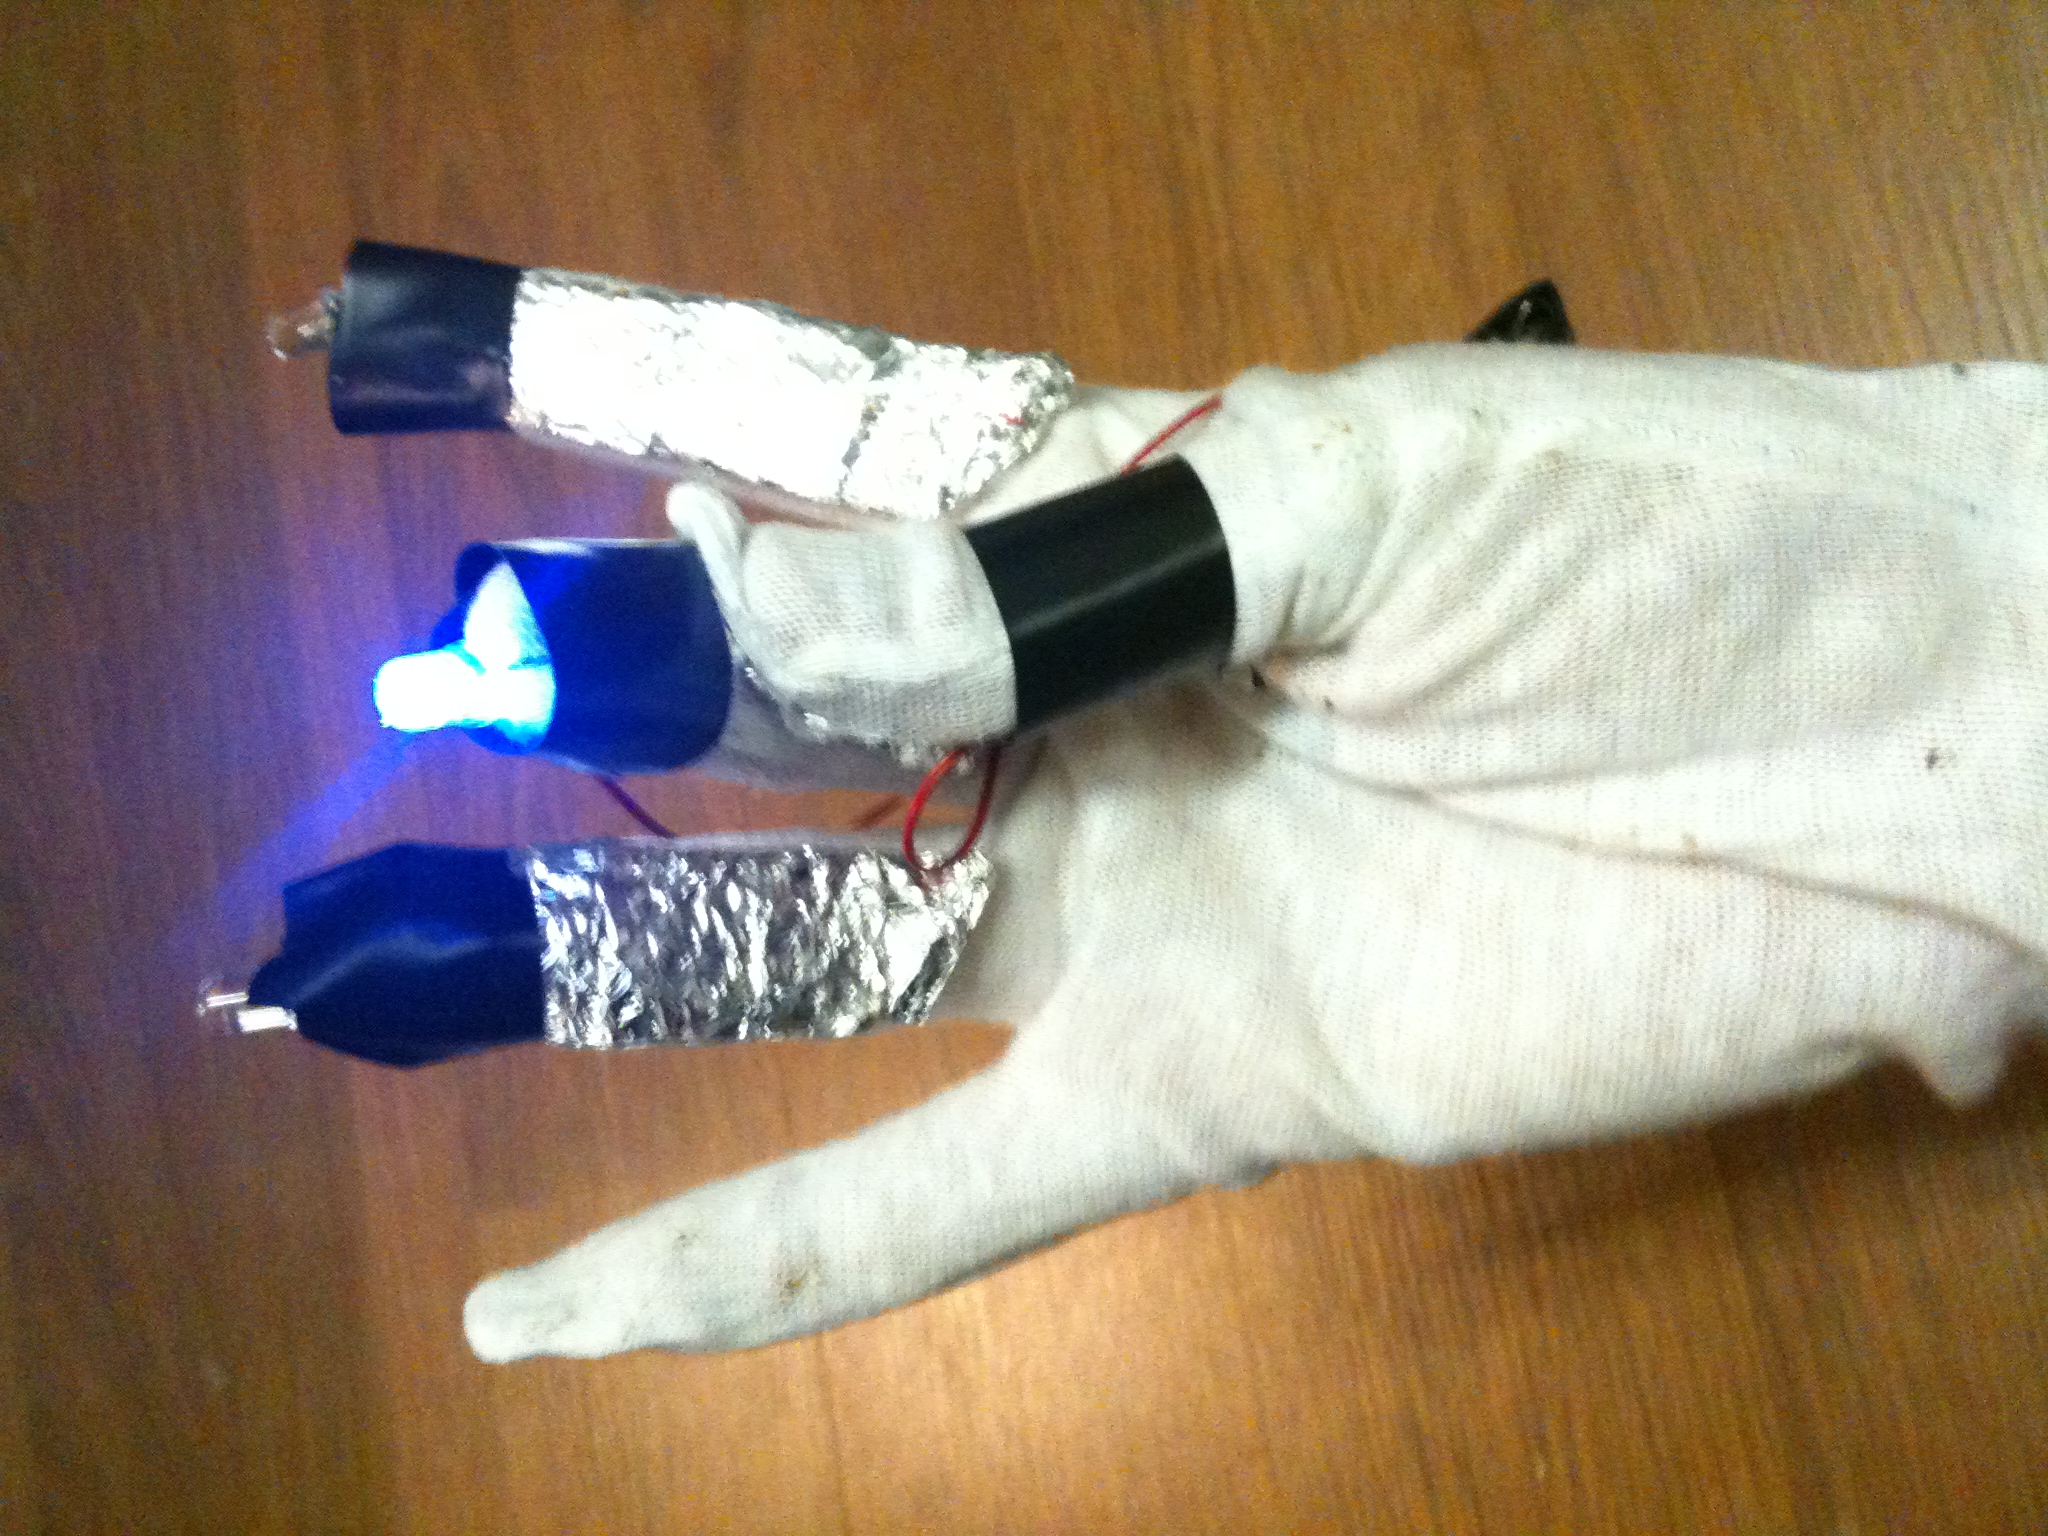
1. Take your circuit and carefully bridge each of the LEDs over the tip of each finger. The short end of each LED (the negative end) should lay neatly over the tinfoil. Using a piece of electrical tape, firmly wrap the LED in place so it's pressing down on the tinfoil. That's going to be your connection, so make sure it's firm! Do this for each finger!
2. Take the negative wire (the single wire attached to the battery) and tape it to the bottom of your thumb, leaving a patch of tinfoil exposed at the top. Make sure it's tight!
You'll see that although the LEDs are covered with tape, you can still complete the circuit -- if you touch your thumb to the bottom end of the tinfoil on each finger, they should still light up. Try each finger and see if they work!
5. Try It Out!
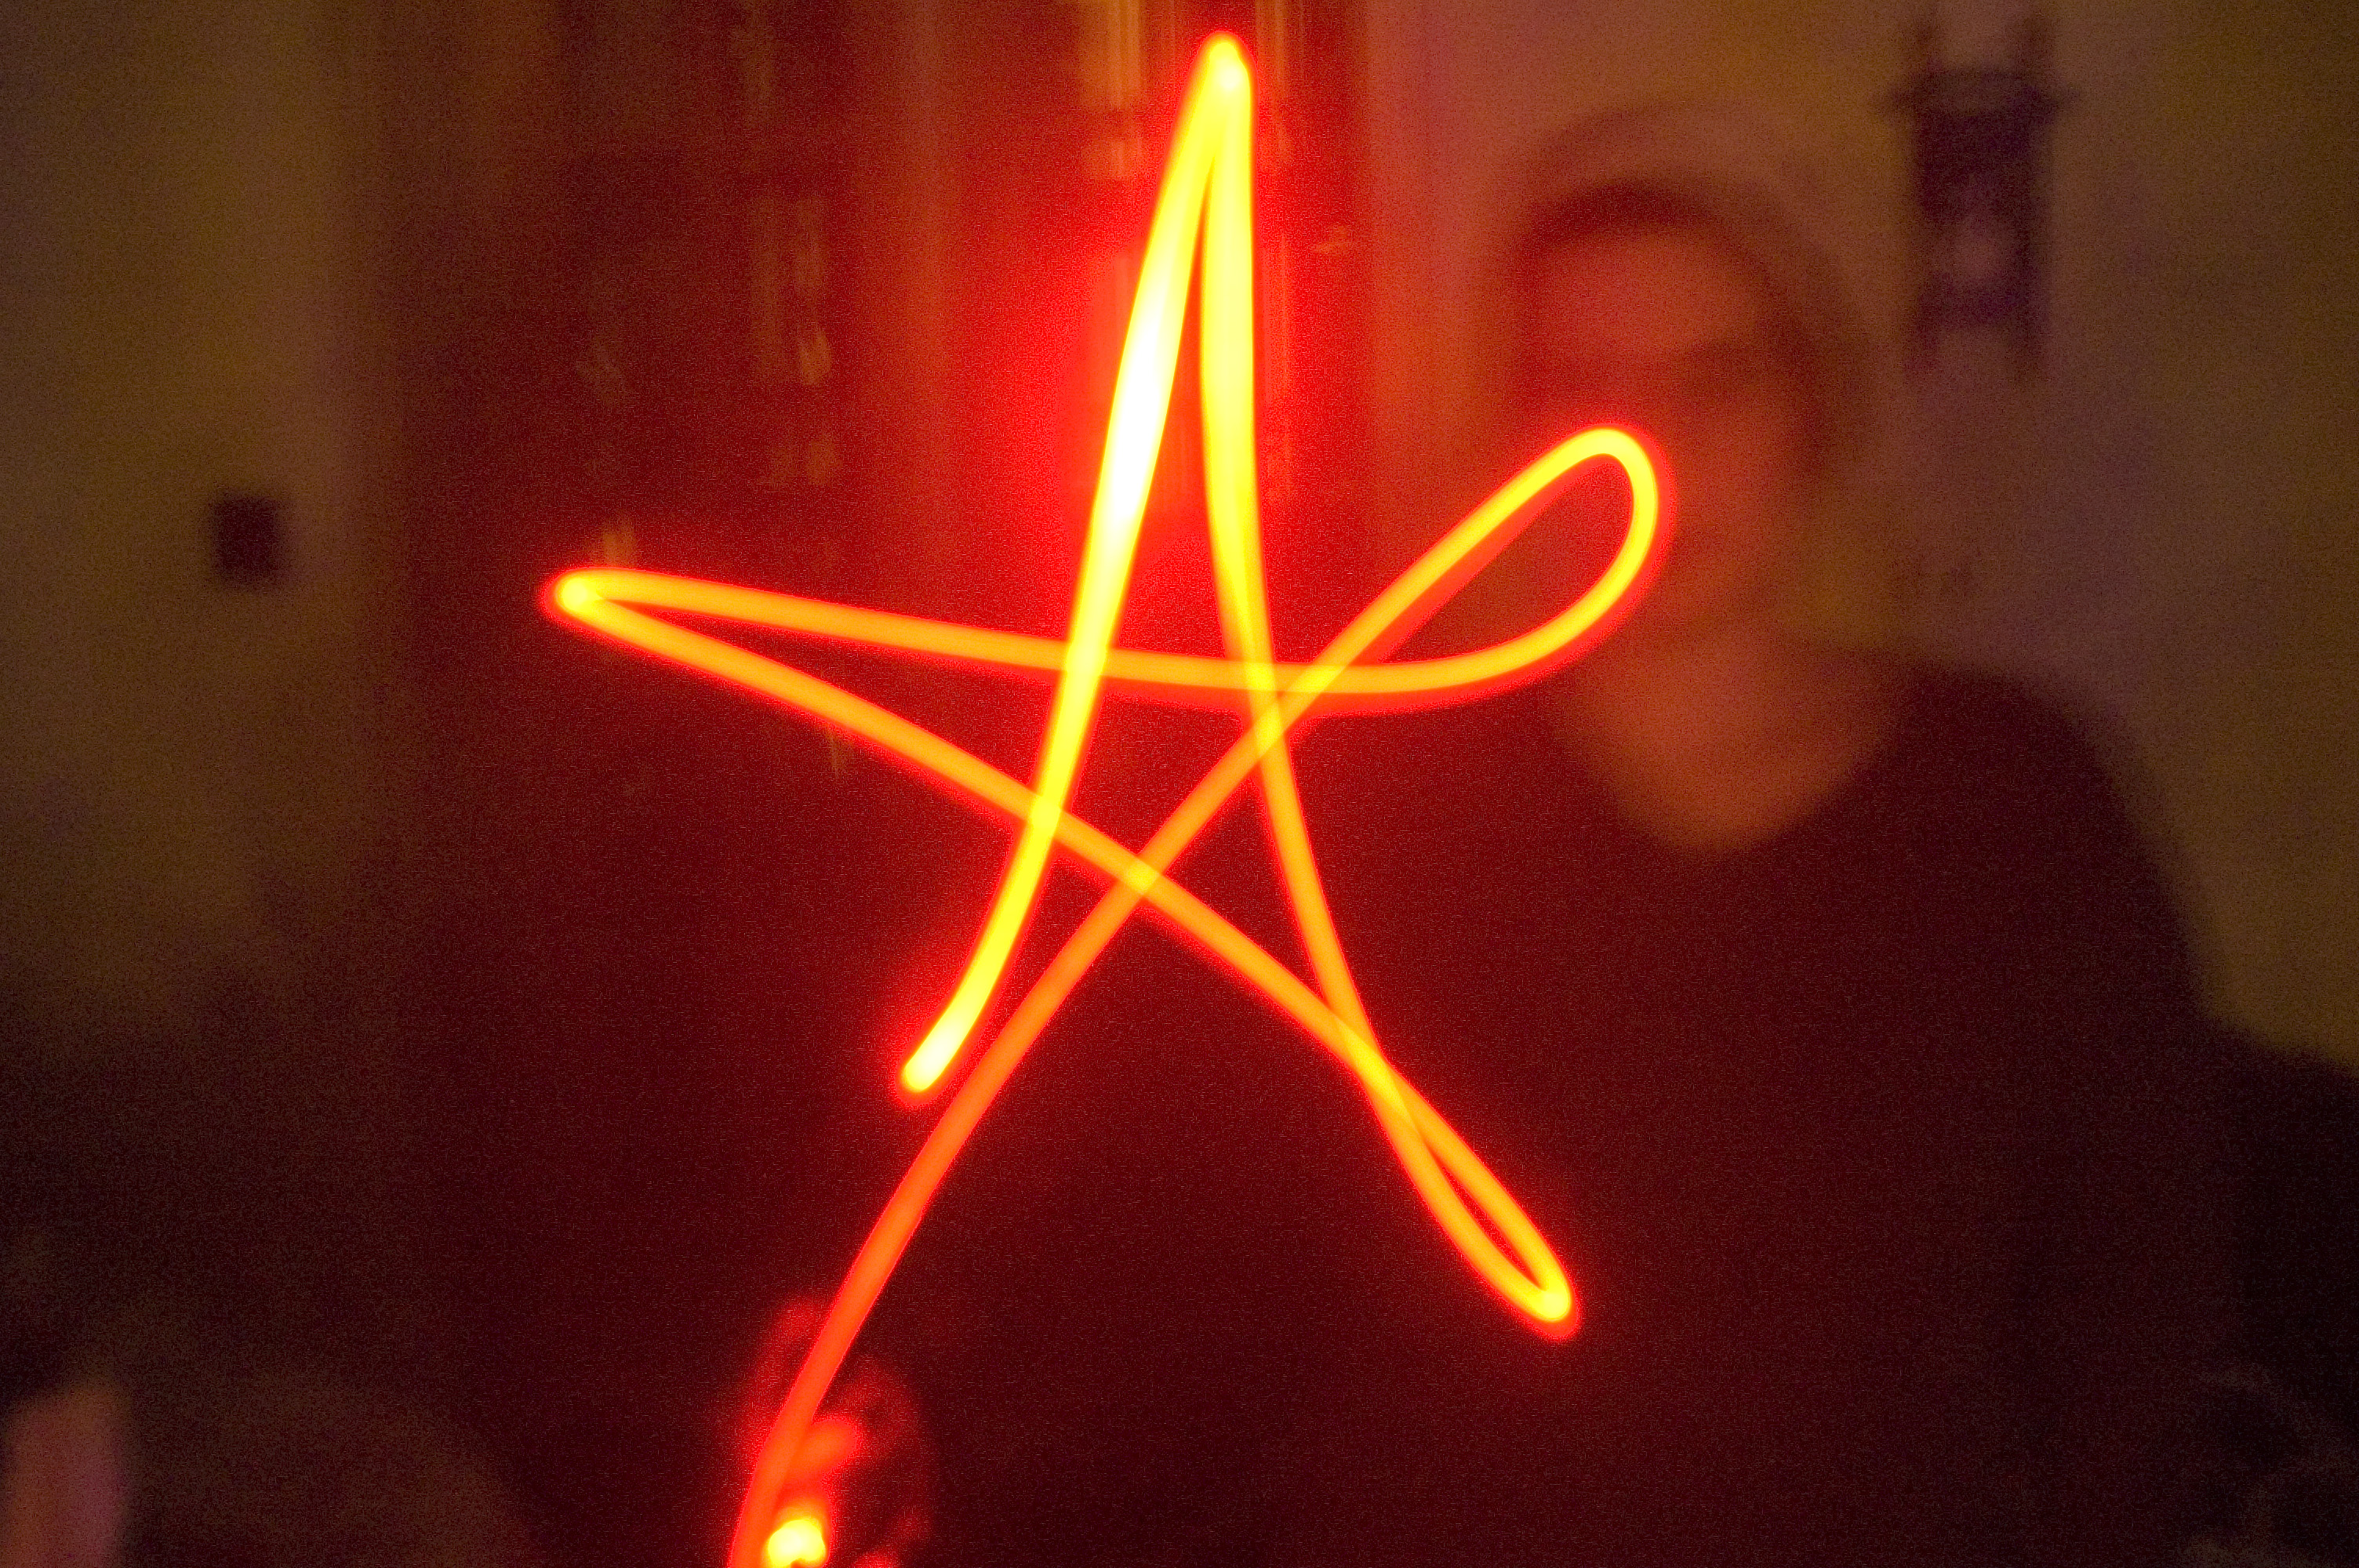
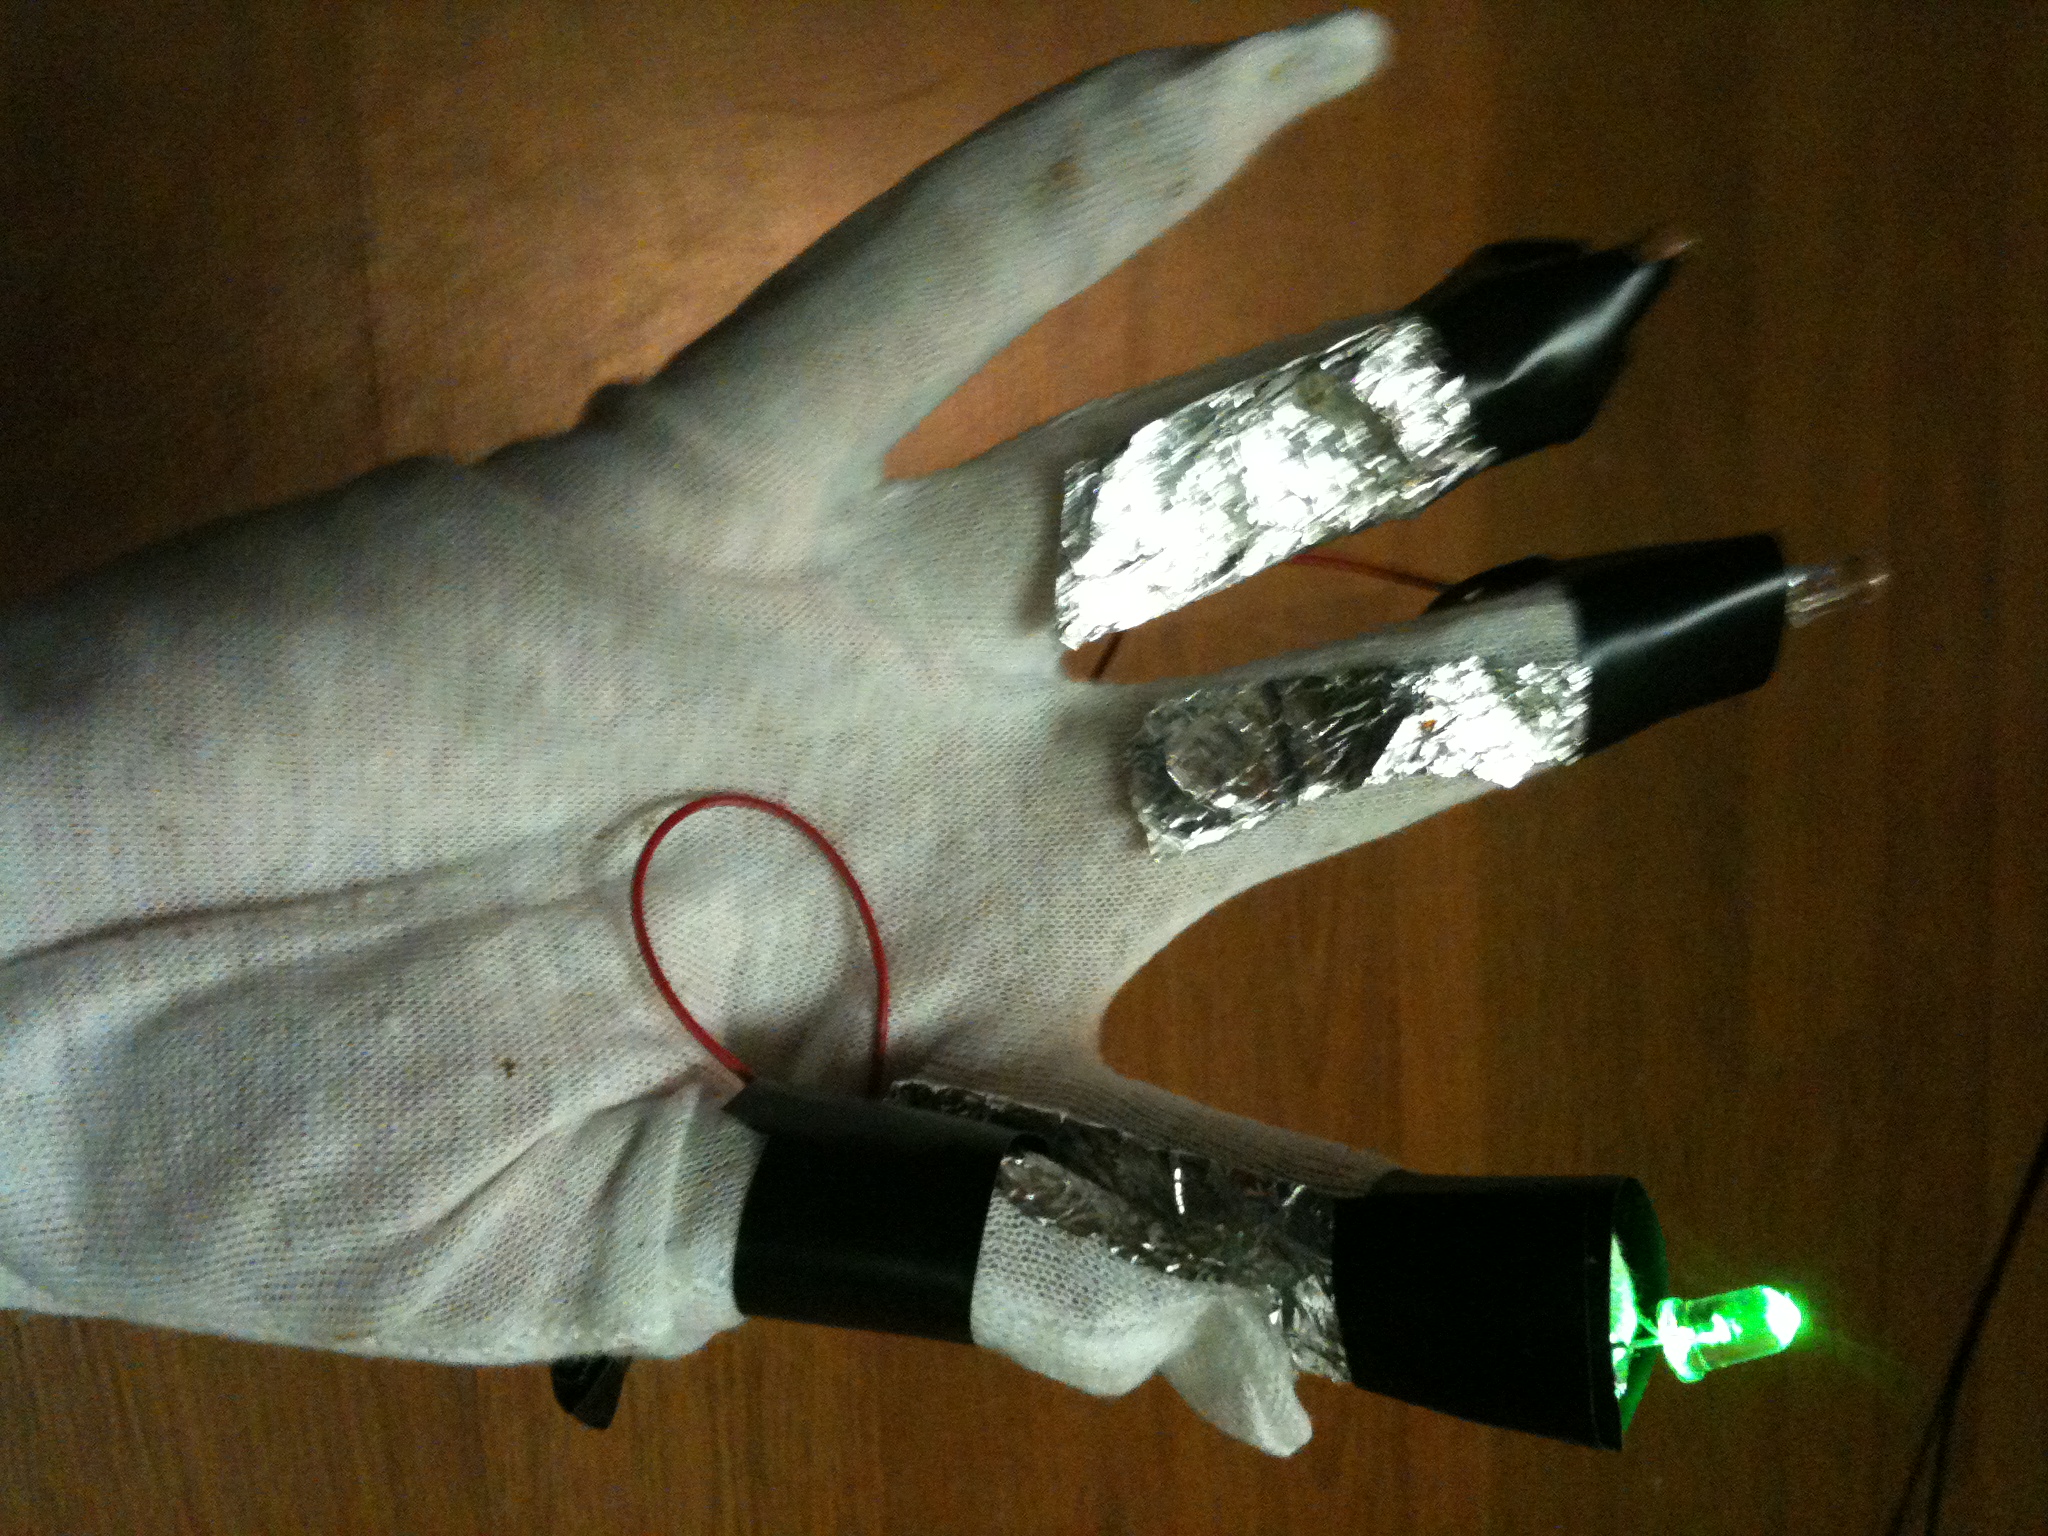
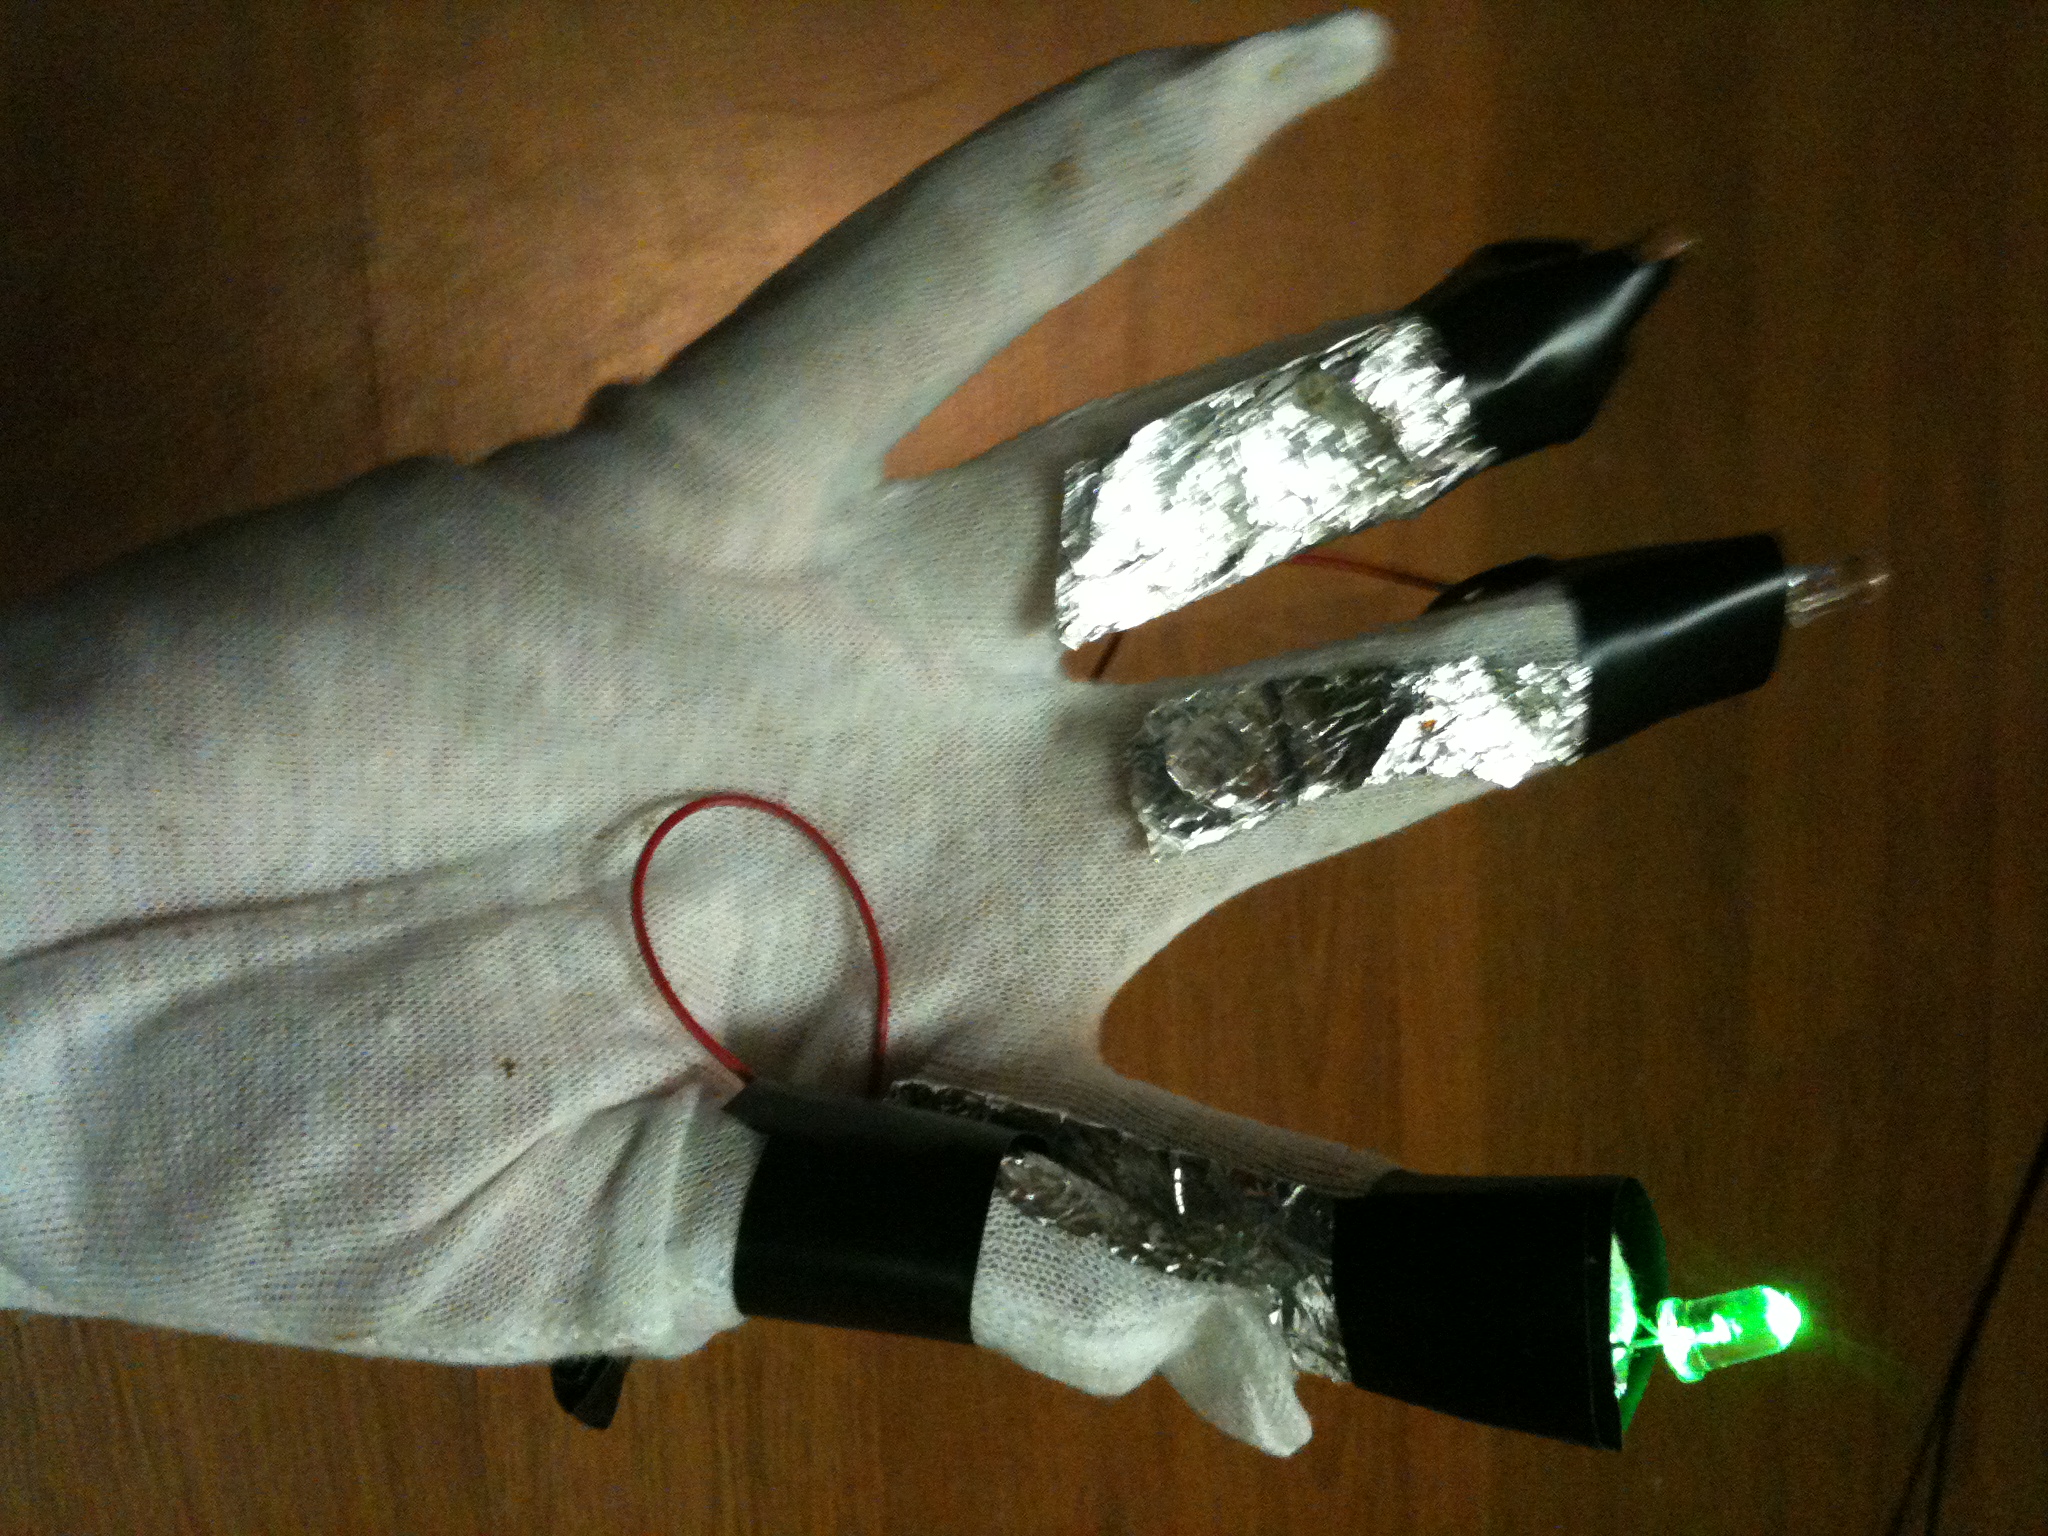
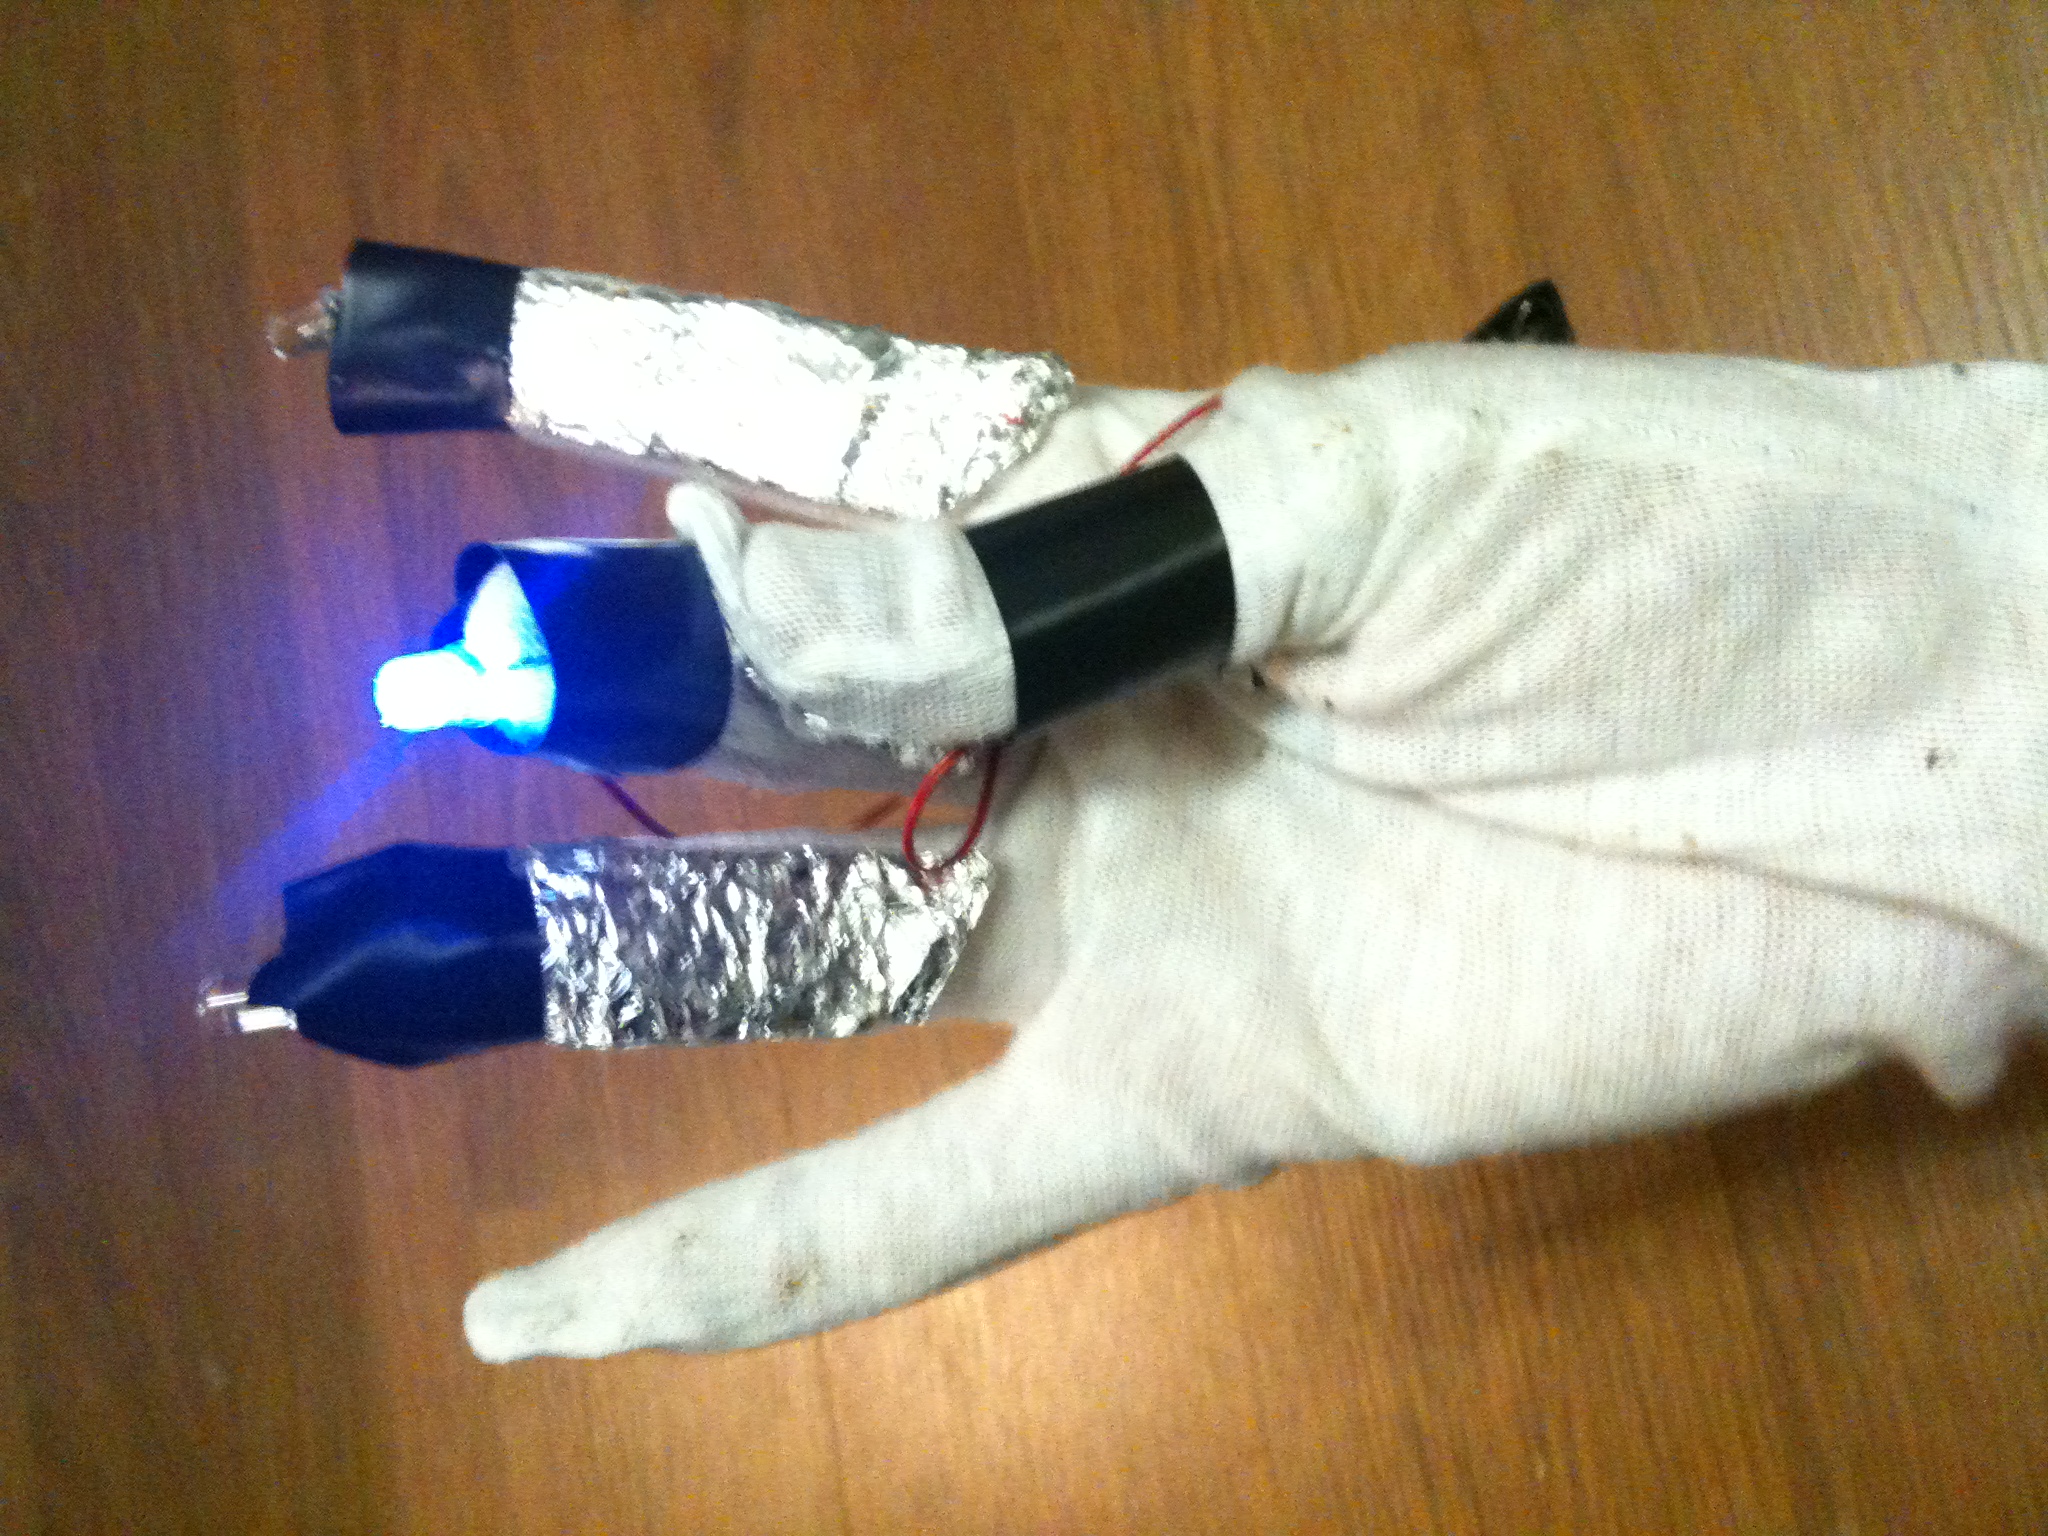
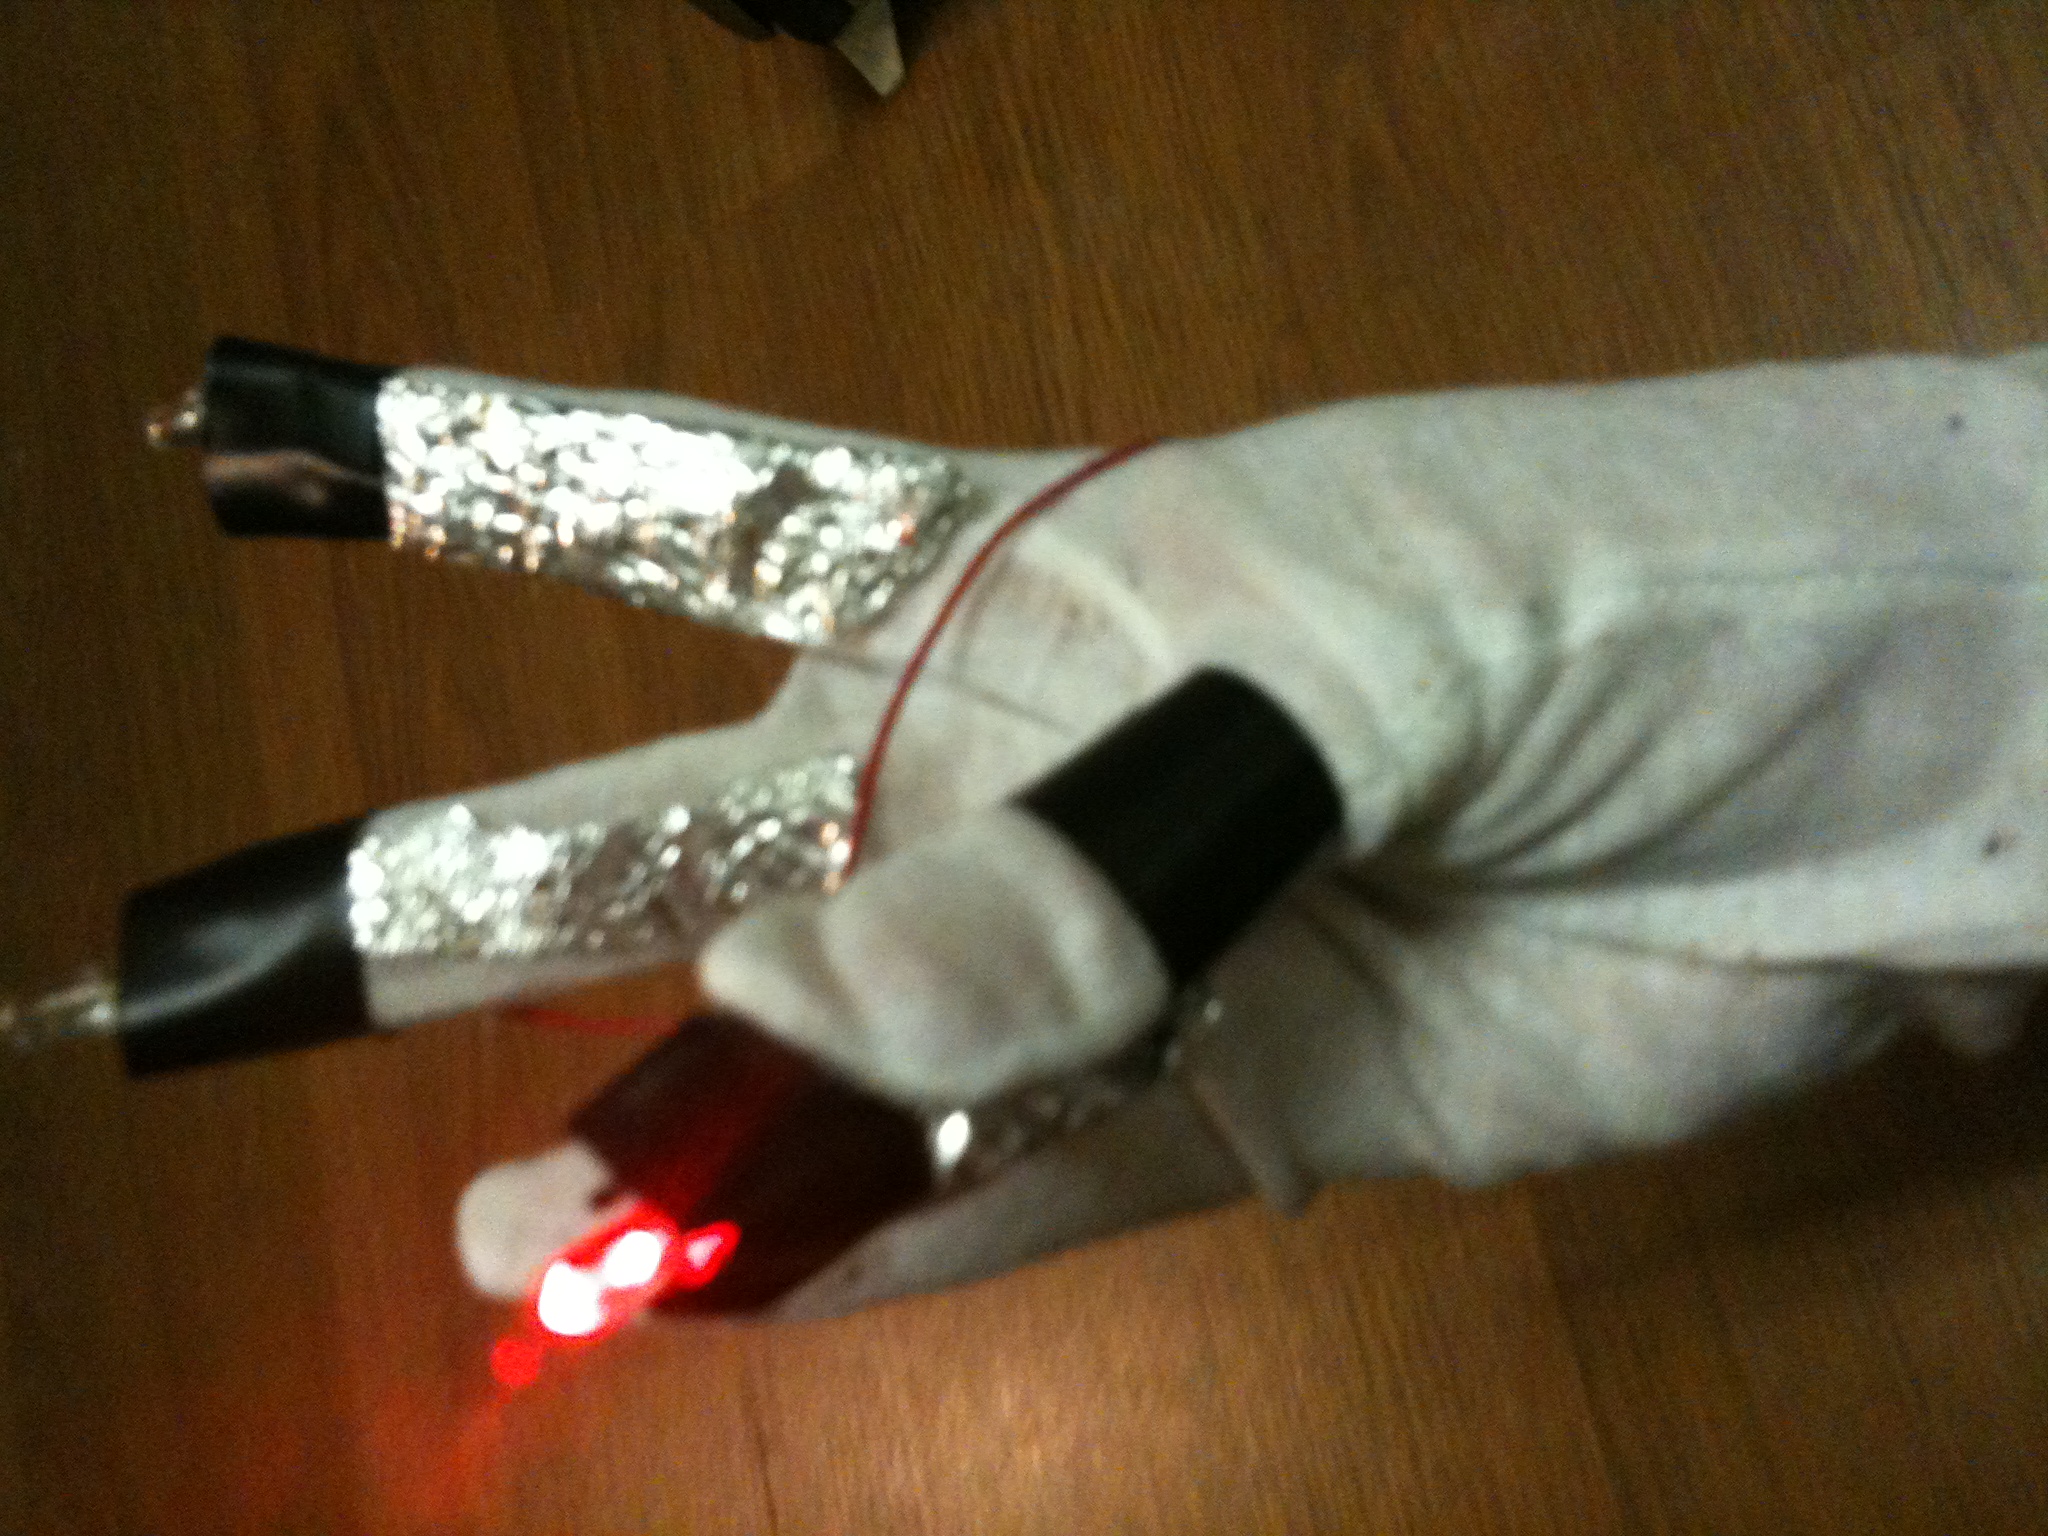
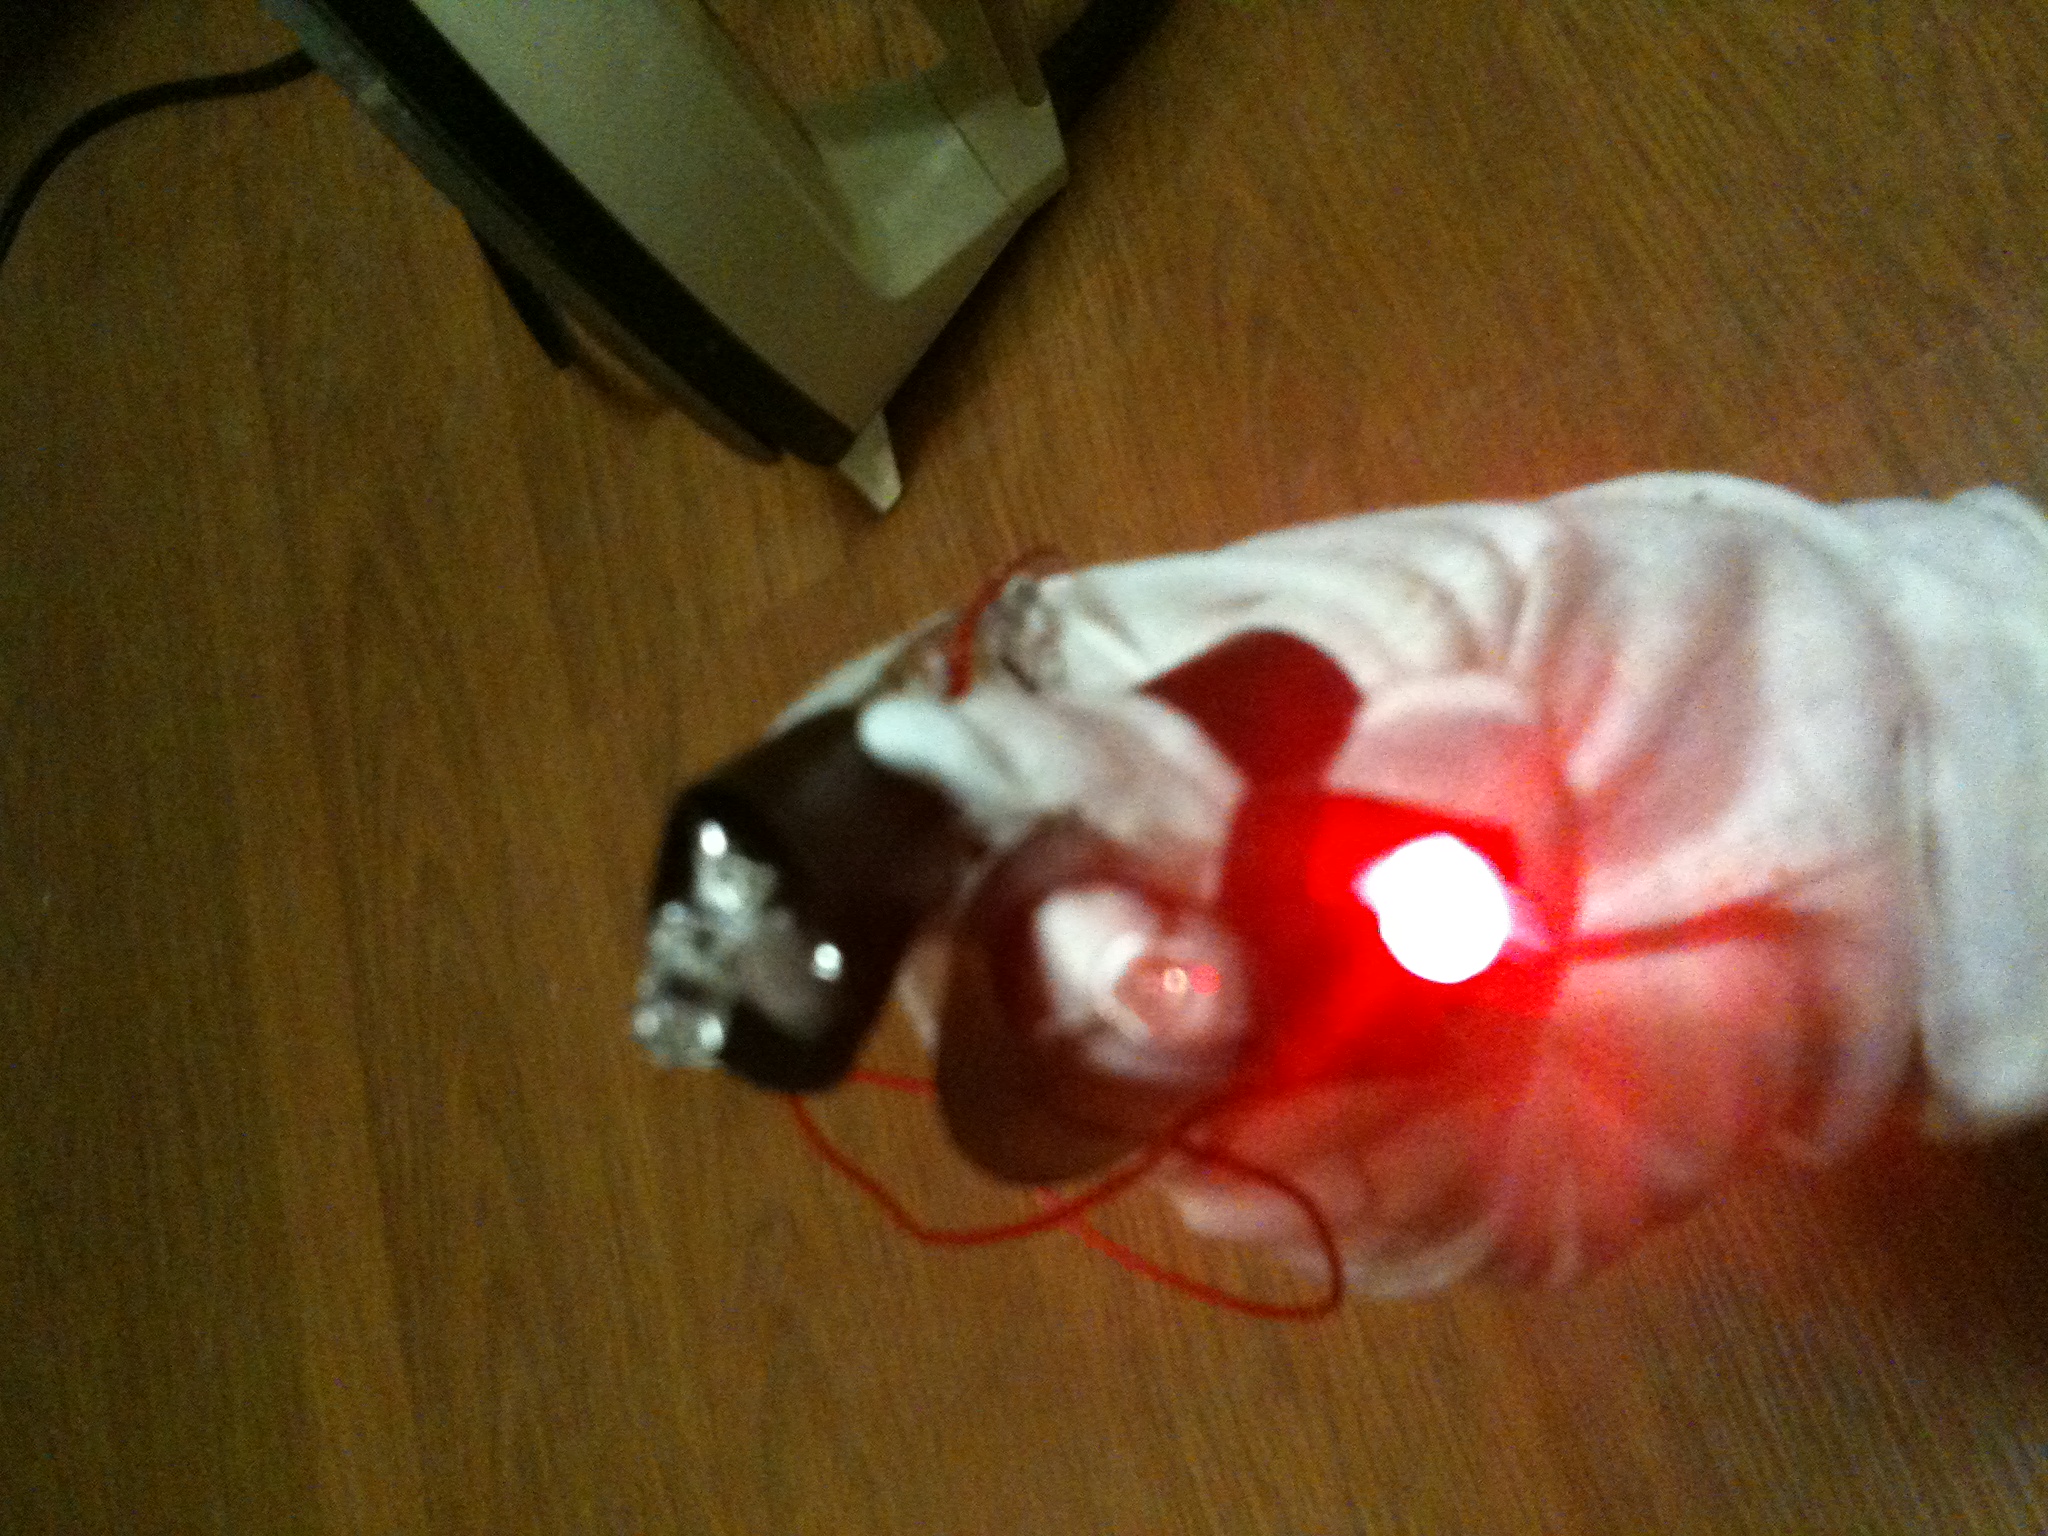
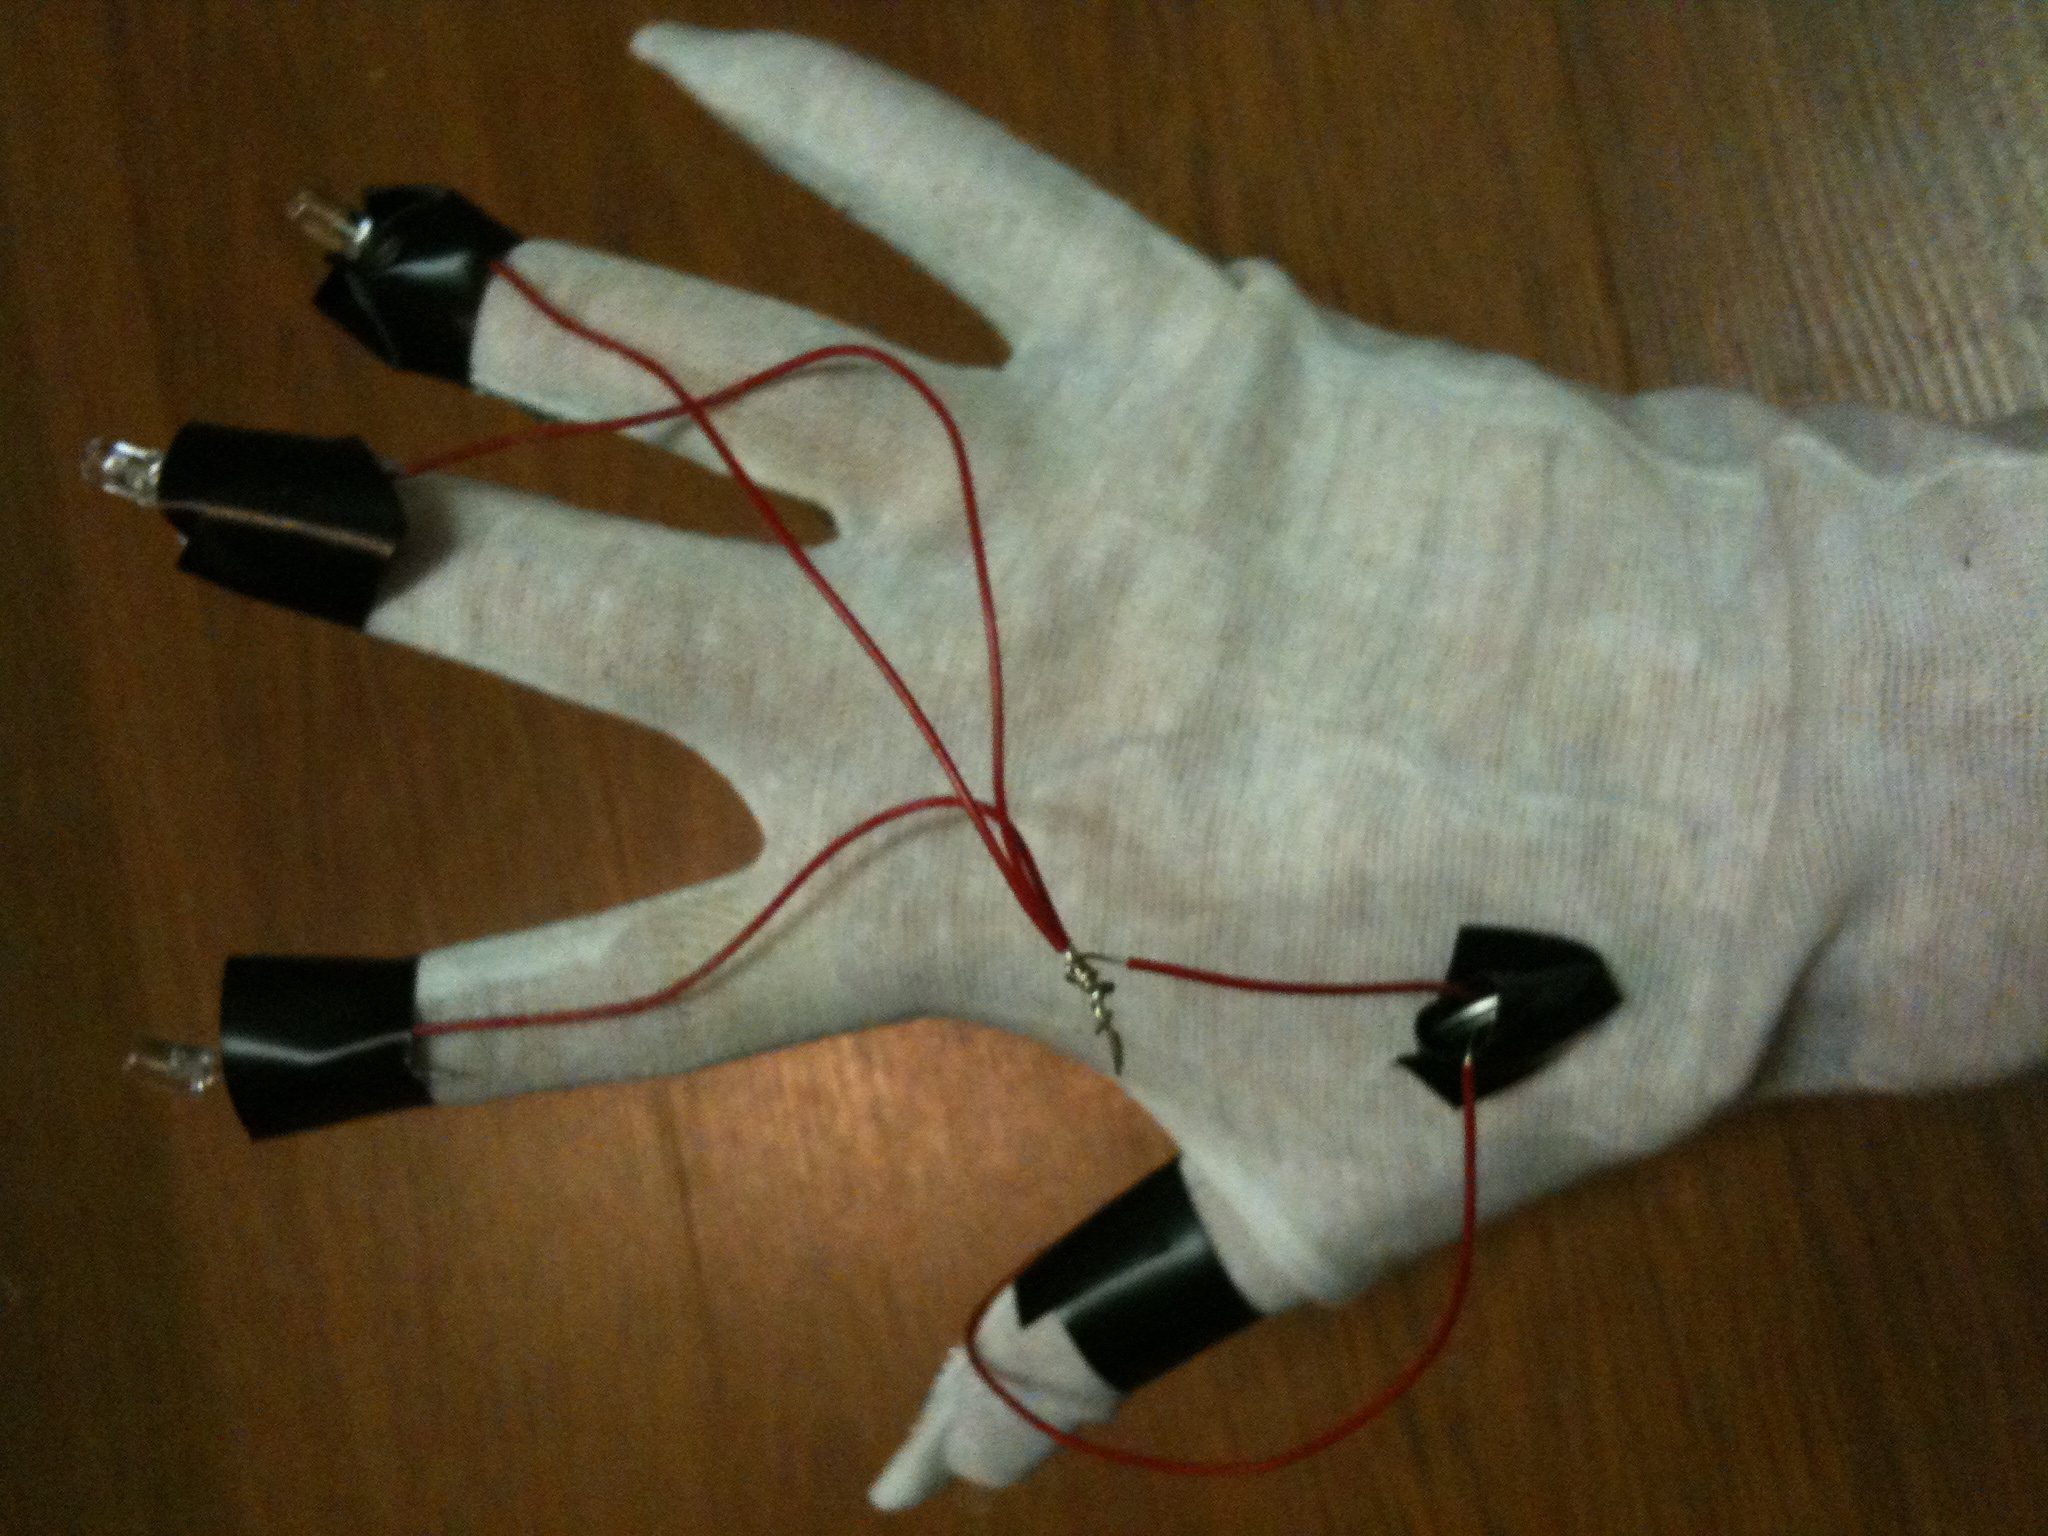
Ta da! You should be able to light up each finger by touching your thumb to the finger.
TIPS FOR LIGHT PAINTING:
You'll need a camera with a manual setting and a dark room.
1. Set the shutter speed to the lowest possible setting (usually "bulb") and figure out where the camera's field of view is (how far away you need to be standing and where, to be in the frame)
2. Have a friend hold down the shutter for as long as you want to take the picture.
3. Using your glove, you can draw in the air in different colors! Try writing your name, or sketch a picture, or just test out different designs with different colors. The camera will record it for as long as the shutter is held down -- and when you're done, you'll be able to see the light traces.
IF YOU DON'T HAVE A CAMERA:
There's a neat program called Glow Doodle, made by Eric Rosenbaum at the Lifelong Kindergarten group, that mimics the effect of long exposure photography. It's not exactly the same -- instead of recording light over a long period of time, the camera records the brightest light source and averages the frames over a given period of time. It's a little less elegant but a lot more accessible -- you can't ask for an easier interface, and as a bonus, they post all the pictures on the web!
Glowdoodle website (with instructions for installation):
http://scripts.mit.edu/~eric_r/glowdoodle/
What you'll need:
-- a webcam
-- a computer
-- a dark room
Same thing! We recommend projecting the images so you can draw in real time -- very cool!