Robot Hand Prop Framework
by BannerG in Circuits > Microcontrollers
896 Views, 5 Favorites, 0 Comments
Robot Hand Prop Framework
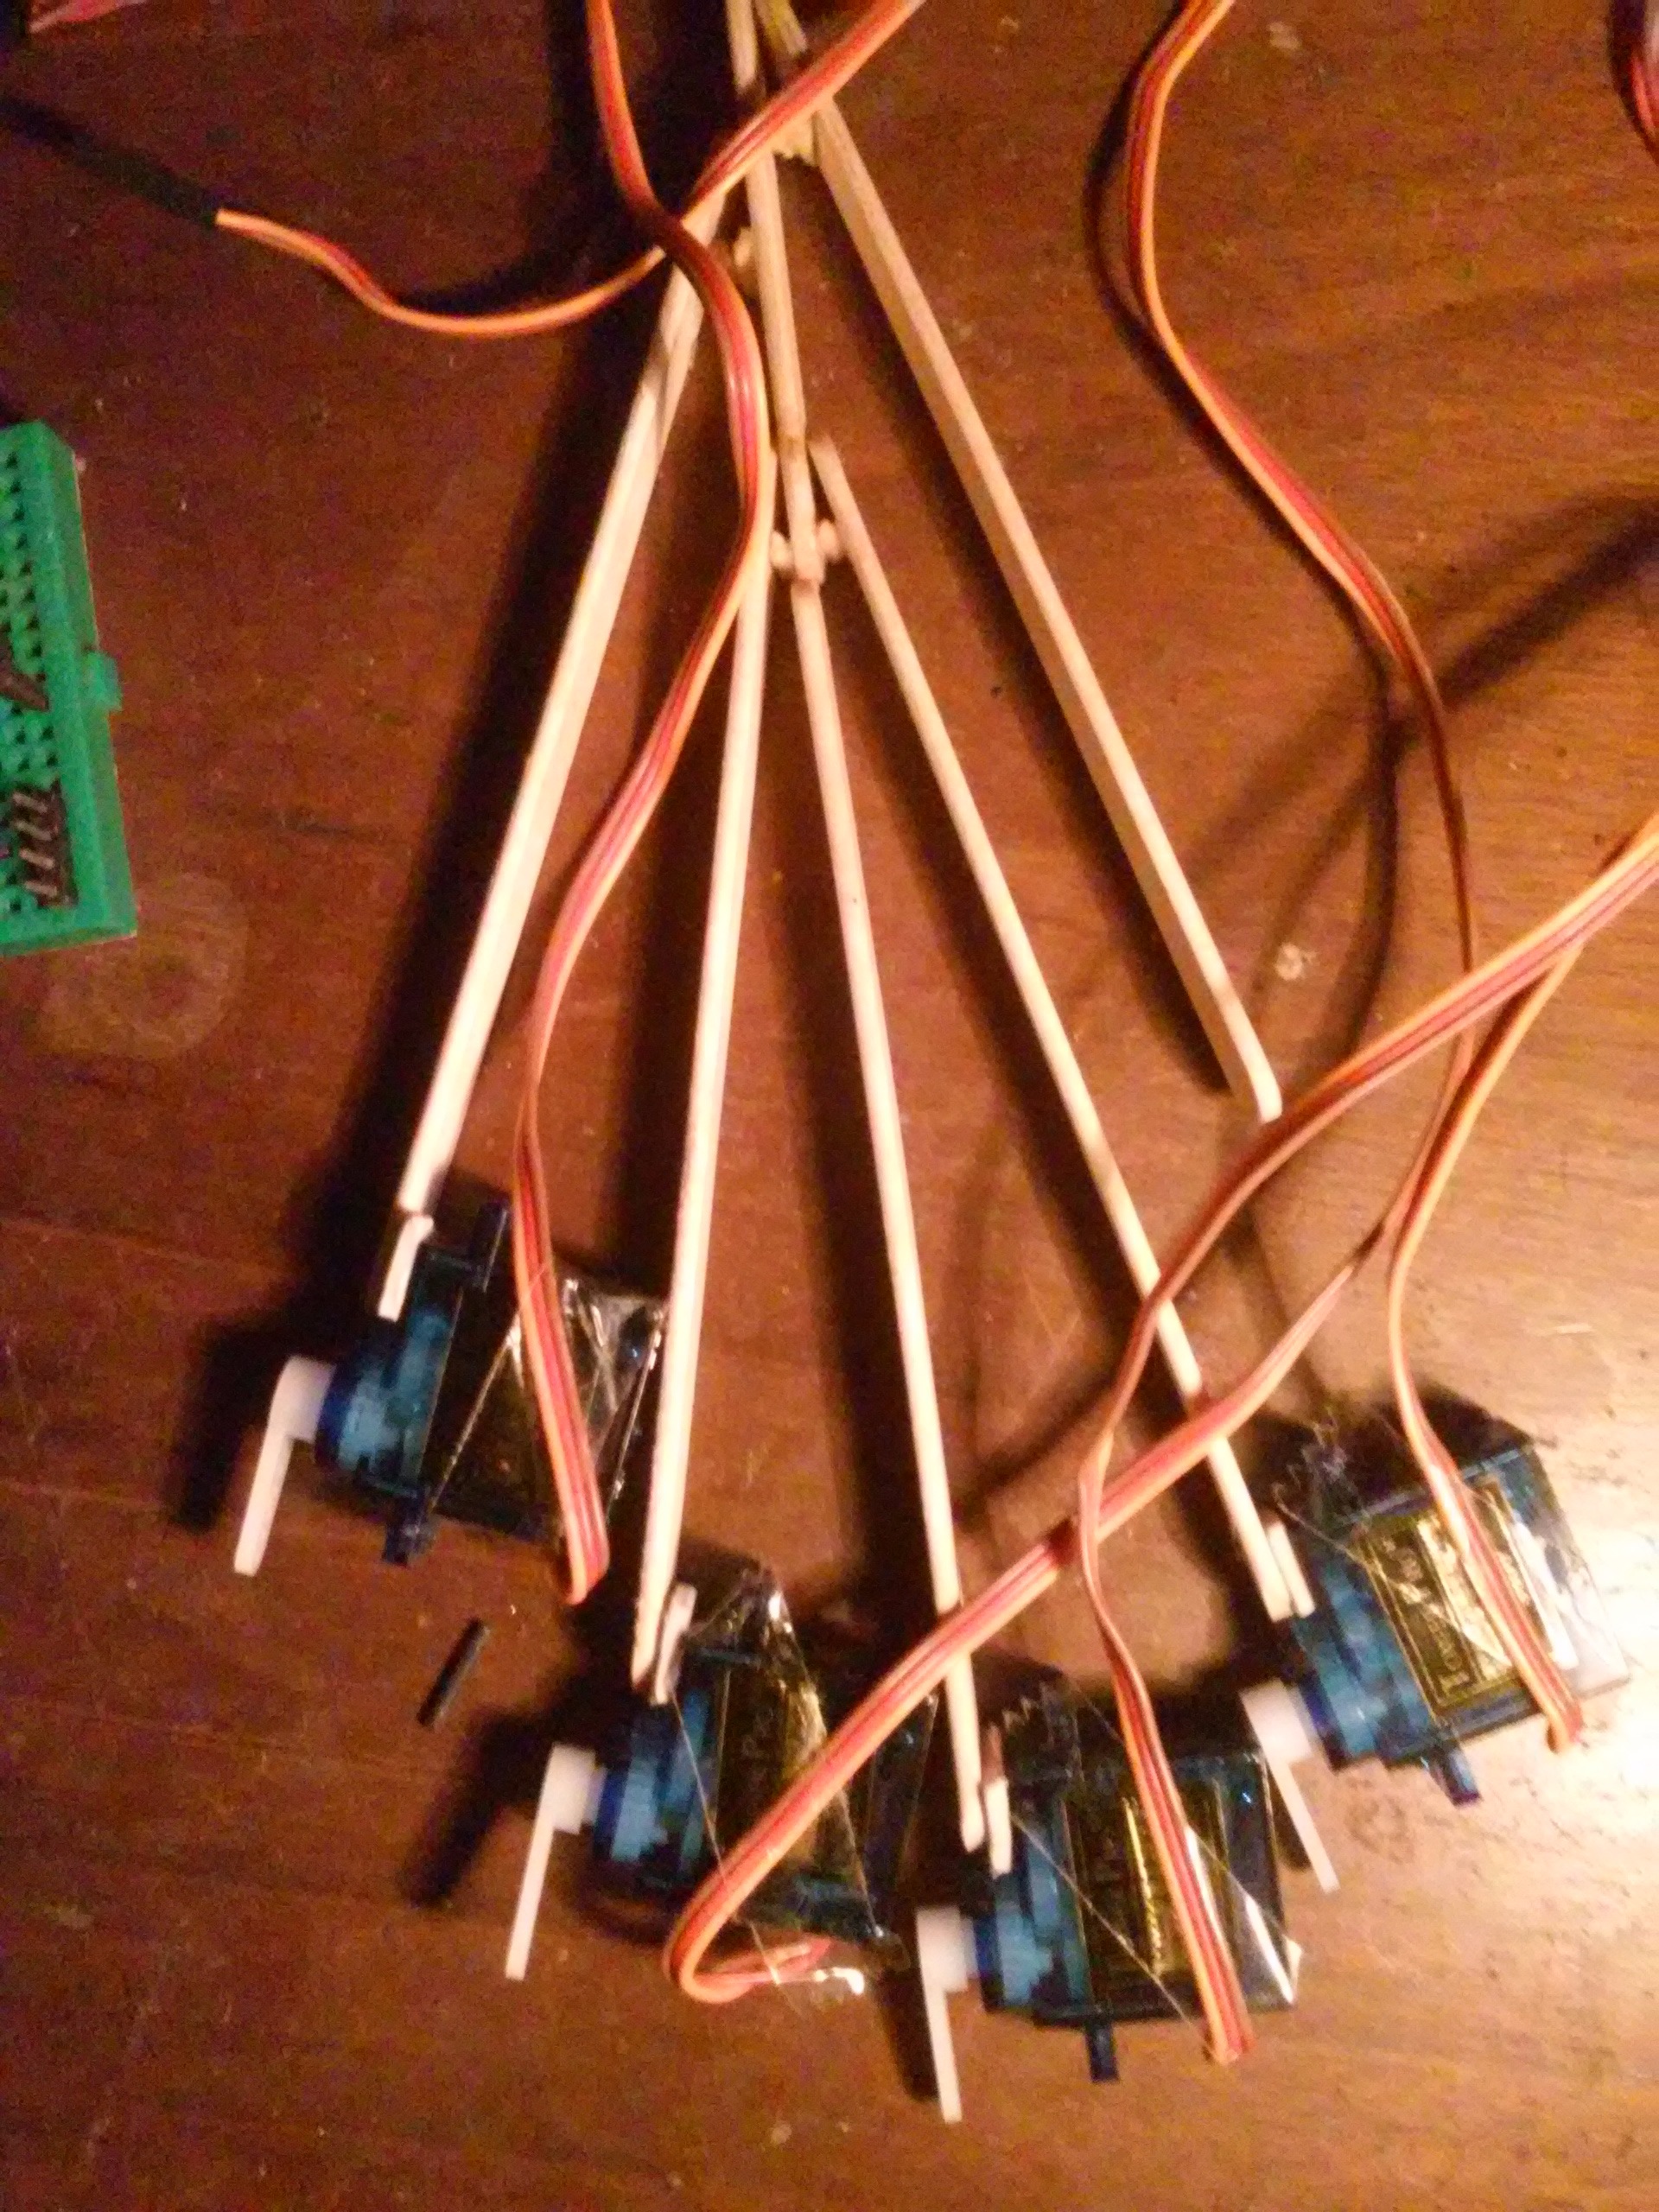
Hey everyone ! Hope you all had an amazing Halloween this year ! I wanted to publish this tutorial before the Halloween but my arduinos failed me really badly and stopped working, I soldered them and made all the connection but they just wouldn't make the servos move, so I had to buy a Raspberry Pi just to finish this instructables. Hopefully my next Halloween won't be a disaster as this one lol
Getting on with the project, this project is very simple and easy to make, if you're short on servos then you can make temporary joints like I did or if you want to use it for next Halloween and improve the design, make a permanent joint.
In case you complete my experiment (I'll update this instructables soon), just message me how you did it because I wanted this thing to be a The Crawling Hand, like some detached zombie arm (Watch the movie The Crawling Hand, a 1963 movie for reference), but I made a Glitching/Twitching and a Waiting one instead because it isn't moving forward :(
I also wanted to make it run like the Thing for The Adams Family
Note : This is a framework, which means that I haven't done any decoration or made clean wiring, you can do it however you want but if you still need help then message me, I'll see what I can do
Alright then let's begin !
Parts Required :
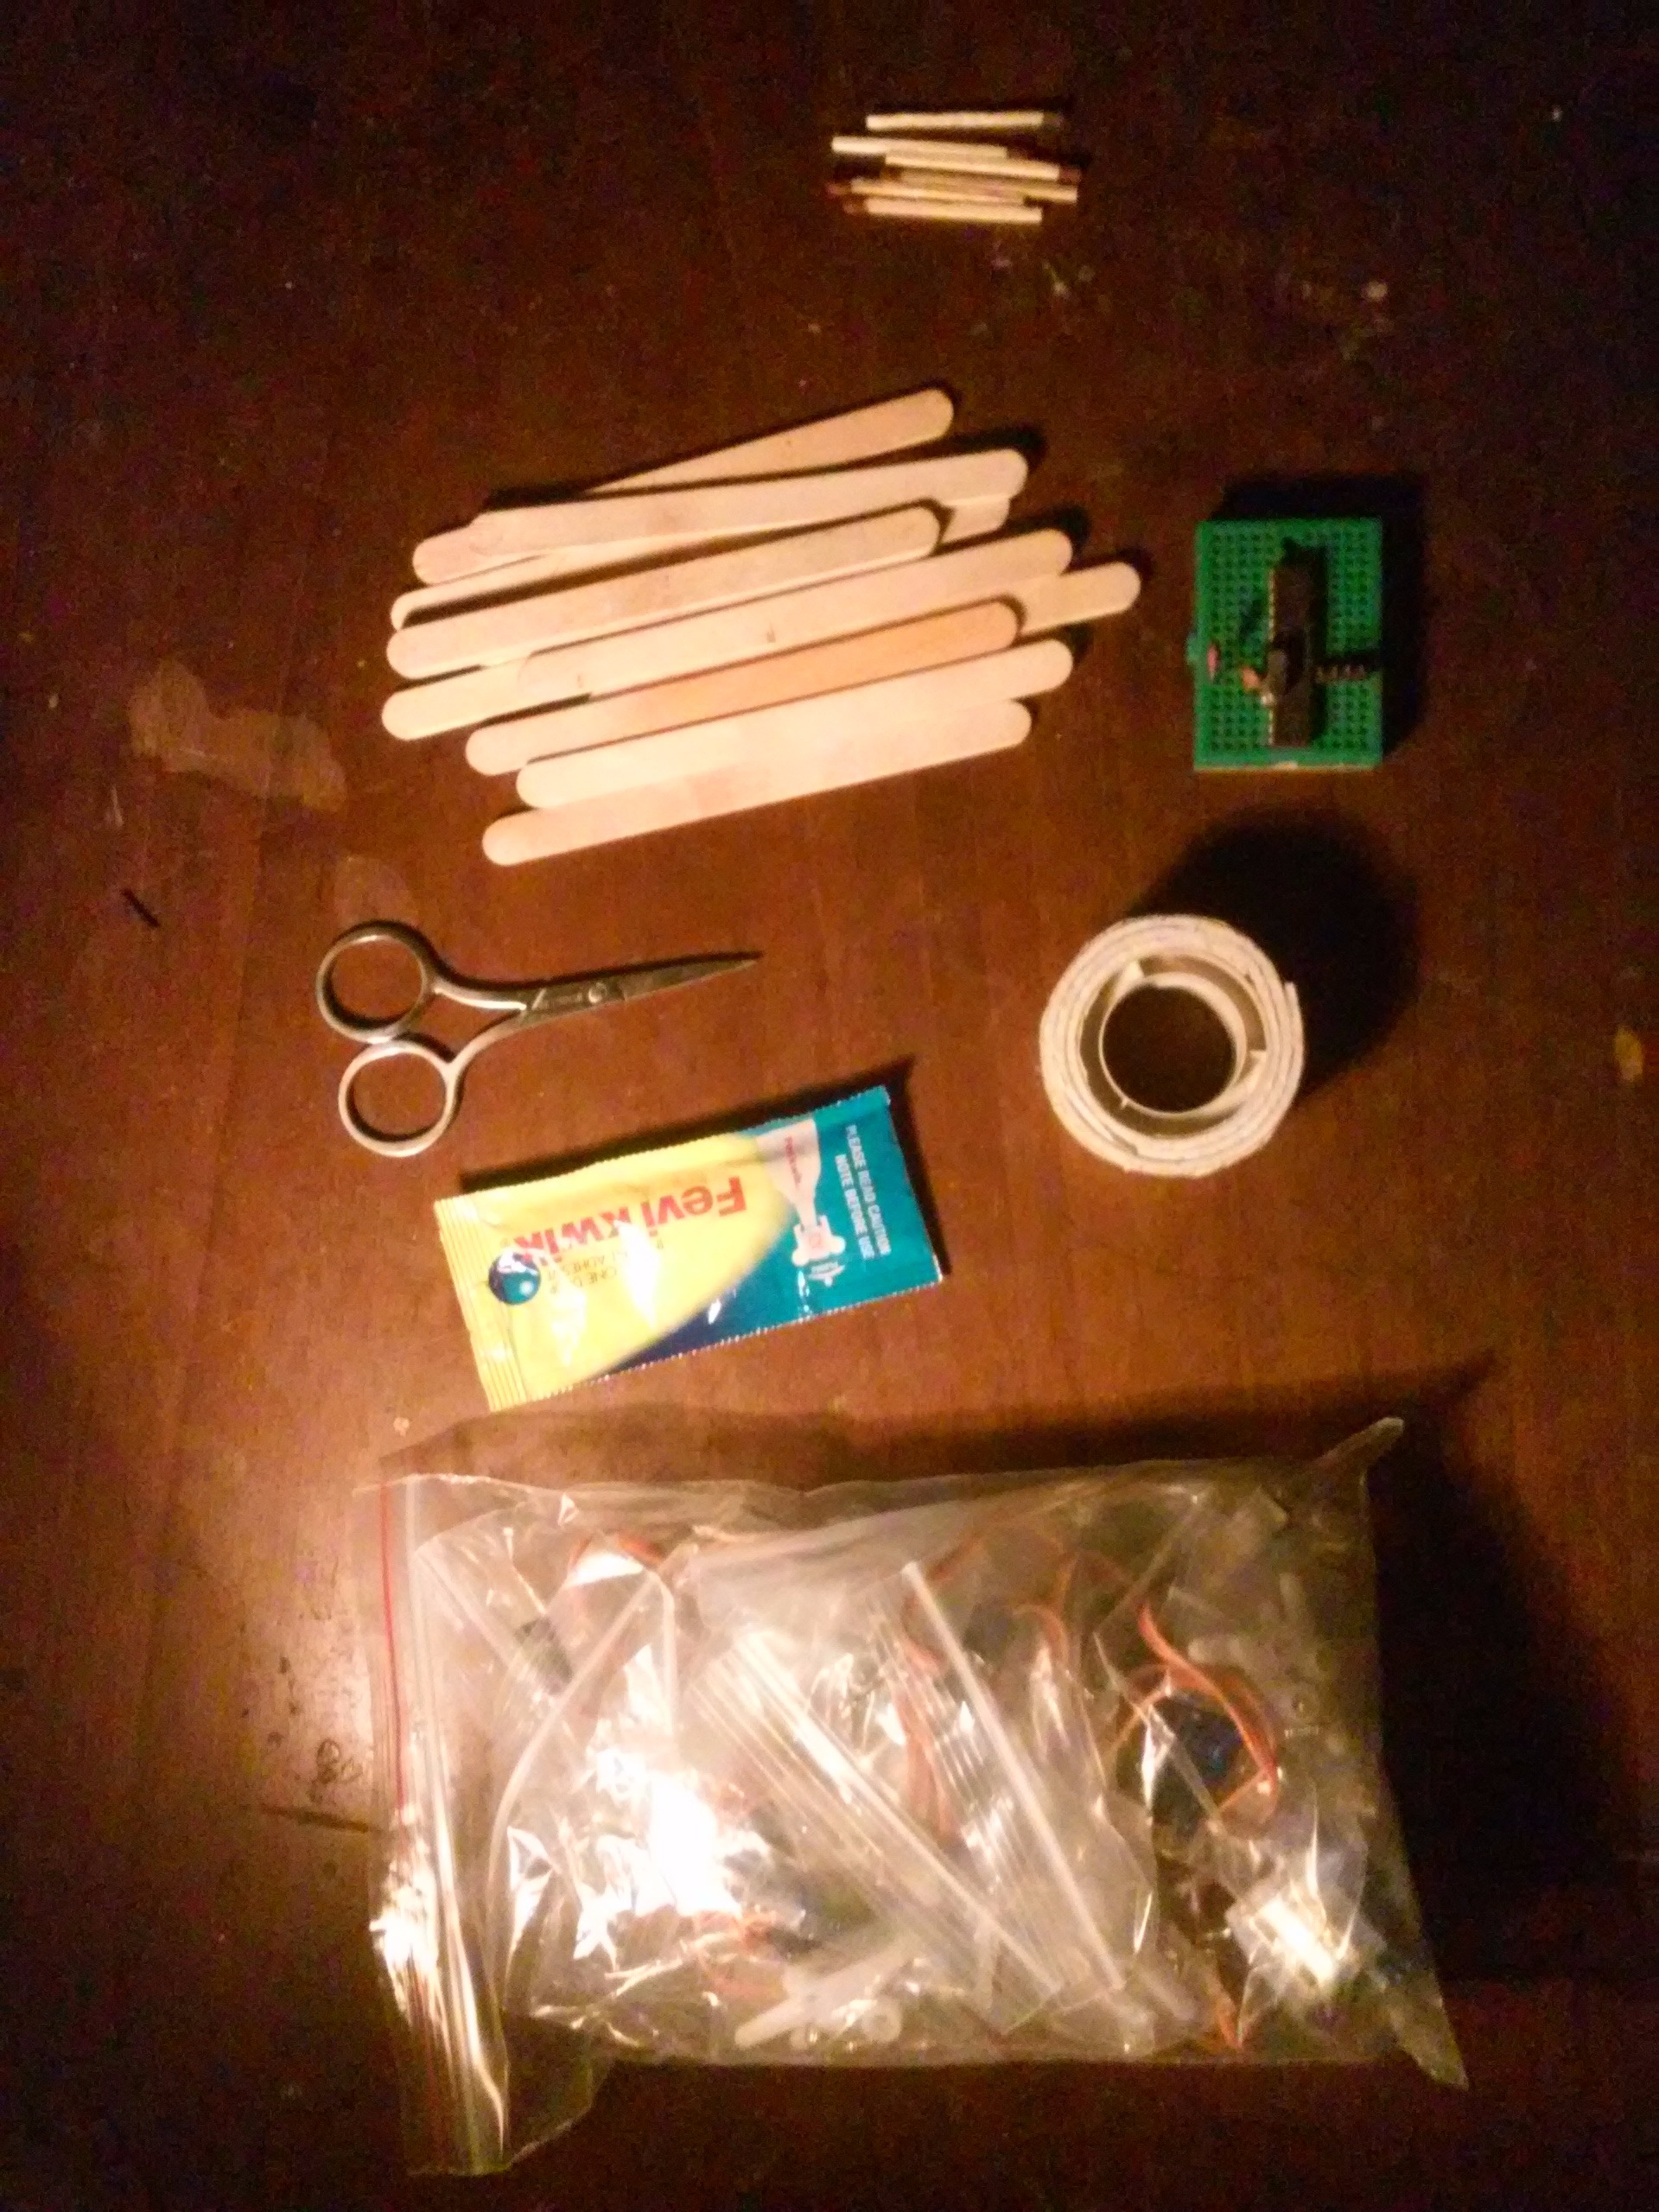
- 4 Servos
- Ice cream sticks
- Raspberry Pi or Arduino
- Match Sticks
- Quick Glue
- Double sided tape (for temporary joints)
- GPIO wires
- 5v Power Source
I'm using Tower Pro SG90 servos because this hand is fairly small and lightweight, but you can use more powerful servos incase you plan on making a bigger, heavier and metal hand.
You can use whichever microcontroller you have, because all you have to do is make the thing move.
Incase of arduino, just use the sweep.ino file and you can get this thing moving, but for more realistic movement, you can use the glitchy code that I have given in this tutorial which will make it look like it's twitching ! But for that you'll have to connect the servos to individual GPIOs.
Making the Hand
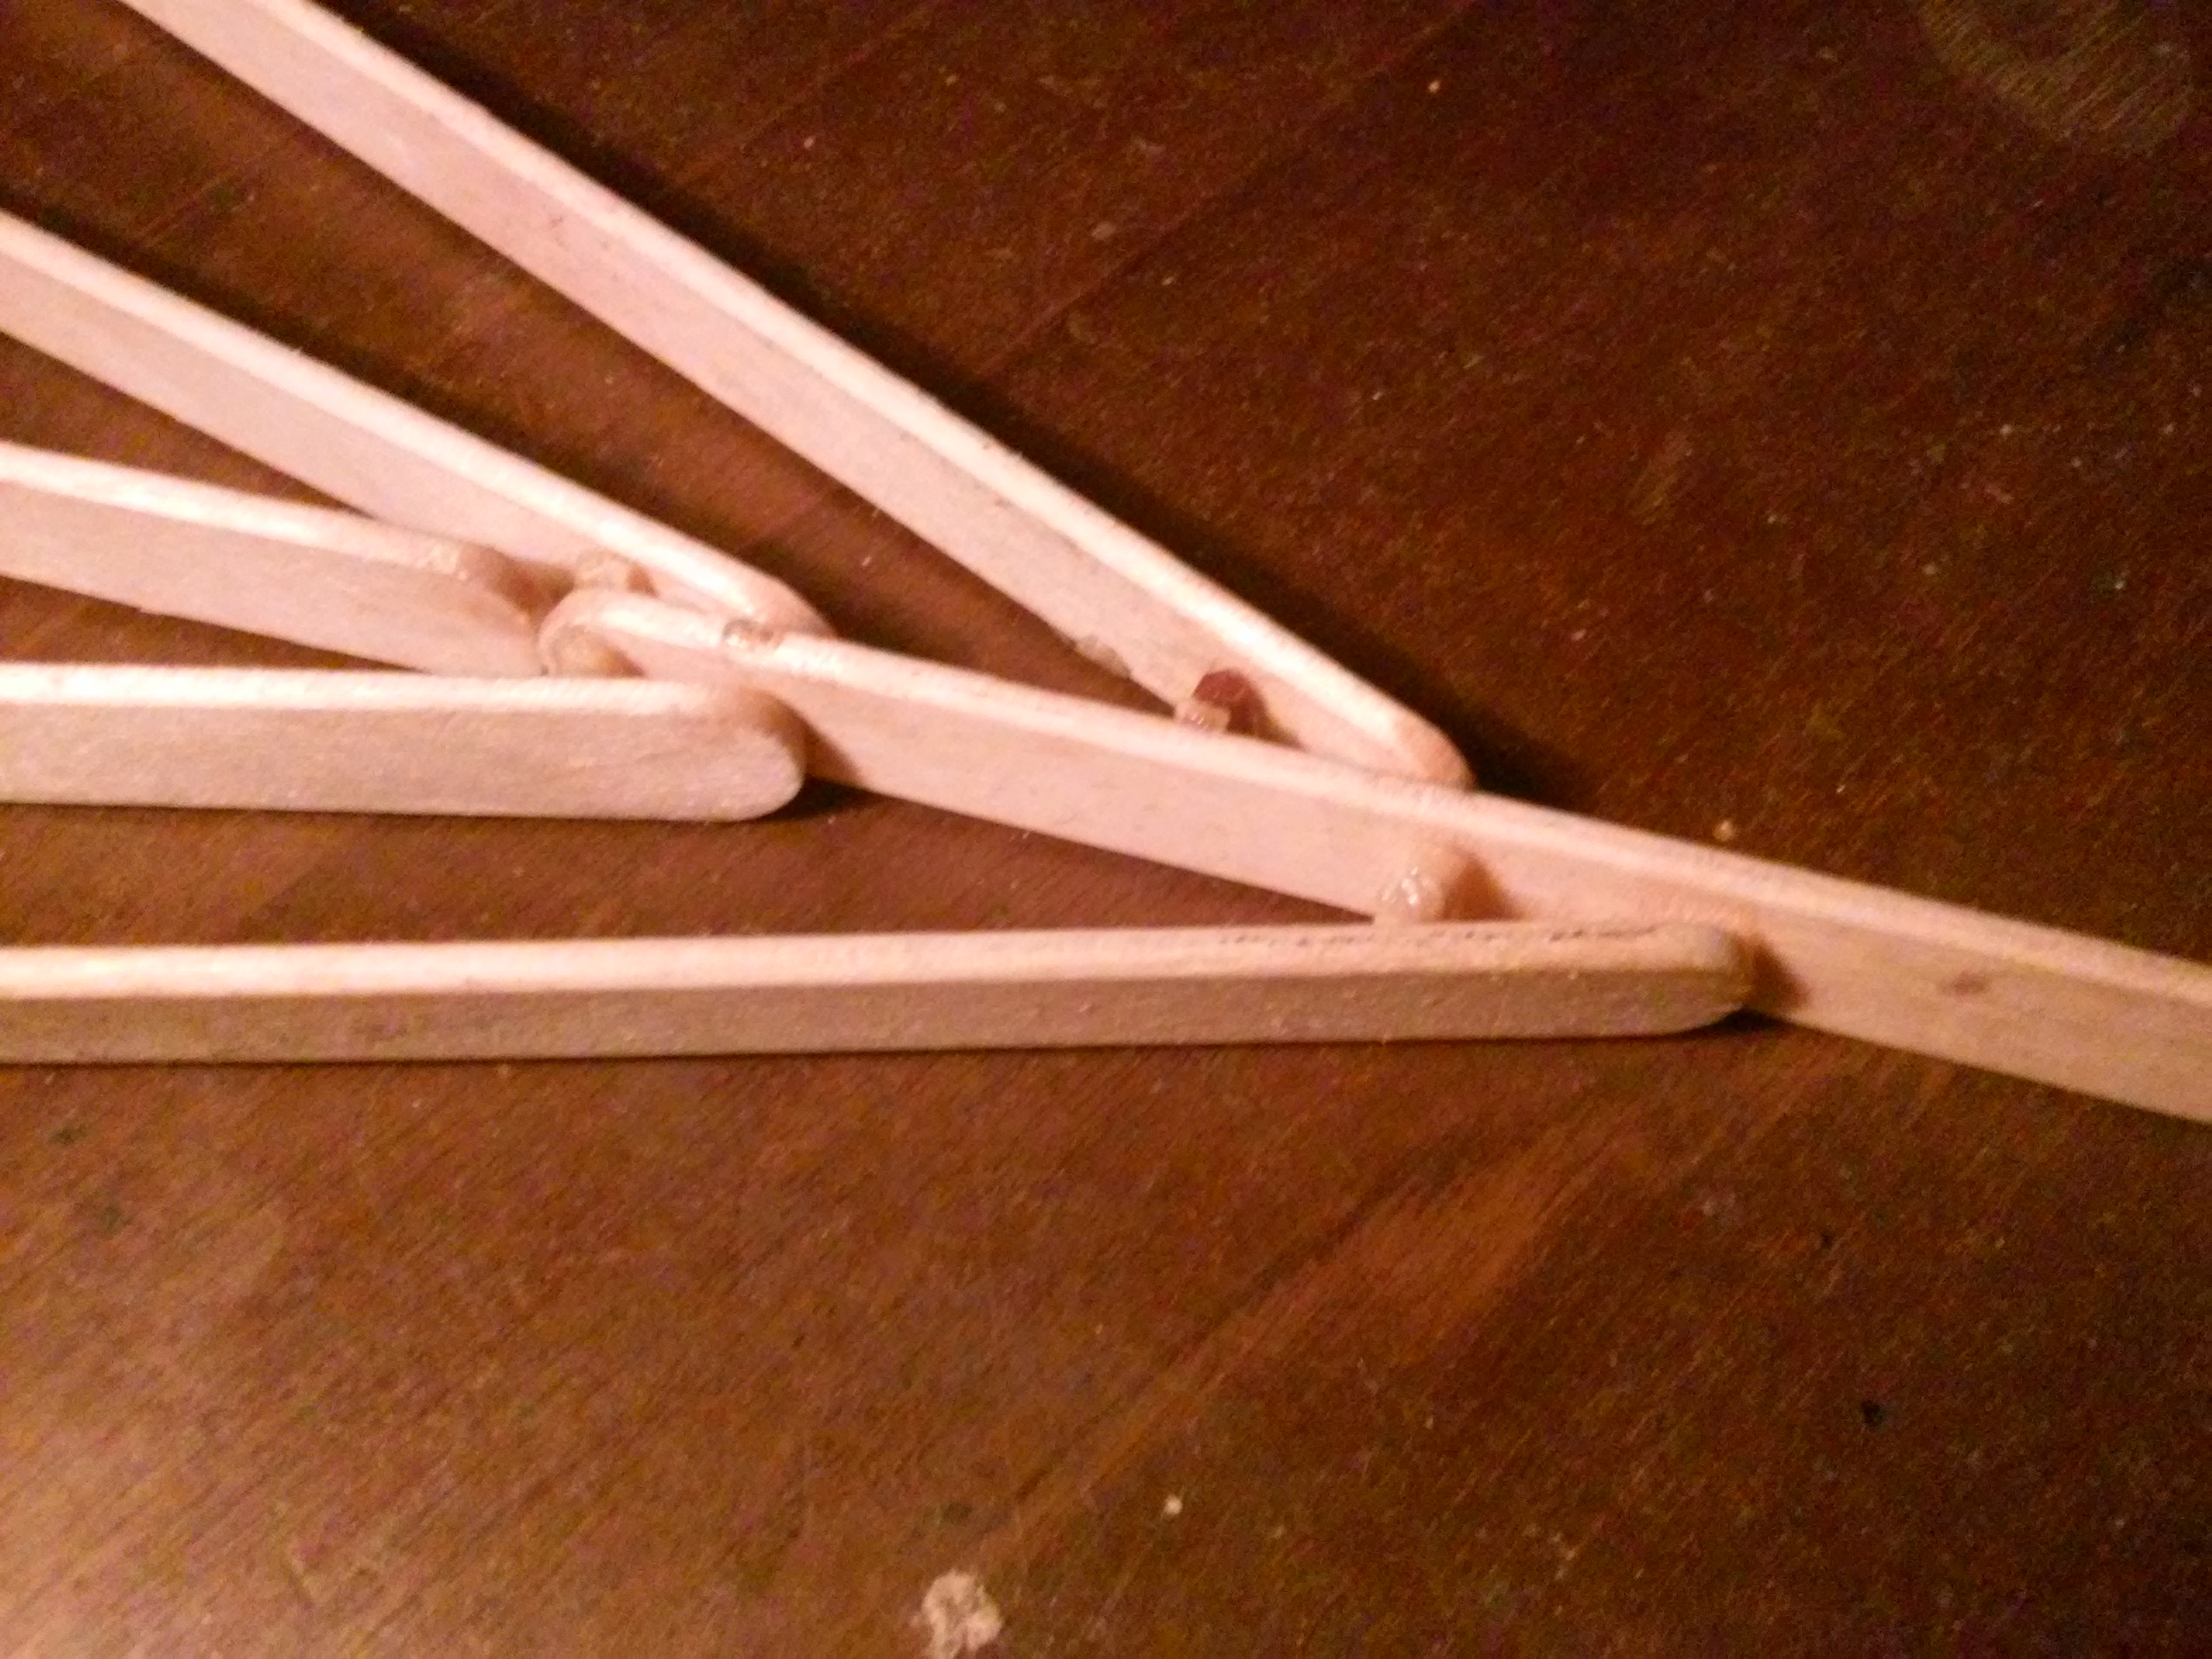
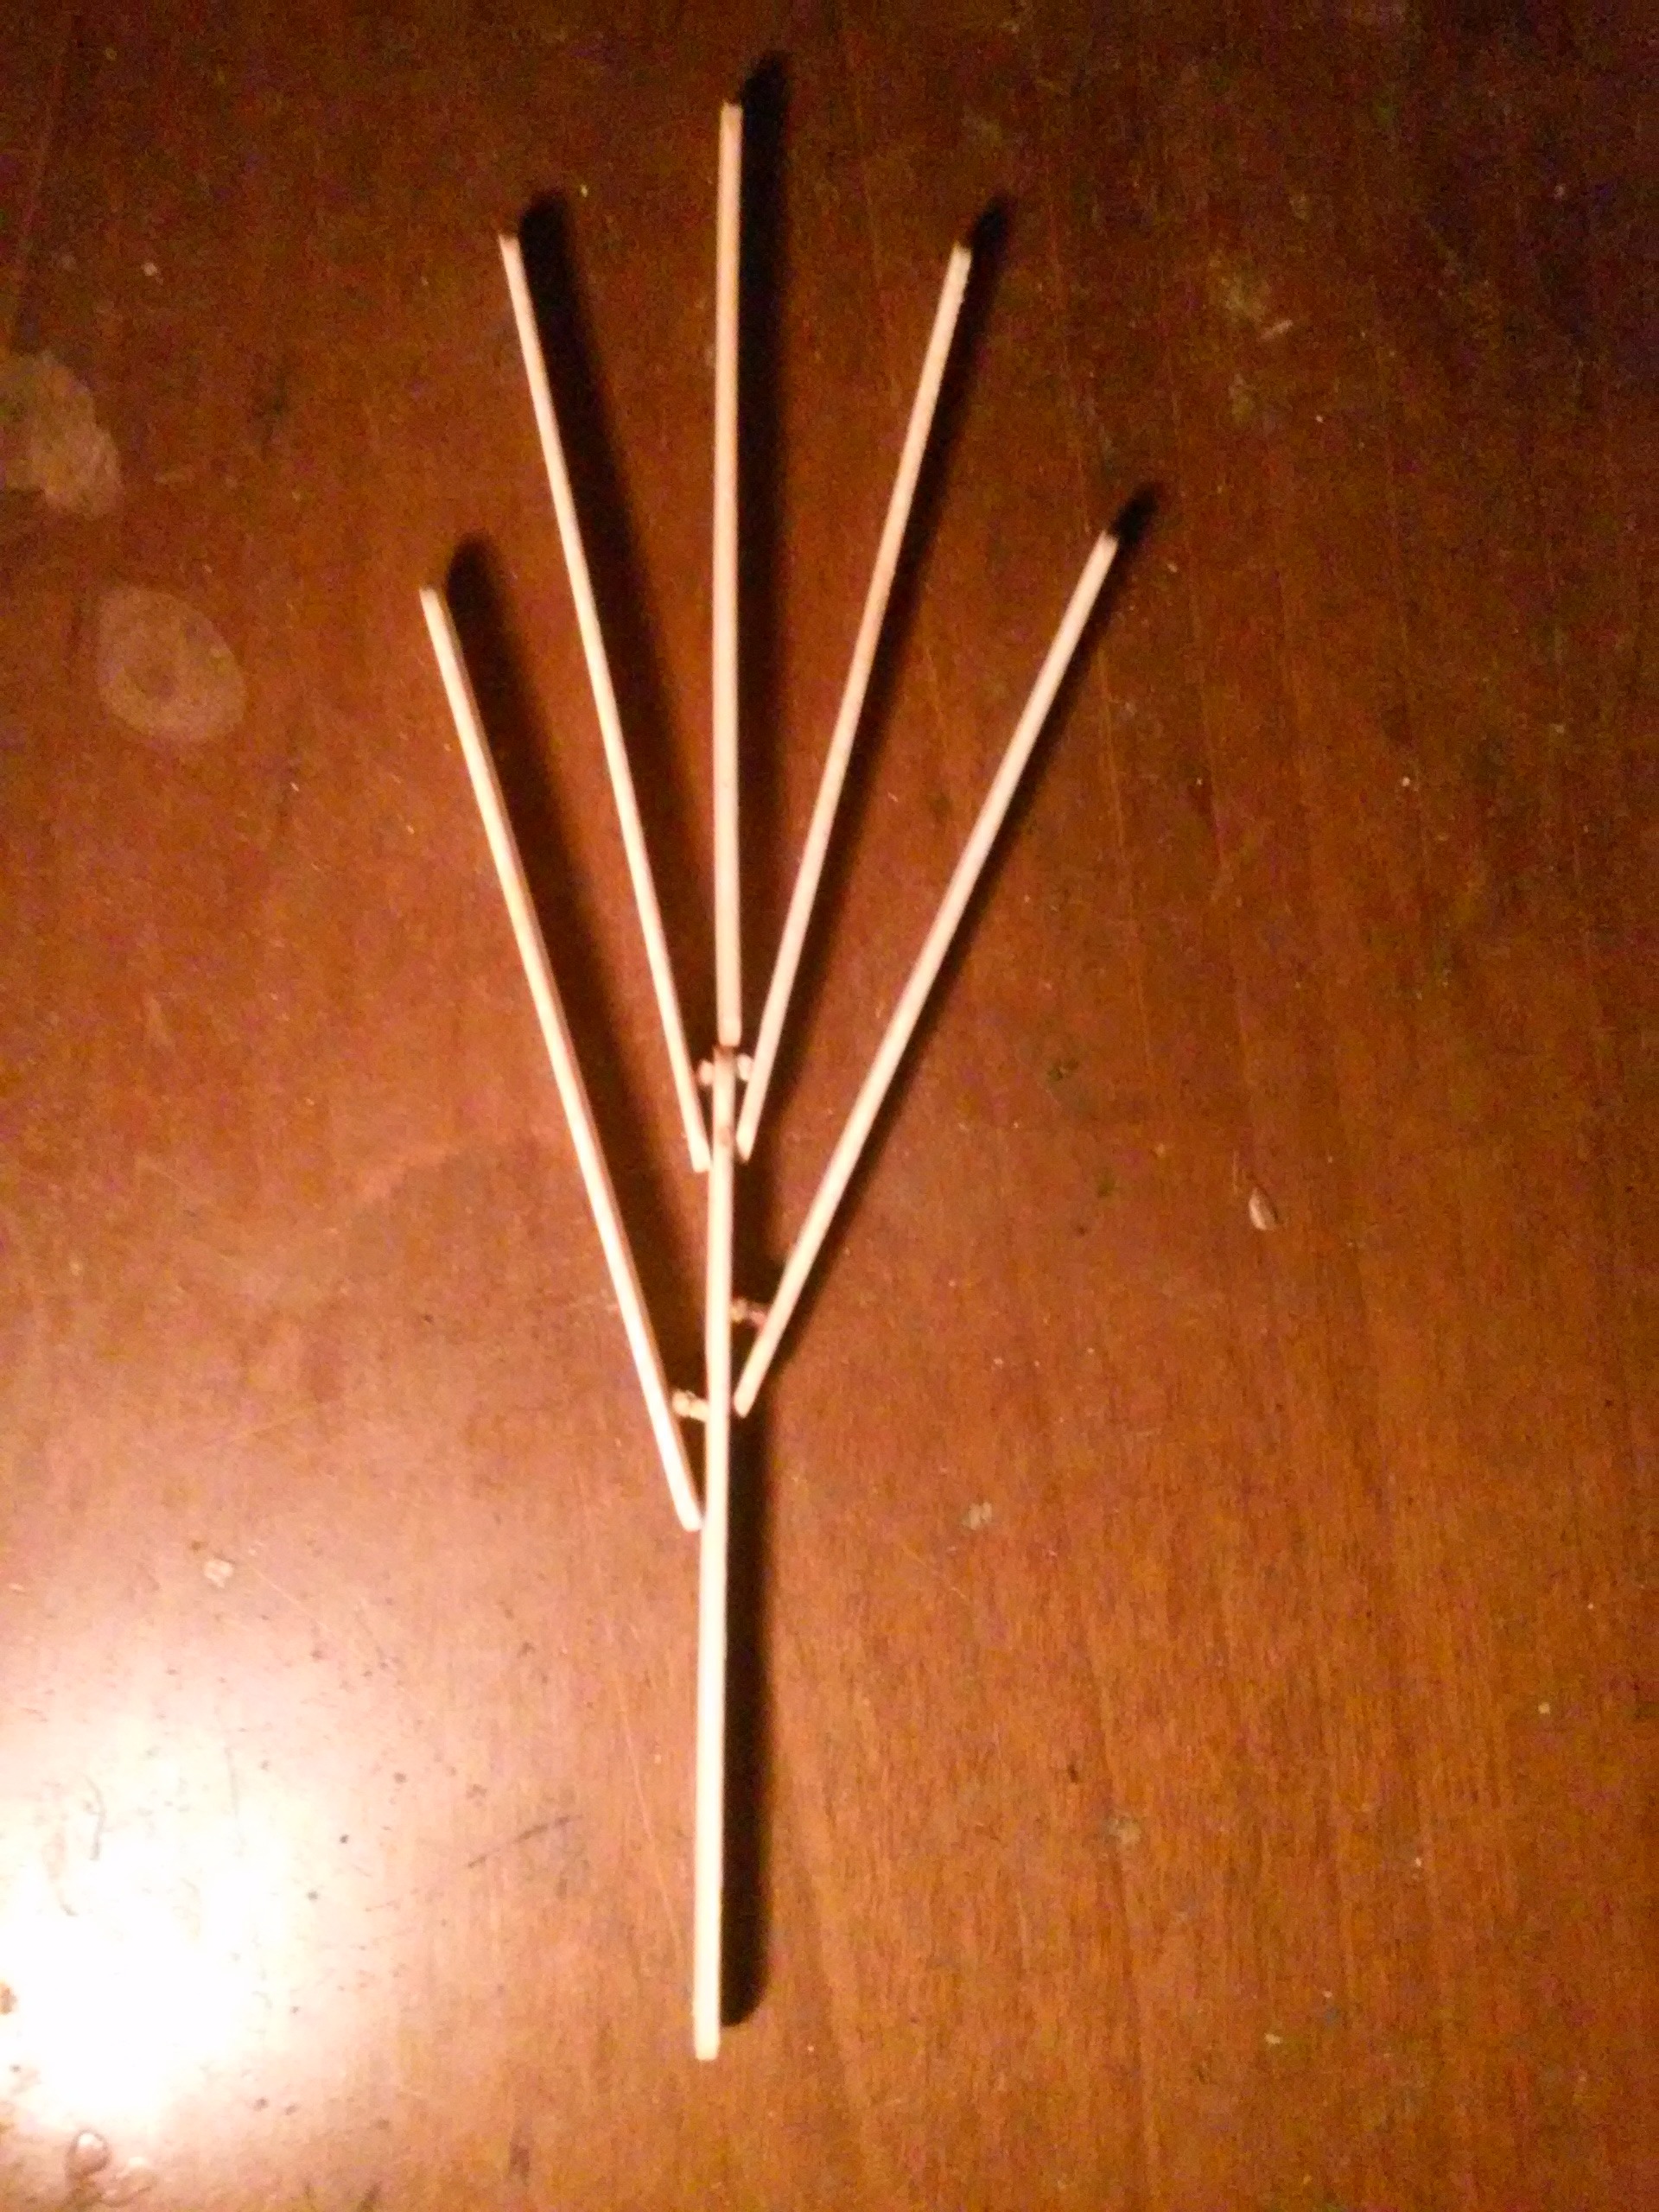
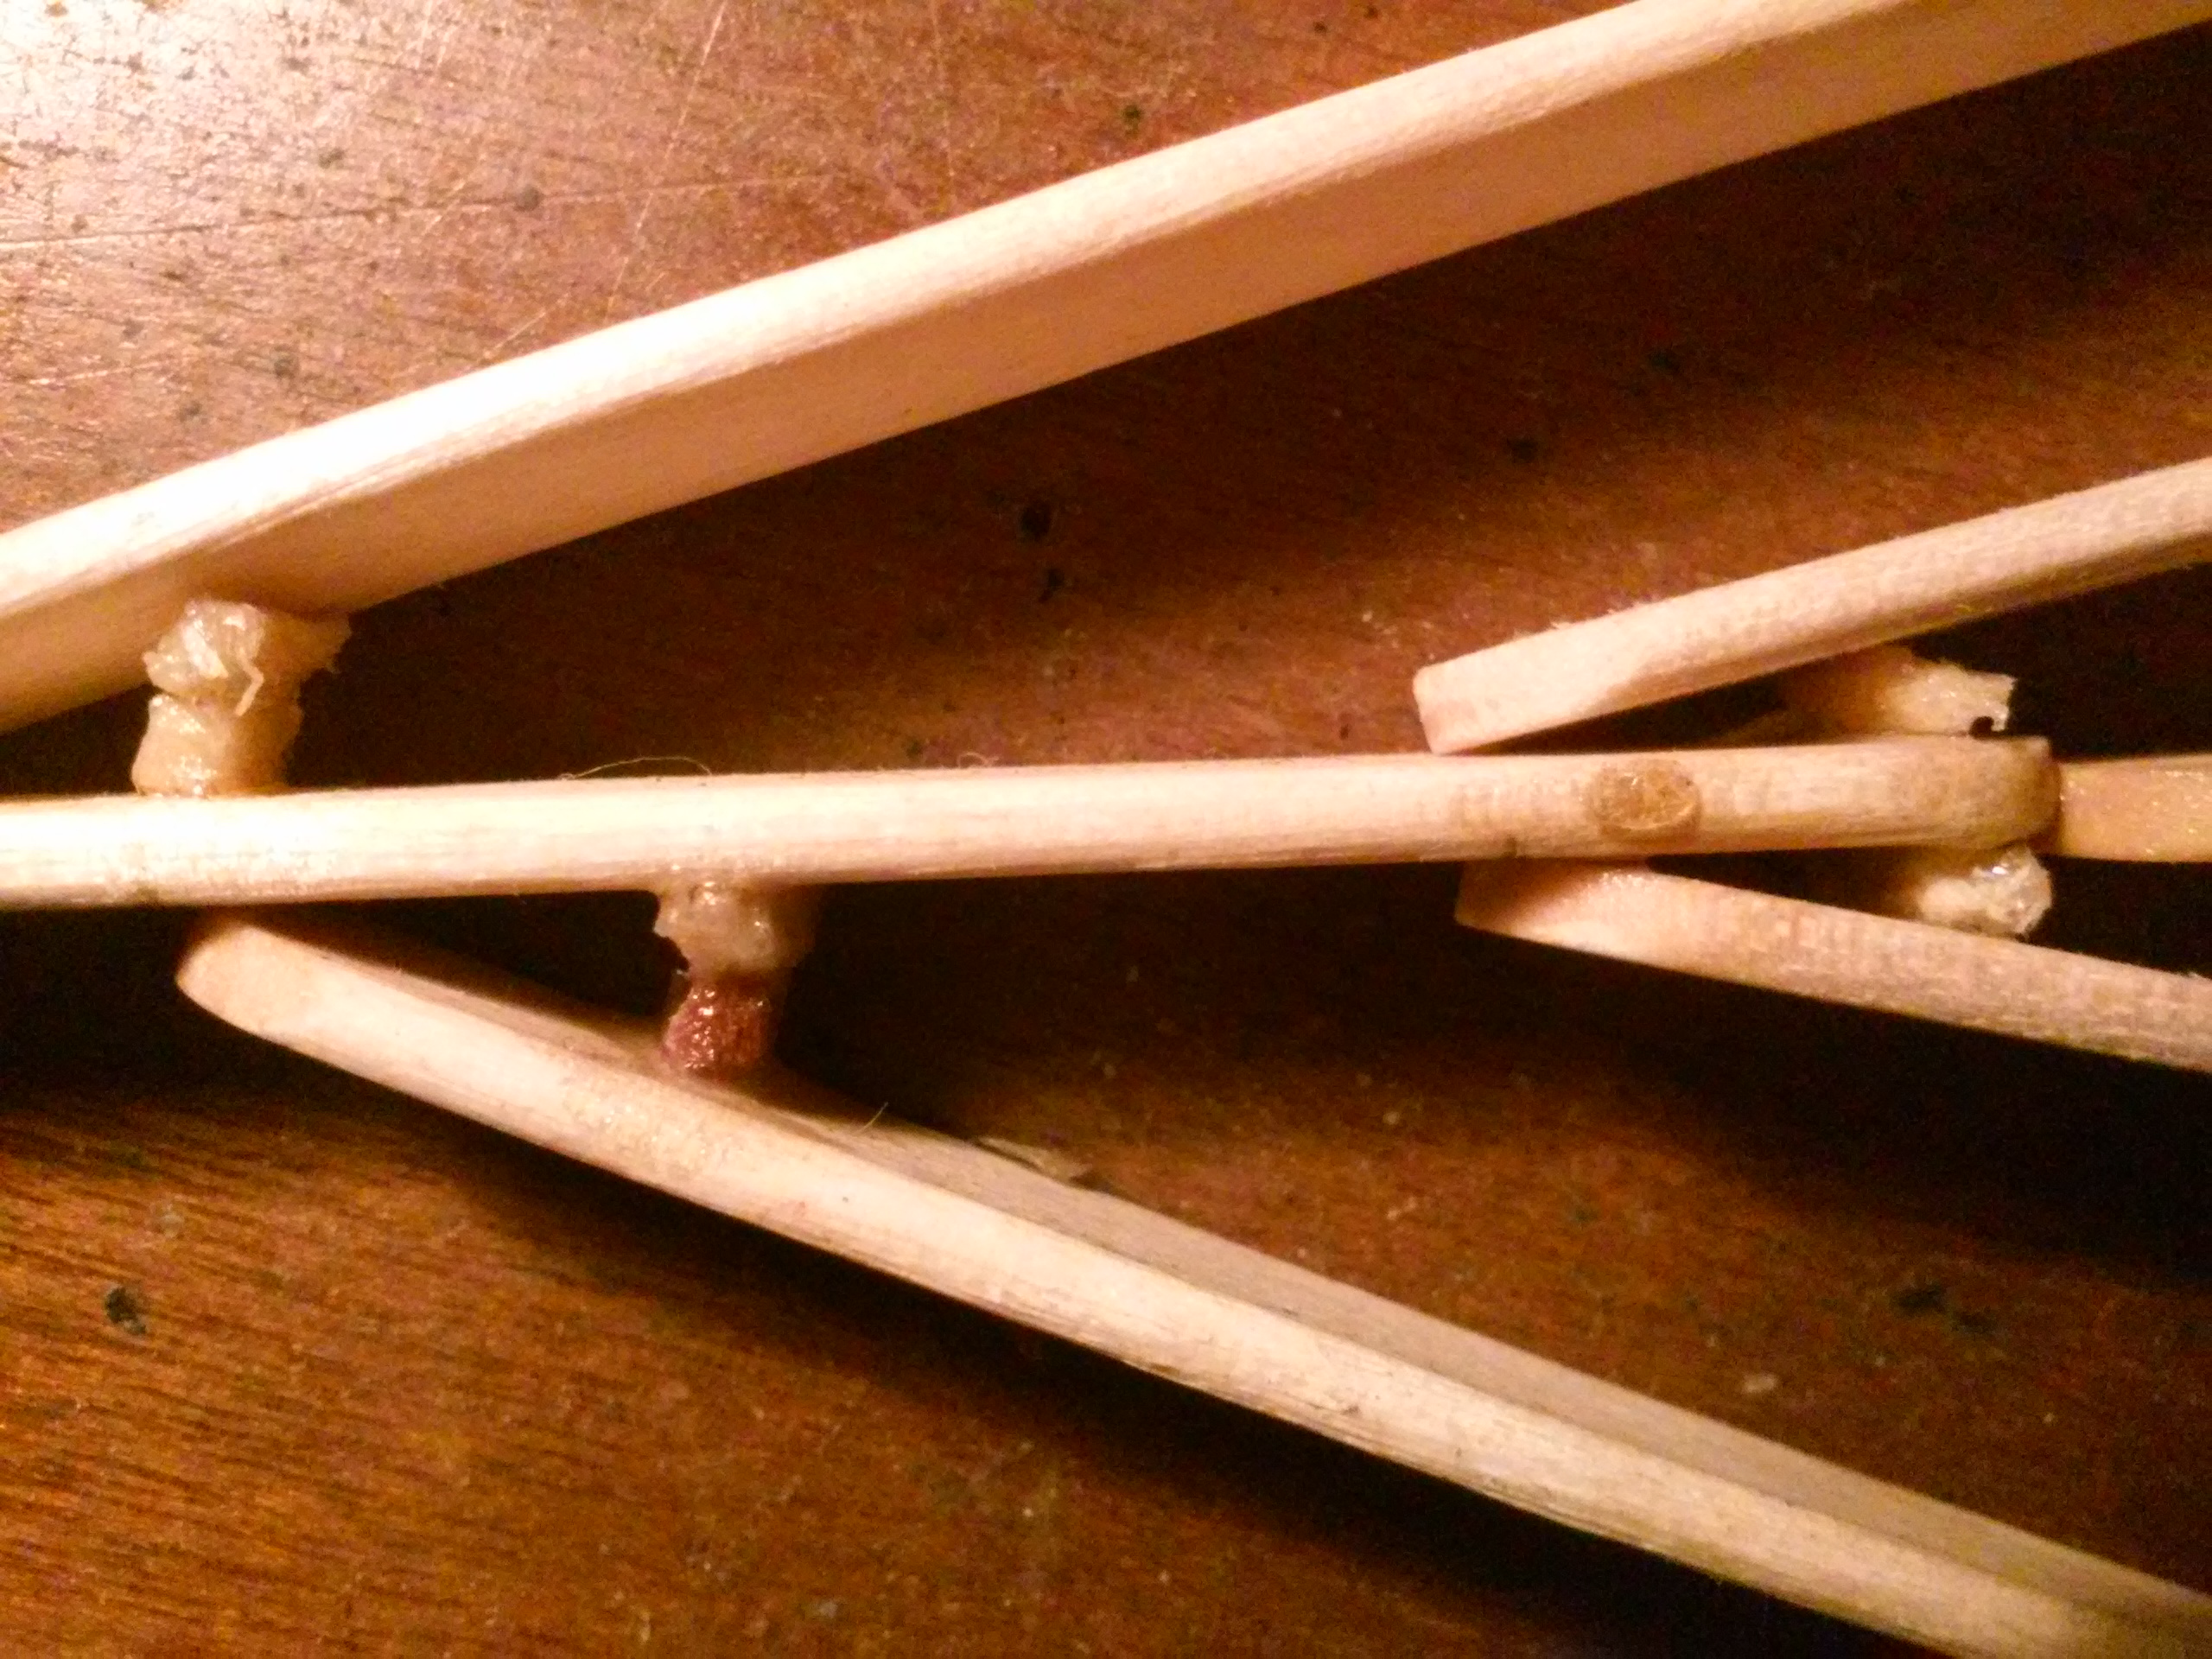
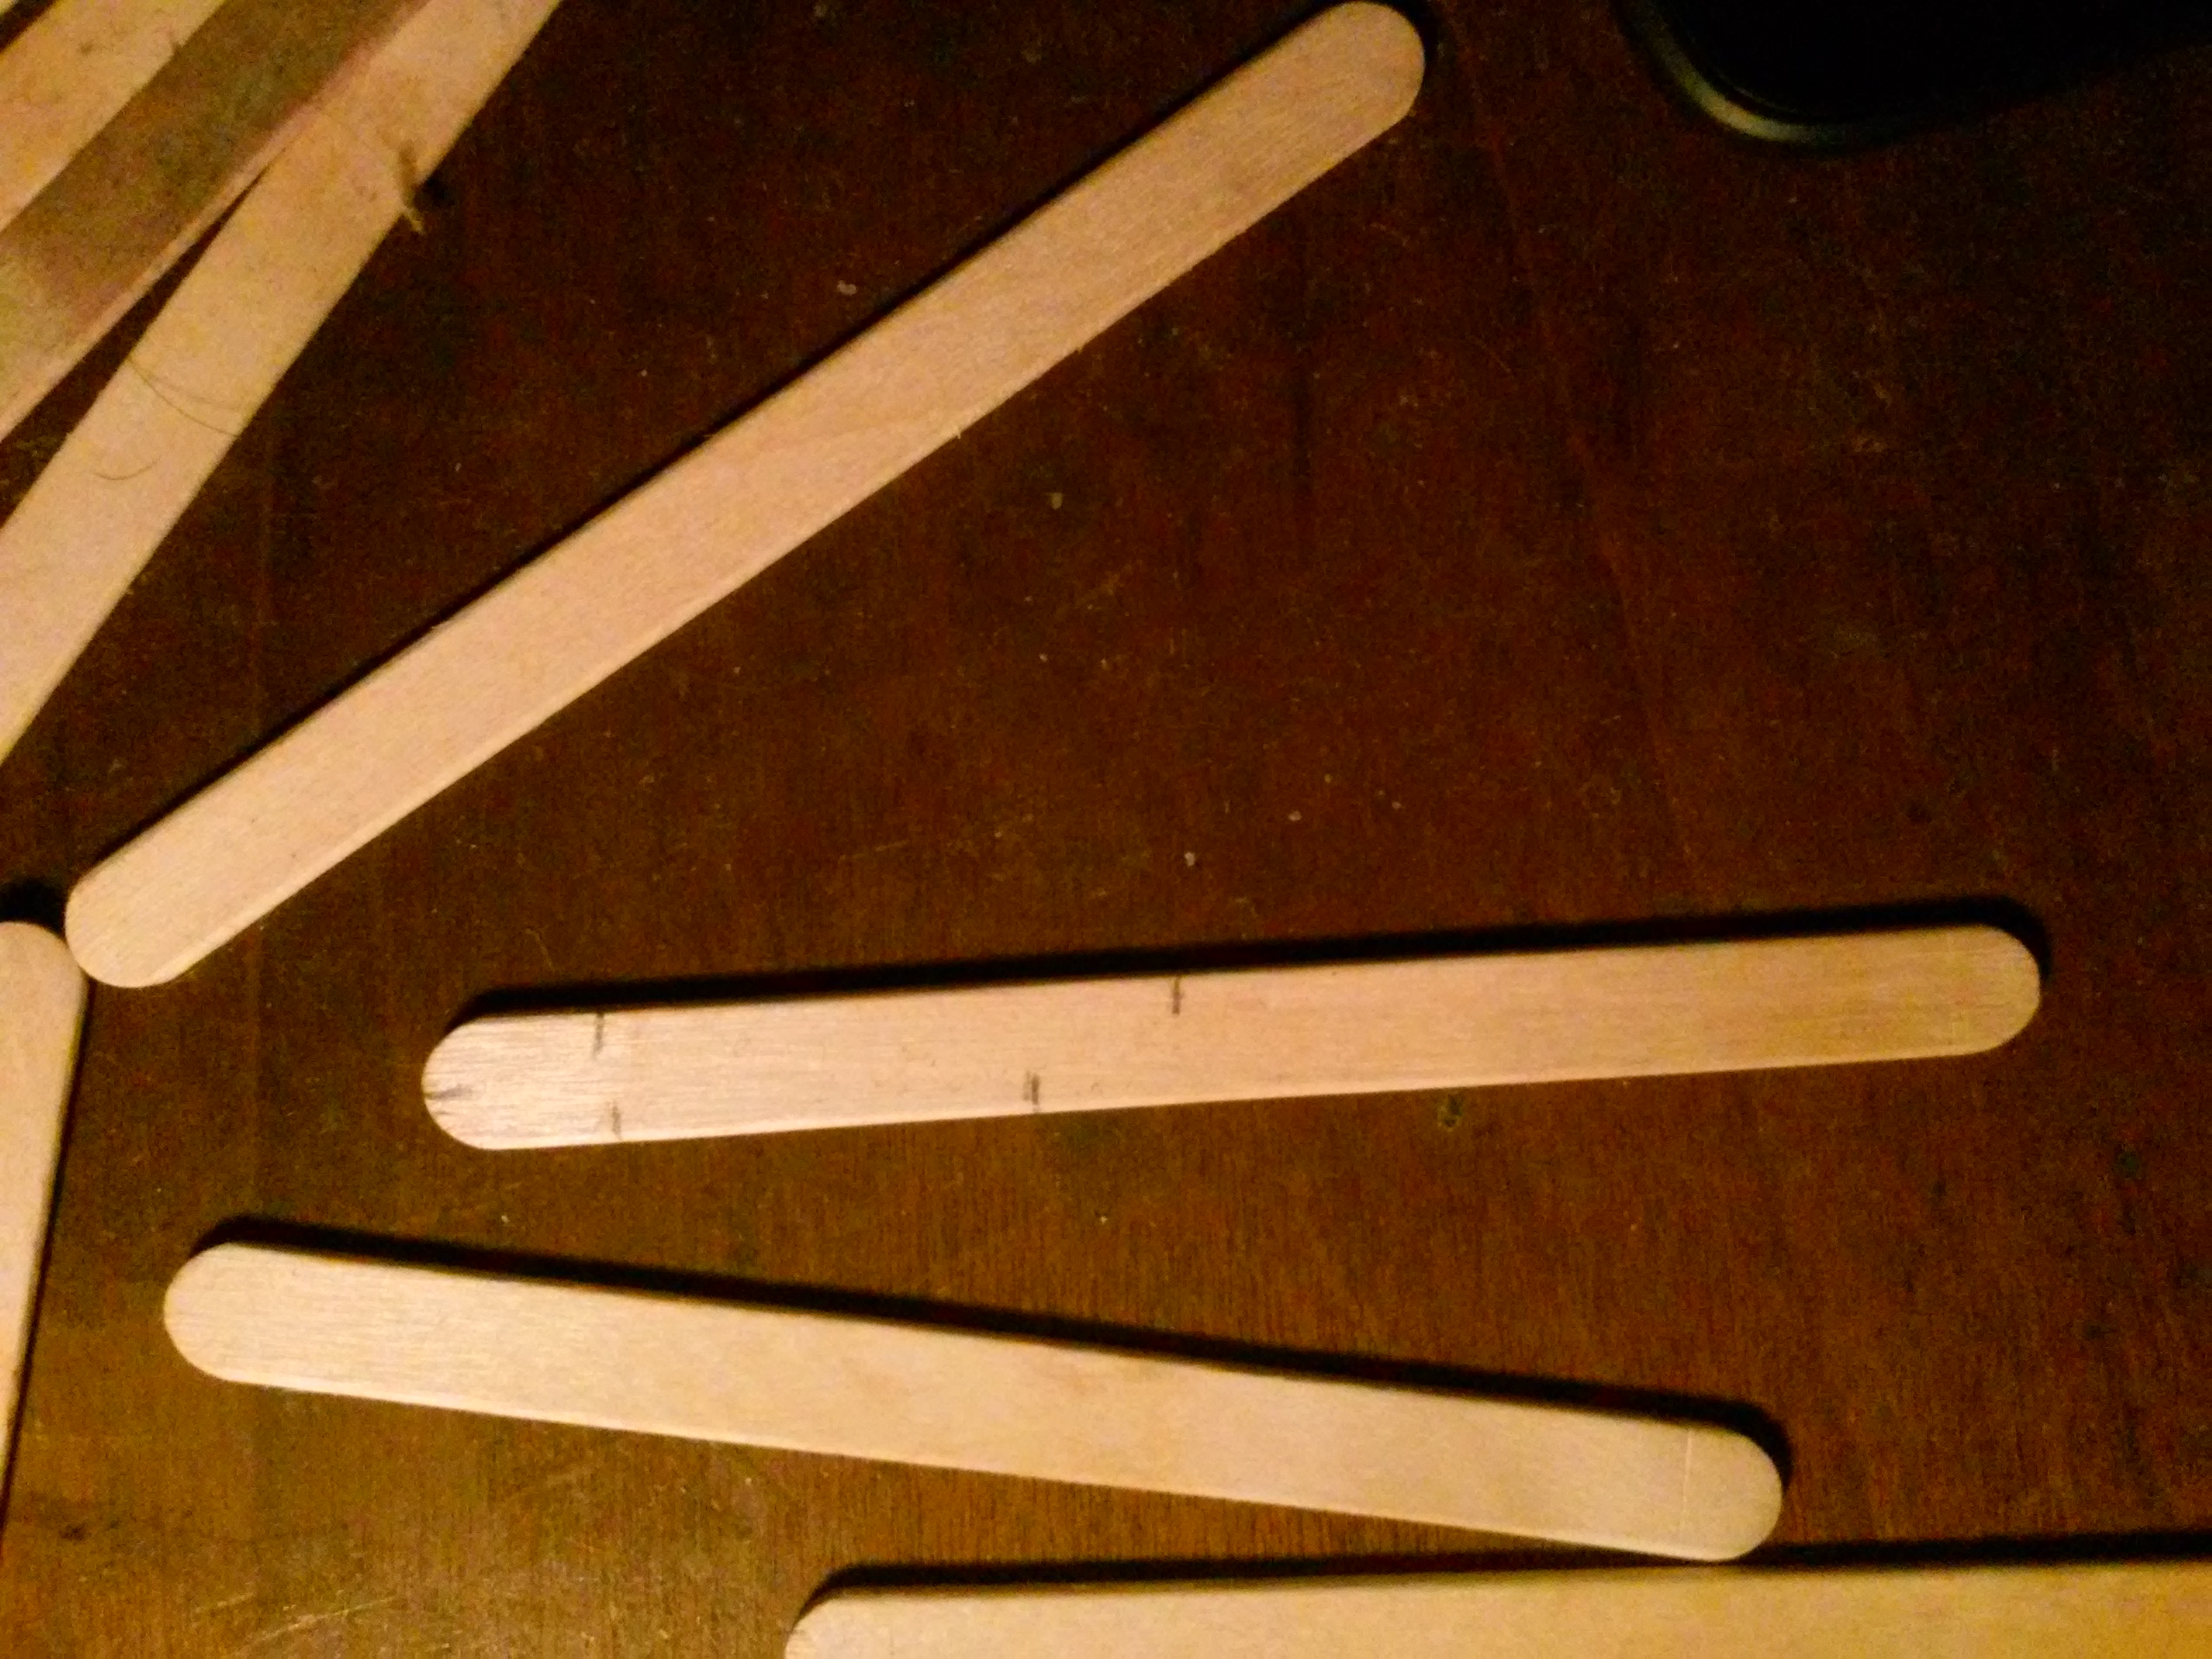
(Click on the pictures for more information)
You'll need 5 ice cream sticks for fingers and one for all their joints. I'd suggest starting from the left most and right most fingers and working your way to middle, that way the fingers in middle will be able to rest on the side fingers and not fall over, making a mess.
The Match sticks are used to make angles between the fingers. Break the matches into small pieces and attach it in a stack with super glue in between the ice cream sticks. The side ones will have 2 small matches between them (try to make the gap between thumb with 3 stacked matches, as you can see, the gap I gave wasn't enough) and for Index and Ring finger, use one match.
The middle one, you can use matches on both sides and glue it to the joint stick and middle finger stick to make it more firm, but I haven't done that because I didn't think of it while I was making it (I'm an idiot, I know..)
After you've stacked the matches, press the back side of the fingers sticks towards the joint stick and glue the part which joins the matches to fingers sticks and the part which joins the finger's back end to the joint stick.(Check the pictures)
Note : Attach the match stick pieces to the joint stick first and then attach the finger sticks.
Attach the Servo and Wiring
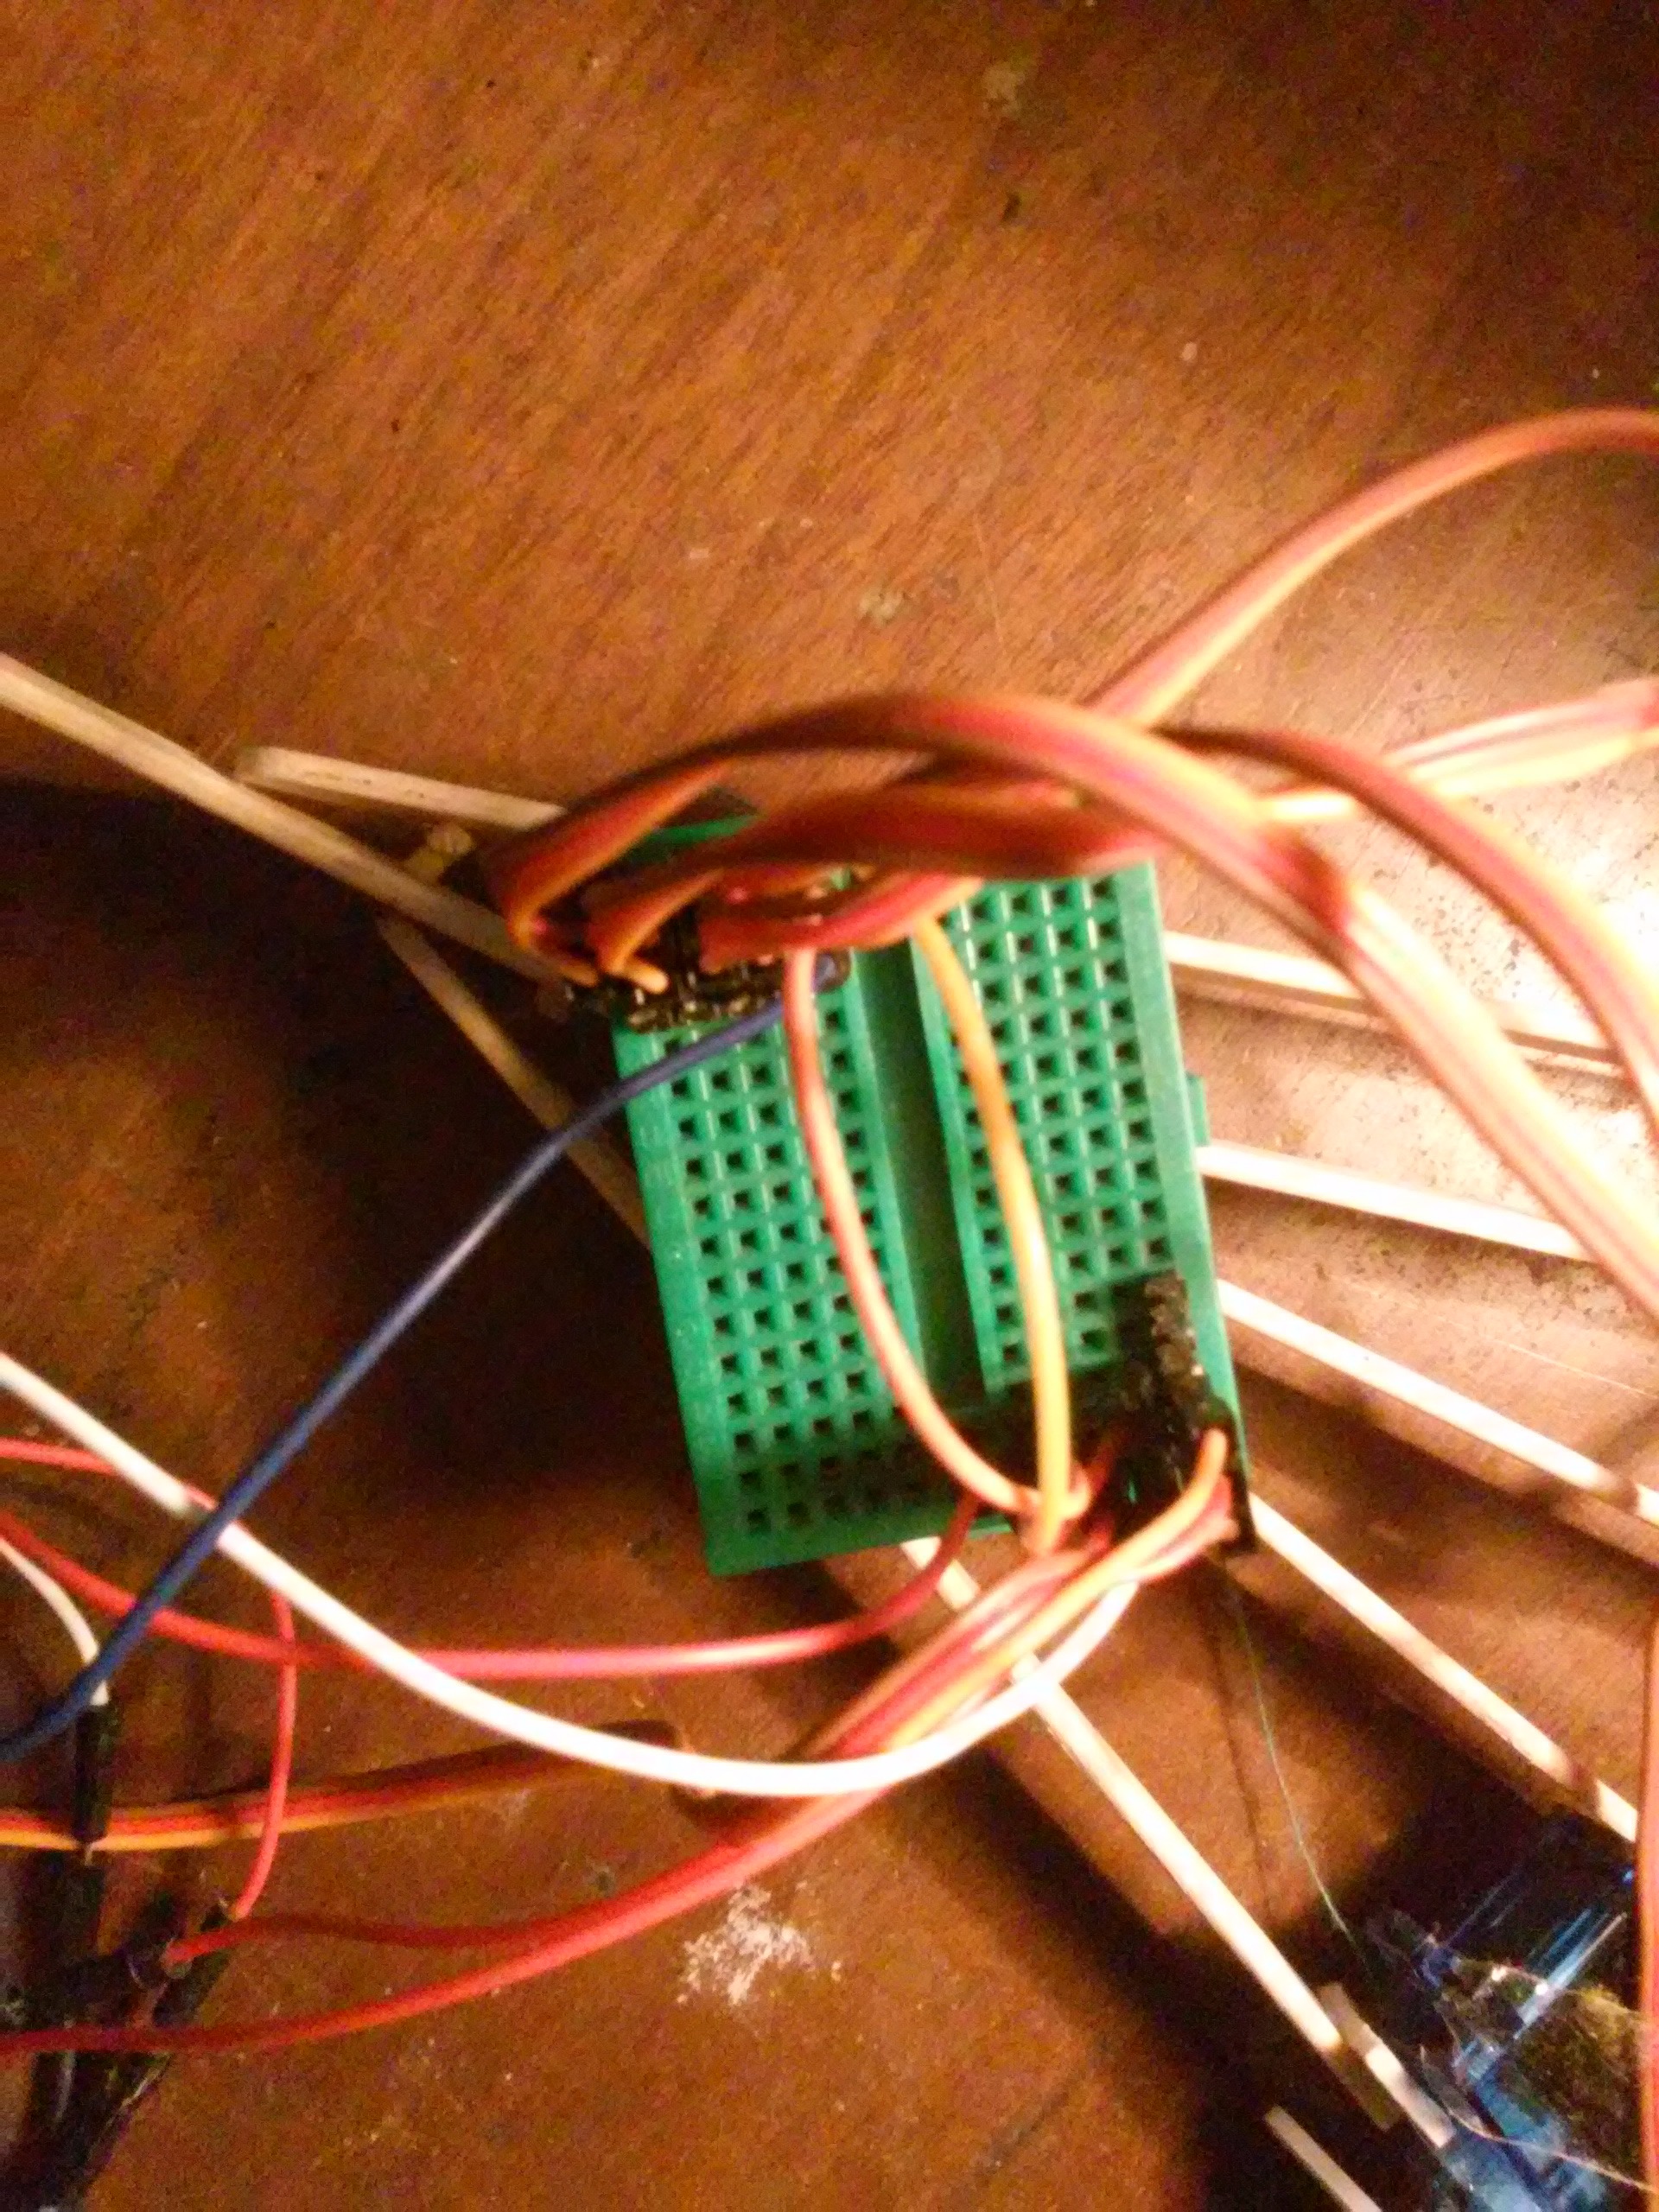
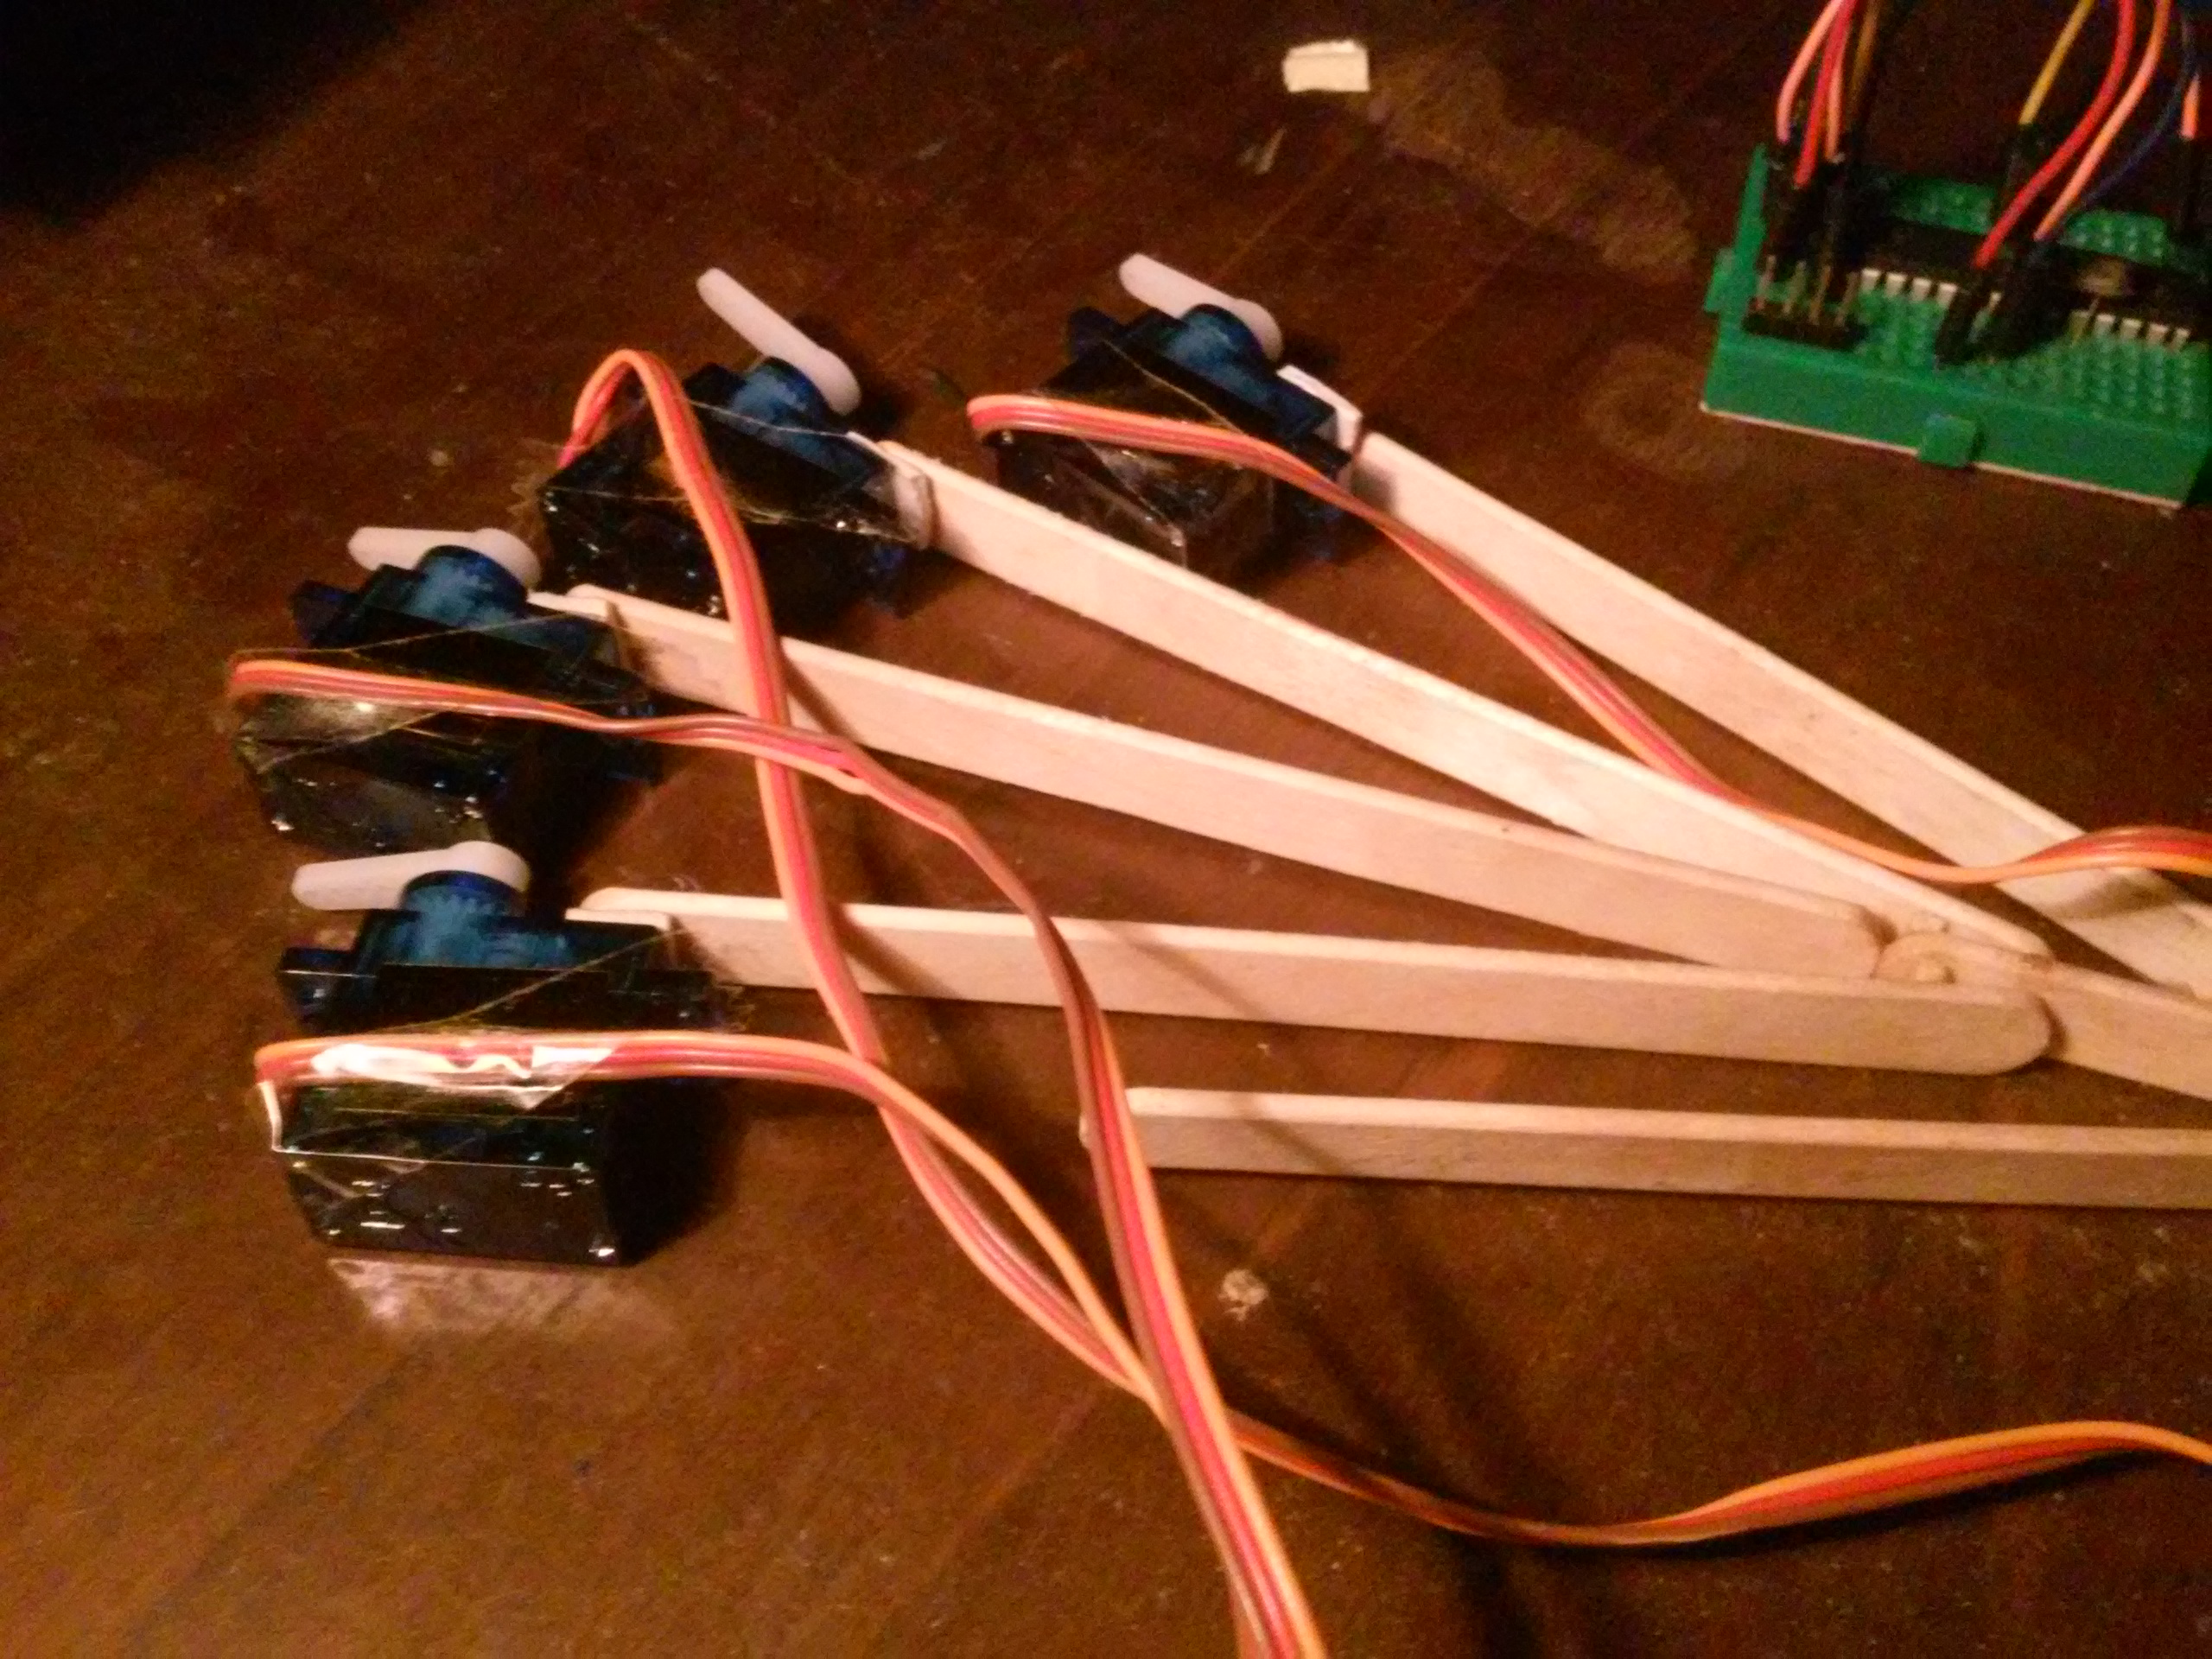

Click the picture for more details
Take a double sided tape and cut a small piece and attach it between the servo and the ice cream stick.
Then for sweep movement, follow this wiring :
GPIO Servo Pin -----⟩All for servo's PWM
Positive voltage from power source ------⟩All servo's positive
Ground from Power Source -----⟩ All servo's Ground
Ground from Micro controller ------⟩ All servo's Ground
And Done ! (for Now Lol)
After making all the connections, run the sweep.ino file for arduino and this file I've uploaded for RPi and you'll see the following movement :
https://gfycat.com/DearestWindingJerboa
I have a few improvements like realistic twitching and glitchy movements which can be done by tweaking the codes. You can make them very easily, or I'll upload them for you in future.
Update : Twitch/Glitch code is here and as well as the waiting hand code ! :D
Downloads
Advanced : Glitch Hand
The reason I term this as 'advanced' is because it's a bit more complicated than the previous simple sweep of fingers.....and also to make it sound cooler lol
The connection for this code is just the same as the previous one, except there are some changes in the PWM pins. Previously, all the PWM pins of the servos were connected to a single pin. This time, the servos will be connected to separate pins as we don't want all servos to follow the same movement.
Also I've used Random function to generate random numbers which will then move random servos. Because it's glitch and random fingers move when a cyborg/zombie hand glitches (like in movies and games).
You can ignore the print statements, as I've given them to check whether the random functions are working or not.
Adding a button :
Buttons can be added and it's pretty easy to do that using a flag variable so when you press the button, the flag variable goes high and the glitch hand turns on and starts working, and when you press the button, an if statement should check whether the previous flag variable was high or not, if high, it'll make it low. Just add a line after the random number 'rfin' is generated, the line should check whether the flag variable is high or low, if it's low, then make 'rfin = 0', because all the combinations are from 1 to 8 but for 0, there's no combination and therefore, no fingers will move unless the button is pressed again.
The Wiring for PI :
First servo (Index Finger) ---------->GPIO 18
Second Servo (Middle Finger) -----------> GPIO 19
Third Servo (Ring Finger) ----------> GPIO 22
Fourth Servo (Pinky Finger) ---------> GPIO 21
The Wiring for Arduino Uno :
First servo (Index Finger) ---------->GPIO 11
Second Servo (Middle Finger) -----------> GPIO 10
Third Servo (Ring Finger) ----------> GPIO 9
Fourth Servo (Pinky Finger) ---------> GPIO 6
Advanced : Waiting Hand
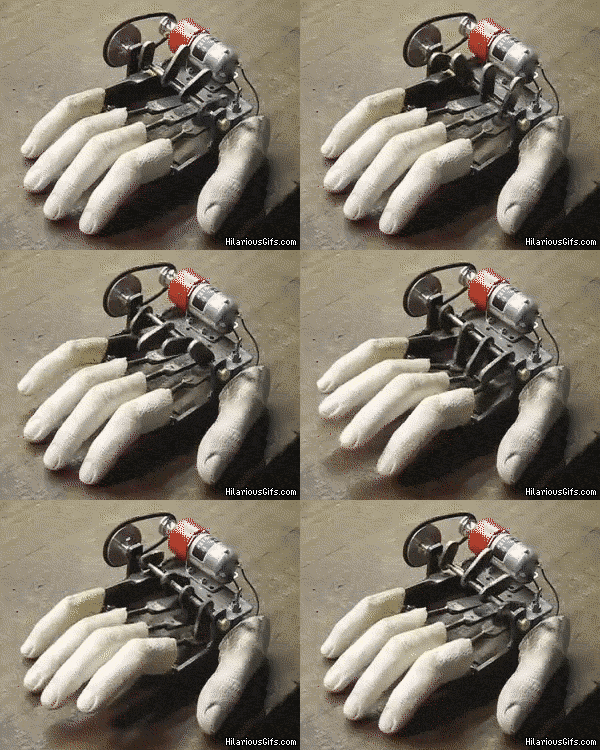
You must have seen the above finger movement in several cartoons and movies
Well, using the wiring in the previous step, it's very easy to replicate this movement in our Robot Hand Framework !
Just upload the code and you're done, it's fairly simple to understand and I've also given proper tab spaces for you to understand how the process of finger movement goes. .