Cyber. PY Zero-Two
.gif)


Hey there, fellow makers, and welcome back.
Here's something exciting: Cyber Dot PY Zero TWO, Version Two of my custom-built Cyberdesk system based on a Raspberry Pi Model 4B.
Like the previous version, this setup includes a 7-inch LCD screen that is held in place by a custom 3D-printed frame and connected to a Raspberry Pi on the back of the screen at a visible angle.
The project has recently included a display, an updated frame to improve the design, and a battery bank to provide Pi with onboard power.
Check out Version 1 for more details about the basic setup.
https://www.instructables.com/CyberPY-Zero-One/
Fusion360 was used to build the complete project, and the Raspberry Pi and screen were installed into a 3D-printed frame.
Let's take a look at the construction process.
Supplies
These were the materials used in this build-
- 7-inch LCD Display
- Raspberry Pi Model 4B
- 3D Printed Parts
- M3 bolts
- M2 Screws
- Custom PCB (which was provided by Seeed Studio)
- IP5306 IC
- 10uf 1206 Package Capacitor x8
- 10K 1206 Package x2
- 10uH Inductor x1
- SMD Button x1
- Indicator LEDs x4
- USB Port x1
- Type C Port x1
- Li-ion Cells 3.7V 2600mah x2
- 18650 Dual Cell Holder, SMD Version
Previous Design
.gif)
.gif)
The previous version features three primary components, which are the frame that holds the display, the Raspberry Pi holder, and the stand, all of which are attached to the body's left and right sides.
The design process was done in Fusion360 by modeling the display first.
We had to manually measure the display using a Vernier caliper and then sketch the display in Fusion in accordance with our measurements.
Here's a pro tip: whenever we make something, we always model all the components first, and then we build the item around the CAD model.
The Raspberry Pi is then attached to the rear side of the frame, and the frame is designed to attach to the PCB standoffs of the display. Six M2 screws—four for Pi and two for fixing the additional Pi Holder part—will then be used to attach Pi to the frame via the additional part.
The frame housing the Raspberry Pi and display was kept; however, the stand from the previous 3D model was removed for this project.
New Design
.gif)


Let's take a look at the new design.
We construct new left and right side holders with two handles connected through two cylinders from the top side, using the previously modeled frame.
The back side also holds the battery circuit, which will power the display and pi.
We kept the display, Raspberry Pi, and frame from the old design and only added new stuff over top of them in this new design, which was also created in Fusion360.
To keep the parts robust and strong, the side holders and circuit holder parts were both printed with Dark Green PLA on an Ender 3 with a 0.4mm nozzle, 0.2mm layer height, and 25% infill. The handles and cylindrical handle holders were printed using white PLA.
Power Board Schematic and Design


For the battery board, we utilize the IP5306 IC, a power management IC with a 3.7V input and a stable 5V output.
I have used this IC in many of my previous projects, which you can check out here-
https://www.instructables.com/OverEngineered-Pen-Holder-20/
https://www.instructables.com/CONE-LAMP-With-XIAO/
https://www.instructables.com/XIAO-Room-TEMP-and-HUMIDITY-Meter/
The IP5306 IC is placed first in the schematic, along with a few capacitors between charging IN and GND on the input side and a few between the 5V pin and GND on the output side.
A 18650 battery holder, a type C port for charging, and a USB port for 5V output are all placed on the bottom side of the PCB.
The design was finalized and then sent to Seeed Studio for samples.
Seeed's Fusion Service
.gif)
.gif)

For this project, we are using a black soldermask with white silkscreen.
The quality was super good considering the rate, which was also pretty low.
Seeed Fusion offers one-stop prototyping for PCB manufacture and PCB assembly, and as a result, they produce superior-quality PCBs and fast-turnkey PCBA within 7 working days.
Seeed Studio Fusion PCB Assembly Service takes care of the entire fabrication process, from PCB manufacturing, parts sourcing, assembly, and testing services, so you can be sure that they are getting a quality product.
After gauging market interest and verifying a working prototype, Seeed Propagate Service can help you bring the product to market with professional guidance and a strong network of connections.
PCB Assembly Process: Type C Port
.gif)
.gif)
.gif)
.gif)
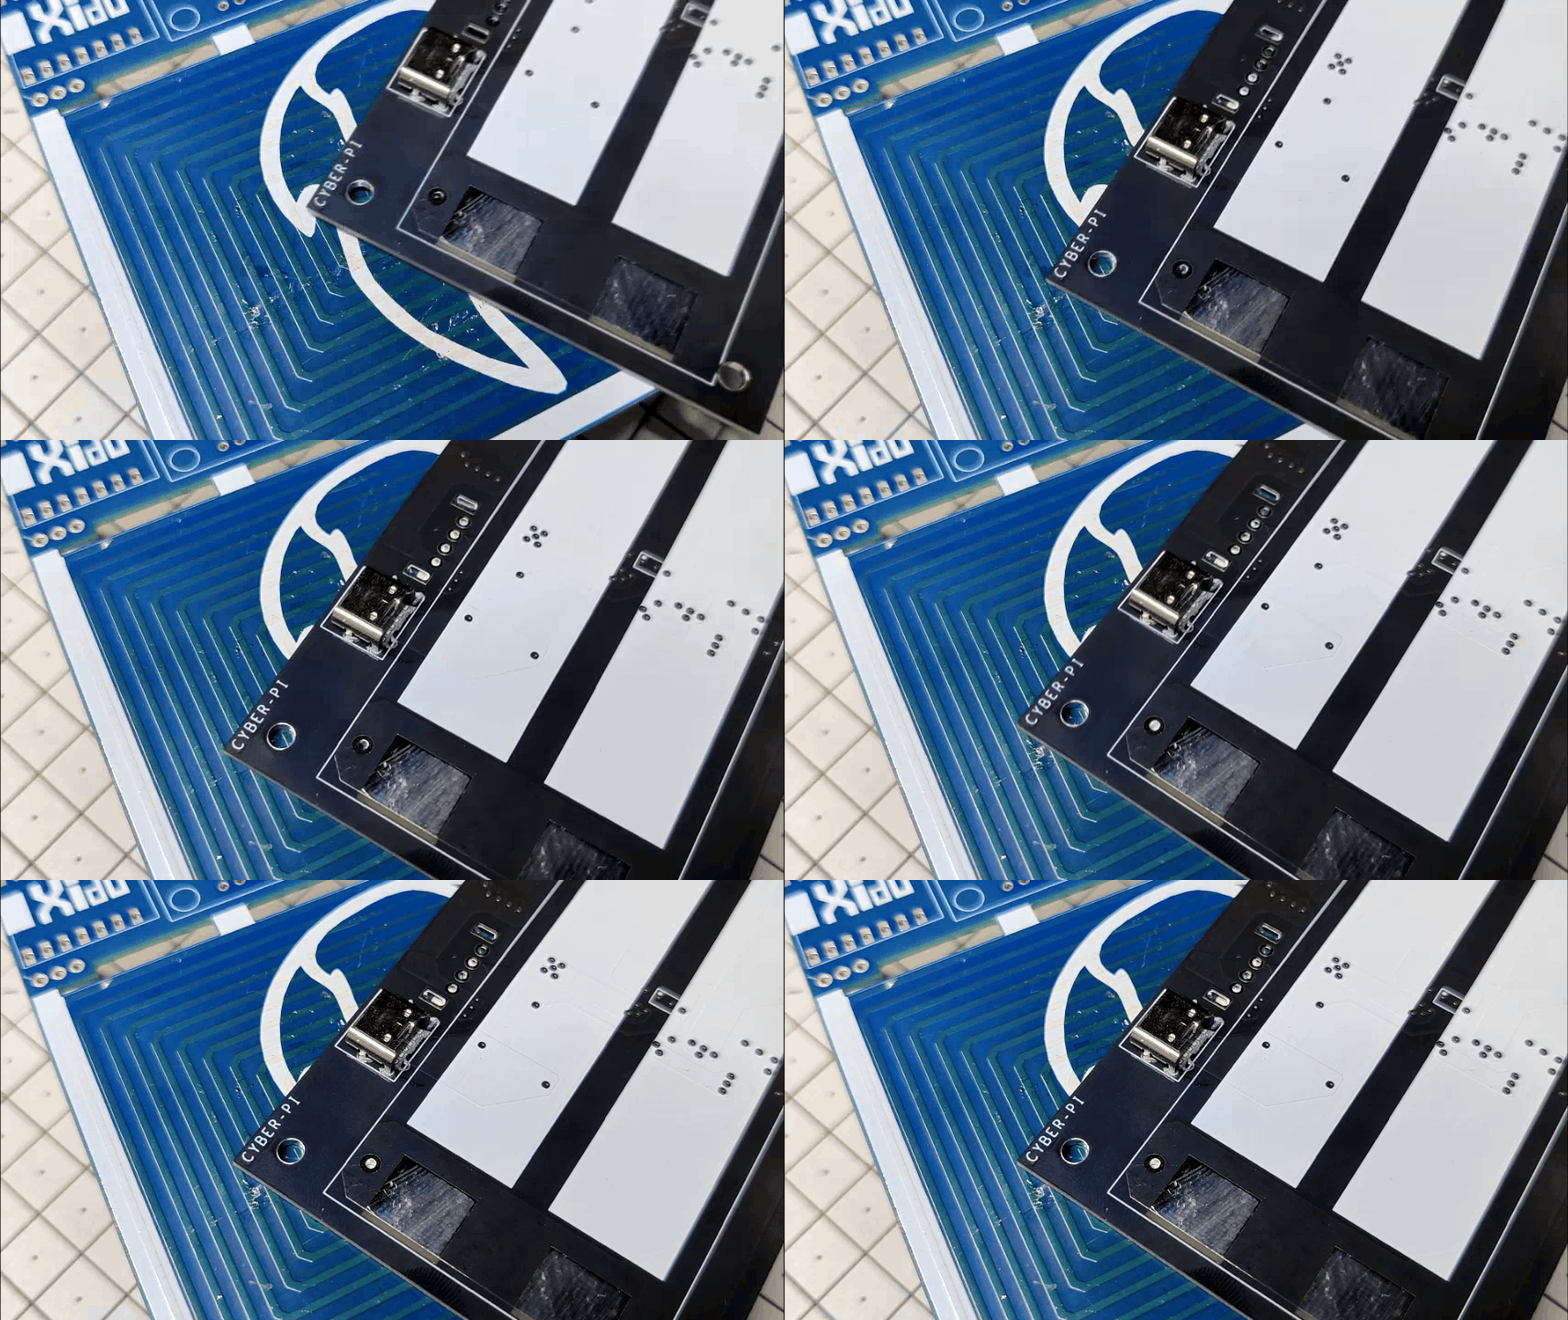
This PCB has a Type C port on the back side, which we need to solder first before adding other components on the back side of the PCB.
- To start the PCB assembly process, we first apply solder paste to each component pad separately using a solder paste dispensing syringe.
- Next, we pick and place USB Type C in its location using an ESD tweezer.
- Following pick and place, we lift the PCB and place it on the reflow hotplate, which increases the temperature of the PCB from below to the point at which solder paste begins to melt and components are soldered to their pads.
PCB Assembly Process: Rest of the Components
.gif)
.gif)
.gif)
.gif)
.gif)
.gif)
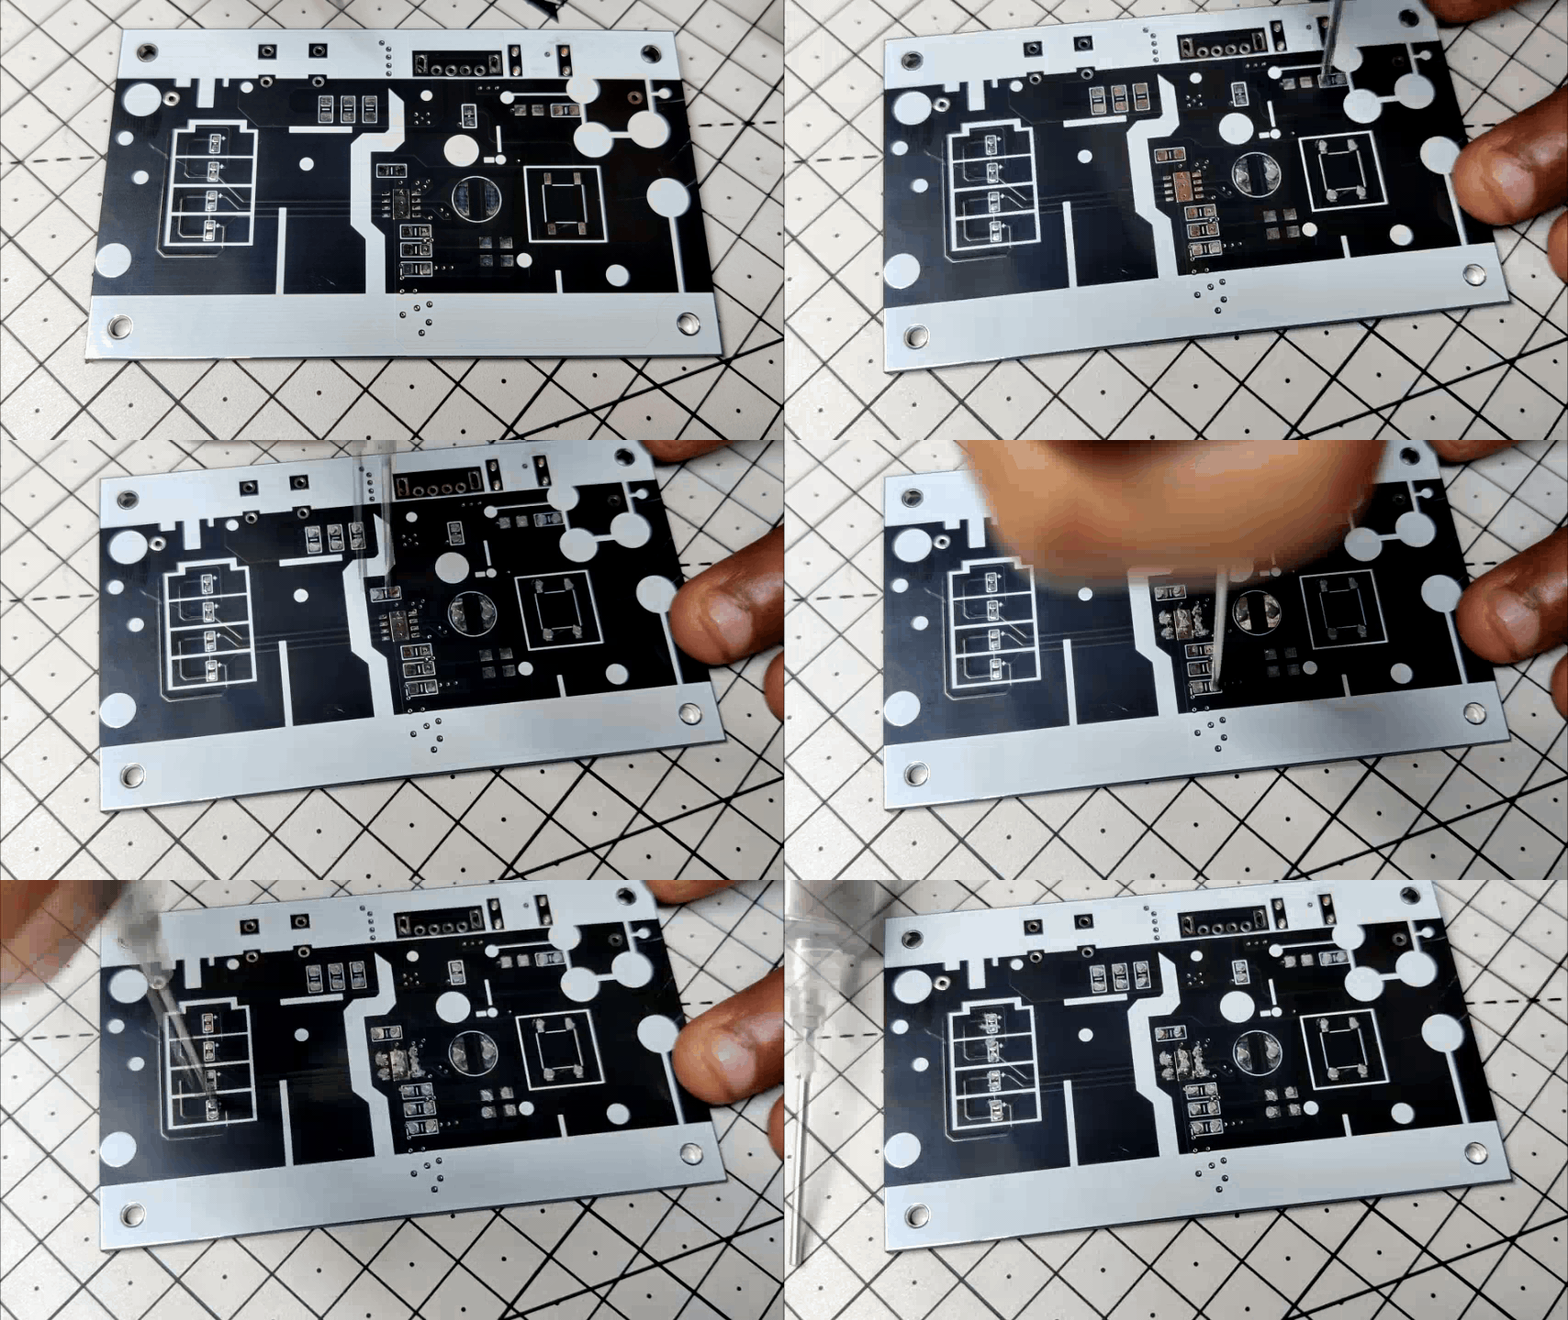
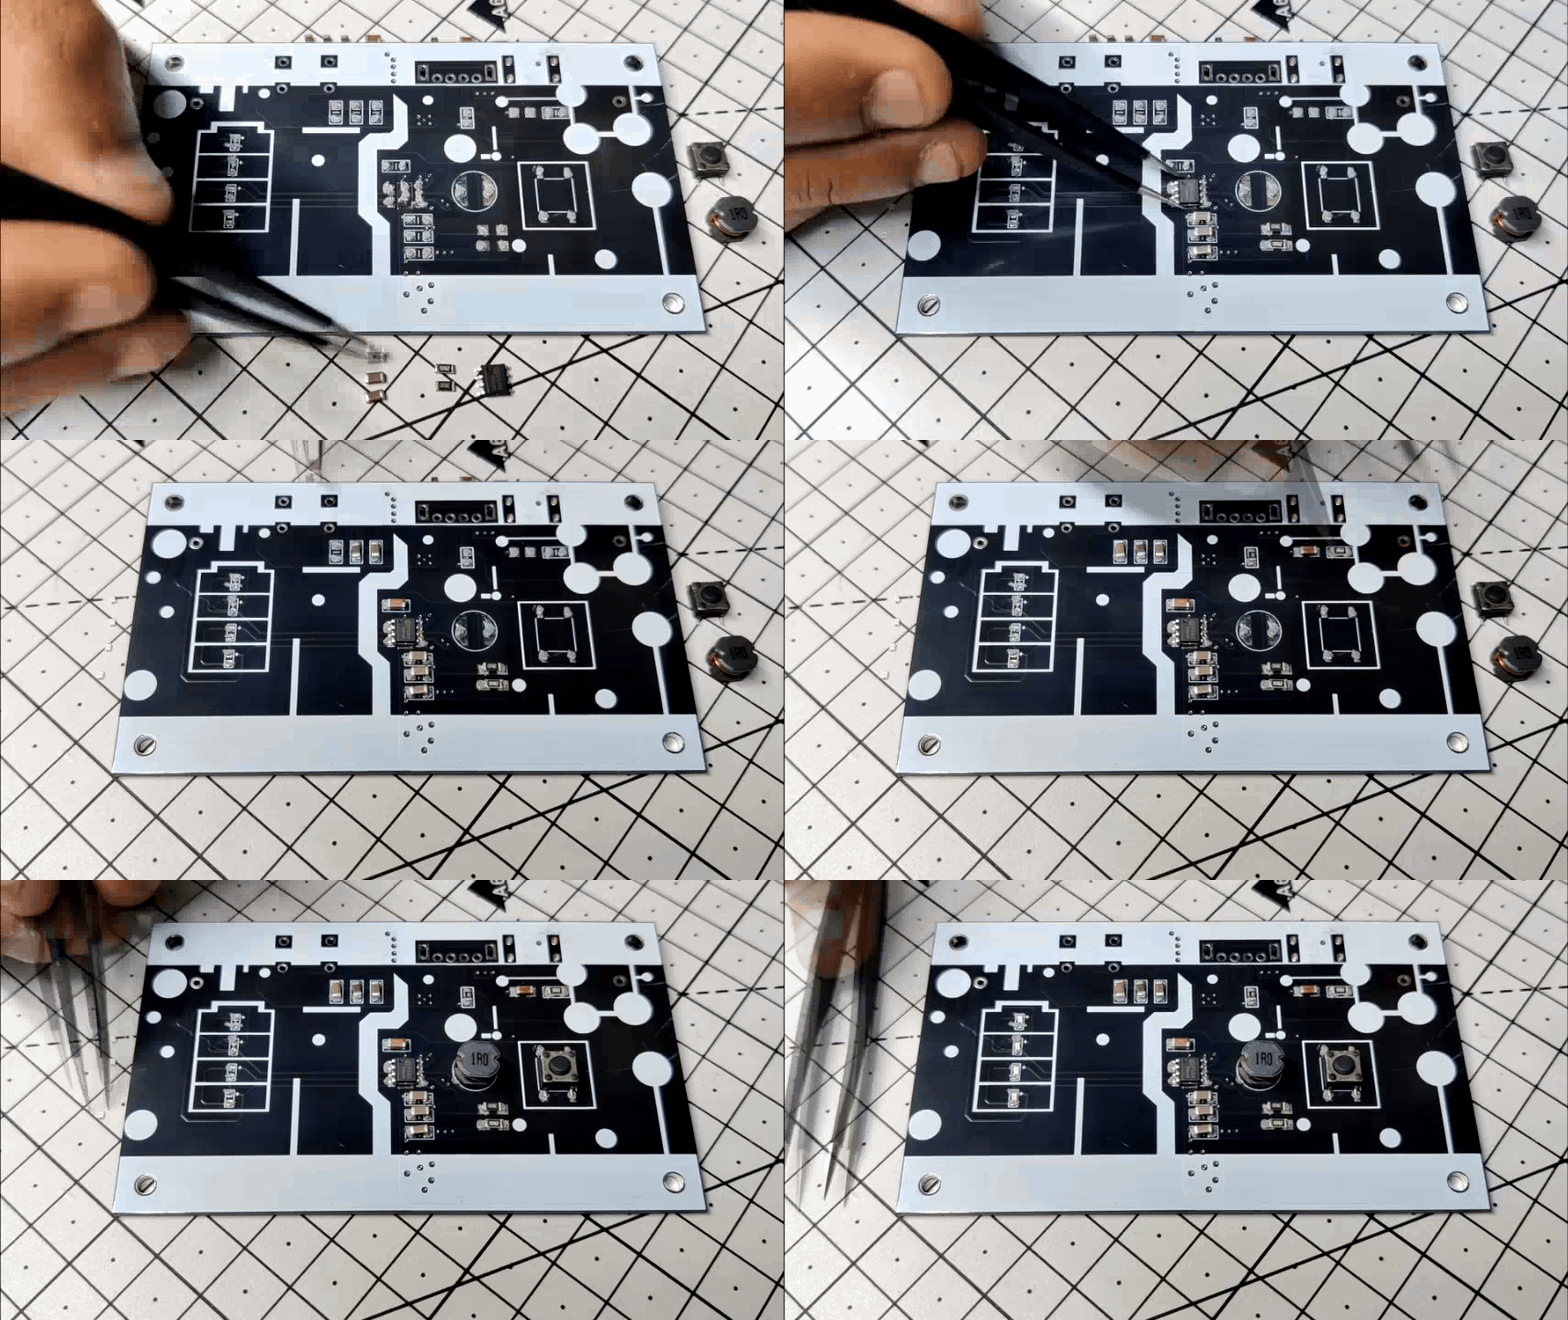
- The PCB is then flipped around, and using a standard solder paste dispensing syringe, solder paste is applied to each component pad.
- After adding solder paste to the board, we pick and place all components in their locations using the ESD Tweezer.
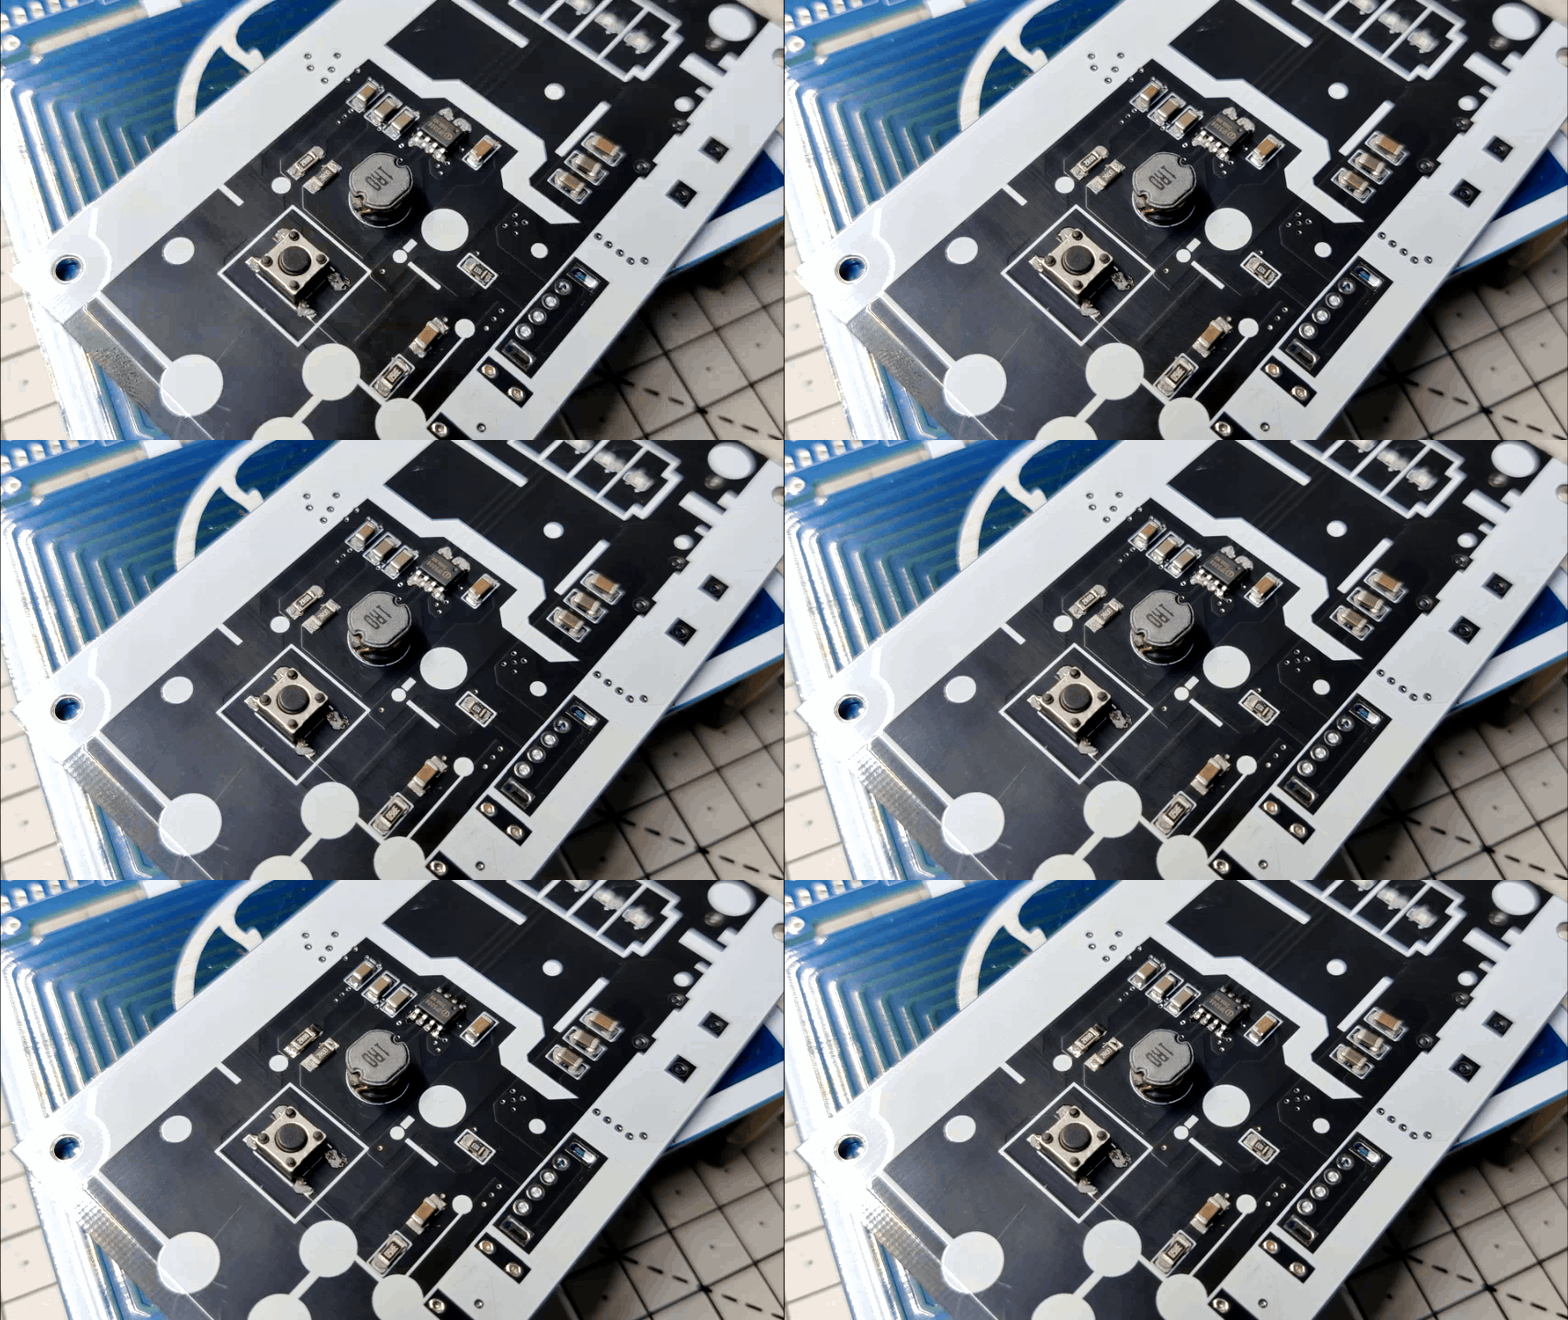
- The PCB is then lifted up and placed on a hotplate to reflow it from below up to the temperature at which solder paste melts and all of the components are soldered to their pads.
- Next, we use a soldering iron to add a USB port and a lithium cell holder to the bottom side of the PCB.
Board is now complete.
Power Source
.gif)
.gif)
We are using two 3.7V 2600mAh lithium ion cells, each connected in parallel with the IP5306 IC, to provide a total capacity of 5200mAh as our power supply.
After adding the lithium cells in the holder, we press the ON/OFF switch on the front side, and the status LED lights up, which means this setup is working.
By using a USB power meter, we are able to measure 5V at the USB outlet, indicating that the circuit is operational and suitable for powering 5V devices such as the Raspberry Pi in our case.
Frame Assembly Process 01
.gif)
.gif)
- We begin by constructing the frame holder, which included two handles that were linked to two pillars and side holders.
- One side holder is first attached to one handle side, while the second side holder is subsequently attached to the other handle side.
- In order to join the second handle to the back, we next attach two pillars to the interior of the handle.
- The other handle is attached to the back side of the frame holder using M2 screws, and the frame holder is now fully assembled.
Frame Assembly Process 02
.gif)
.gif)
.gif)
The previously constructed frame holder assembly is now mounted on the Raspberry Pi frame and display, and M2 screws are used to fasten them together.
We now have a ridged body made up of 3D-printed parts.
Attaching Frame Assembly With Display
.gif)
.gif)
The 3D body is then positioned on the lower side of the display; the constructed body is positioned in line with the PCB standoffs of the display; and four M2 bolts are used to secure the display to the main body.
Adding Raspberry Pi
.gif)
The Raspberry Pi is mounted inside the body in its designated location using four M2 screws once the display has been mounted to the main body.
Power Board Assembly
.gif)
.gif)
.gif)
.gif)
We are now setting up the battery bank circuit assembly configuration, which will be placed on the CyberPi body's backside.
- The JST UC2515 wire harness connector is first soldered to the circuit's 5V positive and negative.
- Then, we used two M2 screws on each side to attach the circuit holder parts to the left and right sides of the circuit.
- Then, we used two M2 screws on each side to attach the circuit holder parts to the left and right sides of the circuit.
The CyberPi is now active.
Result
.gif)
.gif)
.gif)
.gif)
Similar to before, we powered the setup on after adding the HDMI Flex Cable and connecting the Pi and display.
We use Raspbian OS here as the boot OS. The entire cyberdeck setup is completed by connecting a wireless mouse to Pi. Now that we have the ability to run programs like Minecraft.pi and Open Media Vault, which turns this configuration into a NAS, we can do so by connecting an external HDD to one of the Raspberry Pi's four USB ports. But this is a project for the future.
Overall, this project is successful, and I'm thrilled with the results.
This project is now finished, and I will use it as a NAS in a future project. I will publish a separate article about that project, so be on the lookout for that.
All the documents related to the project are attached. If you need any help regarding this project, DM me or leave a comment.
Special thanks to Seeed Fusion for providing PCBs for this project; do check them out if you need great PCB service for less cost.
Peace out, and I'll be back with a new project soon!