Cutting a Toolpath on the Shopbot
5314 Views, 13 Favorites, 0 Comments
Cutting a Toolpath on the Shopbot

Once you have made a toolpath in the .sbp file format, you are ready to cut it on the Shopbot machine.
Holding Down the Materials to Be Cut

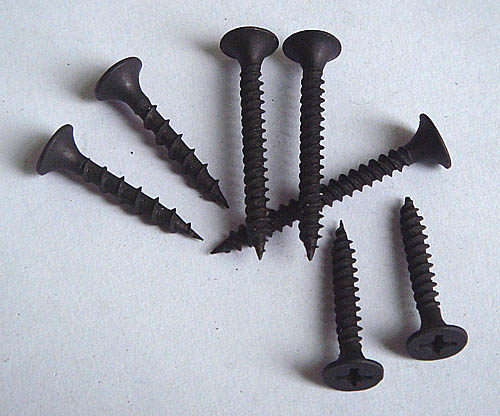
It is very important that nothing moves or slips while you are cutting things on the Shopbot. Holding down the materials is an important thing to think about when you are making toolpaths. You need to be careful that you do not cut into what ever is holding down your material and that you don't cut your piece of material out of what is holding it before you are ready. I usually use screws to hold things down. They are easier to use than clamps and usually work just fine. Clamps have a tendency to slip and are more bulky. If you are using clamps, be sure that the safe Z height for your tool is set so that the bit will be kept well clear of the top of the clamps when it is moving from place to place.
Practice Run
A good way to see if everything is going to go alright when you finally cut the part is to have the machine make the same movements it would when cutting in the air over your material so you can make sure everything is going to fit. To do this, raise your Z zero to the thickness of your deepest cut + a qaurter inch. When you run the file it will only come within a quarter inch of the material and you will be able to see future problems.
Zeroing the Axises

Zeroing the axises depends on if you used "top of block" or "bed" as material z zero when you first created the part wizard file. If you don't know the exact thickness of of your material and want it to cut all the way through, you can start by zeroing to the bed. To do this enter K in the shopbot3 software then use the page up and page down keys to get the bit near the surface of the bed. On the left side of the software, change the move speed for the Z axis to .1 and continue to fine tune the height. Once you have it as close as you can get without touching, zero it by using the Zero Z axis command. (ZZ) If you used top of block as your zero, hit K and enter the thickness of your material in the z axis. Hit enter. The tool will move to the height of your material. Zero the Z axis again and you are done. Move the X and Y axis with the arrow keys and zero them when they are where you want them and zero those too.
Safety and Ventilation

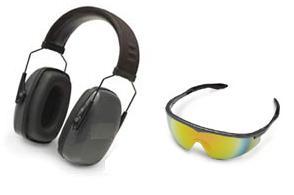
Wear earmuffs and protective glasses while cutting on the Shopbot. In order to get the ventilation system working, flip on the two switches near the door that are labeled vent. To start the vacuum system to suck up chips and dust, press the green button near the wood locker. It is underneath a big grey switchbox. You may need to use the circuit breaker to turn it on first, it is #4 on the right side near the top. It is very important to have both of these systems running to keep dust down. Other safety things include there is nothing unnecessary on the the table, no cords draped over the edges, and no loose pieces.
Load and Cut the File

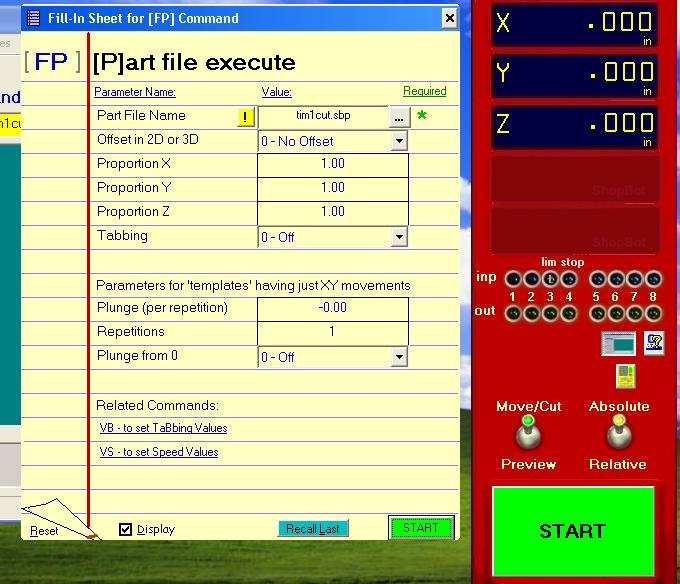
Hit load file in the bottom left corner. Browse for the file. After you have selected it a window will pop up asking about more options. You usually won't need any of these. After you have made sure everything is ready and turned on the router, press start. If there are any problems while you are cutting, hit any key, the mouse, or one of the stop buttons.