Cutting Out Your Face
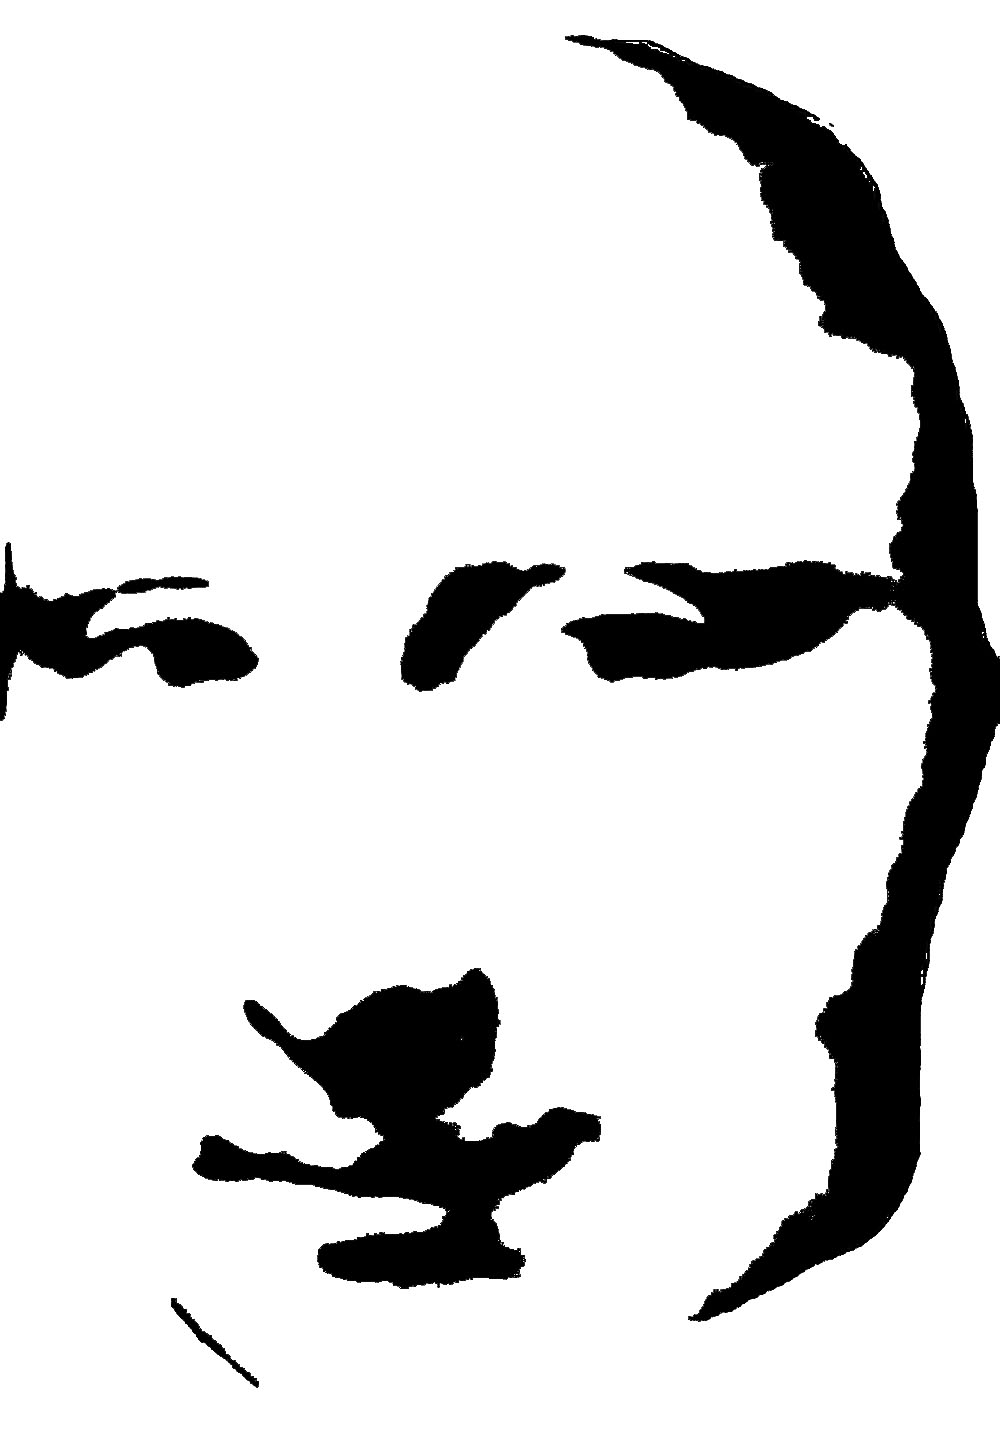
Let's say you have a photo of your face. Or your child's face. Or your dog. Or, really, any photo you find pretty much anywhere.
Let's say you want to cut it out of metal (perhaps with the plasma cutter at TechShop) or out of wood or cardboard (maybe on the laser cutter) or on a tshirt (vinyl cutter) or even carve it into a pumpkin! You'll need to convert that photo a black and white image that can be fed to one of these machines. Or you can print it on a transparency using a regular ink-jet printer and then shine light through it. Project it on a wall and paint it, or onto a pumpkin.
Before you can do any of these things you need to transform your photo from a thing with 32000 colors to something with only 2.
I'm not going to go into much detail about how to cut it out. This instructable is all about how use the software available at any computer in Techshop (and other places) to create the cutout. I spent several hours last night figuring out the exact steps; it should take you about 20 minutes to follow these steps!
I made it at Techshop! www.techshop.ws
Open Your Image in Photoshop
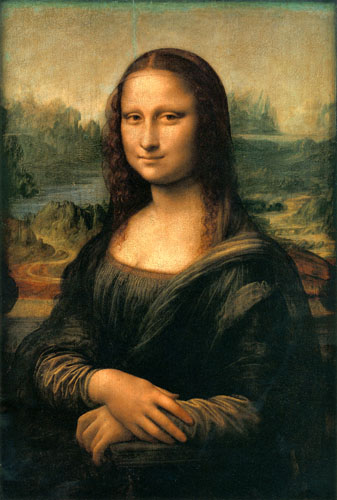
First, get an image from somewhere. Faces work great because there are things about them that are very recognizable and we recognize faces with very little information. But anything will work provide there is light and dark areas in it.
I chose to use a very recognizable face that I picked up on the internet.
This is instructable has kind of a lot of steps so here's an overview:
Steps 1-6 shows you how to get a cut out image in photoshop.
Step 7 is really just a demonstration of how your choices affect the outcome
Steps 8-11 shows you how to get it into the coreldraw and convert it to use a CNC tool.
Step 12 discusses how to set it up for a few of the specific CNC tools I know about.
Focus on the Part You Want
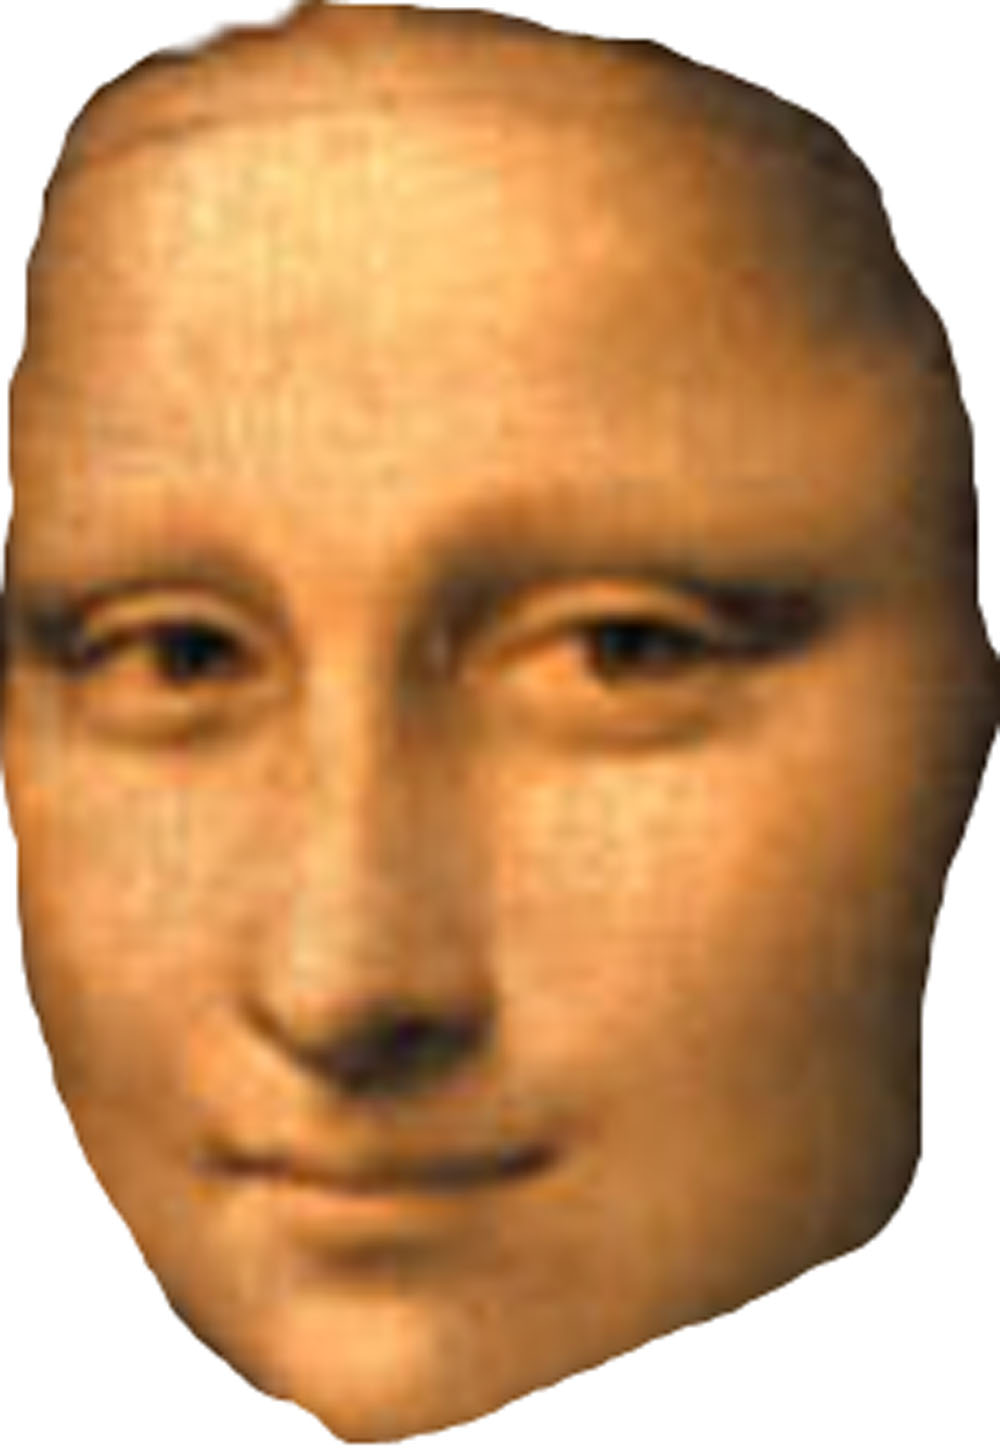
In Photoshop, cut out everything but the face (or whatever the important part in your picture might be) by selecting the part you want with the lasso tool, then do select->inverse and then press delete.
Select the face with the crop tool and remove as much of the white as possible. Then use image->image size to make it larger -- 1000 in it's smallest dimension should be good.
This is an artistic choice, allowing you to focus on the most important part of your picture. Mostly though it's practical; if you do this now, you can focus all your work on something that fits on the screen.
256 Shades of Gray
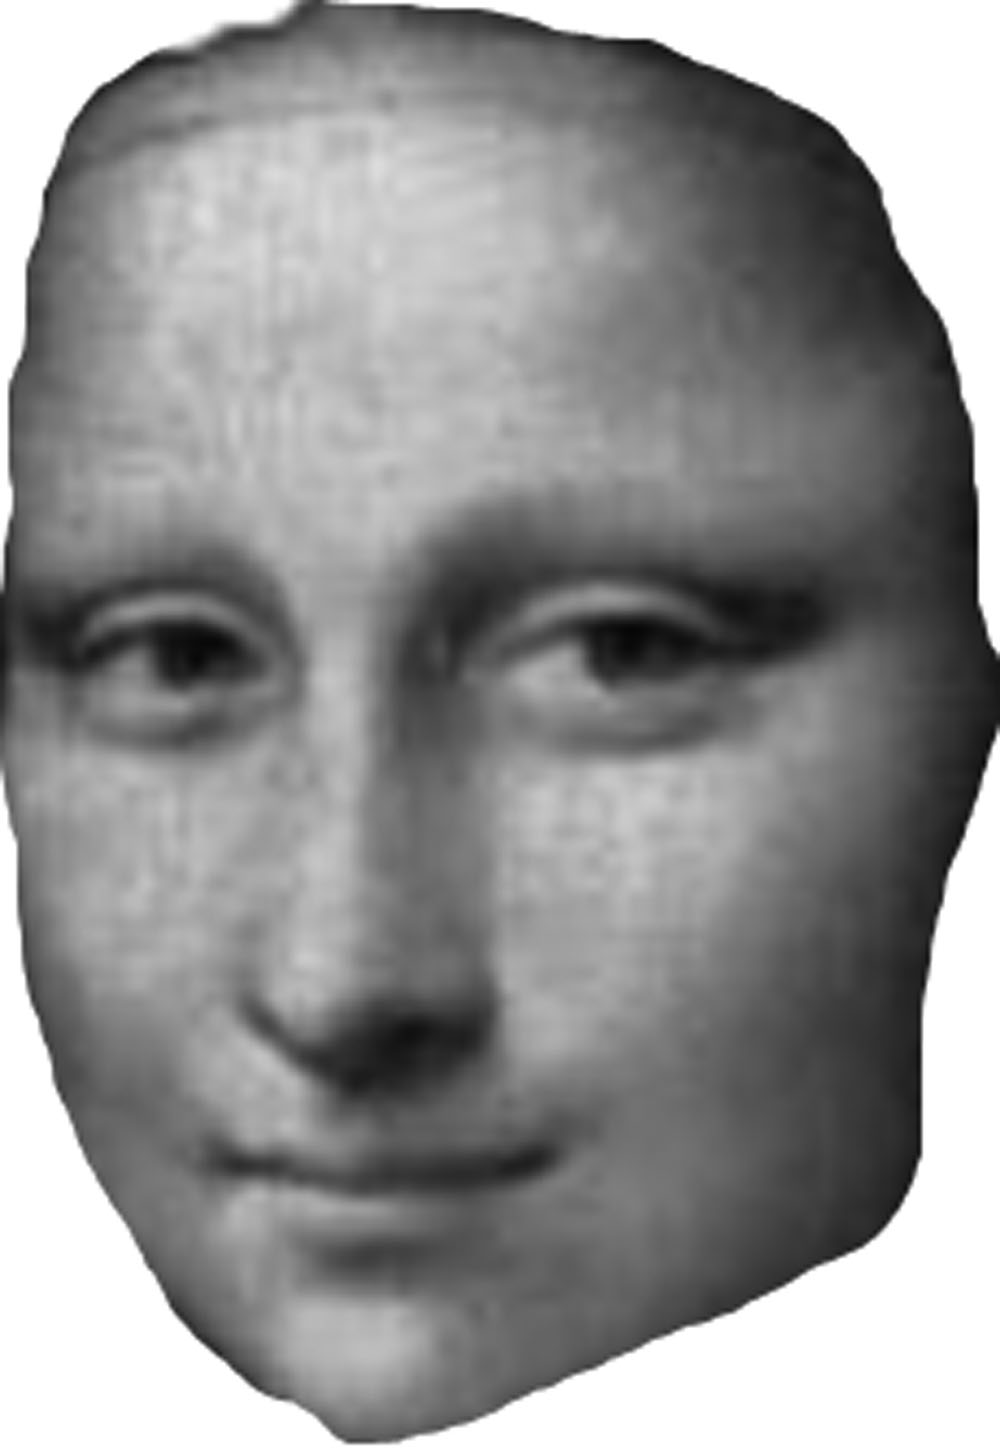
Now remove all the color from it by selecting image->mode and clicking on "grayscale". You may get a dialog box asking if you want to throw away all the color information; if so, say "yes" because that's precisely what this step is about.
Posterize
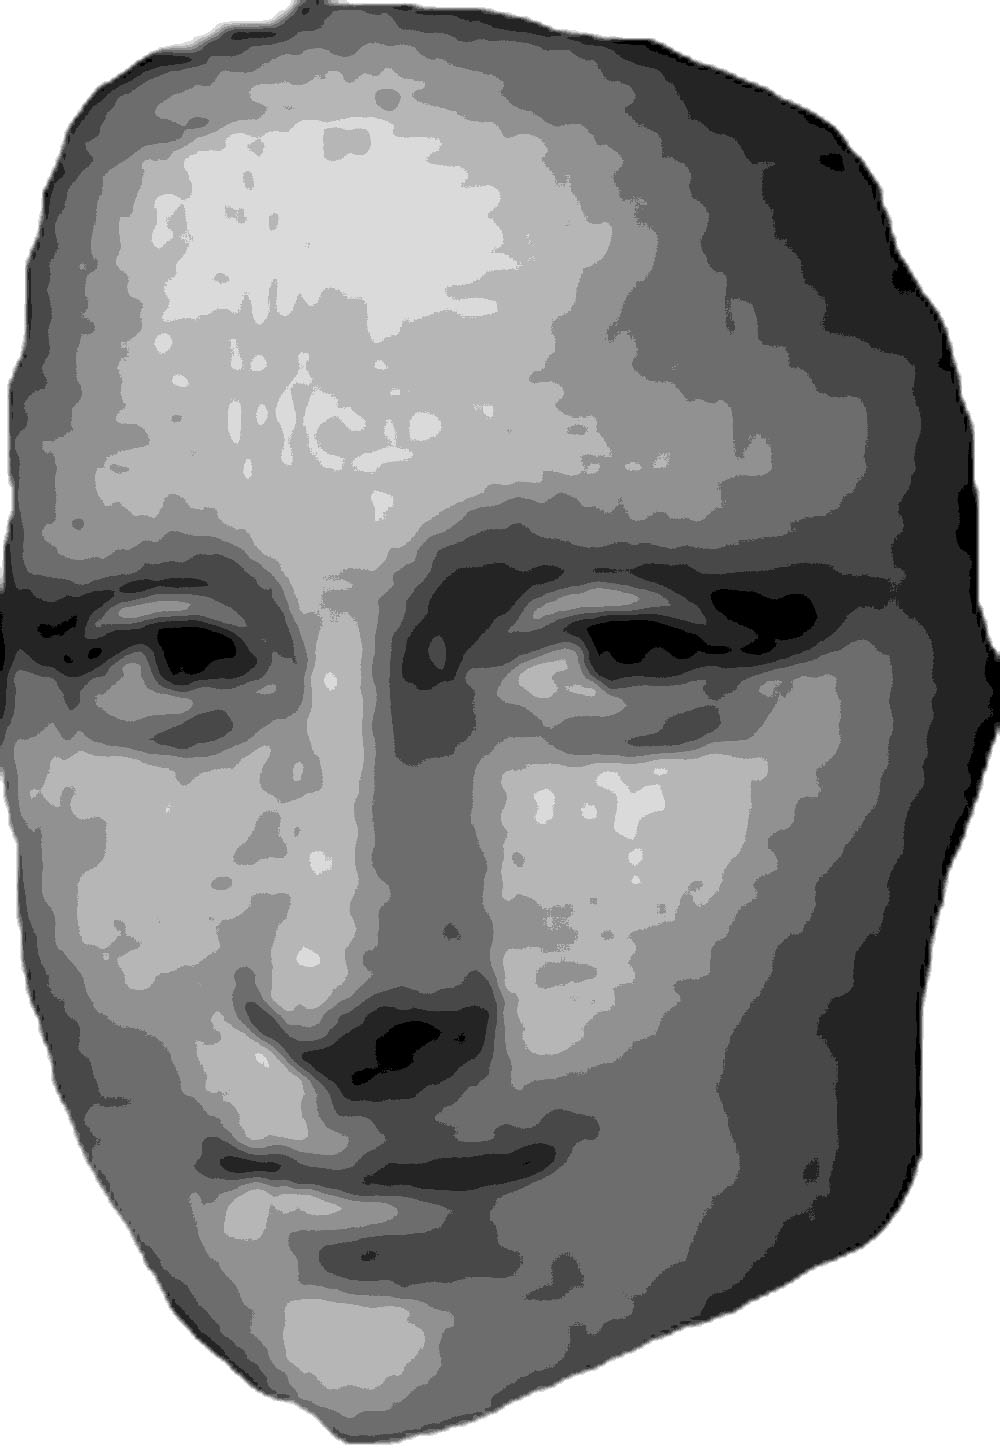
Photoshop has this cool tool called "posterize" that reduces the number of colors. Select image->adjustments->posterize and type "8" into the levels dialog box.
You can choose more or fewer levels and that will affect your artistic choices later. I tried it a few different ways and decided that 8 allows me more control over the final image.
You can choose more or fewer levels and that will affect your artistic choices later. I tried it a few different ways and decided that 8 allows me more control over the final image.
Get Your Artist On!
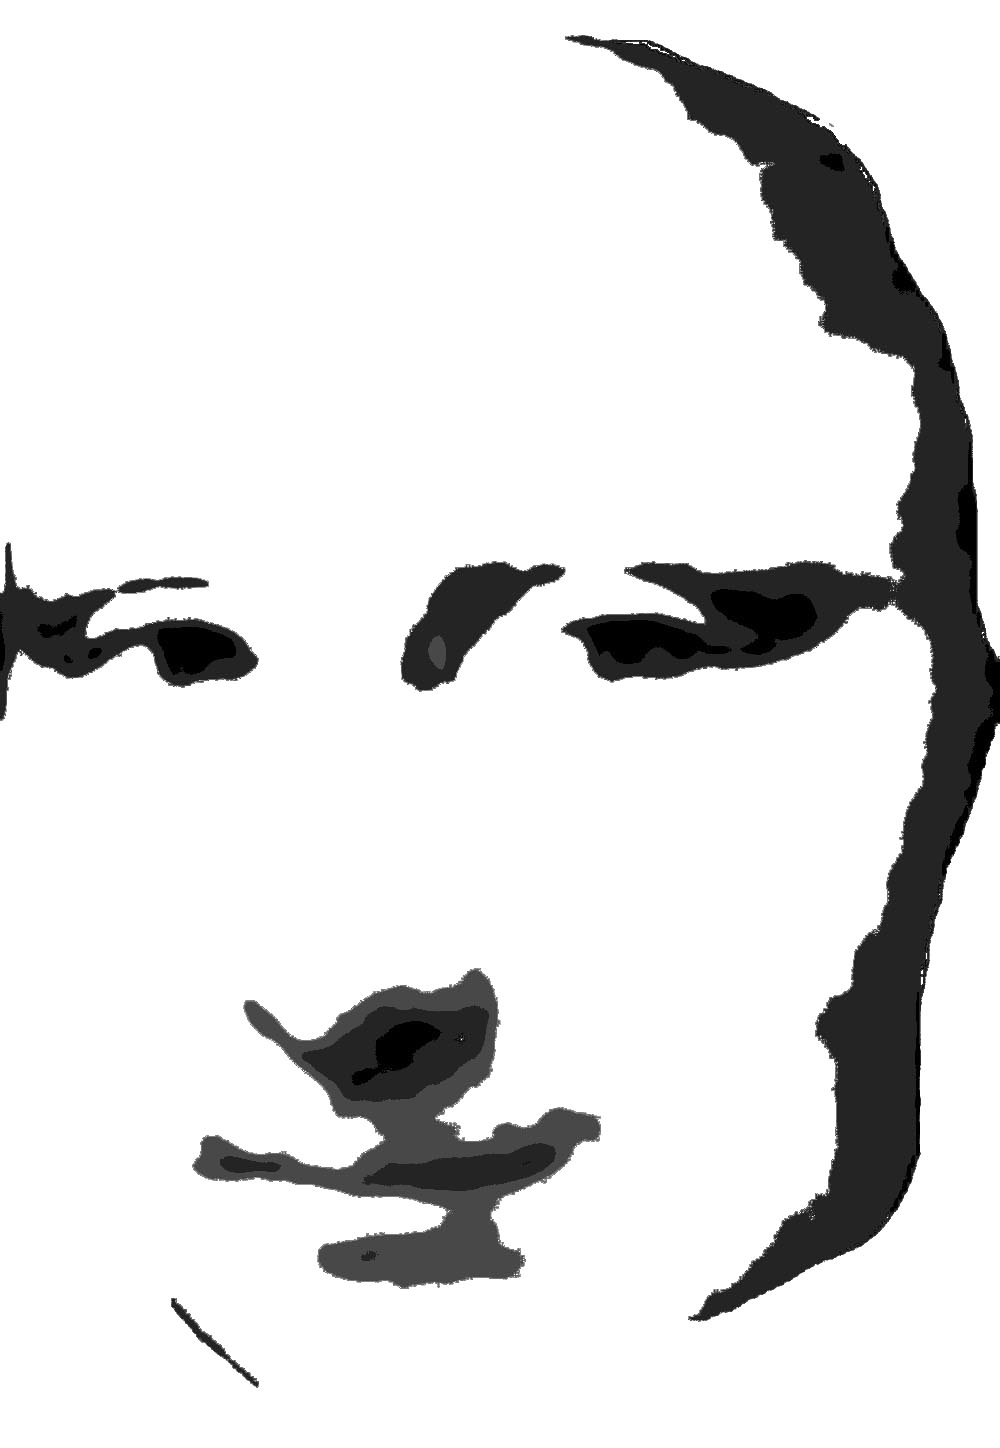
This step takes some artistry! Your choices will be different for each picture and it will look radically different depending on choices you make.
You want to select those parts of the face that you want to cut out. This will be probably be either all the darkest parts of the face or all the lightest parts of the face.
The important things to remember are, first, that you want what you cut away to express the face and second, anything that you completely cut around will fall out so you want to strategically leave material in so you have holes and remaining shapes suggestive of the face rather than just meaningless voids.
Here, I've selected the dark parts.
Use the wand tool with shift to select all the parts you want to cut then use select->inverse to select all the stuff you DON'T want to cut.
So that it will look like the final result, be sure to include any "islands" that are wholly surrounded by your selection in the selection -- in the final cut they will just fall out anyway.
Fade to Black

Now you want to make the cut away parts perfectly black.
Do select->inverse again and use the paint bucket to fill in the entire selected space with black. If you change the threshold of the paint bucket tool to 255 it will save time.
Save this out as a jpg and close Photoshop.
You can use this image to make a transparency.
Do select->inverse again and use the paint bucket to fill in the entire selected space with black. If you change the threshold of the paint bucket tool to 255 it will save time.
Save this out as a jpg and close Photoshop.
You can use this image to make a transparency.
You Have Options
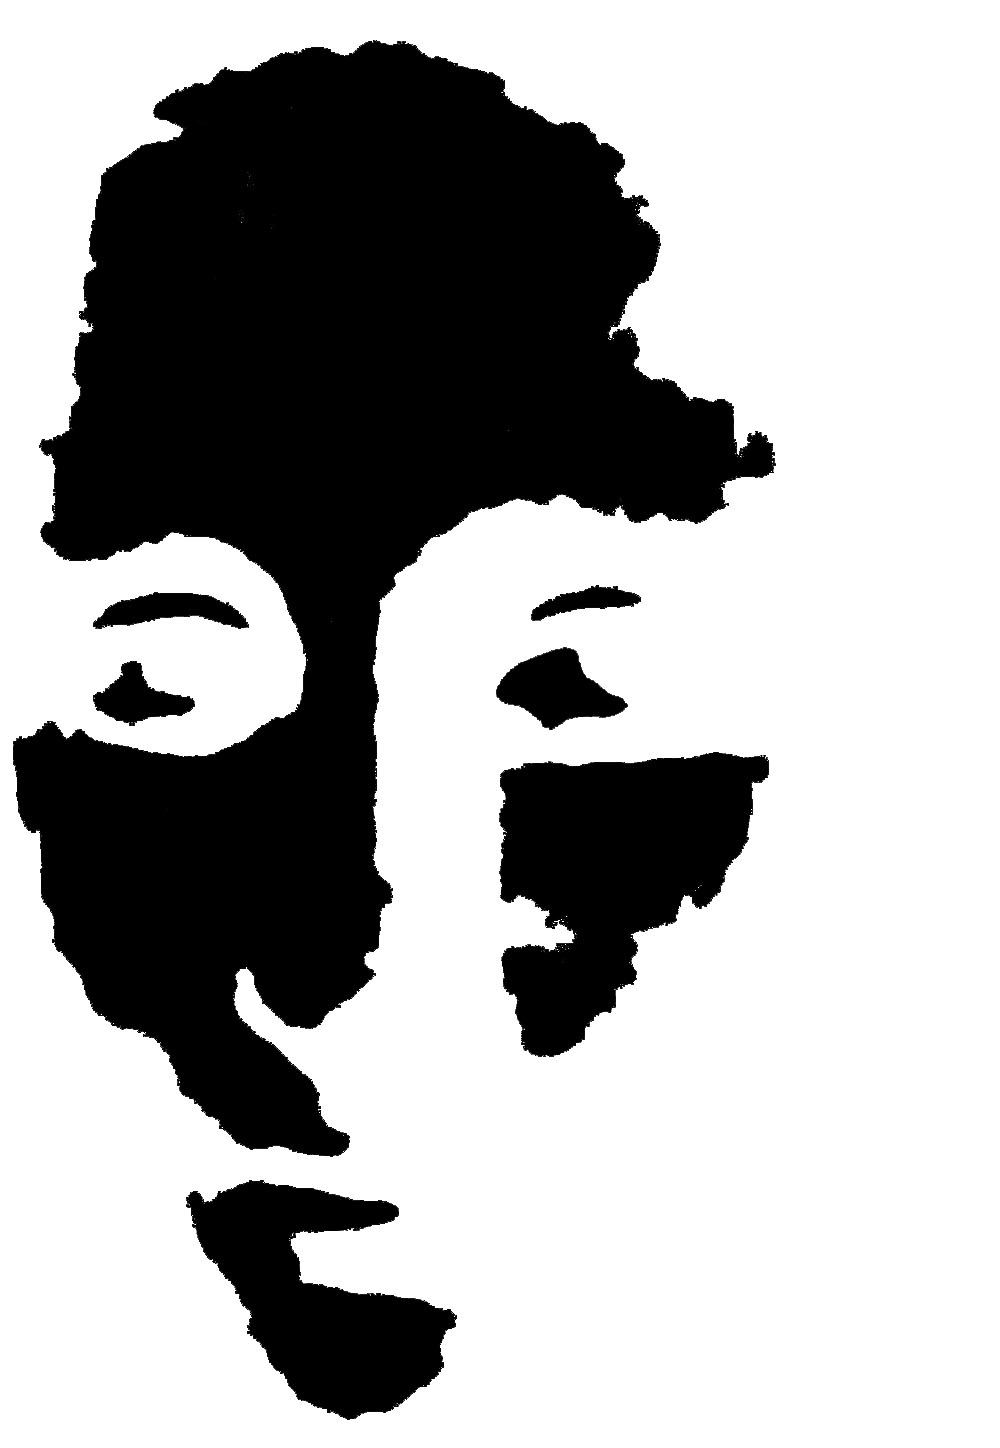
There are many ways to do step 5; here is a version with all the light stuff cut away.
The thing to remember at this stage is that the cutaway part is black and the part left behind is white and there is nothing else. Any white parts completely (or even significantly) surrounded by black, will fall out.
Personally, I like the other version better but this has some interesting merit.
The thing to remember at this stage is that the cutaway part is black and the part left behind is white and there is nothing else. Any white parts completely (or even significantly) surrounded by black, will fall out.
Personally, I like the other version better but this has some interesting merit.
Prepare to CUT!
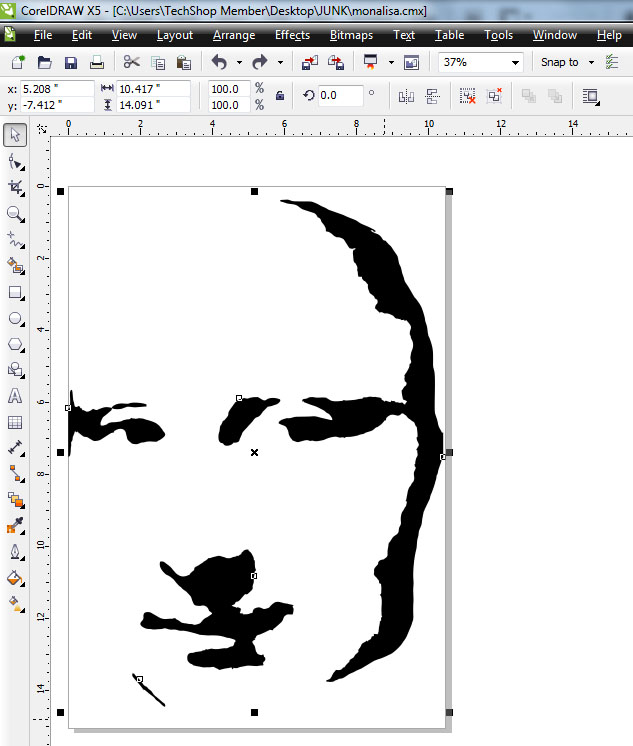
Now we're going to use CorelDraw (also on all Techshop computers) to convert the image to a vector so it can be cut out.
Open up Coreldraw and import (file->import) the jpg that you created in step 6.
Open up Coreldraw and import (file->import) the jpg that you created in step 6.
Tracer Firepower
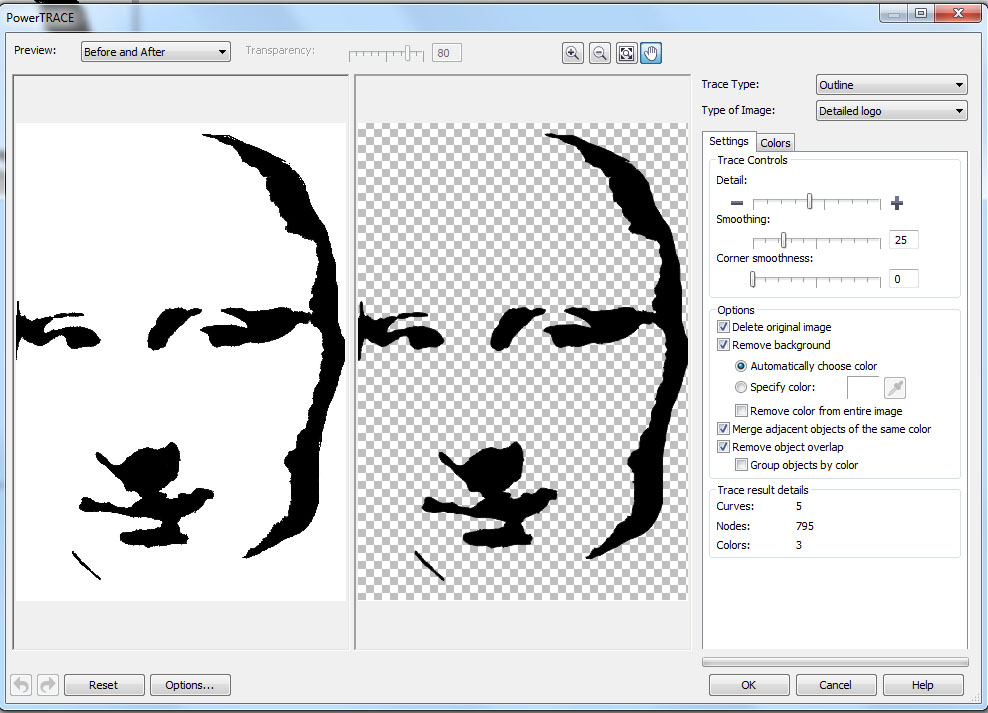
Coreldraw has a tool that allows you to turn your image into an outline. It will look pretty much the same but it will be MUCH different internally.
Right click the image and select outline trace->detailed logo; check delete original image, remove background.
Right click the image and select outline trace->detailed logo; check delete original image, remove background.
Does This Outline Make Me Look Fat?
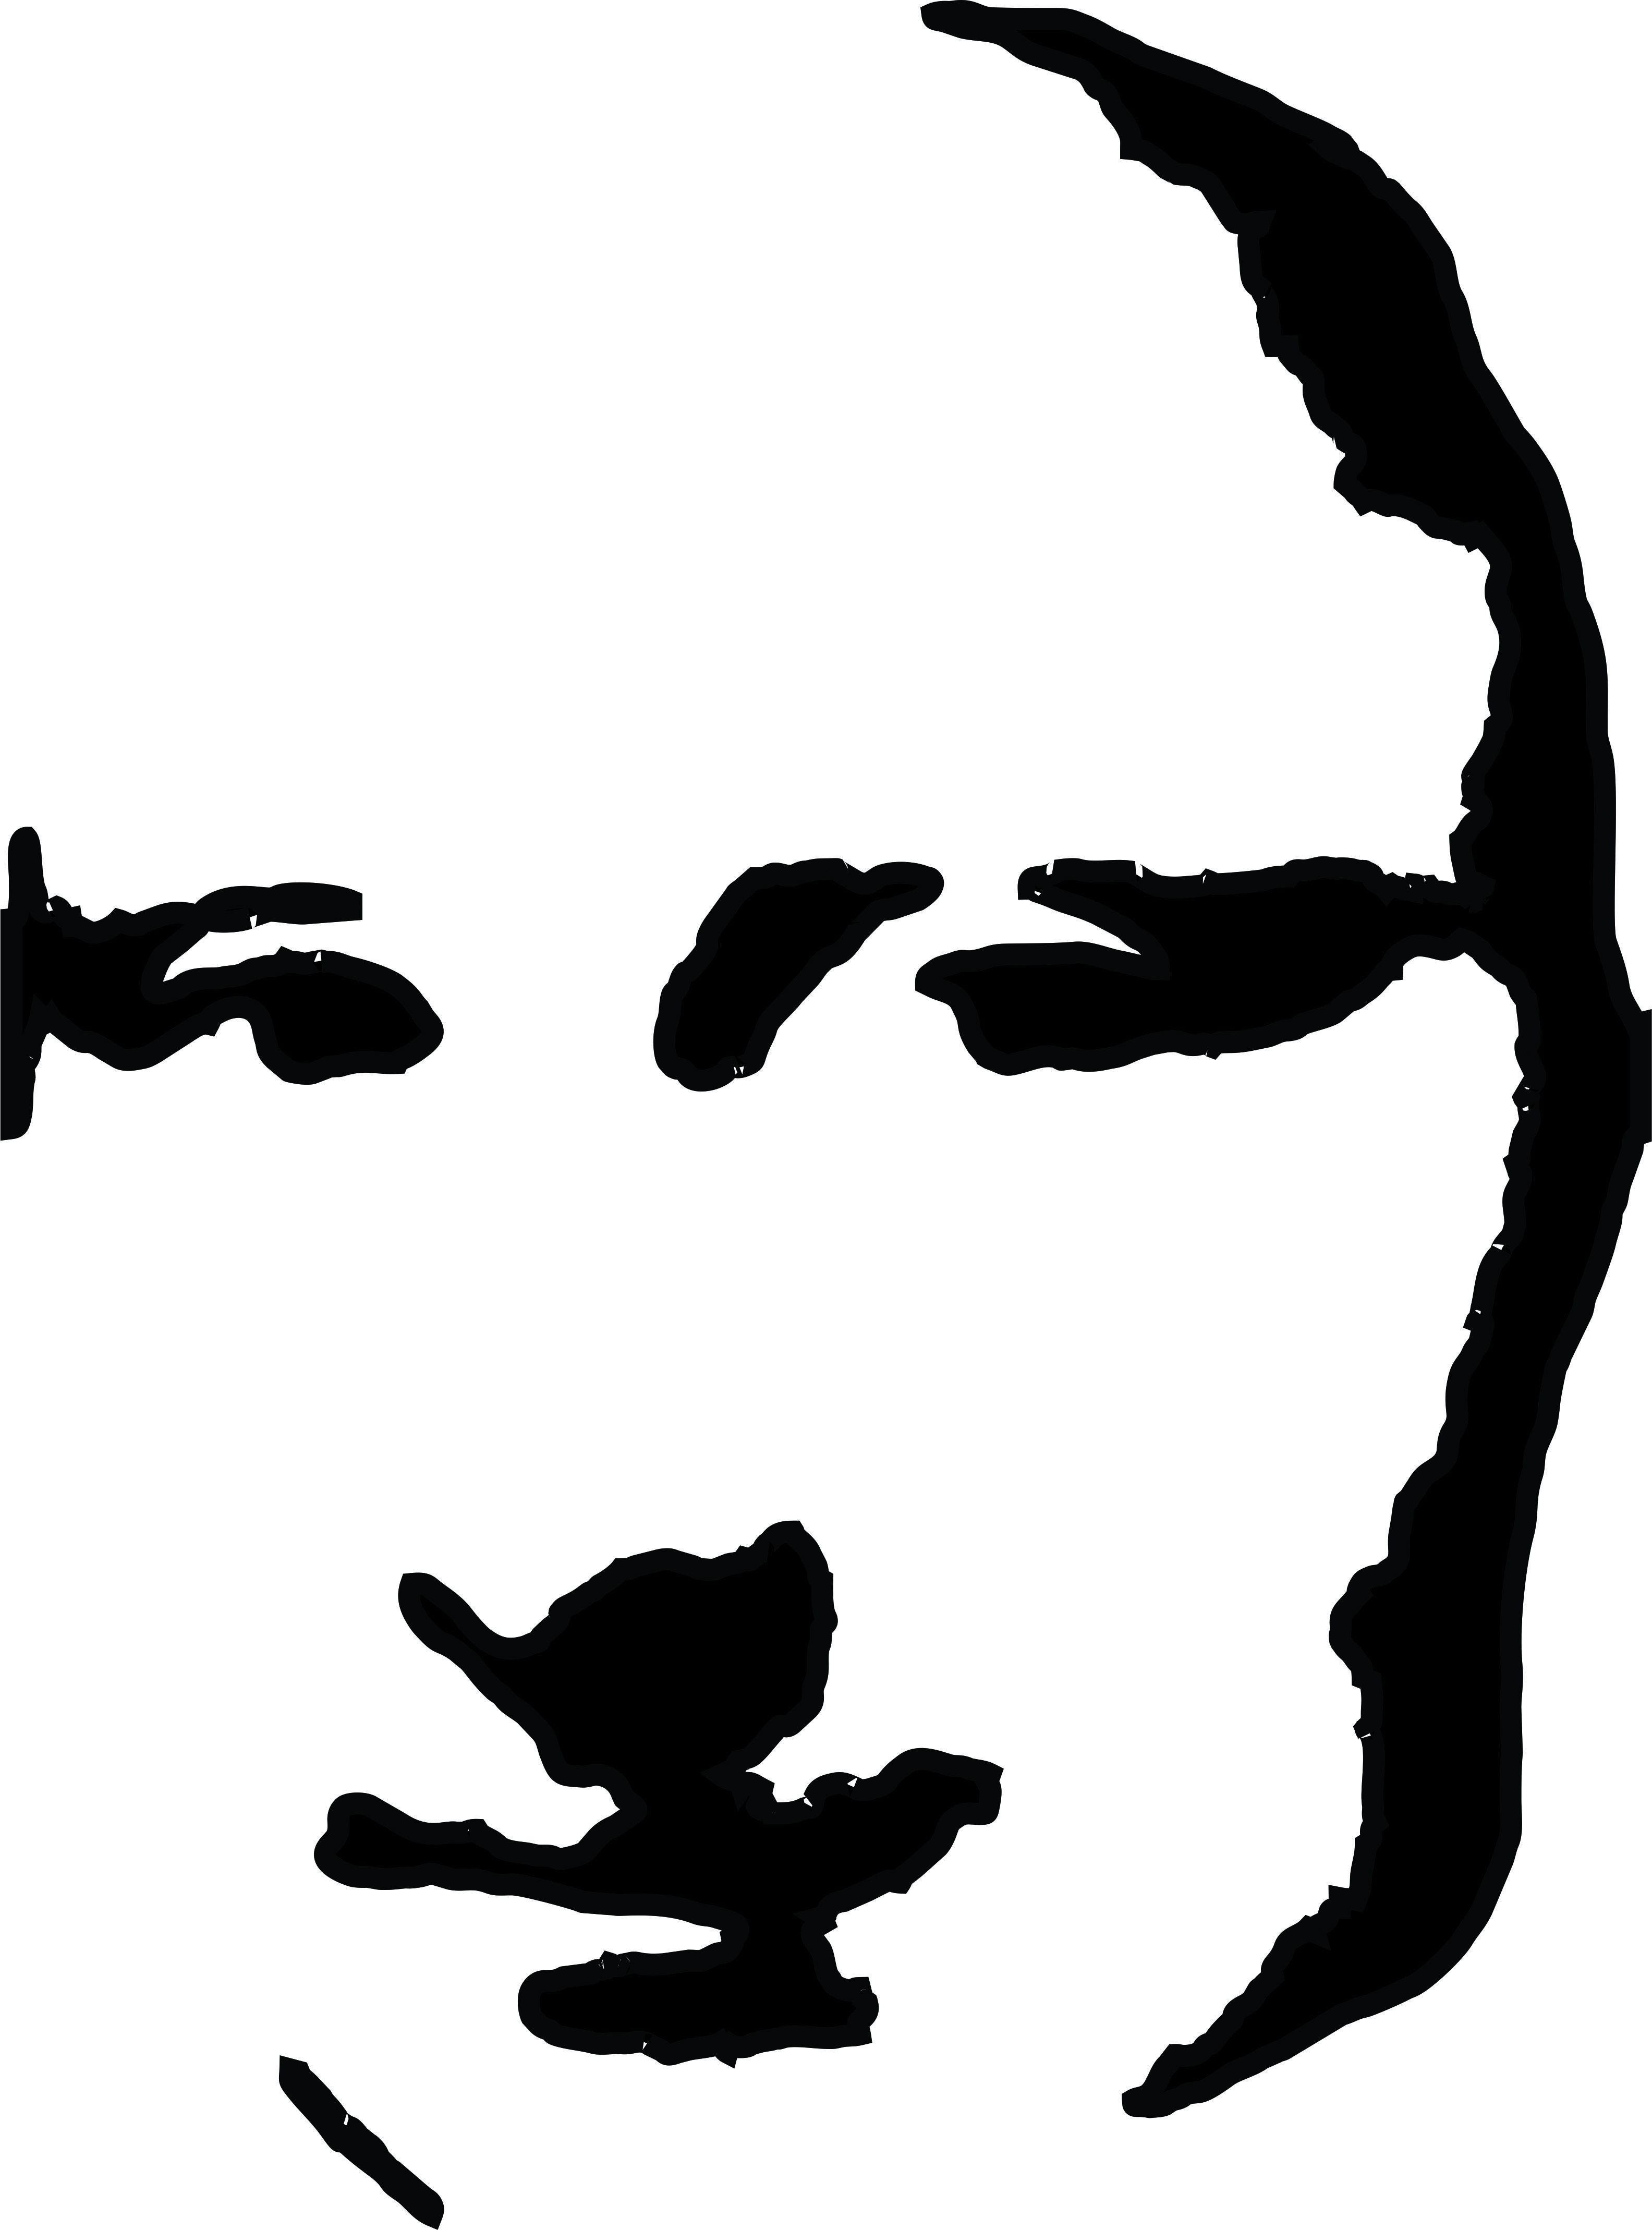
Right click the image again and select properties; under the pen nib tab set width->10PT. This shows the cut out parts in black. I set the line to 10pt because this is approximately the width of the plasma cutter's kurf.
This looks just like what we had but is a pretty fair representation of what it might look like if you cut it out of metal. Is this what you want? If not then go back and make different choices.
If you want to cut it out of some other material, set the line width smaller. I think "hairline" is appropriate for most other devices. In fact, if you want to cut it out with the laser cut it, it MUST BE hairline.
The Path of the Beam
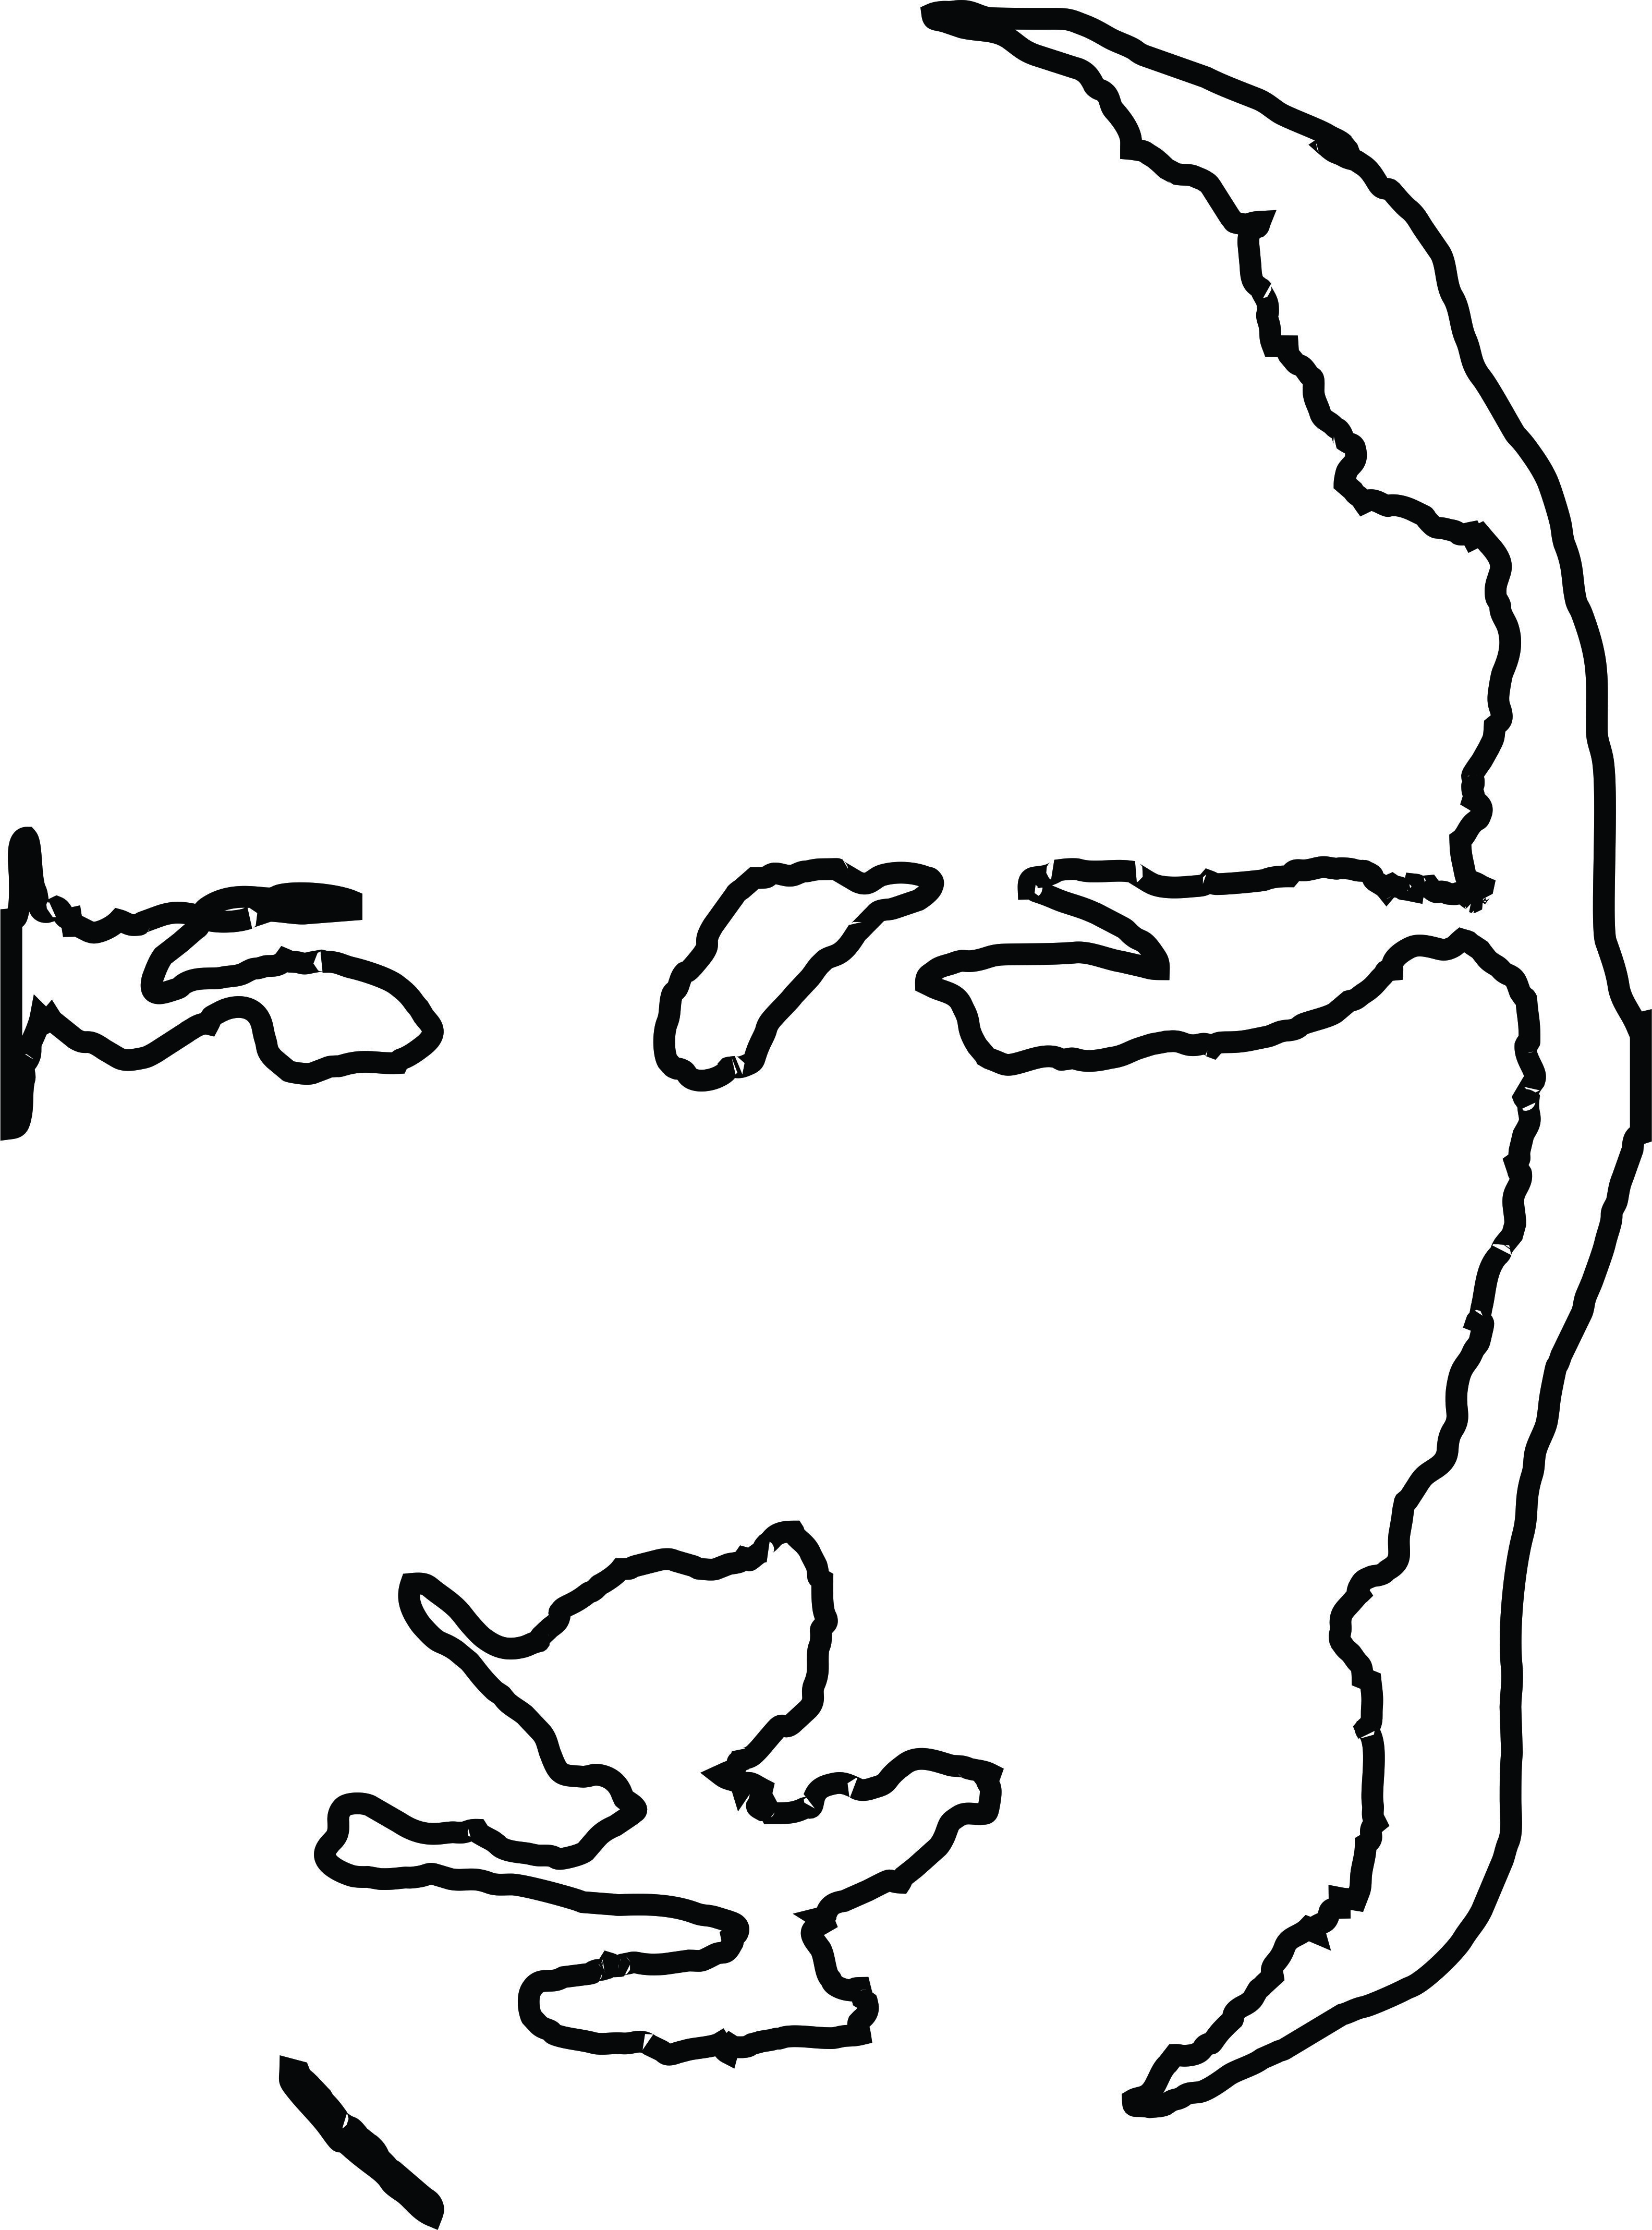
Now go to the object properties pane (right click and select "properties" if you need to) and under the paint bucket tab, select "no fill". This shows the tool path.
Again, if there are any bits wholly inside other bits, they'll just fall out so you can simplify the image now if you just select them and delete them.
Again, if there are any bits wholly inside other bits, they'll just fall out so you can simplify the image now if you just select them and delete them.
Weapon of Choice
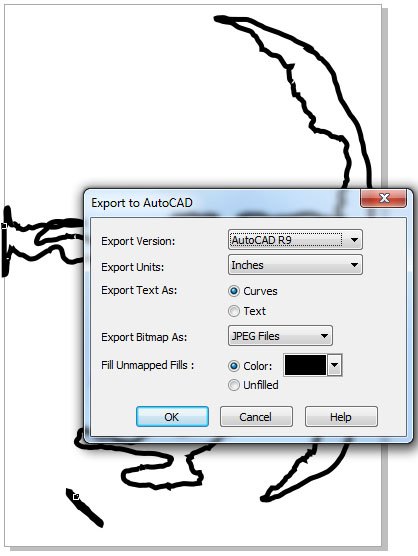
There are a few things you'll want to do if you're using the plasma cutter and a few other things you'll want to do if you're using the laser cutter. I don't know how to use the vinyl cutter but on the Shopbot or the Tormach you'll need to load this into a different program to specify the specific tool paths.
PLASMA CUTTER
The plasma cutter doesn't like complicated curves and it might simply stop cutting in the middle. If this happens to you, or you're afraid it might happen to you, select the shape tool (f10), click control+A and use the "simplify" tool at the top to reduce the number of "nodes" in the curve. You may need to do this for every curve. For the plasma cutter, it probably won't make all that much difference because the kerf is so wide.
When you're ready select export->DXF and then in the dialog box select export version -> autocad r9. Put this file on a thumb drive; it's what the plasma cutter computer needs.
LASER CUTTER
The lines in your image MUST be set to "hairline" for this to work. If you go with any other thickness, it will just burn the material, not cut it! To do that, select everything, right click and pick "properties" to bring up the properties menu. Under the pen tab, select "hairline". Save this as a CDR or a CMX file and take it to the plasma cutter computer. Coreldraw is the native program for the laser cutters.