Cutting DIY Vinyl Stickers for Your Car With Scrap Vinyl and the Silhouette Portrait Cutting Machine
by Chuck Stephens in Craft > Paper
3088 Views, 26 Favorites, 0 Comments
Cutting DIY Vinyl Stickers for Your Car With Scrap Vinyl and the Silhouette Portrait Cutting Machine
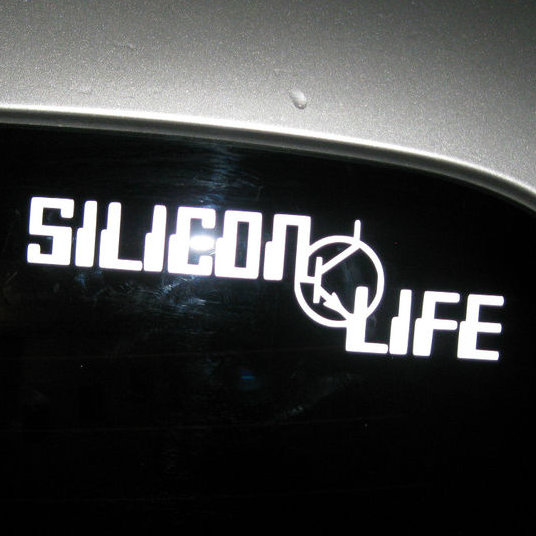
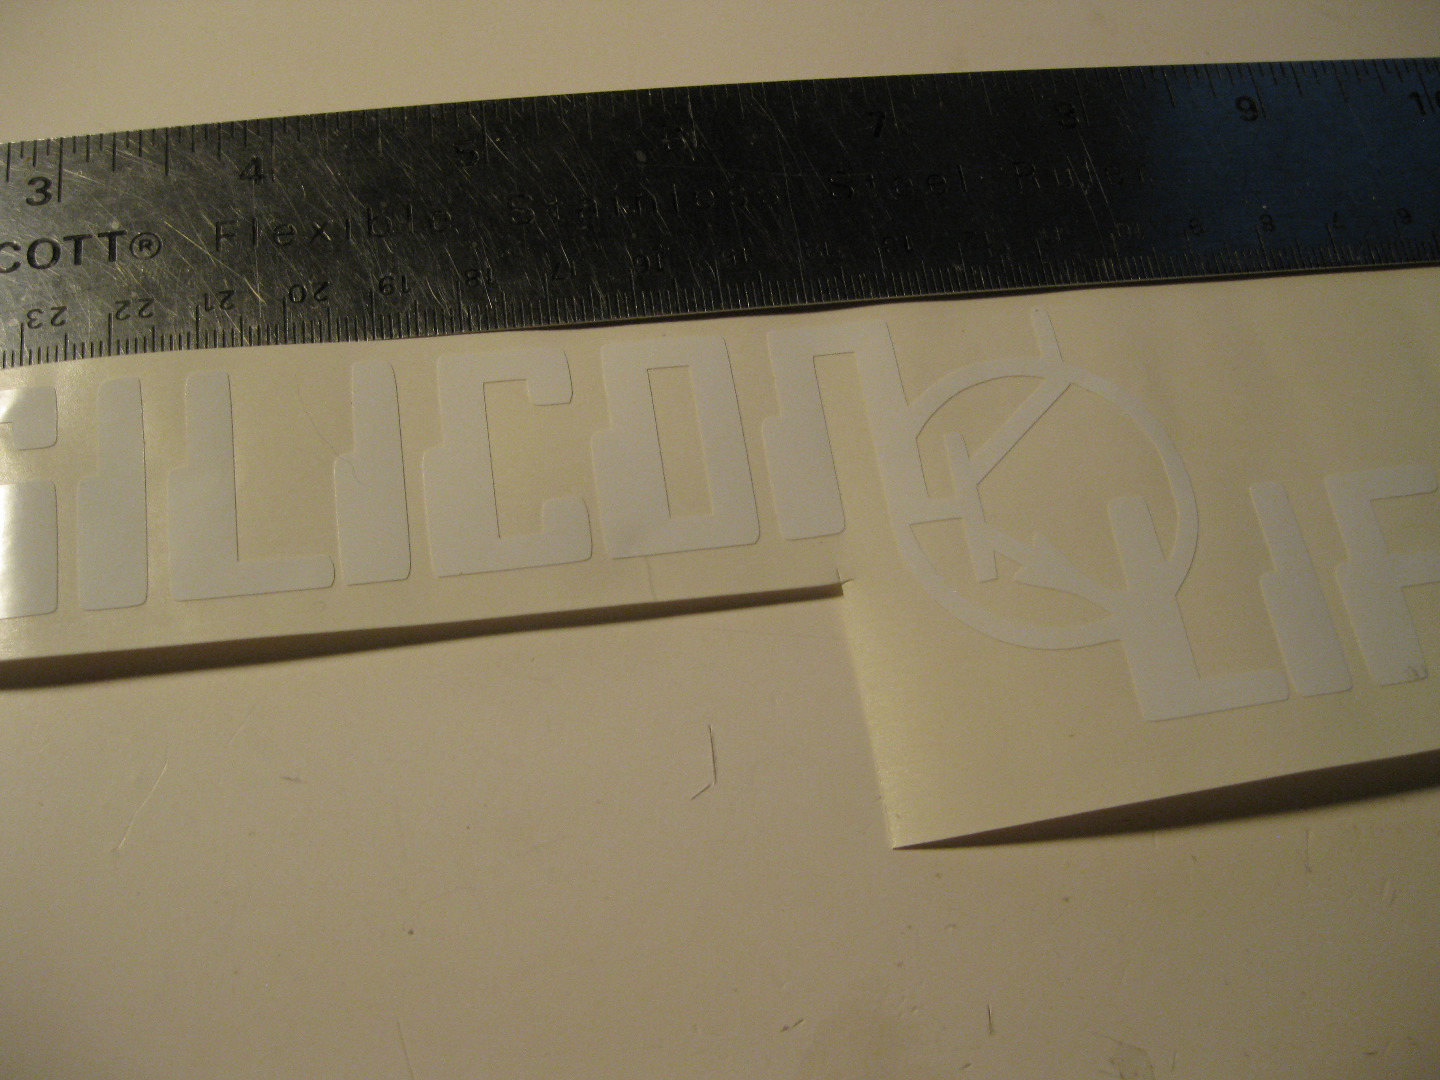
We recently received a Silhouette Portrait cutting machine as part of the Instructables build night program. As a stencil artist I couldn't wait to see what this machine could do. The good news is that this is an awesome machine! The bad news is that Eureka!Factory isn't getting it back until I can get my own.
After cutting a few stencils in acetate, I went digging through my art supplies and materials for more stuff to cut. That's when I remembered the adhesive vinyl scraps that I got from the sign shop. Sign shops use wide format cutting plotters called Gerber machines to cut vinyl for signs and vehicle graphics. These machines use vinyl on wide rolls with holes on the edges to precisely feed the material through the cutting head. There is often left over material that is too small to feed through the machine. Most sign shops throw this stuff away and if you ask really nice they will probably give you the scraps or sell them cheap. These smaller pieces of vinyl are perfect for the Silhouette machine.
I had a few pieces of black and white vinyl around 6 inches wide and a foot or so long, so I started experimenting with it. Here's how I used recycled vinyl scraps and a few other materials to make a custom DIY sticker for my car.
Preparing Your Image
I do all of my work in raster-based graphics editors like Photoshop and Gimp. A background in vector graphics programs like Inkscape or Illustrator would be helpful, as the Silhouette works with vector images and has to convert raster images like JPEGs into a useable form. The Silhouette Studio software did a good job of tracing my black and white high contrast JPEGs, but I'm sure a background in vector graphics would make the prep a bit easier.
I live in Florida, and everywhere you go there are trucks with 'Salt Life' stickers on them. I had no idea what this meant so I asked my dad, who said it was a t-shirt company that sold beach clothes. I like the ubiquity of their stickers, like sneakers thrown over a phone line or gum under a diner table- you don't know how it started but it's everywhere. It had a kind of viral growth that reminded me of some mainstream version of the Andre the Giant stickers in the 90's. I wanted to create the geek version, so I came up with 'Silicon Life' in a retro futuristic font with a big transistor symbol in the middle. I created a large black and white image of the sticker I wanted to cut and saved it as a JPEG.
Importing and Setting Up the Image
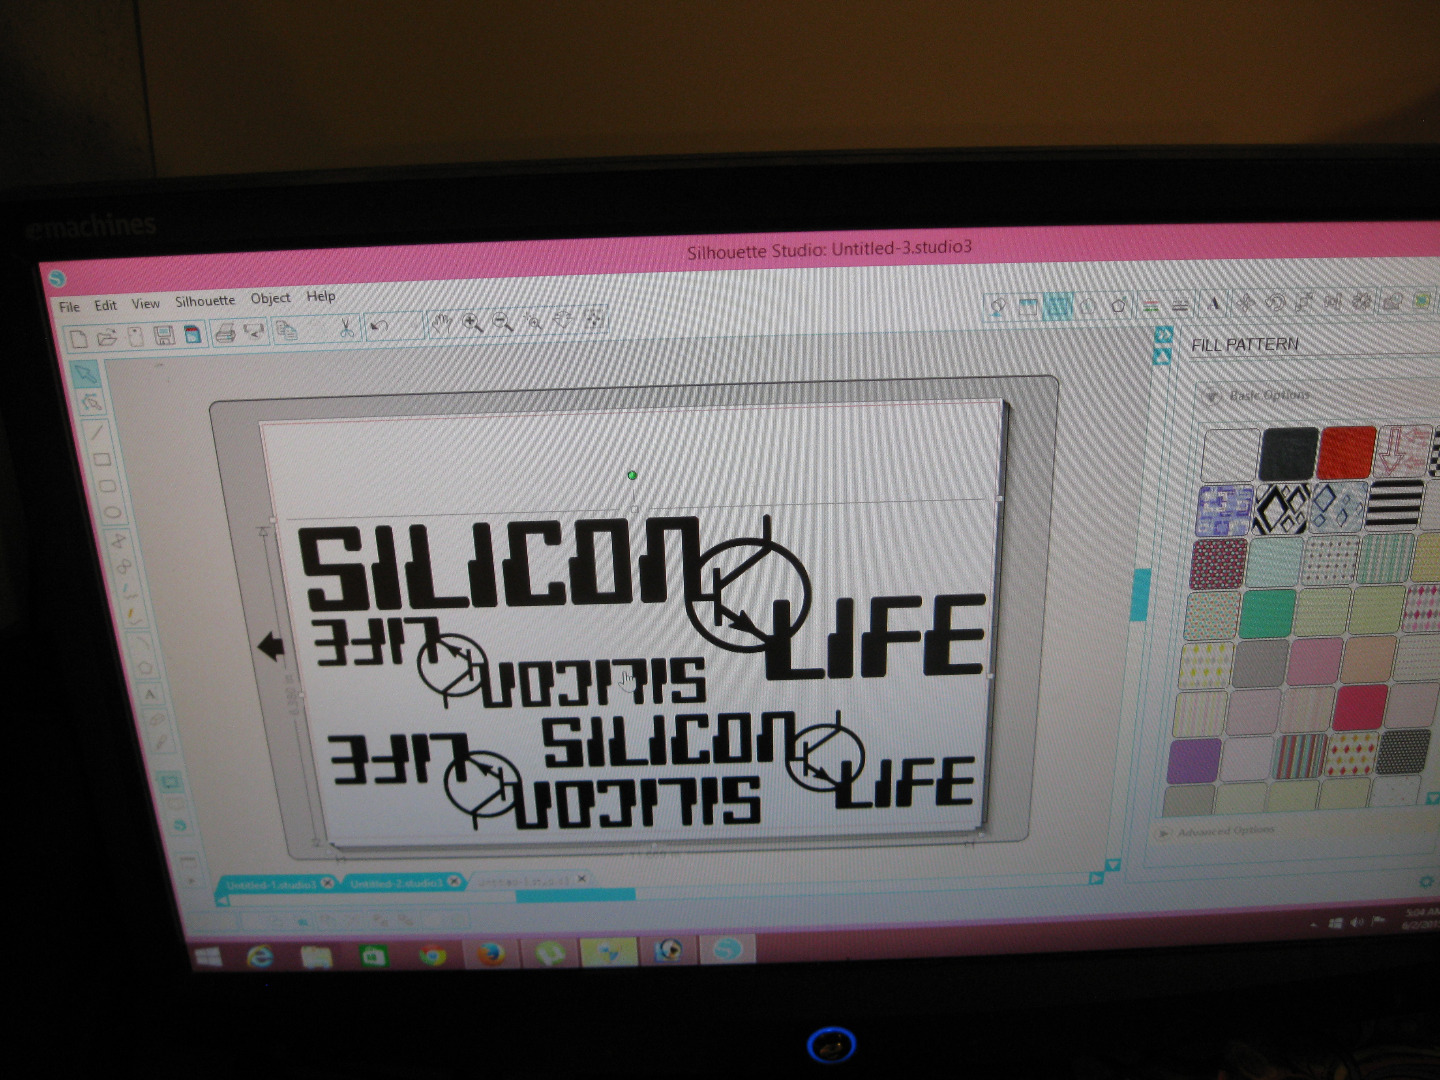
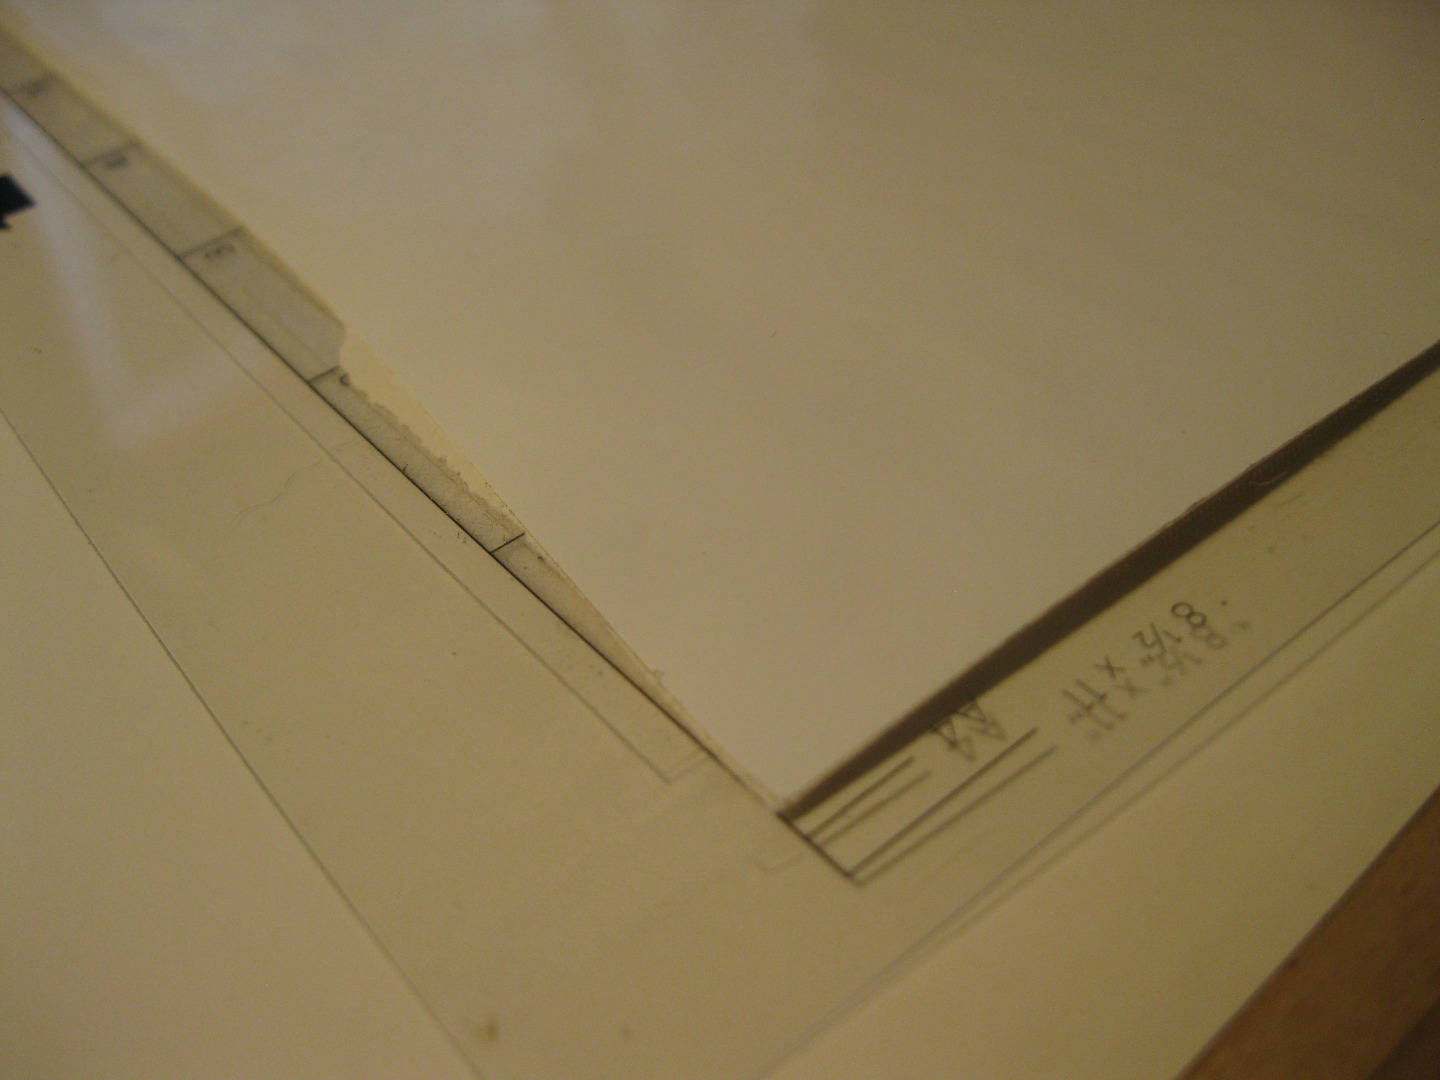
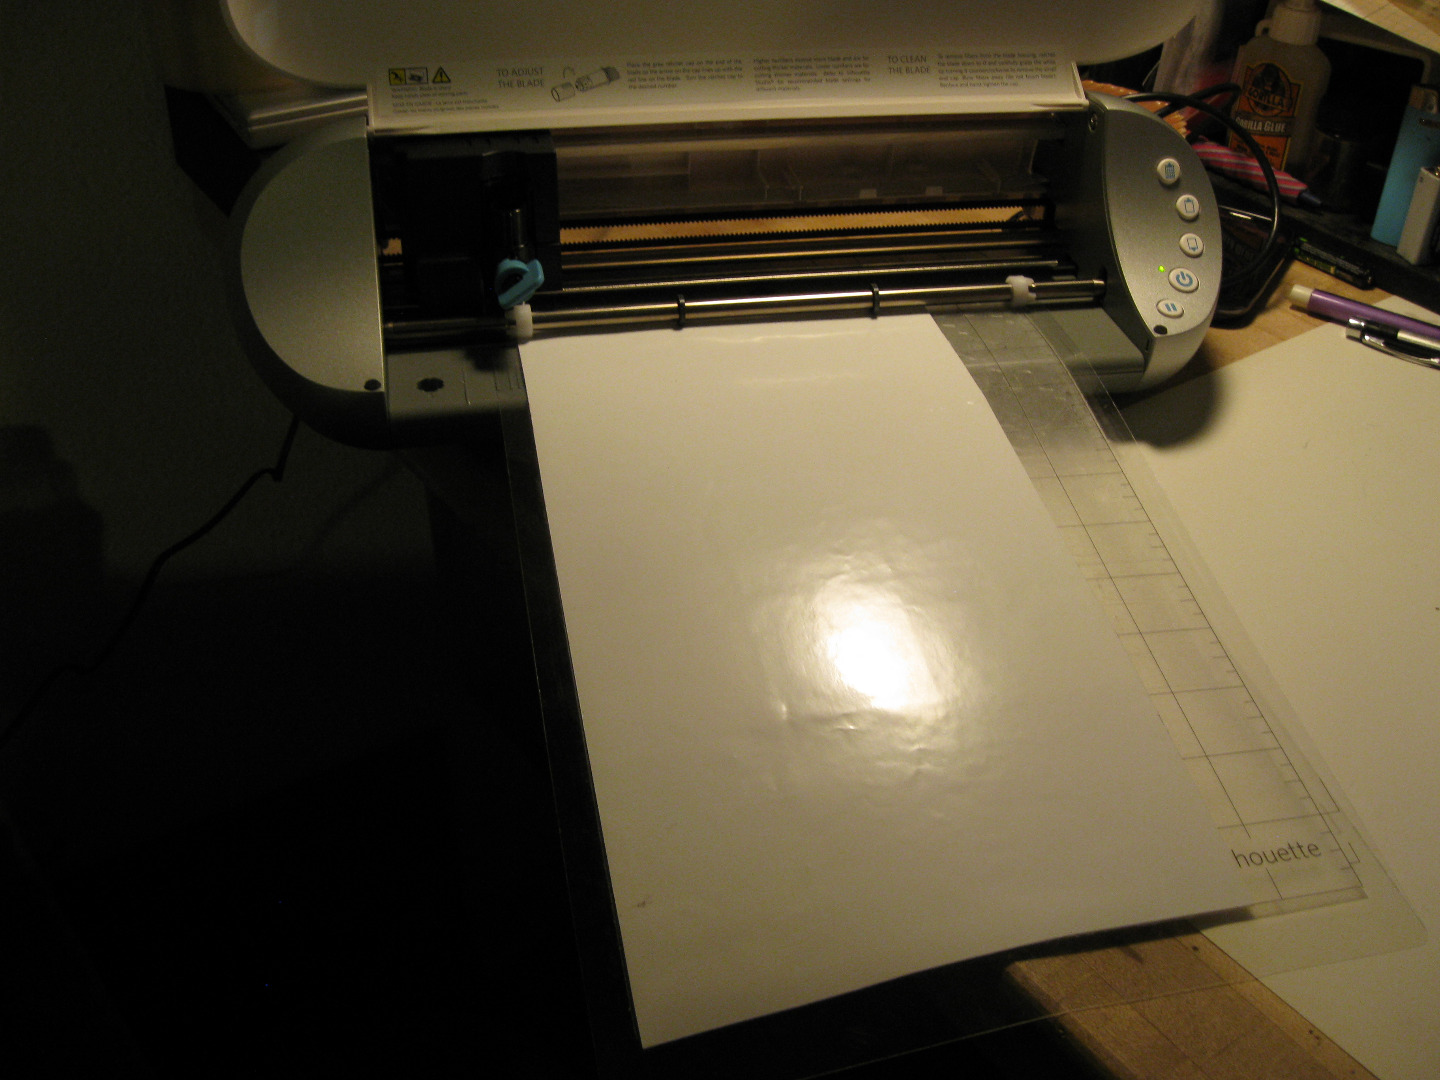
I connected the Silhouette and opened the studio software. Importing the image was reallt straight forward- select FILE then click on IMPORT>IMPORT TO LIBRARY, select your image and your done. The library window will open and the new image will appear, highlighted. When you click the image it opens in the editing window. Close the library and prepare the image for cutting.
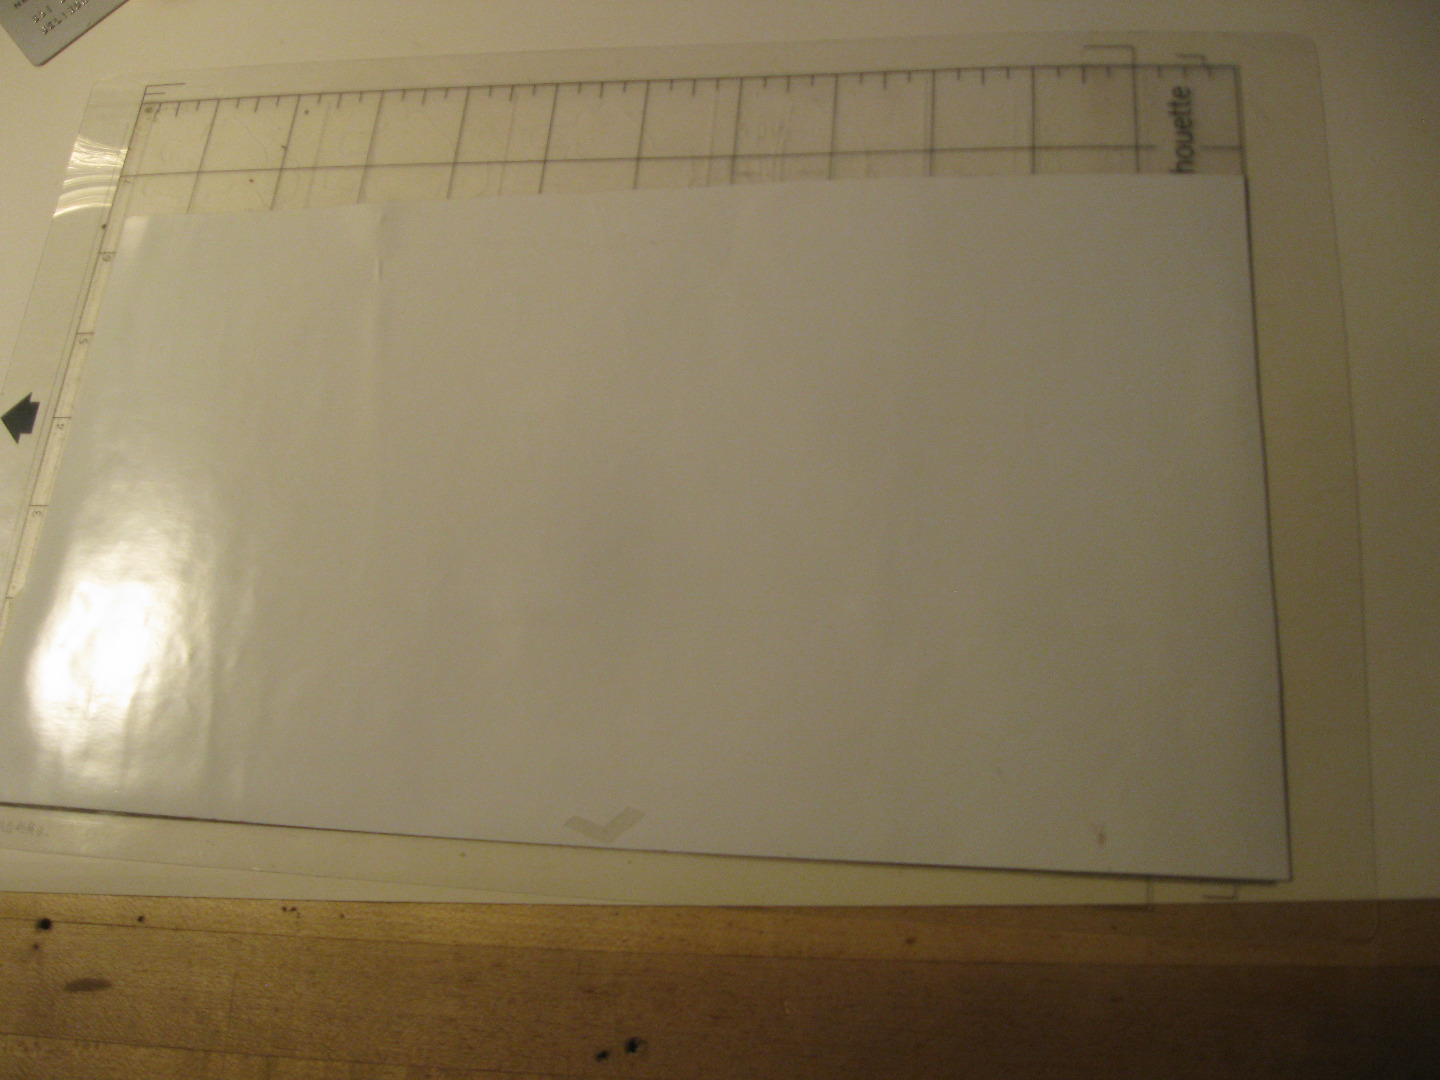
The best way to learn how to use the editing software is to just play around and try stuff- you can always close it and restart it if you get stuck. The work area is basically a map of the cutting mat that feeds through the machine. I used the PAGE SETTINGS window to adjust the work area to the size of my vinyl on the cutting mat. I made sure that the work area on the screen aligned with the vinyl on the mat.
Clicking on the image gives you tabs to change the size and proportions of the image. You can also click and drag the image around the work area. When the image was the right size and in the right area of the mat it was time to convert it from a JPEG to a vector image. Clicking OBJECT>TRACE opens the trace window. Click SELECT TRACE AREA and drag a box around the area of your design. I turned off the high pass filter to highlight the entire black area of the design and clicked TRACE. This gave me a nice red outline on all of the black areas. If you don't get the results you expected, try adjusting the threshold and retracing it.
When I had a satisfactory outline of my design I clicked SILHOUETTE>CUT SETTINGS. When you select a material a drop down menu will open with suggested settings for the blade depth and speed. I used the standard vinyl setting and it worked fine- the vinyl cut and the backing paper didn't. Always try a simple test cut to insure your settings are correct. It should cut the material without cutting the backing paper or cutting mat. The blades are pricey so don't over-work them.
When the cut settings were all done I made sure the machine was on and connected and fed the cutting mat into it. I clicked SILHOUETTE>SEND TO SILHOUETTE, opening the send to Silhouette window. I clicked start and the machine did it's thing. Afew minutes later I hade four different sizes of the 'Silicon Life' sticker. Now it's time to weed them, add the transfer tape and apply one to the family car.
Weeding and Skinning the Sticker
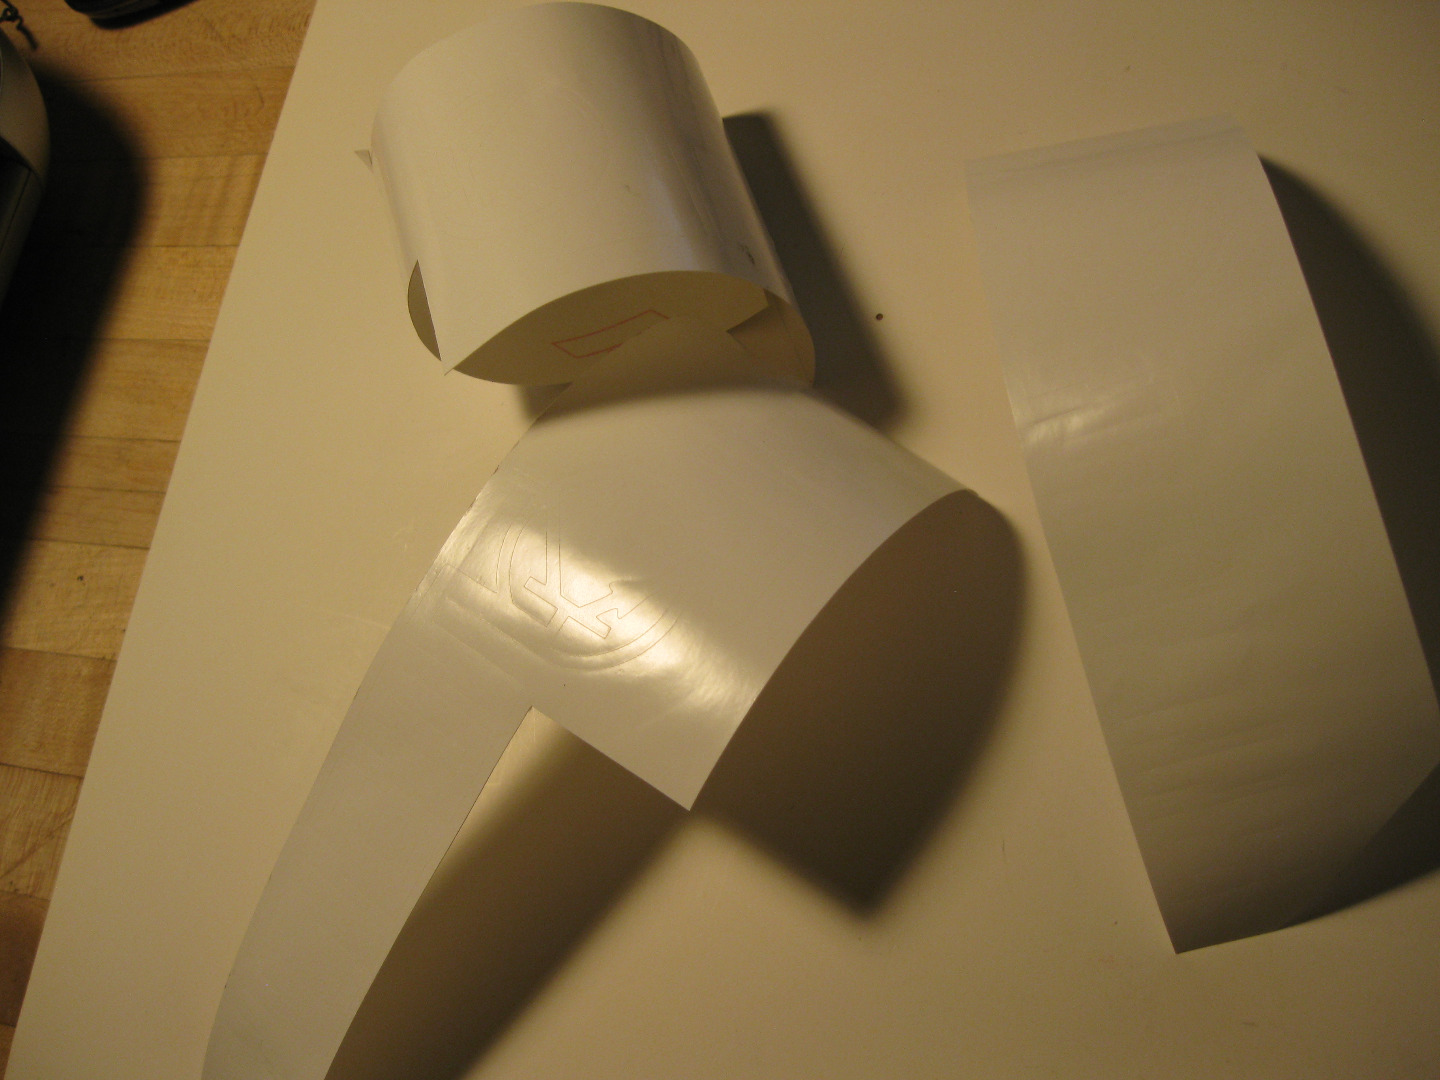
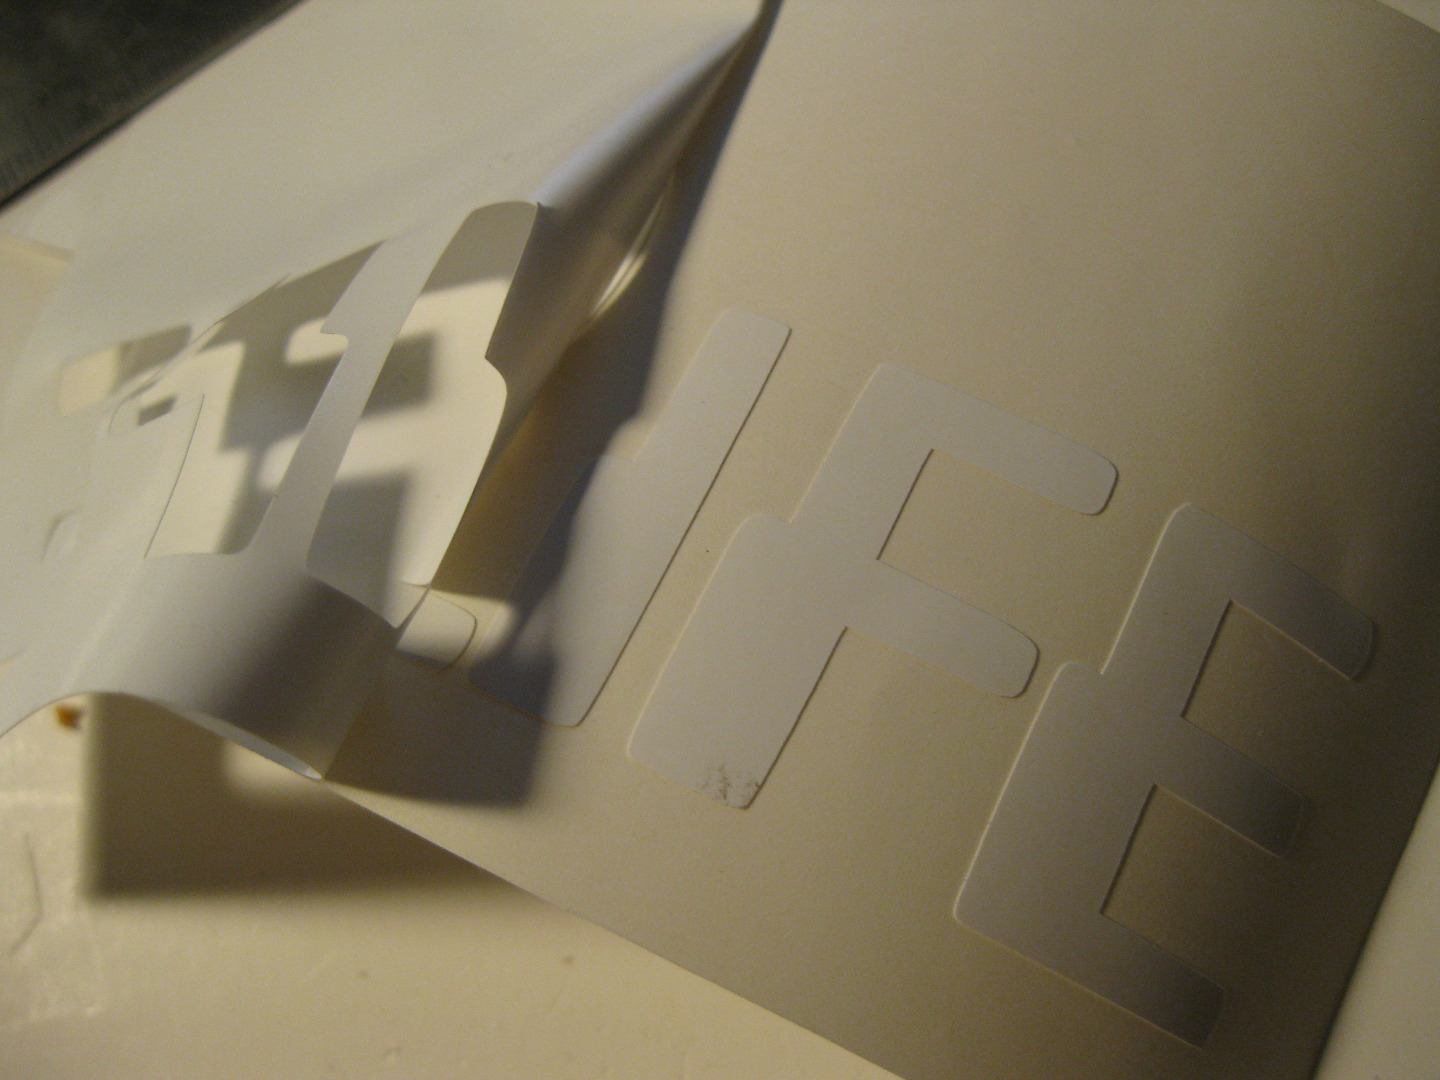
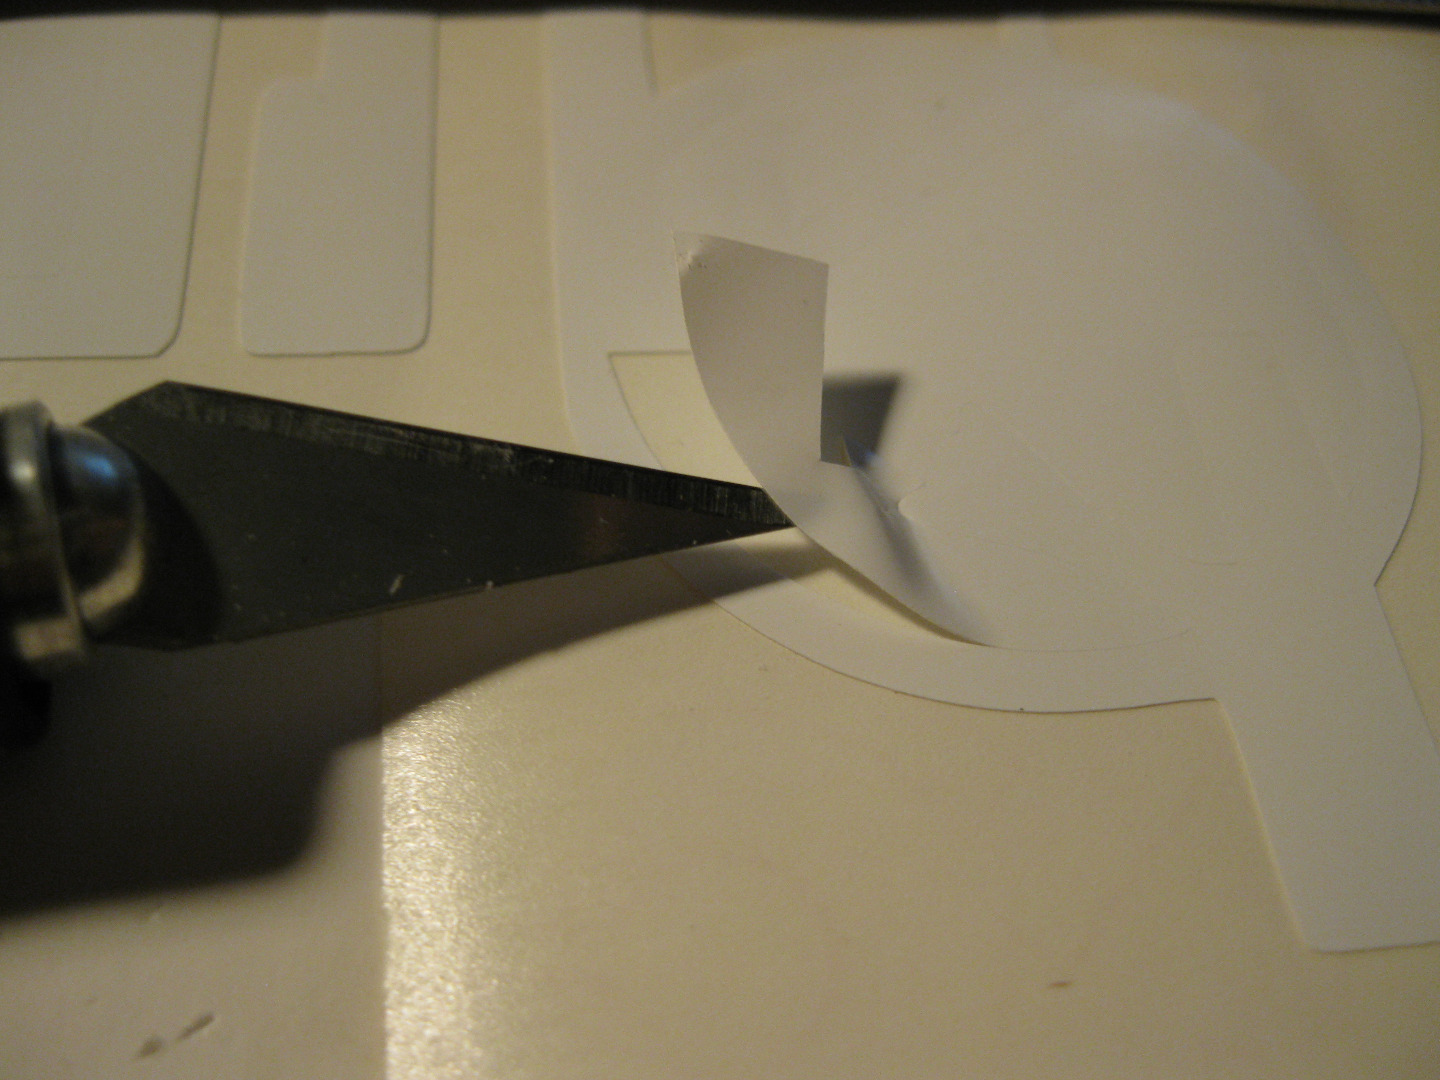
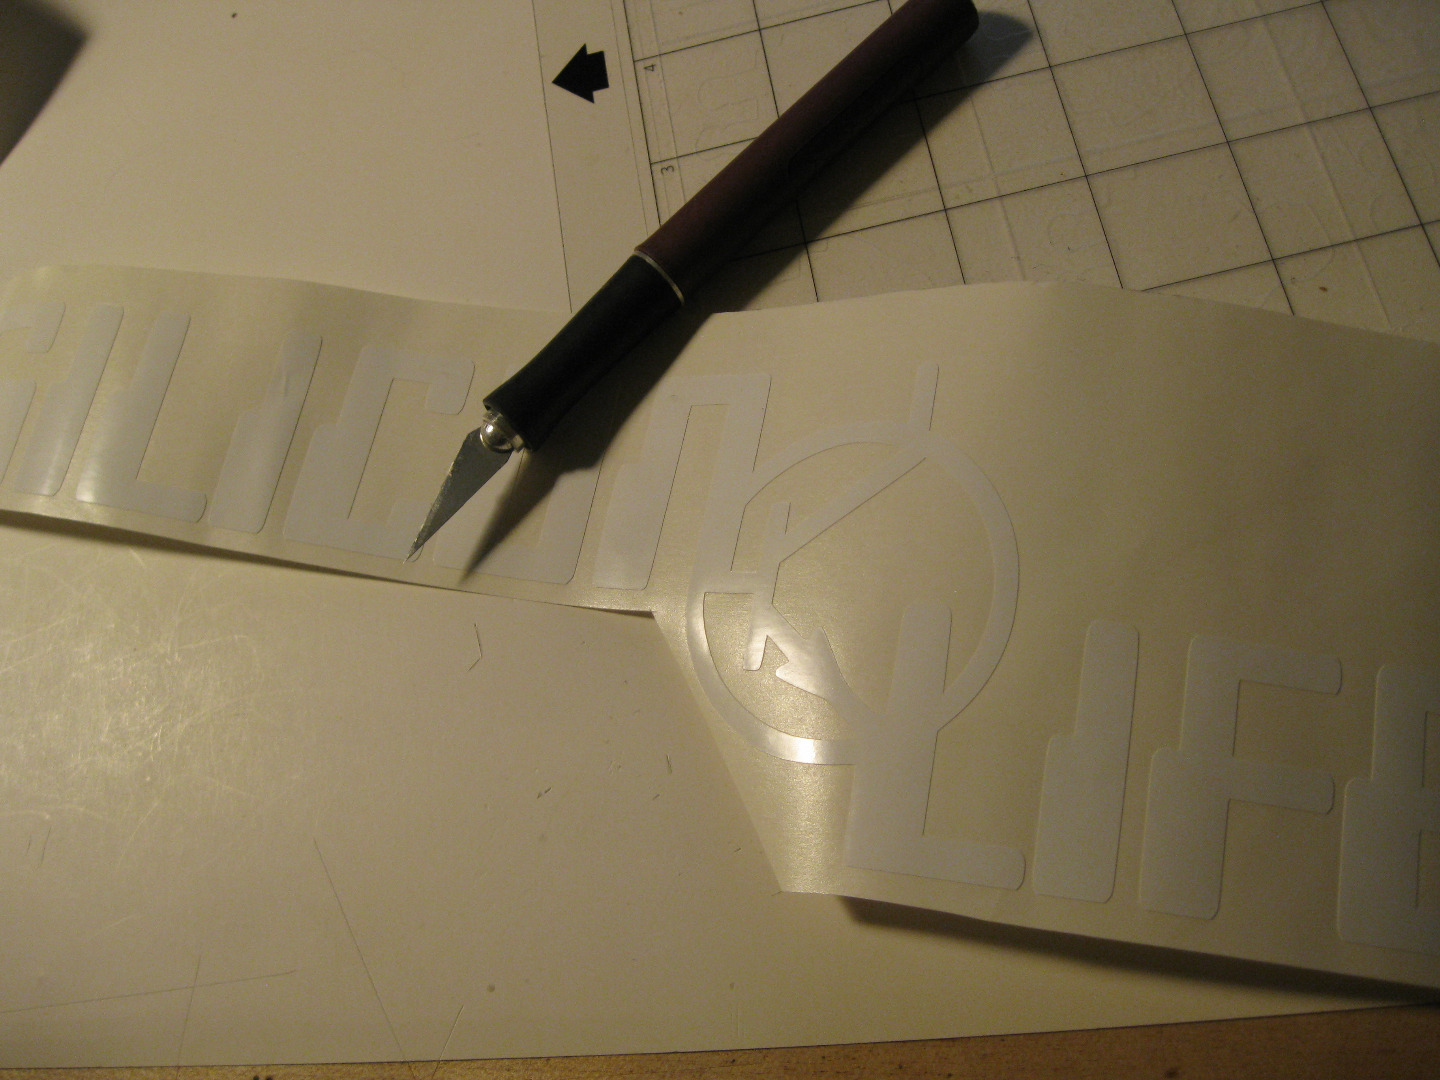
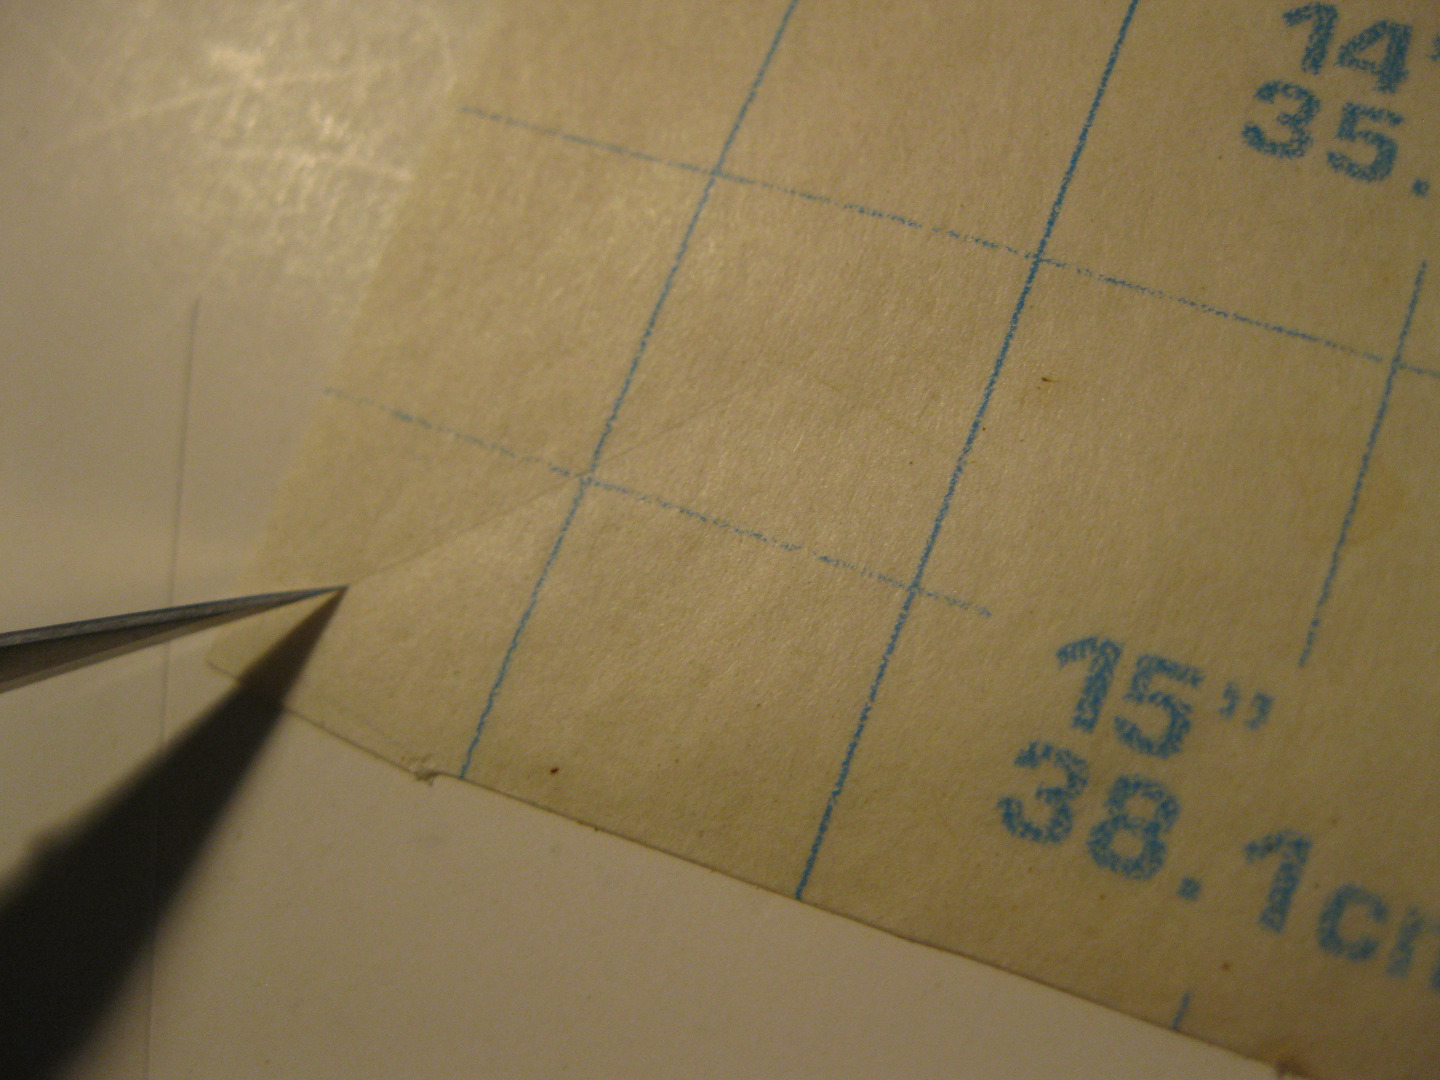
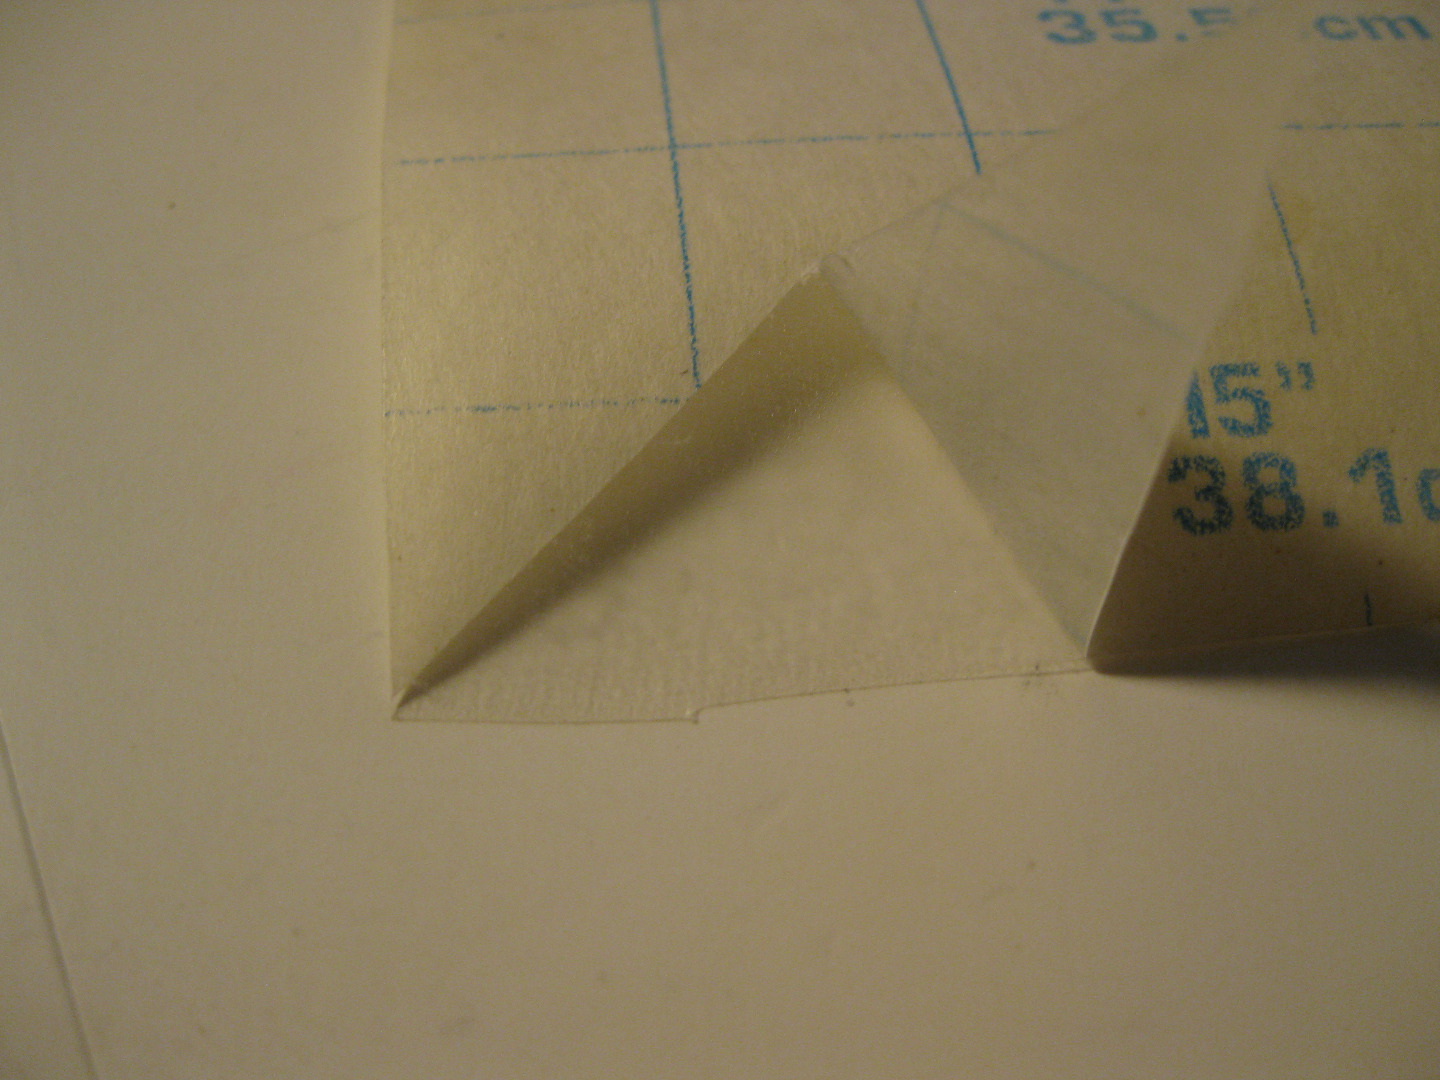
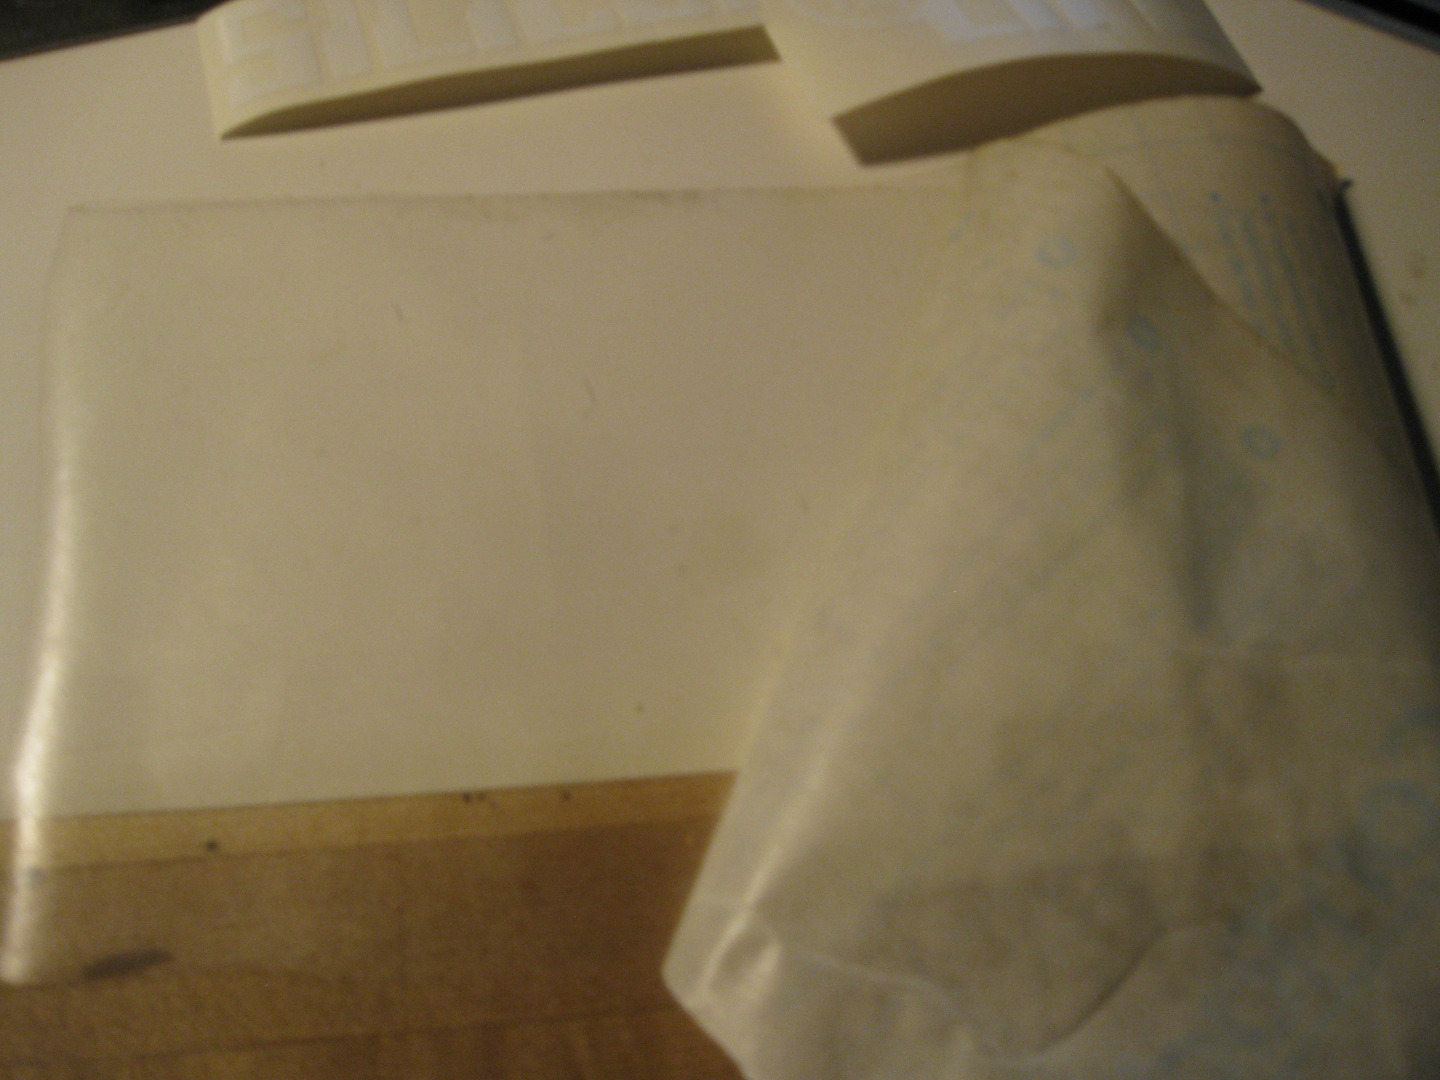
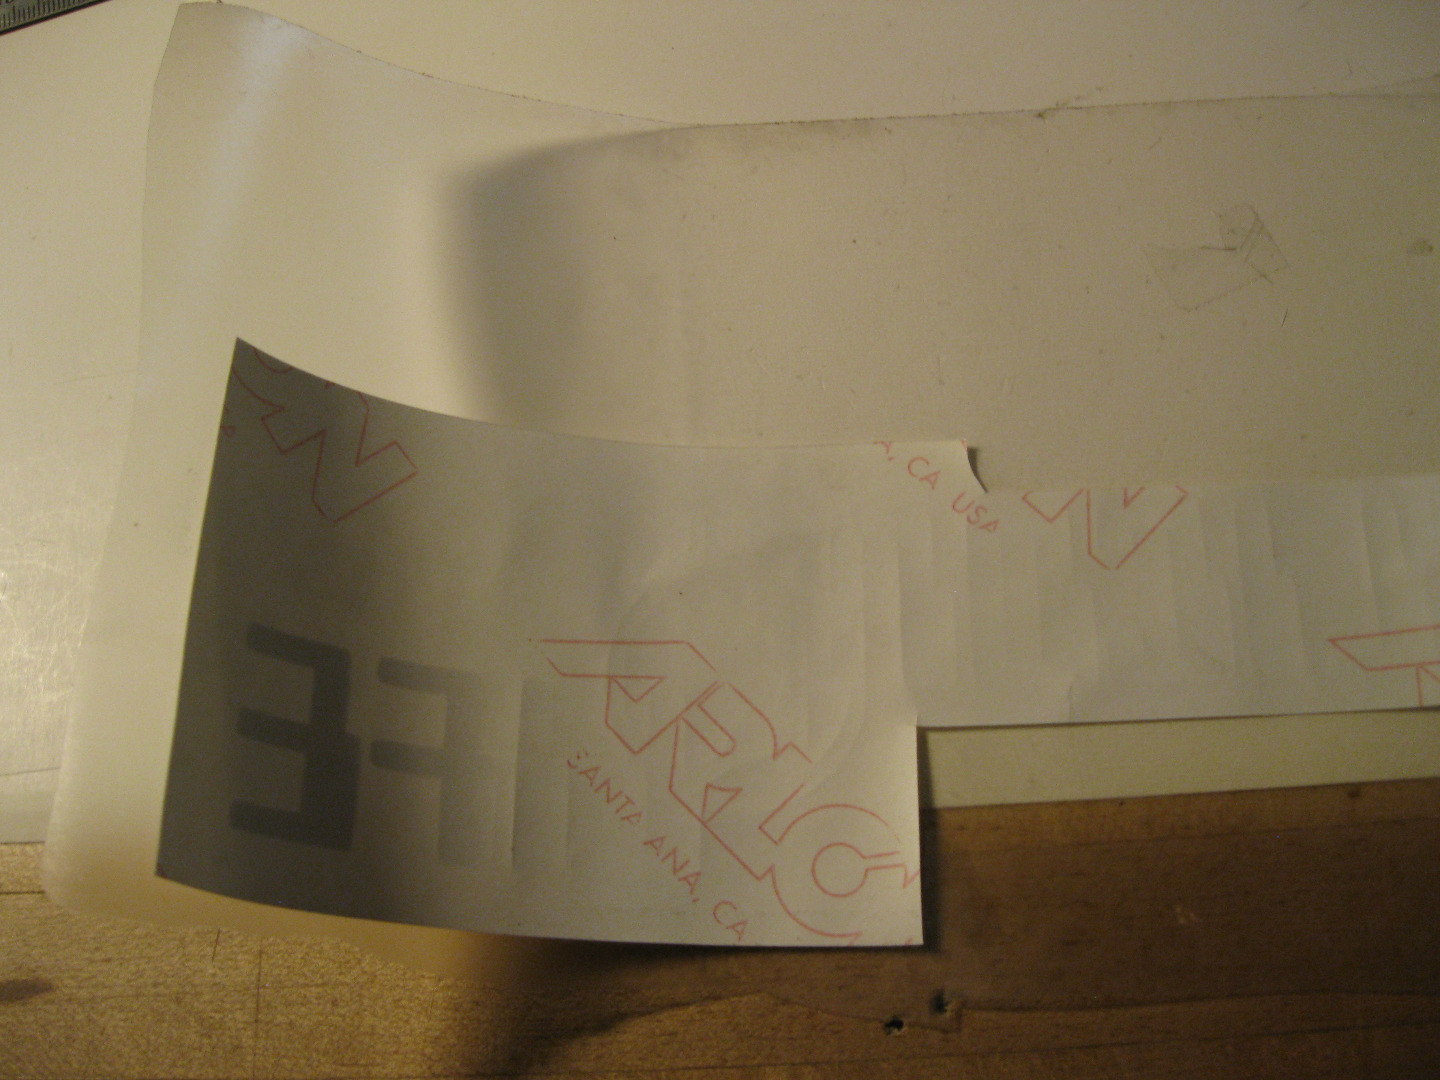
Weeding is the process of removing all the vinyl that's not part of your image. Start with the vinyl around the edge of your image. Carefully peel it with very light pension. Make sure that you only remove the unwanted vinyl and don't pull up an edge of the sticker. Take your time.
When the outside is removed, it's time to get rid of any internal bits. It's hard to see where the cut line is, but having the vinyl at just the right angle to the light helps. I use an hobby knife to gently peel up any 'holes' in the image. The idea is to remove the vinyl without messing up the backing paper so think like a surgeon and use a steady hand. Check your work against the original image to make sure get everything.
When the sticker is completely weeded it's time to skin it with transfer tape. Transfer tape is a material used to help transfer the delicate cut vinyl to the place you want to stick it. The transfer tape is sticky enough to hold the vinyl in place when you remove the backing paper, but not so sticky that it pulls up the vinyl when you stick the sticker to a surface. They sell transfer tape in varios sizes, but the best bargain I've found is clear Con-Tact brand shelf paper. I simply cut a piece of the clear shelf paper the same size as the vinyl that I cut, removed the backing paper from the shelf paper and stuck it on top of the vinyl sticker. I used a squeegee to get the air bubbles out and it was ready to install on my car.
Installing the Sticker
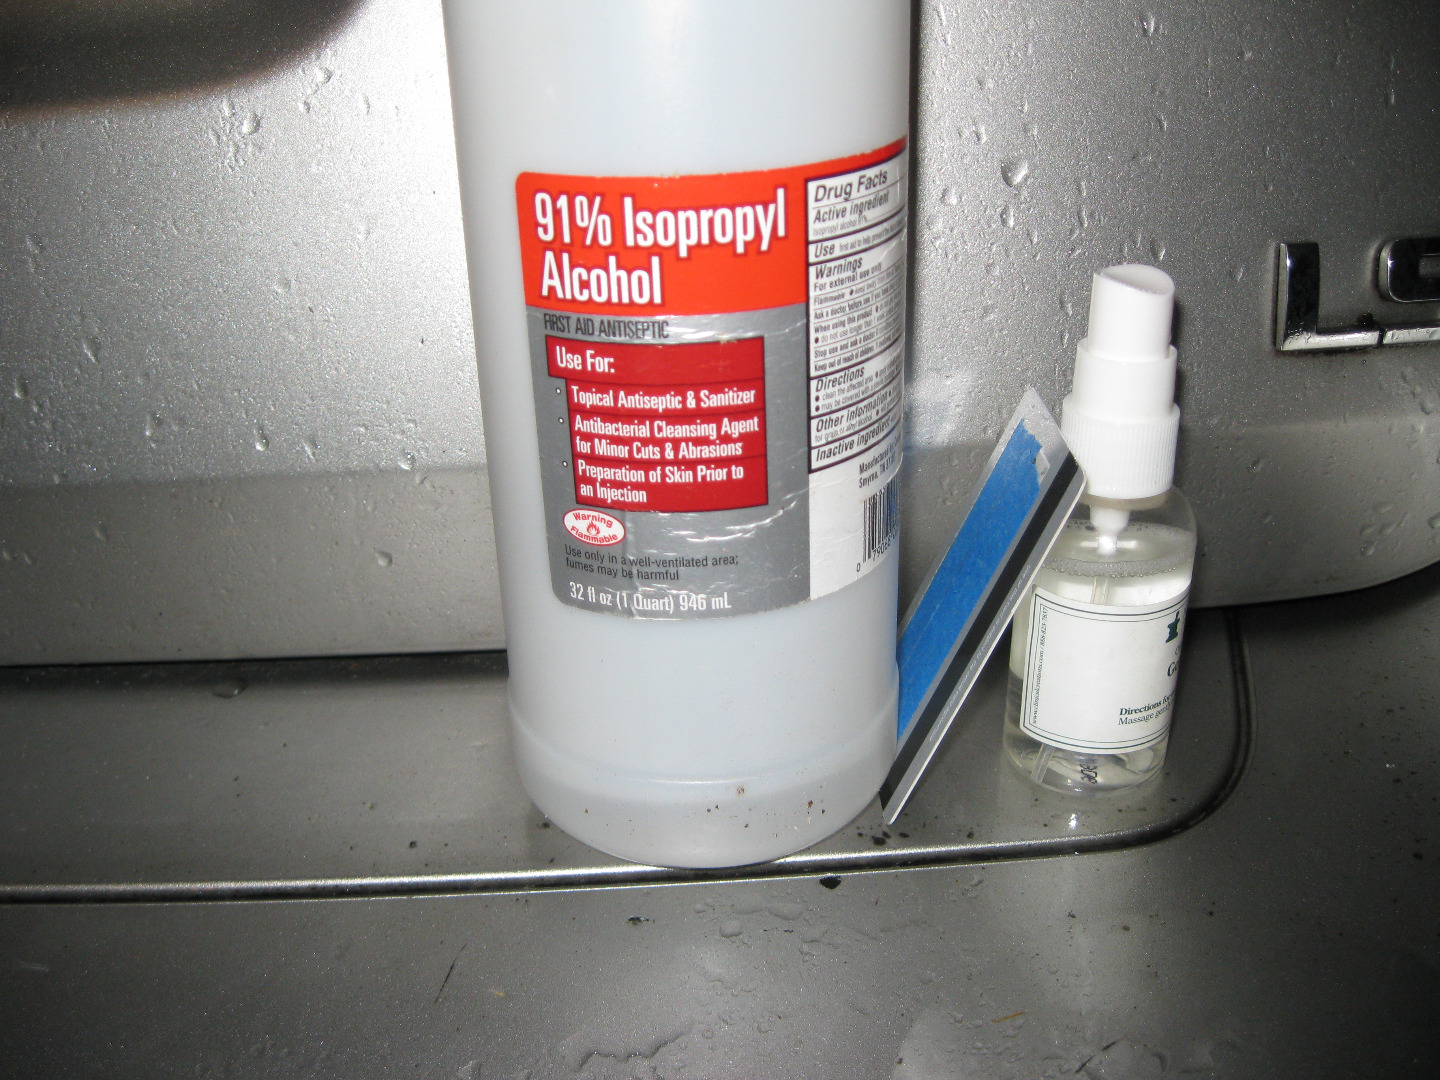
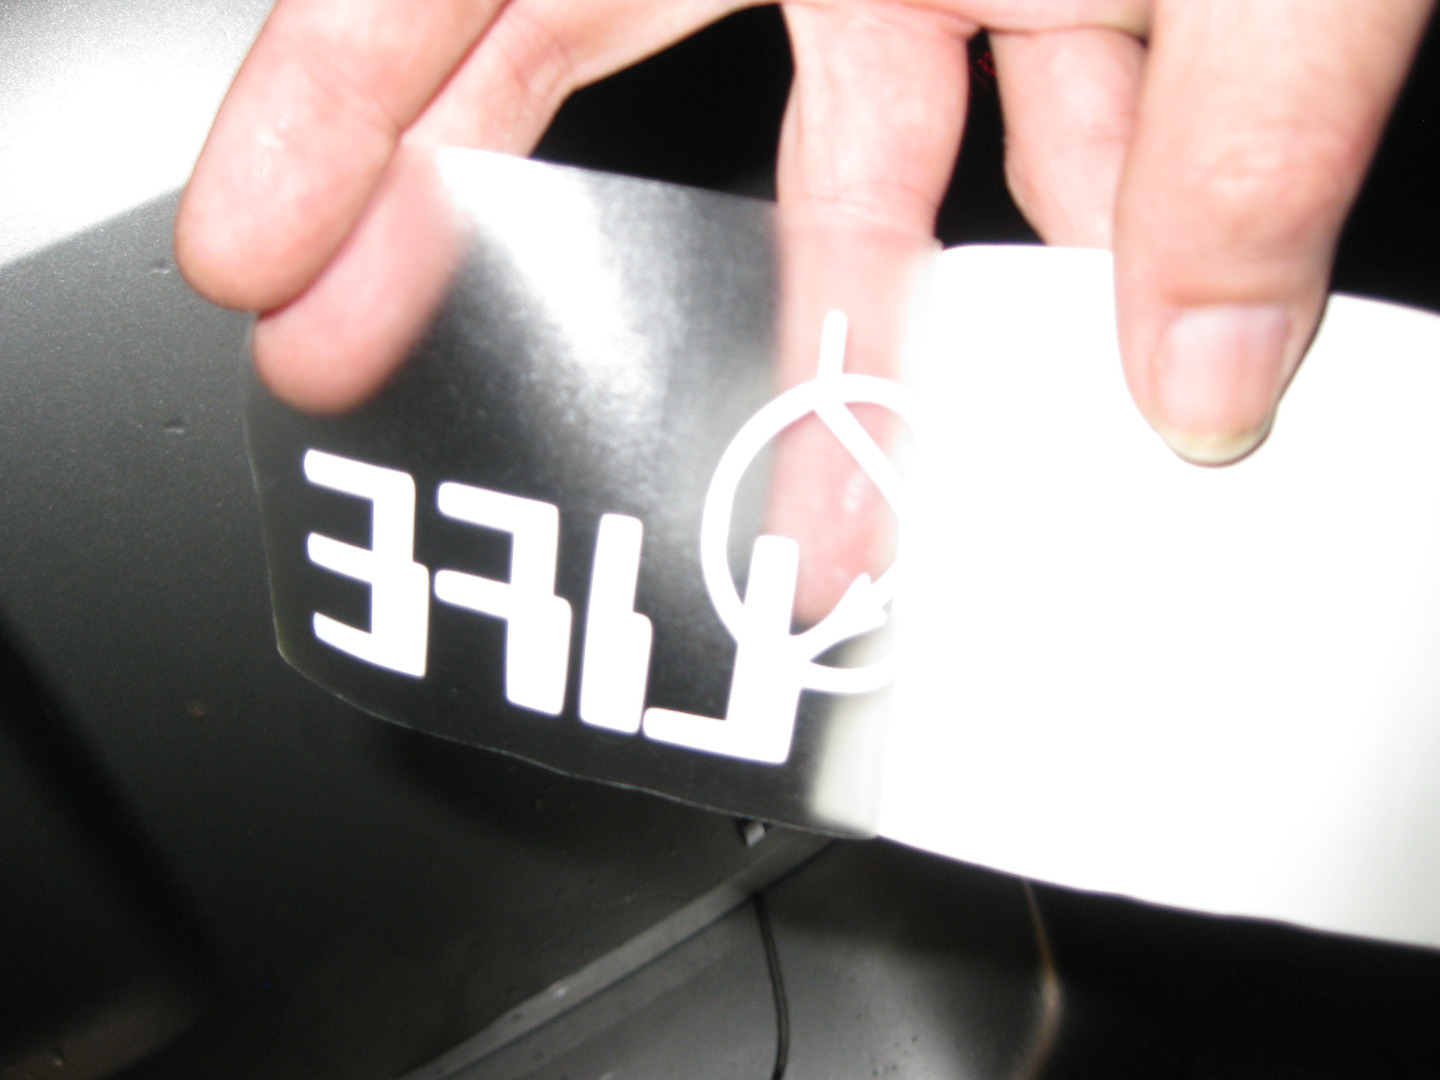
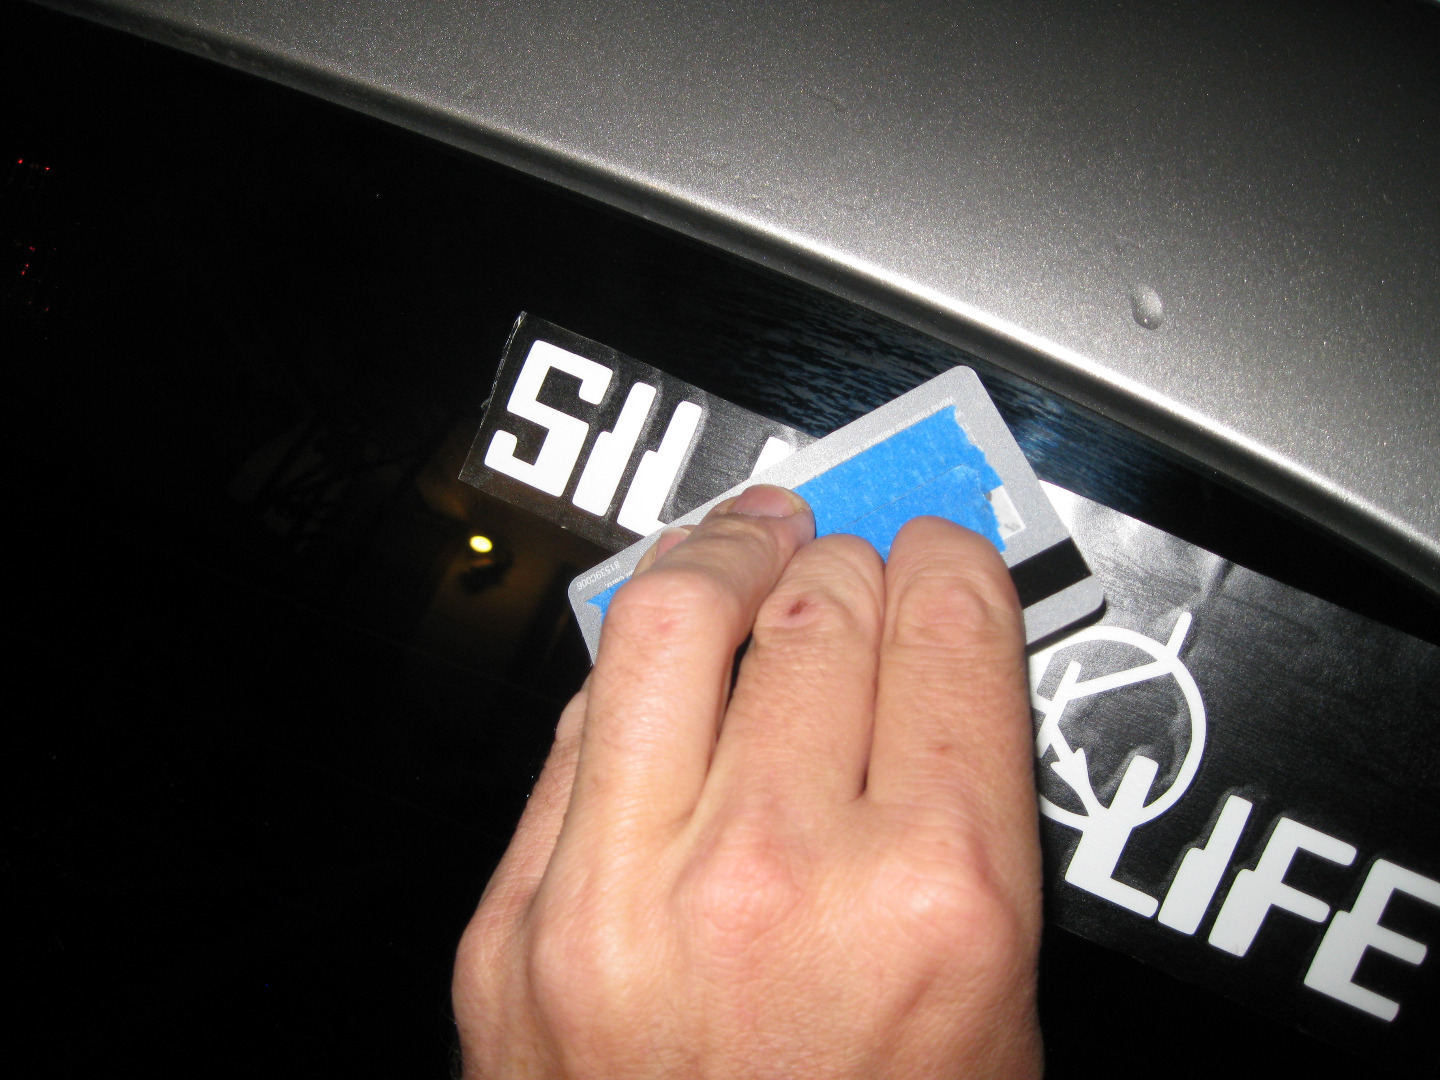
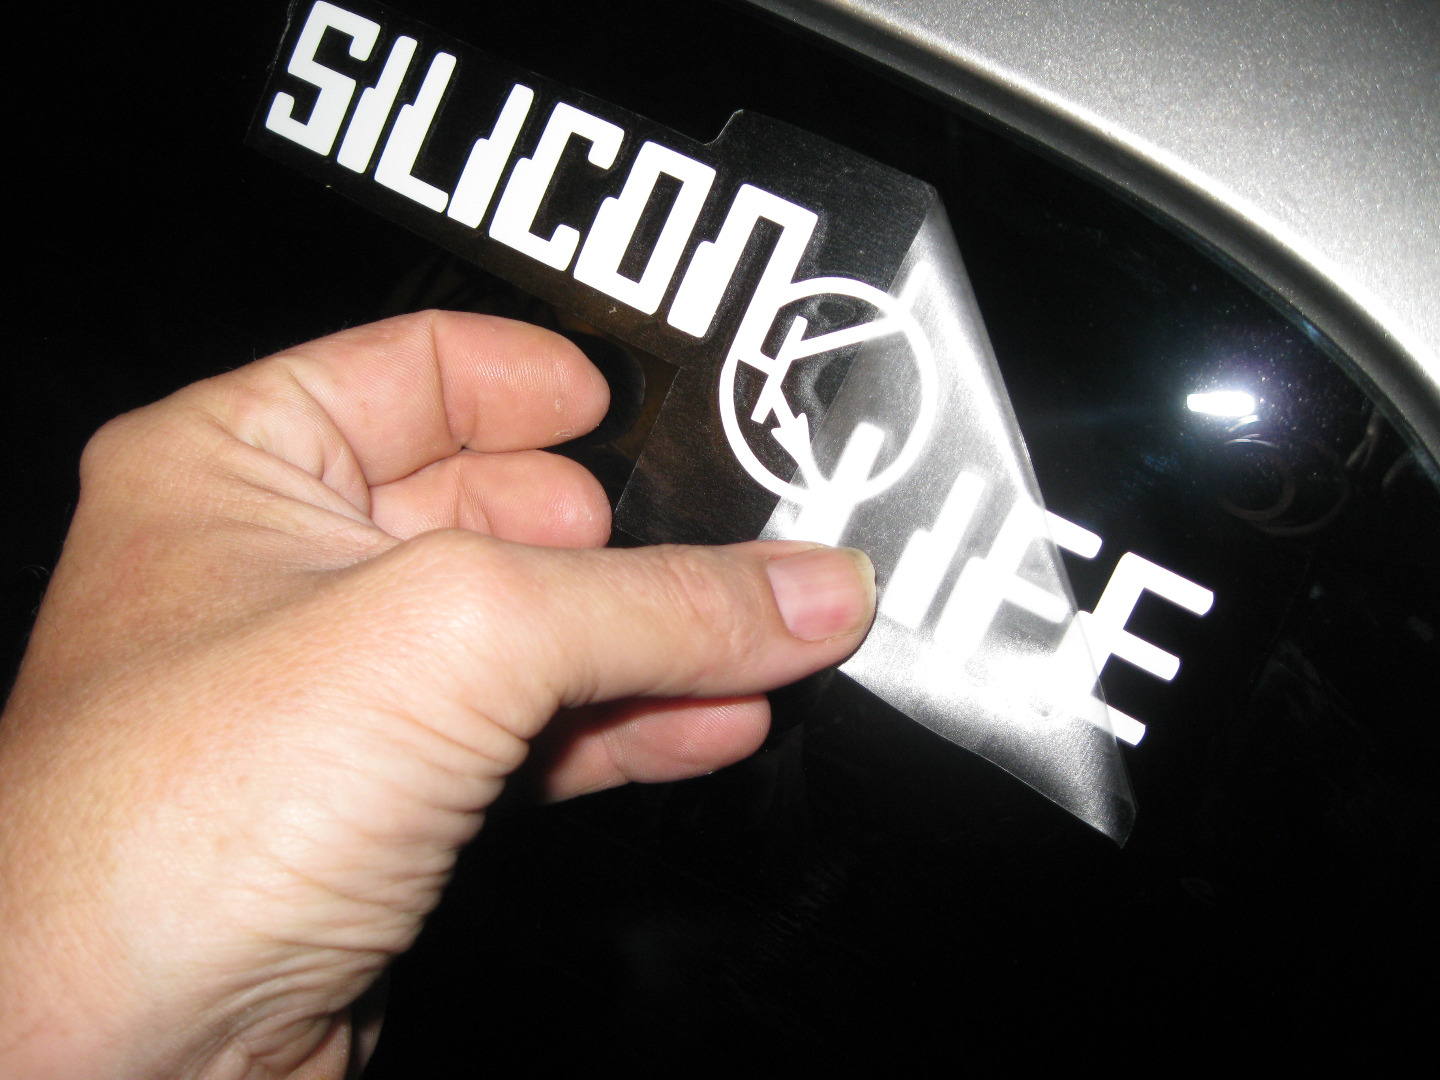
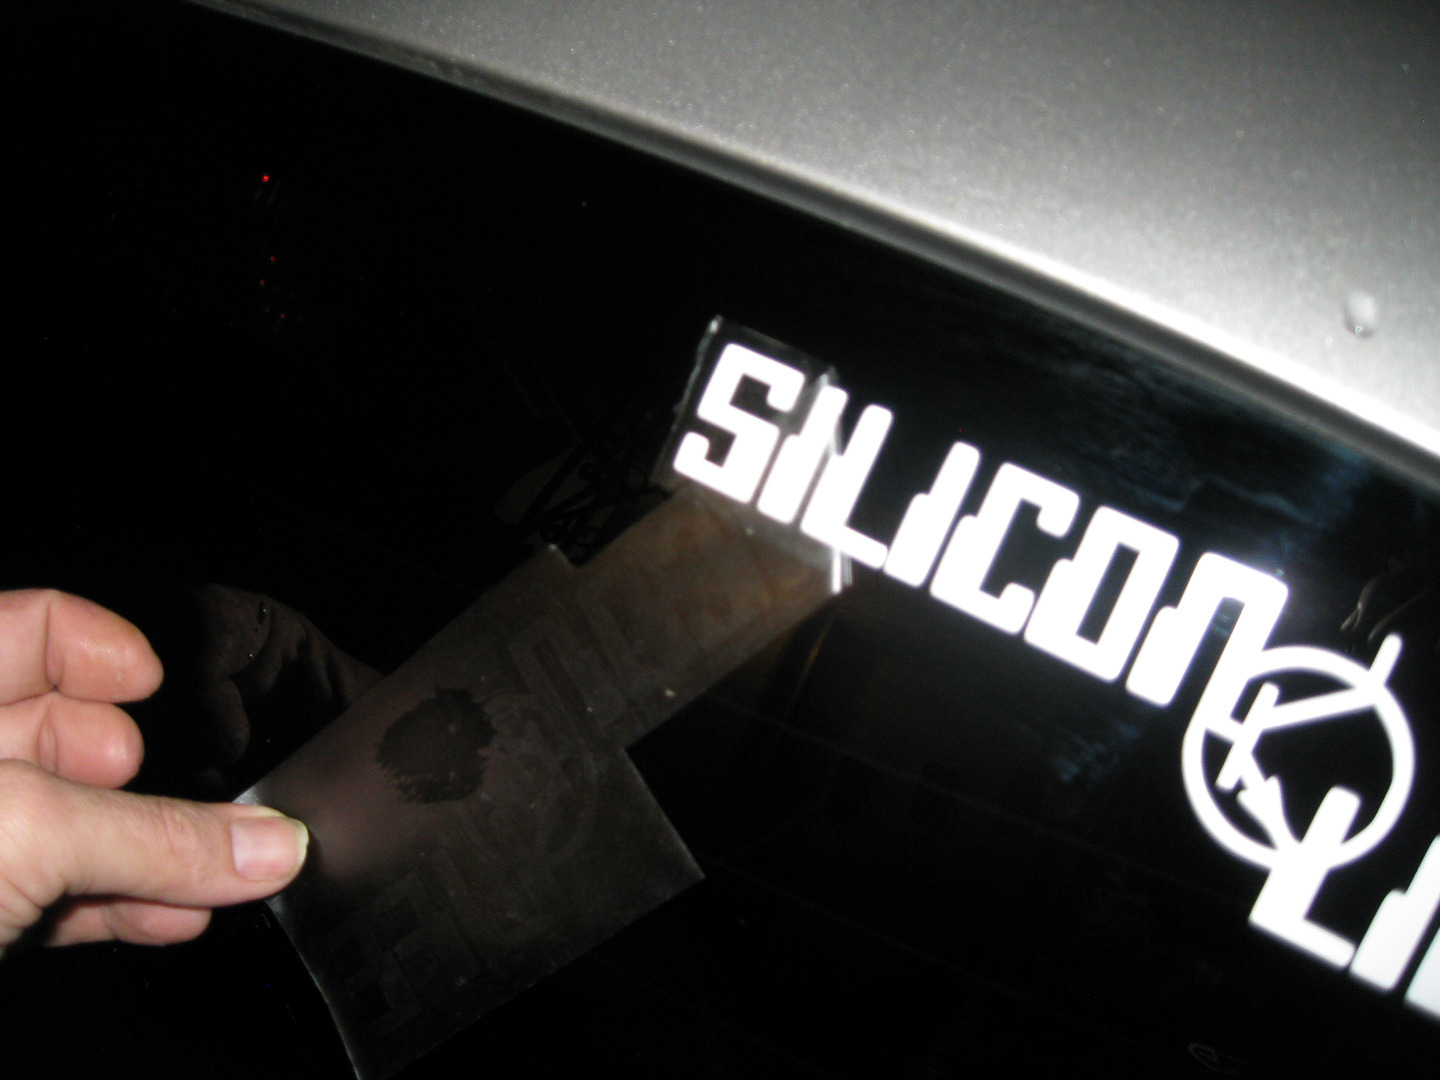
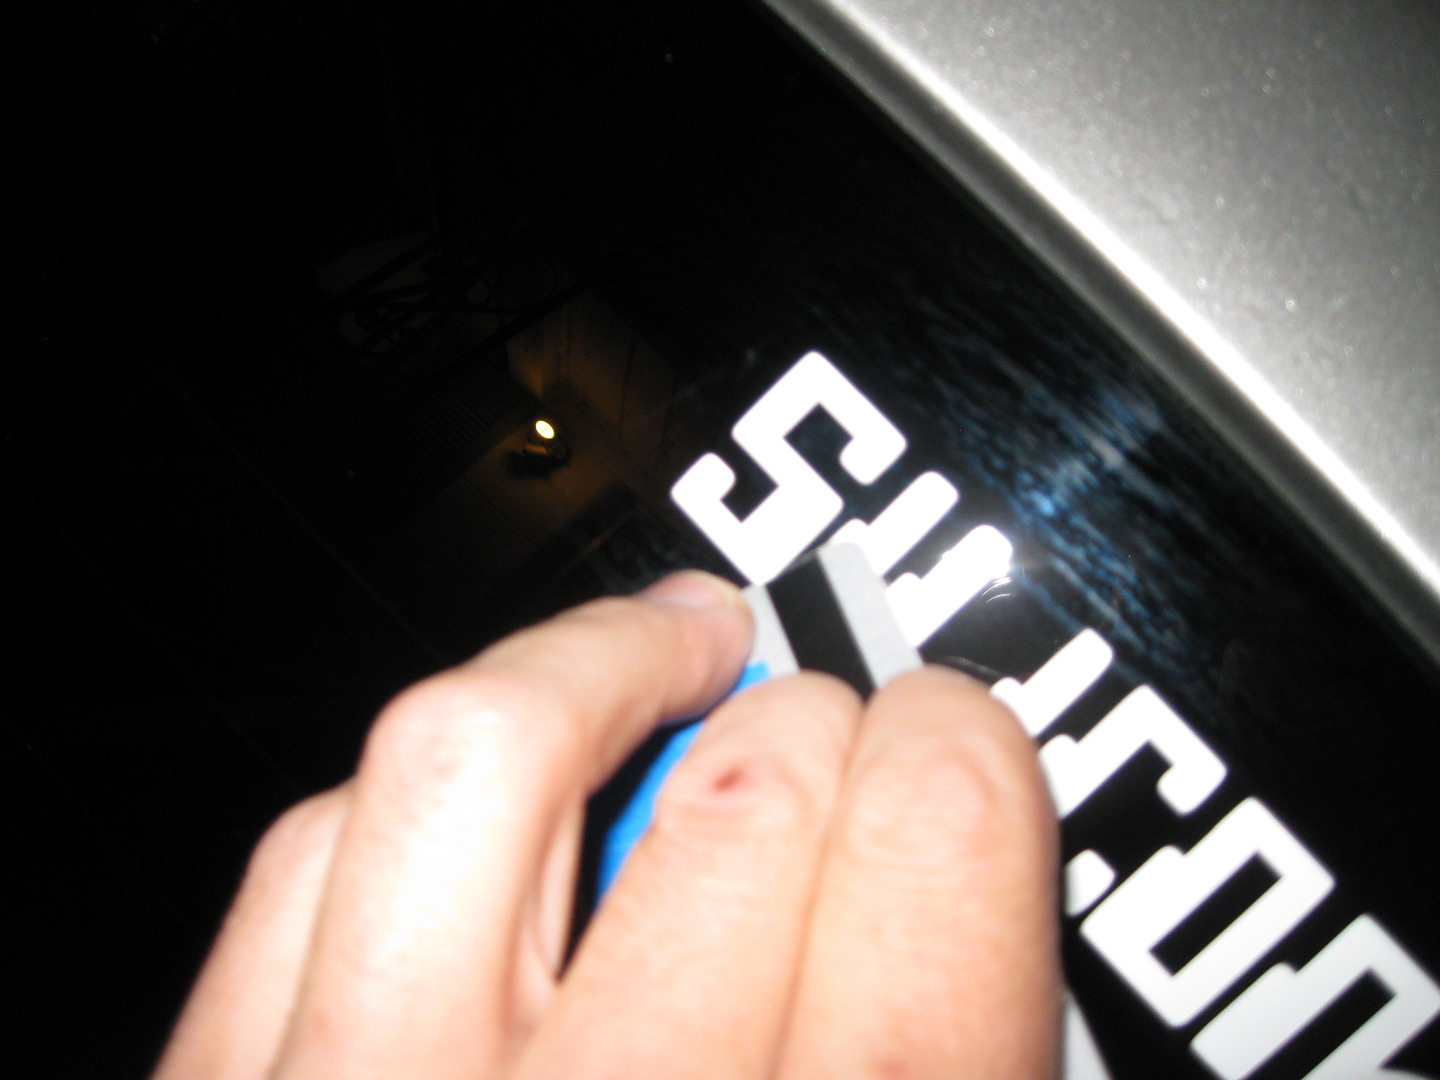
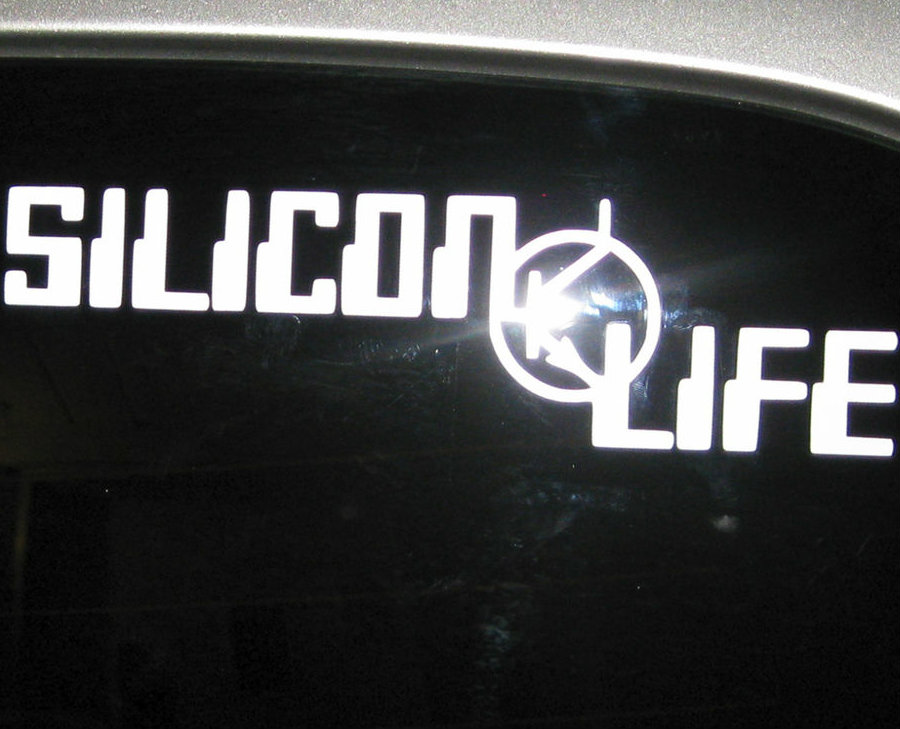
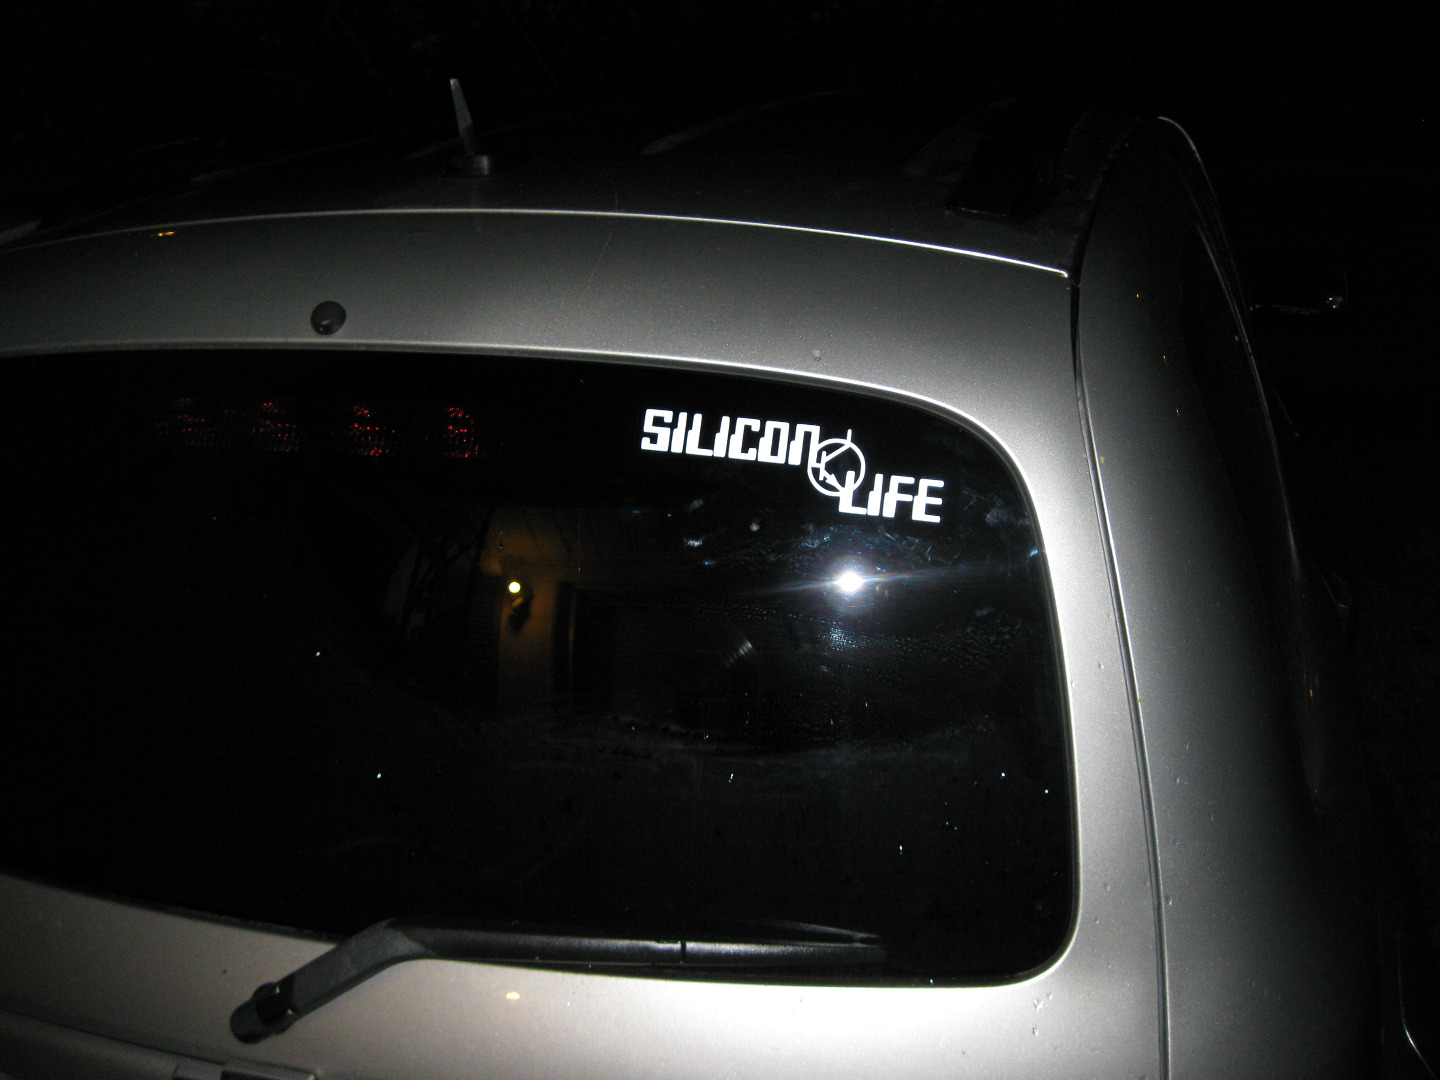
Now comes the moment of truth- putting your new sticker on your car. First, clean the surface really good with soapy water, rinse it and wipe it with alcohol to remove any oil or waxy build up. When the surface is dry remove the backing from your sticker and transfer tape and apply it carefully. When it's stuck it's stuck, so be careful. Use a soft squeegee to remove any air bubbles. Squeegee the sticker very well to insure good adhesion before you remove the transfer tape. Peel it gently and slowly at a flat angle until it's completely free of the surface. Use a credit card to gently smooth out any residual air bubbles.
That's it- enjoy your new sticker.
P.S. Please no Calvins peeing on stuff! Enough already.