Cutting Applique With the Silhouette Portrait
by Dee Conlon in Craft > Fiber Arts
3405 Views, 11 Favorites, 0 Comments
Cutting Applique With the Silhouette Portrait
I've been a quilter for many years. I love the look of applique designs, but hate the time it takes to do all the hand work that hides the raw edges of the fabric. About 6 years ago, I discovered MistyFuse™, a lightweight fusible web that is ironed on the back of the applique fabric, then ironed to the background fabric for a clean, fused and finished look.
MistyFuse™ helped me over one hurdle, but the fussy little fabric pieces still had to be cut out – enter Silhouette! Now I can easily cut out my applique pieces quickly! There were a few bumps in the road, so, take the advice of a veteran – try this method for success.
Supplies
- Fabric for your Applique Designs
- MistyFuse™*
- Freezer Paper
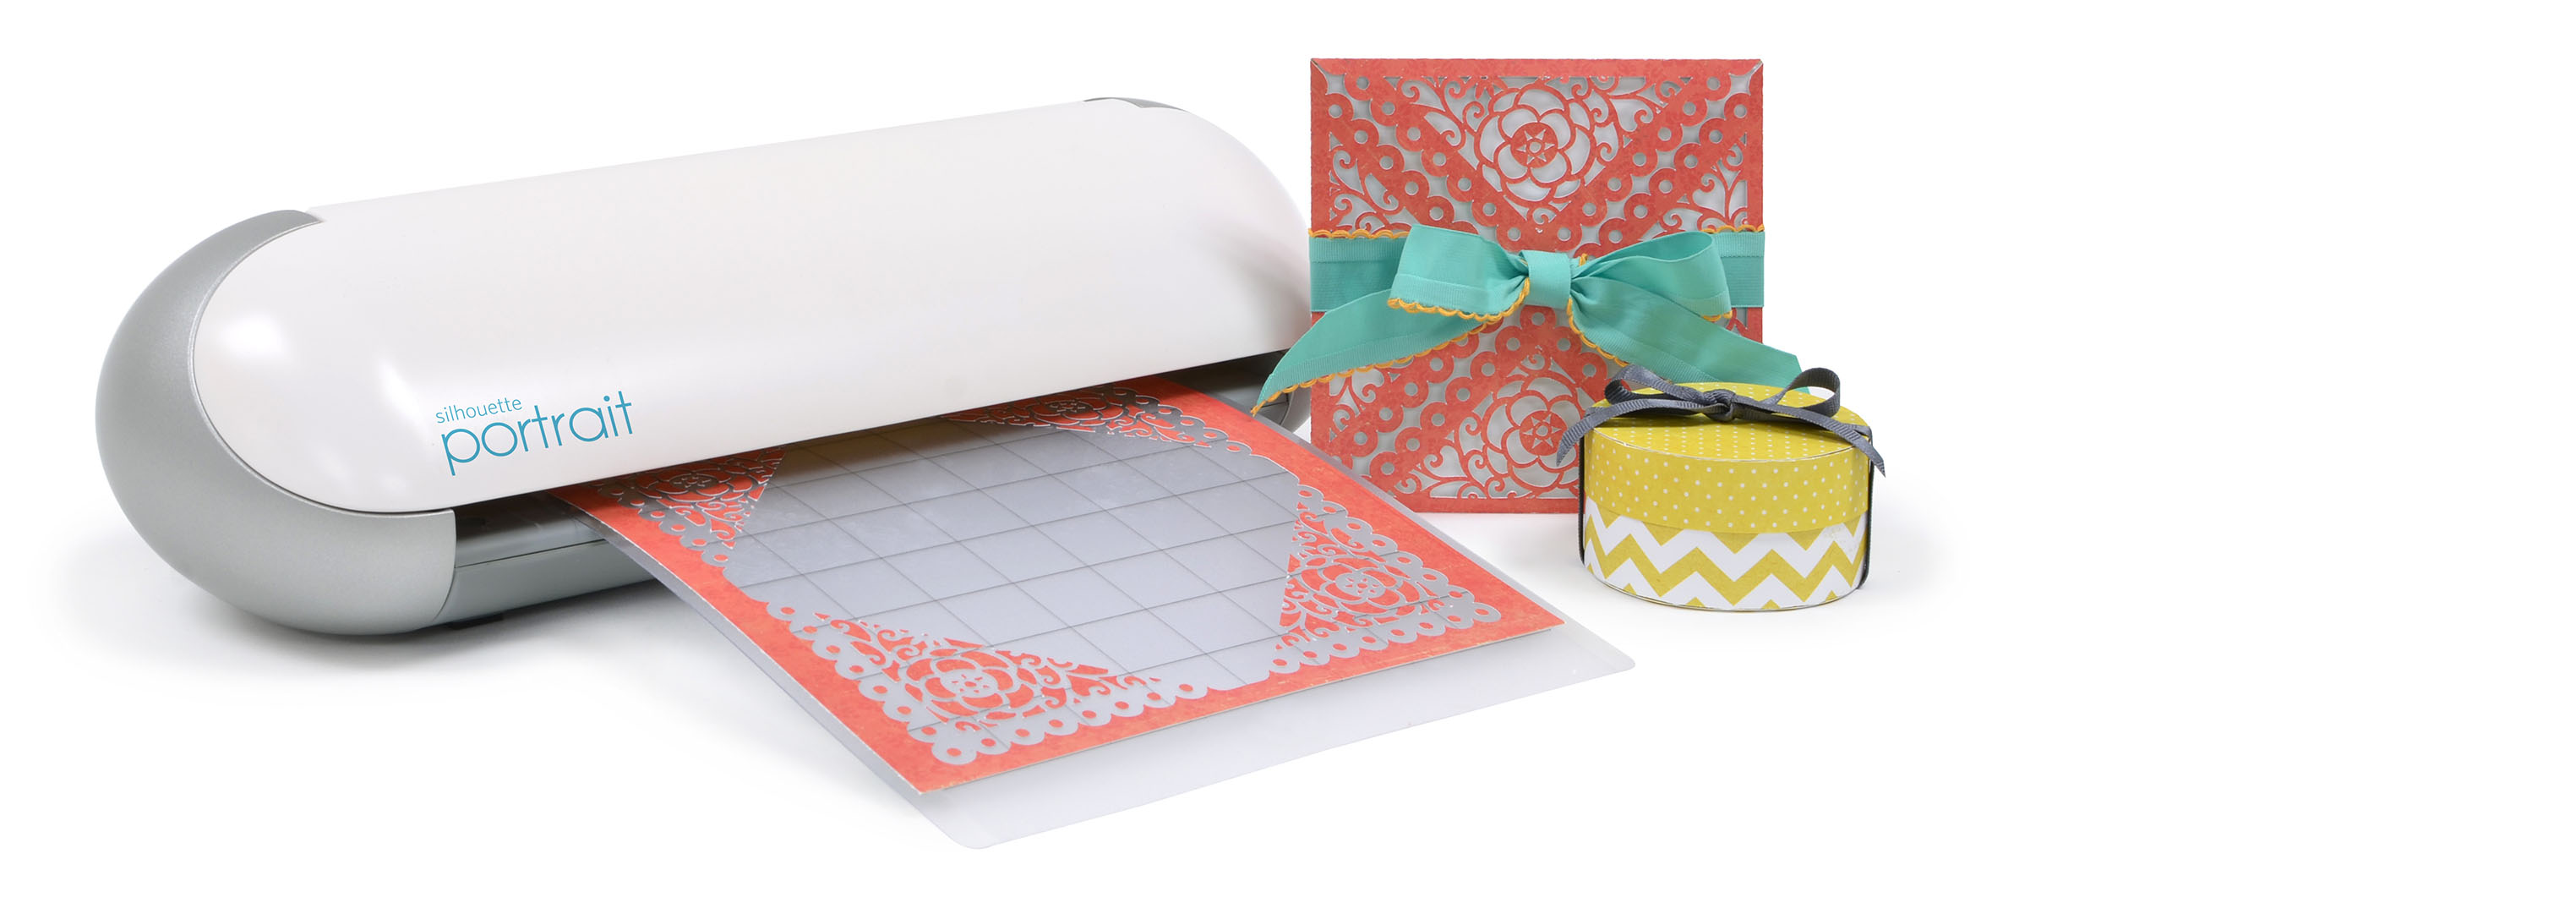
- Silhouette Portrait
- Silhouette Fabric Cutting Blade
- Rotary Cutter, ruler and cutting mat (optional, but makes the job a lot easier)
*MistyFuse™ is my favorite fusible product, and can be purchased at www.mistyfuse.com, and is available at many craft or fabric shops. If you prefer to use a different fusible product, feel free to substitute your favorite.
Prepare Your Fabric
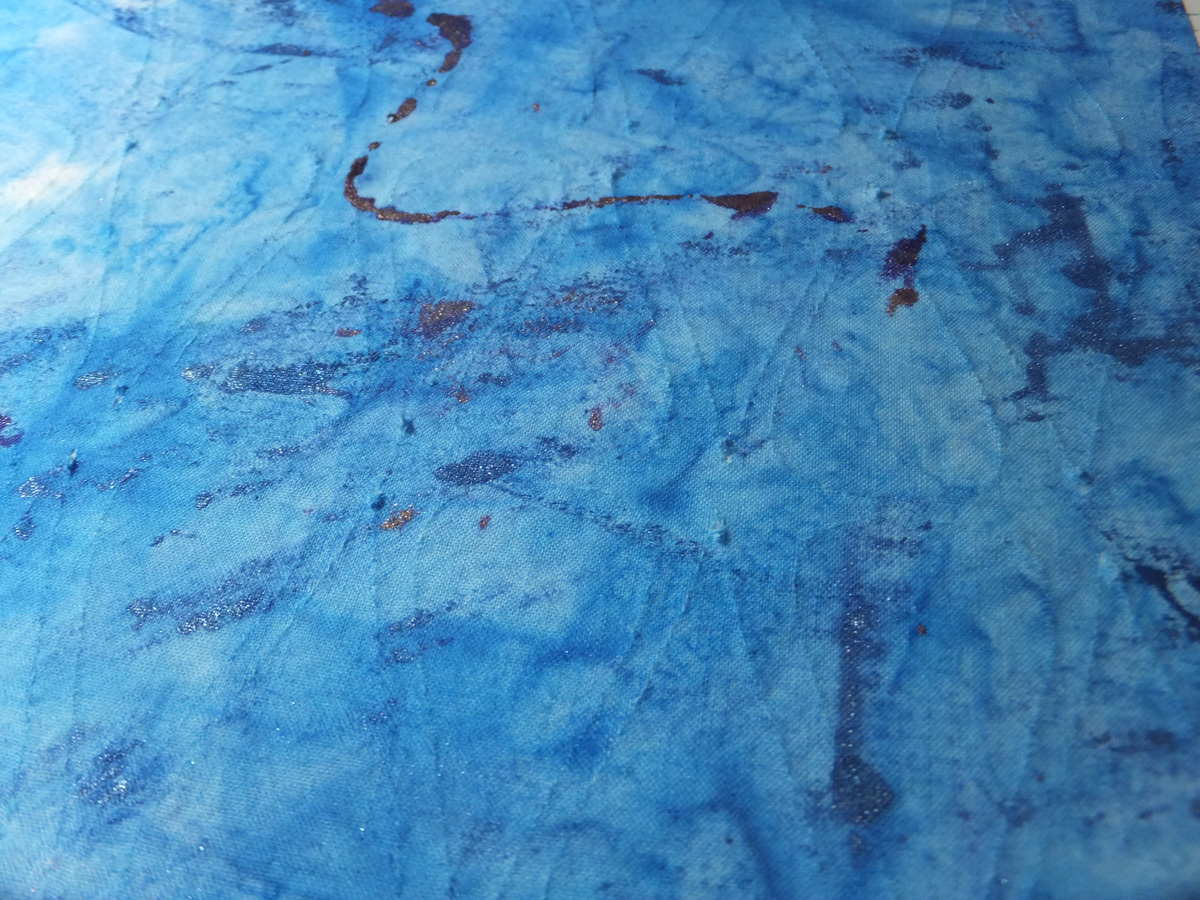
Following the instructions on your MistyFuse™ package, apply the fusible to the wrong side of your fabric. Be sure to allow the fabric with the fusible attached to cool for at least 3-5 minutes.
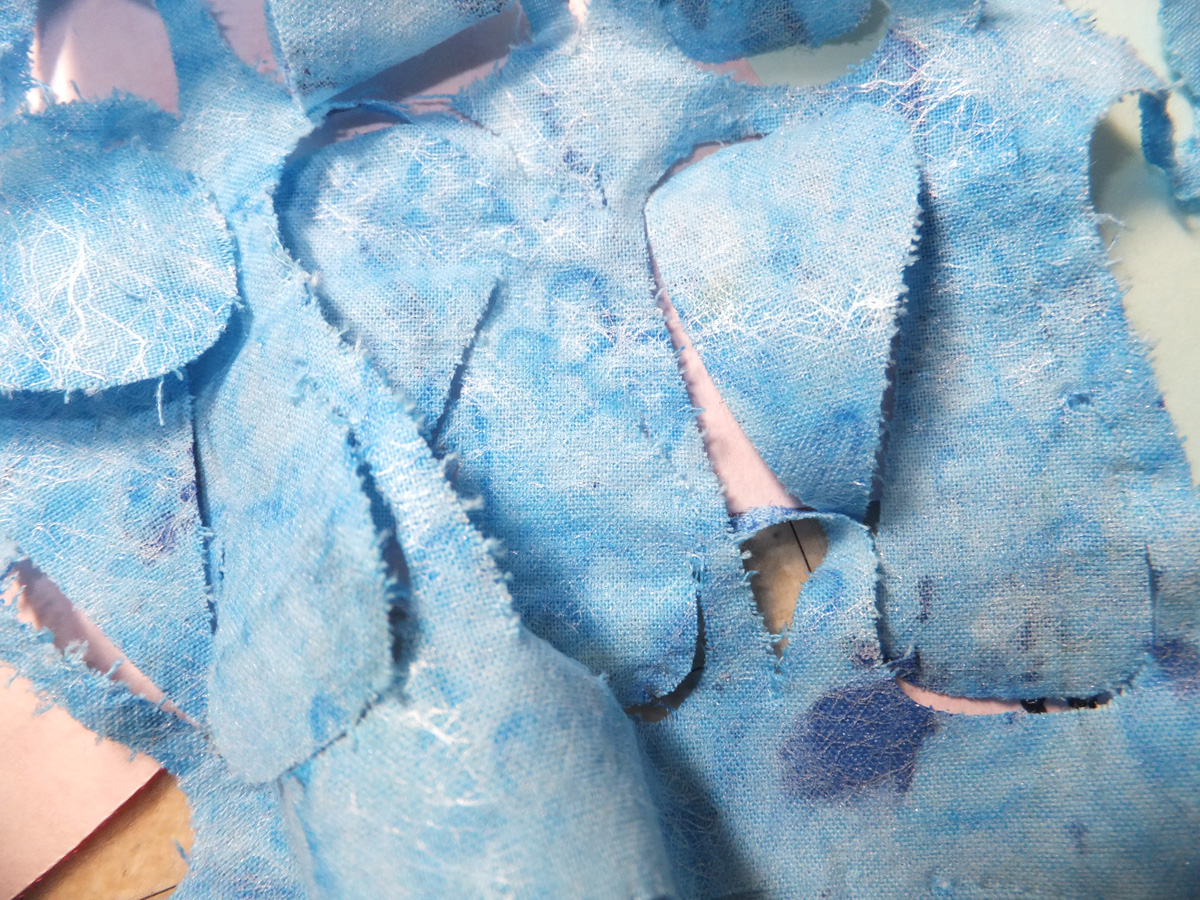
OOPS - Here's a slight diversion; I'm used to just cutting from the fabric with MistyFuse™ on the back. I cut my fabric to size, and attached it to the cutting mat (And I didn't read the instructions on the Silhouette) Here's what happened. The fabric looked like it cut nicely. I lifted the corner of the trimmings, and this is what happened. The cuts were not clean and some threads in the weave didn't slice through. The “fuzzy” look of the edges of my applique pieces would be unacceptable for me – those loose threads would show on my quilts and look amateurish.
But that wasn't the only problem. The MistyFuse™ stuck to the clingy surface of the cutting mat. I've never seen the bond of the fusible separate from the fabric before! Not only did it ruin the applique pieces, it really effected the cutting mat! The MistyFuse™ was so stuck to the mat that I was unable to remove it. Time to buy a new mat. . .
Add Freezer Paper to the Fabric
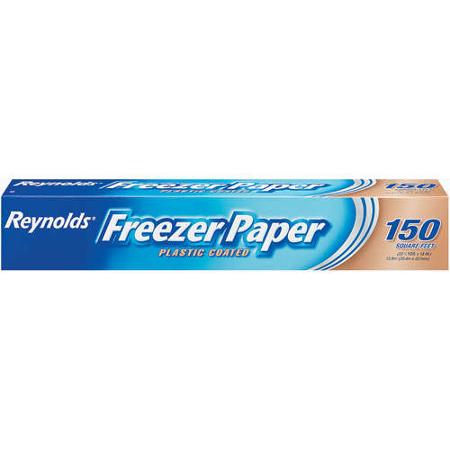
So, I decided that if I added freezer paper to my pieces, the paper would be in contact with the mat, not the MistyFuse™. Seemed like a simple solution to the problem.
Freezer paper comes in rolls, usually about 17-18” wide (It can be found at the grocery store near the plastic wrap and waxed paper). While your fabric is cooling, cut 12” long pieces of freezer paper. Put the shiny side of the freezer paper against the MistyFuse™ side of your fabric. Iron the sheets of freezer paper to the MistyFuse™, and let cool again for a few minutes.
Cut Fabric to Size
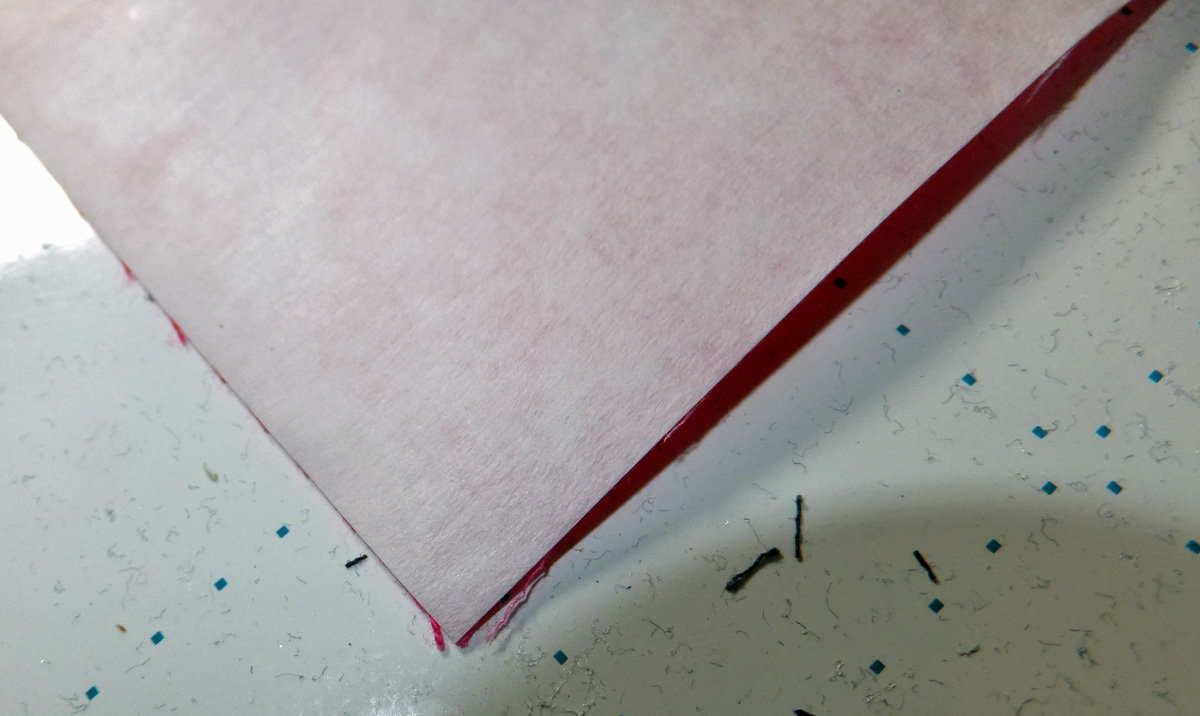
The Silhouette Portrait comes with an 8” x 12” cutting mat, so the fabric/paper sheets need to fit on it.
Using a rotary cutter (for accuracy) Cut along the edges of the paper, then cut the paper into 8” wide pieces. When you cut, “shave” just a little off of the paper edges – it makes the dimensions a tiny bit smaller, but if gives a clean edge so you are less likely to have the cutting blade snag on it (ask me how I know this).
Install the Silhouette Studio Software
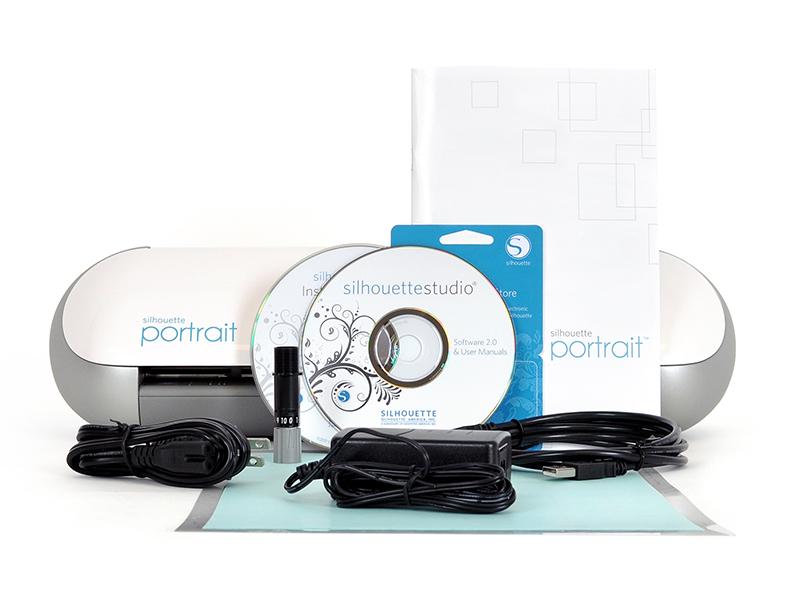
Once you have your fabric prepared, set up the Silhouette Studio software on your computer. I won't go into details about the software in this tutorial – the manual is easy to understand.
Choose Your Applique Shapes
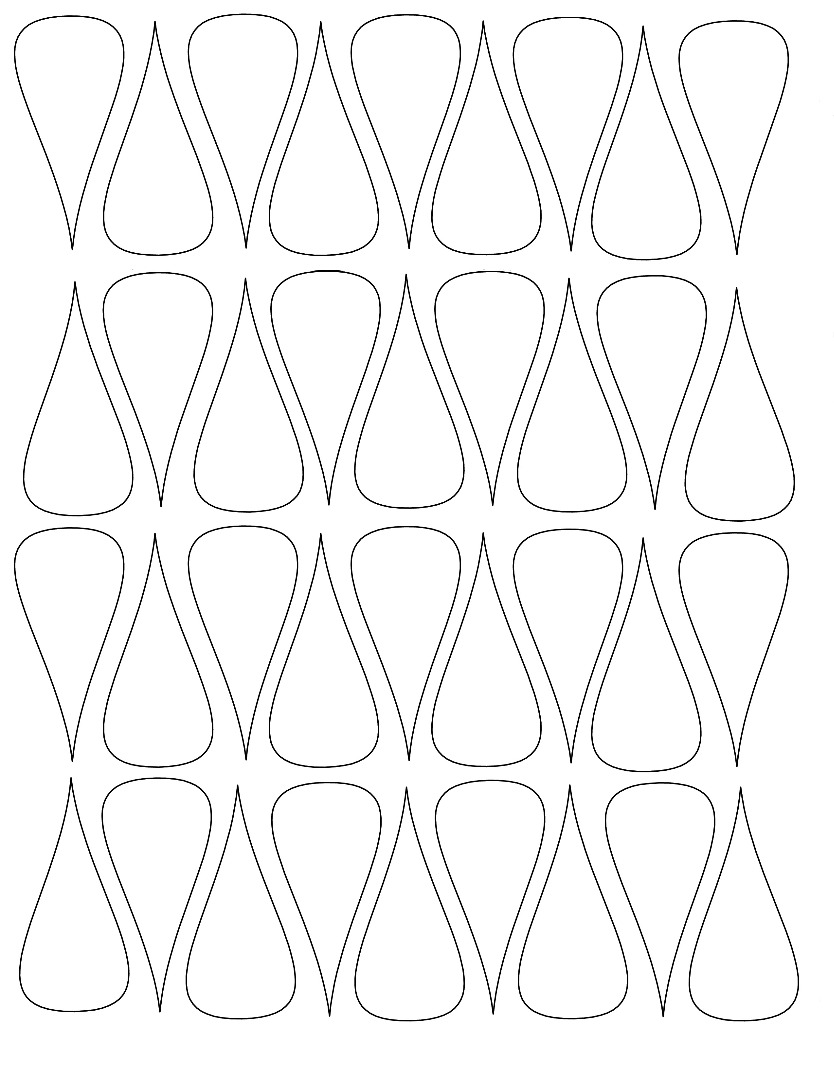
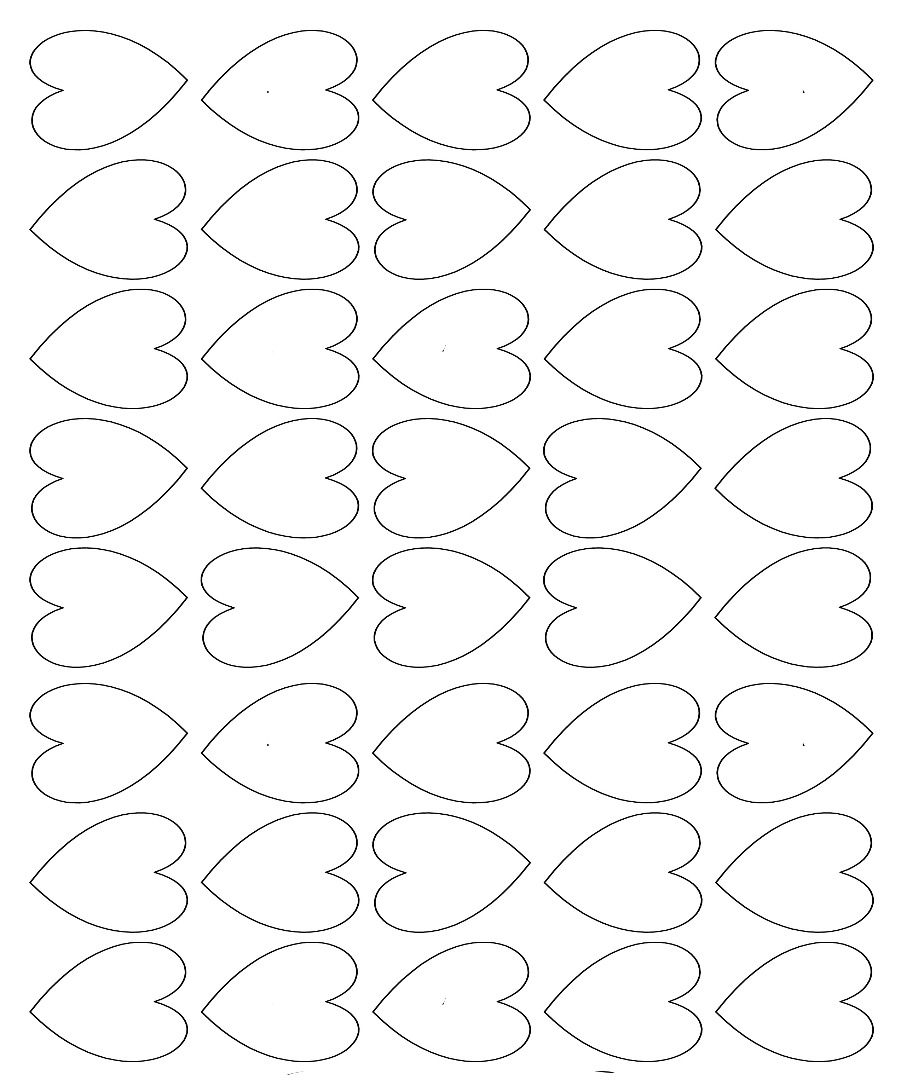
Choose an image to cut out. I wanted a good quantity of simple shapes, like flower petals, hearts, basic leaves, etc. so I made 8 x 12 sheets with as many of these shapes that I could fit. Follow the instructions in the Silhouette Portrait manual to select your image to cut.
Prepare to Cut - Loading the Fabric
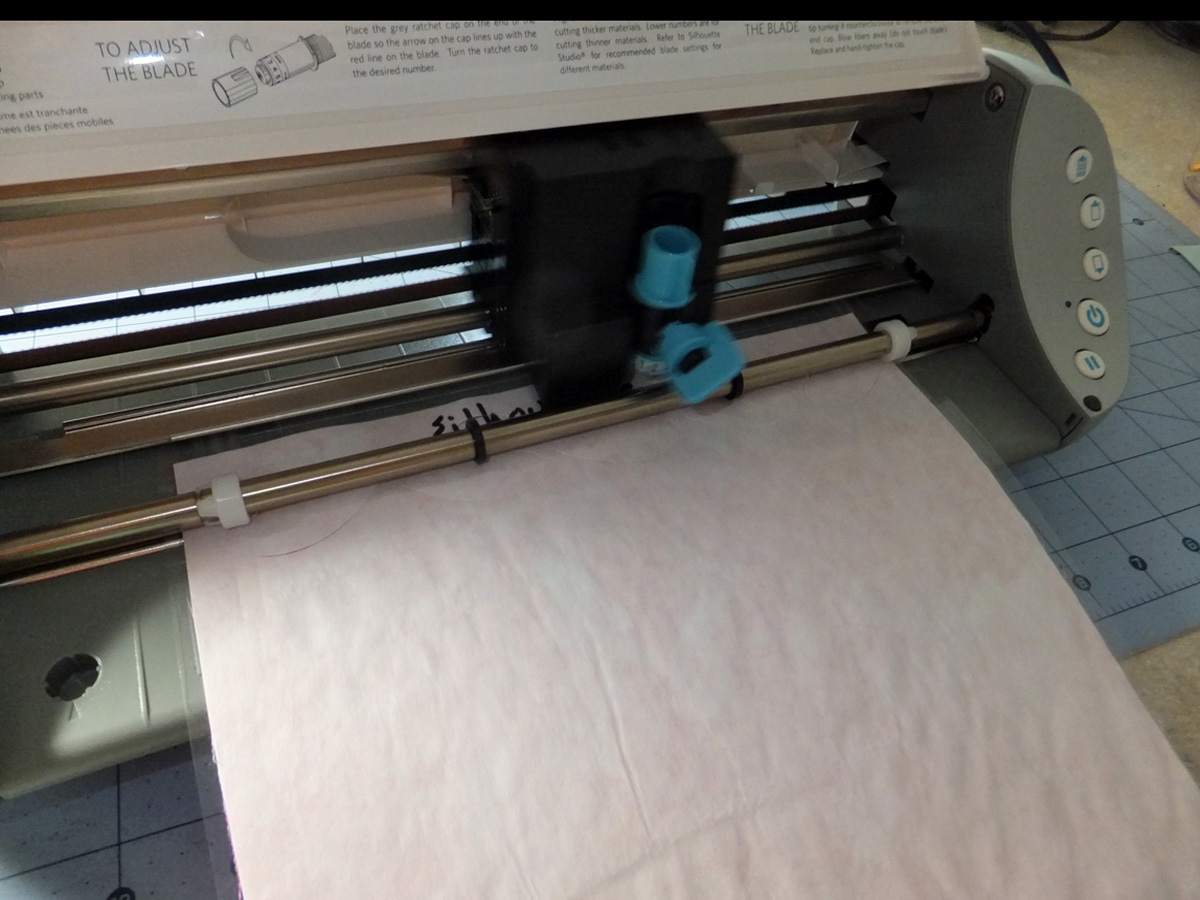
Be sure to use a Fabric Cutting Blade. Put the fabric onto the cutting mat paper side up – it gives a cleaner cut.
Note – I first tried this with the paper side down. Unfortunately, these results were not stellar. I then tried flipping the fabric/fusible/paper sandwich over, with the fabric against the mat and finally had a successful cut.
Silhouette Settings
I followed the instructions for cutting fabric and ran into problems – the fabric did not cut completely. I think the problem was the paper, so I selected Flocked Cardstock, and set the depth on the Fabric Cutting Blade to 4, and cut.
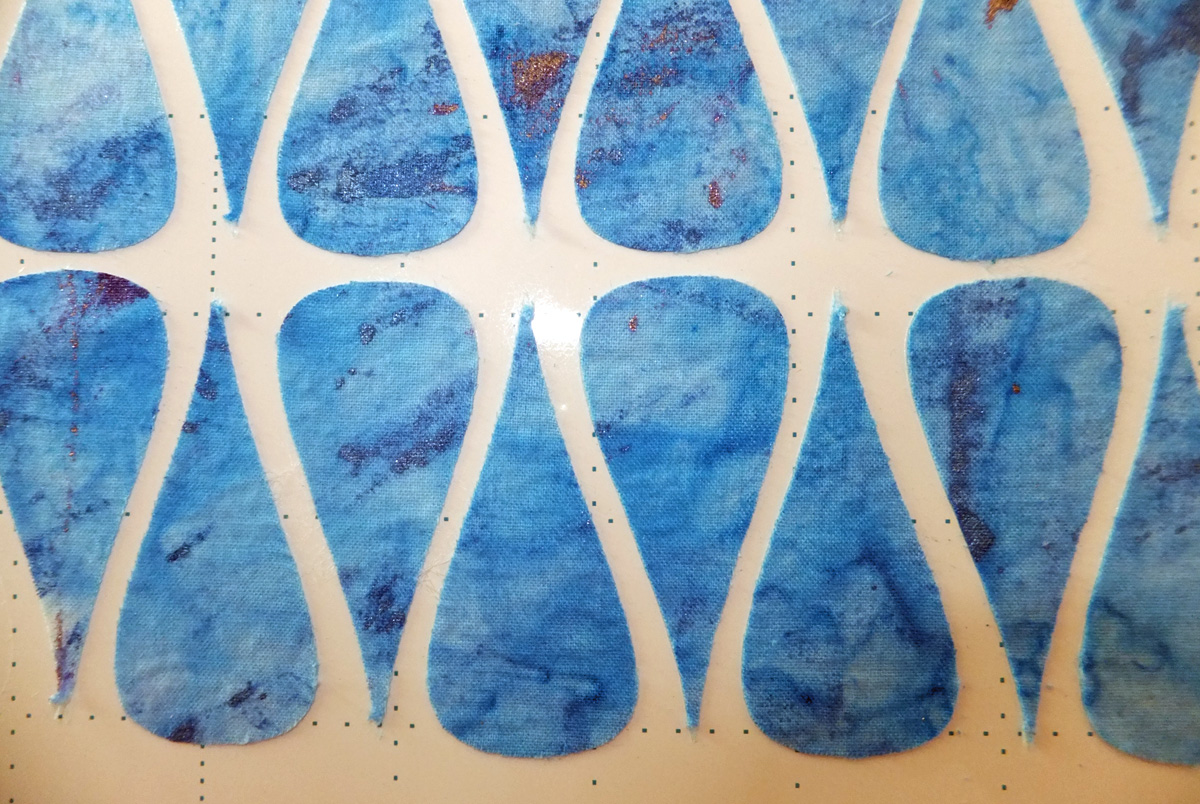
Success!
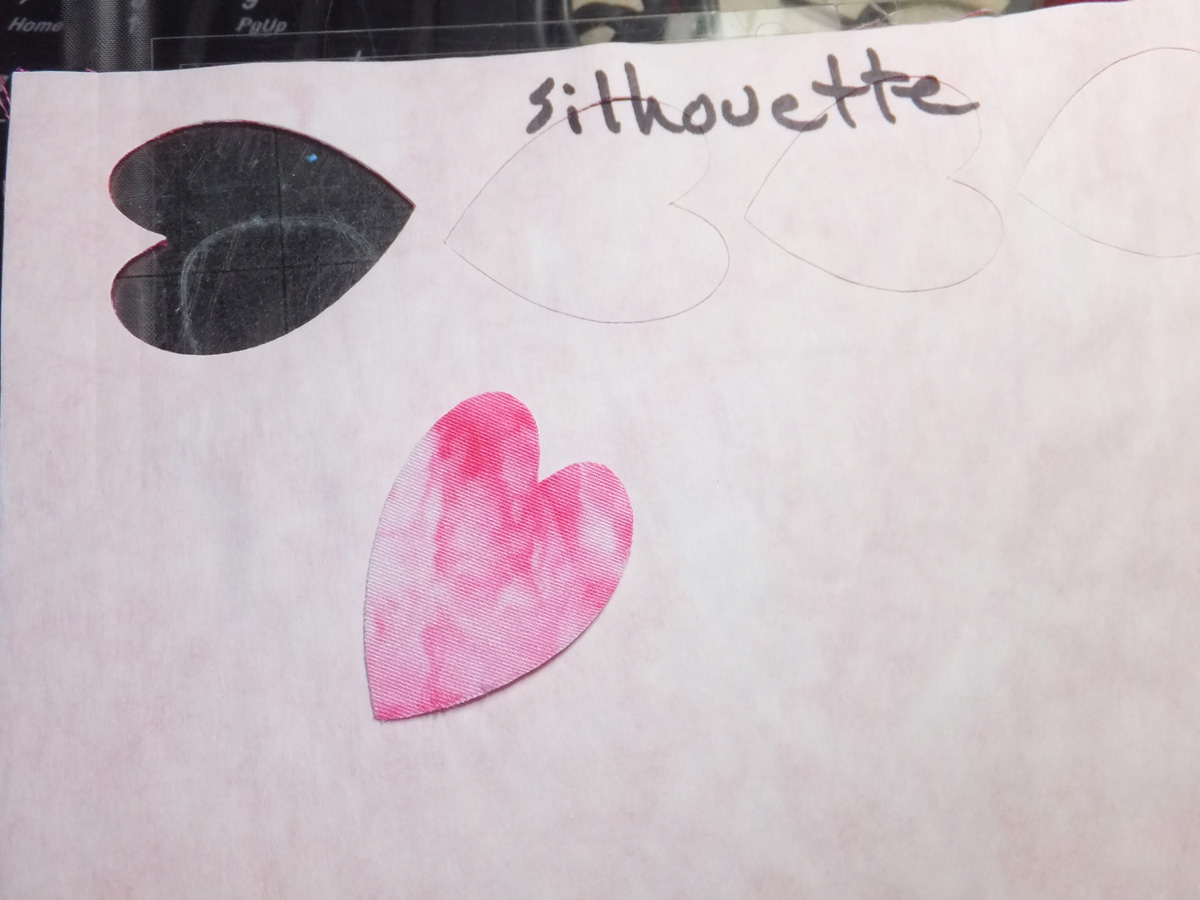
Look at the beautiful edge cuts! I'll be using the Silhouette Portrait often for cutting applique pieces from now on!
Maui Makers would like to thank Instructables and Silhouette for providing our Silhouette Portrait for Instructables Build Nights at our makerspace. We would also like to thank Dee Conlon for putting the Portrait through it's paces for this Instructable!