Cute Jack-O-Lantern in Tinkercad
by Chyna081309 in Design > Digital Graphics
1097 Views, 0 Favorites, 0 Comments
Cute Jack-O-Lantern in Tinkercad

In this instructable, I will show you how to make a cute jack-o-lantern in TinkerCad. I made this because it can be used as Halloween decor for anyone with a 3D printer. Enjoy!
Supplies
For this project you will need a TinkerCad account.
The Pumpkin
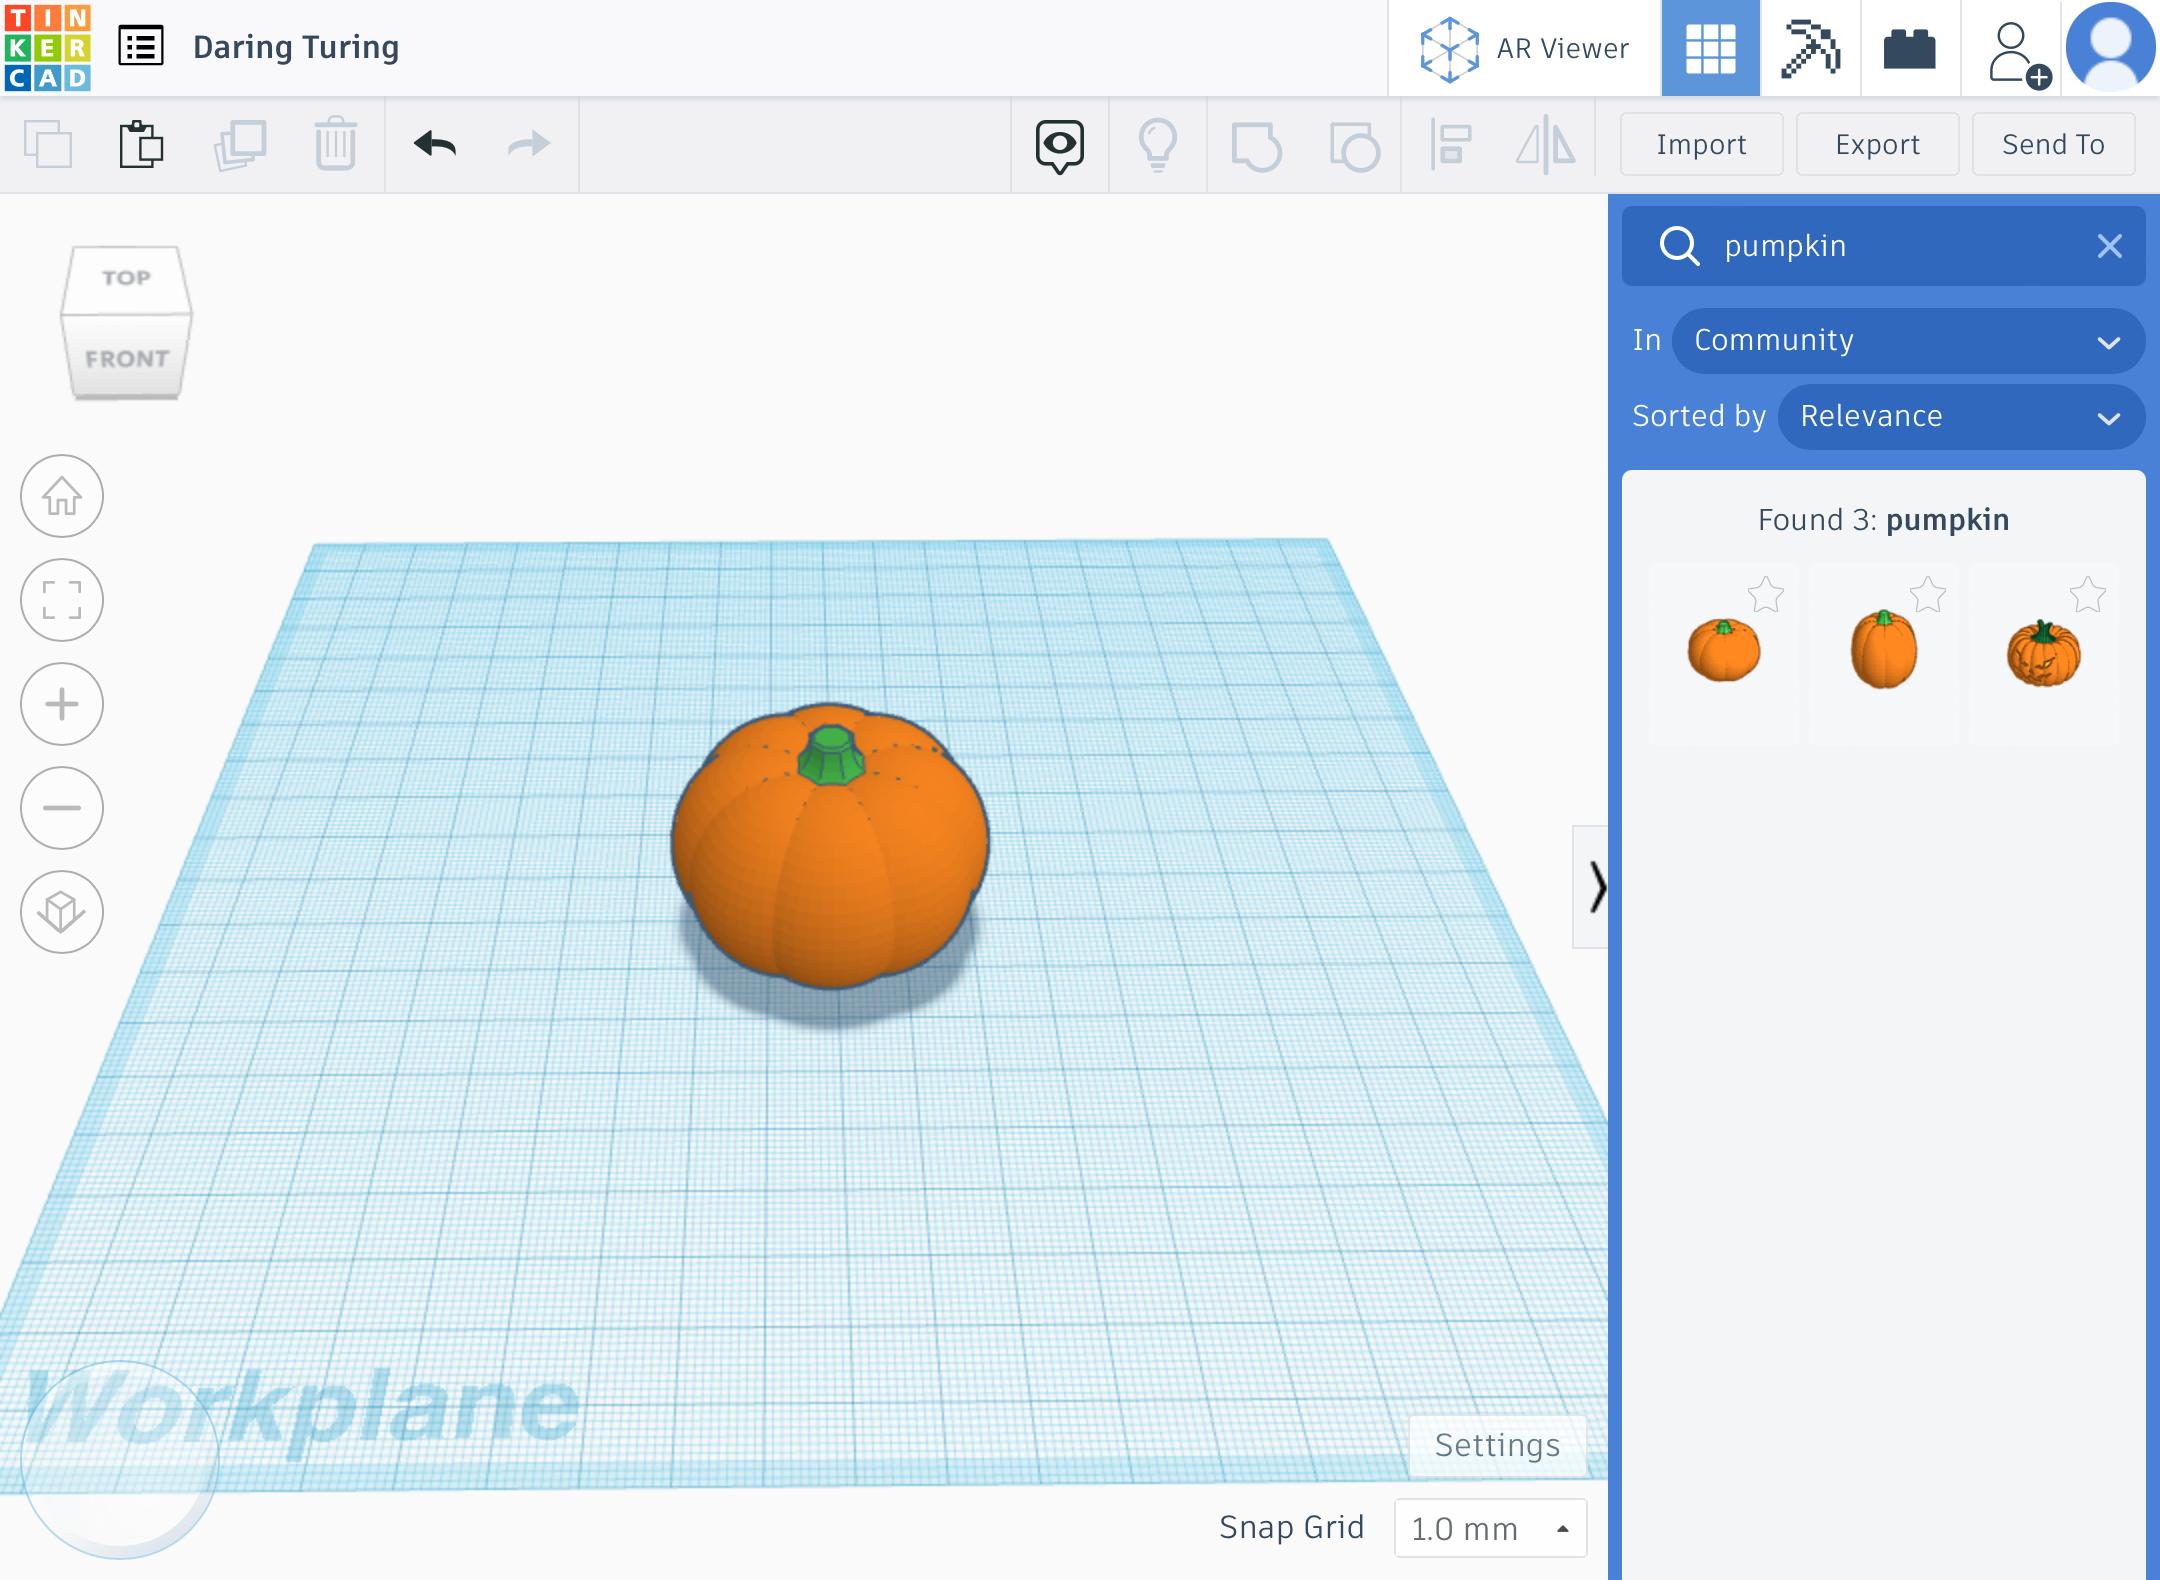
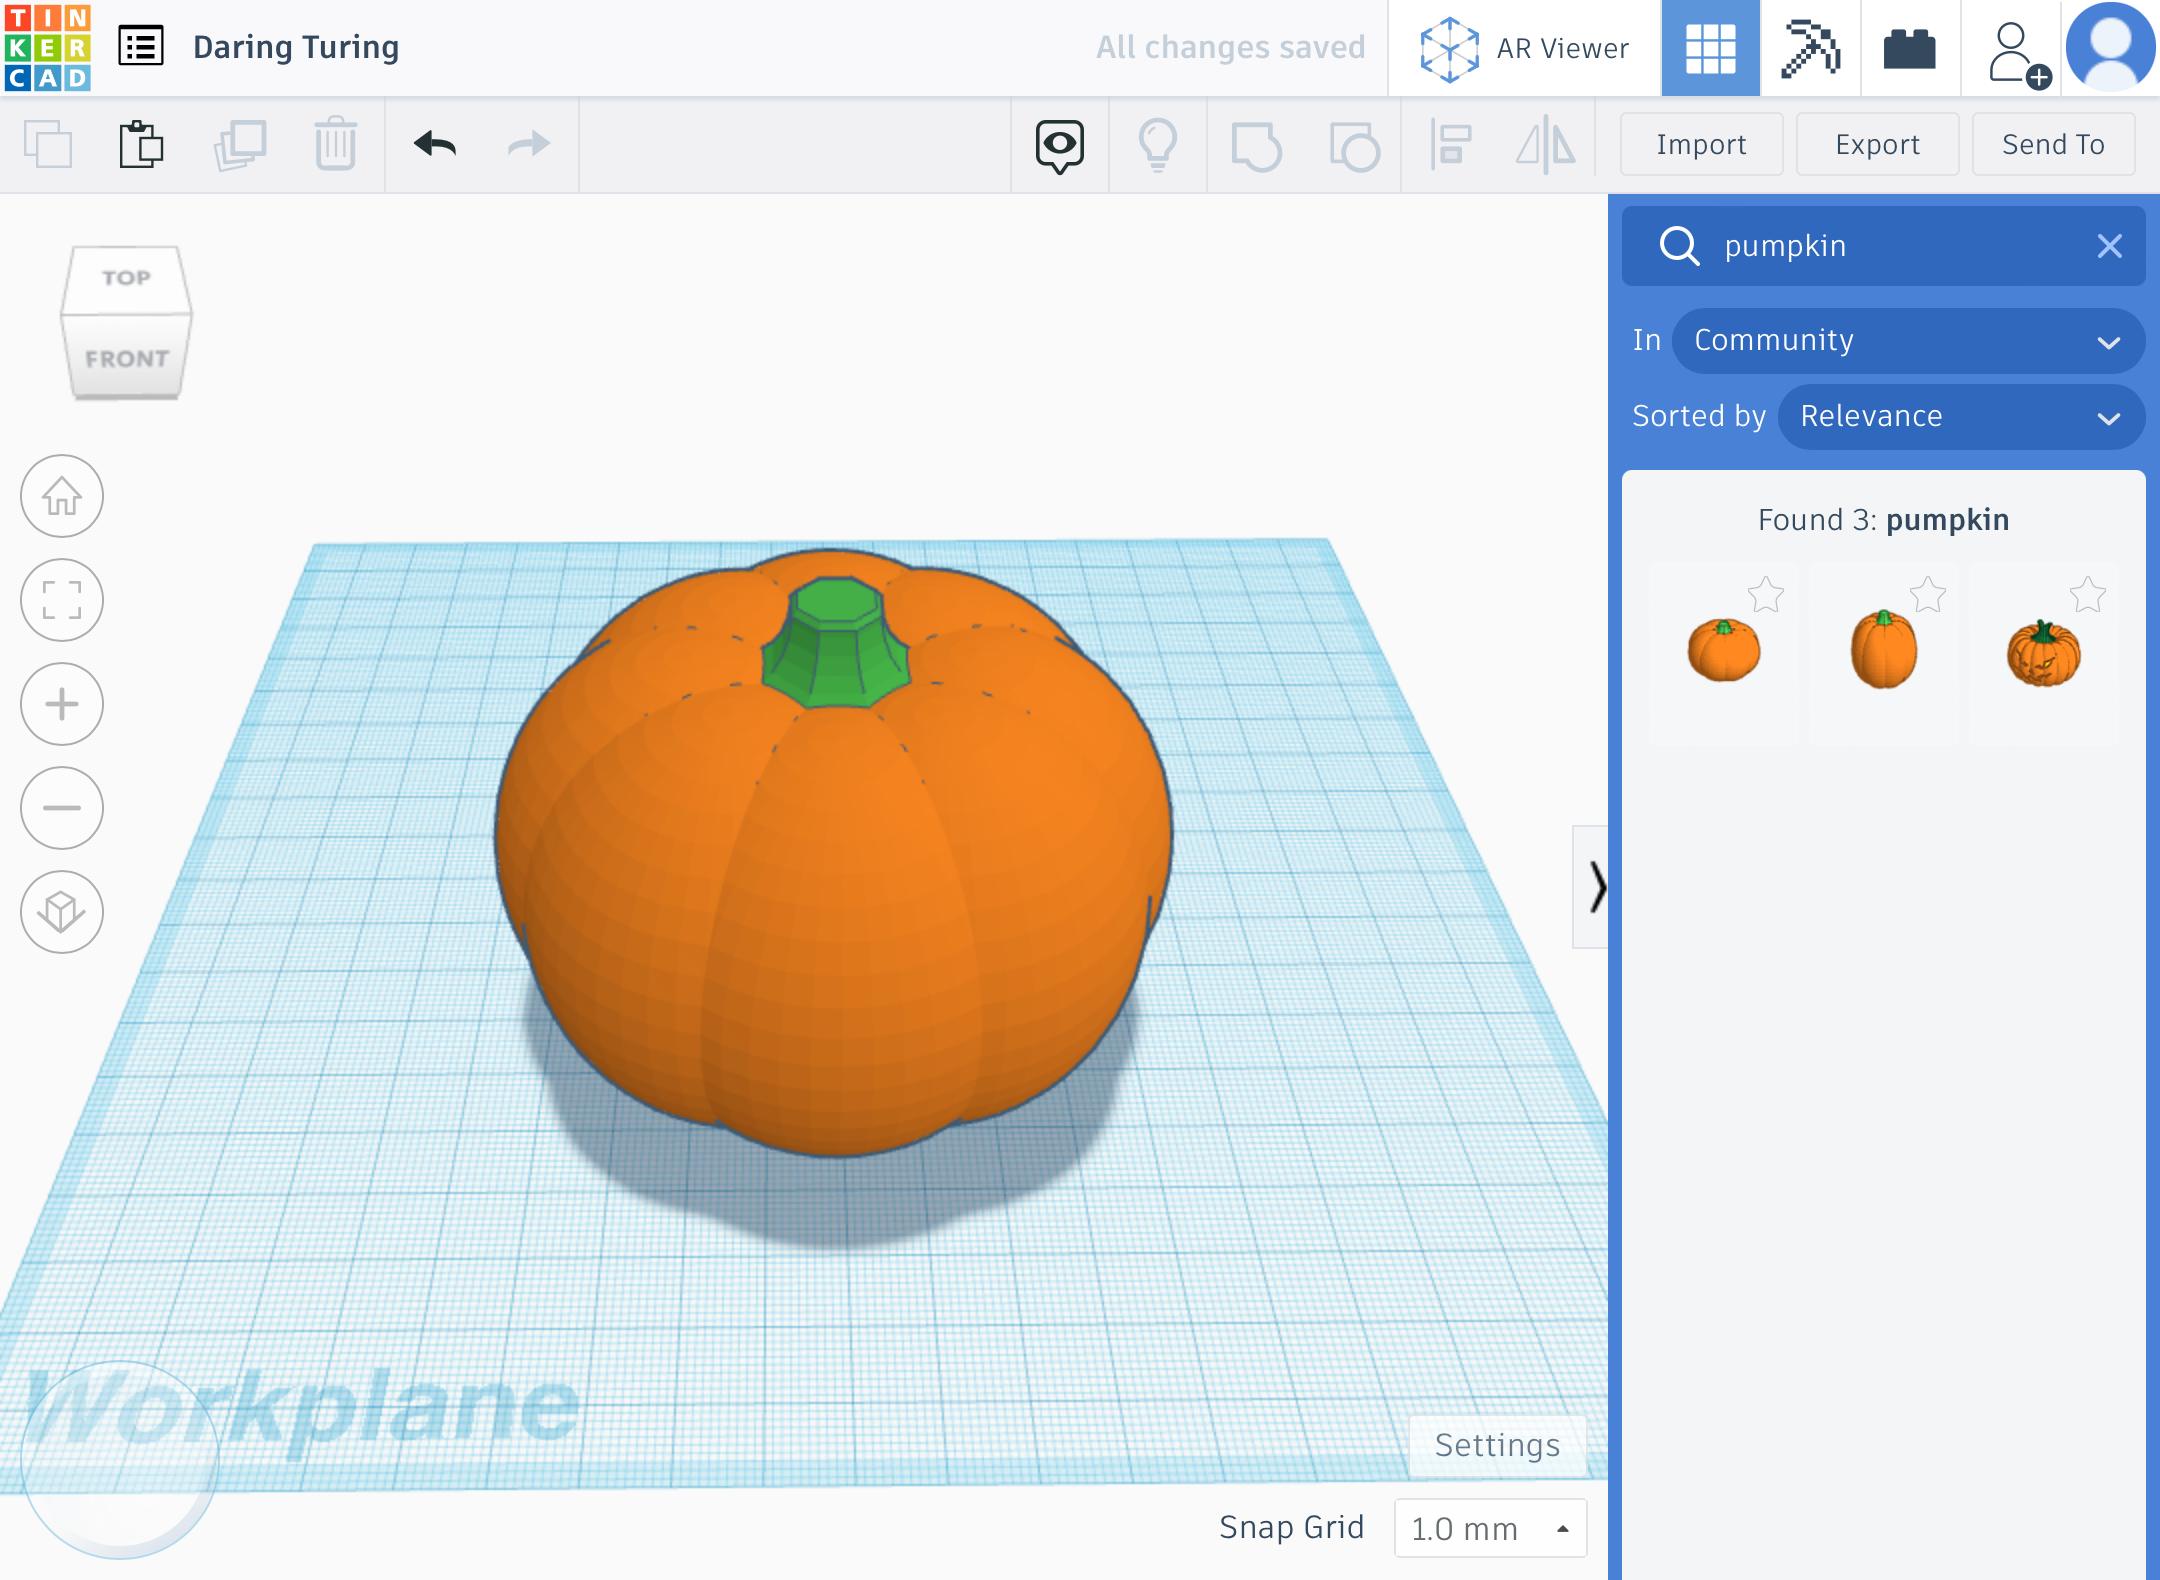
To make the base of the jack-o-lantern, you need a pumpkin. To get a pumpkin, search “pumpkin” in the Shapes search bar. You may want to enlarge the pumpkin so it is easier to add the eyes and mouth.
The Eyes
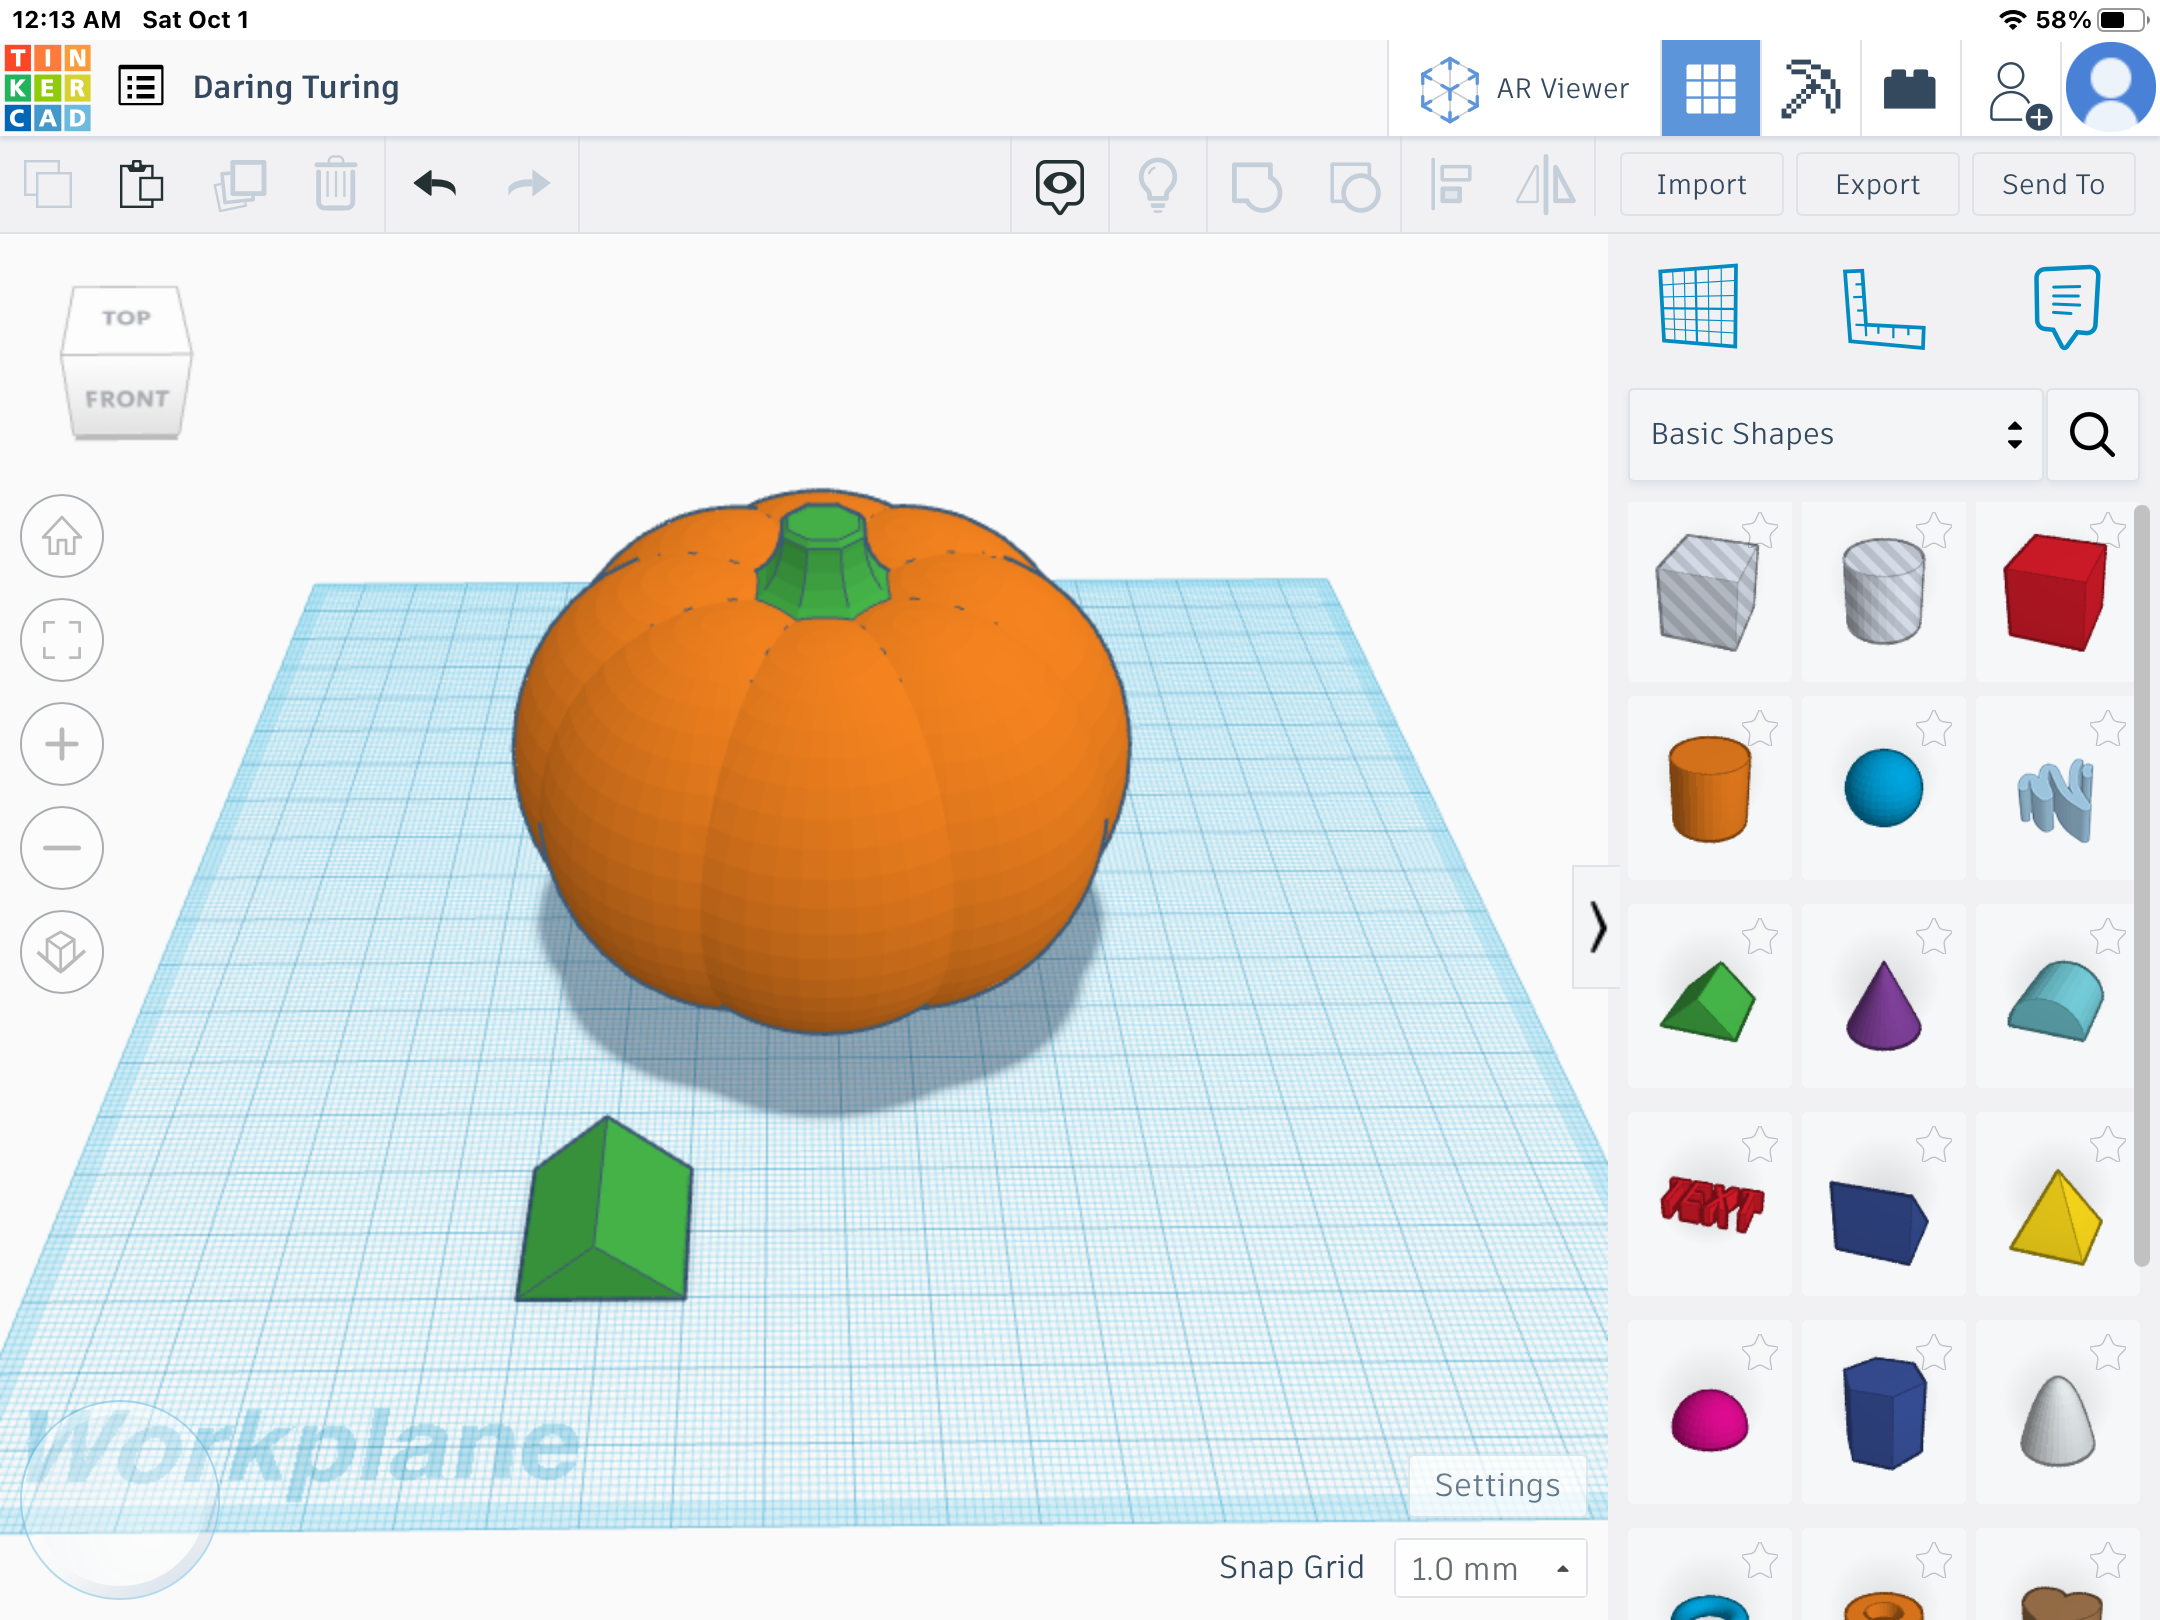
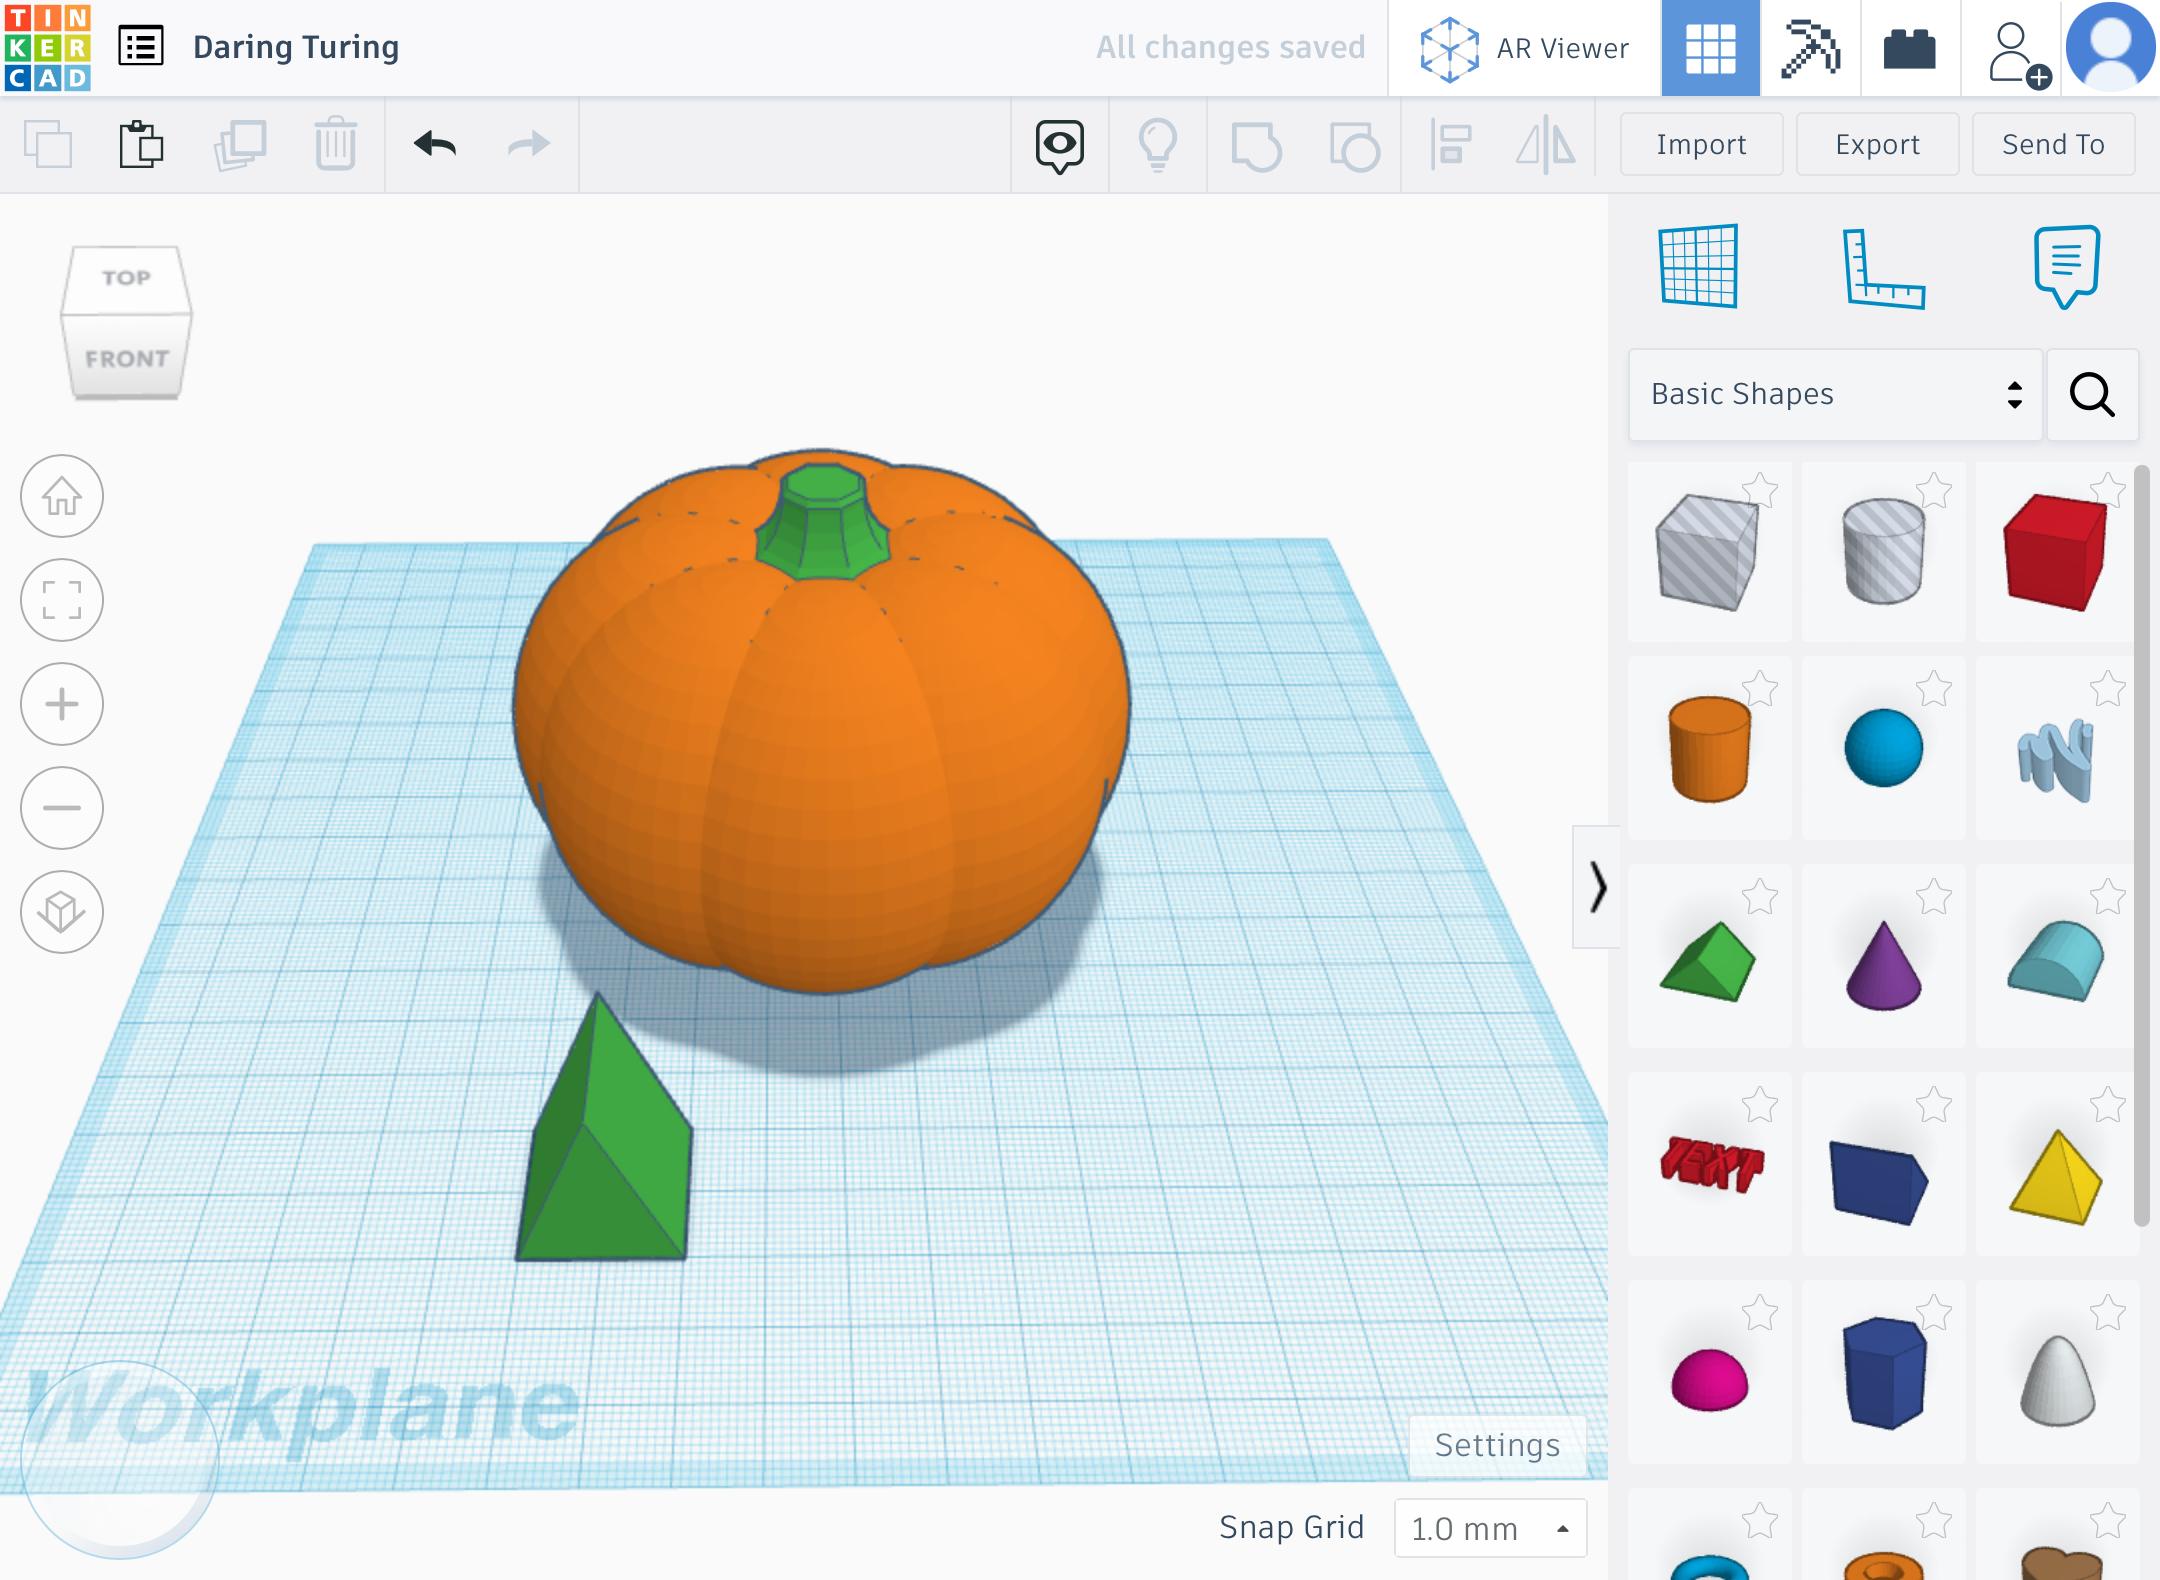

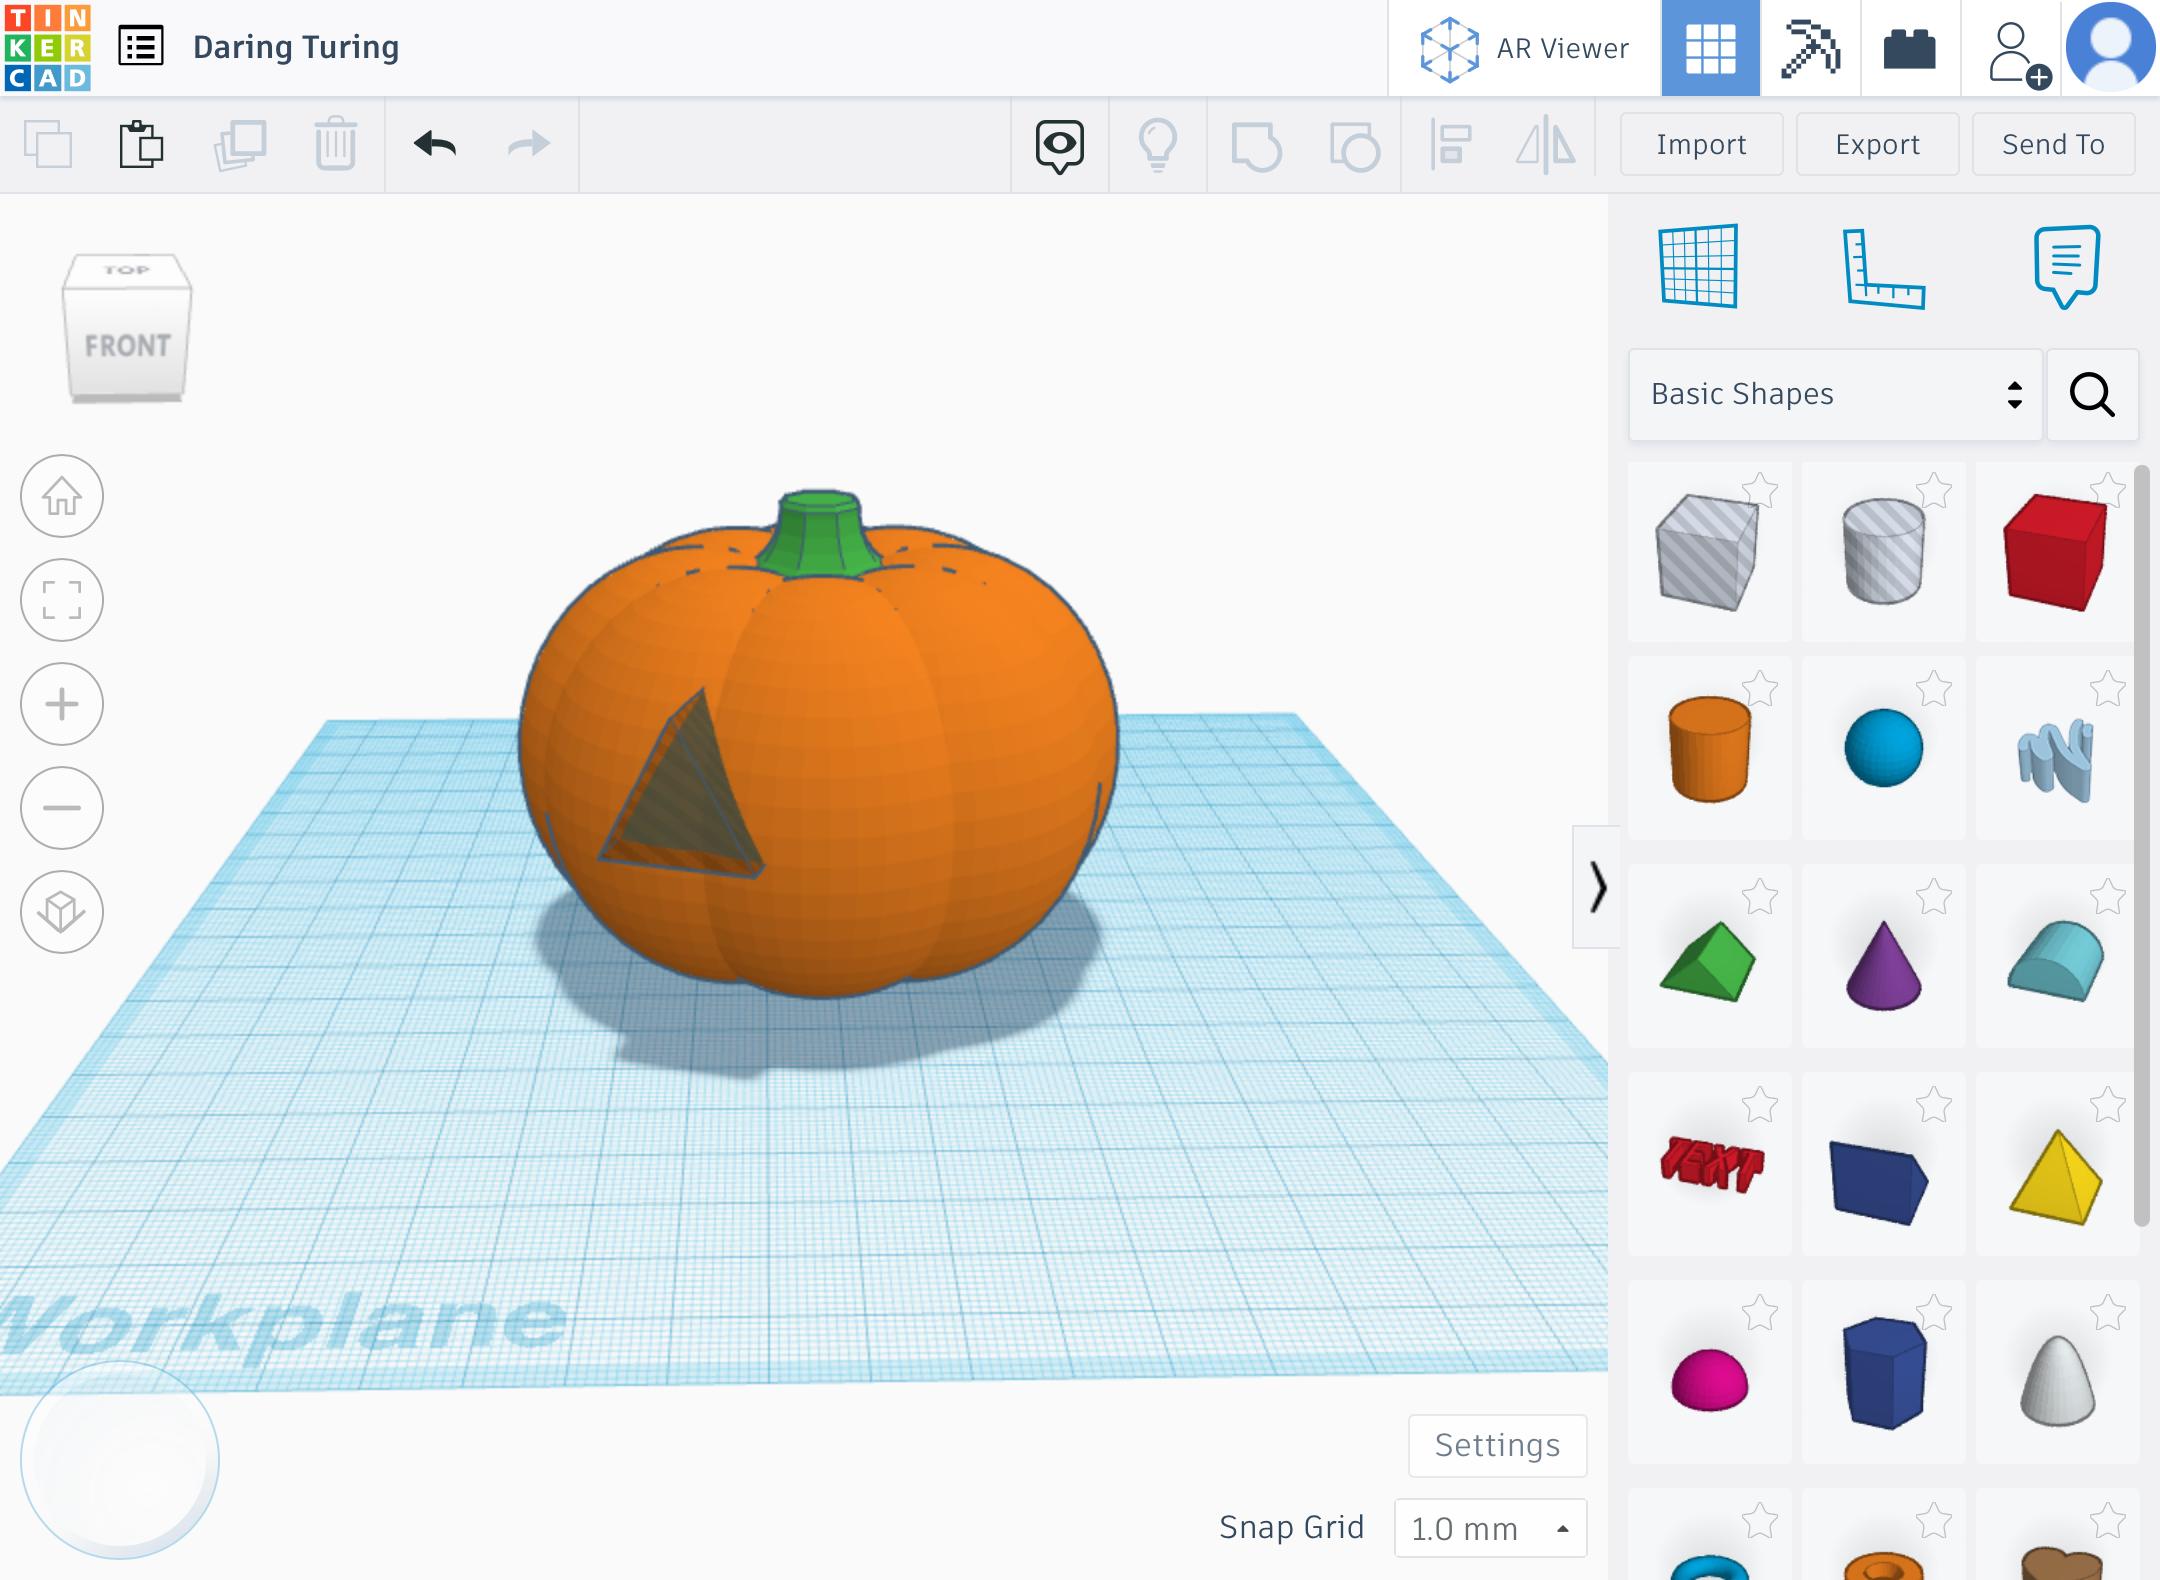
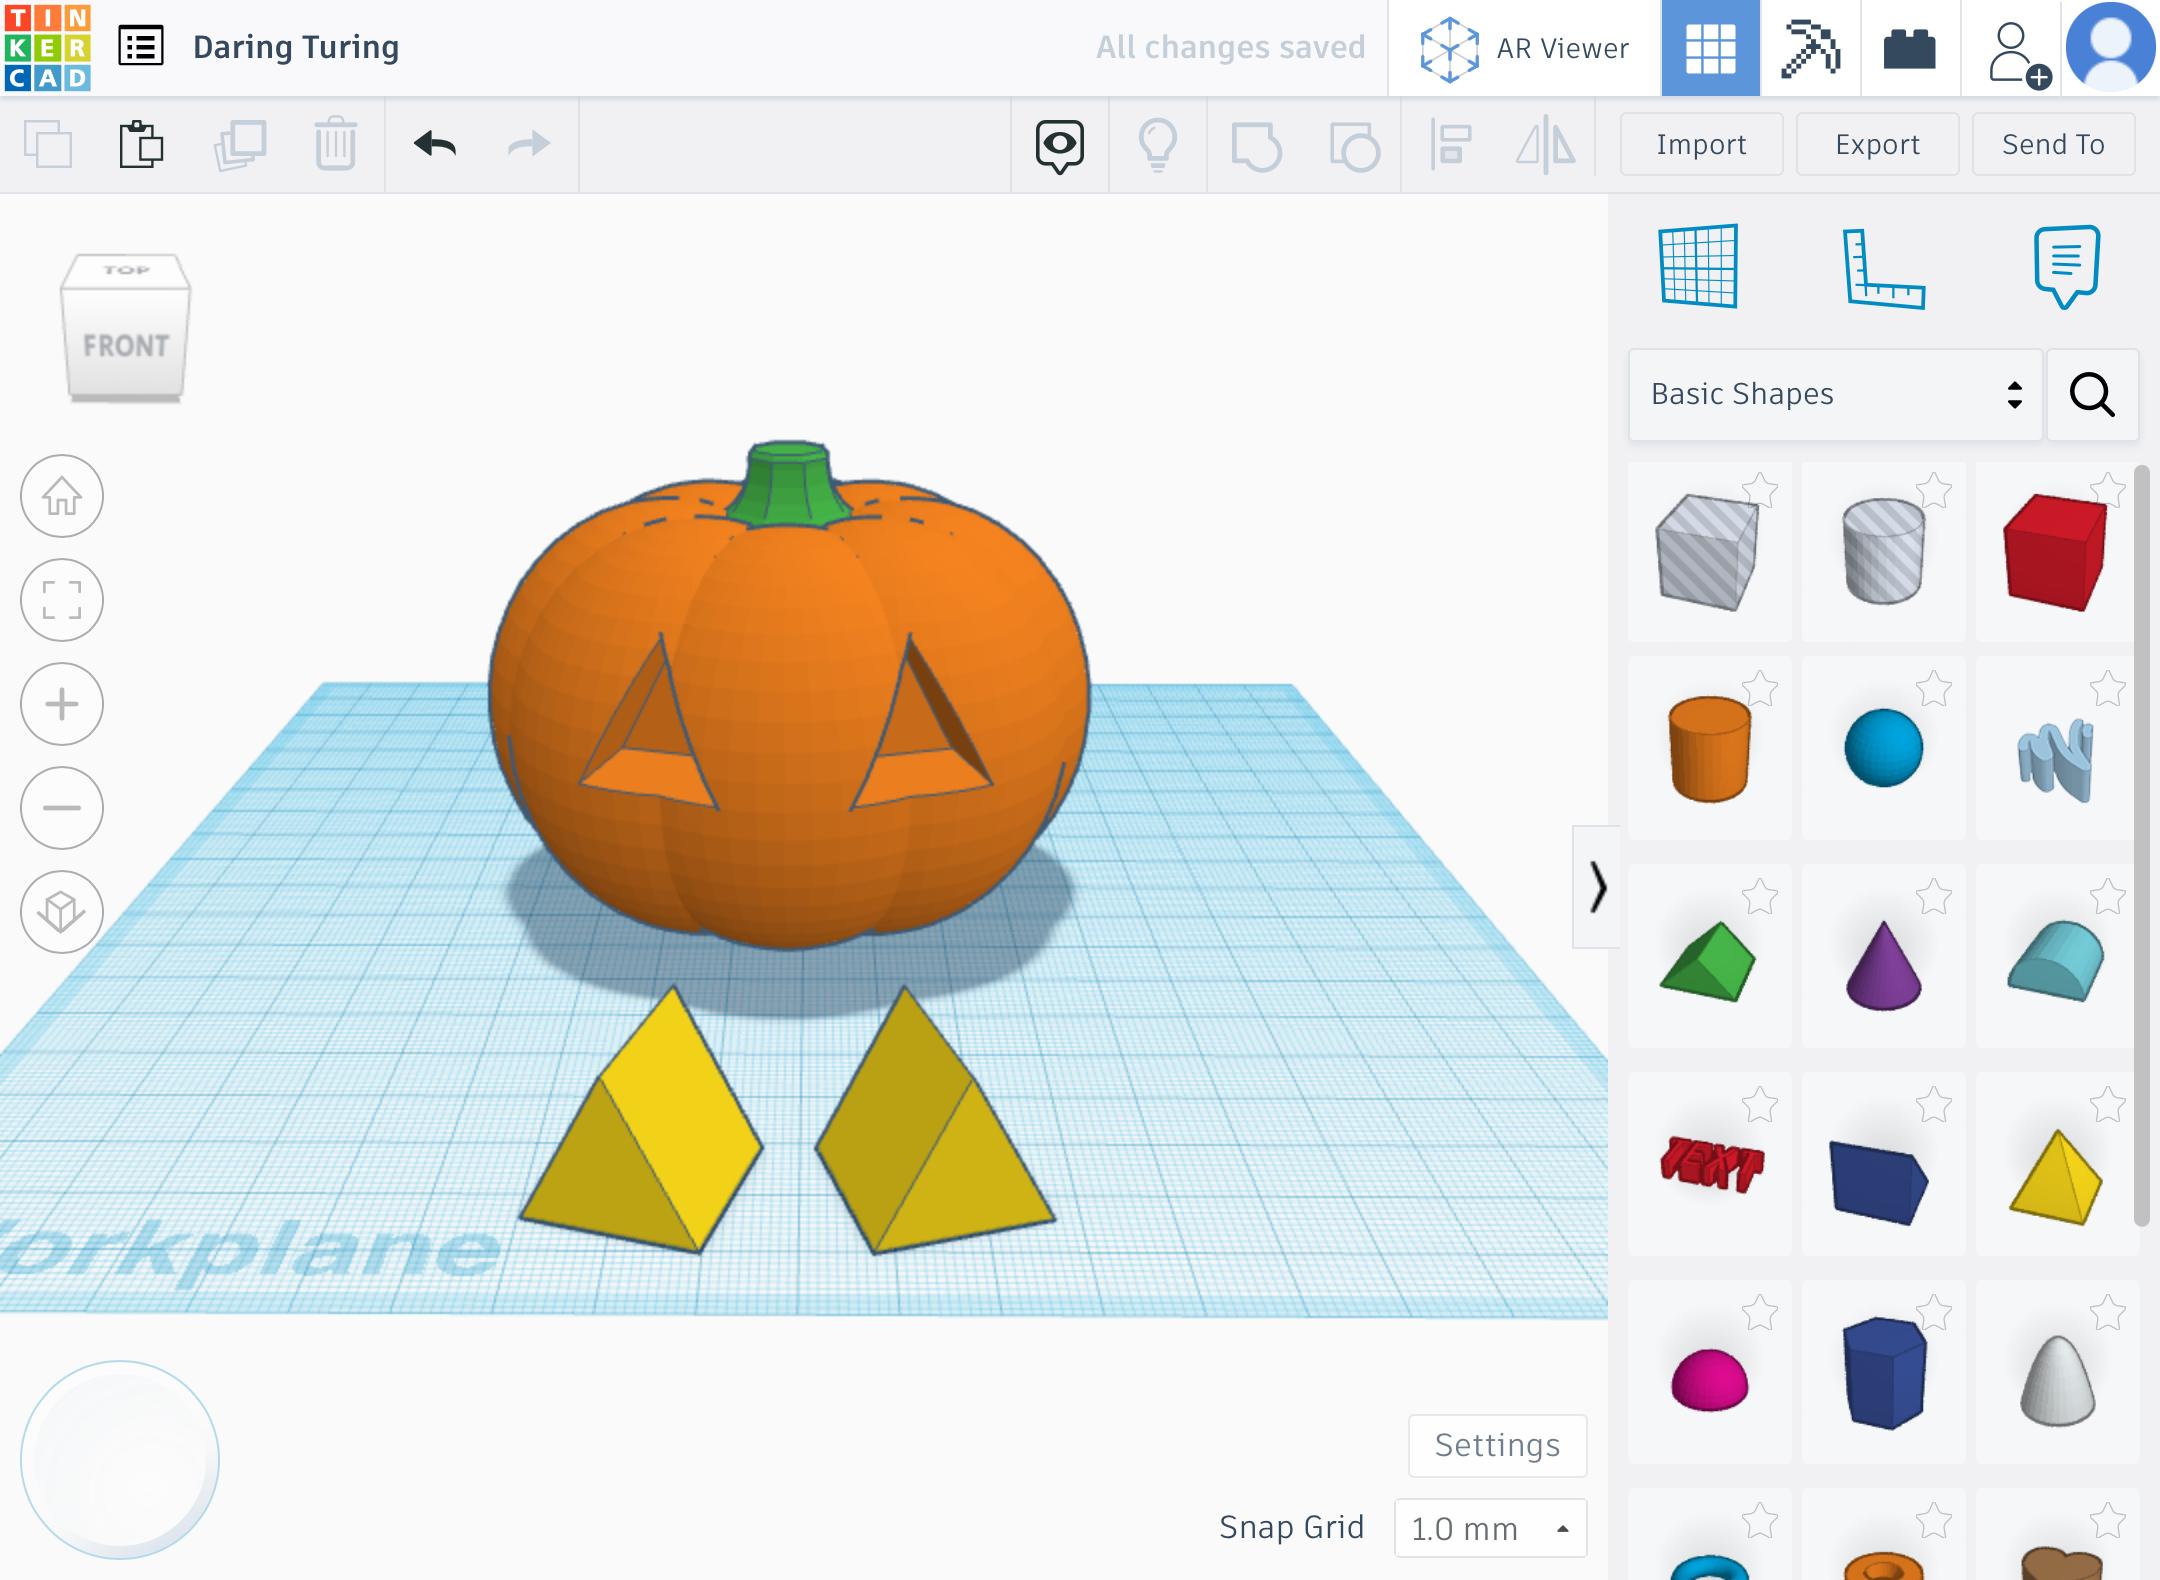

For the eyes, we will be using triangular prisms.
- Bring a prism to the workplane and adjust it to however you want the eye to look
- Position it on the pumpkin however you’d like and change it from Solid to Hole.
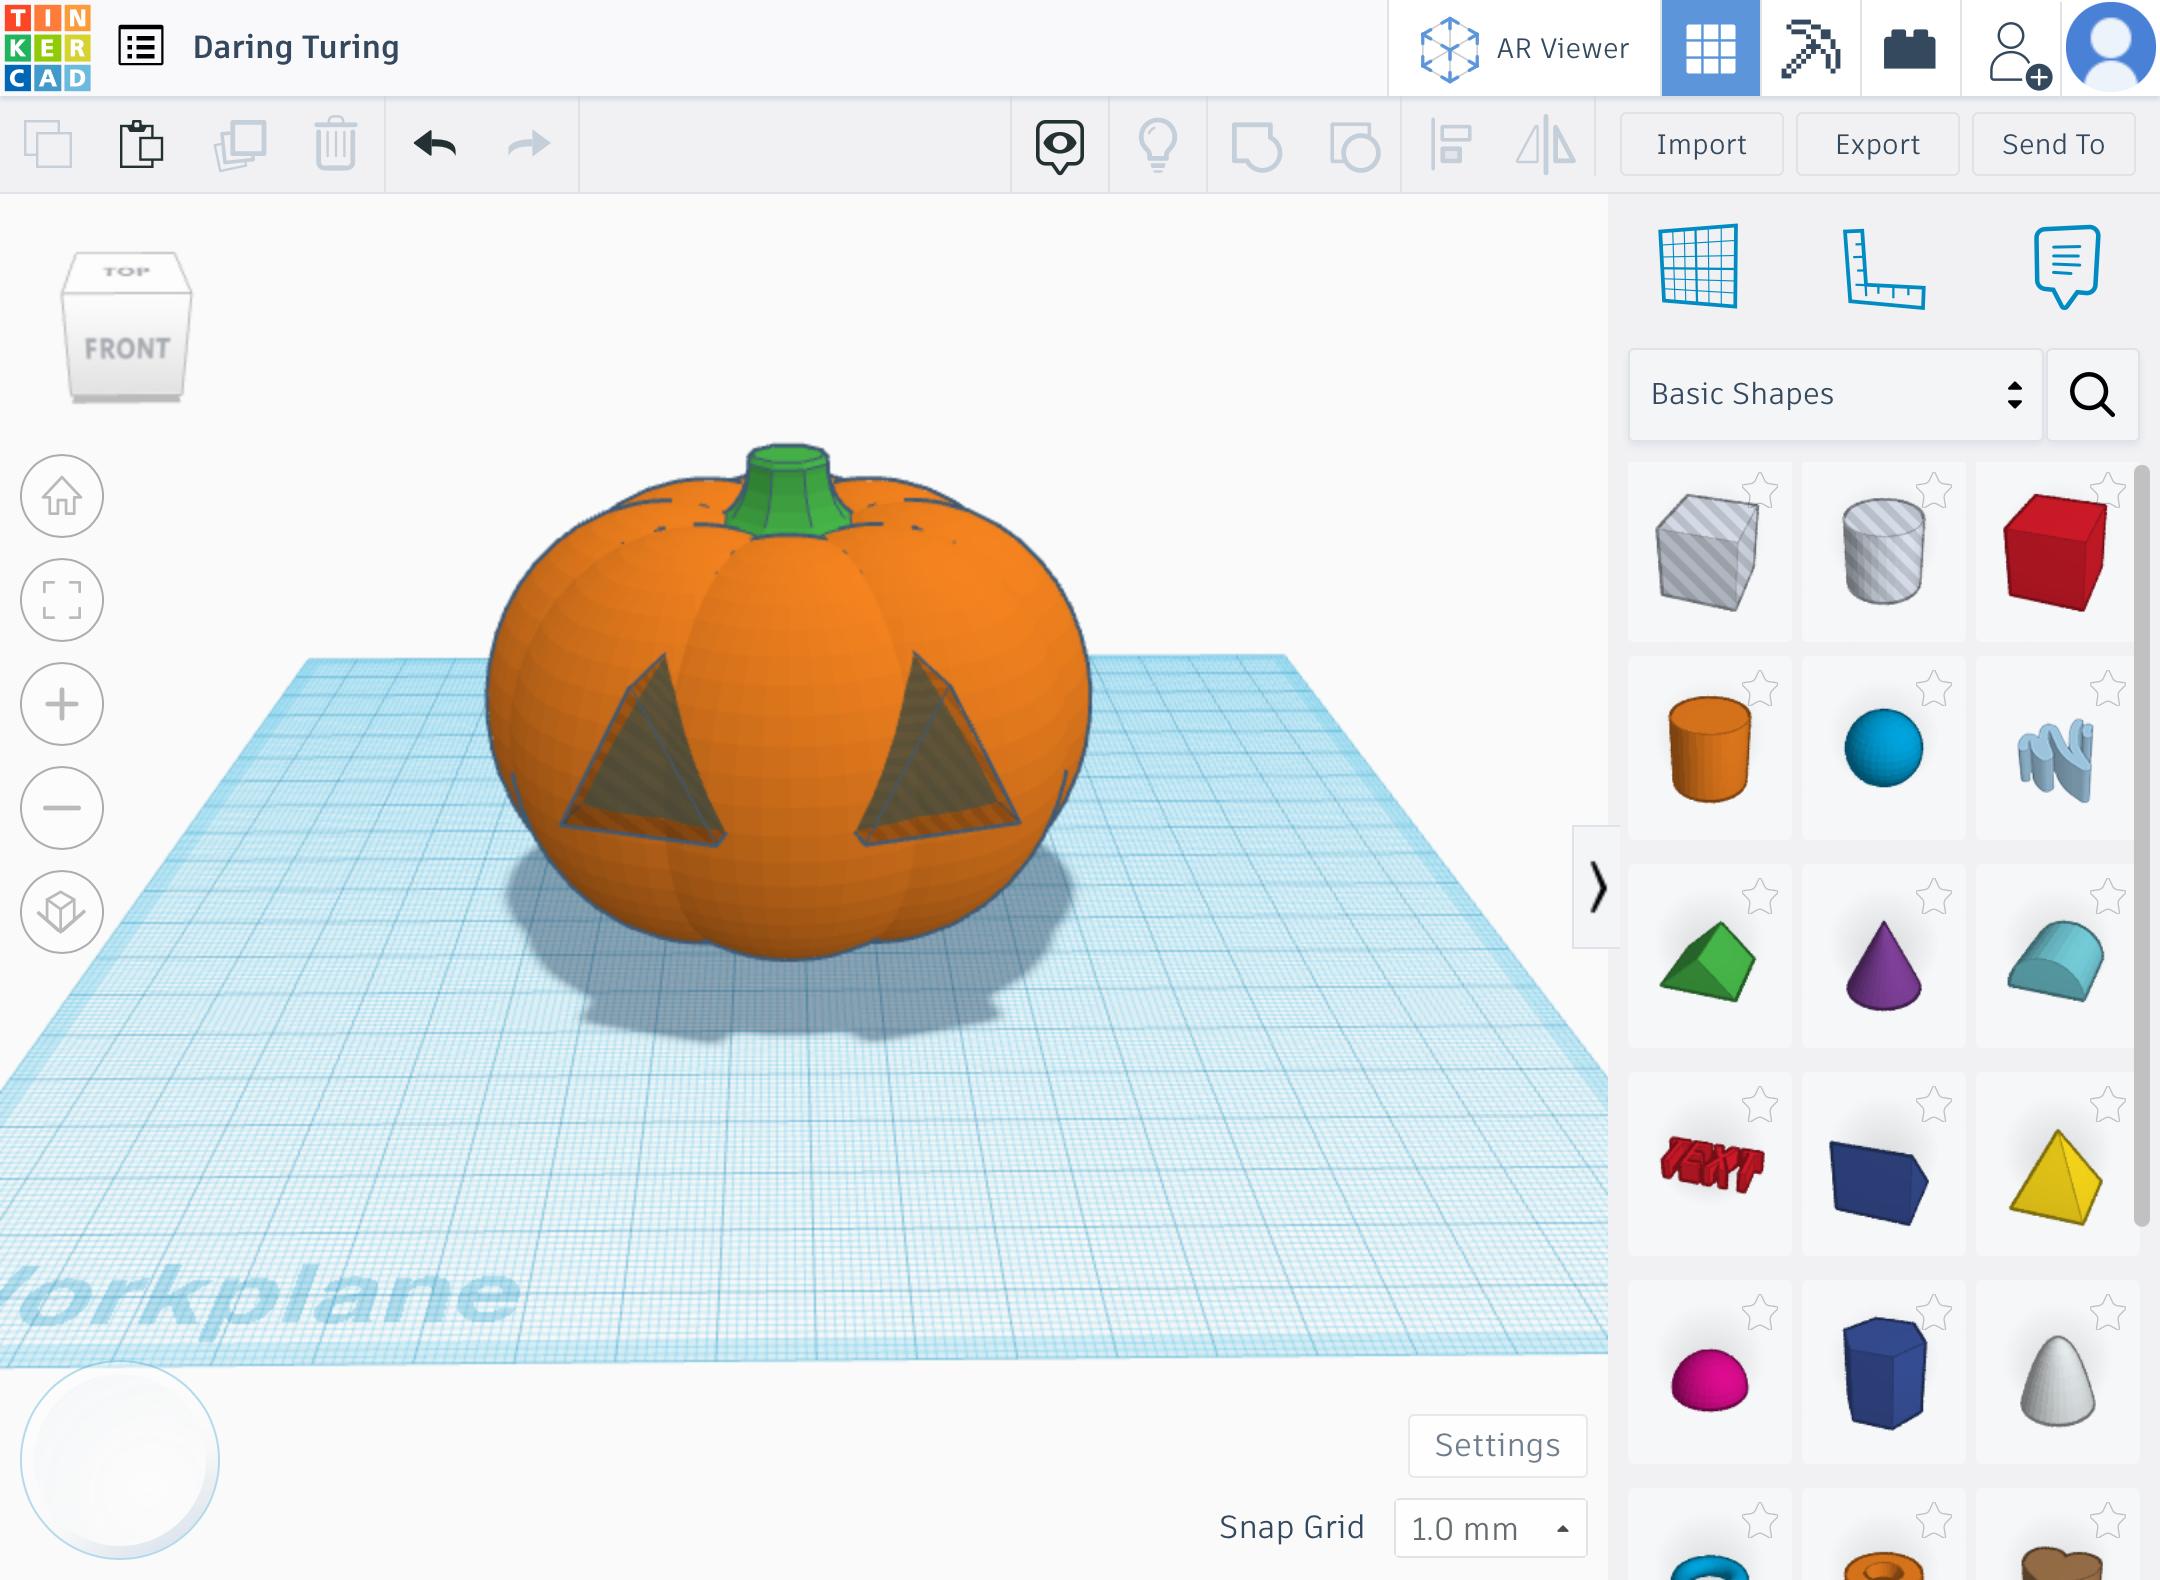
- For a two-eyed jack-o-lantern, duplicate the one eye and place the other eye on the pumpkin.
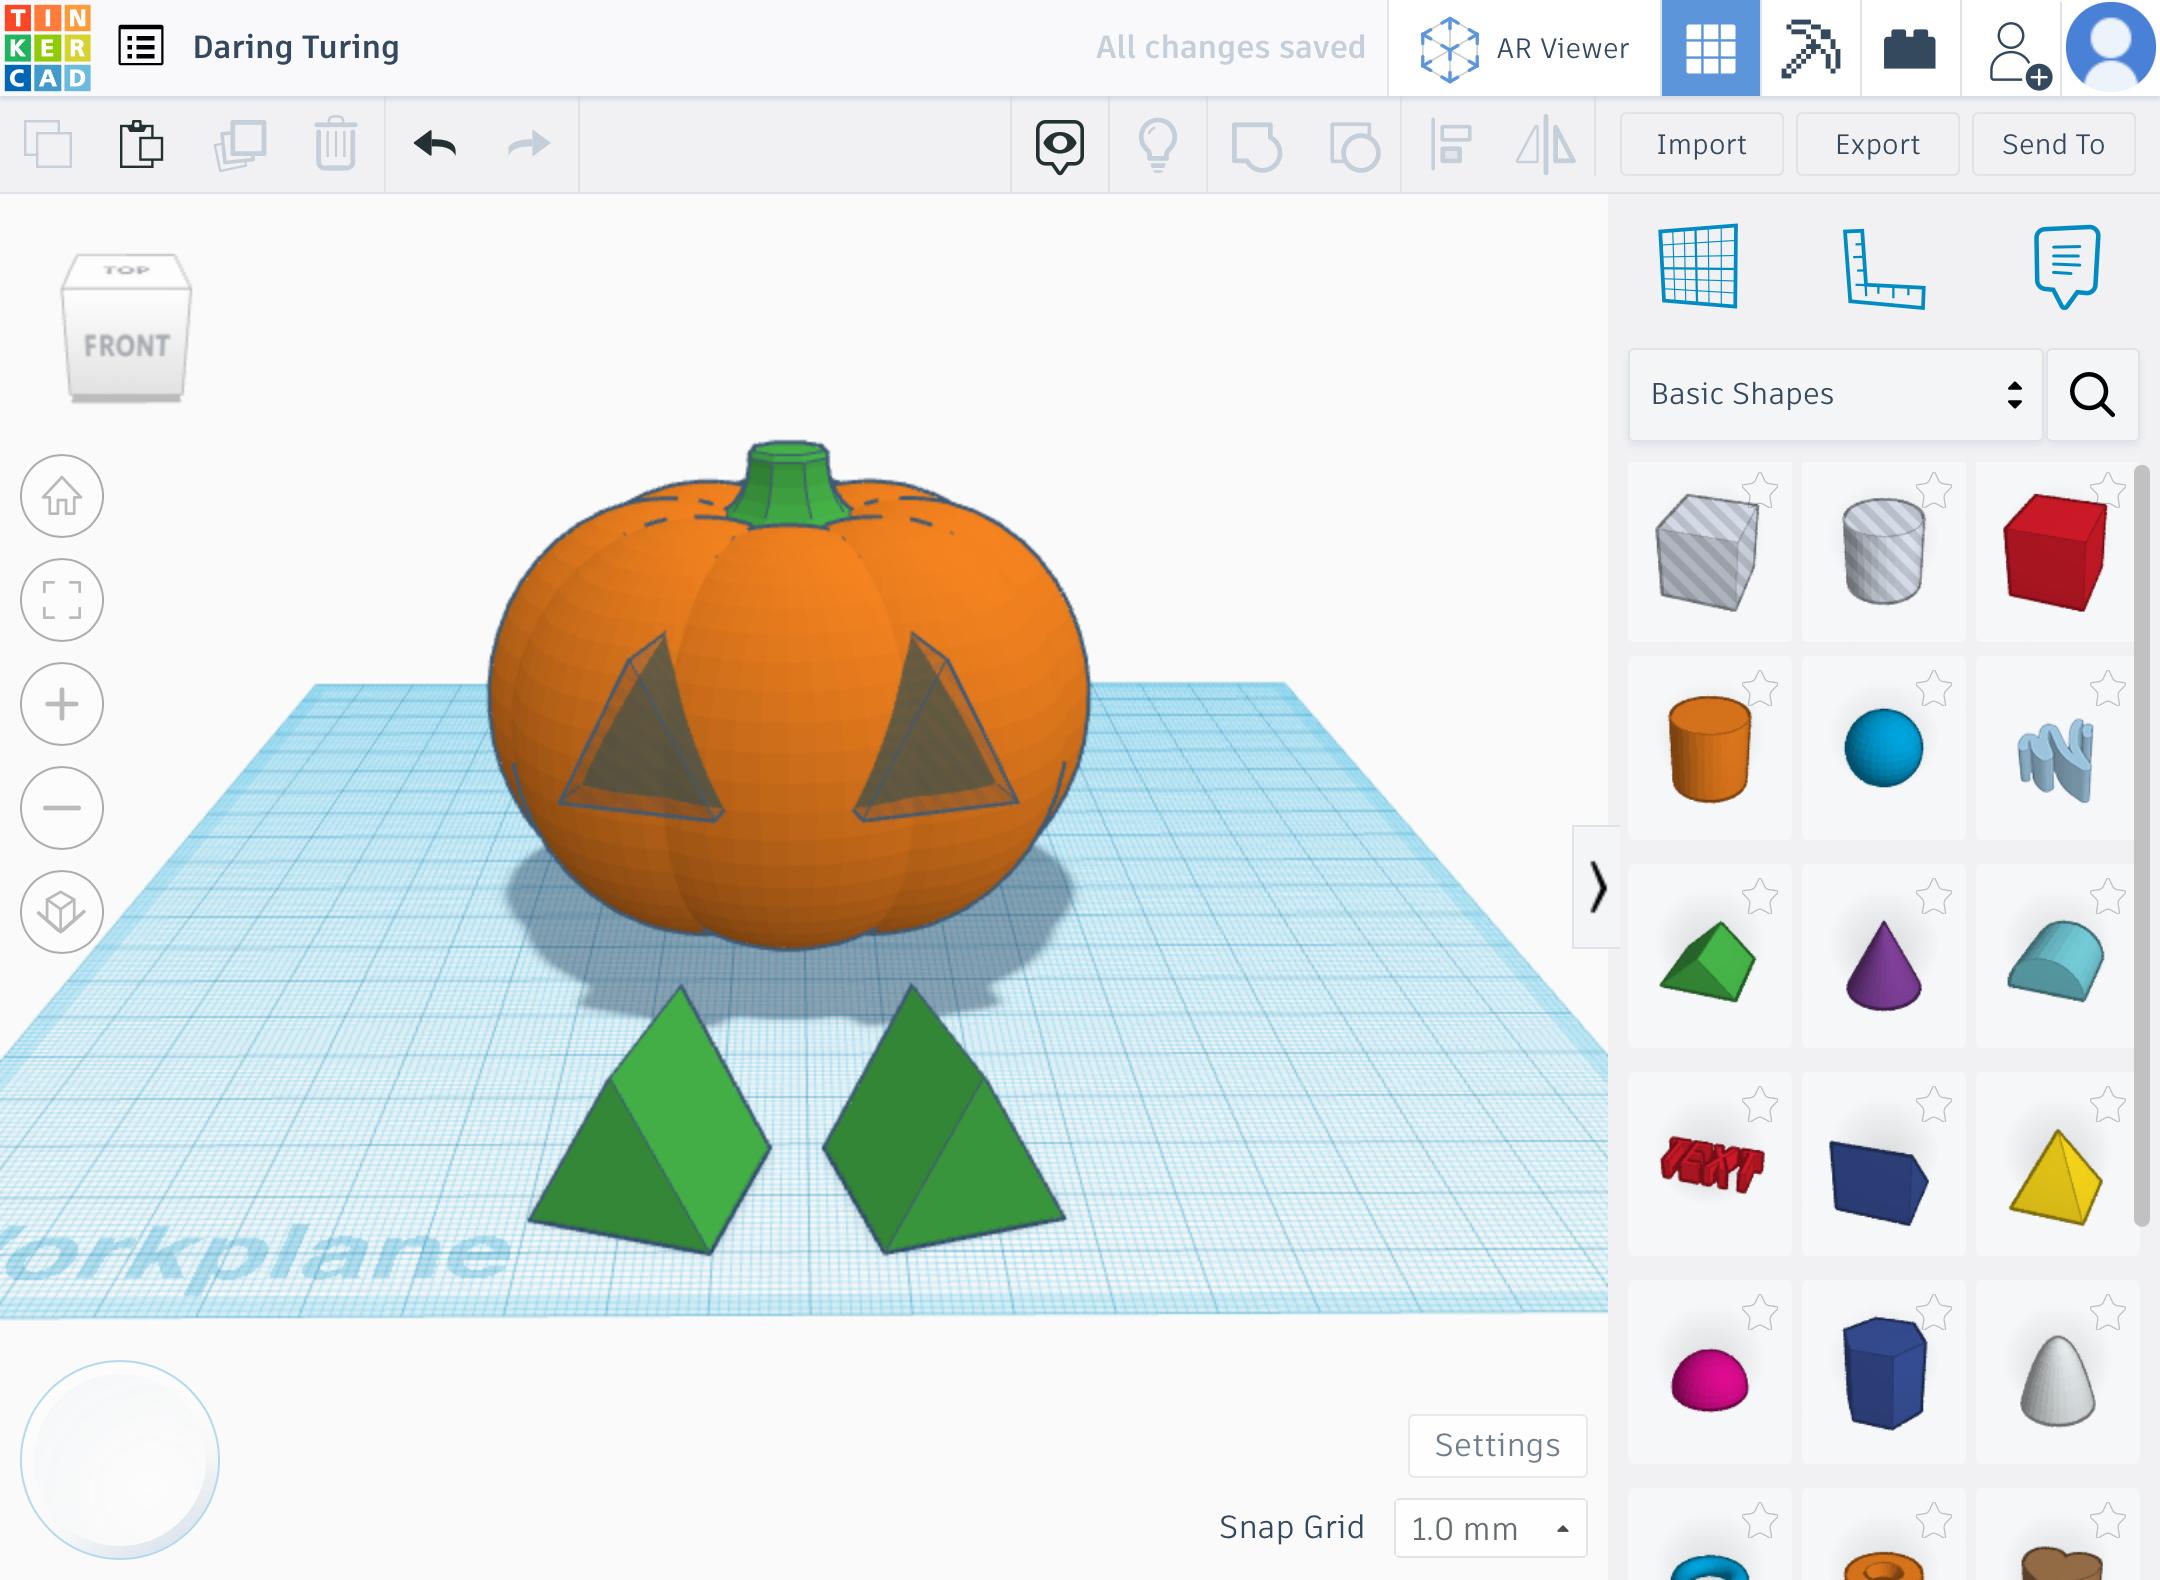
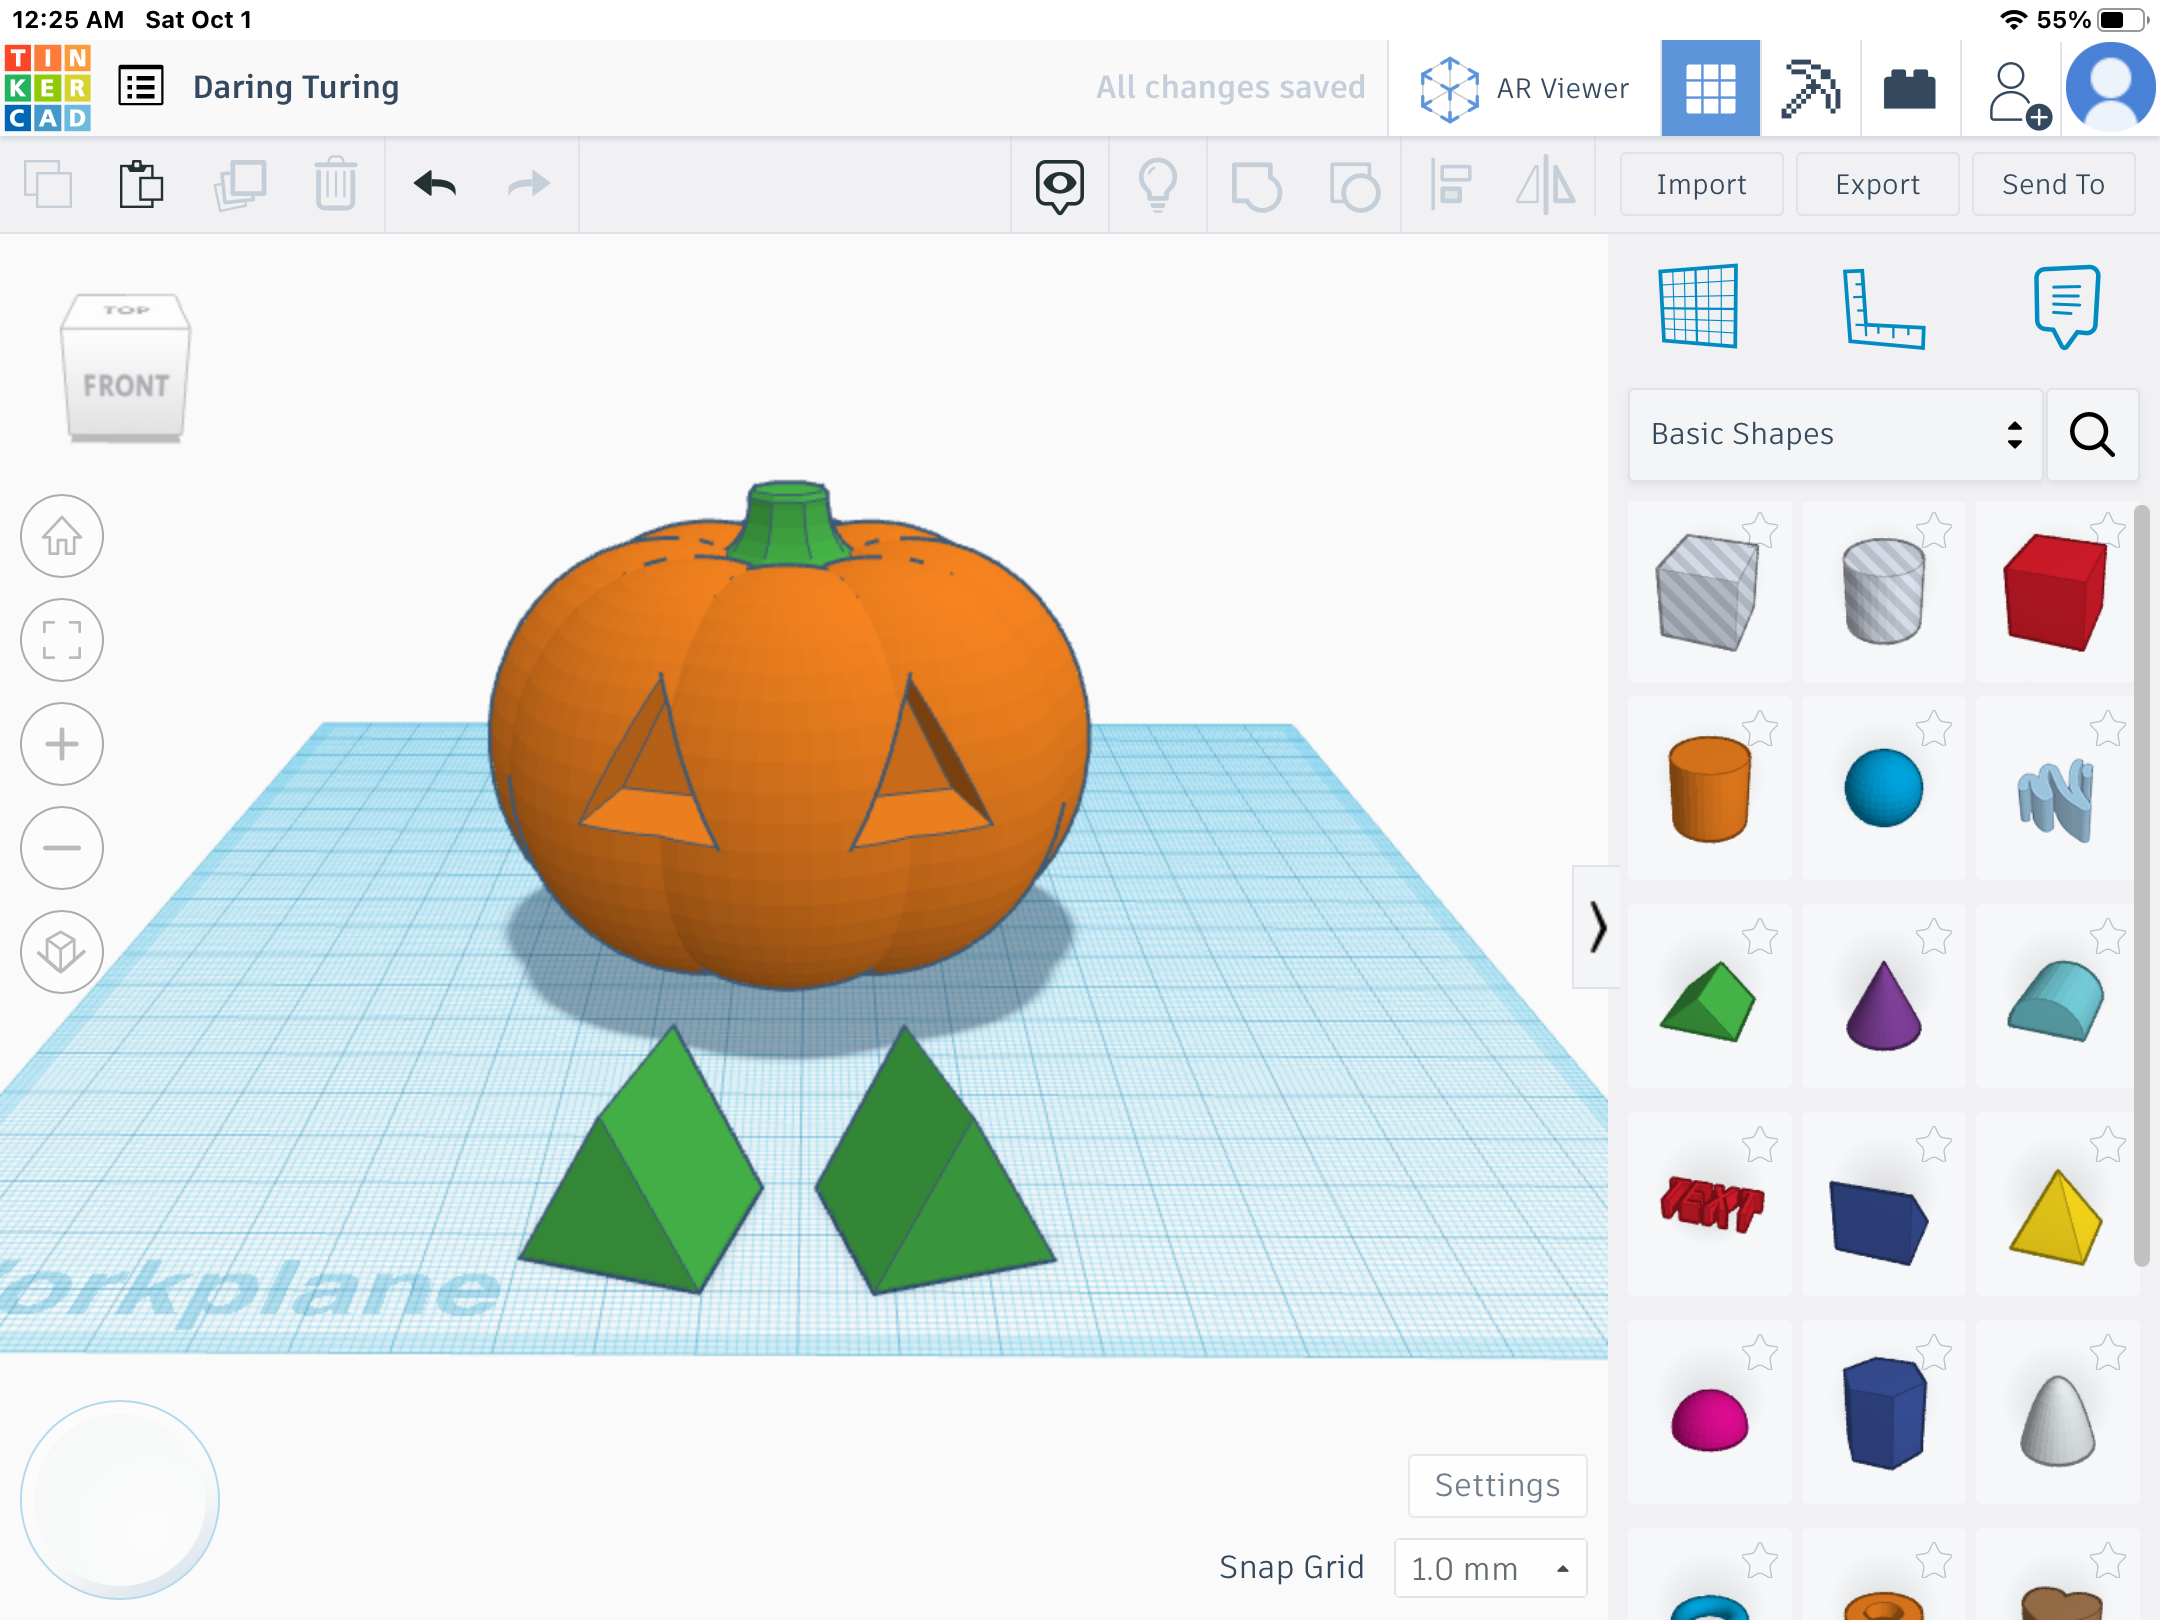
- Bring two more prisms to the workplane and adjust them to the same size as your eyes
- Group the pumpkin and the eyes together so that the pumpkin has carved eyes.
- Change the color of the two prisms (yellow for a glowing jack-o-lantern and black for a dark one).
The Mouth
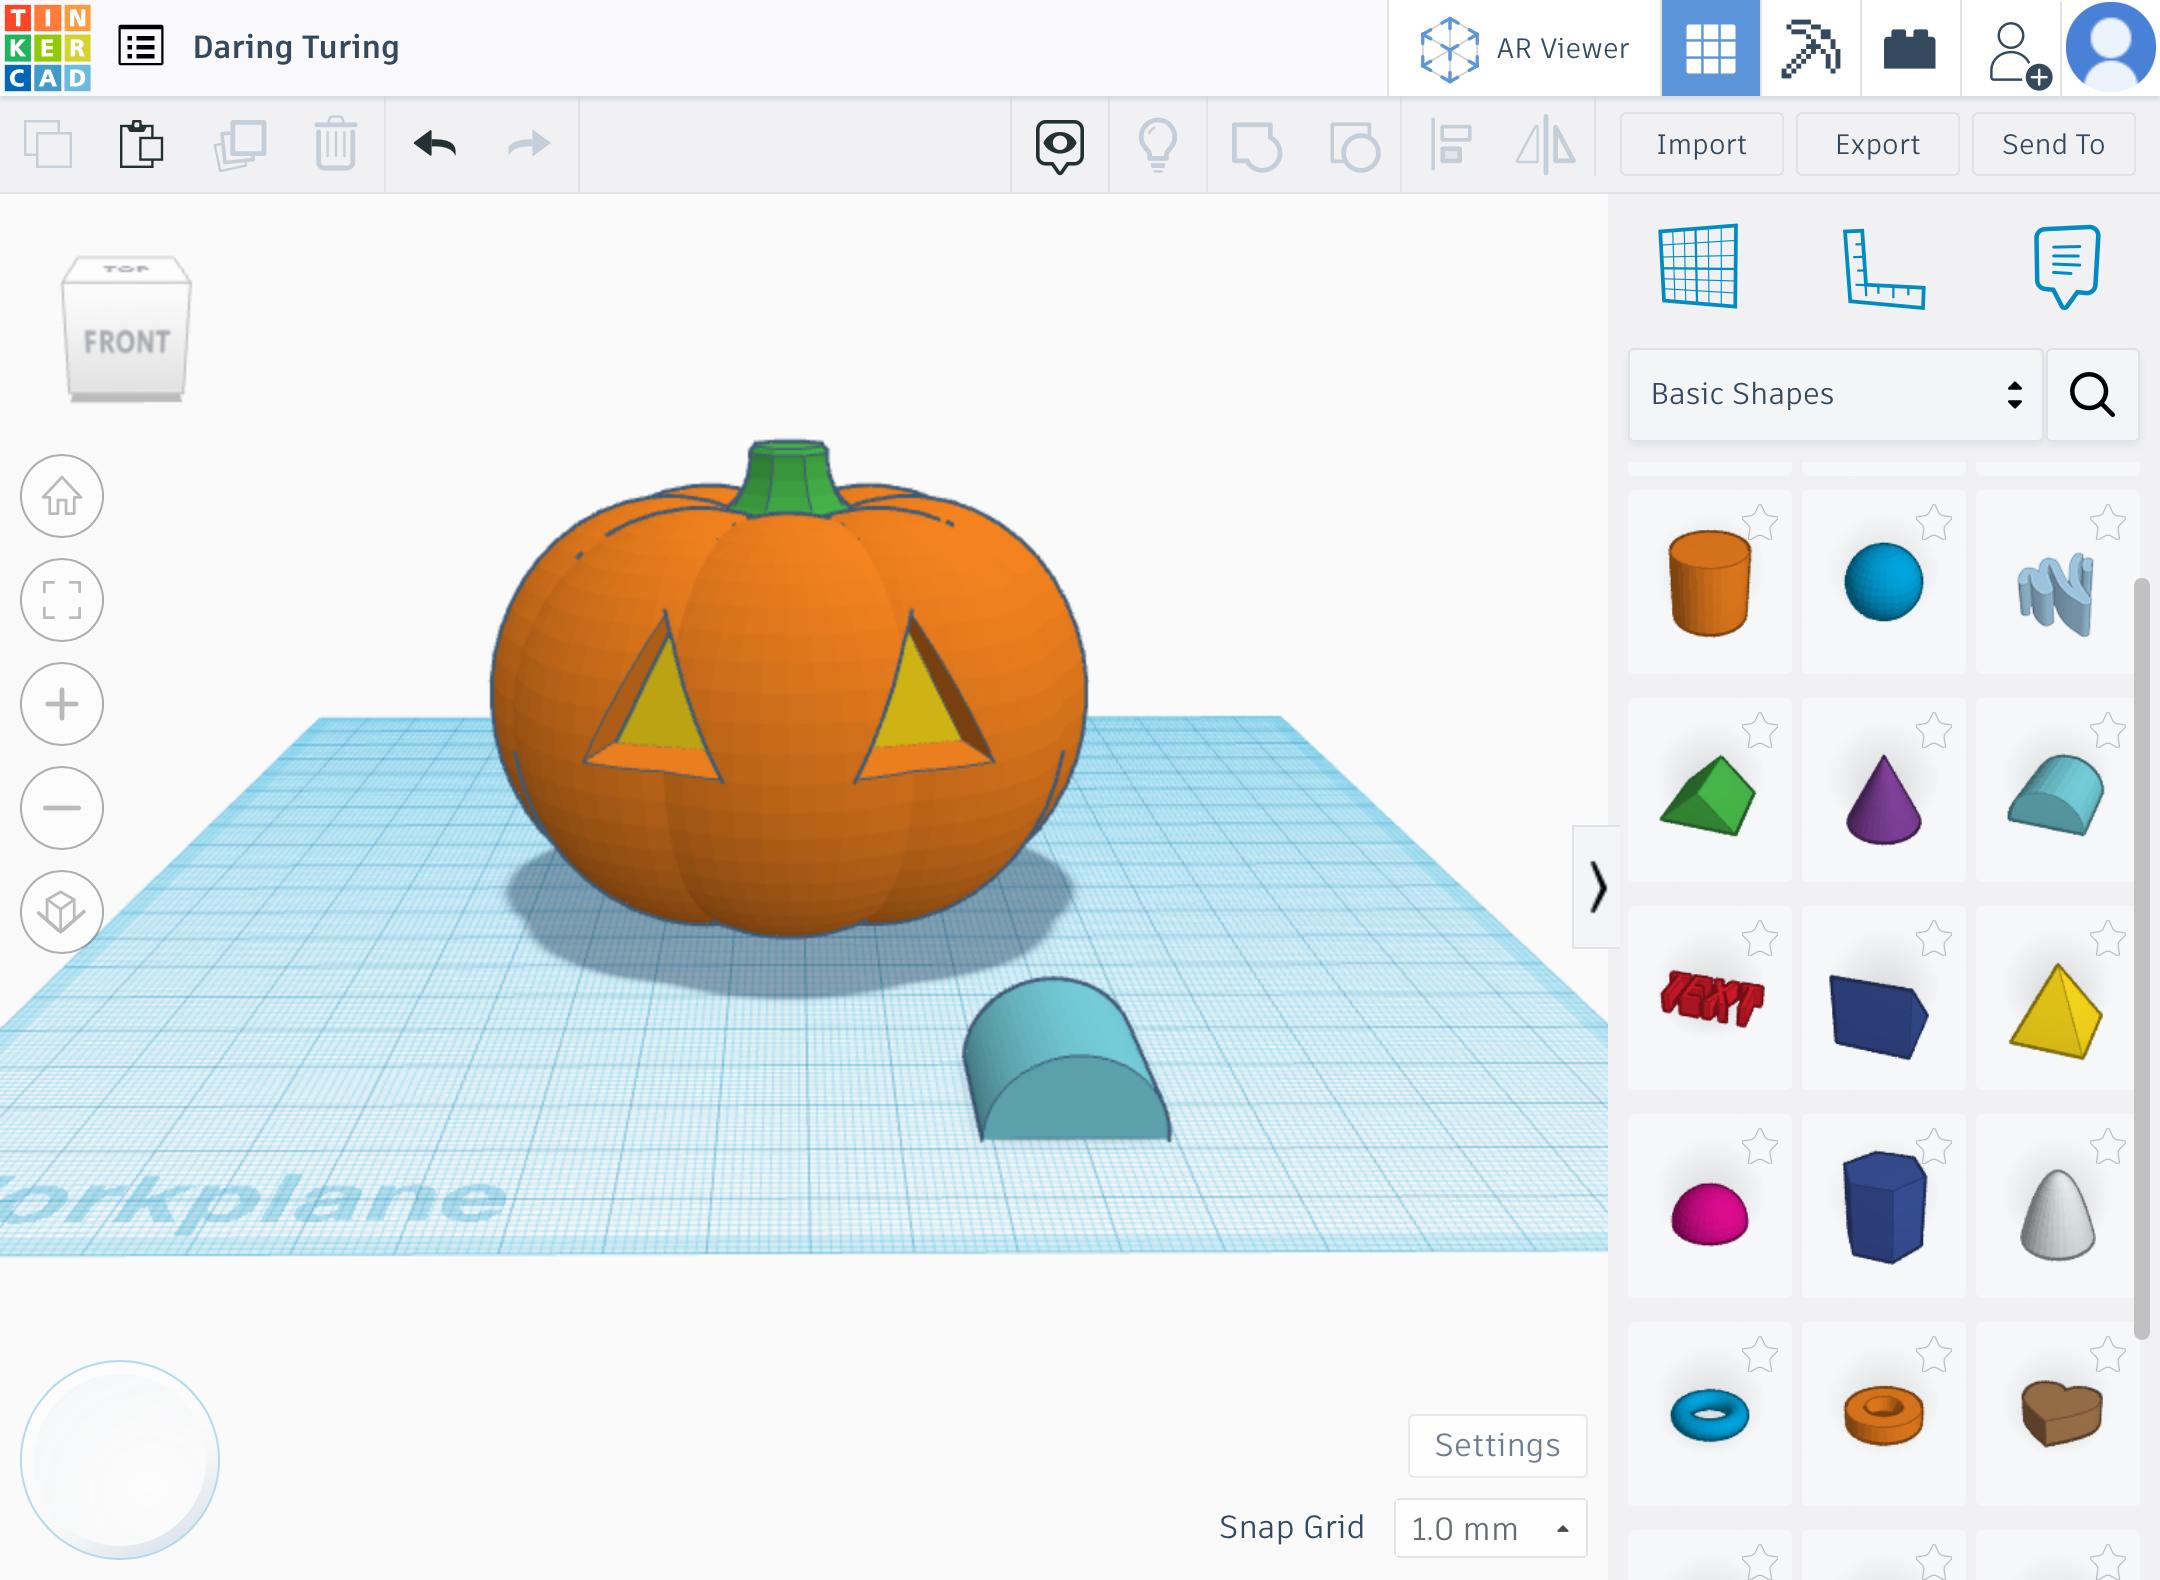

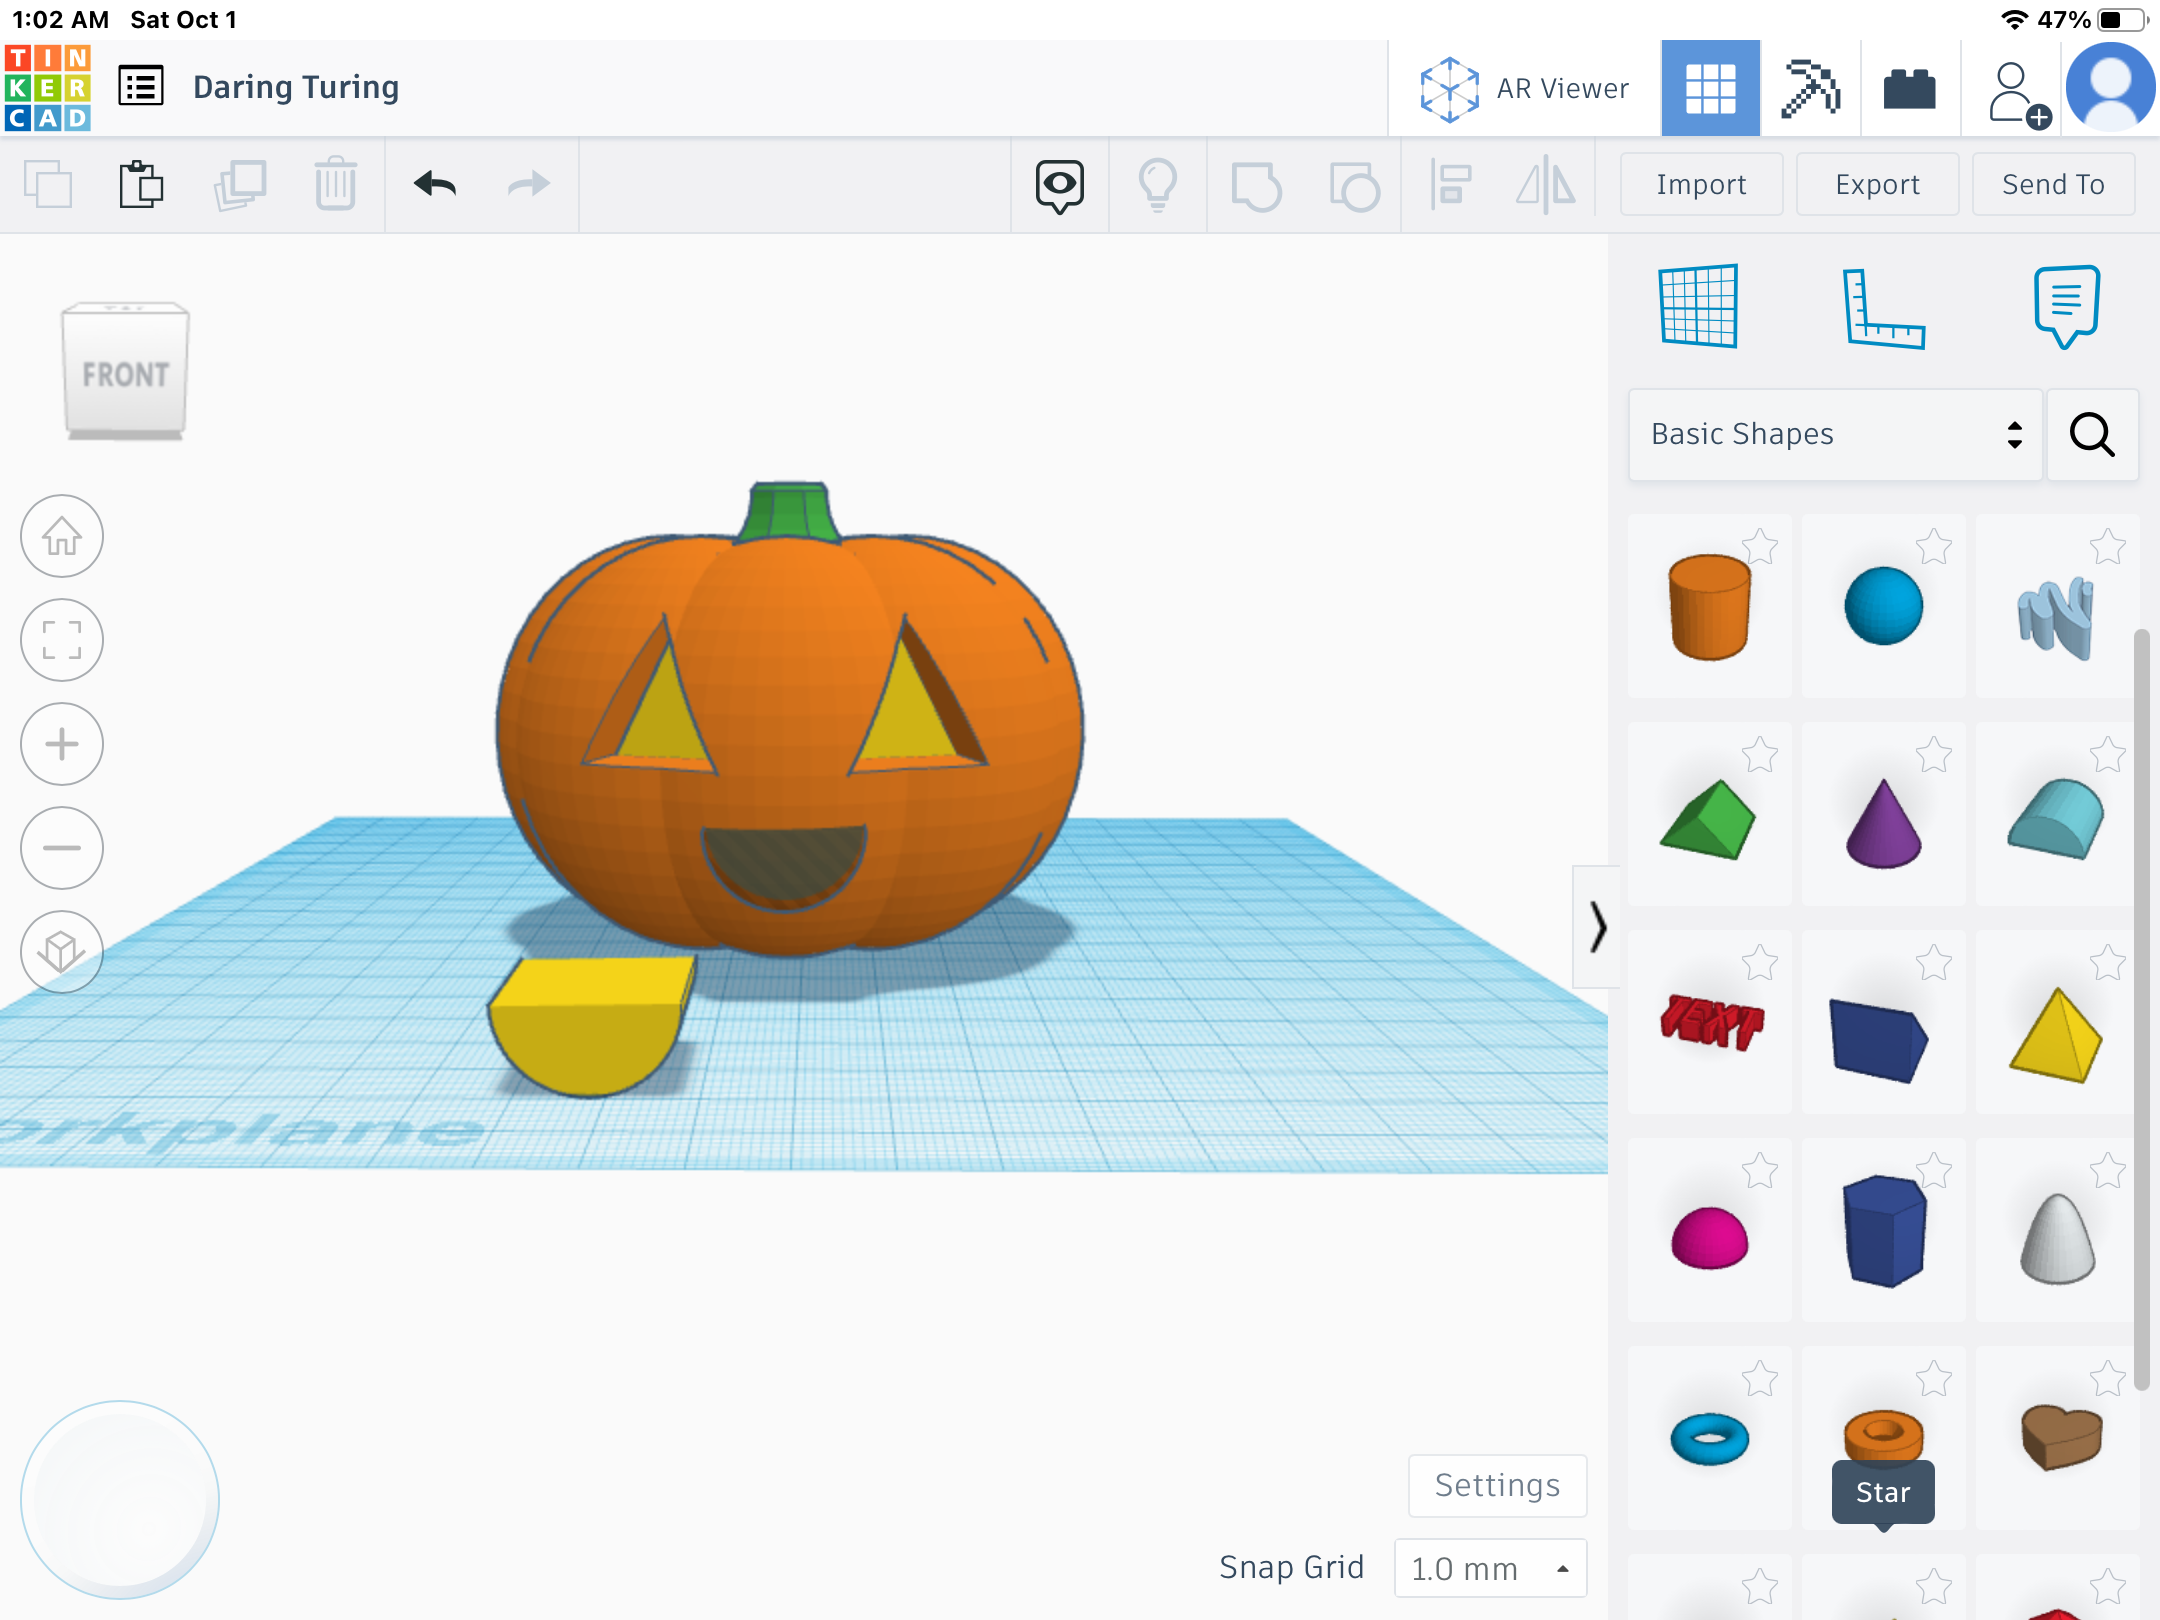
For the mouth, we will be using a half-cylinder.
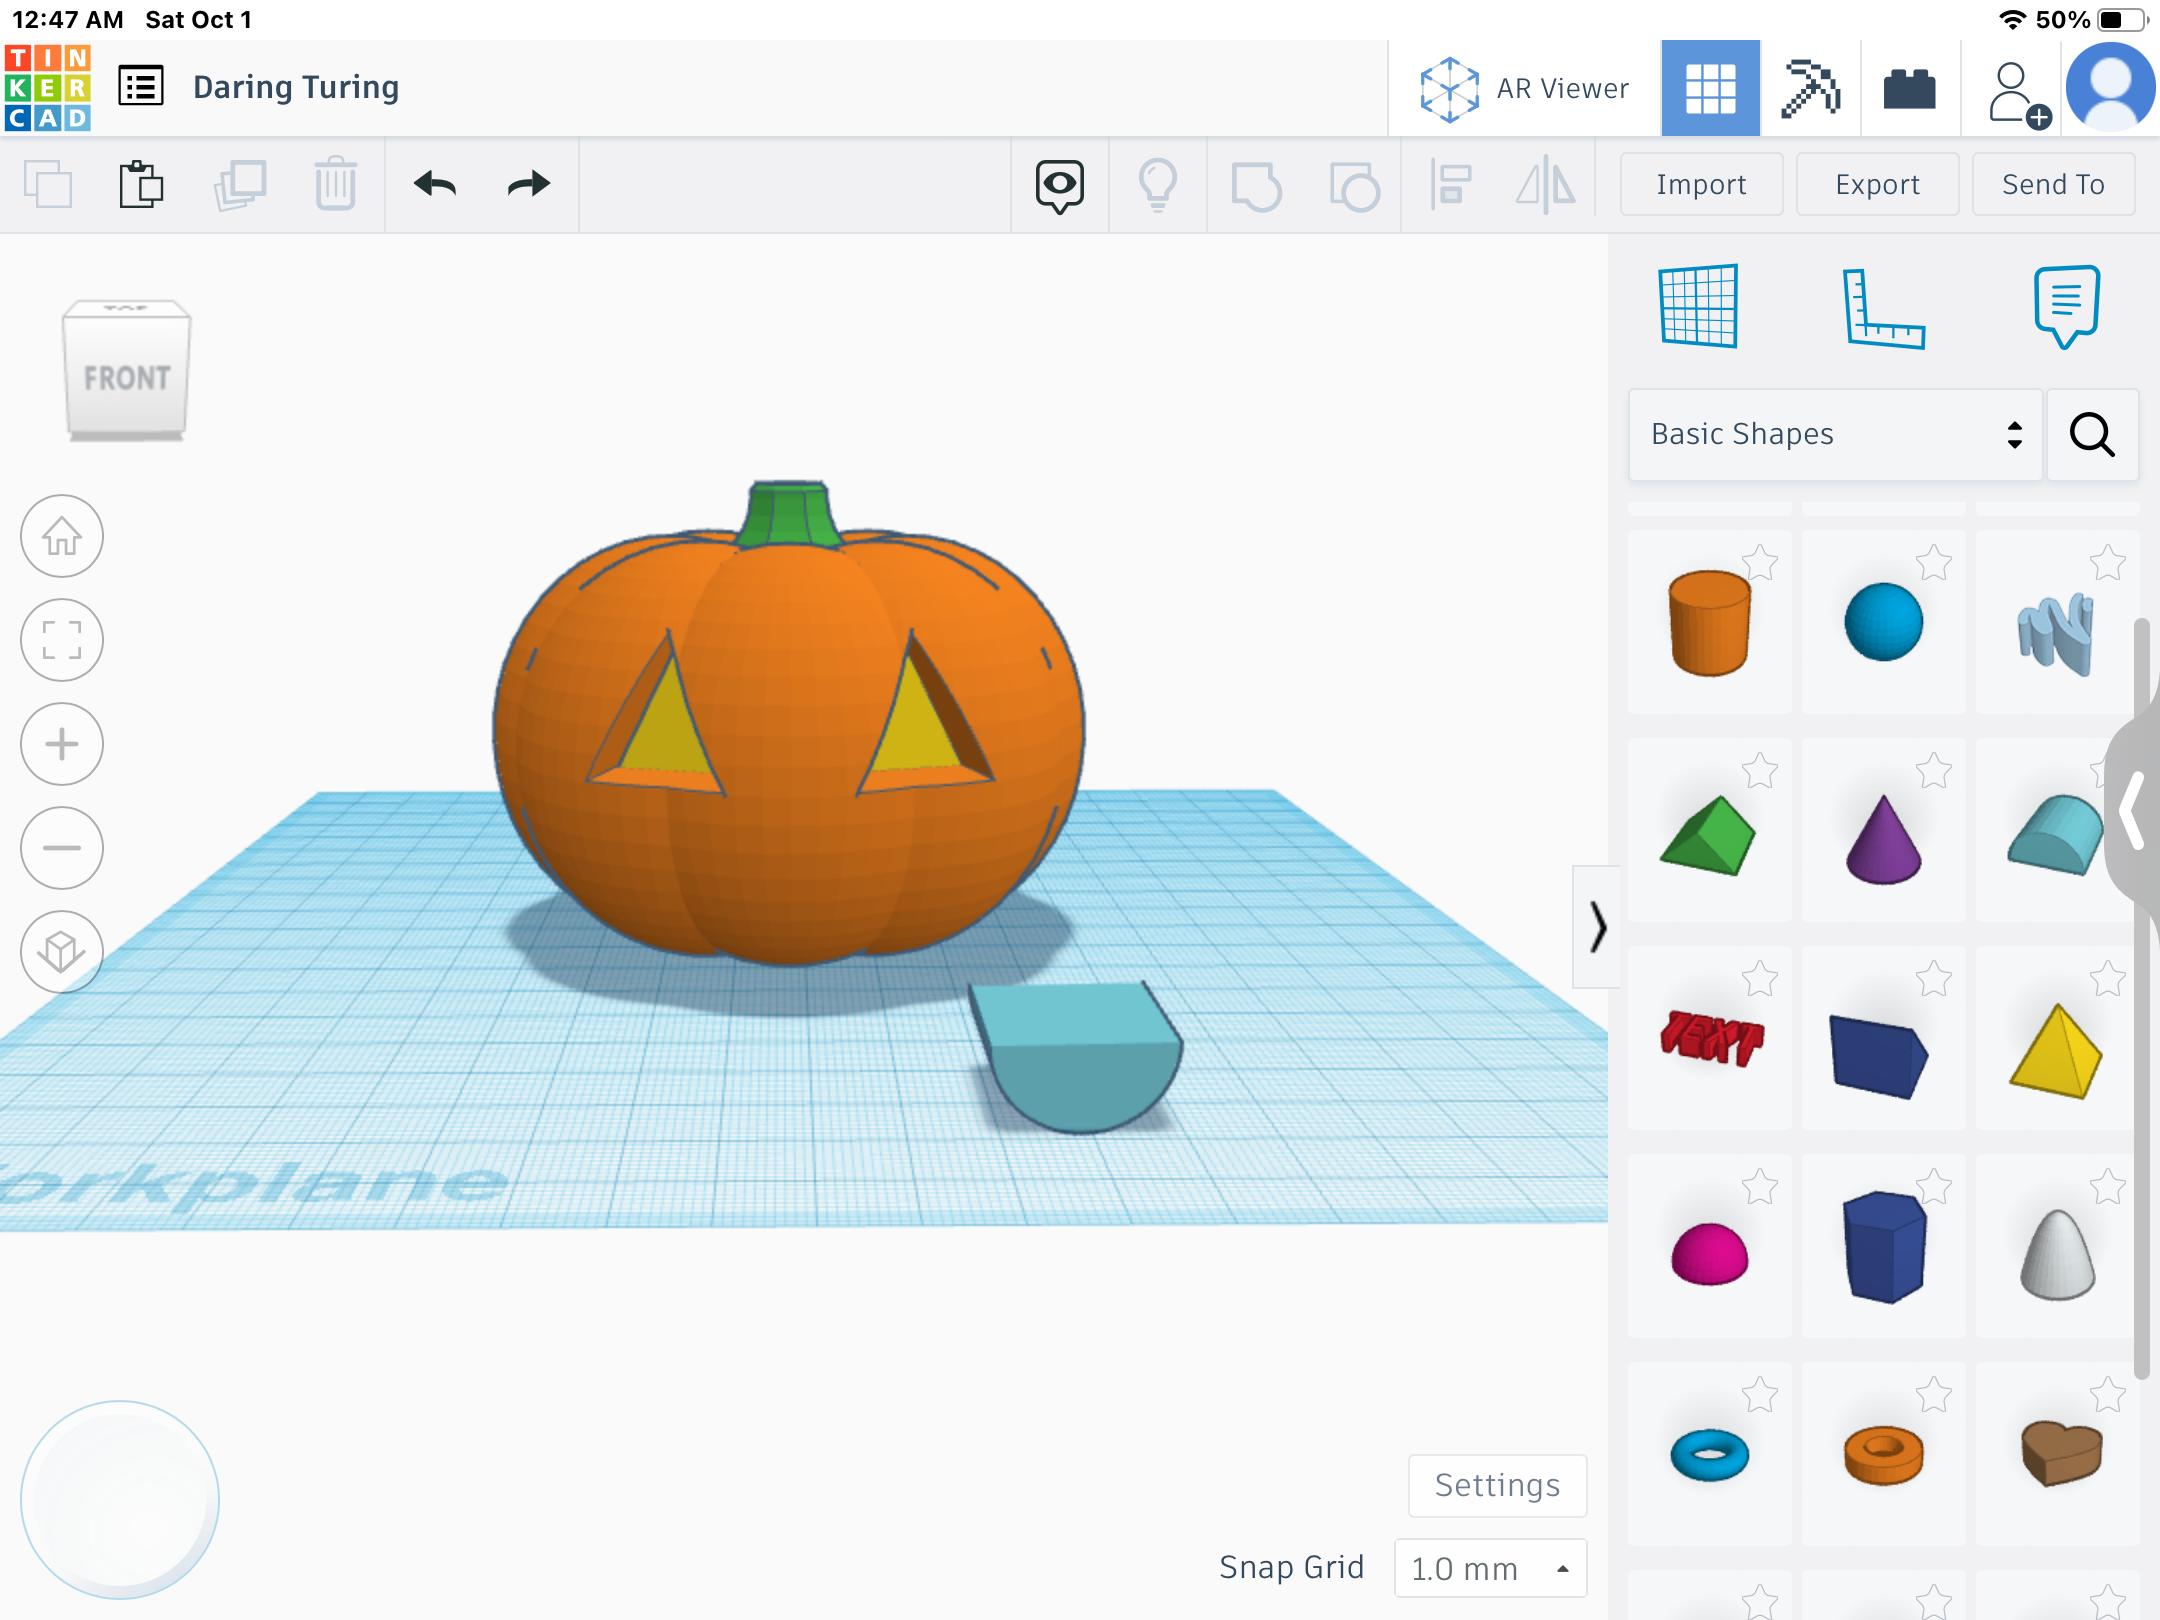
- Bring the half cylinder to the workplane and rotate it so that the flat side is facing upwards (or leave it facing down if you want a sad jack-o-lantern).
- Duplicate the half-cylinder.
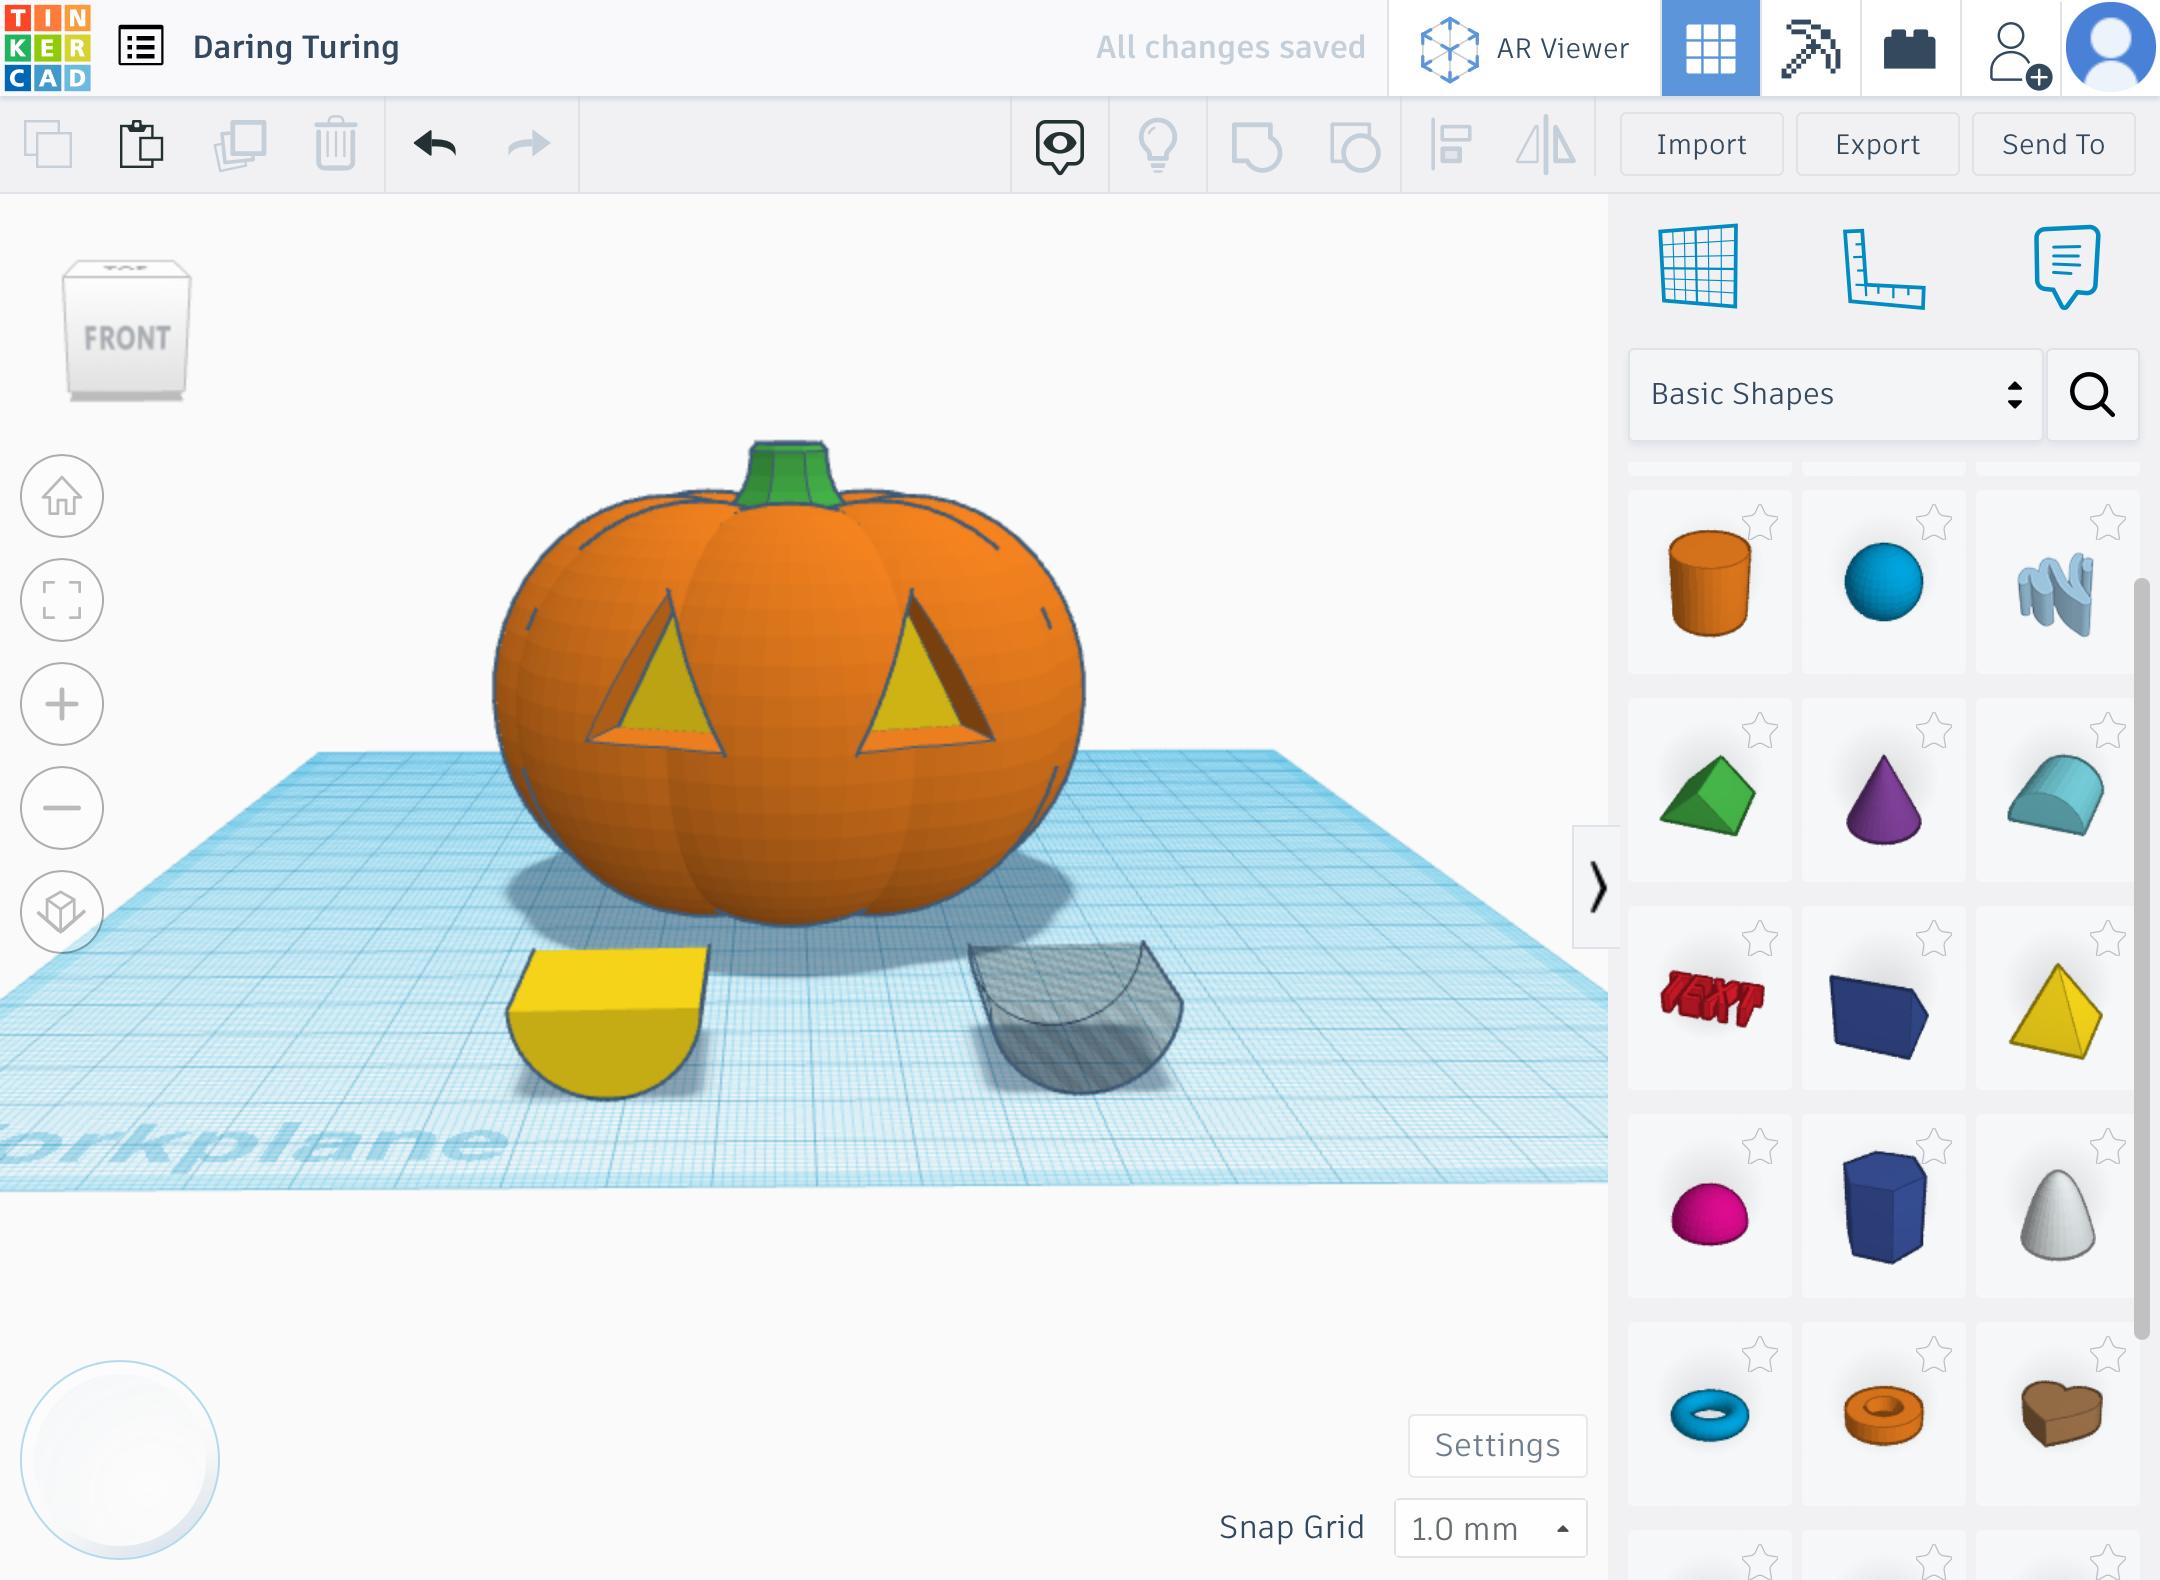
- Change the color of one of the half-cylinders (to yellow or black) and turn the other half-cylinder from Solid to Hole.
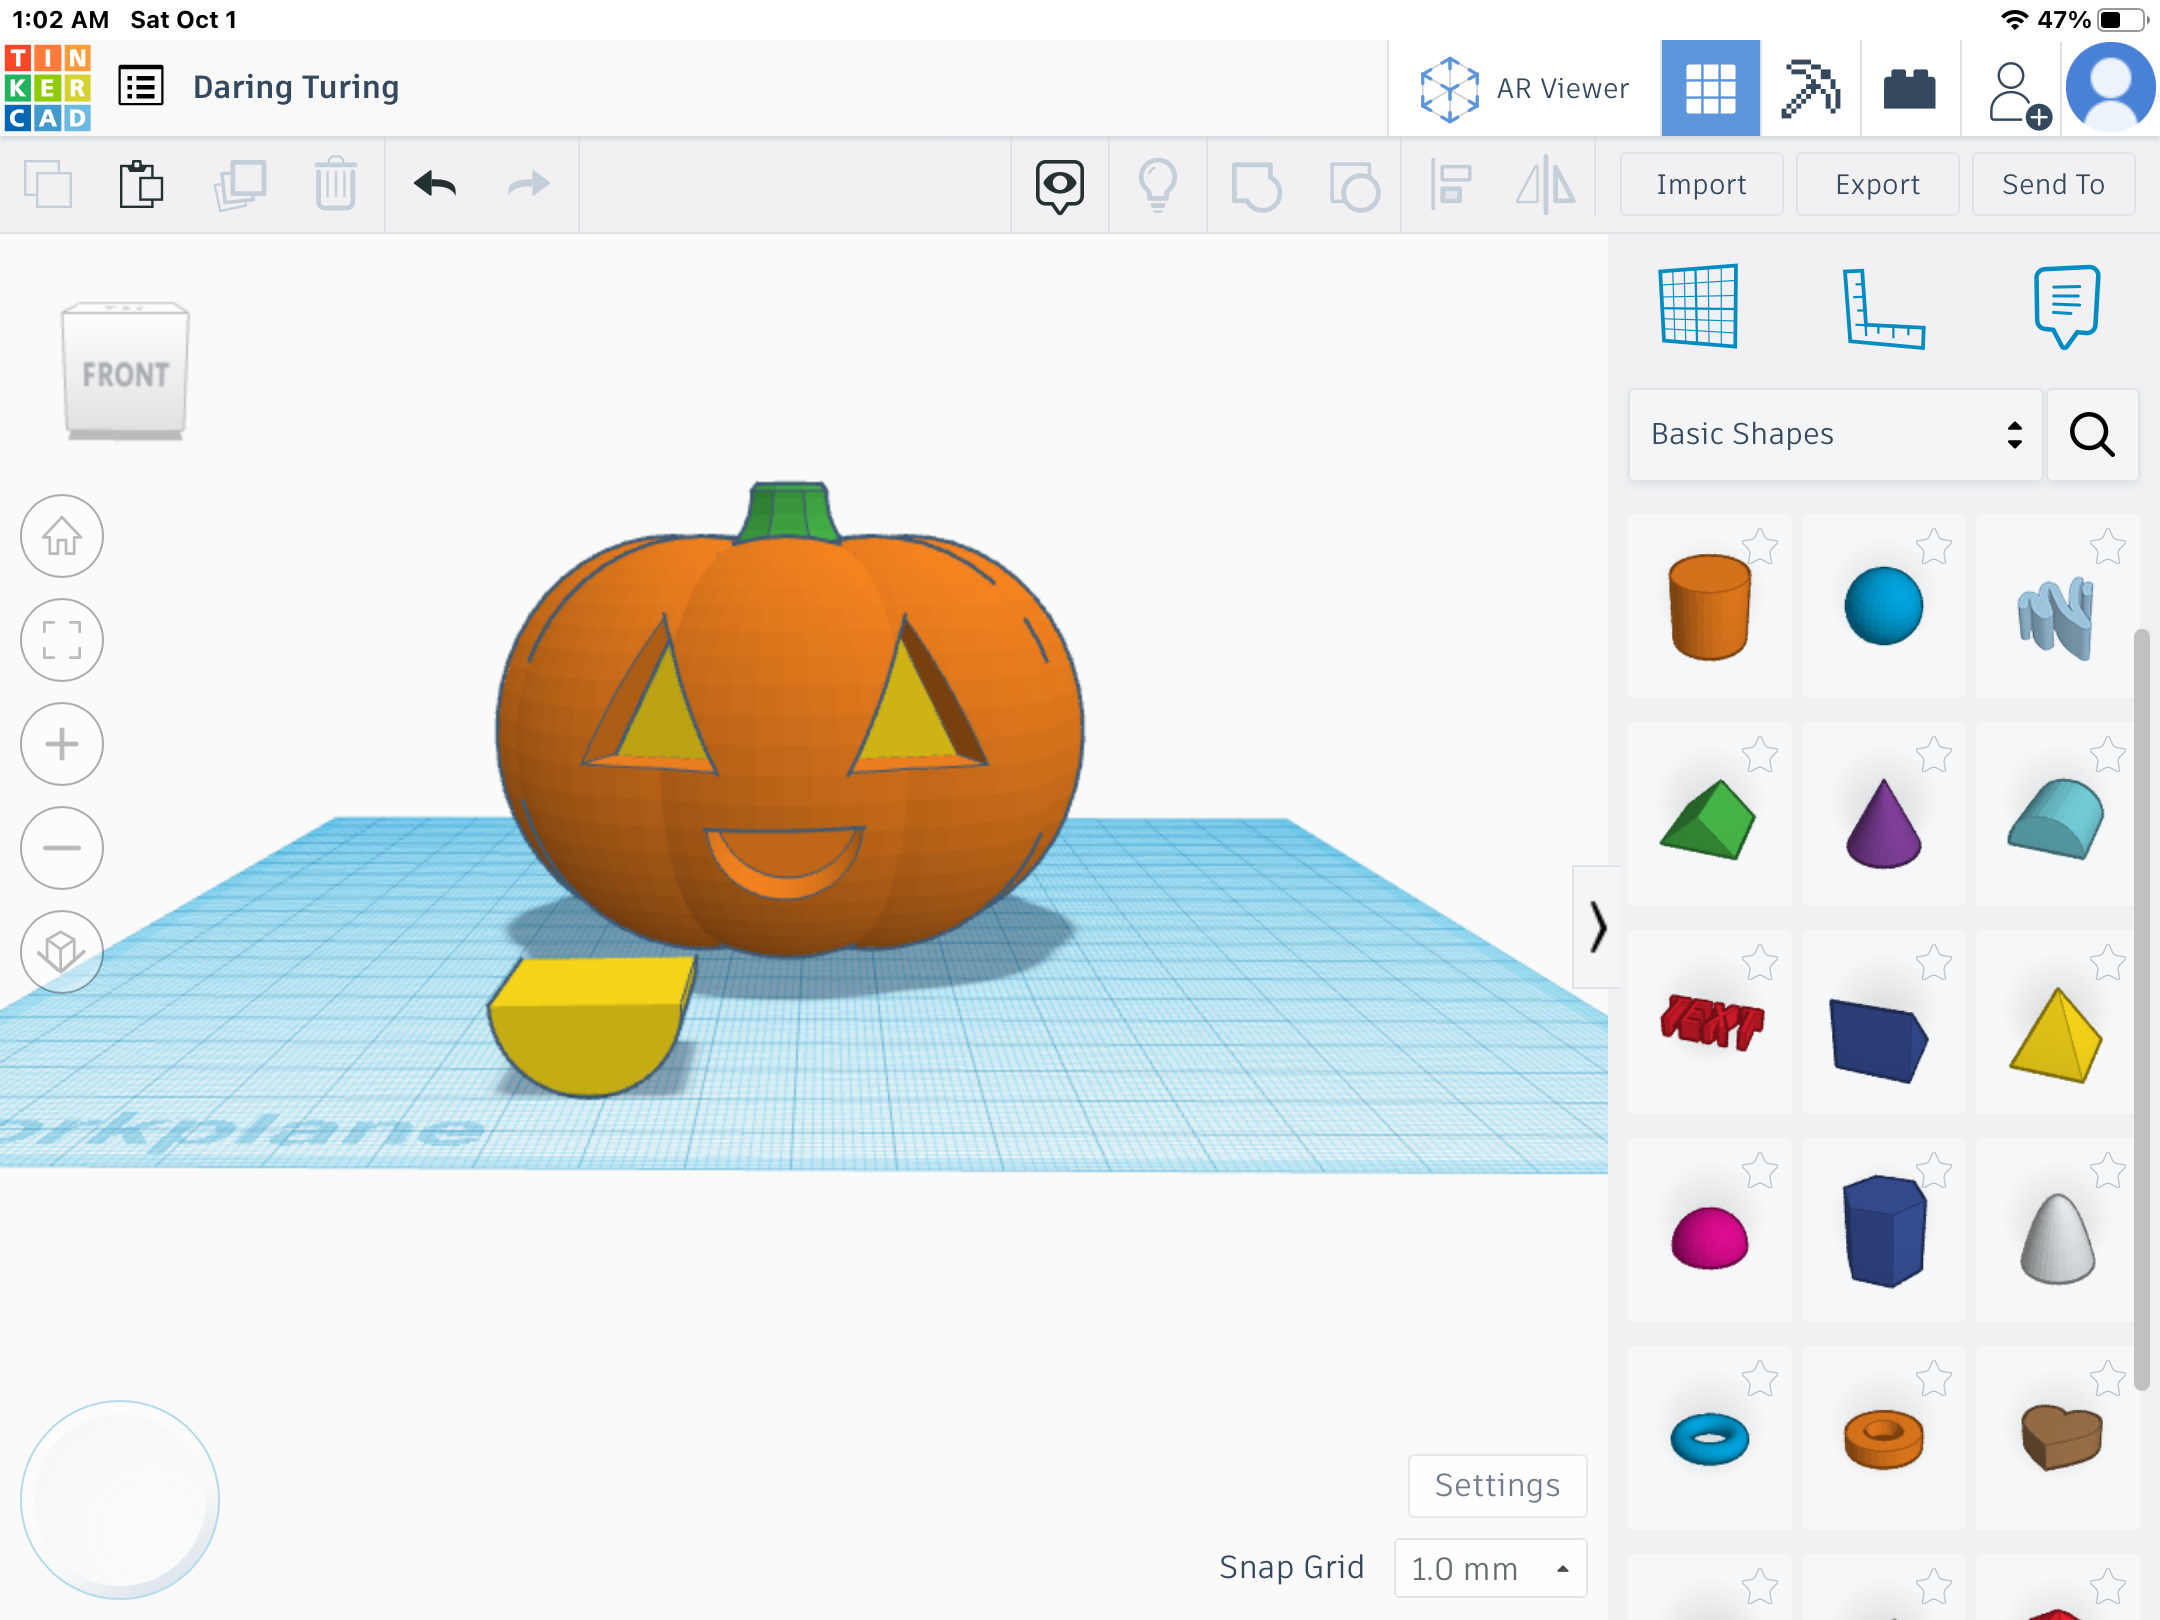
- Position the Hole half-cylinder onto the pumpkin and group the Hole and the pumpkin.
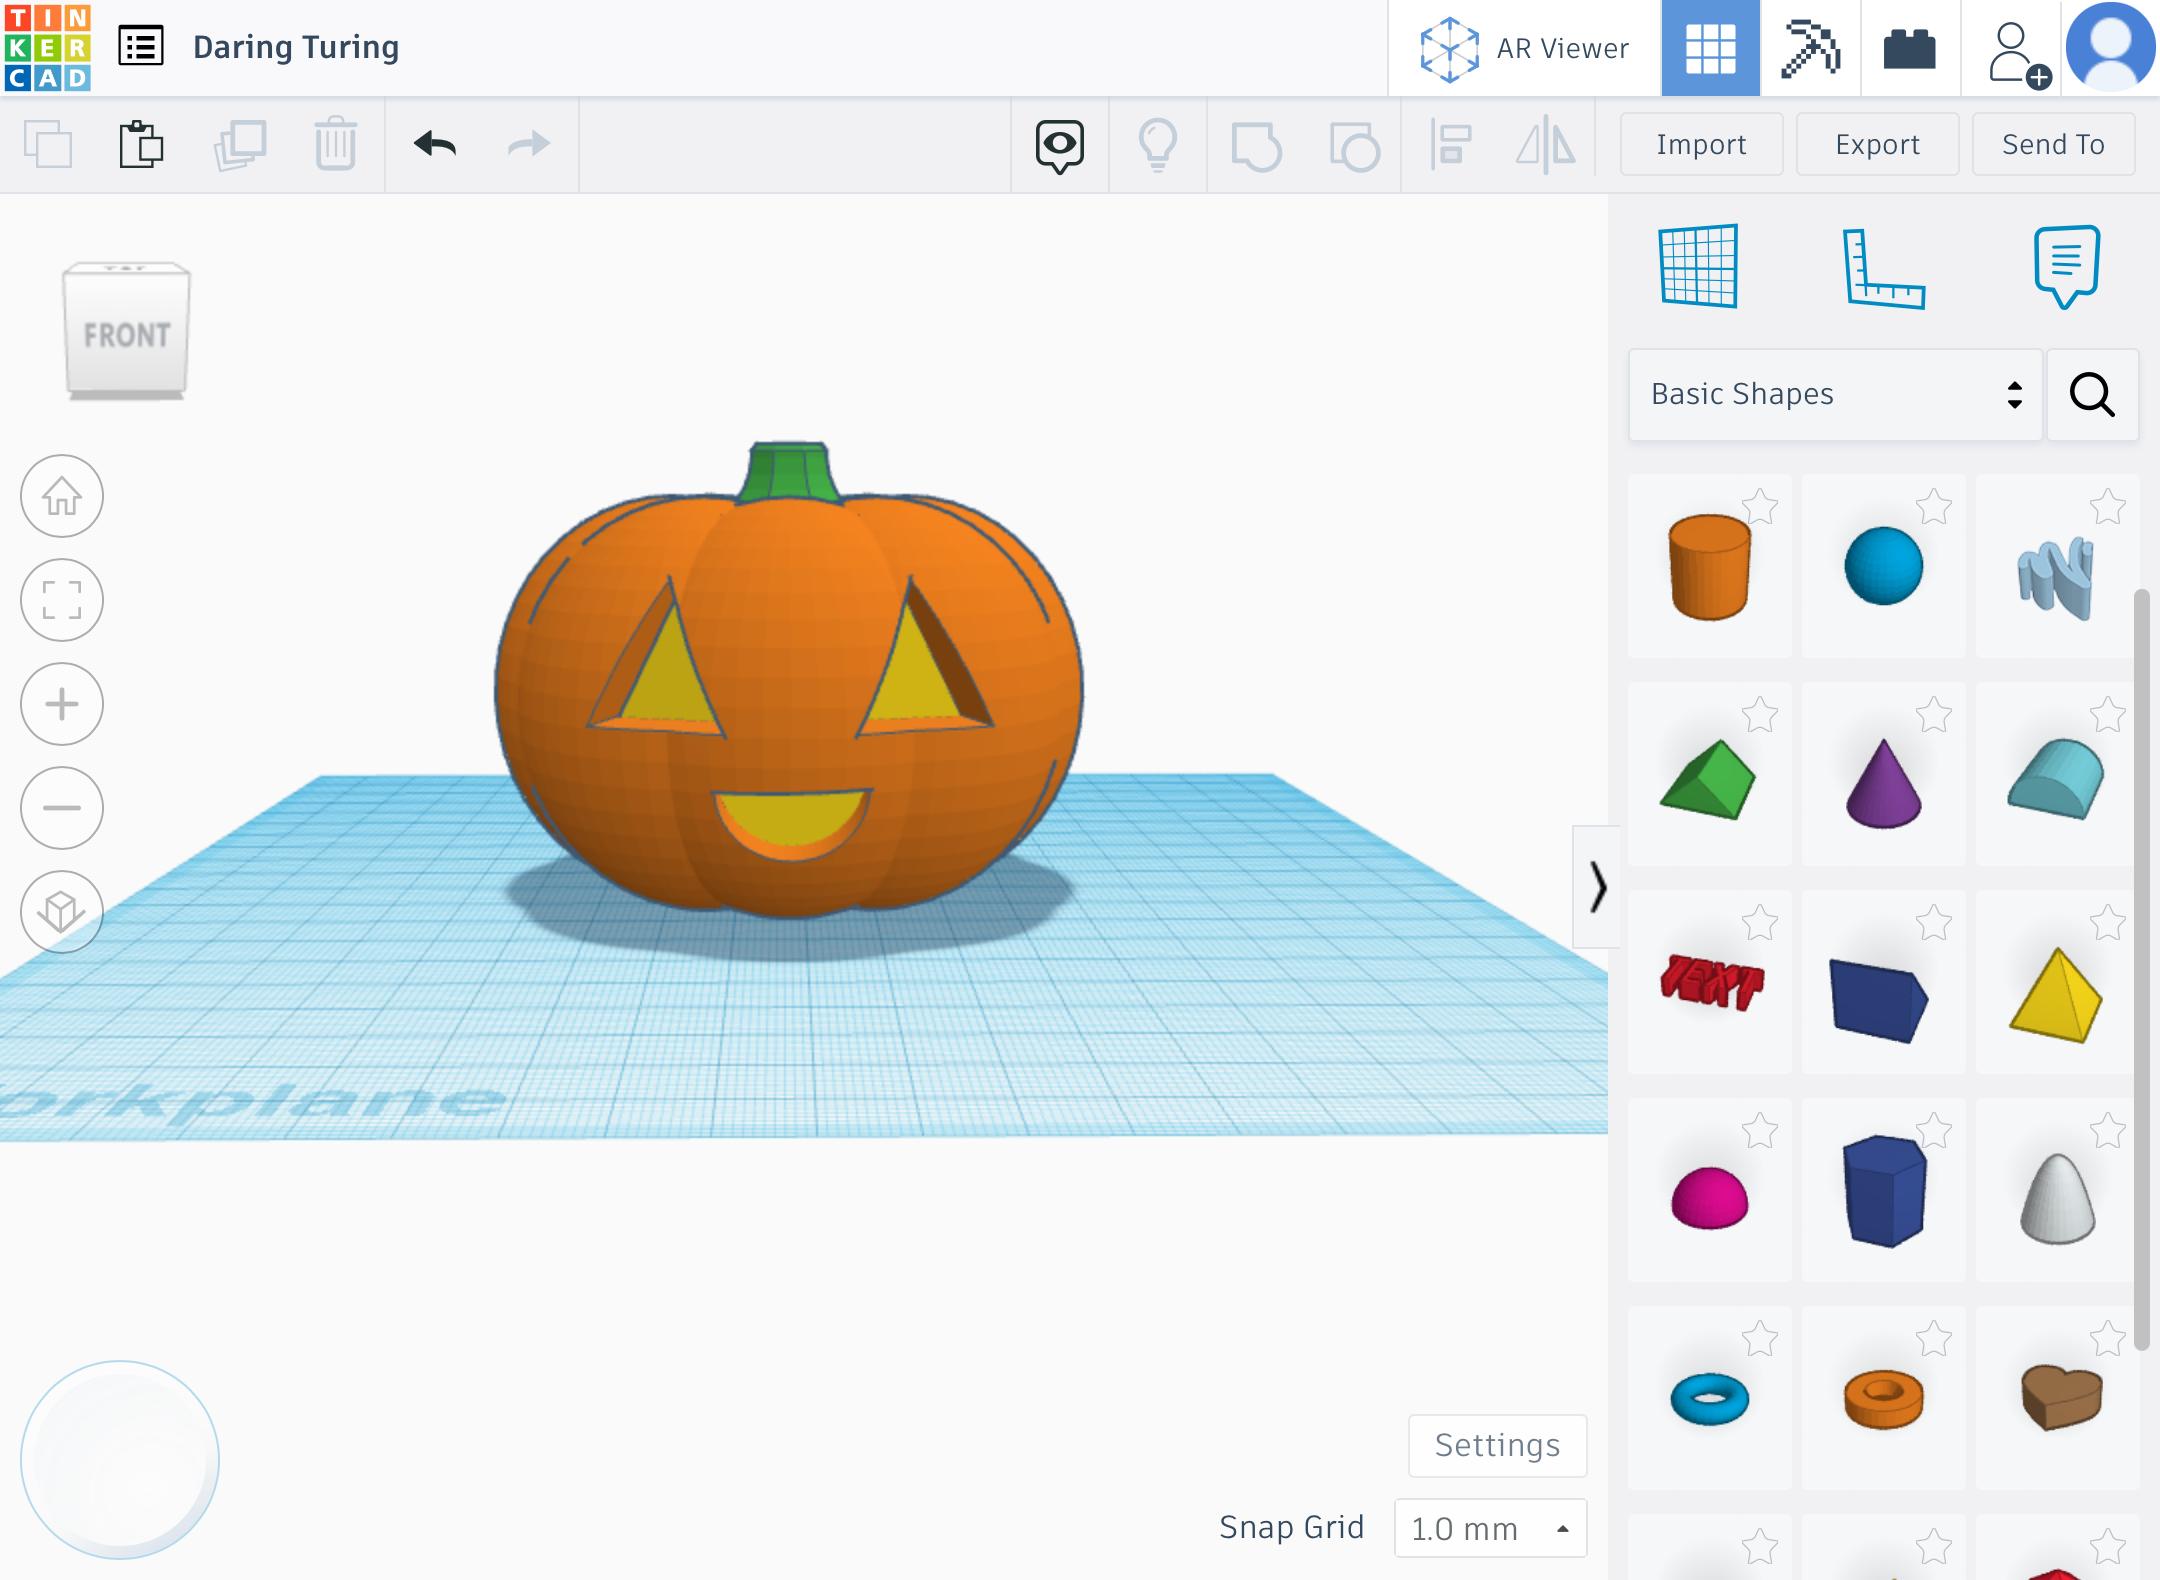
The Jack-O-Lantern Is Complete
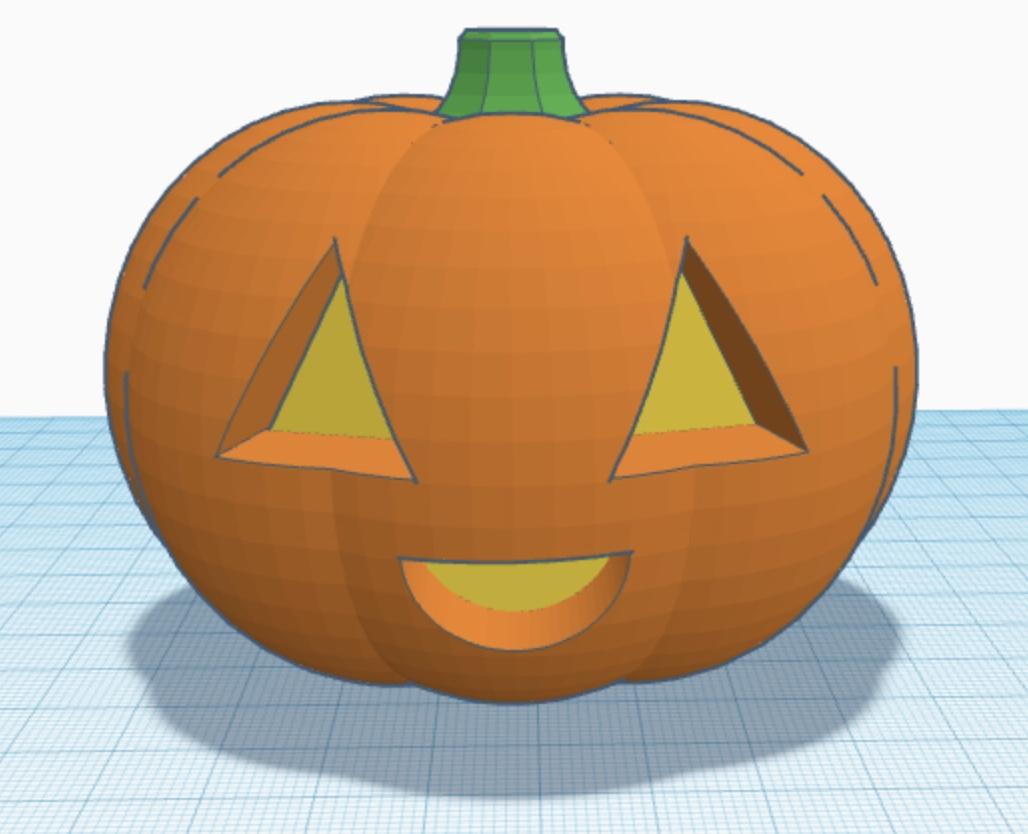
Congratulations! You have successfully completed making a cute jack-o-lantern in TinkerCad! If you have a 3D printer, you can use this jack-o-lantern as Halloween decor.