Cute Bunny Plushie

This adorable bunny plushie is simple and cute! Make it as a toy, decoration, or even an add-on for an Easter basket.
Cut Out Your Pattern

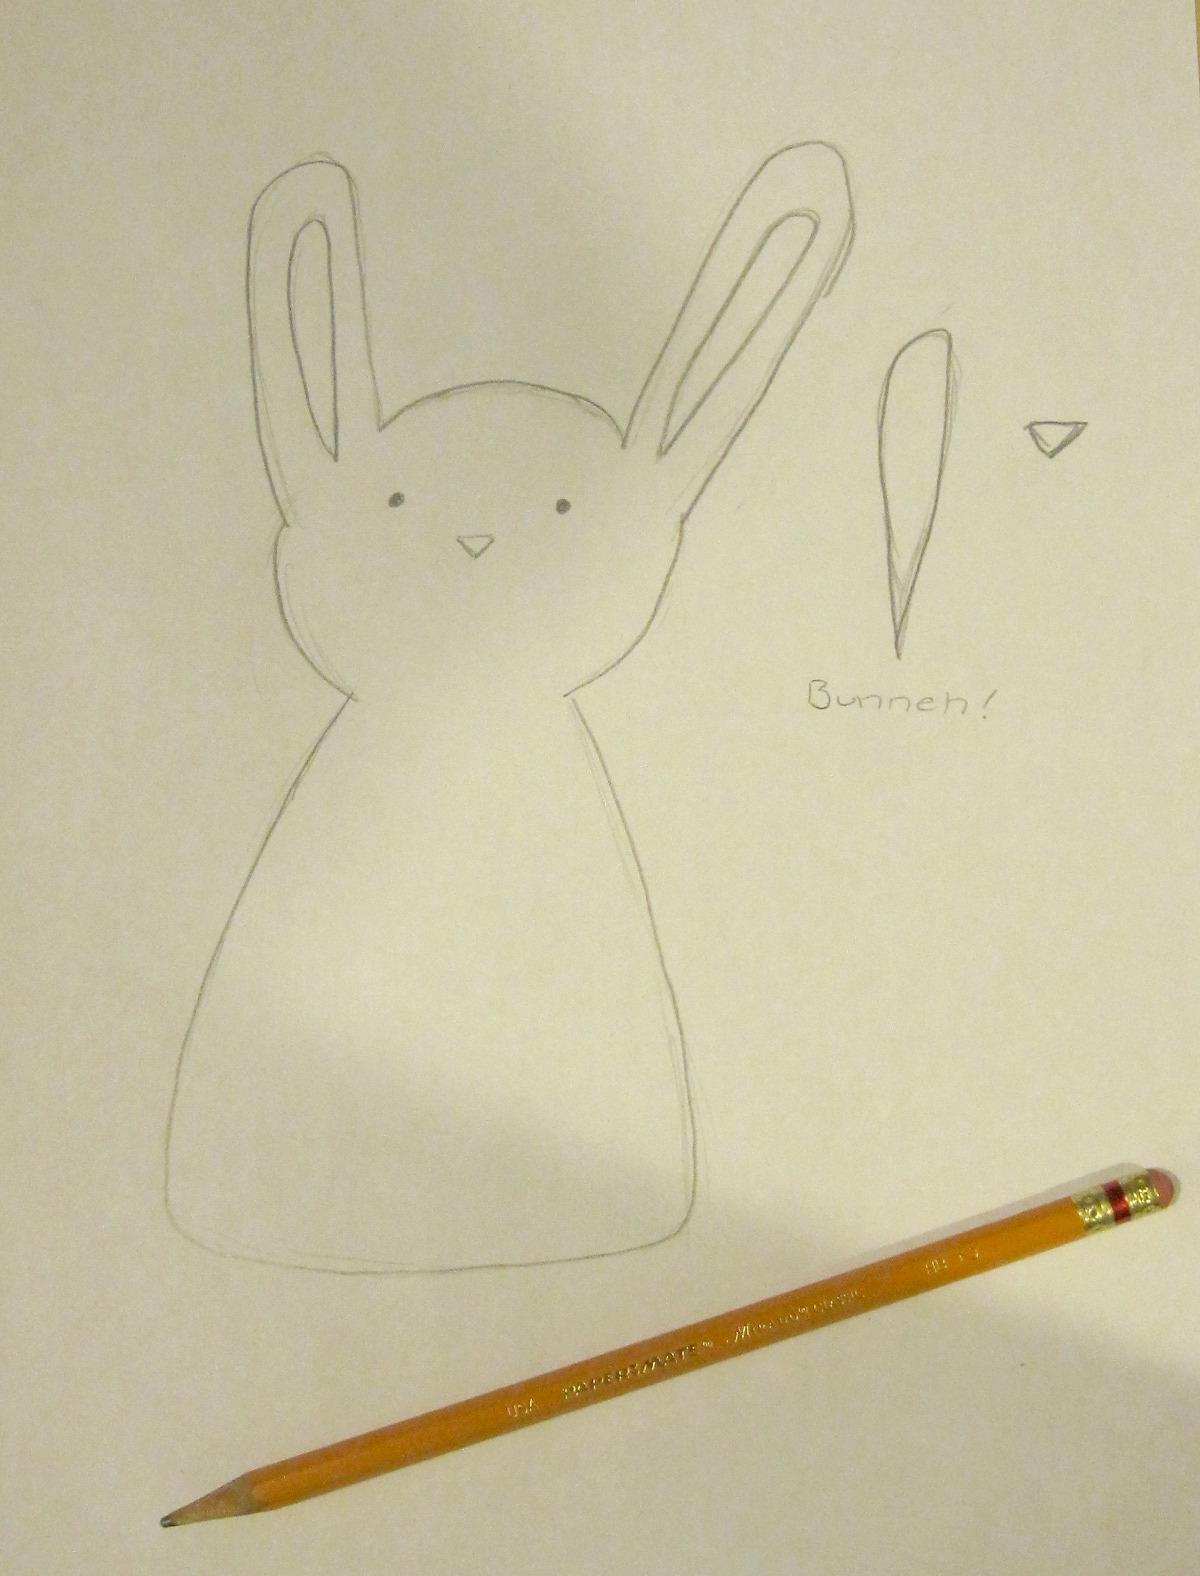
Sketch out your pattern - size doesn't matter (it can be as big or as small as you want)
BTW I drew on the face to the main body, but you don't have to cut that out. I drew it because I always do that.
BTW I drew on the face to the main body, but you don't have to cut that out. I drew it because I always do that.
Cut Out Your Pattern

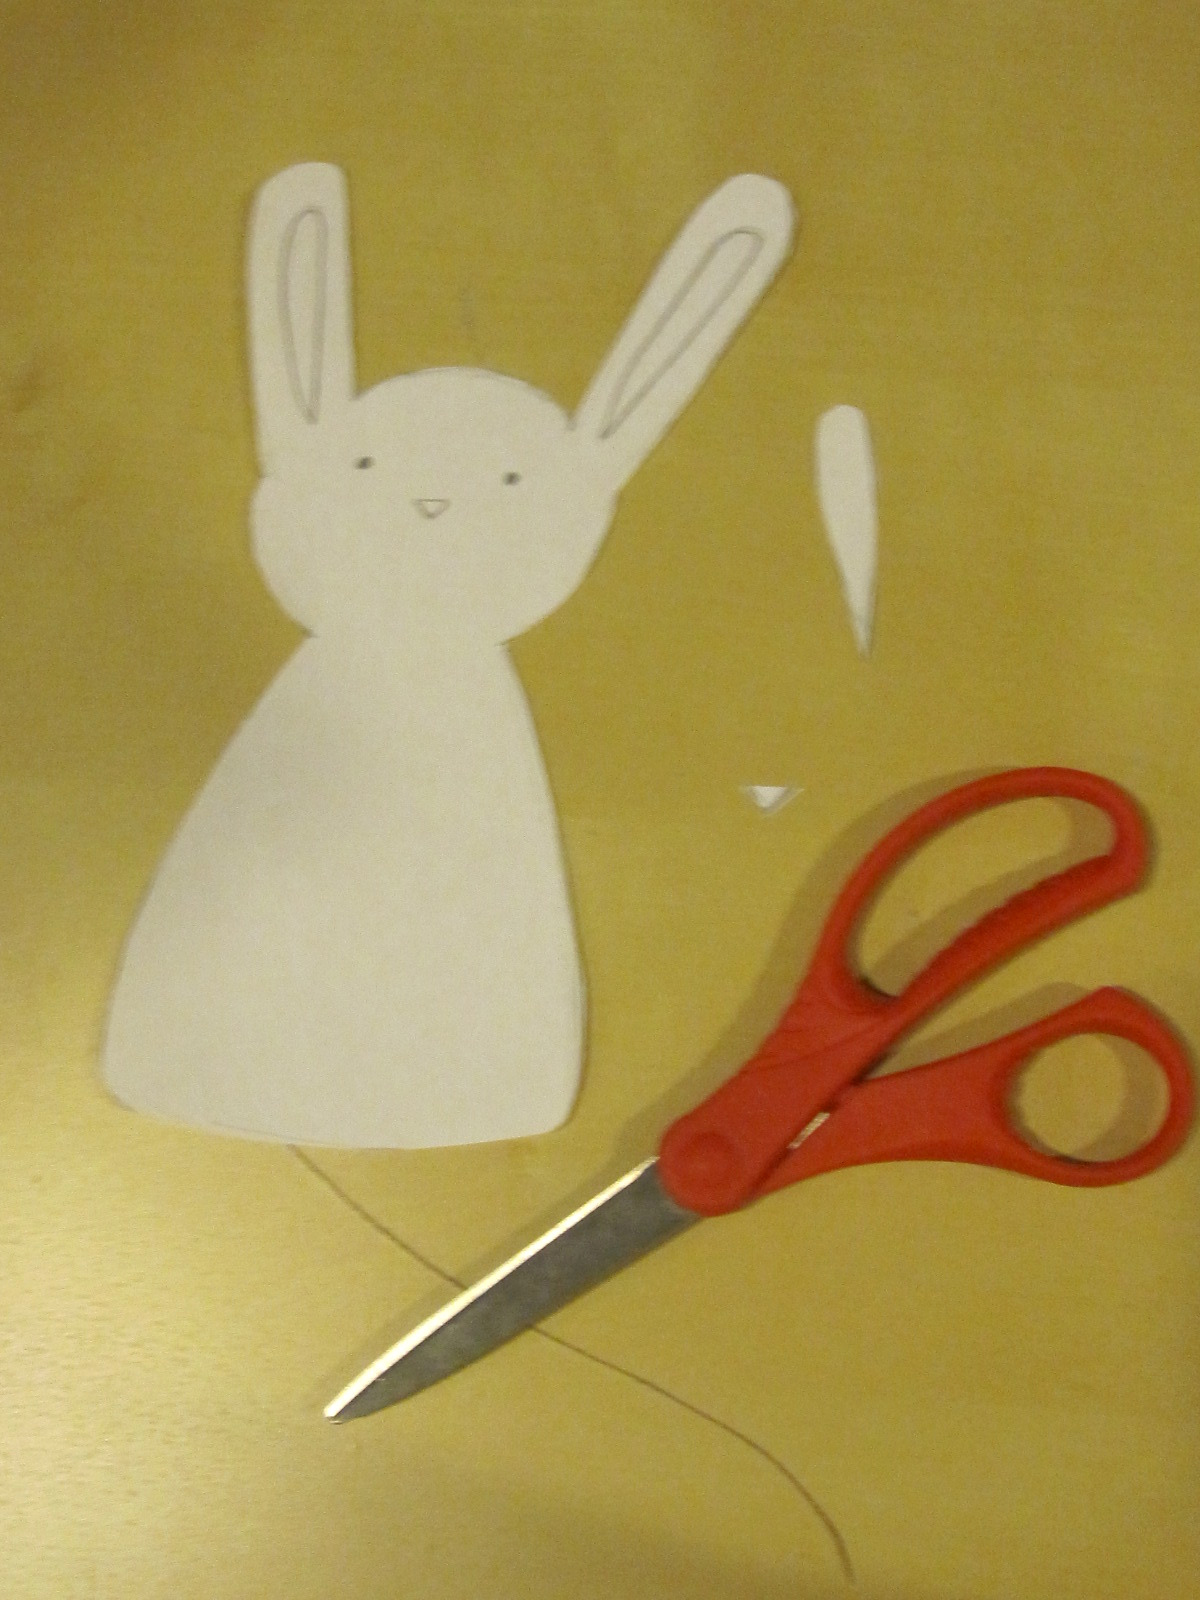
Now, grab those scissors and start cutting!
Like I said, if you are copying this down to the extreme detail, DON'T CUT OUT THE FACE AND DETAILS I DREW ON THE BODY!
Like I said, if you are copying this down to the extreme detail, DON'T CUT OUT THE FACE AND DETAILS I DREW ON THE BODY!
Cut Out Your Pattern Onto the Fabric

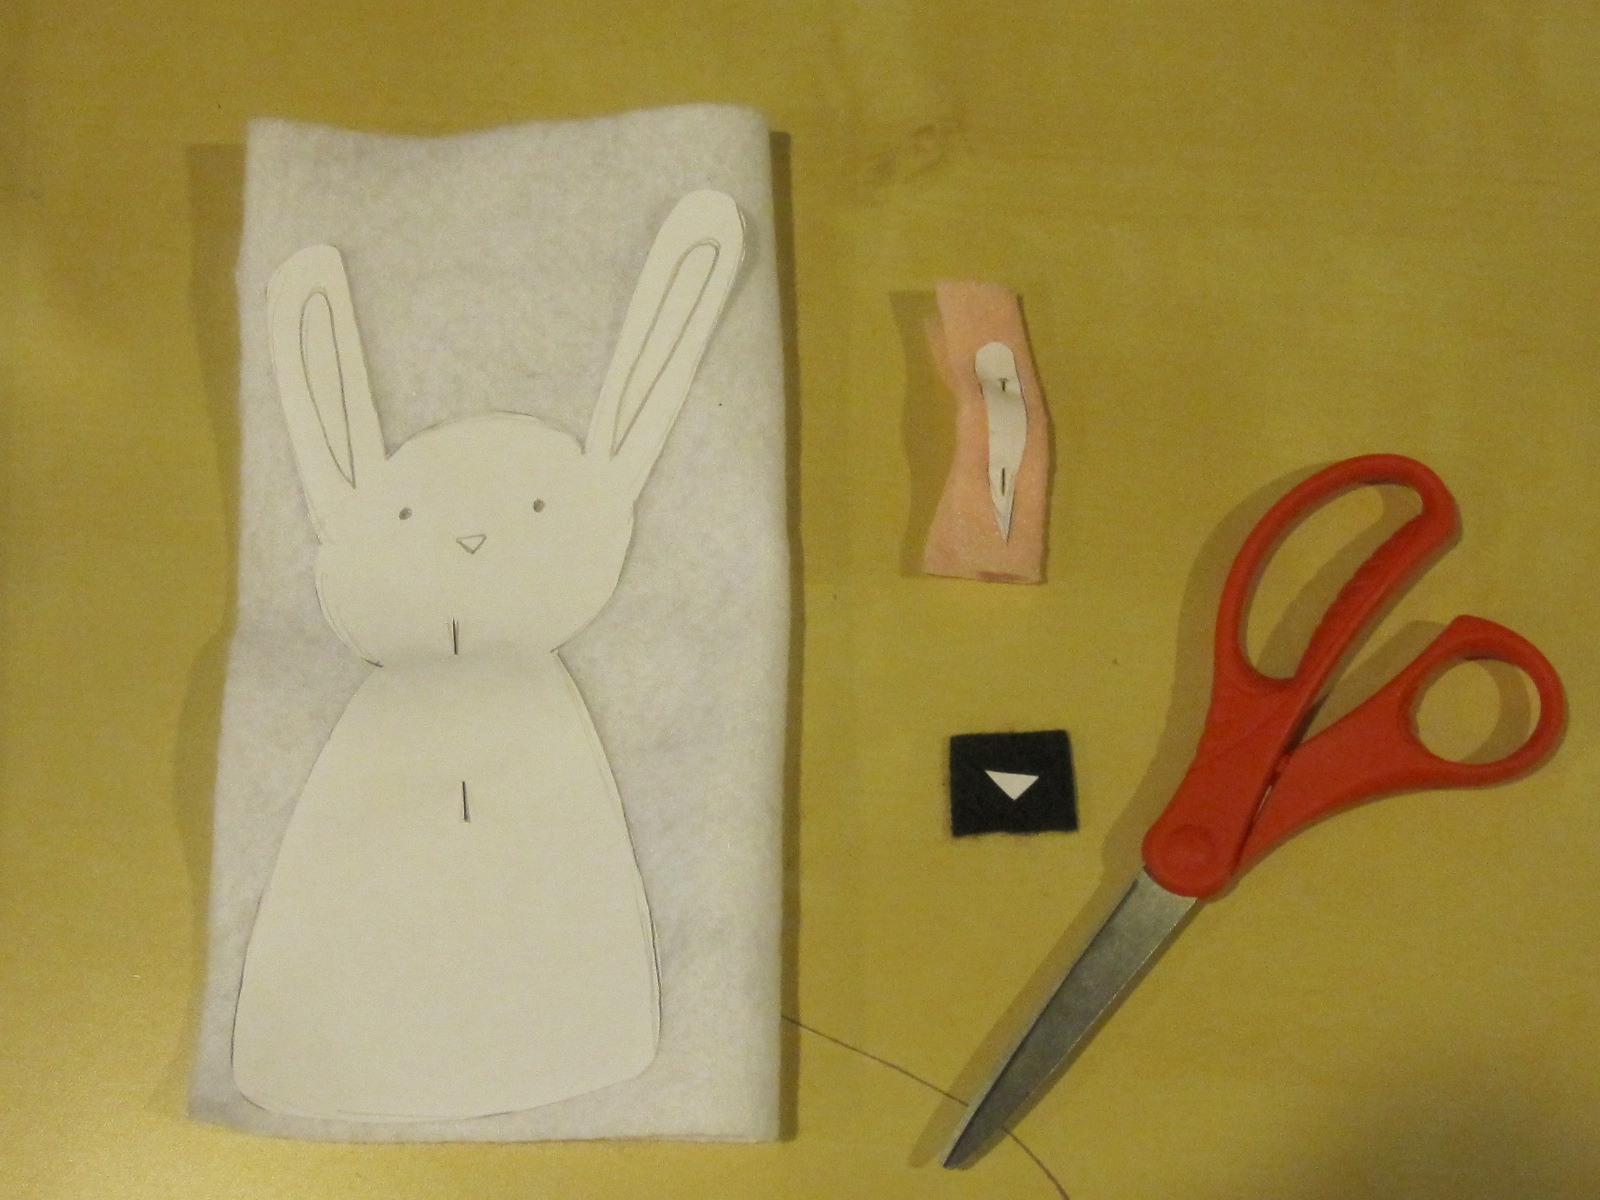
Now pin down the pattern onto your fabric (I highly recommend felt - I use it all the time) and cut it out. The body is white, inside-of-ears is pink, and nose is black. Cut out two of the body and inside-of-ears.
Begin the Details

Now, take one of the body cut-outs and embroider black eyes on it. Most would recommend doing a triple-french knot (if you know how to do it, do it.) but I have no idea how. So I make a really big knot and sew it in. Sorry if I'm not that helpful.
Finish the Details

Now, you can either sew or glue the nose and inside-of-ears on the body. I didn't have any fabric glue or a glue gun on me so I sewed it on.
Begin Sewing

Now, do an overlapping stitch and sew the two body cut-outs together. As you sew around the ears, stuff them, because it's hard to stuff them later.
Stuff the Body and Finish

Now, stuff the body and finish off the sewing.
YAY! Your Done!

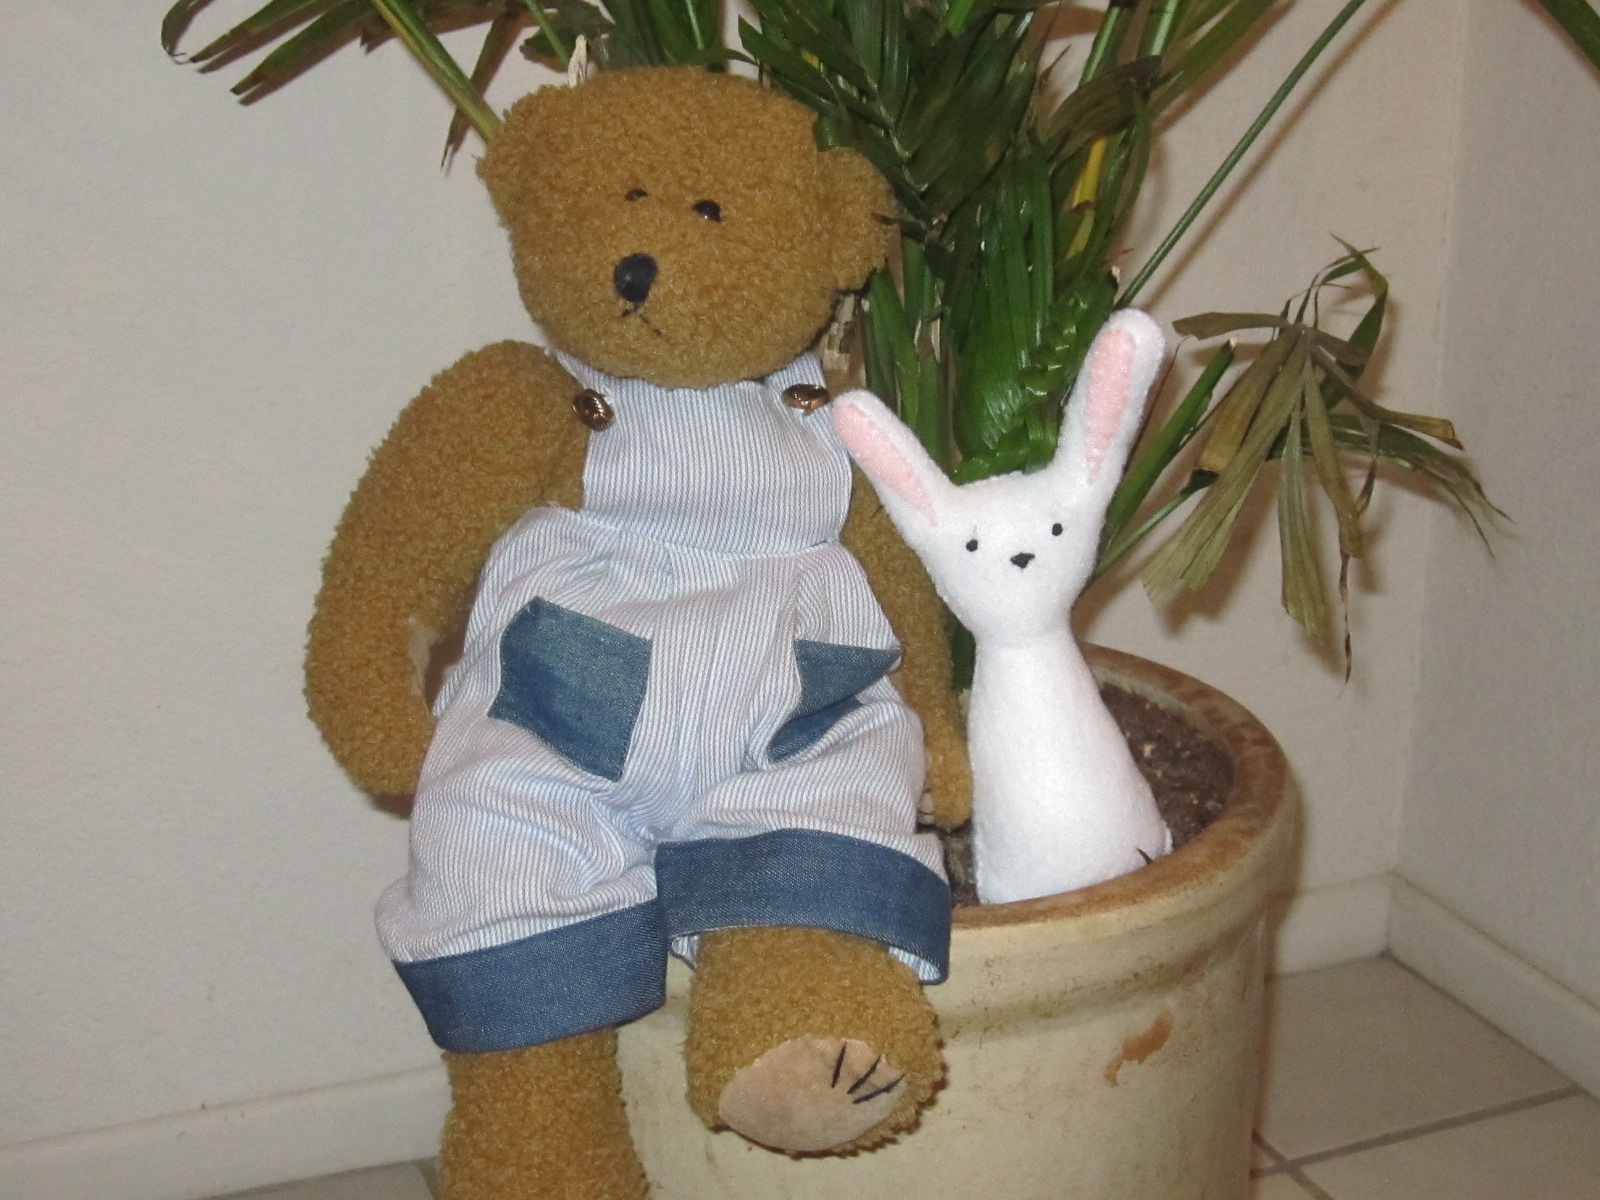
YOU ARE NOW DONE!
If you make one, take a pic and let me know!
This is one of my mom's bears, NOT created by me or my mom. Store bought.
If you make one, take a pic and let me know!
This is one of my mom's bears, NOT created by me or my mom. Store bought.