Customized 3D Printed Gear Shift Knobs
20567 Views, 89 Favorites, 0 Comments
Customized 3D Printed Gear Shift Knobs
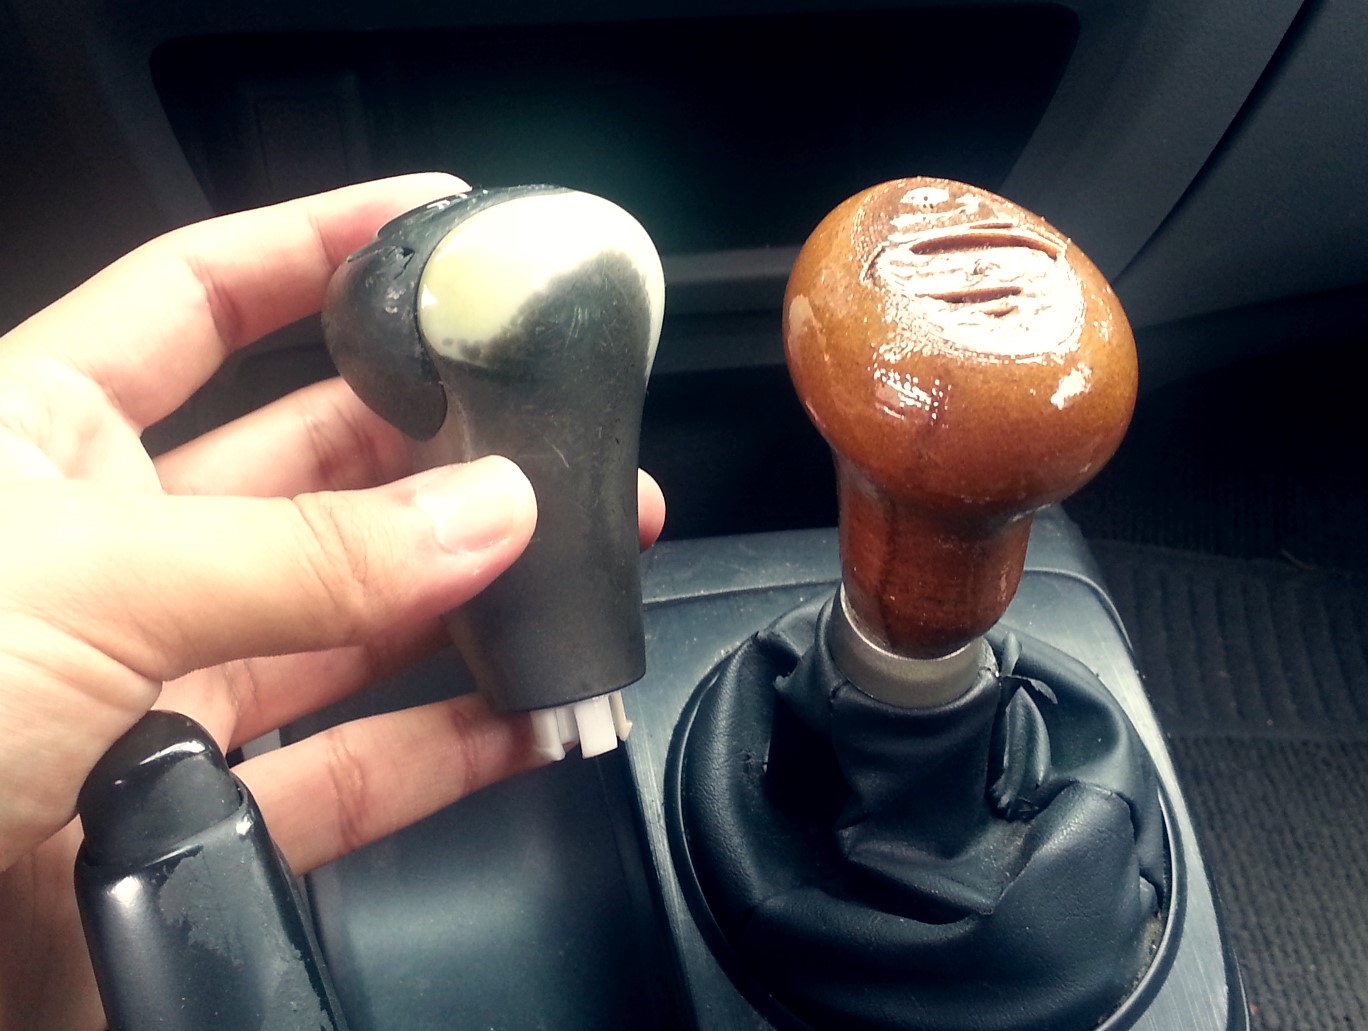
This is a walk through on how to make your own 3d printed shift knob. I printed mine on a Makerbot Replicator with Laywoo-d3 filament for that classic wood look. It was designed for an '06 Honda Civic and should work with similar year imports. The screw thread that attaches to the car is 10 x 1.5.
Items you will need:
-3D printed with filament (ABS, PLA or other)
OR
- Access to 3D print service (Shapeways, Materialize, Etc.)
-Thingiverse.com account (free)
-Tinkercad.com account (free)
-Sandpaper
-Strong glue (i used E6000)
-Some sort of clear coat or finisher
Items you will need:
-3D printed with filament (ABS, PLA or other)
OR
- Access to 3D print service (Shapeways, Materialize, Etc.)
-Thingiverse.com account (free)
-Tinkercad.com account (free)
-Sandpaper
-Strong glue (i used E6000)
-Some sort of clear coat or finisher
Download Files
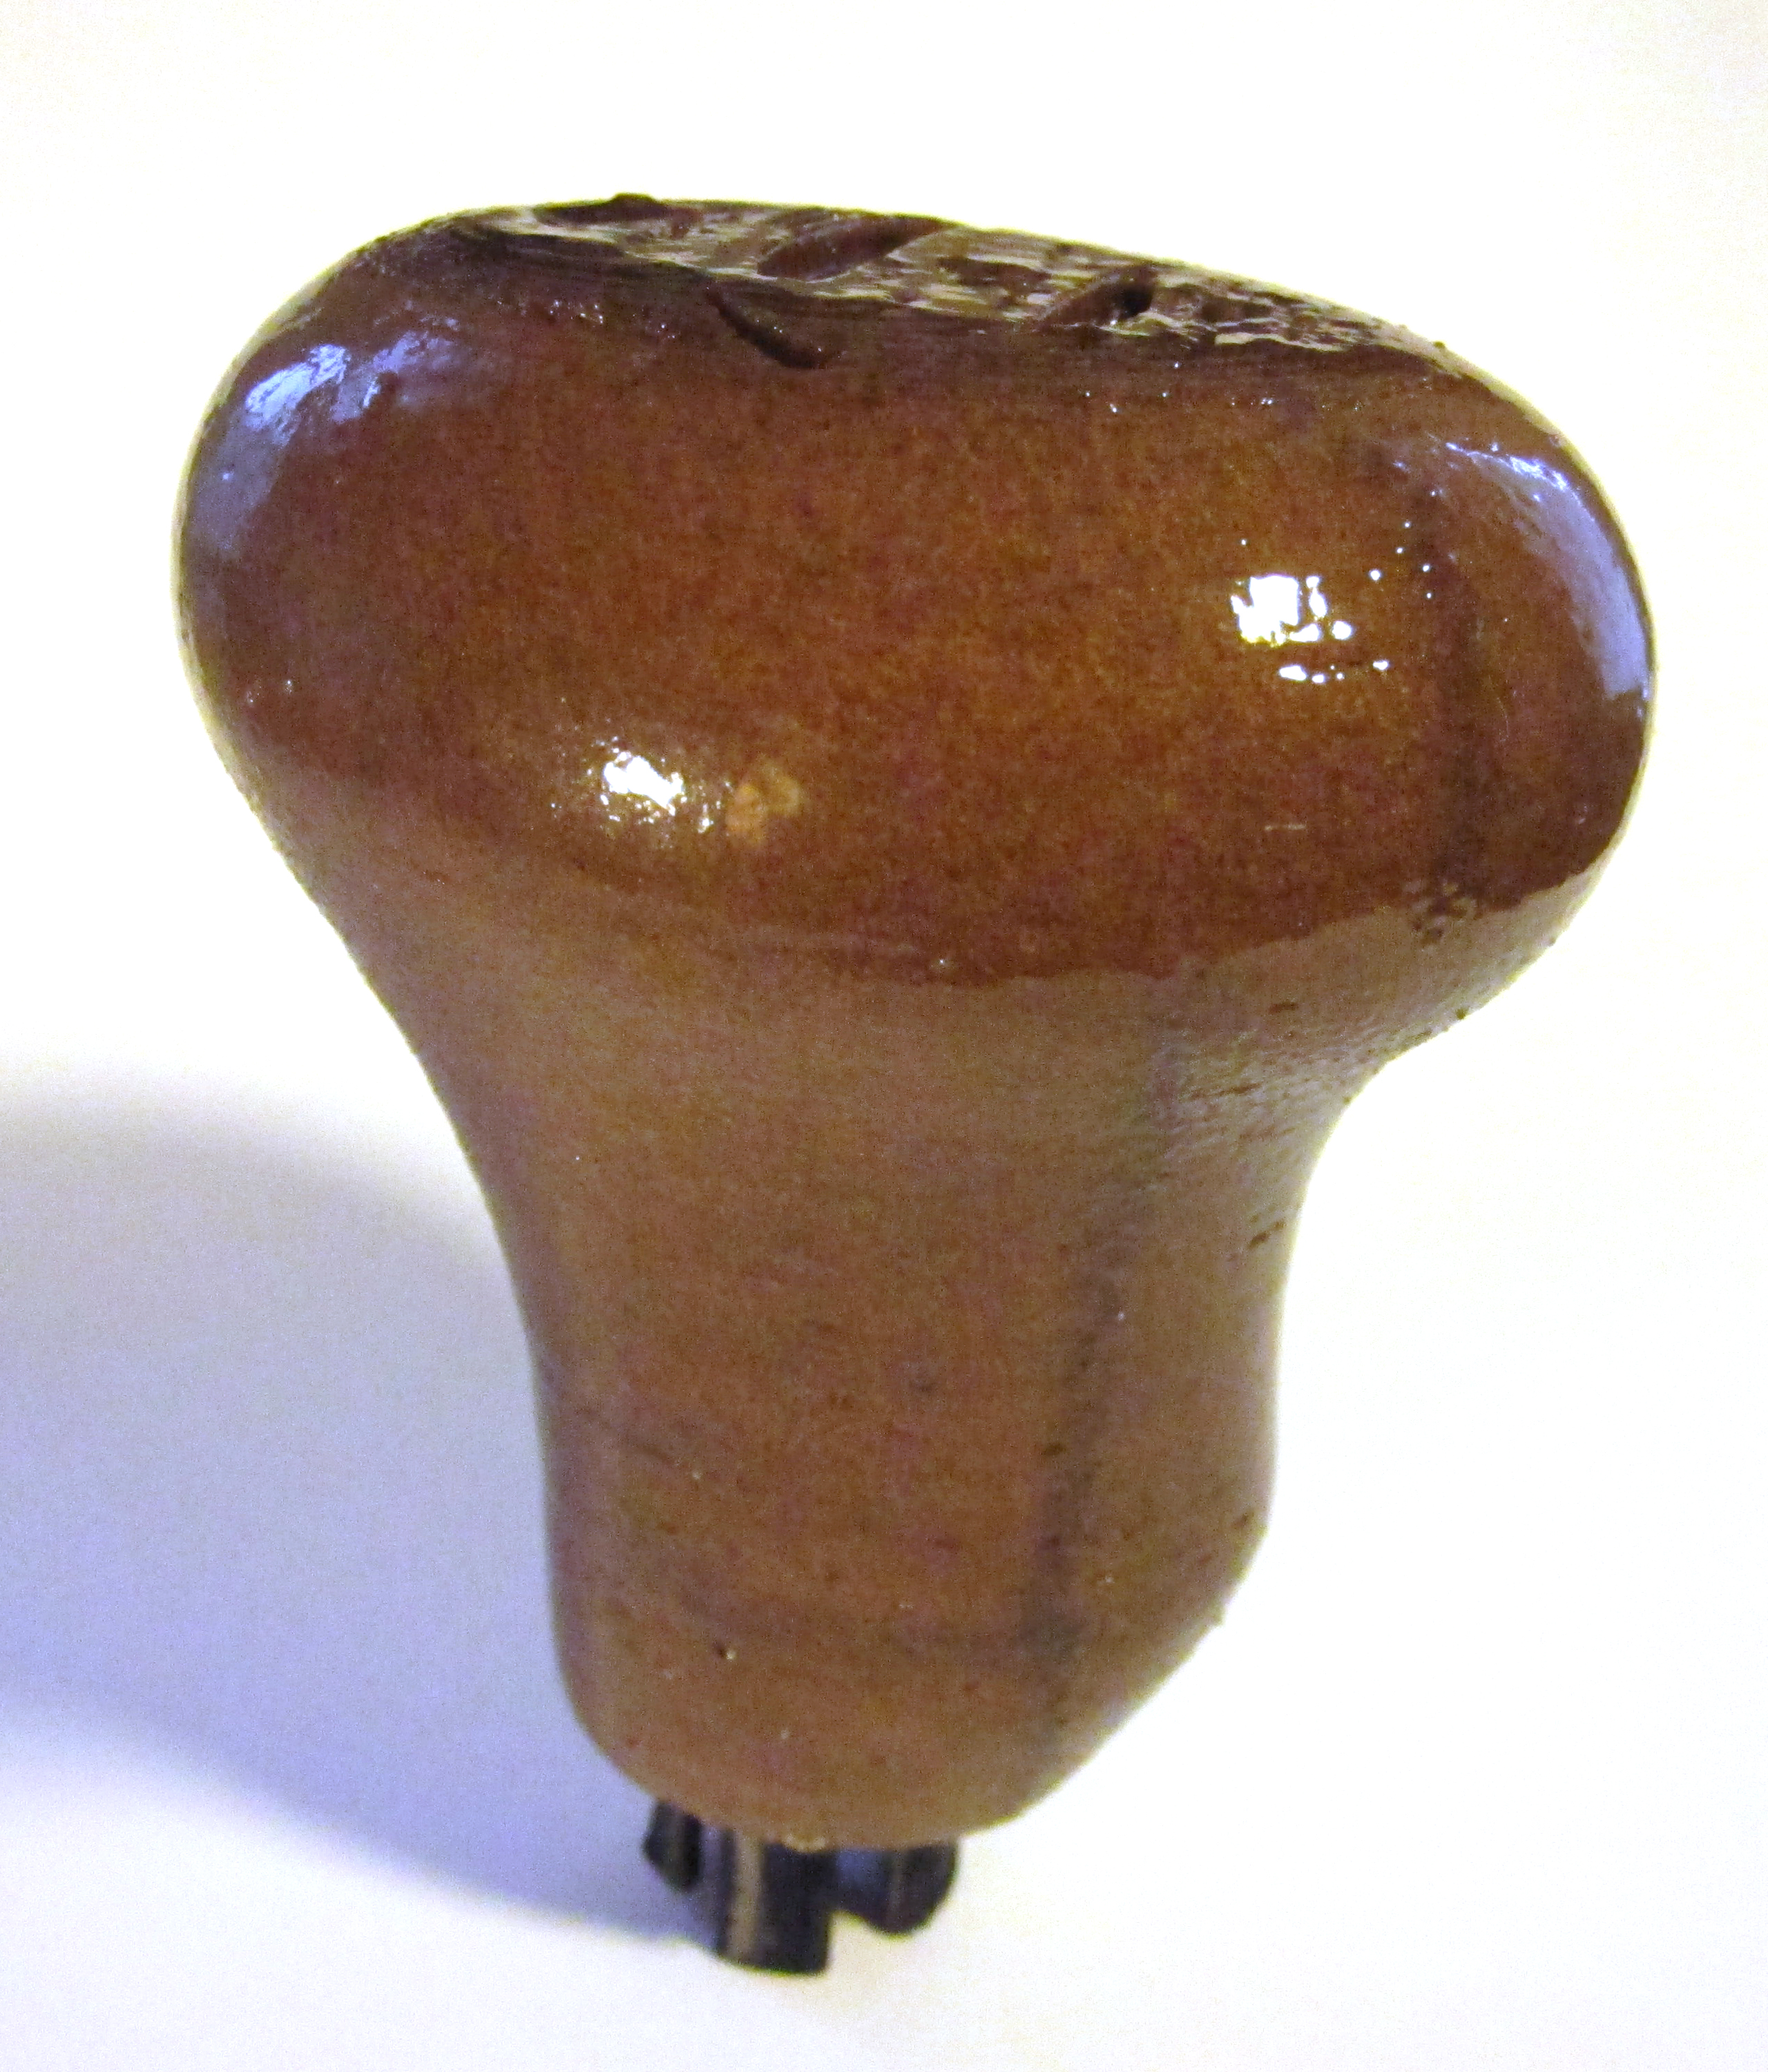
There are a few files you need to download from thingiverse.com
(You shouldn't need to create an account but it is free to make one if you do.)
To make a basic shift knob, like the one I have pictured, download the files from the following link.
http://www.thingiverse.com/thing:109839
You will need a ShiftKnobOutside and ShiftKnobInside file.
(CustomShiftKnobCutout is only if you plan on creating your own knob in the following steps)
OR
If you would like a more exotic shift knob I will also walk you through that.
Realistically you can use any .STL file you have to make yours but Ill be using the following link as my example.
http://www.thingiverse.com/thing:45584
Cut Hole in Custom Designs
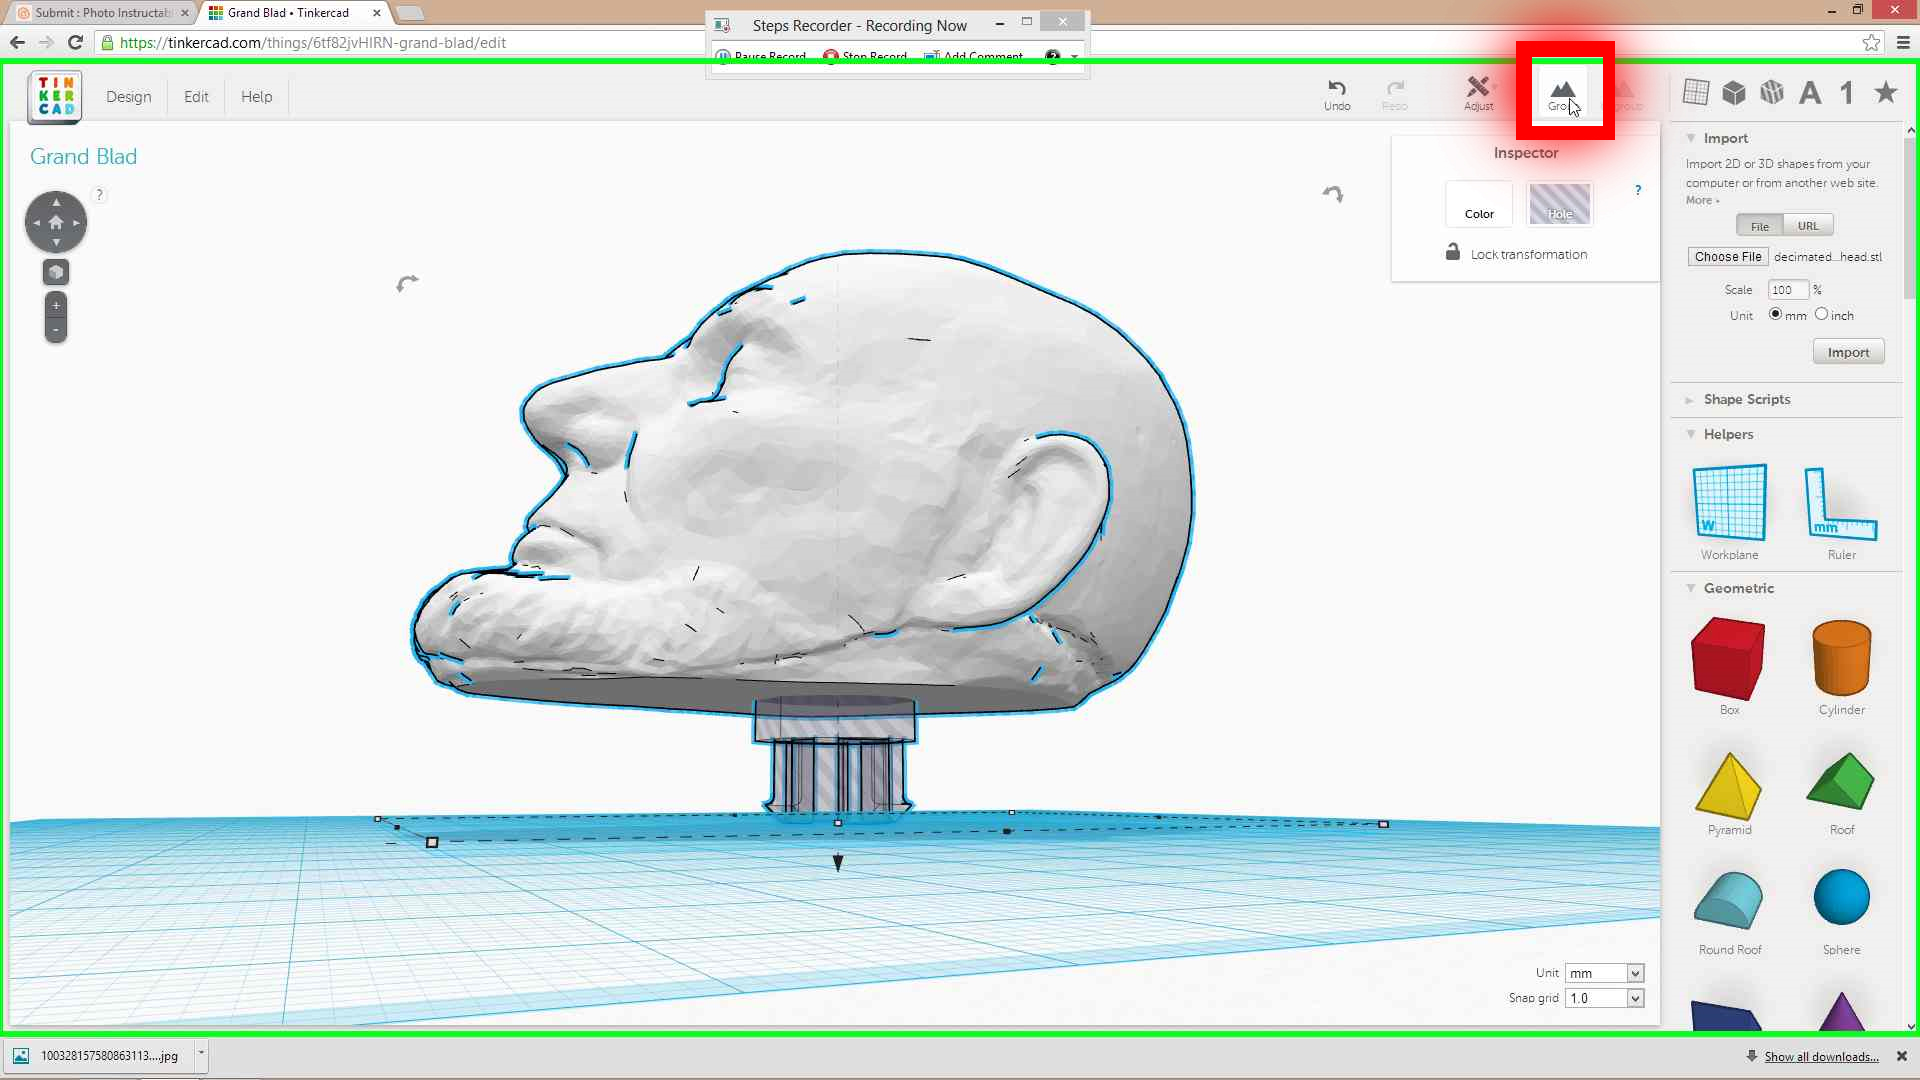
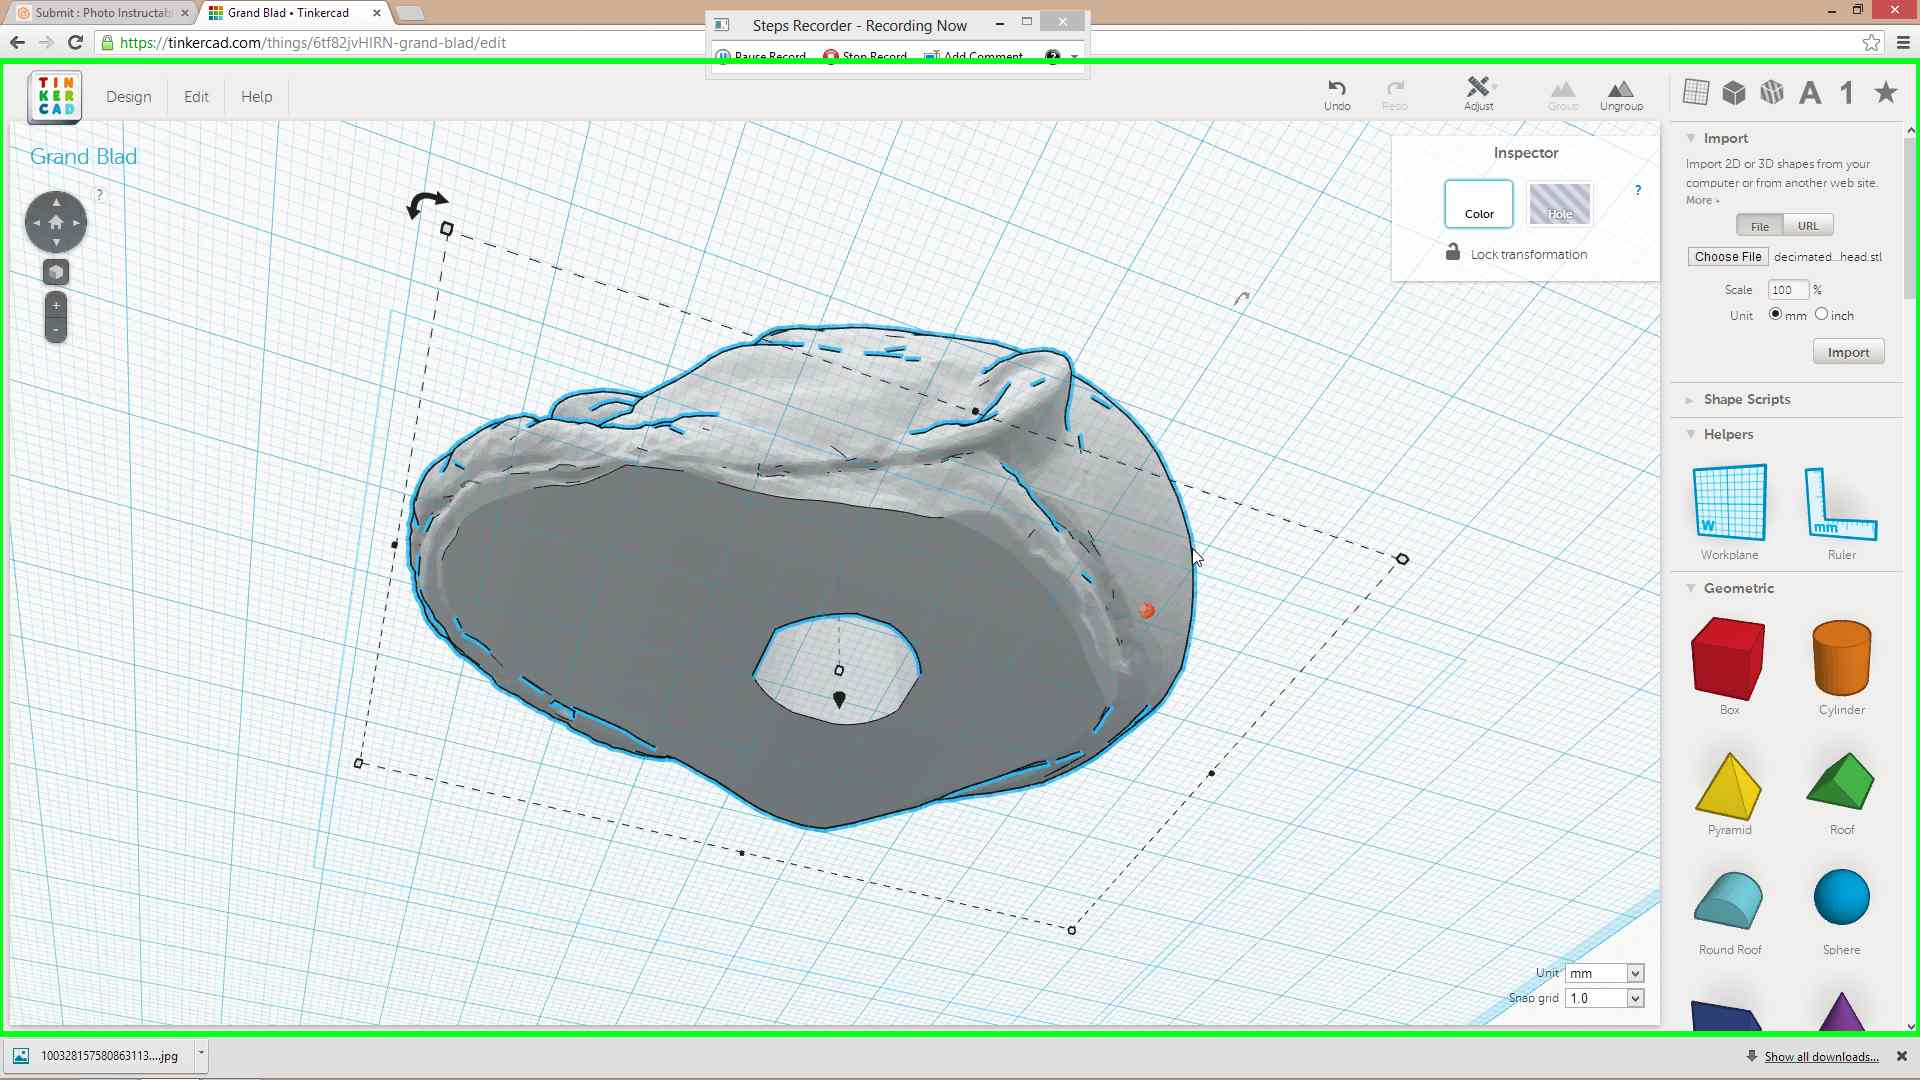
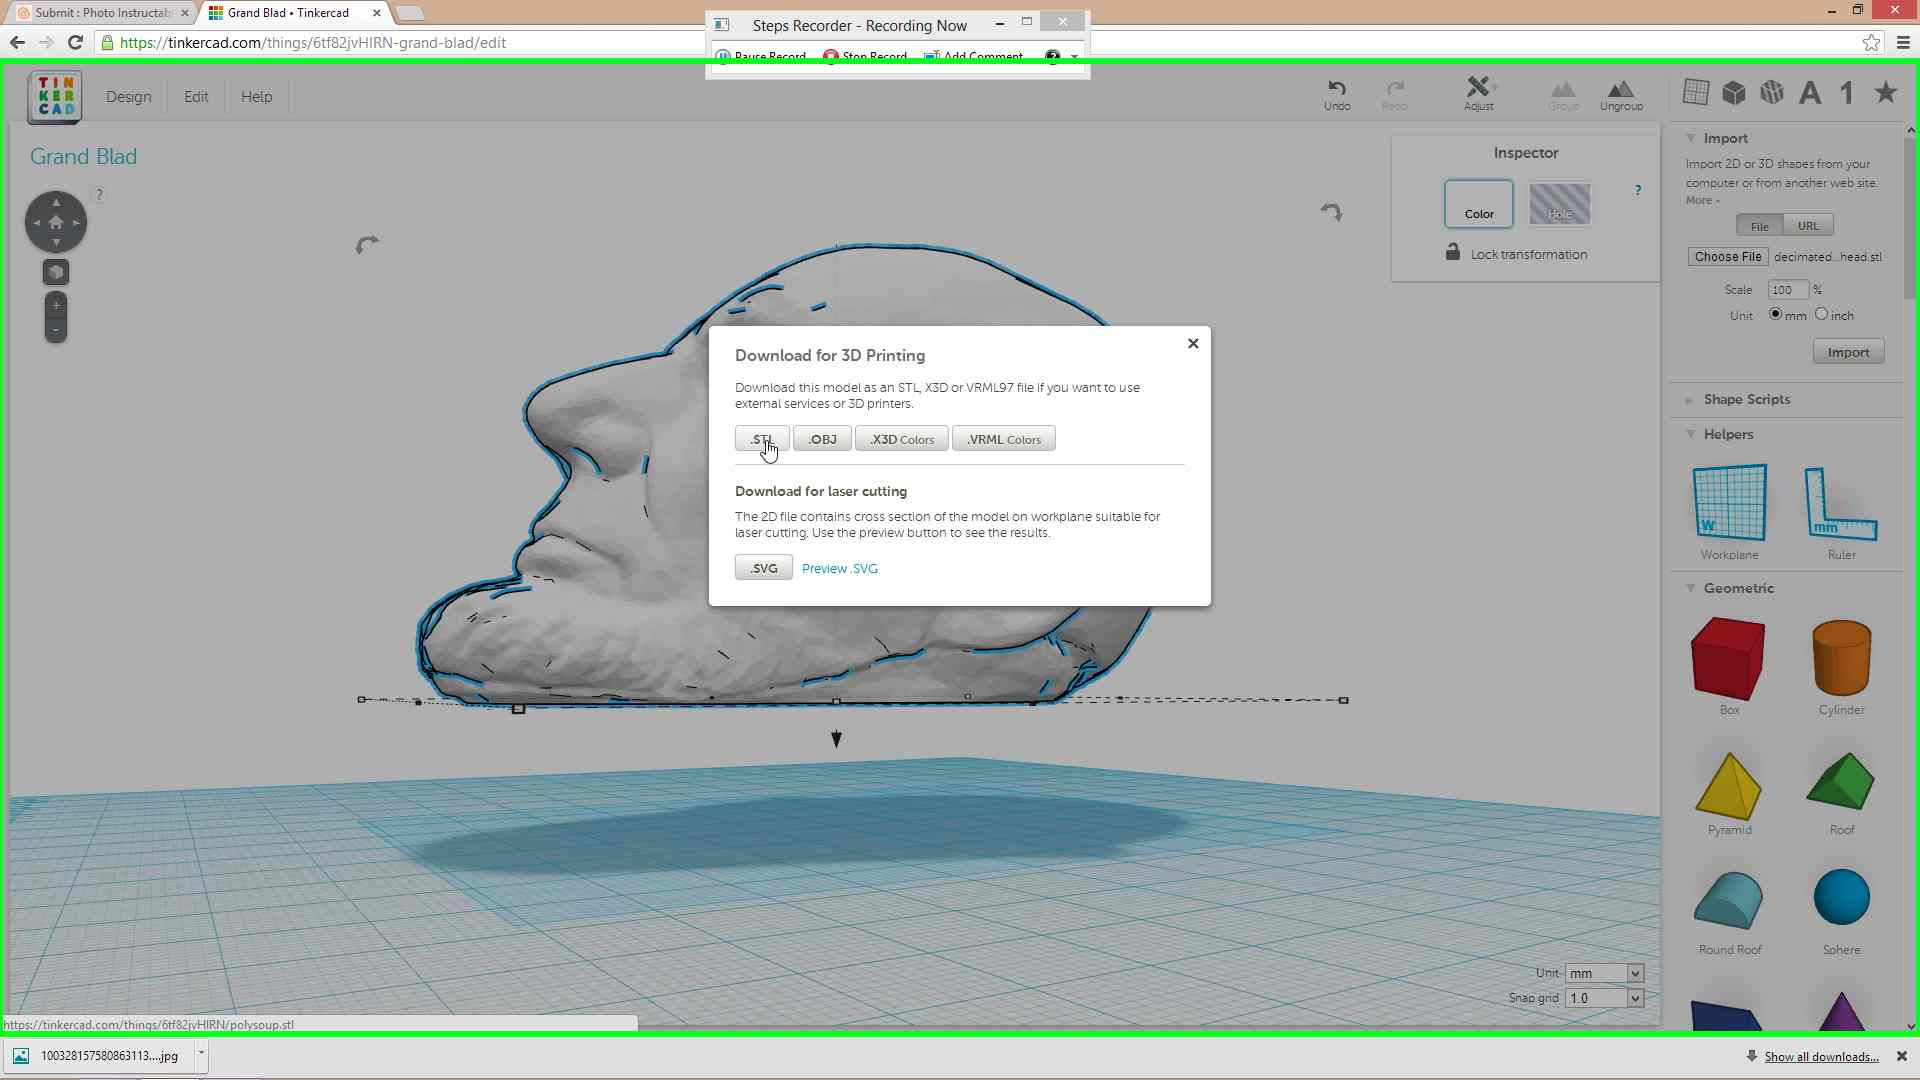
If you are using the standard shift knob from thingiverse.com/thing:109839 then you can skip this step.
This step is for cutting the proper holes in custom designs to fit the insert that i have provided.
You will need to create an account on tinkercad.com but it is free!
Once you have signed in on tinkercad click on the 'Create New Design' button
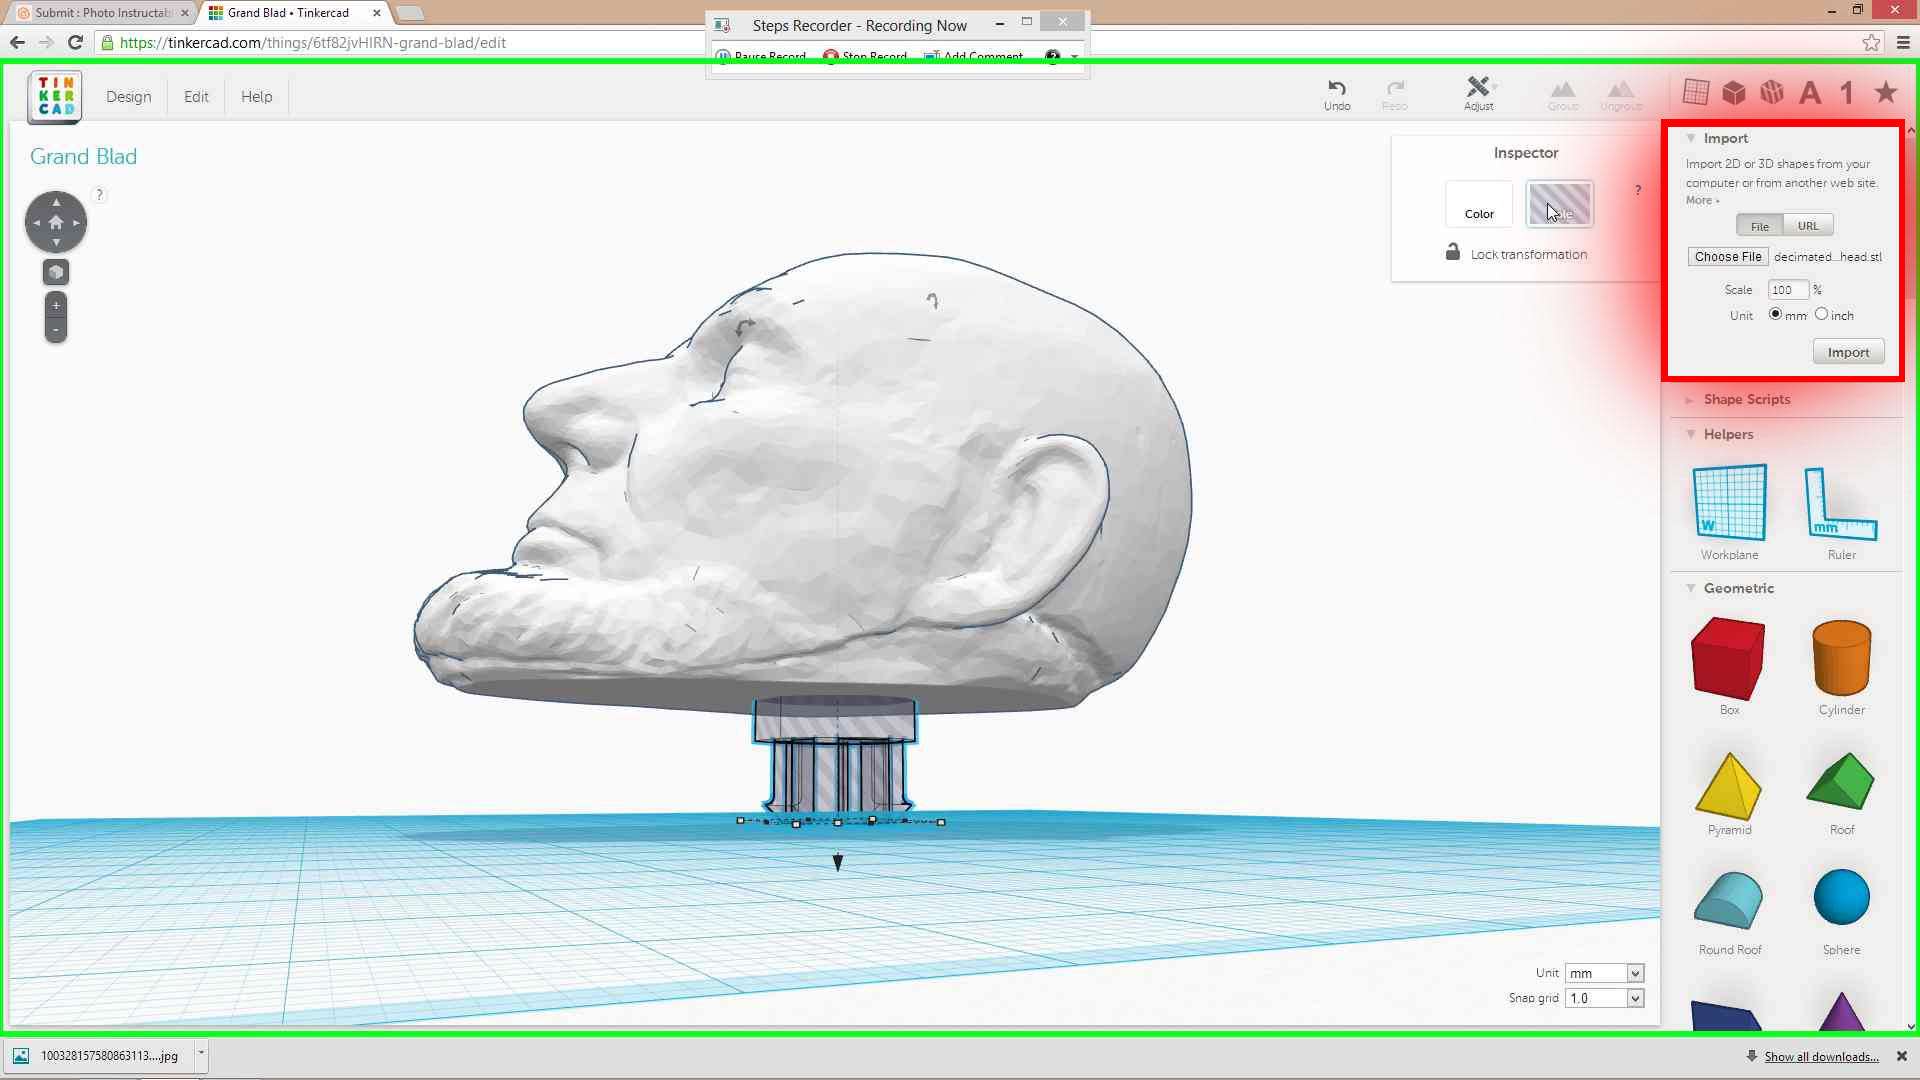
1- Import your desing and the CustomShiftKnobCutout file from thing:109839. Move them so your desing is sitting on top of the CustomShiftKnobCutout. If your design is not the correct scale you can scale it holding the shift key and moving the scale boxes on your design. DO NOT SCALE THE CUSTOMSHIFTKNOBCUTOUT FILE OR IT WONT FIT YOUR CAR. (see image 1 above)
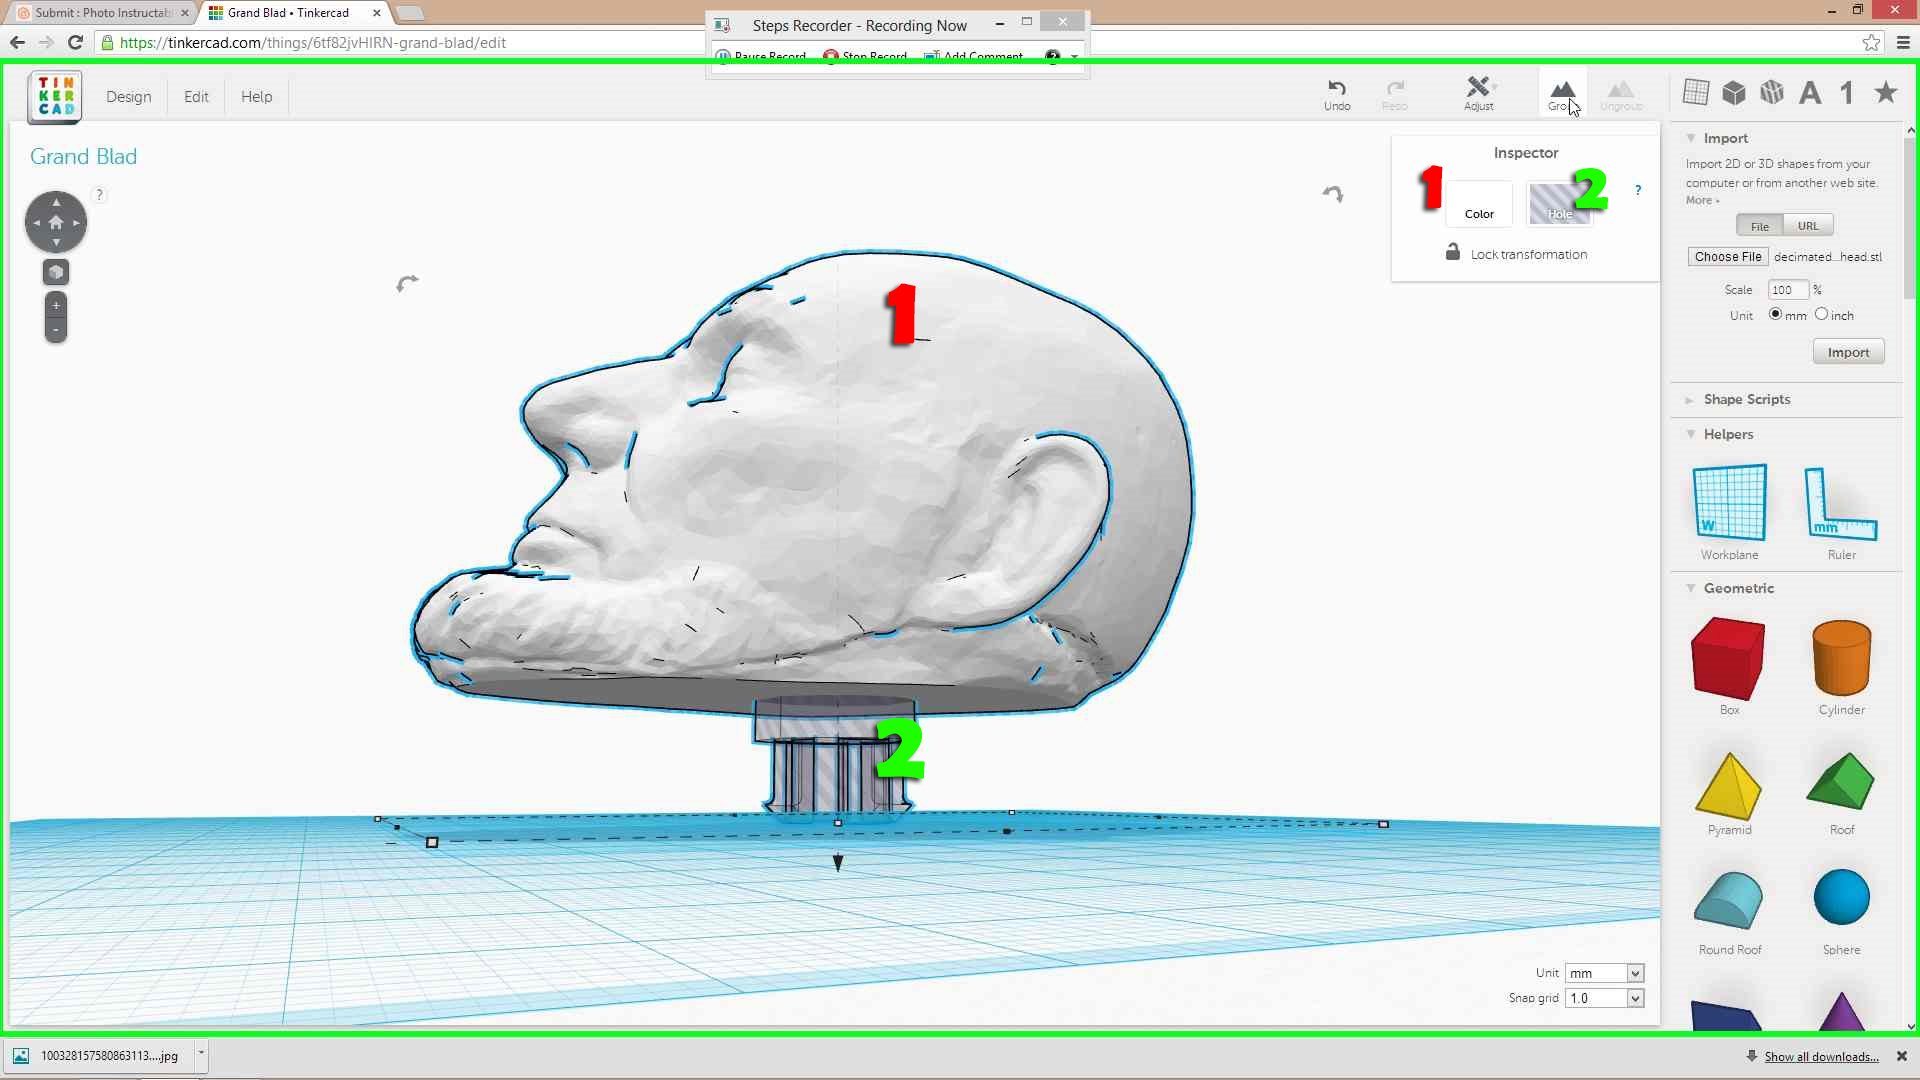
2- For this example I used thing:45584. Make sure your design is set to 'Color' and the CustomShiftKnobCutout is set to 'Hole'. (see image 2 above)
3-Shift select both objects and select 'Group' in the top right corner (see image 3 above)
4- It may take a little while depending on your internet connection but eventually only your design will be left with a hole in it. (see image 4 above)
5- Lastly, click on 'Design' in the top left corner and select 'Download for 3D Printing' . You'll want to save it as an .STL file. (see image 5 above)
Printing Your Pieces
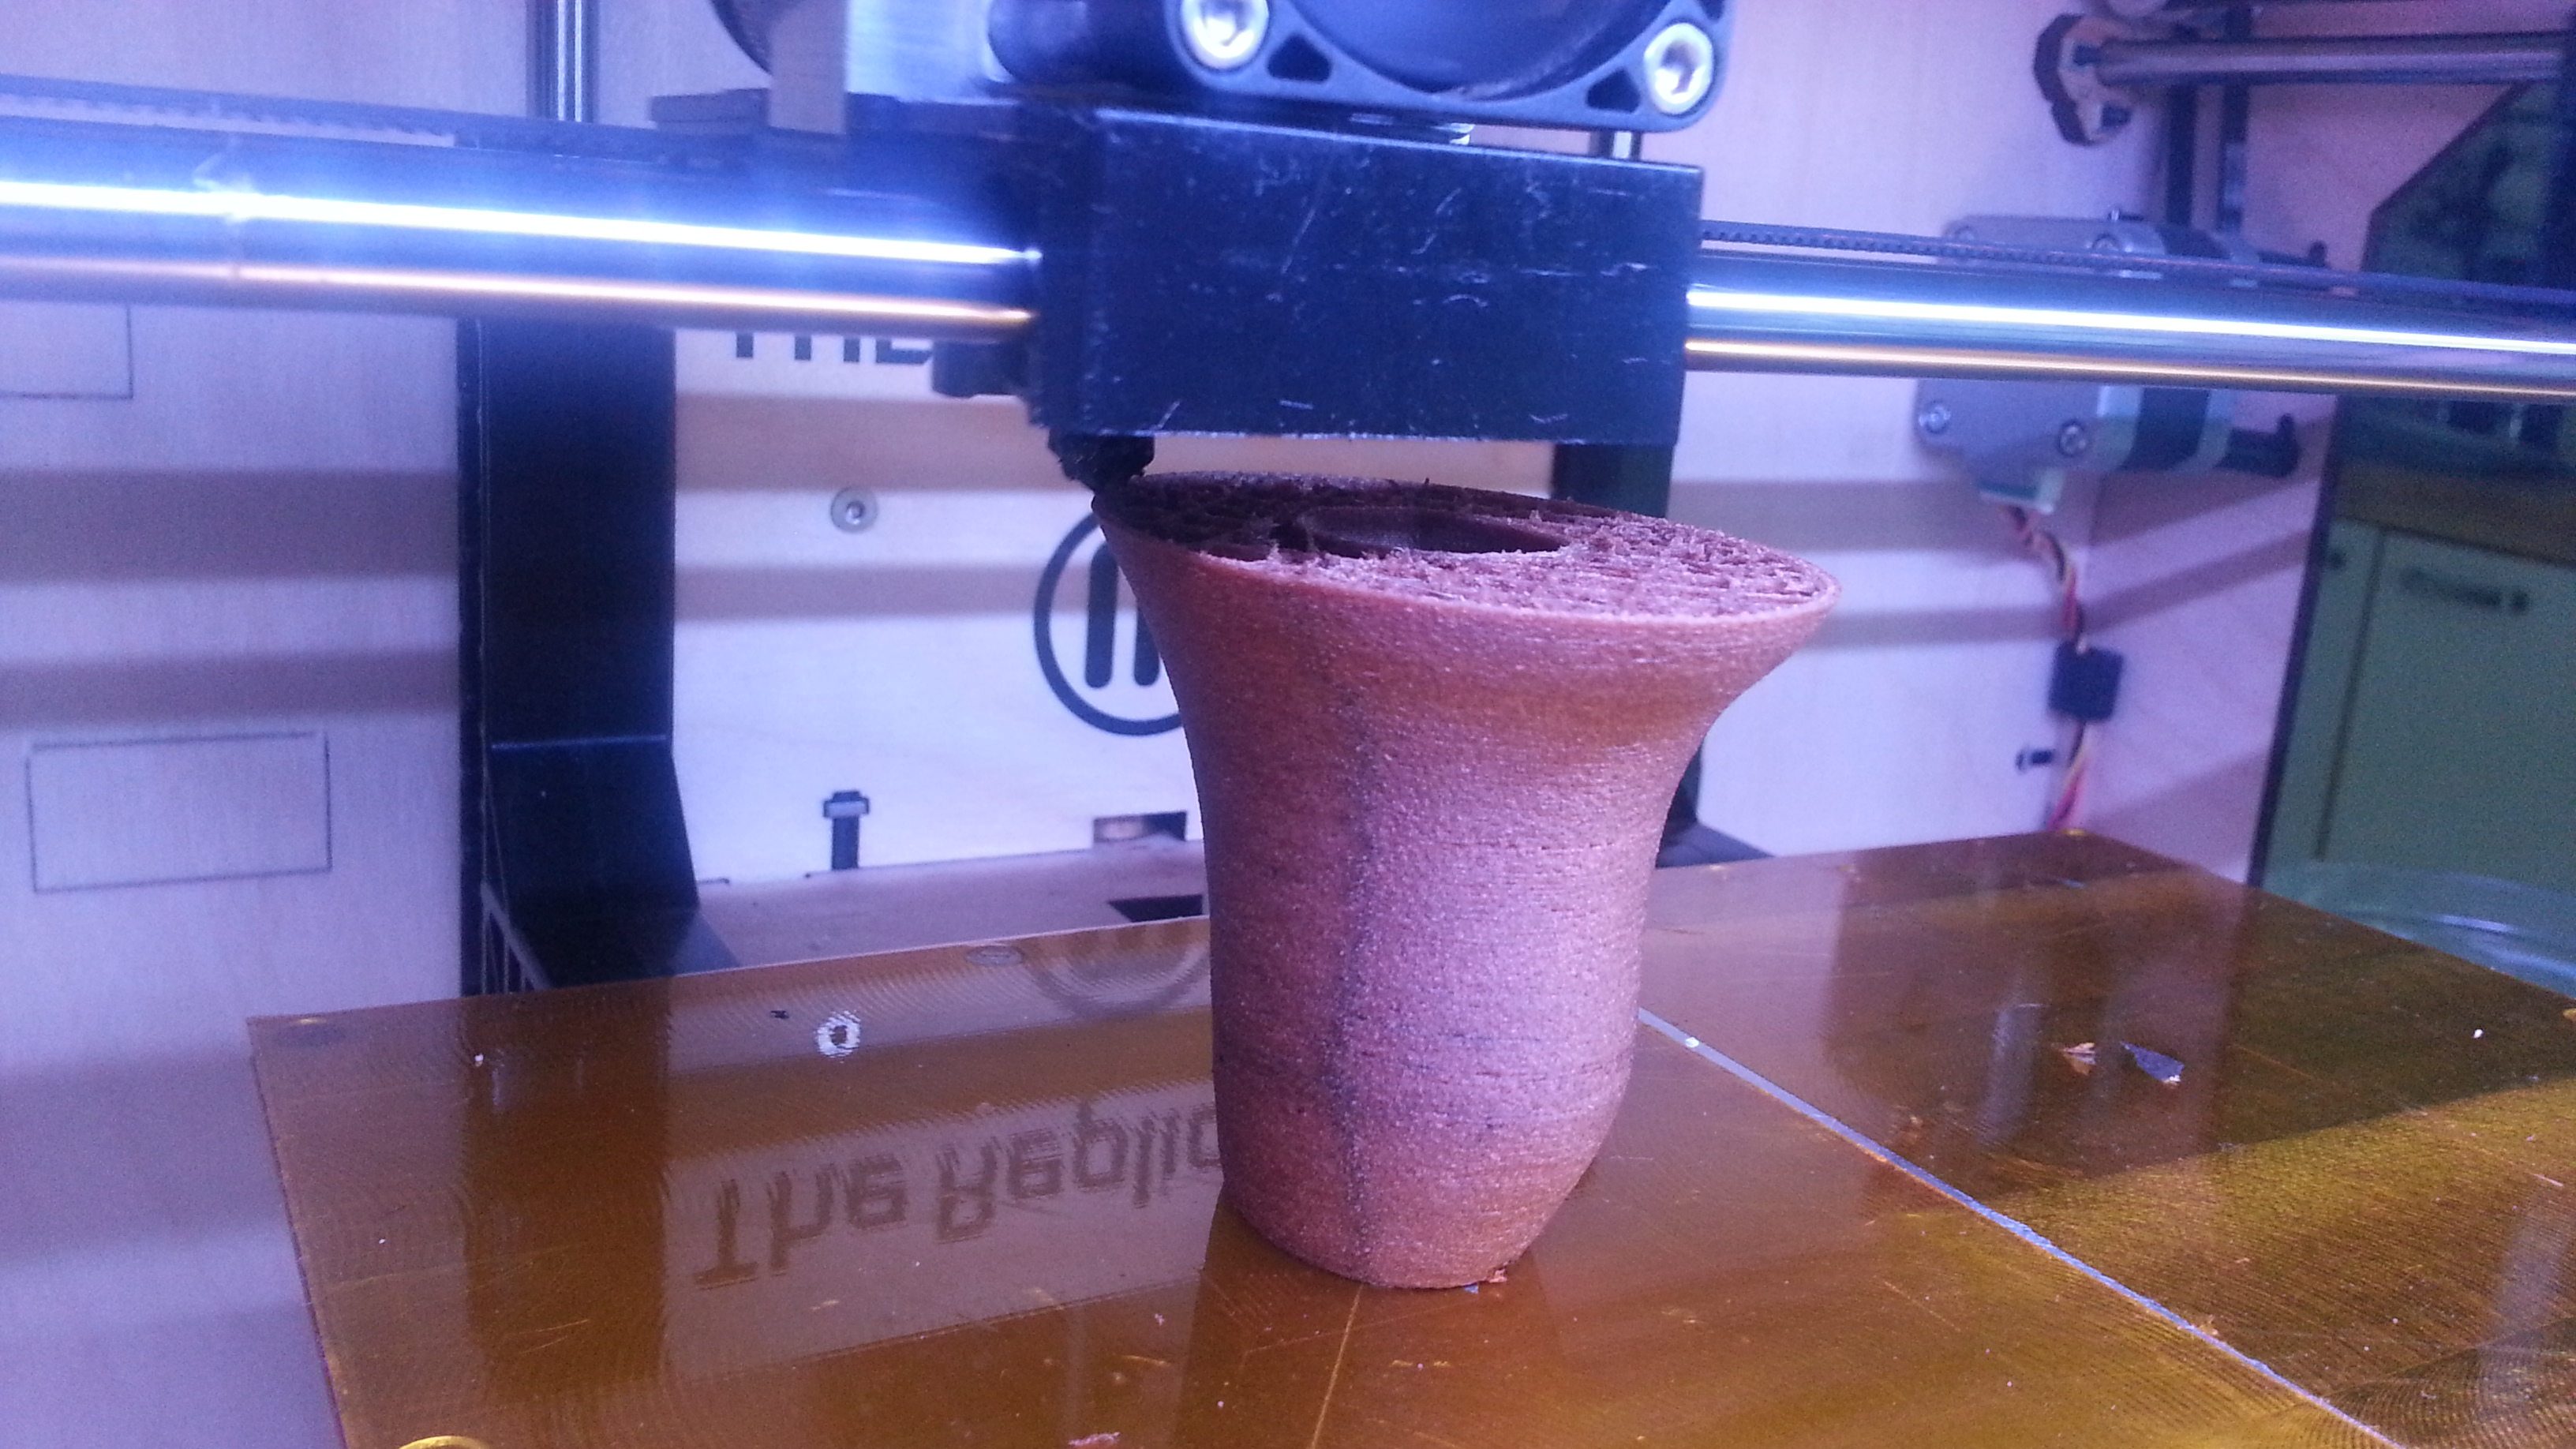
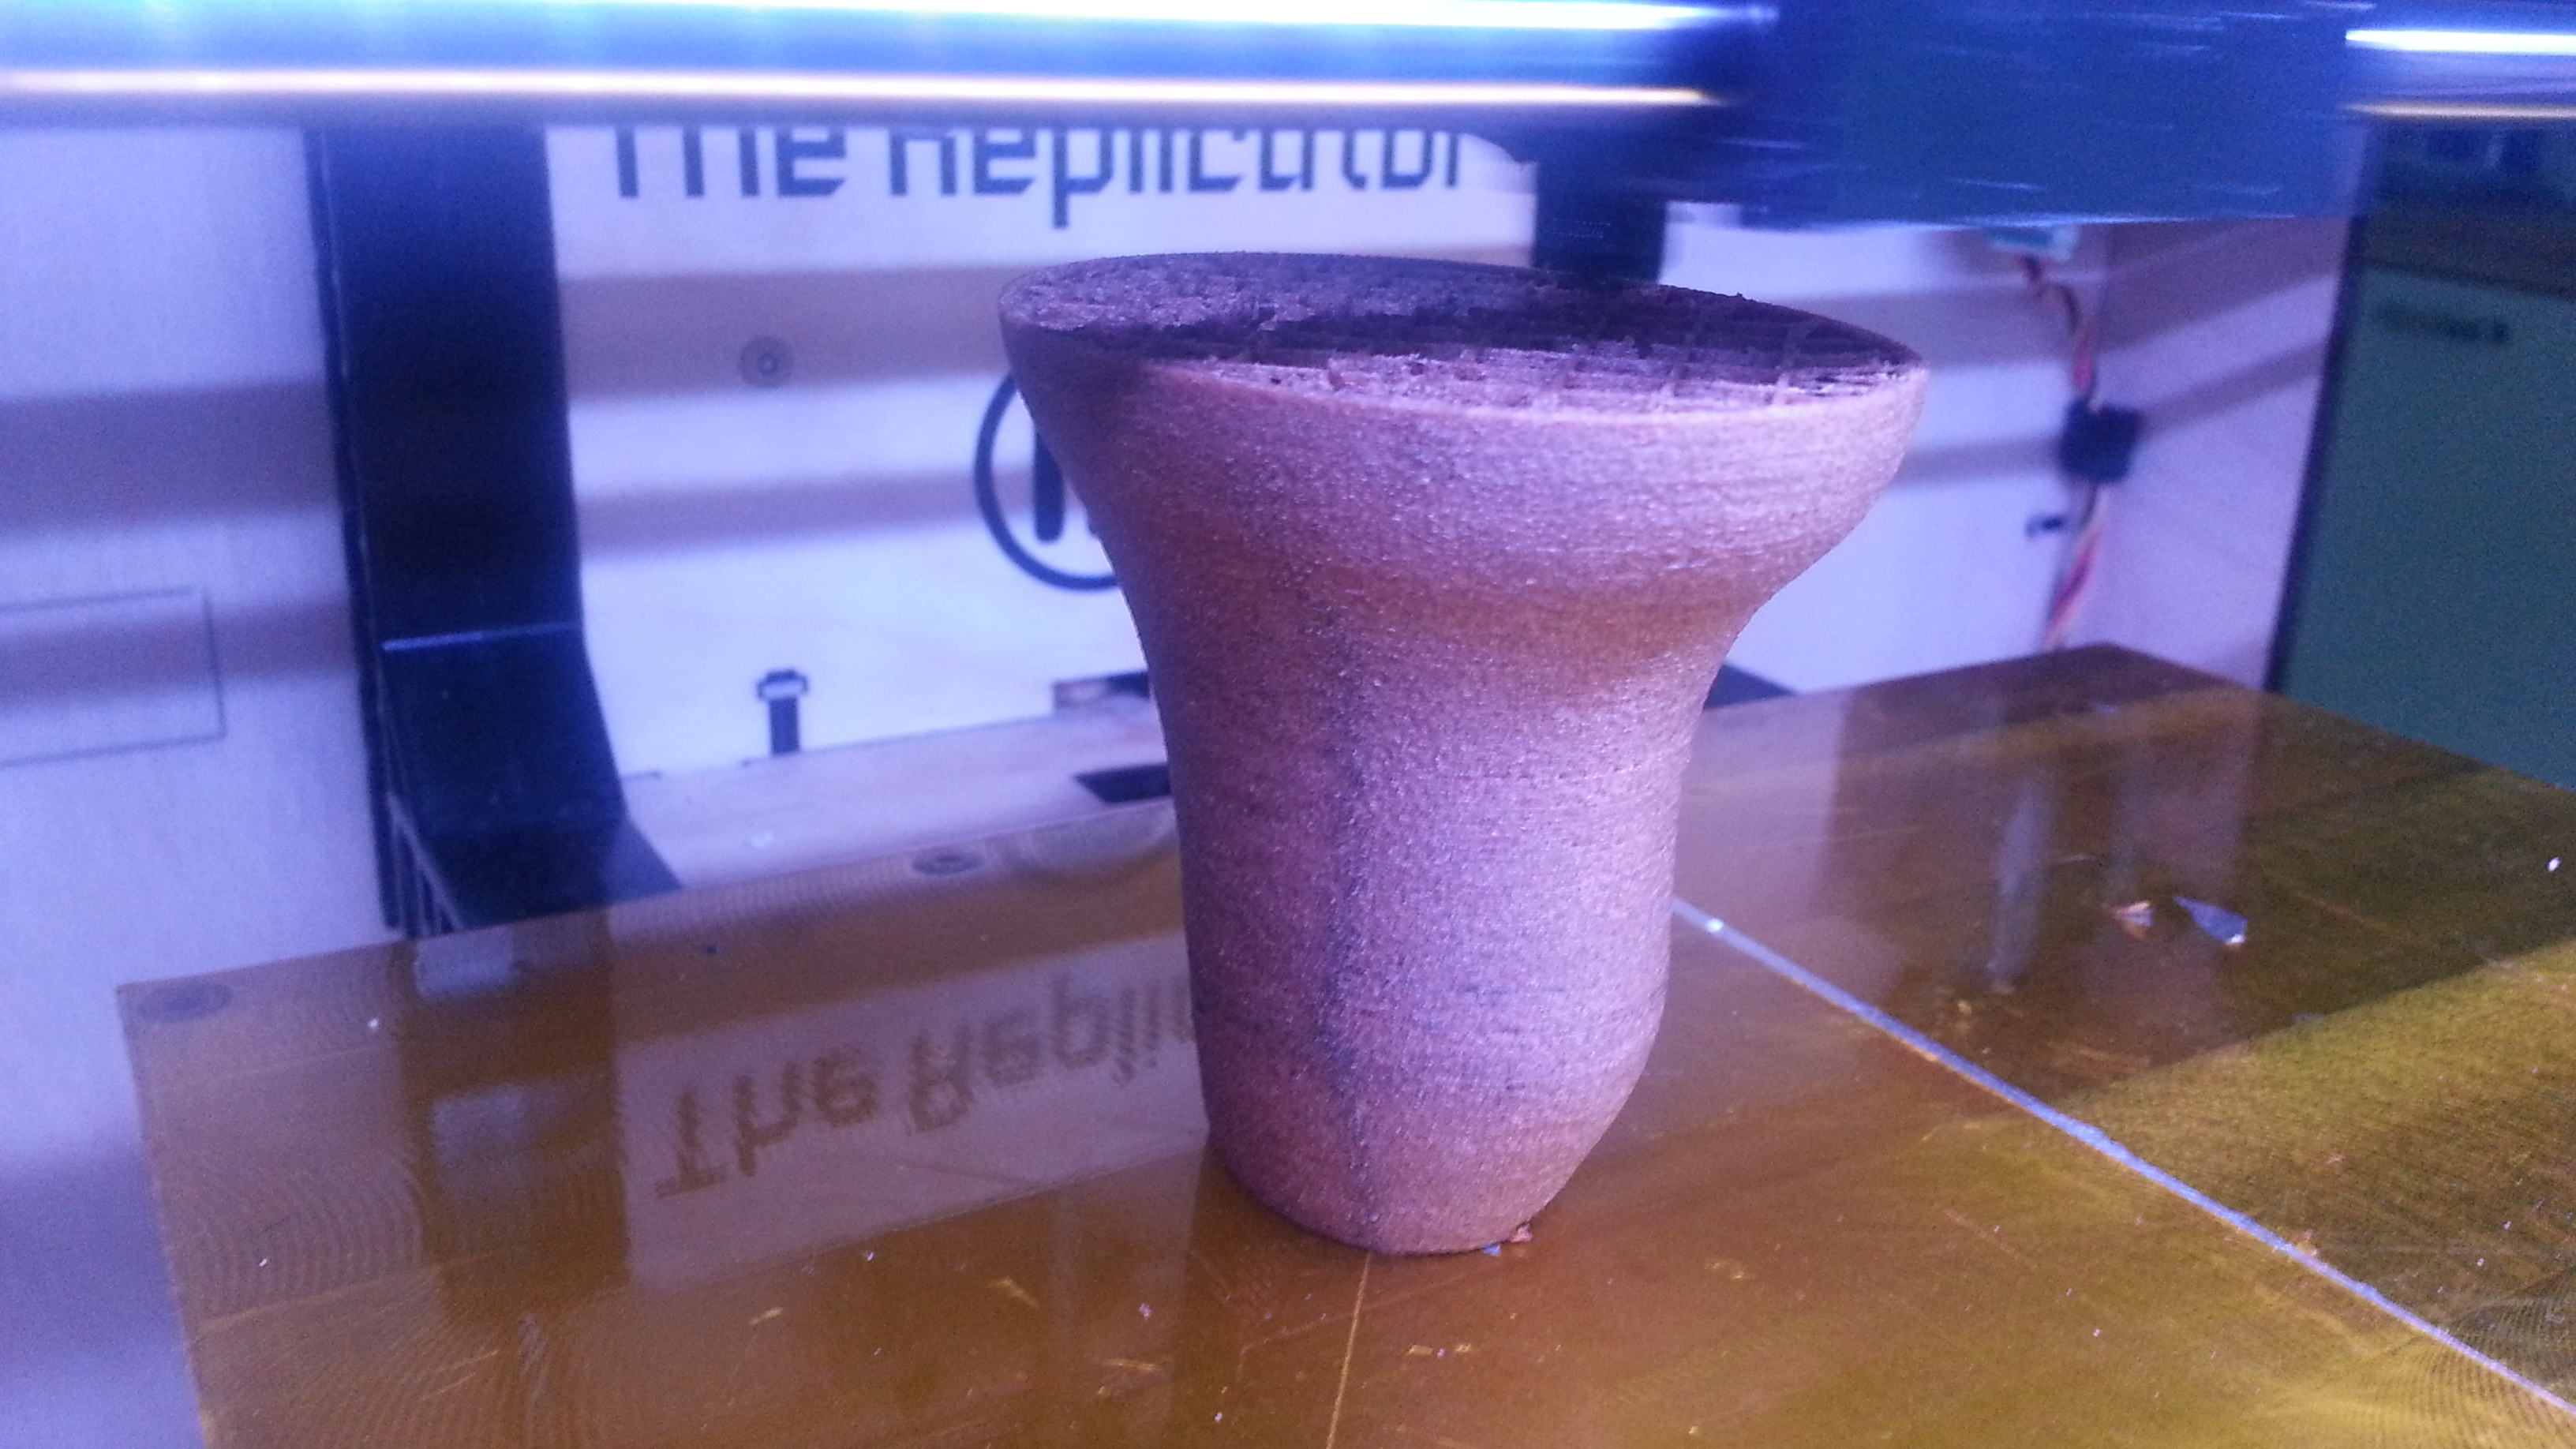
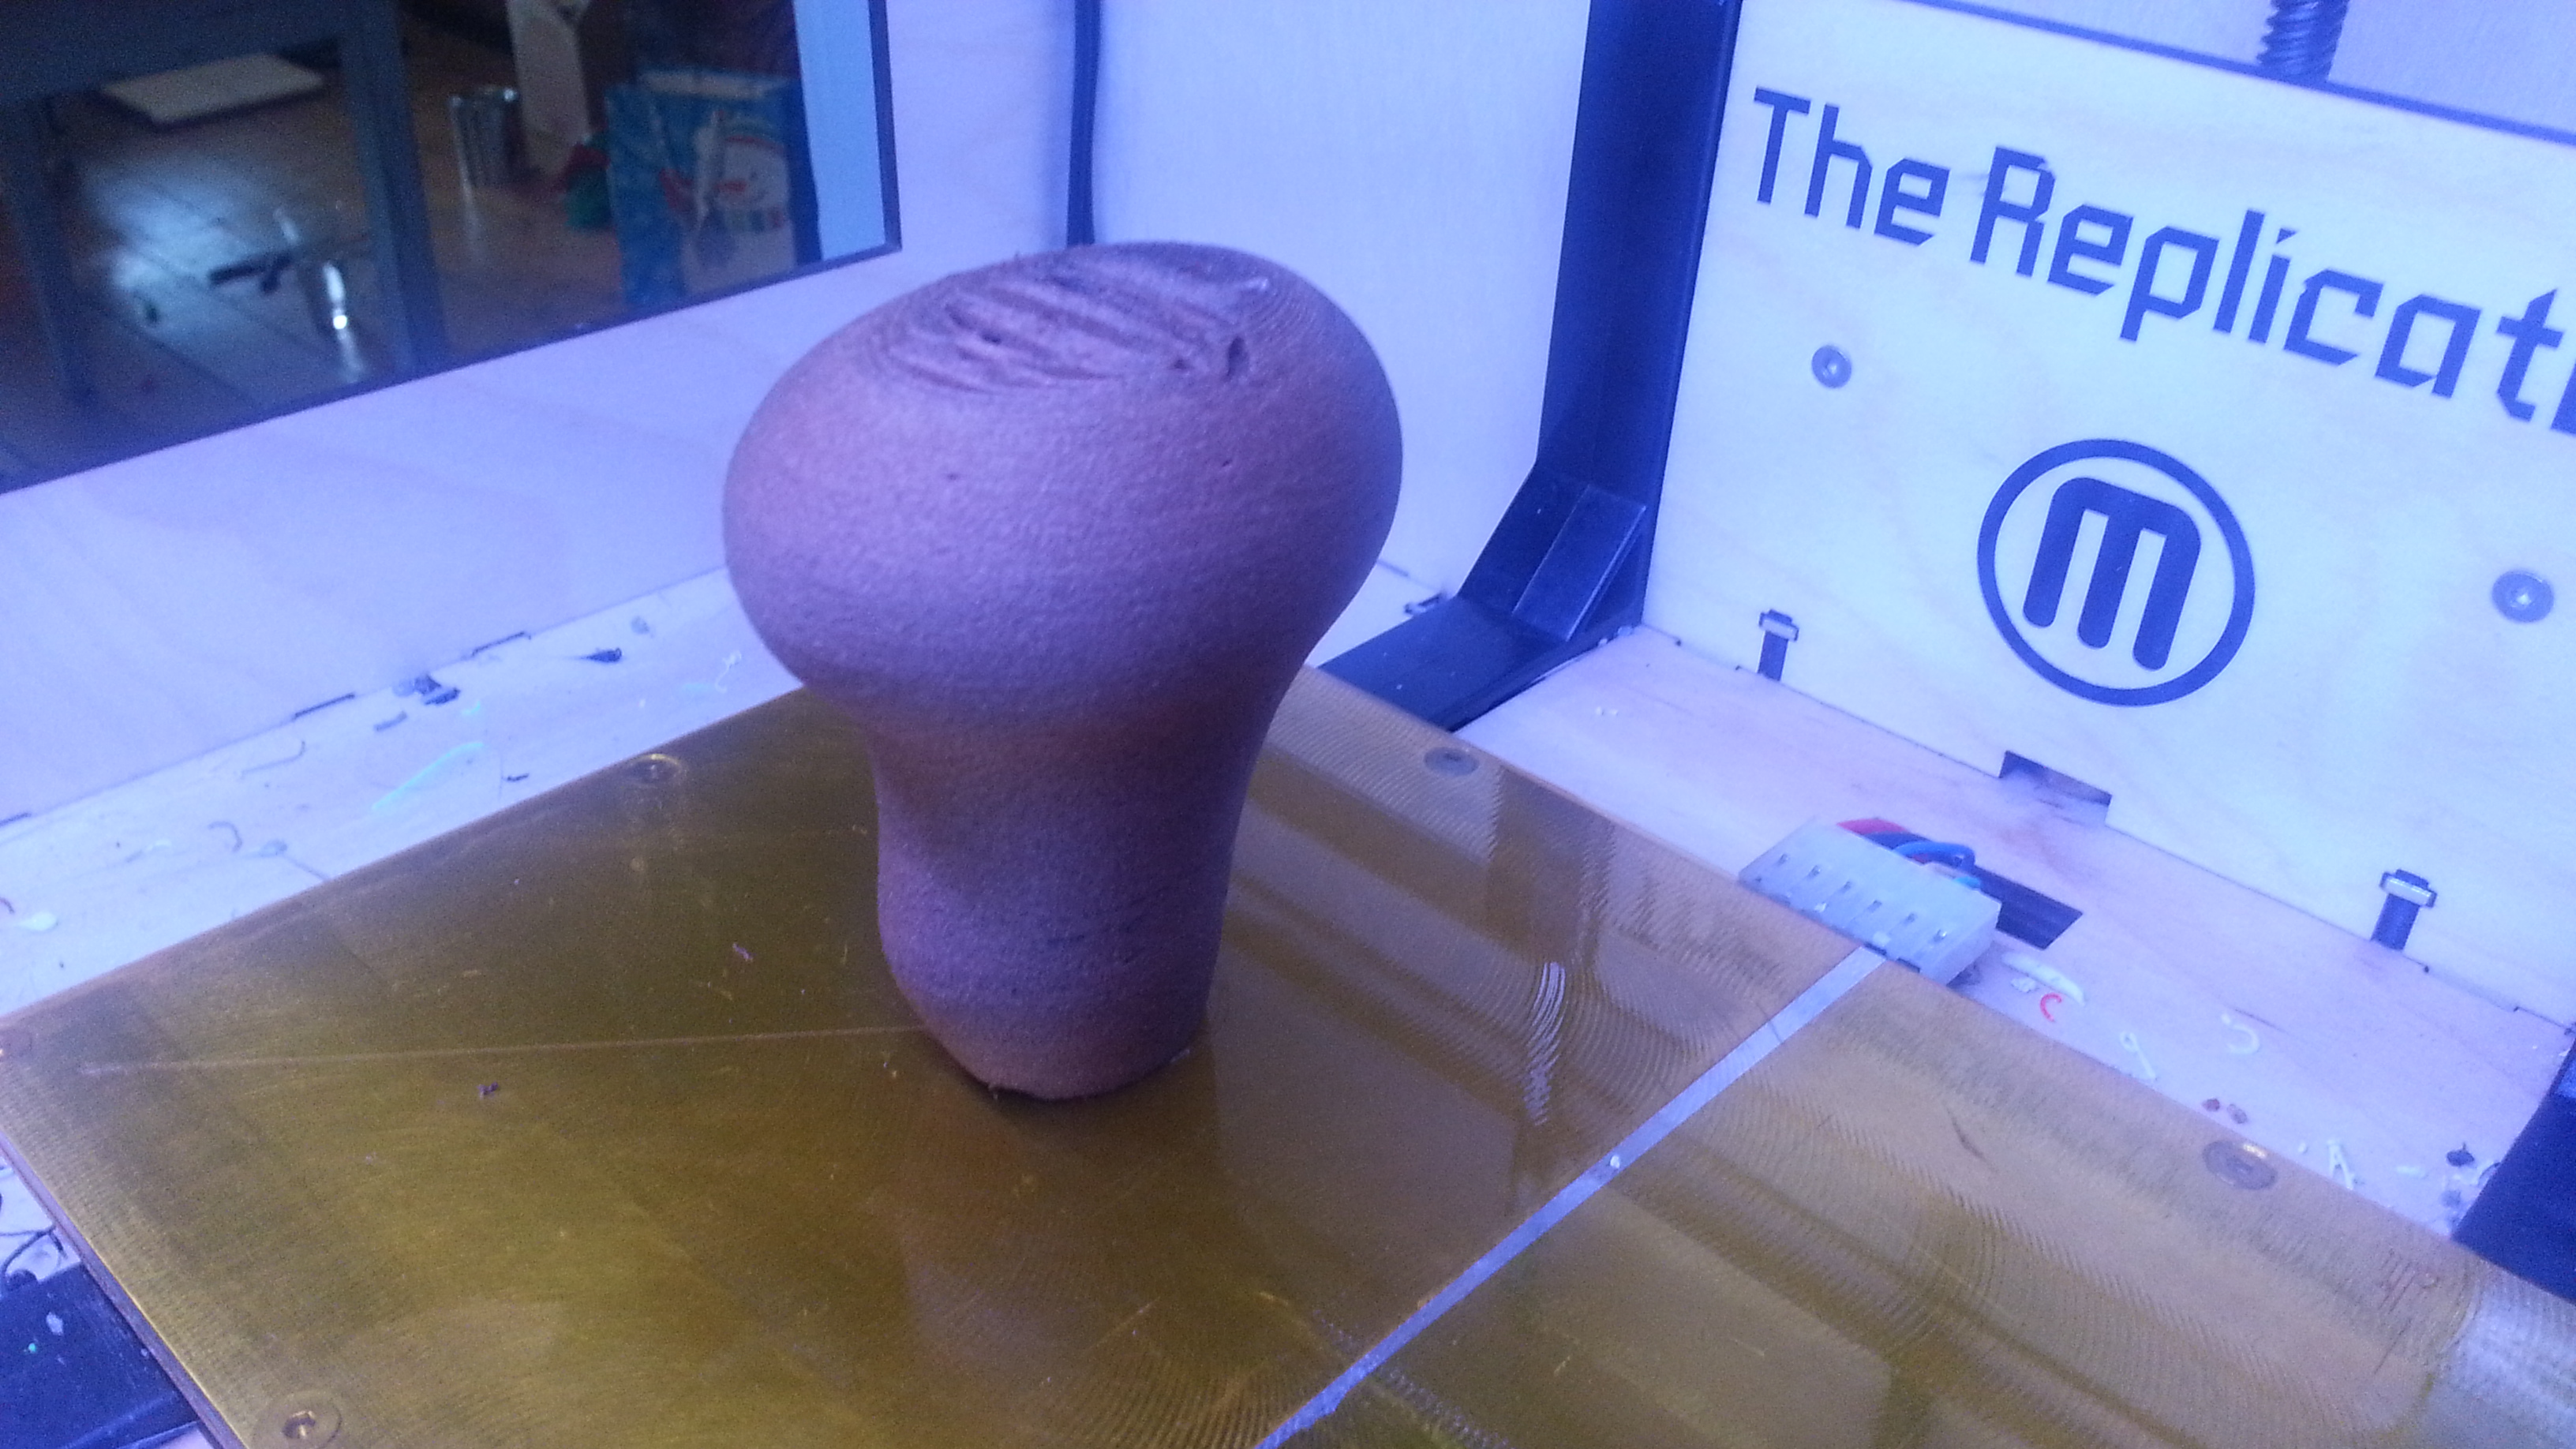
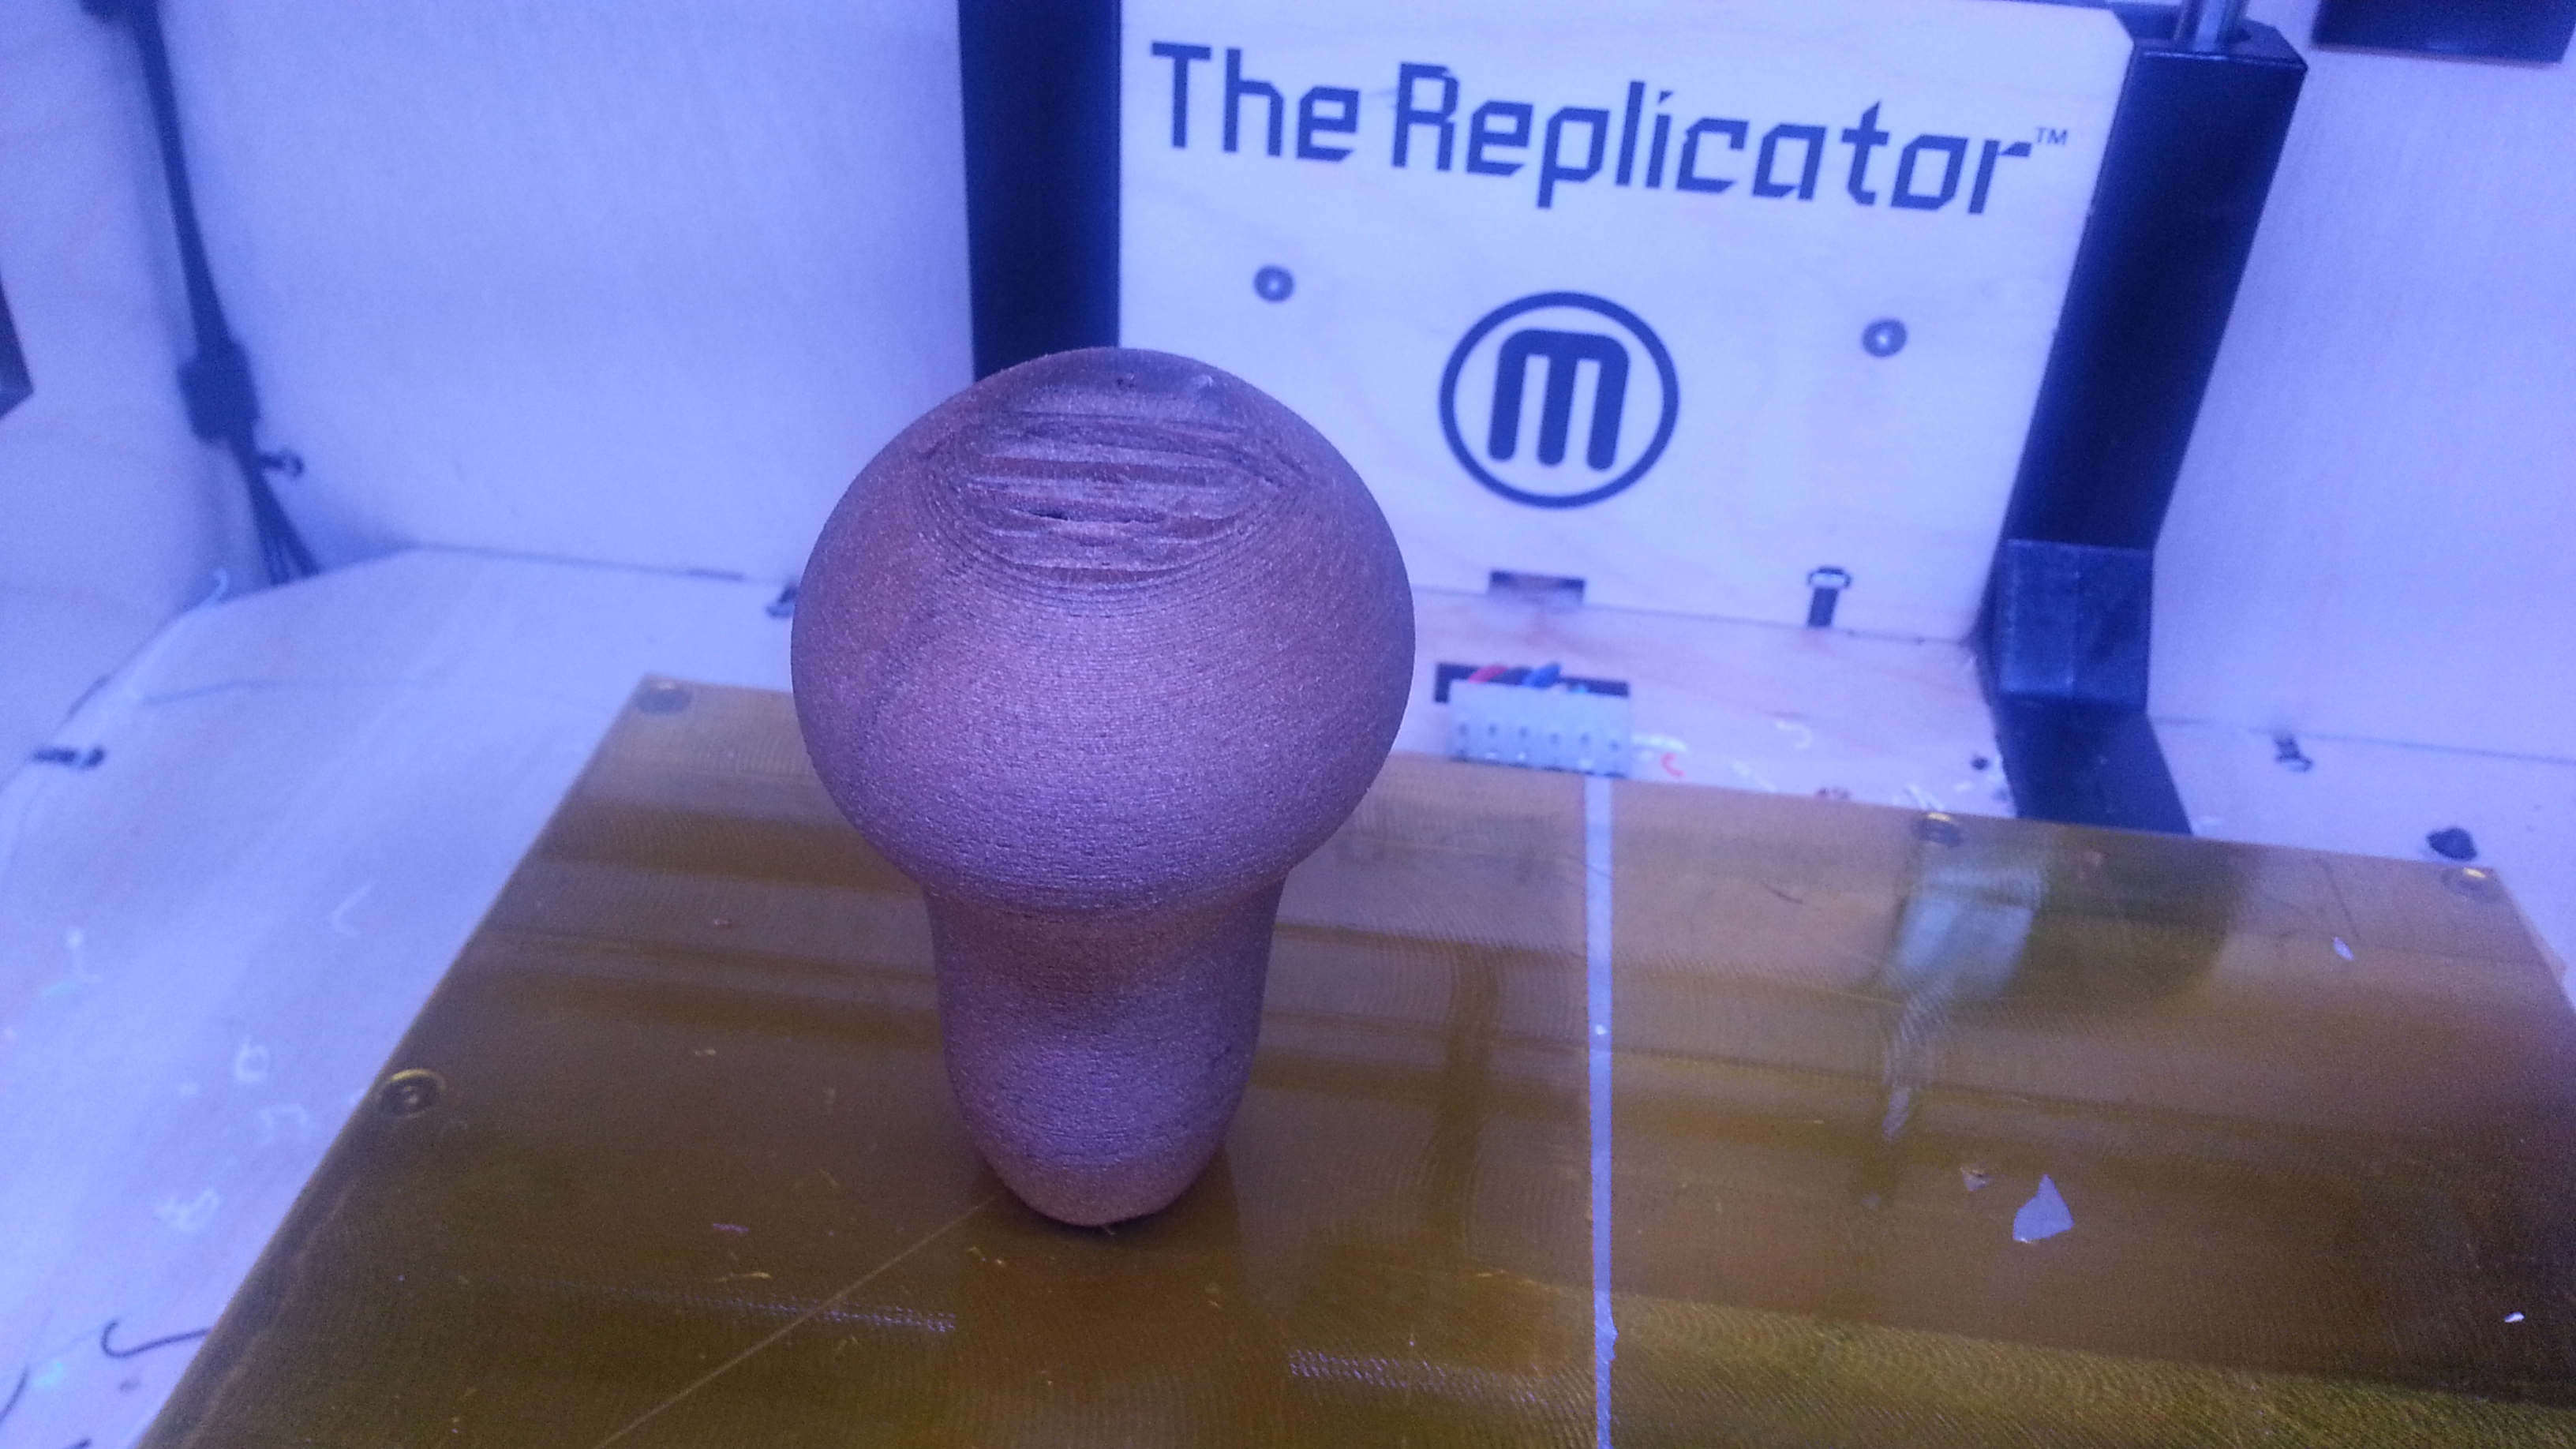
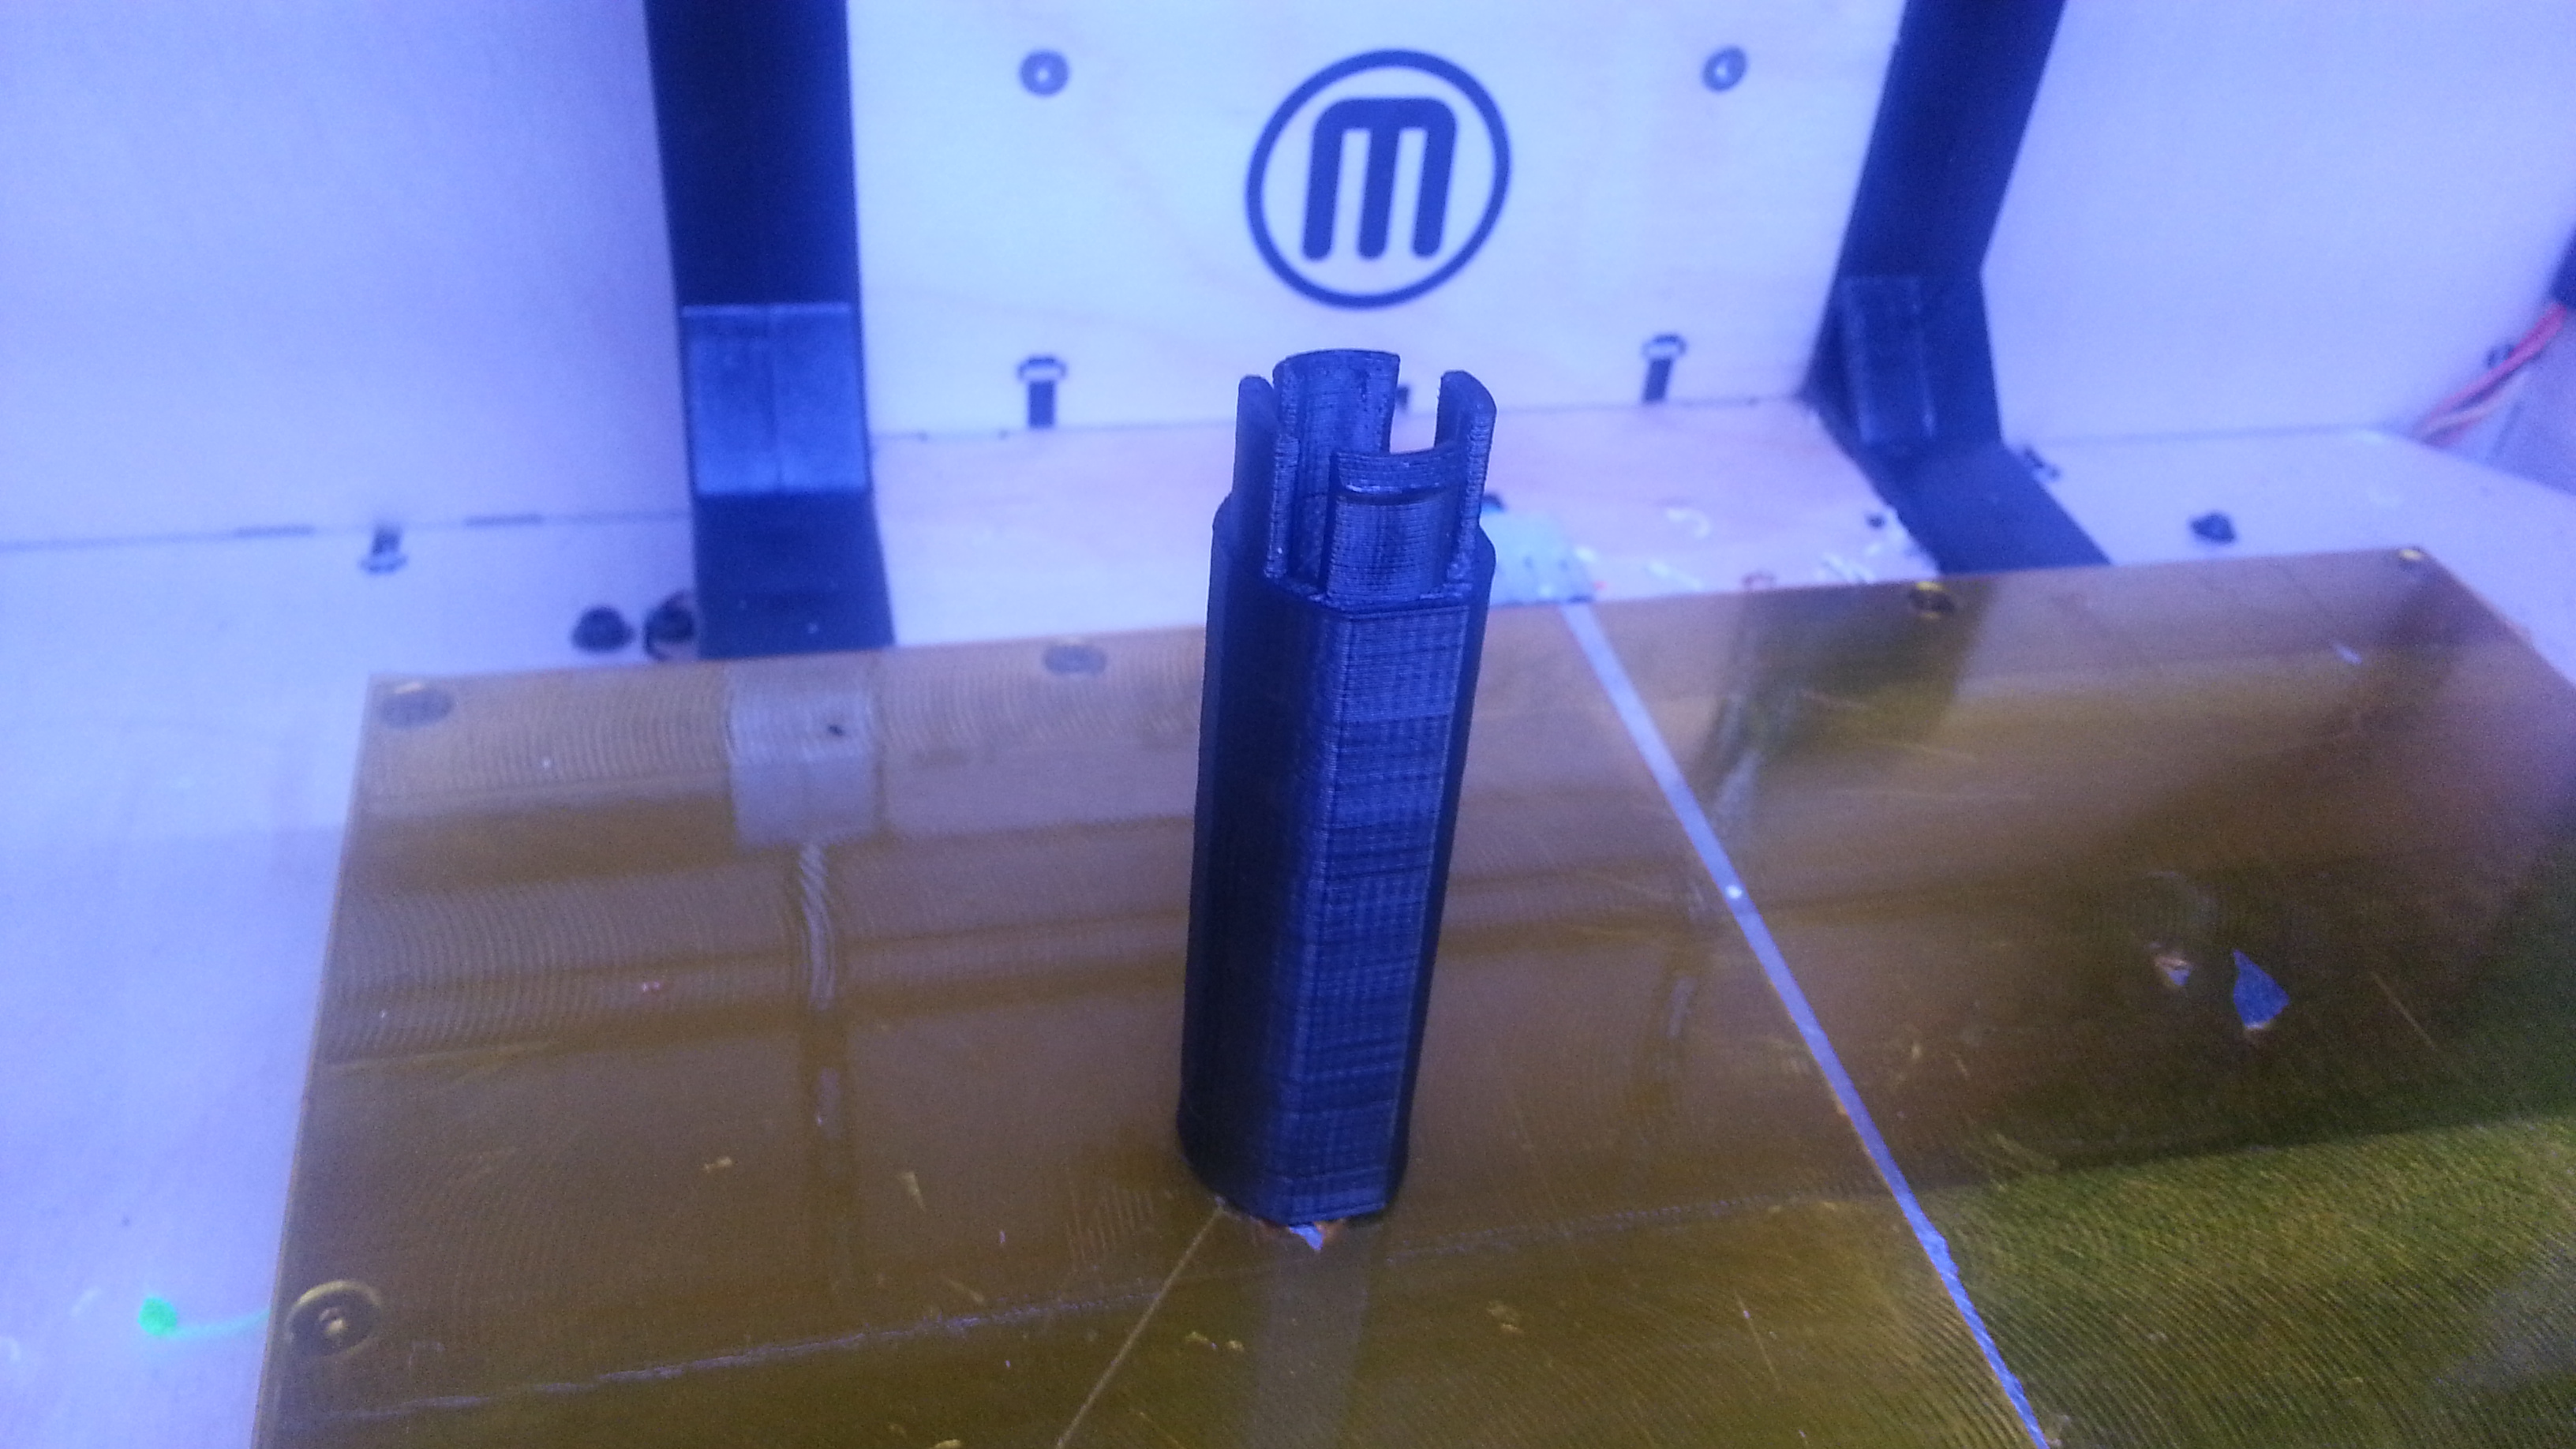
If you are printing from a personal home printer using ABS or PLA plastic please use the following settings:
Standard accelerated print settings with 60% fill in for the inside and 10% fill for the outside.
The inside piece needs to be printed thicker due to the strain it will take on screwing on the the metal rod.
If you are using Laywoo-D3 do not use accelerated settings and make sure you turn off your heated build plate if you have one.
If you do not have have personal 3d printer you can upload your files to a print service and have them send you your pieces. This is also a great option if you would like them in a sturdier material like metal.
-Shapeways.com
-i.materialize.com
-sculpteo.com
Smoothing and Finishing the Knob
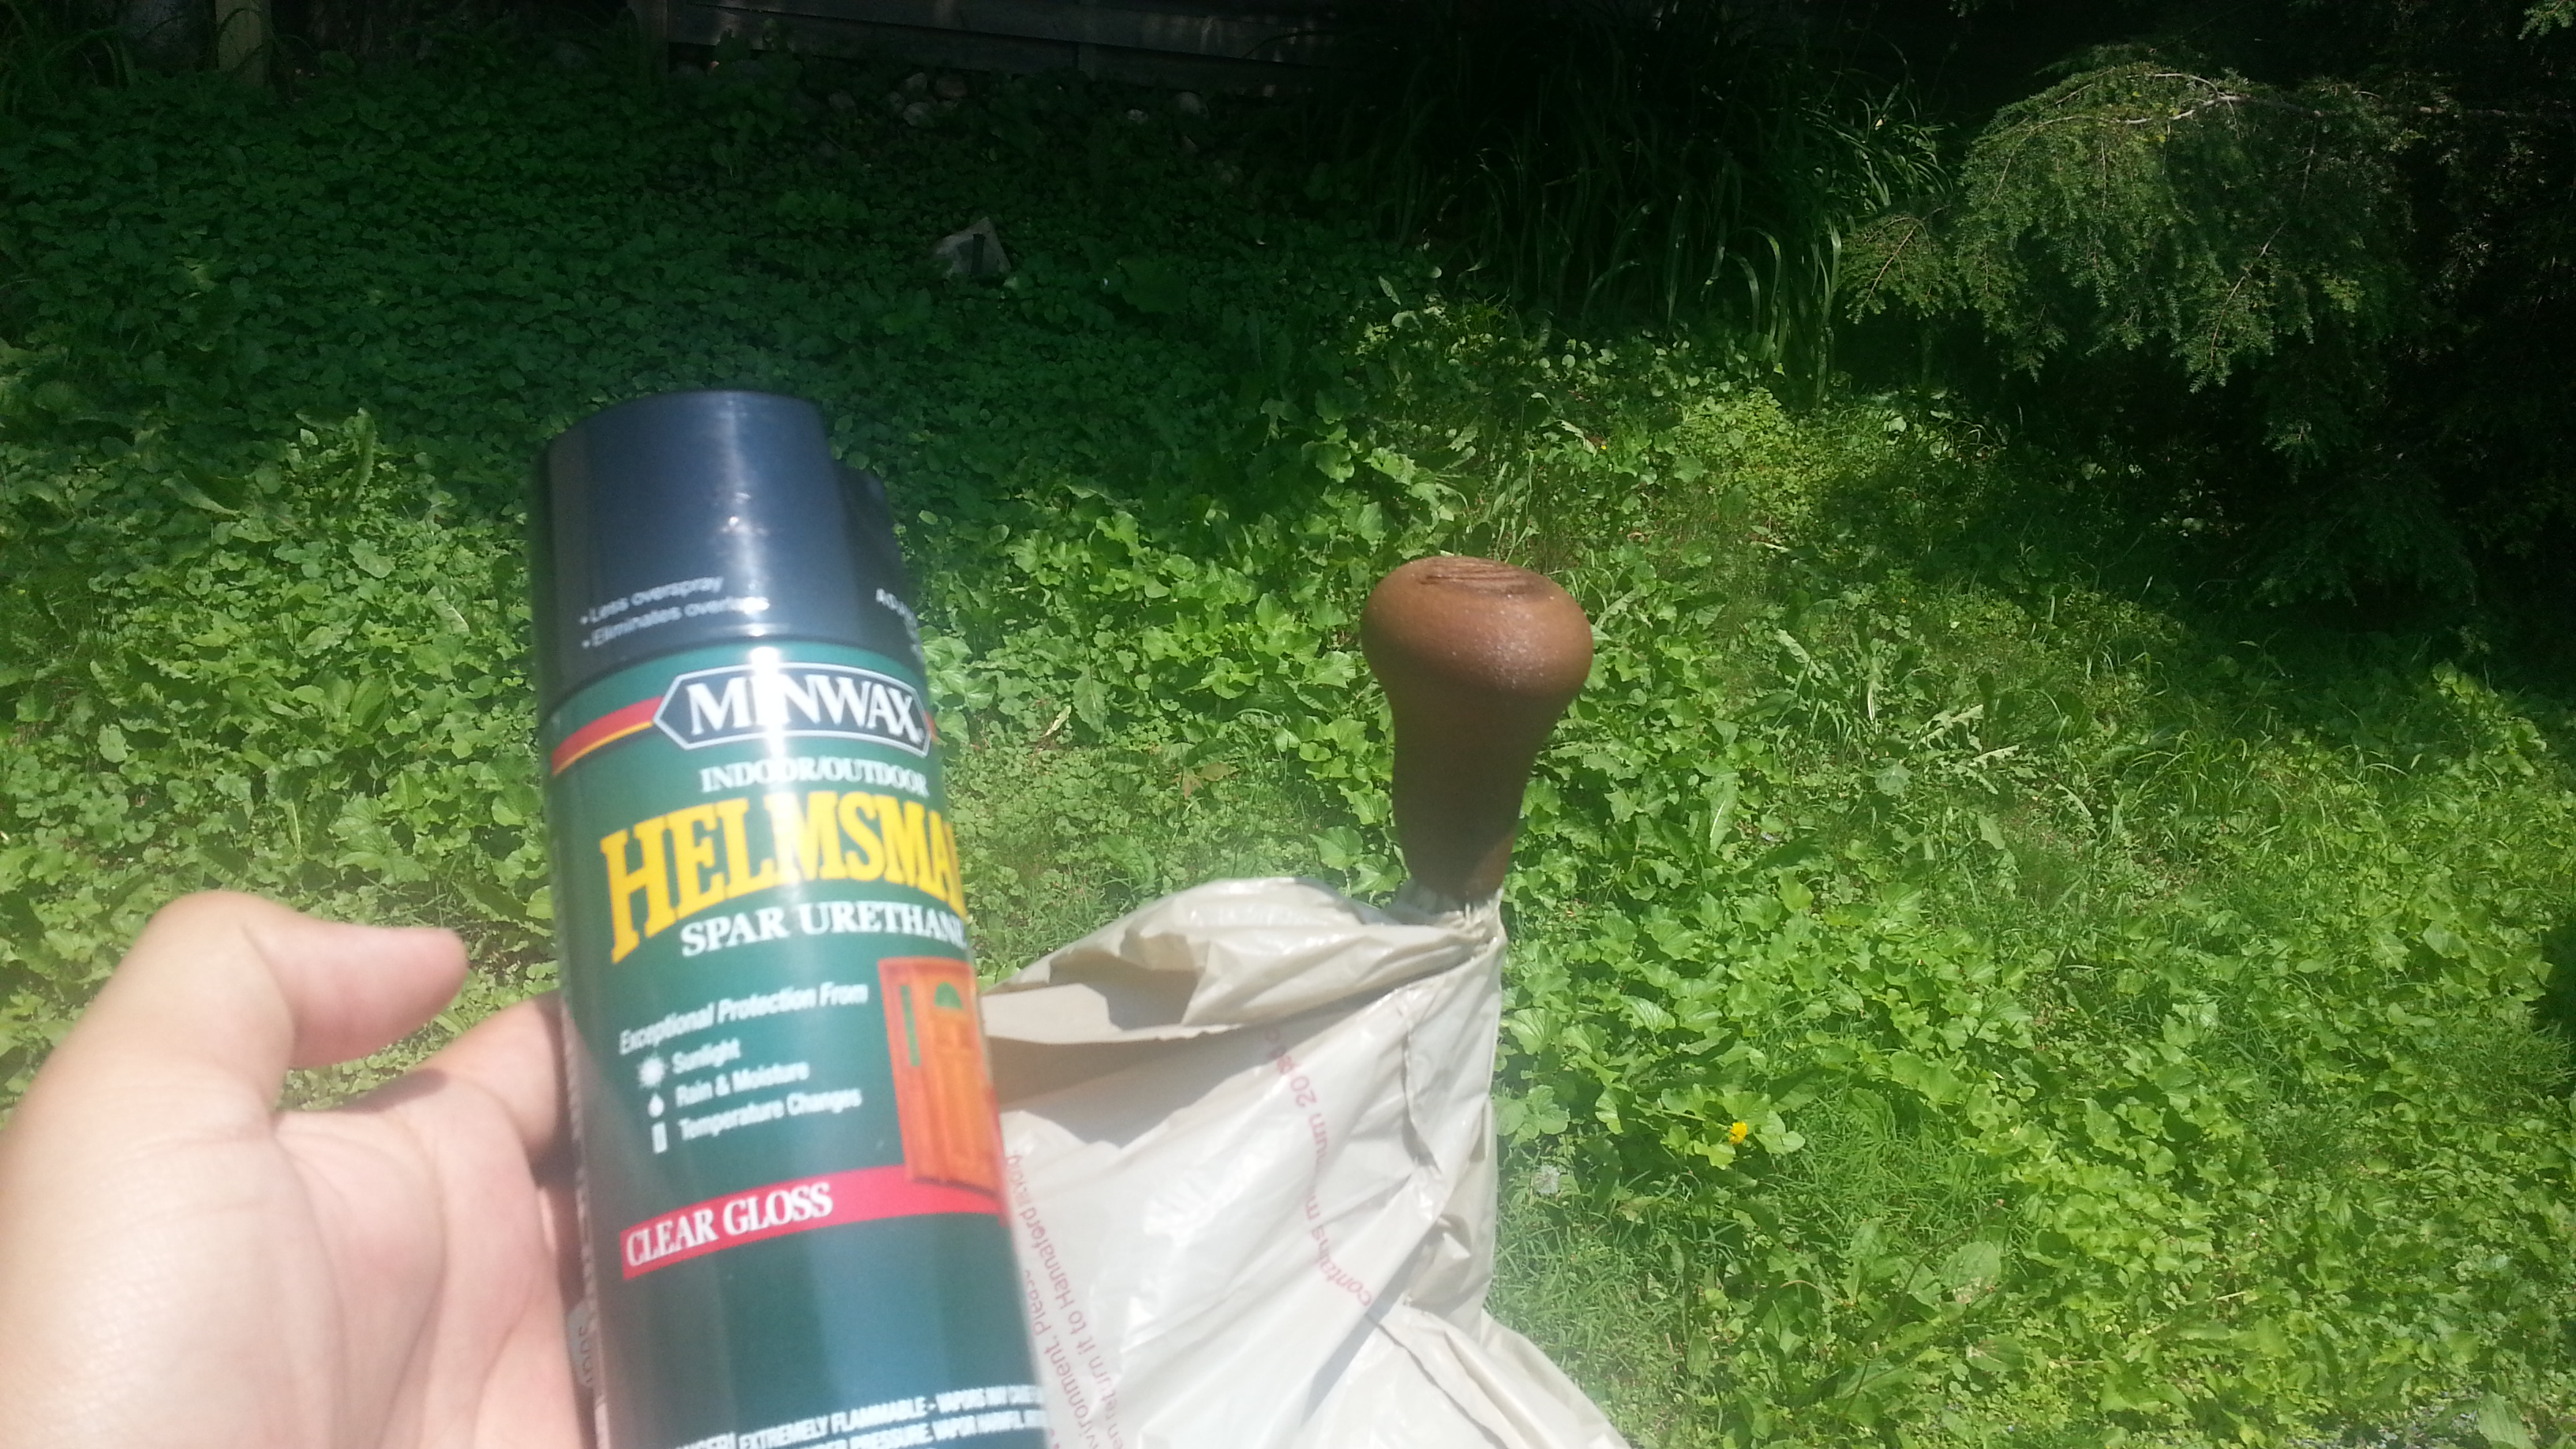

After you have printed your pieces it is a good idea to sand and clear coat your new shift knob. I personally love the look of the segments you get from a 3d printer but that didn't feel great to hold on to while shifting in the car.
Since I used a wood filament I sanded using a very fine P600 sand paper. If you used plastic you may want to start with something more coarse.
Once it's sanded and smooth I also suggest putting on a clear coat for protection. I used an indoor/outdoor spar urethane with a glossy finish to it. This took a few days to get the right amount of coats on it but it was well worth the wait.
Combining the Pieces
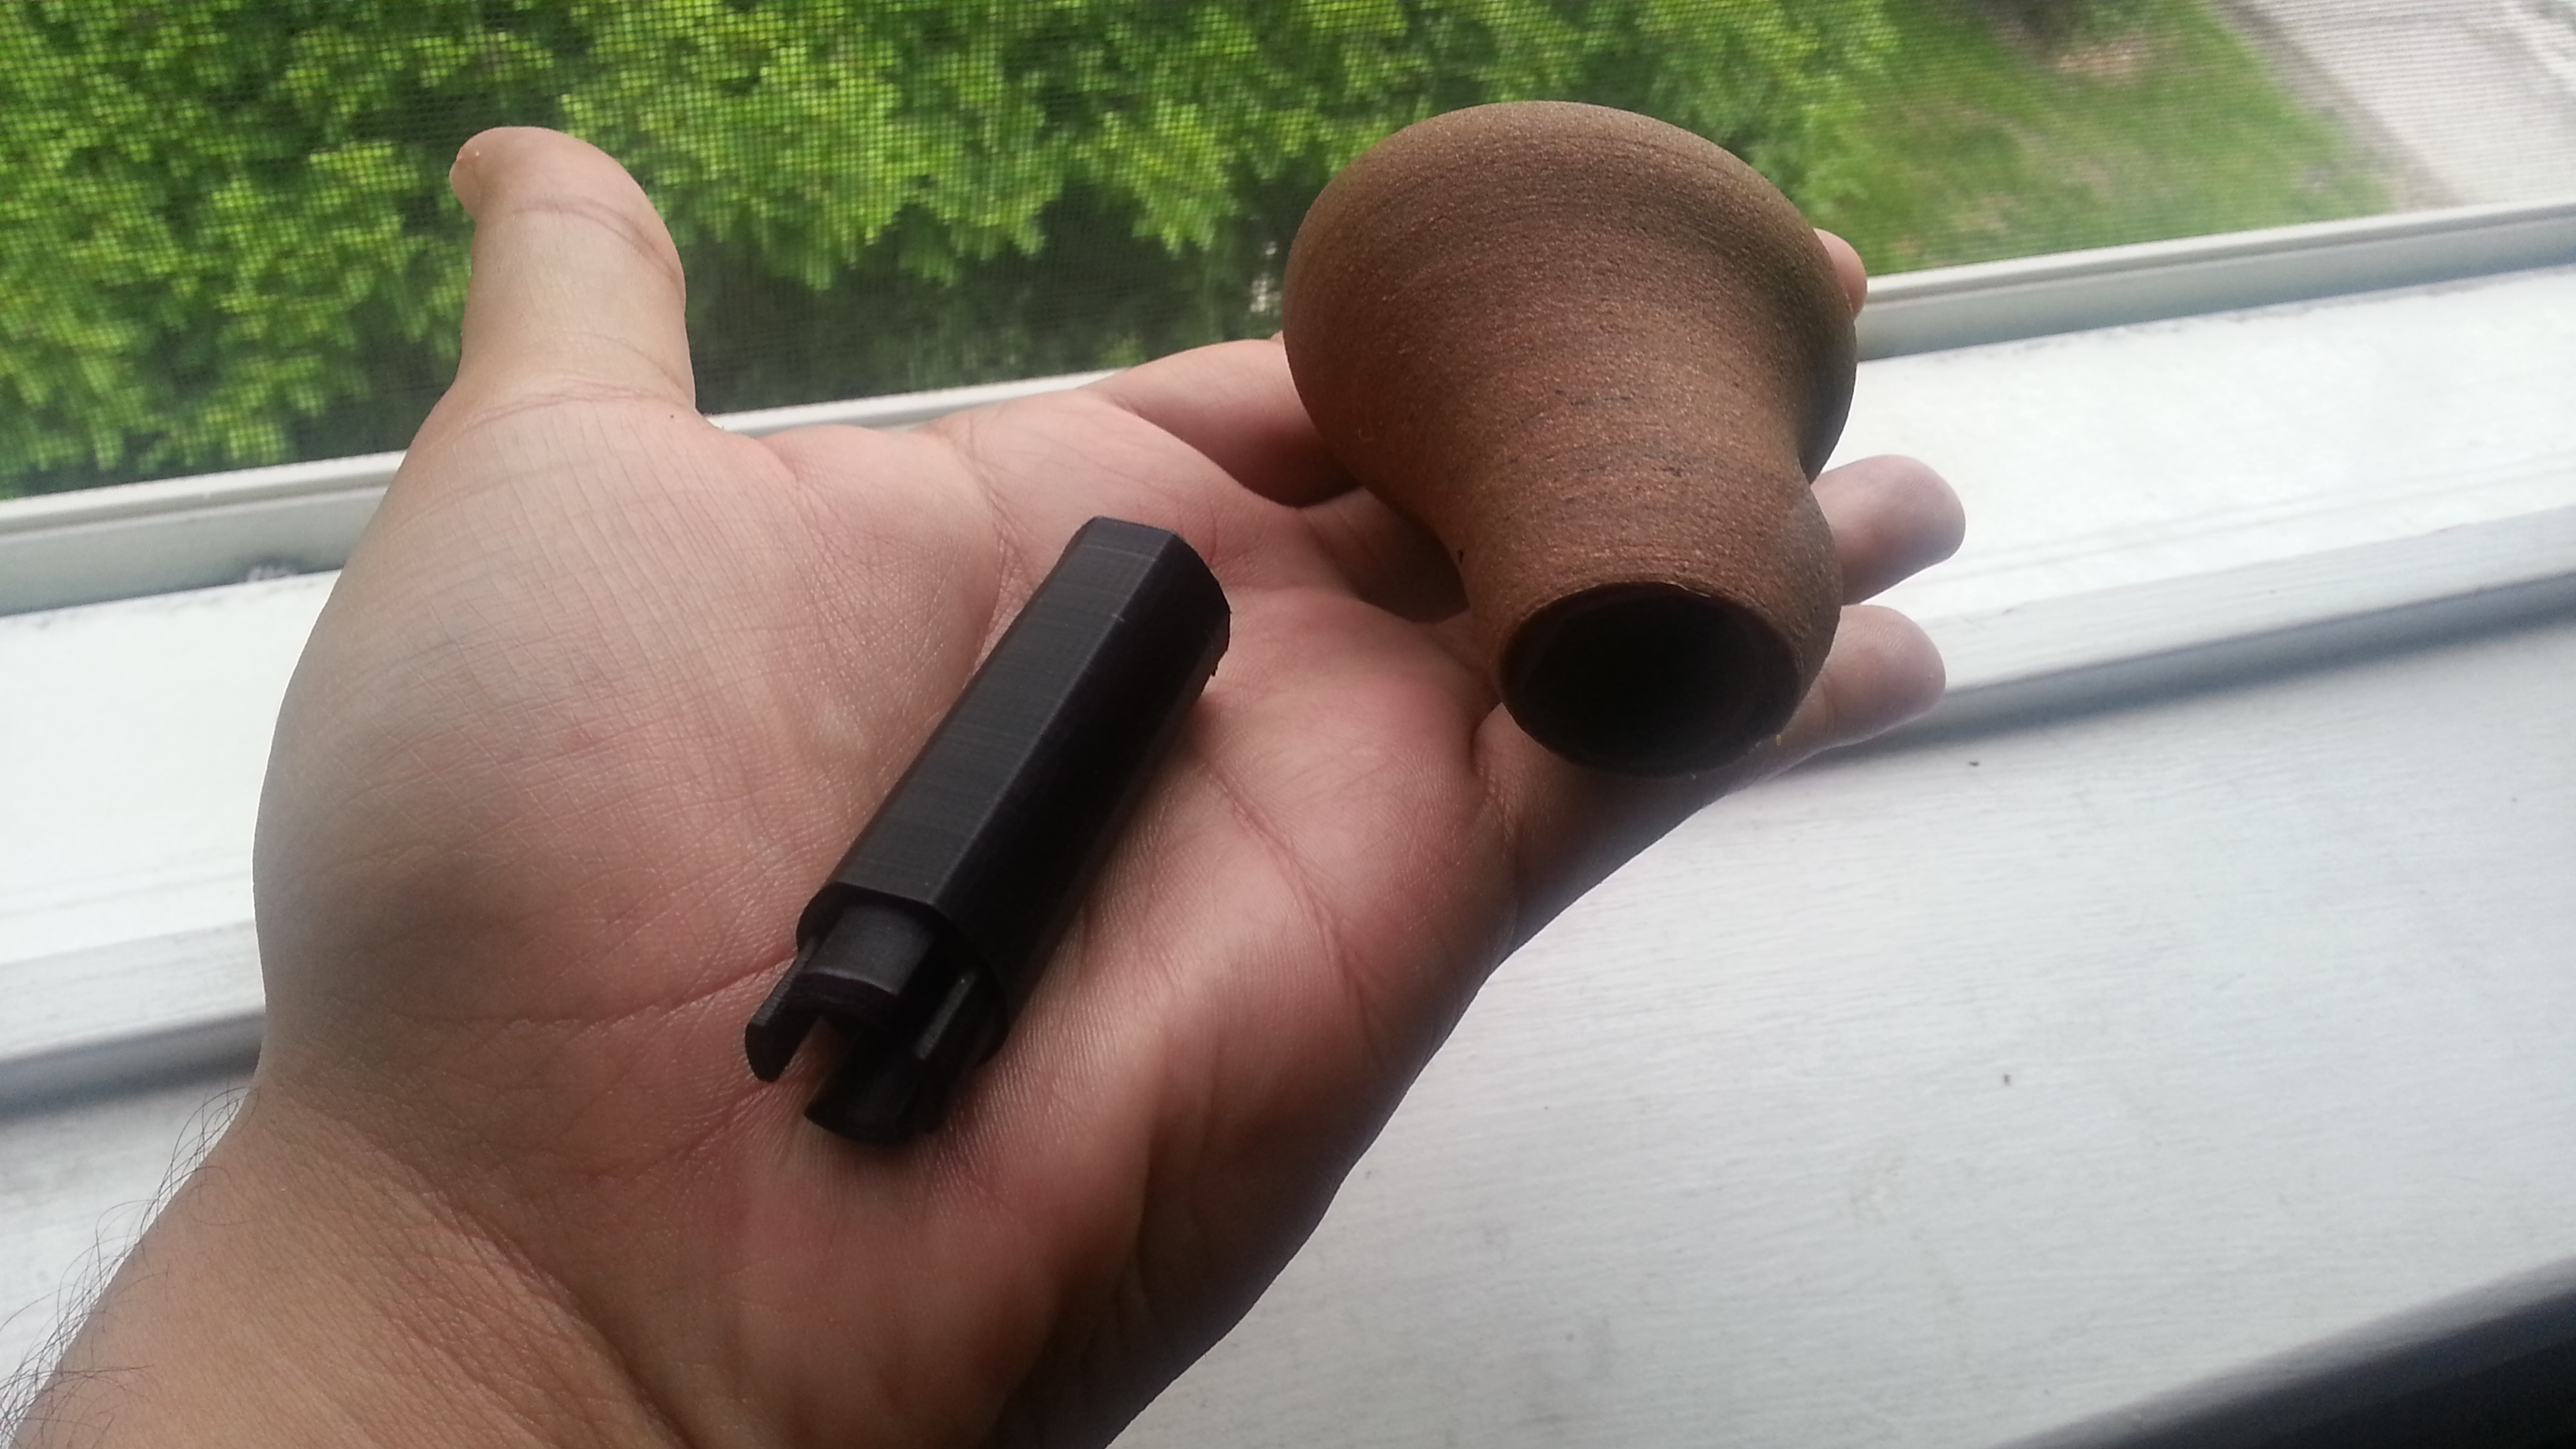
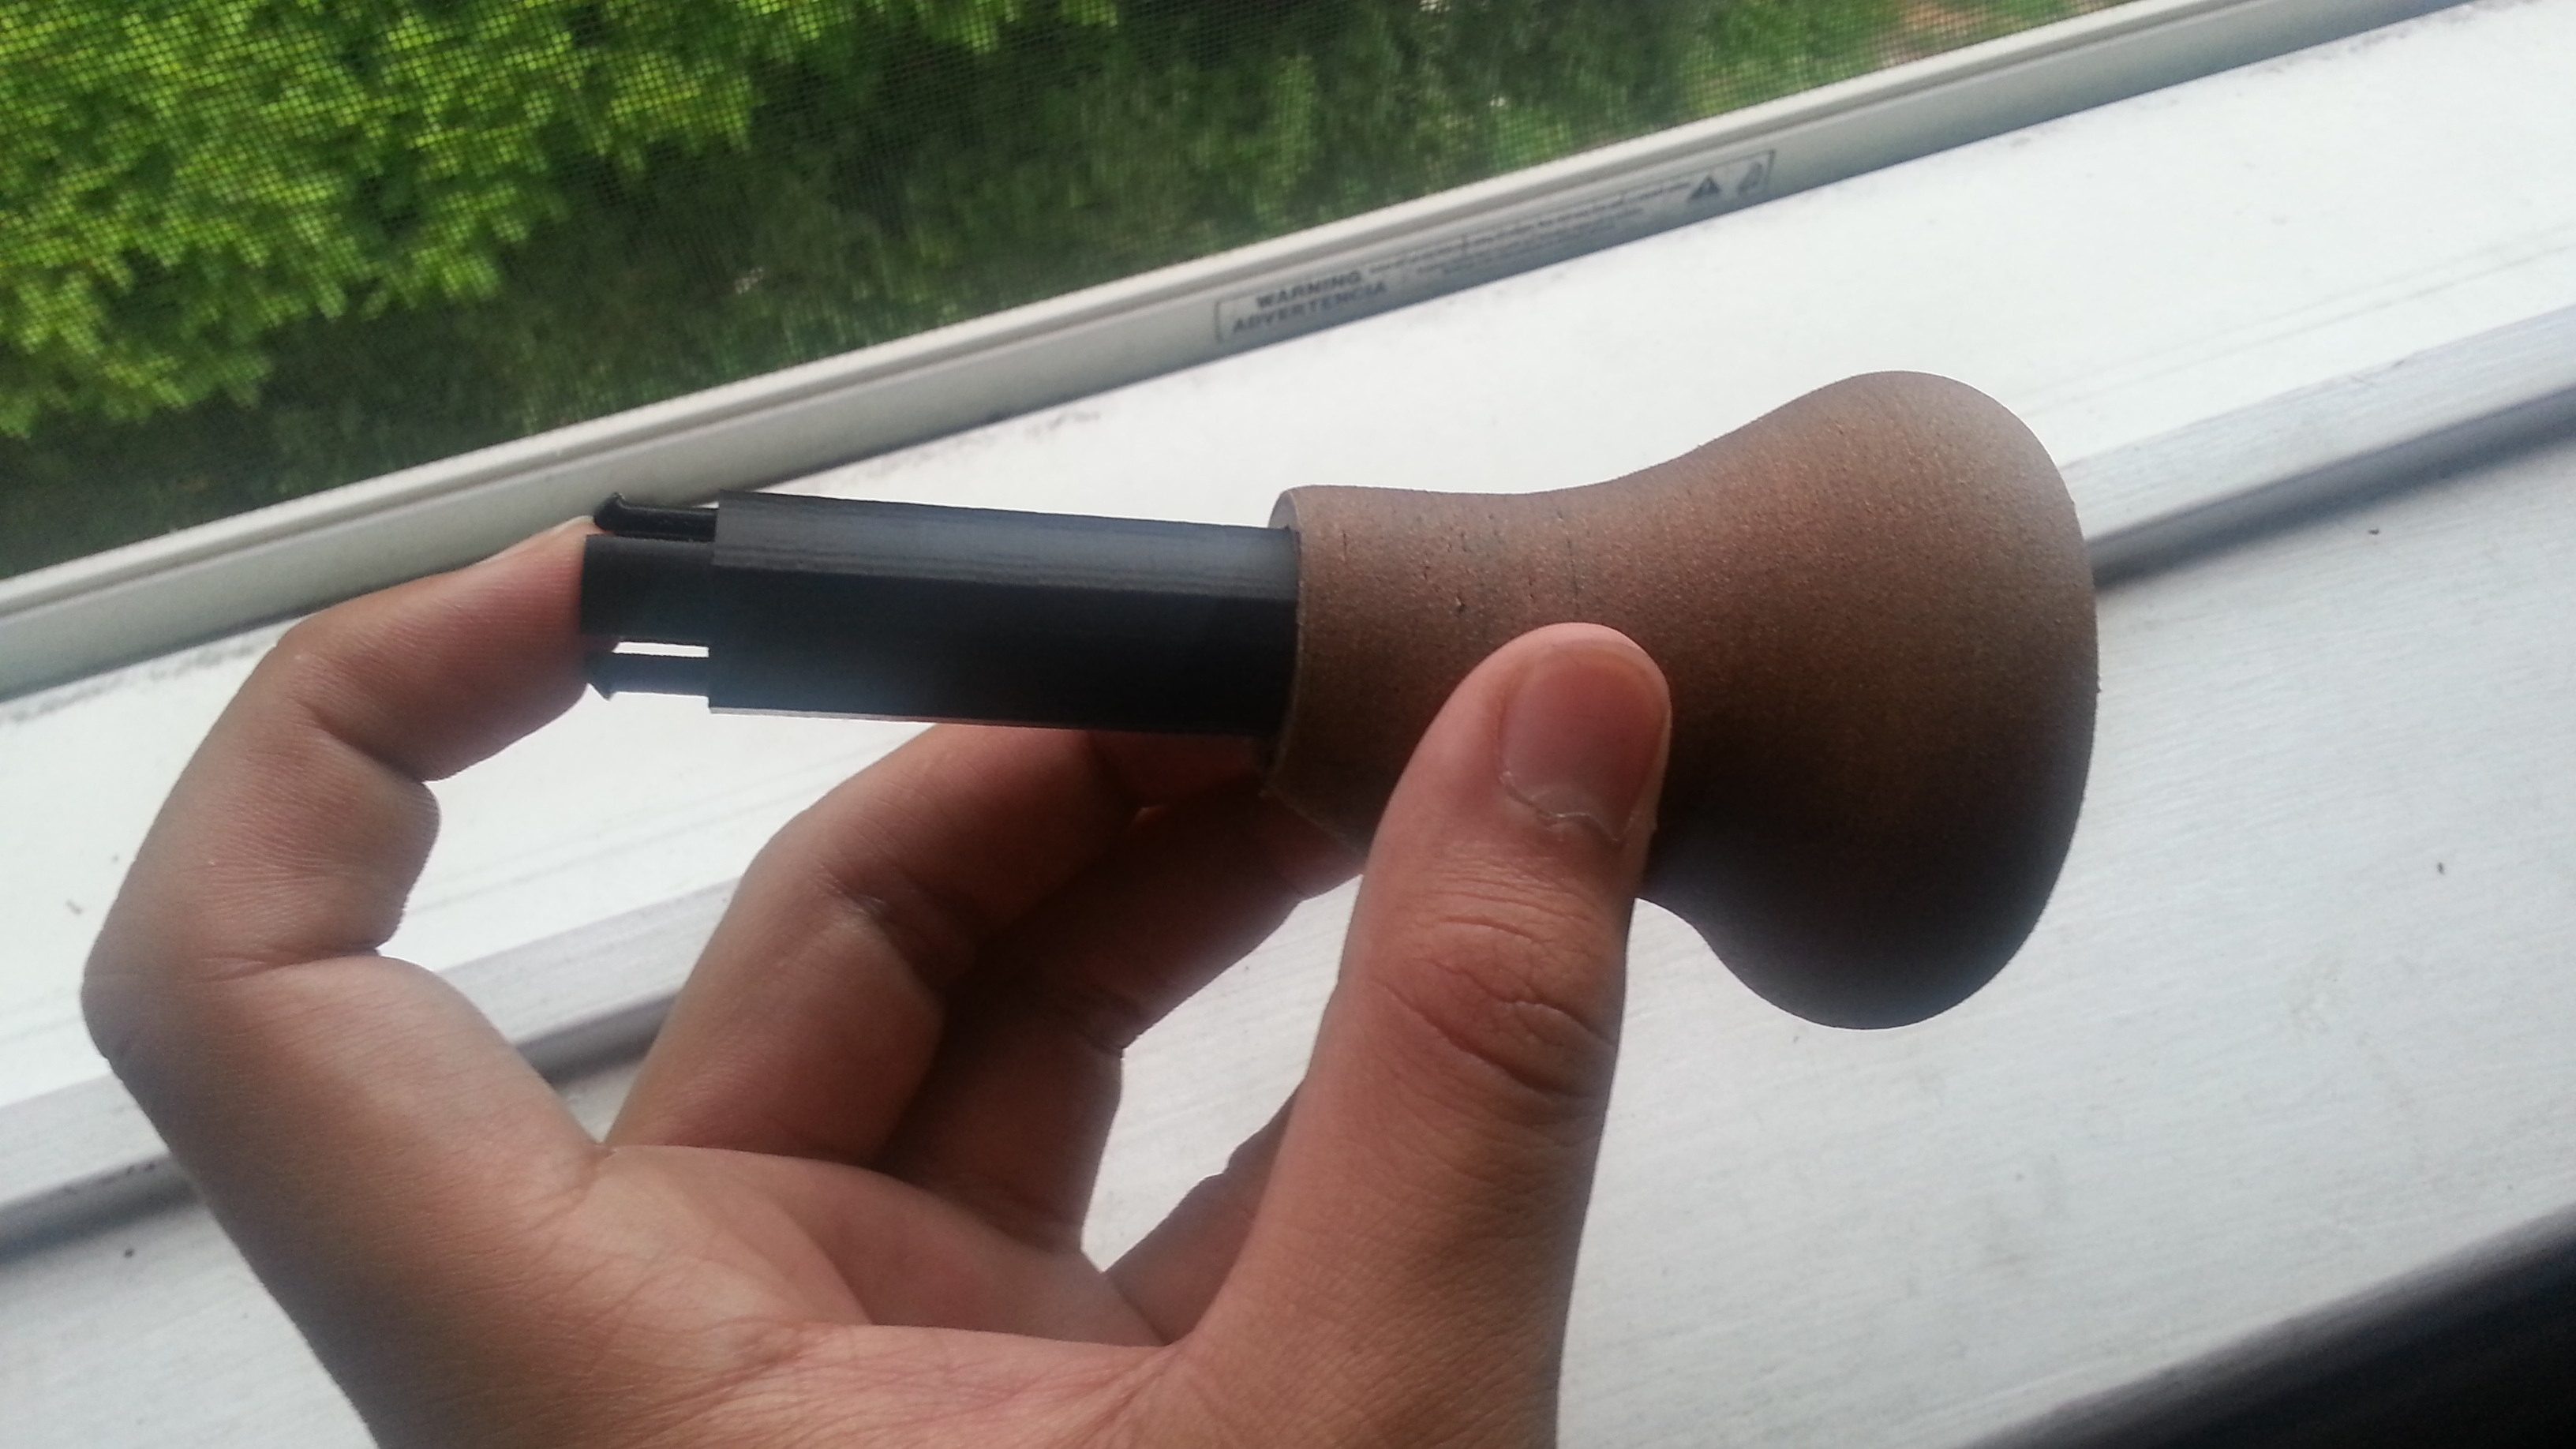
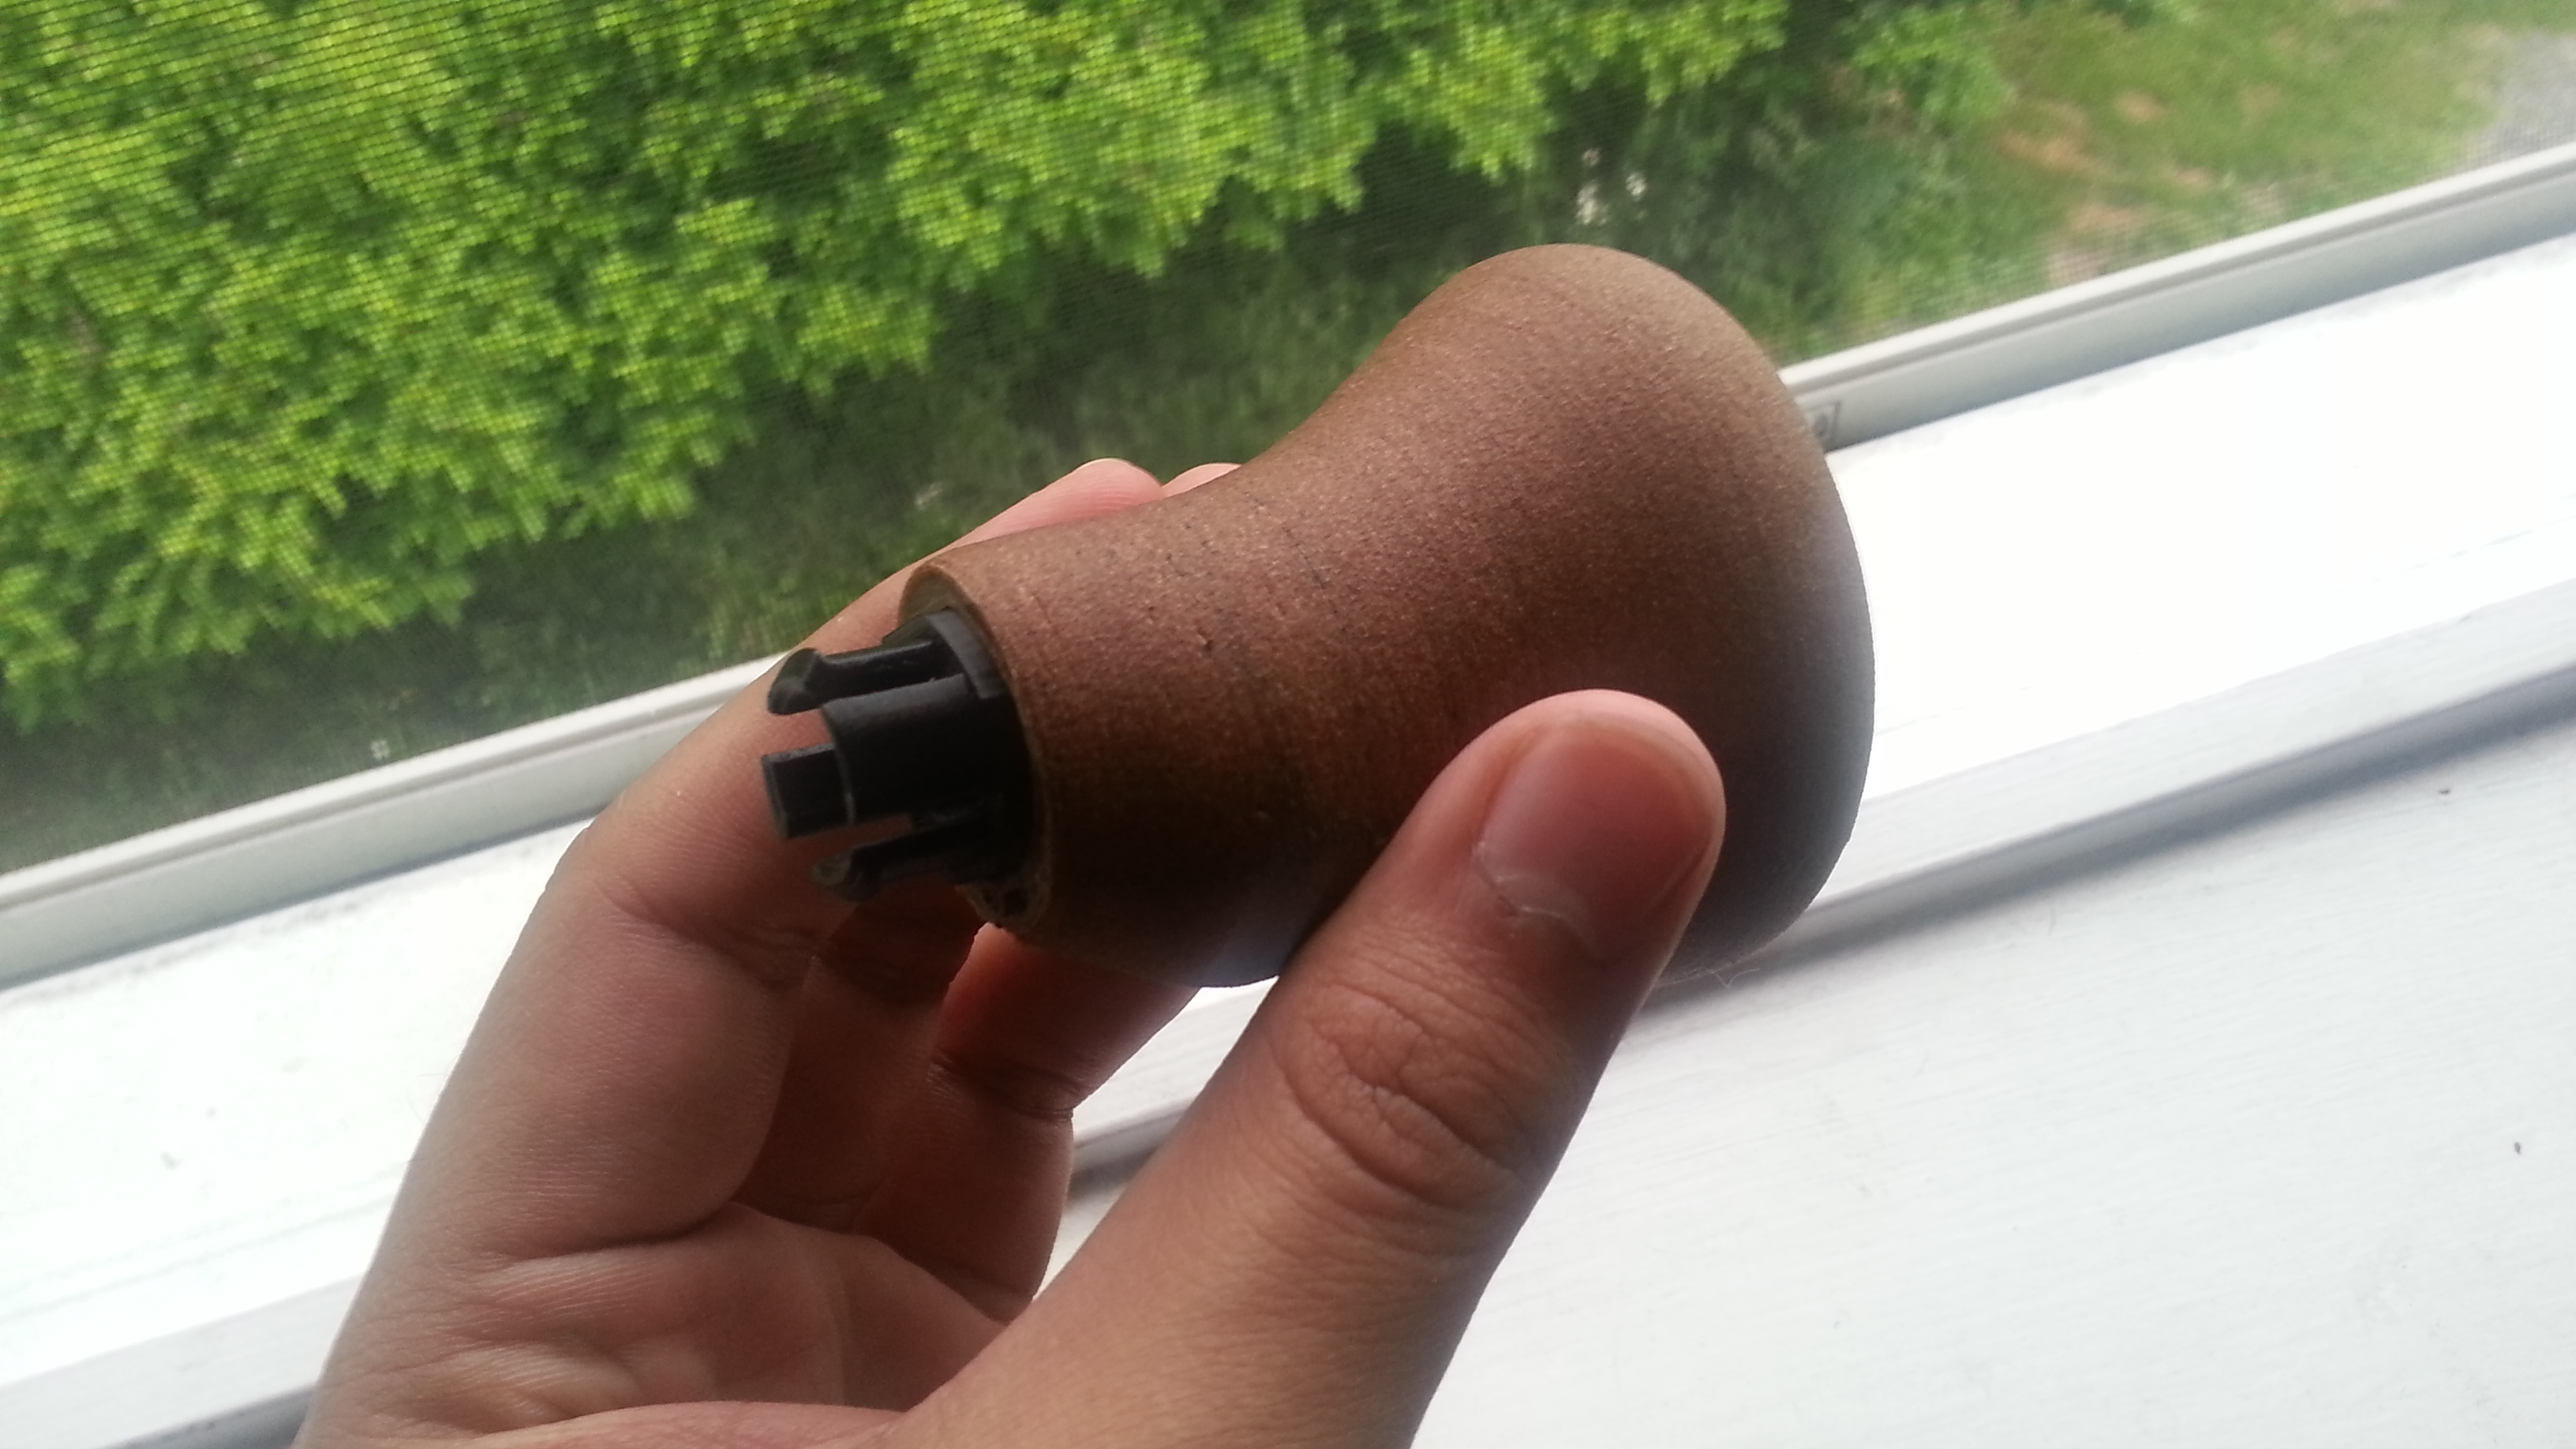
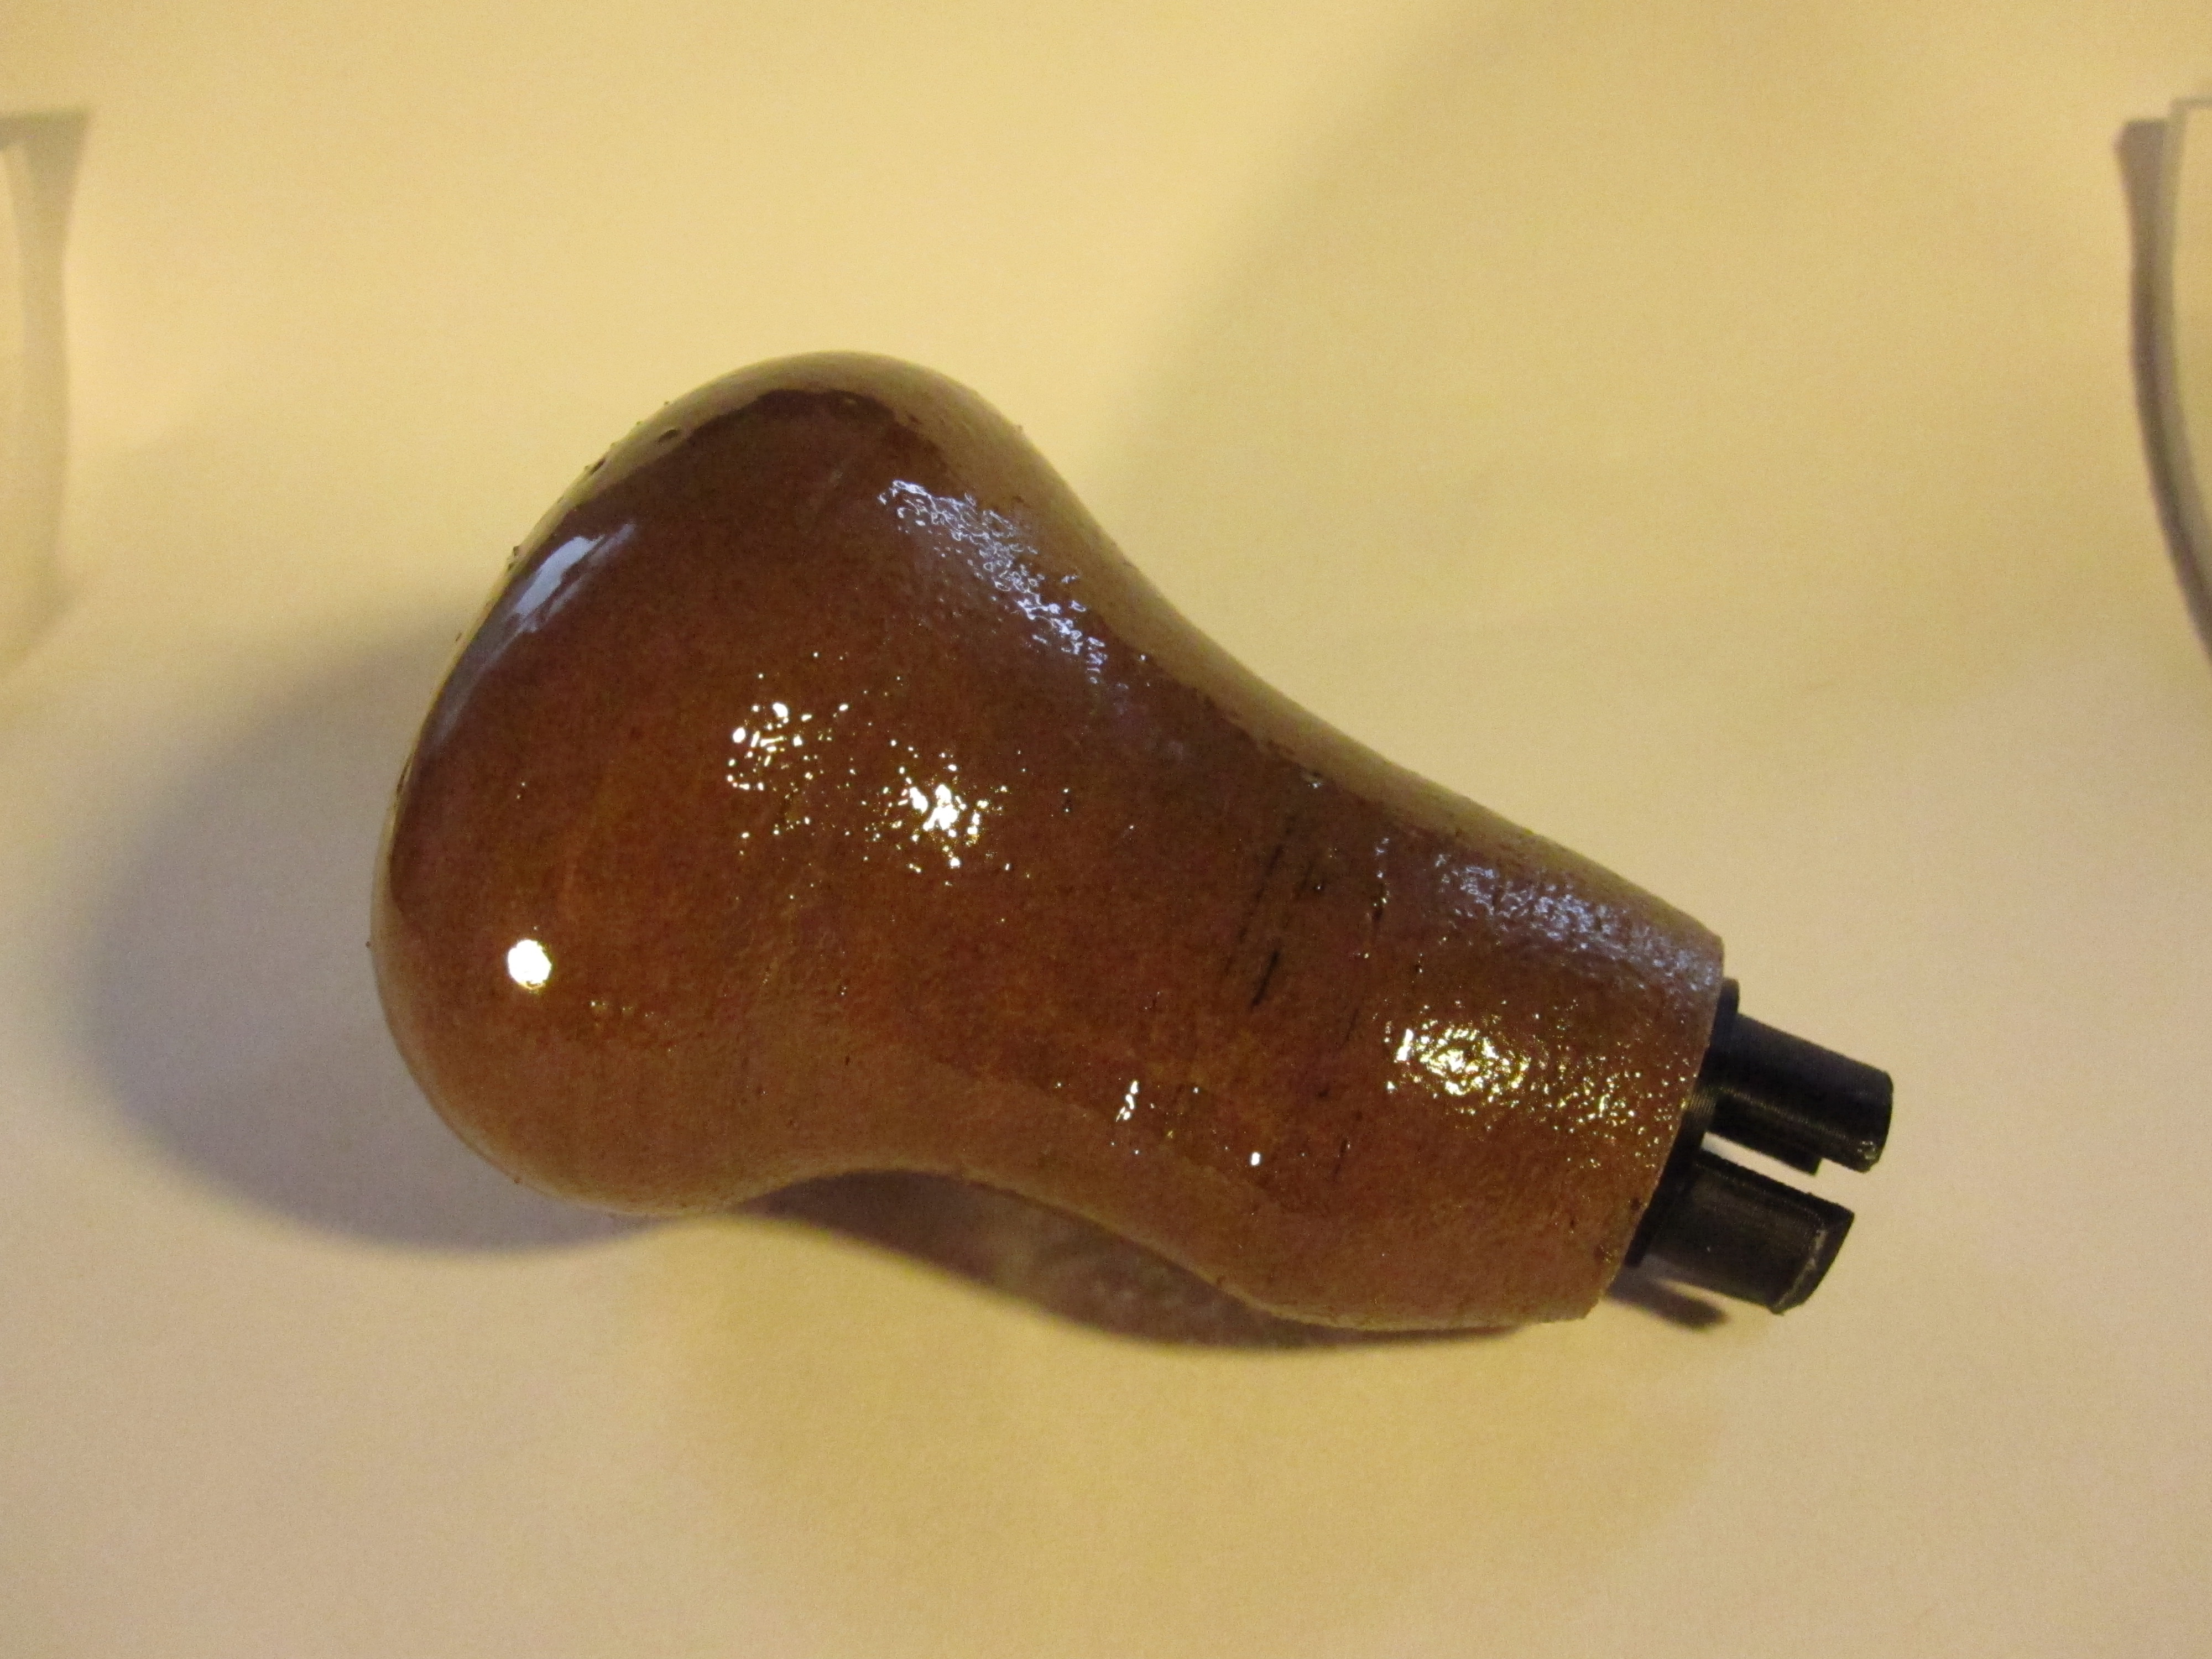
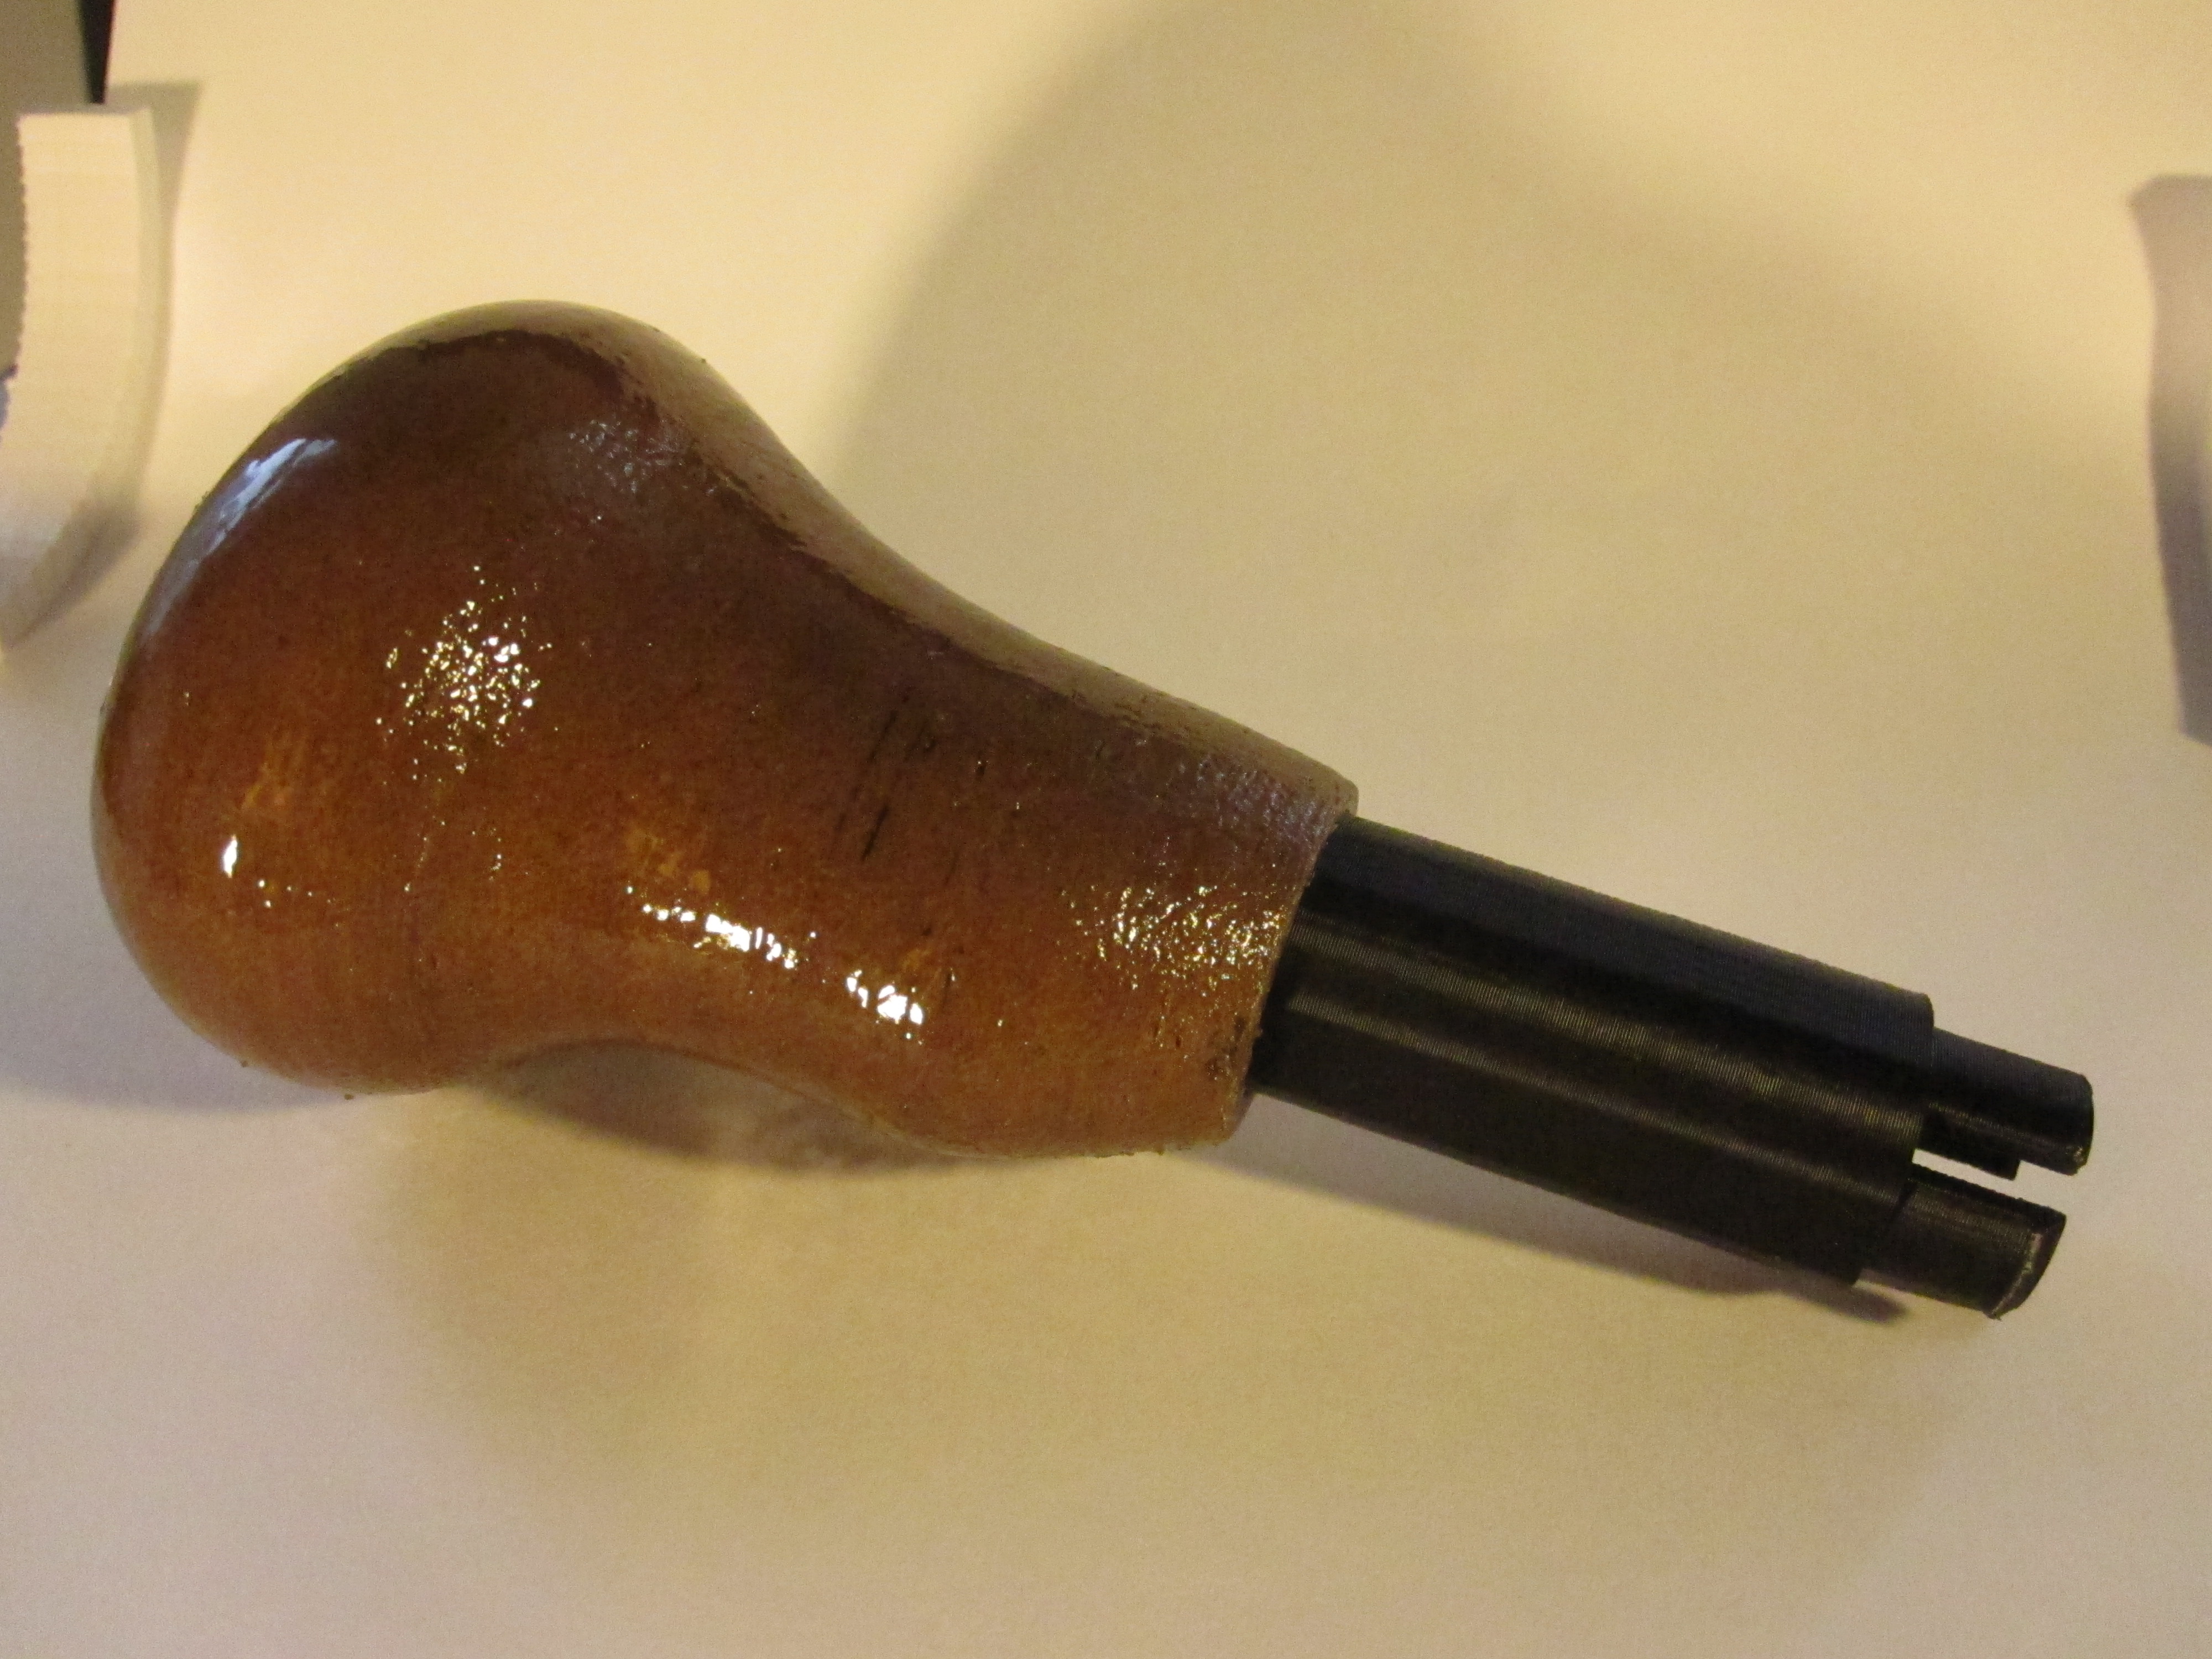
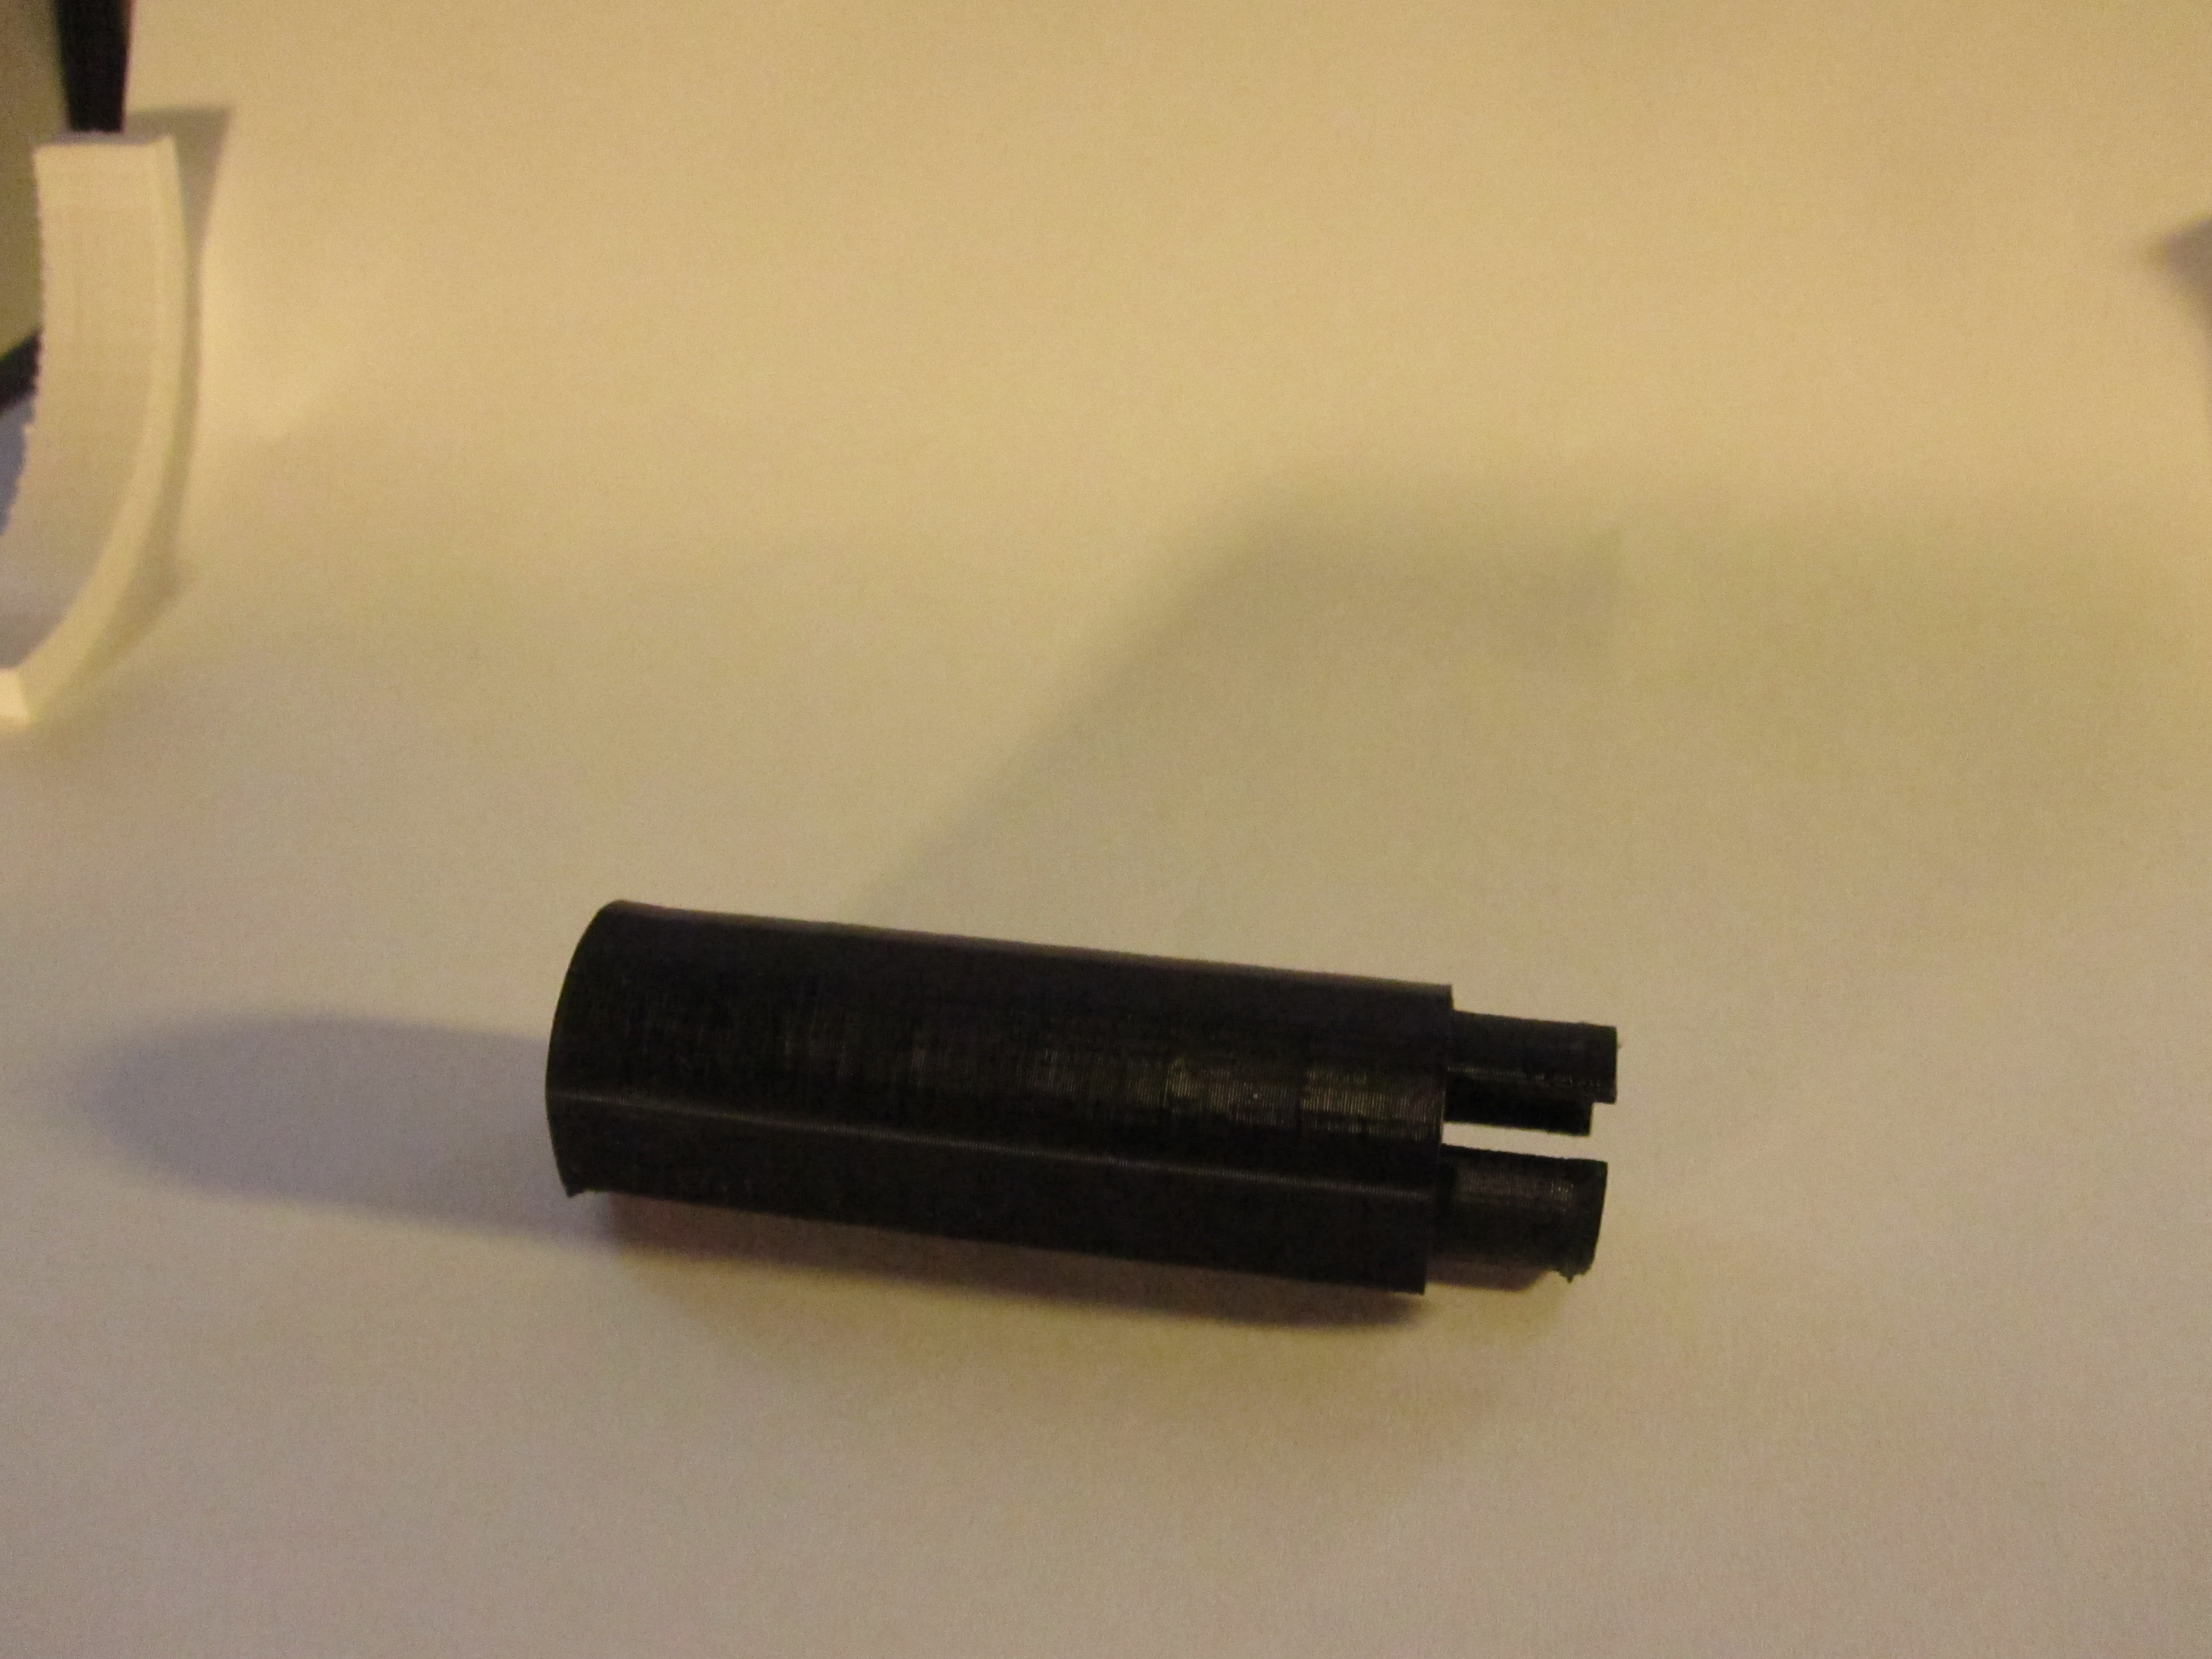
I designed the insert to not be symmetrical so that there is only one way for it to fit into the shift knob.
It should be a pretty tight fit but i would suggest securing it with some strong glue. I used E600. We Definitely don't want it falling off while driving!
It should be a pretty tight fit but i would suggest securing it with some strong glue. I used E600. We Definitely don't want it falling off while driving!
Last, But Not Least, Installation!
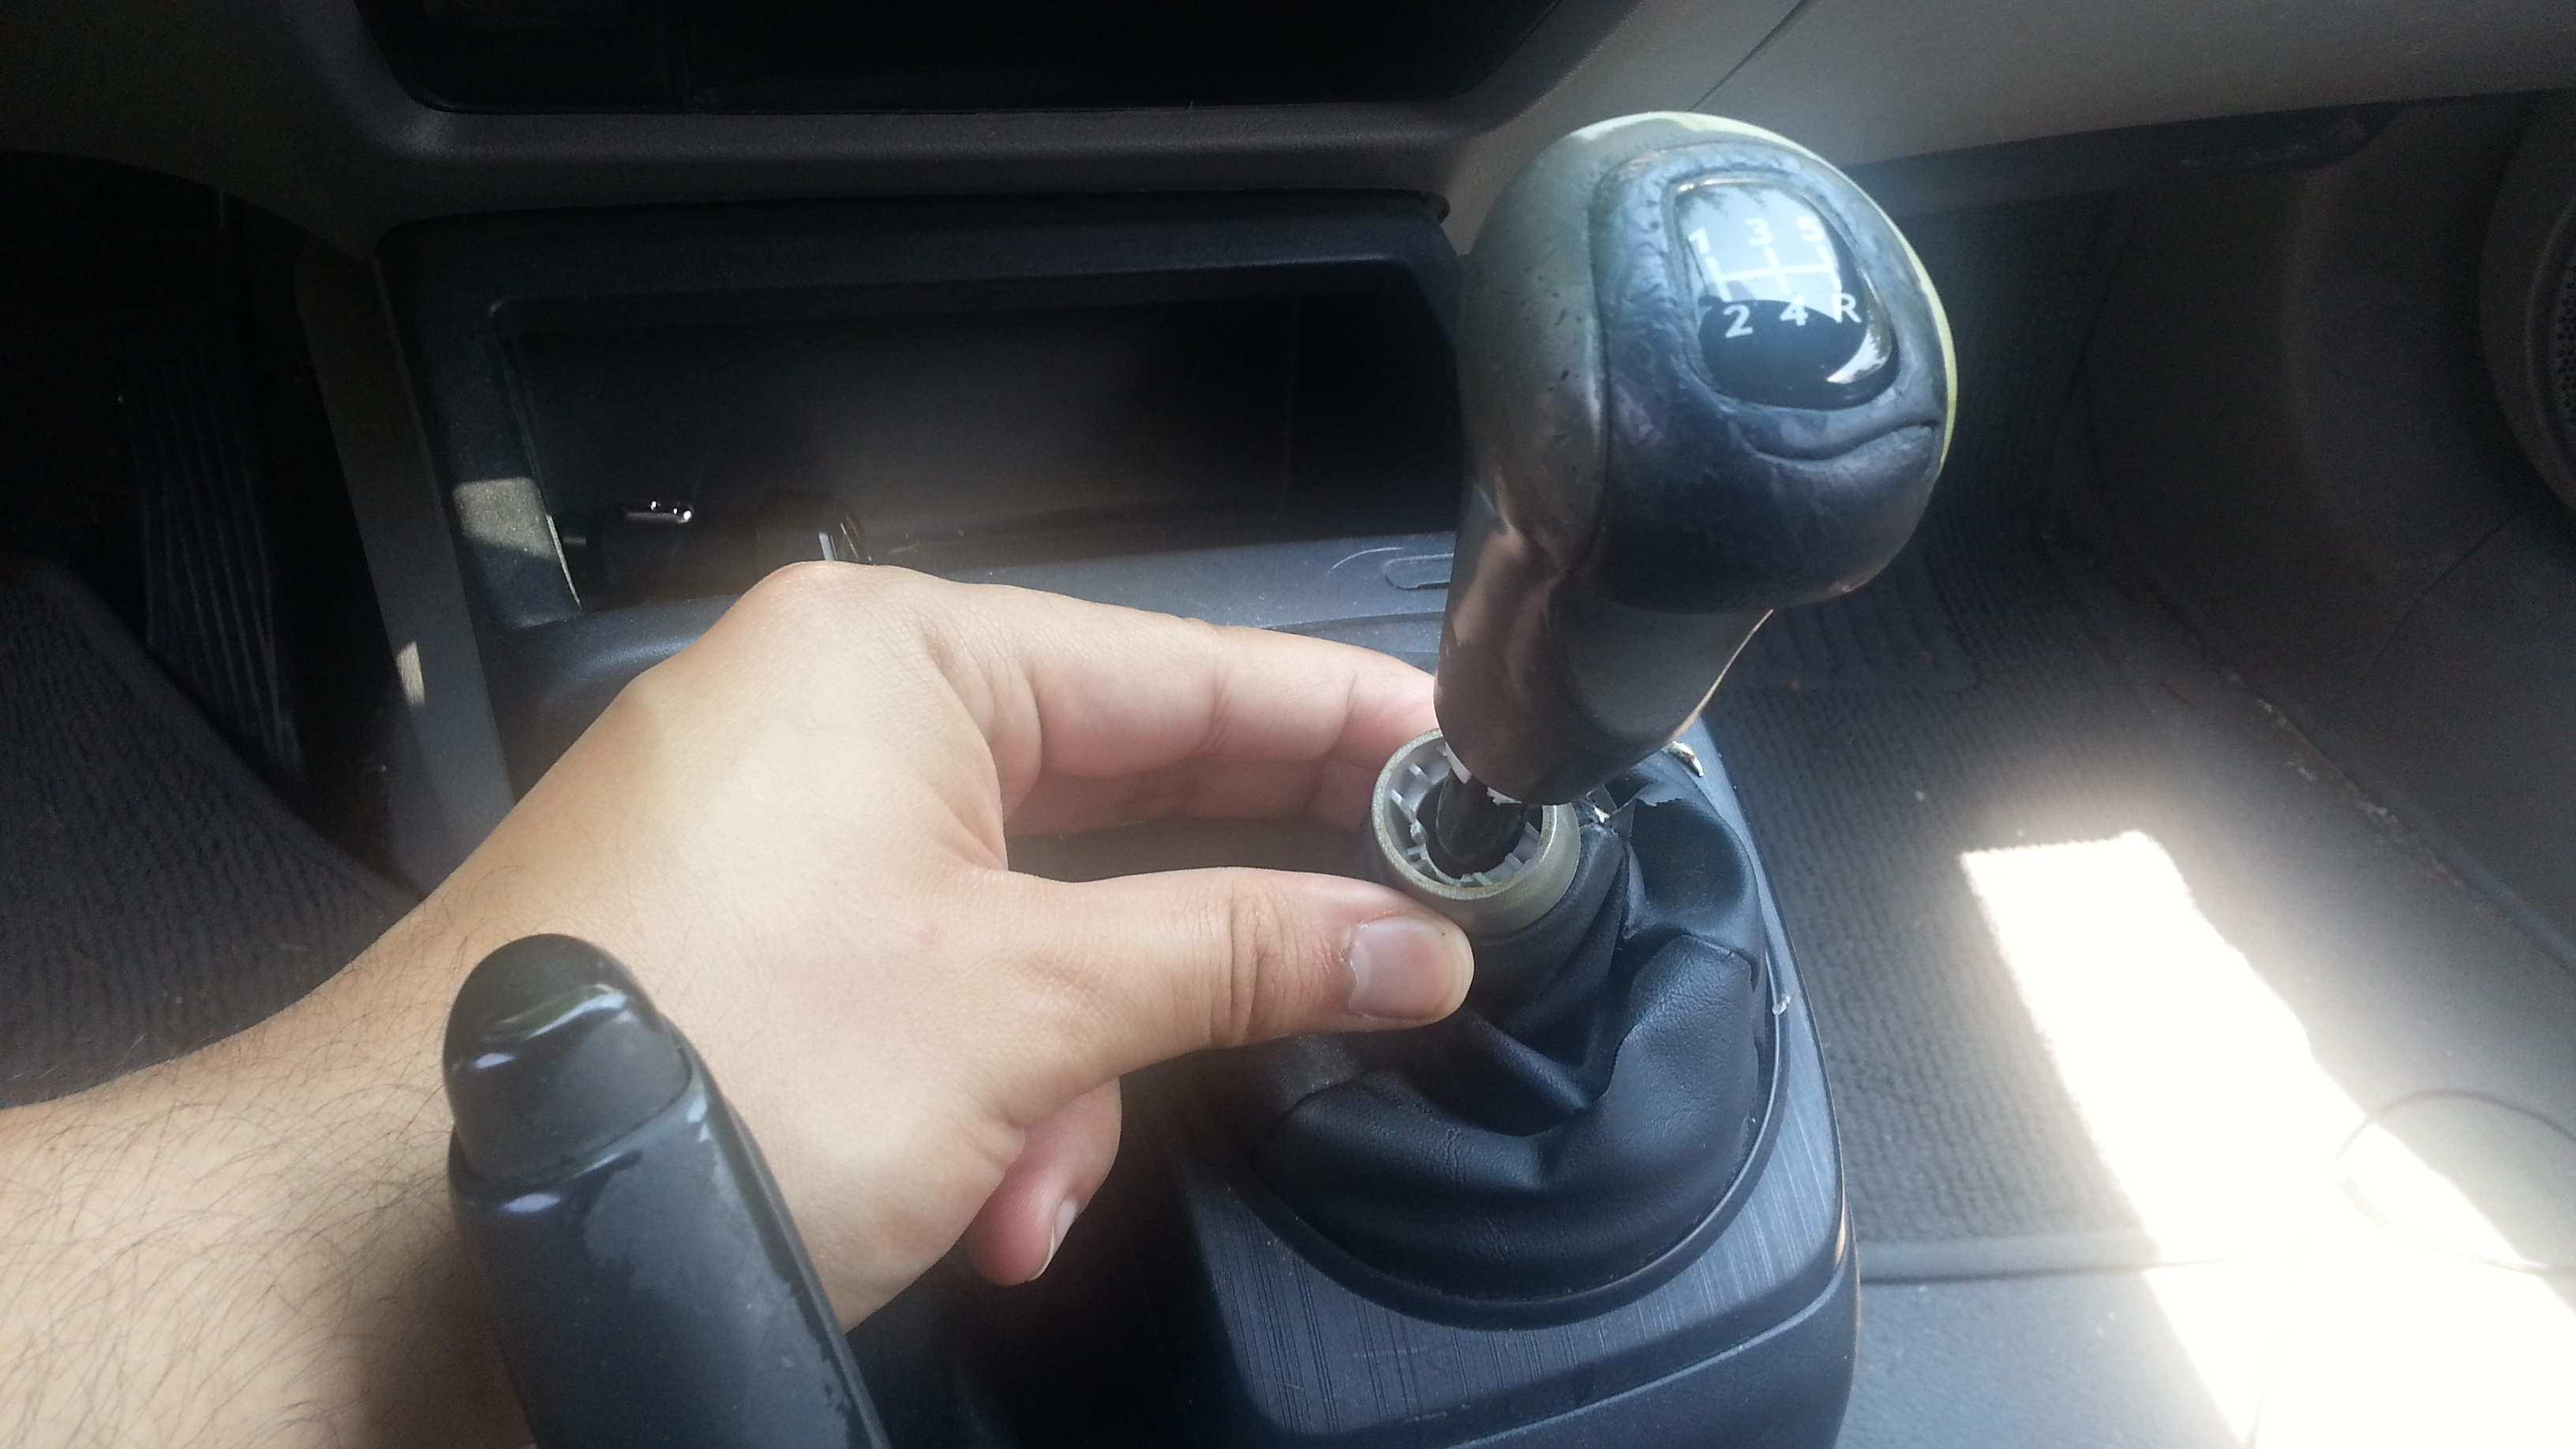
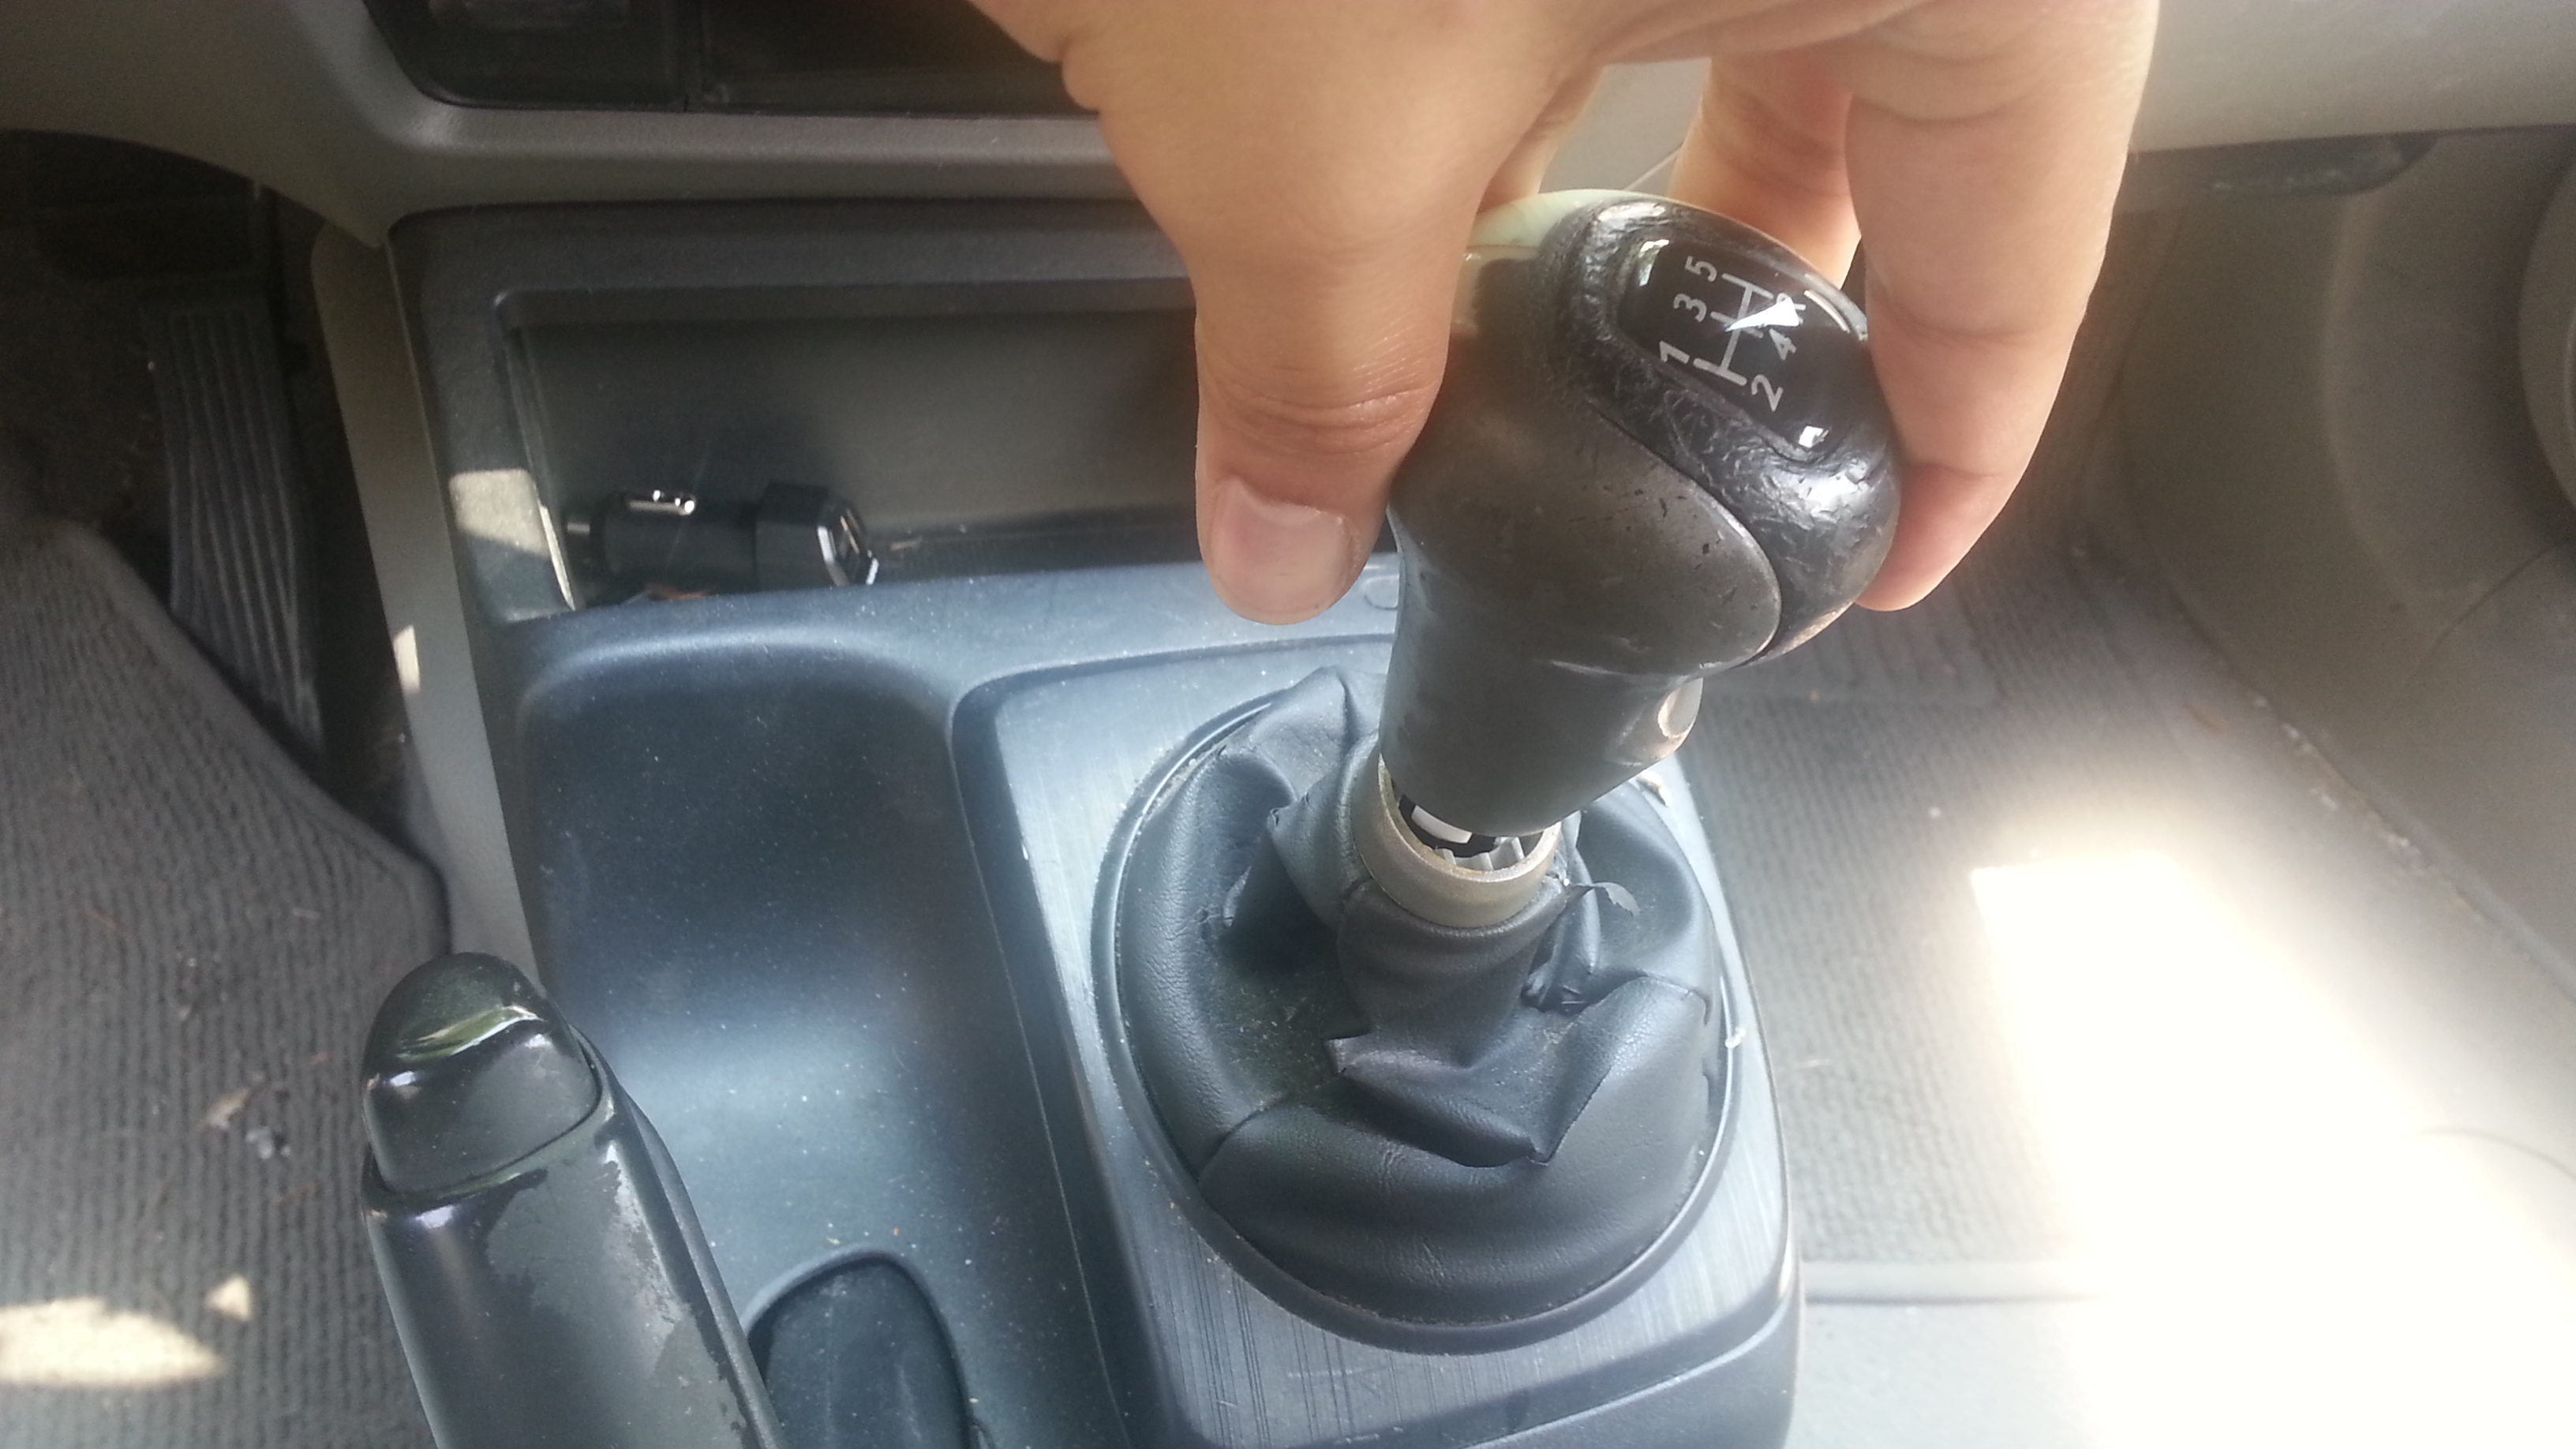
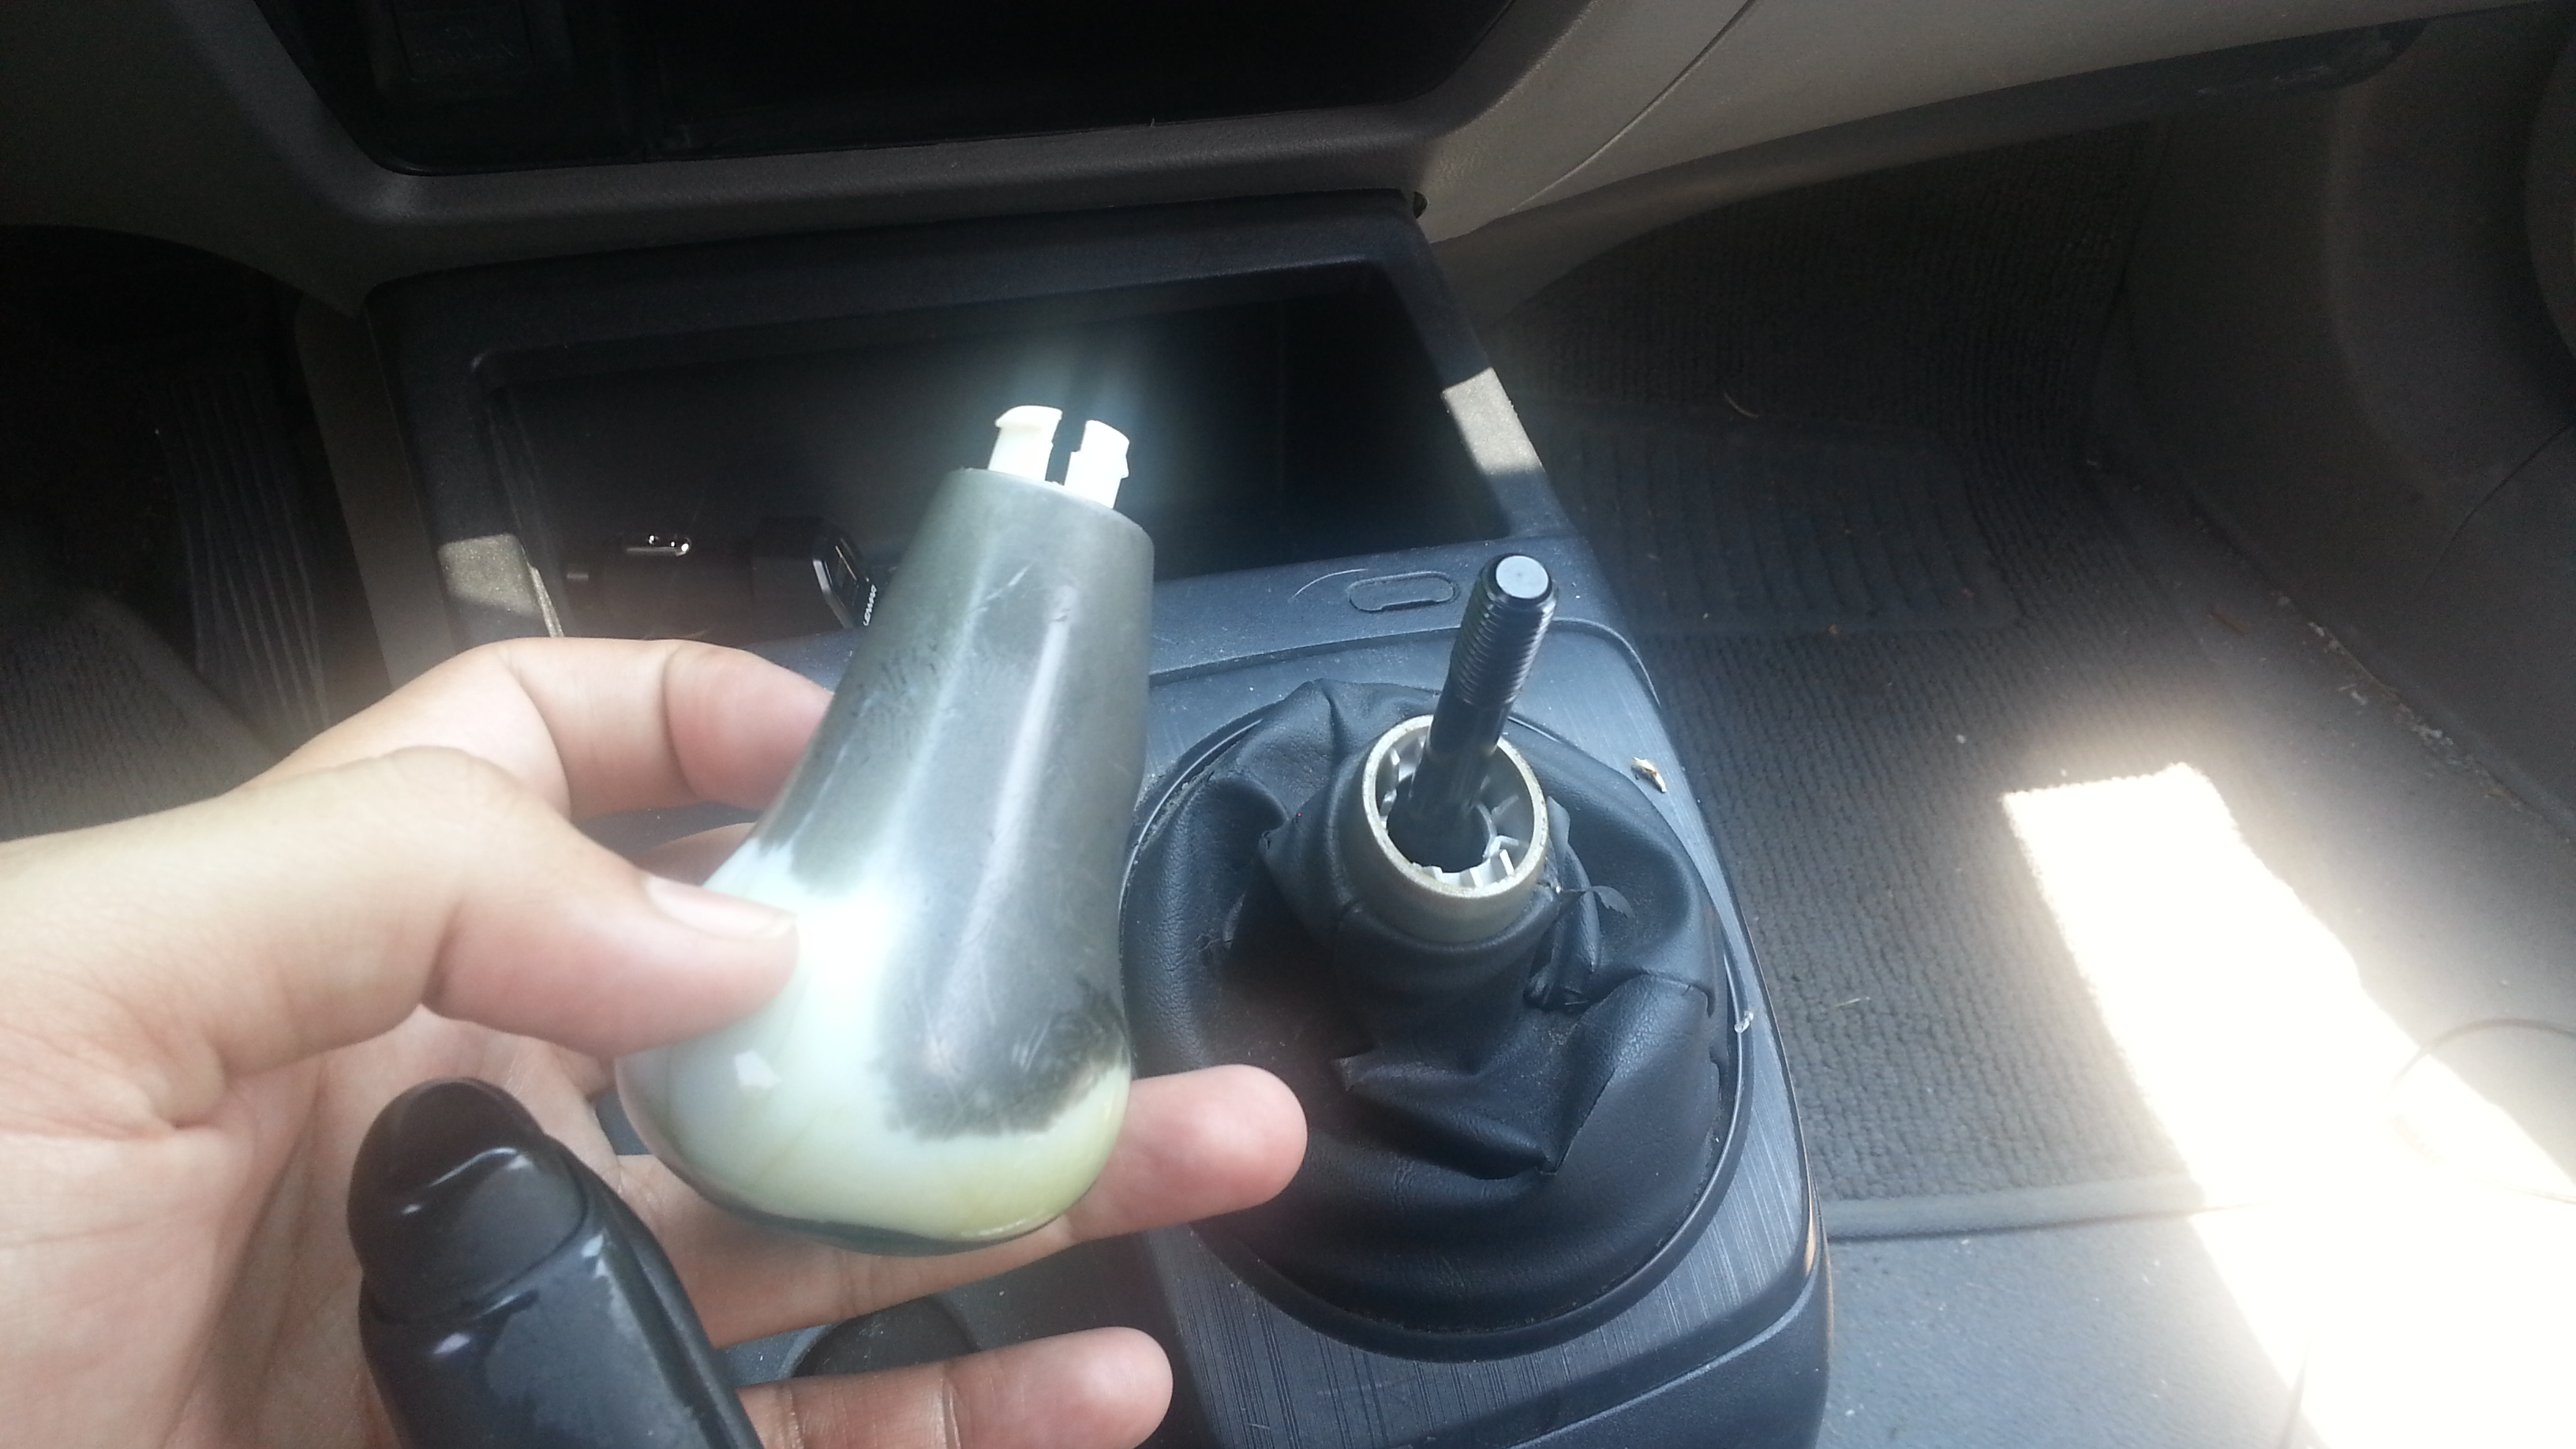
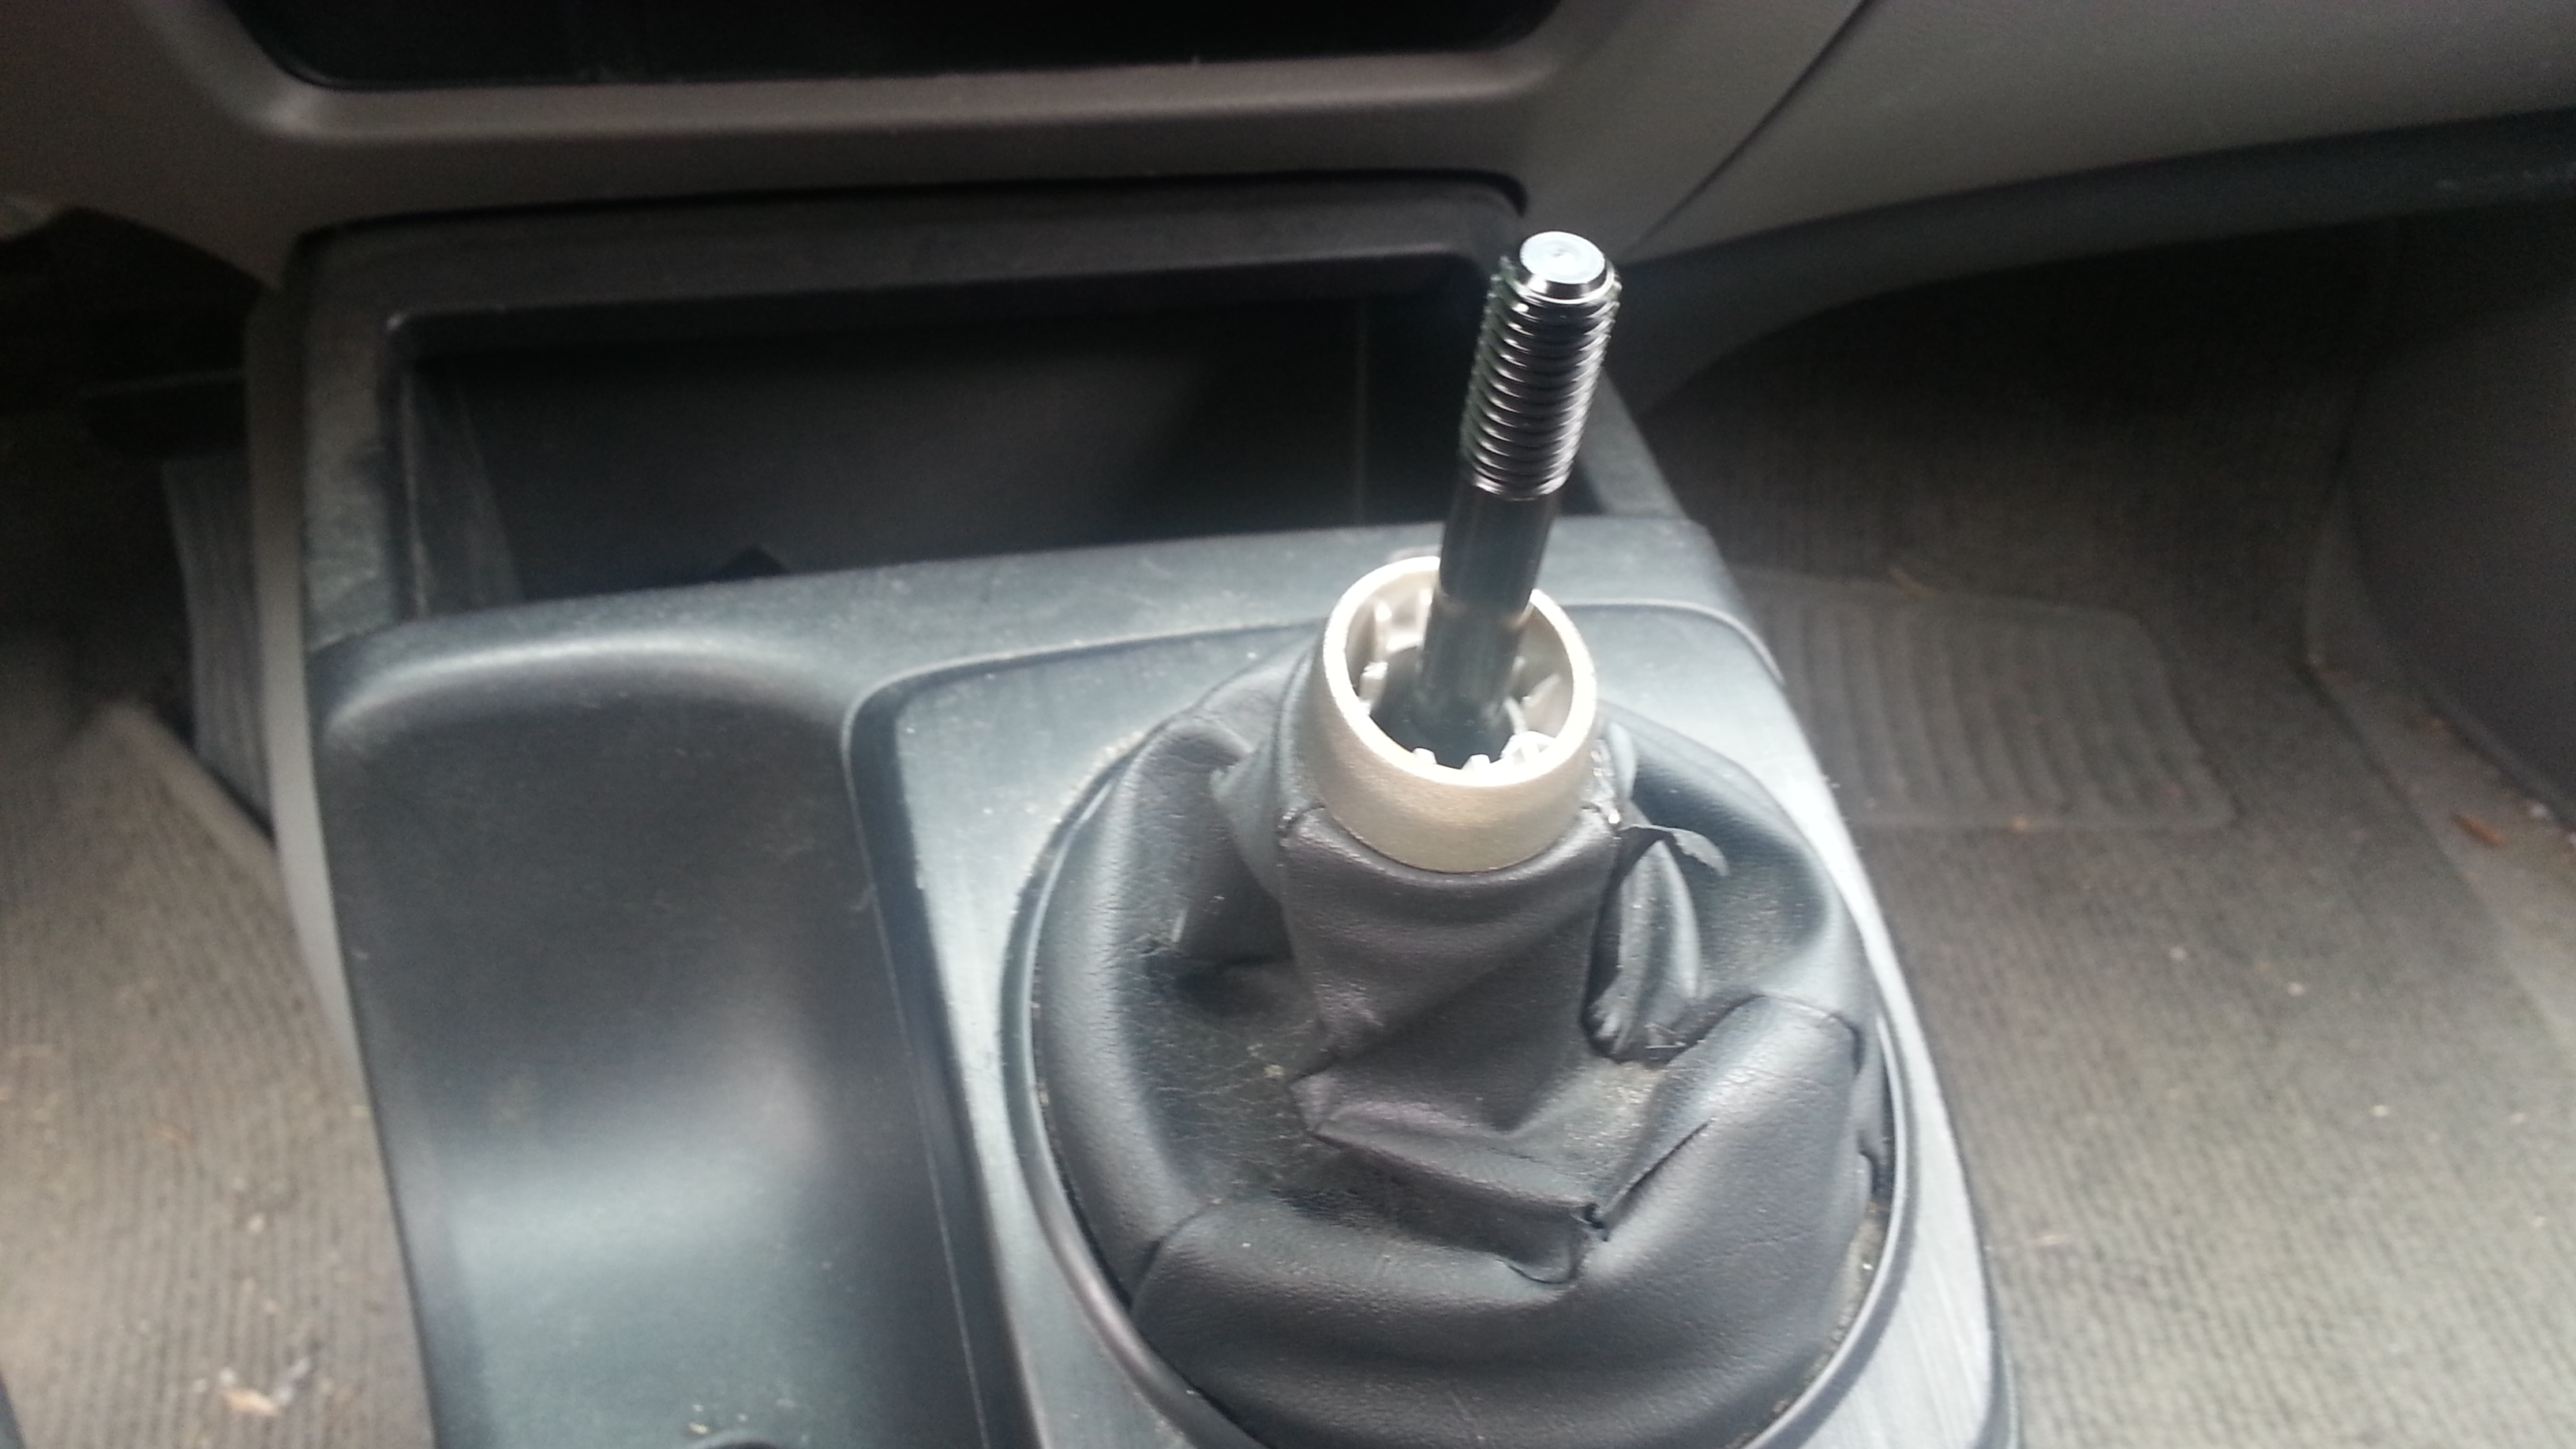
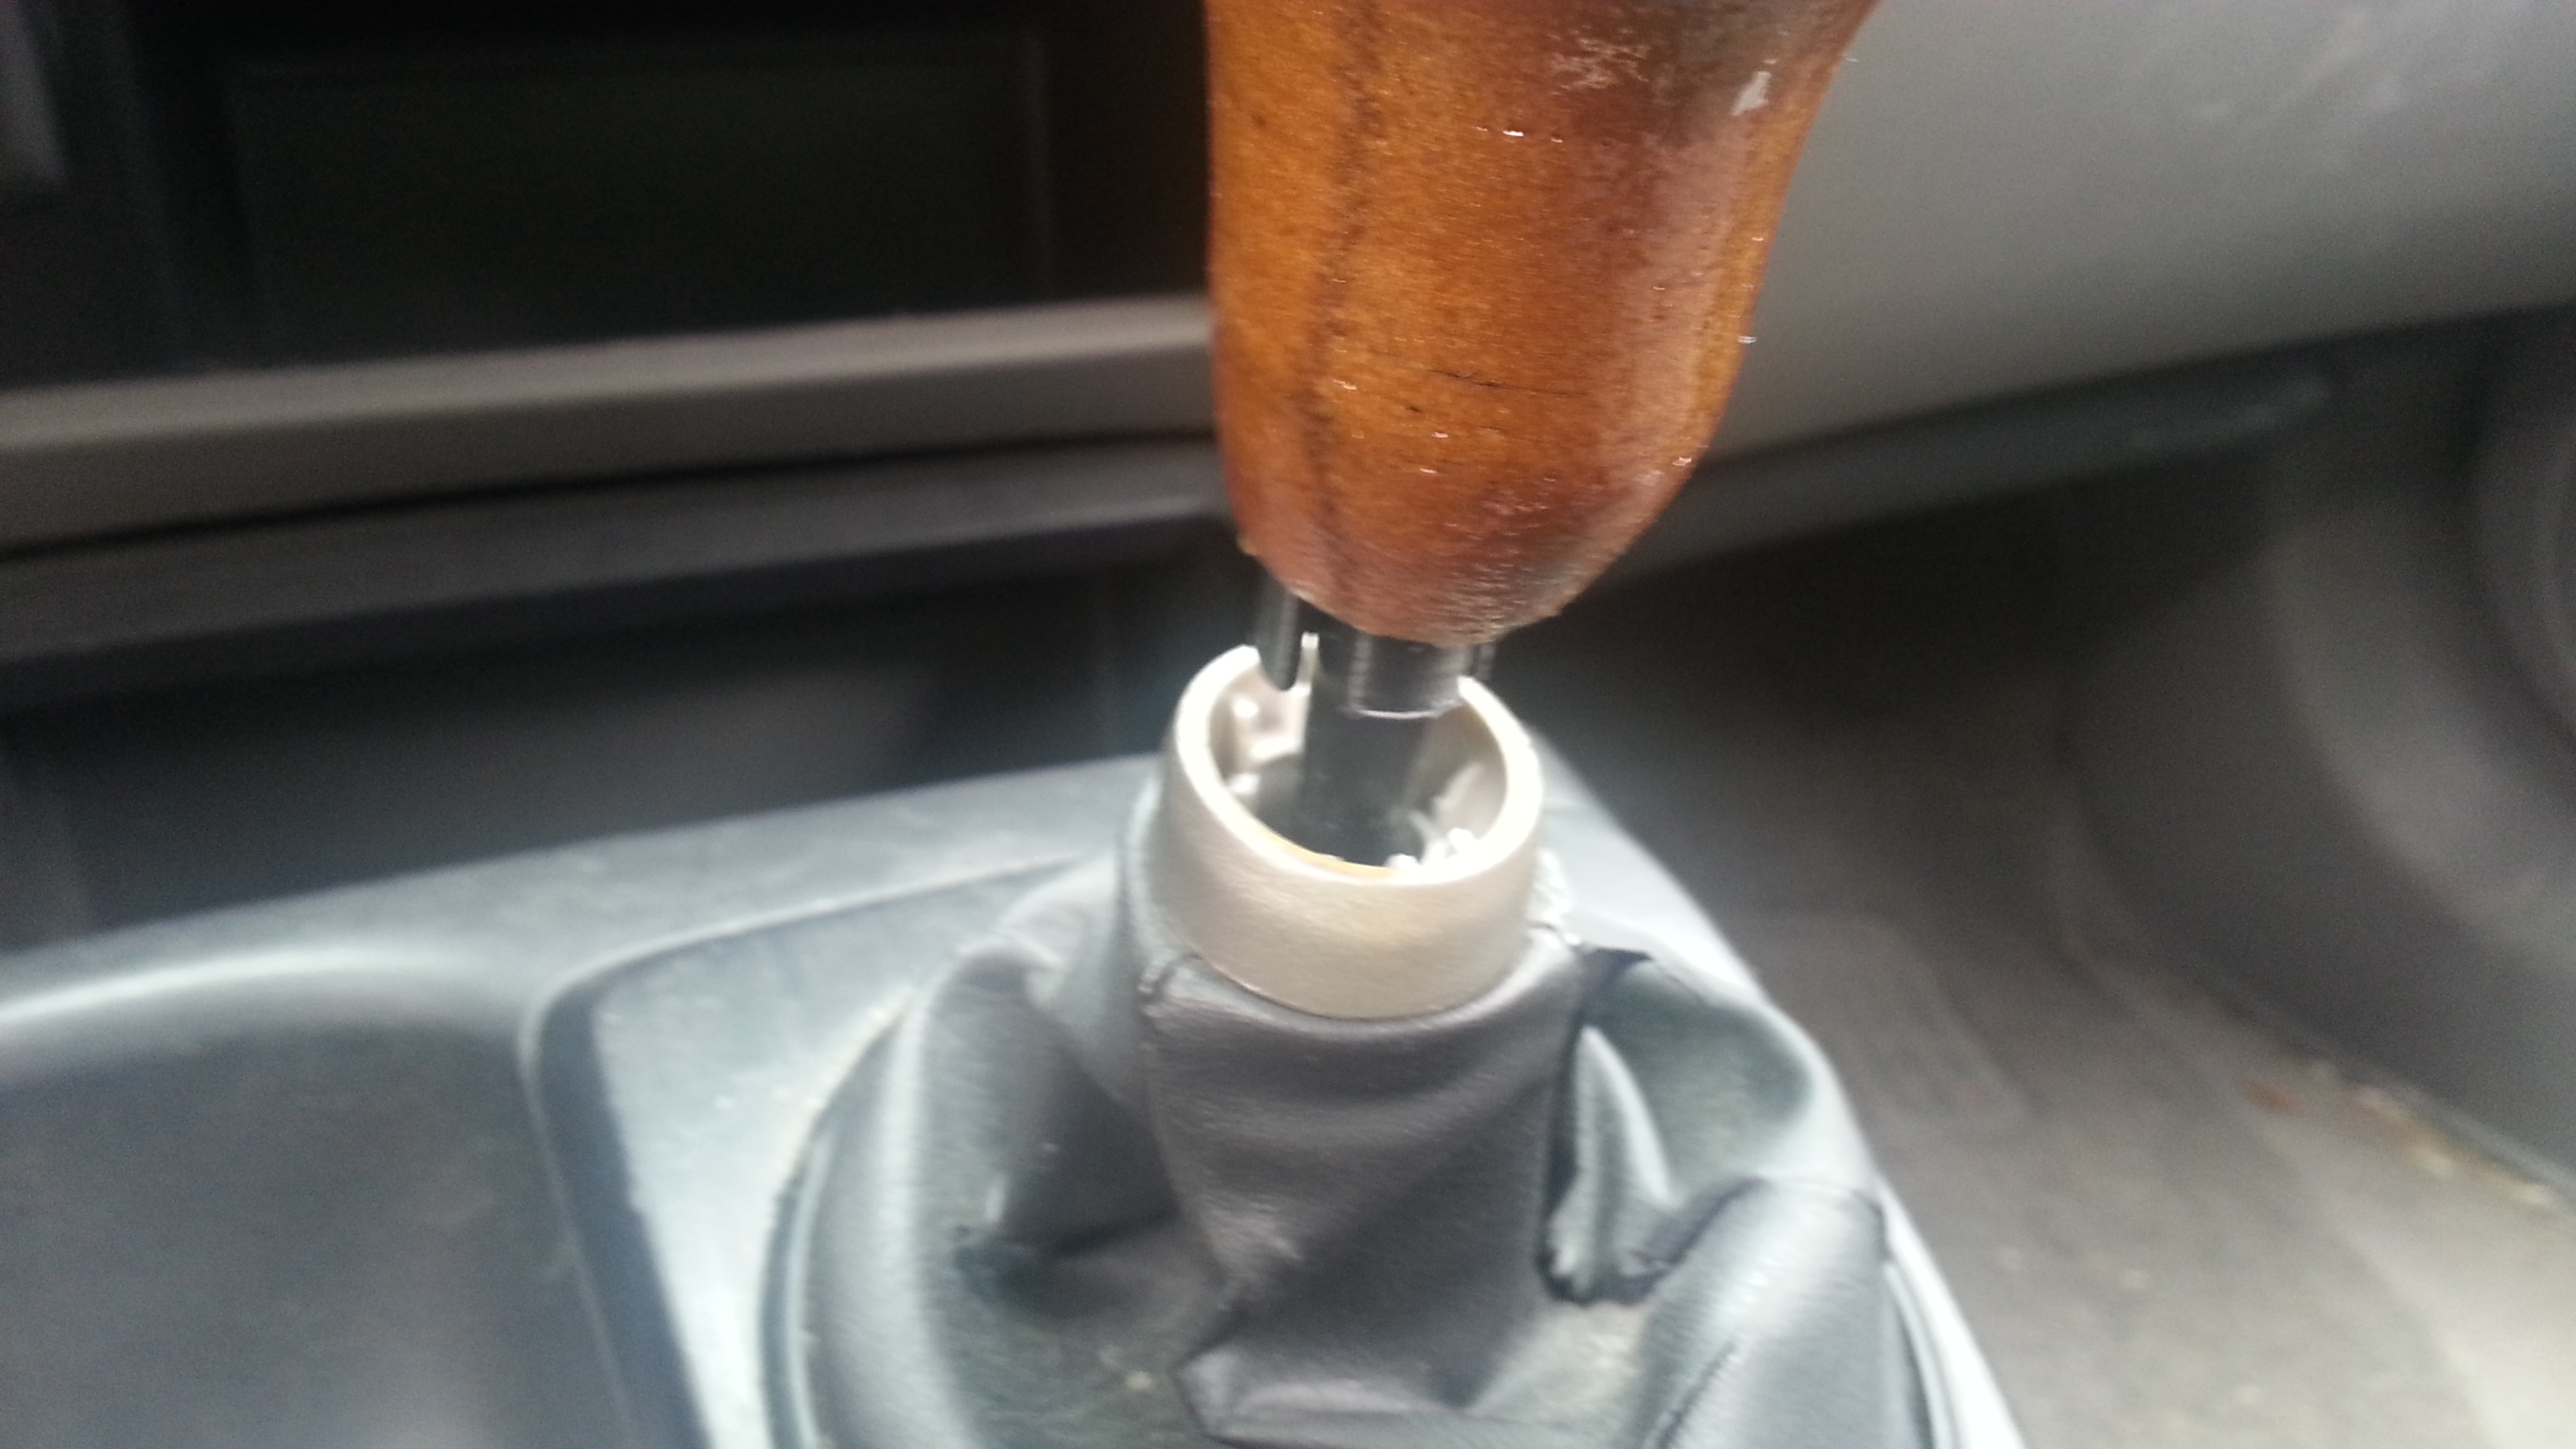
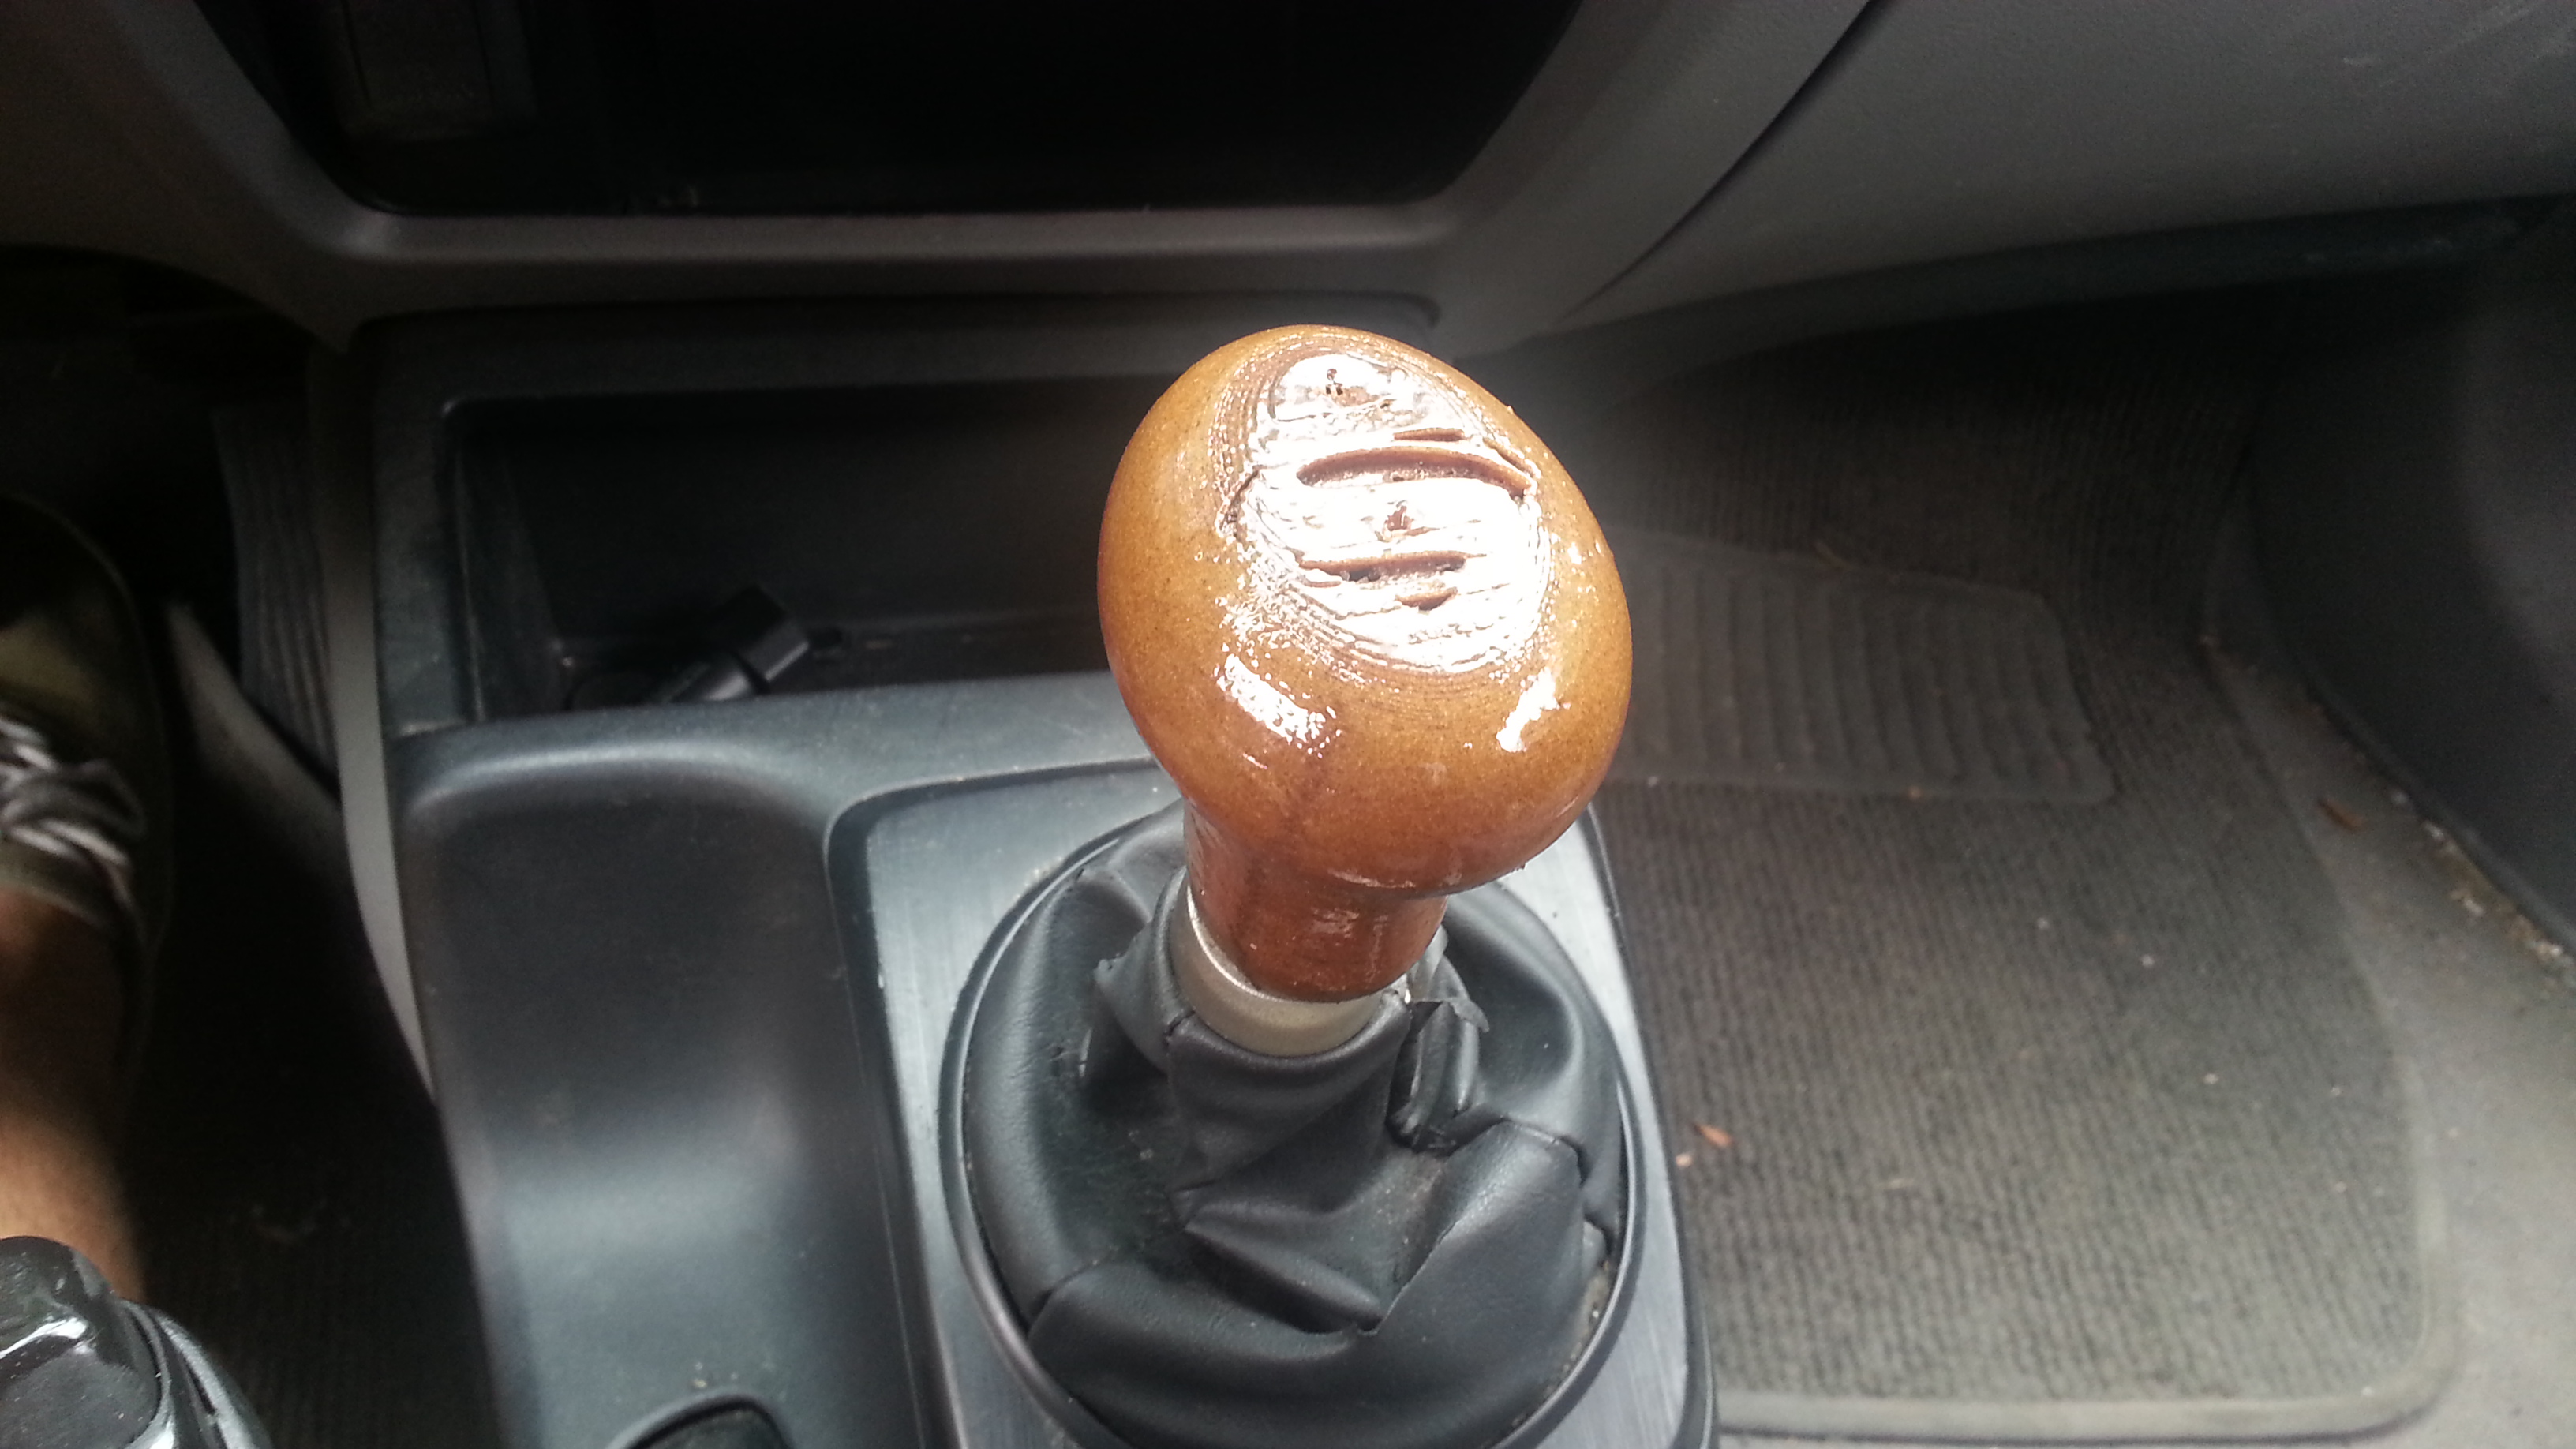
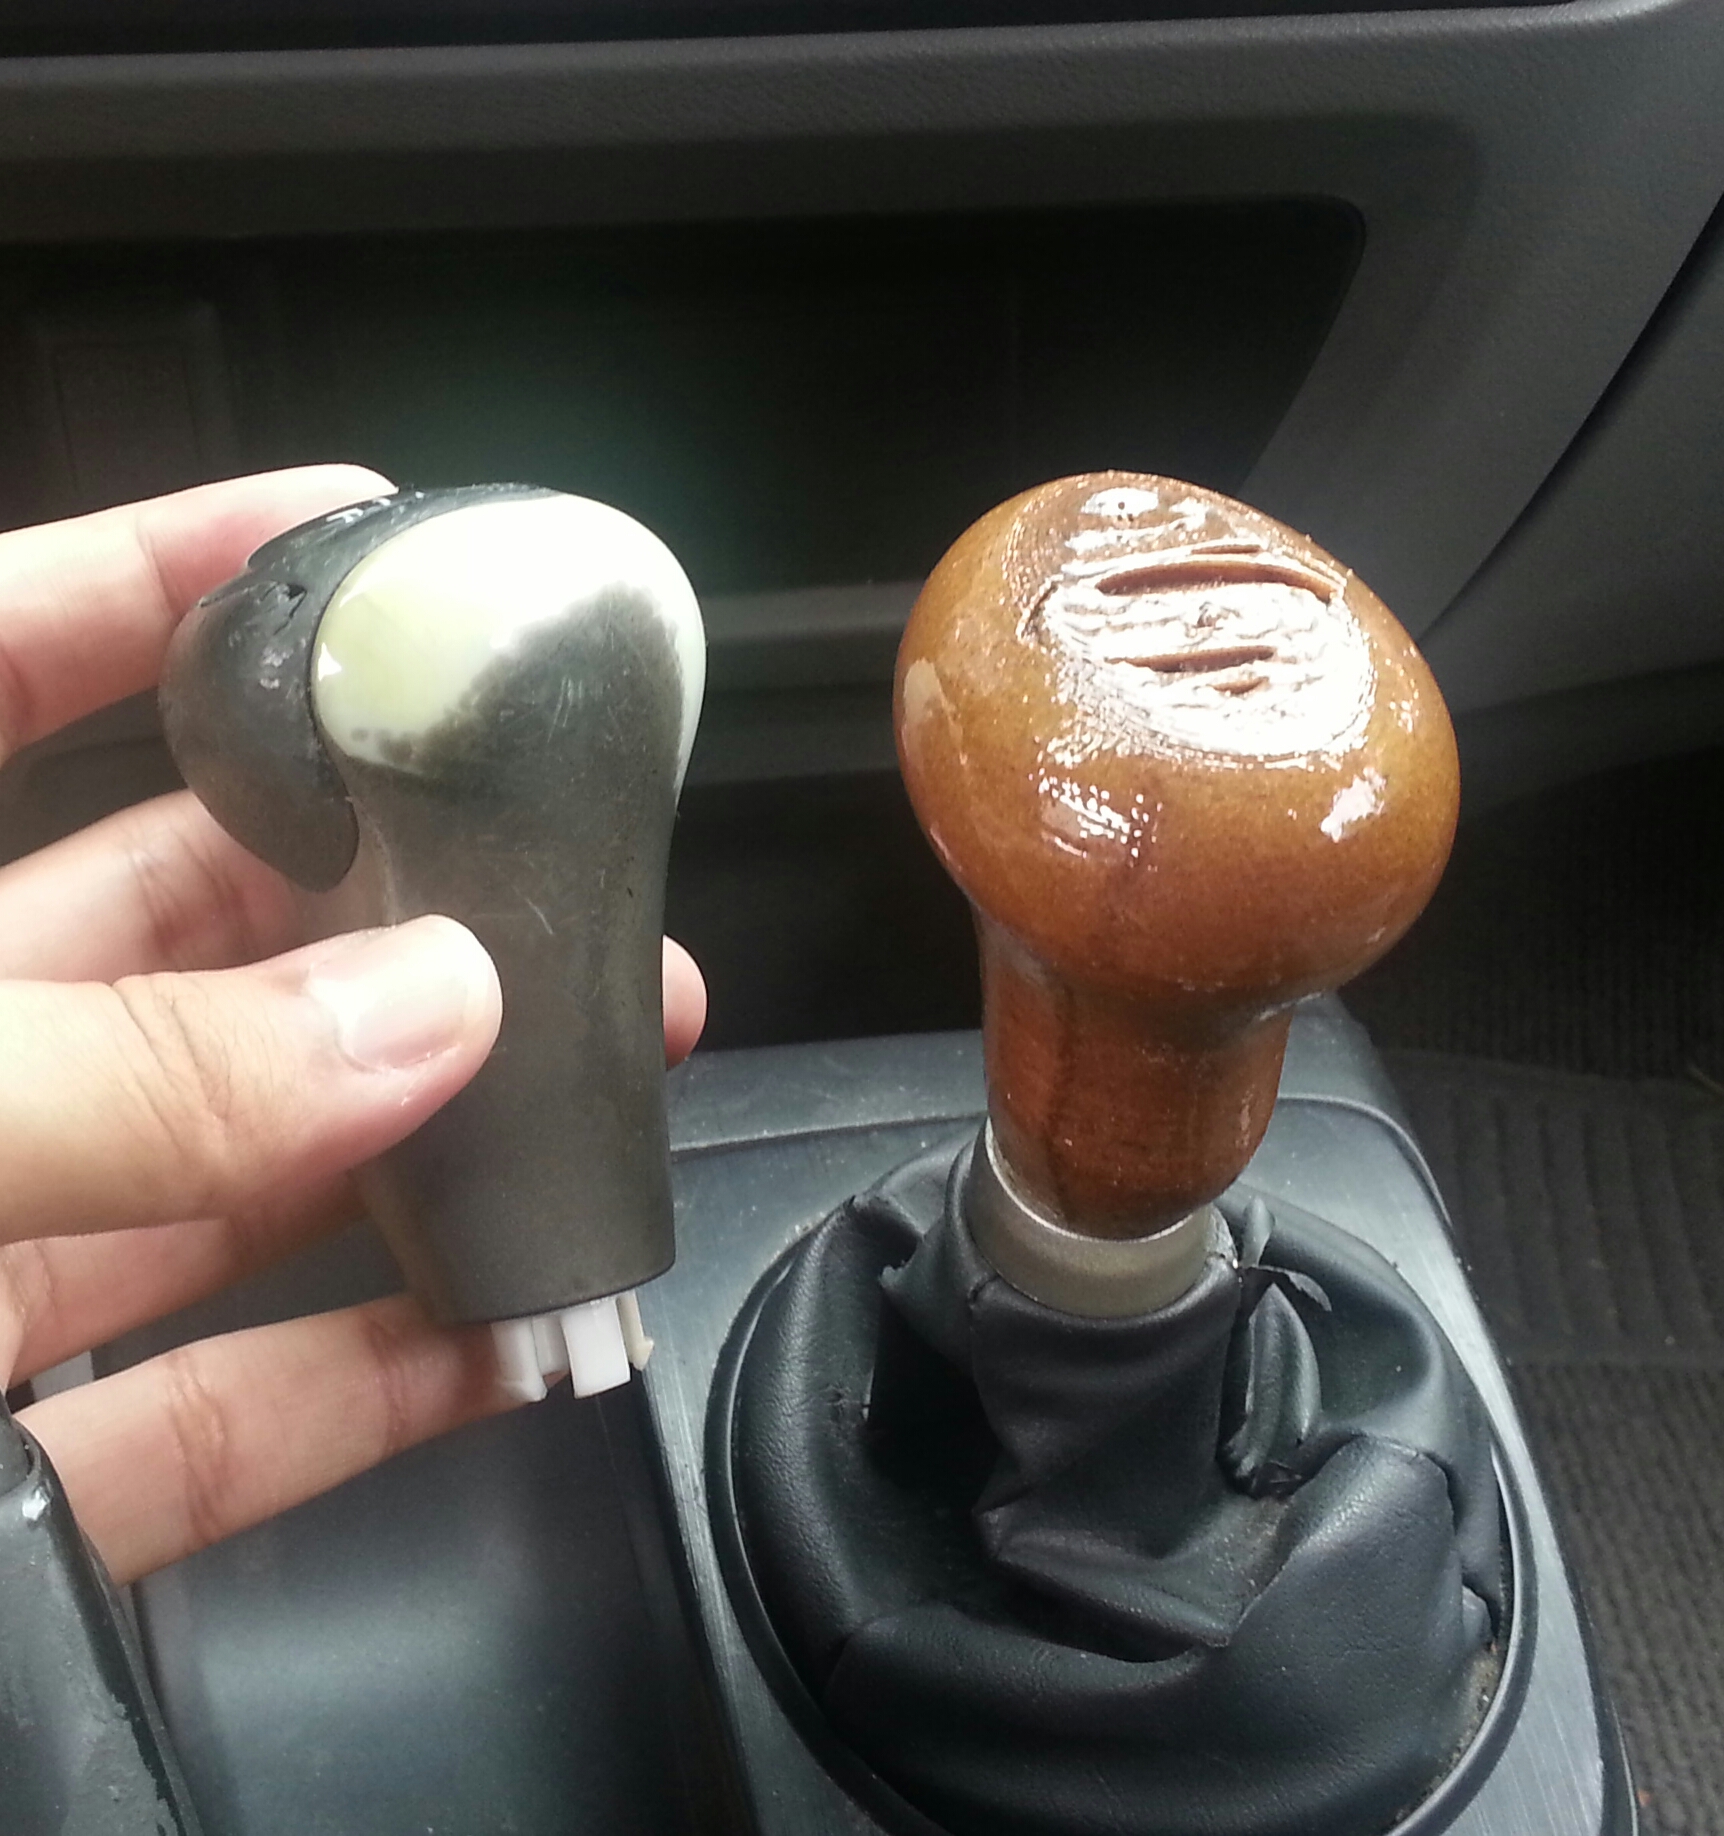
First we have to take the old shift knob off. Again, I did this on an '06 Honda Civic, it may be a little different depending on your make and model. Id either suggest checking the internet or referring to your owners manual.
1-First we have to disconnect the shift boot. It should just be snapped in so all it take is a firm pull. (see image 1 above)
2- Unscrew your old shift knob. It may feel locked in but it is just screwed in tightly. (see image 2 above)
3- Once the old knob is removed you should see the exposed shift rod. (see images 3&4)
4- Now you can screw on your new custom shift knob. DO NOT OVER TIGHTEN. Because it is made of plastic it can break from over tightening. (see image 5)
5- Lastly reattach the shift boot by snapping it onto the bottom attachment. (see image 6)
Finished!

Enjoy your new custom shift knob!