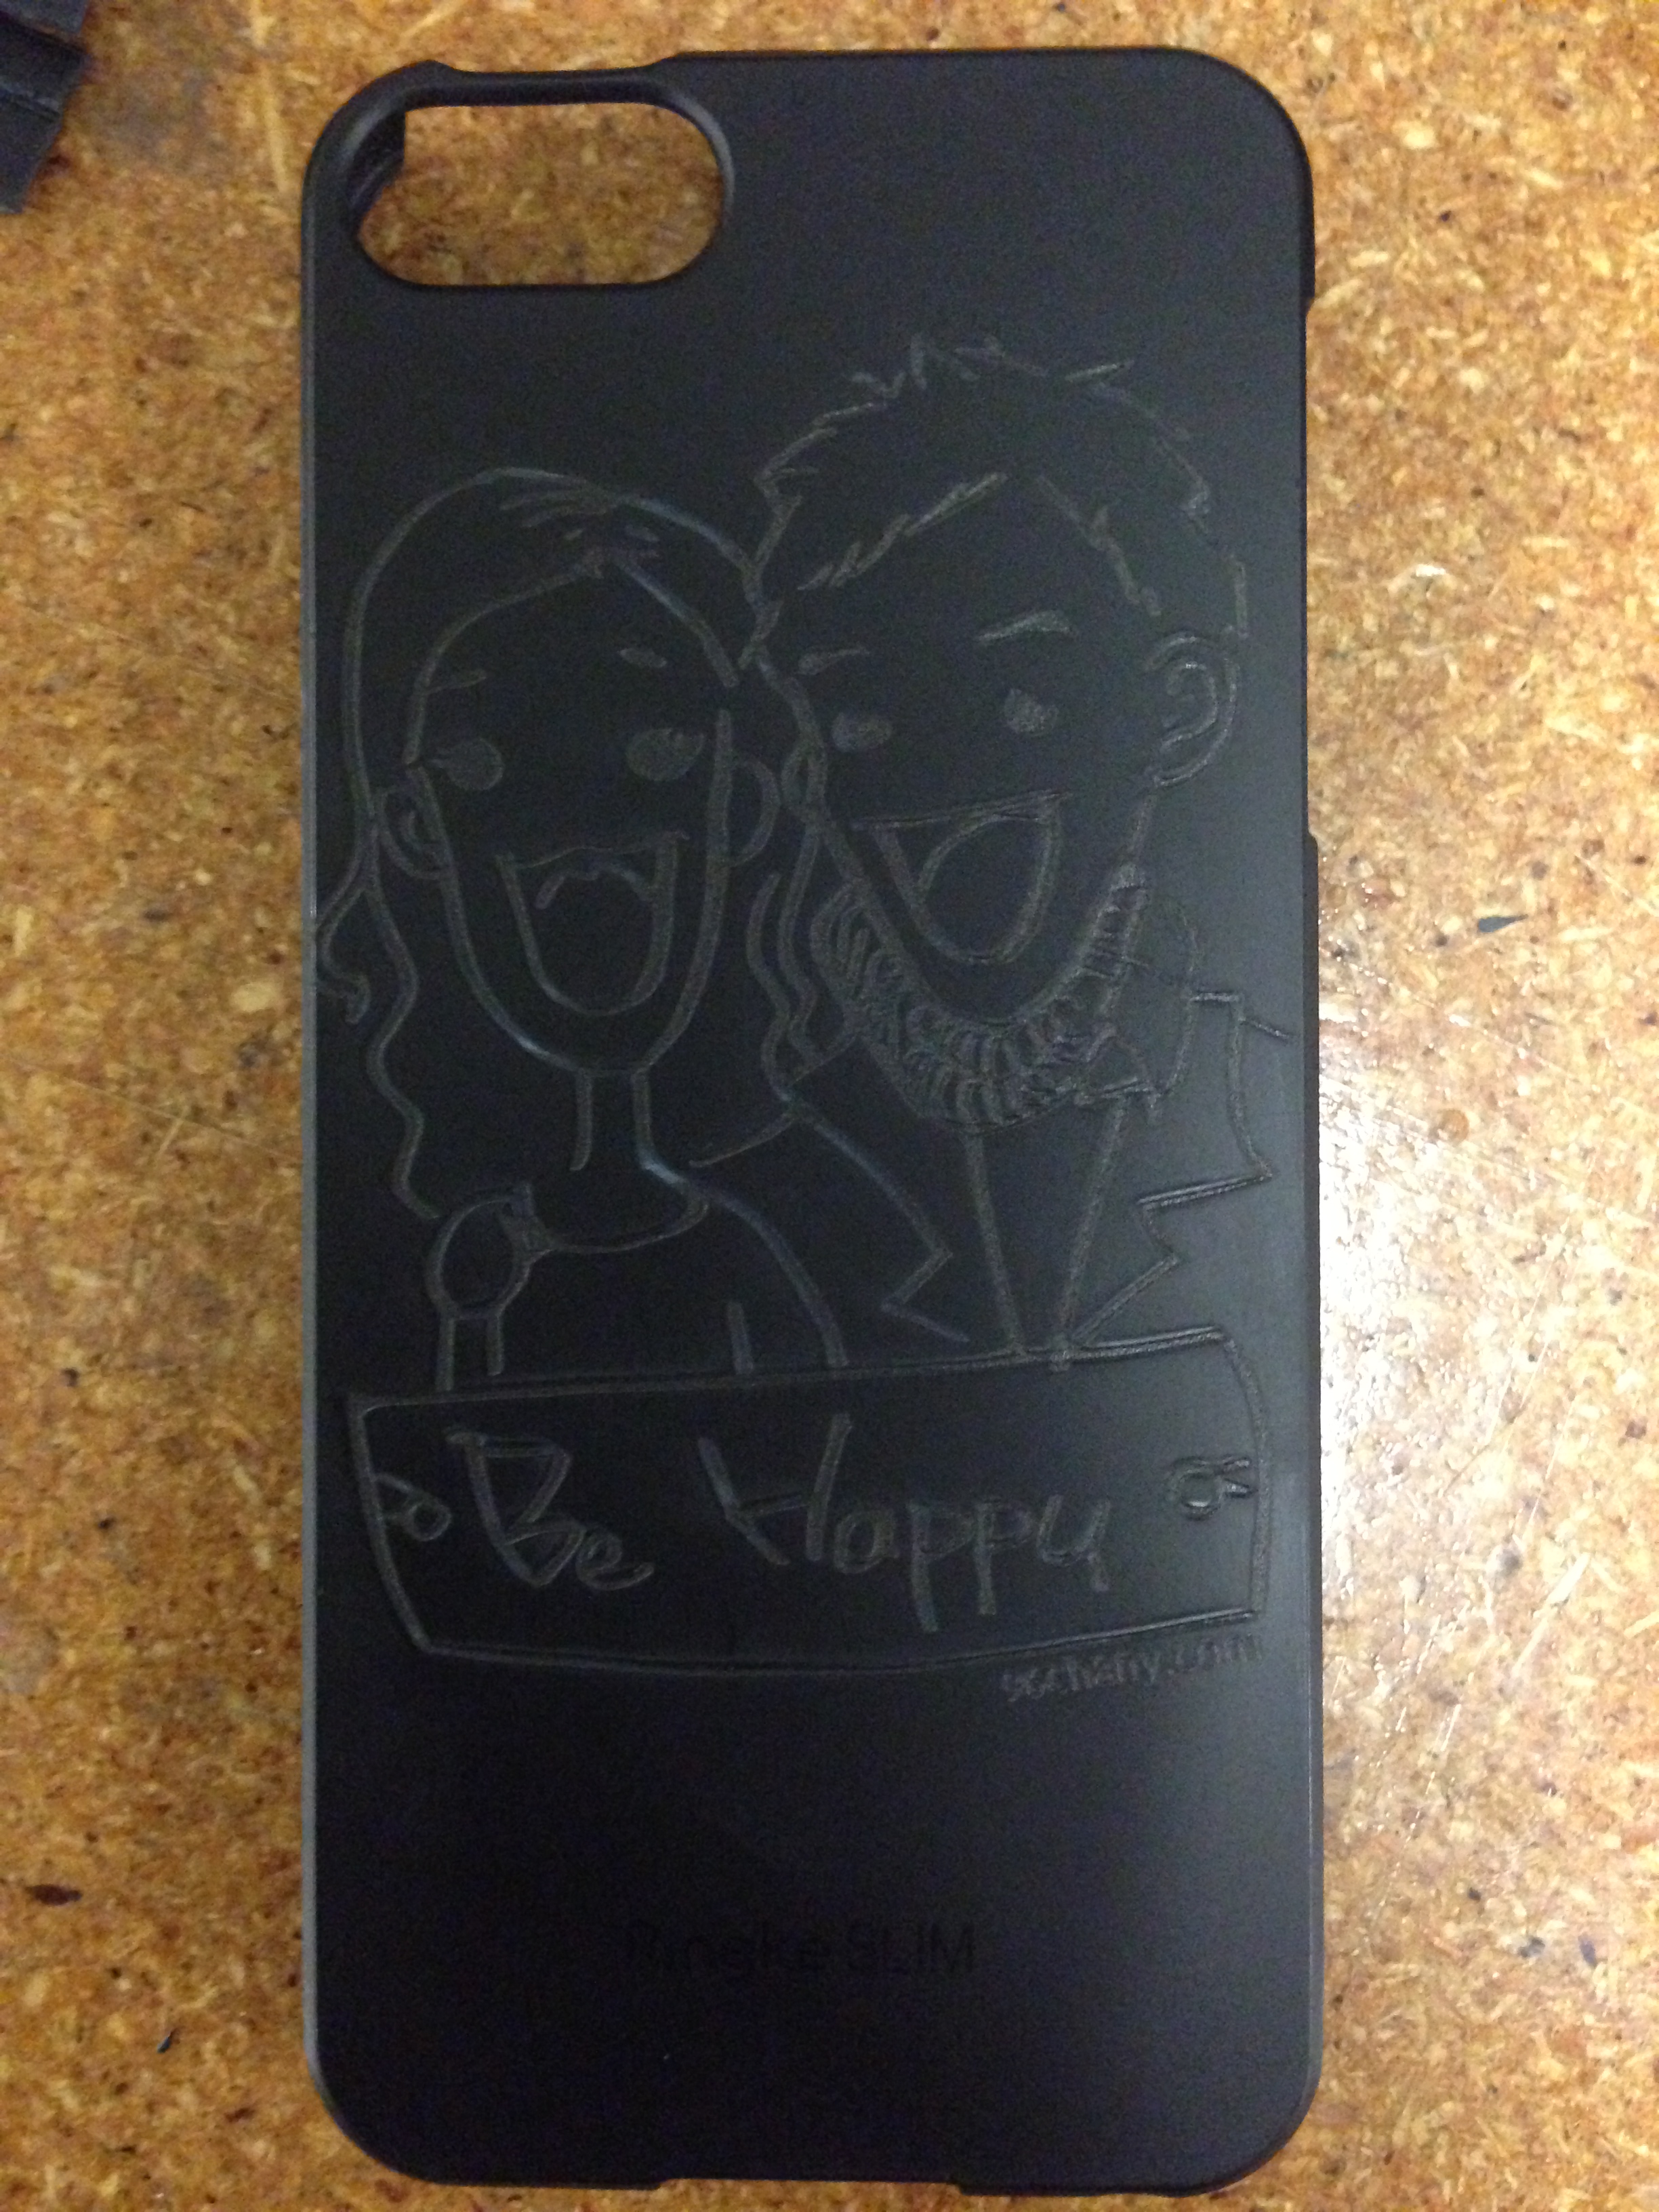
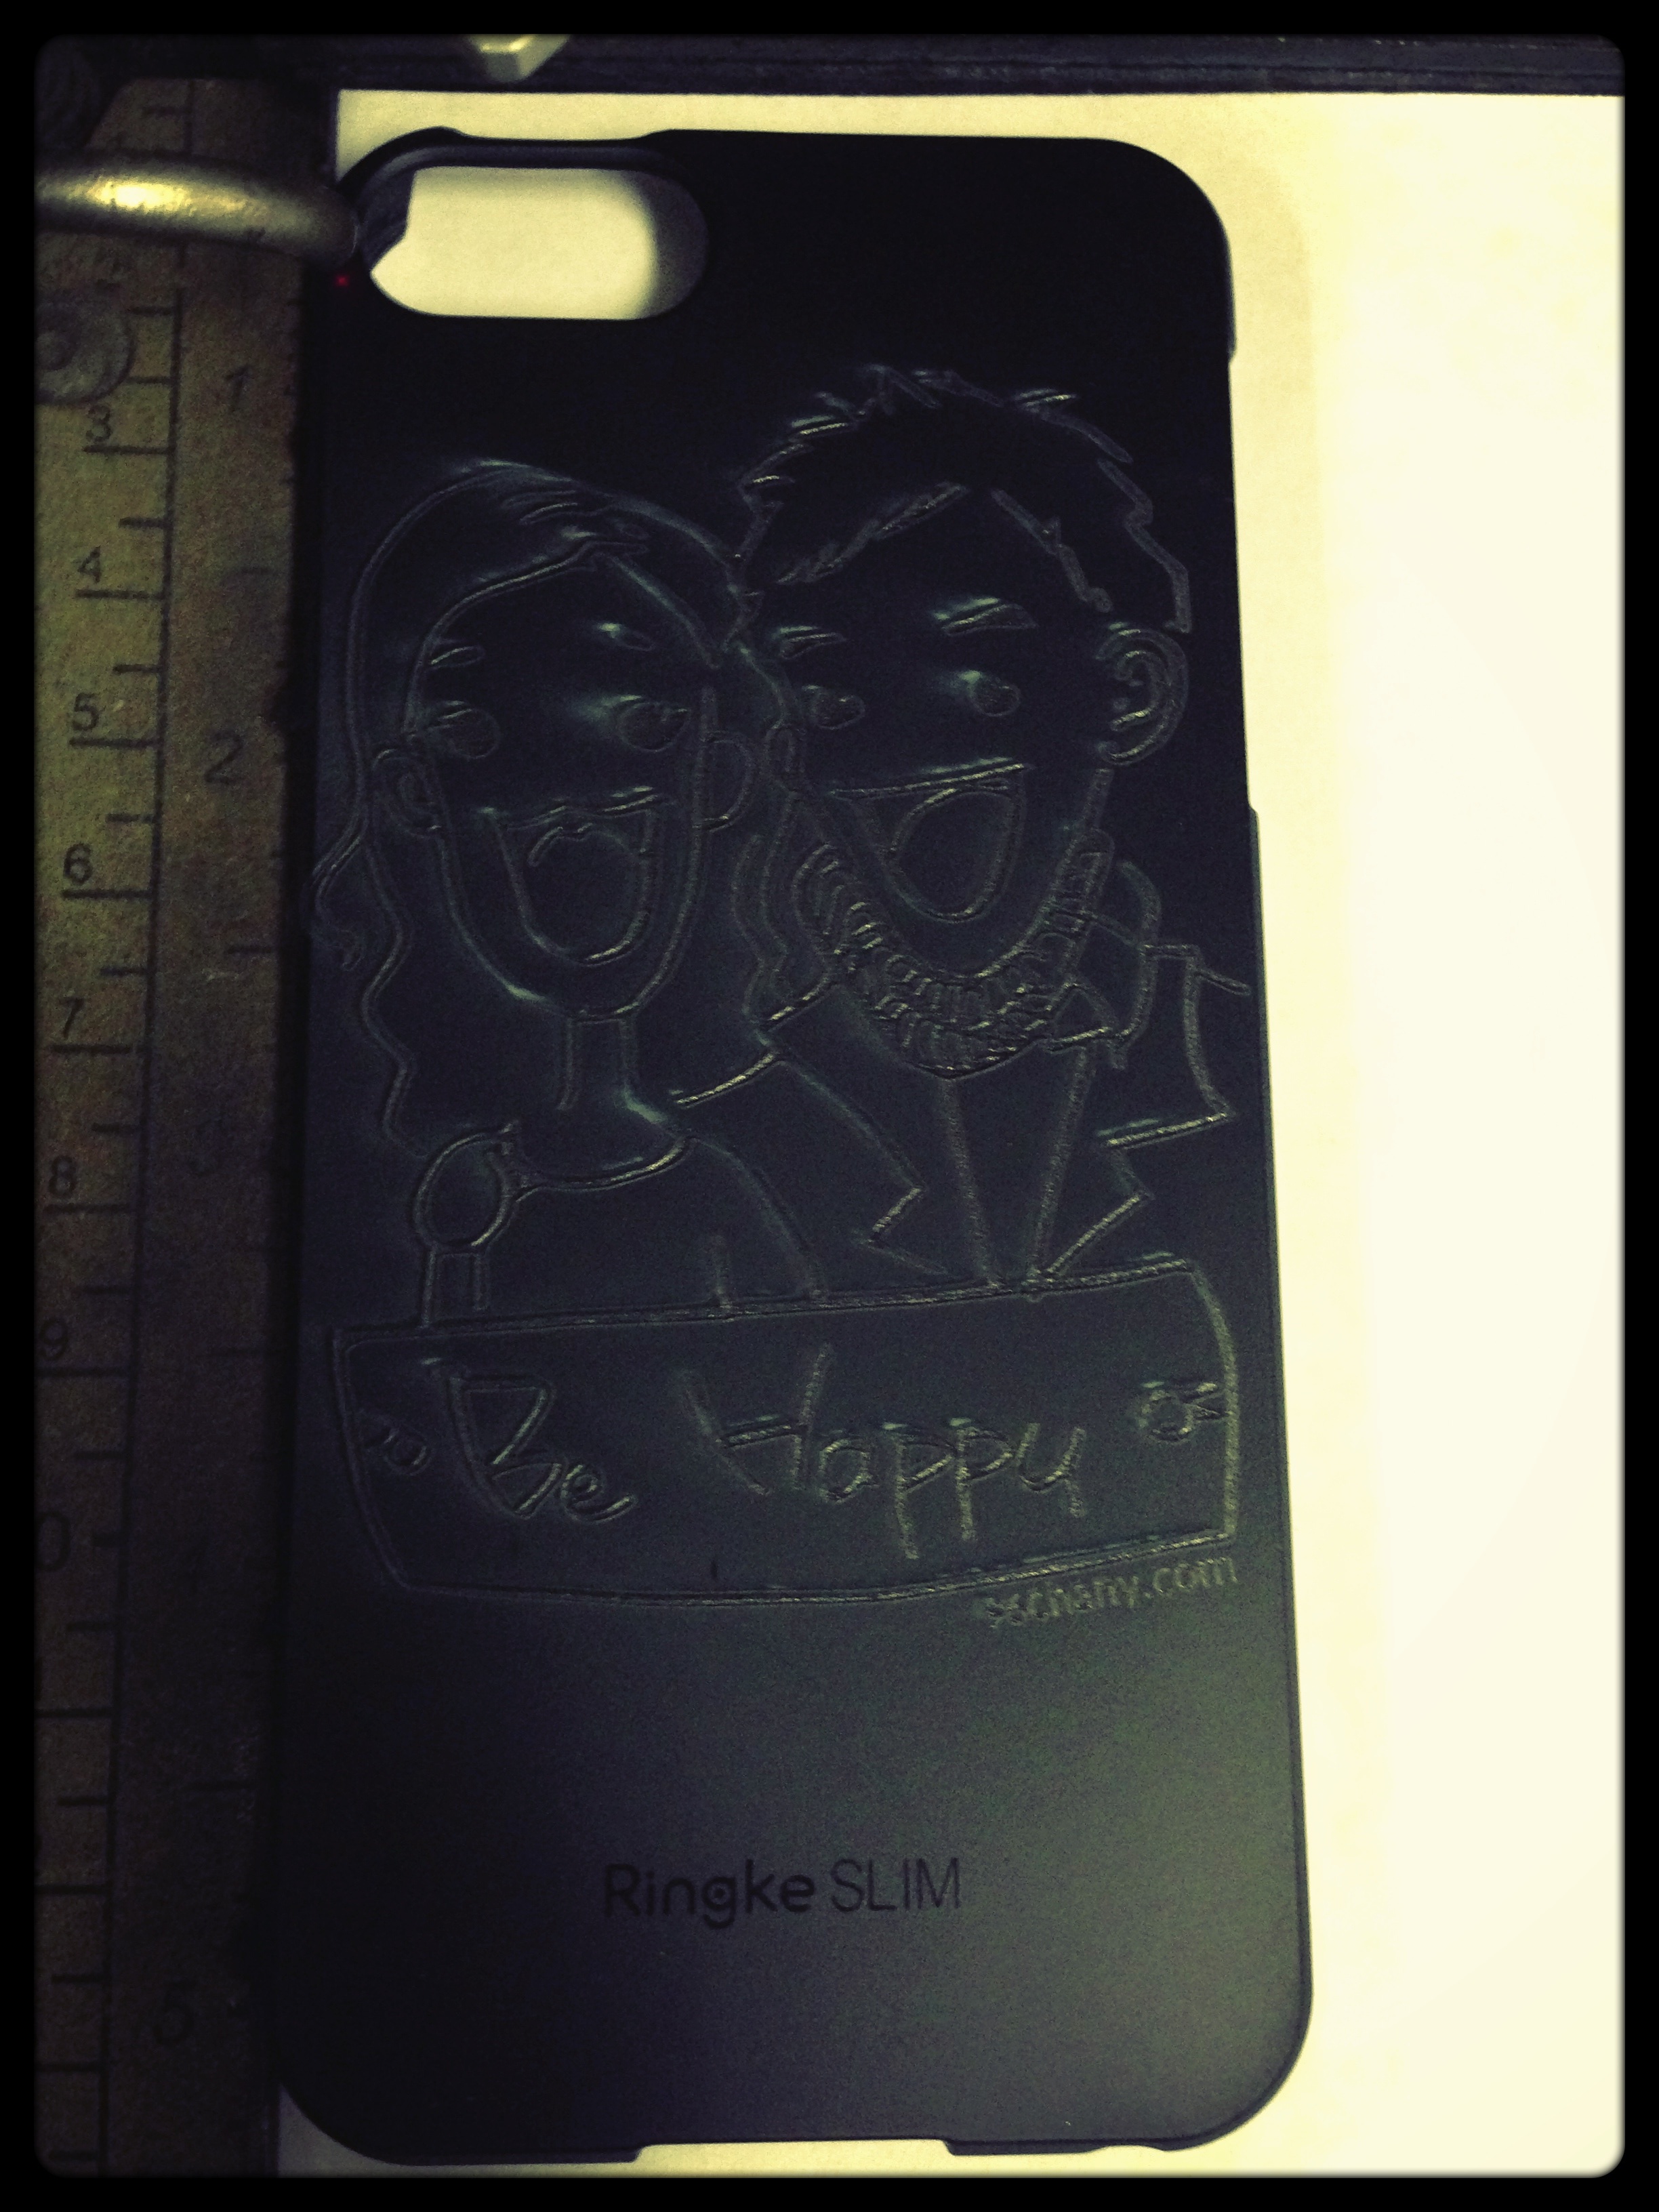
Customize an IPhone 5 Case

I was inspired by the Youtube video which showed the process of engraving the back of iPhone5 (http://youtu.be/hAMpp1QFTeI),
but I didn't want to engrave directly to my iPhone surface. Instead, I decided to engrave my design to the iPhone cover.
0. Supplies
- iPhone5 case
(I used SF Matte case from Amazon.com http://goo.gl/5Qnt1)
- Your design file (either by illustrator or by CoreDraw)
- Epilog Laser Cutter (@ TechShop)
but I didn't want to engrave directly to my iPhone surface. Instead, I decided to engrave my design to the iPhone cover.
0. Supplies
- iPhone5 case
(I used SF Matte case from Amazon.com http://goo.gl/5Qnt1)
- Your design file (either by illustrator or by CoreDraw)
- Epilog Laser Cutter (@ TechShop)
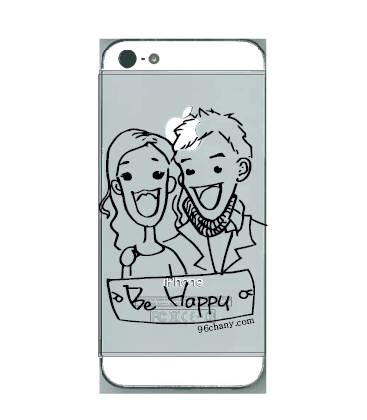
Prepare a Your Own Design


1. Download iPhone5 Template
- from http://epilogfiles.com/facebook/
- or download the attached file (shared by James Stanaway)
2. Put your design on the back of iPhone5 below the Camera parts.
- if you want to directly engrave your art work to the back of iPhone5,
please, don't forget testing on a similar metal or at least similar depth paper.
because your iPhone is more valuable than those testing materials.
Be aware of the fact that this engraving work can't be reversed !!!!!!!
3. Delete other parts except your design
- After adjusting the position of it, before engraving, you need to remove template components.
- Otherwise, these will be engraved together with your design.
Tip:
Avoid using a complicated photo as the Youtube video showed.
I tested to engrave a portrait photo on a paper in order to see how it looked.
Hardly get the fined engraved photo as itself.
It might depend on the material you engraved, but I don't want to test it on my back cover.
Downloads
Engraving Your Design

(Laser Printer)
- Adjust focus of the printer
- Put your material on the printer
- Assign the home position
Tip: Using an A4 paper to assign the home position.
(Computer)
- Adjust your design position (normally to the left-top corner)
- Adjust the setting of the laser printer as a guideline
- Keep printing your design until you find the right power and speed of the printer
Tip:
For my engraving work, I used 100% Speed and 40% Power with 60Watt Epilog Laser Cutter
Only raster setting is checked because you don't want your iPhone Case to be cut;;;
(No Vector and No Combine options just in cases)
- I made it at TechShop in SF-!!