Customize Your Leather , With Your Engraved Signature
by Amanmalhotra in Circuits > Lasers
960 Views, 0 Favorites, 0 Comments
Customize Your Leather , With Your Engraved Signature
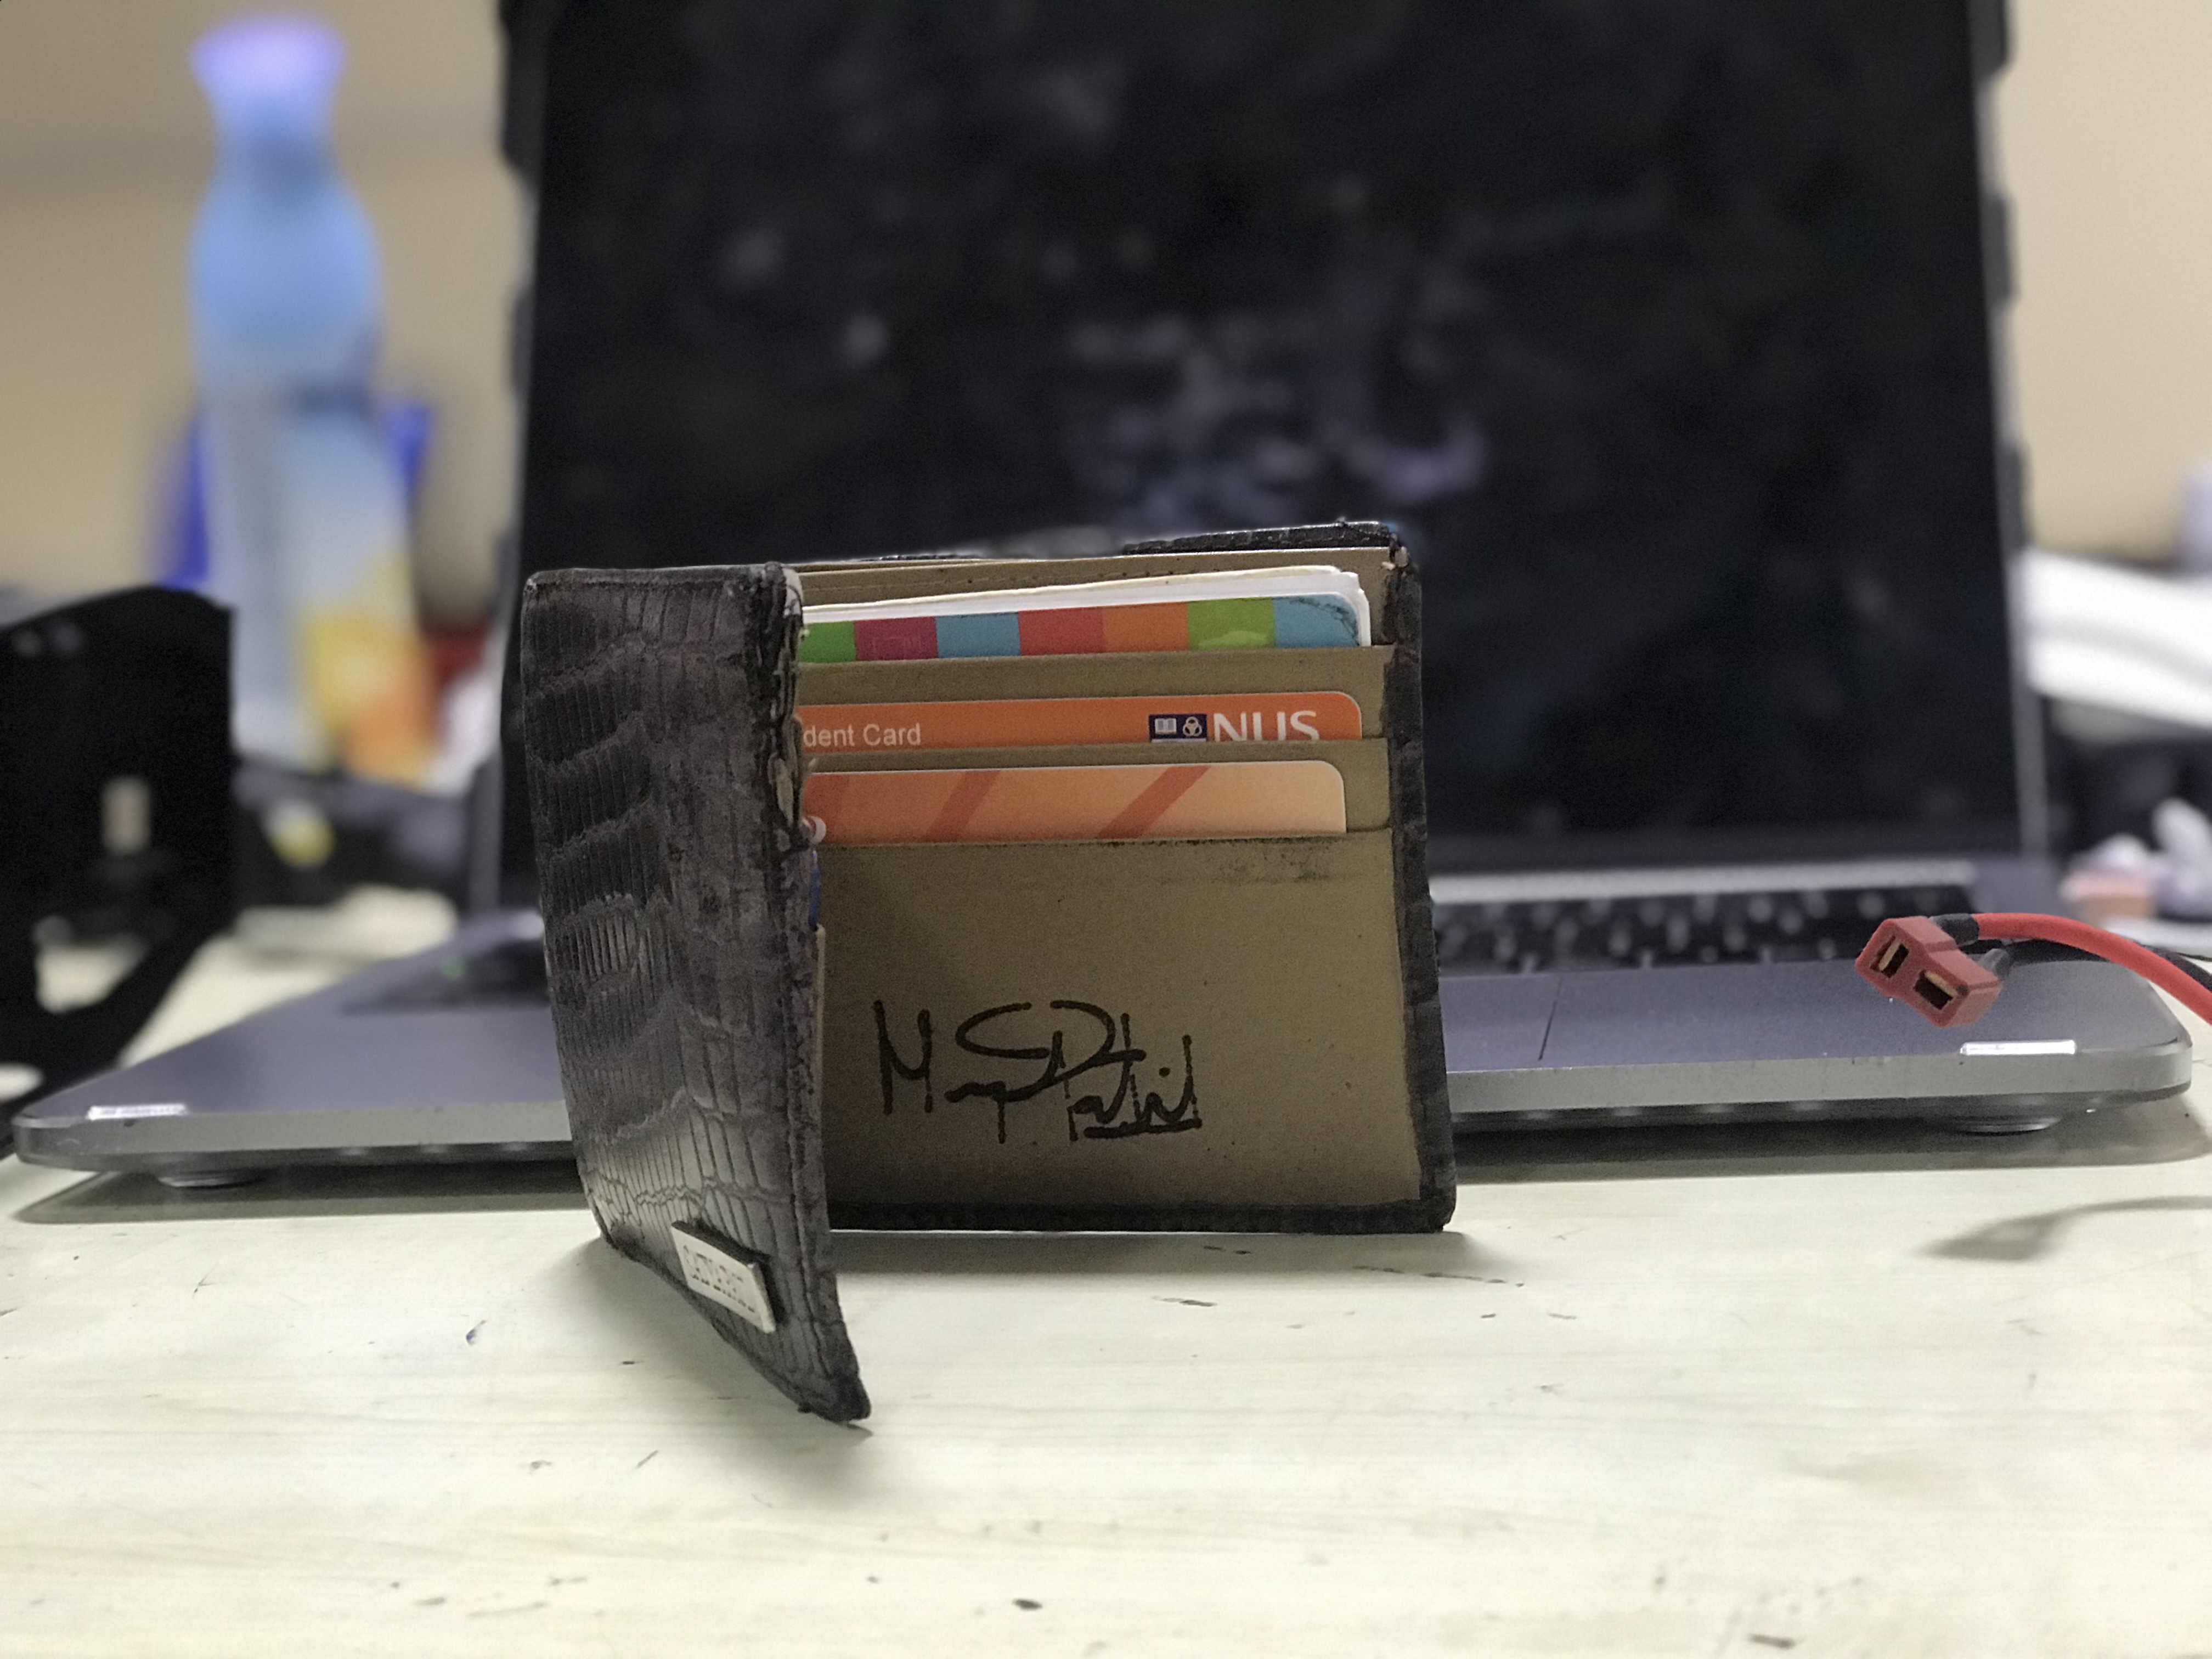
Hello Everyone, in this instructable we are going to do custom laser engraving on the leather wallet and you can do this on different leather material also.
Step 1: You Need a Laser Engraving Machine
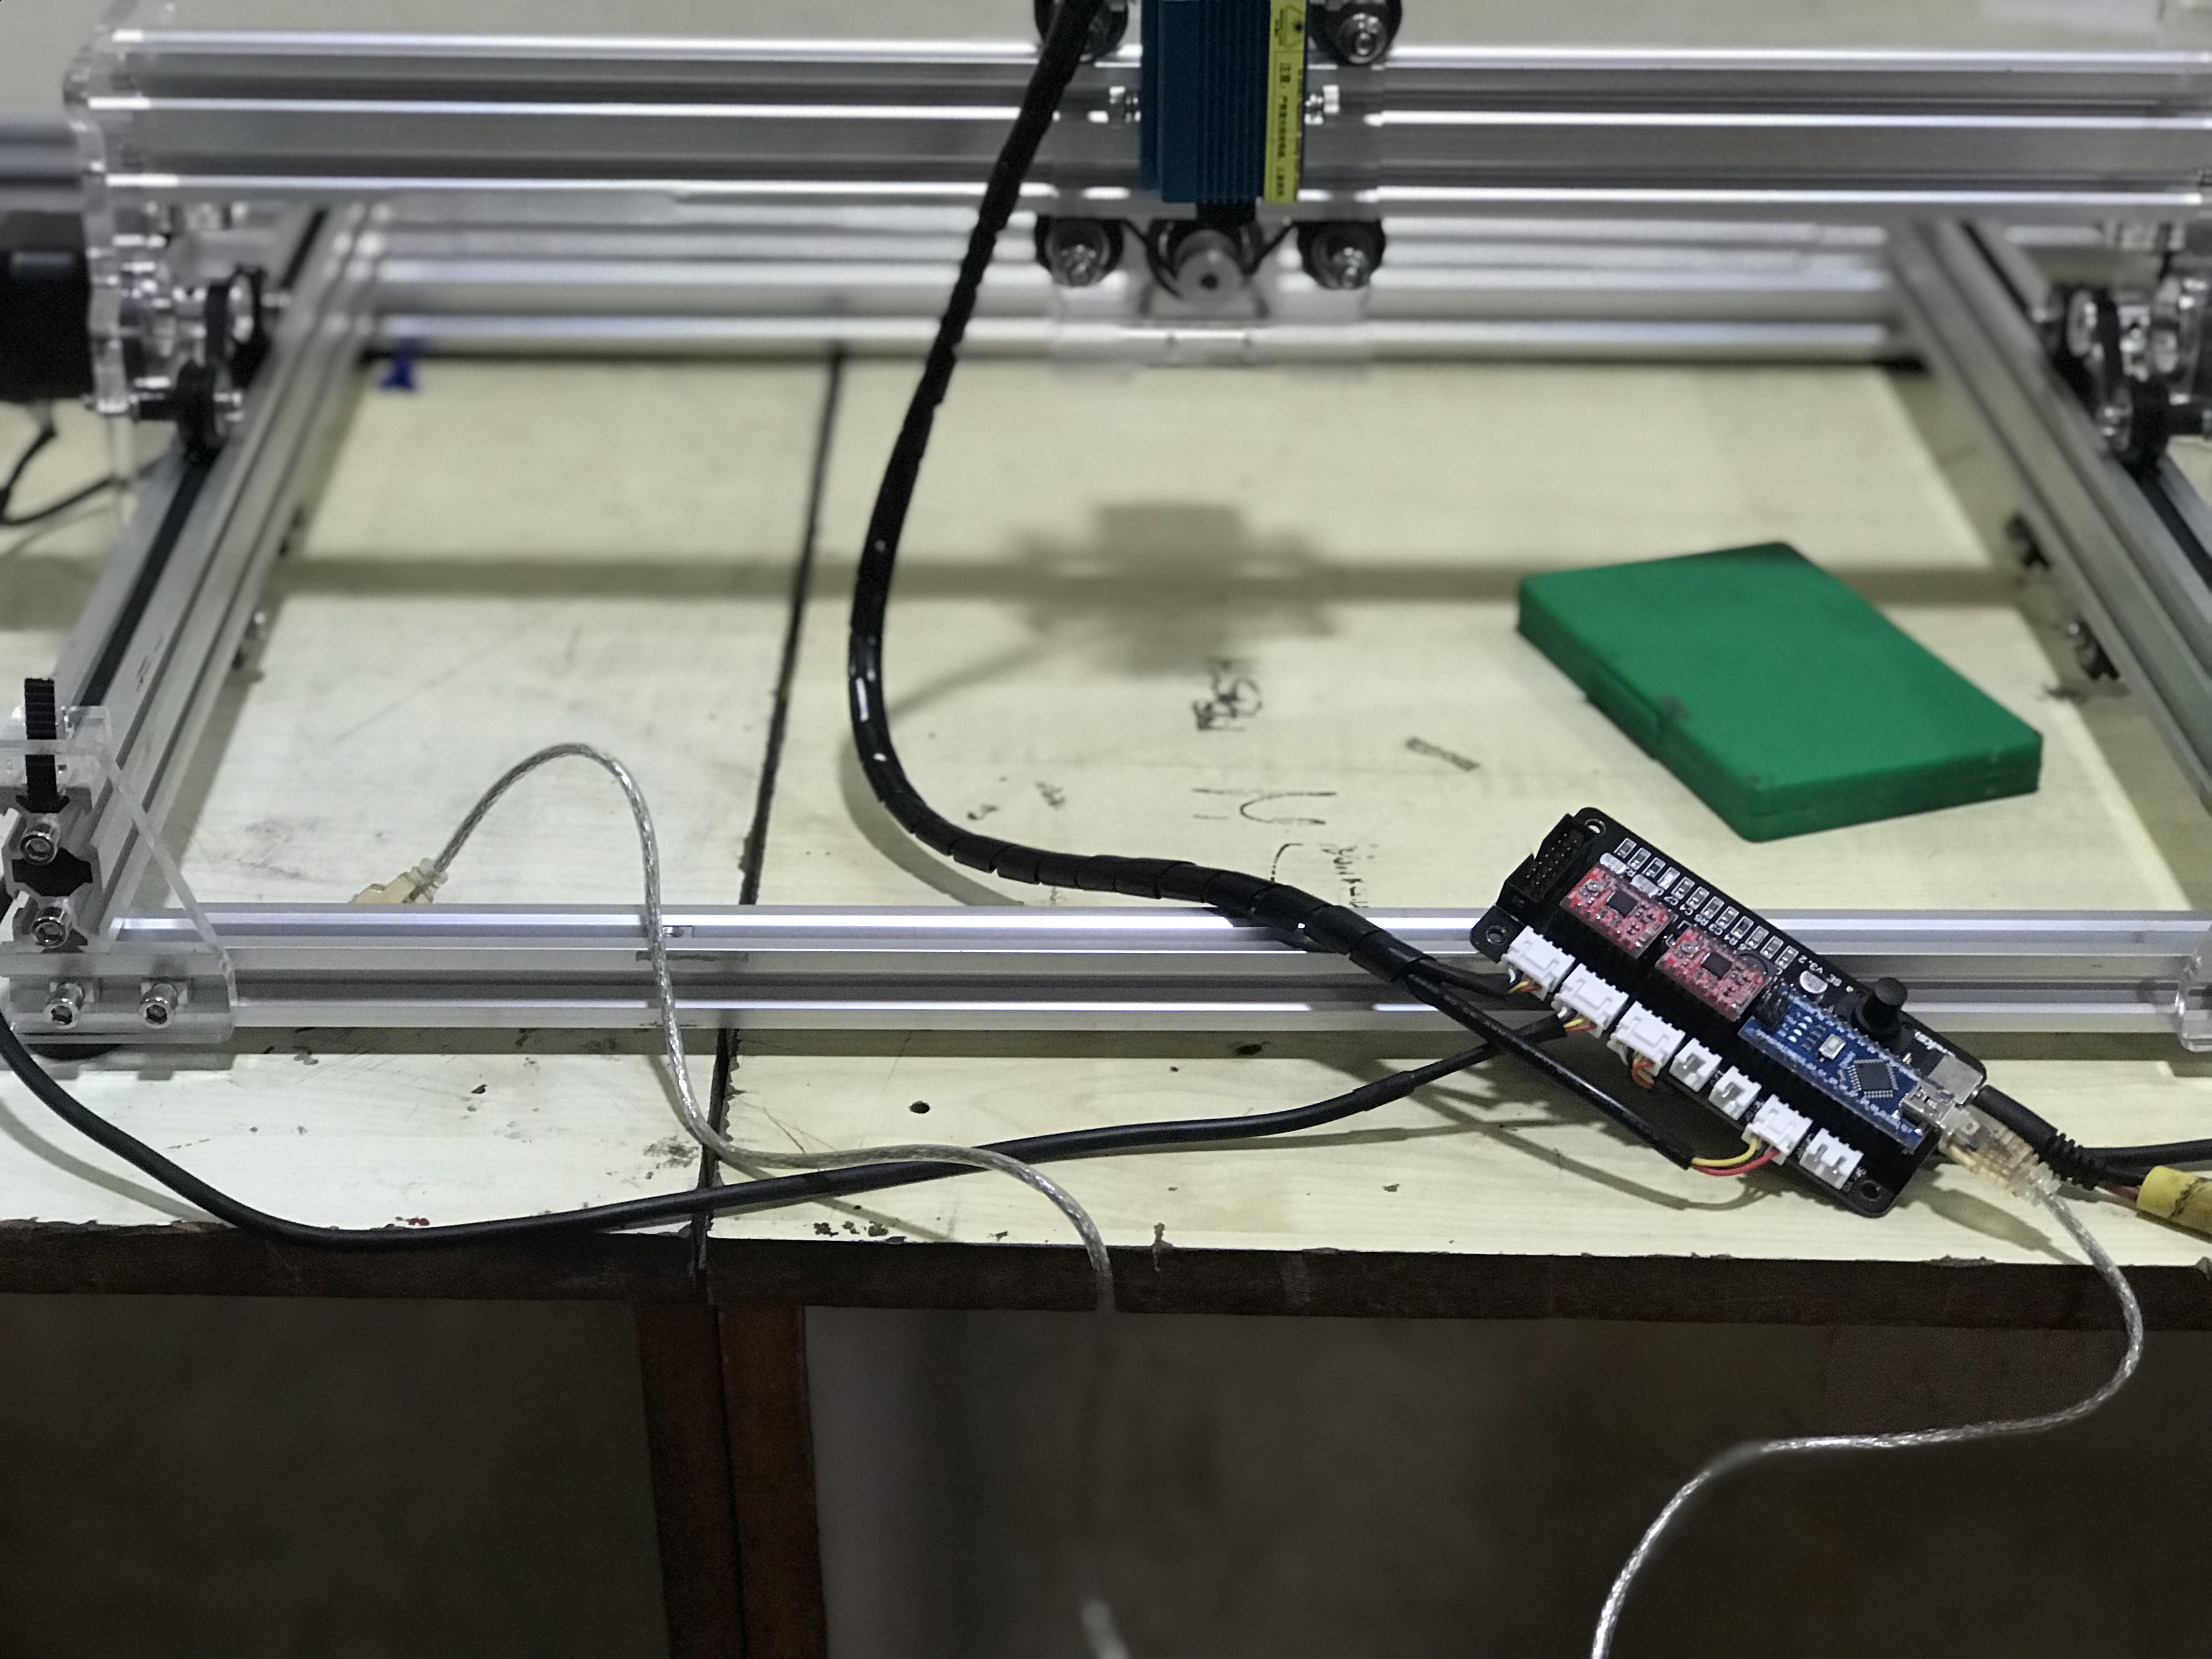
I am Using a purchasable high precision laser engraving machine, common features of a good laser engraving machine are
1)High Precision
2)Great software support
3)Good workspace
4)Compatibility for other platform
i am using ELeksmaker laser engraver , the machine runs on ELeksmaker cam v3.2 which is an open source software and can be used with any xy controller by using the firmware that have given
you can purchase the same engraver(Links Below)
amazon.com-https://www.amazon.com/Machine-Engraving-Printer-E...
banggood-https://www.banggood.in/2500mW-A3-30x40cm-Desktop-...
You can use any other software too depending on availability and price
Step 2: Installing Software and Firmware
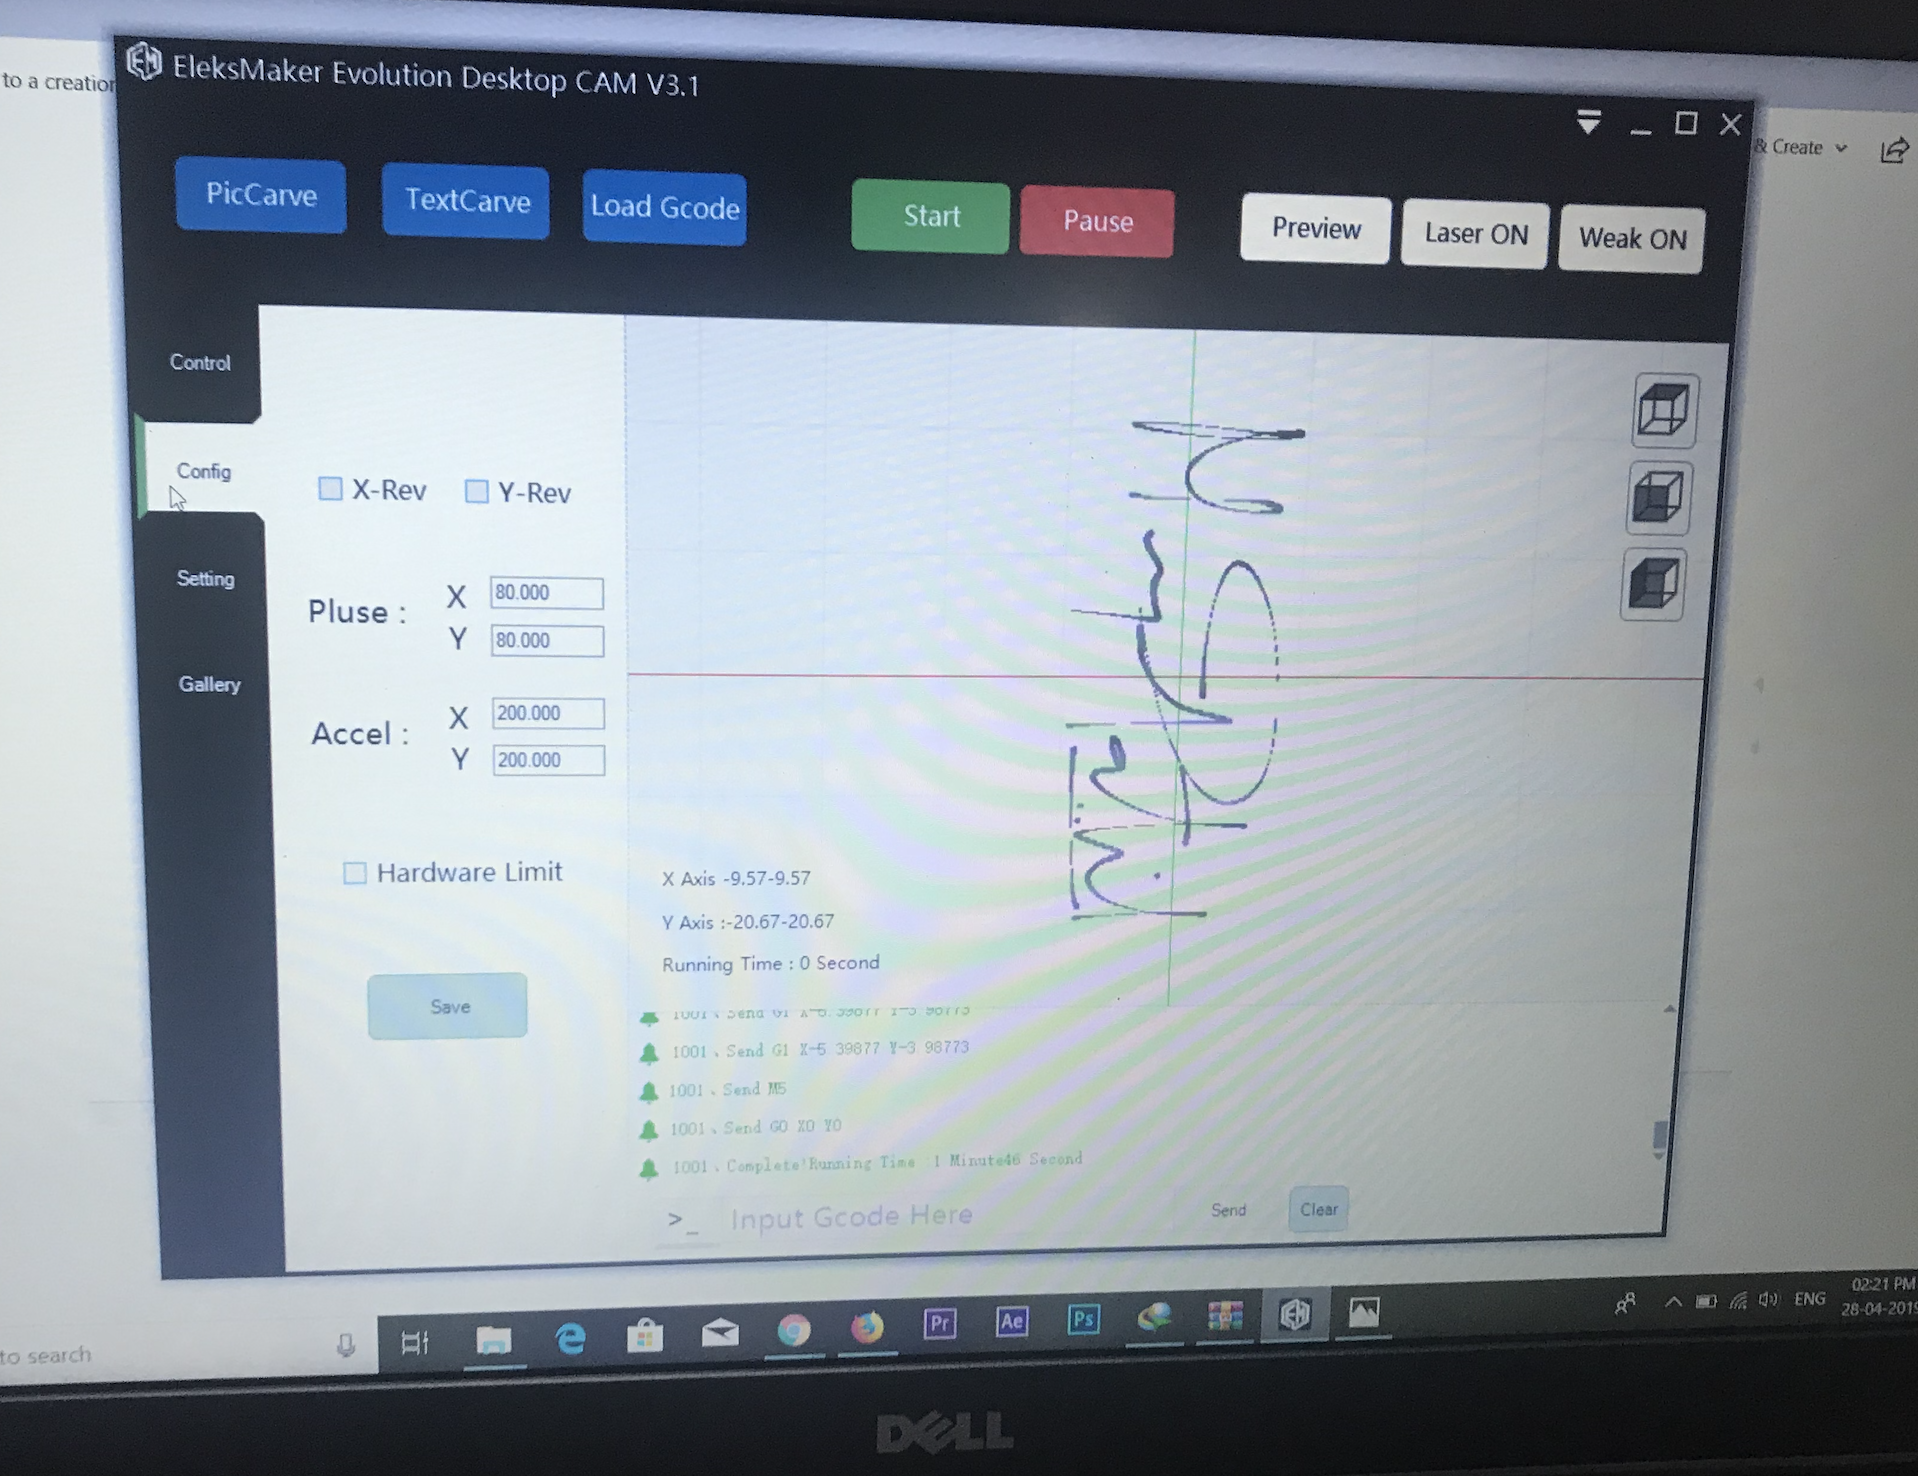
The main documentaion can be seen here http://wiki.eleksmaker.com/doku.php?id=elekscam
the total software implimentation includes two parts
1)firmware
2)the actual controlling softwarew
both can be downloaded from here
Step 3:Understanding the Software
The software is in Chinese but understandable, the process of engraving can be done in various ways and methods, the major implementations of all the pattern and design on the workpiece can be done in various modes. The different ways of engraving are important point to be kept in mind
Step 4:Get Your Friend's Digital Signature
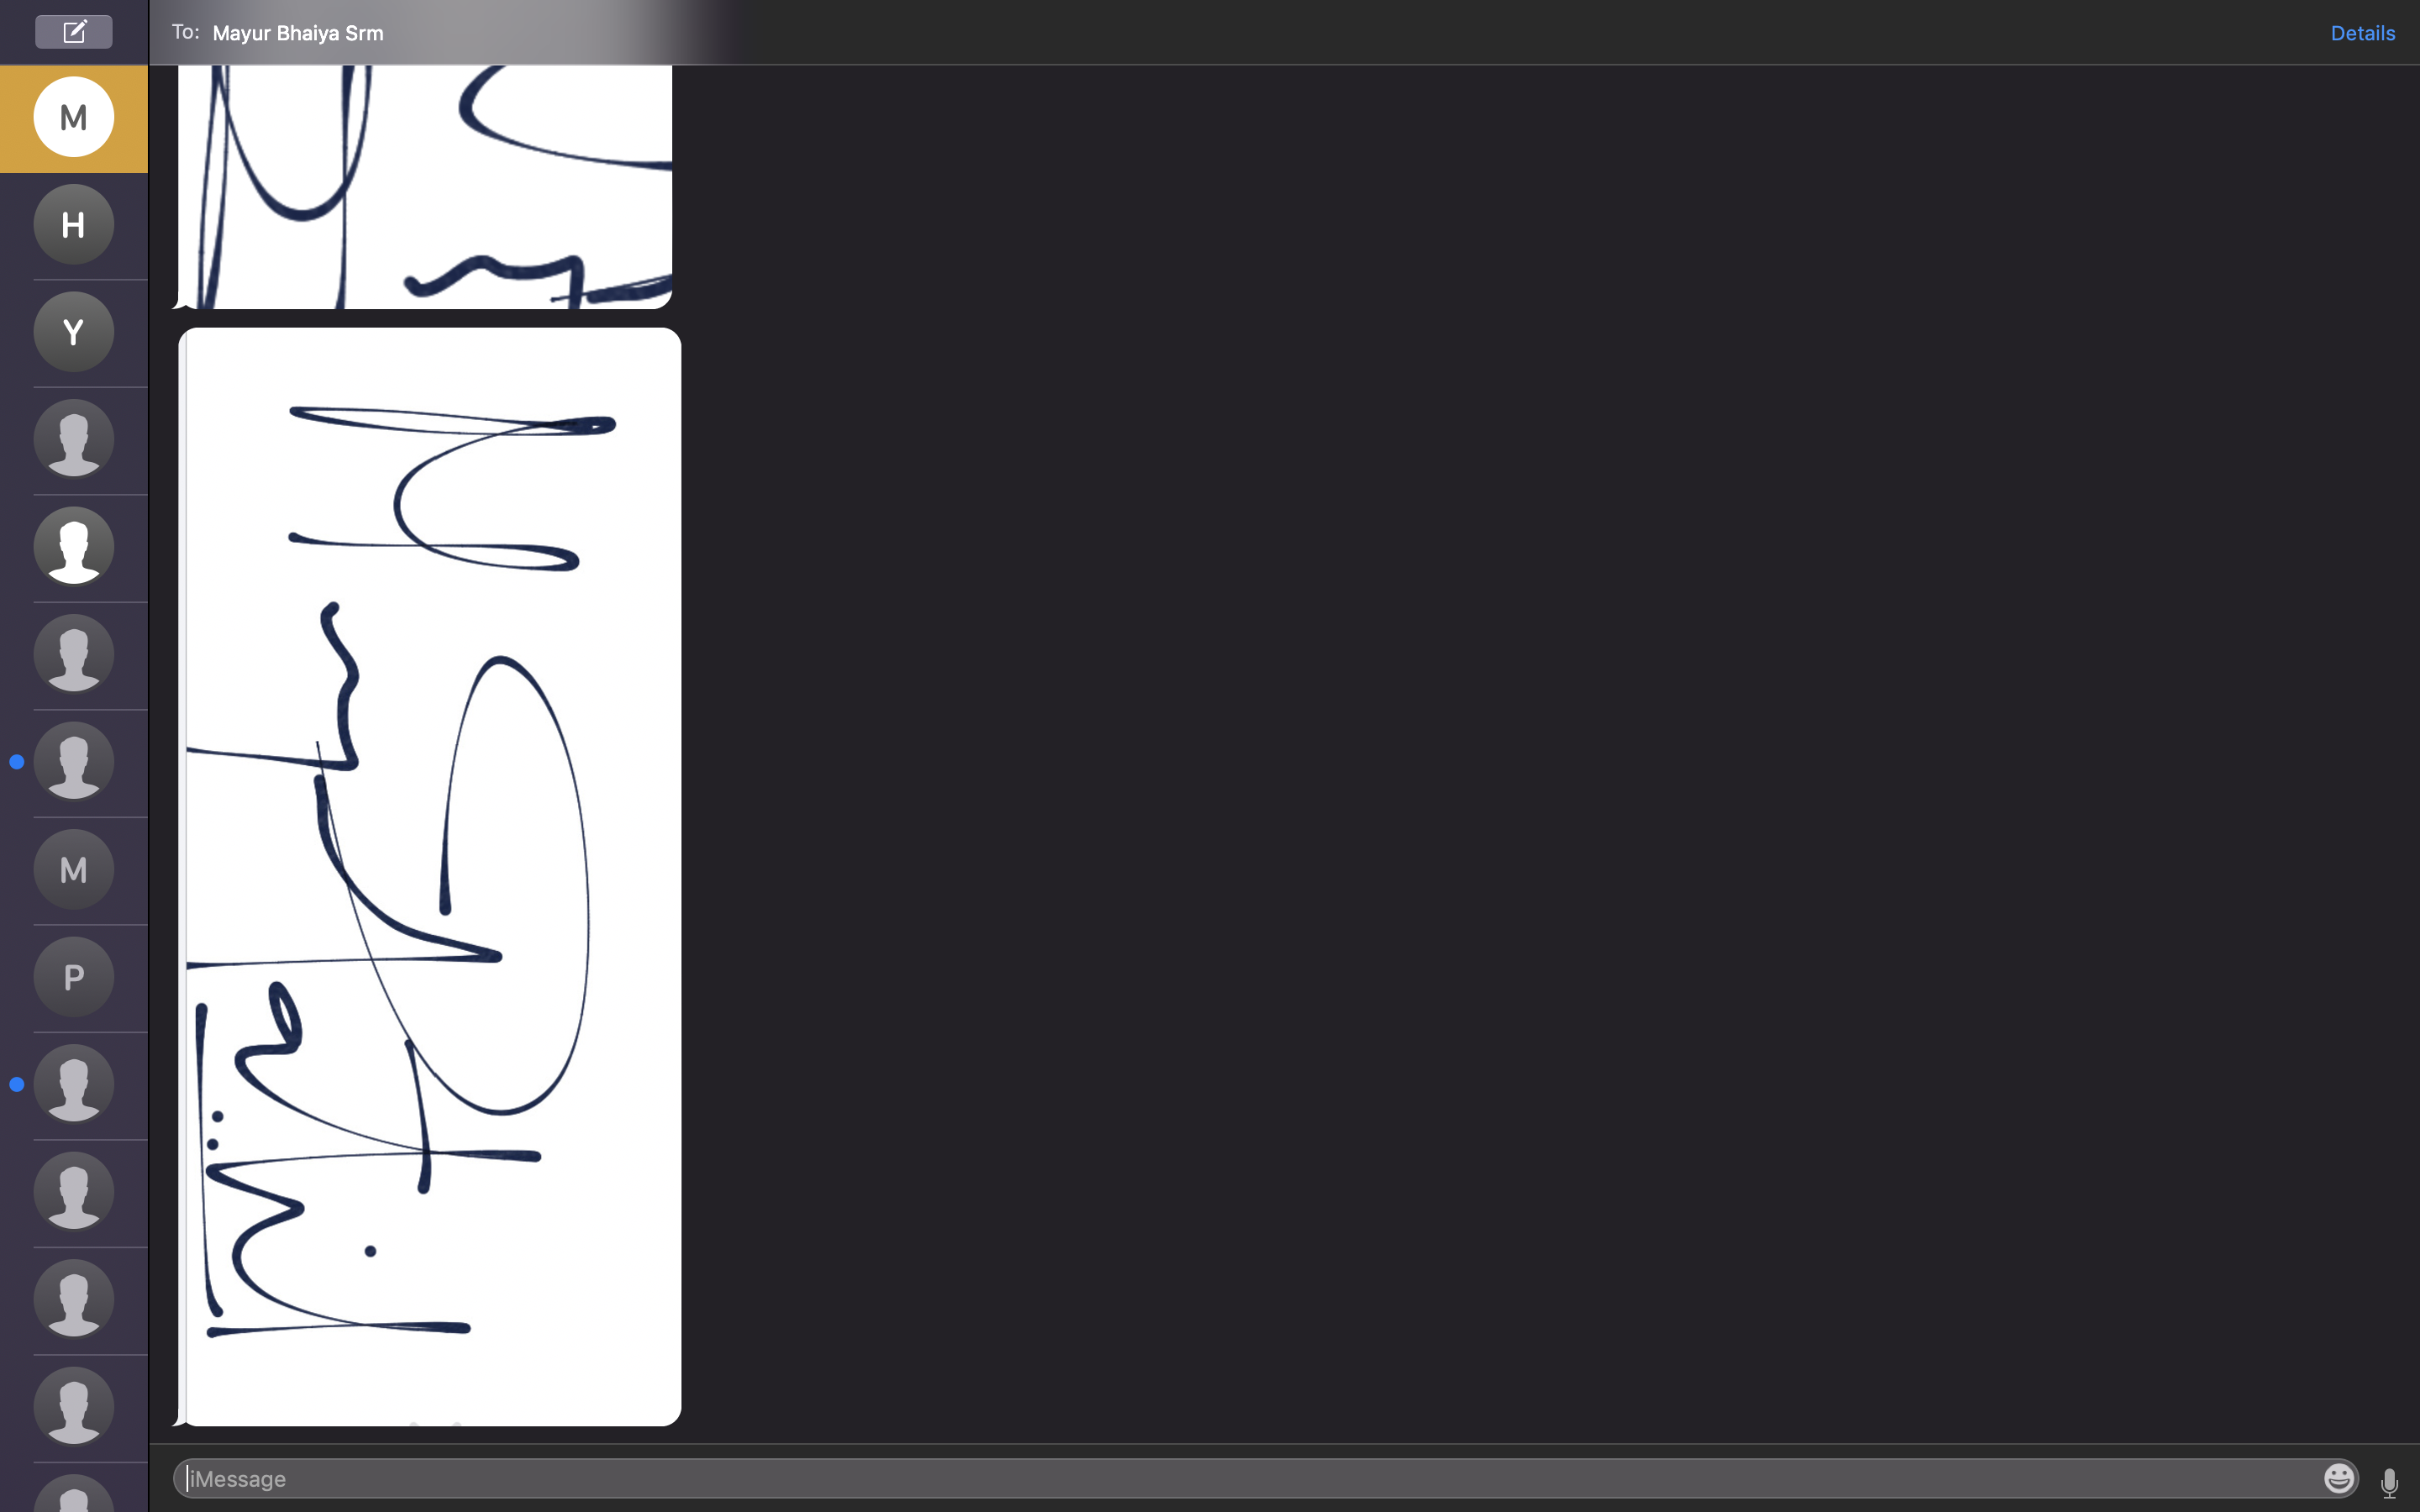
Instead of scanning the signature and correcting it in software I asked my friend to send it on imessage , hand drawn, reducing a lot of effort. next i copied the signature and saved it as a jpg file.
Note: The software supports a very limited number of file format for the purpose of engraving.
i used jpg at a fairly higher resolution.
after selecting what i am going to engrave the next step is to get your Leather
Step 5:Get Your Leather
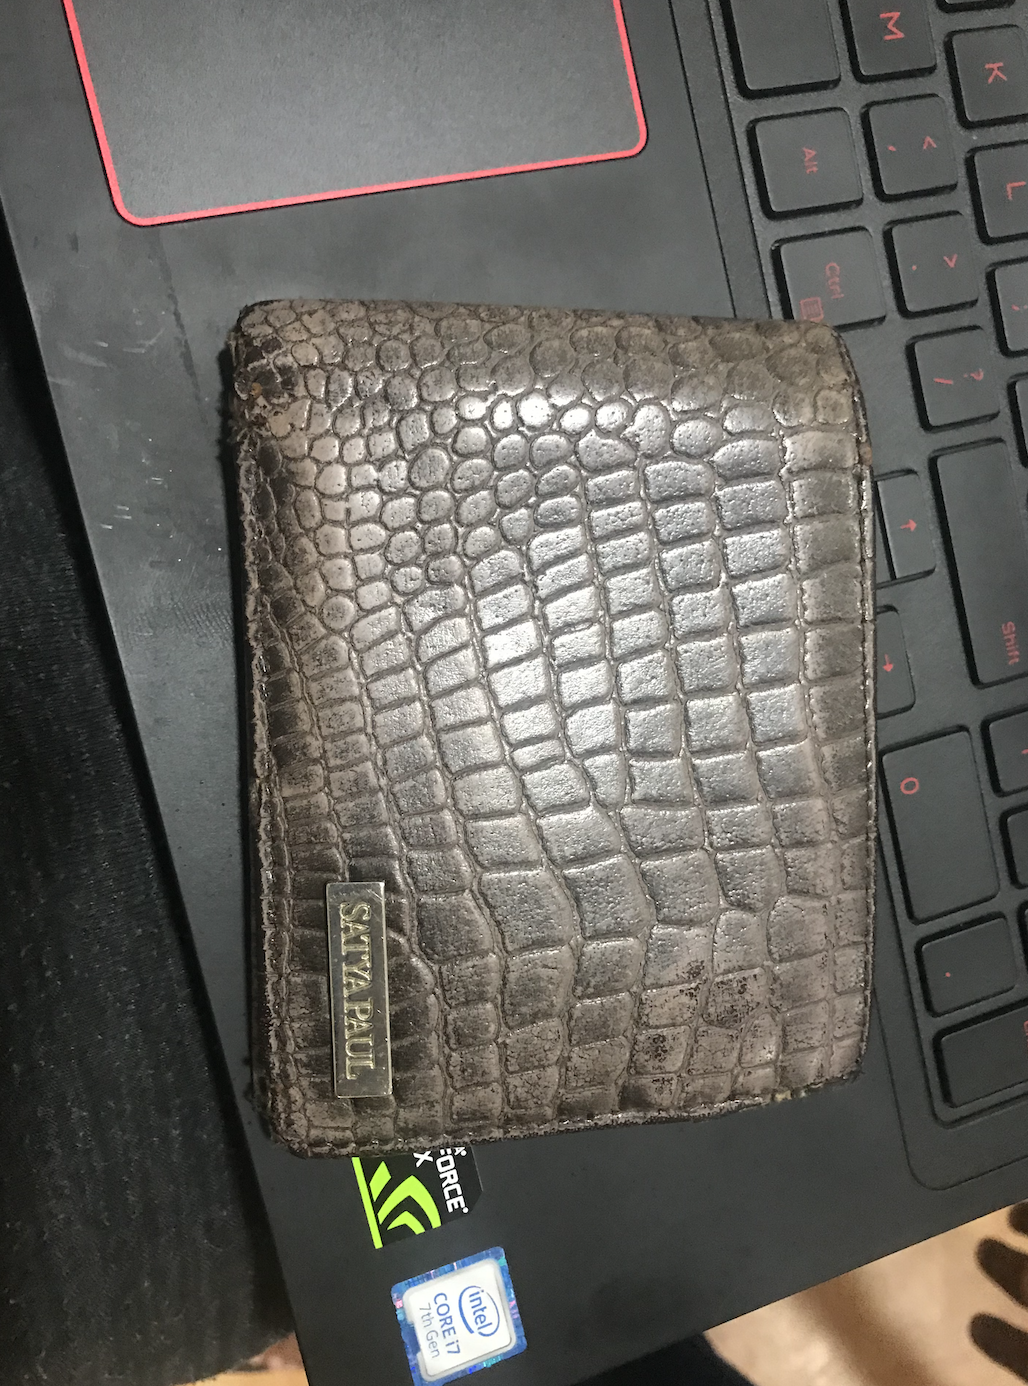
Honestly, My friend was afraid to give his wallet for the first time and was a little doubtful about engraving and burning, but it all depends on the power of the laser that you are using your laser on.
Note: You are going to do this at your own risk, having that control over the laser module might take some time as it requires power calibration and position calibration that will happen after trying it for few times over different material and surface.
Coming back to the wallet i am going to use , is a genuine leather wallet so it was quite sensitive and i need to make sure i am not going to destroy it by increasing the power.
Step 6 :Load the Image Into the Software
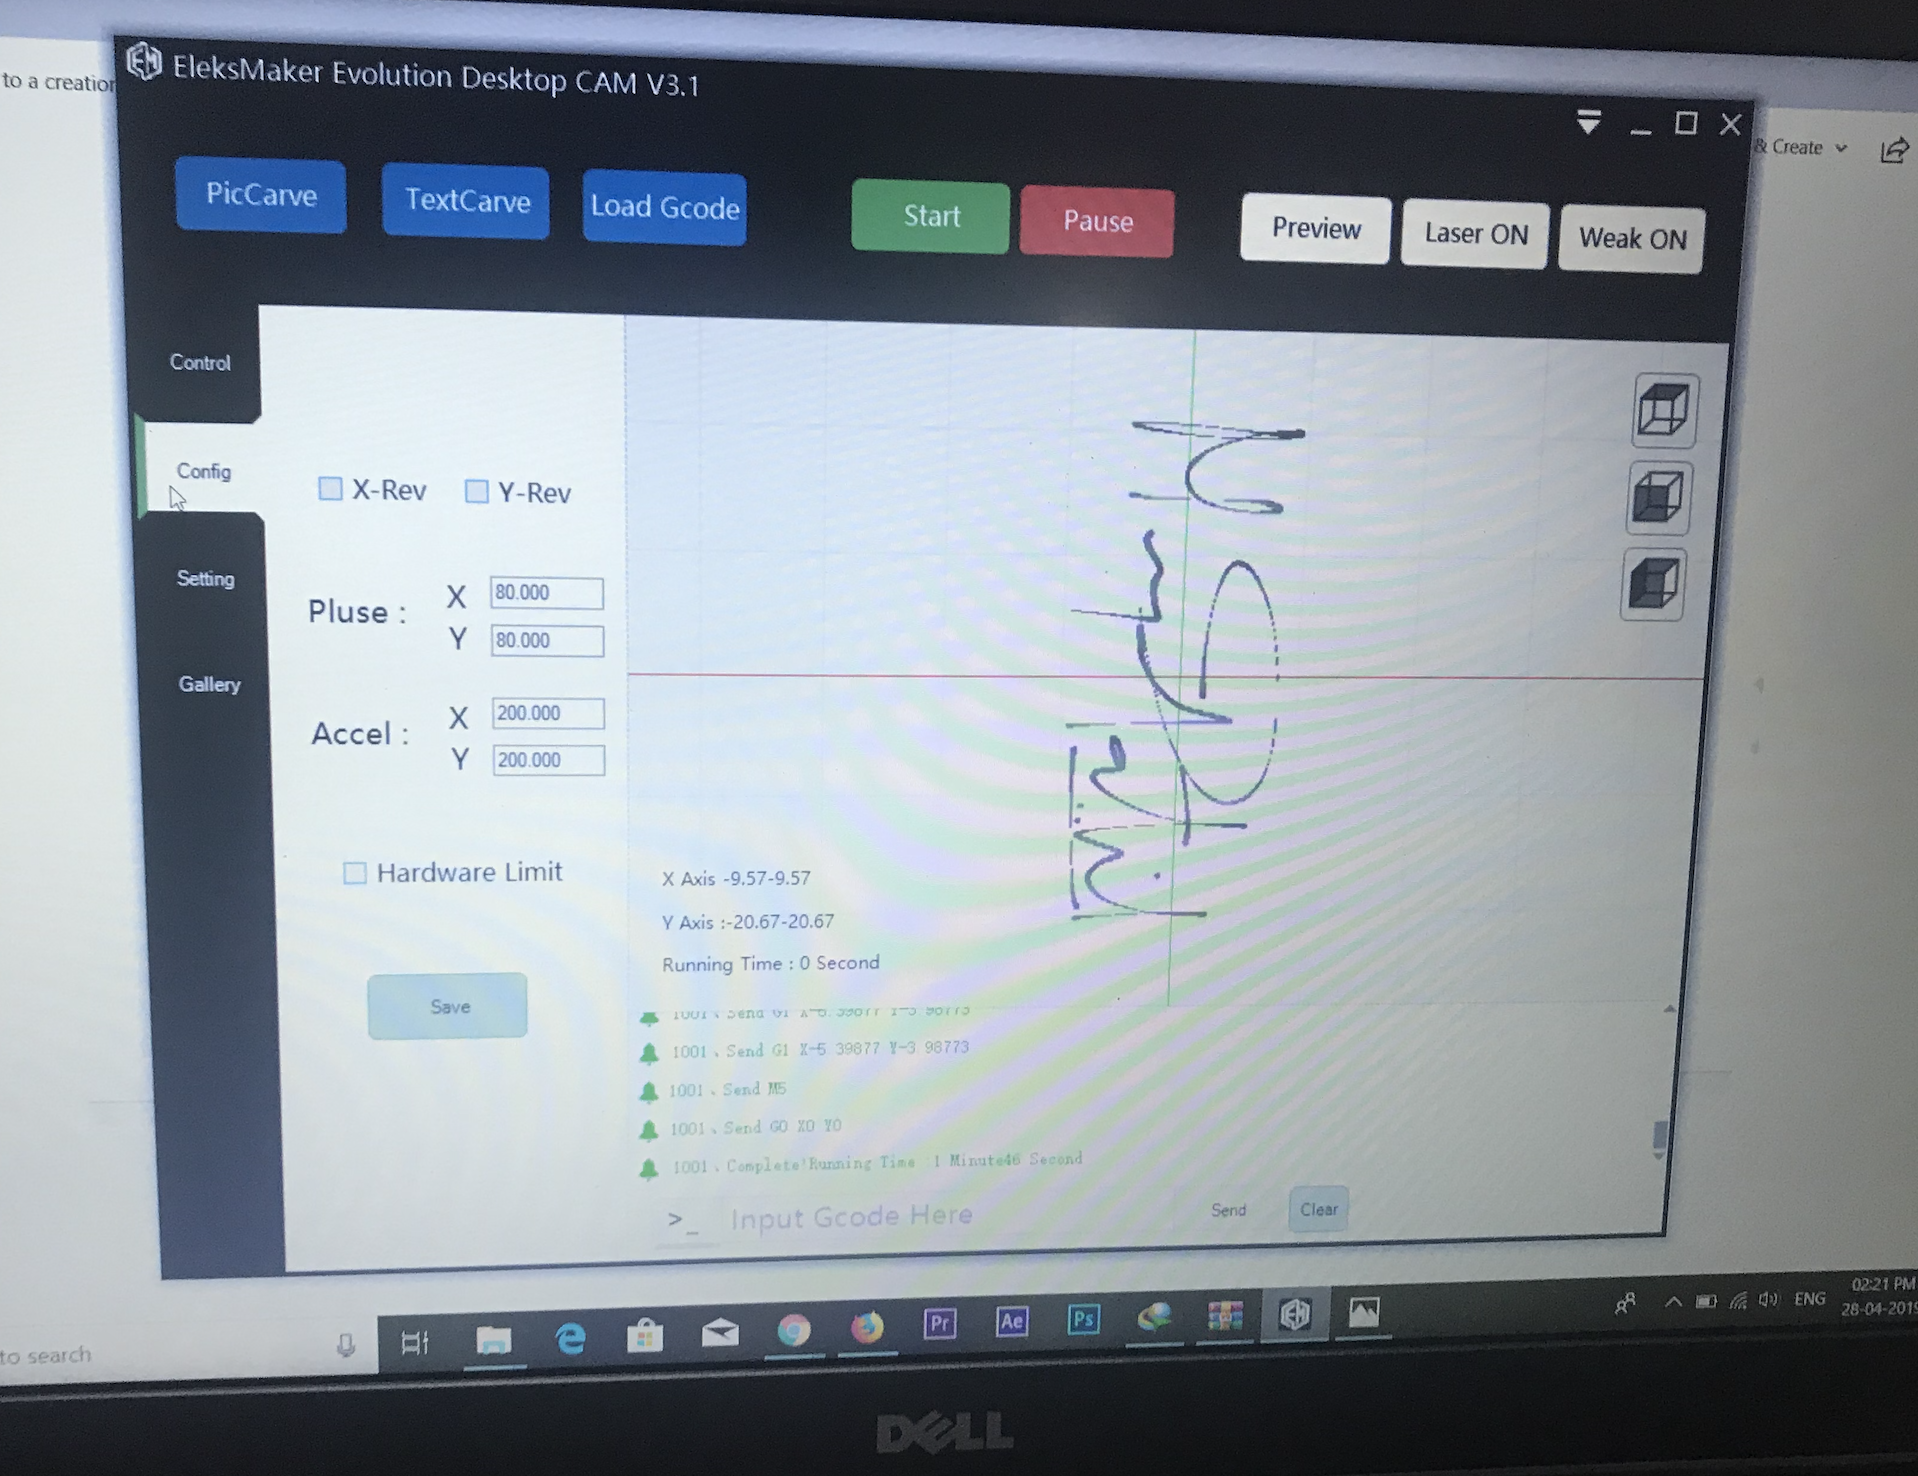
The software is smart enough to clear off the noise and keep your signature alive, also the software will automatically remove the background and keep just signature. Now you need to configure the center position and set the home position of the laser , the home position is usually set at the center to allow big engraving to take place.
Step 7: Start Engraving
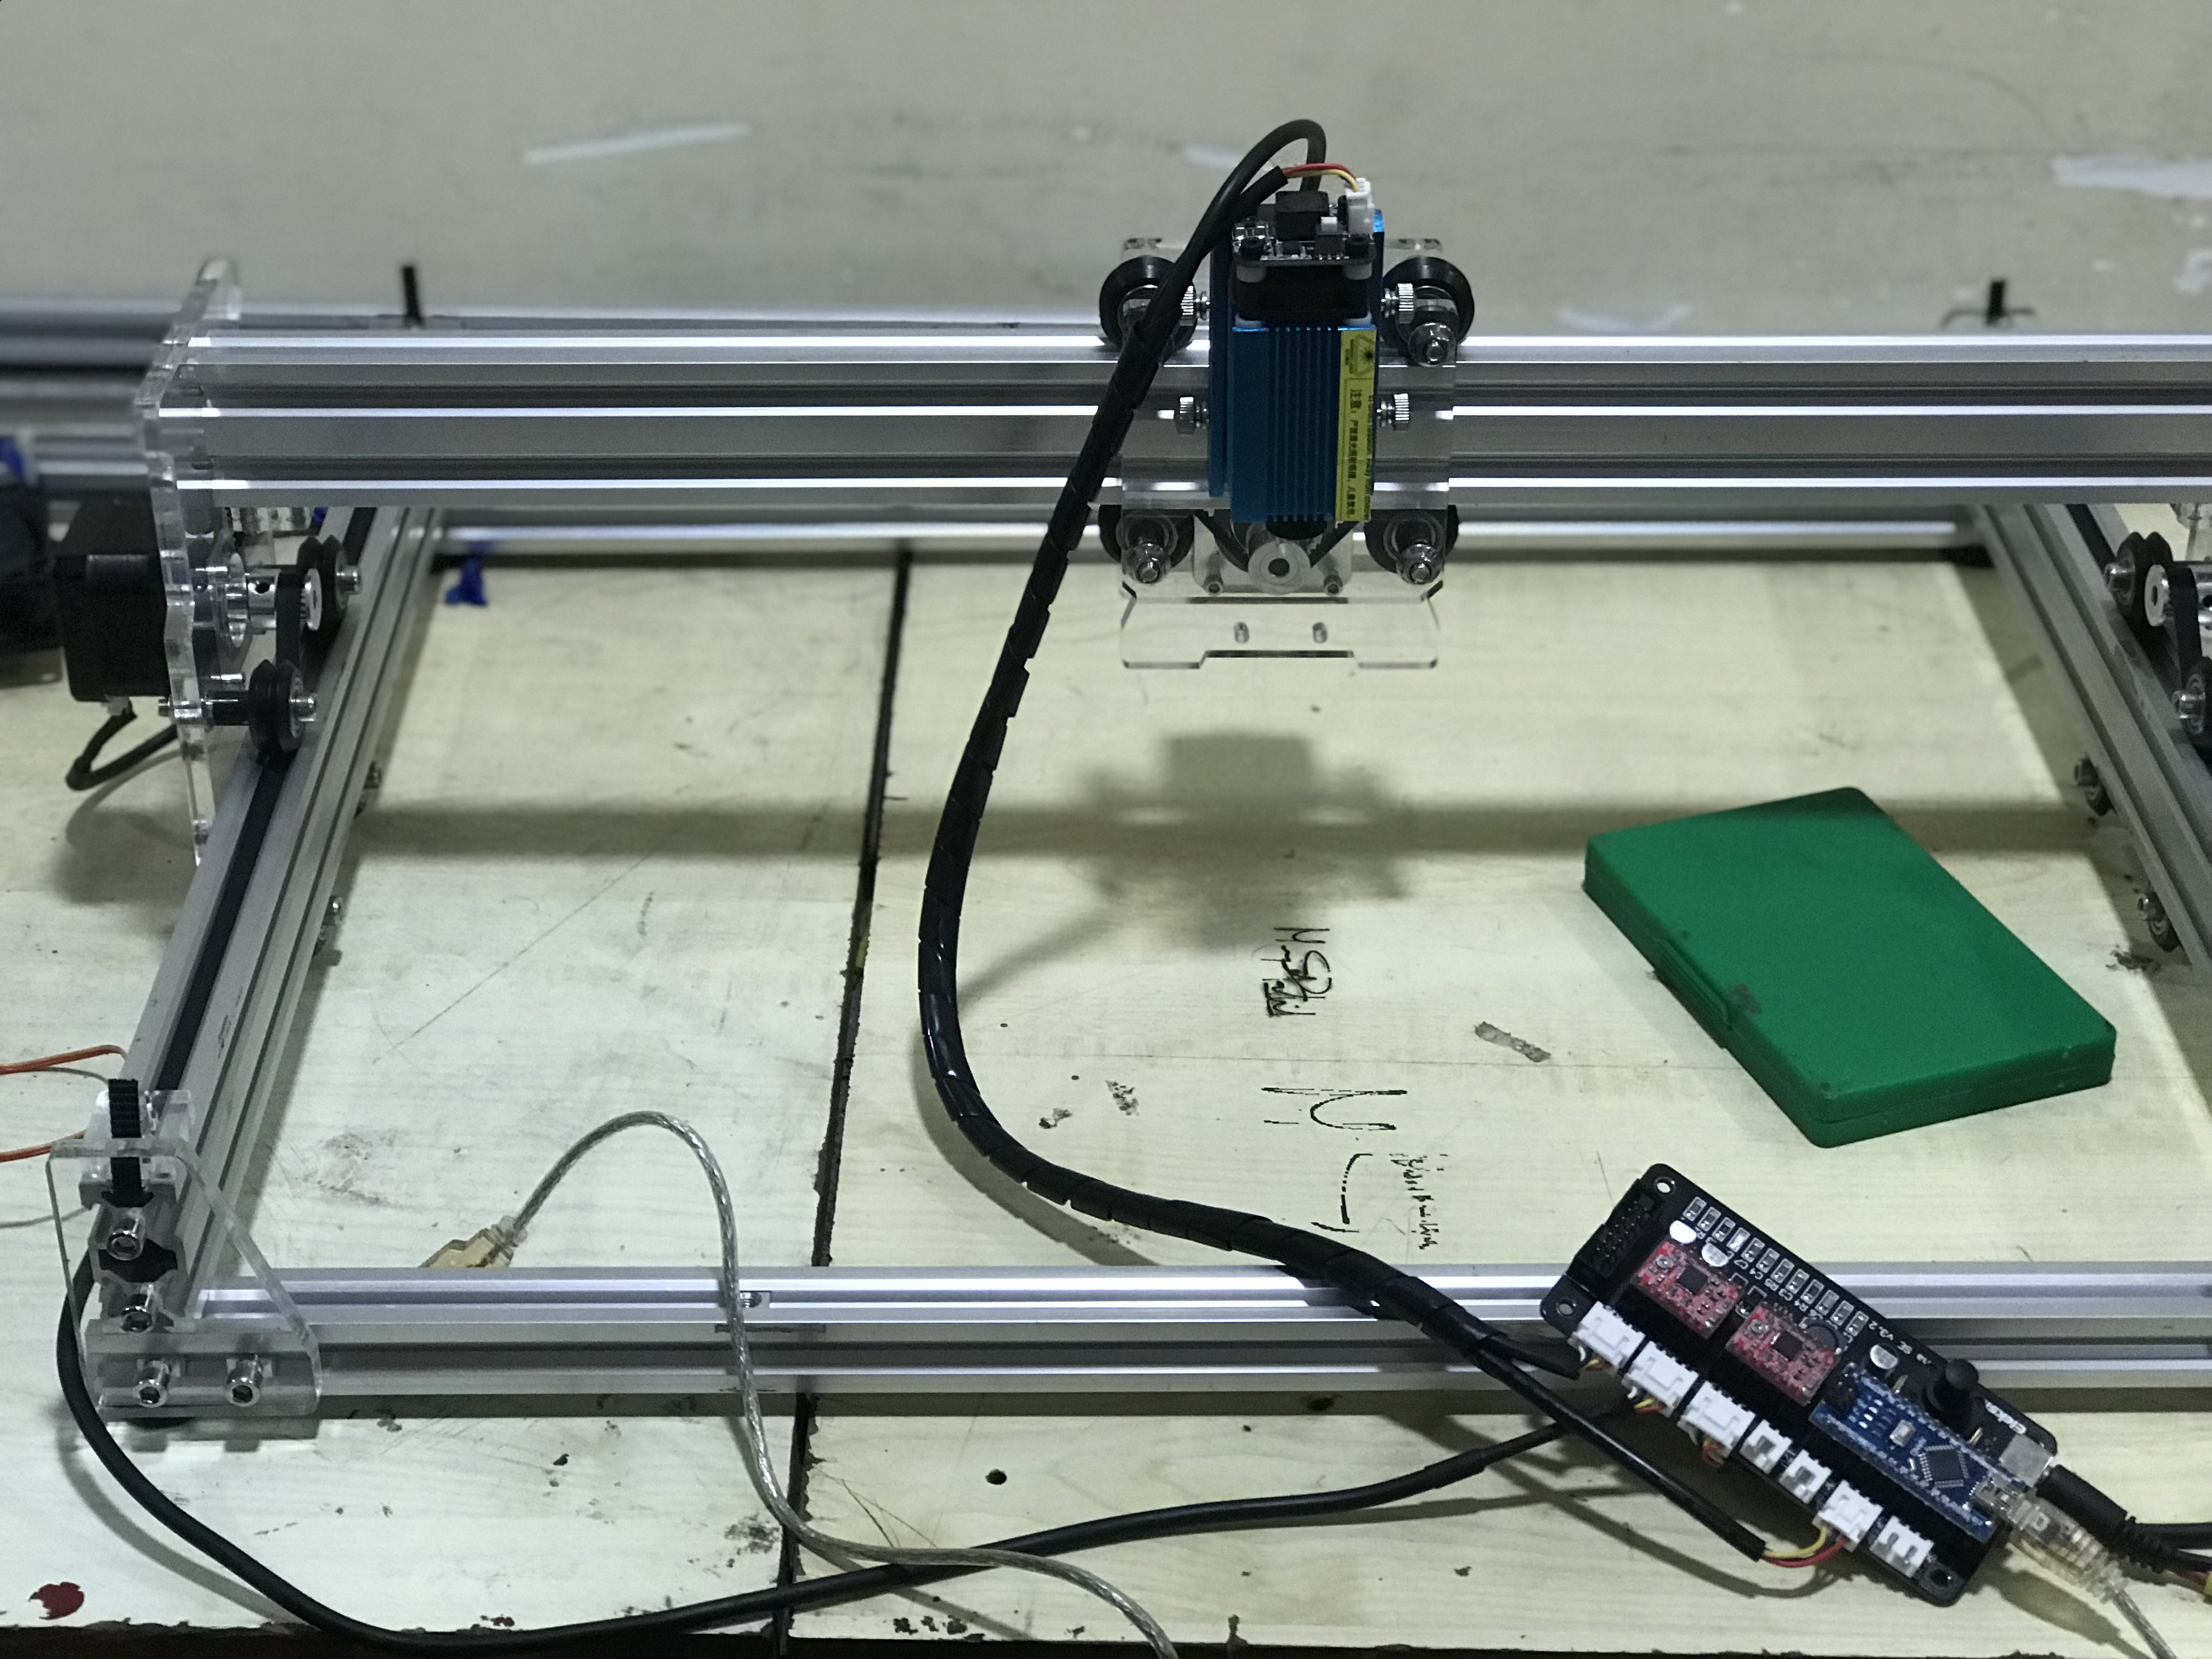
I would suggest keep cardboard and give one demo run to check if the signature is coming out great
and keep the following in mind while doing any sort of engraving on laser
1)Check for the power of the laser
2)Check for the stitches and links on the wallet
3)Try to avoid engraving out of the wallet area
4)Apply some weight on the wallet to avoid shaking
Step 8: Check for Issues and Problems
Check if the power is too much on the cardboard and check for the different power tolerances, secure the position on the cardboard and fix it, keep the wallet at the same position and start engraving
Step 9: Results
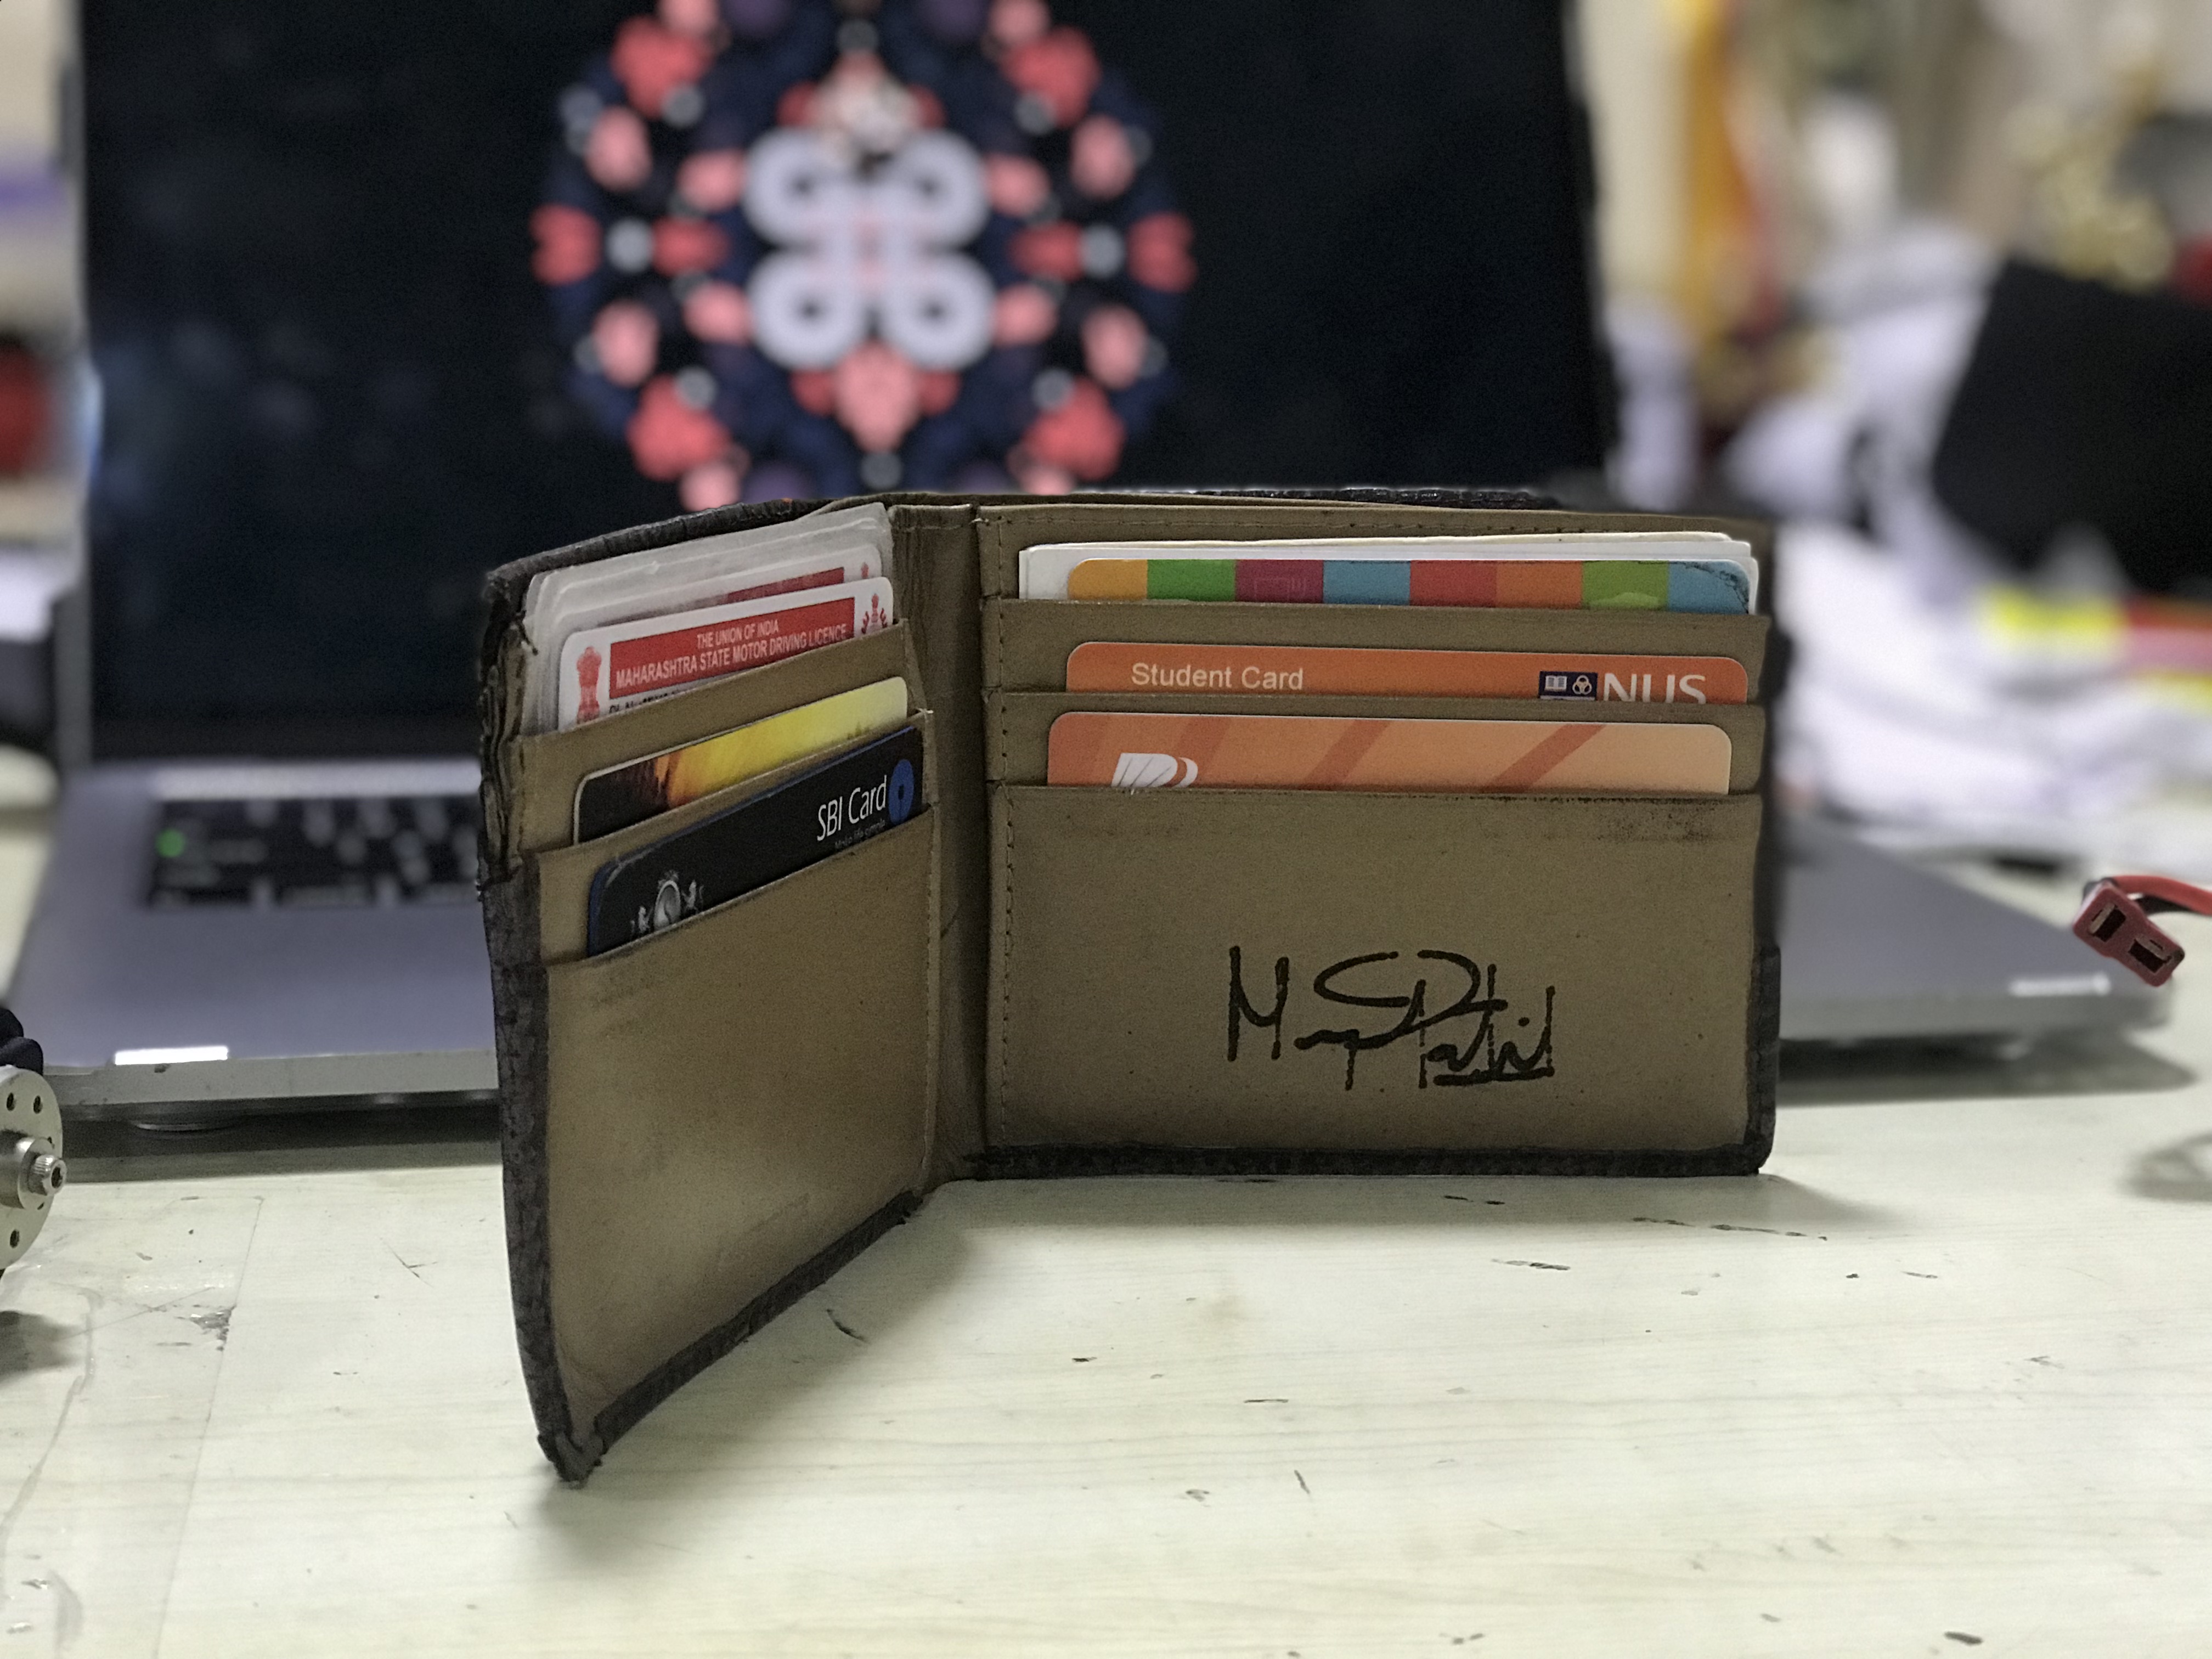
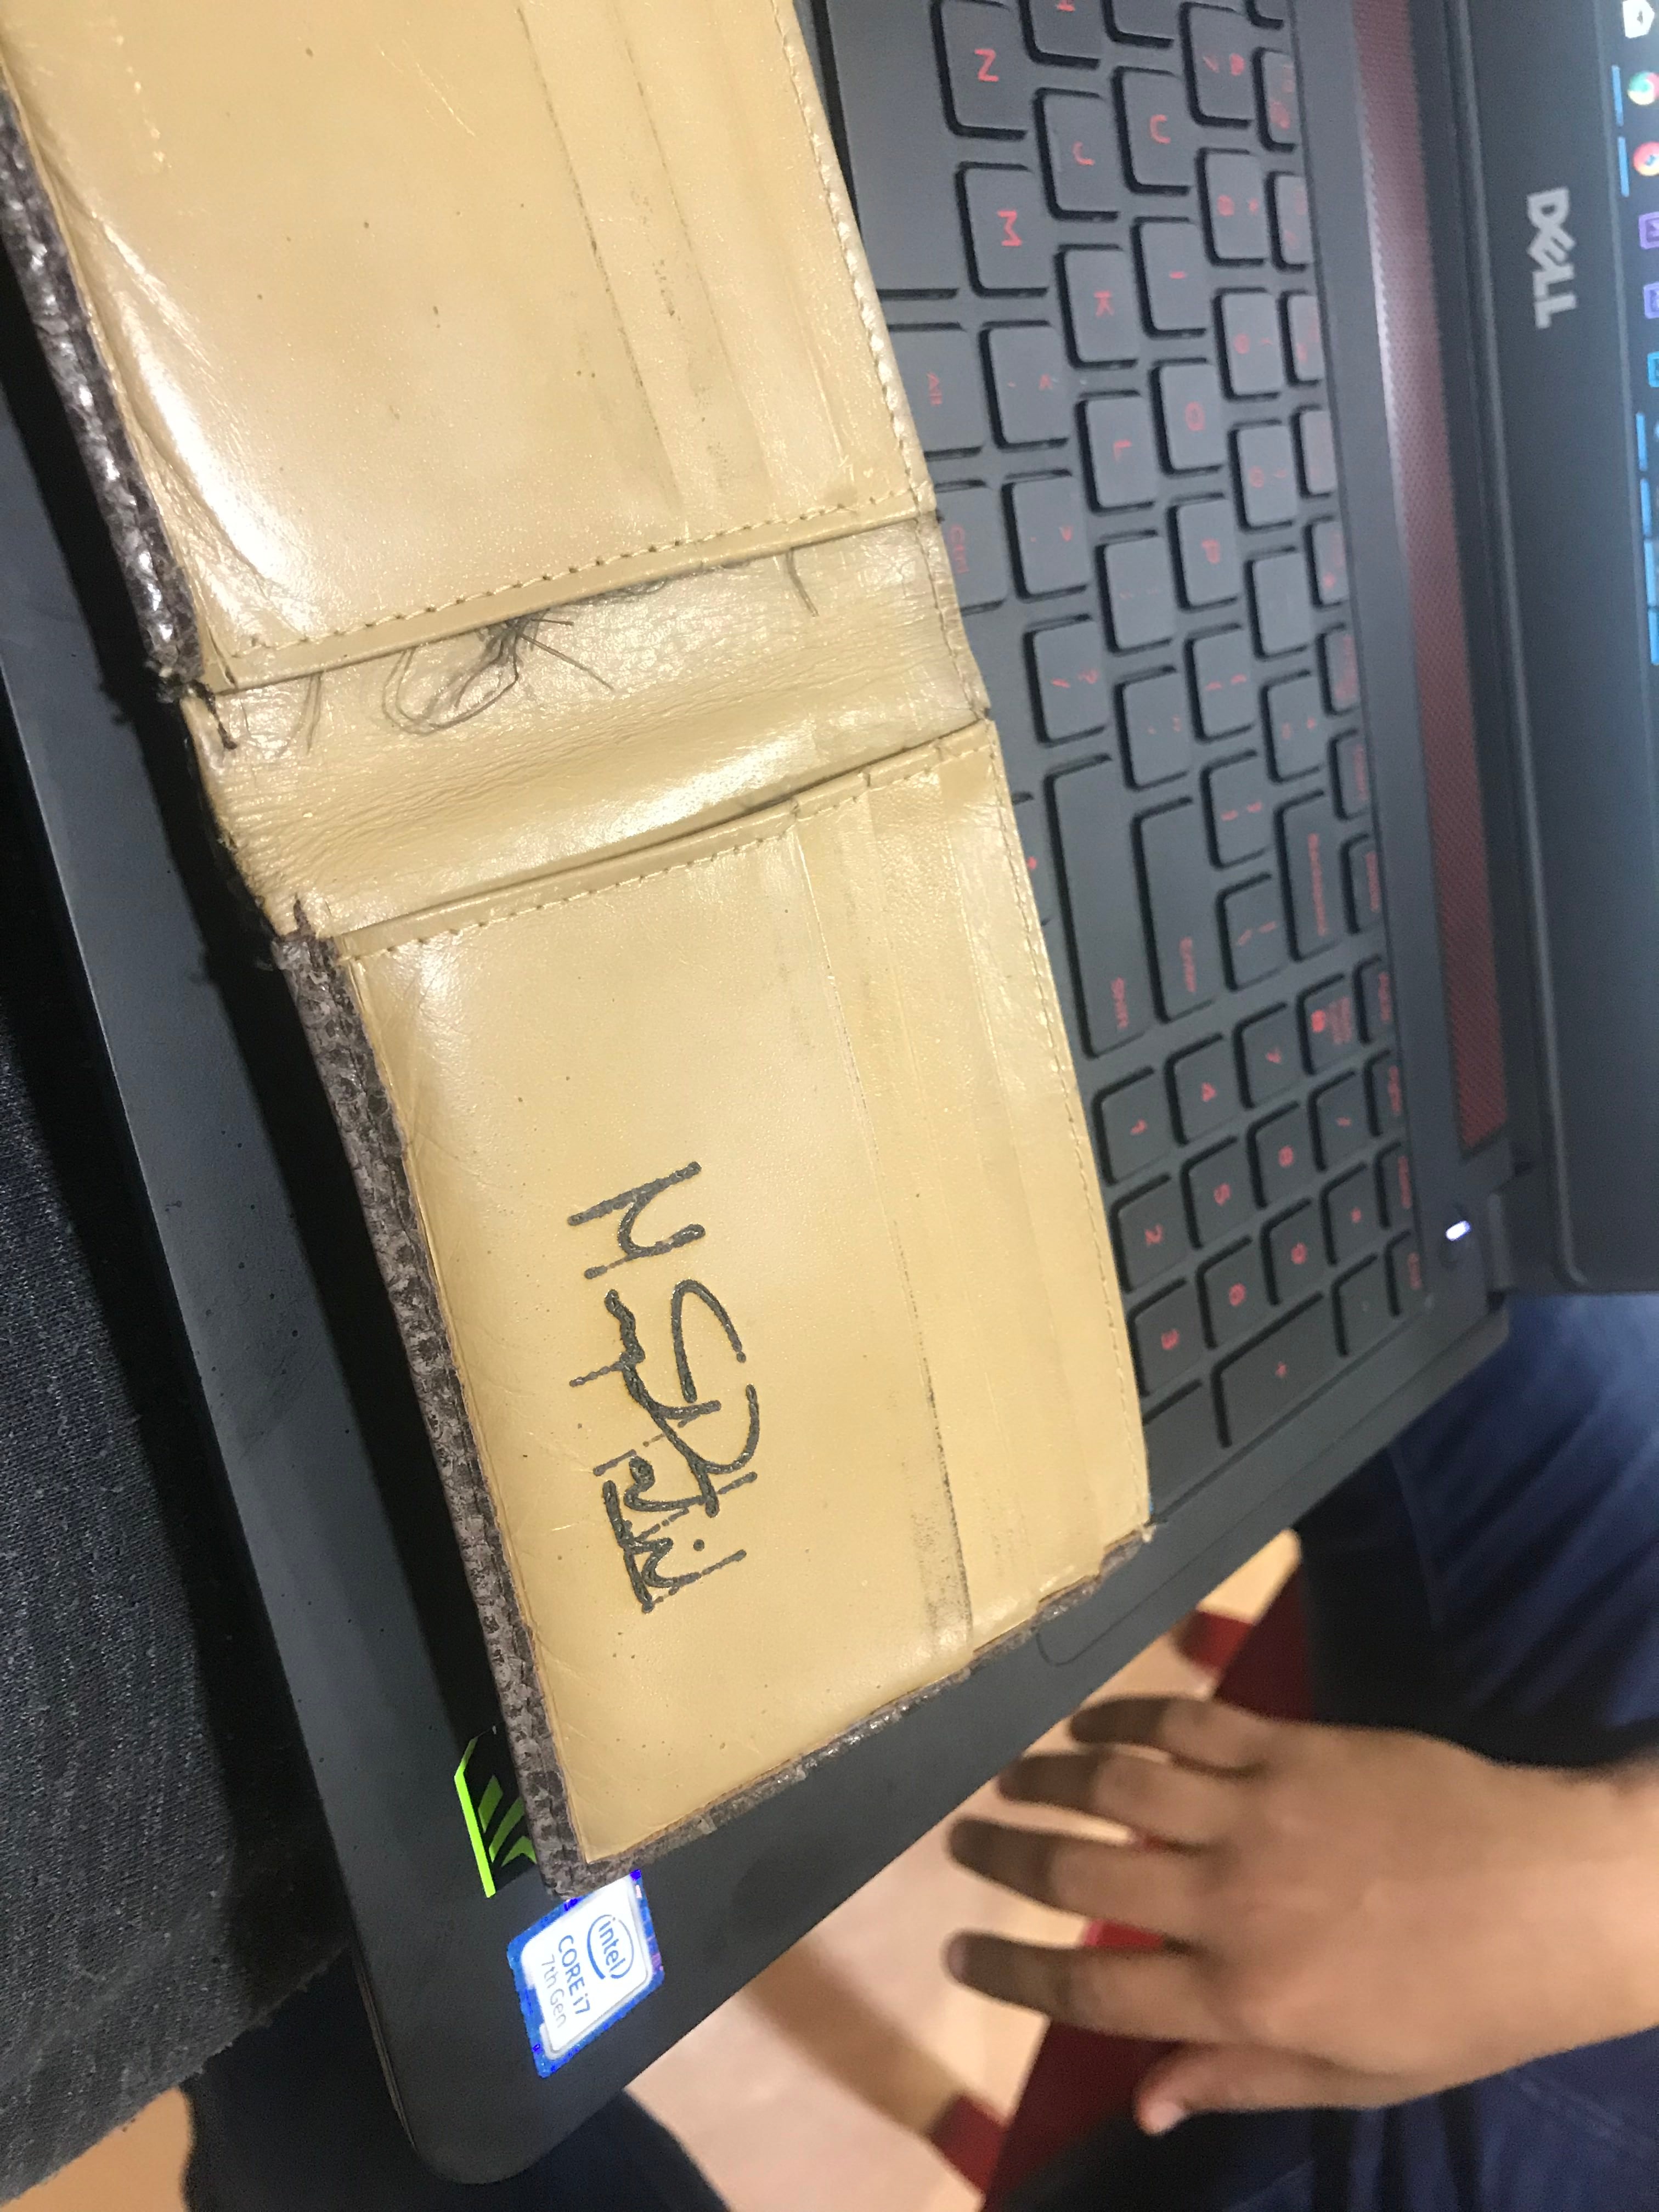
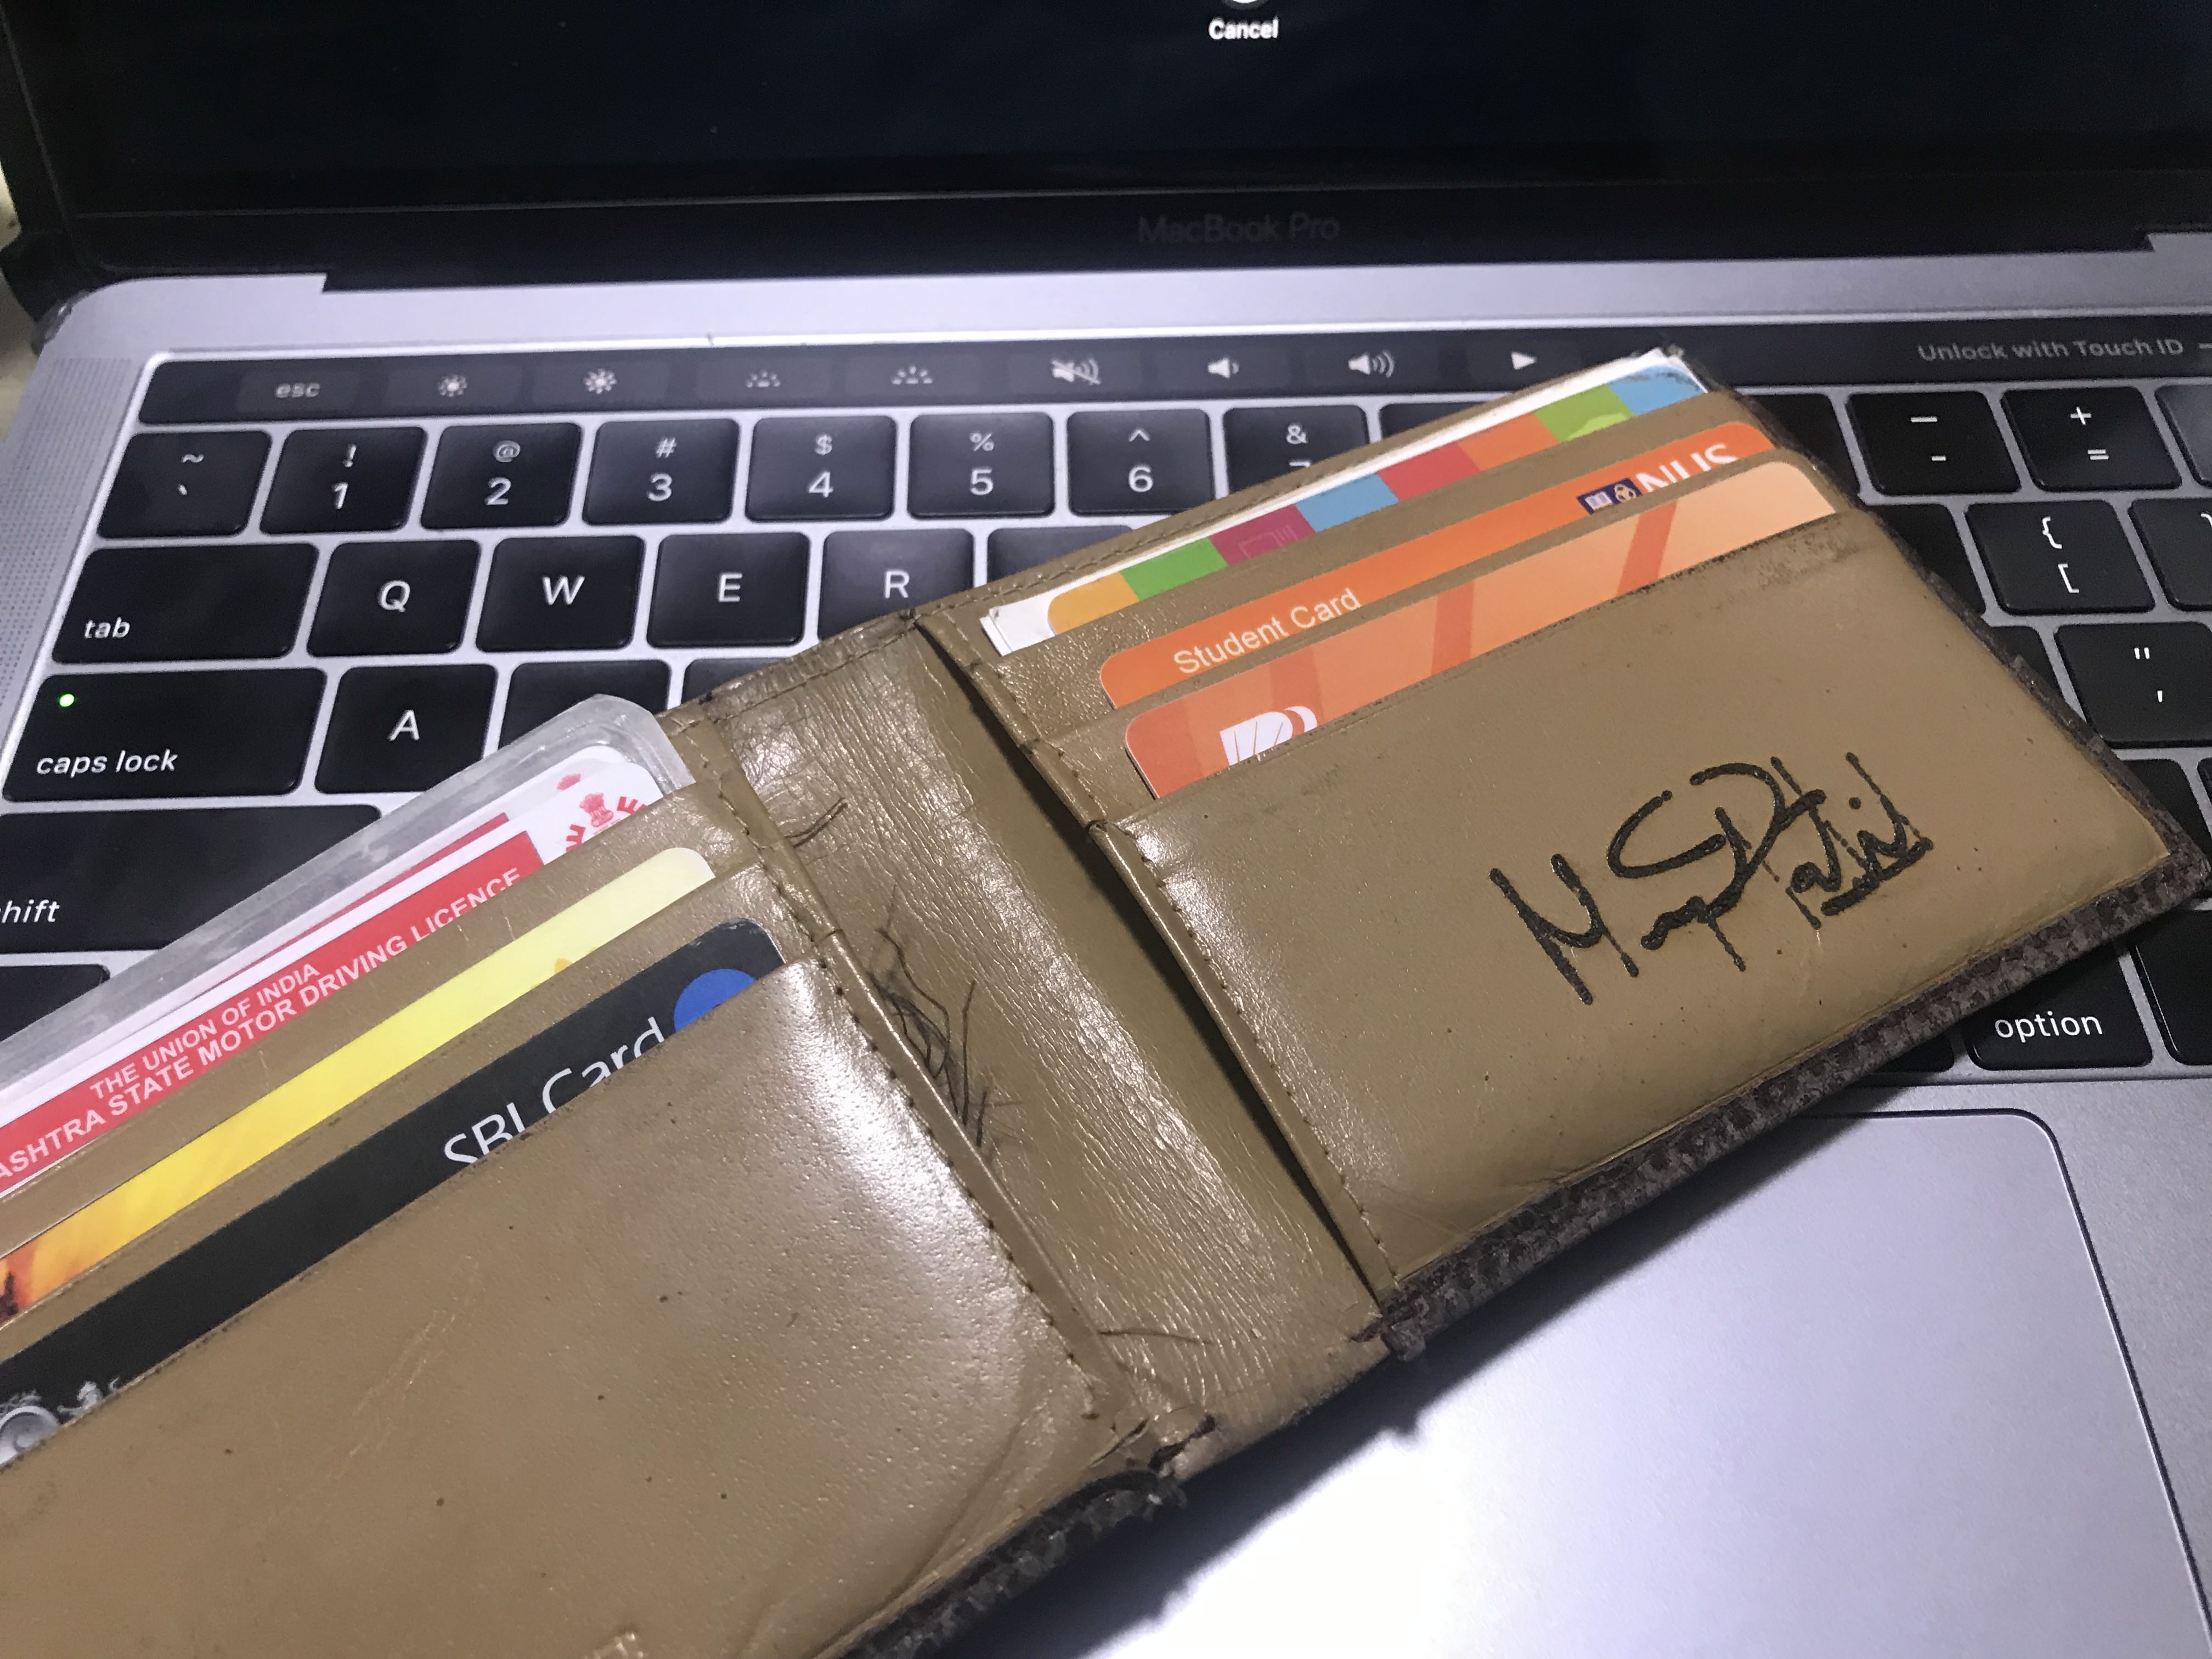
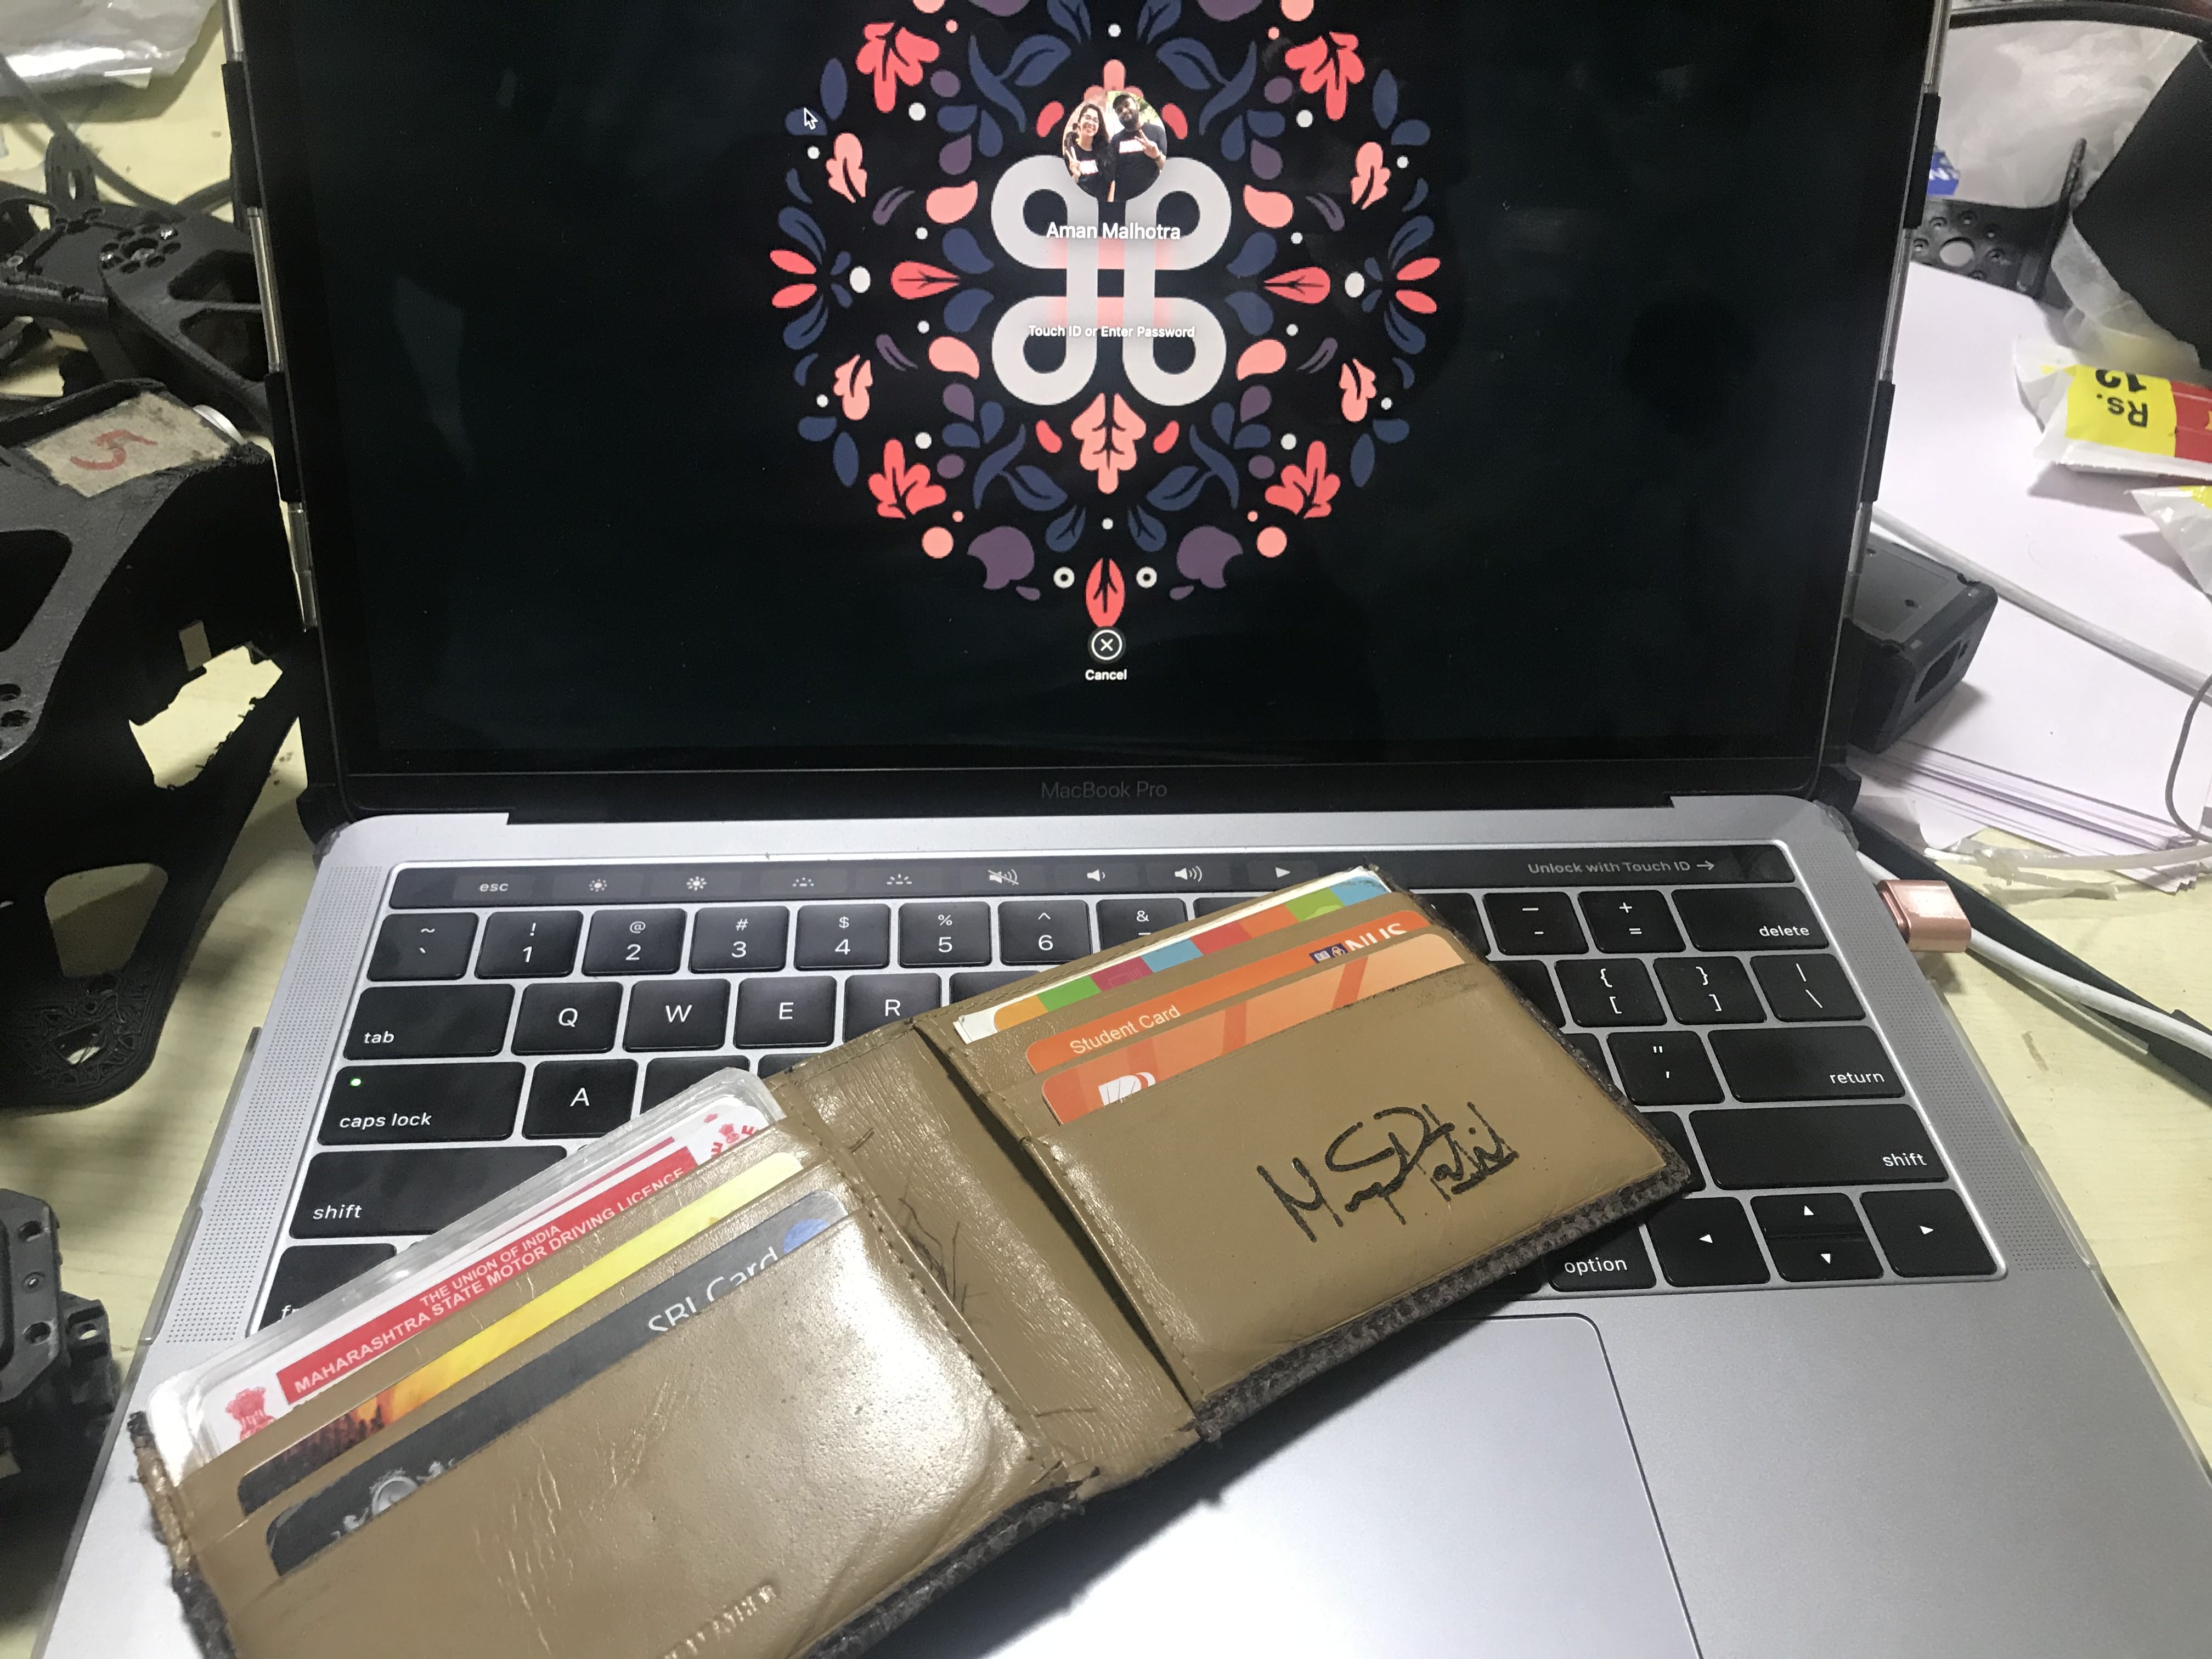
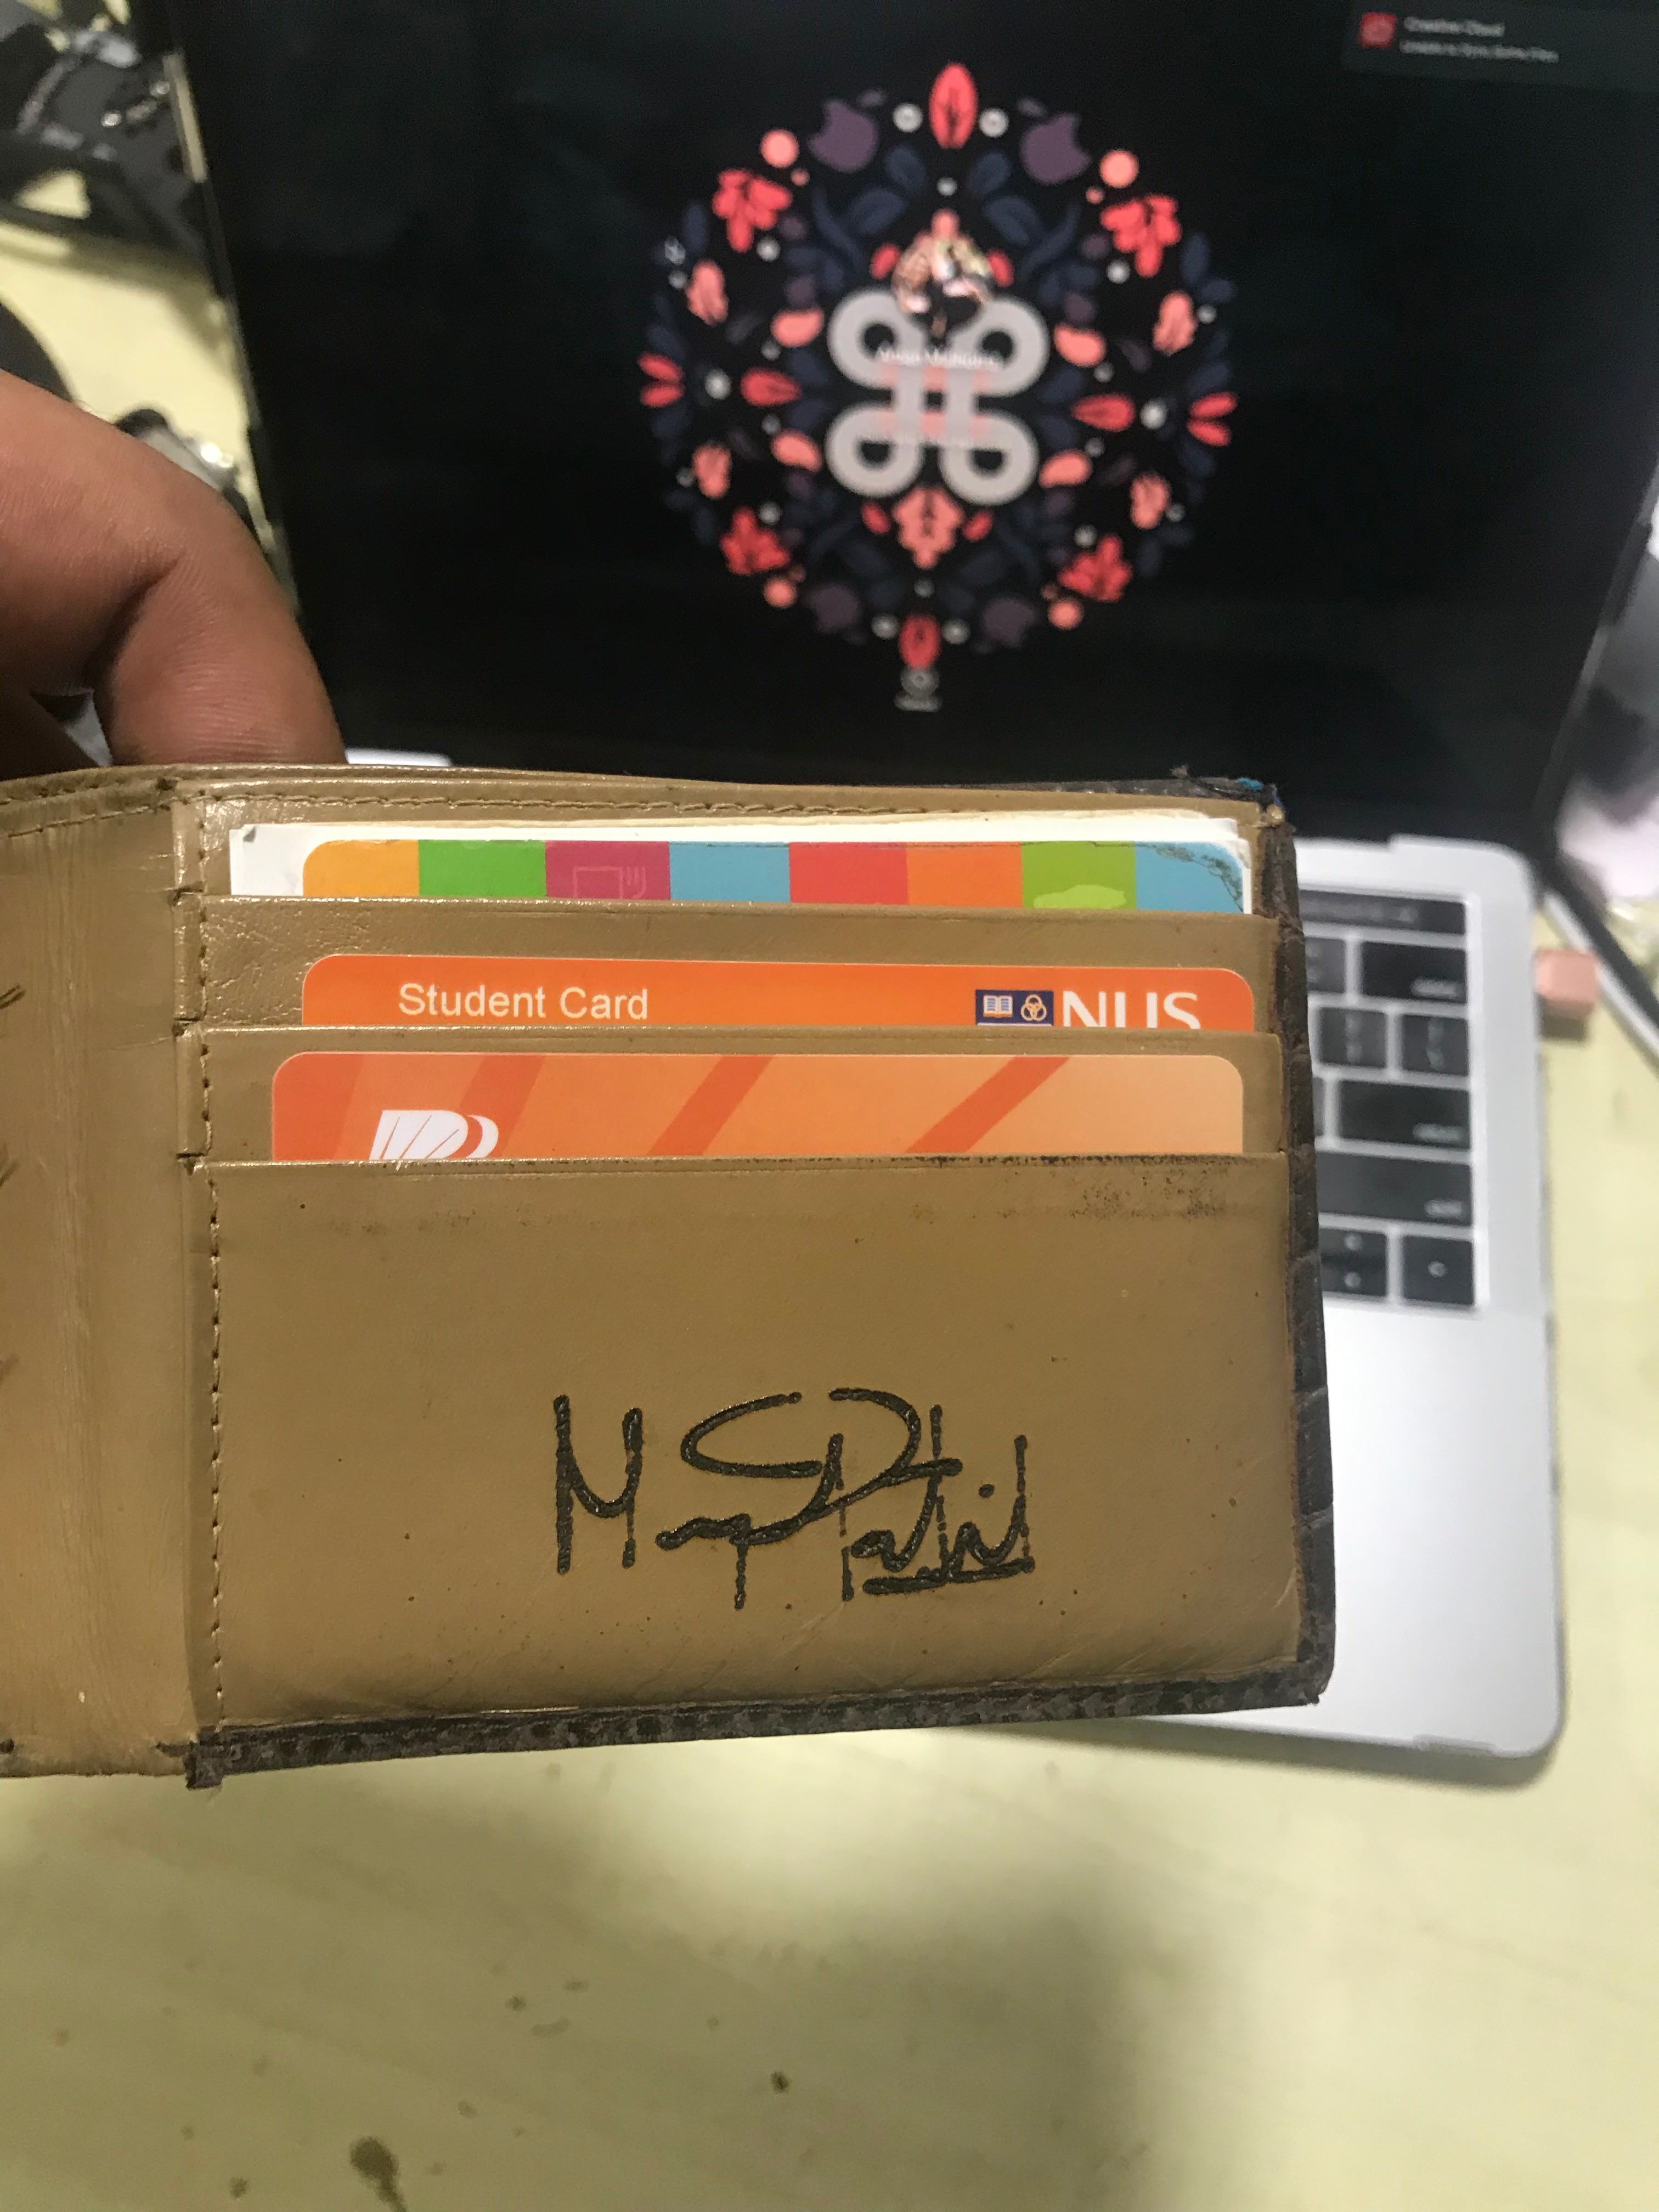
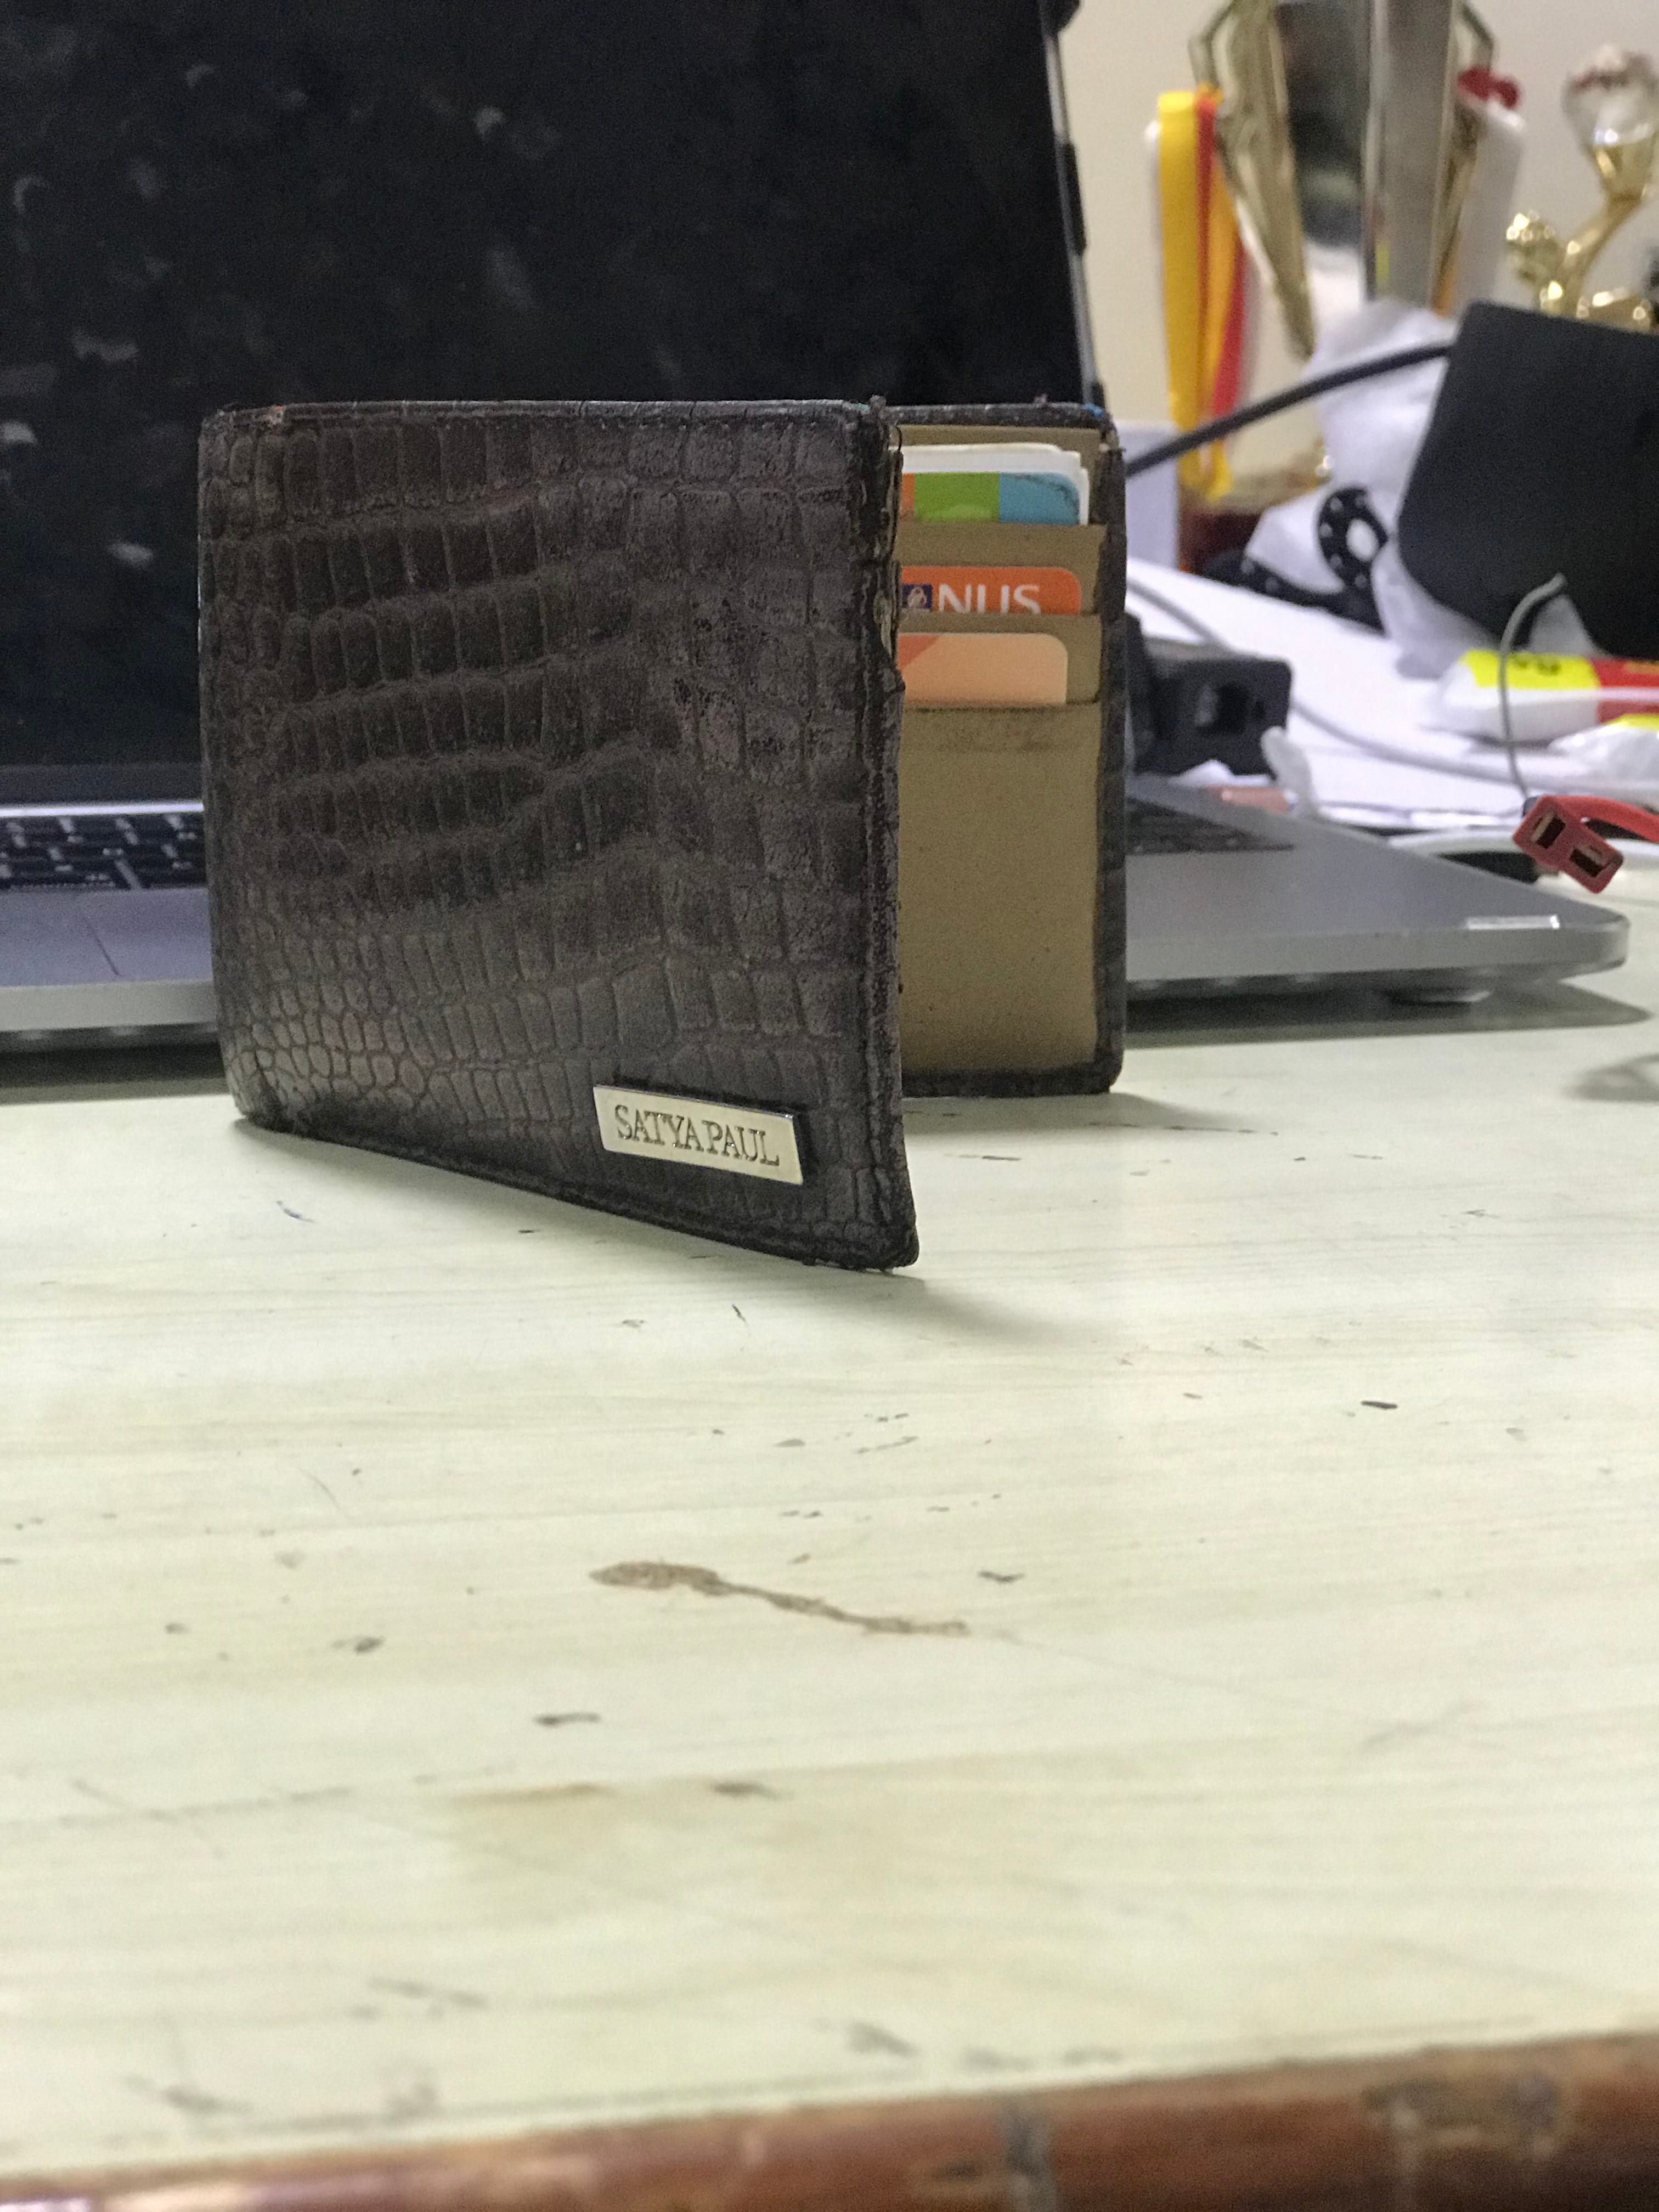
Finally, you get the result, which is amazing, hope you found my instructable helpful.