Customizable Stick Shift Knob
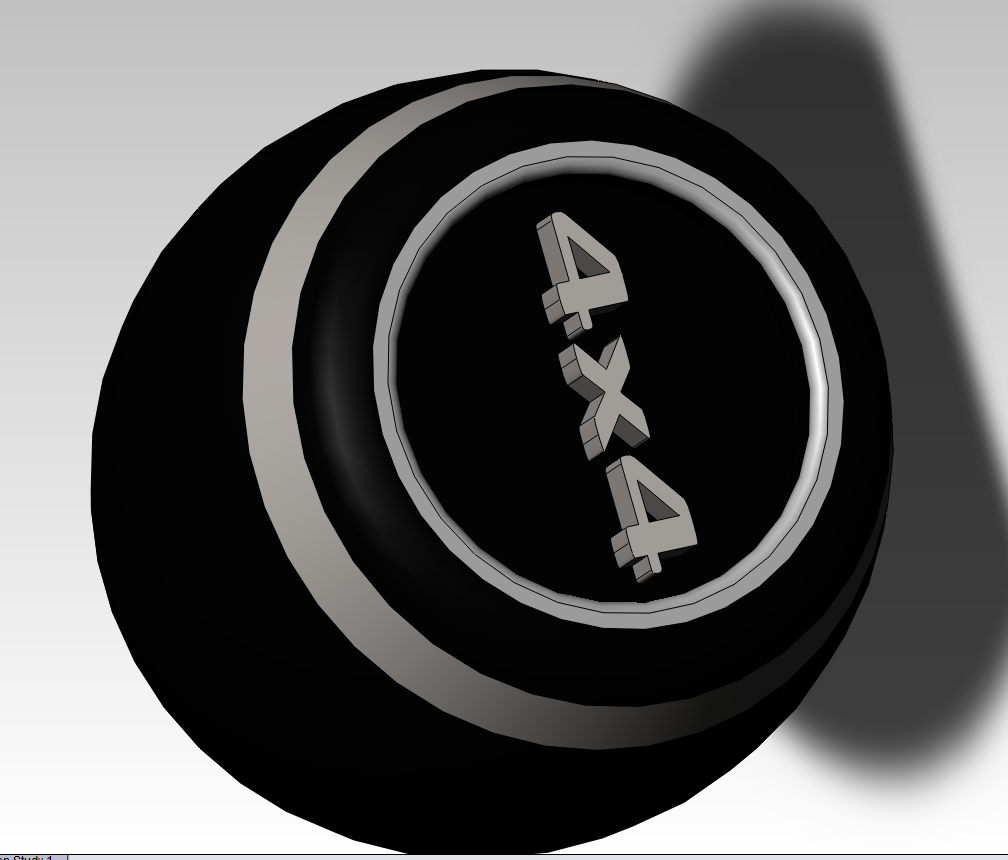
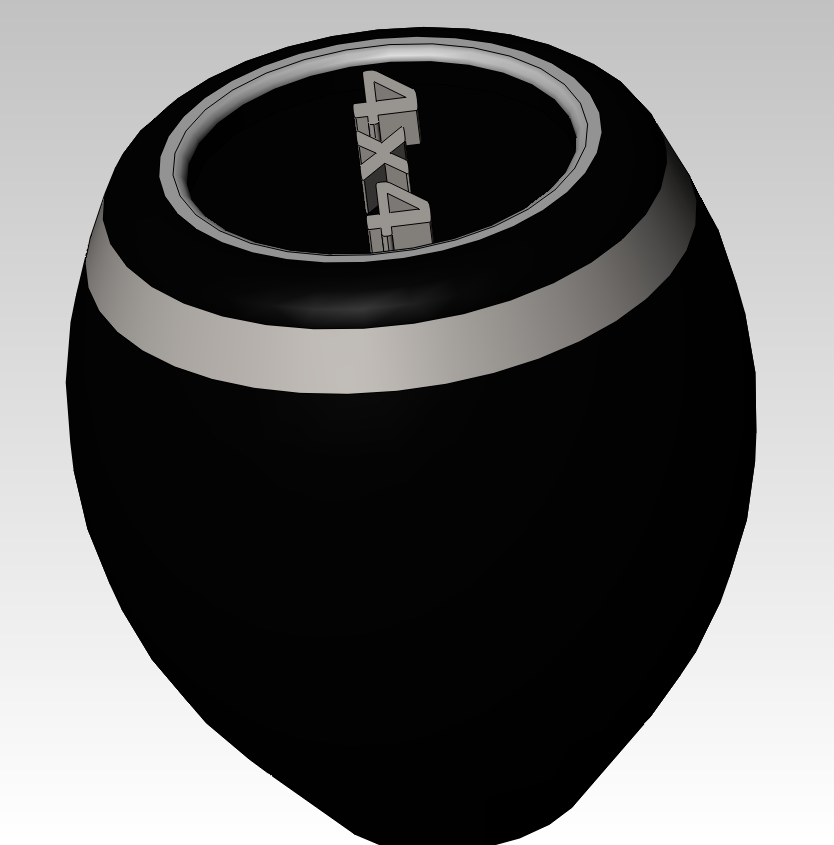
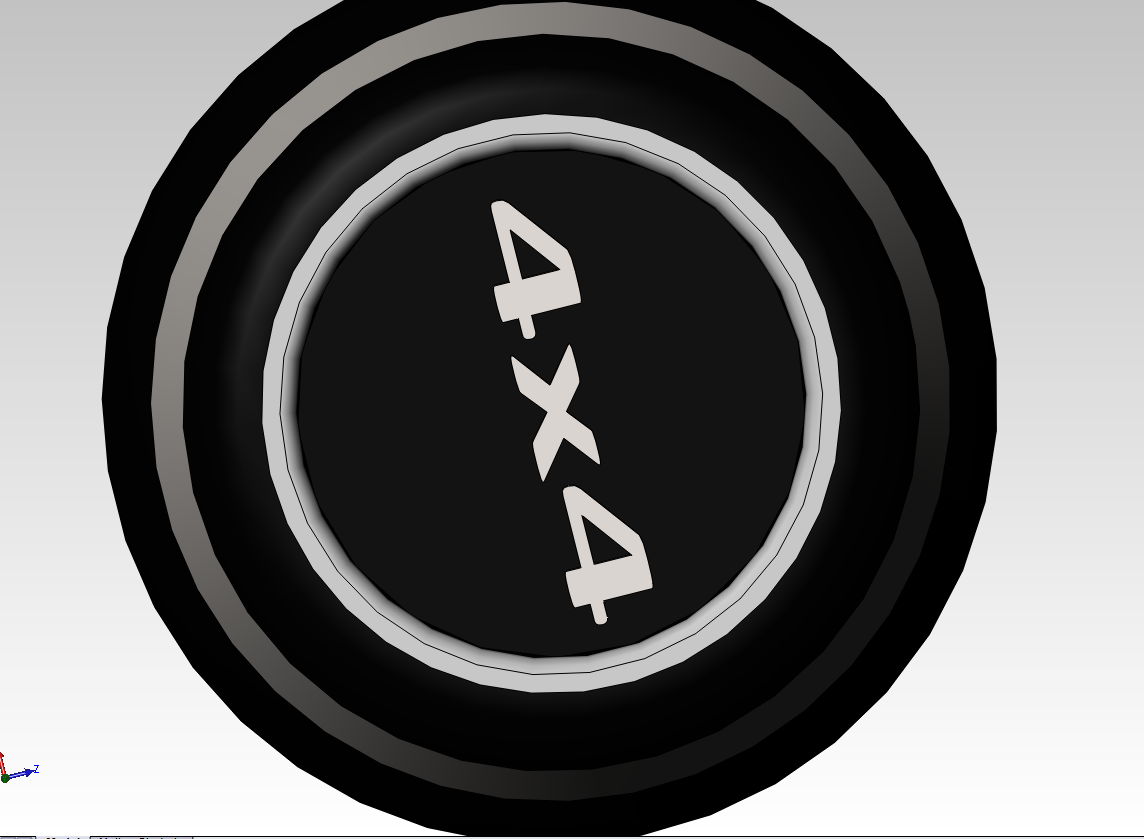
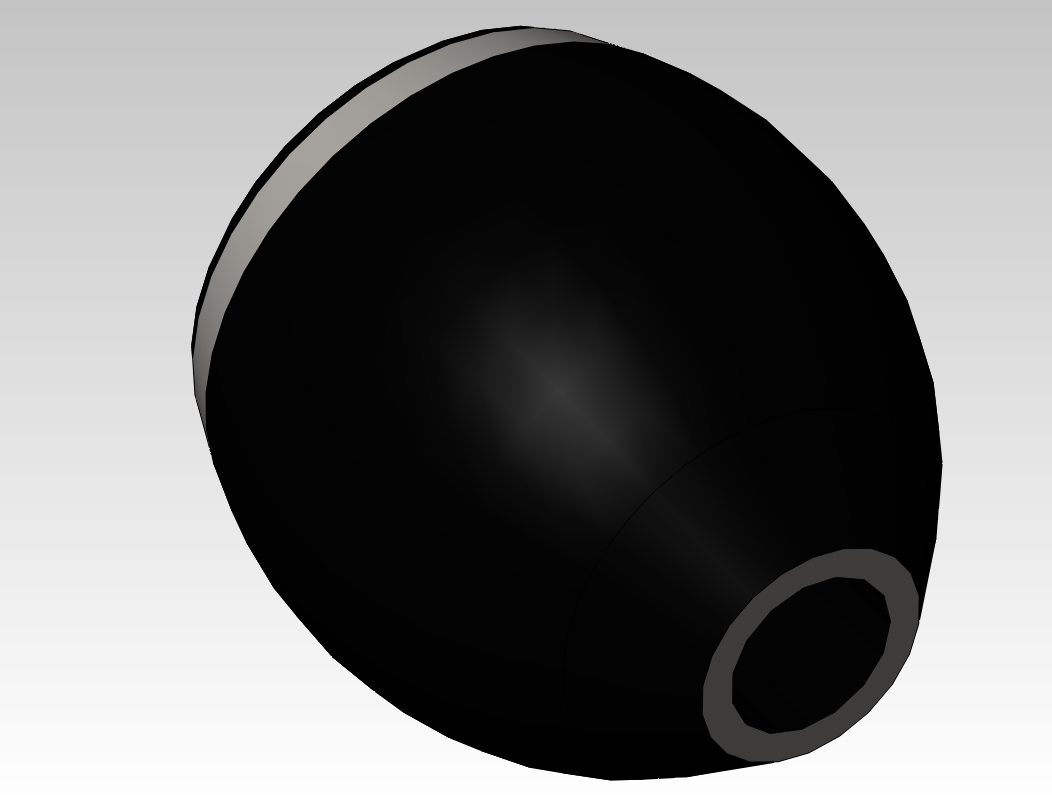
This instructable is about how to make a customizable stick shift knob. On the top of the knob, you can add anything you want. I chose to make it say 4x4. You can also color it however you want. It can be made by a 3D printer, or a CNC Machine.
Making the Base Knob Part 1
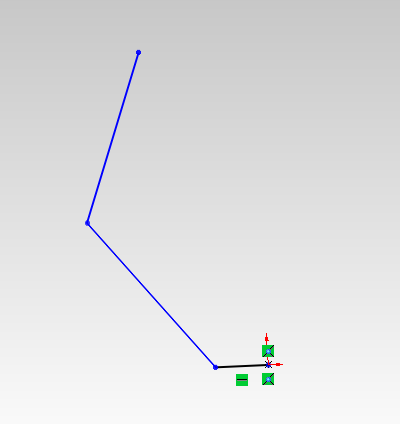
select front plane
select sketch
make a line .6in long to the left of the origin
then make a line that is 23.34 mm long,going up at a 130 degrees
from the end of the previous line, sketch another line49.29724908mm long up and to the right of the line
the angle should be 98.3601861.
select sketch
make a line .6in long to the left of the origin
then make a line that is 23.34 mm long,going up at a 130 degrees
from the end of the previous line, sketch another line49.29724908mm long up and to the right of the line
the angle should be 98.3601861.
Making the Base Knob Part 2
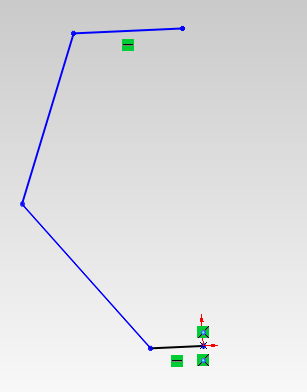
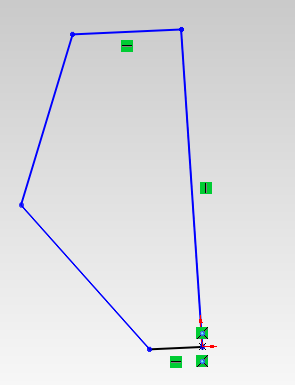
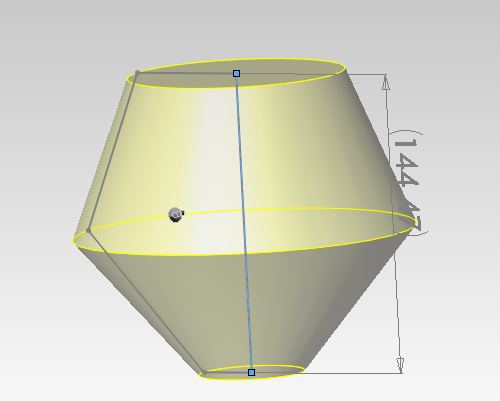
Next, sketch a centerline up from the origin 86.6861202mm long ( don't pay attention to the 144mm)
after that, connect the third line and center line endpoints via another line.
now, exit sketch and click revolves and sweeps
Select the centerline.
selcet the green check
after that, connect the third line and center line endpoints via another line.
now, exit sketch and click revolves and sweeps
Select the centerline.
selcet the green check
Making the Knob Round/ Filleting the Edges
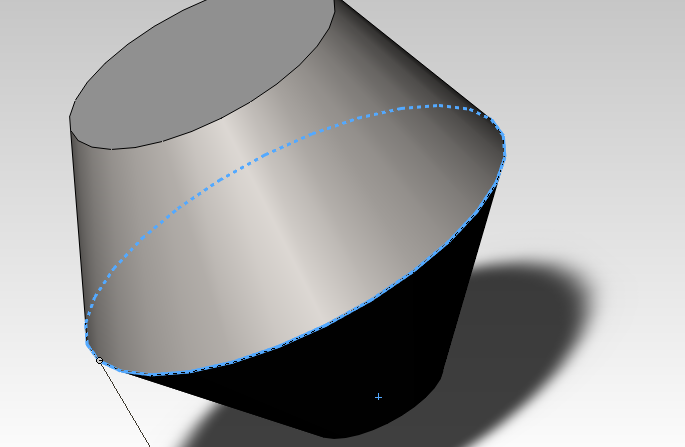
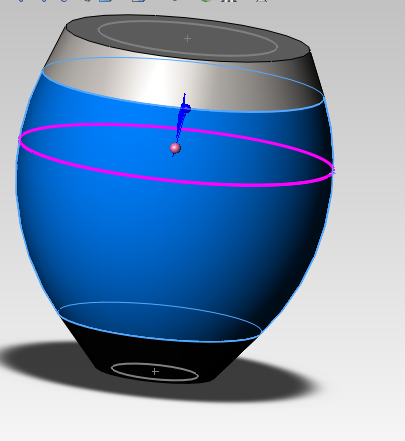
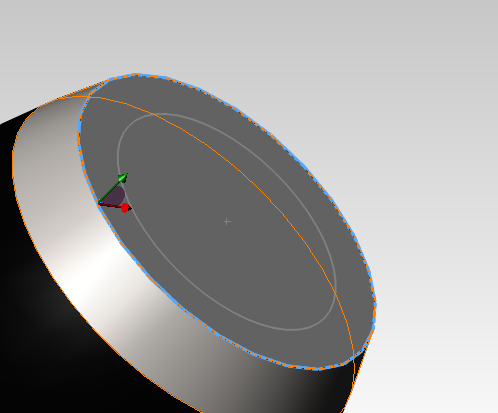
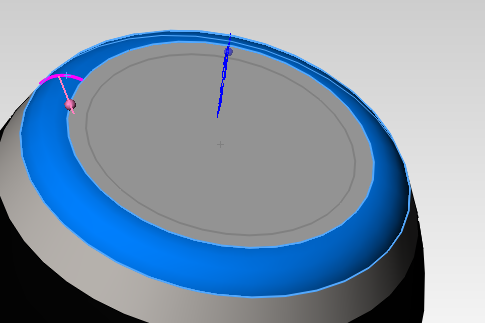
next, select fillet
select the intersection of where the two lines meet on the side of the object
make th fillet 60.96mm long
next, fillet the top( bigger circle) to 7.62mm
select the intersection of where the two lines meet on the side of the object
make th fillet 60.96mm long
next, fillet the top( bigger circle) to 7.62mm
Sketching the Top of the Knob
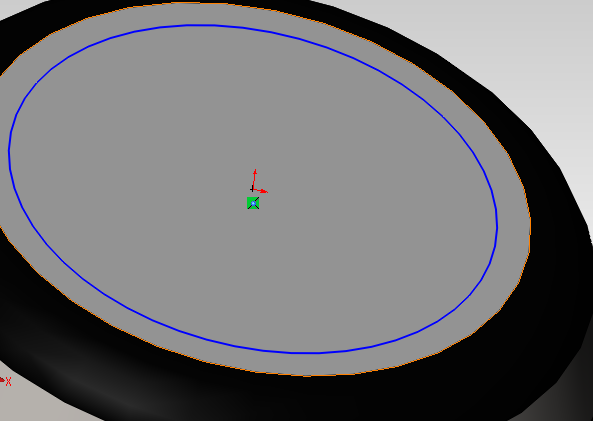
after that, selet the top face of the object.
select sketch
Select circle
sketch a circle with a radius of 22.94mm
exit sketch
select sketch
Select circle
sketch a circle with a radius of 22.94mm
exit sketch
Creating the Indent for the Words/ Filleting the Edges
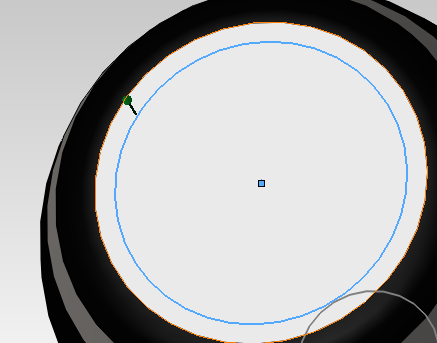
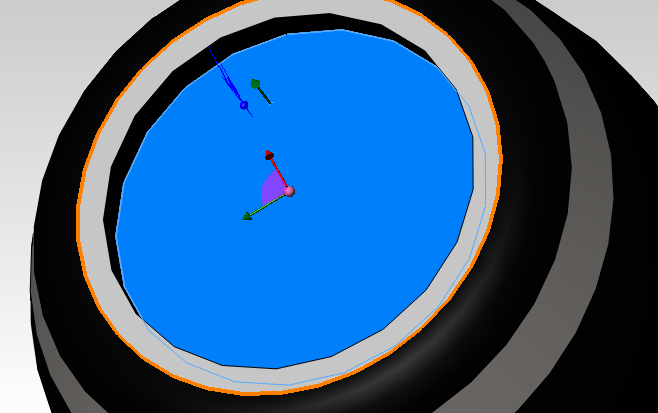
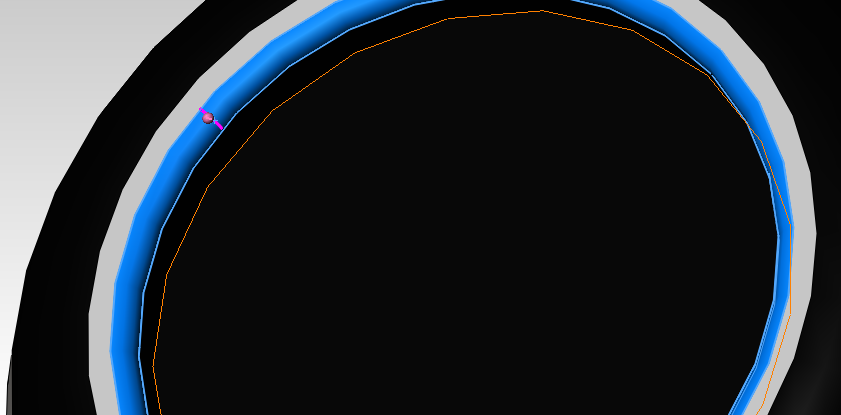
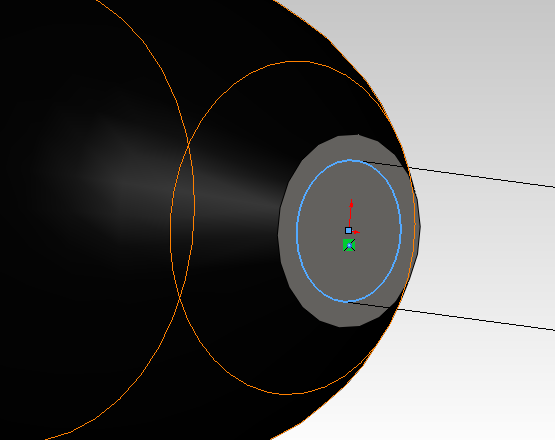
select extrude cut on the features toolbar
extrude cut the circle 4.572mm deep
then fillet the new edge to1.524 mm long
go to the bottom of the stick shift knob and select it
sketch a circle with a radius of 4.375in
exit sketch
extrude cut the circle 4.572mm deep
then fillet the new edge to1.524 mm long
go to the bottom of the stick shift knob and select it
sketch a circle with a radius of 4.375in
exit sketch
Creating the Base for the Knob/ Hollowing the Knob Out
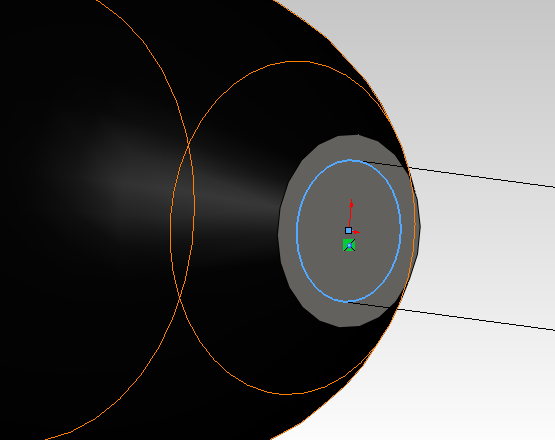
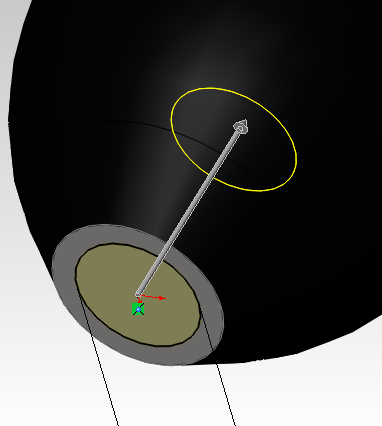
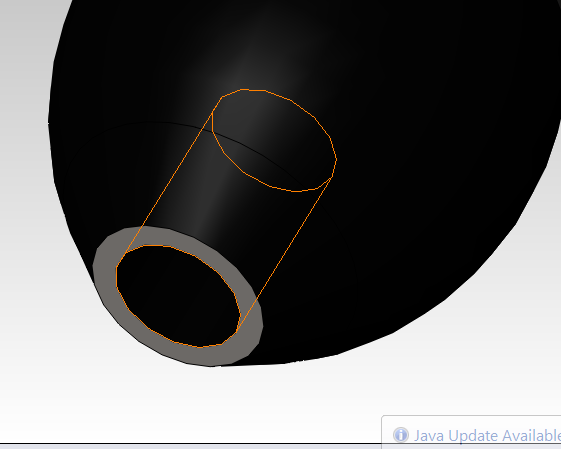
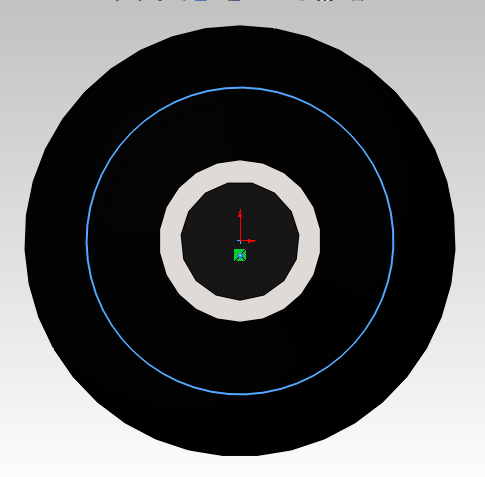
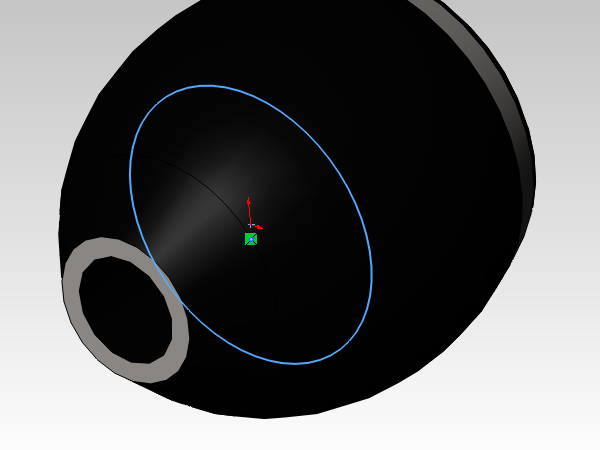
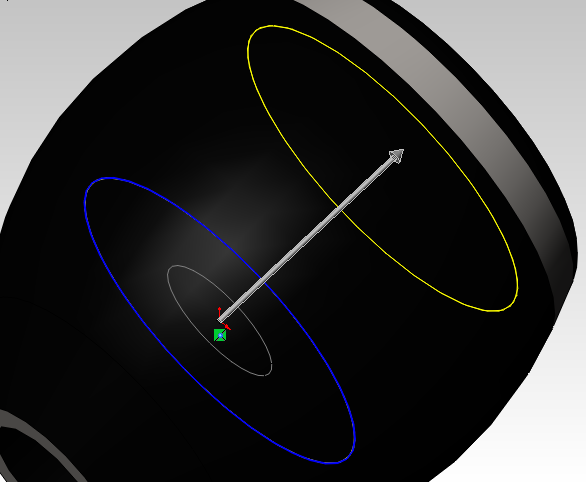
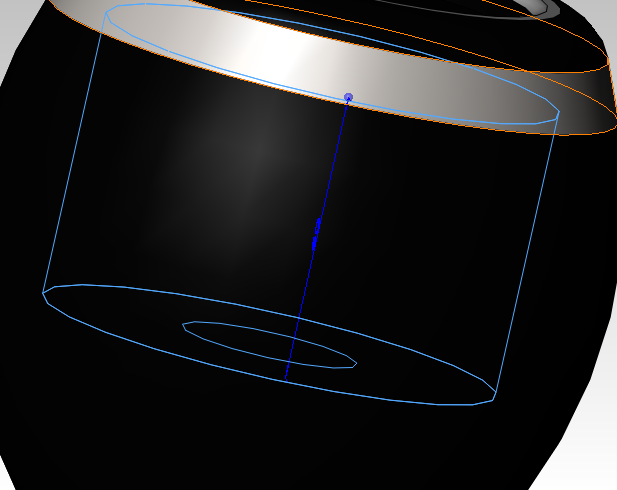
select extrude cut
select the cicle you just made
make the cut 1.5 in deep
next, select the end of the cut-extrude-5( the one you just did), and enter sketch
sketch a circle with a radius of 1.134in
exit sketch
select the circle you just made
click on extrude cut
extrude cut the circle to 1.58in
select the cicle you just made
make the cut 1.5 in deep
next, select the end of the cut-extrude-5( the one you just did), and enter sketch
sketch a circle with a radius of 1.134in
exit sketch
select the circle you just made
click on extrude cut
extrude cut the circle to 1.58in
Customizing the Stick Shift Knob
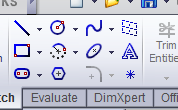
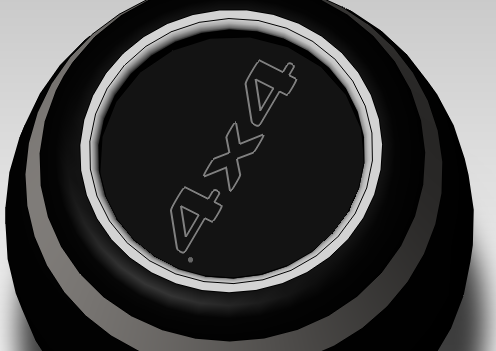
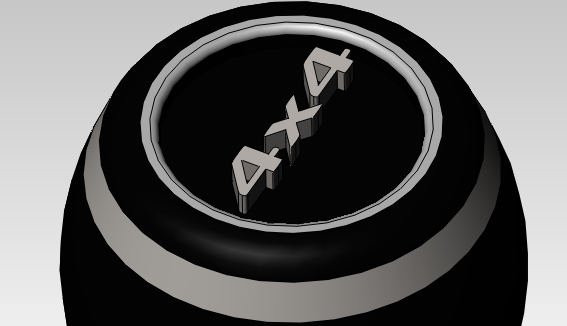
to customize words
select Cut-Extrude2 (the circle on top)
enter sketch
select Text (the "A")
clear "Use document font"
click font
select which font to use
select font style
enter custom text
make the text the size you want
center the lettering by clicking on the sketch face
press the green check
to customize color:
go to appearances,scenes,and decals
select what color you want/what type of meltal/rubber/plastic appearance you want depending on your machine.
to color the object, selet the type of color/ appearance you want, and click/select the area you want
Your Product Is Now Finished!
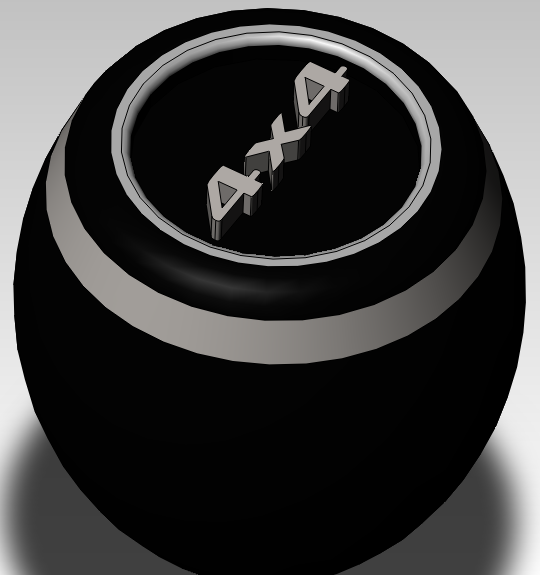
Congradulations, you have now finished this instrucatable. I hope you enjoy your finished product!