Customizable Planter - Fusion 360
by 260267 in Living > Education
681 Views, 0 Favorites, 0 Comments
Customizable Planter - Fusion 360
I chose this project because Father's Day is coming up and I wanted to make something for him. This project is not very difficult although it helps to know all of the essential tools.
Sketch 1
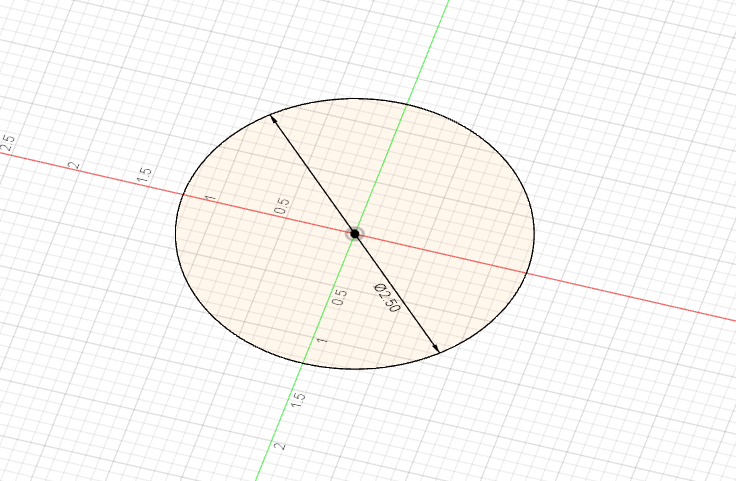
The first thing you want to do is make a center diameter circle on the origin point and make it as big or small as you want. I gave mine a diameter of 2.50 inches.
Offset Plane

After you sketch the circle you need to create an offset plane. The distance from the circle can be however tall you want it but I made mine 3 inches.
Sketch 2
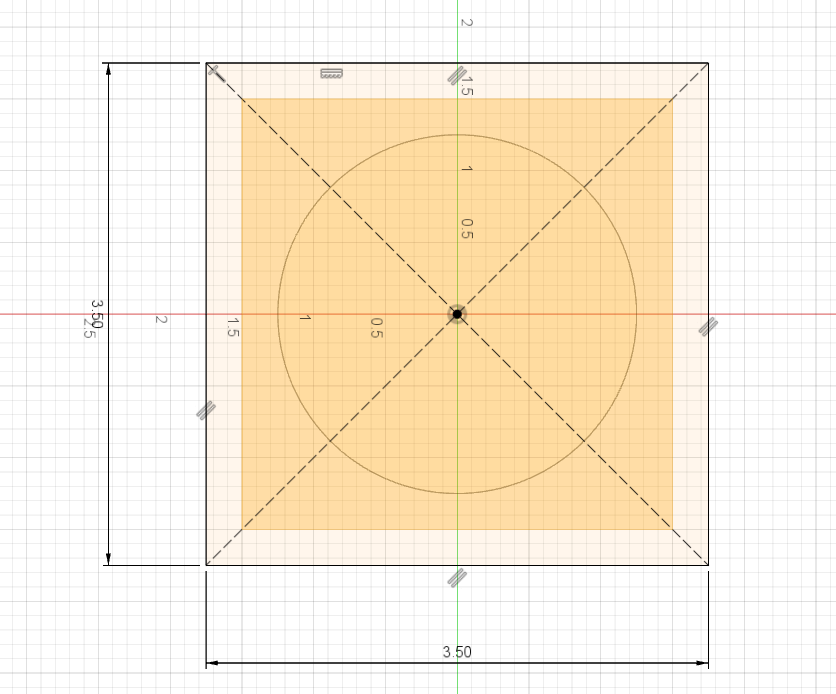
After you make the offset plane you need to make a 2 point rectangle on the plane. You can make this how big or small you want but I made mine a 3.50 inch x 3.50 inch.
Loft
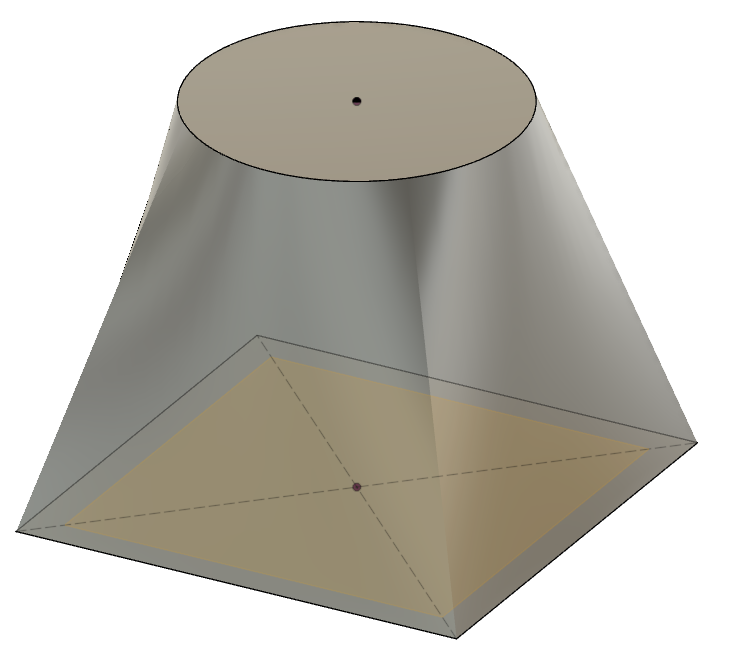
Once you make the rectangle you need to loft these two shapes. You do that by going into the create drop-down and selecting loft.
Fillet
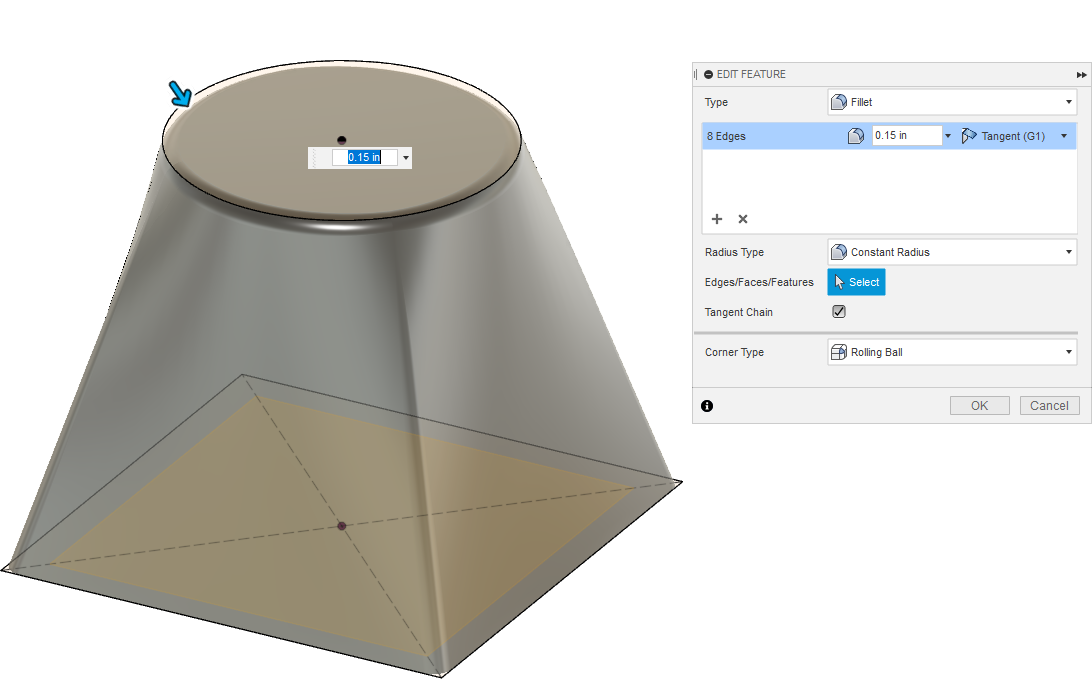
I decided to fillet the main edges by 0.15 inches to give it a more clean look.
Hole
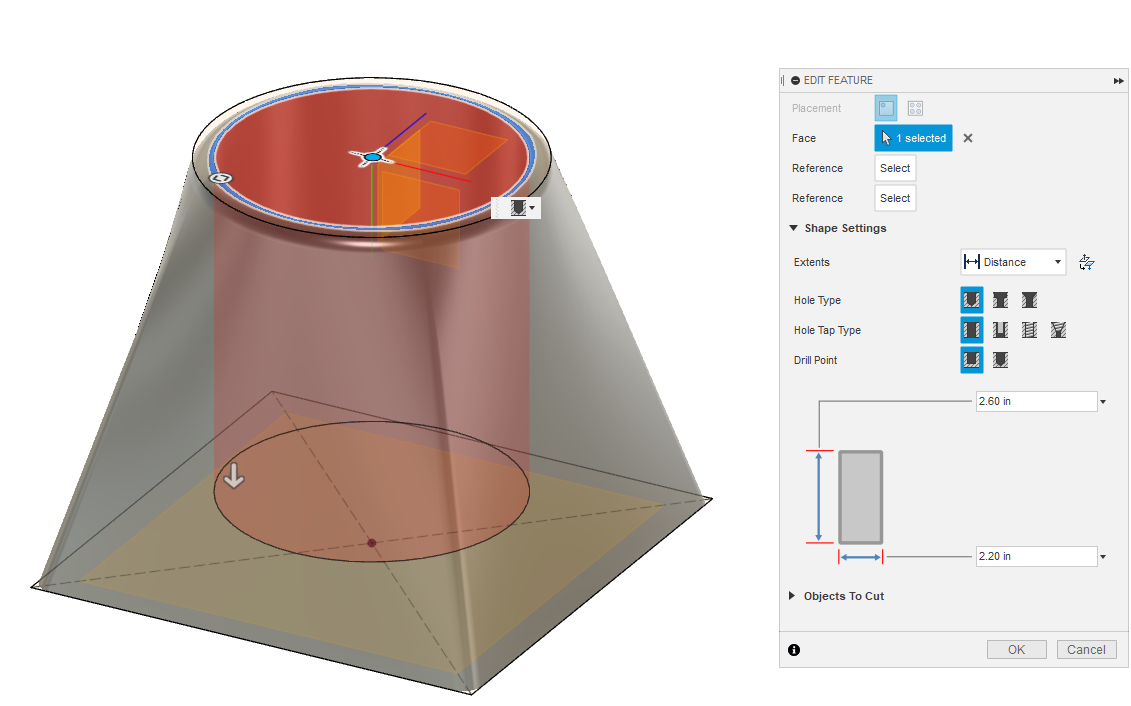
To give a spot for the soil and plant I used the hole and shaped it to fit to the edges and then made it go down 2.60 inches.
Phrase
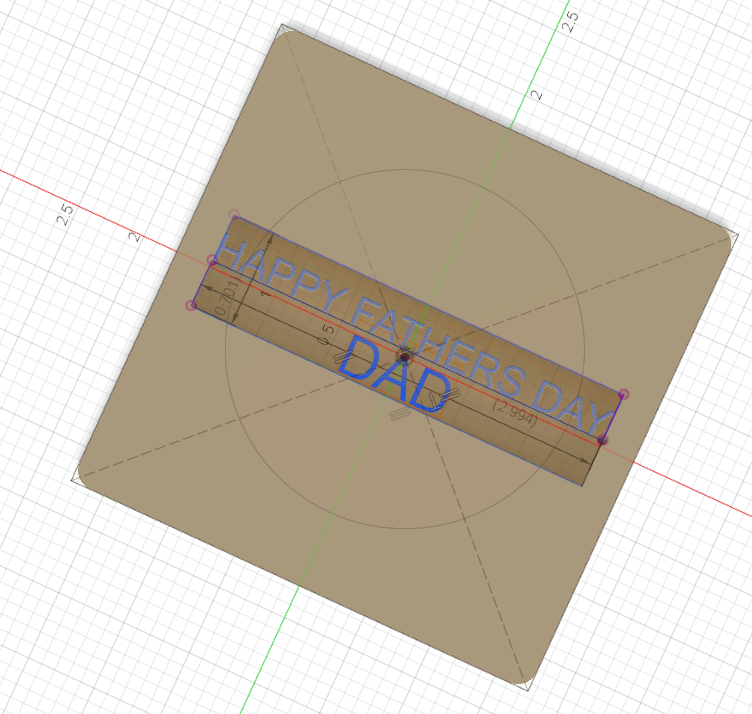
After I holed the planter I turned it to the bottom and made a sketch to fit text in. I used a rectangle and extuded it inwards to write text and extrude that. You can write anything, I put Happy Father's Day Dad.
Offset Plane 2
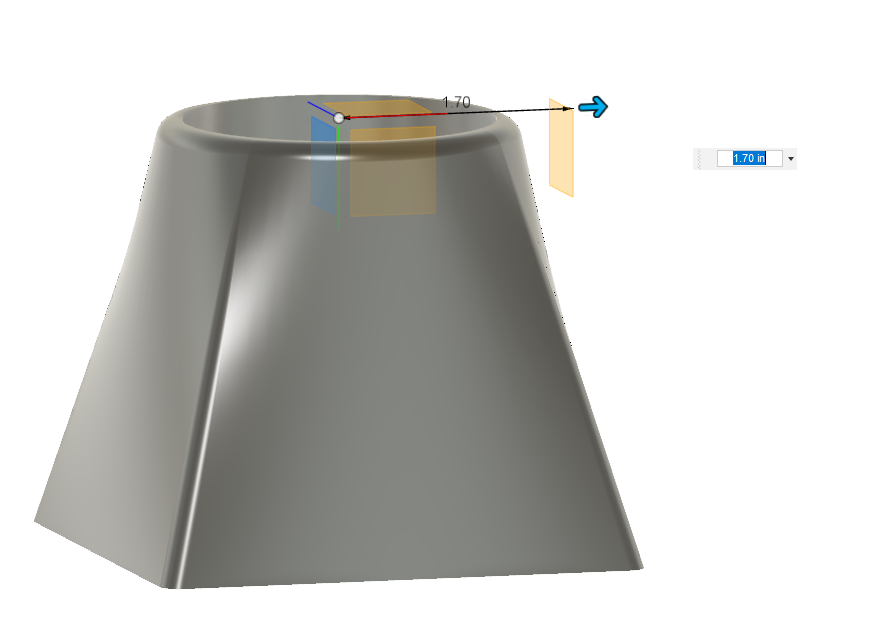
To start on the face I made an offset plane and made it go 1.70 inches away from the orgin.
Sketch
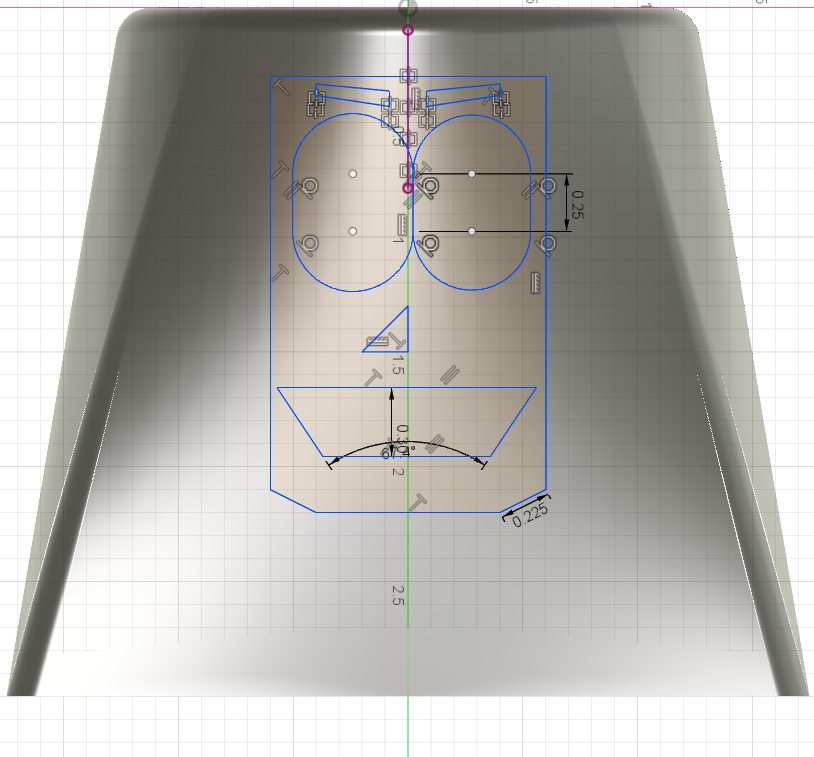
After you make the offset plane make a sketch on it and then make whatever face you want. I made this face.
Extrude
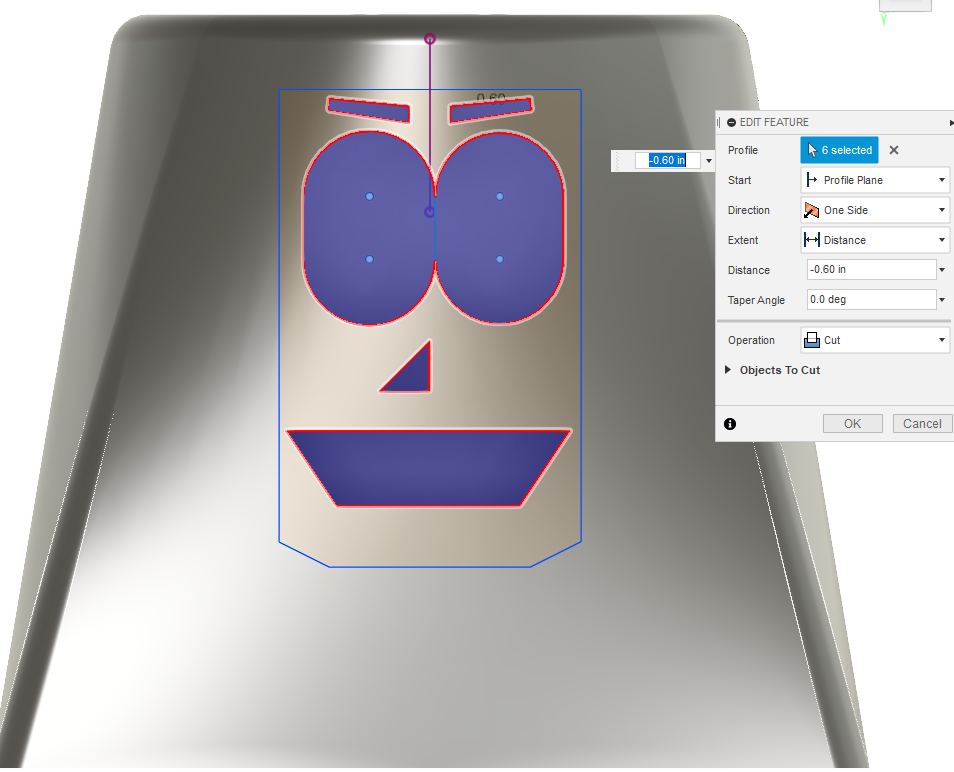
Extrude the face you made in the sketch. I chose to cut it inwards but its could also be extruded outwards.
Offset Plane
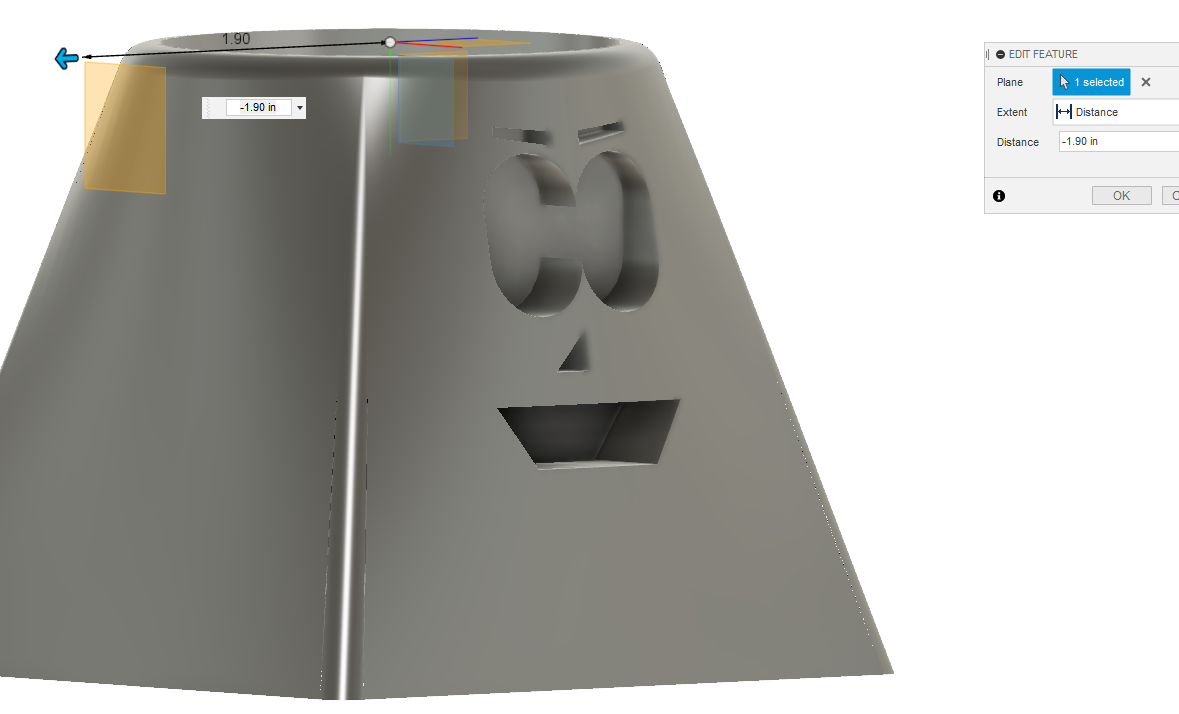
Make another offset plane on the XY axis. Then bring it our -1.90 inches.
Sketch
Then, using the offset plane we just made, make a sketch that resembles an arm. Make it however big you want.
Extrude
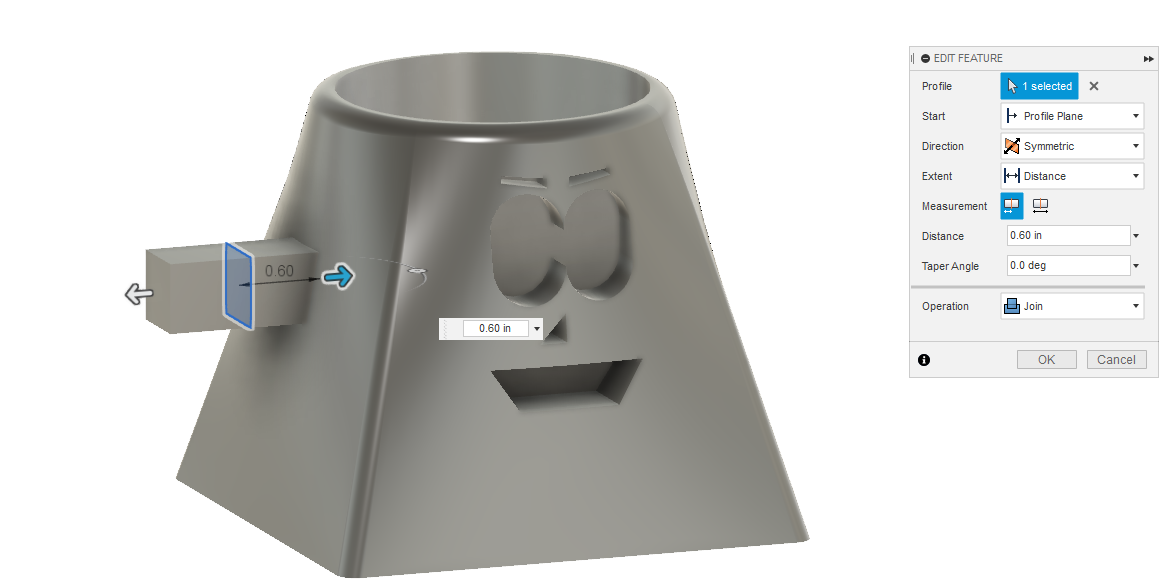
Then extrude that sketch by .60 inches.
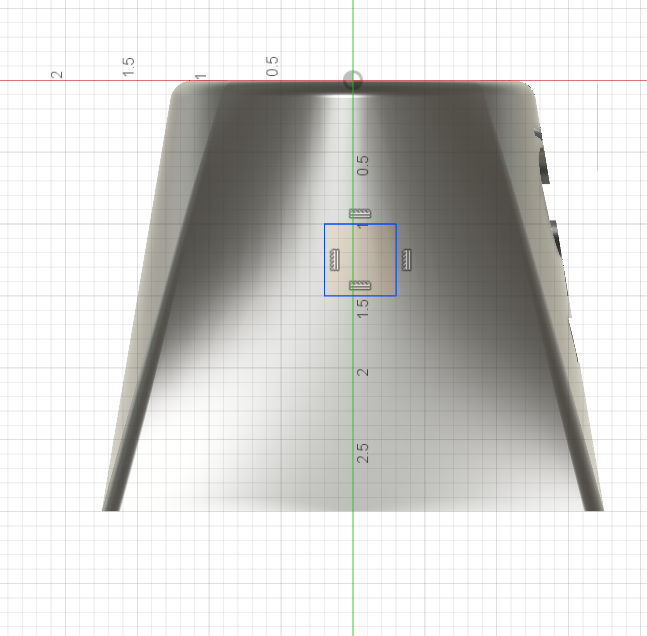
Sketch
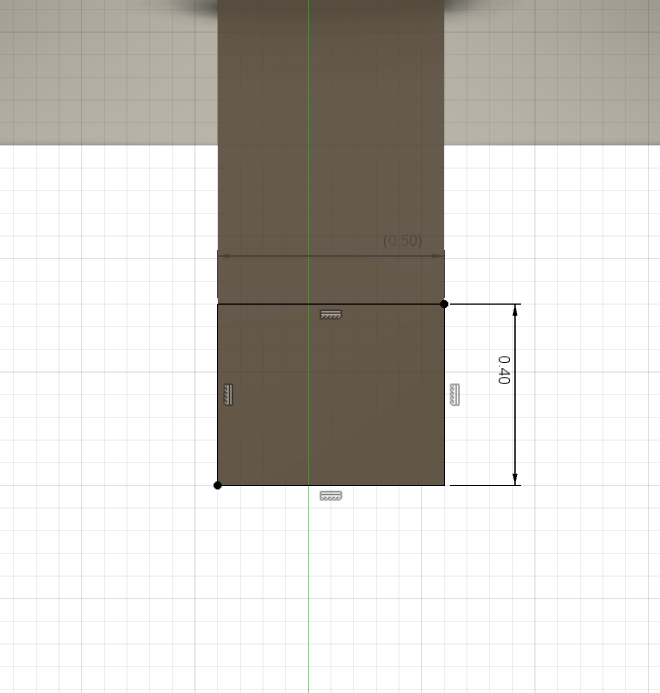
Then make another sketch on top of the arm that consists of a 2 point rectangle with the dimensions in the screen shot/
Extrude
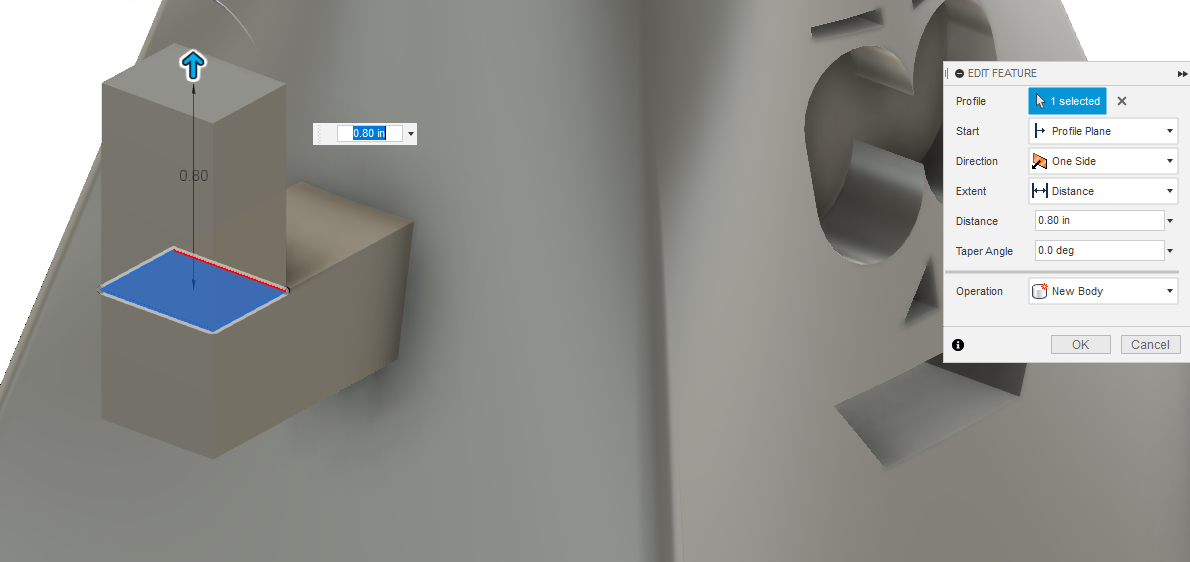
Then extruded that sketch by .80 inches. I also added a .30 in fillet on the corner of the arm.
Mirror
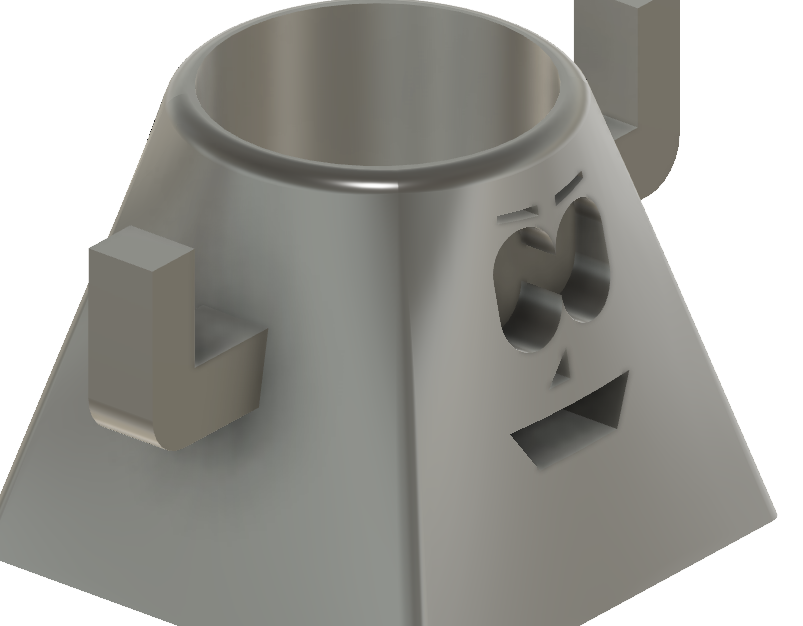
Then mirror the arms across the object to make them on both sides.
Fillet the Arms
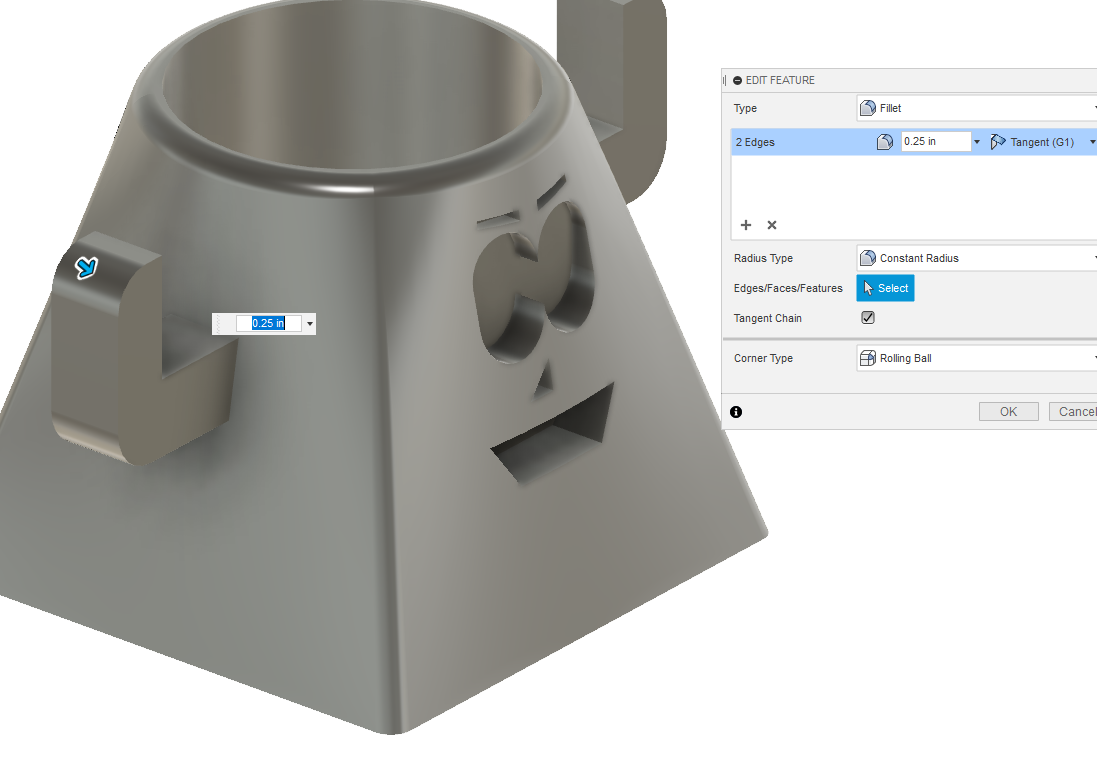
Finally fillet the top corner of the arms with a .25 in fillet.
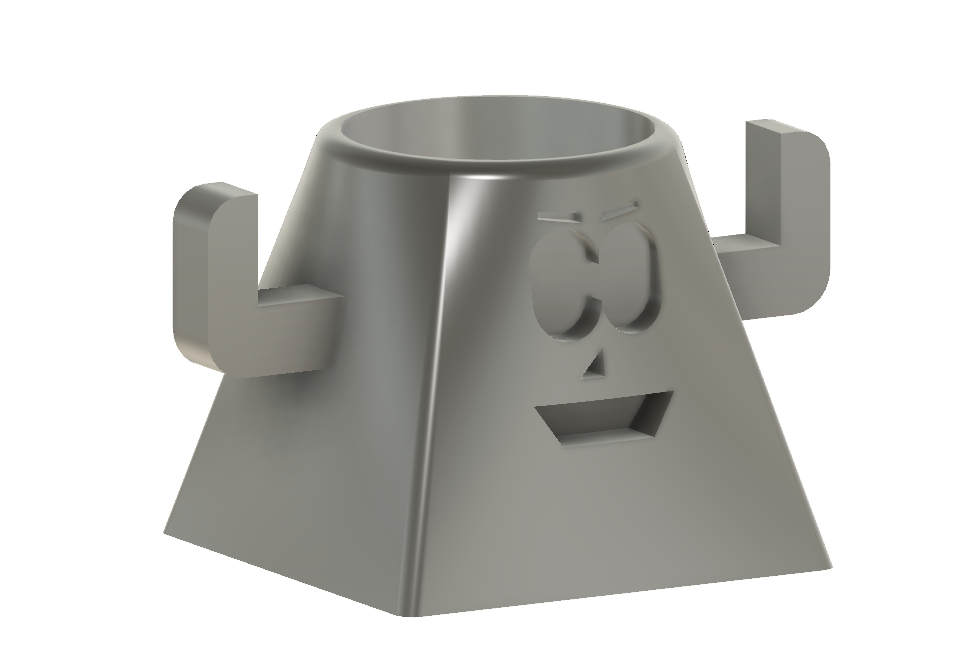
You're Done!

Enjoy your new planter box!