Customizable Mini Checkers Set - Laser Cut
by EpicE17000 in Workshop > Laser Cutting
292 Views, 1 Favorites, 0 Comments
Customizable Mini Checkers Set - Laser Cut
.JPEG)
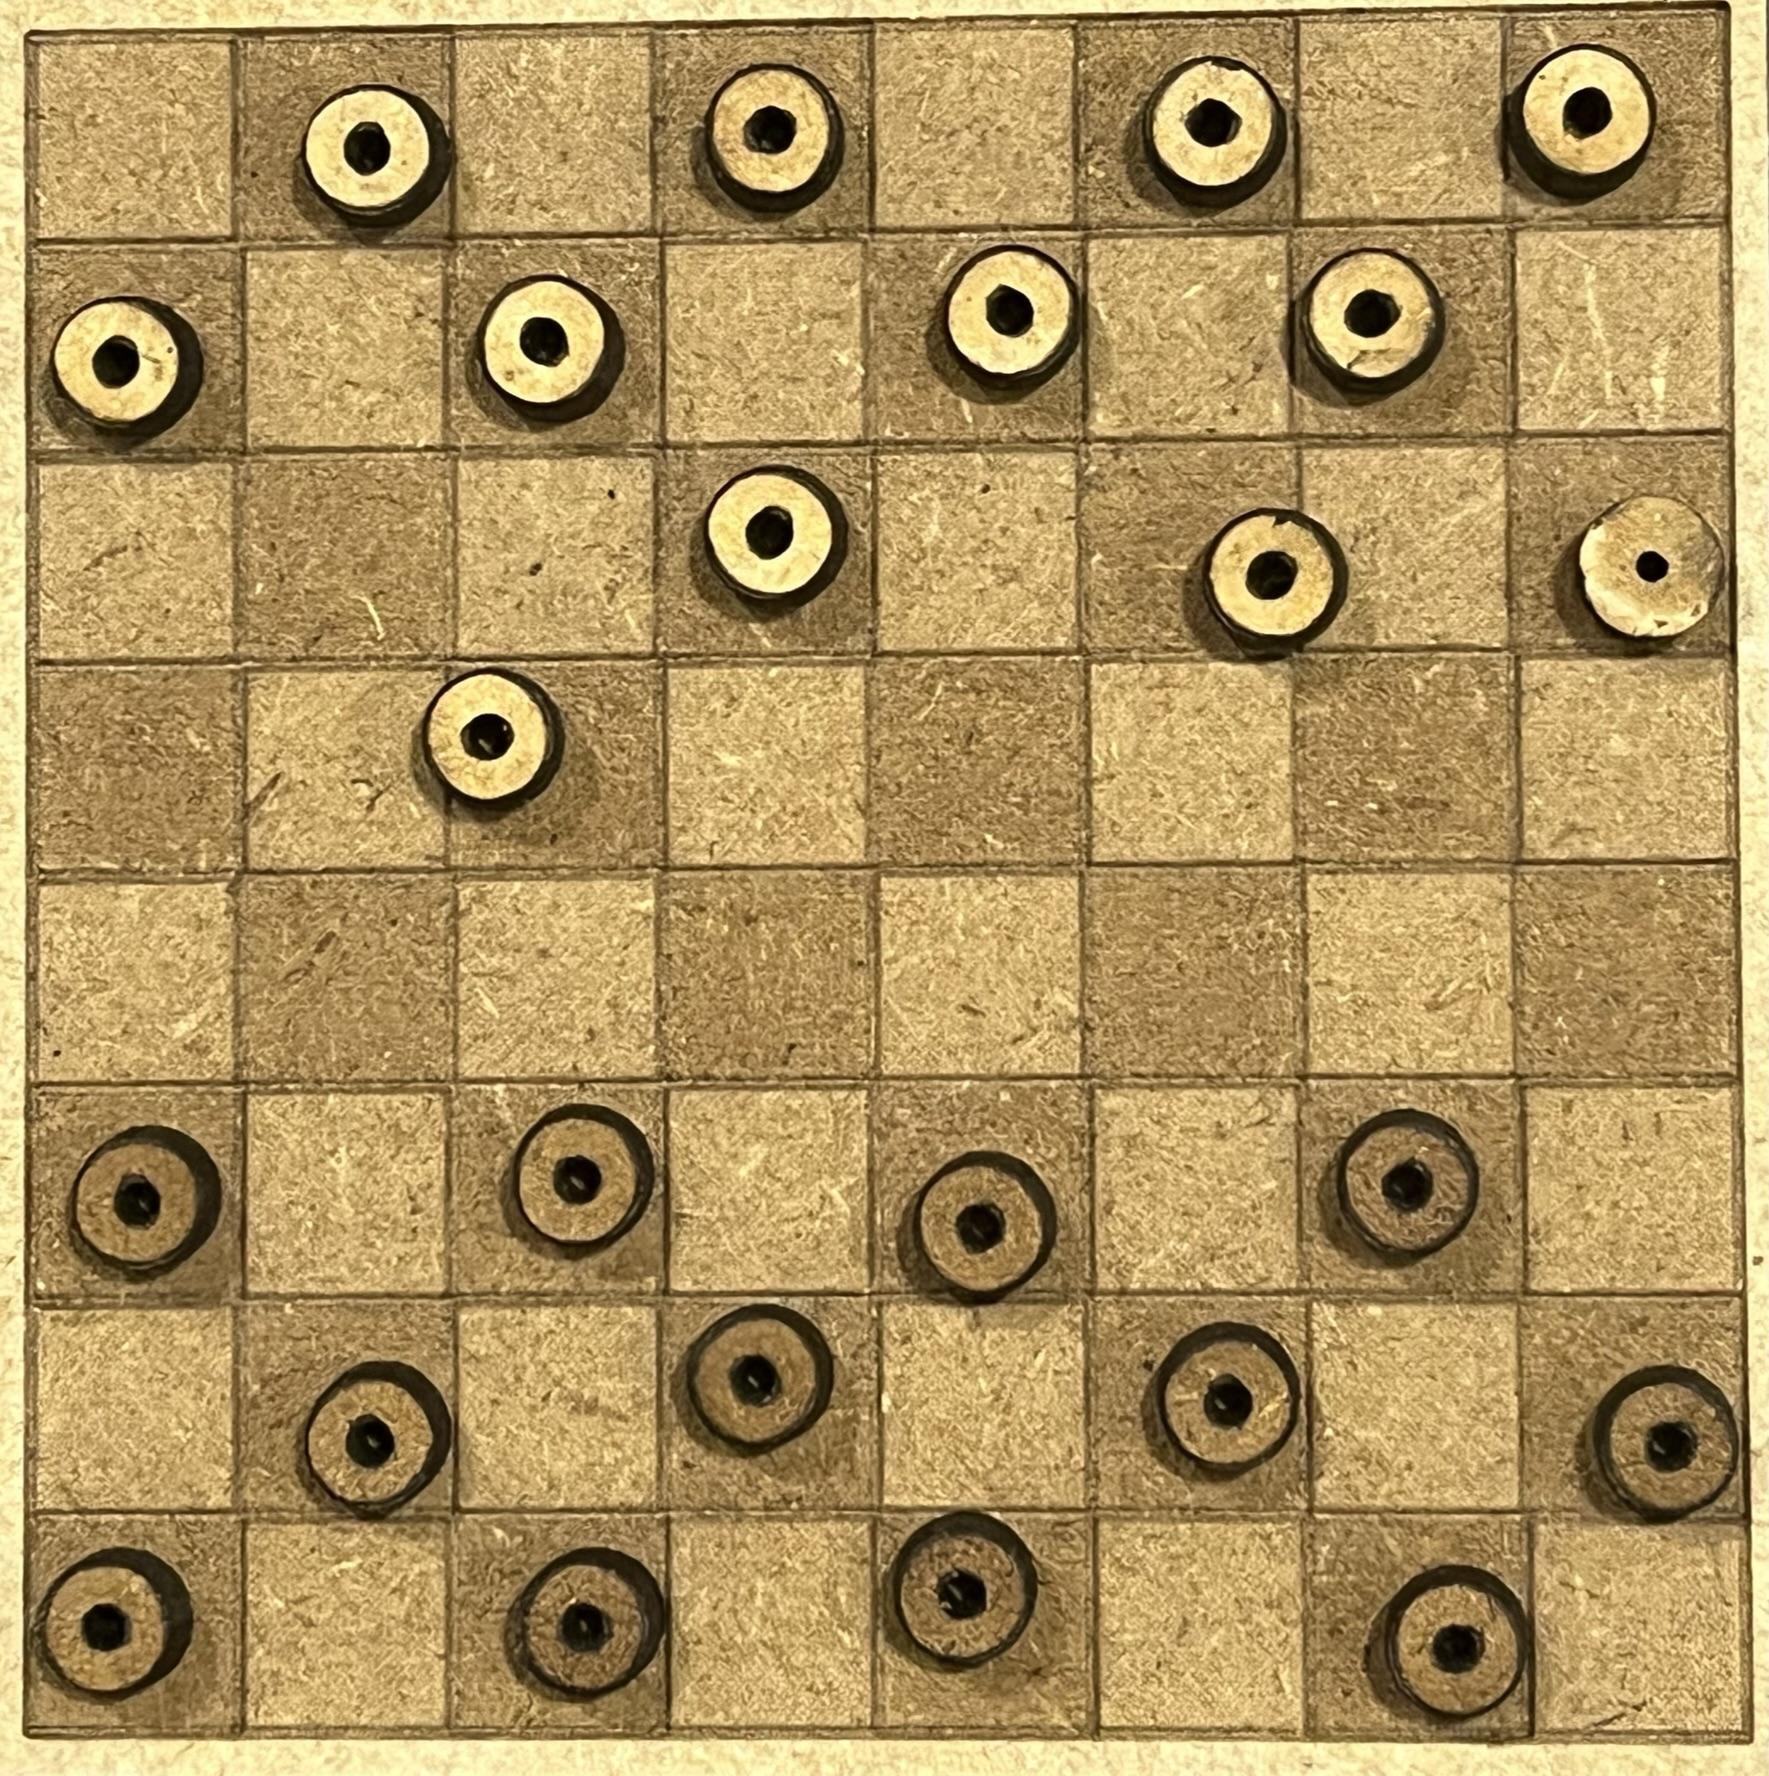
For this project I used Medium Density Fiberboard (MDF) and a laser cutter to create an inexpensive and easy to make checkers set. The best thing about this project is that it's a great way to learn not only how laser cut, but about Autodesk's Cad software as well. Additionally, there's room for customization and creativity in almost every step of the design process. As a student attending high school, I had quick and easy access to both a laser and MDF for free and was able to create this project at no cost whatsoever. For others however, many libraries also offer access to a laser cutter that can be used for free, and MDF can be ordered online for a cheap price, as low as $3.75 depending on how much you buy, and what current sales there are. This project is a great educational exercise and also creates a great gift for friends or family!
Supplies
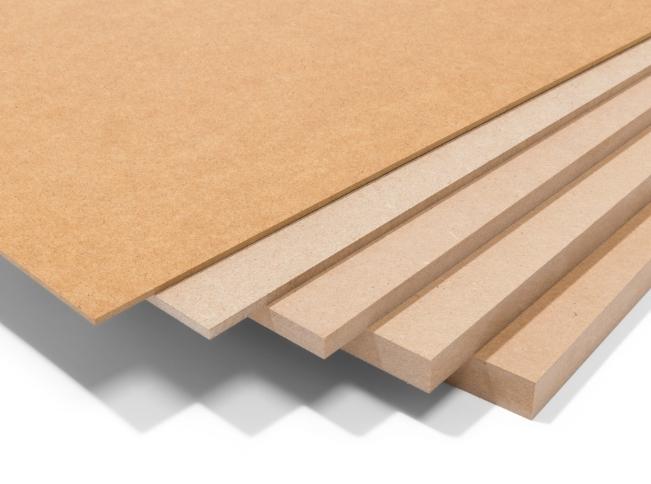
Medium Density Fiberboard, 1/8" thick. Can be bought on Etsy - $3.75-5.00
Also Recommended: Microfiber Cloth and Rubbing Alcohol (90% concentration).
Access to AutoCAD software: (I used the student version, but the normal version should work too).
Opening in AutoCAD
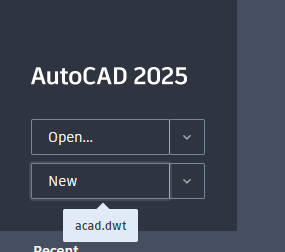

To start off, open your AutoCAD software on a computer and create a new document, using the "New" button found near the upper left corner of your screen. Once it's opened, take a moment to save your document and name it, by pressing Control S. Be sure to save in a folder where you'll be able to find it again.
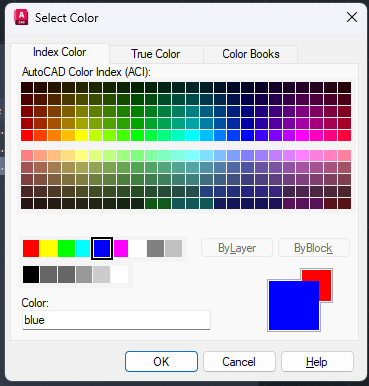
Next, type in "layer" and hit enter, if the layer window isn't already open. From here you'll want to create 2 new layers. Layers enable you to have different drawing styles, similar to choosing different pens or writing utensils. Click the add new layer button, which looks like a stack of papers with a small yellow sun. Name this new layer "Cut". Change the layer color to be red. Make sure it shows as the word "red" as opposed to a number, such as 10. Change the line weight to be 0.00 mm. Click the add new layer button again, name it "Heavy Engraving". Change the color to be blue, once again be sure is registers as a word and not a number. Change the line weight to be 0.00mm. Click the printer icon on your "0" layer so that it shows a red minus icon. This will make it so that your 0 layer does not print in your final product. Close out your layer window.
When your project is being cut, items on the cut layer will cut all the way through the wood, while items on the heavy engrave layer will only be lightly grazed.
Adding Limits


Next, you'll want to add limits. Limits will ensure that when you are laser cutting your final product, you won't cut off the edges of your MDF or wood. If the laser cutter you will be using has a 24x12 inch work area, you'll want to use those dimensions for your limits. If your laser cutter has a different workspace size, you may wish to adjust accordingly. To do your limits, type in "limits" and hit enter. Type in "0,0" and hit enter. Type in "24,12" and hit enter.
Next add a rectangle so that you can see your limits. First make sure that you are on your 0 layer. You can change between layers using a dropdown near the layer properties option near the top of your screen. Click on the rectangle icon to the right of the Arc tool. Type in "0,0" and hit enter, to specify the bottom left corner of your rectangle. Then type in "24,12" and hit enter.
To navigate your screen, use your mouse's scroll wheel. Scroll to zoom and hold it to move your view horizontally or vertically.
This newly created rectangle will help you know where to draw. Only draw within the rectangle's boundaries to avoid issues later on.
Designing the Checkers Board Outline
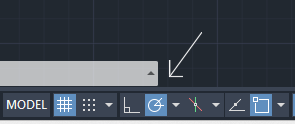
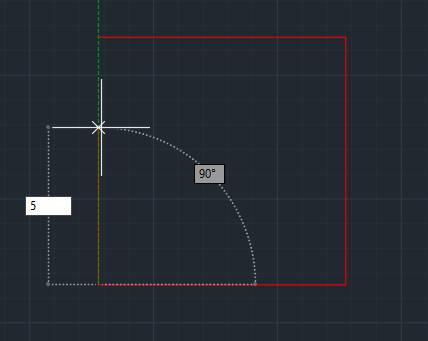
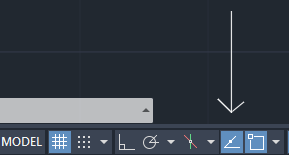
At this point you will want to decide how big to make your checker/chess board. You will want an 8 by 8 grid, and additionally a border on the outside. You will also want leftover space to cut pieces to go with your board. I did a relatively small board, but you can make yours whatever size you want. I recommend turning on Polar tracking, the button shown in the above image. This will help you draw perfectly horizontal or vertical lines.
You have two options at this point: You can either draw everything to scale how you want it, or you can draw the shape without the correct lengths and just scale the entire thing later on, using the scale command.
If you want your final product to be 5 by 5 inches, then draw a square using the line tool. Swap to your cut layer to do so. Type L, which is the shortcut for line, and hit enter. Click a starting spot and drag your mouse straight to the right. Type in 5 and click enter. Drag your mouse your mouse down next, in the direction you want your line to go next, type 5, and hit enter. Continue this process until your square is complete. Change the size of your square if you want a different size of checkerboard.
Adding a Border
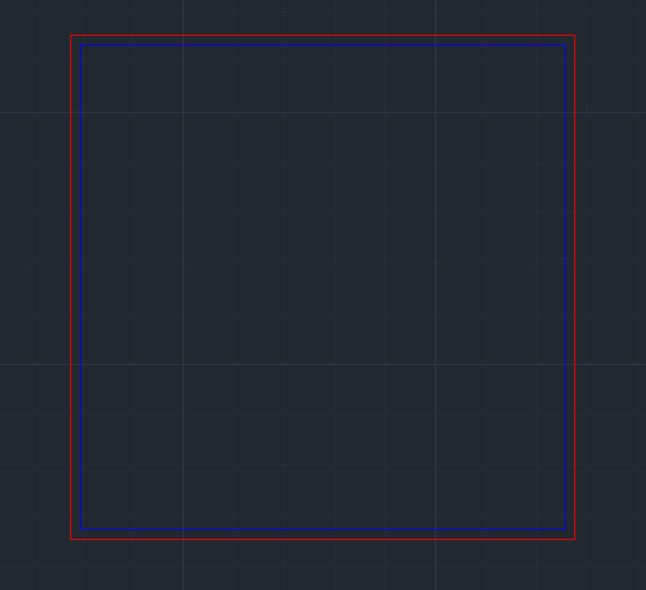
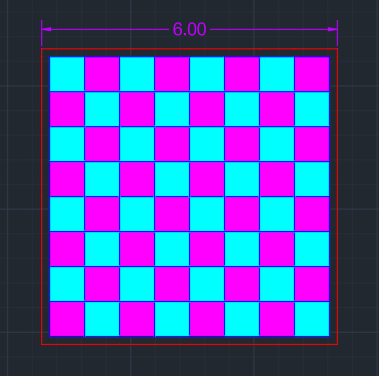
Next, you'll want to add a border. We'll do this using the "offset" command. Type "offset" and hit enter. Click on your square, and move inward the distance you want your border, and click. Then click on a side of your square, and then click on the inside of your square. Do this to each of your square sides, until you have a border, similar to the one in the above image.
Then use your trim command to cut out the extra lines in the corners. Finally, select the inner lines and add them all onto the Heavy Engraving layer.
Now is a good time to save your file, so you don't lose your progress. Press control S.
8 by 8 Grid
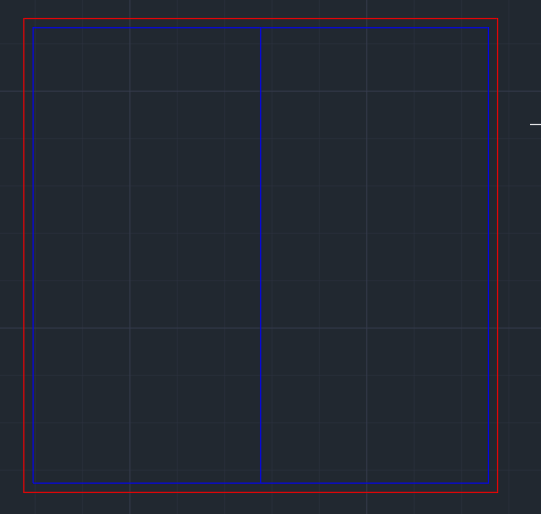
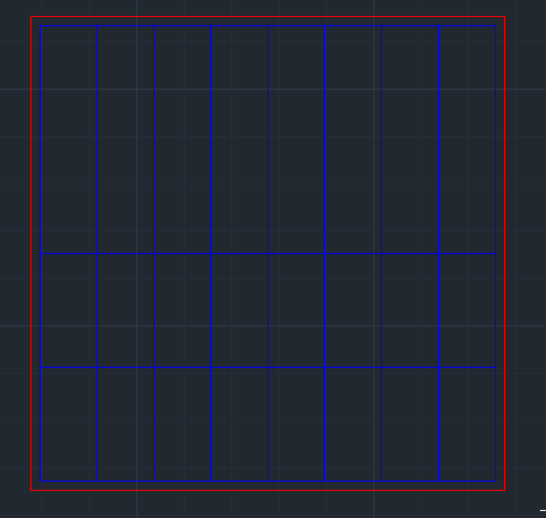
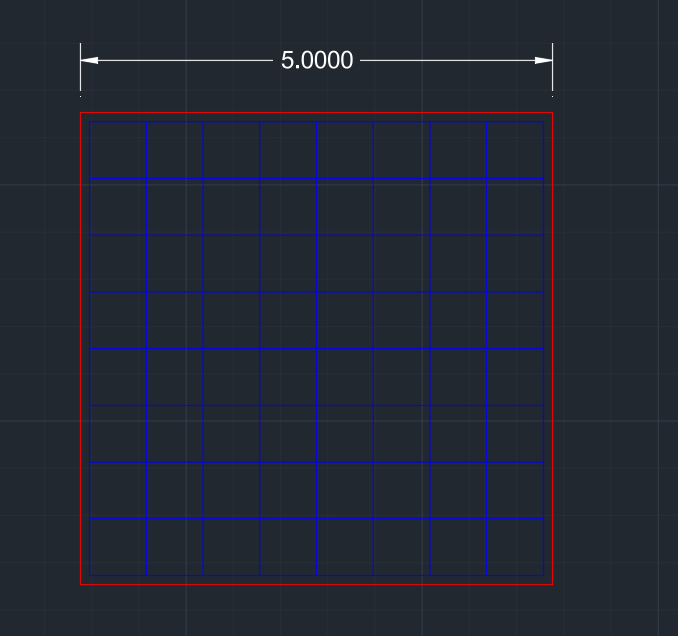
Throughout this next step, use the snapping and tracking tools in the bottom right as needed. Make sure your midpoint option is on for your object snap. Now start by deleting the inner line of the top two. Now replace it using your line command. Now you'll be able to find the exact midpoint and draw a line straight down the middle. Now your top line has two halves. Delete each of these using the trim command and replace them using the line command. Find the midpoints for both of these and use them to draw columns. Now you're left with four columns. Trim each of the four lines on top, redraw them, and use the midpoints to draw more columns until you have eight columns total. Then repeat this process to draw horizontal lines.
Rastering

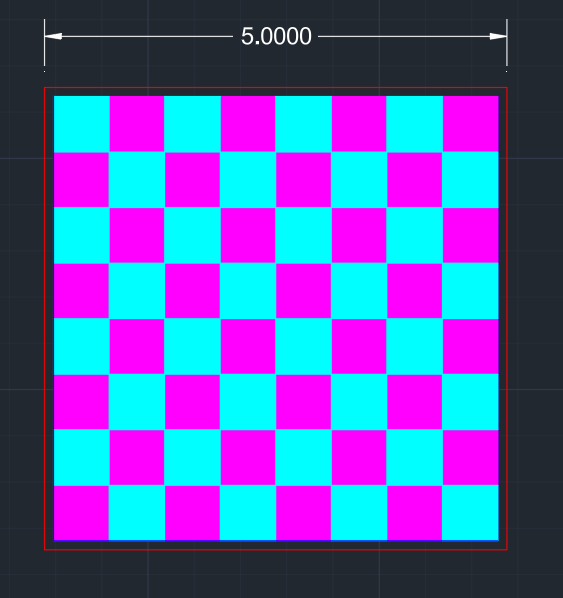
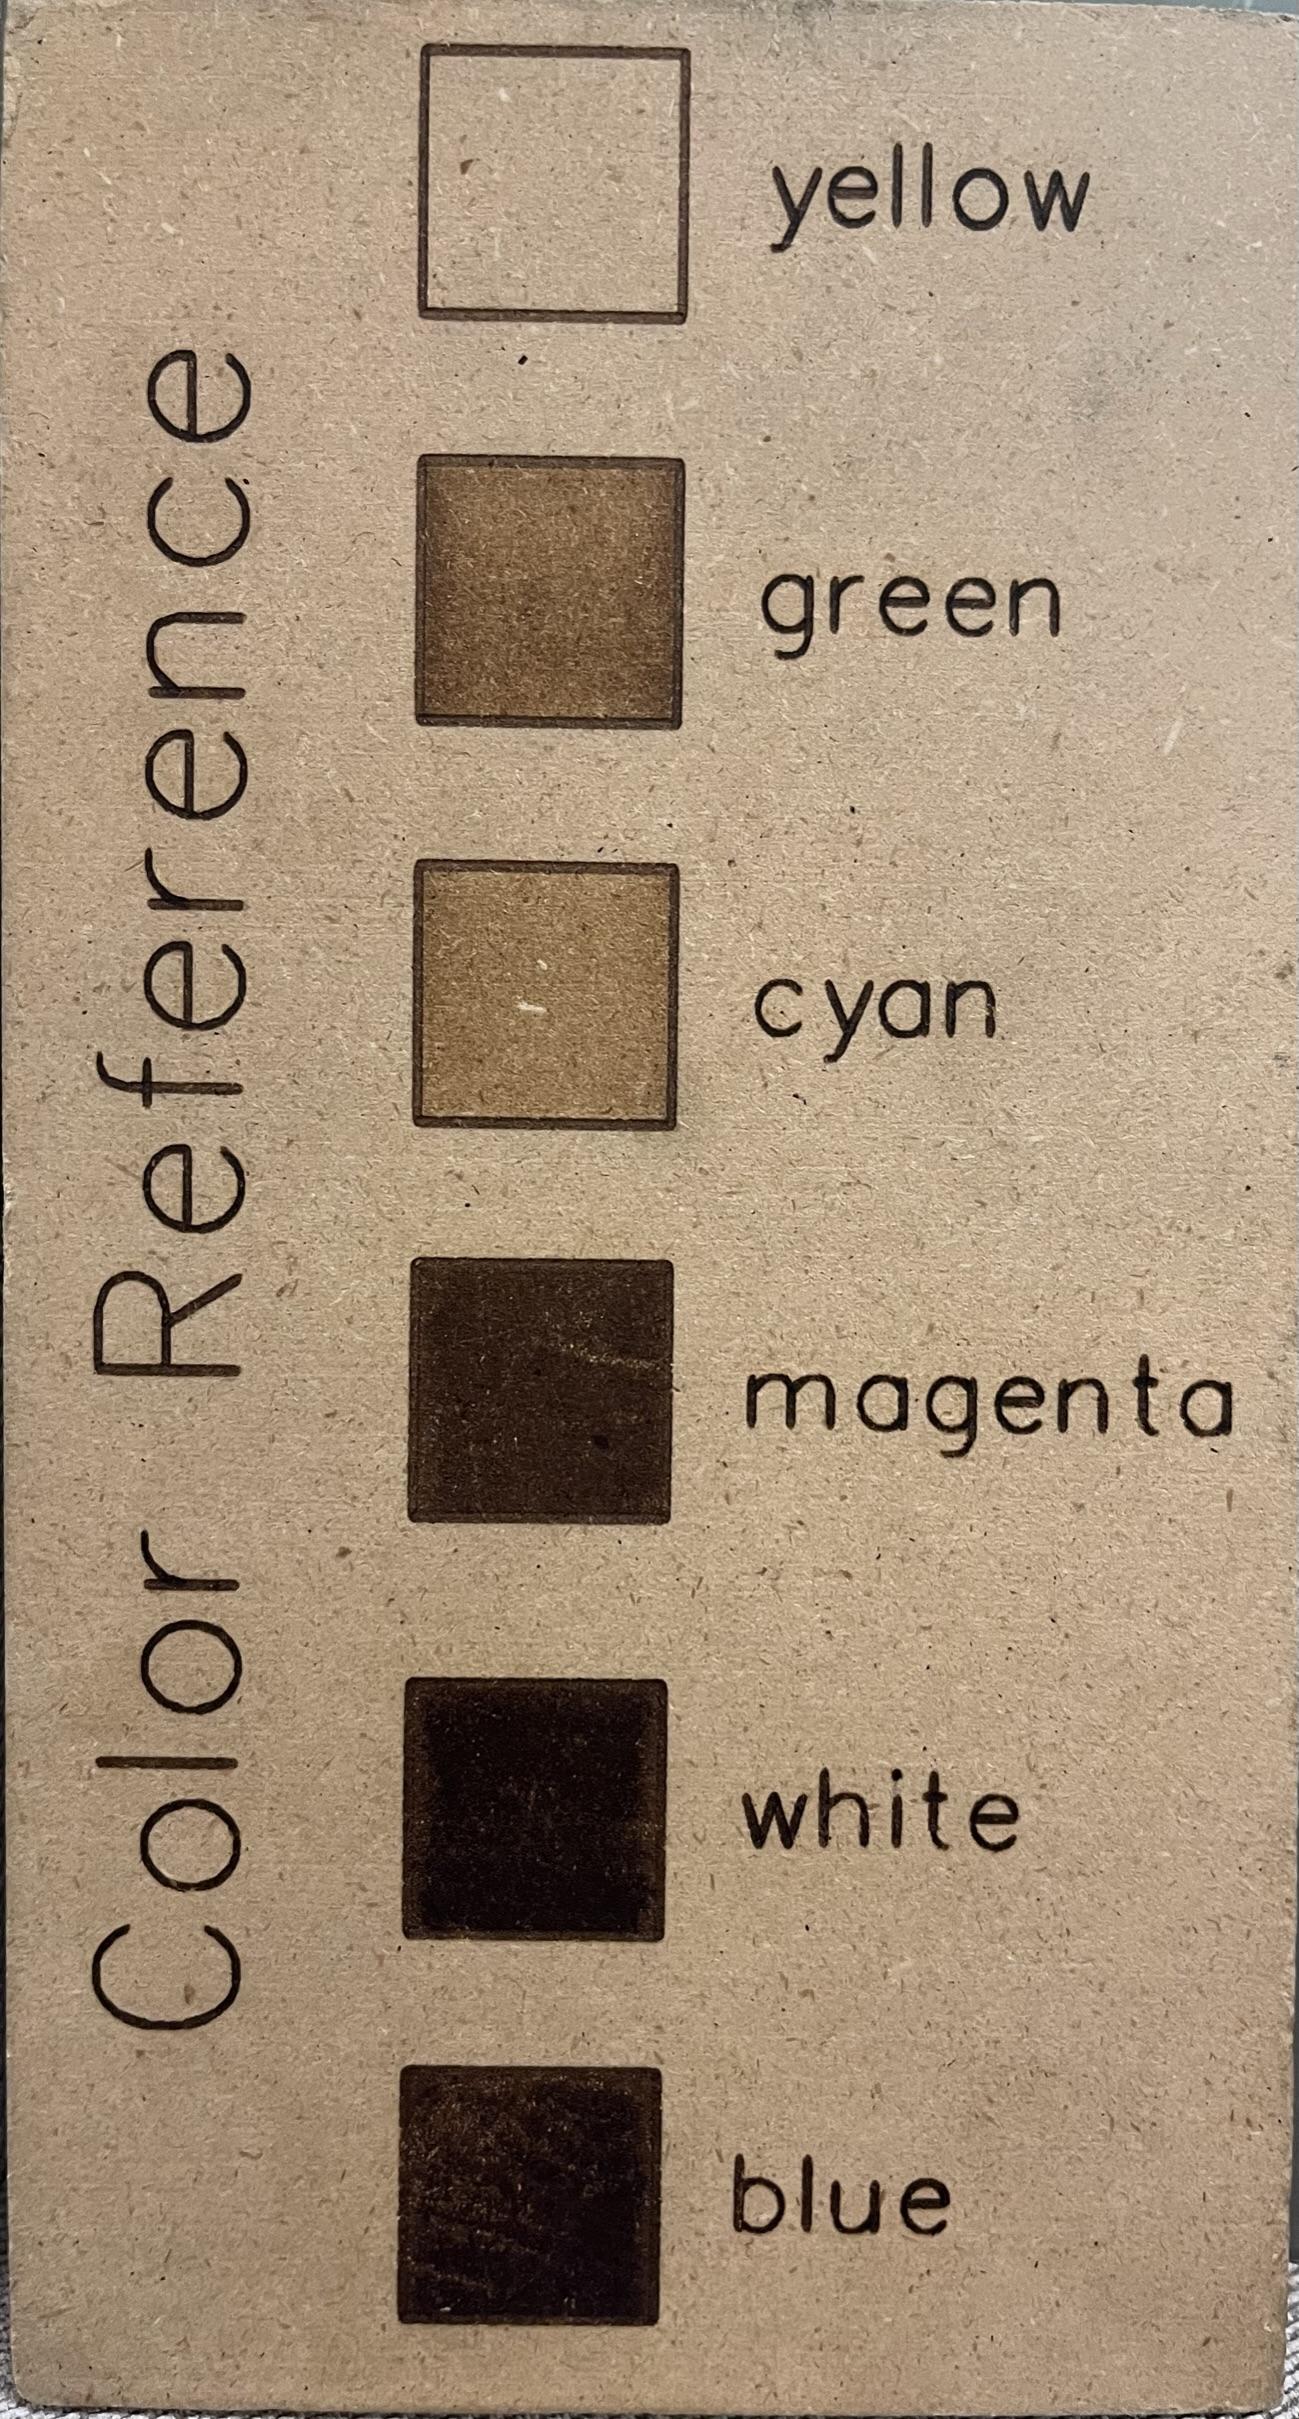
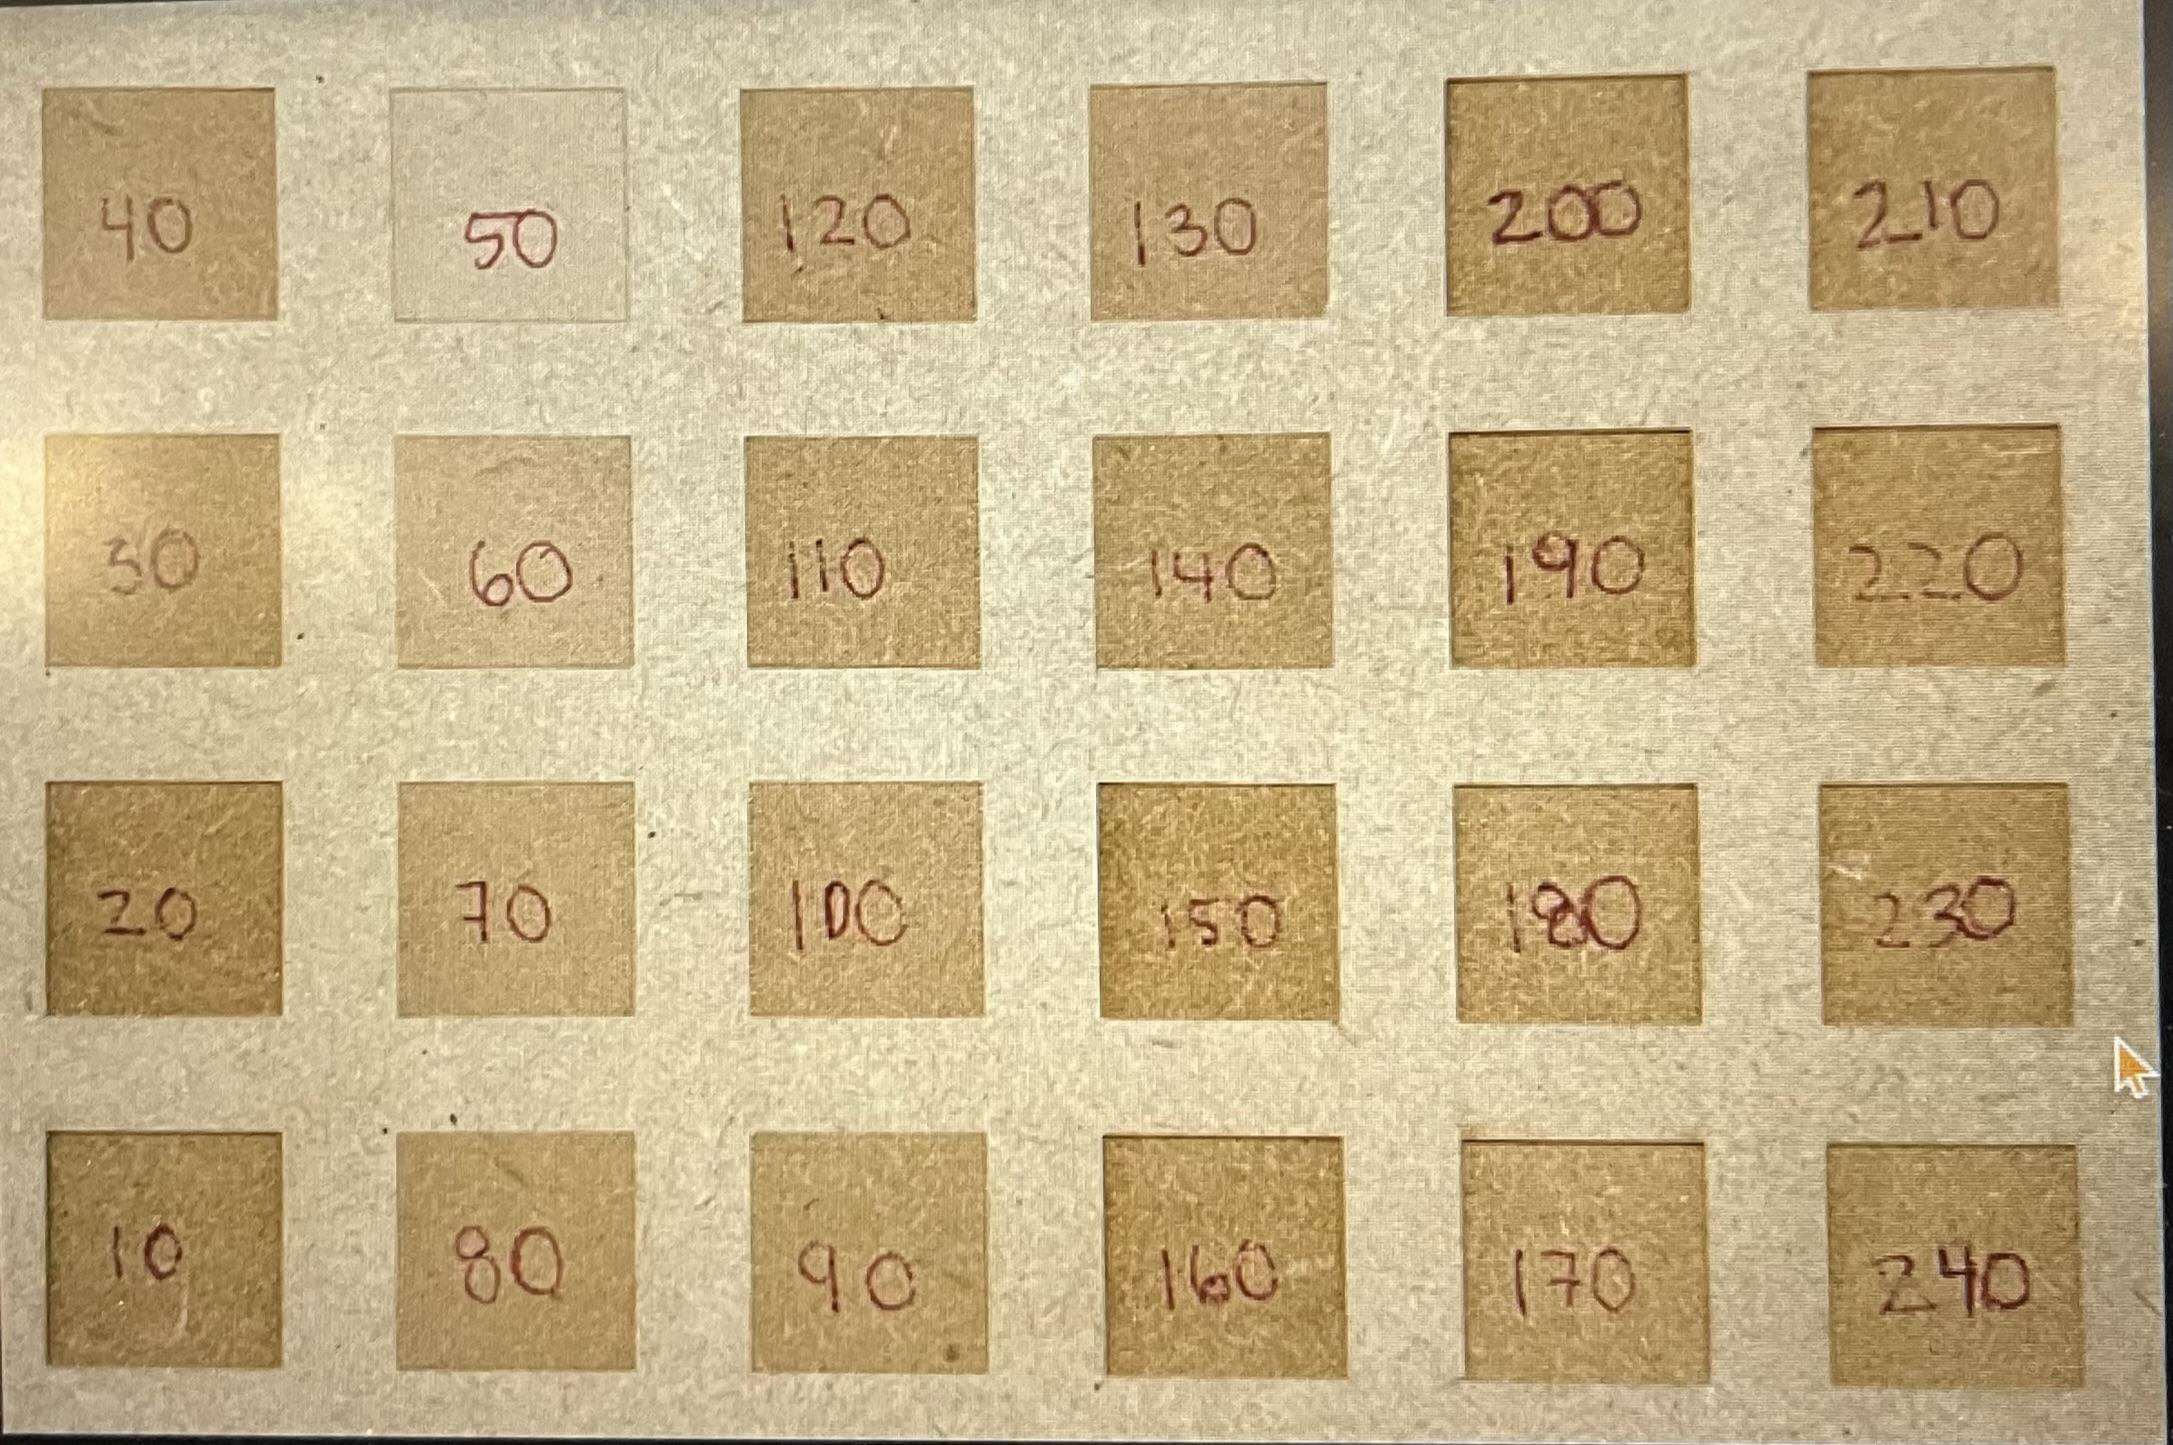
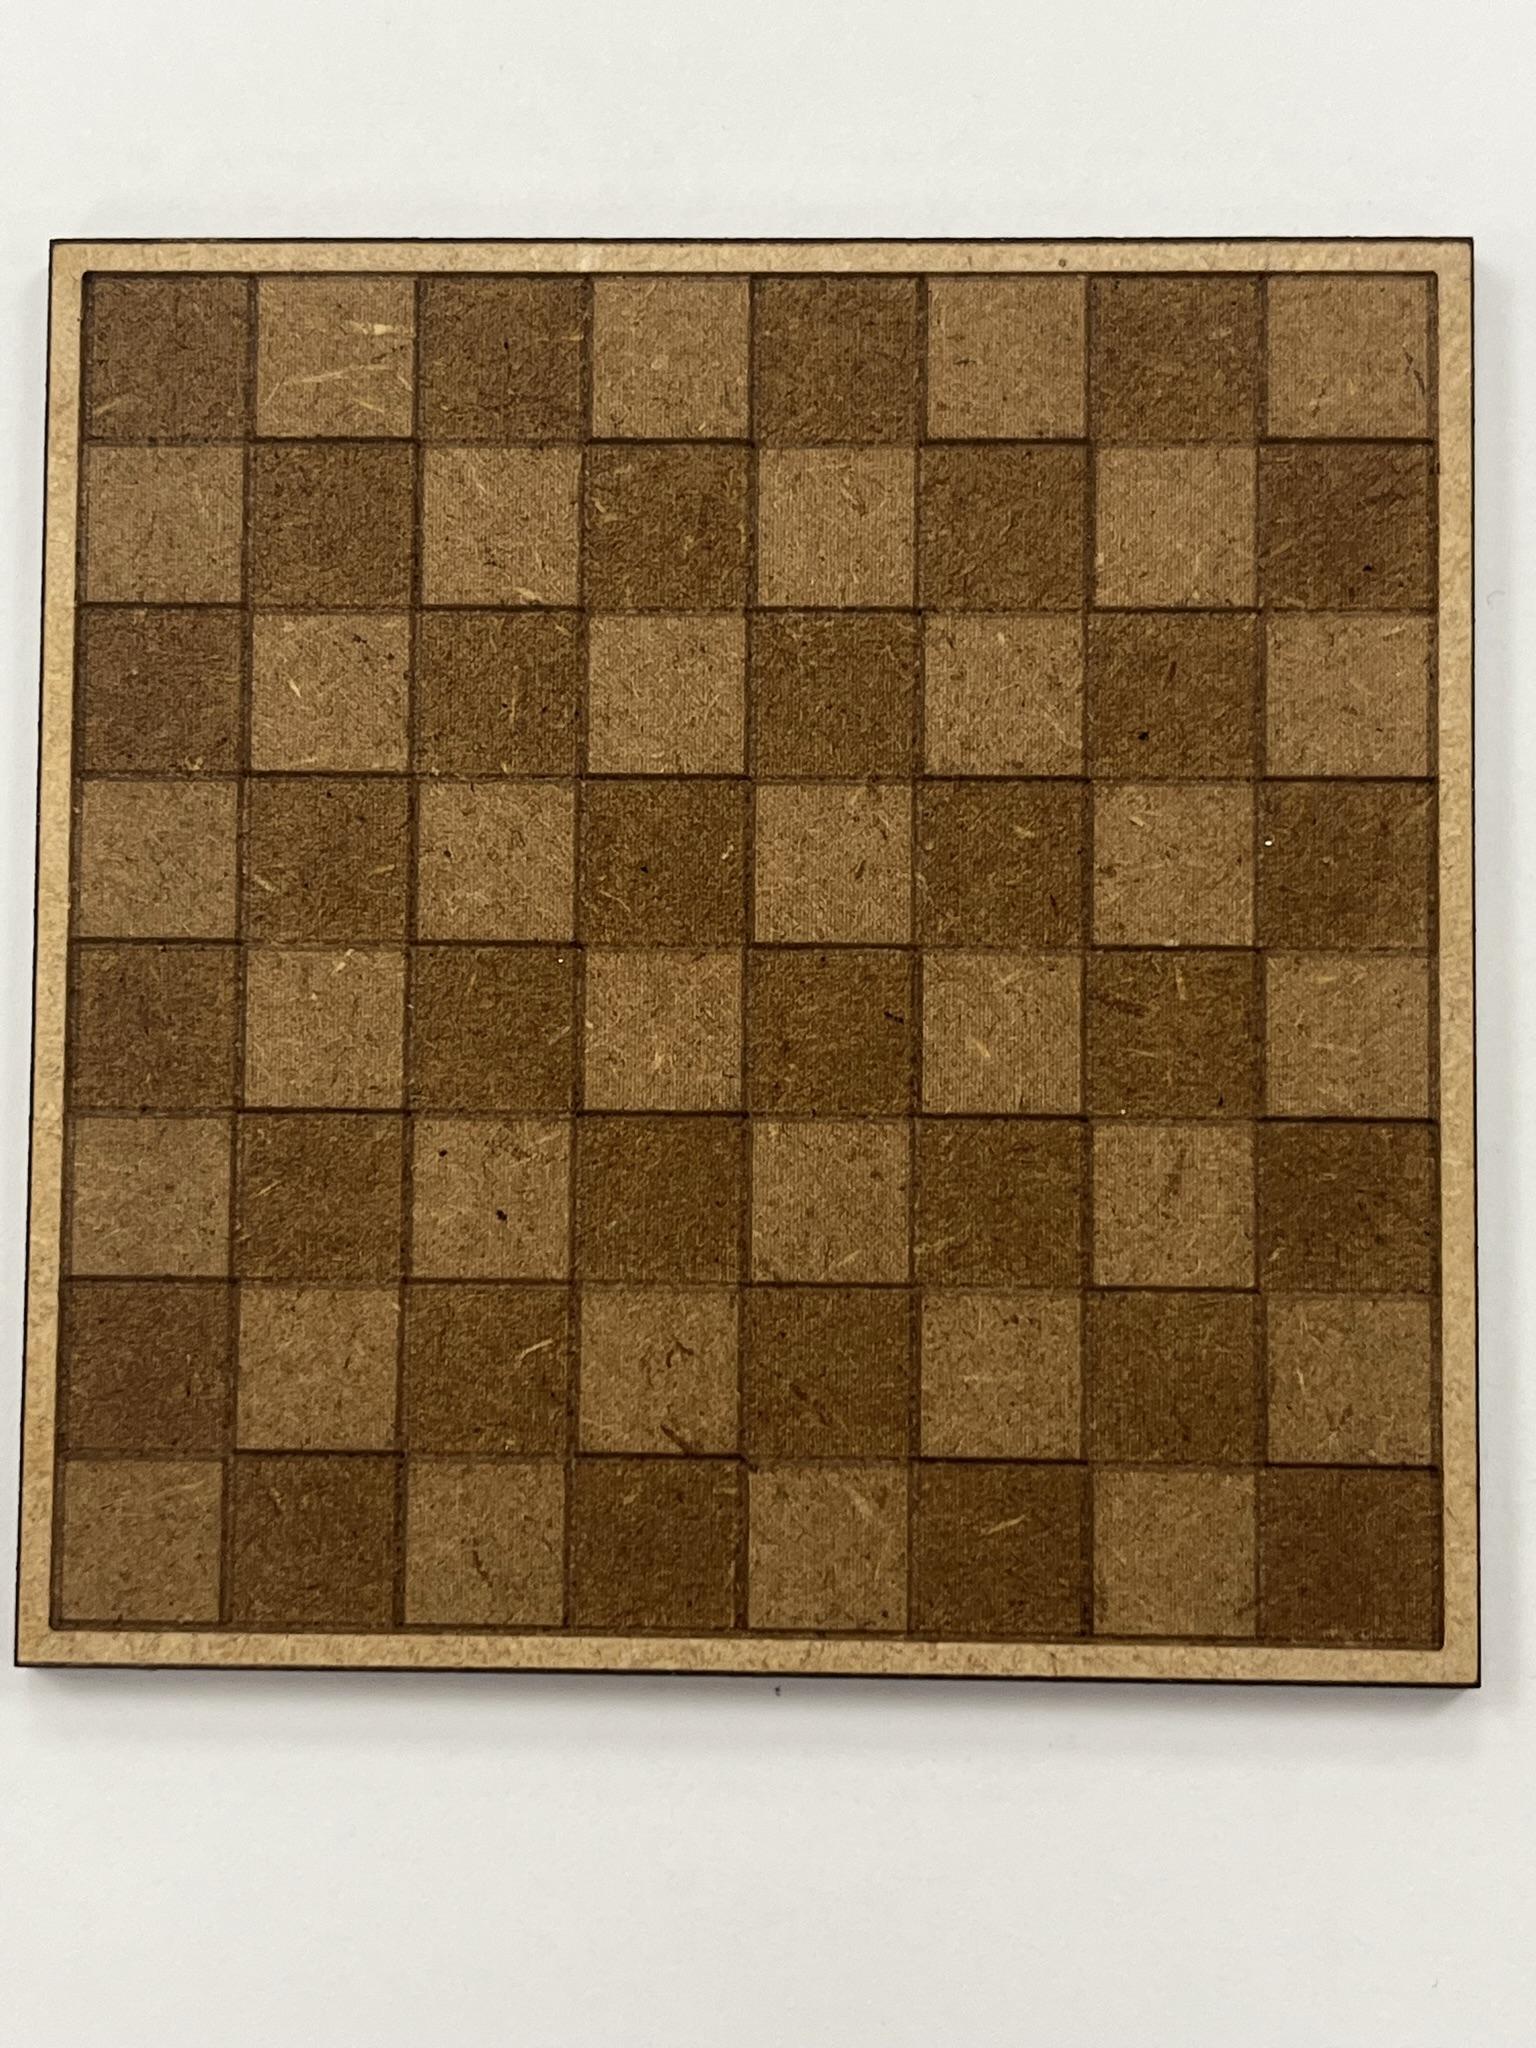
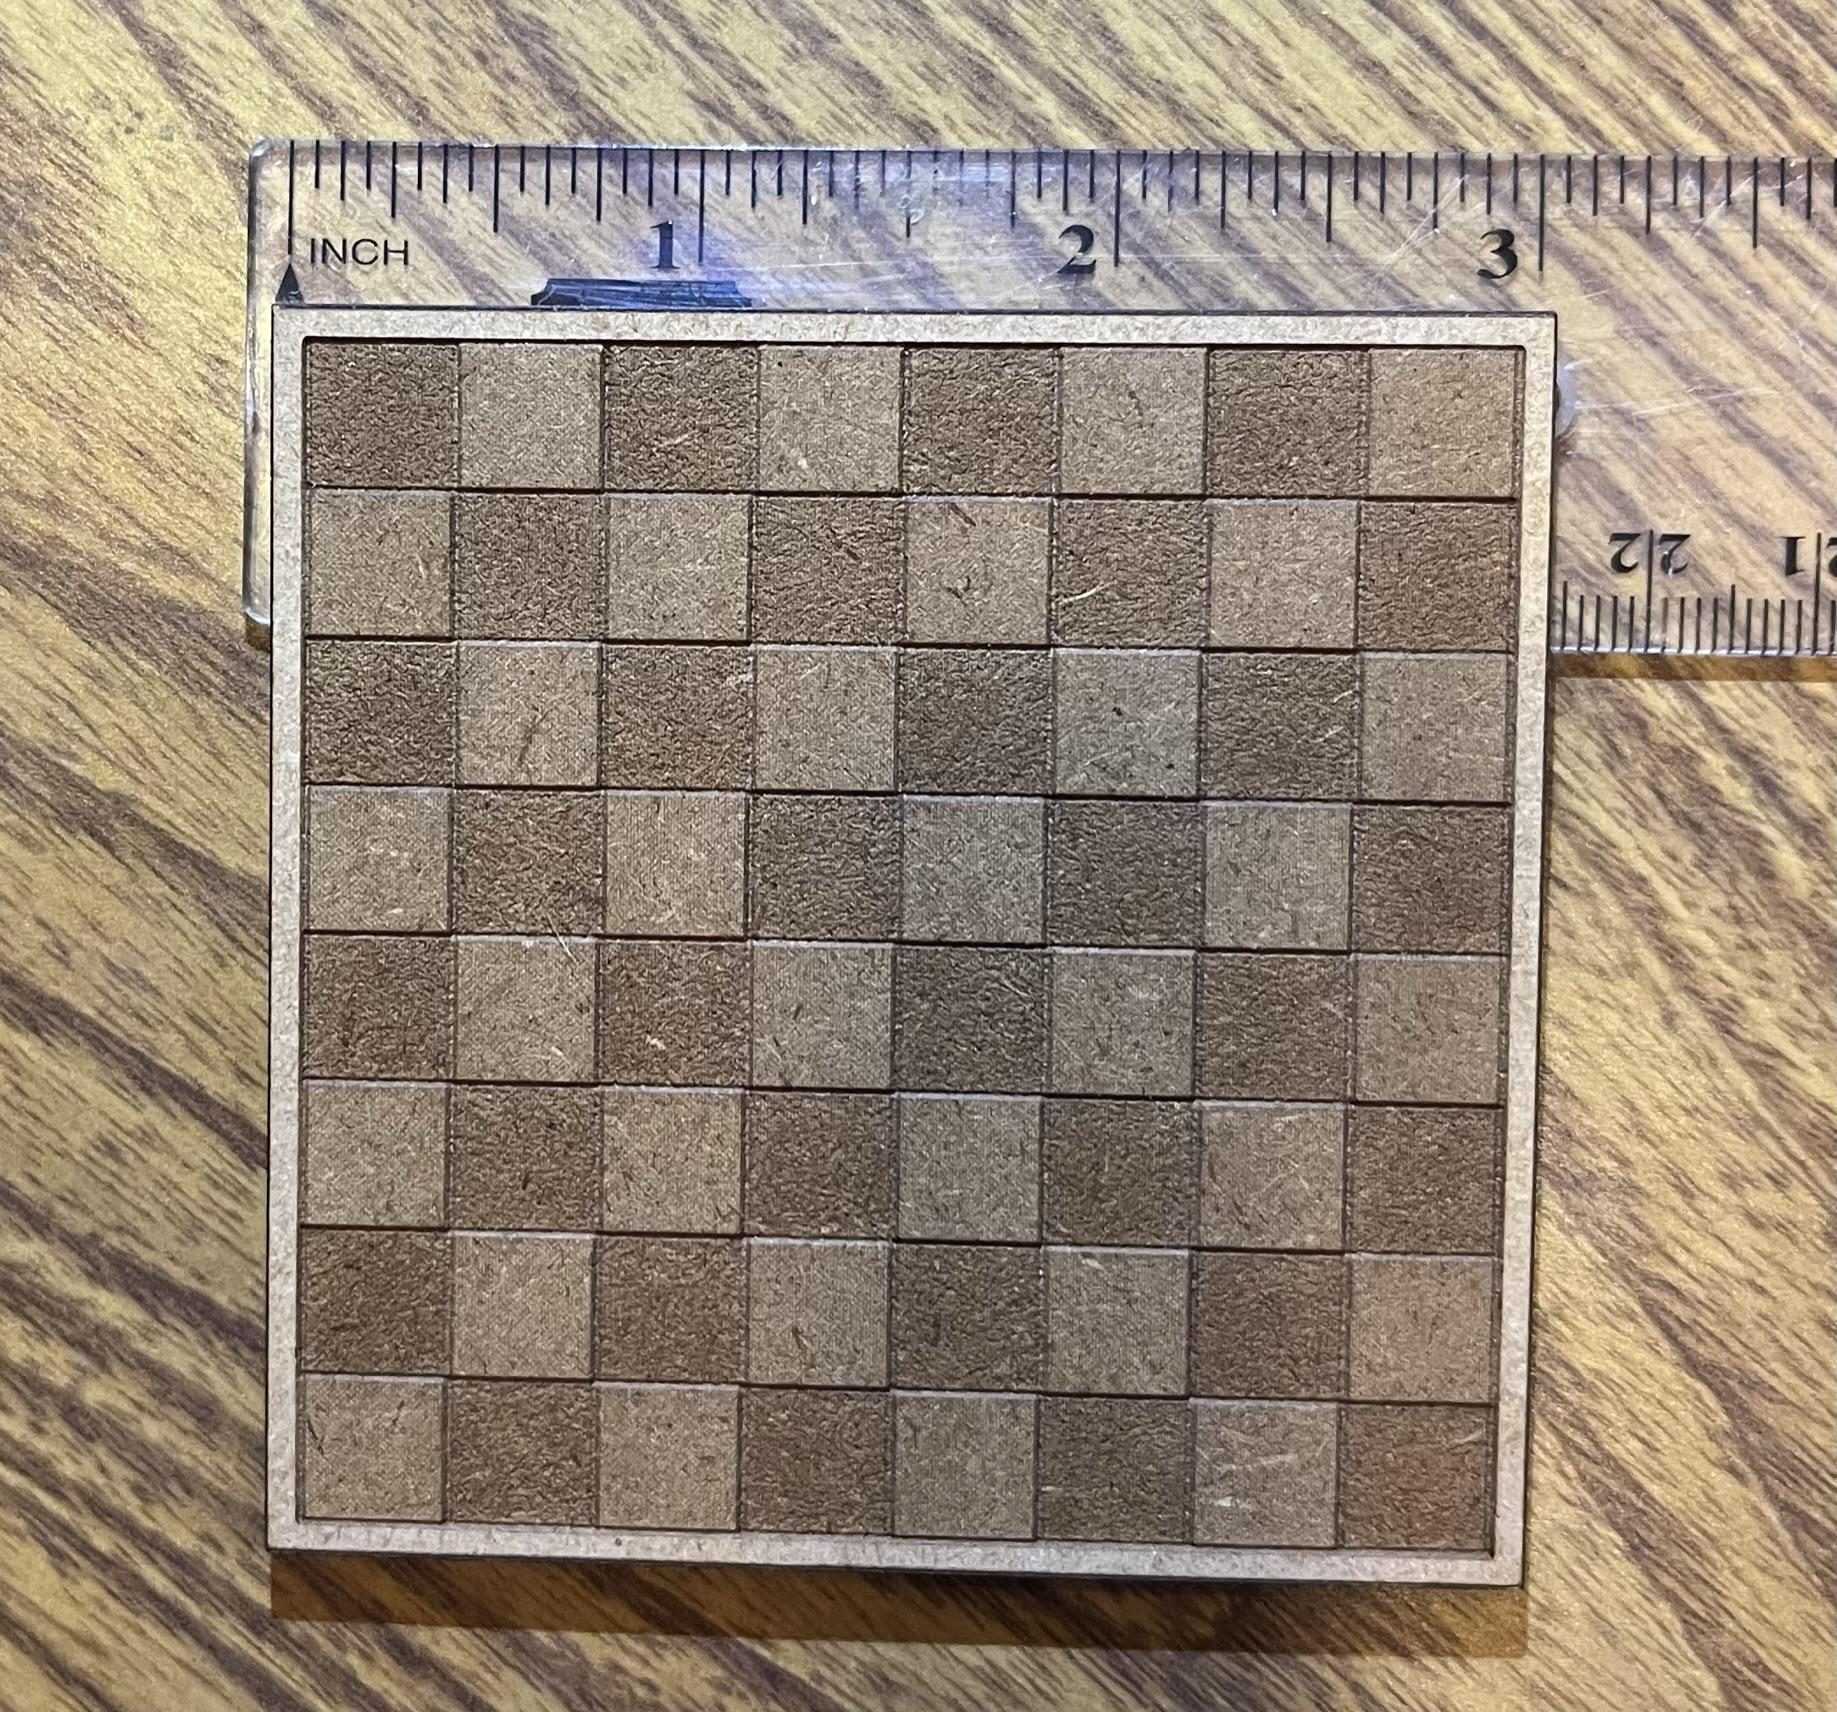
Next, you'll want to fill in your checkerboard with different shades. To do this, your laser cutter will use a process called rastering. Open your layers window by typing in "layers". Add two more layers. To make them into raster layers, you simply need to change their color. Different colors of raster translate into different shades of wood on your final product. See the above images for reference. The one labeled color reference is not 100% accurate, but it gives you a general idea.
When selecting colors, you can either select colors by their name (green, yellow, cyan, etc.), or by a number on the pallet, but note that the results will NOT necessarily be the same, and that just because colors are similar to each other in AutoCAD, it does not mean that they will be similar once printed. For my first board, I used cyan as my light color, and magenta as my dark, with the results seen in the above image.
Once you have picked two raster colors, you'll use the hatch command to fill in your board. First select the first raster layer, then type in "hatch". Select the solid option near the top left, then fill in half the squares in a checkerboard pattern. Remember that when playing chess or checkers the board should have a dark square in the bottom left corner of the board. Select your second raster layer and fill in the rest of the squares with the same process.
Getting Creative
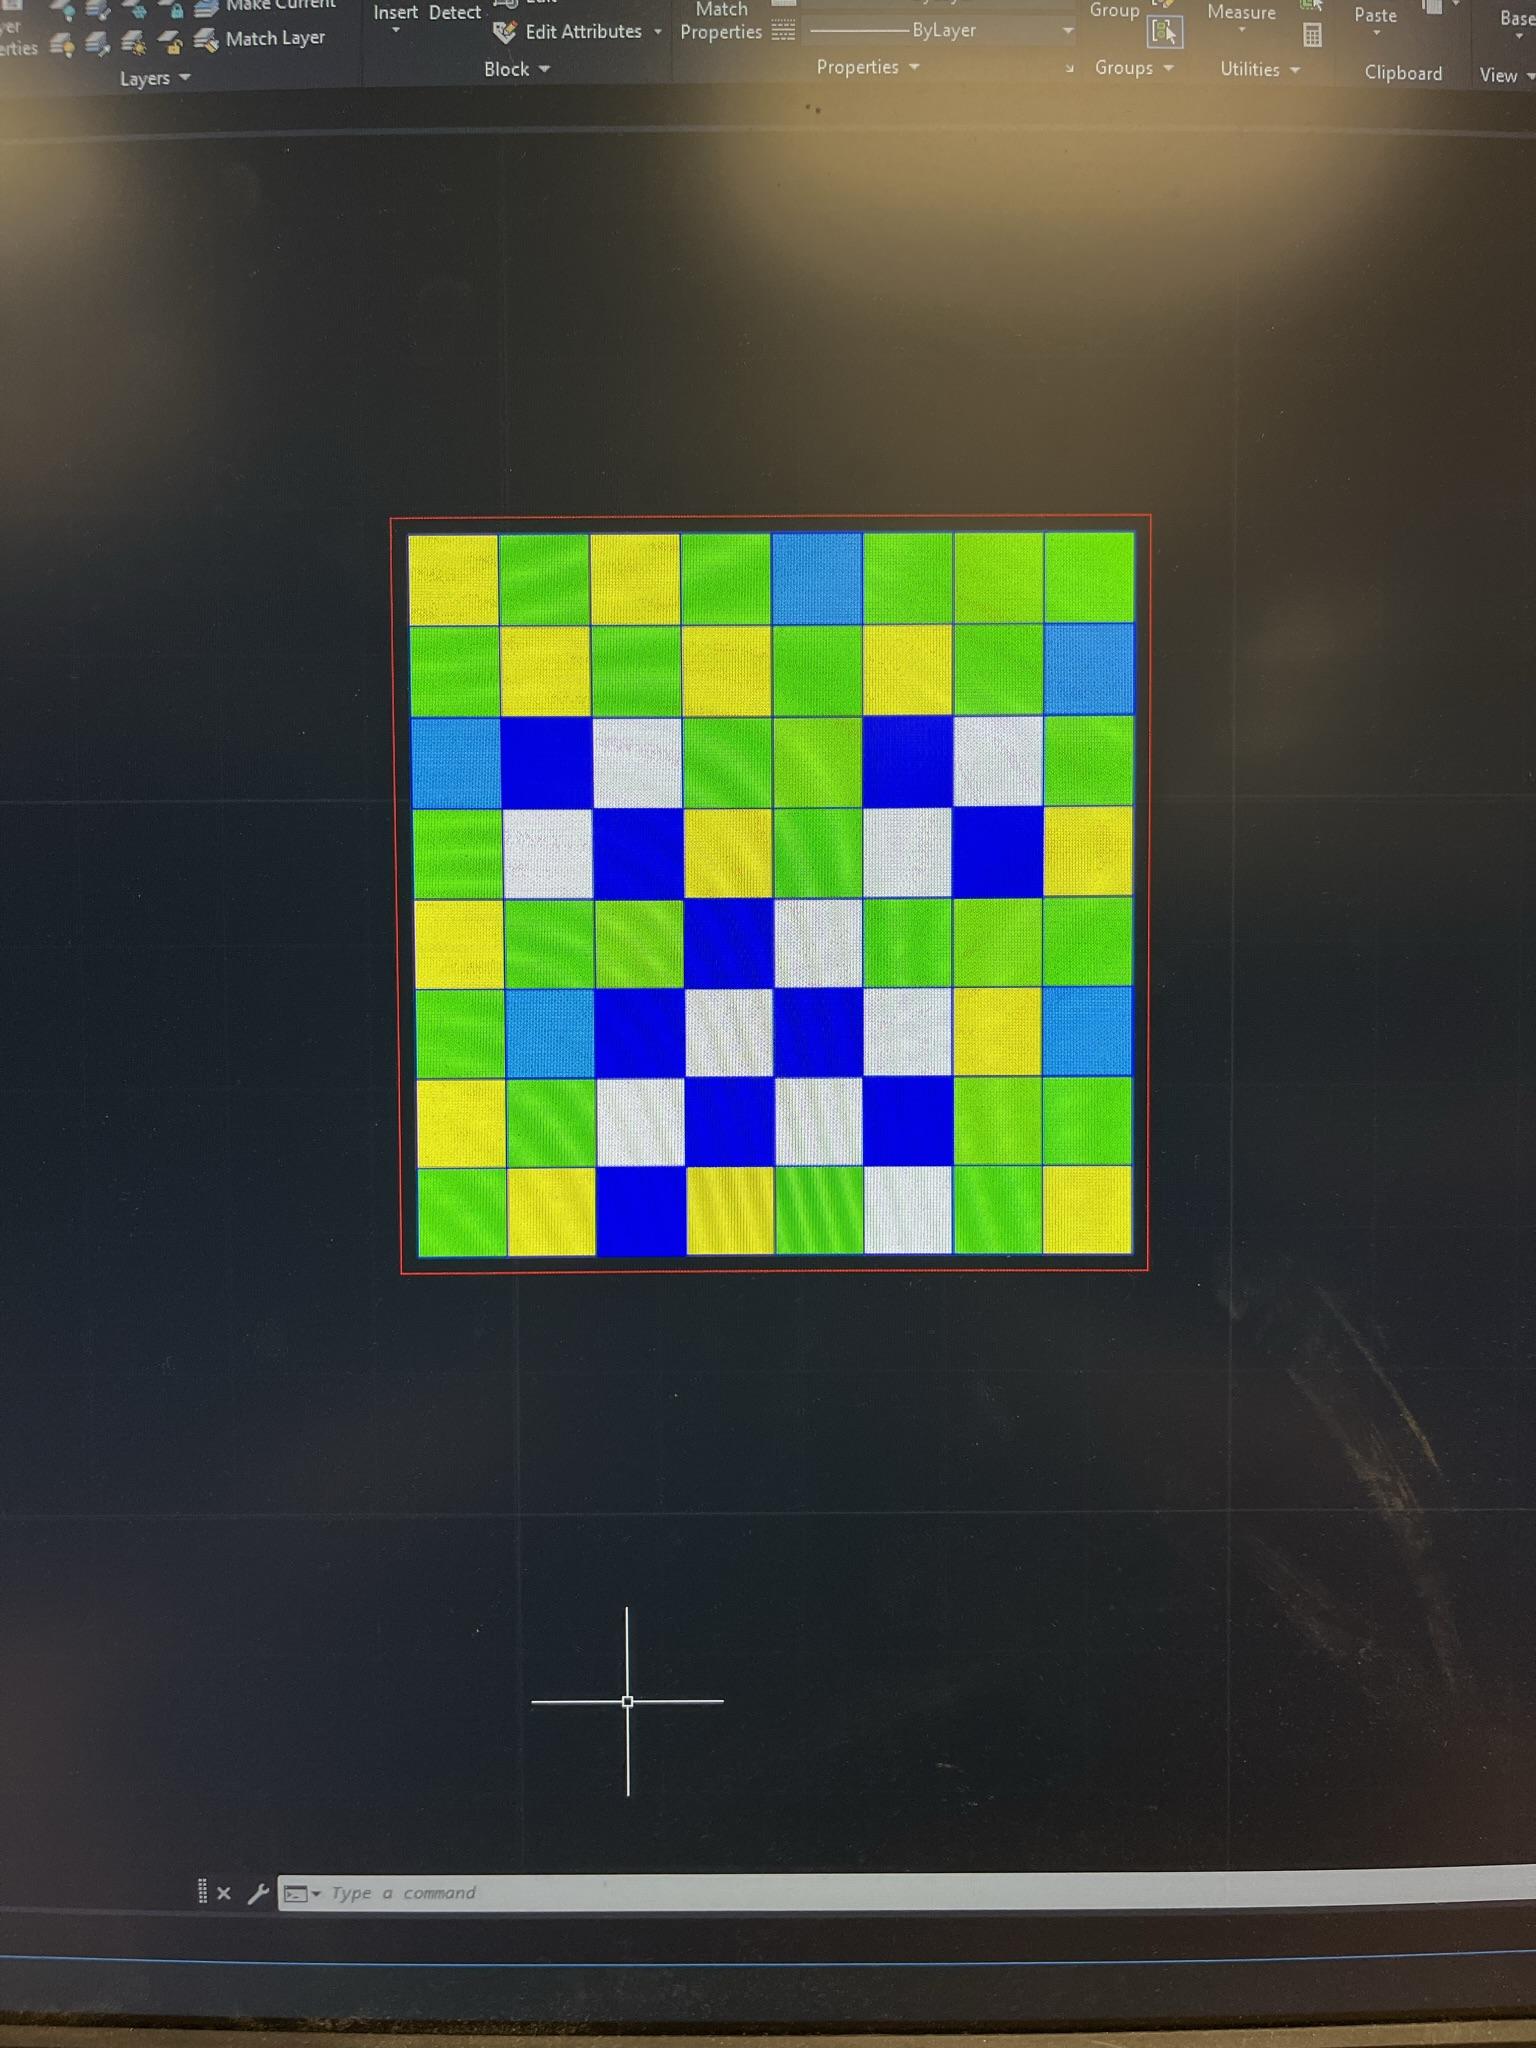
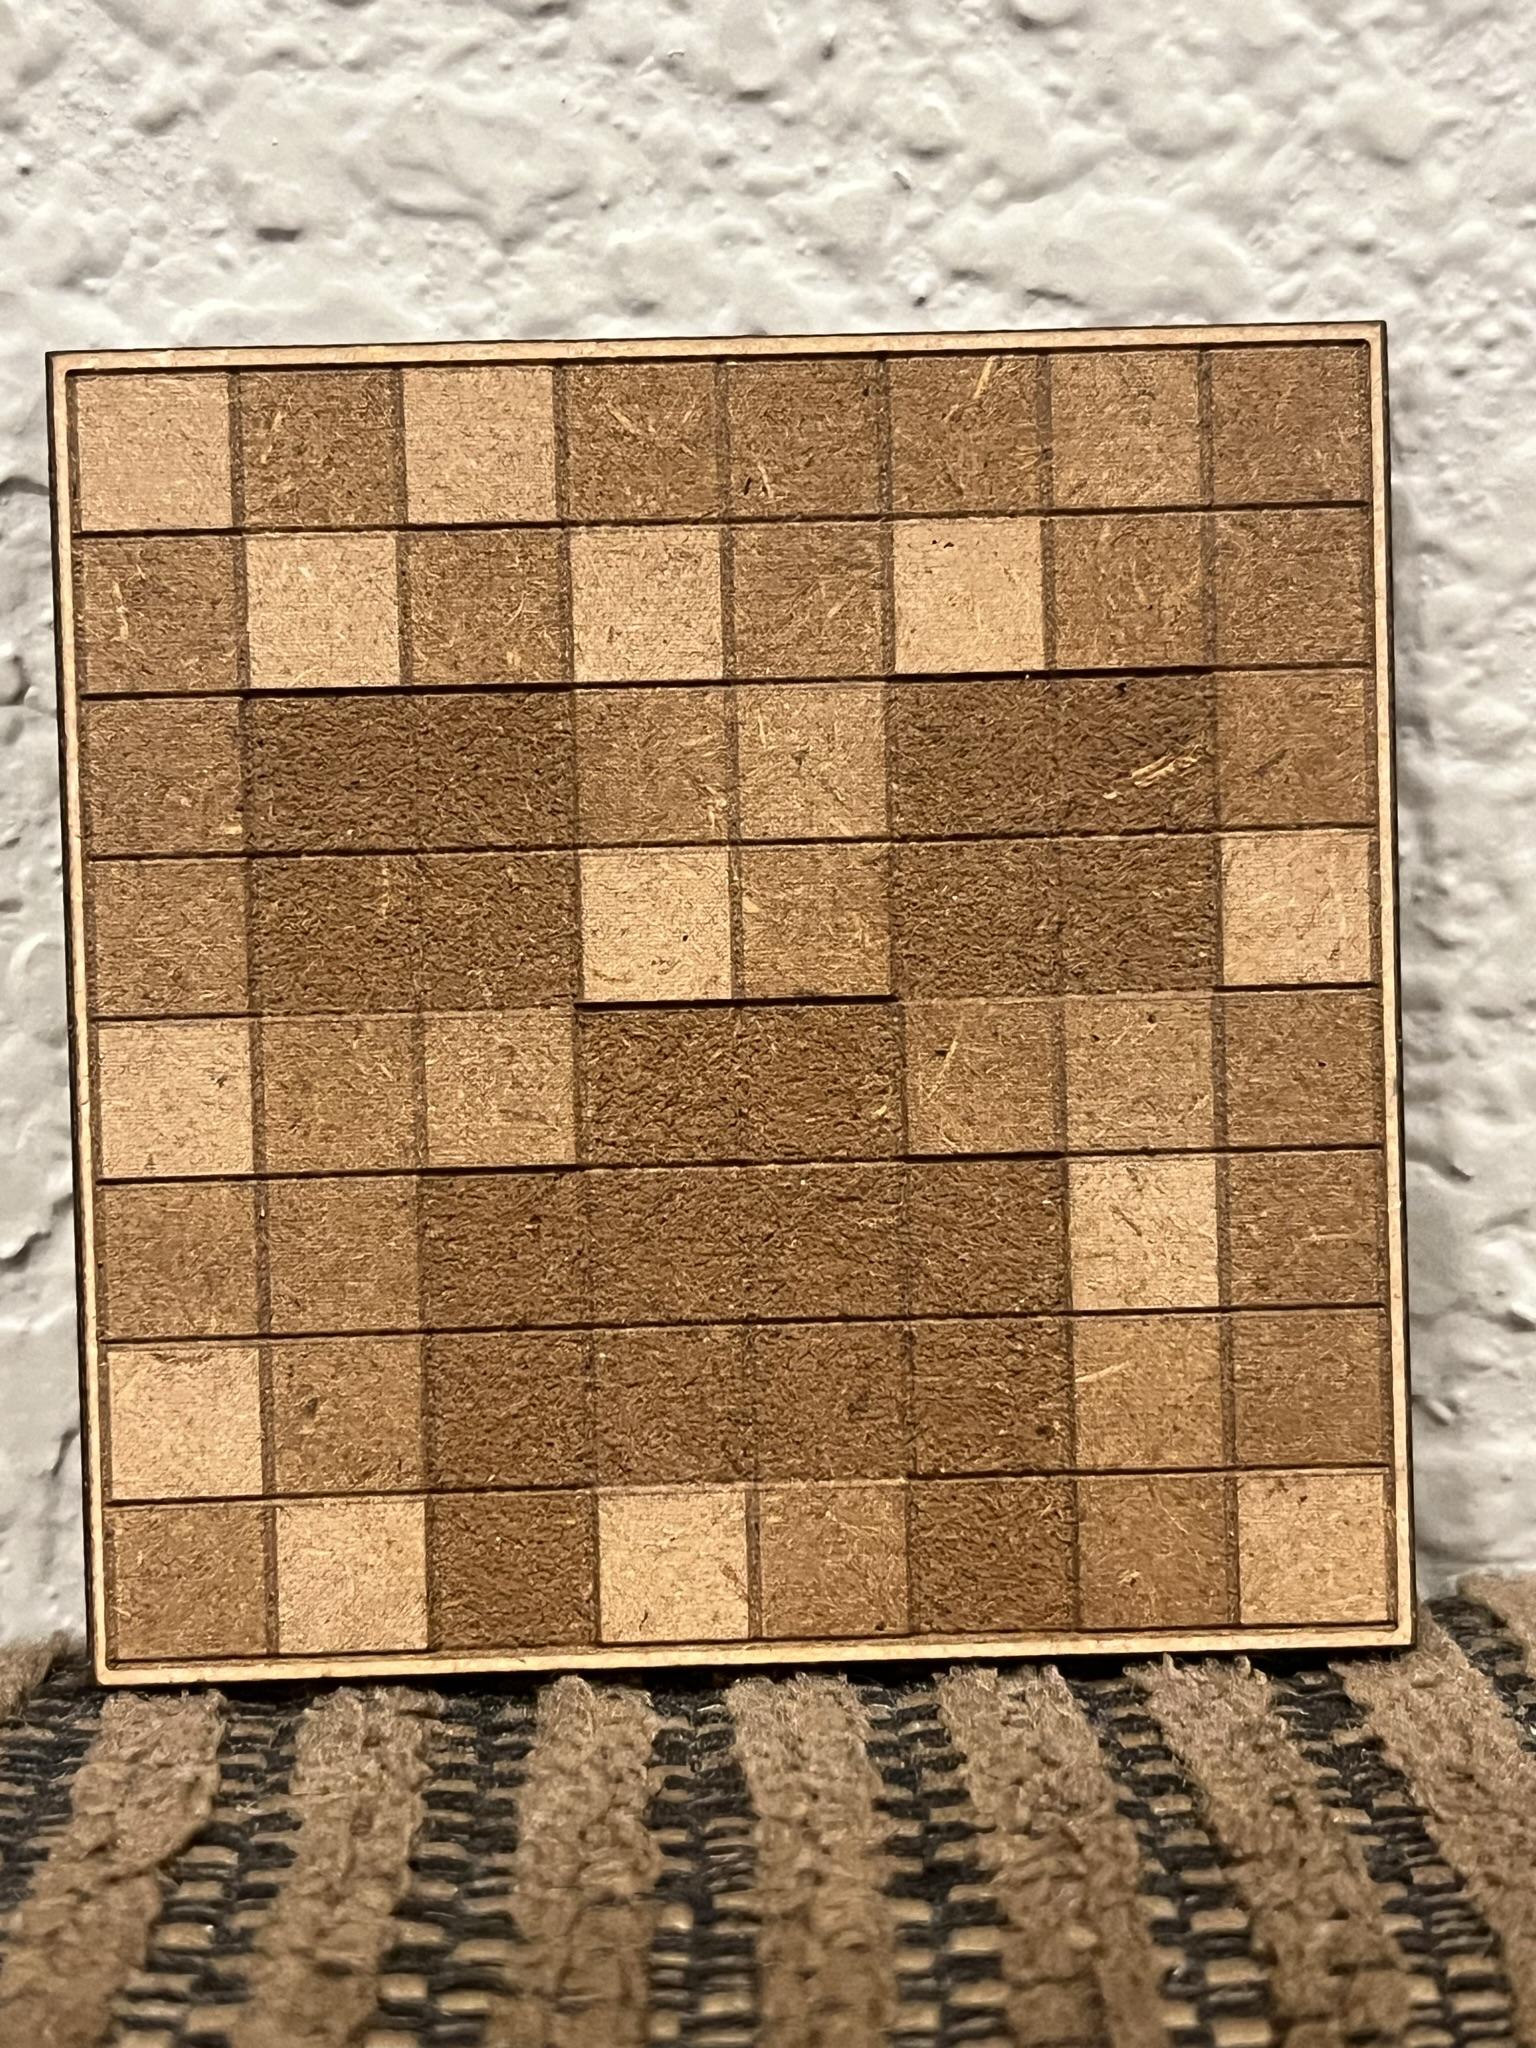
Now is the time to get creative, and to customize your board. Some ideas include adding fun designs and patterns on your board, for example, on one of mine I added a Minecraft creeper face. You can do this by adding more raster colors. You can use the scale command to change the size of your board, or you create text to go on the backside of your board. To do this you would have to do a separate drawing and do a second cut on the backside of your wood. You could add messages such as, "World's Best Friend", or "Never lost a game". It's really up to you!
Making Pieces
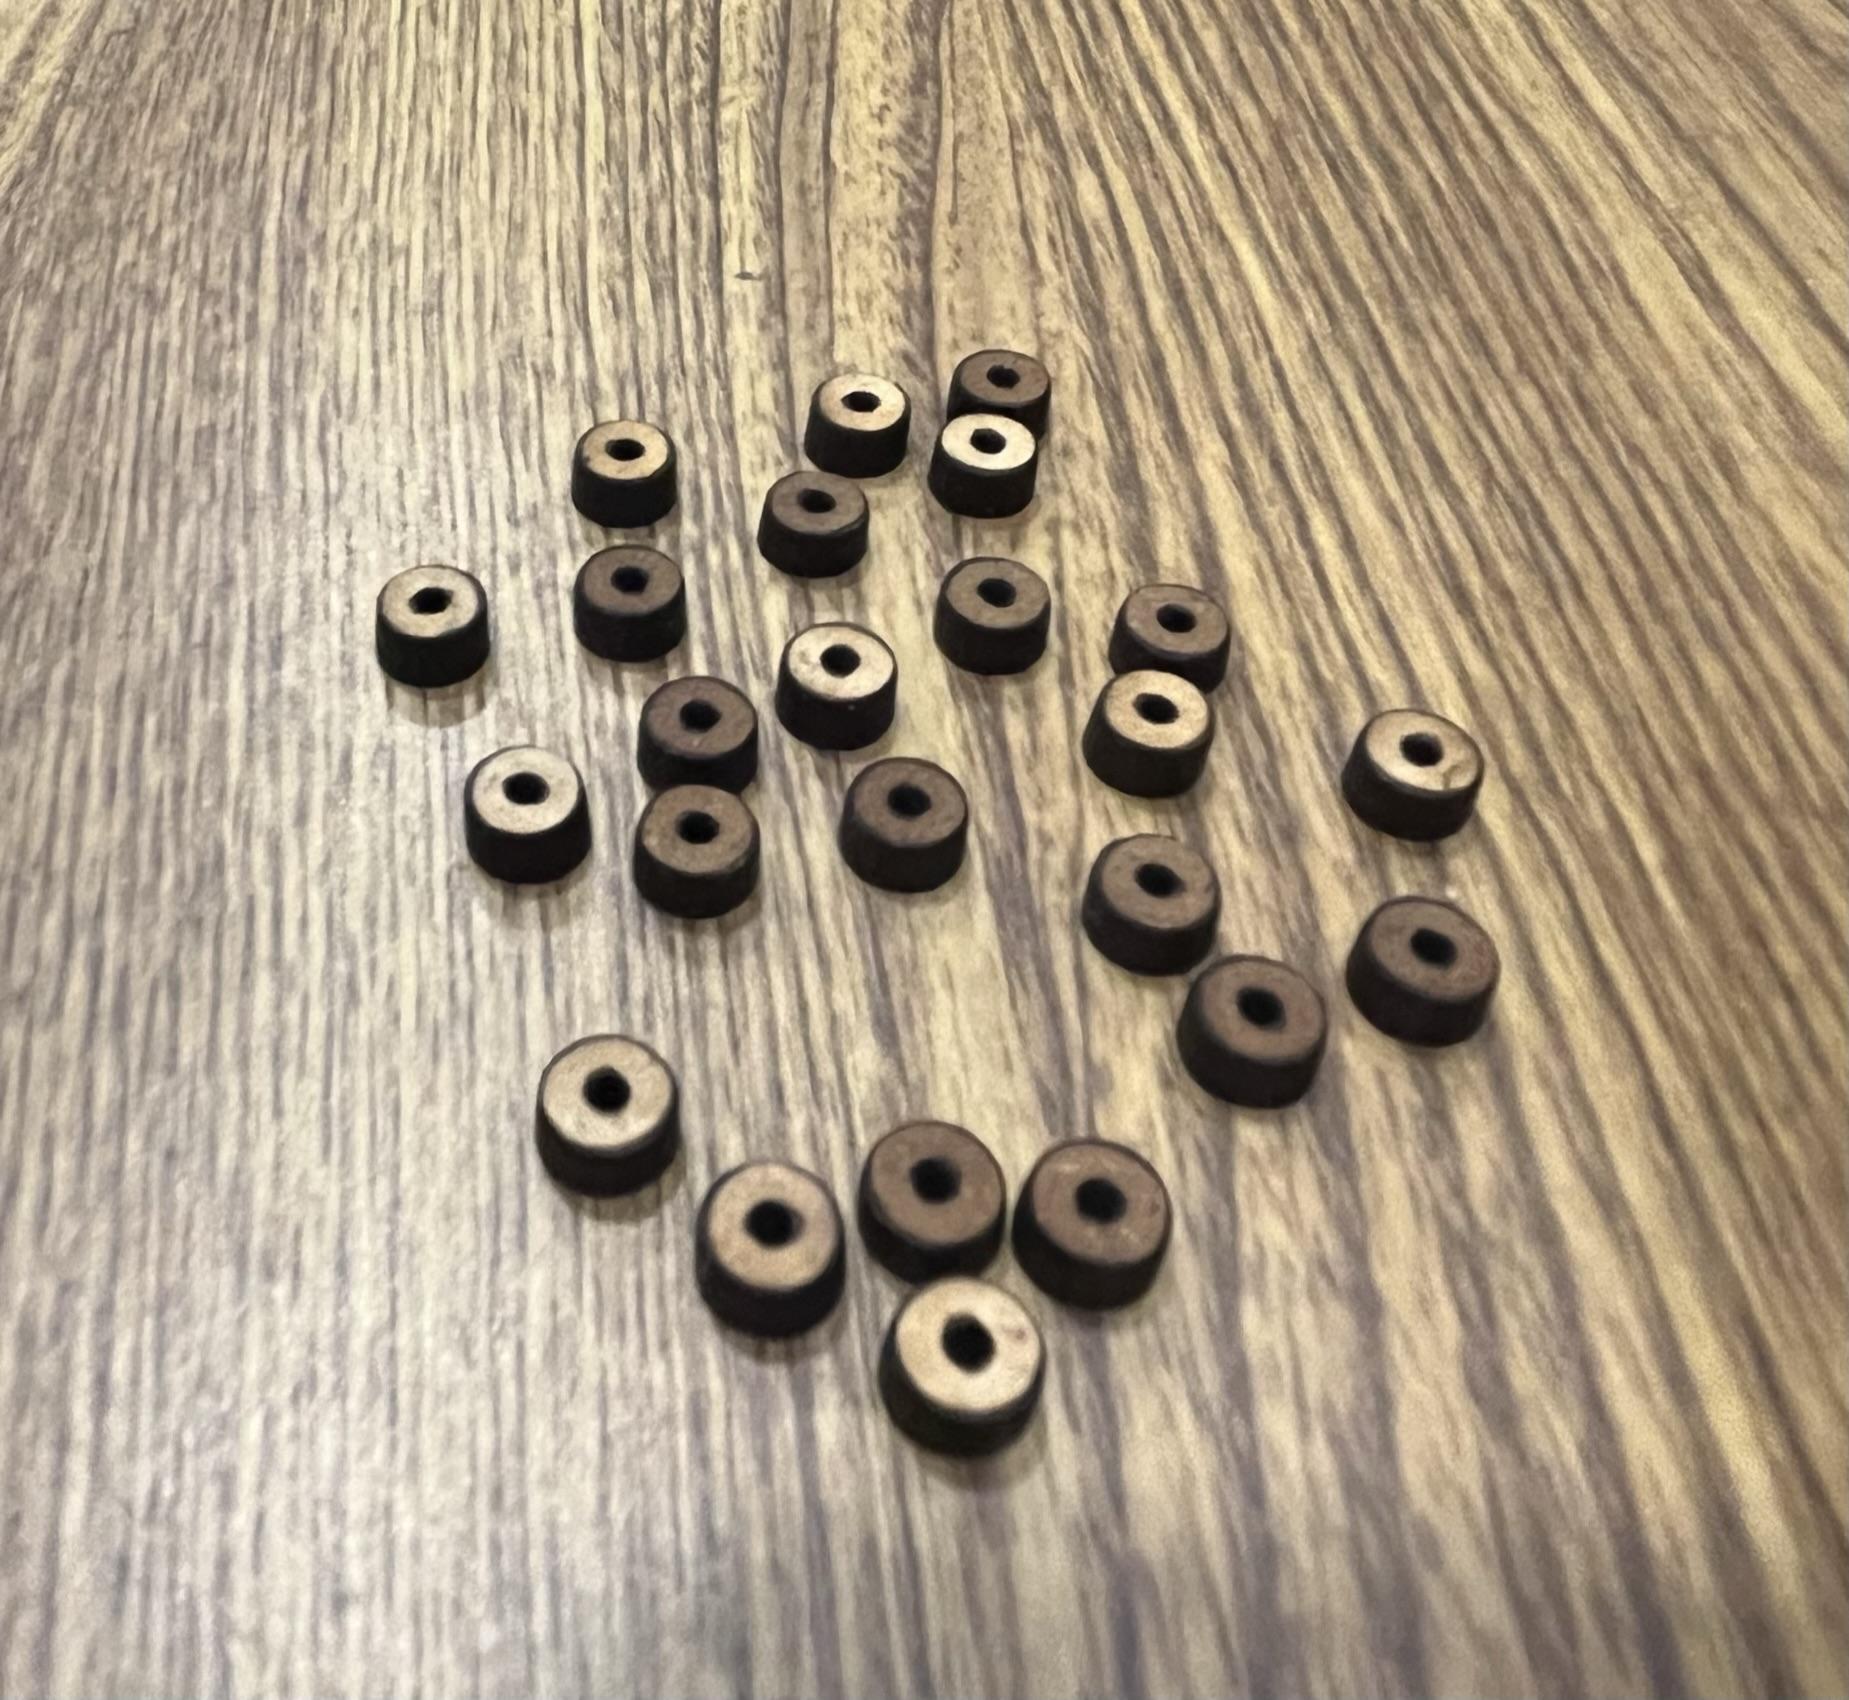
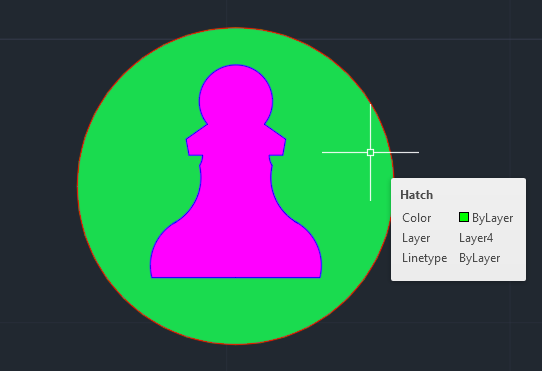

Next, you'll want to design pieces for your board. Once again there is lots of room for creativity here, and there's no right way to do this. I recommend starting with circle on the cut layer and going from there. You can raster the tops to create the different teams, you can draw chess characters if you want chess pieces, and you can even change them to triangles if that's what you want. The only limit is your imagination. Copy and paste until you have enough pieces, and organize them to use space efficiently.
Now save your file, so you don't lose your progress. Press control S.
Laser Cutting
.JPEG)
DISCLAIMER: Laser cutters are delicate pieces of machinery that require proper care when being used. Be sure you know what you are doing, do additional research, or have an experienced person on hand who can help you with this process.
Read all instructions before cutting. - I know this next step is a big one, but it's all important, and I have faith in you!!
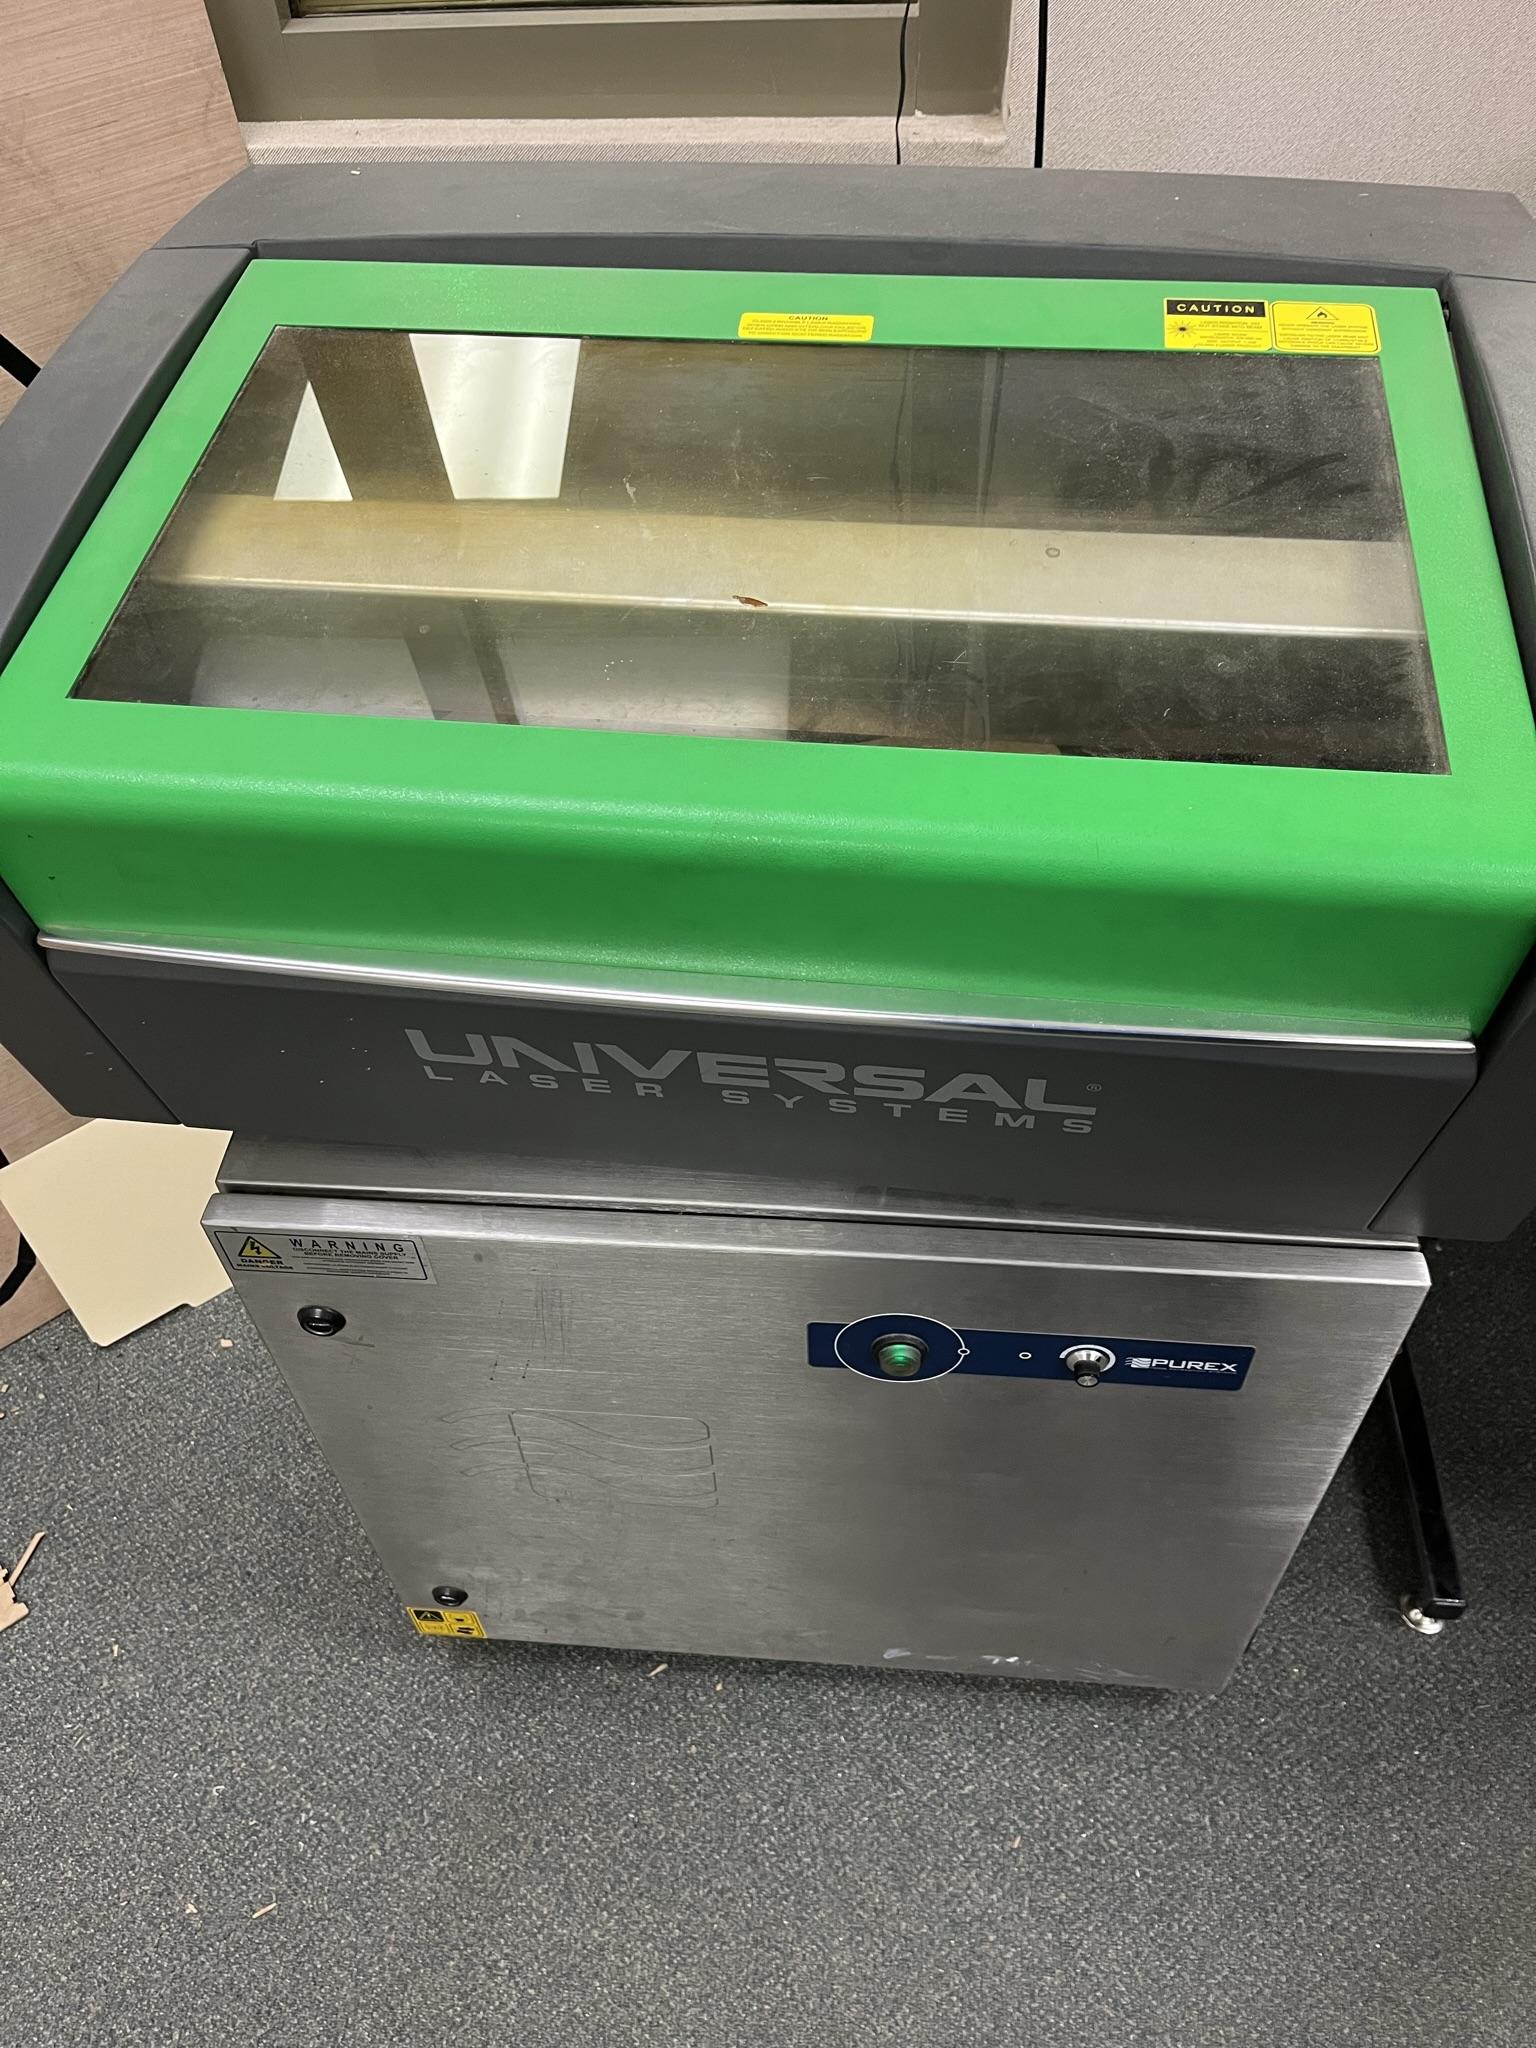
1 The first thing you should do is clean the laser cutter mirrors. Take a microfiber cloth and apply a cleaning liquid. The liquid you should use may depend on the laser cutter you are using; ask for advice concerning your specific model. Lightly dampen the cloth, open the lid of the laser cutter while it's still off, and take out the first mirror on the left, which is found under the secondary lid. Lightly dab the mirror with the cloth and reinsert it. Unscrew the mirror on the right side, and clean in. Reinsert it. Also dab the window/mirror and the very back and to the left.
Start up the computer attached to the laser cutter and open up your AutoCAD file. You may need a way to transfer the file between computers. Note that your AutoCAD file can only be open on one device at a time.
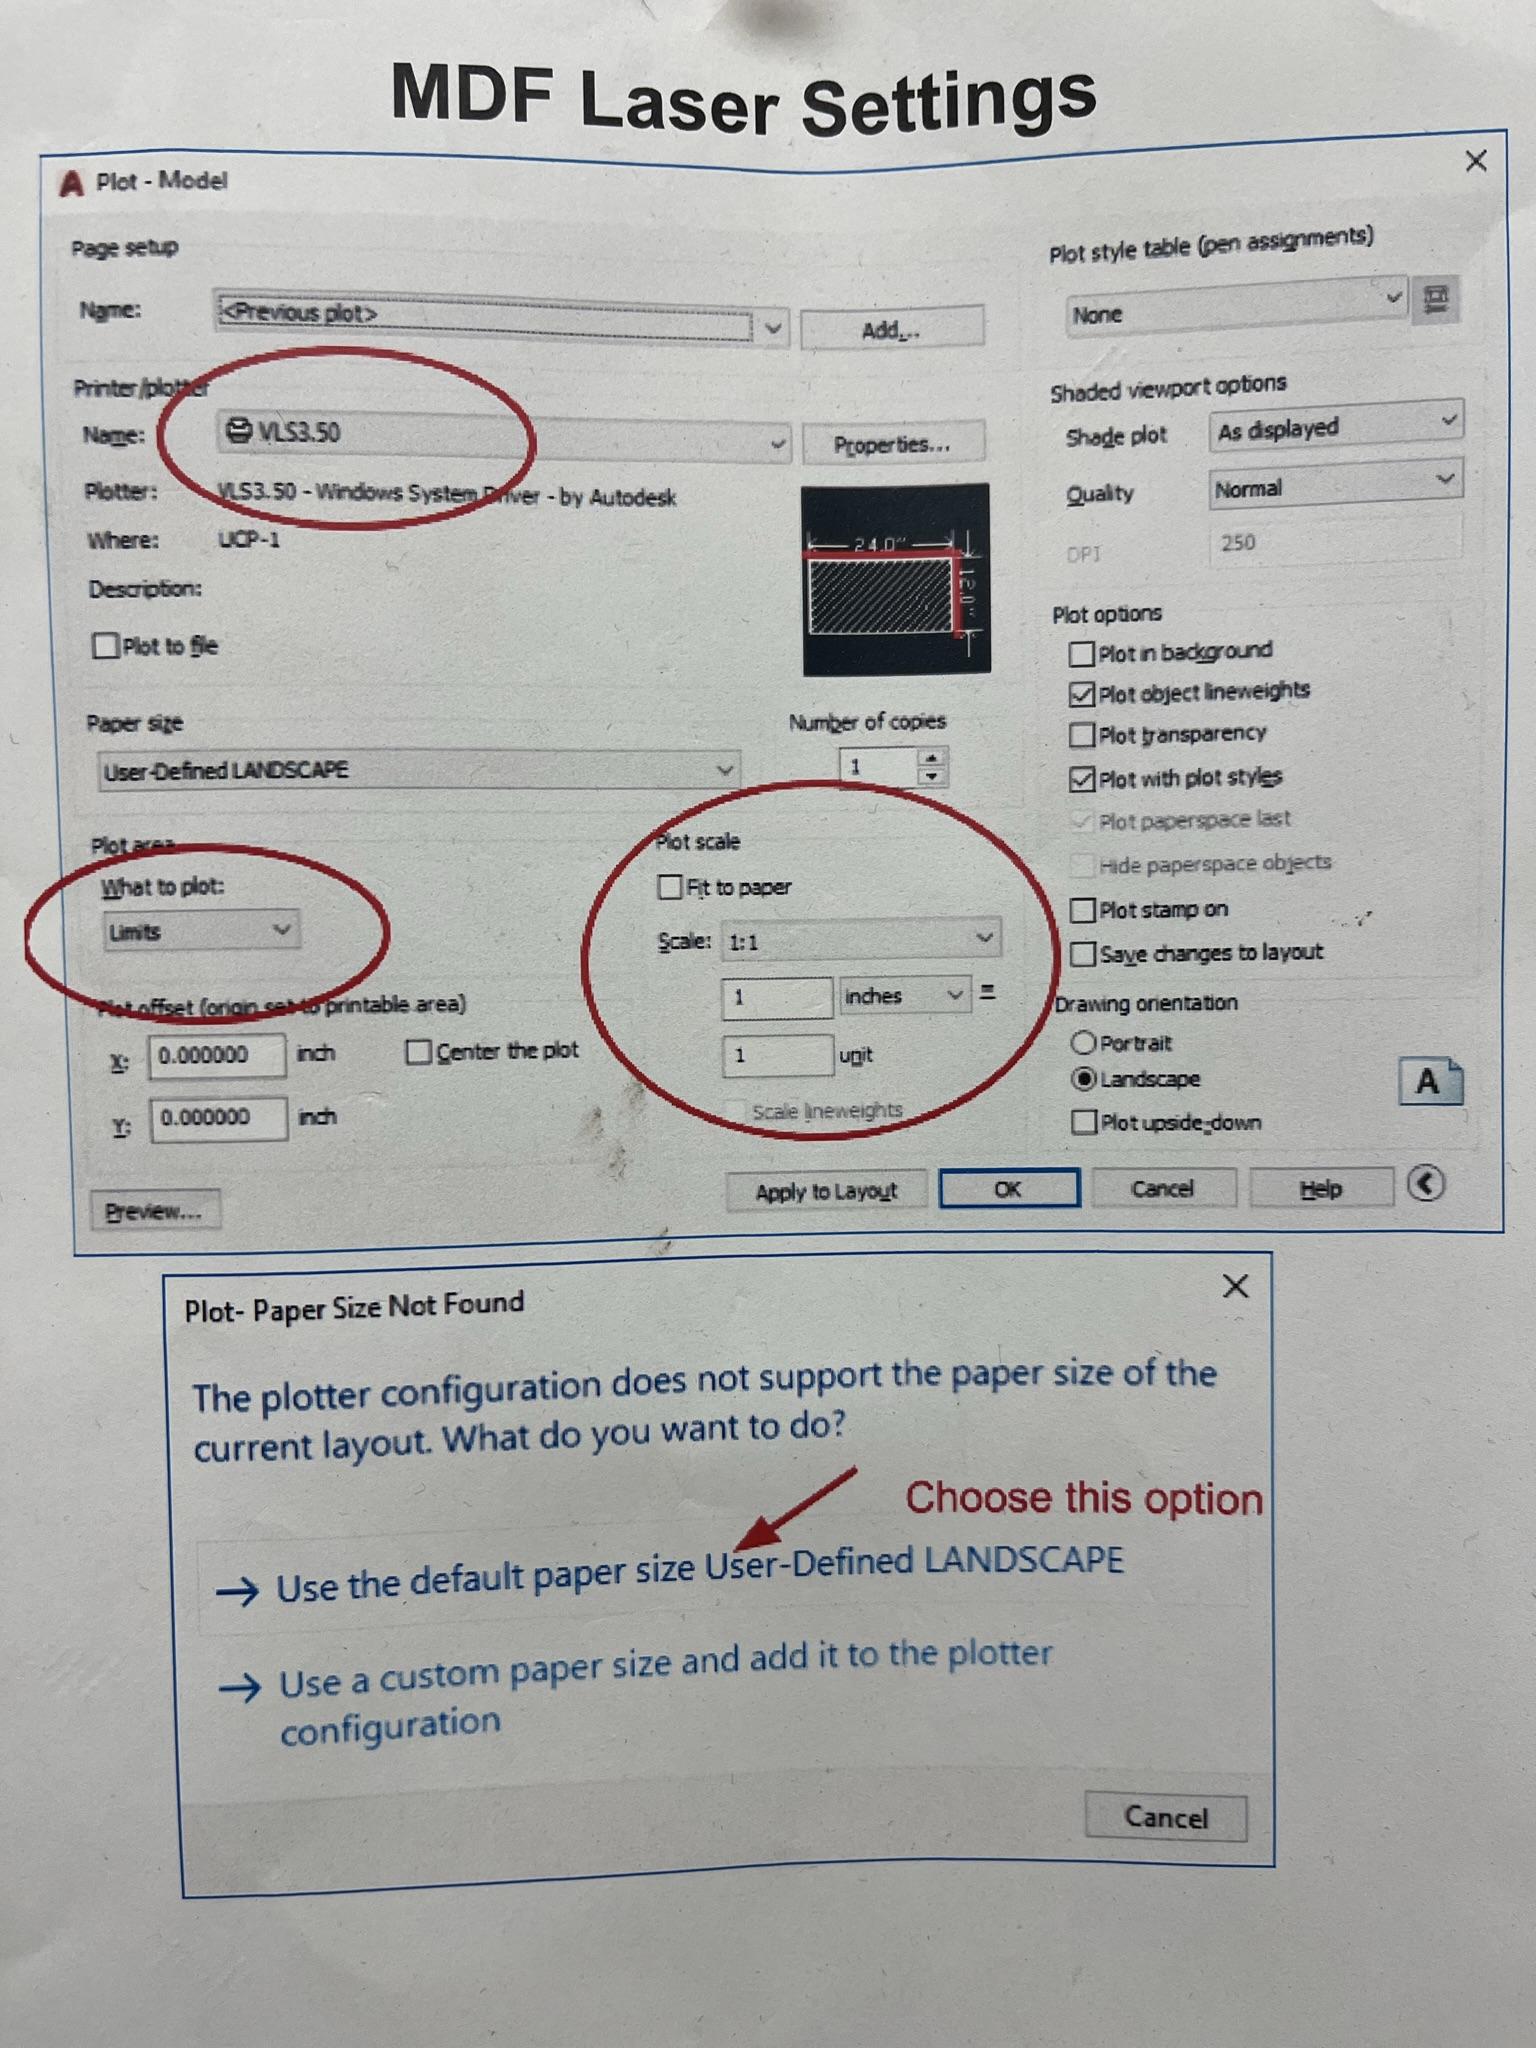
2 Press Control P to bring up the printing menu. Select the correct laser cutter, set what to plot to limits, and uncheck fit to paper. Refer to the above image. If asked, click use default paper size.
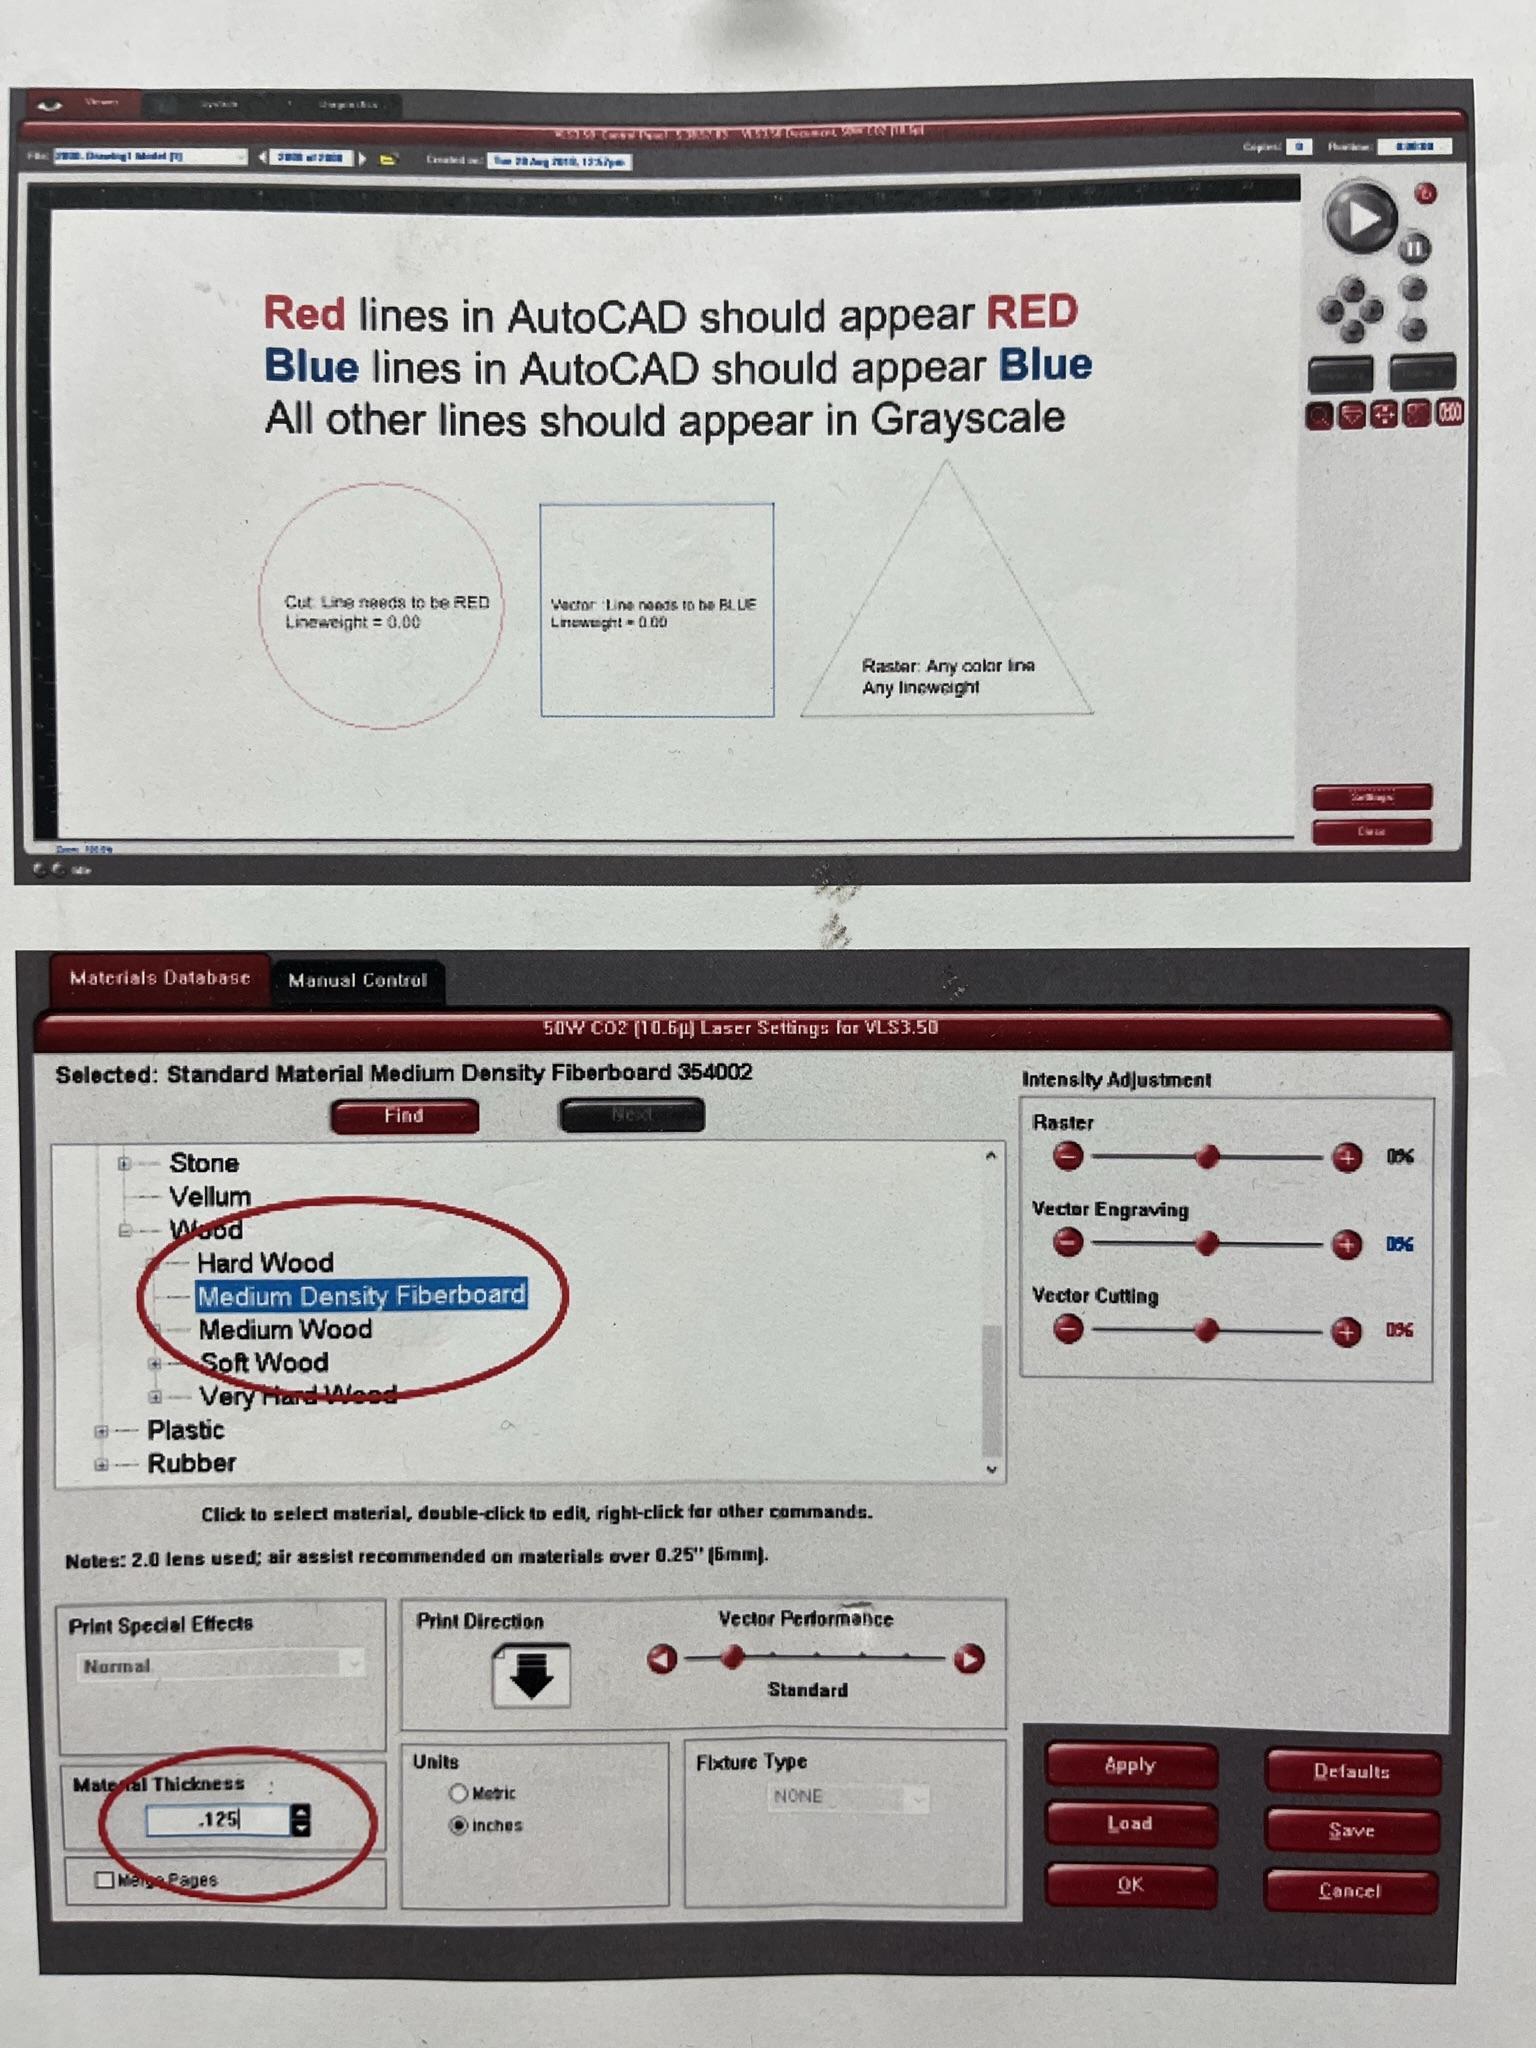
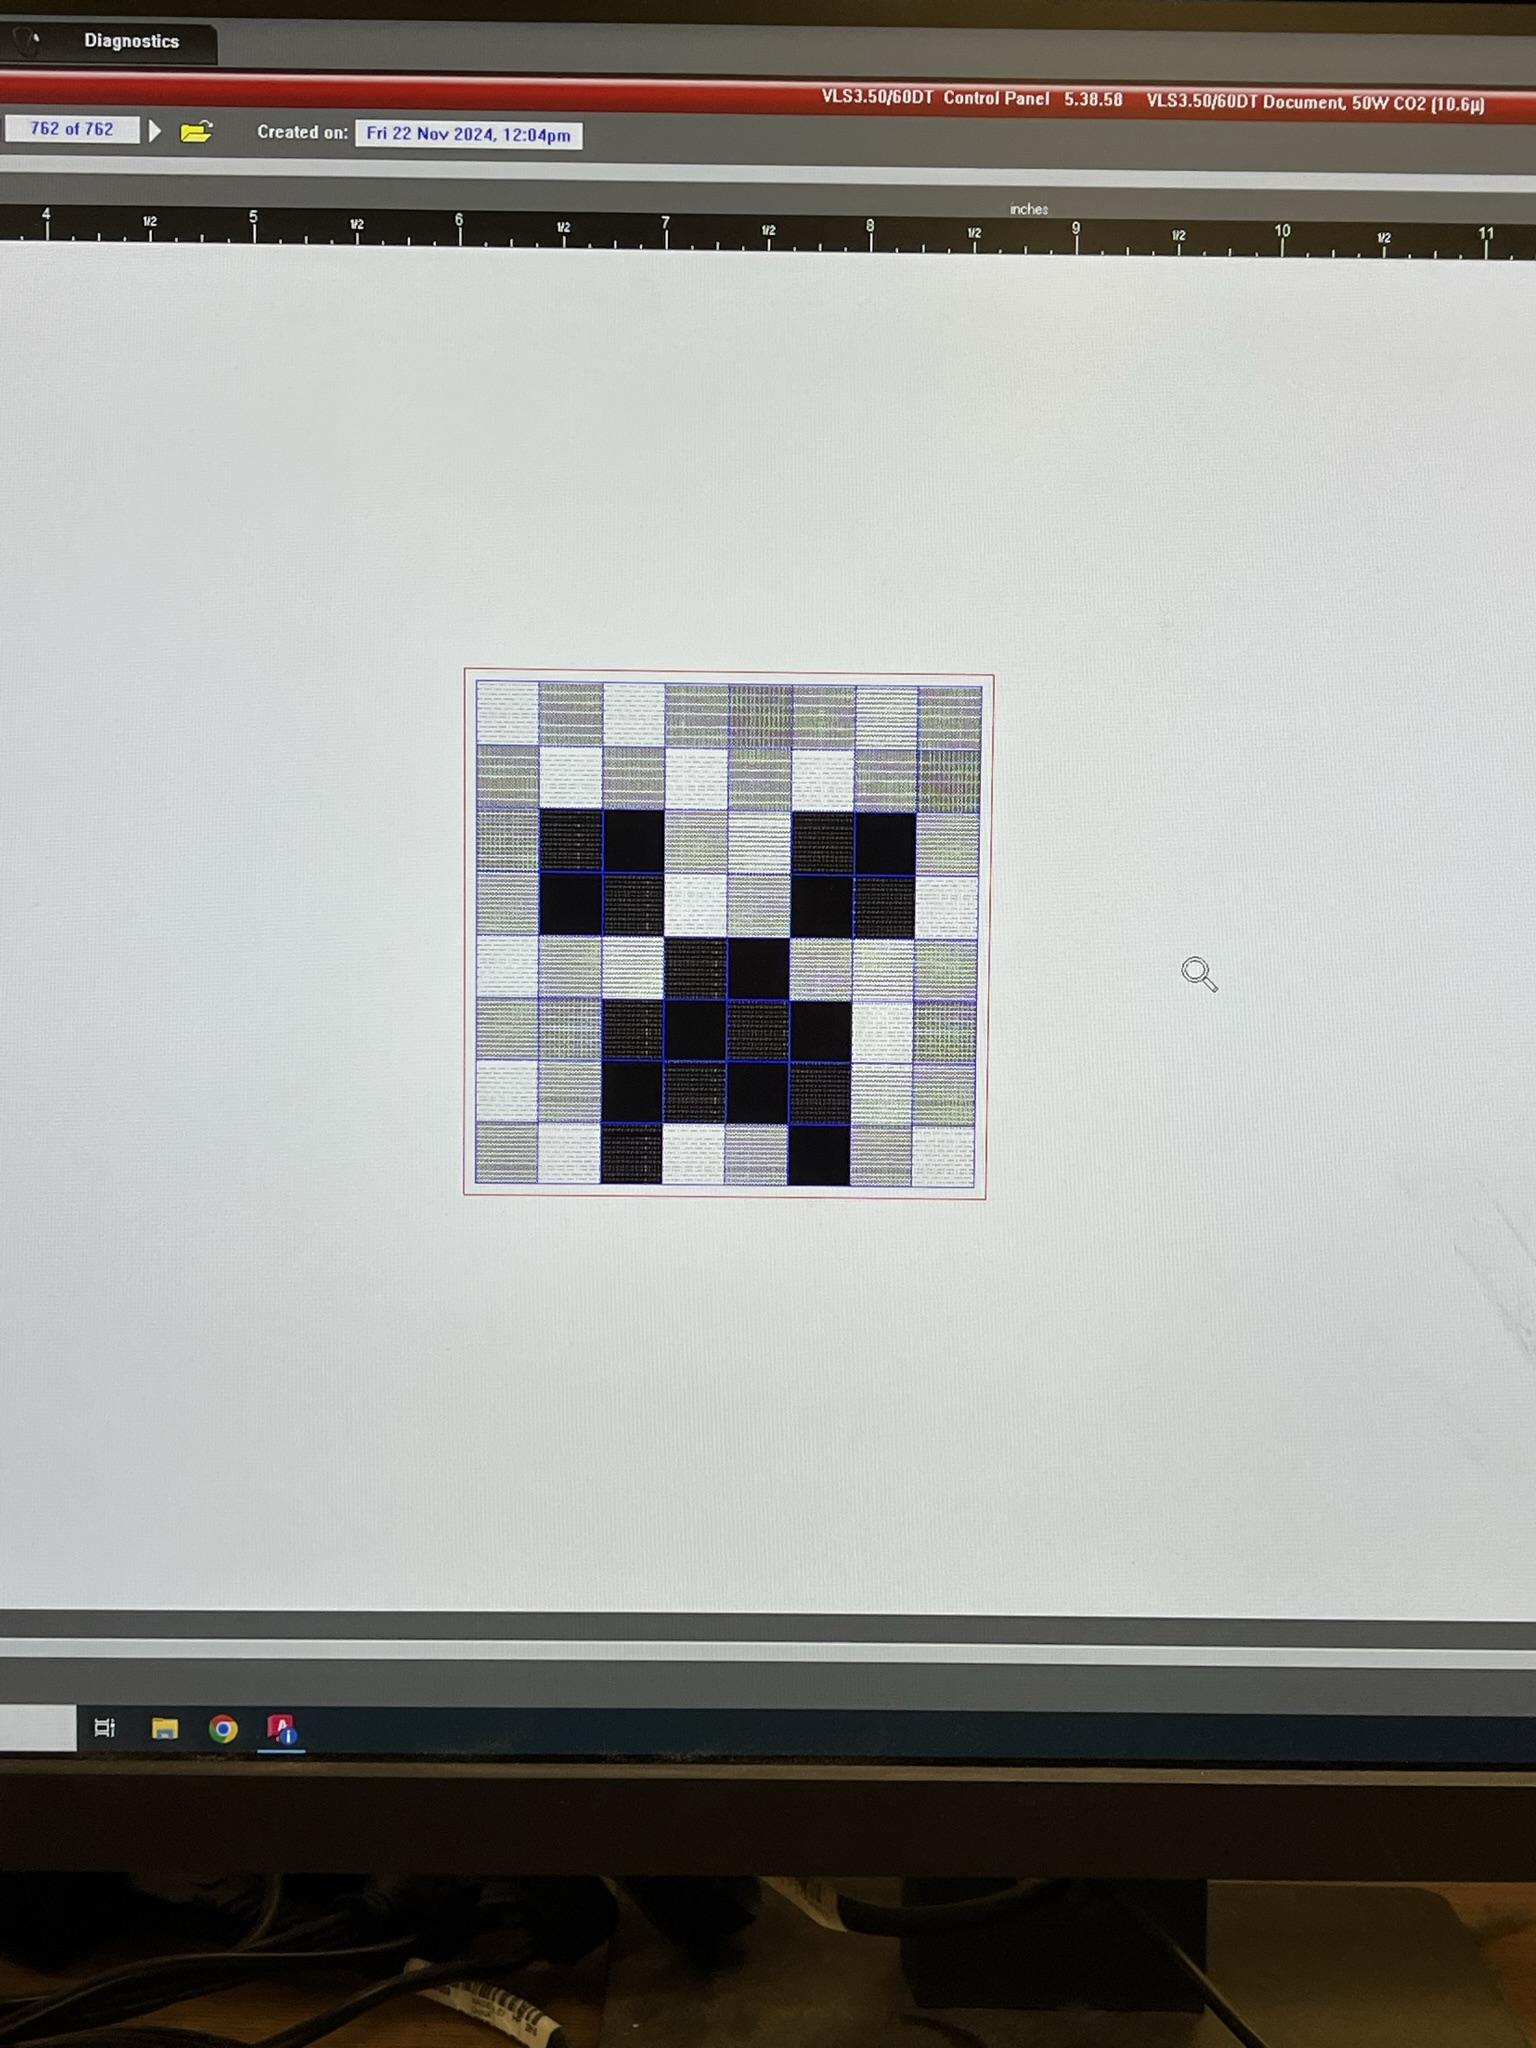
3 Click the red/white icon near the bottom left to open up the cutting menu. Here you should see a preview of your drawing. Make sure that all the lines are the correct colors, and that there is nothing unwanted being printed. Click on settings, and click on natural, wood, and Medium Density Fiberboard for the material. Also select the thickness for your wood. I recommend measuring your wood. If you ordered 1/8-inch thick MDF, then you'll want to input a thickness of near 0.125 inches. Depending on the cutter, there may be a smaller degree of error. If you put in to shallow a thickness, then the cutter won't cut you drawing out all of the way, and it will be stuck in the wood, if you put it in too thick a thickness, your drawing may get a slightly scorched look on the edges. I recommend either going with .125 inches, or .1275 inches or so. This would be a great time to ask for advice from someone experienced with your specific cutter.
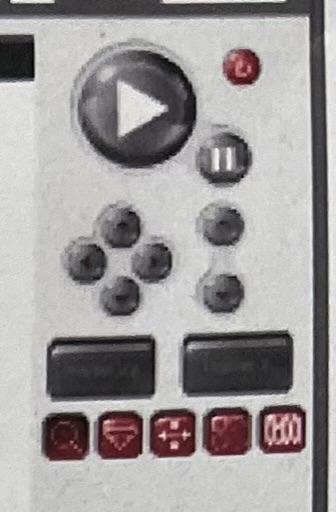
4 Next make sure that the inner lid to the laser cutter is closed, and turn the laser cutter on using the on button, found near the upper right-hand corner on the computer screen. Do not confuse the on button with the start printing button. The second will have a green triangle and will be much larger. Wait for around 40 seconds until the cutter is done turning on. Put your wood into the cutting space. Now you need to align the cutter with your wood. In the upper right-hand corner, there is a row of 5 red icons. Use the second one to see if your drawing is aligned. Click this button, and then click on the edges of your drawing to see where they correspond on the actual laser cutter workspace. Use the 3rd red icon to move the drawing as needed, (or move your wood) and keep testing using the 2nd icon, until you're positive that the entirety of your drawing will cut out on your MDF.
5 Turn on the fan, which will suck out the smoke that will be generated. This may be found in the form of a green button on the front of the laser cutter machine. Wait 30 seconds until the fan turns on all the way. Make sure the fan is on the right strength setting, which may vary depending on the laser cutter.
Finally, click the green start button on the computer screen, and wait for your project to cut out. It's not recommended to watch the laser as it cuts. Doing so likely won't cause serious issues (my eyes are still fine) but it can potentially damage your eyes if done for too long. If you do look, you should see small, short flashes of white light, and at times, bursts of flame. If anything goes amiss, press the pause button on the computer screen and reassess. Once your drawing is done, turn the cutter and fan off, and open the lid. If it looks like your drawing got cut out of the wood all the way, then take it out of the laser cutter. If it doesn't look like it got cut through all the way, then do not touch the wood, and consider doing another cut with a deeper thickness.
Enjoy!
.JPEG)
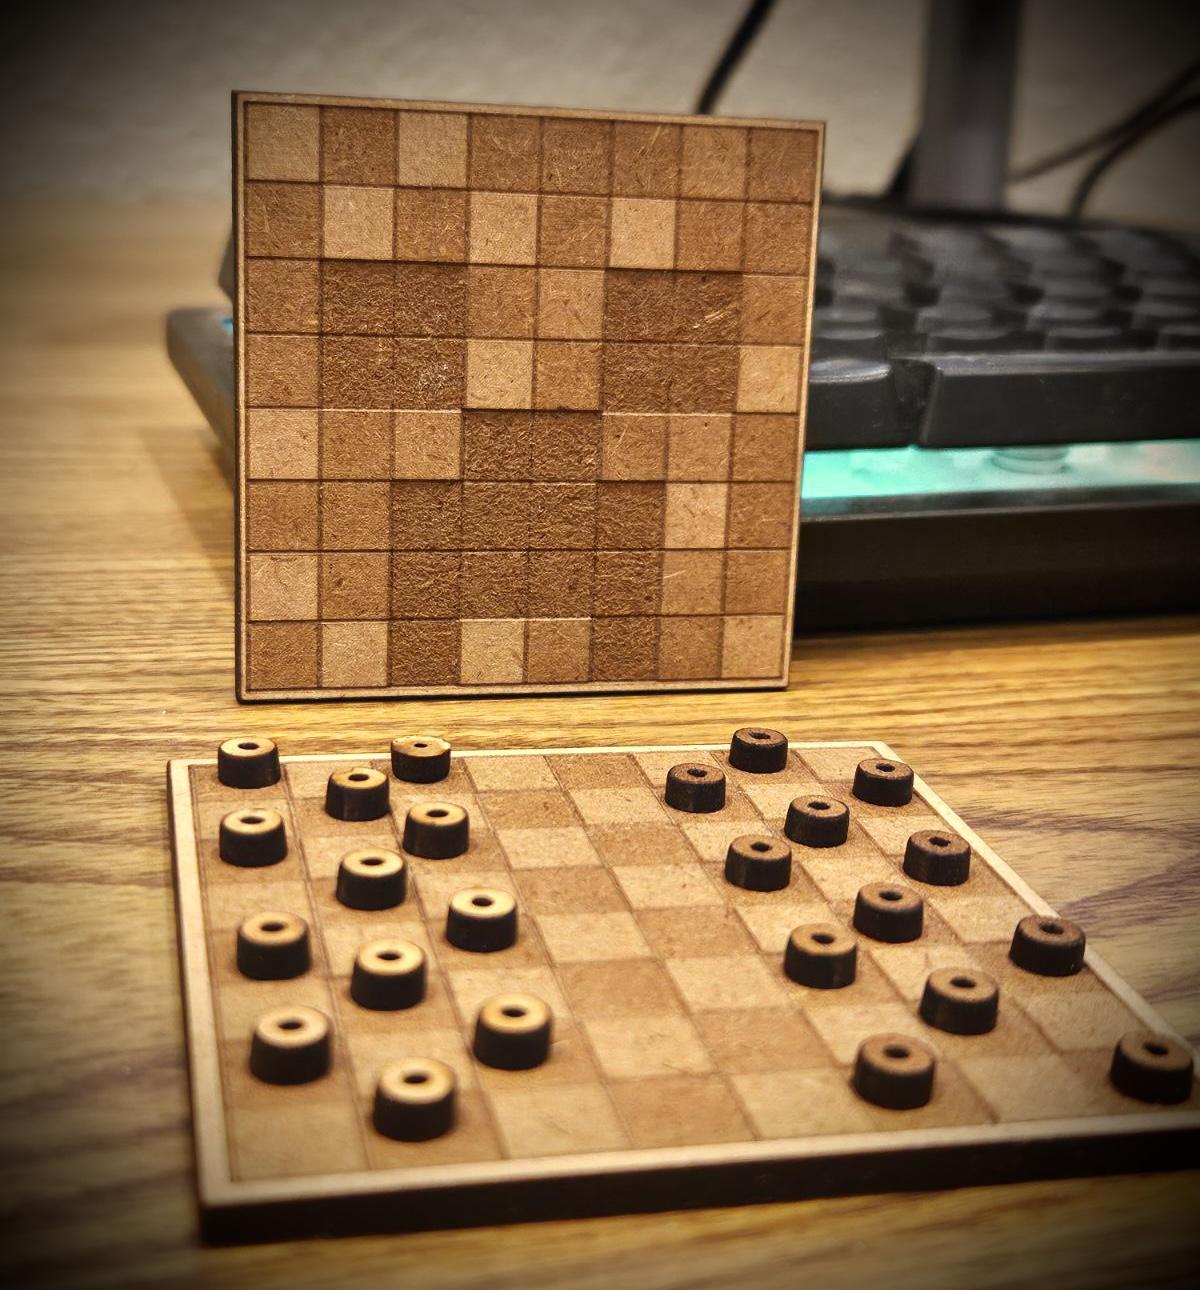
Now your mini checkers set is complete! Hopefully you learned a lot about how to laser cut, and more about how to use AutoCAD software. If you enjoyed this project, consider commenting or liking. Now go enjoy a fun game!