Customizable Kinetic Flower Vase
by Shizen in Workshop > 3D Printing
2114 Views, 13 Favorites, 0 Comments
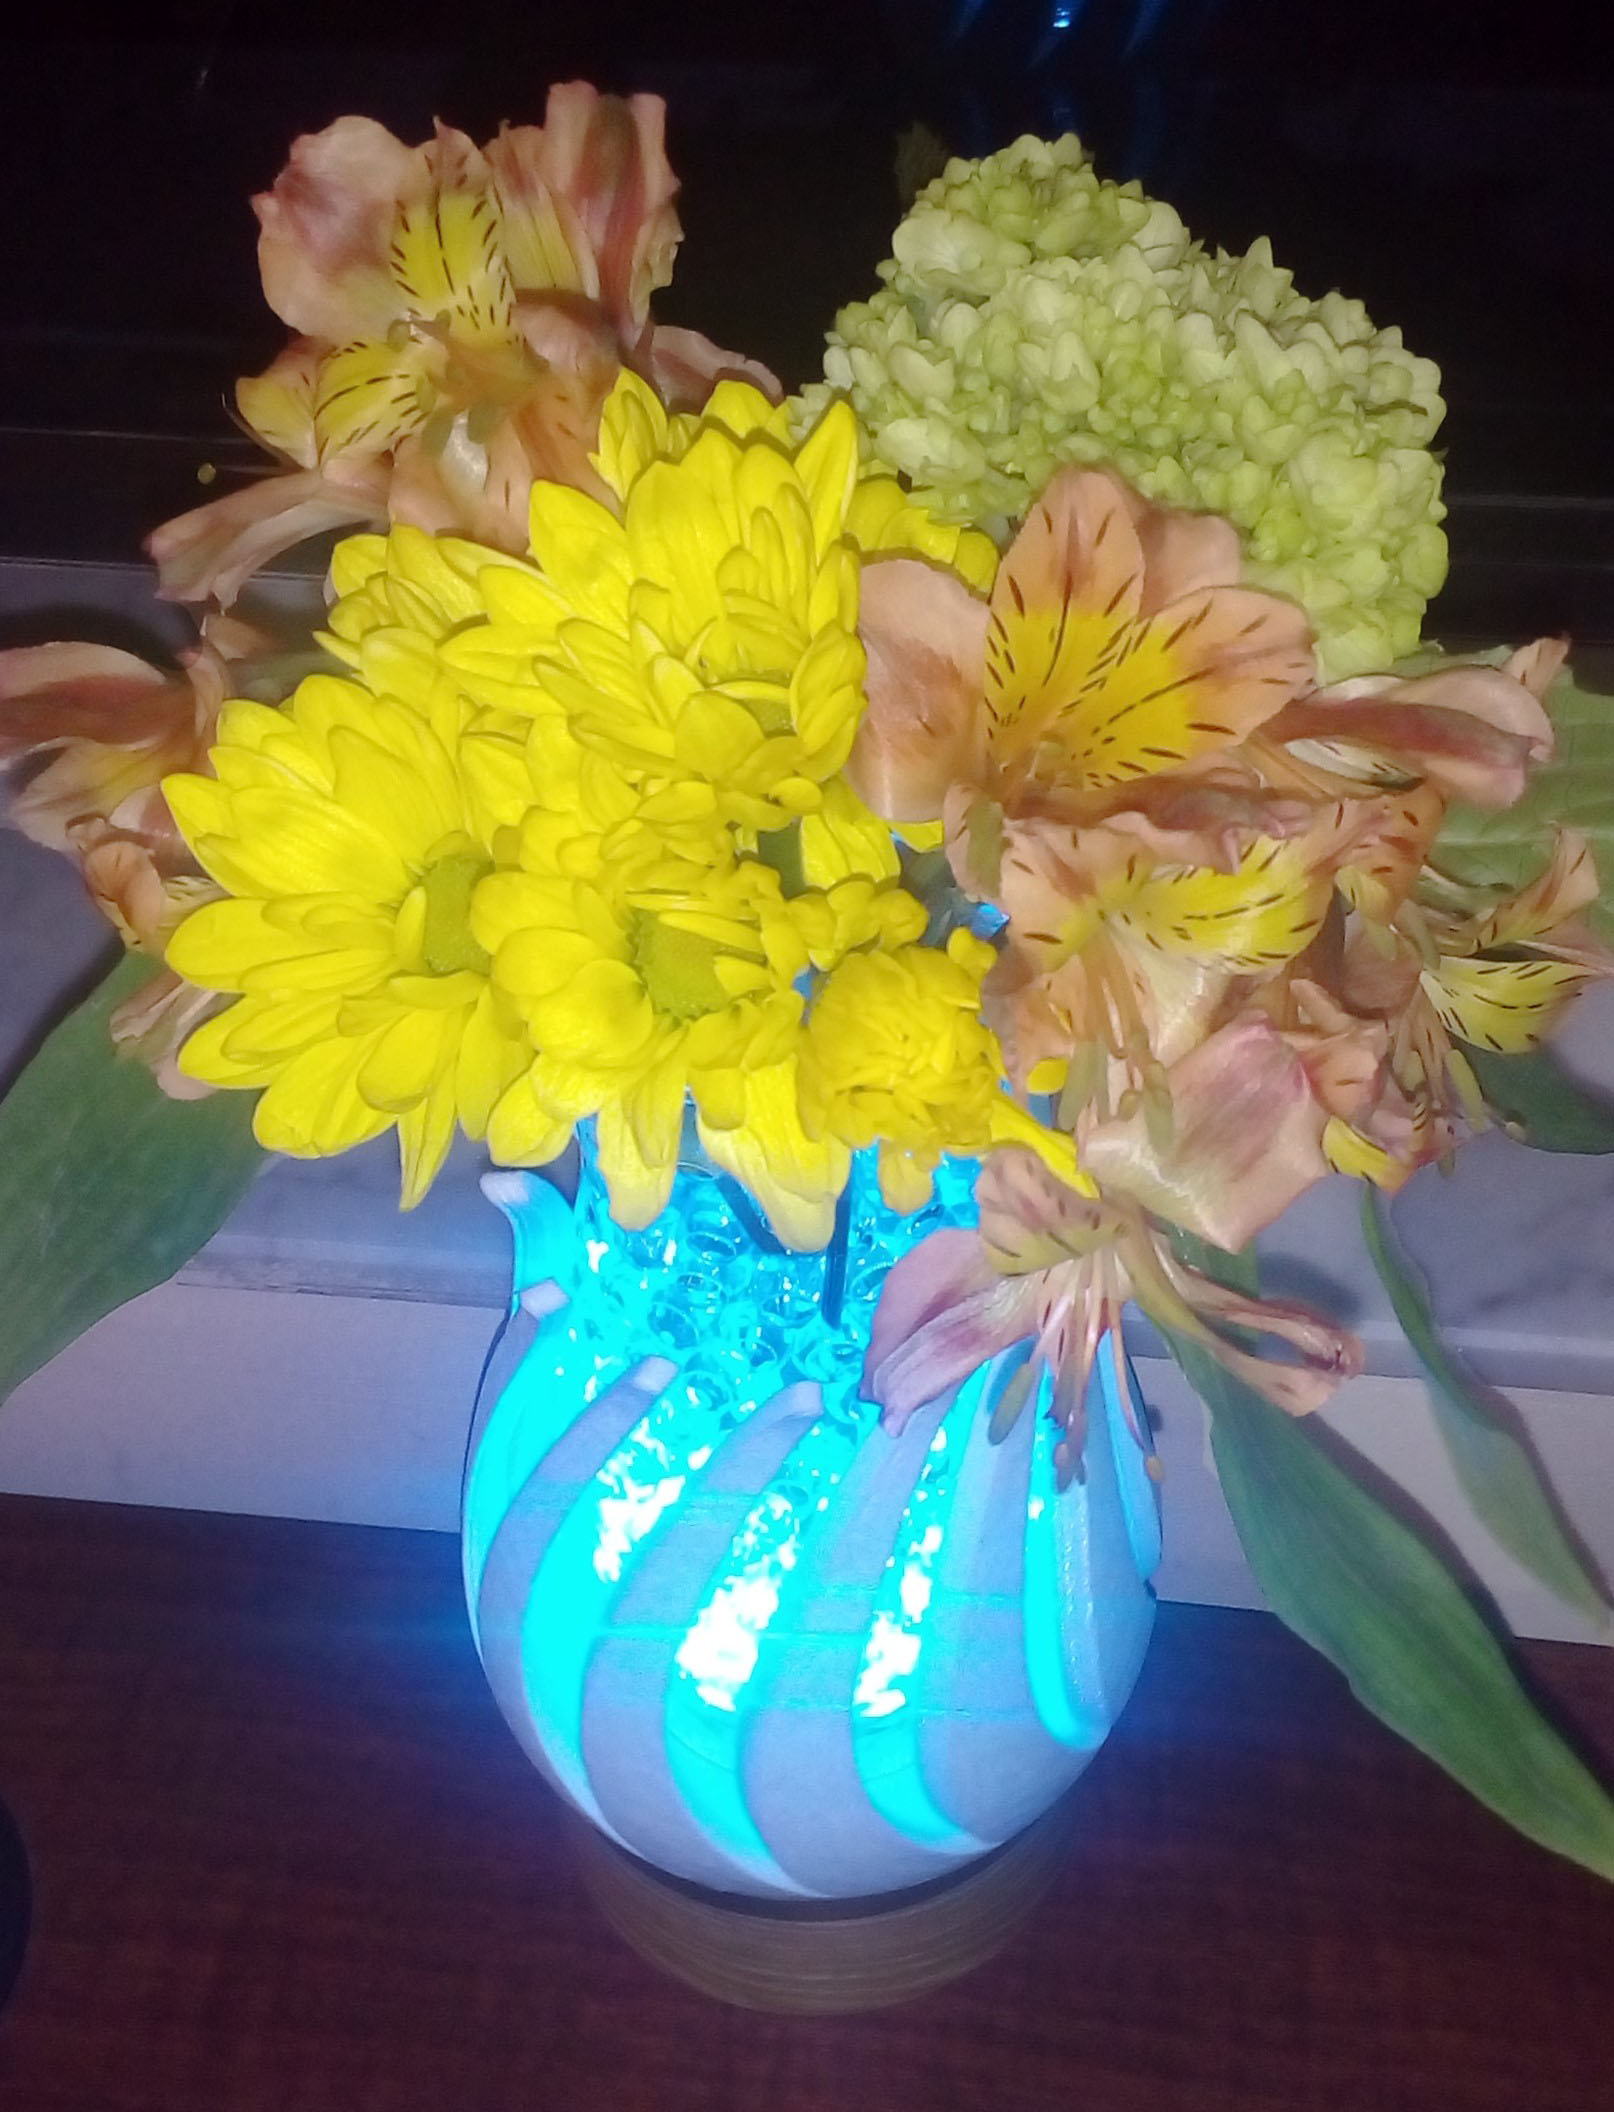
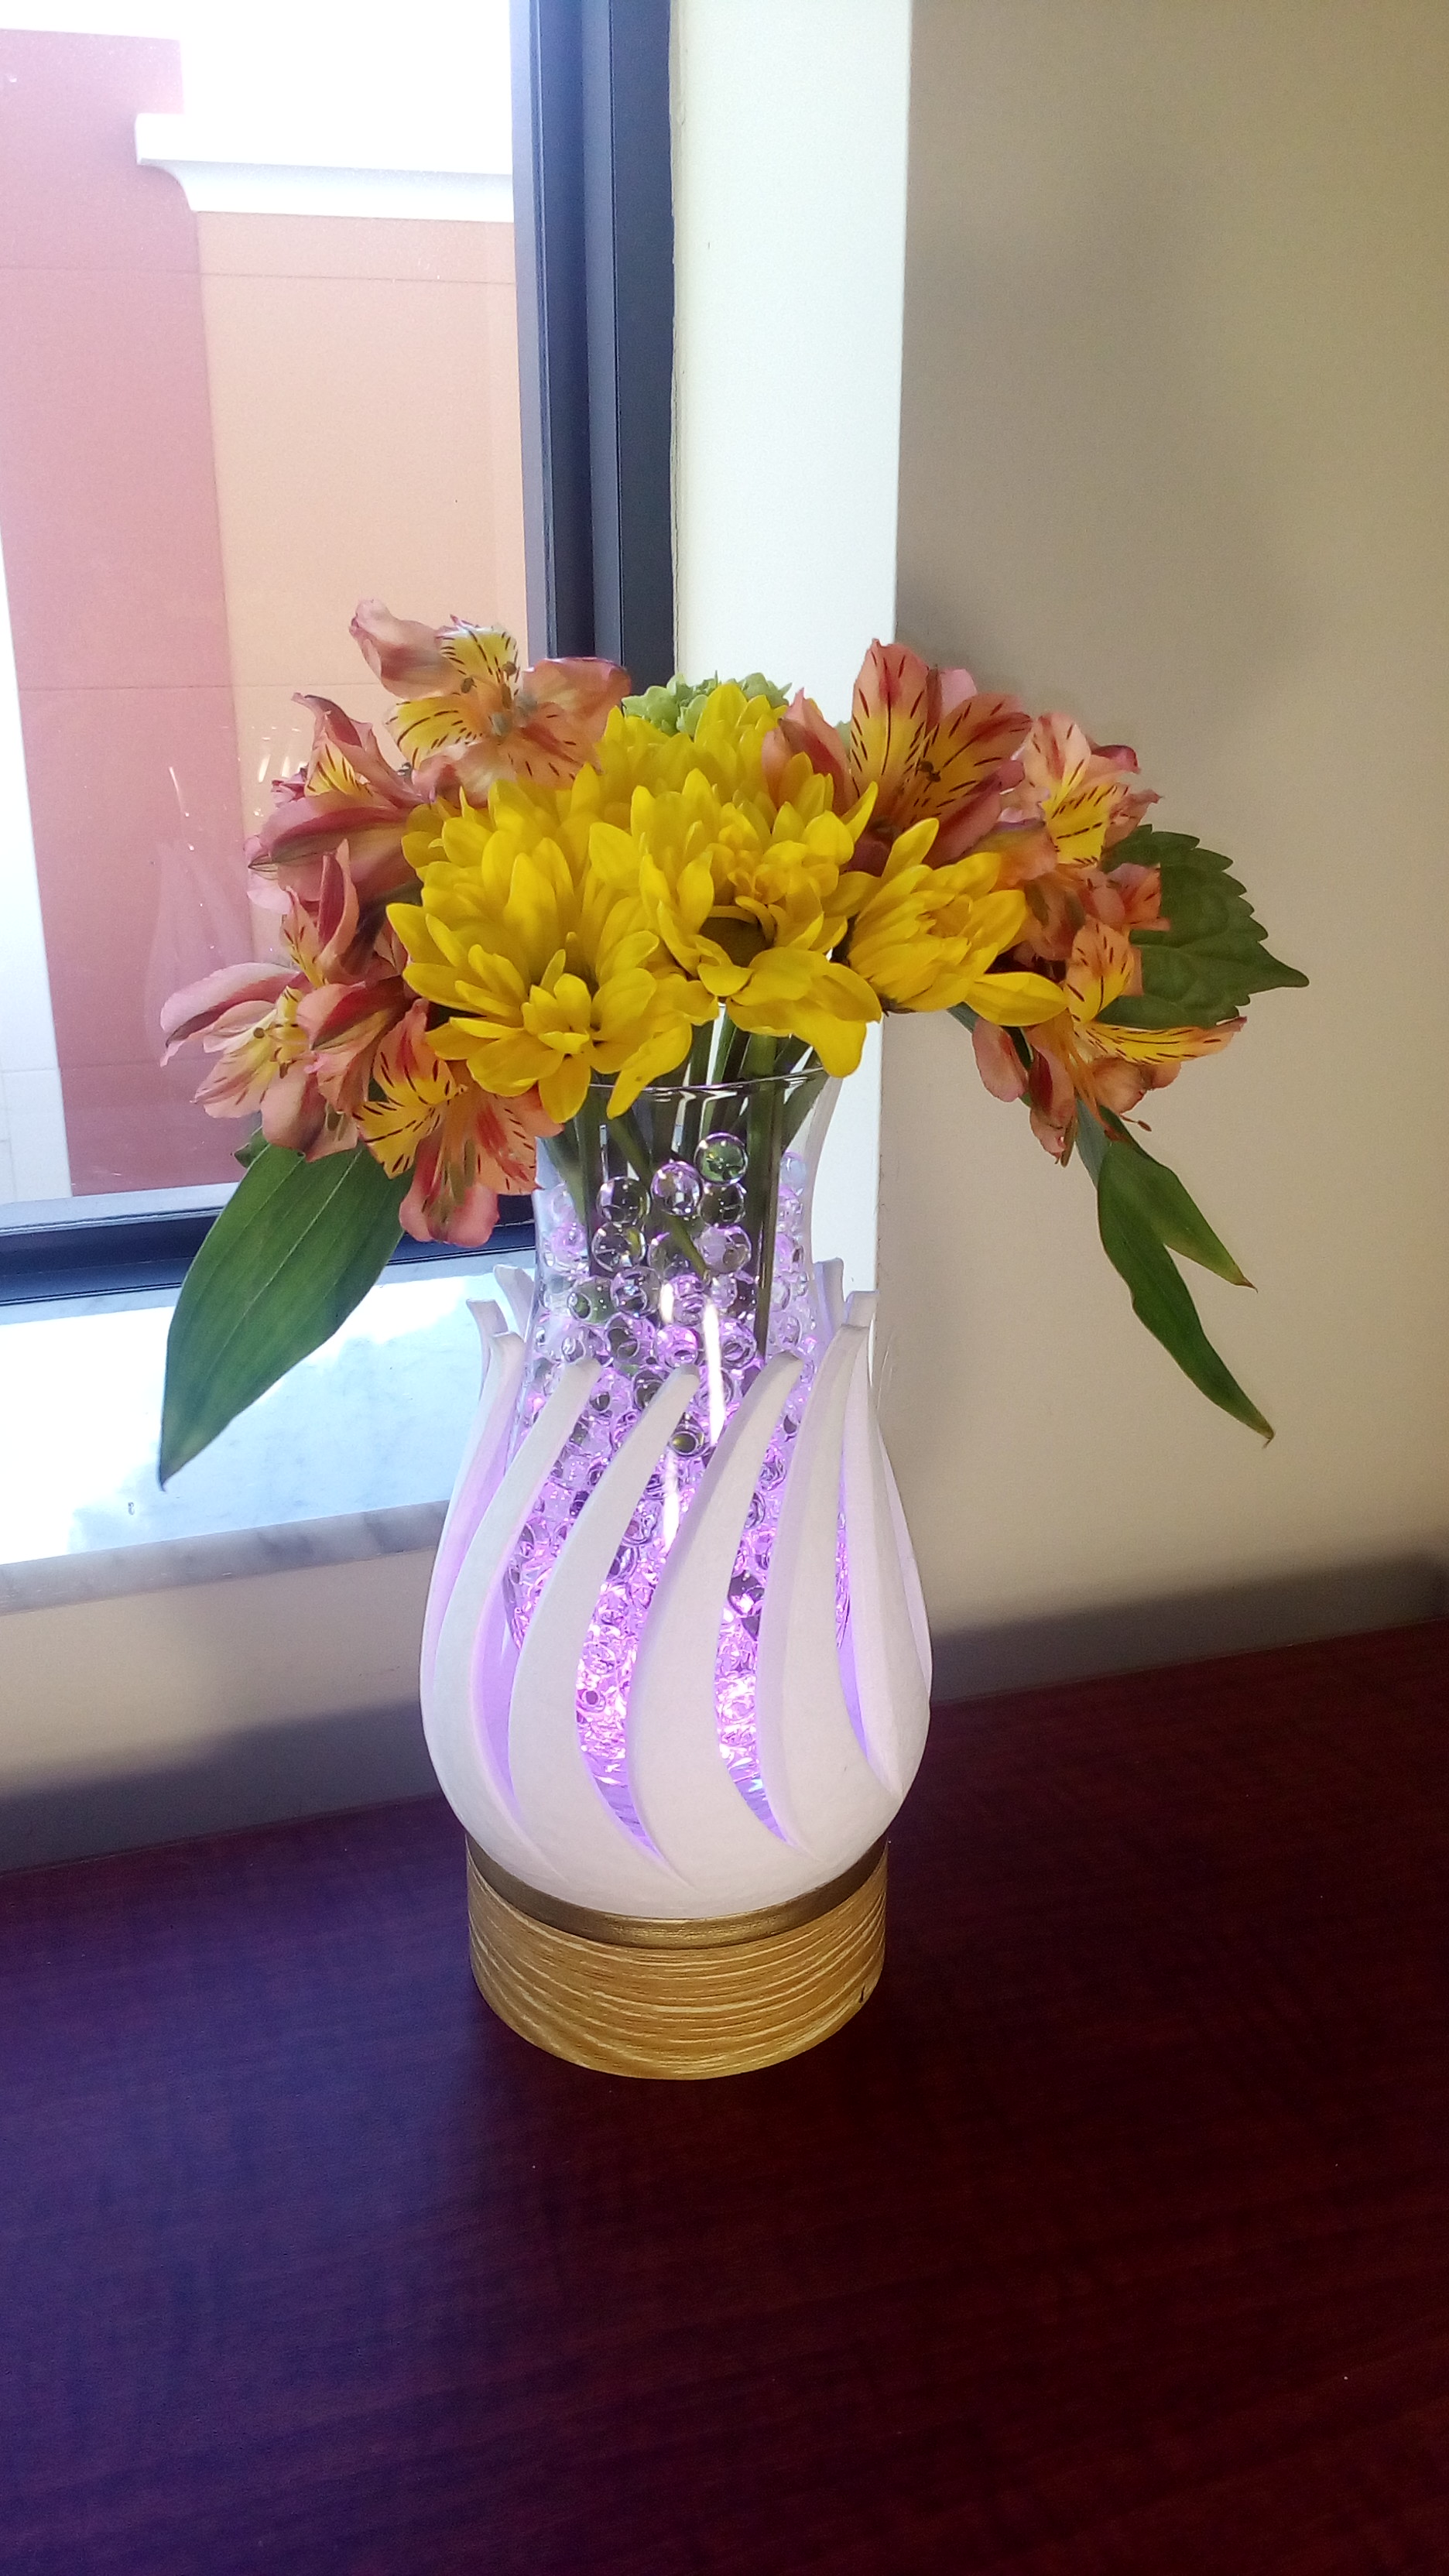
Customizable Kinetic Flower Vase
.gif)
.png)
.png)
This is my first project that I designed my own 3D object and print on my 3D printer. I'm surprised that it's a lot easier than I thought, it was so much fun too. Even with my limited knowledge in 3D designing, I was able to use Fusion and desgin my own model. It was a huge learning curve for me, but the experience was very enjoyable. The best thing about this experience is to see your own creation come into real life, by the power of 3D printing.
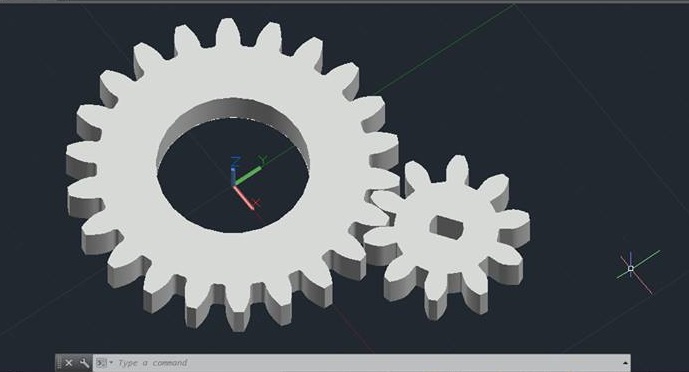
Fusion offered a 3 years licence for free, so I have taken this offer and create something awesome. With just a weekend watching tutorials, I have learned how to use Fusion to create this model right here. Because I learn as I design the model, so it's not really perfect There are things I could have done better. Also, because this model need a set of gears, I have to ask a friend of mine to design it for me. He used AutoCAD and give me the stl files of the gears, so I'm not sure how he did it.
Anyway, this is what I created with Fusion, all of the stl files is in the ZIP file. There's also the original files as STEP files, please note that I'm still new so it's a complete mess (I even messed up the axis, so when I export the stl file, it stay in the wrong way). The movement of the vase is driven by a stepper motor and the color effect is by a NeoPixel ring. The special thing about this project is that you can create your own spinner (the piece that rotate around the vase). Therefore, you can fit any vase with any shape and pattern you'd like. You just need to make the base, then you can fit on any spinner you like. Since Fusion is a very simple program to use, I highly recommend you try it yourself.
Well, that's enough talking.. let's start the instructable.
What You Need

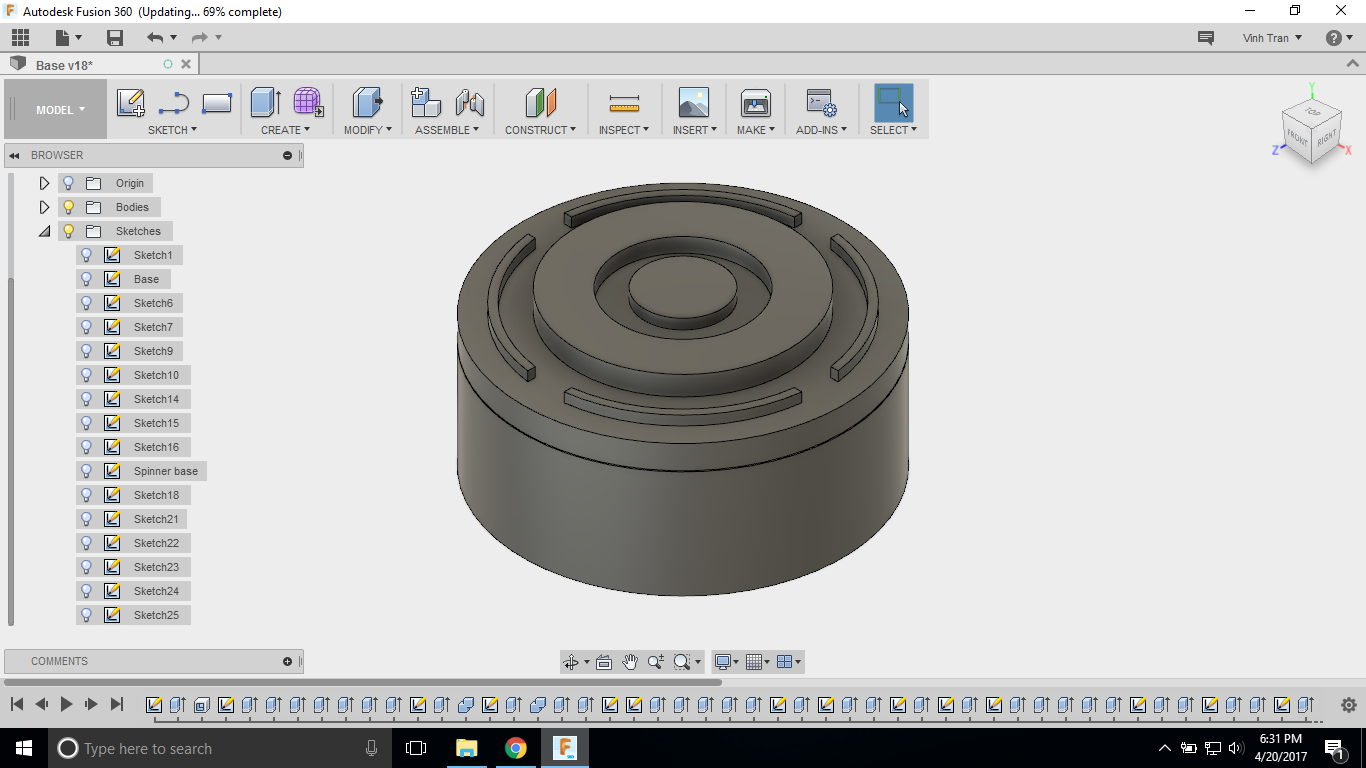
3D printed parts:
- Printed part number 0-2 ( #0 and #1 parts I printed in black, #2 in white). Remember to use support
- Customized spinner (I put there as number 3, you can use it or design your own on the next step)
Flower supply:
- Living (or fake) flowers
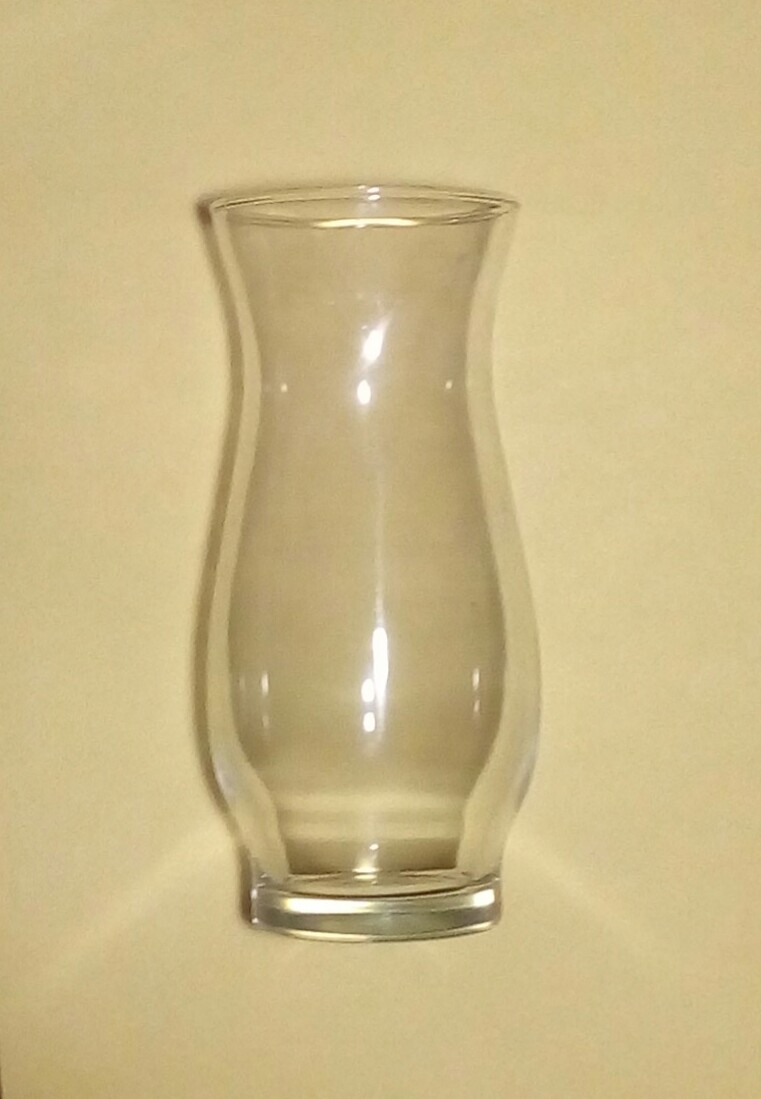
- A vase of your choice (I'm using a vase that I picked up at Dollar Tree, it's about 16.3cm tall and 7.2cm wide, you can use any vase you like, just design a spinner to fit it)
- (Optional) Floral beads (you can use water, but these beads reflect the light and create better effect)
Electronics:
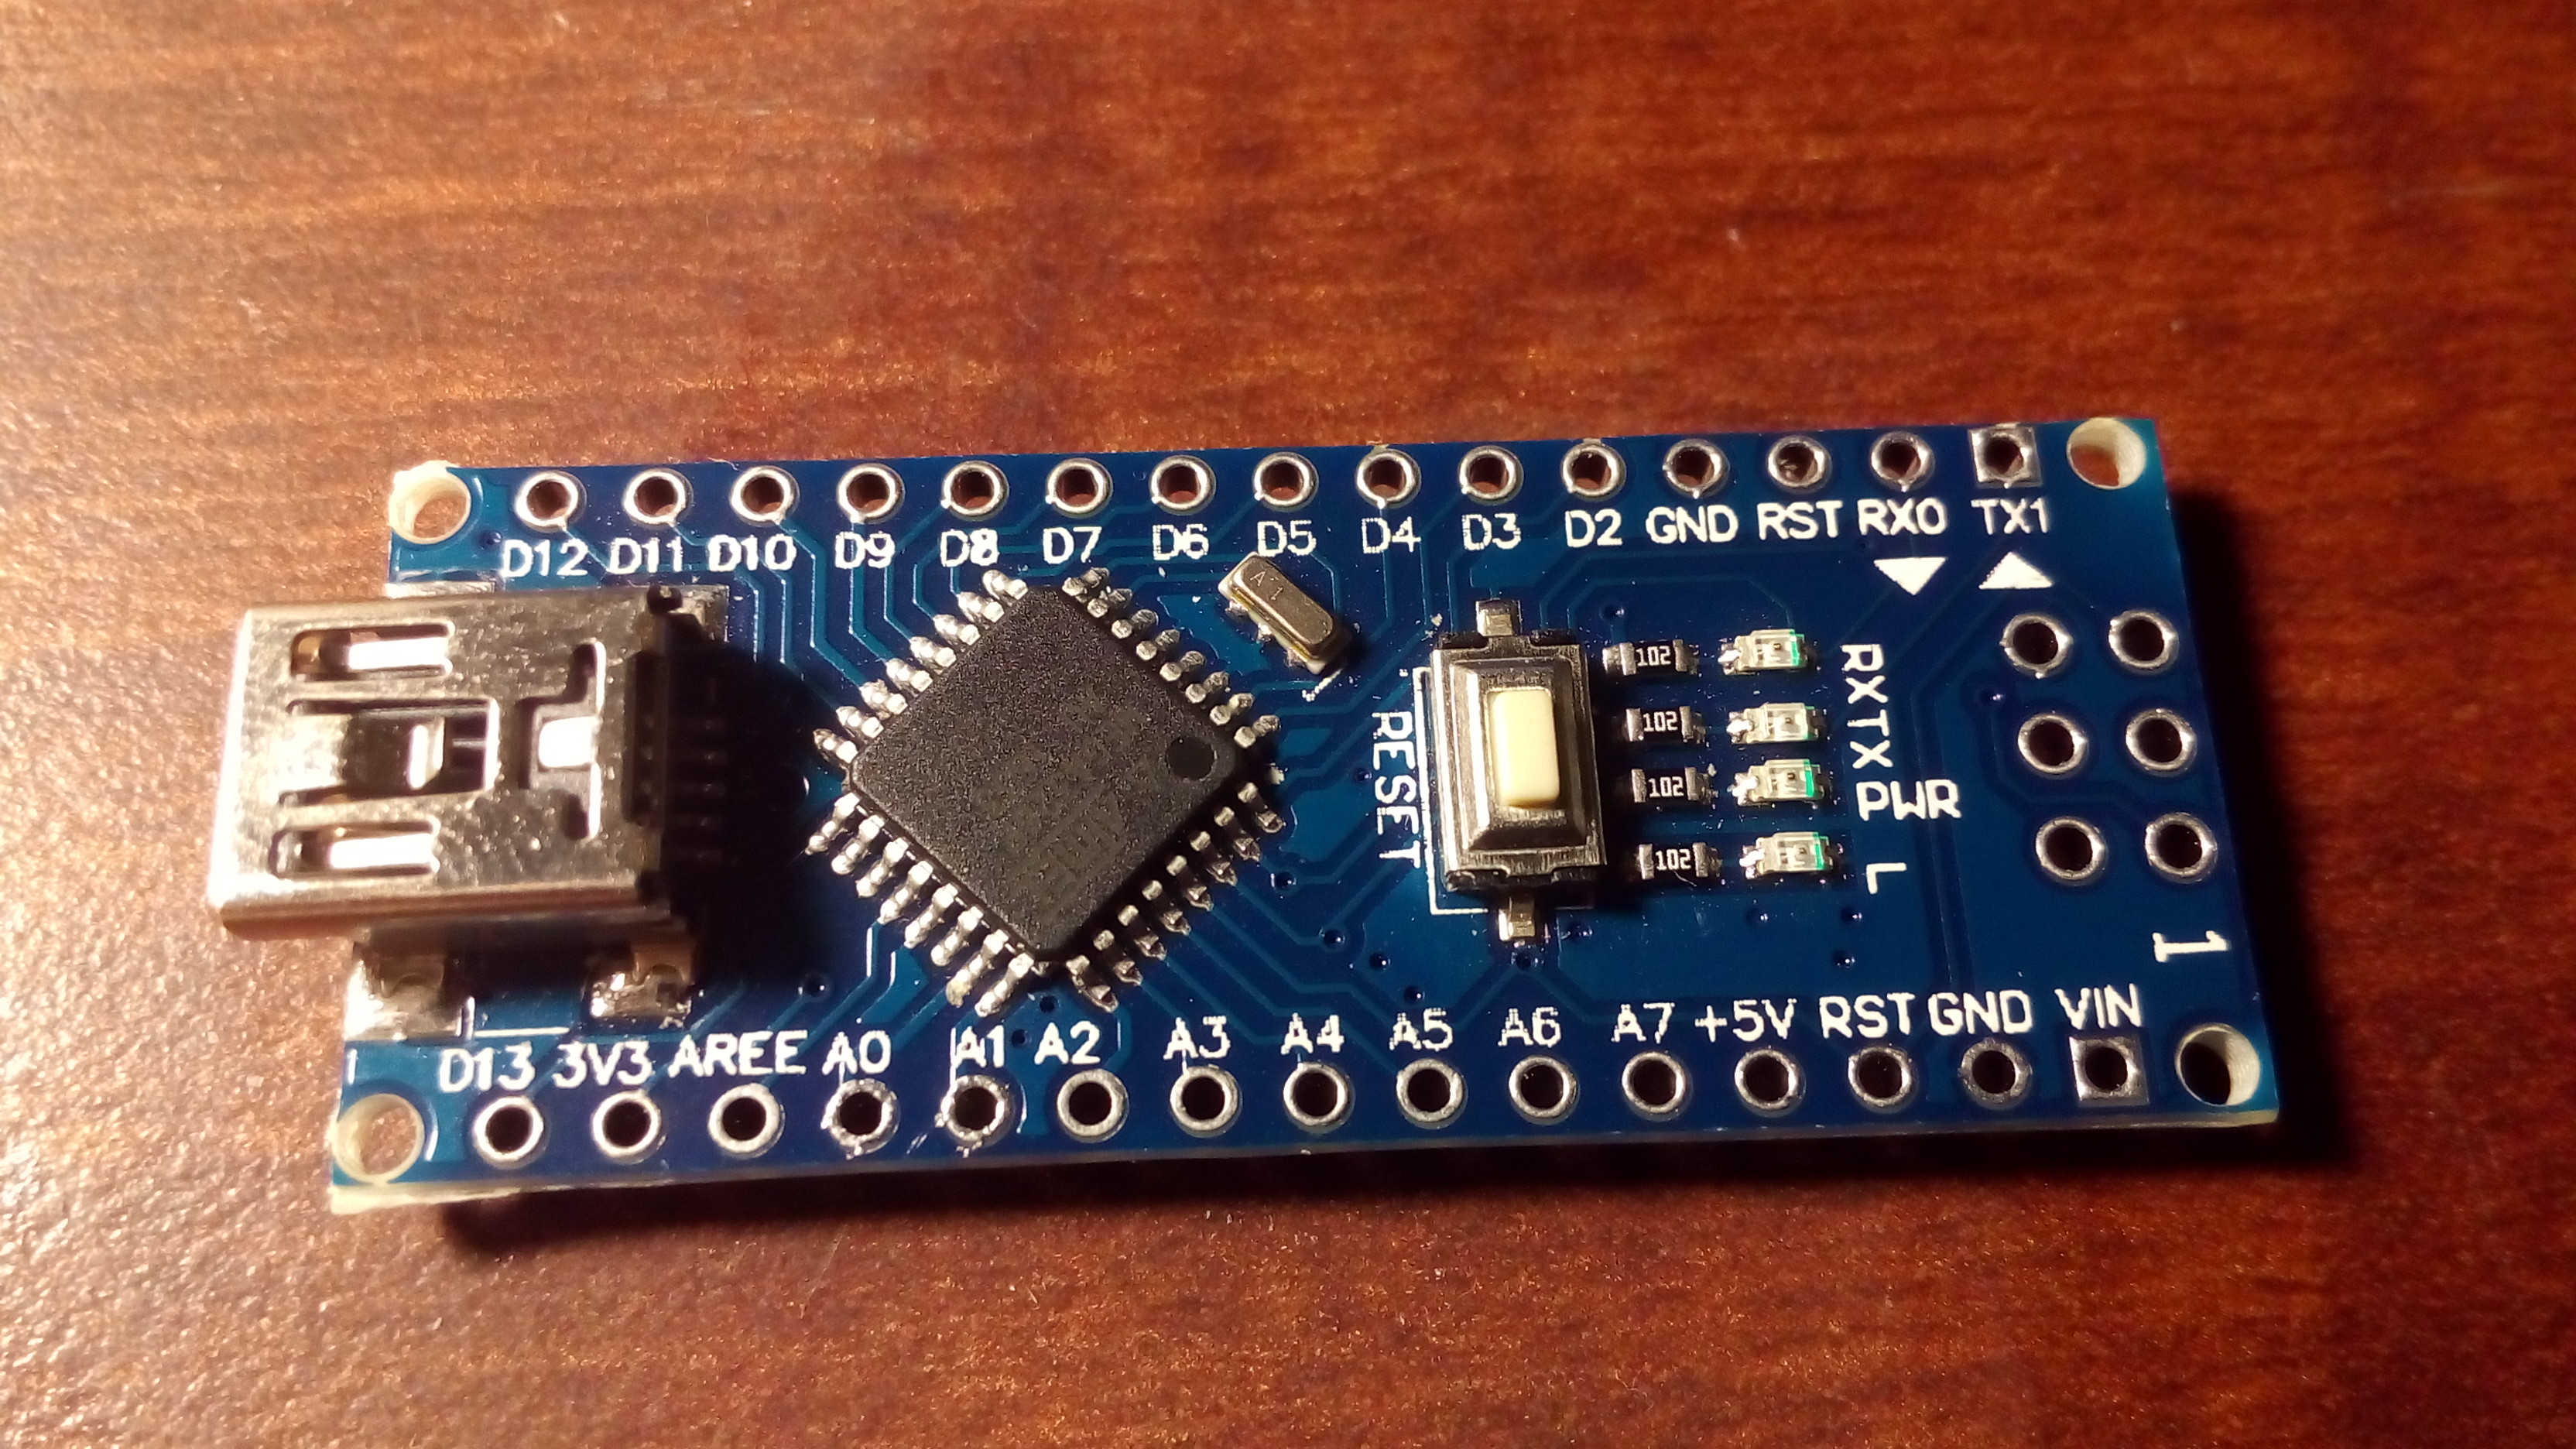
- 1x Arduino Nano
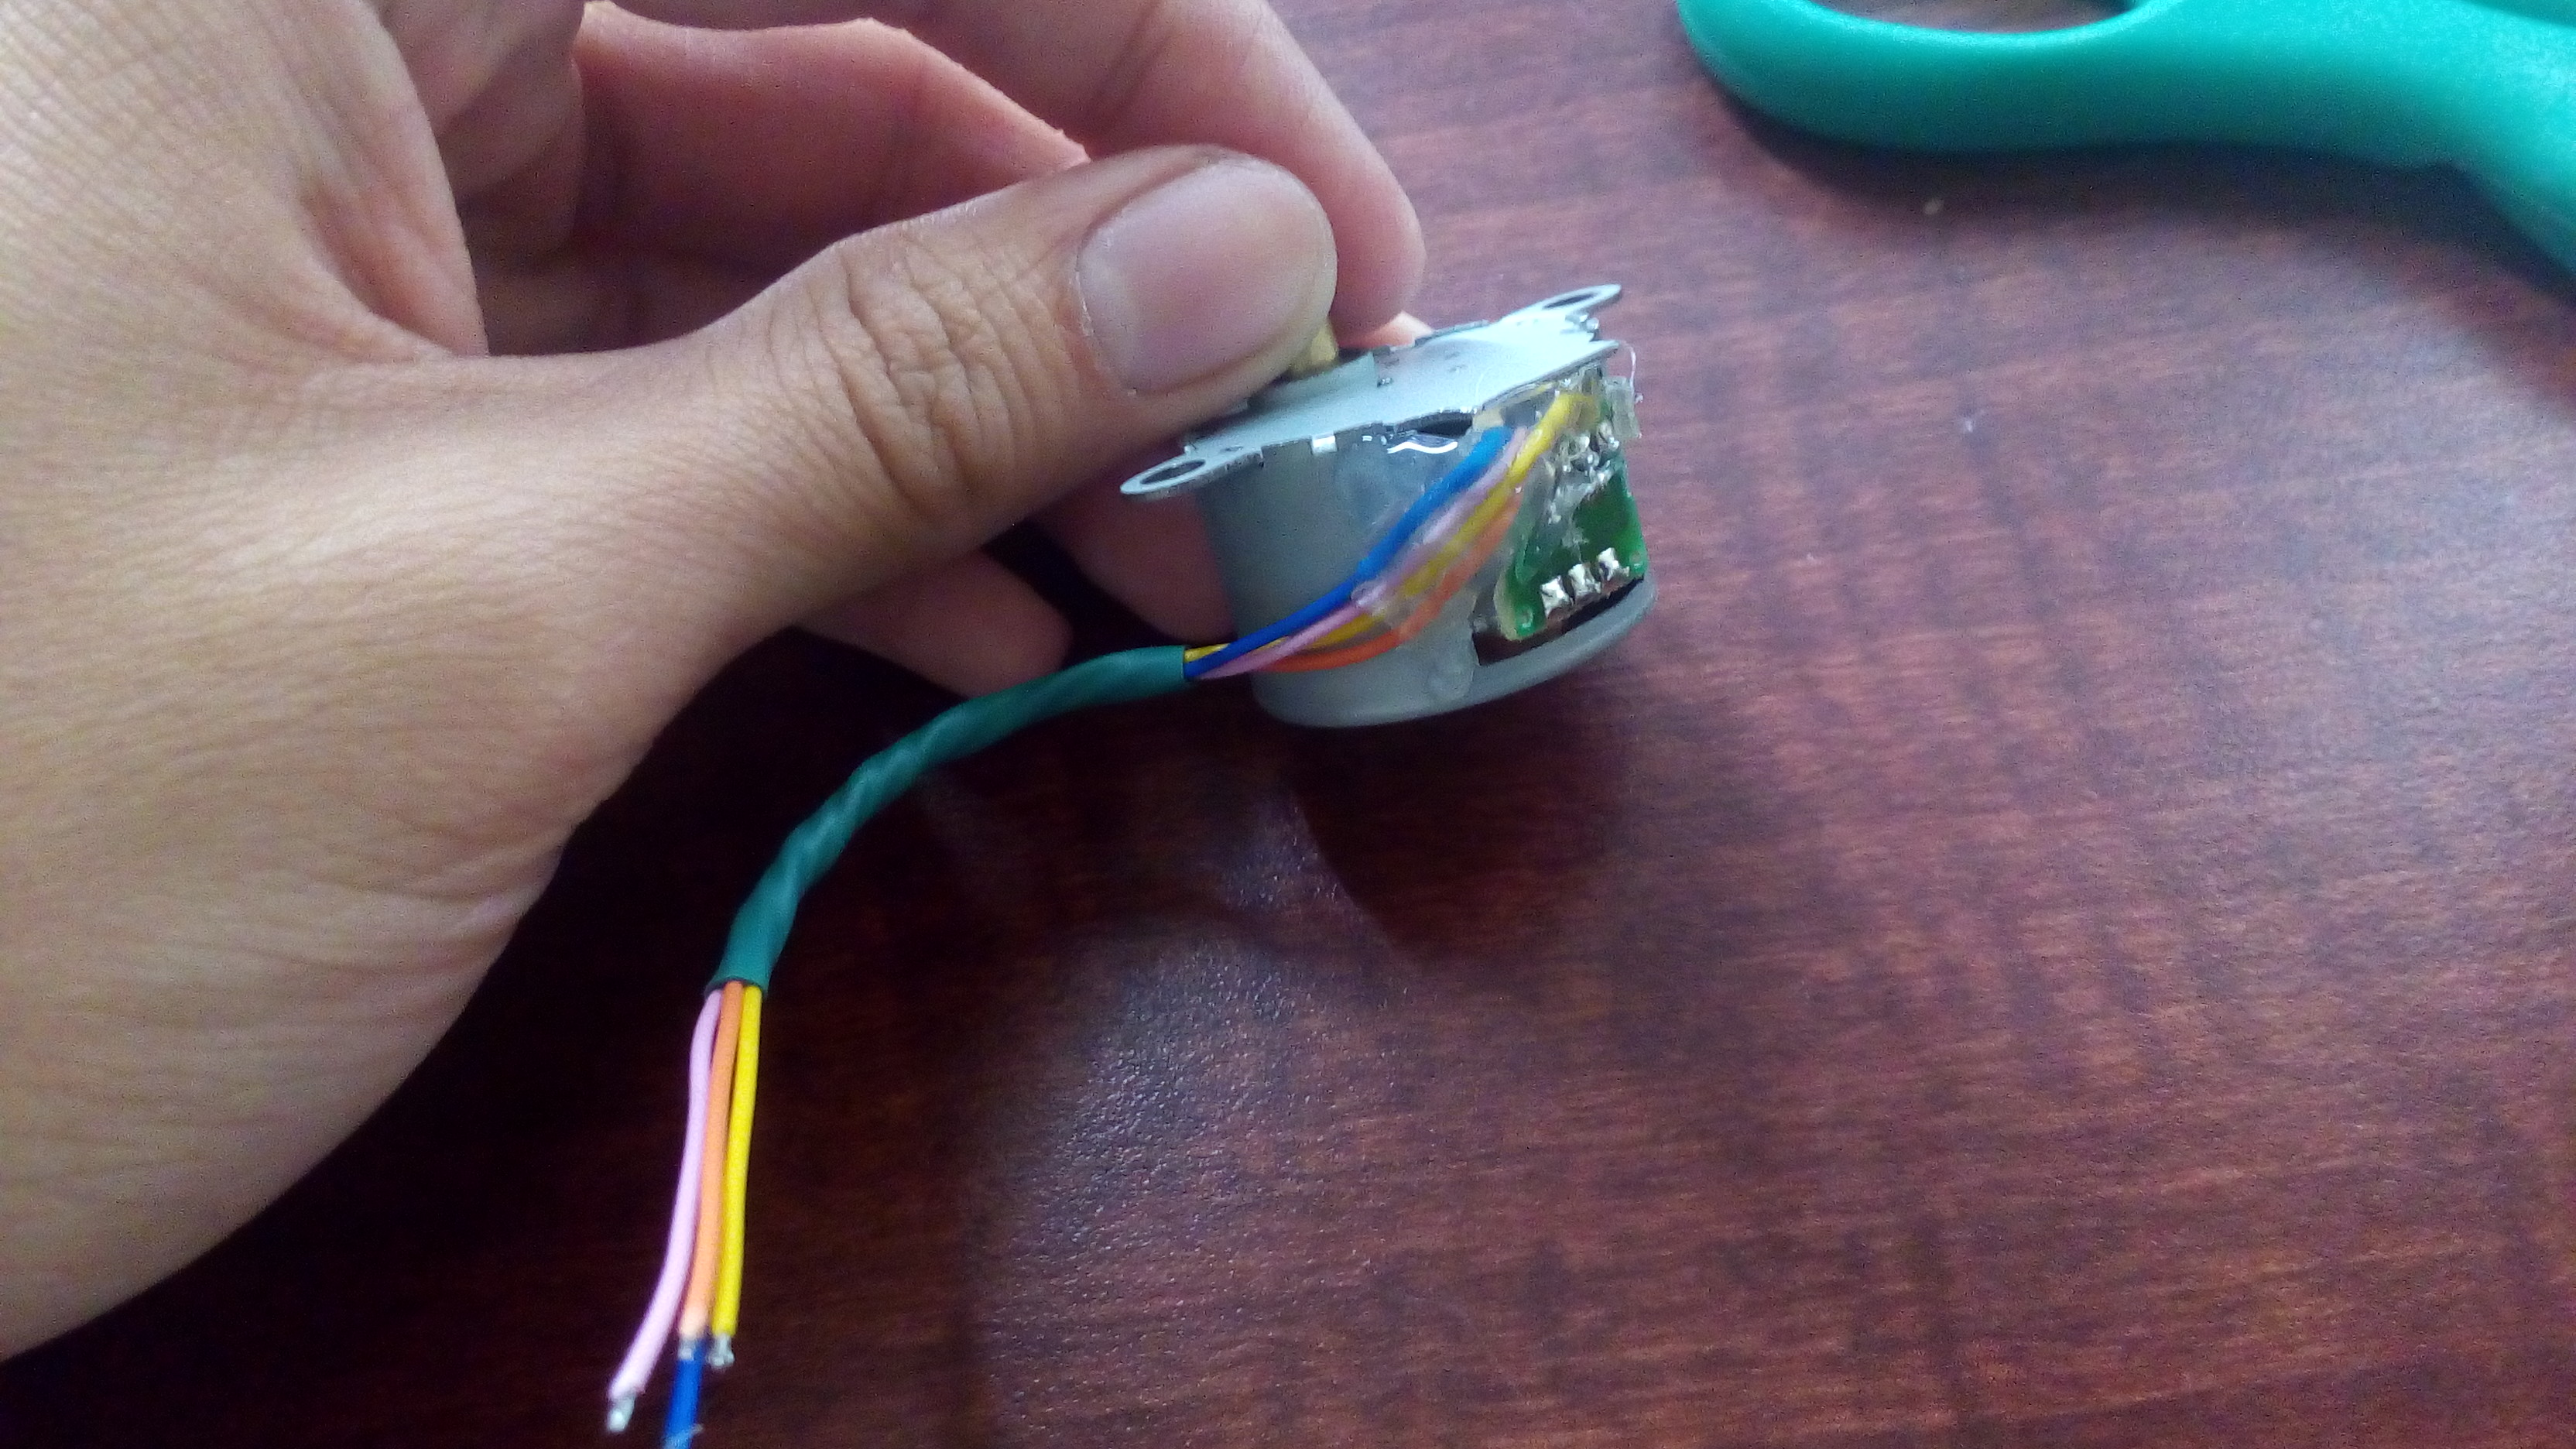
- 1x 28byj 48 stepper motor (note, I'm using a modified one so it functions as a bipolar, click here to see how)
- 1x A4988 stepper driver
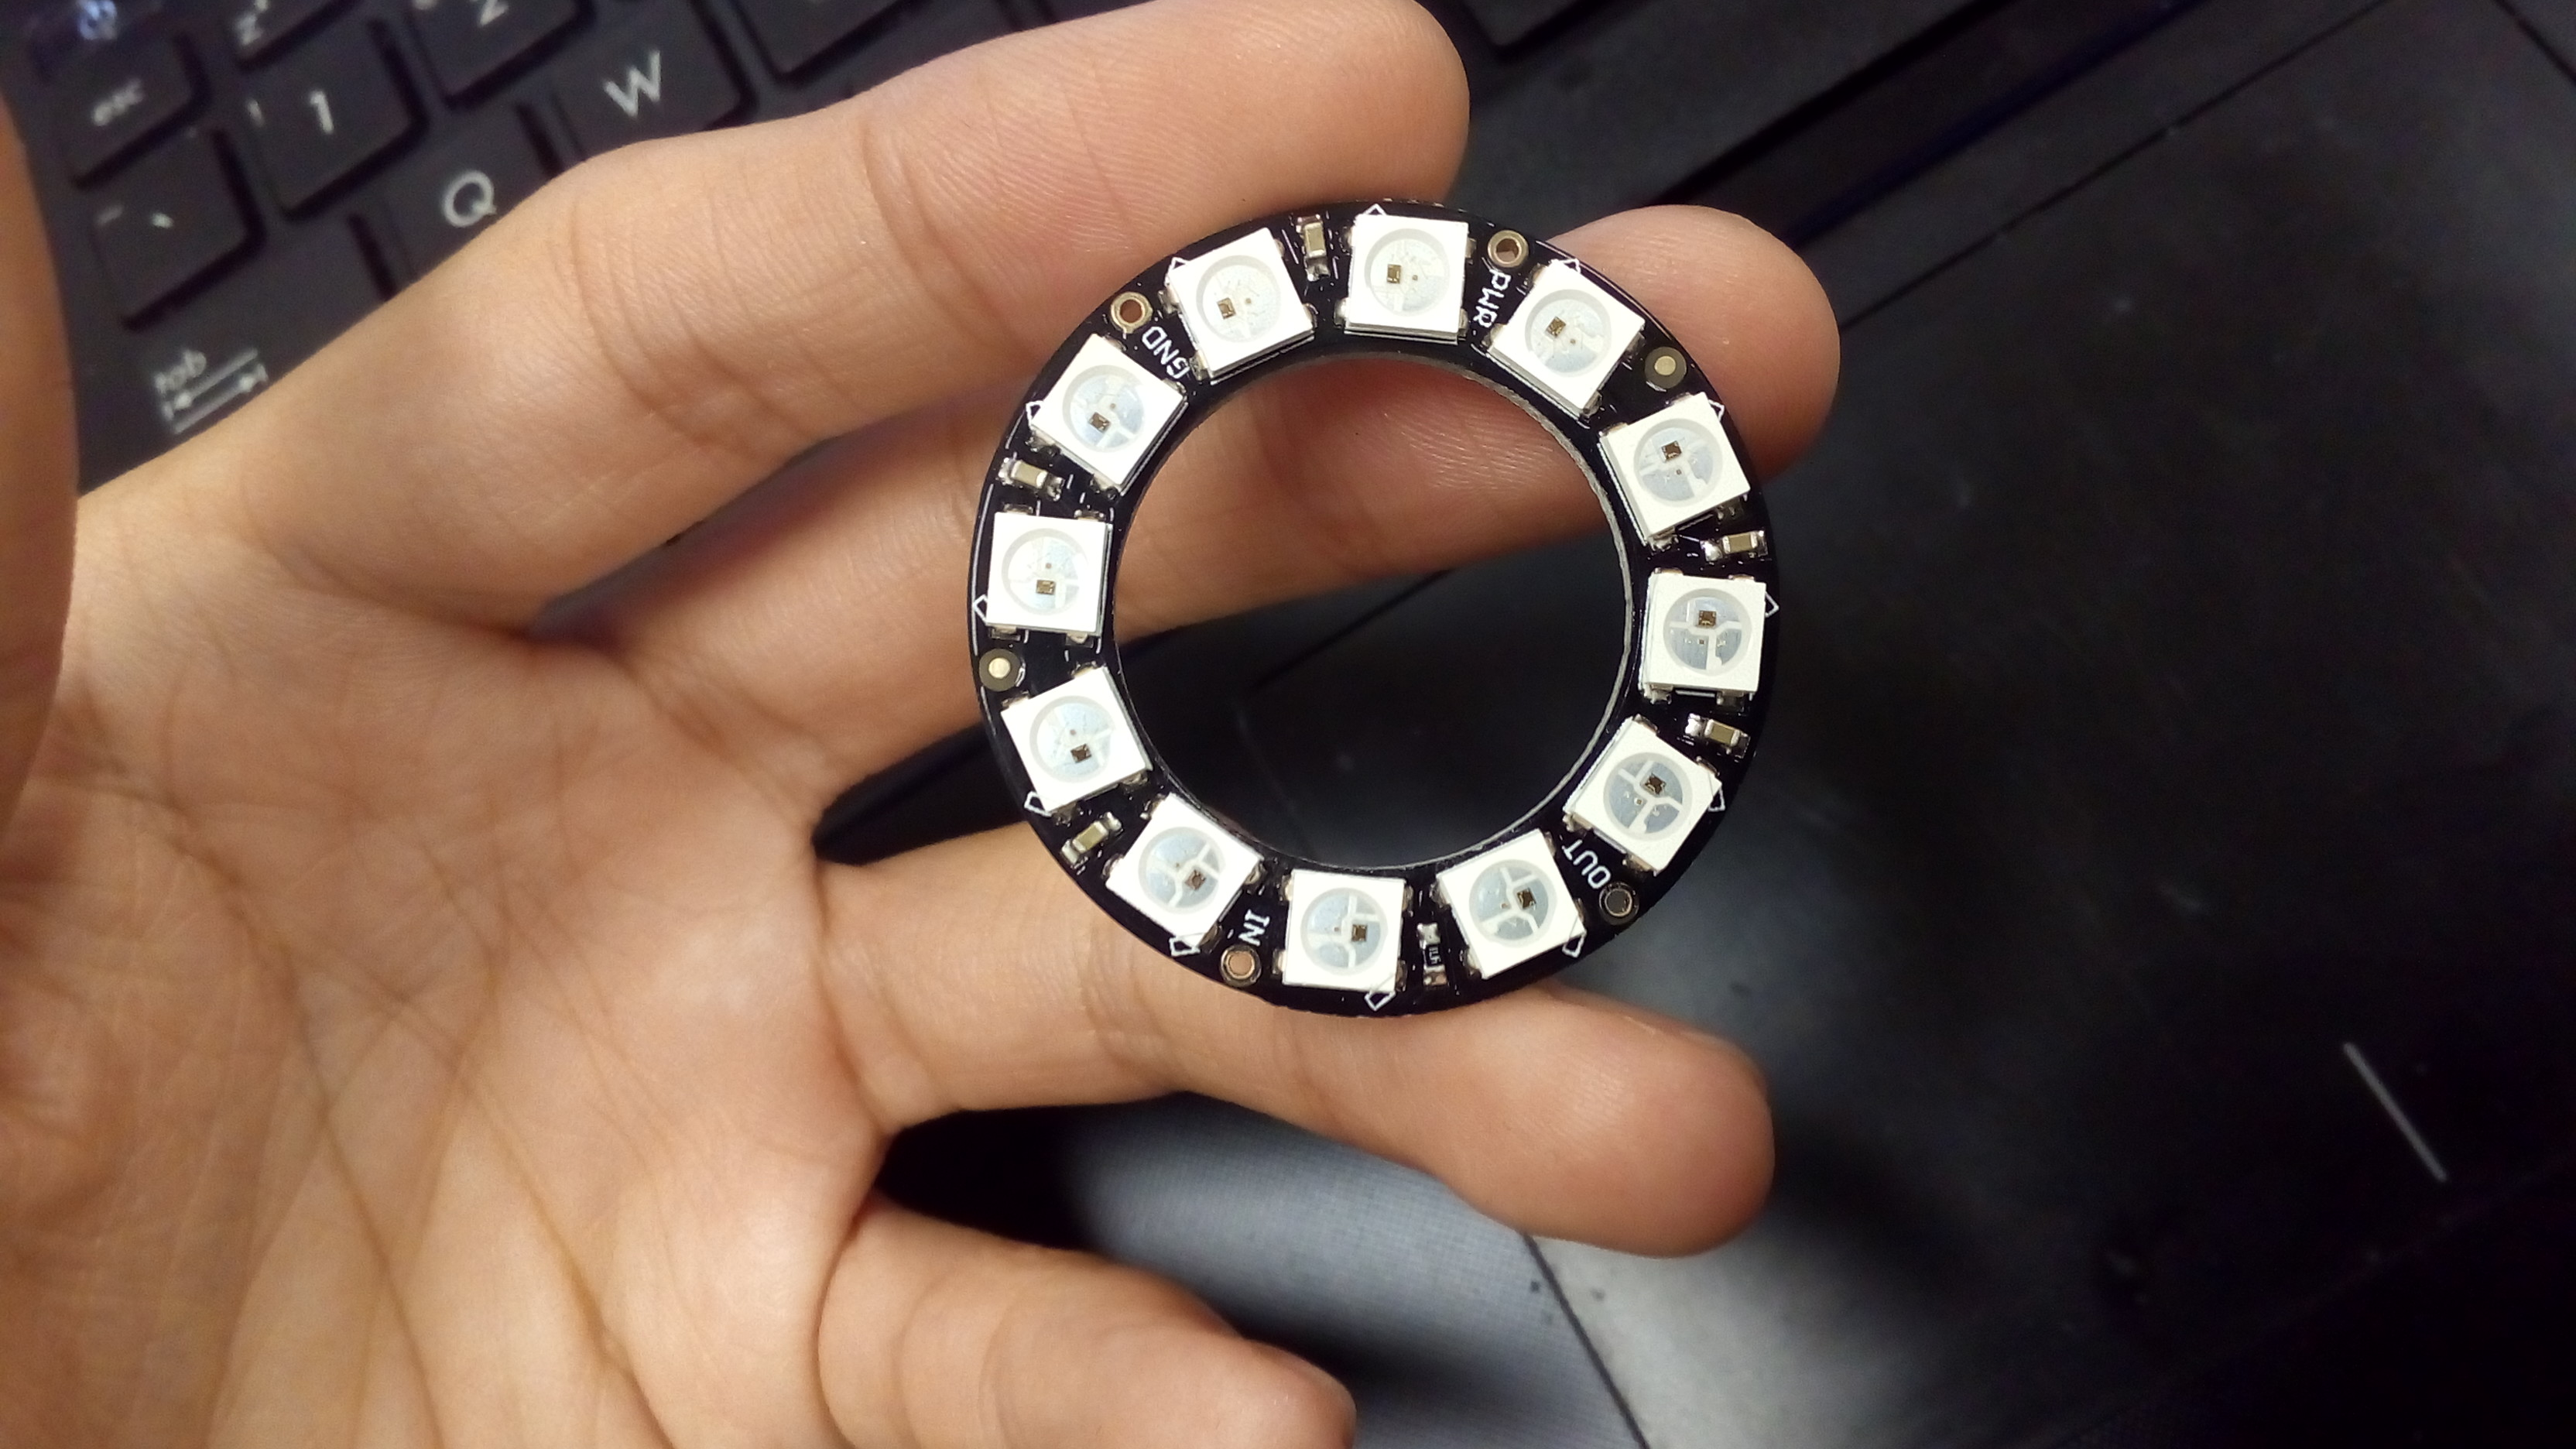
- 1x 12 LED Neopixel ring
- 1x DC volt adapter (can be 9V adapters for Arduino)
- Some wires and electronic tools
Others:
- 1x skateboard bearing (size 608)
- 2 parts epoxy
- Some small screws
- (Optional) Gold spray paint
- (Optional) Wood pattern sticker
Design Your Spinner Pattern
.png)
.png)
.png)
.png)
.png)
.png)
.png)
.png)
.png)
I learn how to design the spinner in this video, where he teach you how to design a Lampshade. The actions are the same, so please watch the video first so you'll understand these steps easier.
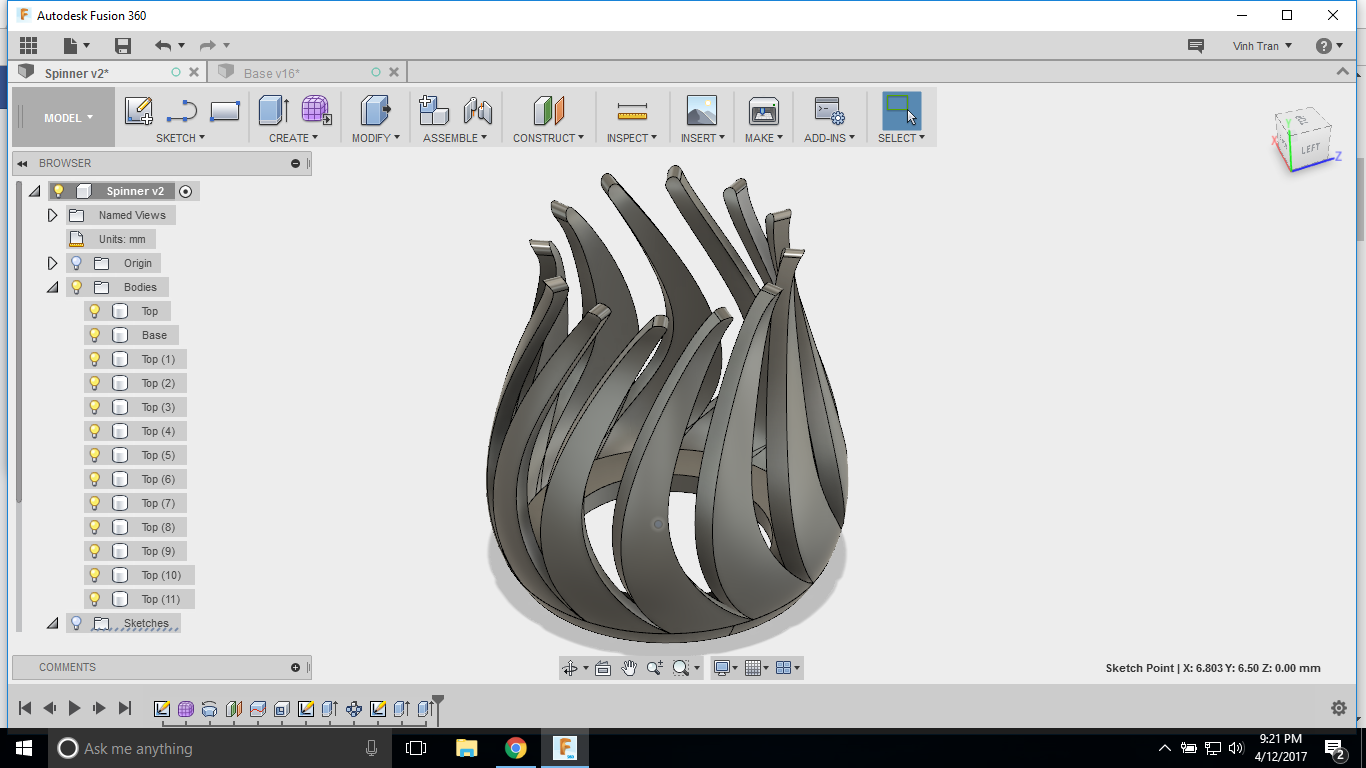
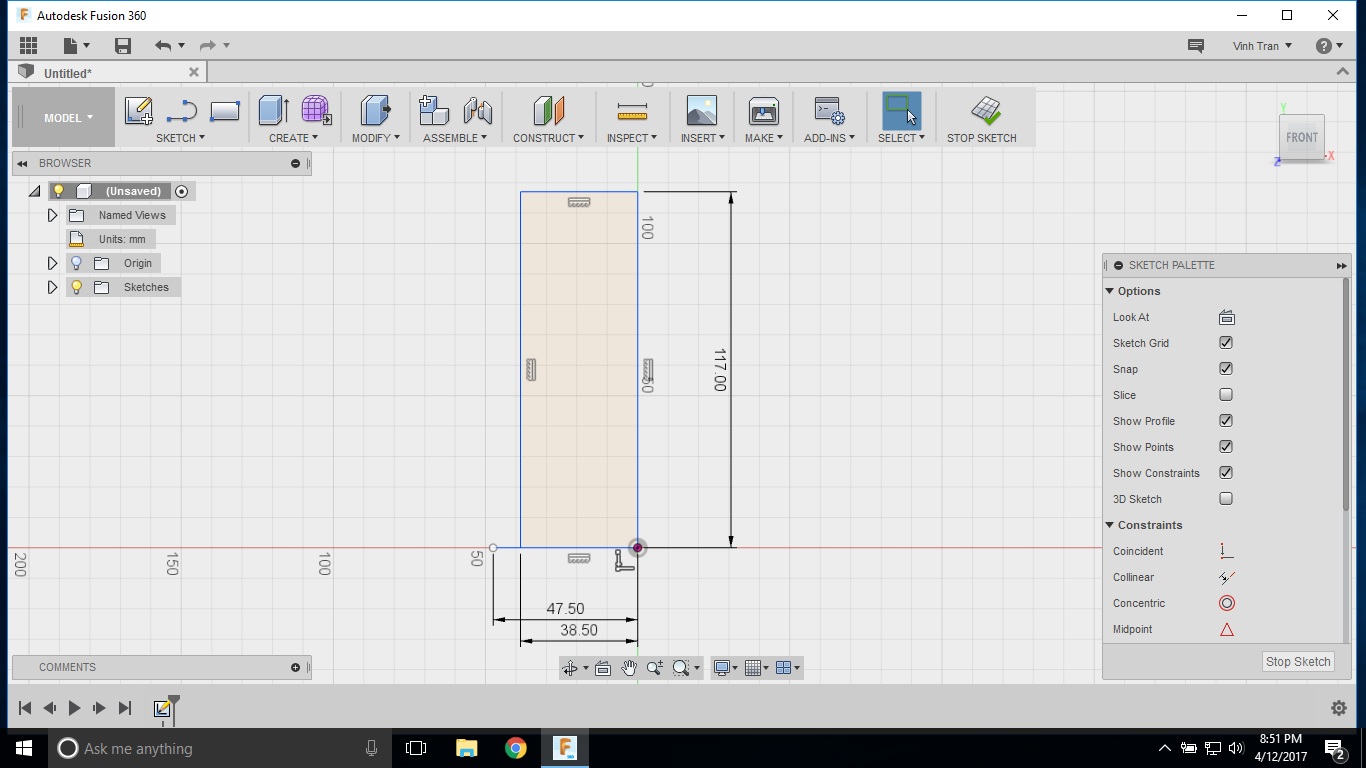
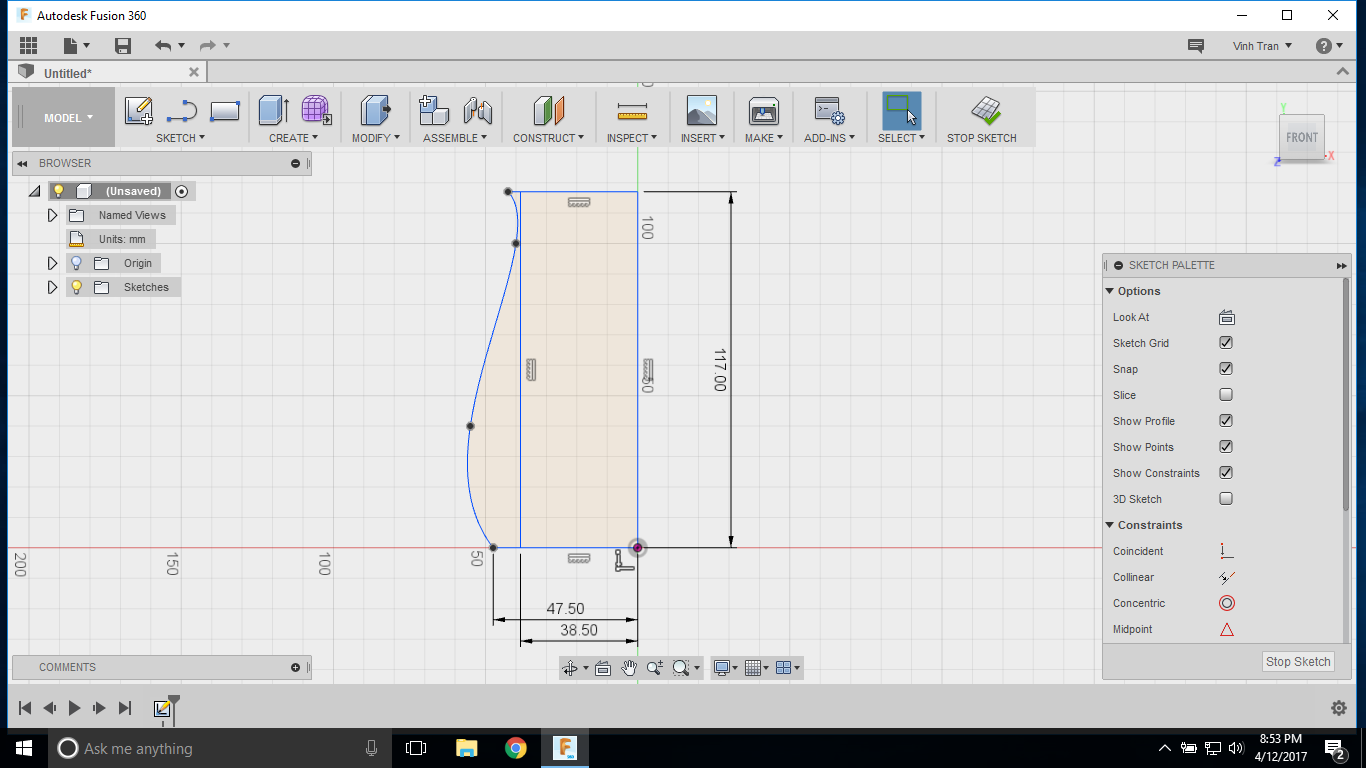
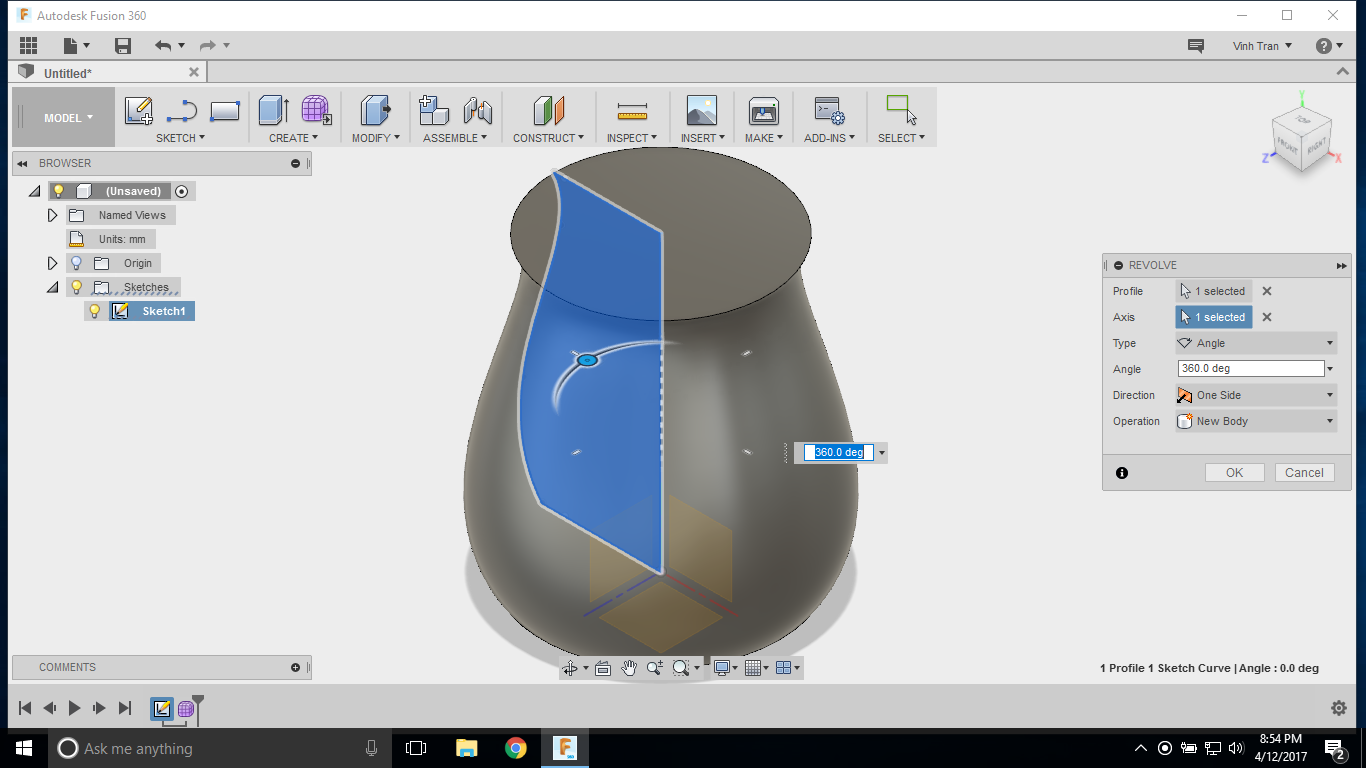
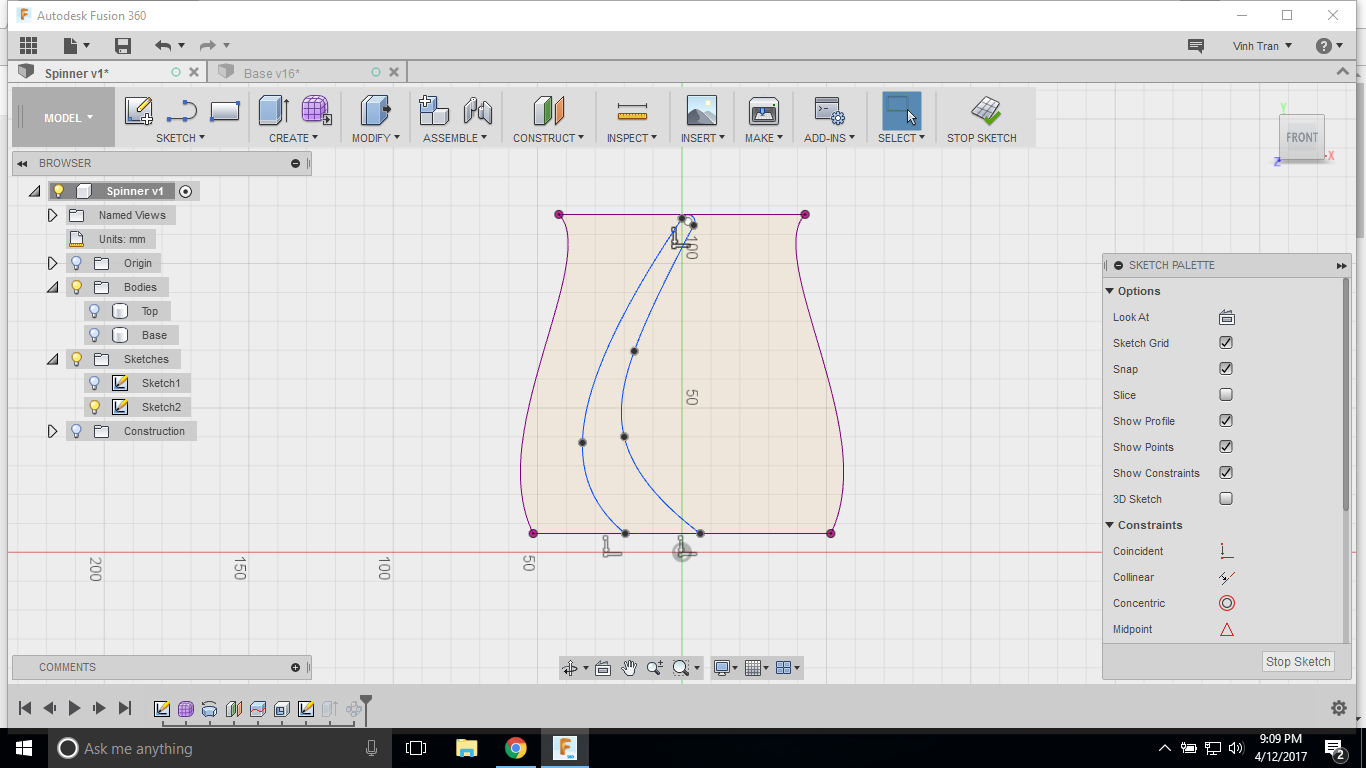
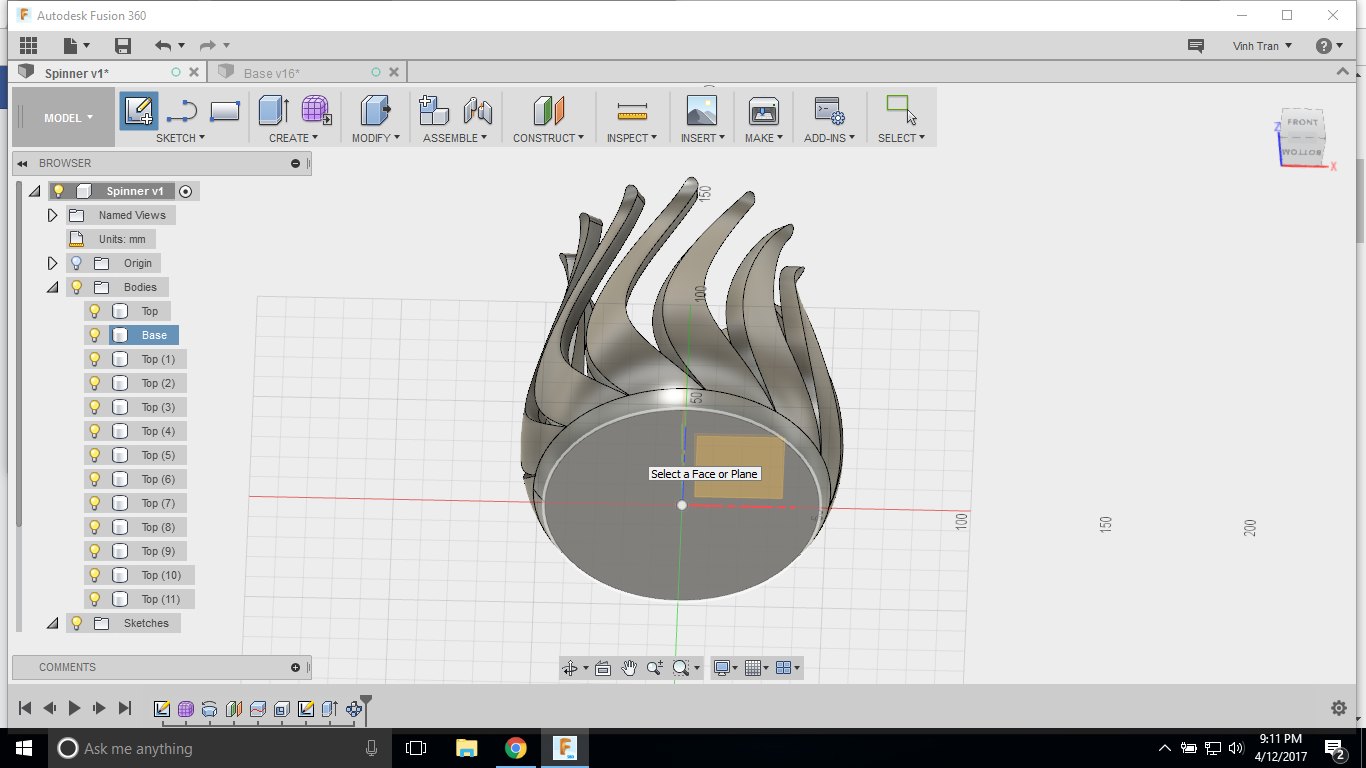
First, you'll create the object using revolve command. The main thing to keep in mind is to make the spinner large enough so that your vase can fit, don't forget to take account for the thickness of the shell. If you're planning to print the spinner in PLA, you can make it tight because PLA can be bent a little. In my case, my vase is 72mm wide, and I want the spinner to be 117mm tall, I draw the 117x38.5mm rectangle as the limit (this will rotate around the axis, so 38.5mm will give the 77mm in width. Since the spinning disk is 95mm, the base of the spinner must also be 95mm. Since it will be revolved, the bottom will be 47.5mm. Then you can draw the outline of the spinner. Finally, use the revolve command to create the object.
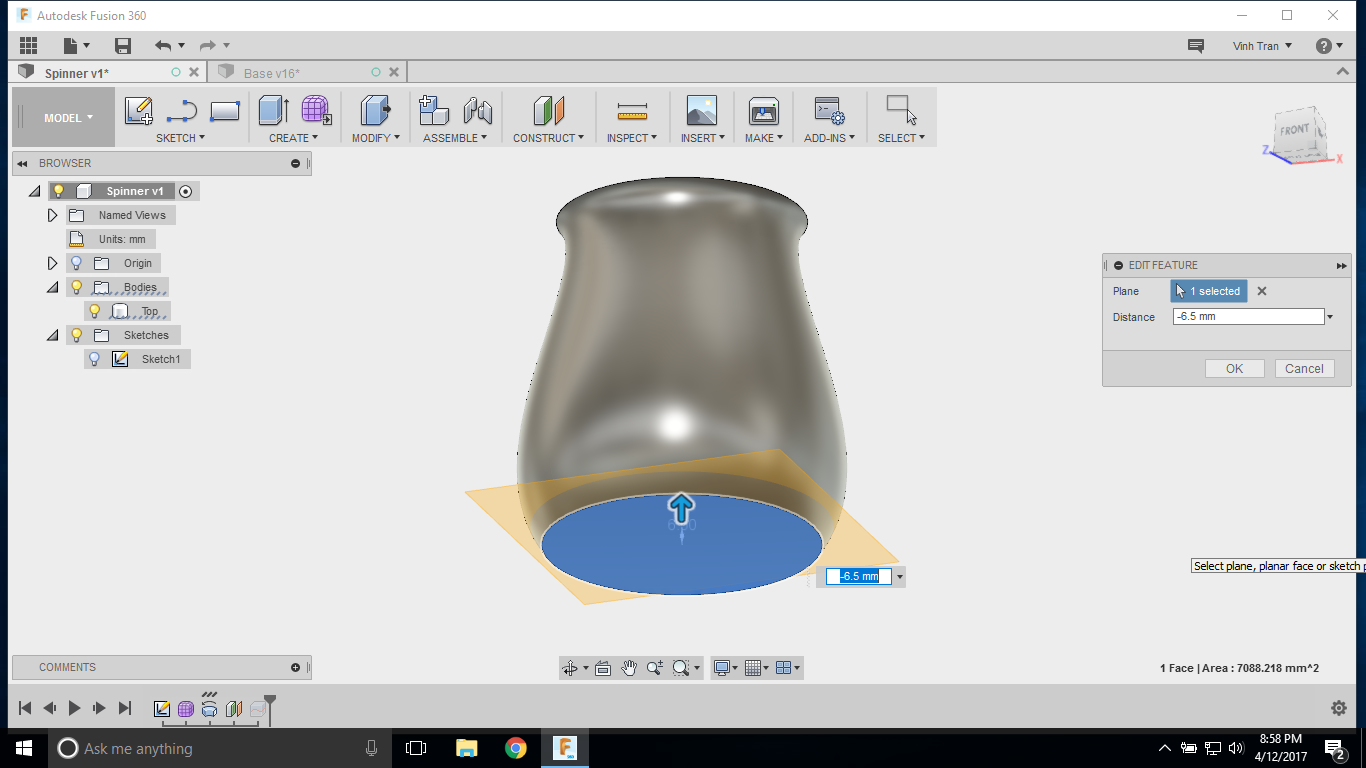
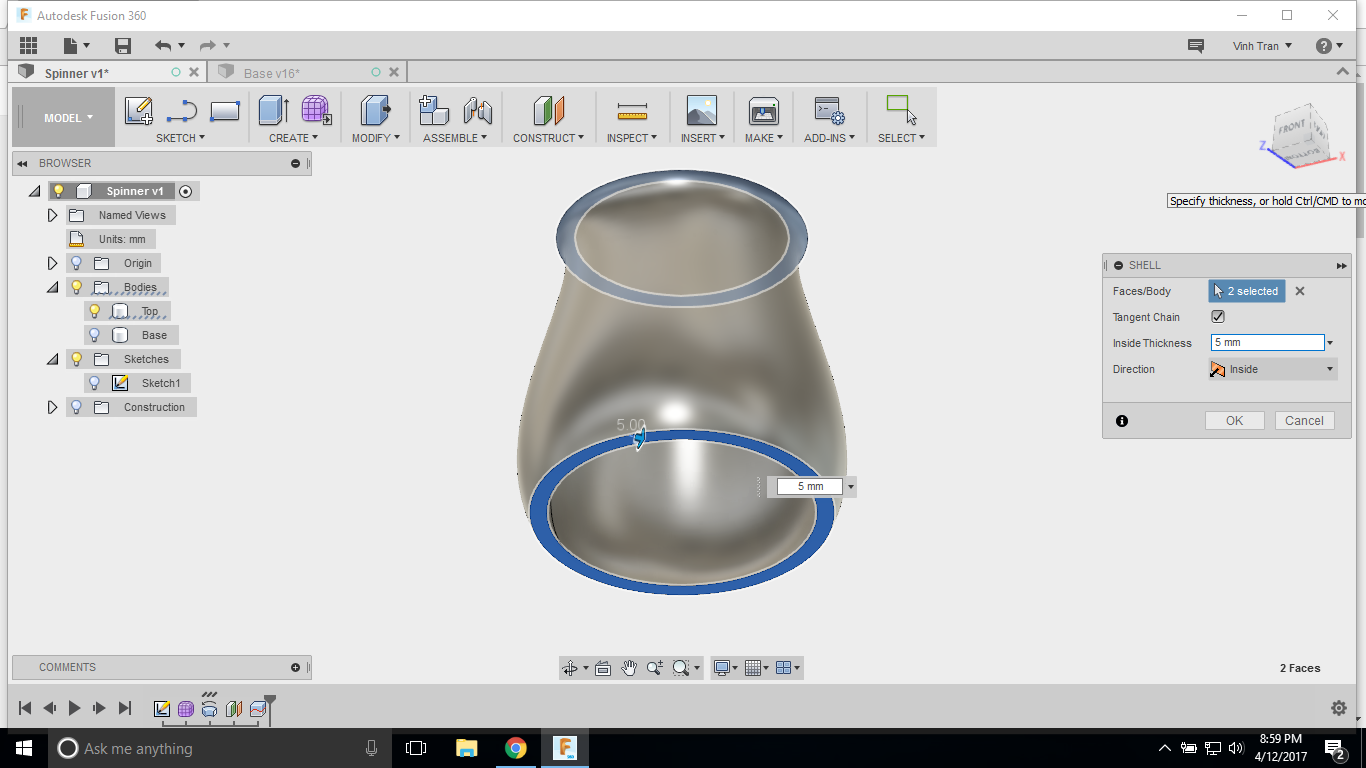
Now, use offset plane, move the bottom plane up 6.5mm from the bottom (this step is required). Separate the 2 bodies with the previous plane. Then use the shell command to create a 5mm shell (this is just my design, you can choose the thickness).
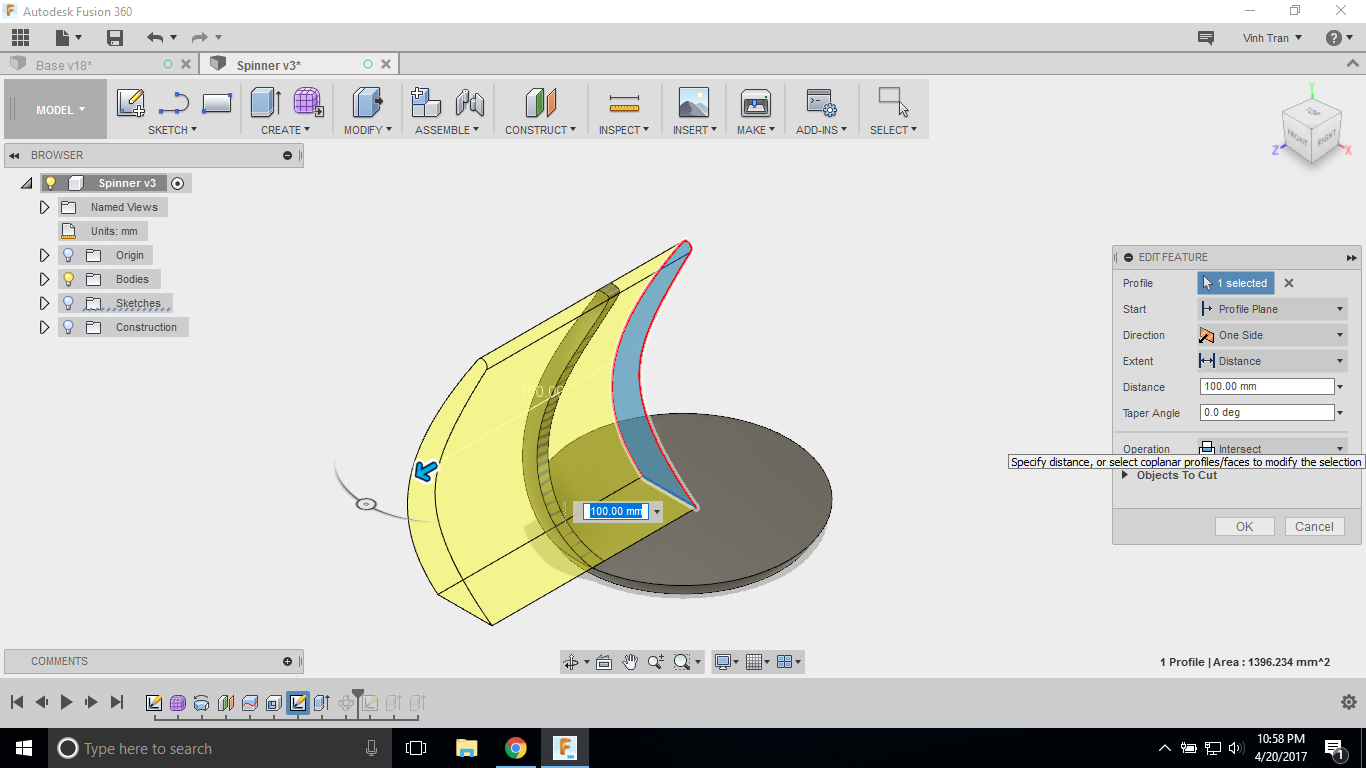
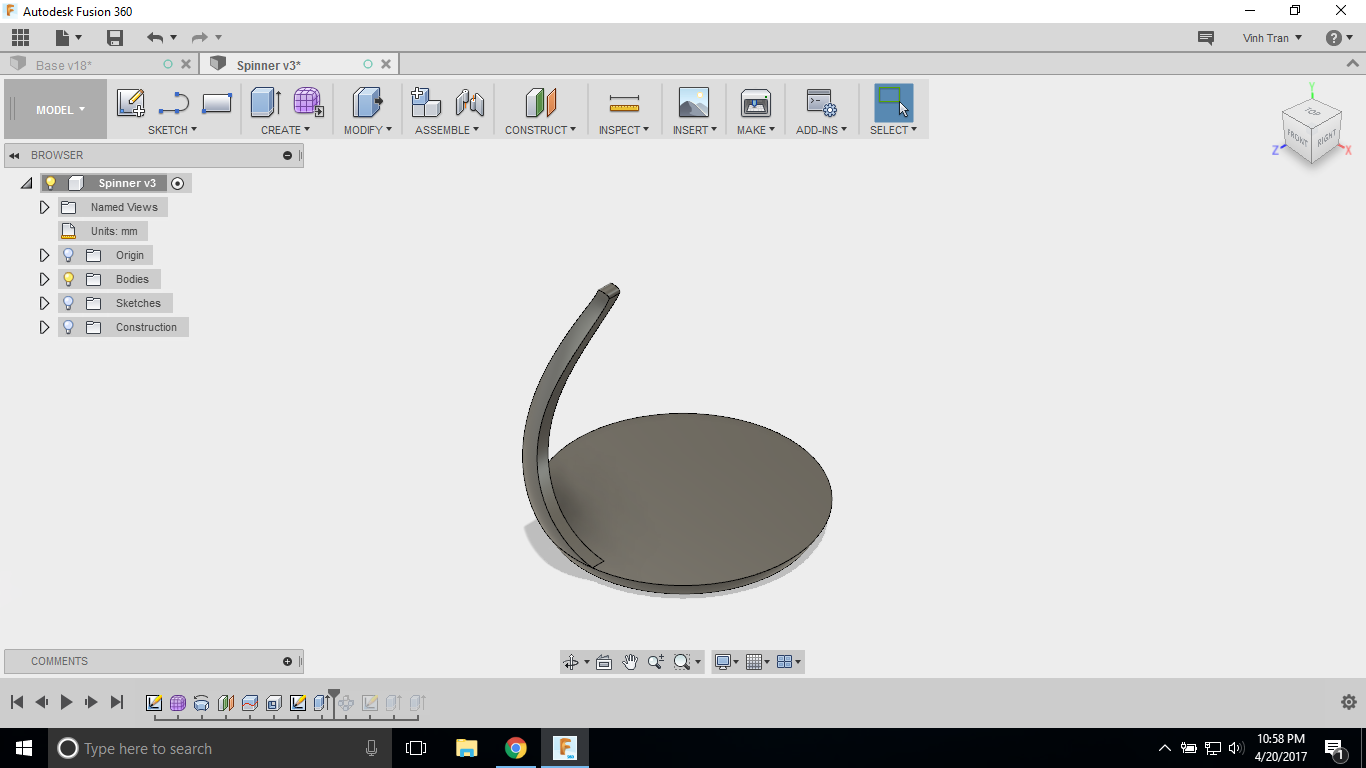
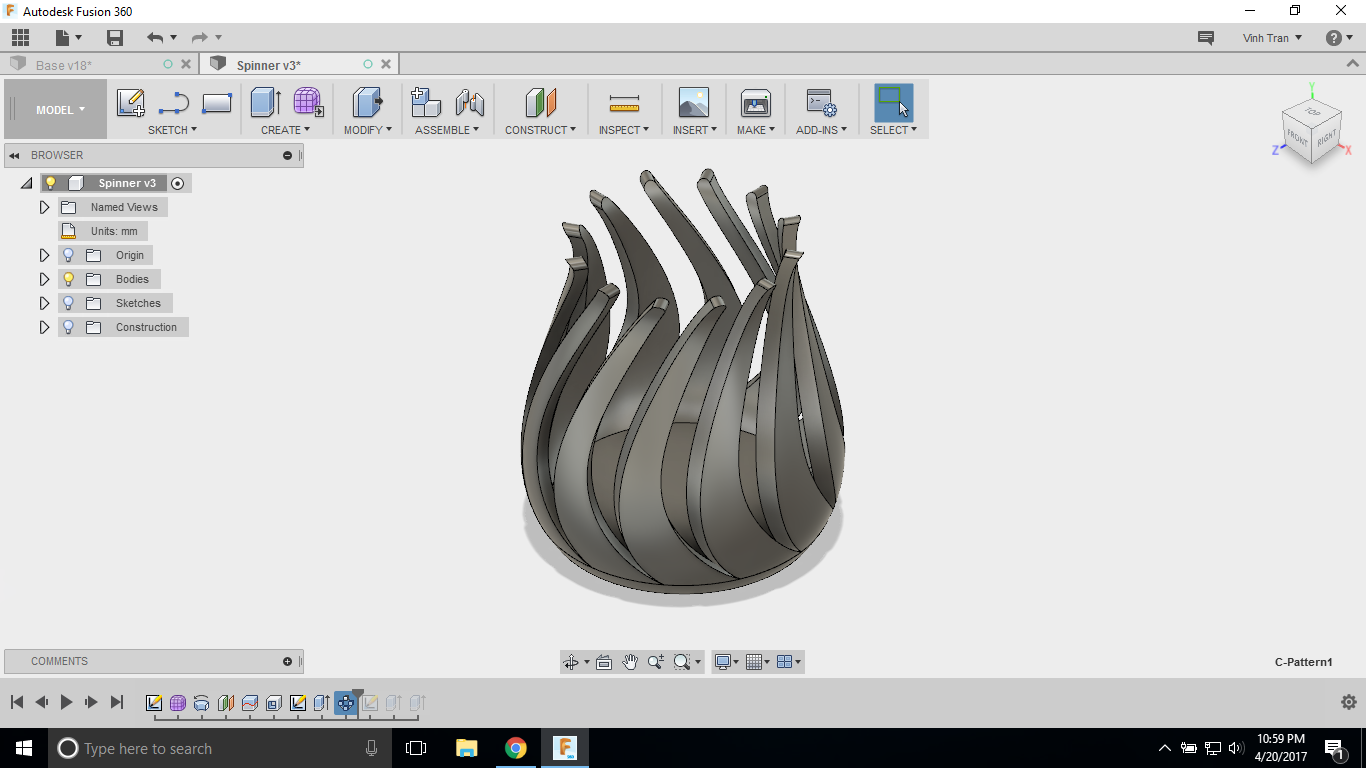
Finally, draw a pattern on the projected outline, then use extrude command, intercept, and just cut out the shape. Then use the circular pattern to finish the spinner.
Like I said before, the step is exactly like the Lampshade. If you're not sure on any part, please watch the video.
Finishing Your Spinner
.png)
.png)
.png)
.png)
.png)
.png)
.png)
.png)
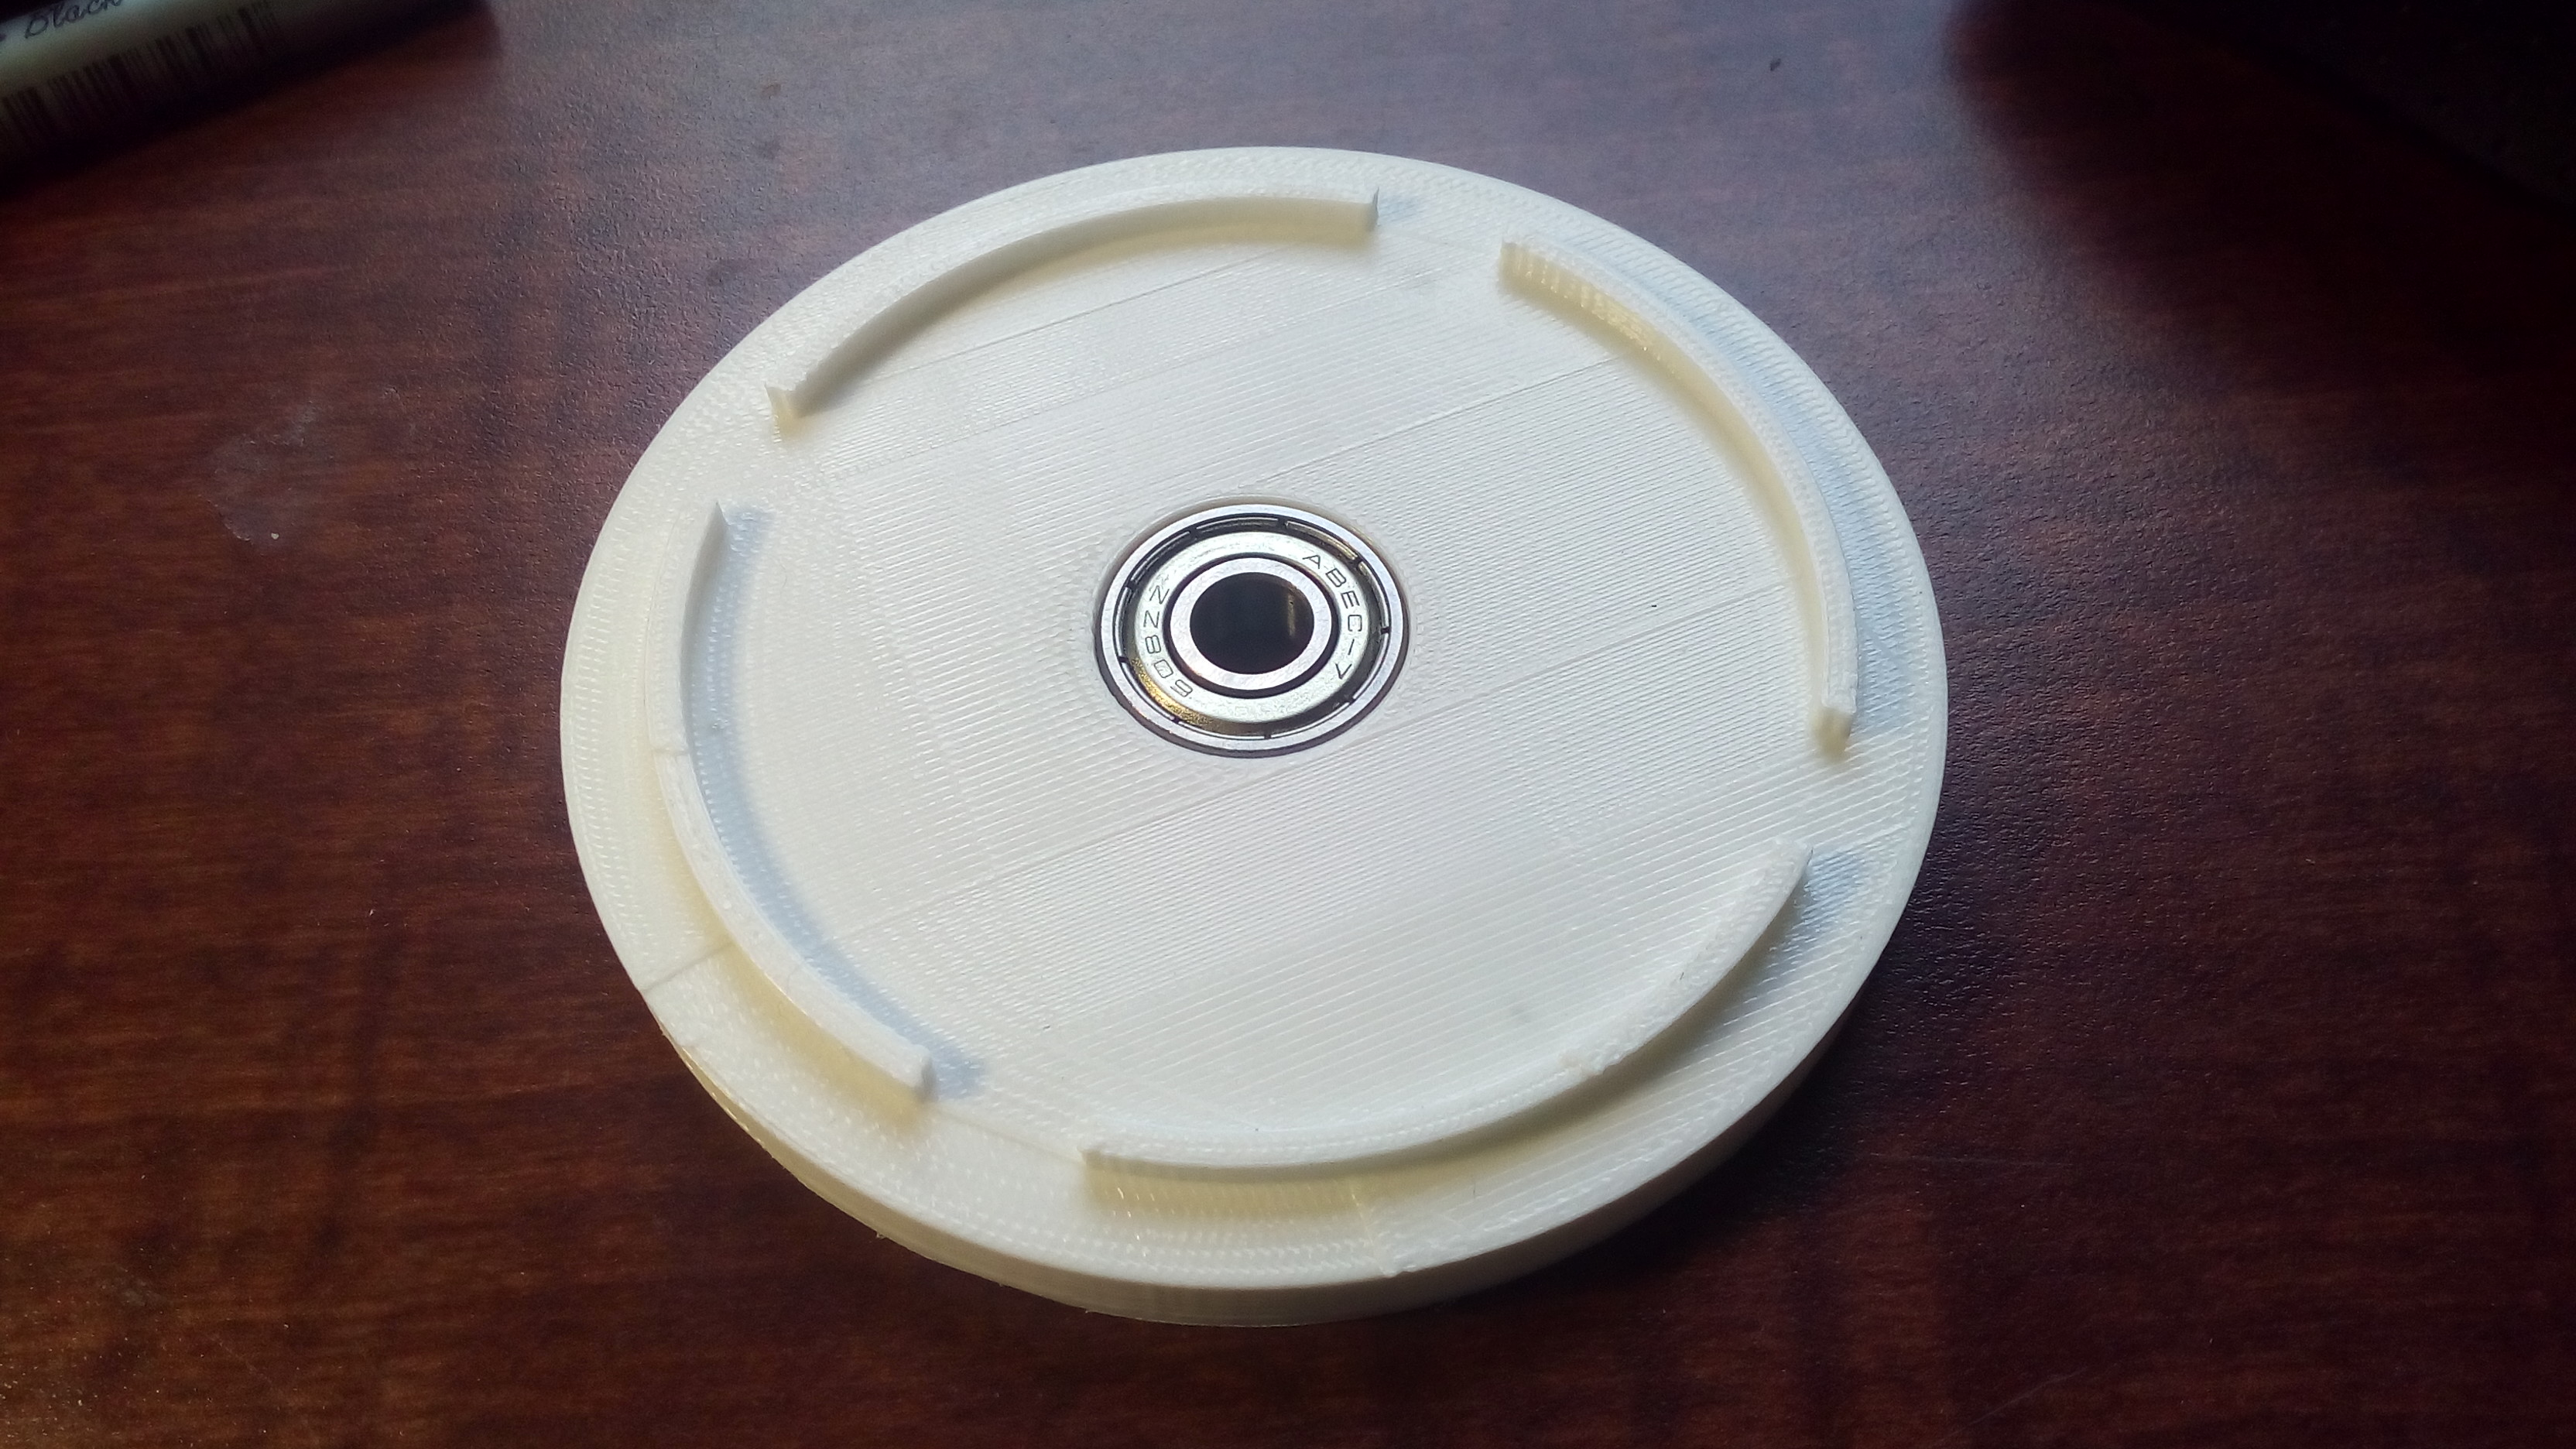
This spinner is designed to fit onto the spinning disk, which has a pattern. Now you just need to make holes so that these 2 parts can fit.
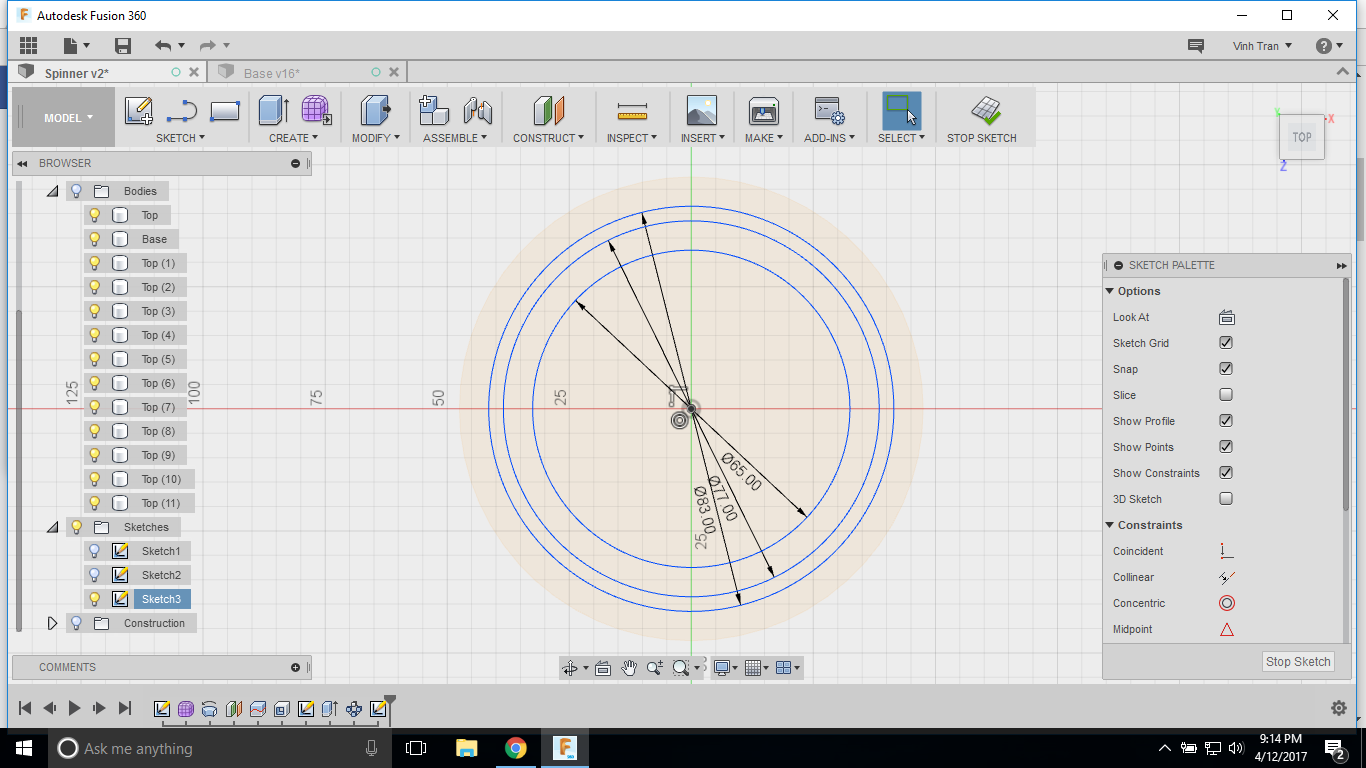
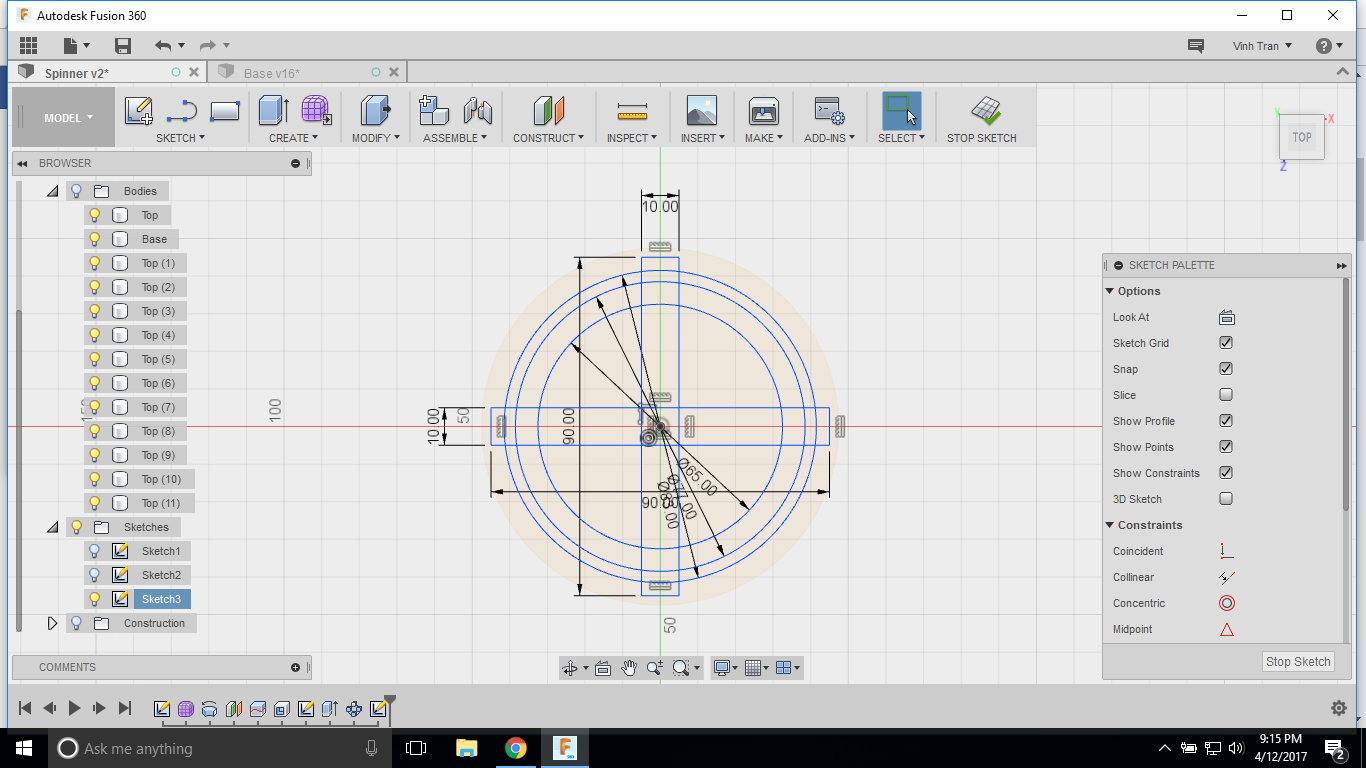
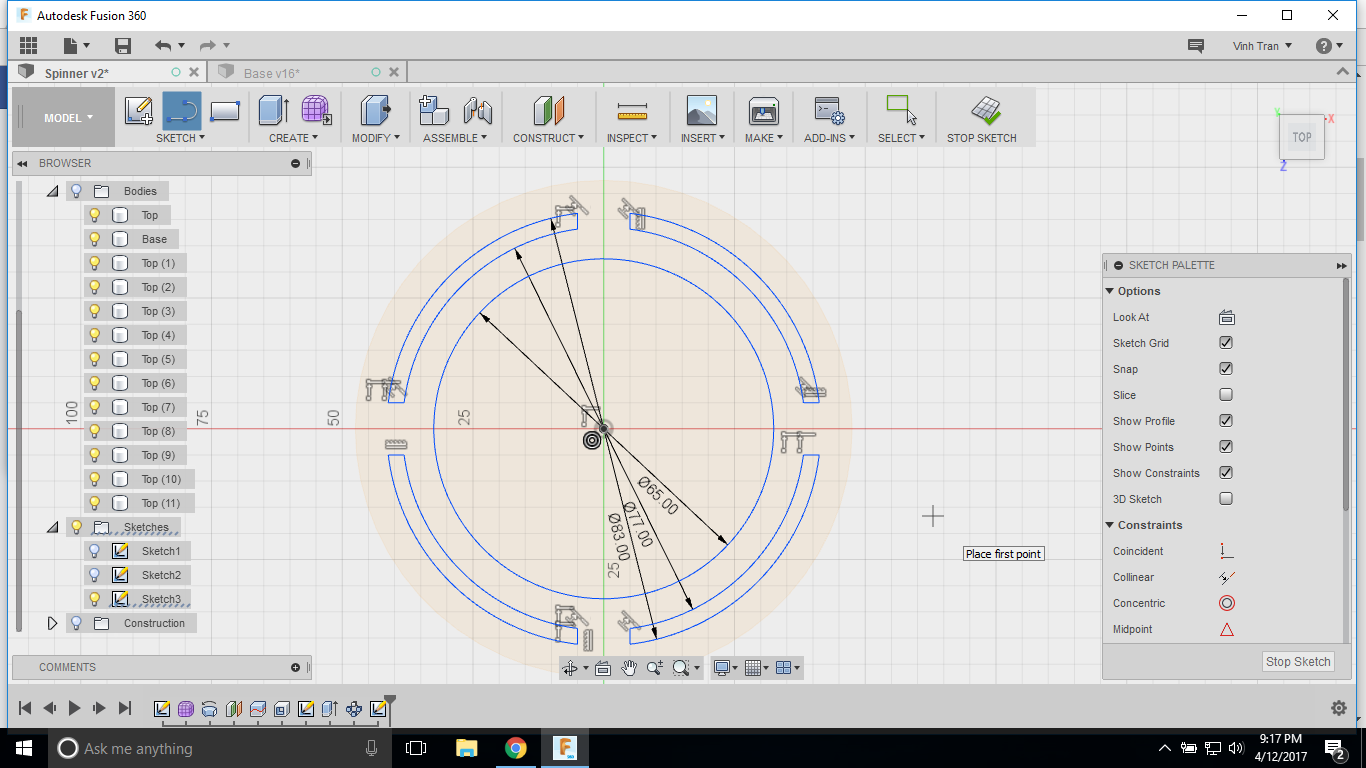
First, create a new sketch on the bottom of the model. Then draw 3 circles with 3 diameters: 65mm, 77mm, and 83mm. Then draw a 10cm rectangle so that it separate the circles. Finally, use the trim command to get the final shape. Sorry if the picture is so clusterf***....
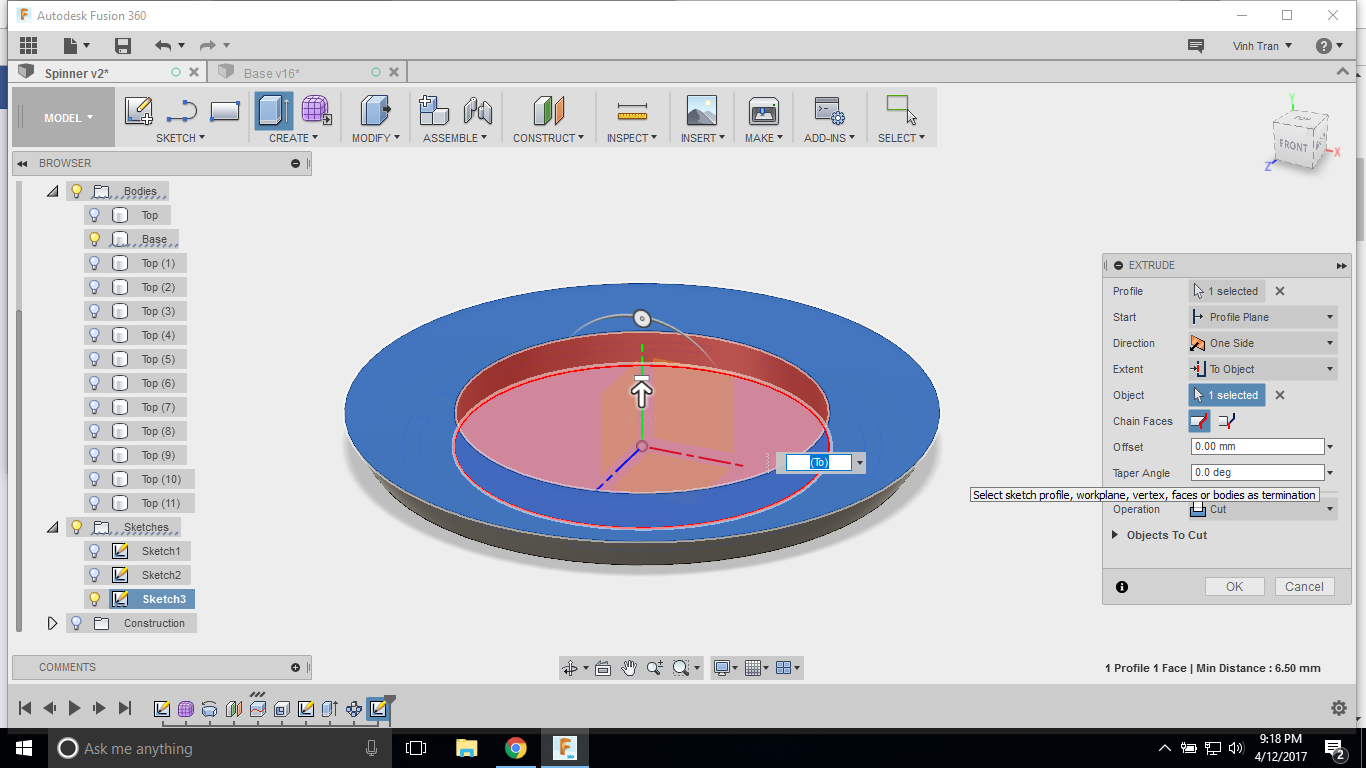
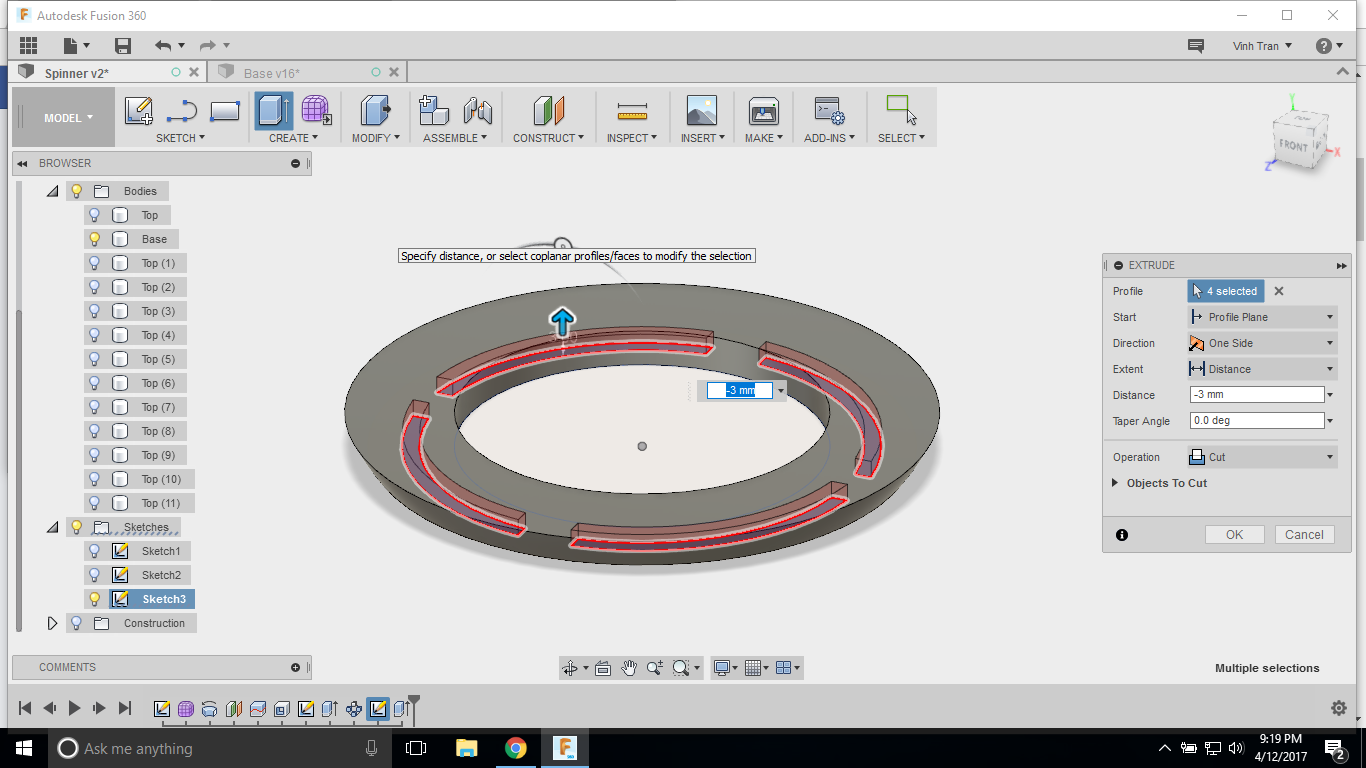
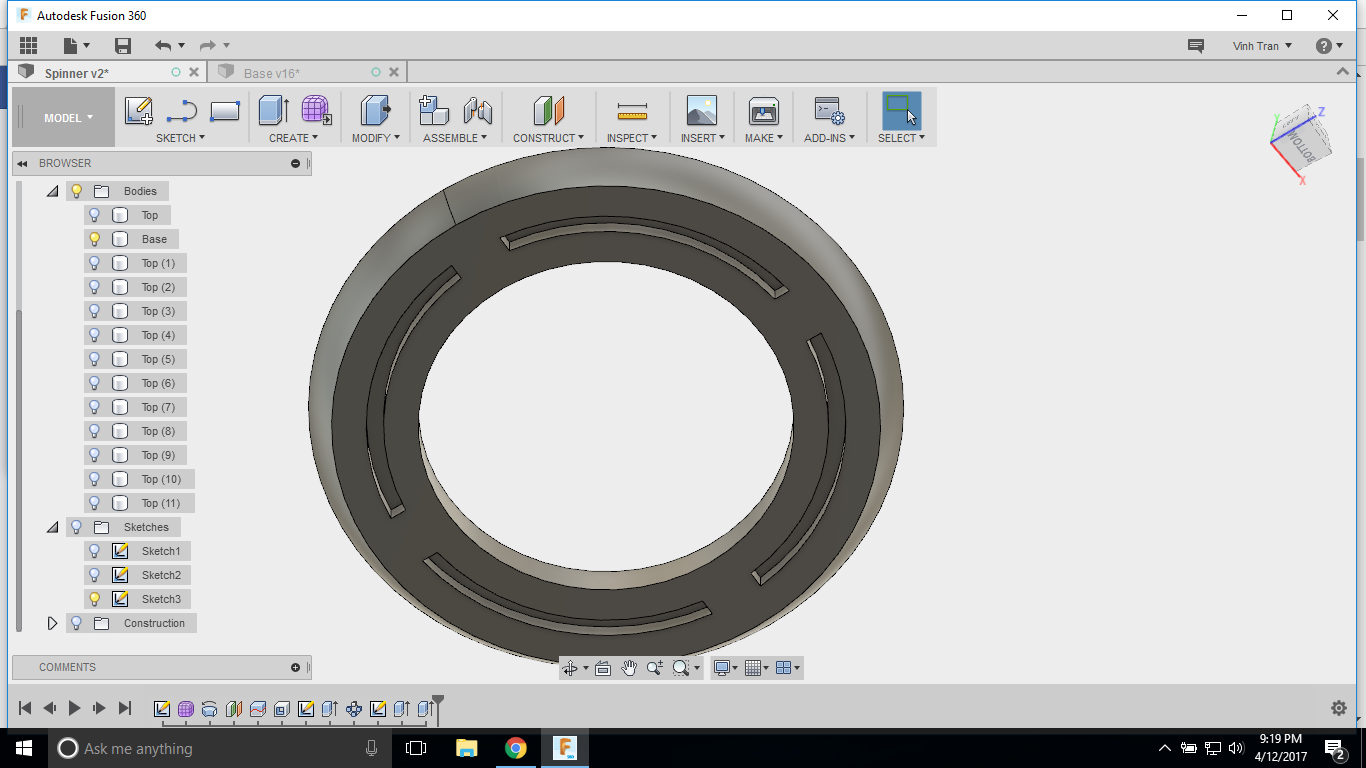
Now, you'll have to extrude the inner circle up, so that it'll create a hole in the bottom. then extrude the previous shape up 3mm, so that the spinner can fit on top of the disk.
Congratulations, you just design your own model.
Get Printing
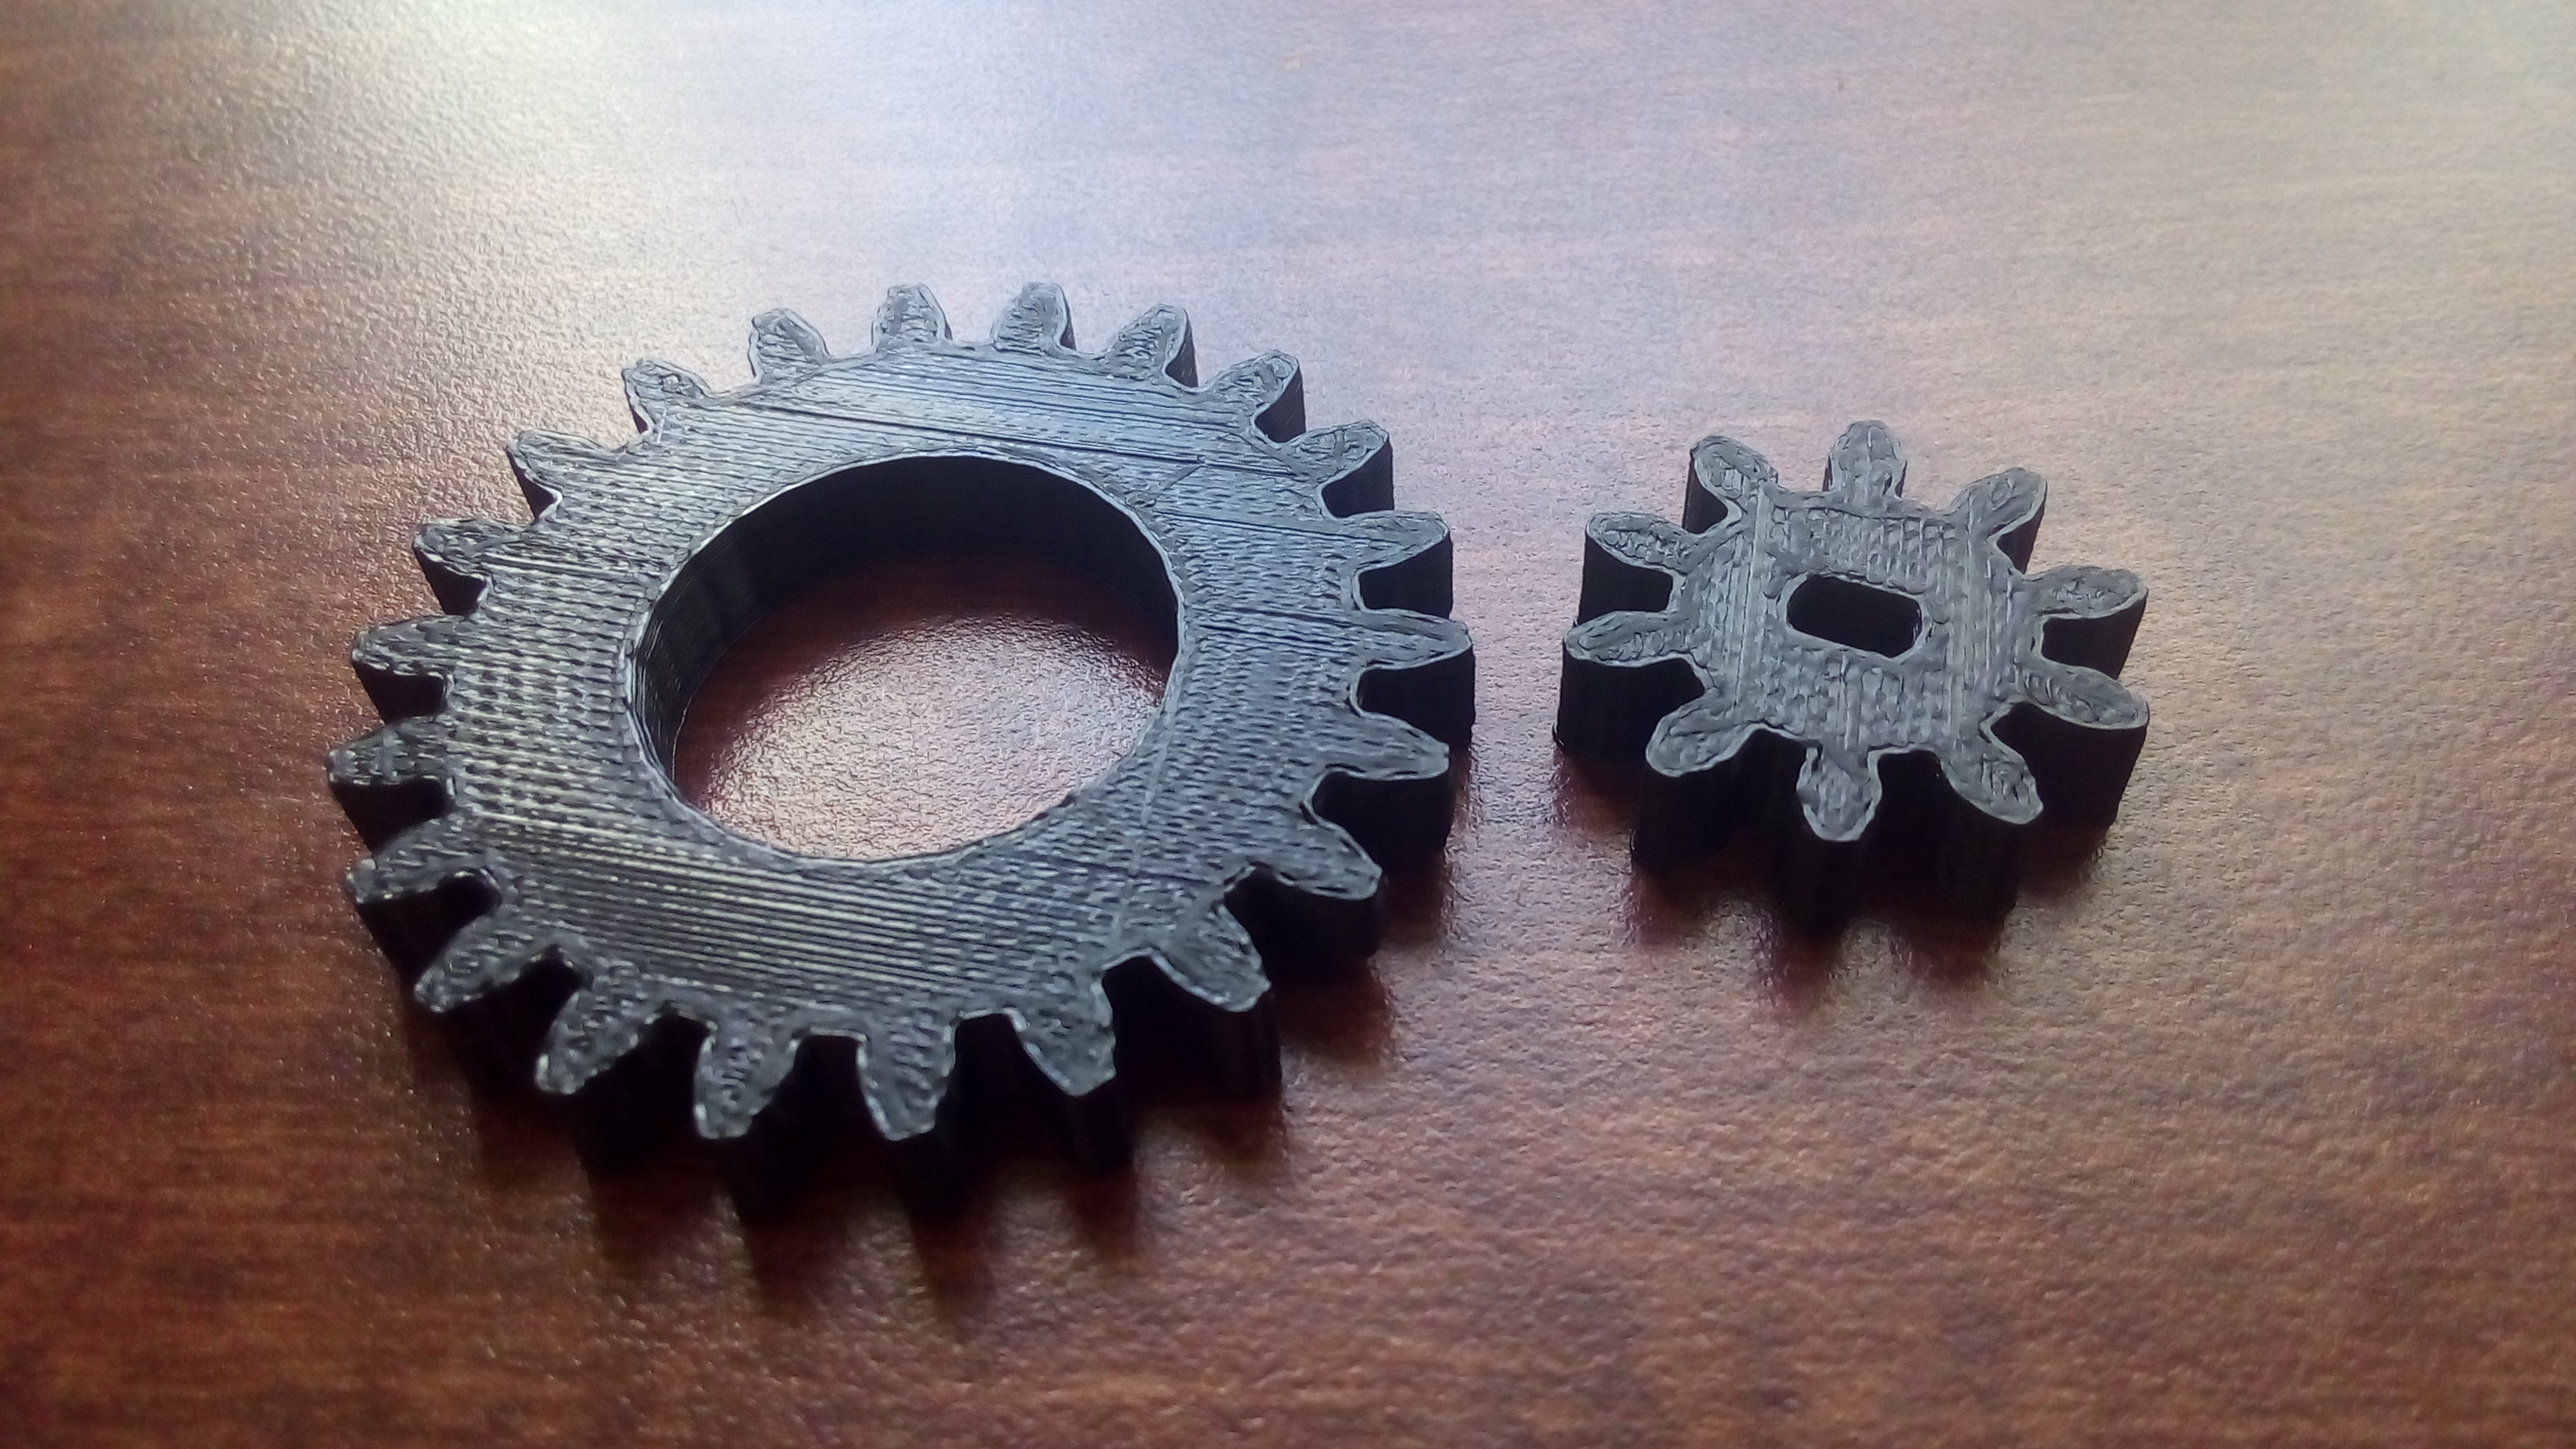
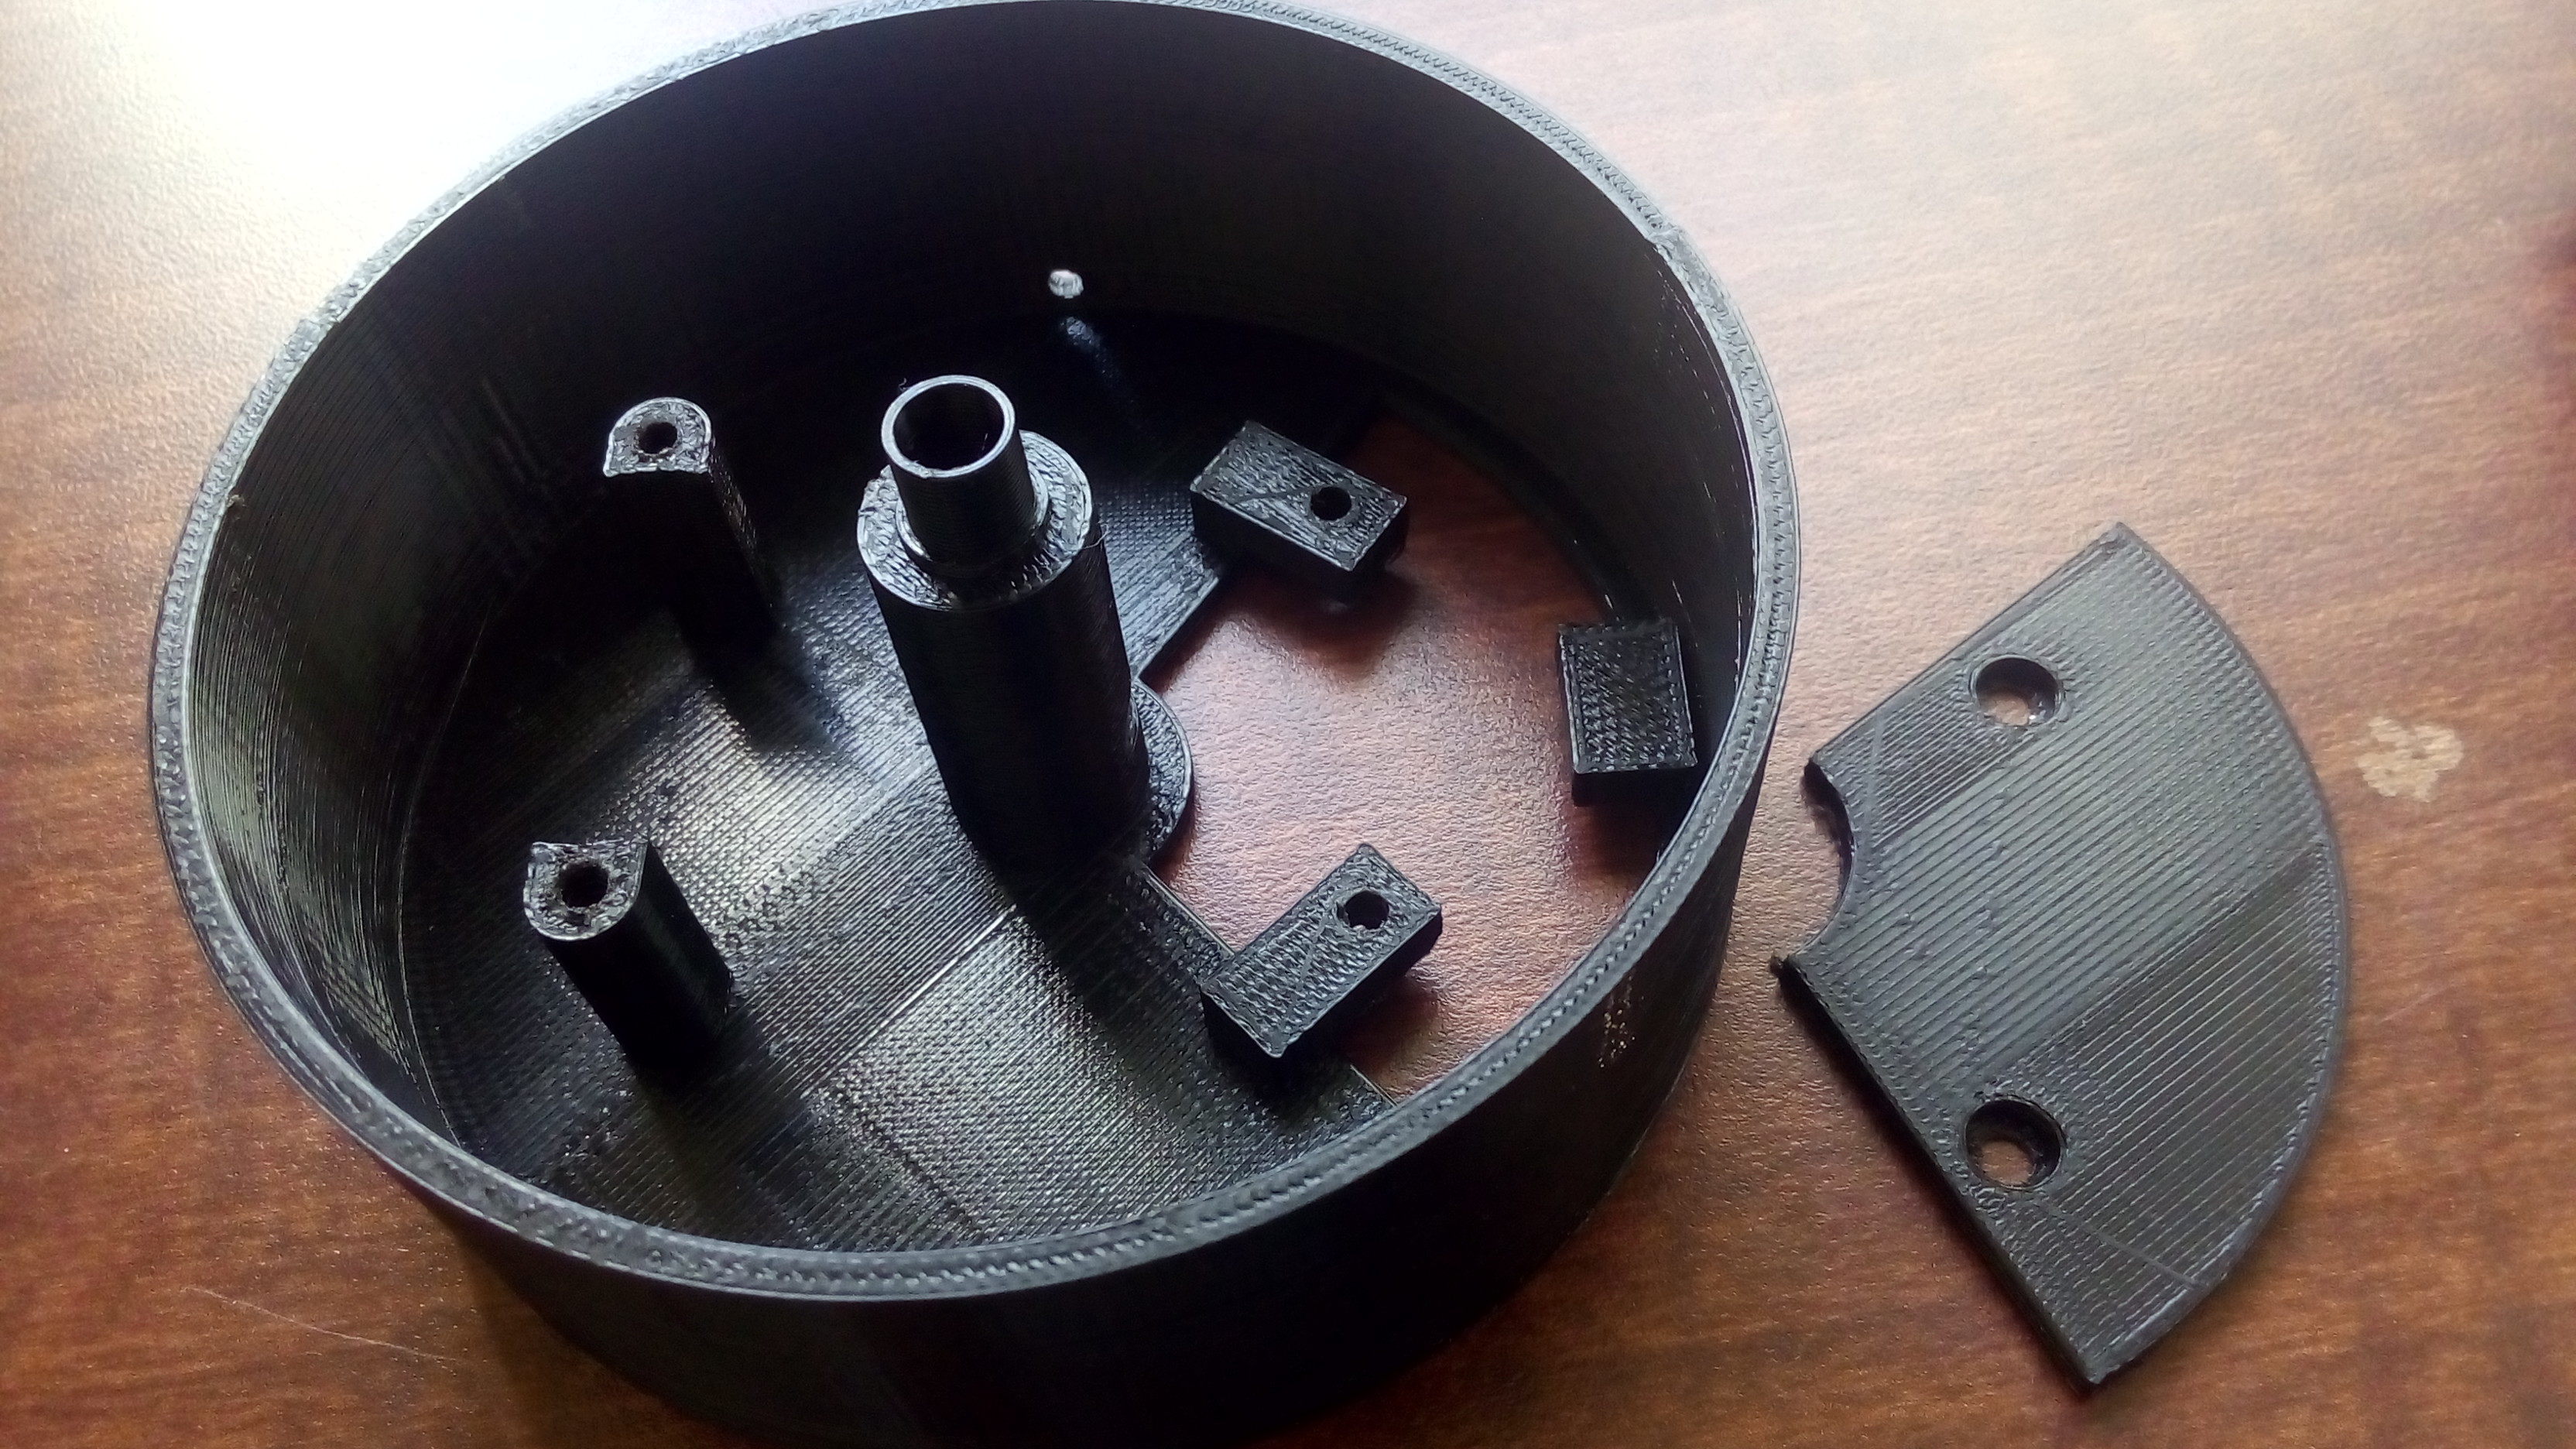
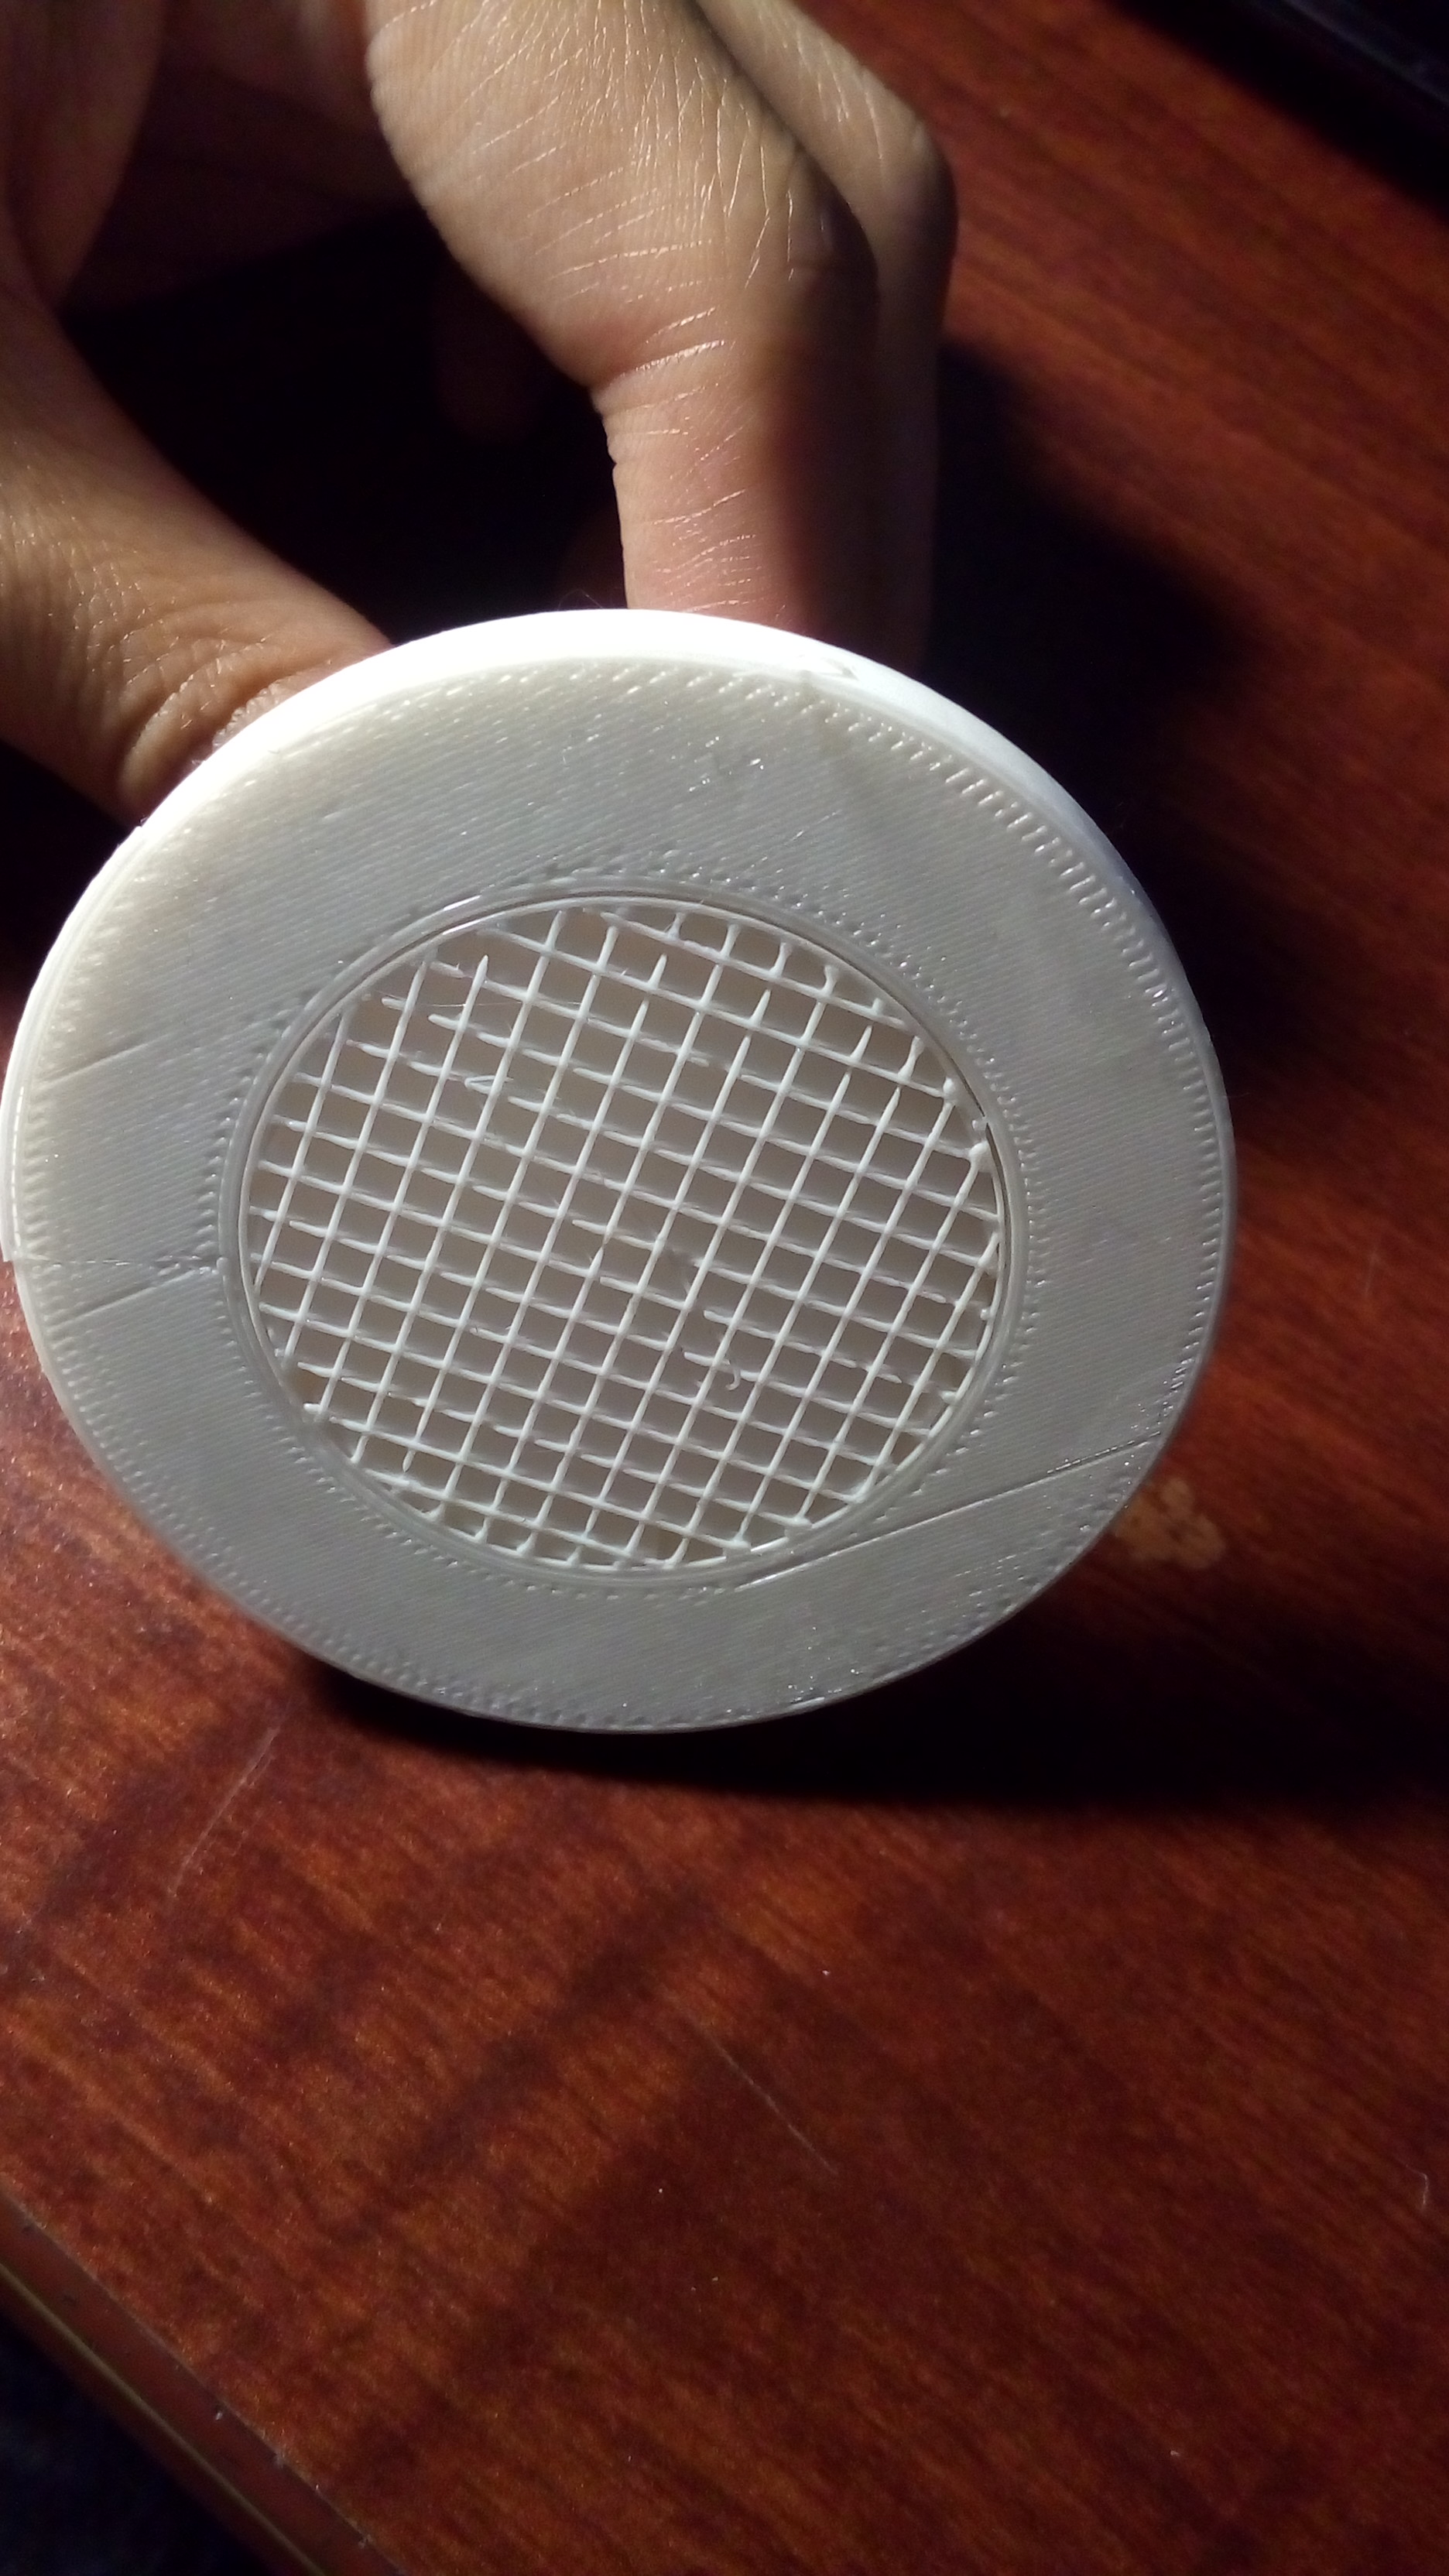

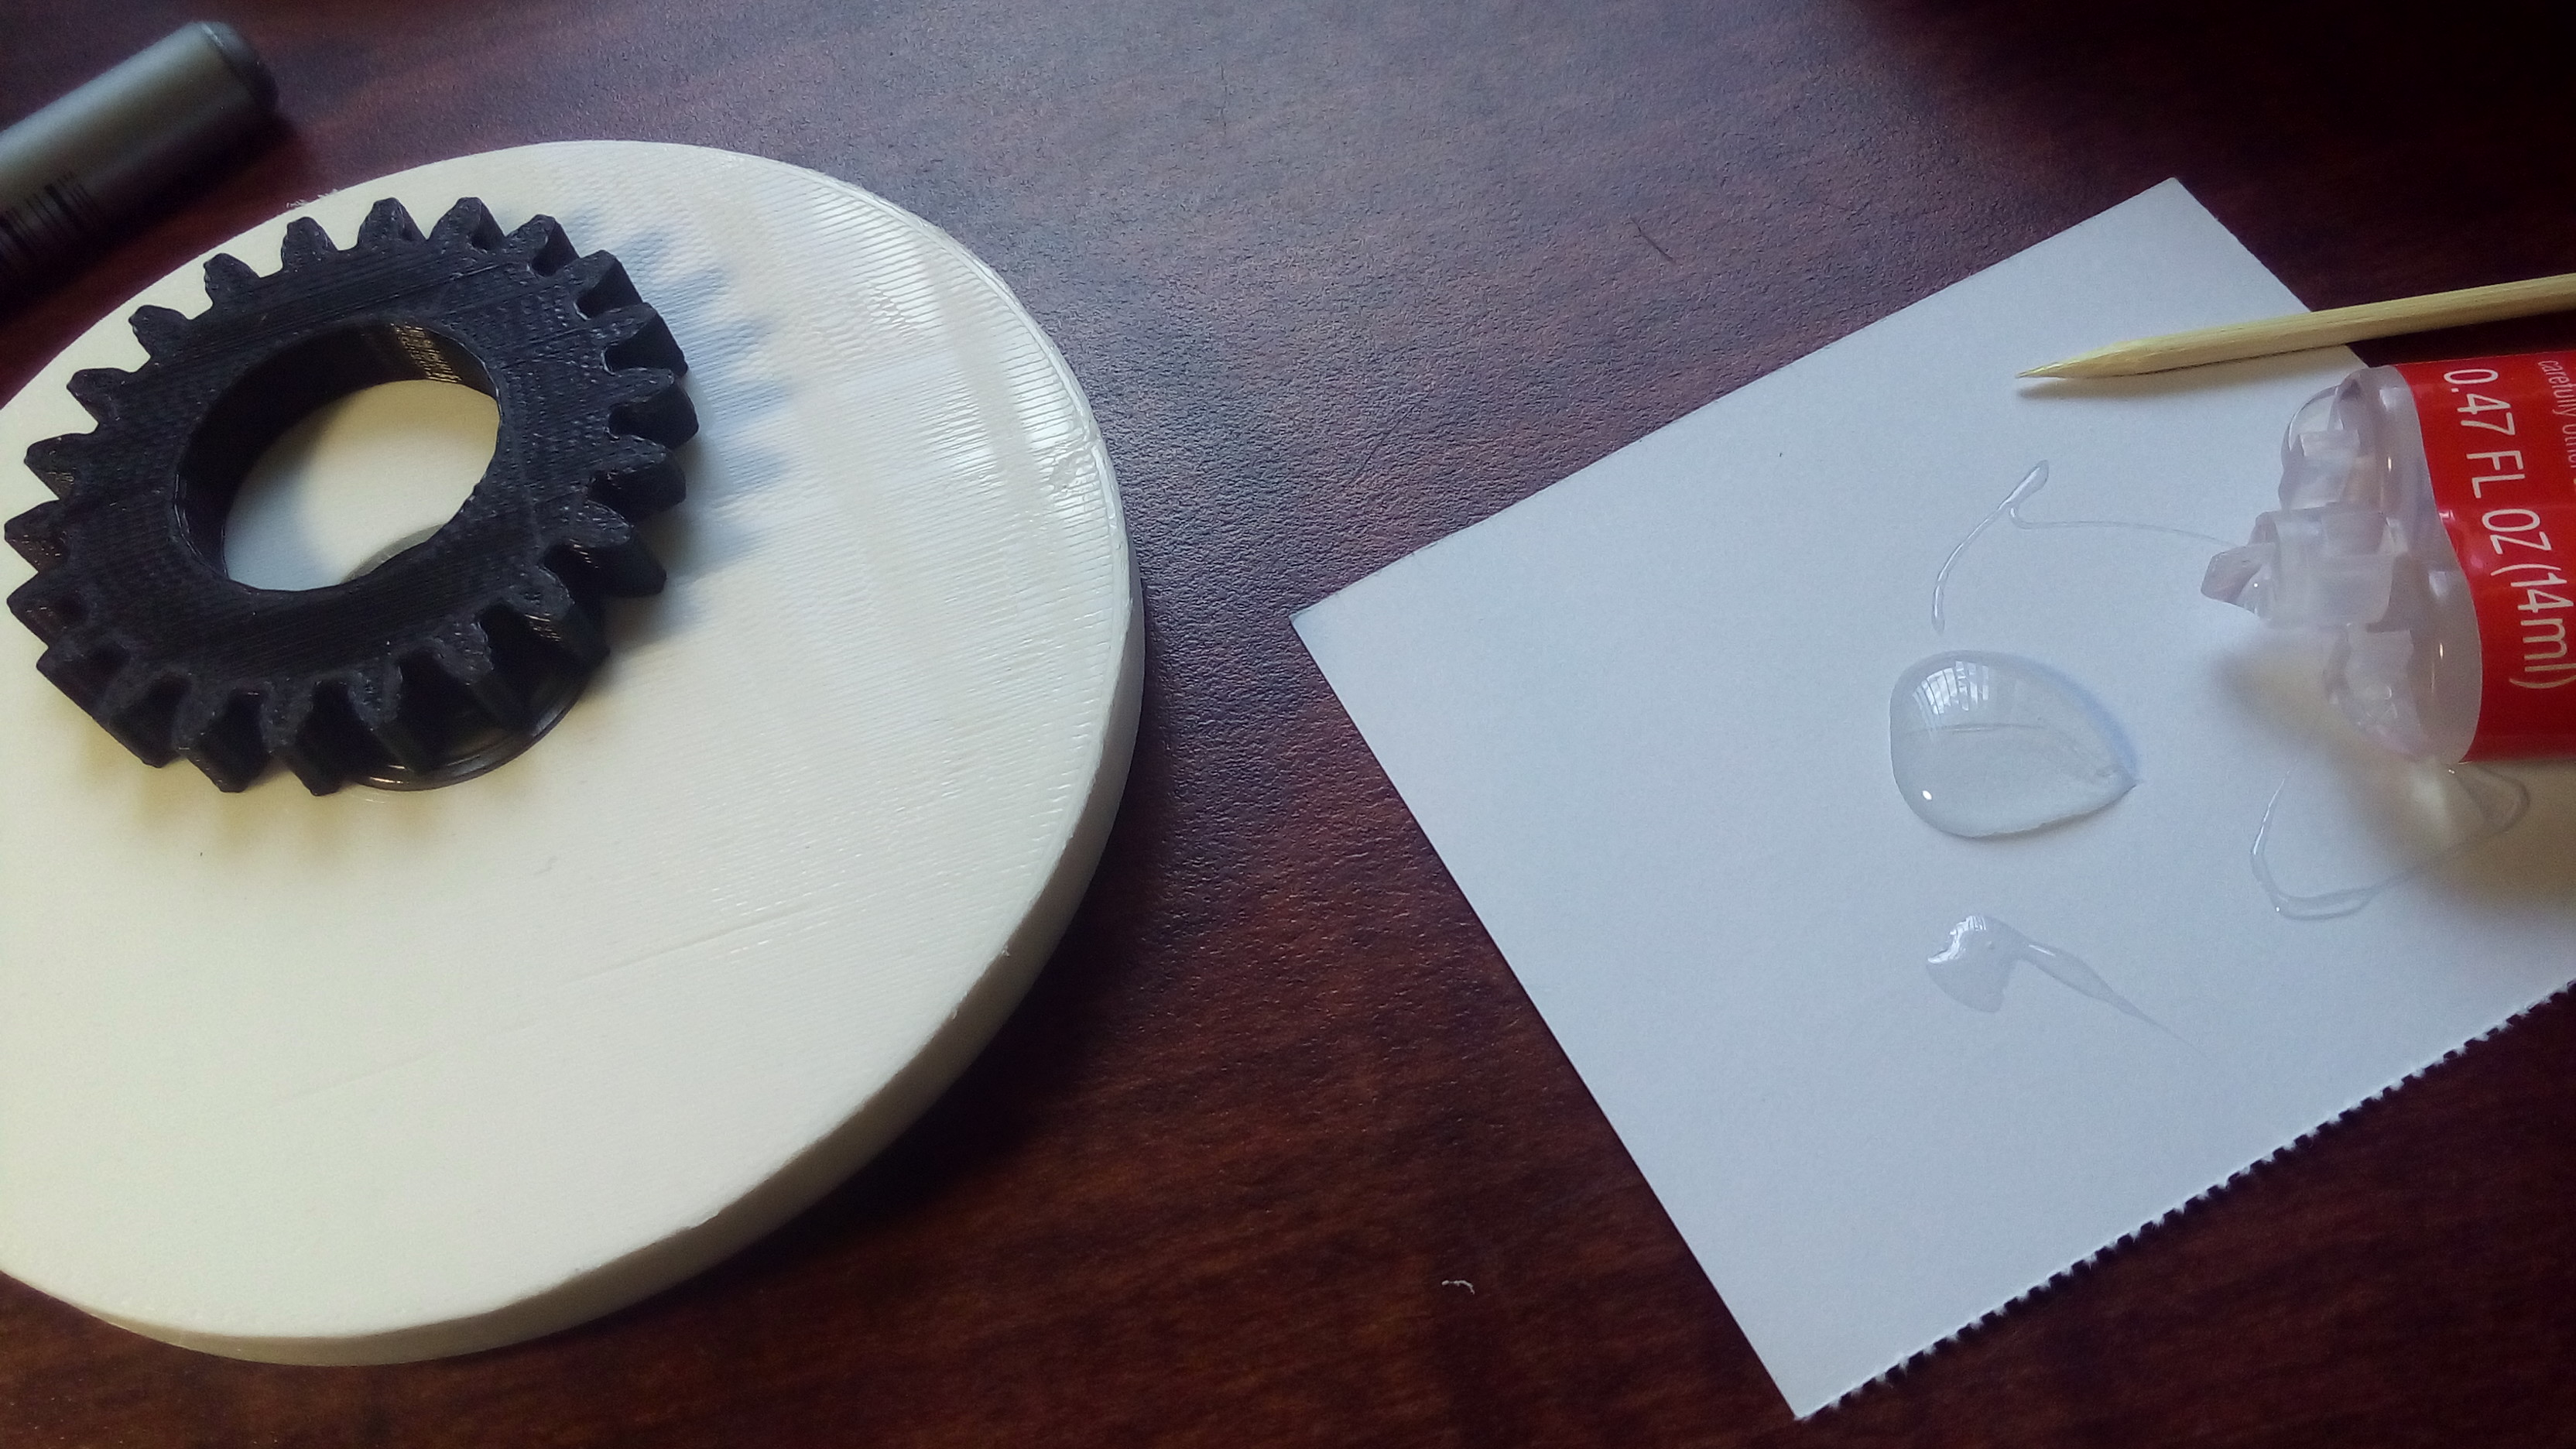
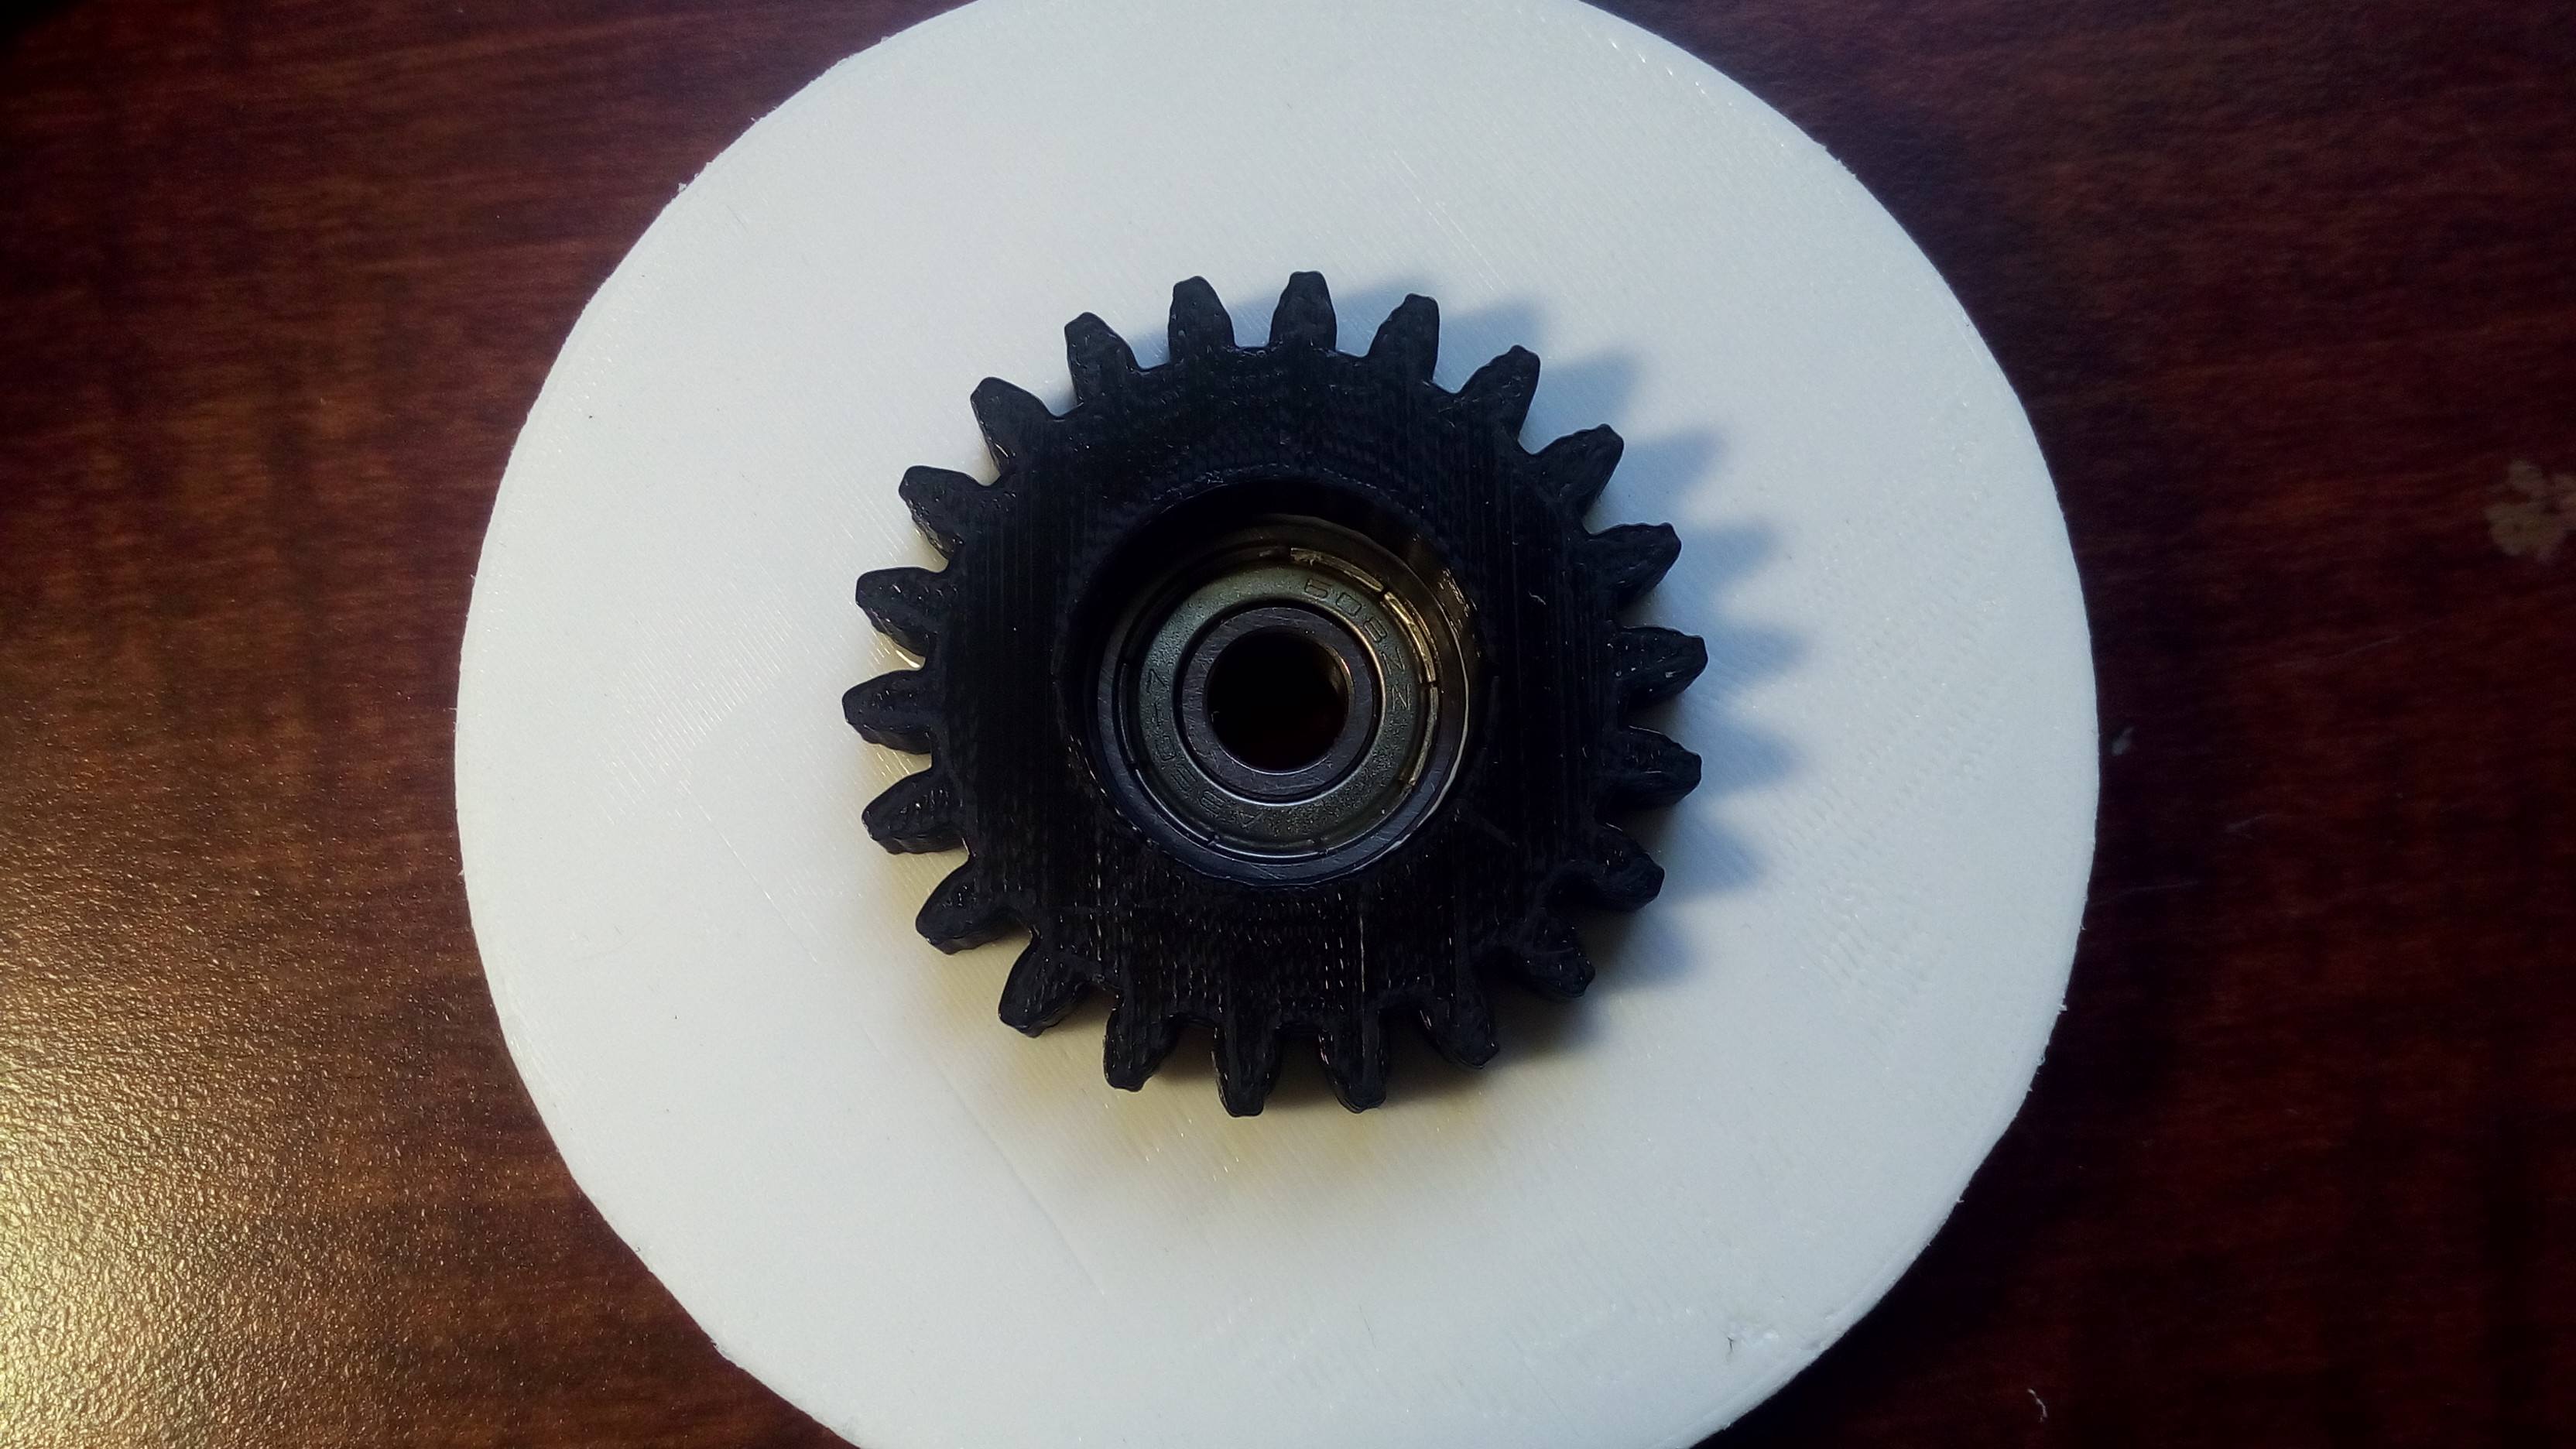
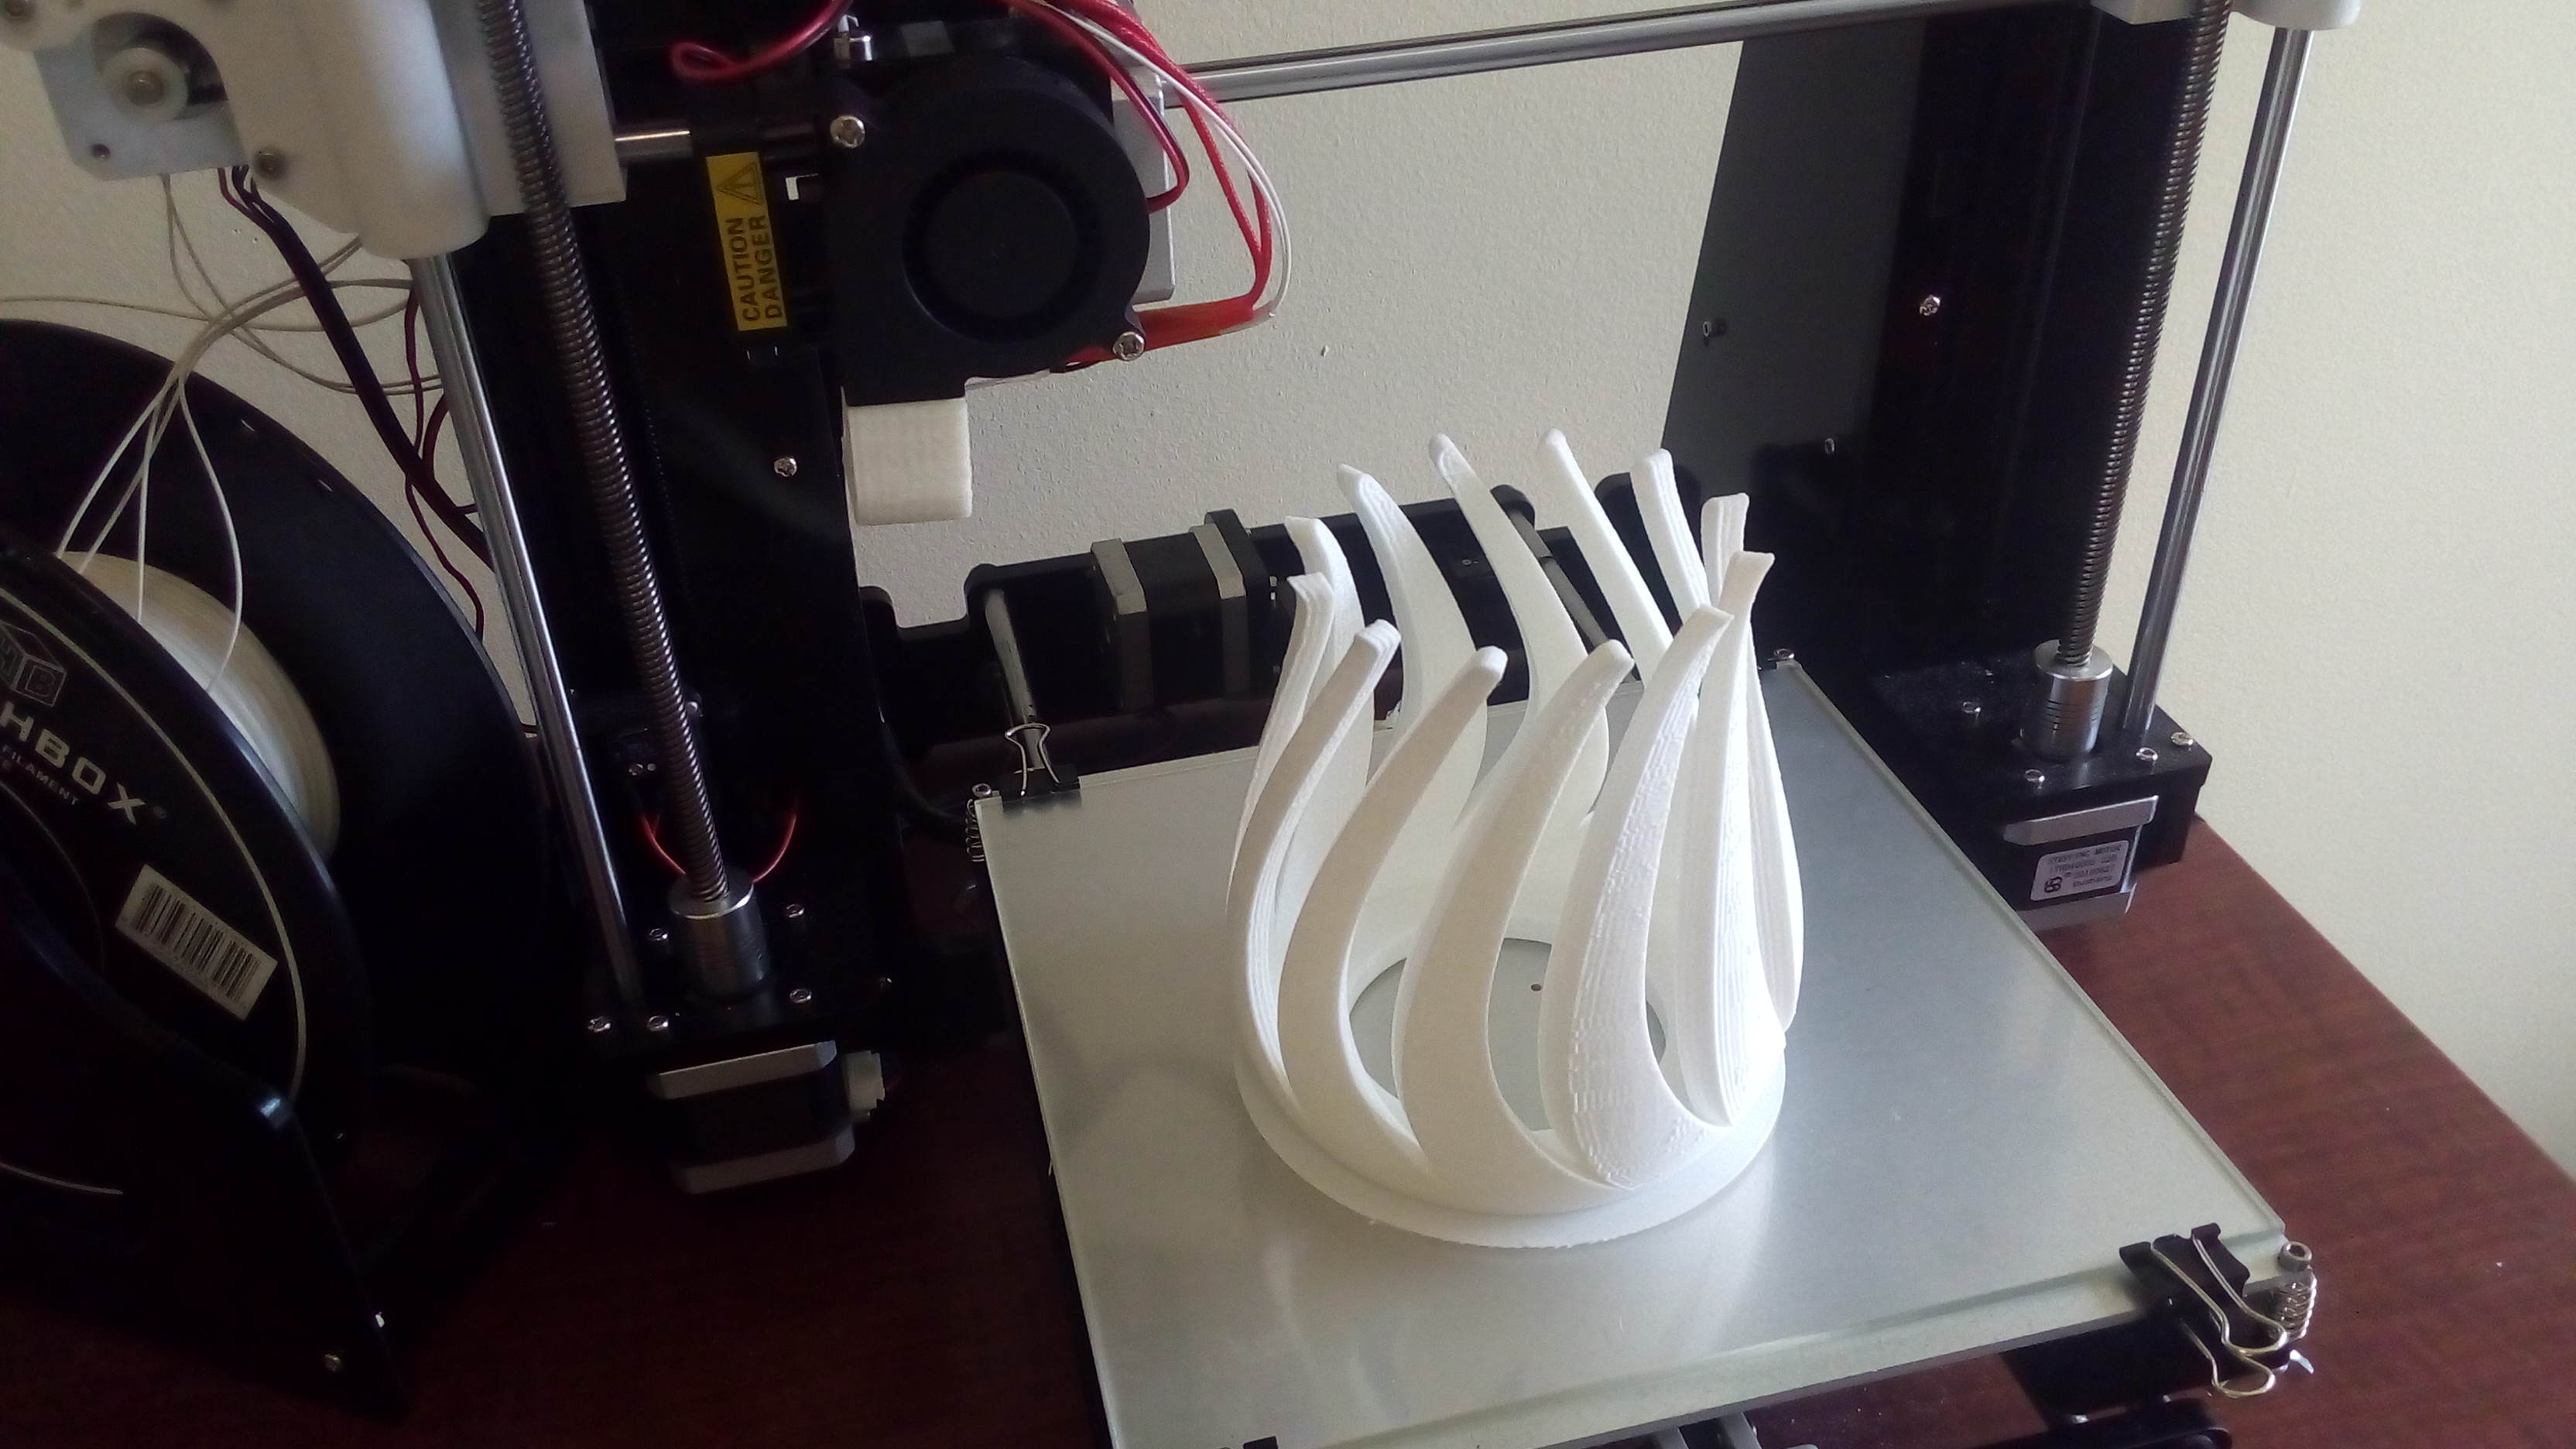
Print out all of your parts. I'm just print it in 2 colors so that it's easy to identify.
The smaller gear should fit over the stepper motor and the ball bearing should fit in the "spinning disk".
You'll have to use epoxy to glue the bigger gear on to the back of the "spinning disk". It's impossible to print the whole thing in one piece anyway (If you use support, it will leave rough surface).
The "inner base" has to be the strongest. I recommend you to print that piece with 100% infill (and in ABS if possible). Remember to use support for this one.
The "base" should also be printed with high infill. Since it has some overhang (to attach the lid), it's needed to use support. There are holes to attach screws, if your screws are too big, just widen the holes with a drill (same with the hole for the adapter).
The "customed spinner" (NOTE: I meant customized) can be used if you have a similar vase as I do. If not, you can use your own.
Downloads
The Electronics
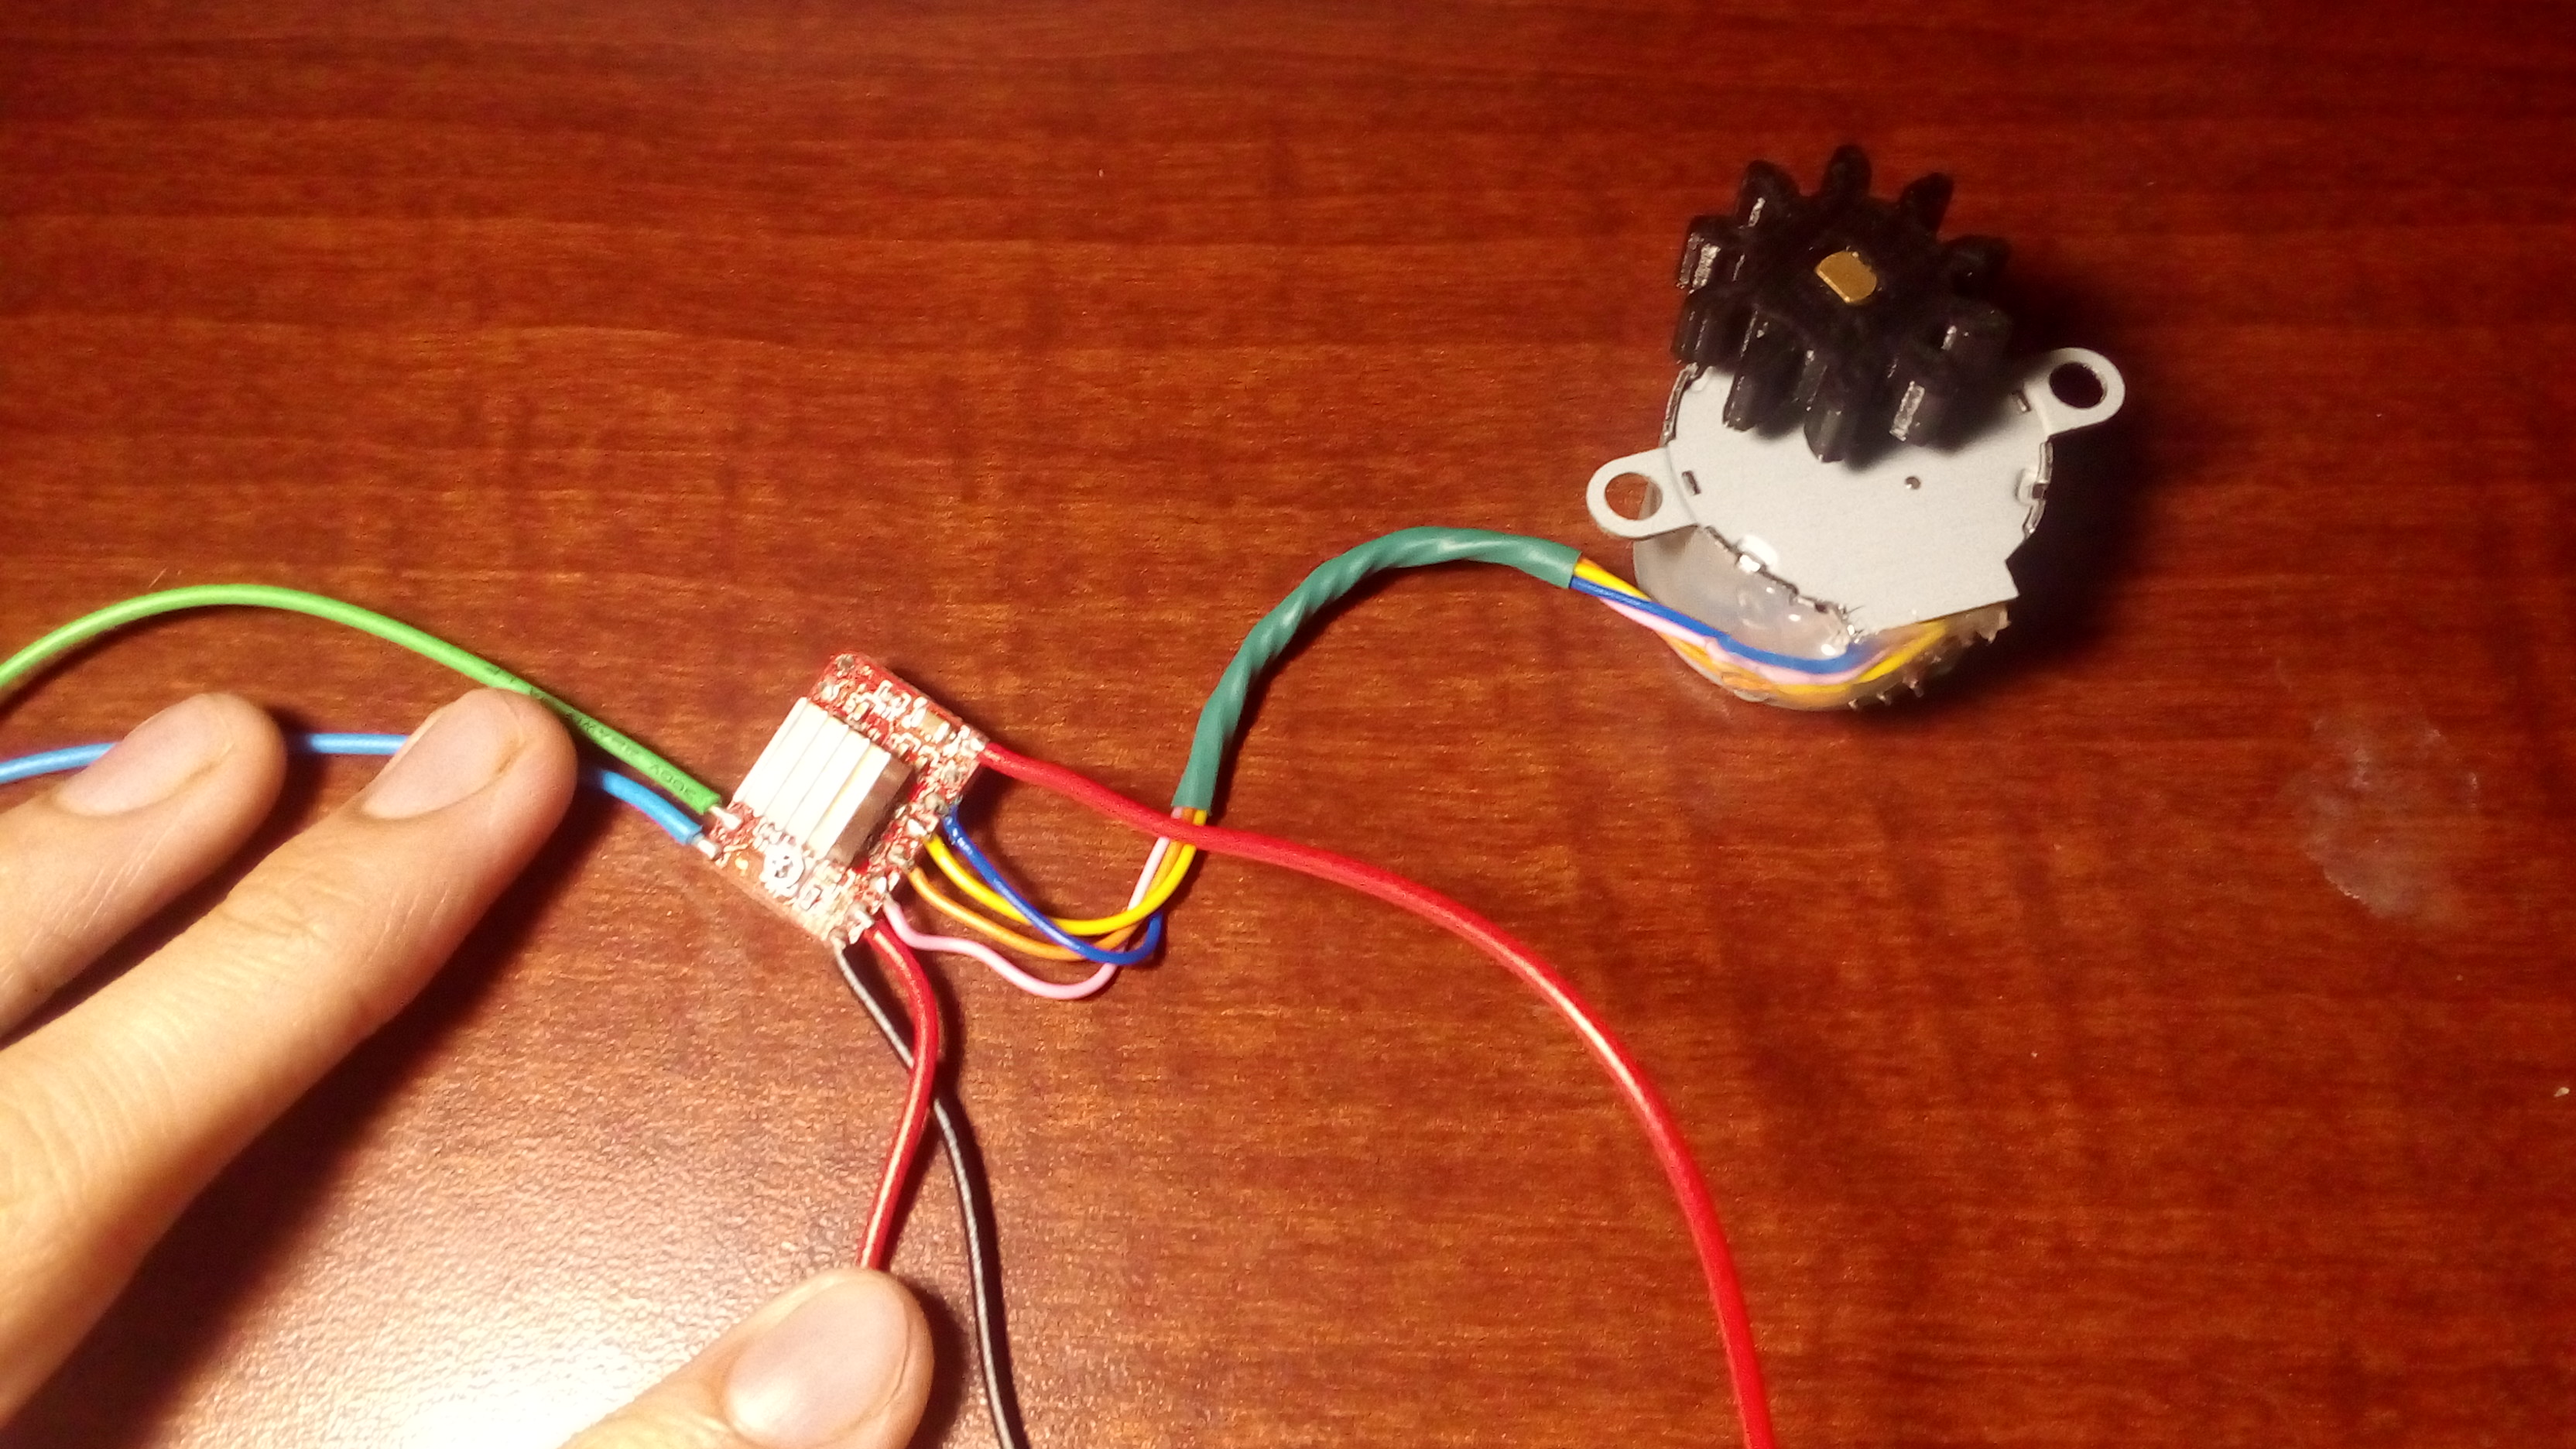
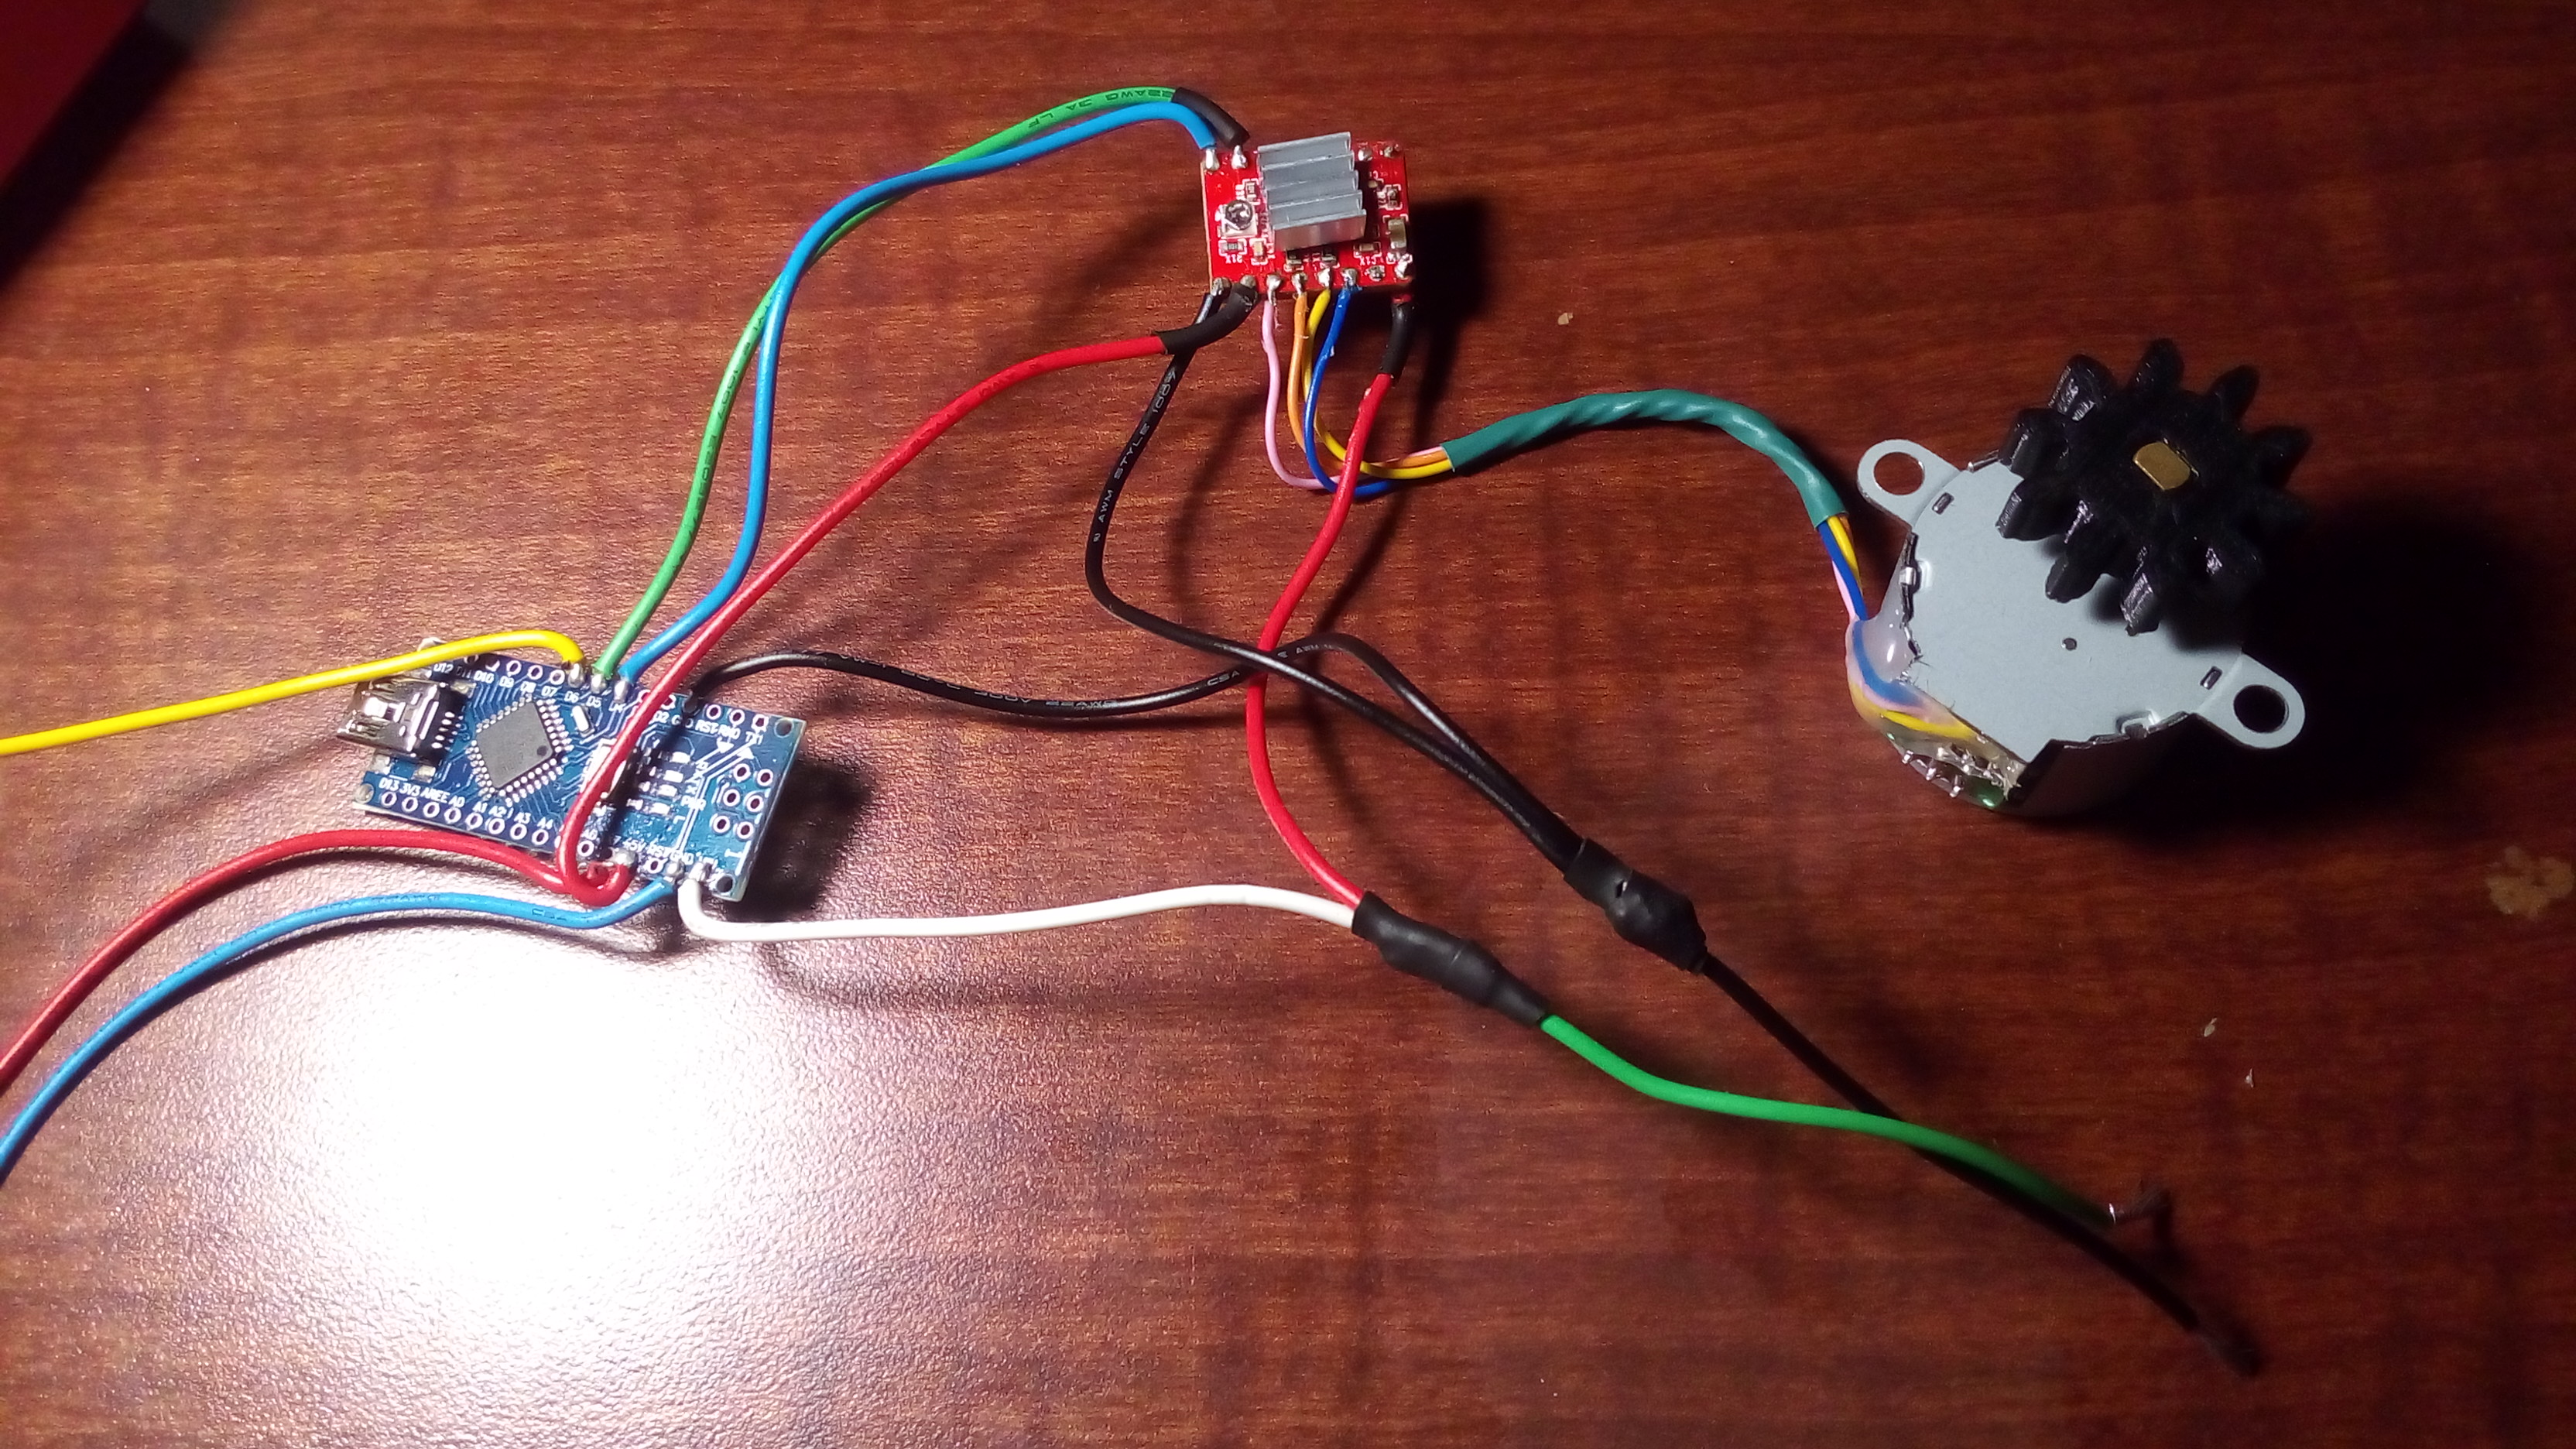
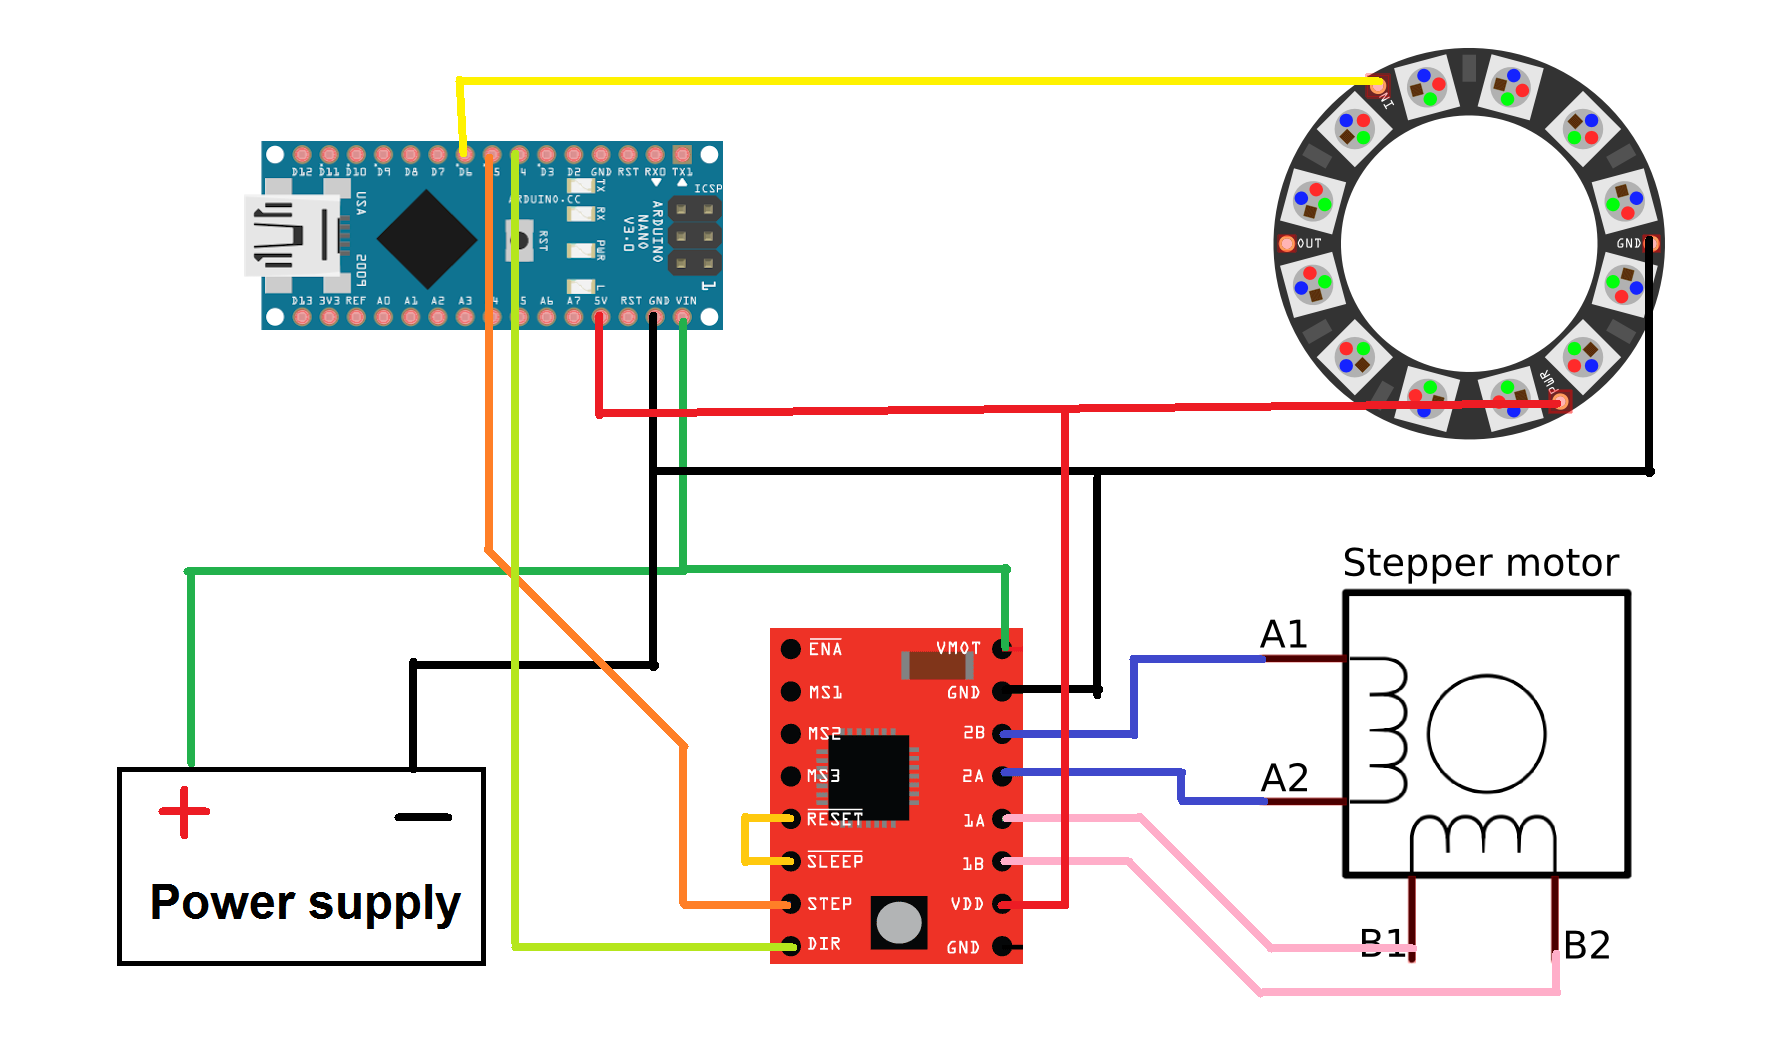
Here's the fun part, at least for me, the electronic and Arduino program.
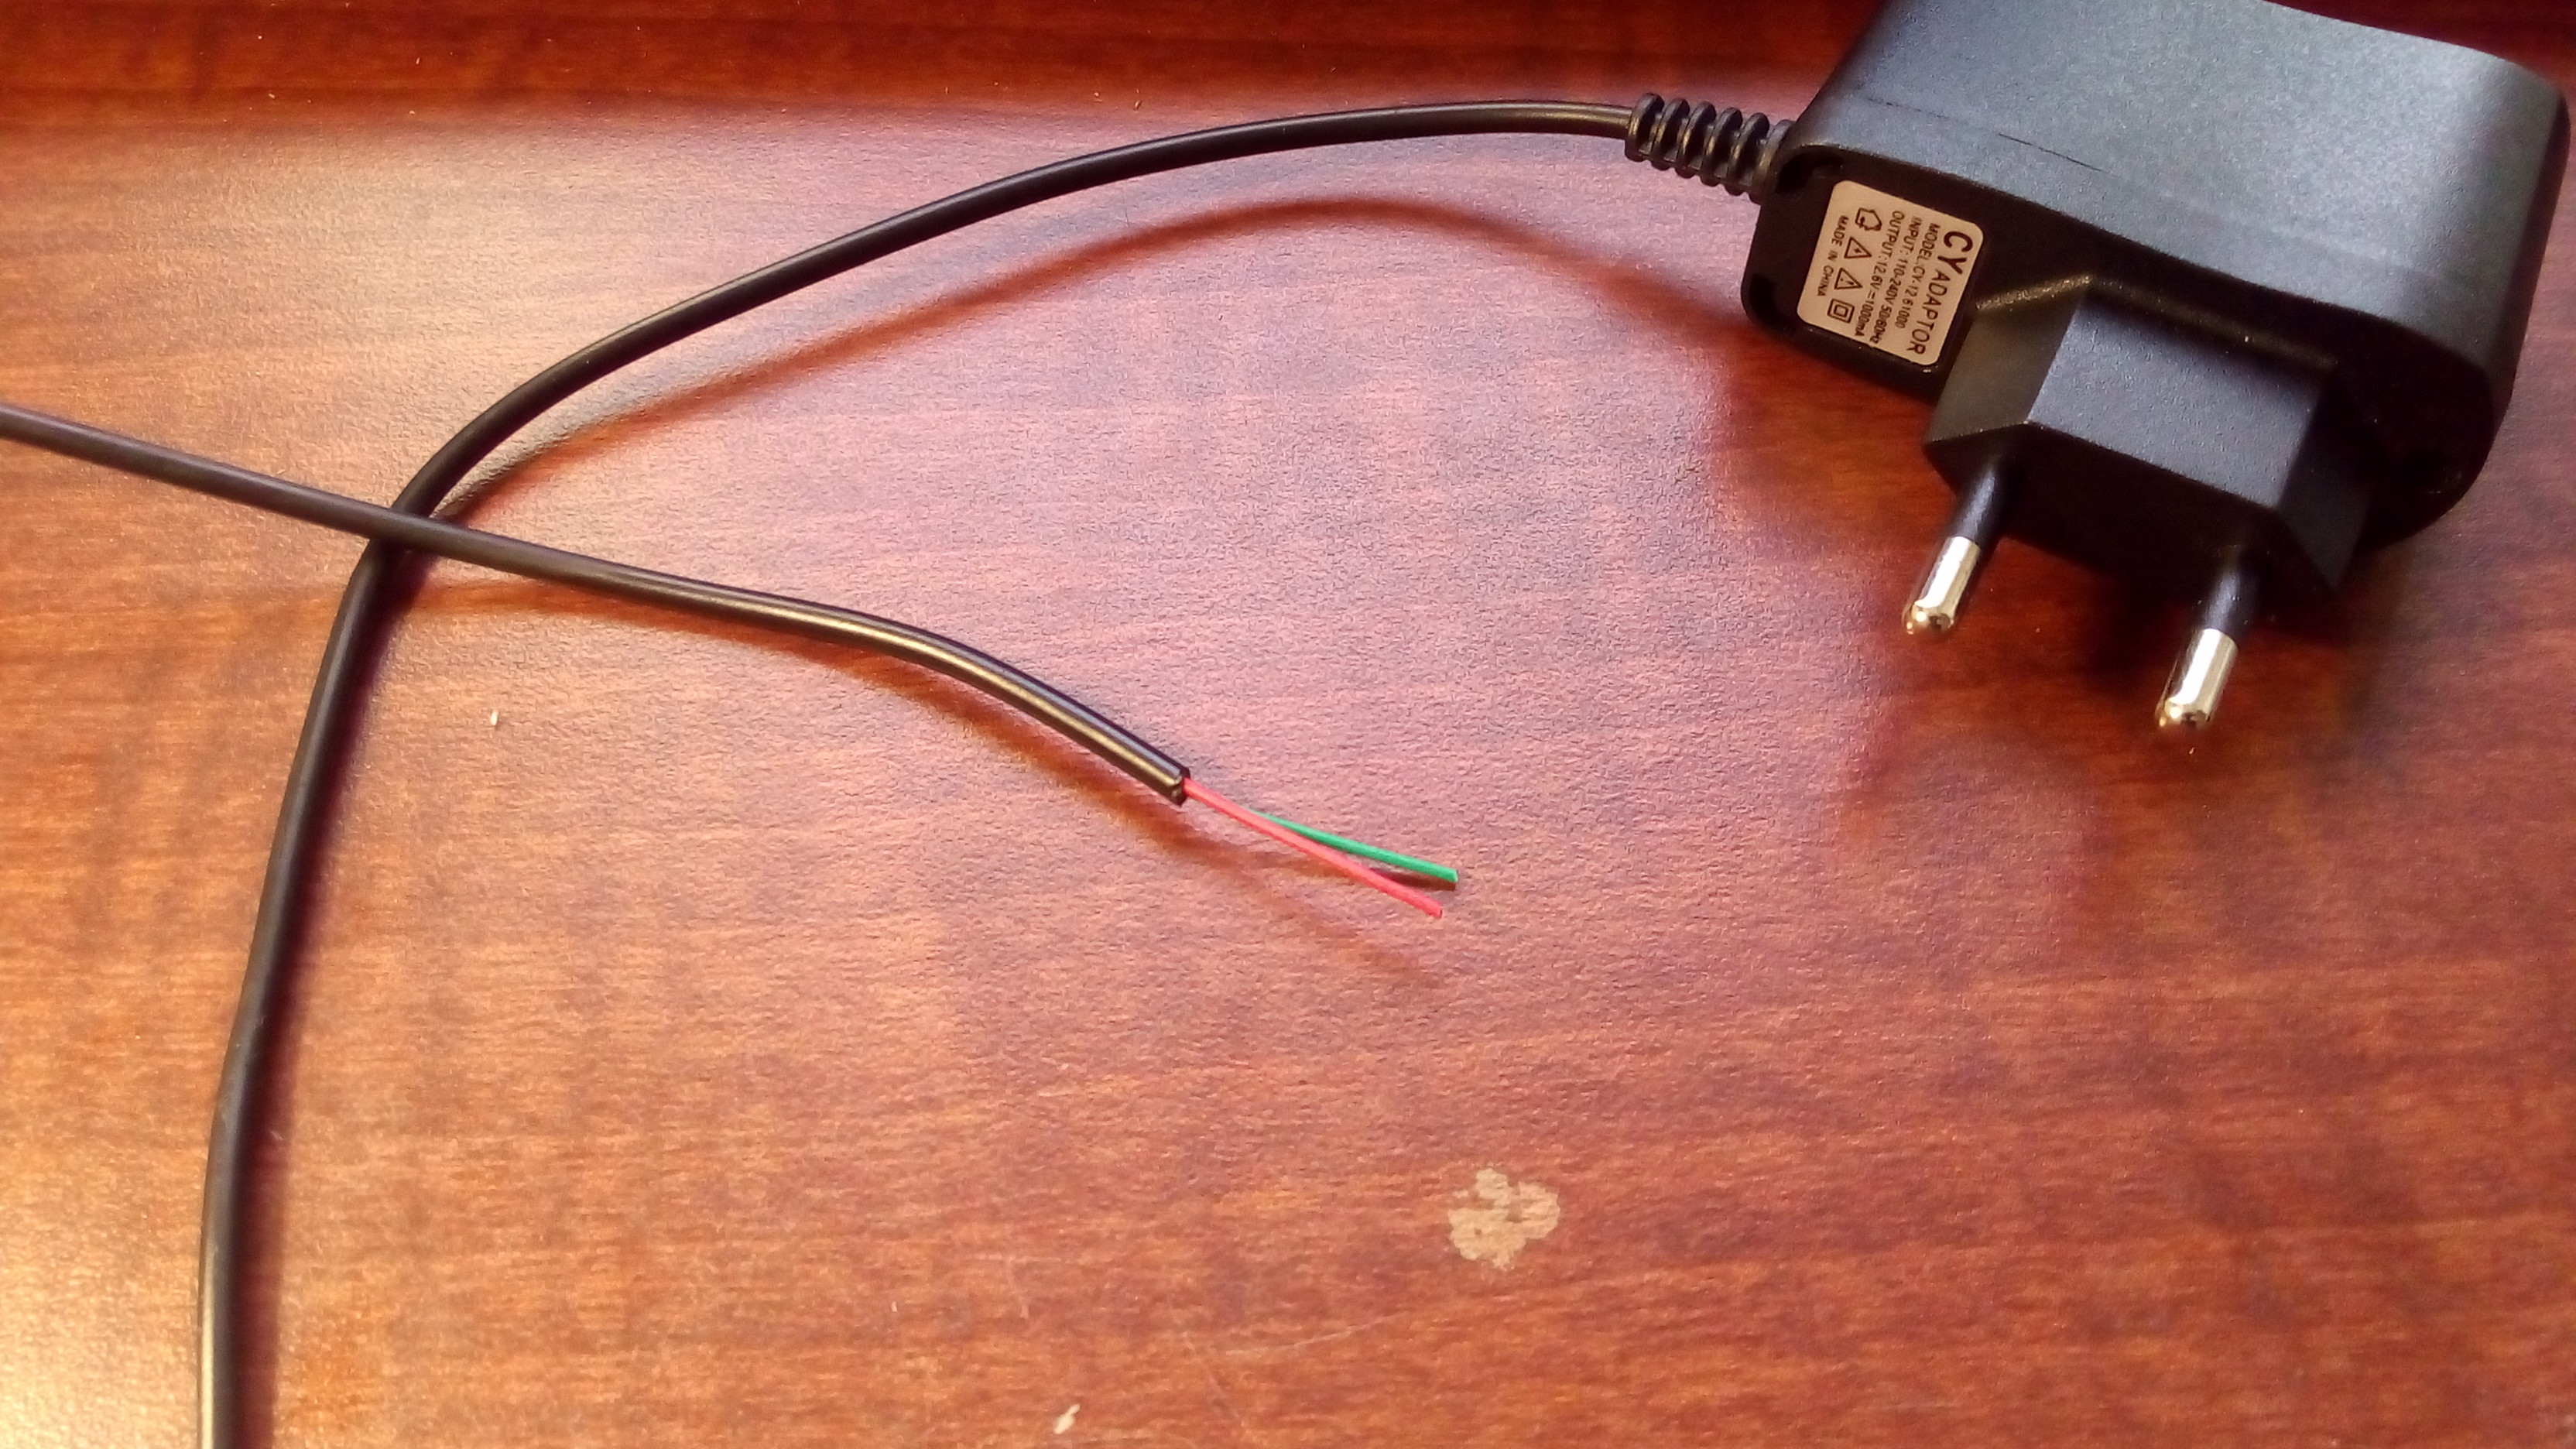
The Arduino is powered by a DC adapter, I'm using a 12V adapter that just laying around. You can use a 9V adapter for powering the Arduino.
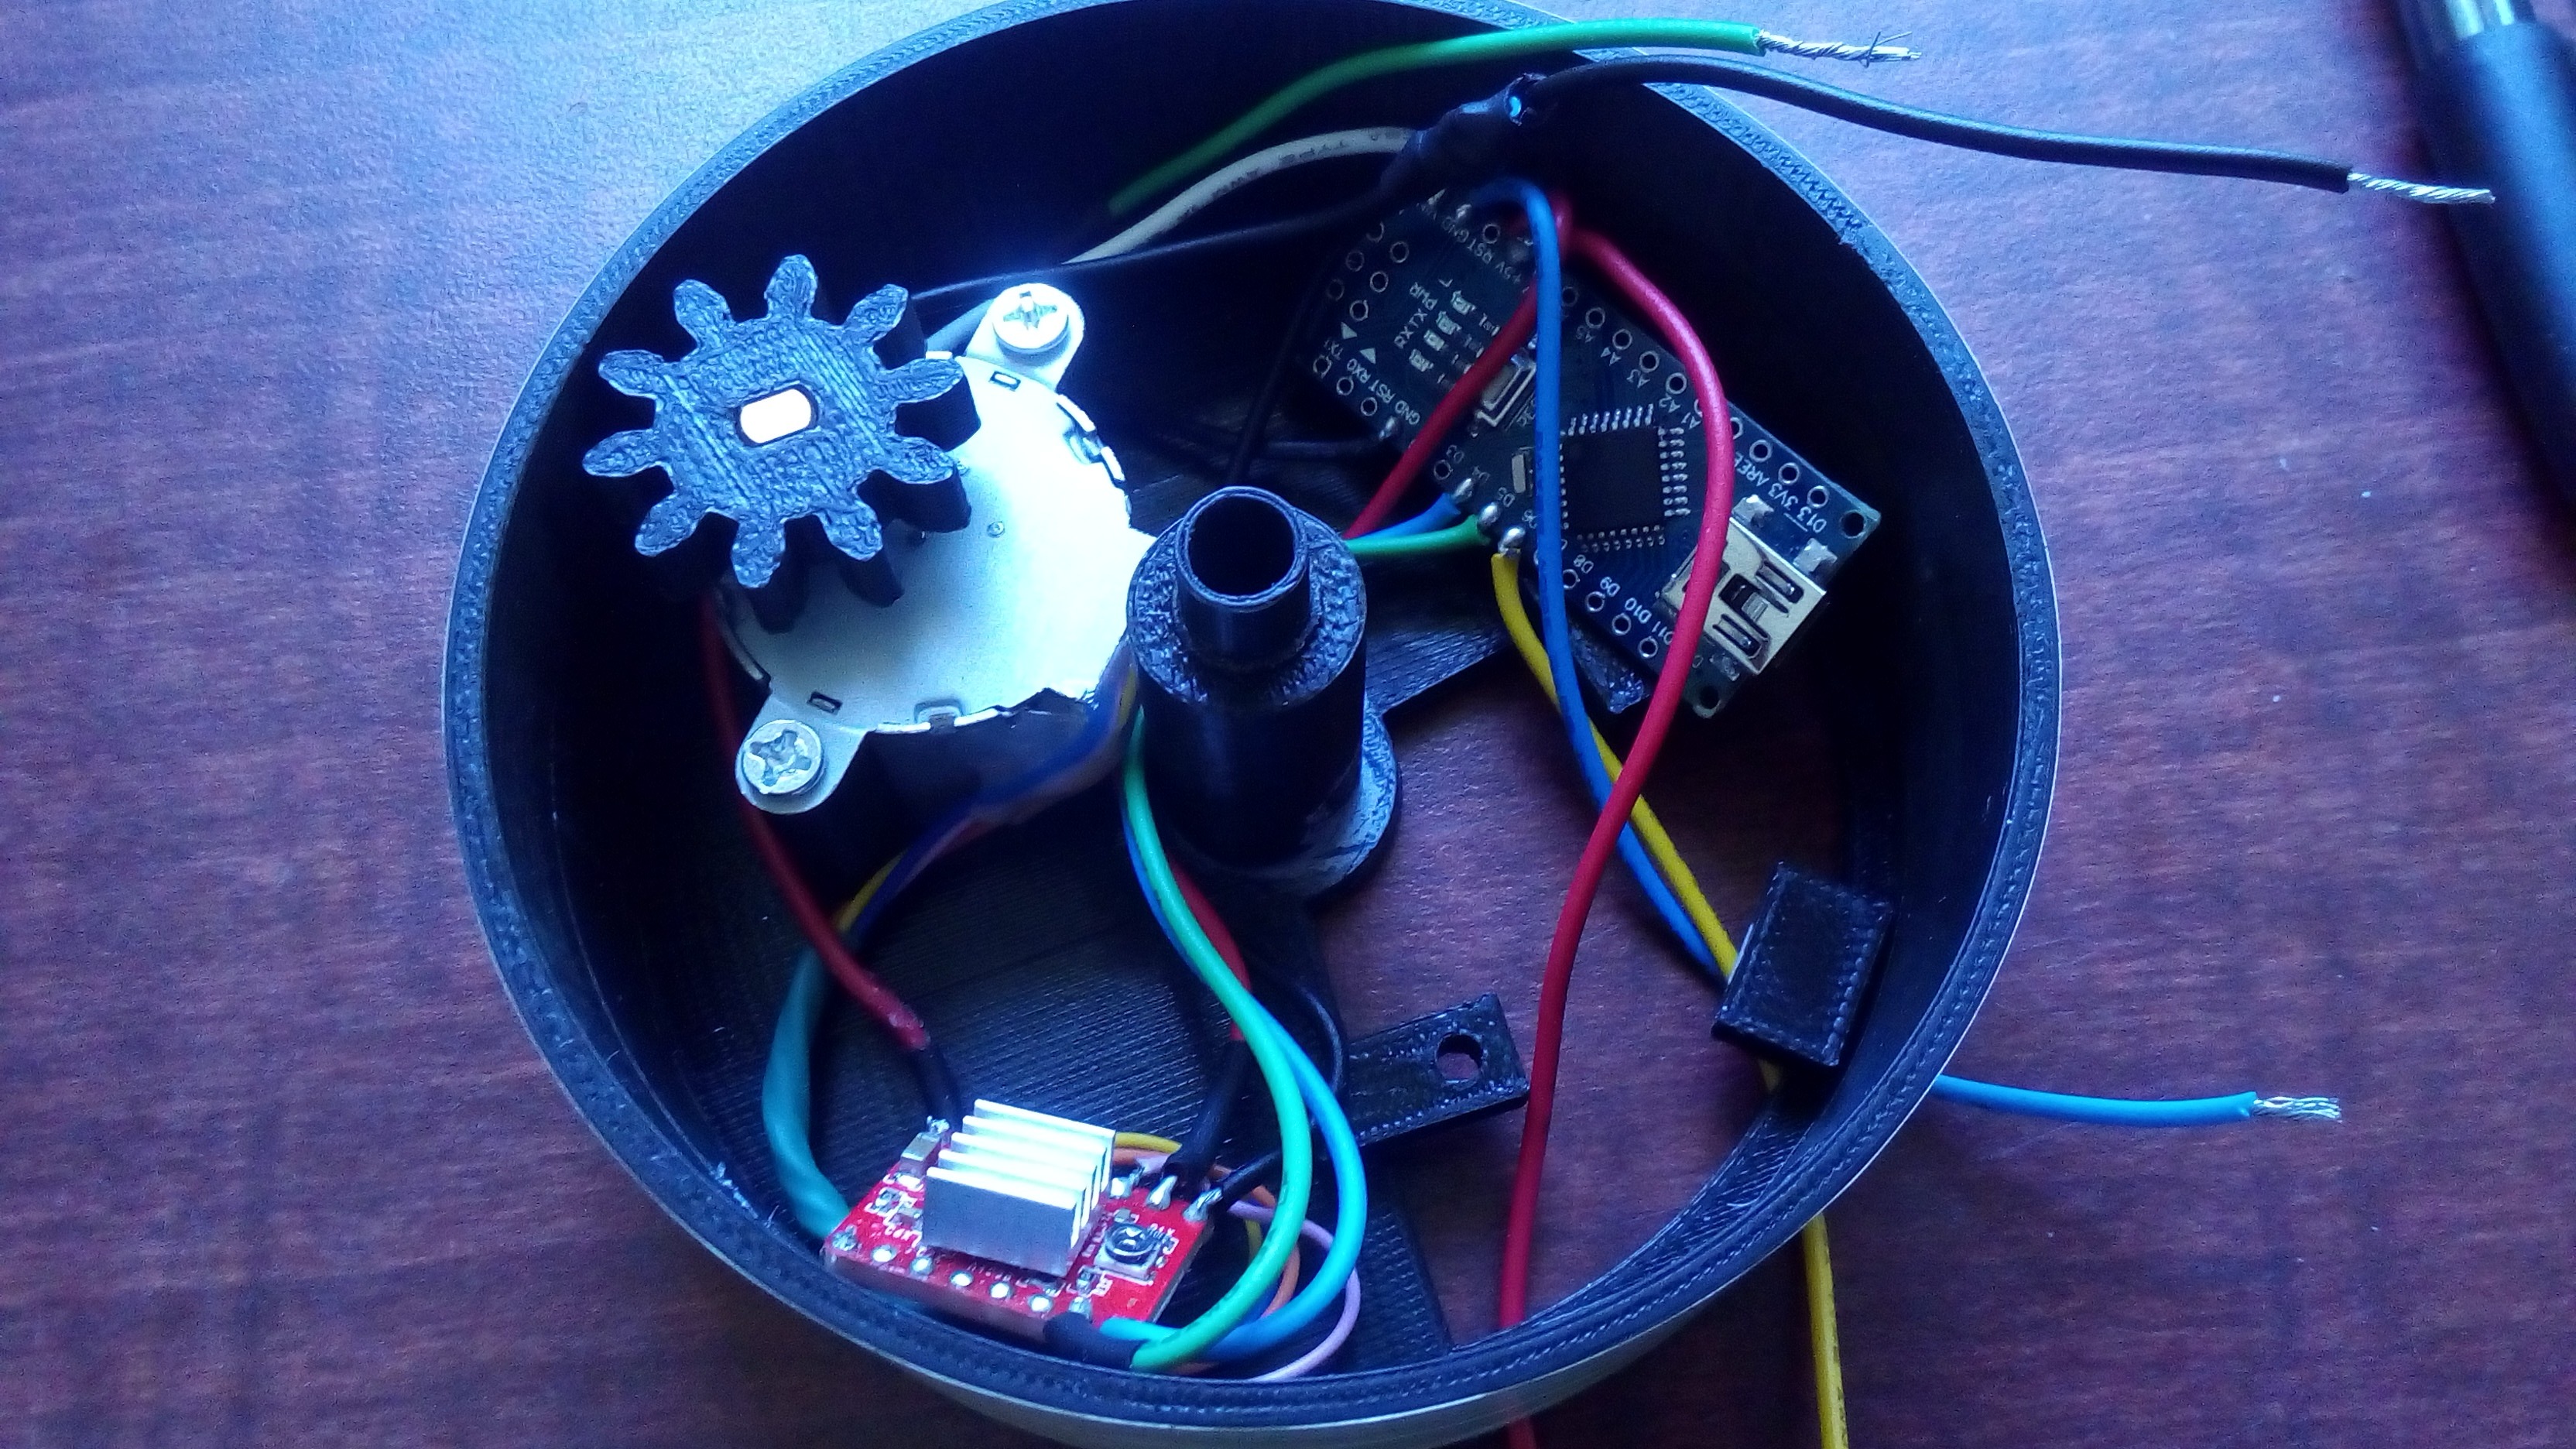
The motor is modded so it's a bipolar motor, so it can be driven by an A4988 driver. So the connections to the driver are pretty much the same. Since I'm using full steps, I leave 3 MS pin open. The direction pin is connected to pin 4 on the Arduino, the step pin is connected to pin 5 on the Arduino. The motor will use the voltage from the power supply so connect Vmot to the supply. Vdd will be connected to the 5V pin on the Arduino, along with 1 connection from either GND pin to Arduino GND.
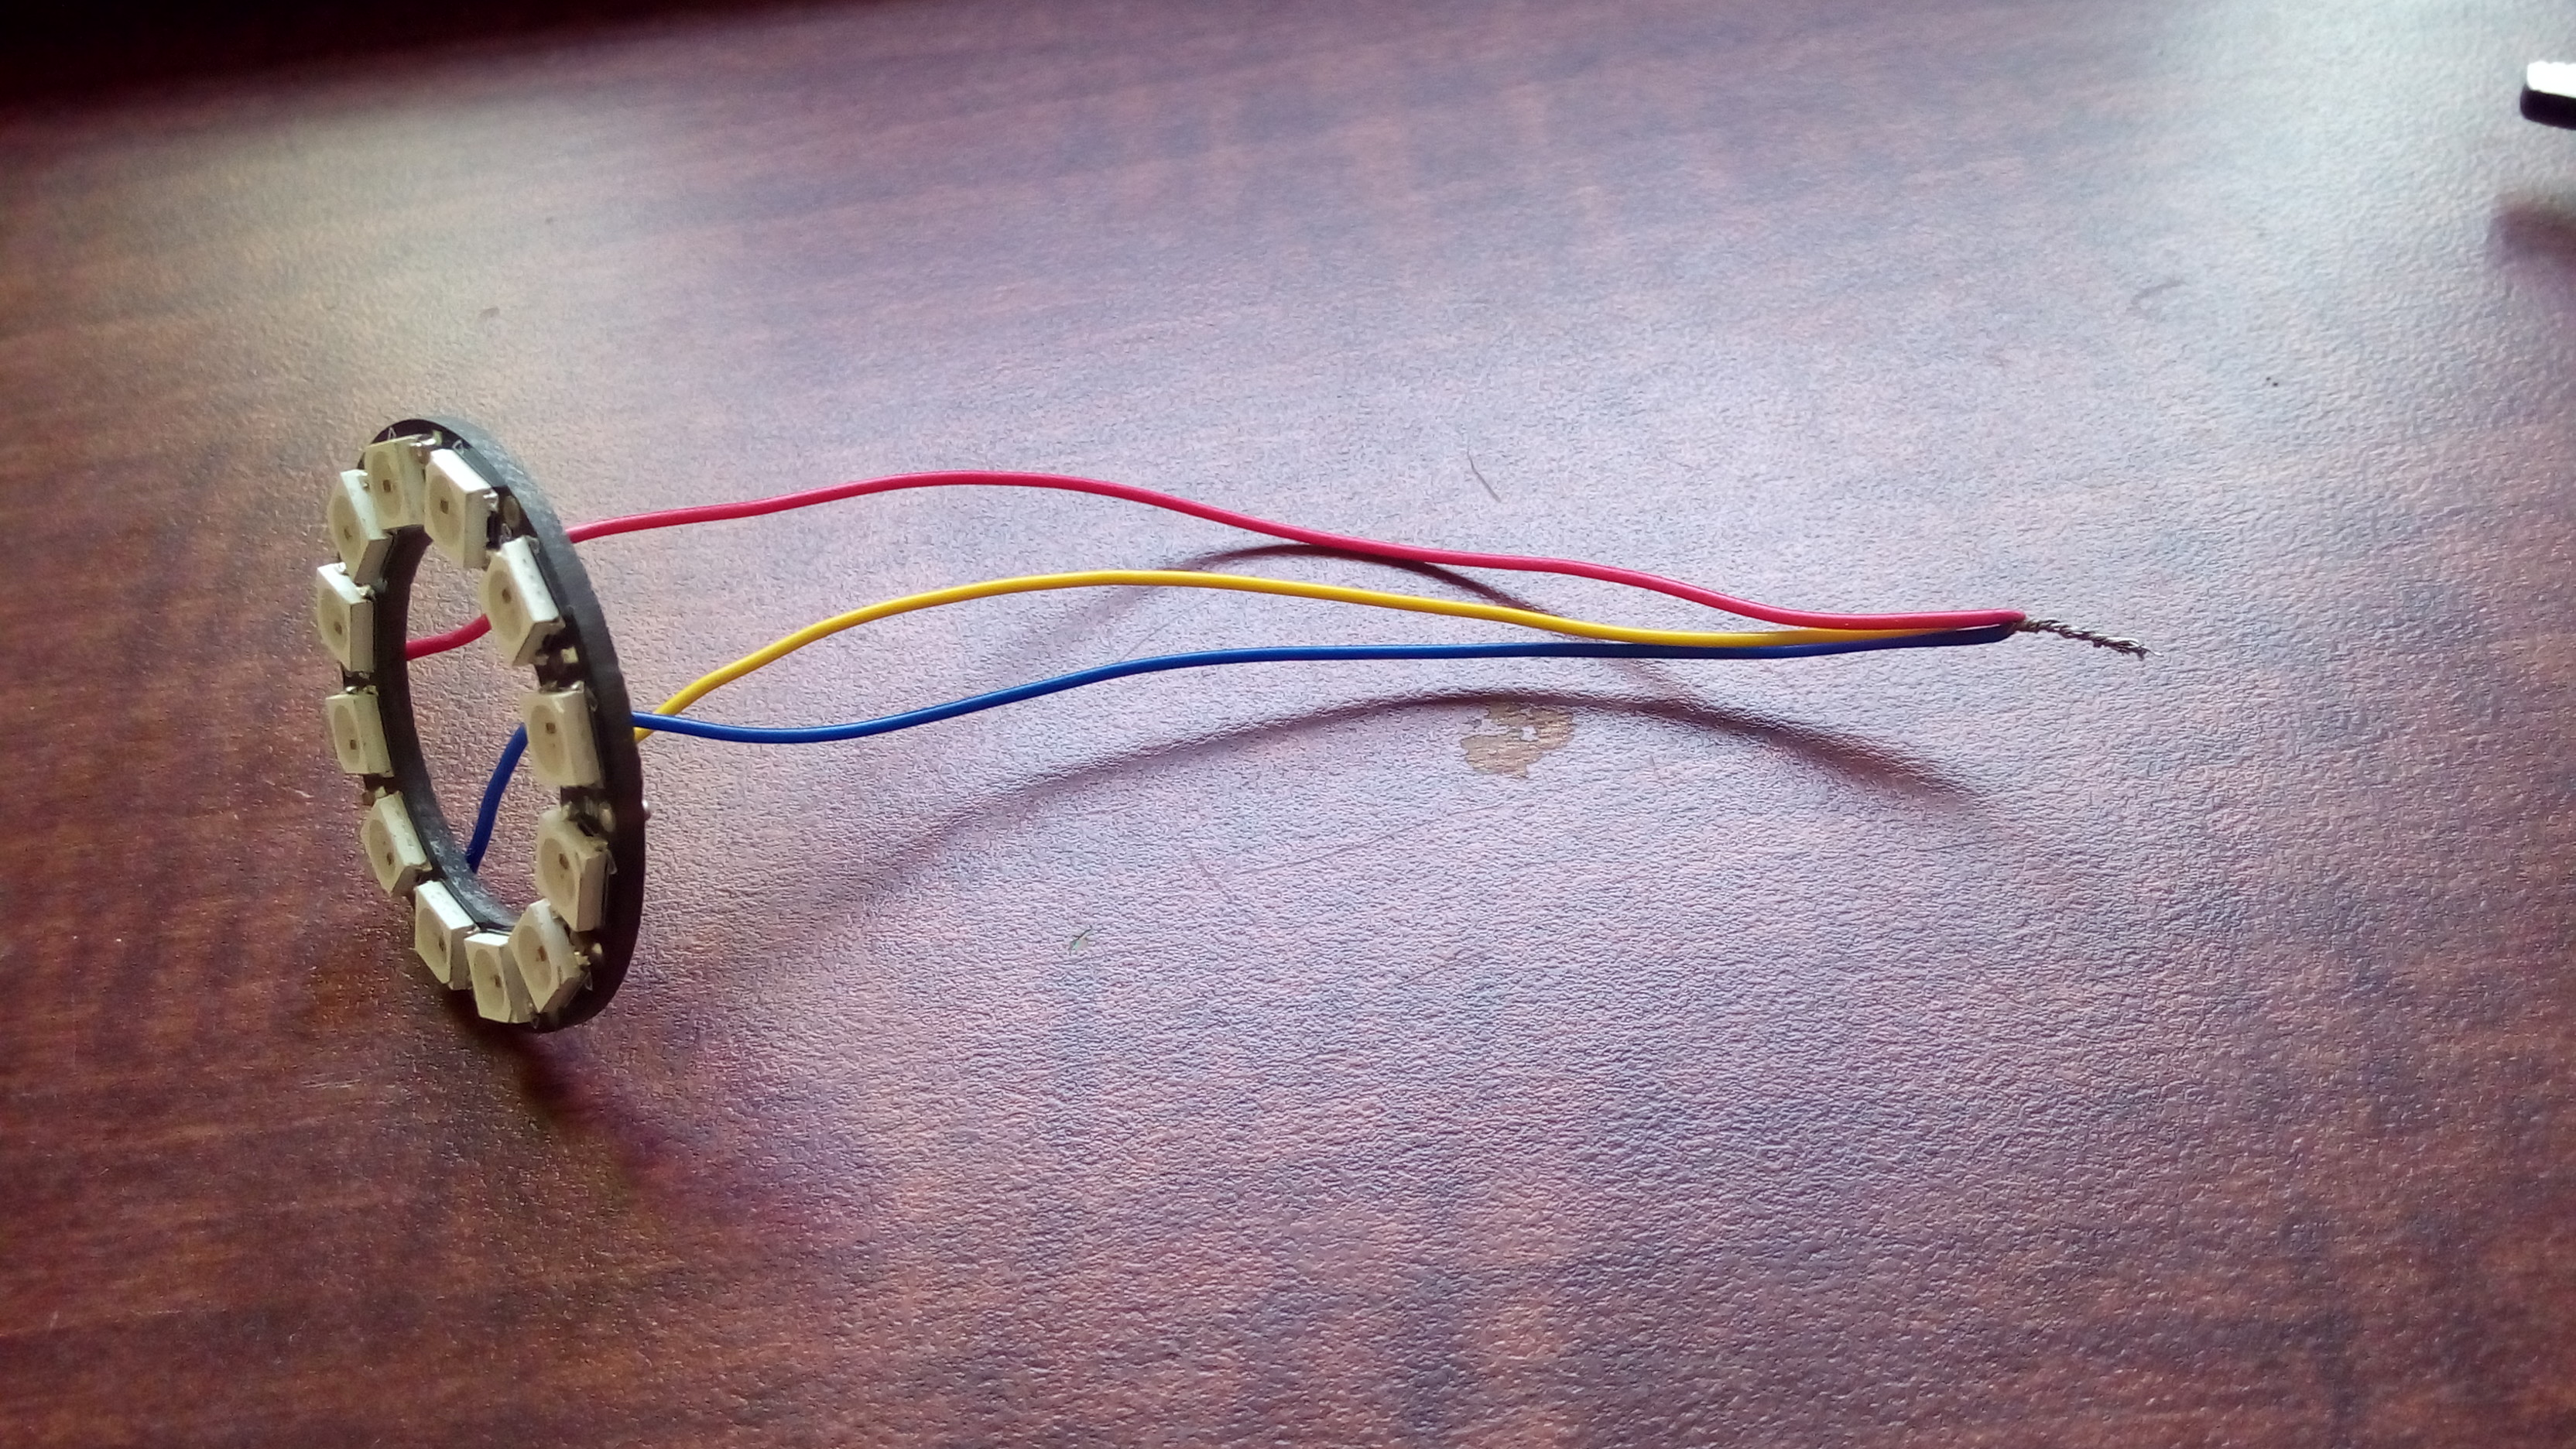
The Neopixel ring will be powered by 5V pin from the Arduino. Input pin will be connected to pin 6.
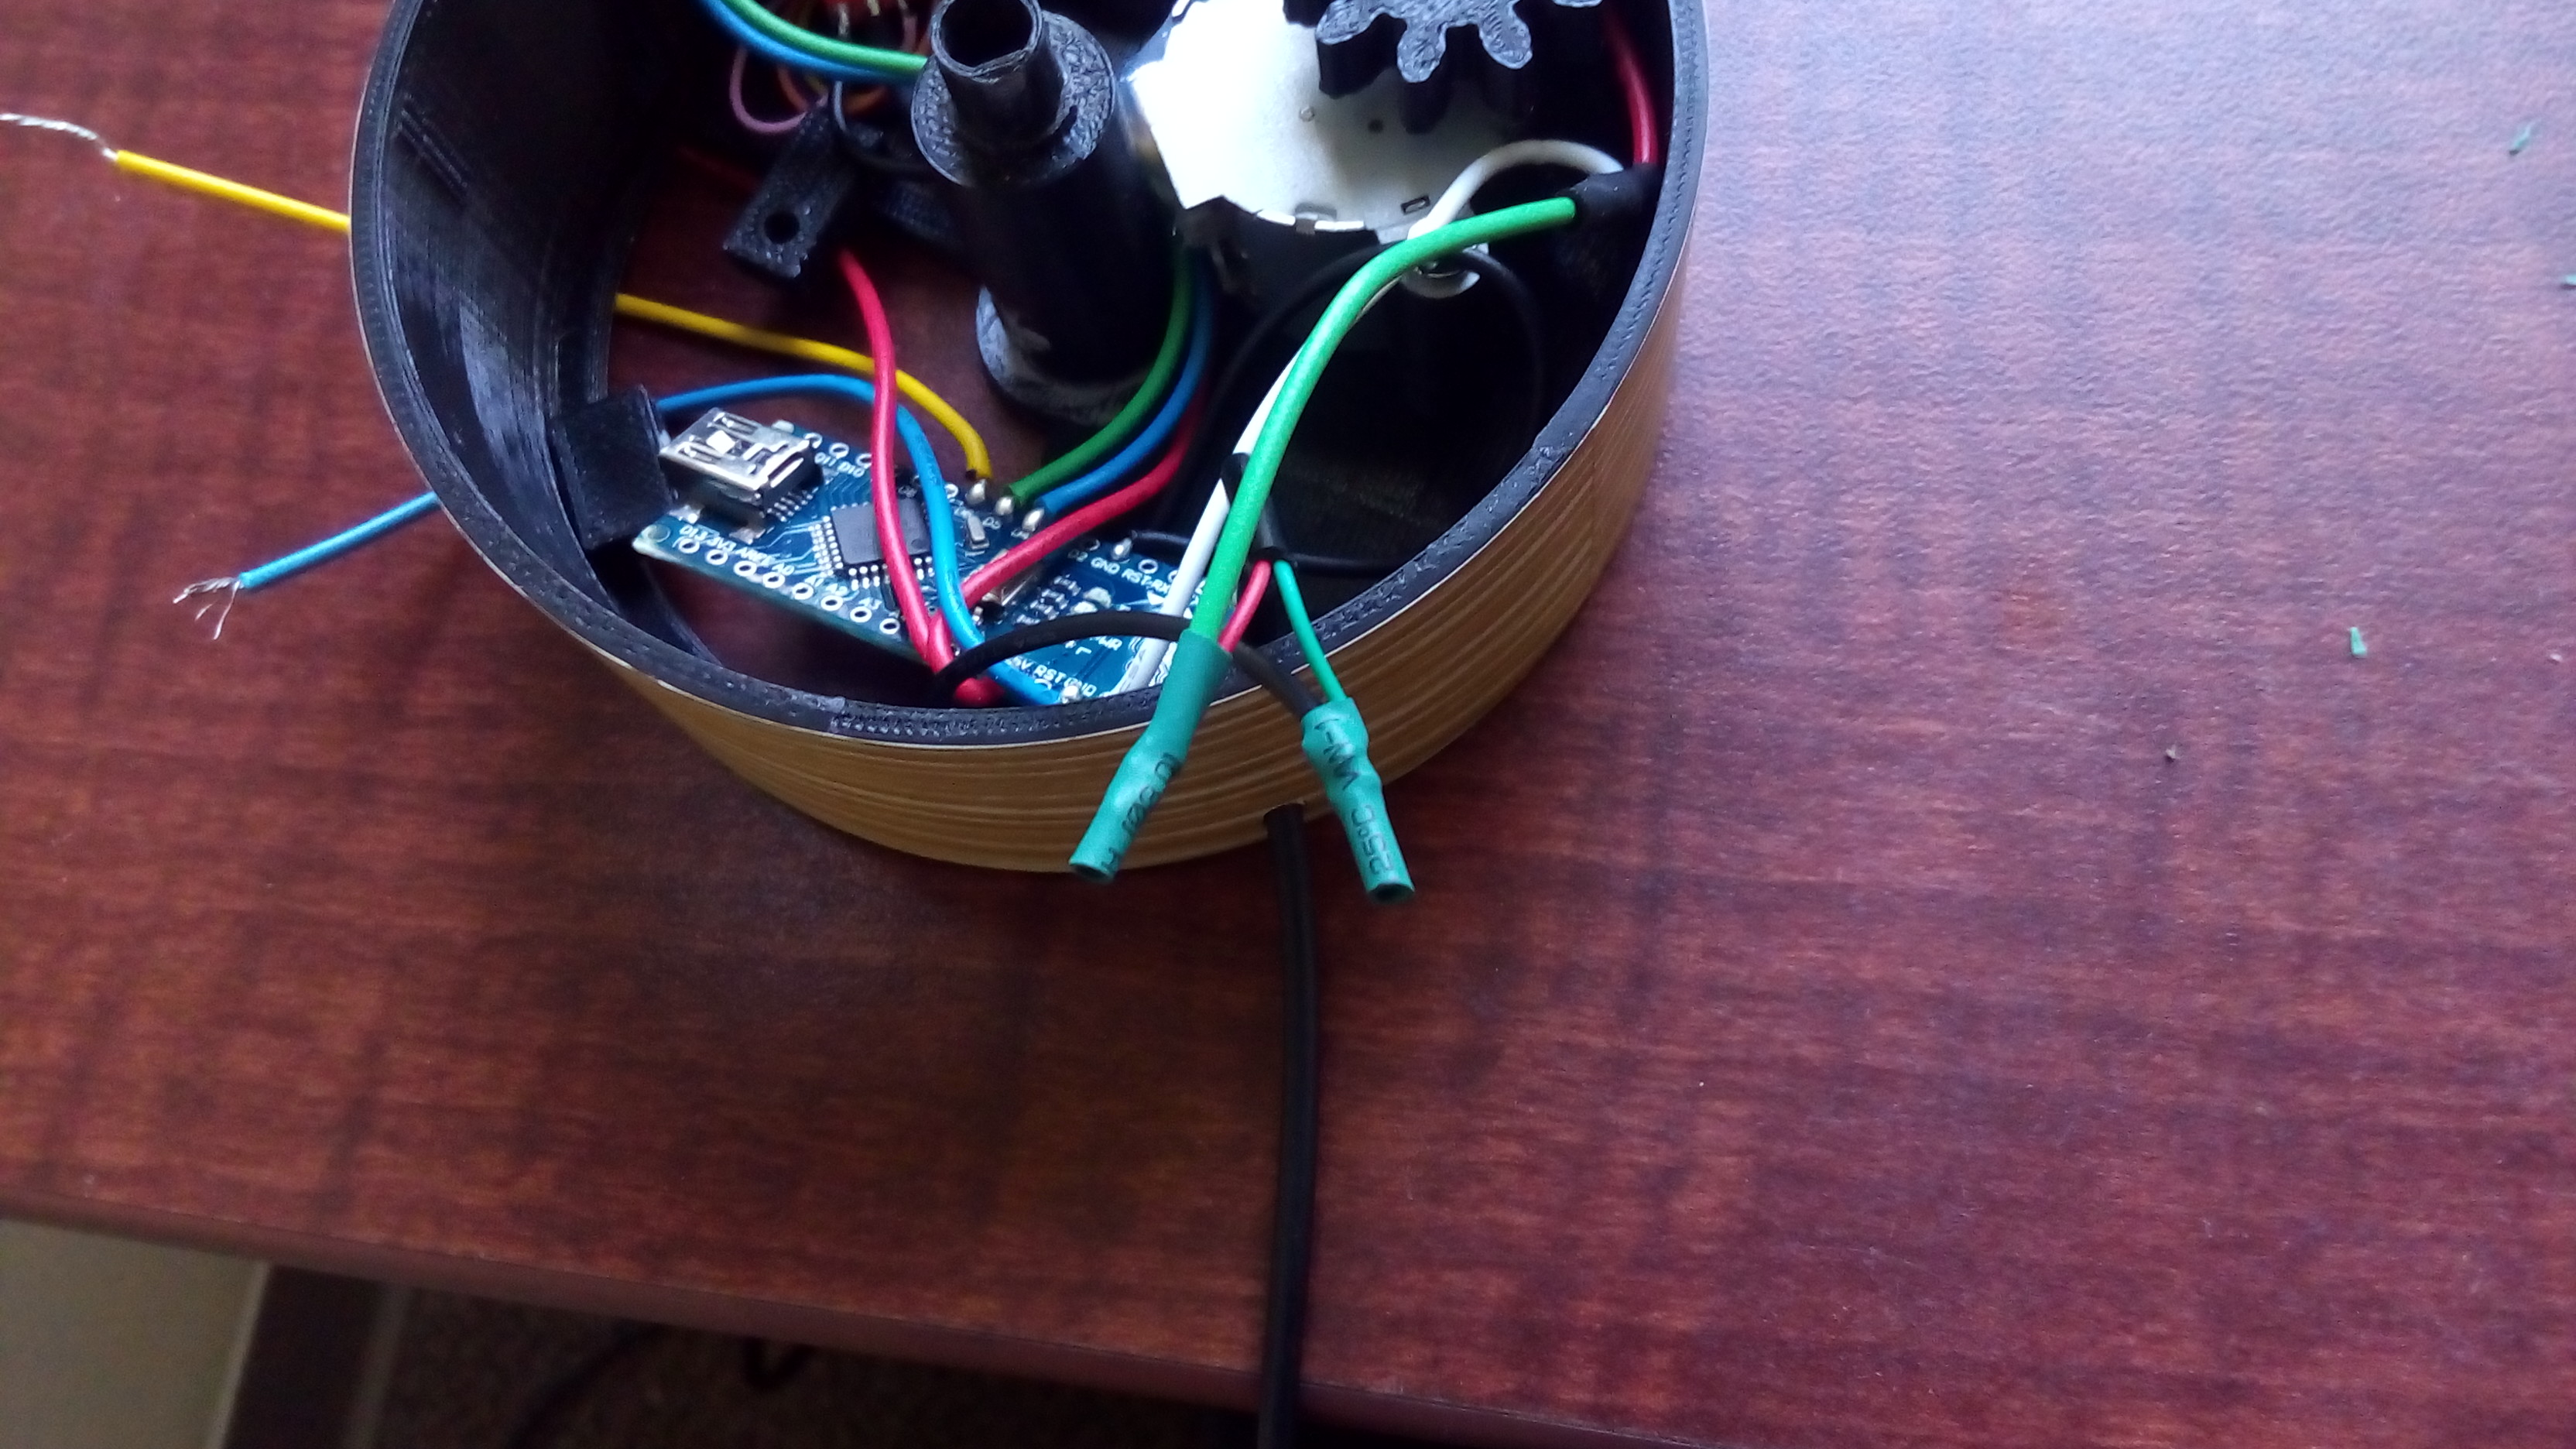
Because the power supply and Neopixel ring will be connected inside the base, just leave those wire unconnected (like in the picture). Once you fit everything into the base, you then connect the power supply. The Neopixel ring will be connected later.
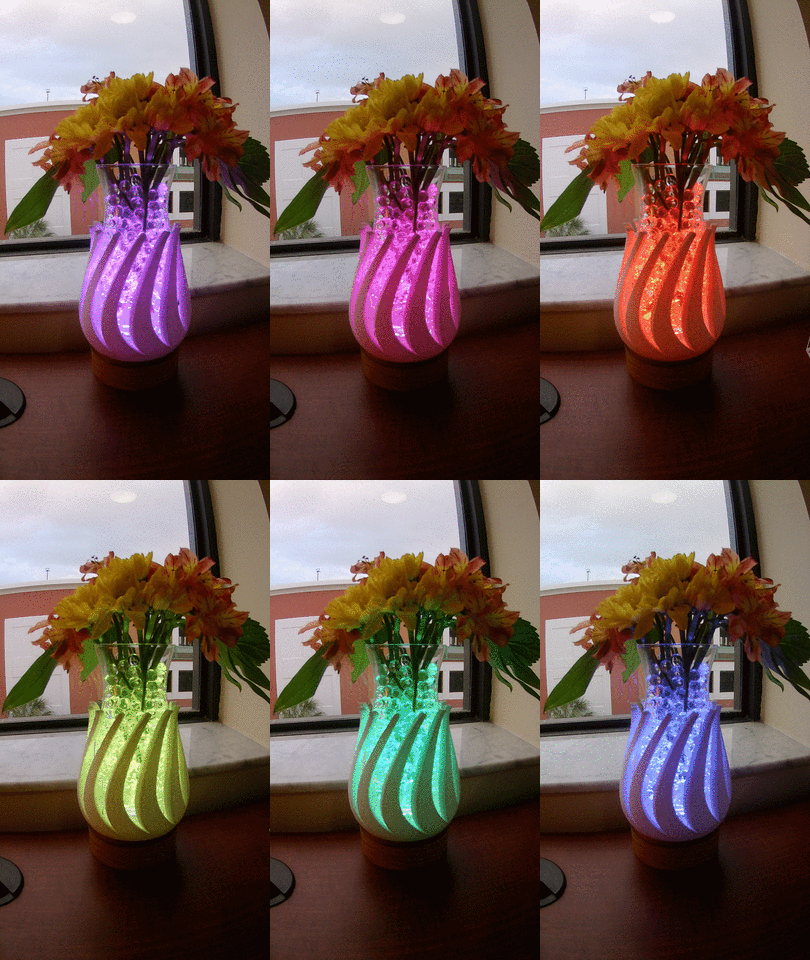
Finally, upload the program that I created. There are a few values that you can change in the program. This is my strong point so I didn't have much trouble writing the program. My program allows the Neopixel ring to have the rainbow cycle. I wrote the program without any delay so that the 2 actions won't be influenced.
Downloads
Optional: Decorate!
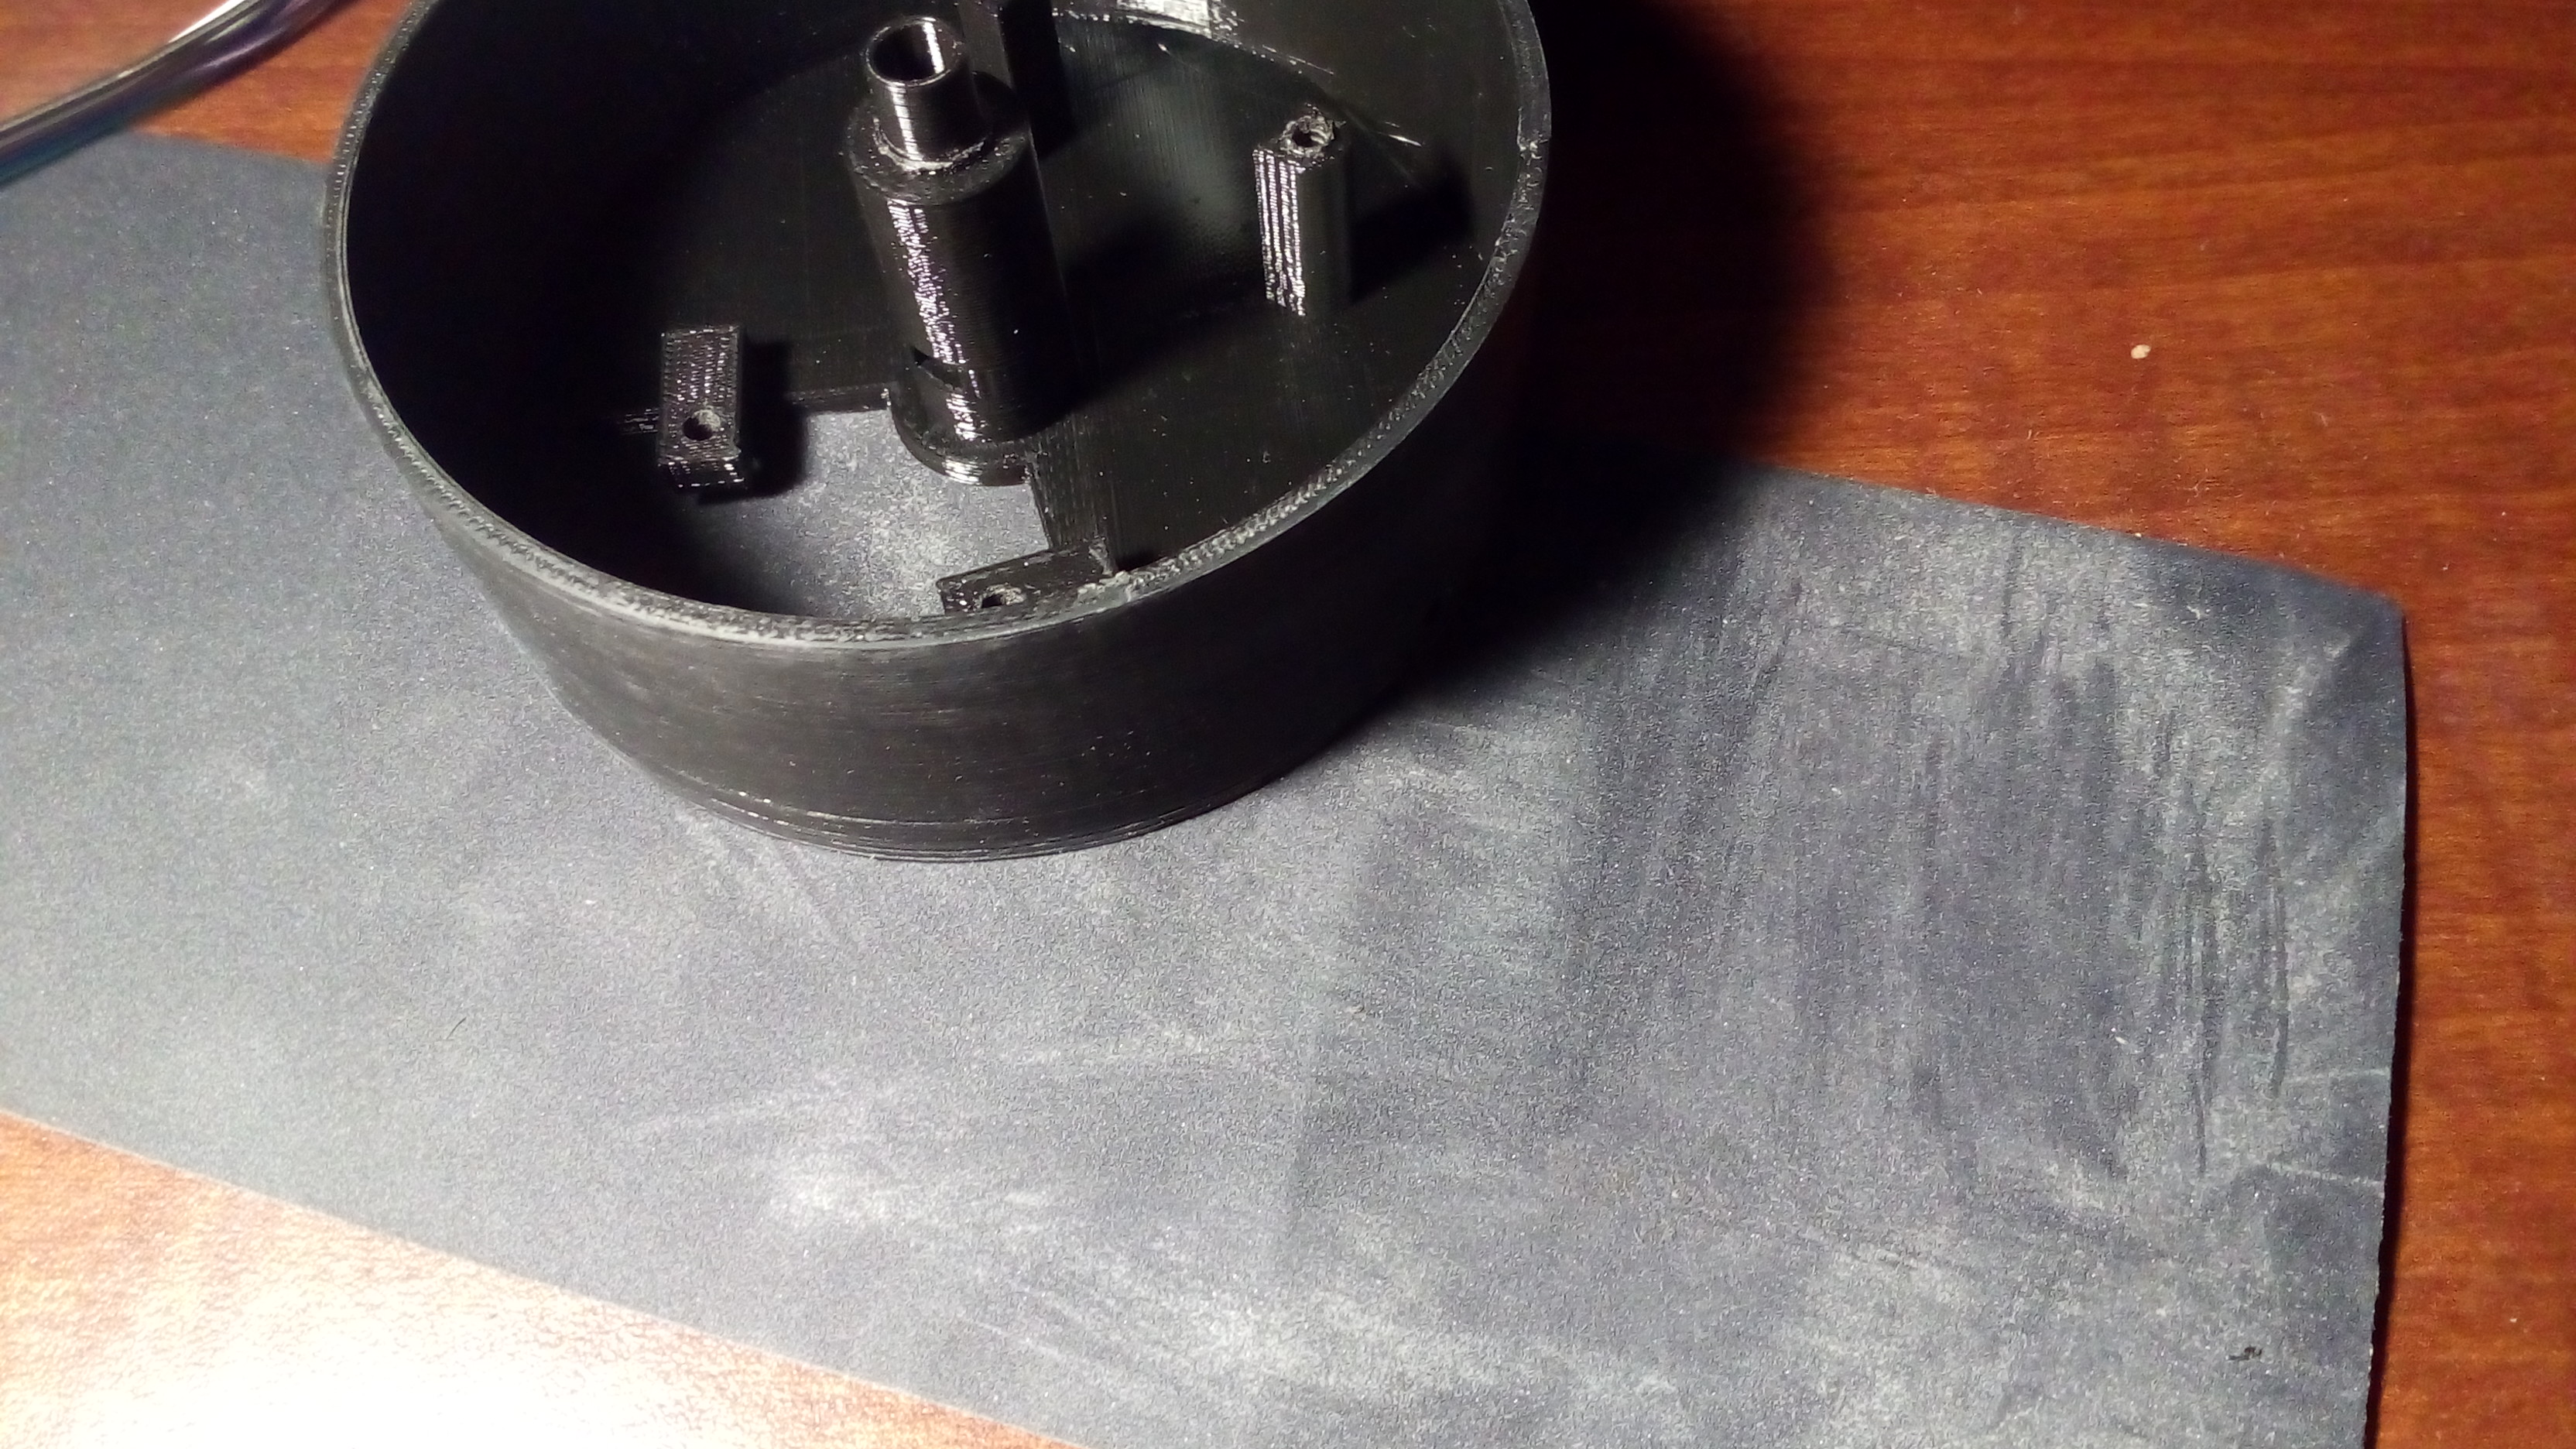
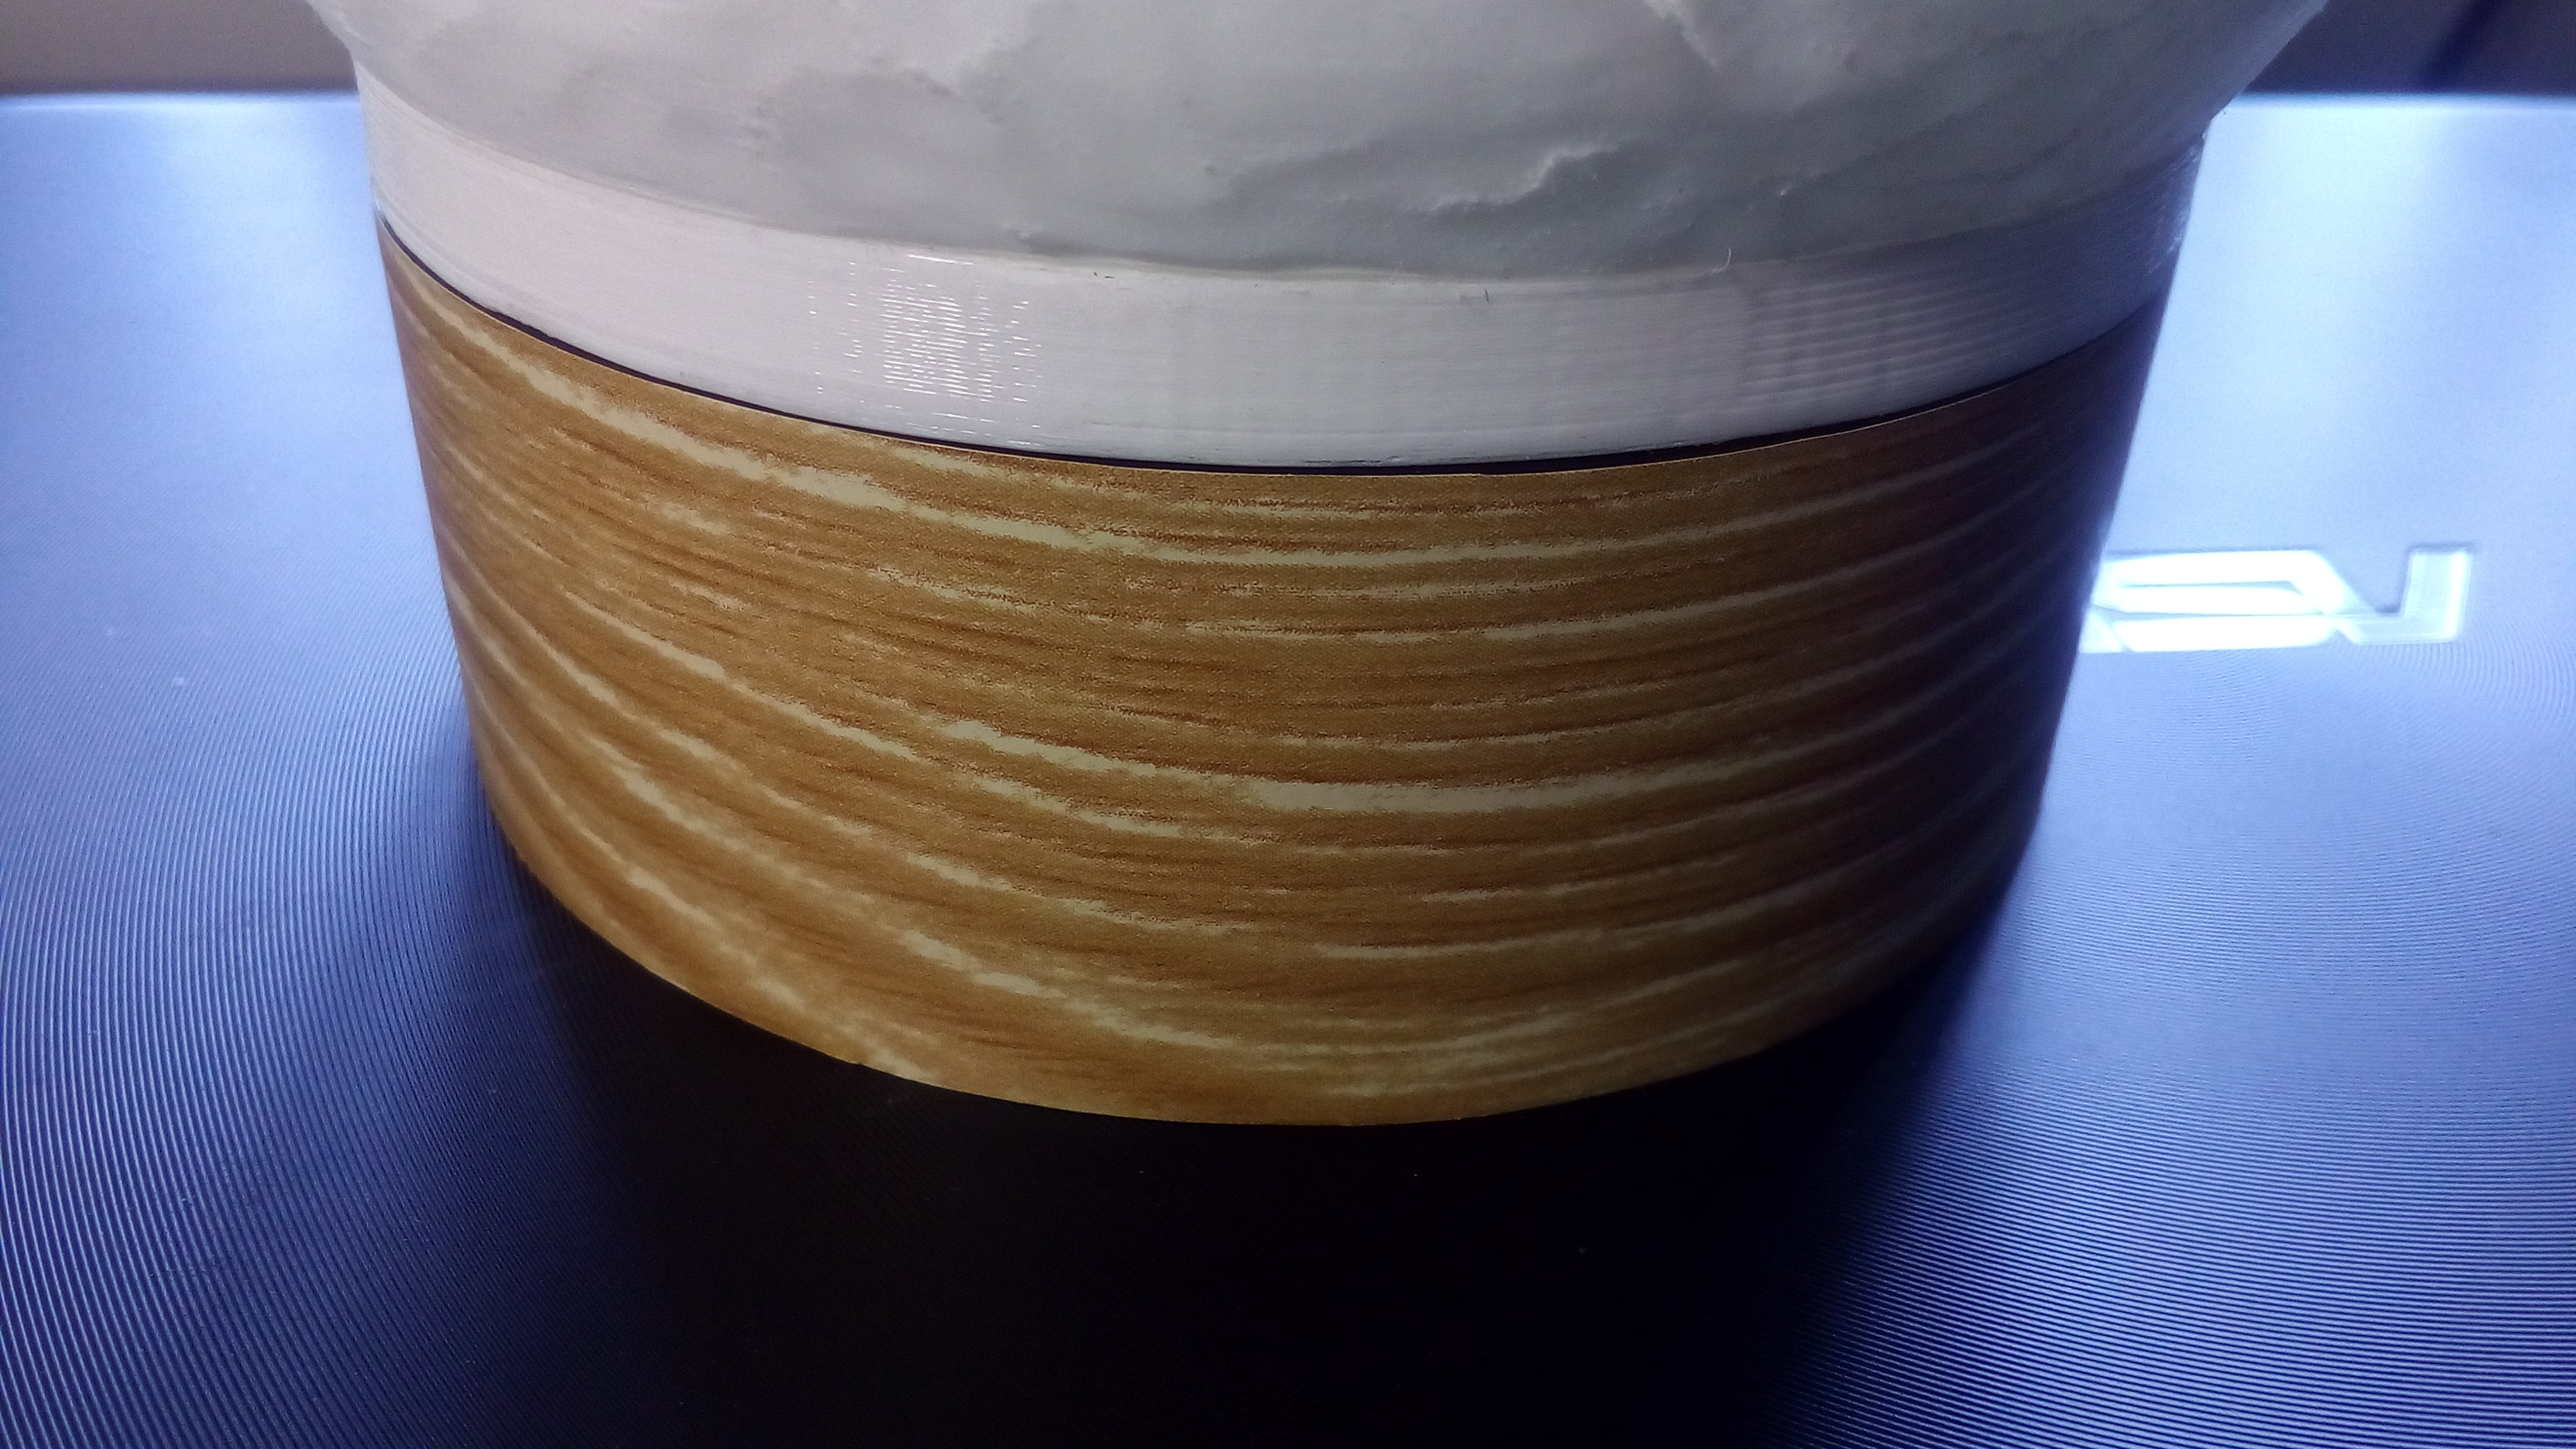
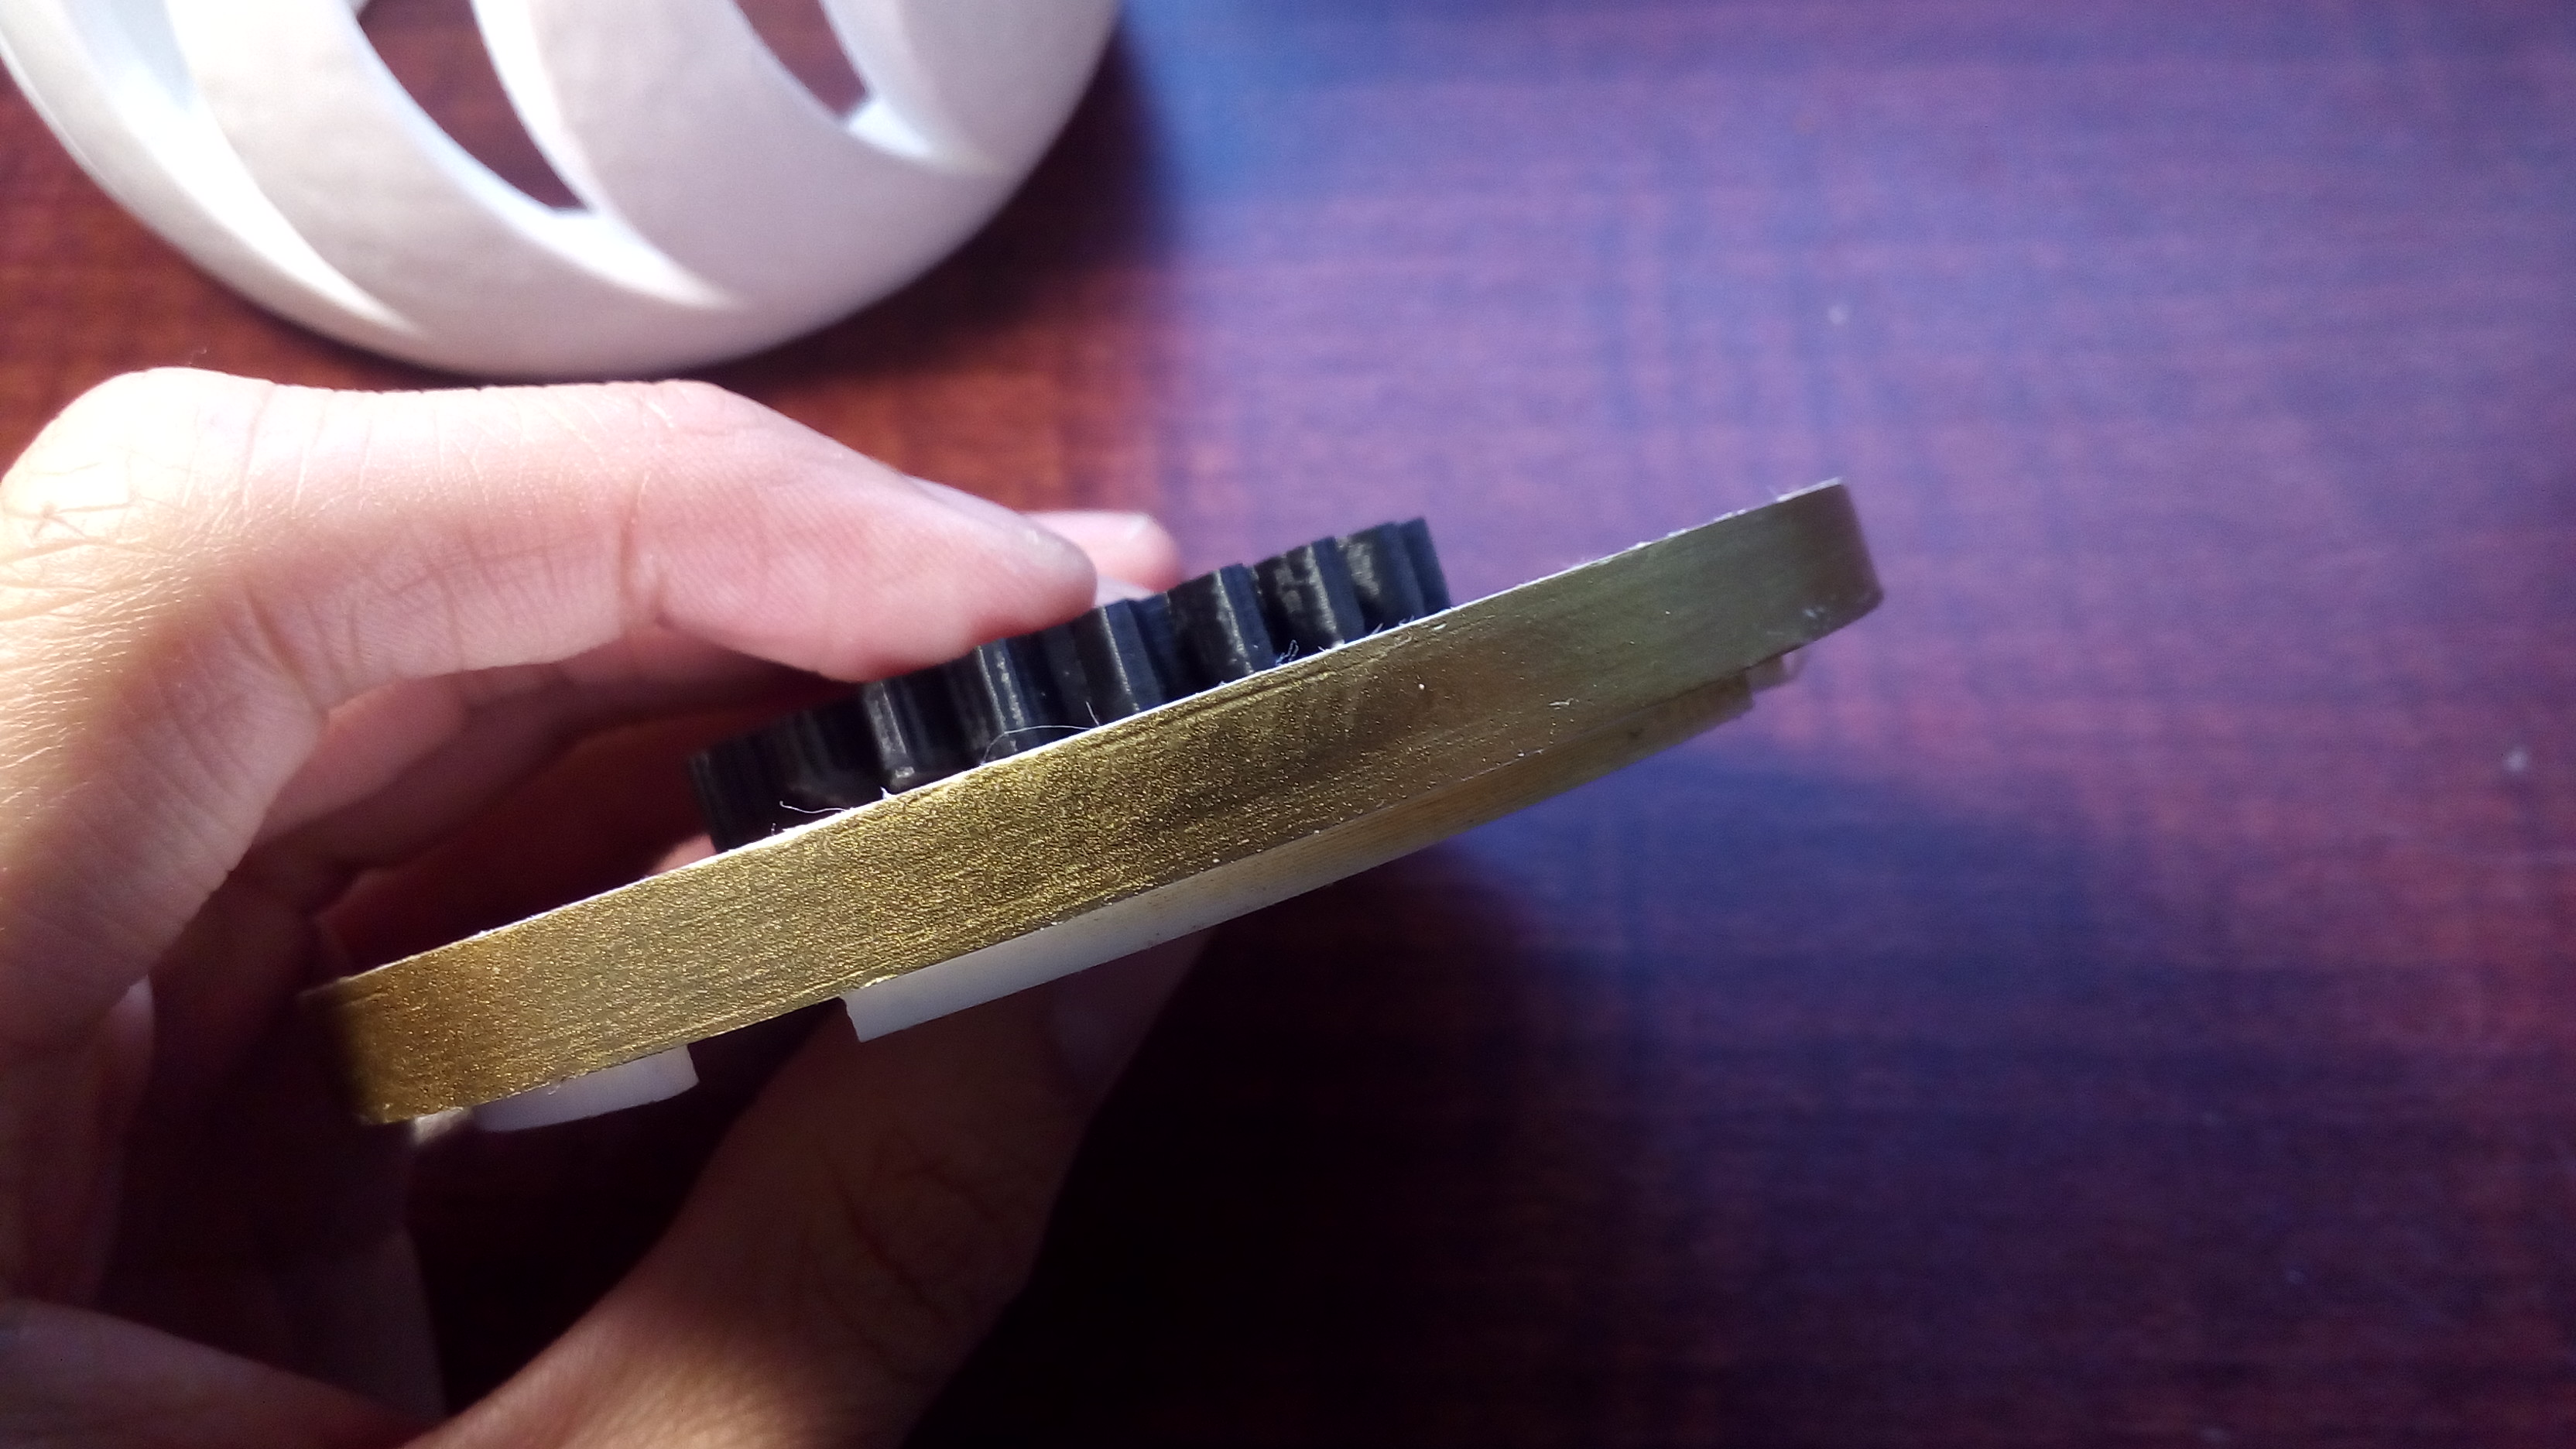
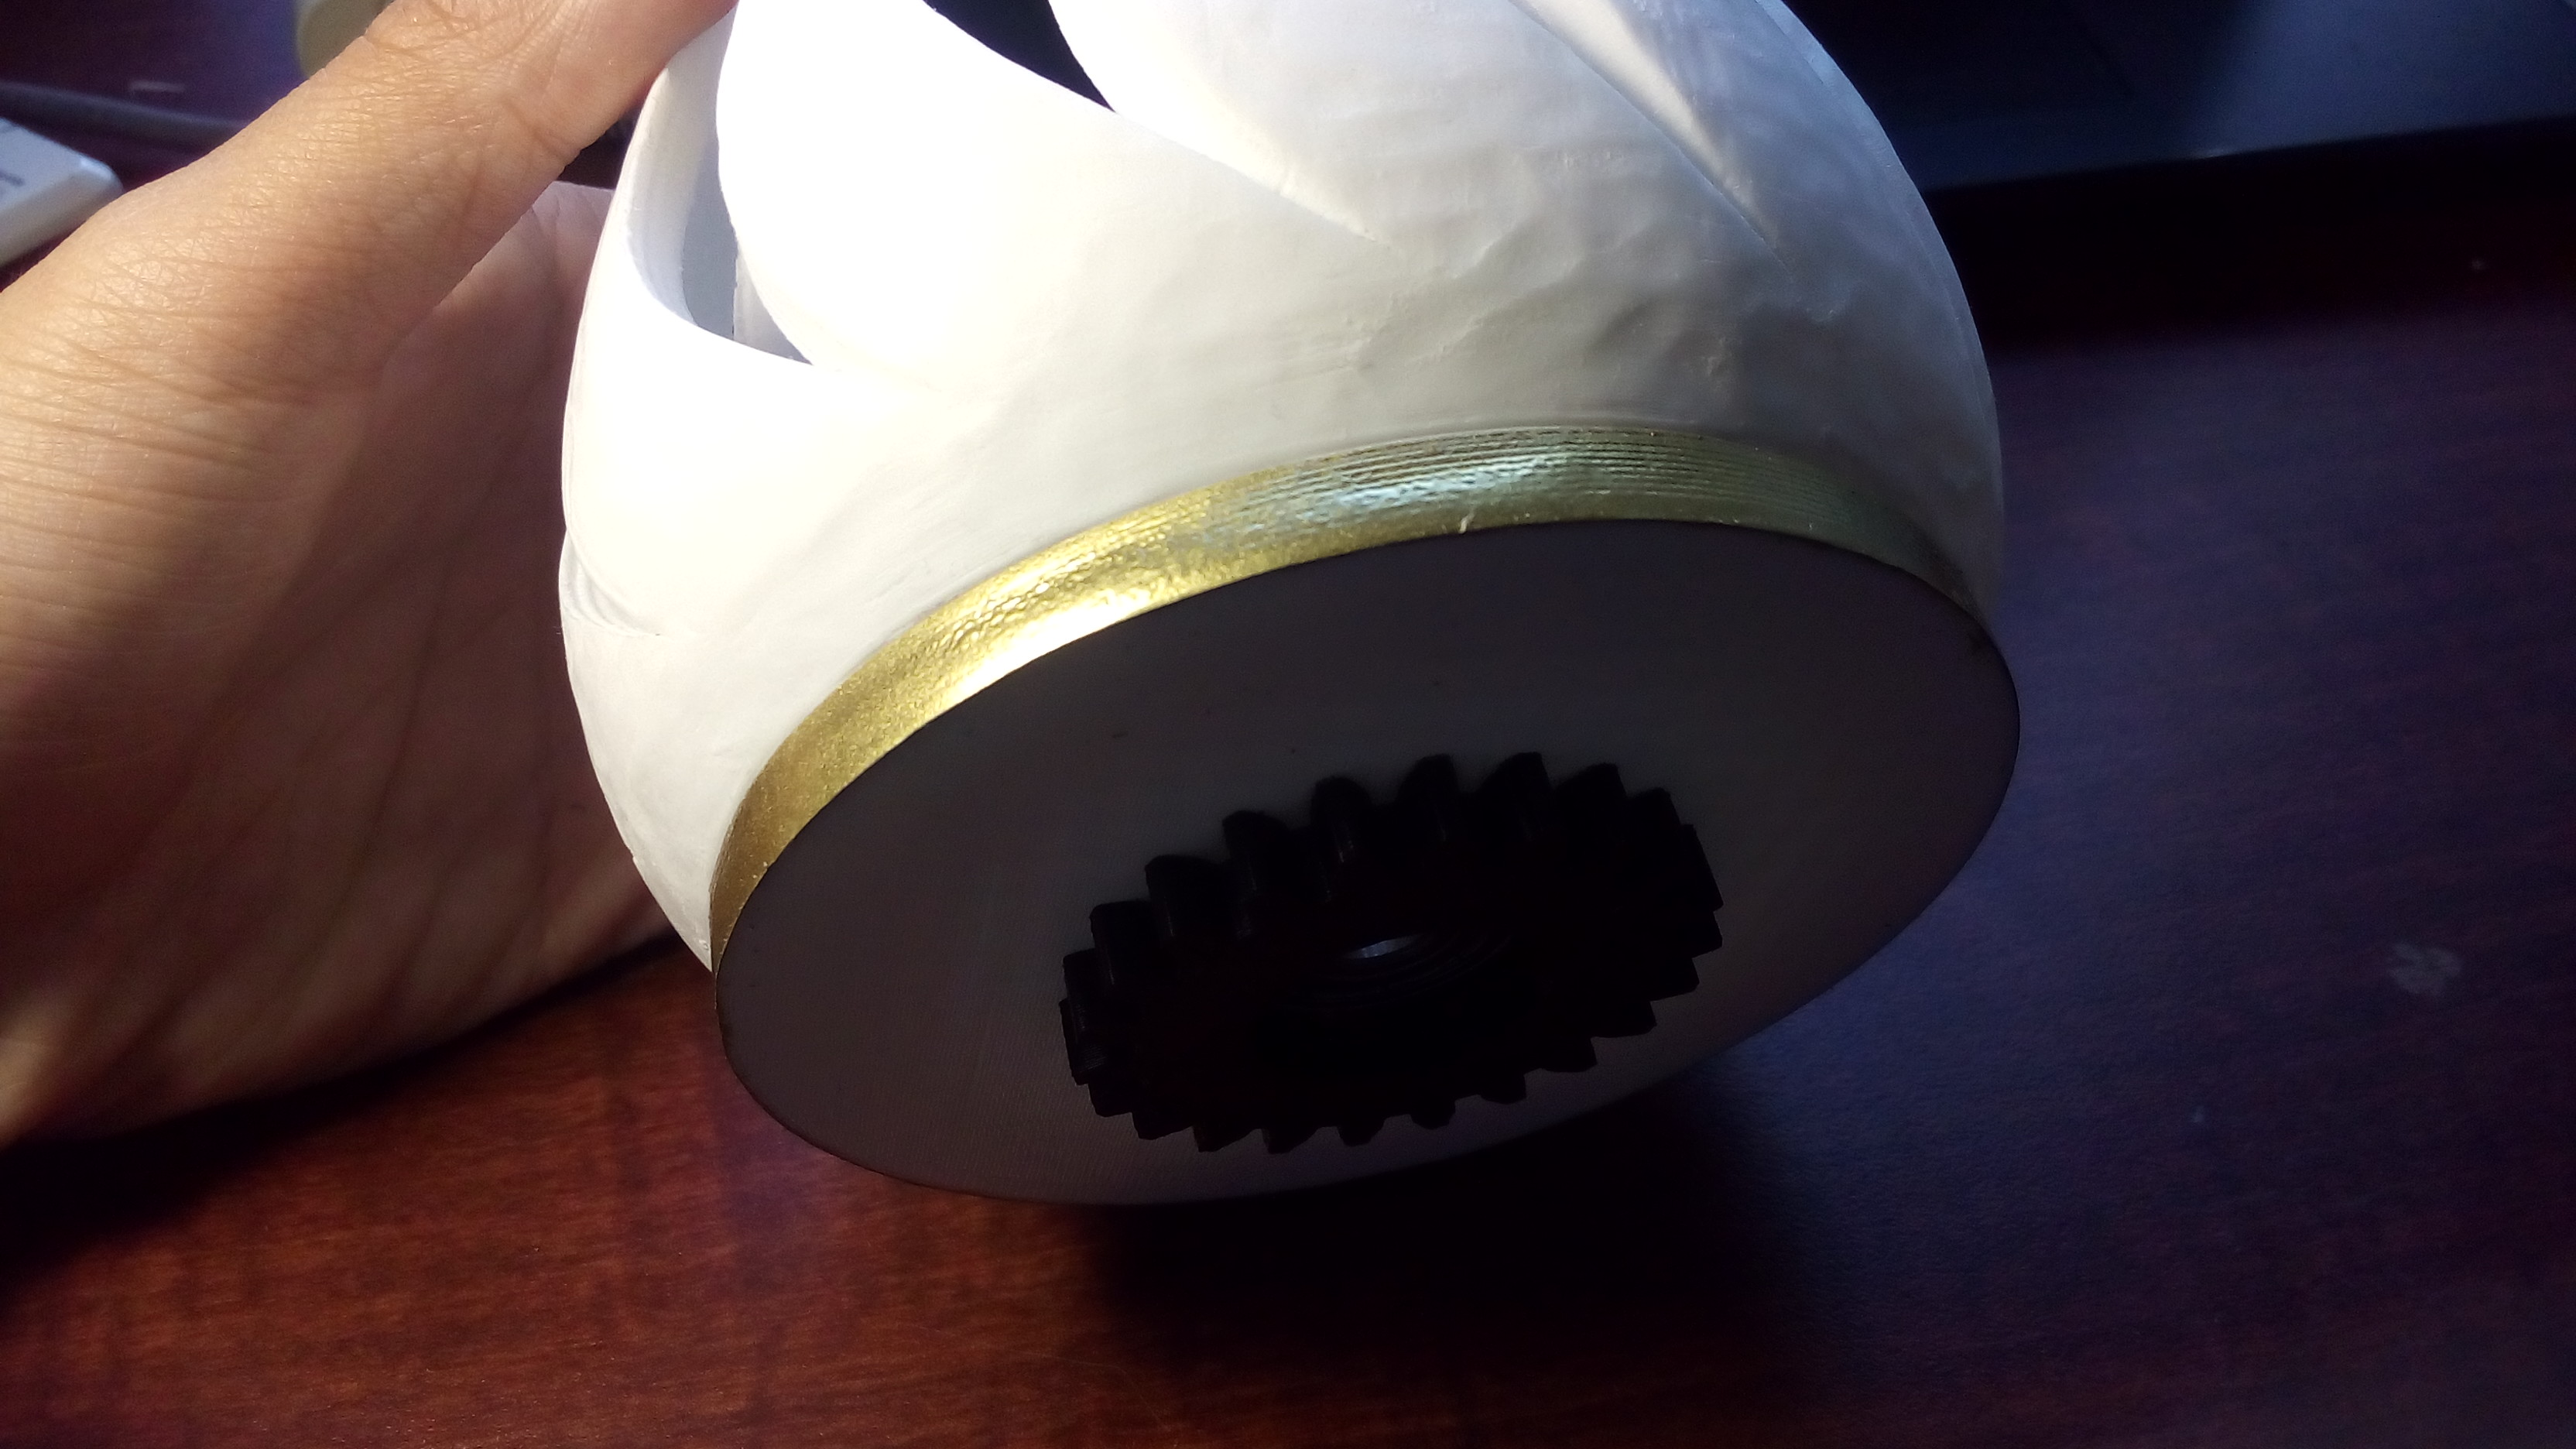
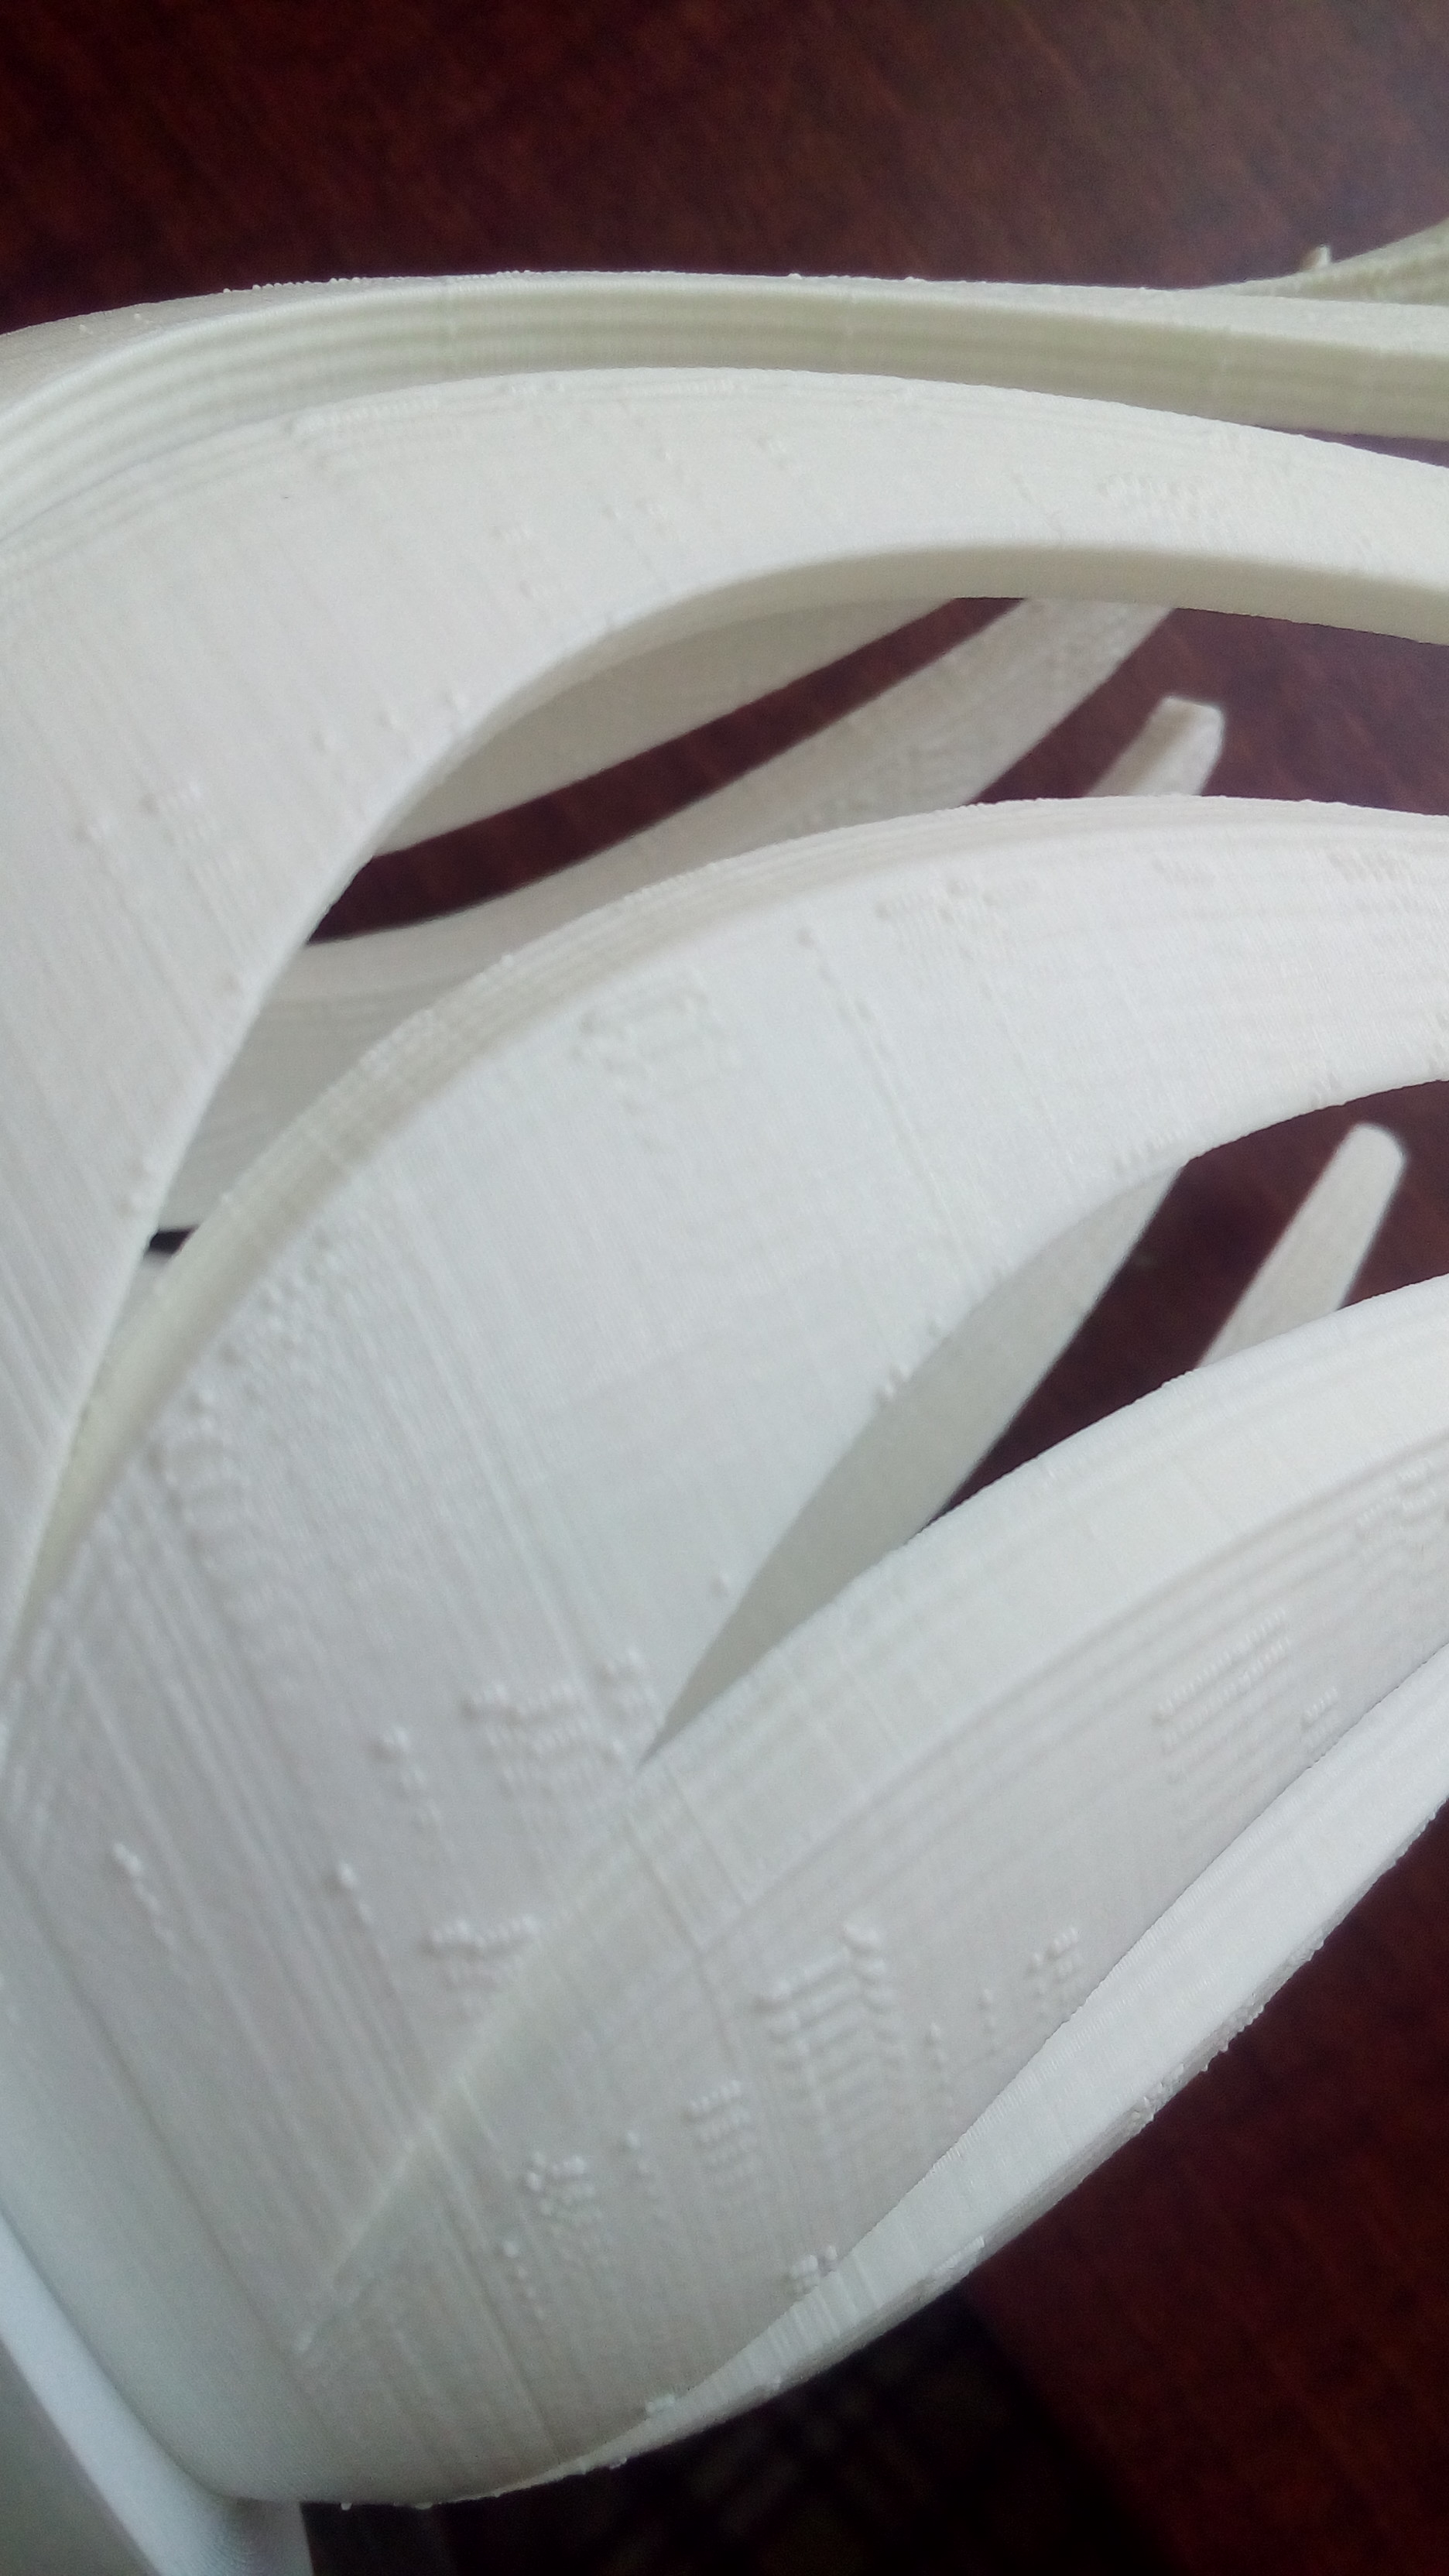
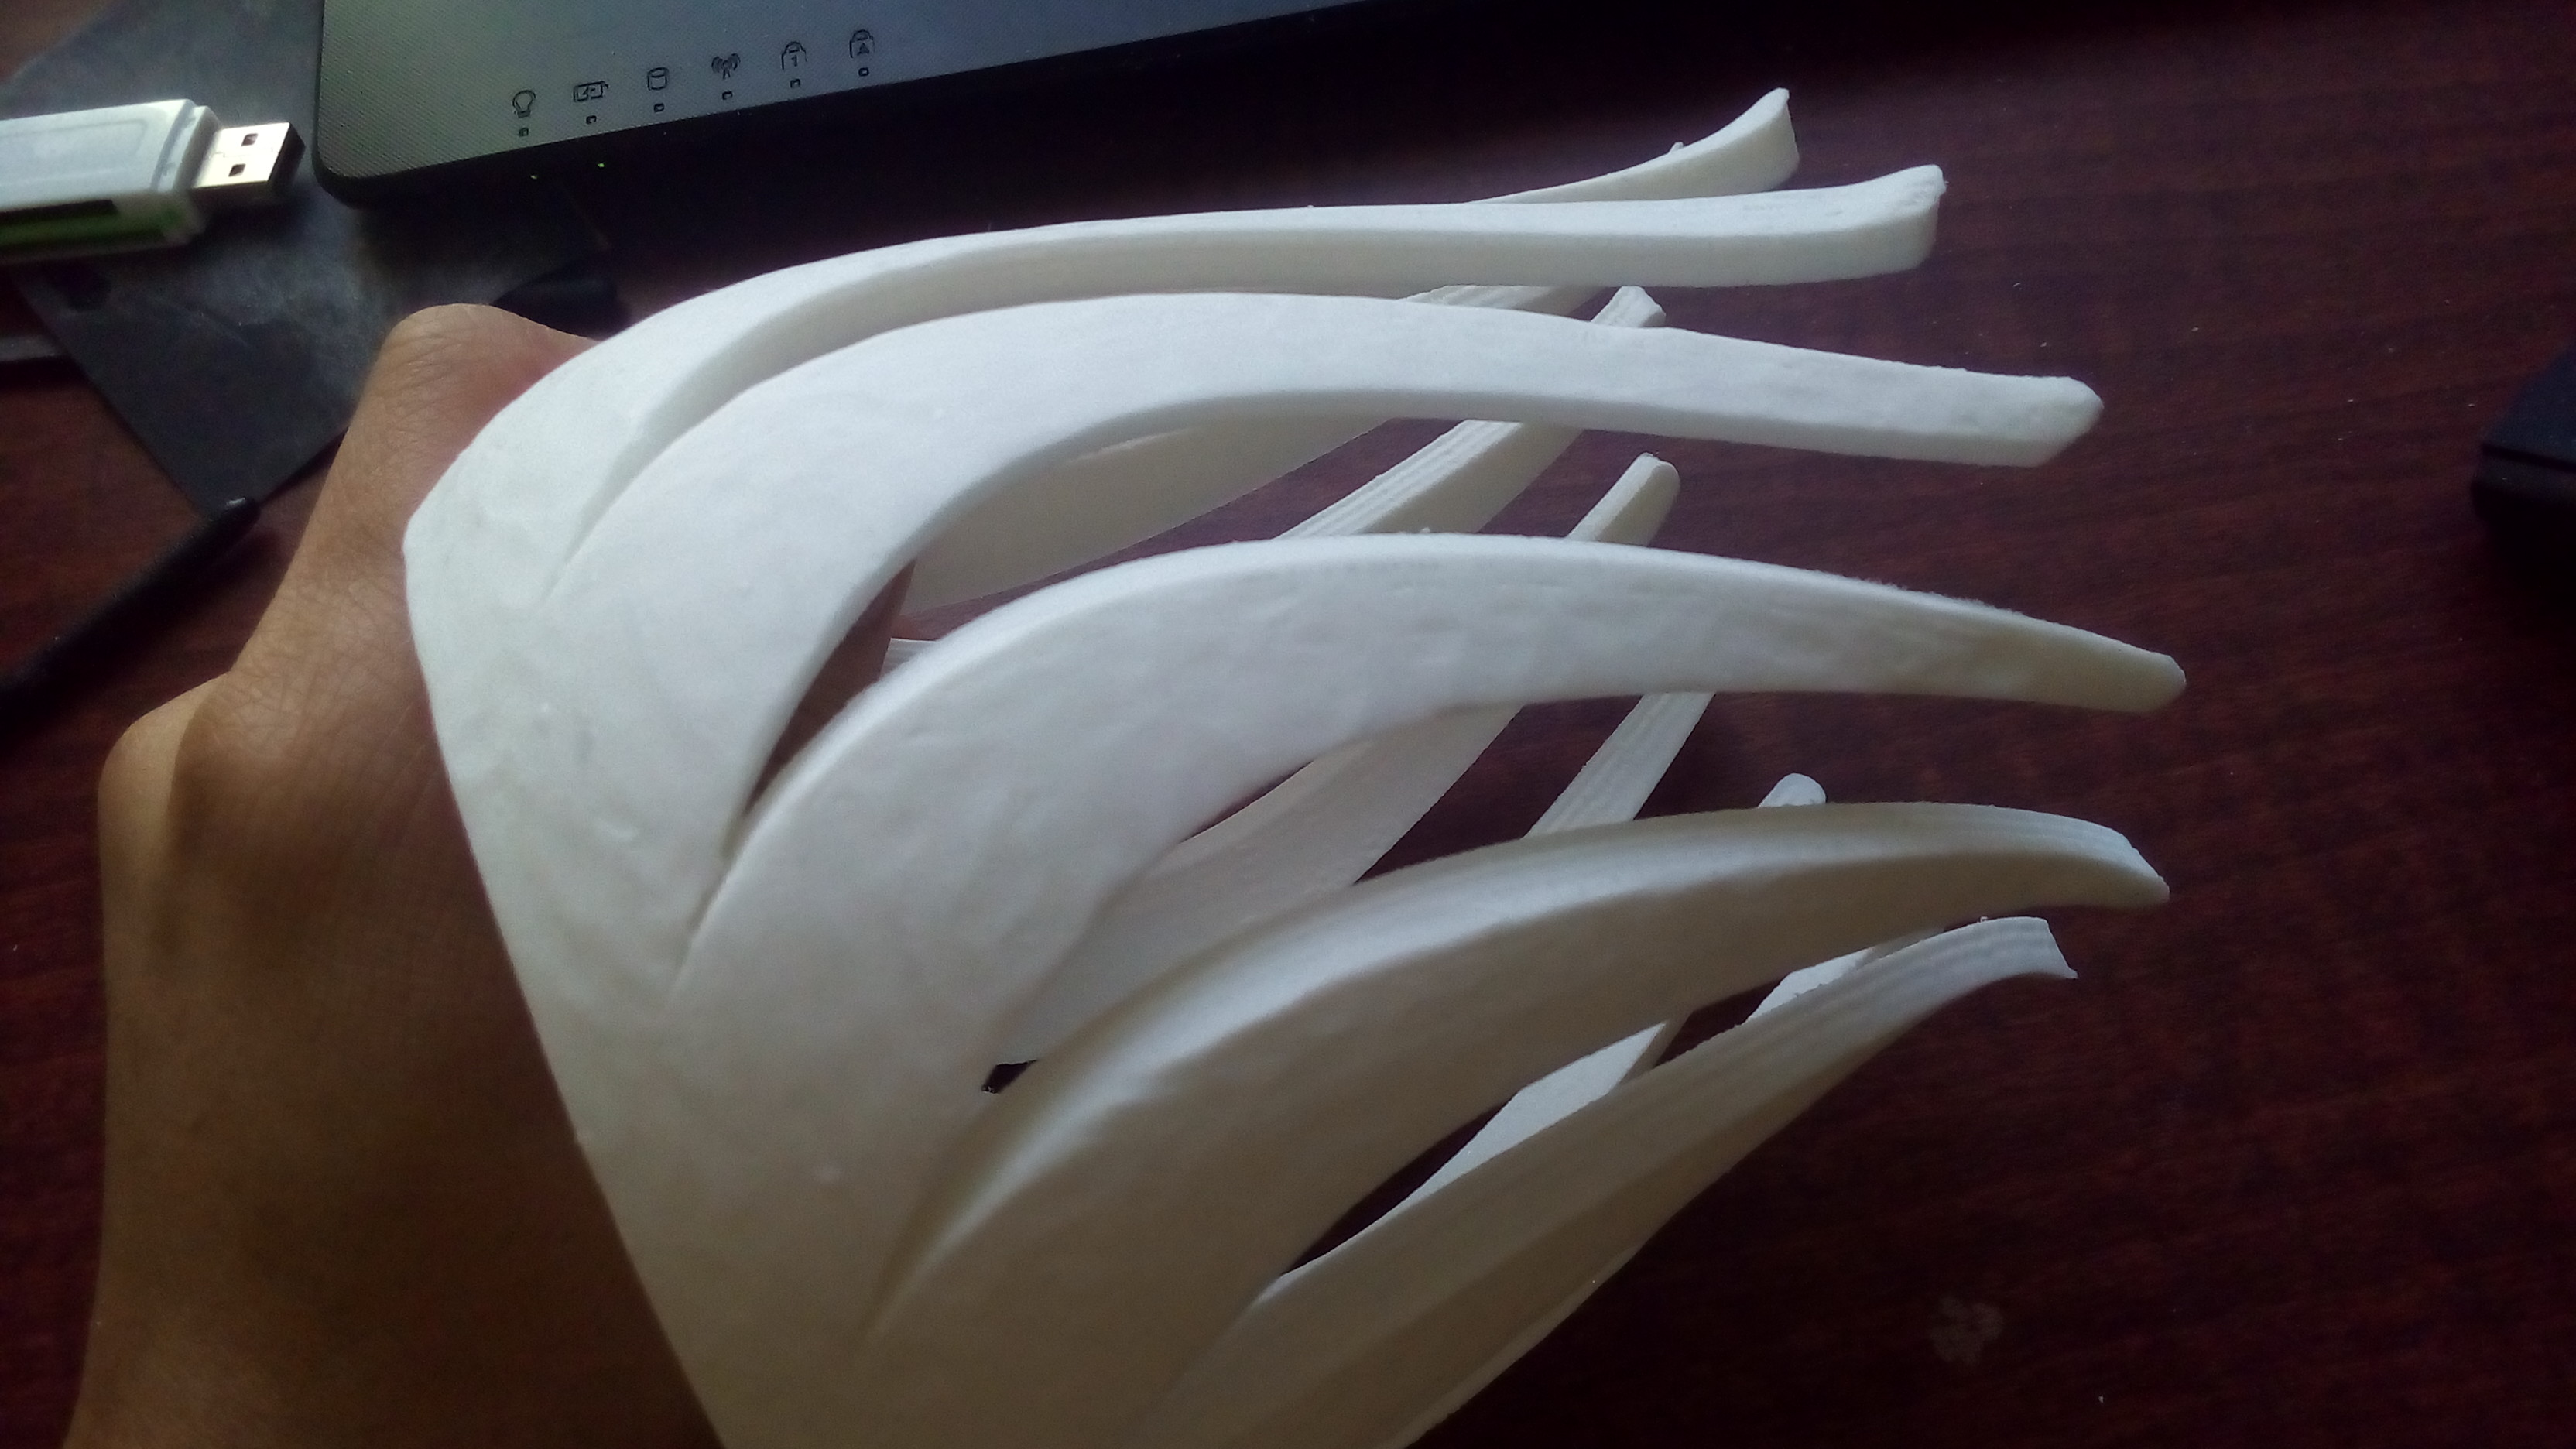
I decorated the base by using wood pattern sticker and gold spray.
First I sand the outer side of the base, then I apply the sticker.
Then I spray the rim of the "spinning disk" with gold spray. I just what a little gold, so I didn't spray the entire spinner.
Finally, I use Dremel with a polishing cloth attachment (yes, that's enough to scrap off PLA) to remove the layer lines in the printing progress. The result looks so awesome, kinda like ceramic.
Finishing the Base
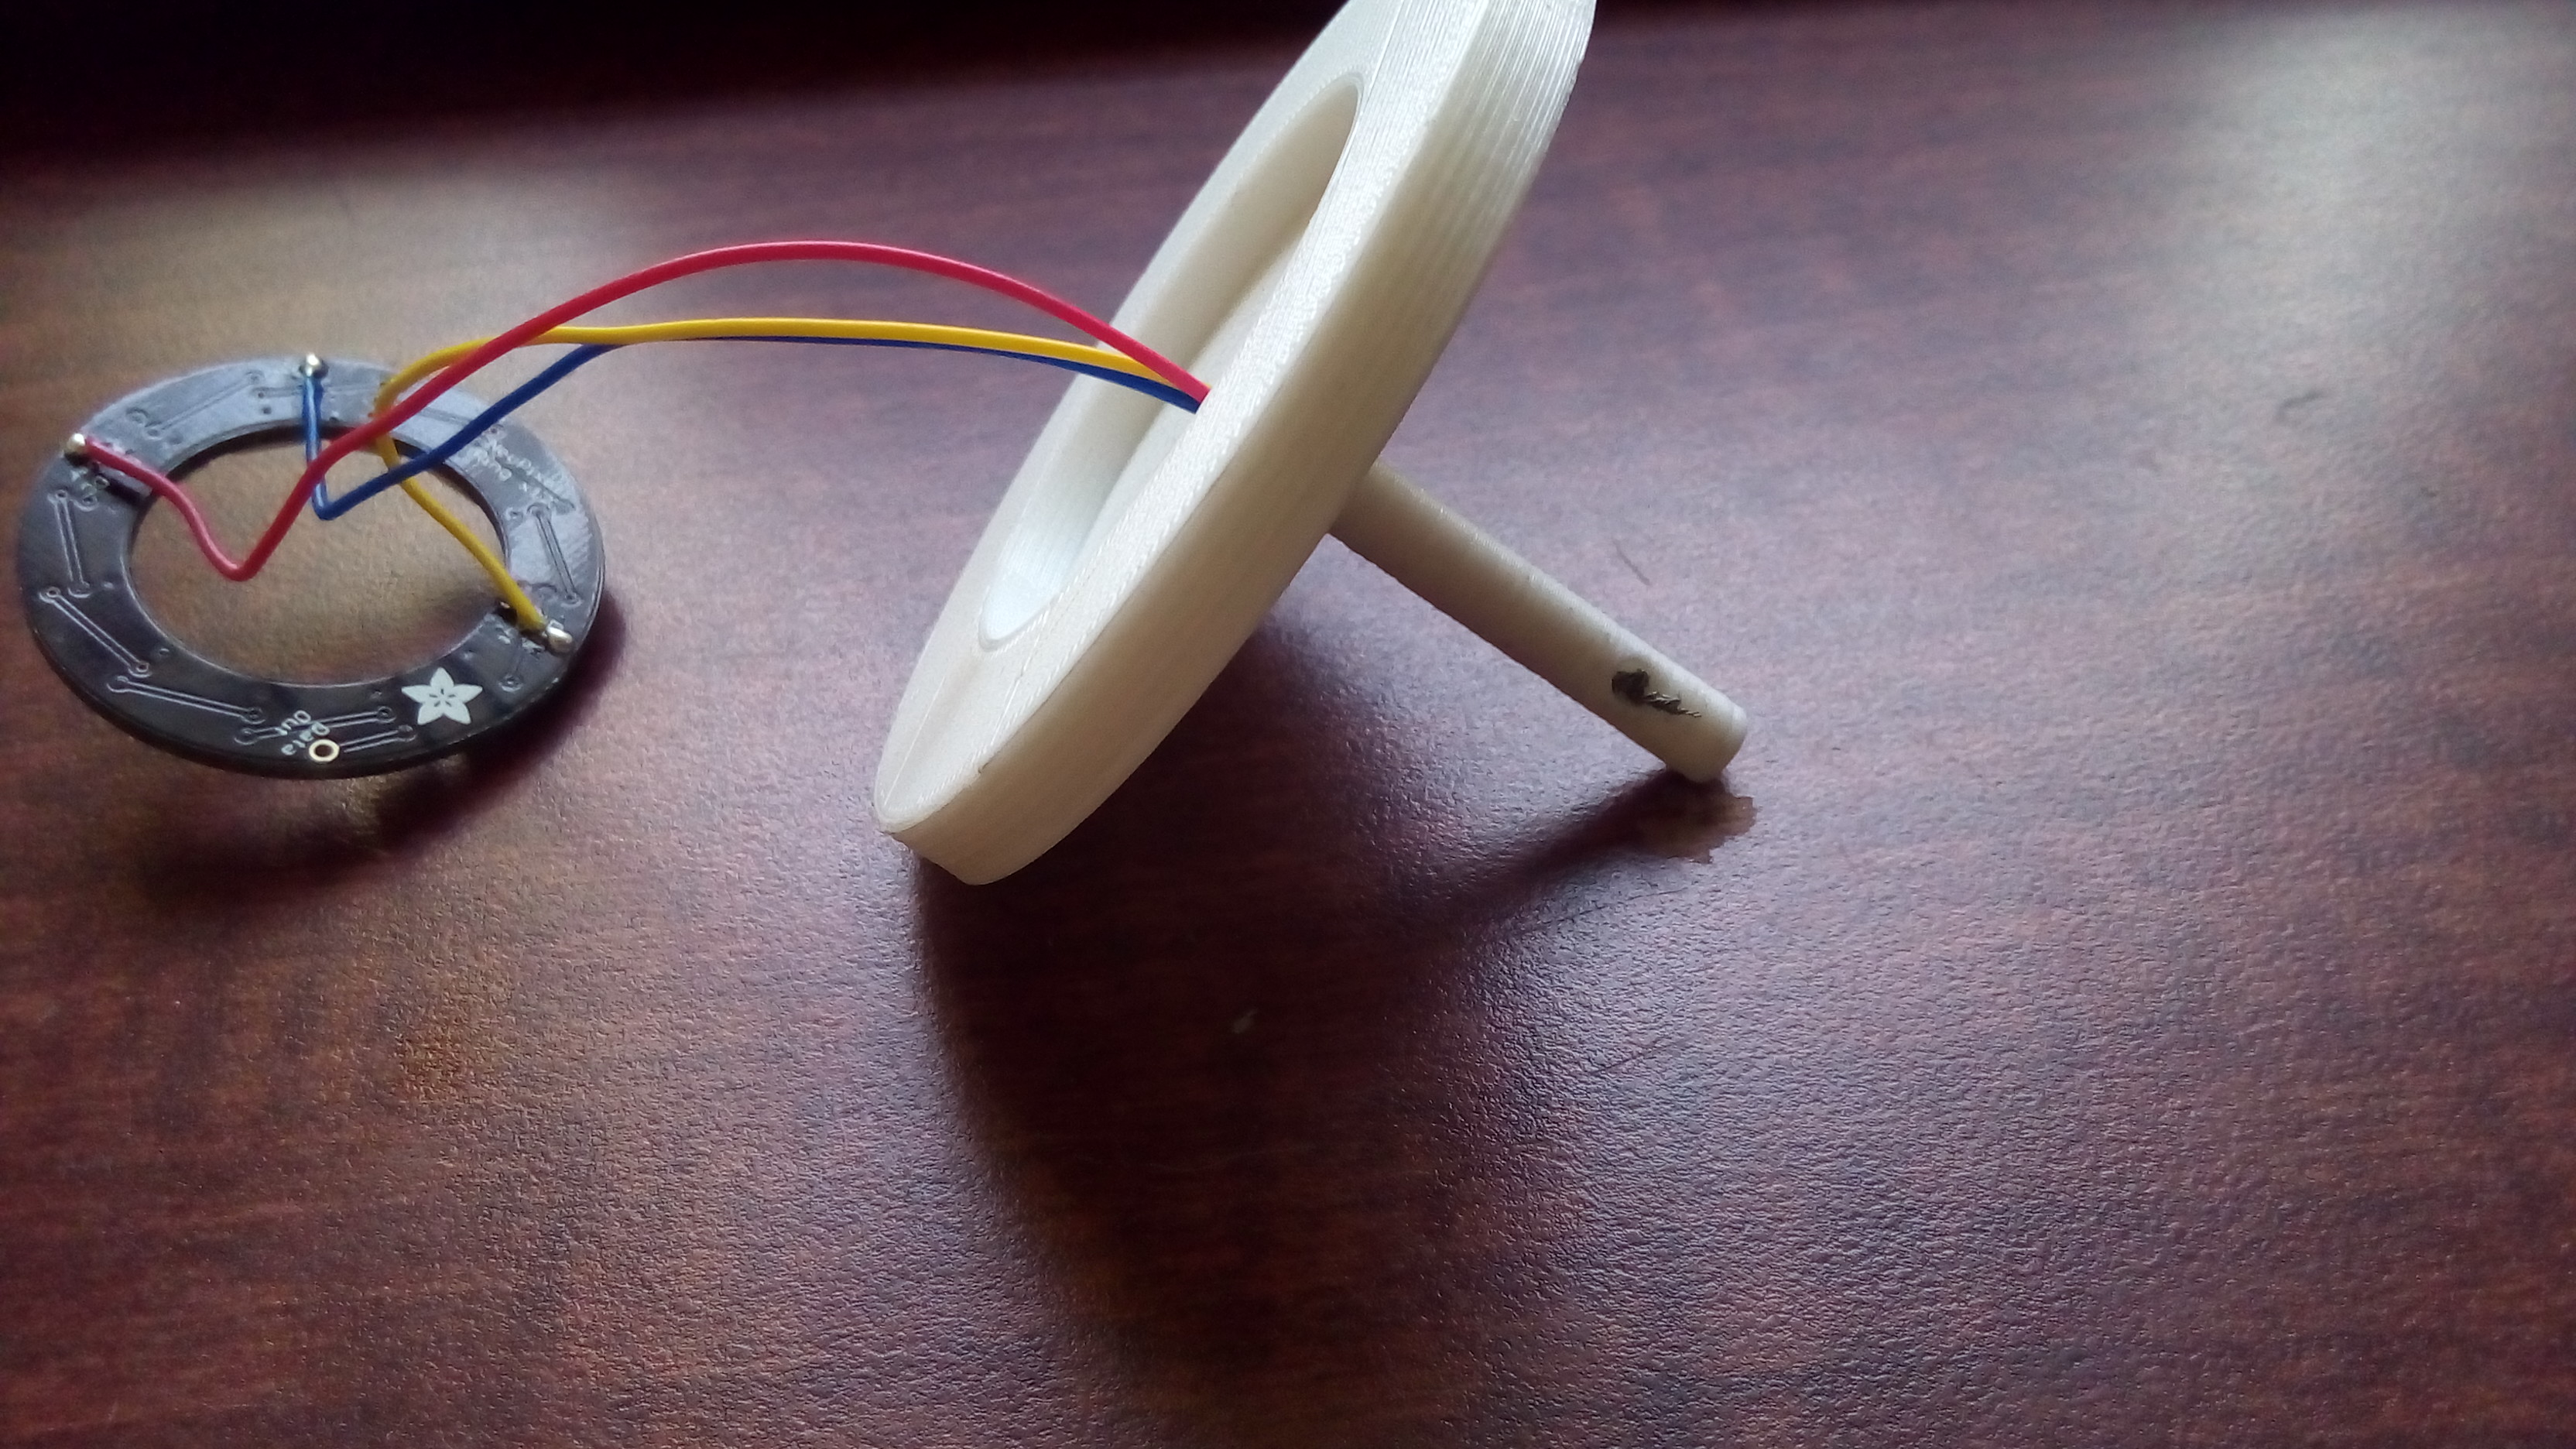
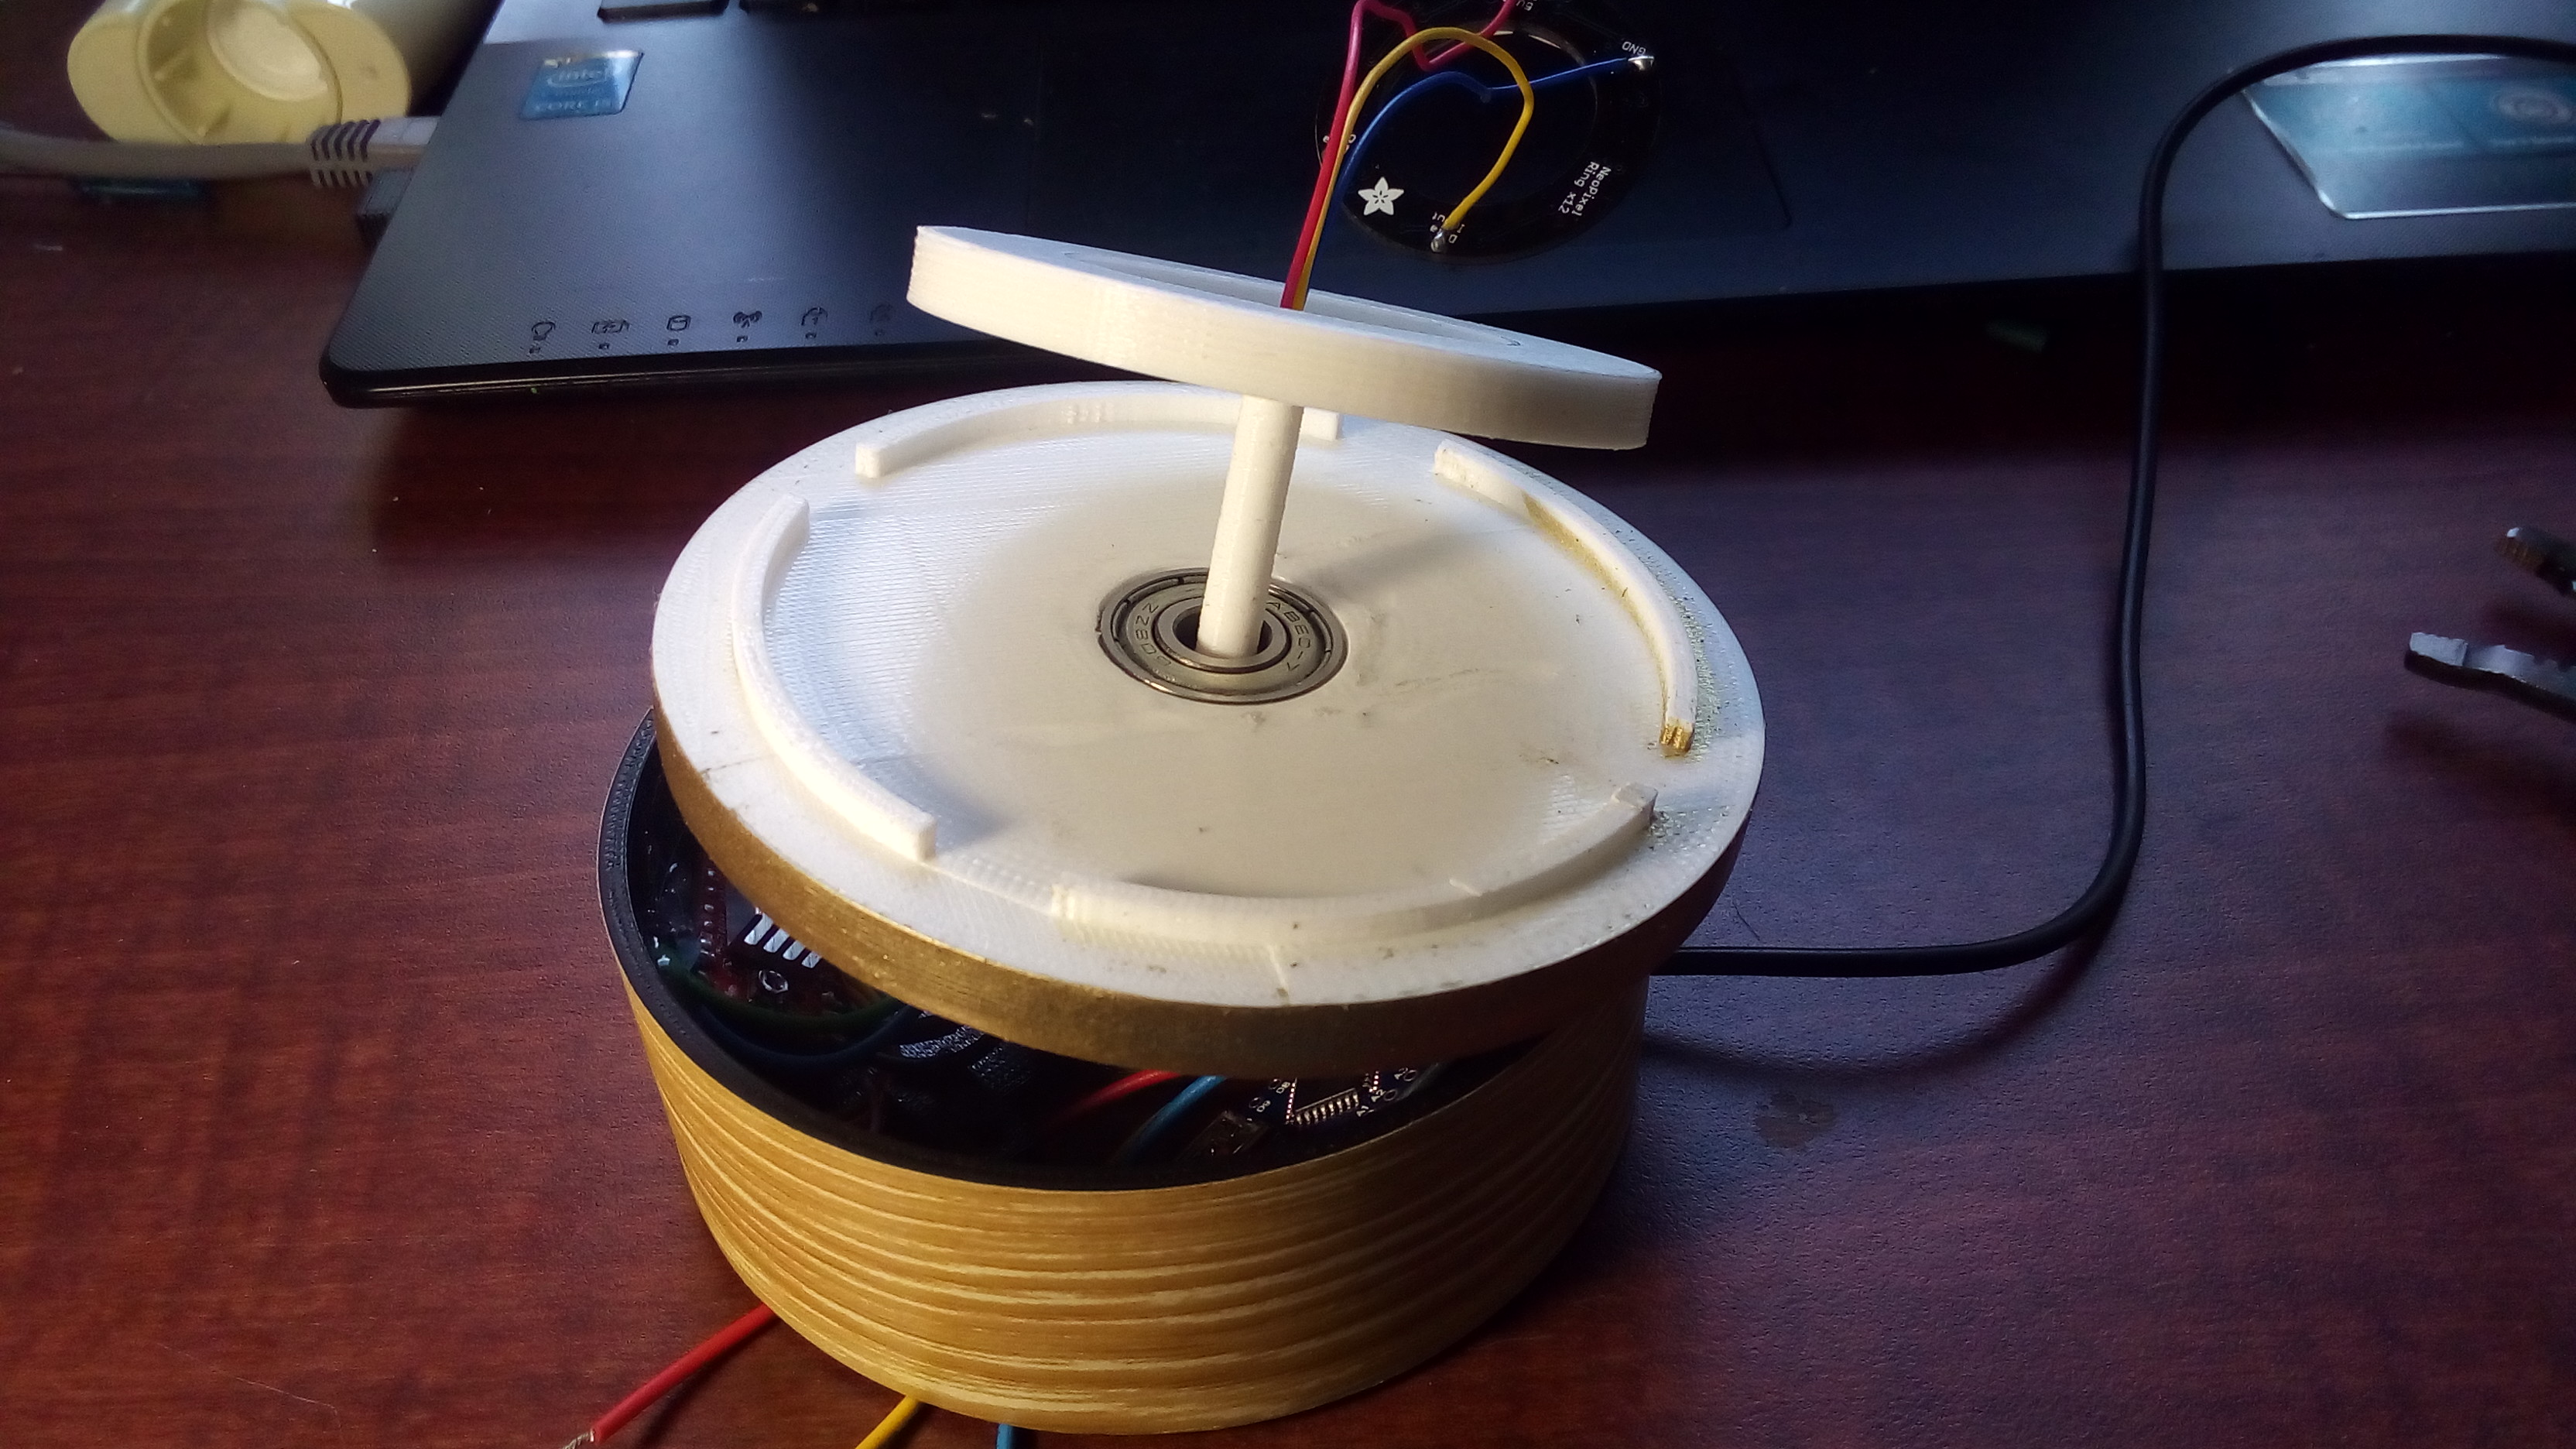
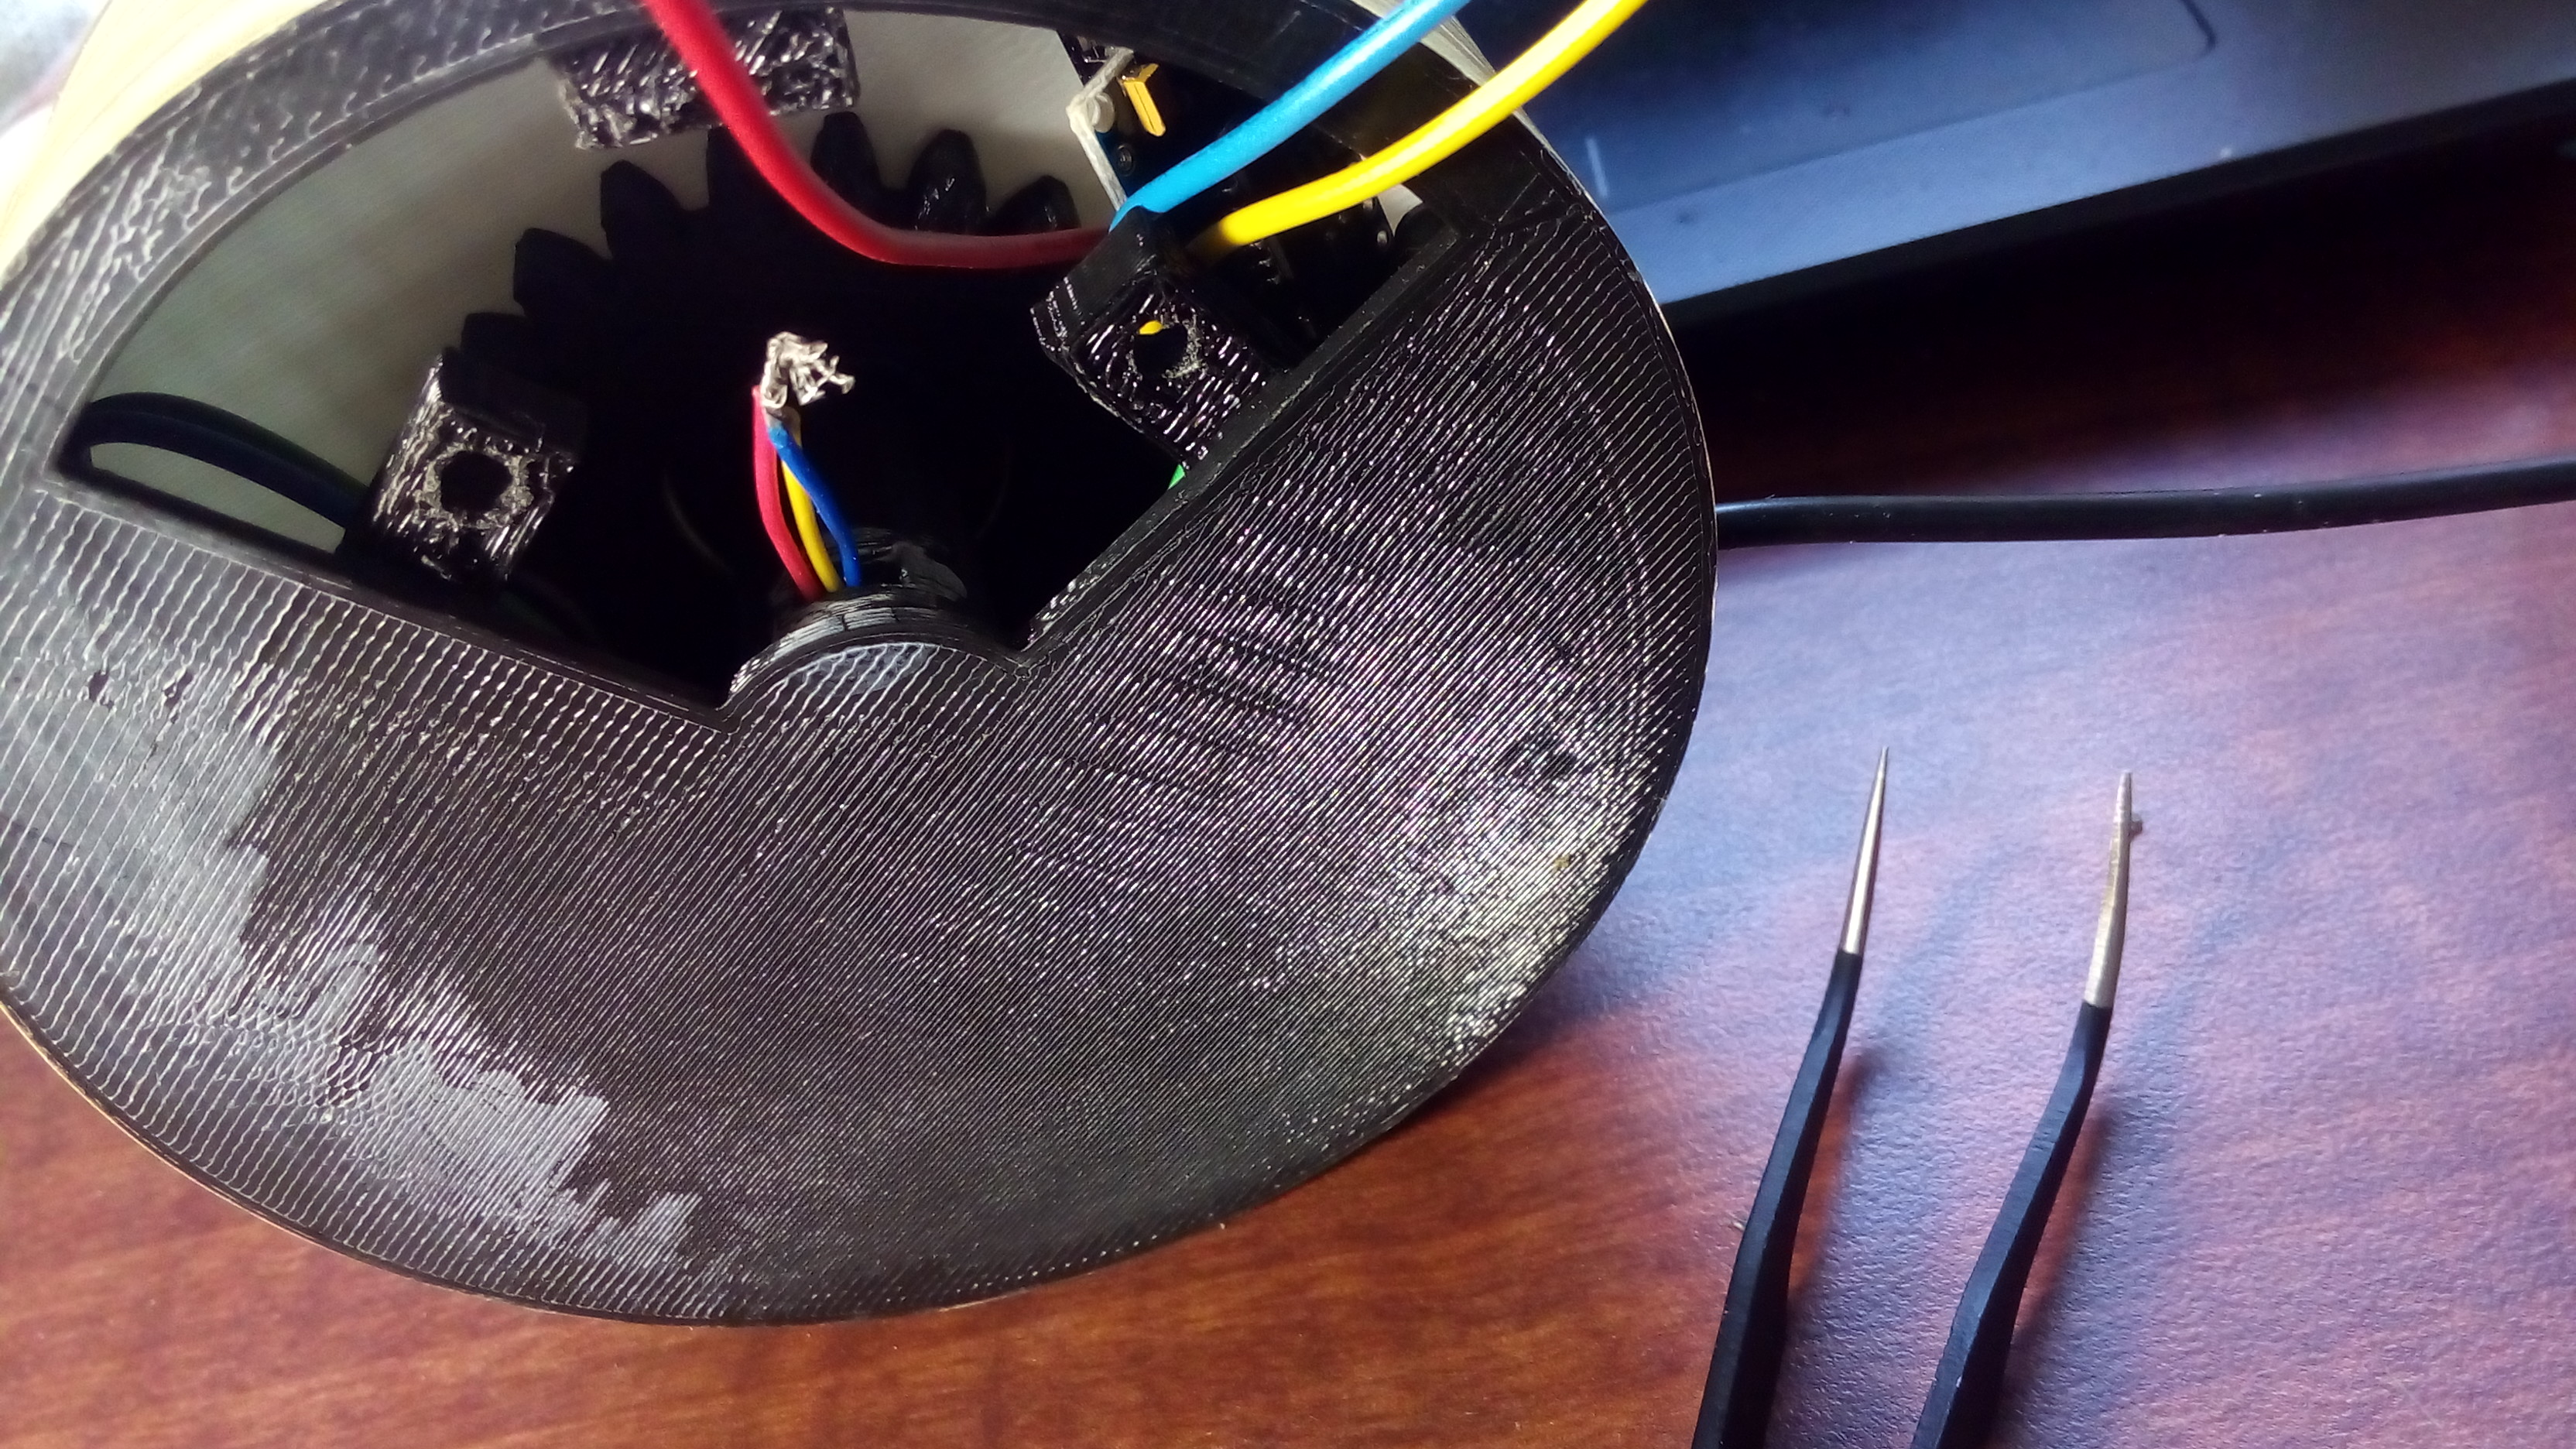
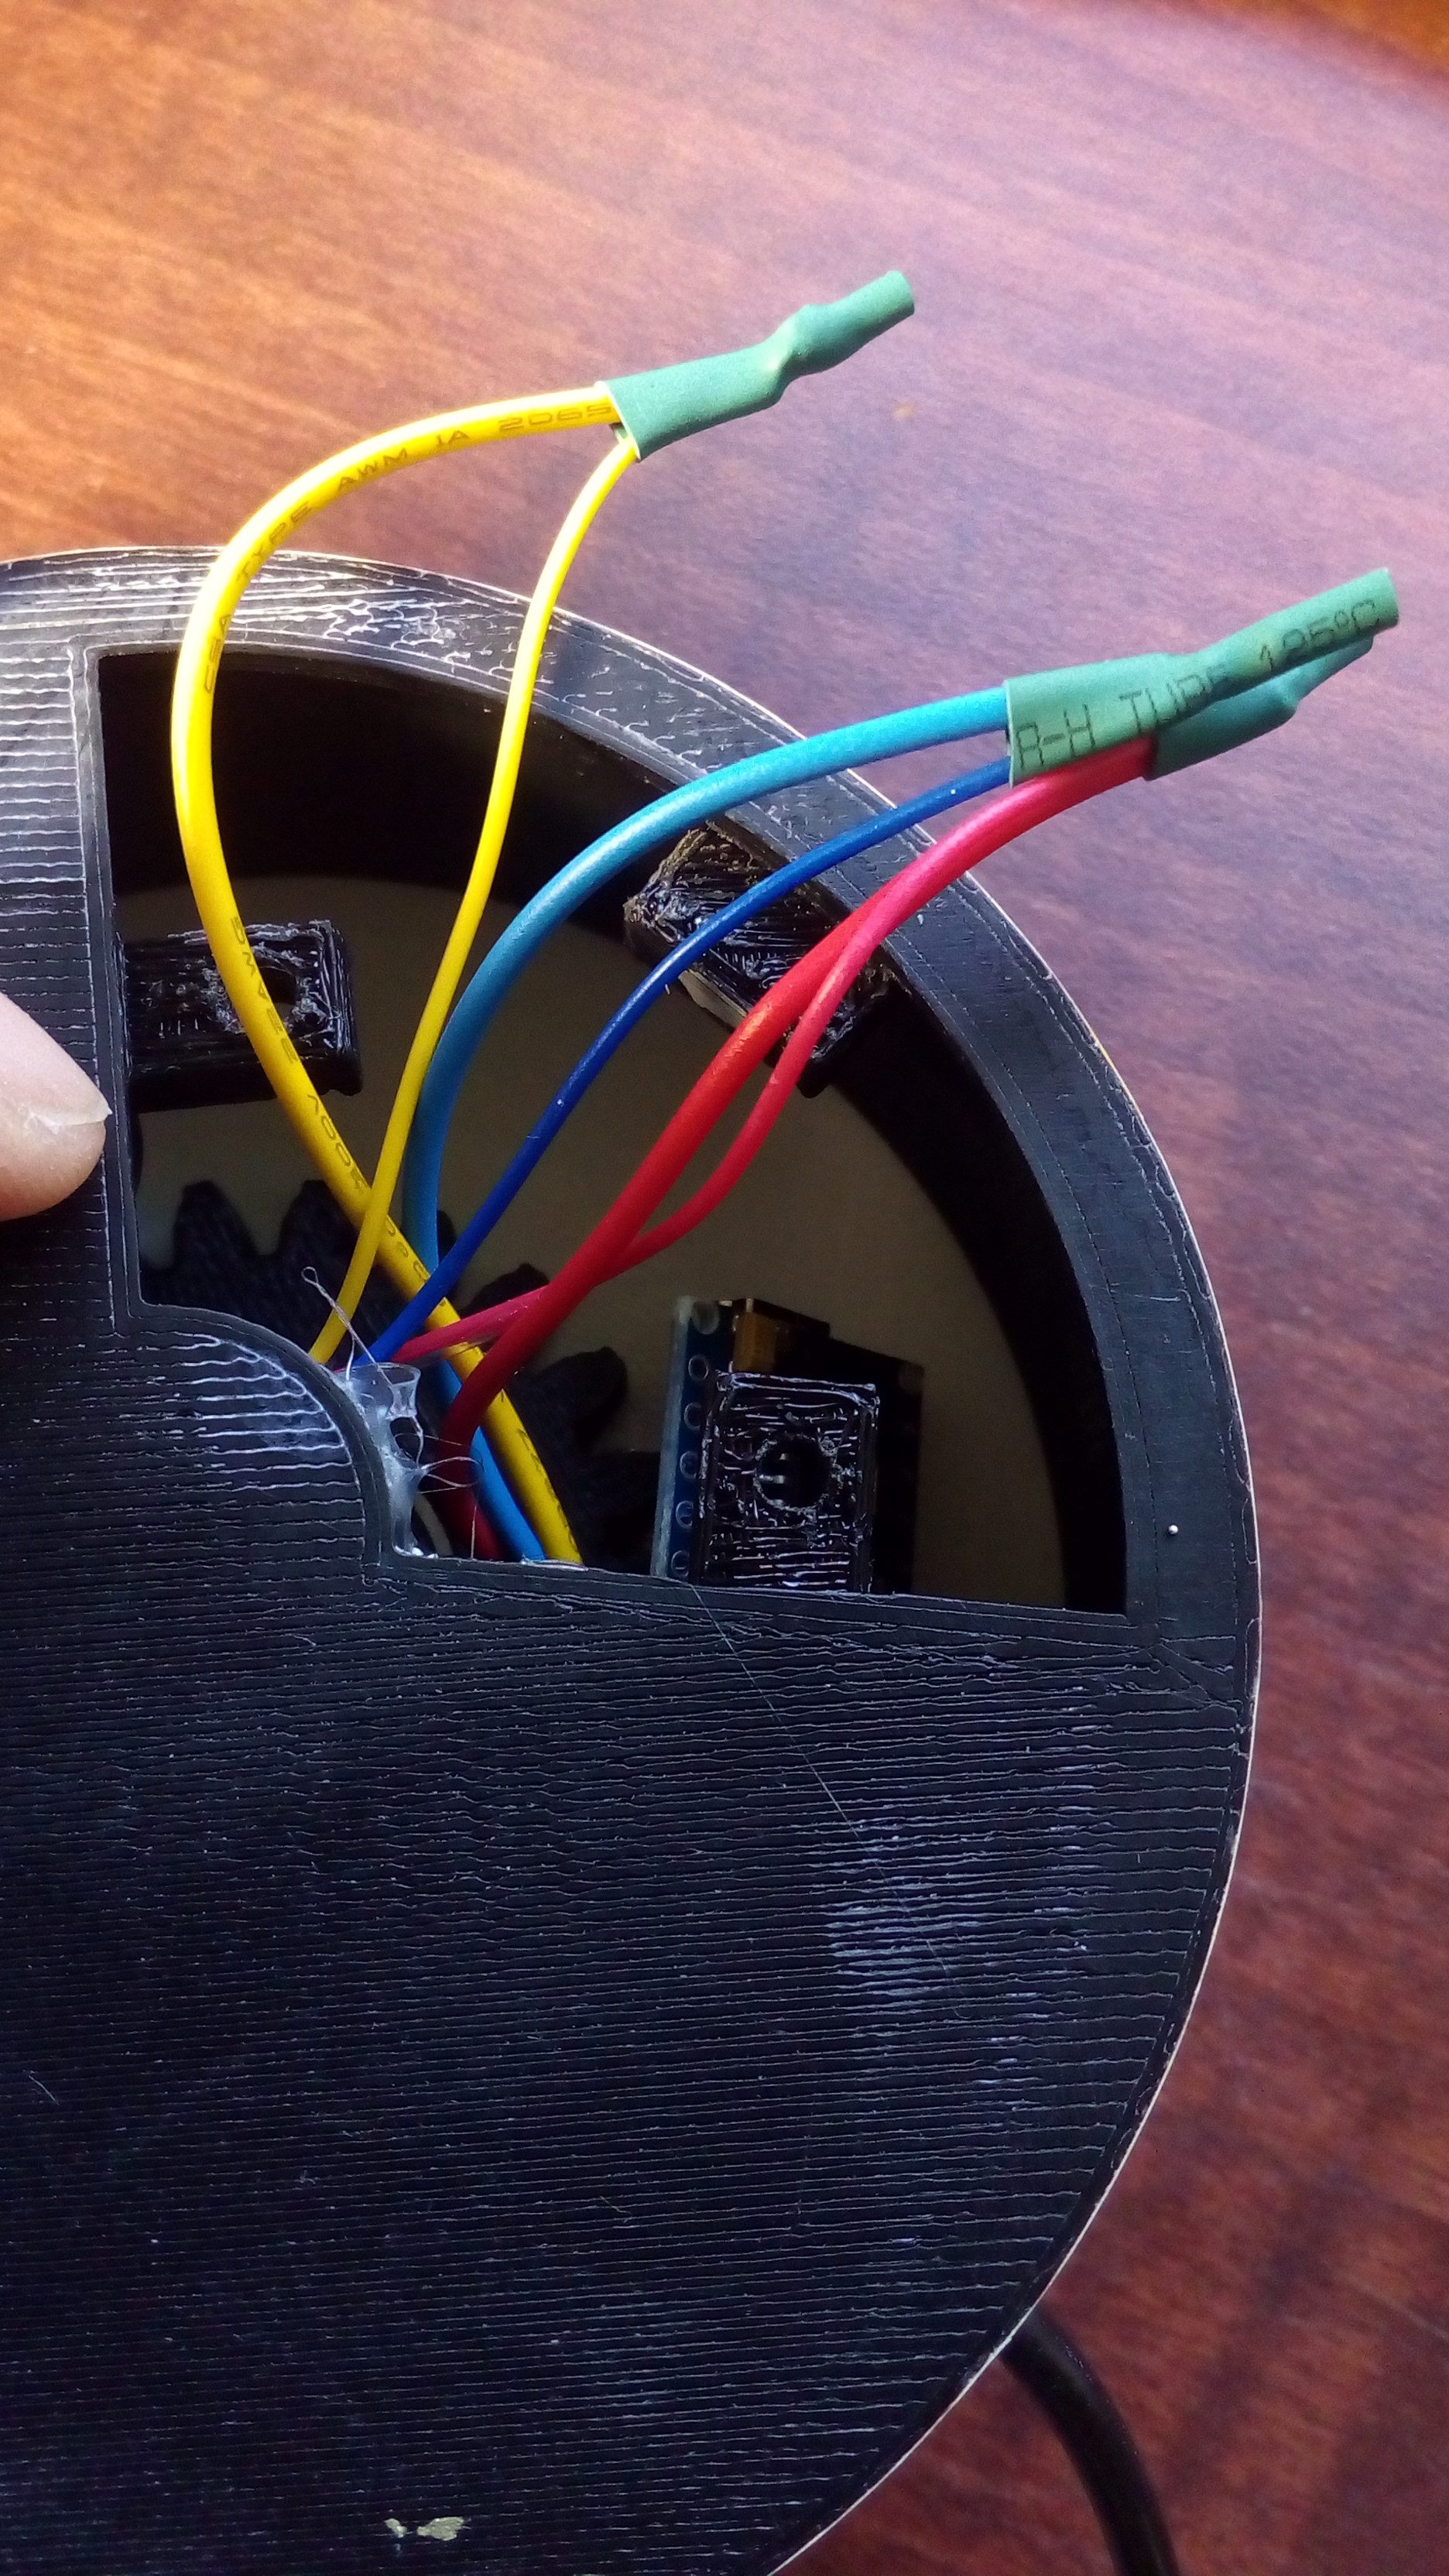
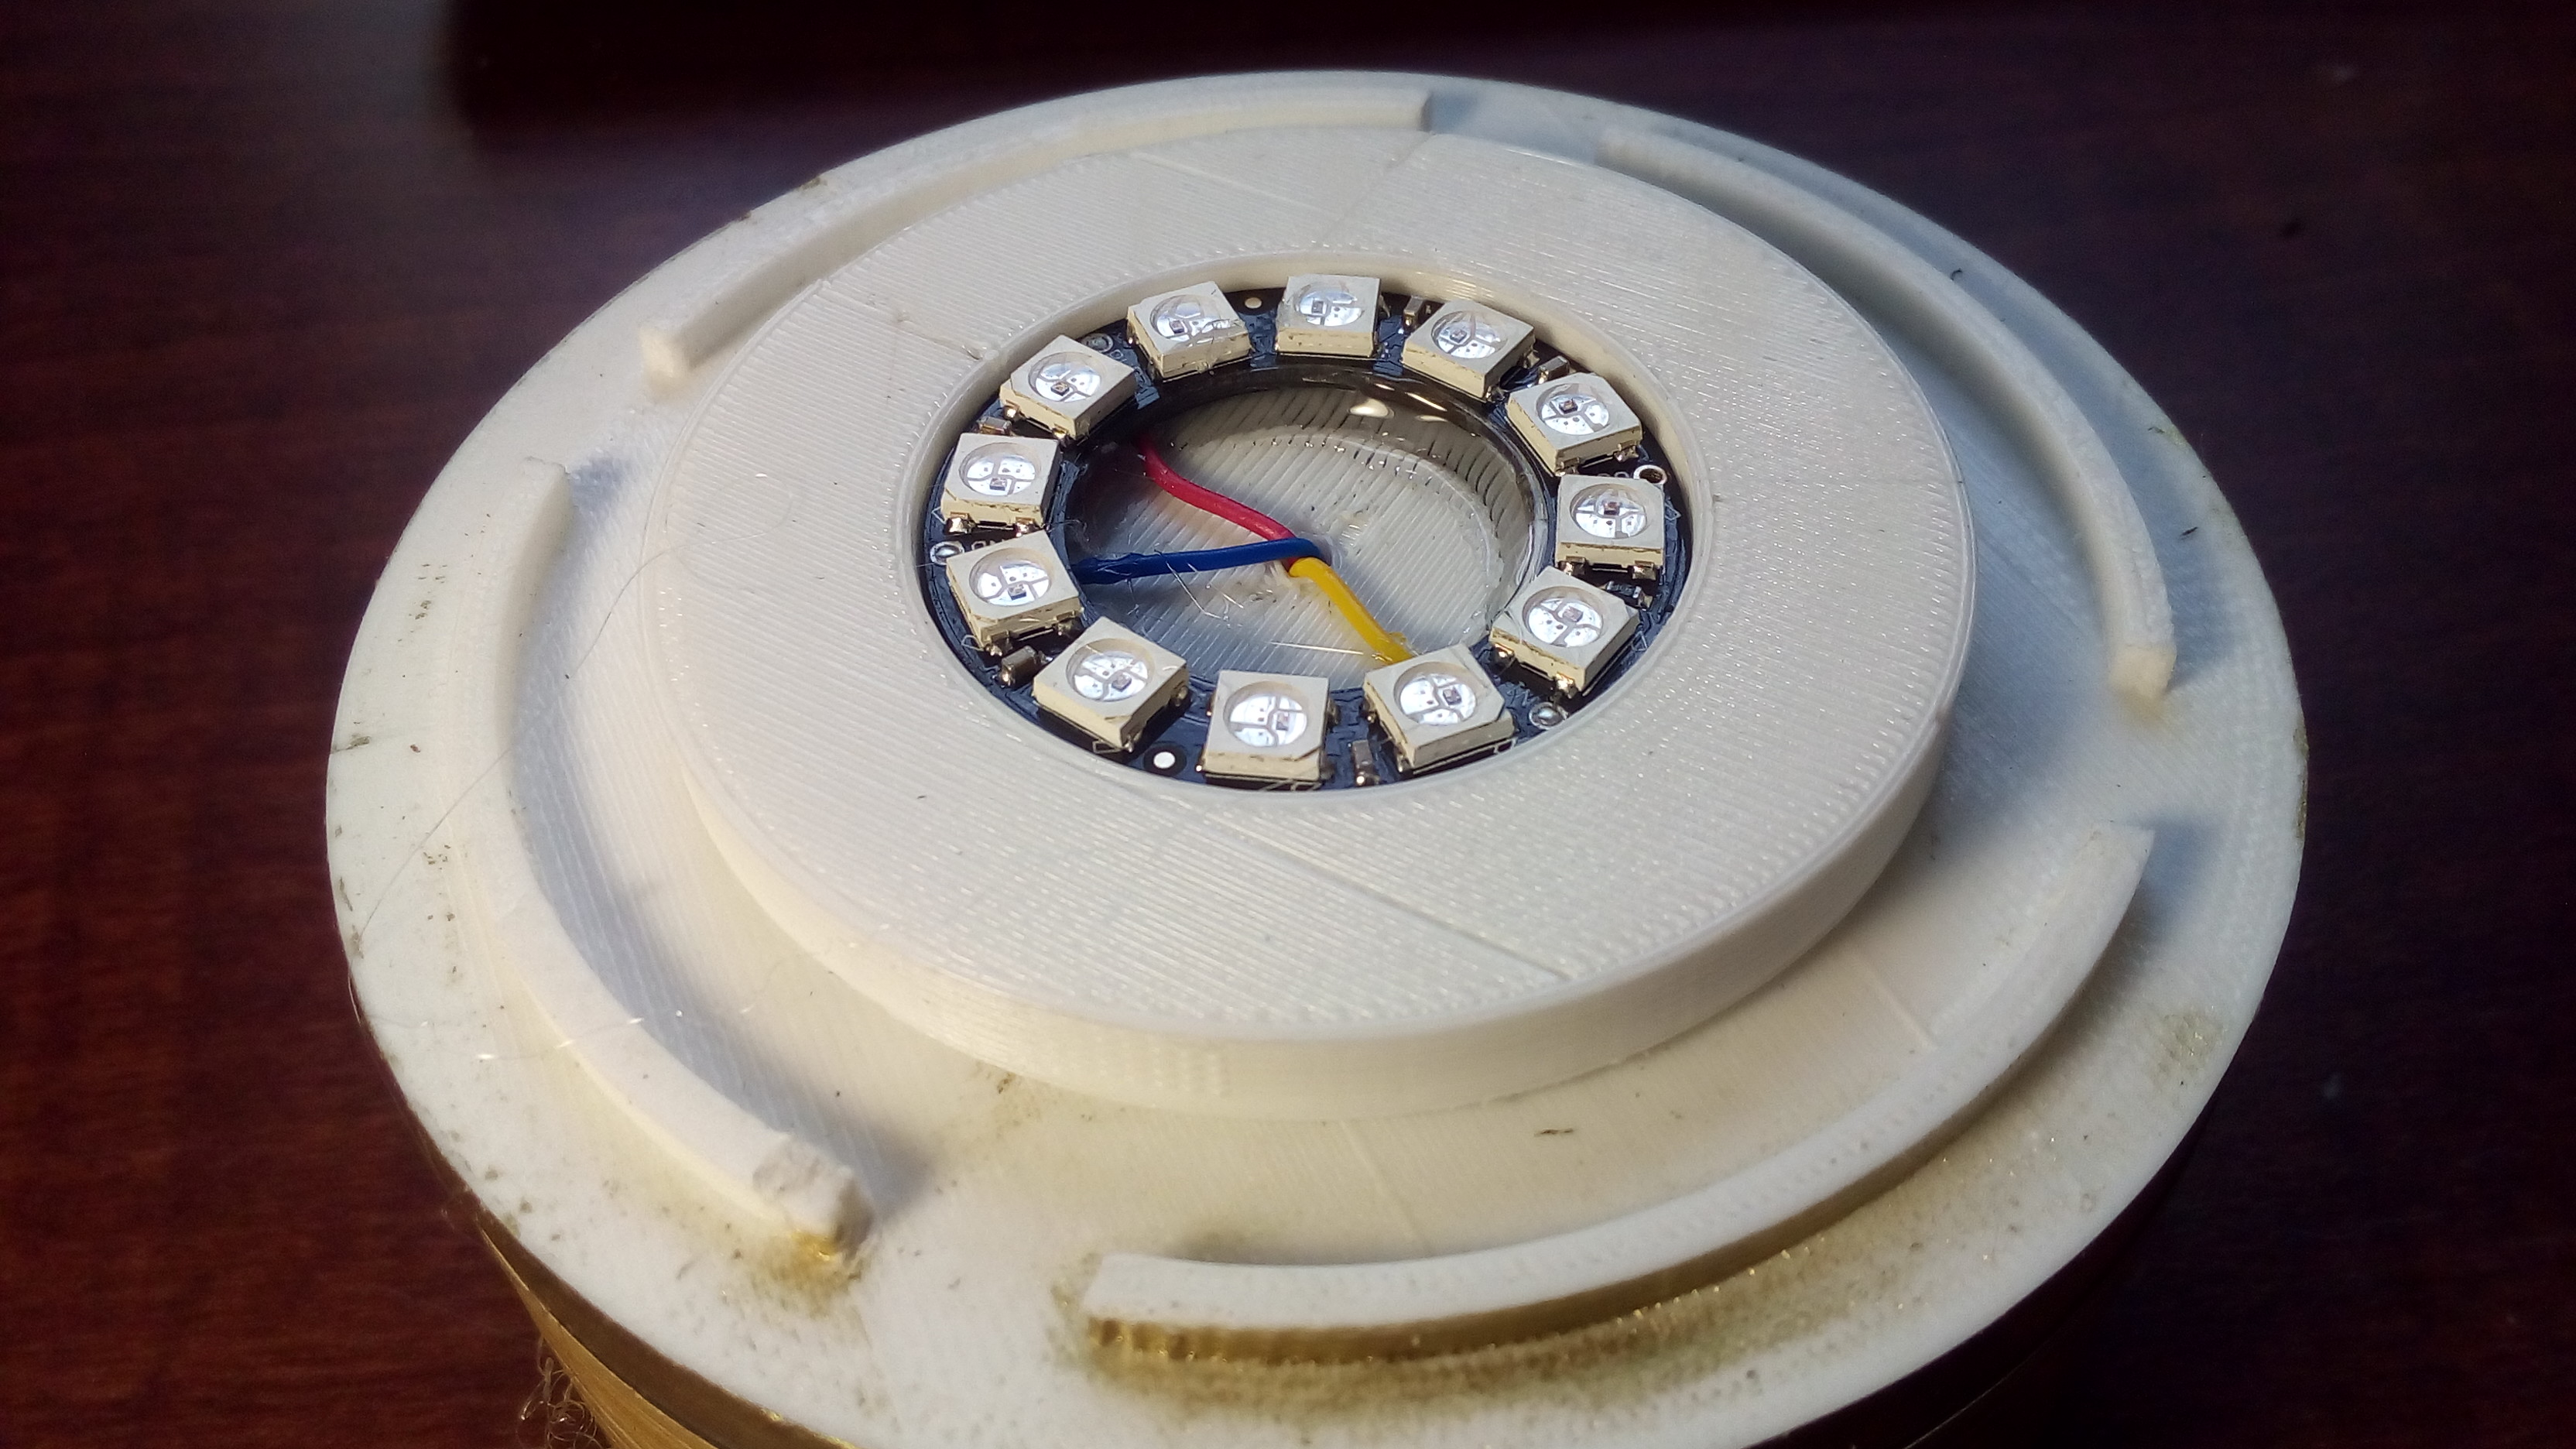
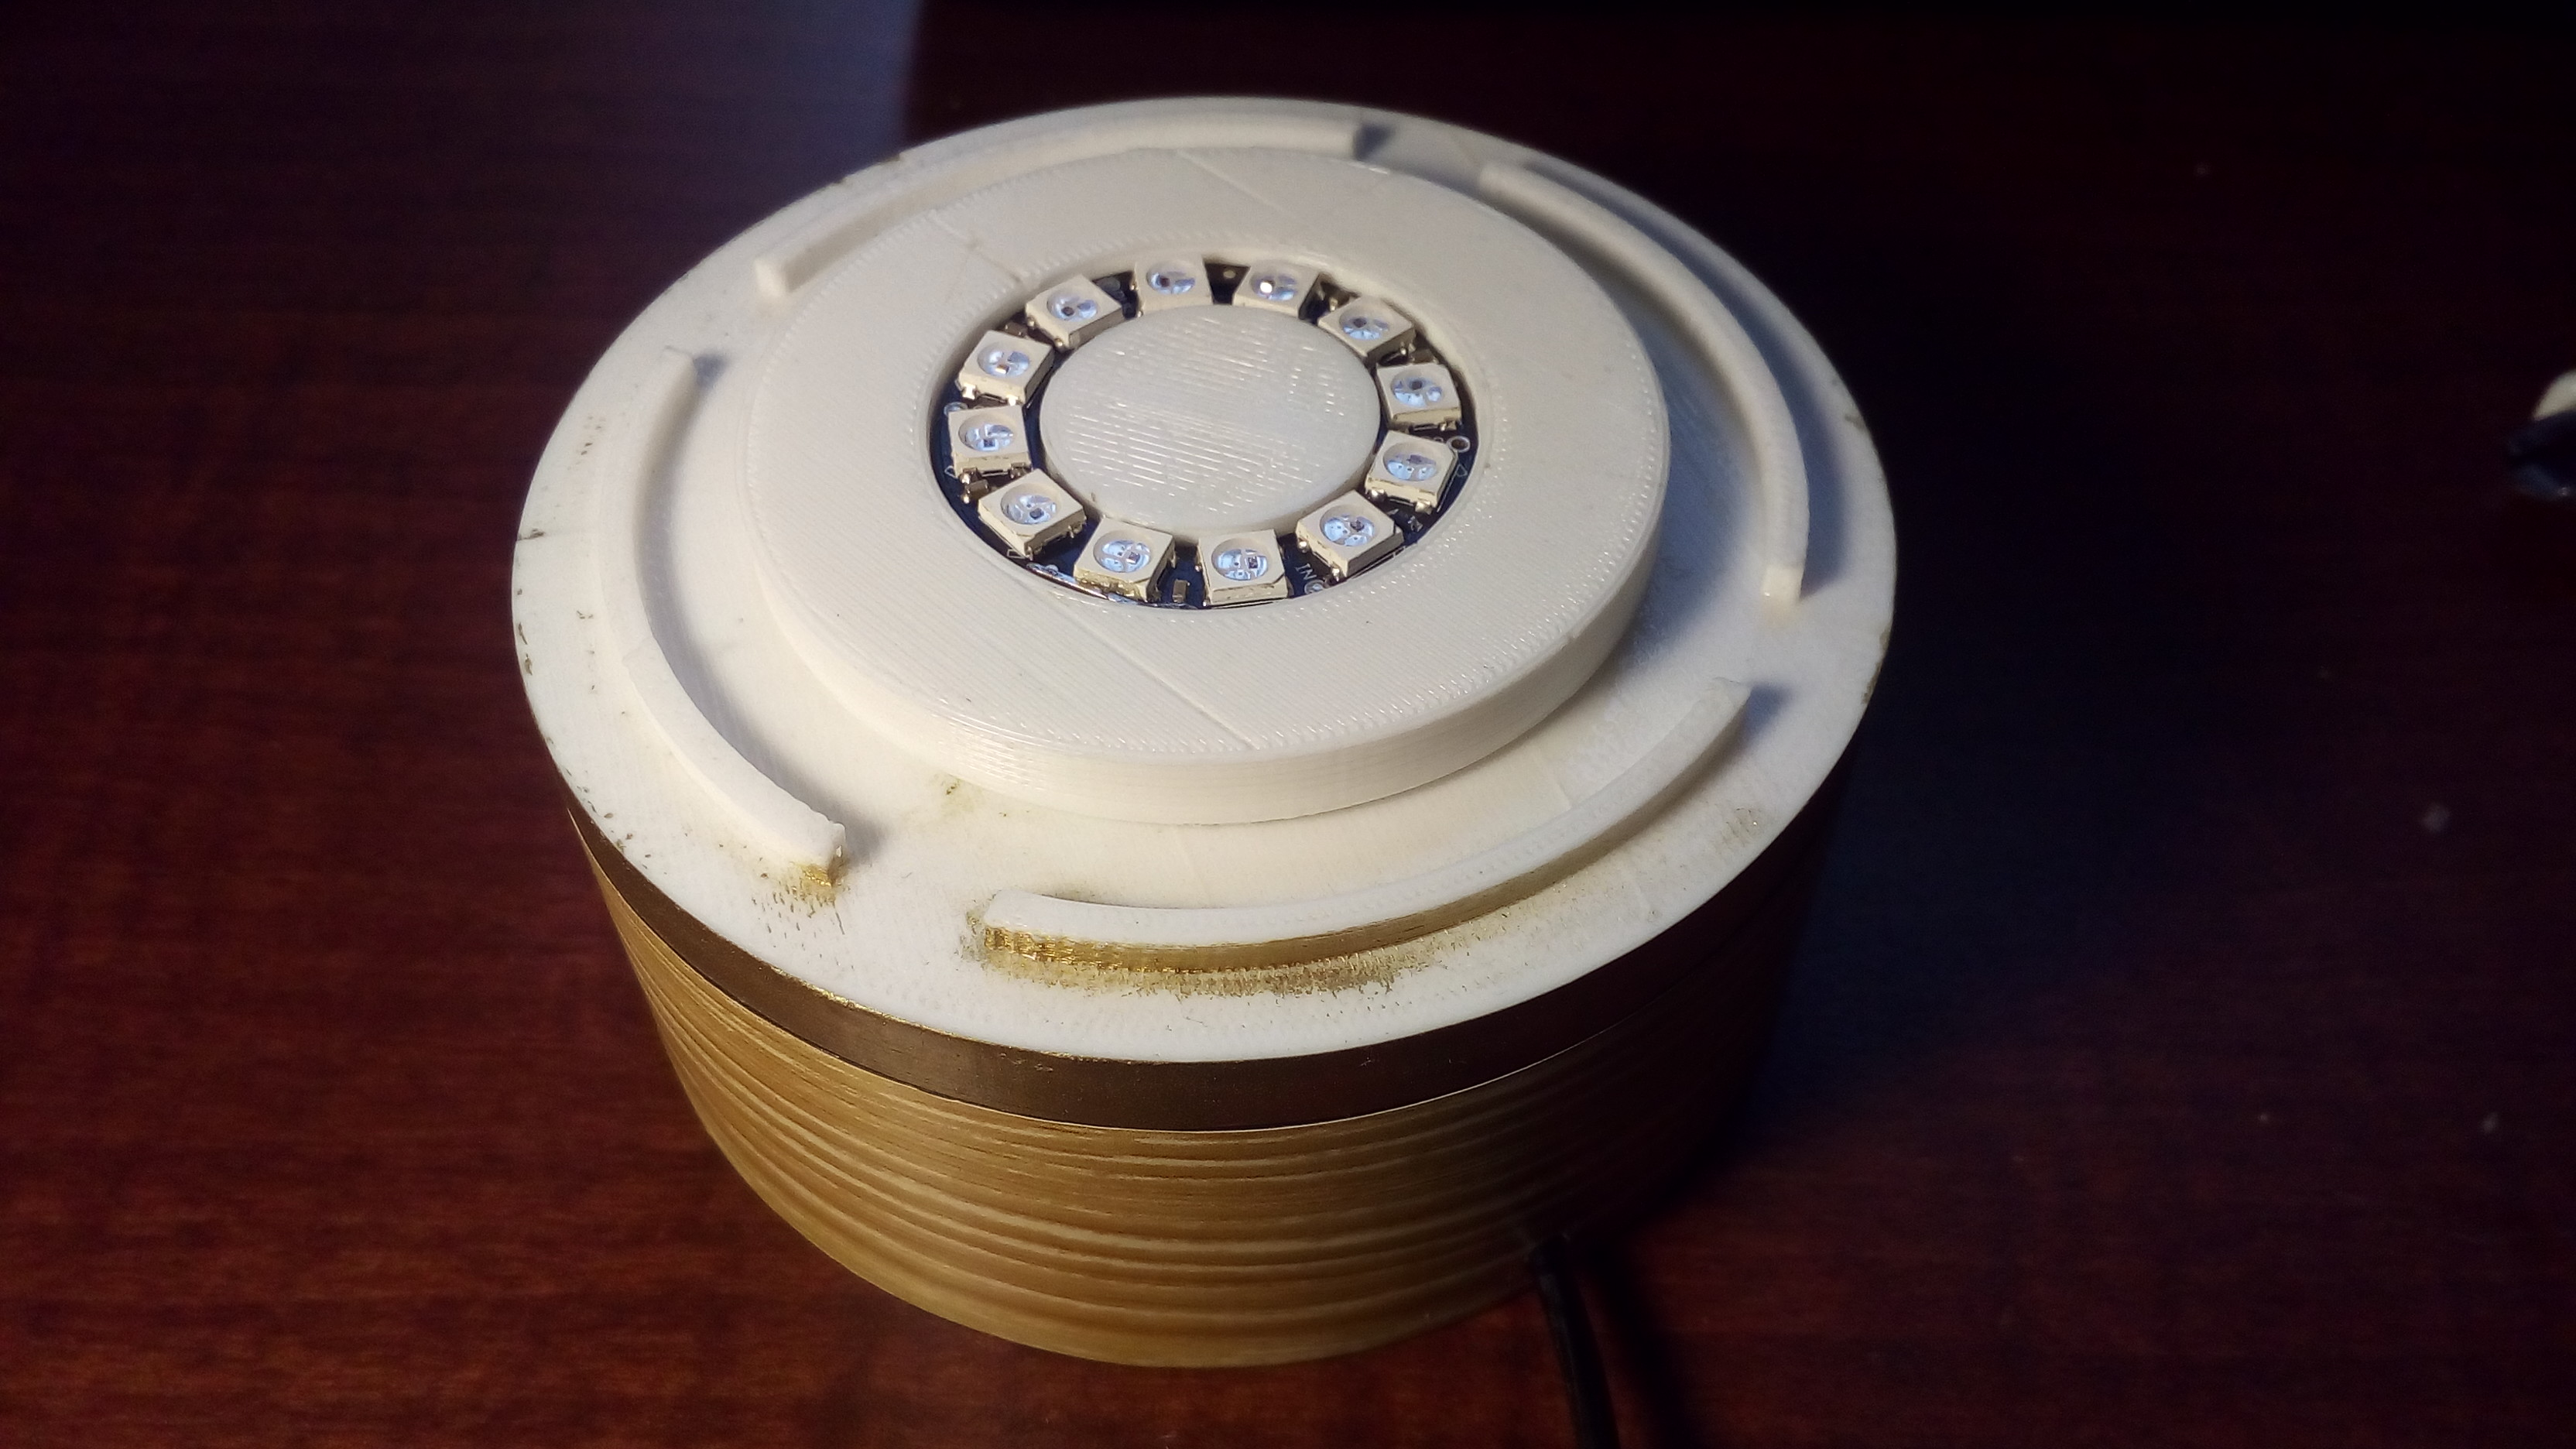
This is the trickiest part of this project. First, you must slide the wires through the inner base, then fit it into the main base. Don't forget to add the disk along with the ball bearing. You must apply epoxy to glue the inner base into the base. The bond should be tight; keep in mind that you mustn't get any epoxy stick the ball bearing together. This is the hardest part of the whole build, takes a while to do it.
After the base is glued, slide the wire through. There's a hole on the shaft of the base, so you'll have to slide it through there. The best way to do so is to use small wires and twist the end together, like in my picture. Then all you have to do is connect the wires to the Arduino.
Finally, push all of the wires till flush. Then you just need to glue on the topper. Try to keep the surface as level as possible. Close the whole assembly with the lid and some screws.
You're done with the base.
Get Creative



To be honest, I'm a guy so I'm not really good with this kind of thing. I didn't take any art classes in the past, I just try to make it look as nice as I could. I'm sure you can do something better.
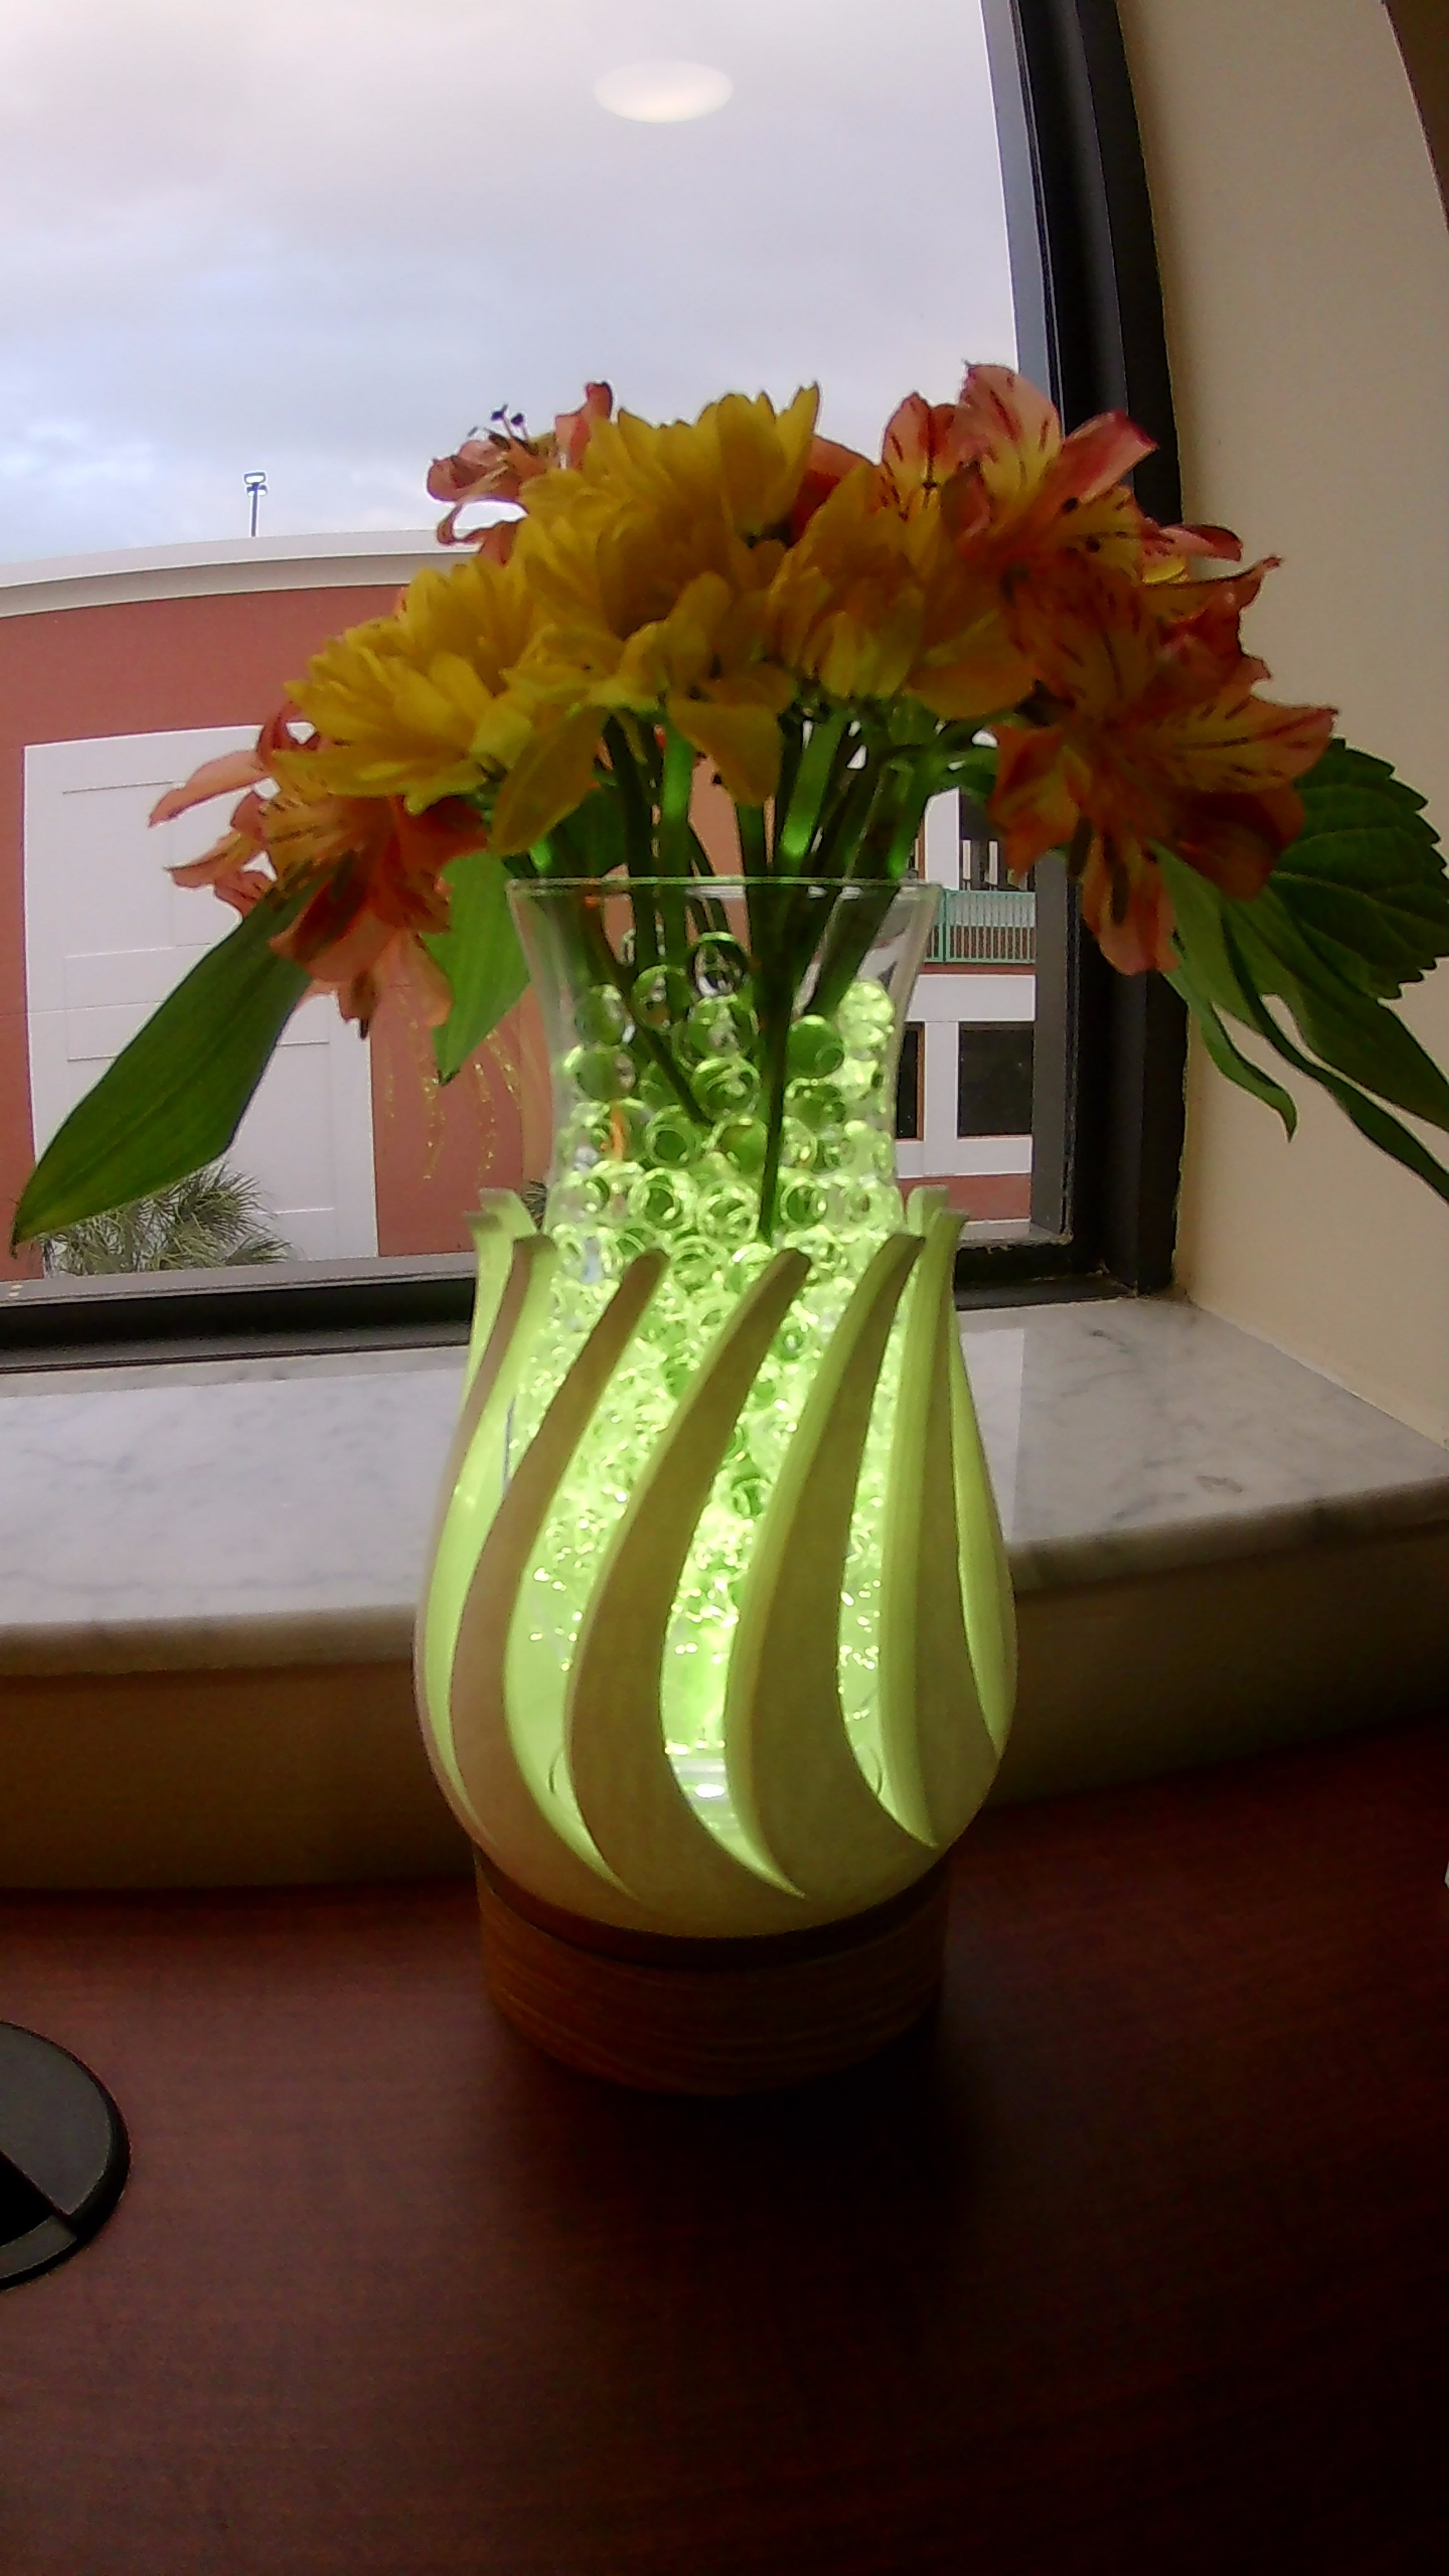
I just bought a bouquet from Publix (4 dollars), then I just put them all in. The floral gel makes it easier to stand the flowers than water do.
Please keep in mind that the base can't spin well if the vase is too heavy, so watch out for the total weight.
And You're Done

.gif)
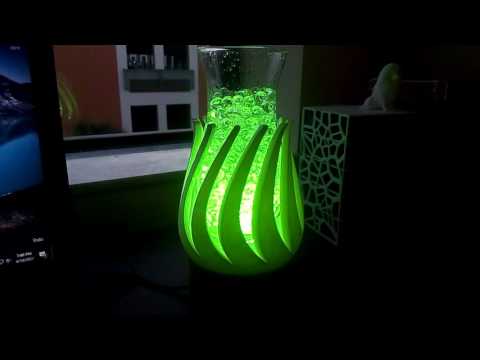
Now just sit back and enjoy your creation. Just fit on the spinner, place in the vase and plug in the power.
There are things that could be improved, for example, the ball bearing could be wider so that the shaft can be thicker, and it'll able to support more weight. Still, I'm very happy with the result.
If you like my instructable, please vote for me in the contest, thank you so much for reading.