Customizable Flashcard System Using Python and JSON
by instructables_deity in Circuits > Computers
877 Views, 2 Favorites, 0 Comments
Customizable Flashcard System Using Python and JSON
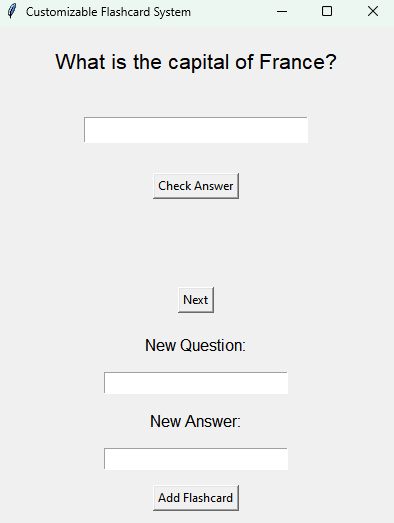
Welcome to the Customizable Flashcard System project! In this guide, you'll learn how to build an interactive flashcard application using Python and JSON, allowing you to easily create, view, and modify your own flashcards. This project is perfect for beginners who want to practice their Python skills while building a practical study tool.
By the end of this project, you will:
- Create a fully functional flashcard system with a graphical interface using Tkinter.
- Learn how to handle and modify JSON files to store and retrieve flashcard data.
- Implement a system for users to add their own questions and answers dynamically.
- Understand the basics of GUI design with Tkinter in Python.
Ready to get started? Let’s get into it!
Supplies

Materials Needed:
- Python (preferably version 3.x)
- JSON file editor (any text editor like VS Code, Sublime, or even Notepad)
- Tkinter (Python’s built-in GUI library)
You’ll also need your own custom JSON file to hold the questions and answers.
Setting Up the Environment

First, make sure Python is installed on your computer. You can download it here.
- Open your terminal or command prompt, and check if Python is installed:
- Next, install Tkinter (if it's not already included):
Creating the Flashcard JSON File

Create a new JSON file called flashcards.json. The structure of this file will hold questions and answers. Here's a sample format:
You can add as many flashcards as you want by following this structure.
Building the Basic Flashcard GUI in Python
We'll use Tkinter, a built-in Python library for creating simple graphical user interfaces (GUIs), to build the core of our flashcard system. In this step, we'll create a basic app structure and display the first question from our flashcards.json file. Here's a simplified explanation of the code we’re writing:
- Load the Flashcards:
- The load_flashcards() function reads and parses our JSON file, giving us a list of flashcards to work with. Each flashcard contains a question and an answer.
- Create the GUI Window:
- We use tk.Tk() to set up the main window where all our elements will be displayed. This includes labels for questions, an entry box for users to type their answers, and buttons to navigate the flashcards.
- Display the Question:
- The first flashcard’s question is shown using a tk.Label widget, while a blank entry box (tk.Entry) waits for the user’s input.
- Check the Answer:
- When the "Check Answer" button is clicked, the app compares the user’s answer to the correct one. A label at the bottom will indicate if the answer is right or wrong.
This setup provides a solid foundation for building a more interactive flashcard system in the next steps.
Testing the Application

Ready for the magic? Run the Python script!
Adding Next Flashcard Functionality
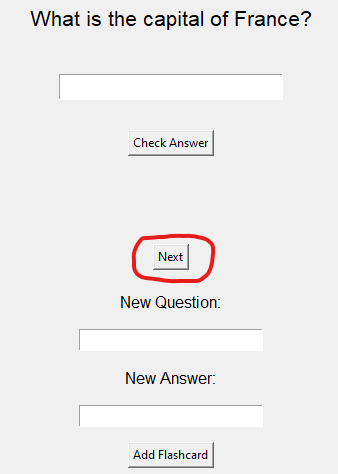
Modify the script to cycle through multiple flashcards. Here's the updated code:
Allowing Users to Add Their Own Flashcards
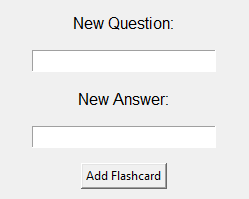
In this step, we'll add functionality for users to input their own flashcards via the GUI and save them to the JSON file.
First, create an input section for users to add new flashcards:
Final Testing

Test the full application by running the script and verifying that:
- You can cycle through flashcards.
- You can add new flashcards via the GUI.
- The JSON file updates correctly.
Conclusion
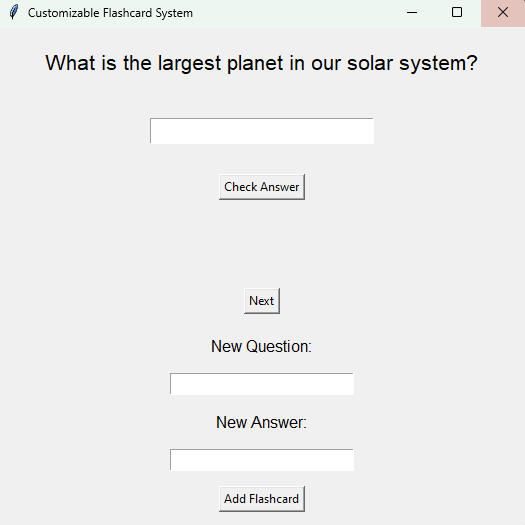
Congratulations! You’ve now built a fully functional Customizable Flashcard System using Python and JSON. By completing this project, you’ve not only created a personalized study tool, but also deepened your understanding of important programming concepts such as file handling, JSON manipulation, and building graphical interfaces with Tkinter.
Here’s a quick recap of what you’ve accomplished:
- Loaded and managed flashcard data using JSON, allowing for easy customization.
- Built an interactive, user-friendly GUI with Tkinter to display flashcards and handle user input.
- Implemented functionality to check answers and add new flashcards dynamically.
- Designed a versatile system that can be easily extended or modified to suit different needs.
Feel free to expand upon this project by adding more features, such as:
- Randomizing the order of flashcards for more challenging quizzes.
- Adding a progress tracker to monitor how many questions you’ve answered correctly.
- Introducing a save/load function to keep track of users’ progress over multiple sessions.
This project is a great foundation for other educational tools or simple applications you may want to build in the future. Keep experimenting, and most importantly, have fun coding!