Customizable 3D Printed Stocking Ornament
by Penolopy Bulnick in Workshop > 3D Printing
4381 Views, 30 Favorites, 0 Comments
Customizable 3D Printed Stocking Ornament
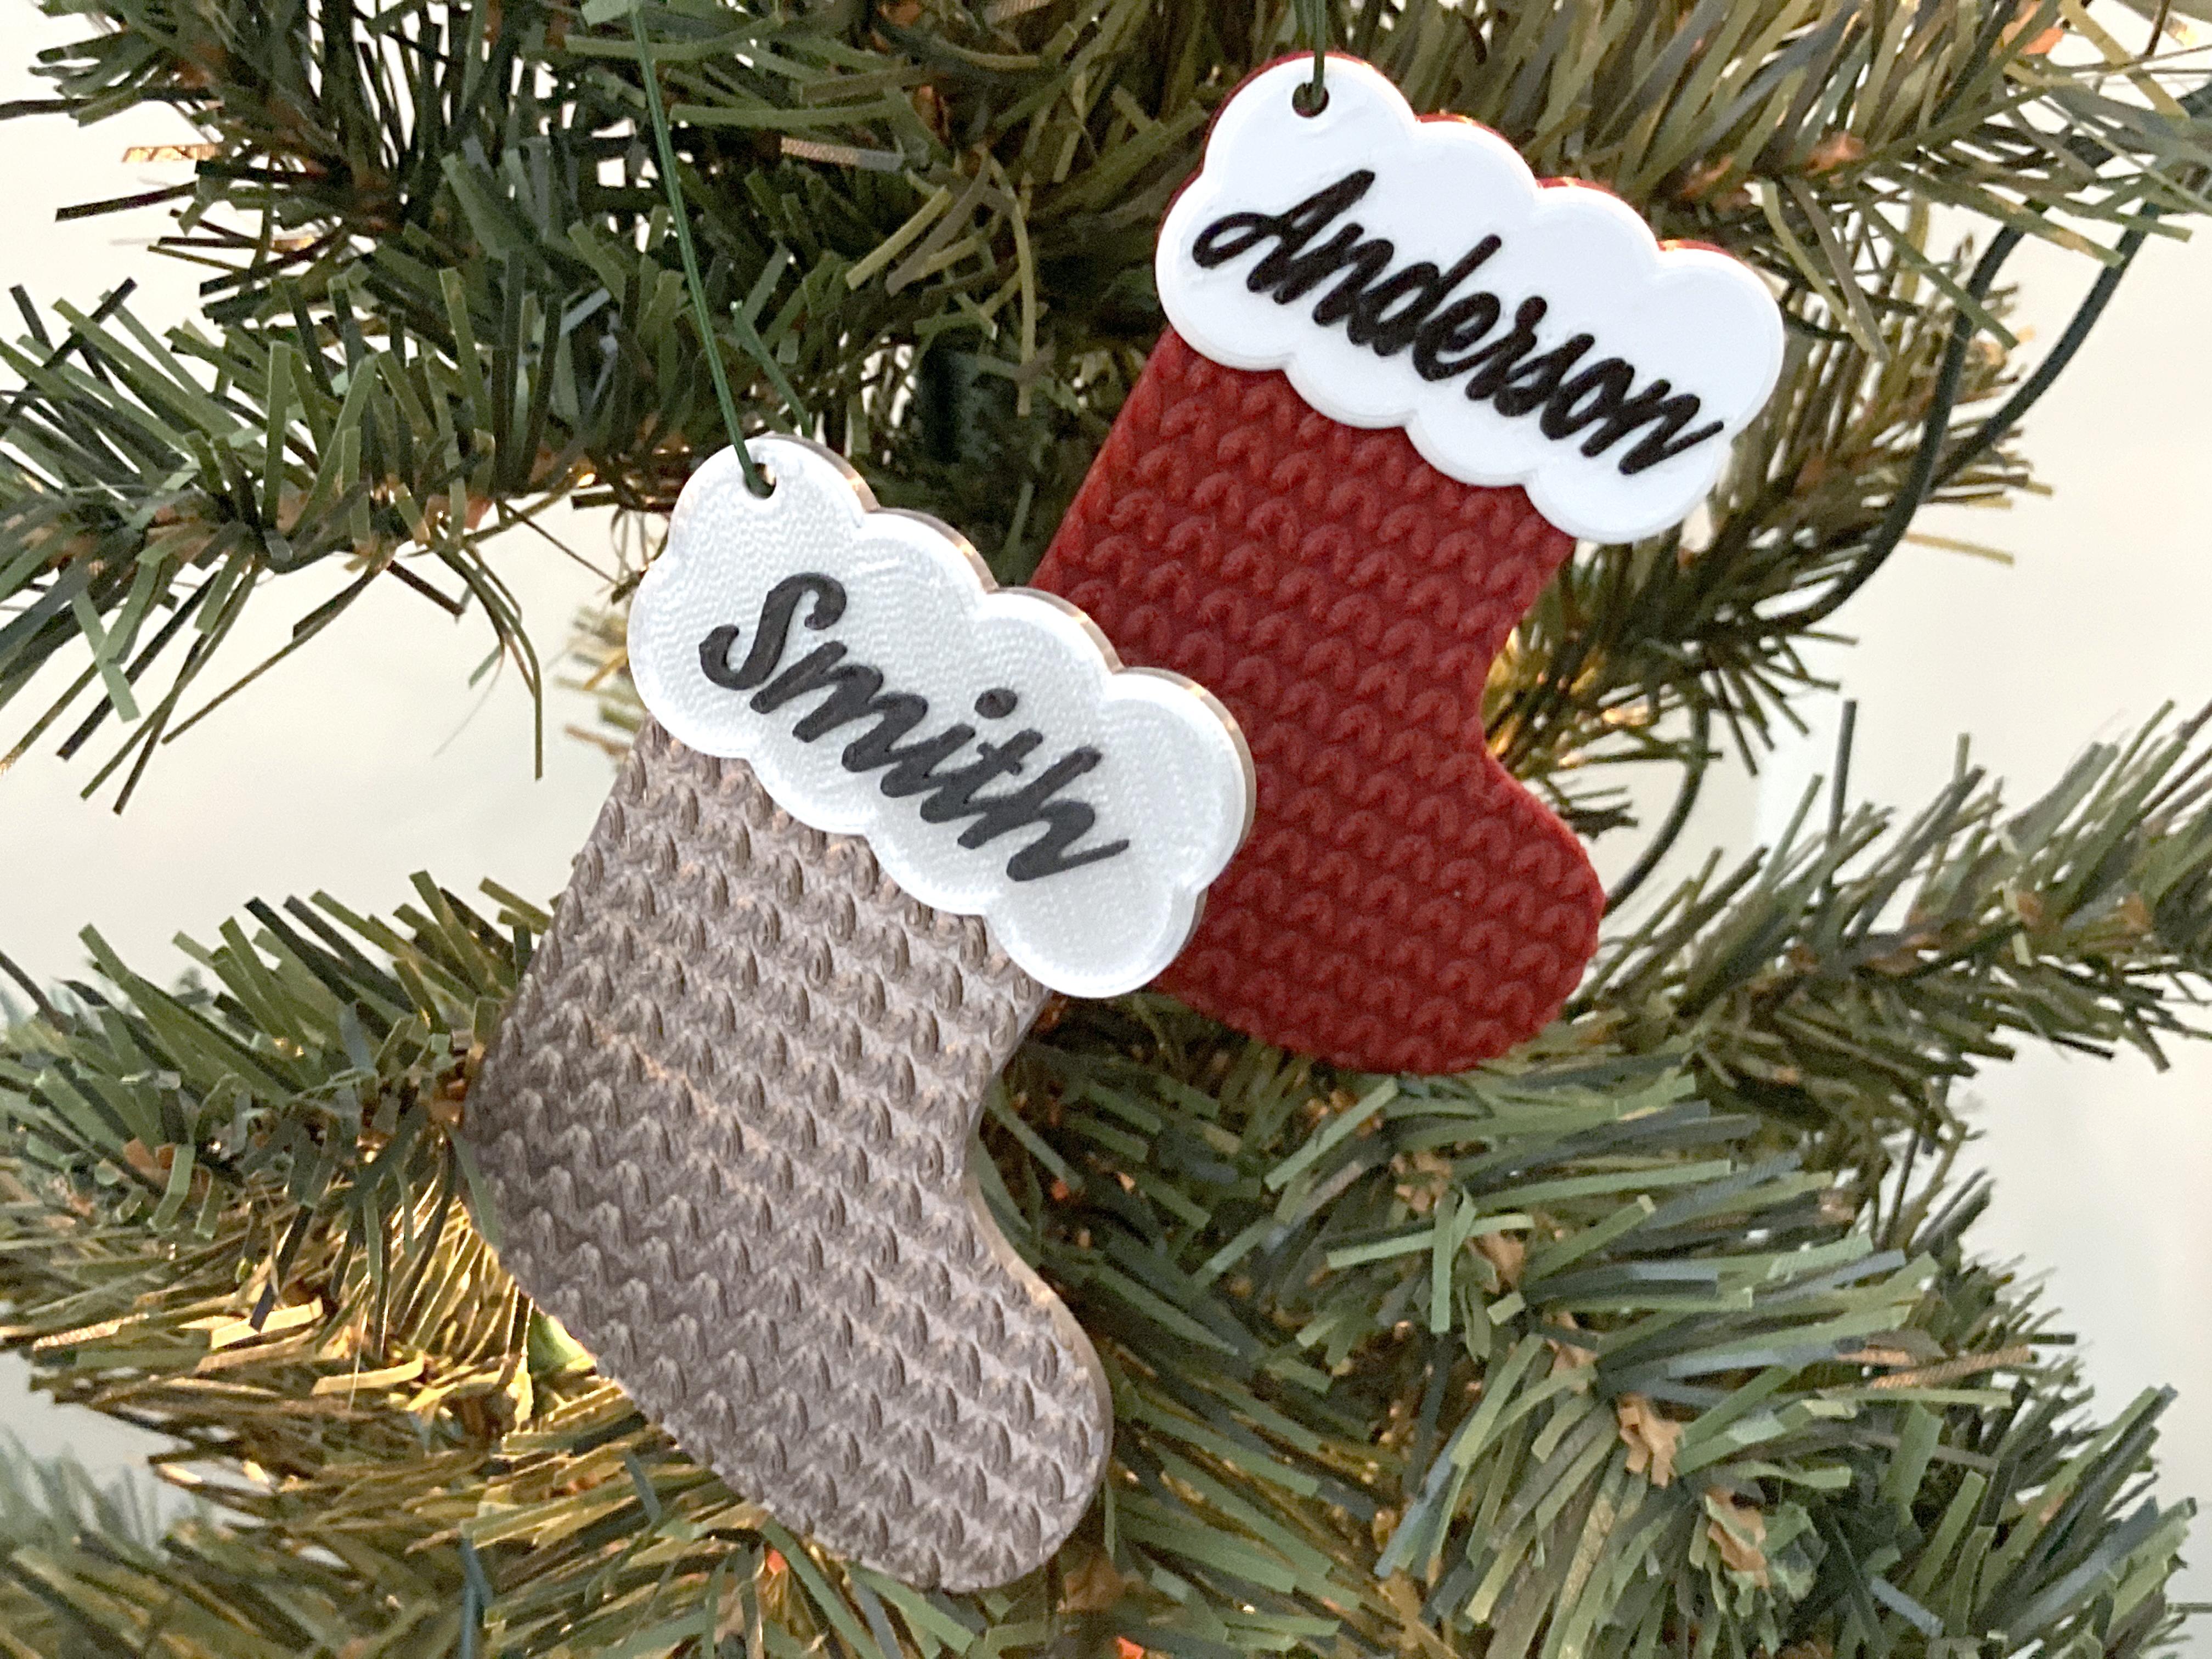
I wanted to have some fun with customizable / personalizable ornaments and came up with a simple 3D printed stocking ornament with knit detail. You can leave it blank or put your name on the top of the stocking. The color change is simple as it's done between layers.
Instructable 366
 Check out my shop on Etsy! You can also purchase customized stocking ornaments in my Etsy shop.
Supplies
- Tinkercad - for designing and customizing your own stocking
- 3D Printer - I use a Prusa MK3 with an MMU2 but an MMU2 is not required to print this
- Filament
- Iron Red - I like darker colors than bright, but feel free to use what you want
- White
- Black
- Dark Rose Gold
- Silky Silver - Matterhackers
- Ornament Hooks or String
- File can be found on MakerWorld. You can use the blank one and import it into Tinkercad to add text or you can add the text right on BambuSlicer.
Stocking Base
Start by making the stocking.
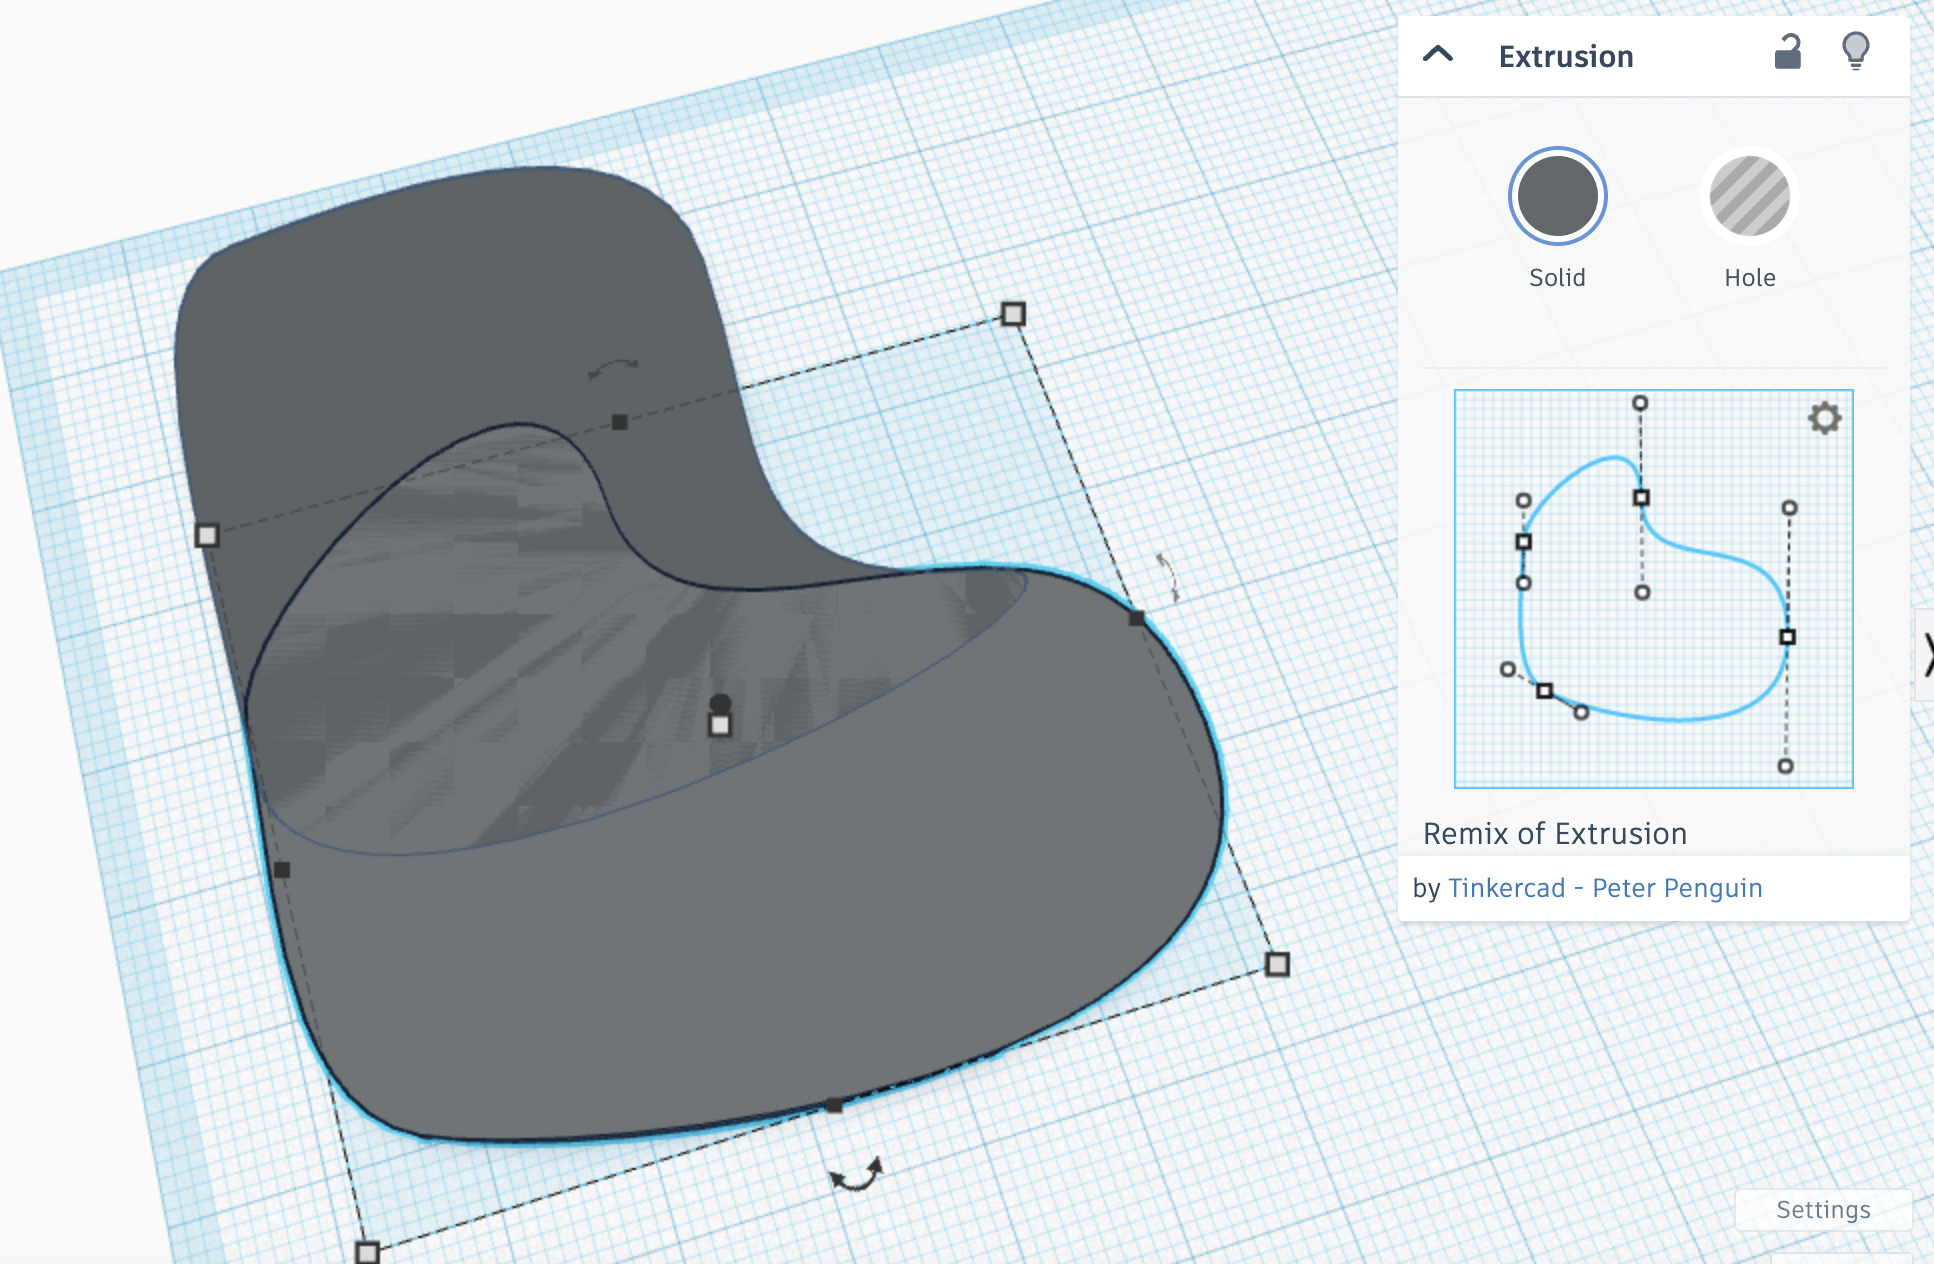
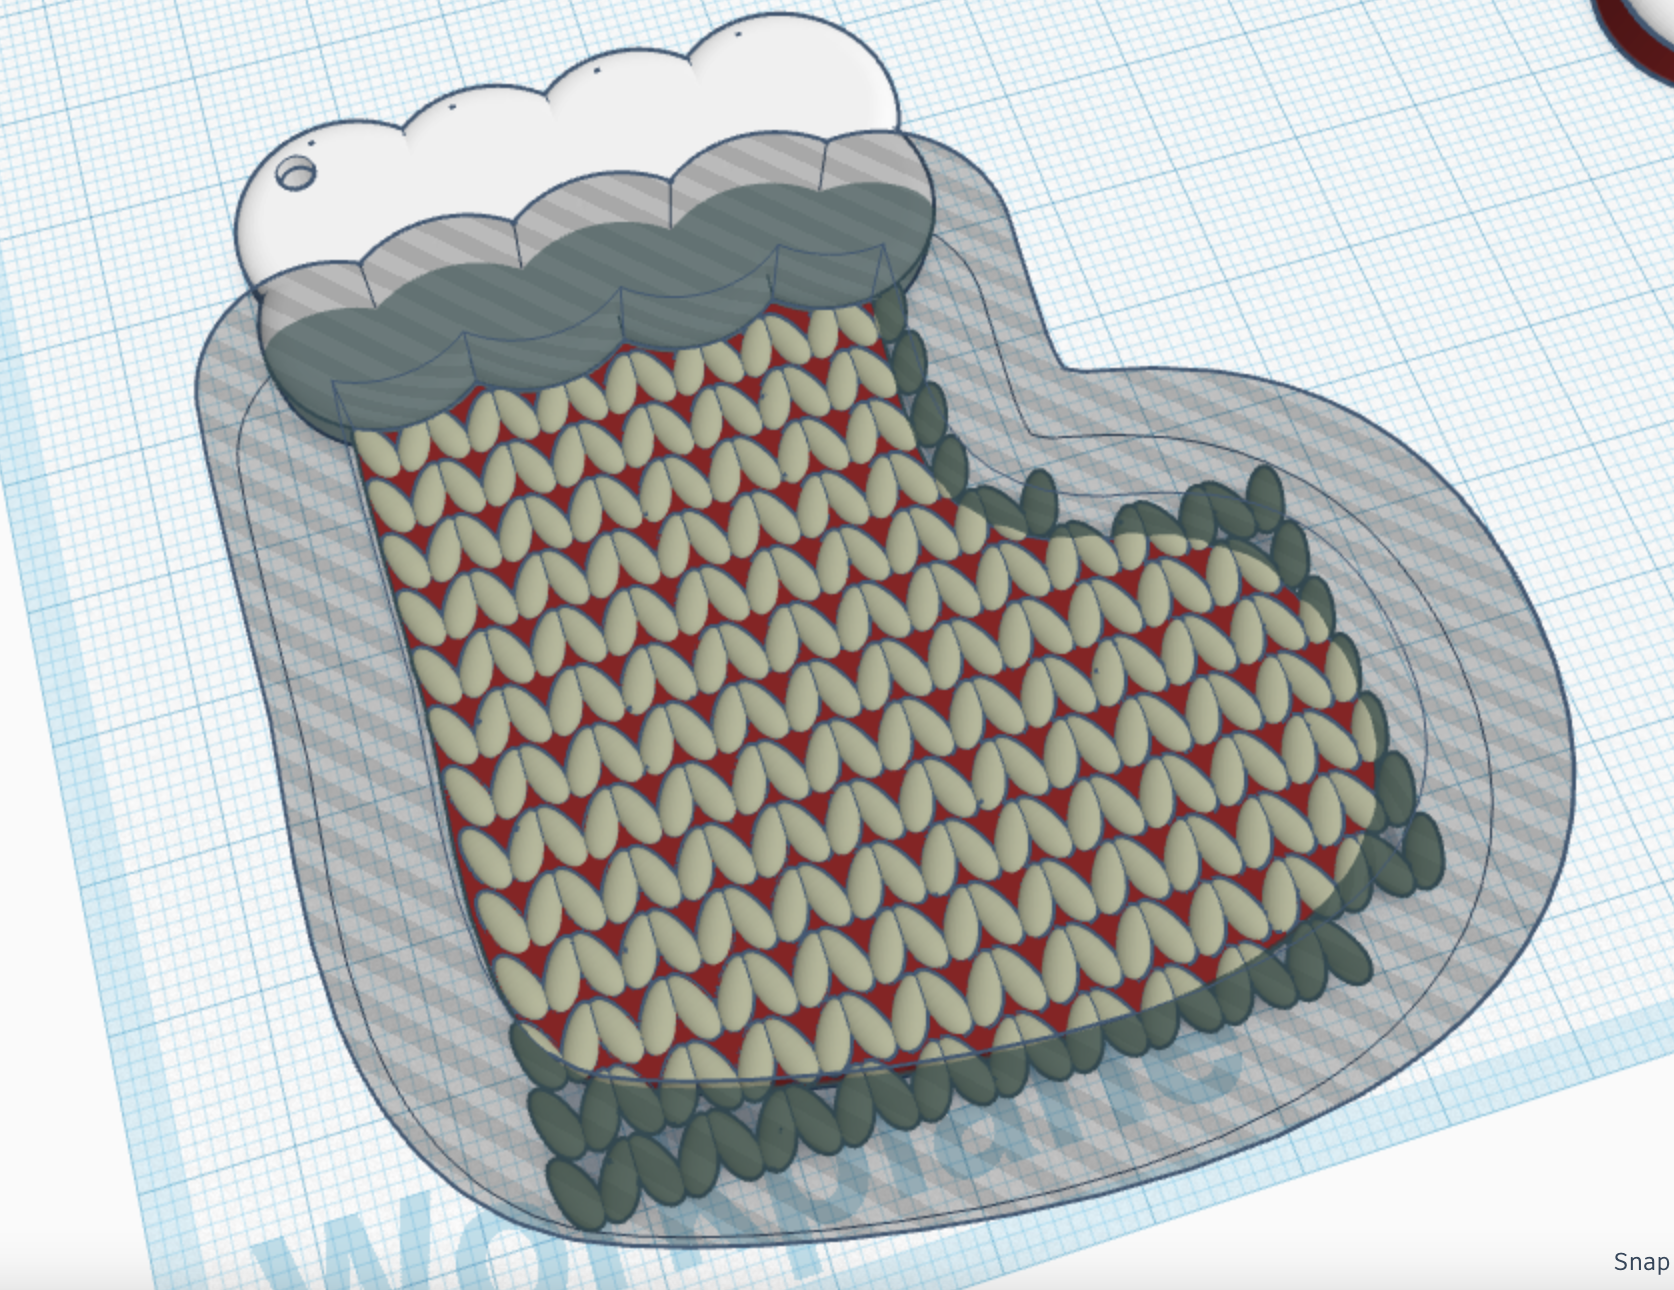
To make the main part, I decided to use the Extrusion shape from the Shape Generators section of the Tinkercad Shapes Panel. I used two pieces to get it the way I wanted. Once I had it, I exported it as an SVG and reimported it. This first simplified the shape which helps with complexity/loading issues and also gives me the nifty SVG import options.
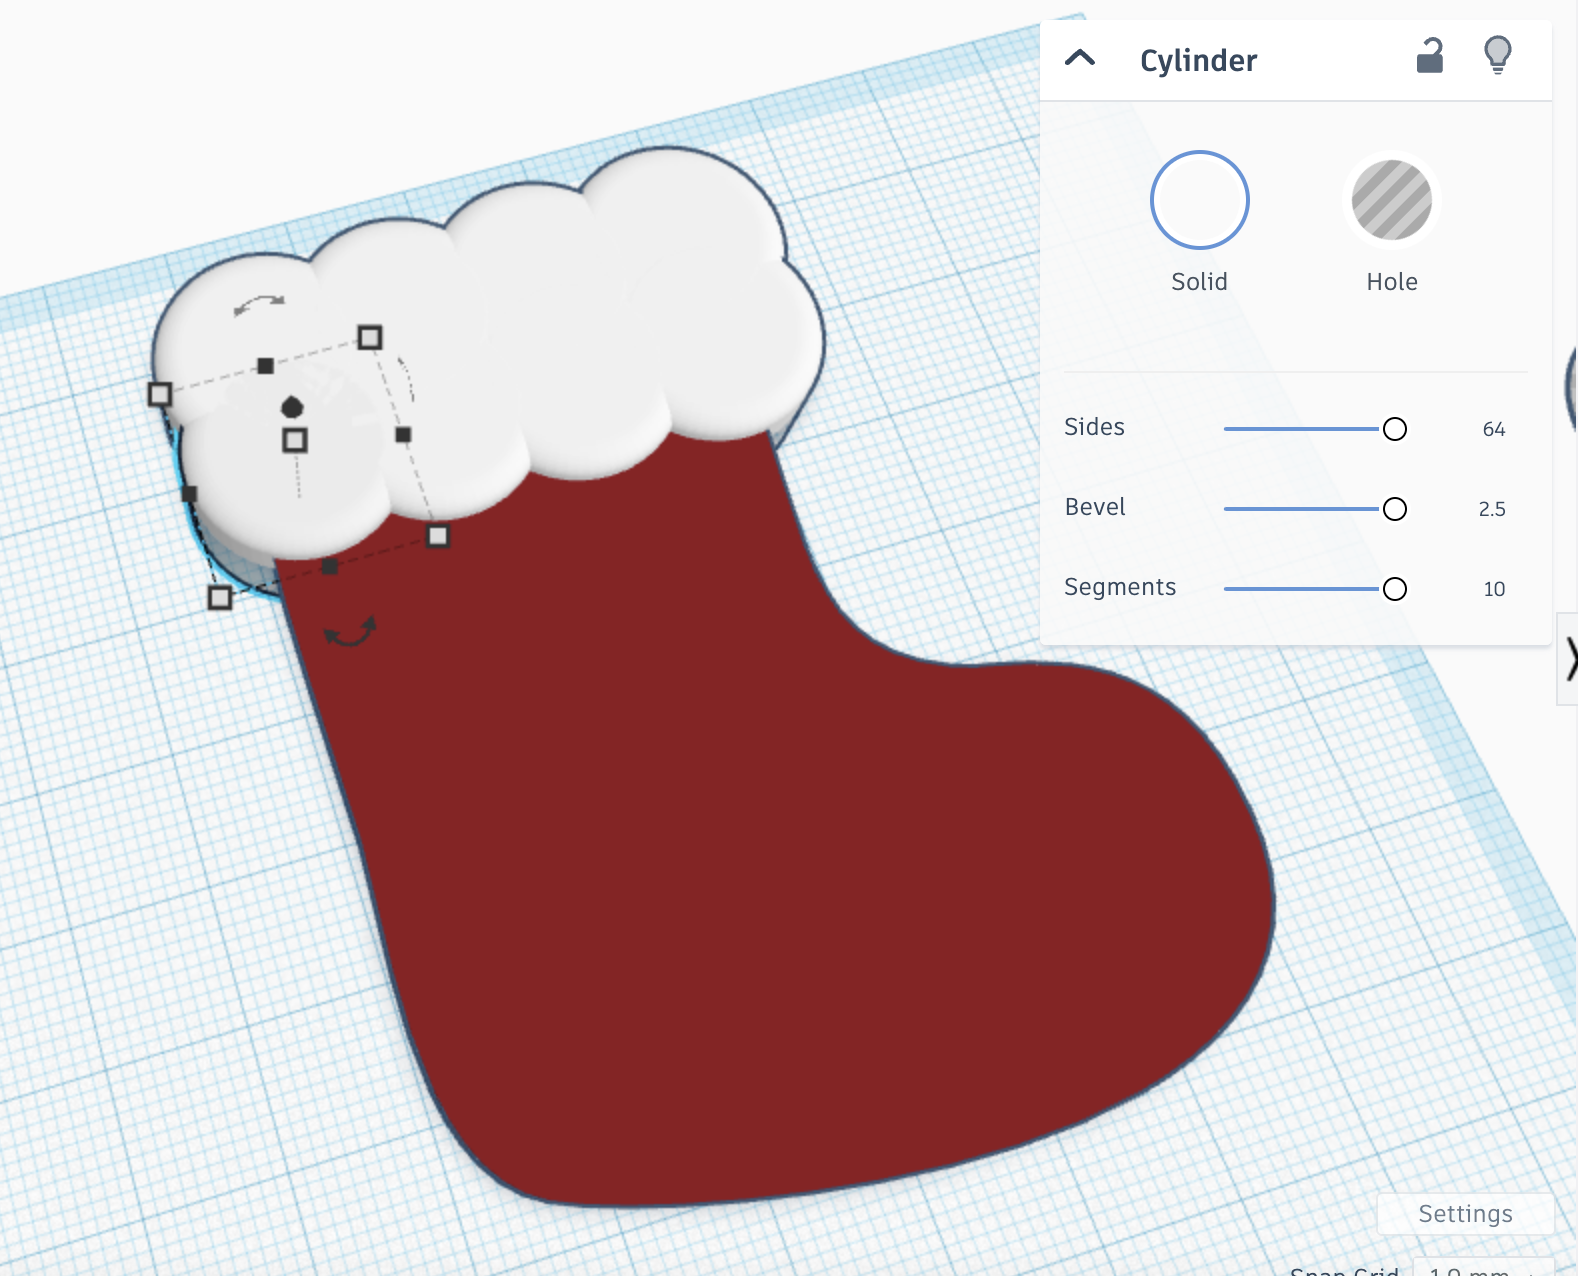
For the top of the stocking, I decided to just use cylinders but increased the Bevel to give it rounded edges. I brought it below the workplane and cut off the bottom so the back of the stocking would still be flat and not have any overhang issues. I also brought this up above the stocking both for looks and for printing later (changing colors between layers).
Stocking Detail
Next is the details!
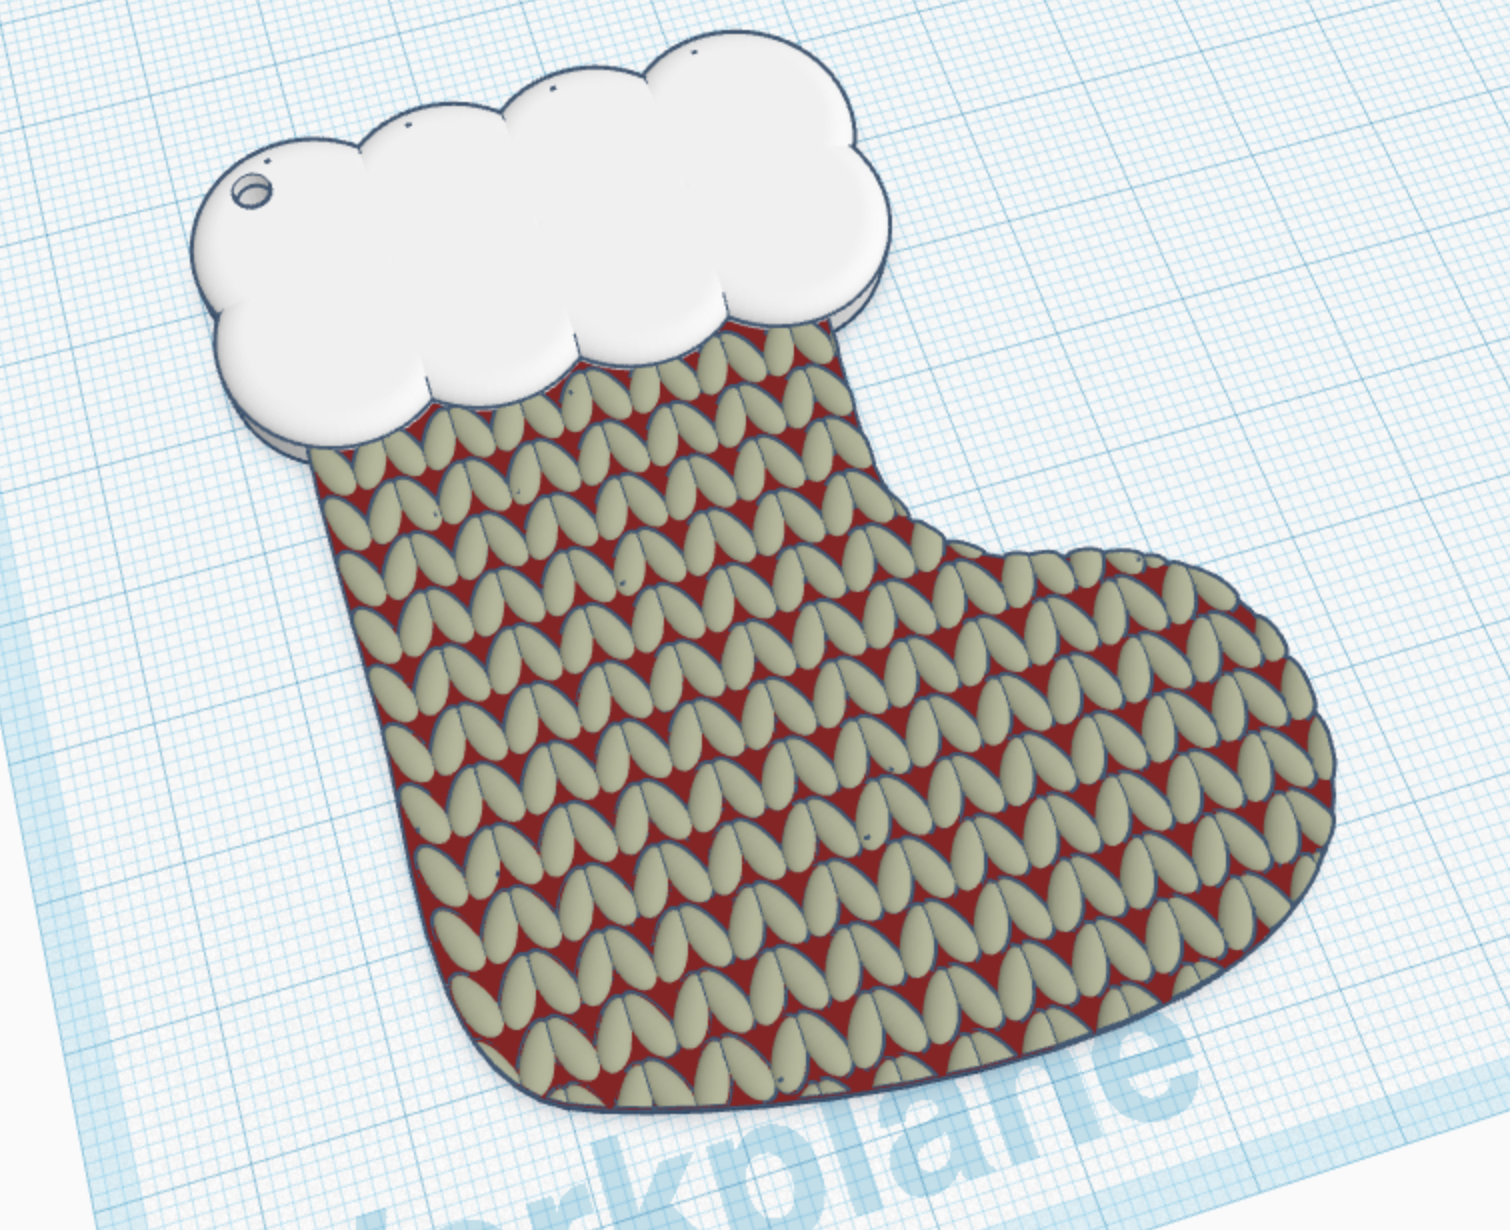
You can decorate the stocking in any way you want. You can make it so it comes out the stocking color, like me, or layer it up so that it comes out the same color as the stocking fluff and stands out from the background.
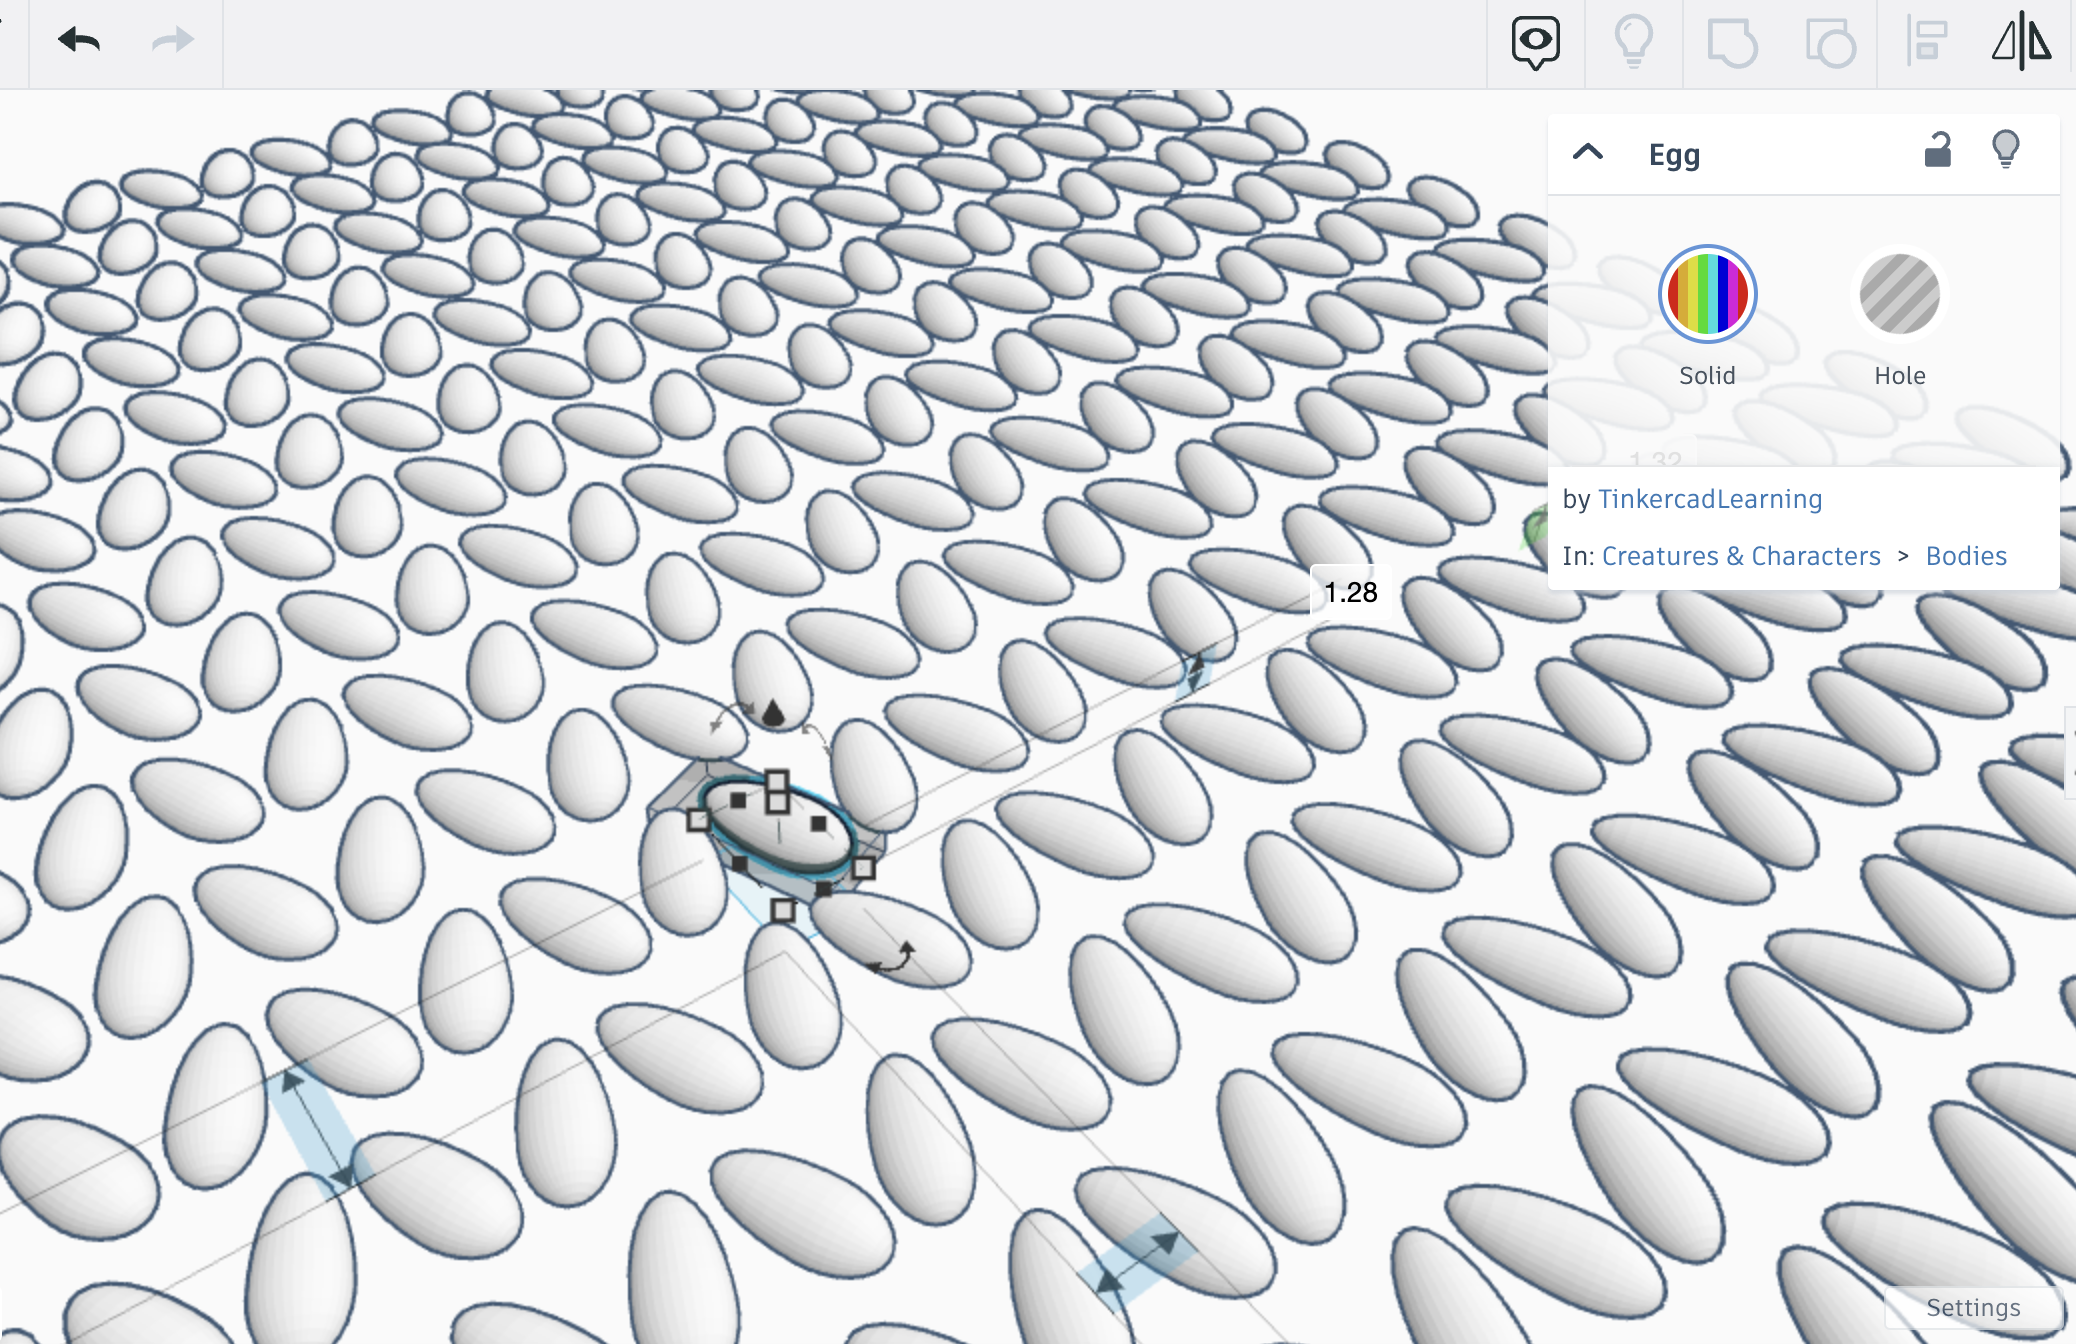
Originally, i printed it with no design and it was pretty plain. After talking to jessyratfink, I decided I needed something on it and imitated a knit pattern using the Egg shape. Because of all the shapes, it takes a long time to load, but I like the way it looks.
Once I had the repeating pattern, I laid it on top of the stocking. To cut it out, I used the handy SVG options and created an Outer Line of the stocking and made it large enough to cut off the excess.
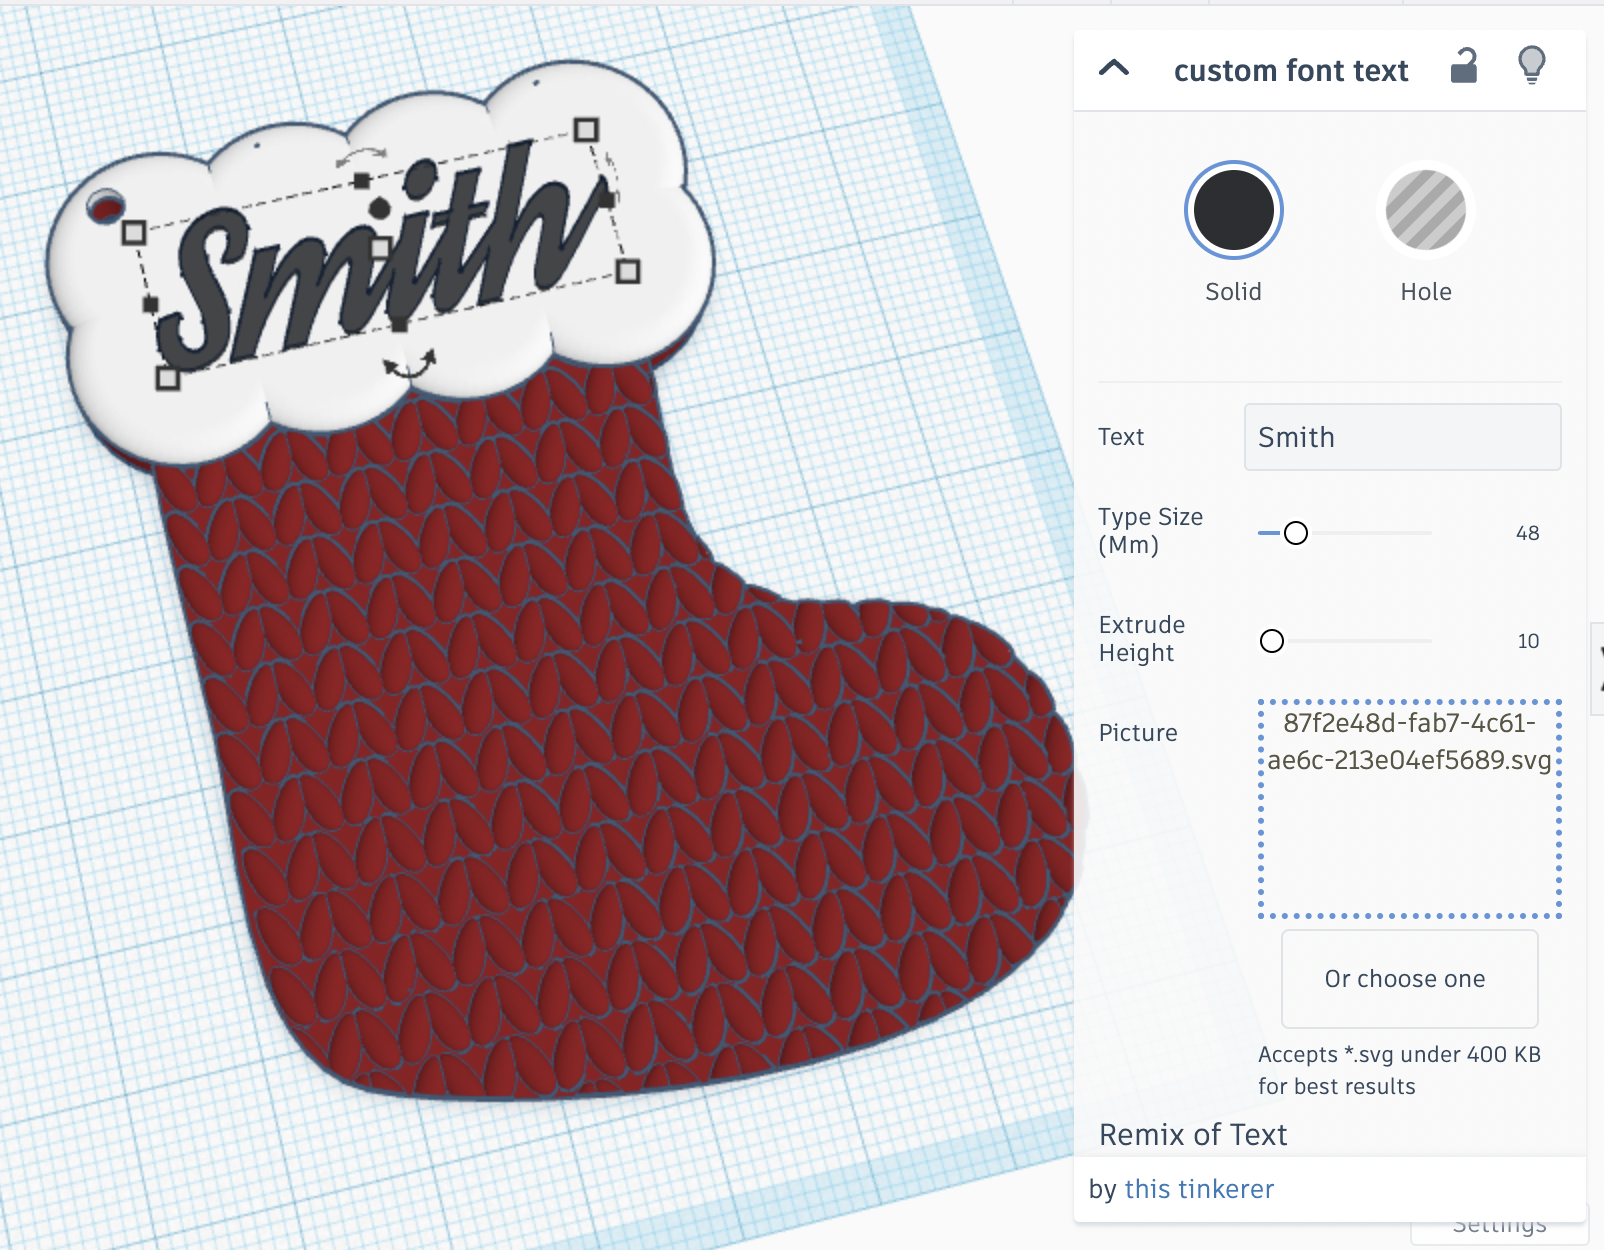
After that, I just needed to add a name and I was done!
I used the Shape Generators Custom Text Font to import a custom font (which I talk about in an Instructable from last year).
Printing!
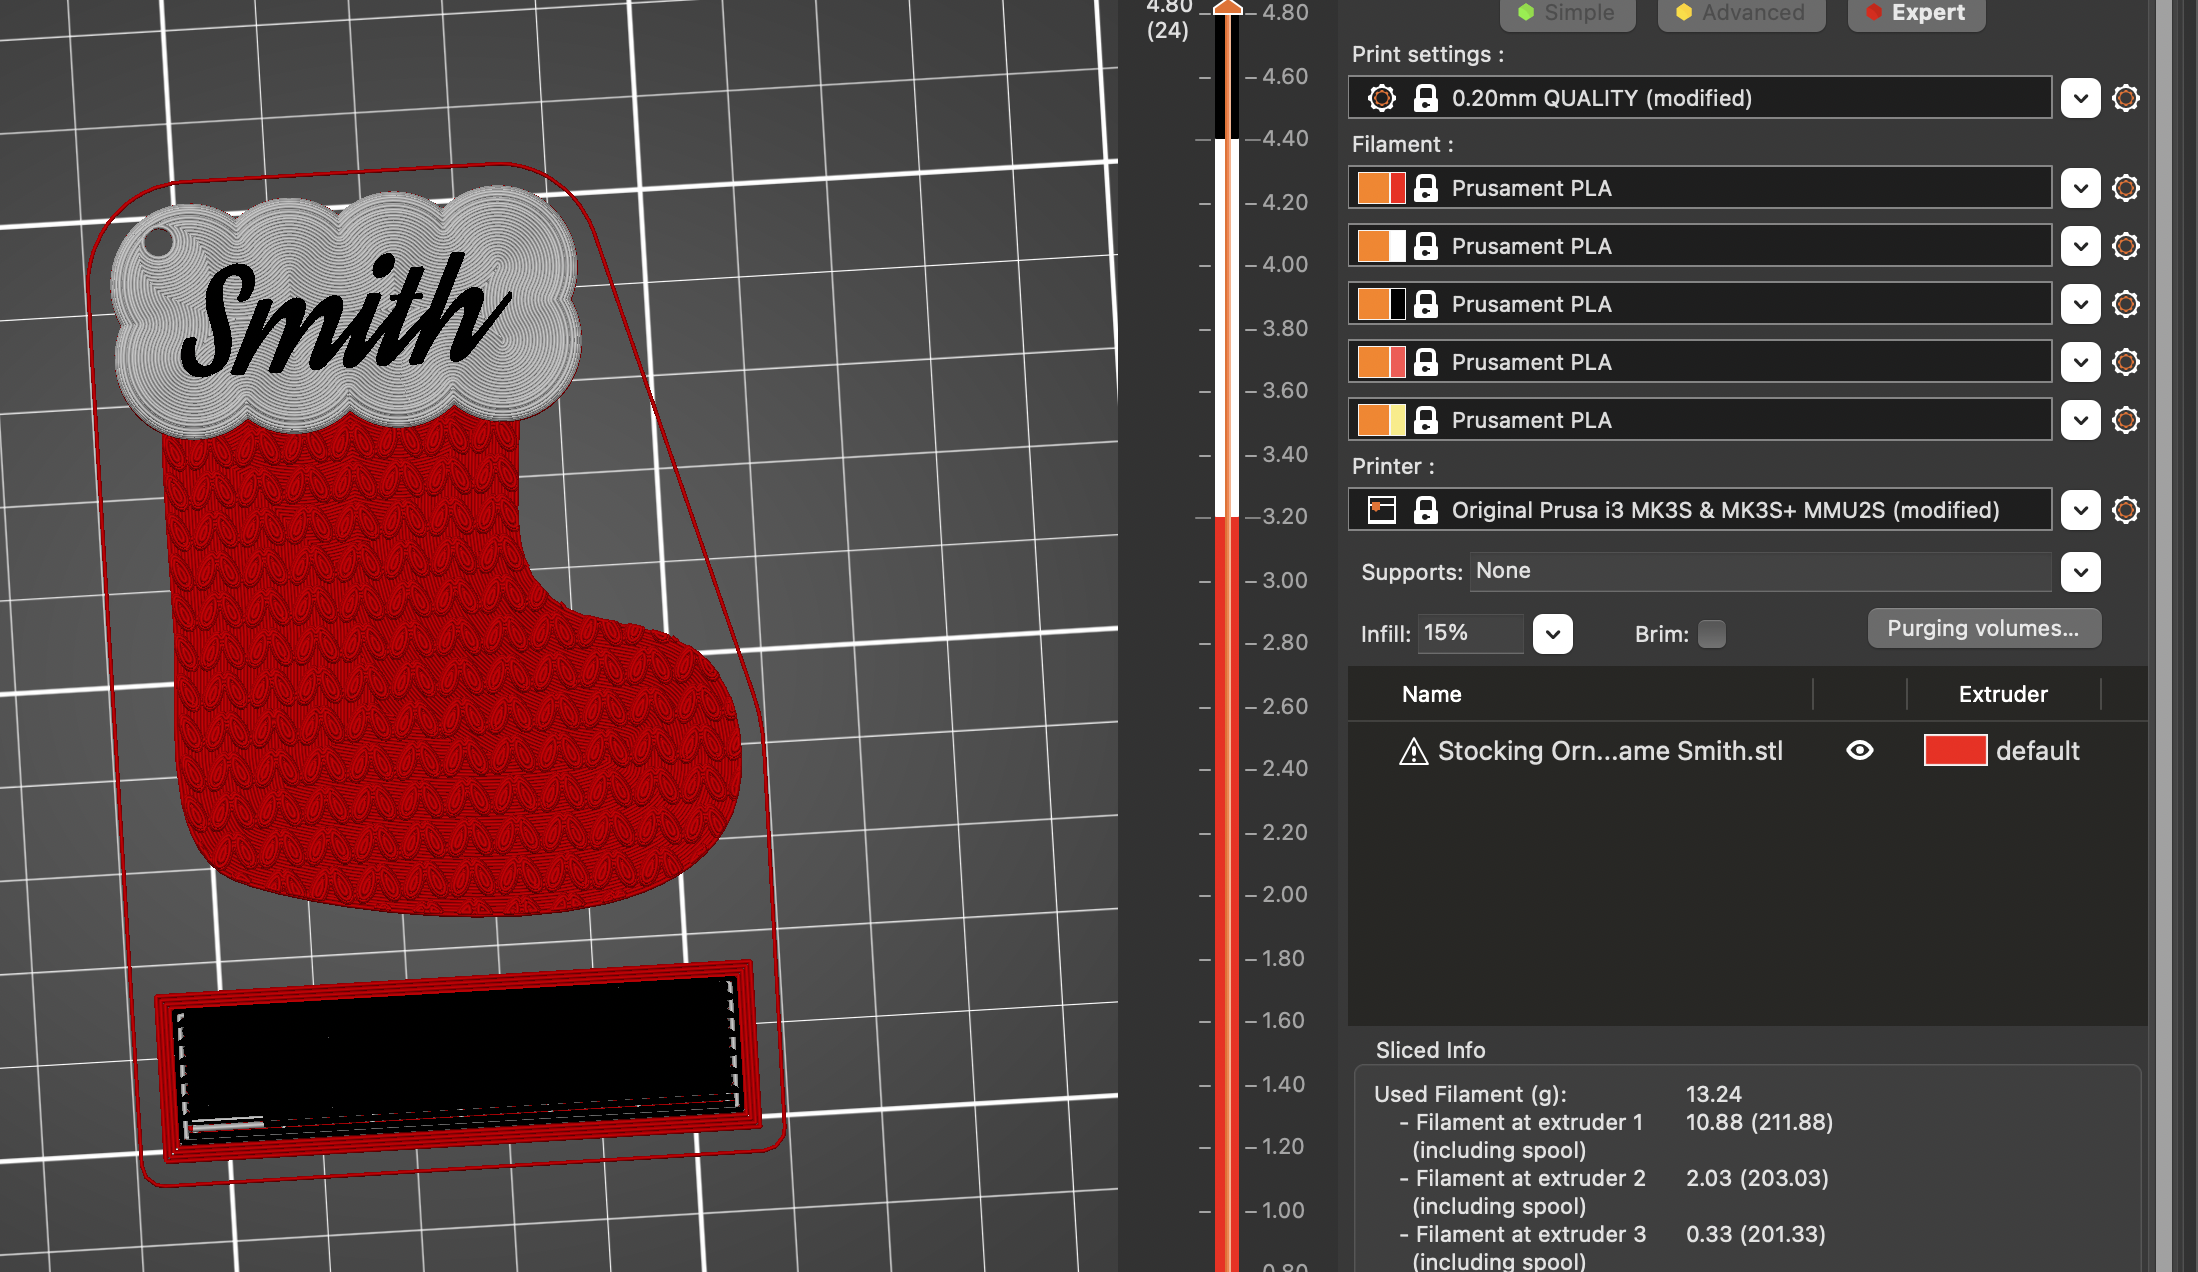
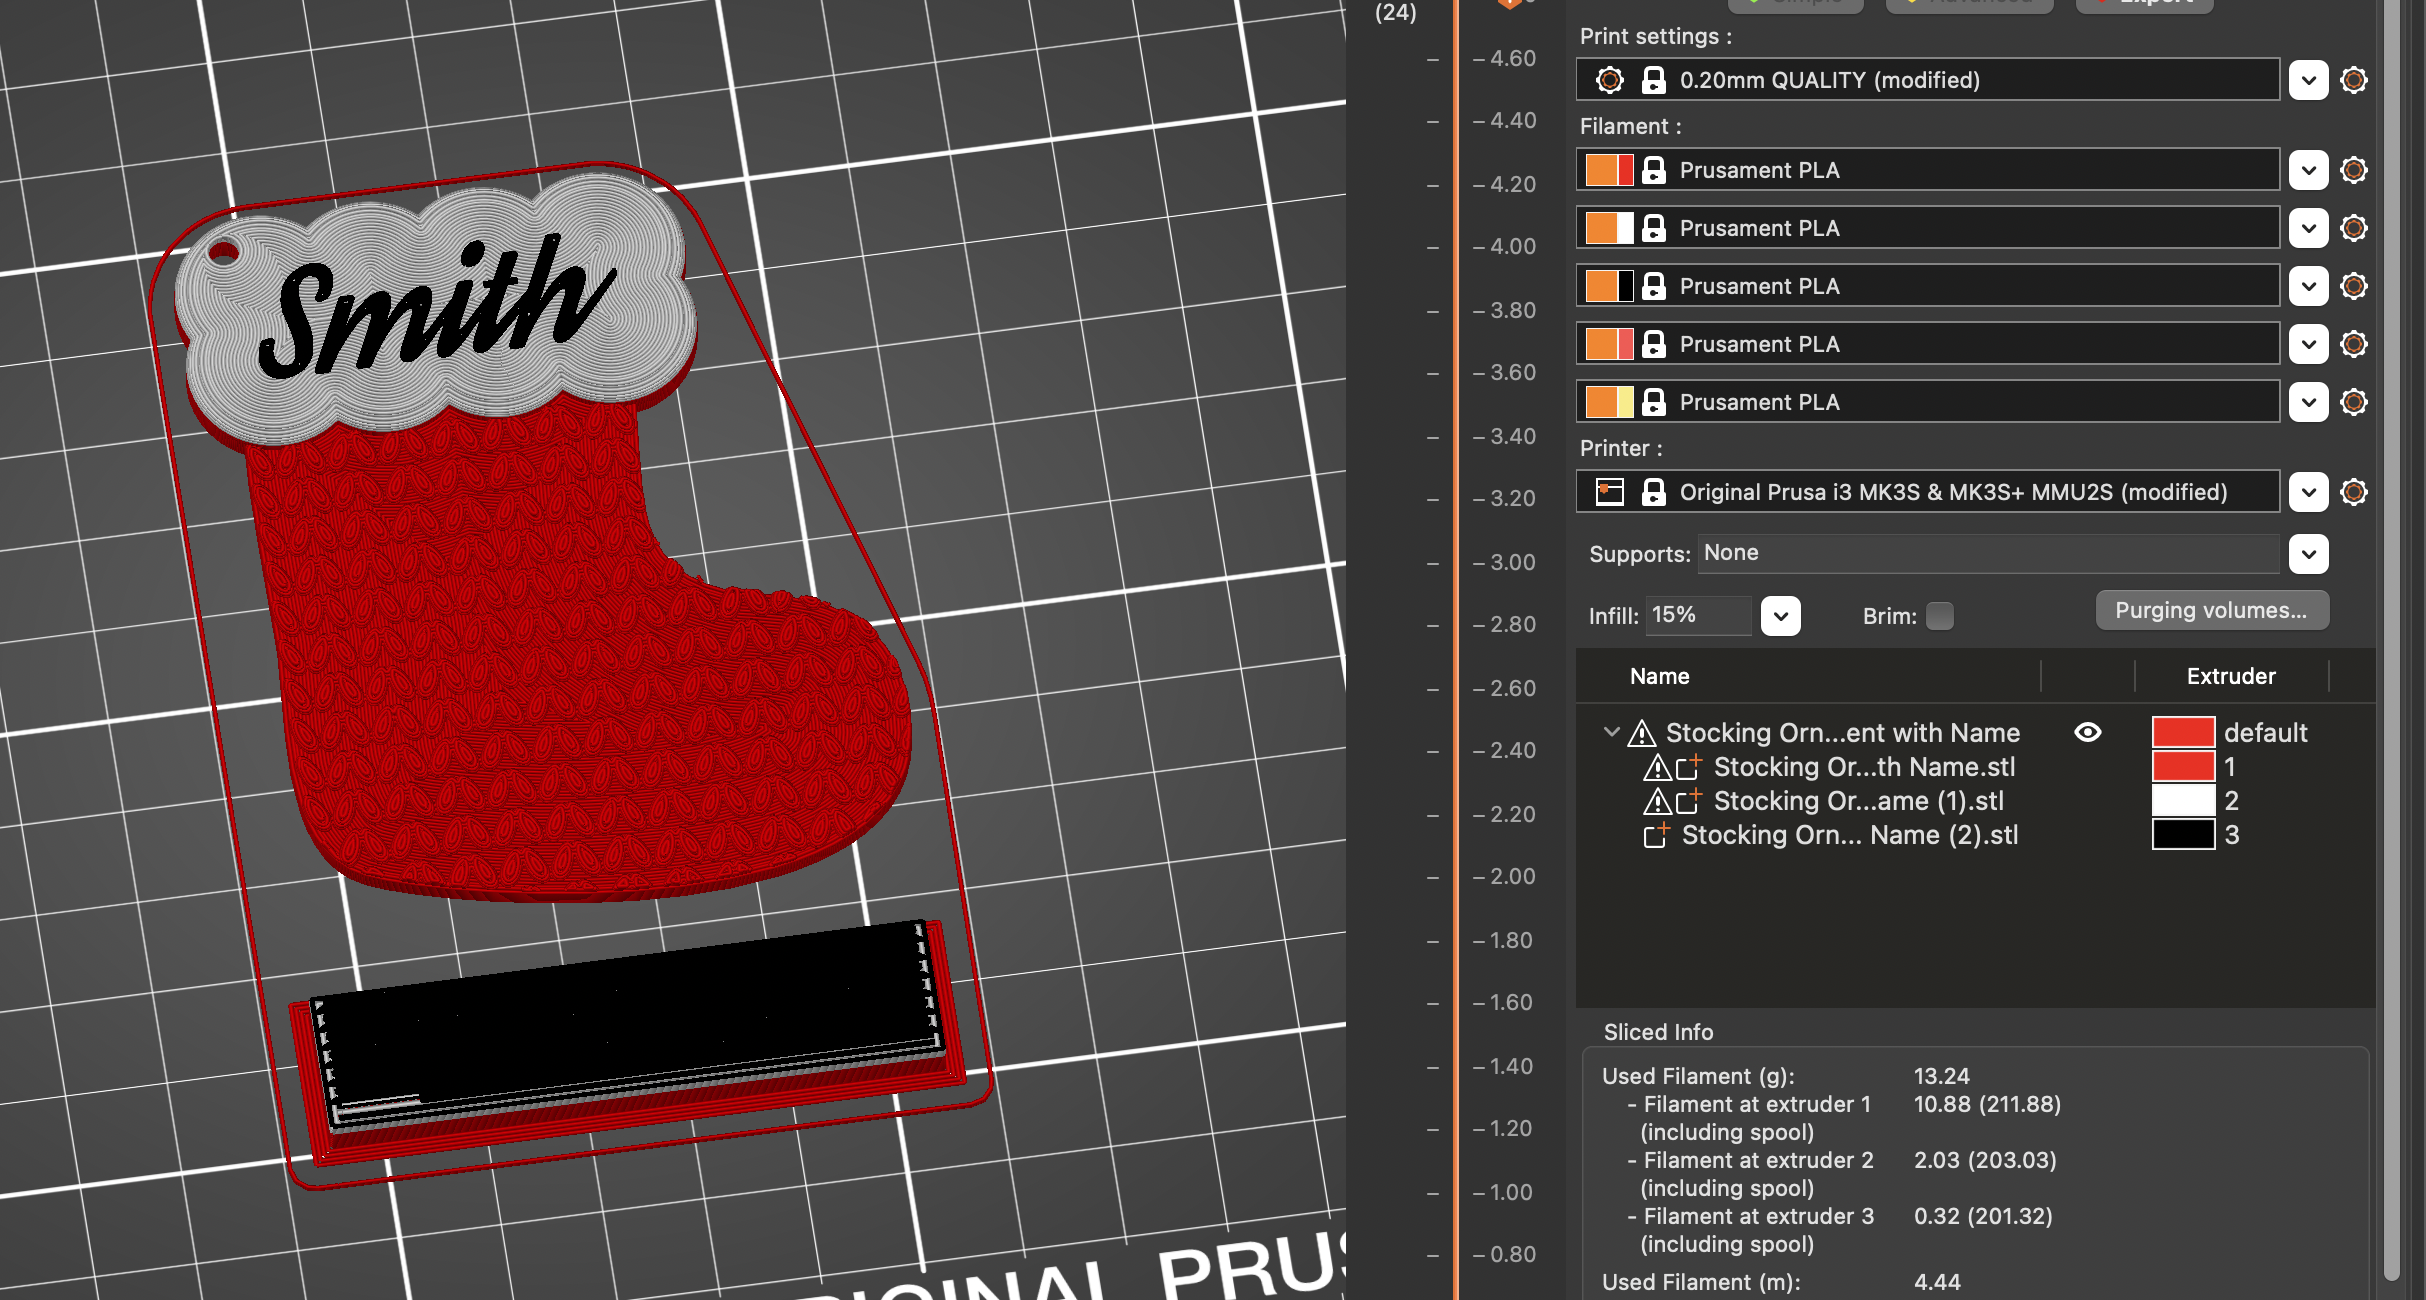
The best and easiest way to print this stocking is by changing colors between layers. I tried a version where I changed colors between sections because I have an MMU2 but not only does this take longer and leave more opportunity for error, but it also greatly reduces how sturdy it is. The top of the stocking and bottom will just snap apart. I did some tests and you'd have to do a tab going from the top of the stocking to the bottom (or bottom to the top) in order to interconnect the pieces if you want to print this way. But, again, it's going to add extra time without making it worth it.
The other main issue with doing the whole thing multicolored is it is a HUGE pain to try to wipe between white and red so it is almost impossible to get good white in the layers where red is also printed.
Remember, you don't need a multimedia printer to print this stocking. You just have to add color changes between layers in your Slicer.
If you have the option, I recommend Ironing the Topmost Layer Only so that the name looks filled in.
It should take just over an hour to print one.
Enjoy
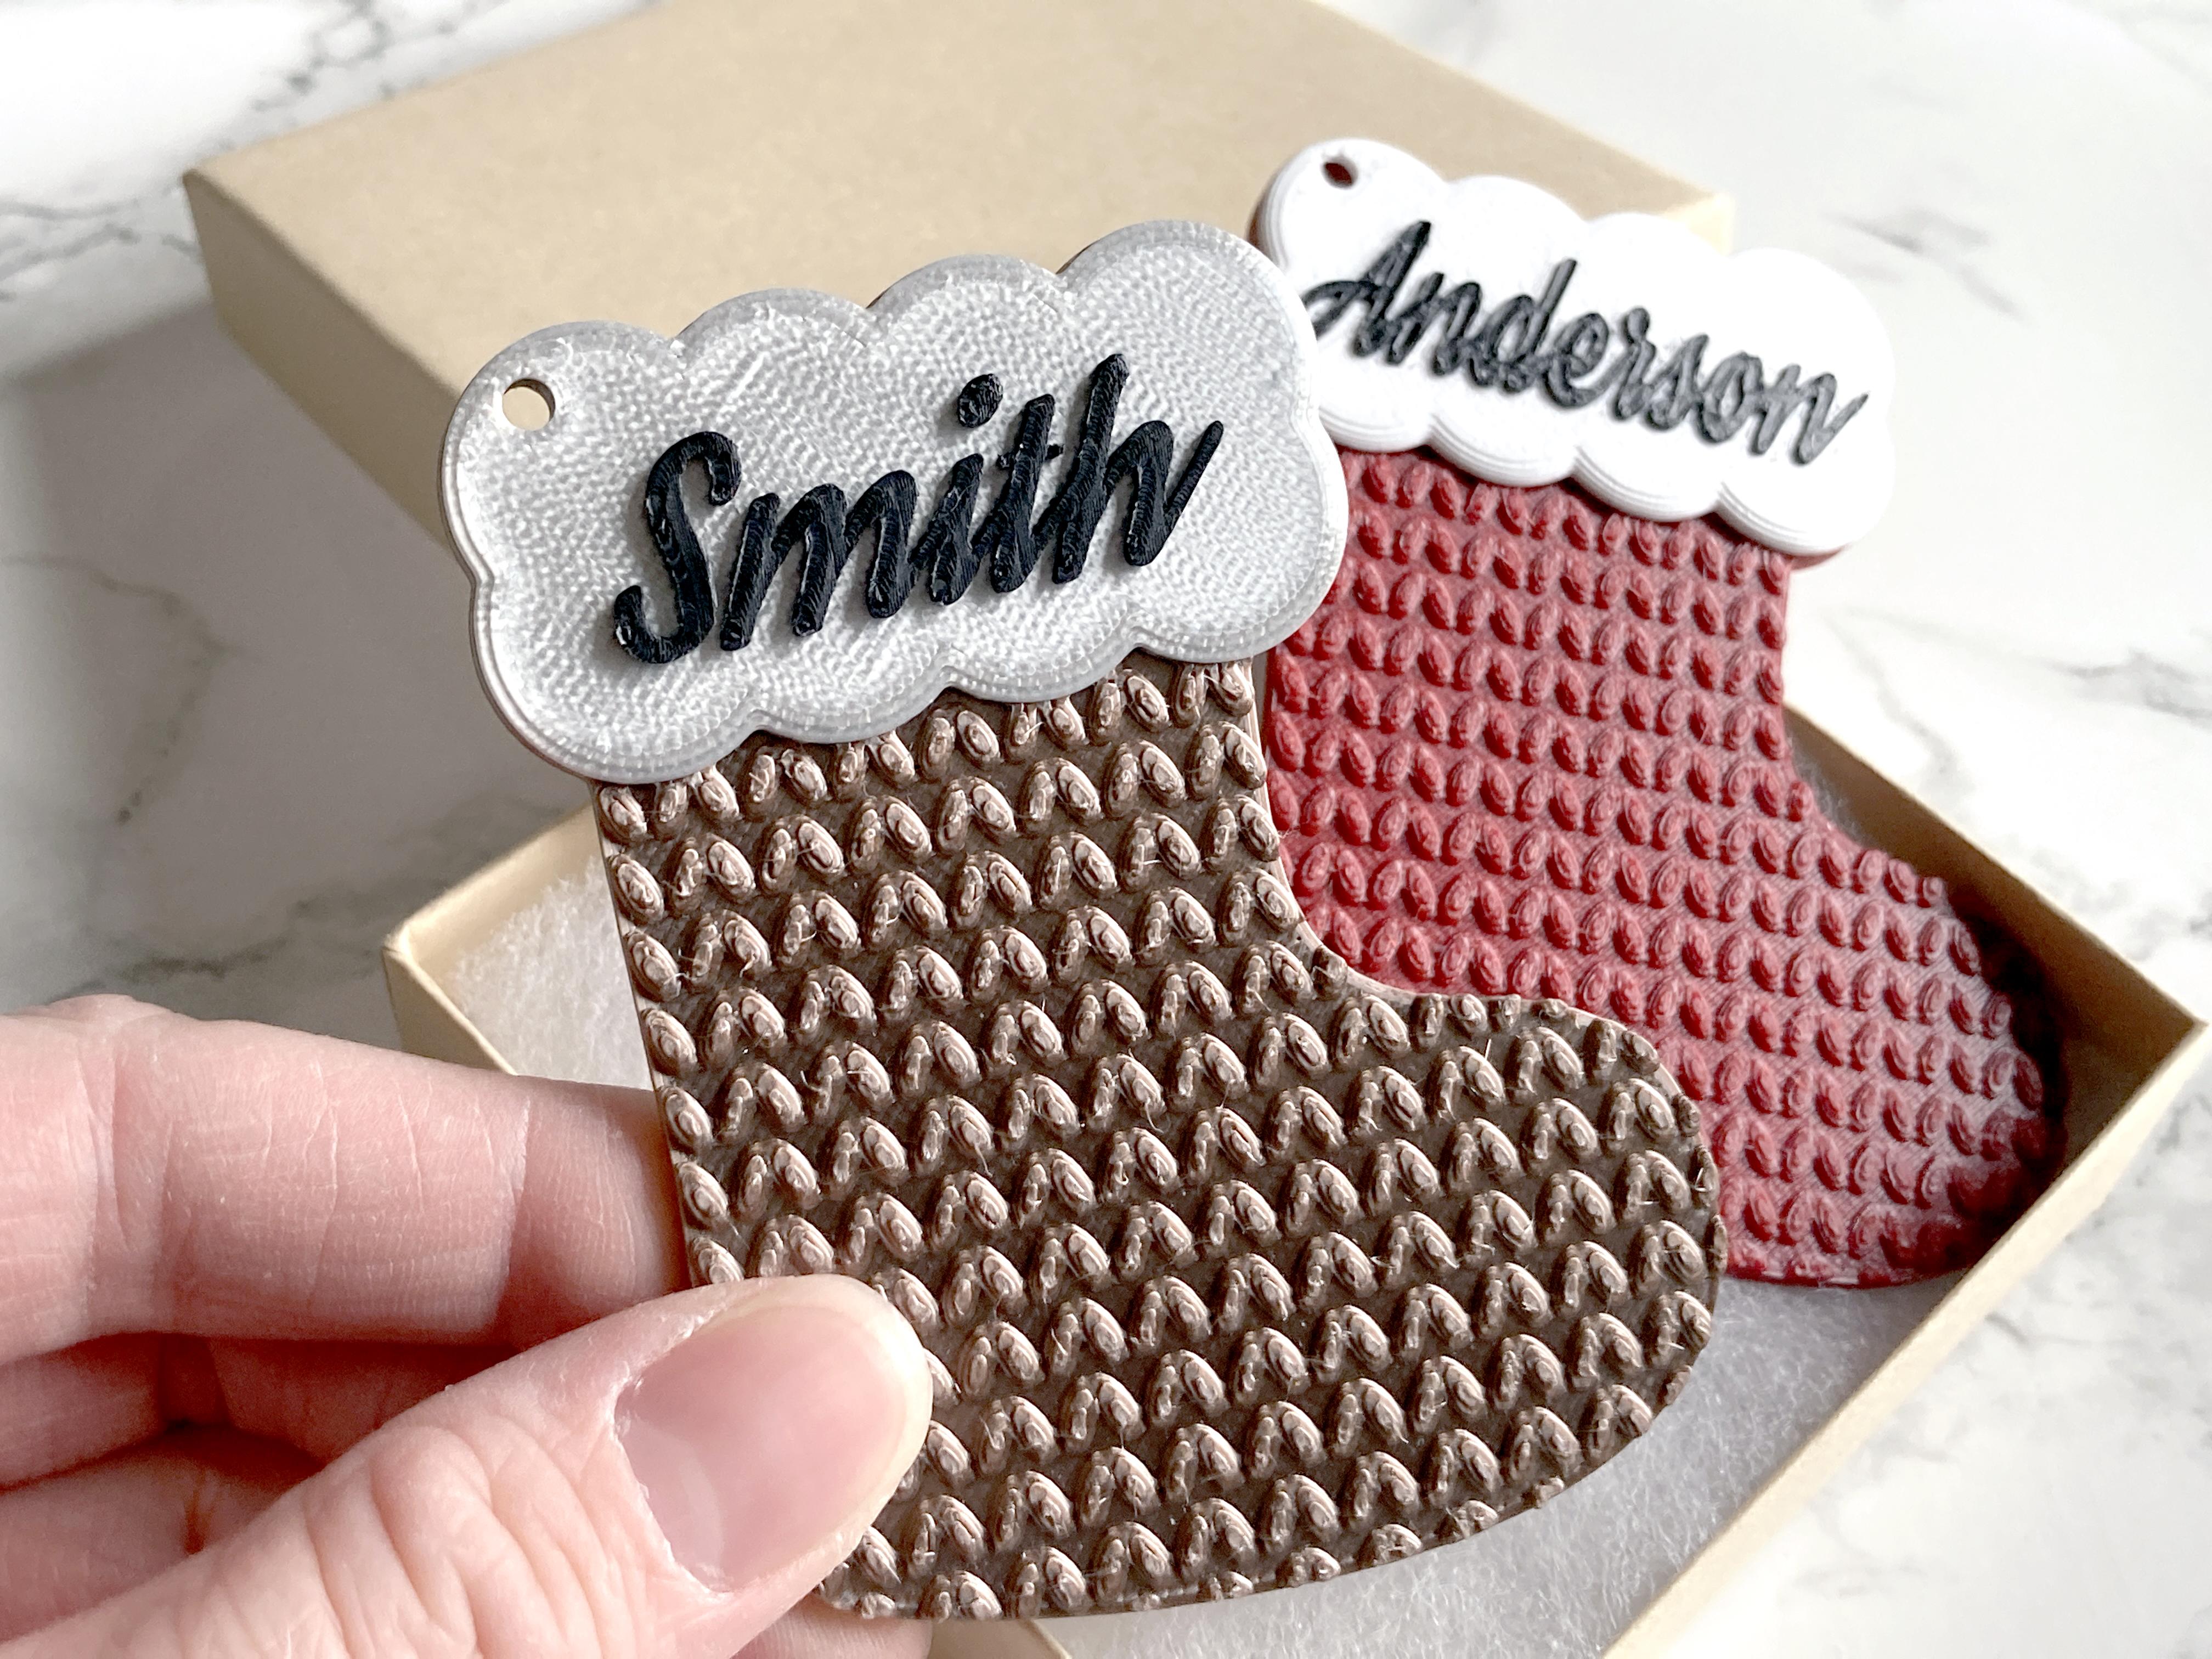
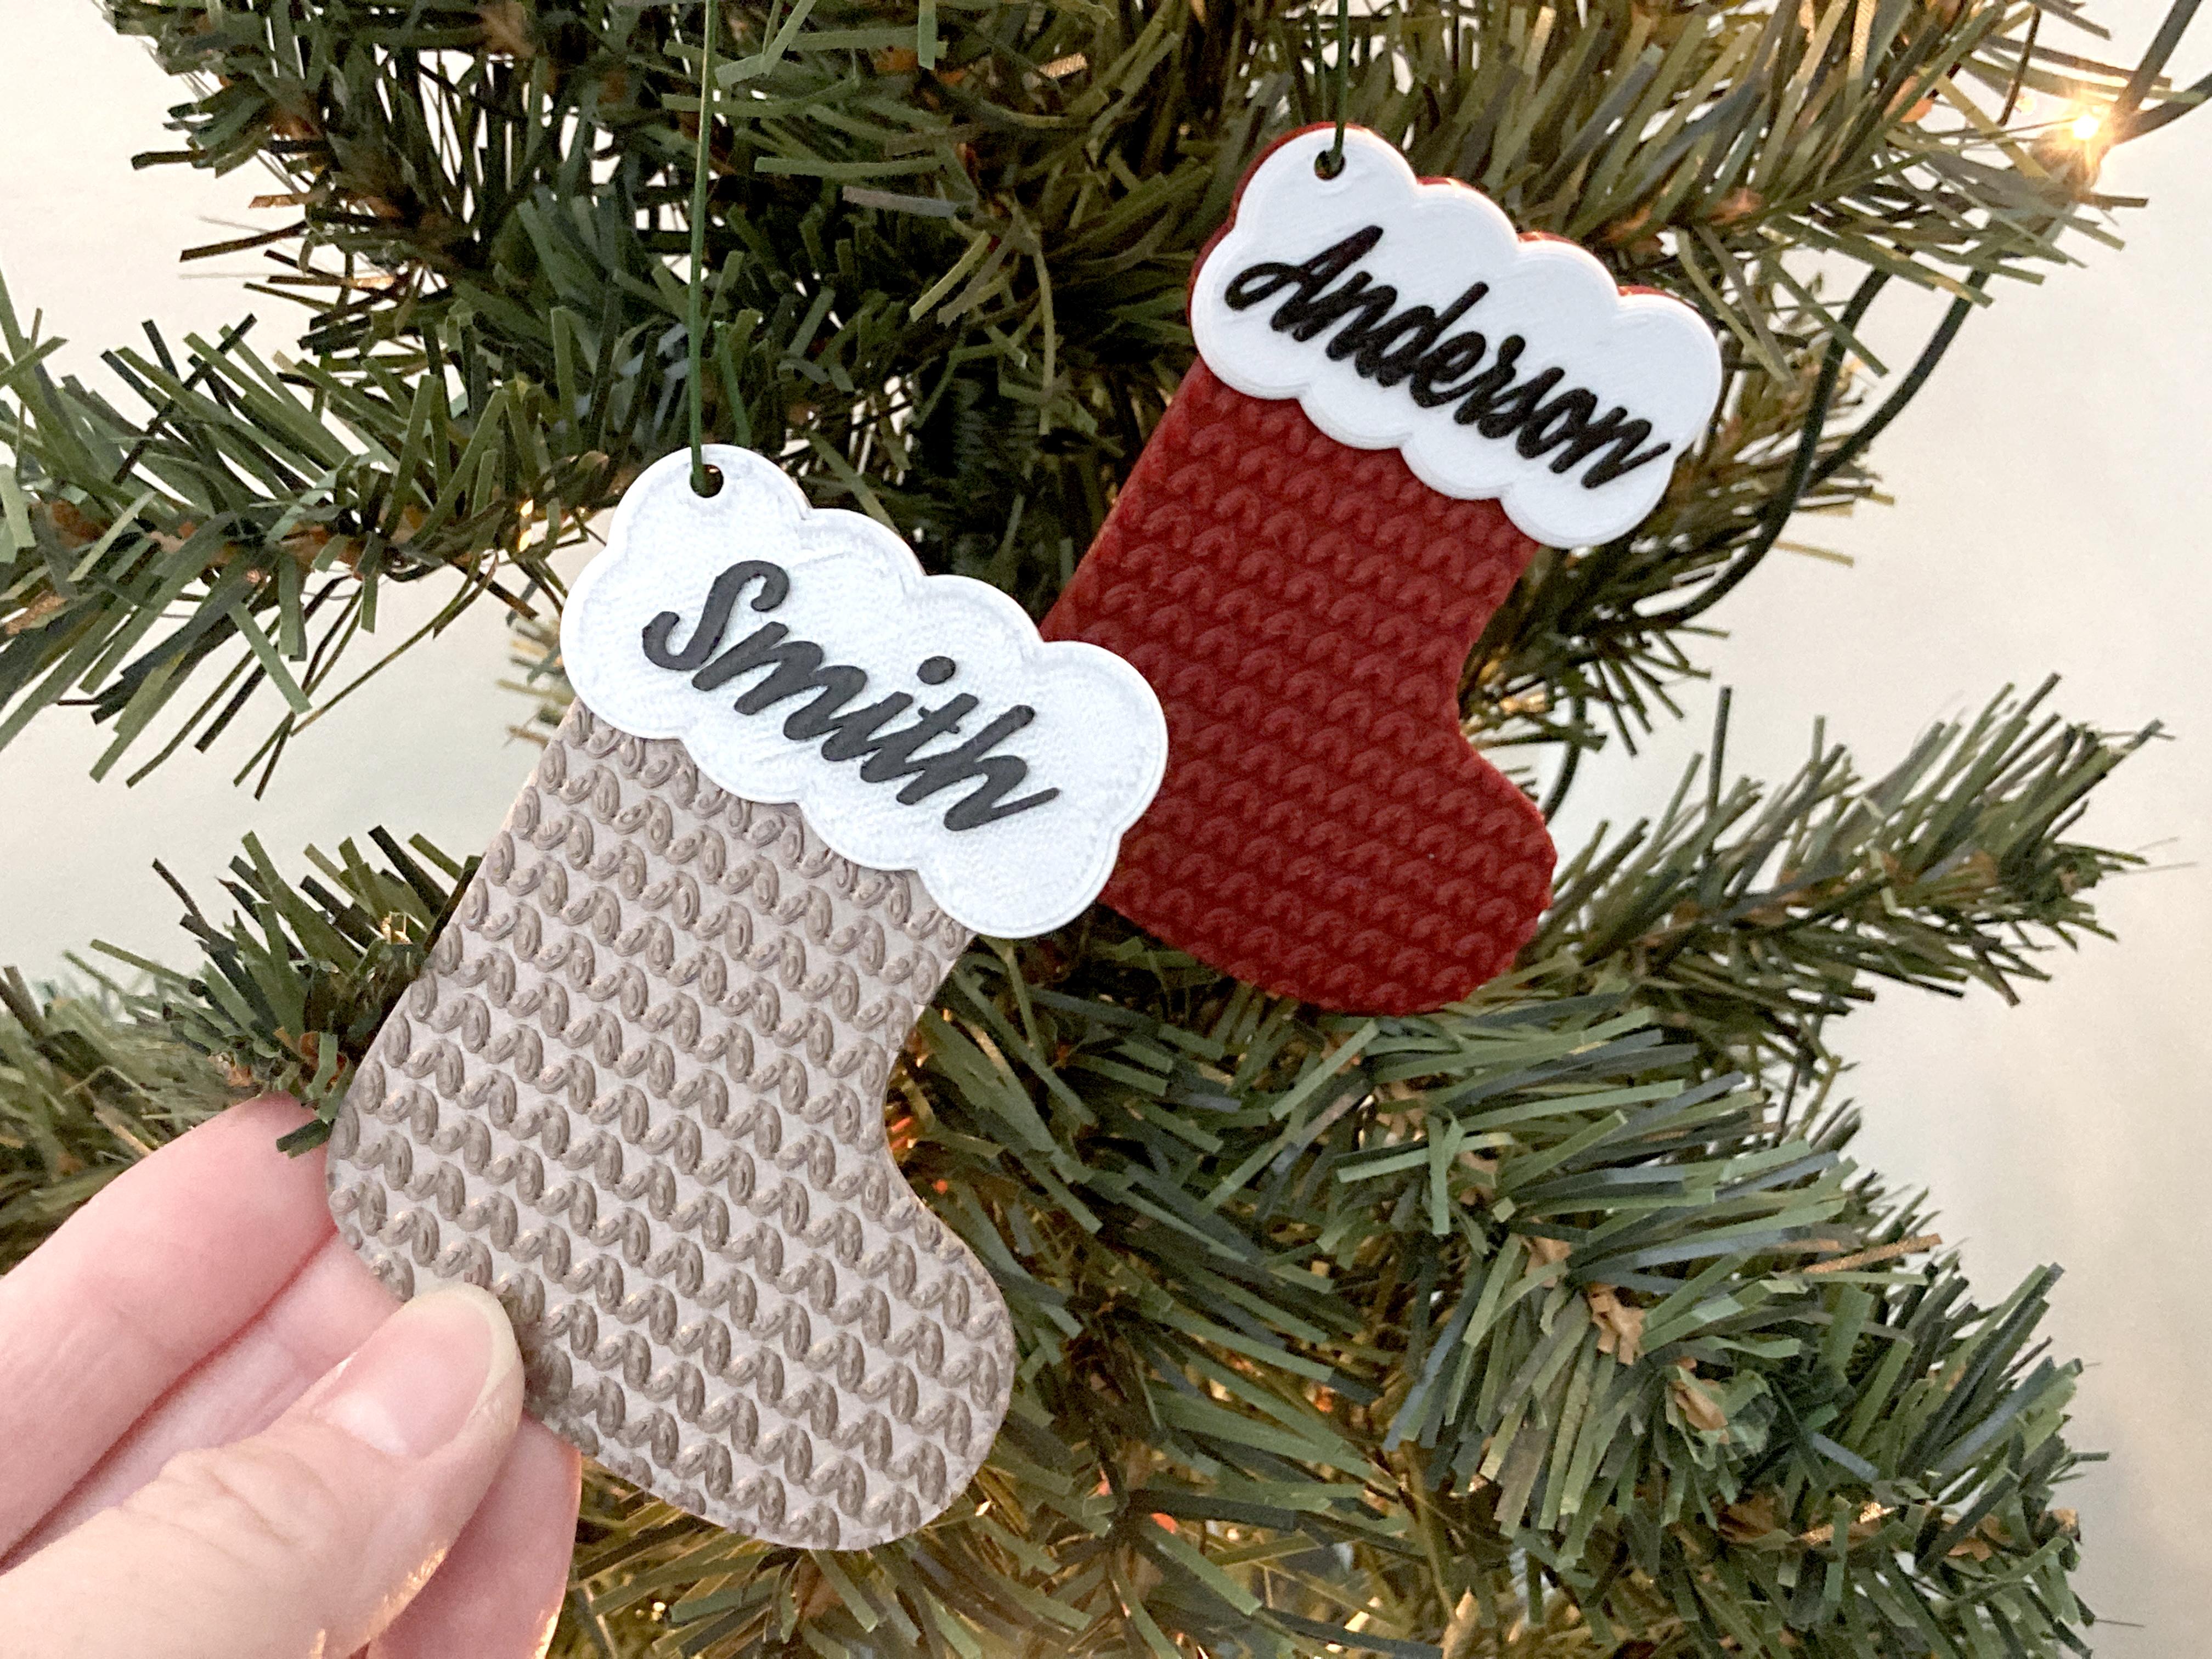
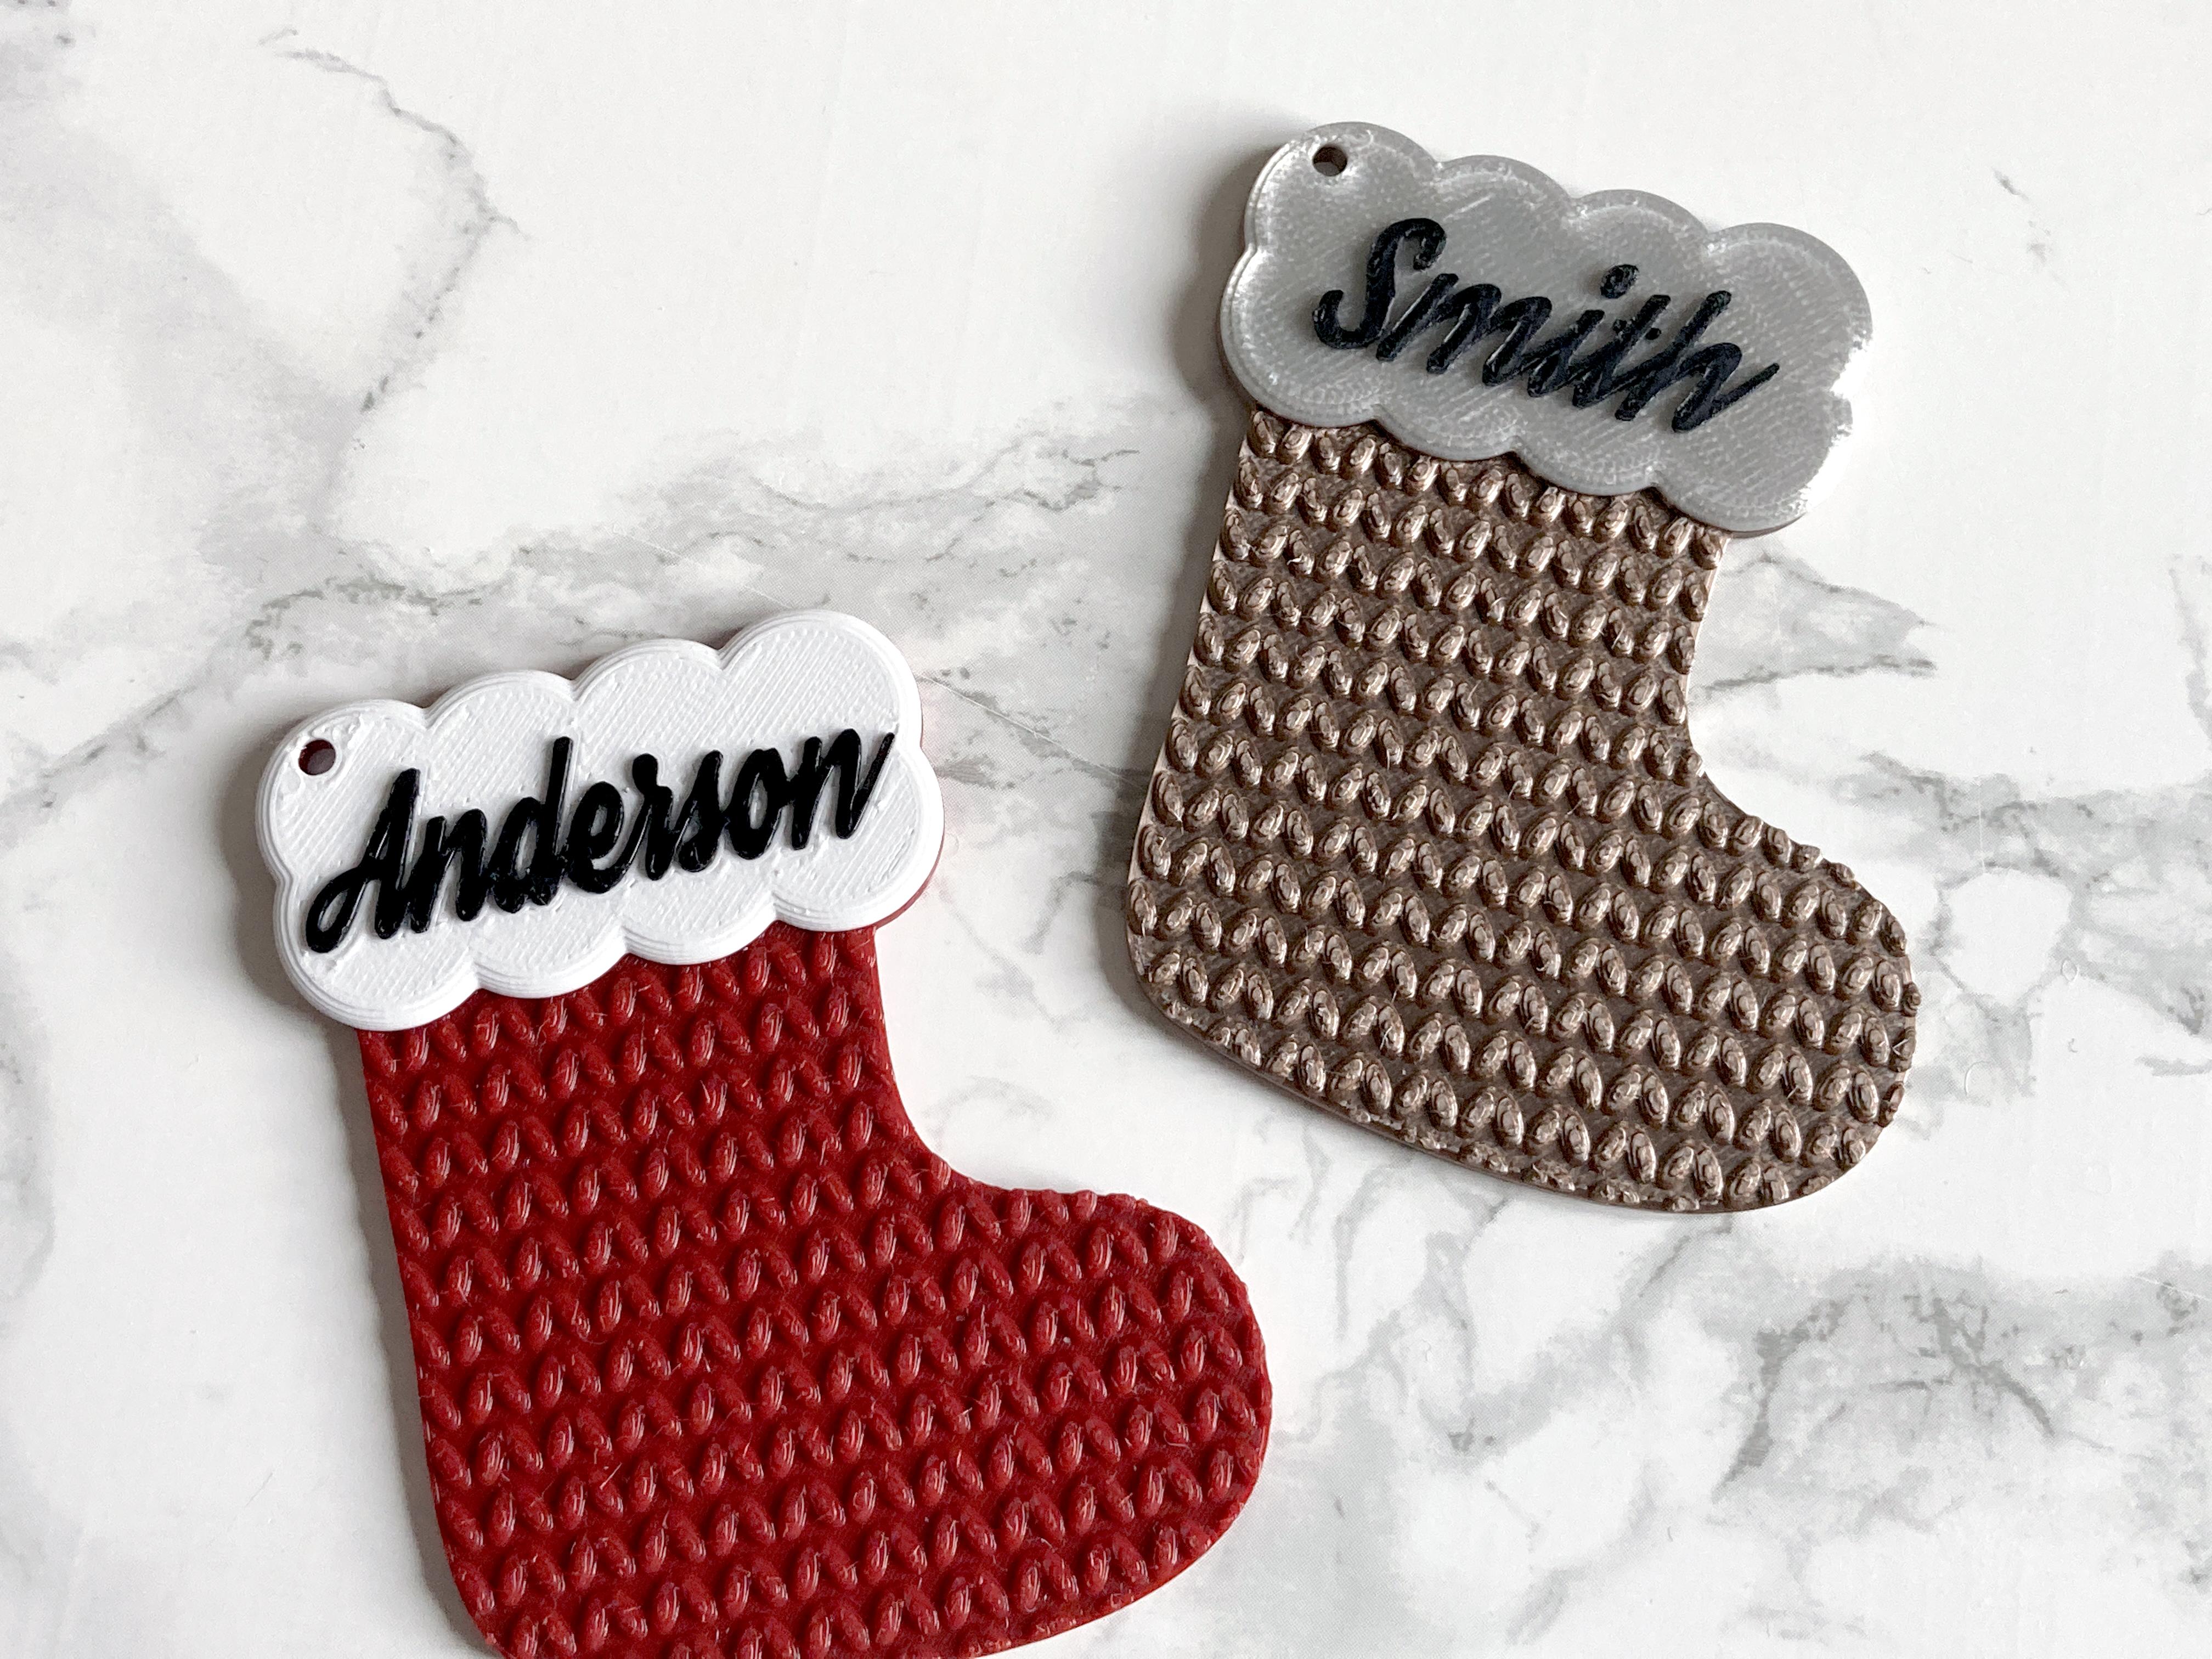
Print a whole family of stockings for your tree!
If you're curious, Anderson is in Iron Red + White and Smith is in Dark Rose Gold and Shiny Silver.