Custom Art to Match Any Room
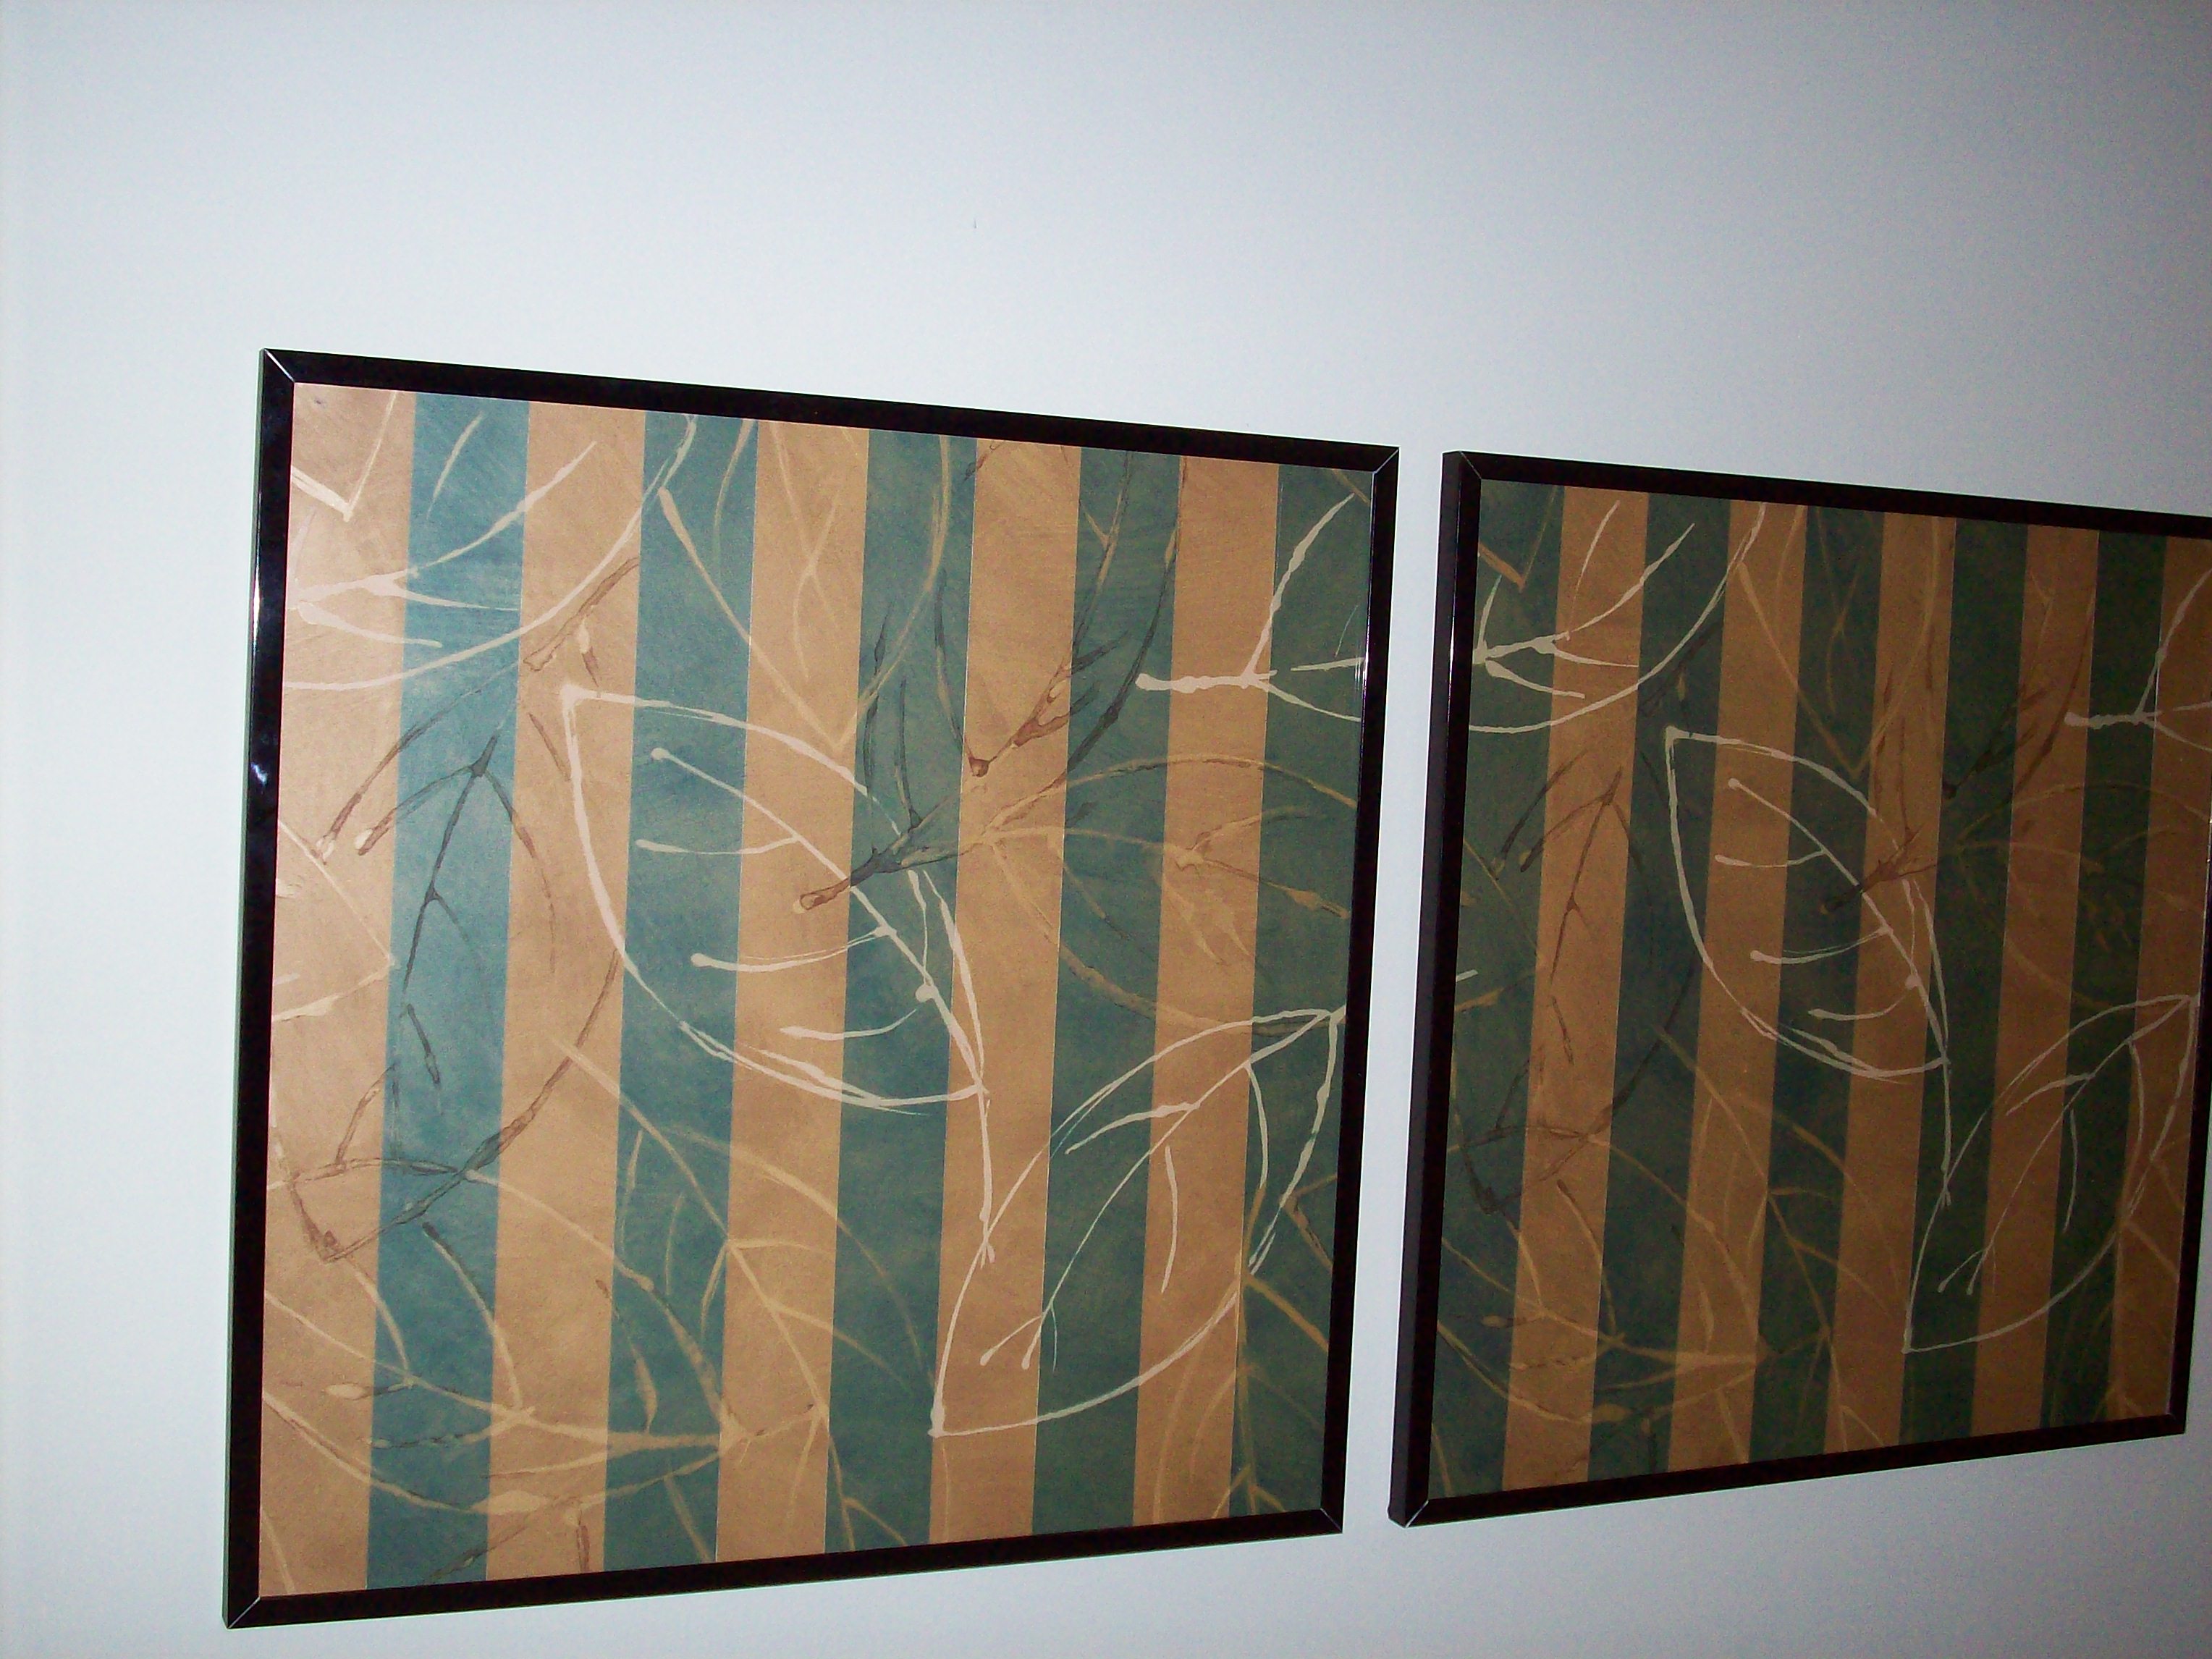
Here's a quick way to make some custom art that matches any room. Basically, we are going to take advantage of the fact that wallpaper often comes in multiple colors for the same pattern and repeats that pattern regularly. This Instructable will show you how to strip the samples and combine them into two unique pieces of art. Once you have the wallpaper samples, the assembly can be completed in a few hours.
Tools
Either an Exacto knive and straight edge or a mat cutter
Parts
Two matching wallpaper samples (mine where about 20x24 inches each)
Repositionable adhesive spray
Foam core board (enough to cover both samples)
Tools
Either an Exacto knive and straight edge or a mat cutter
Parts
Two matching wallpaper samples (mine where about 20x24 inches each)
Repositionable adhesive spray
Foam core board (enough to cover both samples)
Selecting the Samples
Tip: Before you start, clean your work surface as you will likely be flipping the sample face down frequently.
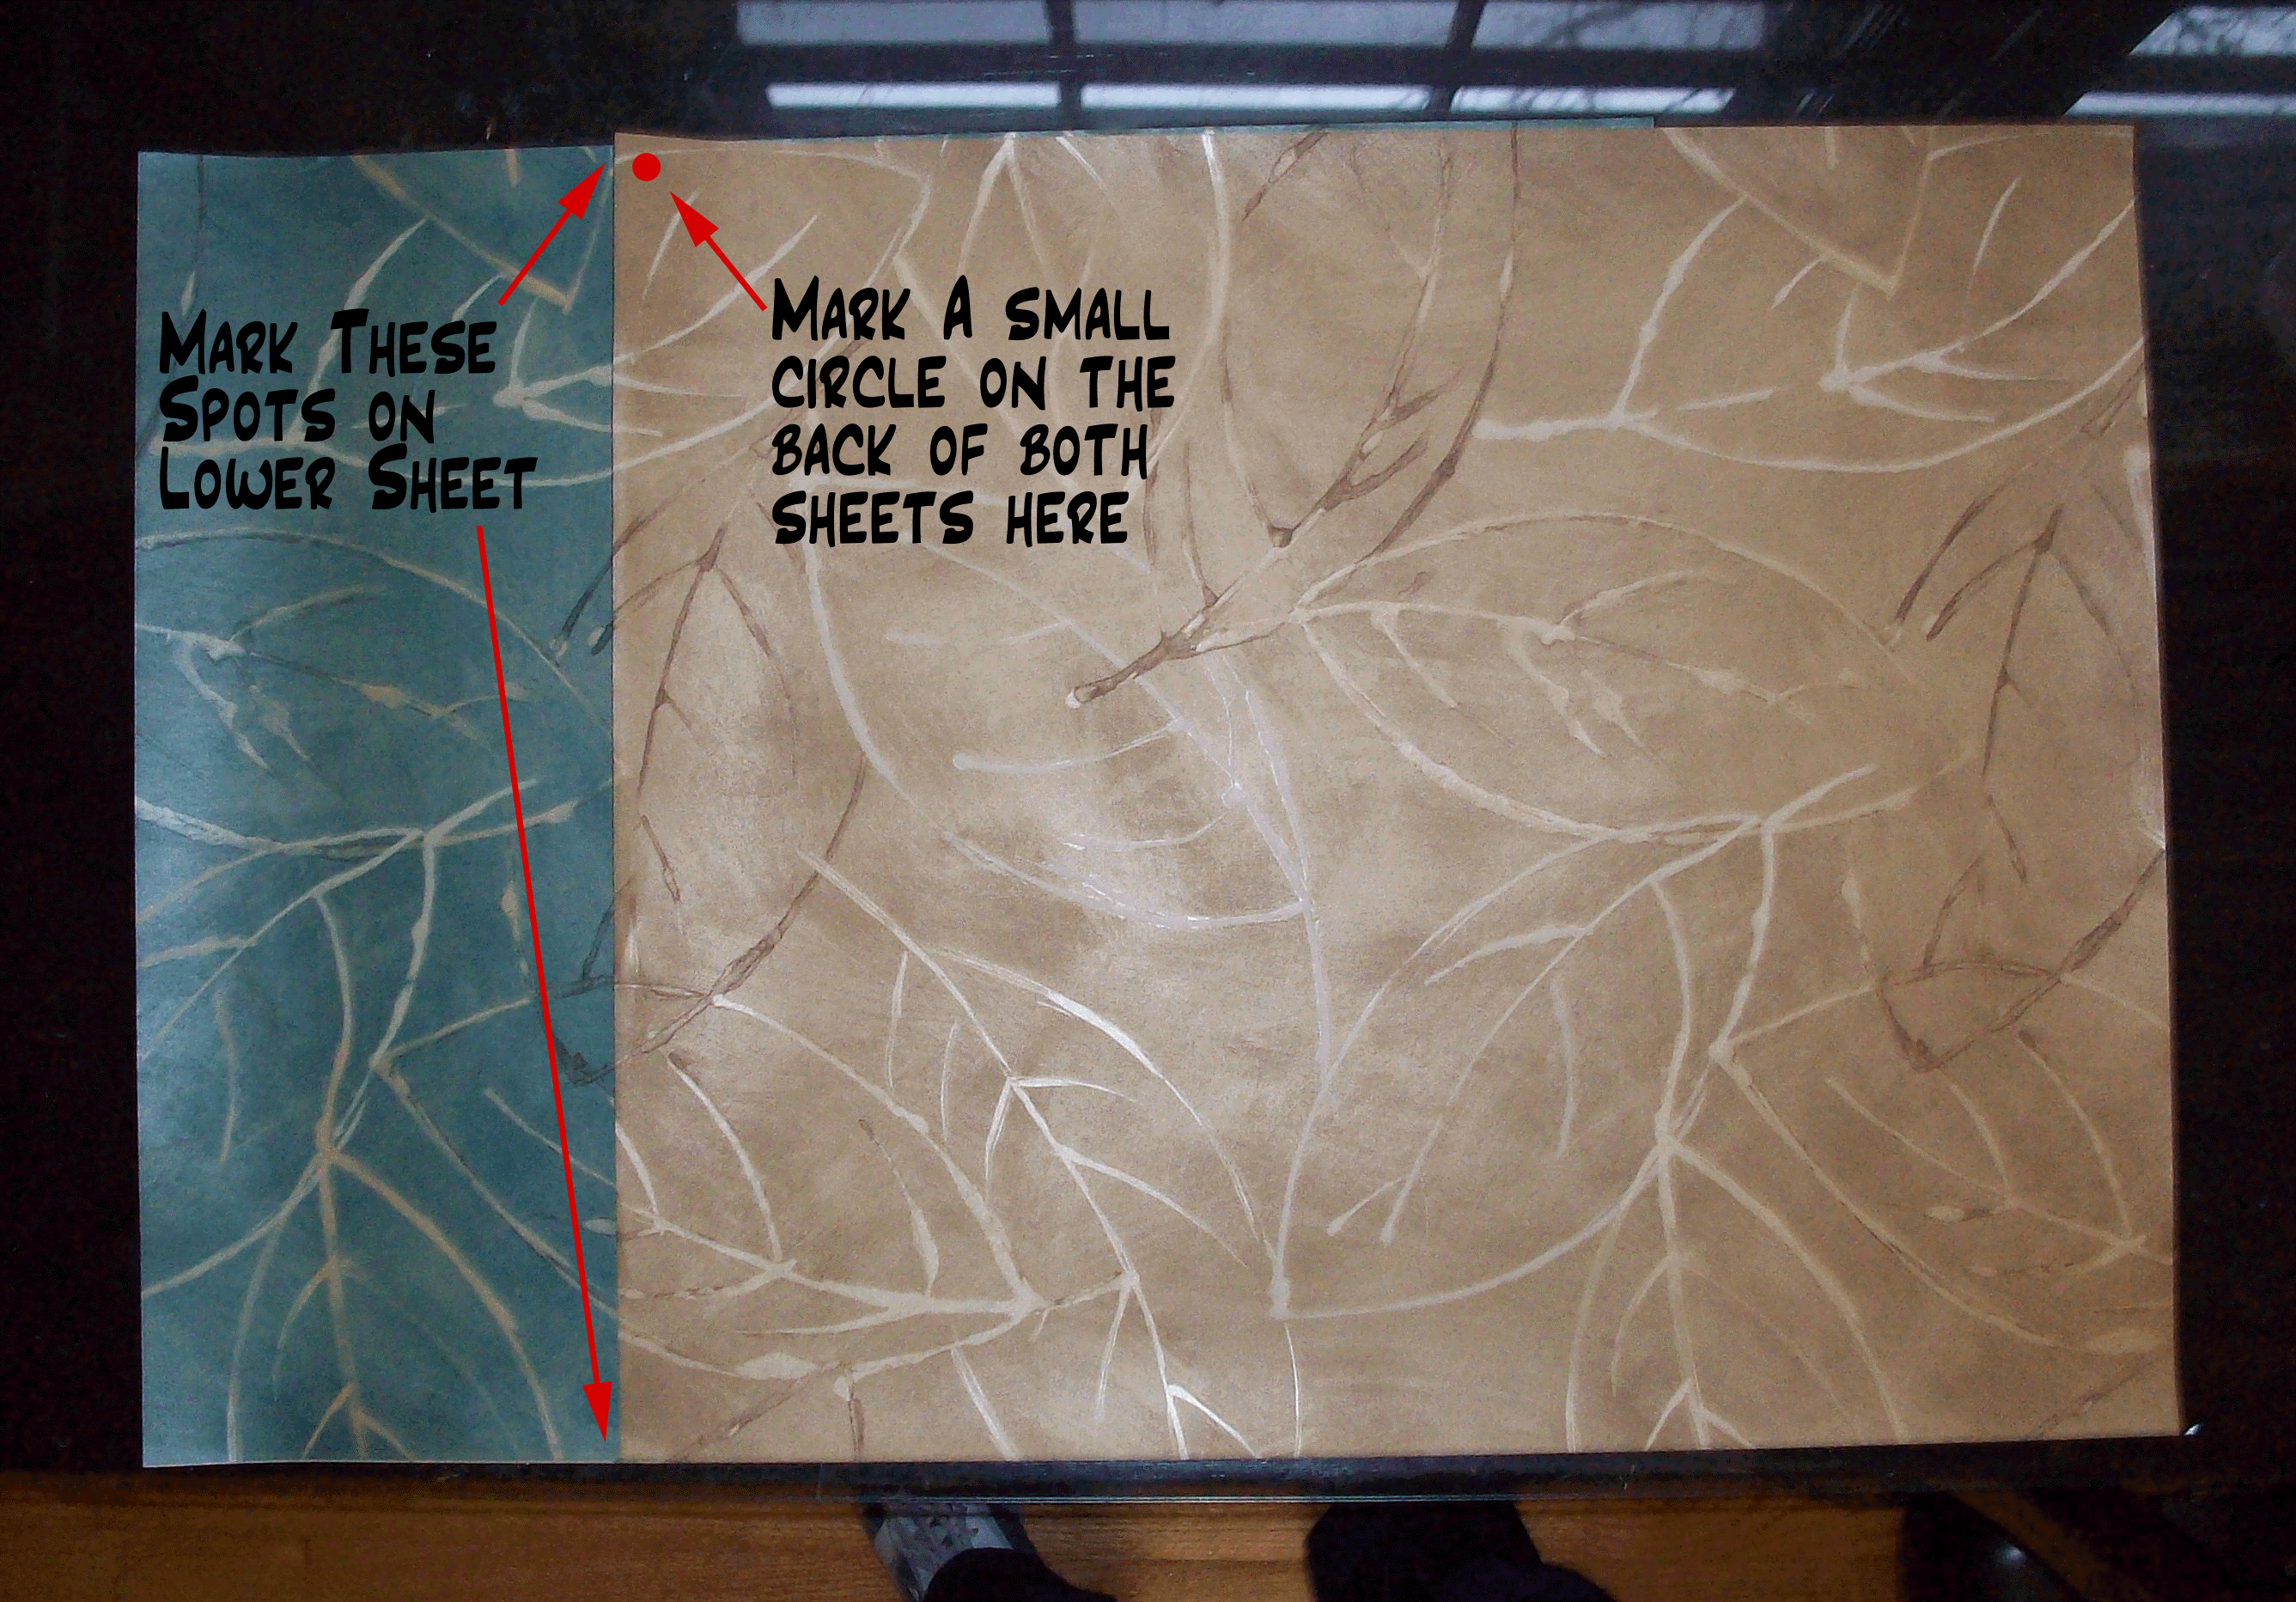
Find two samples that are the same pattern but of different colors. Mostly solid colors work best. I found my samples in a reuse center for a quarter each. As you can see in the photo, the pattern lines up almost perfectly vertically but is offset horizontally by about 7 inches. That gave me easily about 17 inches of overlap to work with. Since the repeat pattern on my samples was 20 inches, you'll notice that if I cut the far right of the brown sheet that it will match the unmatched portion of the green sheet. This will be the case for you if your sample size is equal to or greater than the pattern repeat size.
Once you find the best overlap, make a small cut or mark at the top and bottom of the lower sheet. This will be where you start cutting your strips on the lower sheet. You may want to leave the first and last strip a quarter inch wider to account for either matting or framing. However, this takes extra planning and probably won't be necessary if you choose a large strip size (2 inches or greater).
Make a small dot on the back of both sheets in the upper left of the overlapping area.
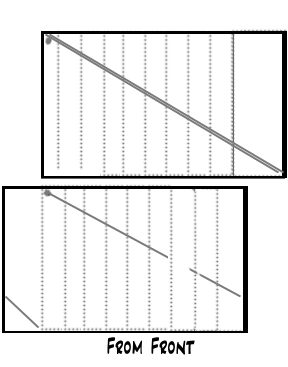
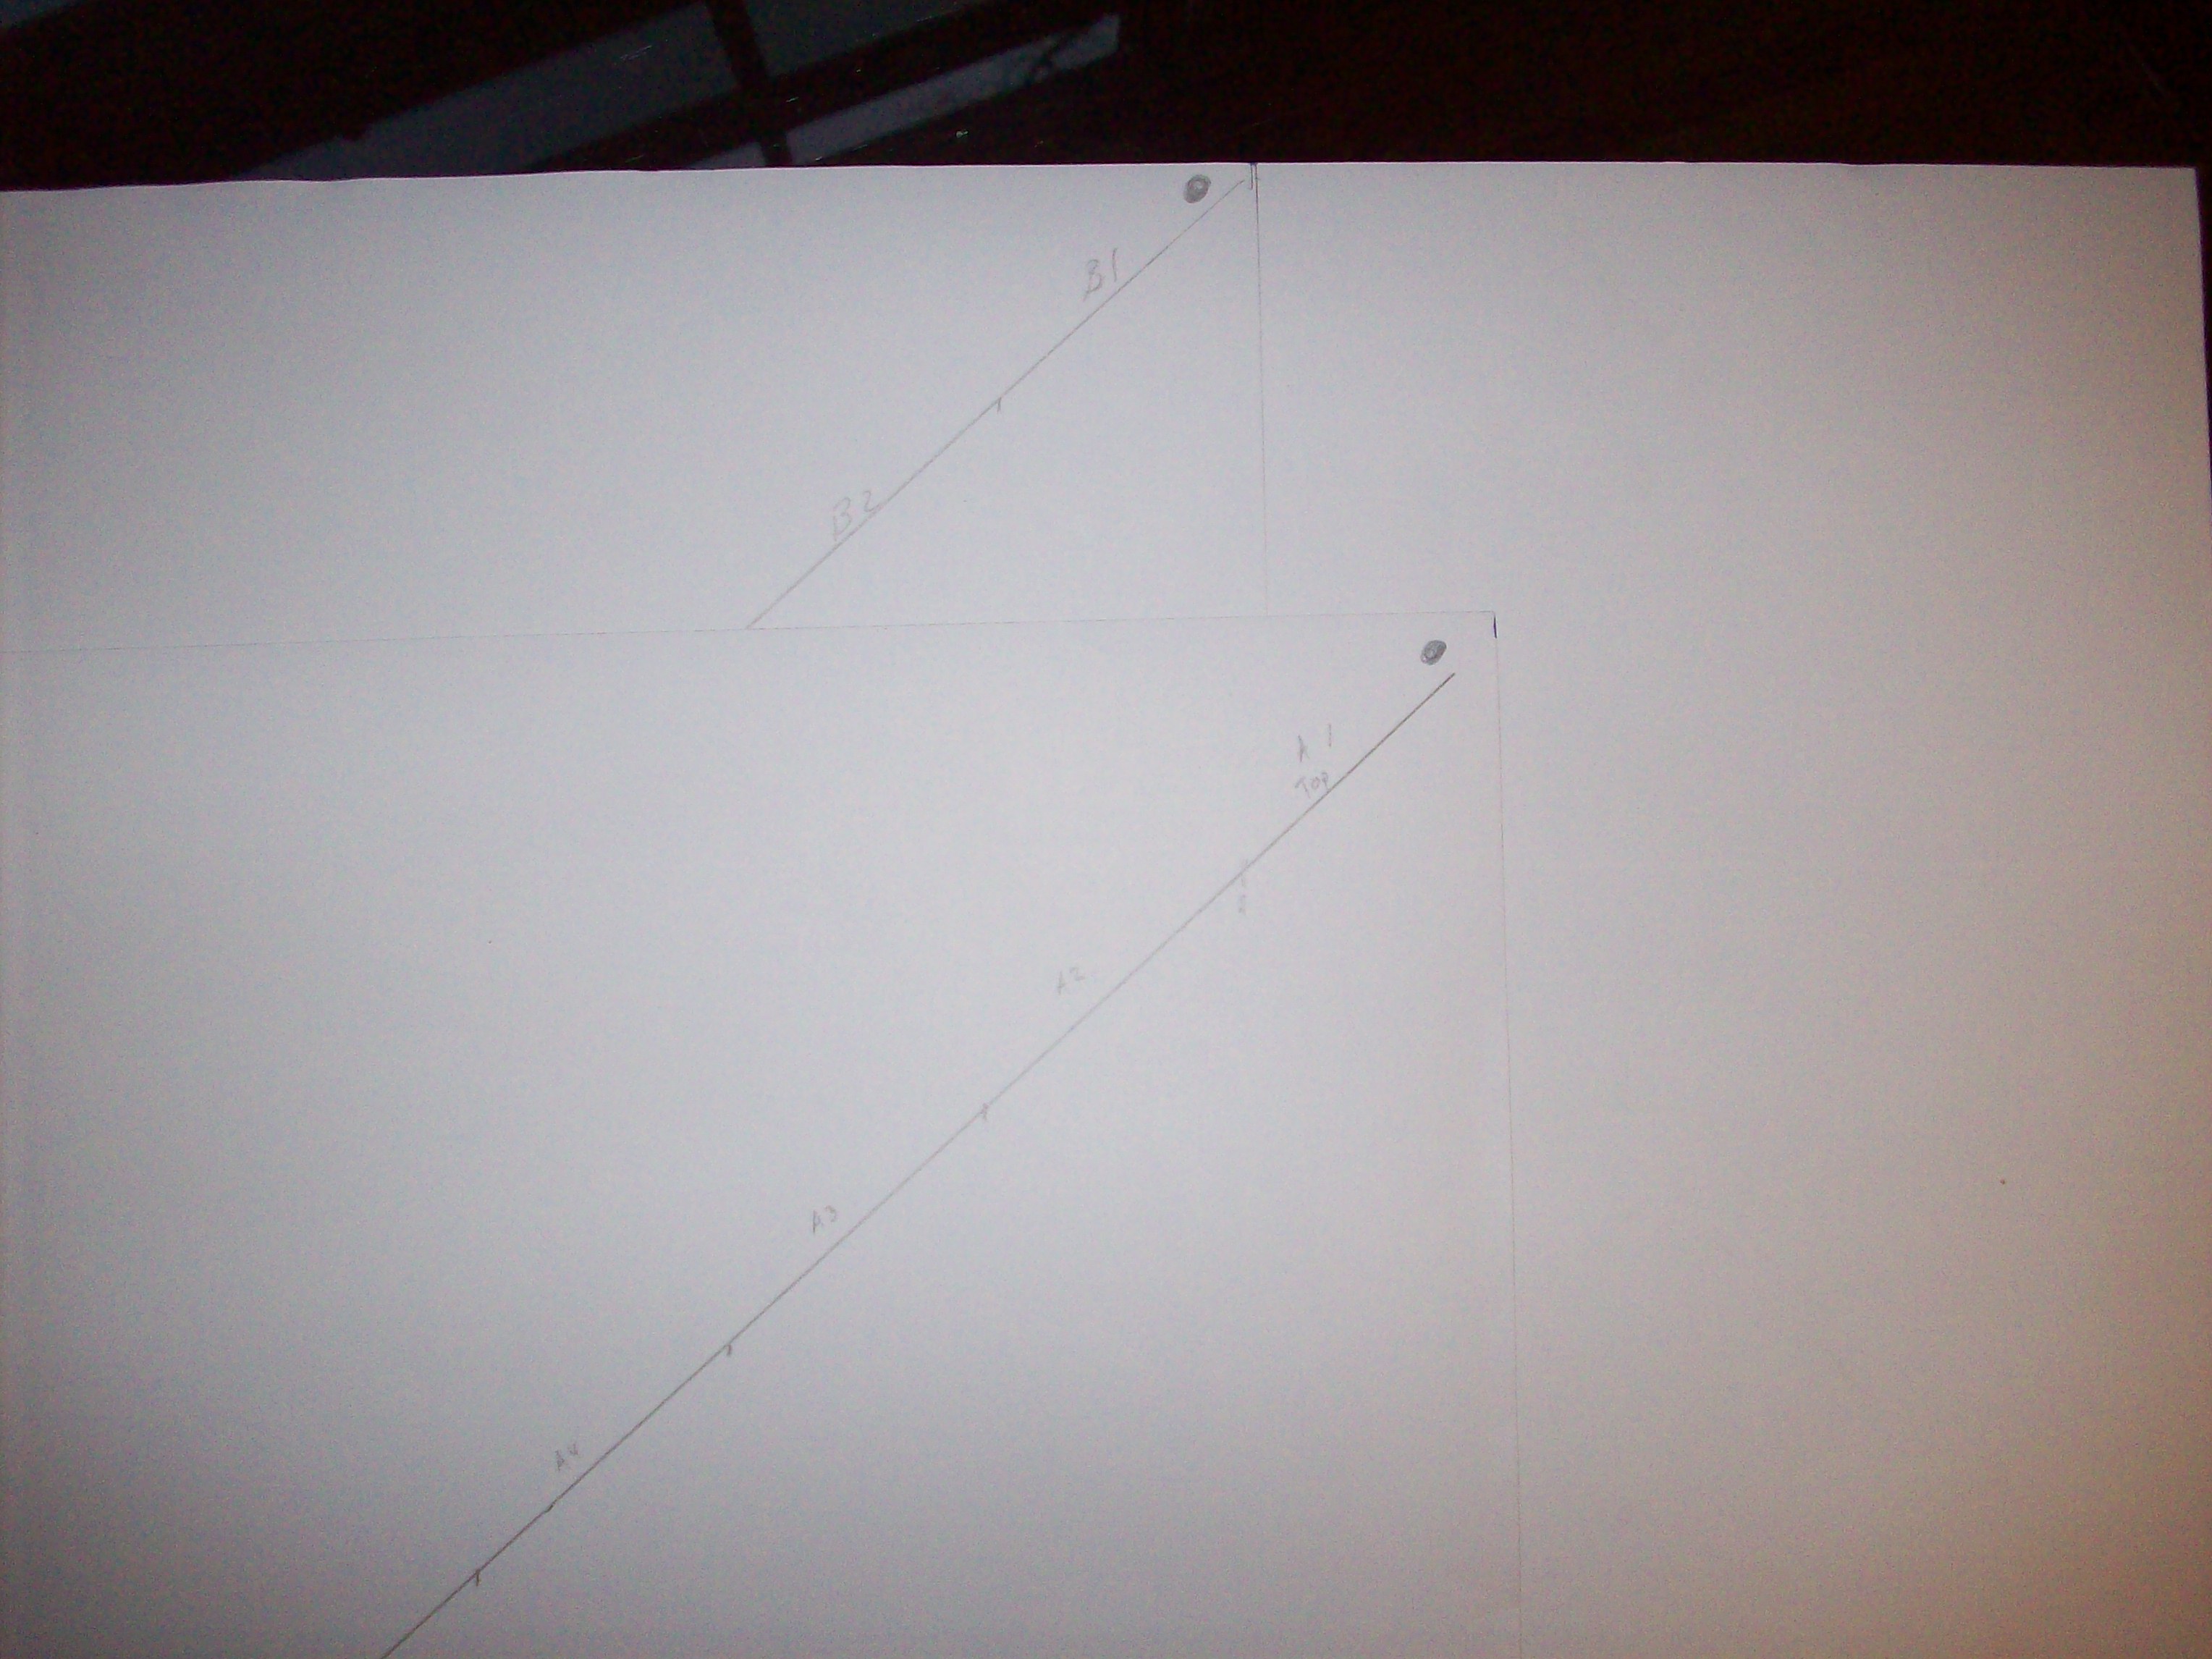
Flips both sheets over. Draw lines to help you easily arrange the strips if they should get unordered after they are cut. On the top sheet, make two diagonal lines right next to each other from the dot (now in upper right) to the lower left corner. On the bottom sheet, draw a single diagonal line from the dot down and across the page and off the edge. Then start again from the other edge and go to the lower cut mark.
Planning the Cuts
This step is critical to make the most of your samples. If you plan carefully, you can make two pieces at the same time and use the full width of each sample. Since we are going to be using only every other strip from each color, you can use the remaining pieces to make a duplicate but in reverse color. Furthermore, since the pattern repeats, you have a good chance of this second piece matching up with the first. You can frame them together for a doubly wide piece or frame them separately. In this sample, I choose to frame them separately but hang them near each other so you can tell the pattern continues across the frames. That said, I didnât make this decision until I saw how the strips came out.
If you are happy with the size of the overlap, you can pick any strip width that is appealing to you. Smaller widths result in a busier picture. I would suggest a strip width that results in an even number of equal sized strips for the repeat (for large repeats > 8 inches) or the sheet size for small prints. Since my repeat was 20 inches, I choose a 2 inch strip width for exactly 10 strips per repeat.
Based on an alternating pattern of 2 inch strips, I determined that my green sheet should be the first strip so that edge of the green on the right side would occur during a brown strip. I roughly marked the outer edge of the last brown strip so I would know when to stop cutting.
Tip: Use a pencil so you are sure it wonât bleed through.
Making the Cuts
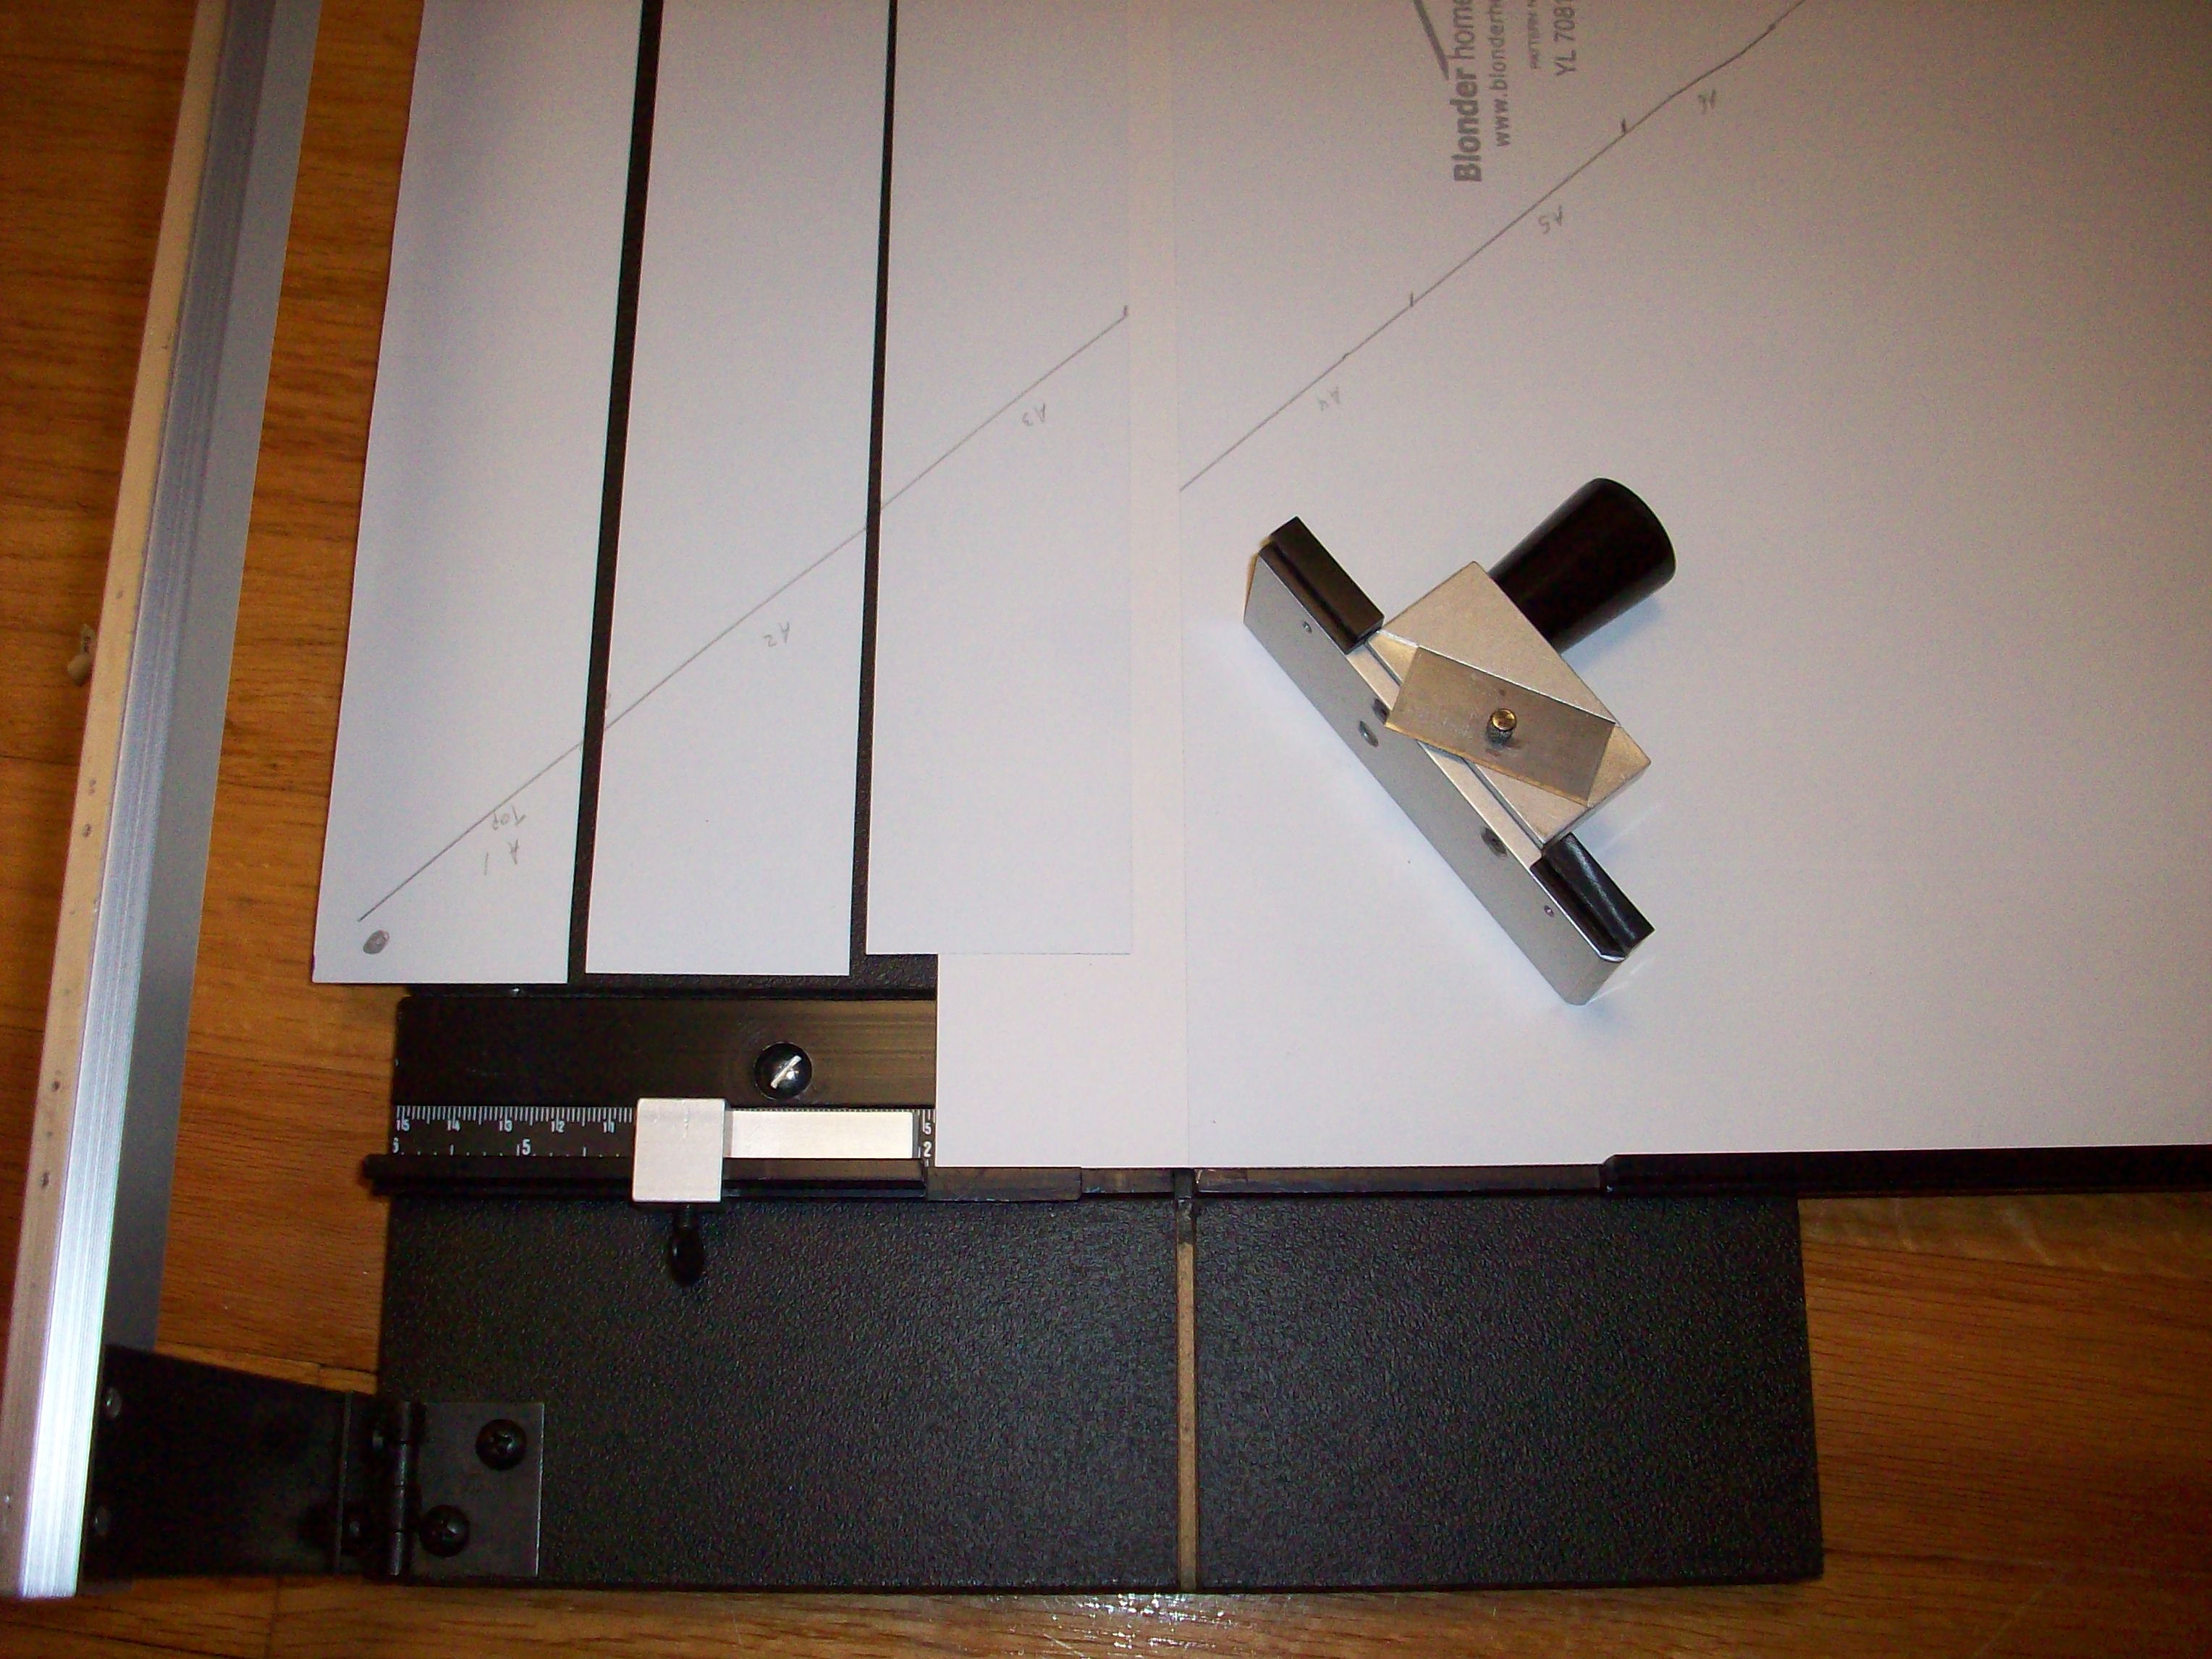
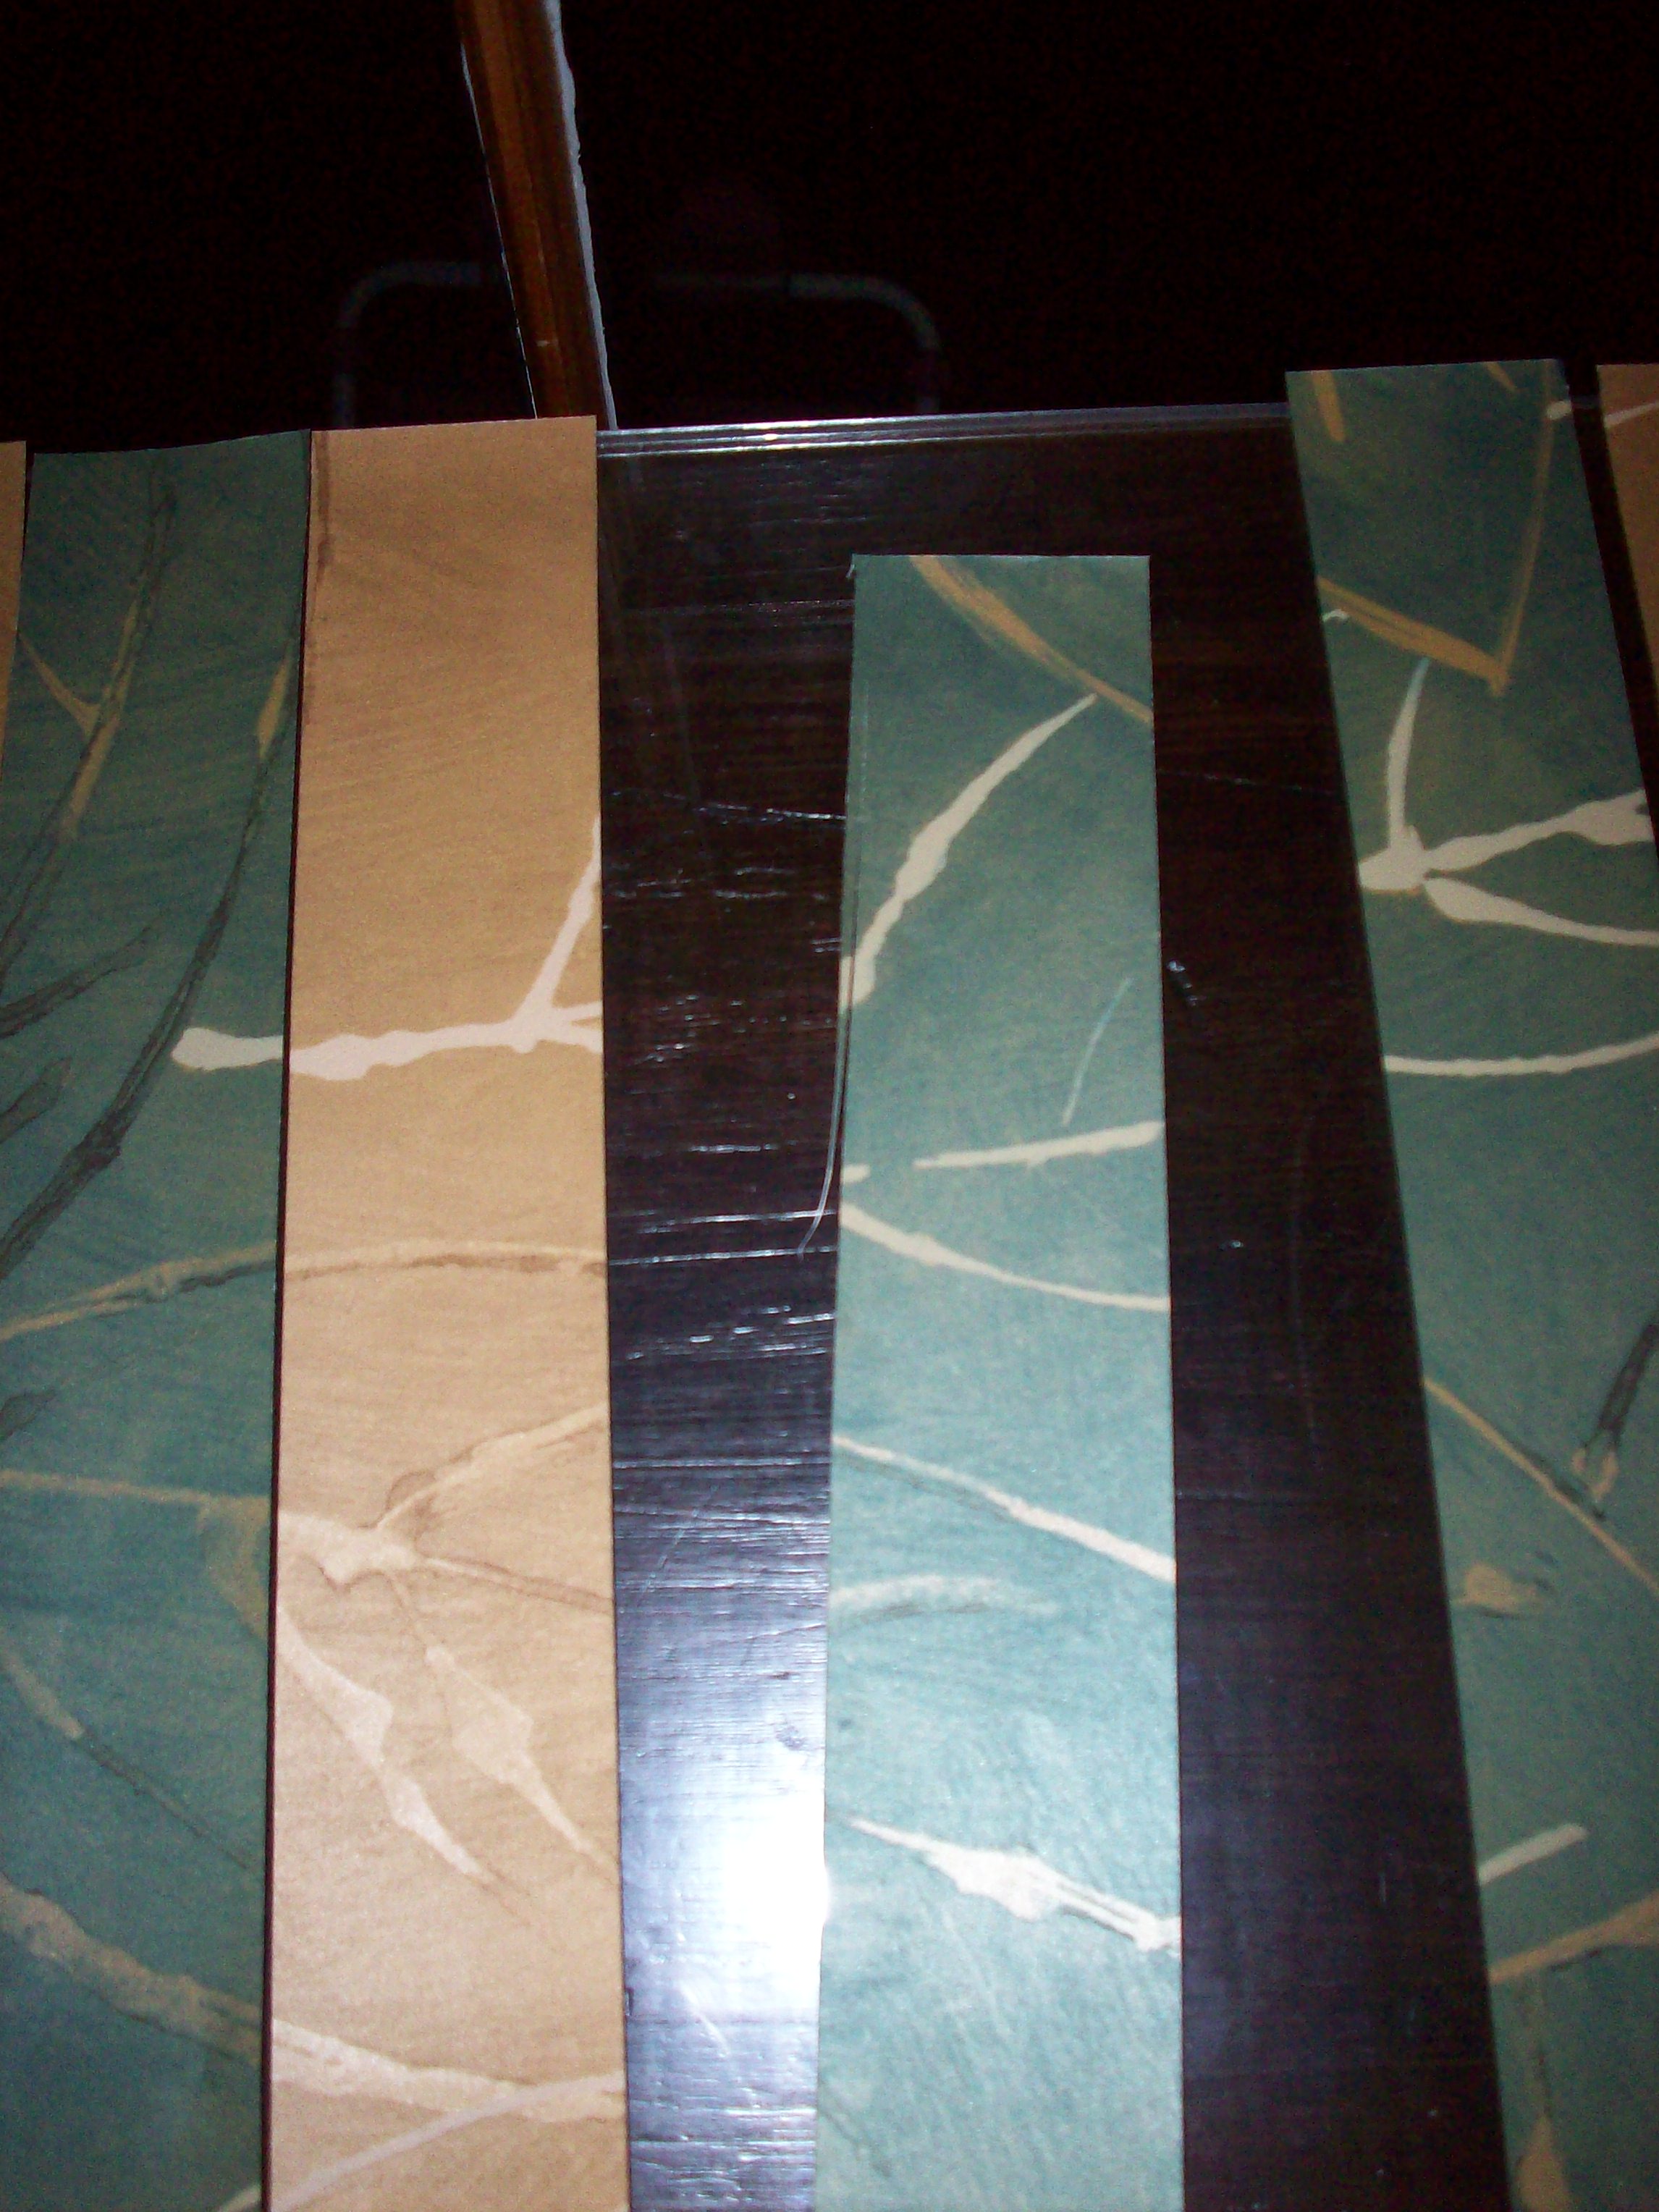
It should be possible to make these cuts with an Exacto knife and straight edge, but a framing mat cutter makes it much more accurate and faster.
Tip: Use a new blade to get a clean cut that will better adjoin neighboring strips.
Start with the top sheet and cut strips from the edge with the dot progressing toward the last cut on the mark you made at the end of step 2. Cut with the sheet face down and on top of a surface you can cut into. I used a scrap piece of mat board but cardboard would do just as well. This will support the front edge and produce a cleaner cut. Stack the strips up as you go.
Start cutting the bottom sheet from the marks made in step one progressing past the dot to the end of the sheet.
Important: Do no re-cut over a previous line in the cutting surface. The blade will want to follow the previous cut line instead of the straight edge (even on a mat cutter- see second picture). If this happens, stop cutting and start the cut again were the blade left the straight-edge, leaving the small sliver attached. It should tuck underneath an adjoining strip and not be noticeable.
Positioning the Strips and Using the Scraps
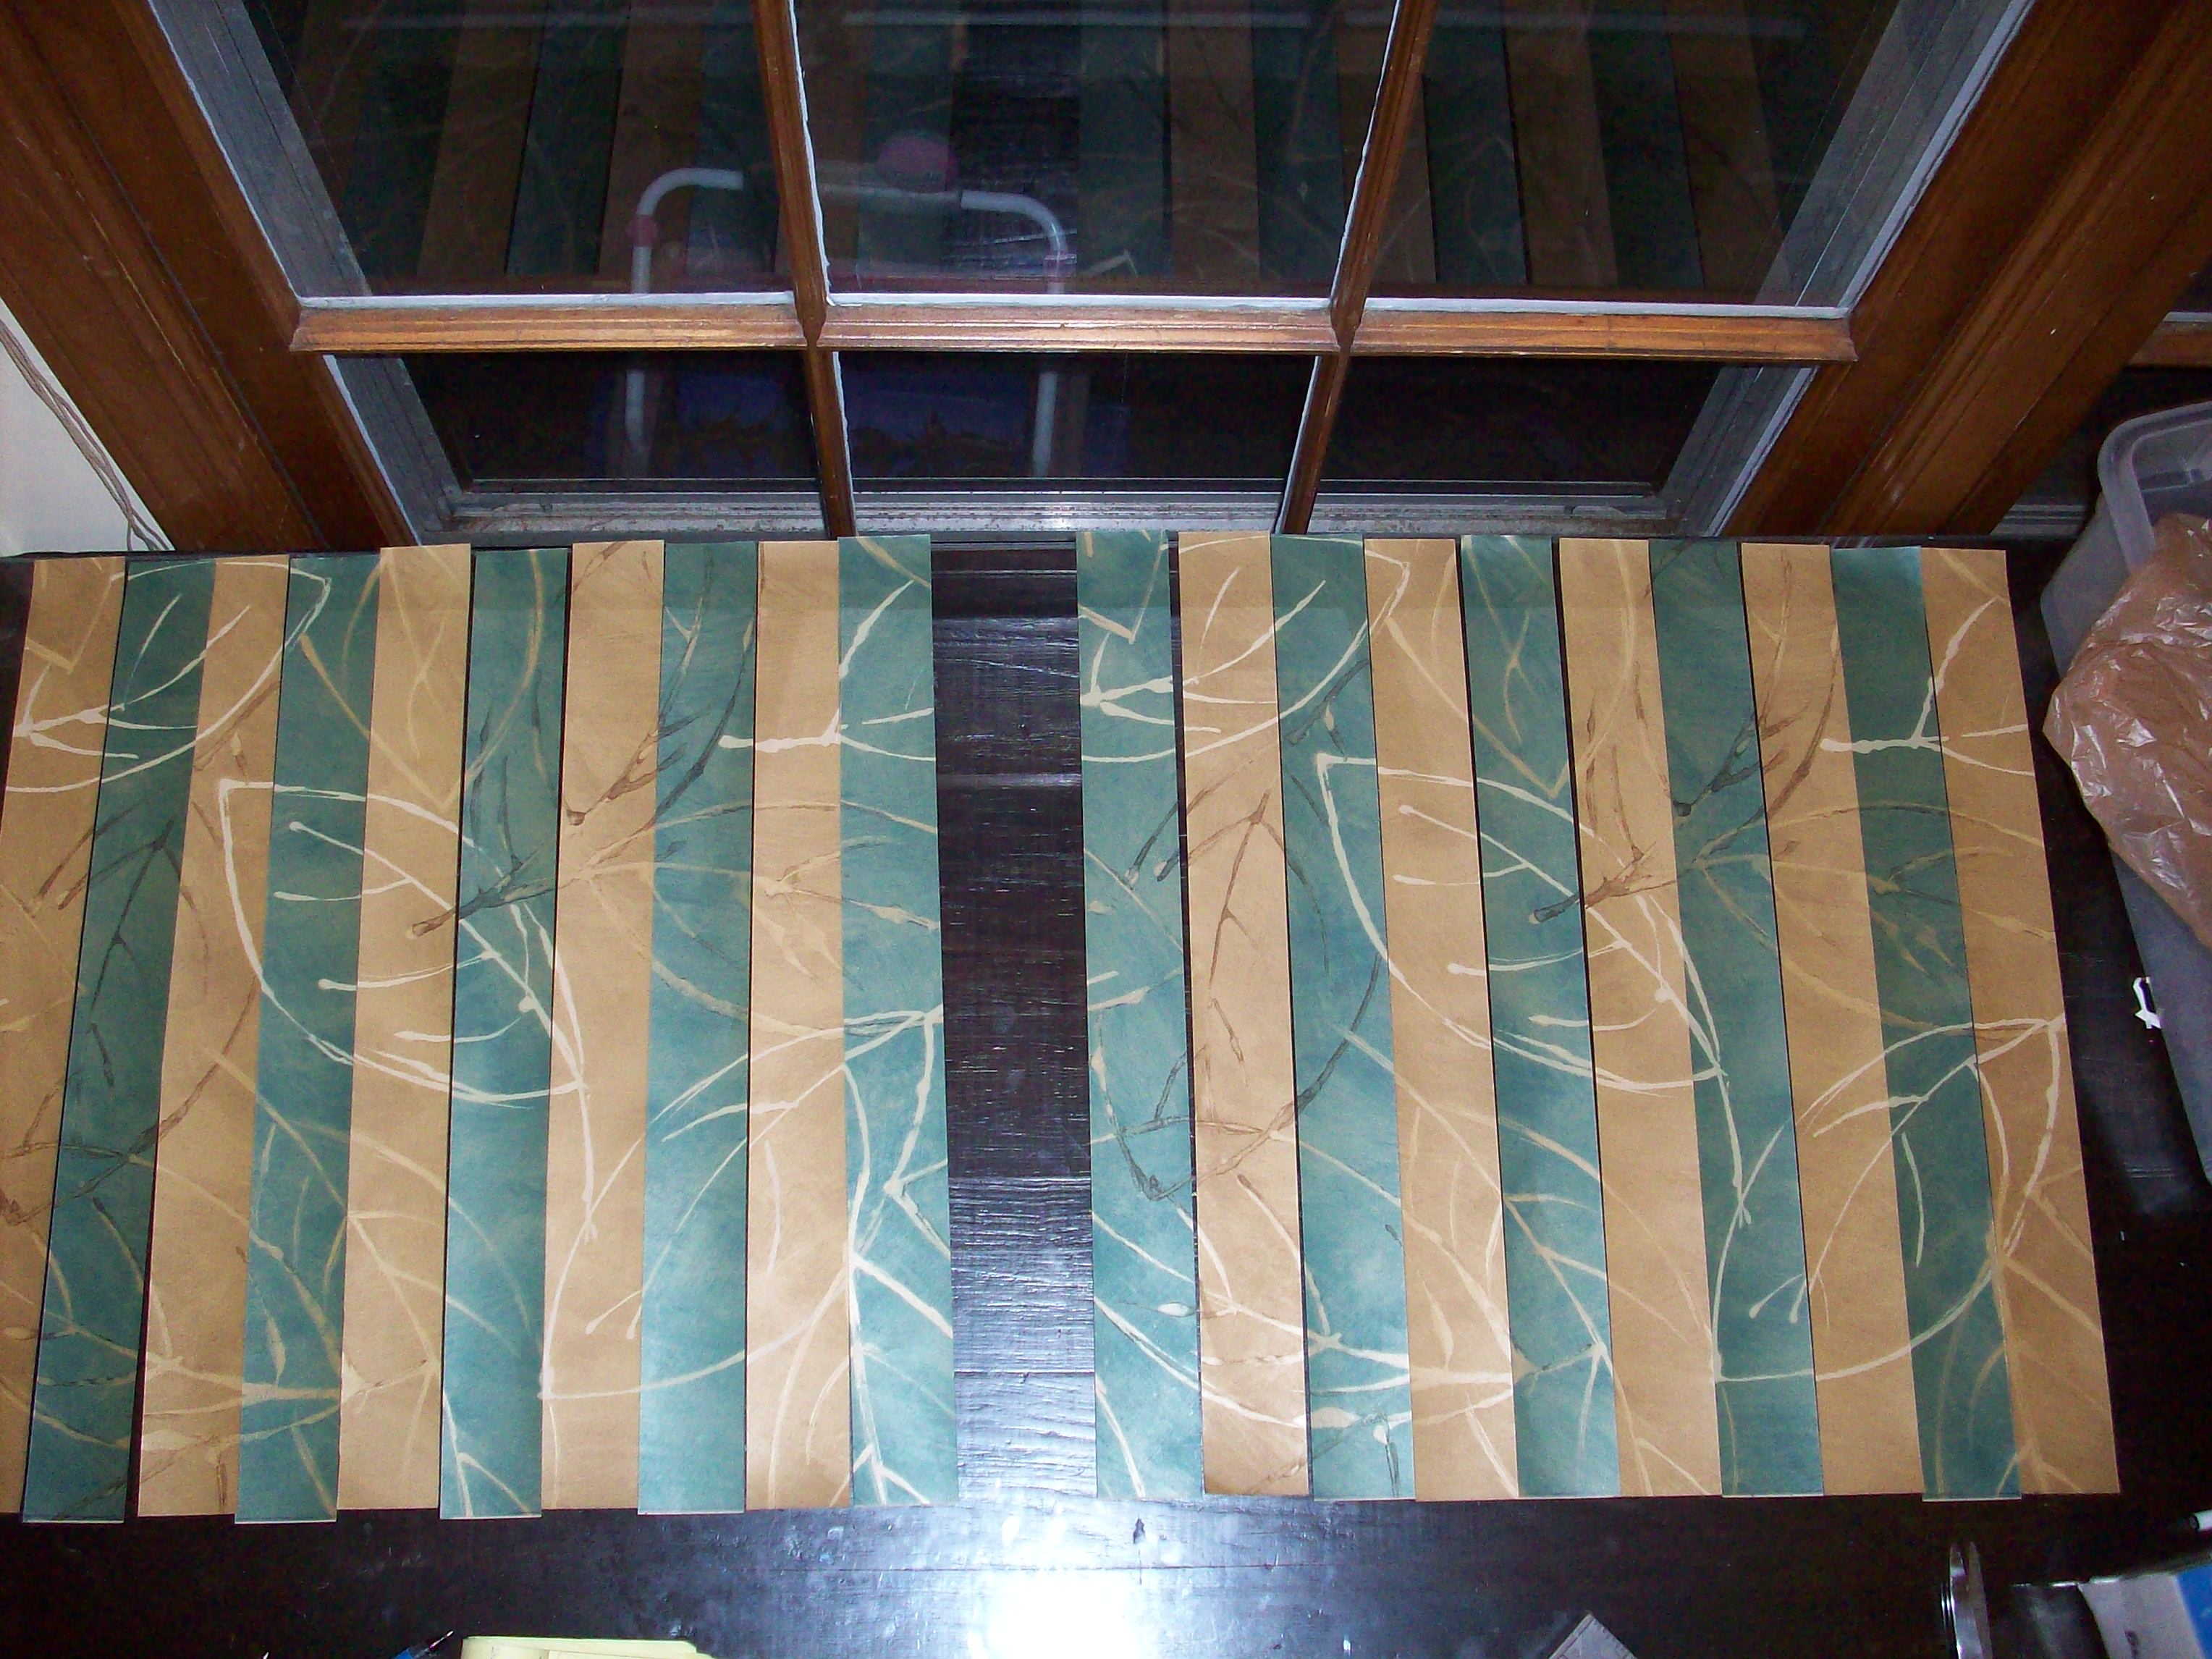
Lay the strips out in the alternating pattern. With the strips you don't use in the first picture, create a second. Once you have all the strips lined up so that the pattern is reformed, take a second look at the scraps you have left over. You likely find that you can cut more strips out of them to widen your two pictures or join them into one. At this point, I decided I wanted to make two 20x20 square pictures and frame them separately.
Mounting the Strips
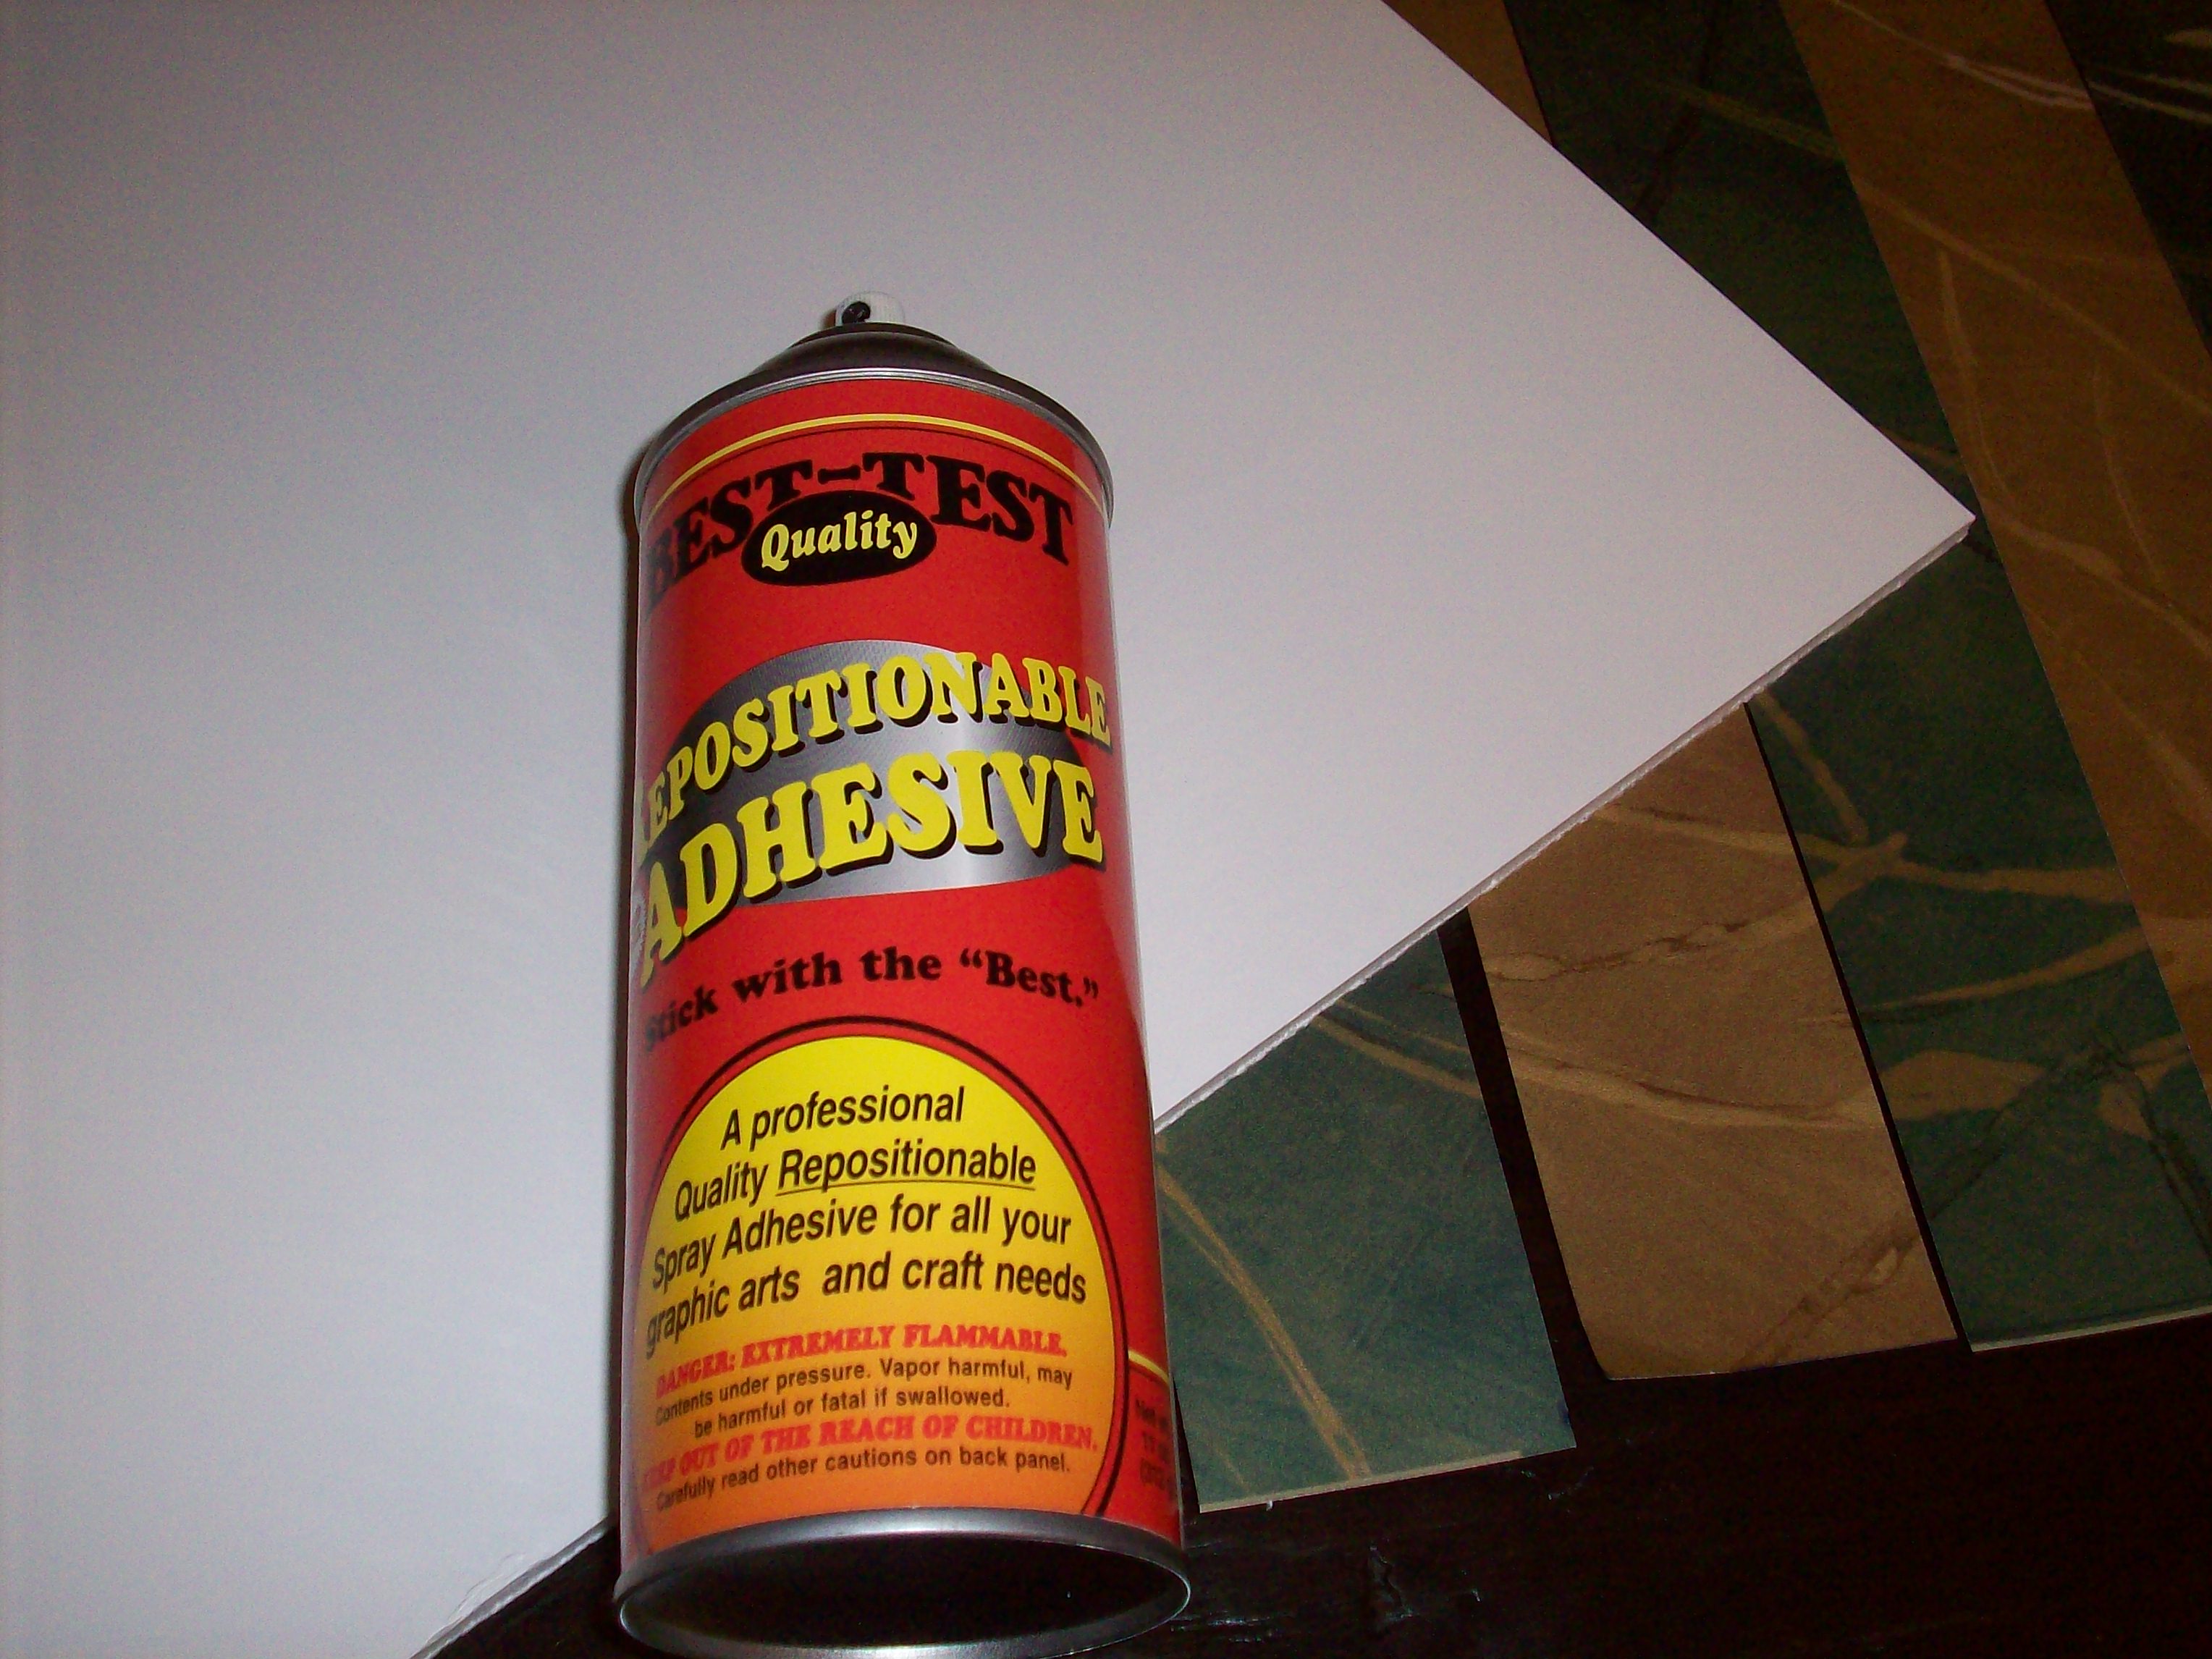
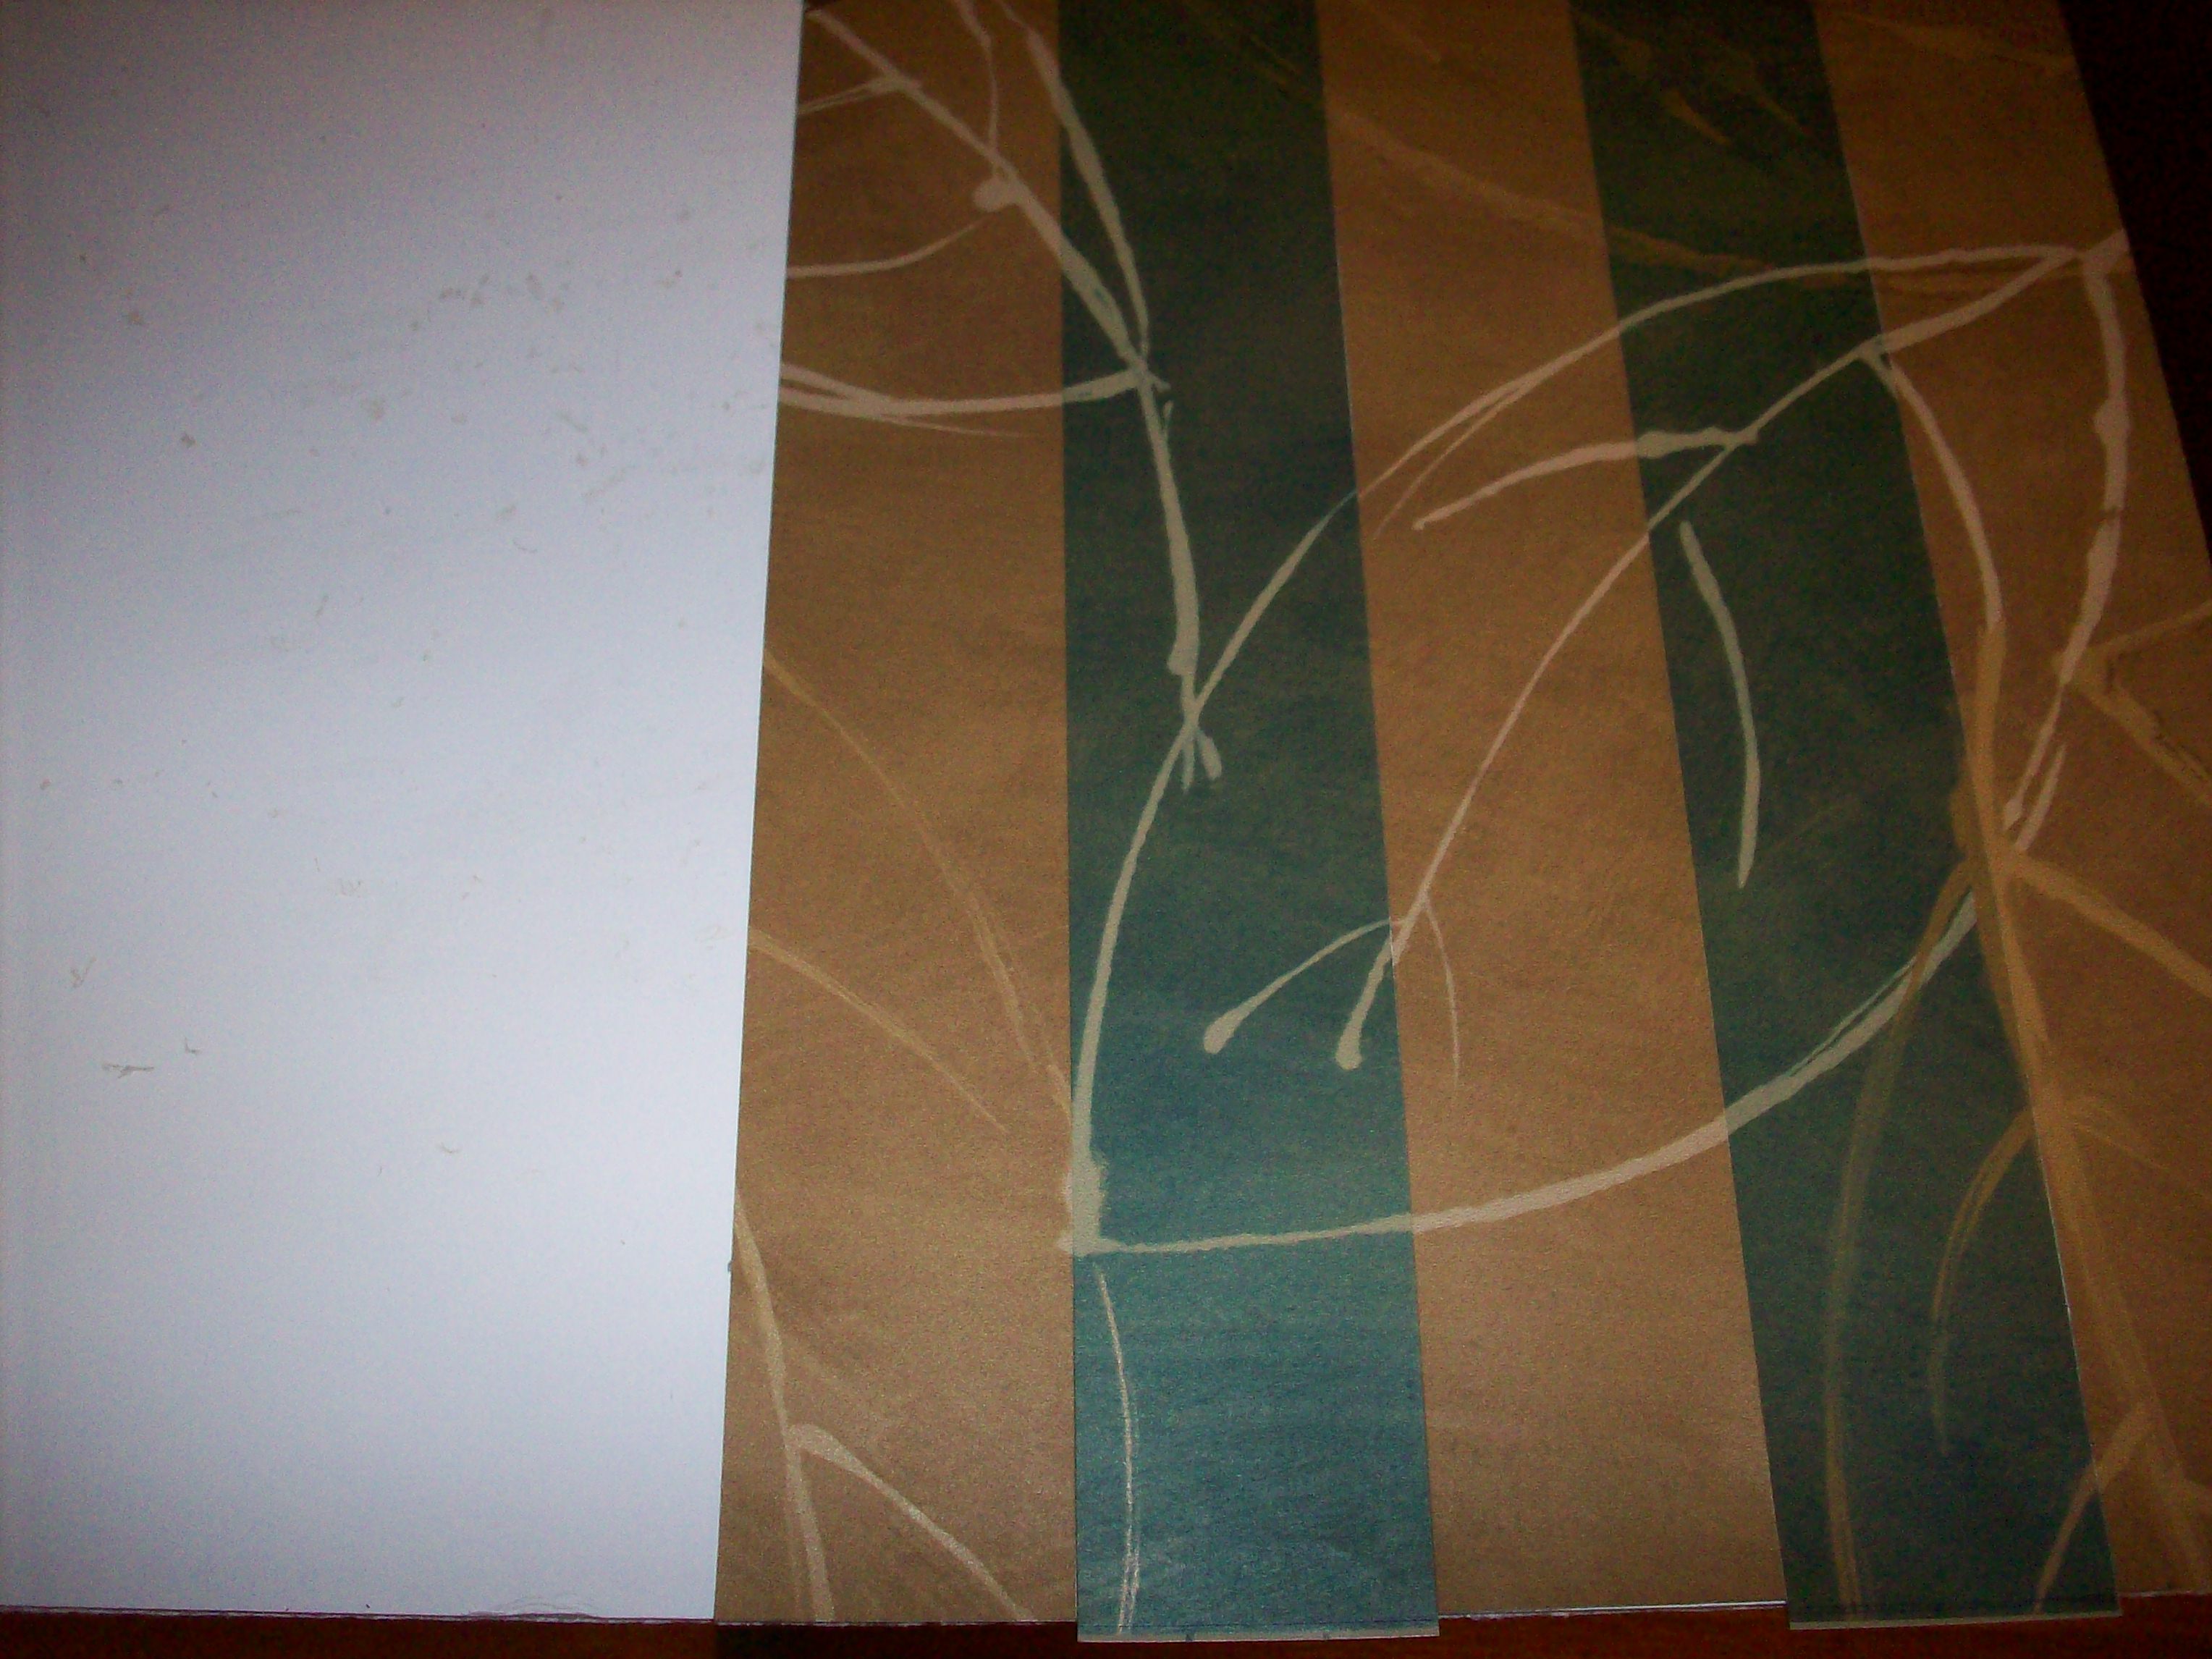
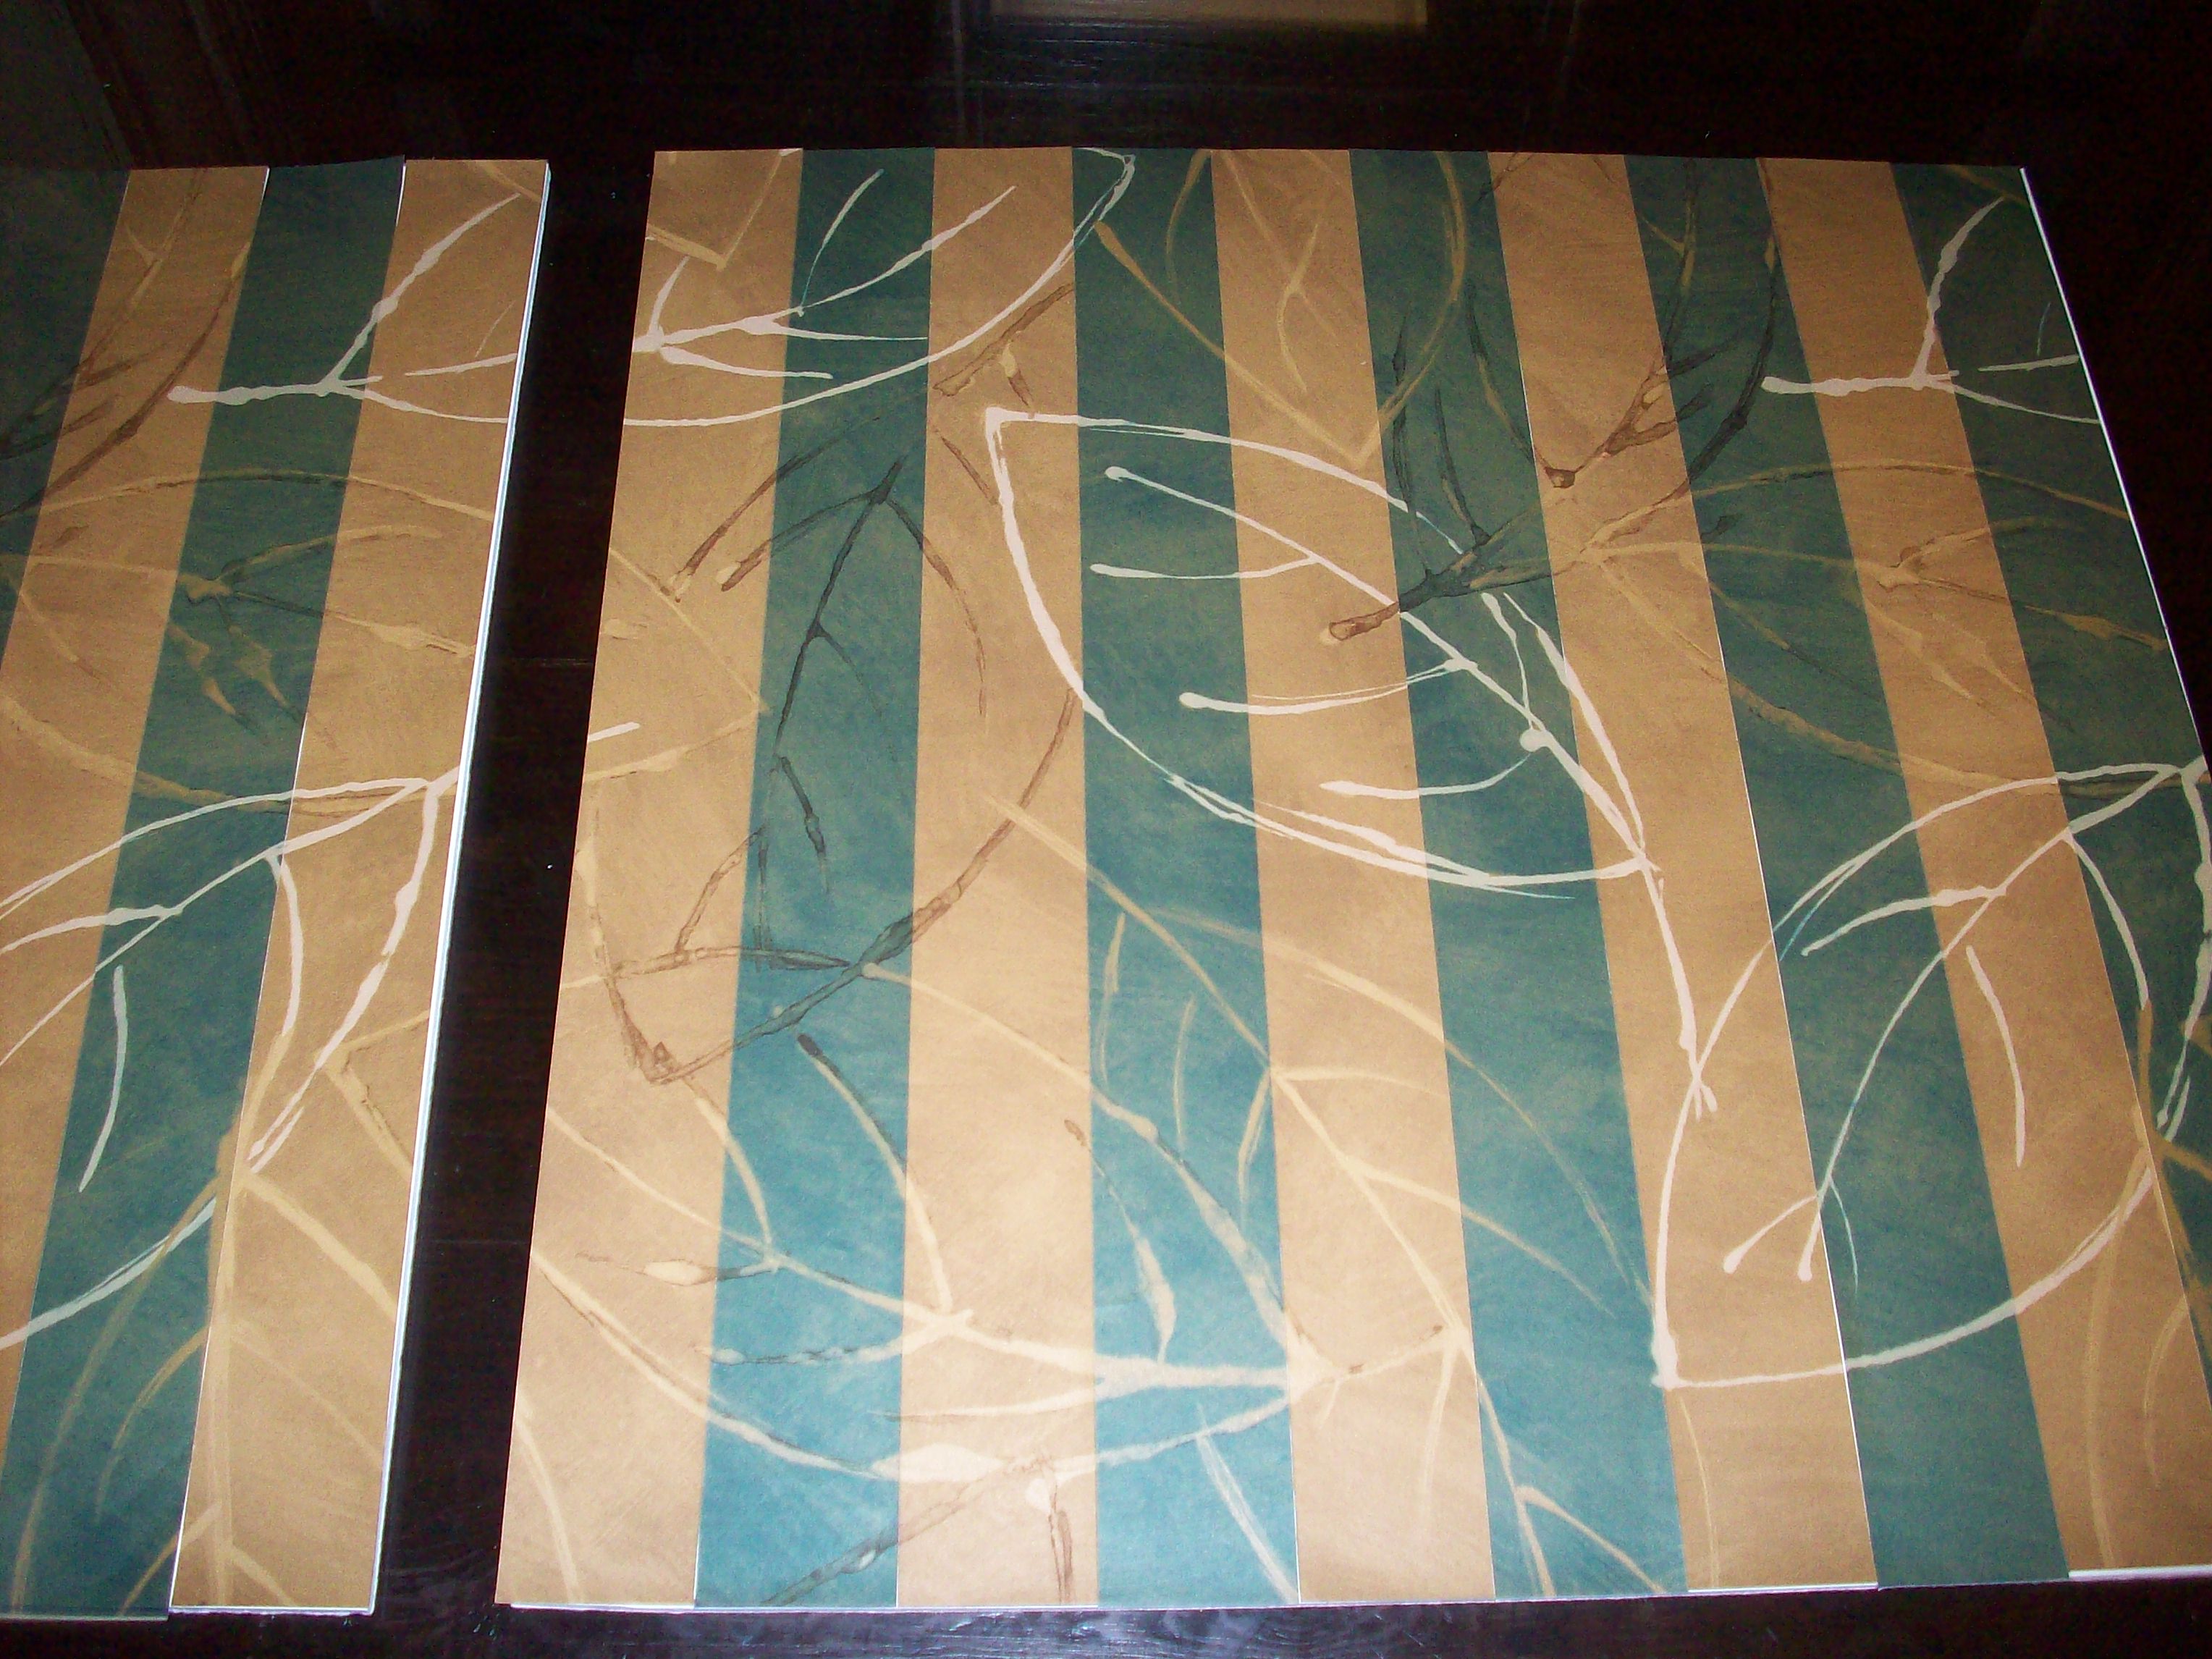
Cut foam core board to the size need to completely cover the art. You will likely want to leave extra on the sides for matting or framing. You will start with the center strip and work your way toward the edges so mark the center line now (assuming you have an even number of strips).
I use repositionable spray-on adhesive to affix the strips to the foam core. Apply a liberal coat of adhesive in a well ventilated area: nowhere near your strips as the adhesive spray tends to float around a bit and land on your hard work. Carefully position the strips such that no white can be seen in the cracks and the pattern lines up. The repositionable quality of the adhesive is important for this step! Smooth out any bubbles as you go.
You can see the second picture that the vertical alignment of the two samples was offset a little for my samples. In my case, the framing will completely cover this but in more extreme cases you may need to trim the top and bottom.