Custom Vacation Photo Frame
by EurekaFactory in Living > Decorating
1337 Views, 38 Favorites, 0 Comments
Custom Vacation Photo Frame
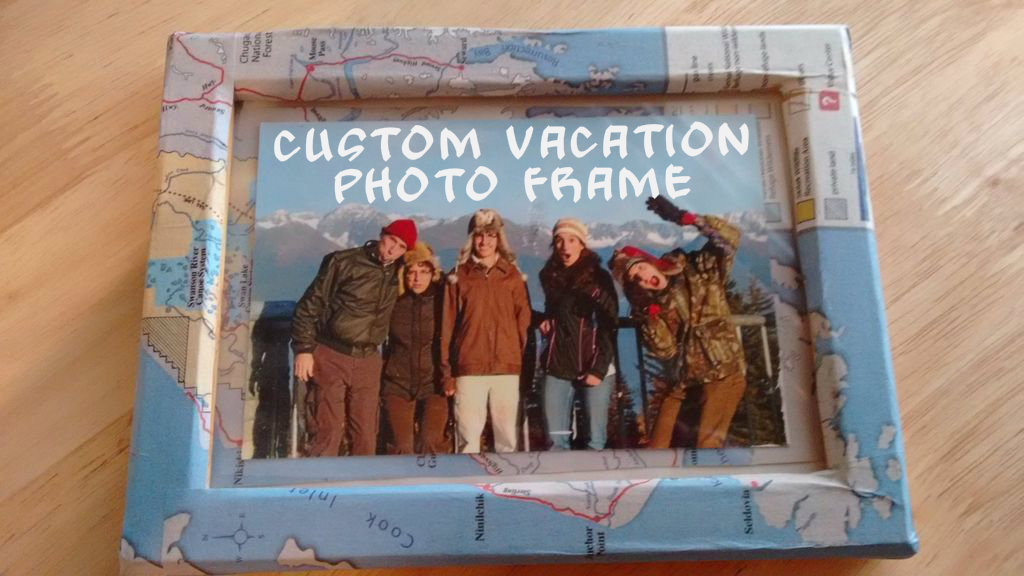
So you just got this awesome photo postcard in the mail, and it's a real keepsake! Maybe you want to create a keepsake for yourself, or as a gift for the cool people who sent you the postcard. With an inexpensive wooden frame, homemade decoupage glue and some map images - preferably related to the photo - and you've got the makings of a fantastic customized photo frame!
Materials
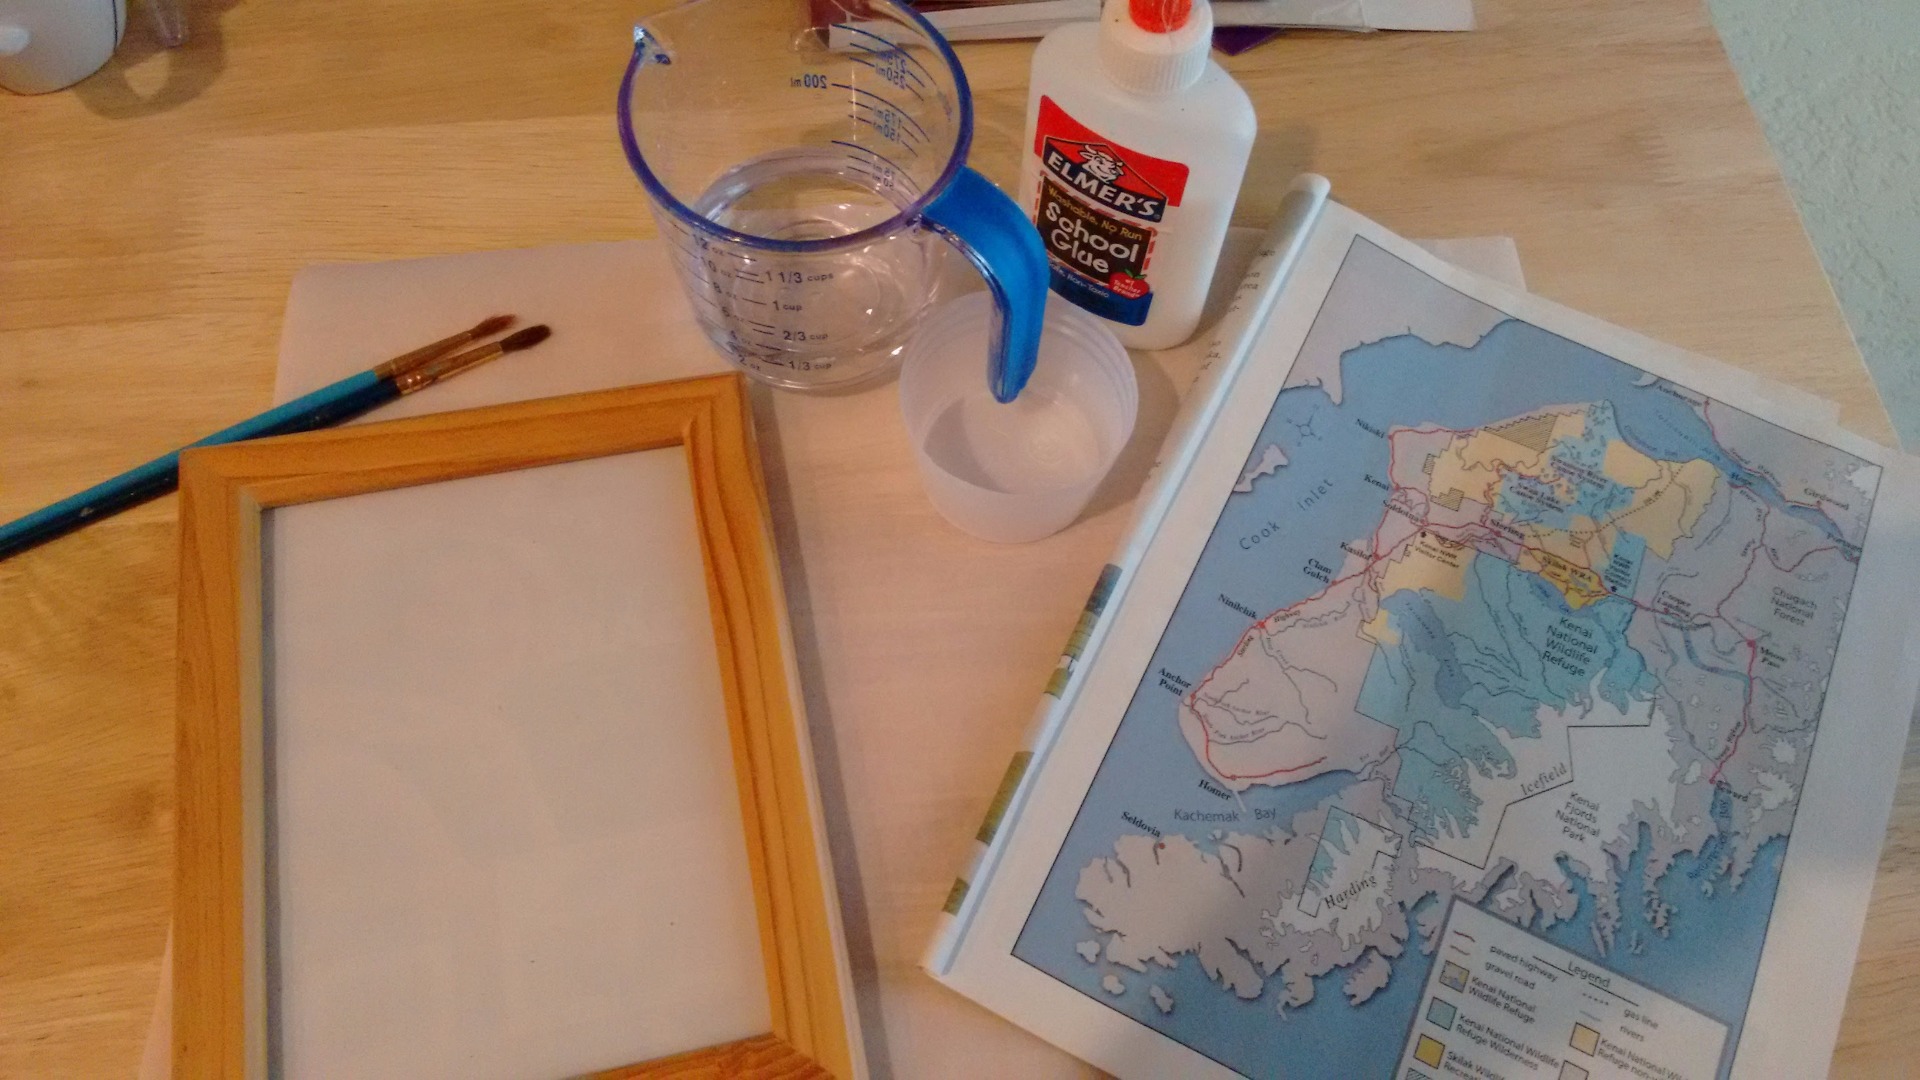
You'll need:
- A frame - 4x6 or 5x7 or bigger for some ambitious big photo project - I used a 5x7 frame here
- map - newsprint map is nice, like you find in a park tabloid, but a regular map will work too
- glue
- water
- little mixing cup (I grabbed the one out of my DIY Craft Mixing & Measuring Kit)
- small paint brush
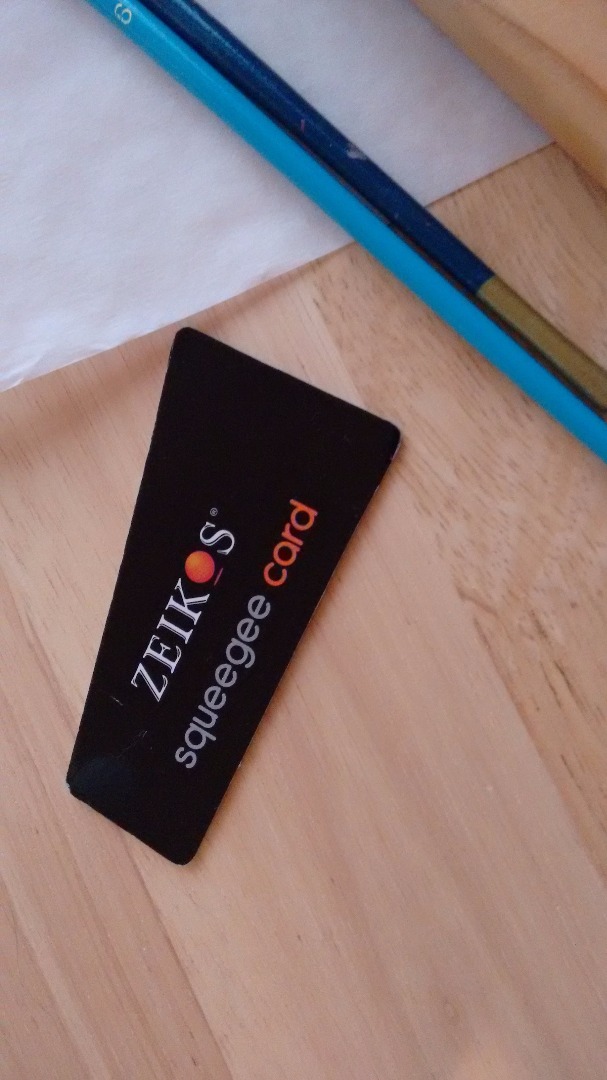
- squeegee
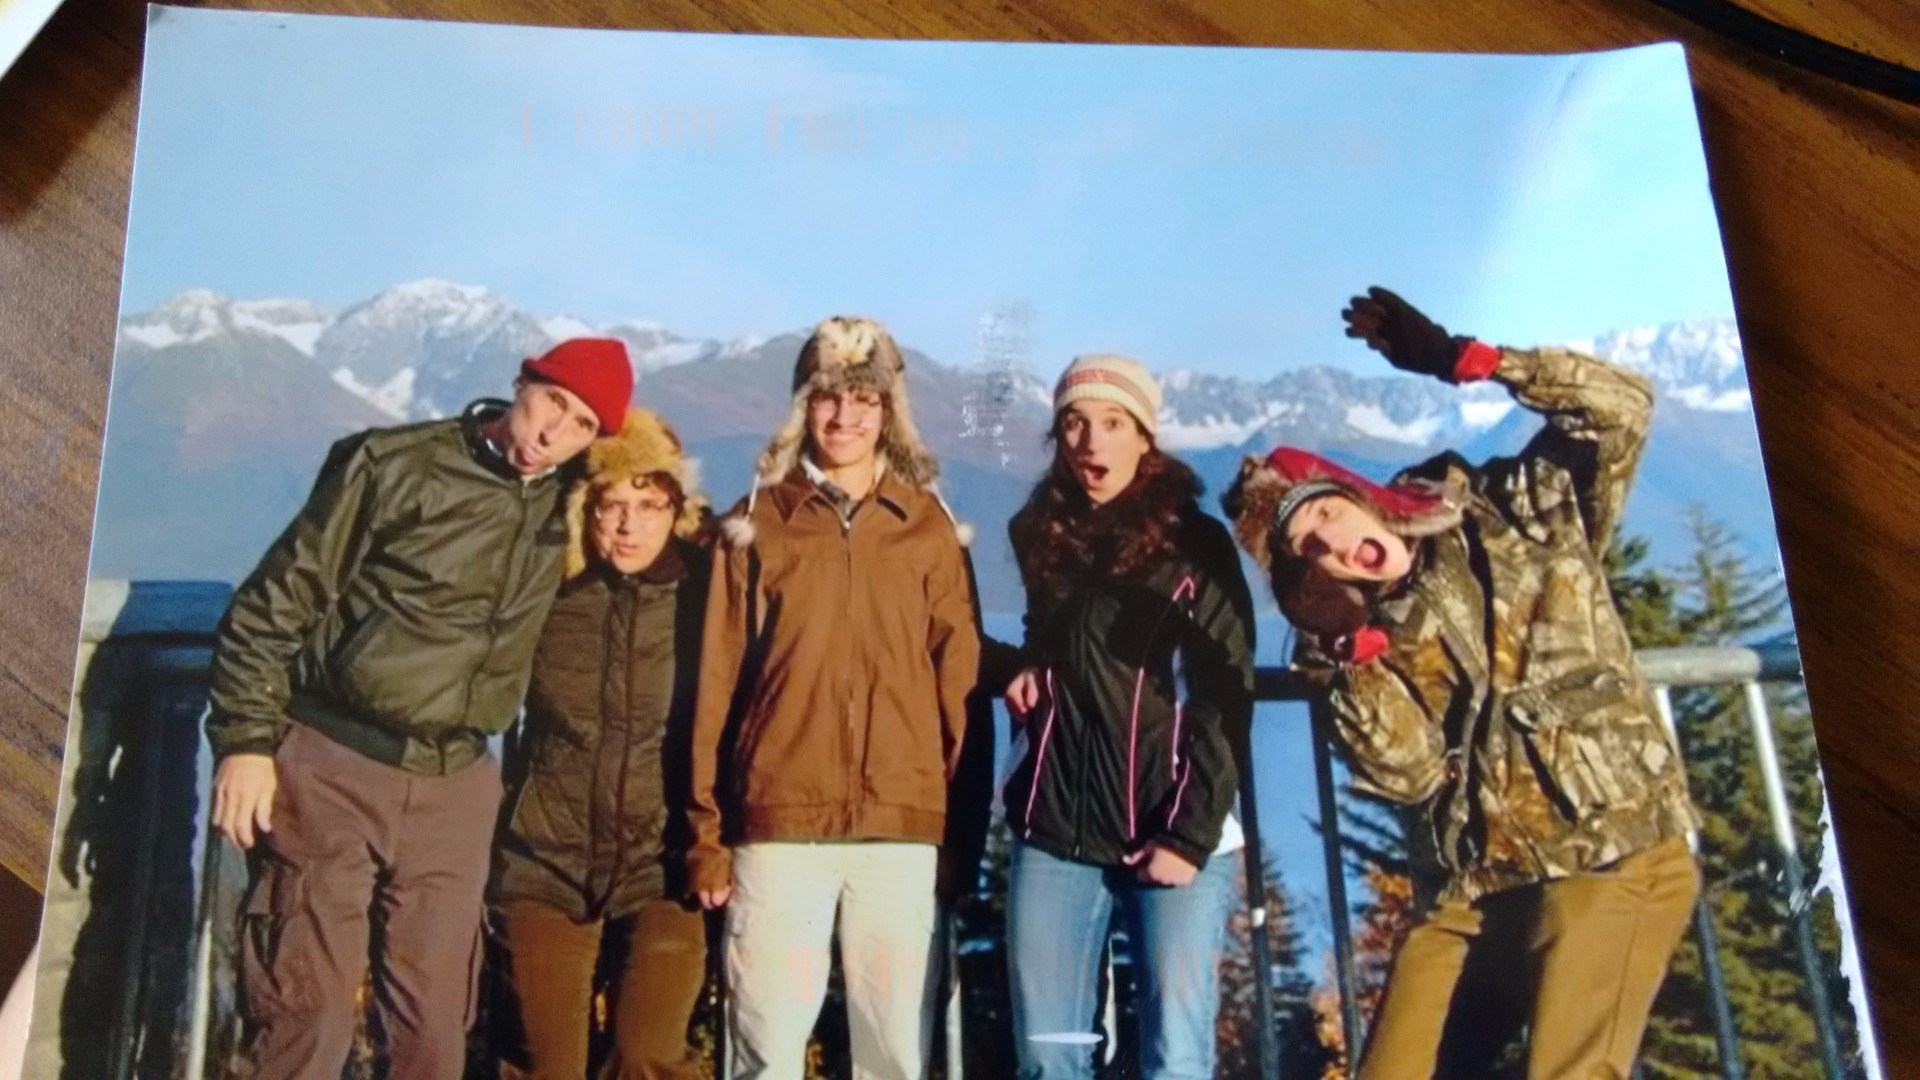
and an awesome photo of course!
Disassemble Frame
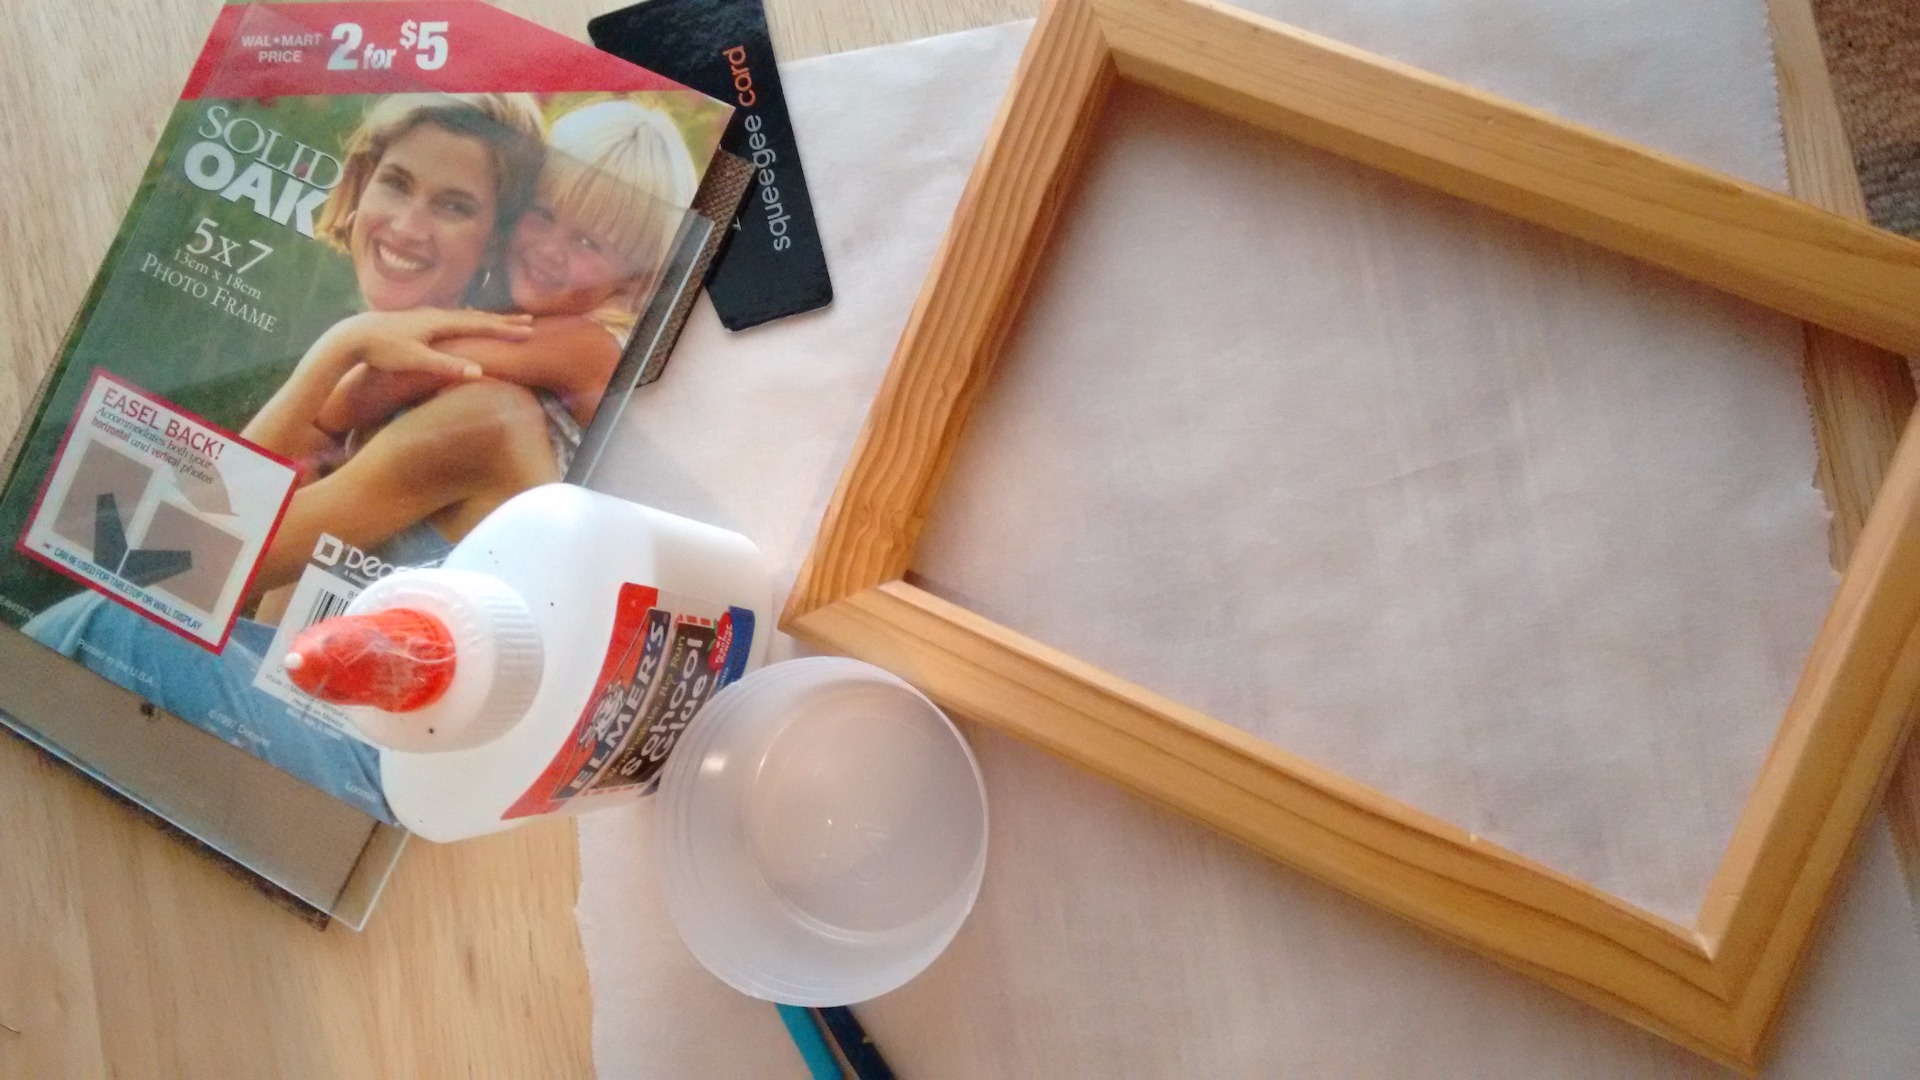
Take your frame apart and set the glass aside somewhere safe. (Don't let you glue top look like the one in the photo - that's kinda nasty)
Mix Up Decoupage Glue
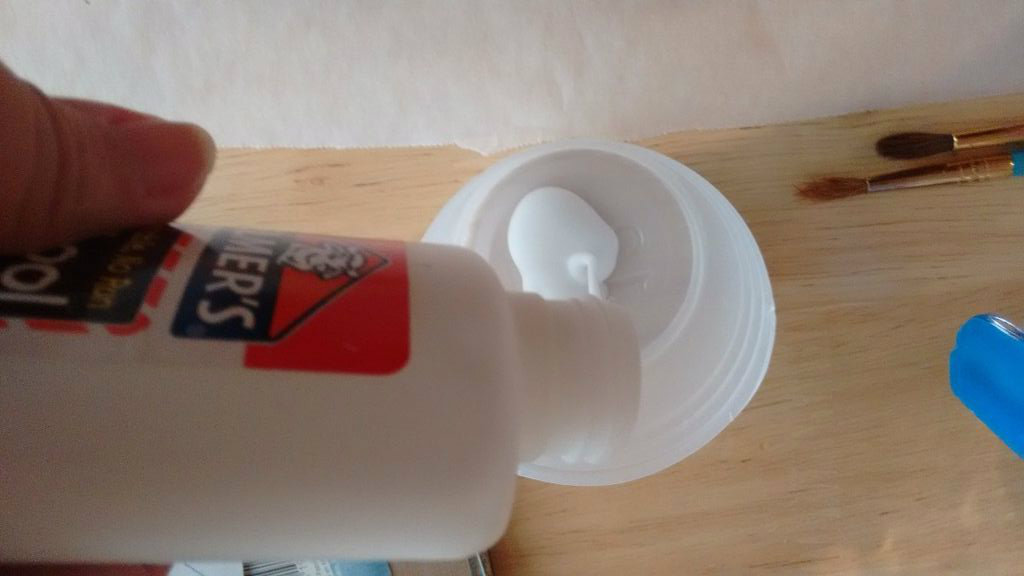
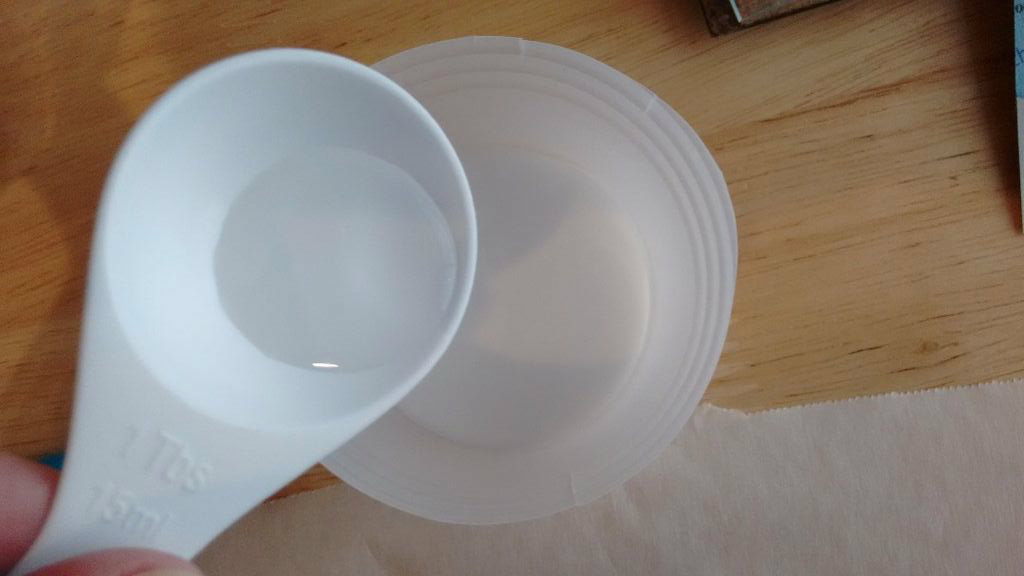
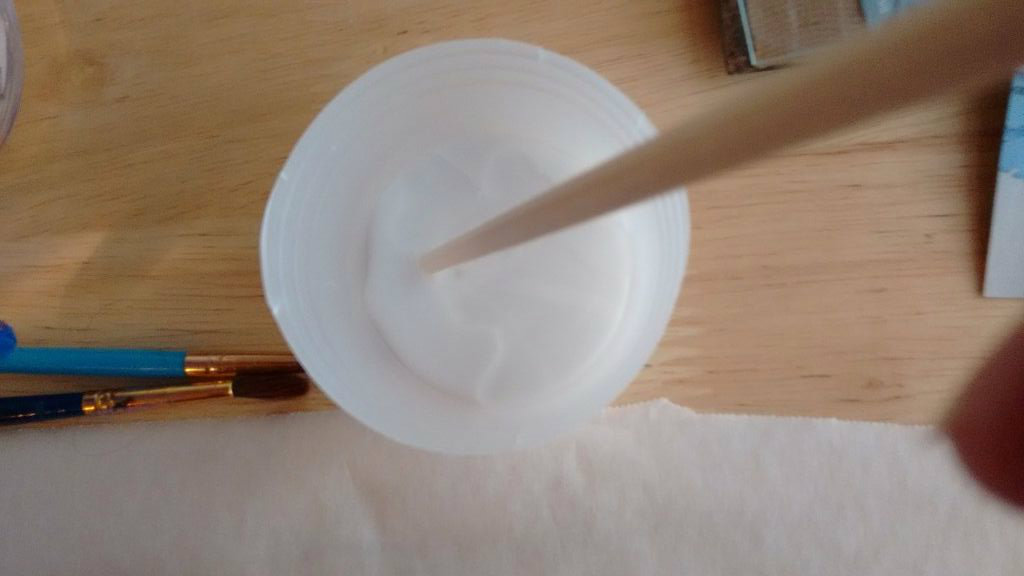
3 parts glue to 1 part water make up your decoupage glue. Decoupage, by the way, is just a paper craft art form. The decoupage goo you might remember from childhood (or that you might still use as the awesome artsy adult you might be!), is essentially a thinned glue, but with some sealer and finishing agent added.
You won't need much for this project - maybe a tablespoon of glue, and a 1/3 tablespoon of water. Mix thoroughly, and you're ready to get started.
Layout Design
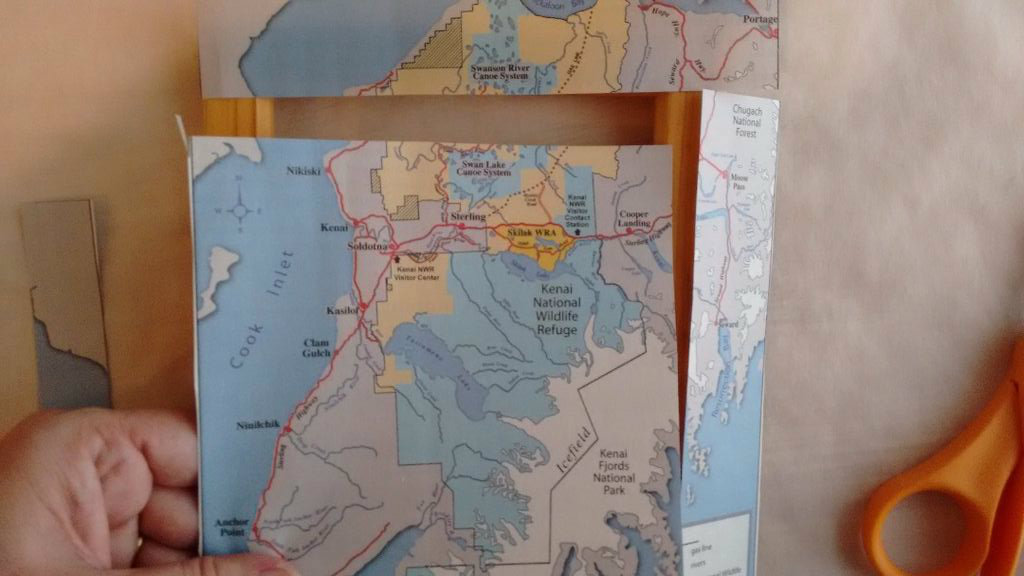
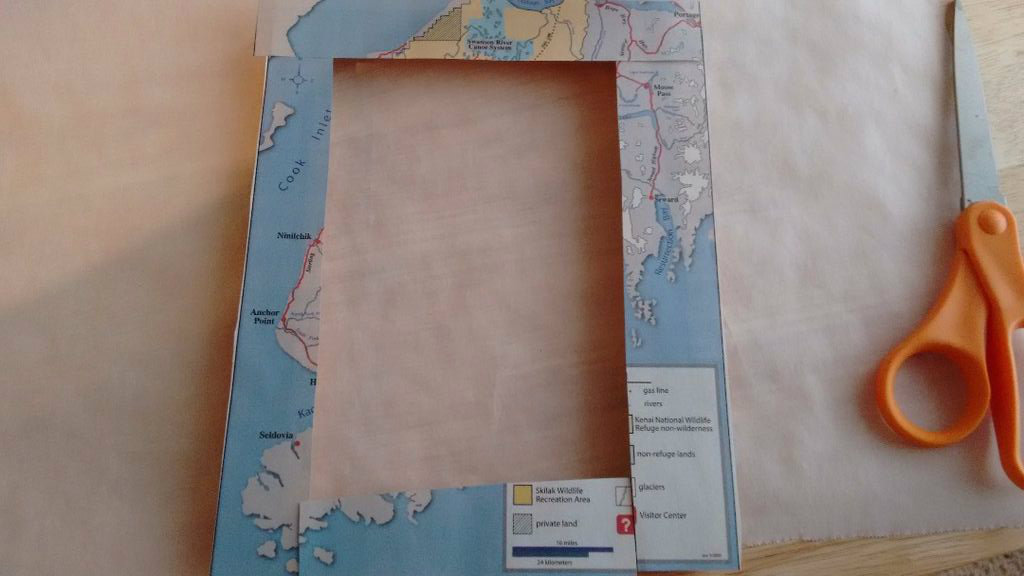
There's all sorts of ways to proceed here. You can just cut your map up in random pieces, or cut out the outside edges so you have a sort of neatly fitting puzzle. Save the inside portion and put it aside for later, for another possible use of that.
Start Gluing!
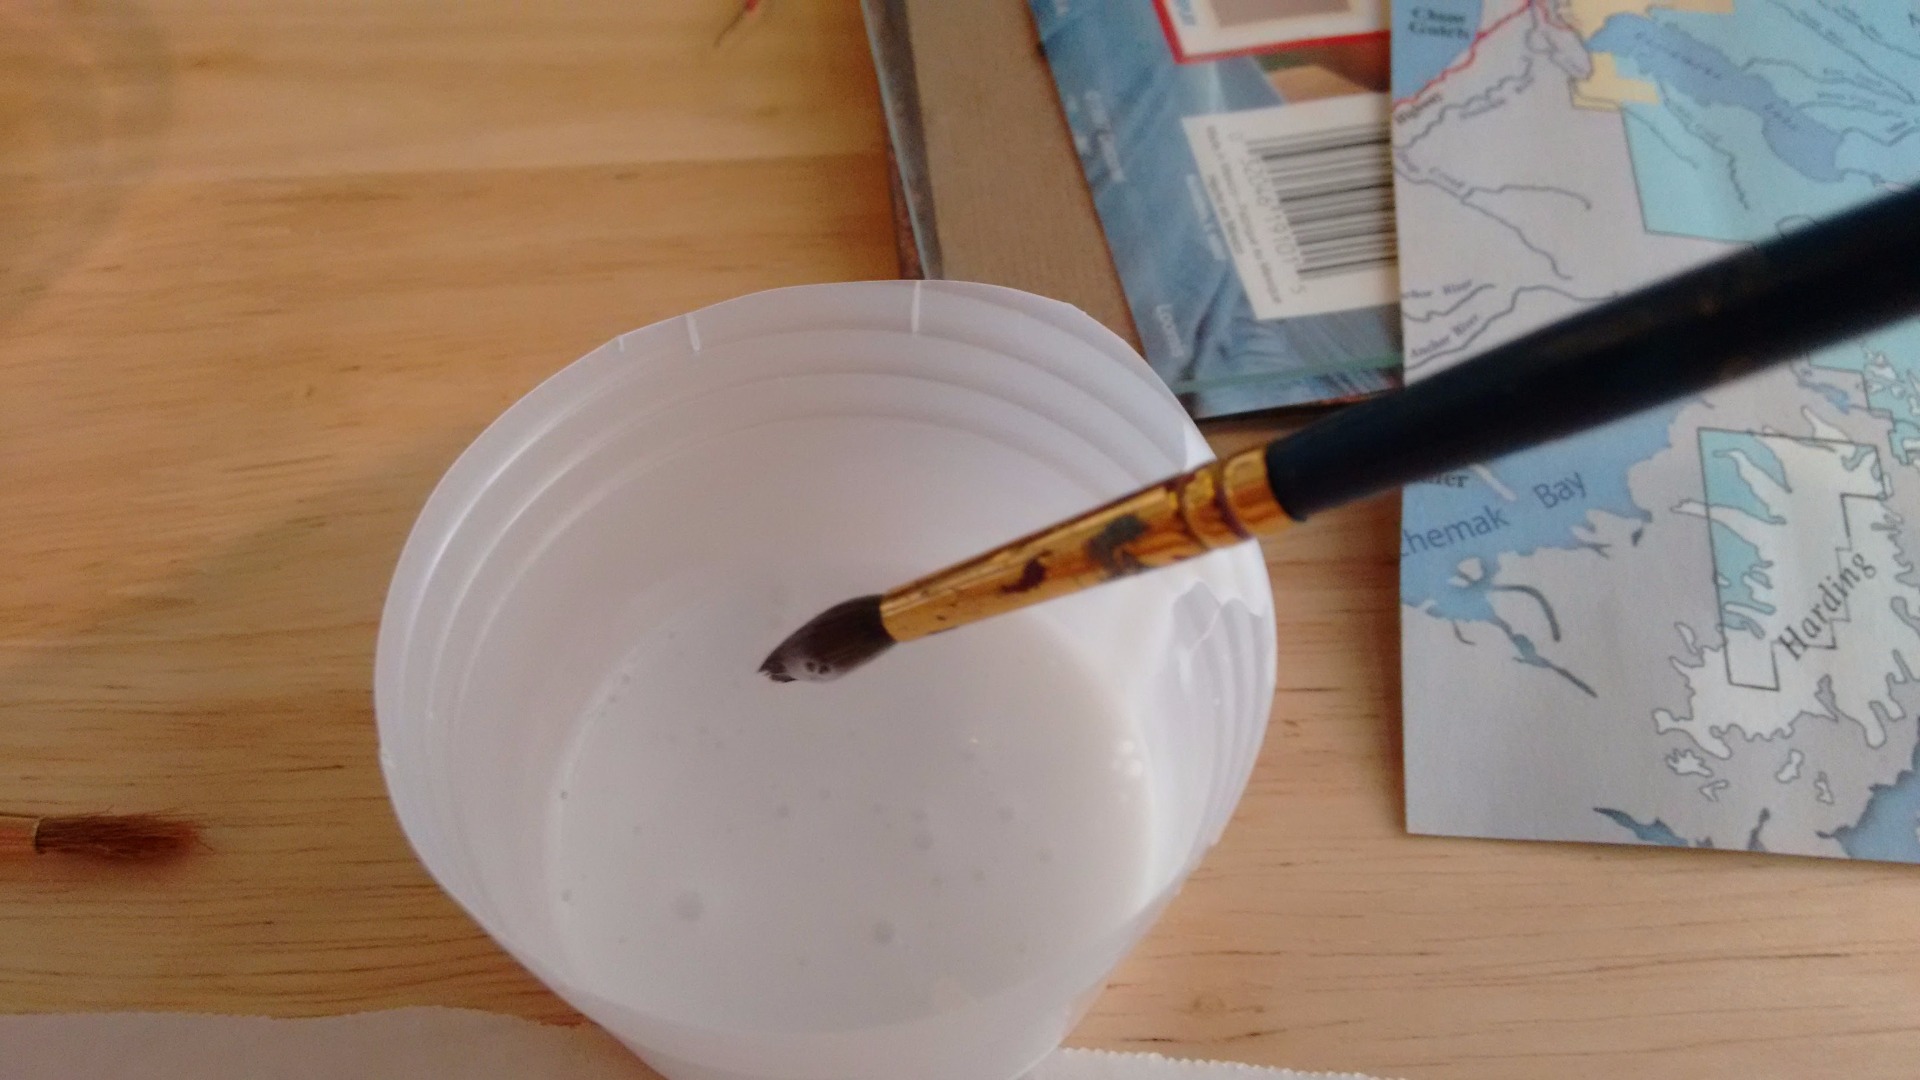
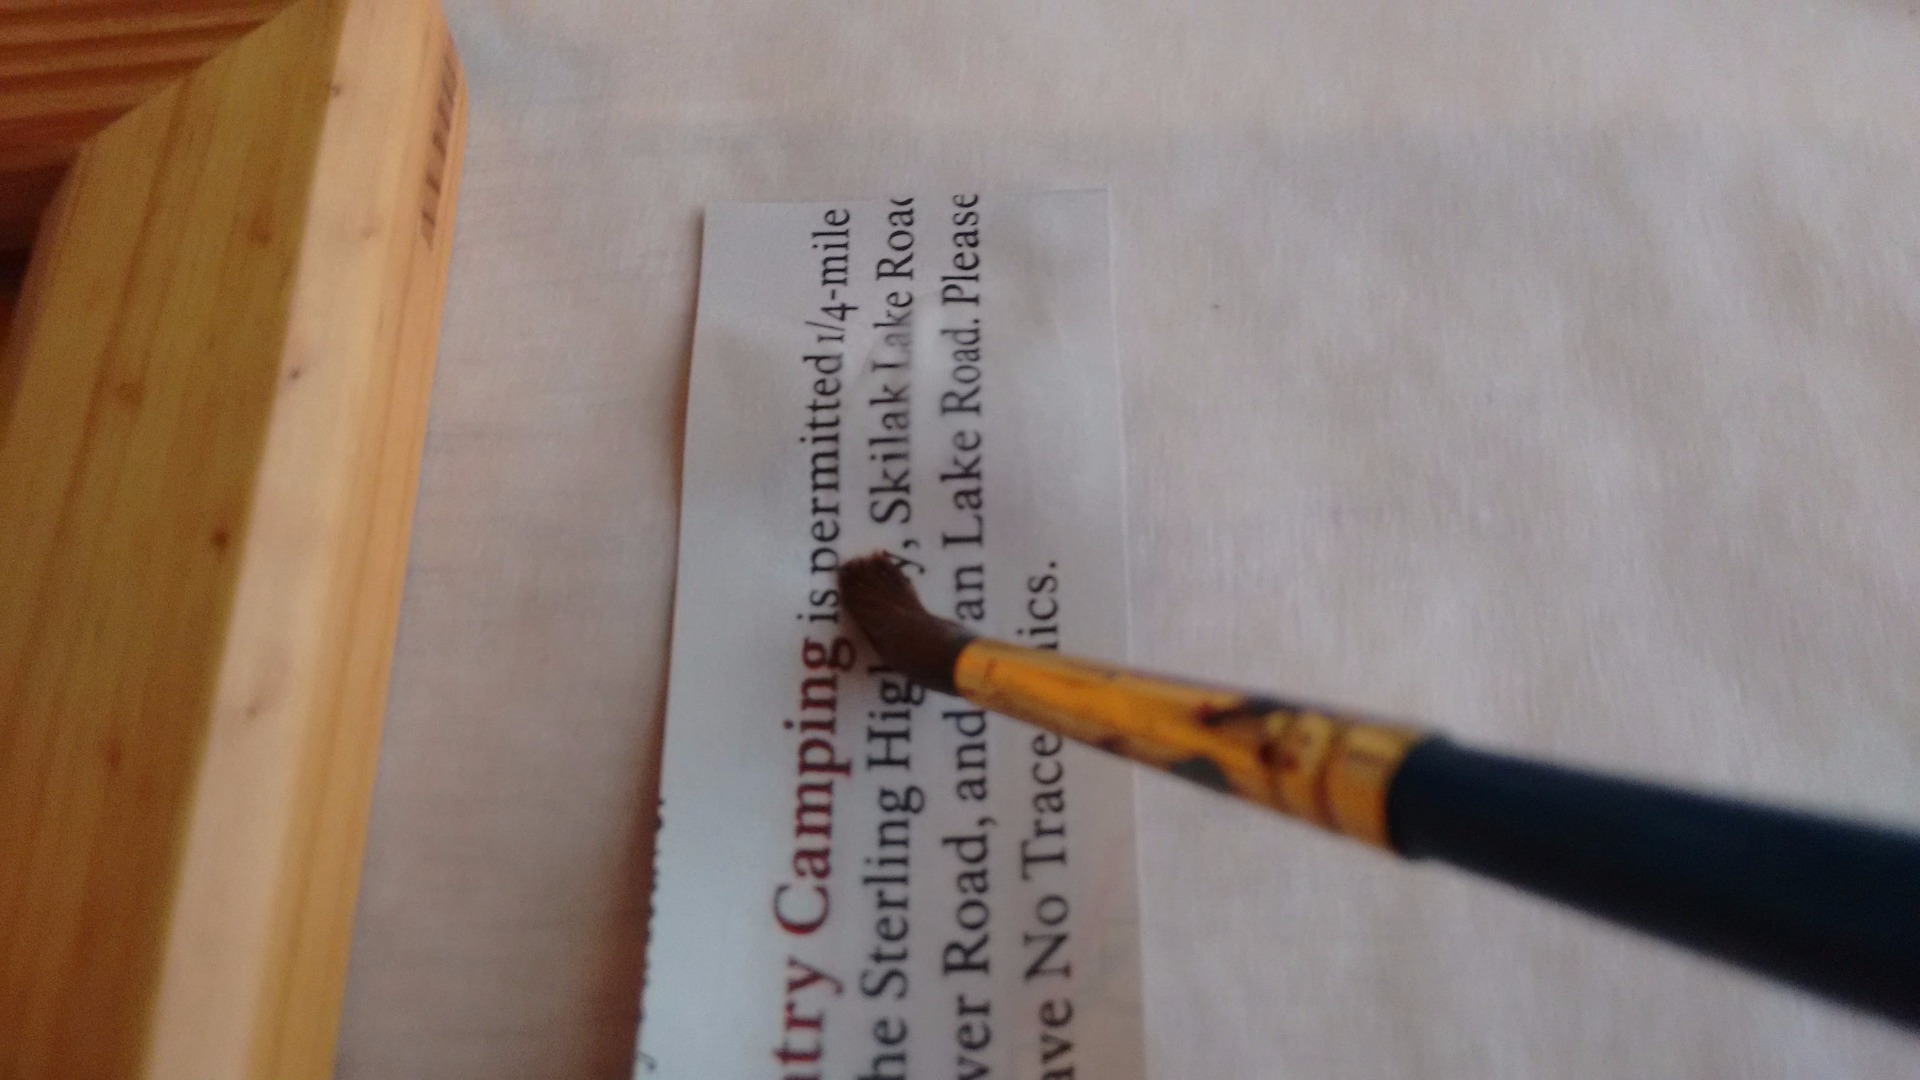
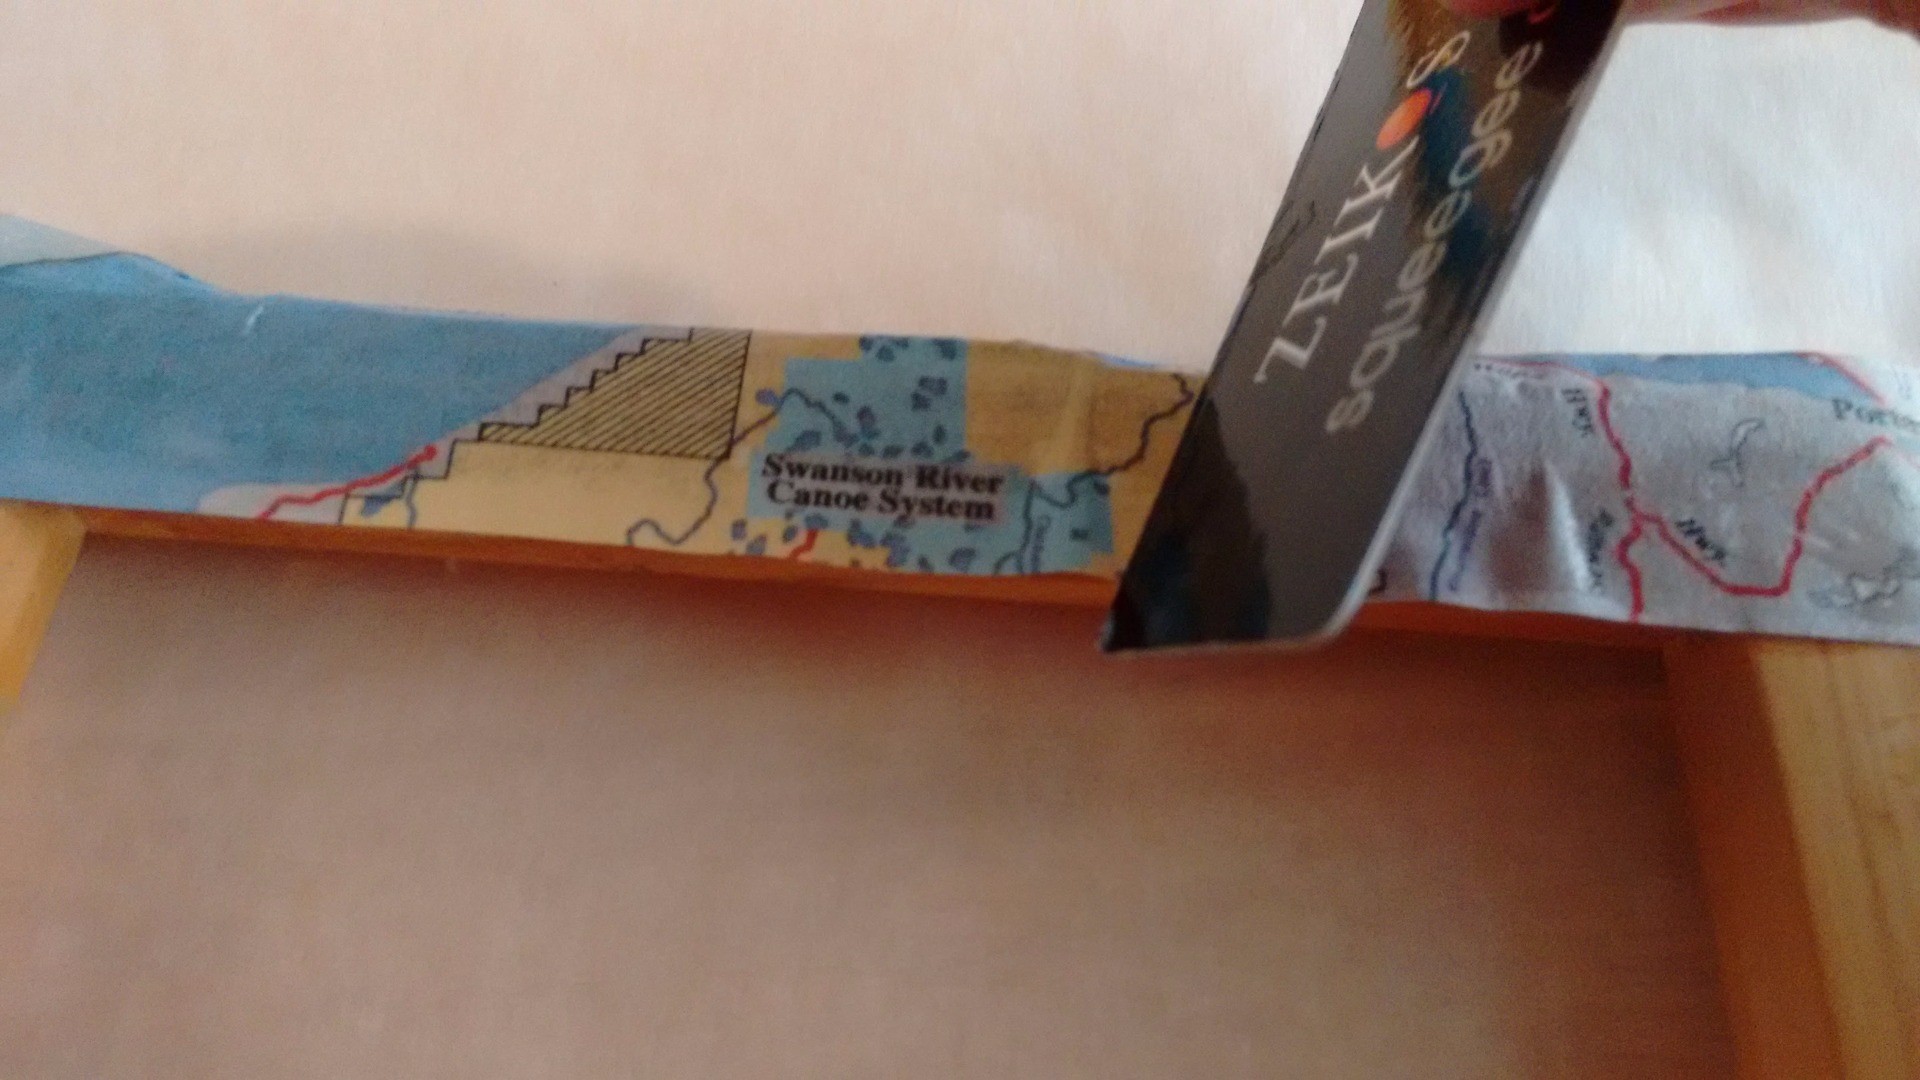
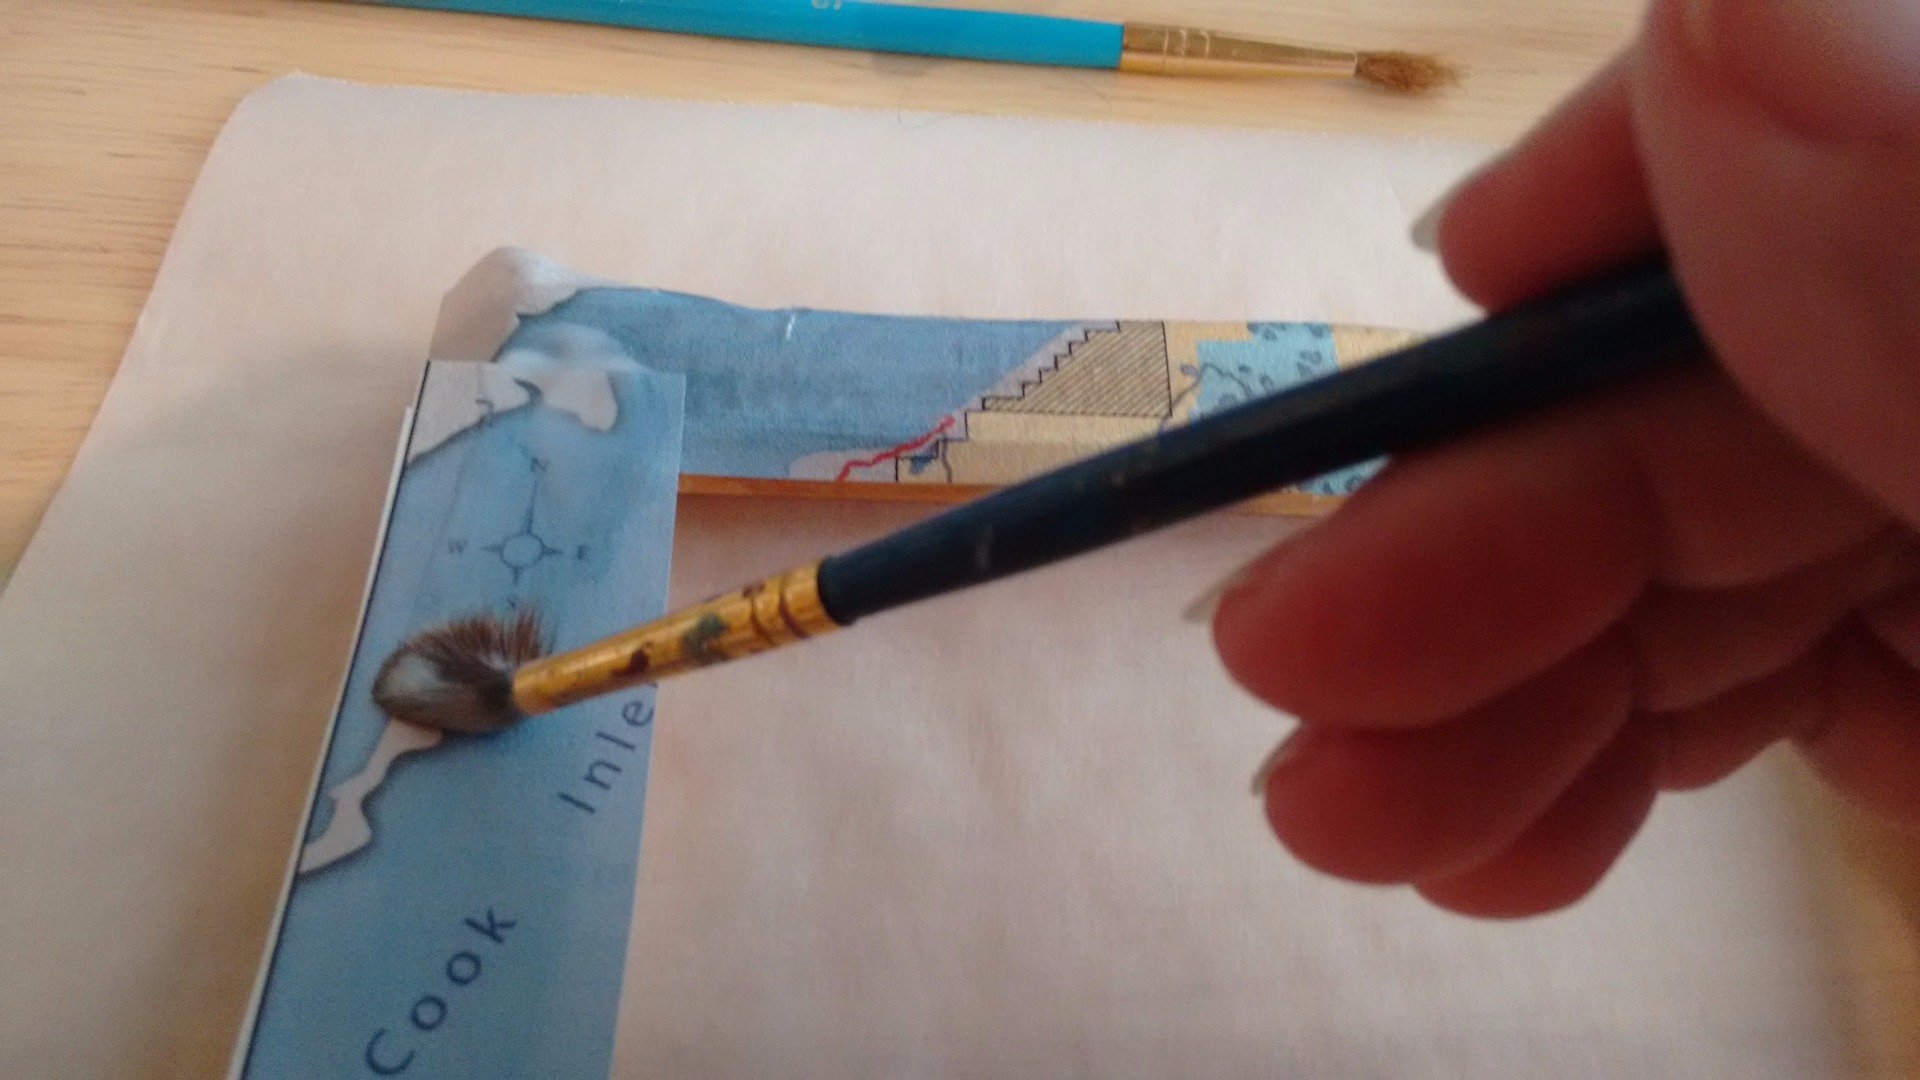
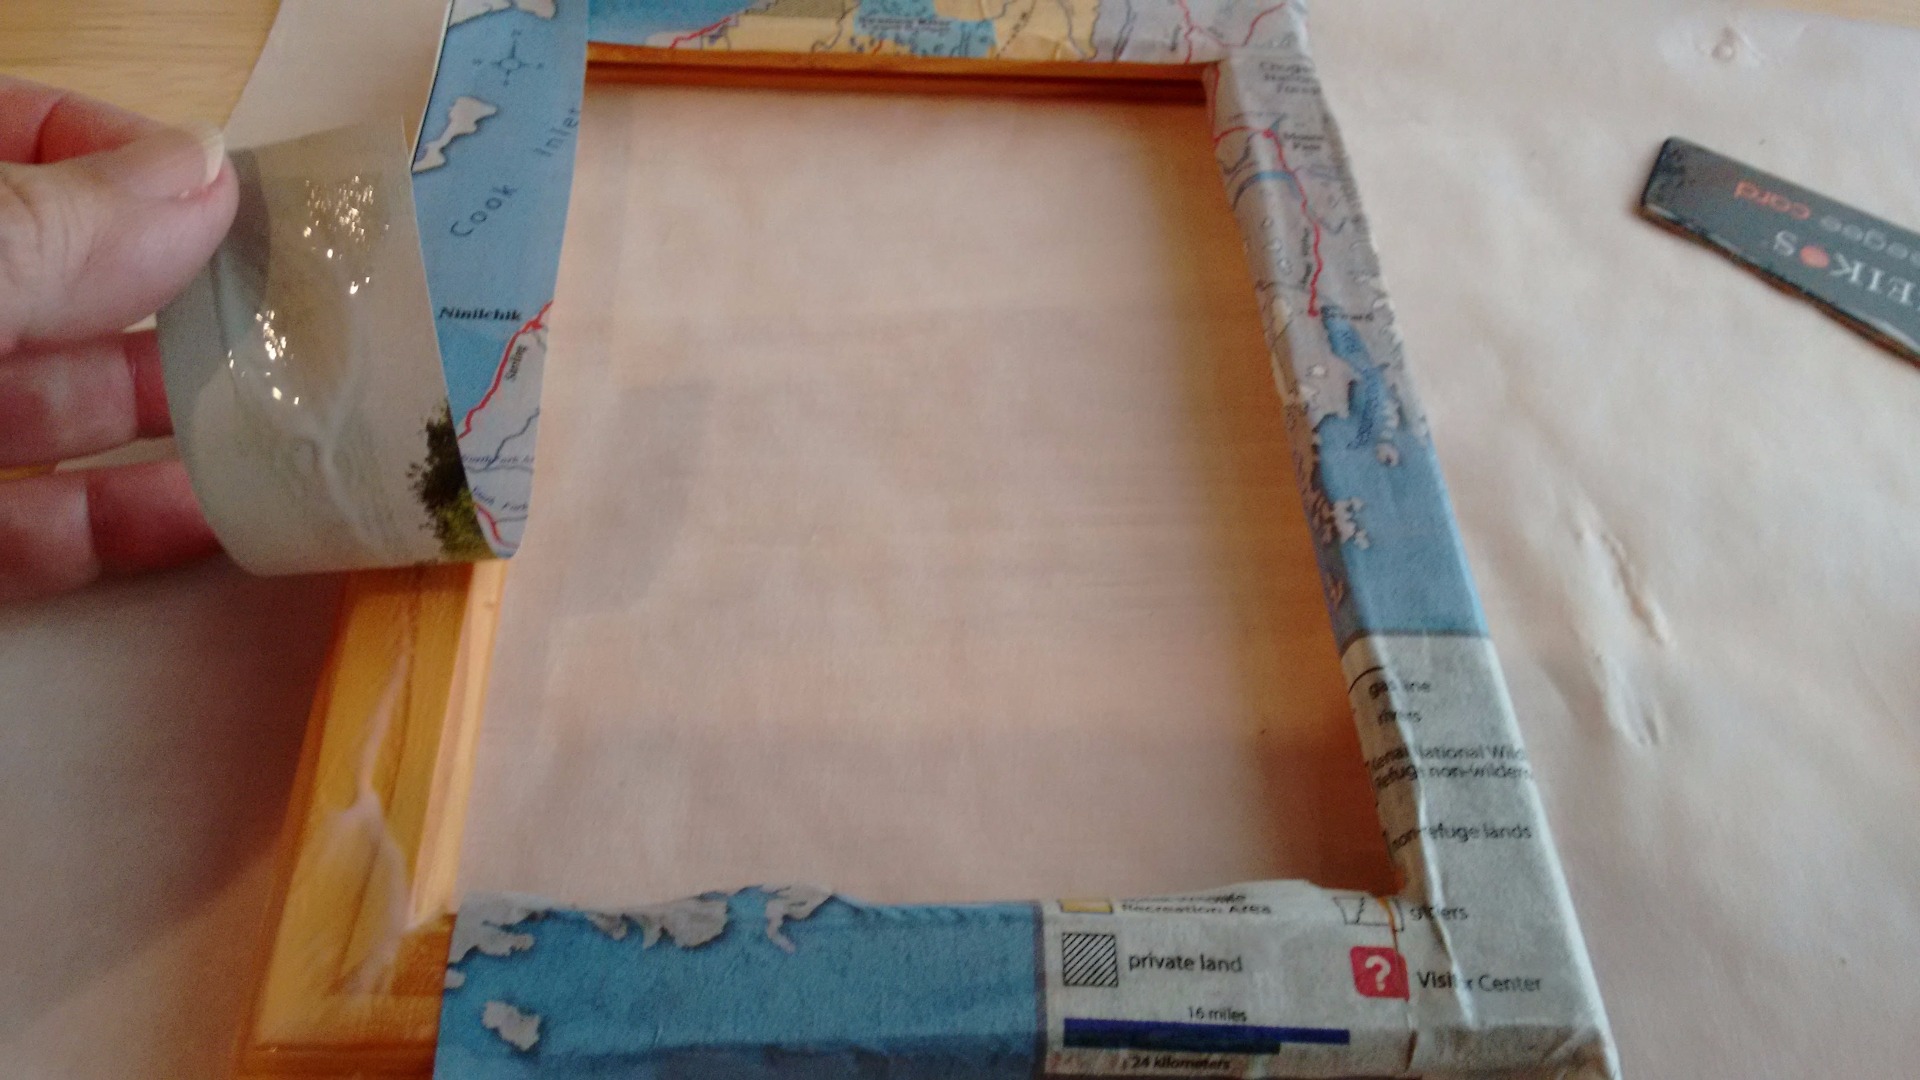
Now have at it with the glue and paper strips. I find this part very soothing and enjoyable. Coat the inside of your strips, set on the frame as desired, then paint more glue on the outside. Use your little squeegee as needed to gently smooth out bubbles or wrinkles. Work your way all the way around your frame.
Finish Corners
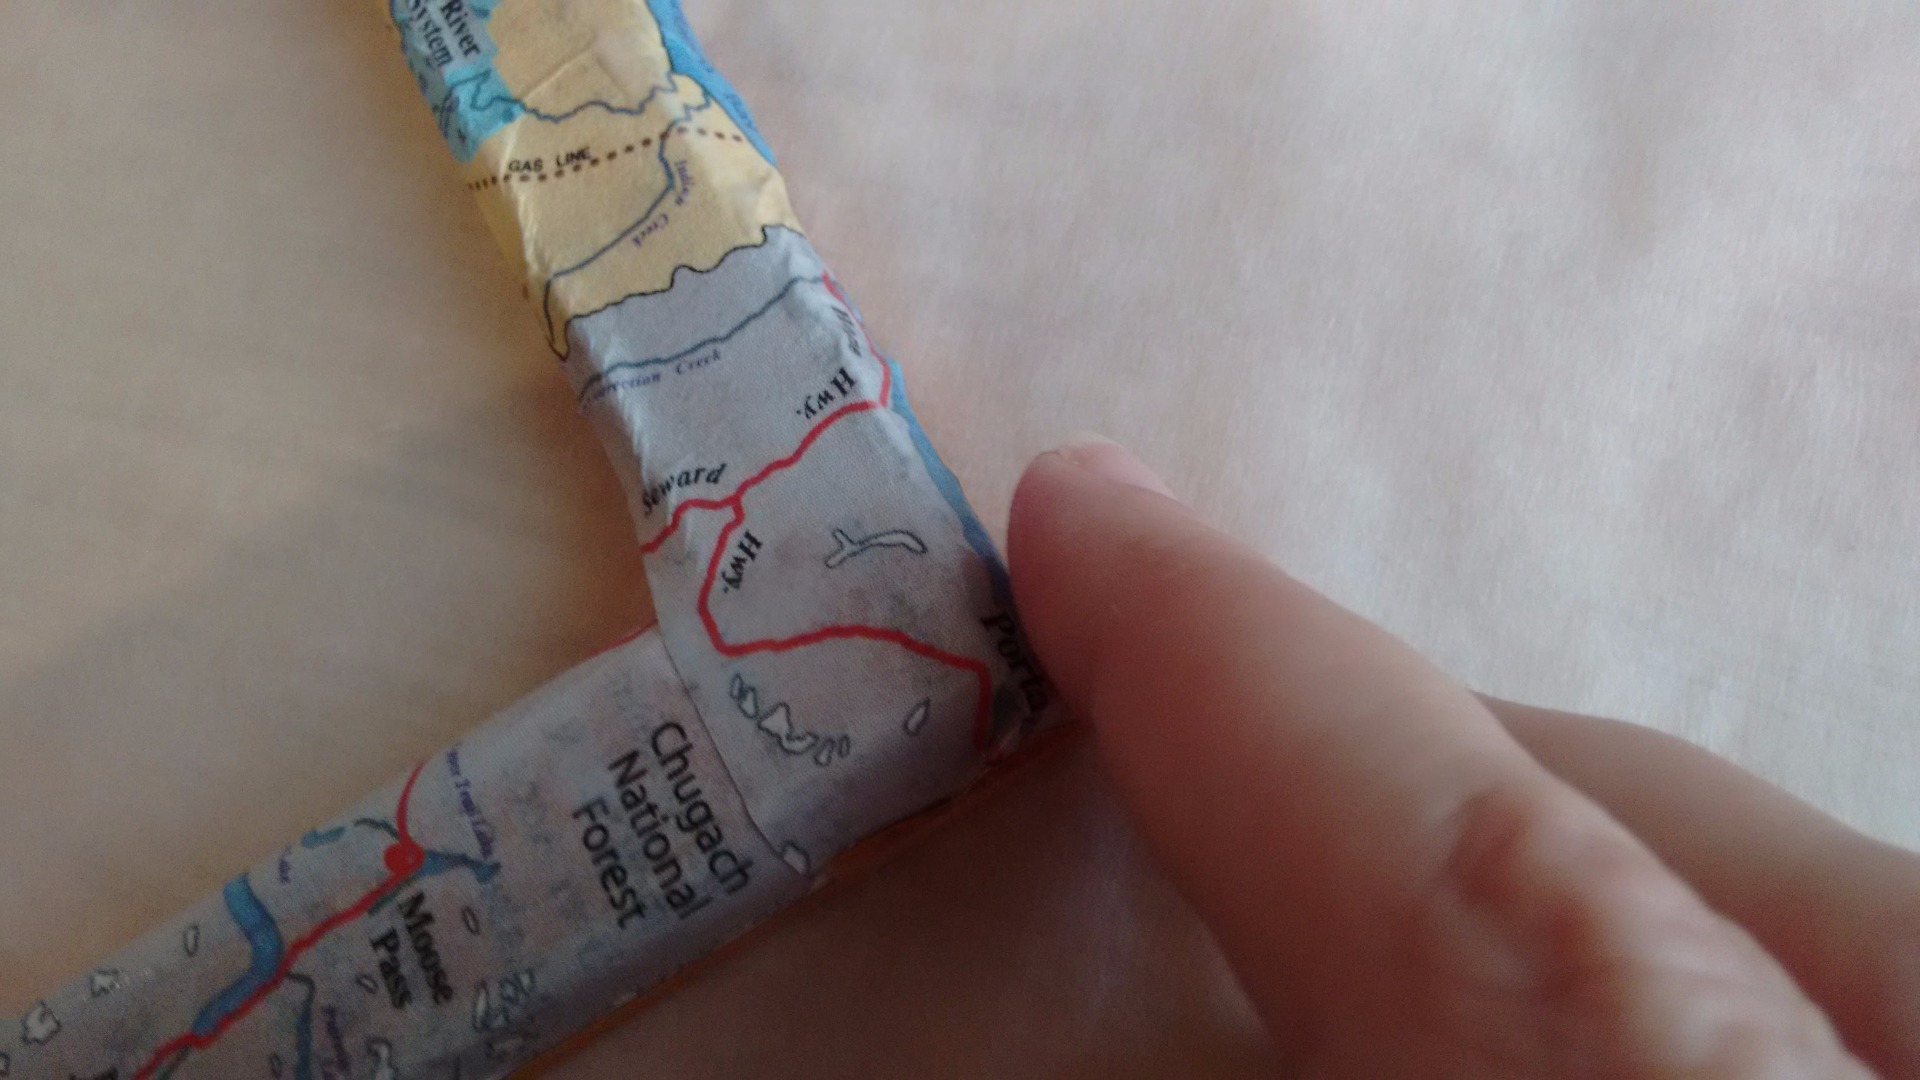
At some point, you'll have to get glue on your fingers. You can wear gloves if you like, but you'll need to work the paper around the outside and insides of corners, to tuck everything down nicely. Add glue as needed.
Allow to Dry
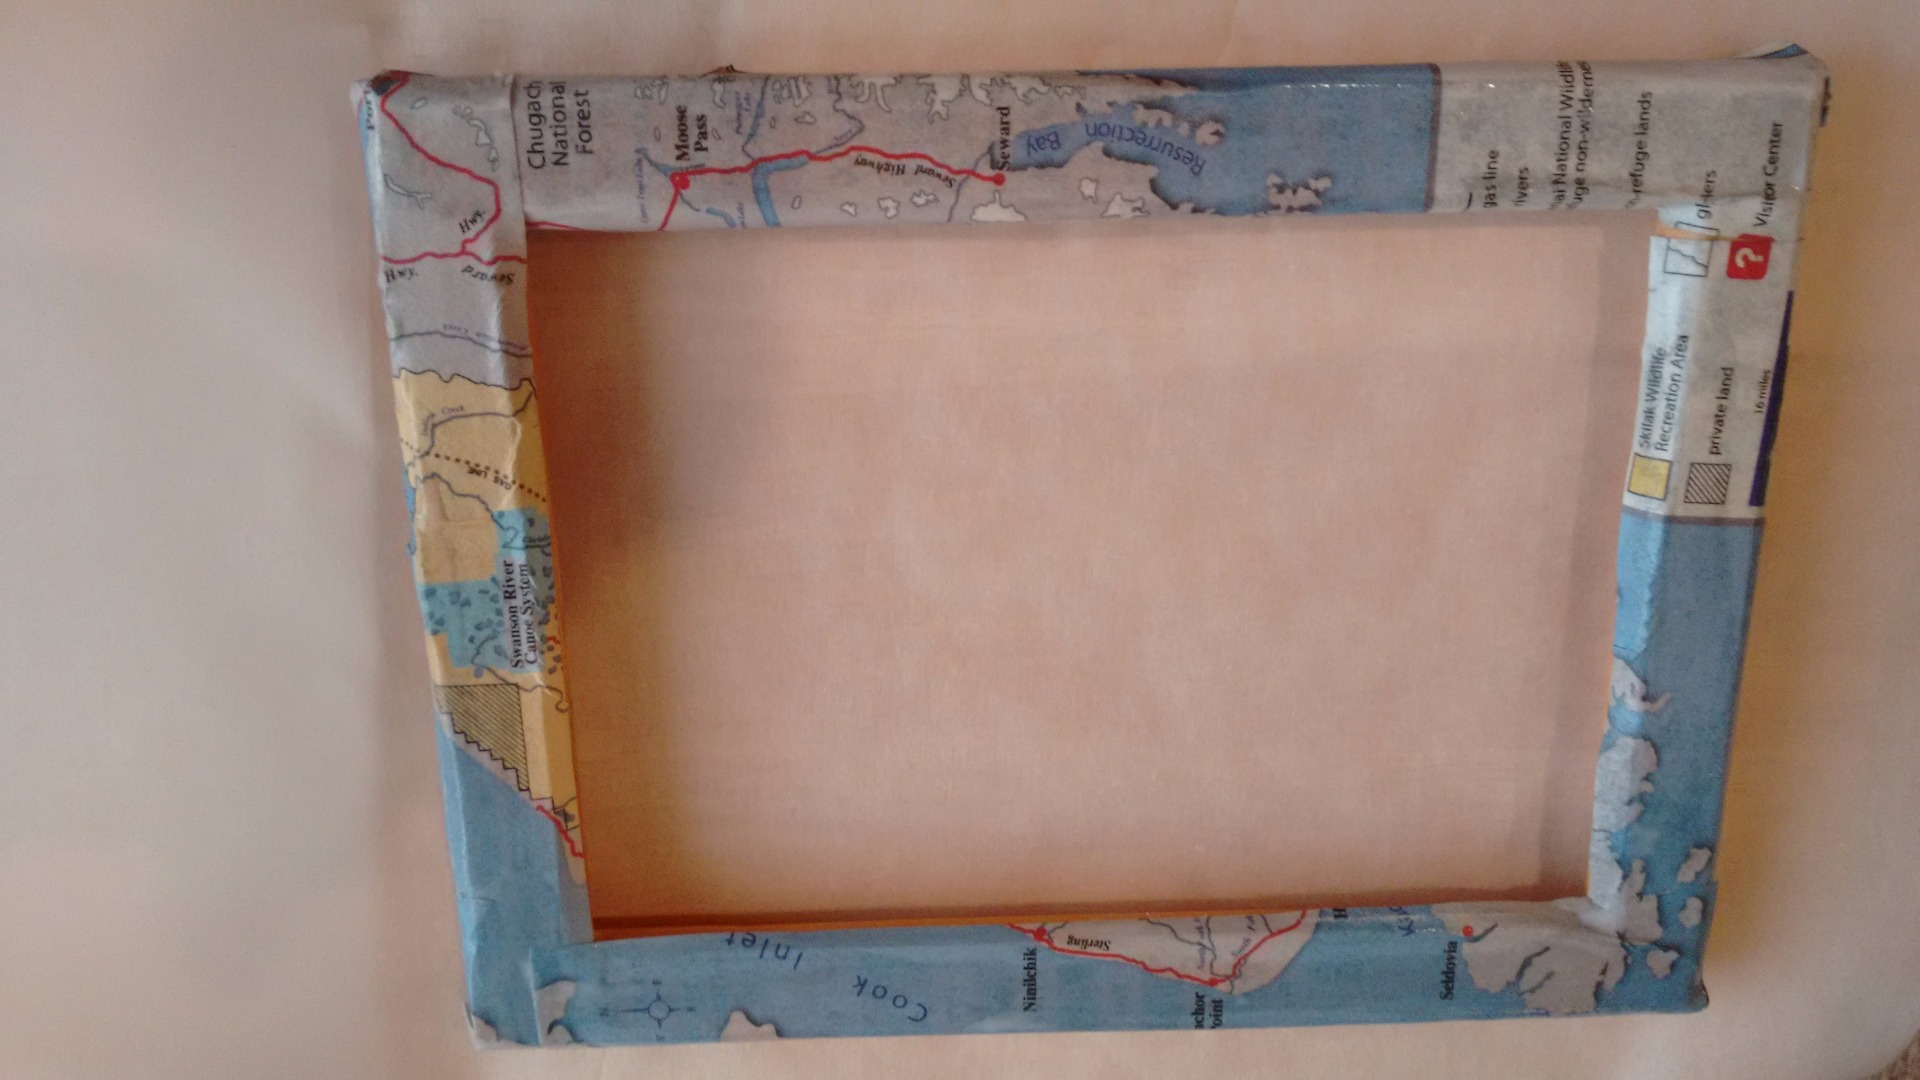
Go do something else and let your frame dry for about 30 minutes or so.
Finish Sides
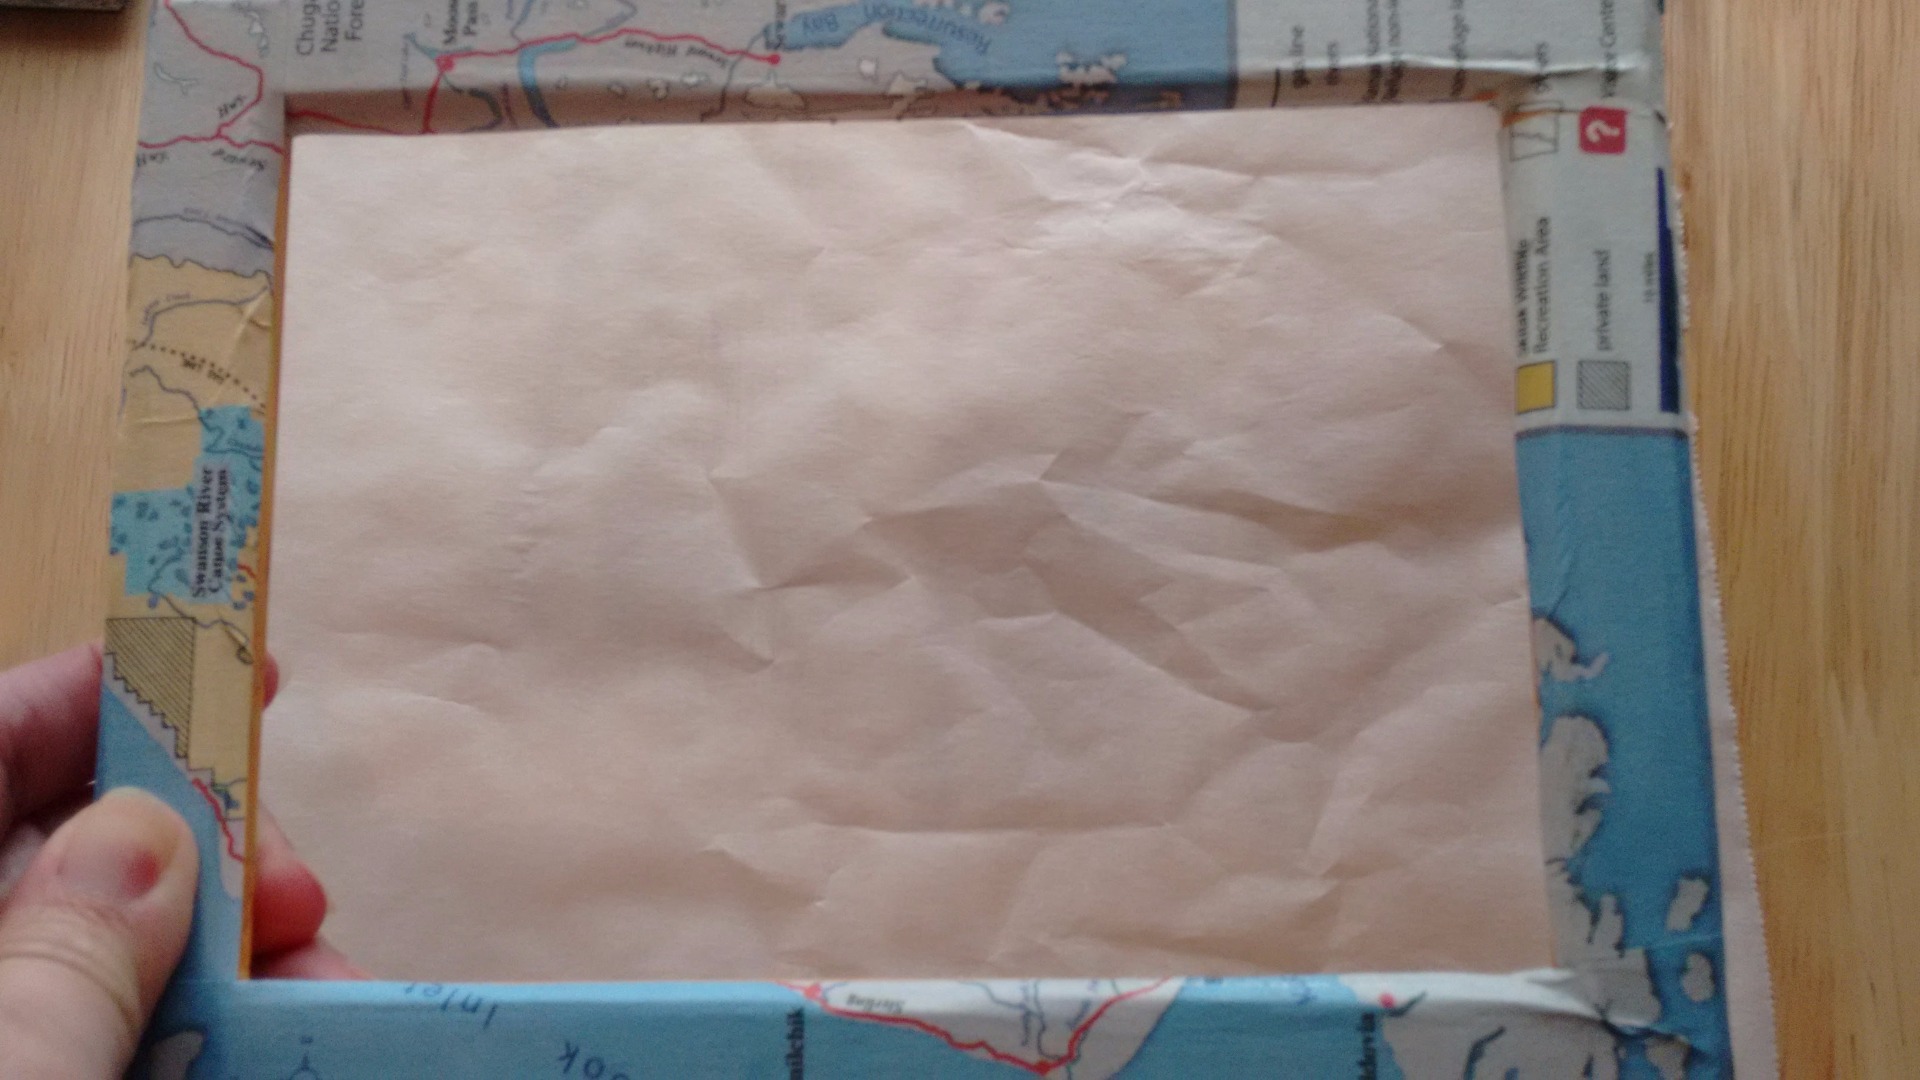
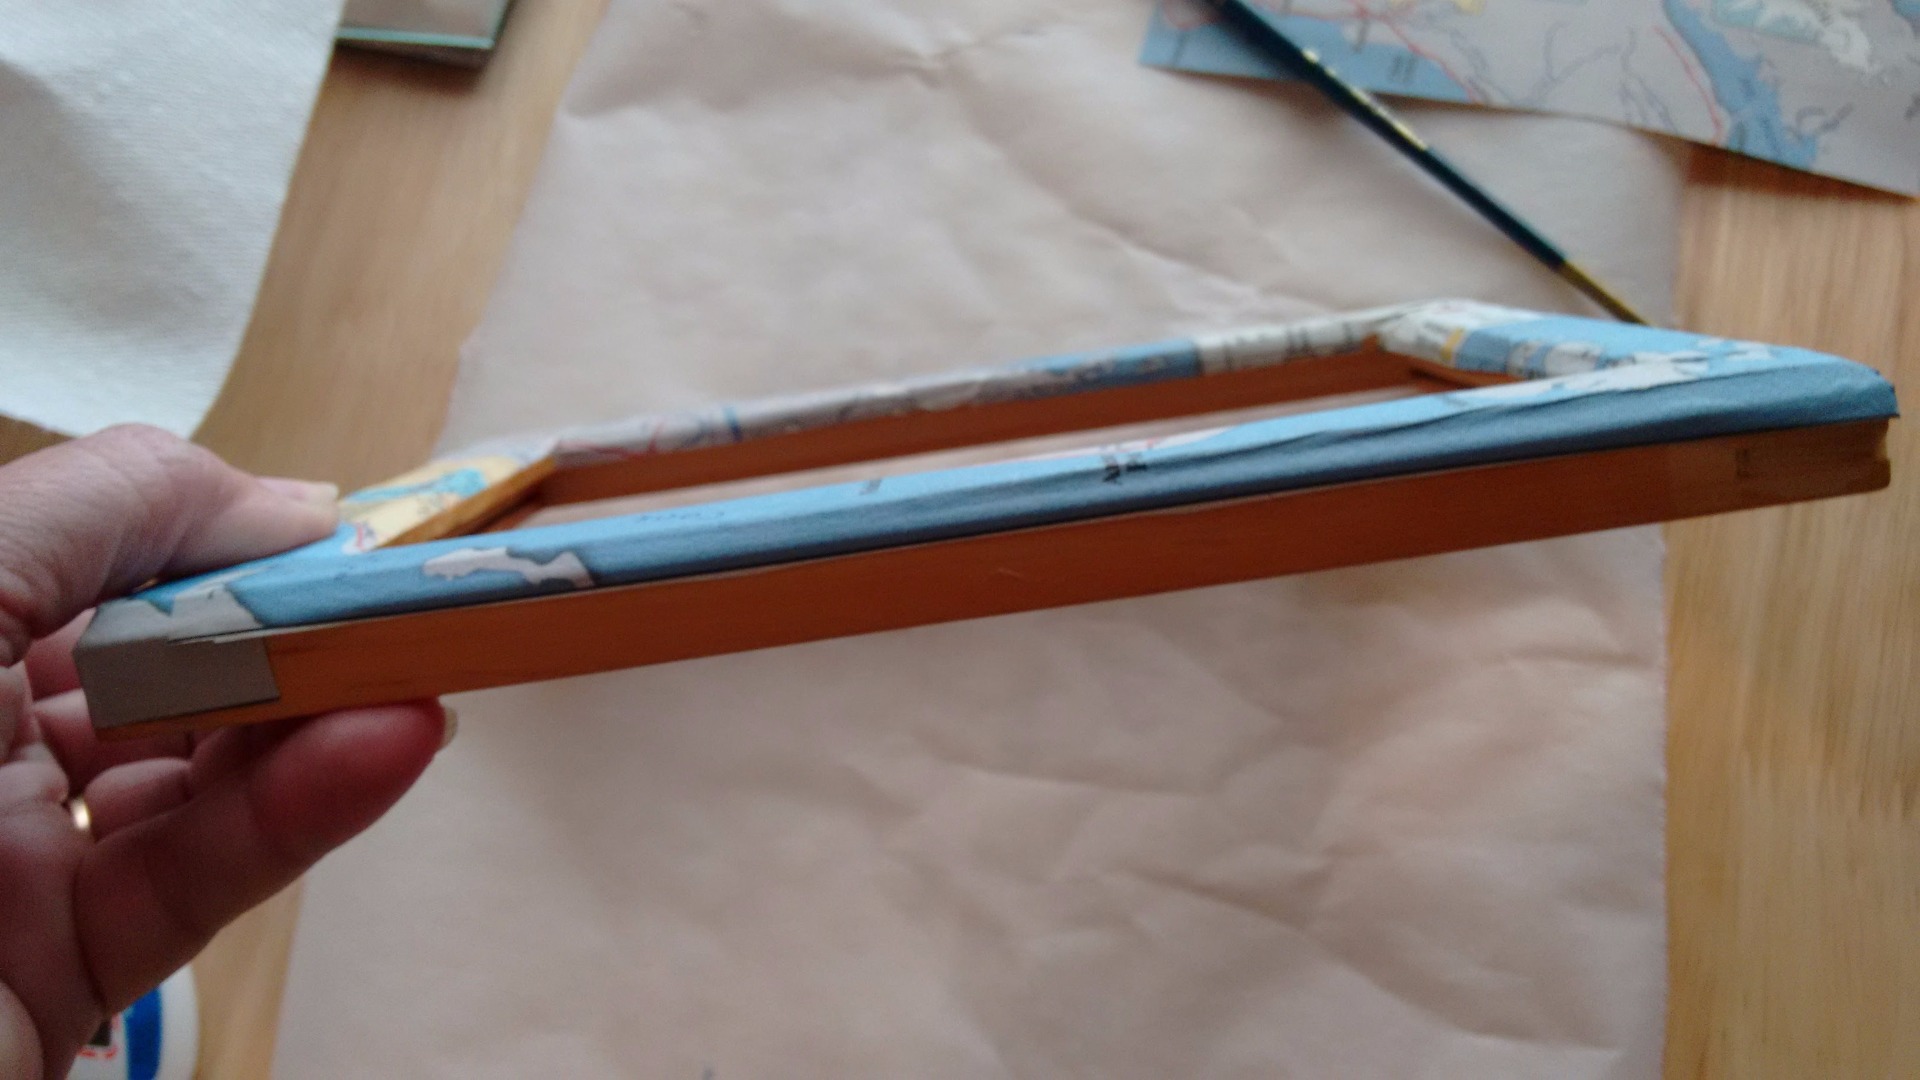
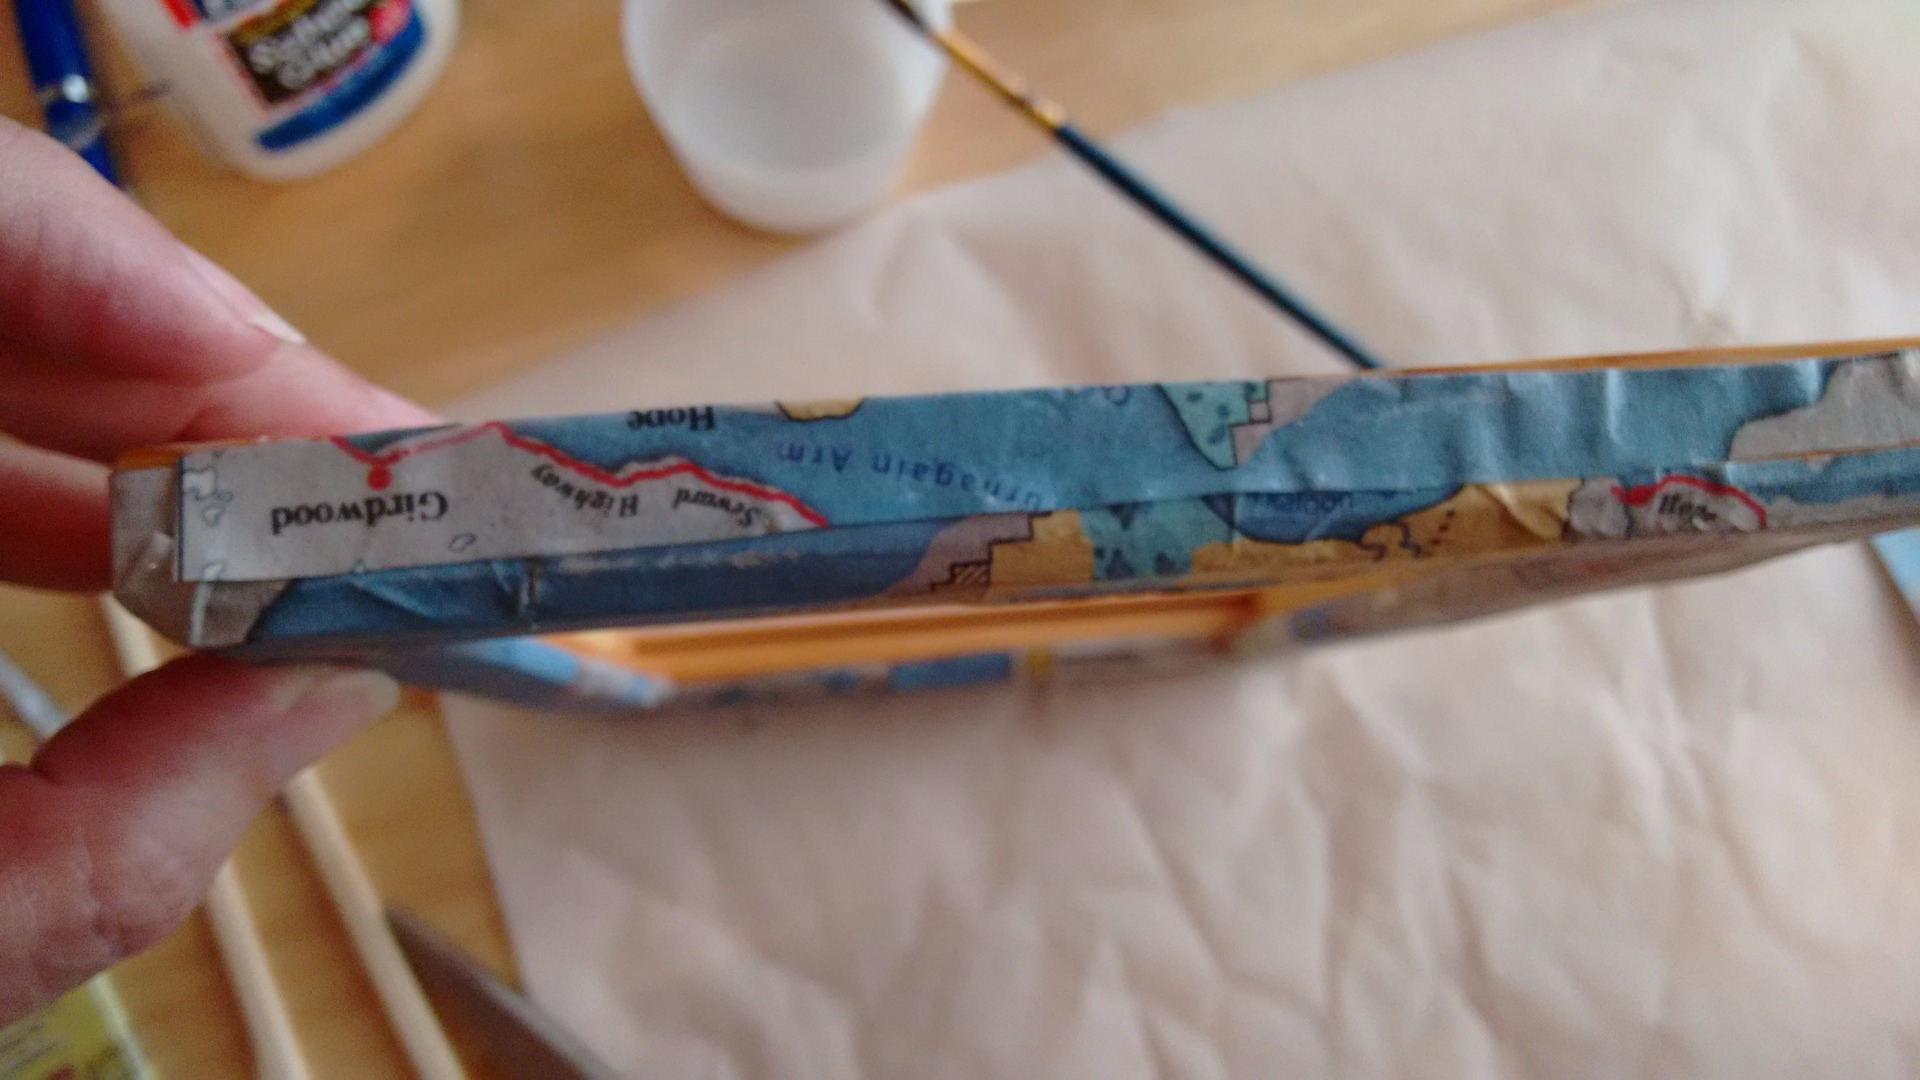
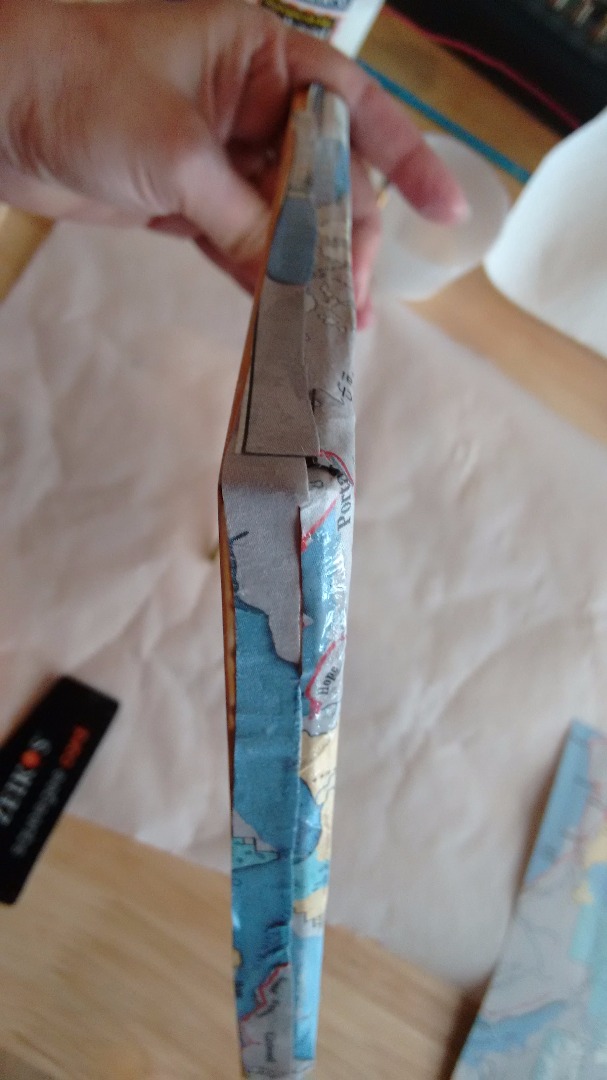
You may not need to do this if you're more detail oriented than I am and included your frame outer edges the first time around. But I do the front, and then come back around and finish the sides on the second go around.
Apply Second Coat of Glue
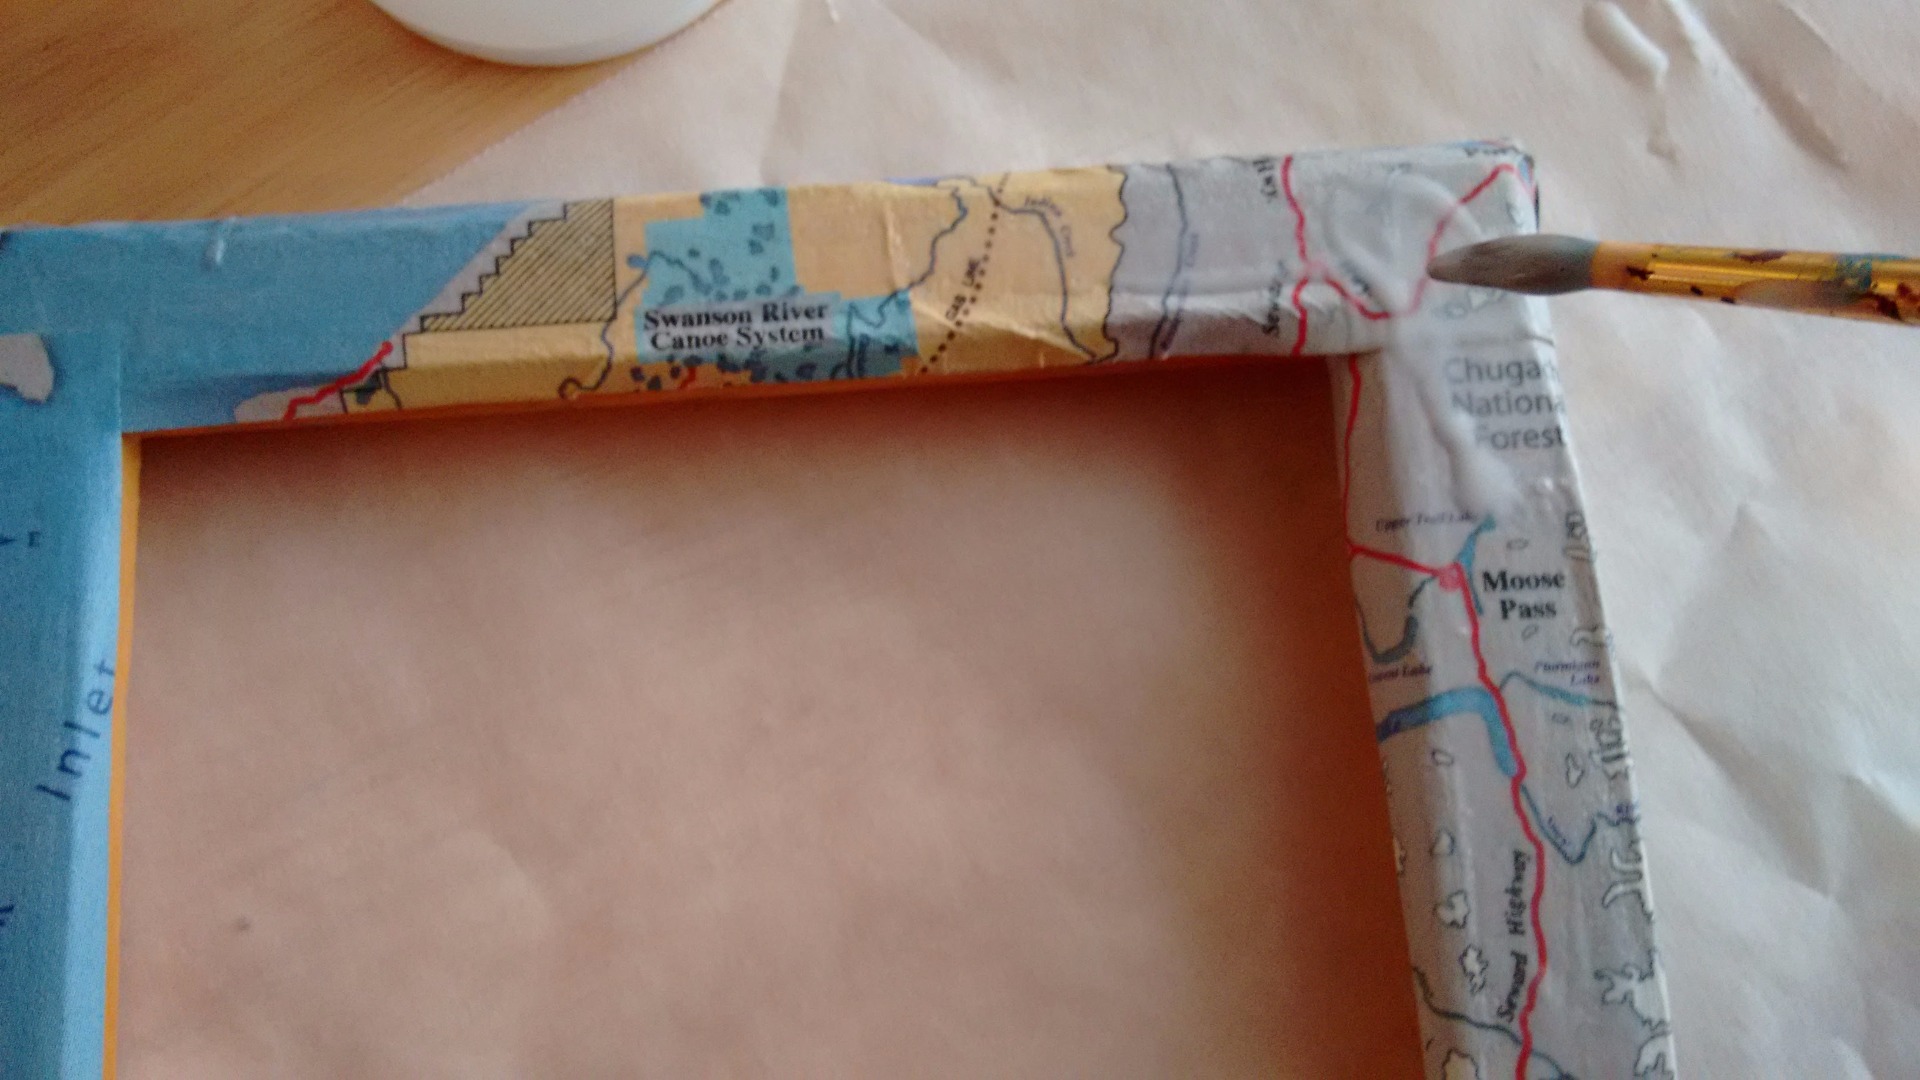
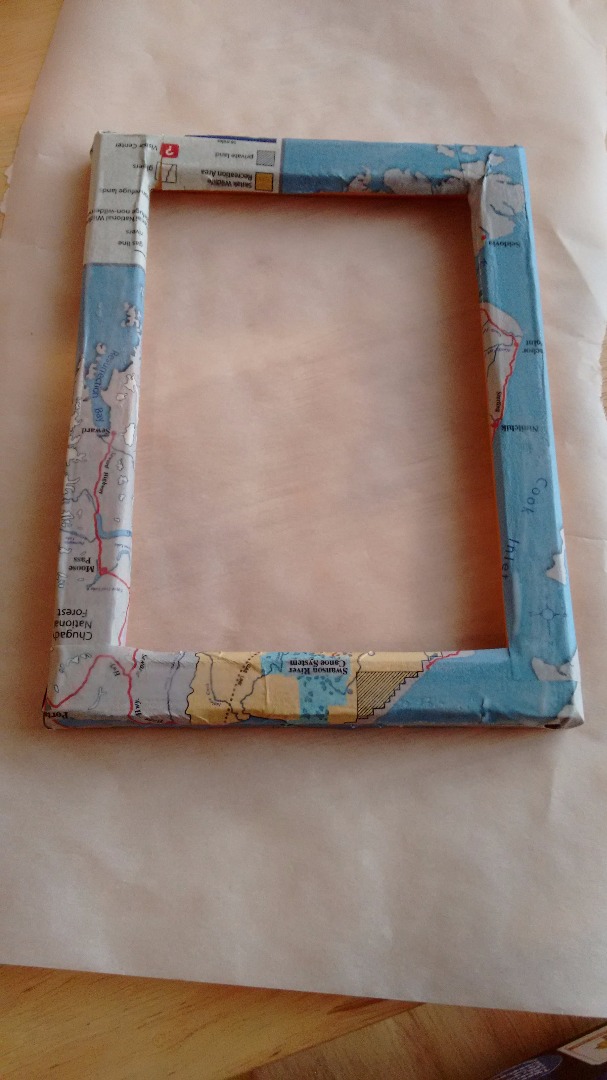
I give the whole thing a second wash of glue, then set aside to dry again. If you want to give it a shiny finish, you can run a thin coat of shellac over the whole thing. I left mine with the mat paper finish.
Assemble Your Finished Frame
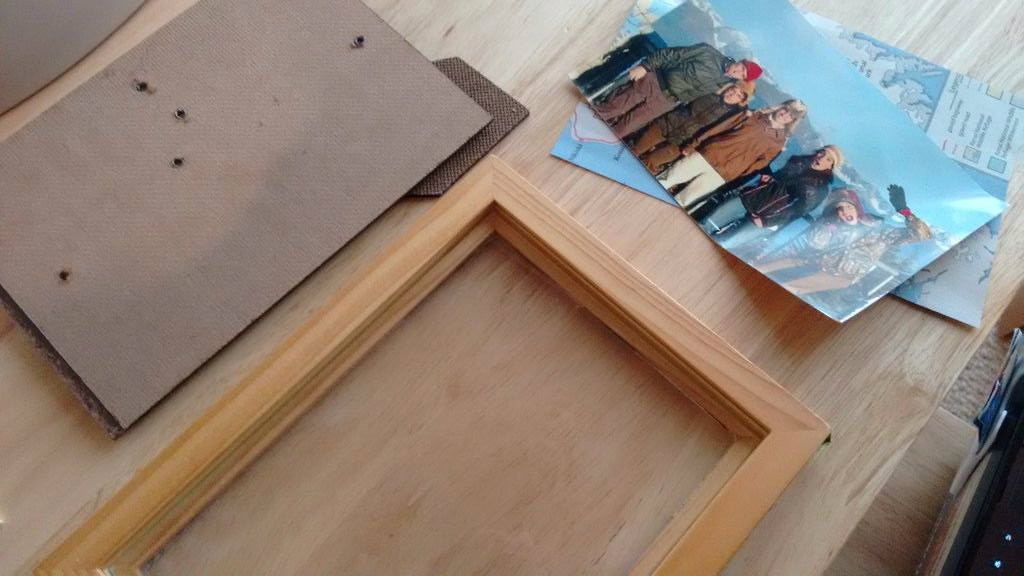
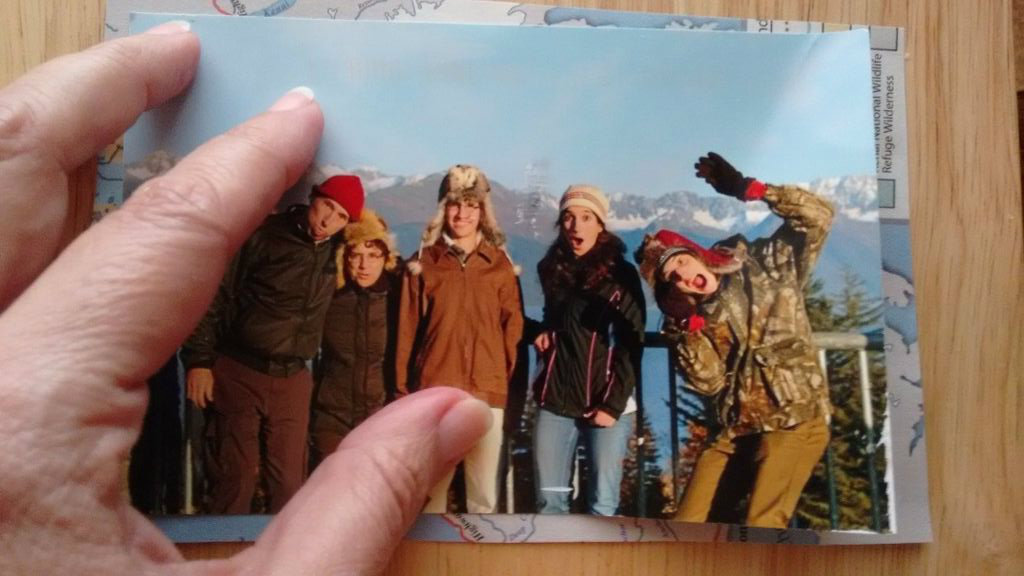
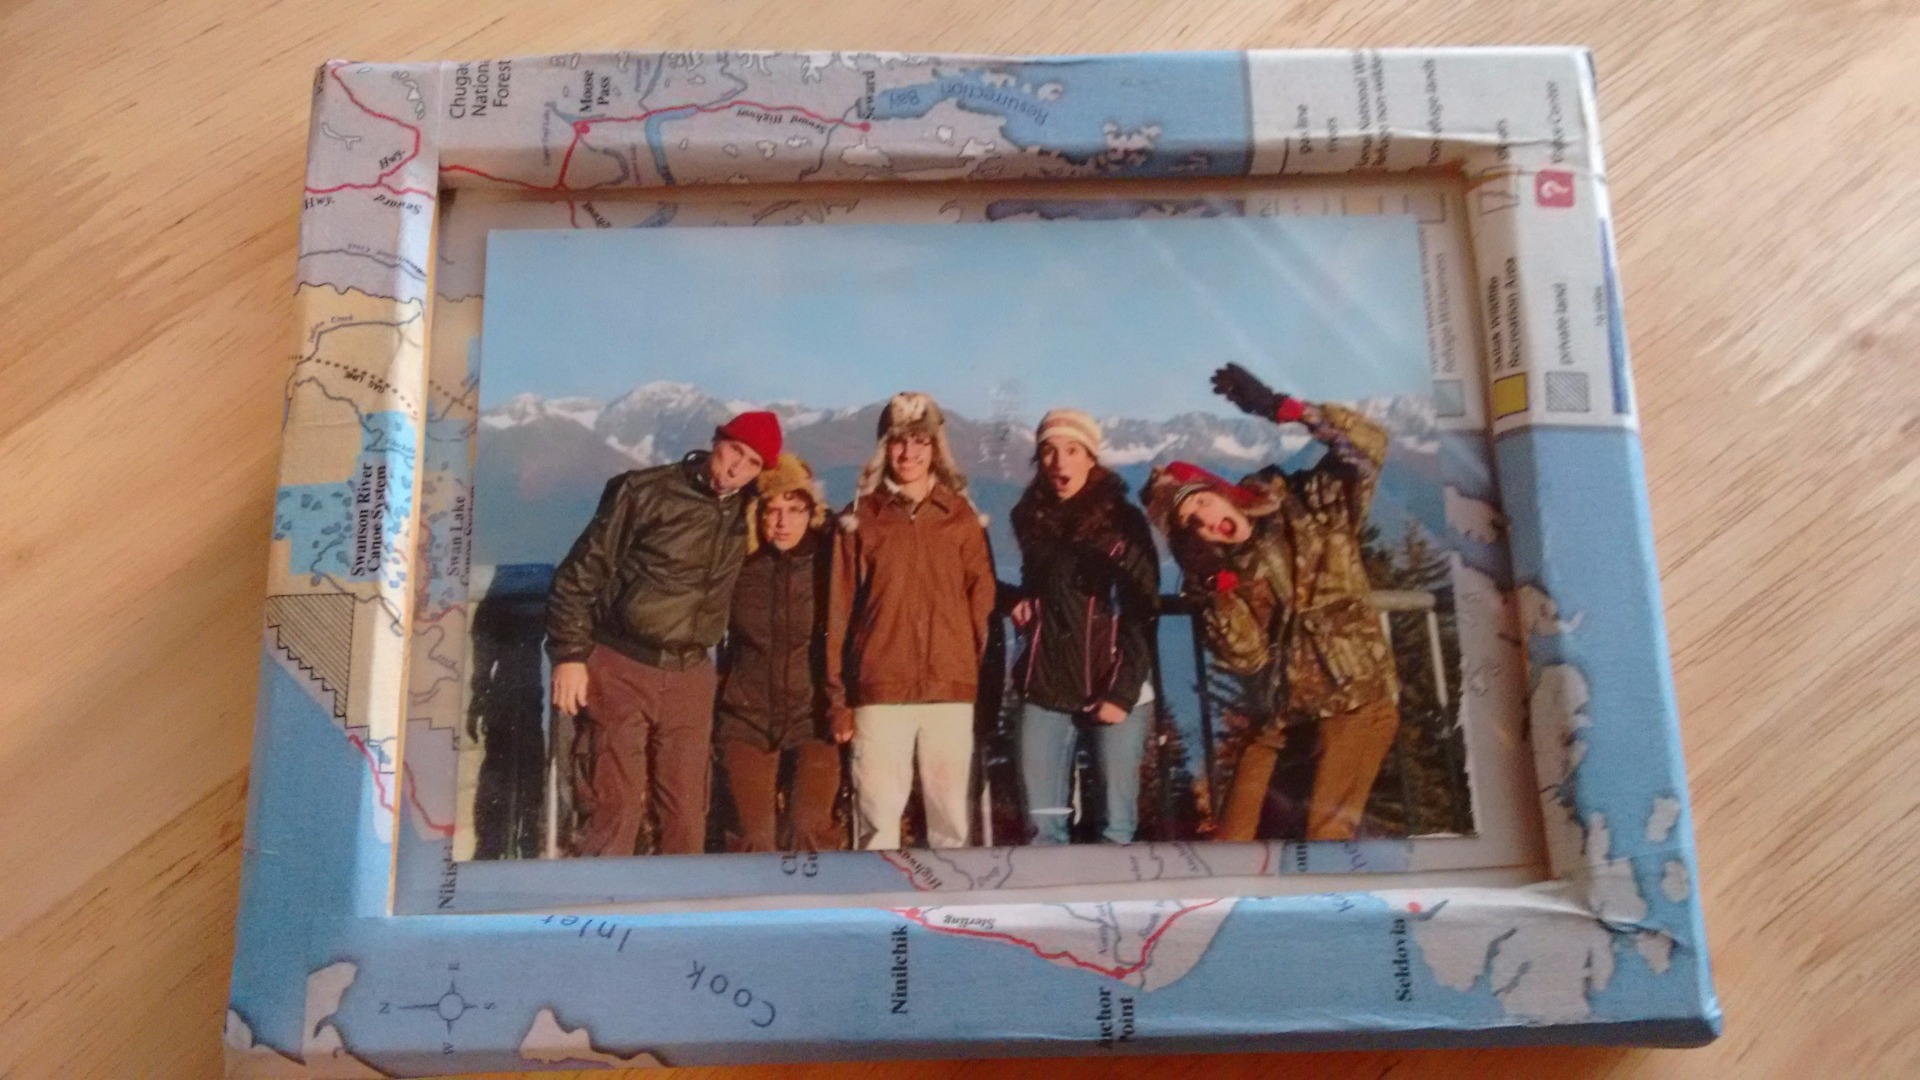
When your frame is all dry, put it all back together with your special photo! If you saved the inside part of your map image, now's the time you can put it to use, to make a sort of mini shadow box effect.
Center up your photo on the image, align with the relevant parts of the image on the frame, and close 'er up!
Display Proudly!
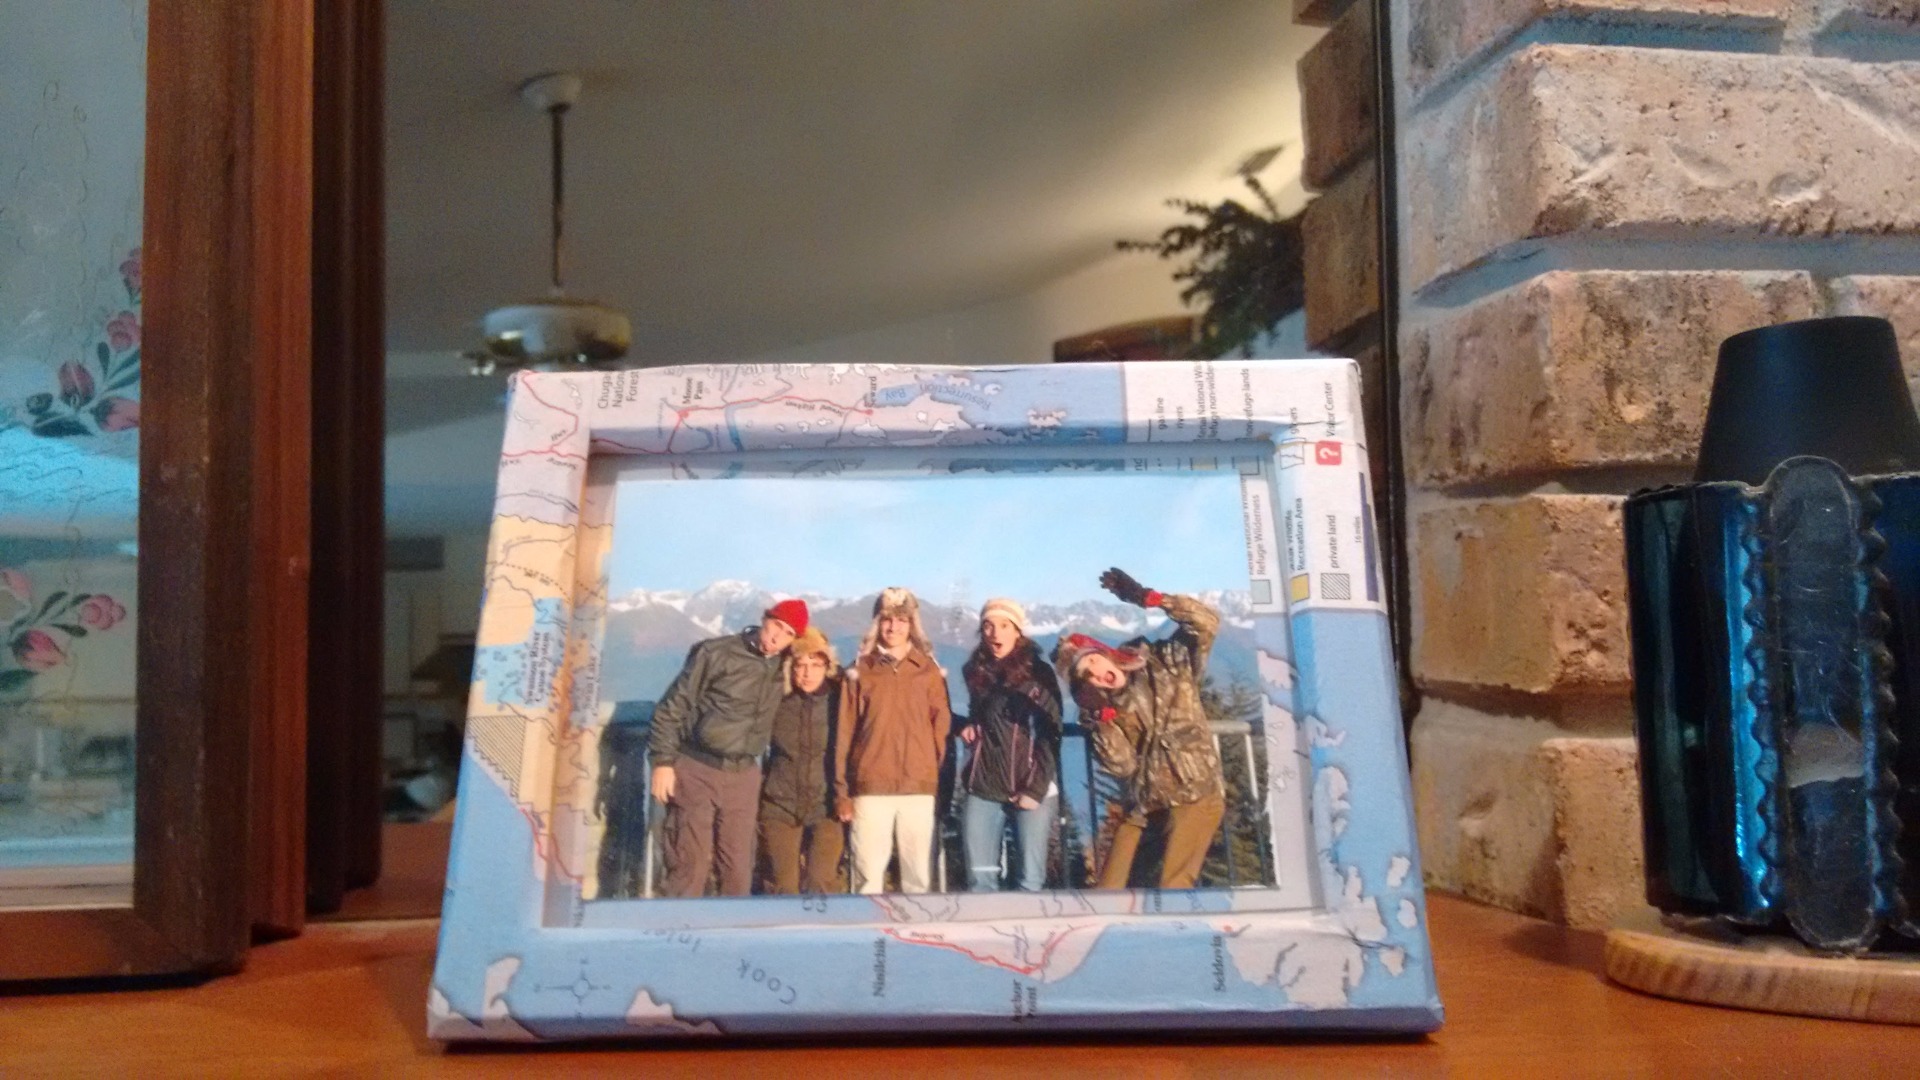
Pop it up on the shelf or mantle and now you've got an immortalized memory in a customized frame!
You can also apply this technique to other special events. Use anime art for a customized cosplay frame, or the daily comics, or use invitations to customize a frame for weddings, births, or parties.