Custom Topographic Resin Ornaments
by Fisherck in Workshop > 3D Printing
3176 Views, 27 Favorites, 0 Comments
Custom Topographic Resin Ornaments
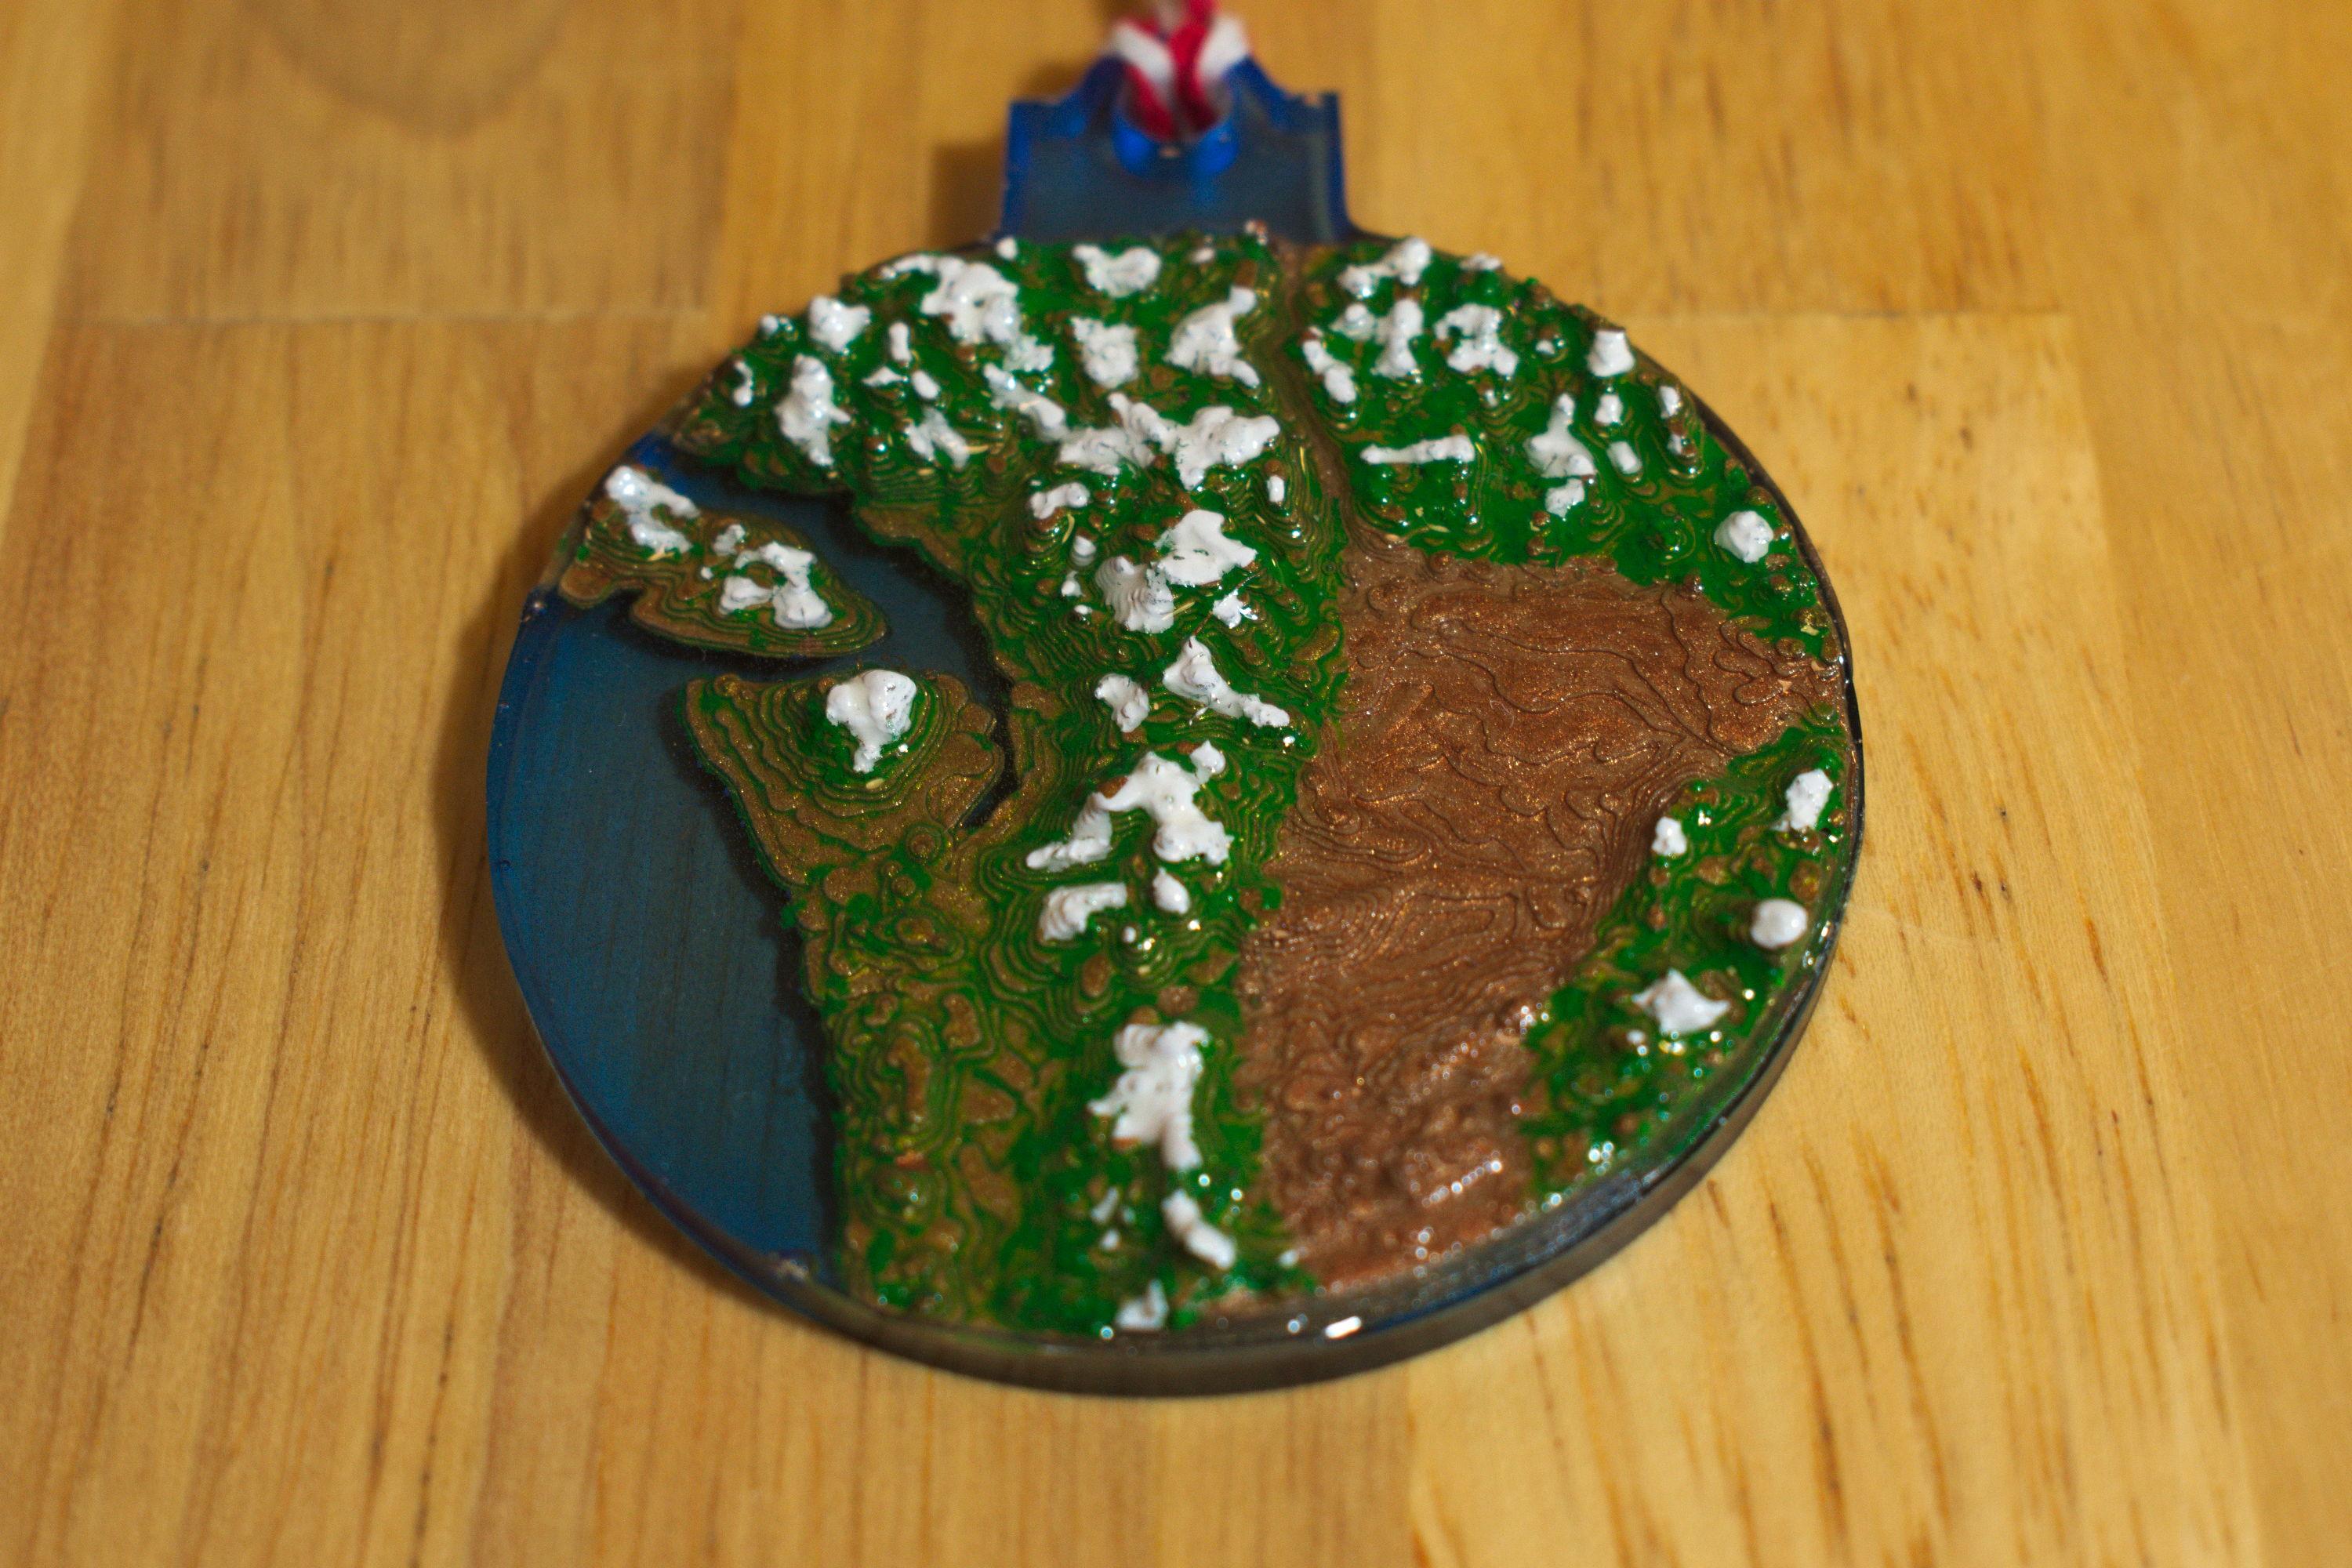

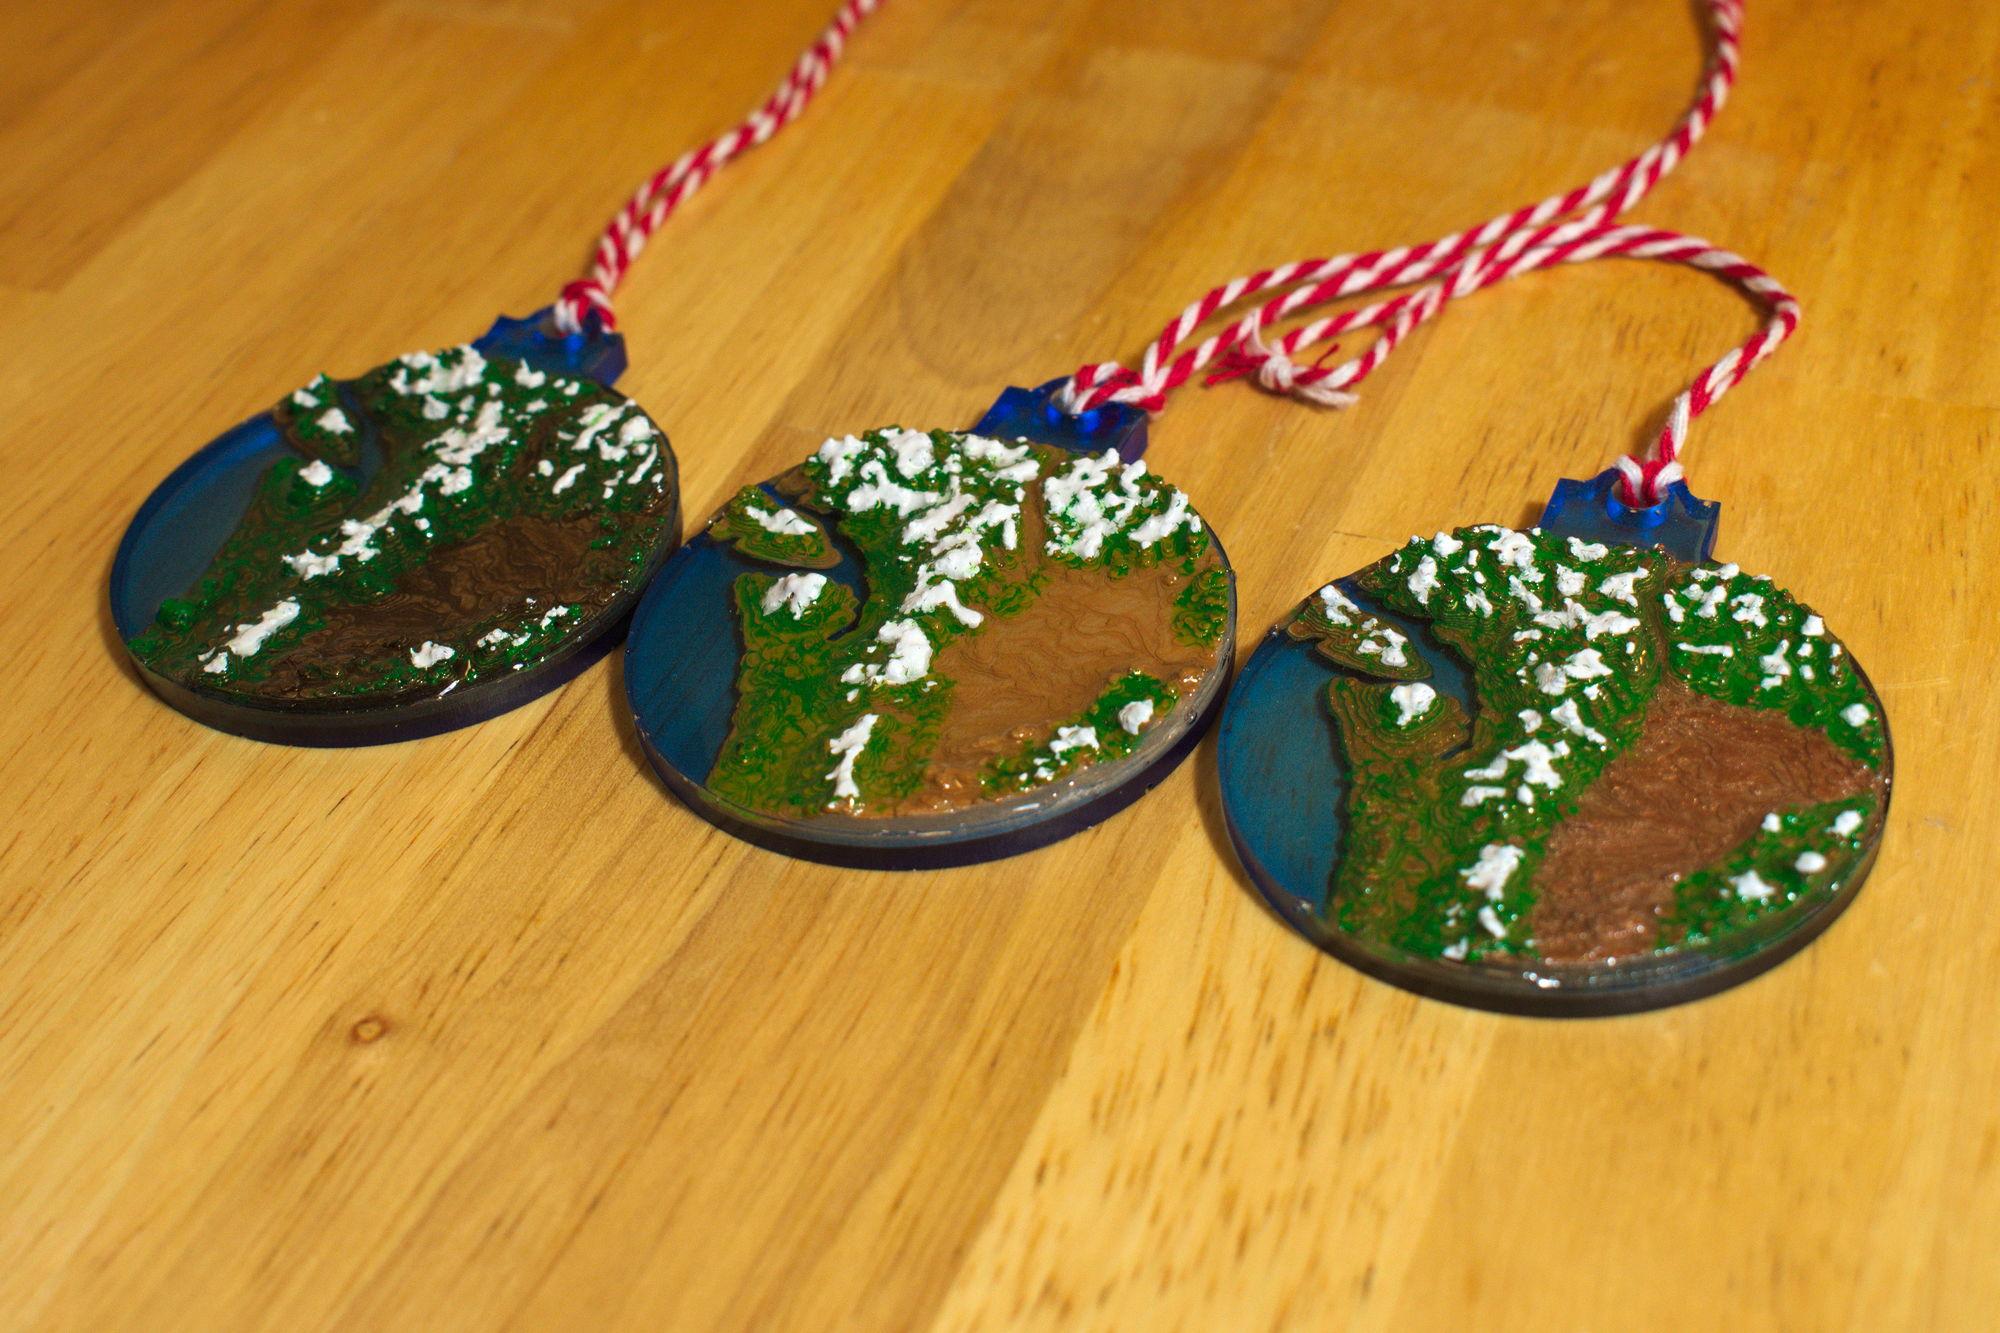
This Instructable will walk through the process for designing and making custom topographic ornaments! Specifically, I will show you how to make an ornament using topographic data of your choosing in your preferred shape. The following is the simplest method that I found for doing this using free resources. The basic outline of this tutorial will involve:
- Creating the geographic outline in Inkscape
- Downloading stl elevation data online
- Using TinkerCAD to cut the topographic data into the shape we want
- 3D printing the models
- Painting them
- And creating the final ornament with resin
Supplies
The free software involved includes:
The tools I used to make the ornament include:
- Just a 3D printer
The supplies I used in the project include:
- 3D Printer filament
- sandpaper
- Paint (spray paint, textured paint, and white paint)
- Resin
- Resin dye
- silicone resin mold
- silicone and paint brush
Making the Outline (Using Inkscape)
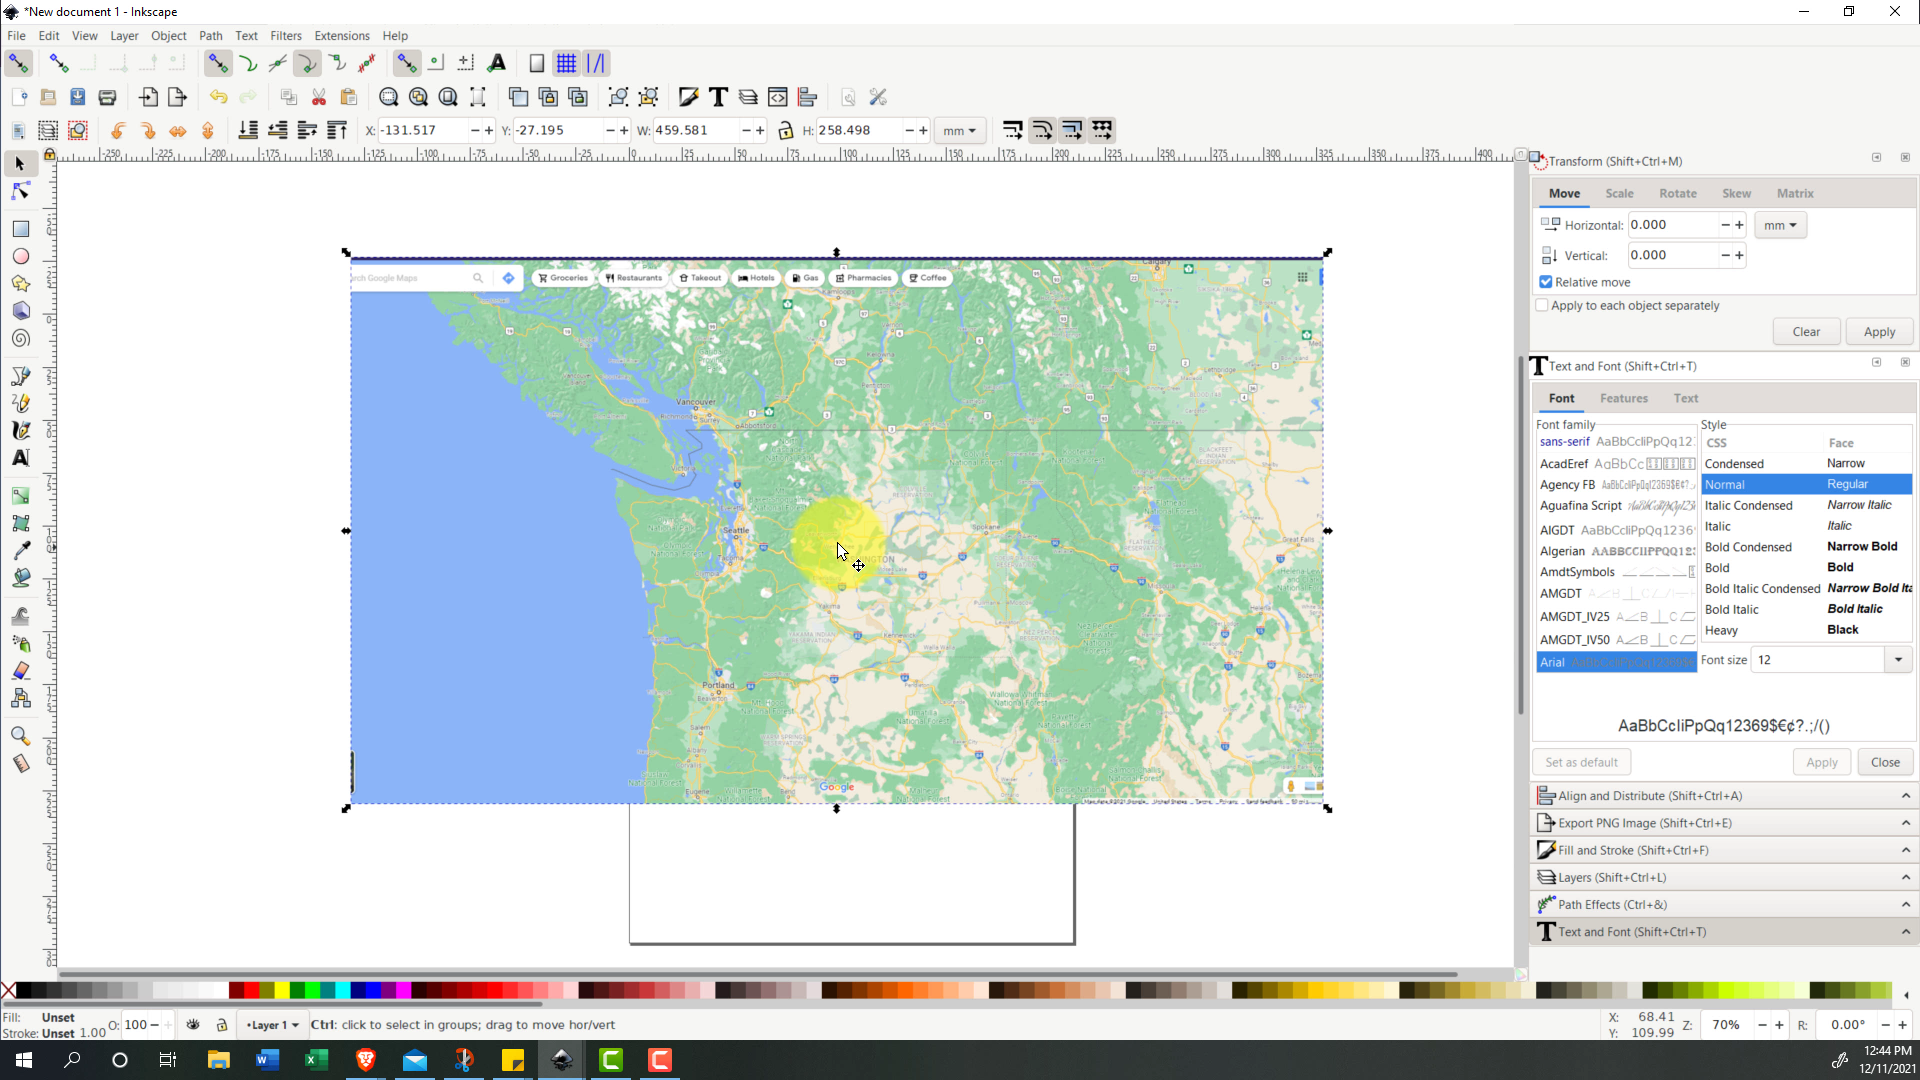
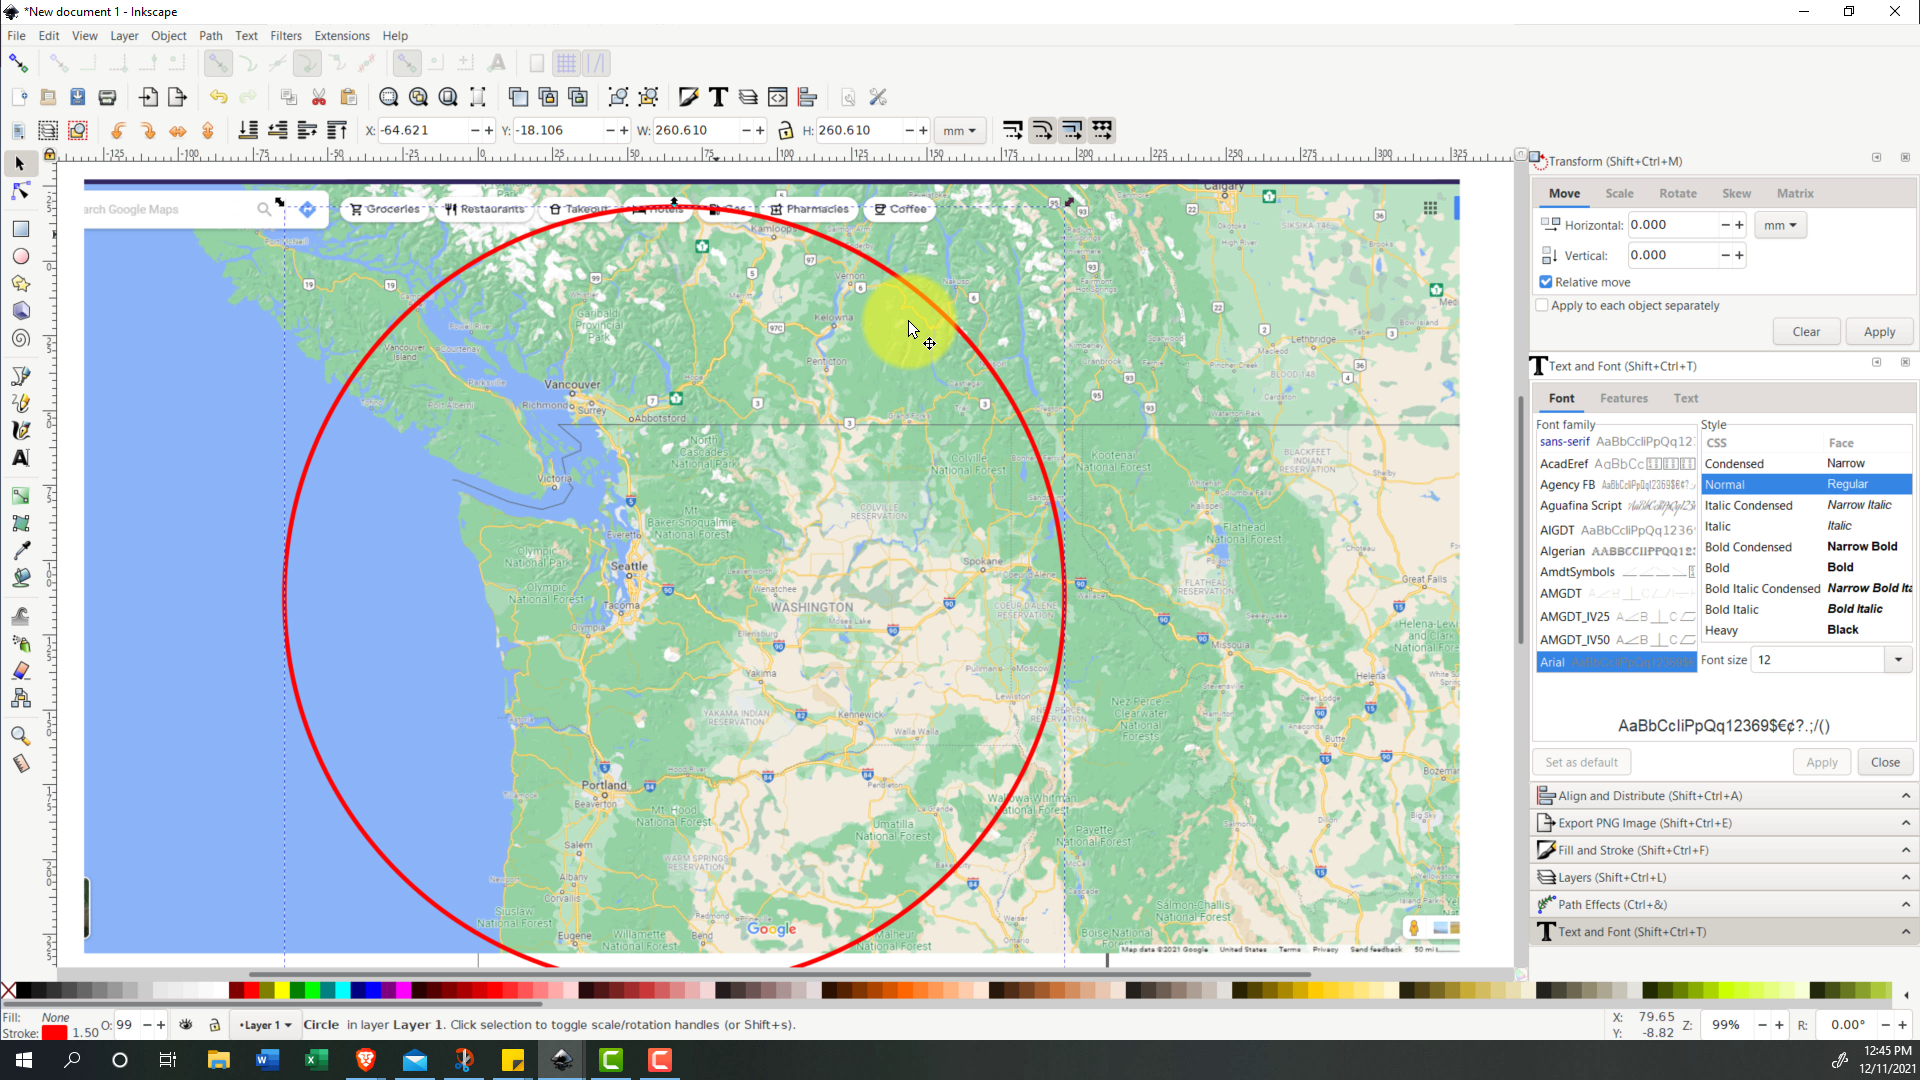
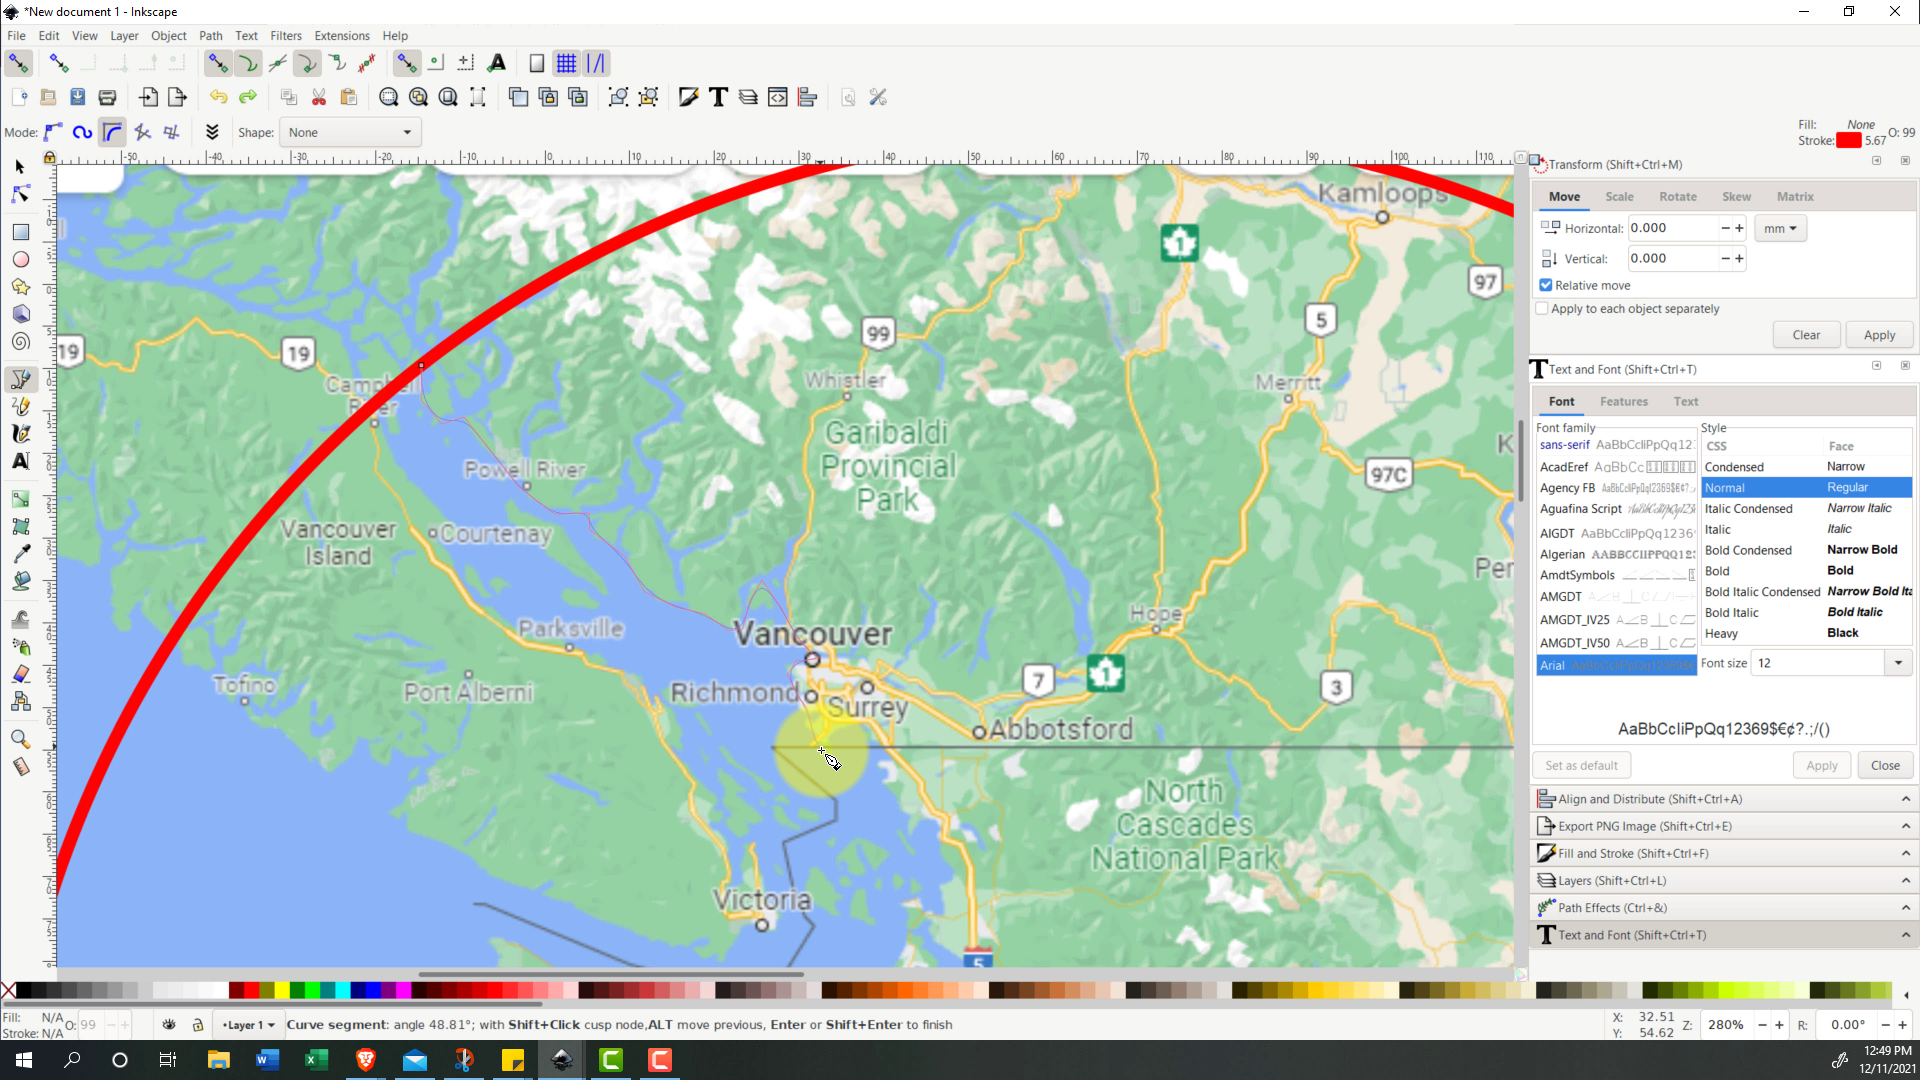
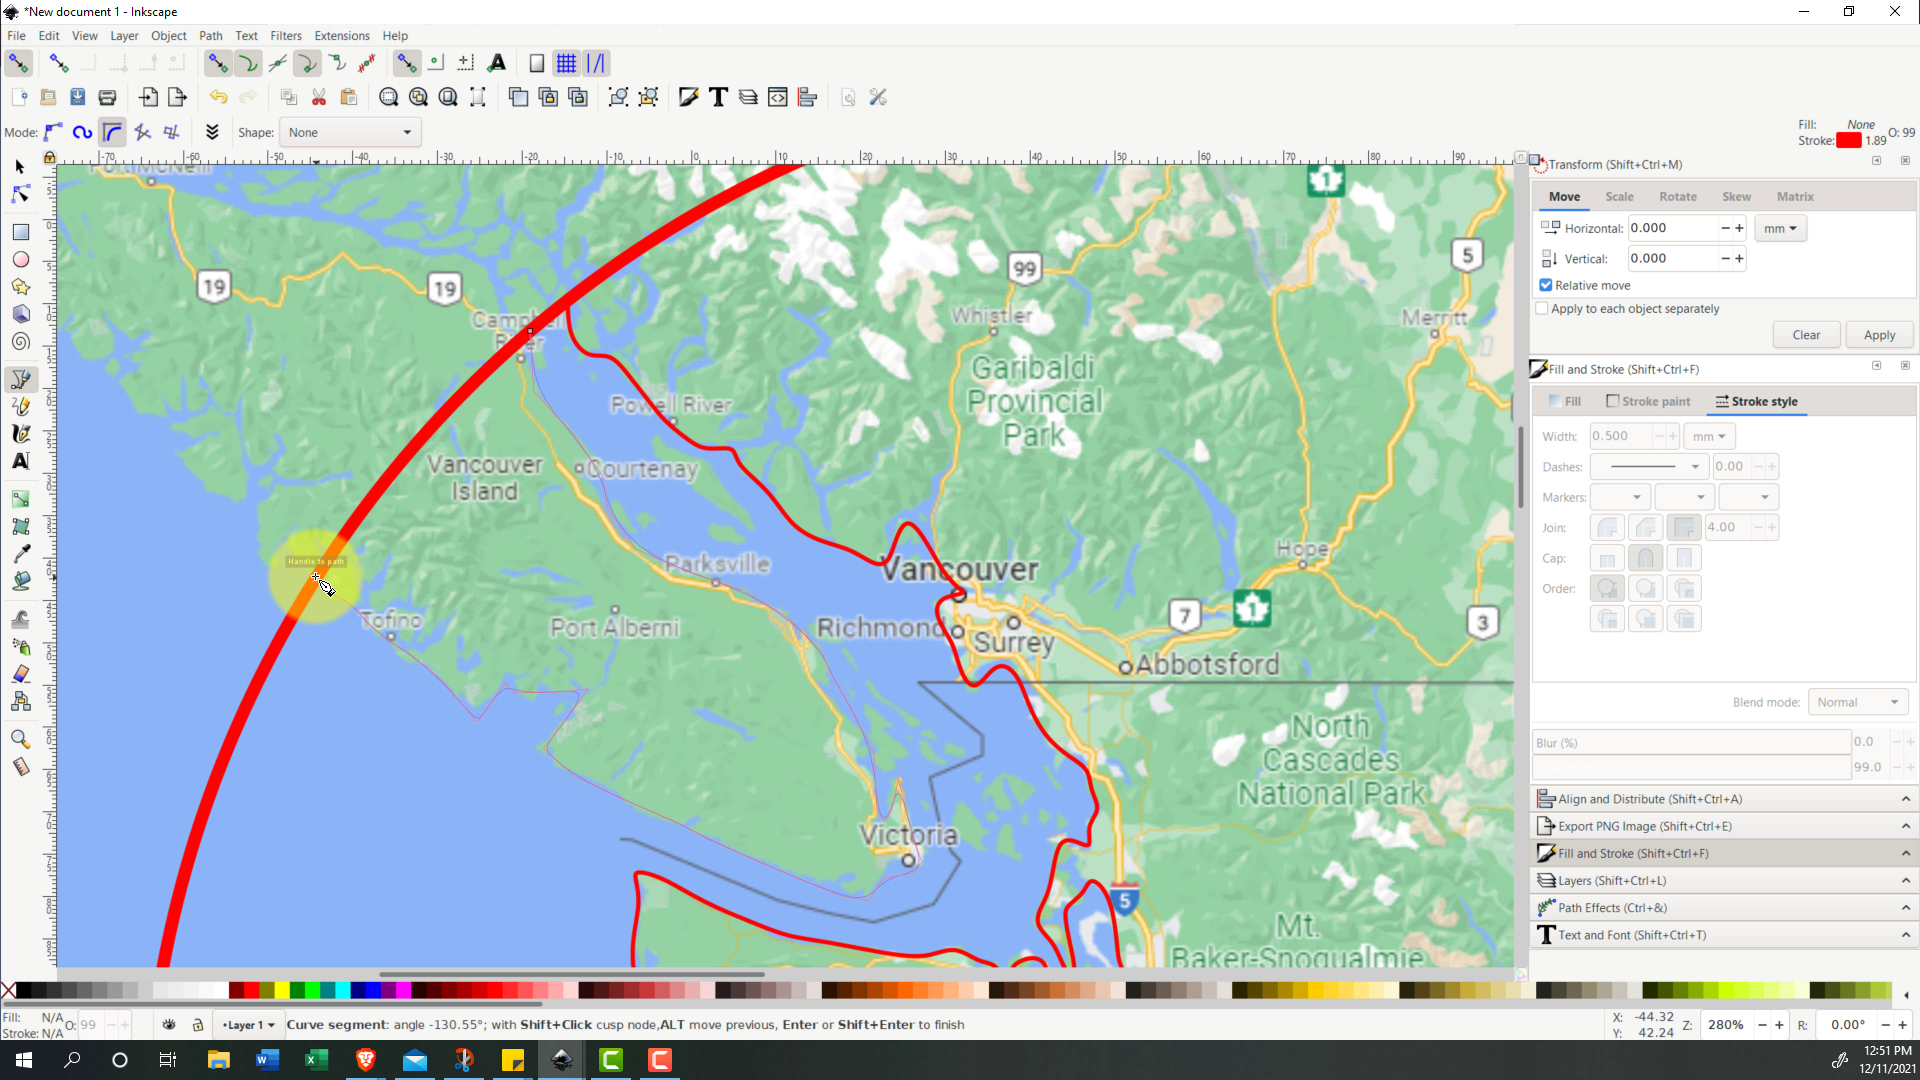
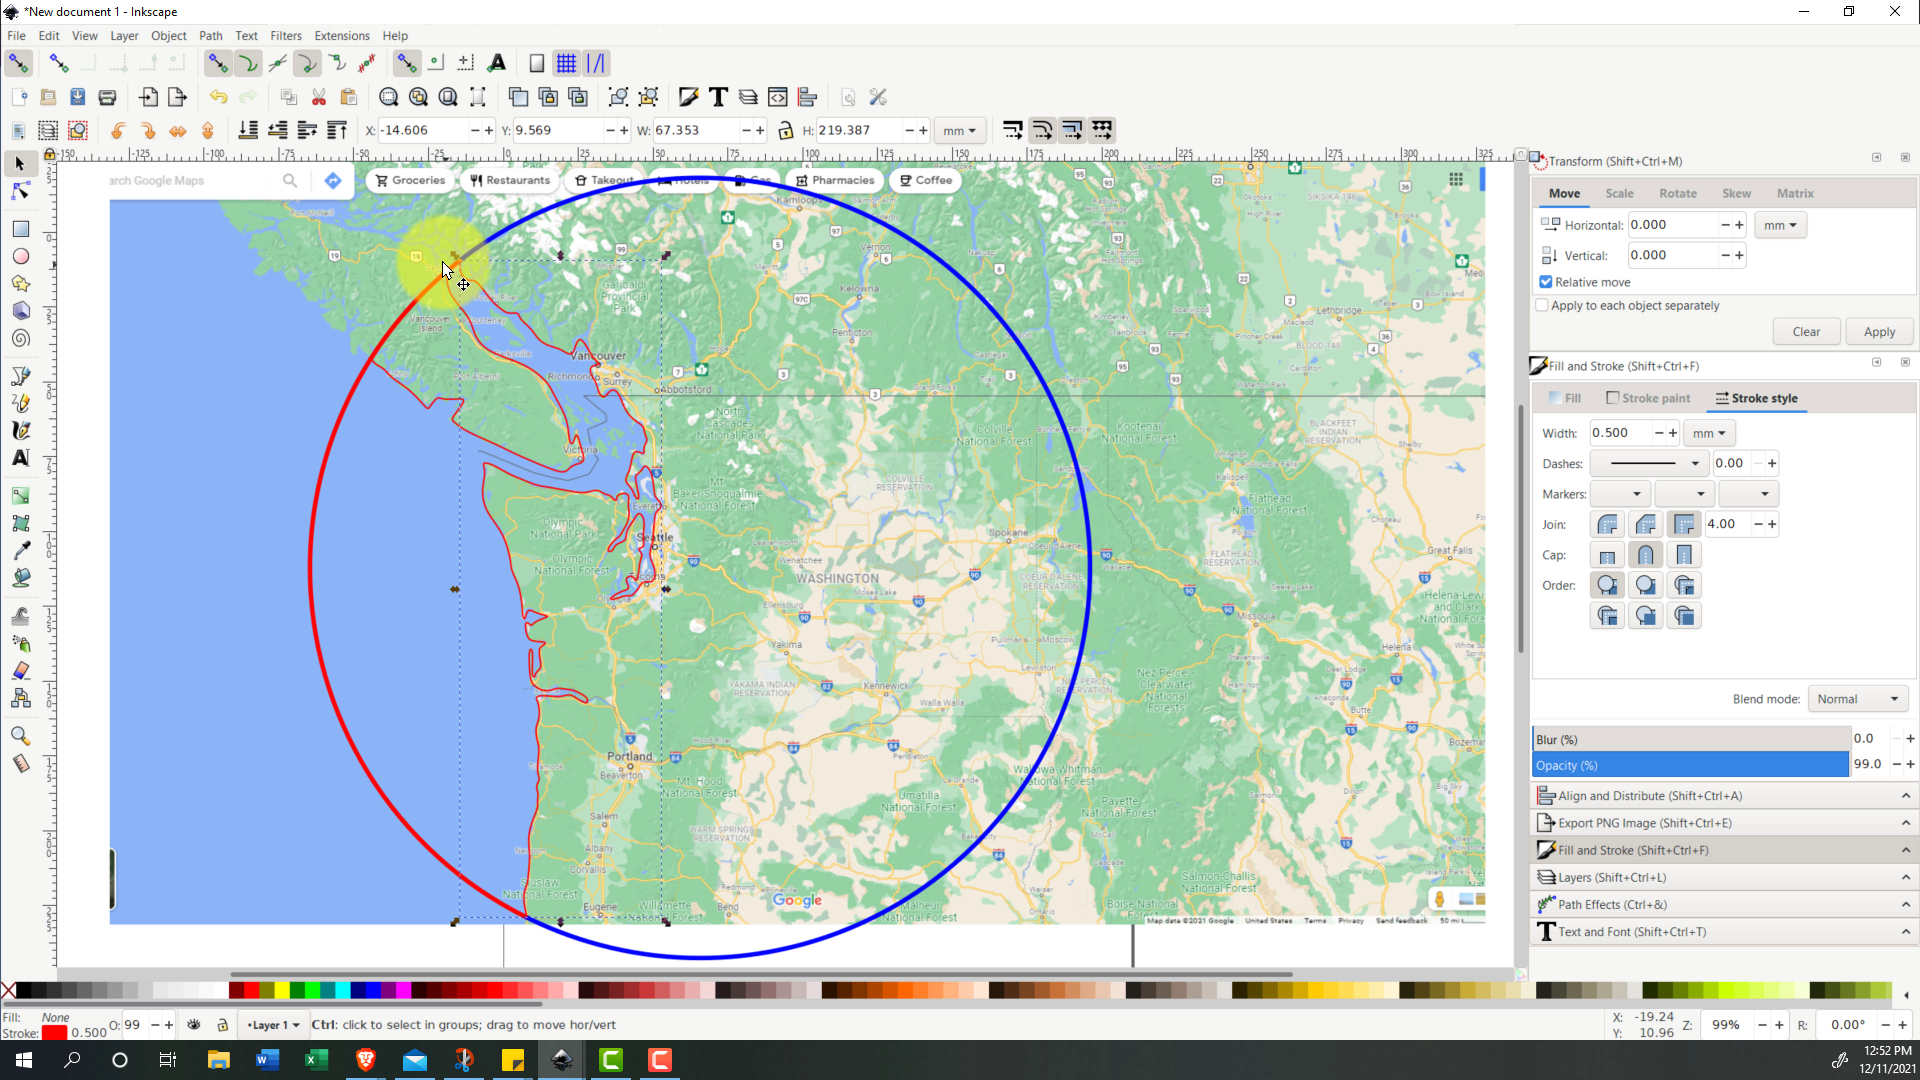
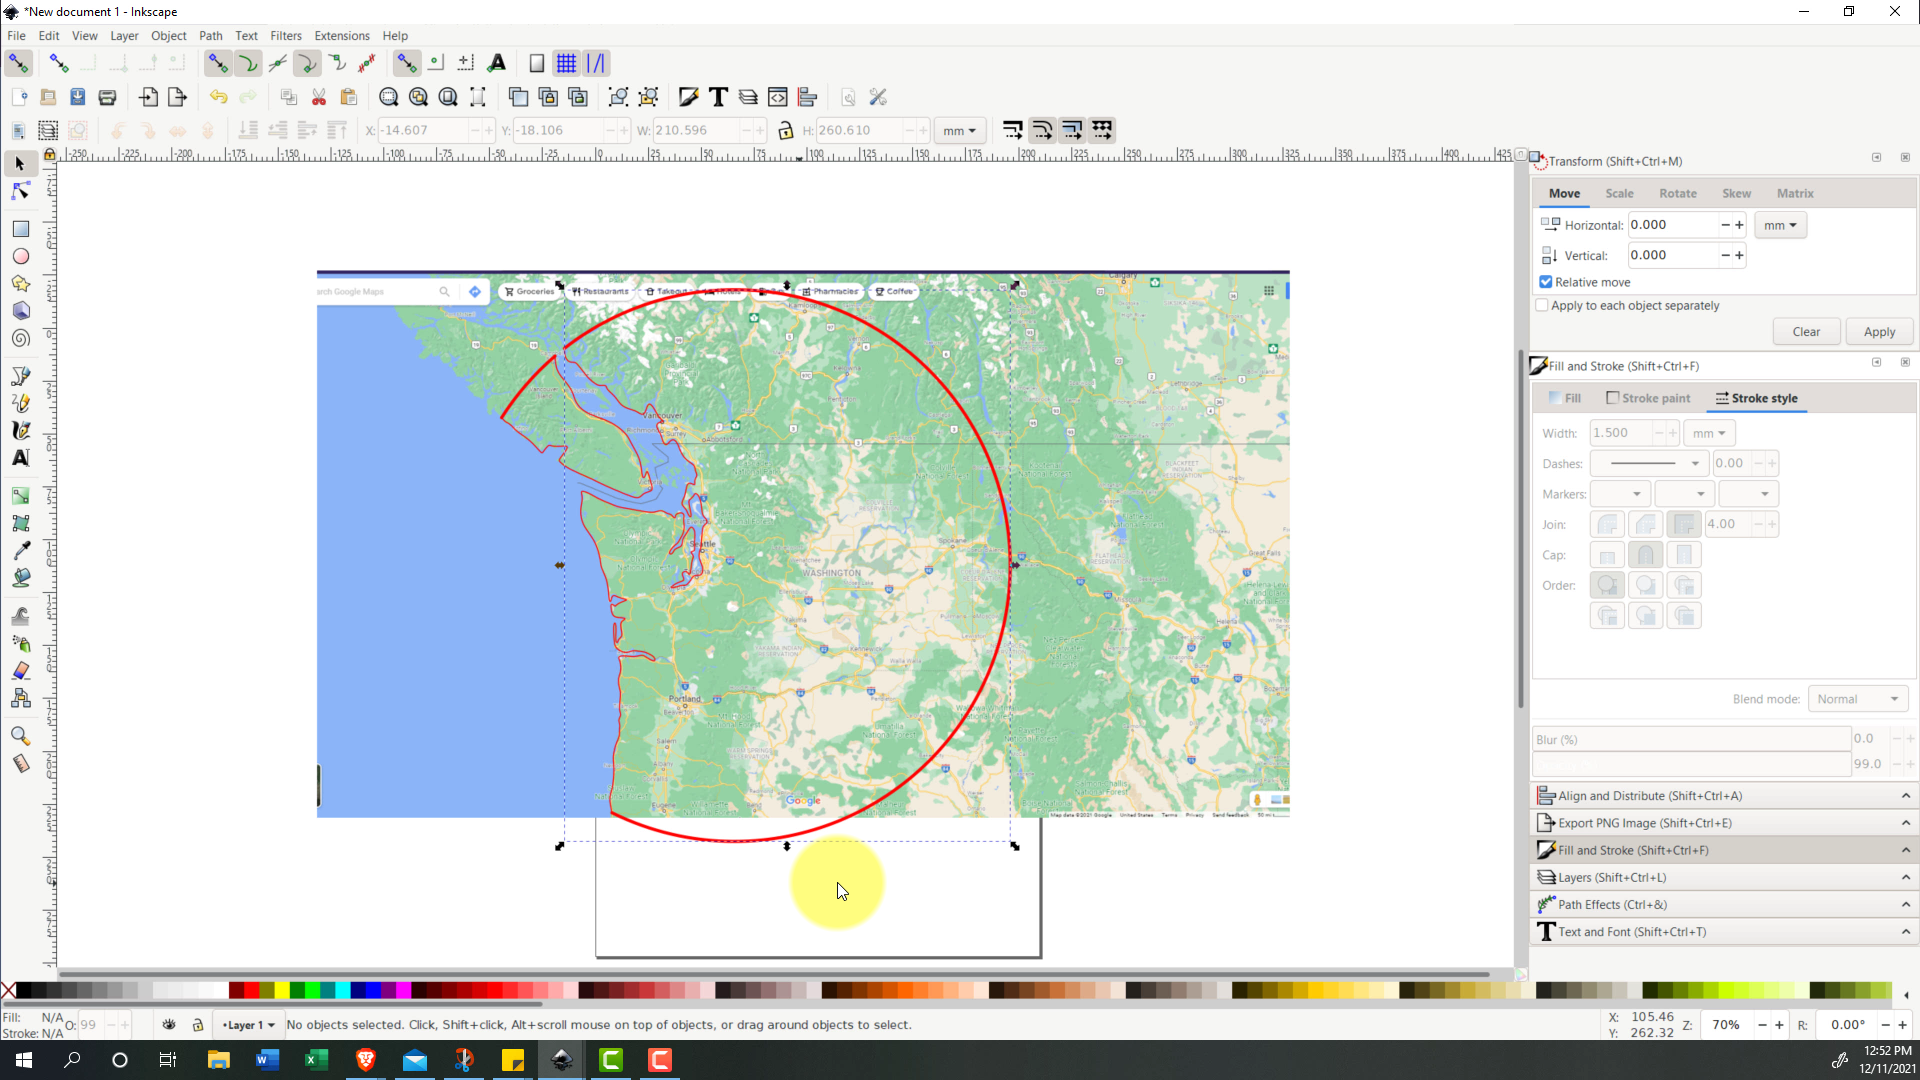
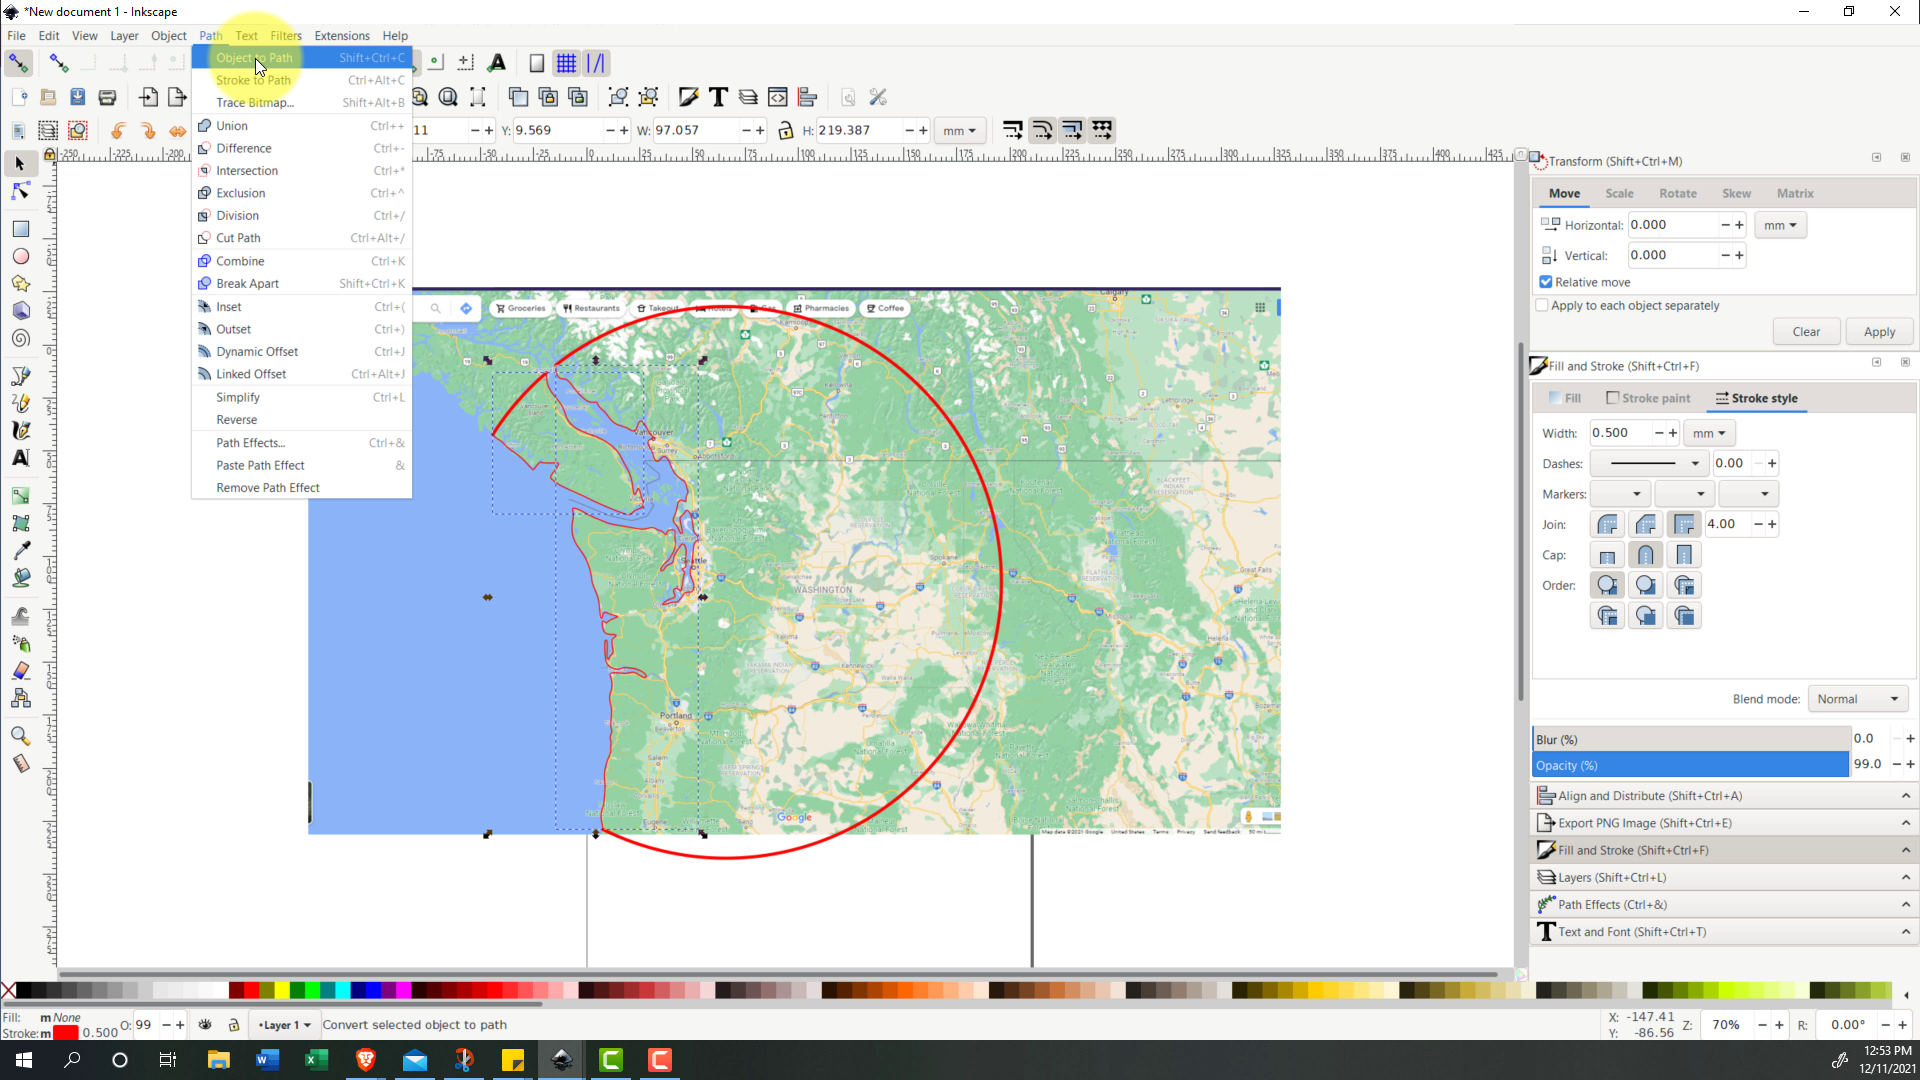
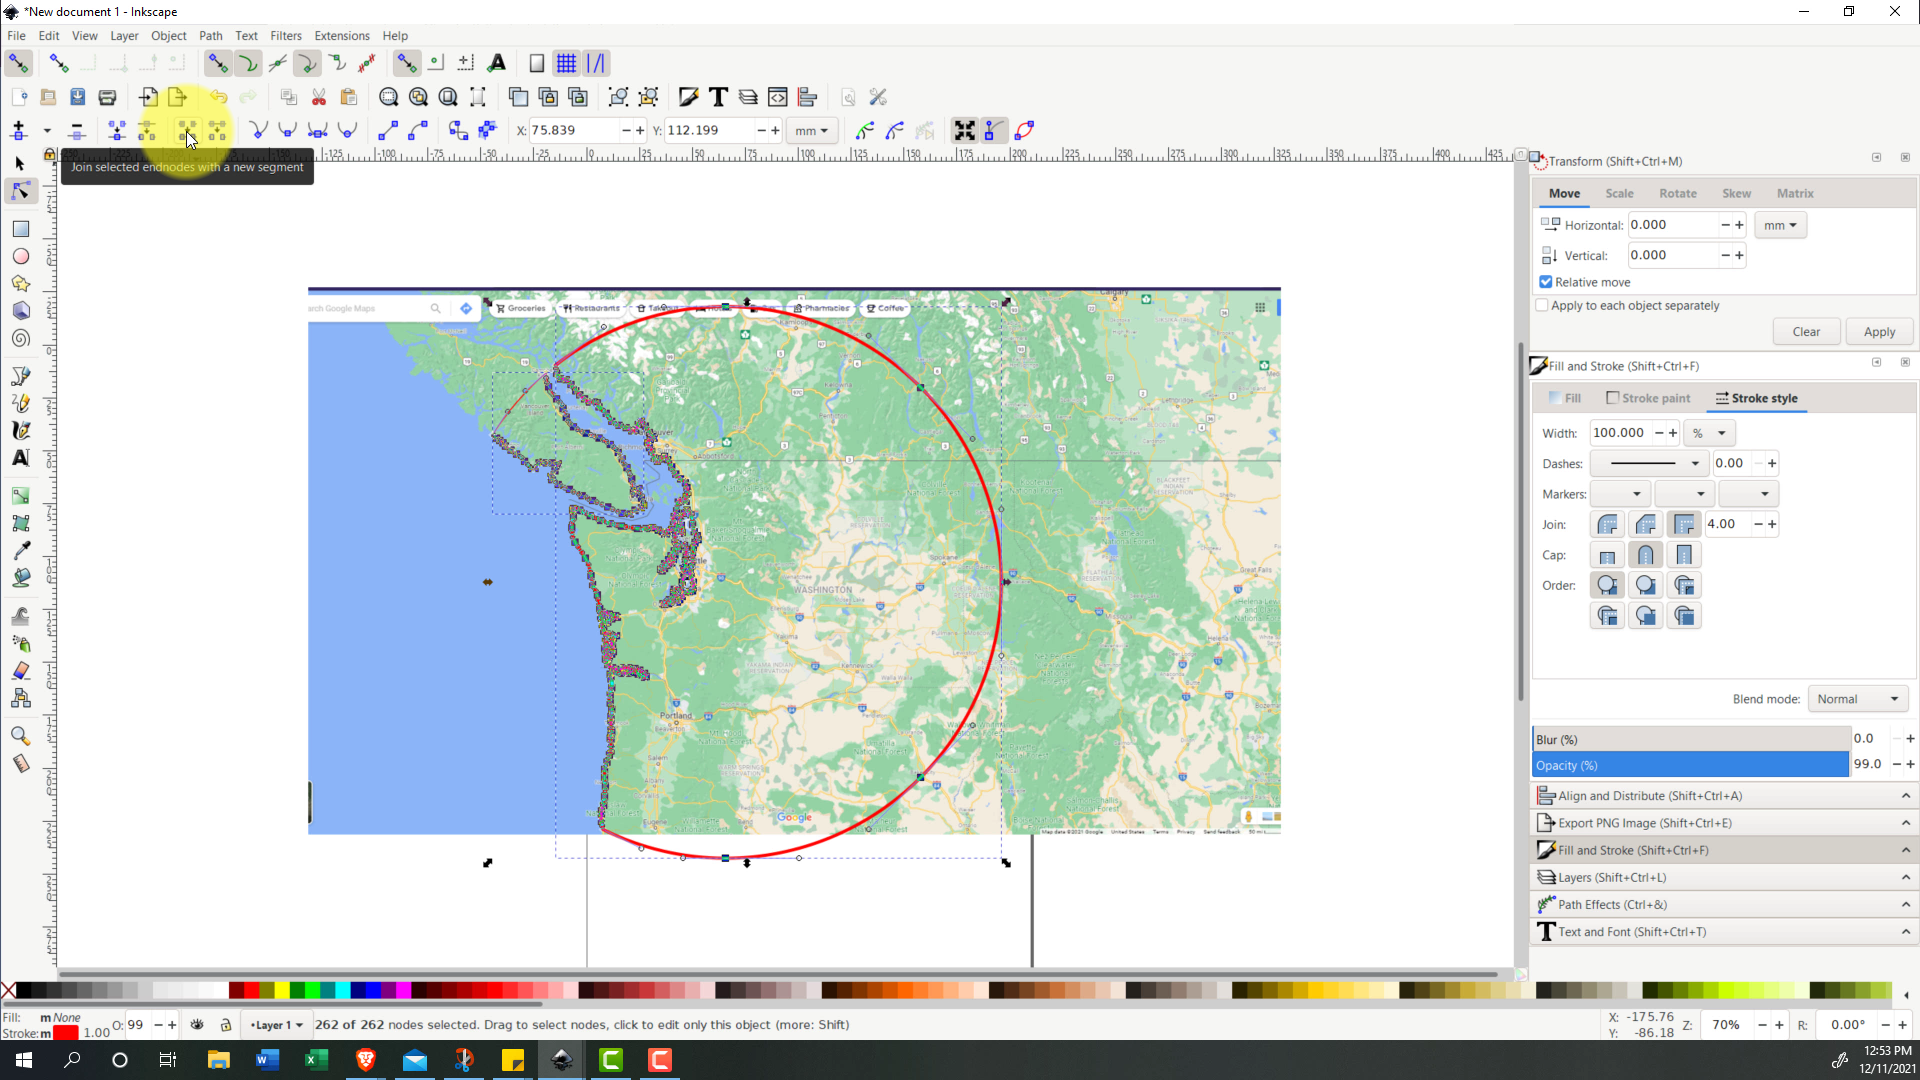
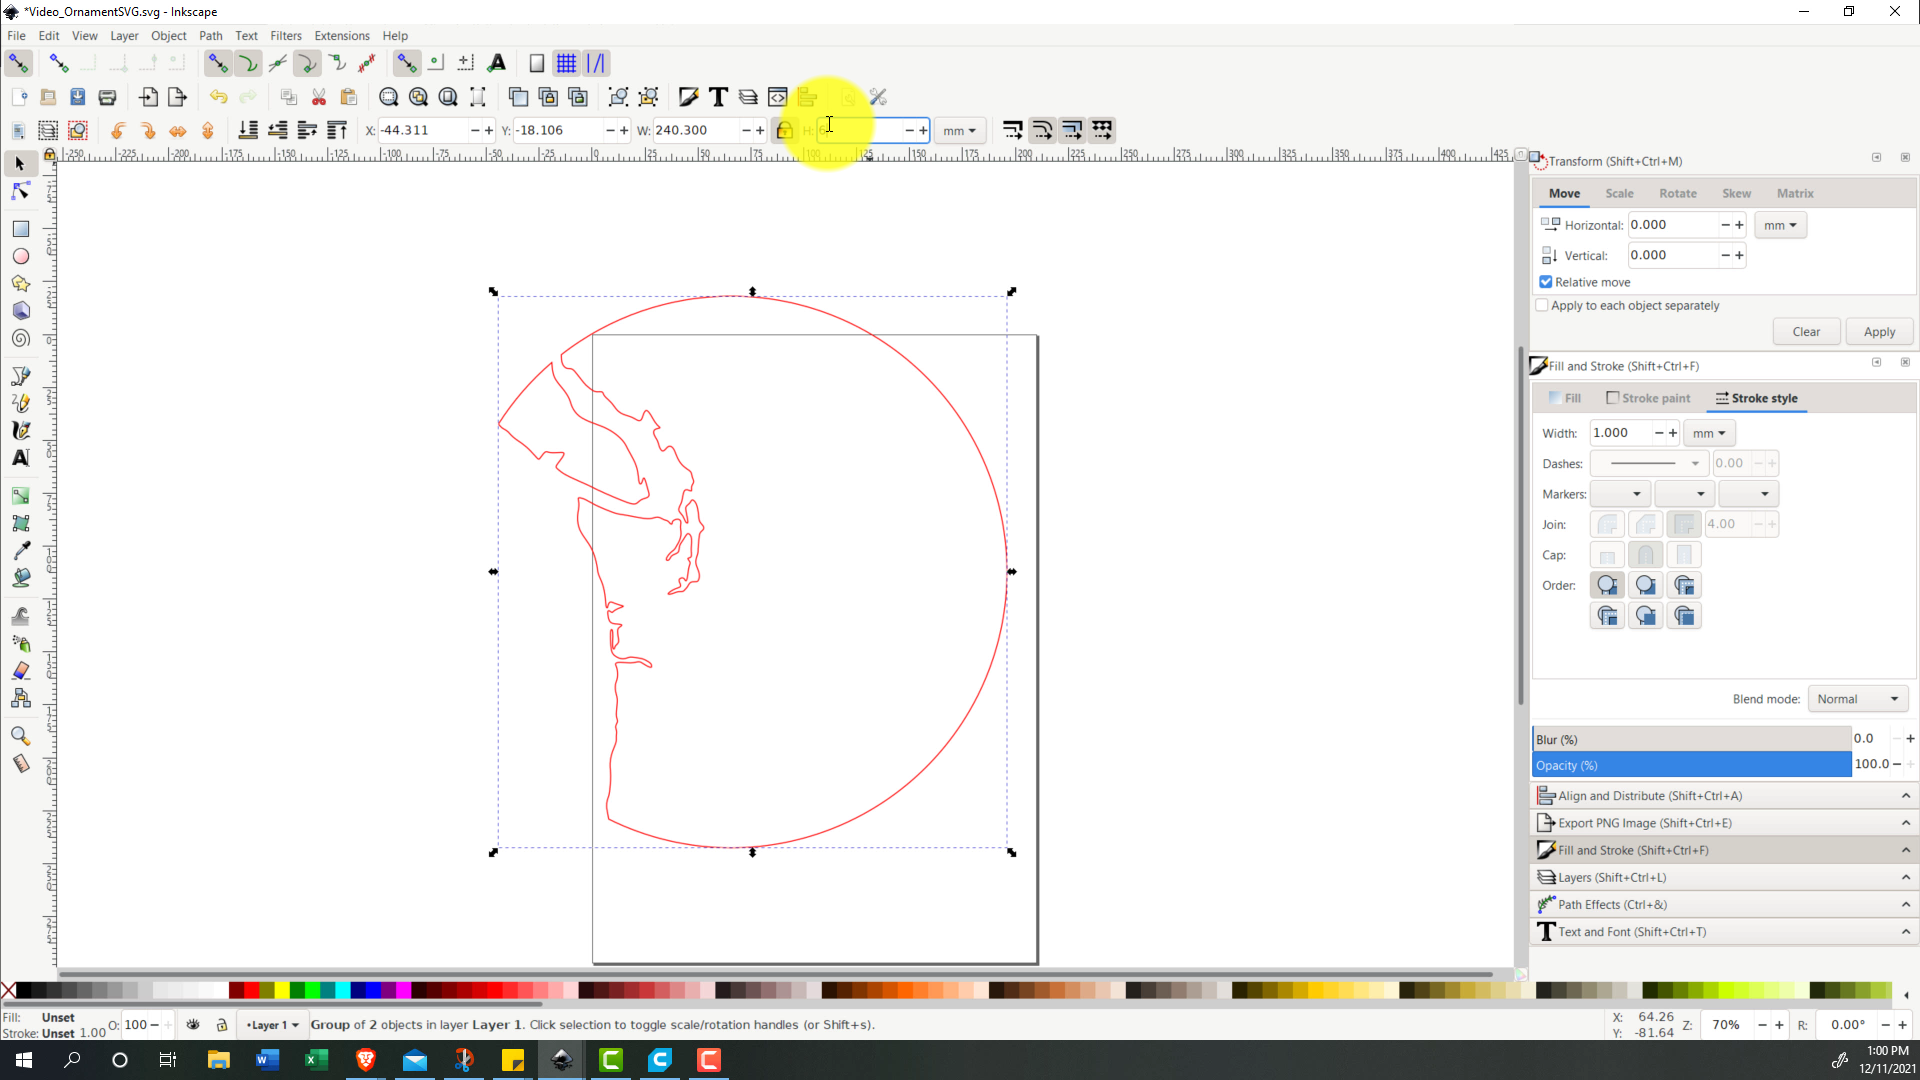
The first step in the project is creating the outline of the shape that we want the ornament to look like. To do this, you will need a vector graphics software (that can output an SVG file). There are a number of programs available to do this (Adobe Illustrator being the obvious one), but I will show how to do this using Inkscape, which is free. The basic process involves:
- I simply start by taking a screenshot of a map of the area I want to make the ornament of, then paste this in Inkscape. [Pic 1]
- Now in Inkscape I use the circle tool to create what will be the border for all of my ornament, except for the coastline. In the bottom of Inkscape, use the x to remove any fill, then shift+red to give the circle a red outline. Resize this outline to encompass the area you want. [Pic 2]
- For the coastline, I use the Bezier tool, specifically what Inkscape calls the B-Spline path. With the snap to paths enabled, I create the first point directly on the circle, then start tracing along the coastline; the basic process is creating as many points as needed along the coastline to get the general shape. In my example, I do this with the Washington Coast, and Vancouver Island. [Pics 3 and 4]
- Once the lines are traced I duplicate each line with Ctr+D, then with both the circle and one line selected, I go to Path -> Cut Path (I do this for both lines). This deletes the line we duplicated, and cuts the circle at the intersection point with the traced lines. I then delete the parts of the circle I don't need. [Pics 5 and 6]
- Next is combining the paths into a single path. This is done converting all of the lines into a path using Path -> Object to Path. Then select all lines, select the "edit paths by nodes tool" in the left toolbar, select all of the nodes, then select the "join selected endnodes with a new segment" button. [Pics 7 and 8]
- The last thing in Inkscape you may want to do is resizing the outline to it’s actual size, this will simplify things a bit later on. In my case, my ornaments were about 62 millimeters in diameter, so that’s what I resized the outline to fit. Make sure to lock the scaling, so that the widht and height stay in proportion. [Pic 9]
- You now have the outline that will be the ornament! Save this as an SVG.
If any of these steps are hard to follow, I recommend following along in the video tutorial above.
Attached to this step is the SVG outline that I made (just for reference).
Downloads
Downloading Topographic Data
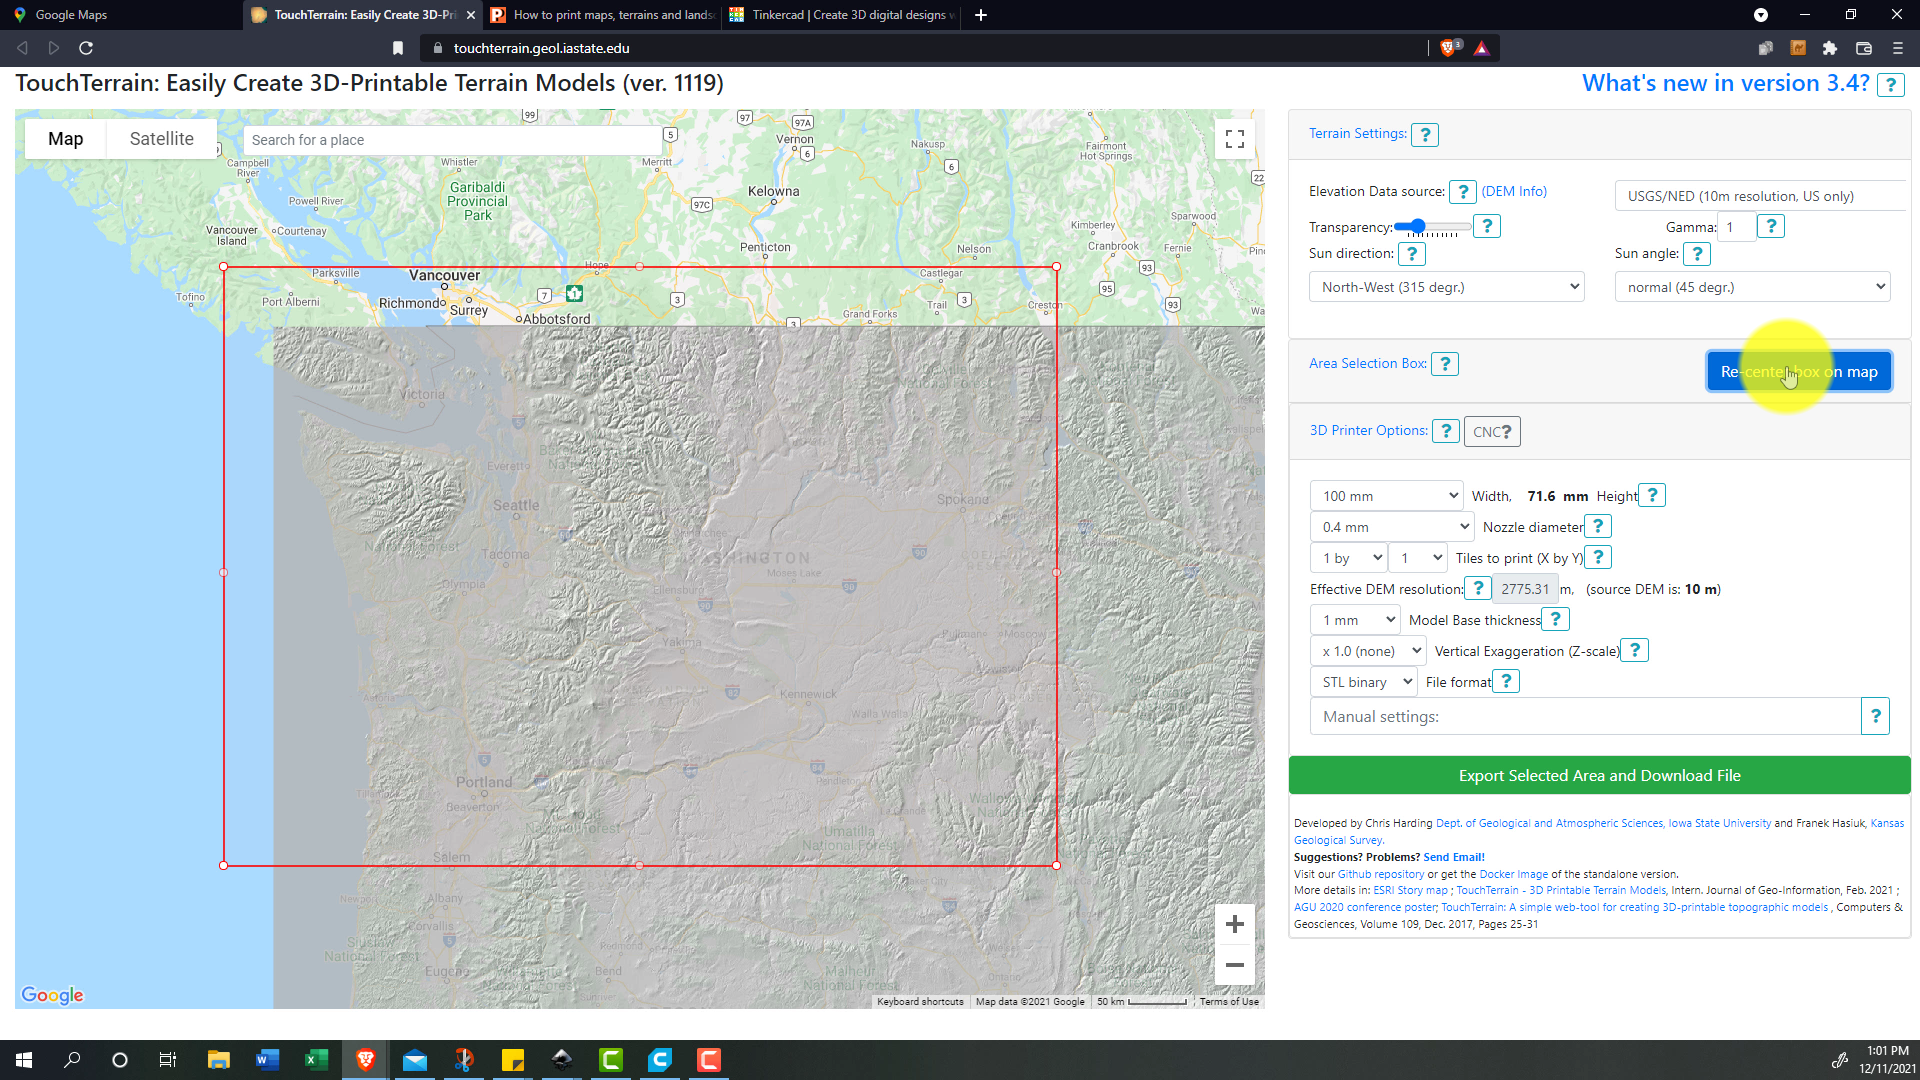
Next up is getting actual topographic data that we can use. There are a number of sources online for this, but I found TouchTerrain to be the best for its customizability with parameters for 3D printing.
- Using this tool, the first step is moving over to the area you want to get data for. [Pic 1]
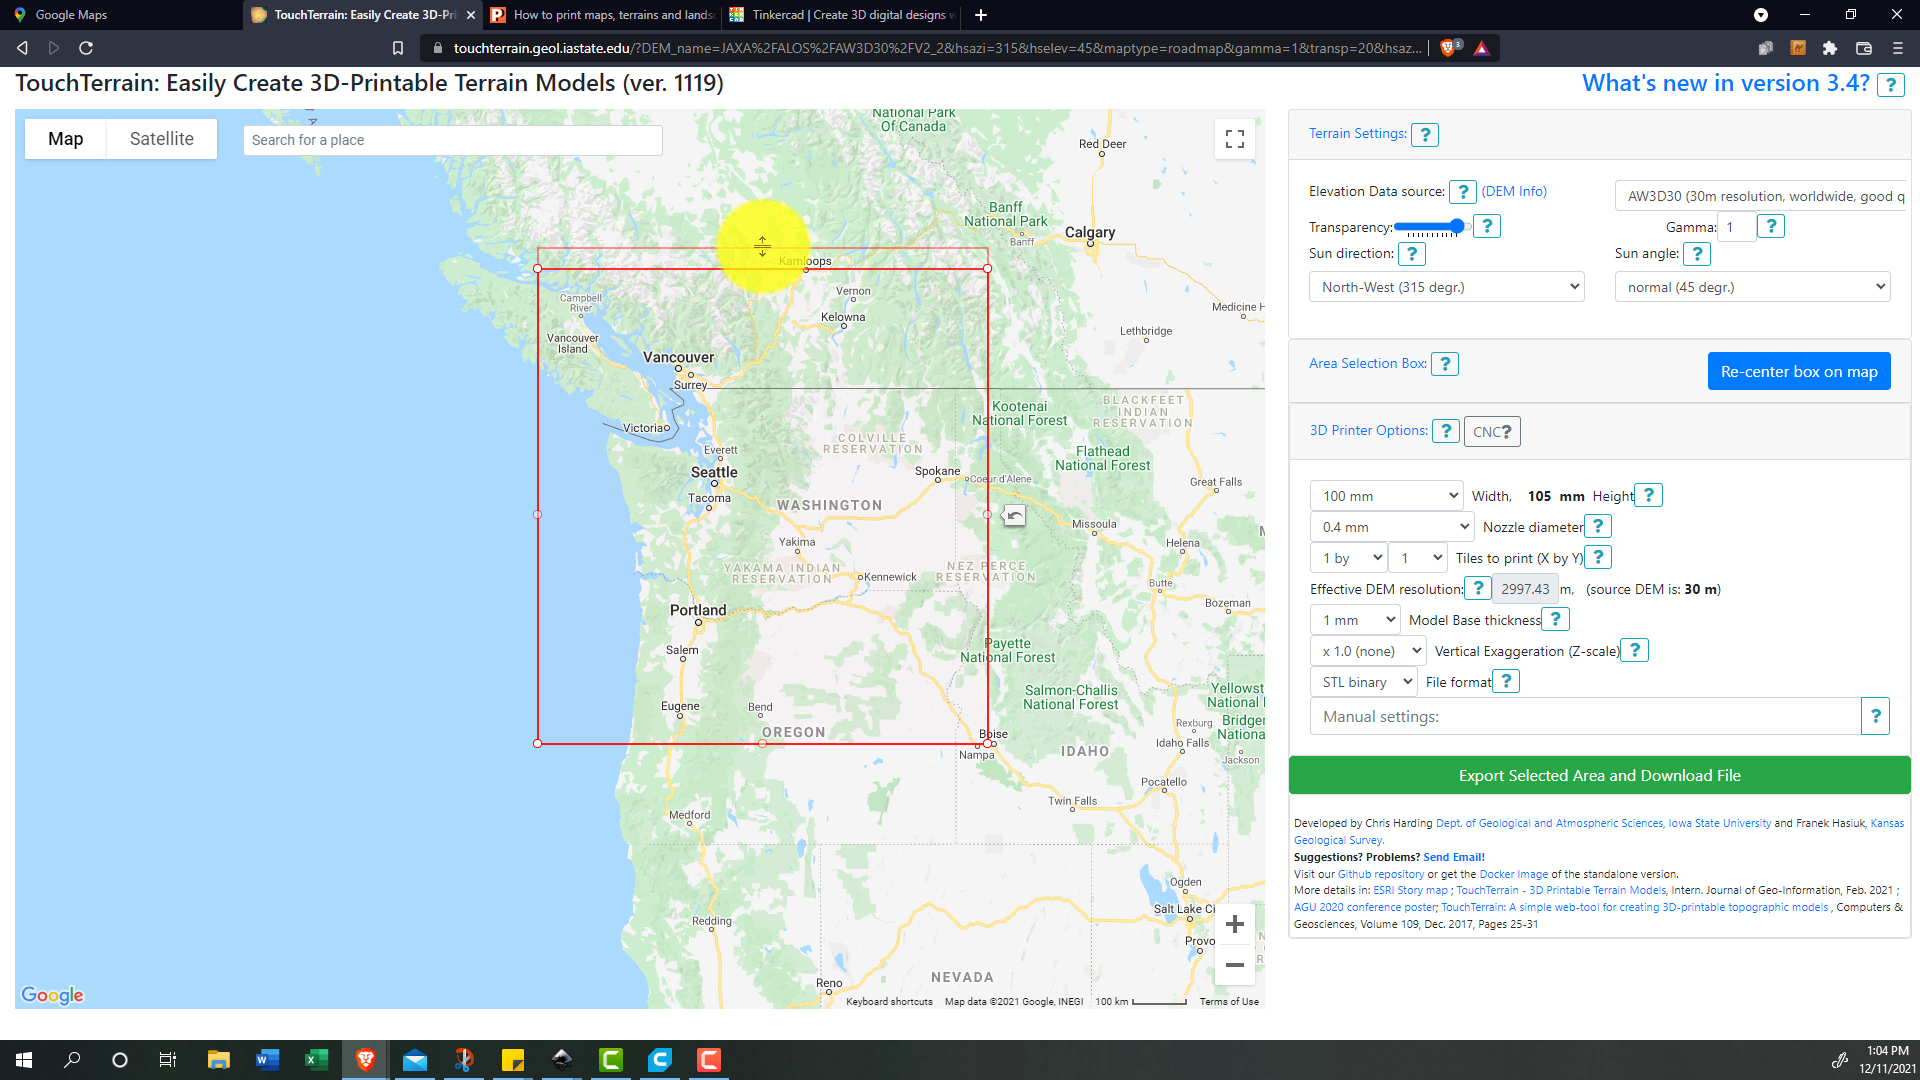
- And in my case, because my circle dips a bit into Canada, I need to change my data source to one that includes both the US and Canada.
- Then I increase the transparency, and do my best to line up the box borders as near to the outline that we made in Inkscape as possible. This will make the next step easier. [Pic 2]
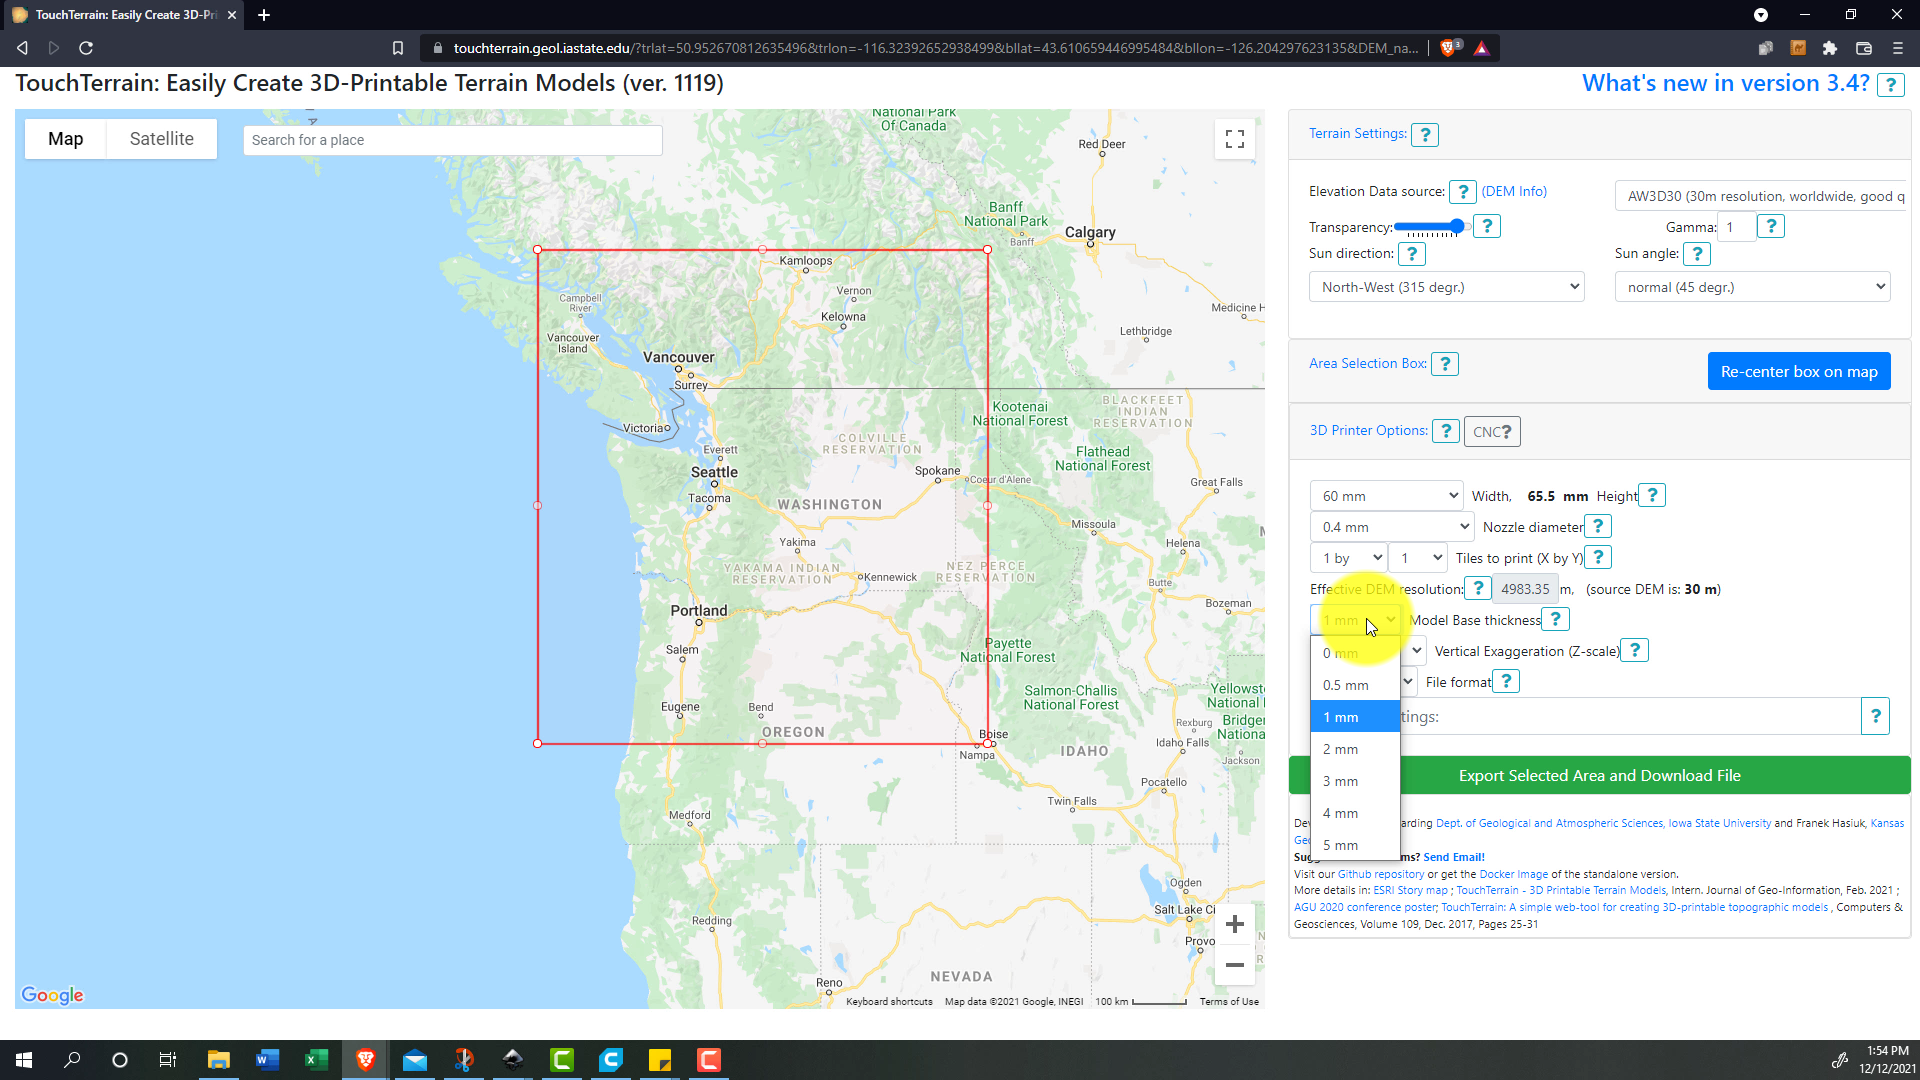
- Going through the options, I set the size/width to the nearest option to the actual size I want. Then the two most important options for us are the base thickness, and vertical exaggeration. Test out the parameters yourself to figure out what you like, but I used the default 1mm base thickness, then increased the vertical exaggeration to 30x. [Pic 3]
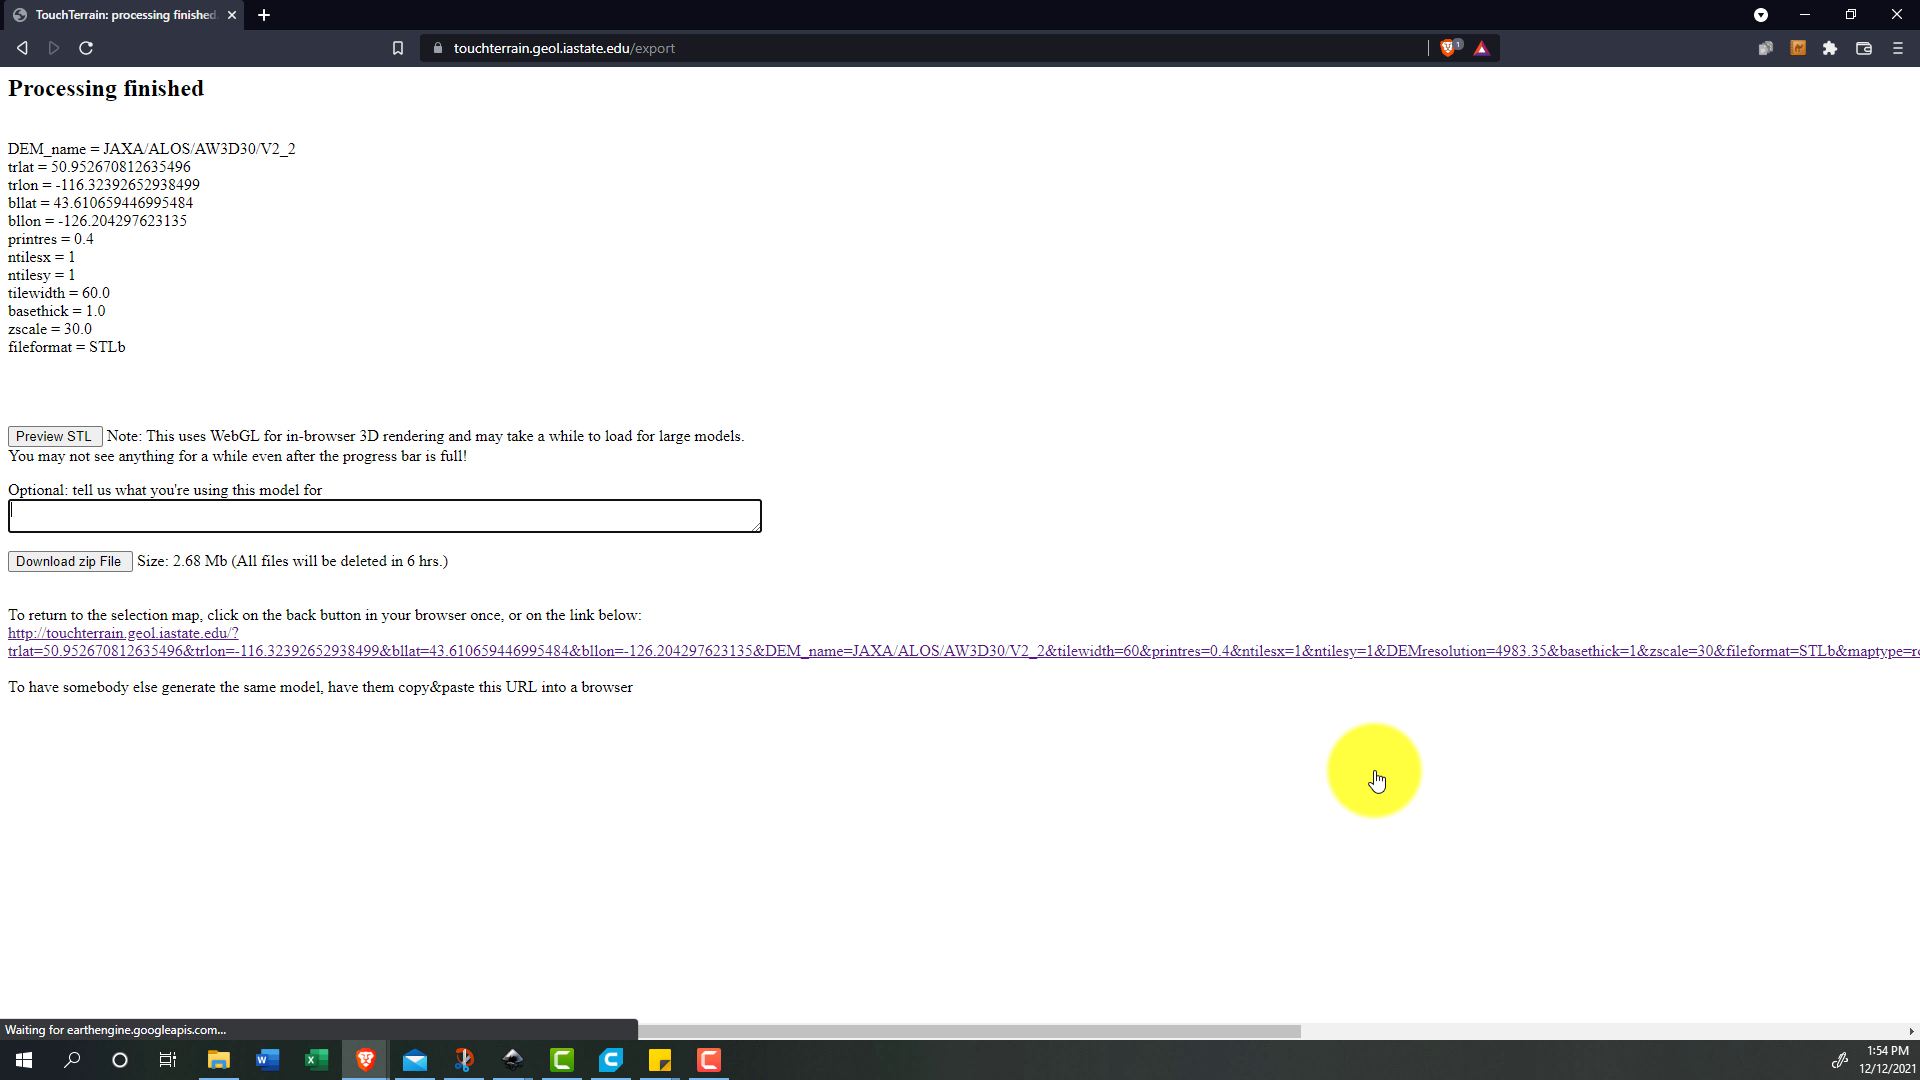
- And then you can download the file! [Pic 4]
Combining the Topographic Data With the SVG Outline [Tinkercad]
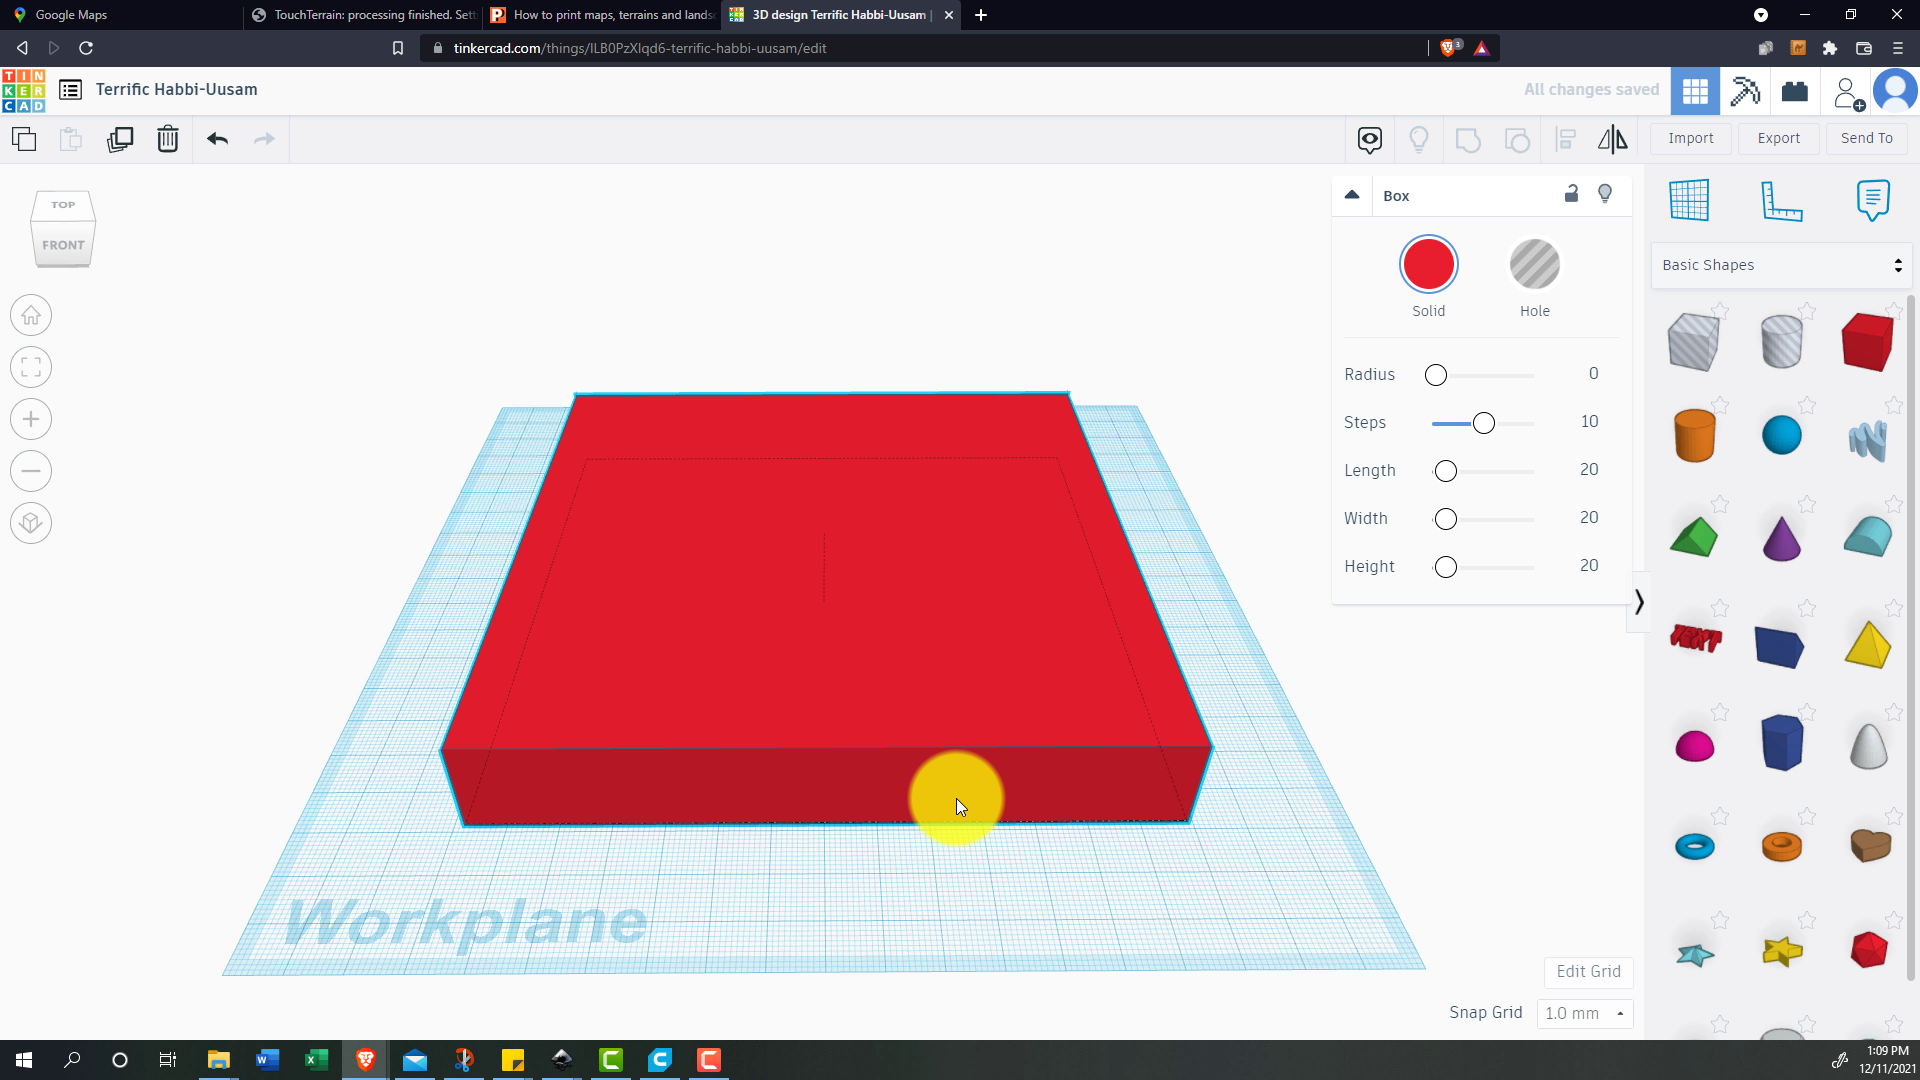
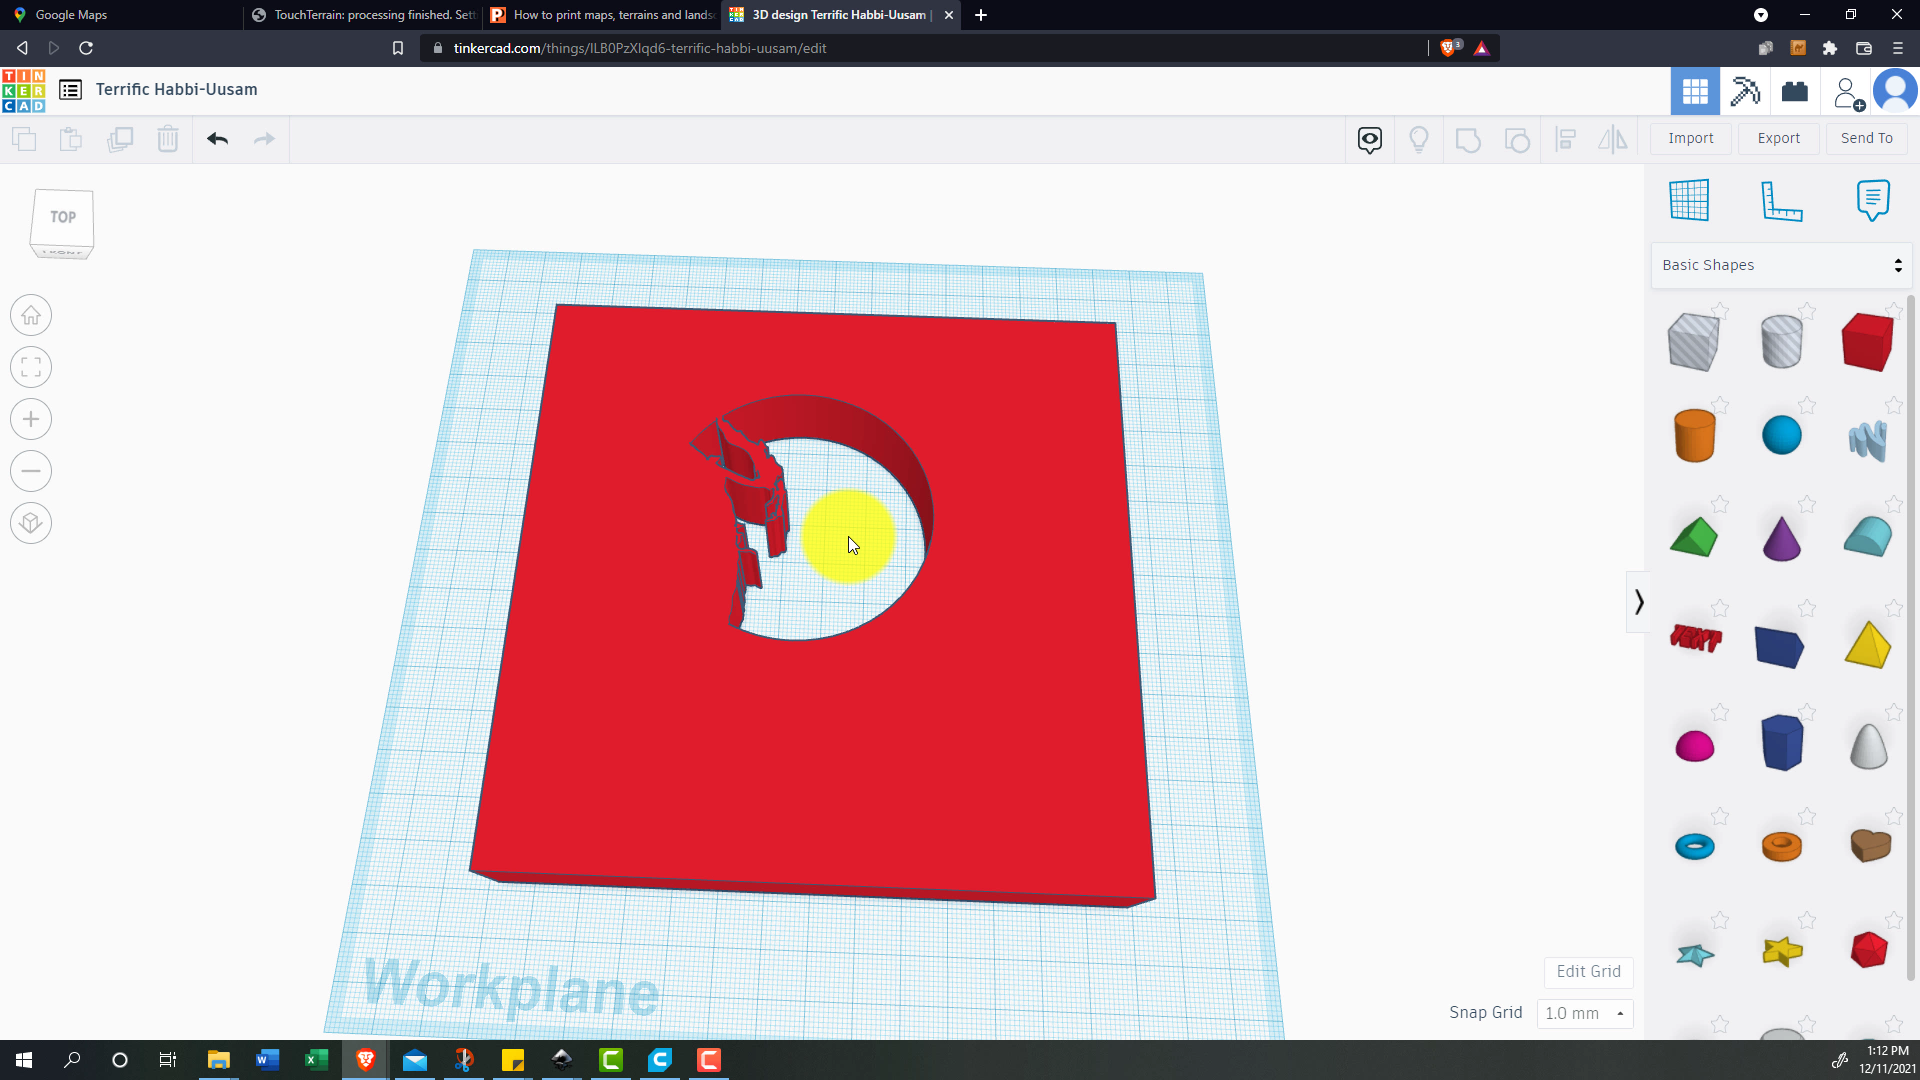
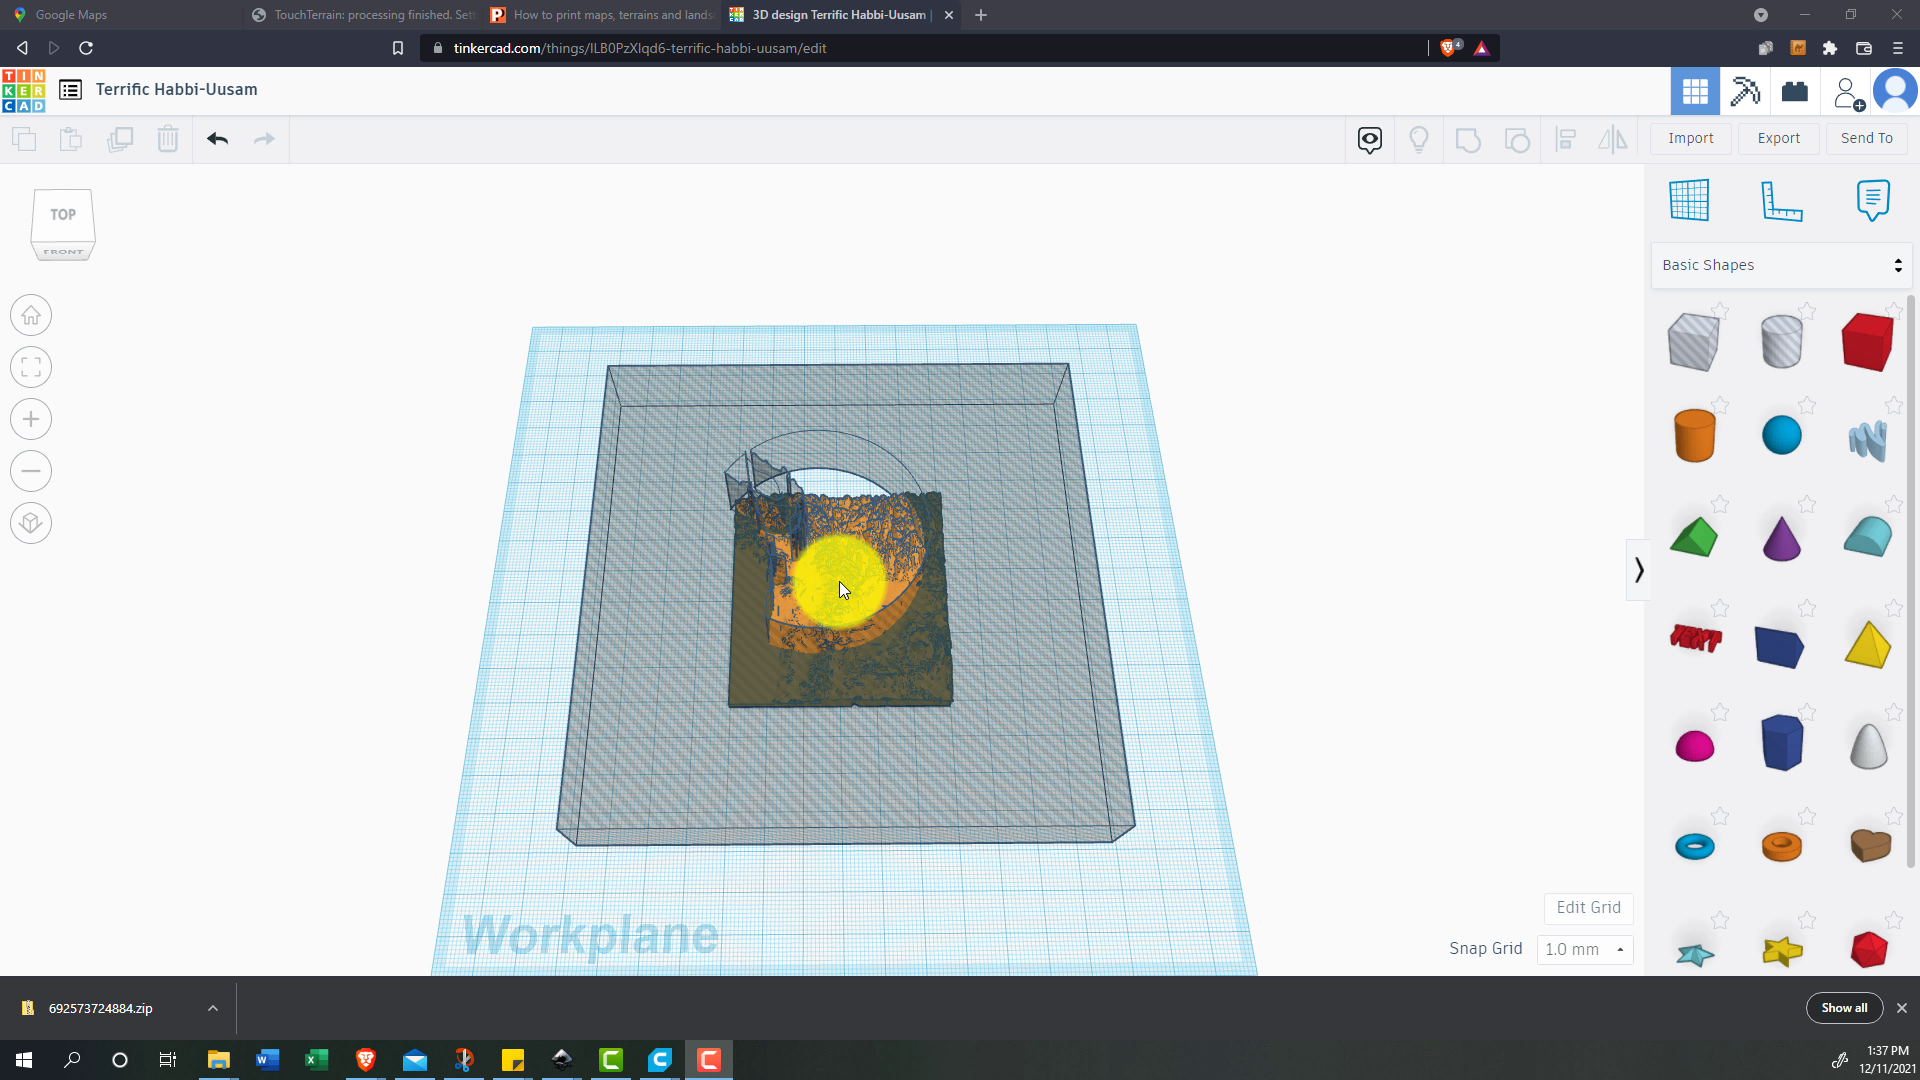
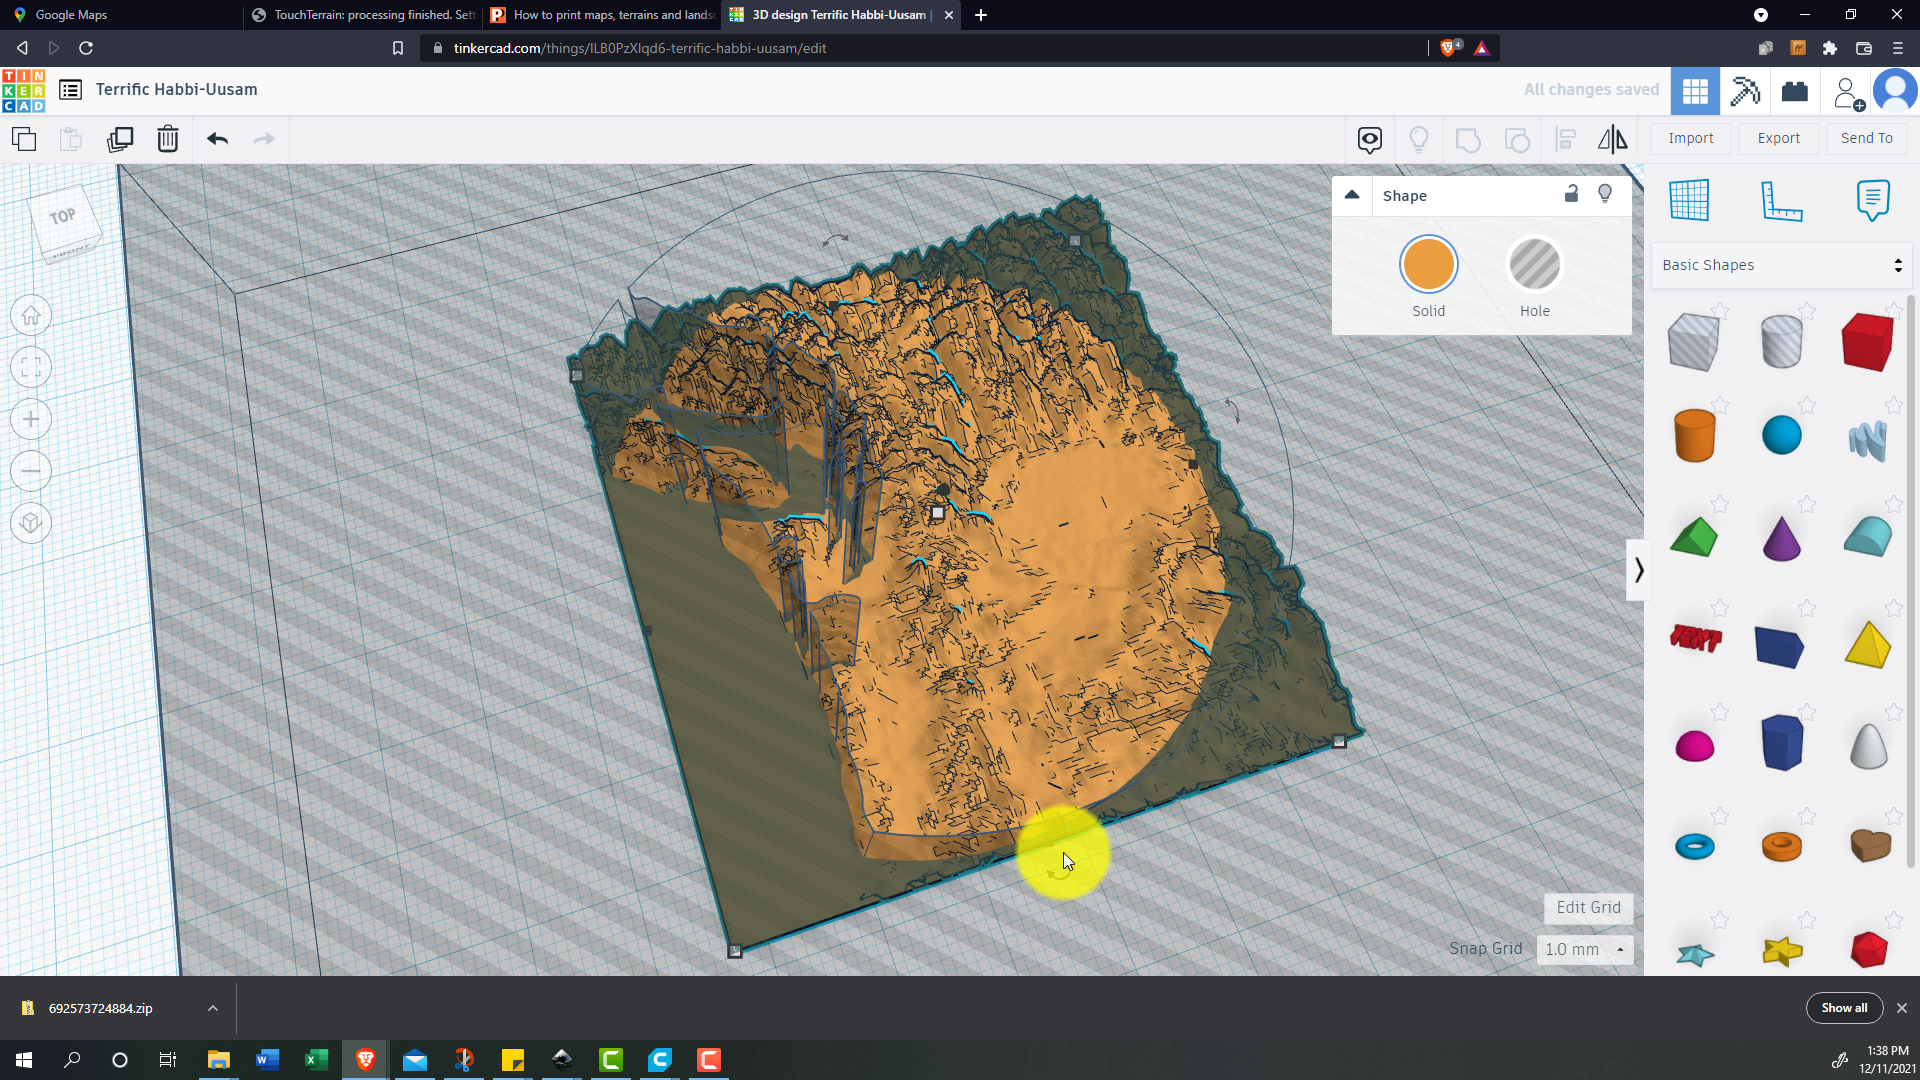
Now we go to Tinkercad, and use the outline that we created in Inkscape to slice the topographic data that we just got into the desired shape. Credit where it's due, I learned how to use this technique from this from this blogpost.
- Starting with a new design, the first step in Tinkercad is creating a box bigger than the outline we will be importing. [Pic 1]
- Then I import the SVG outline, change it from a solid to a hole, move it inside the box that I already created, modify it’s height so that it is taller than the box, select both objects, then click ctr+G to group the objects together. [Pic 2]
- Next we import the topographic STL that we downloaded, and switch the grouped object from a solid to a hole. [Pic 3]
- Now all that’s left to do is aligning the topographic data with the outline as best as possible, and resizing as needed to get a decent fit. Personally this is less accurate than I would prefer, but it is hands down the simplest method that I found online for doing this. [Pic 4]
- With everything lined up, deselect all objects, and export the shape as STL!
3D Printing
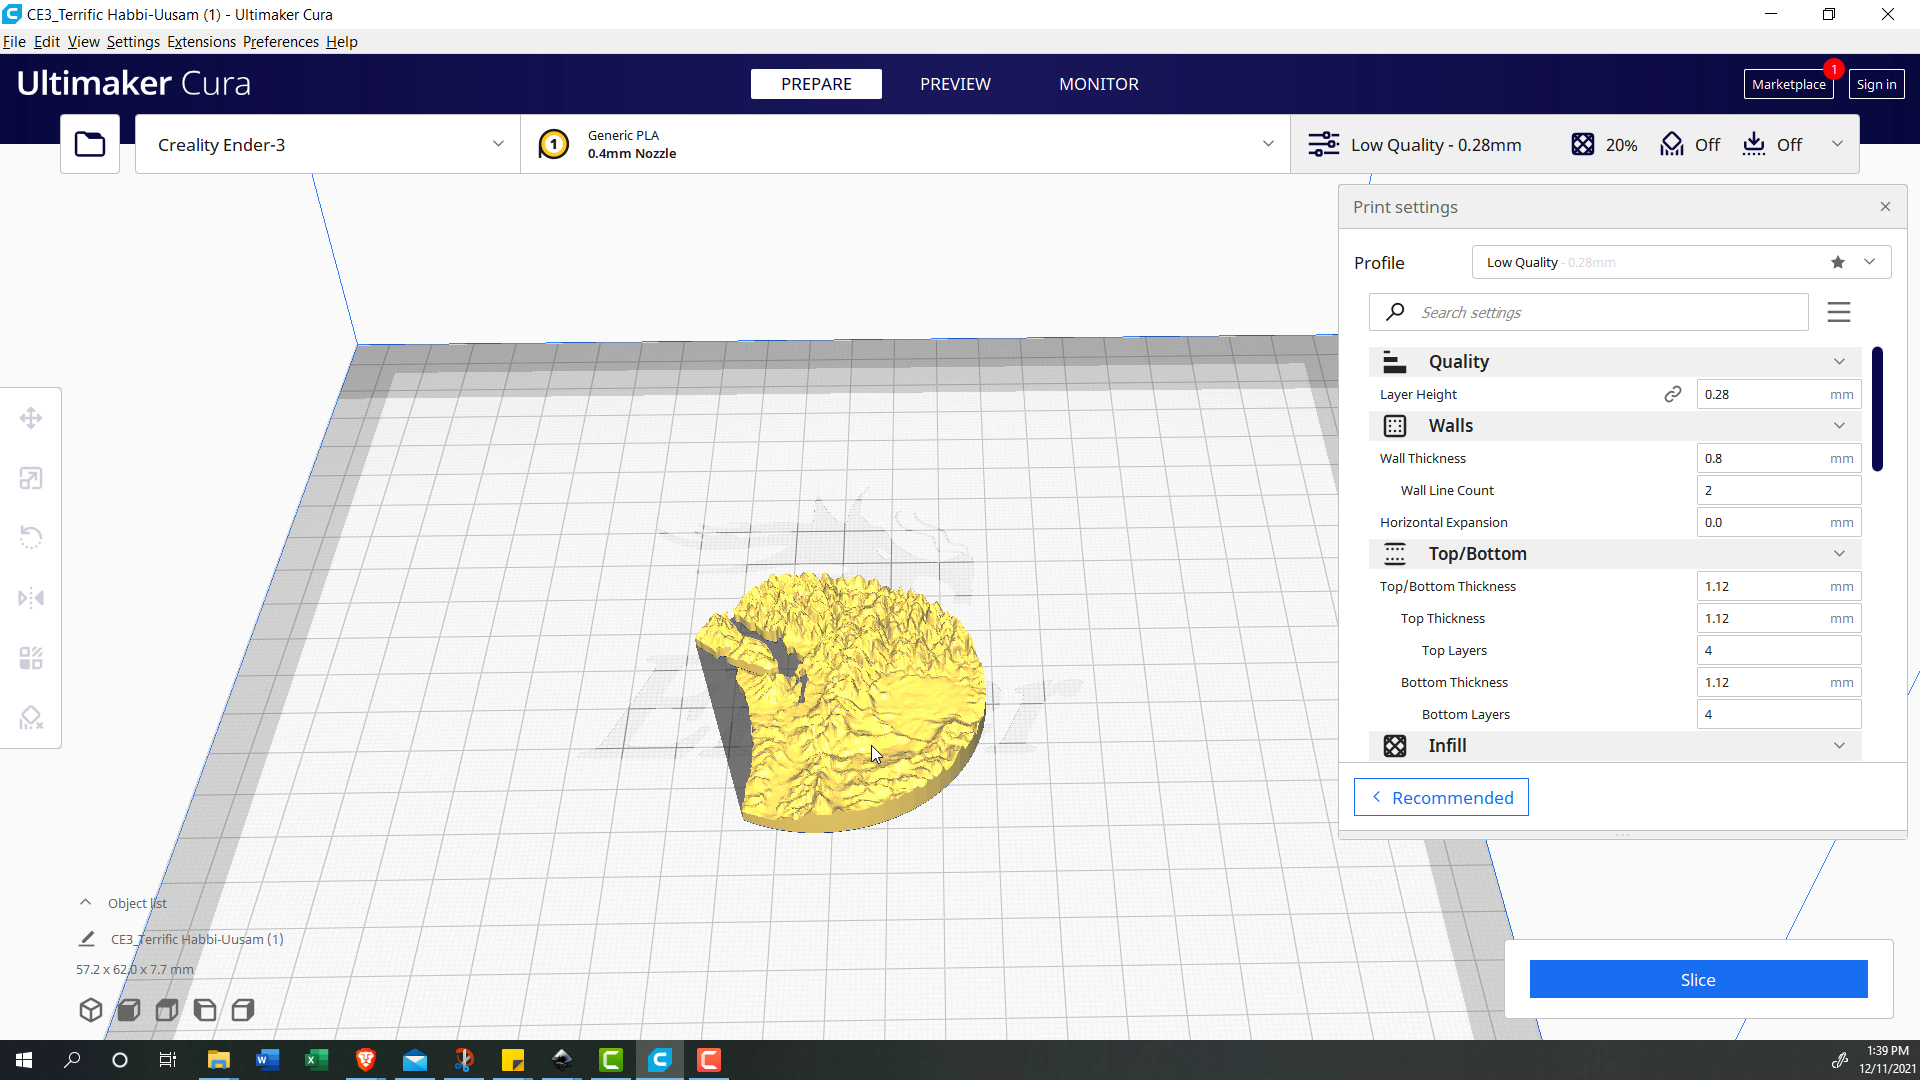
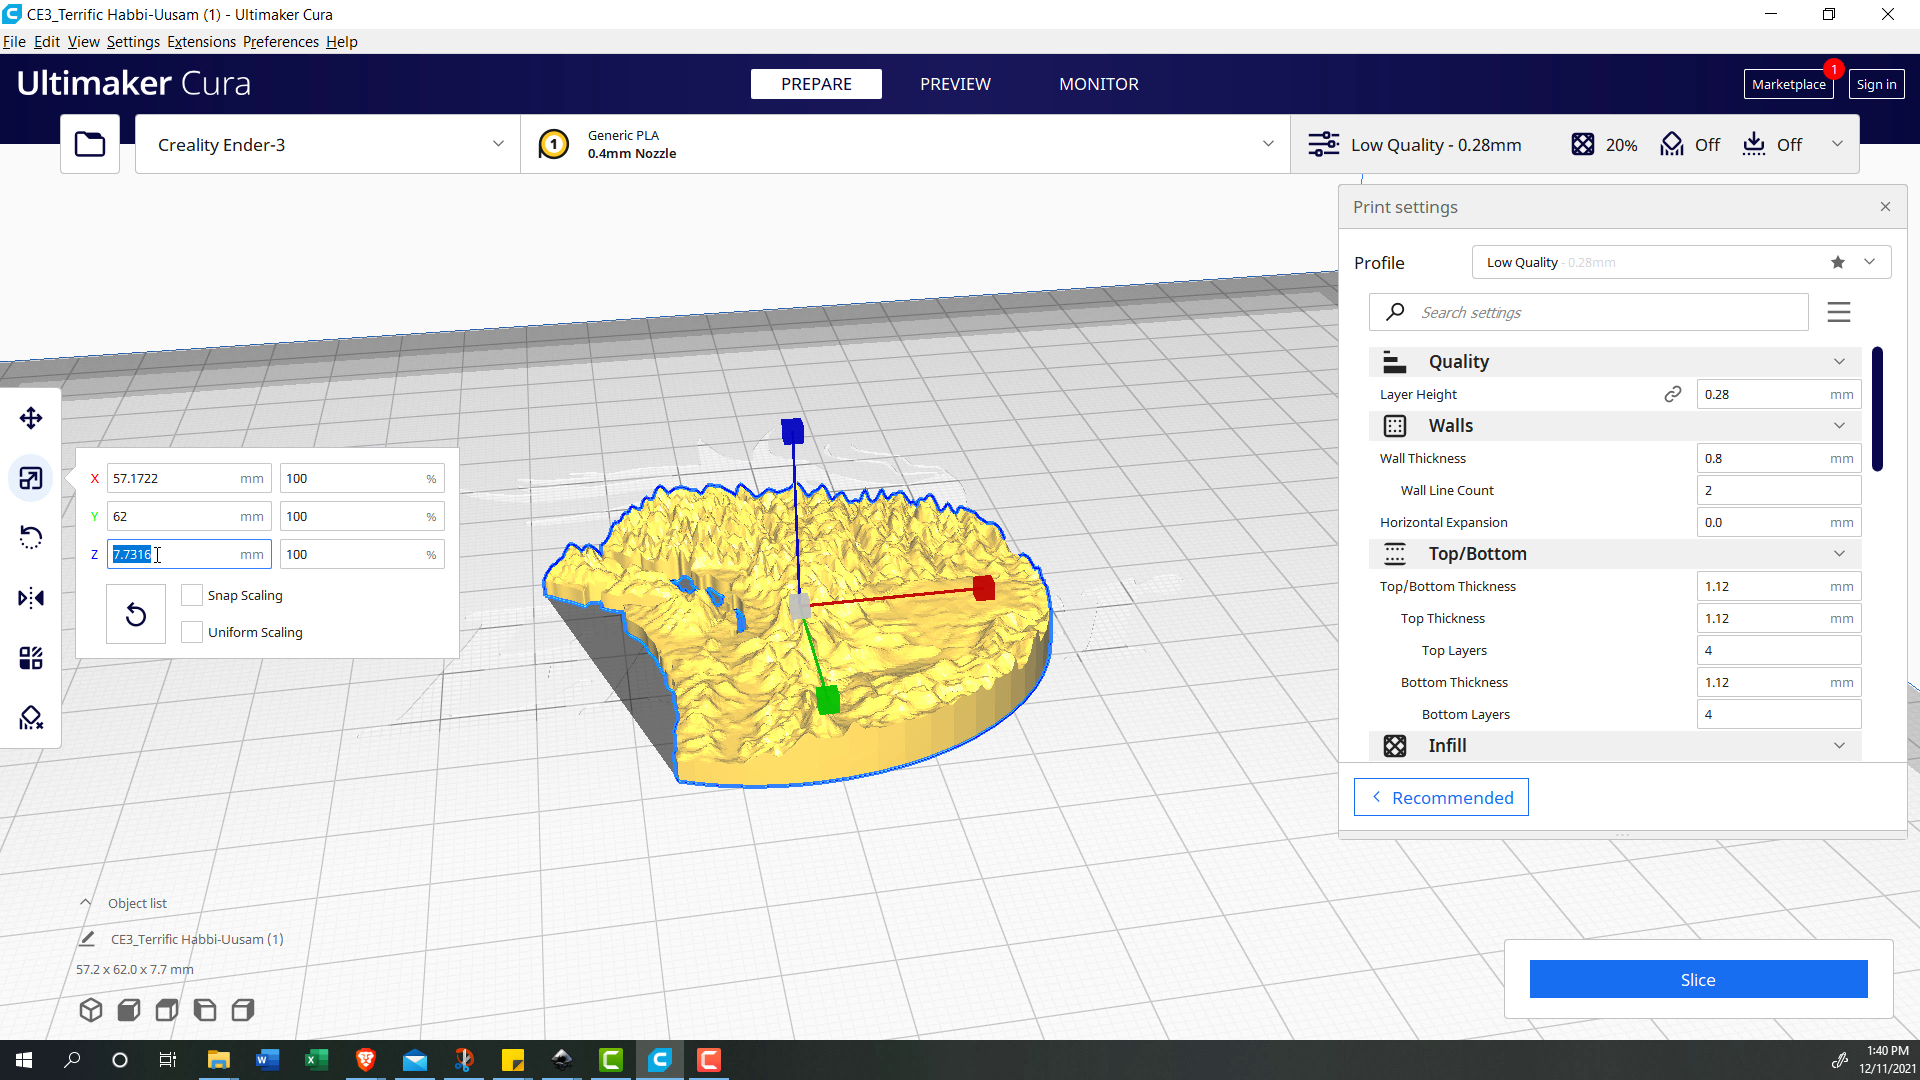
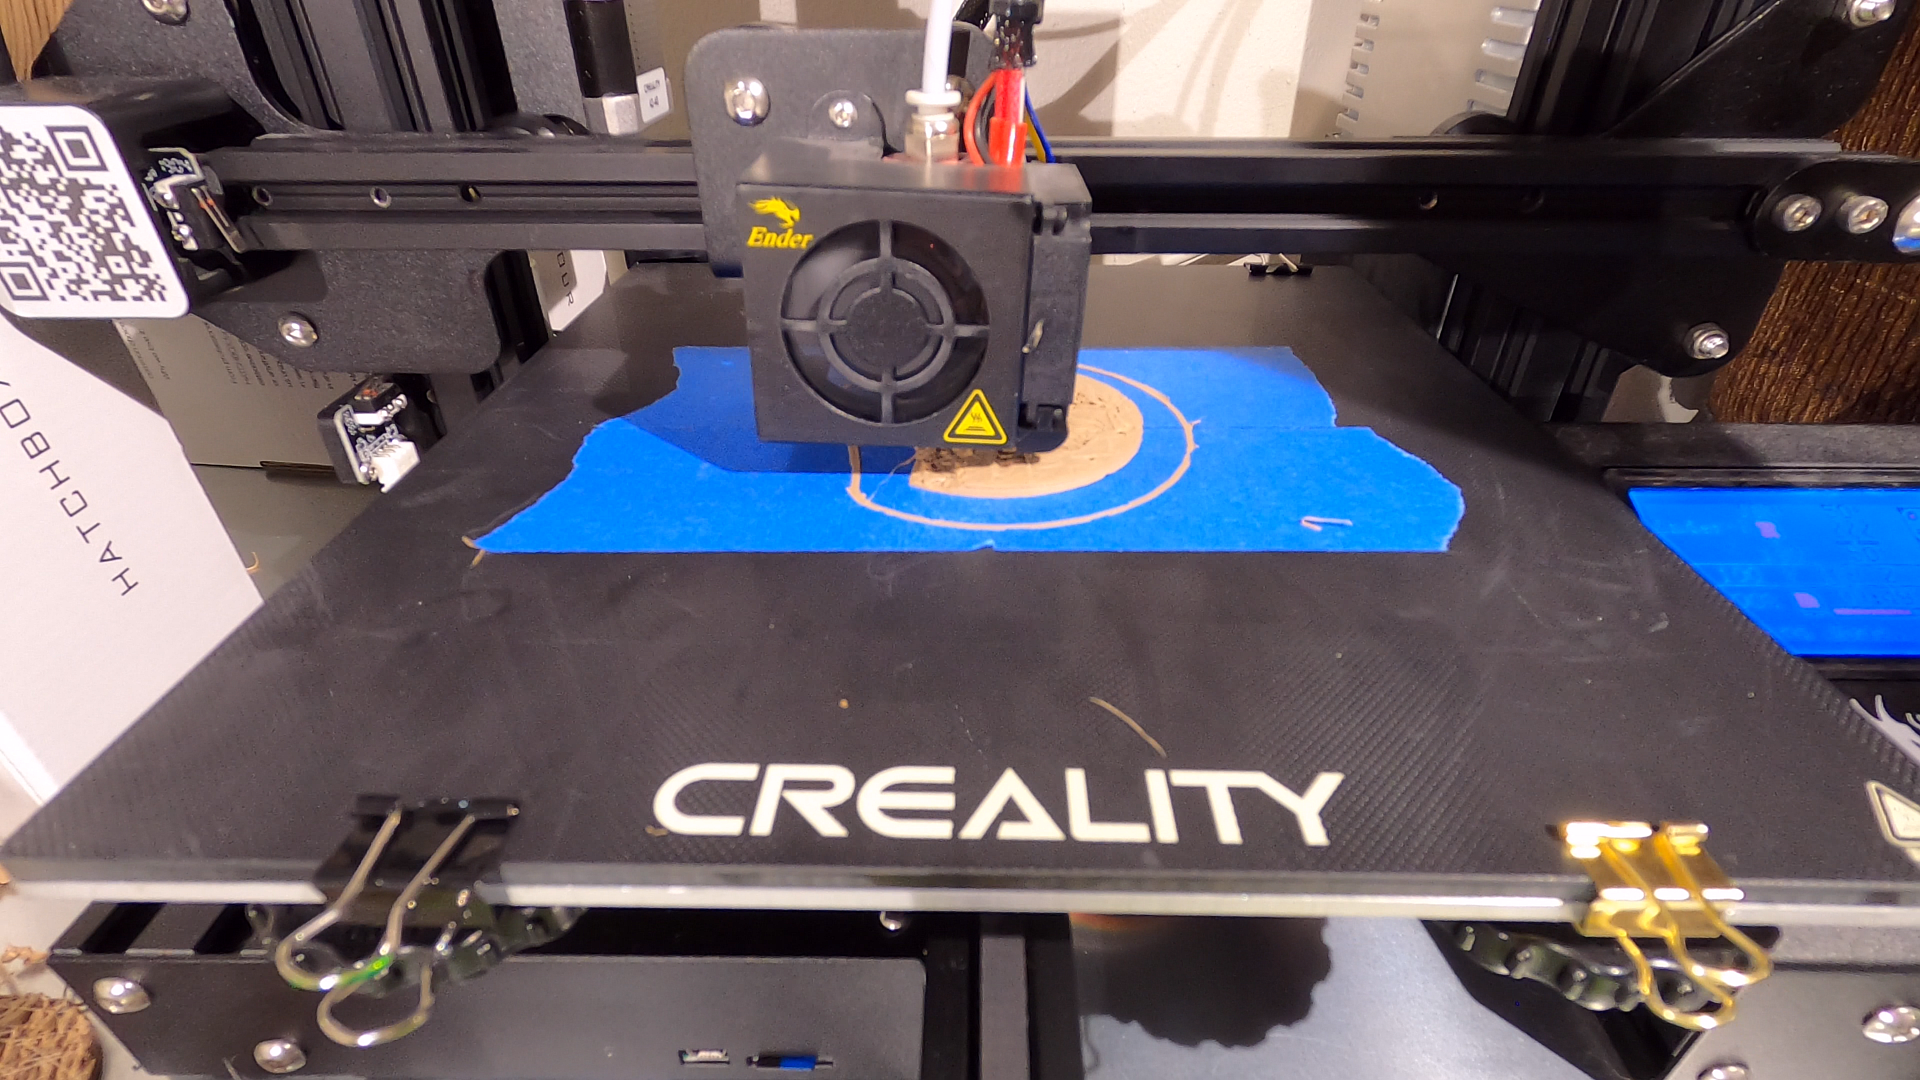
The last step before we start making the actual design, is prepping the file for 3D printing in your preferred 3d printing slicing software. My preference is Cura
- Of note, here you can scale the object to meet the final dimensions you want, in case something changed dimensions in the previous steps, or you want to change the height.
- You can also print at a pretty high layer thickness, as I don't personally think that thicker layers detracts from the final design.
Then you 3D print! Not much to talk about with this step.
Sanding
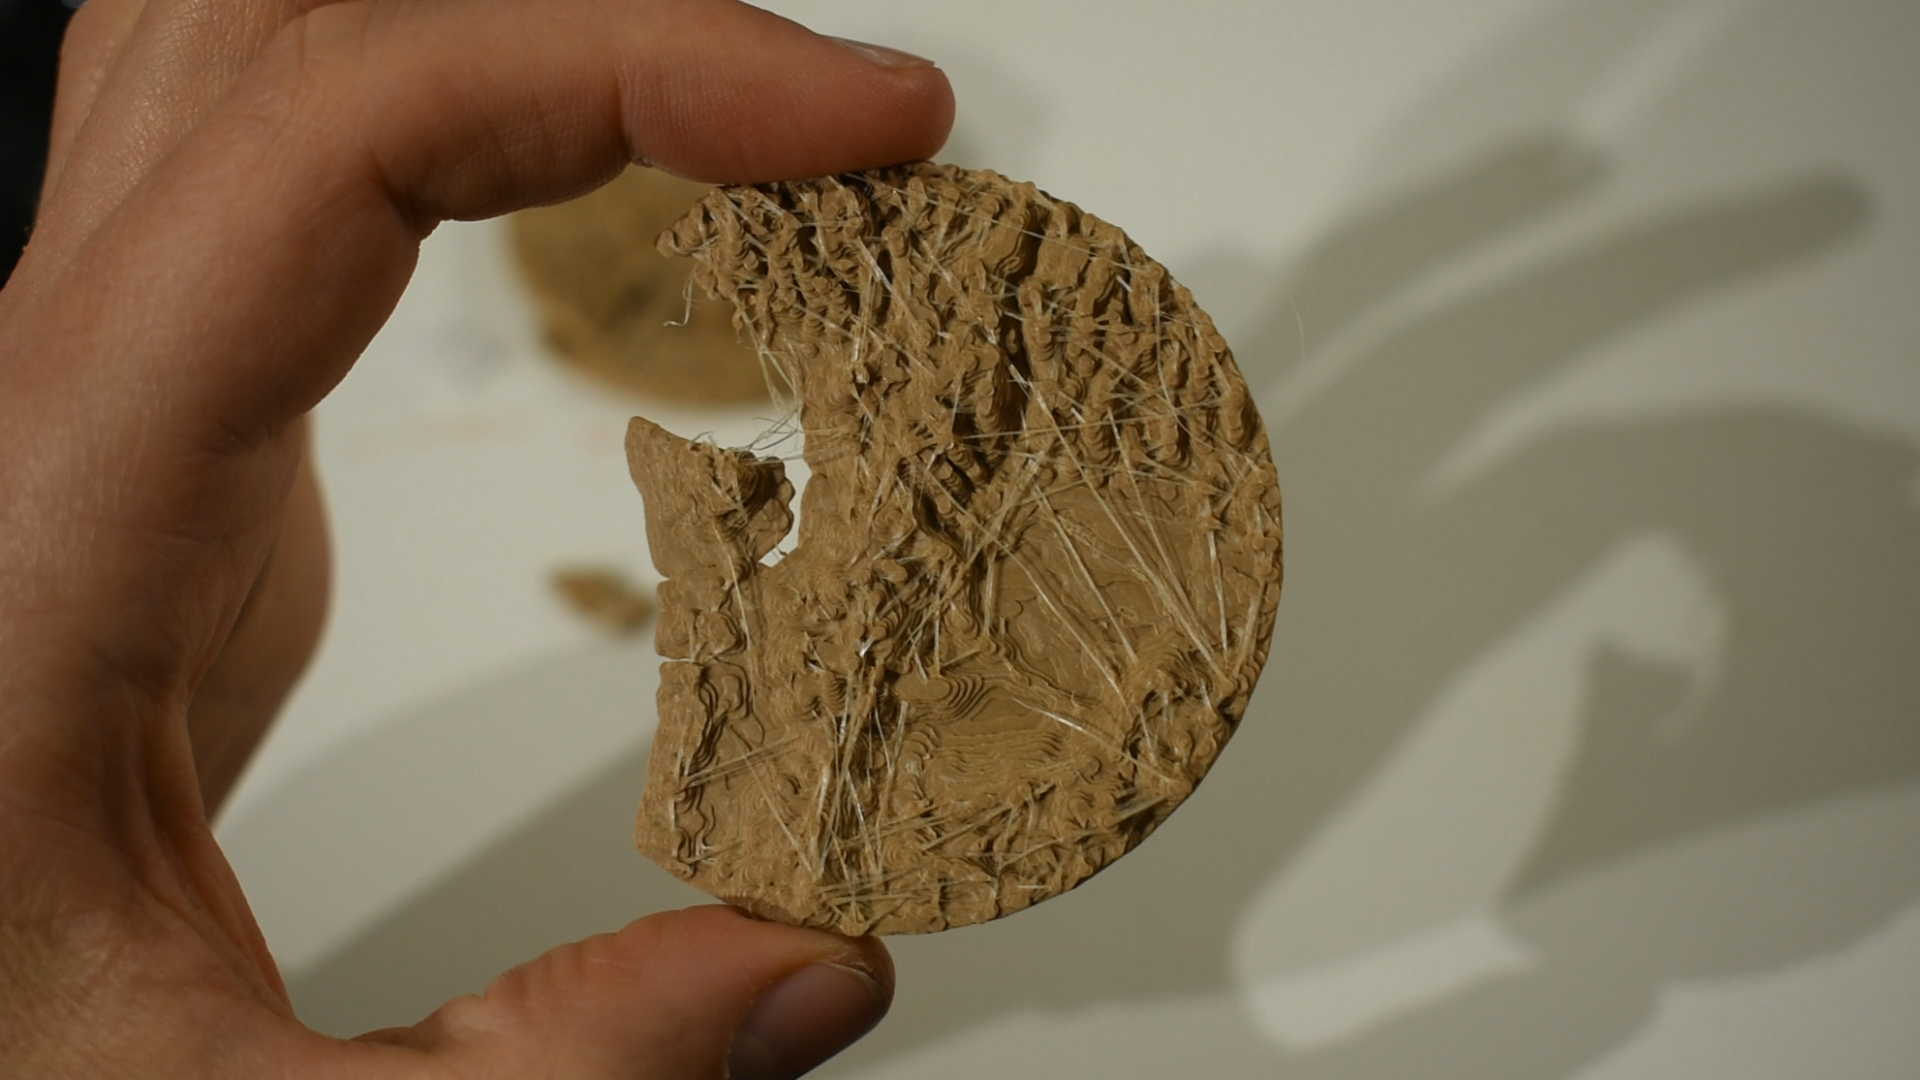
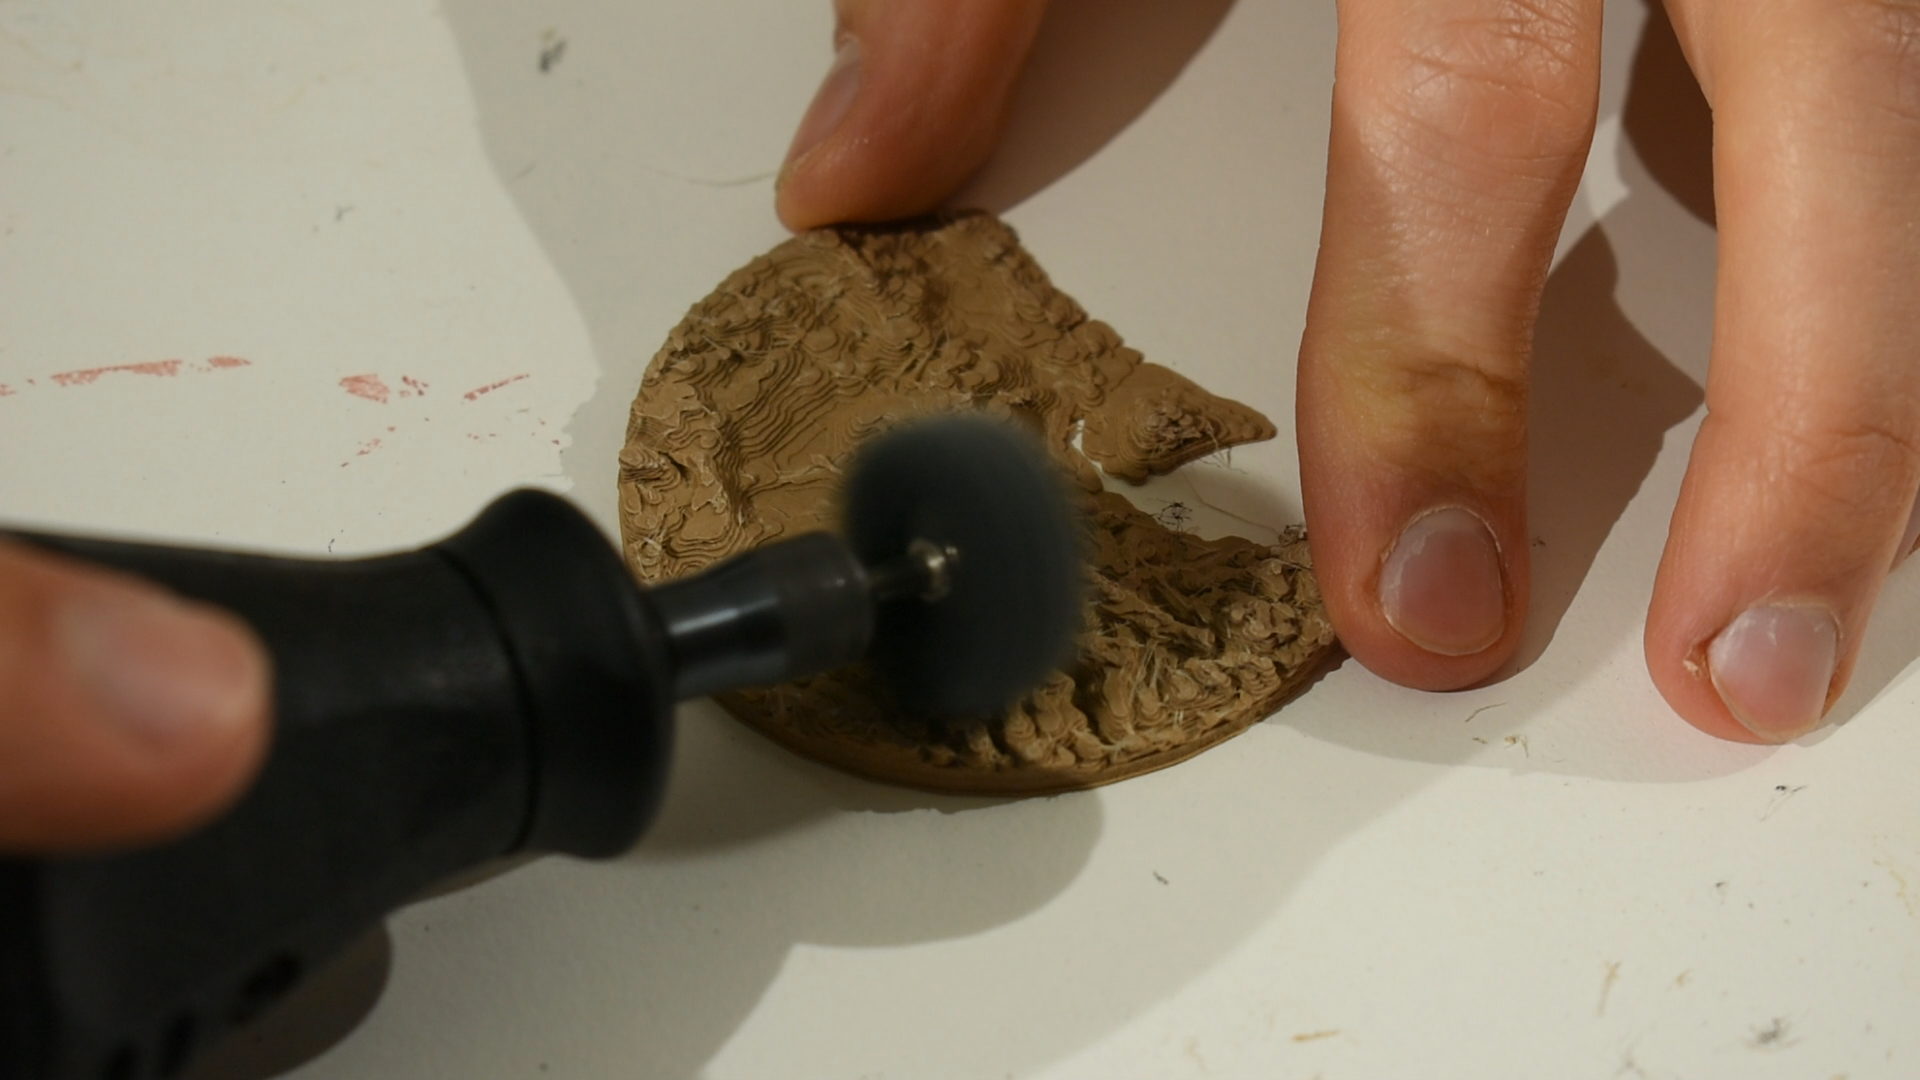
My 3d prints ended up having a lot of stringing; I briefly tried solving the stringing, but ended up just sanding them to remove the worst of the cosmetic defects, since this is getting spray painted over, and won’t be particularly visible.
Painting
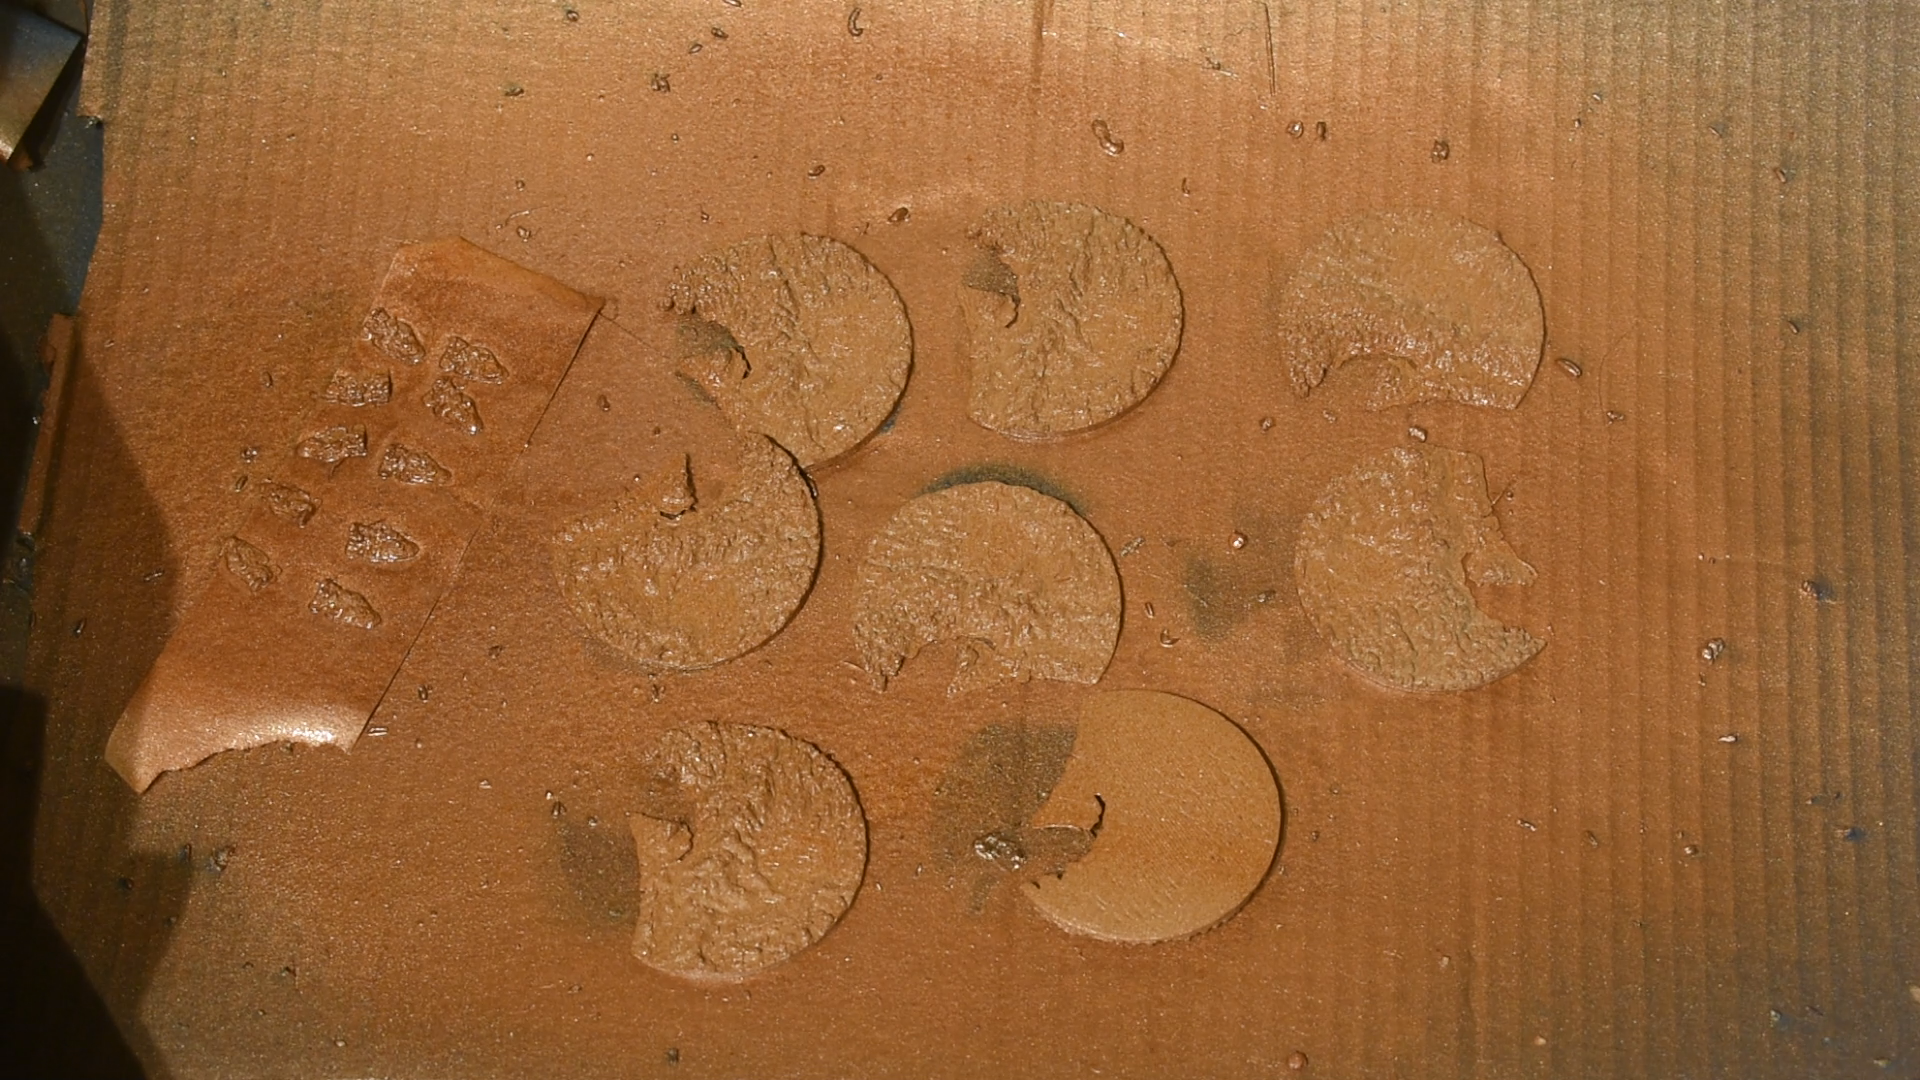
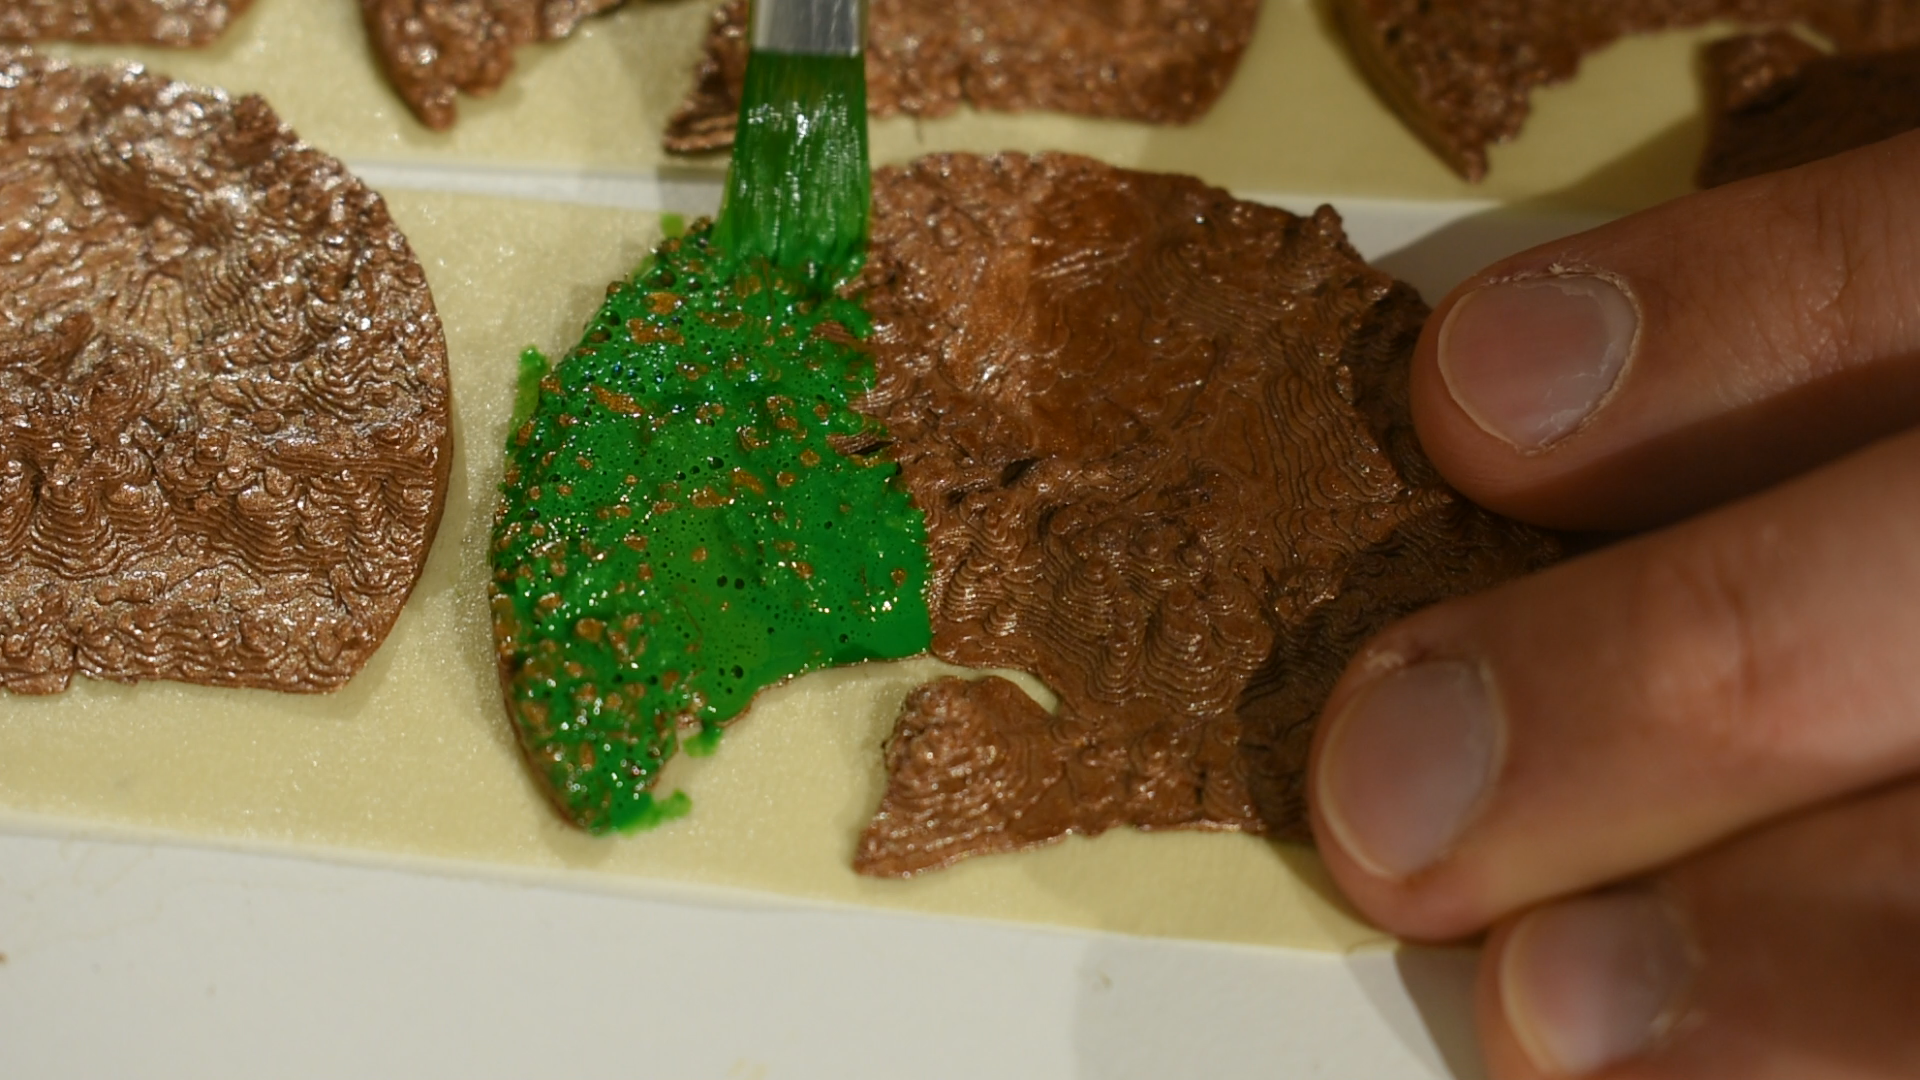
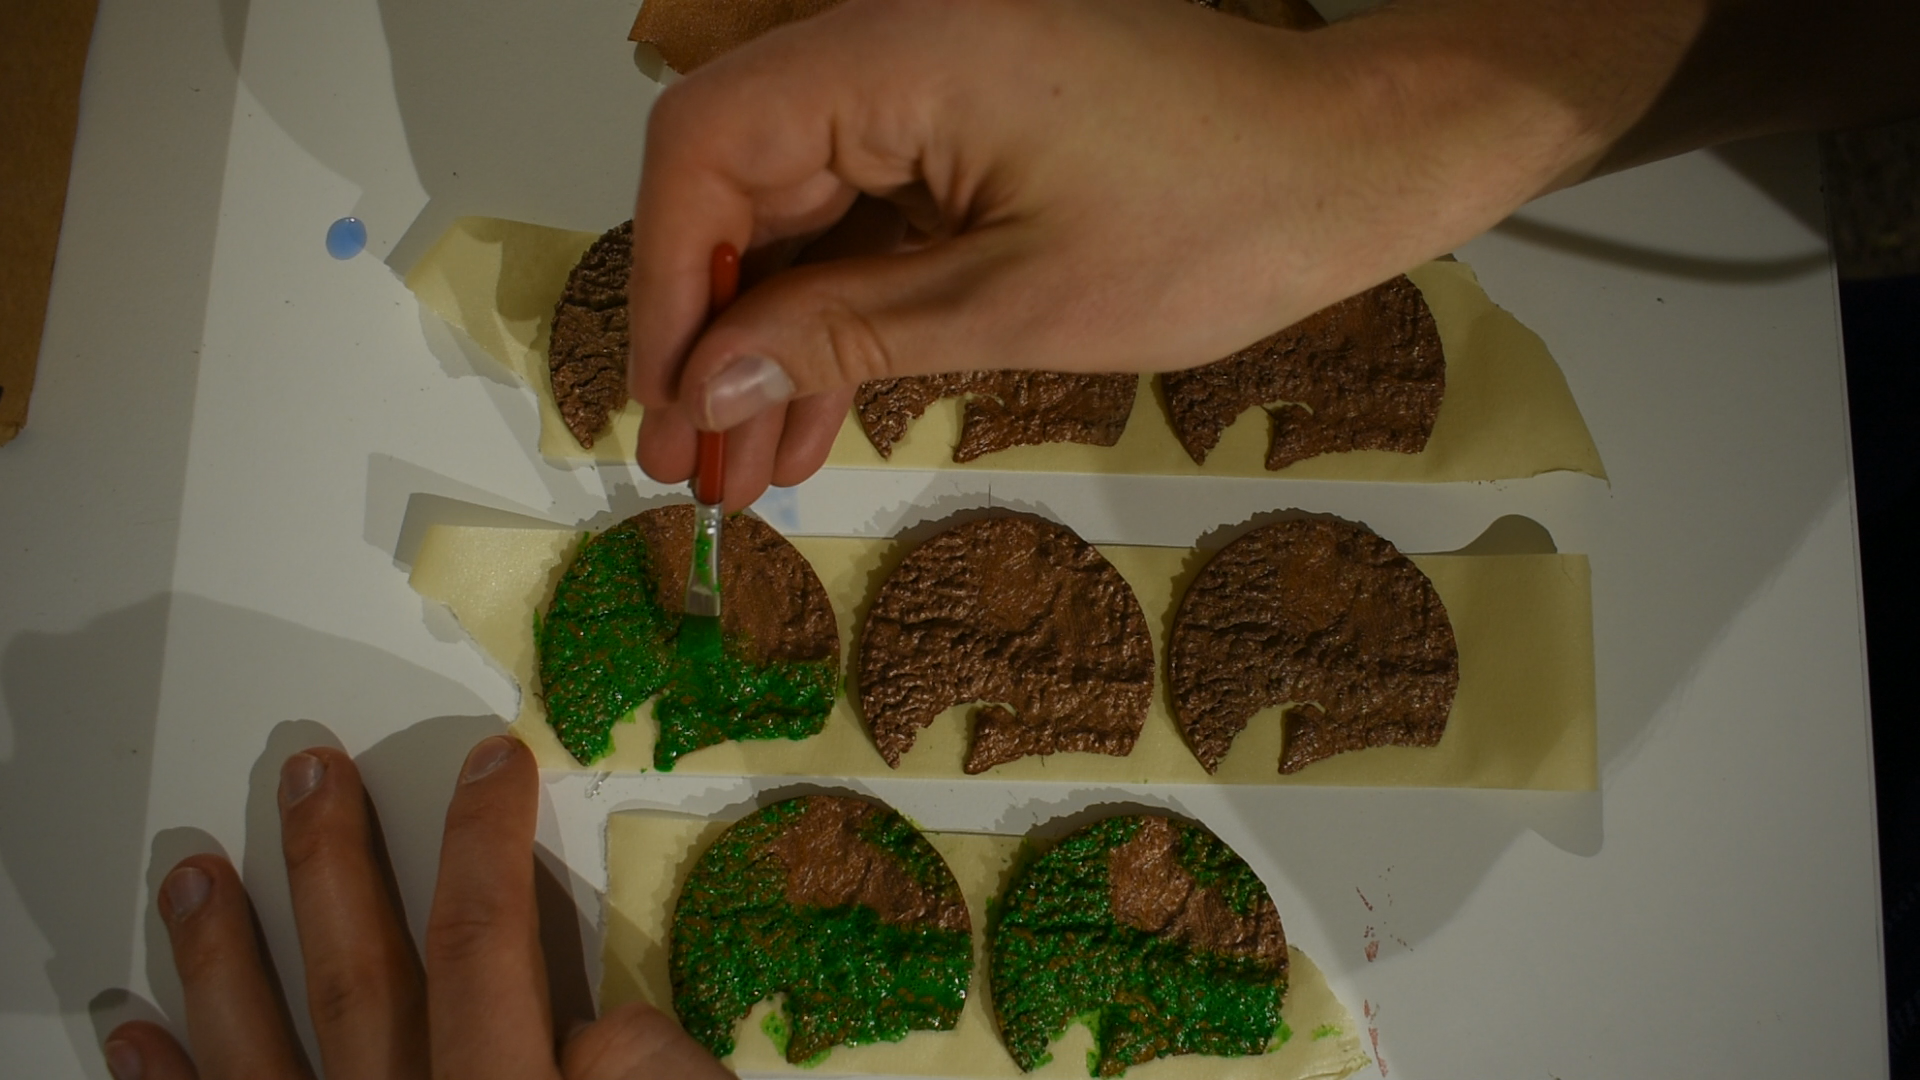
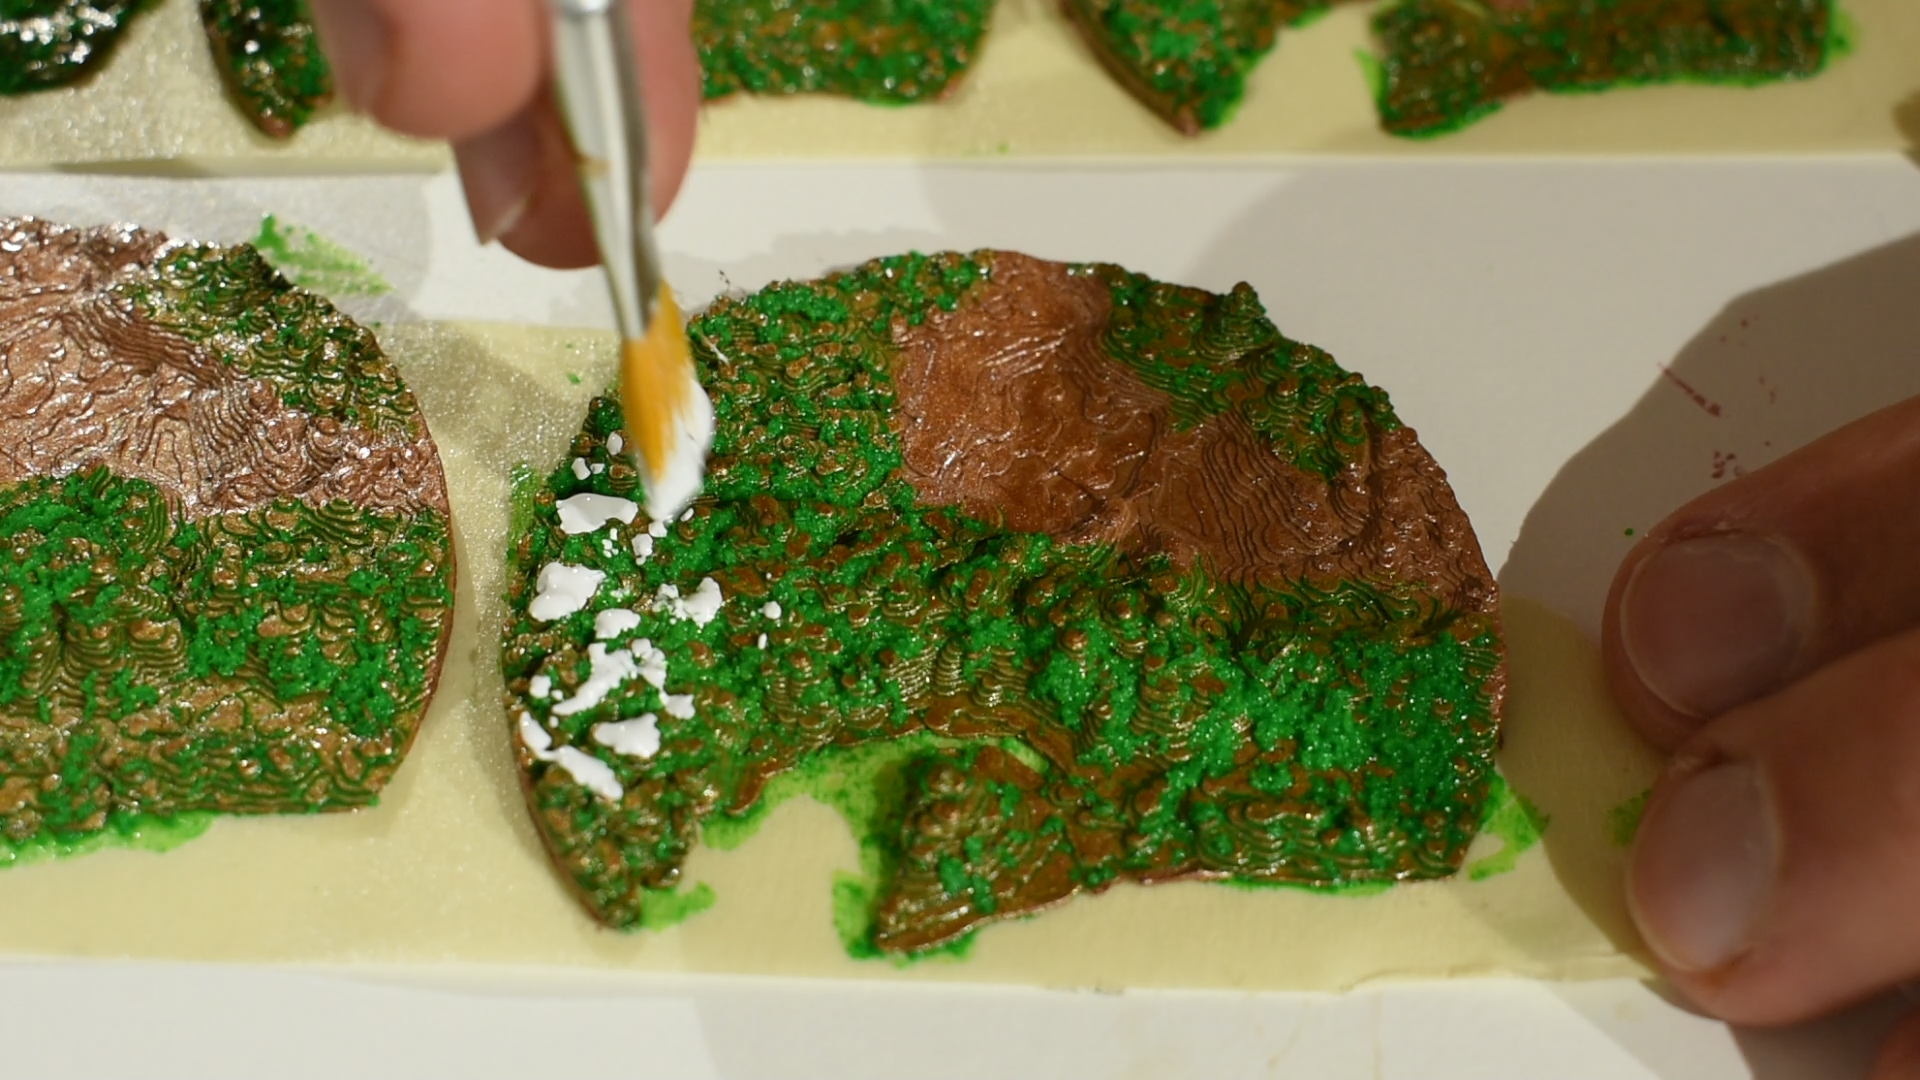
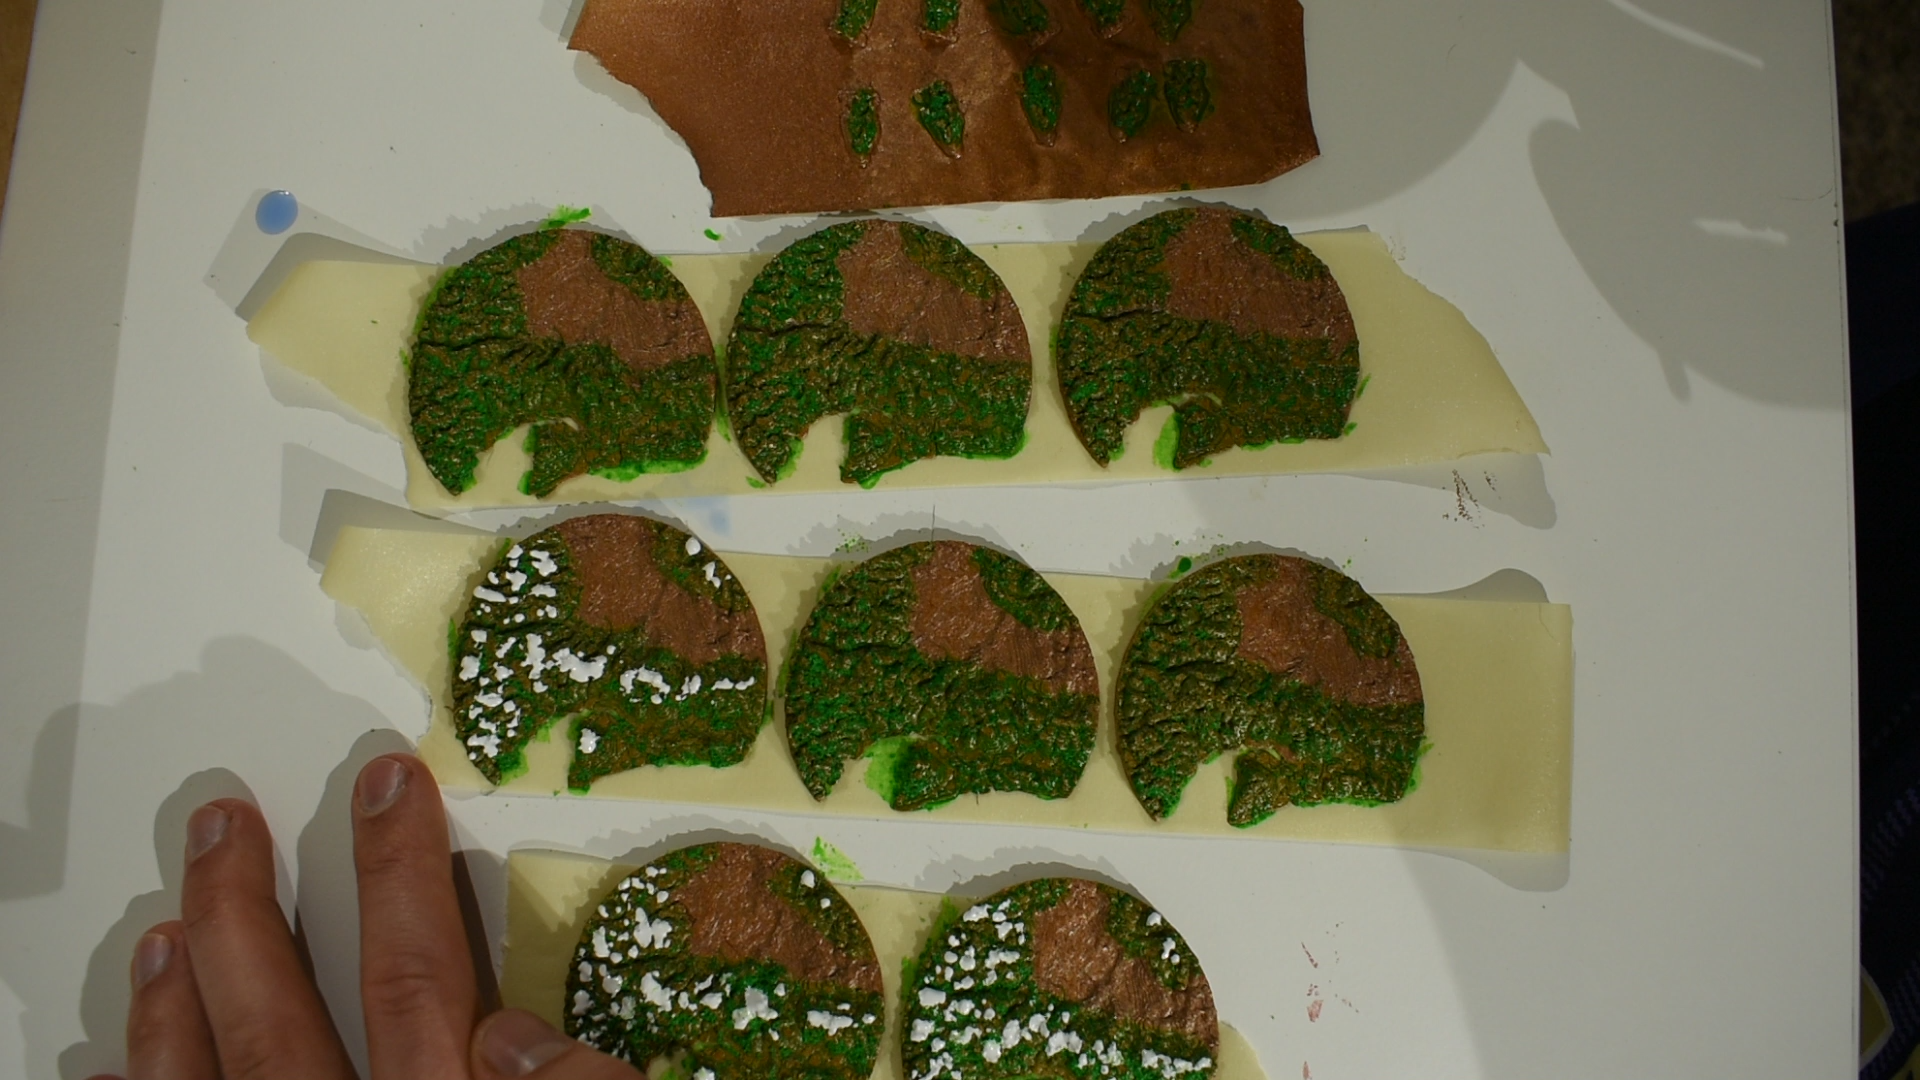
Next is painting the ornament, which I did in 3 steps.
- The first step is spray painting the base color on both sides of the ornament. My favorite color ended up being a metallic copper spray paint. [Pic 1]
- Then I used a textured moss paint that had particles in it that I thought looked well on the ornament for representing areas with vegetation. [Pic 2 and 3]
- Then finally, I used a white paint for the mountains, using a dabbing motion from the top so that I only painted over the peaks. [Pic 4 and 5]
Resin Pouring
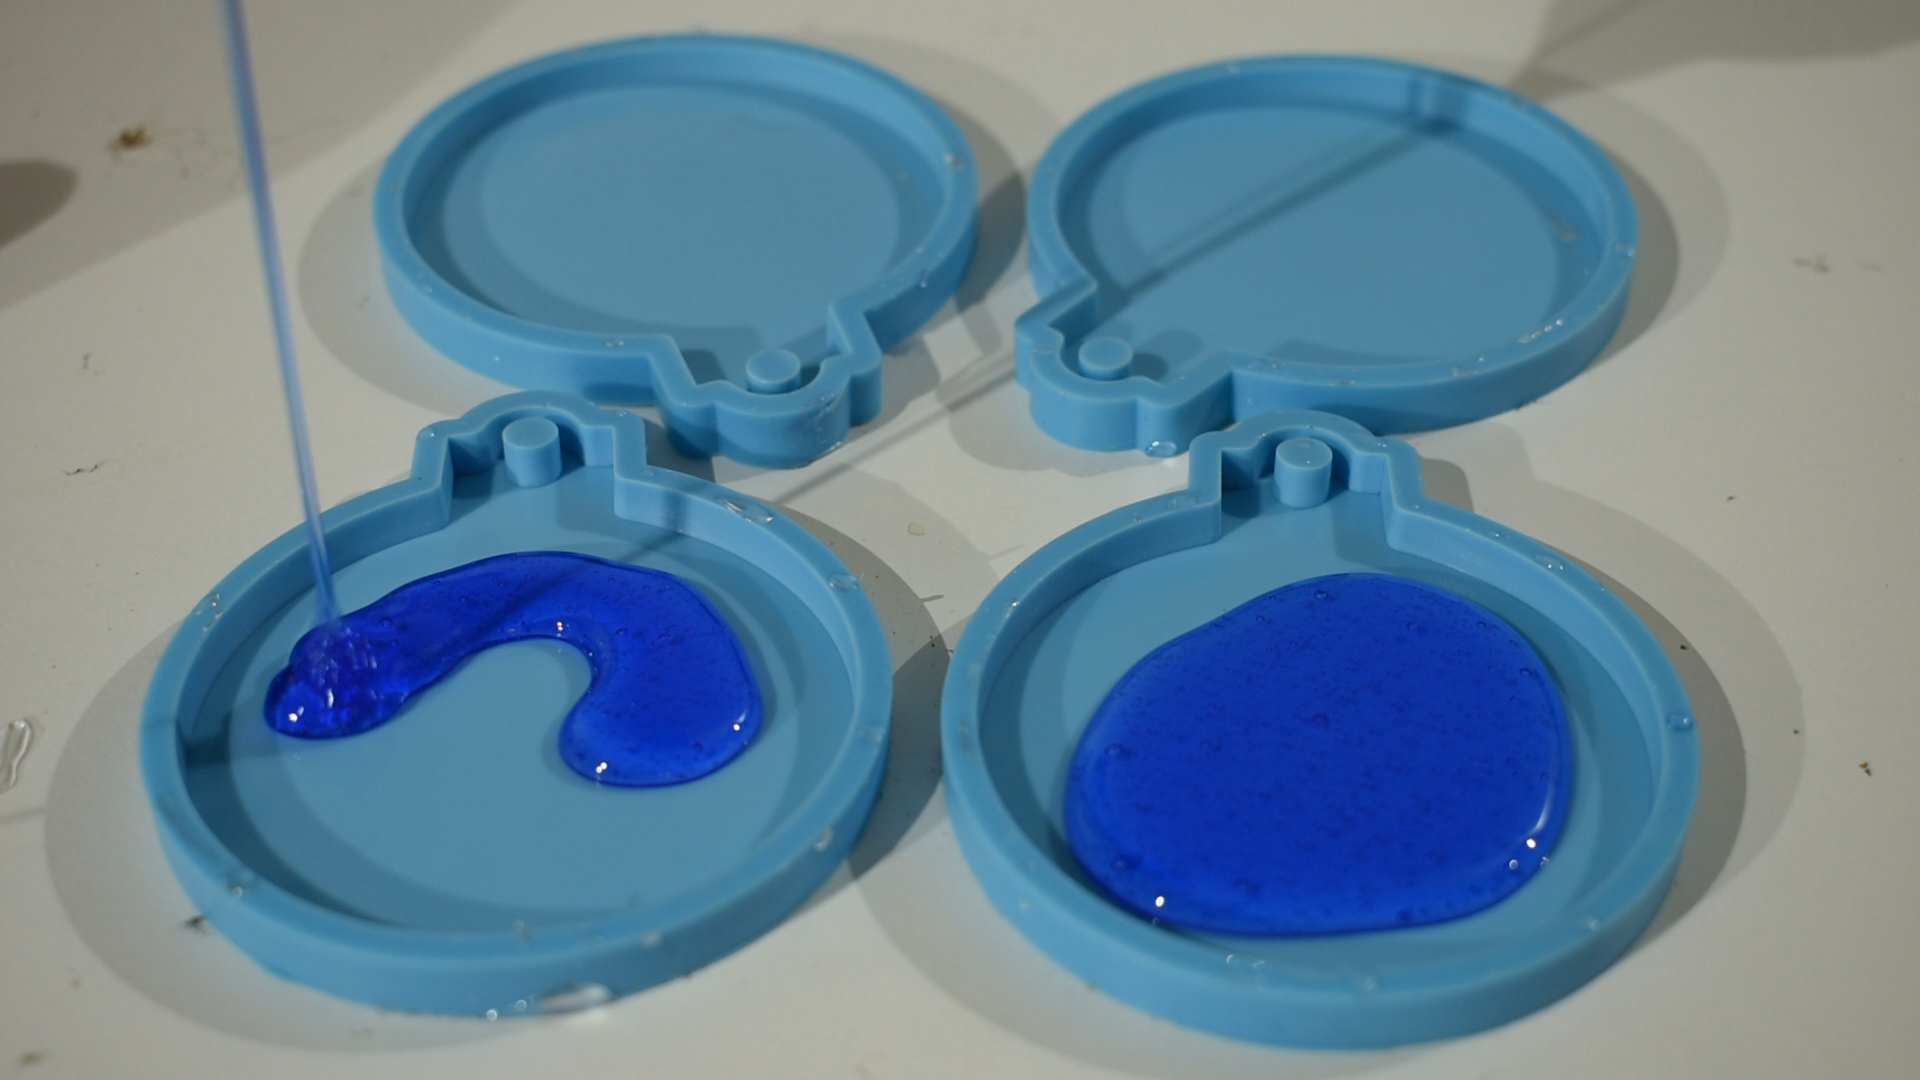
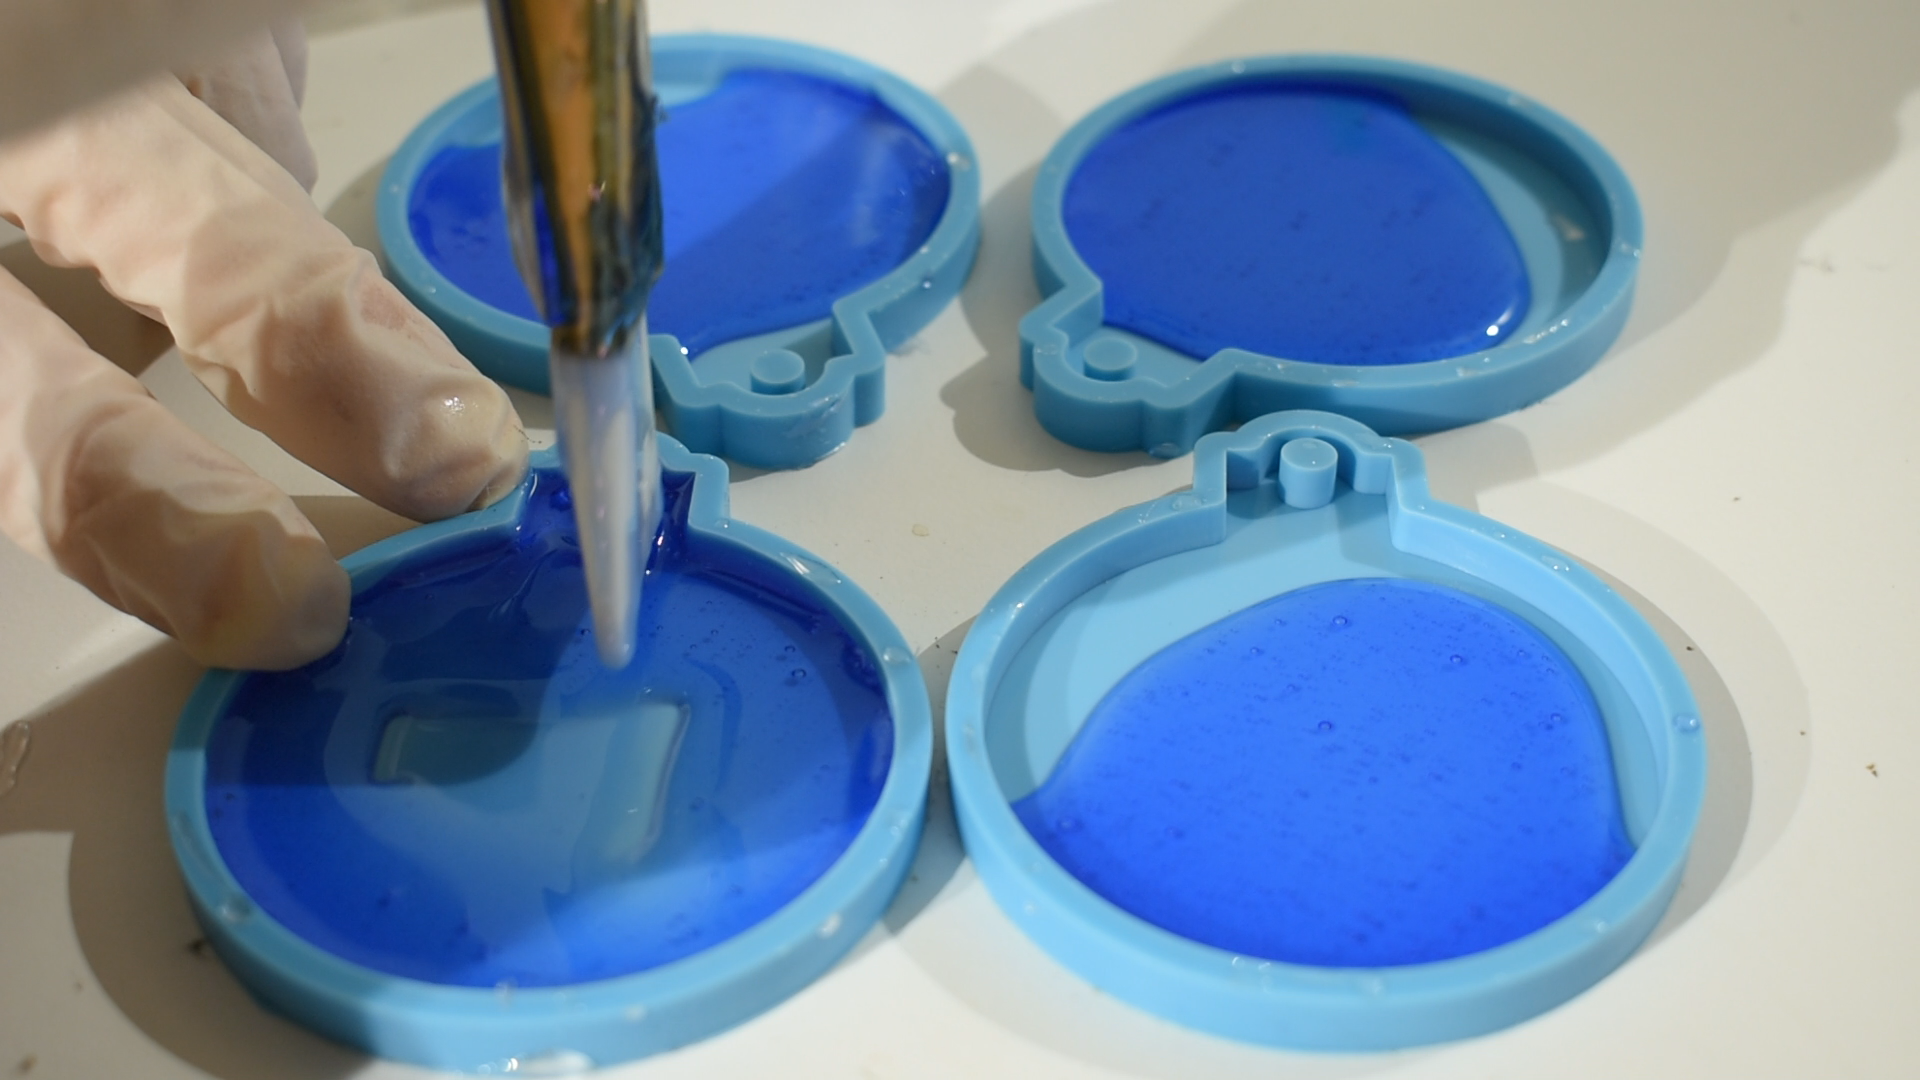
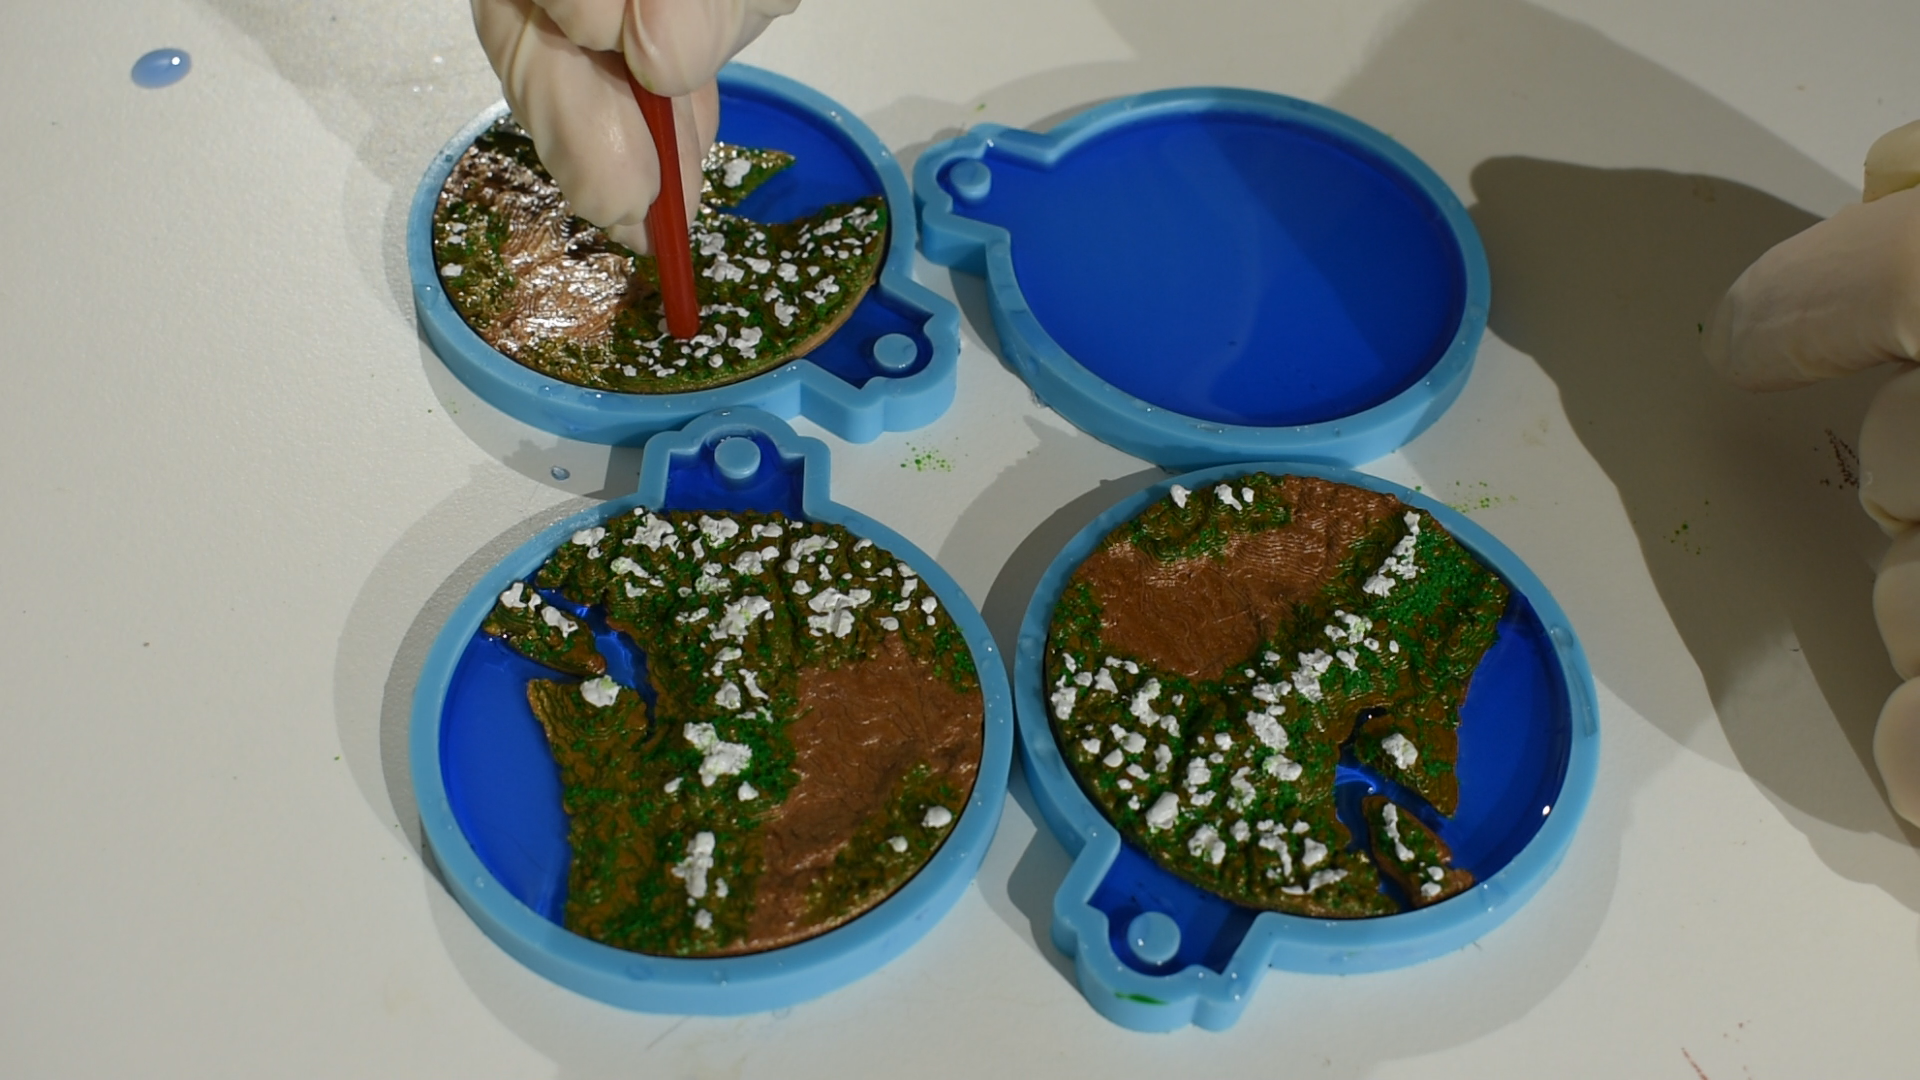
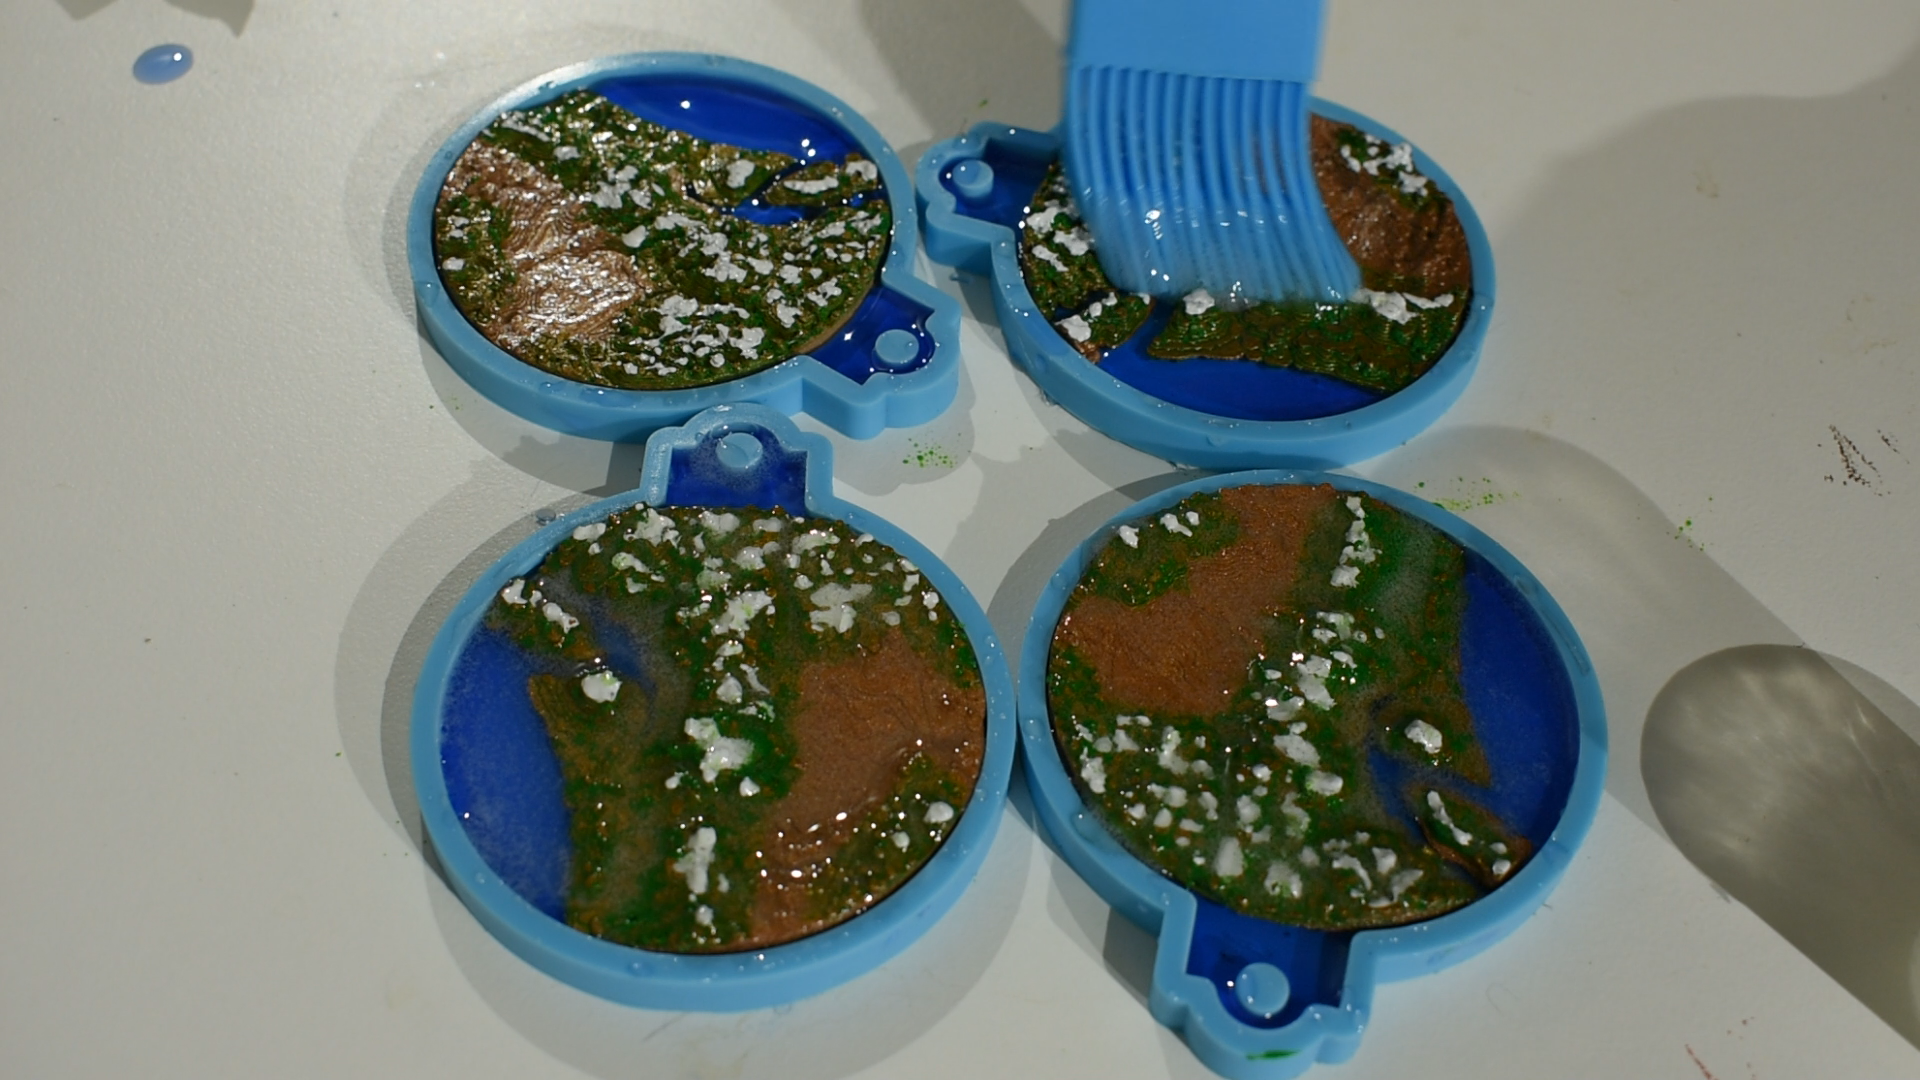
The last step of this project using resin to turn our 3D print into an ornament! The basic process is:
- To start I got a silicone mold in the shape that I wanted (a round ornament). [Pic 1]
- Then I mixed the base layer of resin with blue dye to represent the ocean. With the silicone molds I ended up using, the resin needed some help flowing into the thin space up top by the hole. [Pics 1 and 2]
- After this I wait a few hours before placing the 3D printed pieces onto the resin. This is because I found in my first few tests that if you put the 3d prints on the resin shortly after they’ve been poured, it will sink somewhat into the surface. So, while it’s fun to show the future impacts of Climate Change, I wanted my land above the water. The solution for this is simply waiting 3-4 hours after mixing the resin to place the 3D prints; at this point the resin is thick enough that the prints won’t sink, but can still be stuck to the resin. [Pic 3]
- After the 3D print has been placed in the mold, the last step I did was brush on a clear topcoat of resin, making sure that all surfaces got covered. [Pic 4]
Finished!
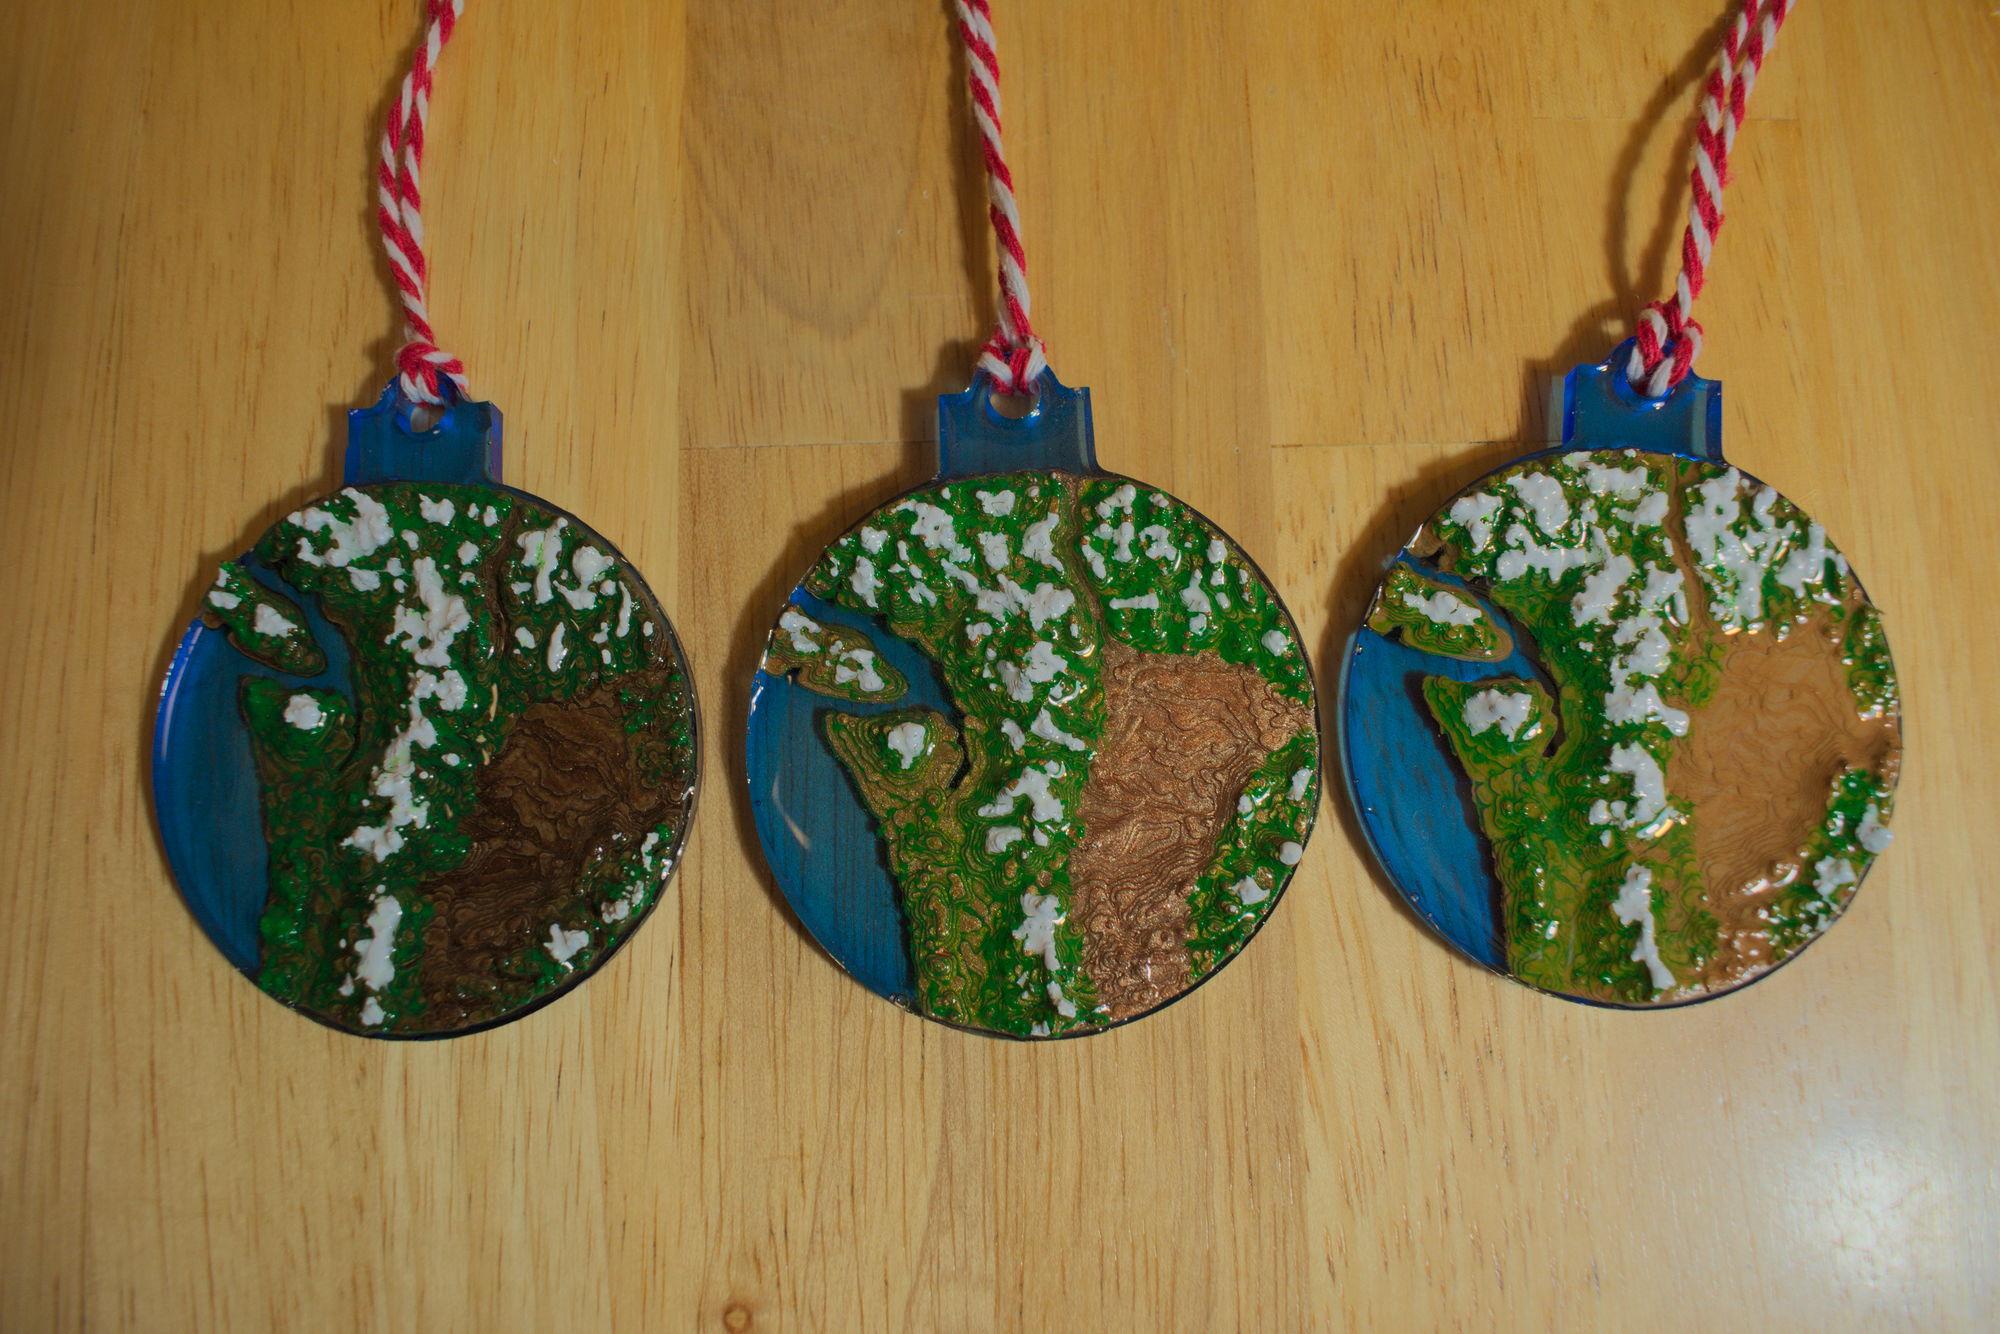
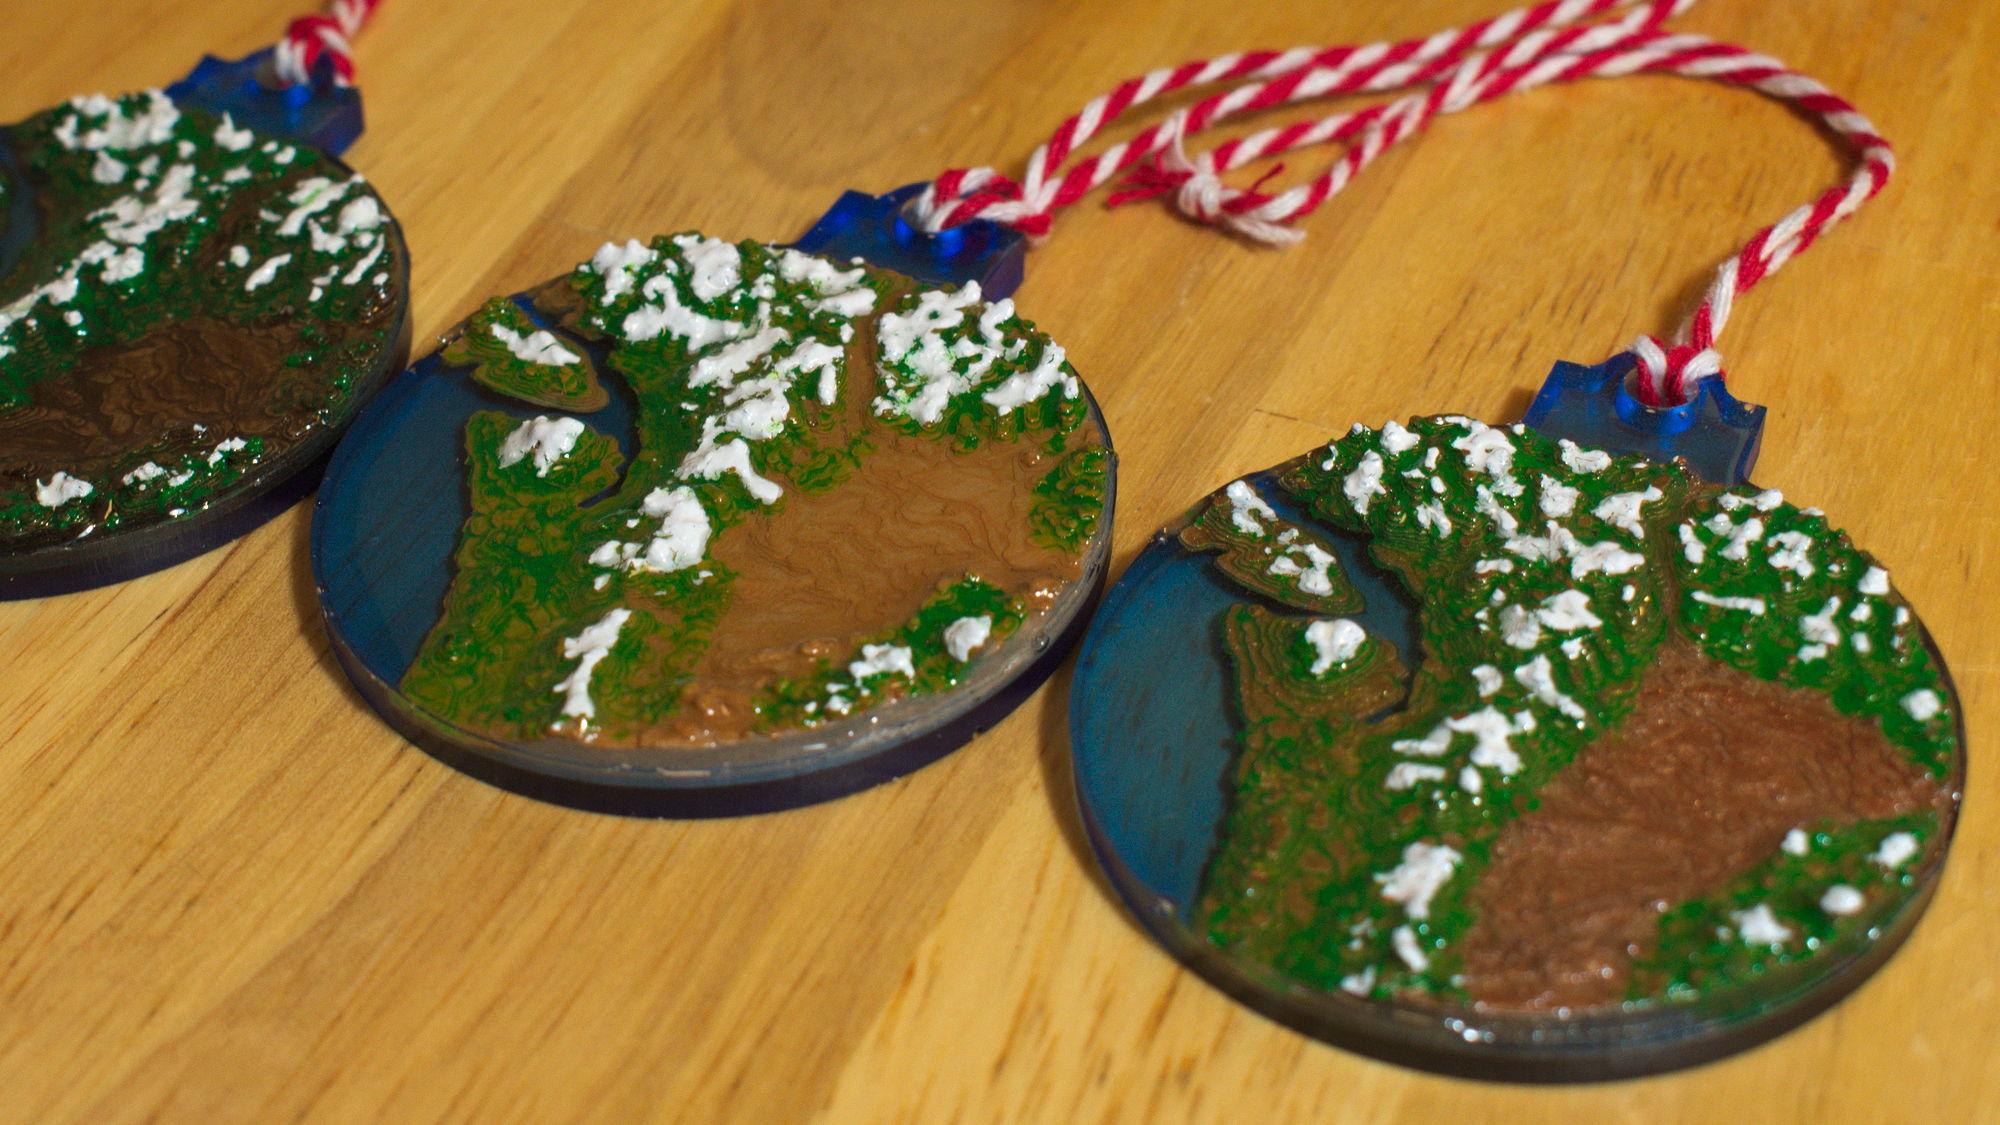
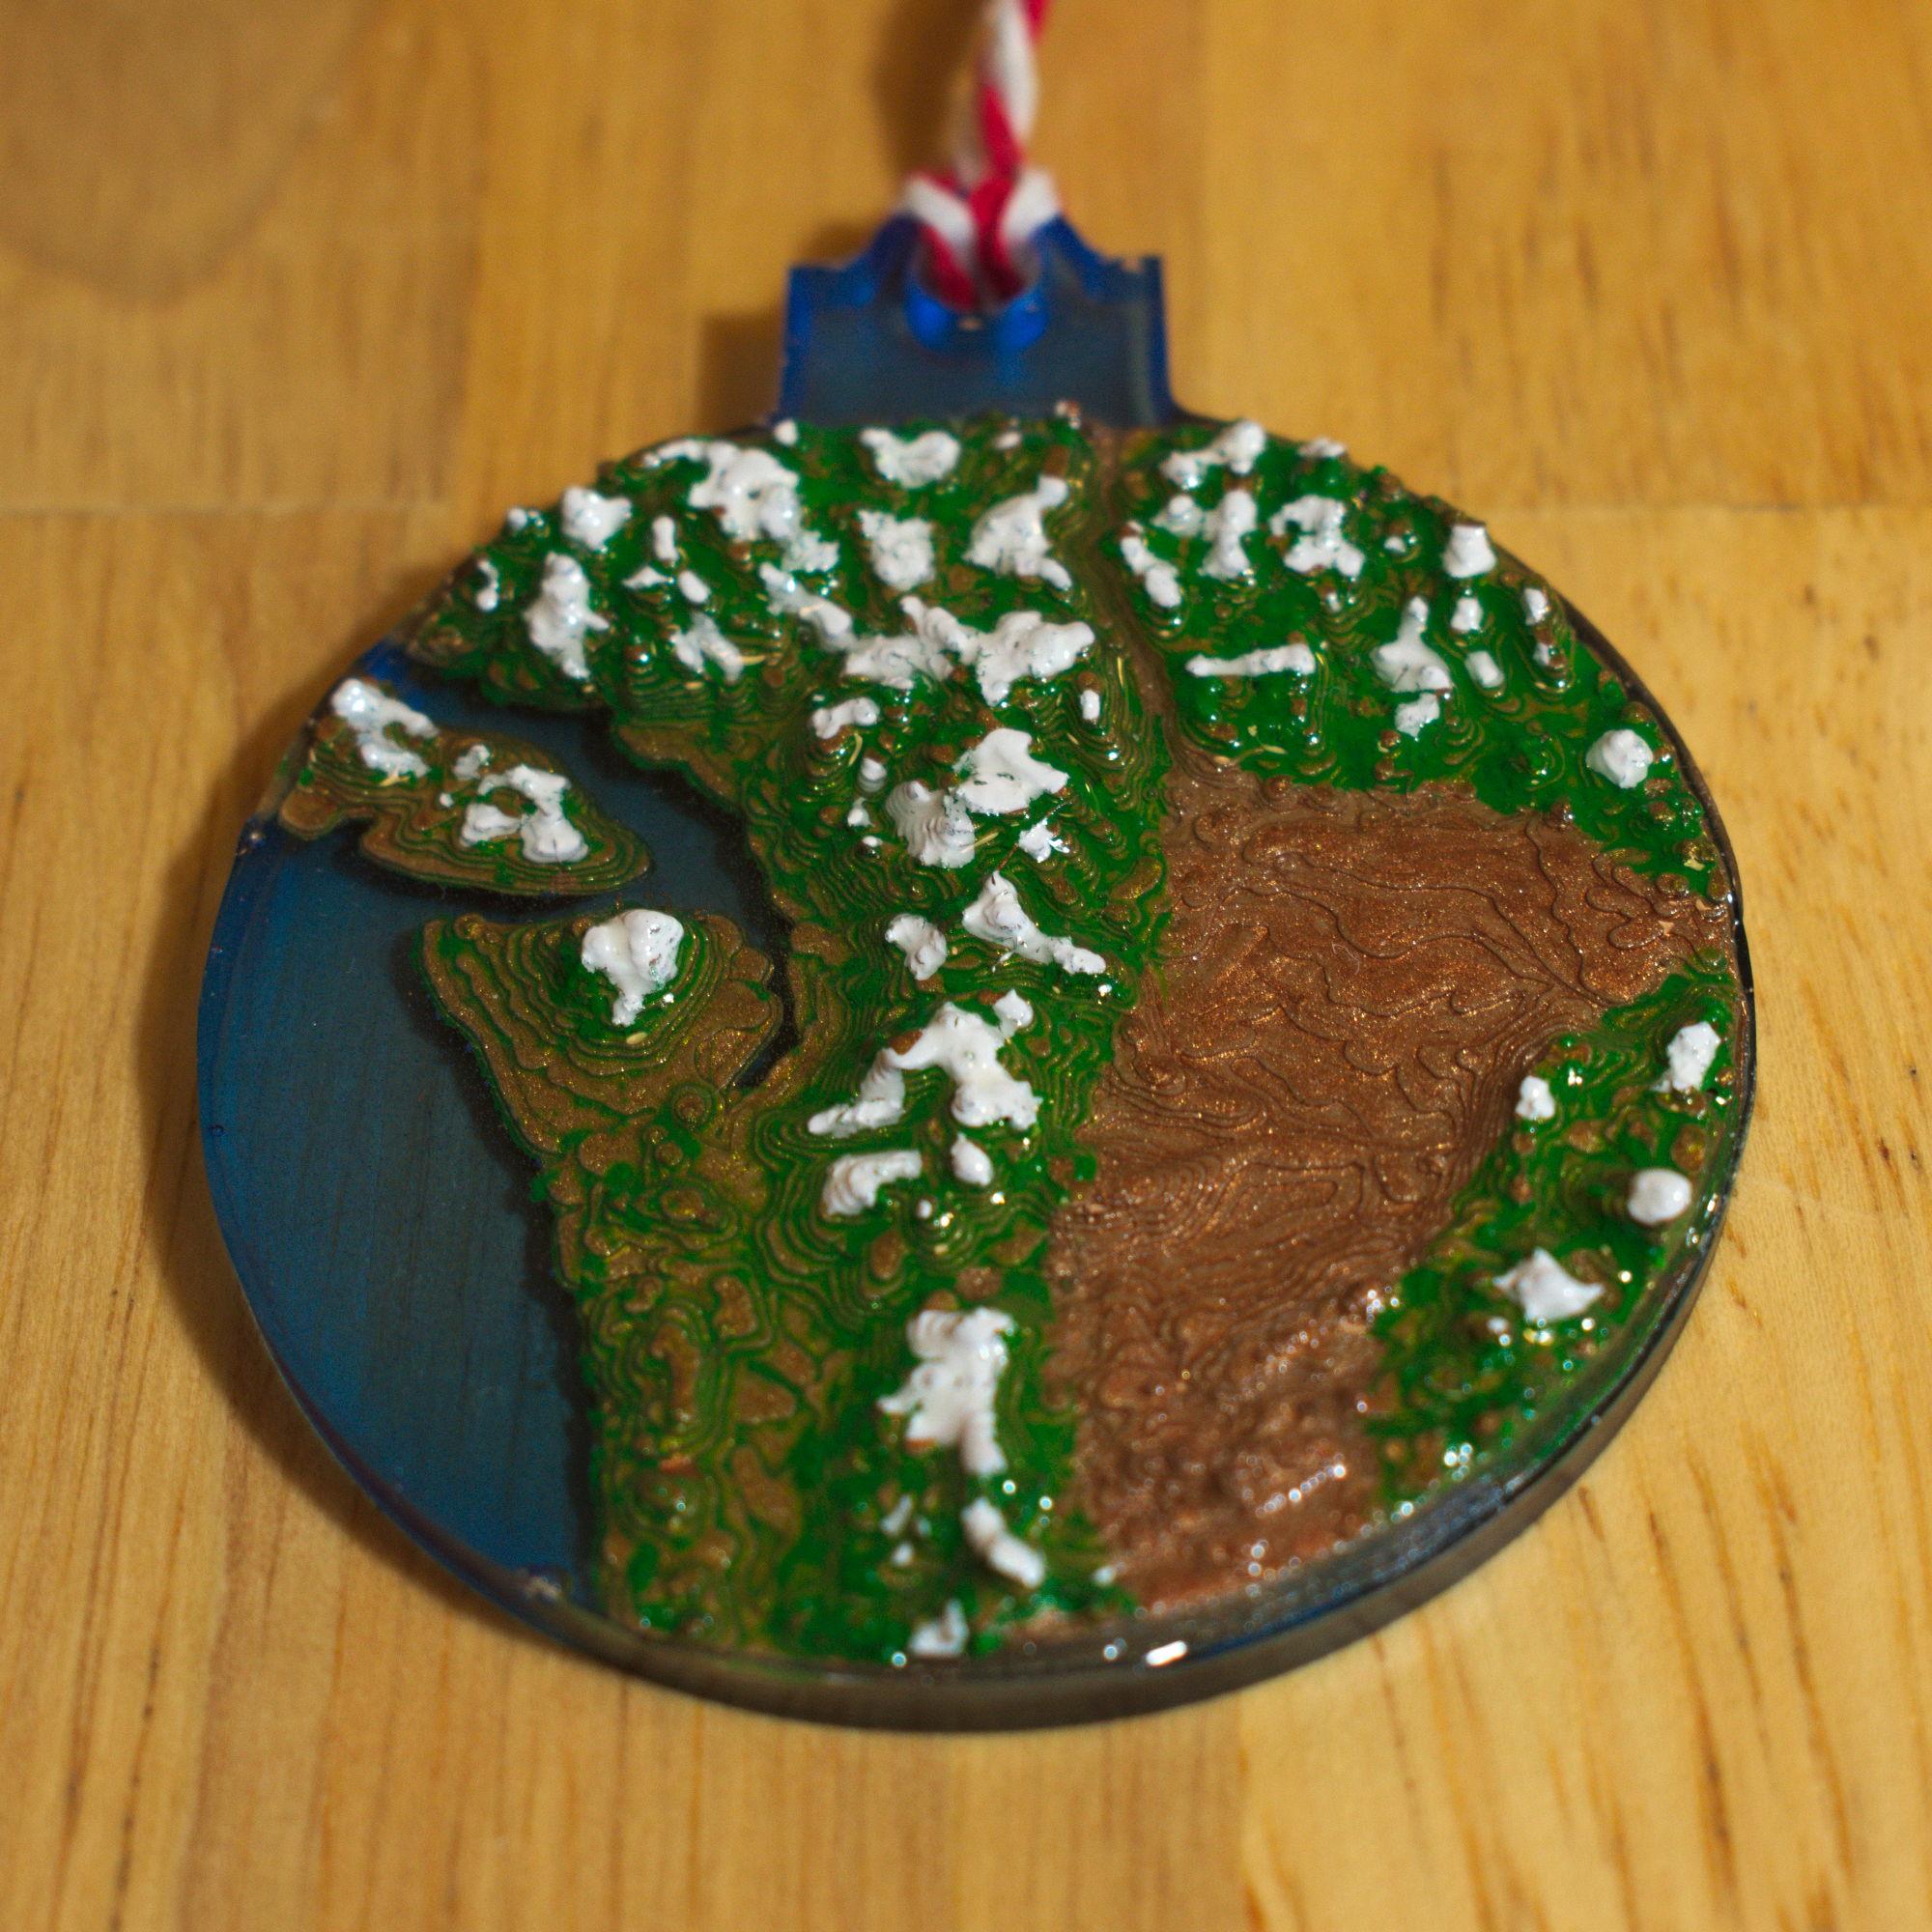
And that's it! I hope you enjoyed this Instructable, and can use it to make your own custom ornament. Thanks!