Custom Rings With Tinkercad
by kalebbrickner1 in Craft > Jewelry
1254 Views, 3 Favorites, 0 Comments
Custom Rings With Tinkercad
In this instuctable you will learn how to design and make your own rings.
Supplies
3d printer (optional)
computer capable of running fusion 360
Brainstorming
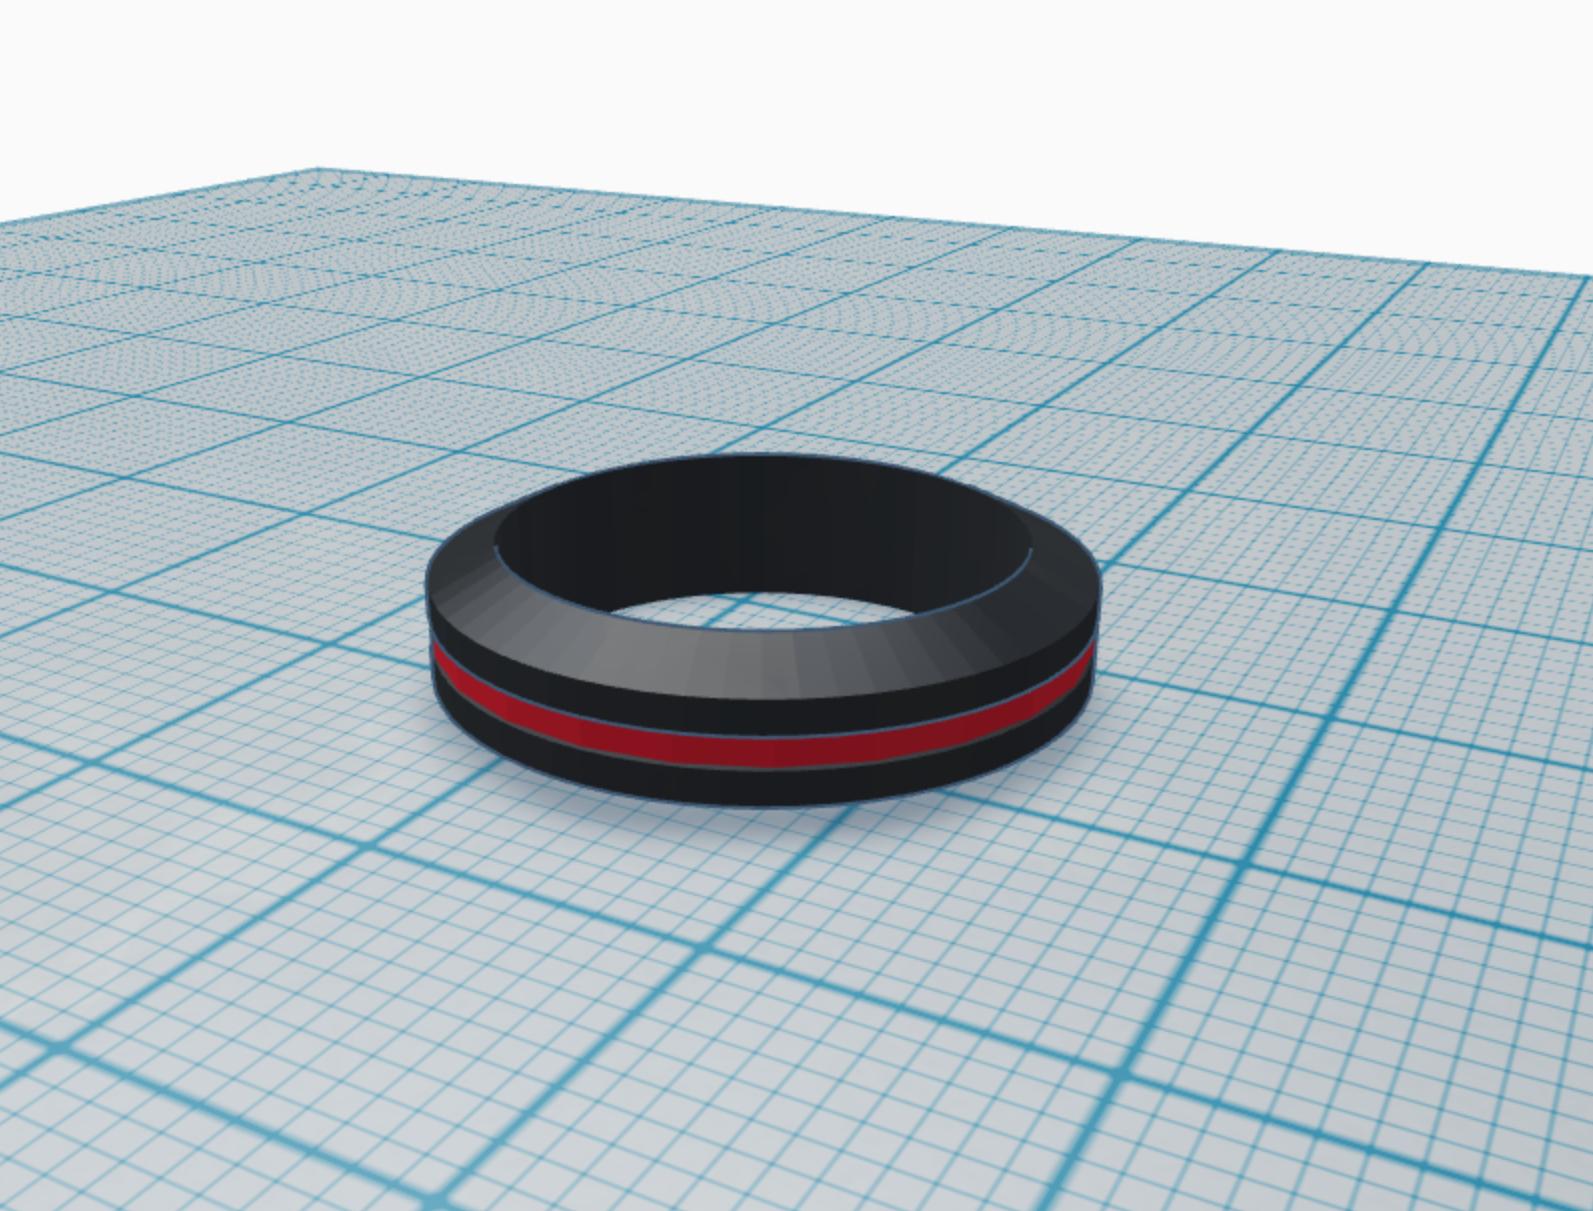
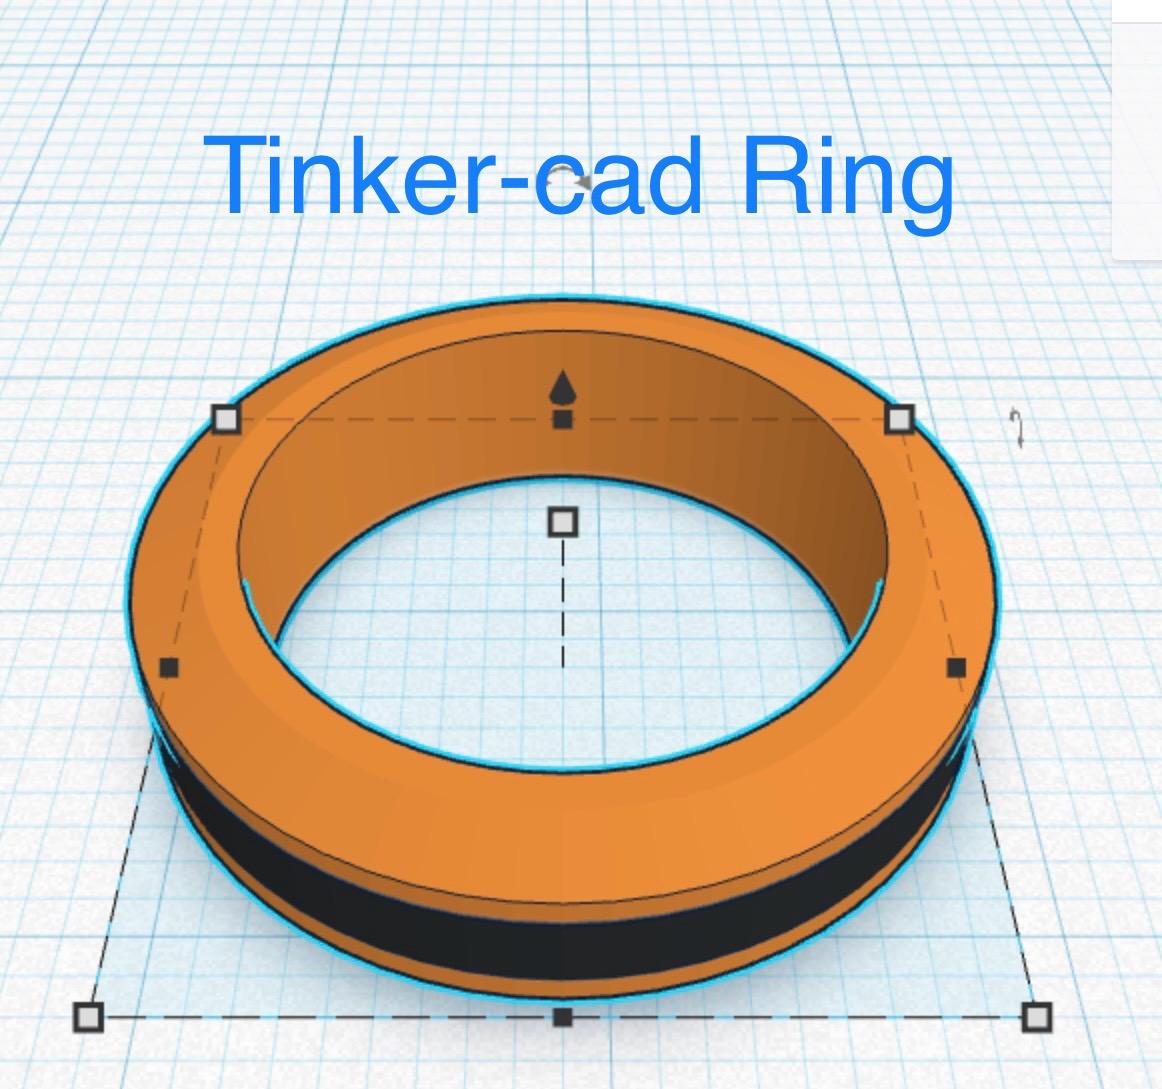
To make the ring in Tinkercad you first need to first come up with a design. I choose a ring with a bezel on both sides and an inner ring of a different color.
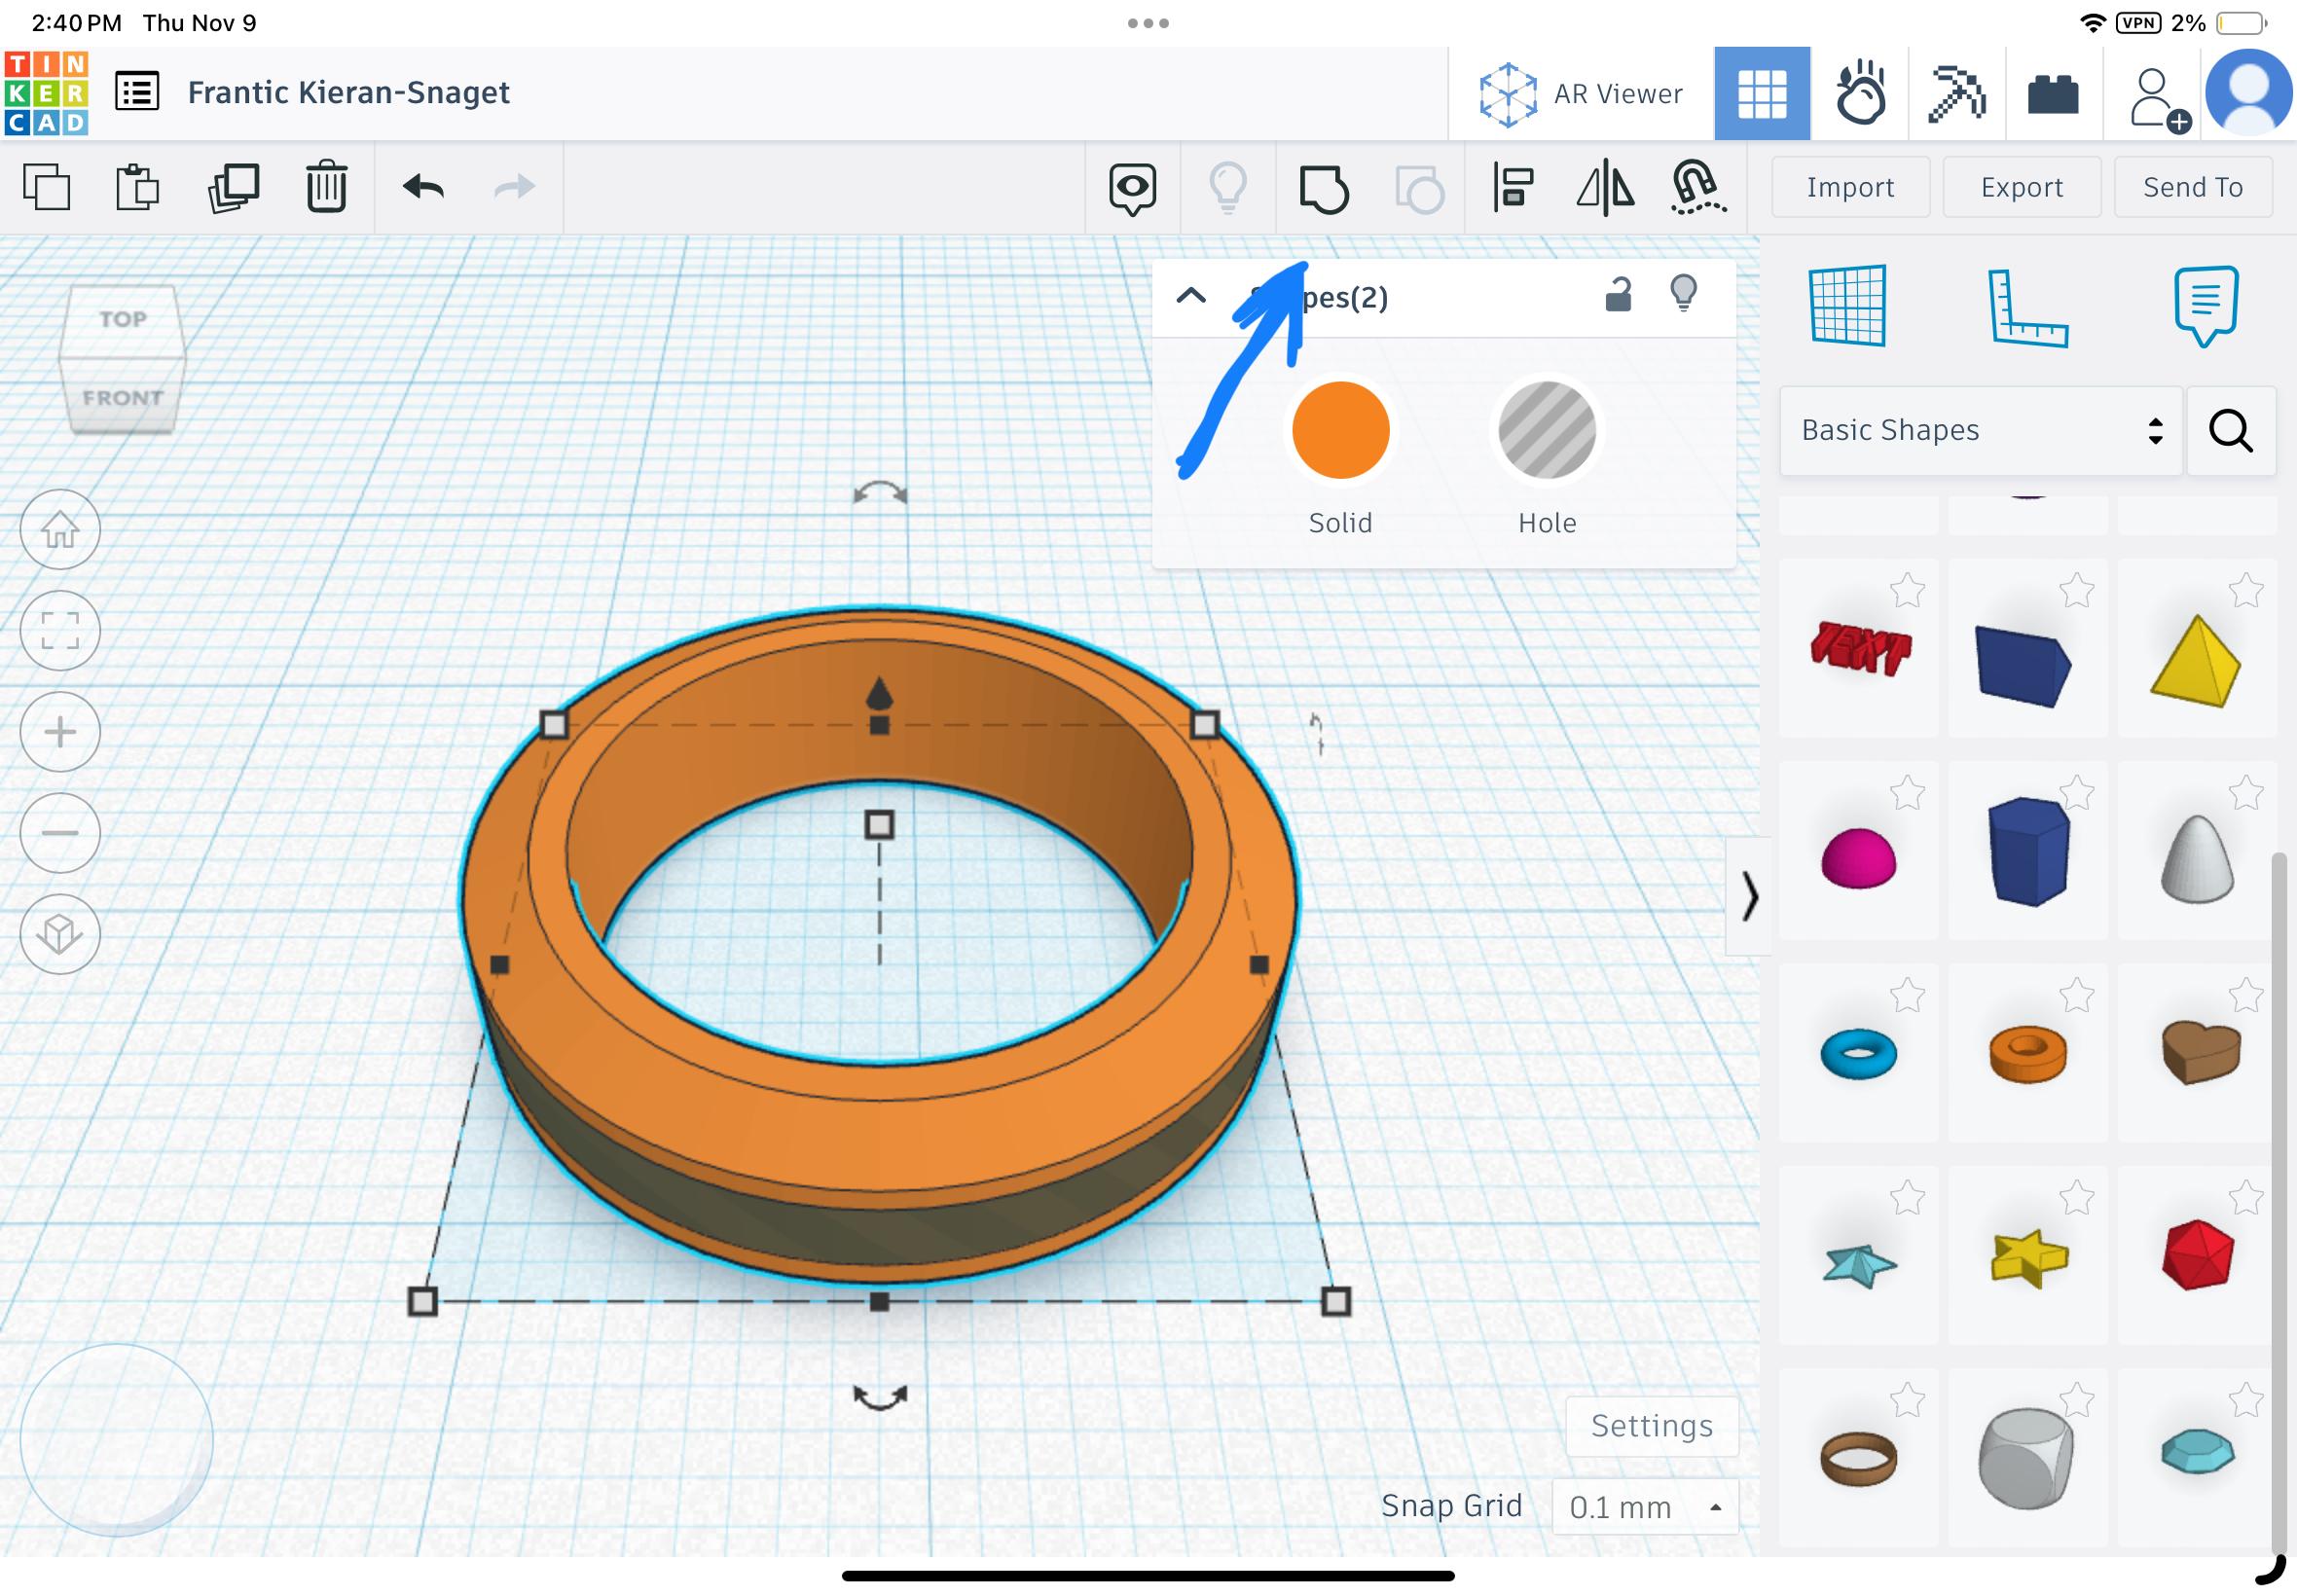
Base Ring
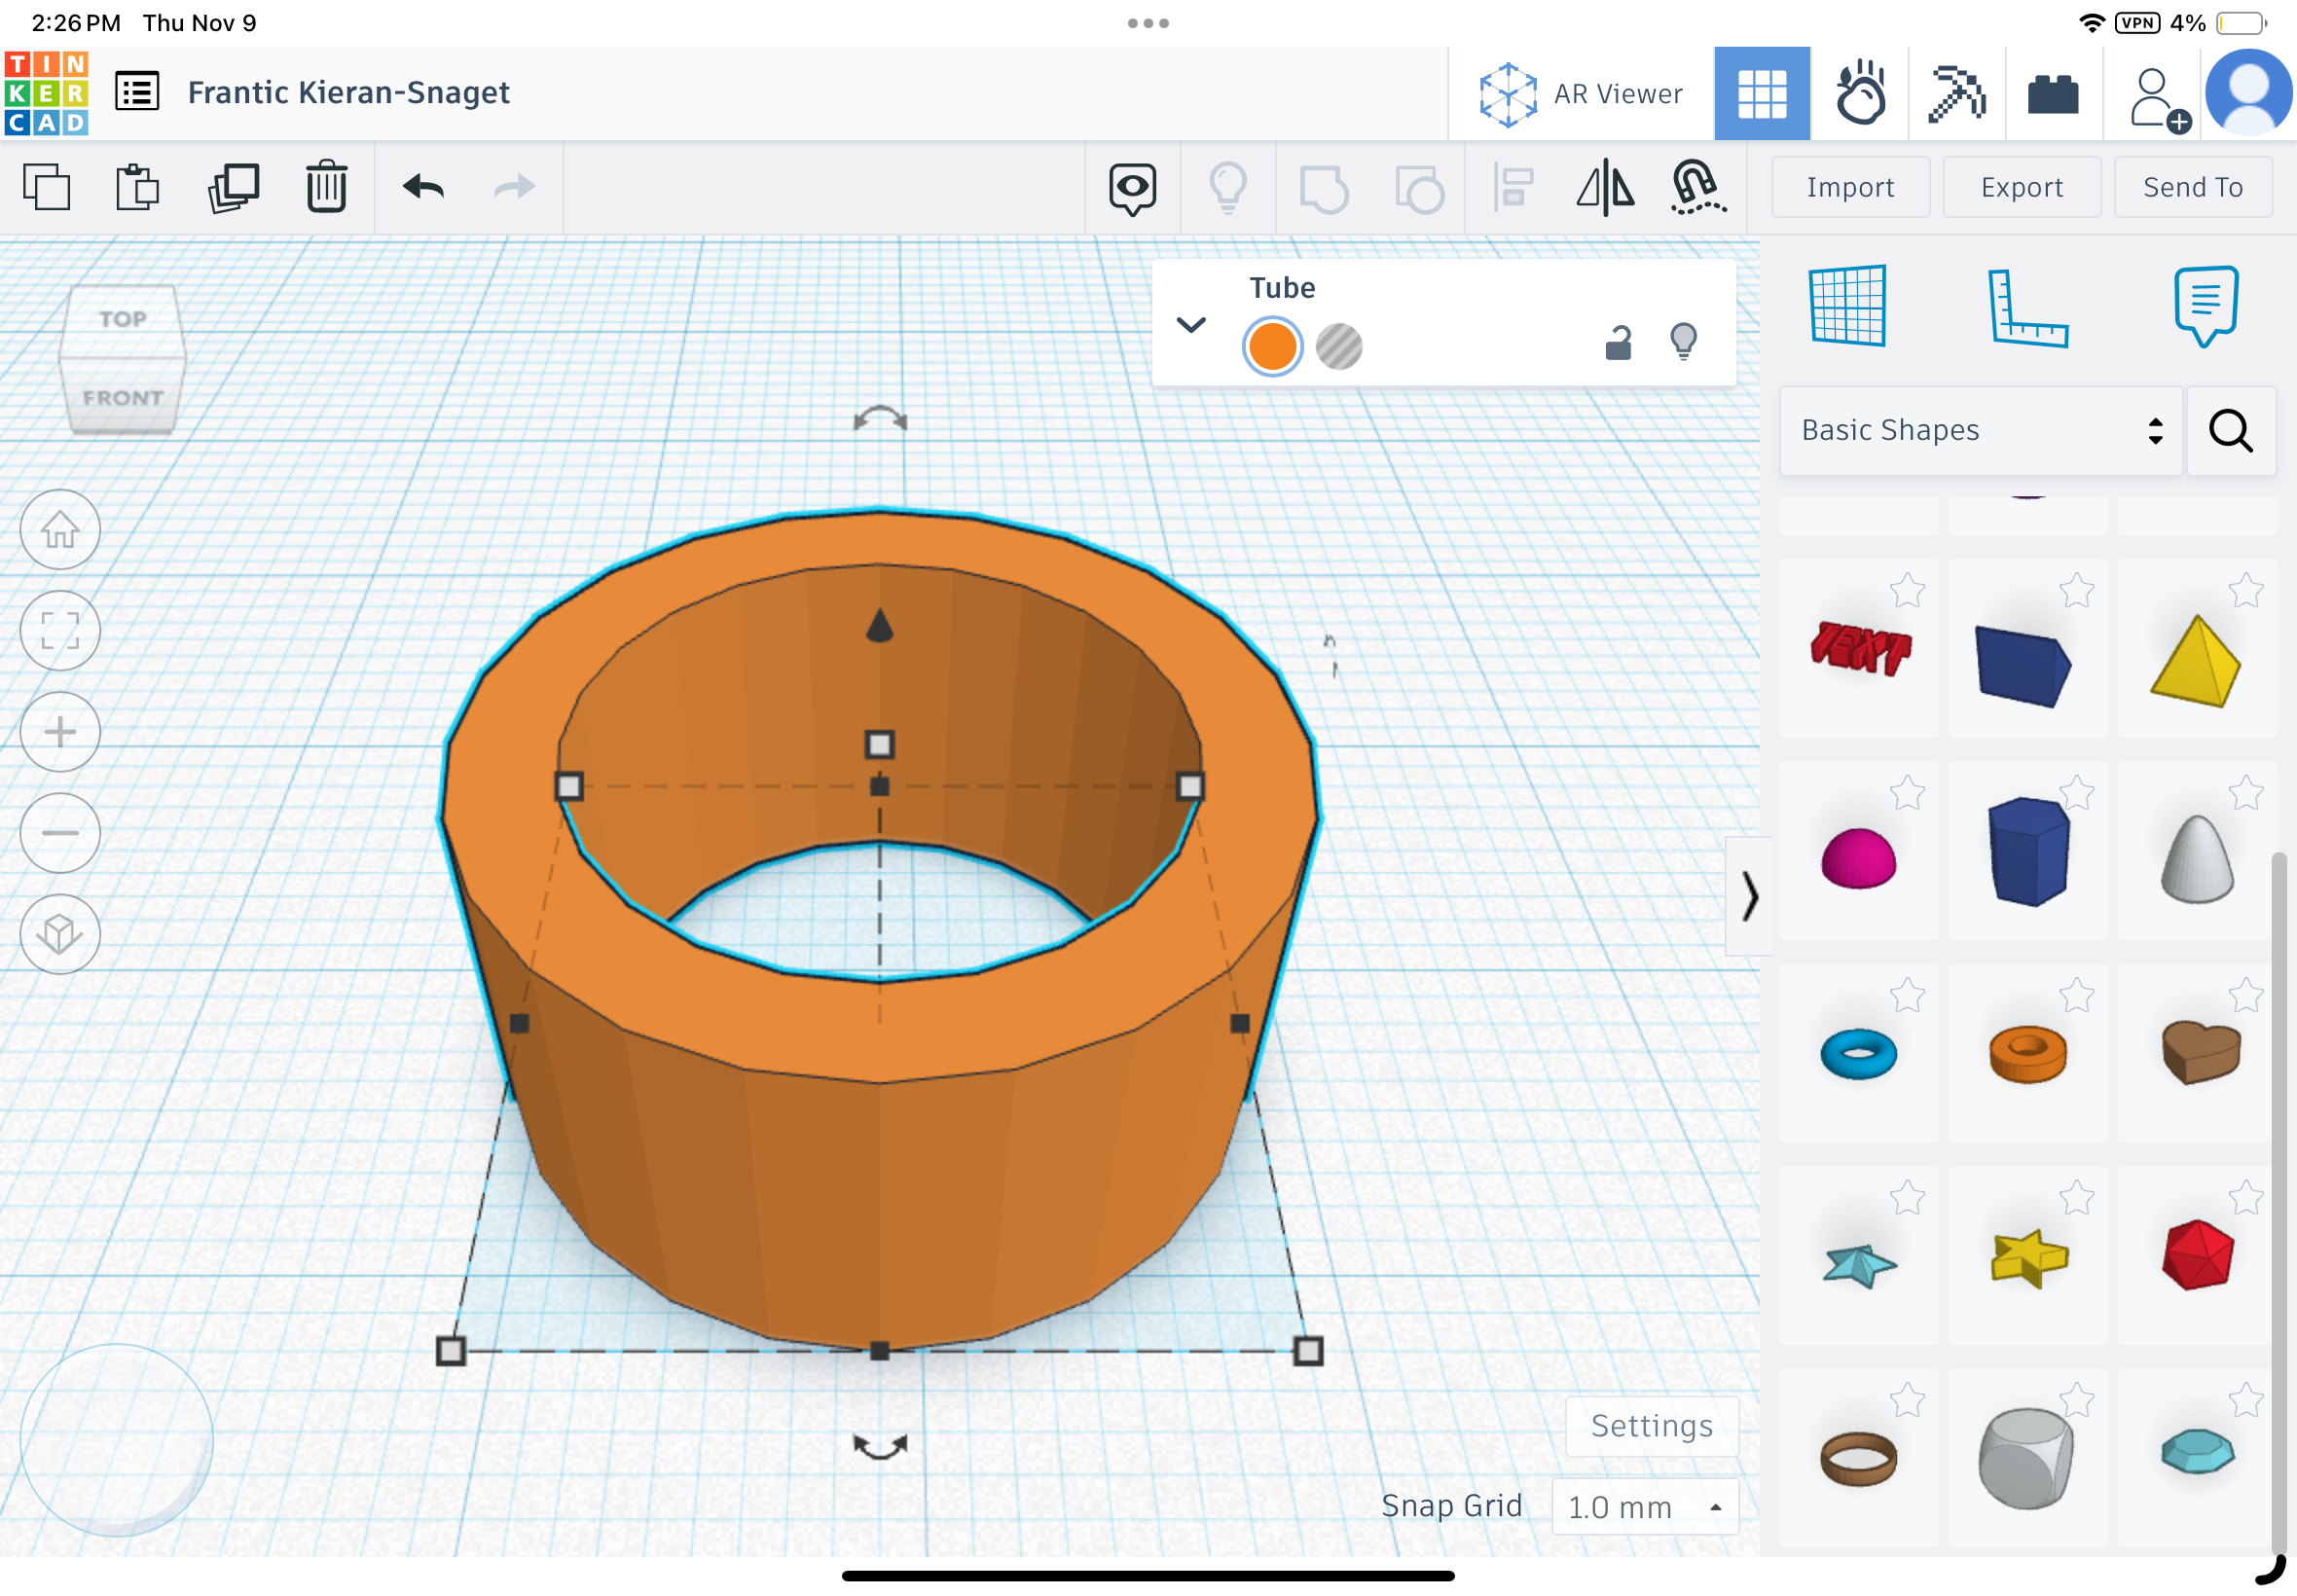

The first step will be creating a shape you can start modeling you ring from. Take the tube shape and pull it onto the build plate. Then expand the dropdown menu. Change the height to 5, and the other settings as shown in the picture. If you don’t want a bevel simply leave it at zero.
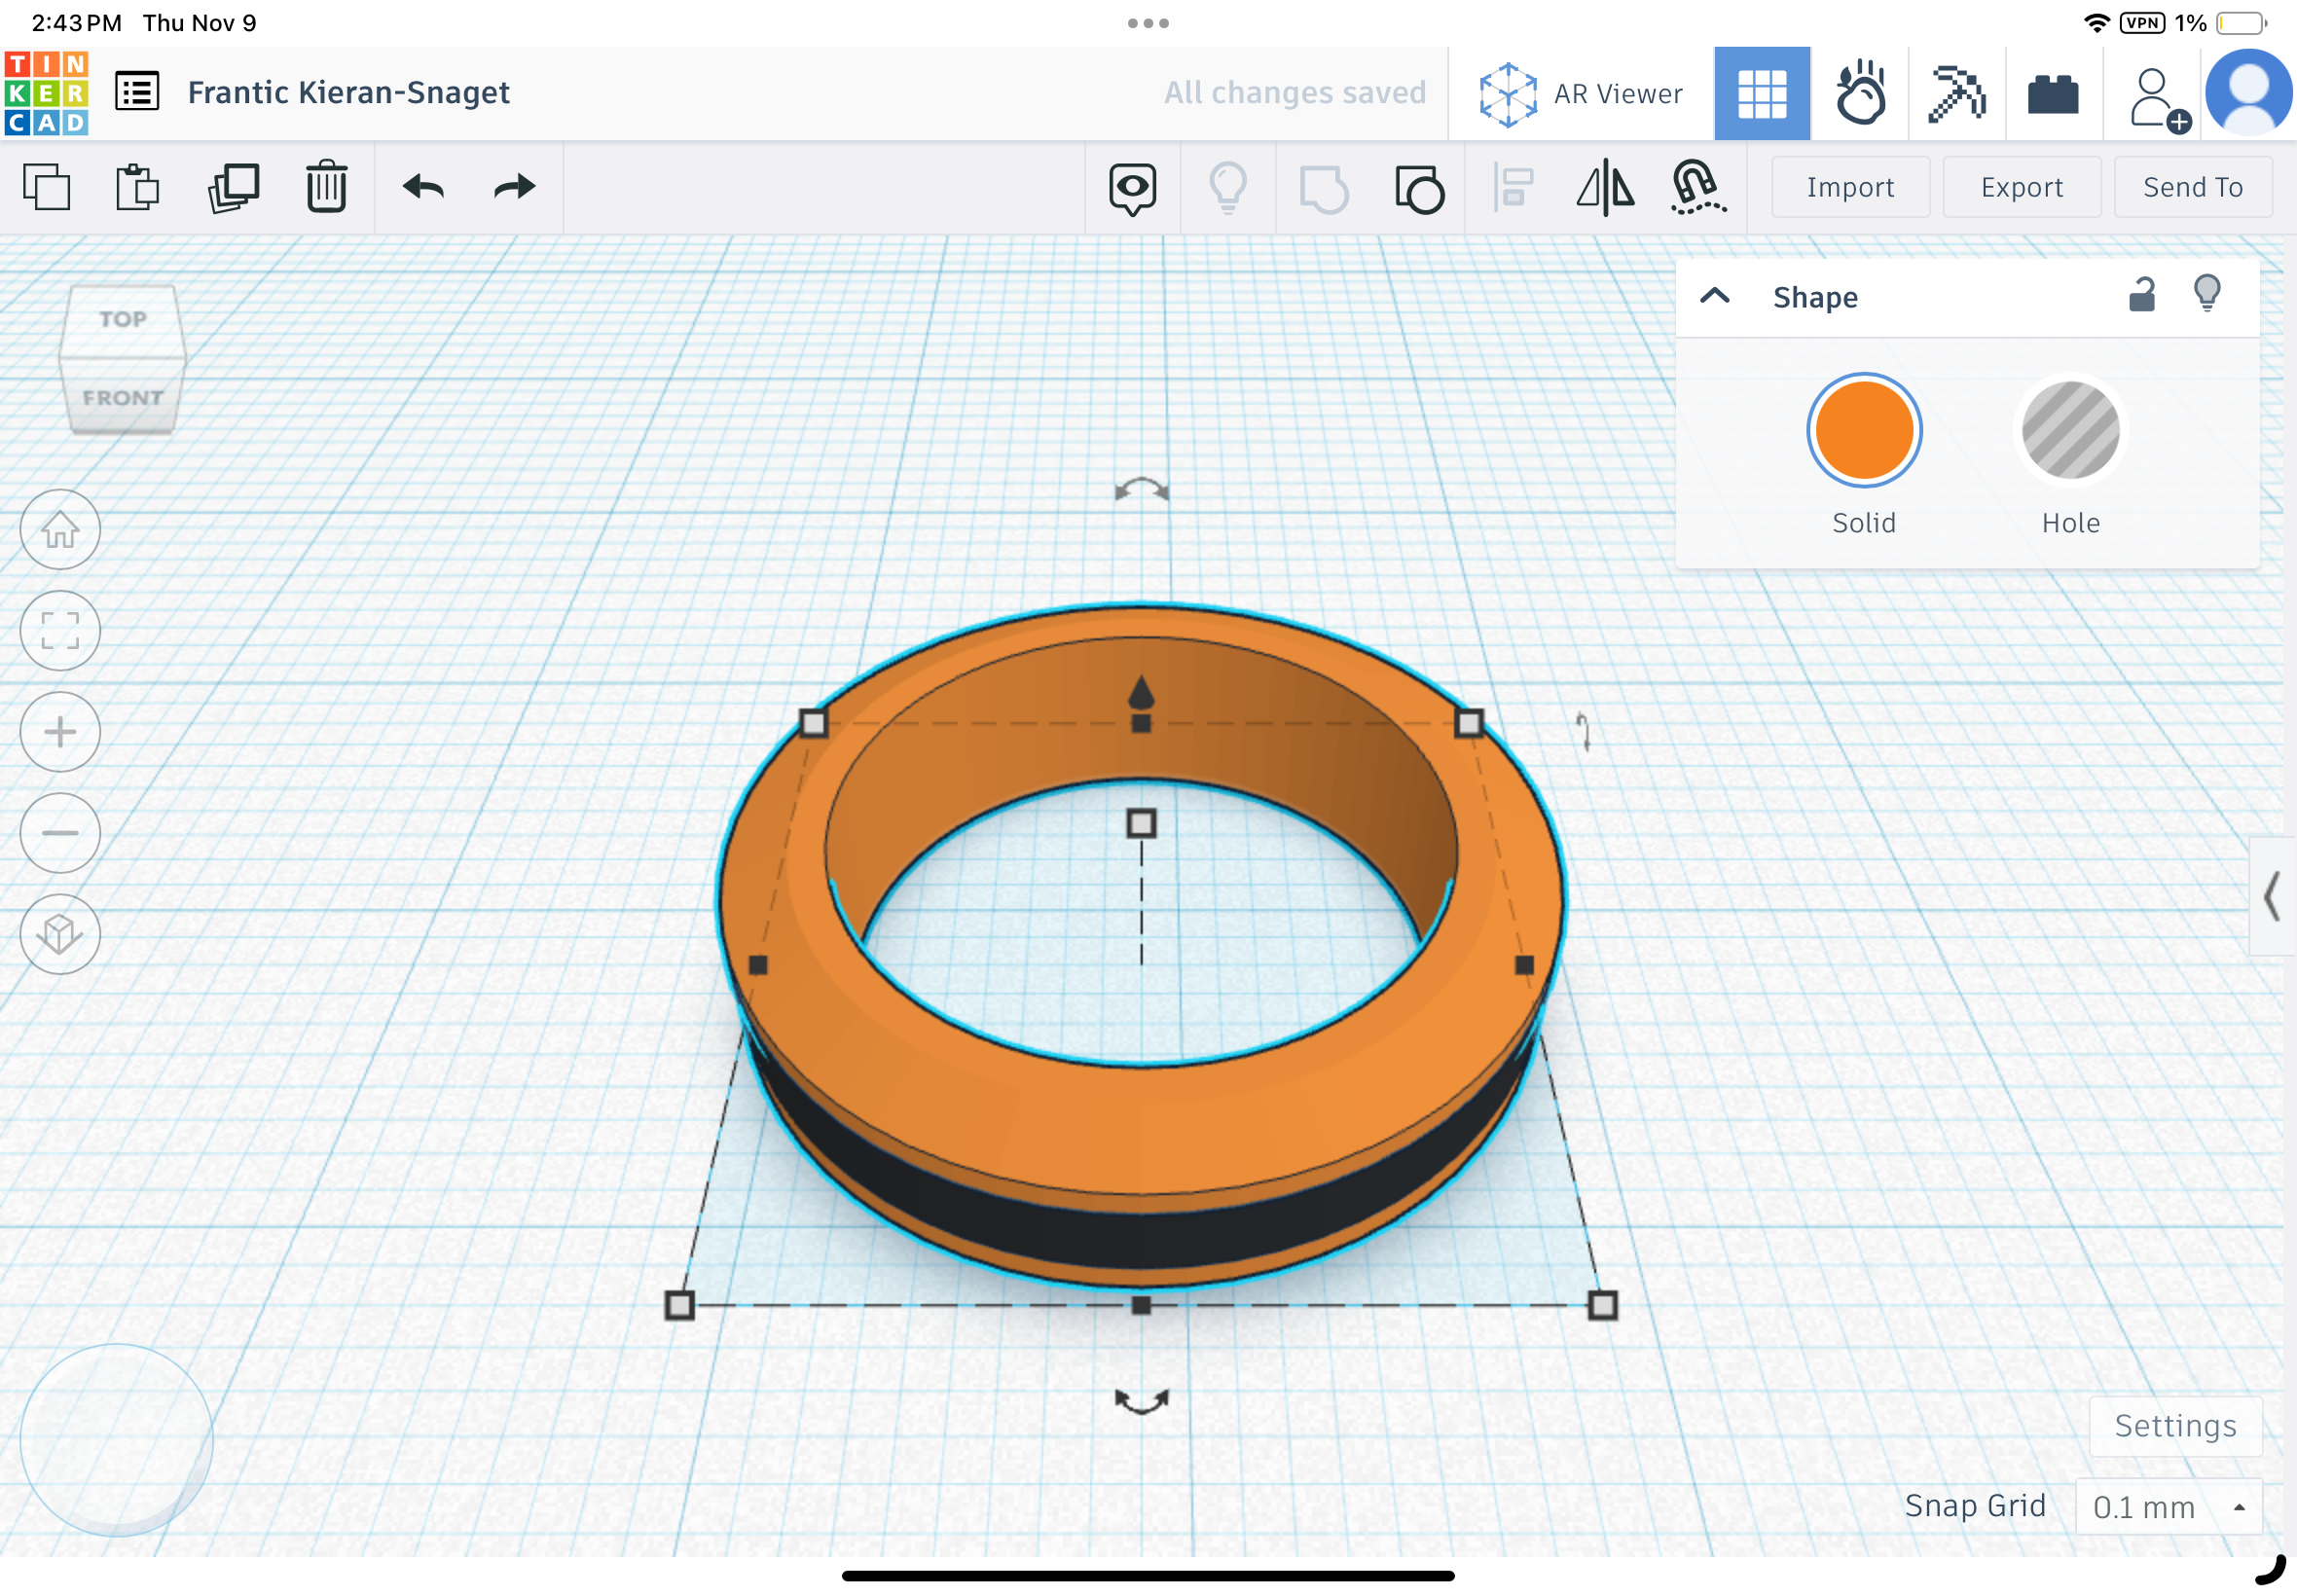
Carve Out the Inner Ring
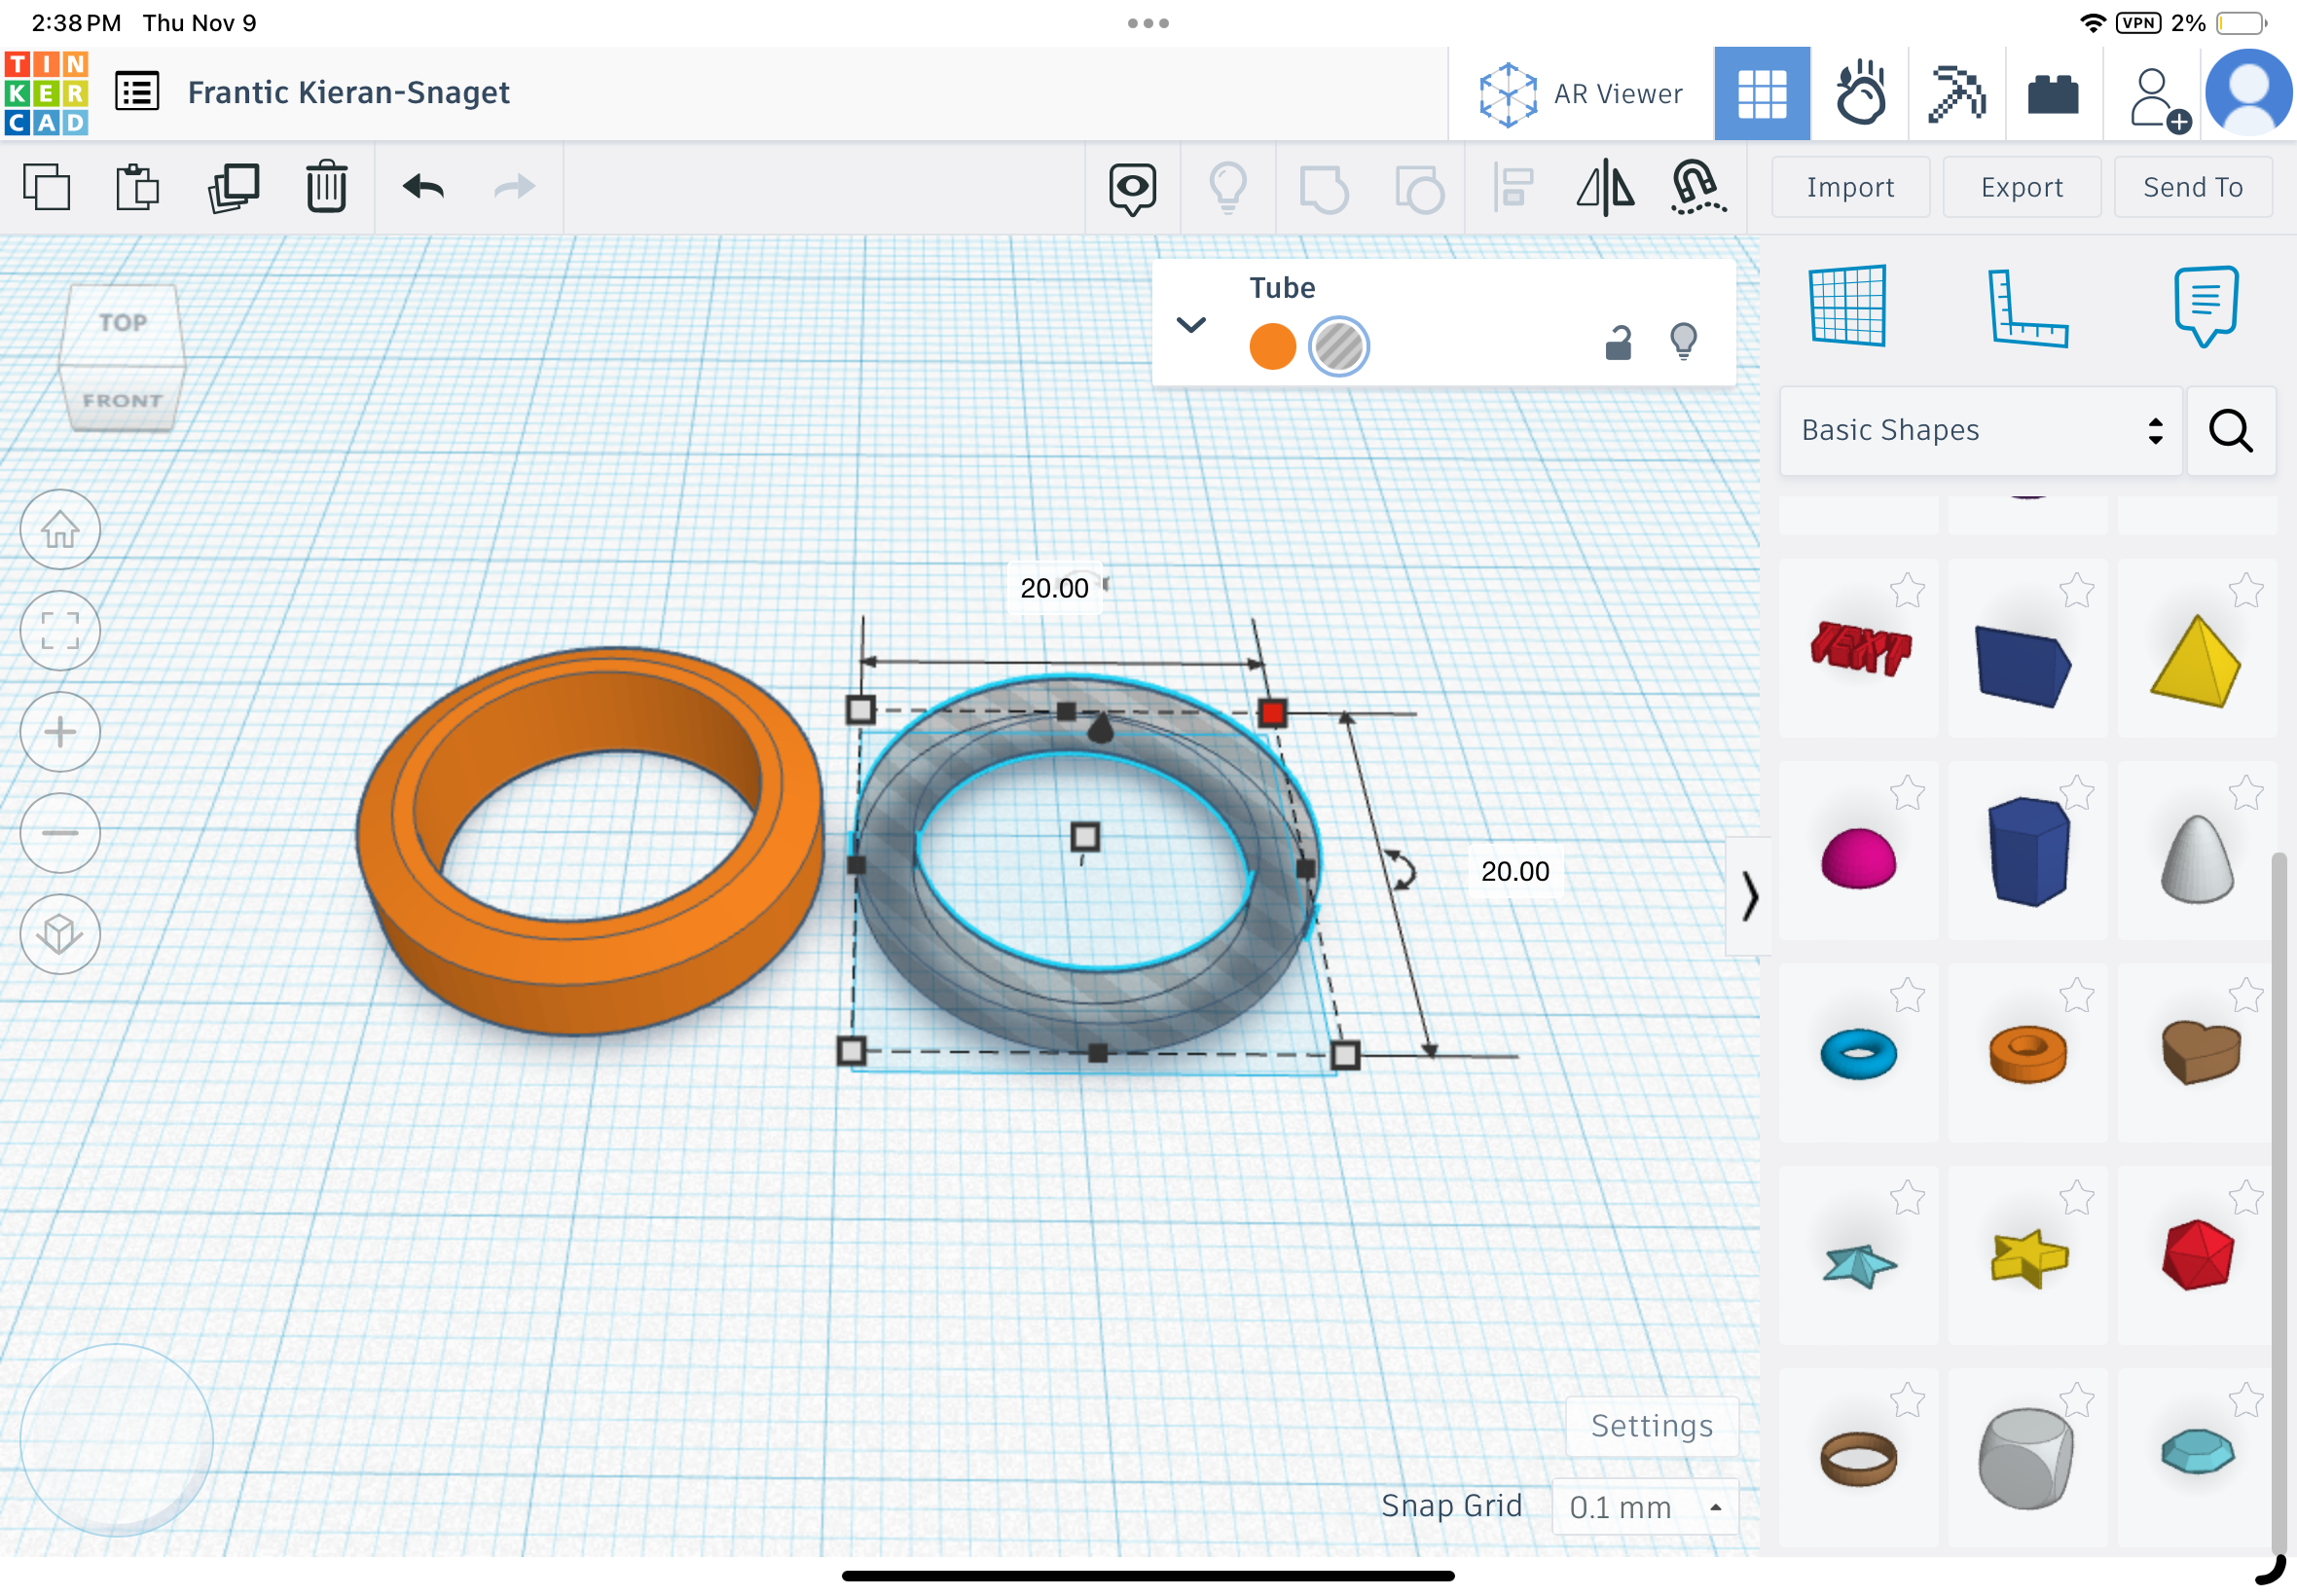


The next step will be to create a space for the inner ring. First you will grab another tube and turn on the hole feature and manipulate the tube so that when combined with the other part it will create a slot for the inner ring, but before you combine the 2 parts create a copy of the 2nd piece to create that 3rd ring.
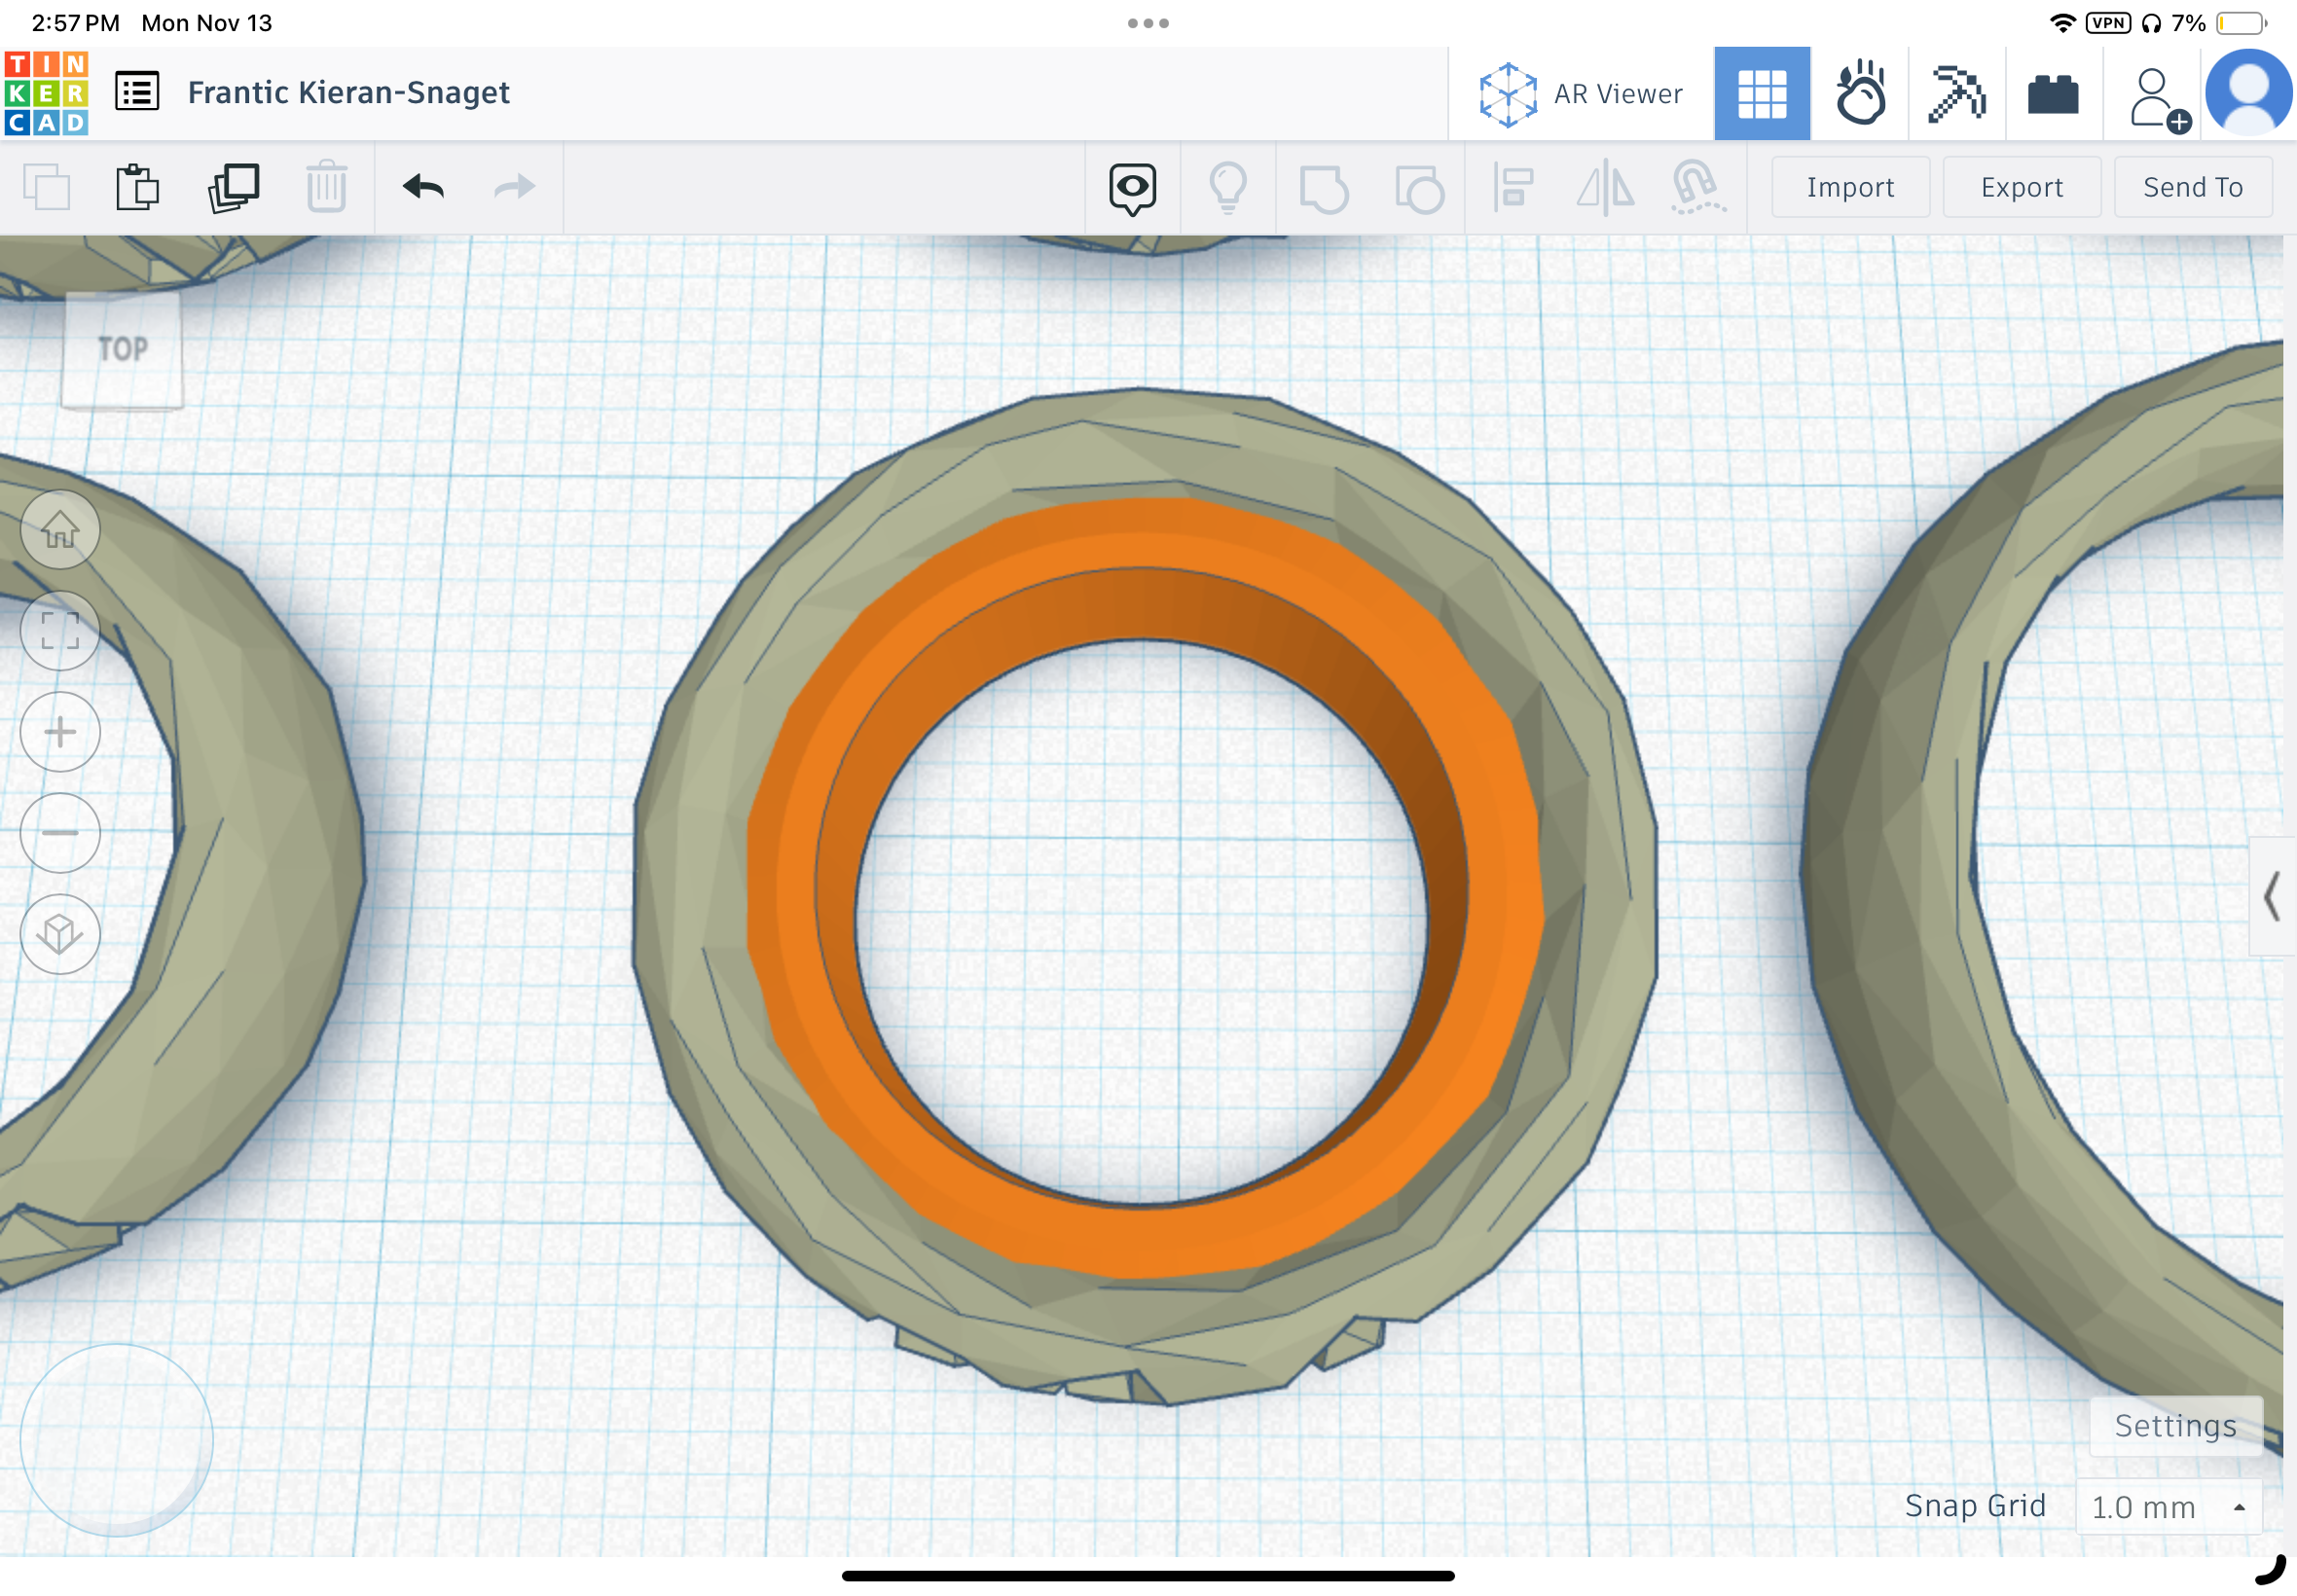
Inner Ring

Simply make a copy of the ring used for cutting the groove. And use that to make the inner ring. Once you have the two pieces perfectly aligned group them together using the combine button and you have a ring.
Sizing Your Ring
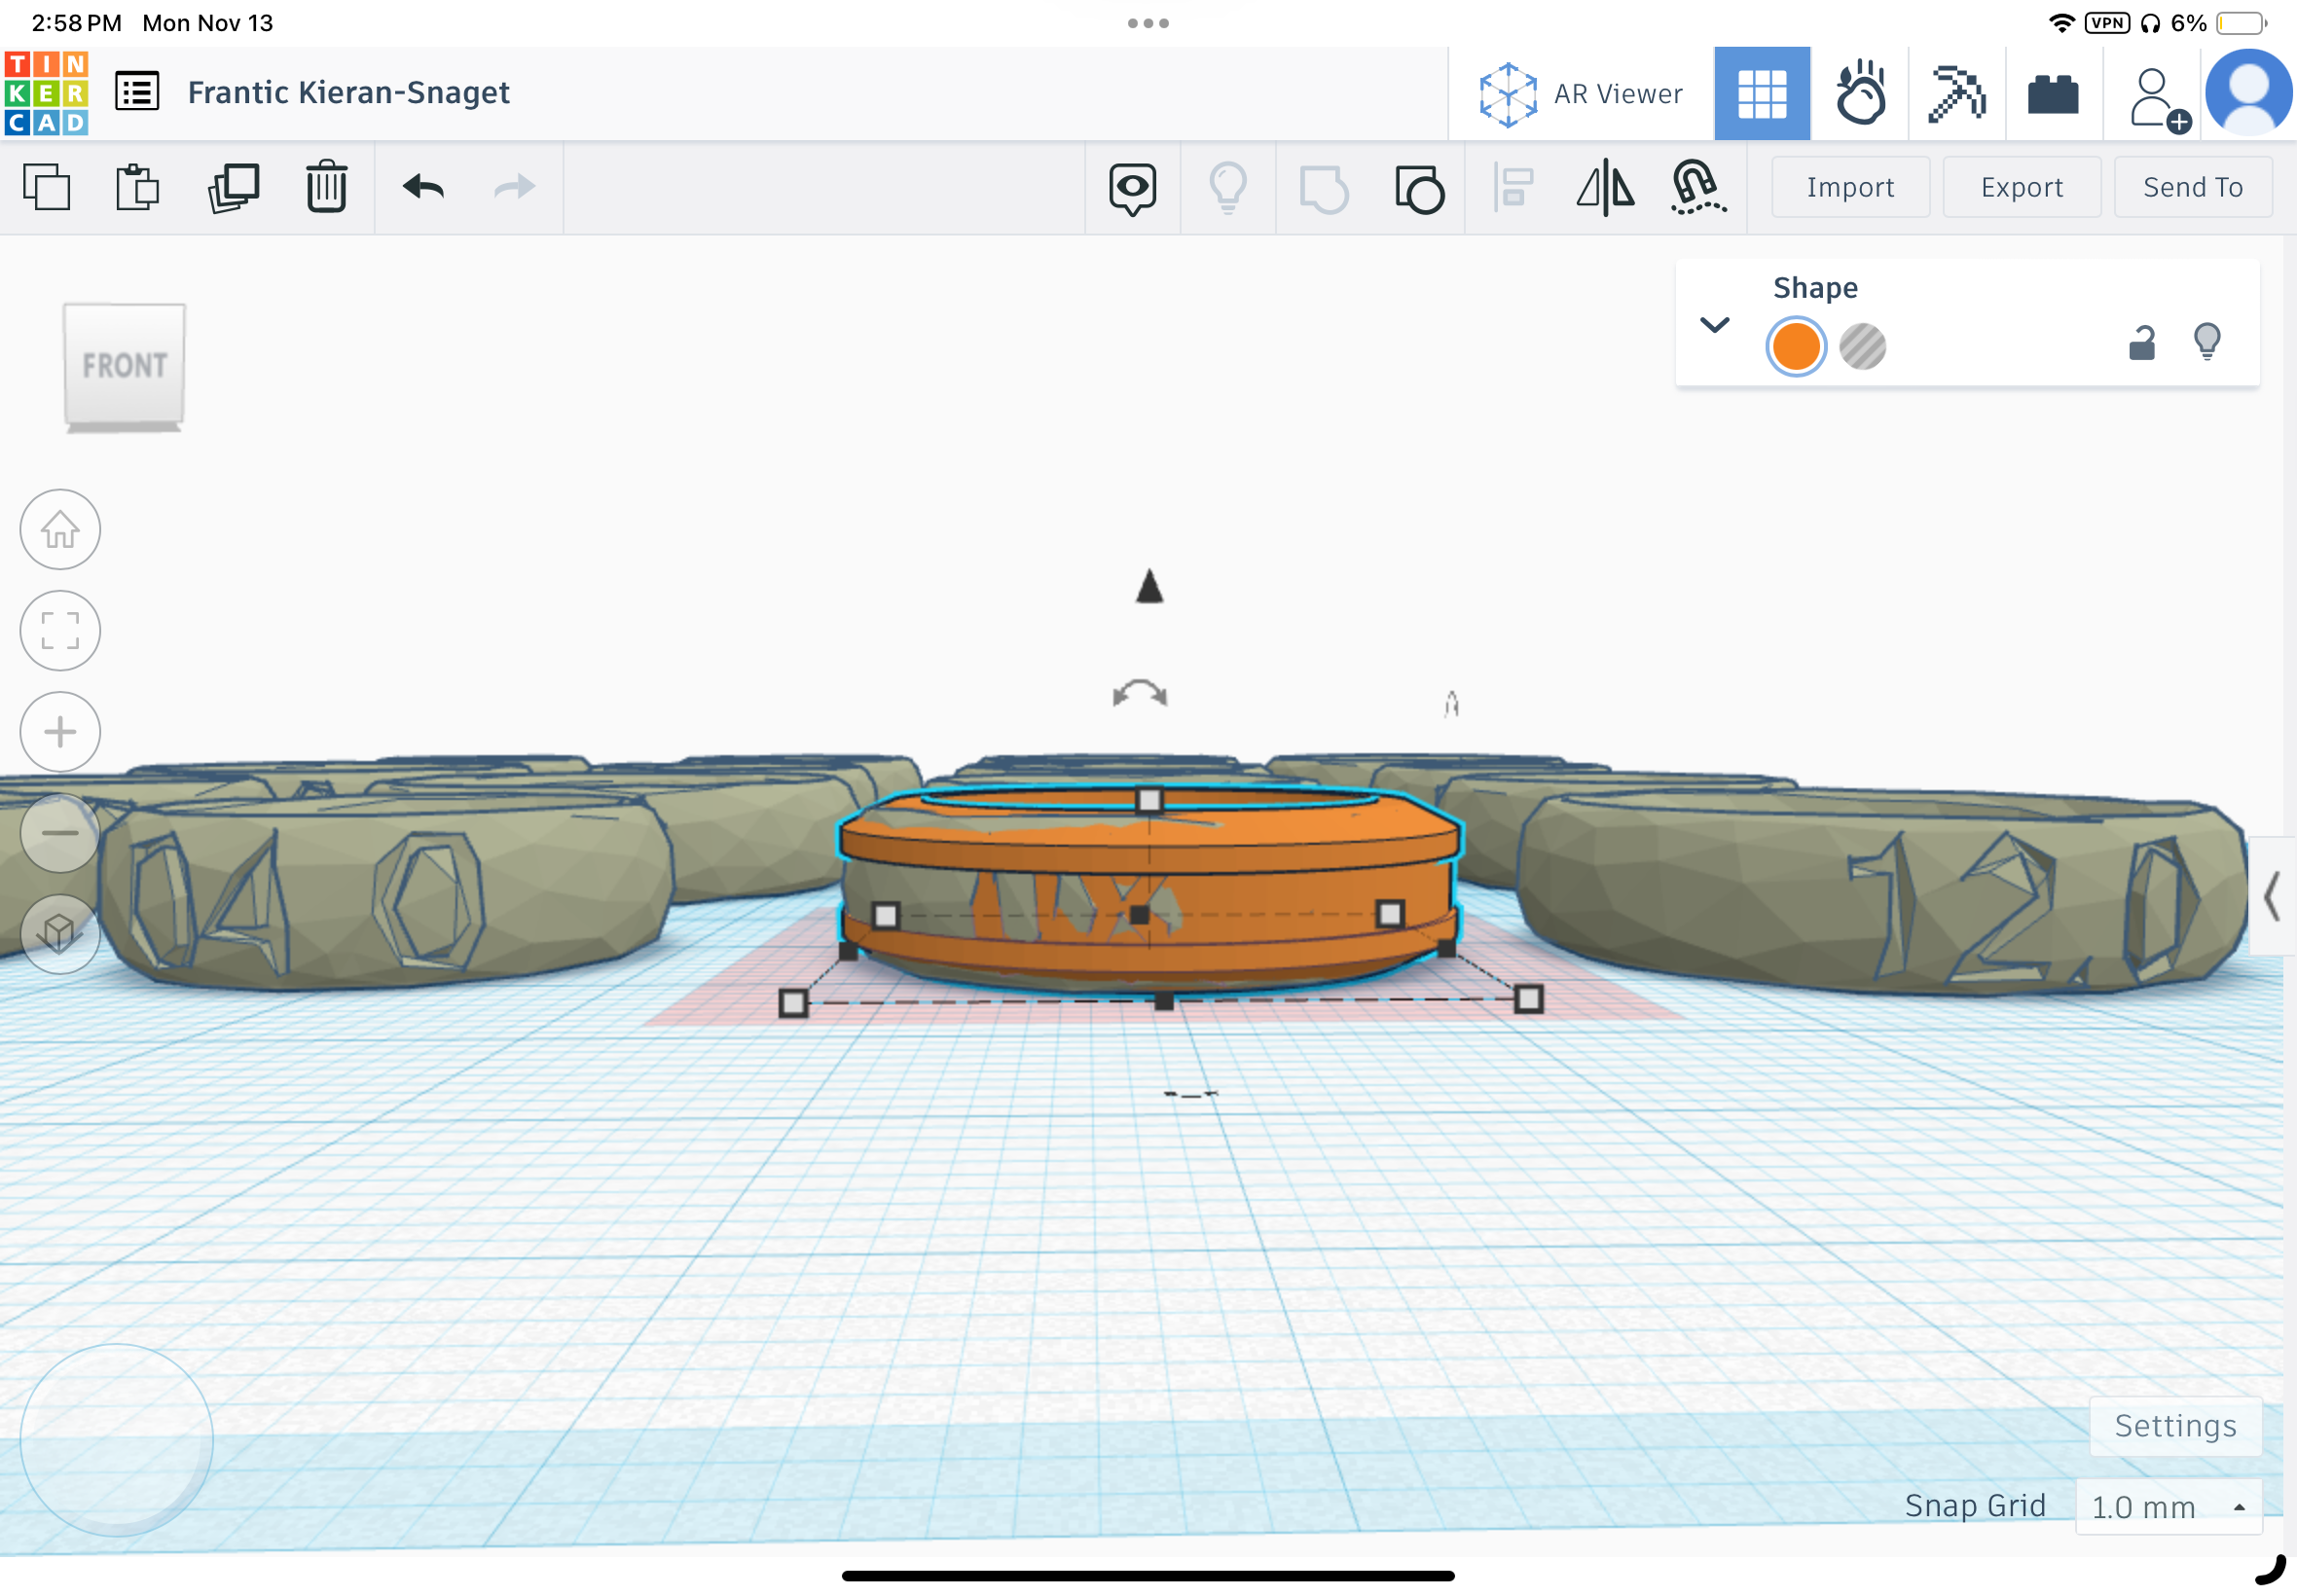
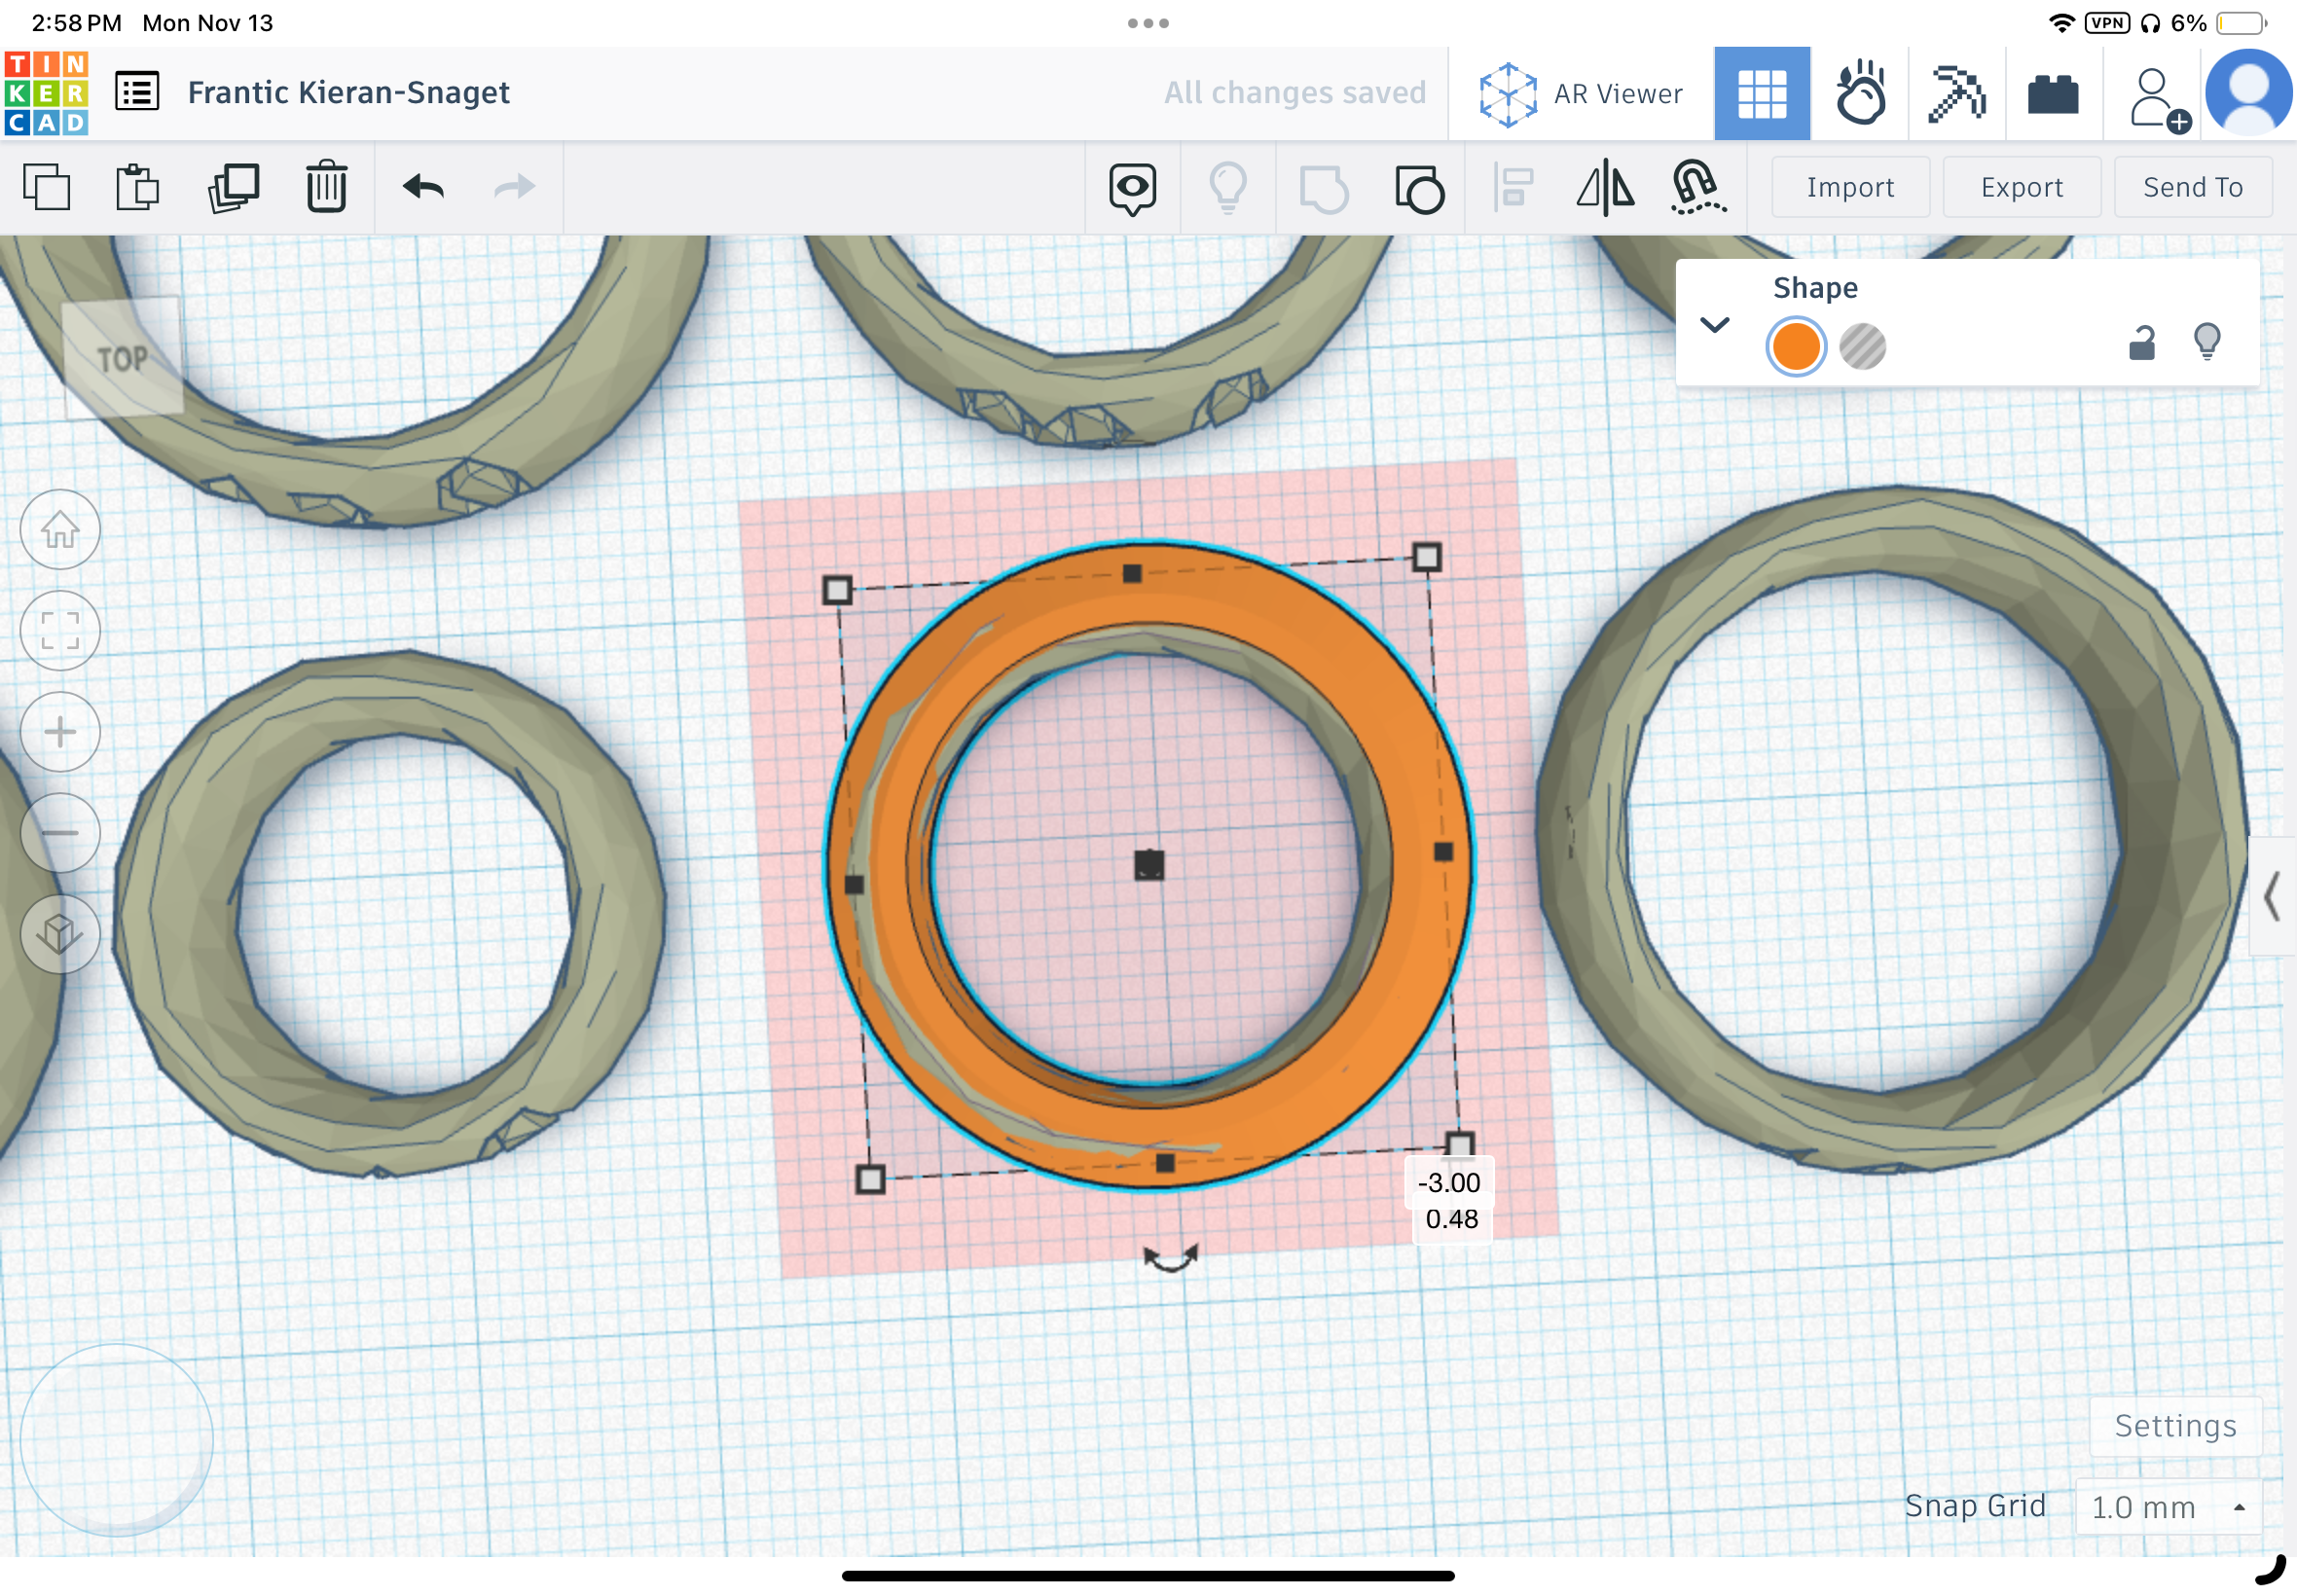
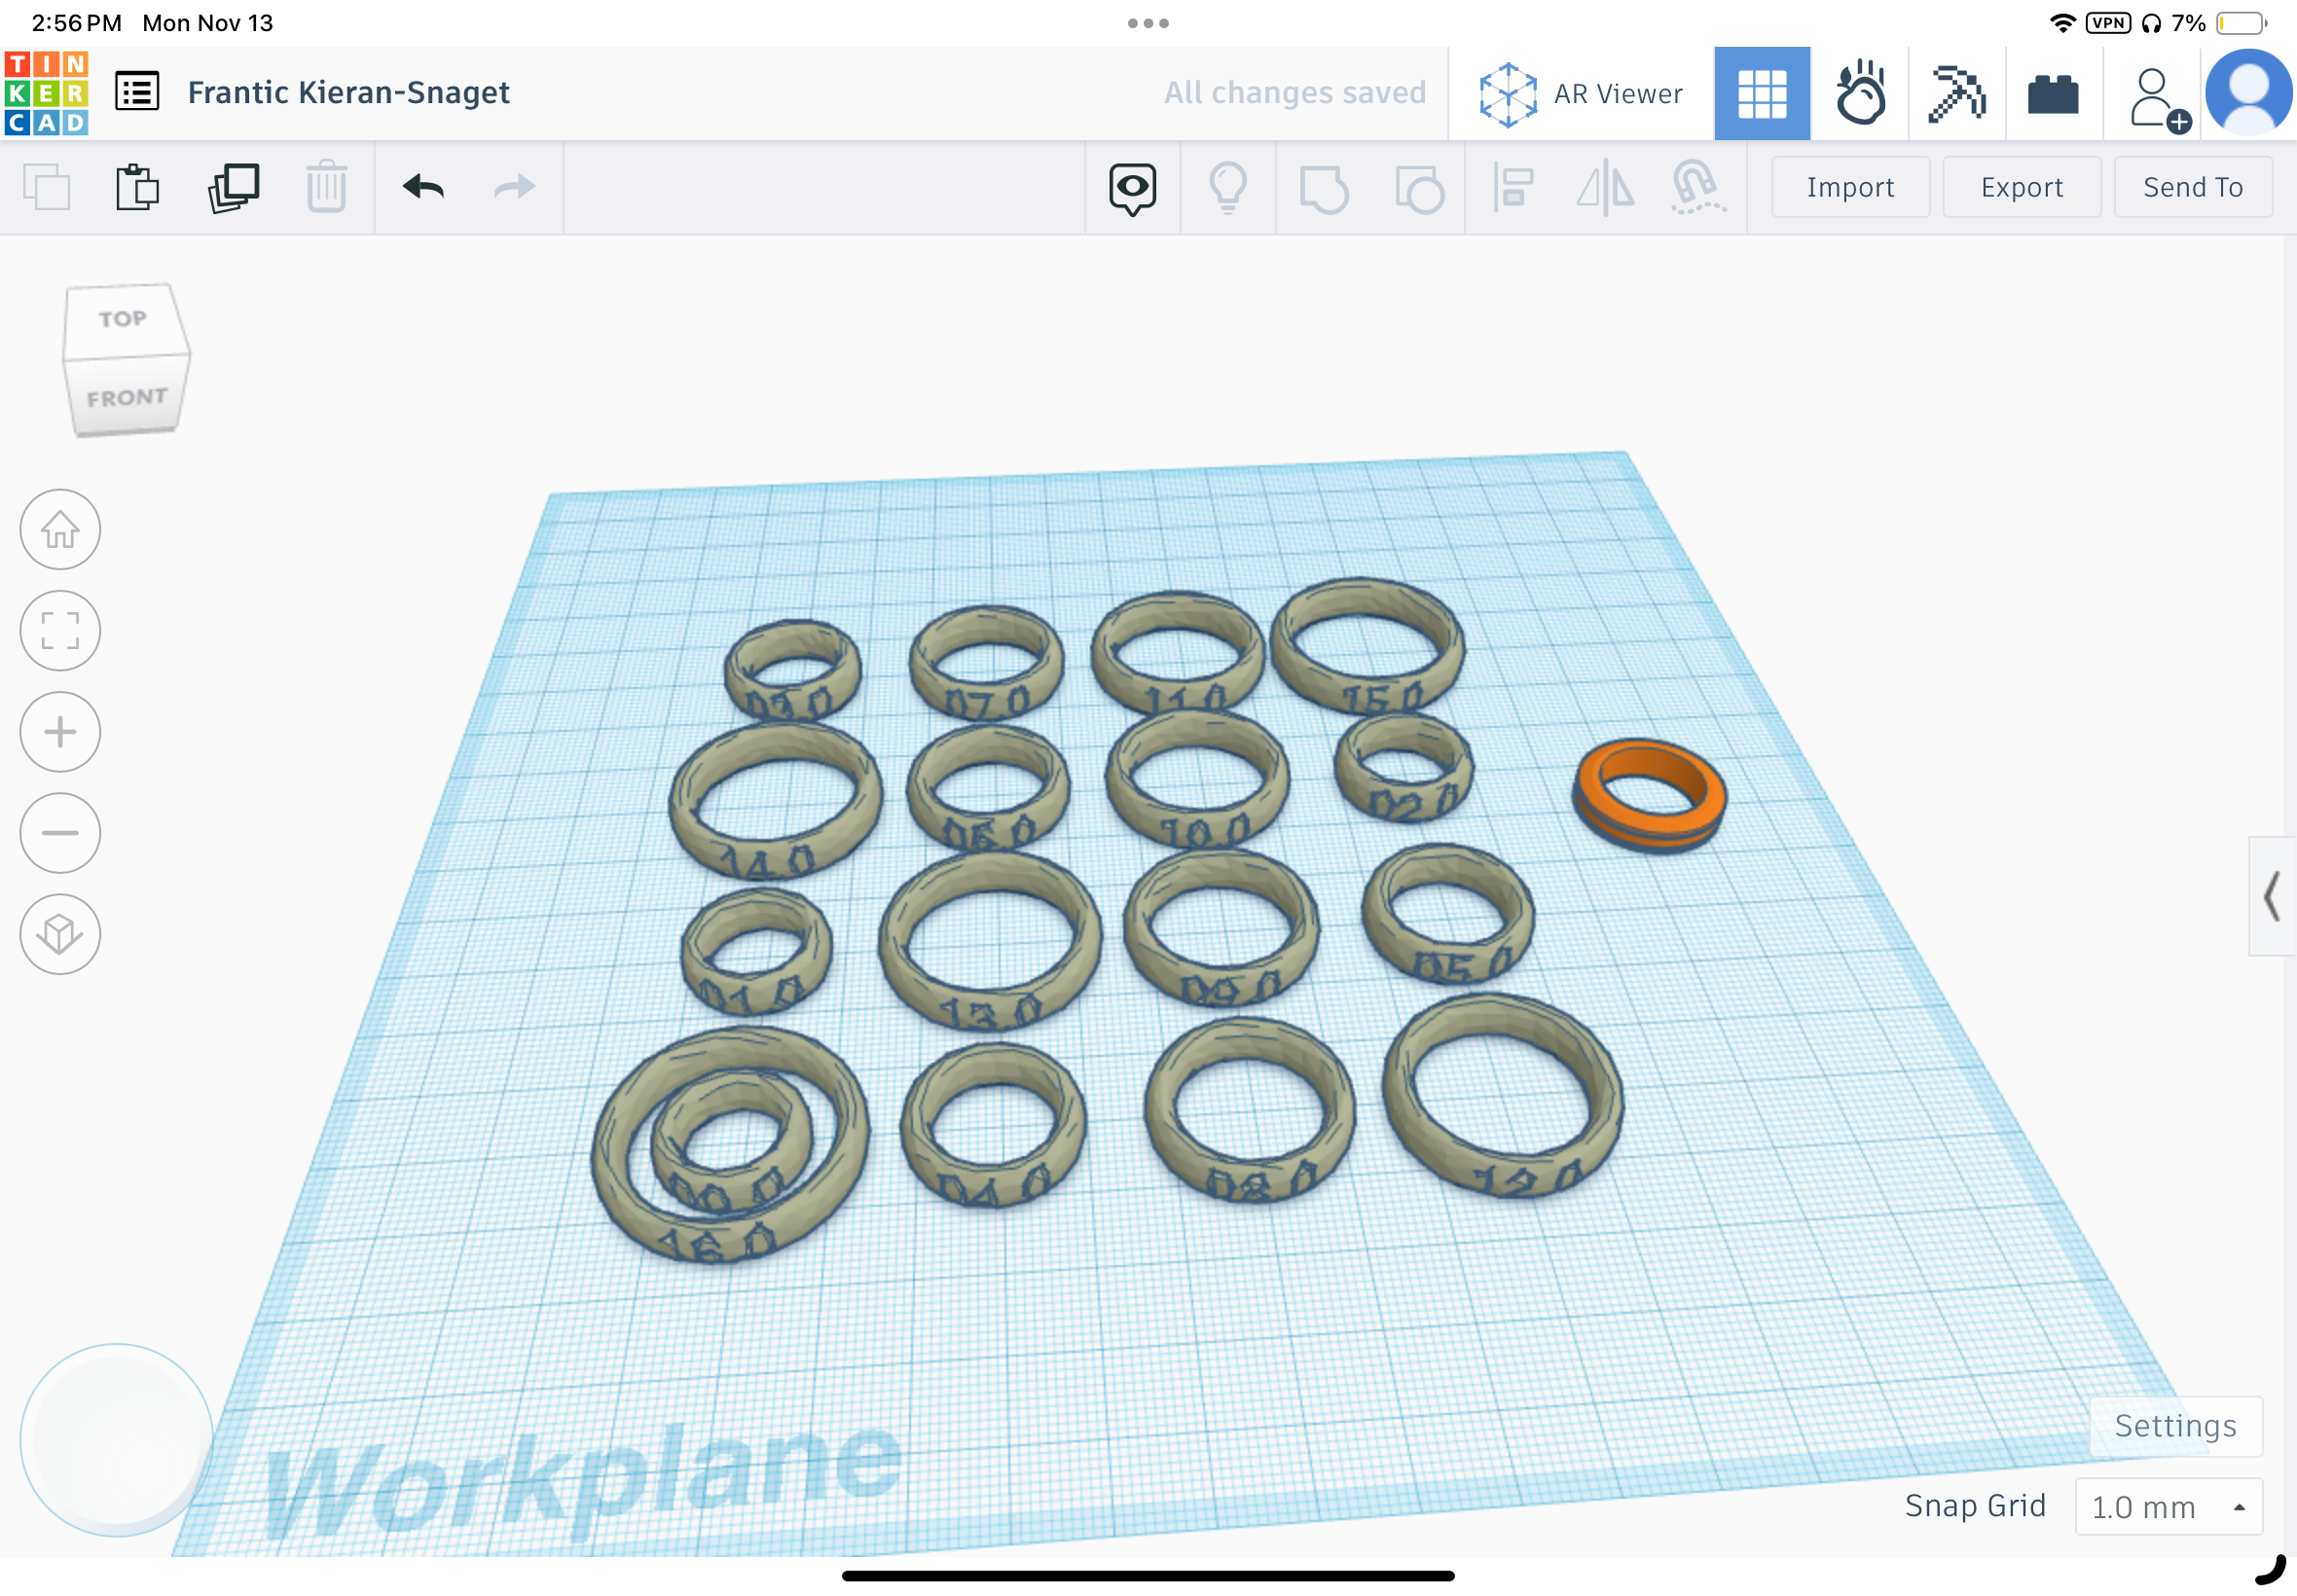
If you know your ring size then refer to the chart and scale your ring to fit your finger. But for most of us who have no idea your can print of this ring size tester and once you found one that fits your can go import that ring into Tinkercad and scale the 2 rings so that the inner diameter is the same.
Congrats you have just made you own ring. Now you can make many more and make your own unique rings.