Custom Prosthetics With a Wacom Tablet and Fusion 360
12566 Views, 41 Favorites, 0 Comments
Custom Prosthetics With a Wacom Tablet and Fusion 360
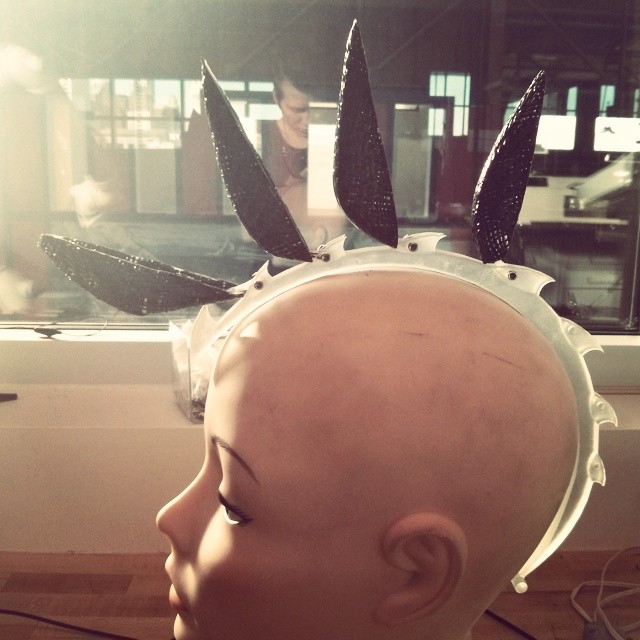
I'm working on a robotic mohawk, which perches atop the wearer's head and responds to their brainwaves. This calls for a rigid "headspine" to hold the movable spikes in place.
My first iteration was built from yarn-wrapped armature wire and nylon tubing, to support the actuation mechanism I was planning at the time: a servo pulling fishing line back and forth to move the connected spikes. While that didn't work well enough, it was easily molded and held its shape. This came in handy when I decided to 3d-print the next version.
What do we need?
This method employs a Wacom Bamboo drawing tablet and Autodesk's Fusion 360 software (free for non-commercial use). The intermediate step was done in Adobe Photoshop and Illustrator, although you could also use open-source software like Inkscape -- anything that will produce an SVG.
Why do it this way?
I thought this would be a relatively quick and easy way to transfer my head-shape to a 3D modeling application, without enlisting someone else to scan my head. Besides, it's better to use a physical reference than a visual profile of your head, which is distorted by hair. Since I already have a mohawk, modeling from photos wouldn't capture the underlying shape I needed to fit.
Tracing
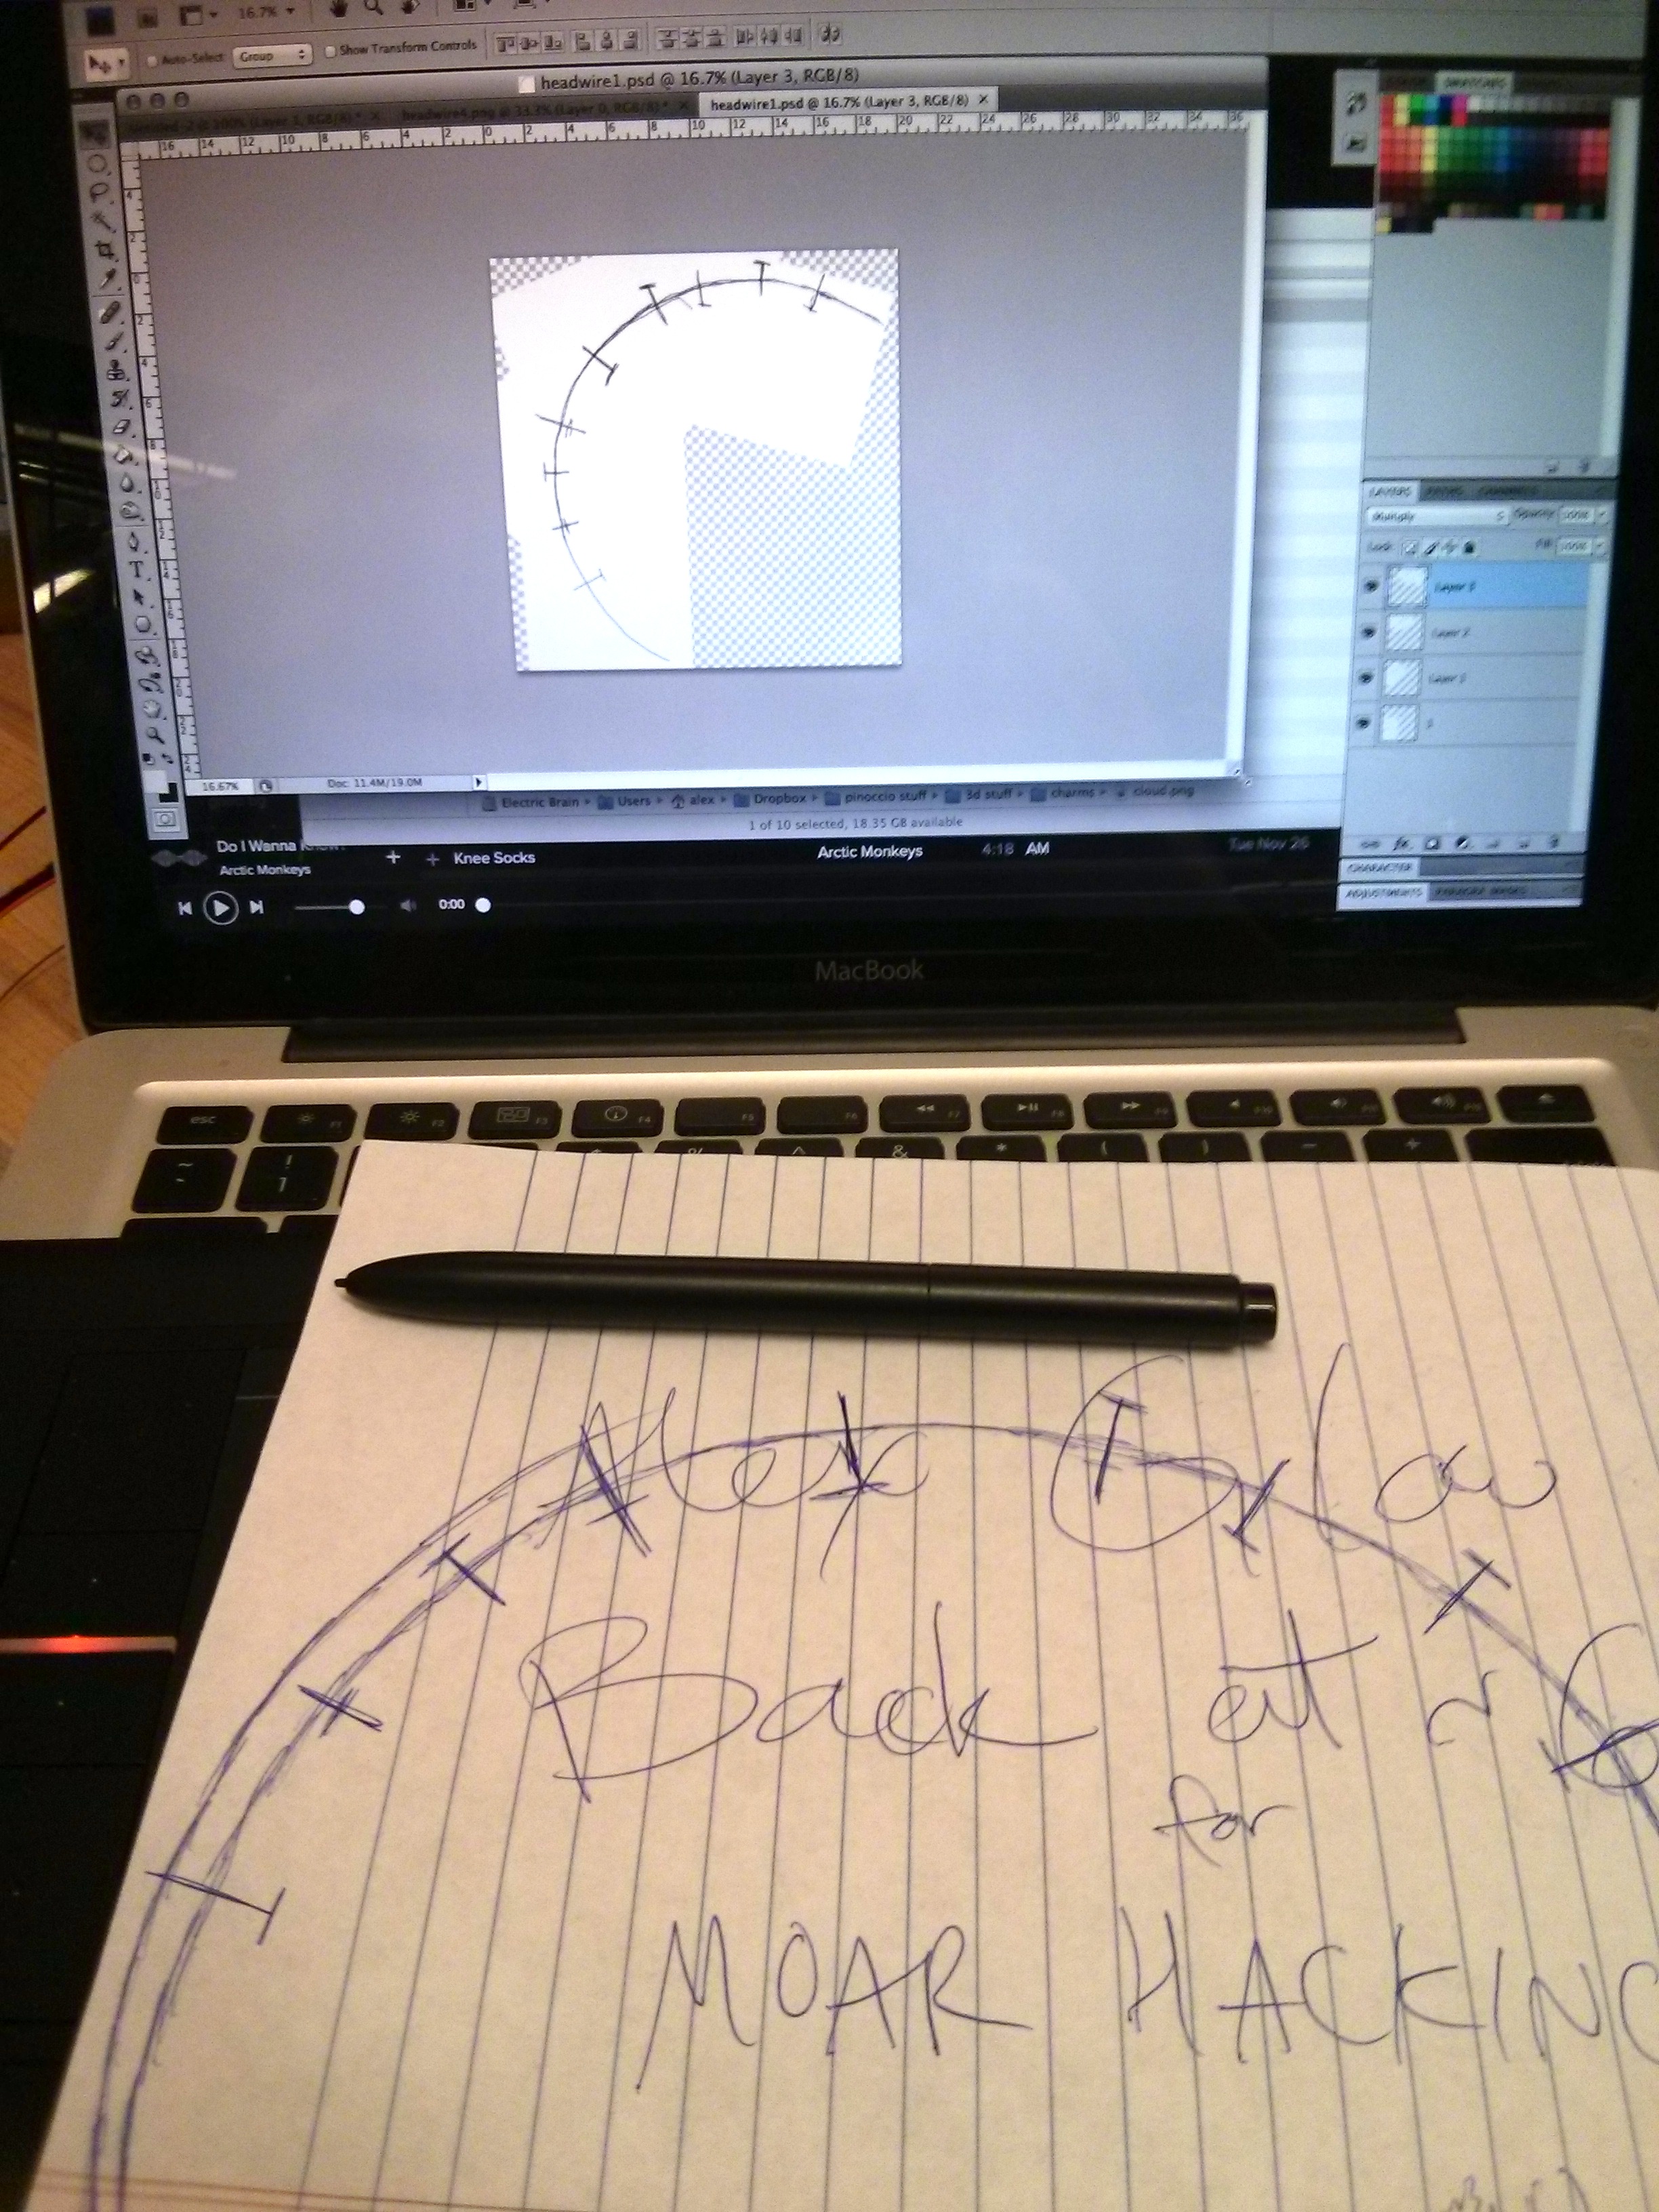
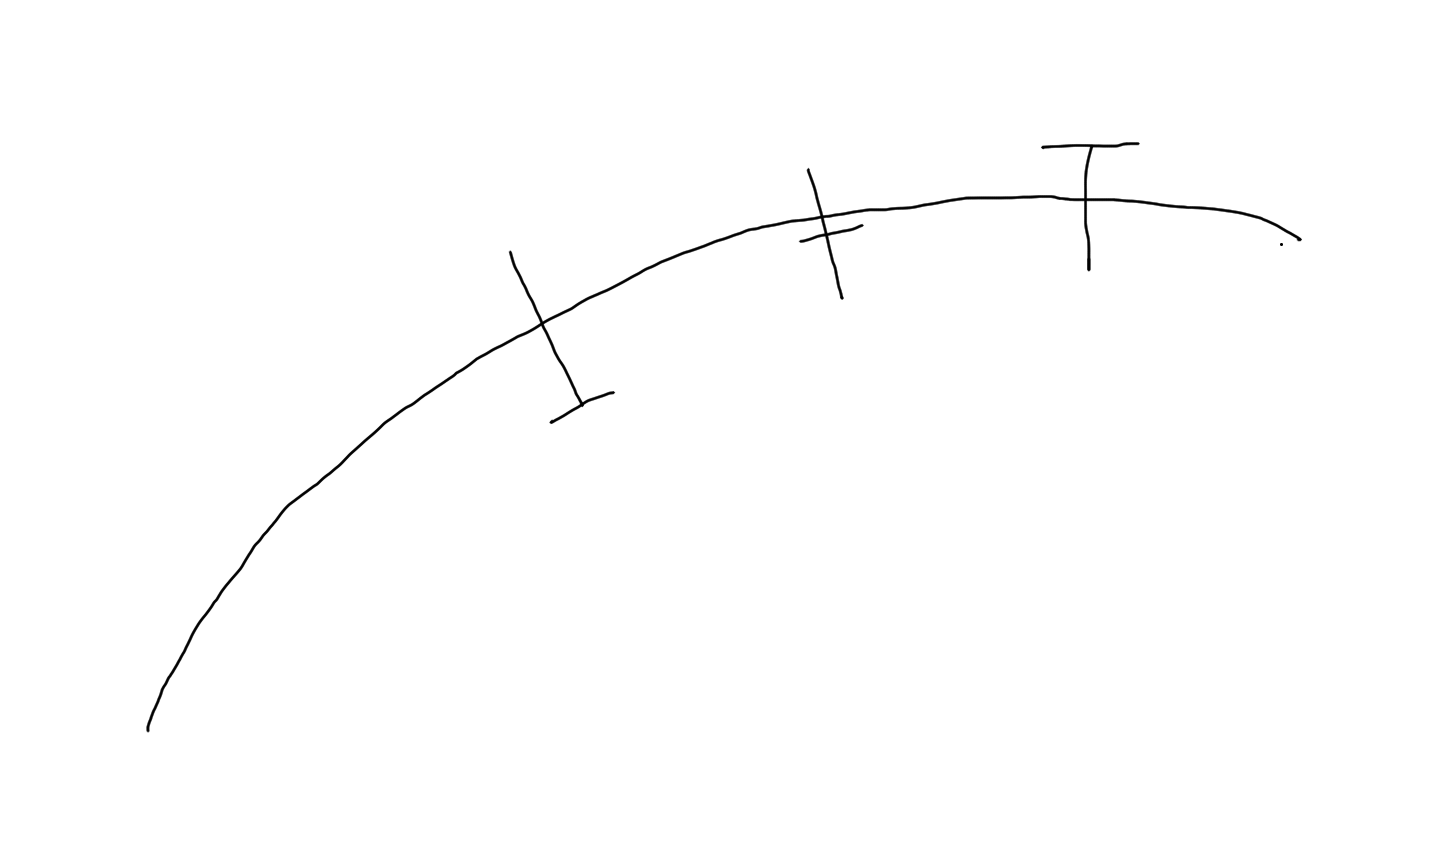
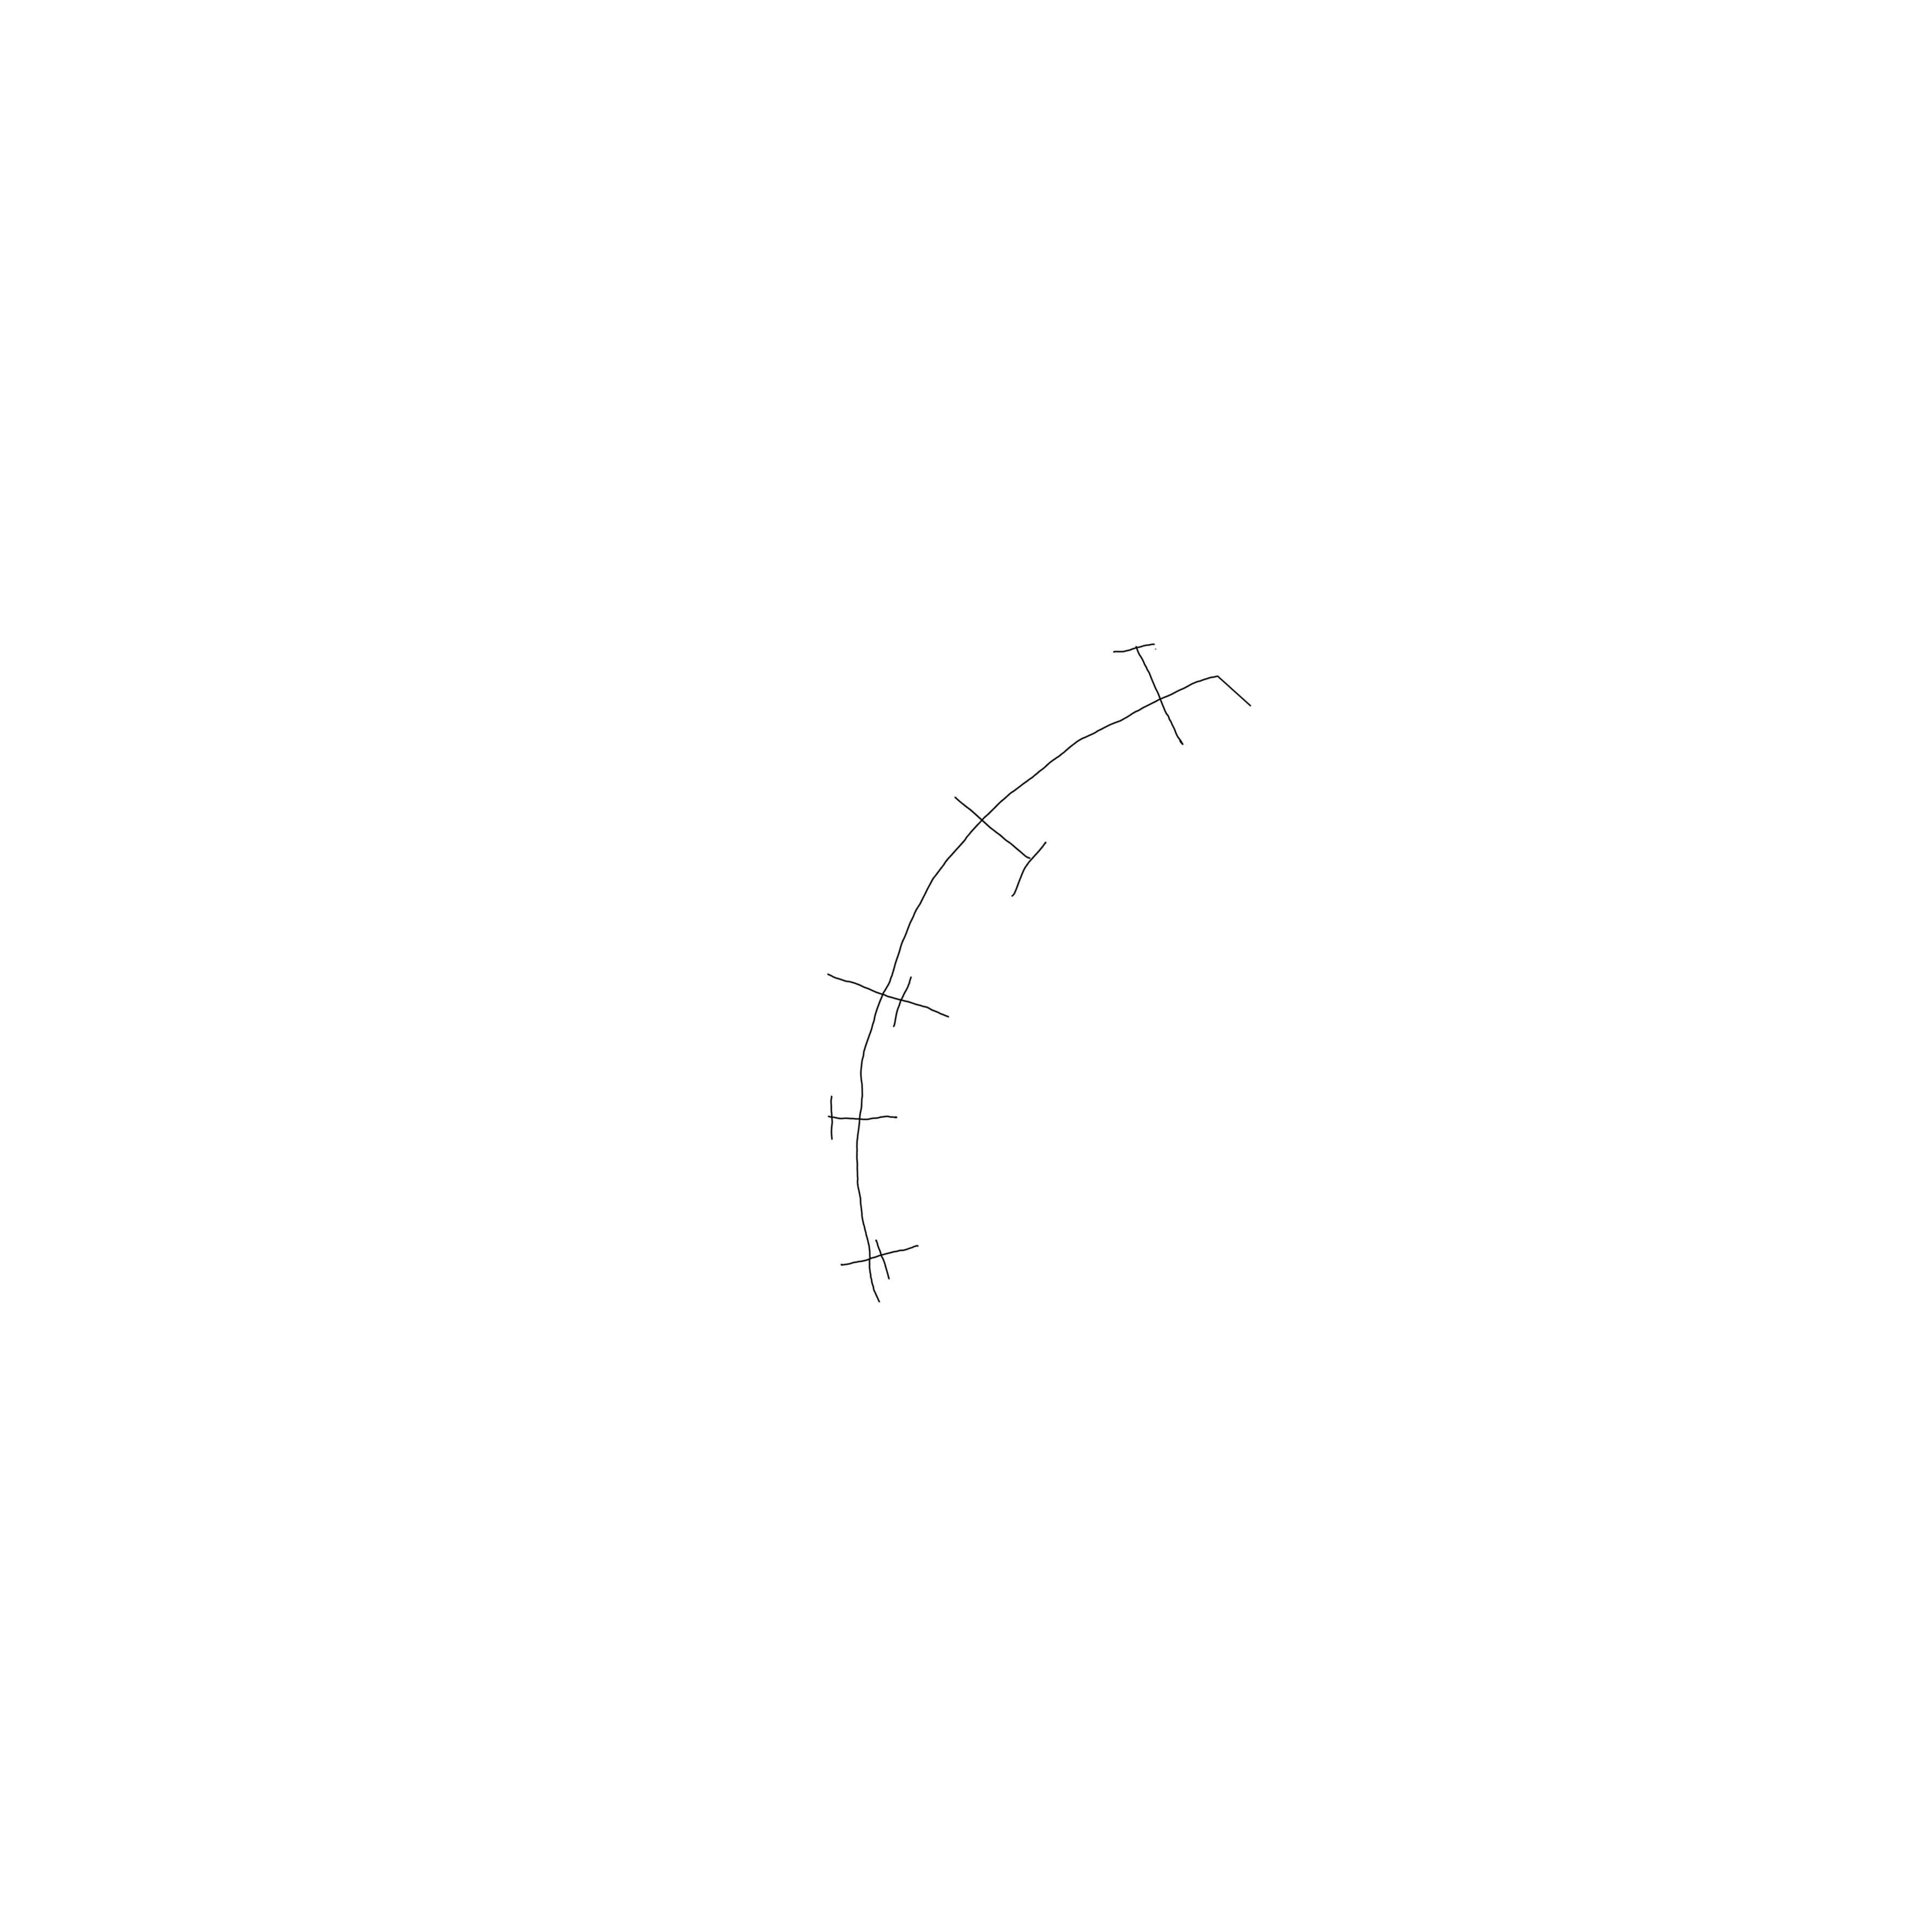
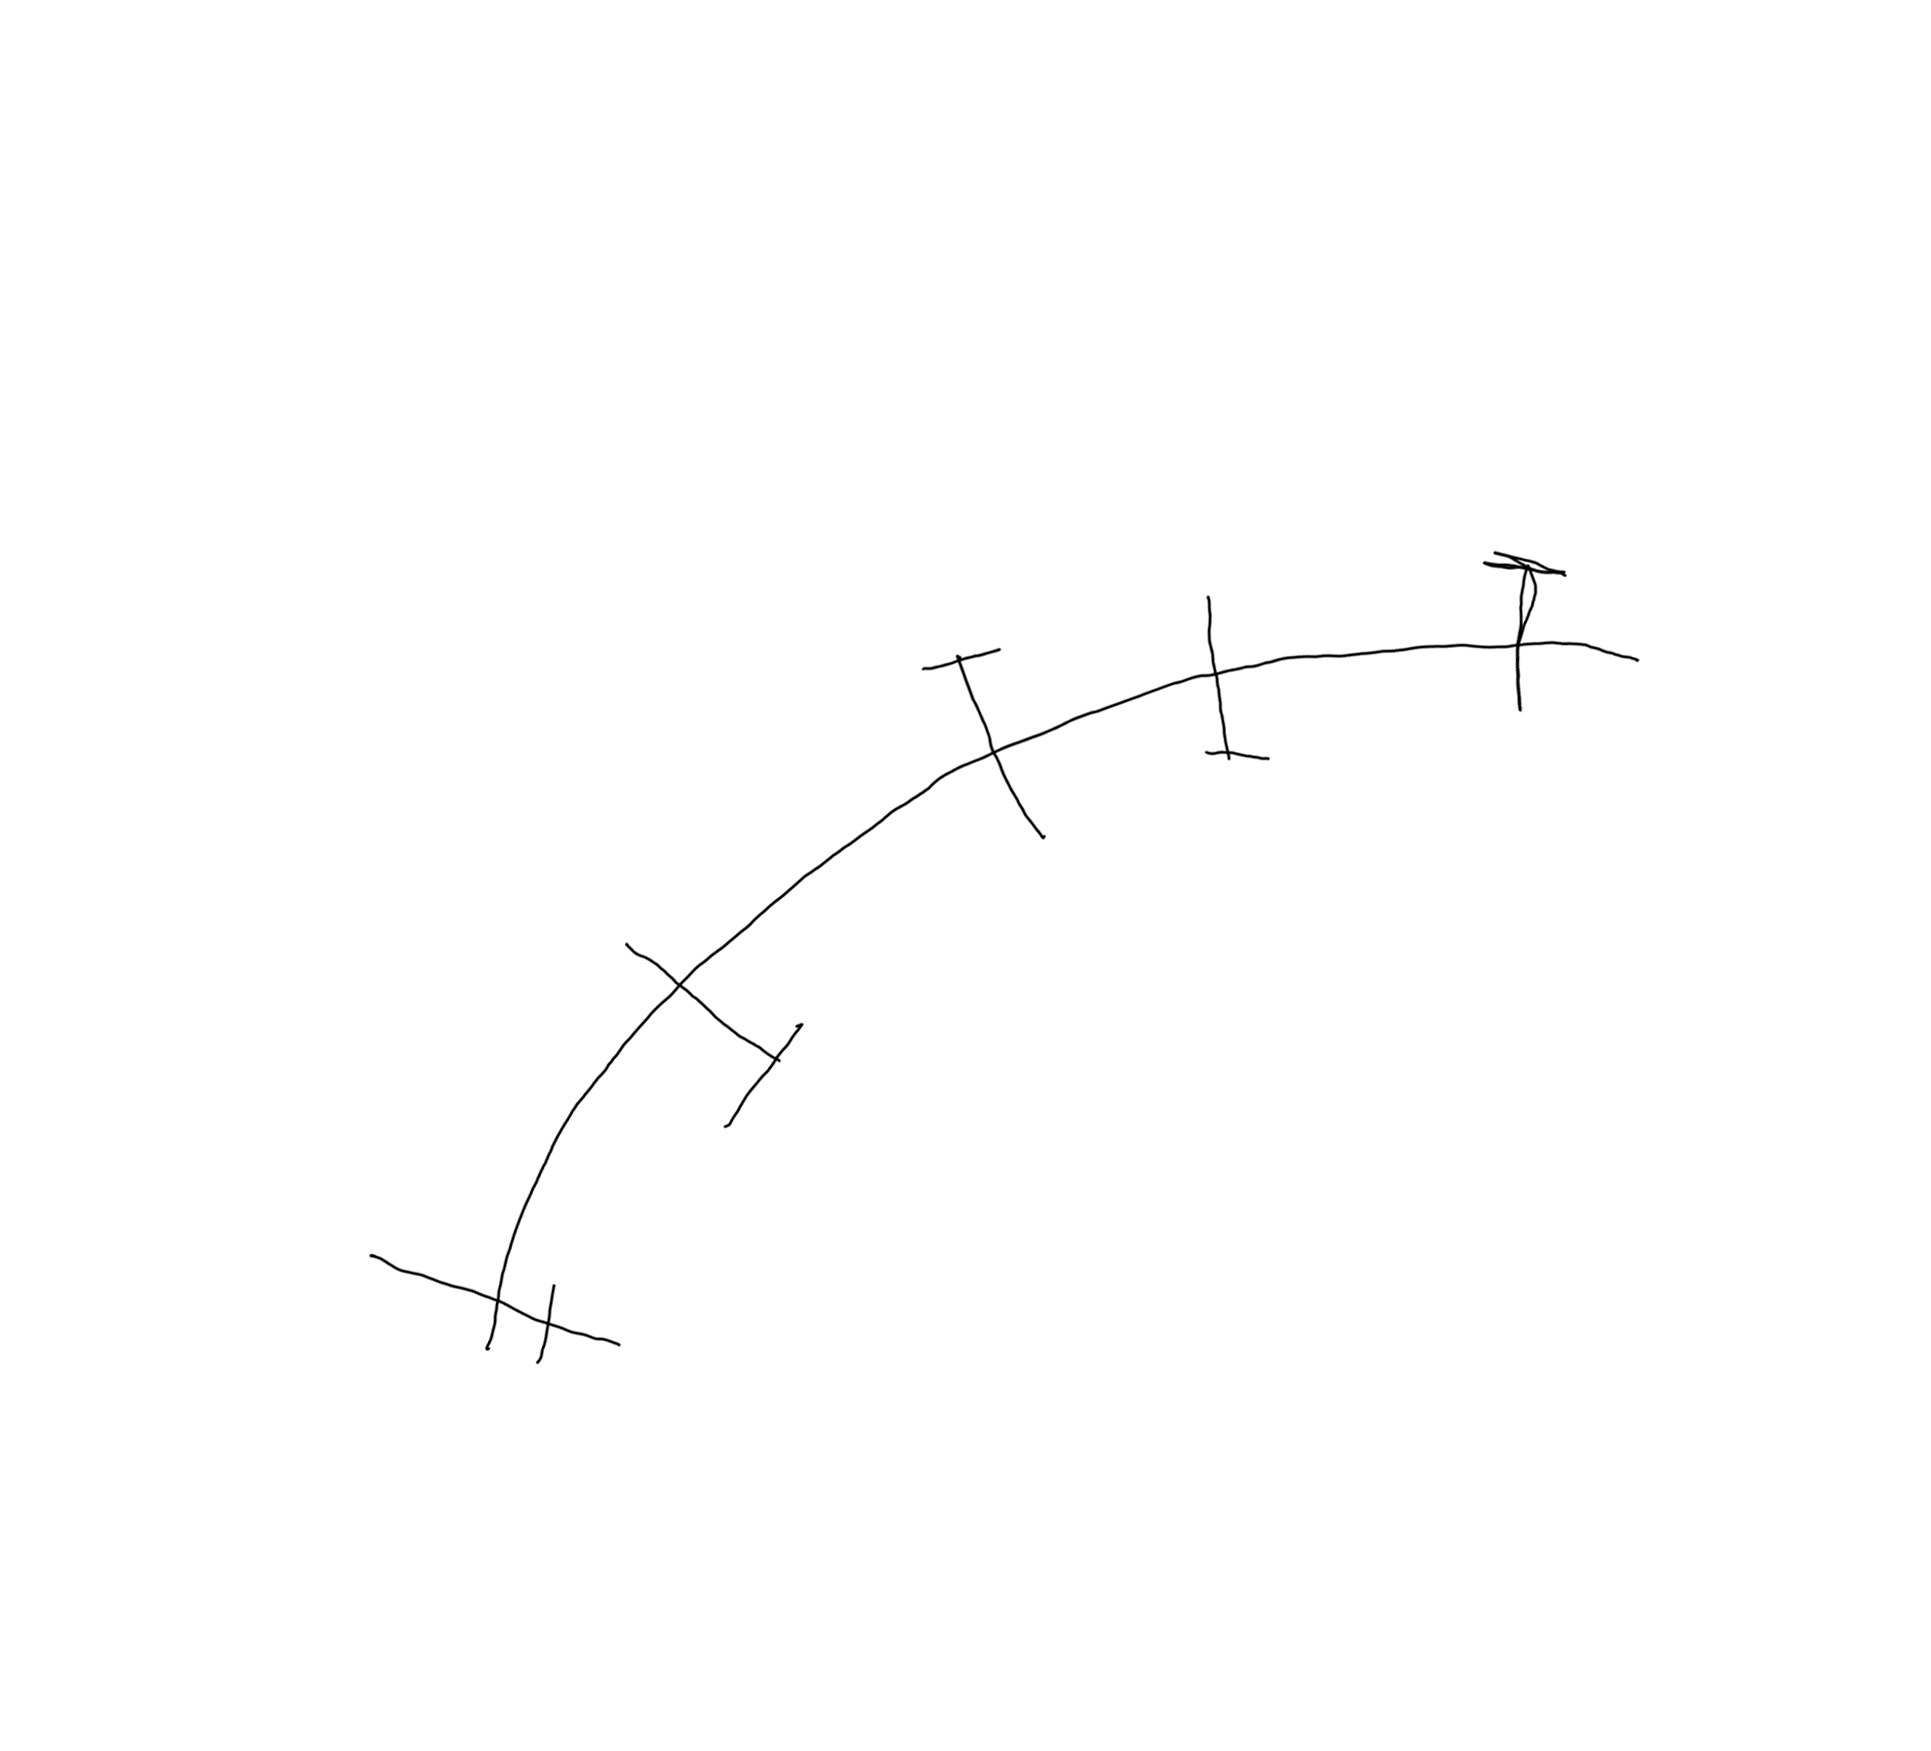
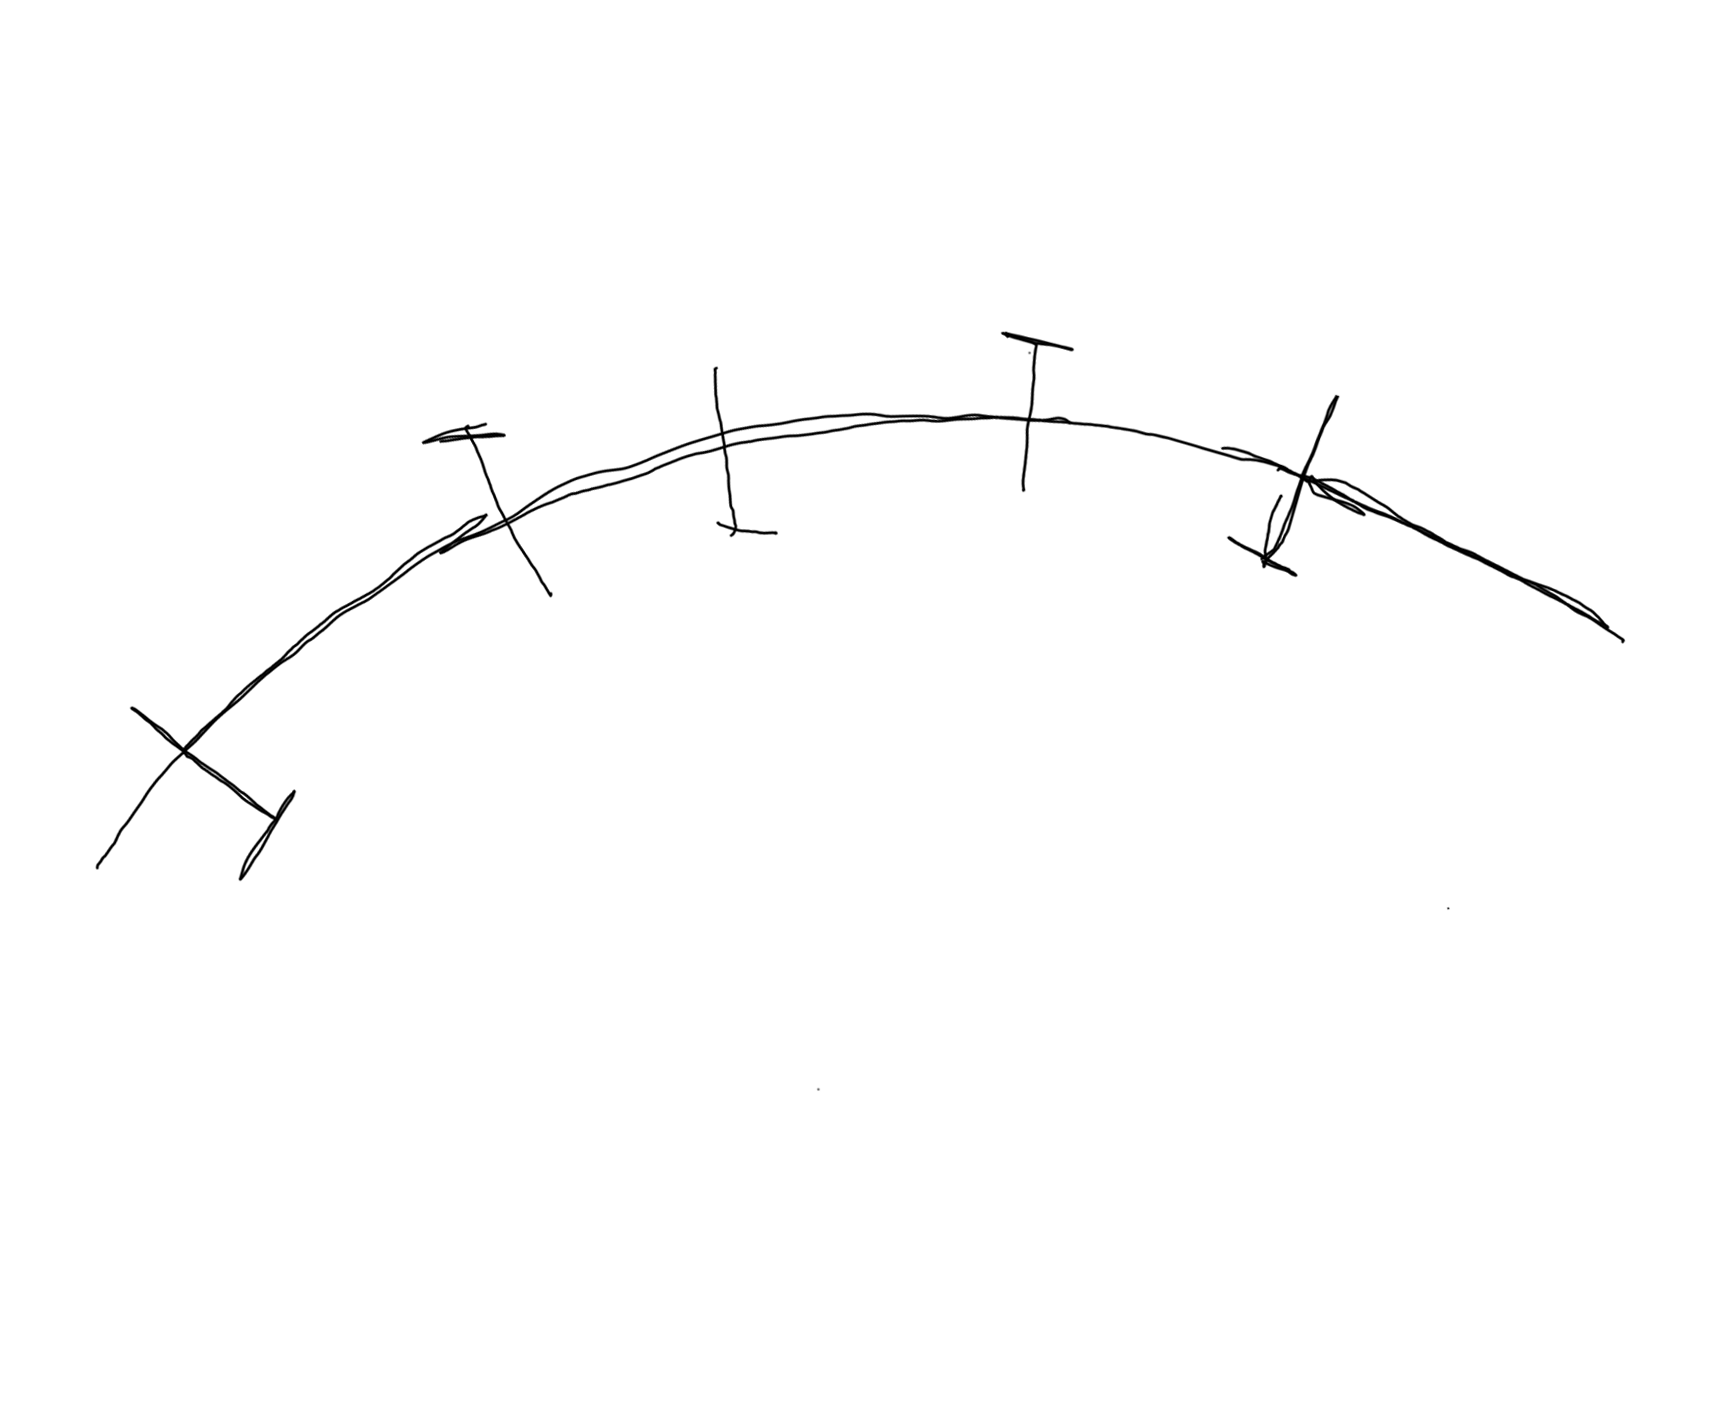
First, I traced my pre-shaped armature wire onto basic notebook paper; however, since I couldn't fit the whole thing onto the Wacom Bamboo tablet, I needed to break it down into a few separate lengths.
To this end, I added simple registration marks -- a technique borrowed from screenprinting. If you need to match up multiple layers of a design, add big crosshairs where they won't get in your way, so you can align the pieces later. Since my marks weren't going to show up in the final design anyway, I put them across the tracing itself.
Next, I laid the drawing over the tablet, with my tracing running corner-to-corner in order to fit the maximum length in each time I traced over it with the stylus. In the end, I traced four separate images. With the first one open in Photoshop, I rotated the others and stacked them on in semi-opaque new layers, such that each new one matched up with the previous stitched images.
Then, I merged all the layers down into a single one.
Path to Fusion
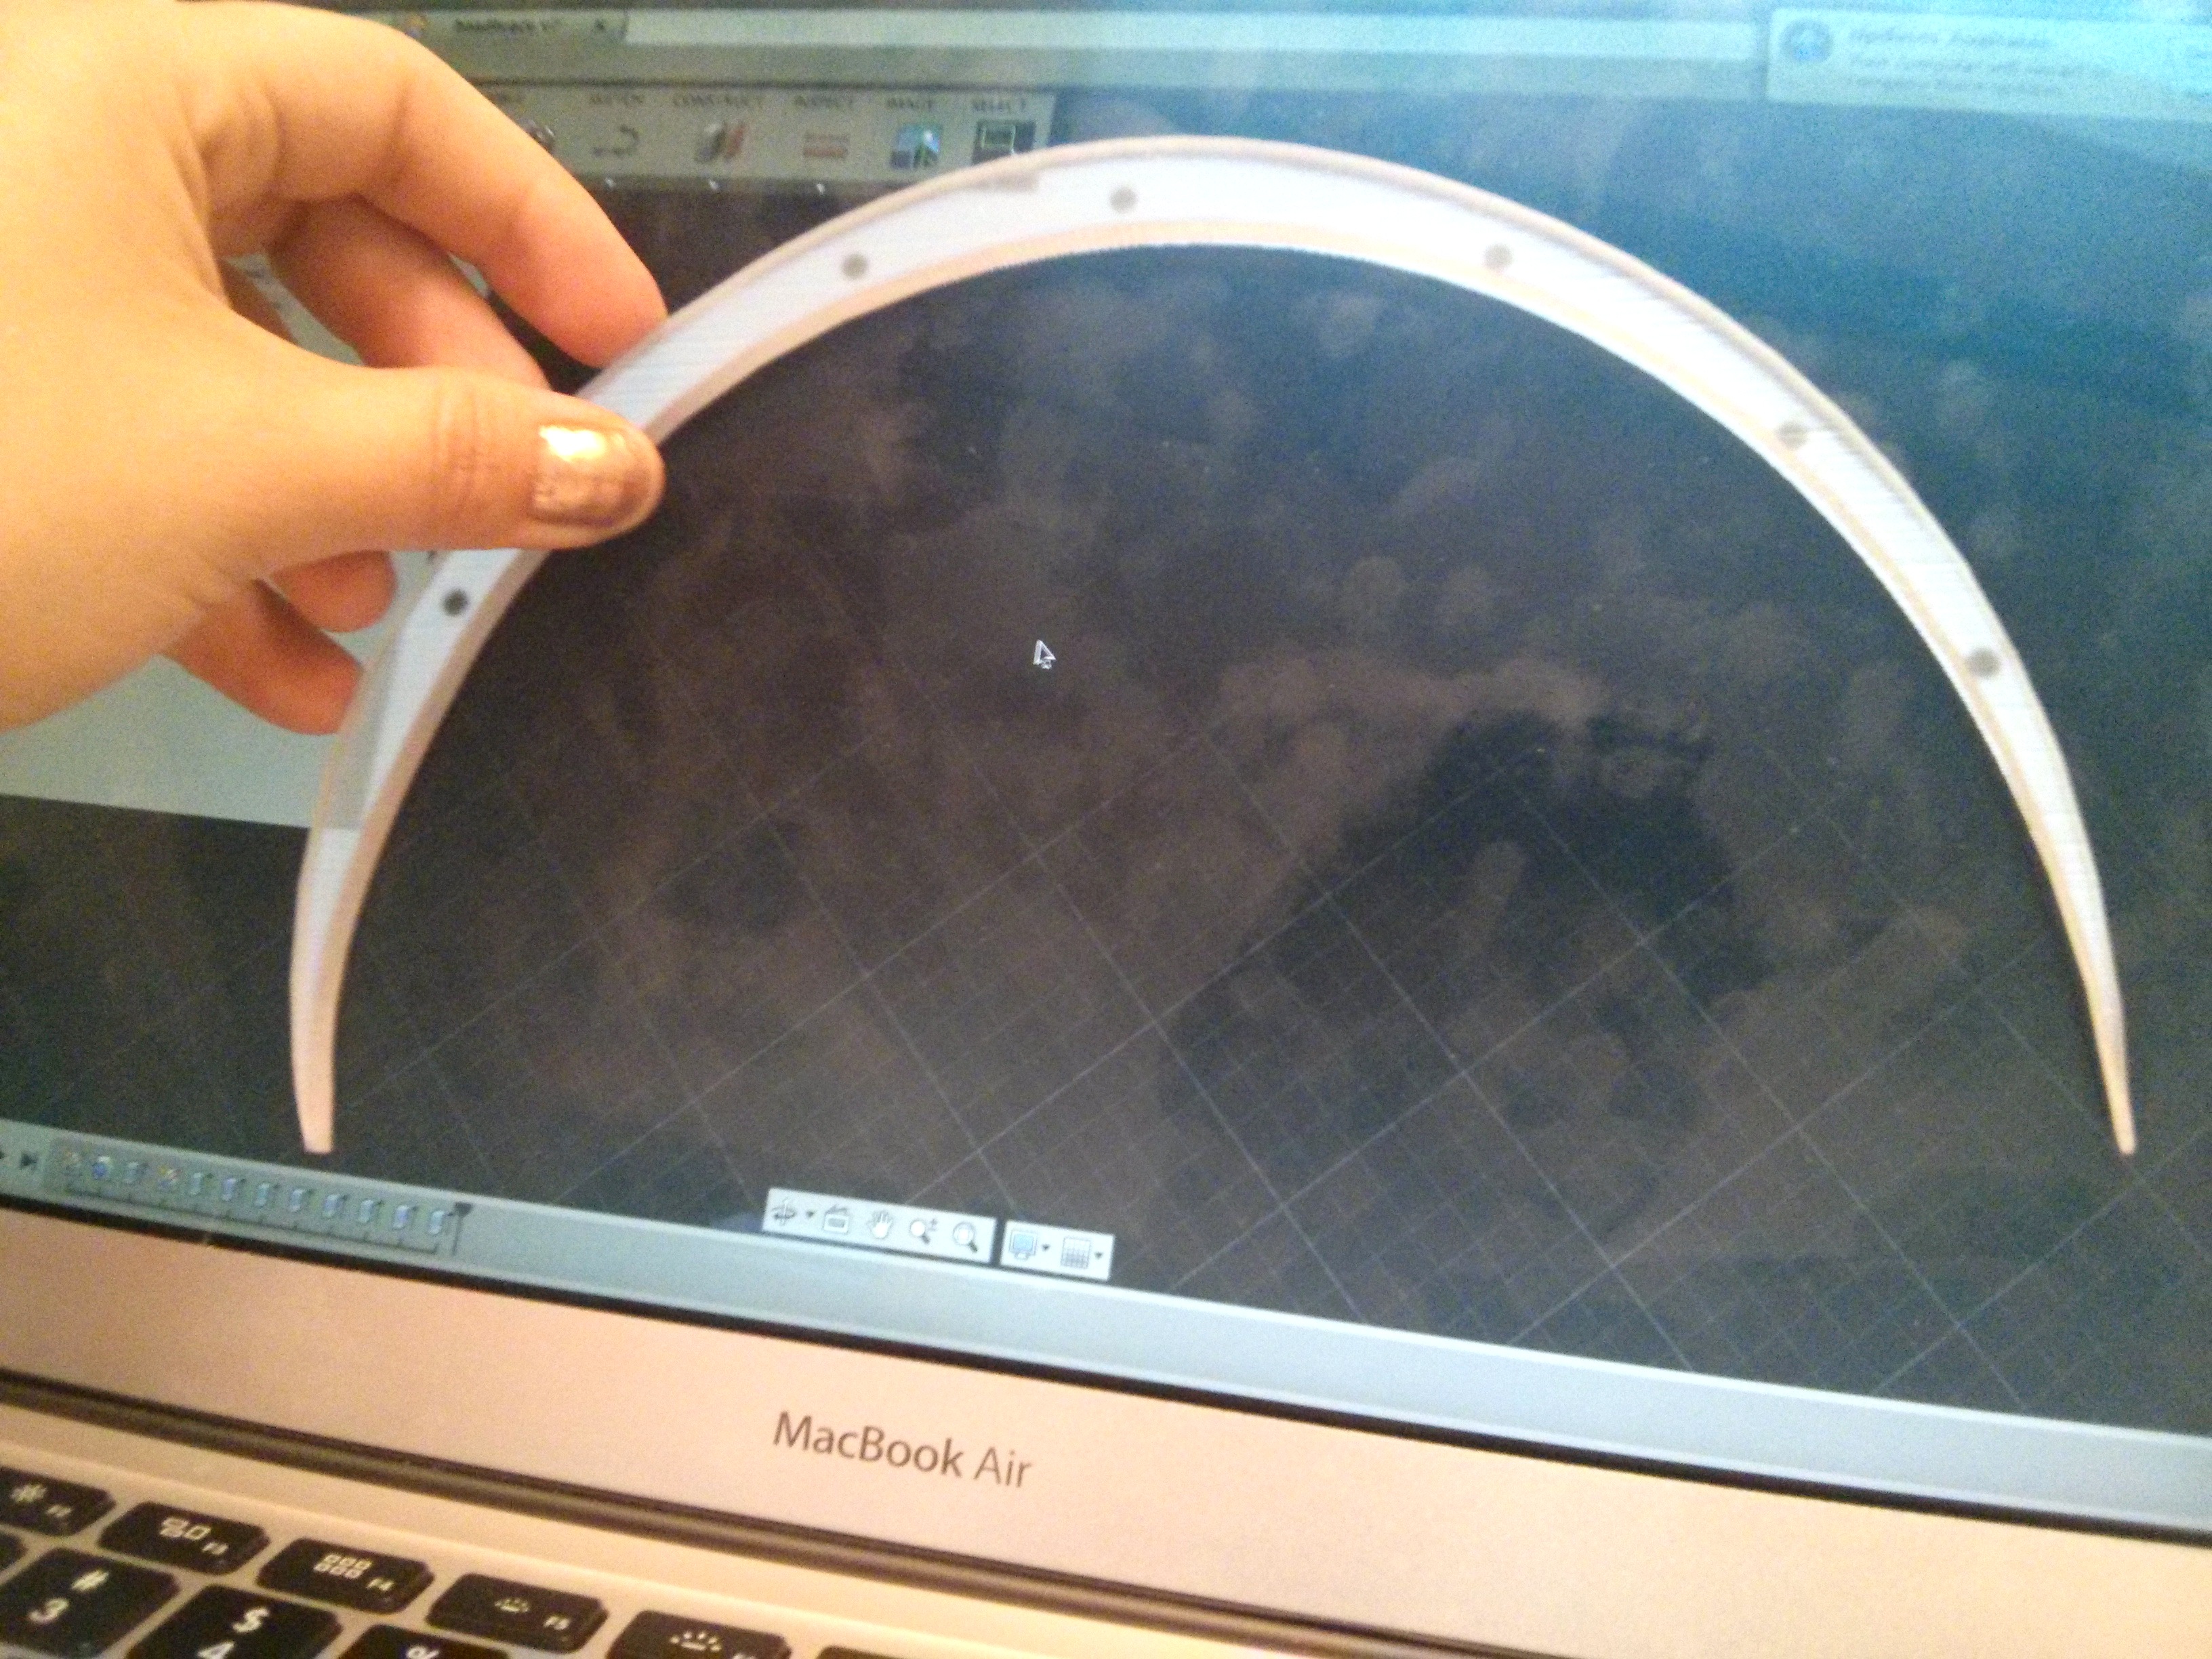
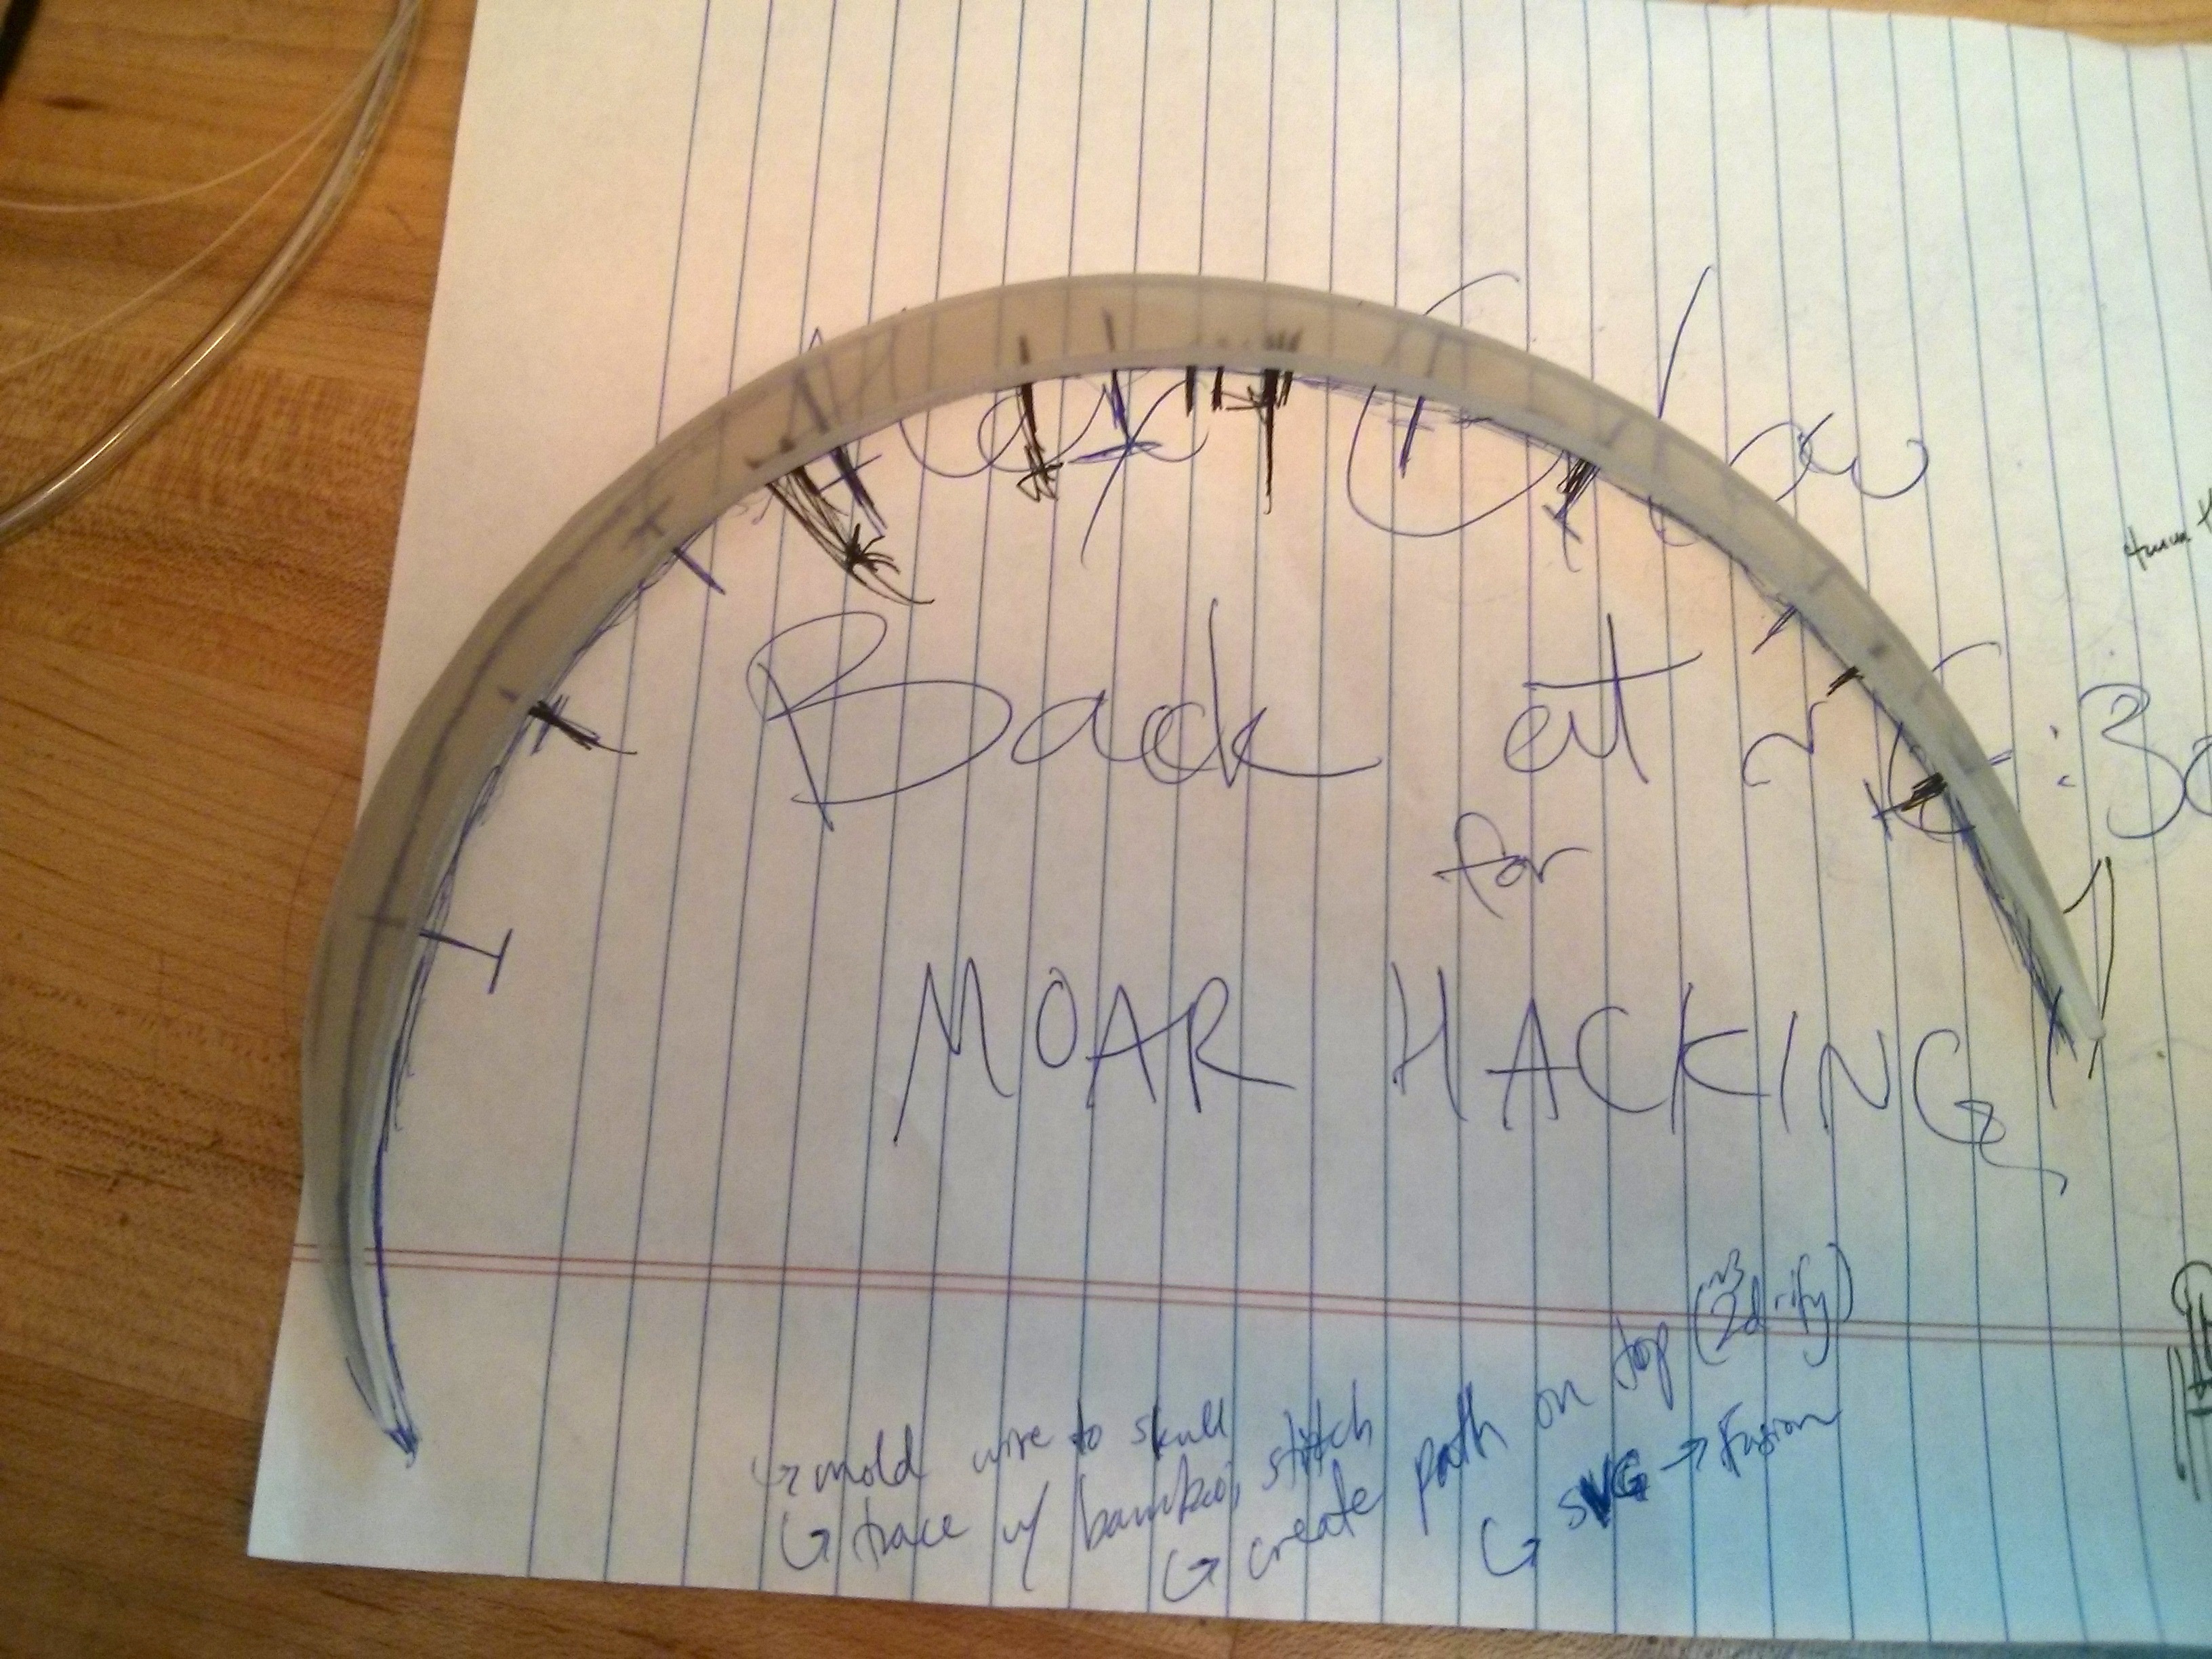
I imported this stitched image into Adobe Illustrator, and in a new layer, drew a path that matched the image pretty well. I extended the path so that it outlined a 2D shape, rather than a single line -- adding thickness on top of the head-line. Hiding the image layer, I traced this path and exported it to an SVG.
Next, in Fusion 360, I created a new design, and used "Create Sketch" and "Import SVG" to place this path on the drawing plane. Using "Press/Pull" (essentially an "extrude" function), I gave it depth and dimension, a few millimeters to start with. At this point, I measured the original tracing tip-to-tip, and did the same with its virtual copy, to make sure that I had the dimensions right. Always double-check!
Finally, I printed out the first version on Instructables' Objet Connex500 printers. For these, I'm using Medical 610 -- a UV-cured resin that is suitable for sustained contact with the human body. (How it'll respond to my alien carapace, I guess we'll see...)
Fancy It Up!
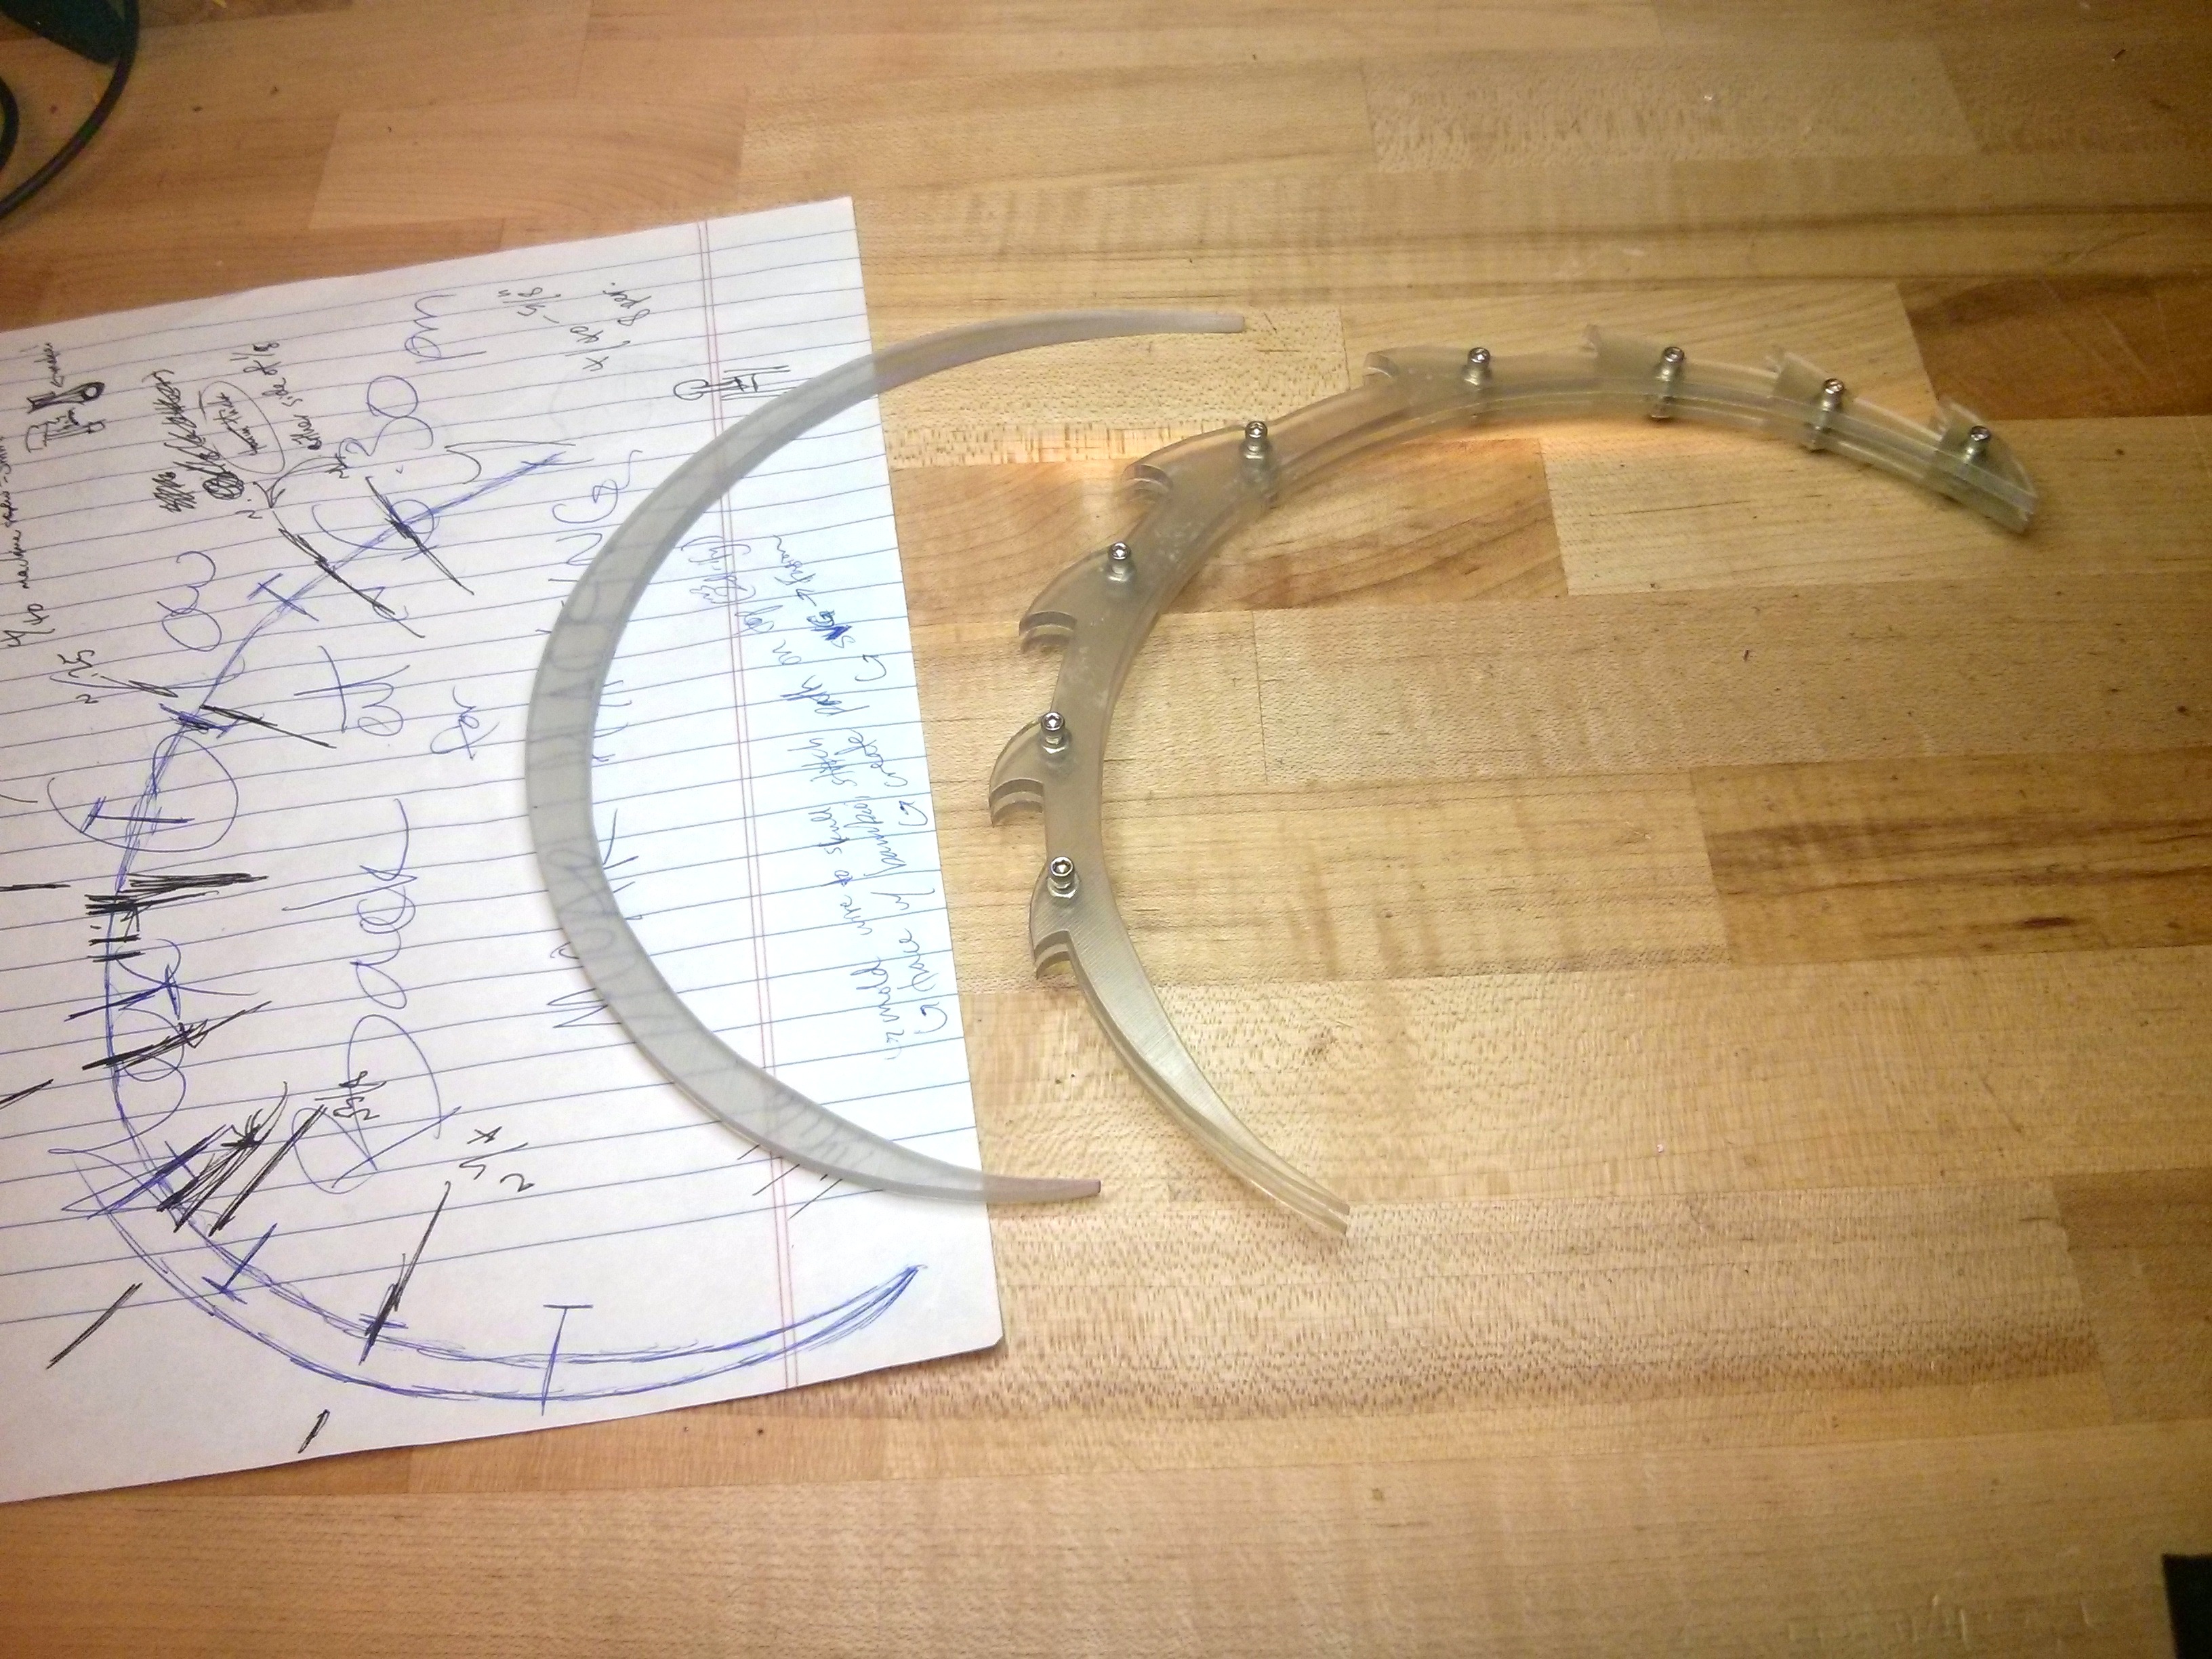
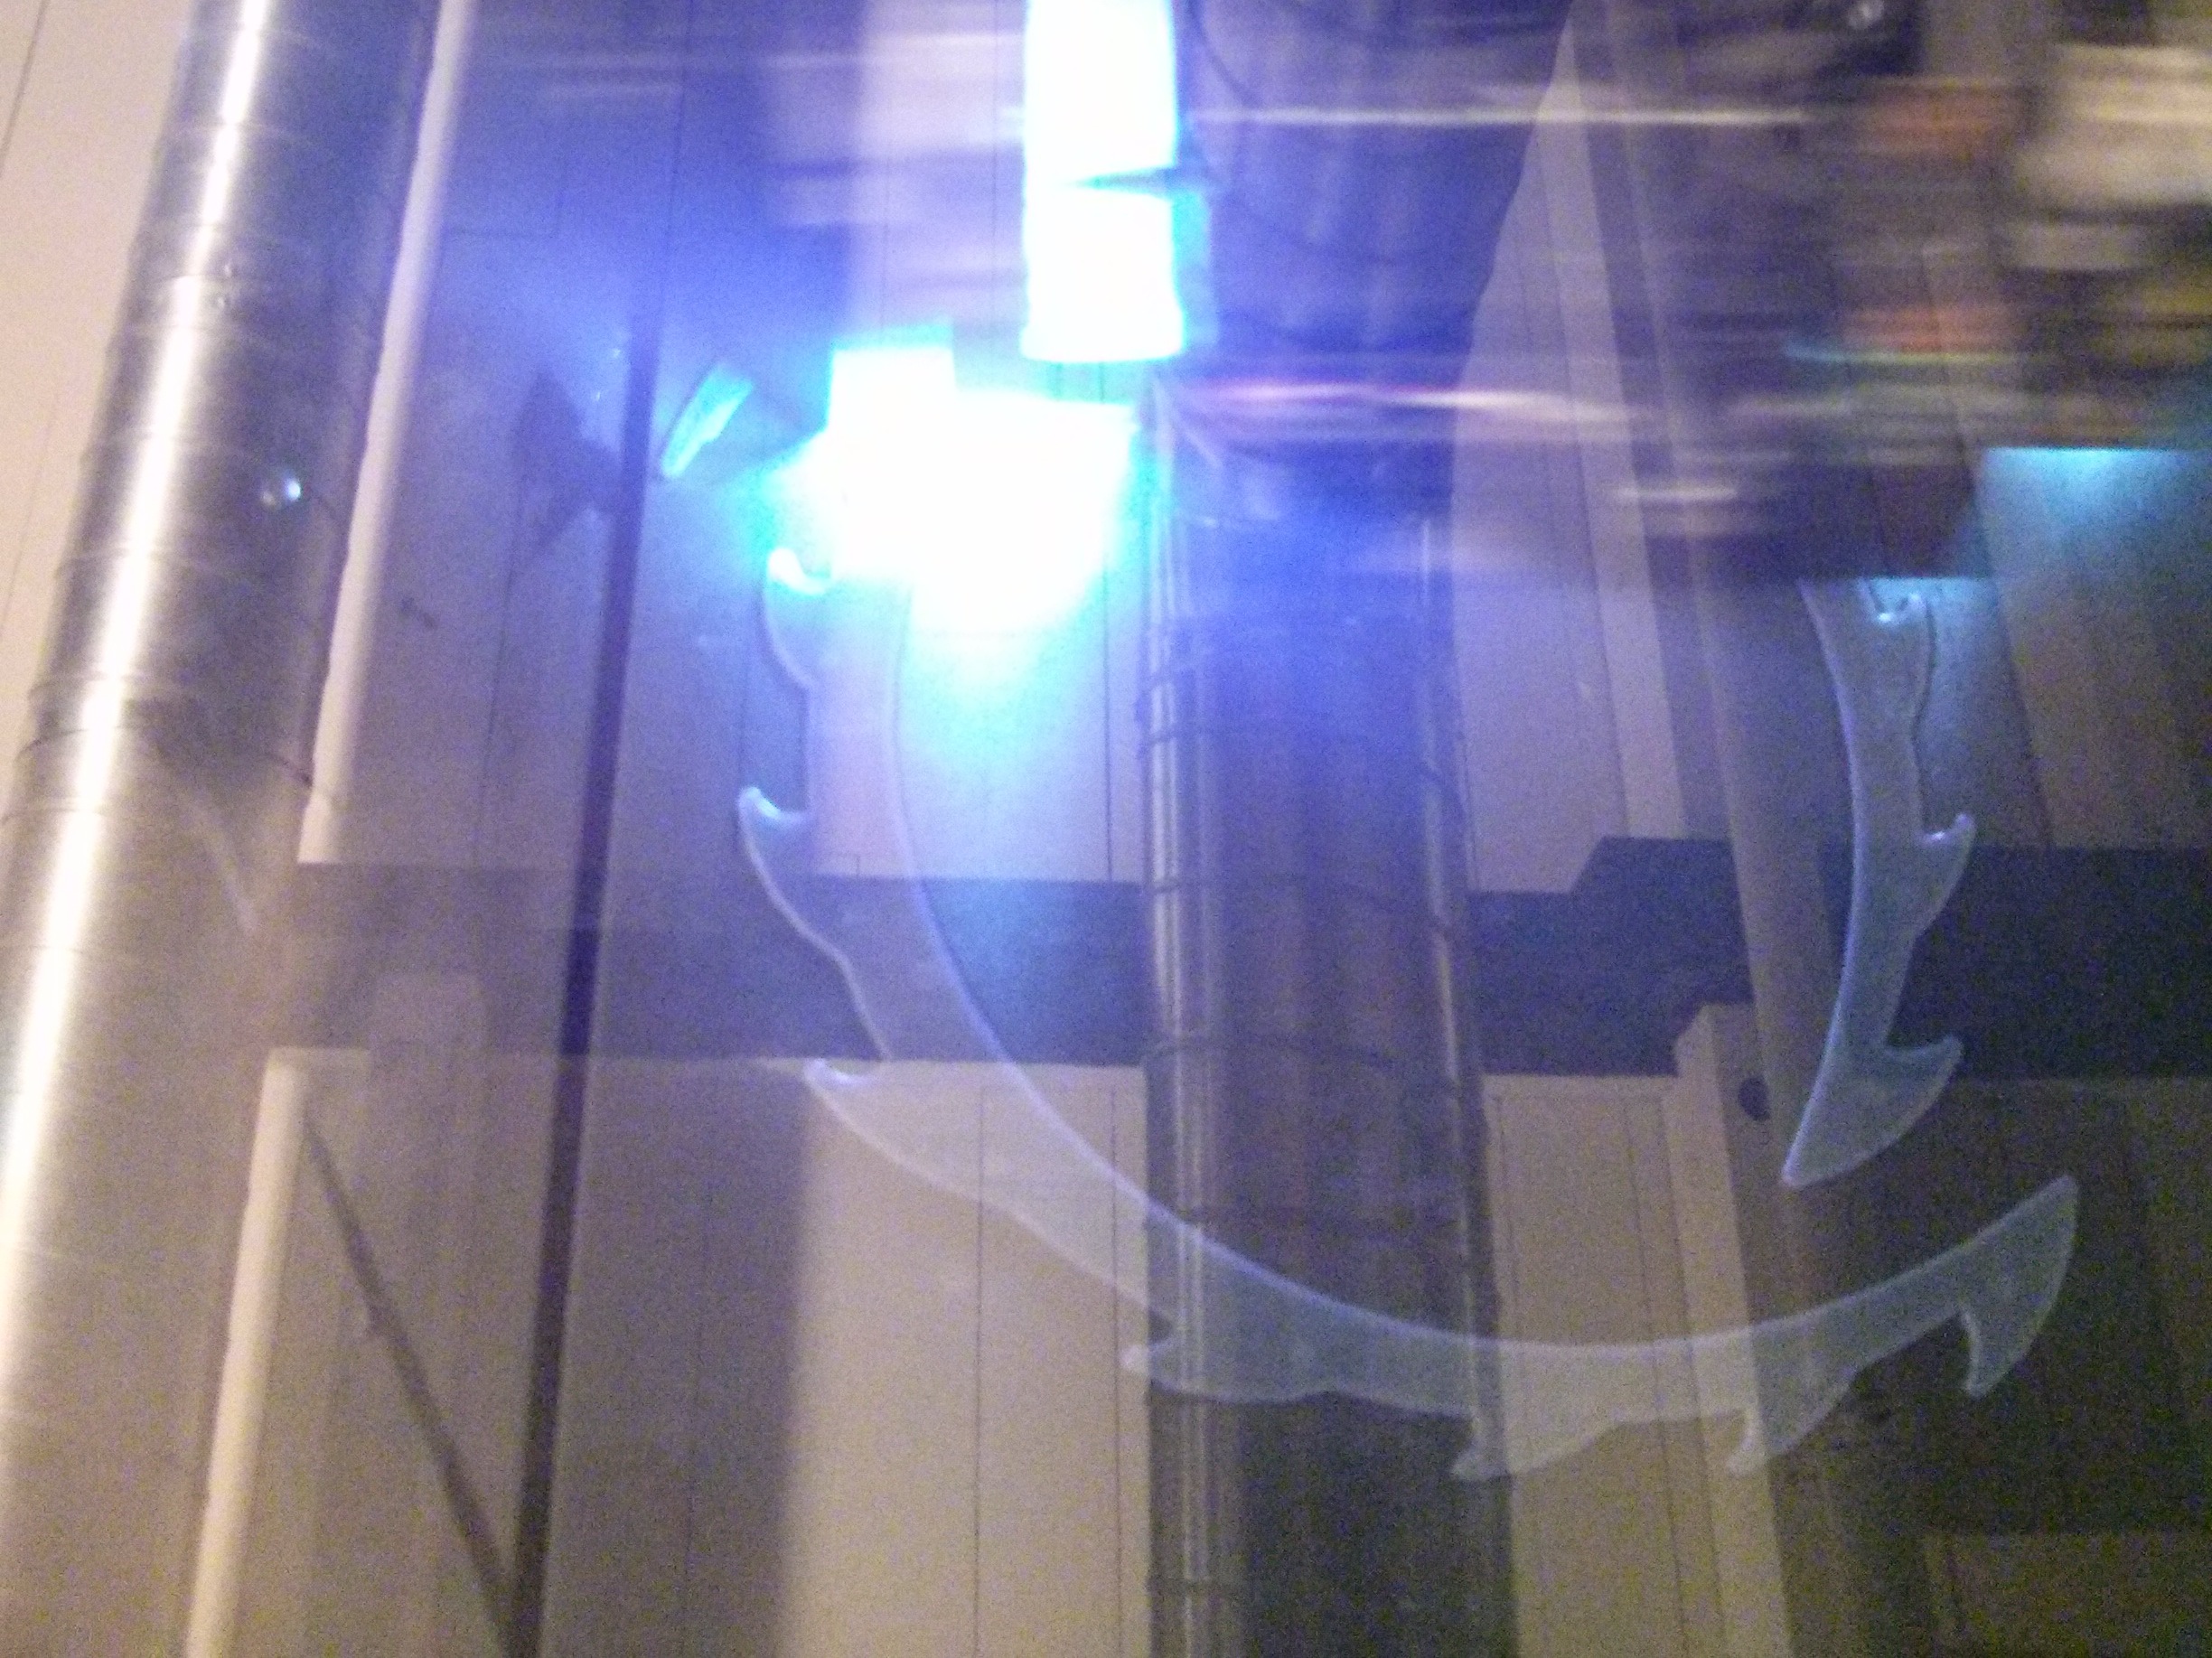
This is the most fun (and frustrating) part! I made later iterations with a channel for the fishing line, with two sides that would bolt together once the line was in place. I used nylon-threaded nuts, which stay in place until they're unscrewed, while regular nuts may easily come loose.
I've now abandoned the fishing-line idea, and am working with some flexible filament attached directly to the carbon-fiber spikes (tutorial coming soon). Wish me luck! :)