Custom Multicolor Hooded Sweatshirt
by MakrToolbox in Craft > Fashion
11532 Views, 98 Favorites, 0 Comments
Custom Multicolor Hooded Sweatshirt
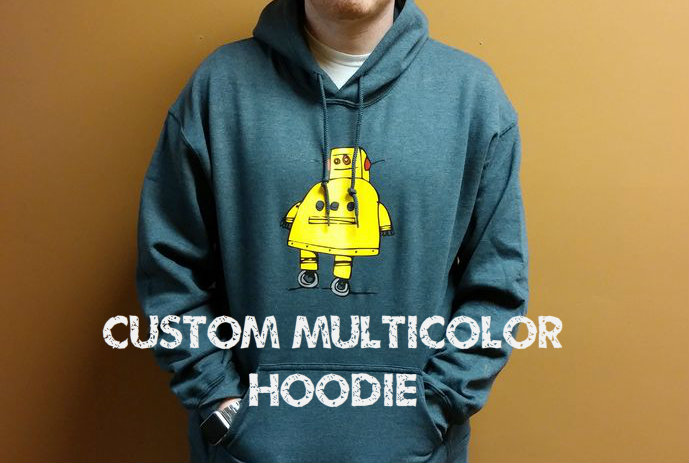

I have received lots of the instrucables t-shirts, I love them, I am wearing one now, lol. But up here in north dakota it is cold most of the year. And I like to wear a hooded sweatshirt. So i thought I would try to make a instructables hoodie. I have made a few hoodies before, but I have never done an image with multiple colors using viynl. I decided if I could take a simple image, something with a couple definable colors. Then I could separate the colors and cut the individual colors and iron them on in stages. I want to make clear this tutorial is essentially how to make a multi-color vinyl, not necessarily how to make the same one that I did.
The following is the steps that I took to achieve the final product.
Materials Used to Make This Hoodie
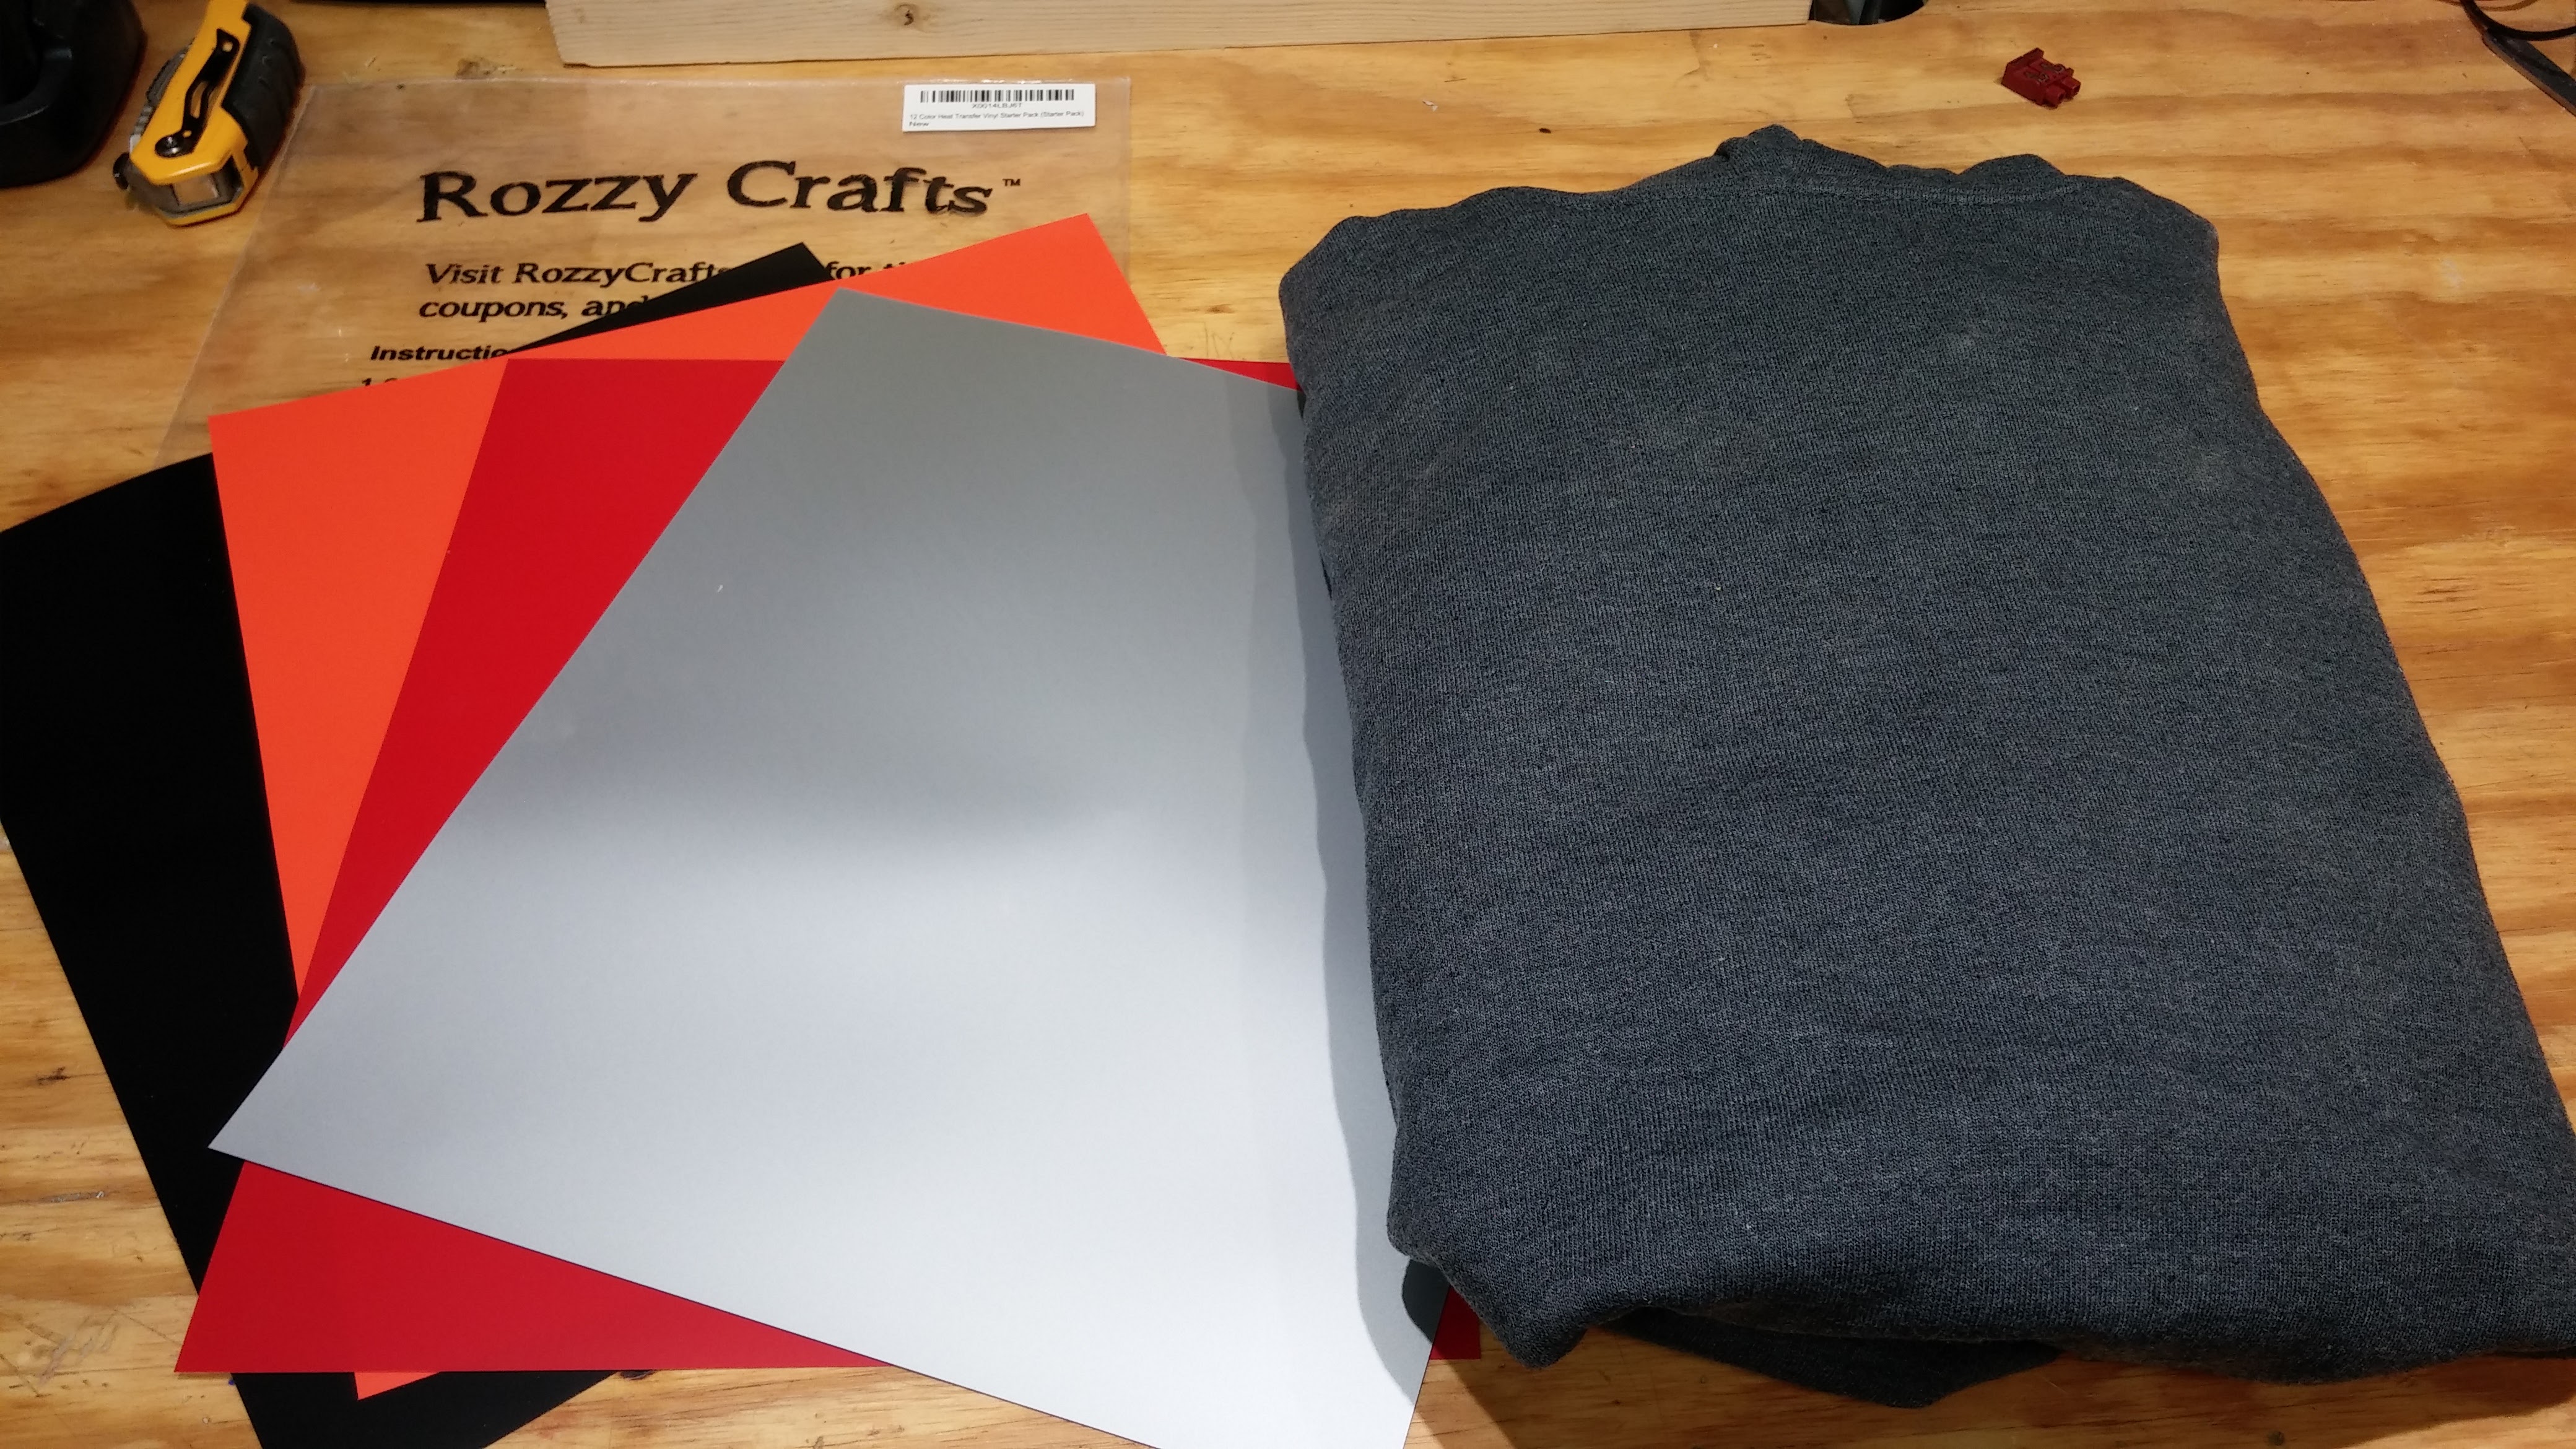
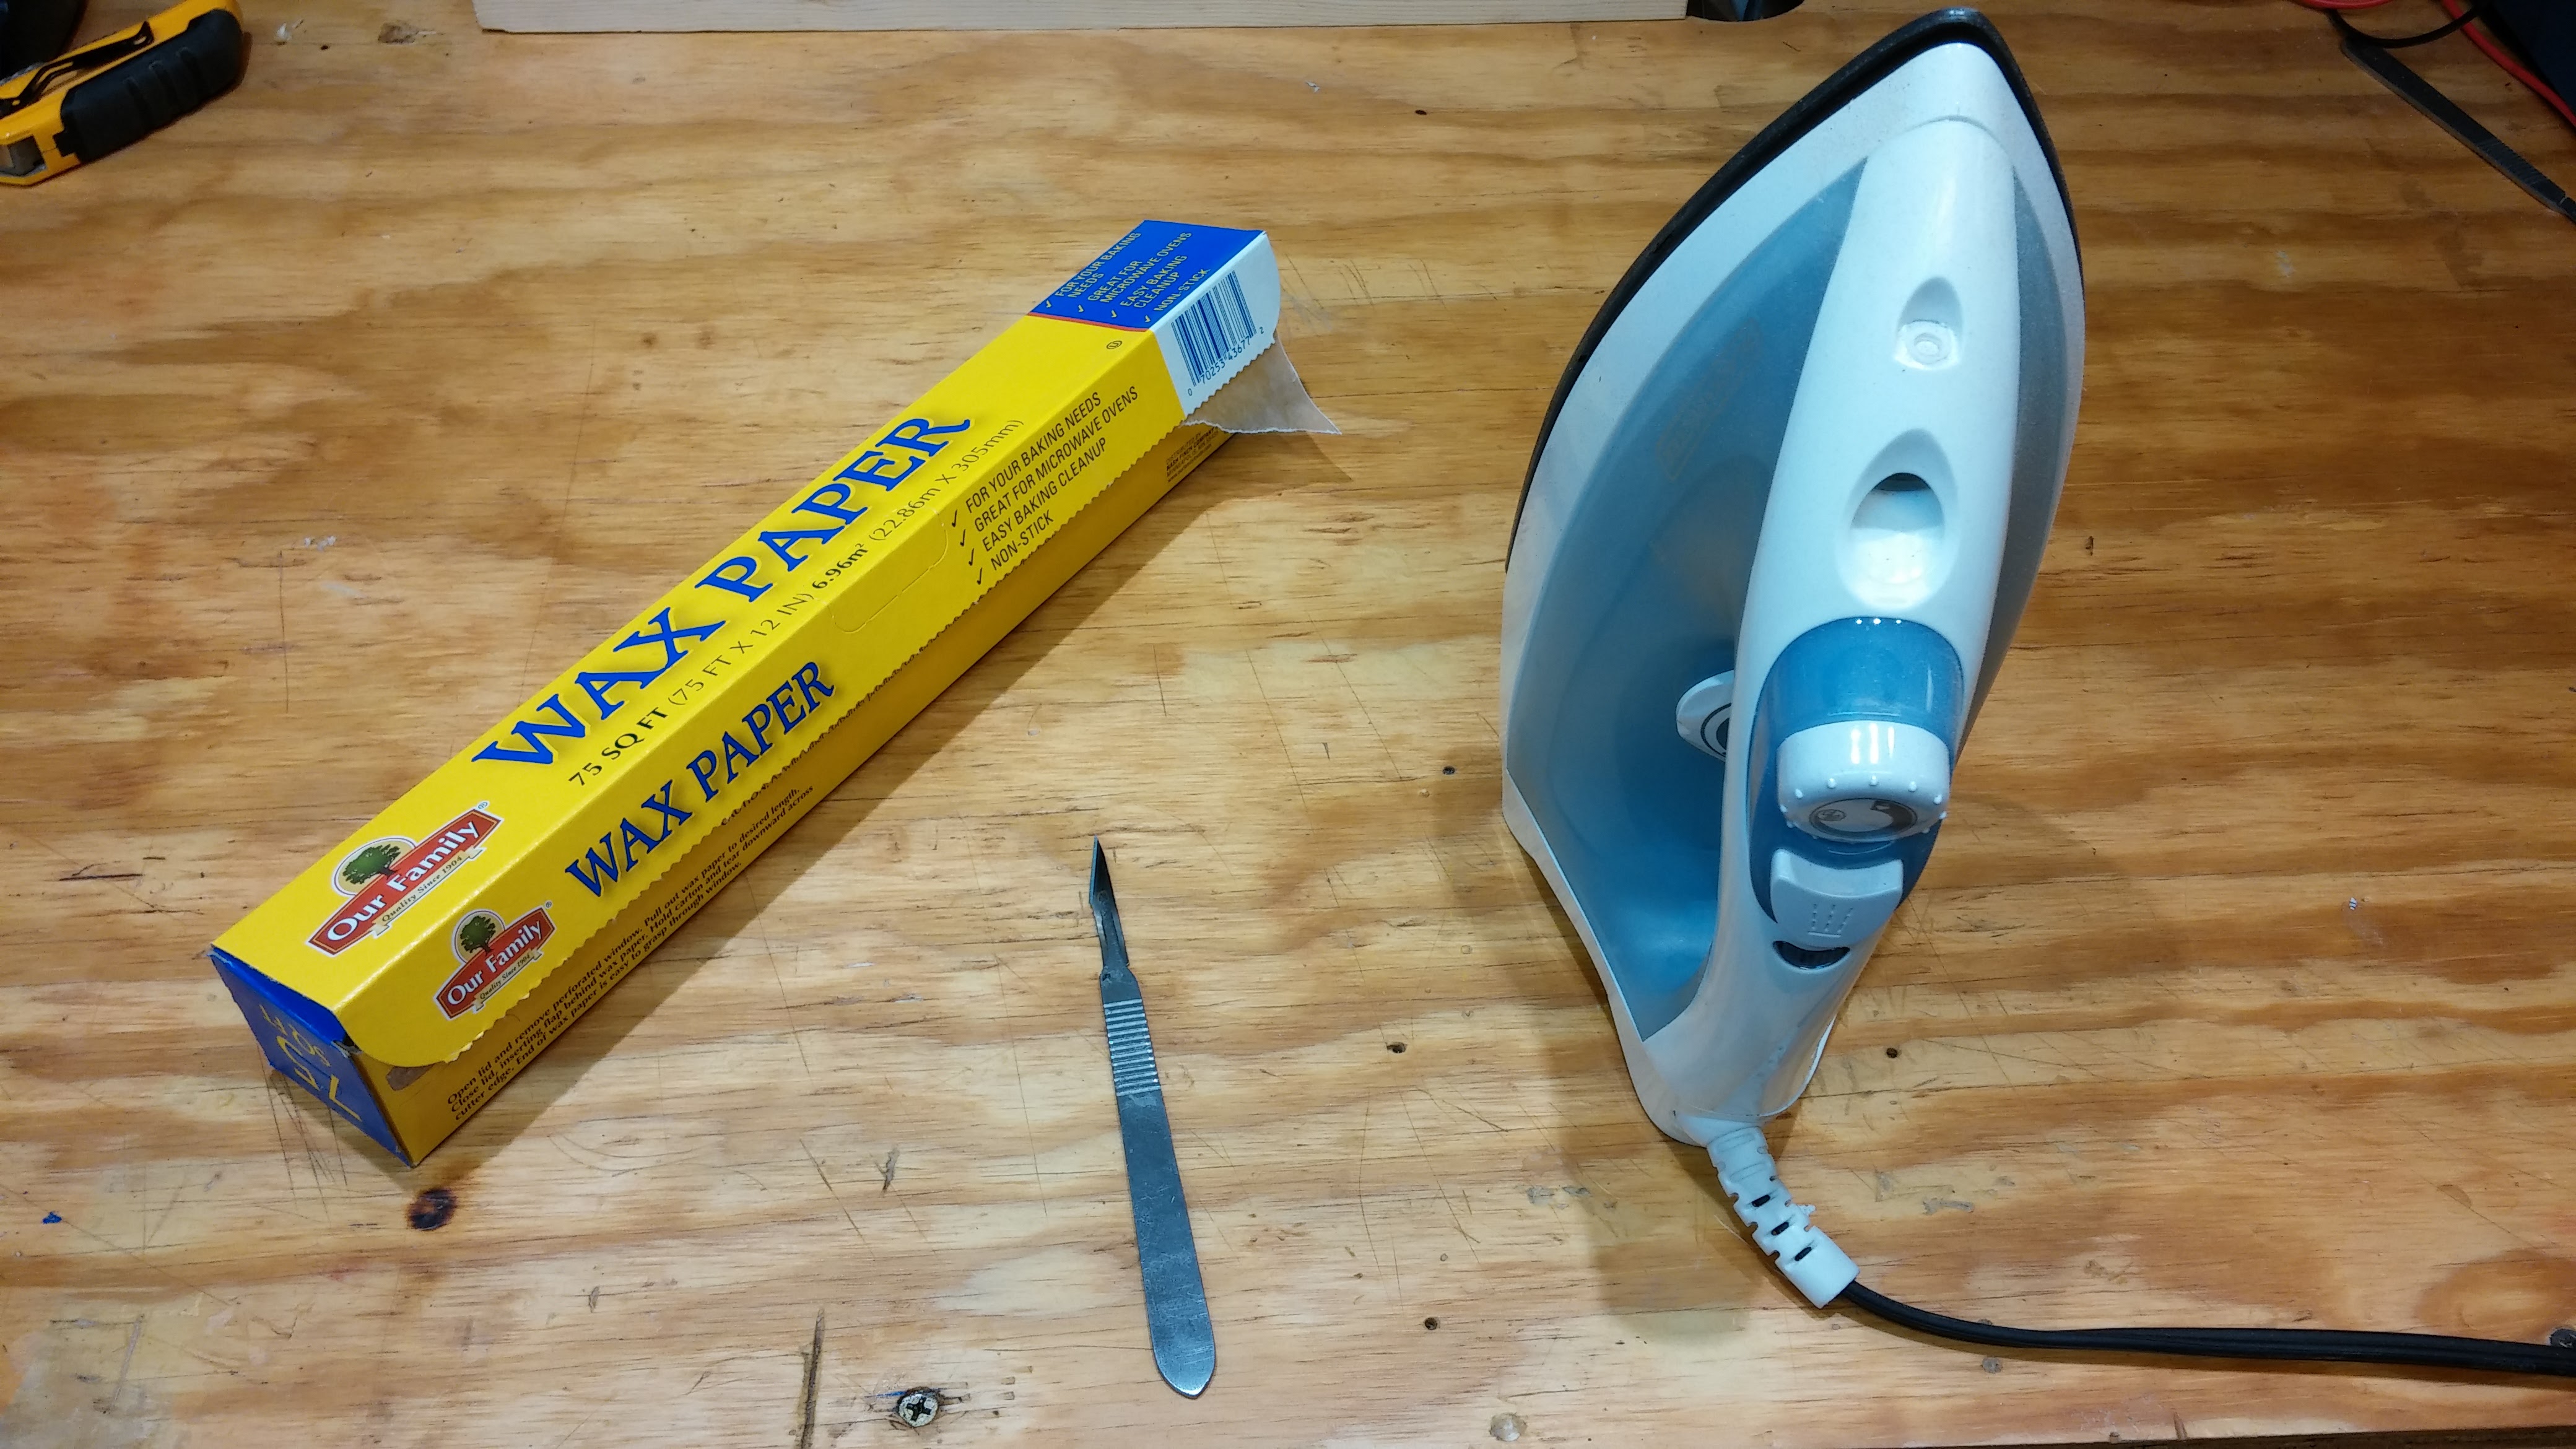
Here is a list of the materials and tools that I used to make this.
1. 12 color heat transfer vinyl starter kit -- Here is a Link to it on Amazon
2. Gildan Heavy Blend Hooded Sweatshirt -- Here is a Link to it on Amazon
3. Black and Decker Iron -- Here is a Link to it on Amazon
4. Wax Paper -- I bought this a my local grocery store.
5. Silhouette Cameo -- Here is a Link to it on Amazon
Coreldraw
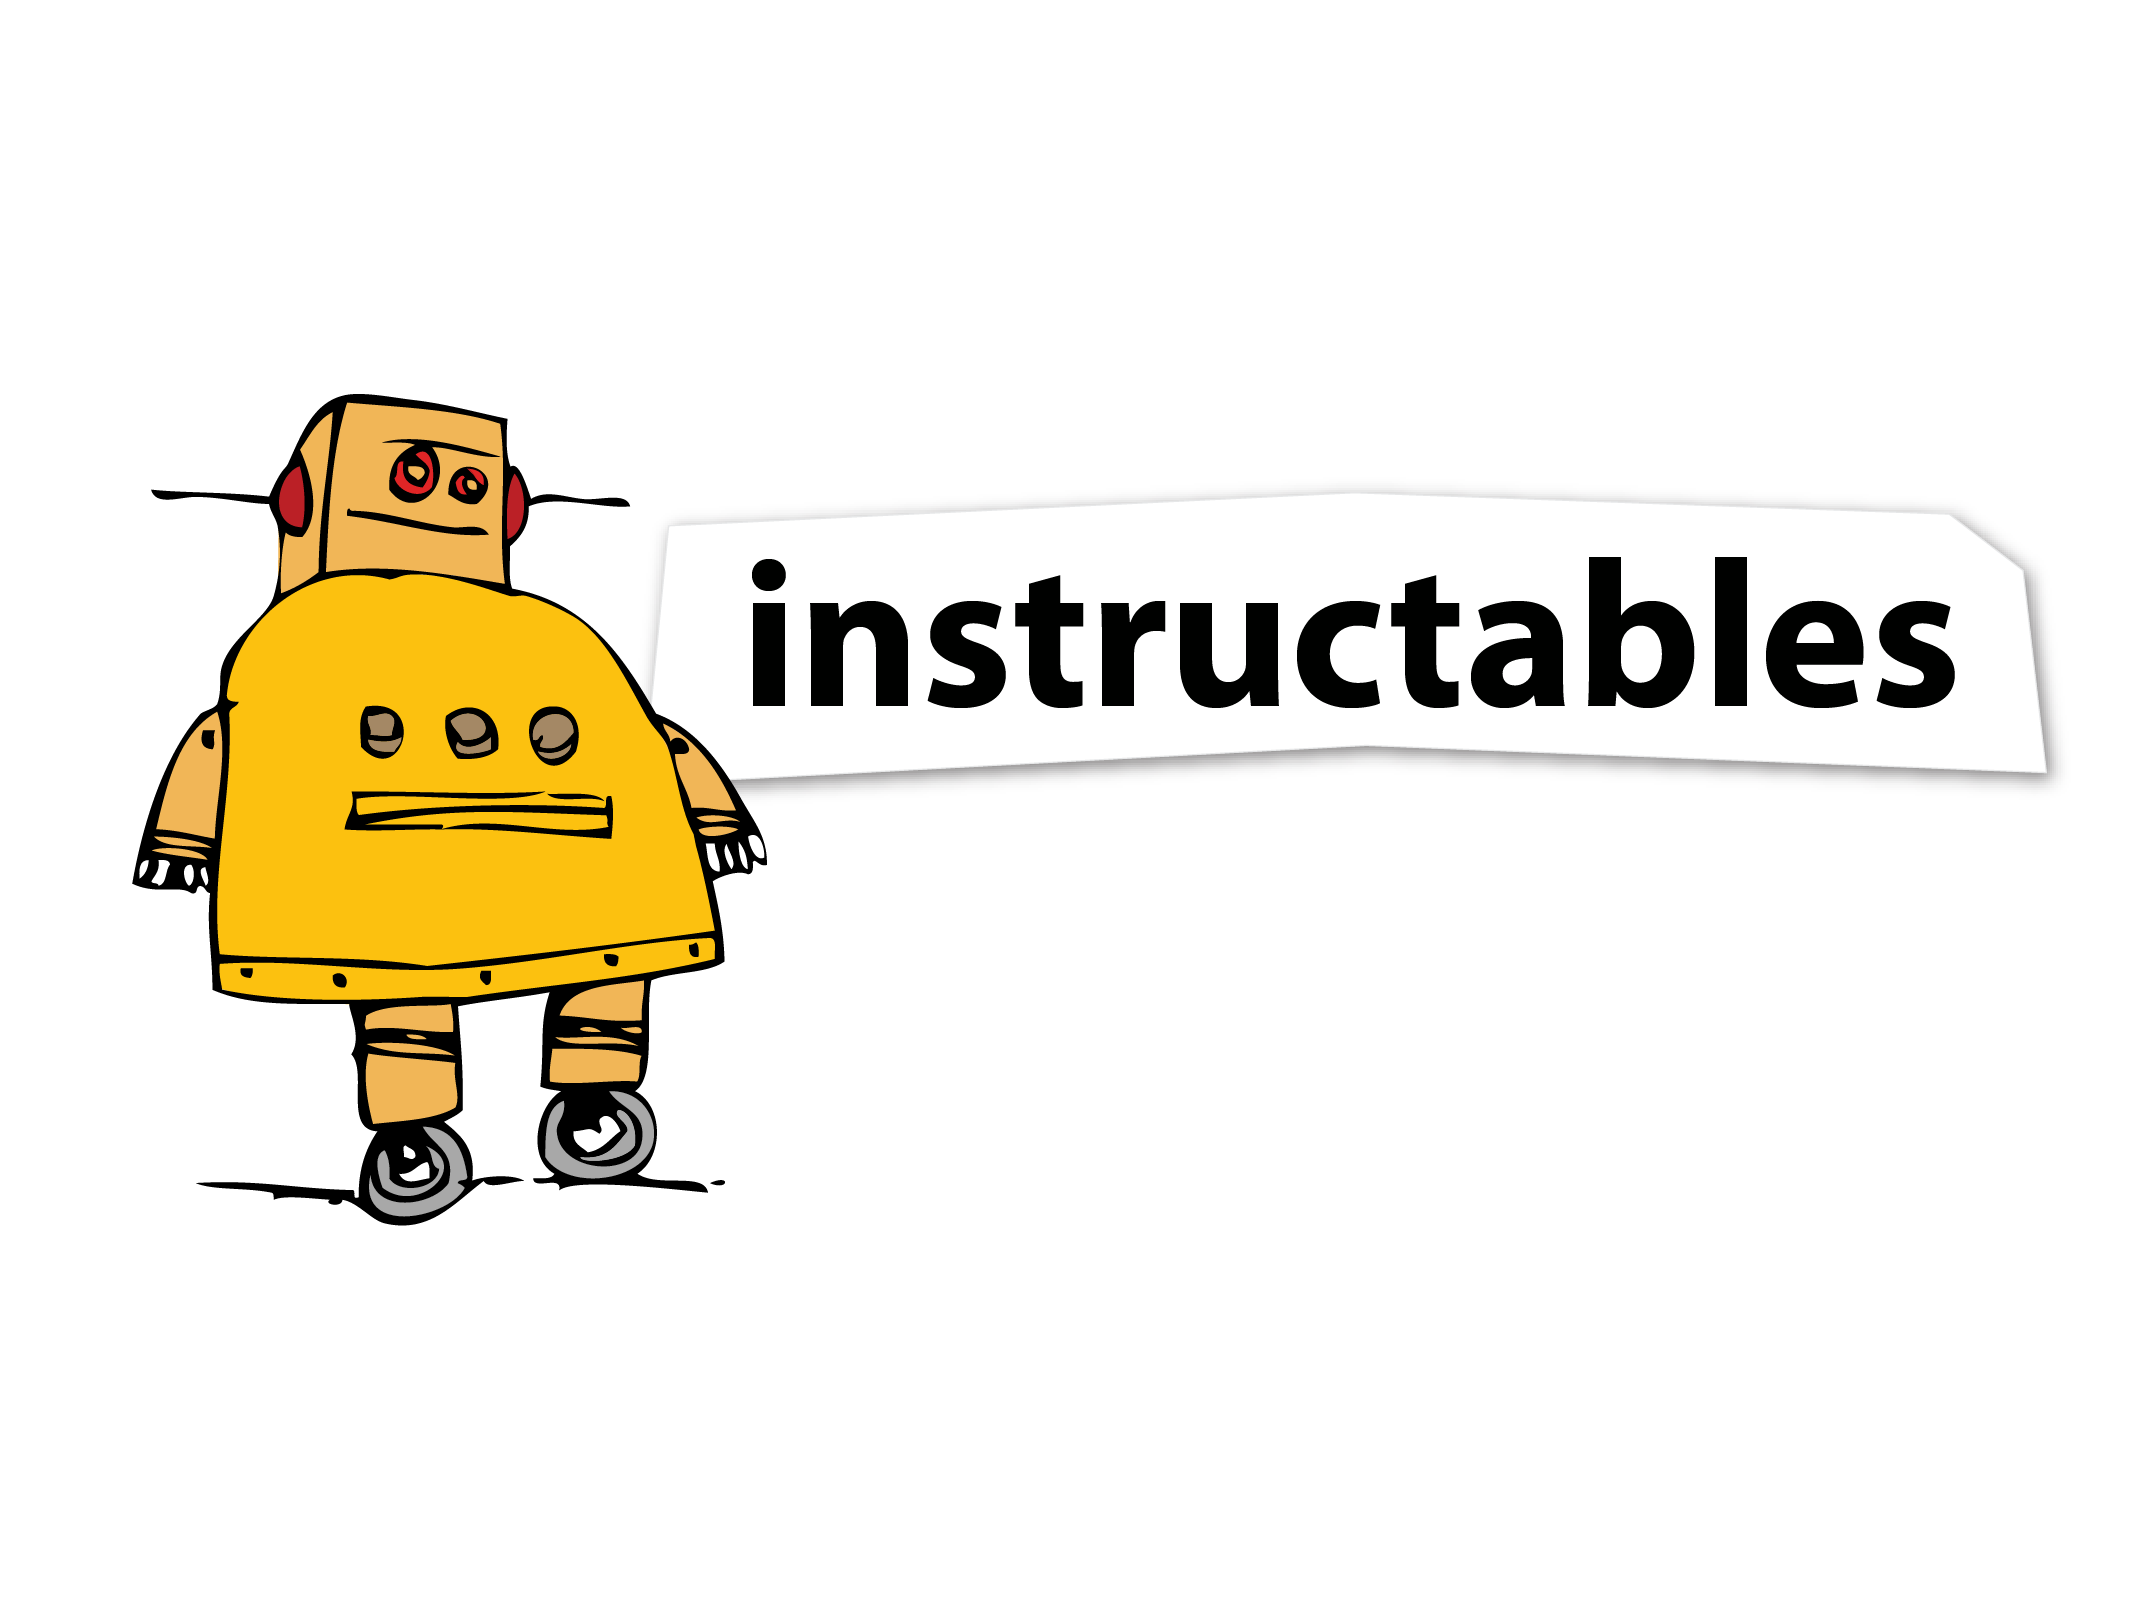
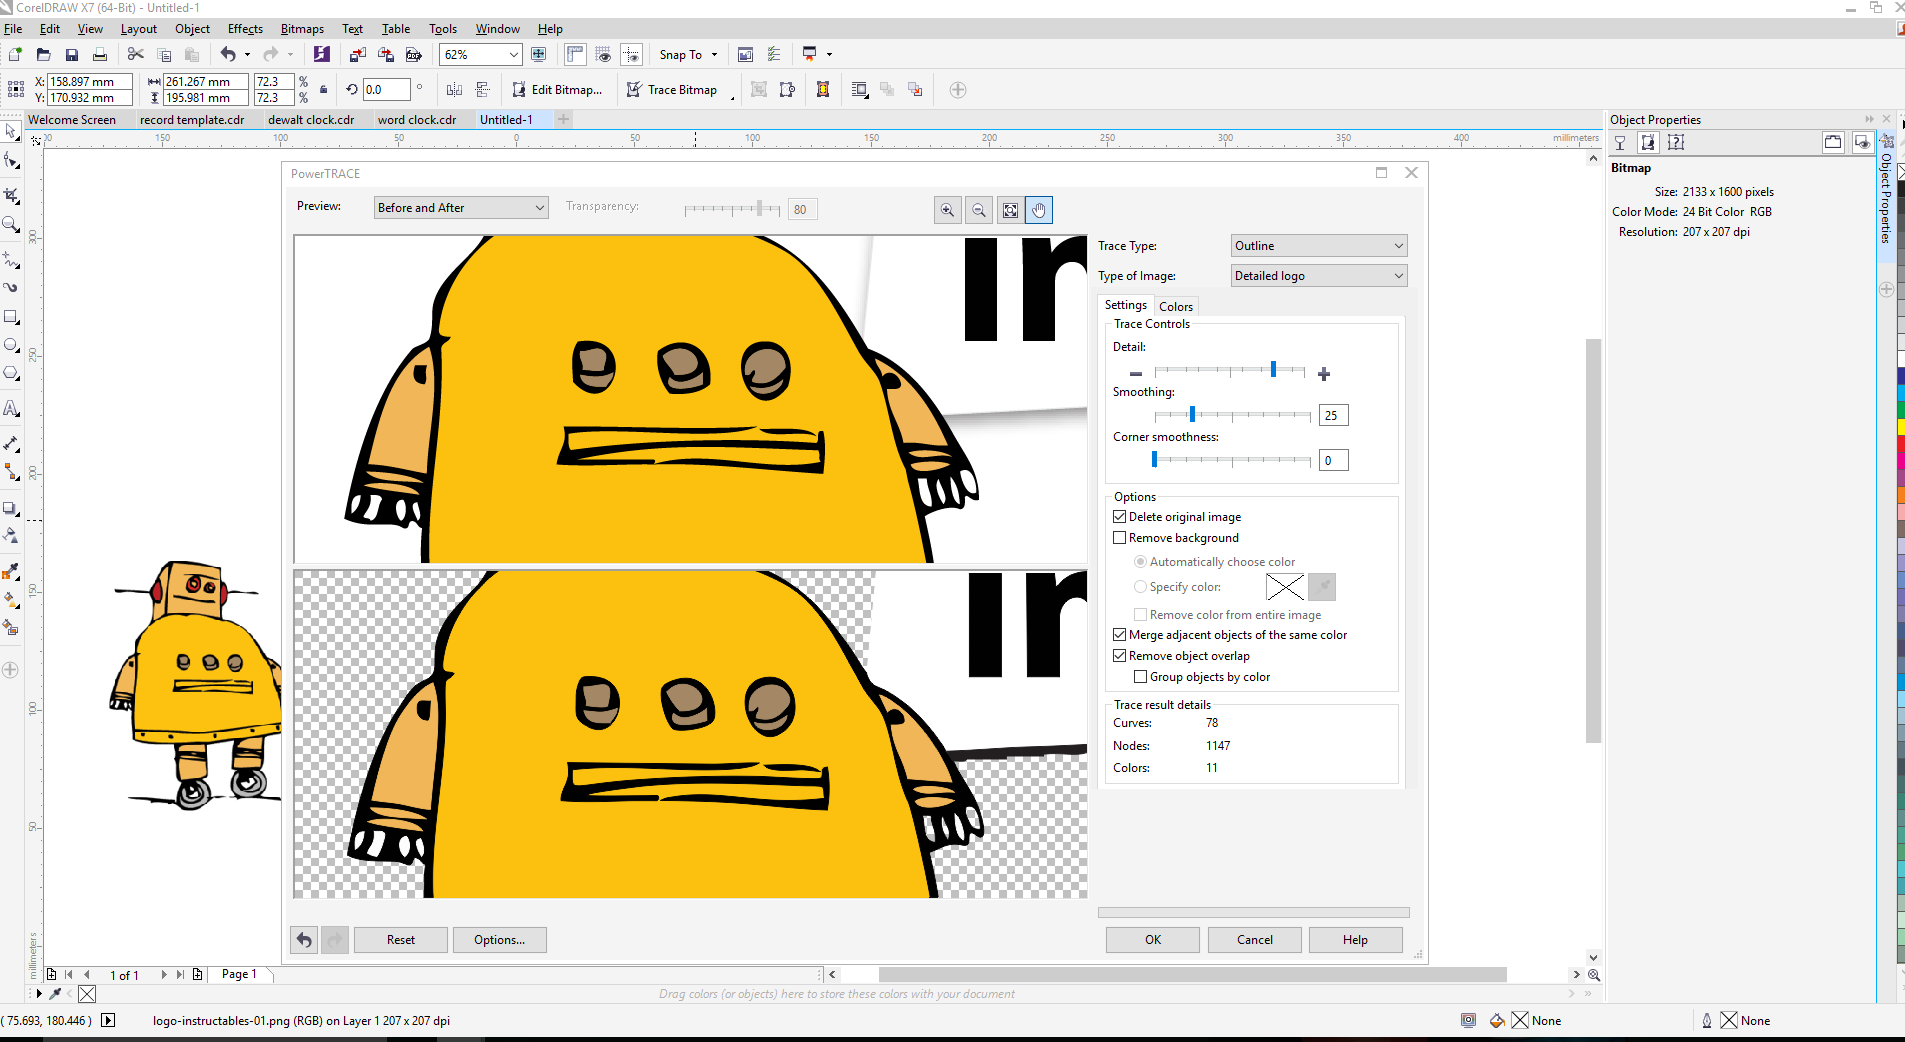
So I have been using coreldraw for several years. There could be other programs that will do this easier, or better but I know how to use coreldraw so that is what im using for this project.
The first step to is to find a good, high quality image of the design you want and import it into coreldraw. Then we will right-click on the image and choose "Outline Trace" then play with the setting so that it looks like you want it too. My best luck was to use the "Clipart" setting. This will change the bitmap into a vector graphics that can be manipulated.
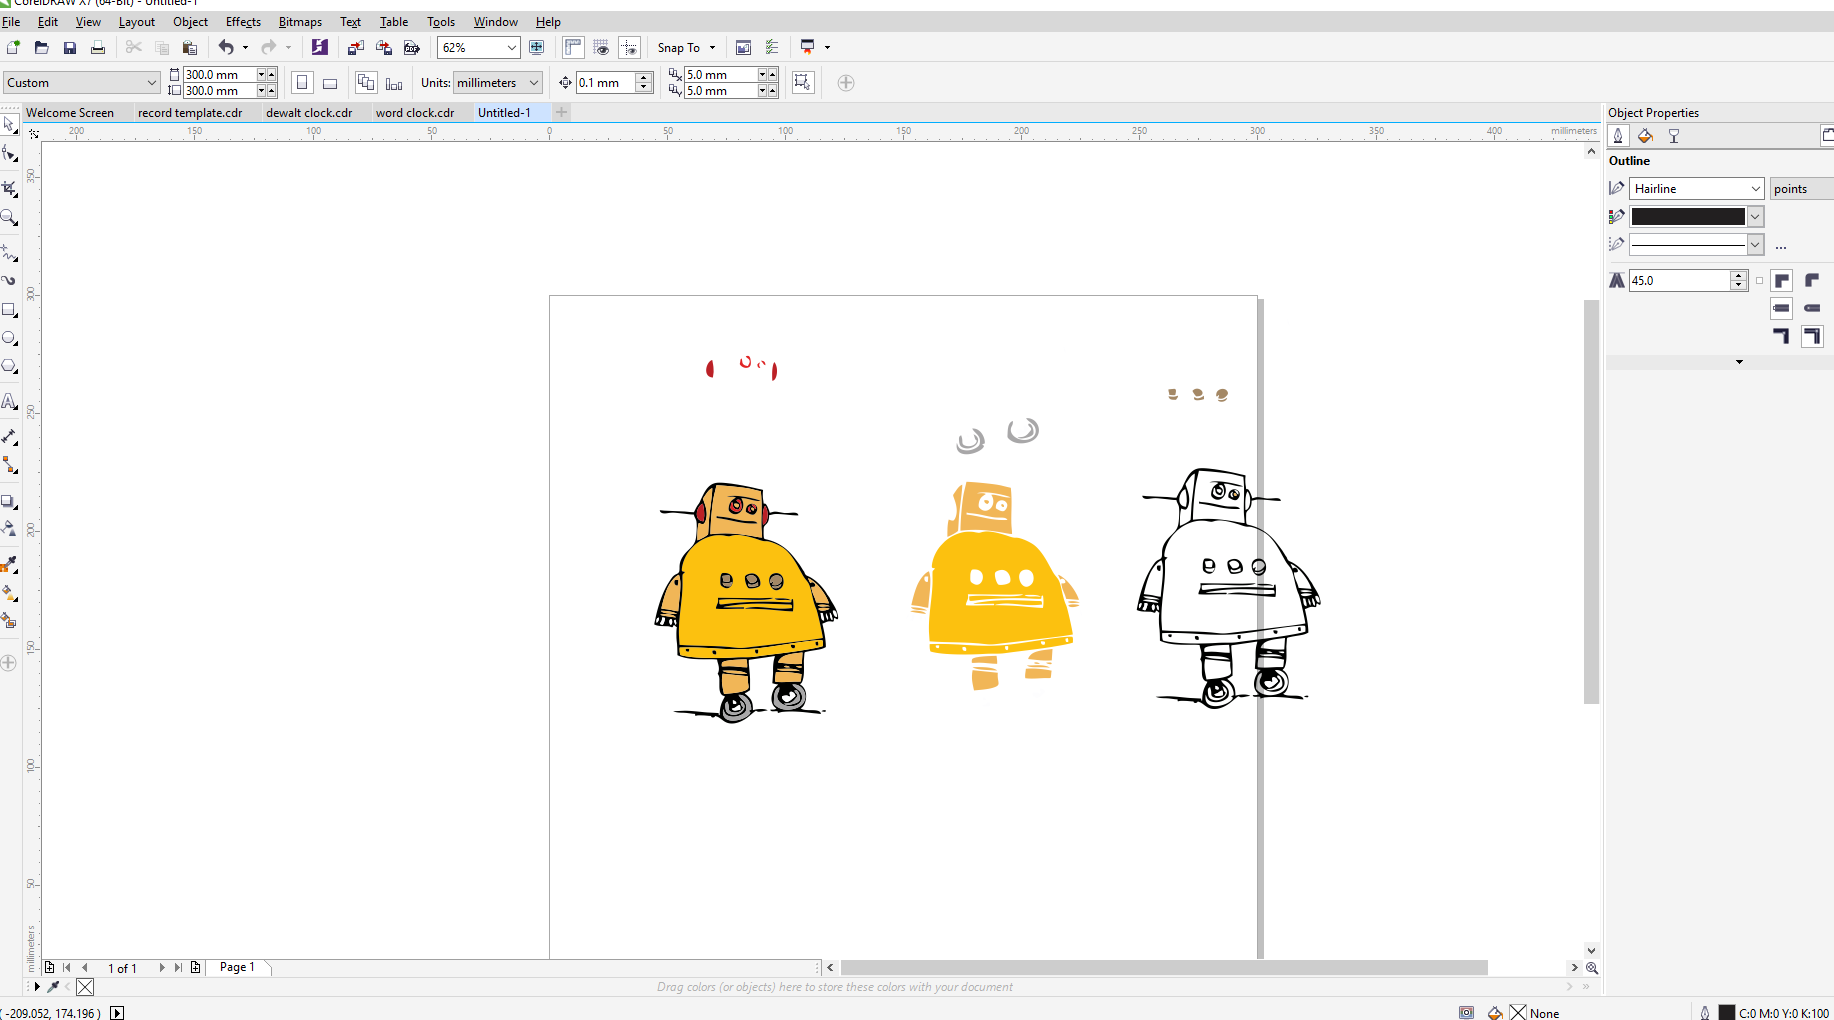
Once the trace has been completed and the image is now a vector graphic we will need to split the graphic apart. Click on the "break apart" button to make it so that we can separate the image by colors.
Once you have broken the image apart, copy and paste the image several times. Keep in mind that once you copy and paste you can not change the size of any of the images or they will not fit together later. Ok, so you take the copy and pasted images and make each one a different color. So just click and delete all of the colors but black from one copy, then all but orange from another, and so on and so forth.
Once you are done just move each color set to its own page and save it as a DXF file so you can import it into silhouette cameo software.
Silhouette Cameo
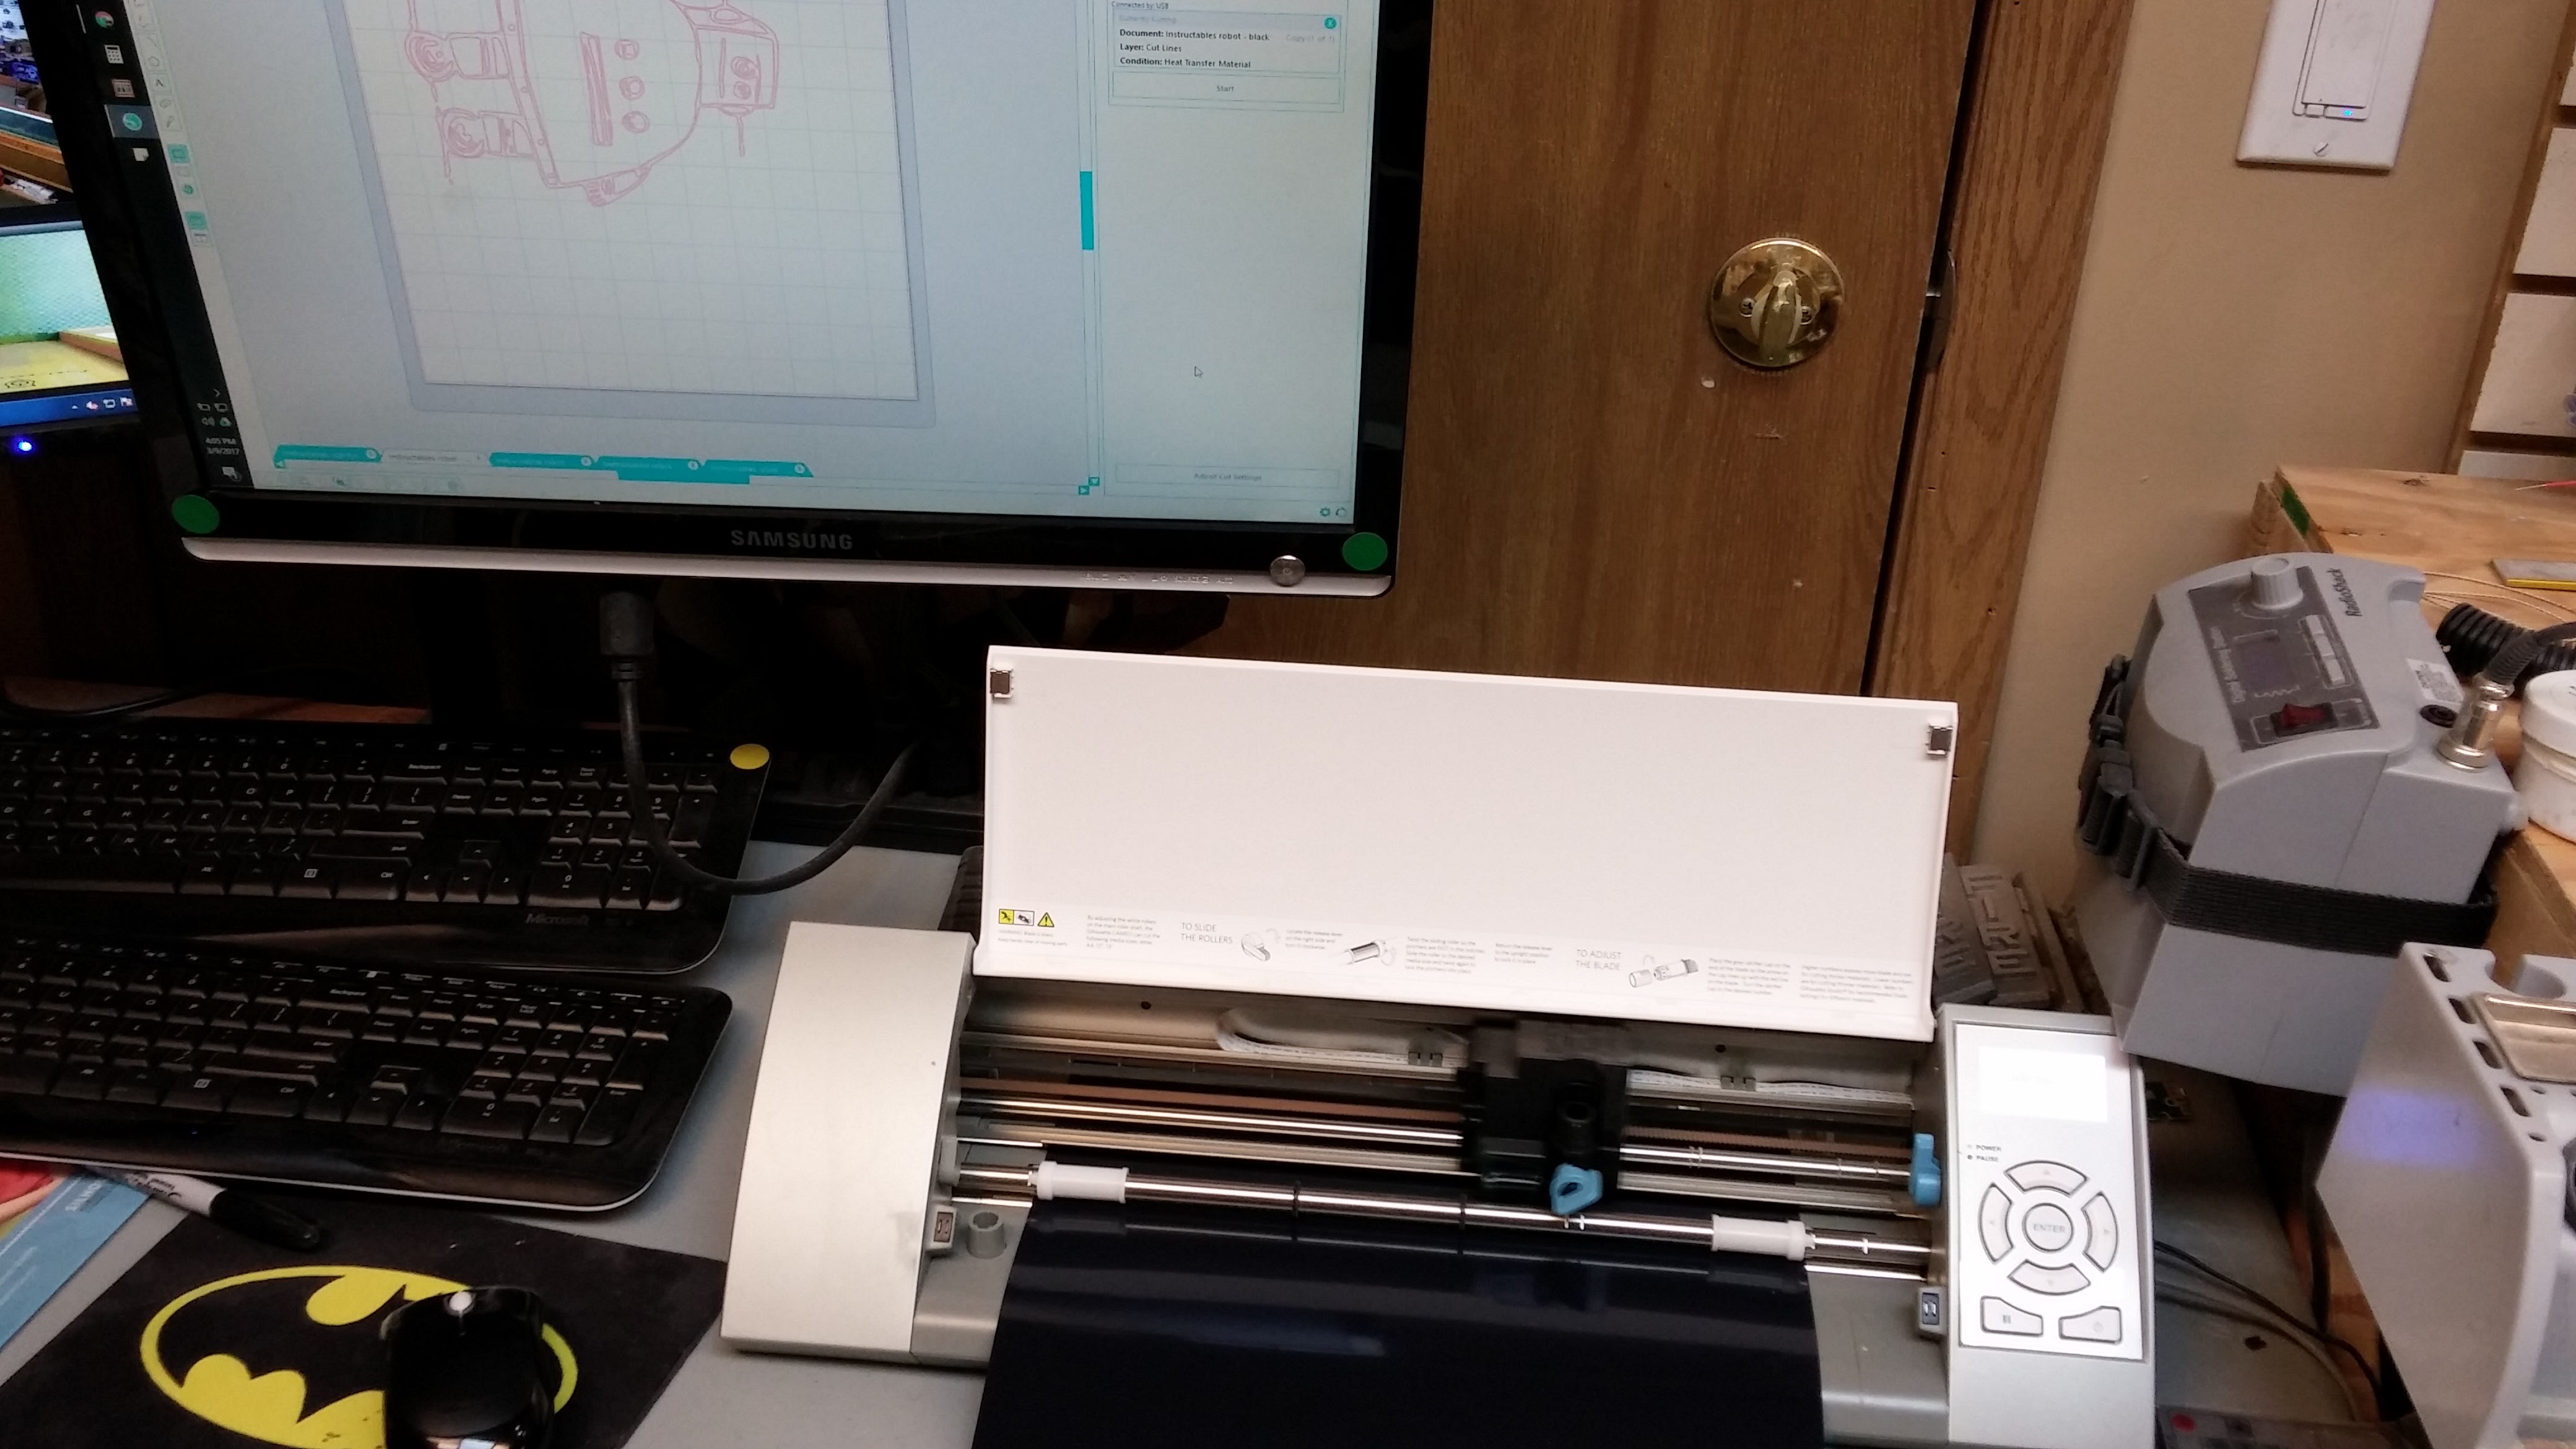
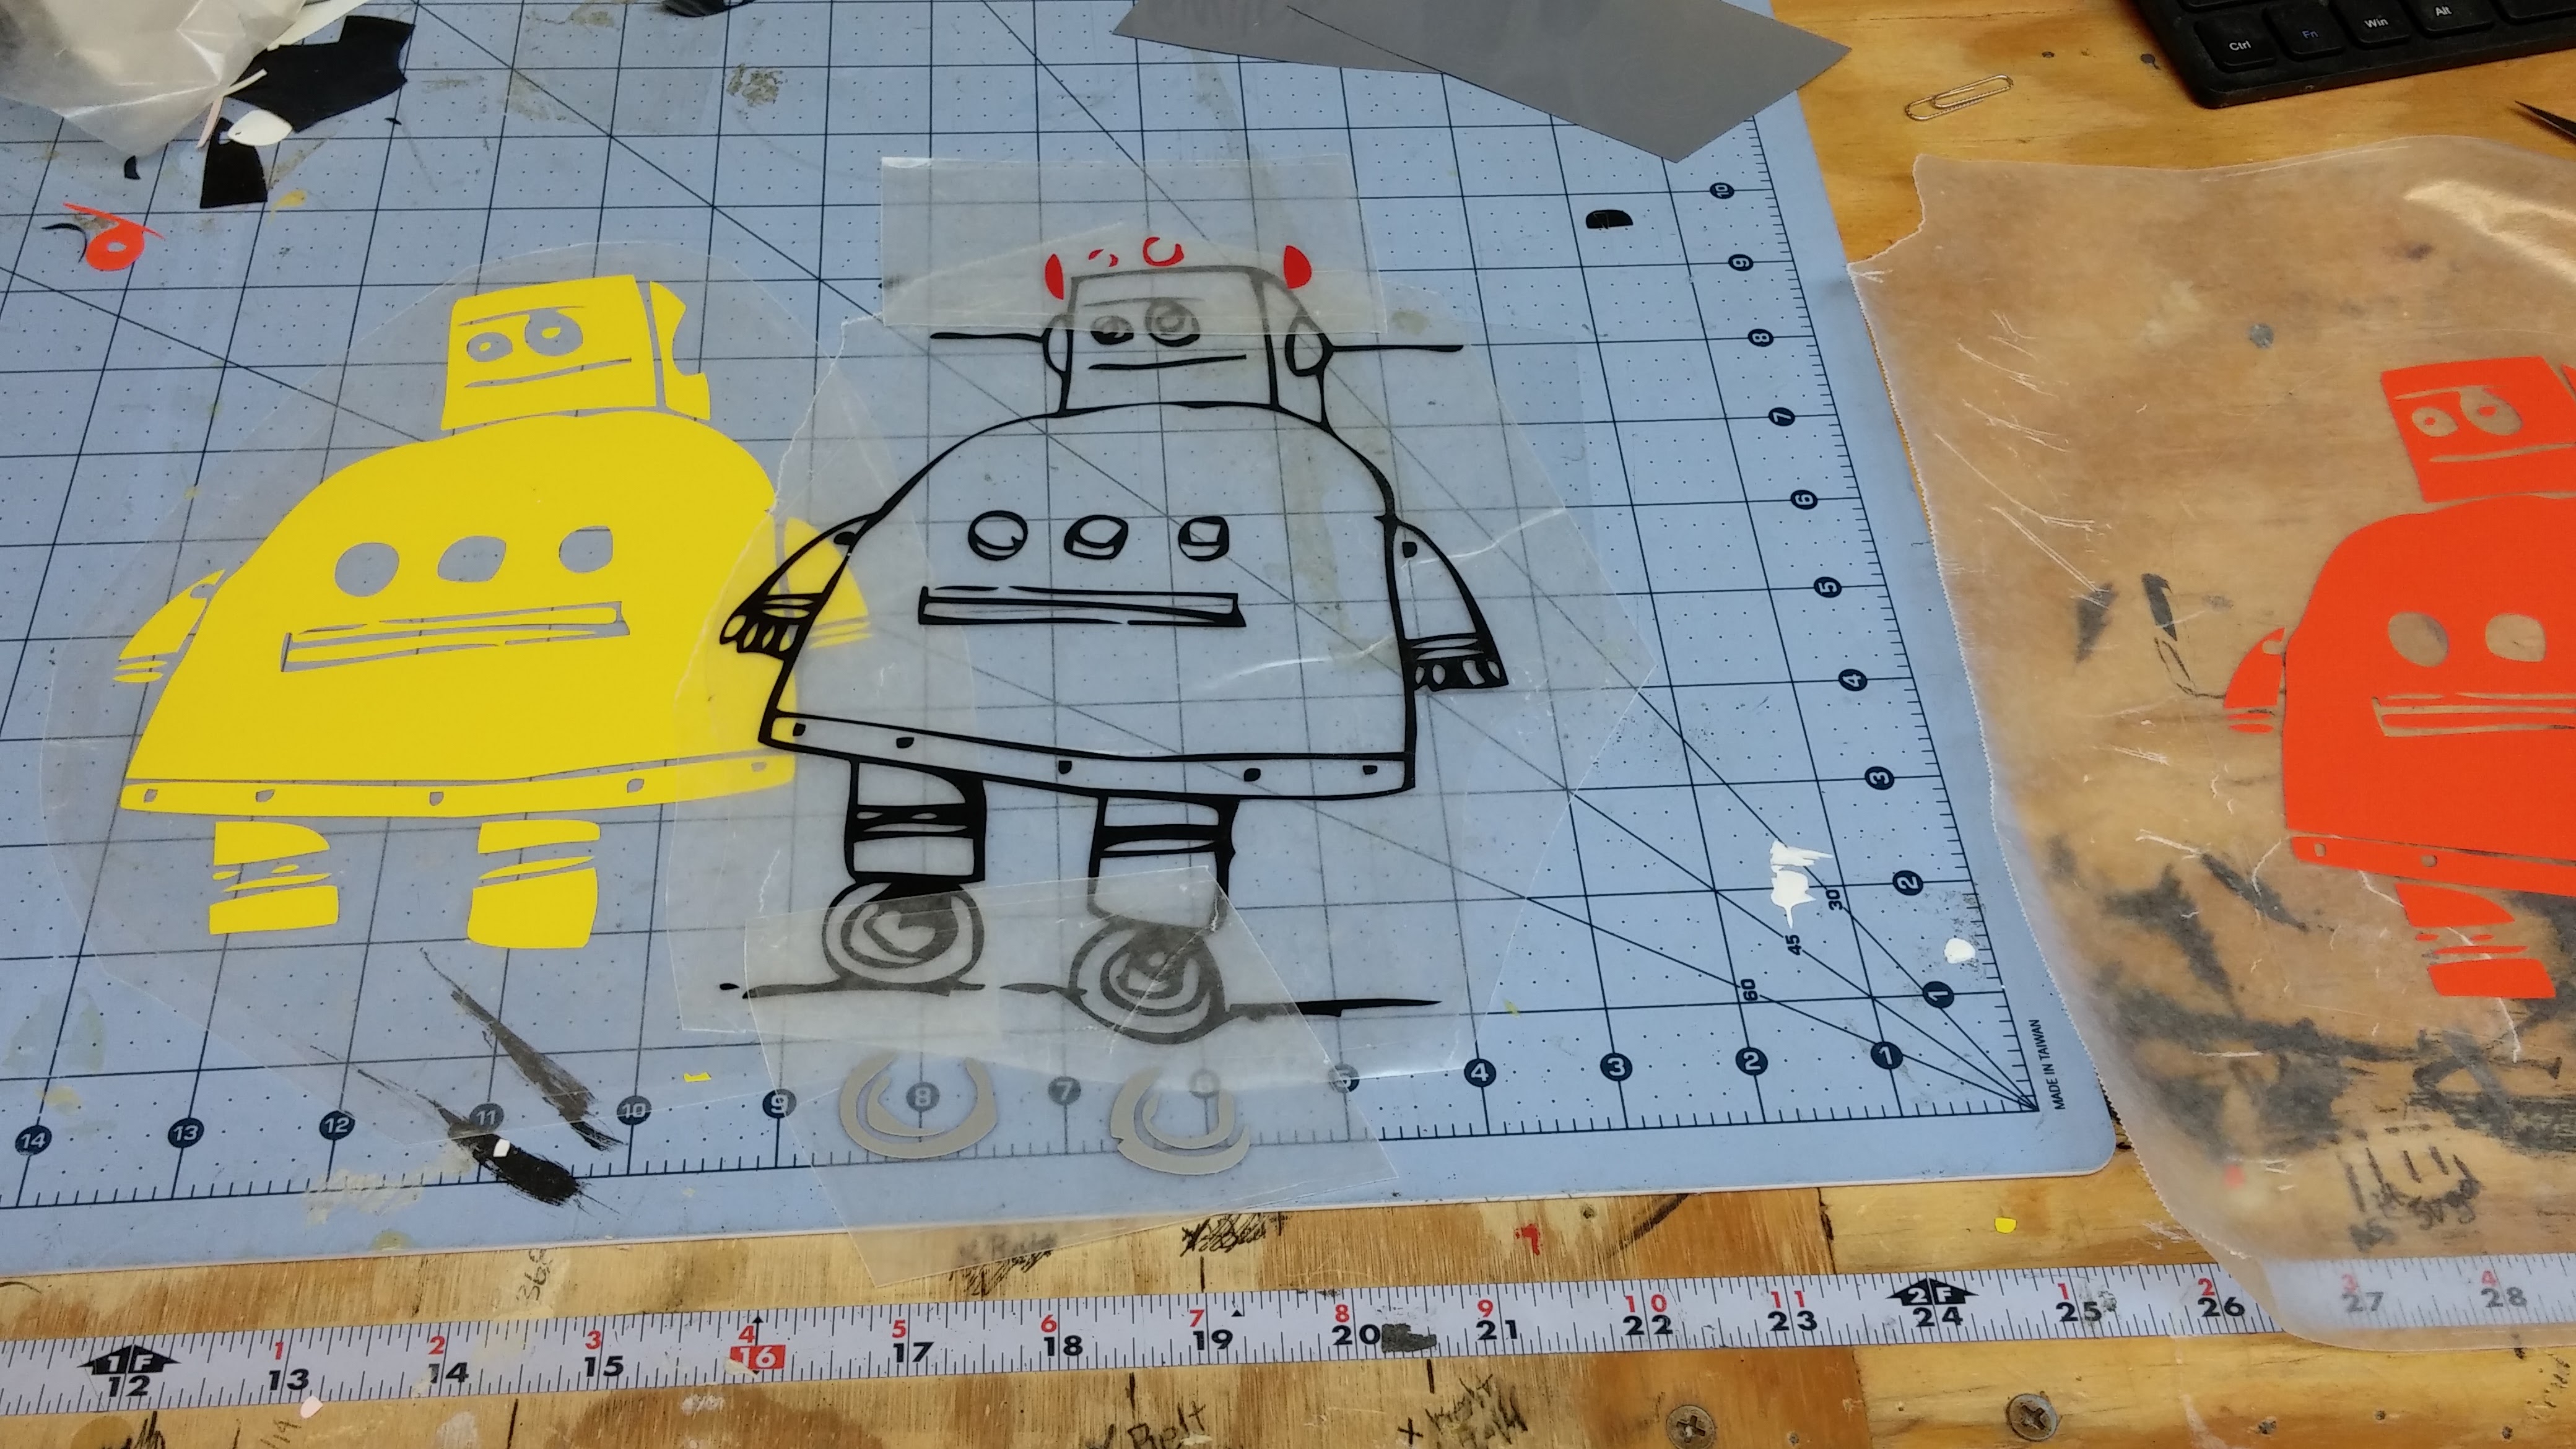
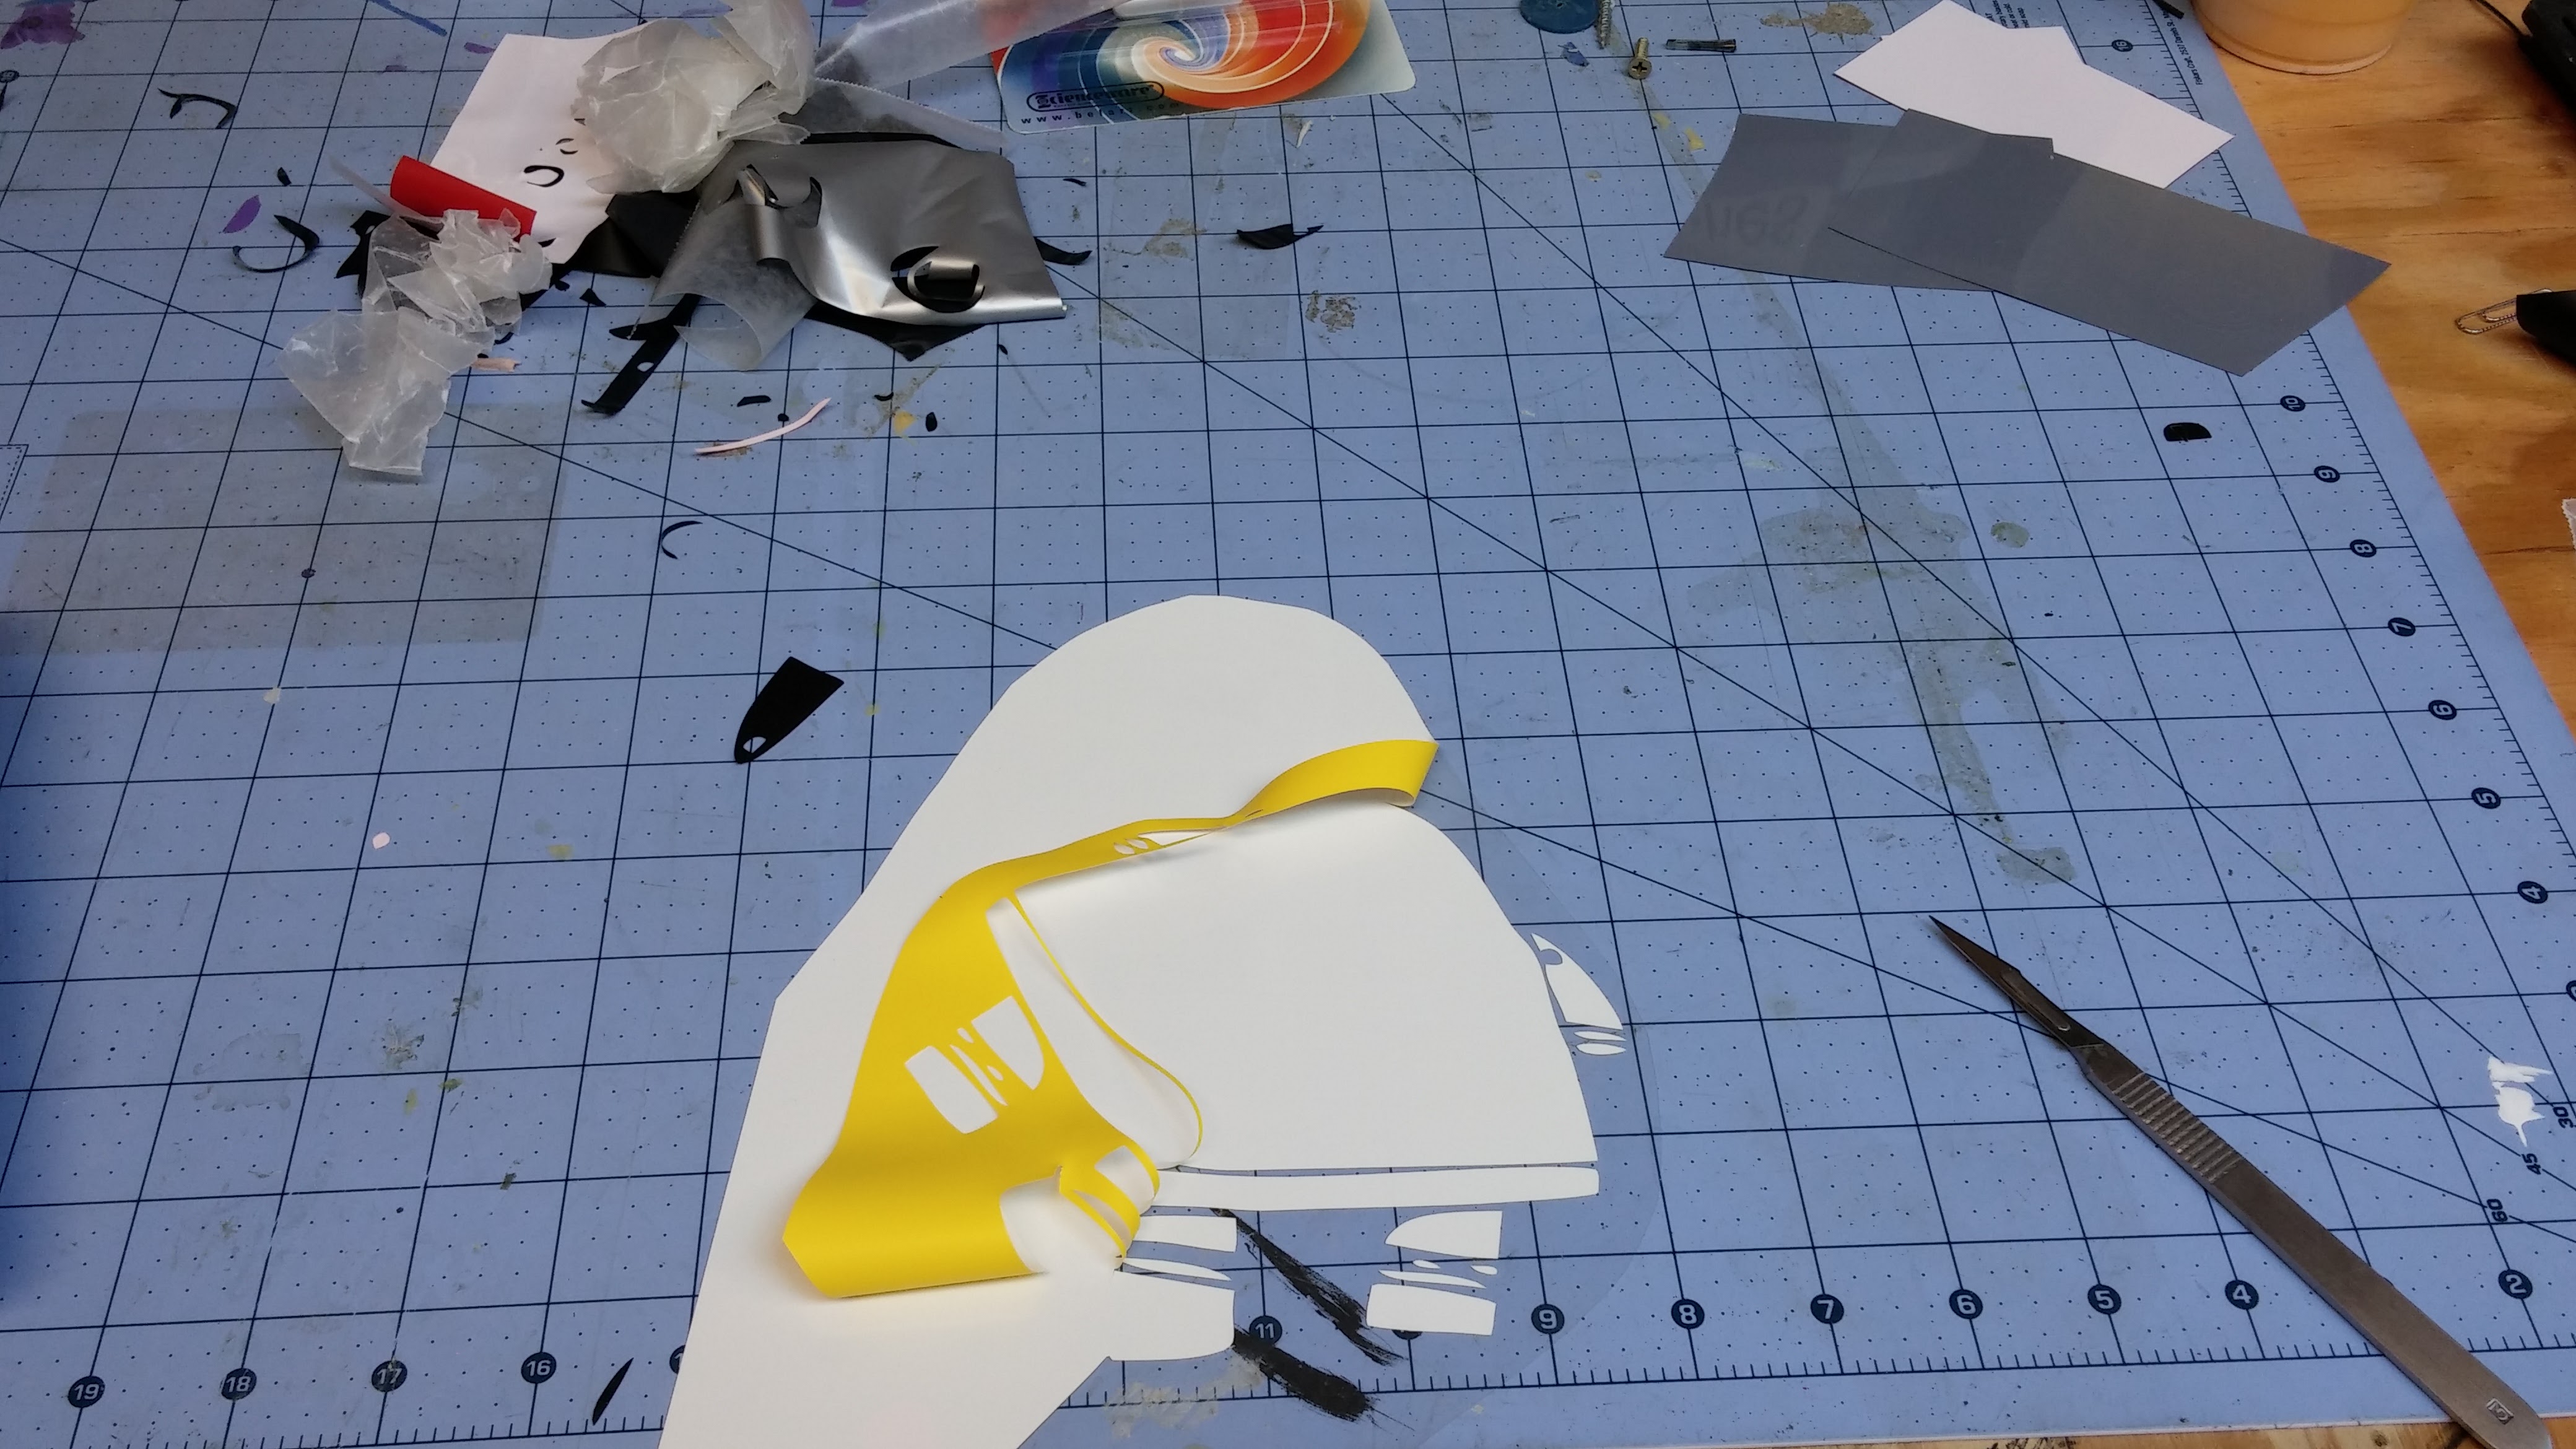
This part was easy. I just imported each color as its own file and then cut each one on its respective color. The Orange that came with the kit looked to red for my liking so I recut it using the yellow. This looked a lot better. Remember that when cutting heat transfer vinyl that you cut with the color side down. Once all of the colors are cut the fun begins! Not really, the next step is a process called weeding. Weeding is taking all of the parts of the vinyl that you do not want off of the sticker. I use a scalpel to do the weeding. It is time consuming and tedious but it has to be done. Once the vinyls are weeded I like to take a section of wax paper and stick it to the sticky side to keep it from getting dust and crap on it before I iron it. I included the cameo Files below if you would like to cut it out.
Clean the Hoodie With Tape
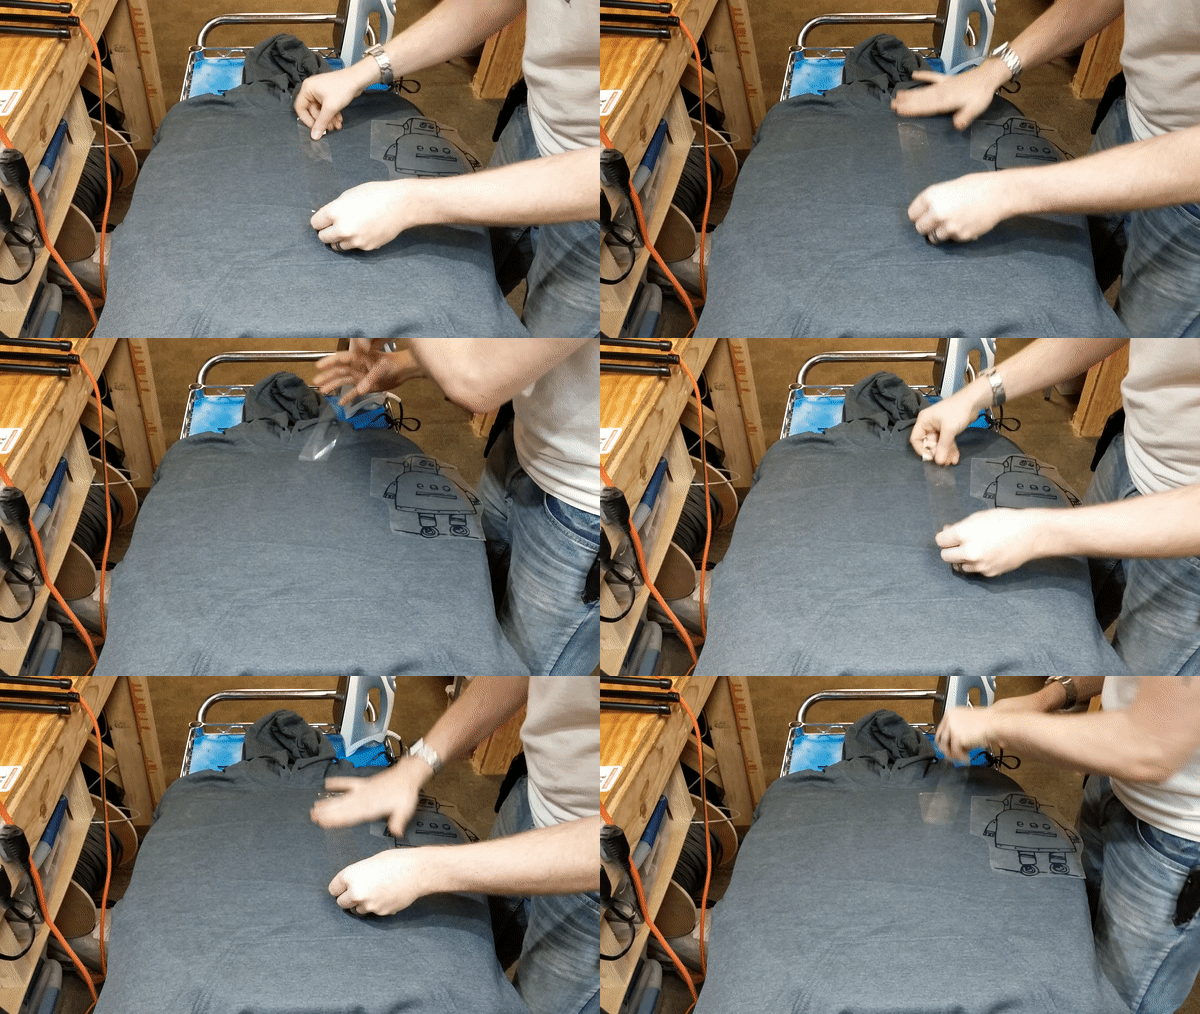
THis is optional but I would recommend it. Before I iron on the vinyl I like to take a piece of packing tape and stick it to the place where I am applying the vinyl to remove any fuzzies , dirt, dust, and lint that may be clinging to it.
Ironing Process
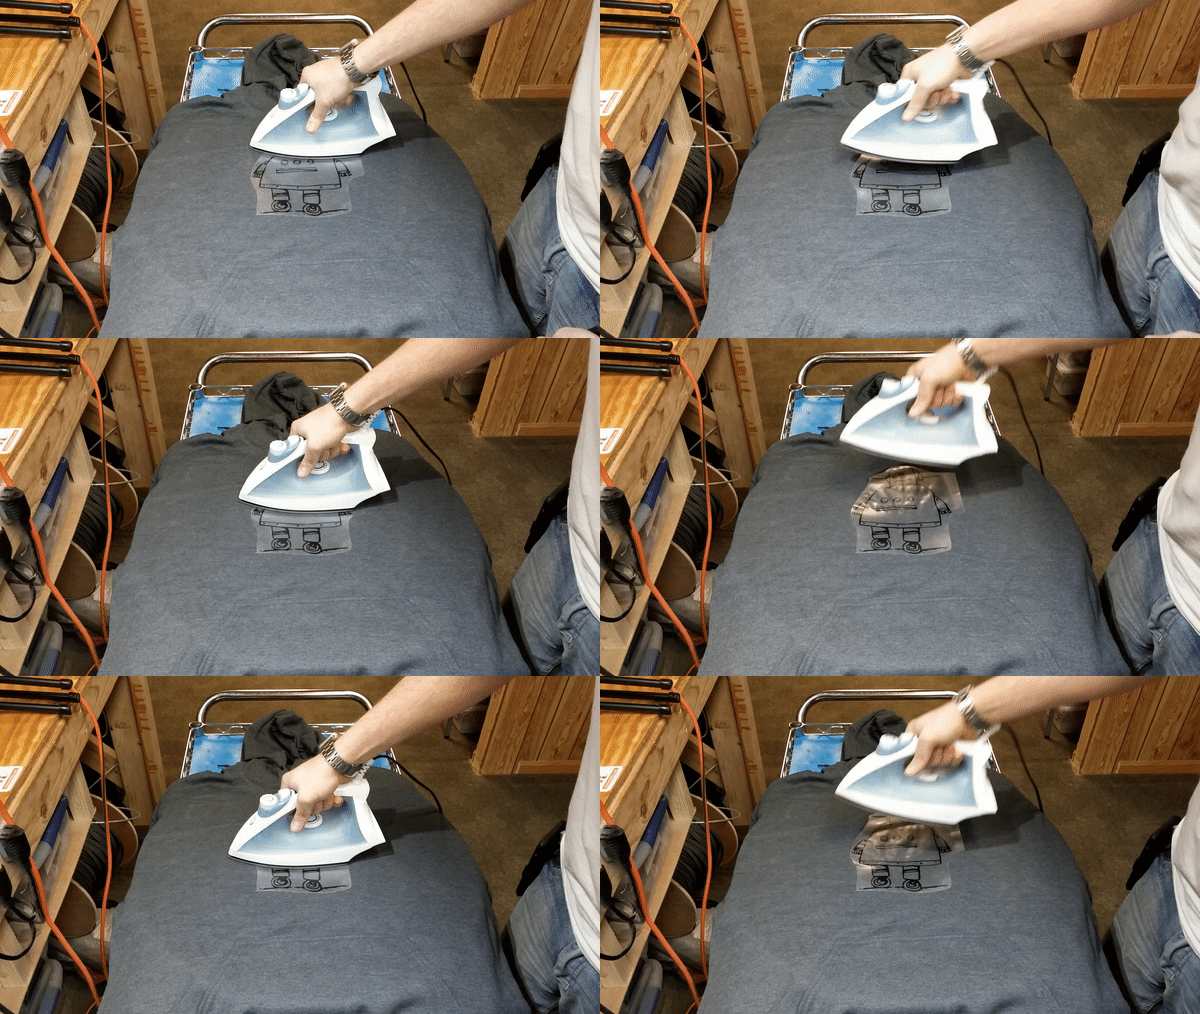
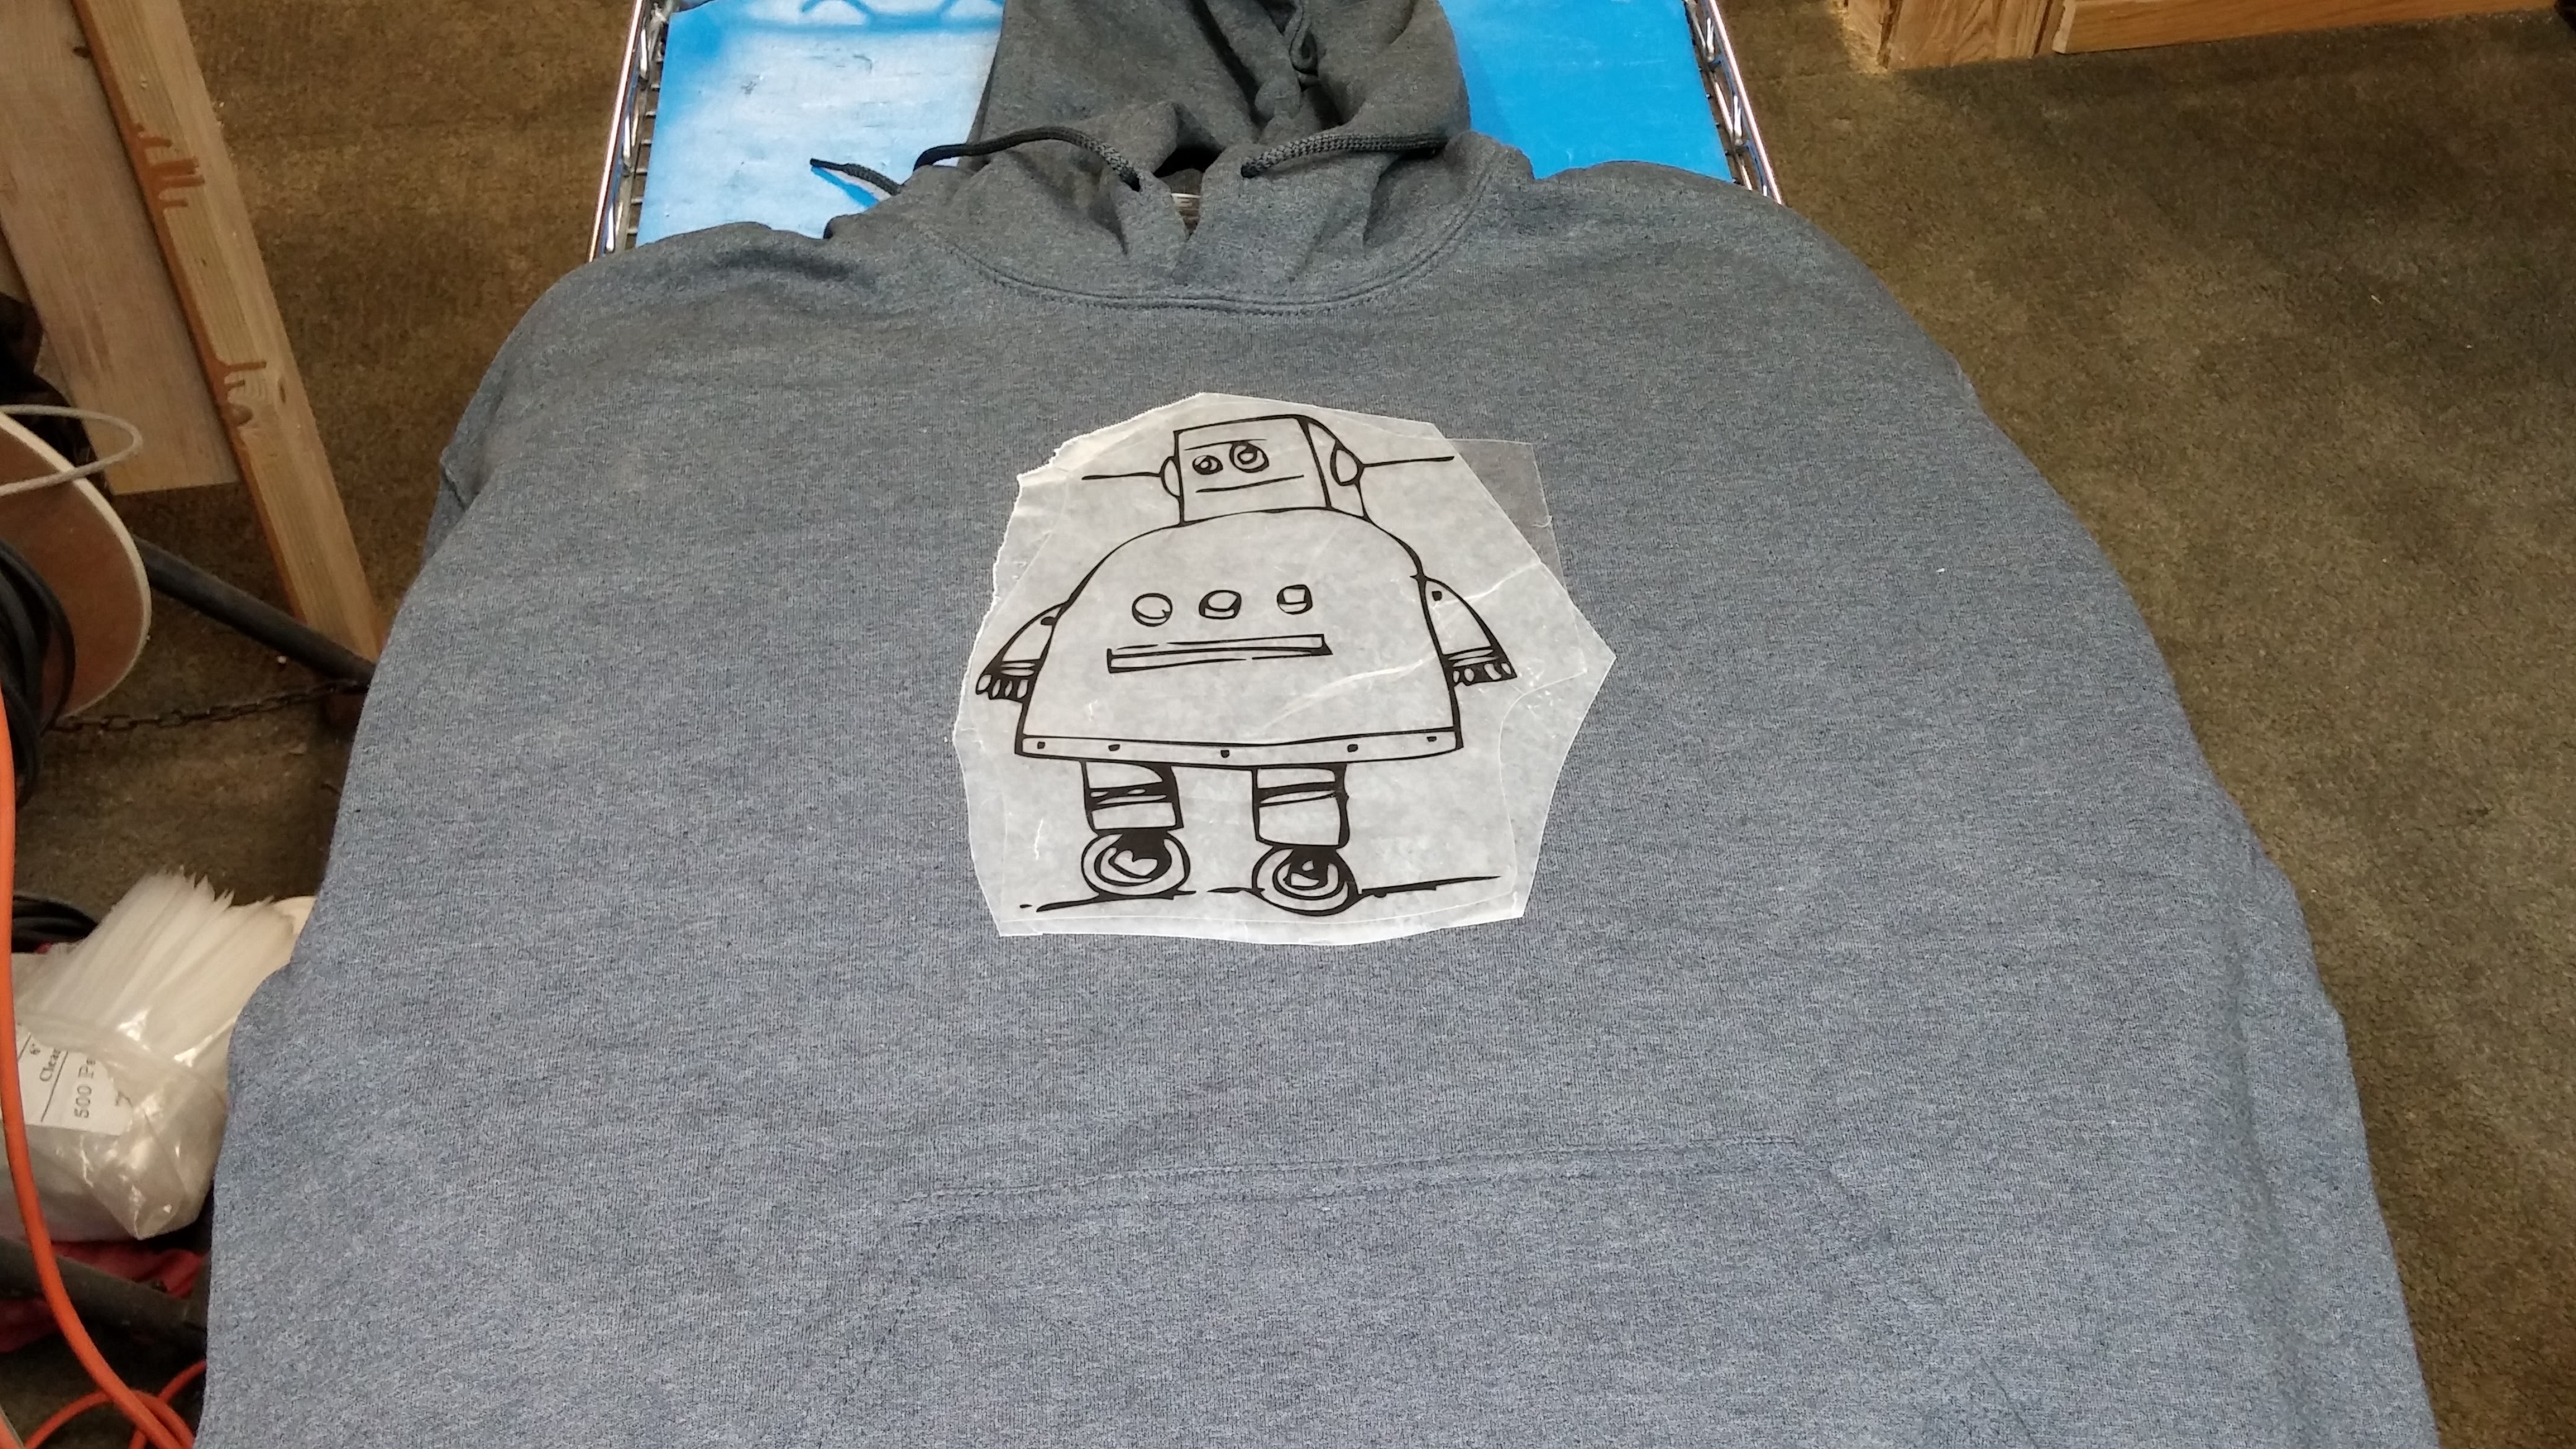
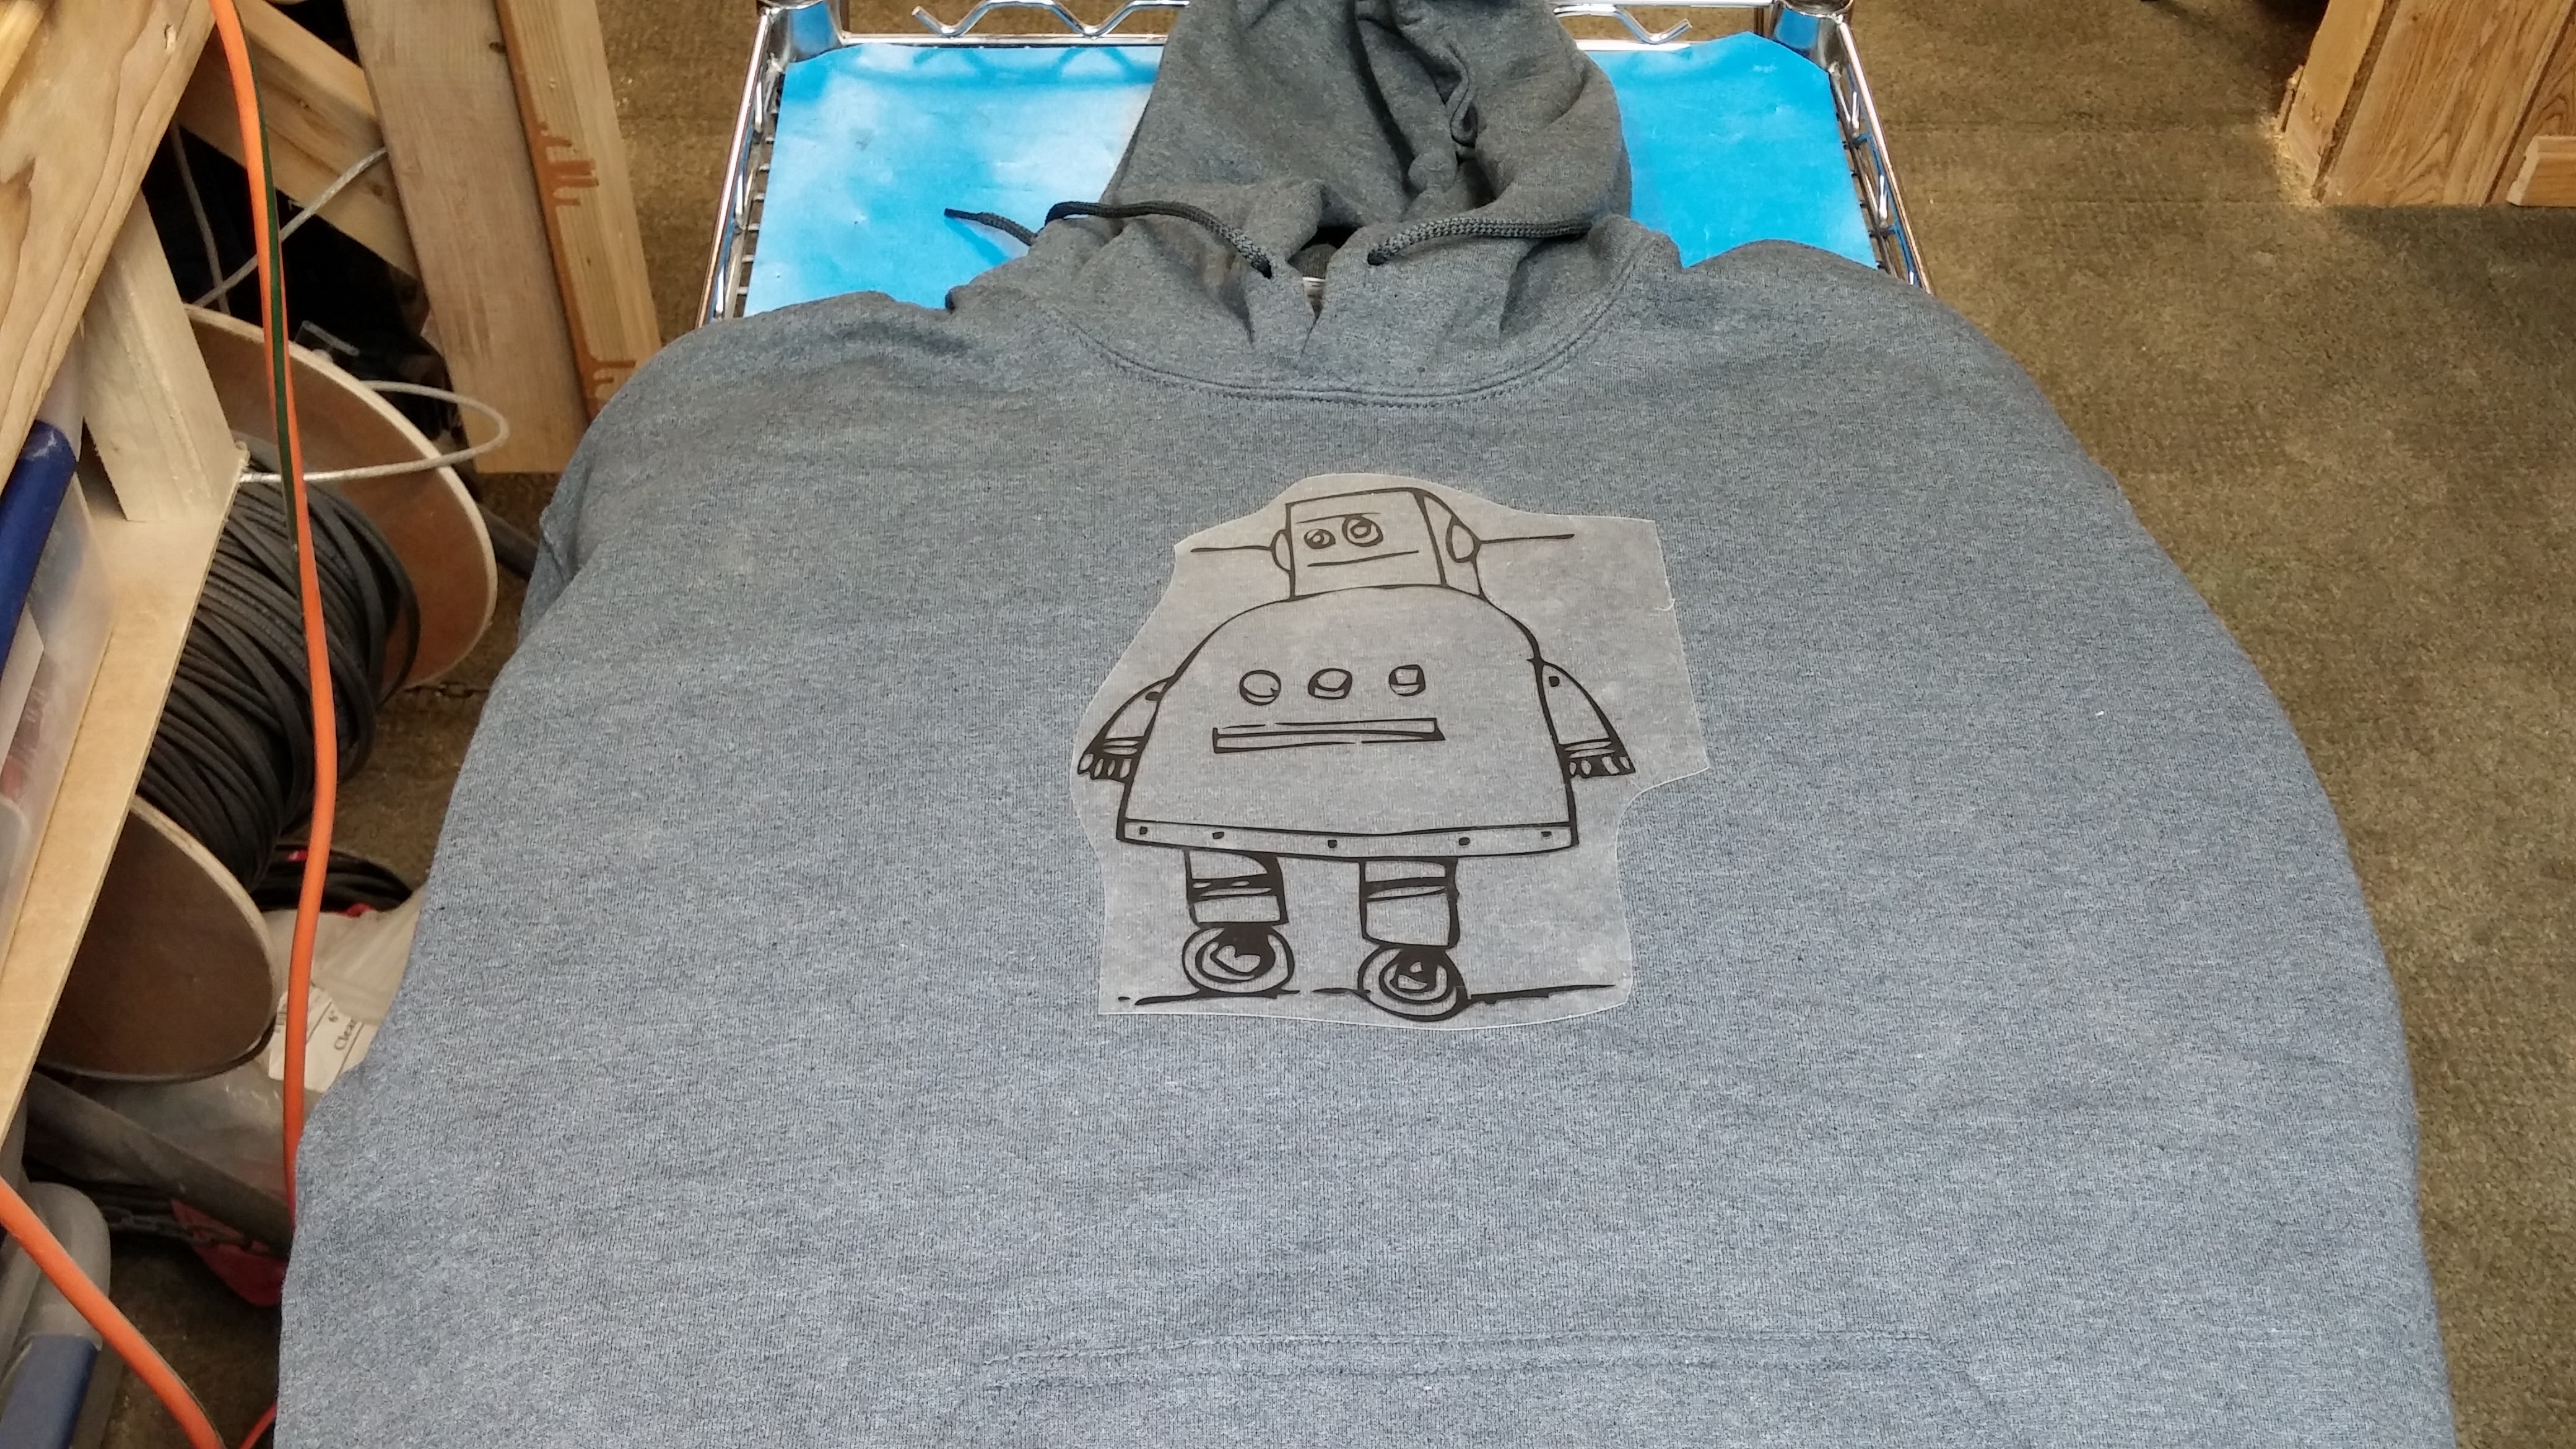
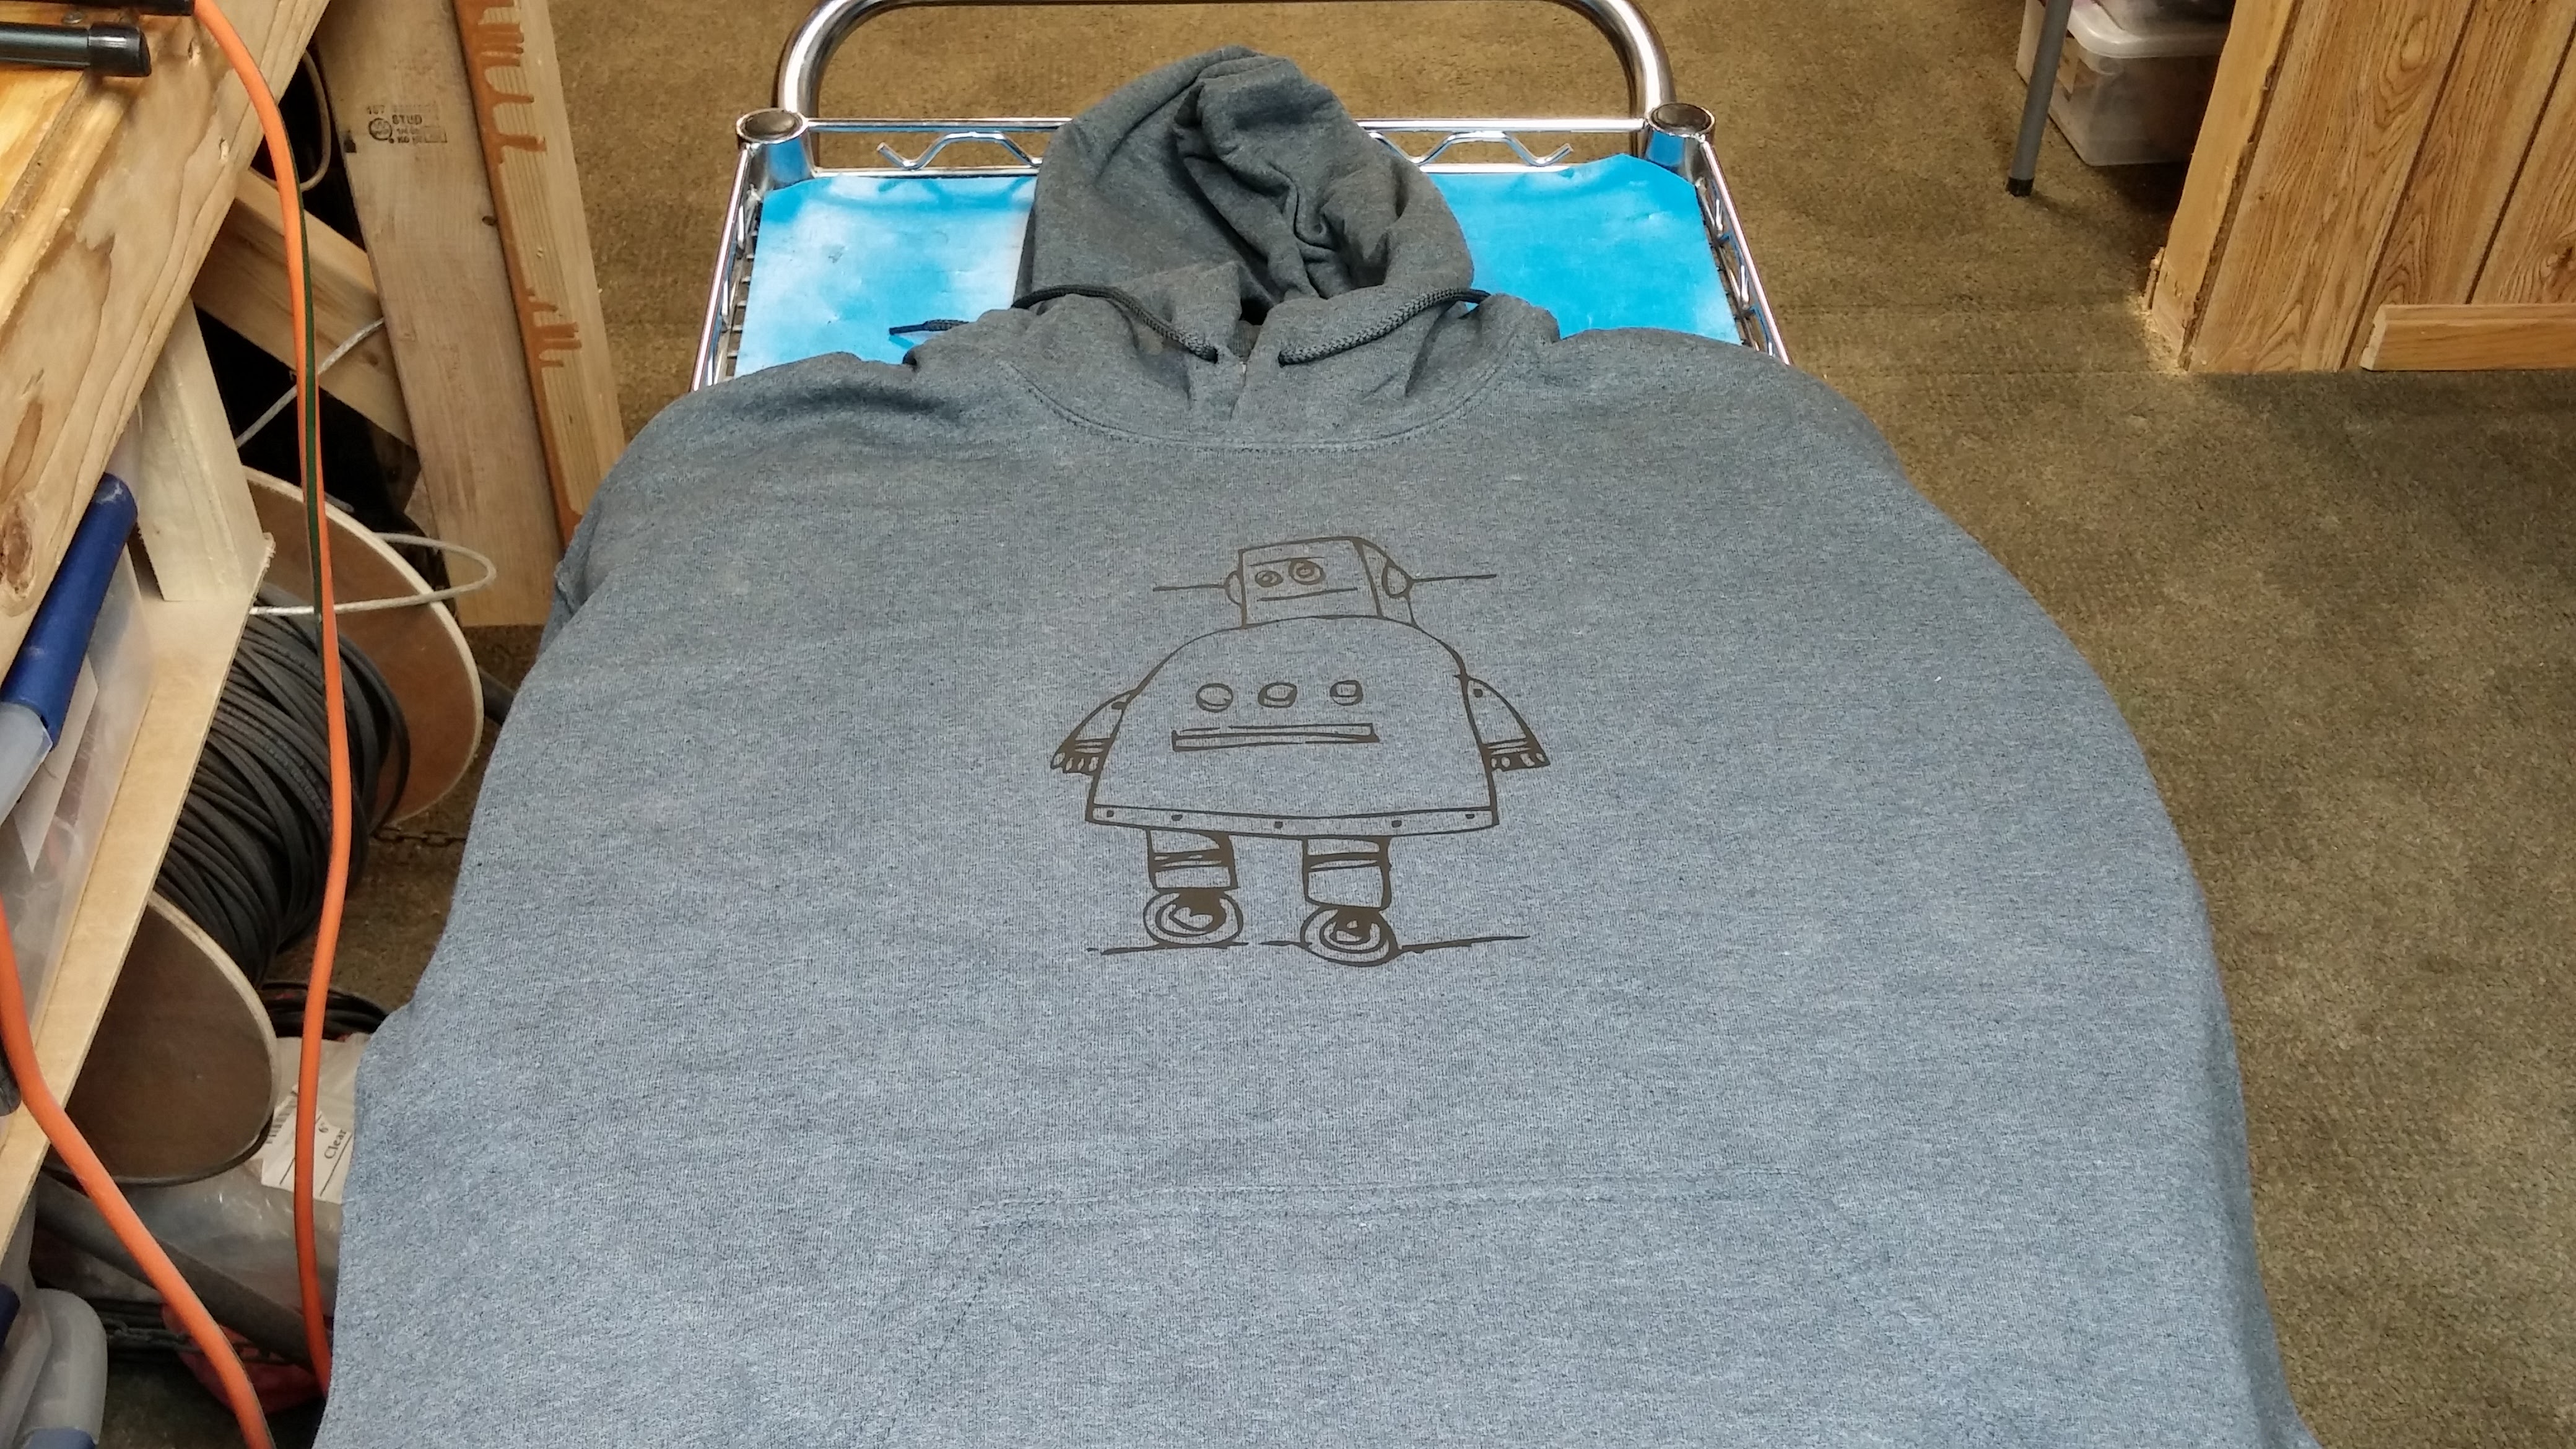
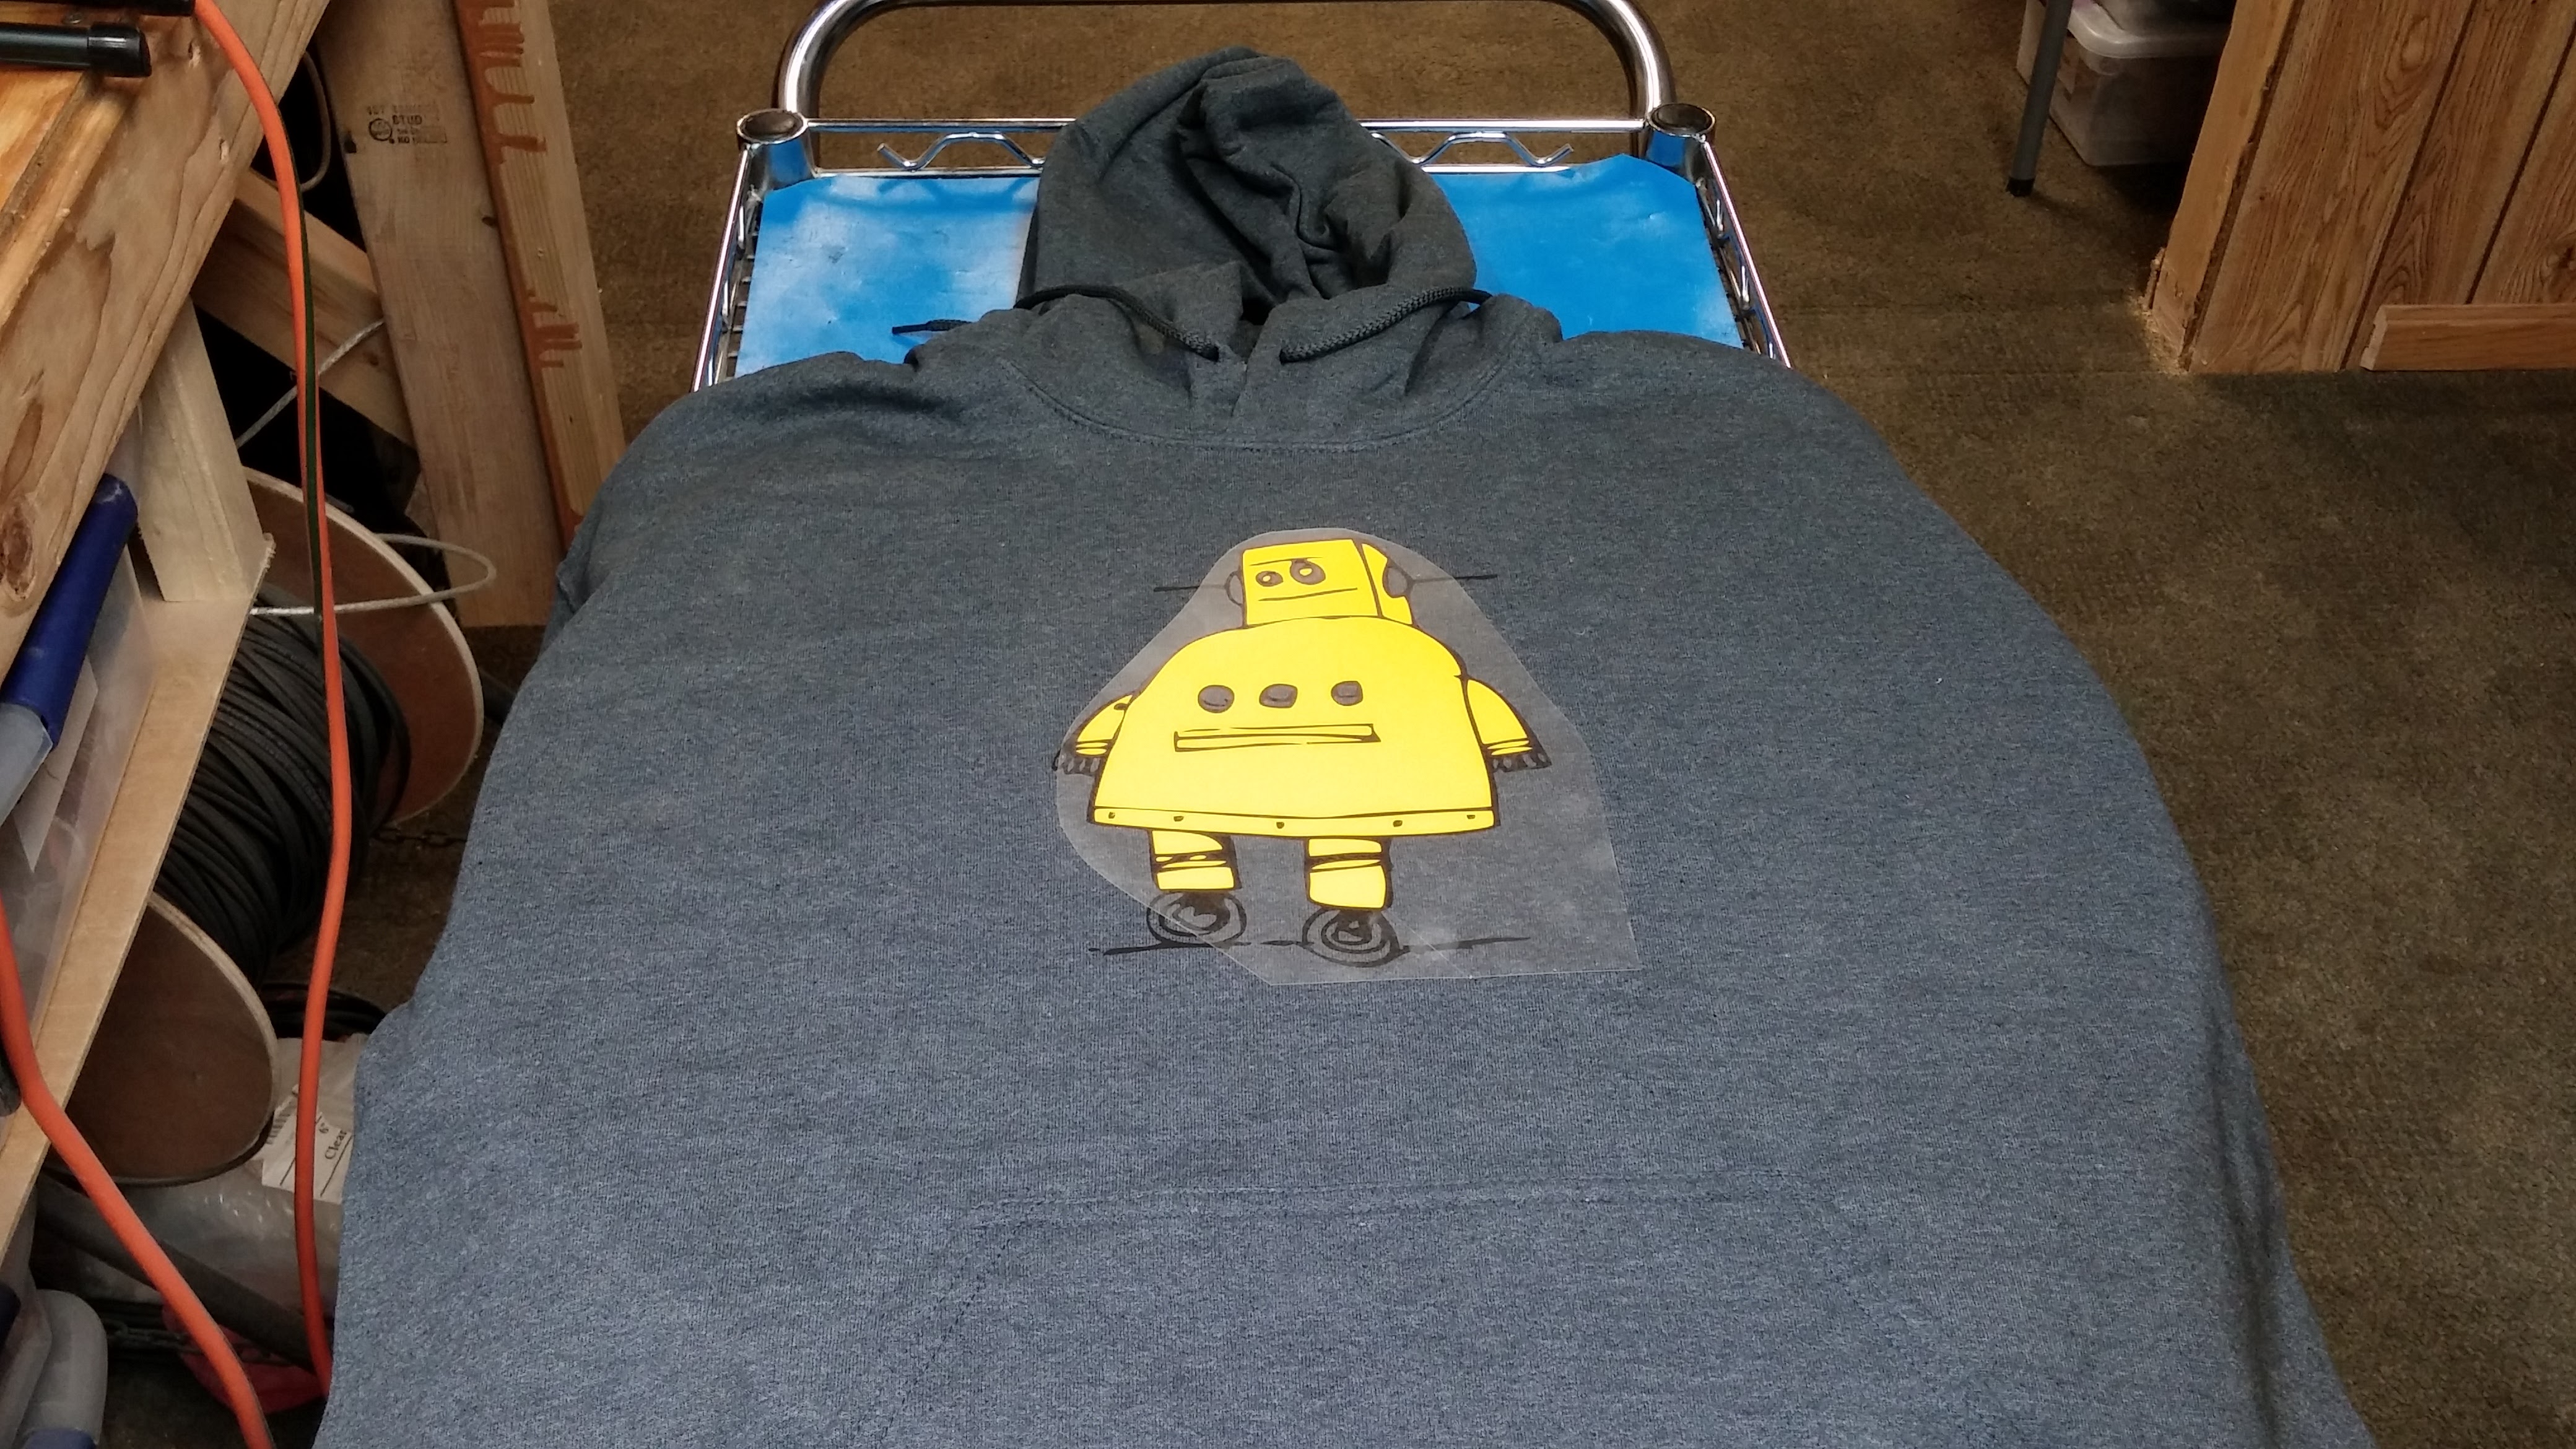
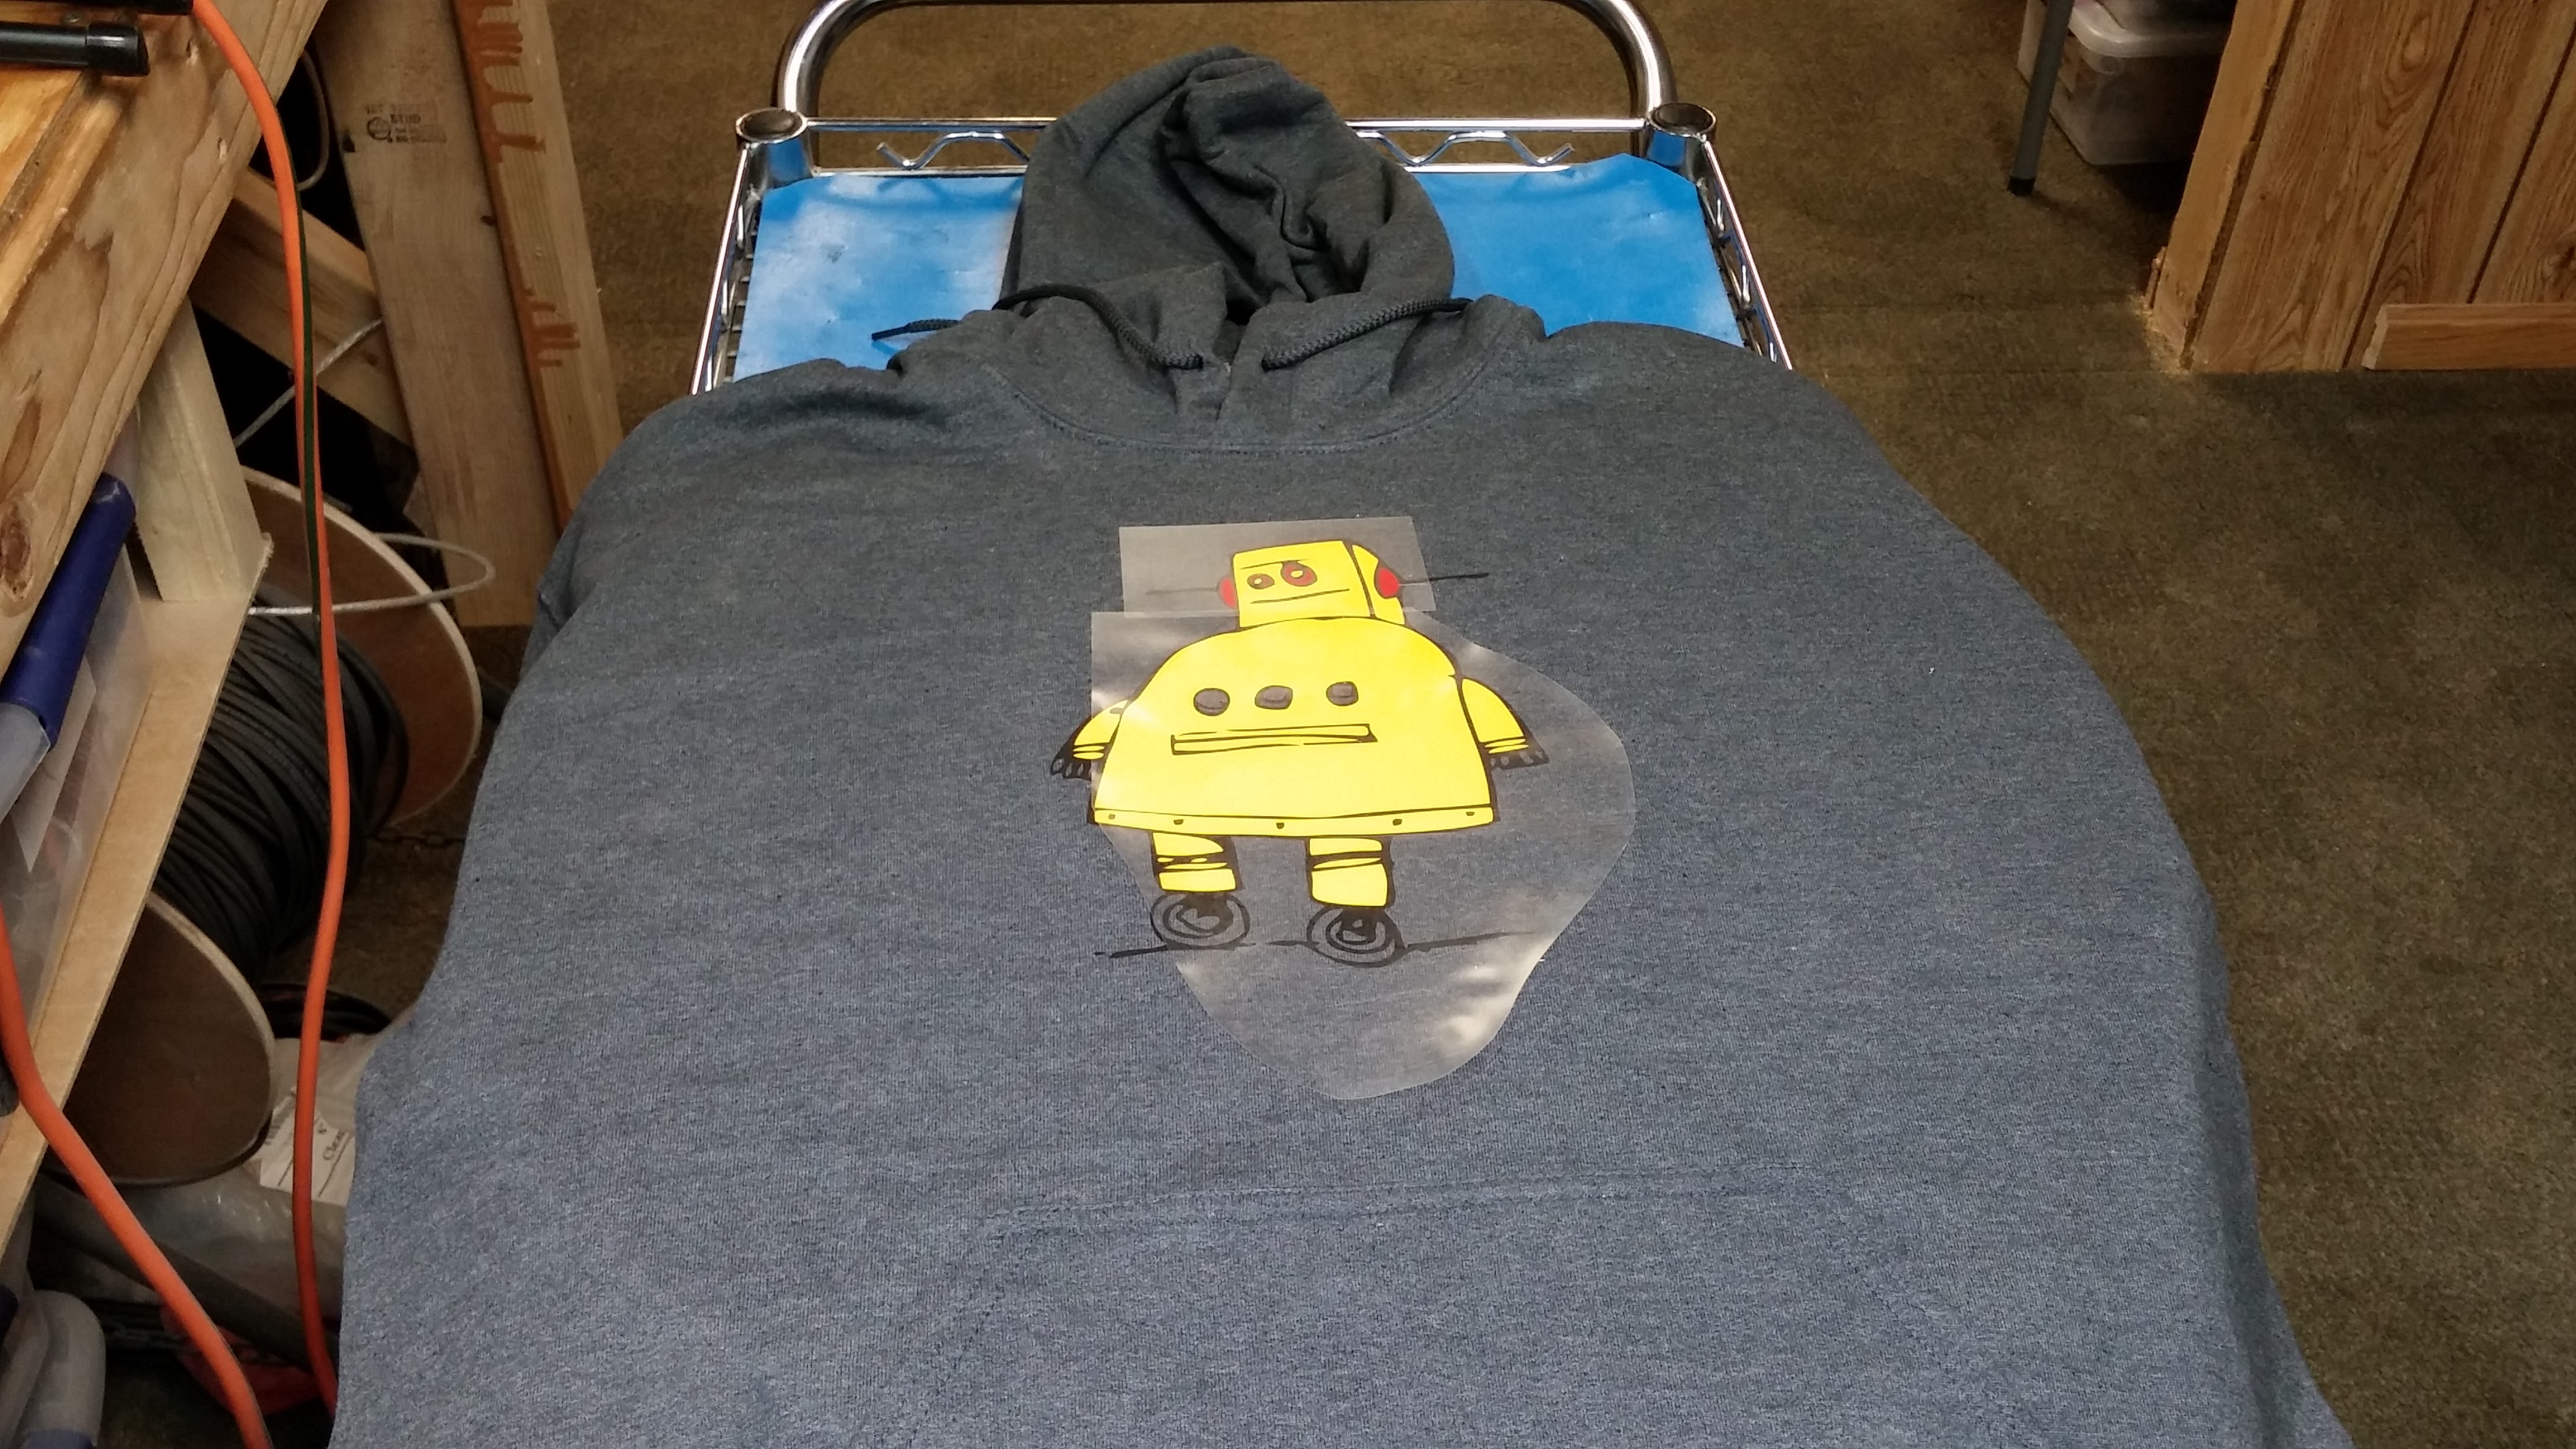
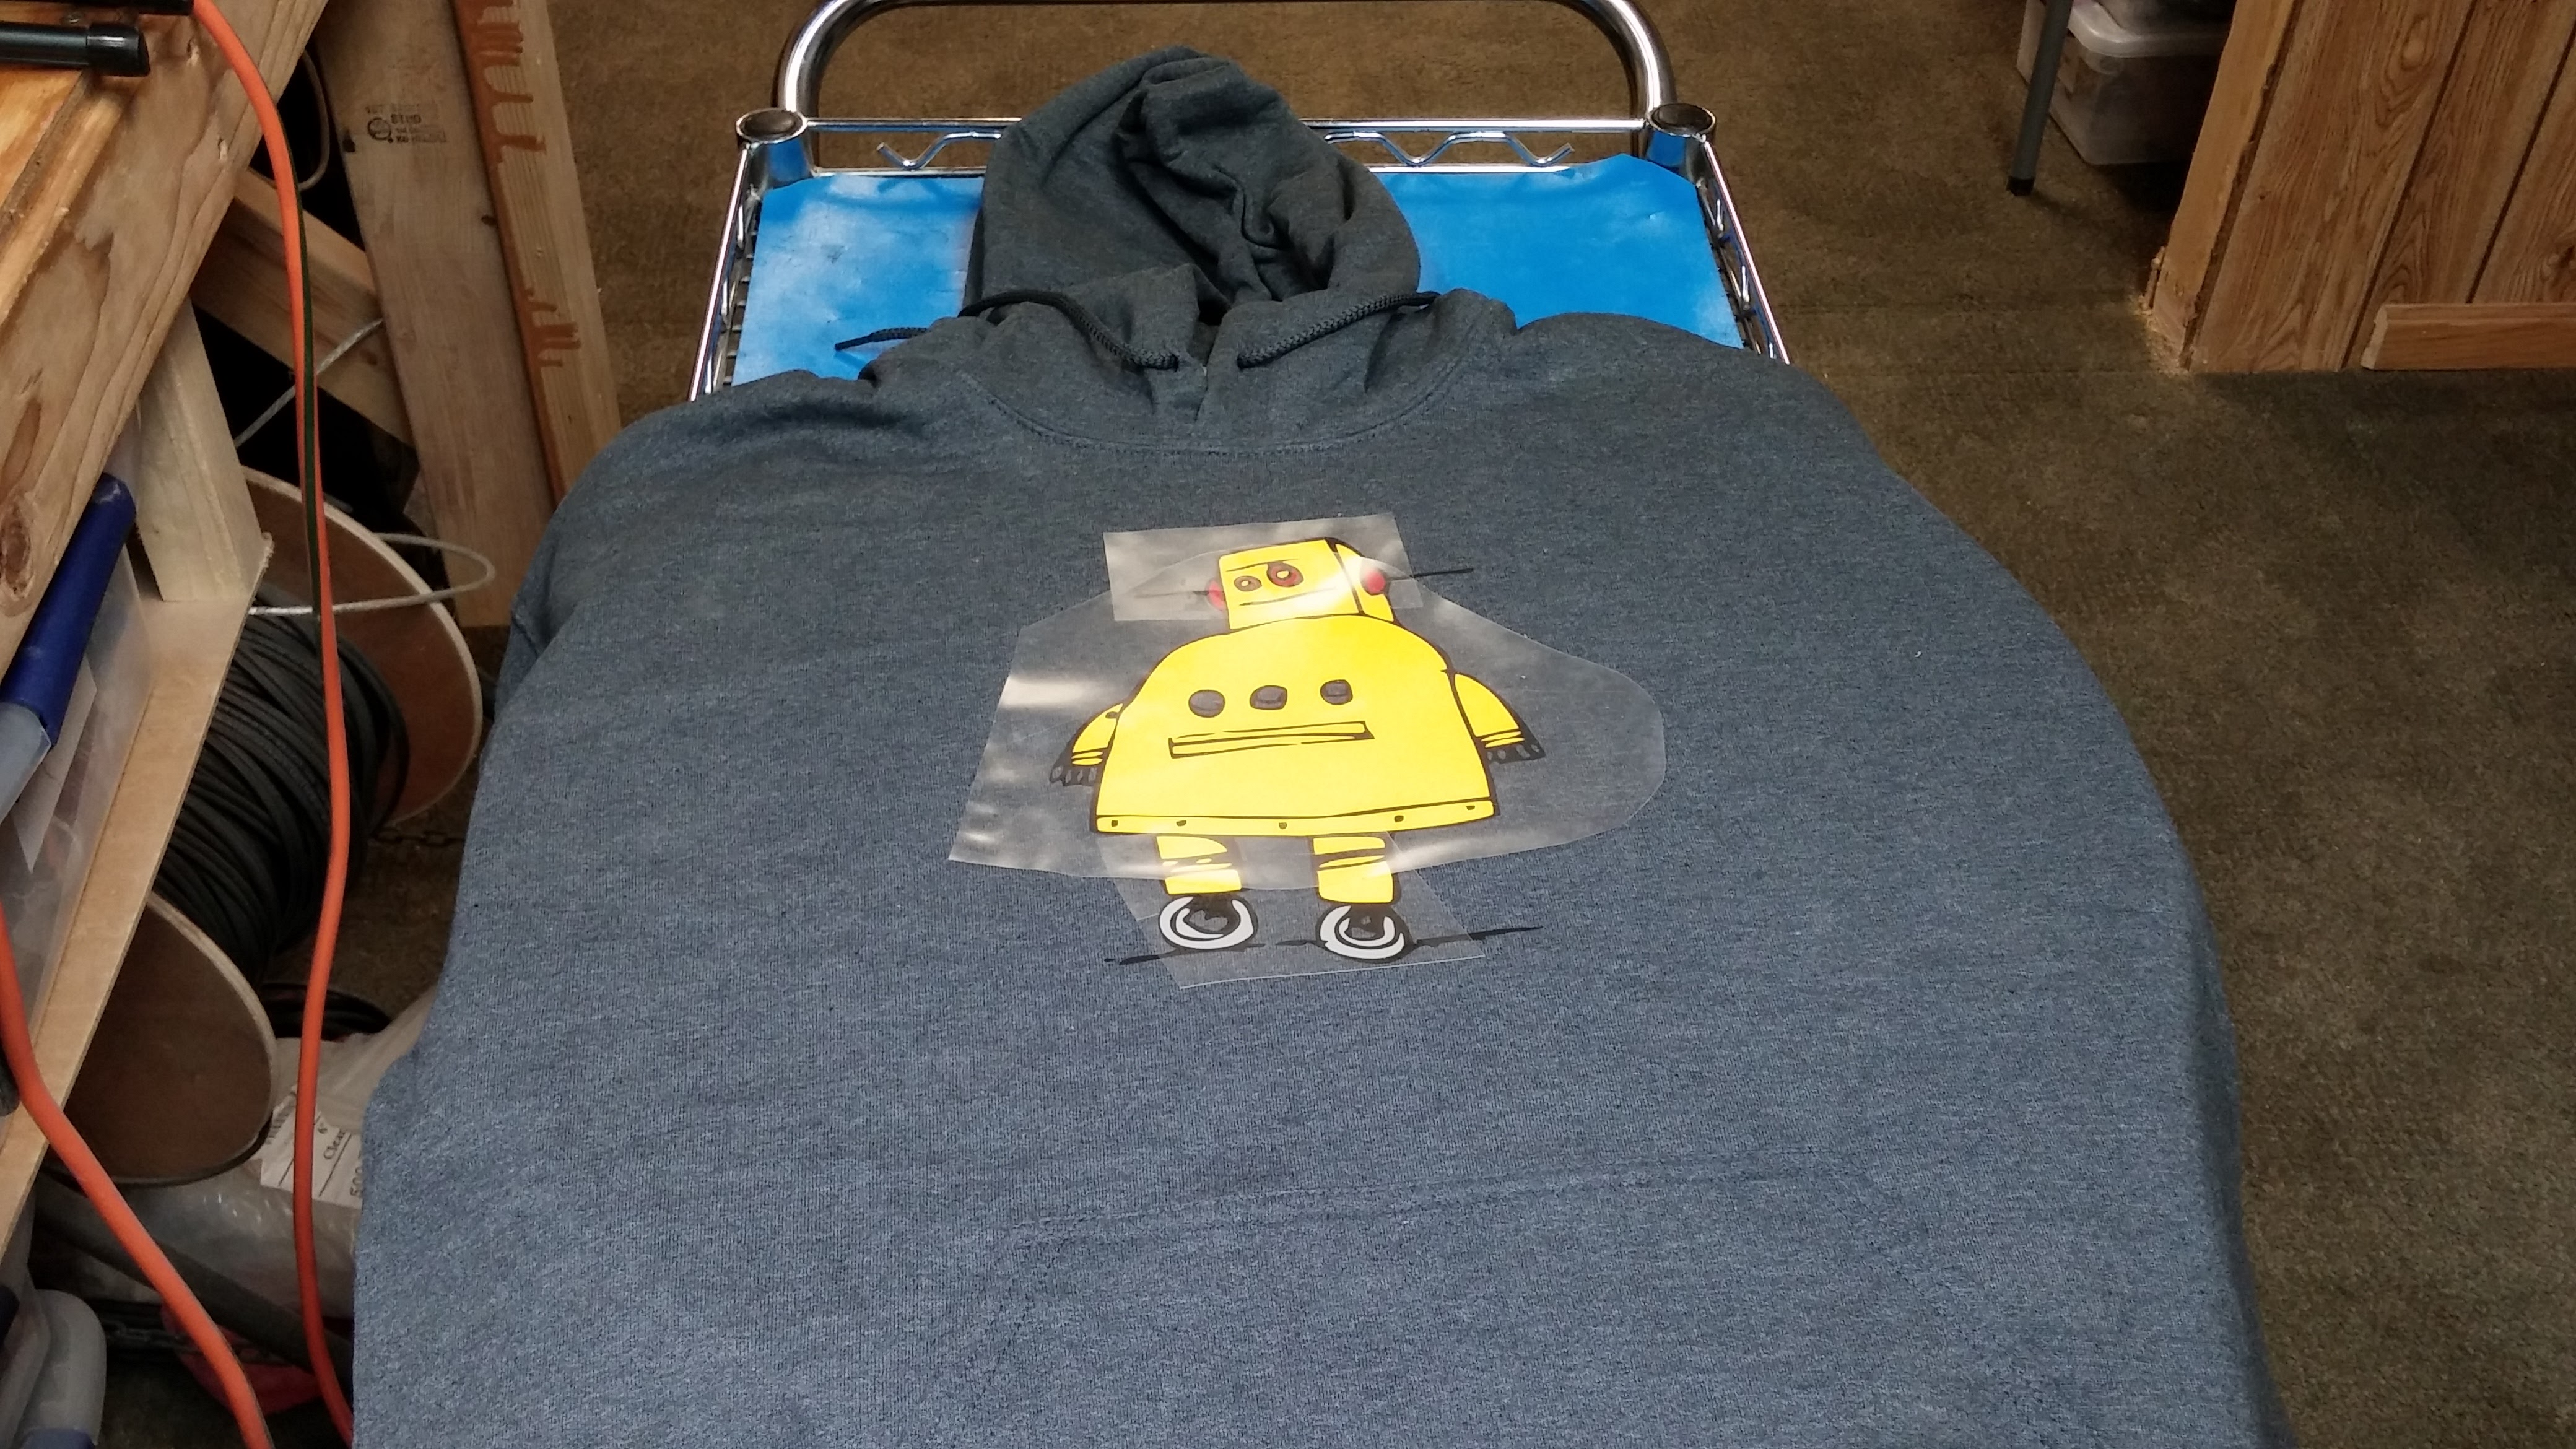
So on to the ironing, I am not sure of the perfect temperature, but I set mine to 3, and it seems to work great. You do not want it to be too hot or it will melt or burn the fabric.
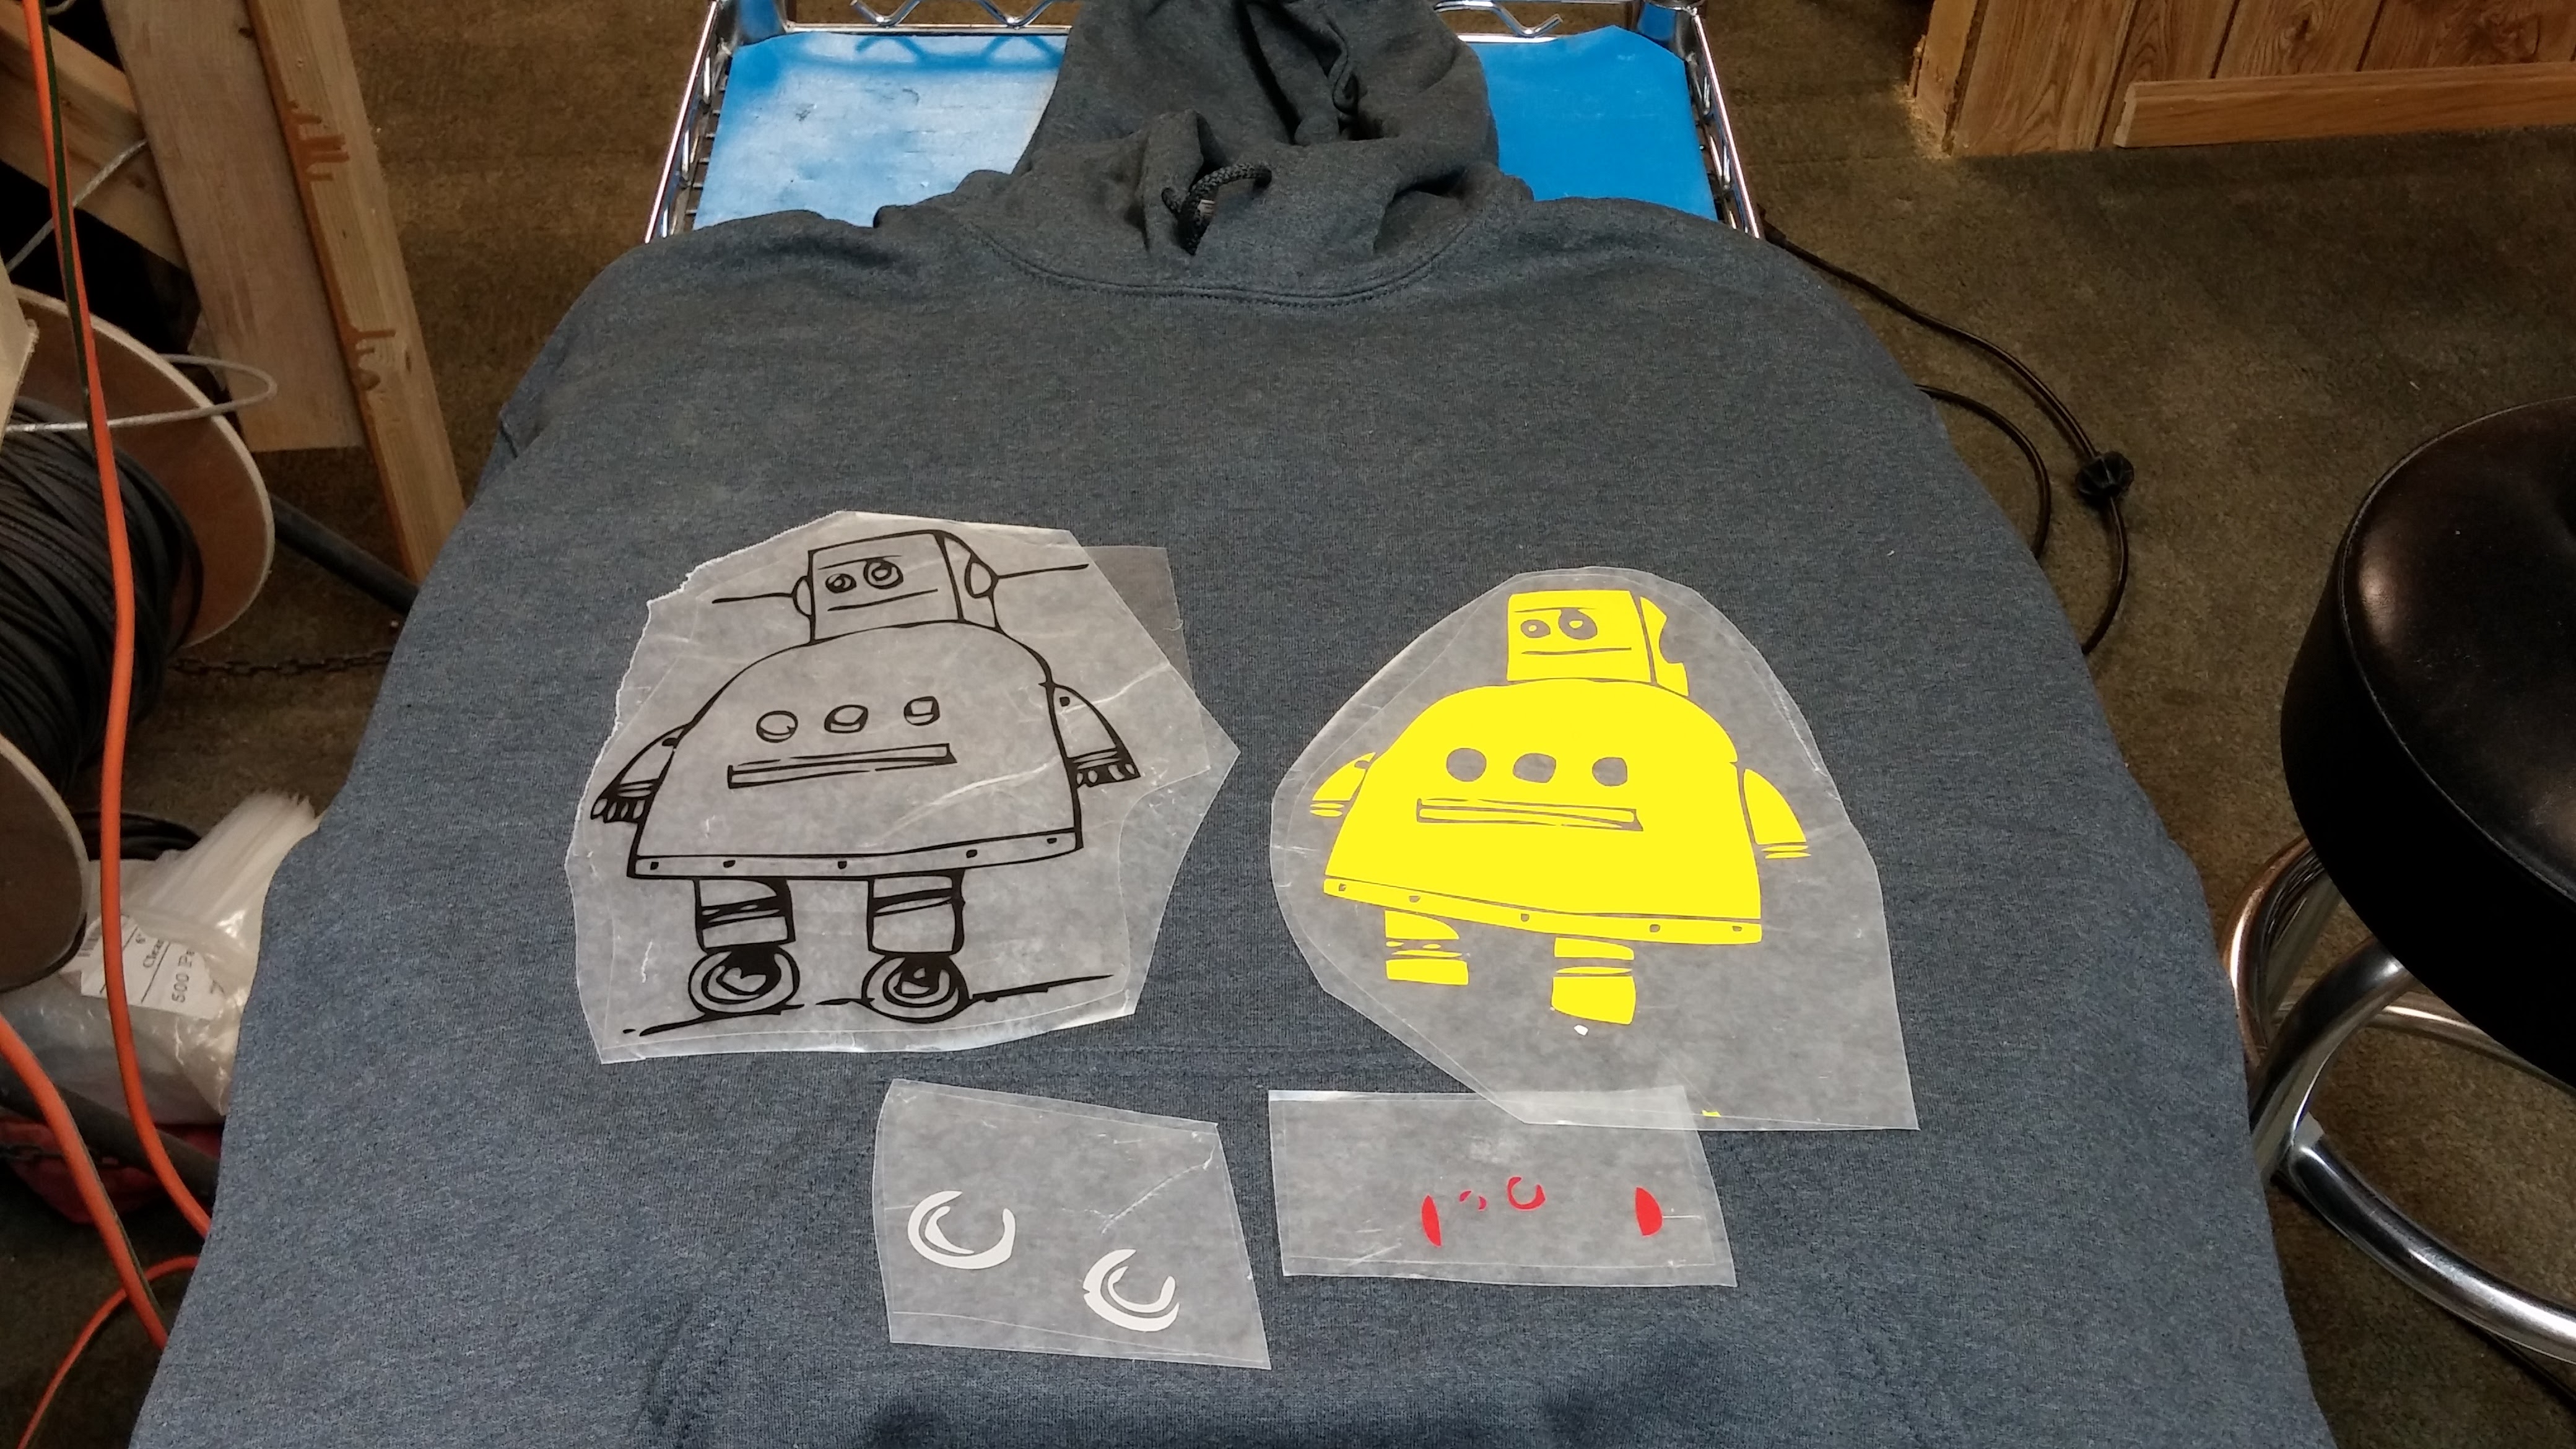
Start with the outline color so that you will know where to place all of the other colors, in my case it was black. I like to press down on the transfer with the iron for about ten seconds, then I lift and move the iron a little and do it again. Once the outline is done, move on to the most prominent color. On mine it was the yellow. I lined it up and ironed it the same as the black. I let it cool a little before pulling the backing off of it. Then move on to the next color till you have them all. I used the backing from the bigger colors to cover the rest of the vinyl when I was ironing the little pieces. That seemed to work well.
Finished
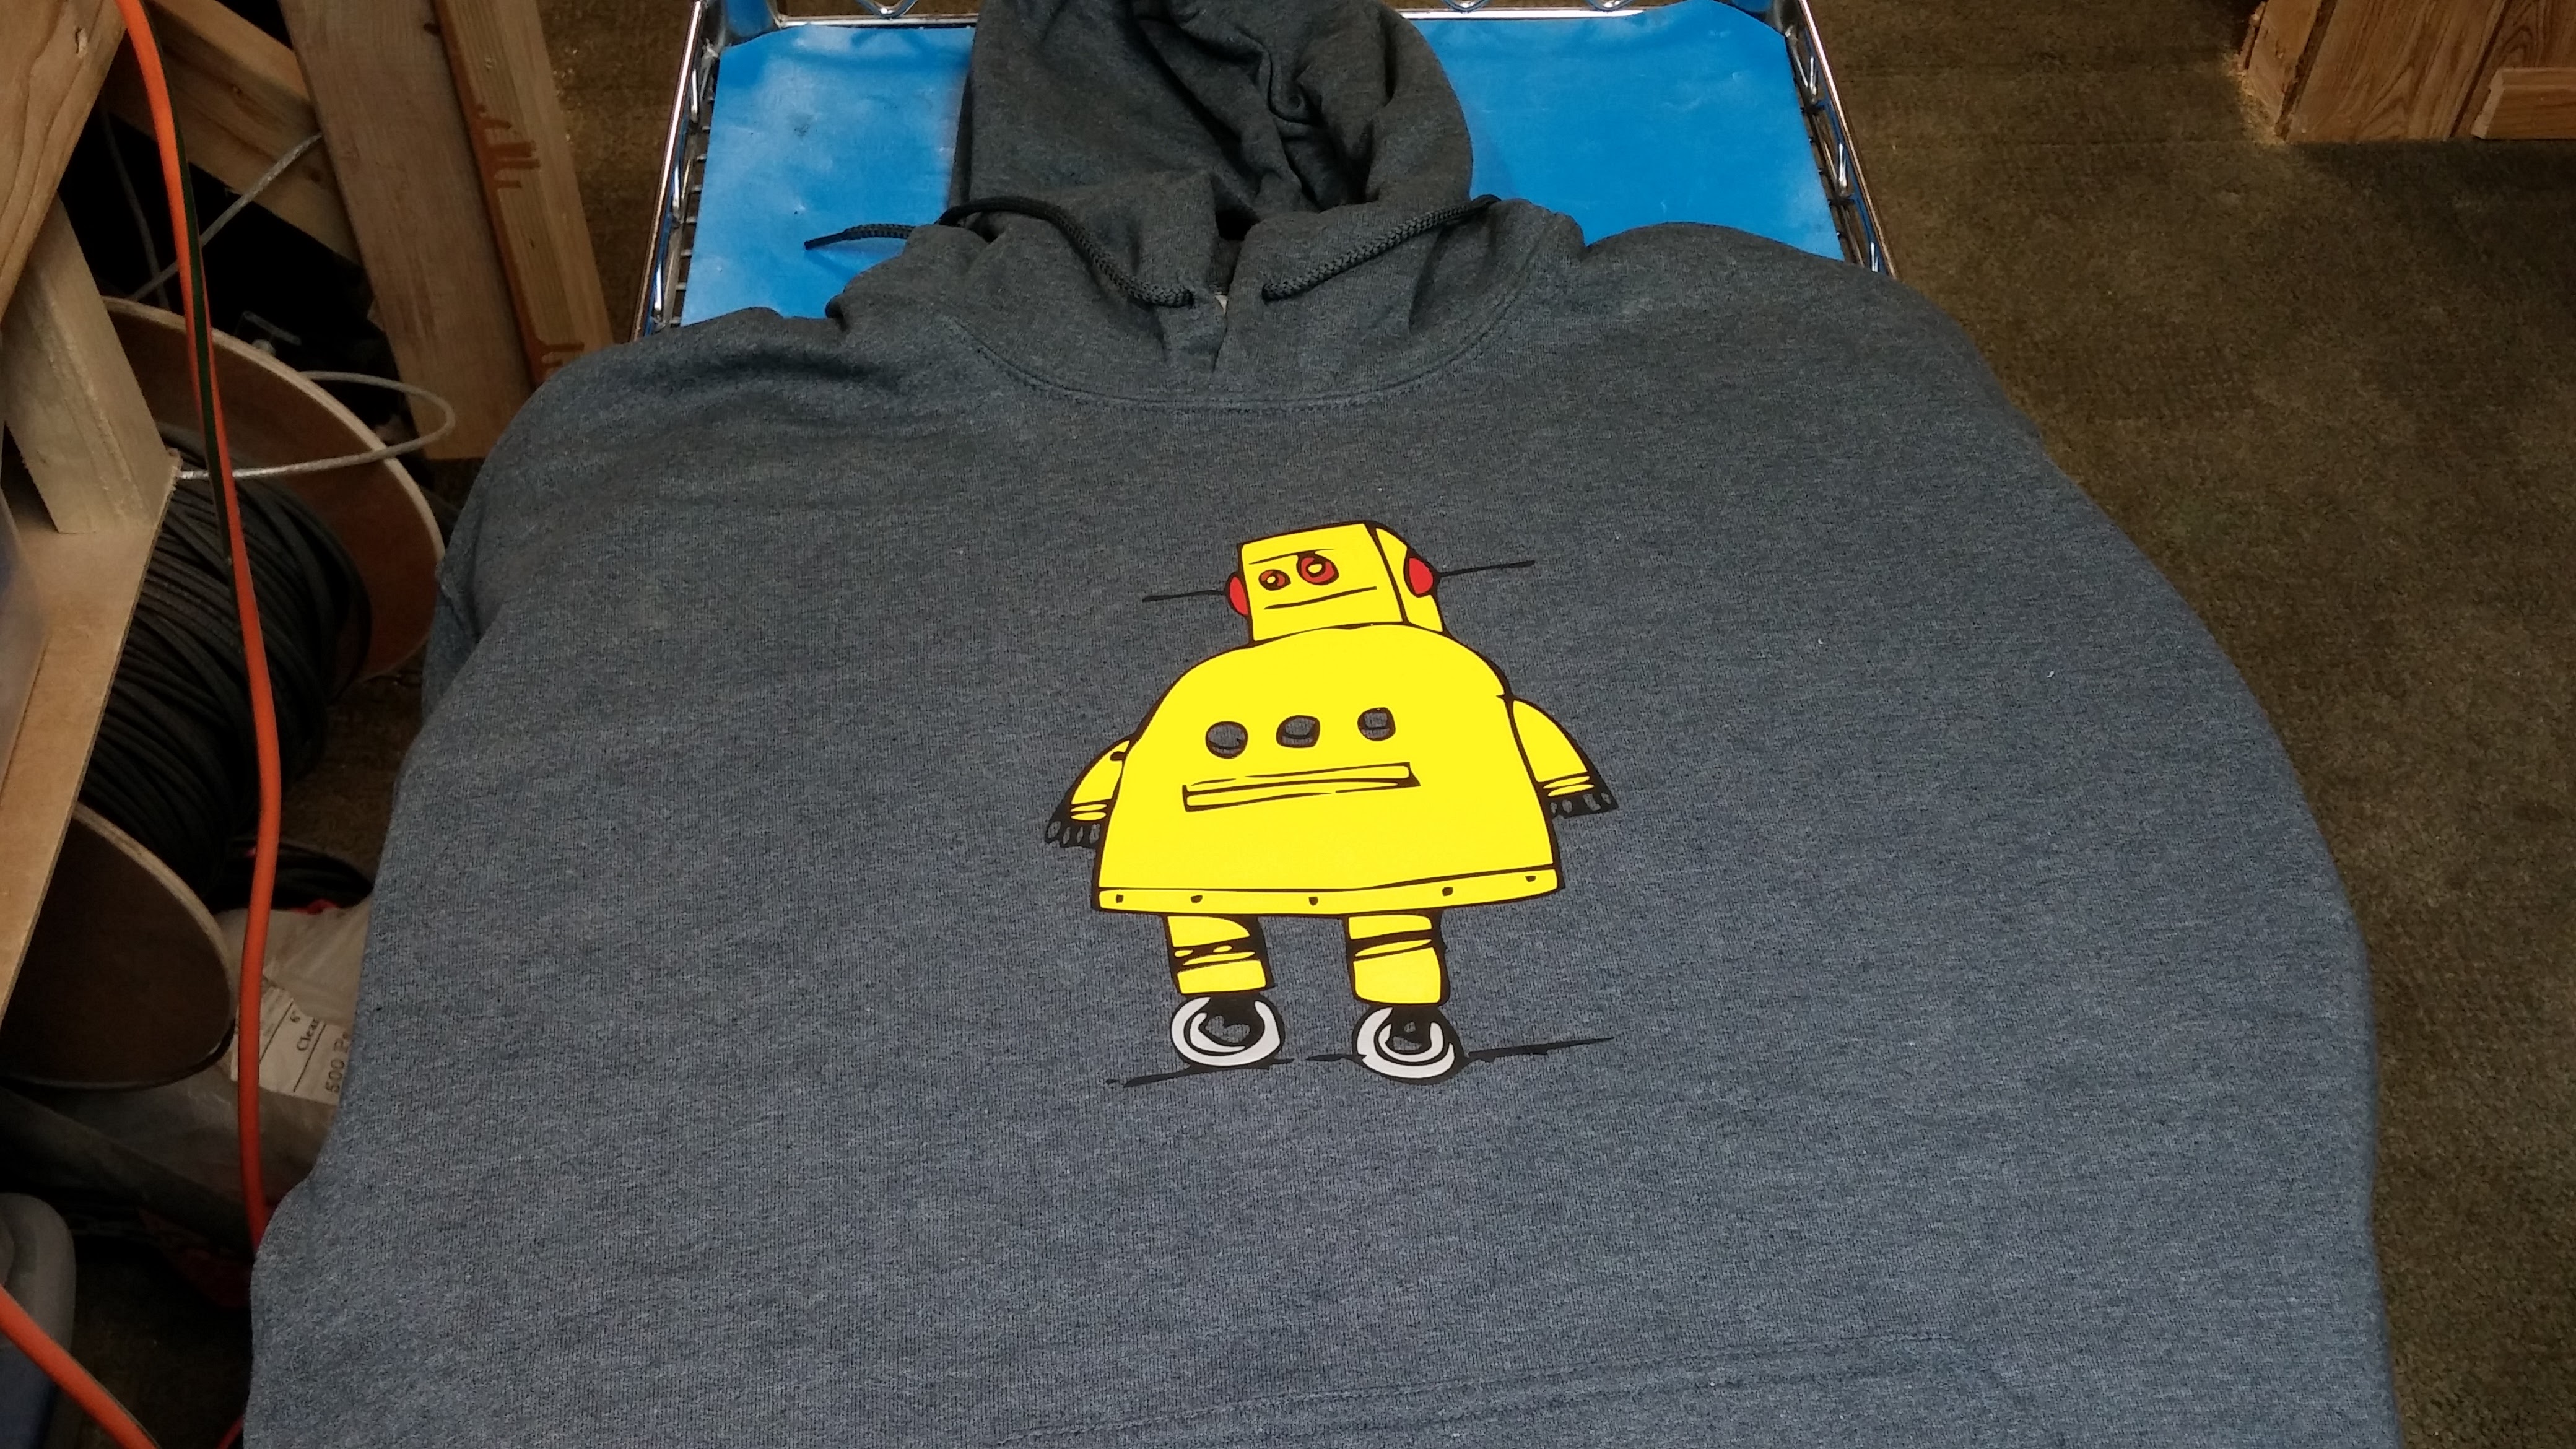
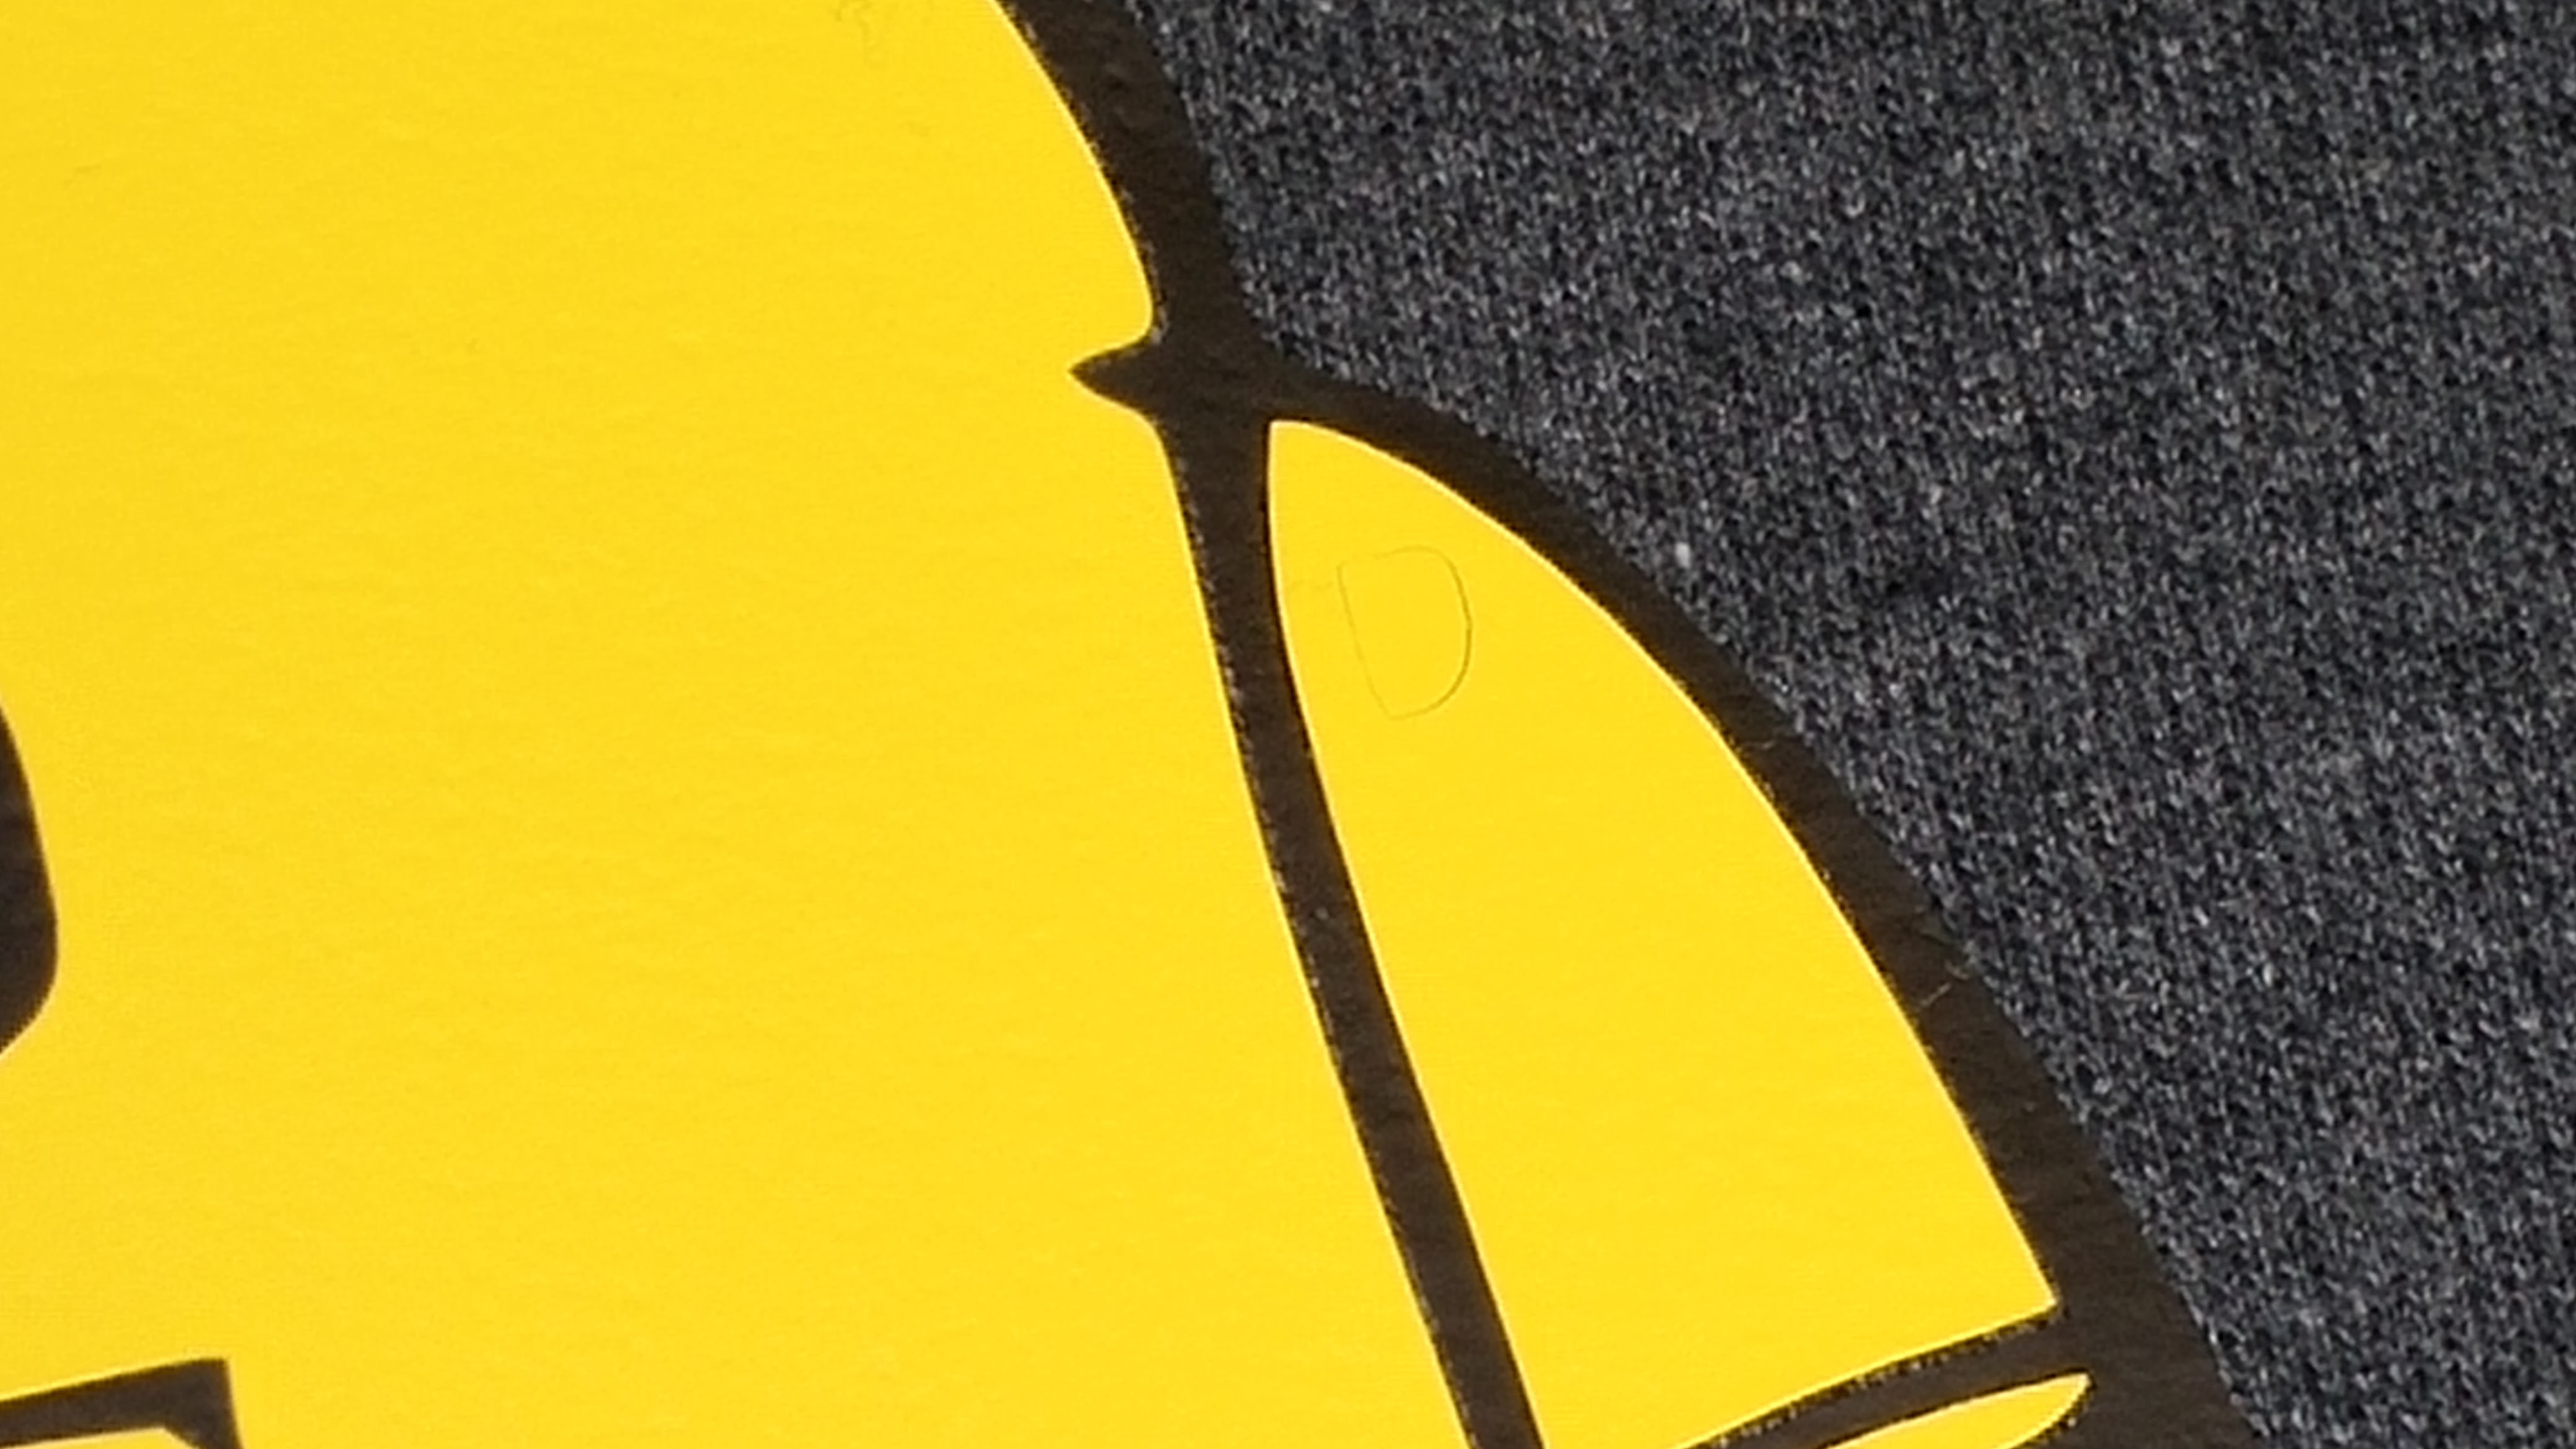
All done. I did notice that I missed a little spot when I was weeding the yellow. You can see it in the picture above. But nobody else has noticed it yet, so I think I am ok. Thank you for checking out my instructable.
Don't forget to Favorite, Comment, Follow and Vote.