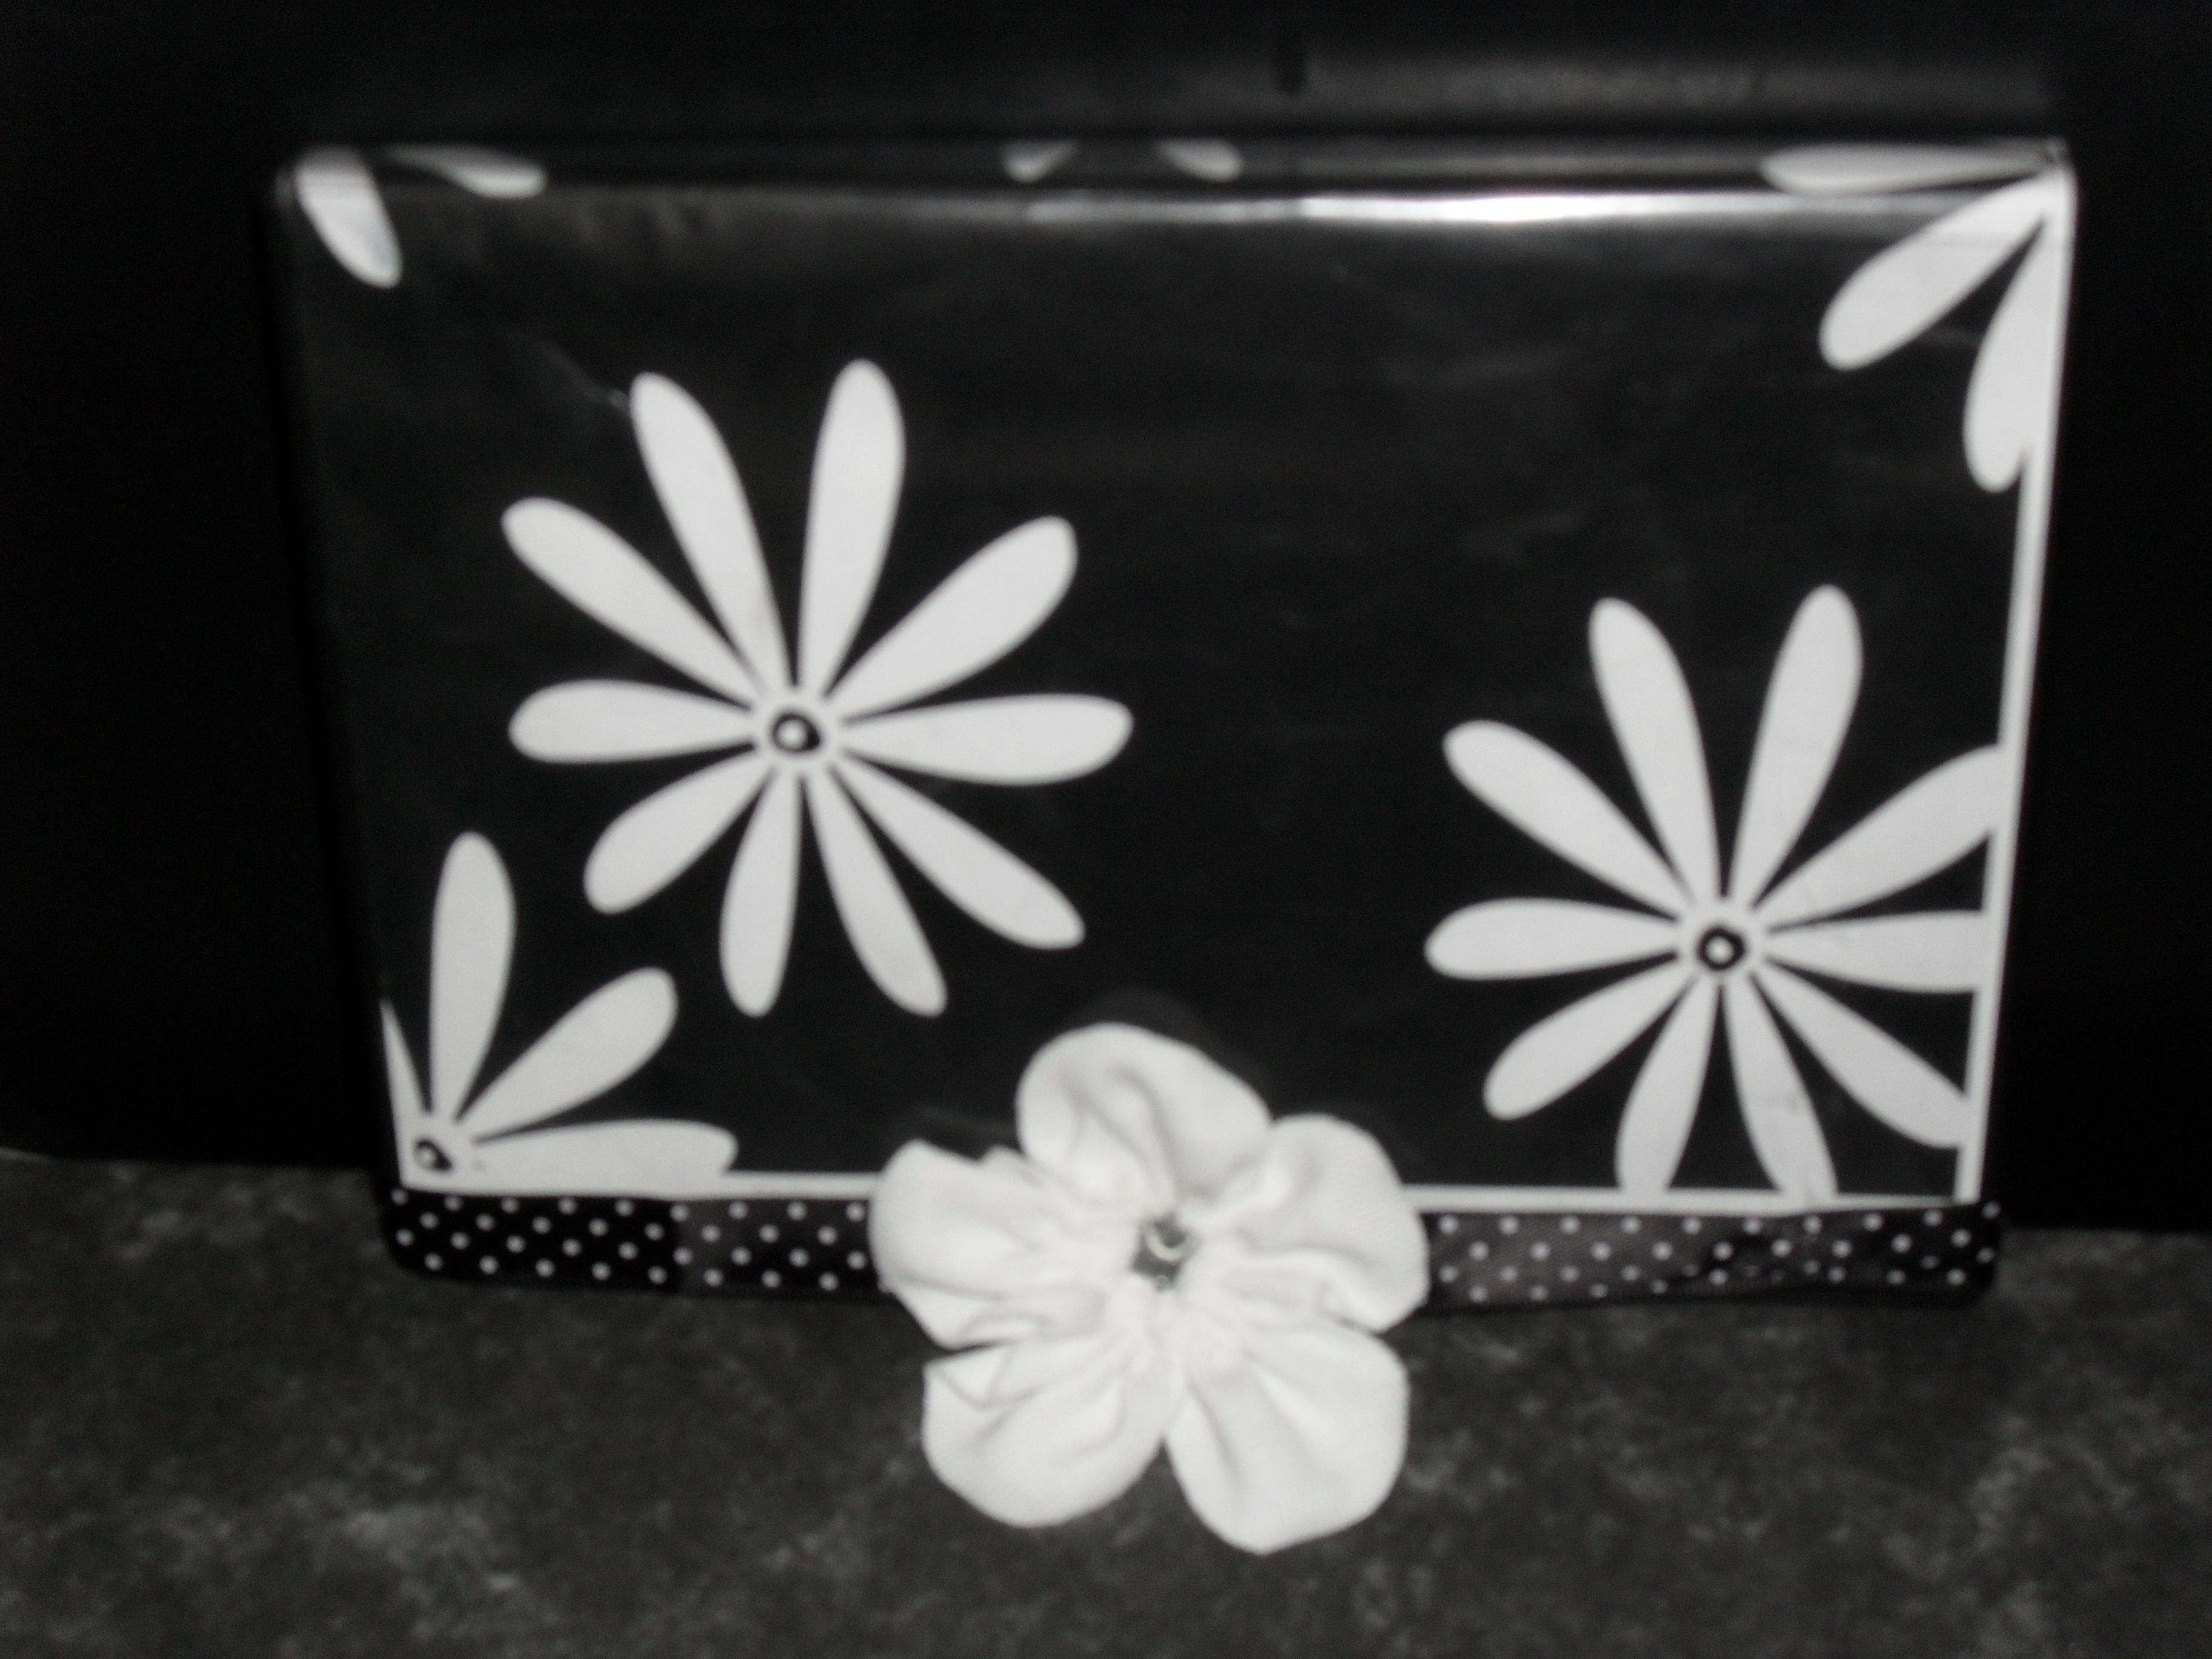
Custom Made Makeup Palette


This is my first instructable so please bear with me as it may not be quite up to the standard.
I became inspired to create a custom makeup palette from watching youtubers. So before I move on, I would like to thank those people for bringing such brilliant ideas to attention. A lot of people have made palettes using a CD case, but the idea of using a DVD box was great. A DVD box is stronger and large enough to hold more items such as larger pans, longer brushes and pencils.
I have modified the palette to my needs and according to the materials I had available. I decided to create a palette that would contain eyeshadows and lip colours to change my makeup look from a day to a night. The elastic at the bottom is able to hold onto lip and eyepencils, brushes with a thin barrel and a travel mascara. However, the lid will not be able to close if larger barrelled items are placed such as the MAC Dazzleglass.
A lot of people would prefer to use magnetic card/paper to hold the pans since this will allow the pans to be removed. However, since I didn’t have any magnetic paper/card at hand I decided to glue the pans to the box. In addition, I have added a mirror to the palette.
In this instructable, I will show you how to create the palette that I have made. I aim to provide you with clear instructions. If you have any questions or suggestions, please feel free to ask or suggest.
What you will need:
1. DVD box – use a DVD box designed to hold one DVD
2. 2 pieces of thin A4 card (colour depends on you)
3. Black elastic (I used the elastic from a hair band)
4. Double sided tape or hot glue gun
5. Mirror ( a flat one is preferable)
6. Black tape
7. Scissors
8. Ruler
9. Pencil
10. Eyeshadow Pans
11. A4 sized decorative paper
12. A knife or heavy duty scissors to cut the plastic of the DVD box
13. Safety pin
Additional items I have used
1. Black and white paint
2. Ribbon

Begin with an empty DVD box. Remove the printed paper sleeve from the transparent outer jacket. Use strong scissors or a knife (this is the most difficult step) to cut out a frame from the side holding the DVD. I would advise you to be really careful or ask someone to help you. I struggled with this step myself. Make sure that you don’t cut through the transparent outer jacket.


At this stage, you can add a piece of ribbon to the front like I have. I have decided to do this step first so the end result looks neat. I used the ribbon to disguise an area where my scissor had poked through the transparent jacket.

Cut out a piece of card to the size of the inside DVD cover. Refer to the image for the measurements used. When cutting the window for the mirror, draw around the mirror and then draw a smaller frame inside. This smaller frame is the one that you will cut. The purpose of this is so that the mirror looks kind of ‘embedded’ into the lid rather than stuck on. Keep this piece of card aside.


Print a design on an A4 piece of paper. There are many ways to go about this. You can use a graphics program and create your own design or use an image from the internet. I used an image from the internet. The image was a large image, so when resized would not blur.

