Custom Mac Folder Icons in Photoshop Elements
37210 Views, 24 Favorites, 0 Comments
Custom Mac Folder Icons in Photoshop Elements
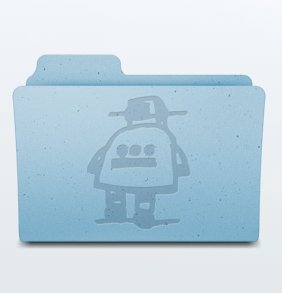
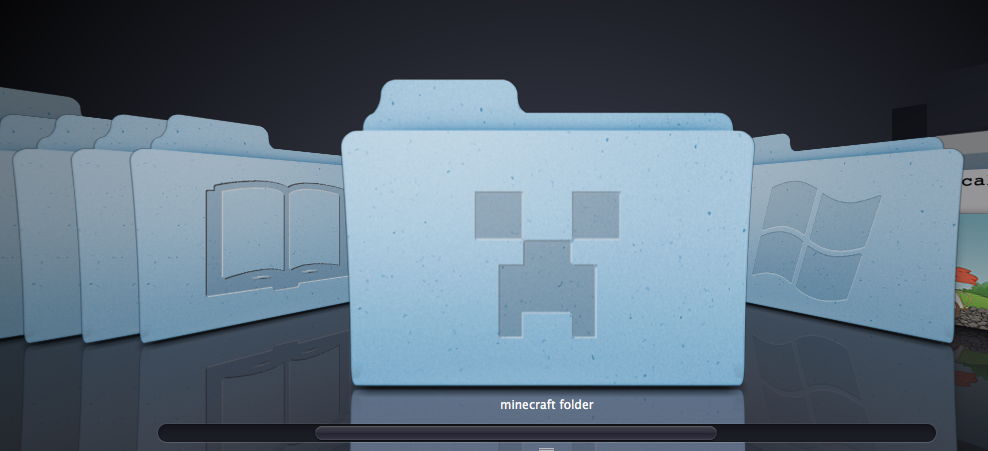
I always loved the style of the folders on a Mac, such as the downloads, documents, movies, or photos folders. However, I had so many folders that all looked the same, and were often hard to recognize, so I wondered if there was a way to make a custom folder icon that still looked like the original mac folders. Here's how I did it.
NOTE: This should also work with any other version of Photoshop, but some steps may be a slightly different.
NOTE: This should also work with any other version of Photoshop, but some steps may be a slightly different.
Find the Images
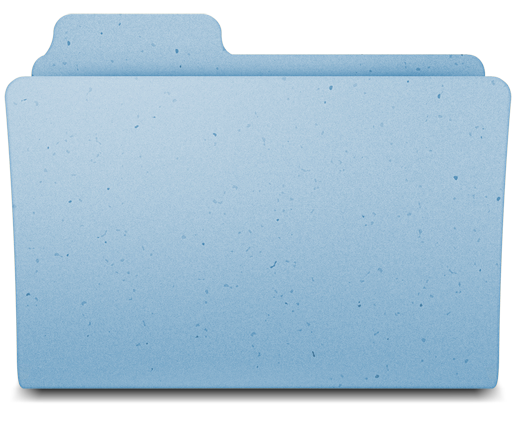

The first thing you will need is a PNG of a default Mac folder. You can find them in Google Images. I used this one here: http://goo.gl/D5k3I
The reason why it must be a PNG is because of the transparency and shadow. A JPEG or BMP image will not have the transparency you need.
Next, find an image that you will want to place onto the folder. In this case it is the Instructables Bot. This image doesn't really have to be a PNG, but it can make the job a lot easier if it is.
Import the Image Into Photoshop Elements
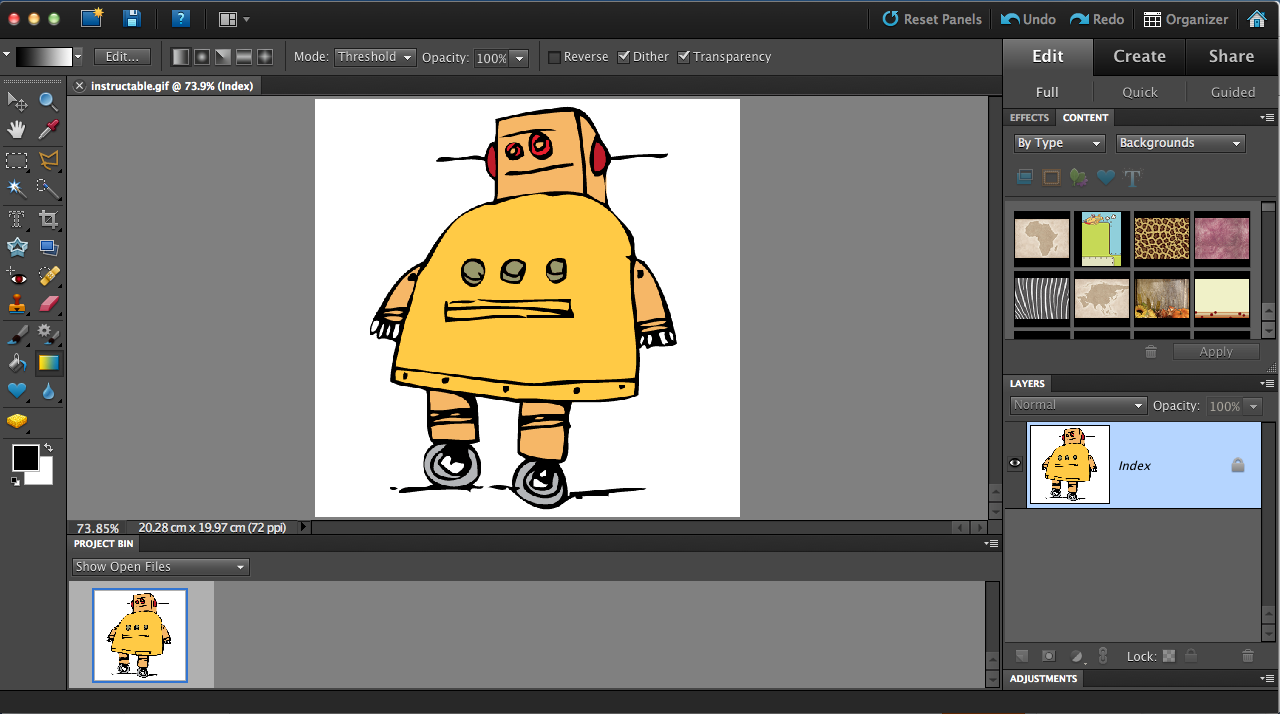
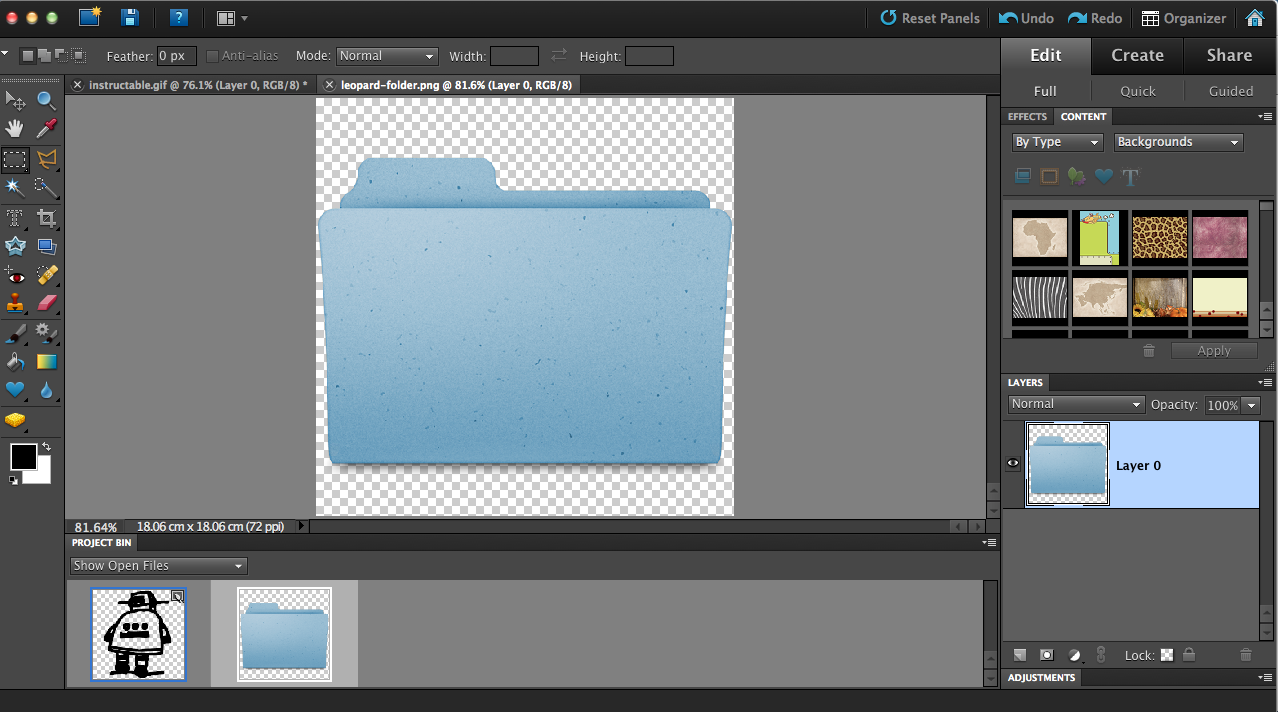
Import your images into Photoshop Elements. Rather than copy and pasting them, go to File -> Open..., to open the files. If you copy-paste them you might just not get the full resolution and transparency.
Remove Backgrounds and Colors
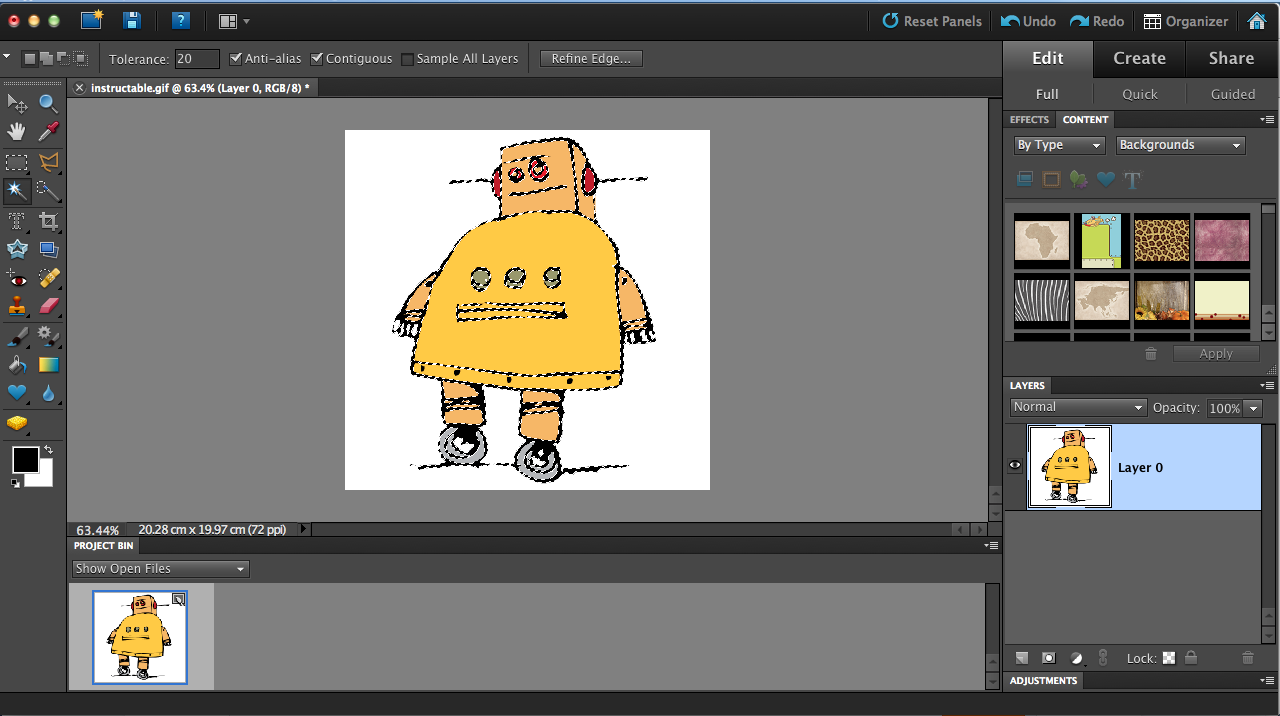
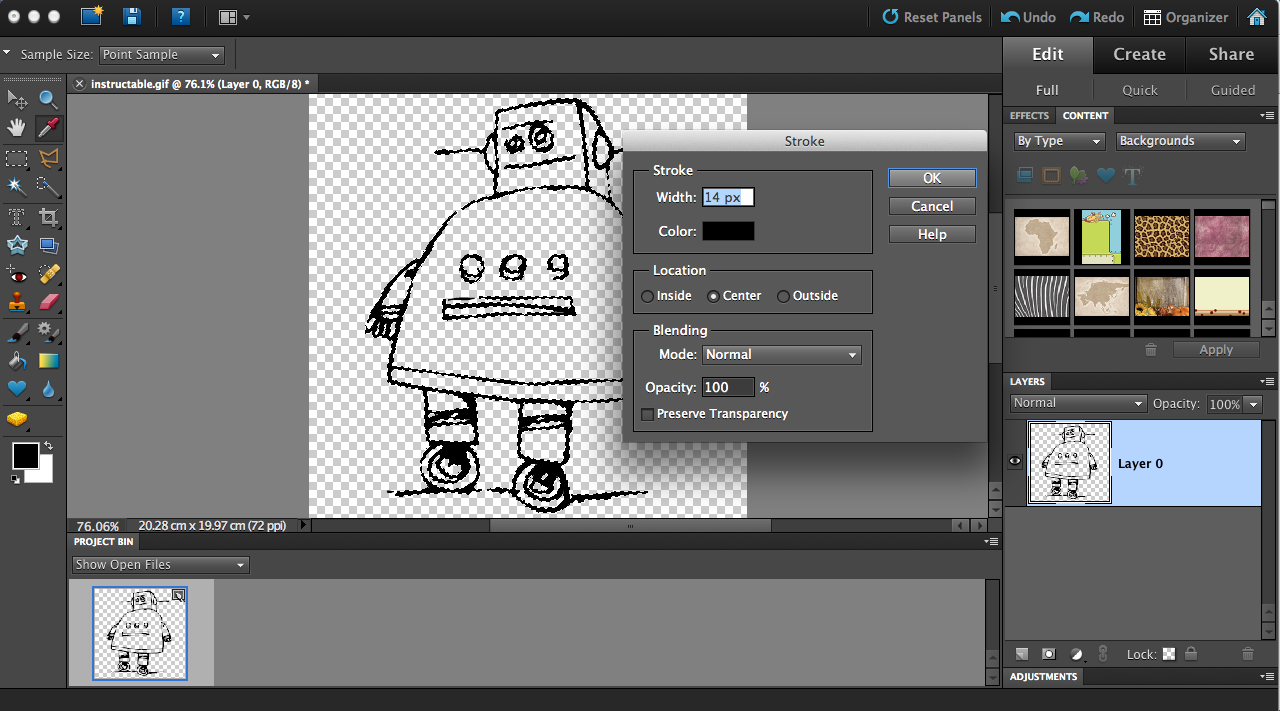
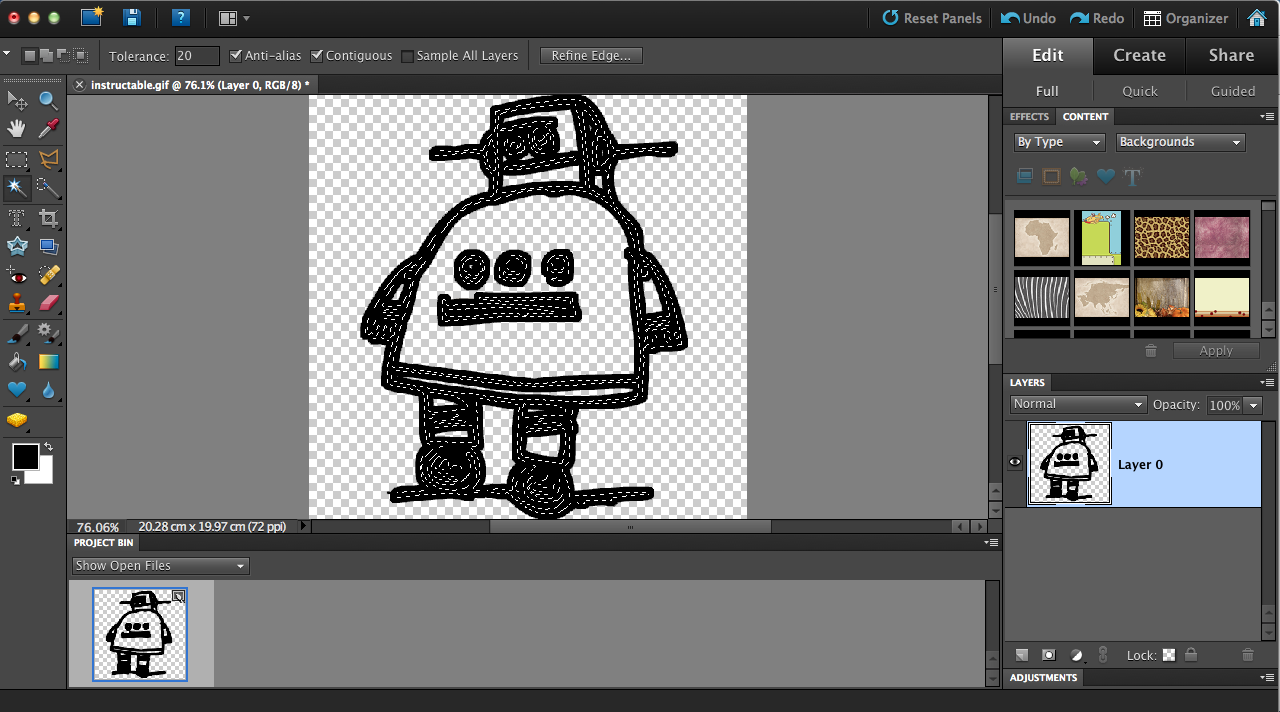
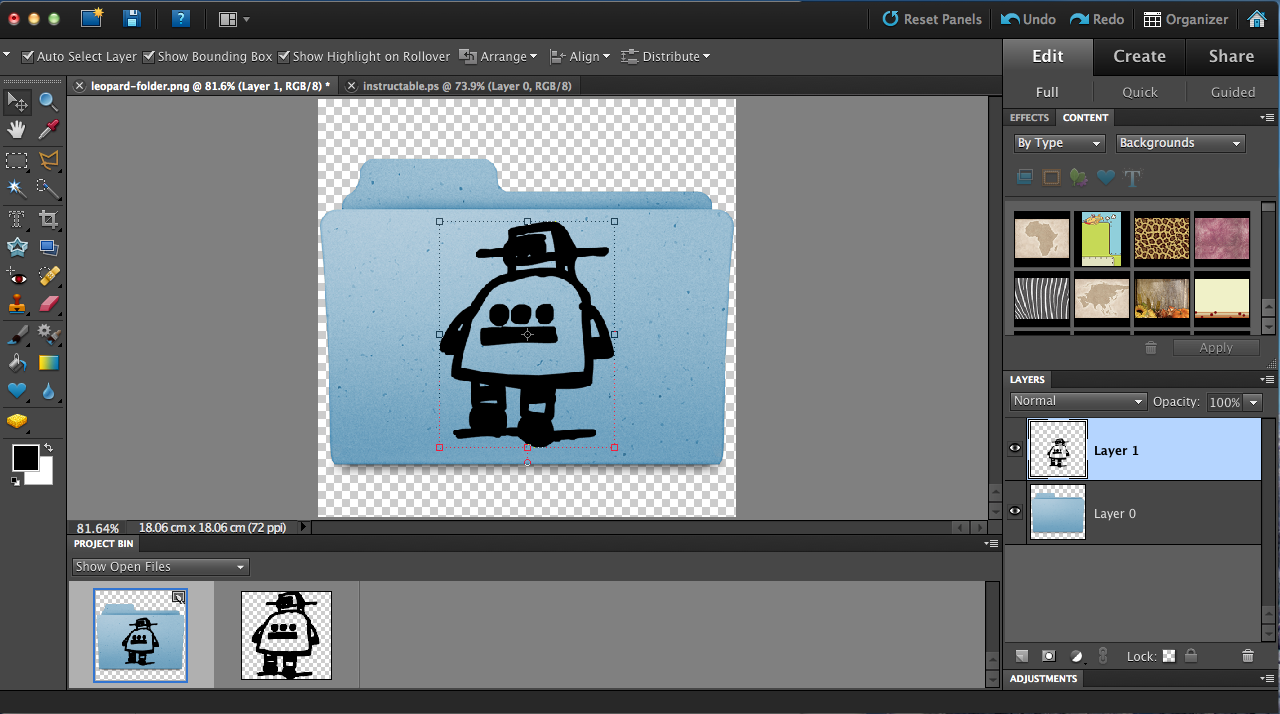
The image I'm using had to be adjusted a bit to make it look nice on the folder. Whatever image you're using, it has to be black and white.
This is how I did it:
First, open the image and double click on the "Index" to make it into a layer.
Then, select the black outline of the image. Press Cmd/Ctr+Shift+I to invert the selection. Now everything should be selected except the outline. Press delete. Now all the color of the image should be gone, leaving only the black outlines with the transparent background.
Now, select all of the outline (or just invert the selection again), then go to Edit ->Stroke (Outline) Selection. Set the width to 14px and the location to "Center". Make sure the color is black and the opacity is 100%.
When you're done with that, copy-paste the image onto the folder.
A new layer should be created by doing this. Adjust the position and size (use the move tool, or press Command/Control T).
Emboss the Image
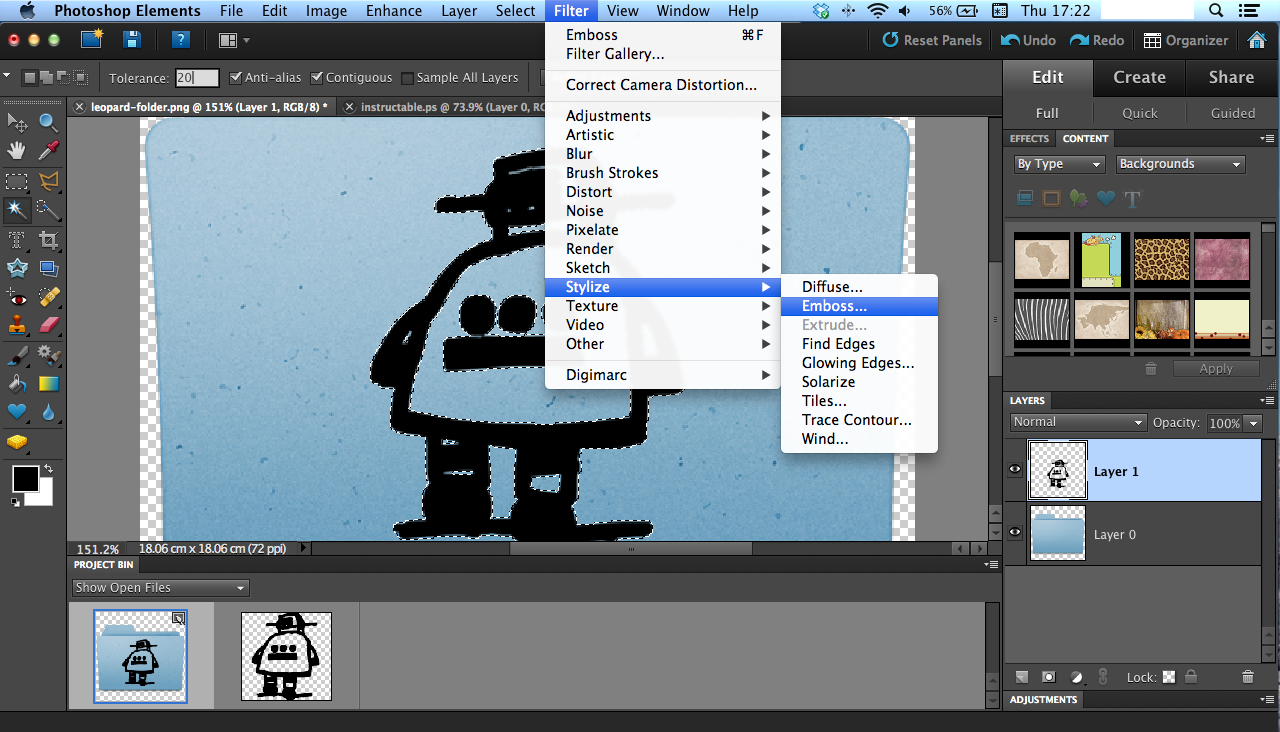
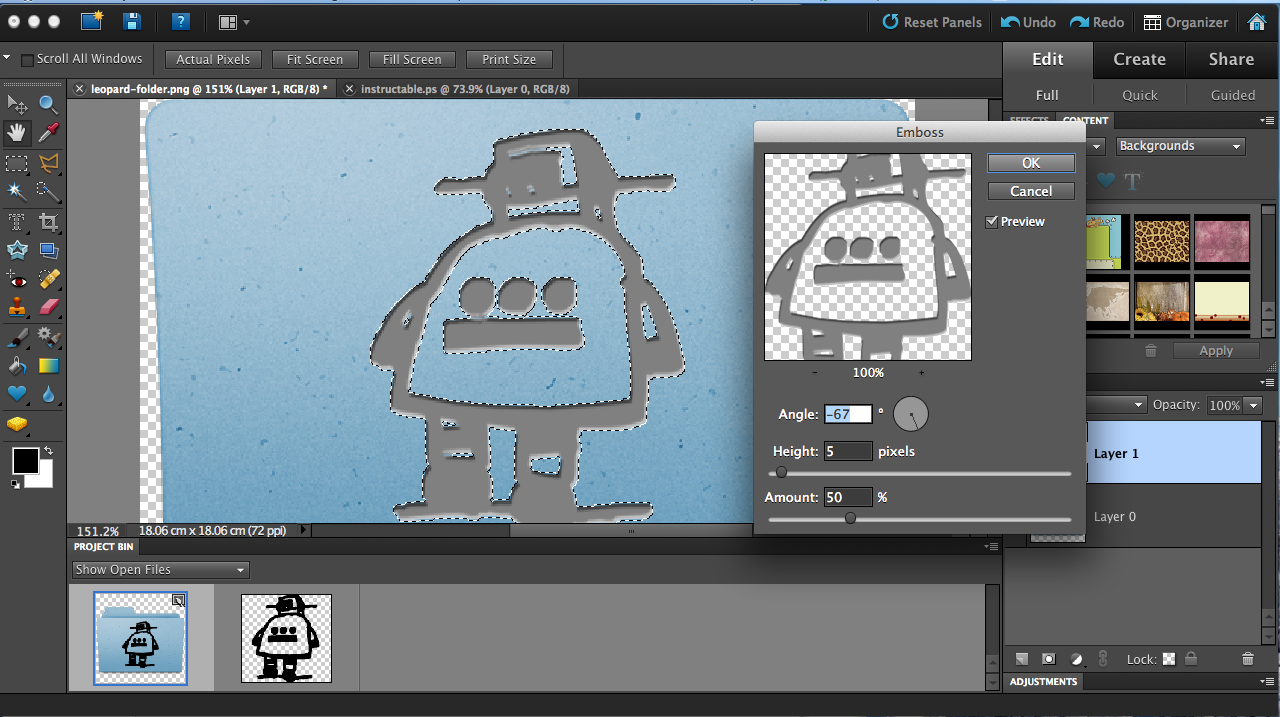
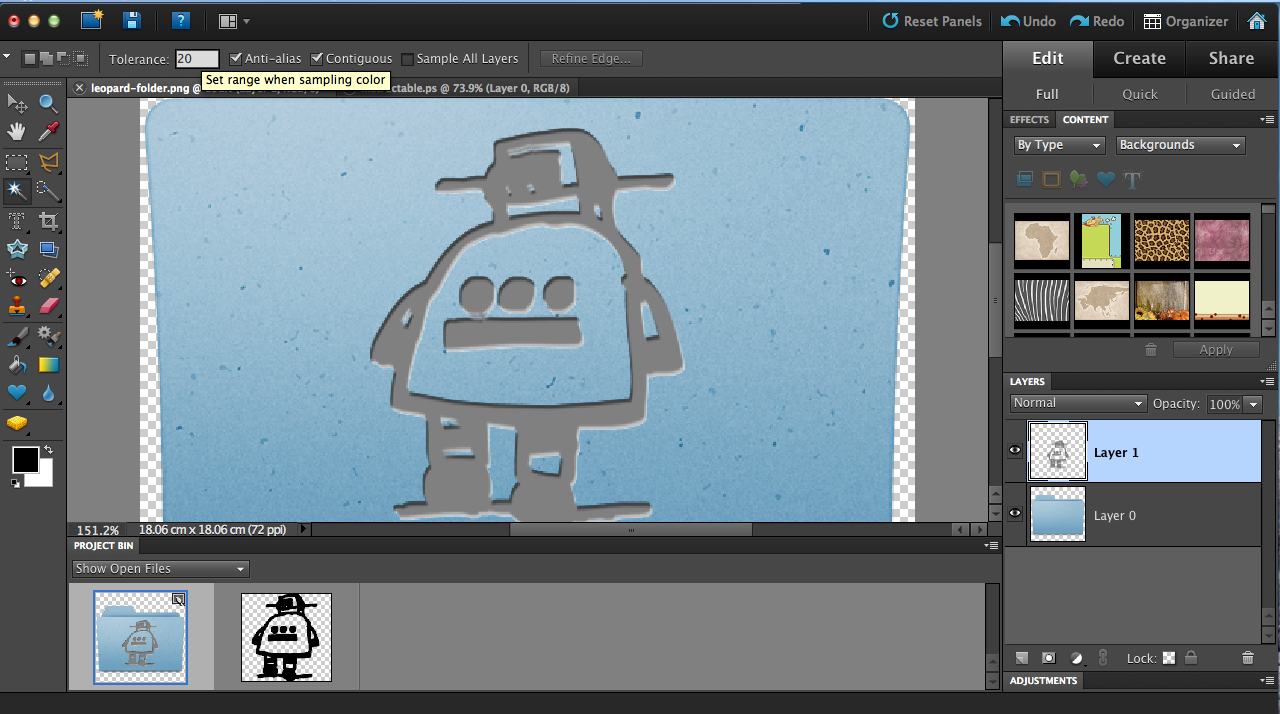
Next, select the black outline of the image using the magic wand tool, and use the emboss filter to make the image look like it's engraved into the folder.
Go to Filter -> Stylize -> Emboss..., and set the Angle to -67°, the Height to 5, and the Amount to 50%.
Go to Filter -> Stylize -> Emboss..., and set the Angle to -67°, the Height to 5, and the Amount to 50%.
Brightness and Opacity
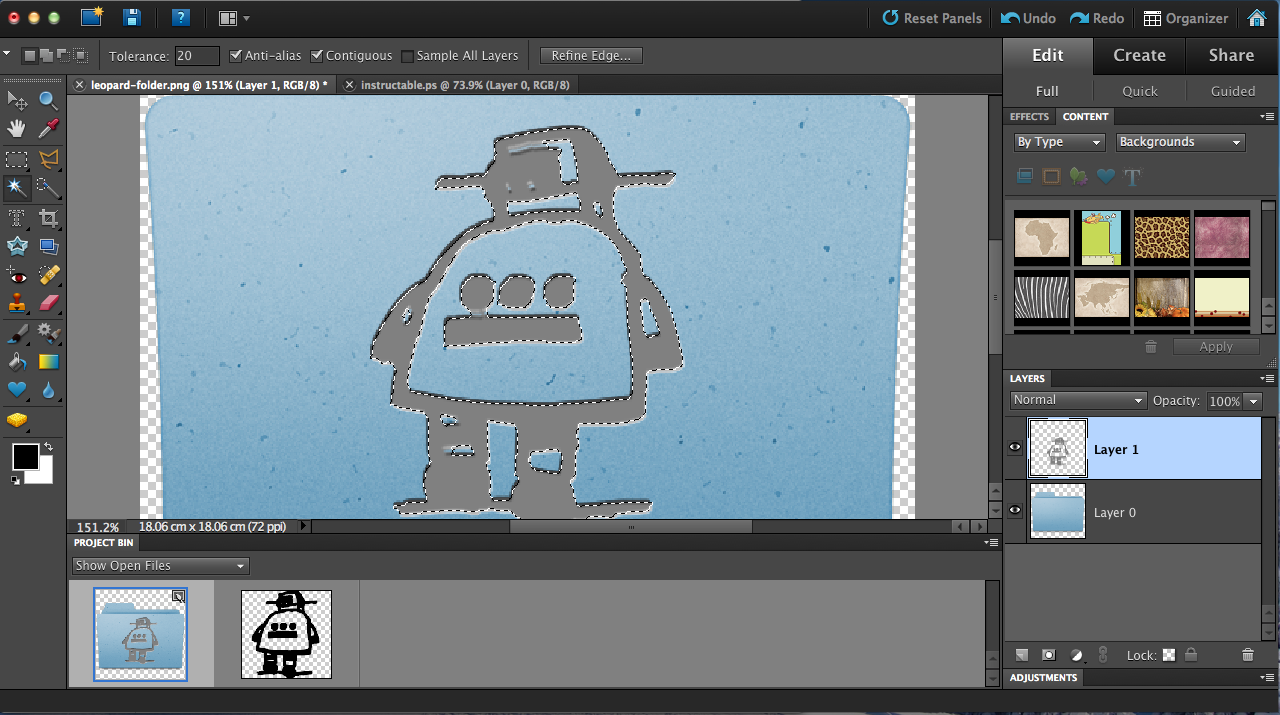
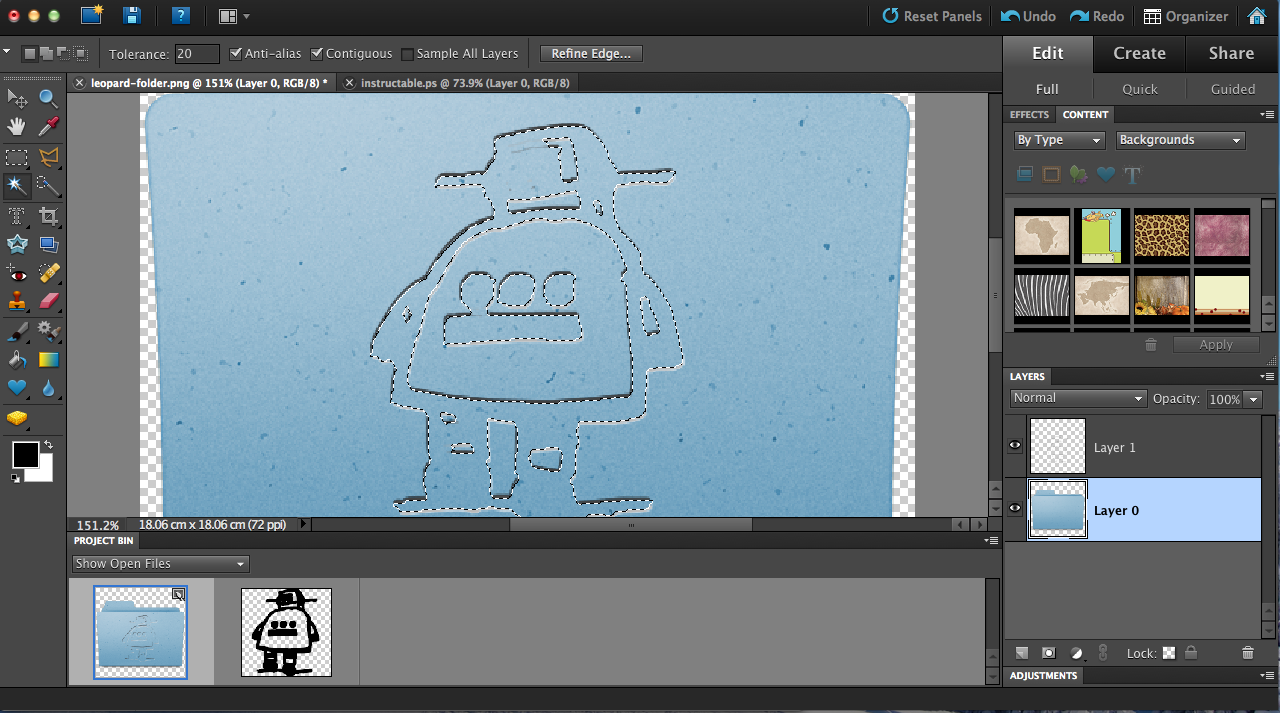
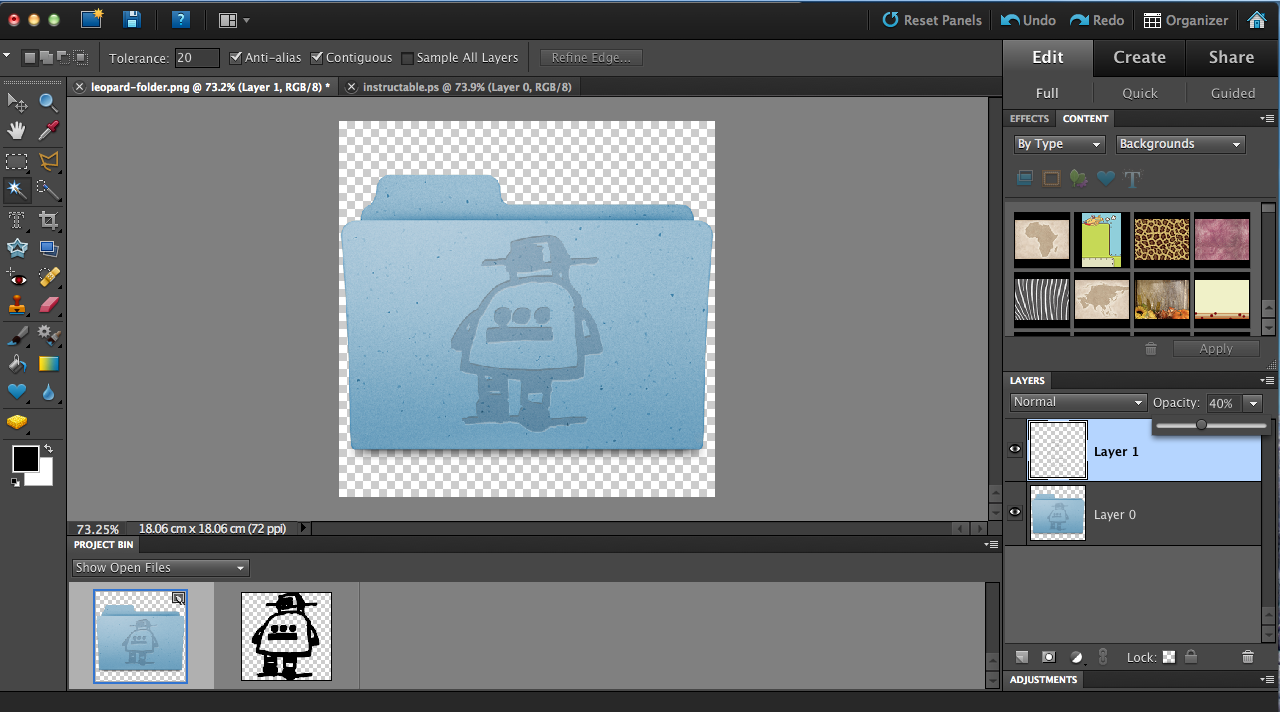
Deselect the image, and then reselect it. This time the selection should only be inside emboss, not the whole thing.
Press delete. Now only an outline of the emboss should be left.
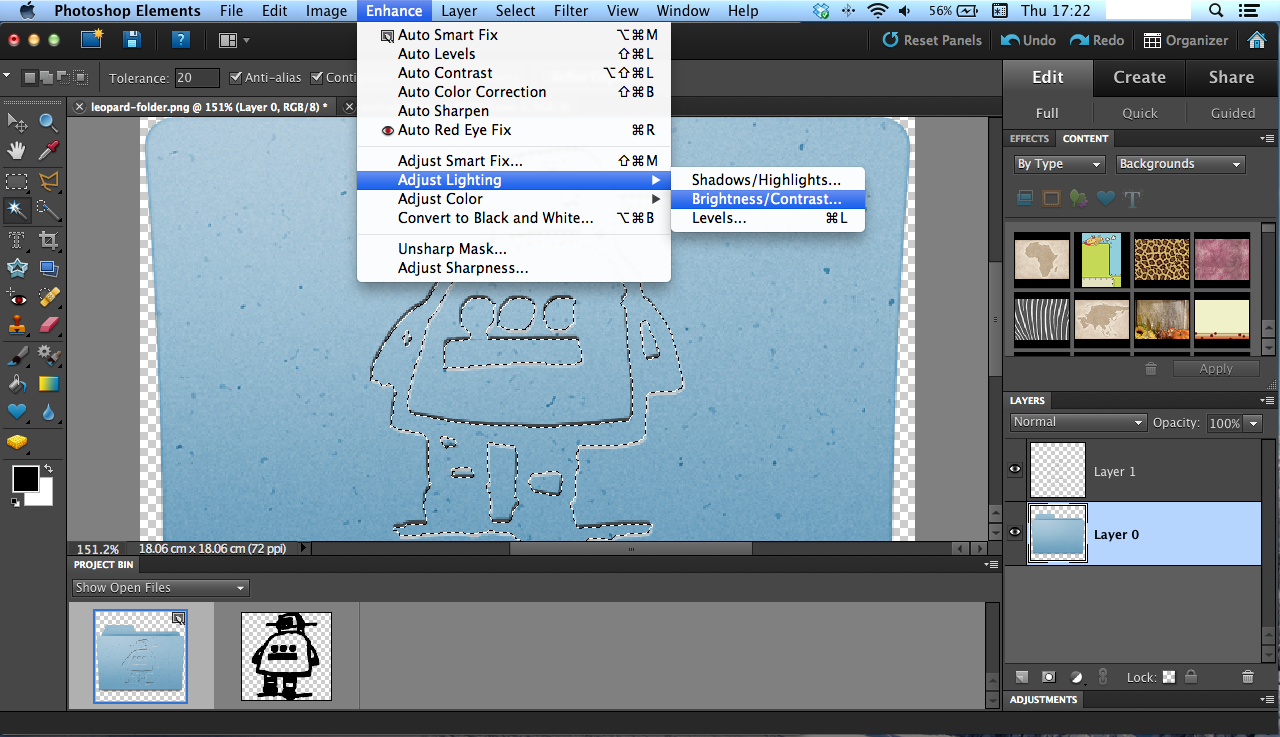
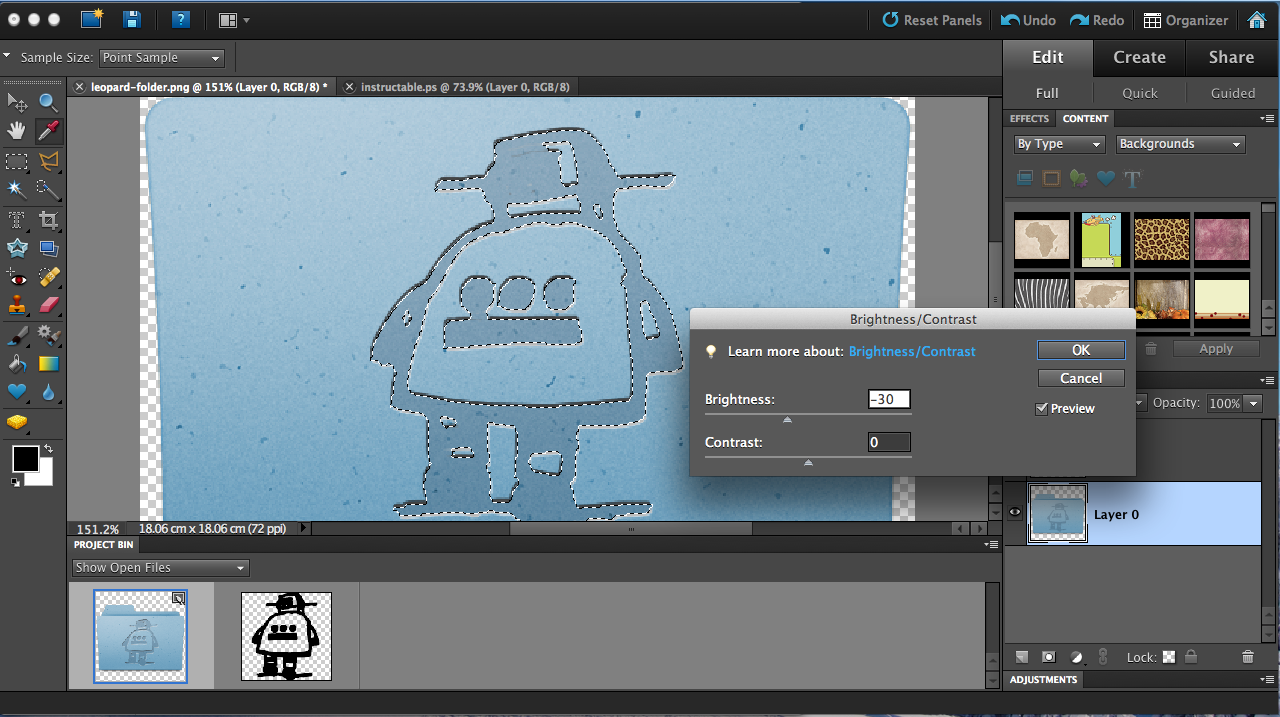
Now, , switch to the bottom folder layer, and change the brightness to -30.
Then, go back to the image layer and change the opacity to about 40%.
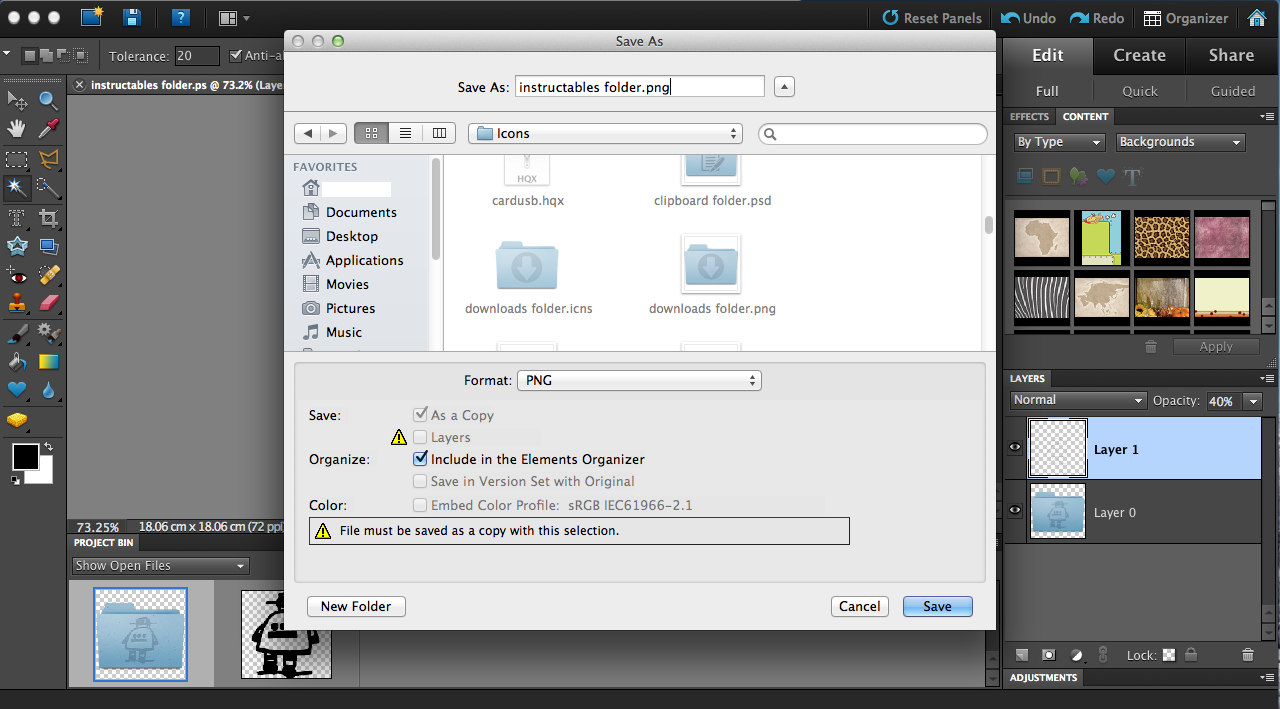
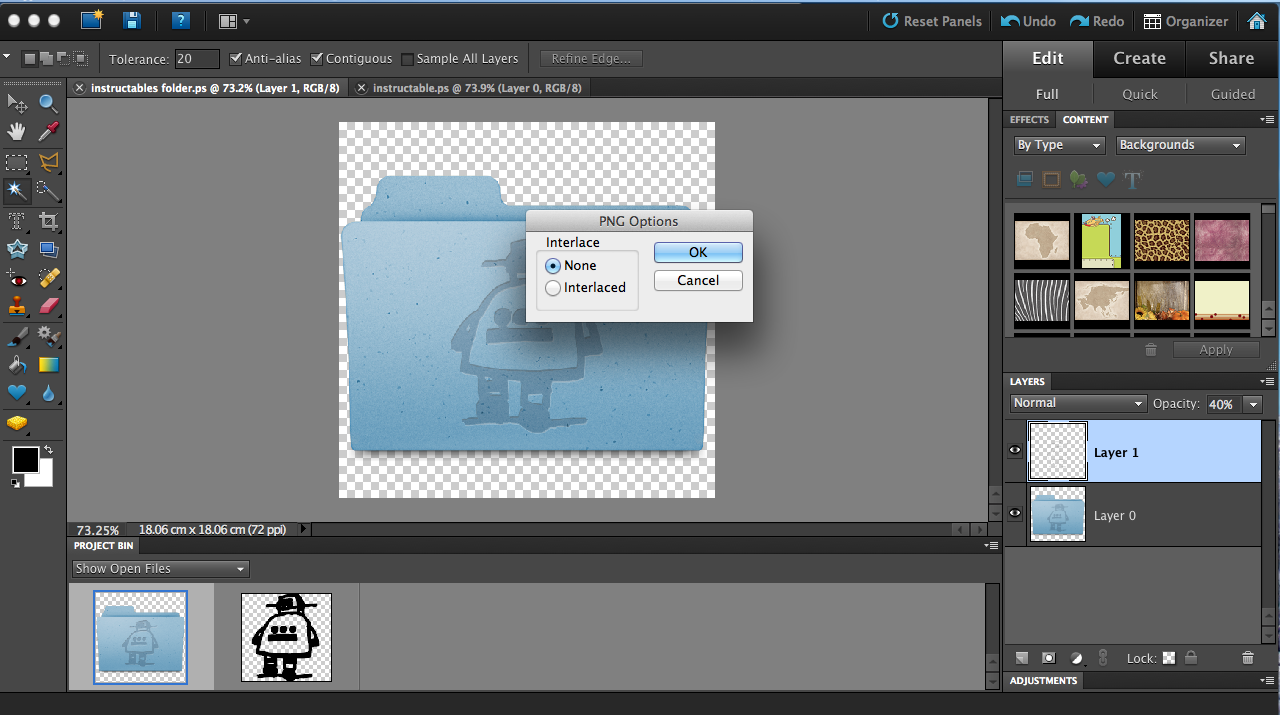
Now, save your custom folder as a PNG image (when it asks you about interlace, select "None").
Convert to an Icon
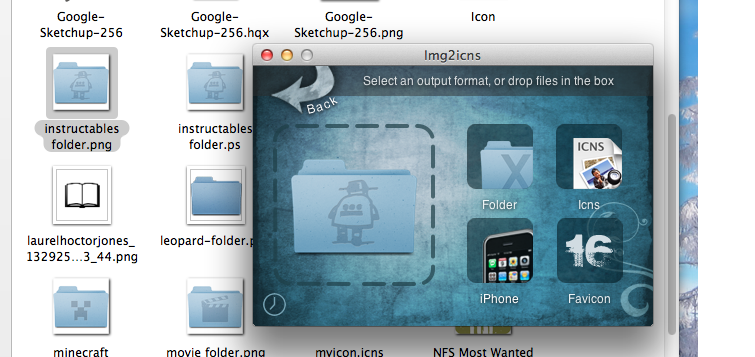
The final step is making it into an icon. For mac there are a ton of free apps that will do this for you, and I'm guessing there are even more for Windows. If you don't want to download one, use this: http://iconverticons.com/app/
The app I use is called Img2icns. It's free for the lite version (they only have the paid version on the App Store). Img2icns actually has a feature to convert an image to a folder icon, but if you're using iConverticons you don't have that, so I'm going to show you how to do it manually, with the .icns format.
Open the converter and upload your file. Then, select the .icns conversion option, and save the .icns file somewhere, eg on the desktop.
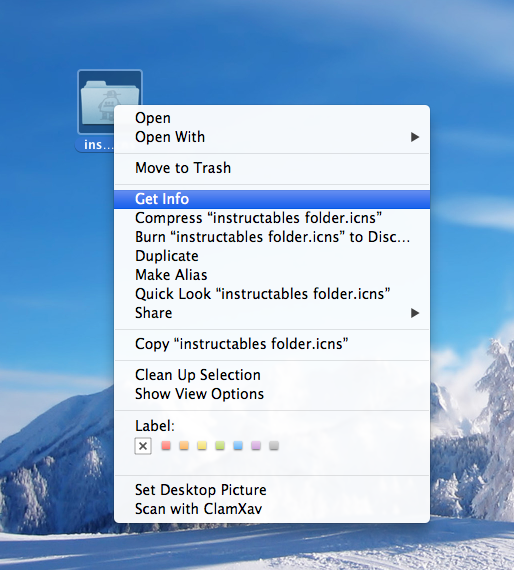
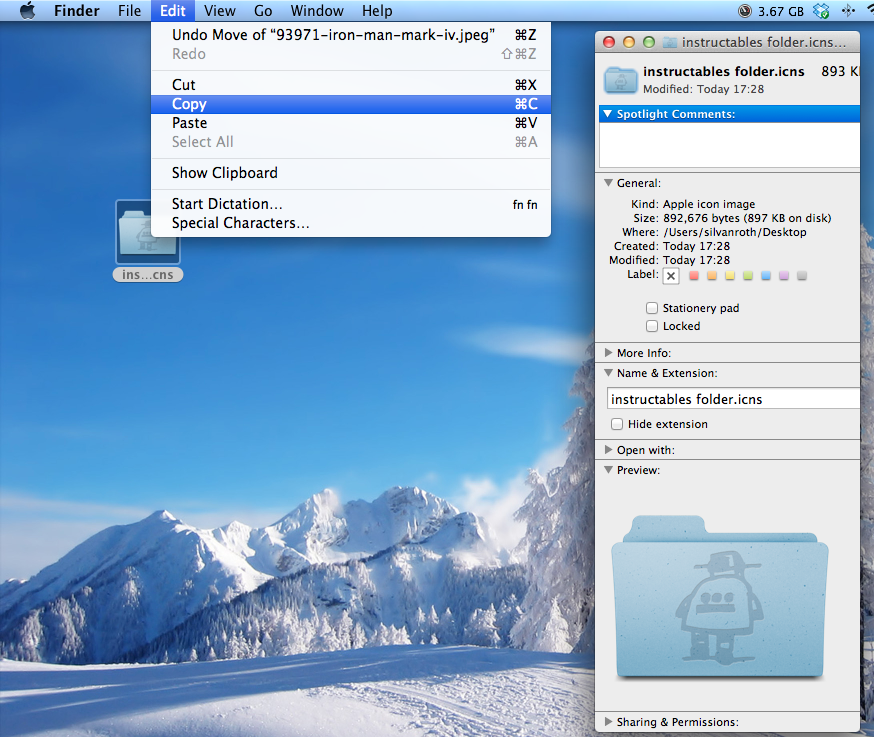
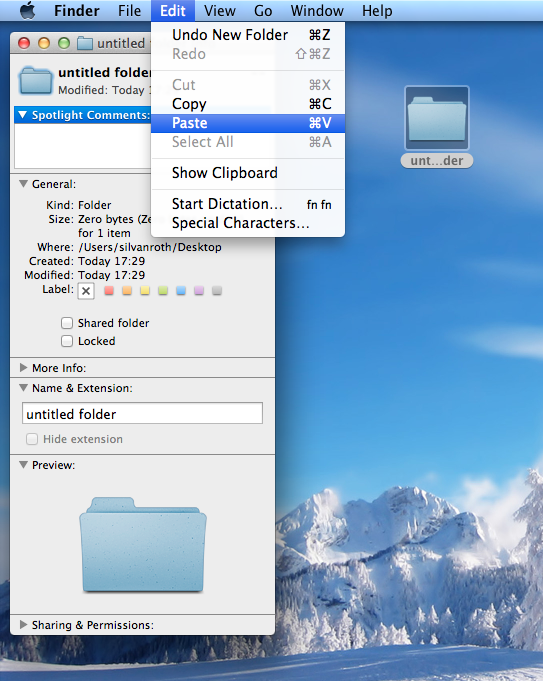
Then, go to the icns, and get its info. Click on the small icon on the top left corner of the info box, and copy it.
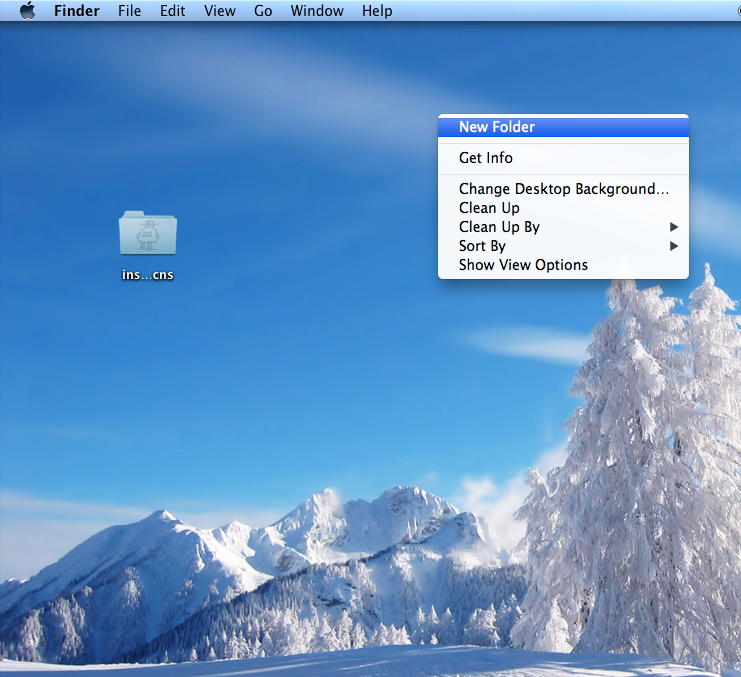
Next, create or go to your folder that should have the new icon, and get its info. This time, click on the icon in the corner and click paste. You should now have your new icon in place of the regular folder icon.
Done!
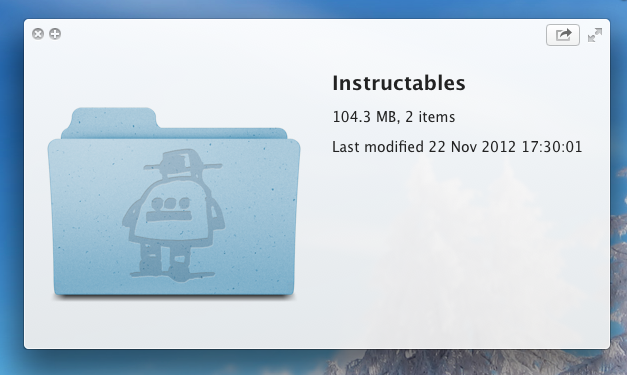
That's it! You now have a brand new folder icon!
Remember to post pictures in the comments of your improved icons!
Remember to post pictures in the comments of your improved icons!