Custom Laser Engraved Clipboards
by SLOMakerSpace in Workshop > Laser Cutting
6505 Views, 66 Favorites, 0 Comments
Custom Laser Engraved Clipboards
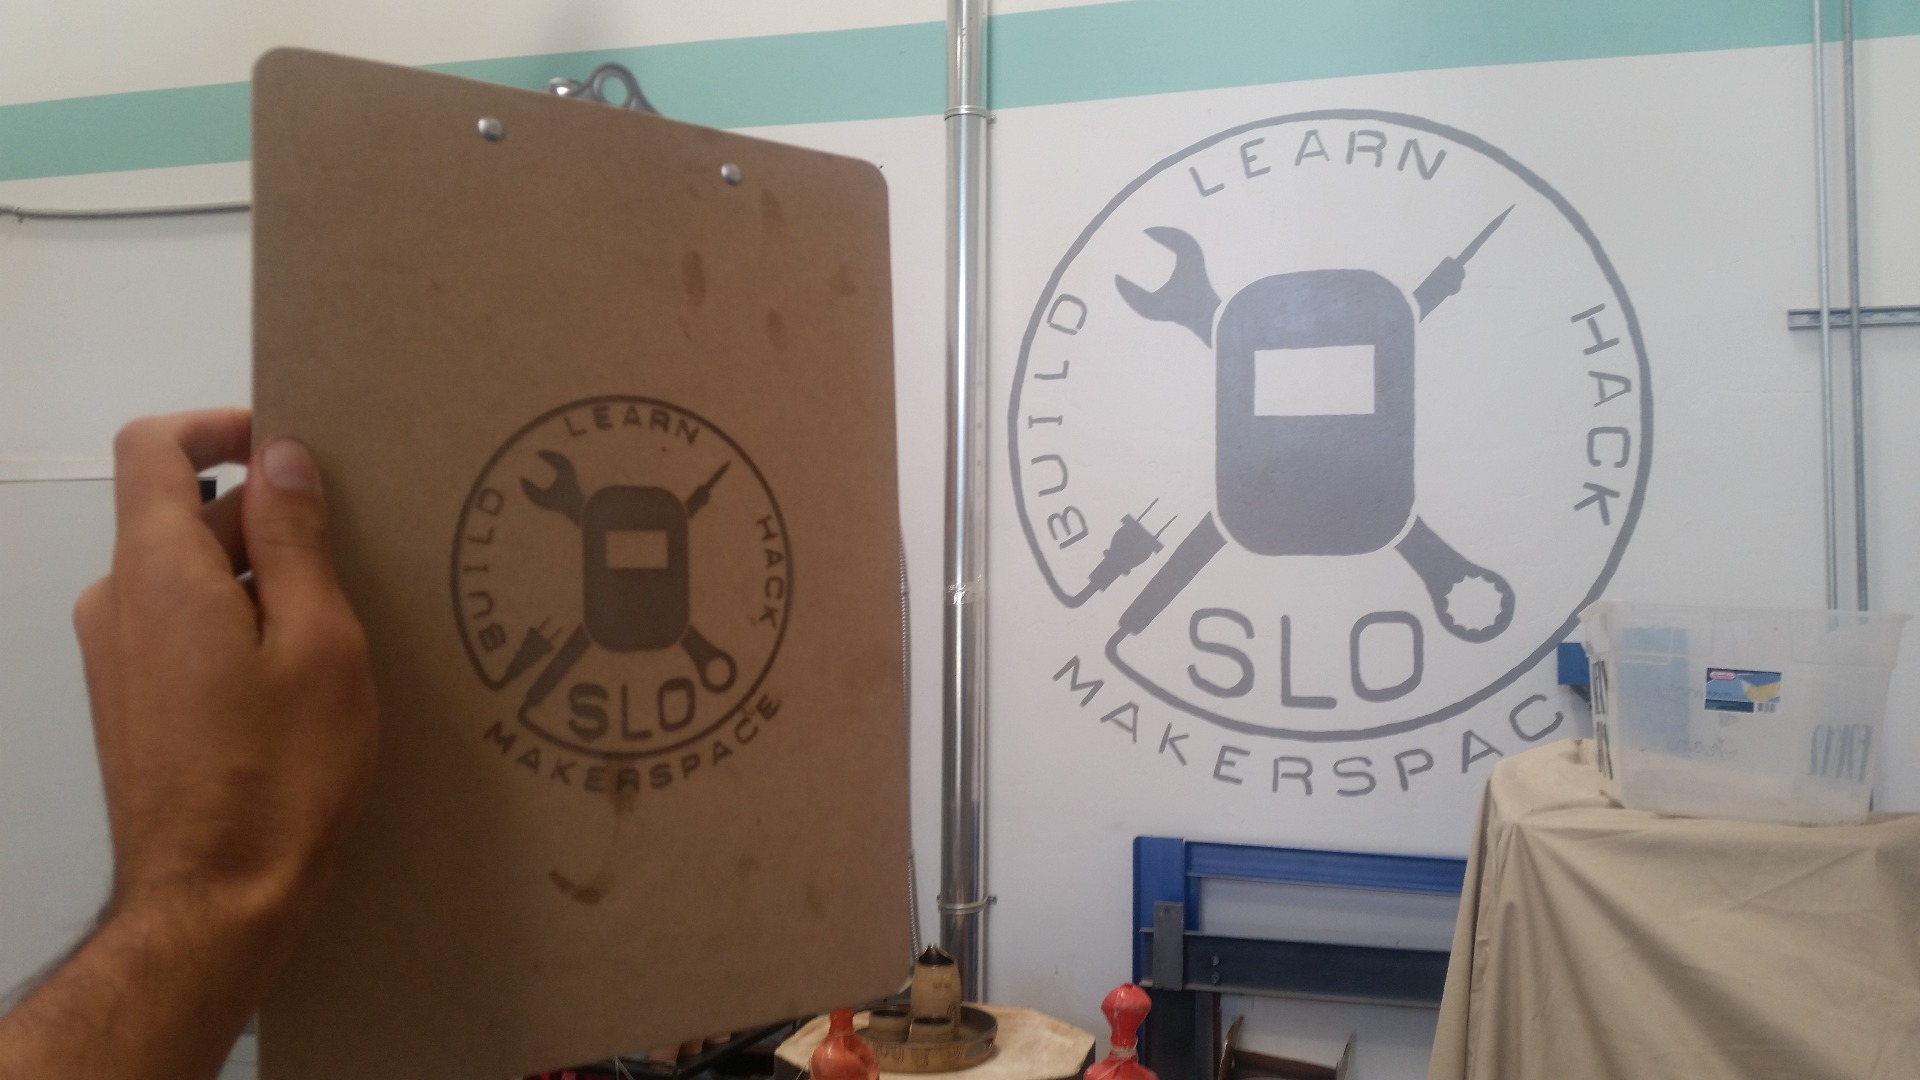
In this Instructable, I'll show you how to setup a file for custom laser engraving a logo onto your material - in this case, a clipboard!
Measure Your Material
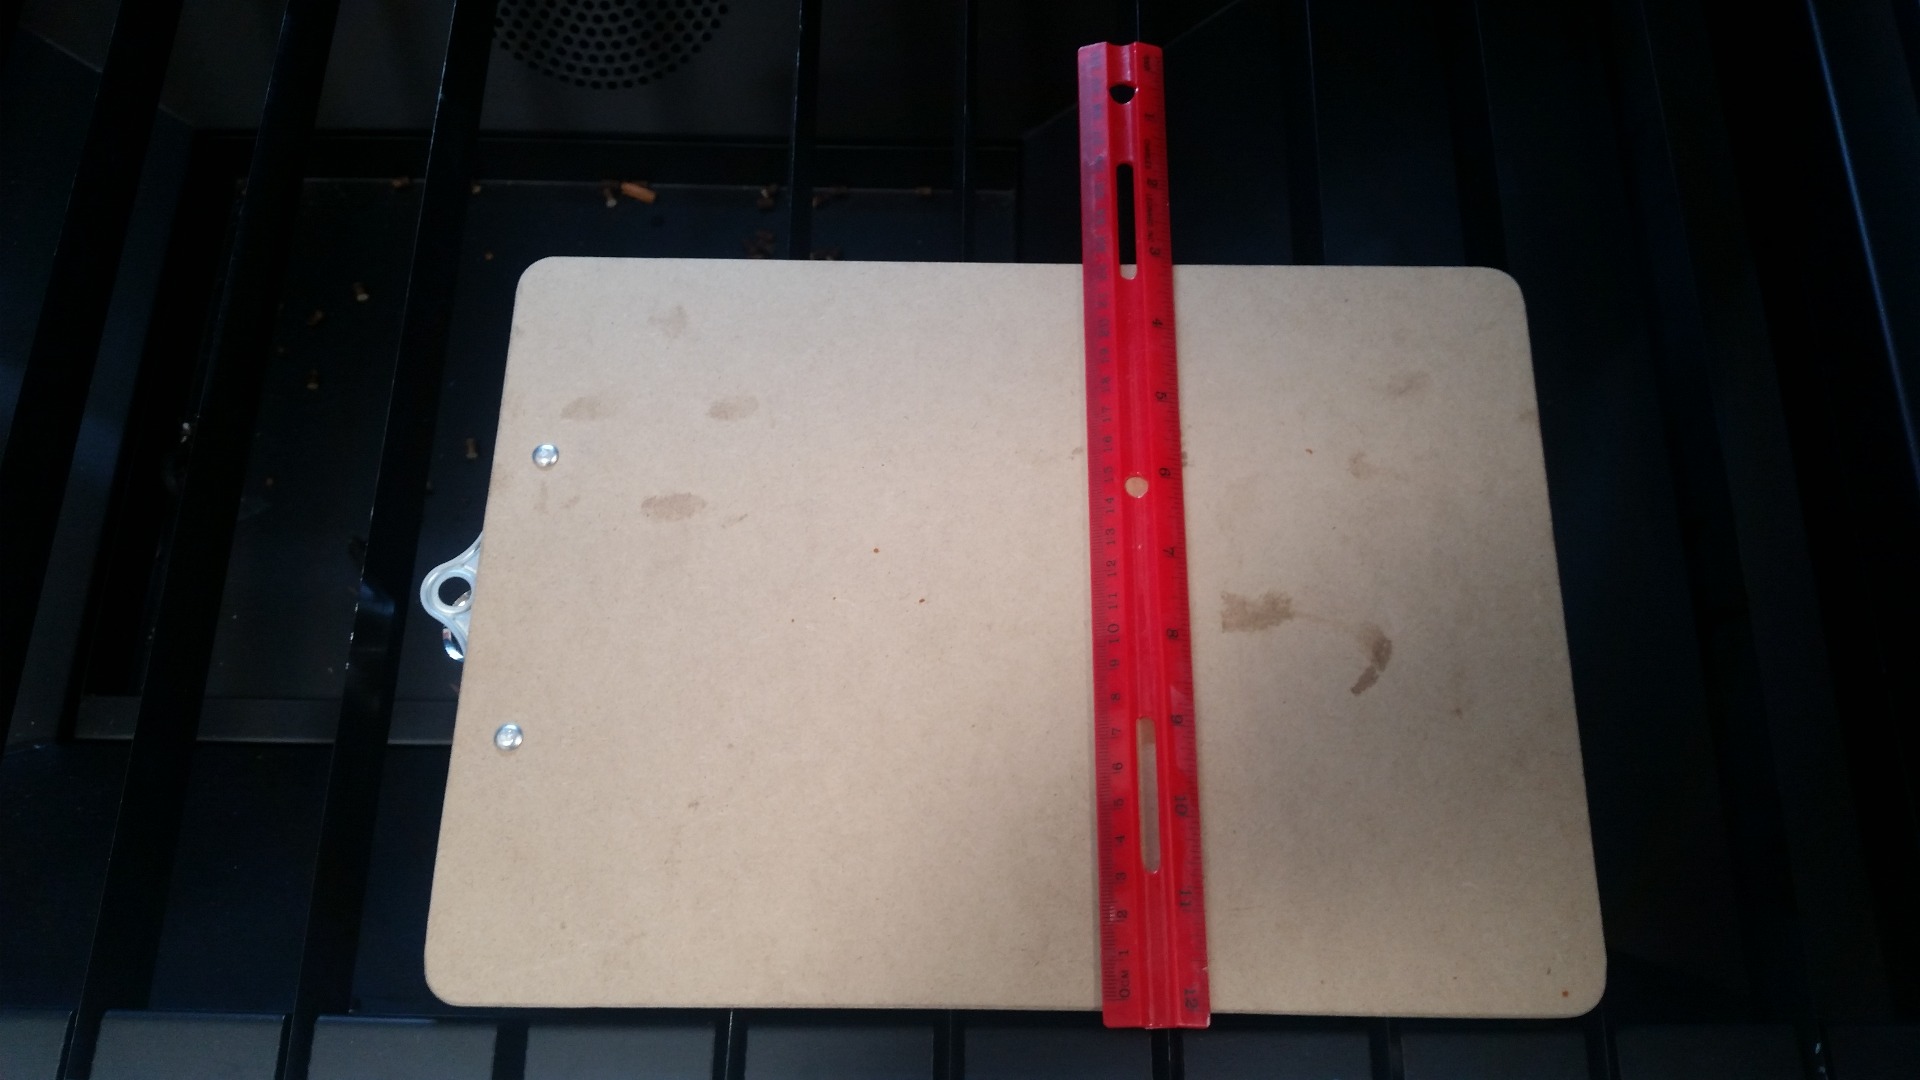
The first thing I do when starting a project is measure my material. Use a ruler or measuring tape, but note that you will need to convert from inches to millimeters because those are the units our software and laser use.
You probably don't need to be extremely precise. Make your judgment call.
Prepare the Workspace
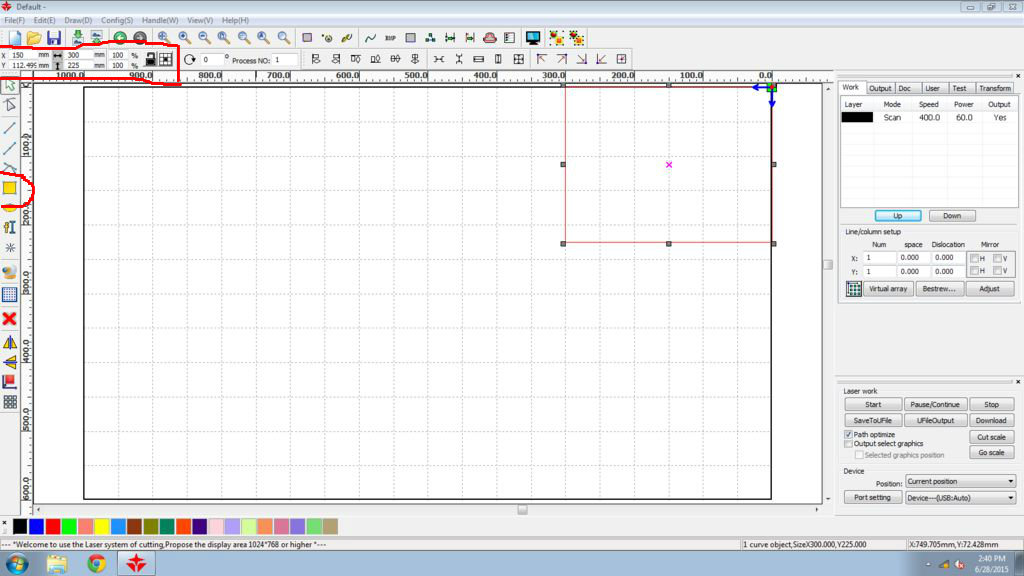
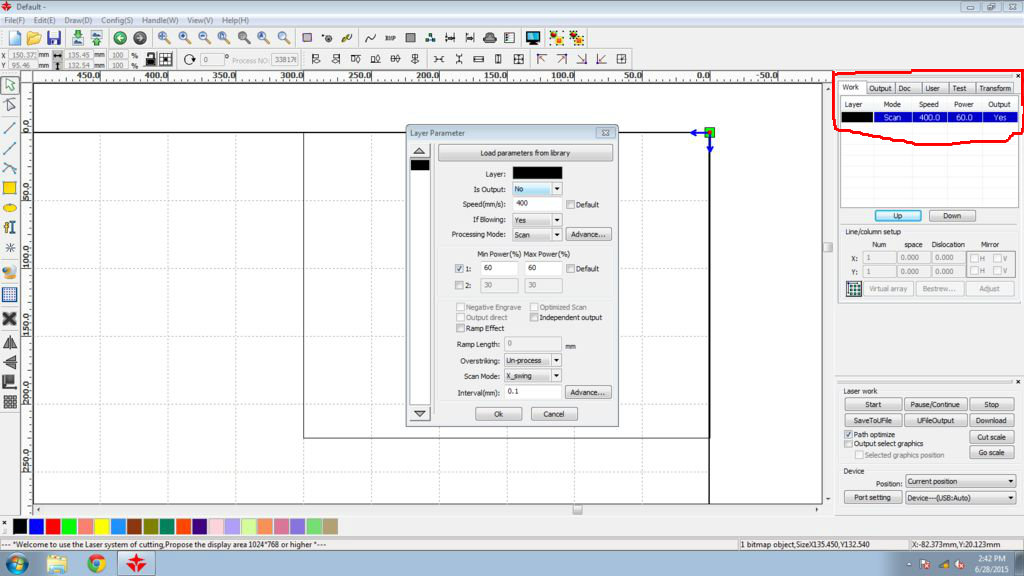
- Open up the laser software (red star icon in the taskbar)
- Notice that the 'workspace' is 1000mm wide and 600mm tall. That is the size of our laser cutting area and so everything you do must be within this region.
- Using the create rectangle tool on the left side of the screen, create a rectangle somewhere in the top right corner of the workspace. This will represent the 'bounding box', or 'frame', or just plain 'ol 'size' of your material. Select the rectangle and using the inputs in the top left of the screen, specify the width and height.
- Then move the rectangle so that the upper right corner is in the upper right corner of the workspace.
- Notice in the right panel the table of layers. Double click the black layer (the layer your rectangle is in)
- Set 'Is Output' to 'No'. This means that any shapes in this layer will not be cut or engraved. They are there only for reference.
Import Image
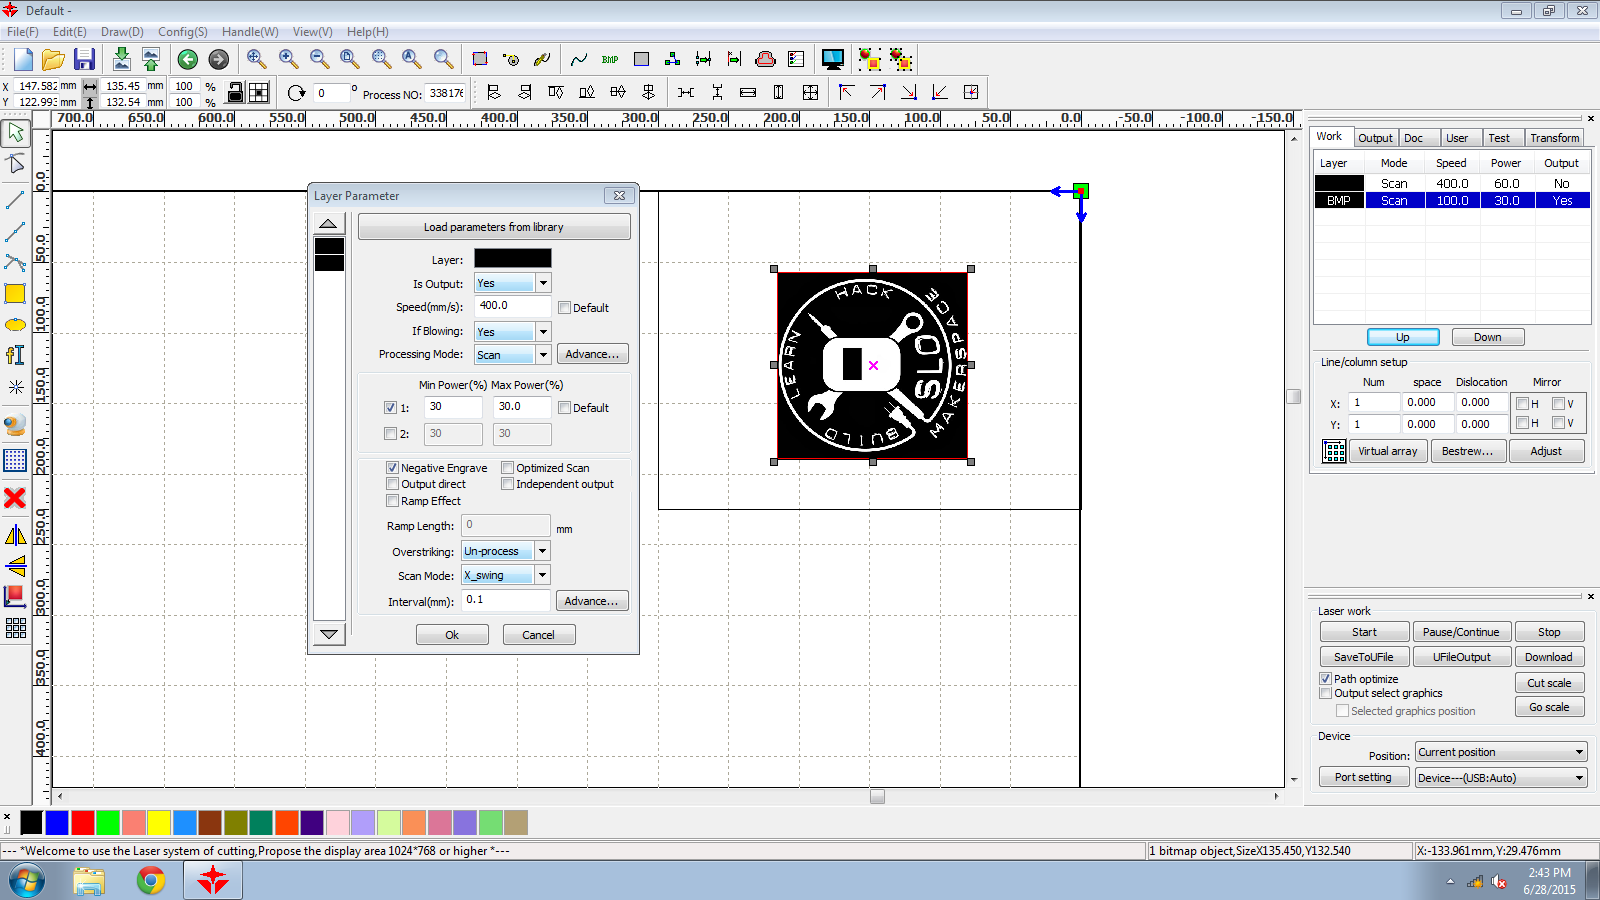
- In the upper left corner of the screen, press the import image button.
- Select your image - It should be black and white, two tone (no grays)
- Resize and position your image where you want it to be within your rectangle that represents your material
- Notice that the image is in its own layer in the layers panel on the right of the screen. Double click the layer and set the settings like I have. The speed should be high so that we aren't waiting forever, and the power should be somewhere between 10 and 60 for engraving. Note: for best results, you must experiment on your material before doing your final project in order to get the desired amount of darkness and depth and avoiding cutting through your material!
- Also note: The laser will fire everywhere the image is black. For my image, I wanted the opposite - to only fire where the image is white. So I set the setting 'Negative Engrave'.
Preview the Process
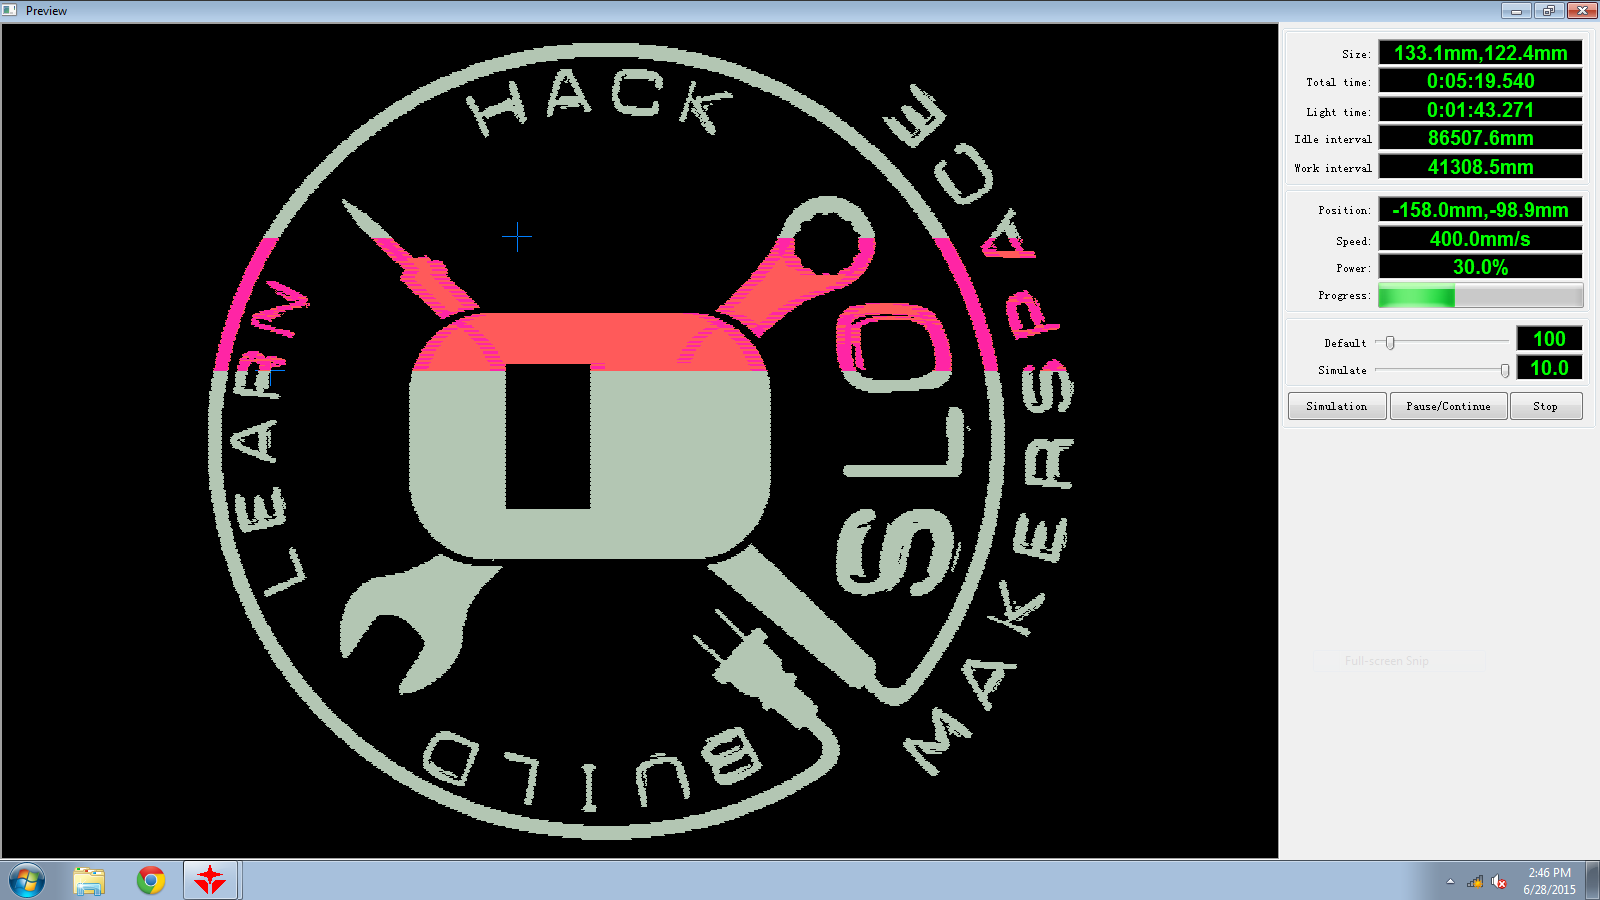
- At the top of the screen, press the icon that looks like a computer screen to Preview what the laser will do
- Press 'Simulation' to watch it simulate where it will move and where it fires the laser (the red area)
- If everything looks good, close this window.
Download the File to the Machine
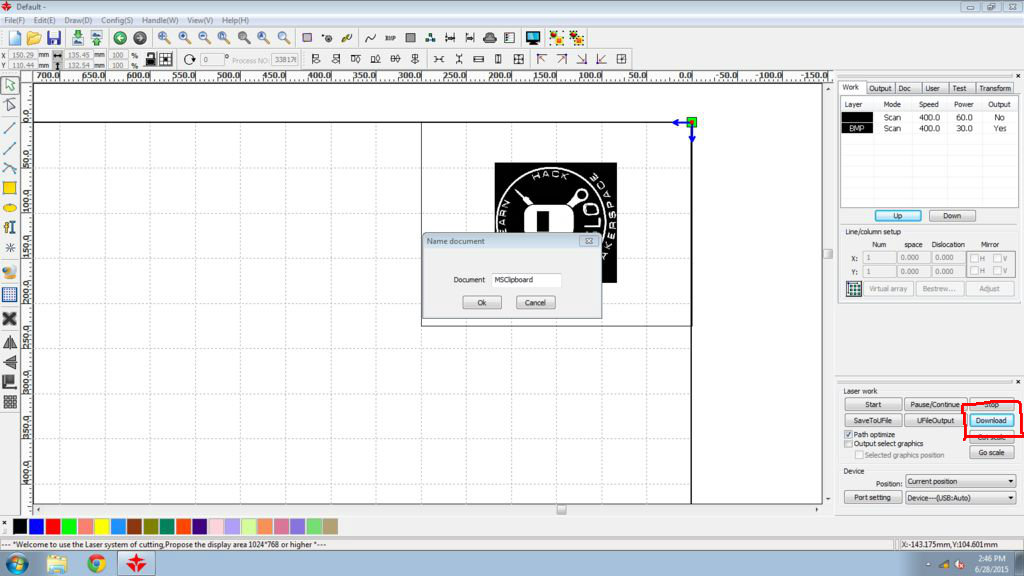
- Near the bottom of the right panel, find the 'Download' button and press it. Note: The laser must be powered on at this time.
- Enter simple and short name for your file
Set the Z Height
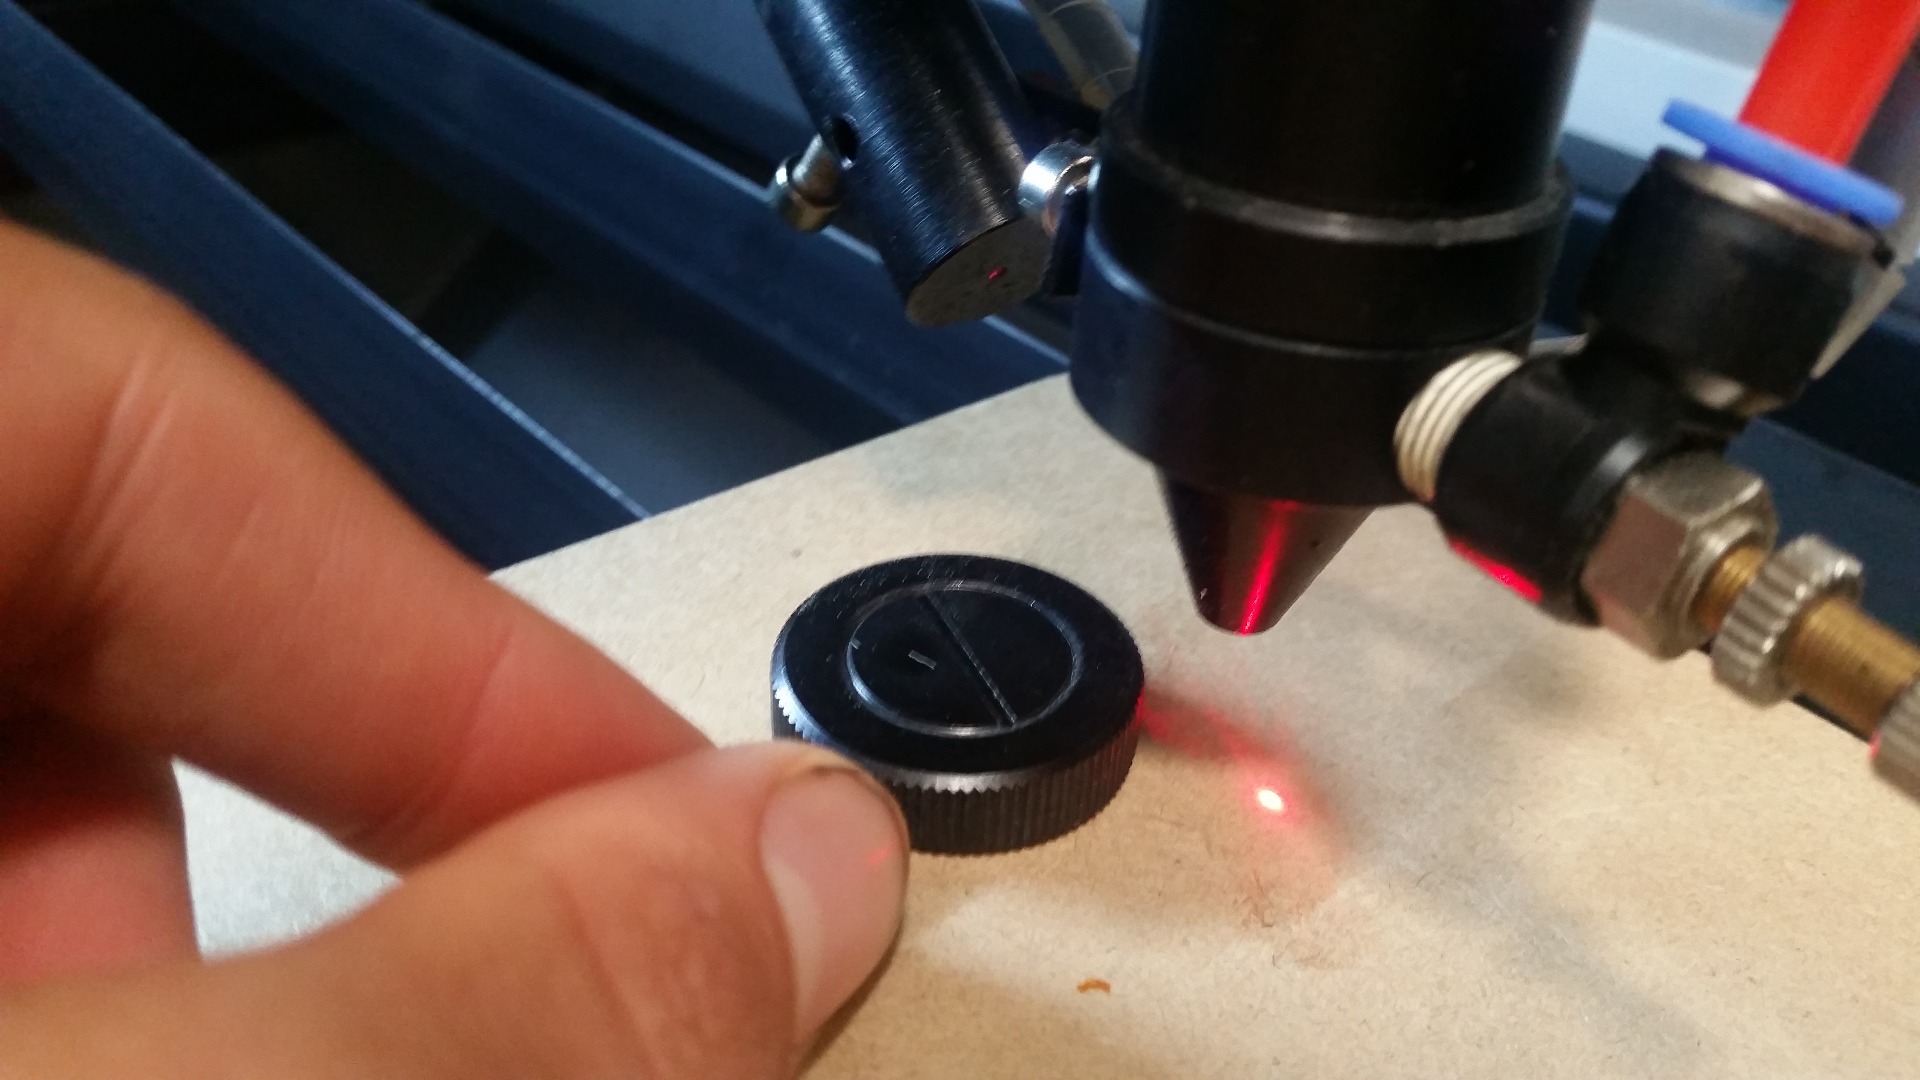
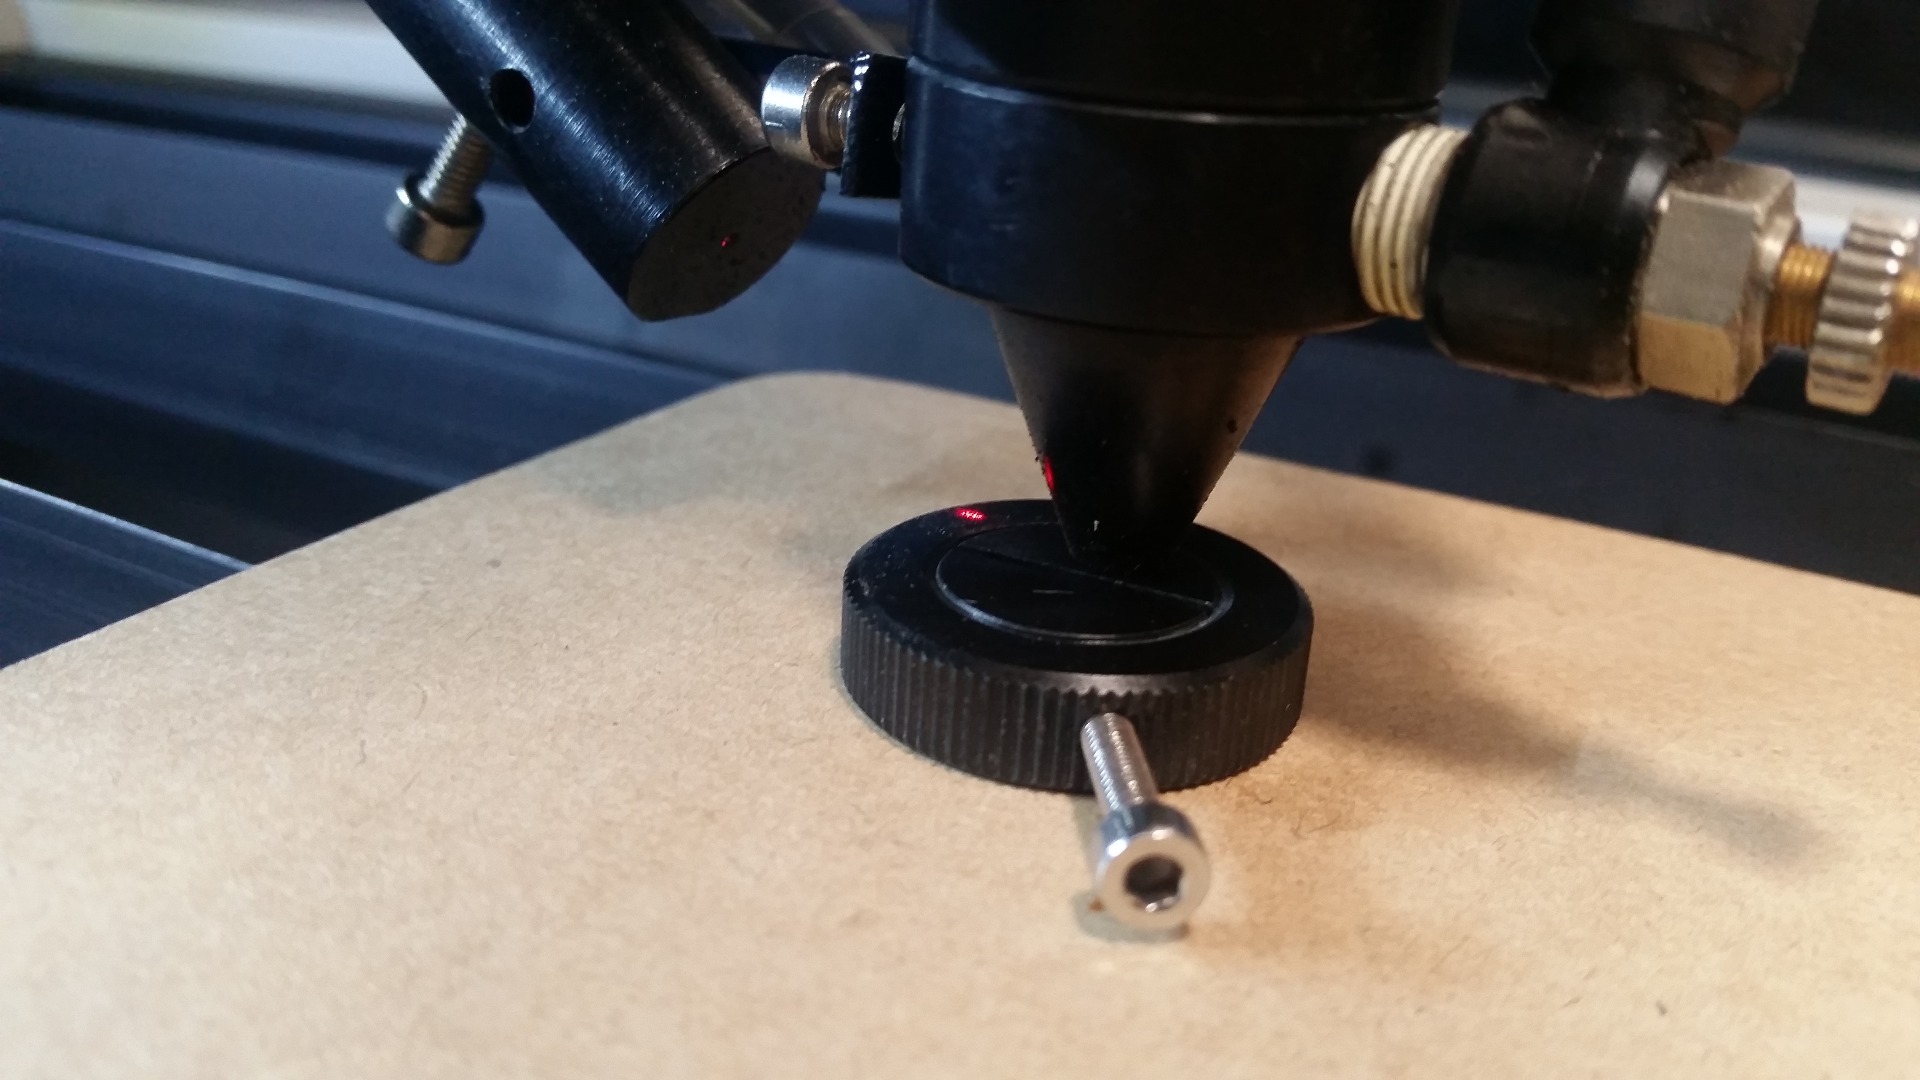
- Place your material somewhere in the laser bed - its not important where and does not need to be ligned up to anything
- Grab the 'focus block' and put it on top of your material
- On the laser's control panel, press the 'Z/U' button. Now, you can raise and lower the bed. The right arrow moves it down, and the left arrow moves it up. Move the bed down so that the laser nozzle will be well above your material (1 inch above is good)
- Now, press the 'Esc' key to get out of the bed adjustment mode
- Use the arrow keys to move the laser nozzle to above your material. The focus block should NOT be under the nozzle, it should be to the side.
- Now go back and adjust the bed height. When it looks like the nozzle is the the thickness of the focus block away from the material, test it by grabbing the focus block and seeing if you can slide it under the nozzle. If you can just slide under the focus block, you're good to go. If you can't, then put the focus block to the side and adjust the bed height little by little until you're ready.
- NOTE: DO NOT LEAVE THE FOCUS BLOCK UNDER THE NOZZLE WHILE YOU ARE ADJUSTING THE BED HEIGHT. YOU WILL RAISE THE BED TOO HIGH ON ACCIDENT AND MISSALIGN THE LASER NOZZLE.
Set Your Origin
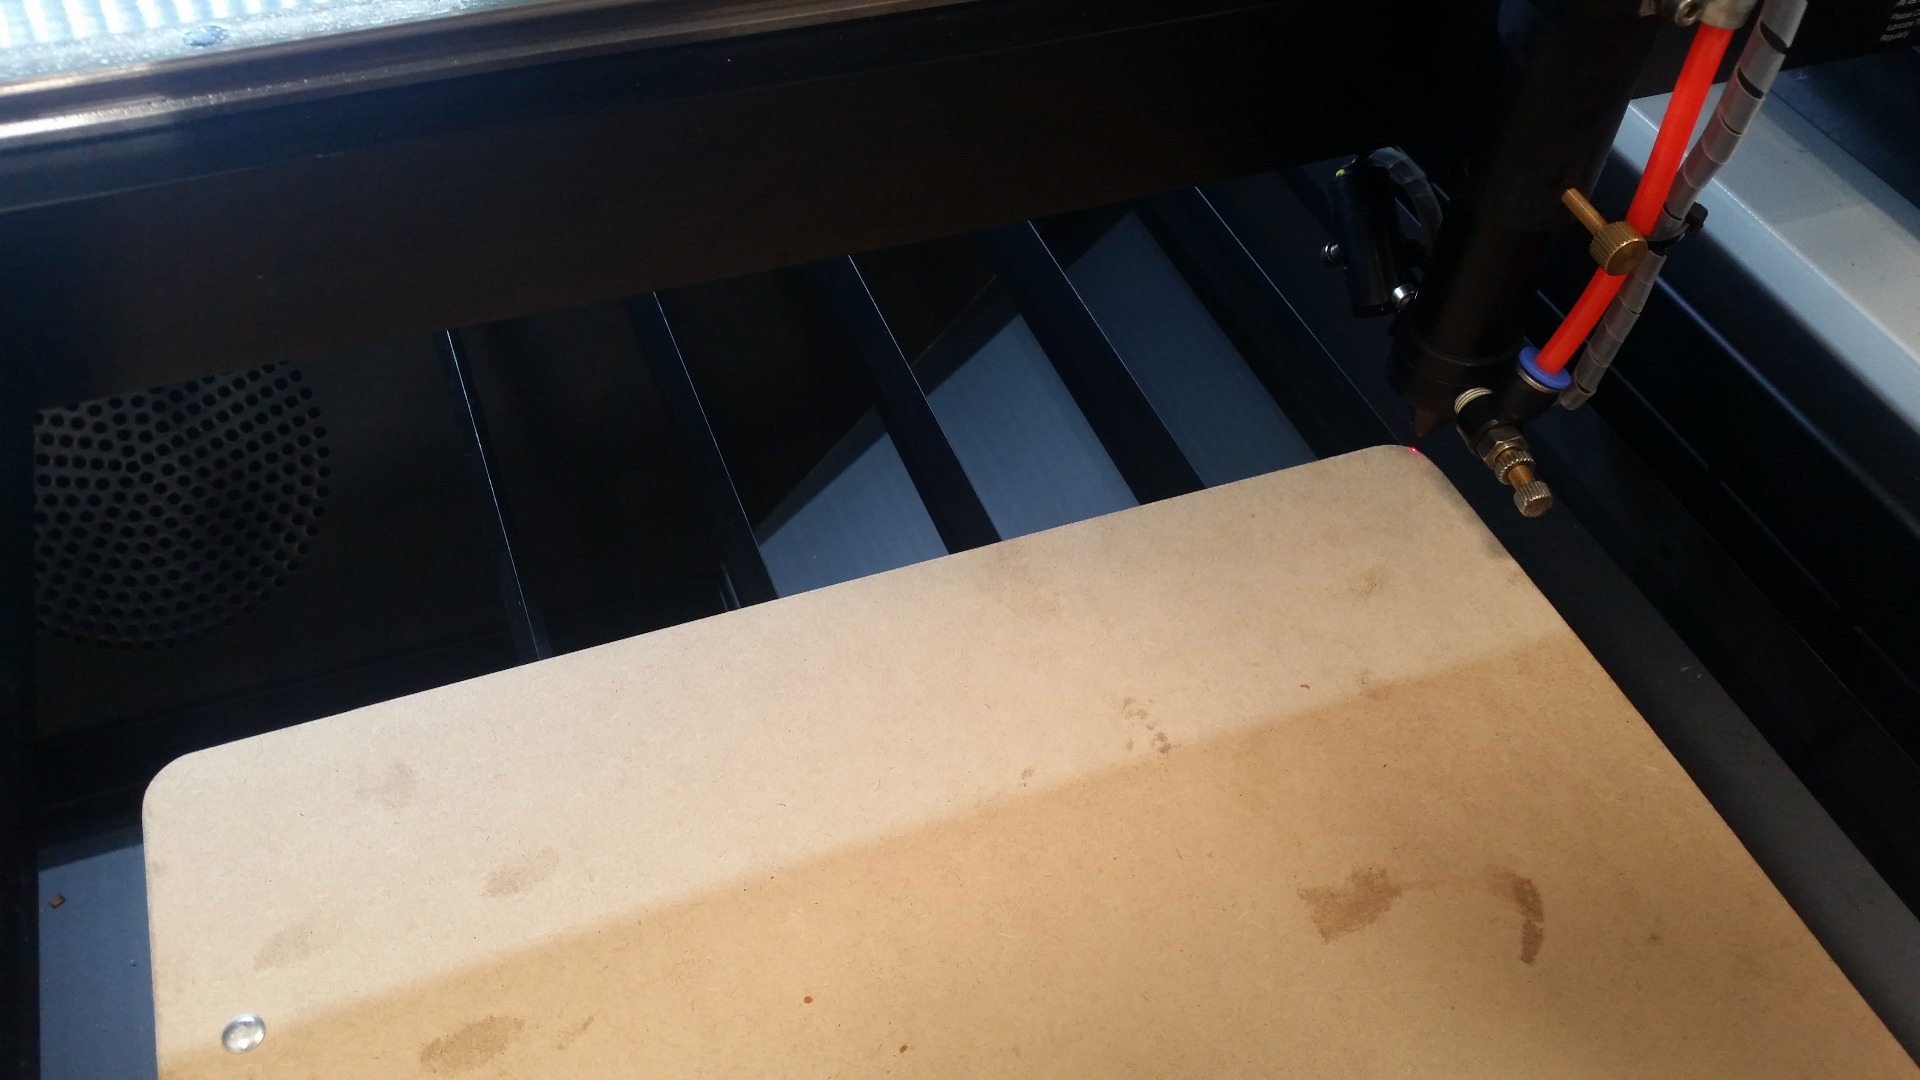
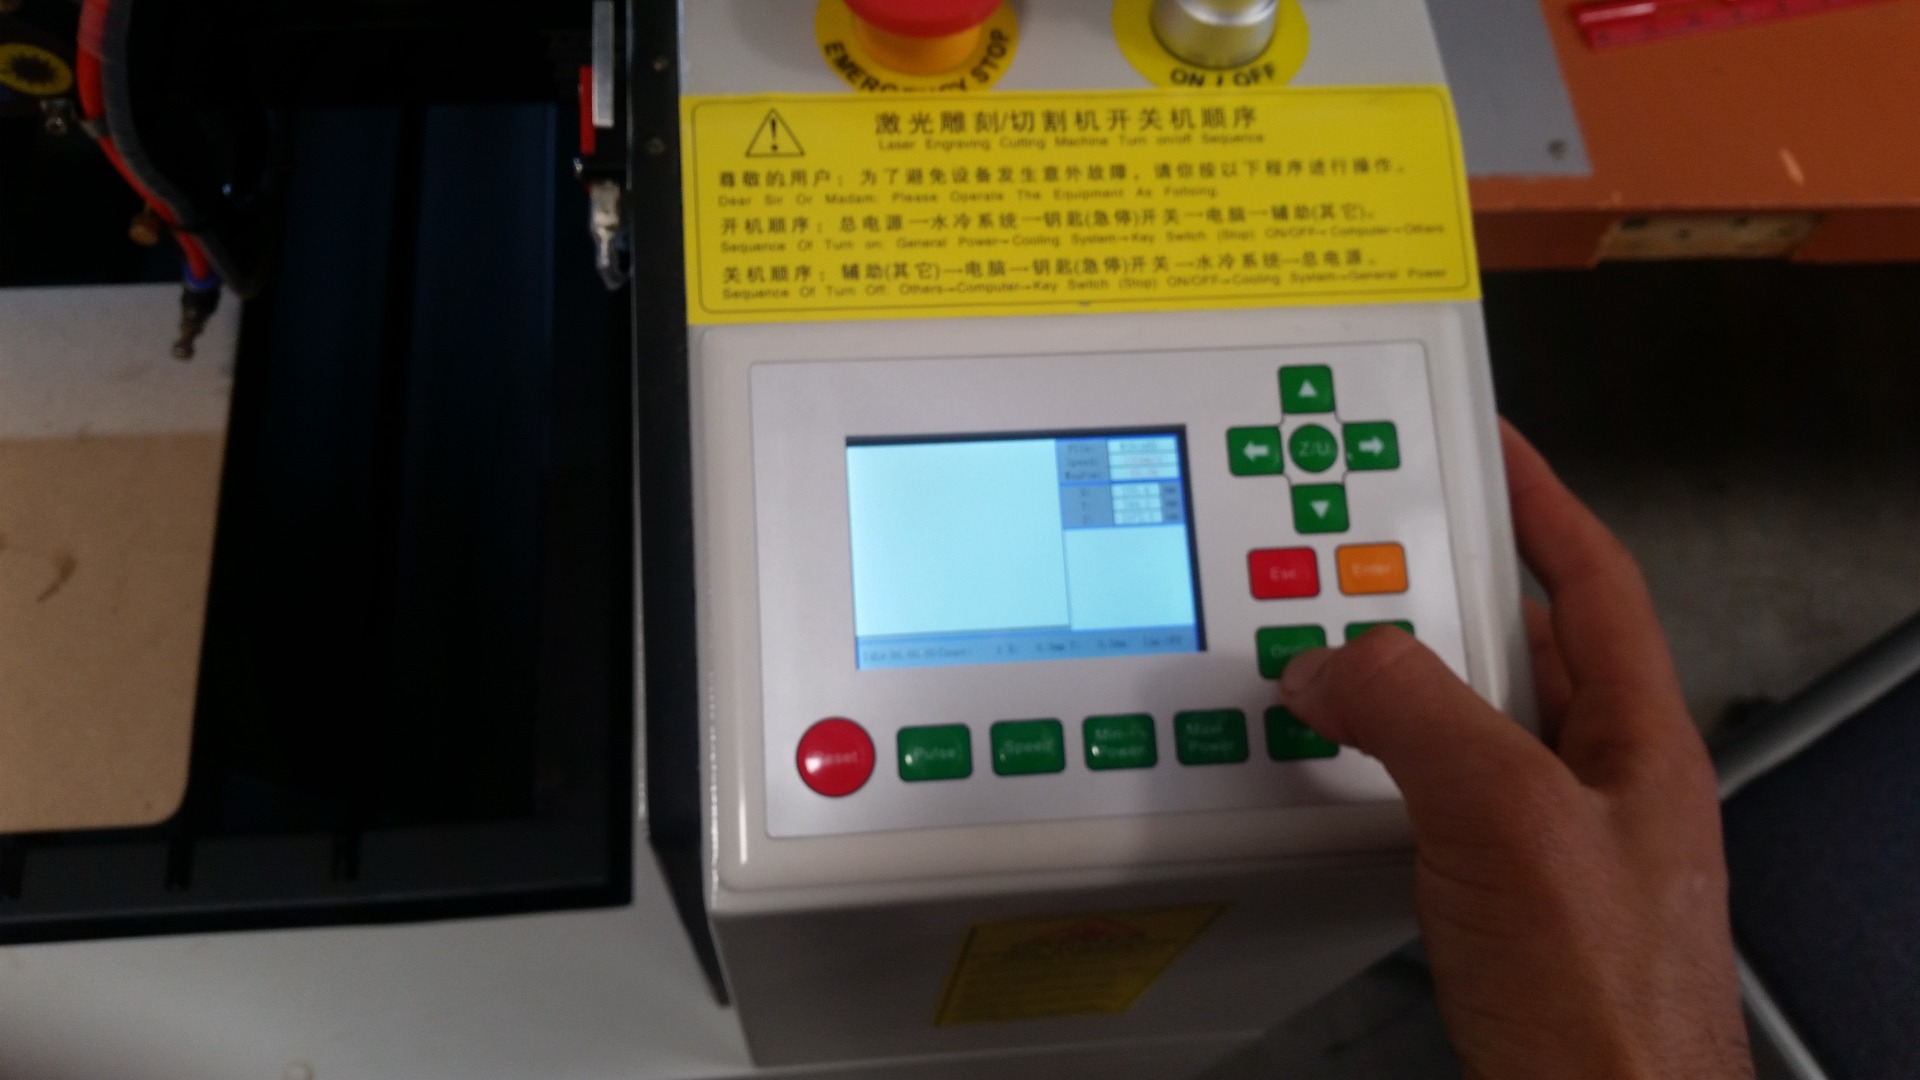
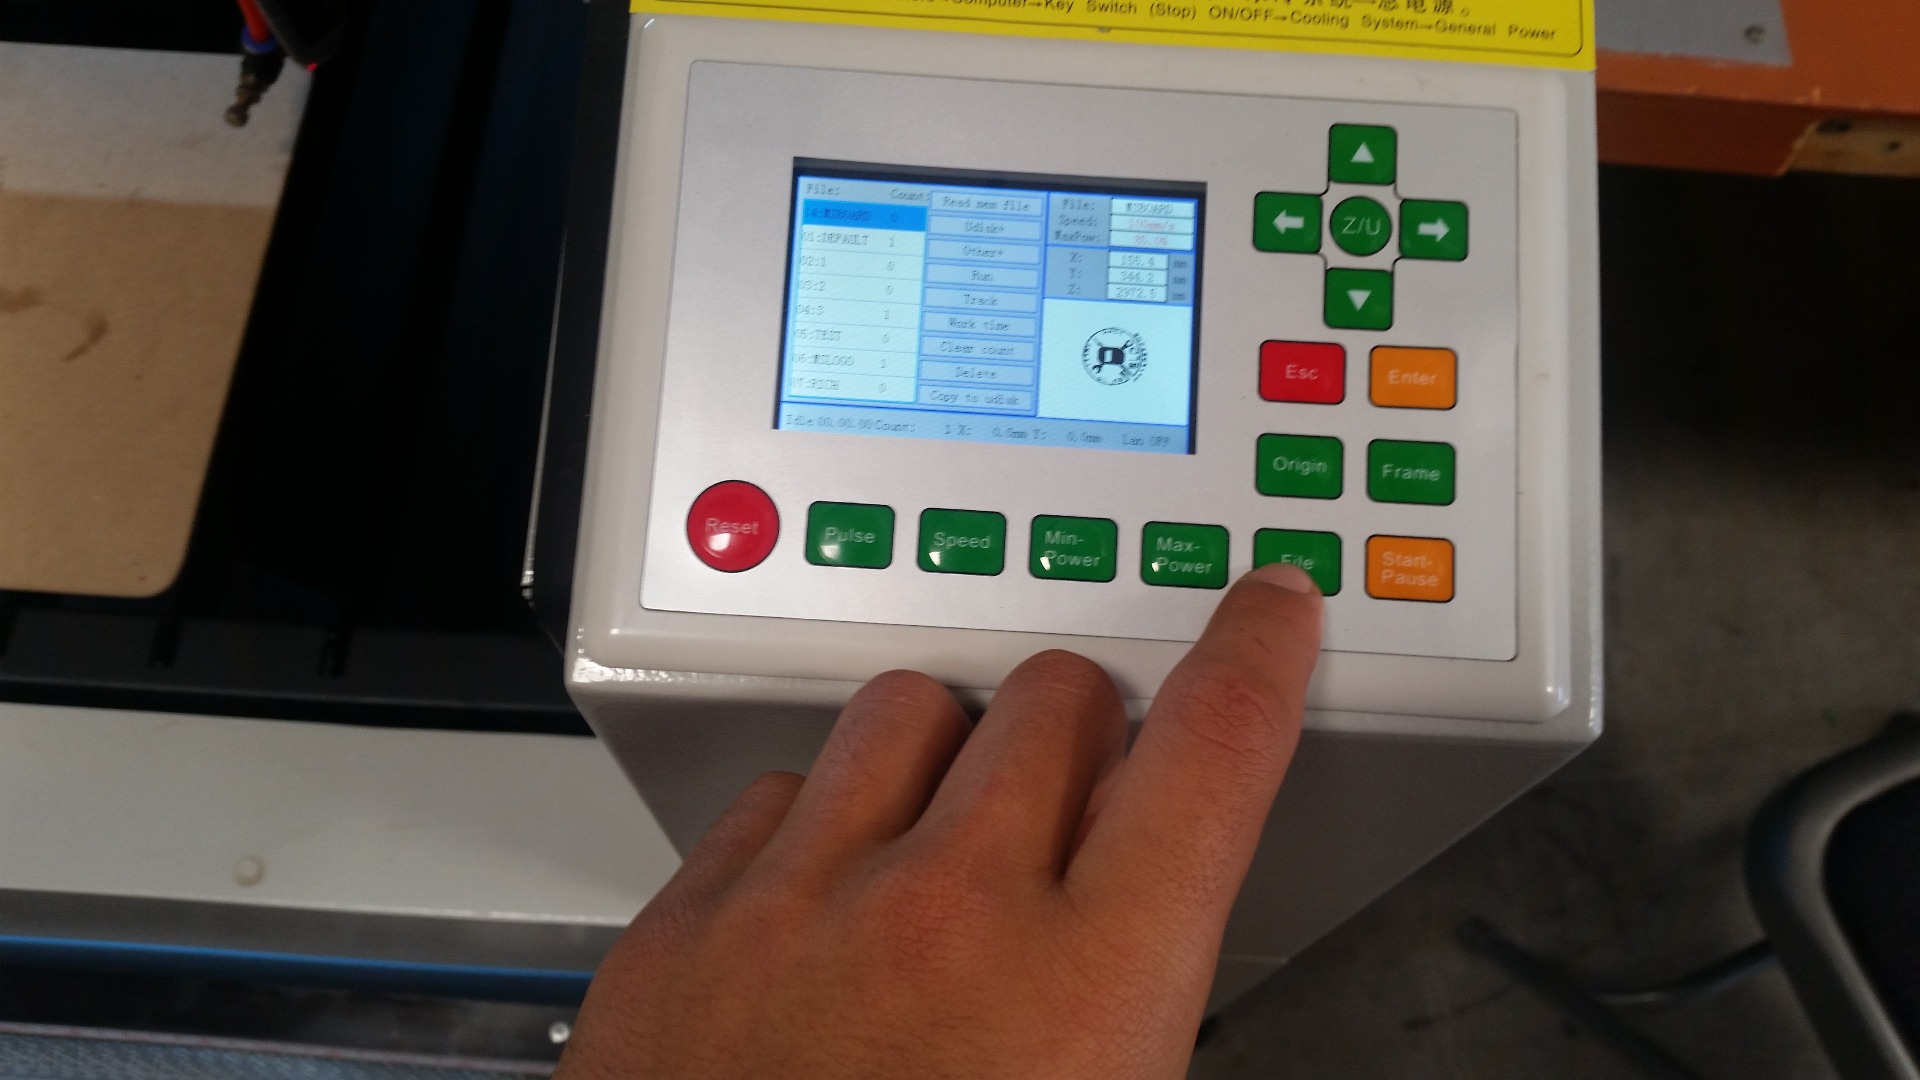
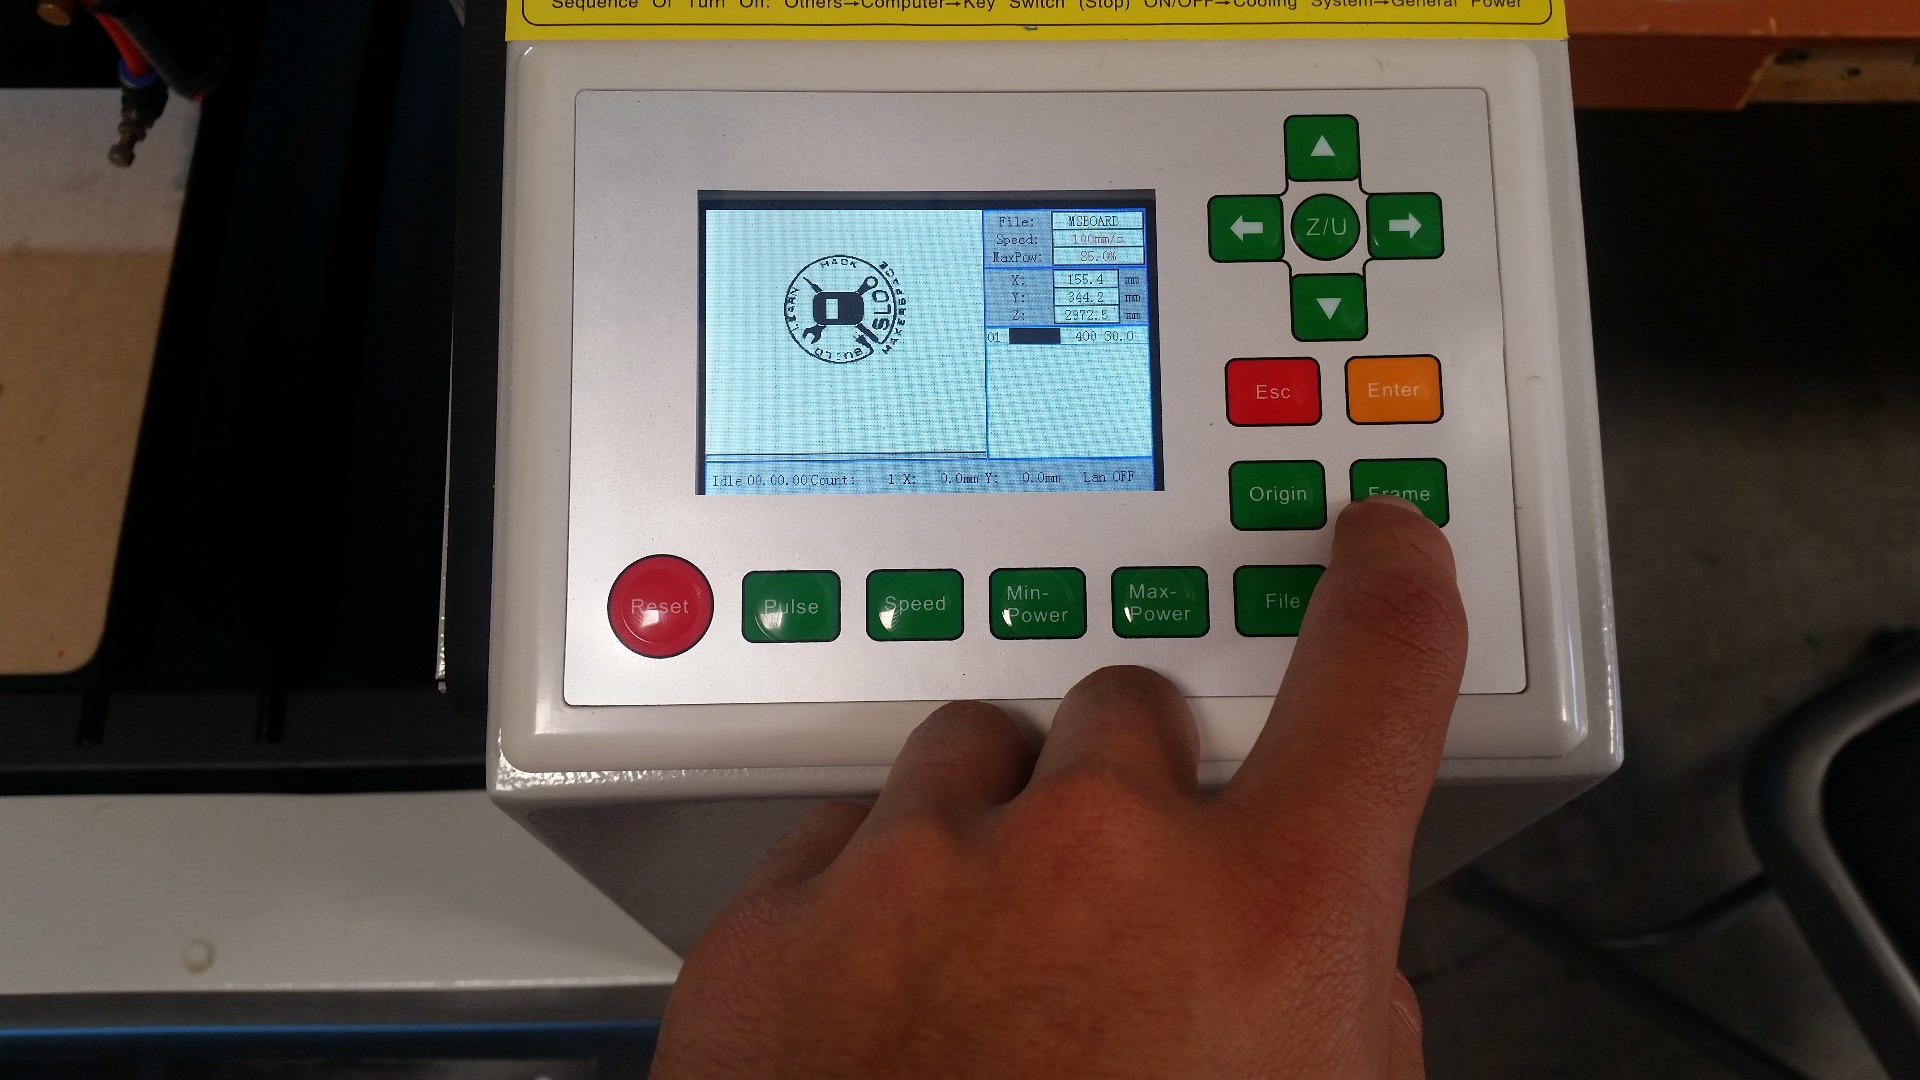
- Now, align your material anywhere in the bed you'd like. Its best to stay a little bit away from the edges of the machine
- Use the arrow keys to position the laser nozzle in the top right of your workpiece. Use the red laser dot for guidance. Then press the 'origin' button. This is telling the machine that that is where your material is, and therefore where your workspace is (from the program)
- Press 'File' and find your file. Select it by pressing 'Enter'.
- Now, press the 'Frame' button. This will move the laser nozzle around your bounding box (the laser will not be firing) so that you can ensure you aren't going to laser off into space or somewhere you don't want to.
- If you're not happy, adjust your origin with steps 2 and 3 above.
Pew Pew!
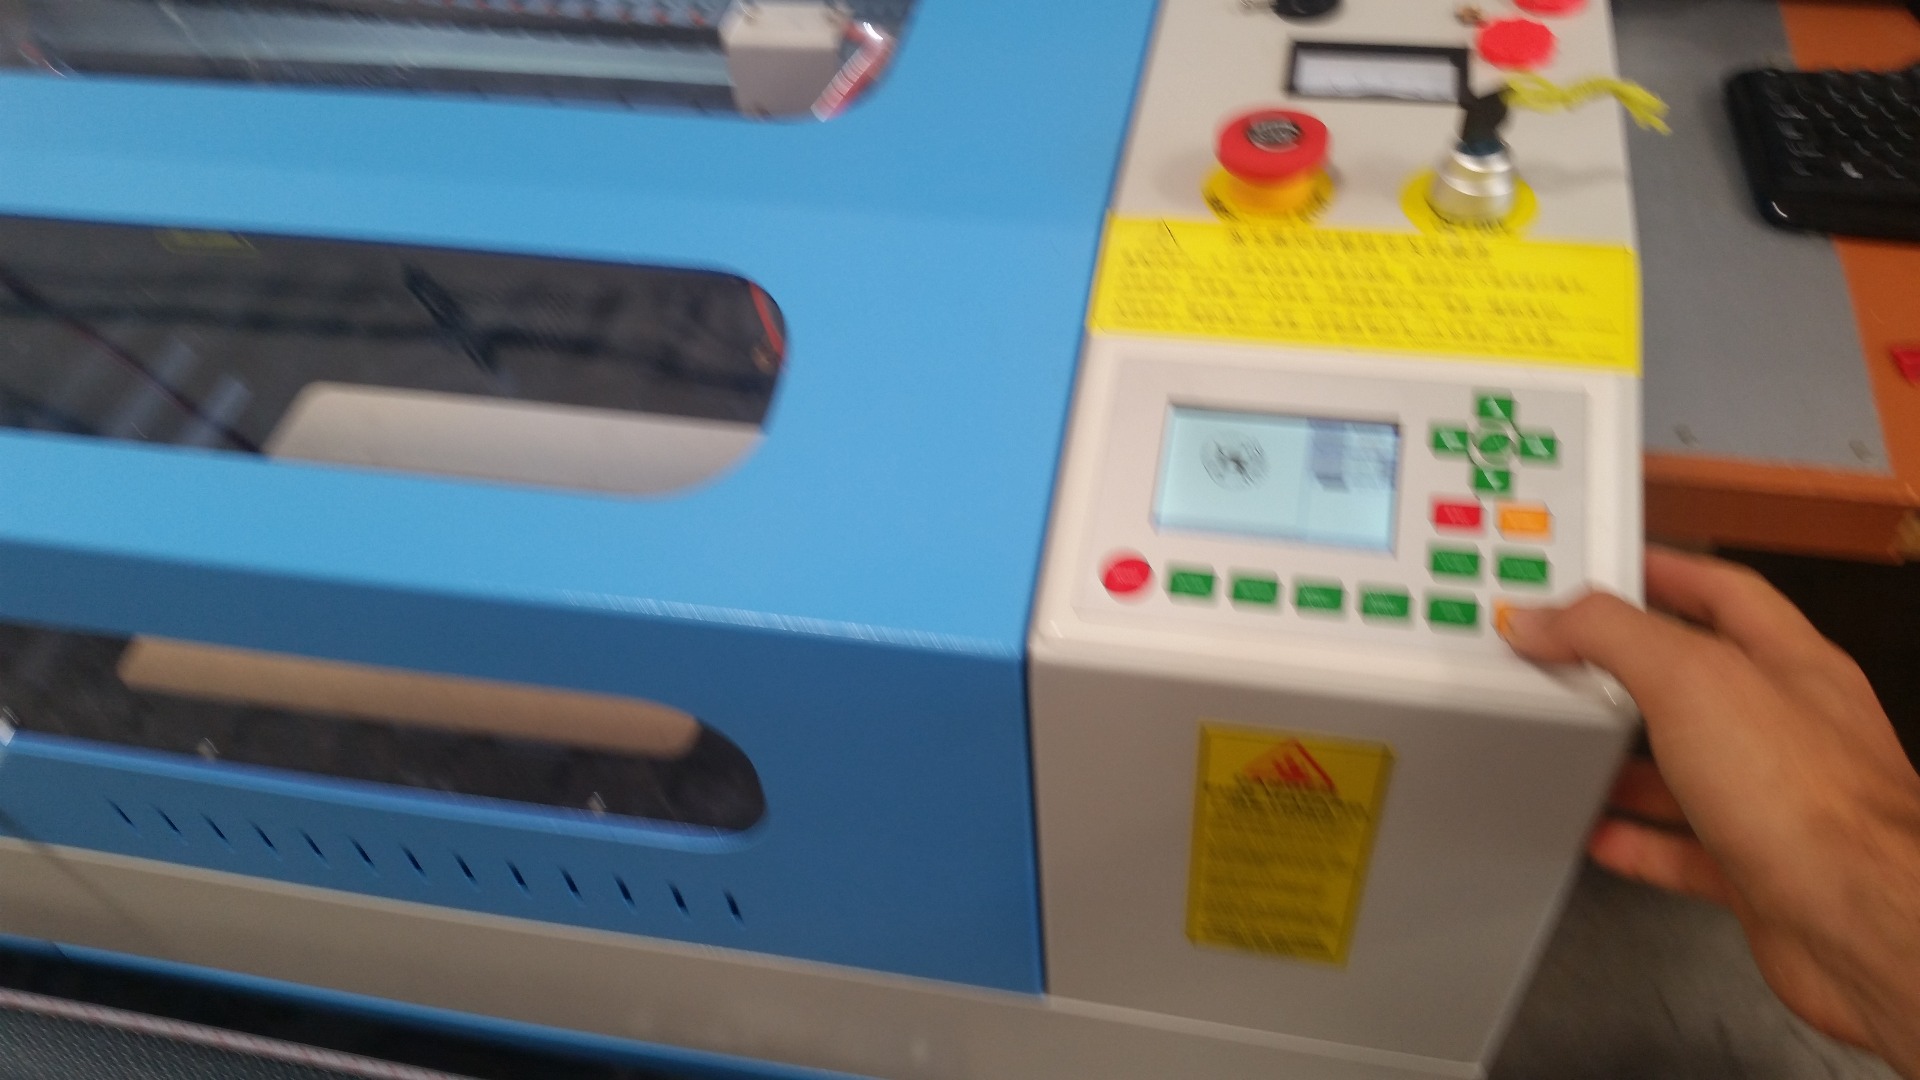
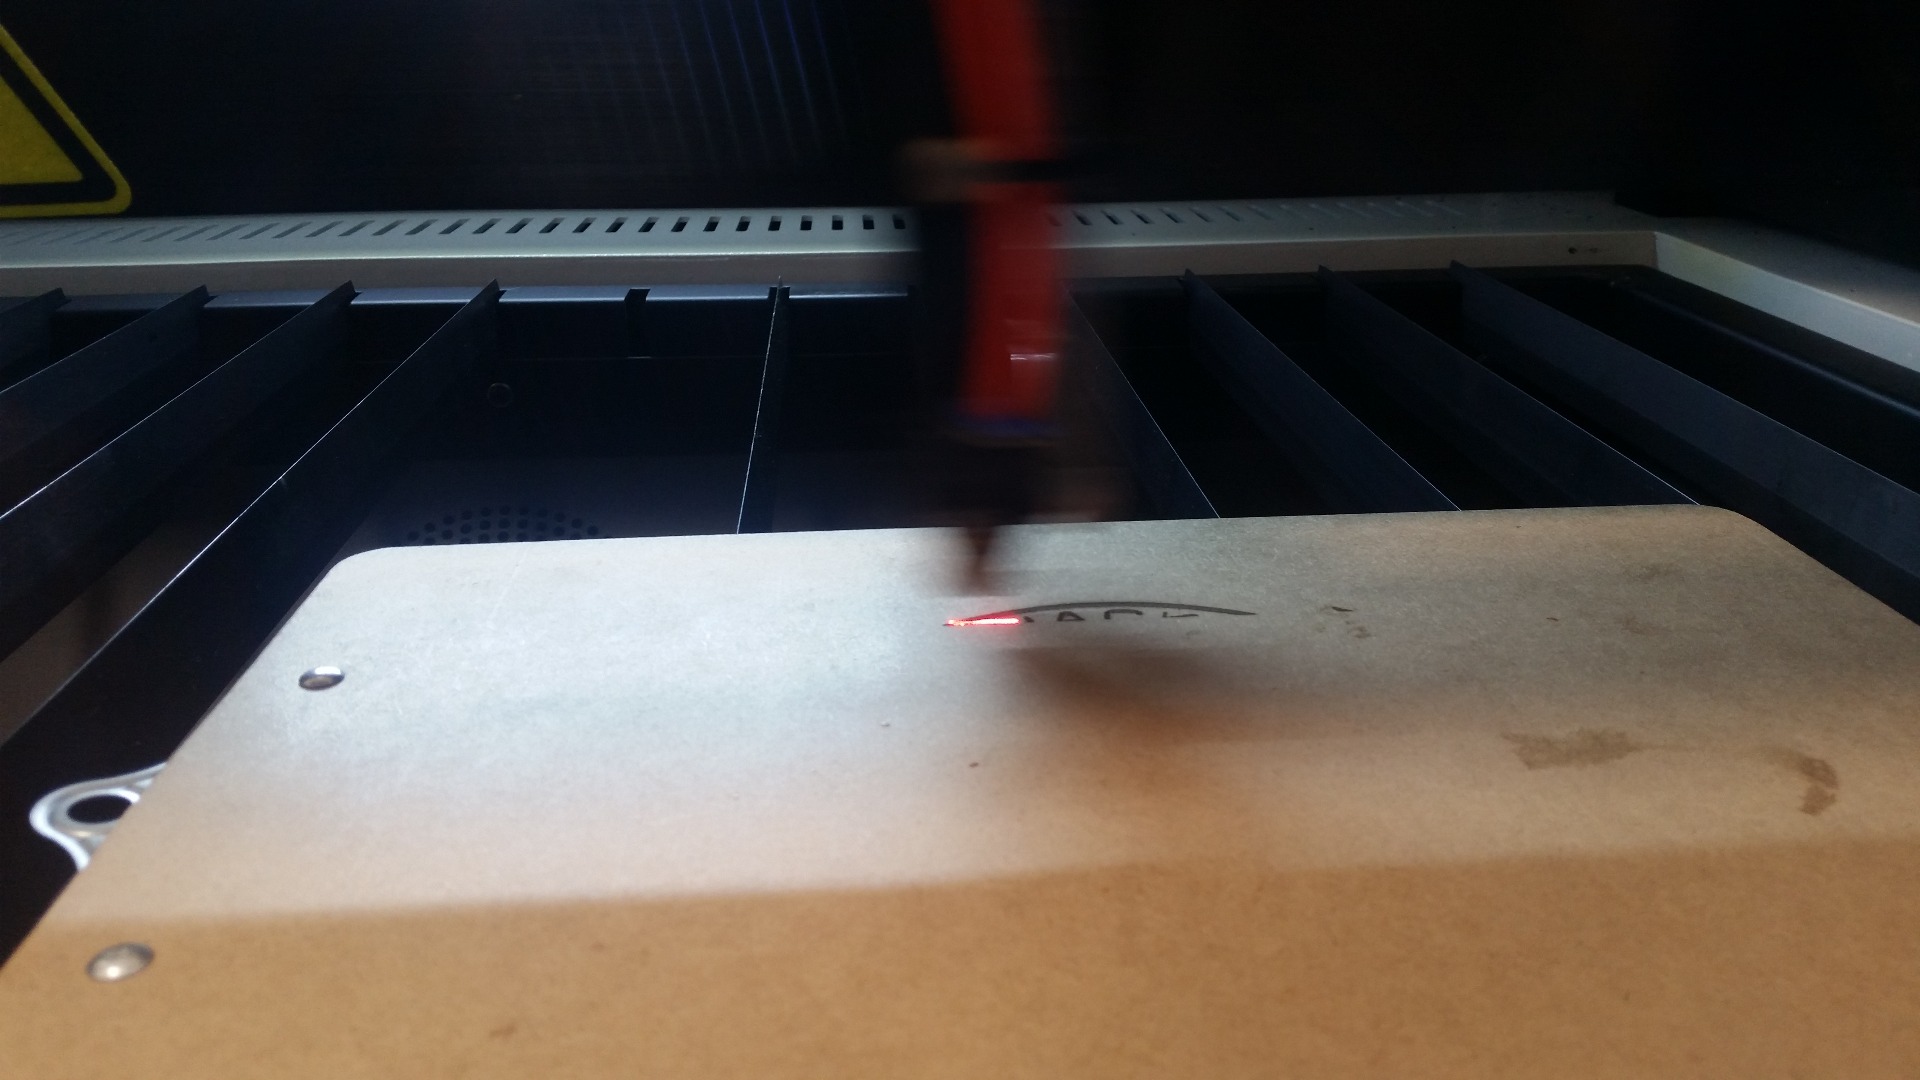
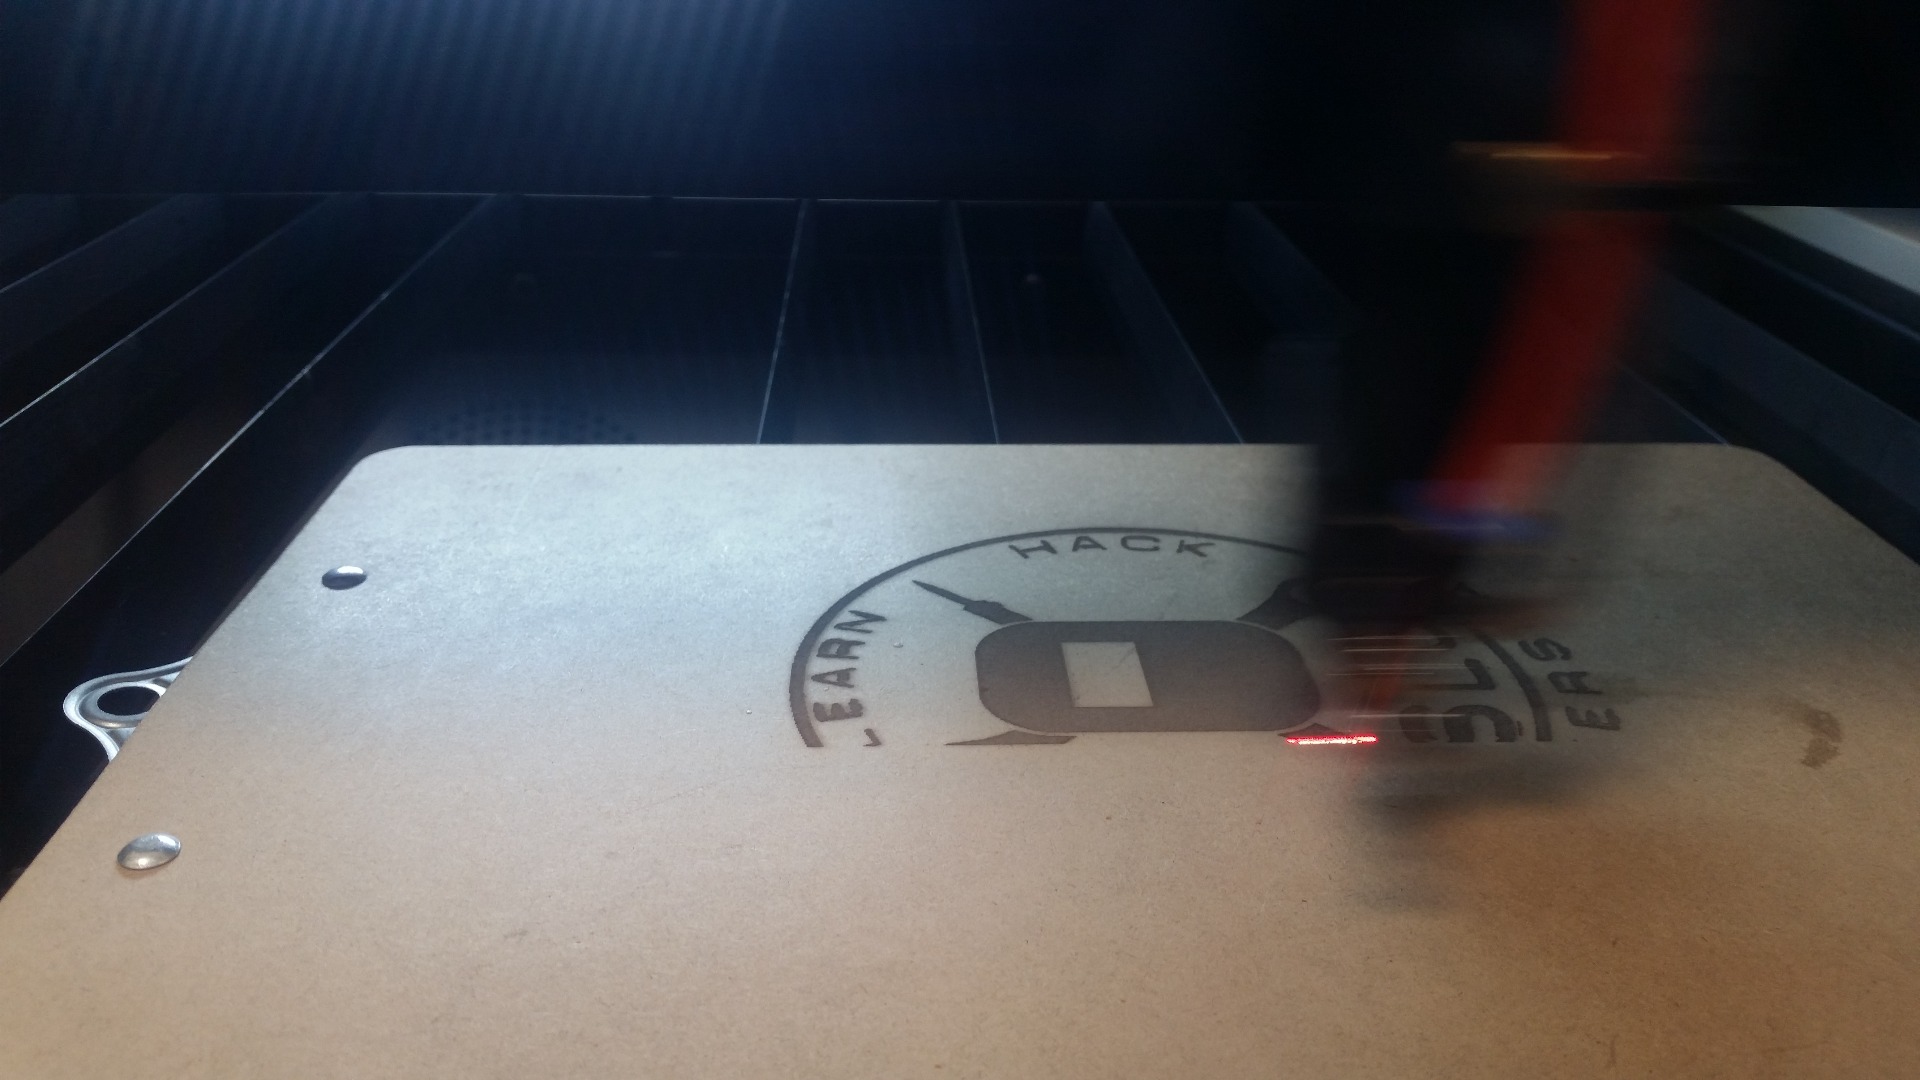
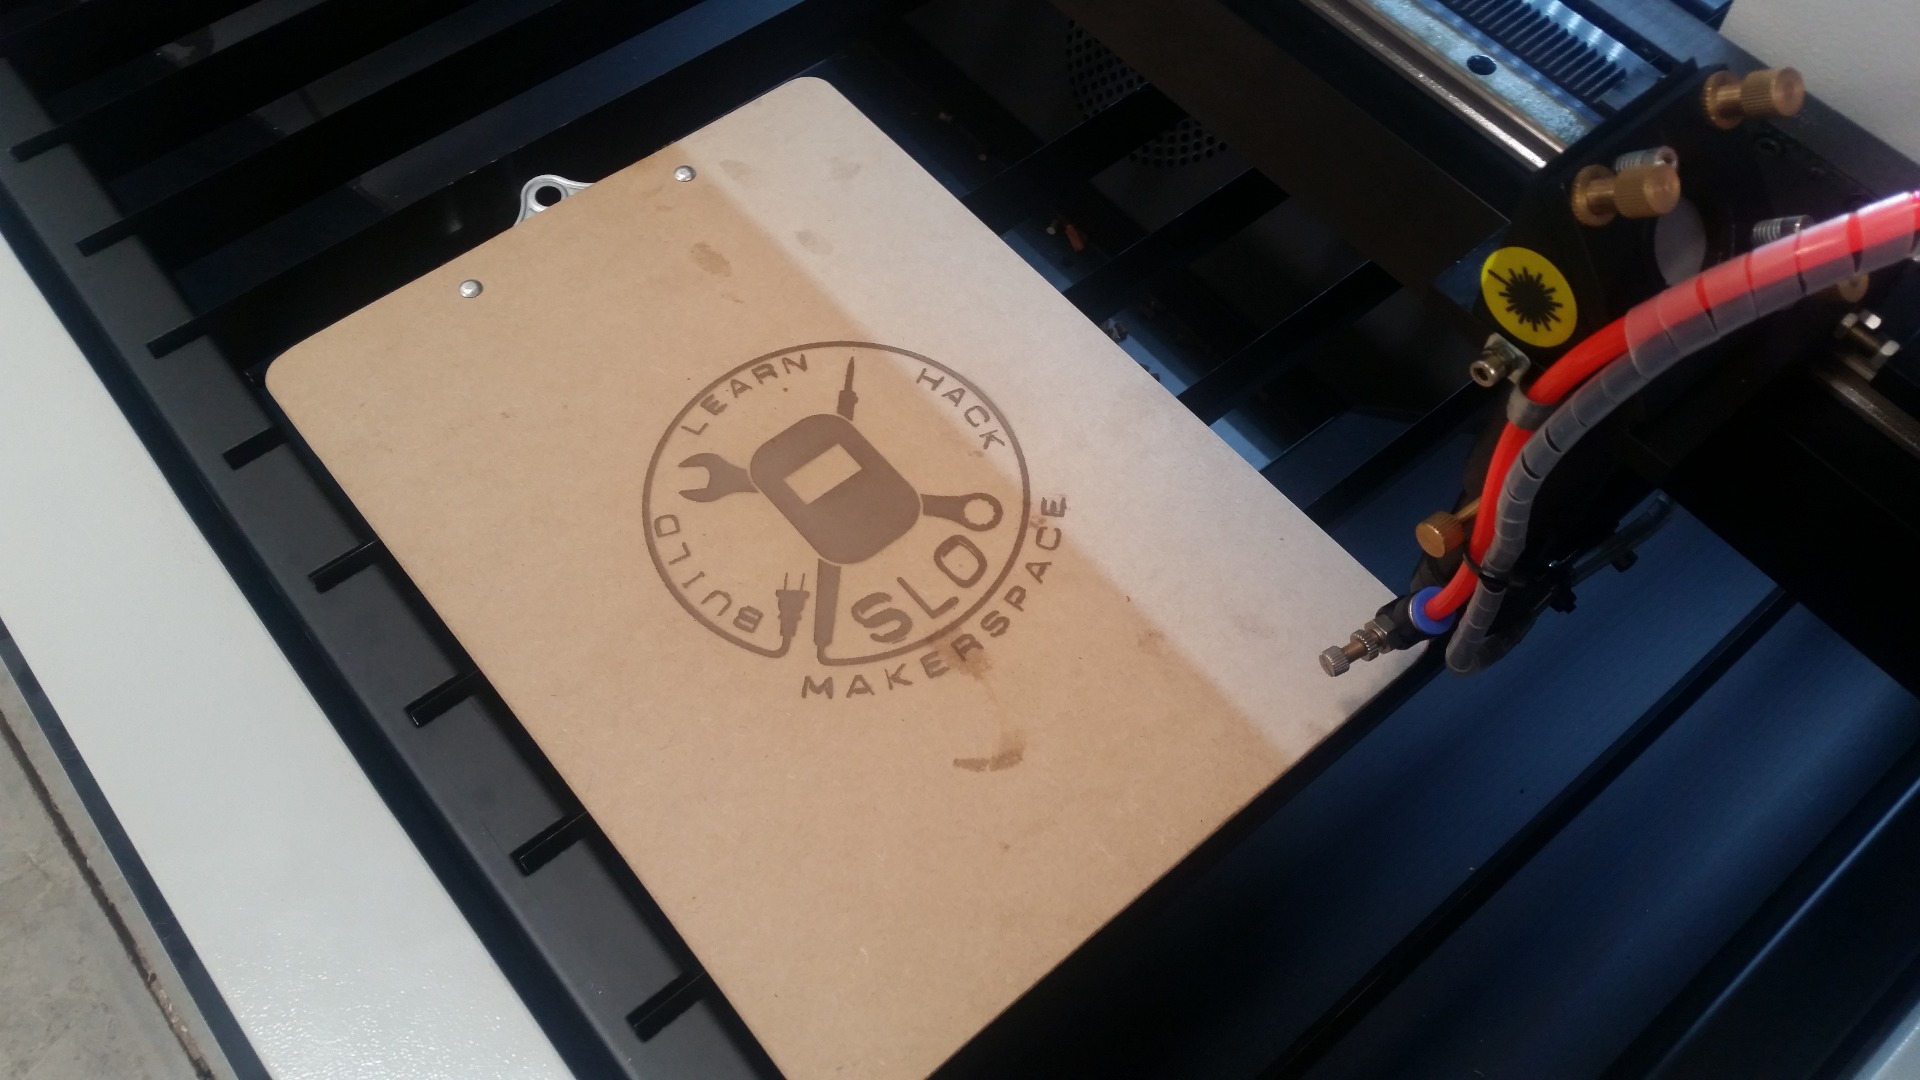
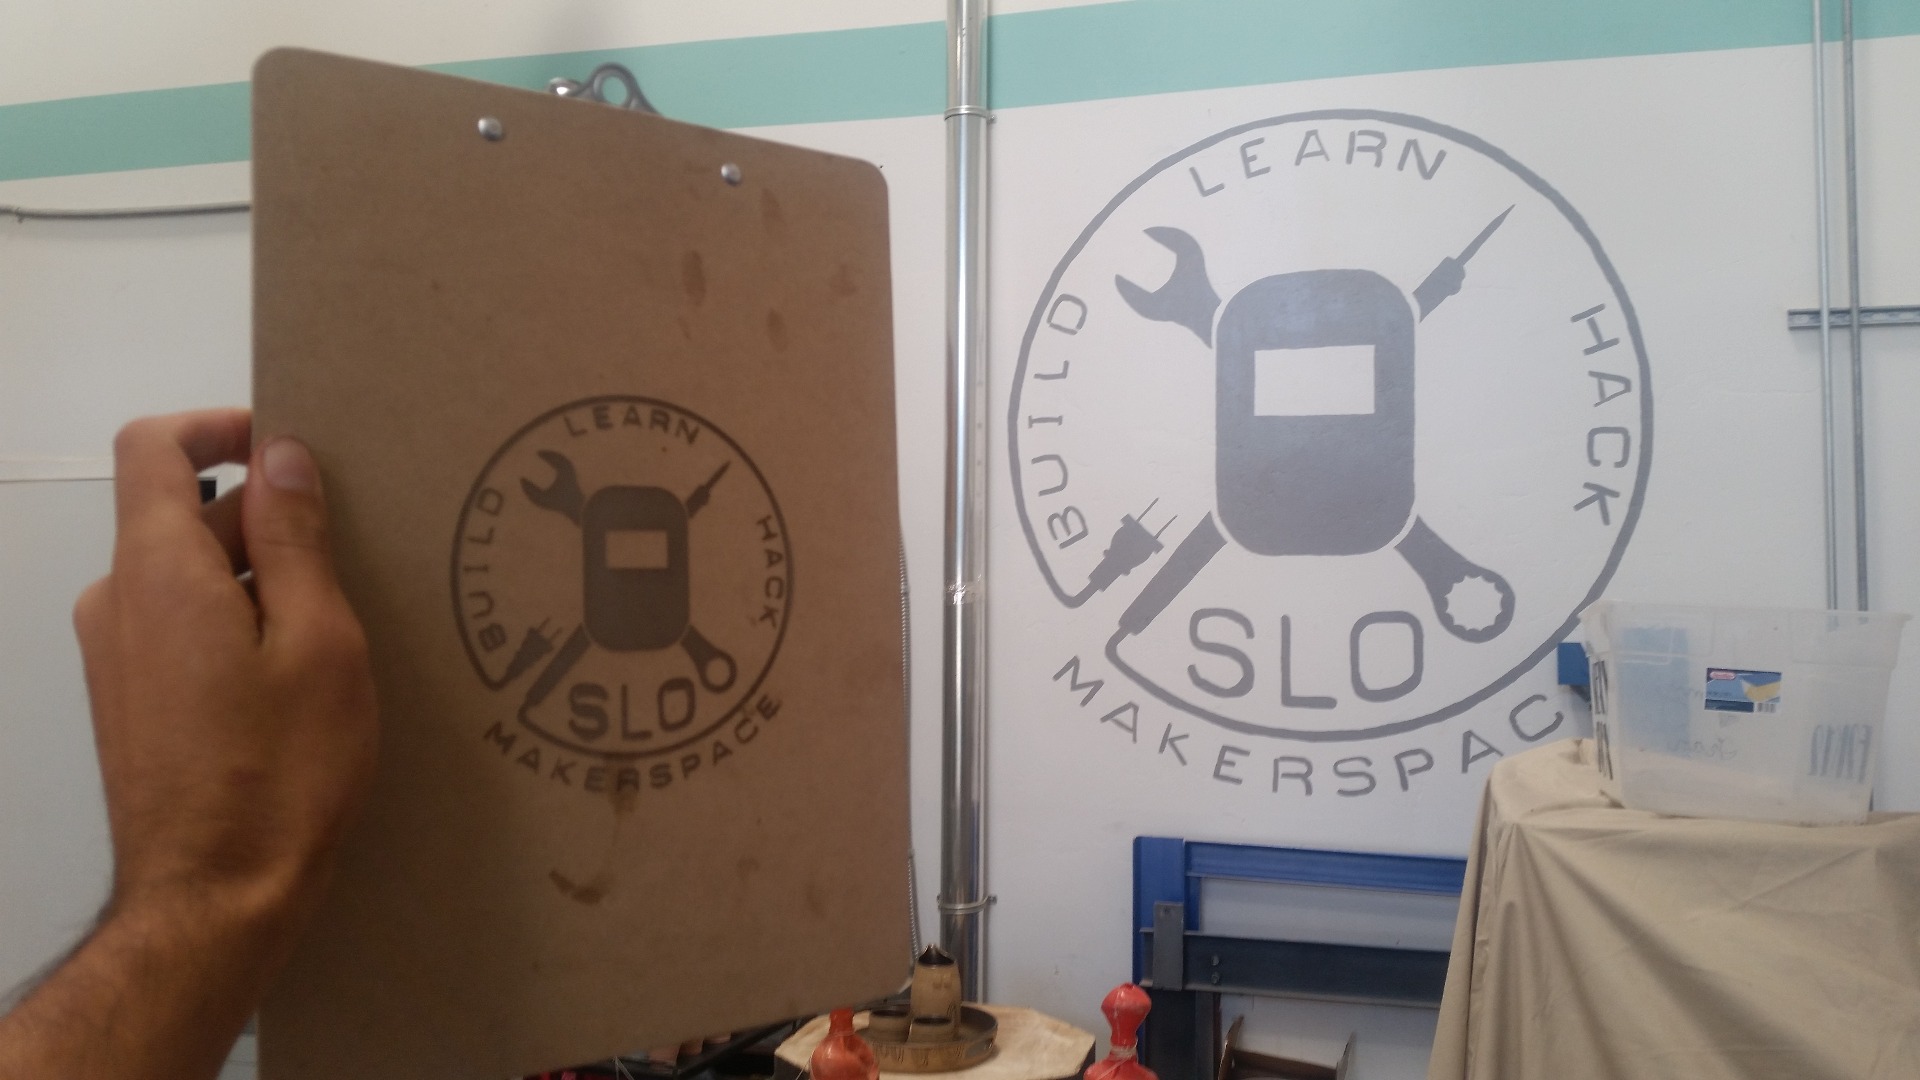
- Now you're ready to start lasing!
- Close the lid to the laser and press Start!
- Watch the lase in awe and take an Instagram and tag us @SLOMakerSpace or use #SLOMakerSpace
- Note: If anything goes wrong just press the Pause button (the same one as the start button) to pause the machine and stop the lasing. If something really goes wrong (like your material catches on fire) then press the big red 'STOP' button - this will shutoff the machine.
- When your program is done running, let the machine rest for about 15 seconds before opening the lid - this lets any smoke get sucked up first.
- You're done! Congrats on your new custom engraved project!
- Note: If your engraving didn't come out as dark as you wanted, you may want to run your program again to get a darker look. When the program is done running, DO NOT MOVE YOUR MATERIAL - otherwise there is no way you can line it back up properly and you'll get a 'double image' by re-running the program. Instead, just press the start button again.