Custom Laser Etched Growlers for Your Business
by cornelius3 in Cooking > Homebrew
3291 Views, 14 Favorites, 0 Comments
Custom Laser Etched Growlers for Your Business
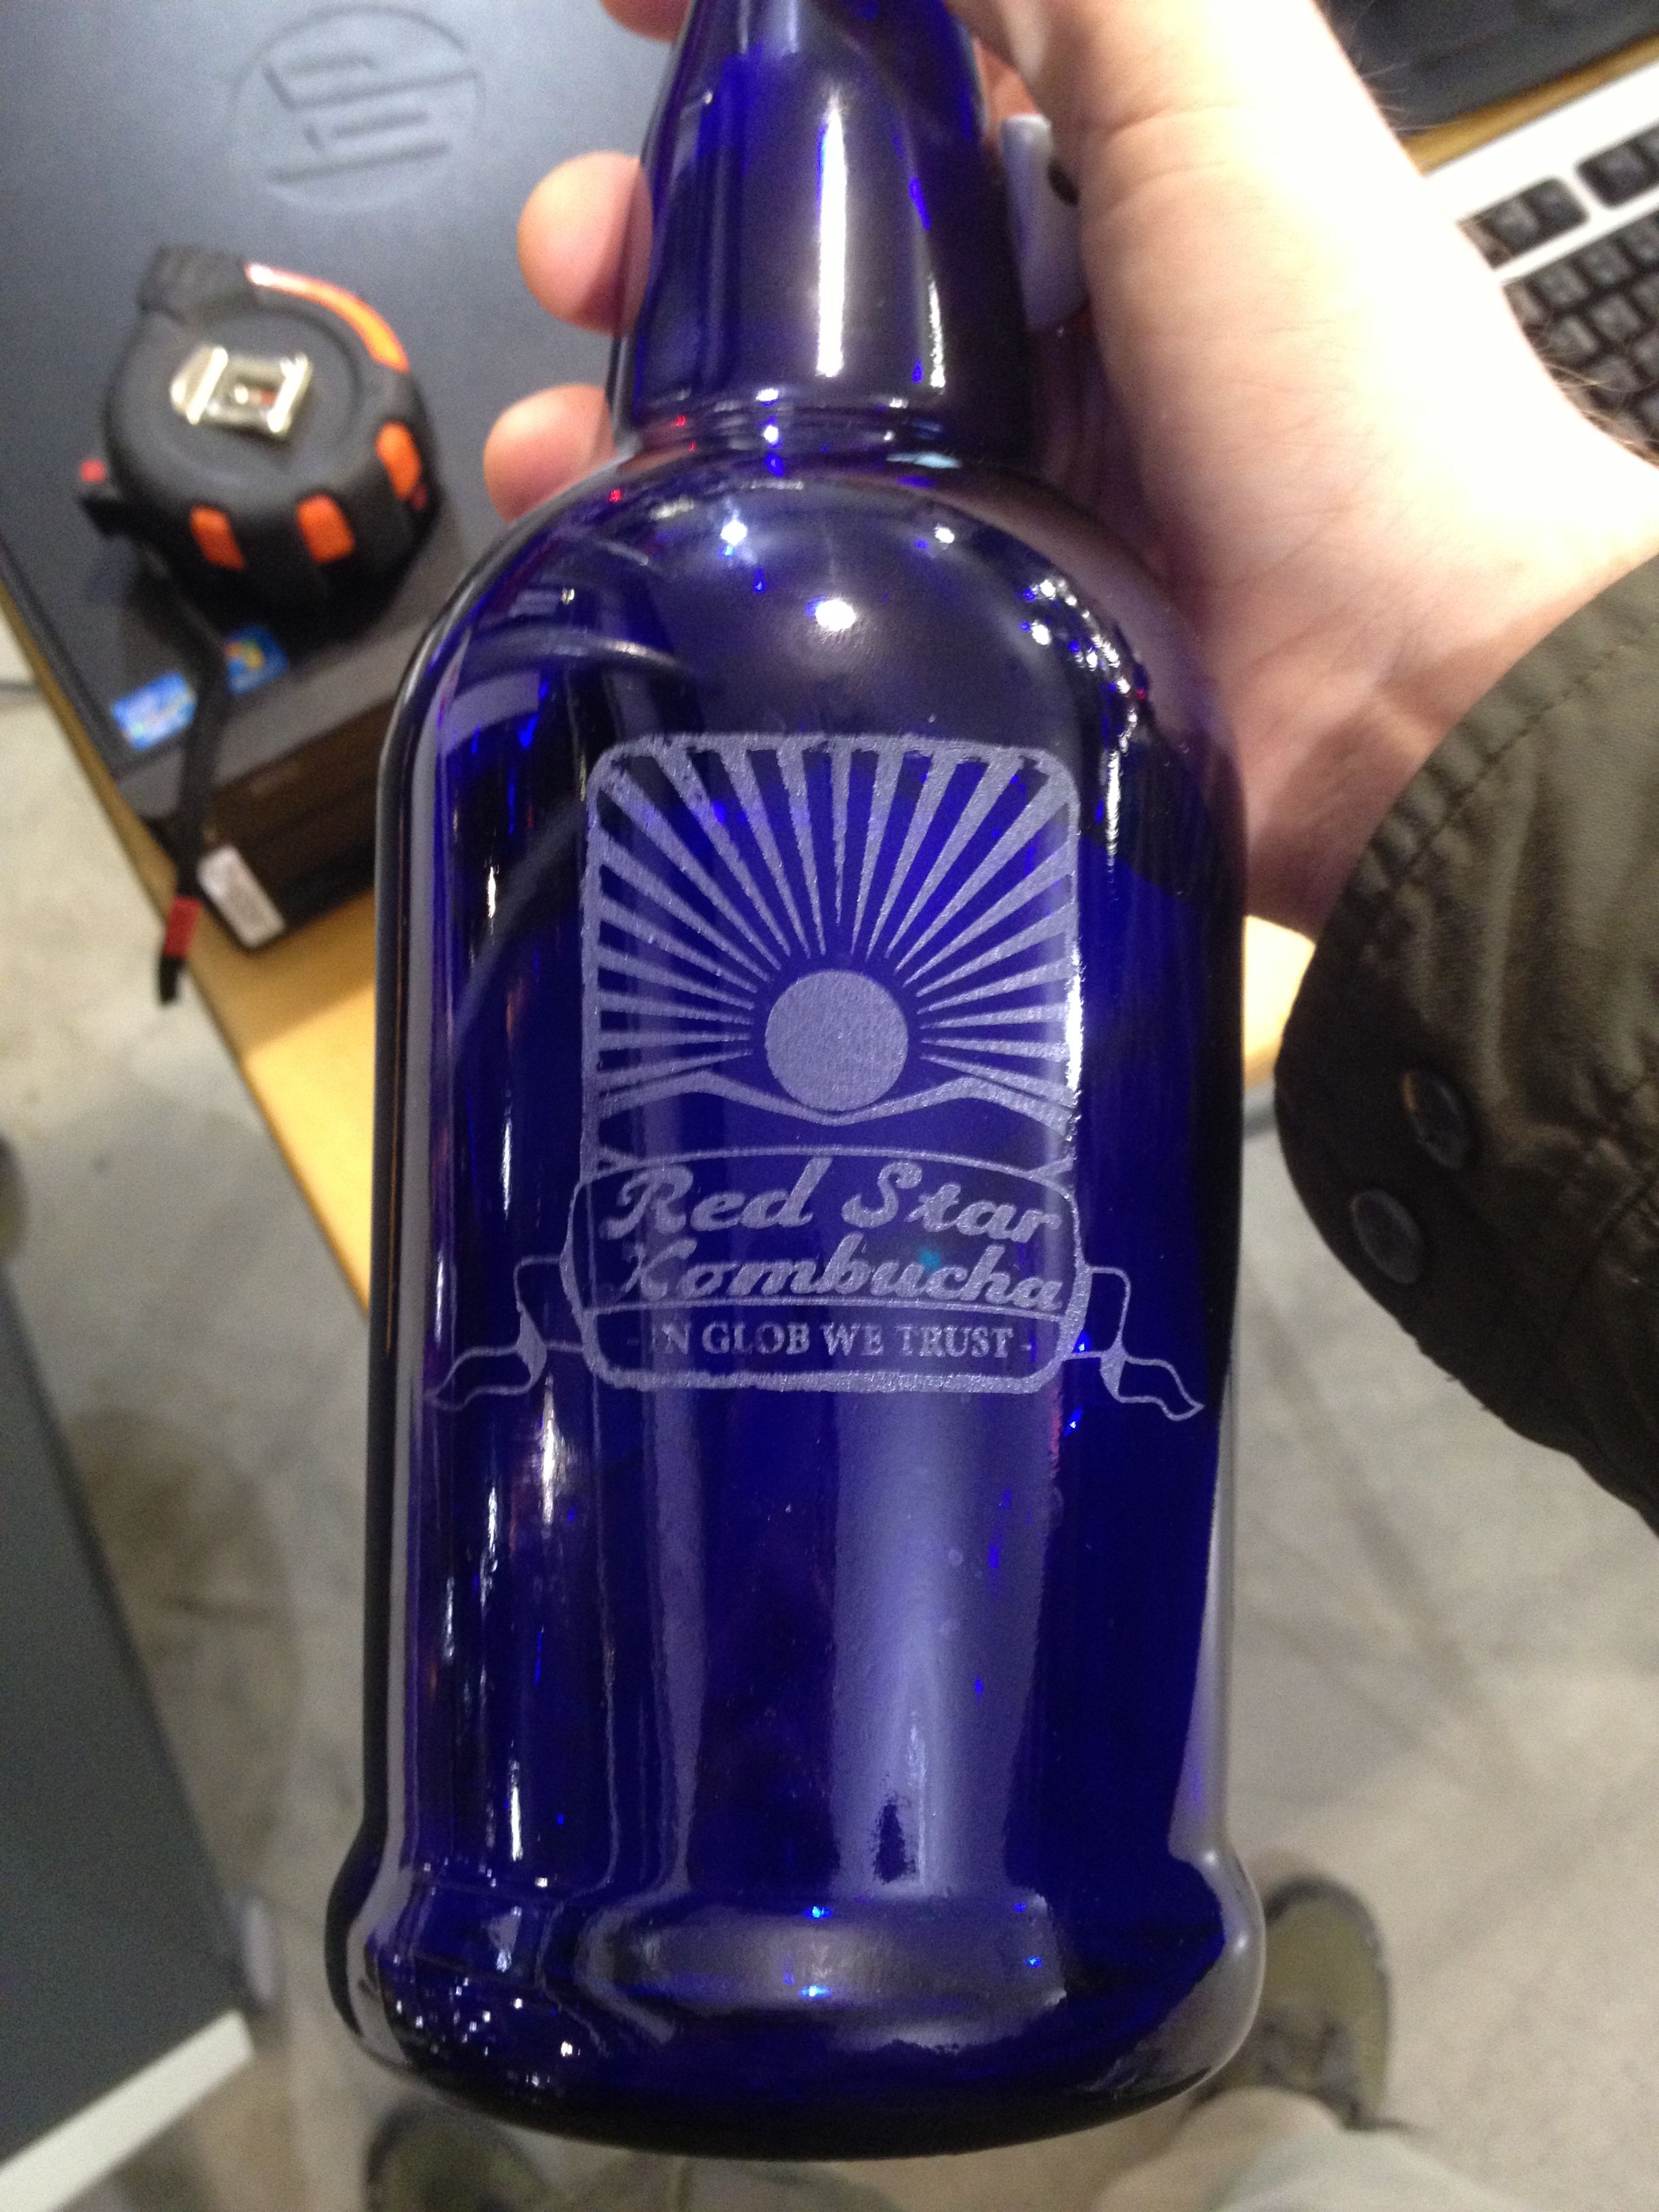
I have to start by saying that not everyone has a laser engraver just sitting around. Nor do I, but with the help of Techshop, anyone can do it.
Additionally, it takes about 4mins to etch and rotate in a new glass. I made a total of 20 growlers in about an hour and a half for my friends Kombucha brewery. (Red Star Kombucha, check them out) http://inglobwetrust.com/. So if time is of the essence you might be better going online and ordering custom glassware in bulk, although I did a rough estimate and you will save aboue $3-4 dollars per piece of glassware that you do yourself. I have a different tutorial on Pint Glasses ( Mixing Glasses ) in which I have direct numbers. Check that out here if you want details before you DIY. (PINT GLASS DIY)
Got it? Good, let's start.
Step 1: Cleaning and Prep
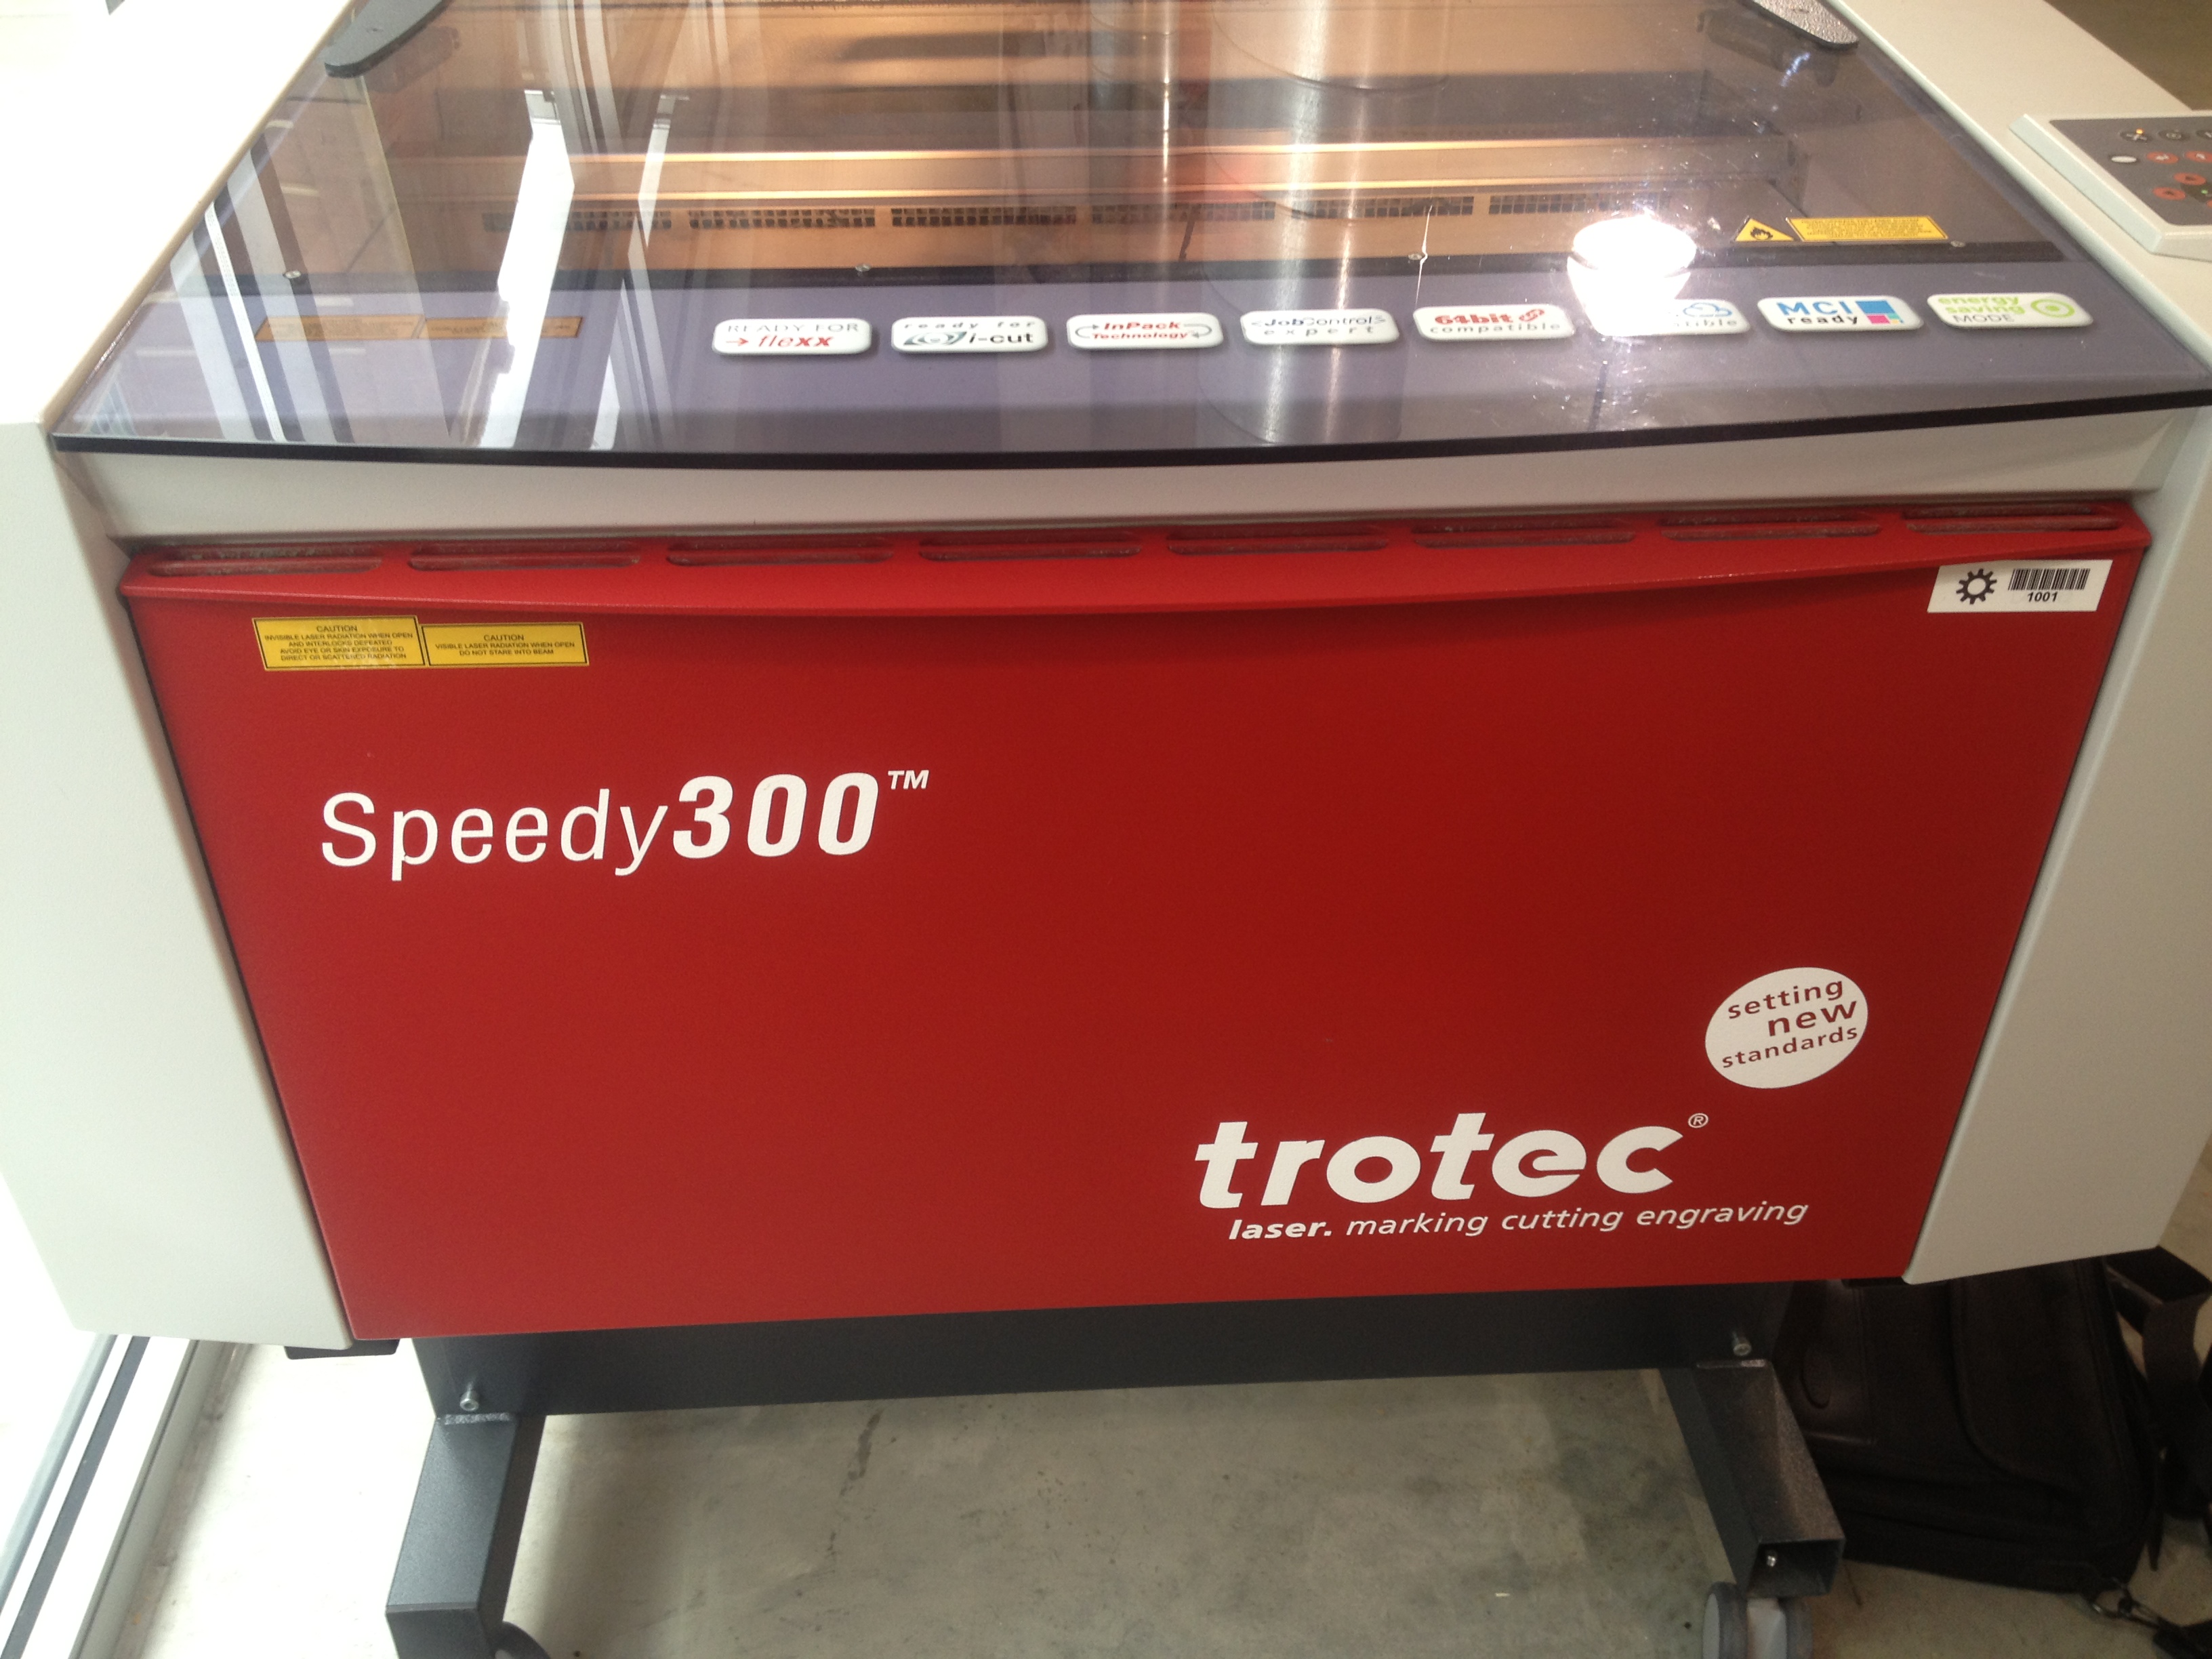
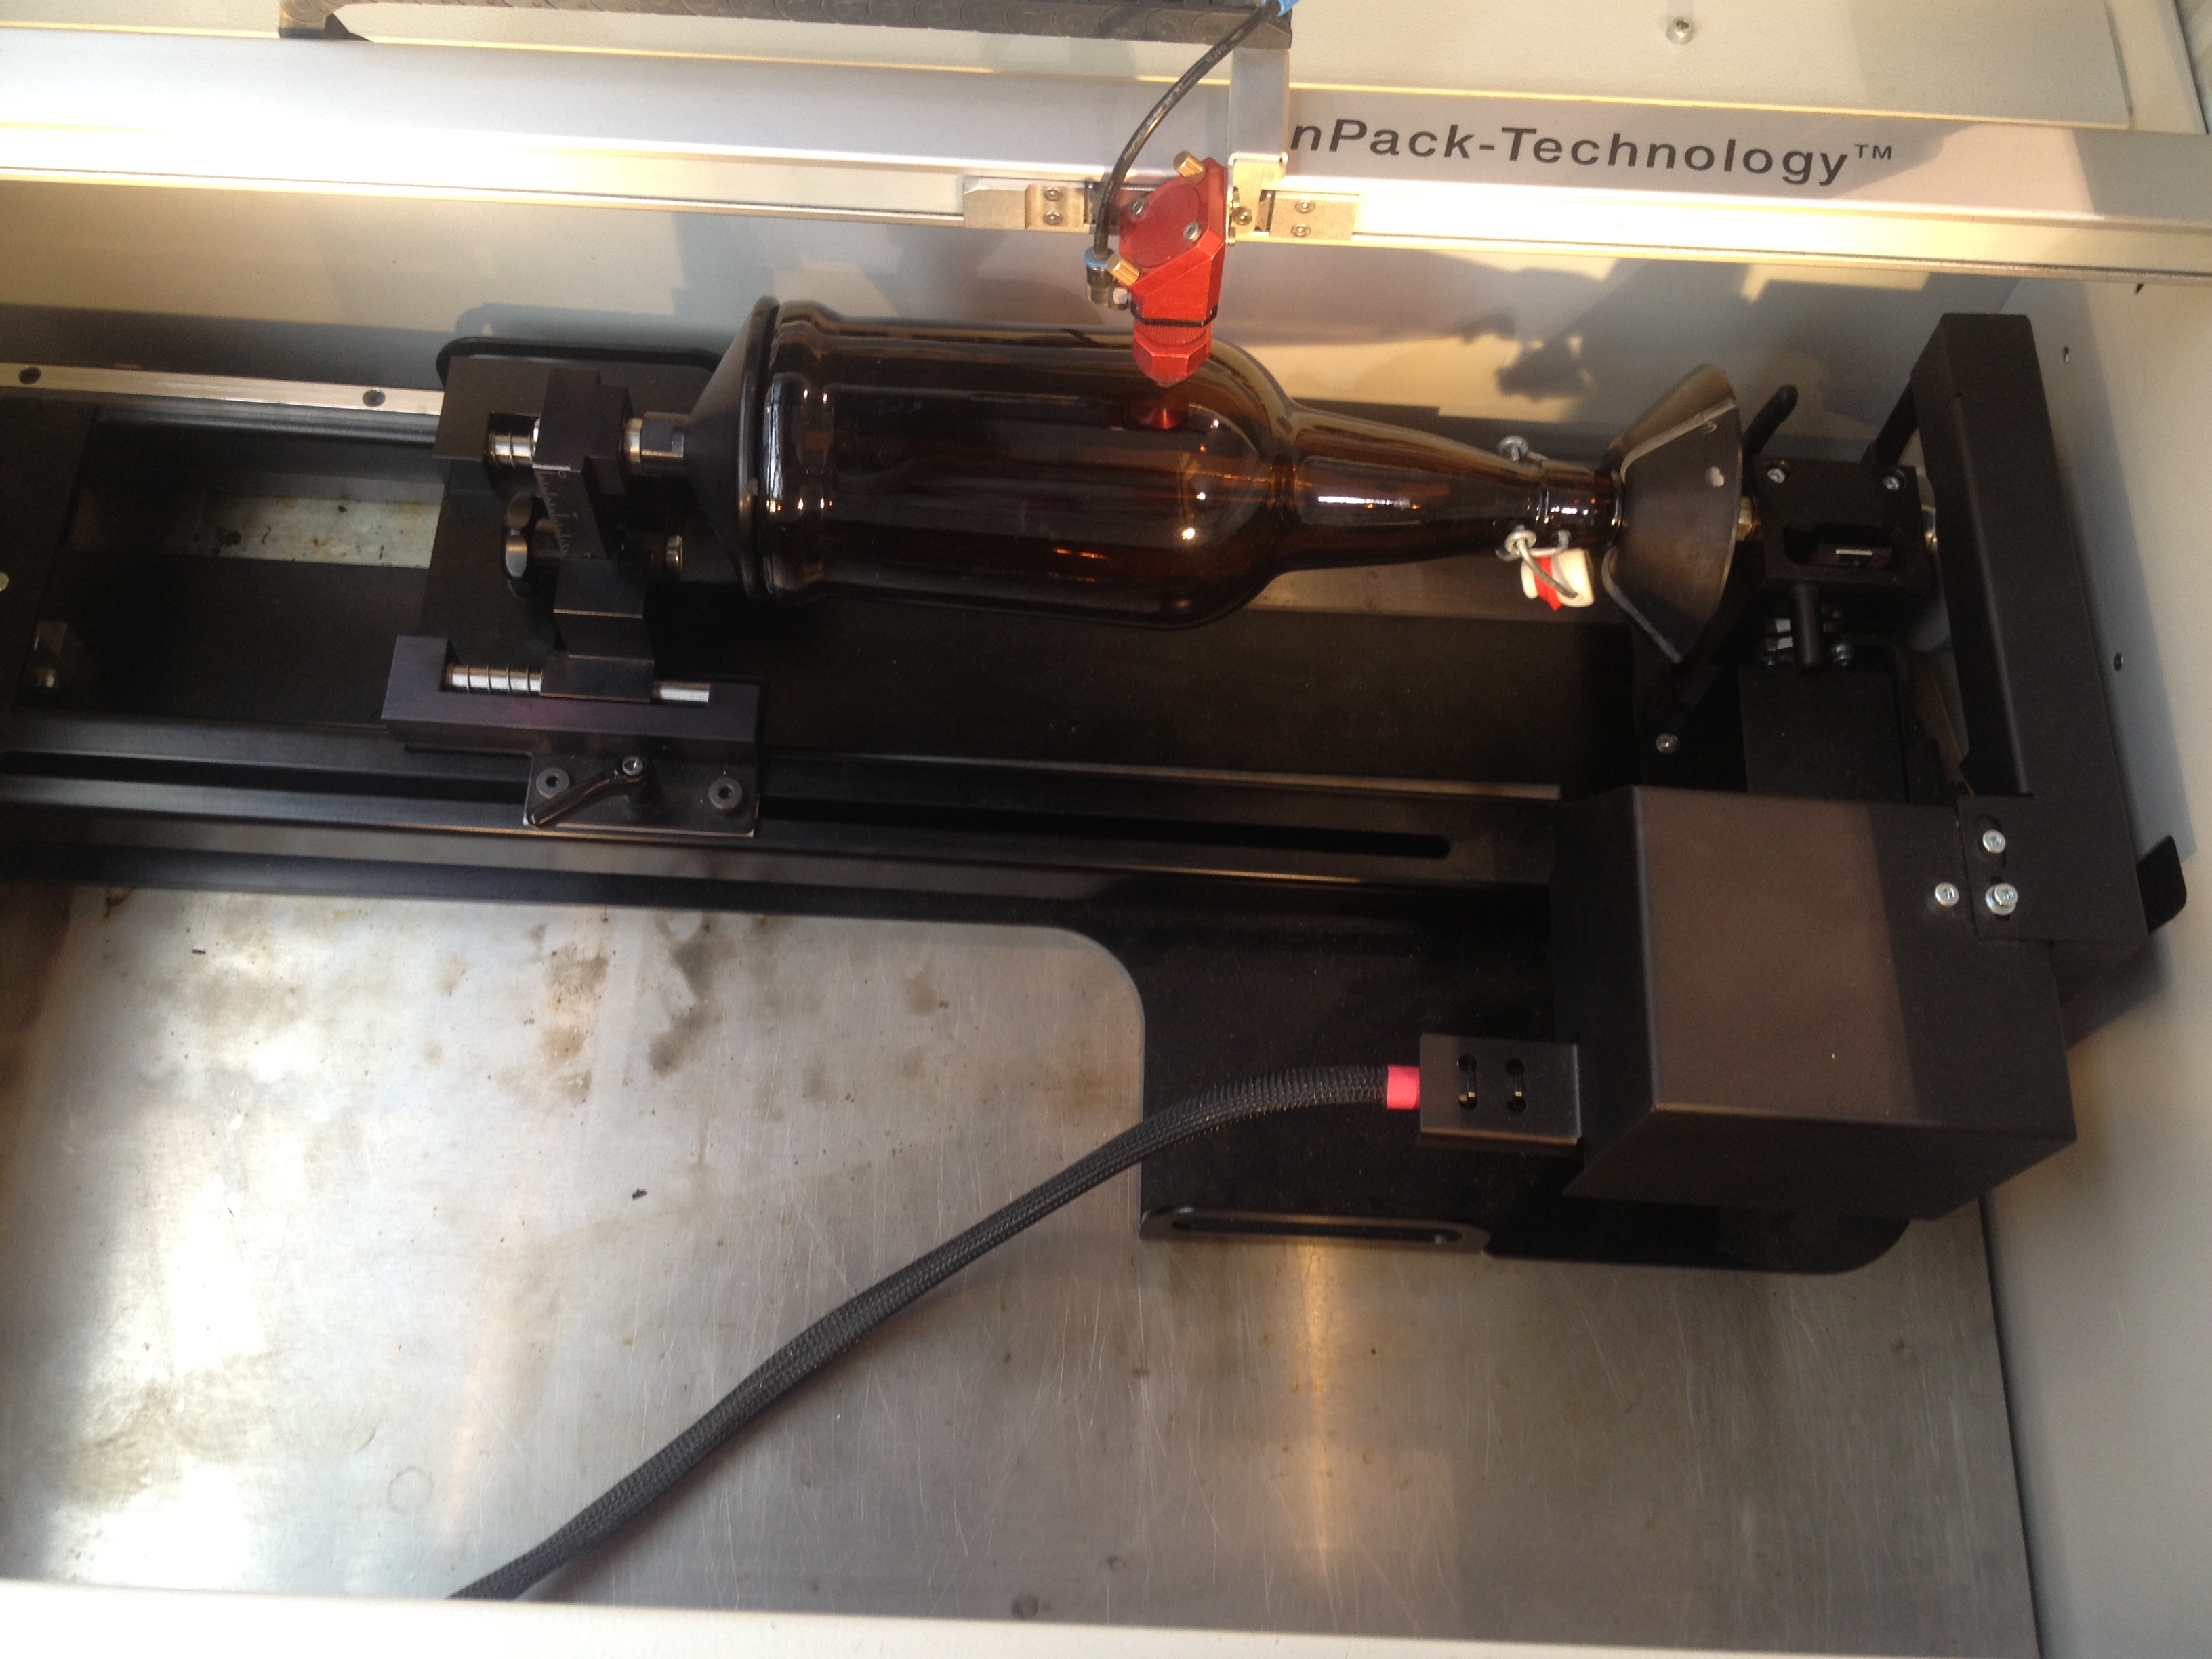
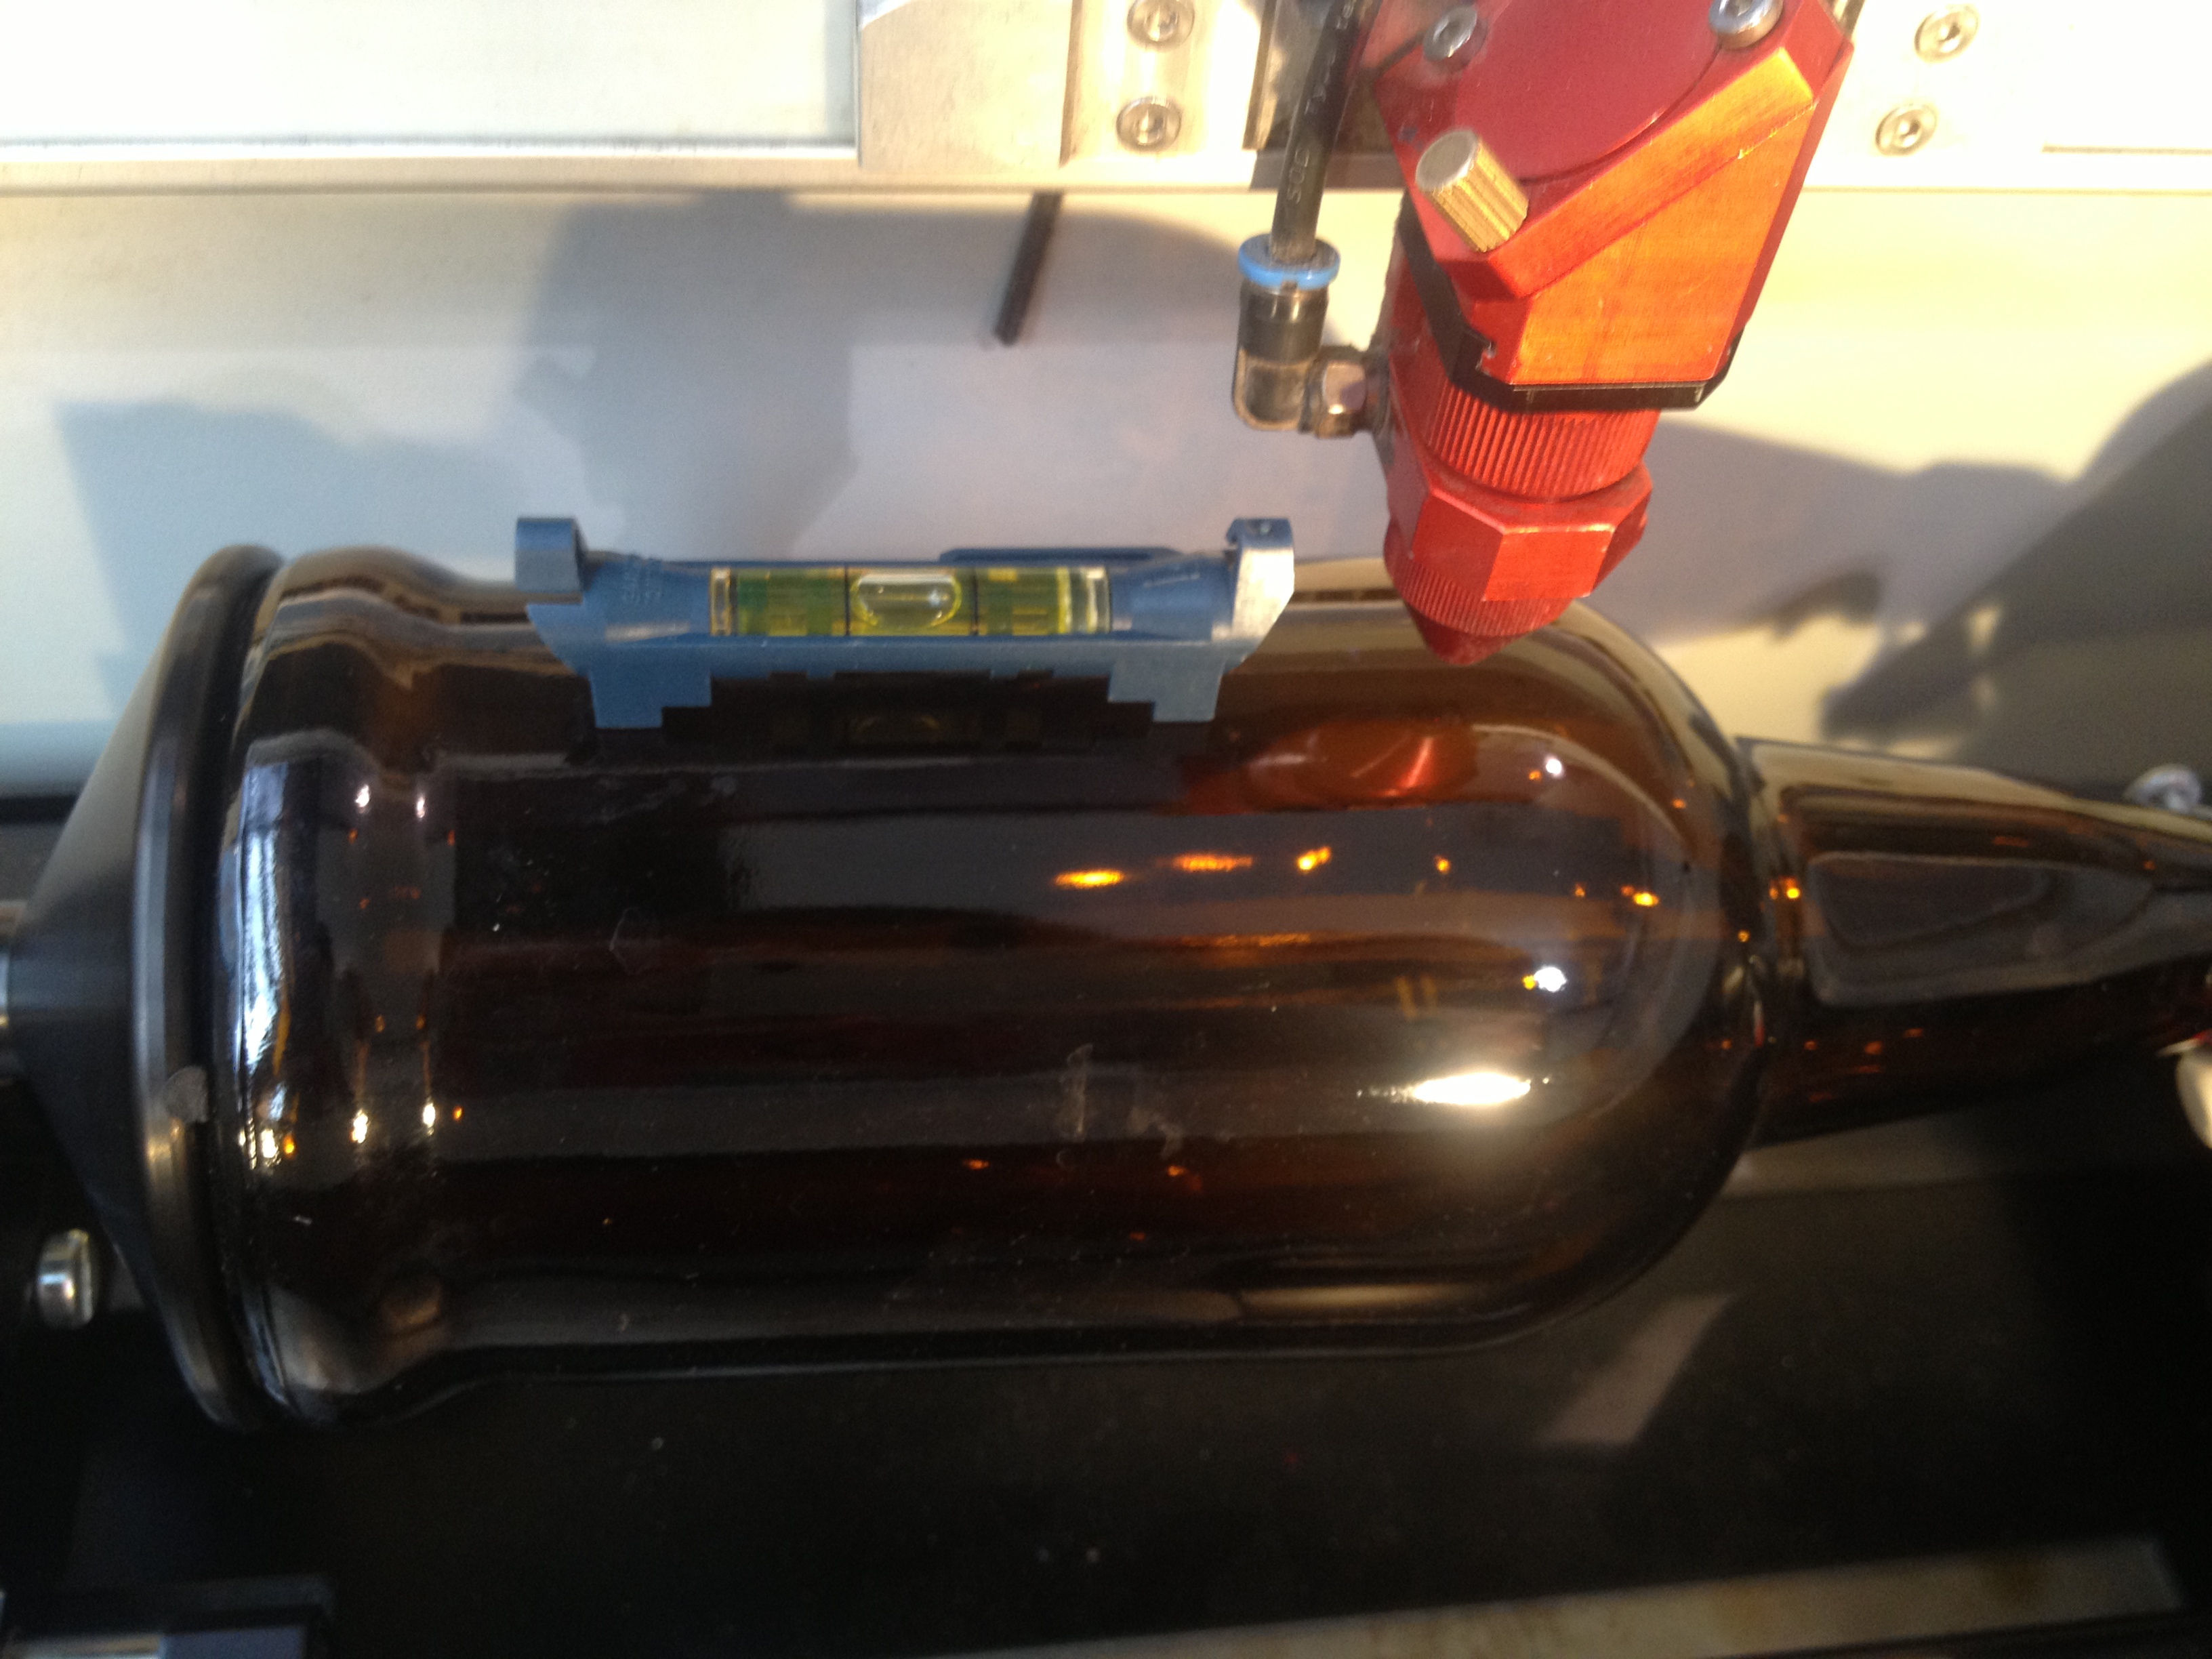
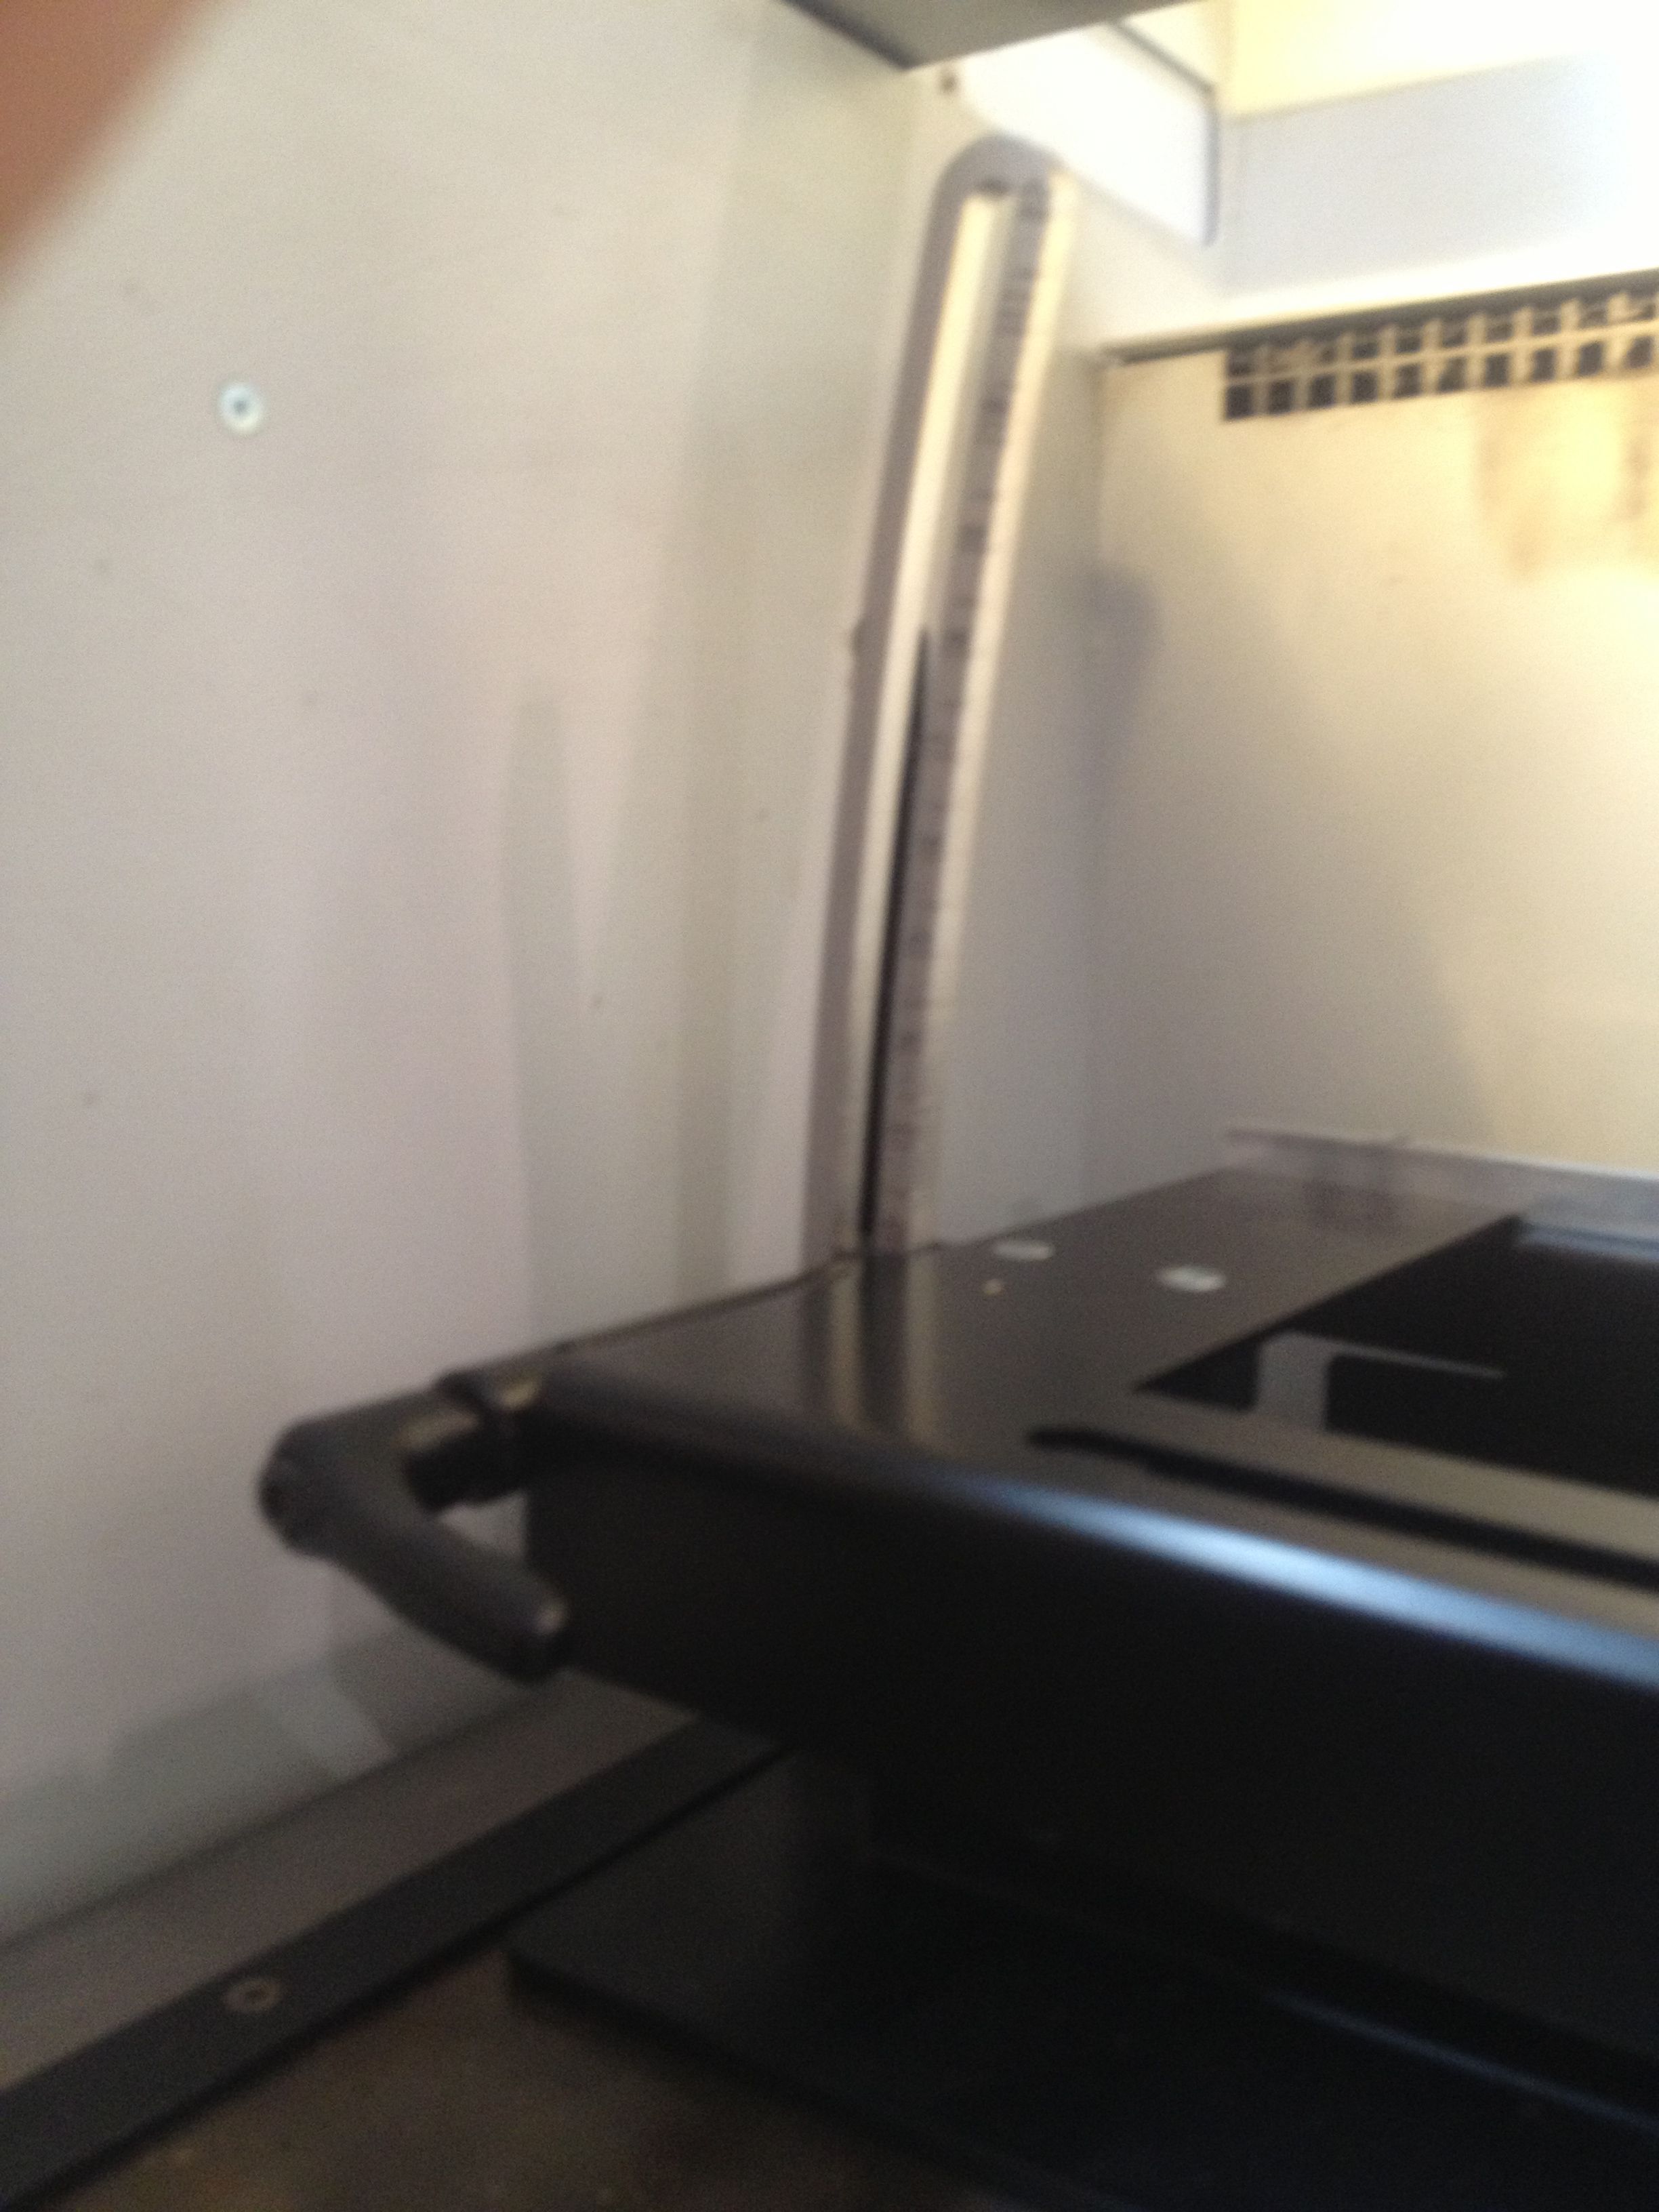
Install the rotary table with the help of a tech shop employee. Clean off any and all glue or gunk that maybe on your glassware (from labels, etc) with Acetone or GooGone. The cleaner the surface, the less problems you should have etching.
Adjust the angle of the rotary table until the surface you are etching on is level.
Measure the Diameter of the growler in inches. I used the base and mine was 3.75"
This is thick walled glass, so I can run it hot and fast.
Adjust the angle of the rotary table until the surface you are etching on is level.
Measure the Diameter of the growler in inches. I used the base and mine was 3.75"
This is thick walled glass, so I can run it hot and fast.
Step 2: Design Computer and Configuration
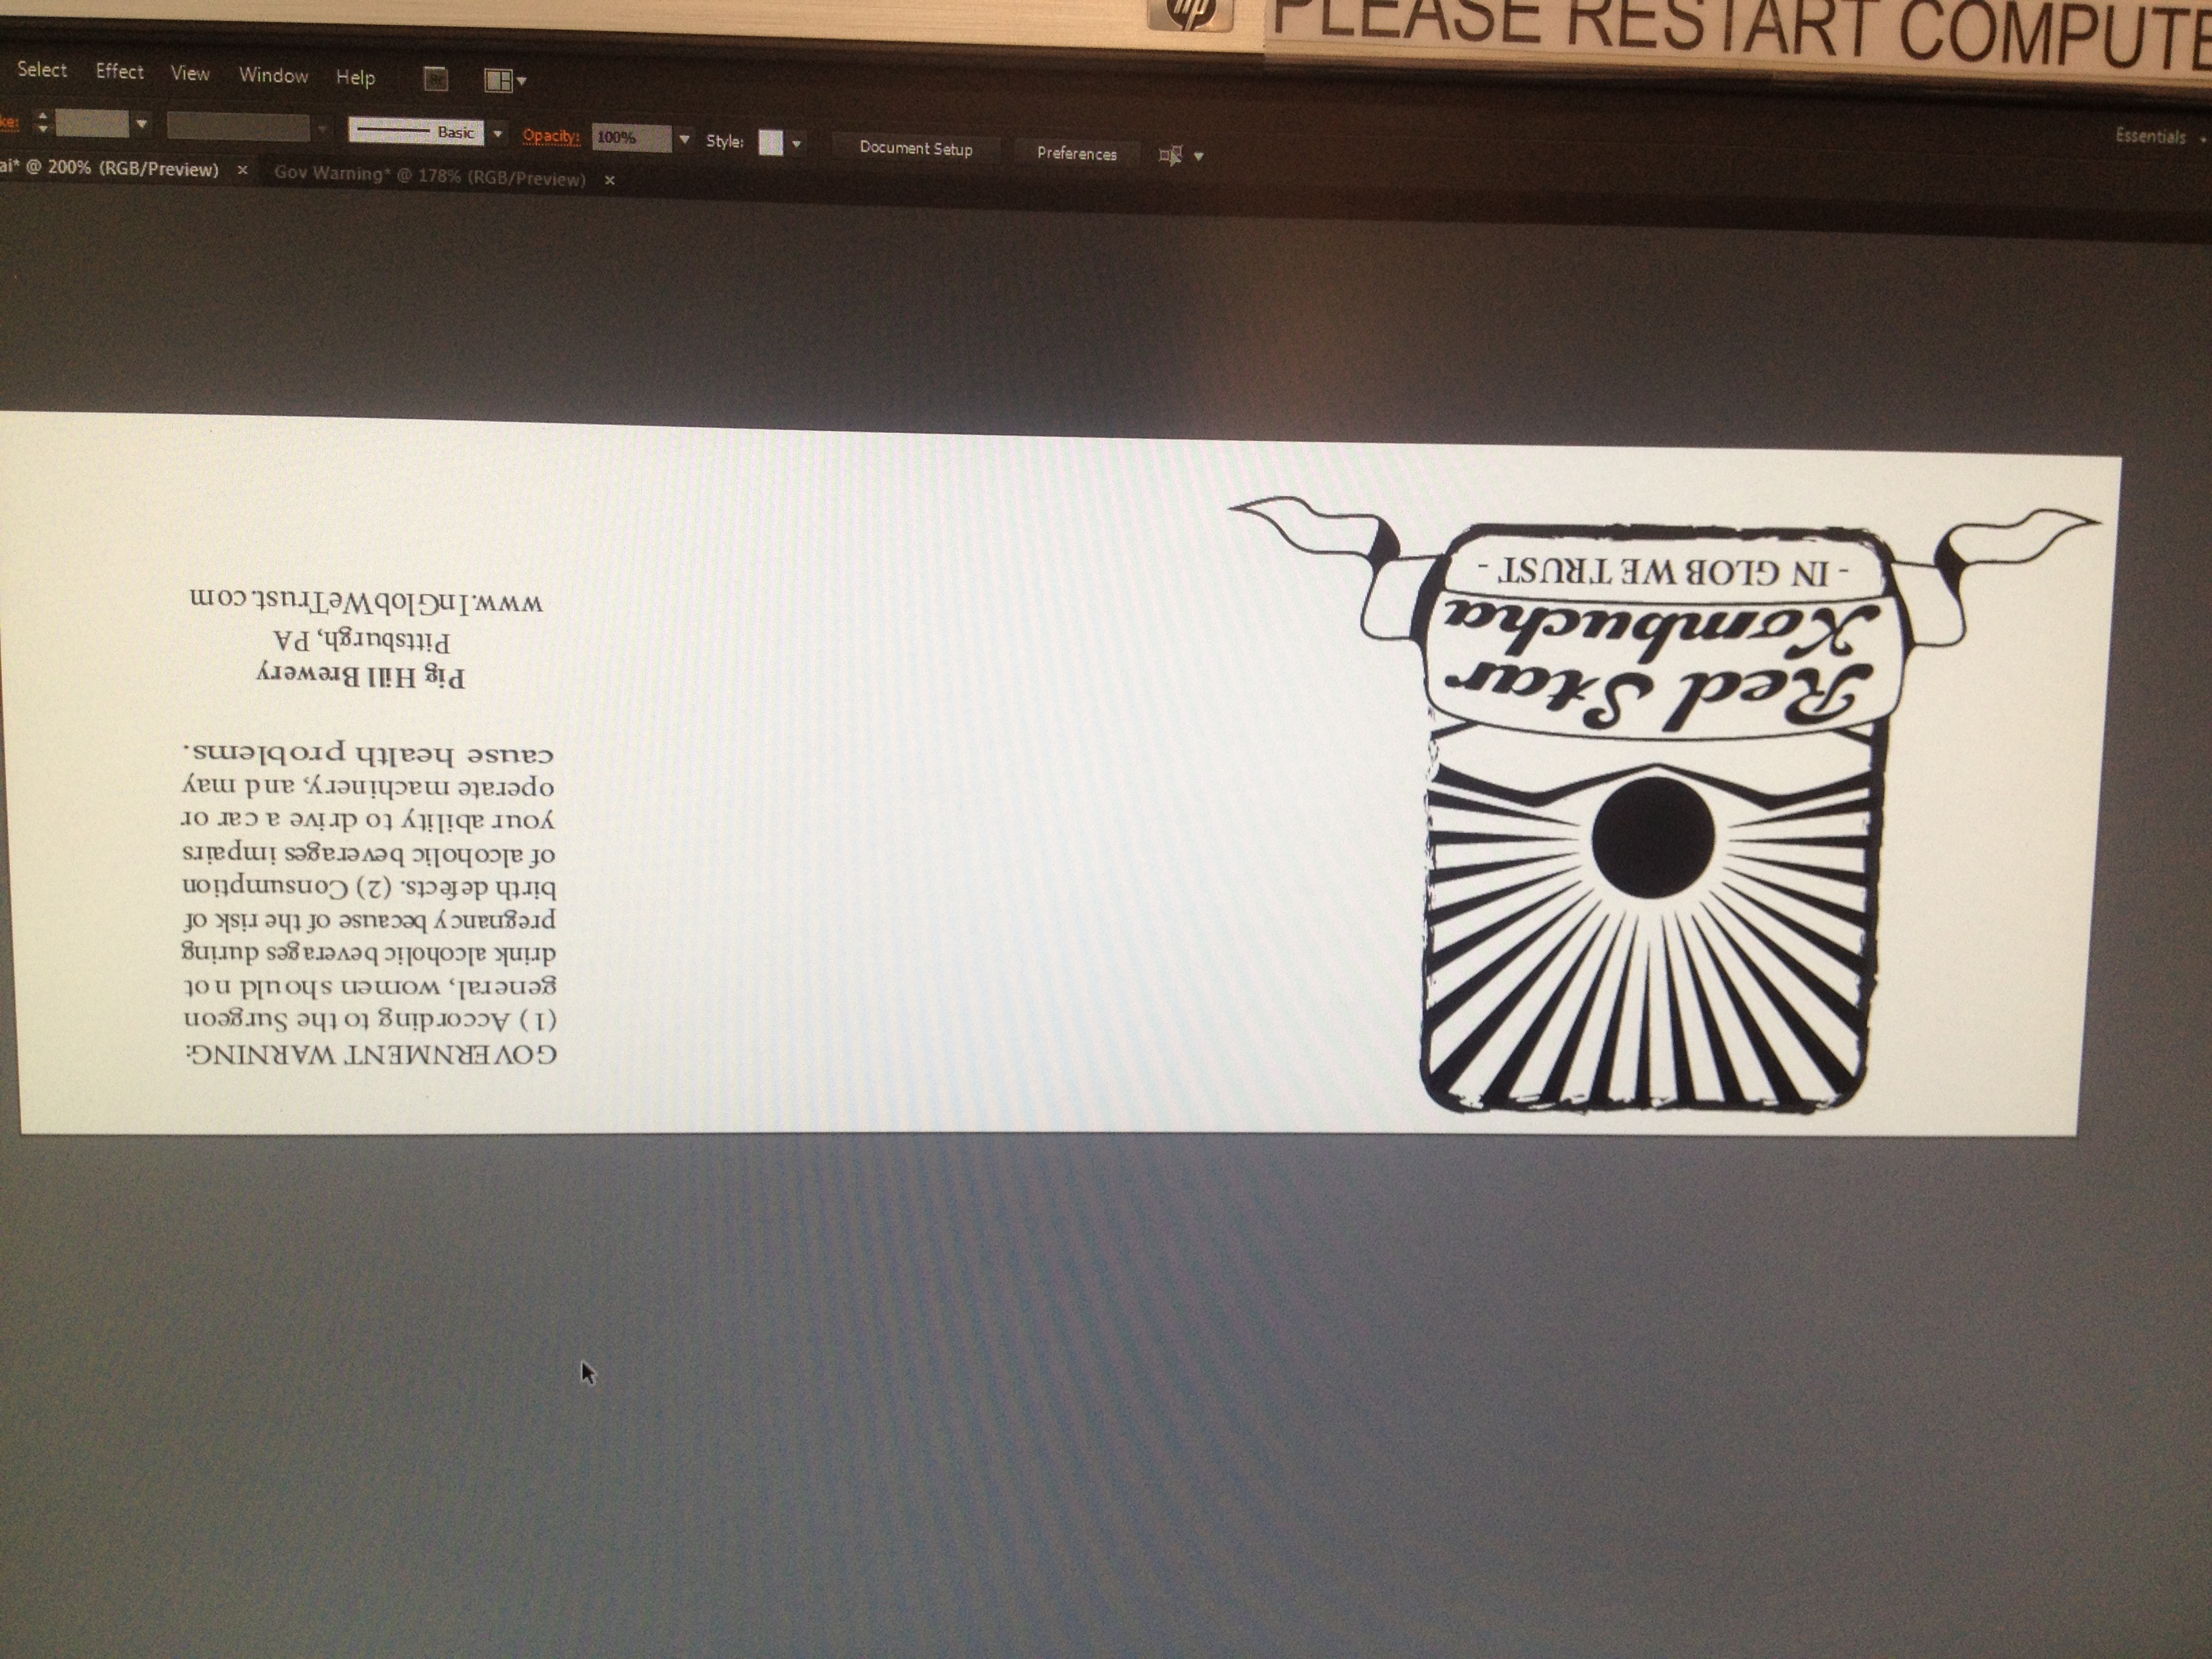
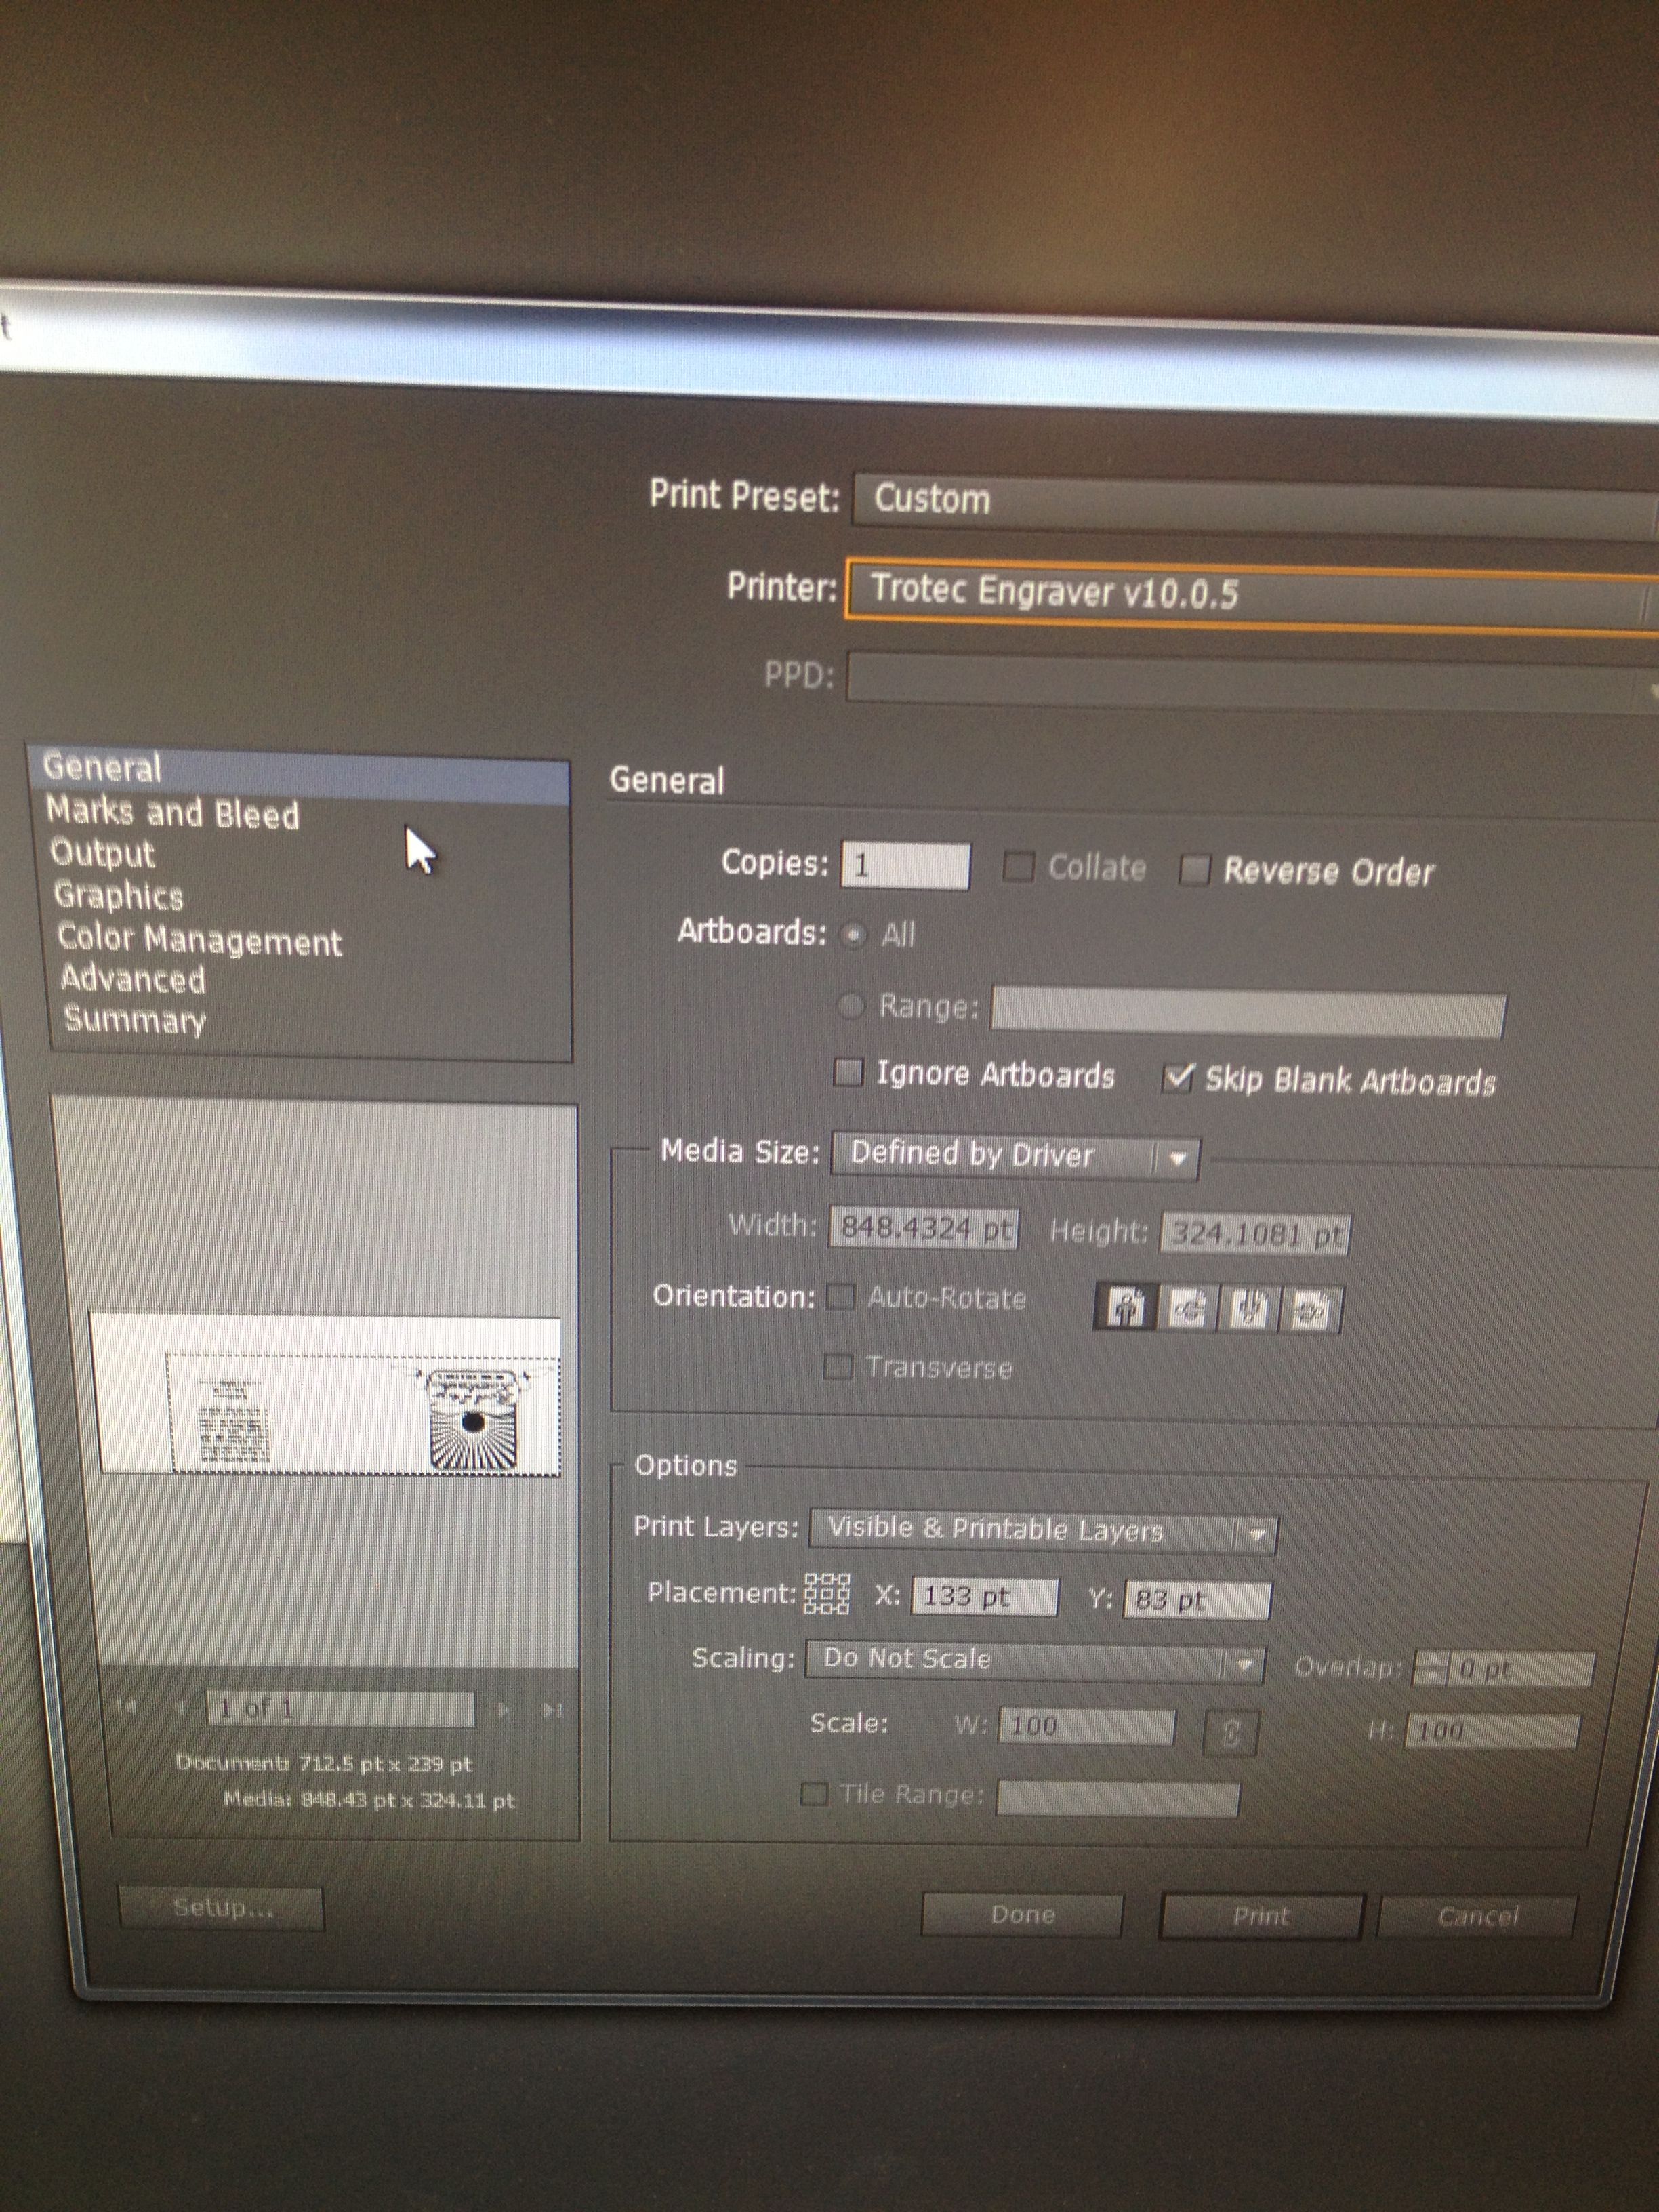
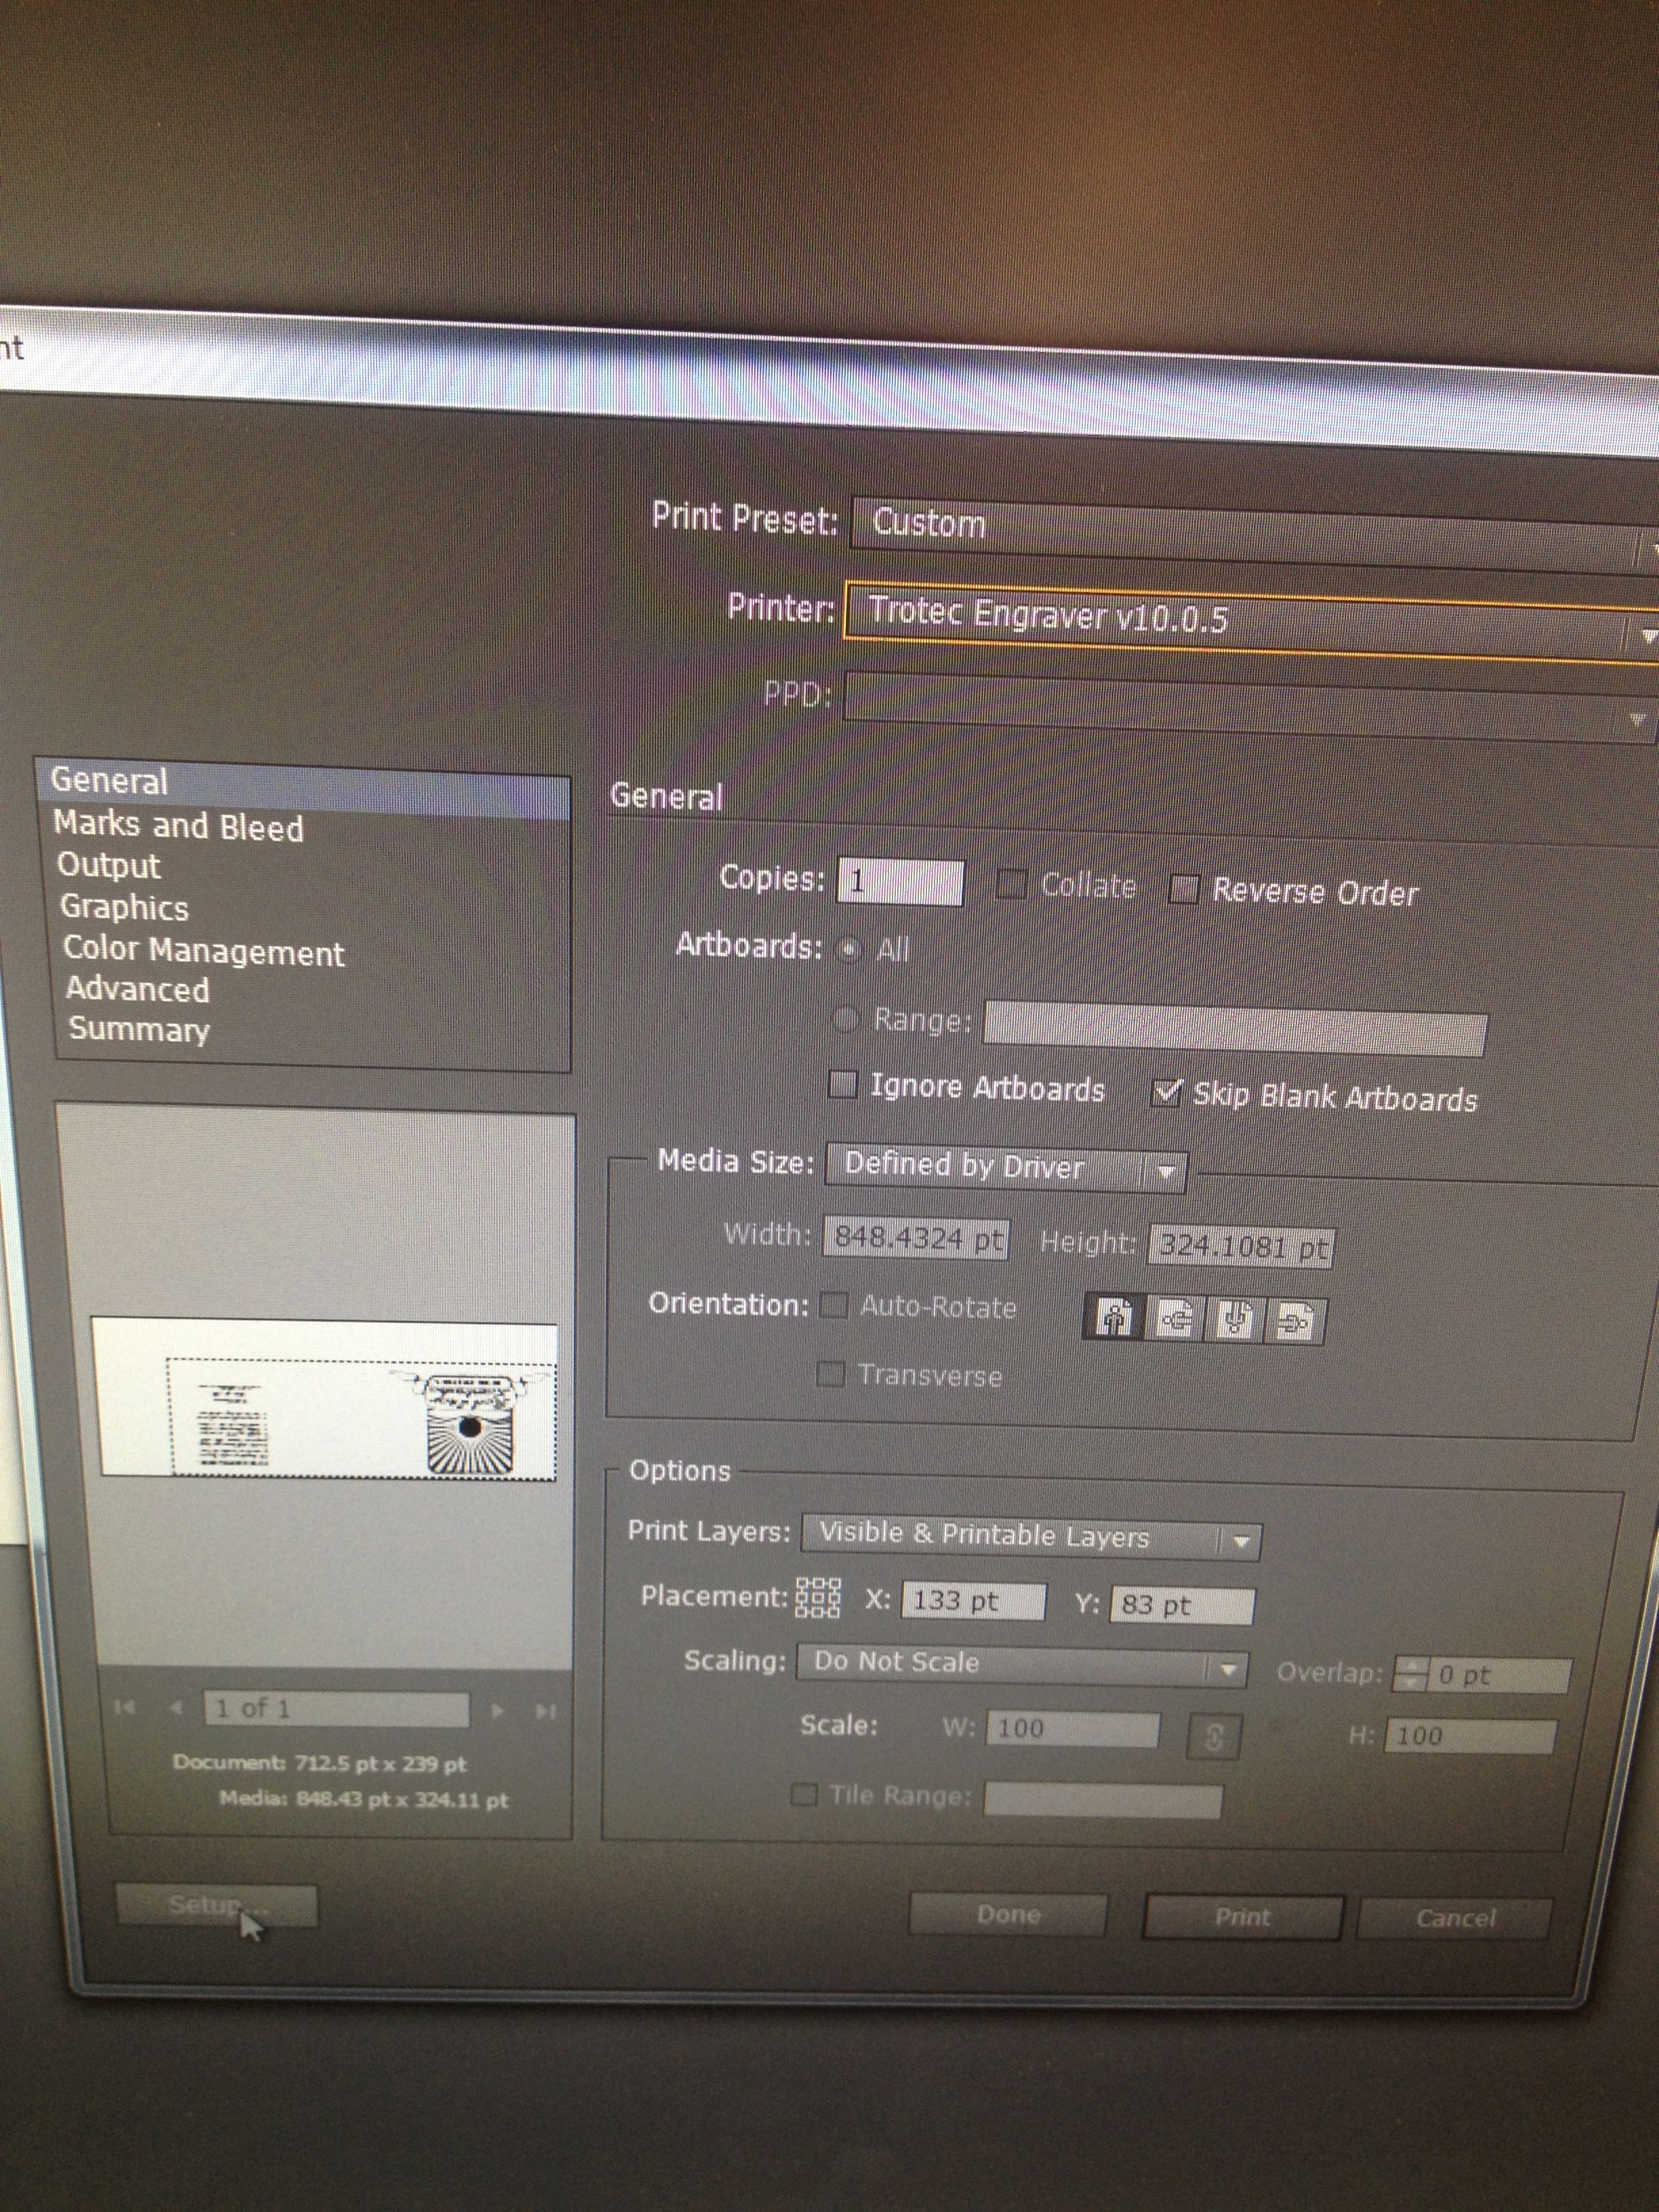
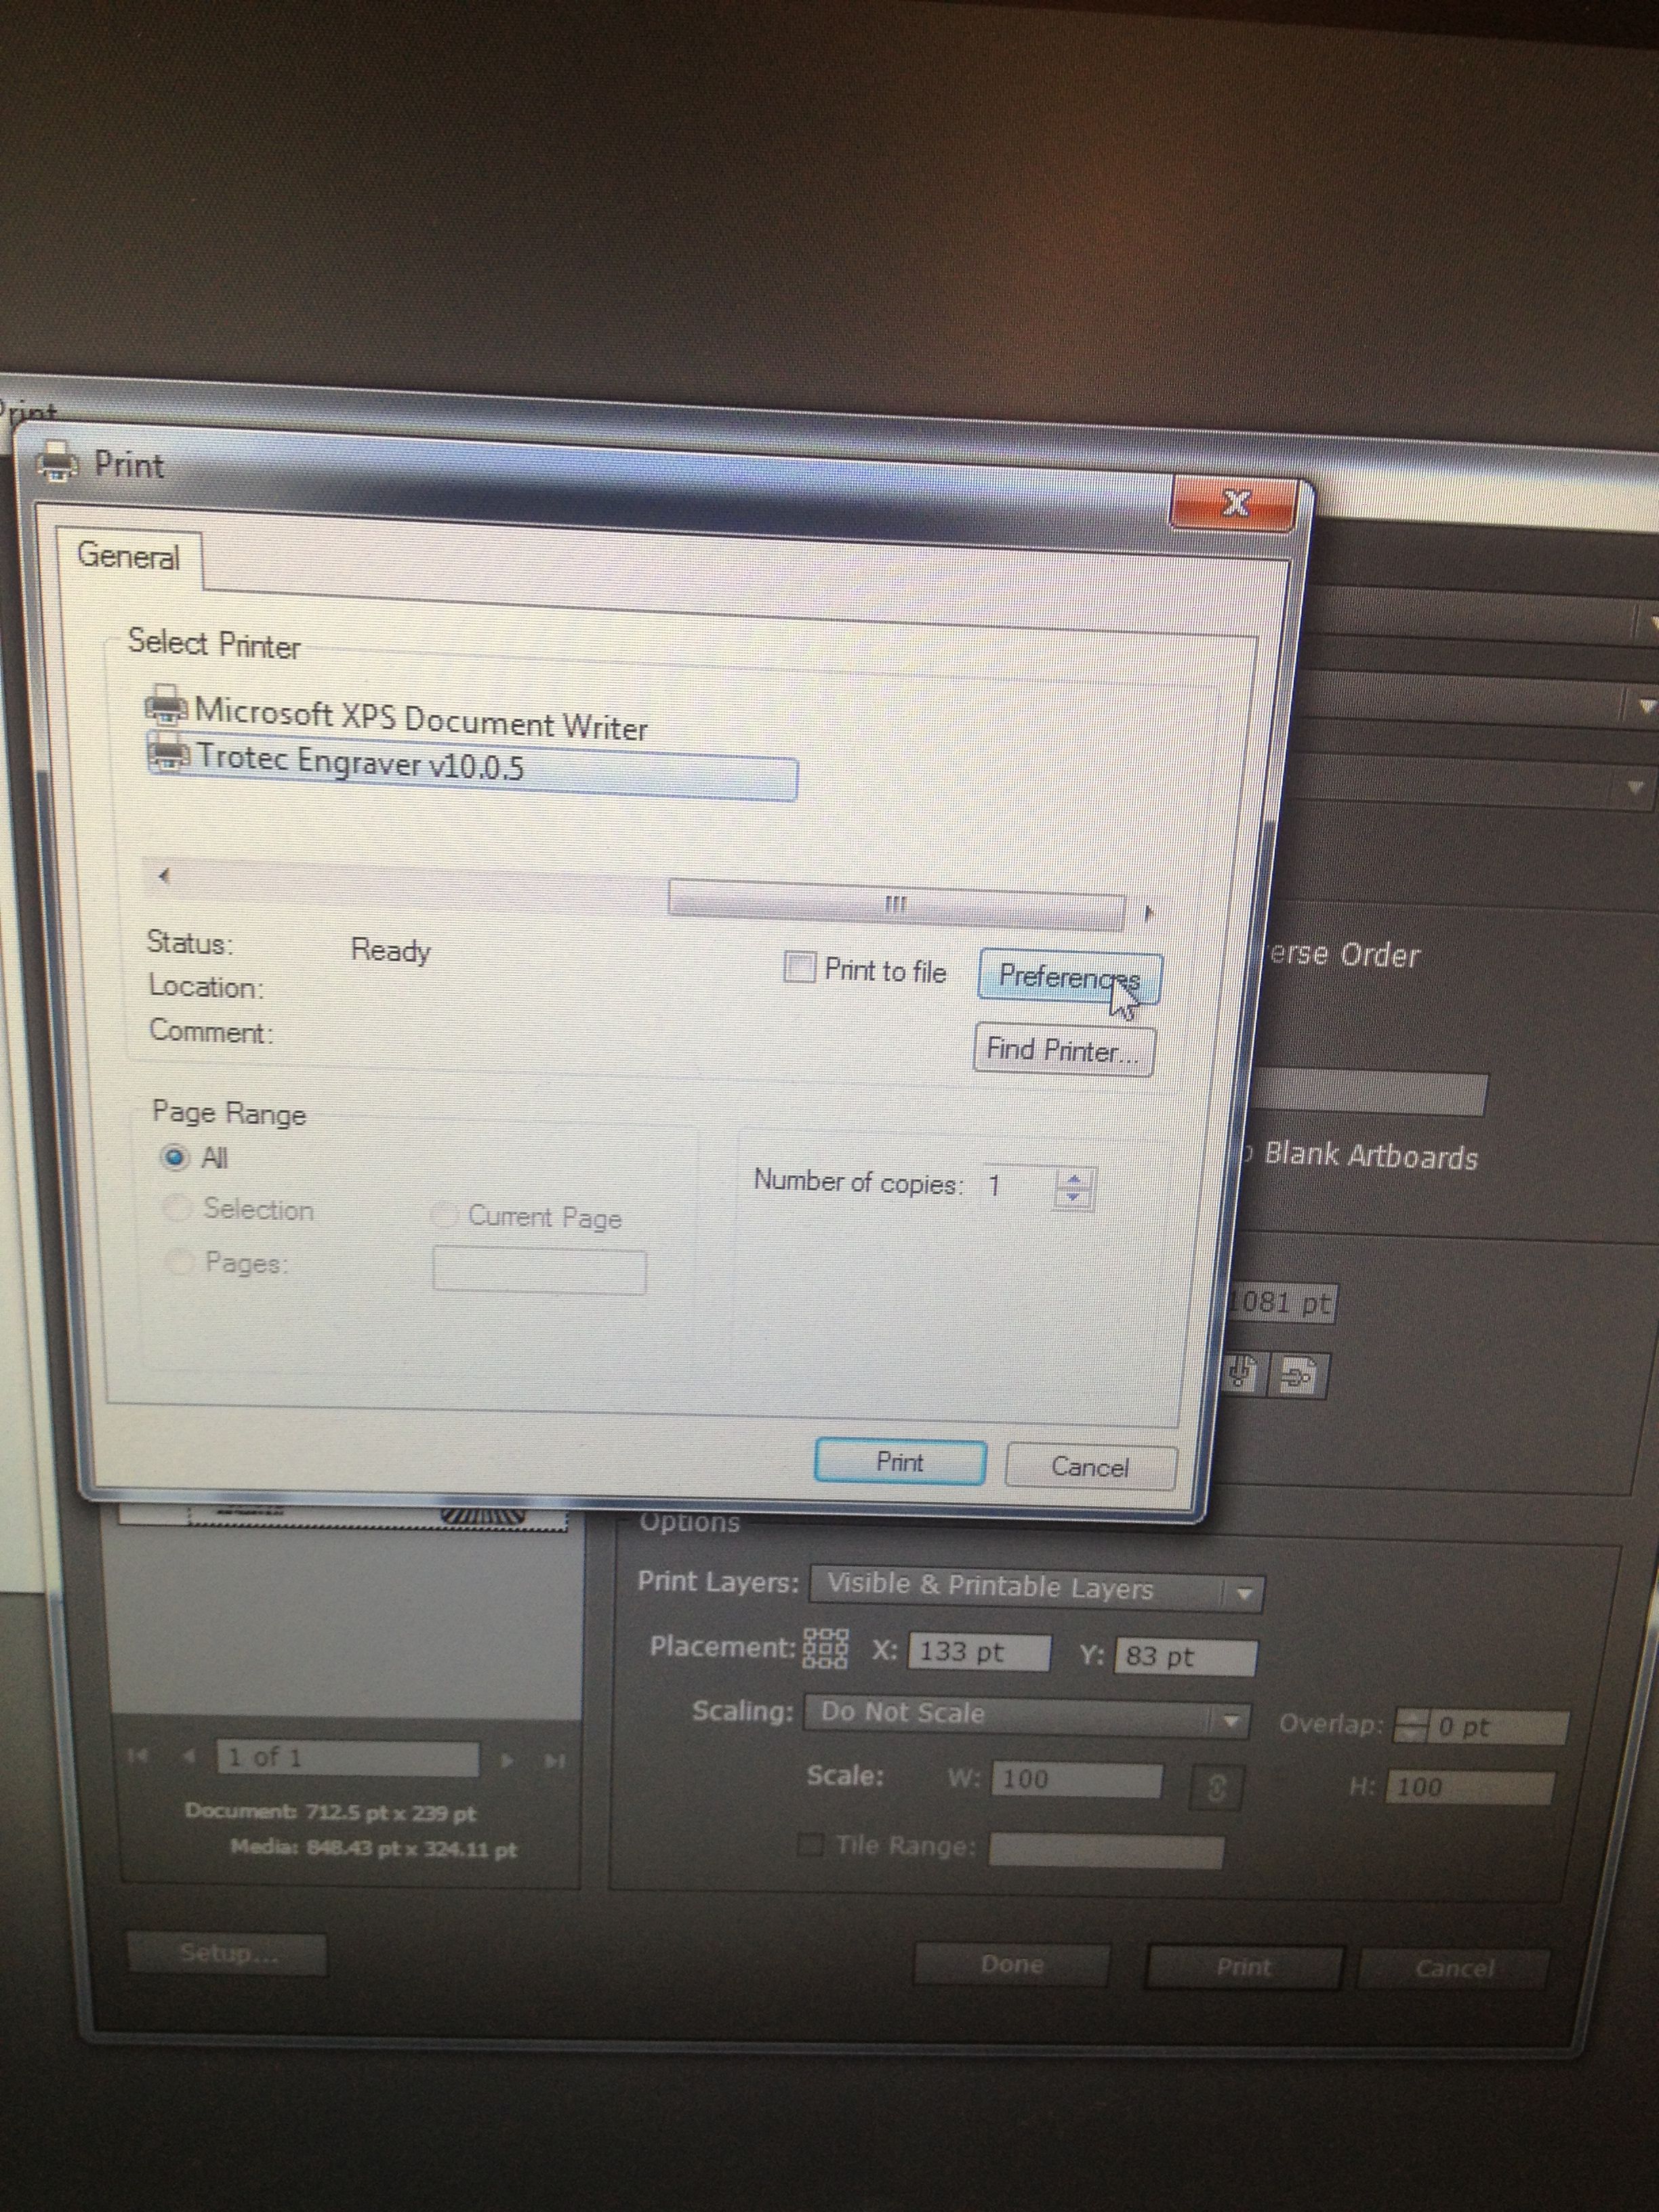
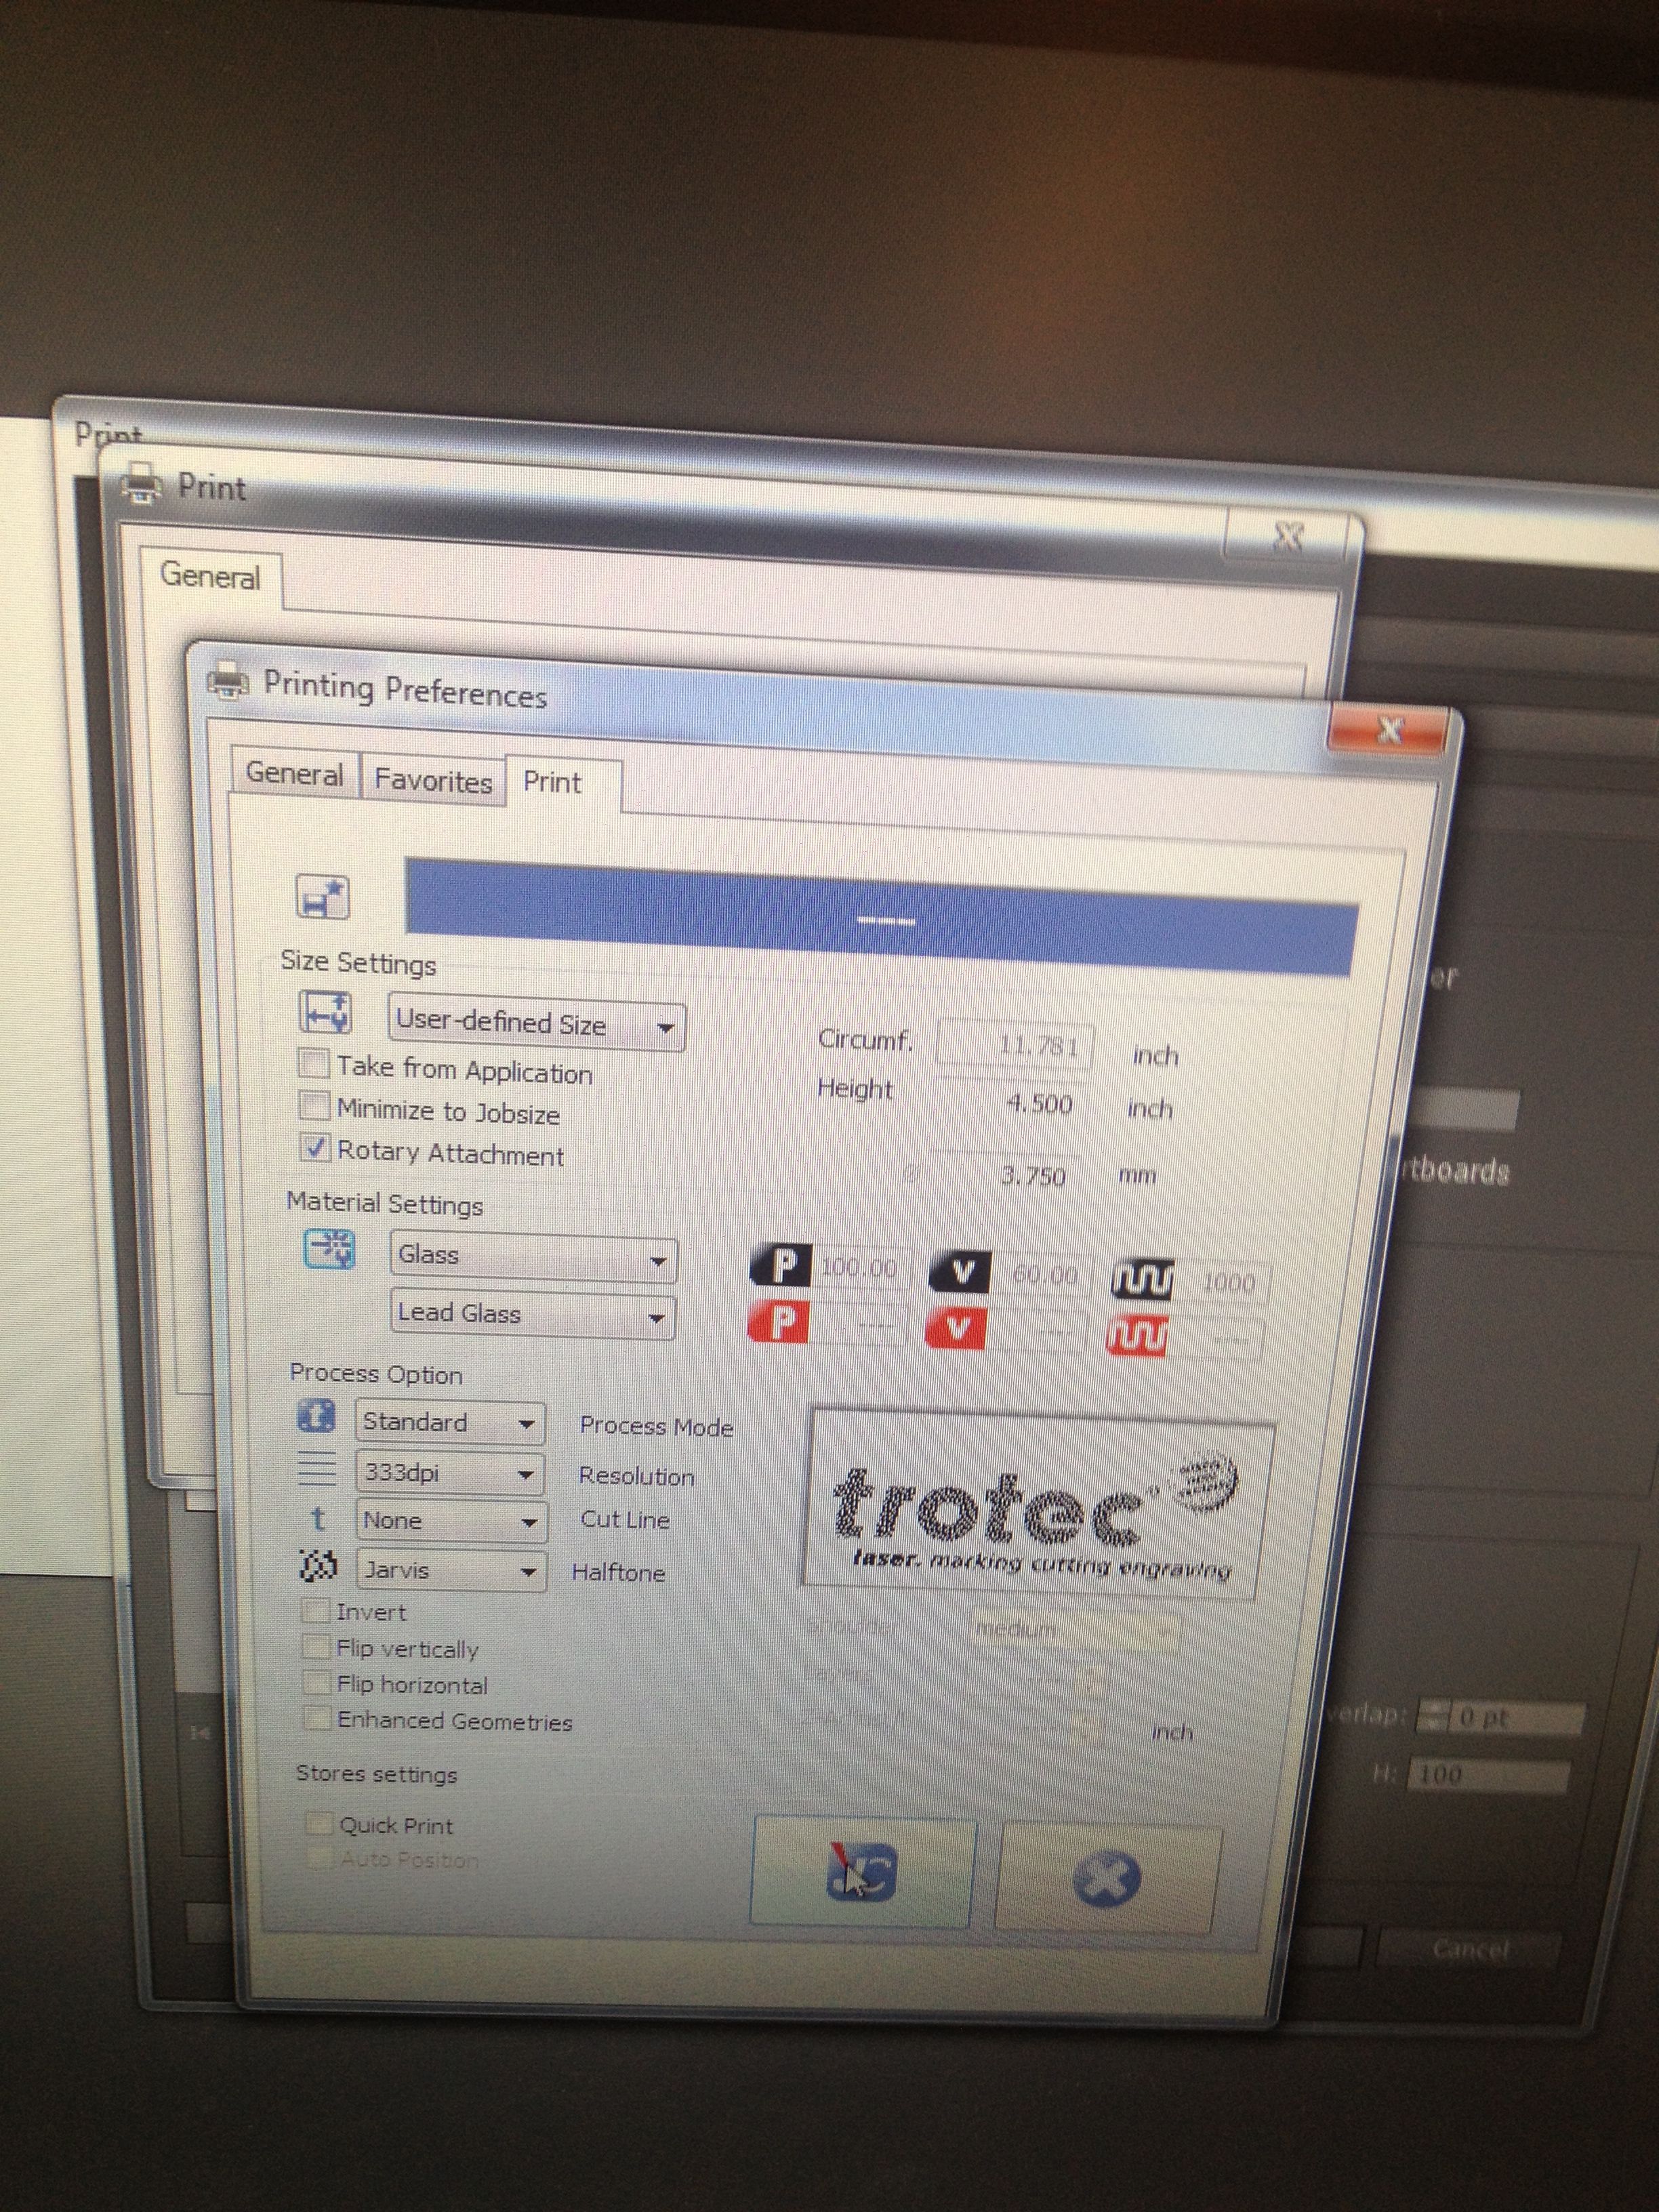
For the etched image to be displayed properly in the Laser's printing software (Job Control) the design must be submitted upside down. This is only required for the Rotary attachement.
For this design I used Adobe Illustrator to make it, but it can just as easily be done in CorelDraw or Gimp.
Once you have the design you want click print. (Note: Depending on the dimensions of your glass and design you may have to jump back and forth a few times to rescale the image until it matches what you want. For the simplicity of time I am going to give you the rest of the instructions as if your sizes are already to go.
Next:
Click Print & Set the printer to Trotec Engraver
Then click Setup, Preferences,
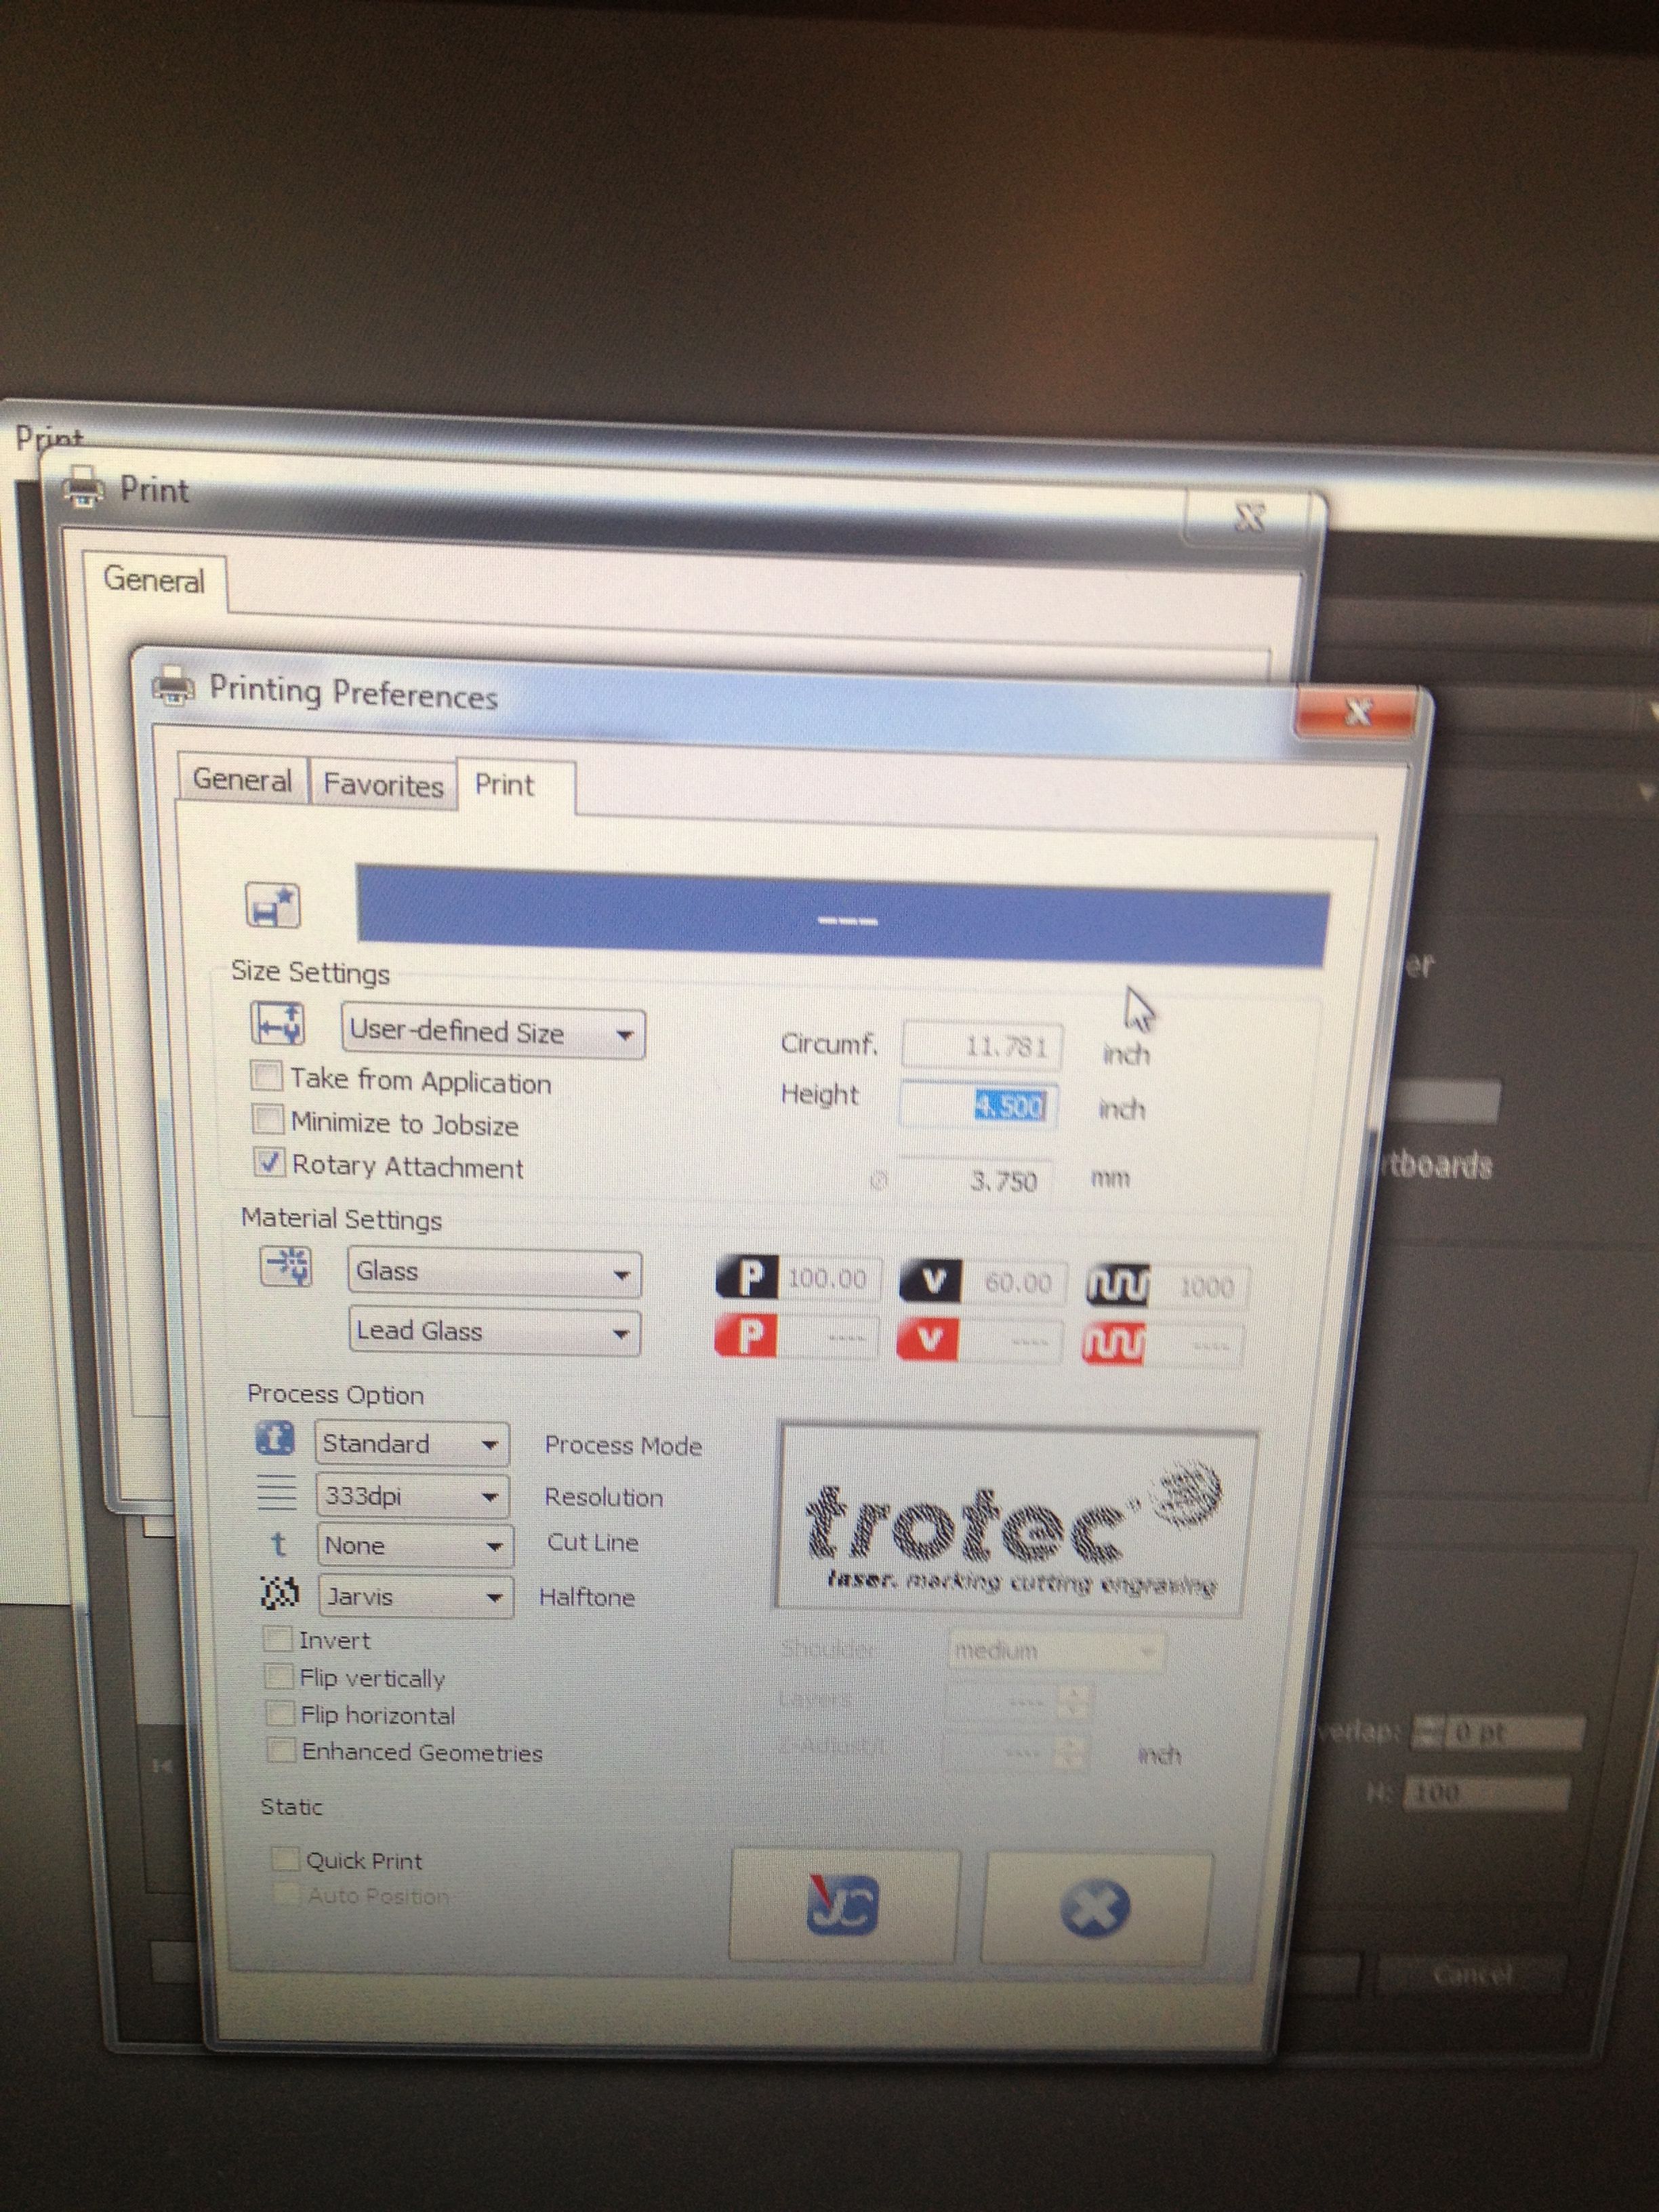
Now we click Rotary Attachement checkbox.
Enter the Diameter in inches (yes I know it says mm, but it is wrong), So I input 3.75 and the max height I want to go to is about 4.5 inches.
Material Settings:
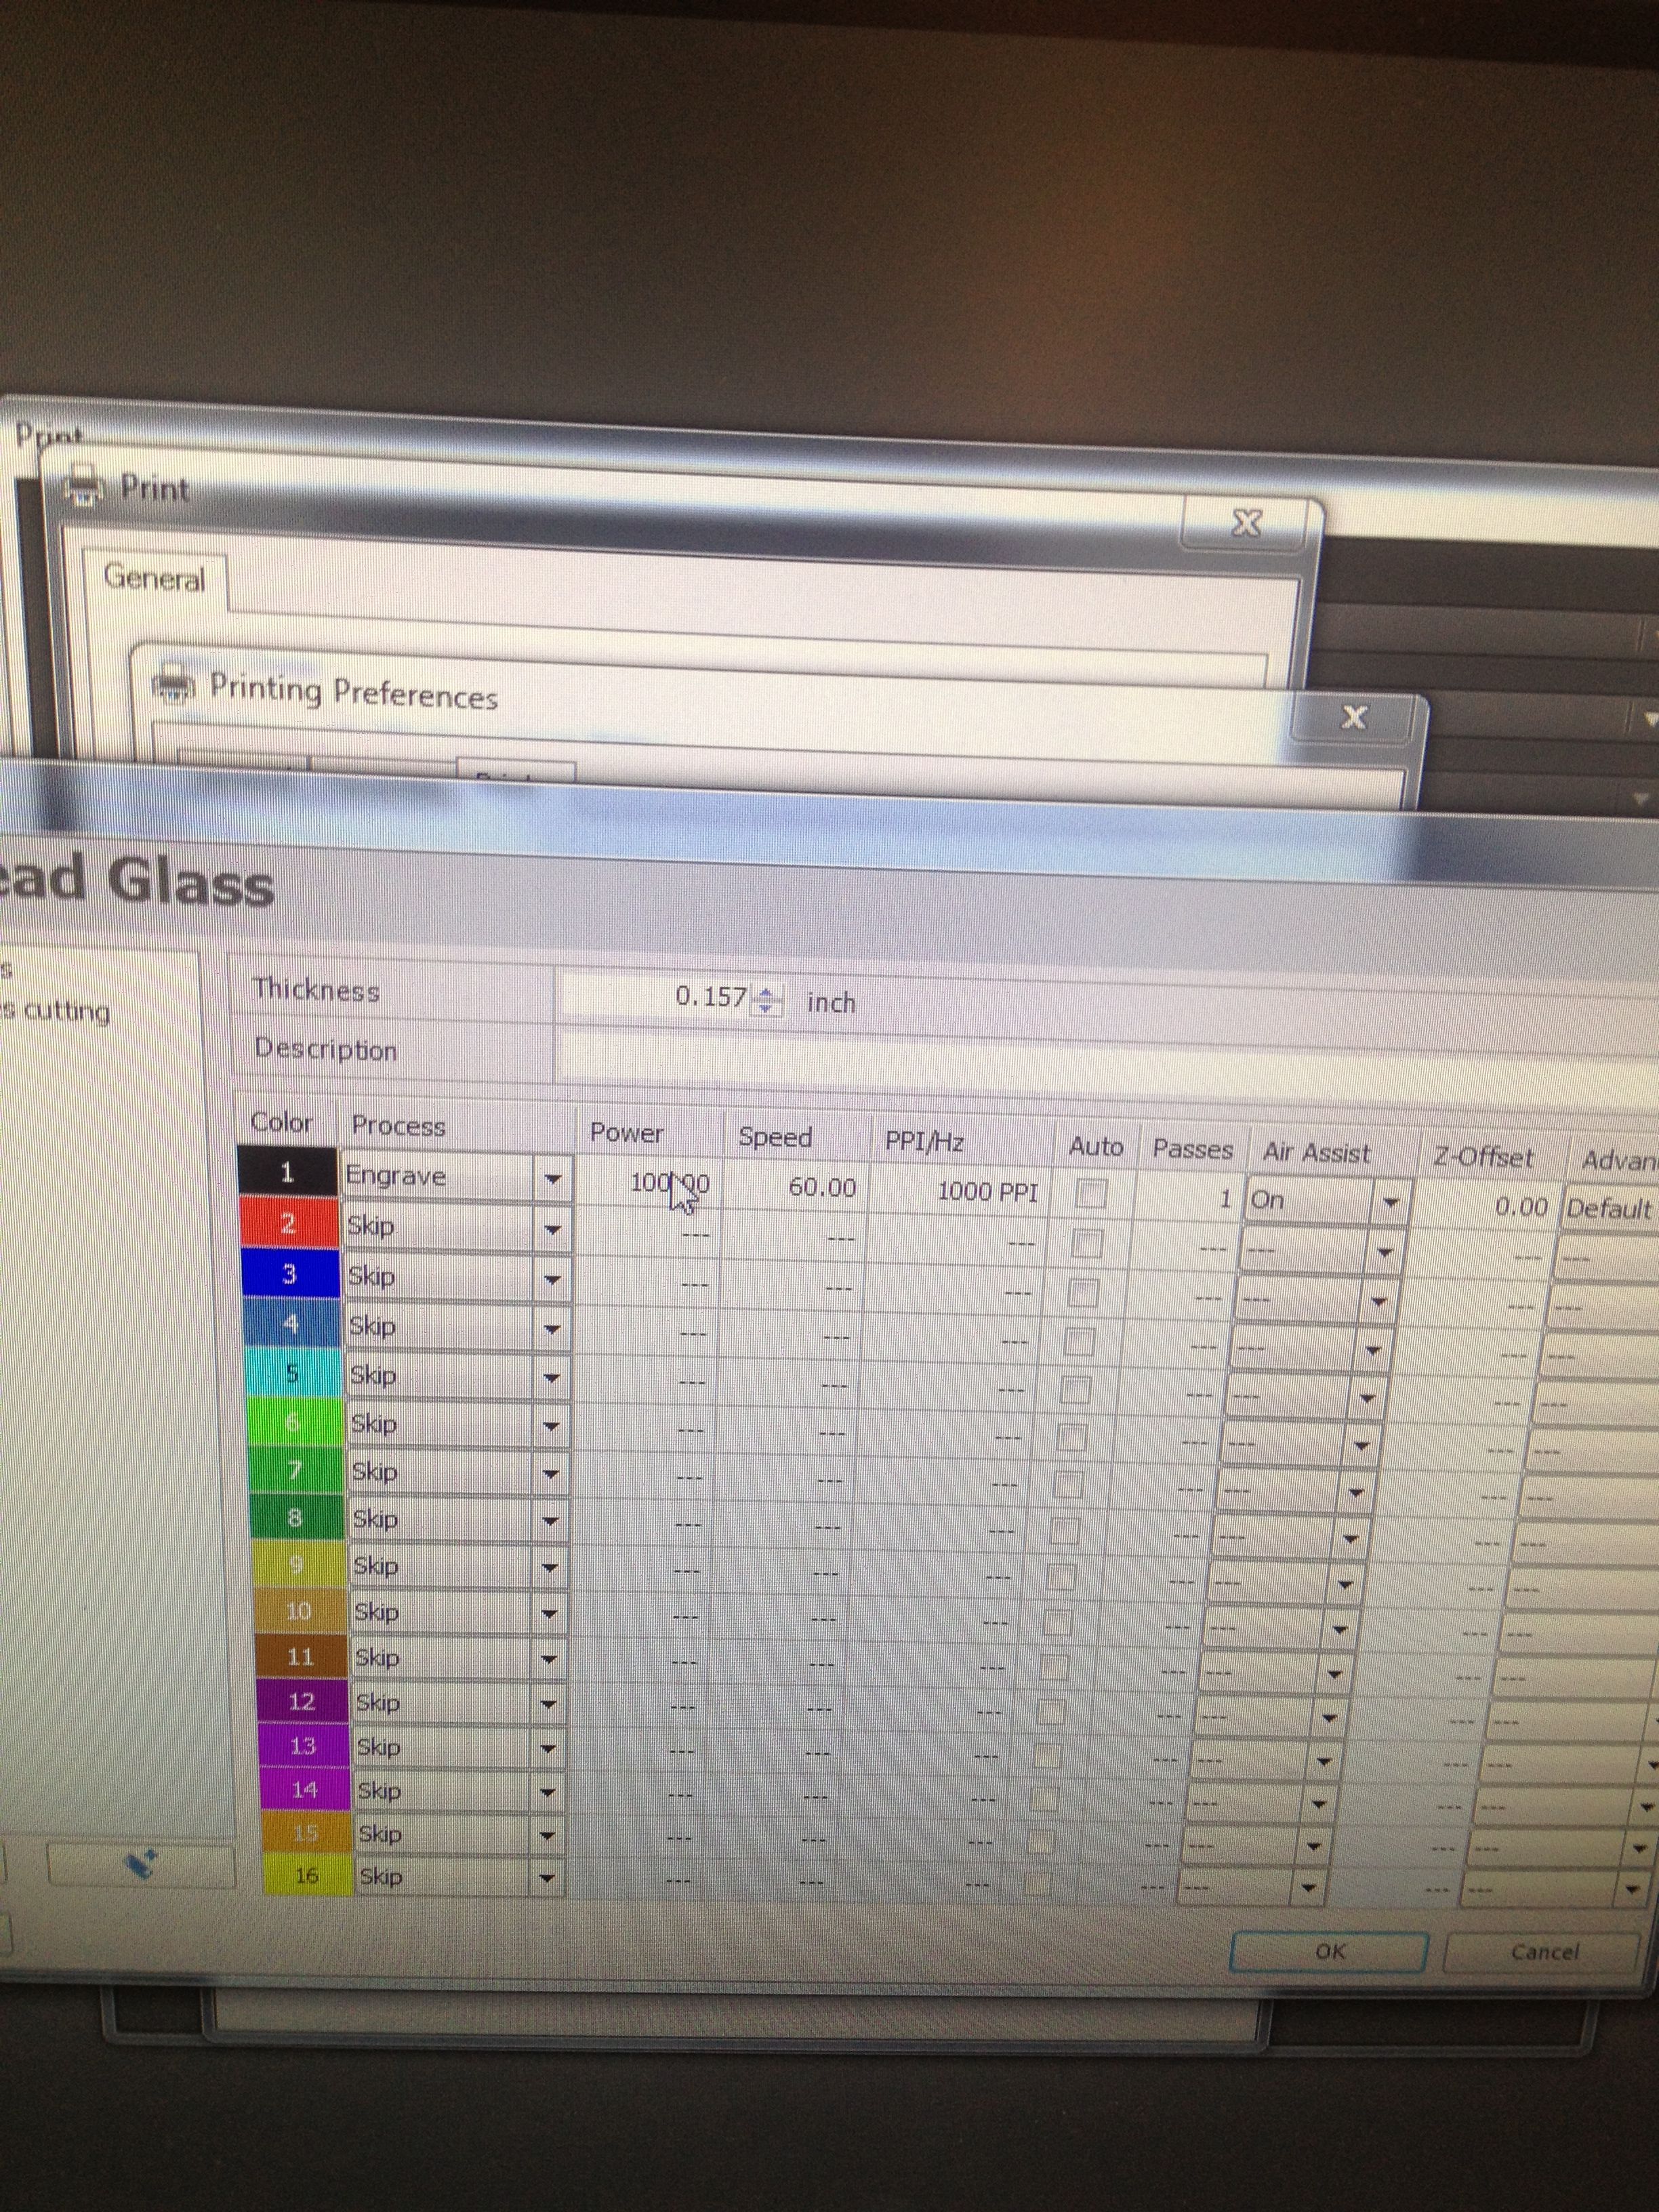
Beneath Material Settings I click the wrench / Gear to add my own custom options
Set Power to 100, Speed to 60, and Hz to 1000 hit ok
Set
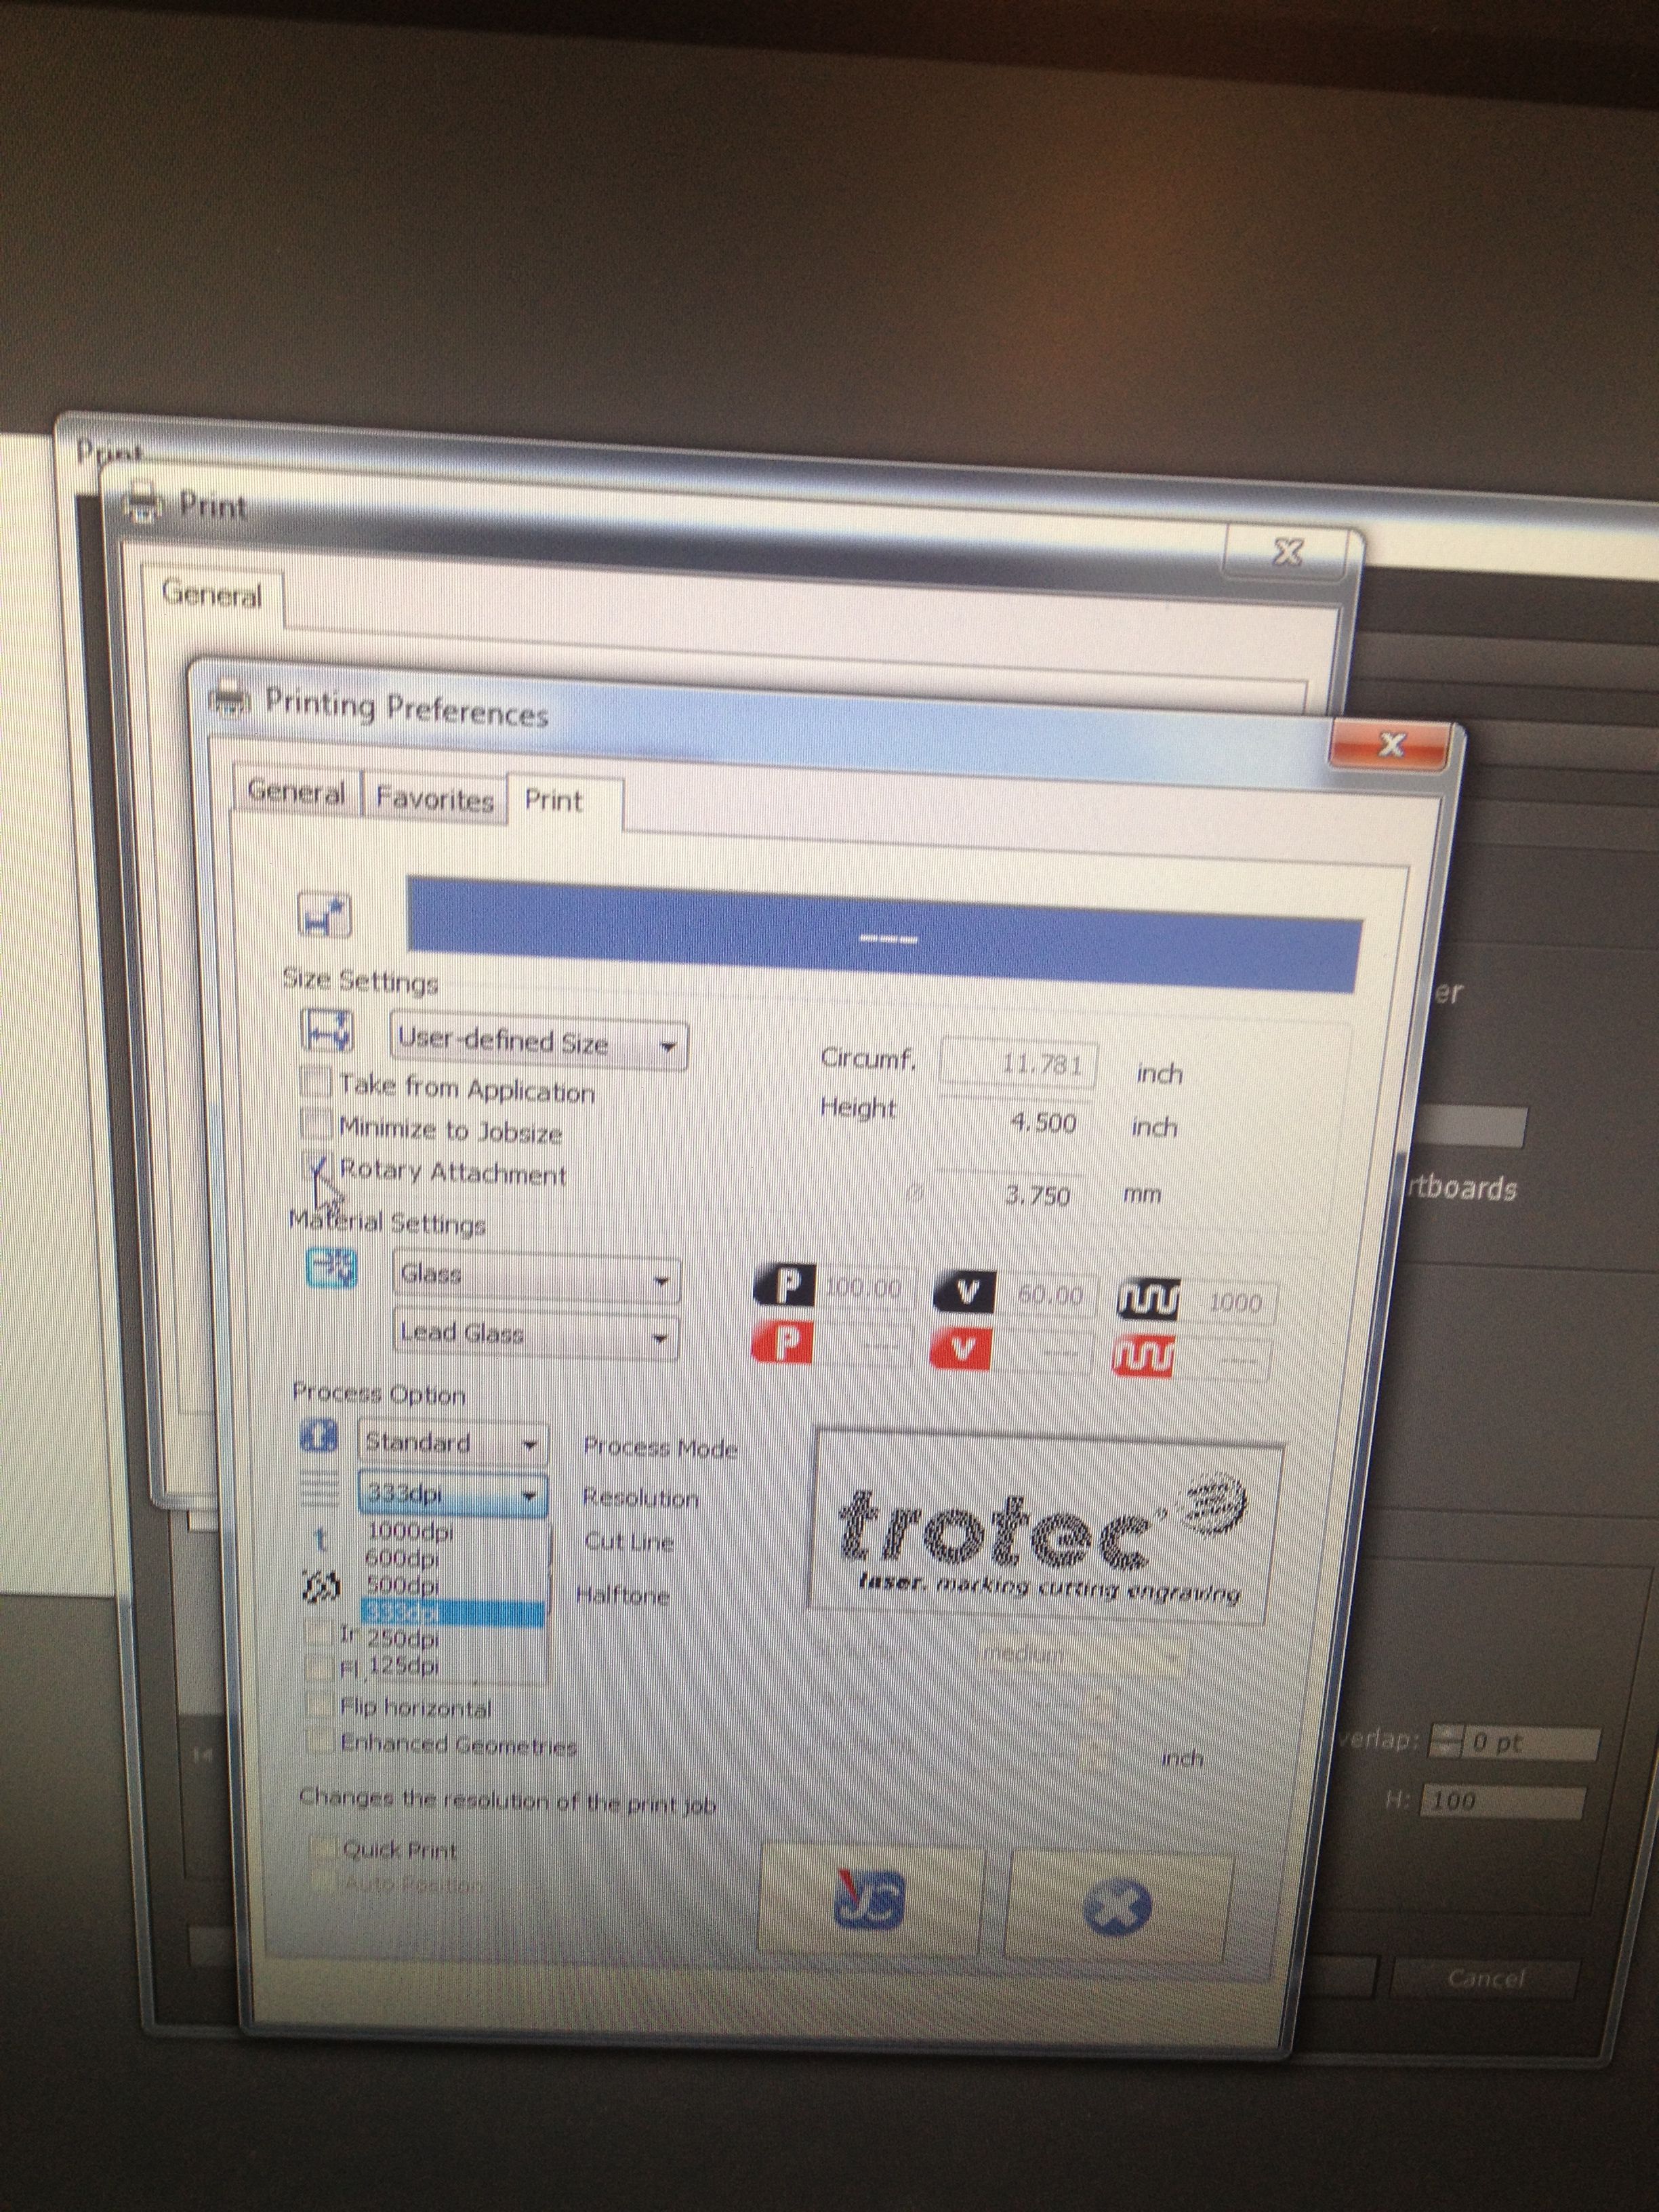
333 dpi resolution
set Halftone to Jarvis
Now click the JC button, which is Job Control.
Click Ok
And then Click Print
Step 3: Job Control & Printing
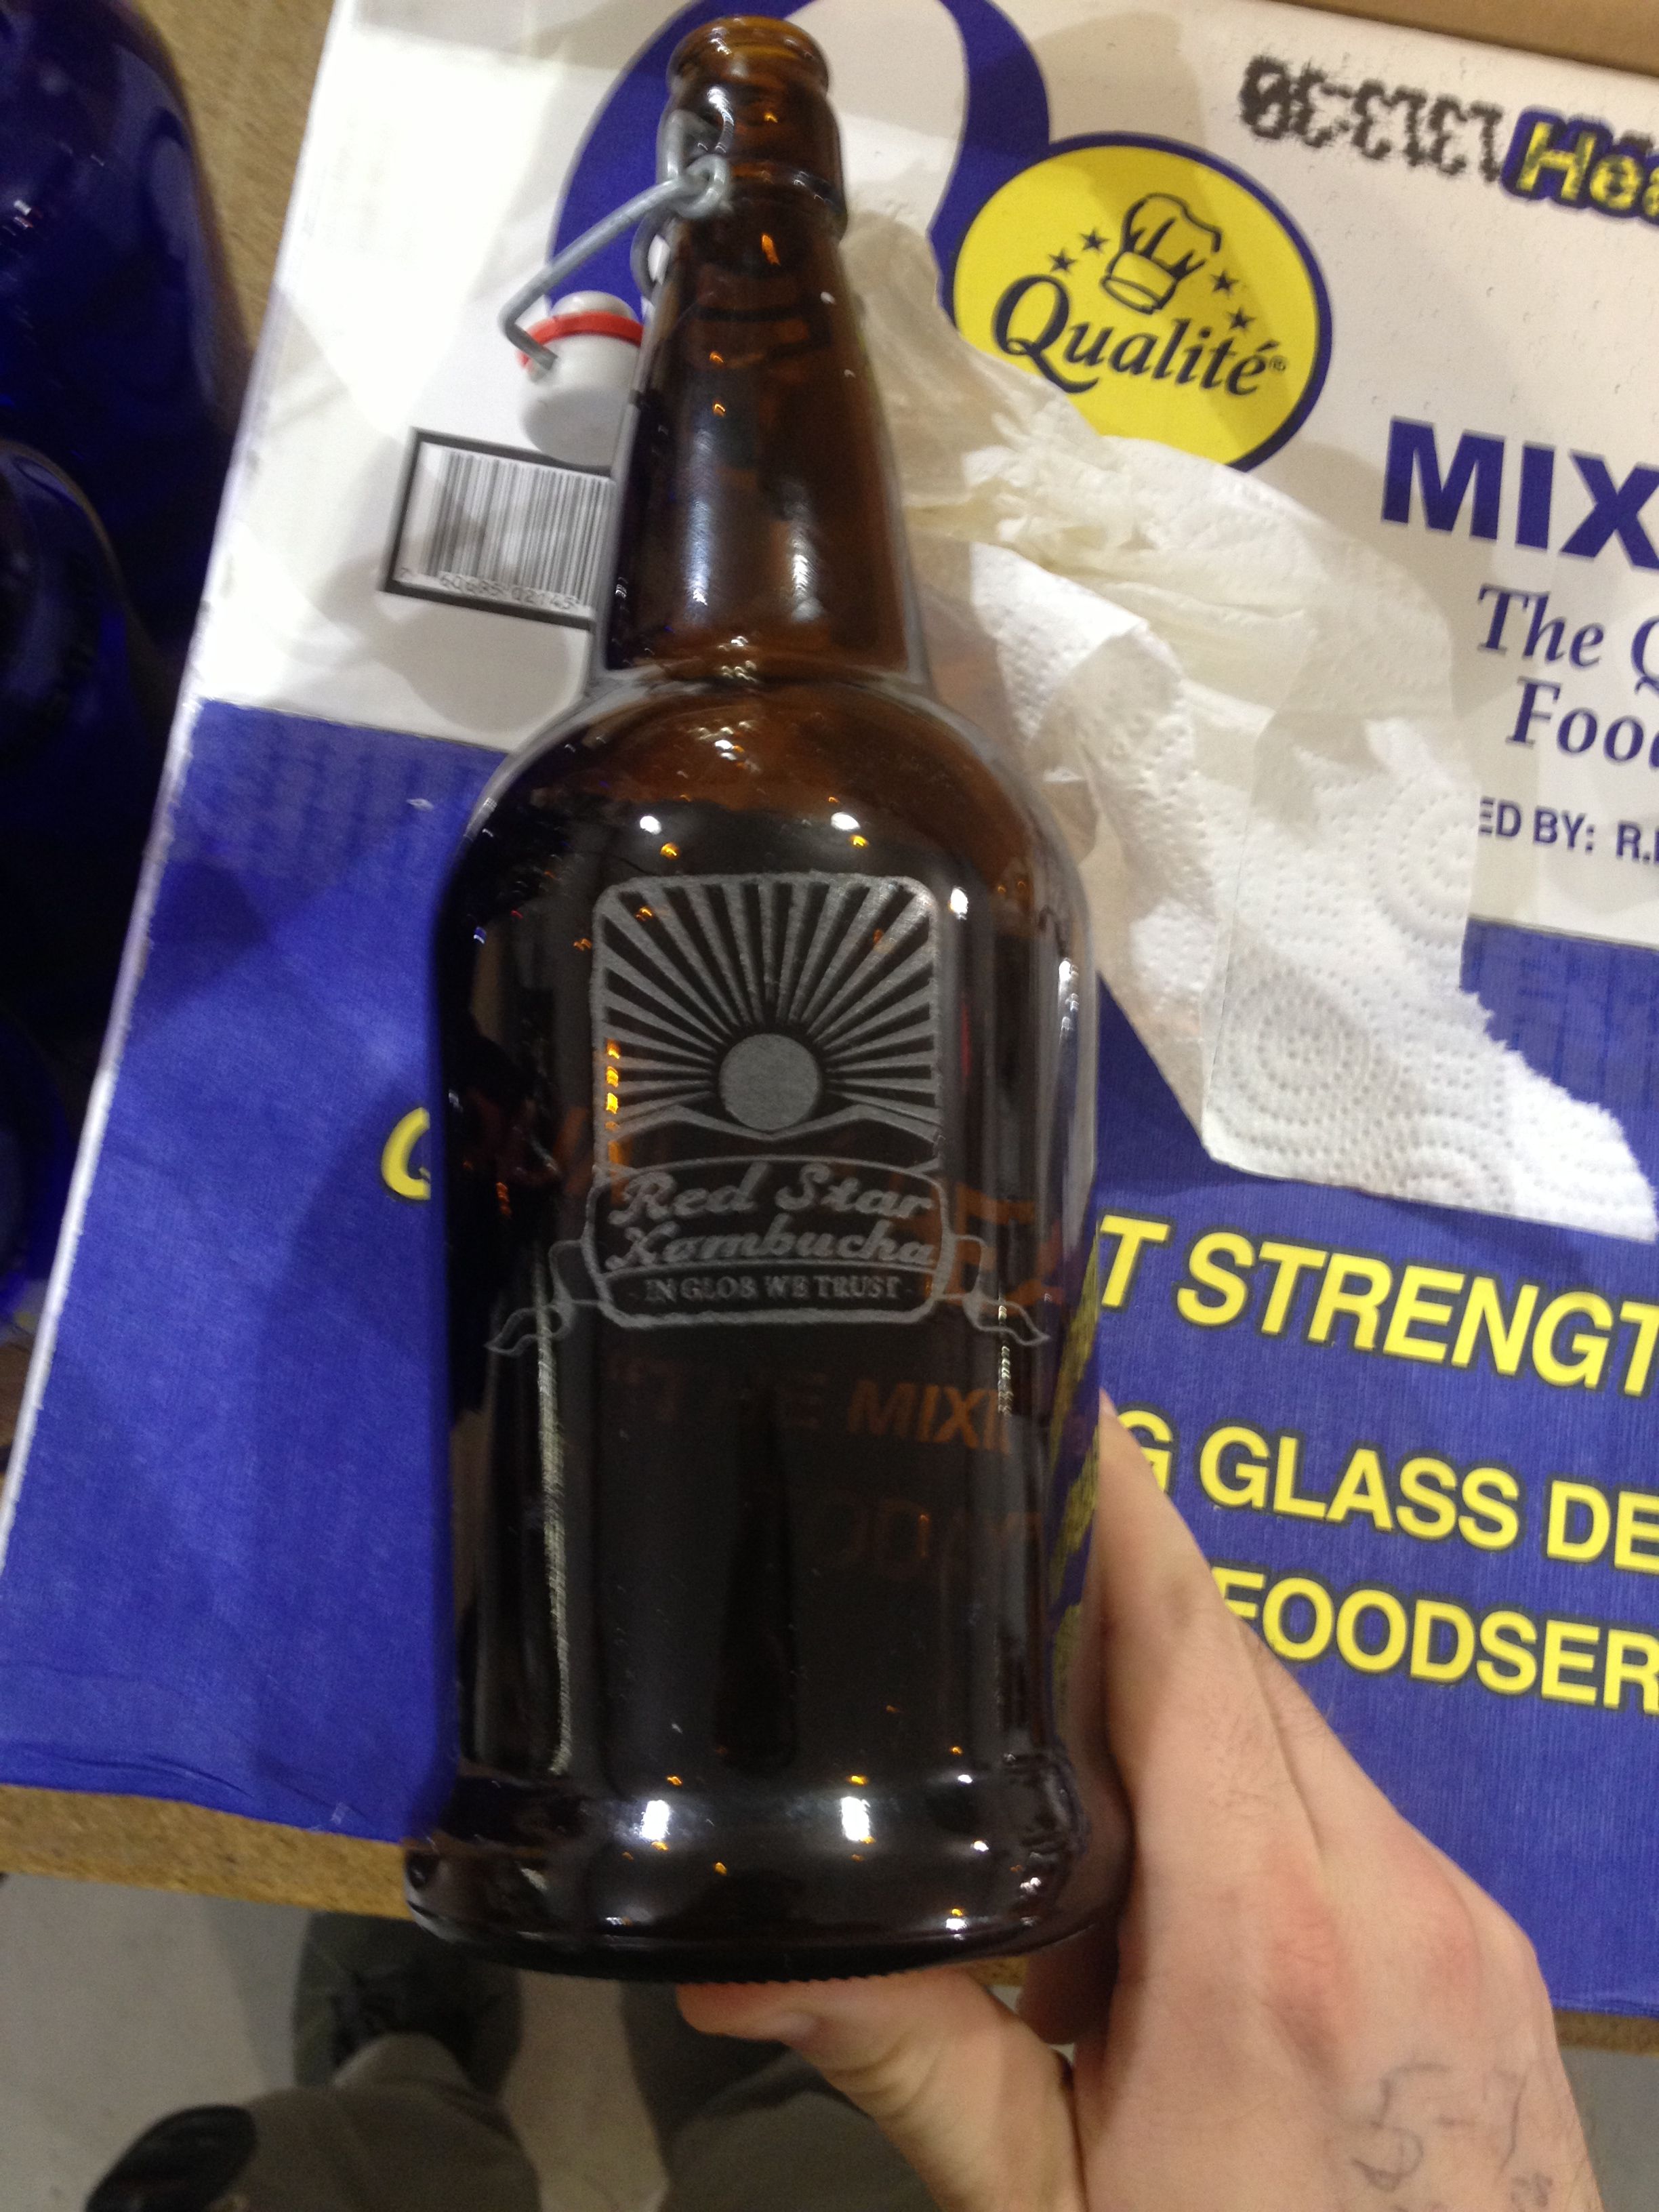
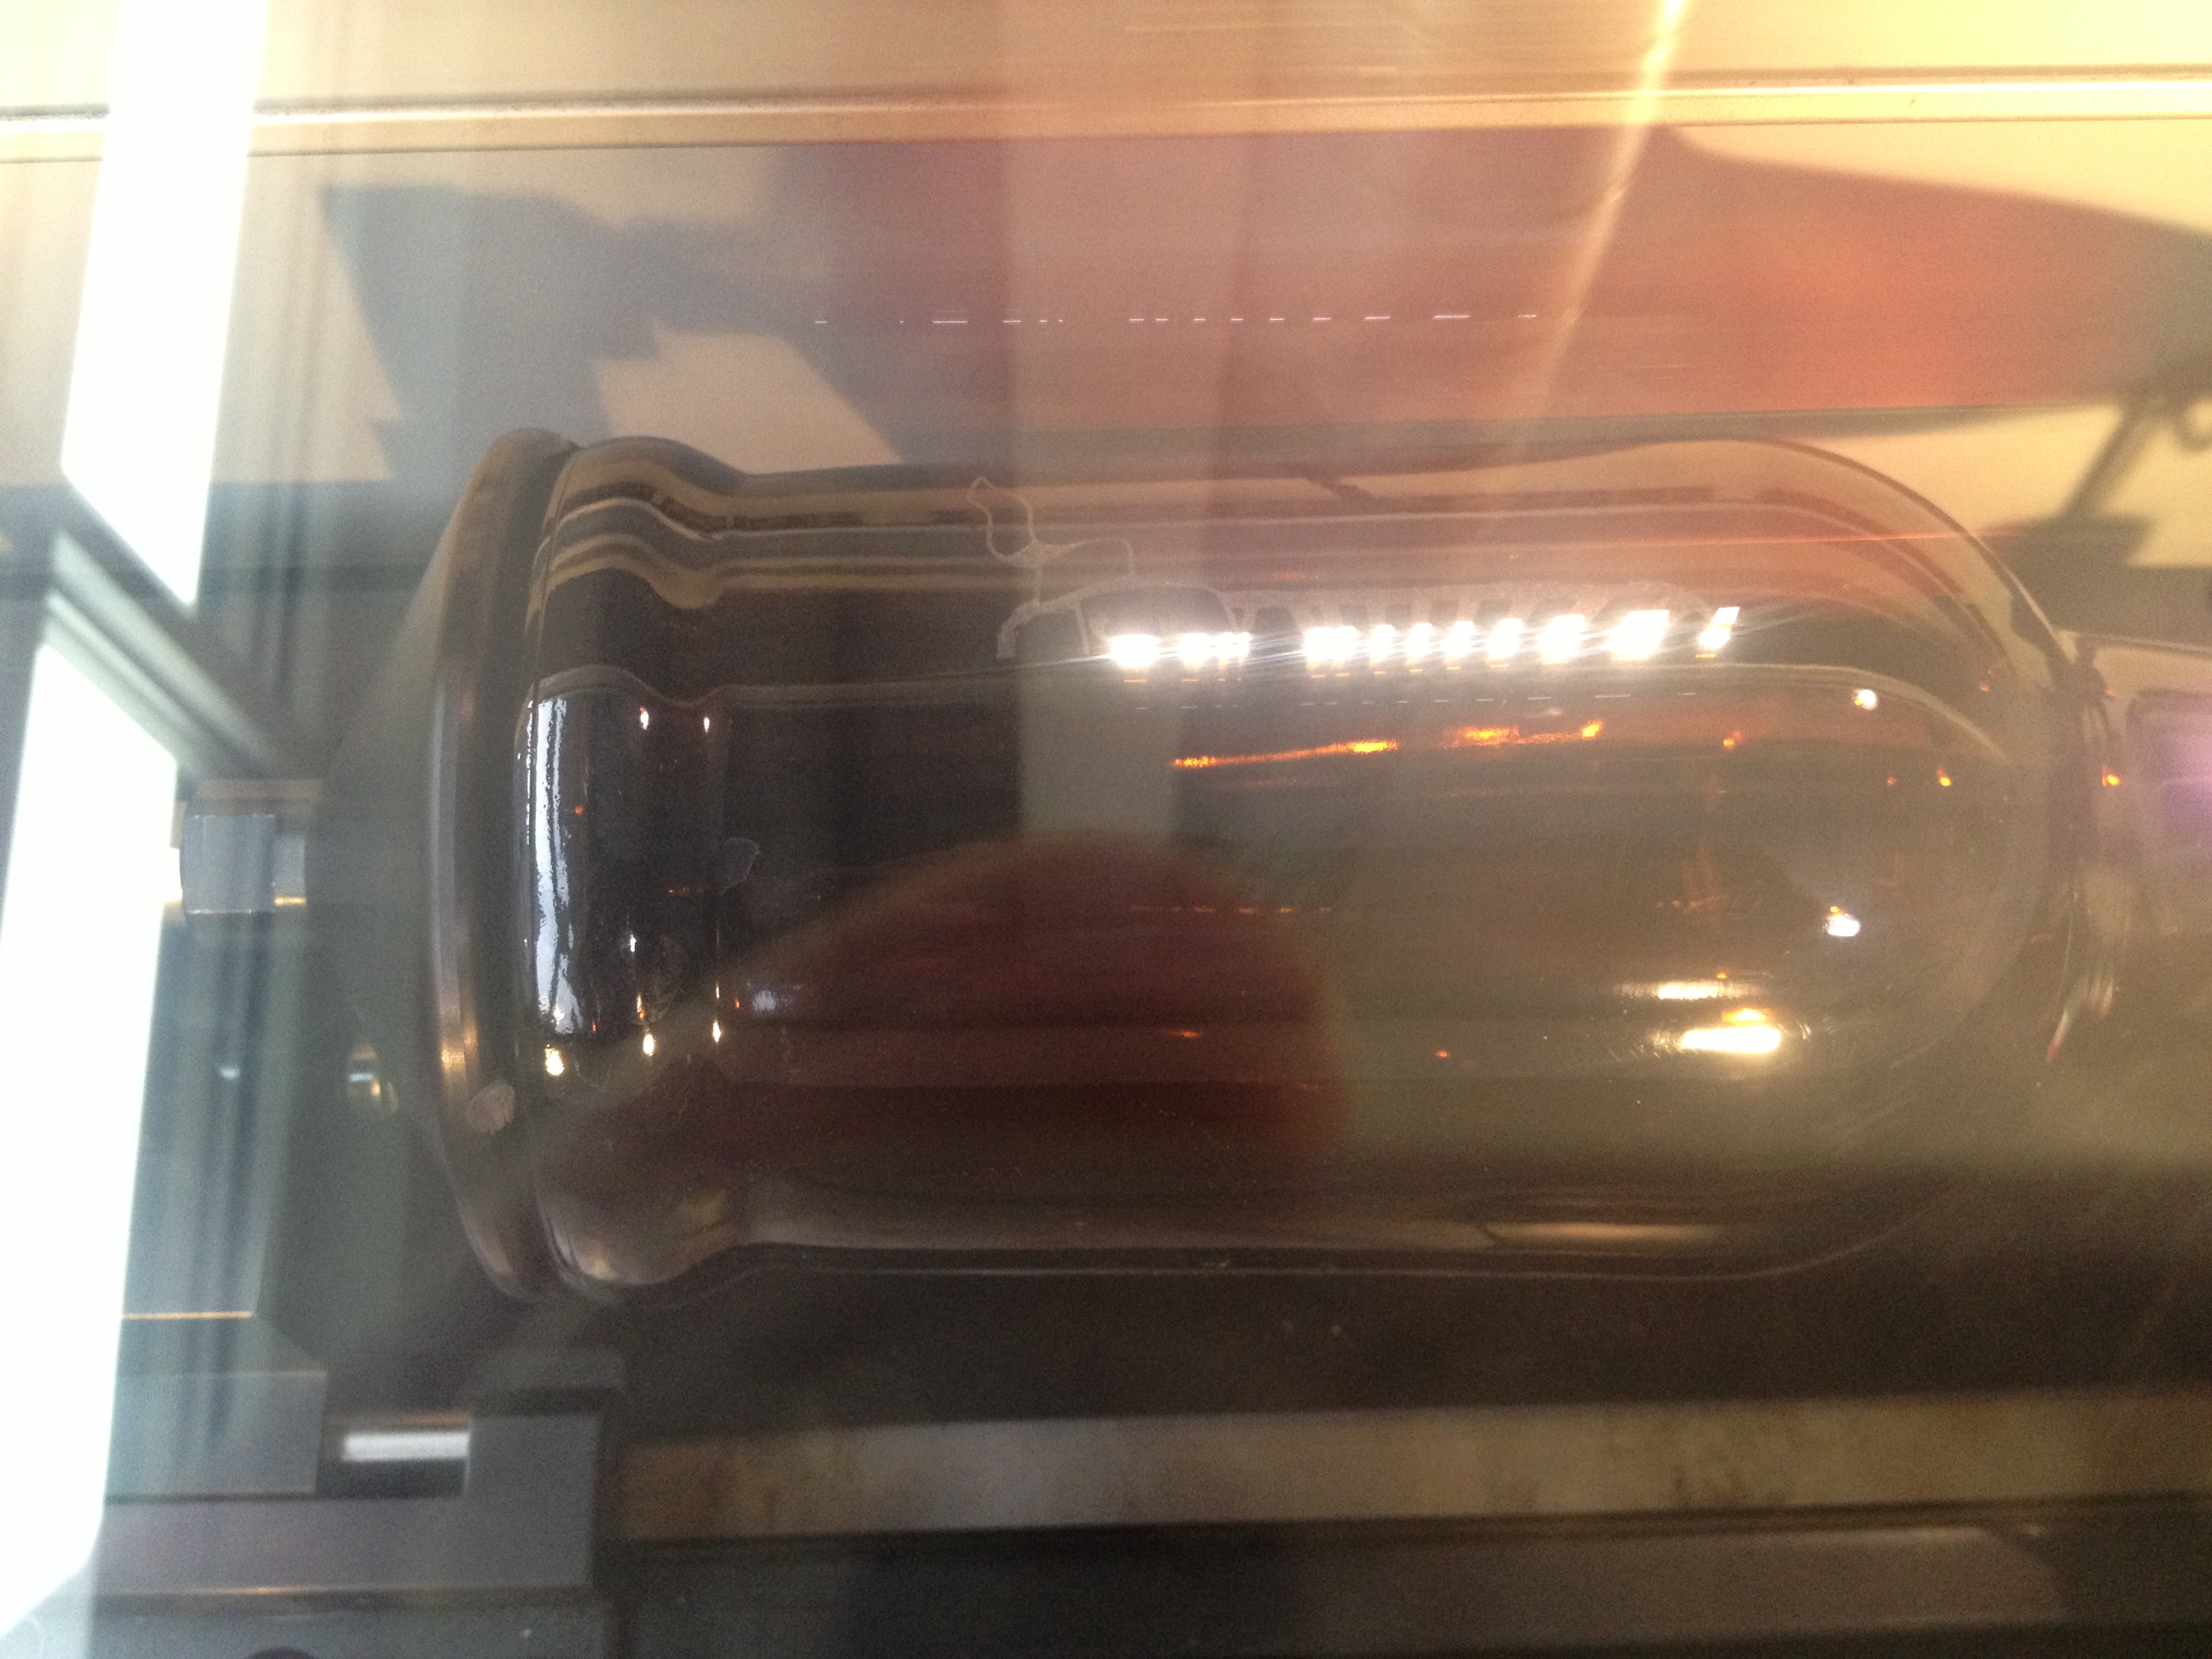
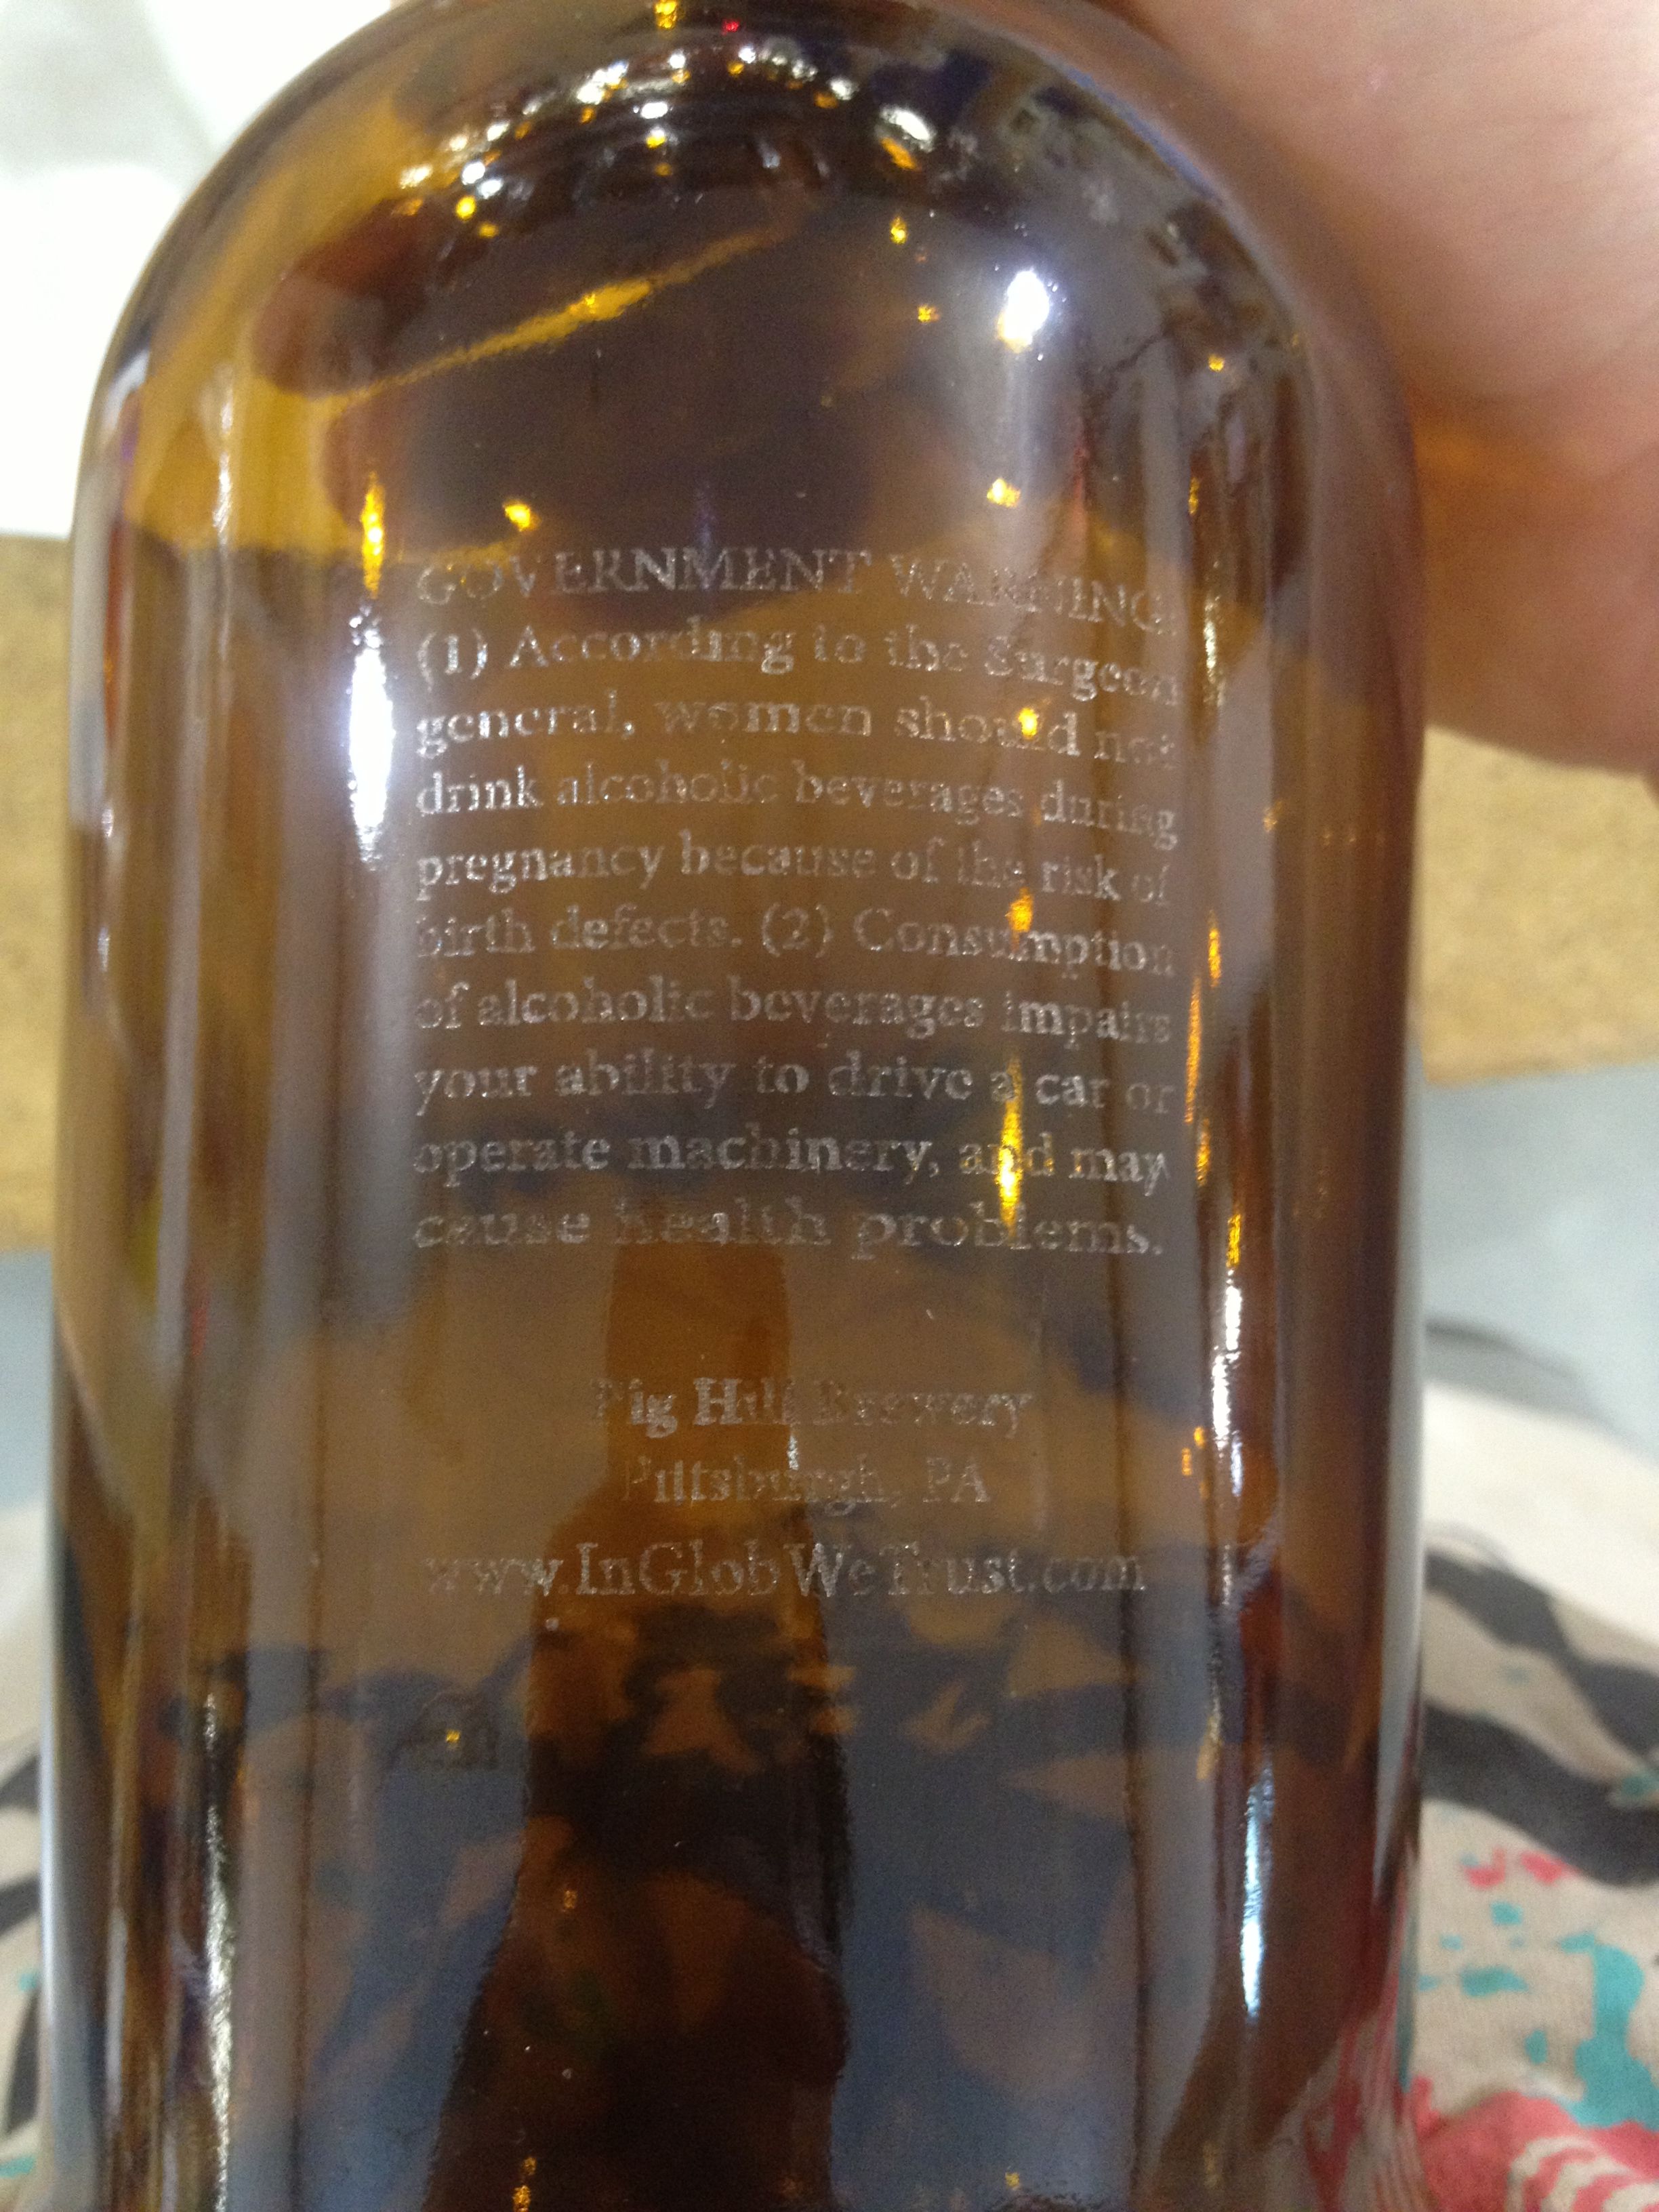

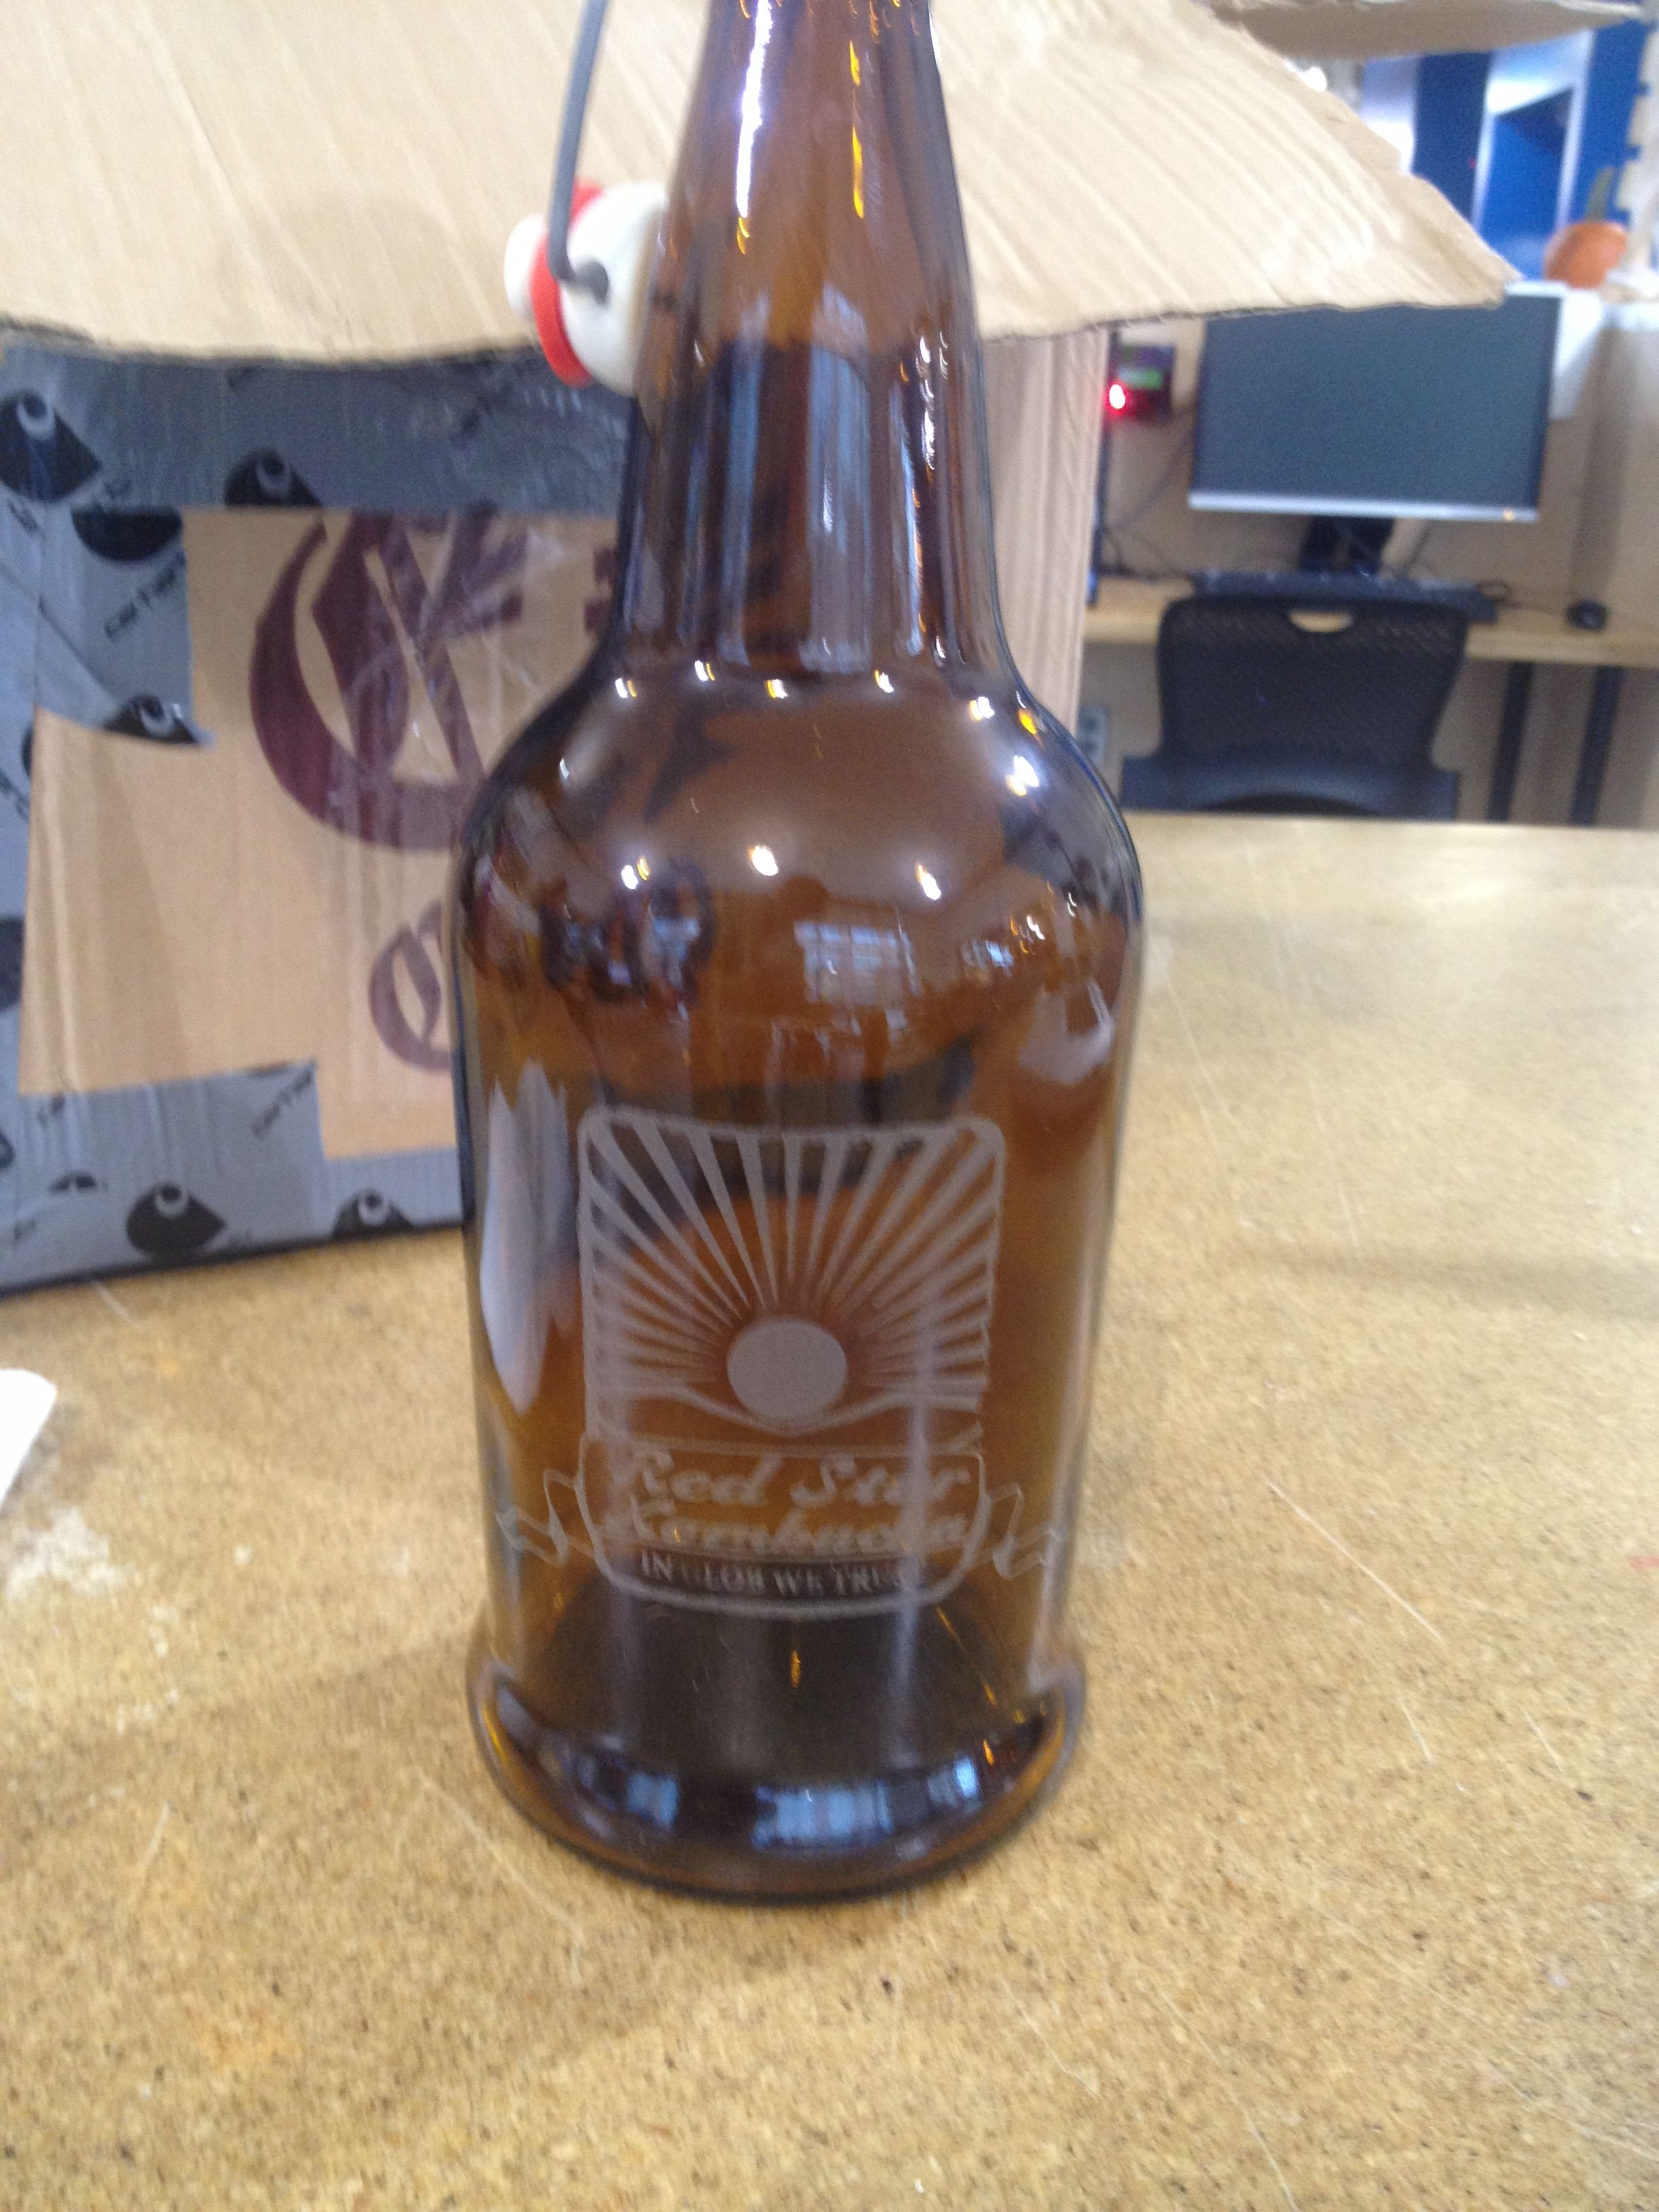
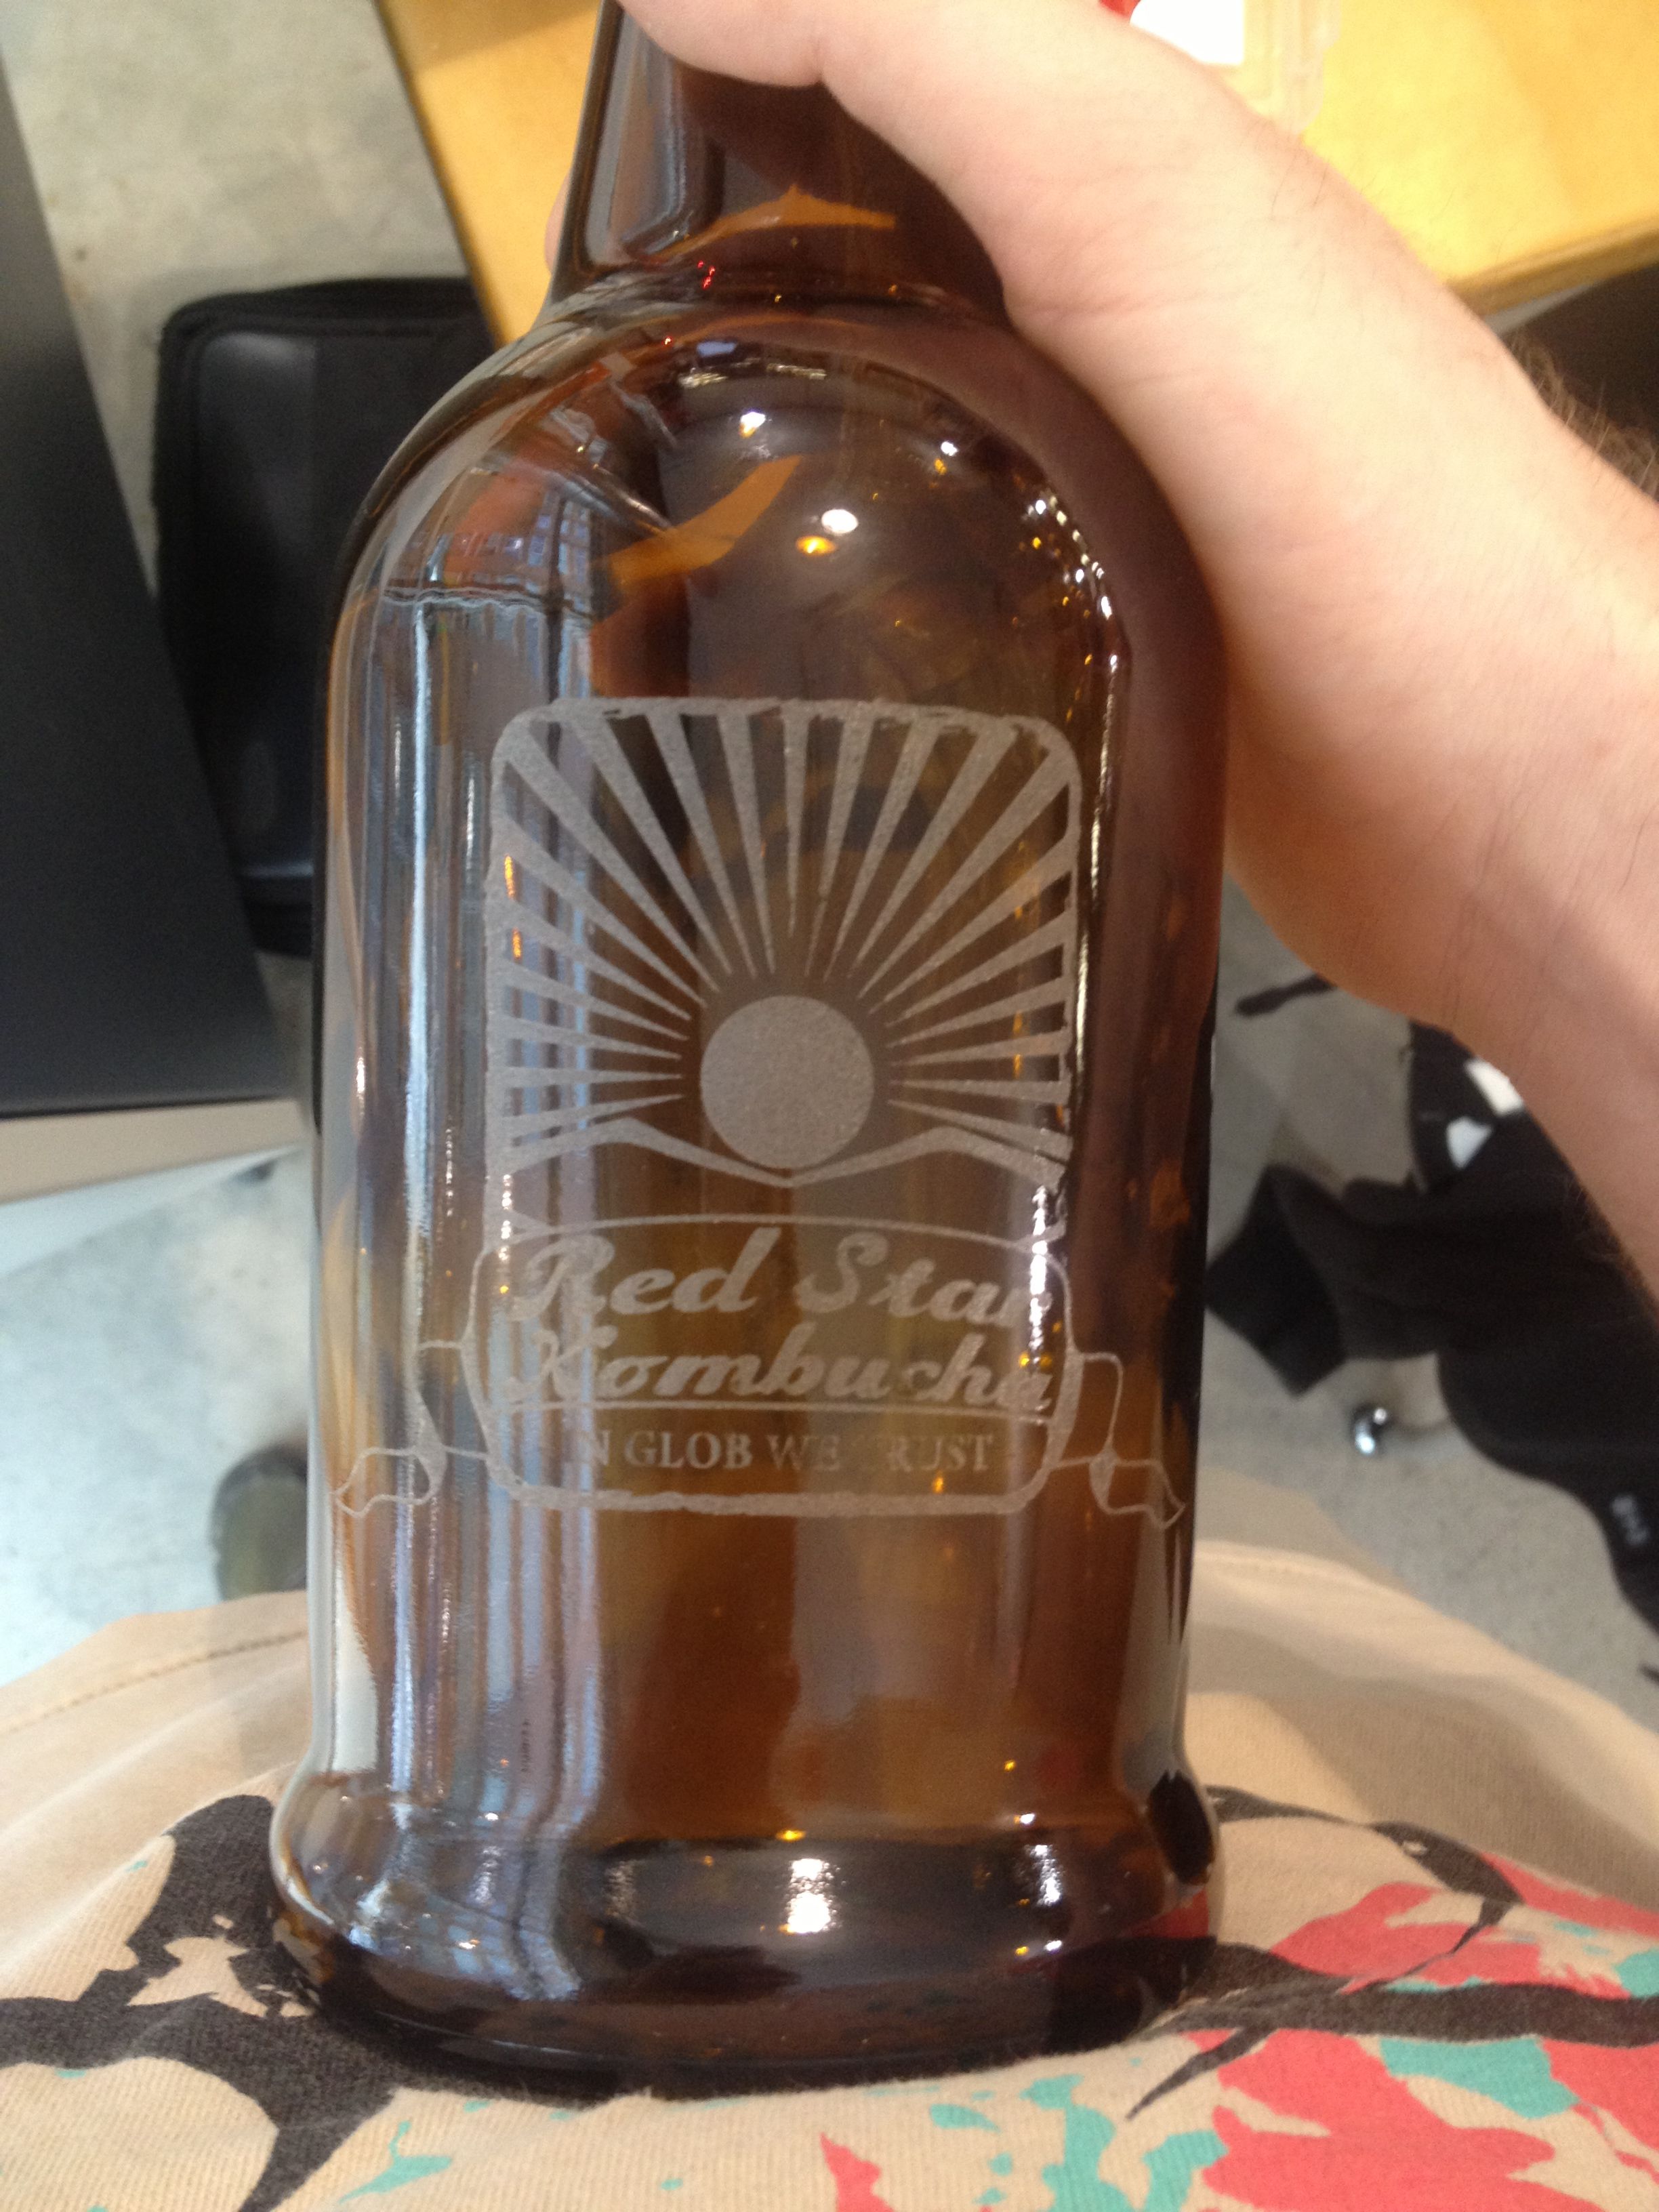
The image will come into Job Control.
Change the table setup from Honeycomb bed to Rotary attachment. Add the same Diameter as before 3.75
Click Ok add the image to the table, place it where you want and click Print.
When the glass comes out clean it with something rough to smooth off the surface and there you have it. A laser etch glass with a great ability for detail and longevity.
Leave Comments and Questions below.
Check out my Pint Tutorial for the Lowdown on cost.