Custom Laser Engraved Dice
by skistler in Living > Toys & Games
2711 Views, 19 Favorites, 0 Comments
Custom Laser Engraved Dice
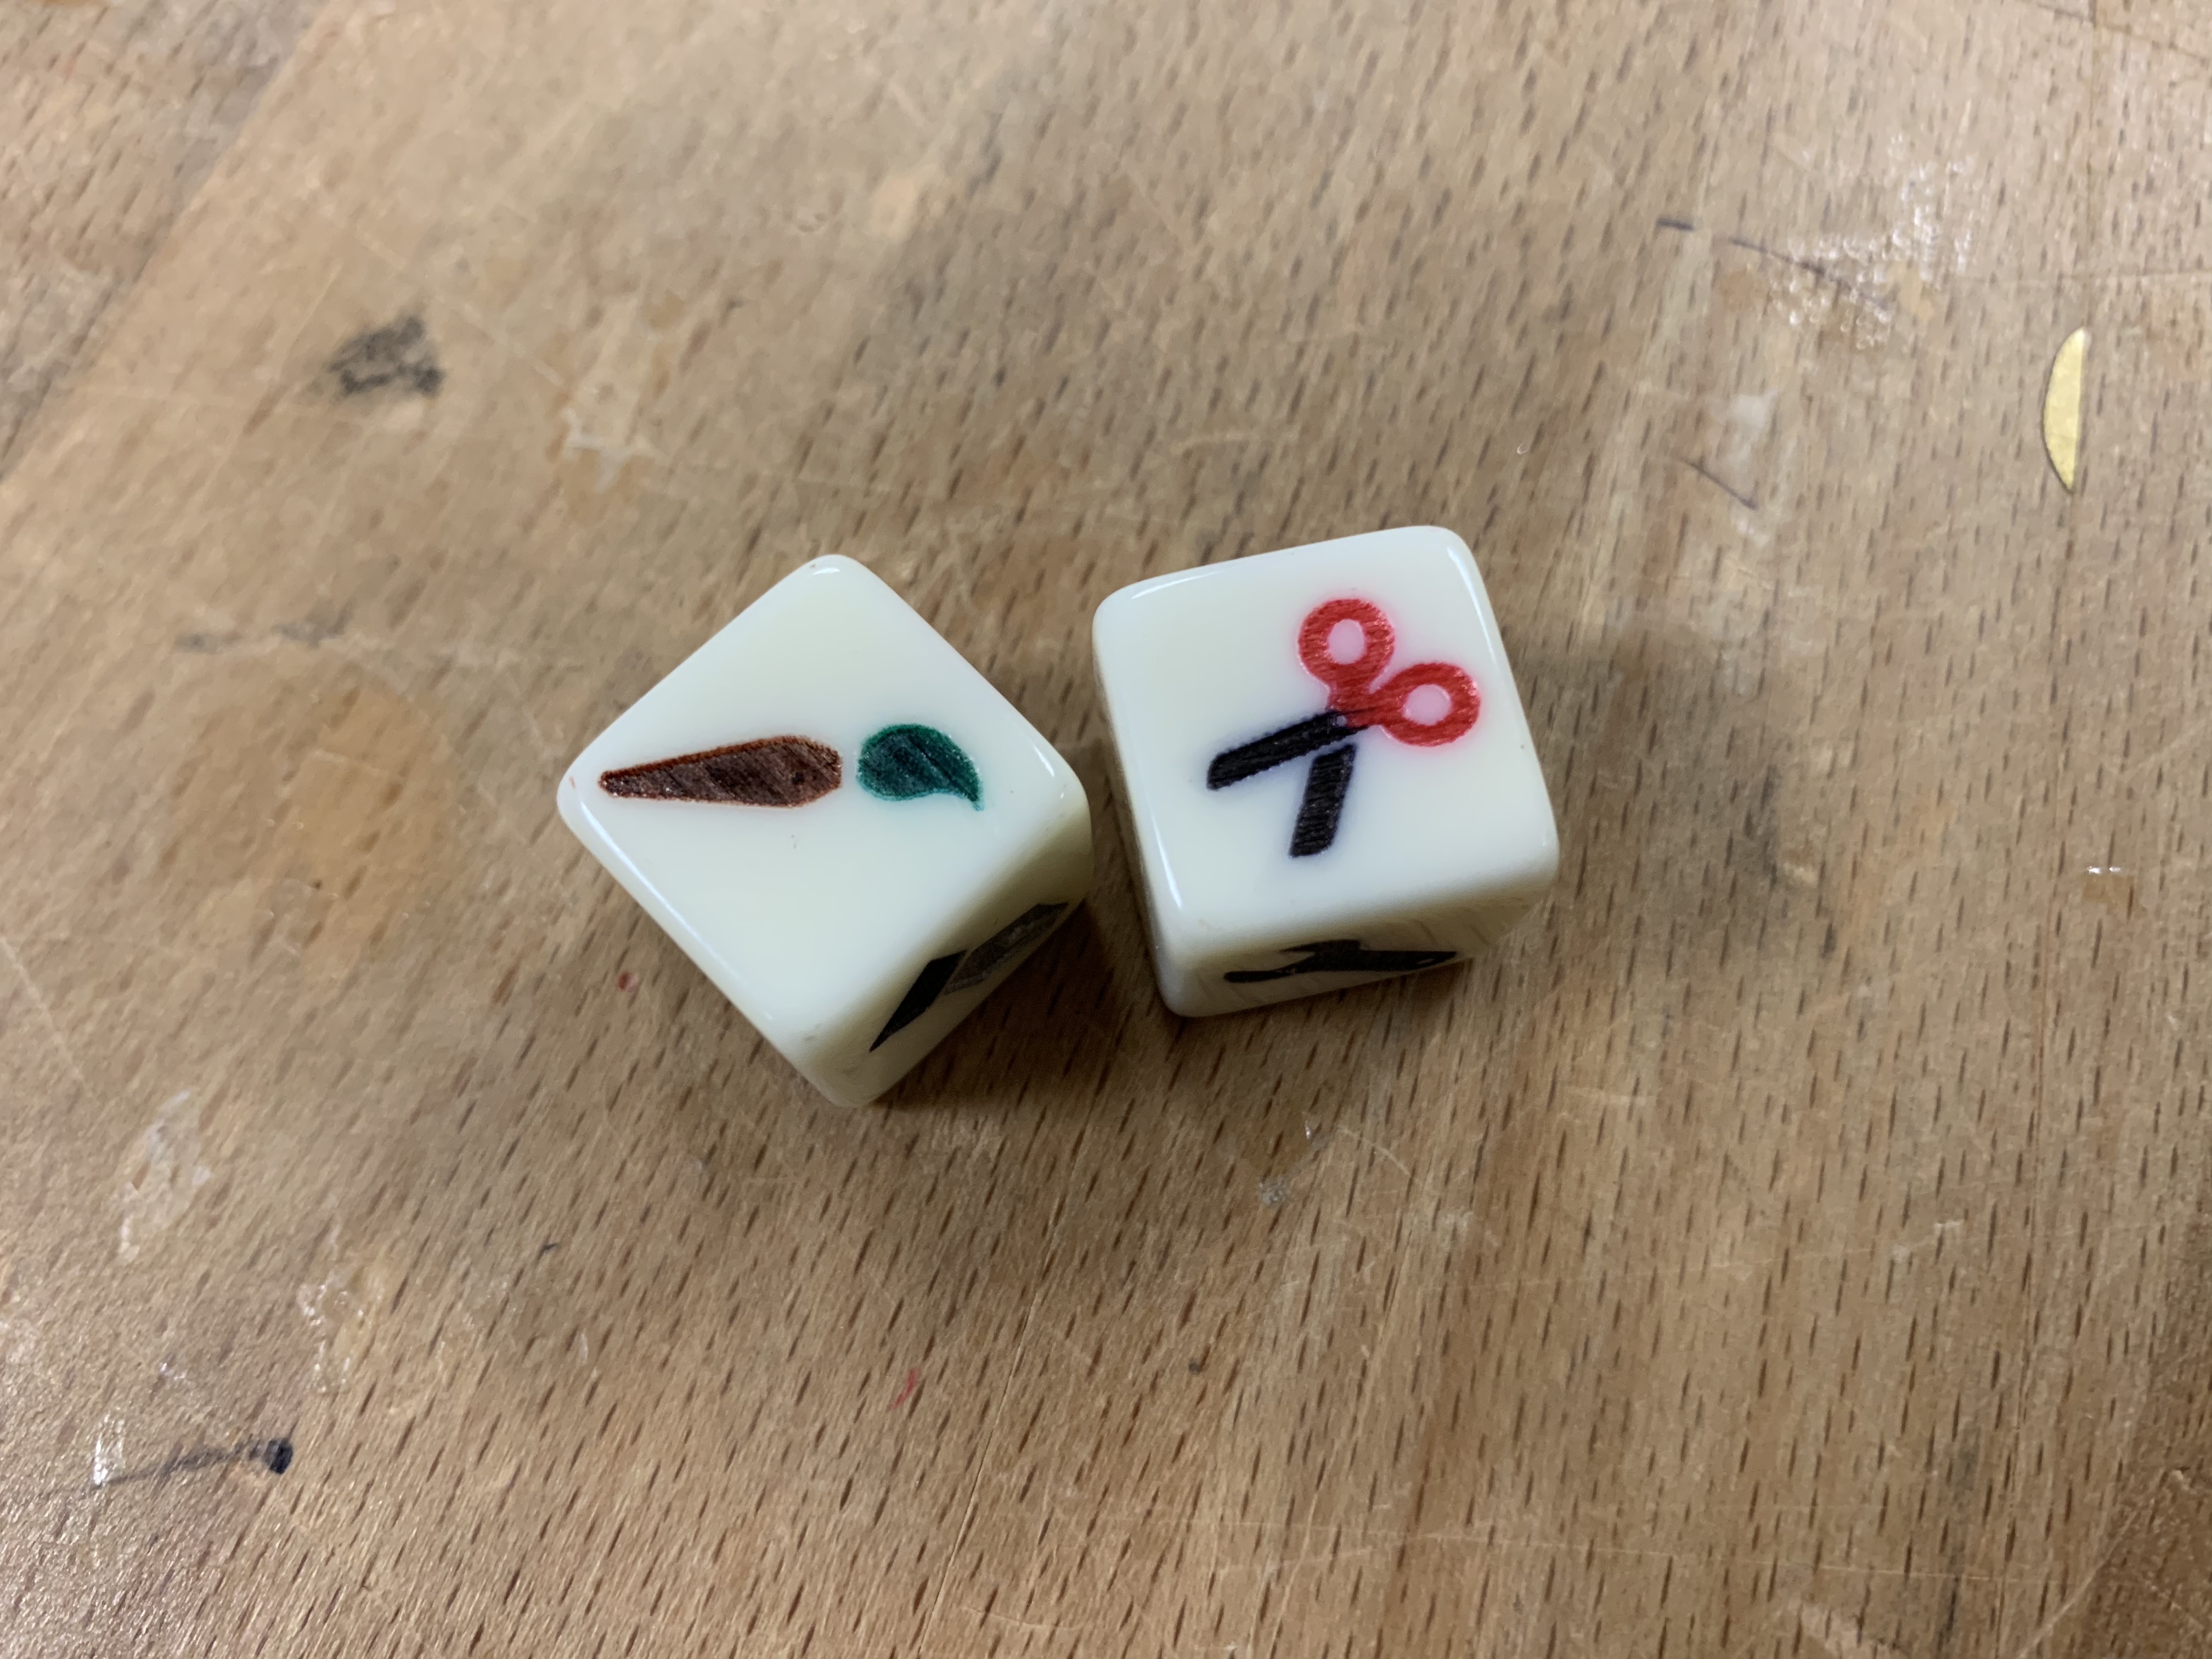
Said to be the oldest gaming device used by man, dice are a cornerstone of tabletop gameplay. Many of the games entries on Instructables and for the current Instructables games contest rely on dice - see Alphacubes from @kymyst or Toddler Lotto from @Olivierbricole.
This Instructable will focus on how to make custom engraved dice using a laser cutter.
One thing to get out of the way first. I am certainly not the first to do this and I stand on the shoulders of giants -see Grey Lightning's YouTube tutorial (I use her approach to jig making) and The Toystorian's guide to painting engraved dice (I use his approach to ink removal) for a start.
This Instructable takes the lessons learned from those who came before, extracts what I have found for me to be the best aspects of the many approaches, and adds lessons learned and tweaks learned from honing in on an approach that produces replicable, customizable, high quality, engraved dice.
Supplies
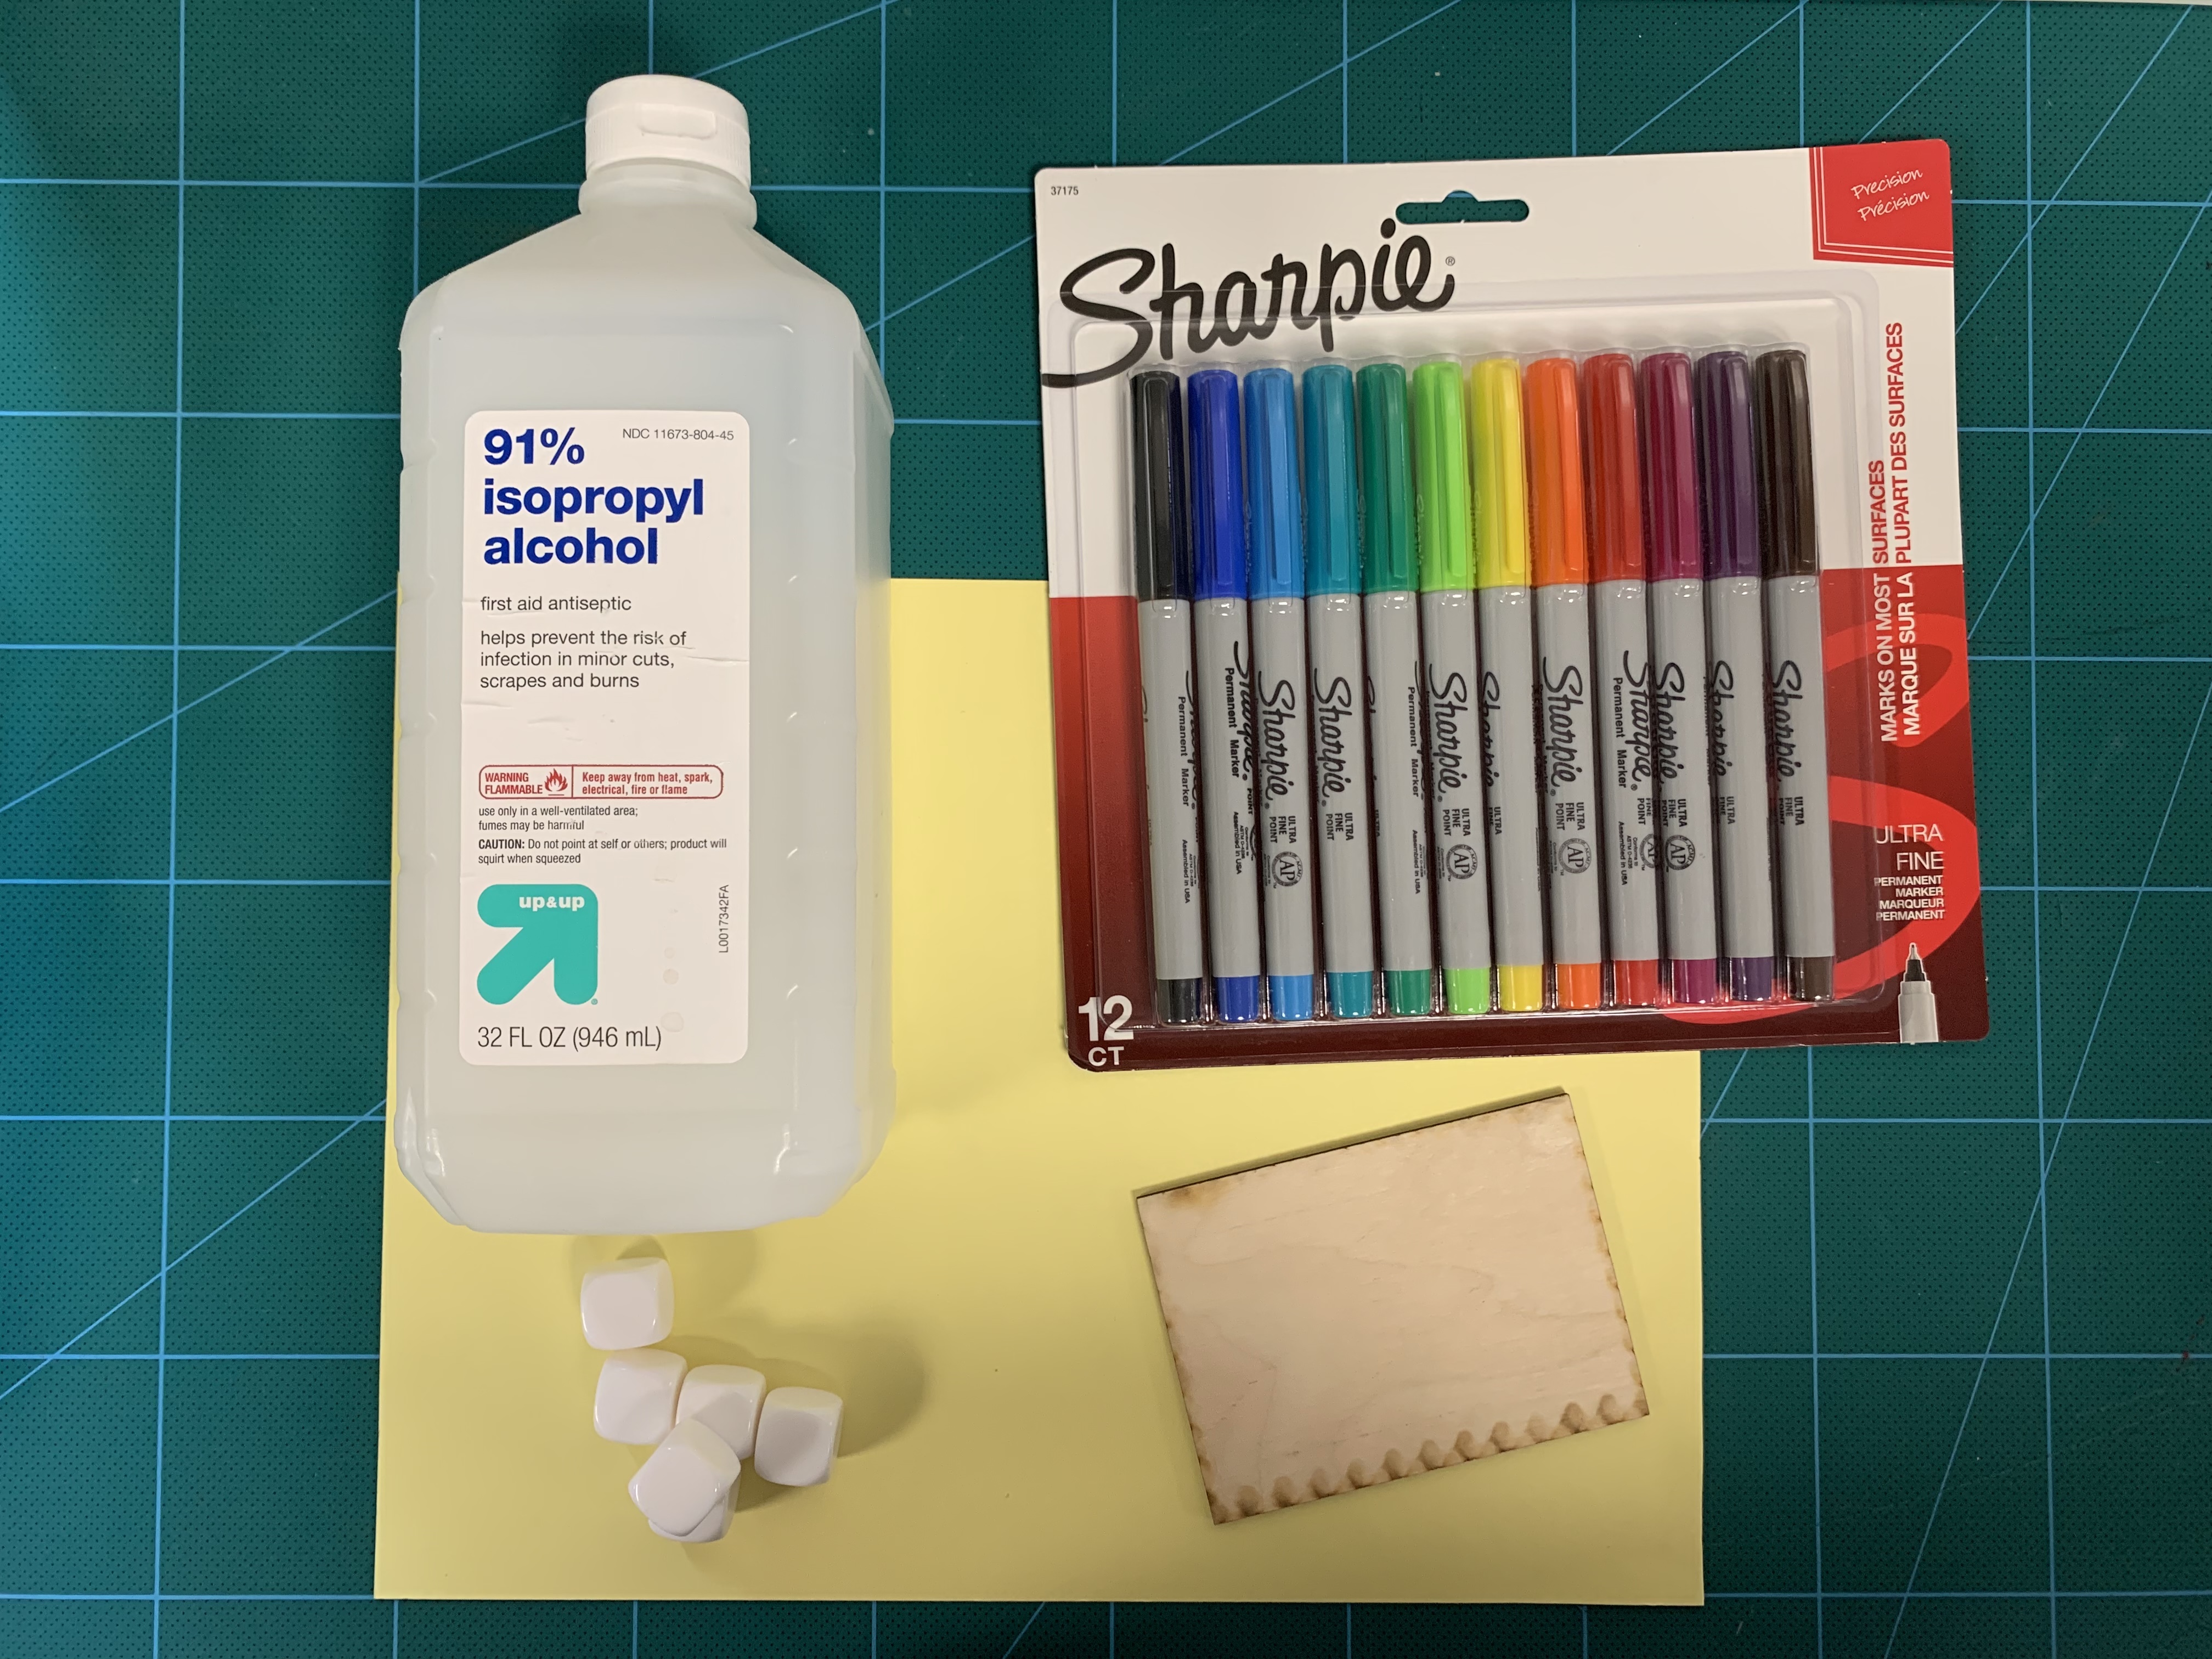
For supplies, you're going to need:
- Blank 16 mm six-sided dice (I like these on Amazon)
- Sharpies (fine point if you want more than one color per side)
- Rubbing alcohol
- Sheet of blank copy paper or light card stock
- Scrap of 1/4" or 1/8" thick wood for jig
For tools and software, you're going to need:
- Laser cutter - there's no way around this one, this tutorial is for how to laser engrave on dice
- 2D design software
- Computer (with internet access if you are going to source icons online)
For expertise you're going to need:
- A basic understanding of a 2D design program
(I use Inkscape*, you might be using Adobe Illustrator or CorelDRAW) - A basic understanding of how safely to use the laser cutter available to you
*Why Inkscape? Because it's free and works on both Macs and PCs. I work with novice makers (adult and kid) and want to break down the barriers, including the financial barriers, to making.
Now, let's get started.
Source Your Images
Goal: Identify six SVG formatted images for the sides of your die and save them to your computer
Considerations: Unless you are going to use digits or letters for your sides, which likely may be created right in your design software, you're going to need images for each side of your dice. You are looking for designs with the following characteristics (or you can design your own):
- Simple, with no extraneous detail and with key components as large as possible
- Black and White, with no greyscale or other shading
- Scalable vector format - SVG filetype (or you can convert and clean, but that's for another tutorial)
Everything in black is going to be engraved and will be colored in on your die while everything in white will remain unengraved and will be the color of your die. For this example, we're using cream colored dice, but your dice may be green or blue or yellow, etc.
When in doubt, try out a design on a trial die before engraving it on your final version. It is very frustrating when you start to engrave your sixth side only to realize it is not going to render well at this small size.
Icons tend to work well and here are my favorite sources for clean, clear, black and white SVG icons.
- Iconmonstr: Over 4000 free icons designed by a single designer in a common style - almost all of these will work well although a few have too much detail
- Material Design Icons: All icons are free and are designed in a similar style - most of these will work well and have the right amount of detail
- Noun Project: By far, the largest and most varied repository sourced from many contributors and in many styles. Many icons are free, but they come with attribution info if you don't have a paid account - many of these will not work and have too much detail
WARNING: Just because an icon appears on one of these sites does not mean it will render well on a die.
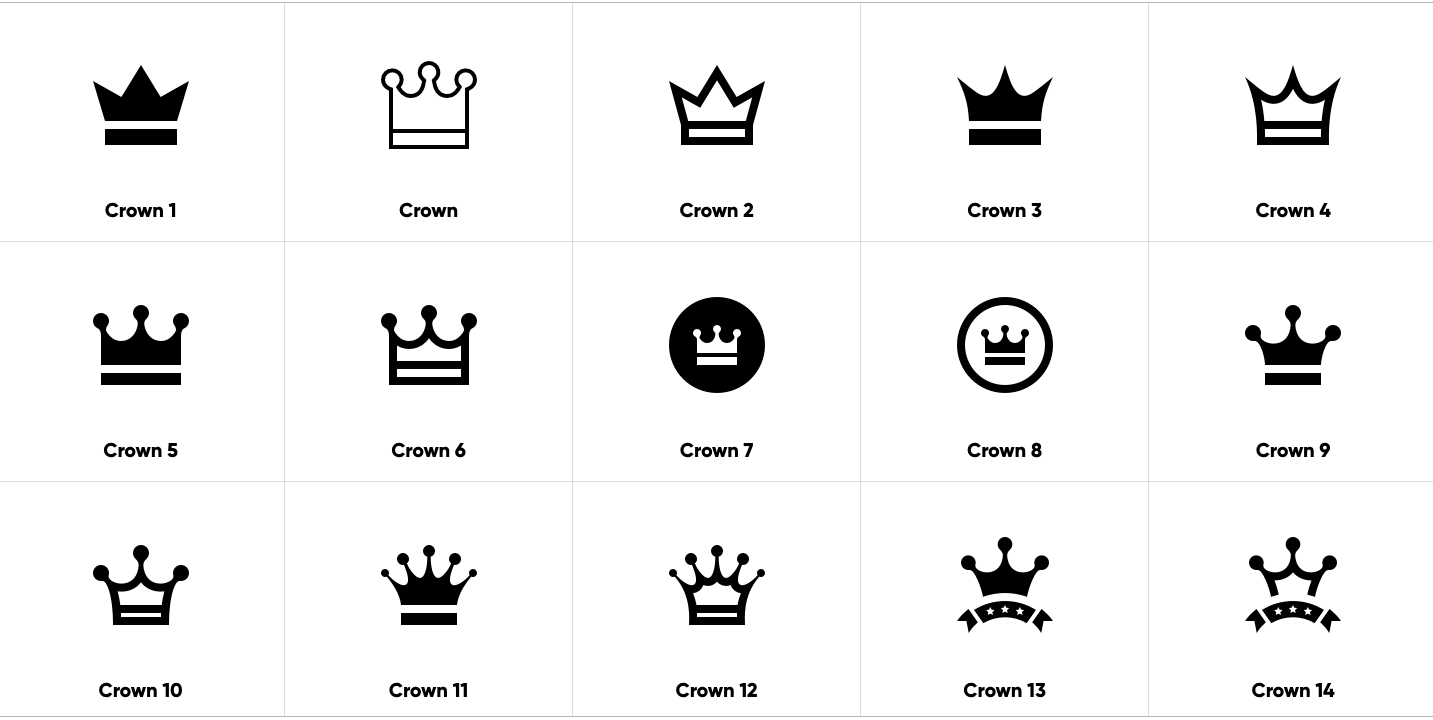
Example: Look at the picture with lots of crowns. When I enter "crown" into Iconmonstr it gives me over 14 from which to choose. Crown 13 and crown 14 are definitely out - those little stars are far too detailed. Crown 7 and crown 8 are out as well, they unnecessarily make the crown very small by putting it in a surrounding shape. Any one of the rest would likely be fine - not too detailed yet clearly identifiable as a crown.
Prepare Your File
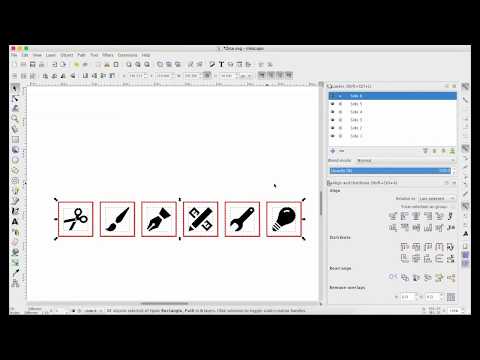
Goal: Prepare a file for laser cutting that has six layers, one for each side of your die - I have included an example Inkscape SVG file that may be used to speed the process along
Considerations: Use any 2D design program that has layers and prepares files appropriately for your laser cutter. Different software programs each operate a little differently, but for all of them you'll want to follow these basic steps:
- Create a 16 mm hollow square in a format that indicates it will be CUT on your laser cutter (for me, this meant I needed to make its stroke red)
- Duplicate the square 6 times, once for each side and spread them out in a line with no overlaps
- Center one icon in each square and resize and rotate the icon as needed to fit within the square while leaving at least a 2 mm margin on every side (thus neither the length nor width of any icon will exceed 12 mm)
- Create 6 layers, one for each side
- Move one icon and one square to each of the six sides
- SEE VIDEO: Select all icons and all squares and align them vertically and horizontally so that they are stacked on top of each other while remaining each in their own layer
- Save your file as an SVG
Using the sample file: I have attached an Inkscape SVG file that matches the video example. It includes six stacked sides with an icon on each. It should perform well in Inkscape, but your mileage may vary in other programs which seem at times to lose the layers. To use it in Inkscape:
- Open Inkscape and import the file - it should look like a pile of icons stacked on top of each other inside a red square
- Open the layers panel (control + shift + L) and you'll see each of the six layers, the video in this instructable shows you how to open and close each layer in turn
- Make one layer at a time visible by "opening" the eye beside the layer on which you want to work in the layers panel, and closing all of the other layer's eyes
- Delete the existing icon and insert your own, resizing and centering as needed, and being careful not to move the square as you do so
- Repeat for each of the six sides
WARNING: I strongly urge you to do a final check that all of your icons and boxes are stacked before saving. The process will not work if they are not stacked up. To check, make all layers viewable (open their eyes) and ensure that everything is right on top of each other. If they aren't, the video shows you how to select all and do a final alignment. - Save your file as an SVG
Downloads
Cut Your Jig
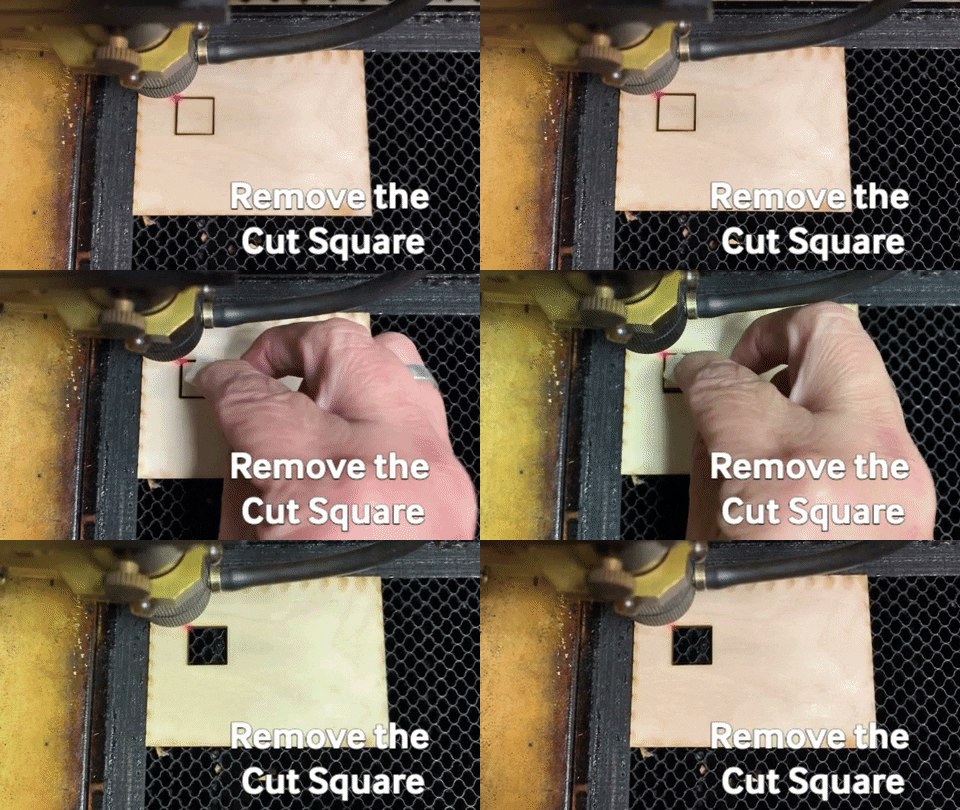
Goal: Cut a jig that will hold the die in place and ensure that each icon is centered when it is engraved
Considerations: The first time I did this I tried to line up my die using the pointer on the laser (time consuming and not fully accurate). The second time I did this I tried to line up my die via the upper left corner of the tray in my laser (didn't allow enough space for the head to travel to engrave and the die moved a bit over time). The third time, I watched the video from Grey Lightning and made a jig (bingo, things got a lot better). A jig is just a little frame that will hold your die in place throughout the process.
Like software programs, laser cutters also vary by manufacturer. Here are the basic steps that are likely similar across all laser cutters:
- Power on your laser and home it if needed
- Put a piece of scrap wood on your laser bed and focus the laser on the surface of the wood
- Move the laser head to begin away from the edges of the wood when it cuts
- Open your design software program and send only the Side One file to the laser
- Set the power/speed as appropriate for your cutter and wood and cut out the square, but do not engrave the icon
- SEE VIDEO: Use a piece of masking tape to remove - carefully! - the cut out square but do not move the rest of the wood
- Place a die carefully into the cut out square - it should fit snugly, but not so tightly that you risk moving the wood jig each time you flip the die to a new side (if it is too tight or too loose, adjust in the design software and recut the jig)
Engrave Your Images
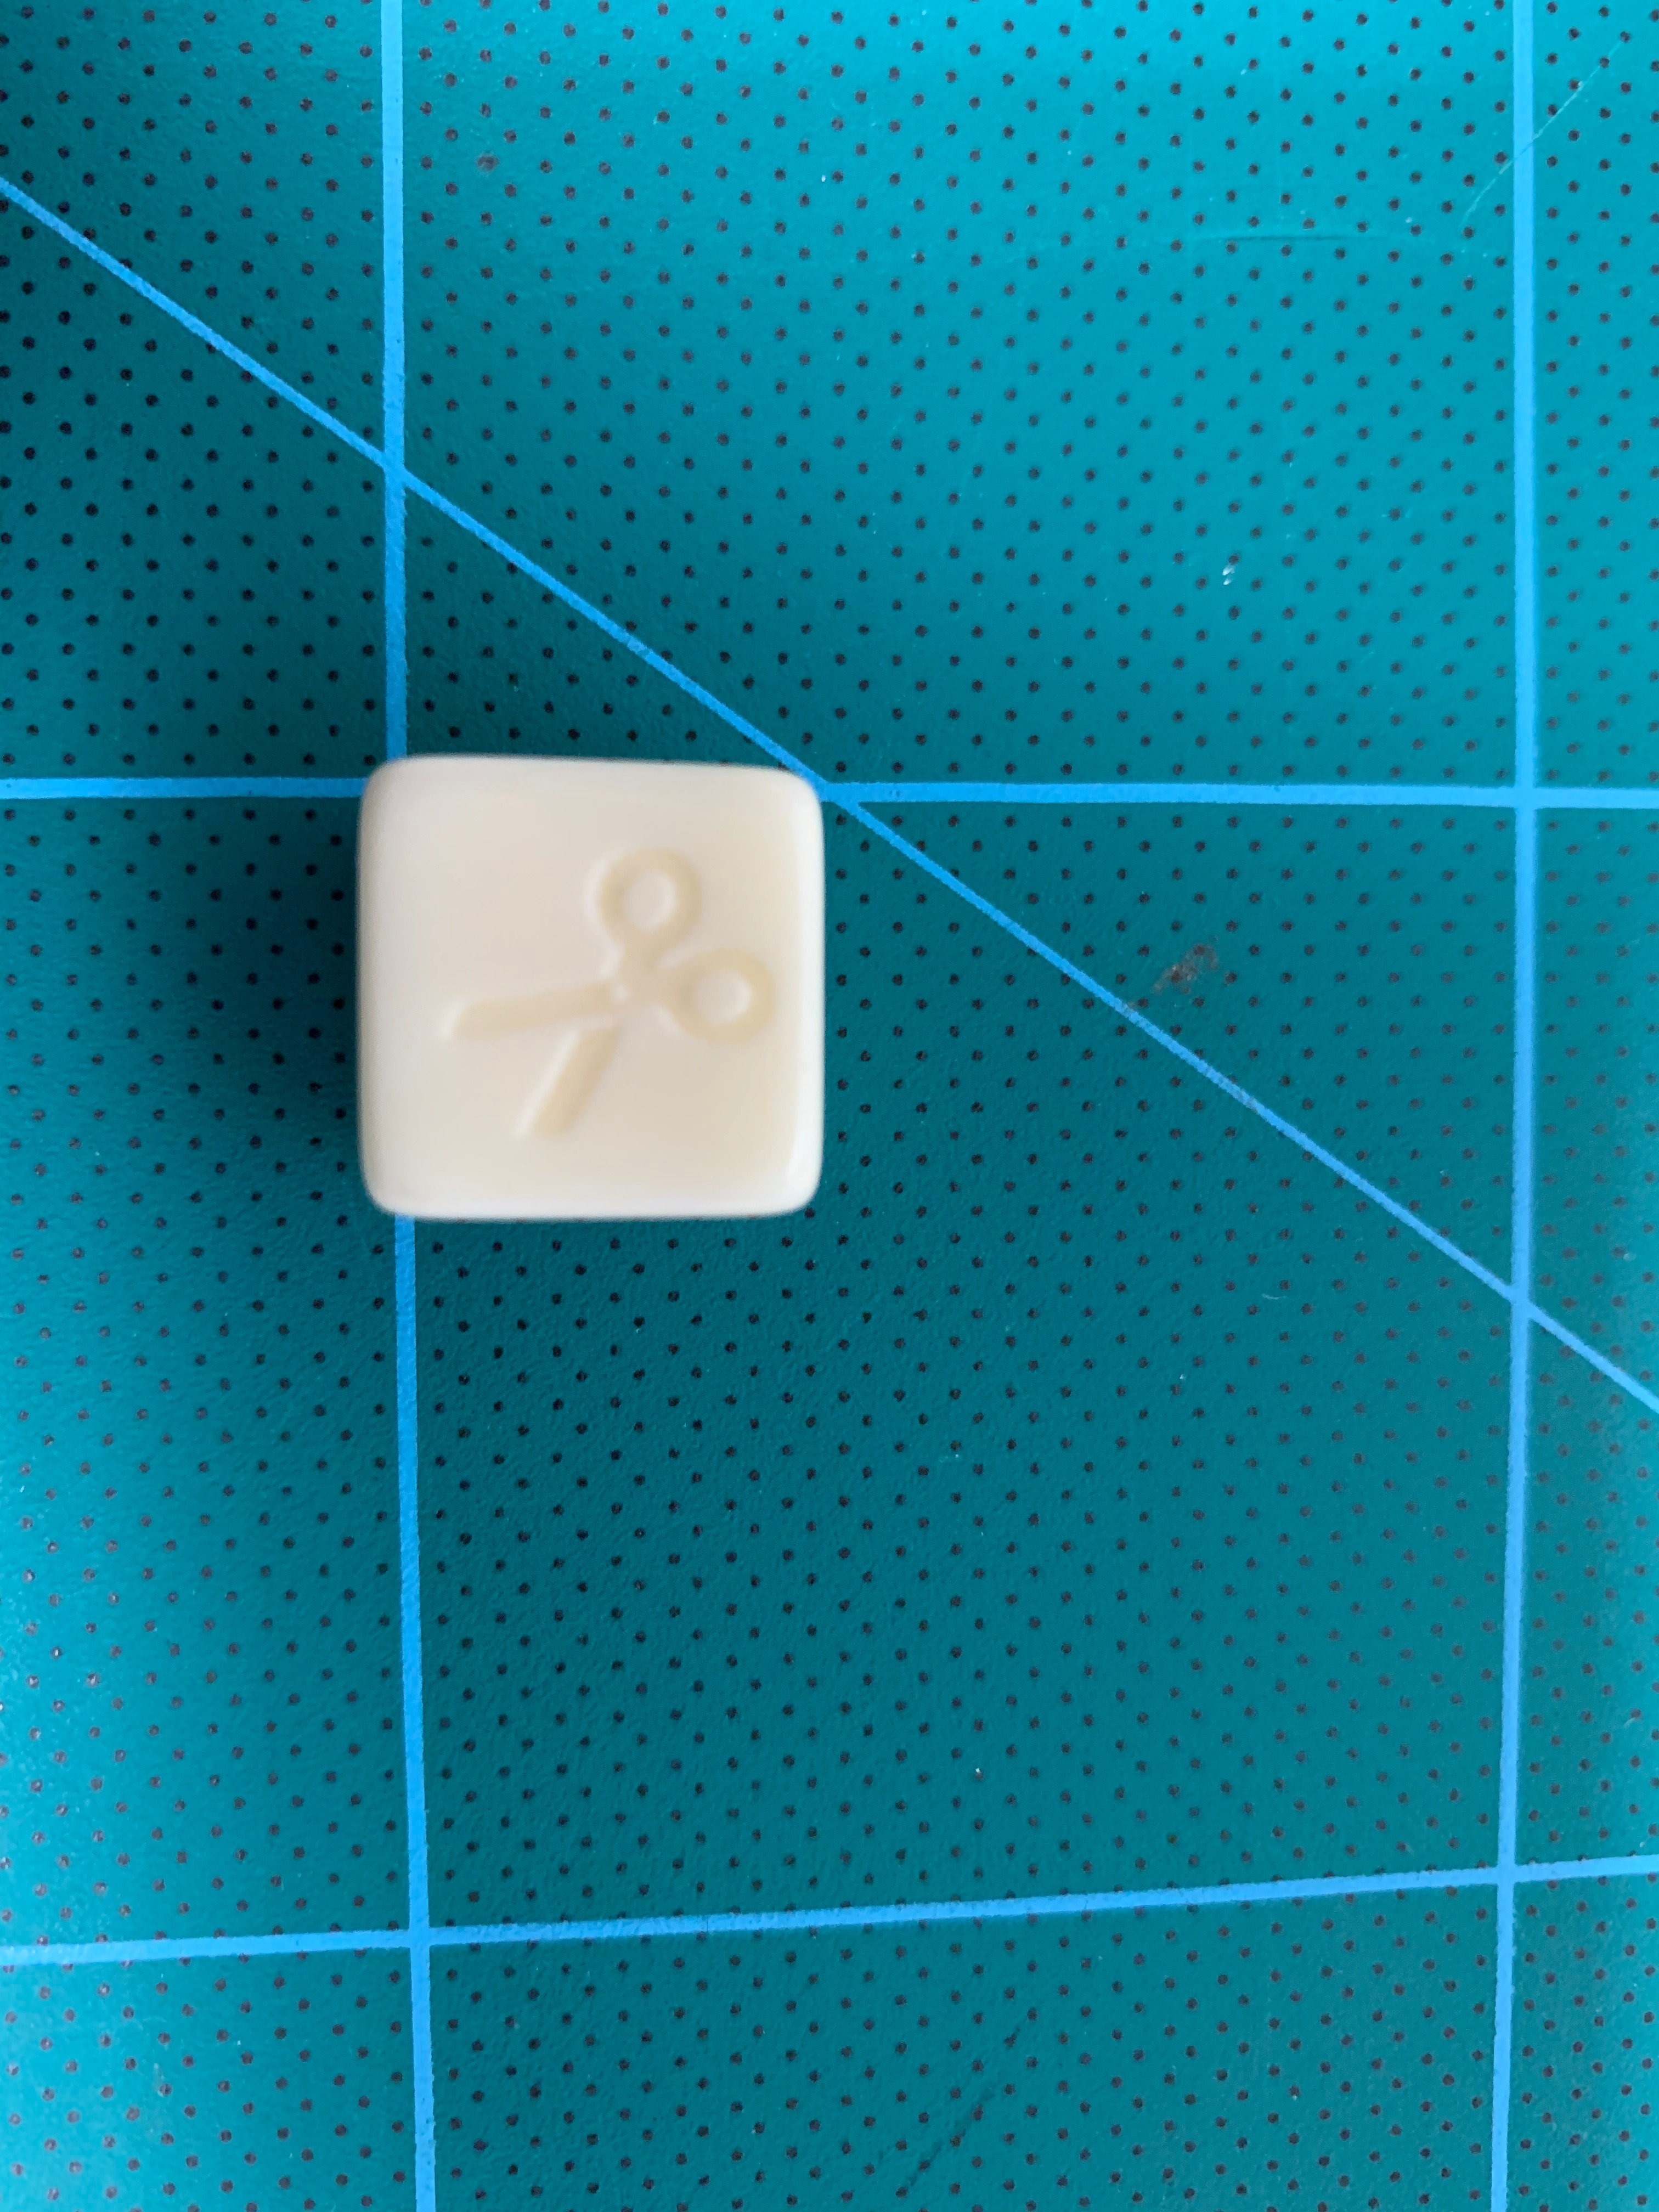
Goal: Engrave one image on each side of your die
Considerations: You want a medium-depth engrave. You should be able to clearly feel the engraving and its edges. You don't want it to be so deep that it seems like holes or damages the die or so shallow that there is little differentiation between the unengraved and engraved portion. Try for something about the thickness of a fingernail. The basic steps include:
- Put your die in the jig from the previous step without moving the jig
- IMPORTANT (Don't miss this step!) Refocus your laser to the top of the die instead of the top of your jig
- In your design program, close all layers except Side 1
- Send the image from Side 1 to the laser cutter - be sure to get the box (it's going to ensure that the image is centered) and the icon
- Engrave the image from side 1 on the die
- Rotate the die
- In the design program, close the layer with Side 1 and open the layer with Side 2, repeating the engraving and rotating process until all six sides are complete
Ink Your Images

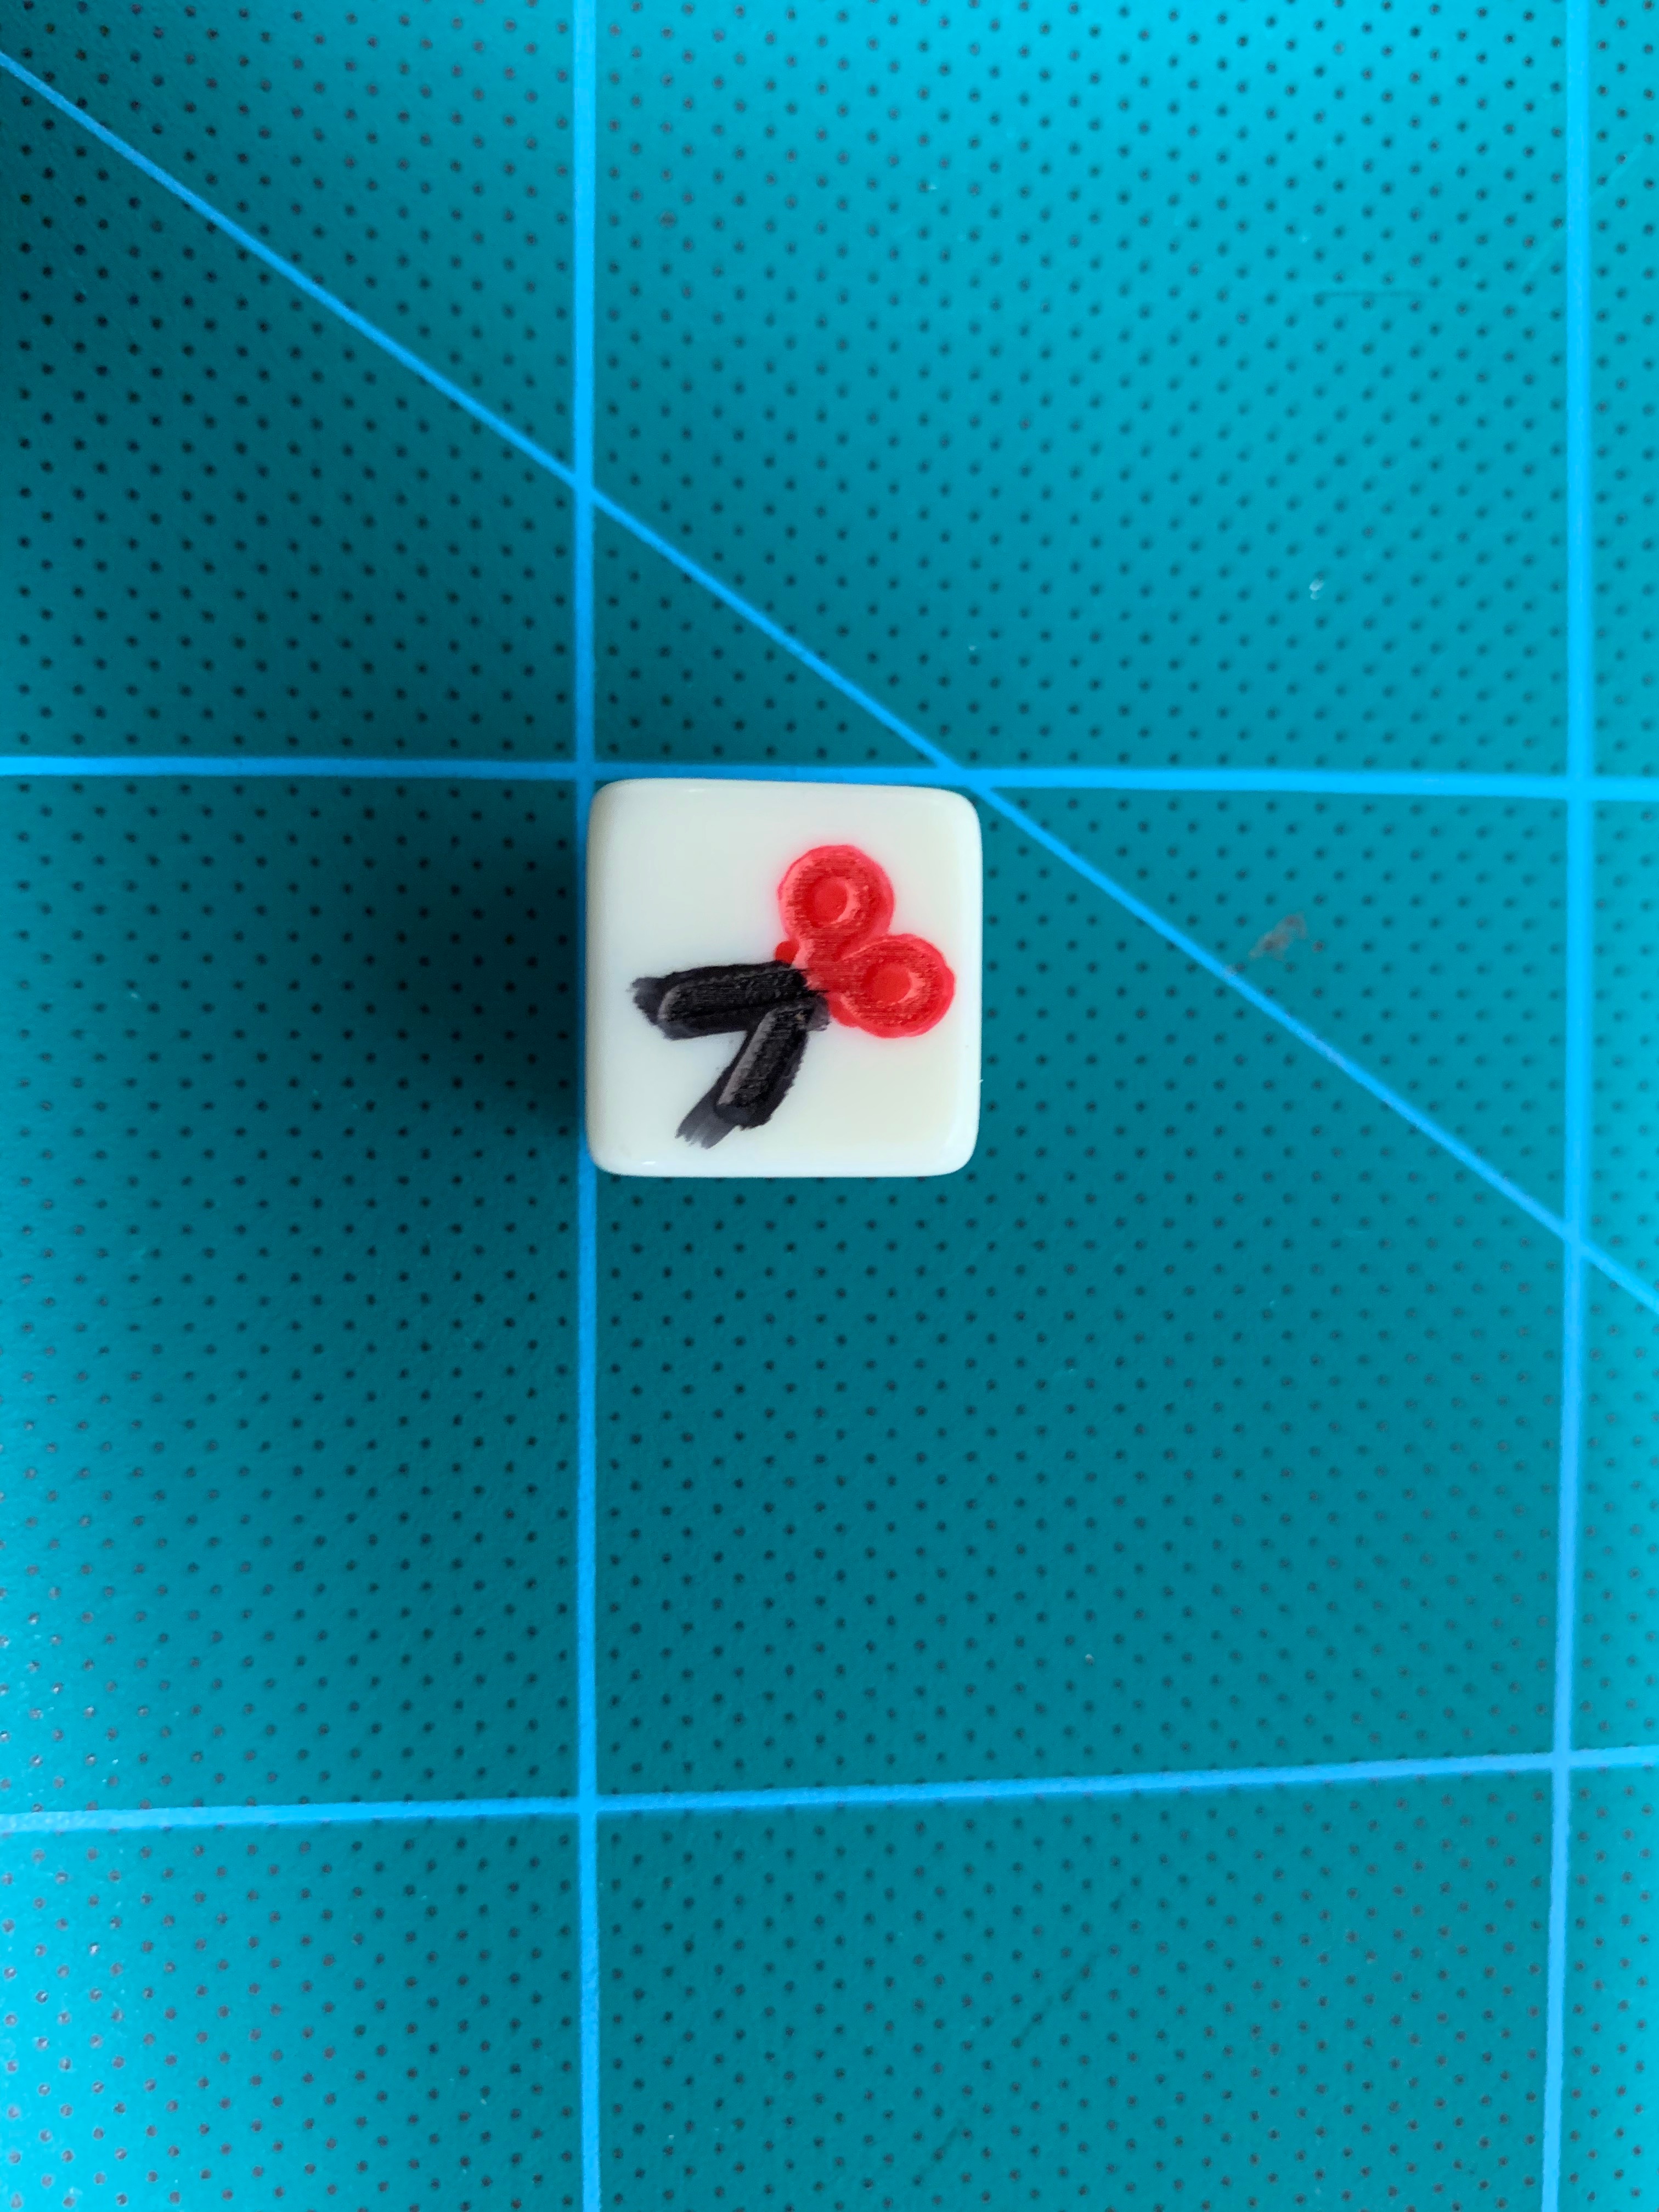
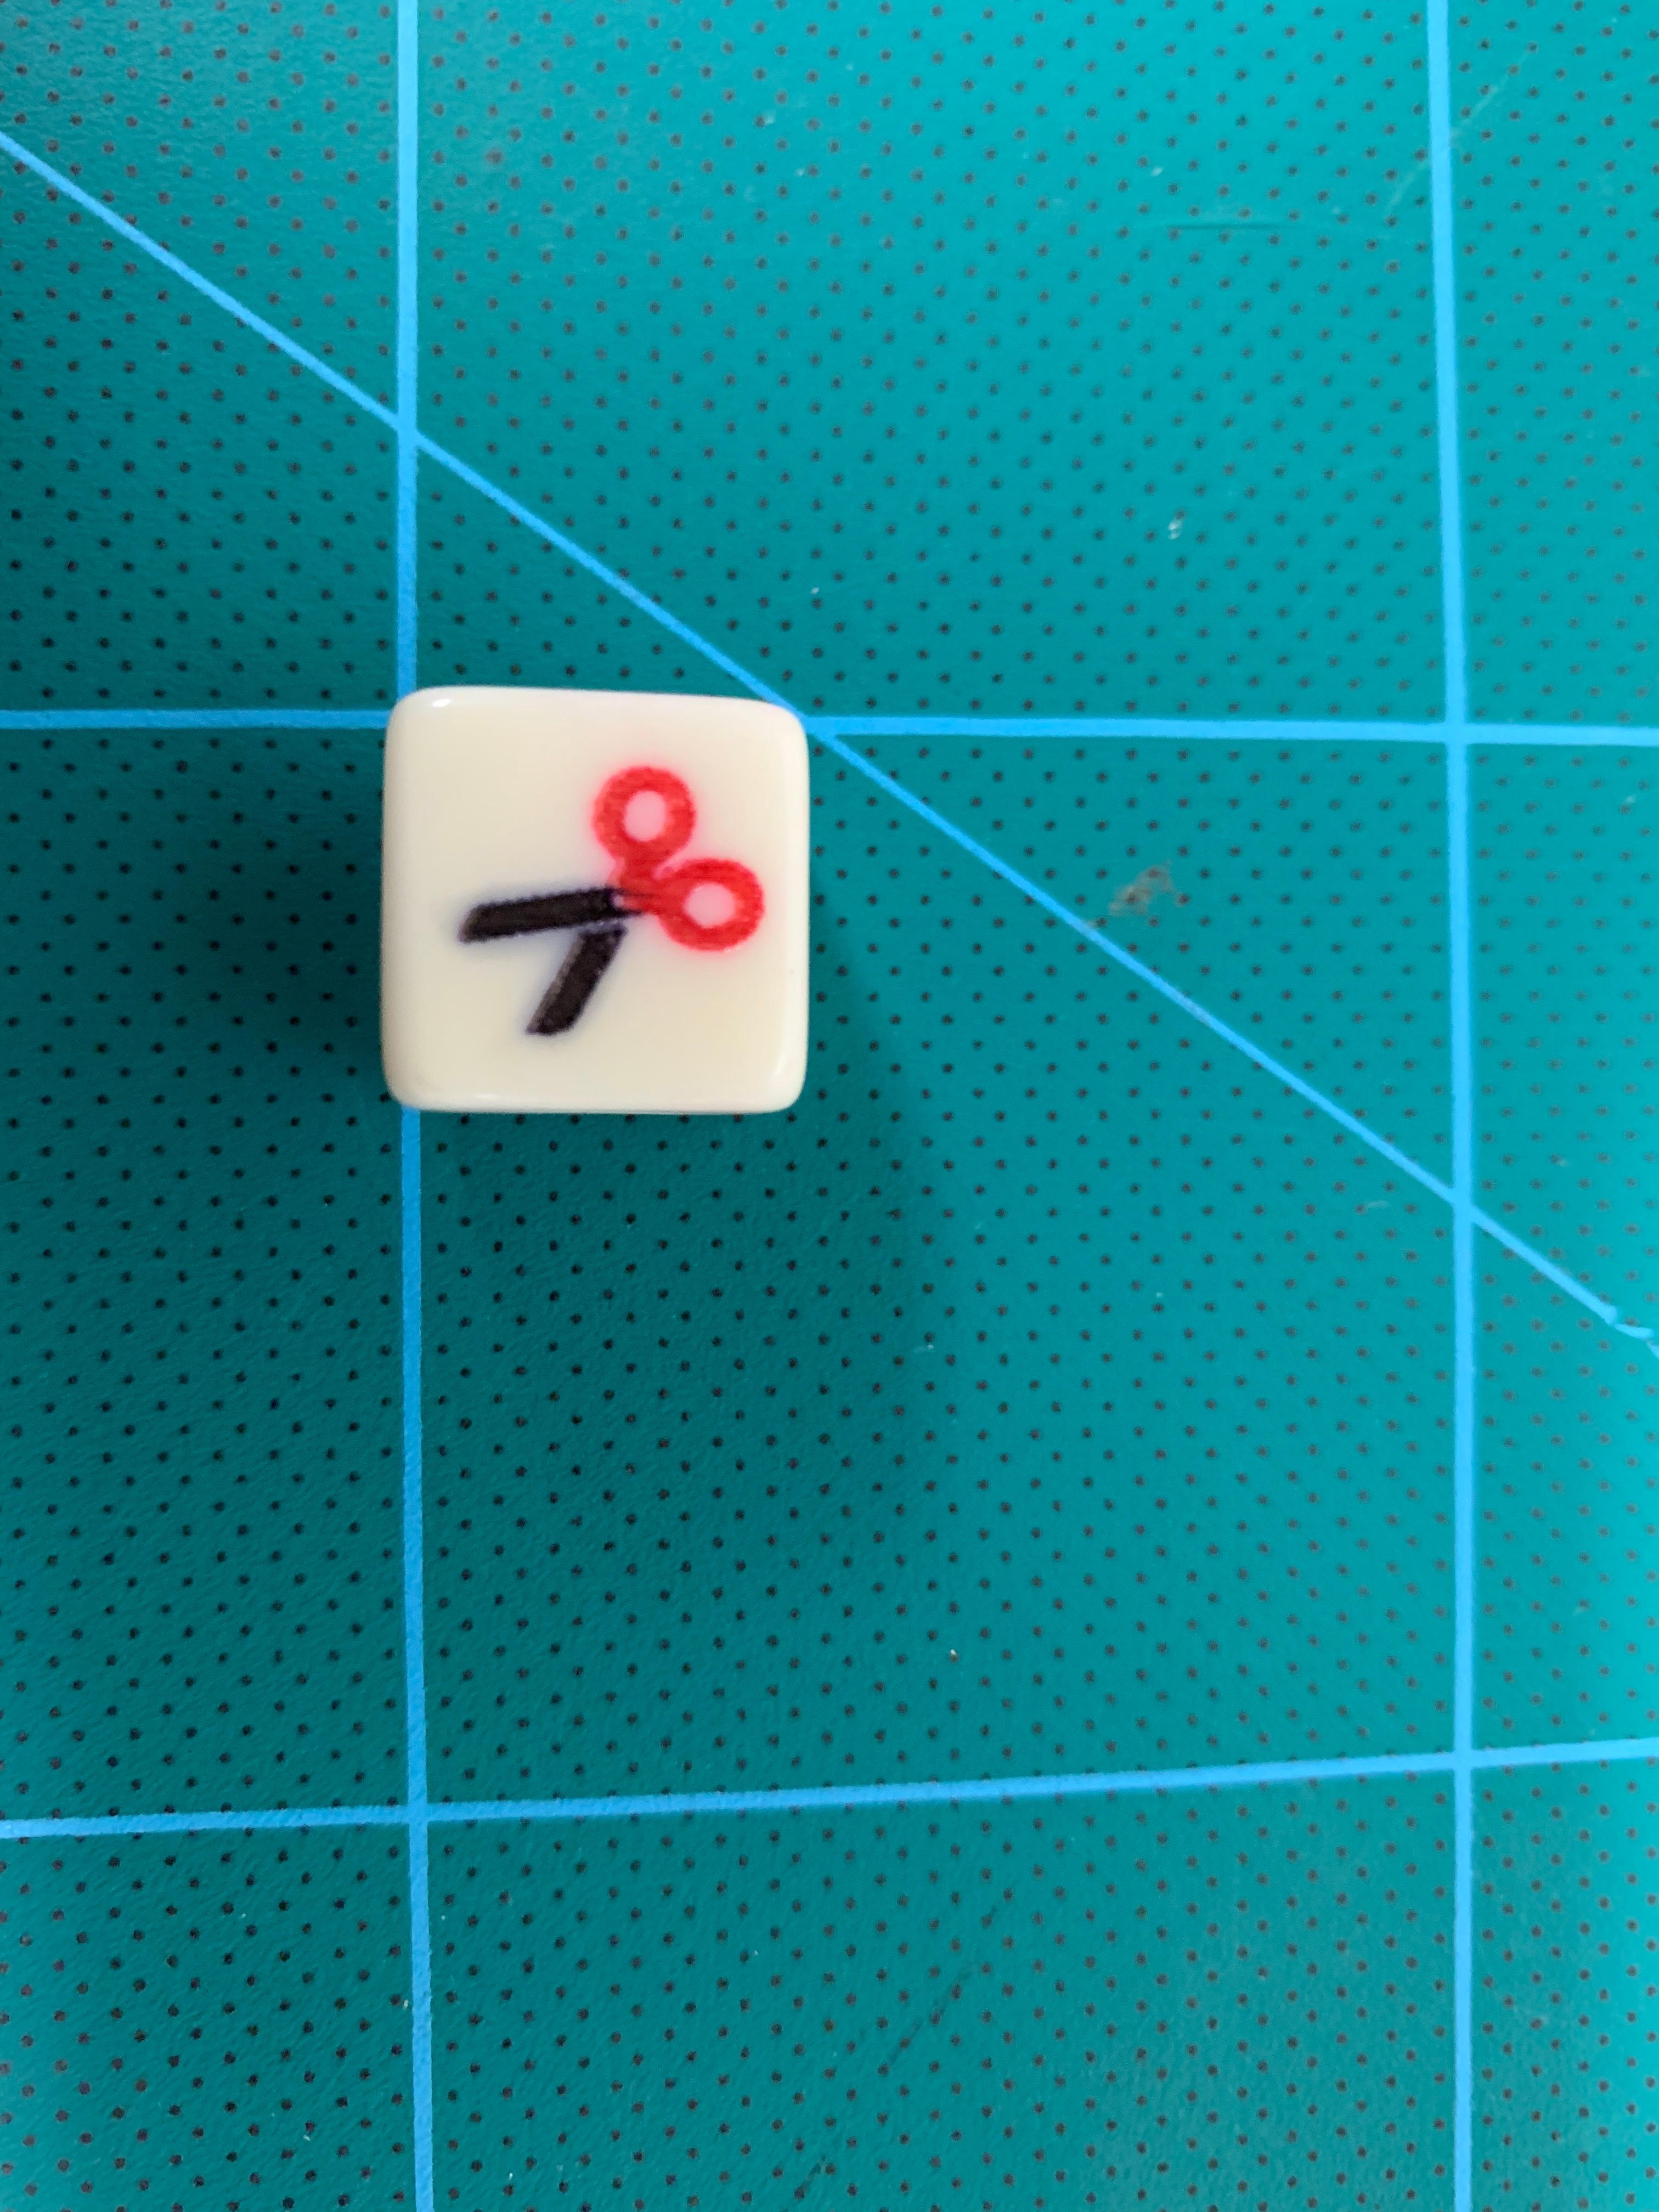
Goal: Add clear, permanent colors to each image on your die
Considerations: I'm not a very good painter, actually I'm downright awful. Bad eyesight and worse patience means I never could do detail work. This approach allows for detailed coloring, in more than one color, even by those less than blessed in the painting department.
Your dice will start out uncolored, like the first picture. To get them inked attractively, you'll need to:
- Ink: Color your image with a Sharpie brand marker. You do not need to stay in the lines - in fact you shouldn't in order to make sure you've filled in the full engraving. I've had good luck with two colors in one design as long as they are on different parts of the image. When you're done inking, your die should look like the second picture.
- Clean: Sharpies use alcohol-based markers and the ink can be removed with isopropyl alcohol. Pour a small amount of alcohol on a piece of copy paper - enough to soak about a 2" round ring. Invert your die so that the inked side is down and rub the die in circles on the alcohol-soaked paper. When you are done, your die should look like the third picture with ink filling the engraved parts but not spread across the face.
Continue with each die face in turn until all are inked to your liking.
A few lessons learned:
- Start on a new section of paper with new alcohol once the paper area on which you are working gets streaked with ink, otherwise you can transfer the ink back on to the die.
- You may want to wear rubber gloves as some people are sensitive to the alcohol and your fingers may also get ink on them as you clean.
- Occasionally, you may need to go back and re-ink a second time the center of large engraved areas.
- Some dice do not work as well as others - they get small hairline cracks that draw in the ink and result in more ragged edges. I've had the best luck with the ones linked at the top of this Instructable.