Custom Kitchen Sound Identifier
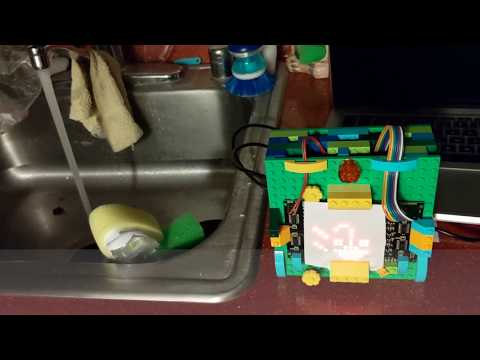
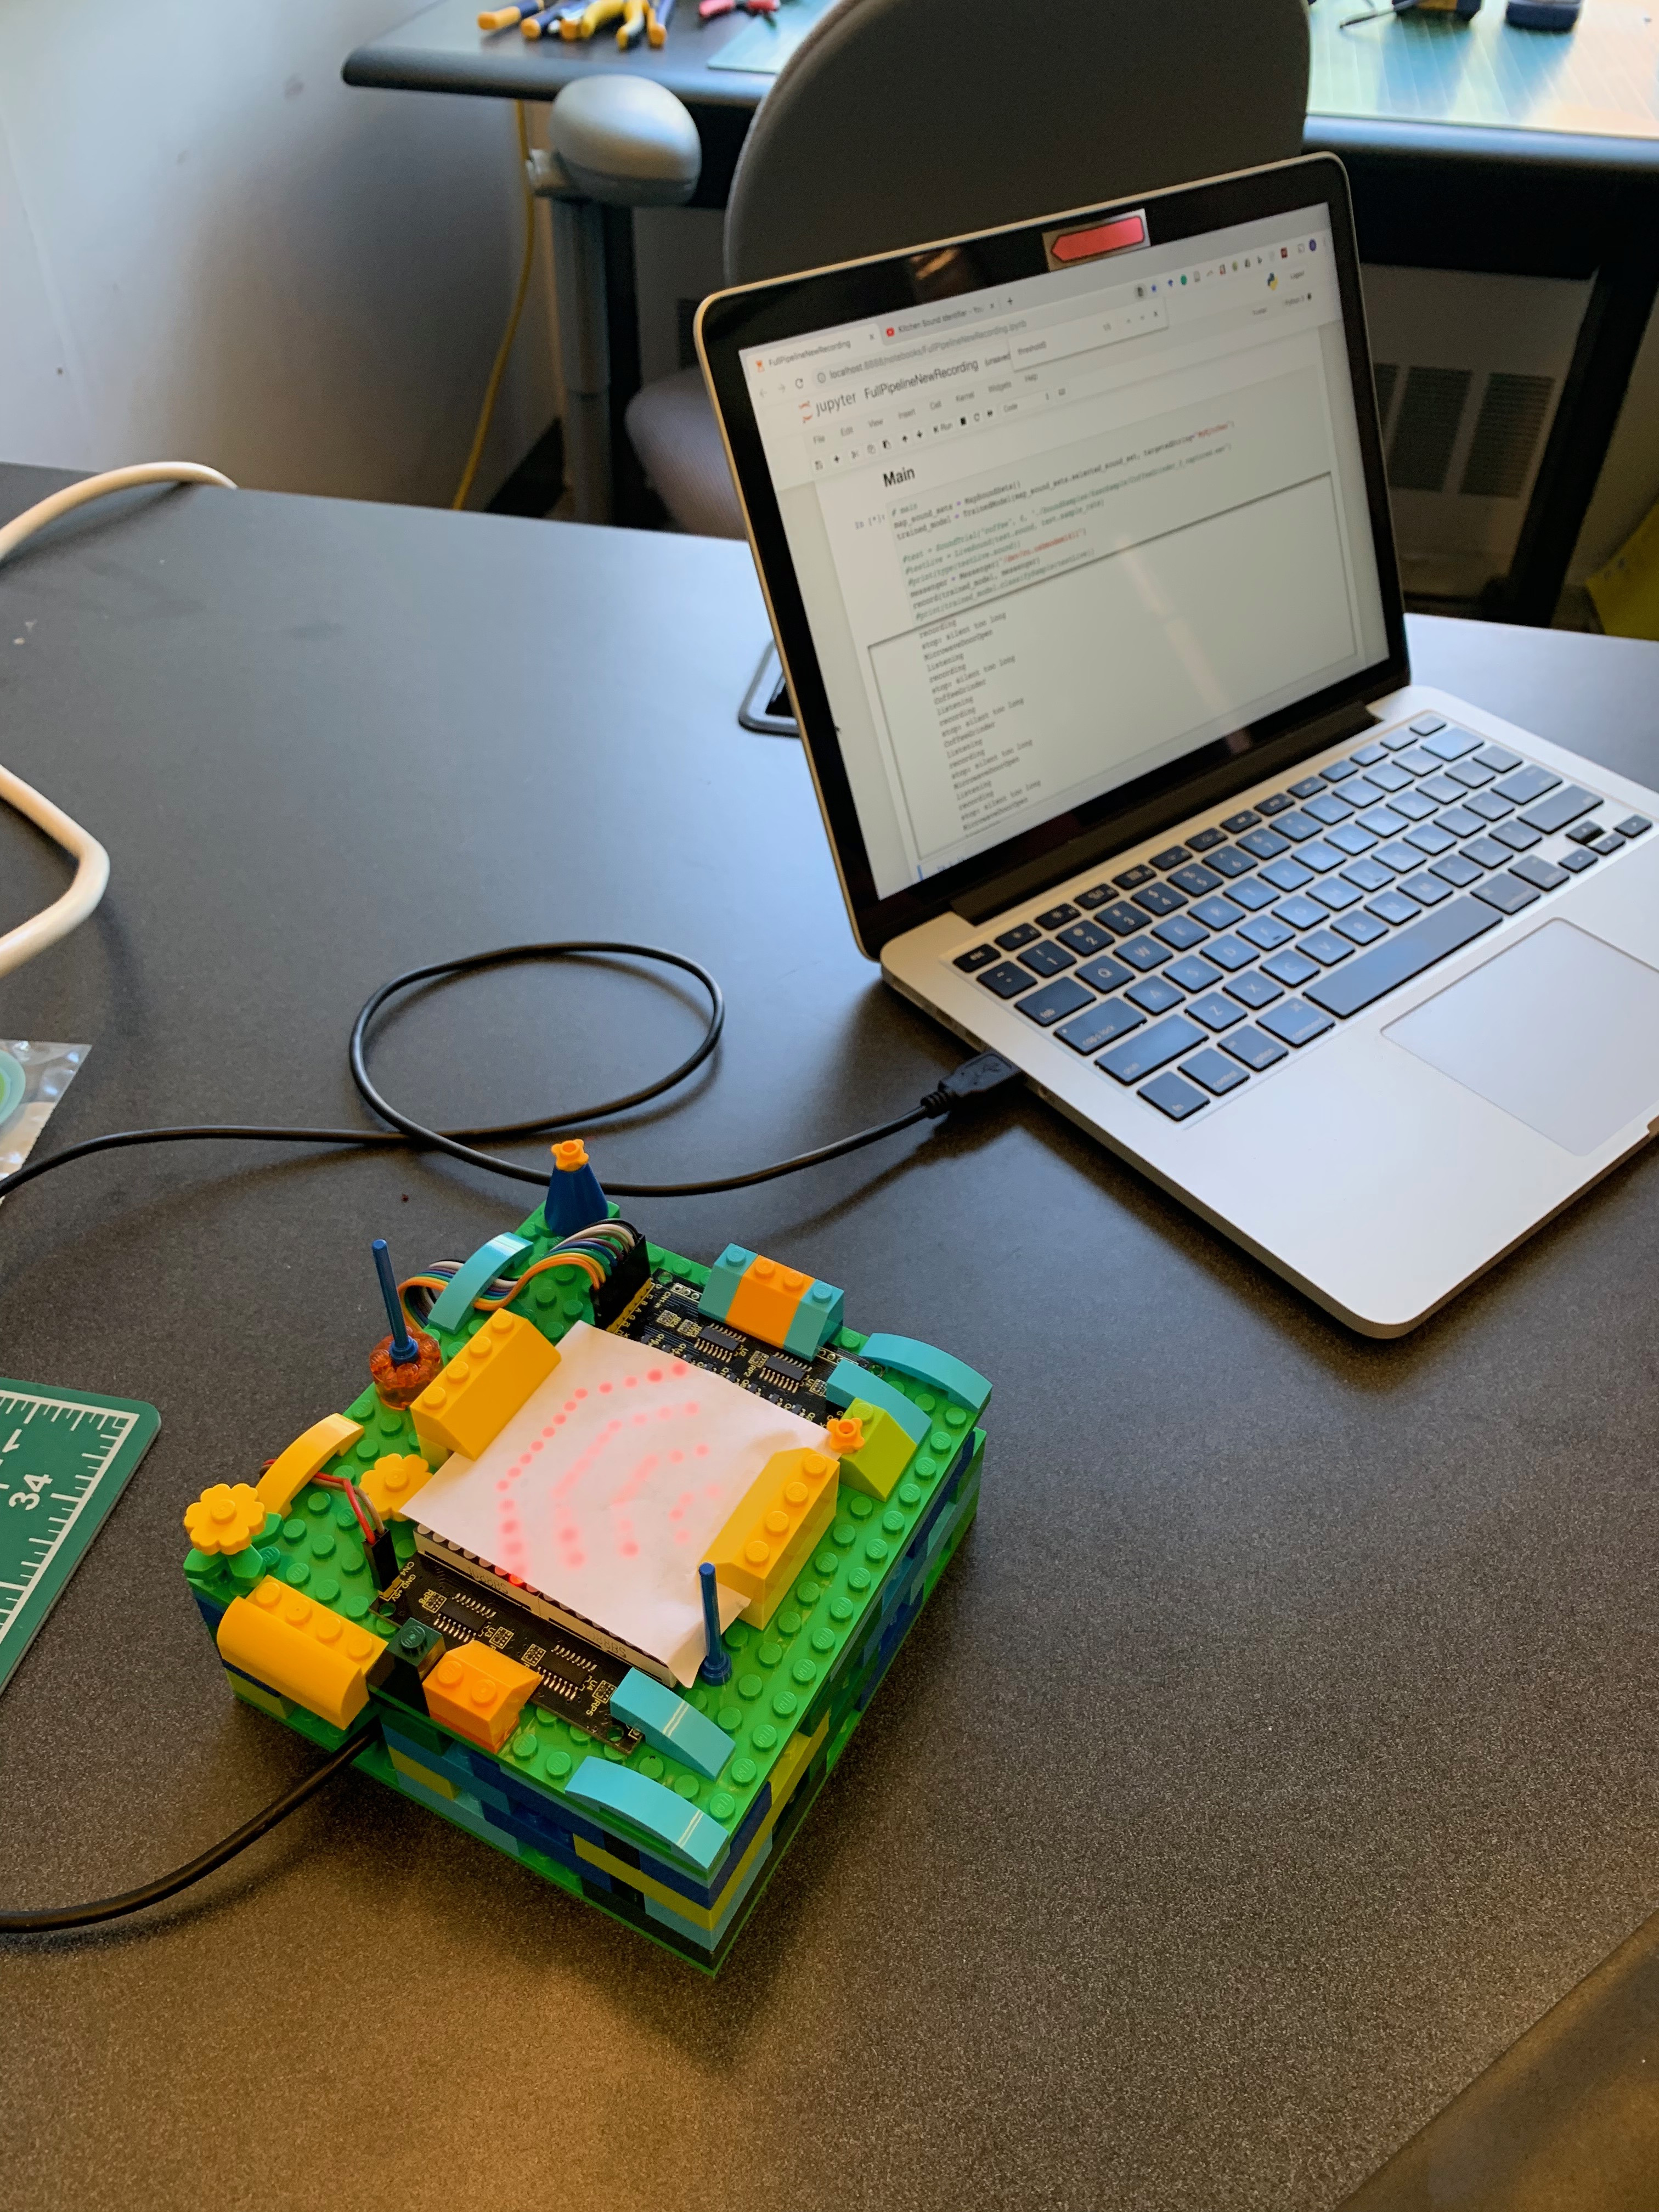
For our final project in an interactive systems course this spring, we created a real-time system for identifying and visualizing common sounds in the kitchen using Support-Vector Machine classification. The system is comprised of a laptop for audio sampling/classification, and an Arduino/dot matrix display for visualization. The following is a guide for creating your own version of this system for sounds from your own kitchen.
Our original use case was as a device for the kitchen of a deaf and hard of hearing individual, but this system could theoretically be adapted to identify a set of sounds in a variety of contexts. The kitchen was an ideal place to start, as it tends to be relatively quiet and contains a reasonable amount of simple, distinct sounds.
Supplies
- Arduino Leonardo Microcontroller with headers
- KEYESTUDIO 16x16 Dot Matrix LED Display for Arduino
- Breadboard jumper wire
- Micro-USB to USB 2.0 cable
- A laptop with Jupyter Notebook (Anaconda installation)
- A beginner's guide to Jupyter Notebook can be found here.
- A substantial amount of mismatched LEGO bricks for the system's housing
- (But really you can substitute these with any DIY building material you'd like!)
Collecting Kitchen Sound Samples
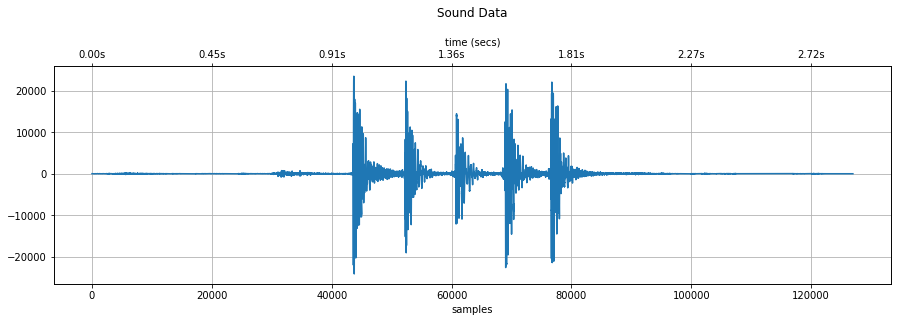
Figure Above: Audio data taken from recording a fork and knife clinking together using this collection process.
In order to identify real-time sounds, we need to supply our machine learning model with quality examples for comparison. We created a Jupyter notebook for this process, which can be accessed here or through our project's GitHub repository. The repository also contains sample collections from two different kitchens for testing purposes.
Step 1.1: Copy the CollectSamples.ipynb notebook to your working Jupyter Notebook directory and open it.
Step 1.2: Run each cell one by one, paying attention to any notes we've provided in the headings. Stop when you reach one titled "Sample Recording".
NOTE: Several Python libraries are used in this notebook, and each one requires installation before they can be successfully imported into the project. You're welcome to do this manually, though a guide for library installation within Jupyter Notebook can be found here.
Step 1.3: Create an empty directory to store your samples within your working directory for this project.
Step 1.4: Edit the SAMPLES_LOCATION variable in the "Sample Recording" cell to match your empty directory's location.
Step 1.5: Add or remove as many sounds as you like to the SOUND_LABELS variable.
In order for the sample recording code to work, each line of this variable must be separated by a comma and of the following form:
'ts':Sound("TargetedSound","ts")Step 1.6: When all labels have been added, evaluating the "Sample Recording" cell with start the sample collection process. In the cell's output, you'll be prompted to input the short code you associated with each sound in the labels (i.e., "ts" for TargetedSound). Don't do this just yet.
Step 1.7: Take your laptop into the kitchen and place it in the area you would be most likely to place the finished system. This location should be central for good audio collection, and dry and away from any possible spills to protect your electronics.
Step 1.8: Prepare your first targeted sound. If this is an oven timer beep, you might set the timer to one minute and wait for it to count down to 20 seconds or so before continuing to the next step.
Step 1.9: Type the label code into the prompt (i.e., "ts"), and press Enter/Return.
The system will start listening for a sound event distinct from the ambient noise of the room. Upon sensing this sound event, it will start recording until it senses sound in the room has returned to the ambient levels. It will then save the audio as a 16-bit WAV file to the directory identified in SAMPLES_LOCATION in the format:
TargetedSound_#_captured.wav
The # portion of this filename corresponds to the number of samples of the targeted sound you have collected. After the WAV file is saved, the prompt will repeat, allowing you to collect several samples of the same sound in a single execution of the cell.
DO NOT change this filename. It is important for the next step.
Step 1.10: Repeat steps 1.8 and 1.9 until you have collected 5-10 samples of each sound.
Step 1.11: Input "x" when finished to exit the execution.
WARNING: Failure to quit the cell in this way may cause the Notebook to crash. In this case, the Notebook kernel must be reset and each cell run again from the top.
Step 1.11 (Optional): Check the WAV data of individual files in the "Quick Sound Visualization" cell to make sure you captured all desired information.
Some tips:
- Record when your kitchen is quiet.
- Record only one sound at once. The system cannot distinguish overlap in sounds.
- Try to make each sound trial as consistent as possible. This will help the accuracy of the identification.
- Re-evaluating the Recording cell will reset the # value in the filename and overwrite any existing files that match that #. We found it easiest to record all samples of one sound at once, then stop the Recording cell.
- If the system is not picking up your targeted sound, try lowing the THRESHOLD value (set to 30 to start) and reevaluate the cell.
- If the recording is triggered by other sounds outside of the targeted one, try raising the THRESHOLD value (set to 30 to start) and reevaluate the cell.
Downloads
Preparing the Arduino/Matrix Display
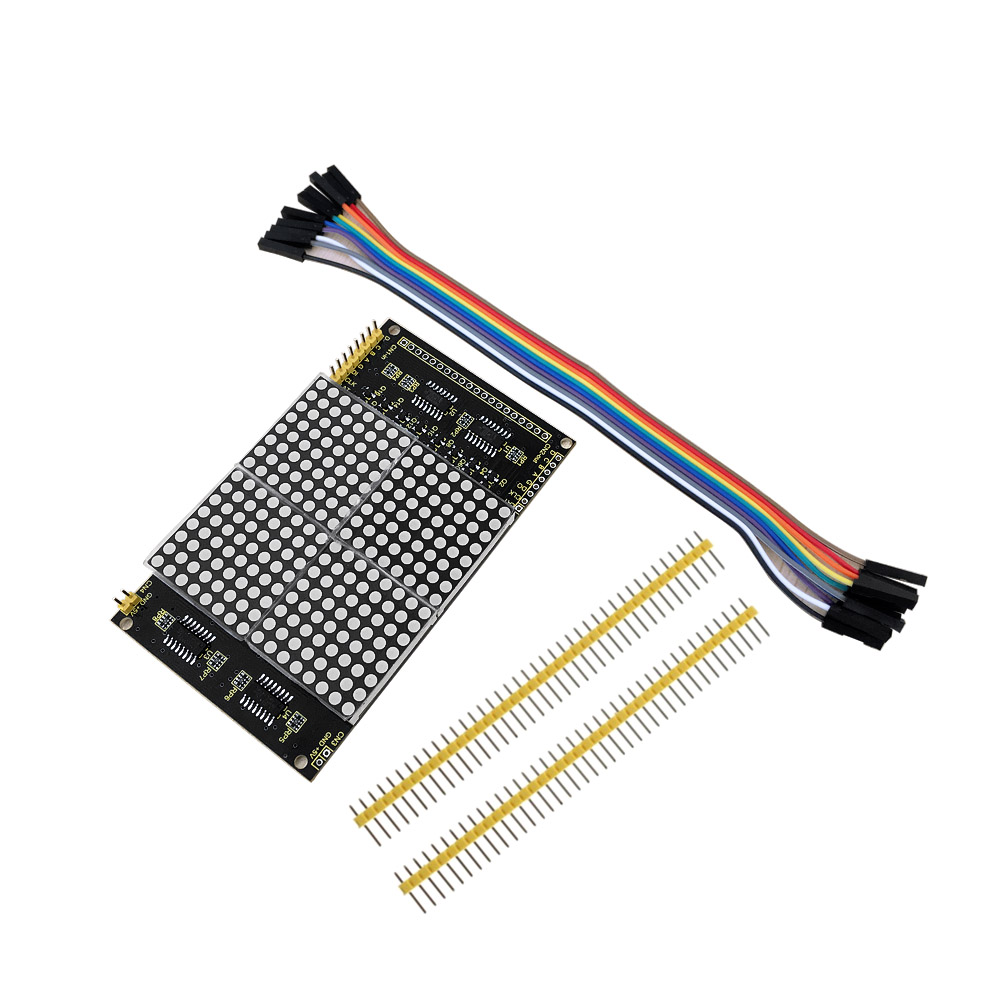
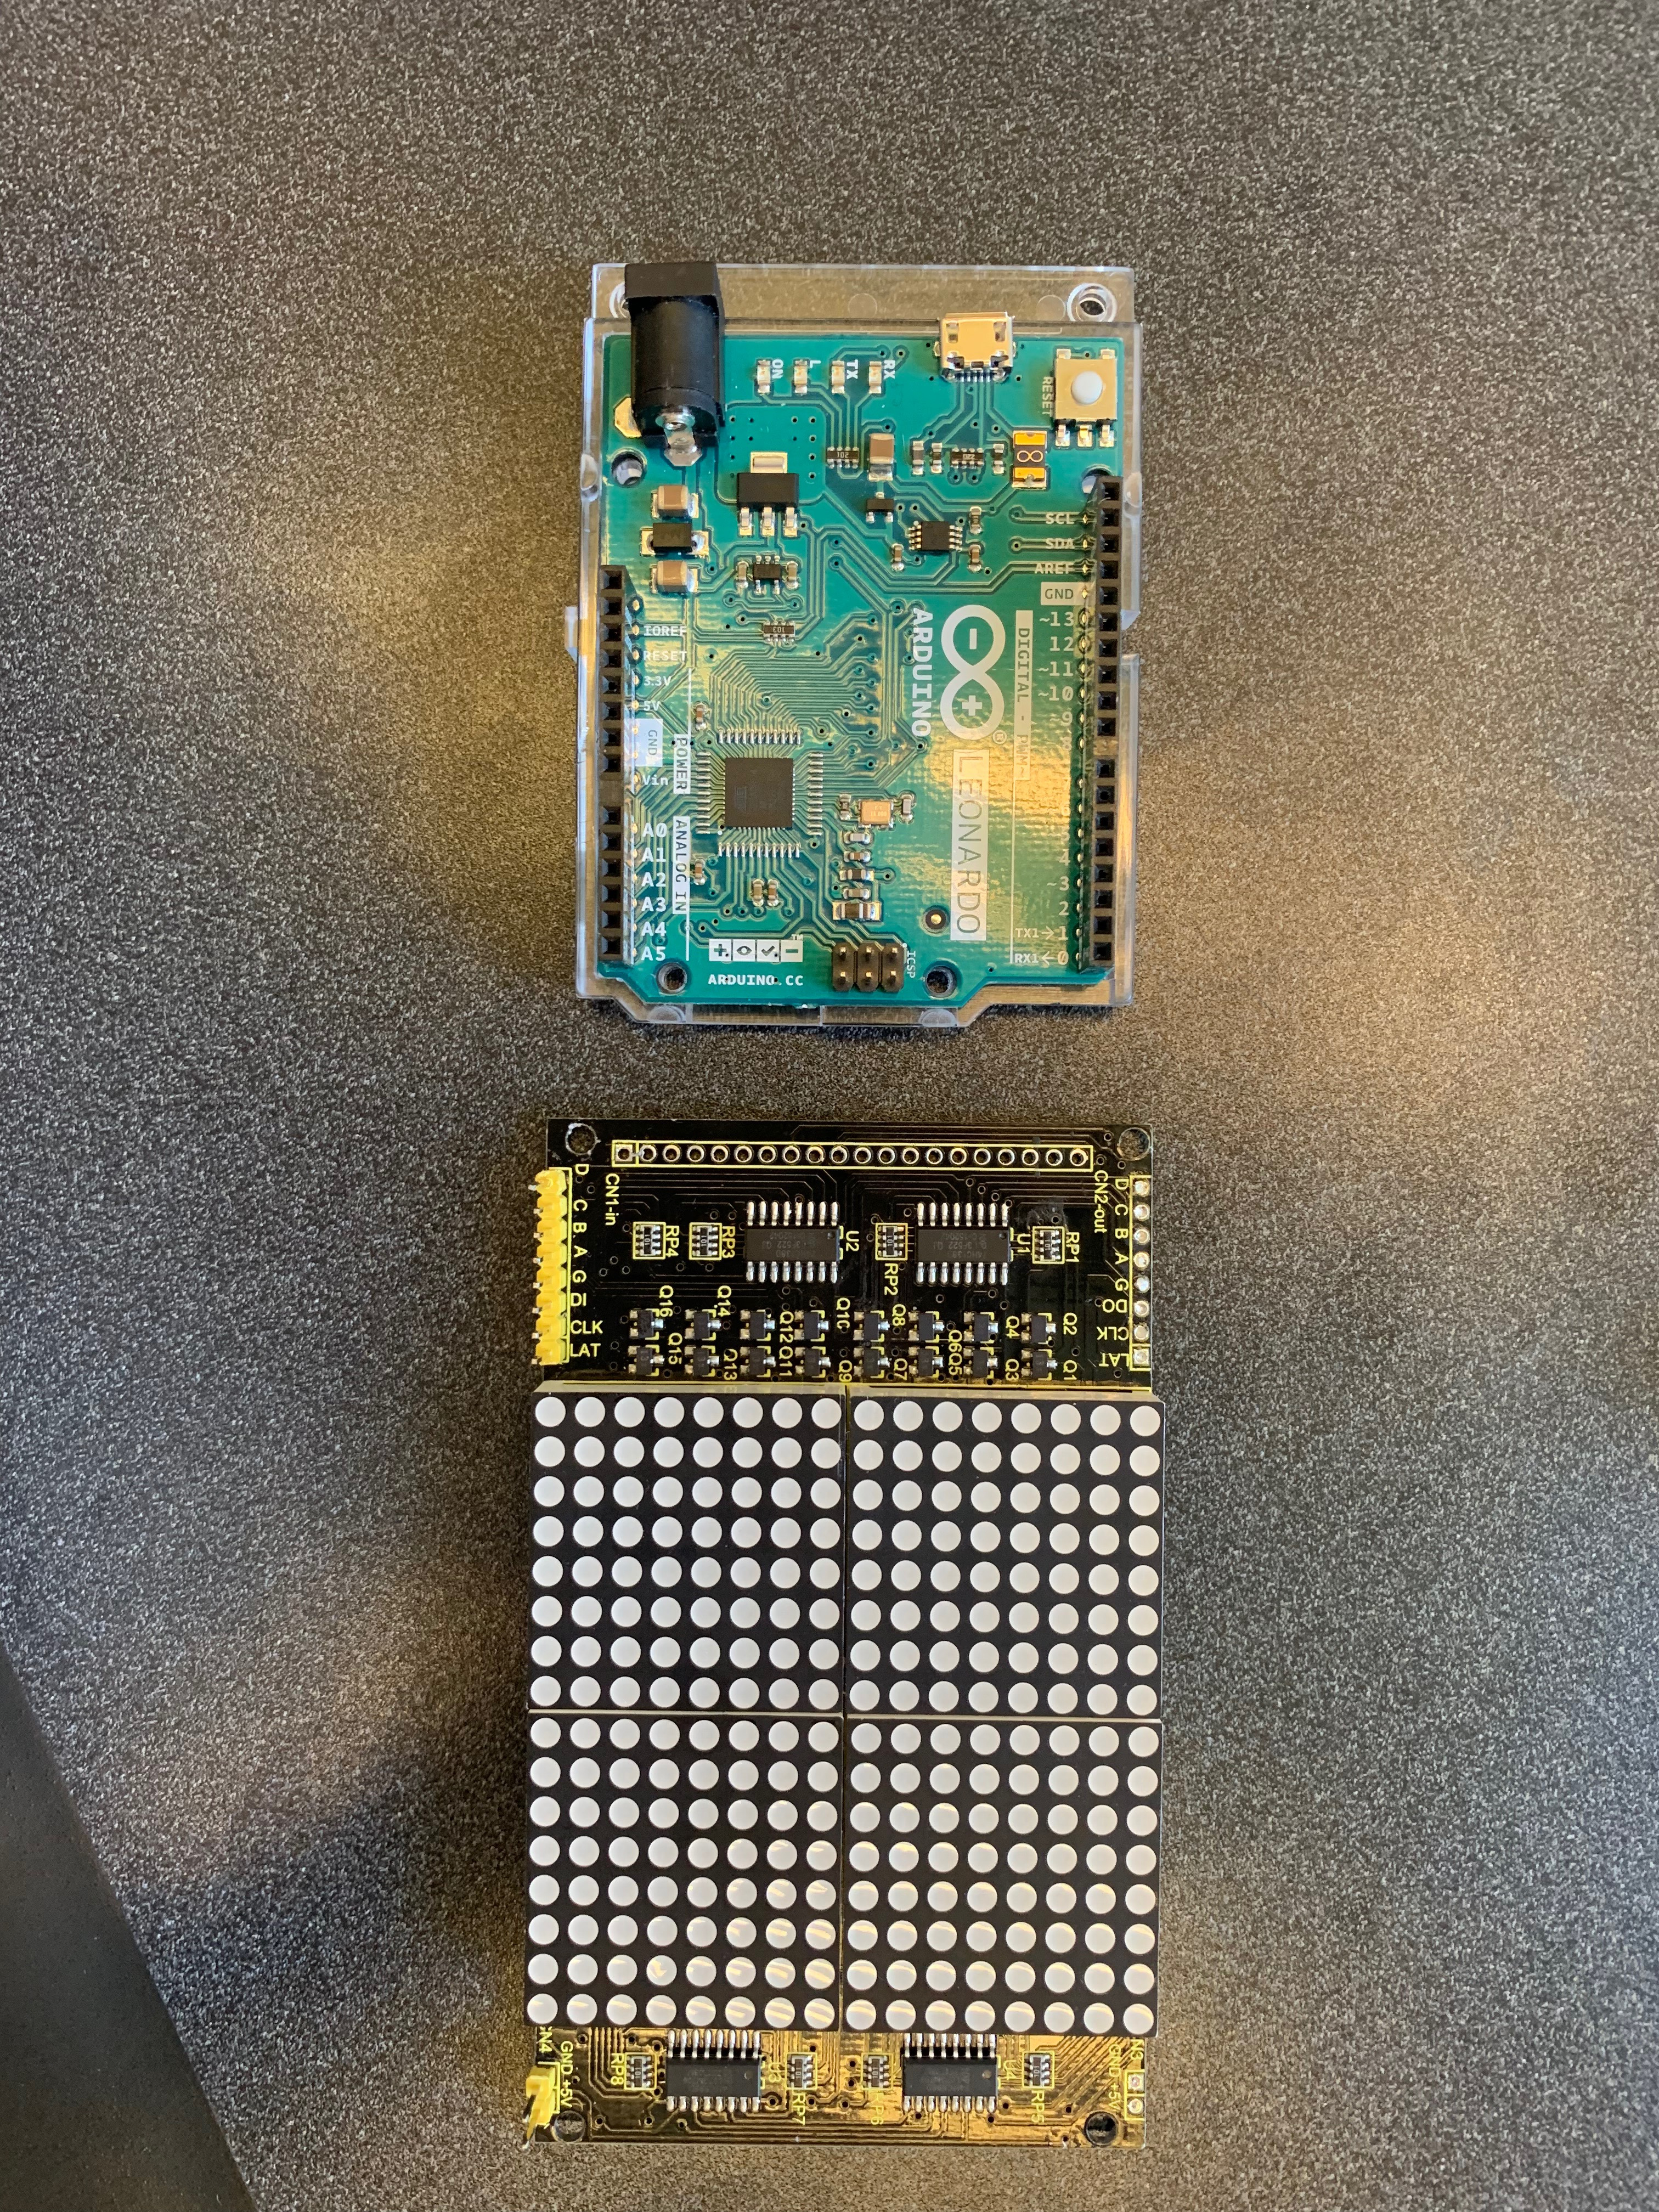
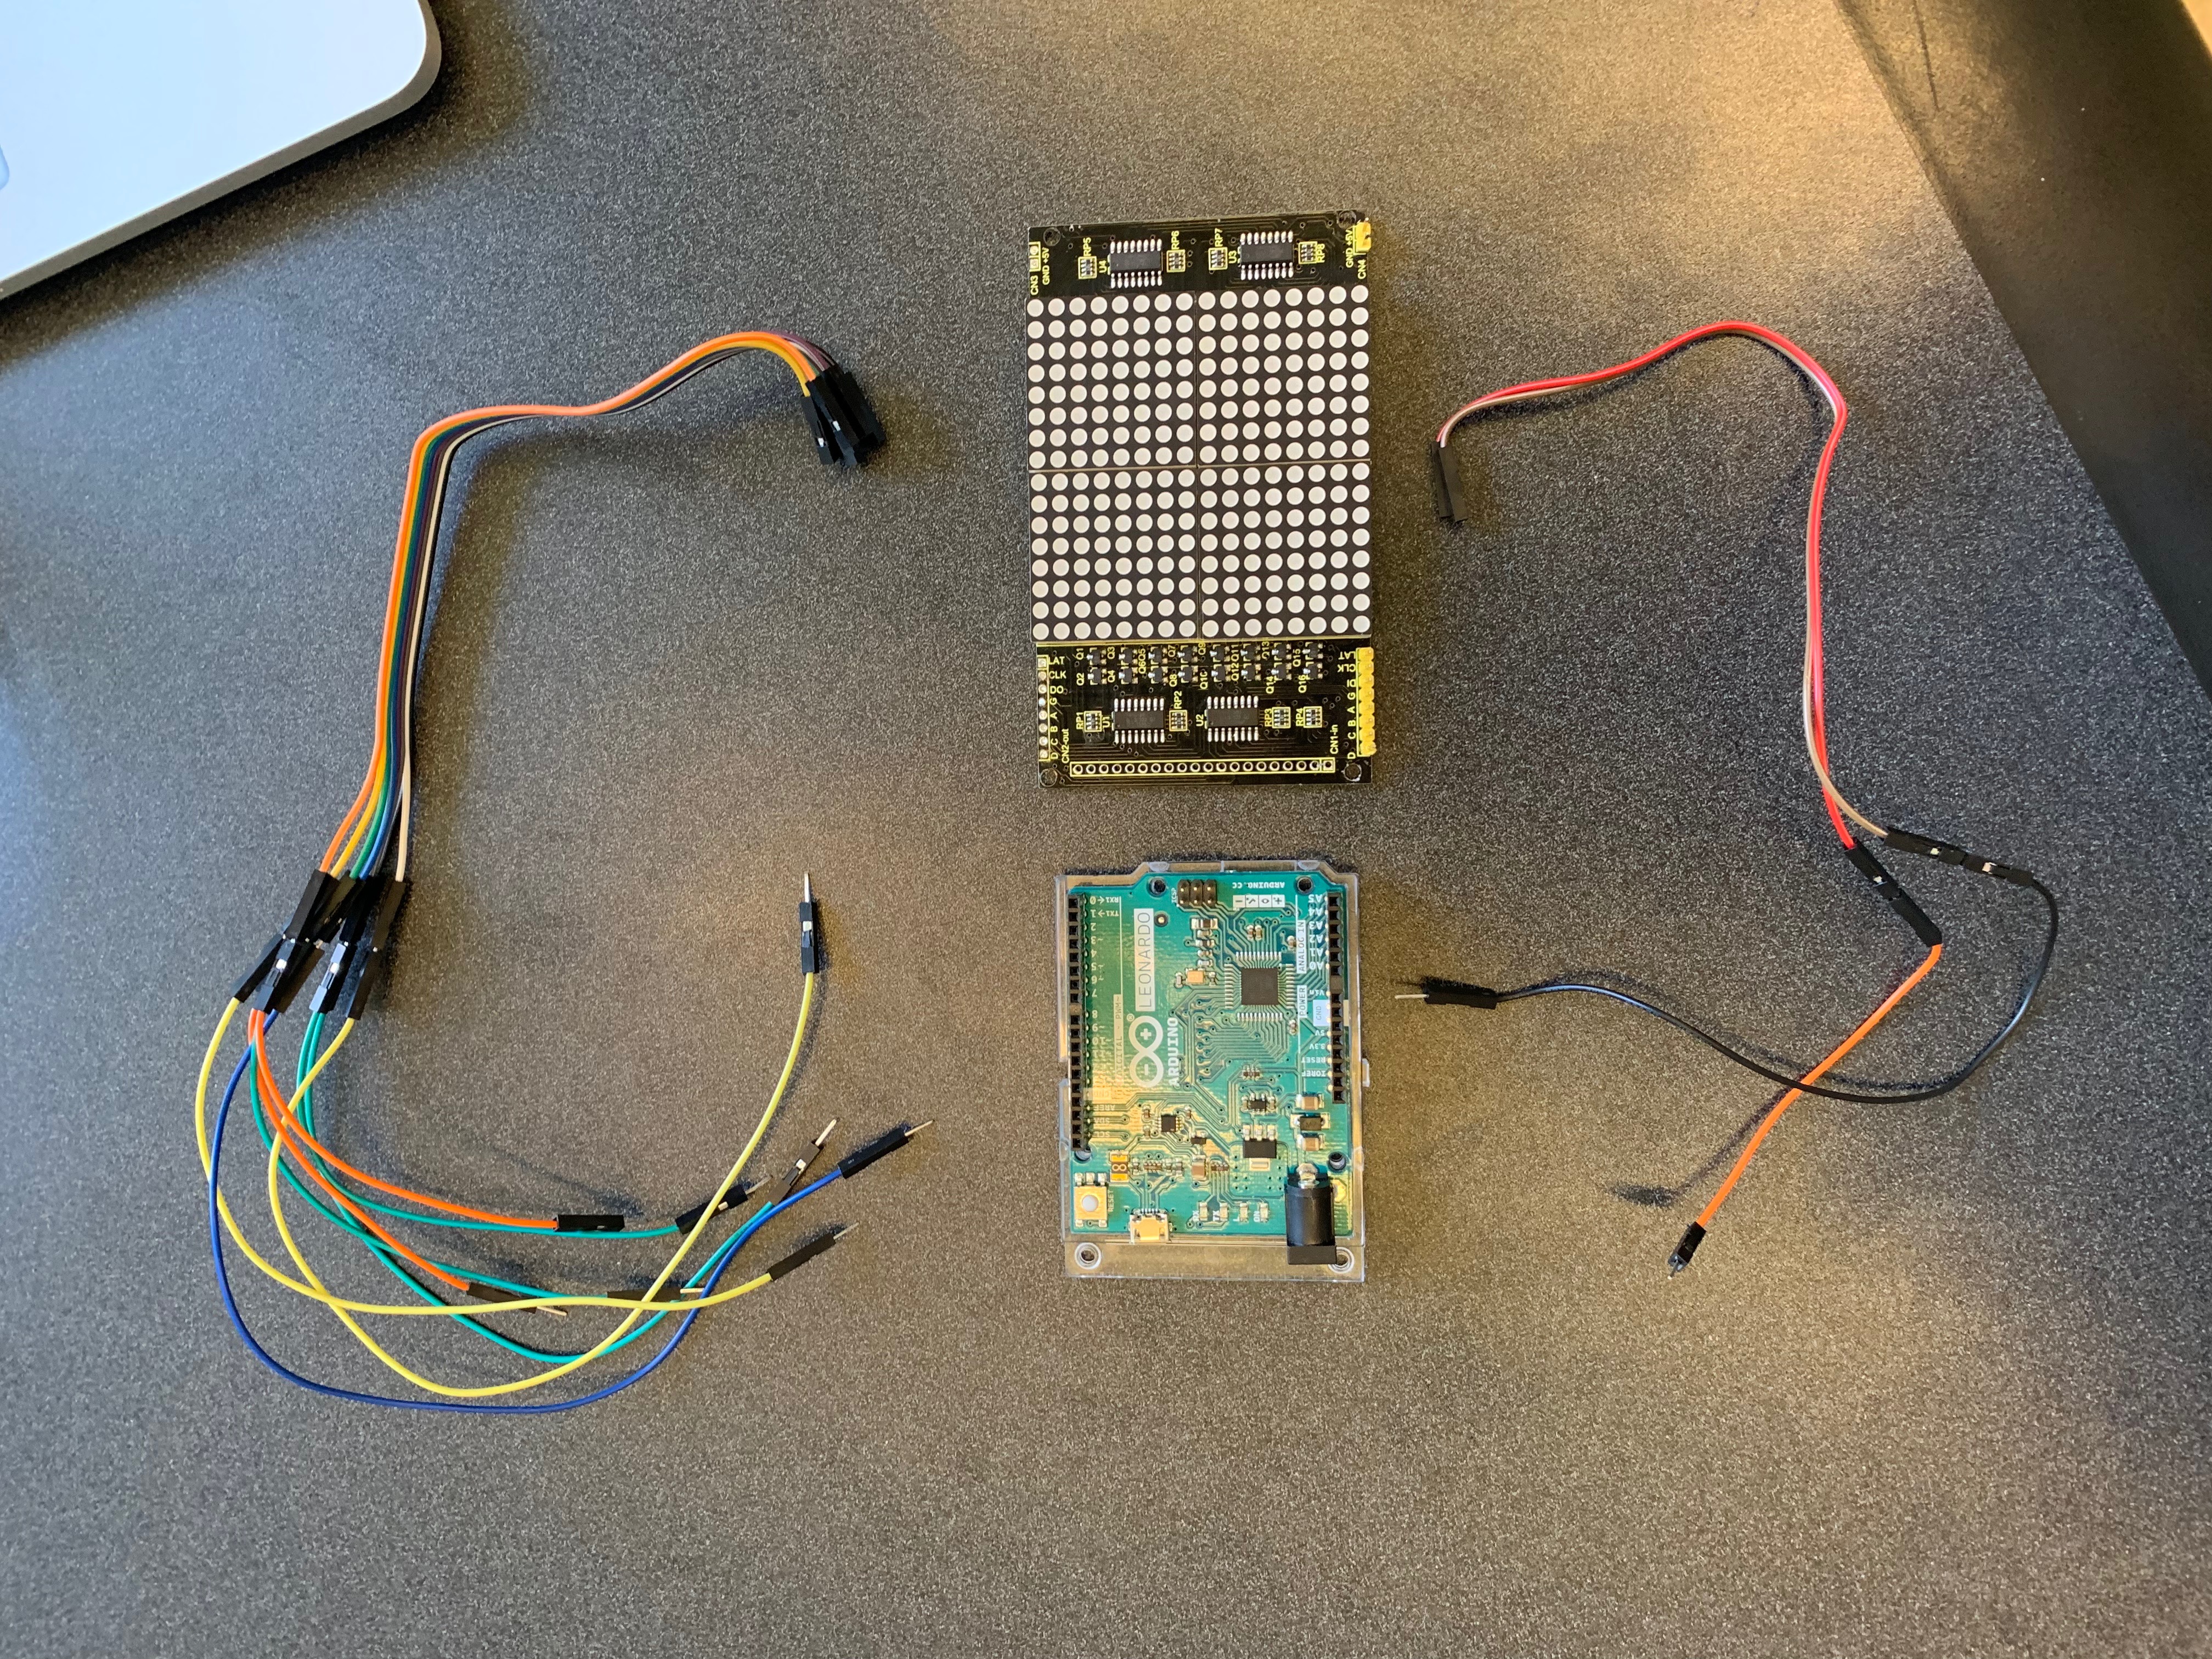
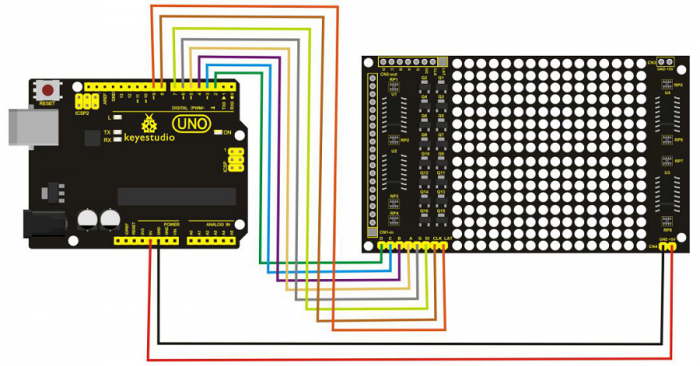
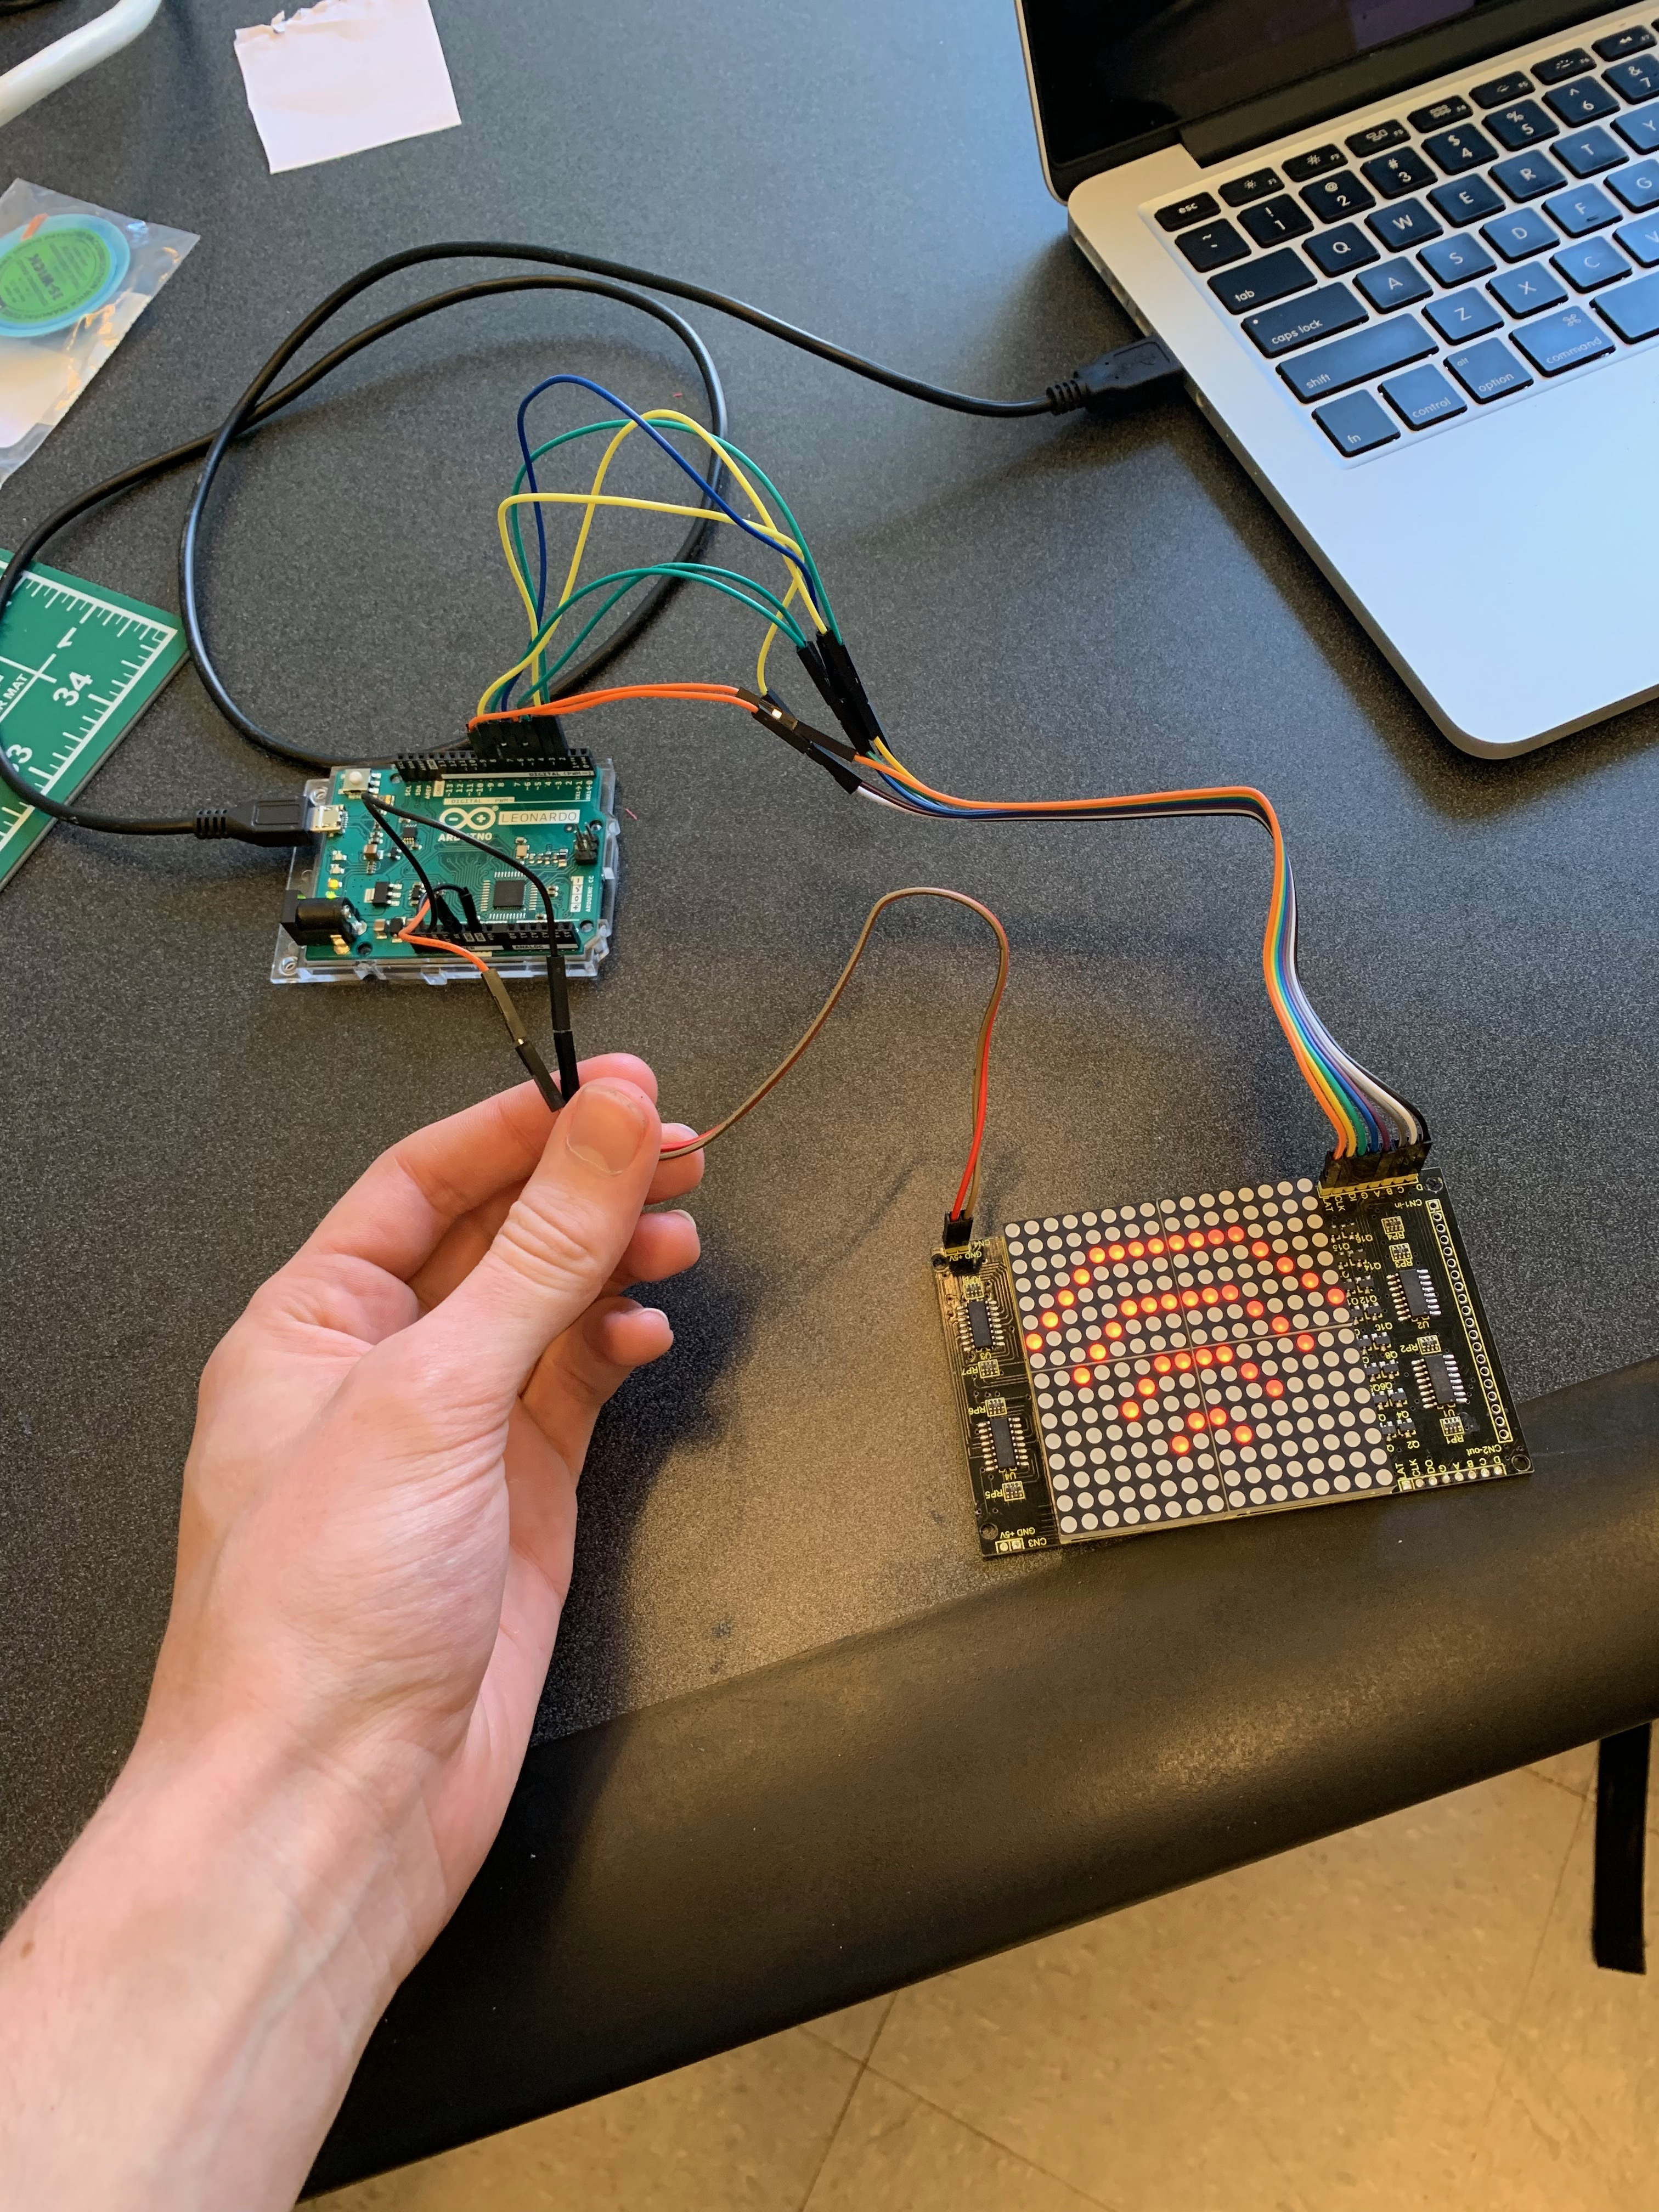
Next, we're going to set up the visualization system using an Arduino Leonardo and KEYESTUDIO 16x16 LED dot matrix display. This is to output the classification model's prediction of detected sounds. As before, we've provided all required files both here and in the project's GitHub repository.
Step 2.1: Wire the Arduino and LED matrix according to the diagram above. KEYESTUDIO includes wires to connect to their dot matrix, but breadboard jumper wires will be needed to connect these wires to the Arduino
Step 2.2: Open "arduino_listener.ino" using the Ardunio IDE and upload it to the Leonardo. If wired correctly, you should see the "listening" icon (looks like Wi-Fi) as shown in the above image.
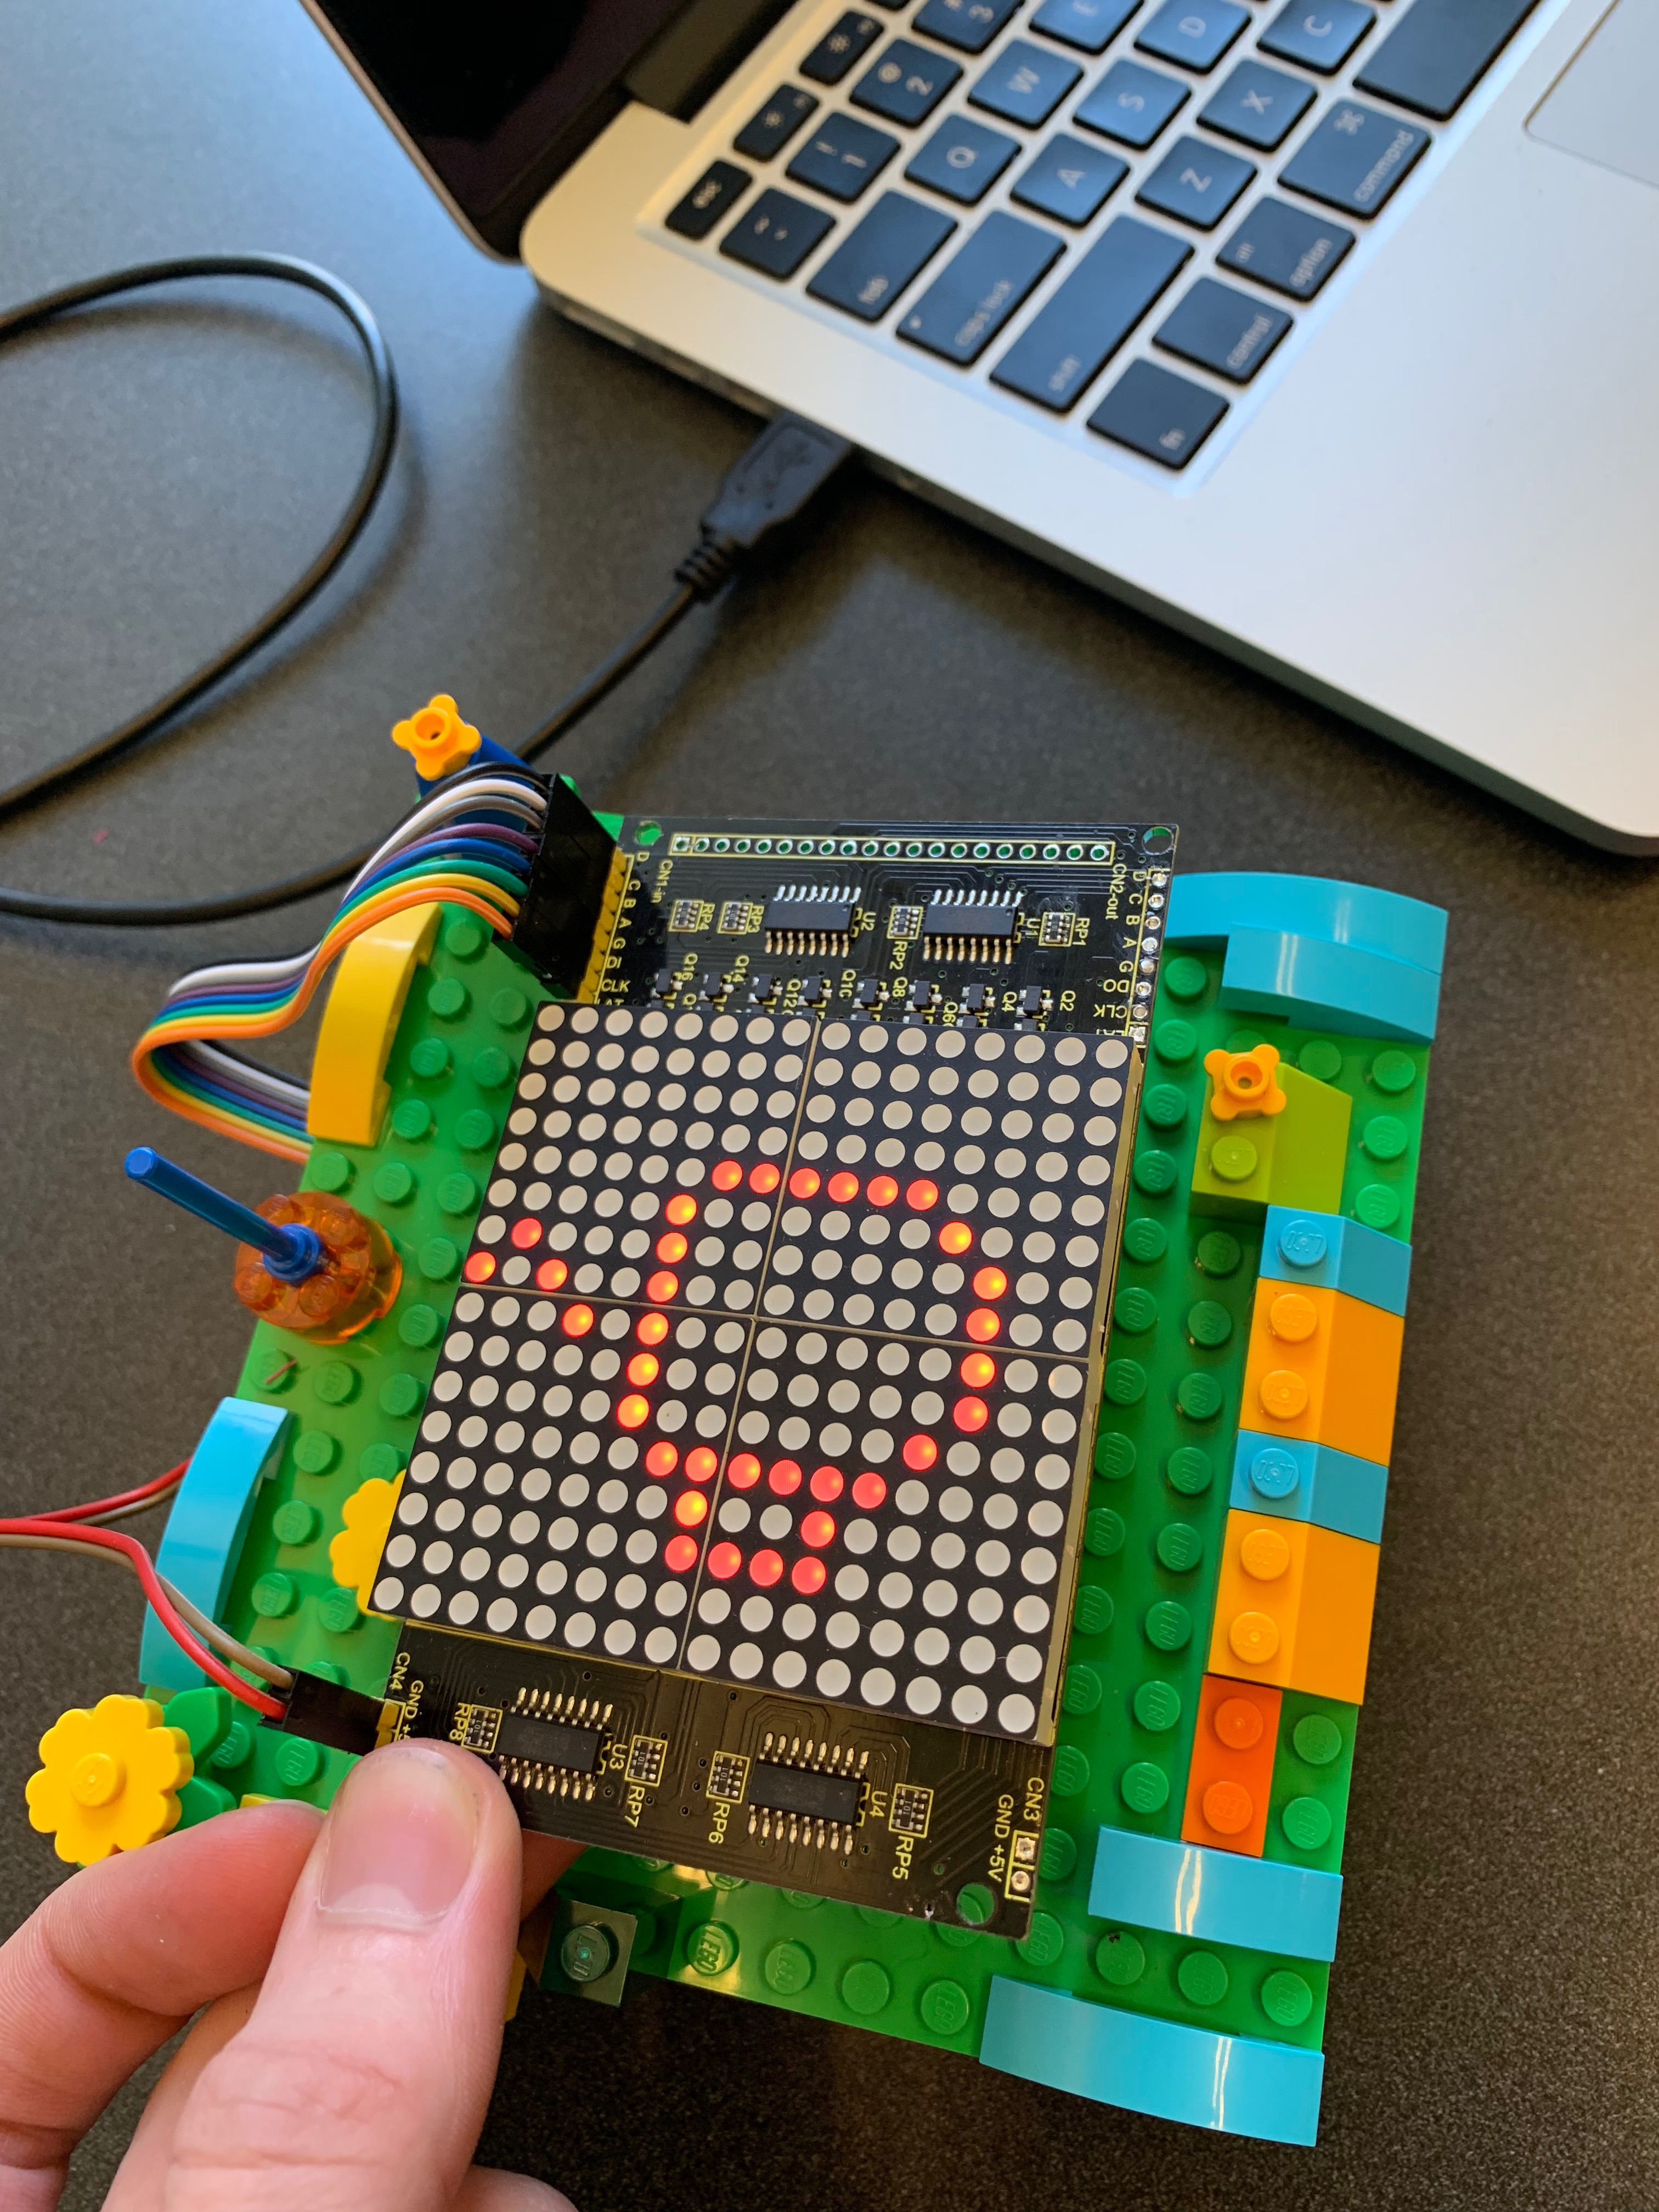
Step 2.3: Prepare the icons you'd like to display for each of your target sounds. To know which LEDs to light up, the icon must be sent from the Arduino to the matrix as a byte array. For example, our coffee cup icon (in image above) is sent to the matrix in this format:
{
0xff,0xff,0xff,0xff,0xfc,0xfb,0xbb,0x5b,0xeb,0xfb,0xfb,0xfc,0xfe,0xfe,0xff,0xff,0xff,0xff,0xff,0xff,0x0f,0xf7,0xfb,0xfb,0xfb,0xfb,0xf7,0x0f,0xdf,0x1f,0xff,0xff
};
We drew our icons using the Dot2Pic online tool, with 16 columns, 16 rows, and "monochromatic, 8 pixels per byte, vertical setting" selected from the dropdown menu. Ours can be found in the "sample_icon_bytes.txt" array.
NOTE: There may also be online tools that can do this automatically with uploaded files.
Step 2.4: Draw each icon. When finished drawing, select "Convert to the array".
Step 2.5: Replace unneeded icons defined at the top of the "arduino_listening.ino" code as desired. Be sure to add a comment describing the icon so you remember which is which!
Step 2.6: Upload the new code to the Arduino. Don't close the file just yet, we'll need it for the next step.
Running the Classifier and Identifying Sounds
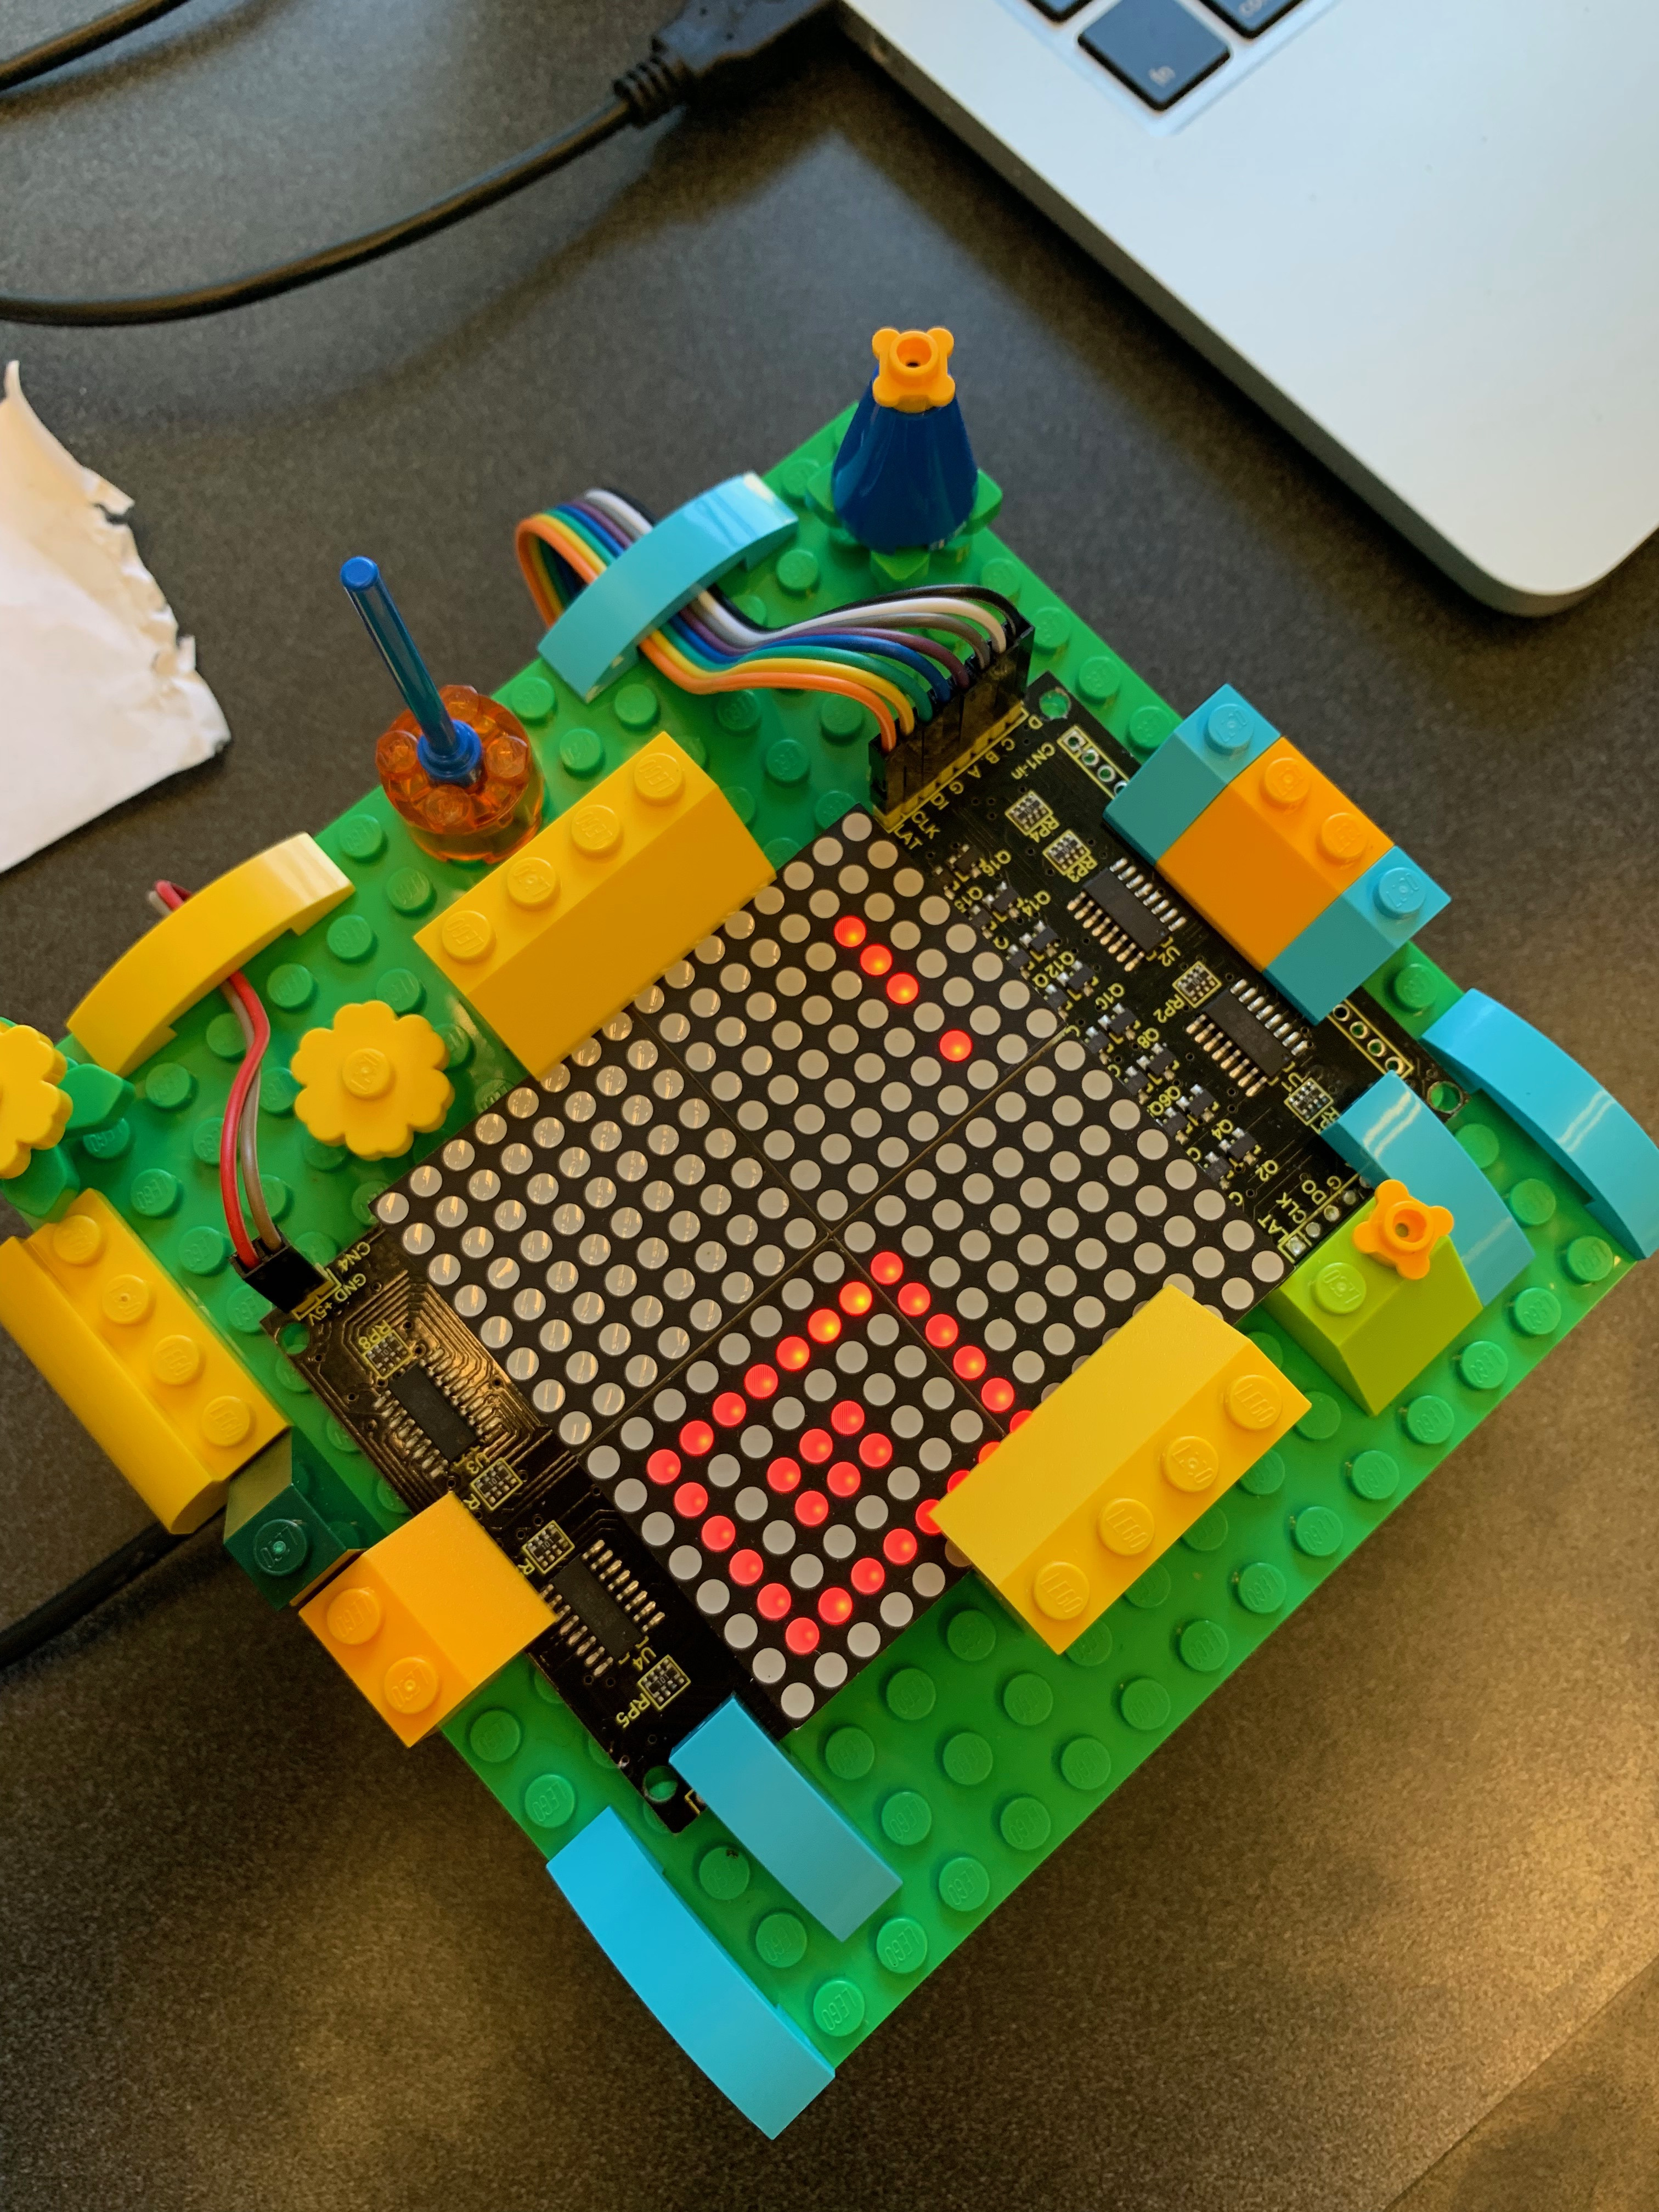

Now it's time to put the system together. The classification pipeline, Arduino communication, and live audio capture is all done through a single Arduino notebook, which has been provided here or can be accessed through our project's GitHub repository.
Step 3.1: Copy the FullPipeline.ipynb notebook to your working Jupyter Notebook directory and open it.
Step 3.2: Run each cell one by one, paying attention to any notes we've provided in the headings. No output is expected. Stop when you reach the cell titled "Load the Training Data".
Step 3.3: Edit the SAMPLES_LOCATION_ROOT variable in the "Load the Training Data" cell to the parent directory of your earlier sample directory's location. Then, change the SAMPLES_DIR_NAME variable to the name of your directory. So if you had set the location in CollectSamples.ipynb to:
SAMPLES_LOCATION = "/Users/xxxx/Documents/KitchenSoundClassifier/MySamples/NewDir"
You would now set these variables to:
SAMPLES_LOCATION_ROOT = "/Users/xxxx/Documents/KitchenSoundClassifier/MySamples/"<br>SAMPLES_DIR_NAME = "NewDir"
We did this allow rapid changes to the classifier in cases of inaccuracy. You can switch between different sample collections to tune your data.
Step 3.4: Evaluate the cell. You should see each collection loaded in successfully.
Step 3.5: Continue to run each cell one by one, paying attention to any notes we've provided in the headings.
Step 3.6: Stop when you reach the "Messaging Arduino" cell. Define the serial port your computer will be using for communication with the Arduino in the PORT_DEF variable. This can be found in the Arduino IDE and going to Tools > Port.
More information can be found here.
Step 3.8: Reopen your Arduino IDE. In places where you made changes to the icons, make a note of the letter next to the array value, but DO NOT change it. In the example below, this is "g".
// garbage disposal<br>const unsigned char  g[1][32] =
{
0xff,0xff,0xff,0xff,0xff,0xff,0xf8,0xf7,0xf7,0xfb,0xff,0xfe,0xfd,0xfb,0xff,0xff,0xff,0xff,0xff,0x2f,0x27,0xc3,0x03,0xc3,0x27,0x2f,0xff,0xef,0xdf,0xbf,0xff,0xff,
};
Step 3.7: (Returning to the "Messaging Arduino" cell of the Notebook) Change the labels in the self.sounds dictionary to match the labels you used in recording your samples, making sure each label corresponds to the single letter you noted in the previous step. "Recording" and "Listening" are both part of the core system functionality and shouldn't be changed. DO NOT change the second letter unless you feel confident in making a few extra changes to the Arduino code as well, as it will mess up communication with the Arduino/matrix otherwise.
Step 3.8: Run the main function! The code will grab the training data, extract its key features, feed them
into the pipeline, build a classification model, then start listening for sound events. When it senses one, you'll see the matrix change to a recording symbol (square with circle inside) and it'll segment this data and feed it into the model. Whatever the model predicts will show up a few seconds later on the matrix display.
You can follow along in the cell's output below. See how accurate you can get it!
Downloads
Creating a LEGO Housing
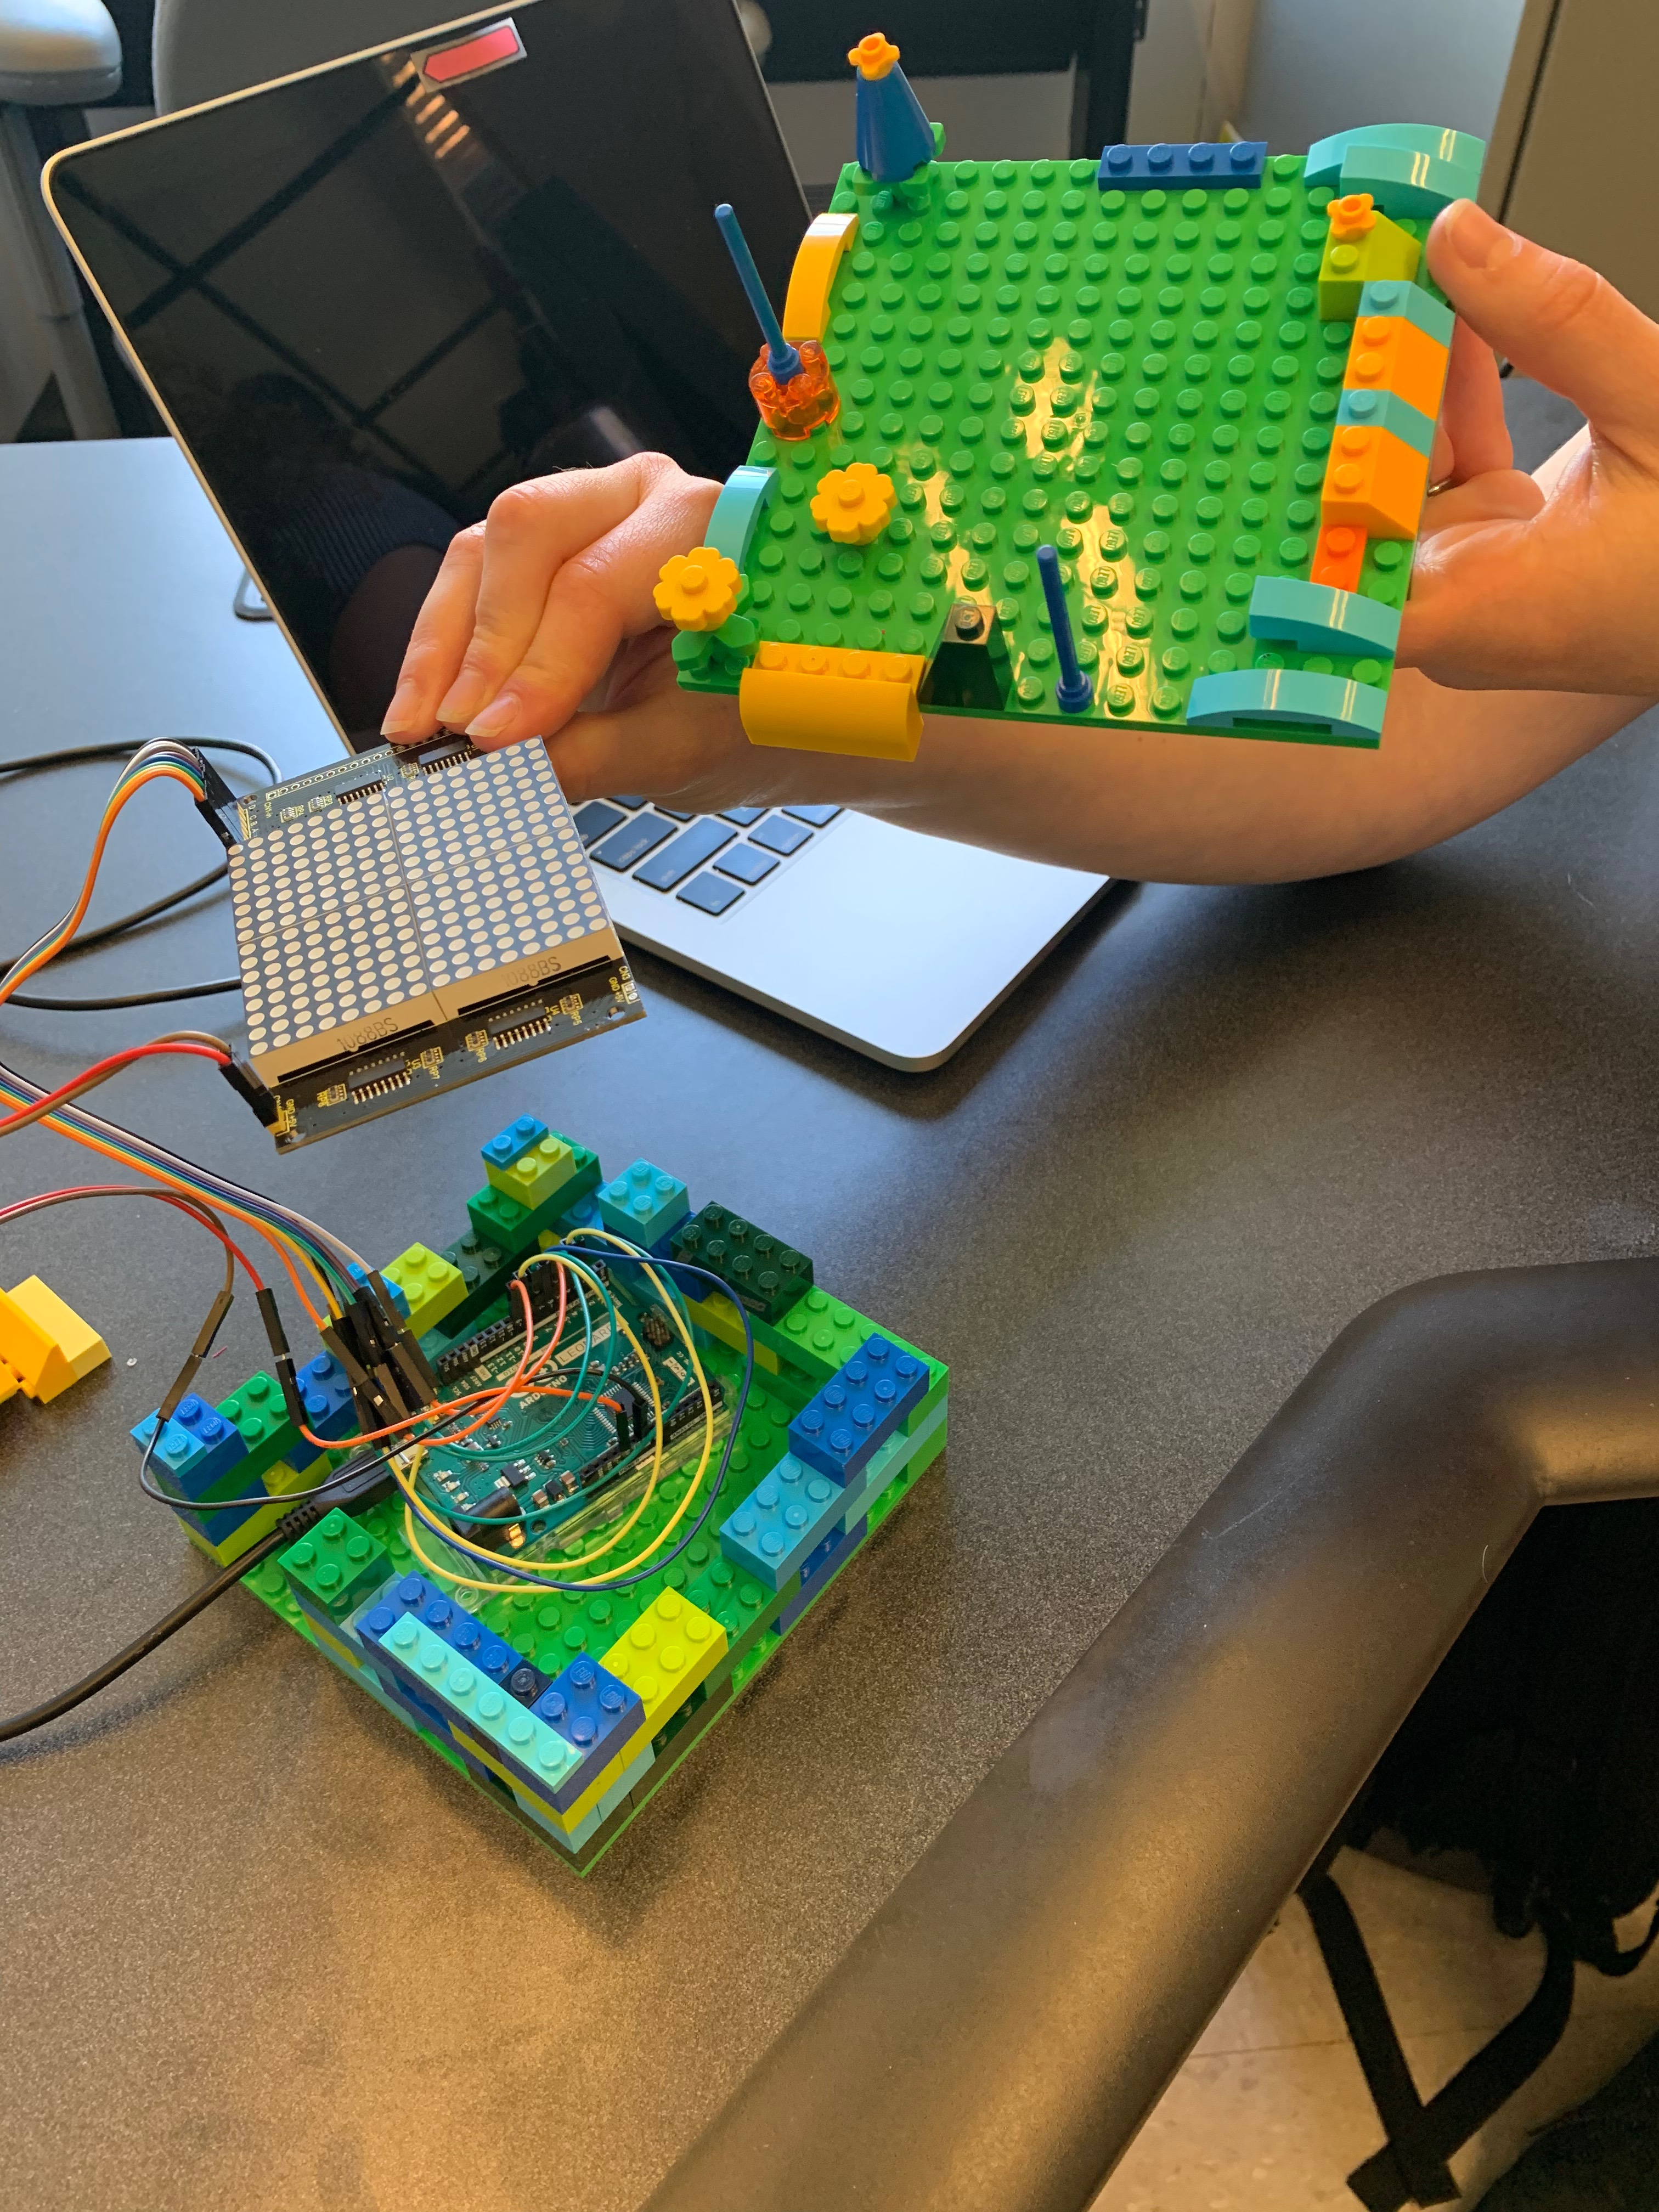

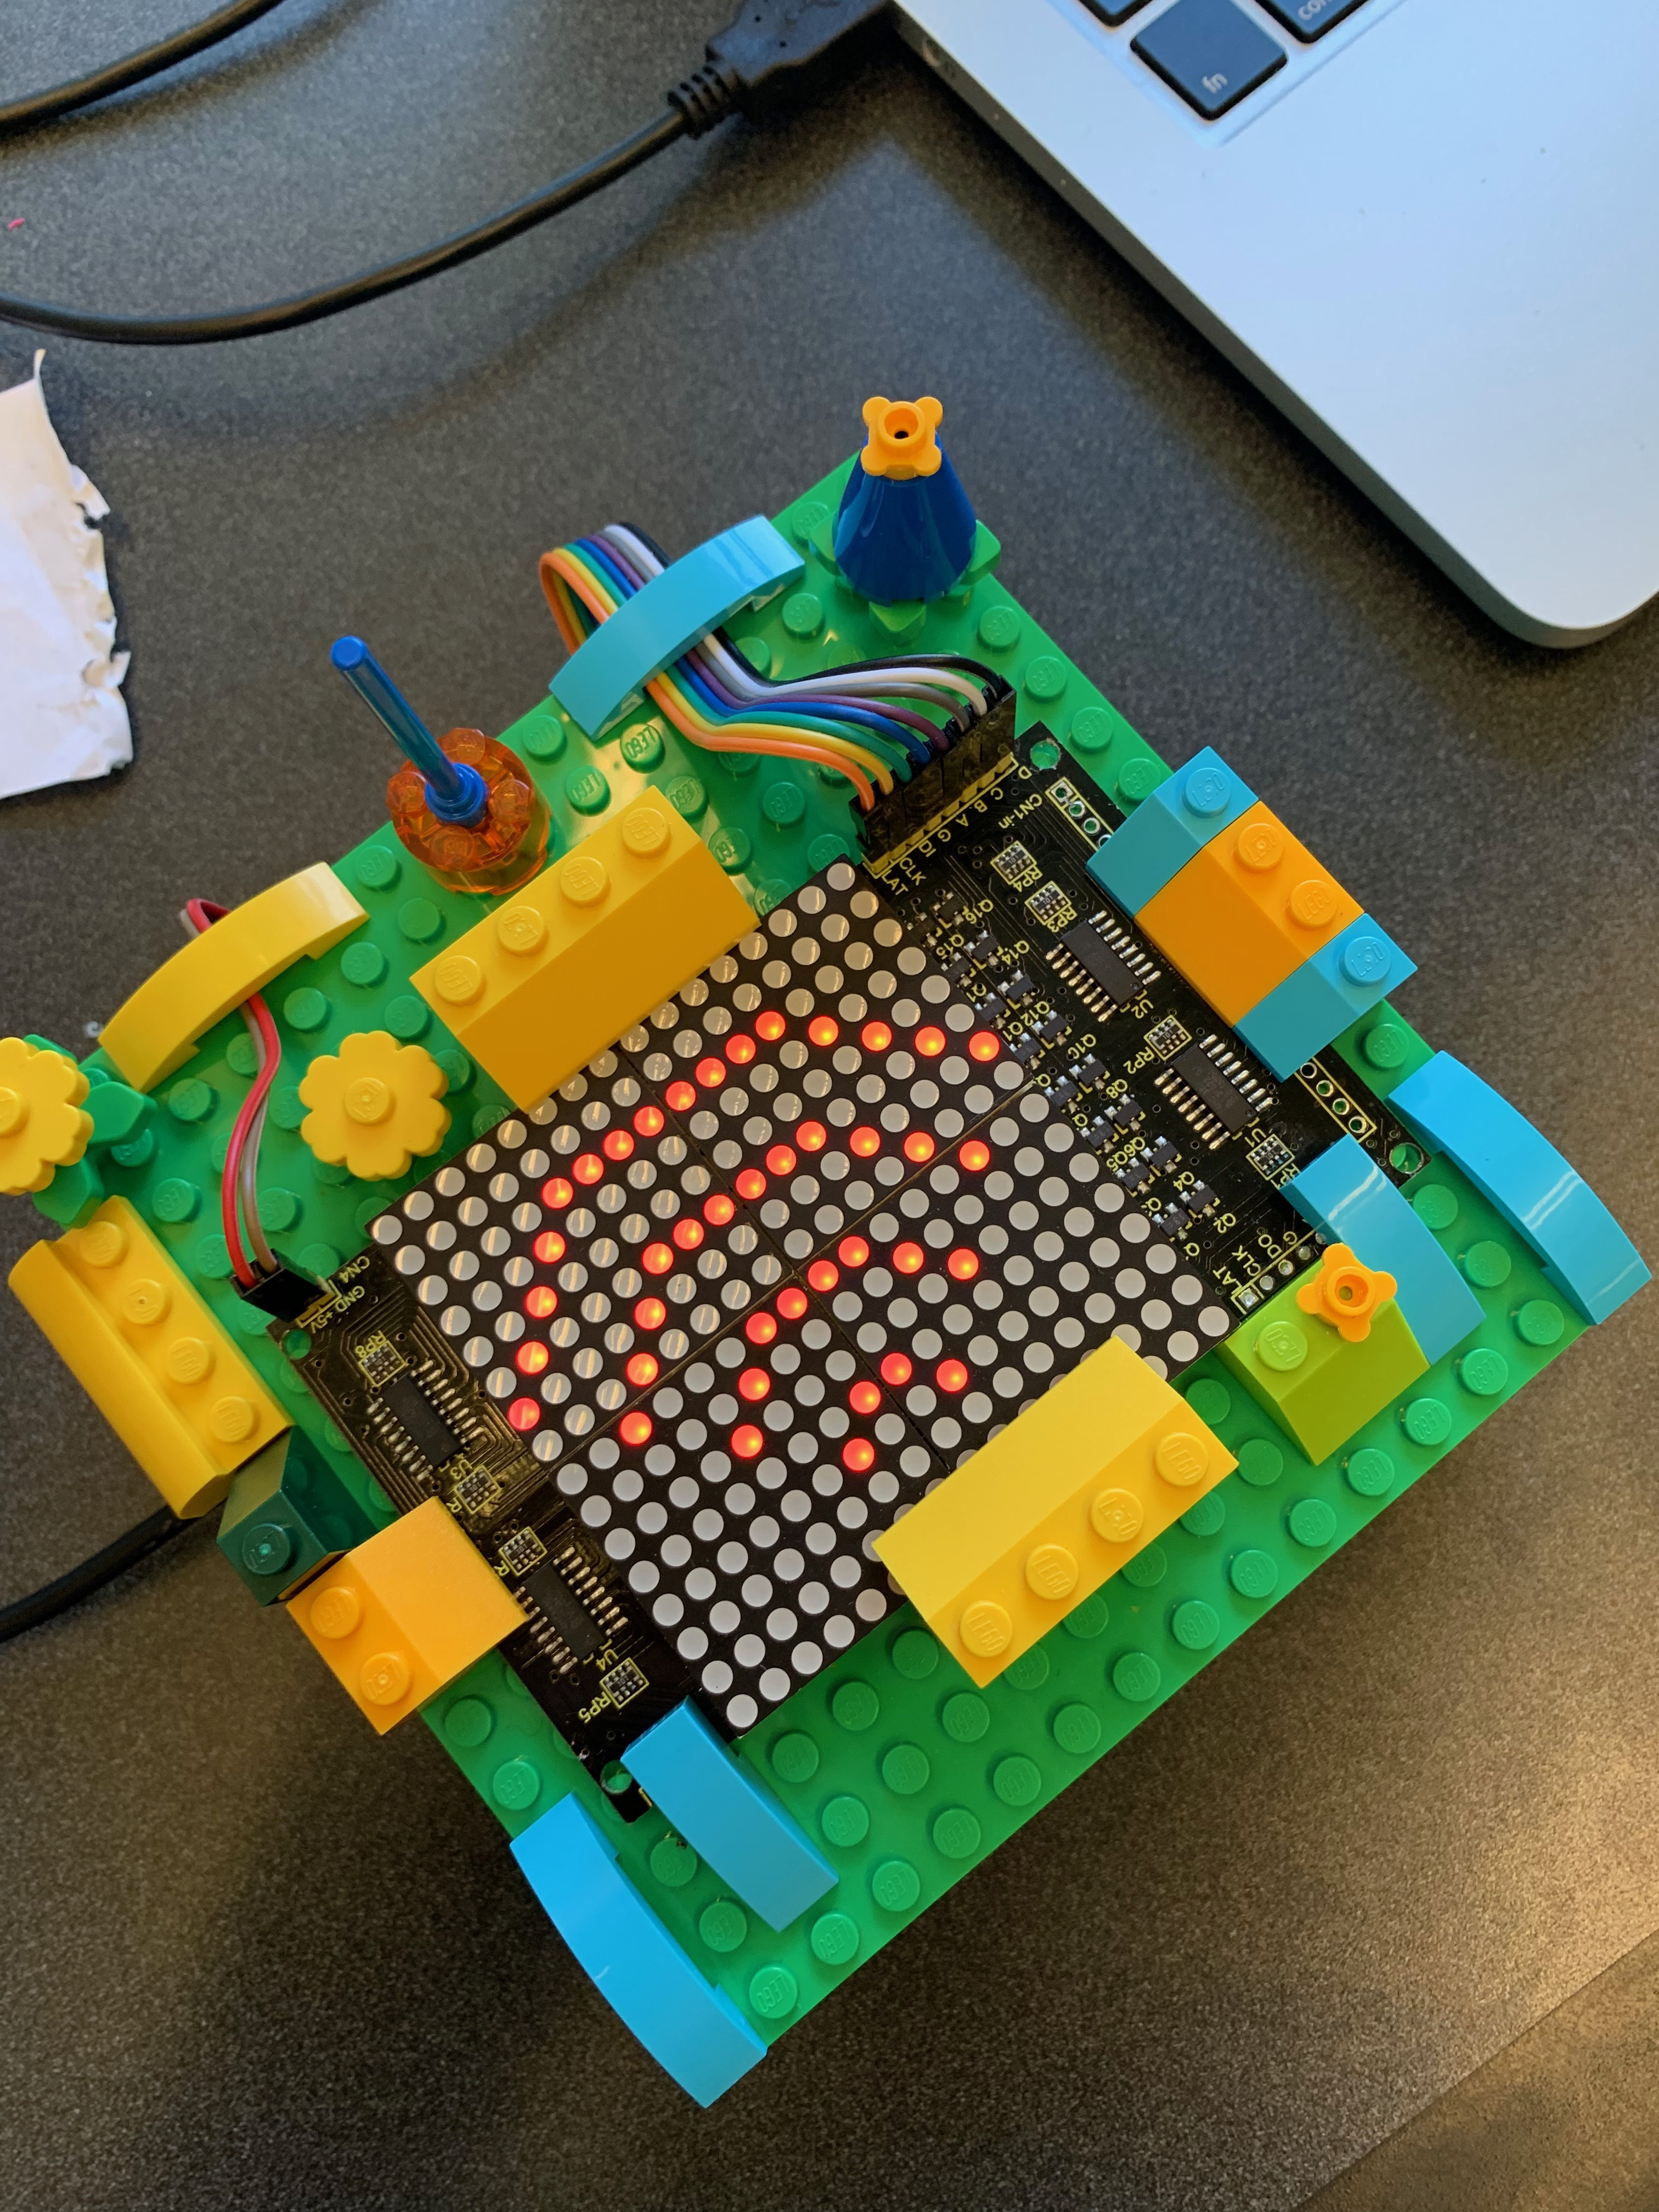
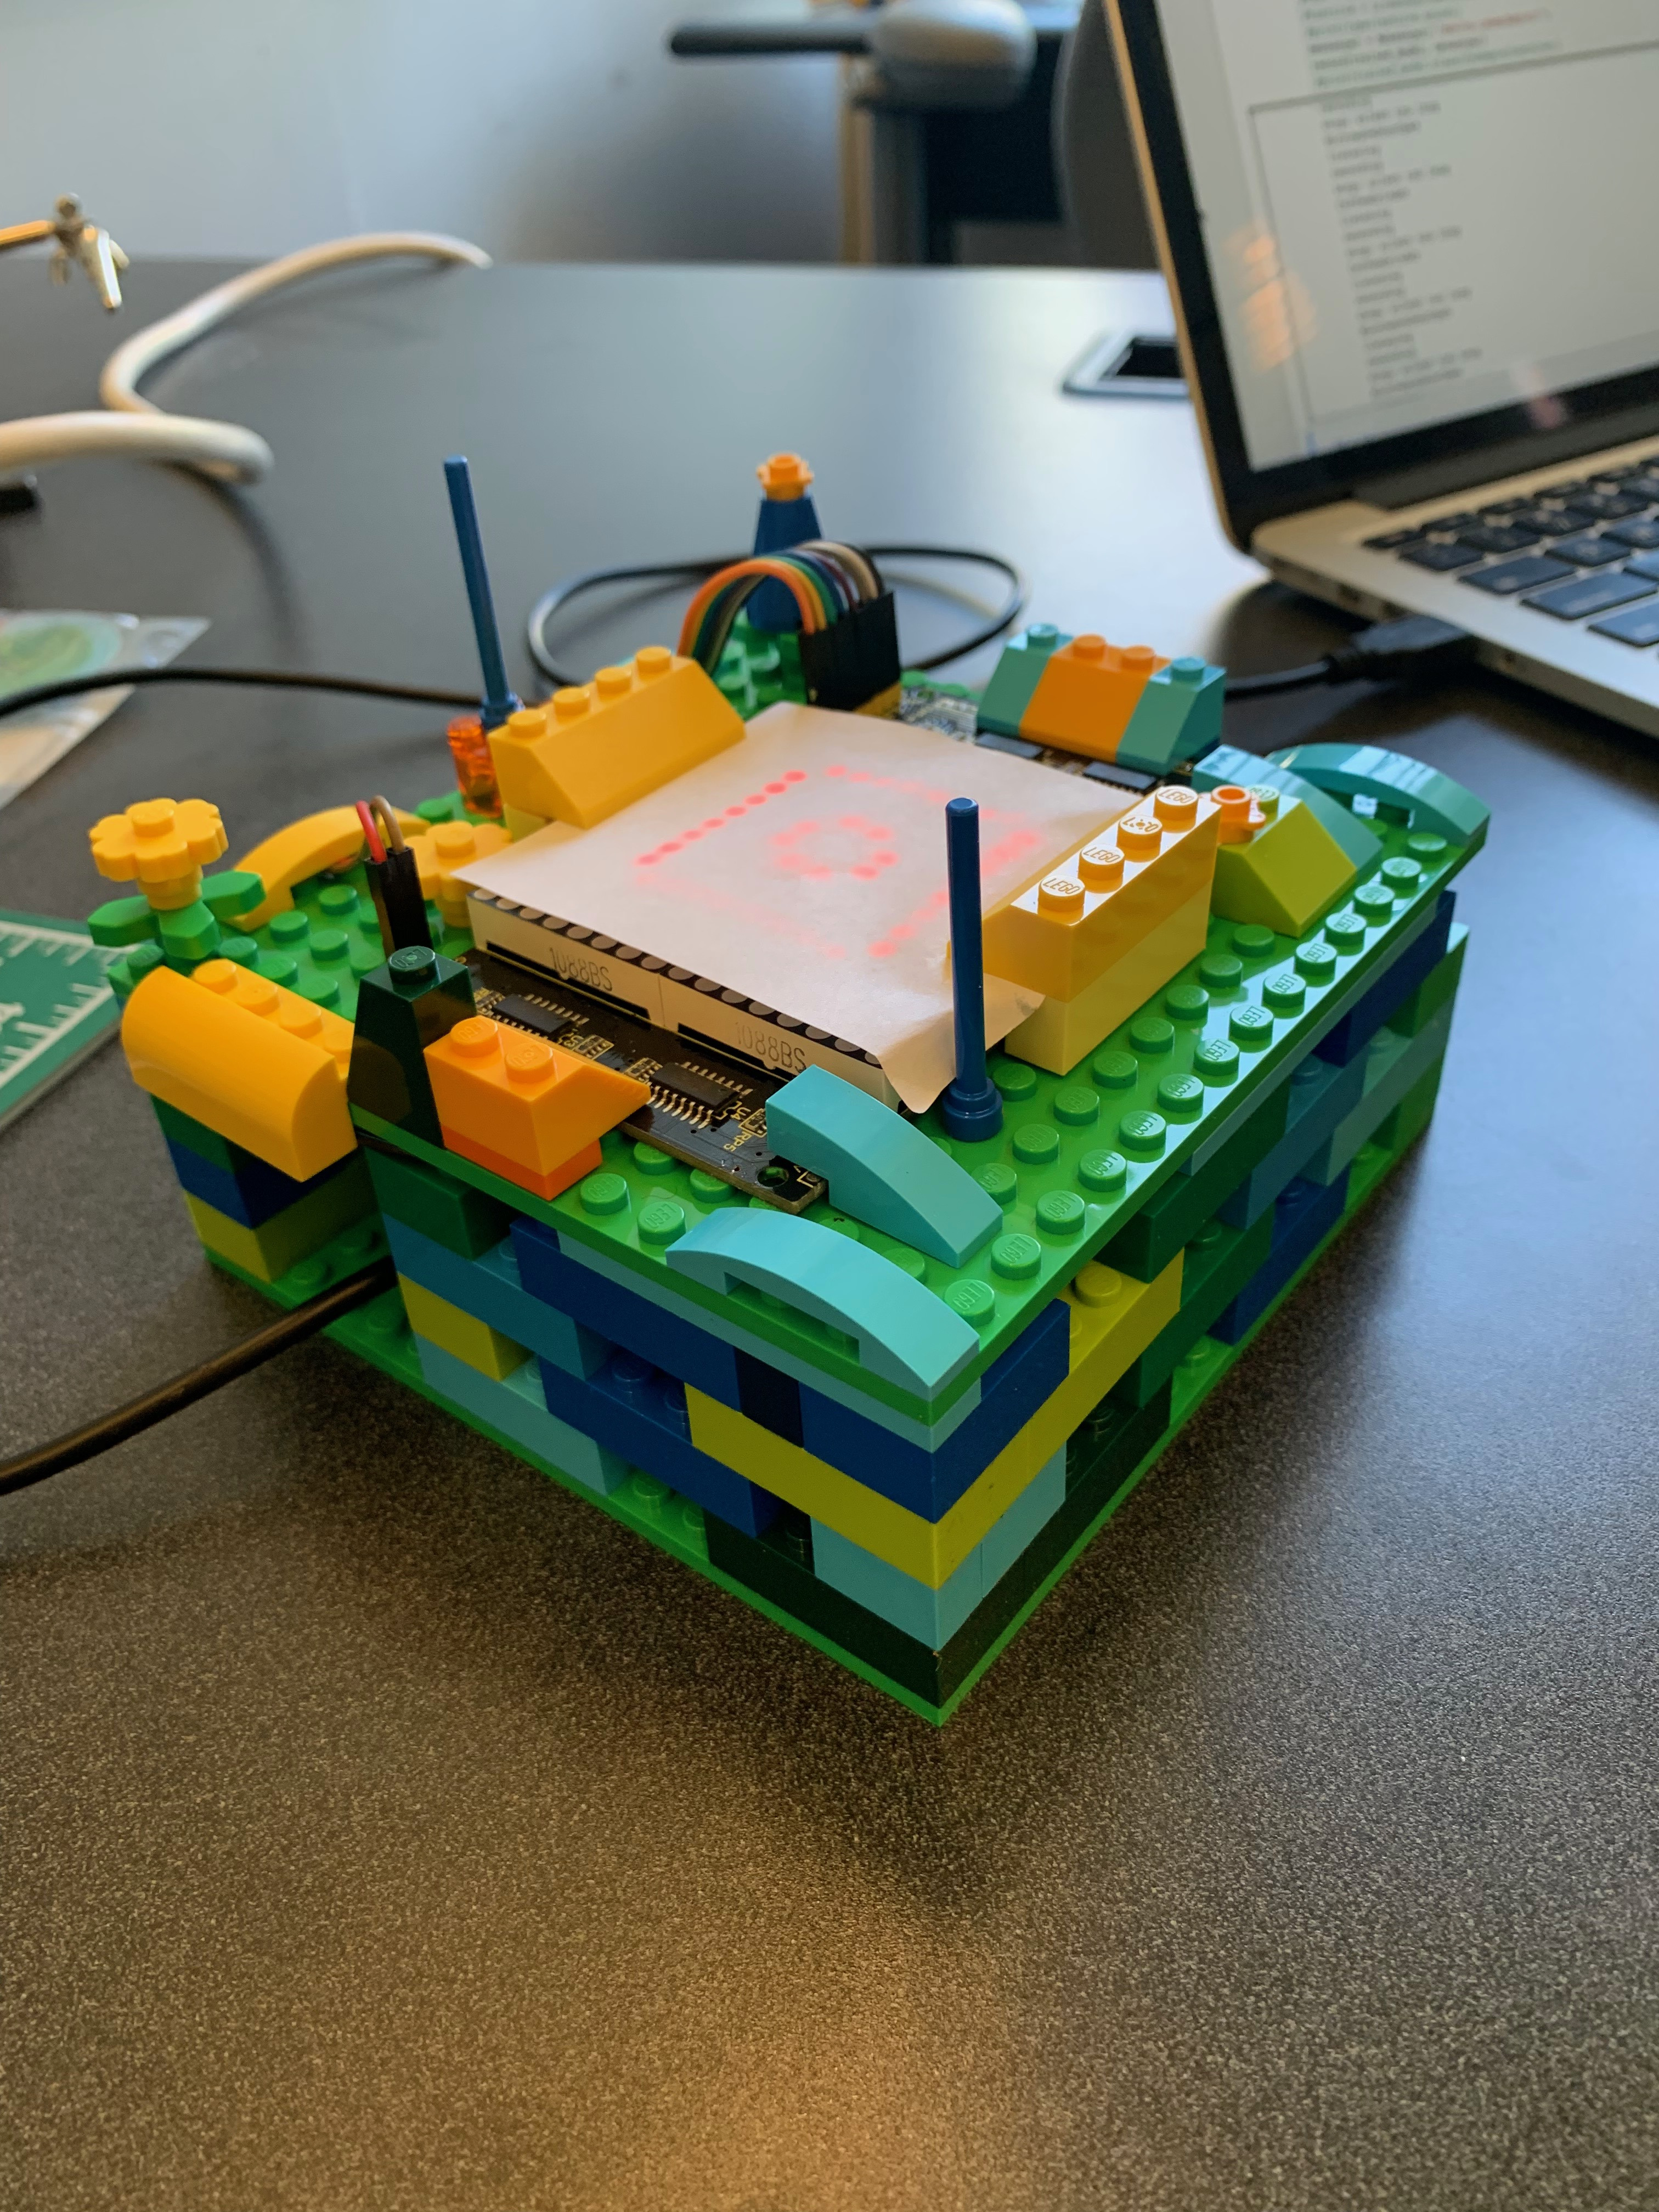
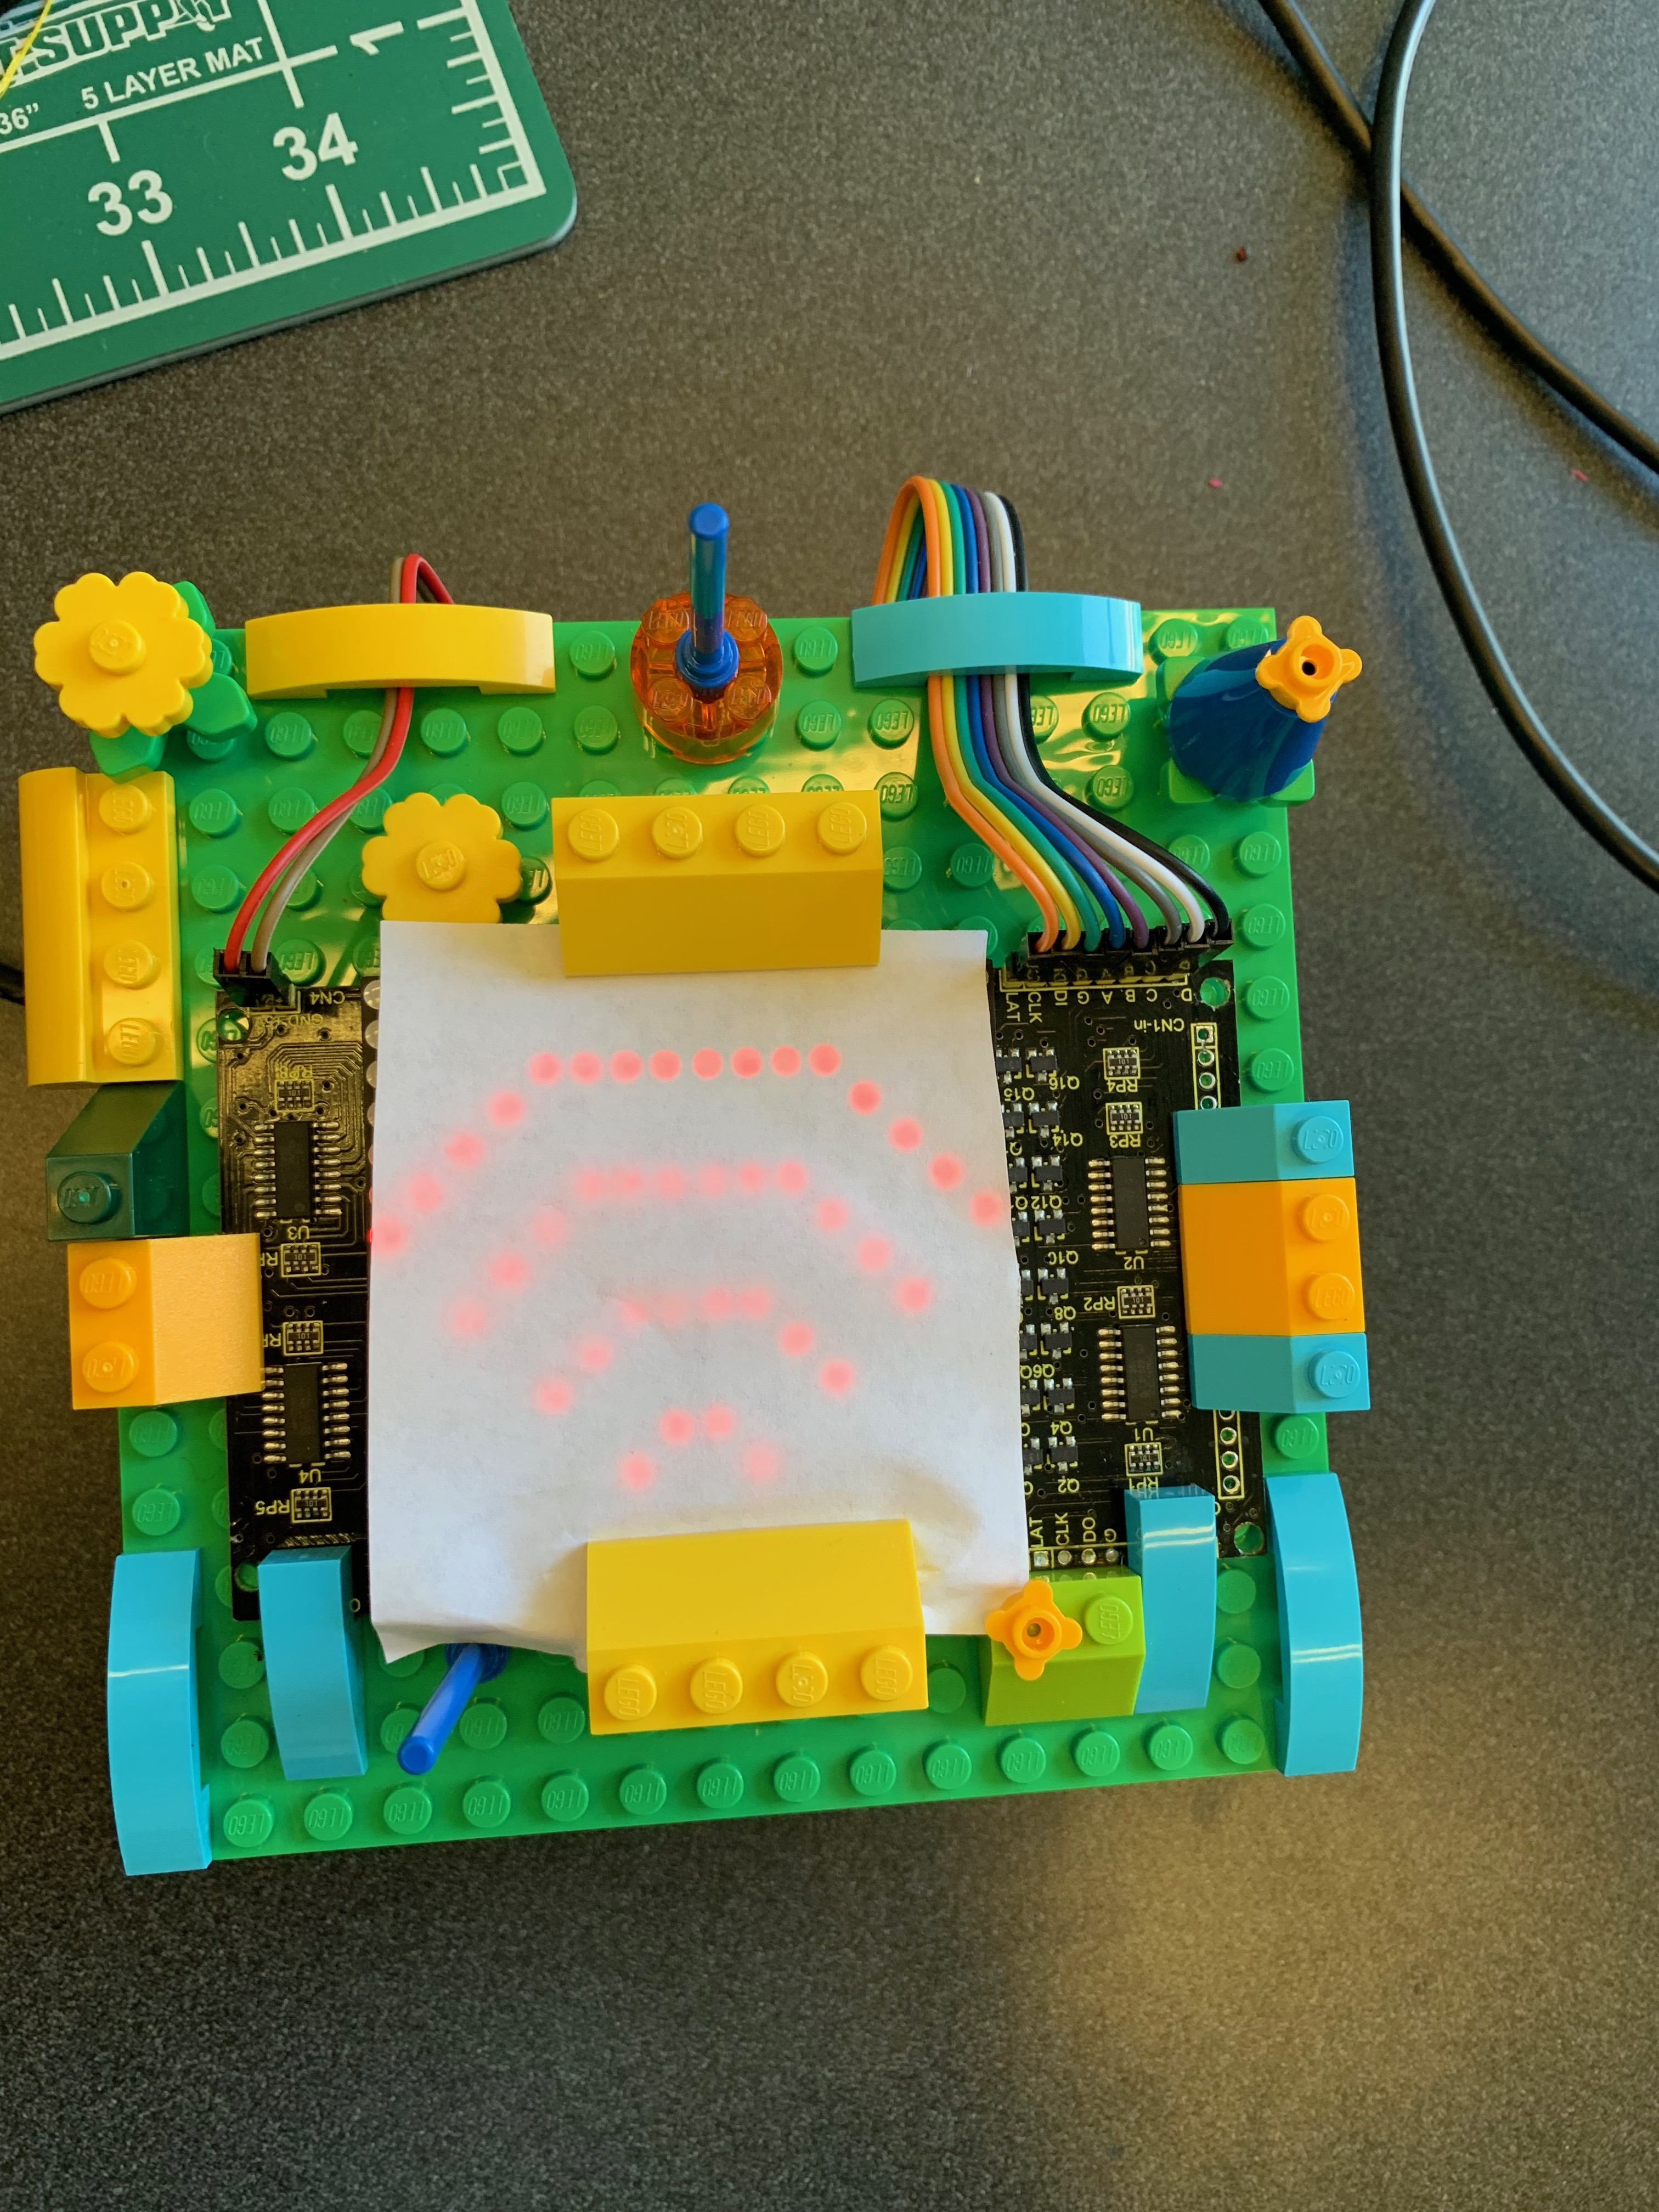
This is the fun part! You've done all of the serious machine learning steps and got the whole end-to-end system up and running, and now you get to play with LEGOs as a reward. There isn't much of a process to detail here. We just added blocks we liked here and there without worrying too much about the overall design, and we ended up happy with the way it turned out.
Allow our pictures to serve as an inspiration for your own creative housing unique to your kitchen. We placed the Arduino and majority of the wiring in a hollow case, then secured the matrix display above with overhangs. We added a bit of paper over the display to diffuse the light slightly which we felt made the icons clearer.