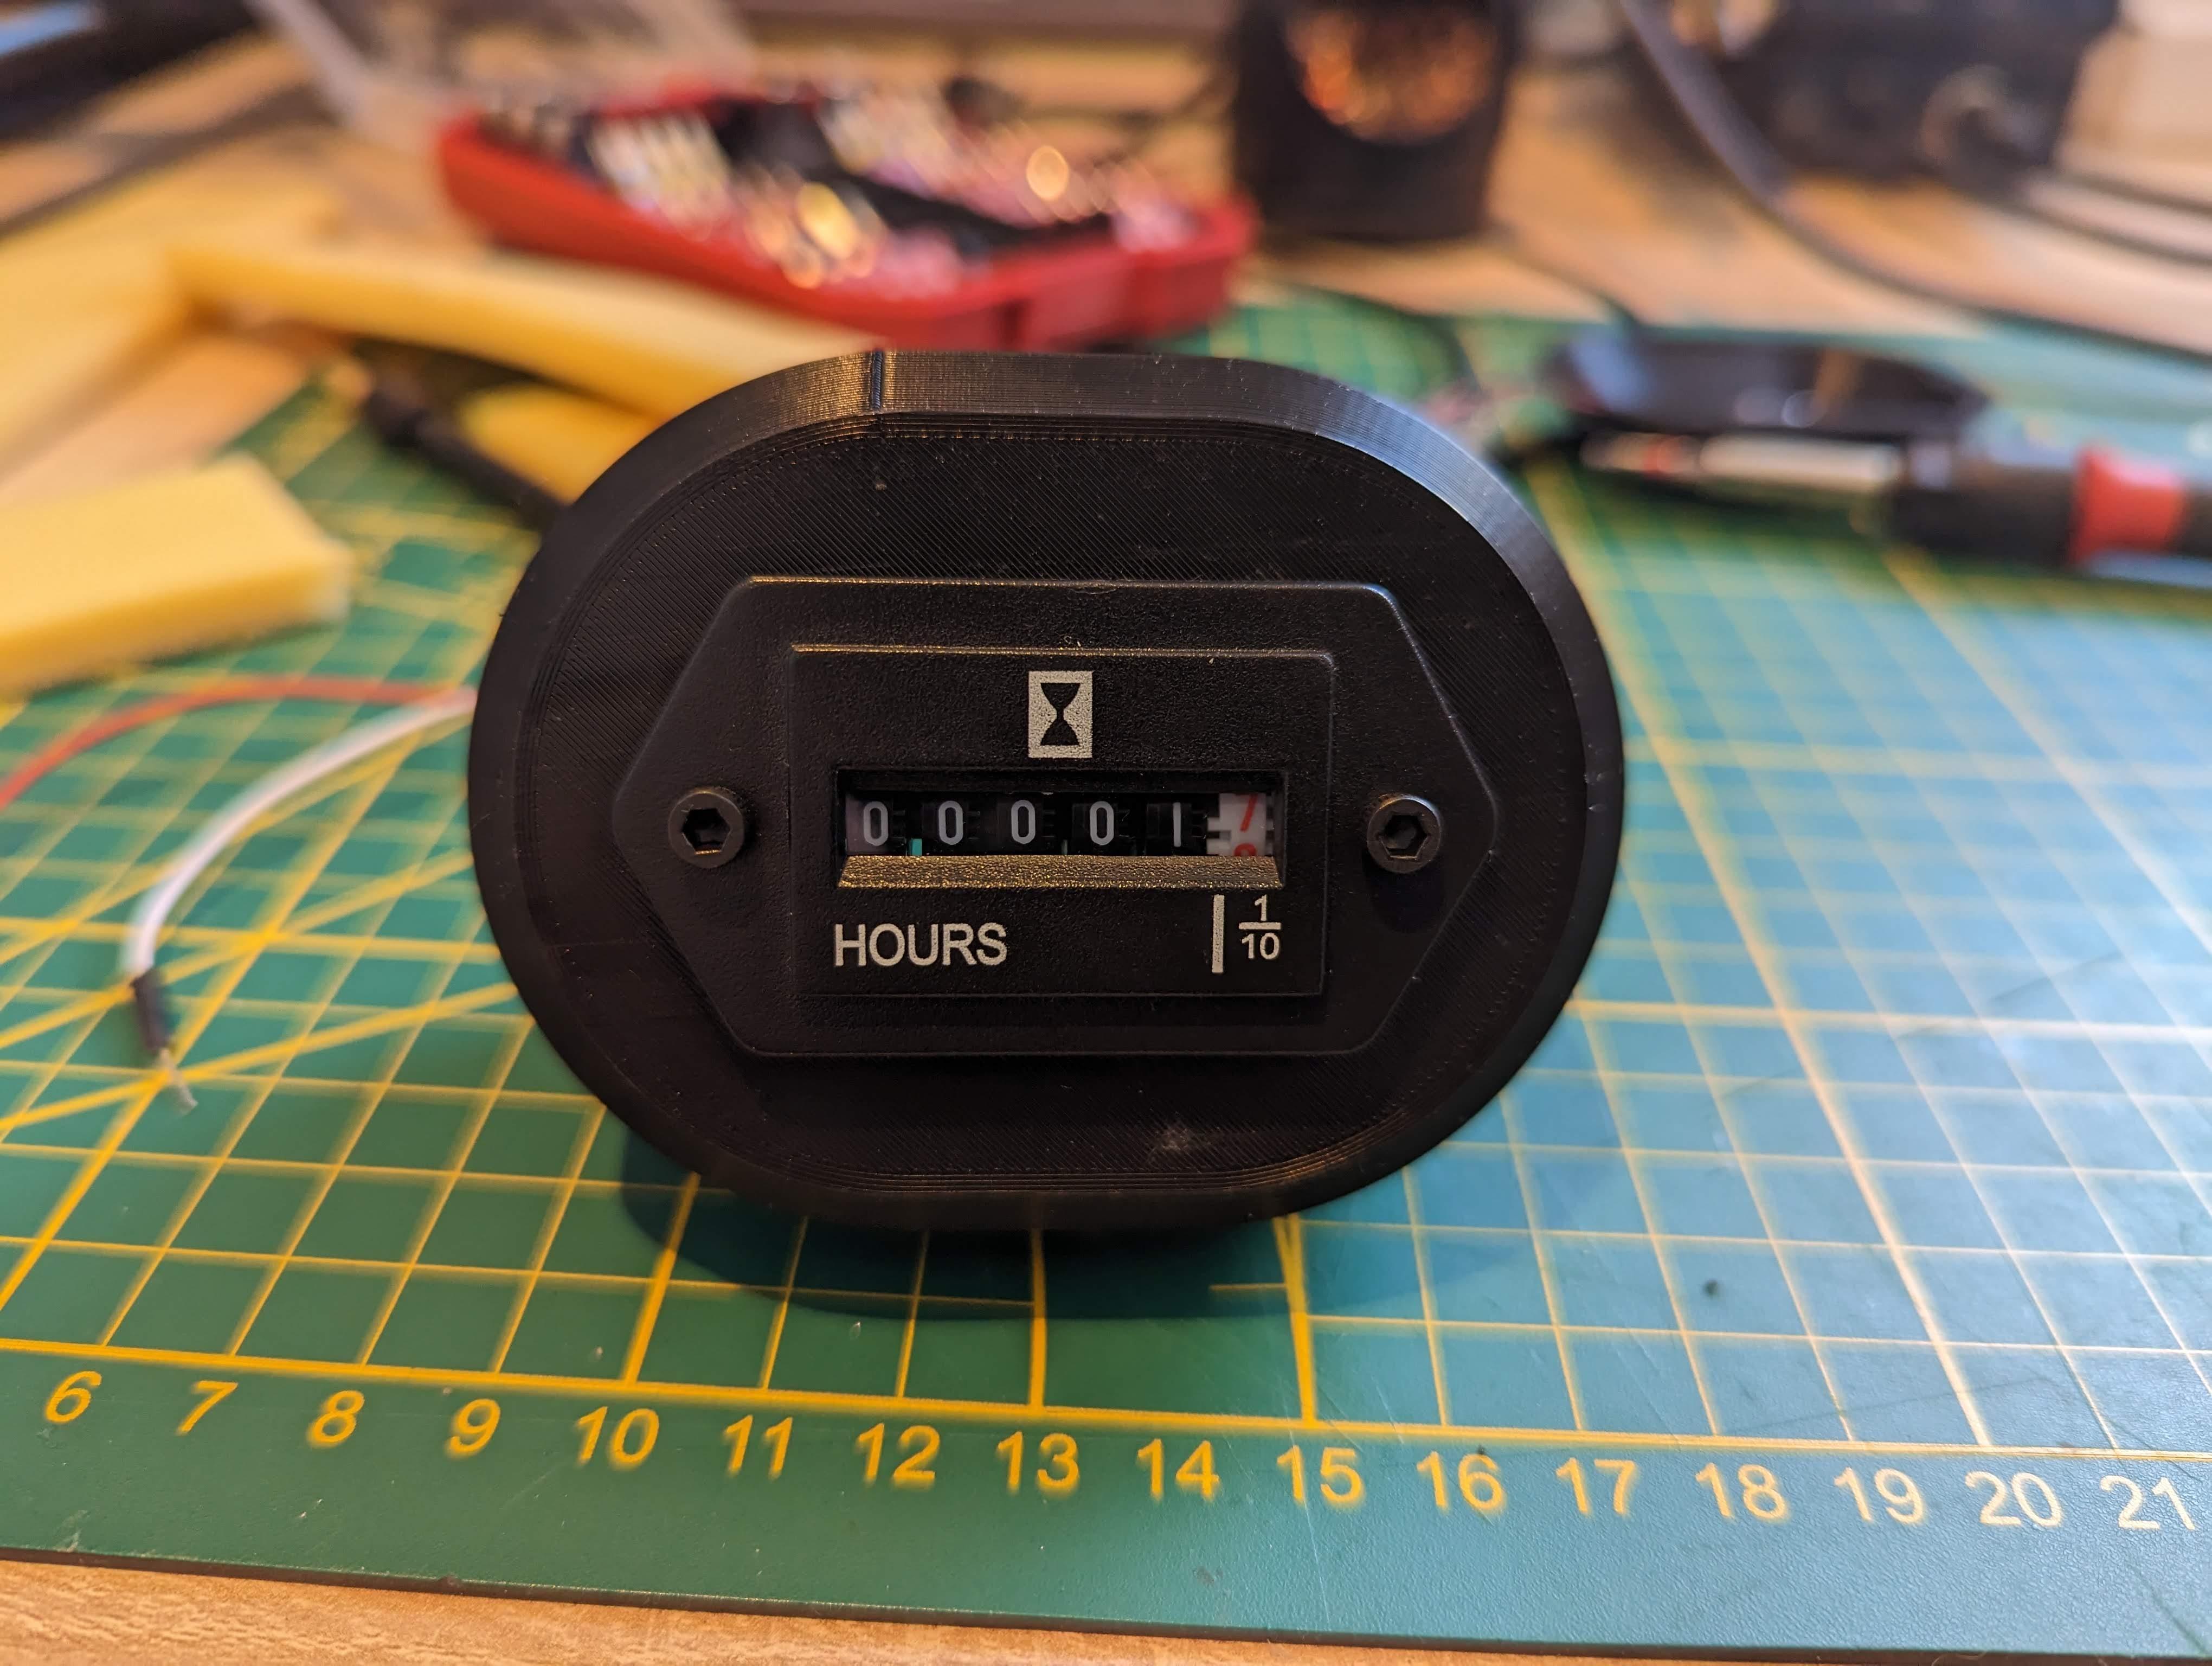
Custom Job Hour Meter Display
.gif)

Hi everyone,
On this Instructables, I will explain how I manage to build a Job Hour Meter using an old hour meter that I hacked using an Arduino Nano.
The idea is to be able to configure on which type of task the hour meter starts running.
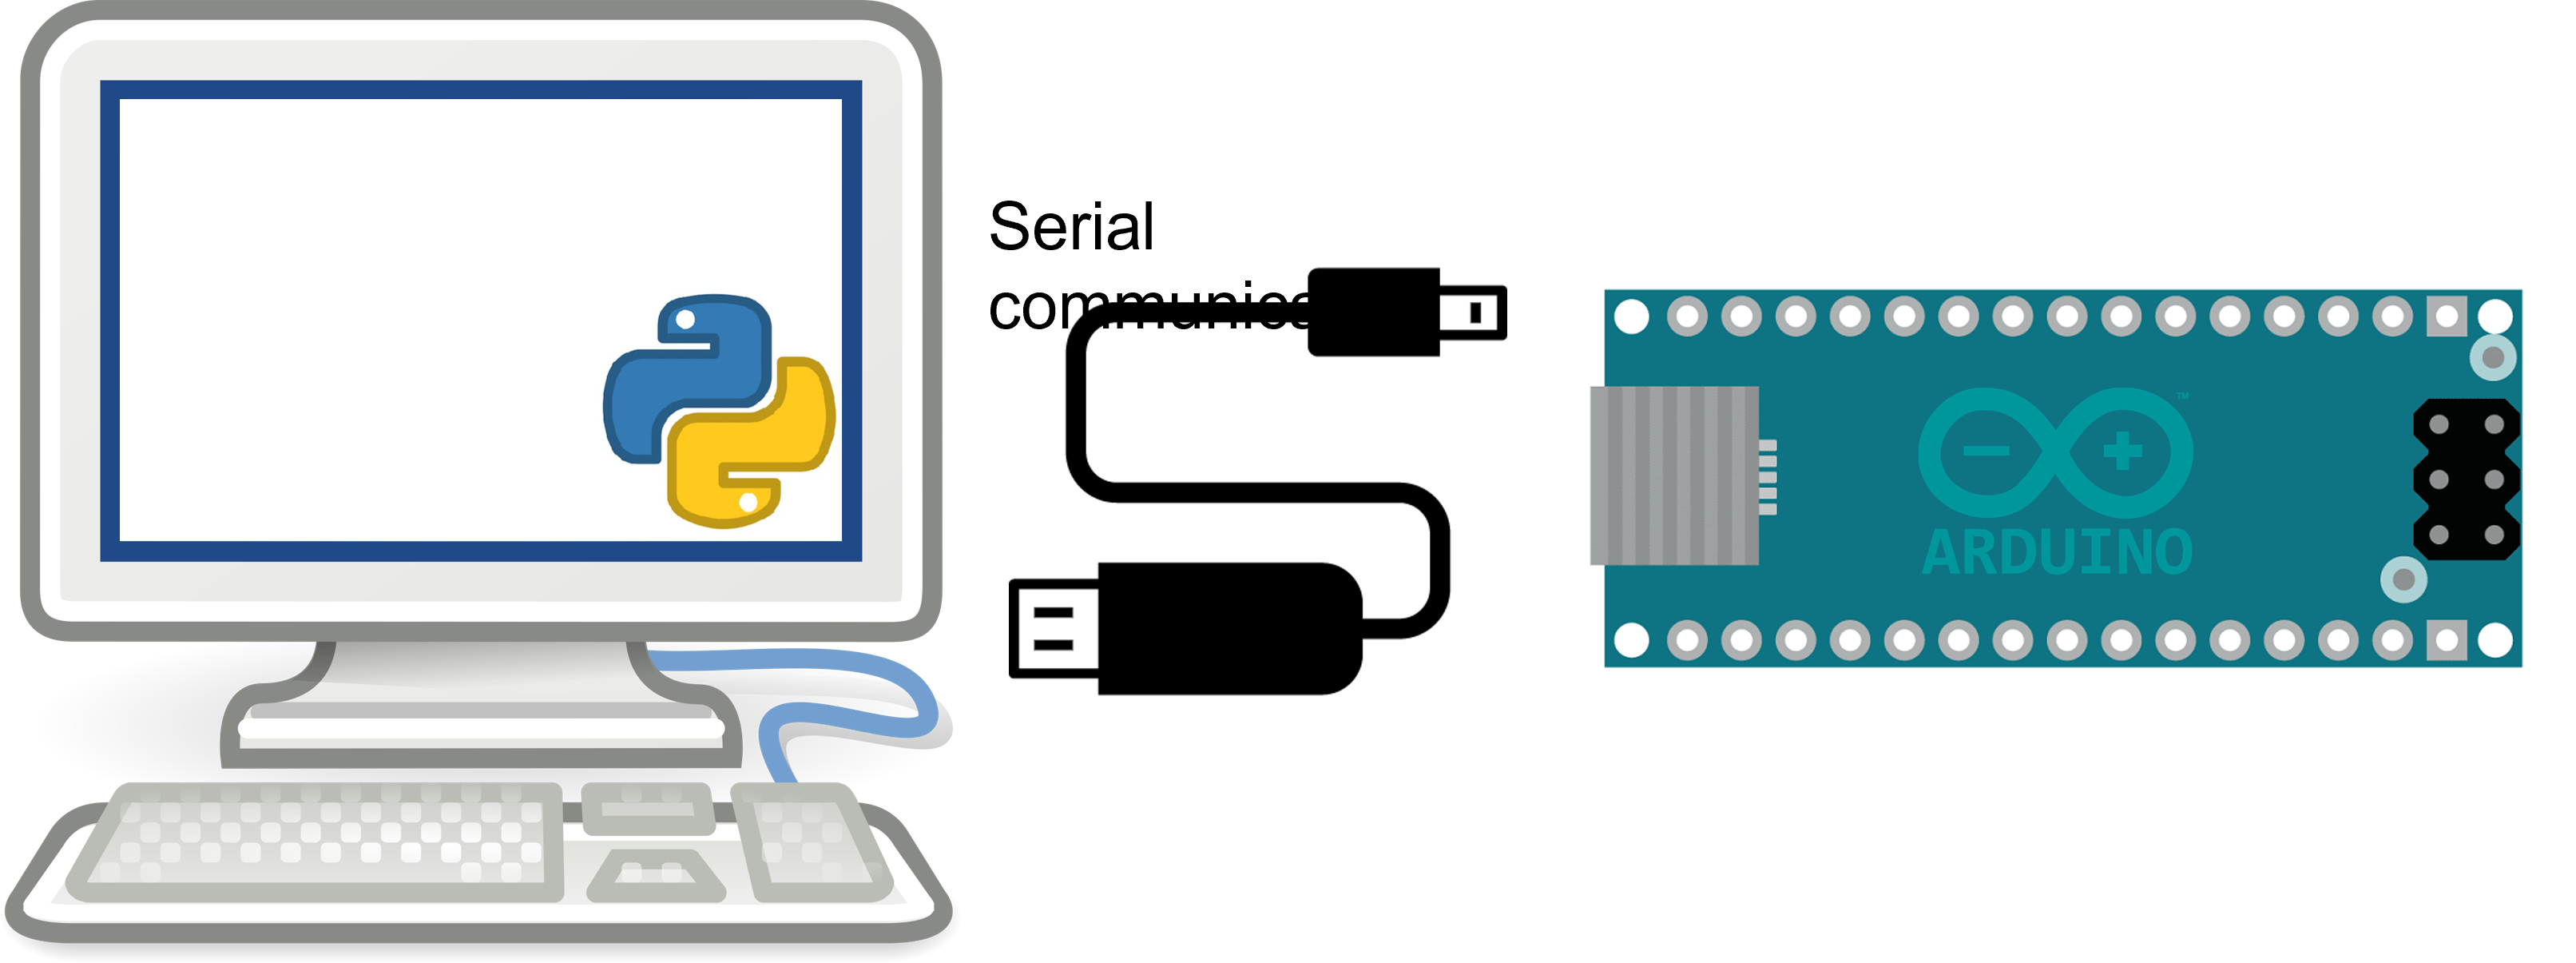
The operation is rather simple, a python script runs in the background of the computer, it sends information through the serial bus and the Arduino Nano interprets them.
It's really nice to have a mechanical display, it allows you to better understand the hours you spend doing something. In my case, I configure them to track in real time the hours that I "waste" playing League of Legends.
Follow the steps below if you want to make yourself a custom Job Hour Meter.
Supplies

To make the custom Job Hour Meter Display, you need :
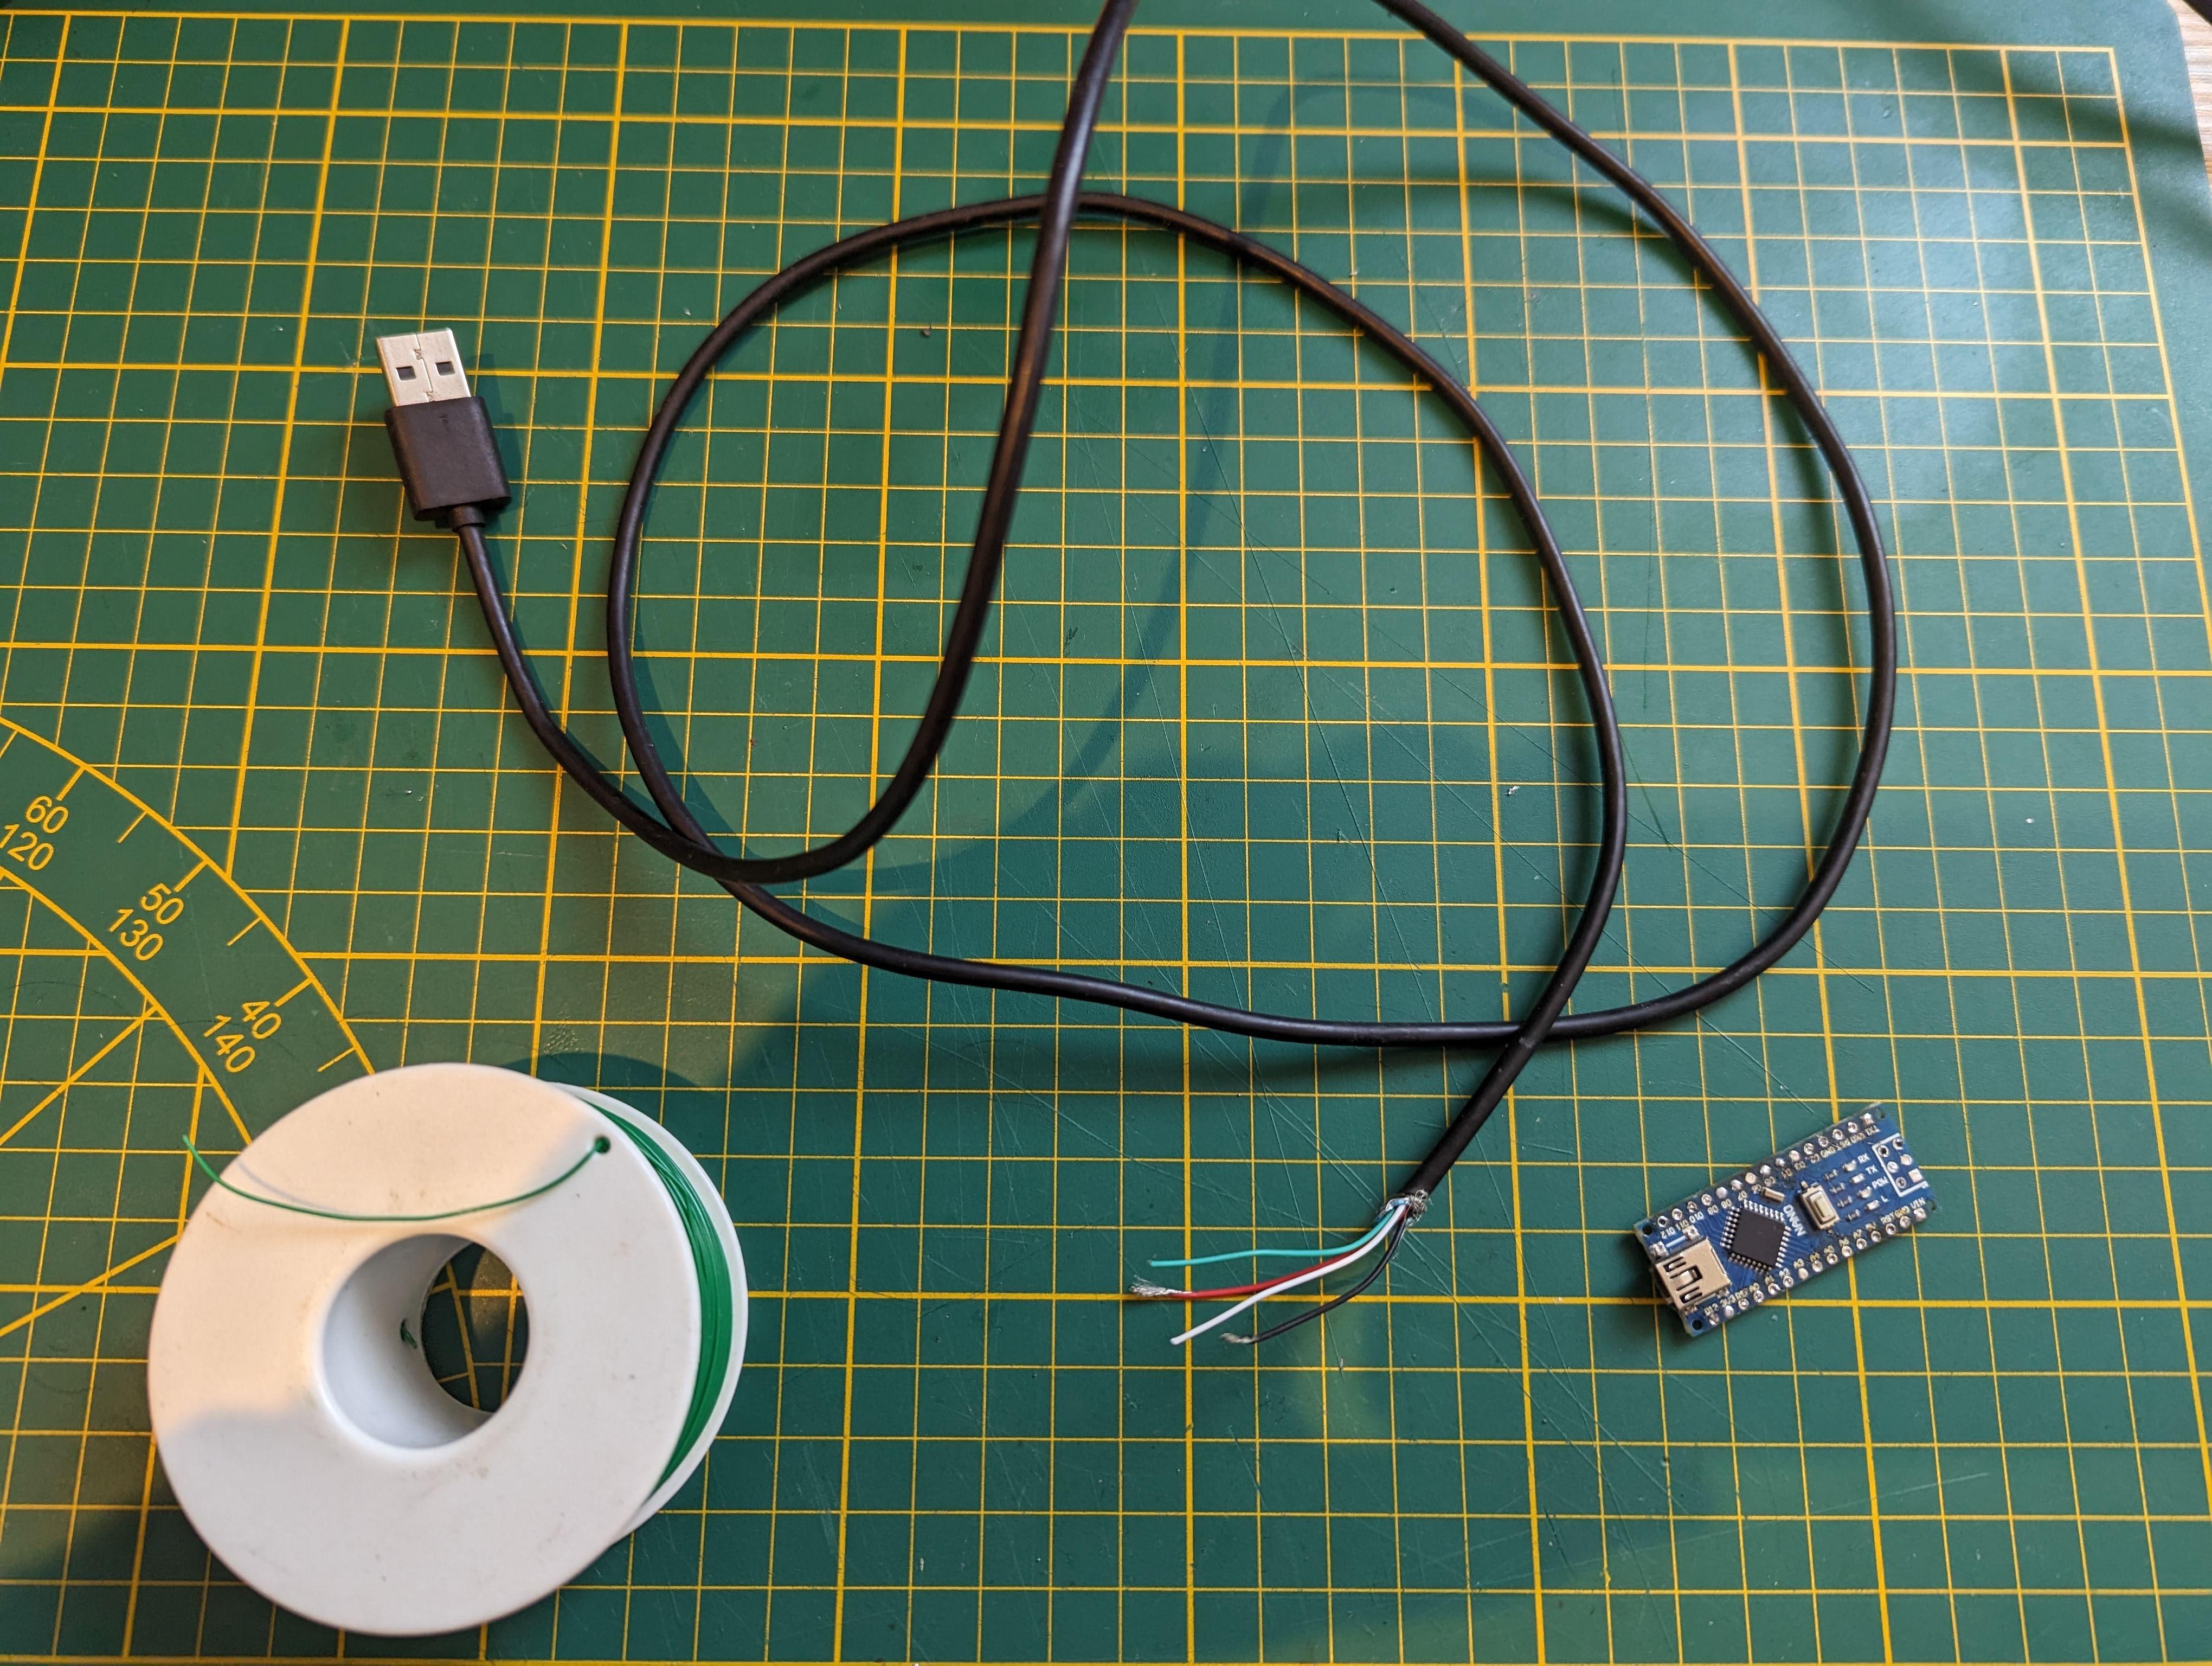
- 1x Arduino Nano
- 1x Hour Meter
- 1x USB cable
- 2x Screw
- 1x Tactile push button 6mm x 6mm
- 2x printing parts
- 1x Foam 200mm x 200mm (Optional)
- Some wire
Required tools :
- A soldering iron
- A 3D printer
- A glue gun
- Some screwdriver
- A cutter
- A pair of pliers
- A wire stripper
Optional tools :
- A Dremel
- A multimeter
- A 3r hand
- A vice
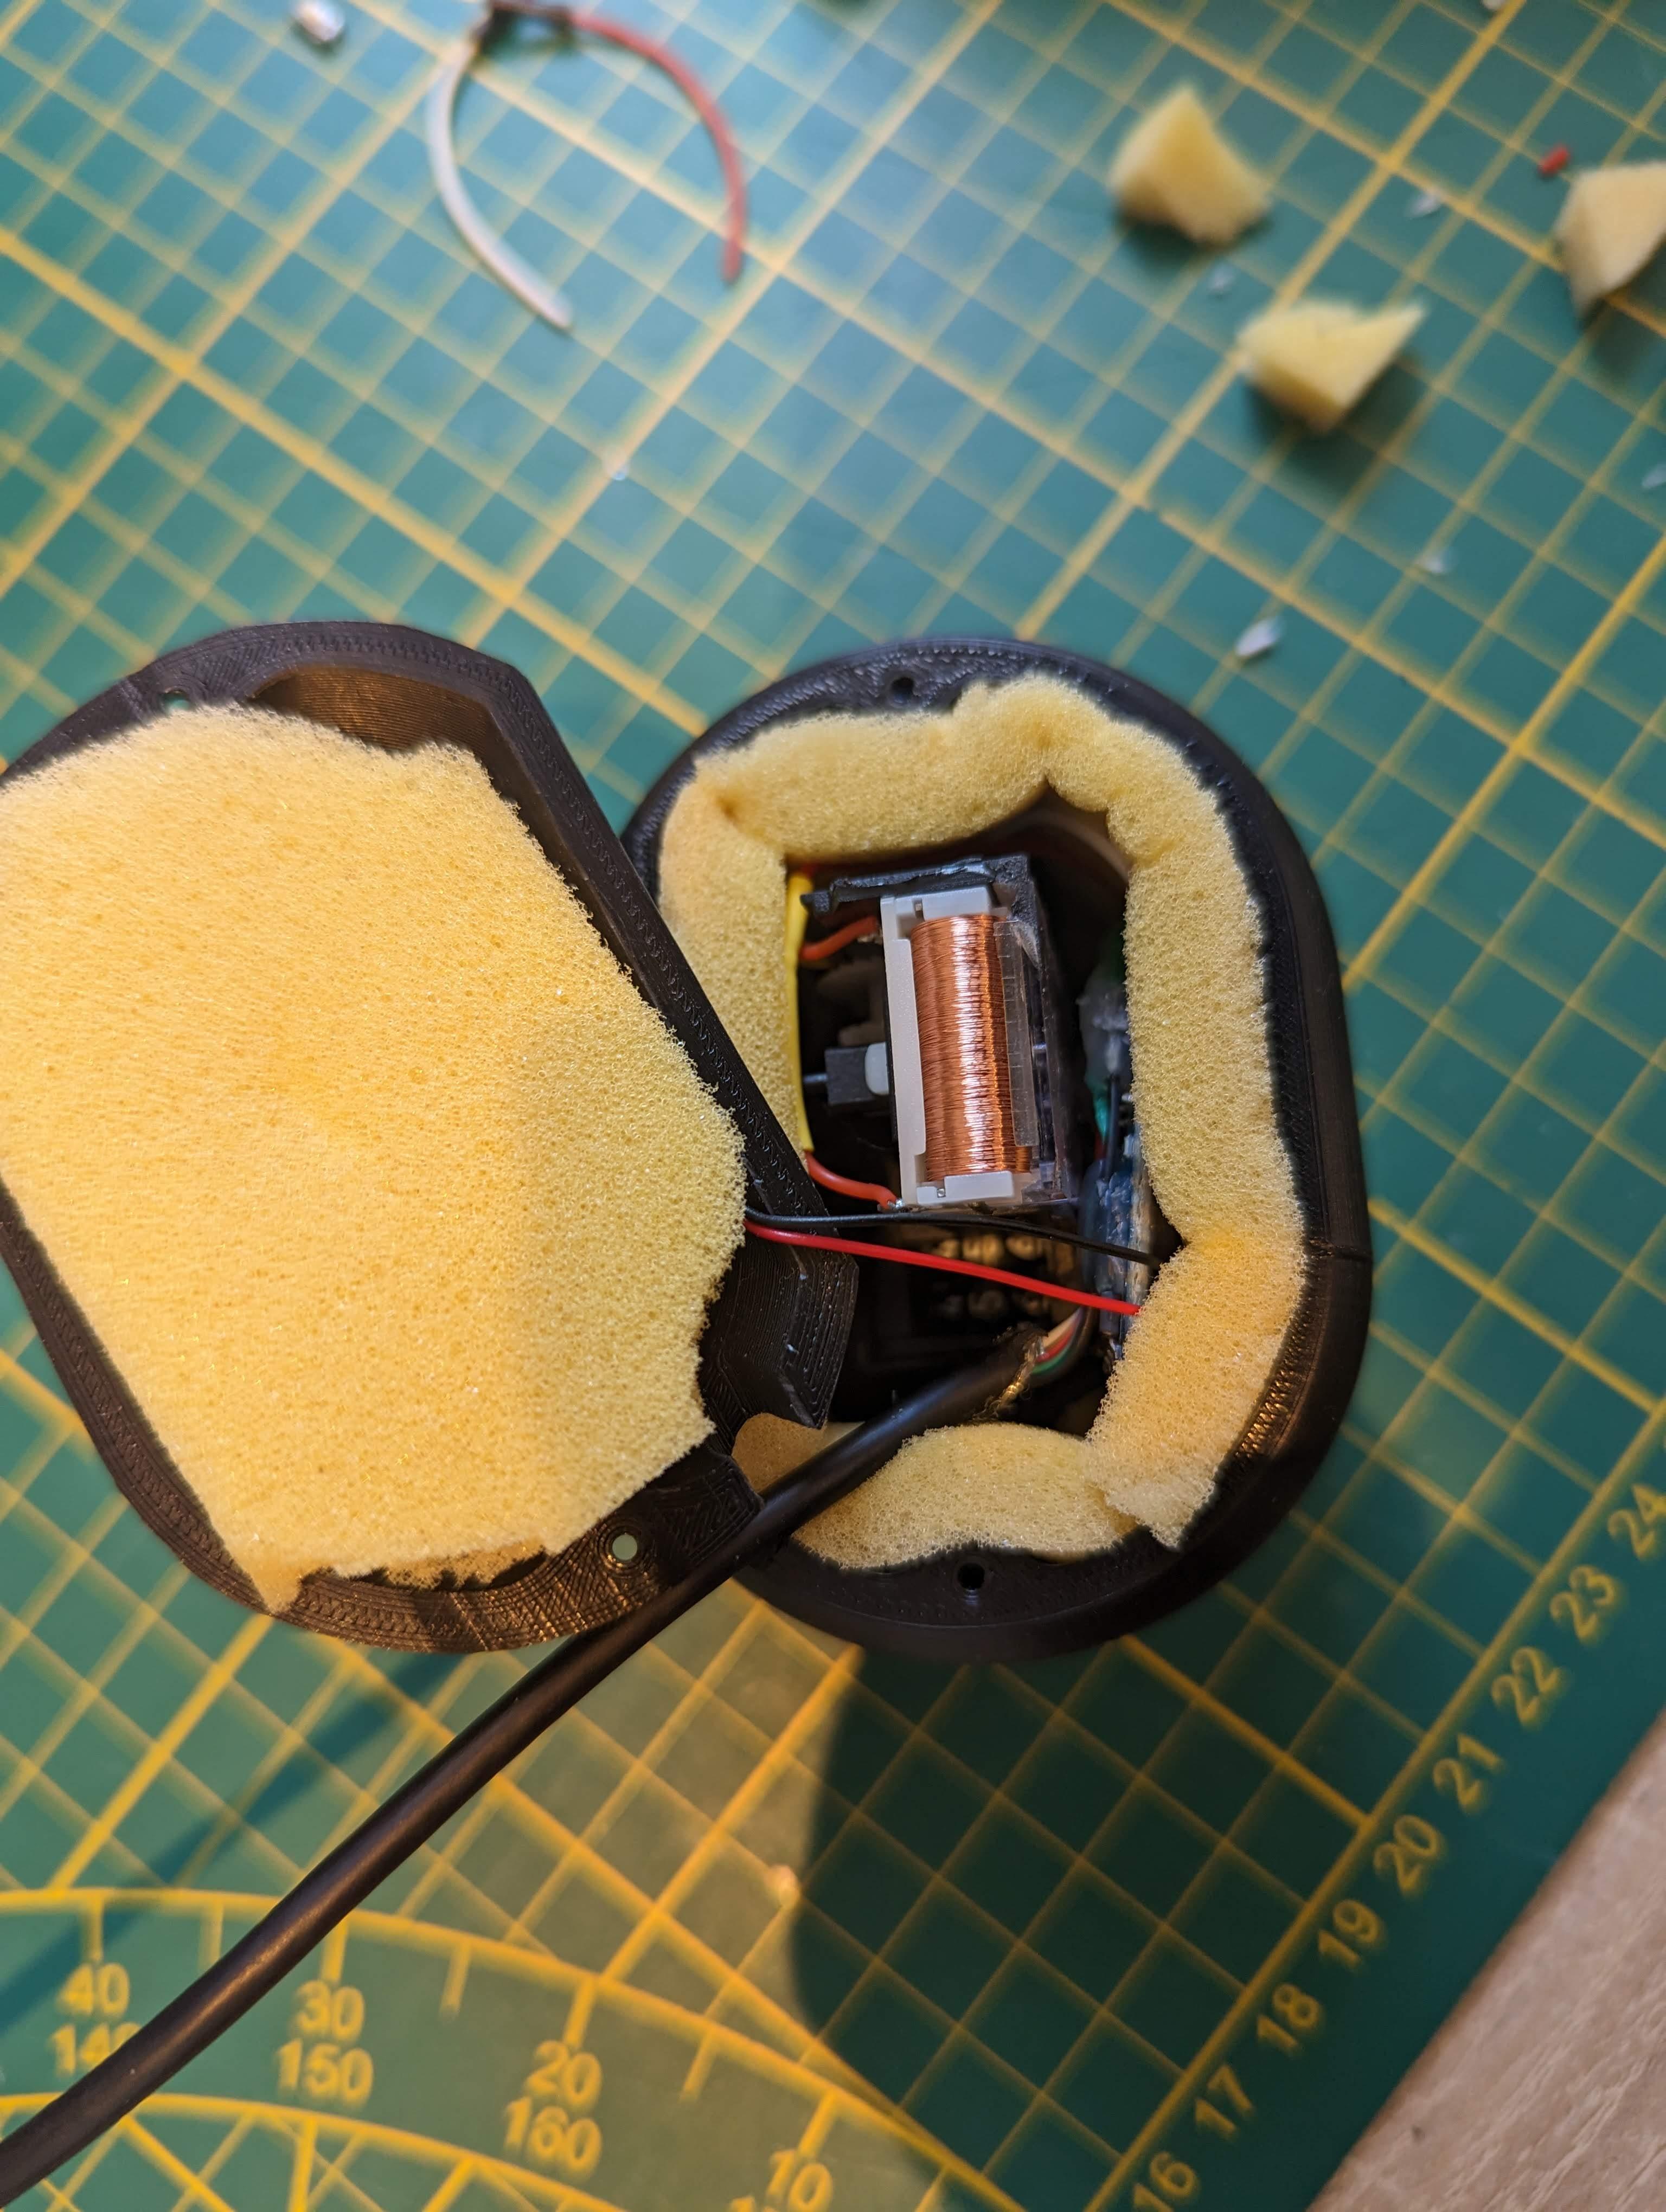
Disassemble & Hack the Hour Meter
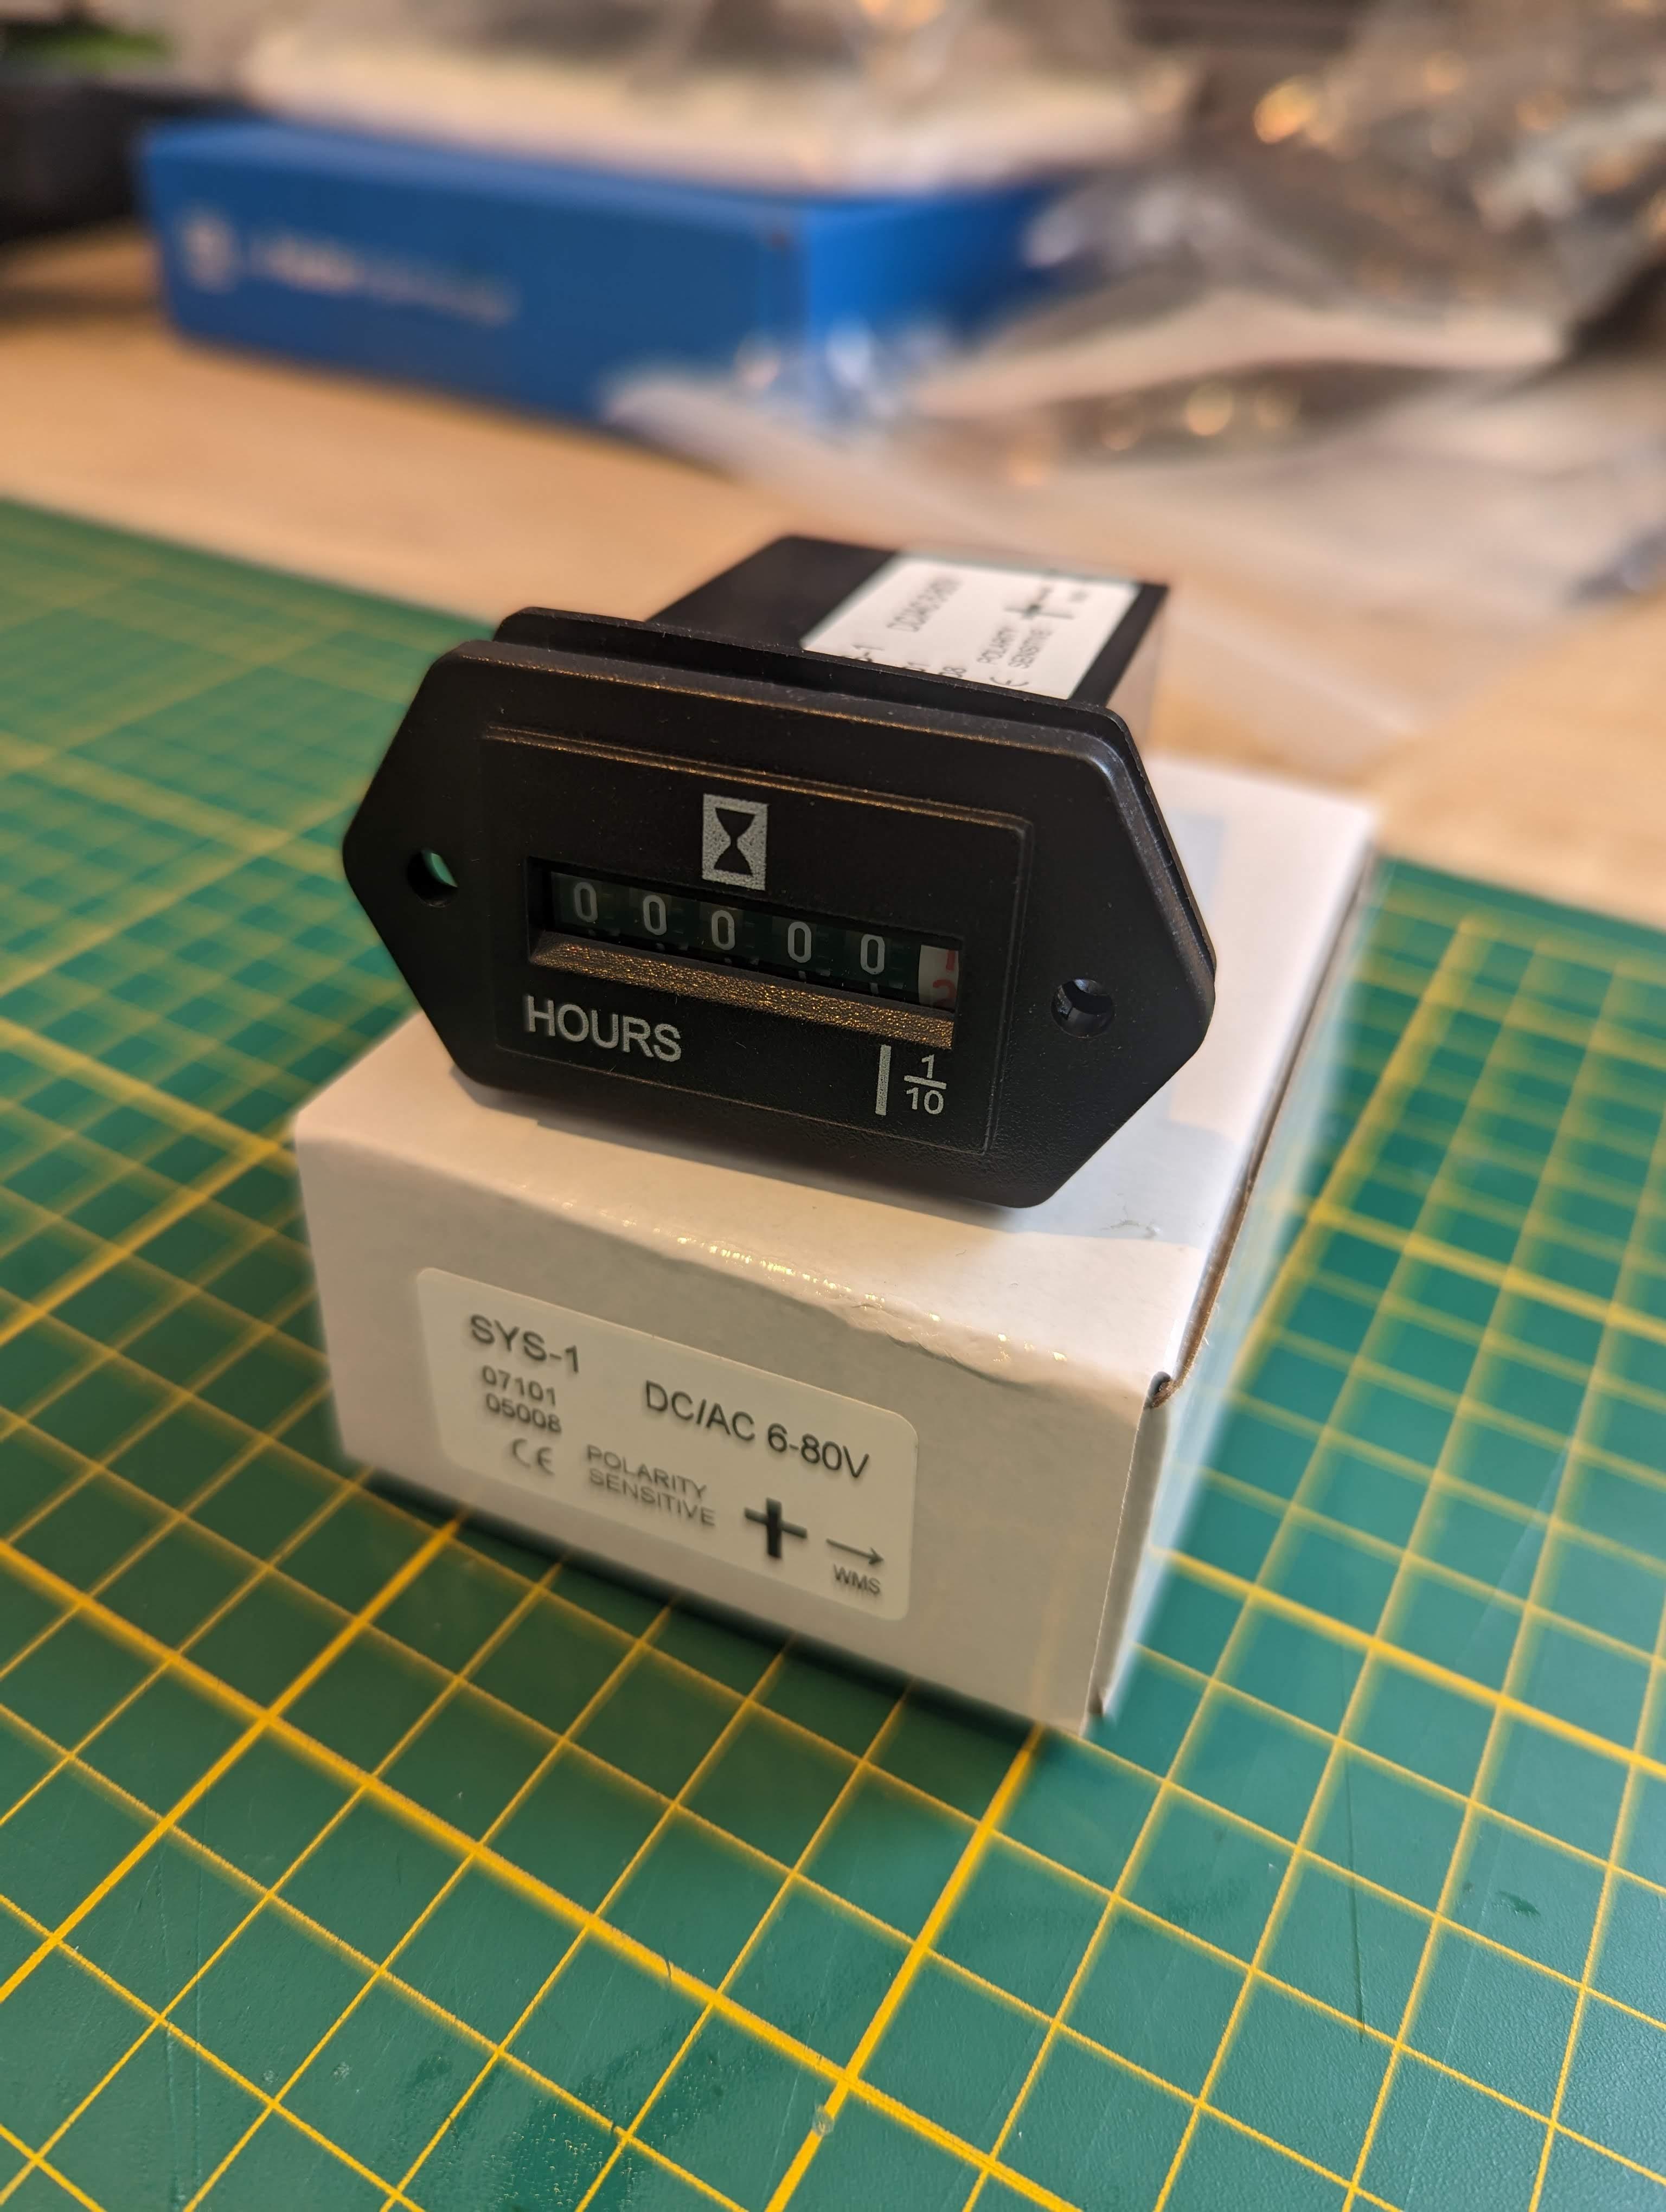
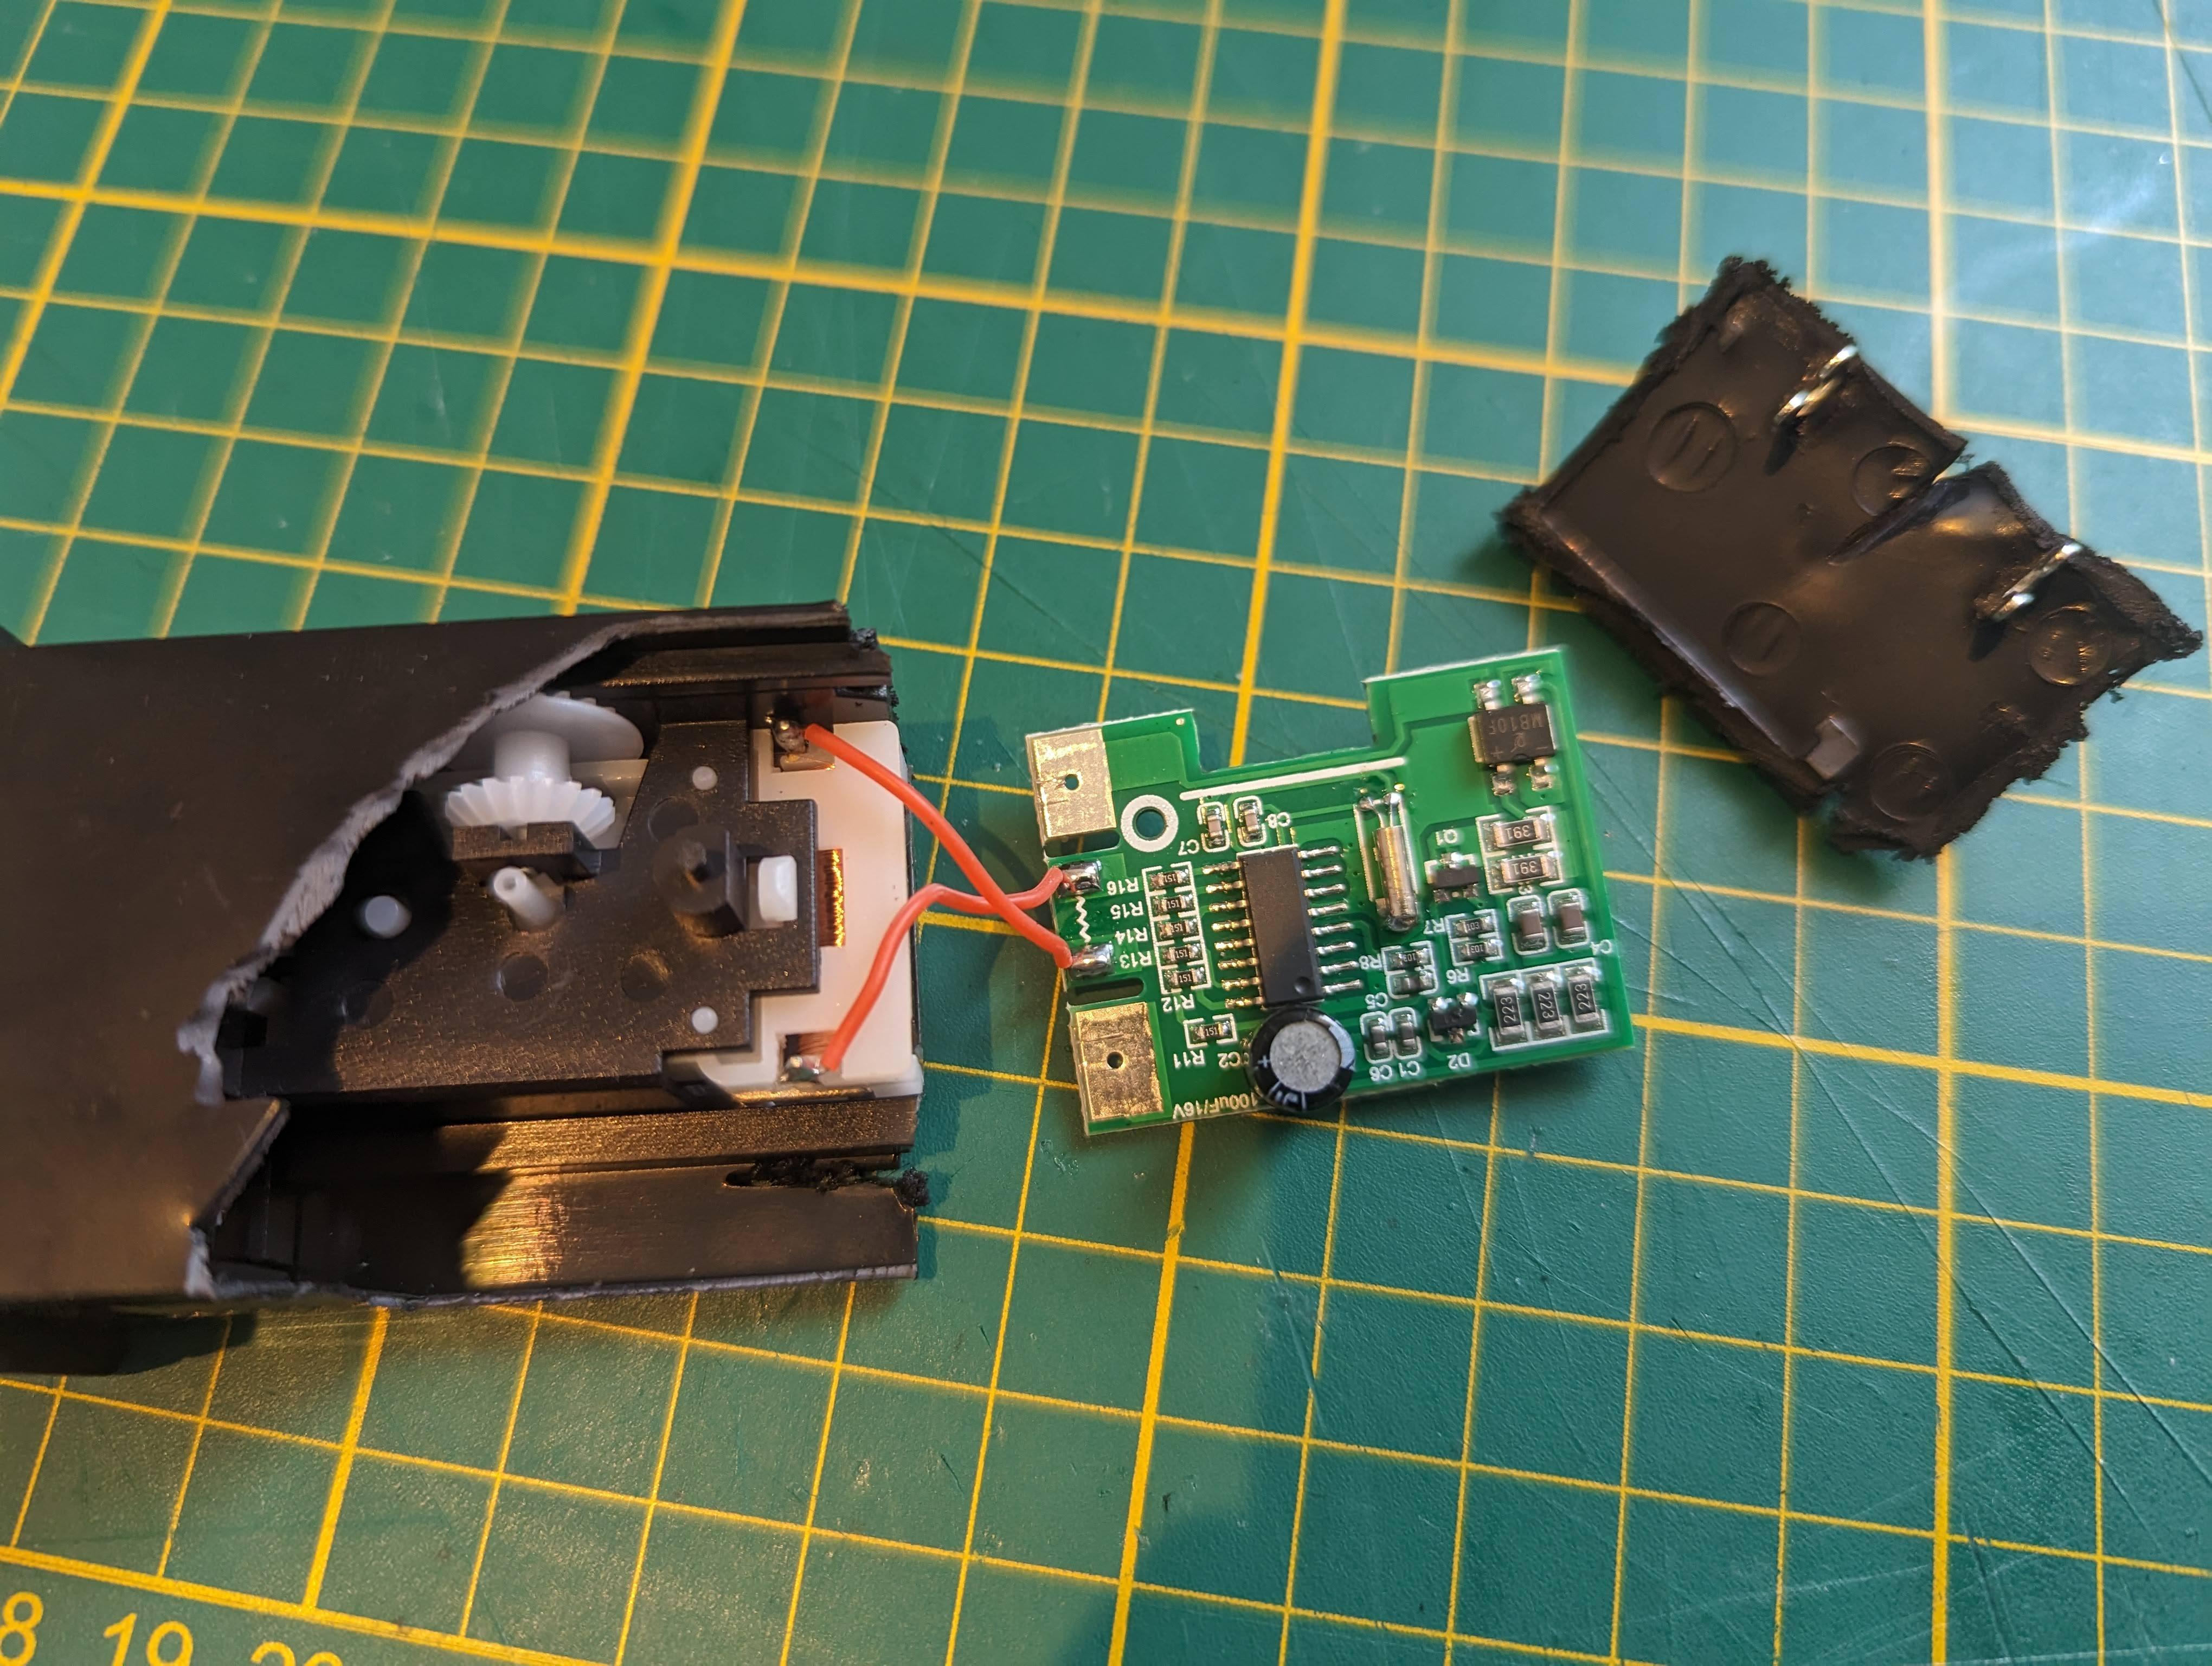

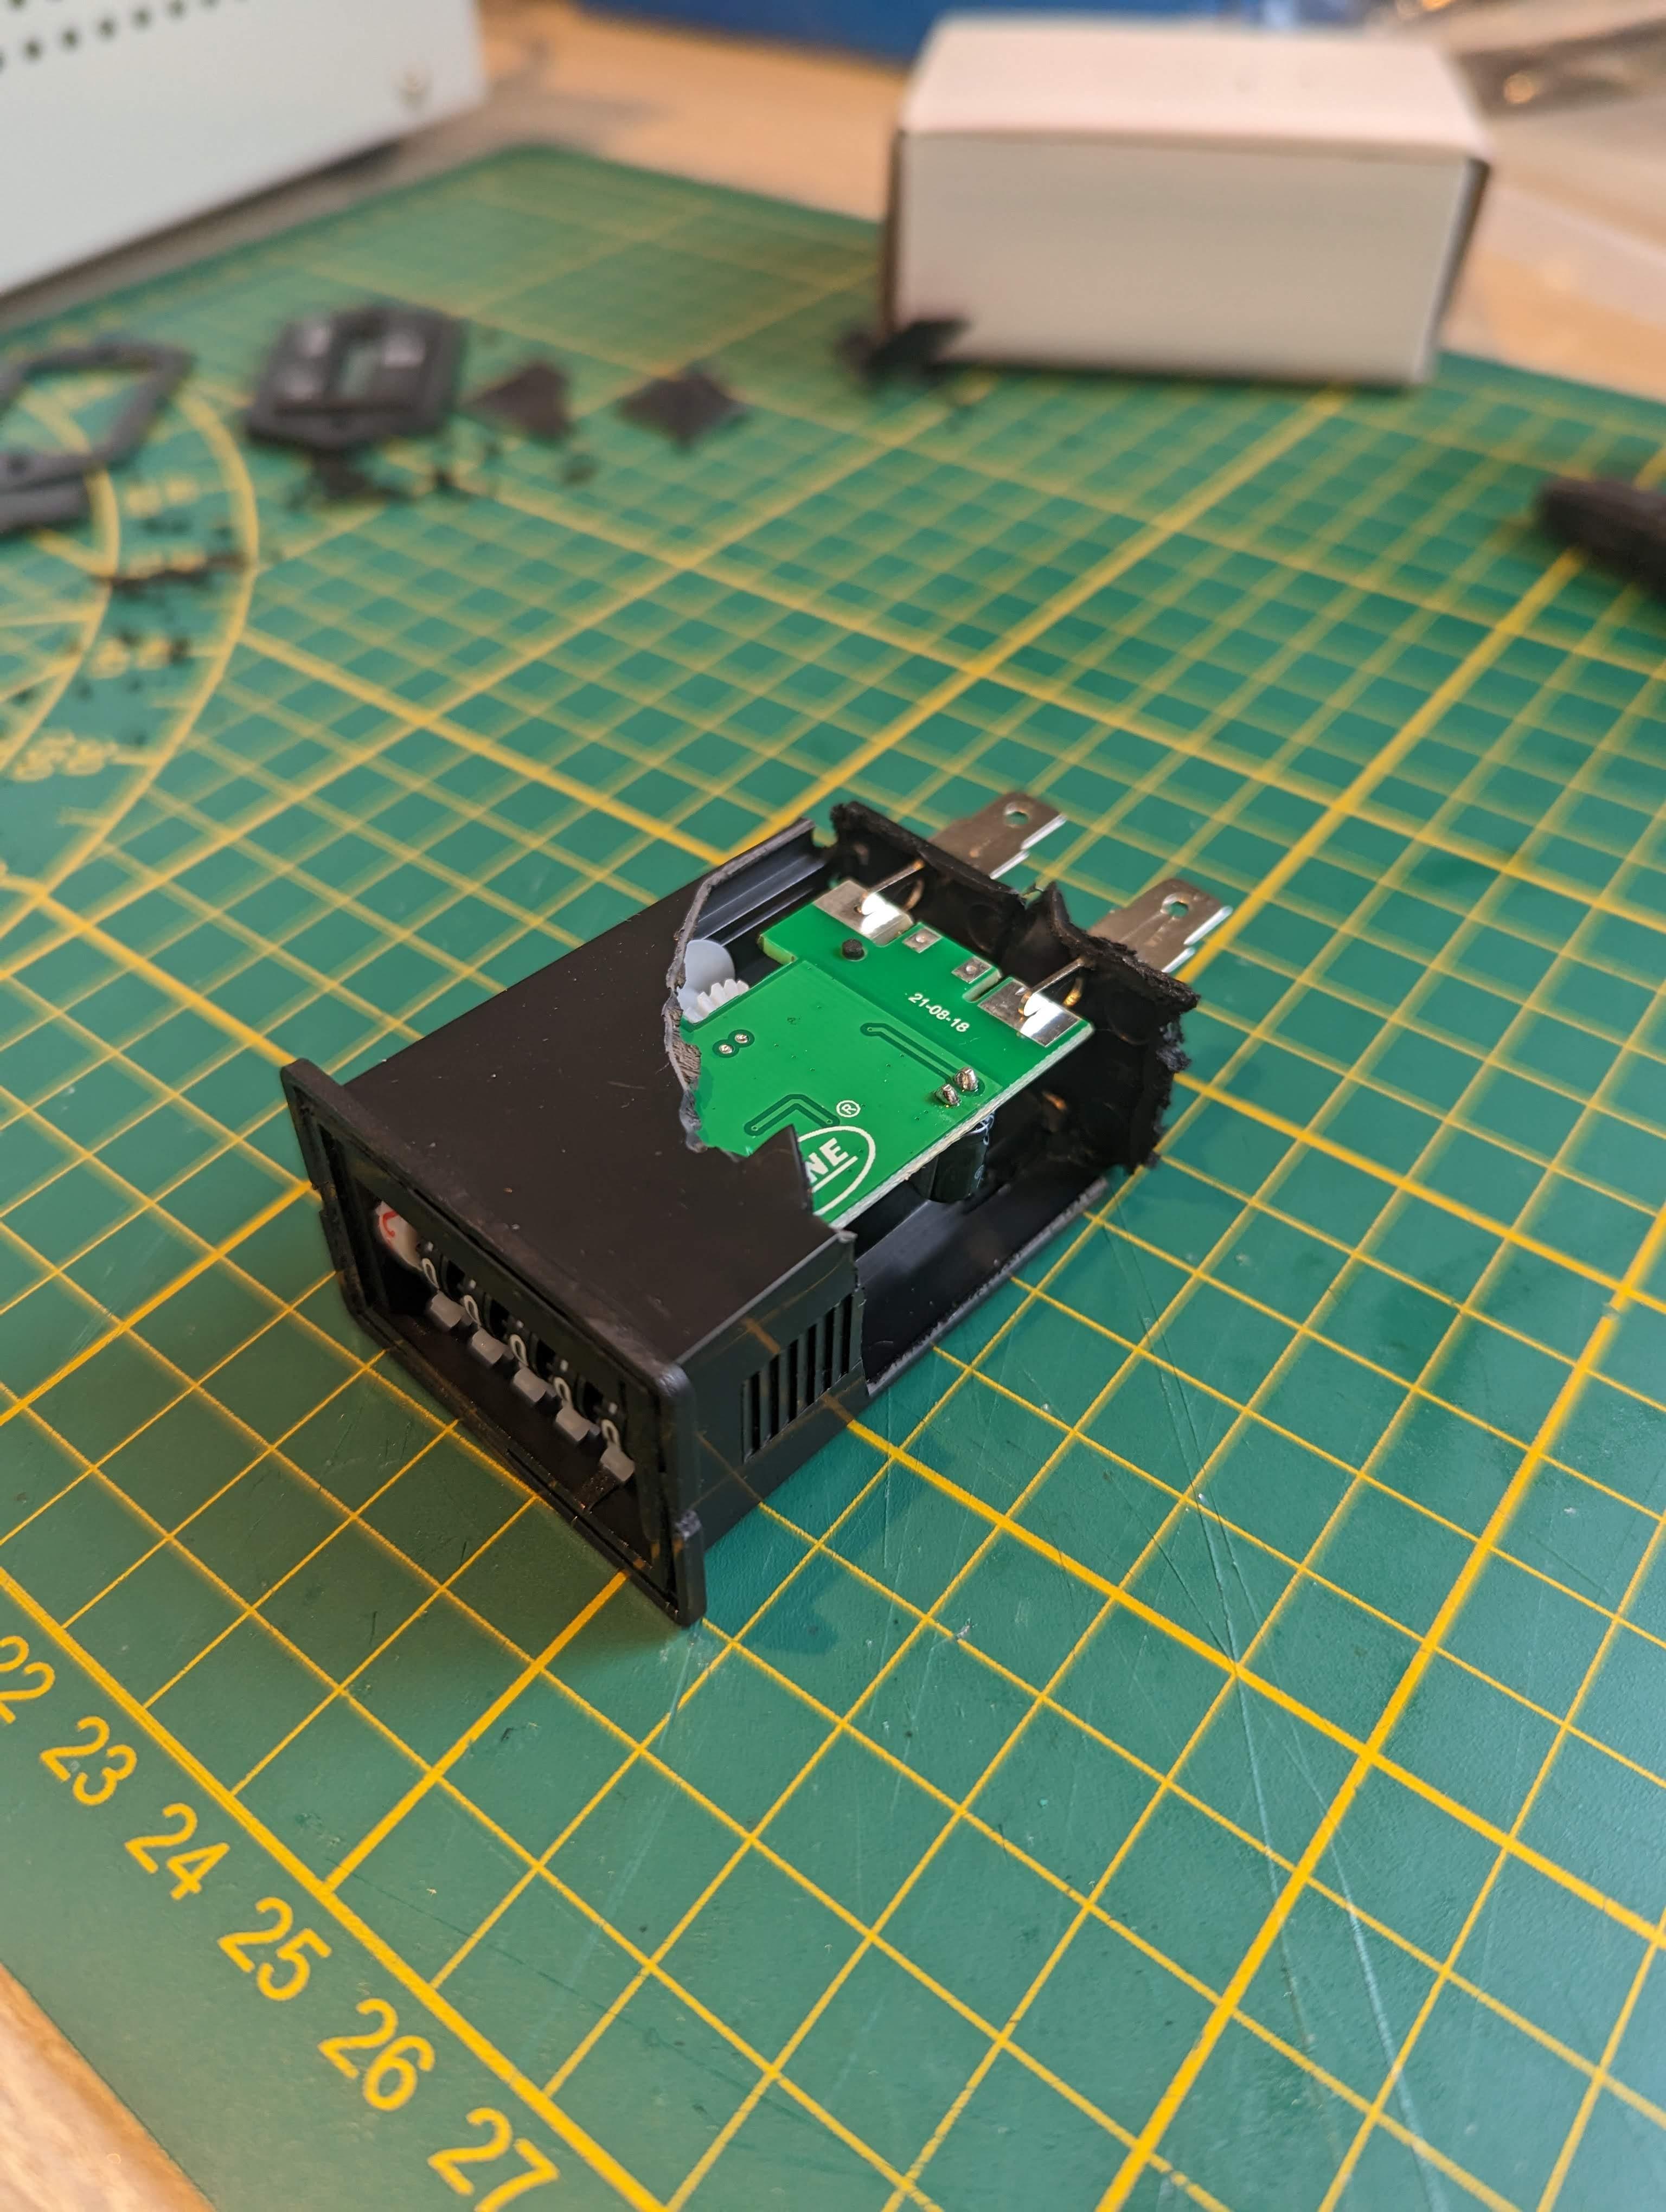
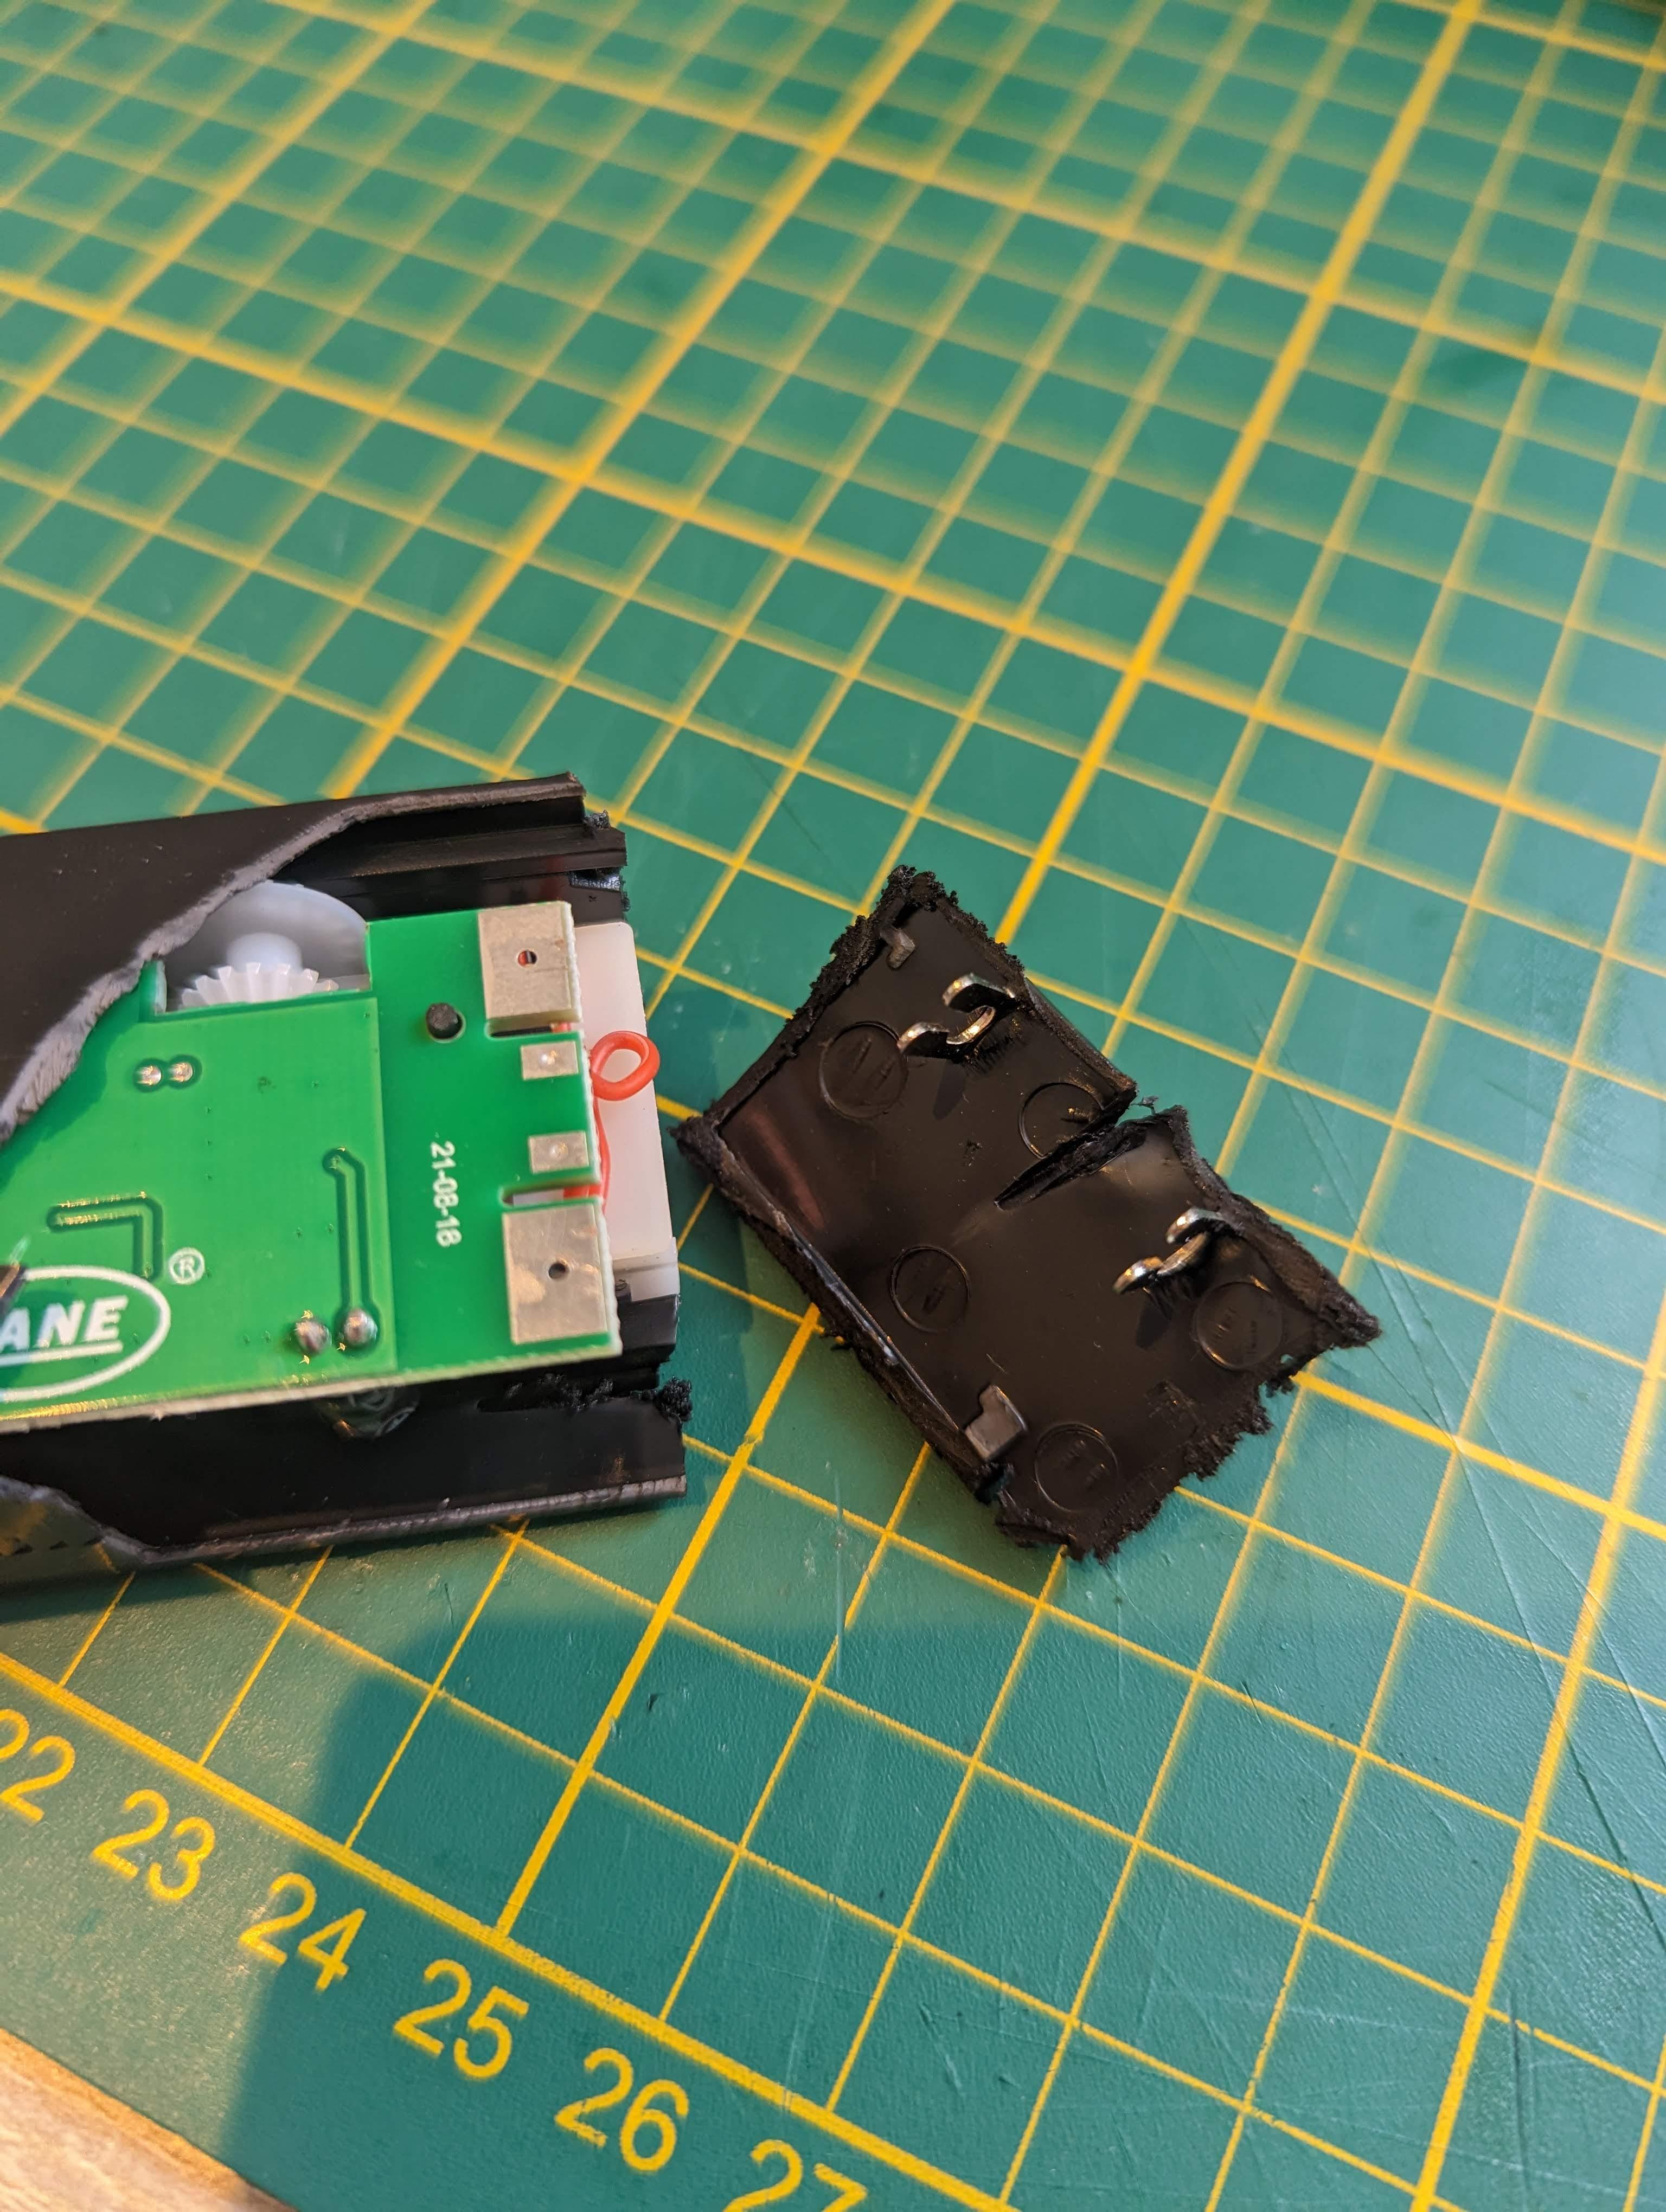
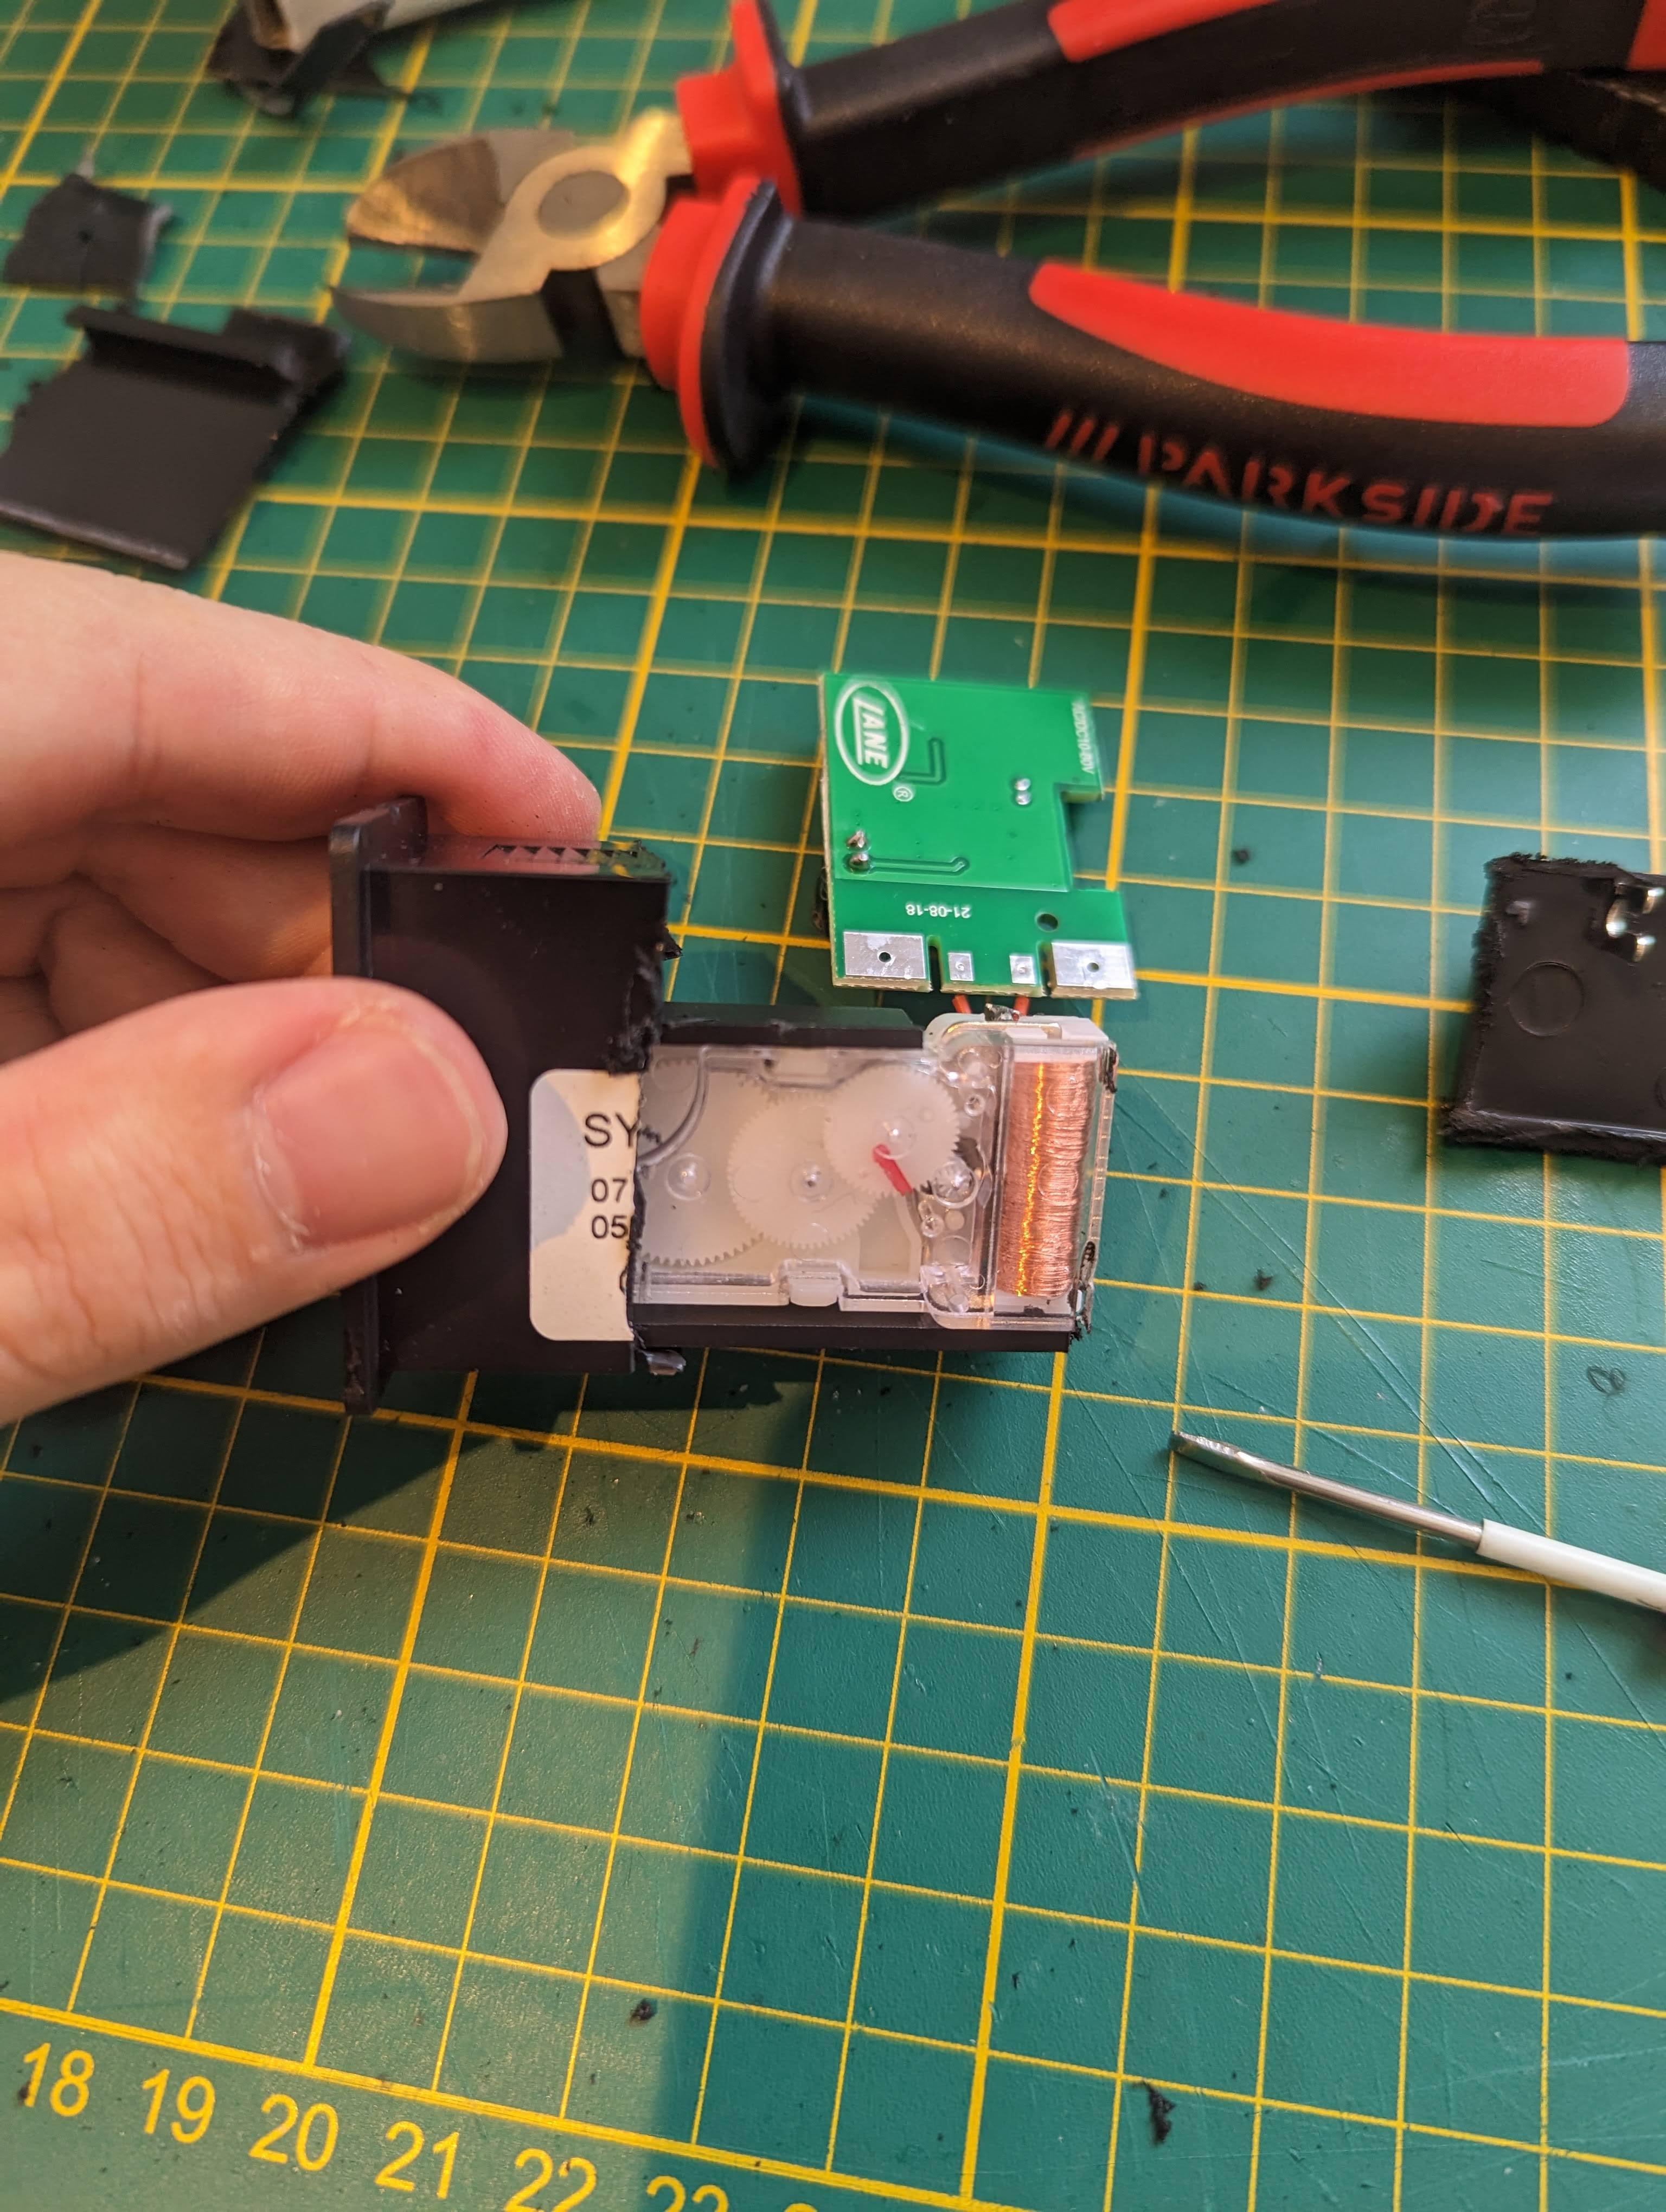
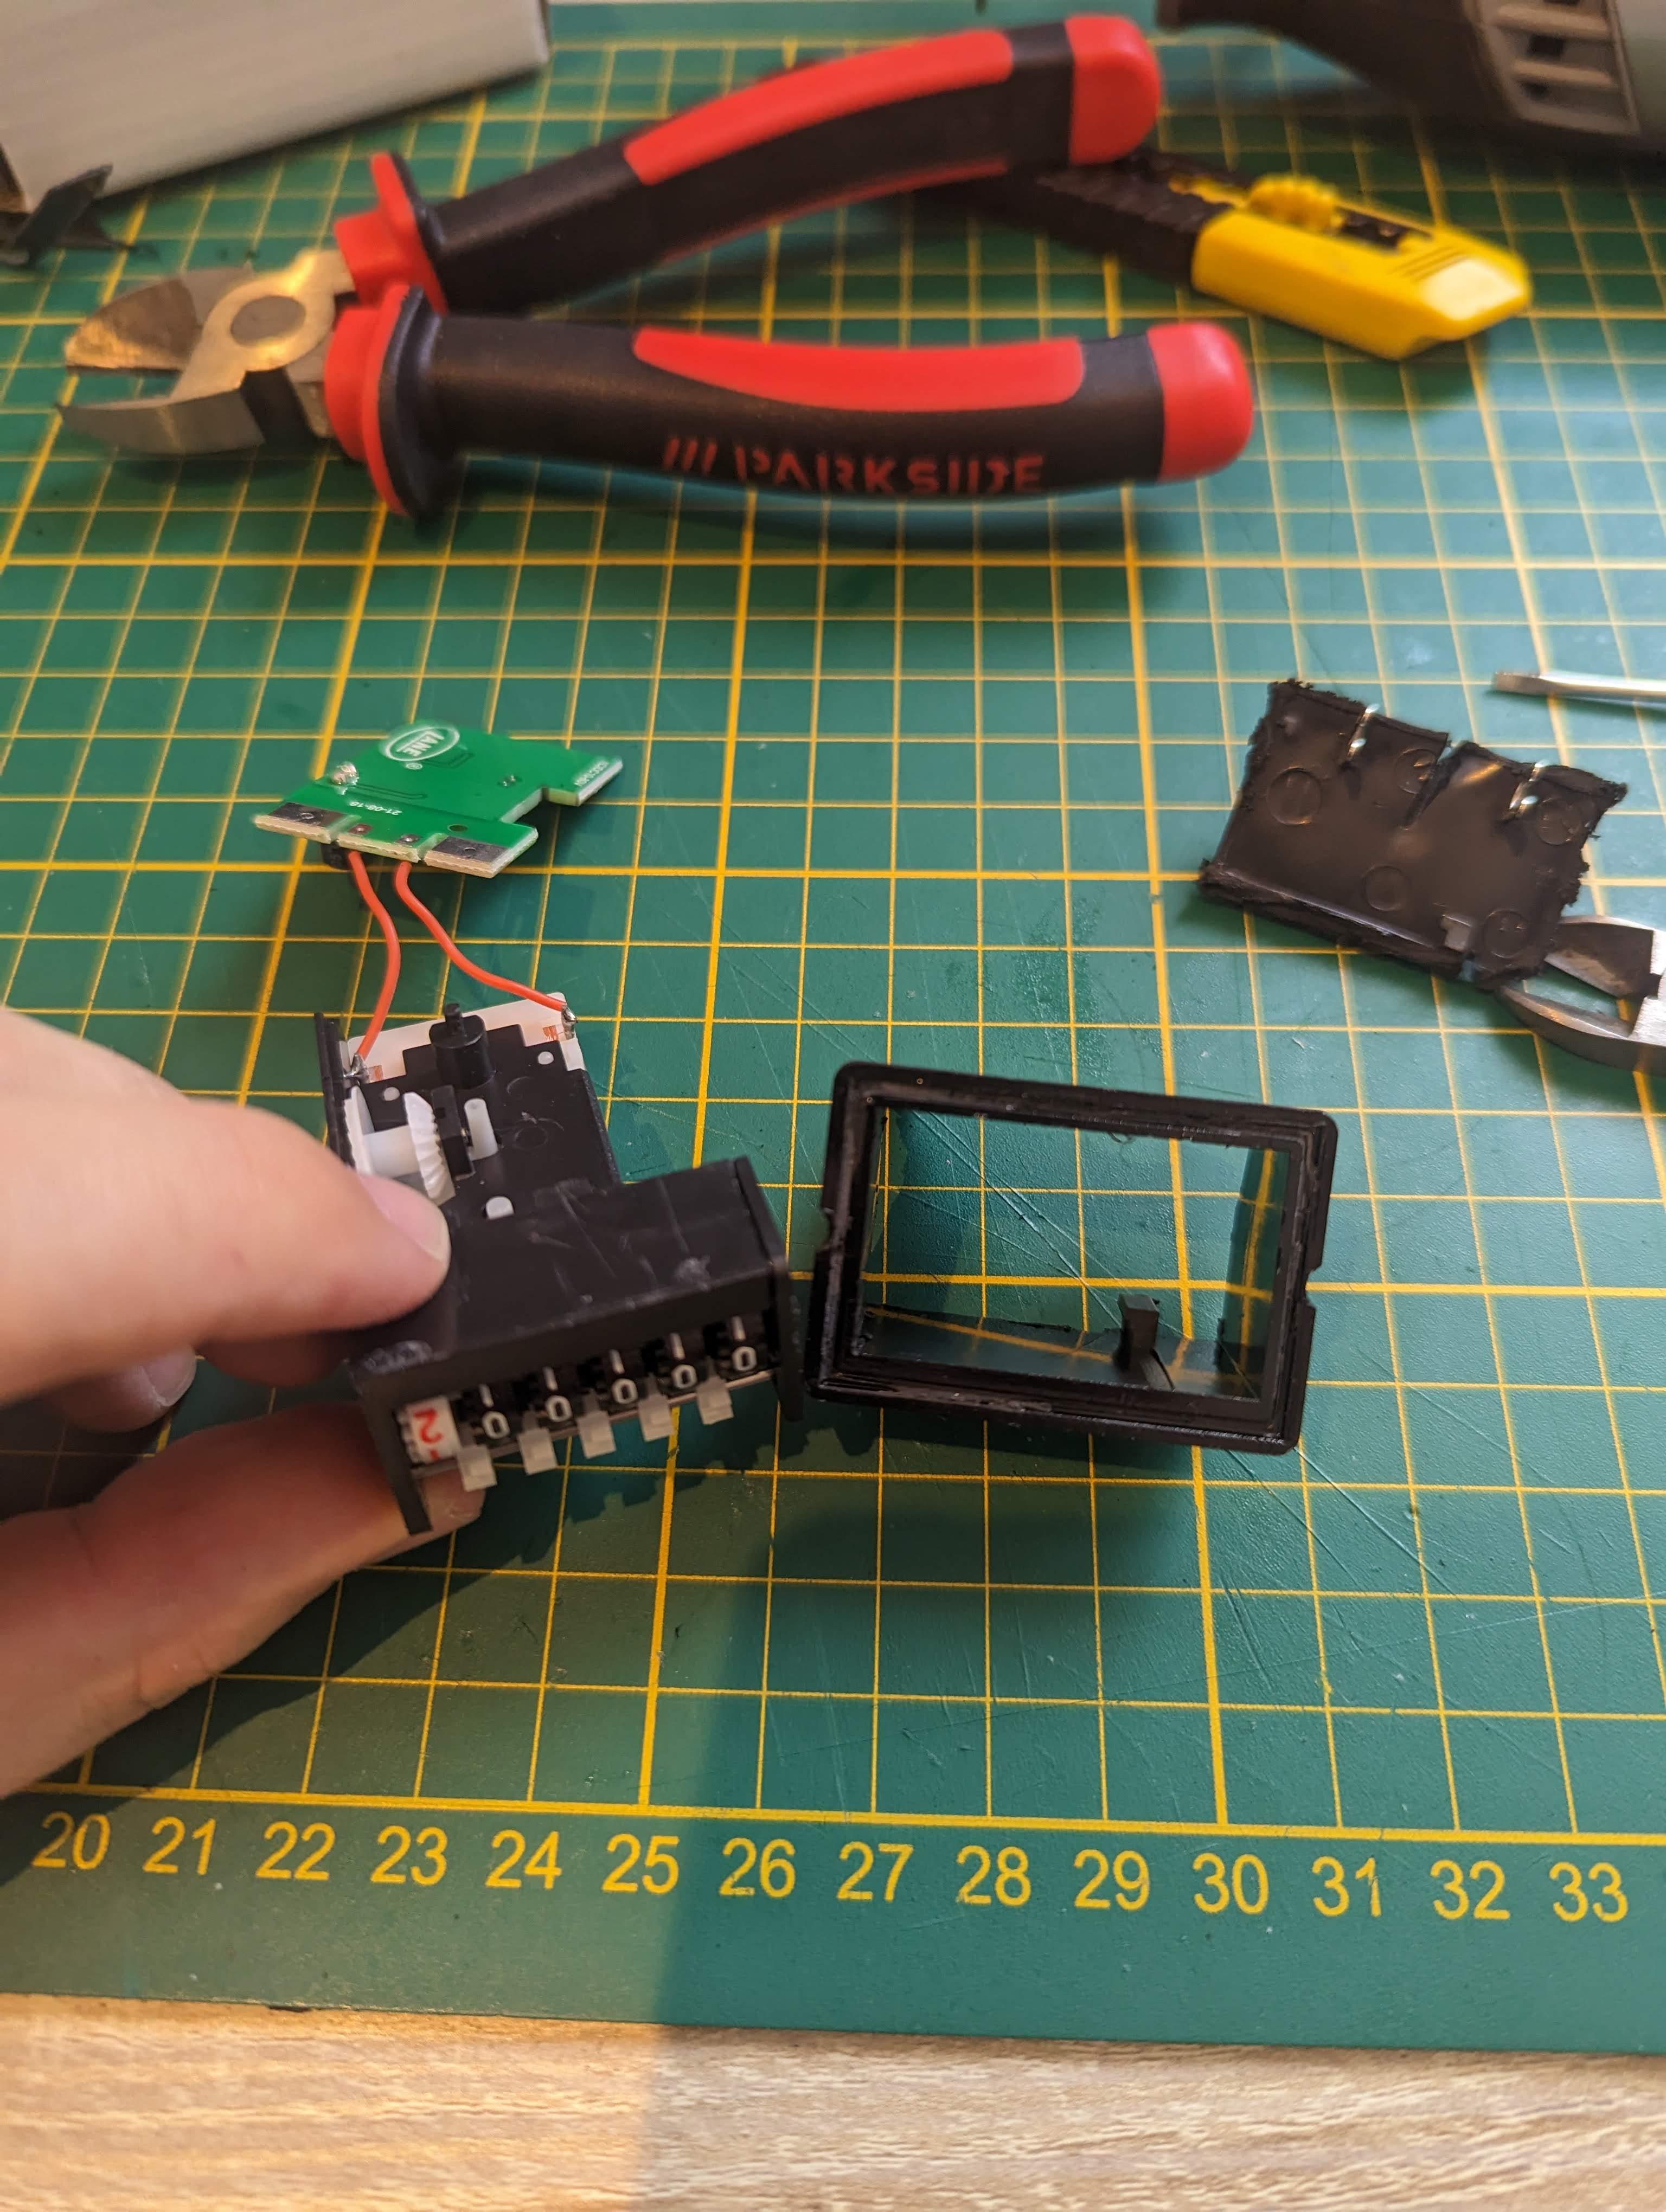
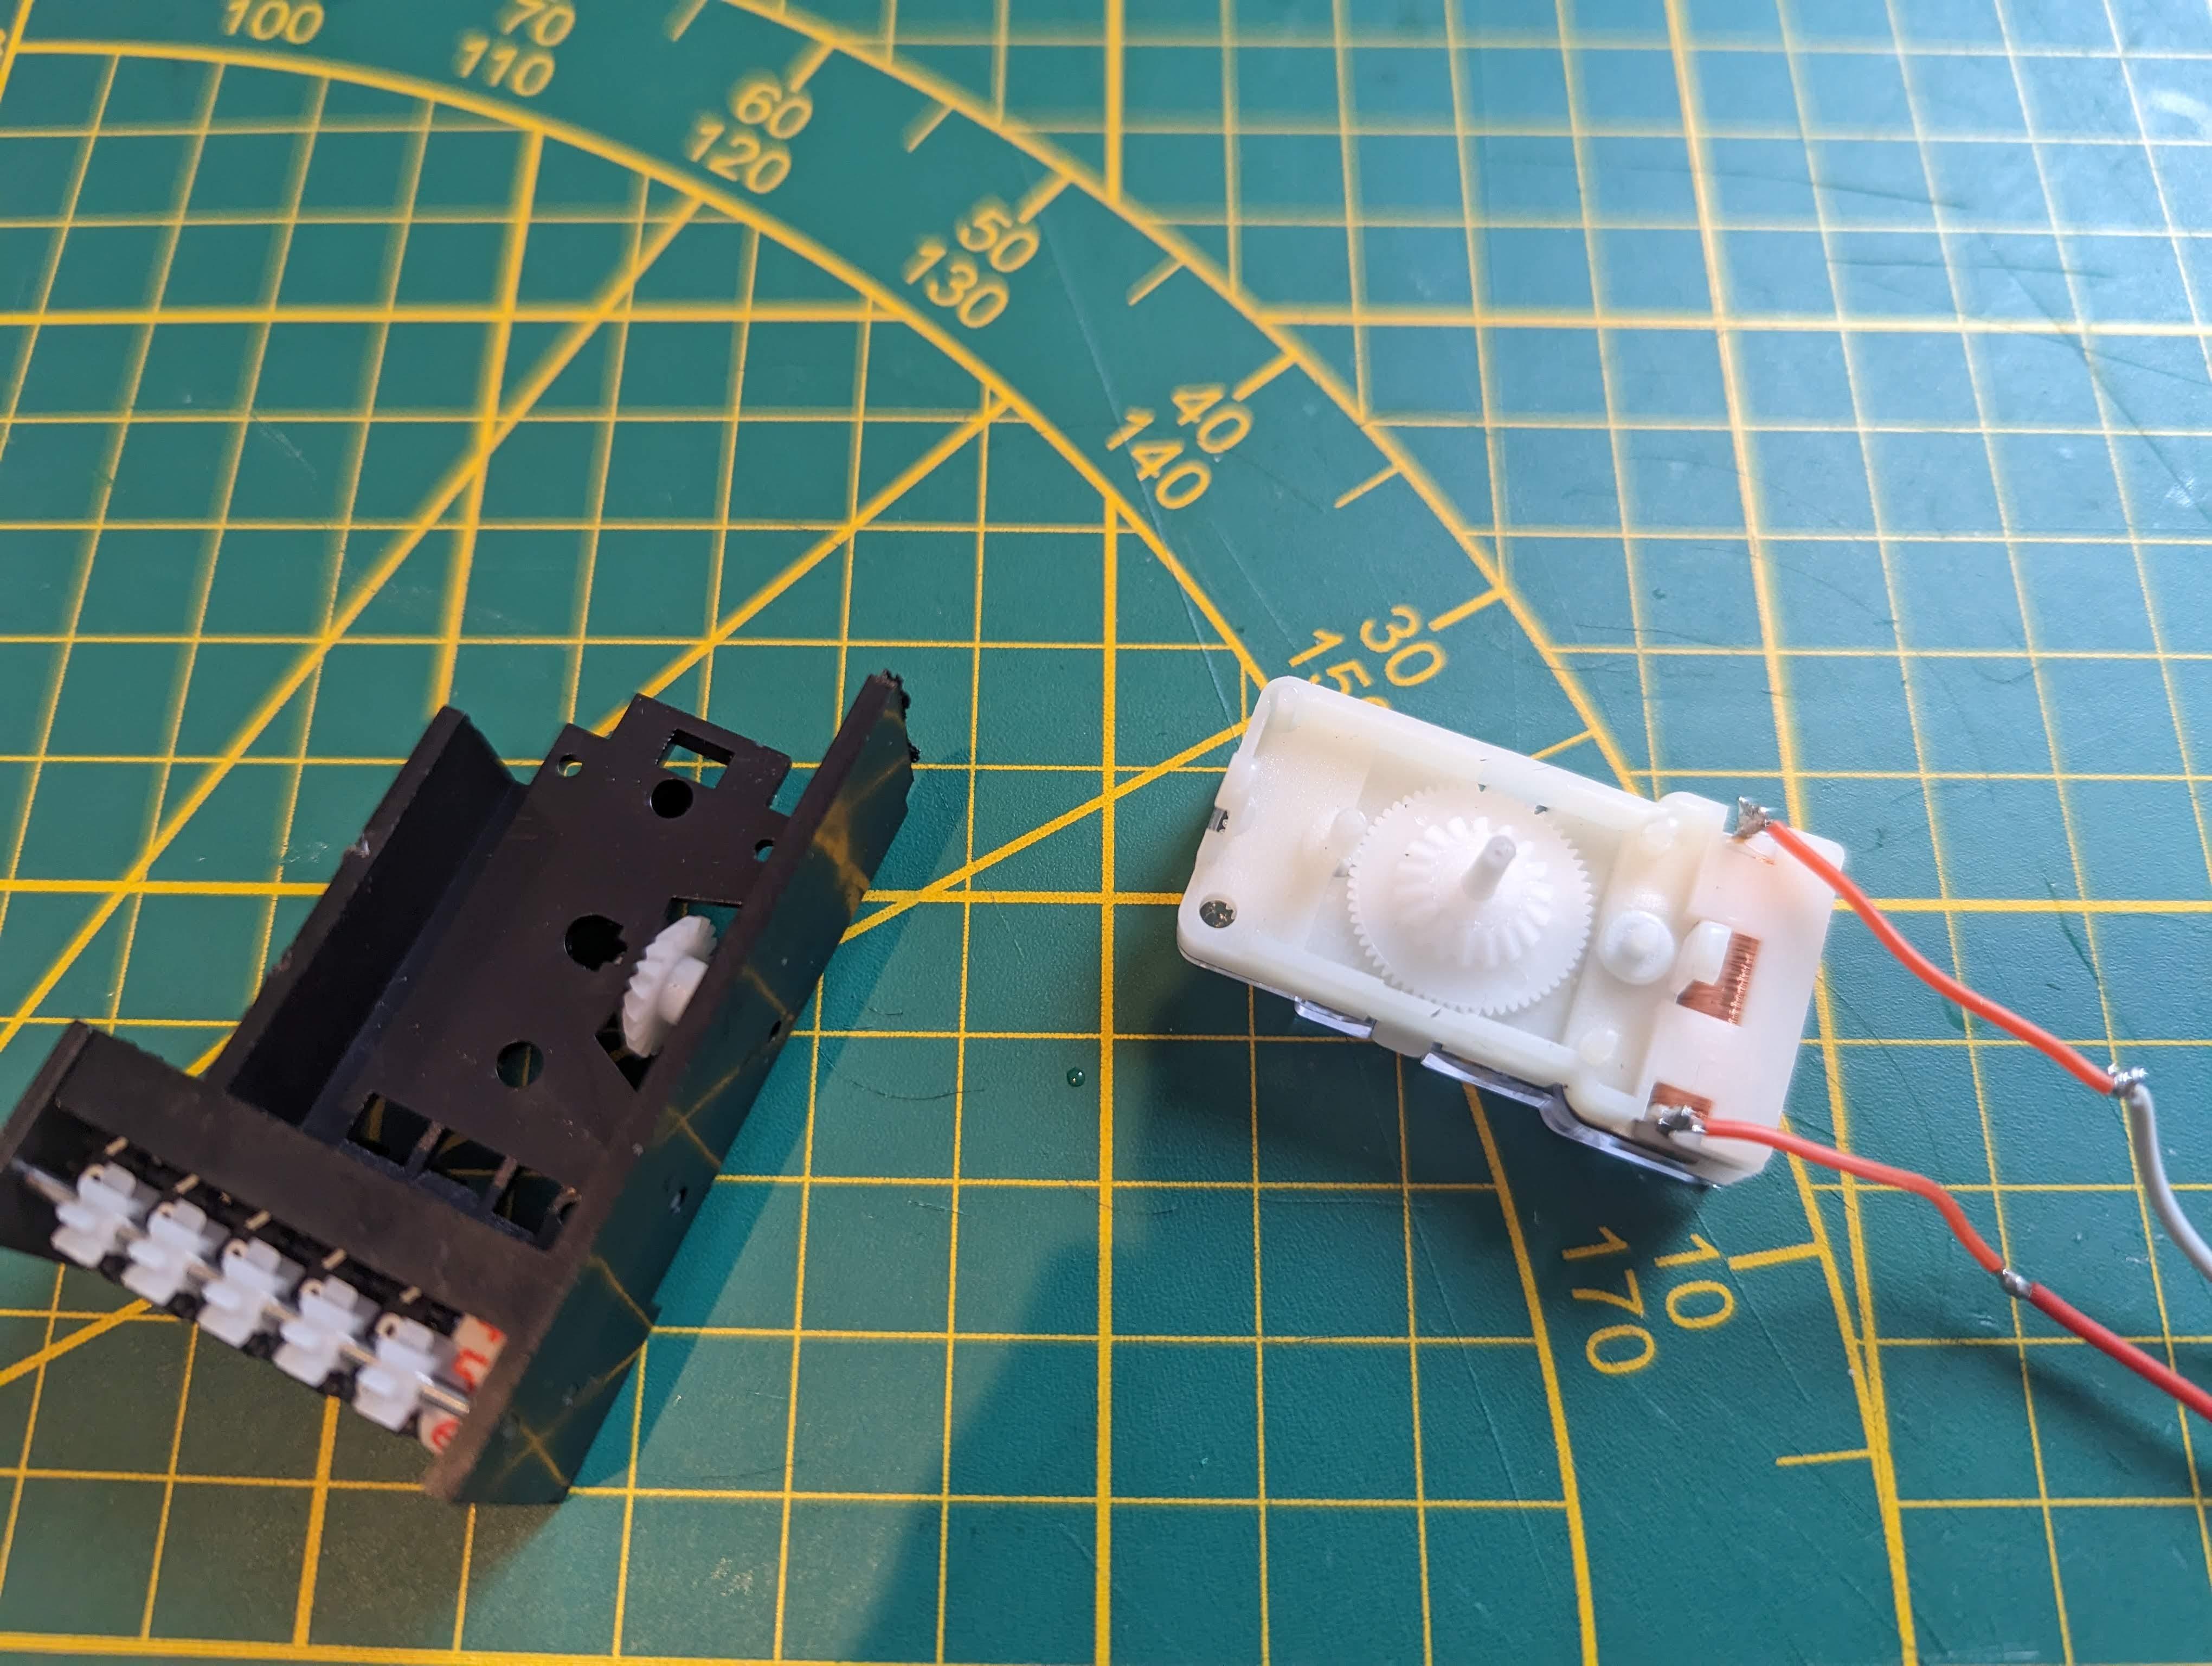
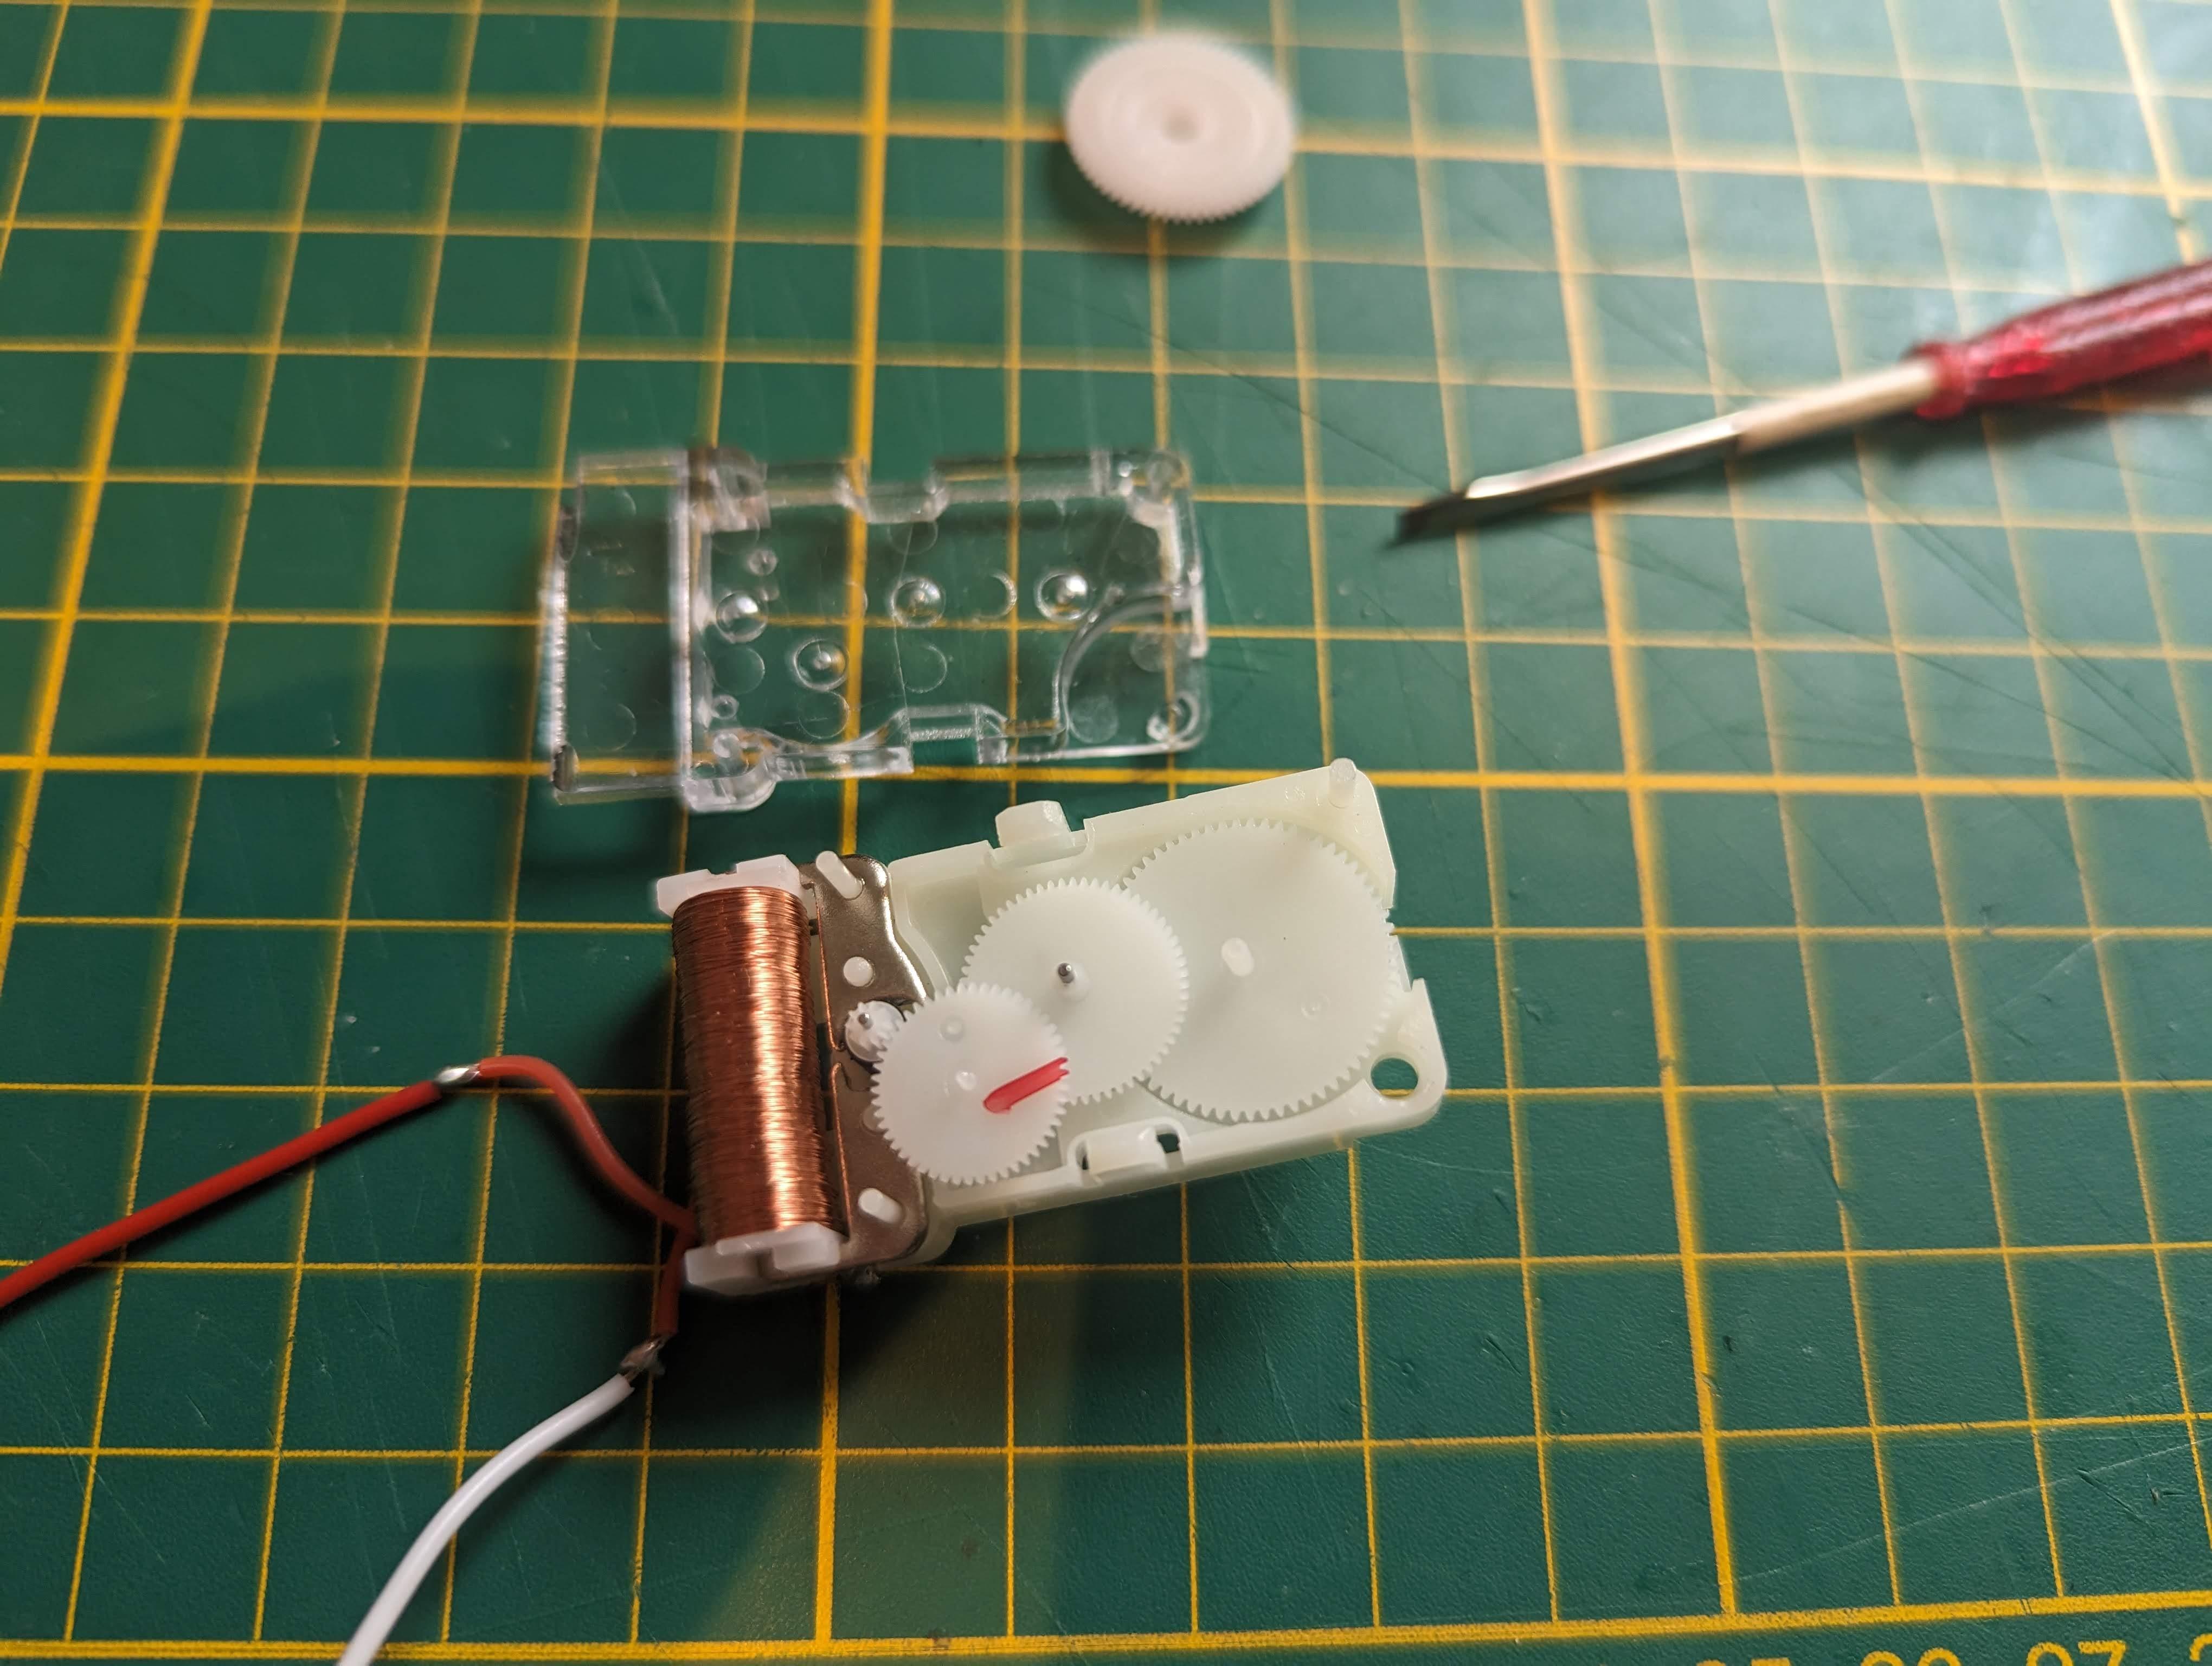
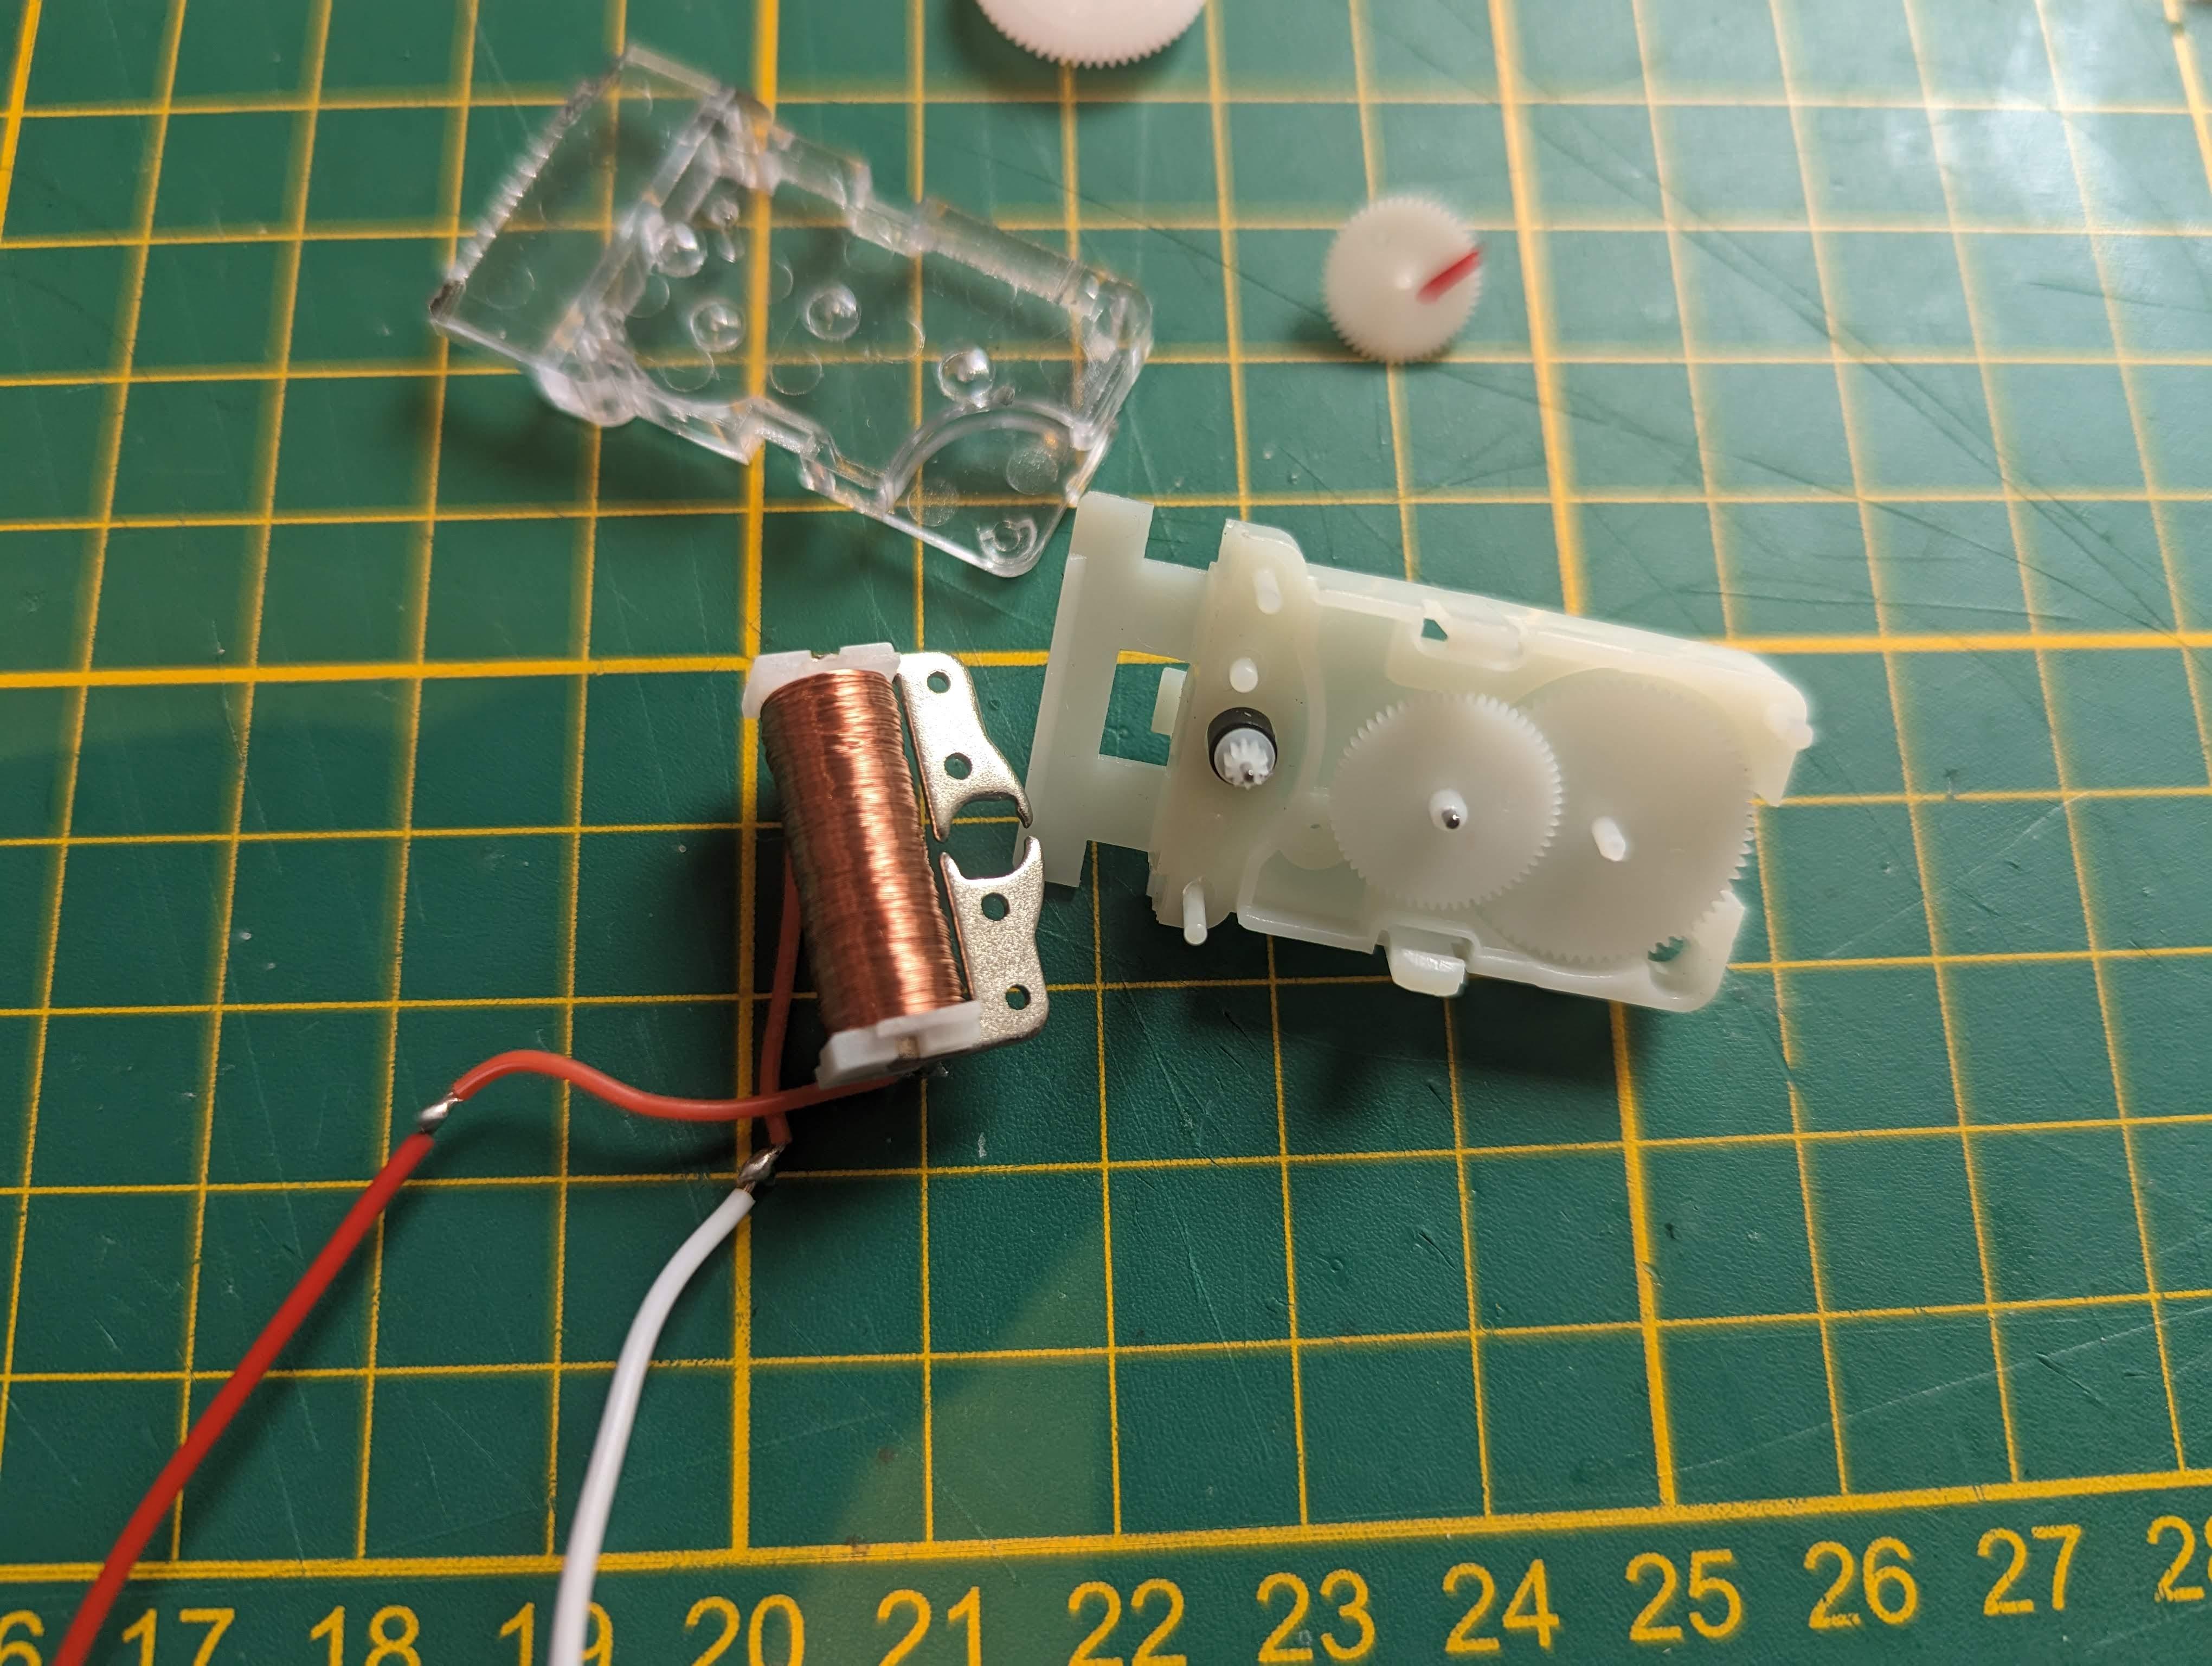
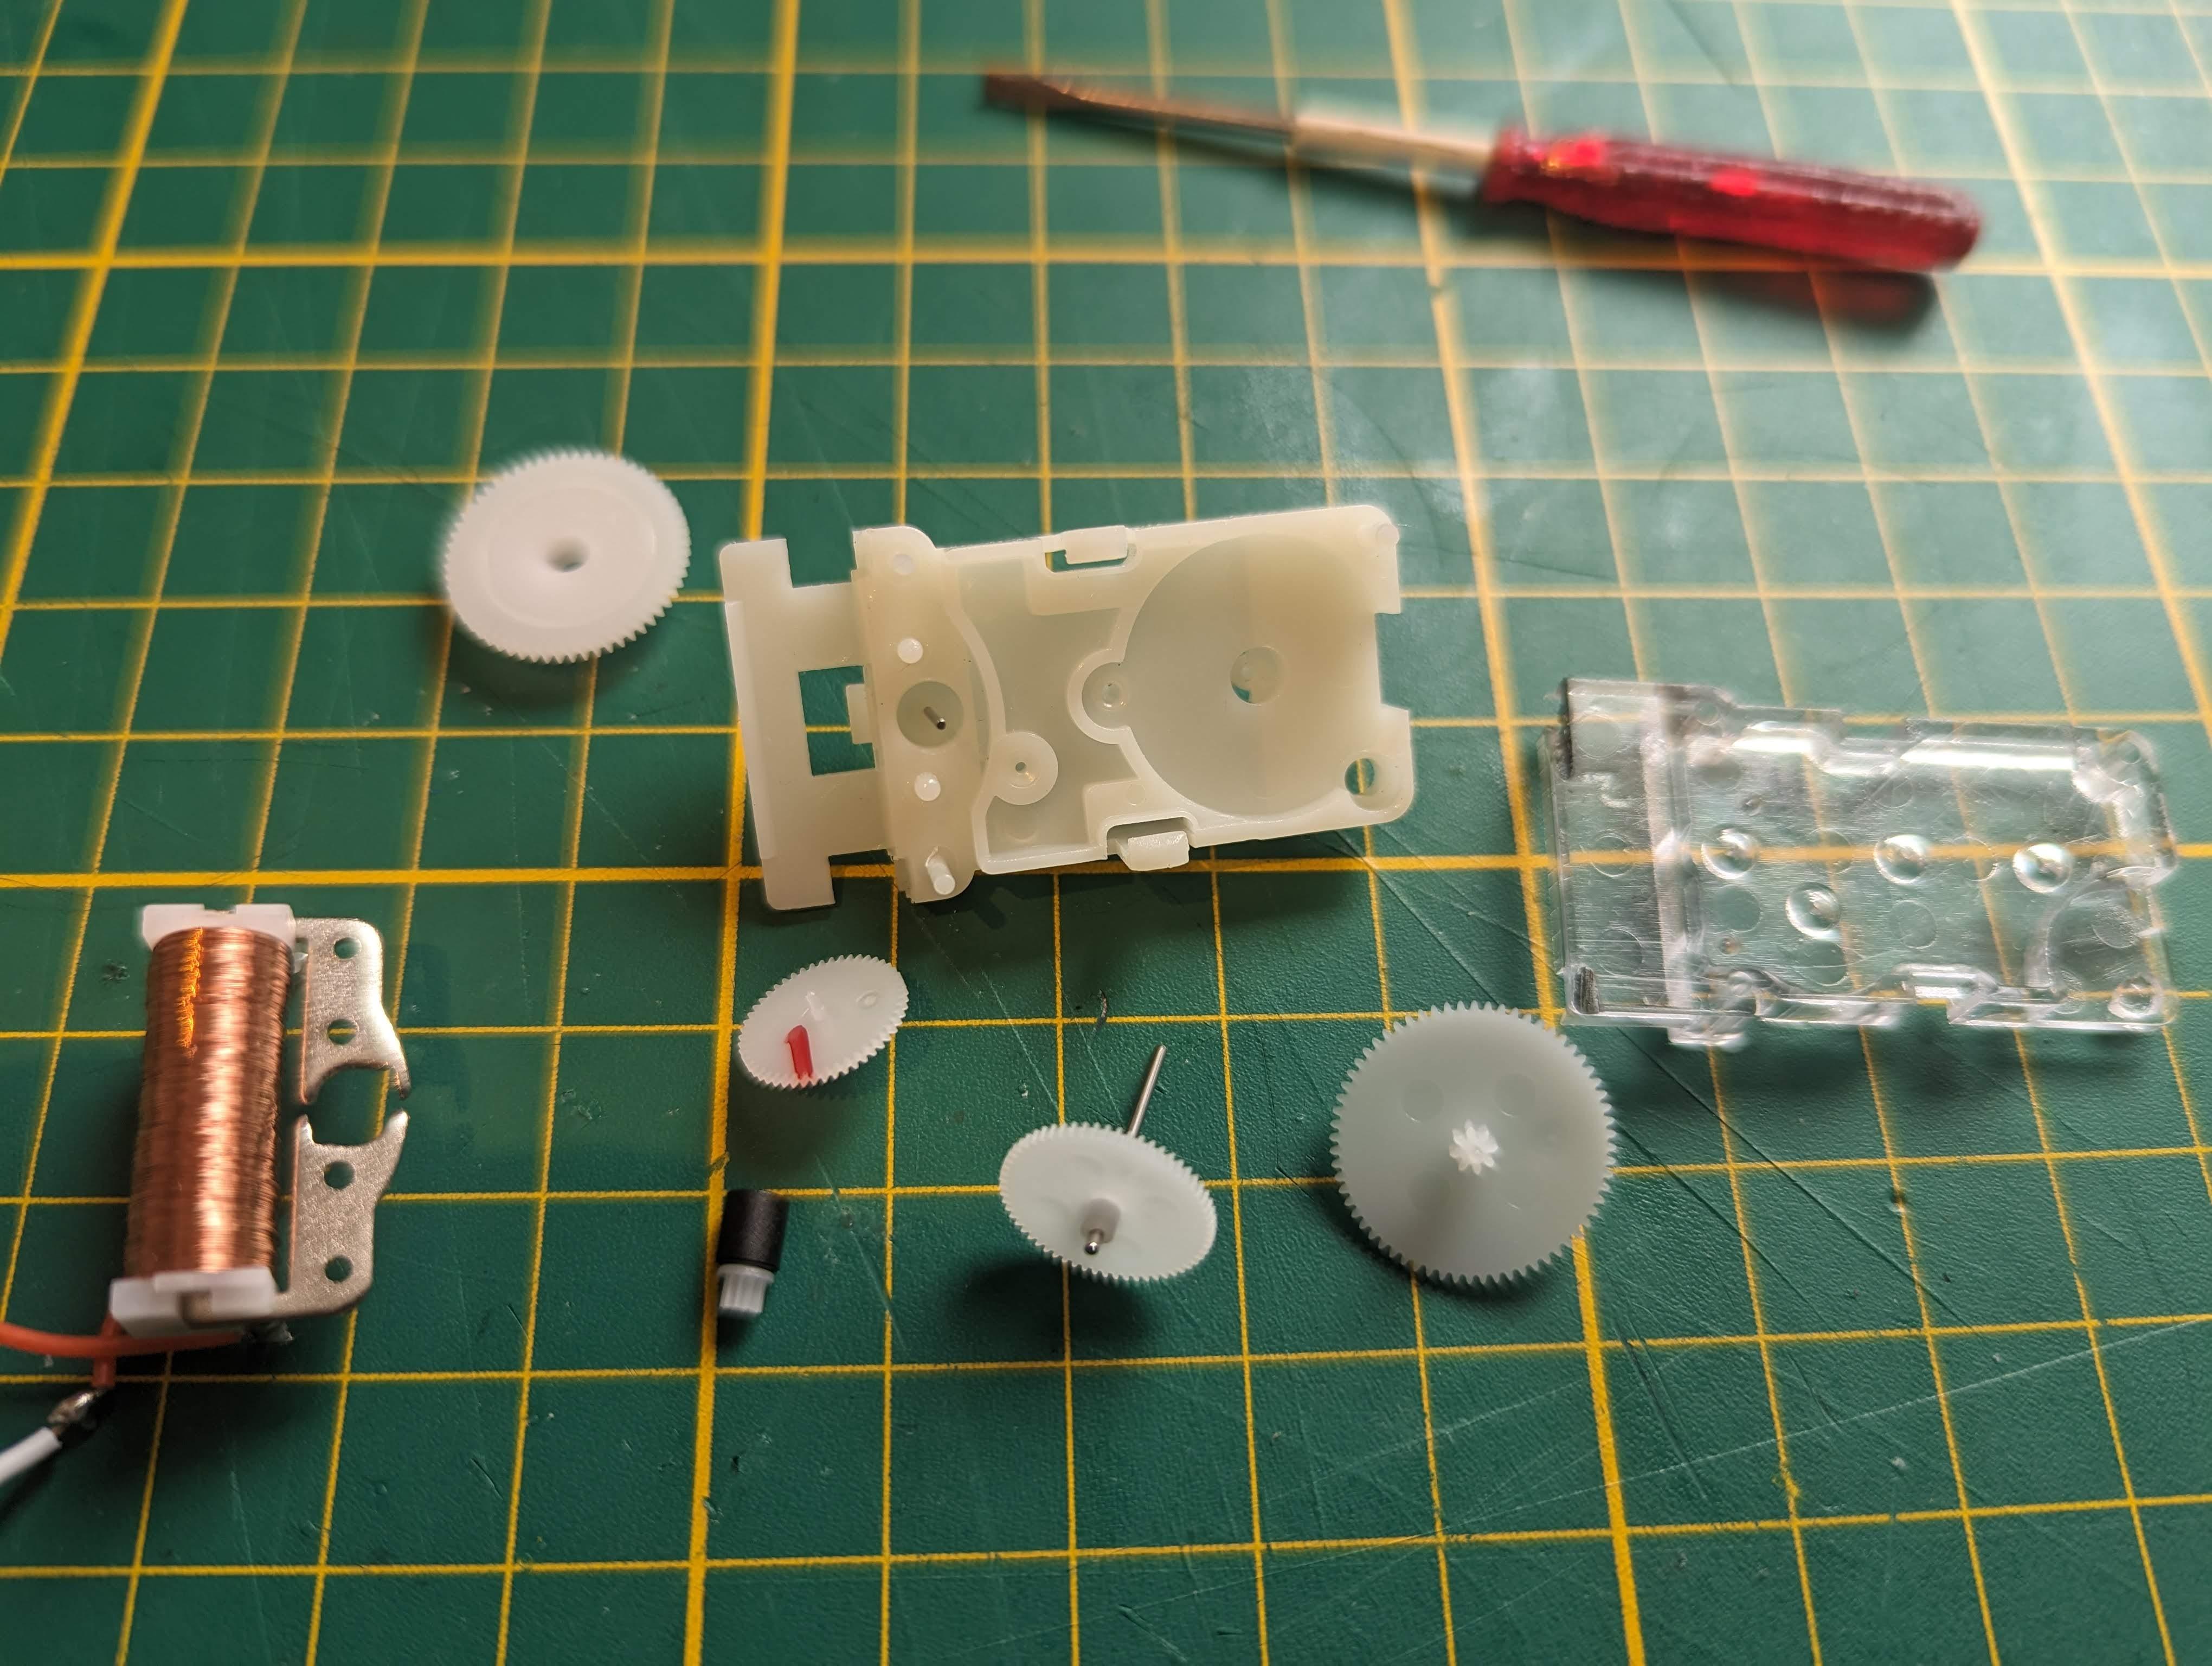
I didn't manage to understand how to disassemble the hour meter without breaking it. Finally, I use a Dremel to cut the back of the plastic enclosure to access the electronics PCB.
Check picture 5 to 13 to see the full disassemble process and how works an hour Meter.
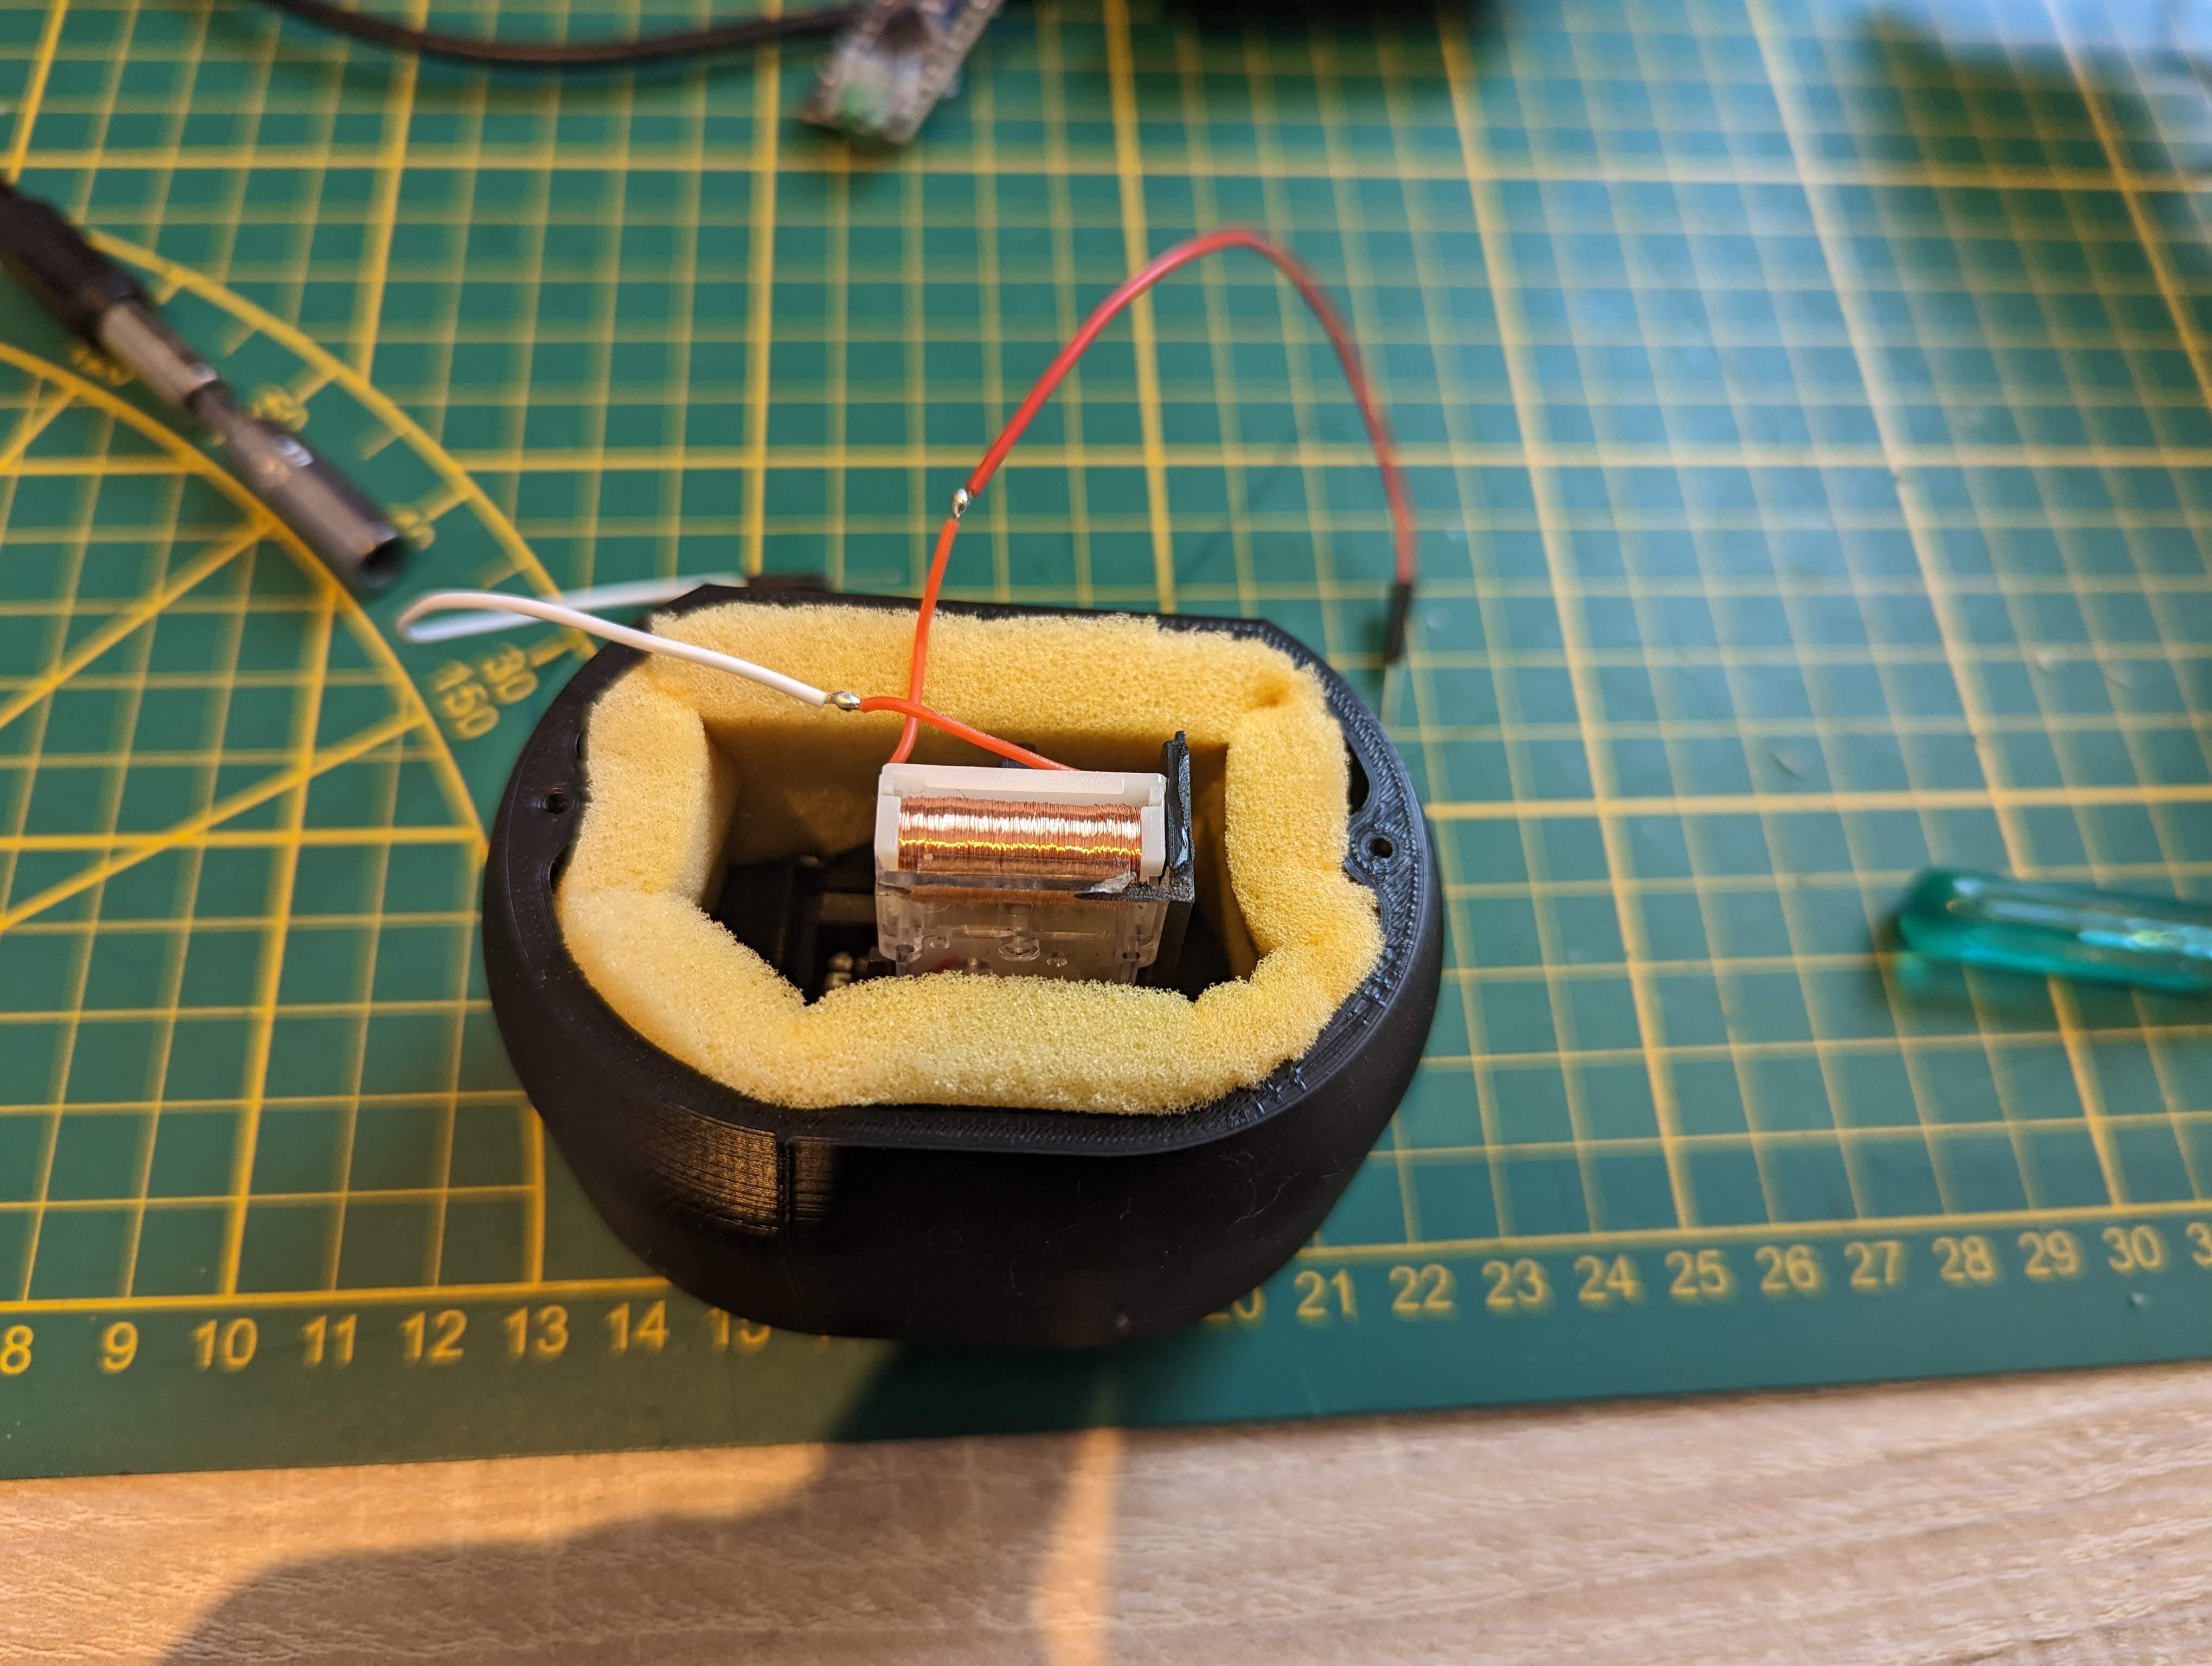
The Hack consists of removing the electronics to replace it with an Arduino Nano in order to drive the coil, which itself drives the gear set.
The picture 3 show, with an oscilloscope, what signal is sent by the control board.
- The board is powered between 4 to 8V
- A positive pulse at 4.5 V lasting 120ms
- A neutral phase lasting 820ms
- A negative pulse at -4.5V lasting 120ms
- A neutral phase lasting 820ms
After knowing how the mechanism works, it is rather easy to replicate the control with an Arduino.
int on_off_time = 1000; // Modify this variable to increase rotation speed

void setup() {
  pinMode(9, OUTPUT); //Define Pin Mode
  pinMode(10, OUTPUT);
}

void loop() {
  digitalWrite(10, HIGH); //Positive pulse
  digitalWrite(9, LOW);
  delay(on_off_time);
  digitalWrite(10, LOW); //Negative pulse
  digitalWrite(9, HIGH);
  delay(on_off_time);
}
Additional information :
- "on_off_time" at 1000ms is equivalent to a standard rotation of the display (1 hour = 1 hour)
- "on_off_time" at 8 ms is the maximum speed to increase the value display (1 hour = 125 hours)
- "on_off_time" at 7 ms is the exact speed to decrease the value of the display (1 hour = -143 hours) (I can't explain why it works like this)
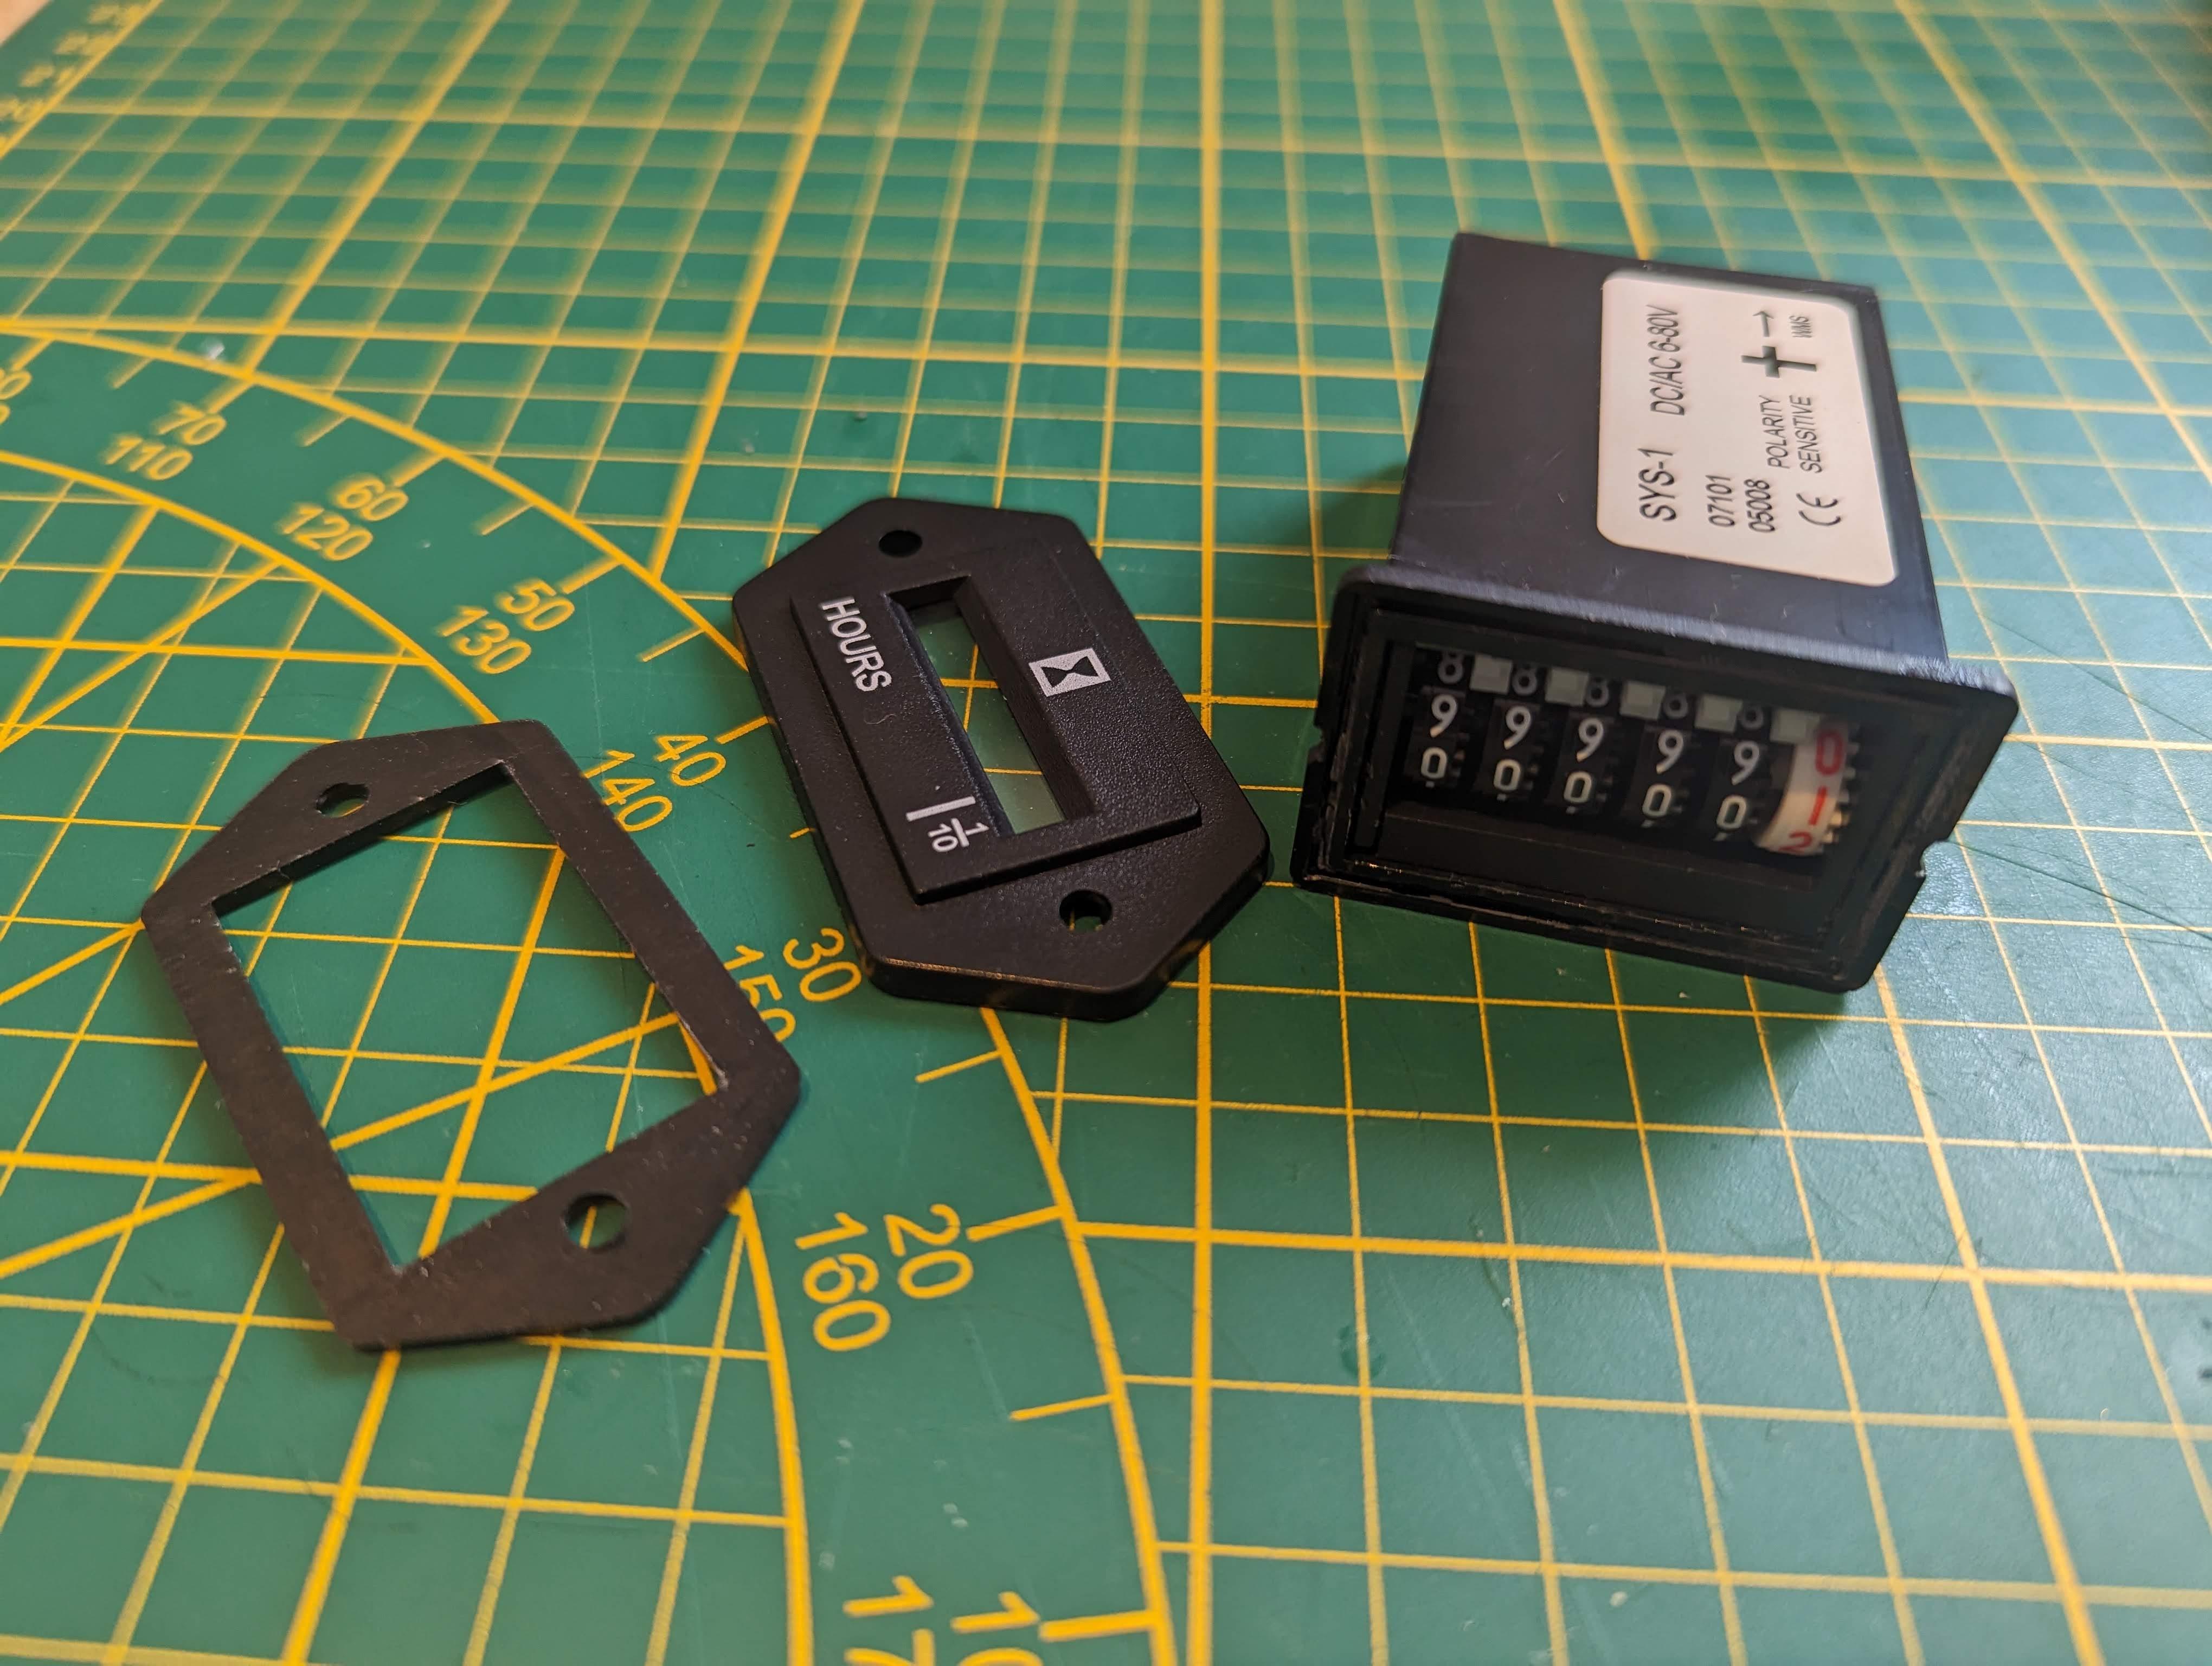
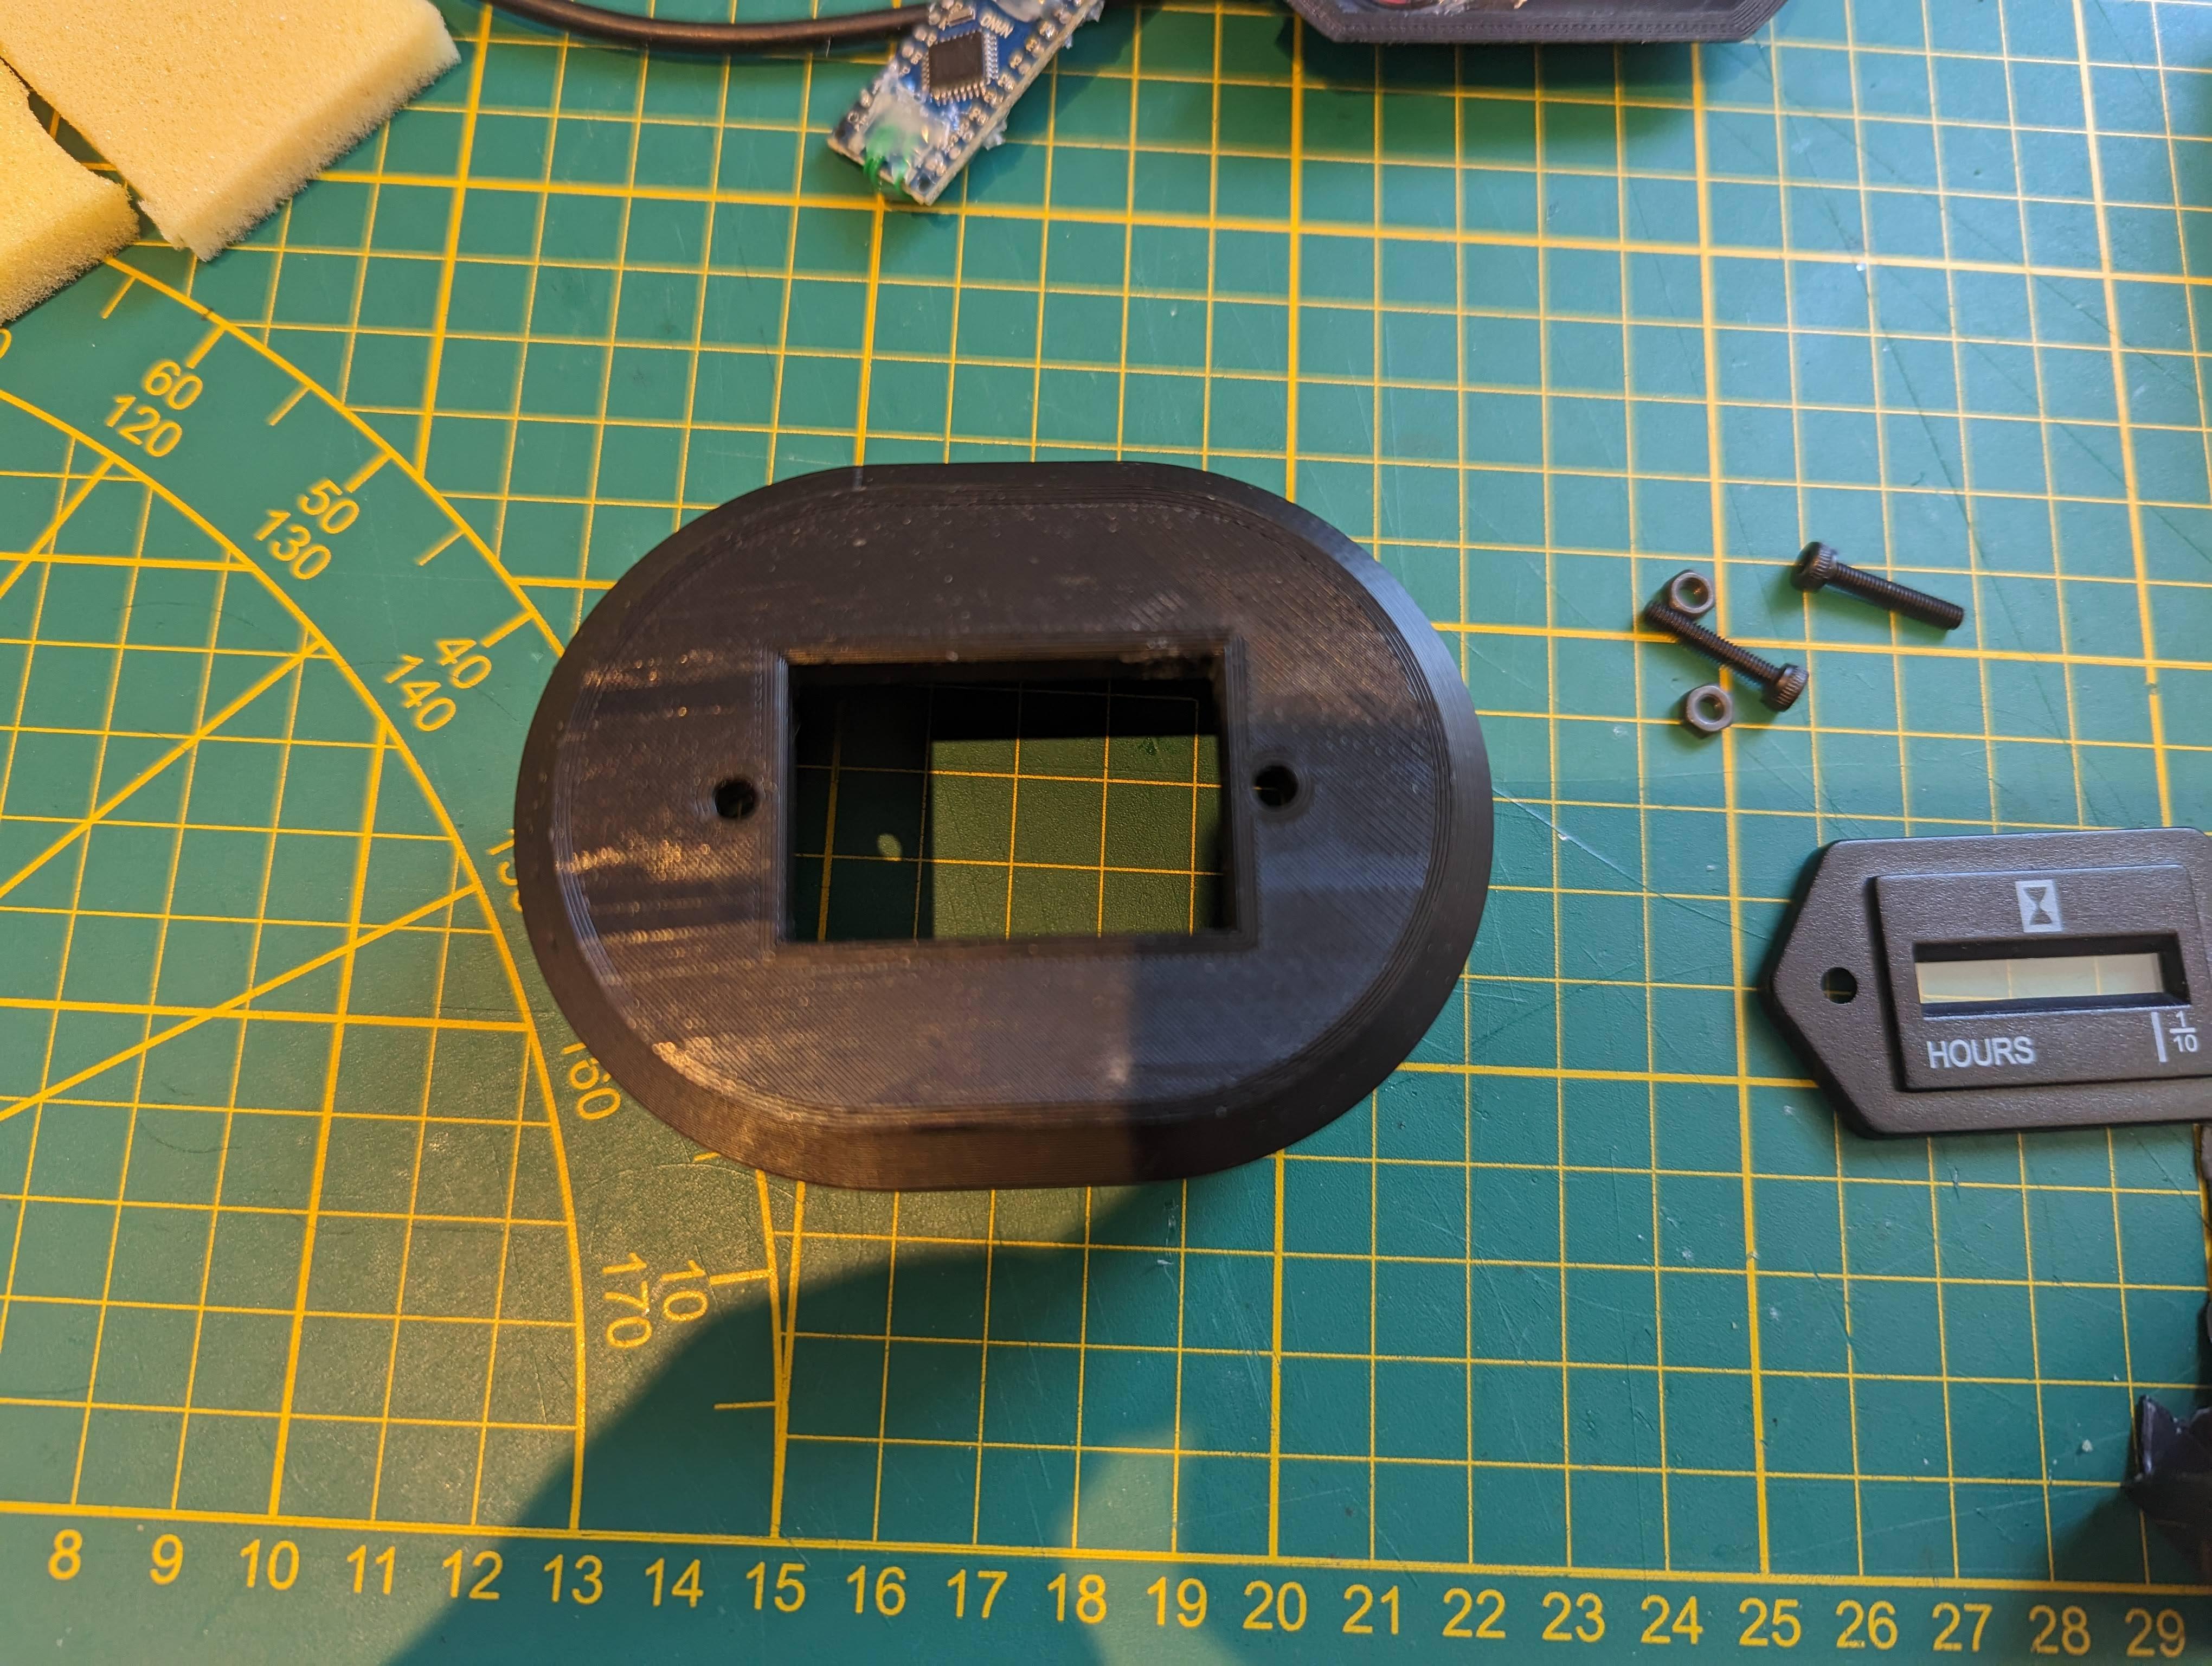
3D Enclosure
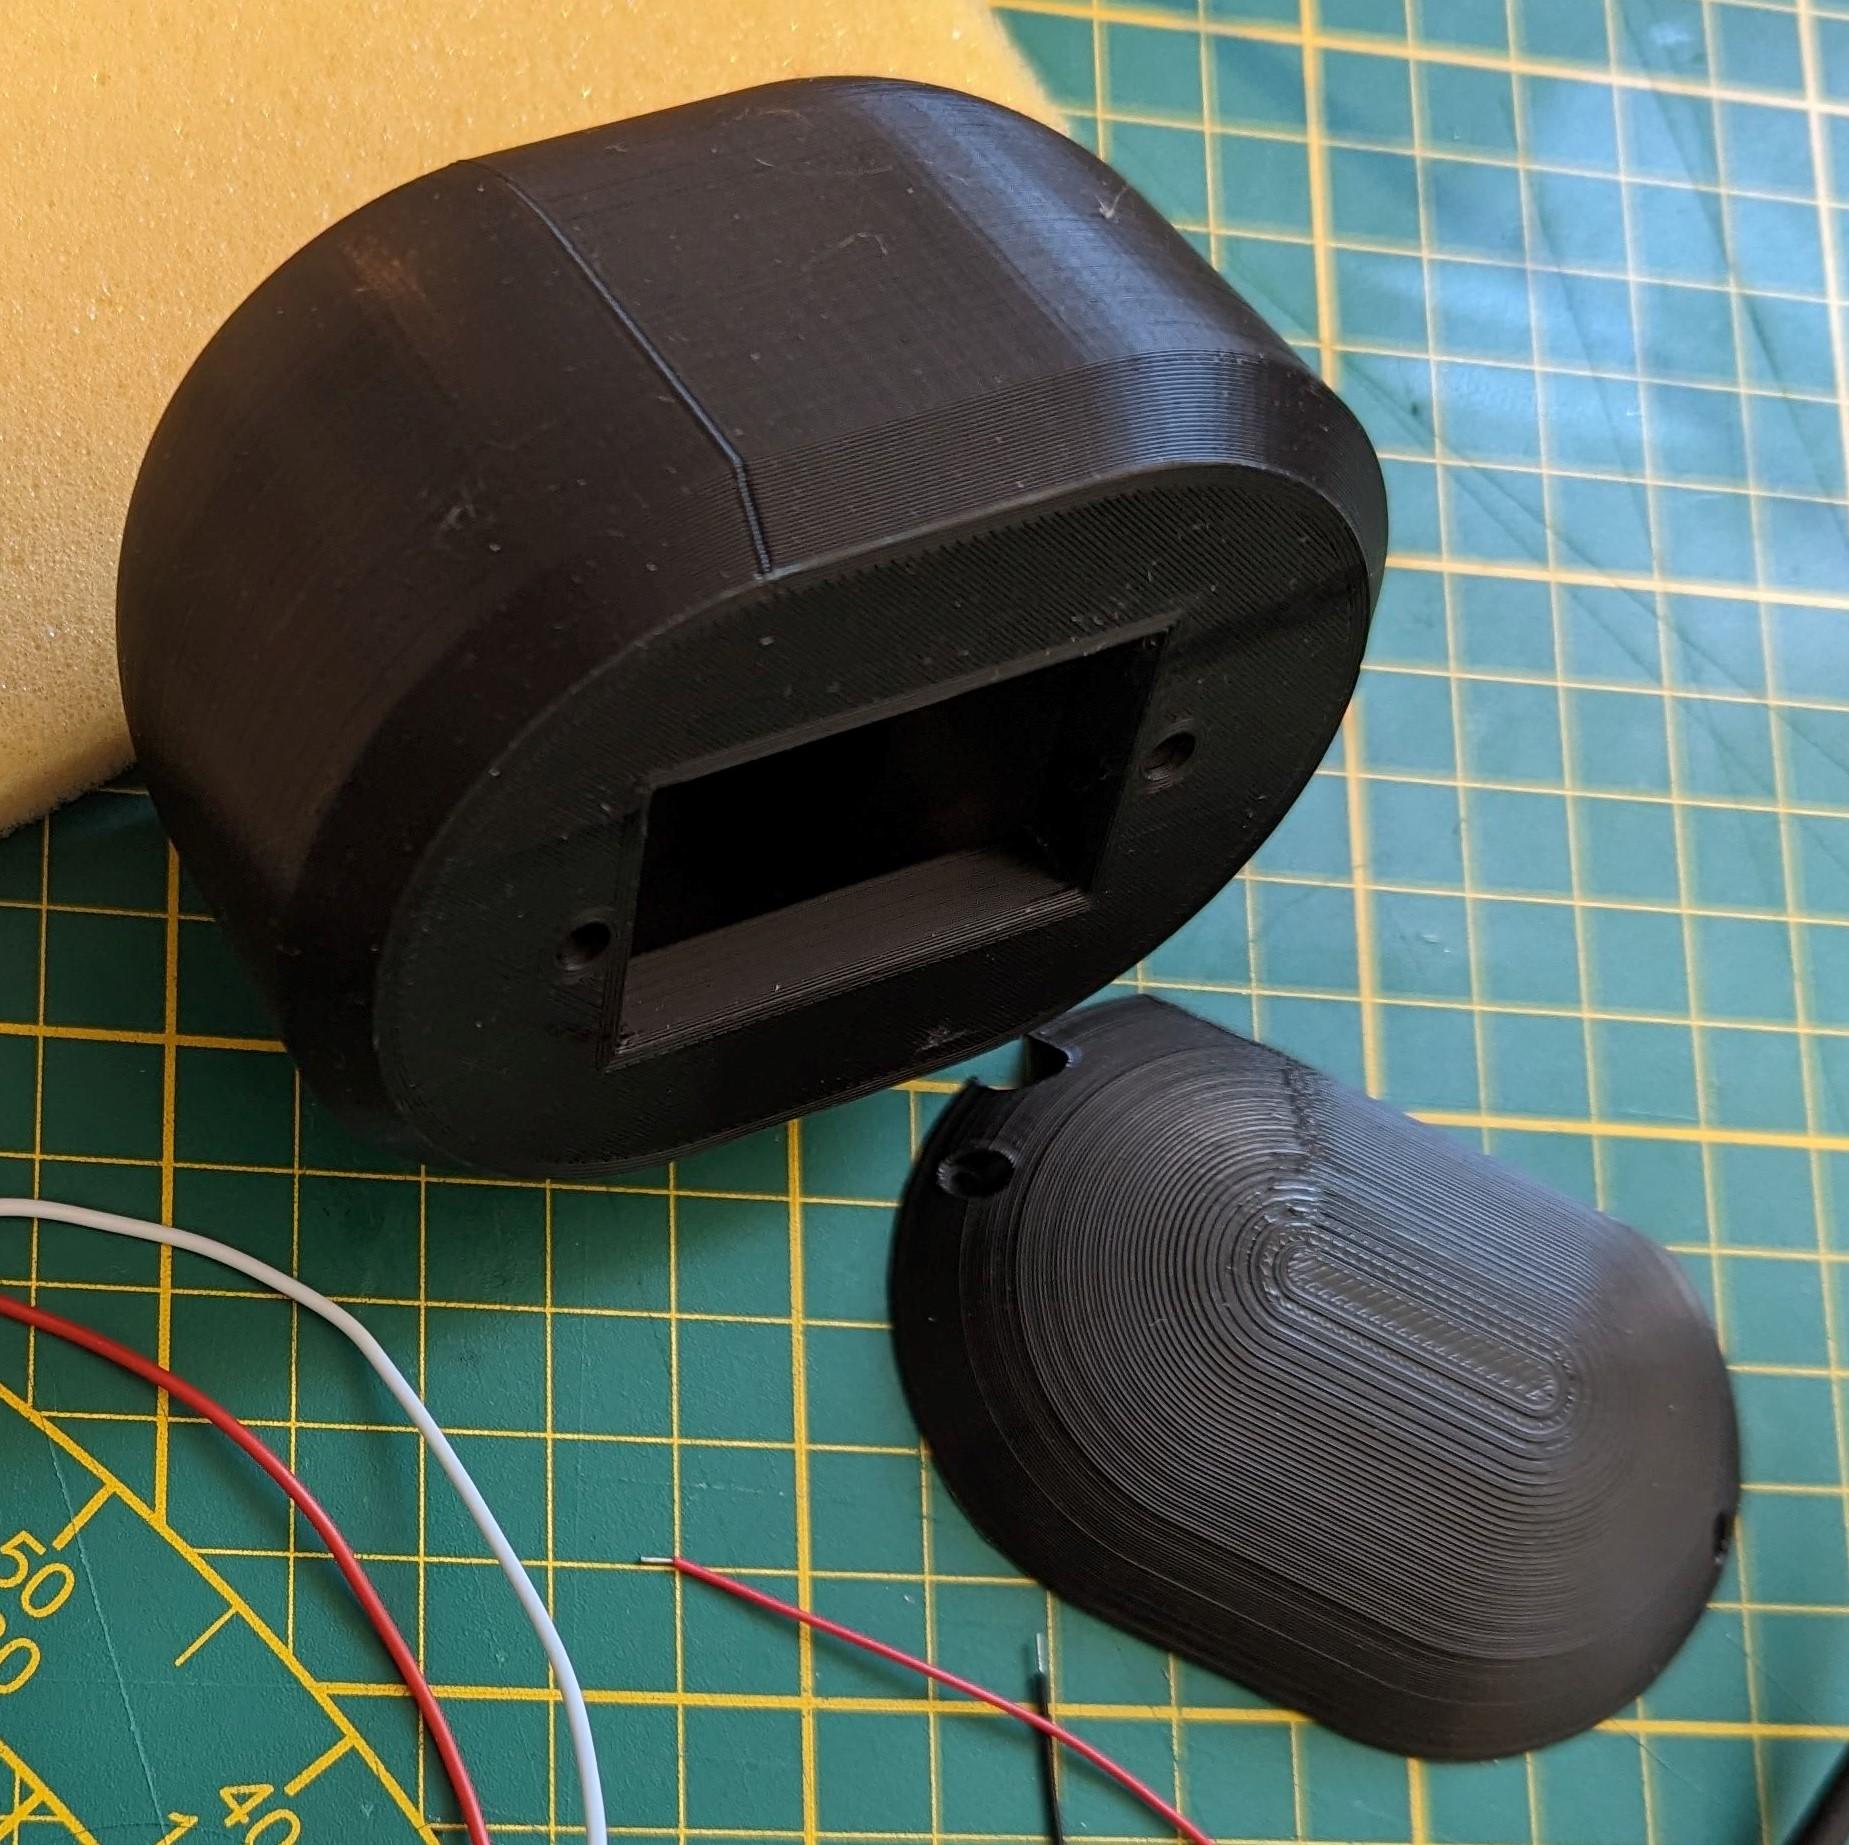
The 3D enclosure is a 2 parts model which are assembled together using two screws.
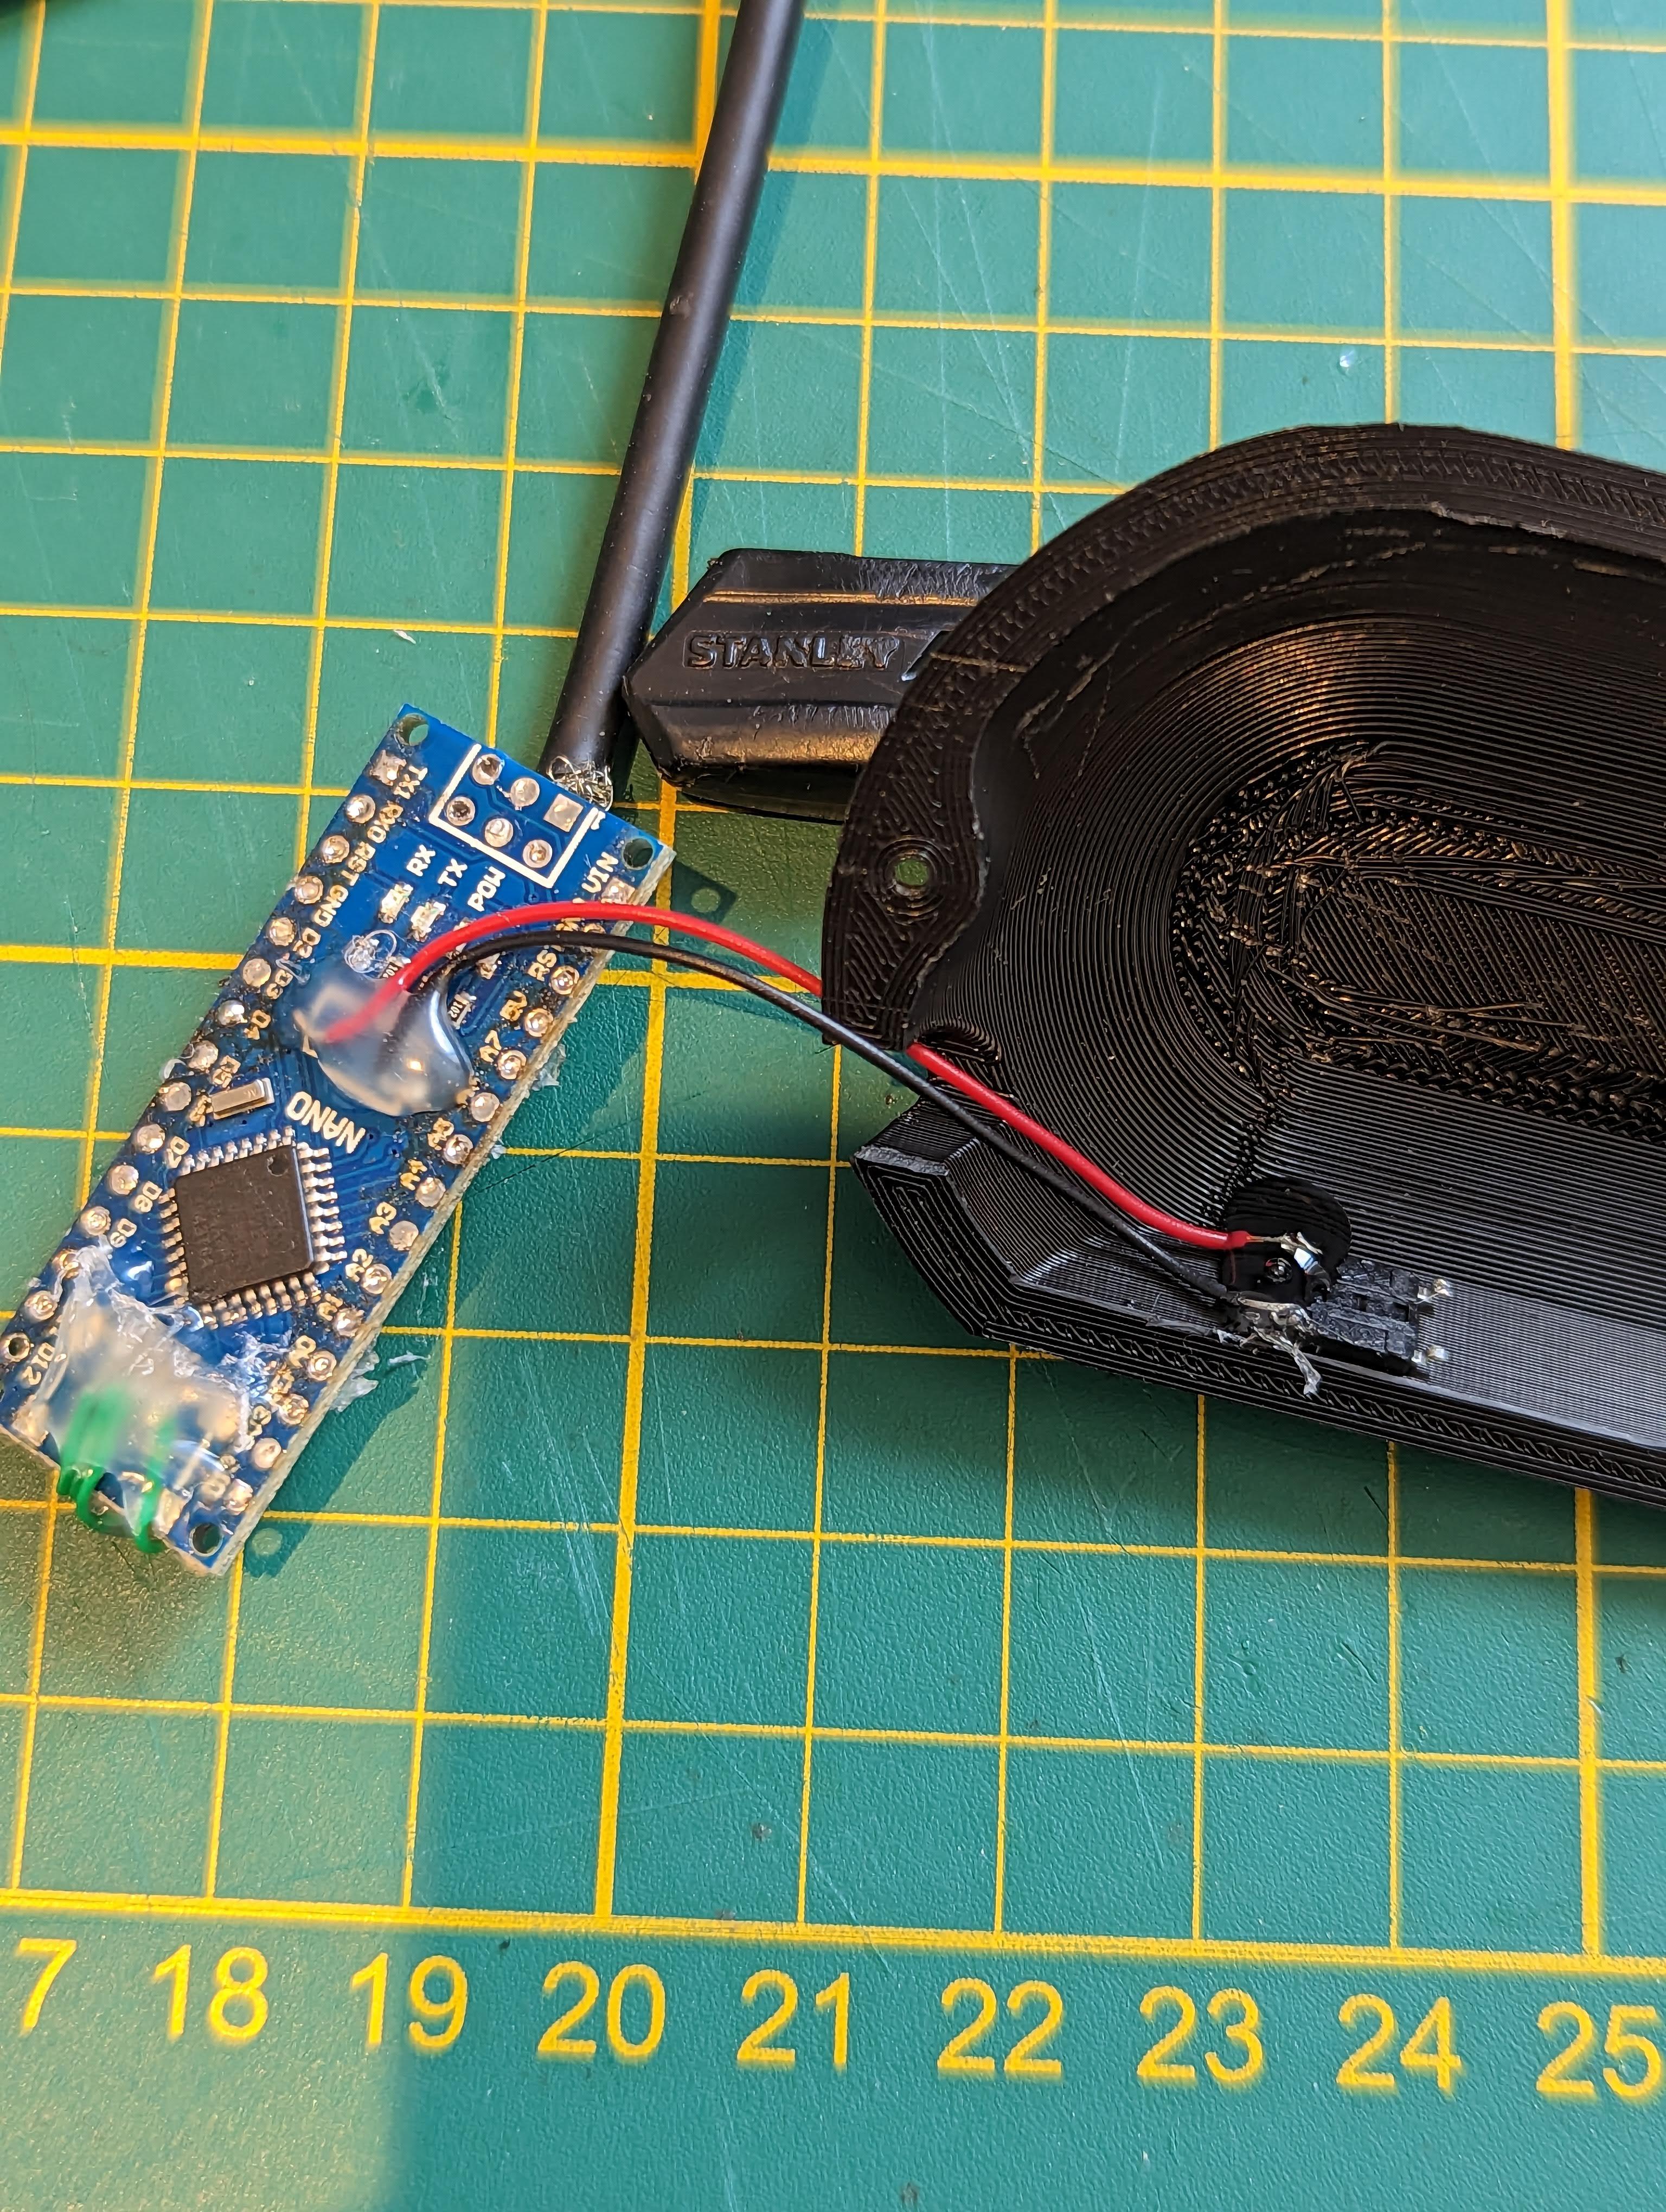
Arduino Nano USB Cable Modification
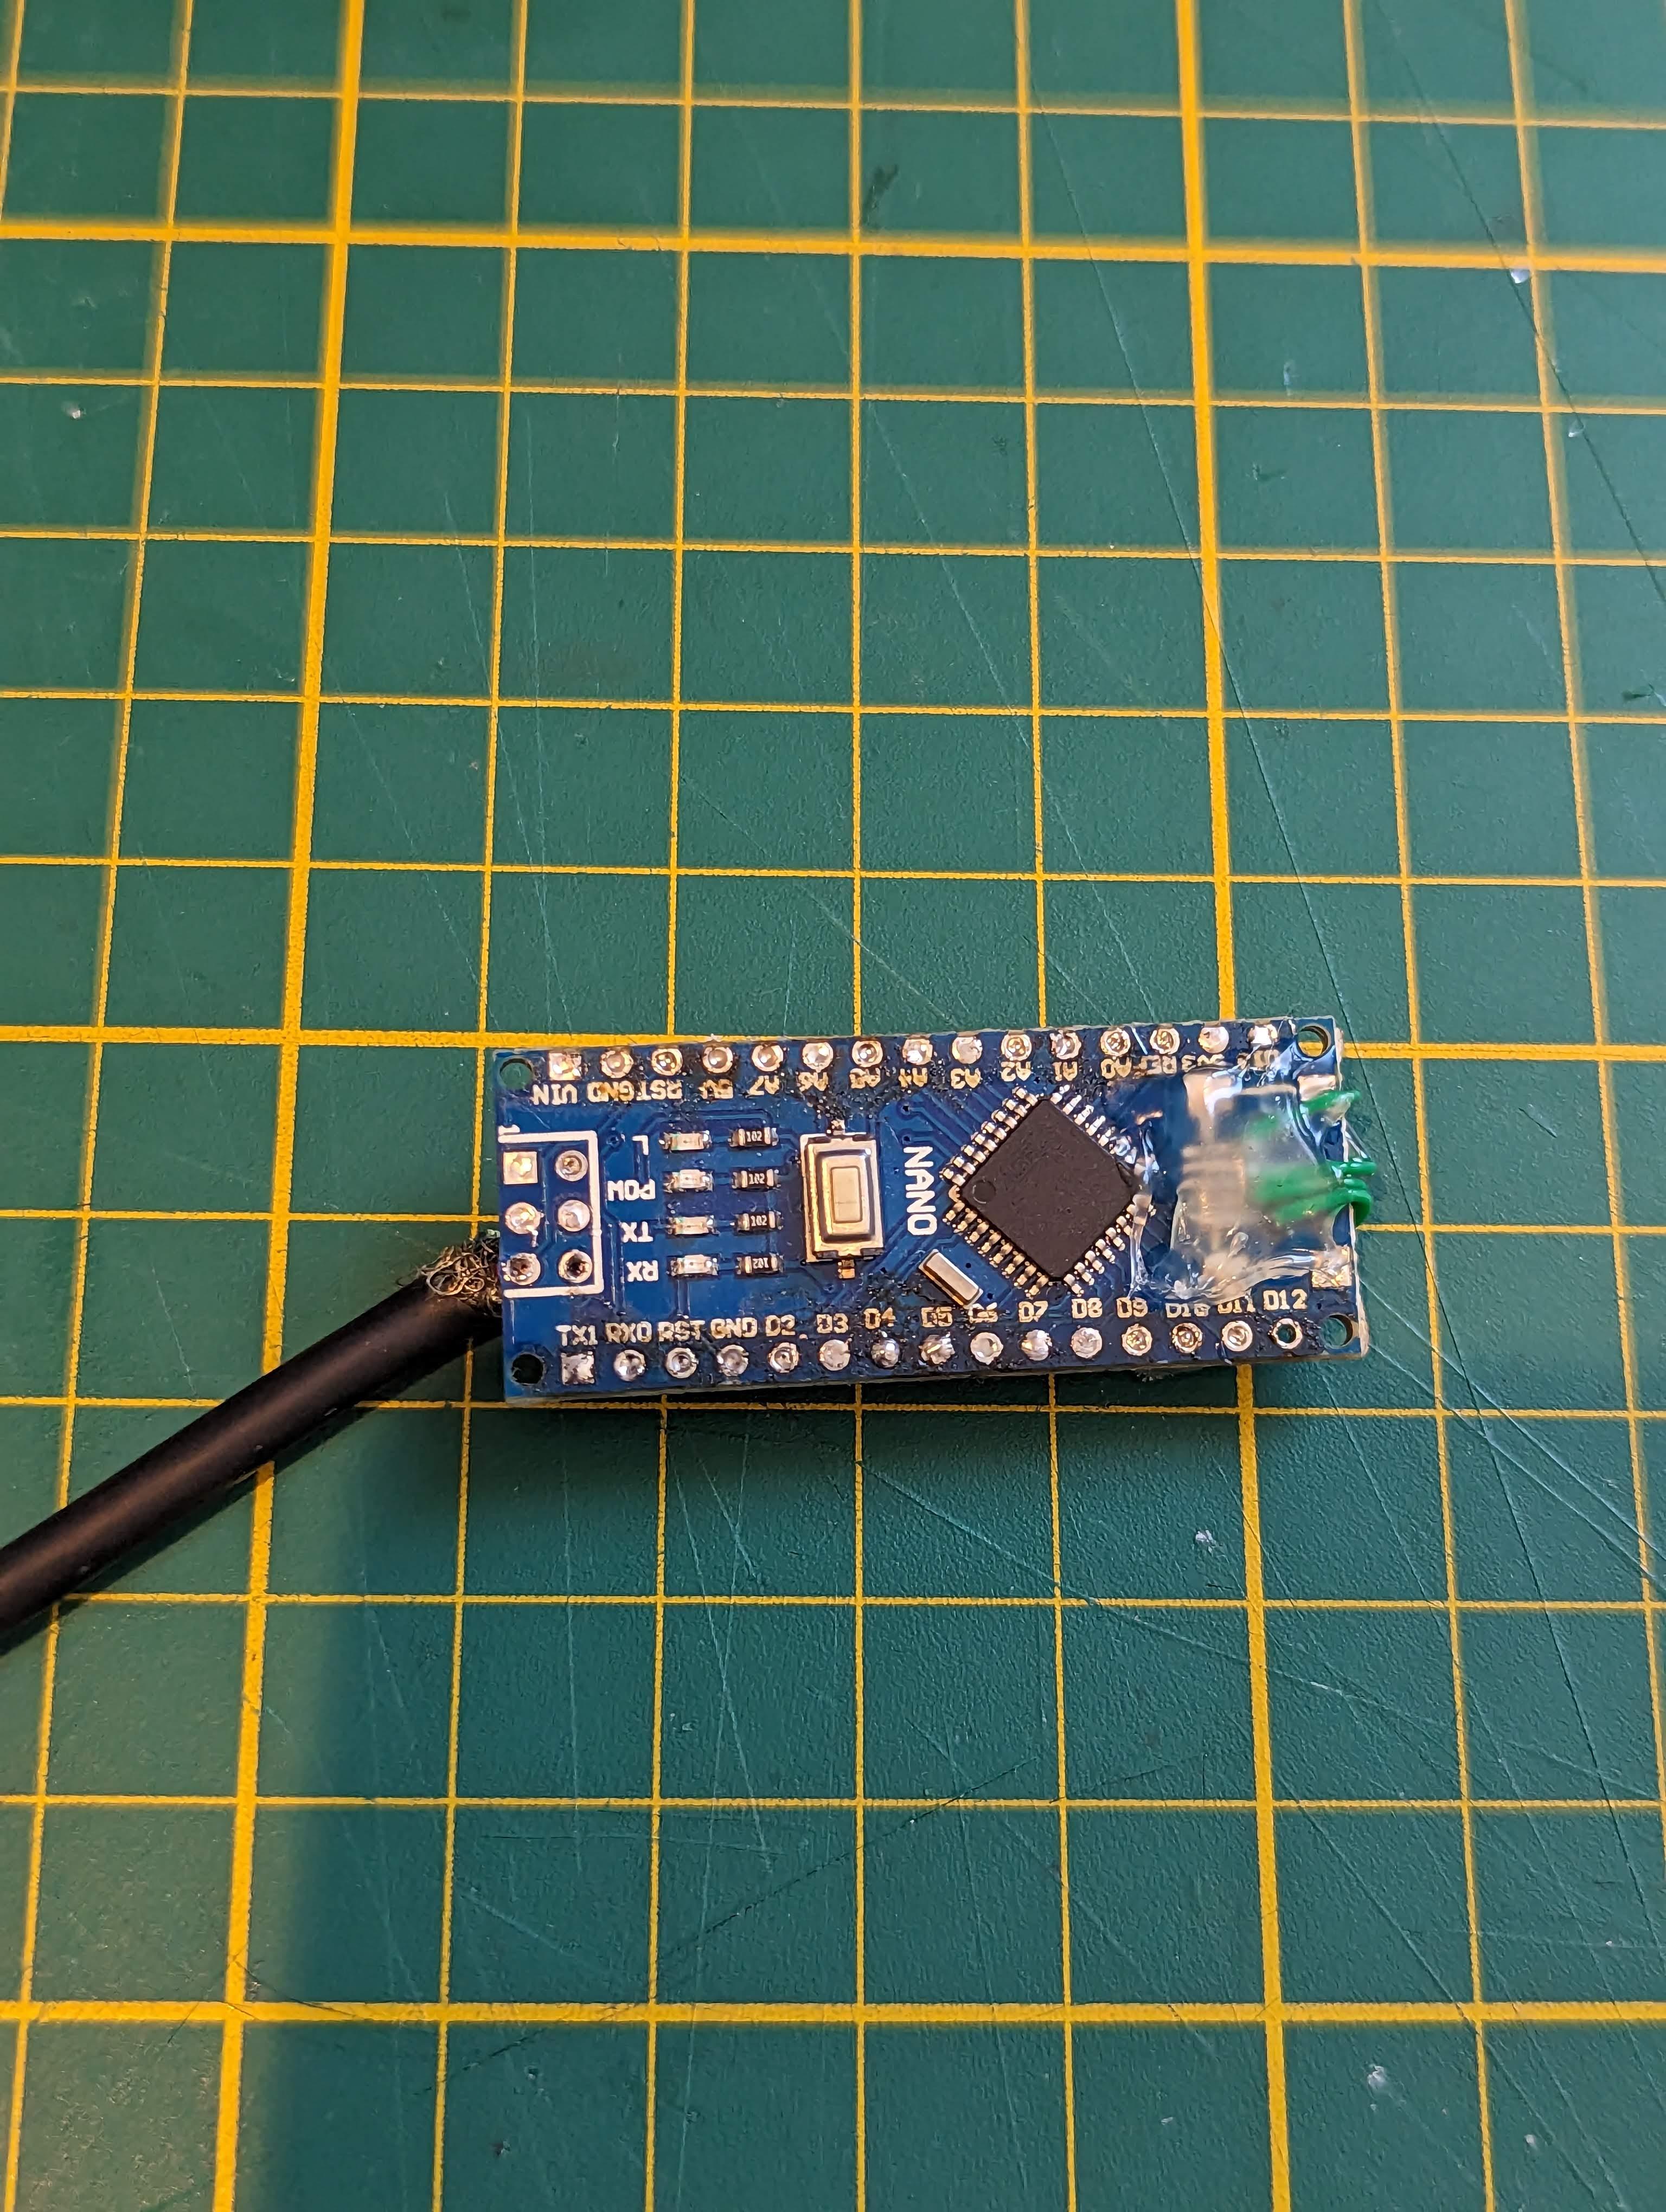
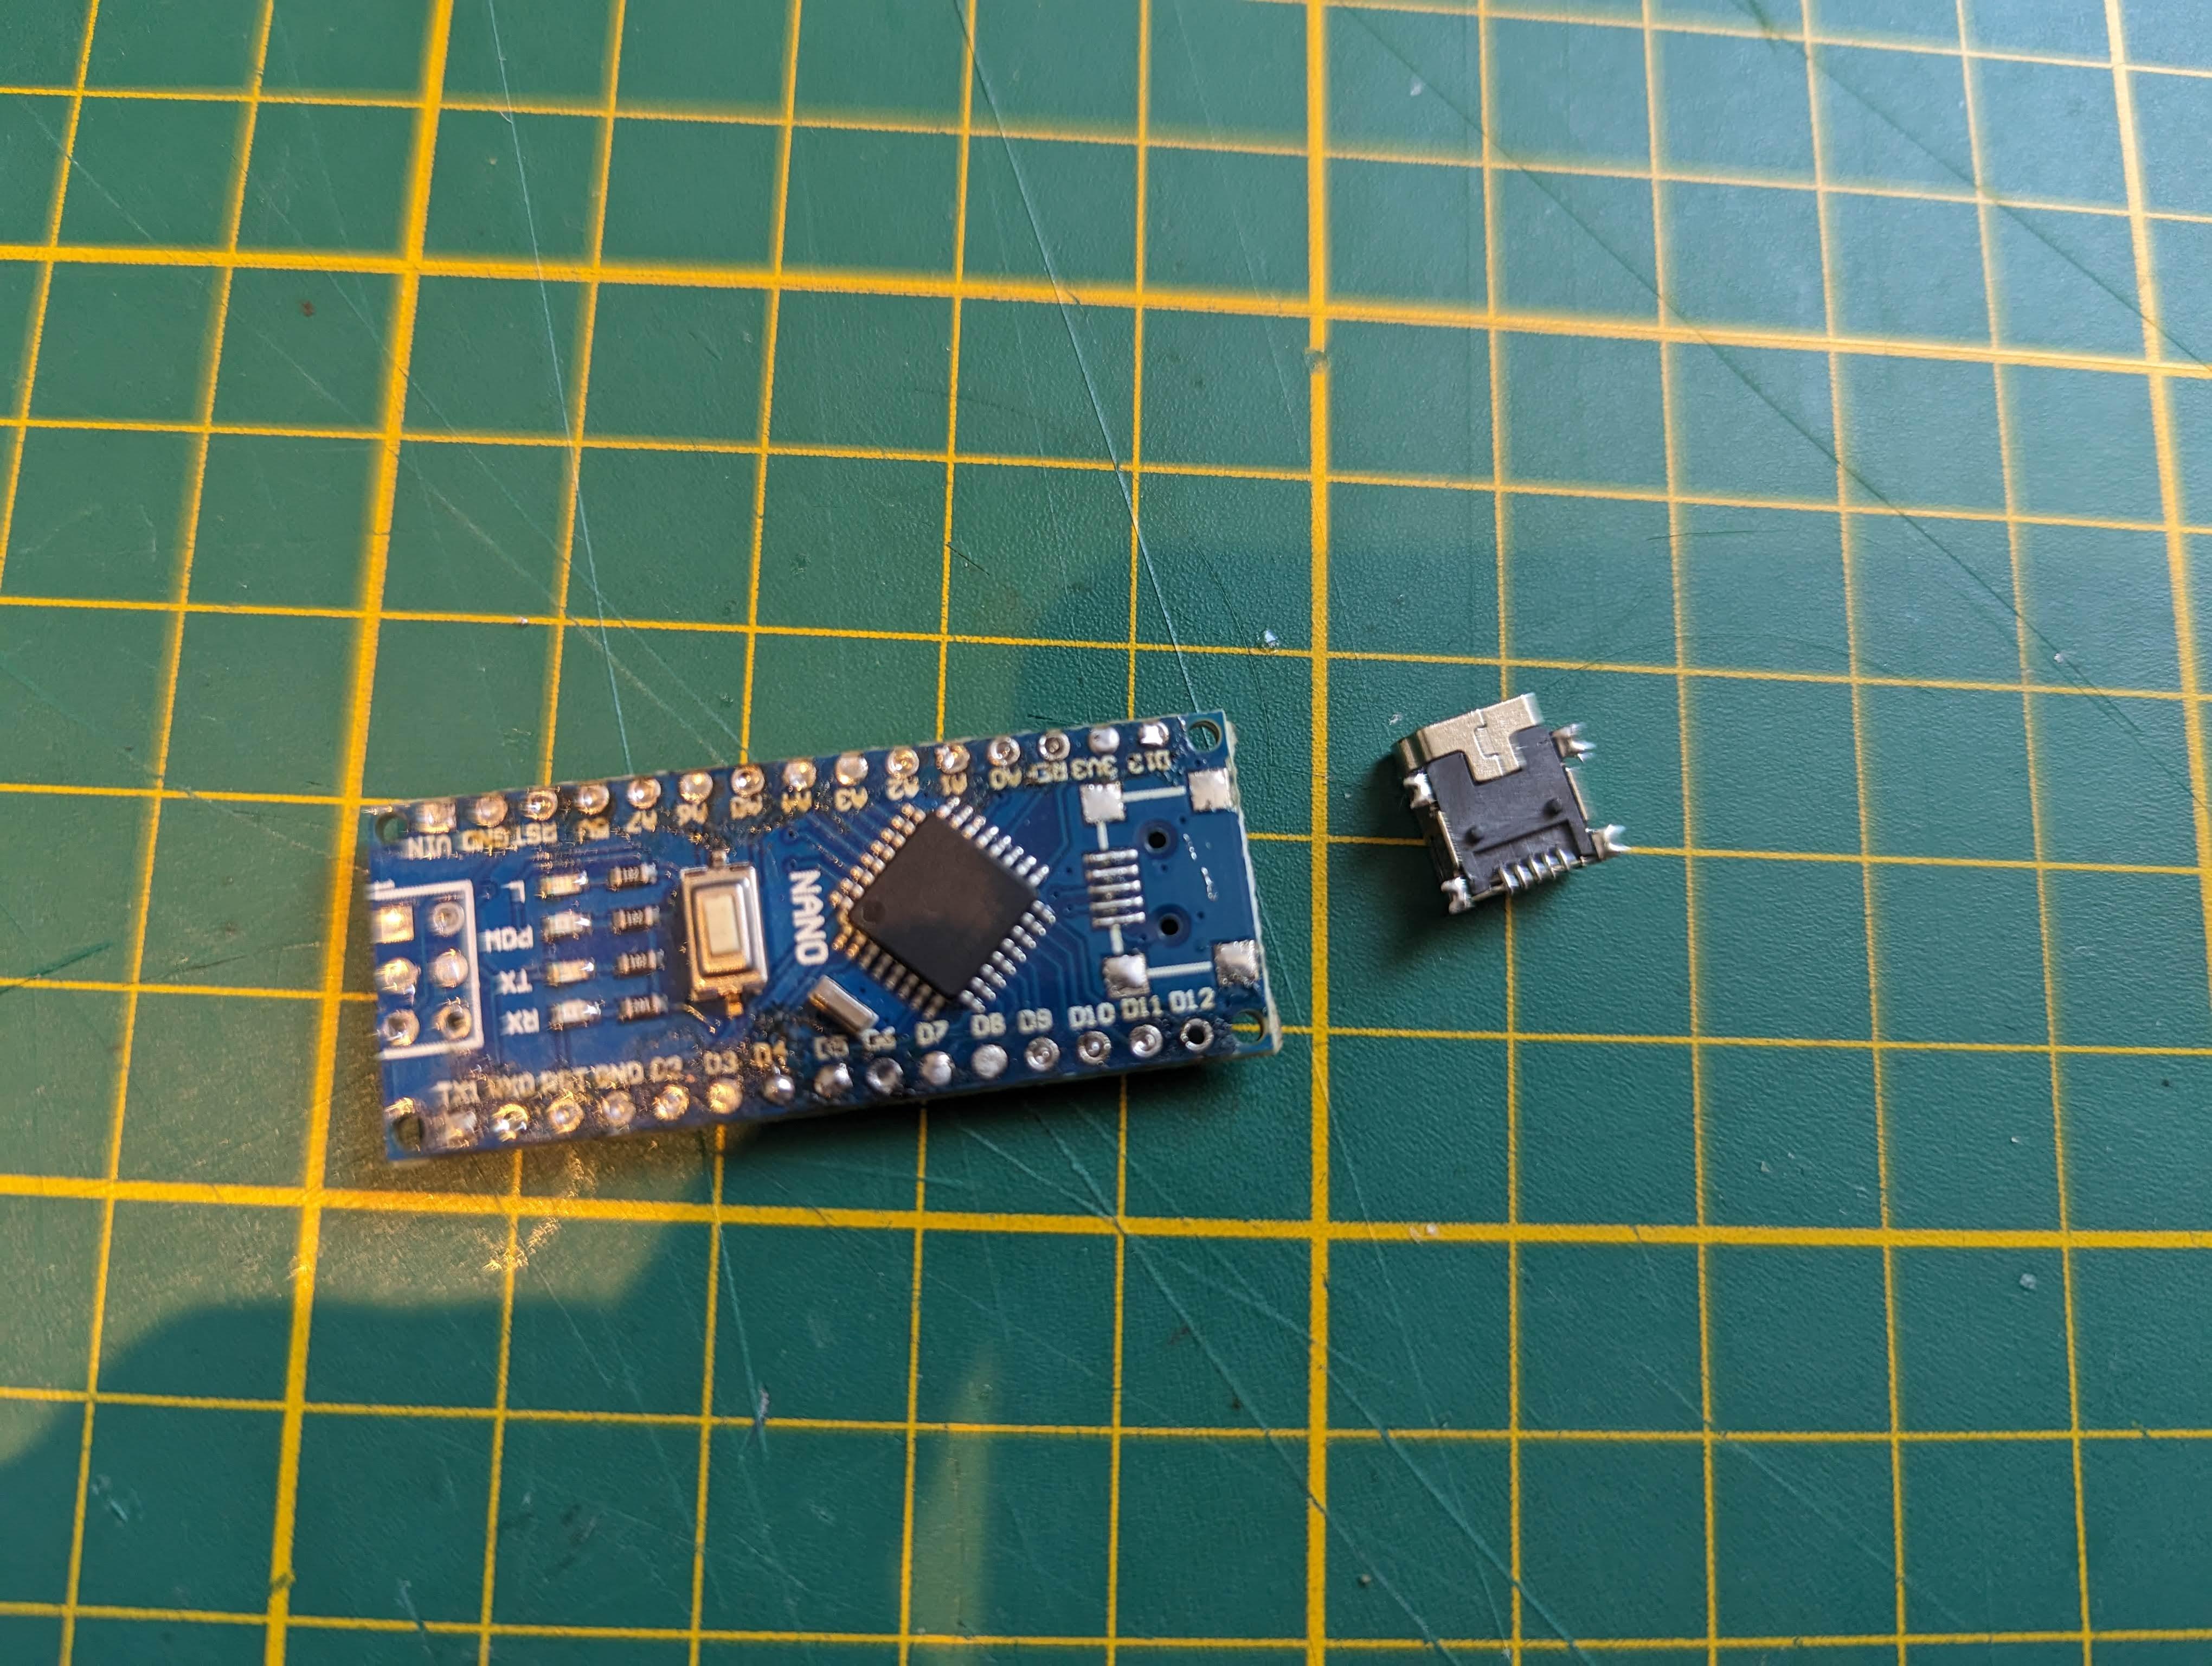
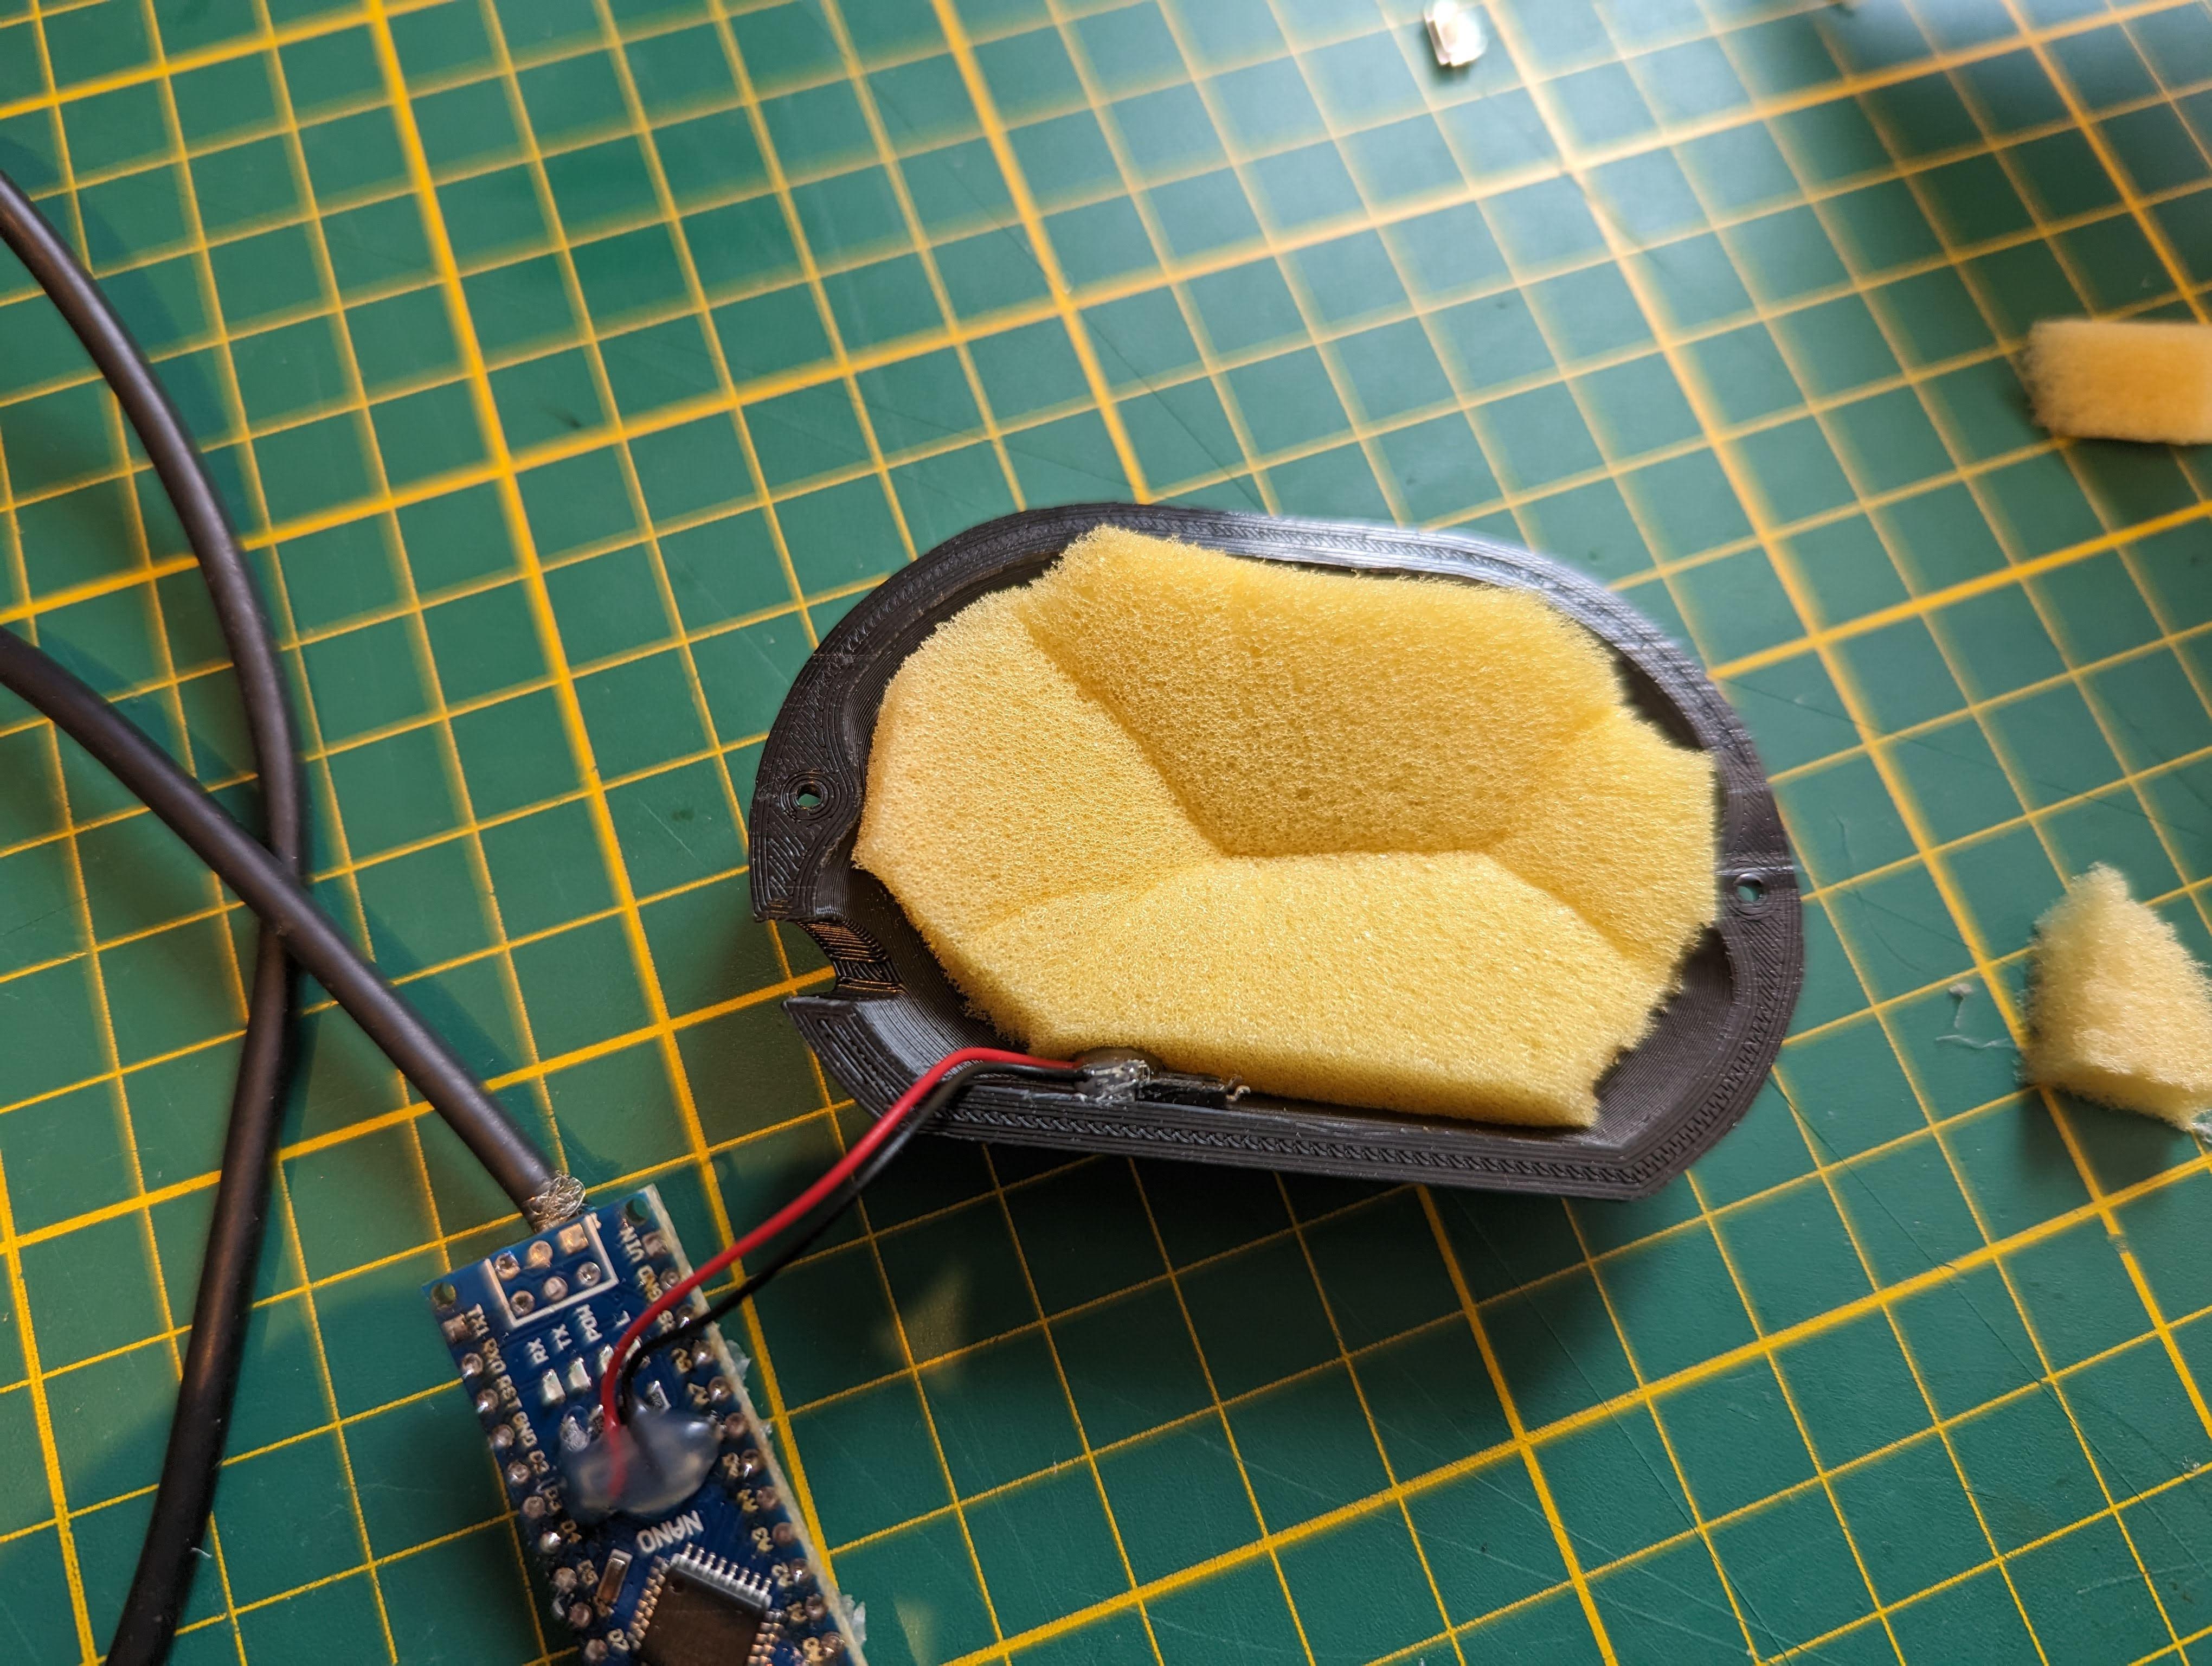
I wanted a small 3D box, so I had to modify the Arduino to remove the USB port to reduce the space.
Modification steps are :
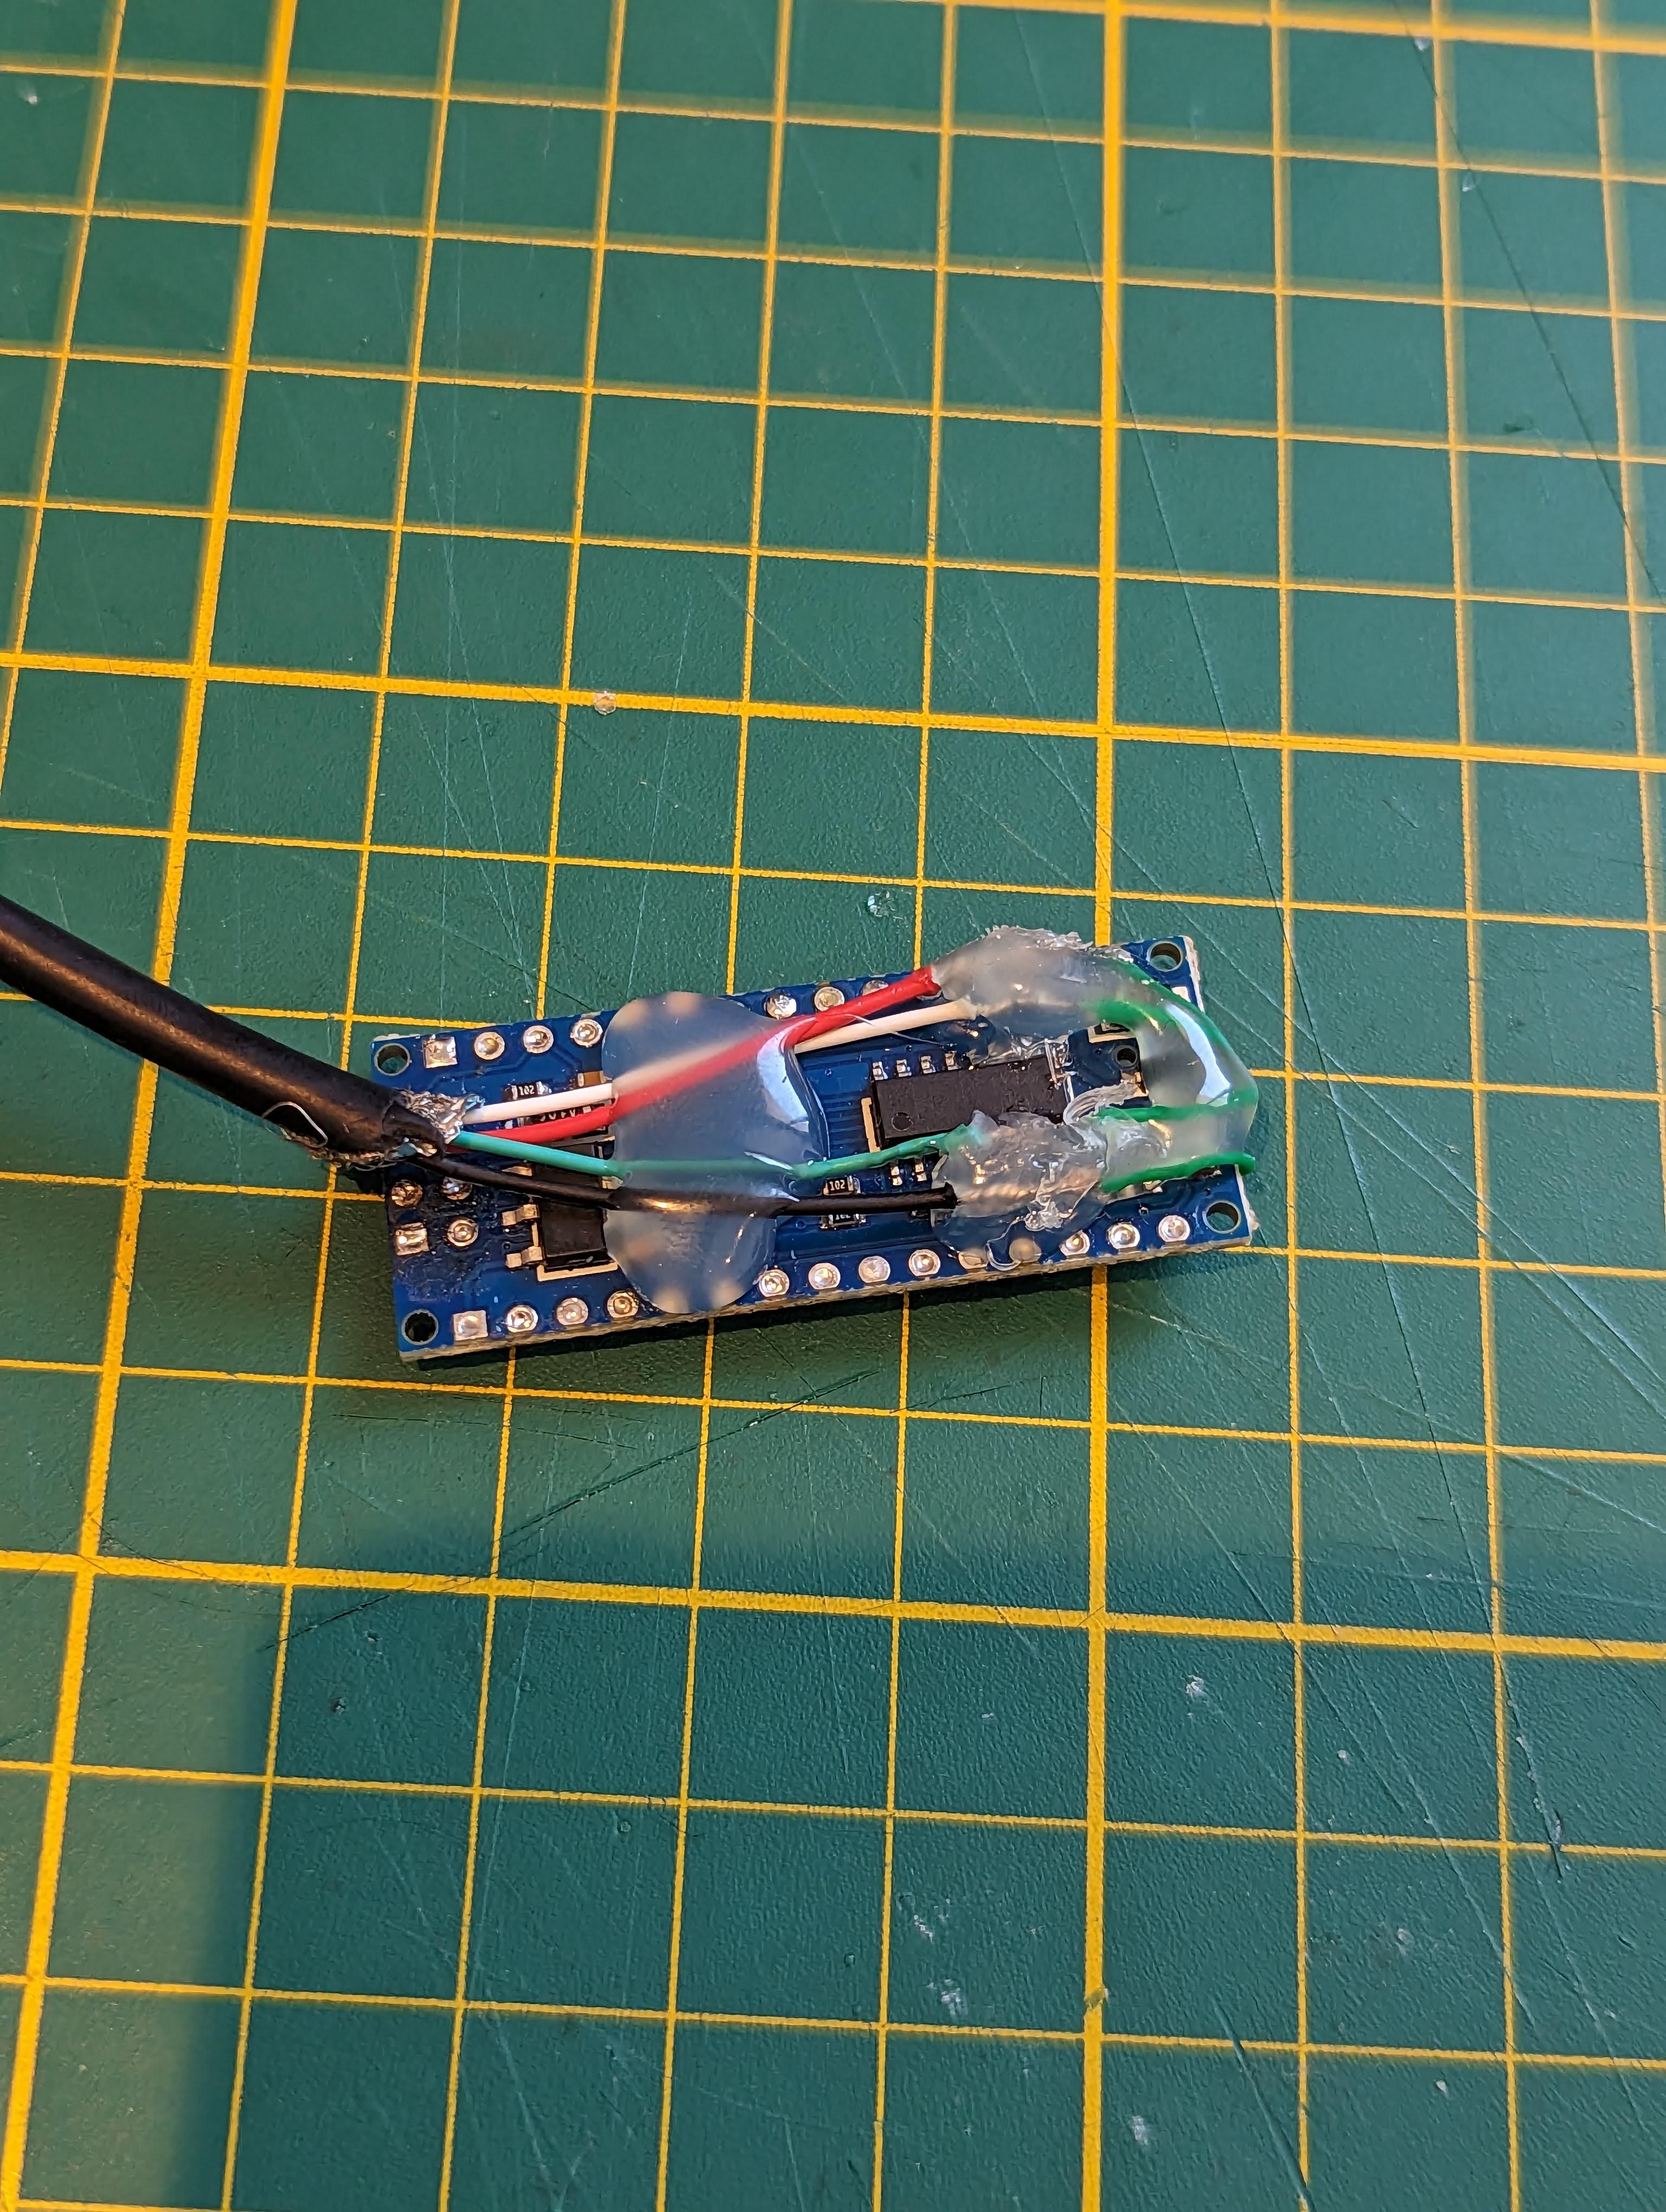
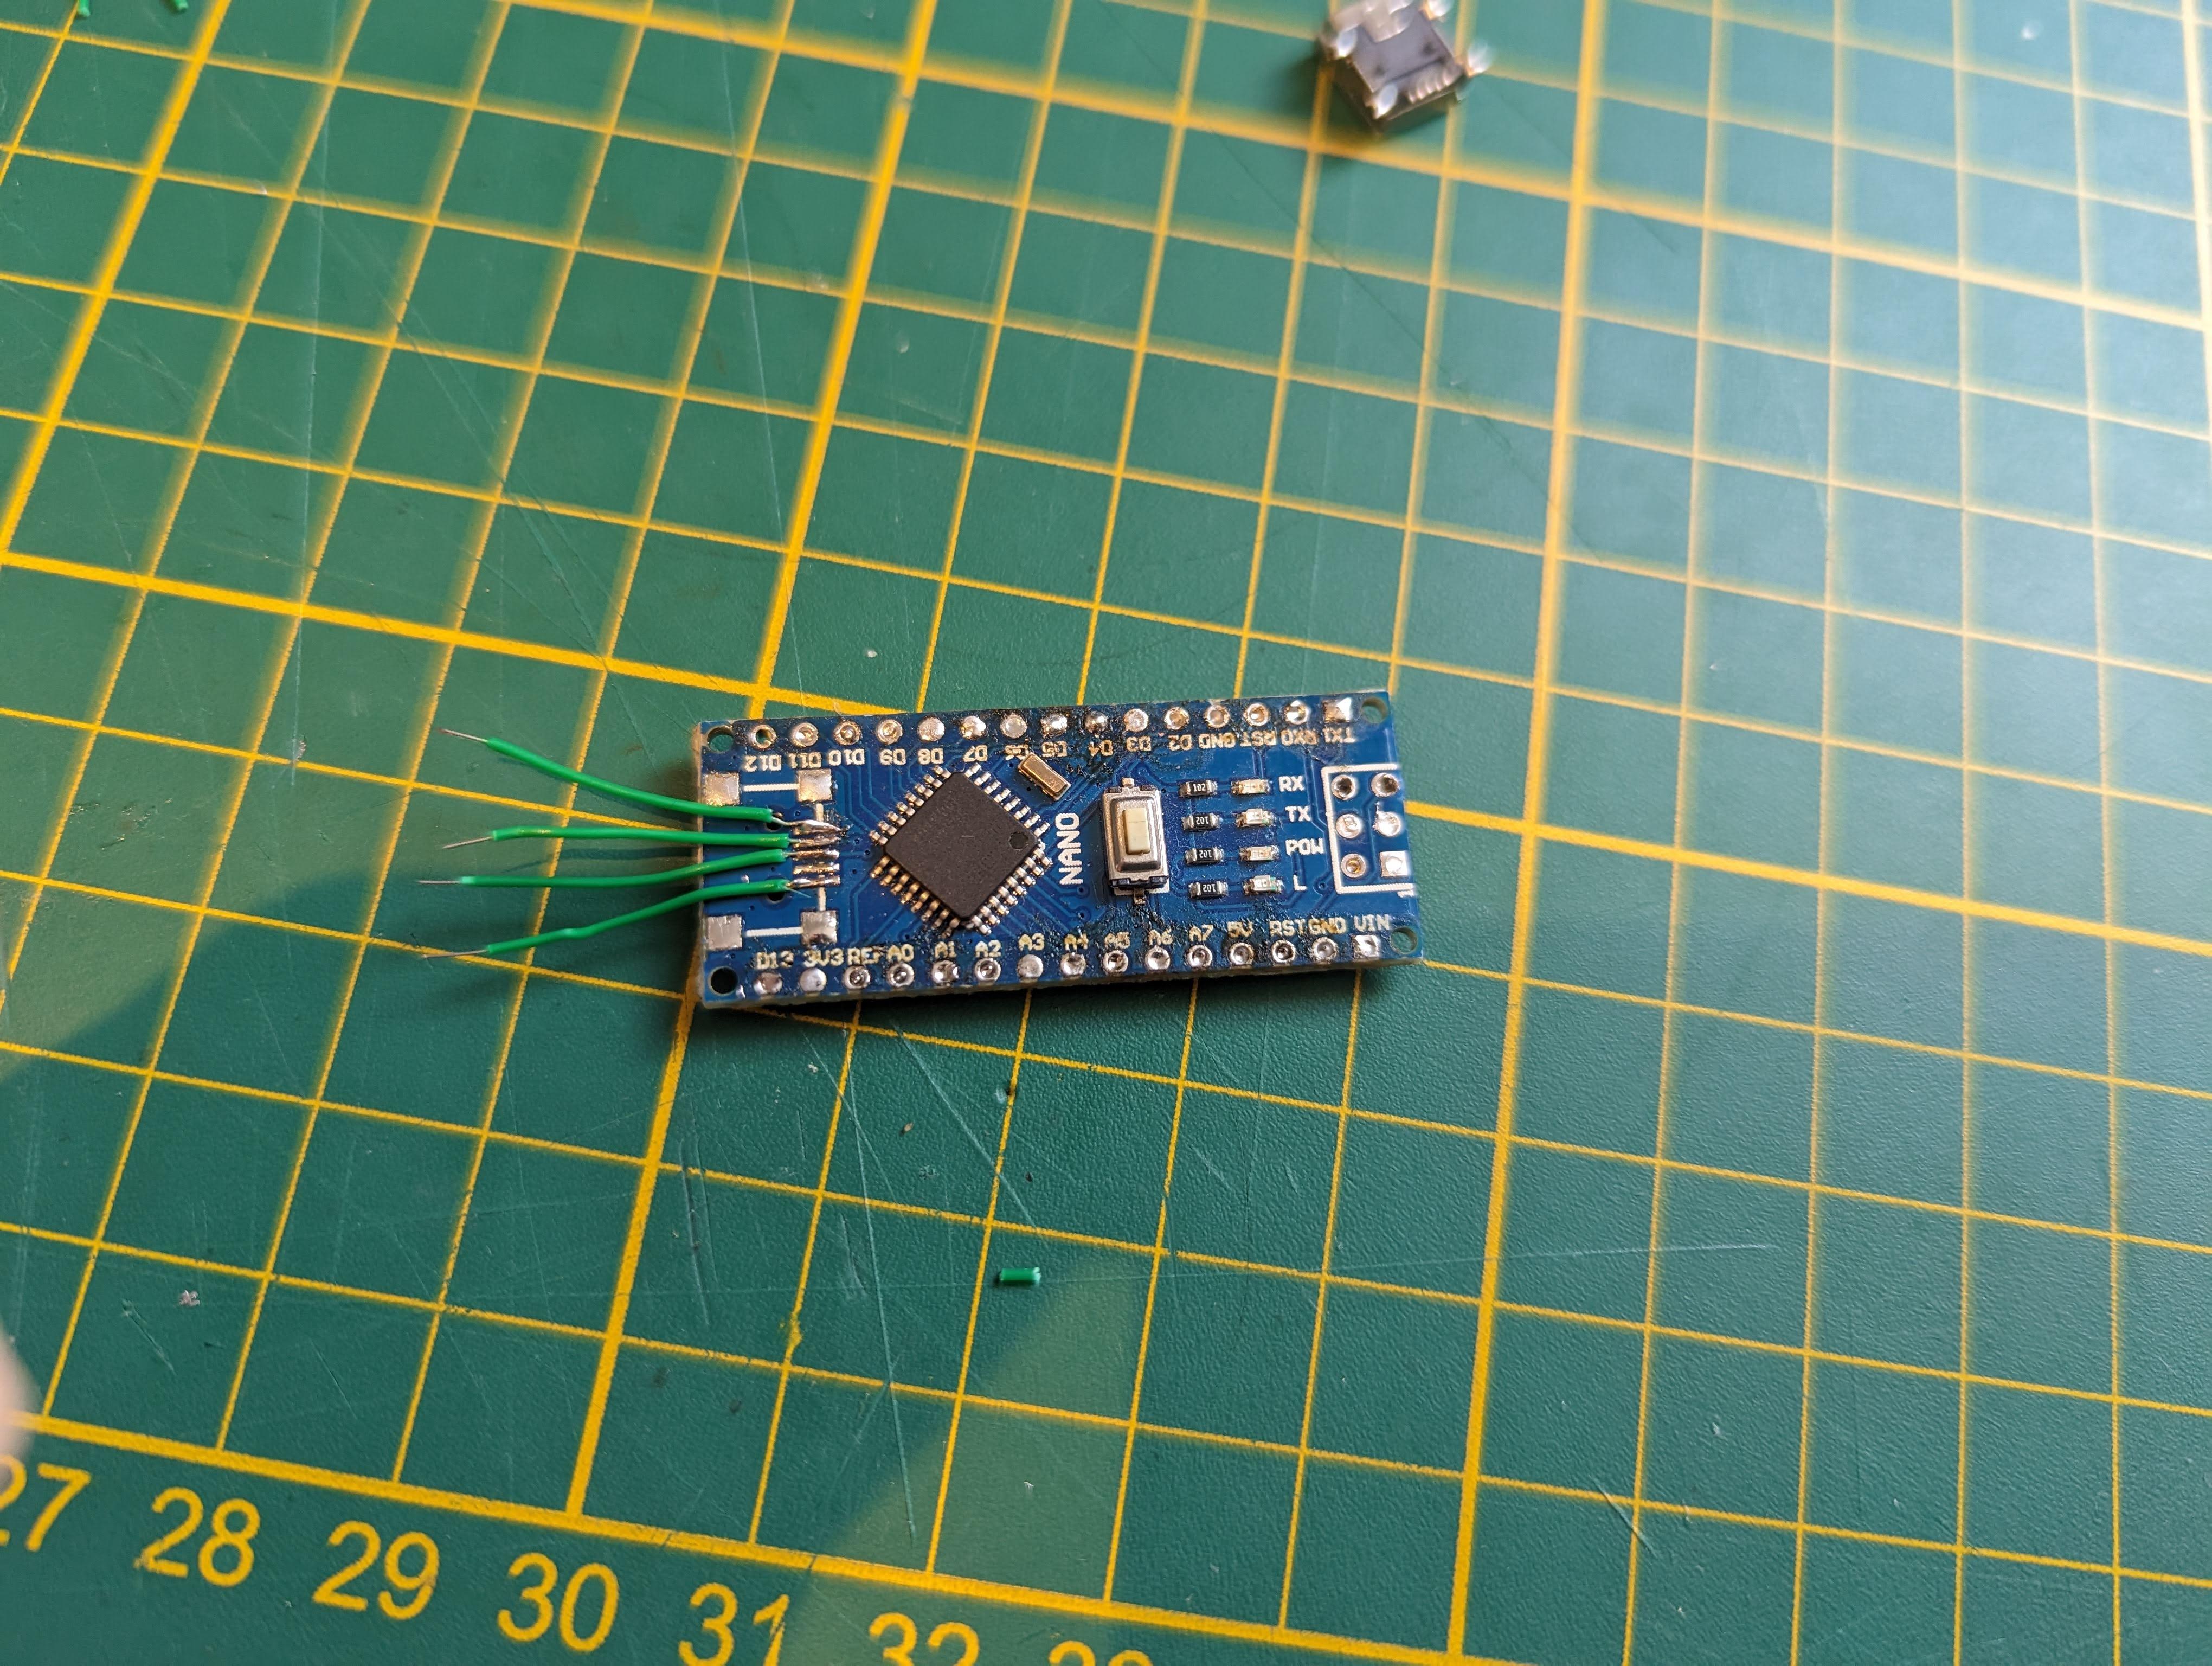
- Desolder the USB port
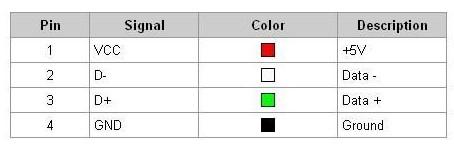
- Solder small wire to each pad of the USB port (VCC, GND, D+, D-)(Check picture 4)
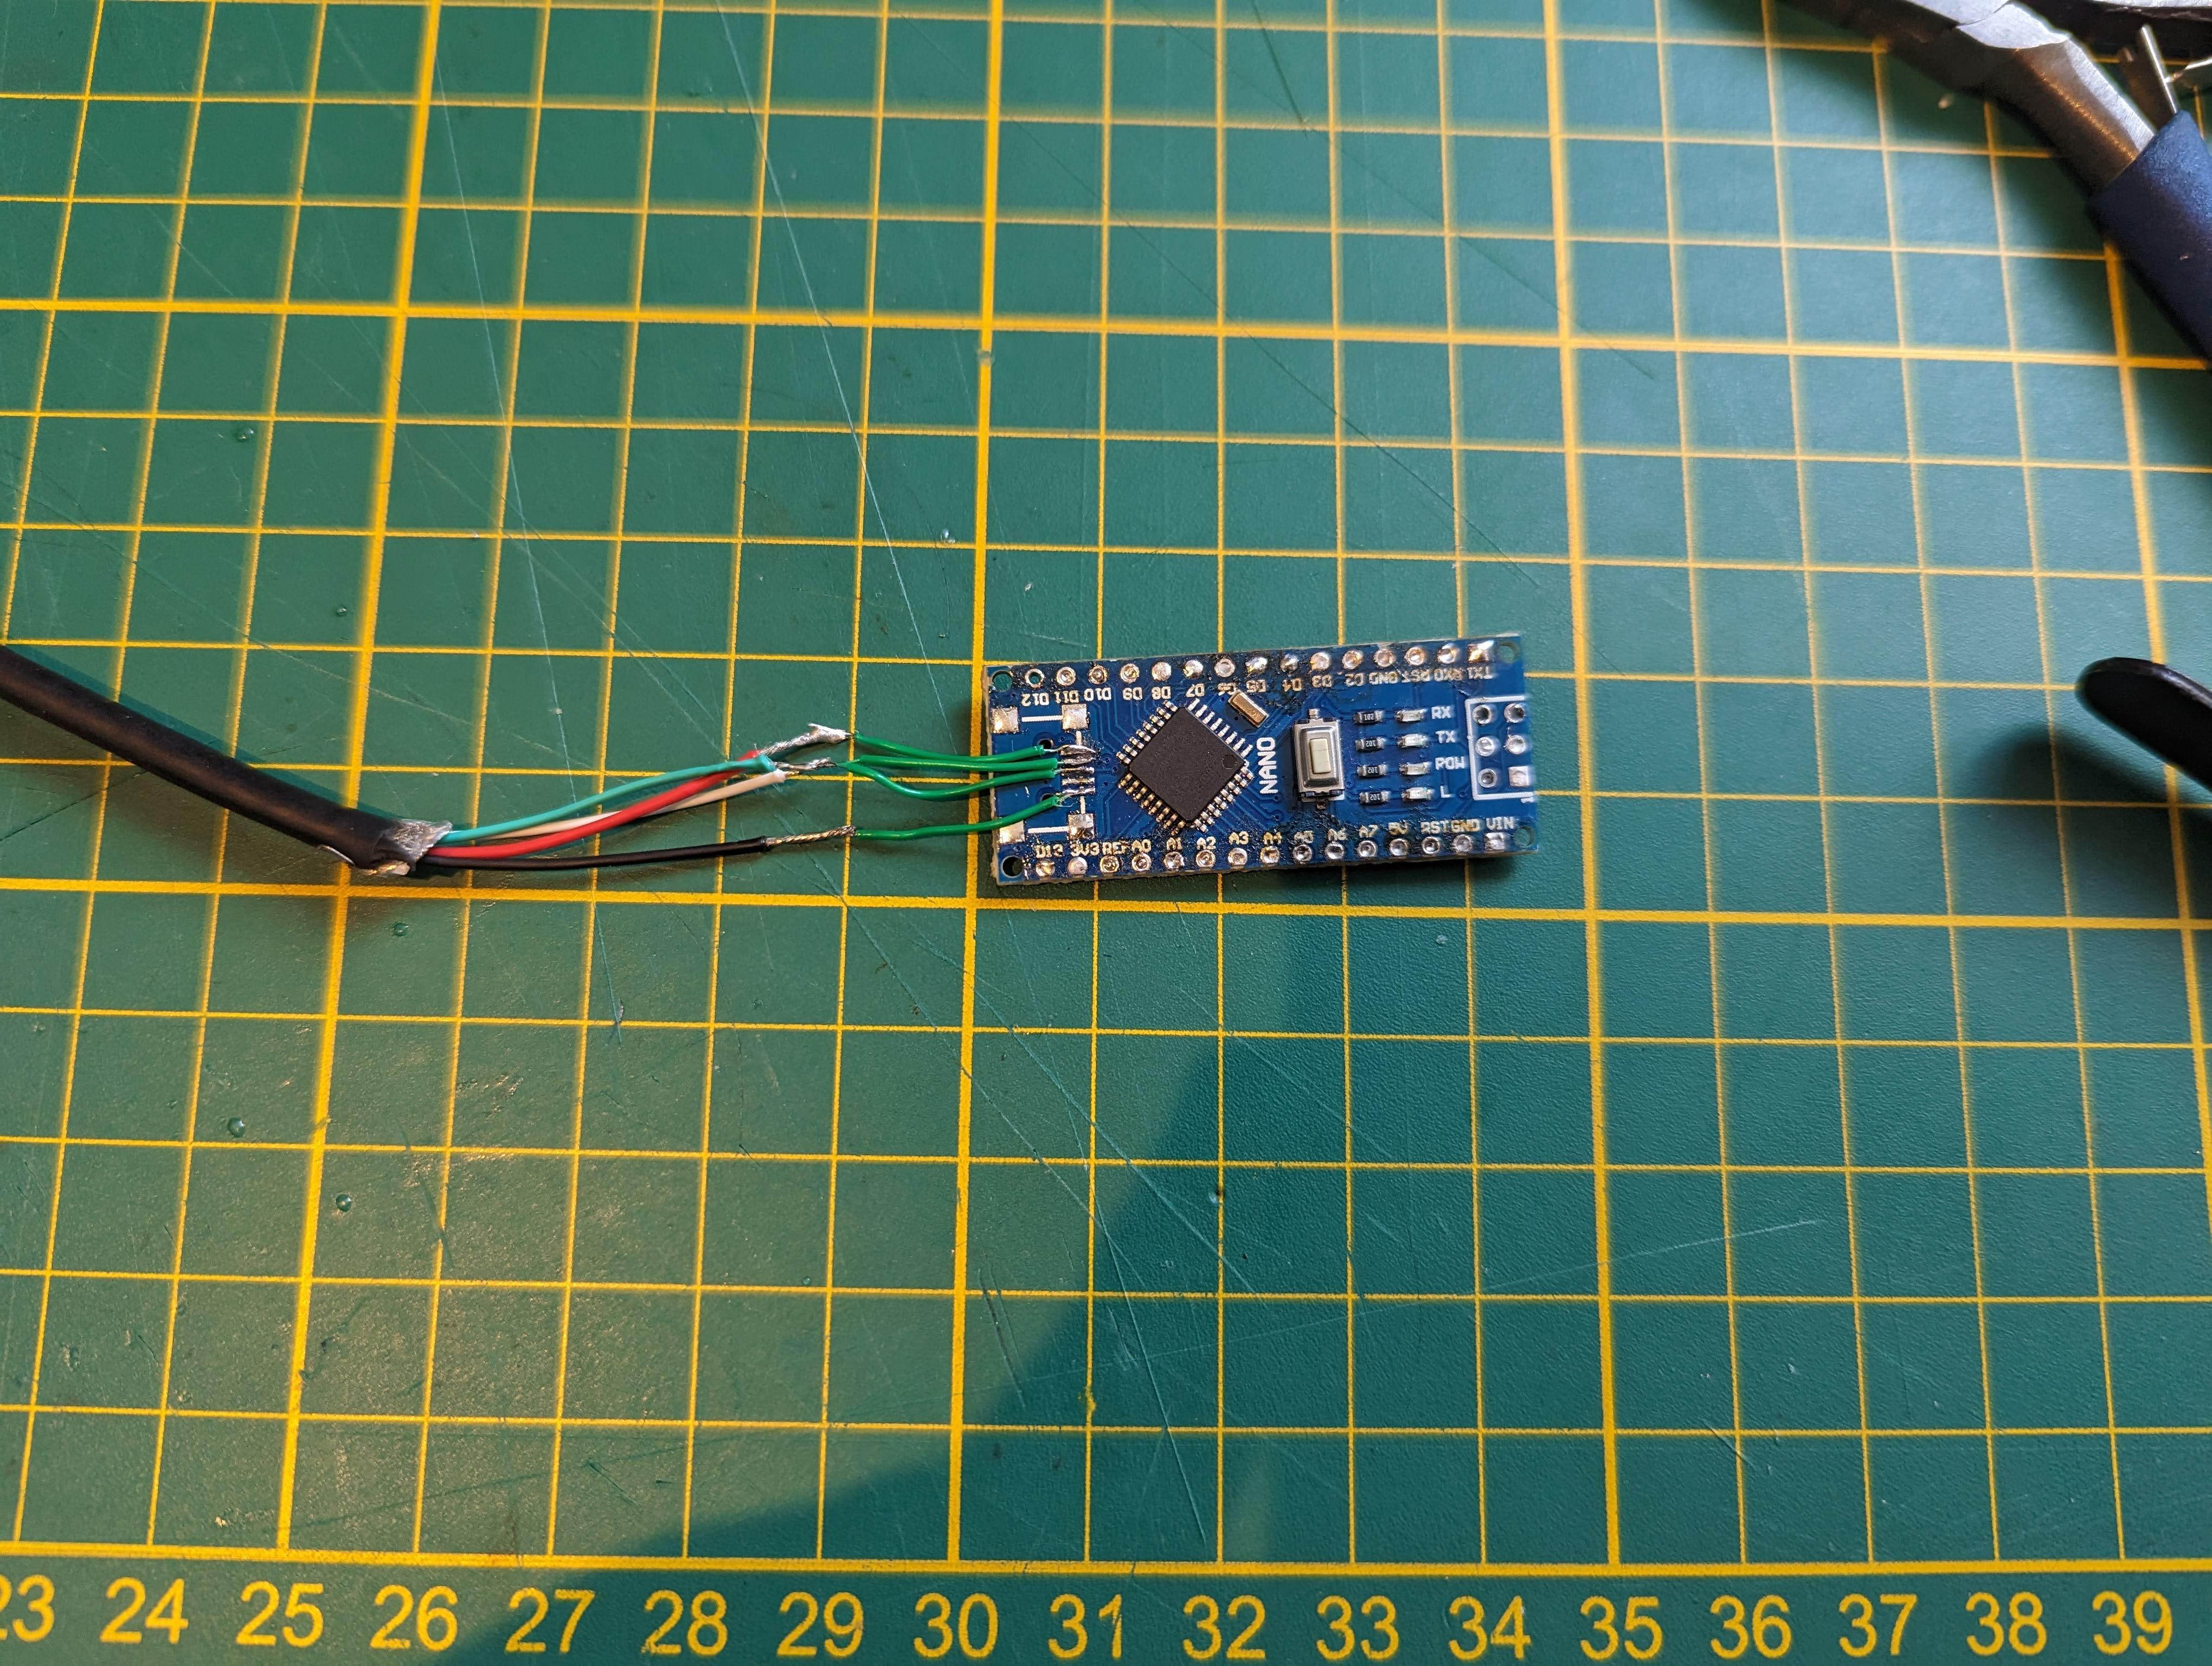
- Solder each wire to the corresponding wire of a USB cable
- Glue everything with a hot glue gun
Assemble Everything

To assemble everything together, follow the steps below :
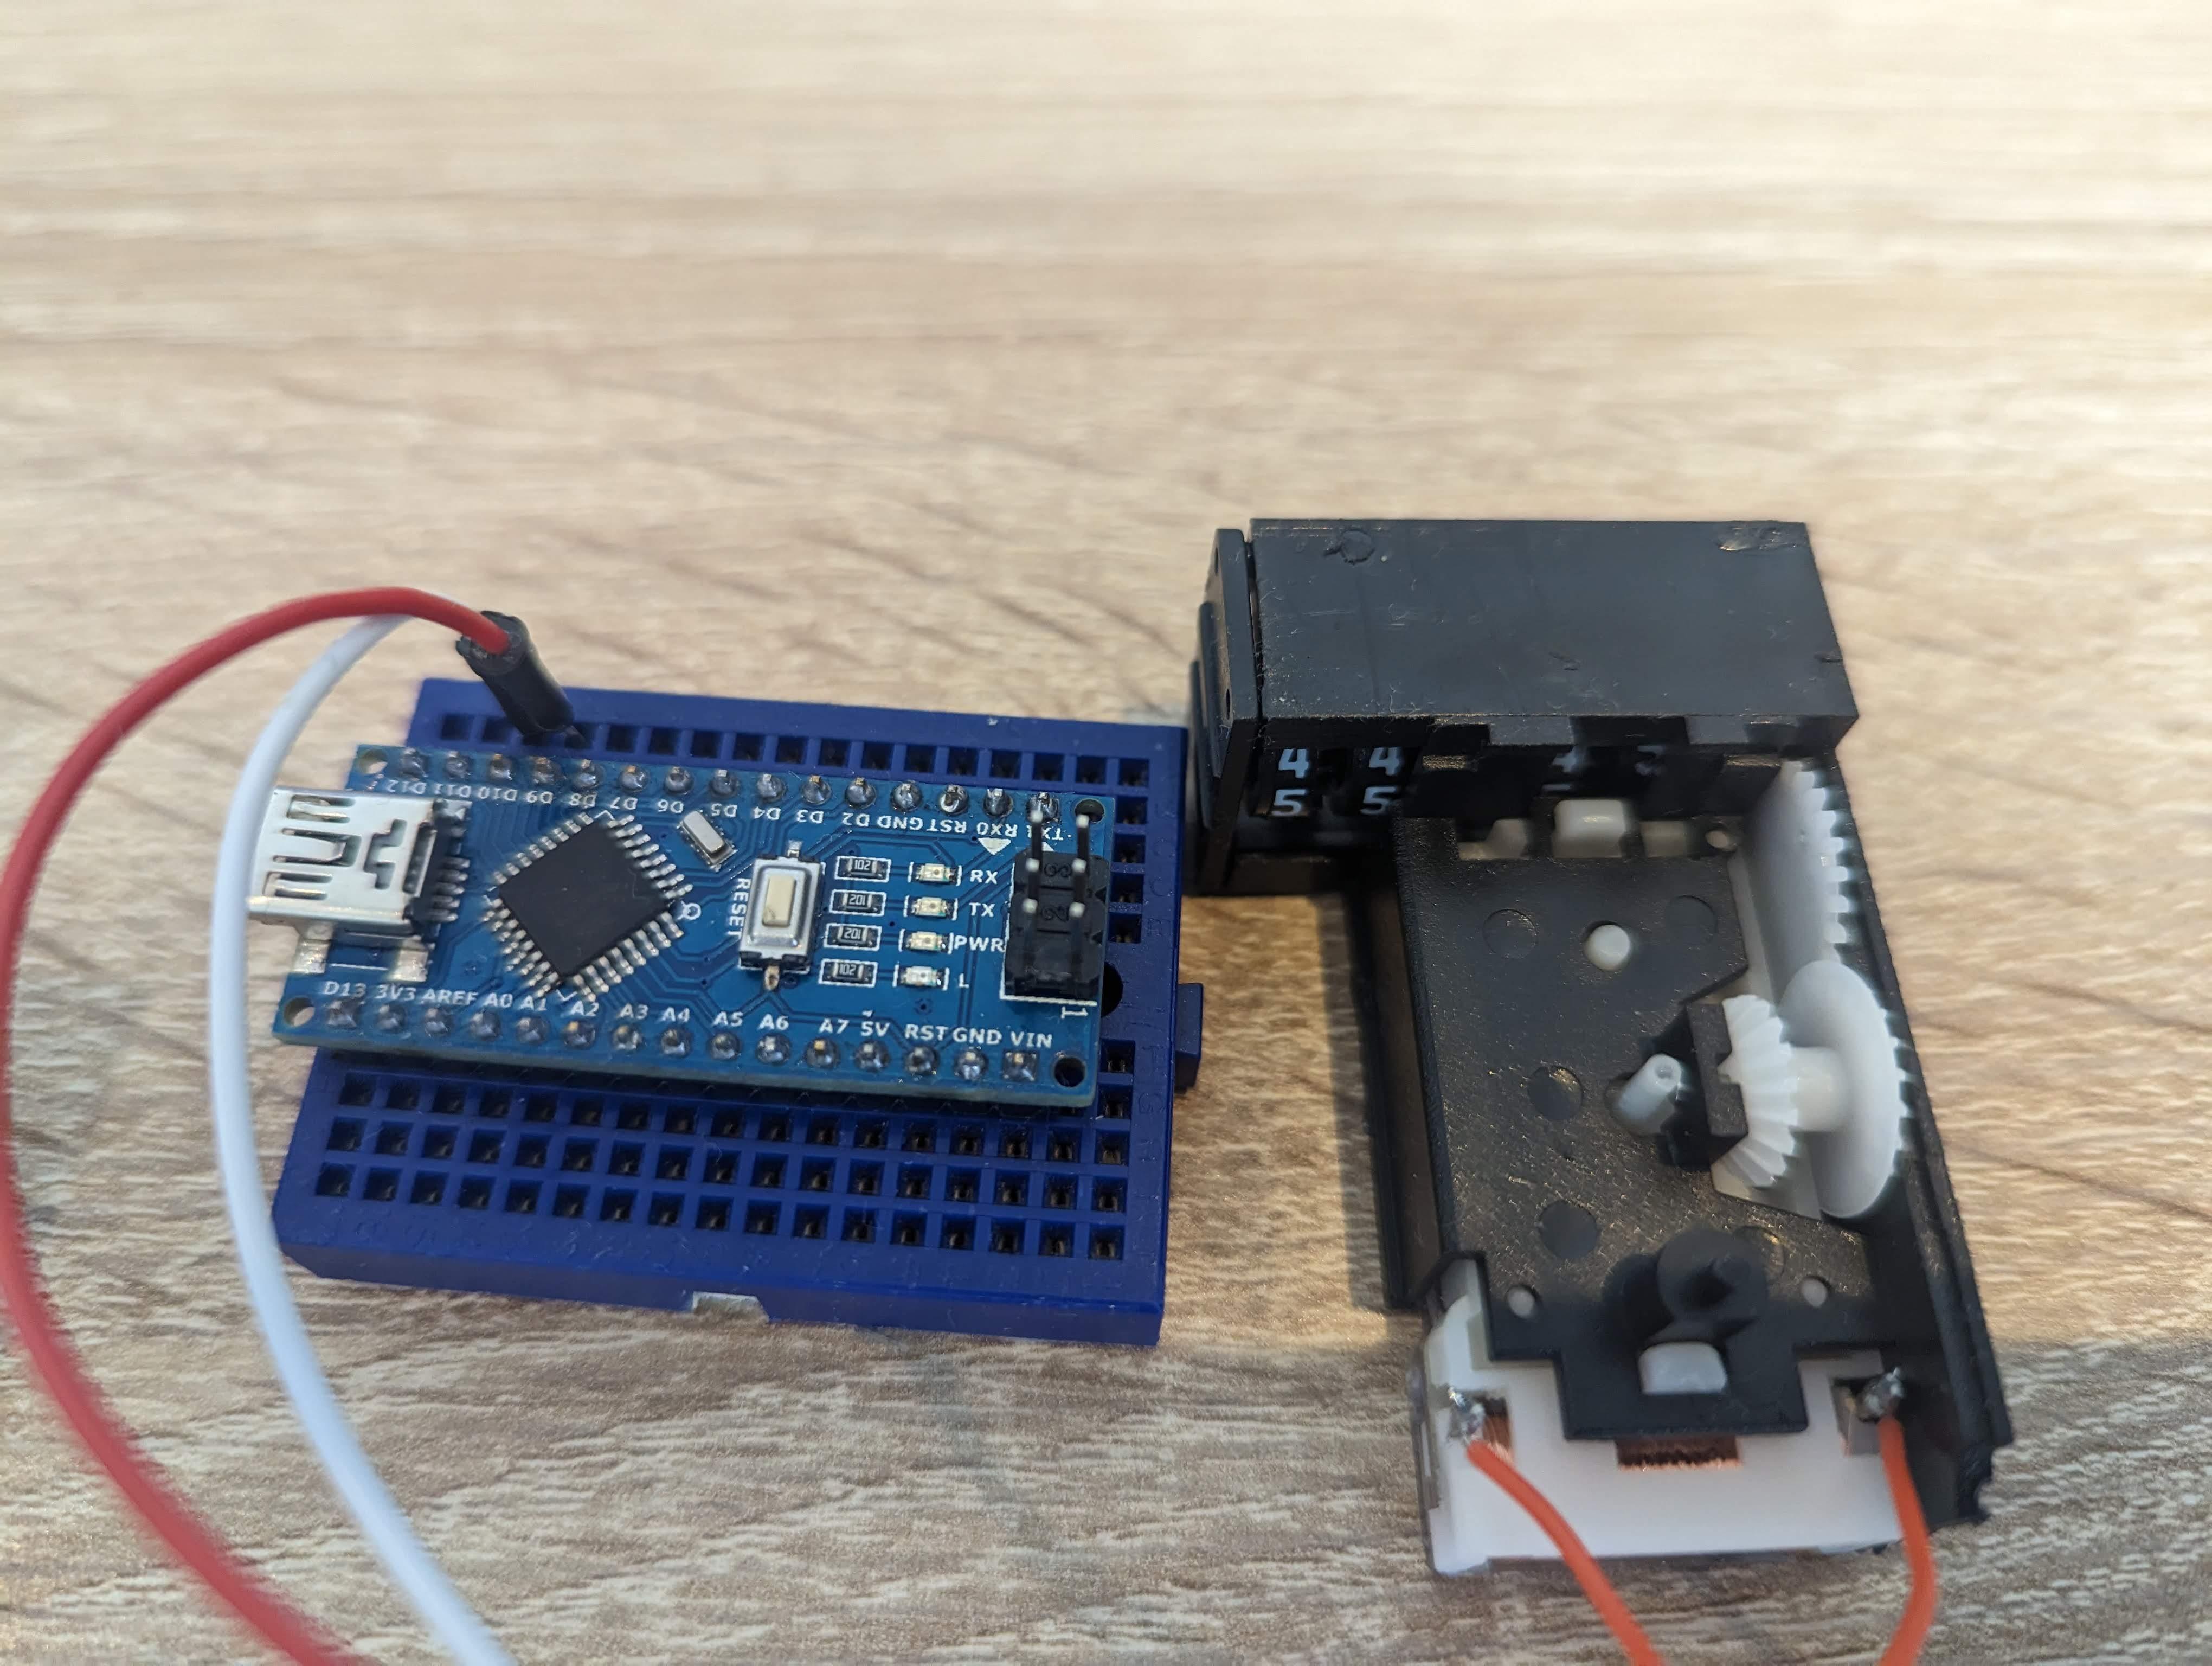
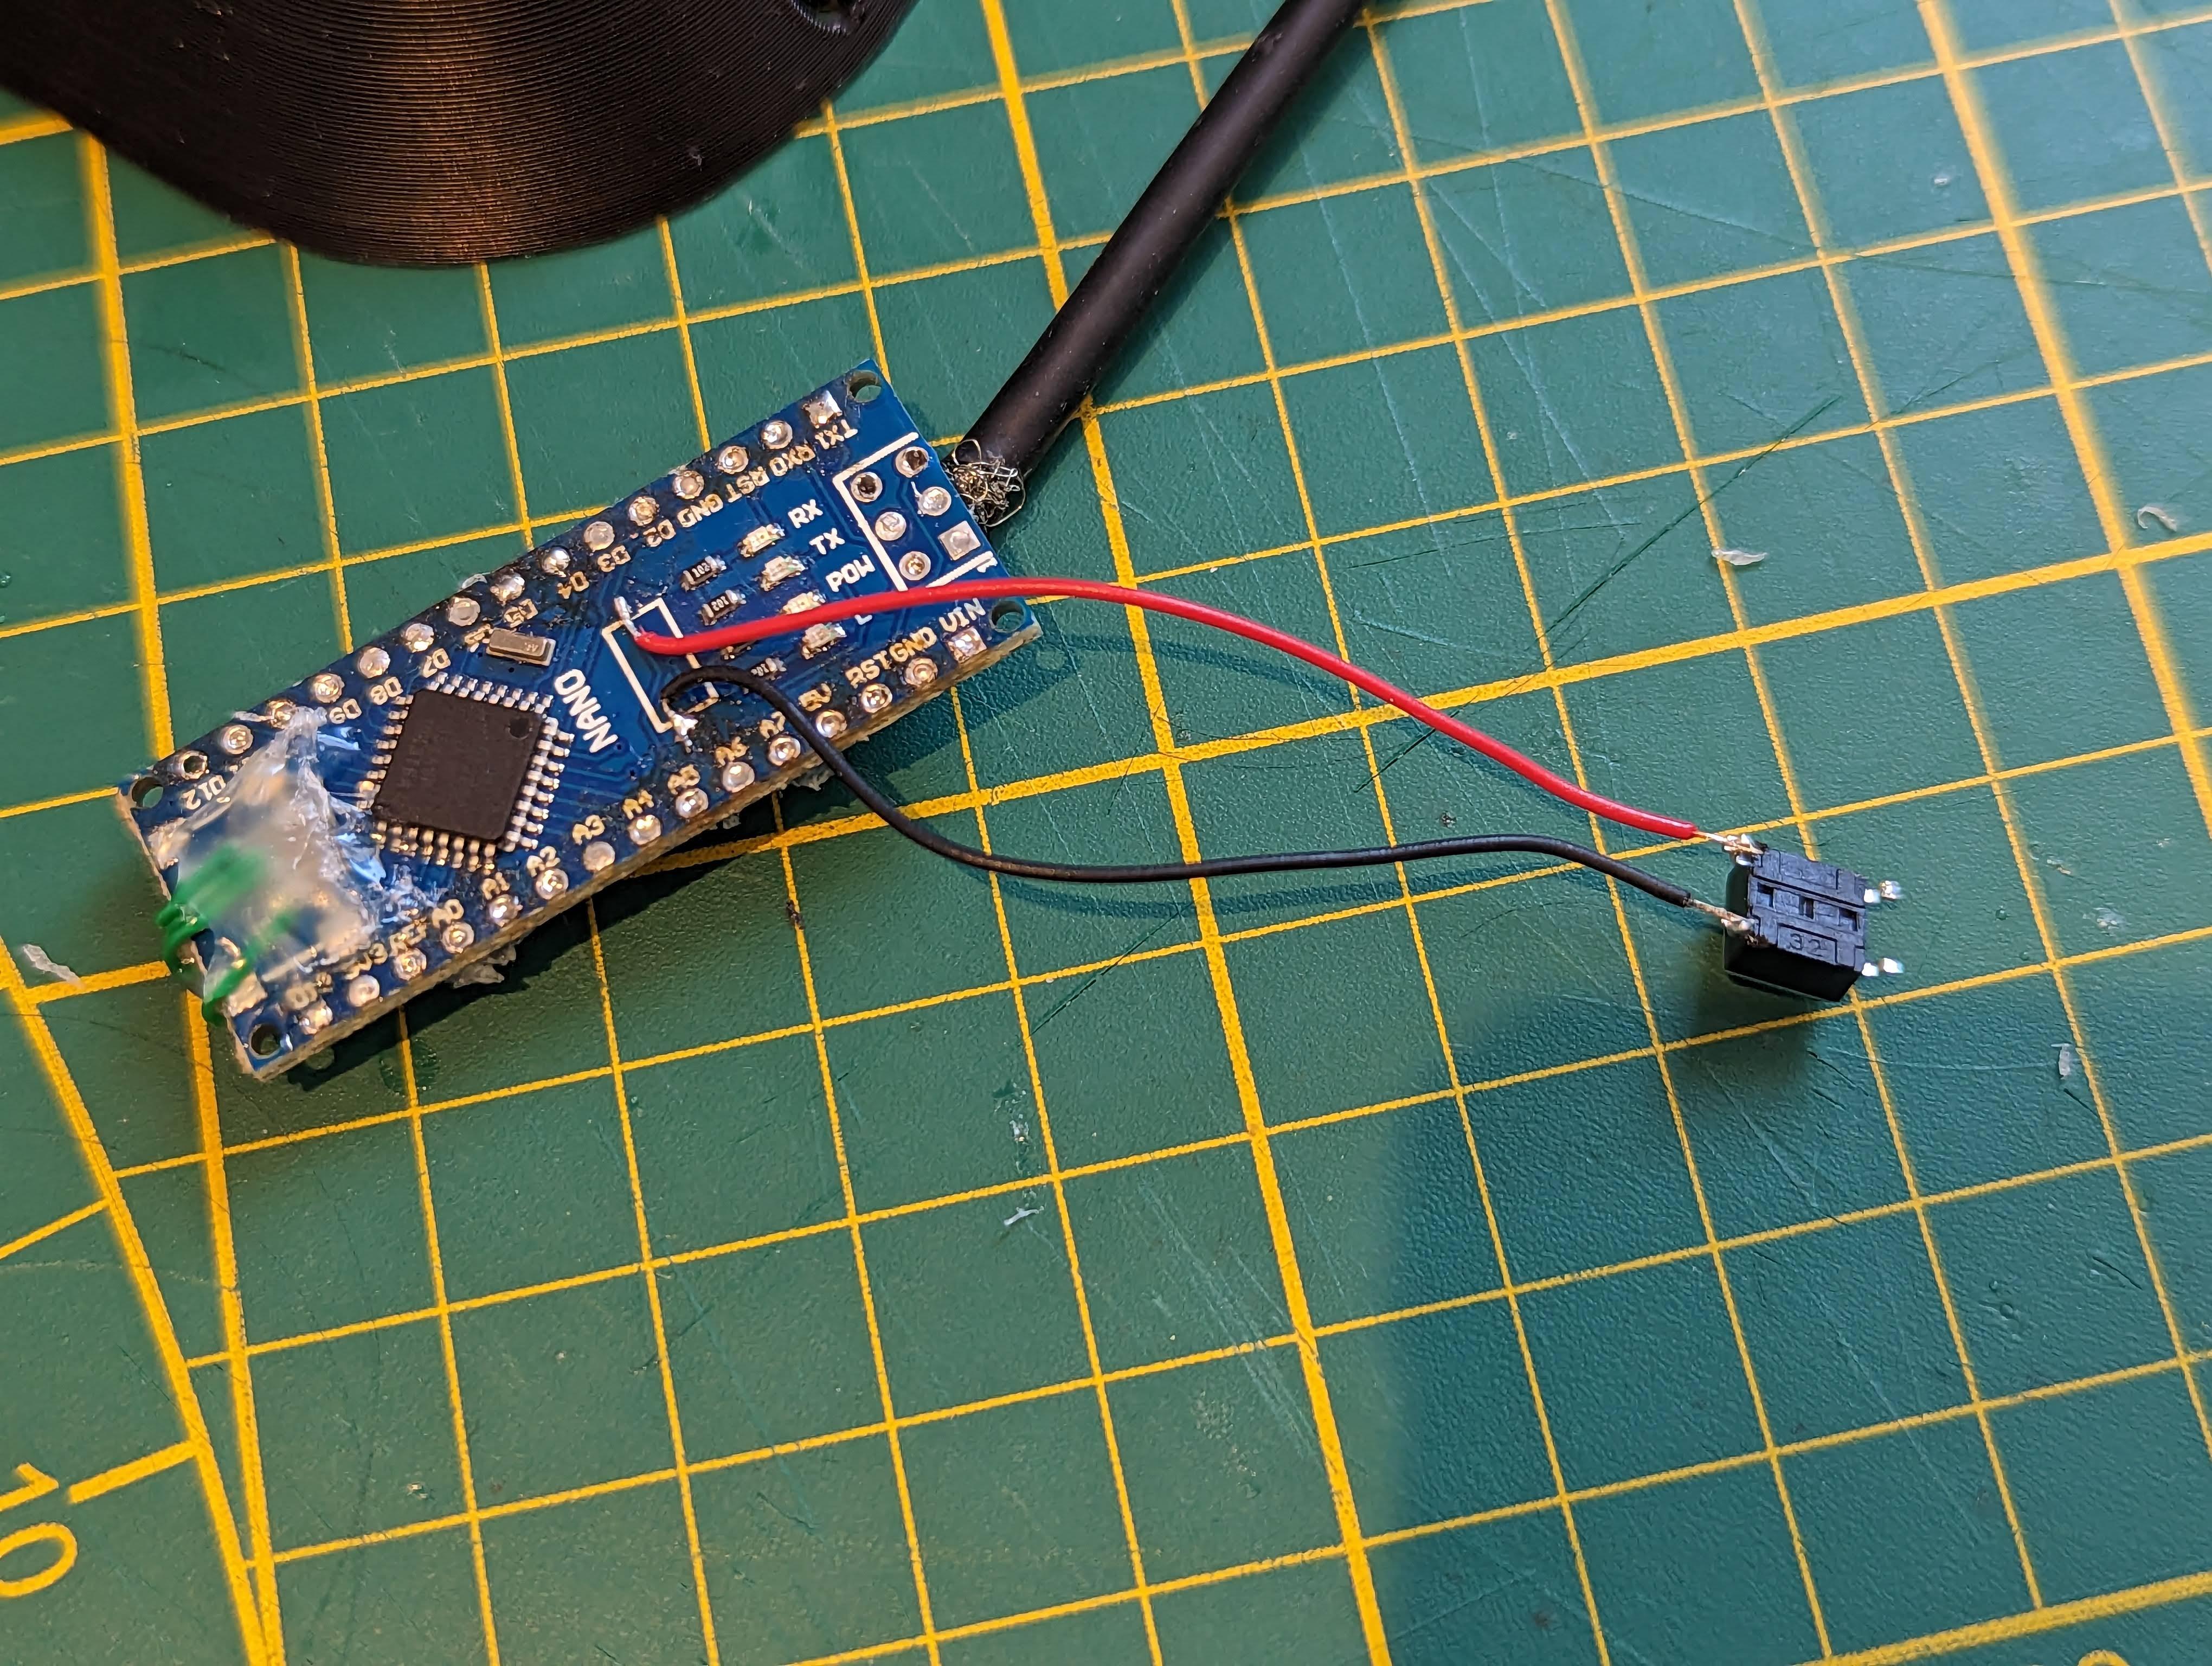
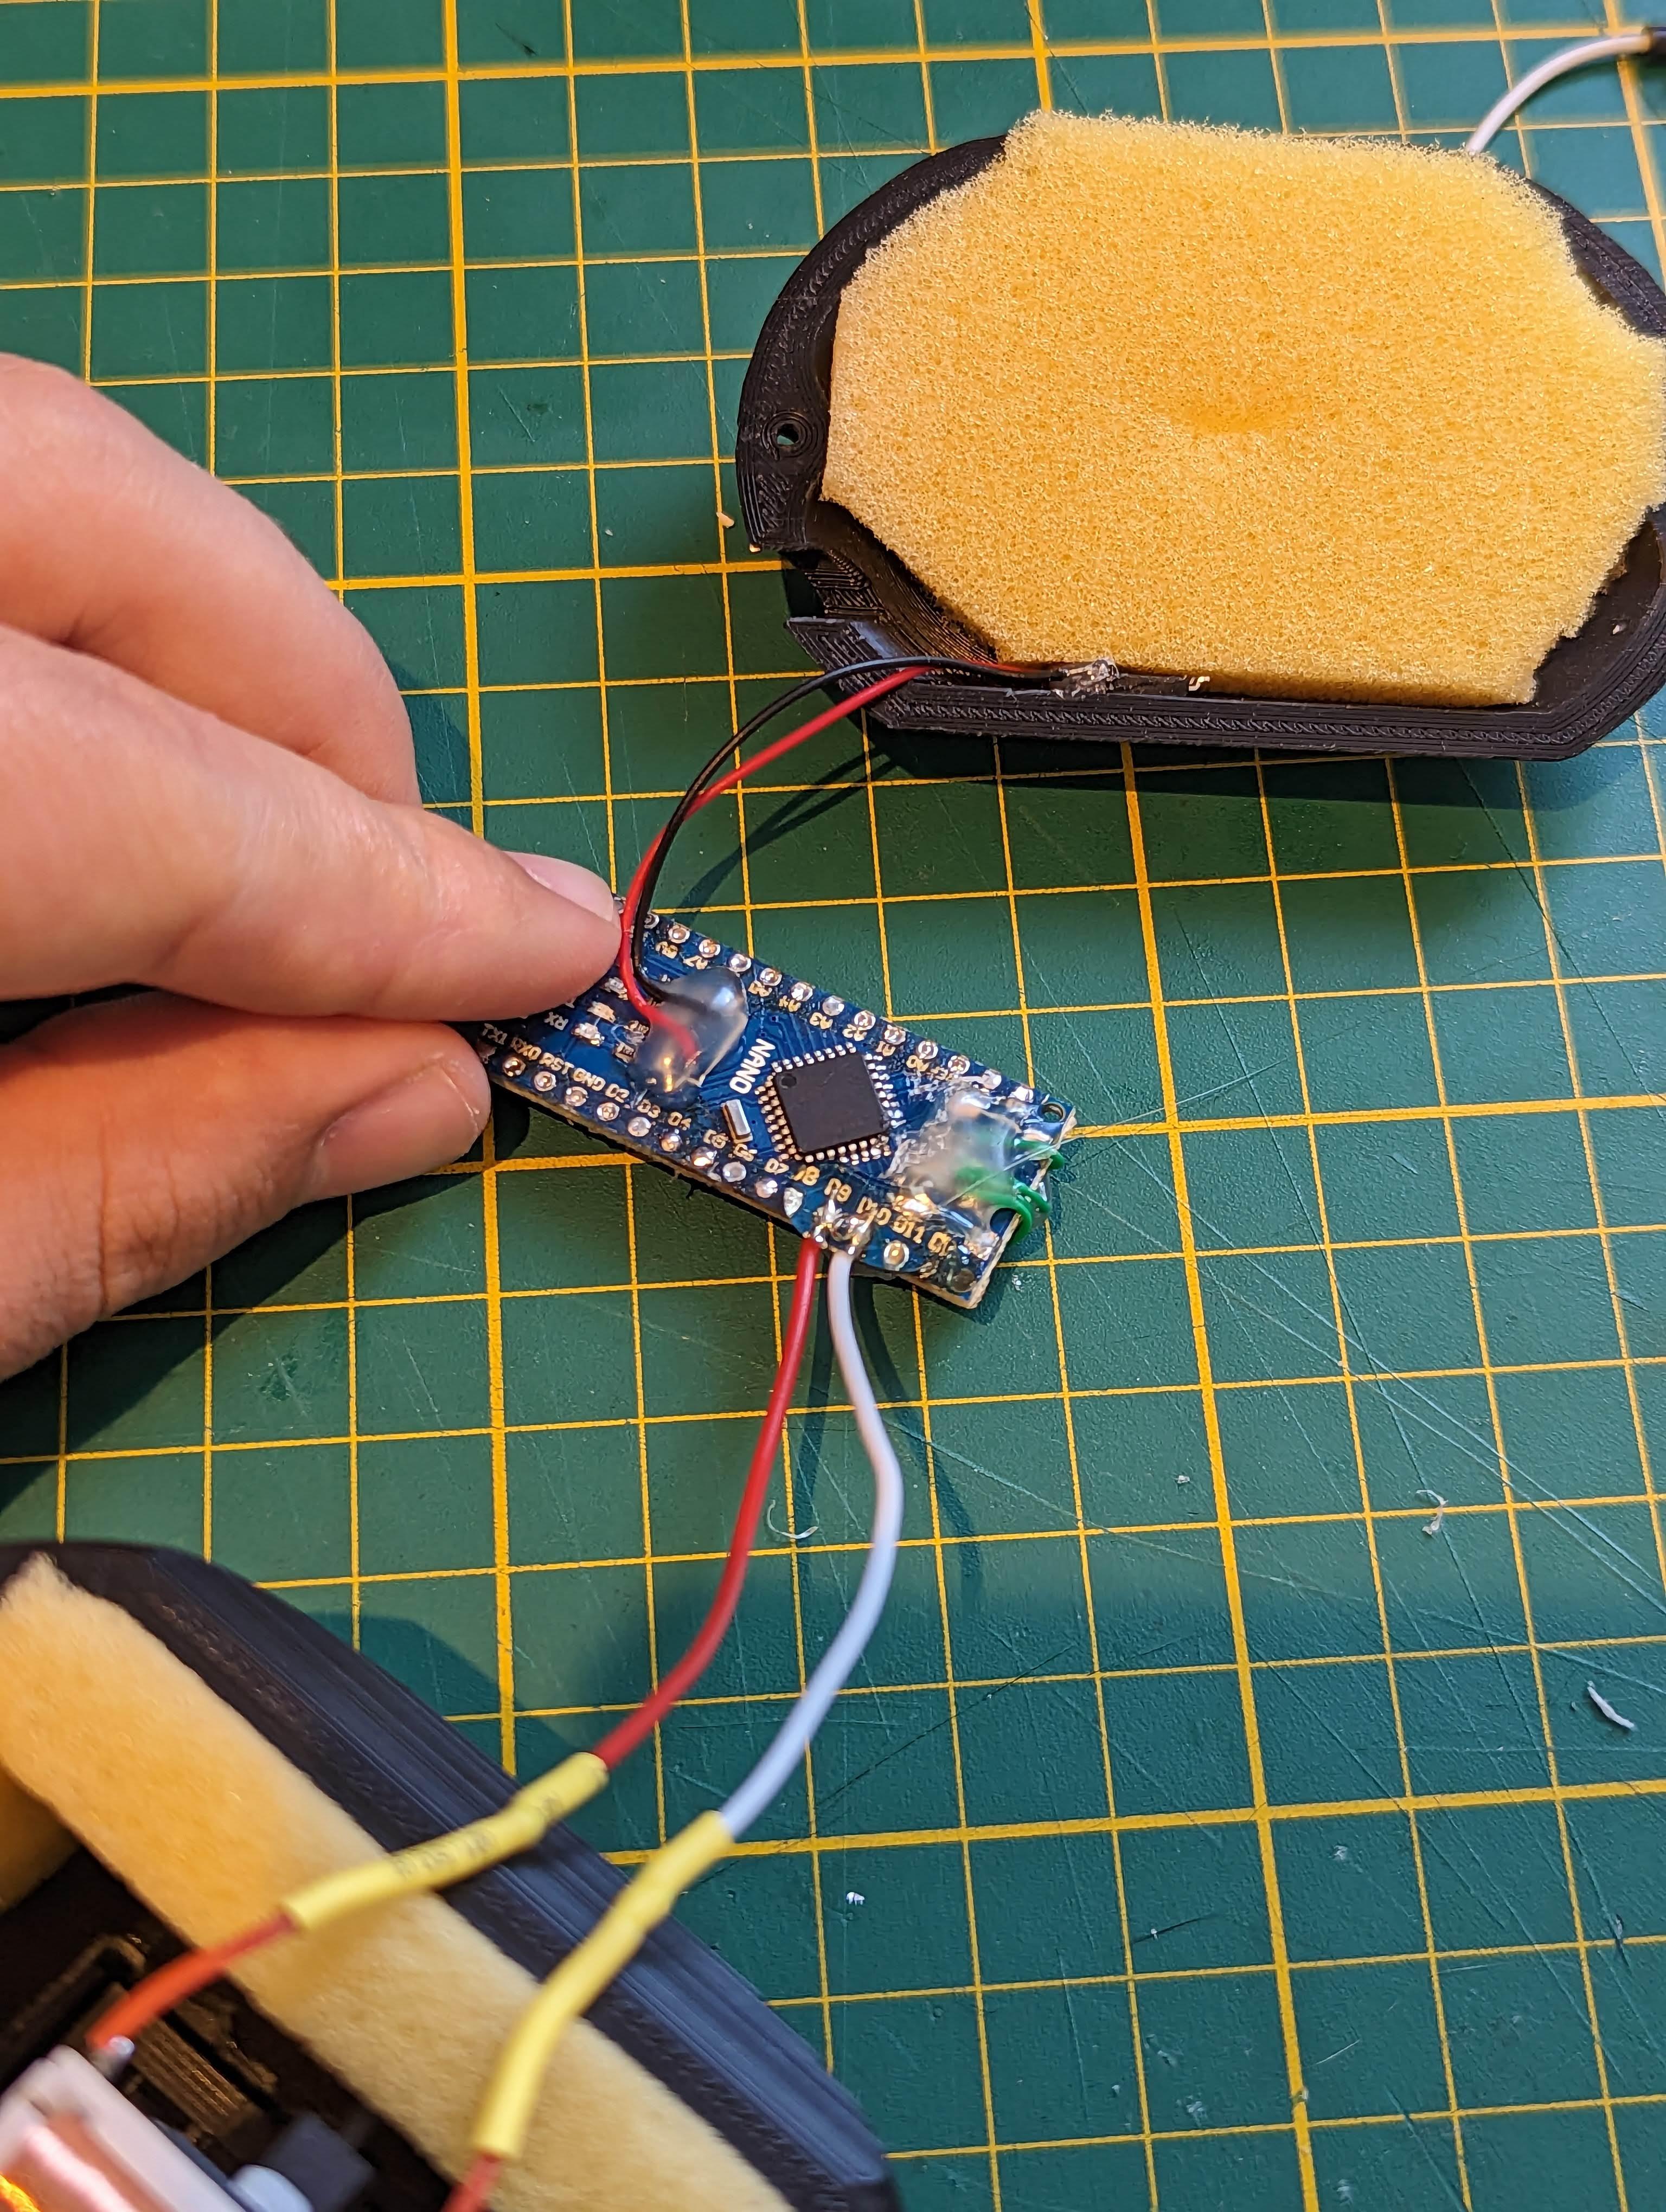
- Desolder the Reset button of the Arduino Nano
- Solder two wires with a length of 5 cm with the switch at the end (Check picture 2 & 3)
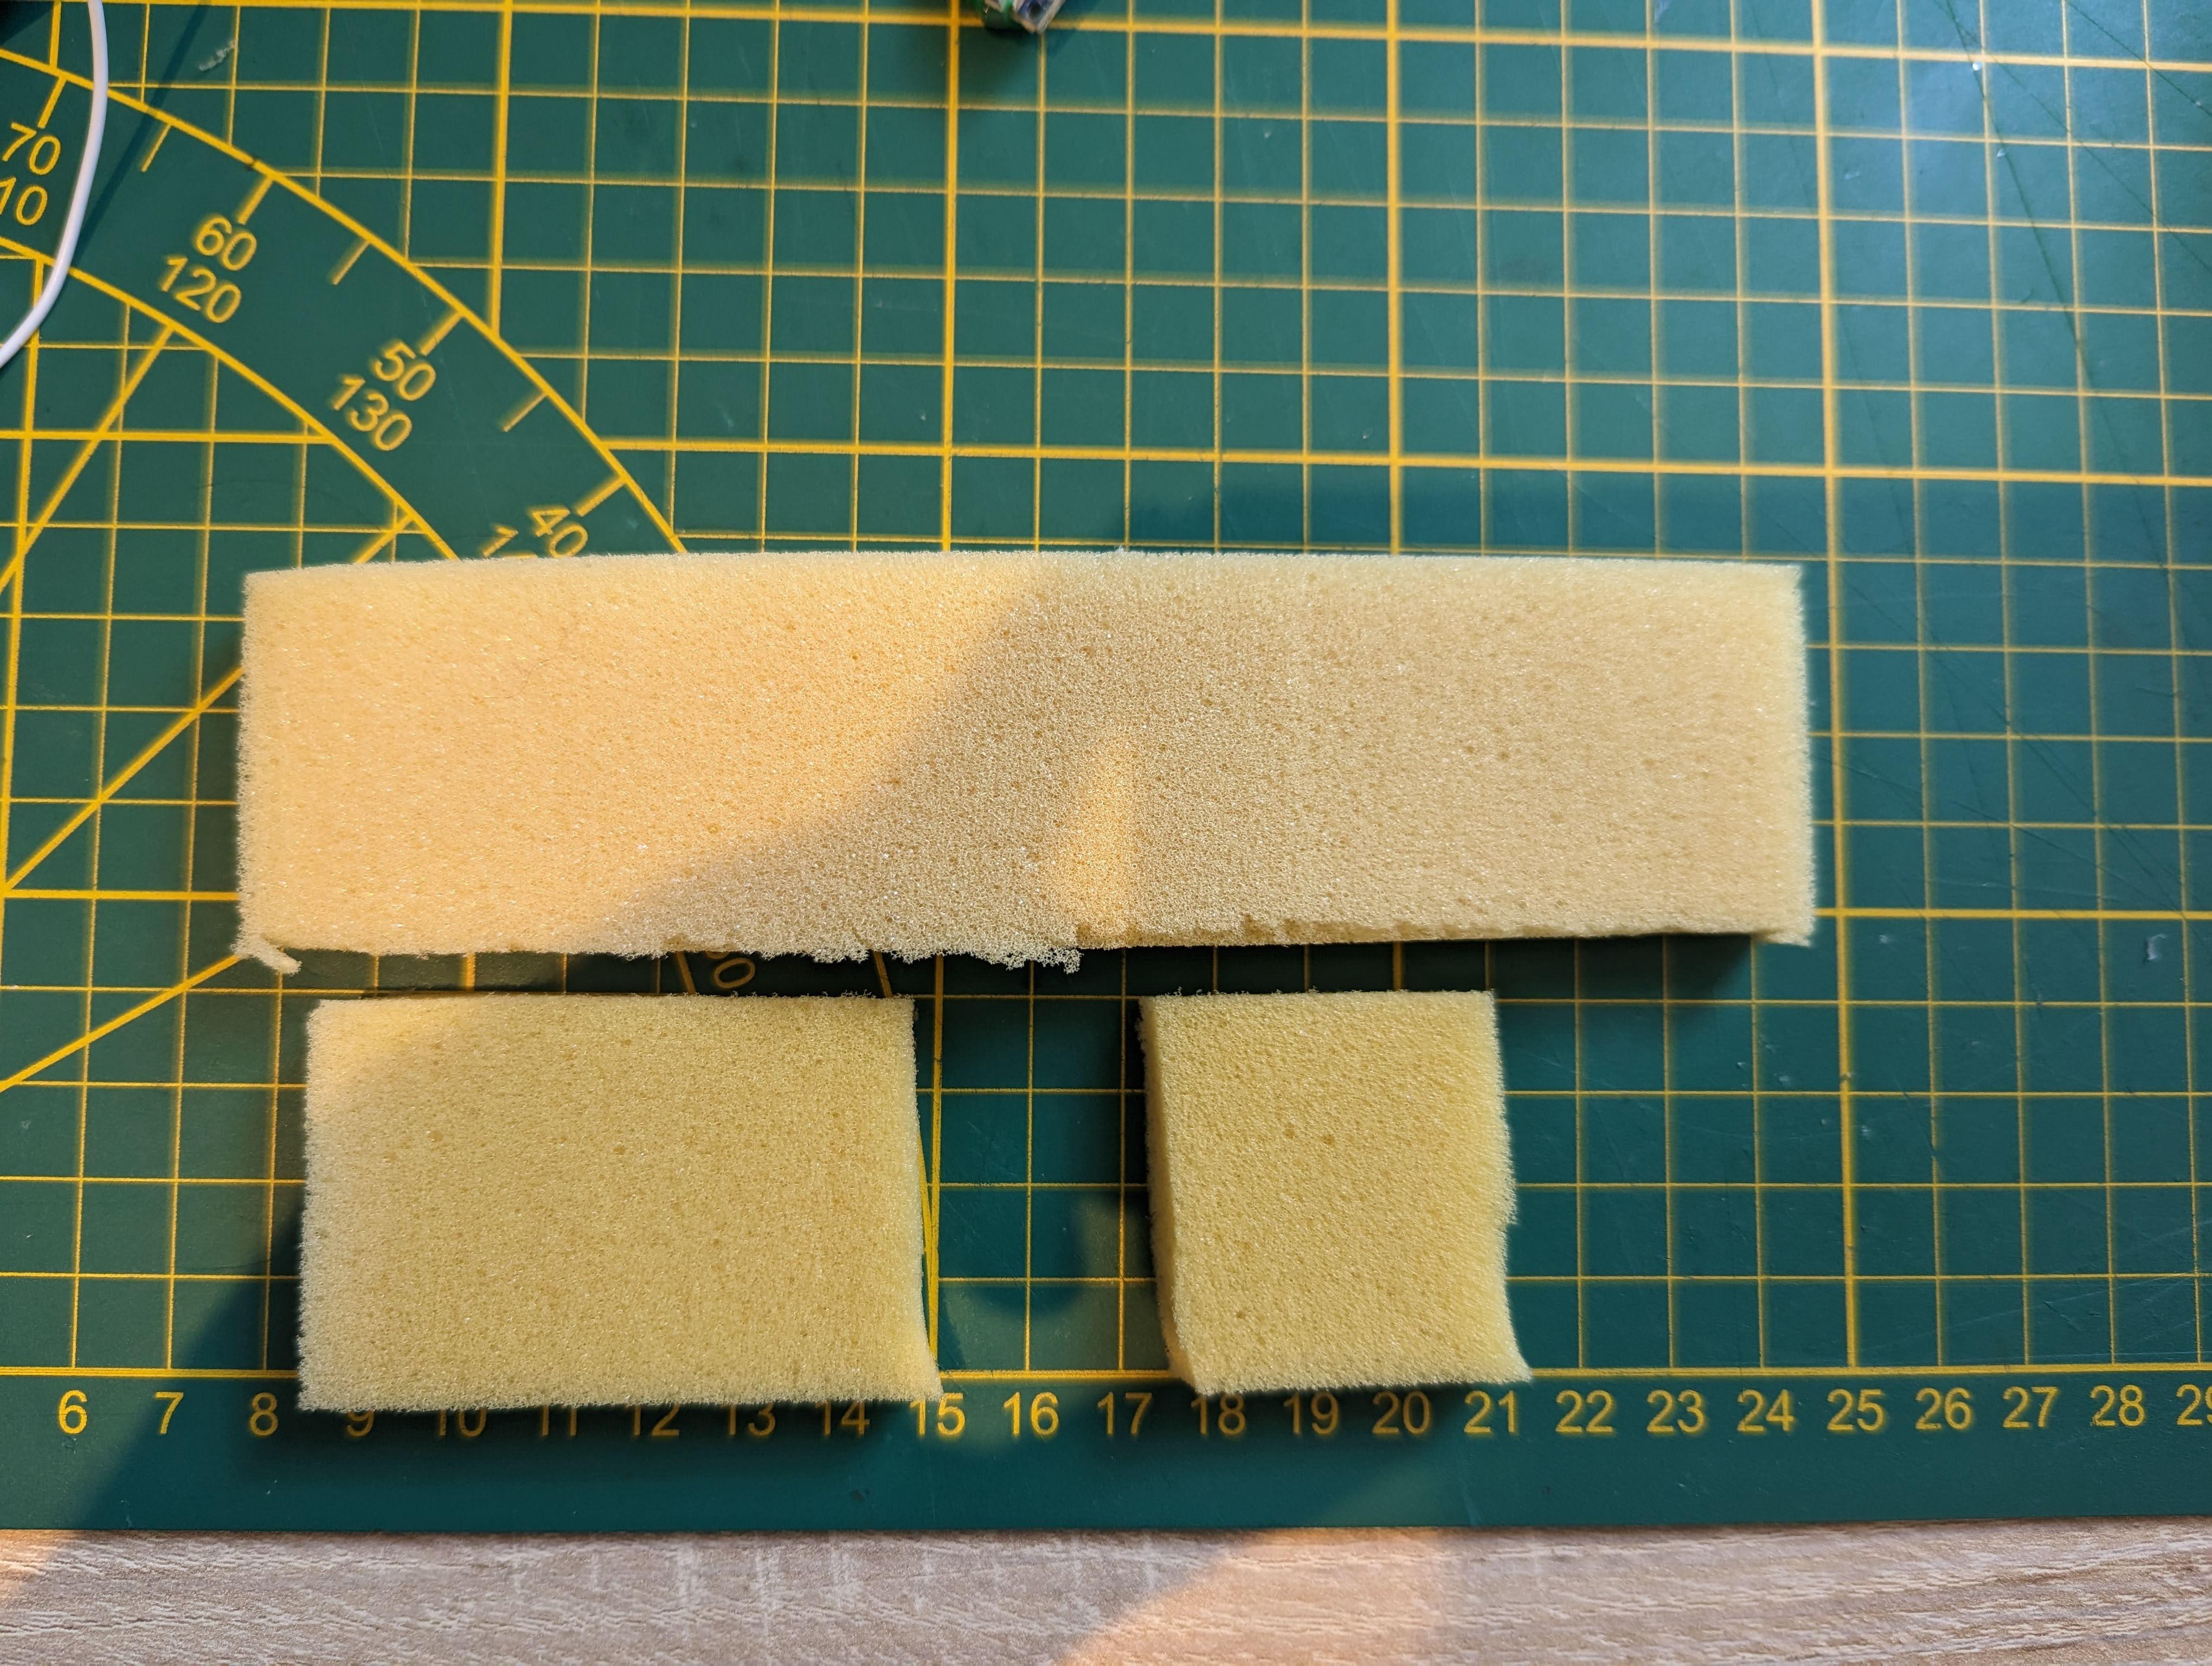
- Cut three pieces of foam to reduce noise from the mechanical (180mm x 40mm / 40mm x 40mm : To surround the top box) (70mm x 40mm : To cover the bottom box) (Check picture 4)
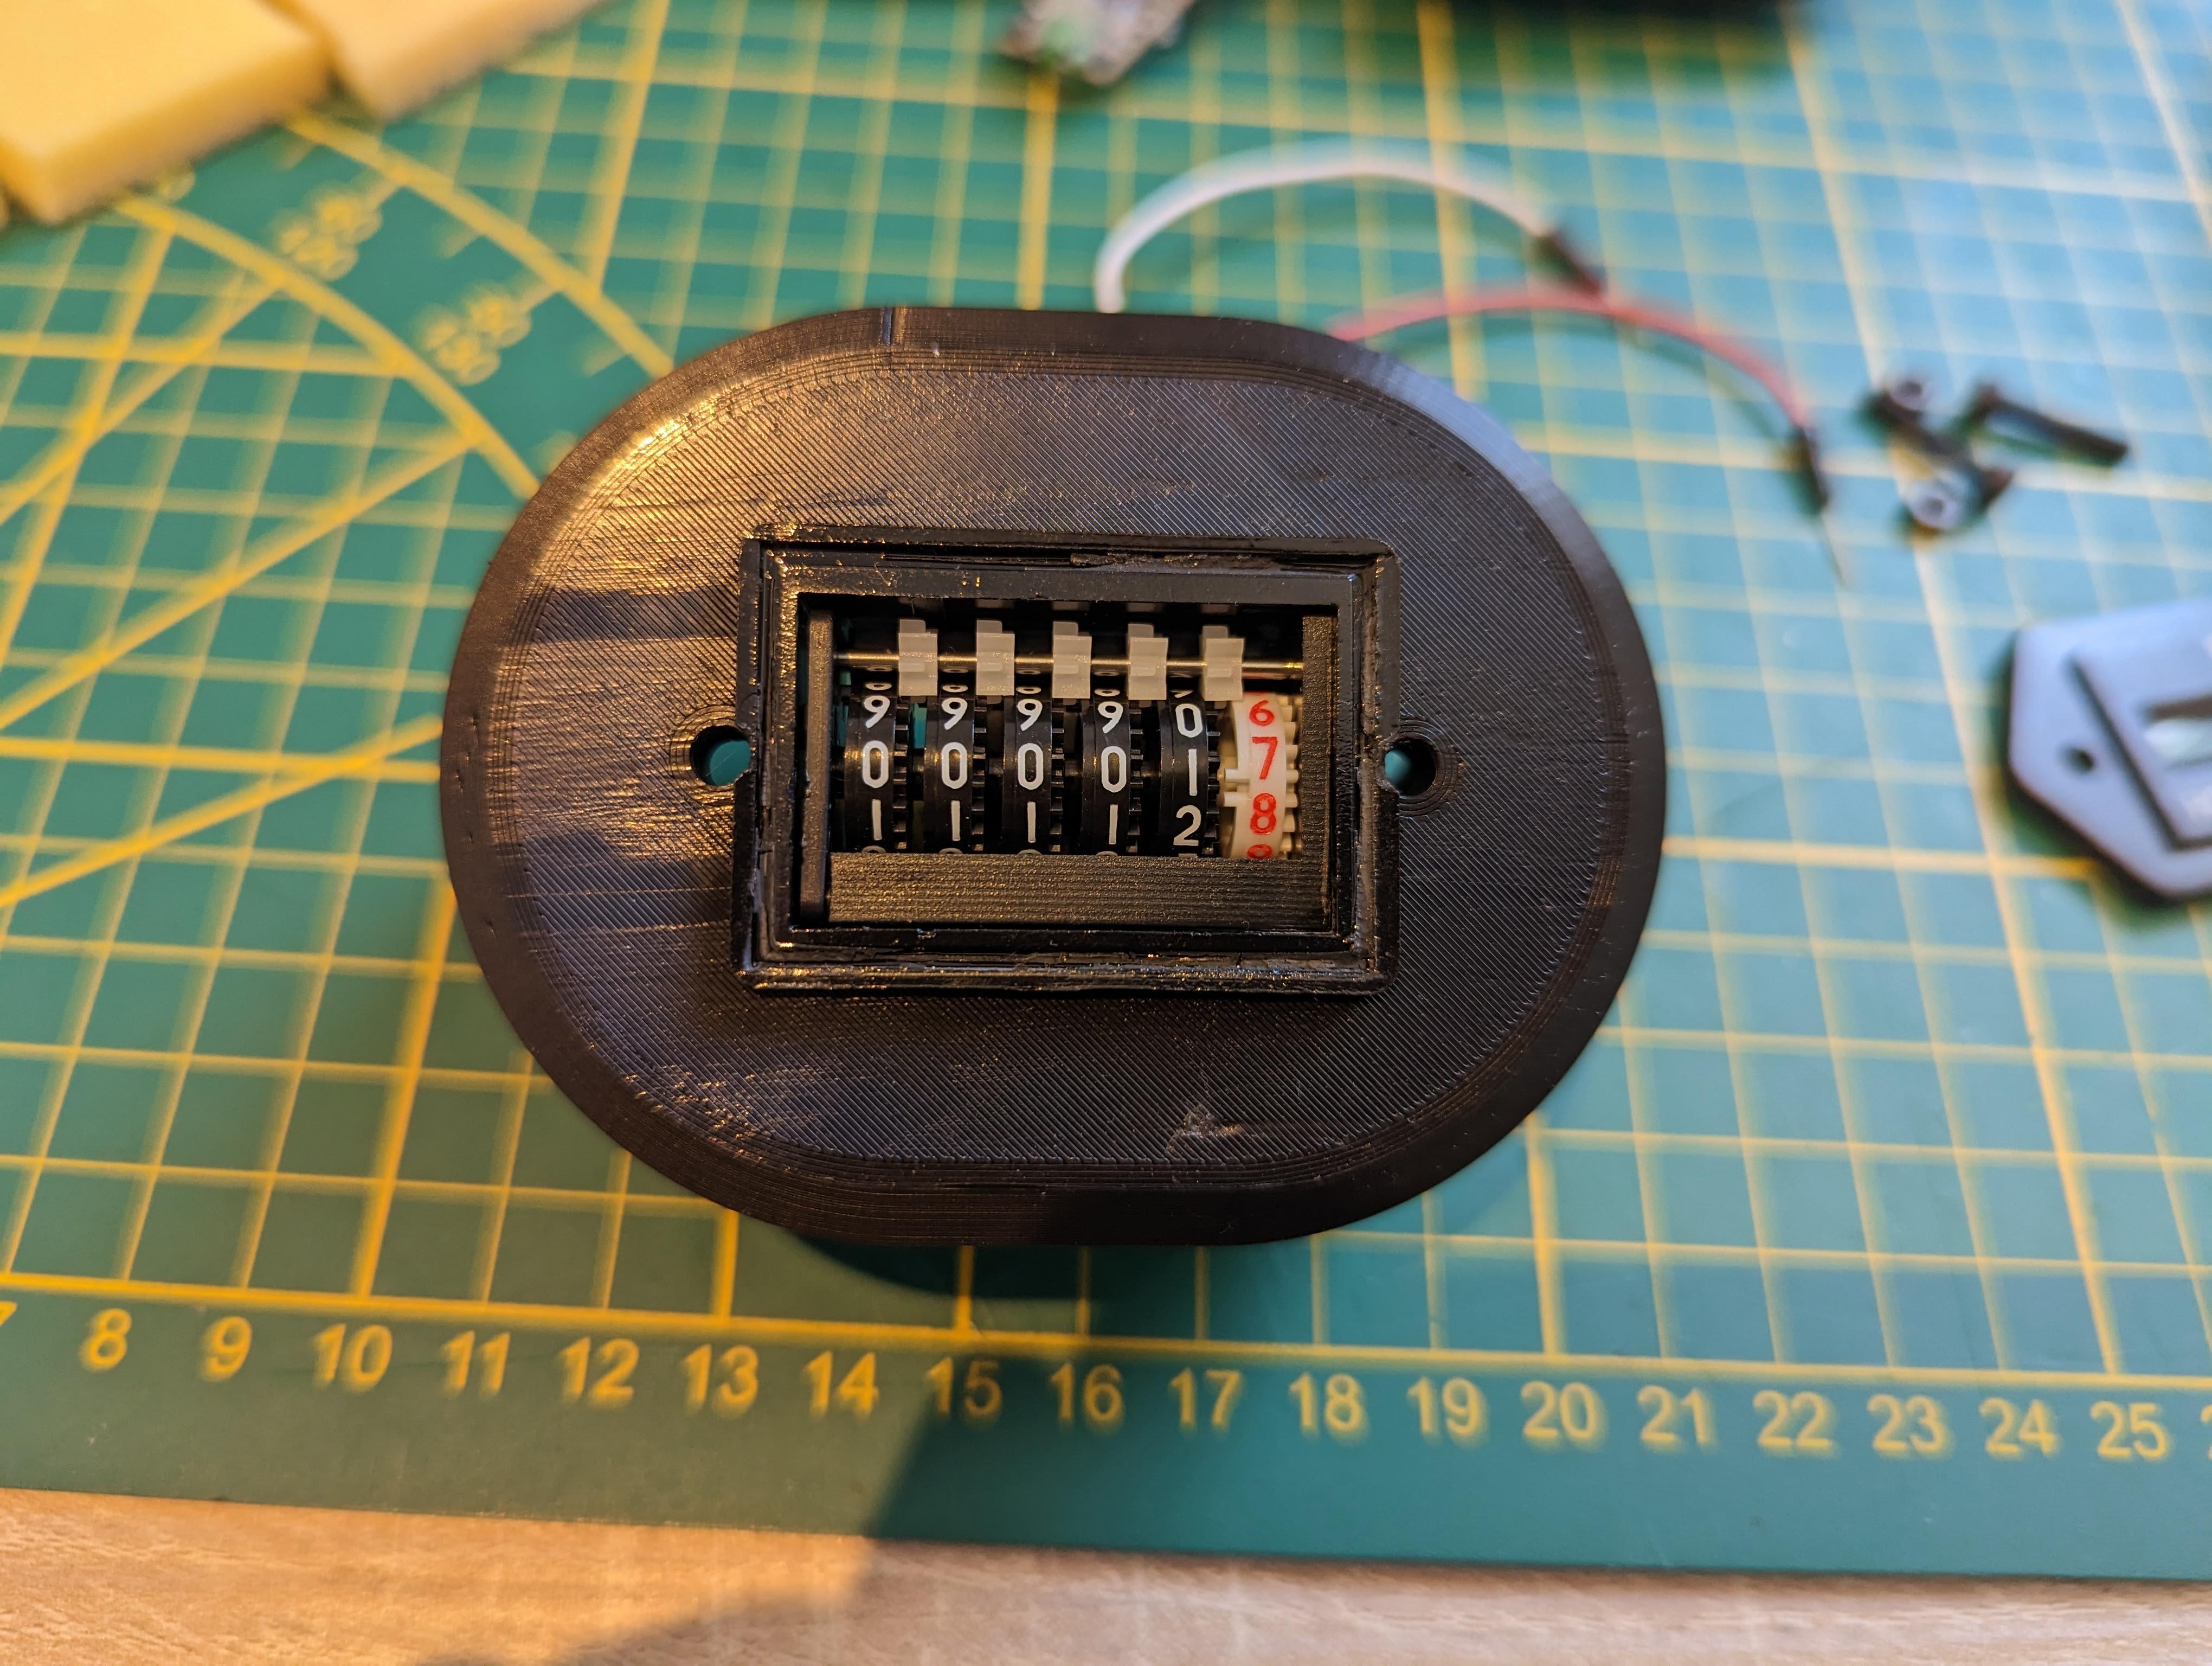
- Insert the Hour Meter (Check picture 6)
- Glue the front piece of the Hour Meter and fix it with 2 M3x16mm screw and 2 M3 nut (Check picture 7)
- Position the pieces of foam (Check picture 8 & 9)
- Solder the two output wires to the pins D9 & D10 (Check picture 11)
- You're done (Check picture 12)
Software

The project is a combination of two scripts :
- A python script that runs in the background of your computer that sends data through Serial Bus
- An Arduino script that runs on an Arduino Nano that reads the serial bus and drive the hour meter display
Modifications to be made :
- If you don't choose D9 & D10 to wire the hour meter, you can change it inside the "Hour_Meter_Arduino_v1.ino"
- Choose the COM port corresponding to your USB port inside the "Running_App_Hour_Meter_Time_LoL_v1.py"
- Choose the process you want to show on the Hour Meter inside the "Running_App_Hour_Meter_Time_LoL_v1.py"
- Make sure the "Running_App_Hour_Meter_Time_LoL_v1.py" is constantly running on your computer if you want to drive the Hour Meter display
- You can convert the "JOB" logo to .ico for your .exe file
To convert the python script to an .exe file, you can use the python package "auto-py-to-exe".
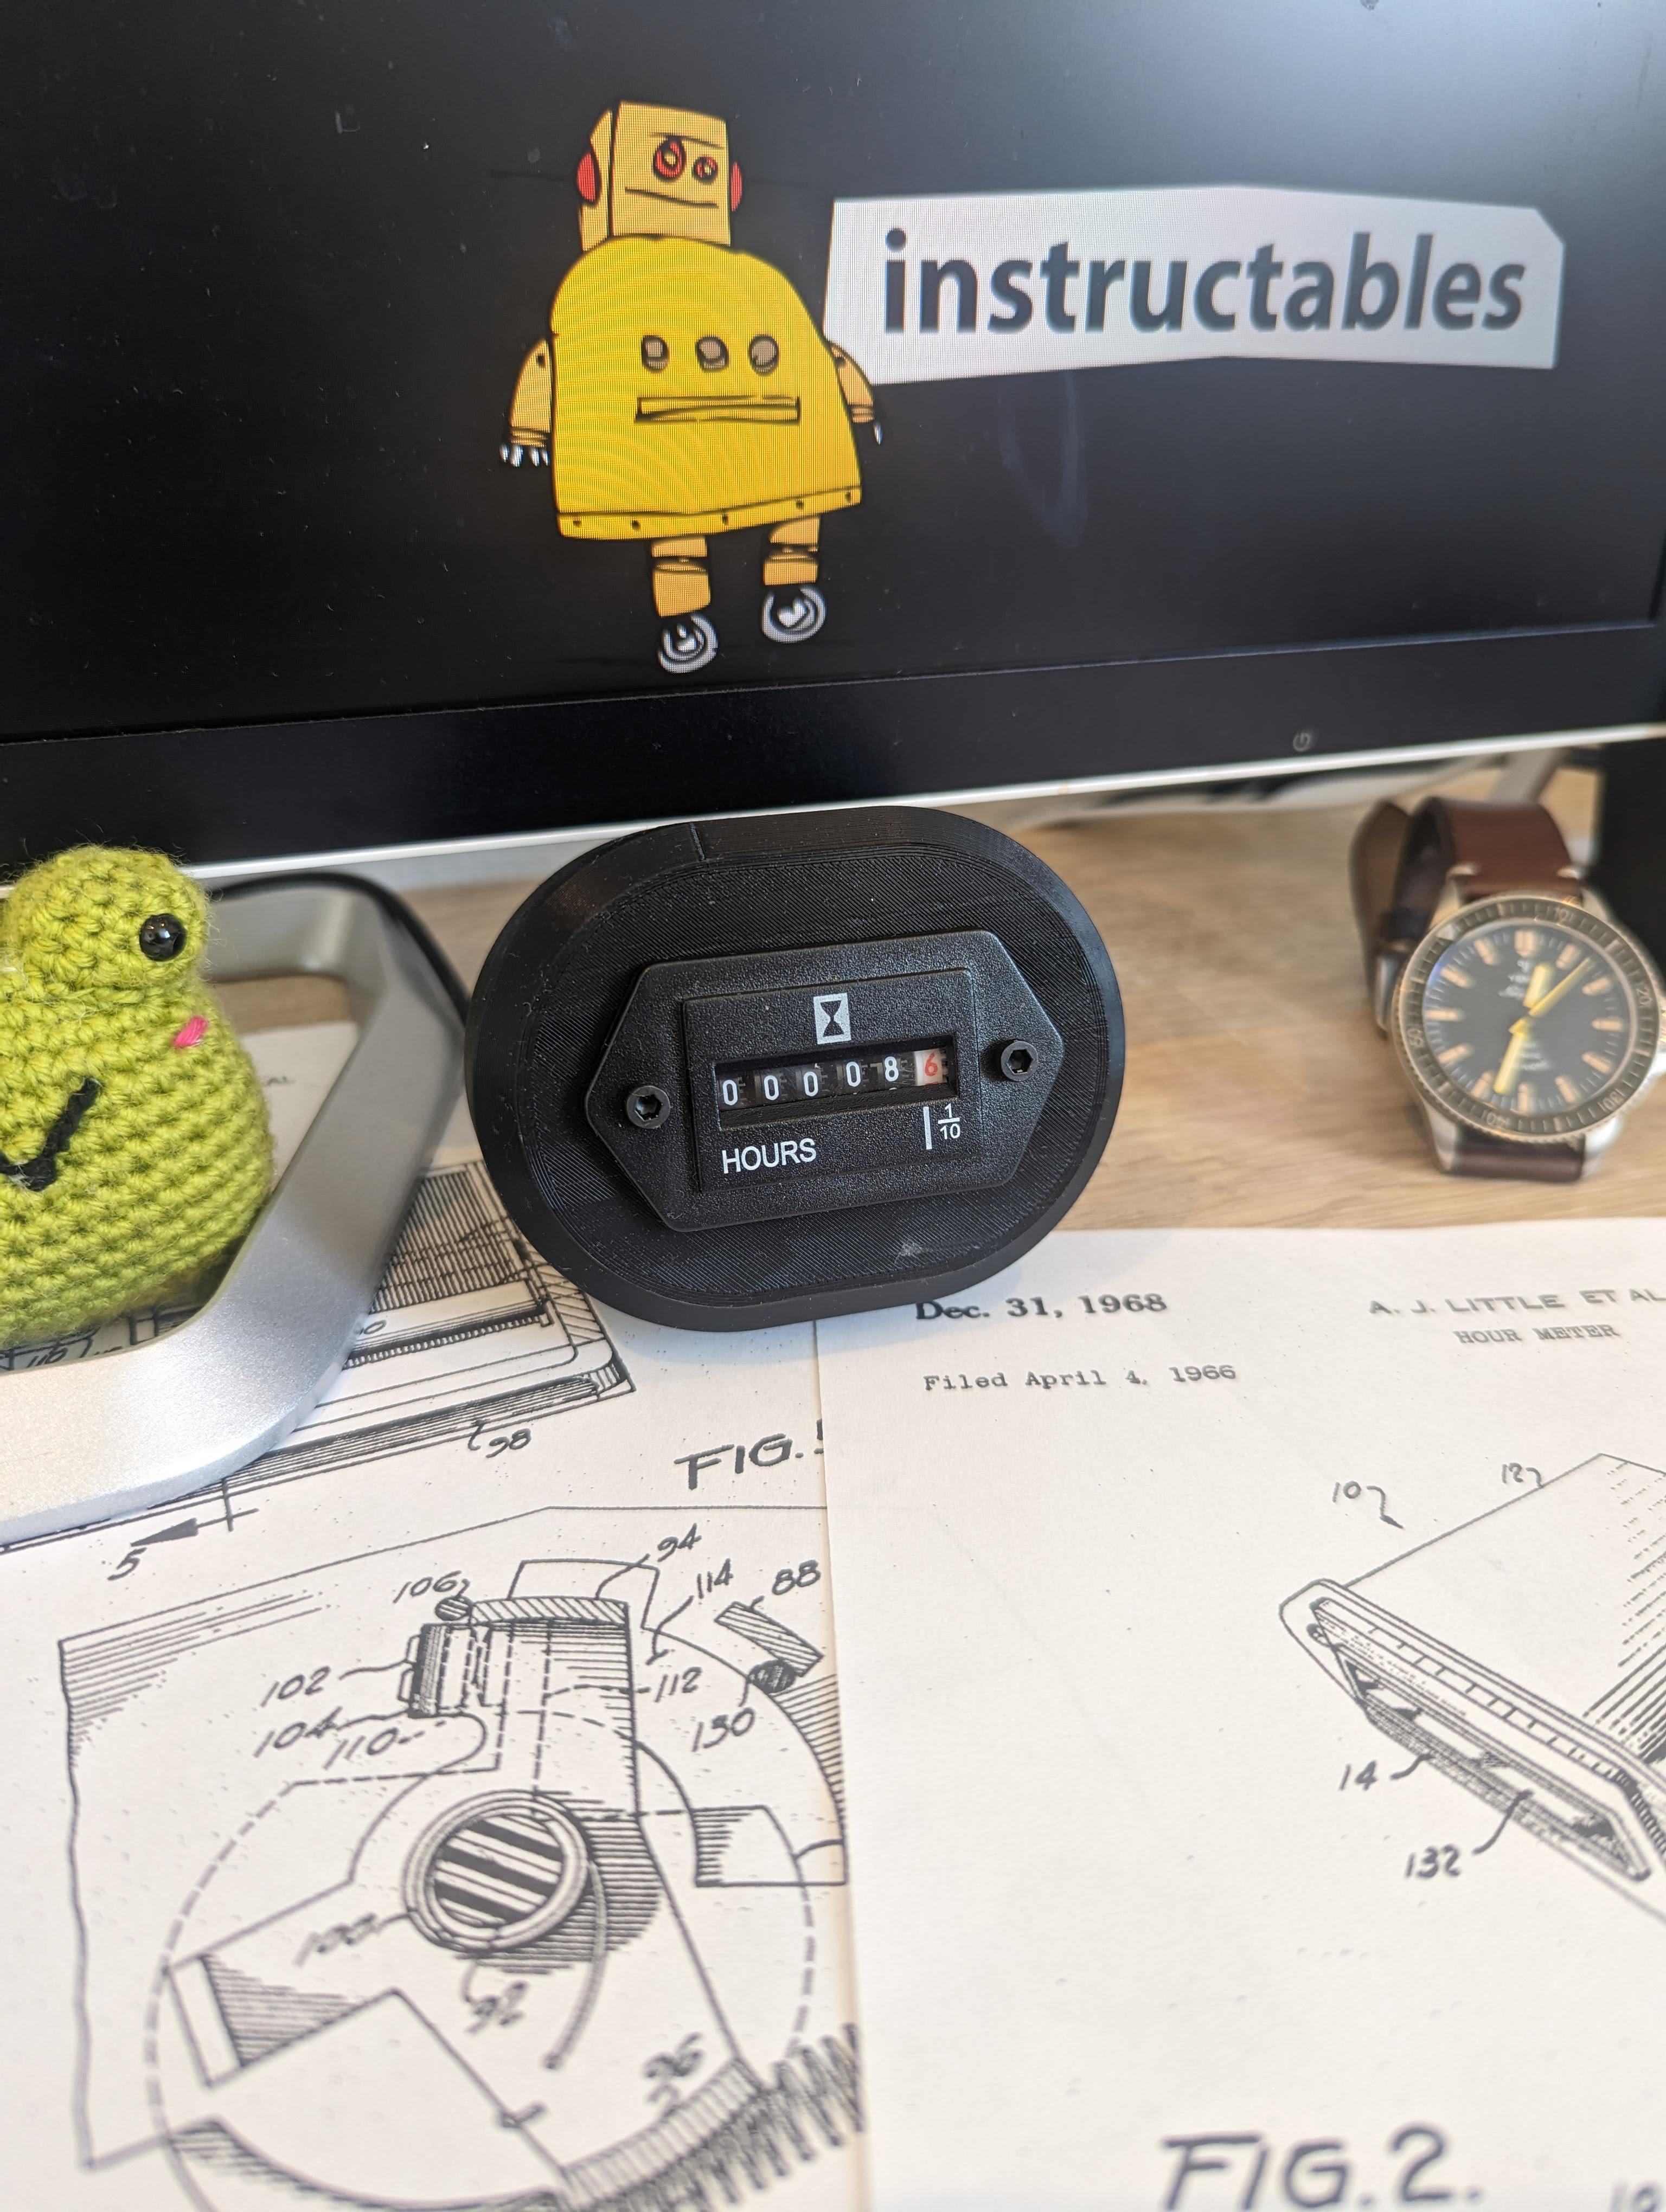
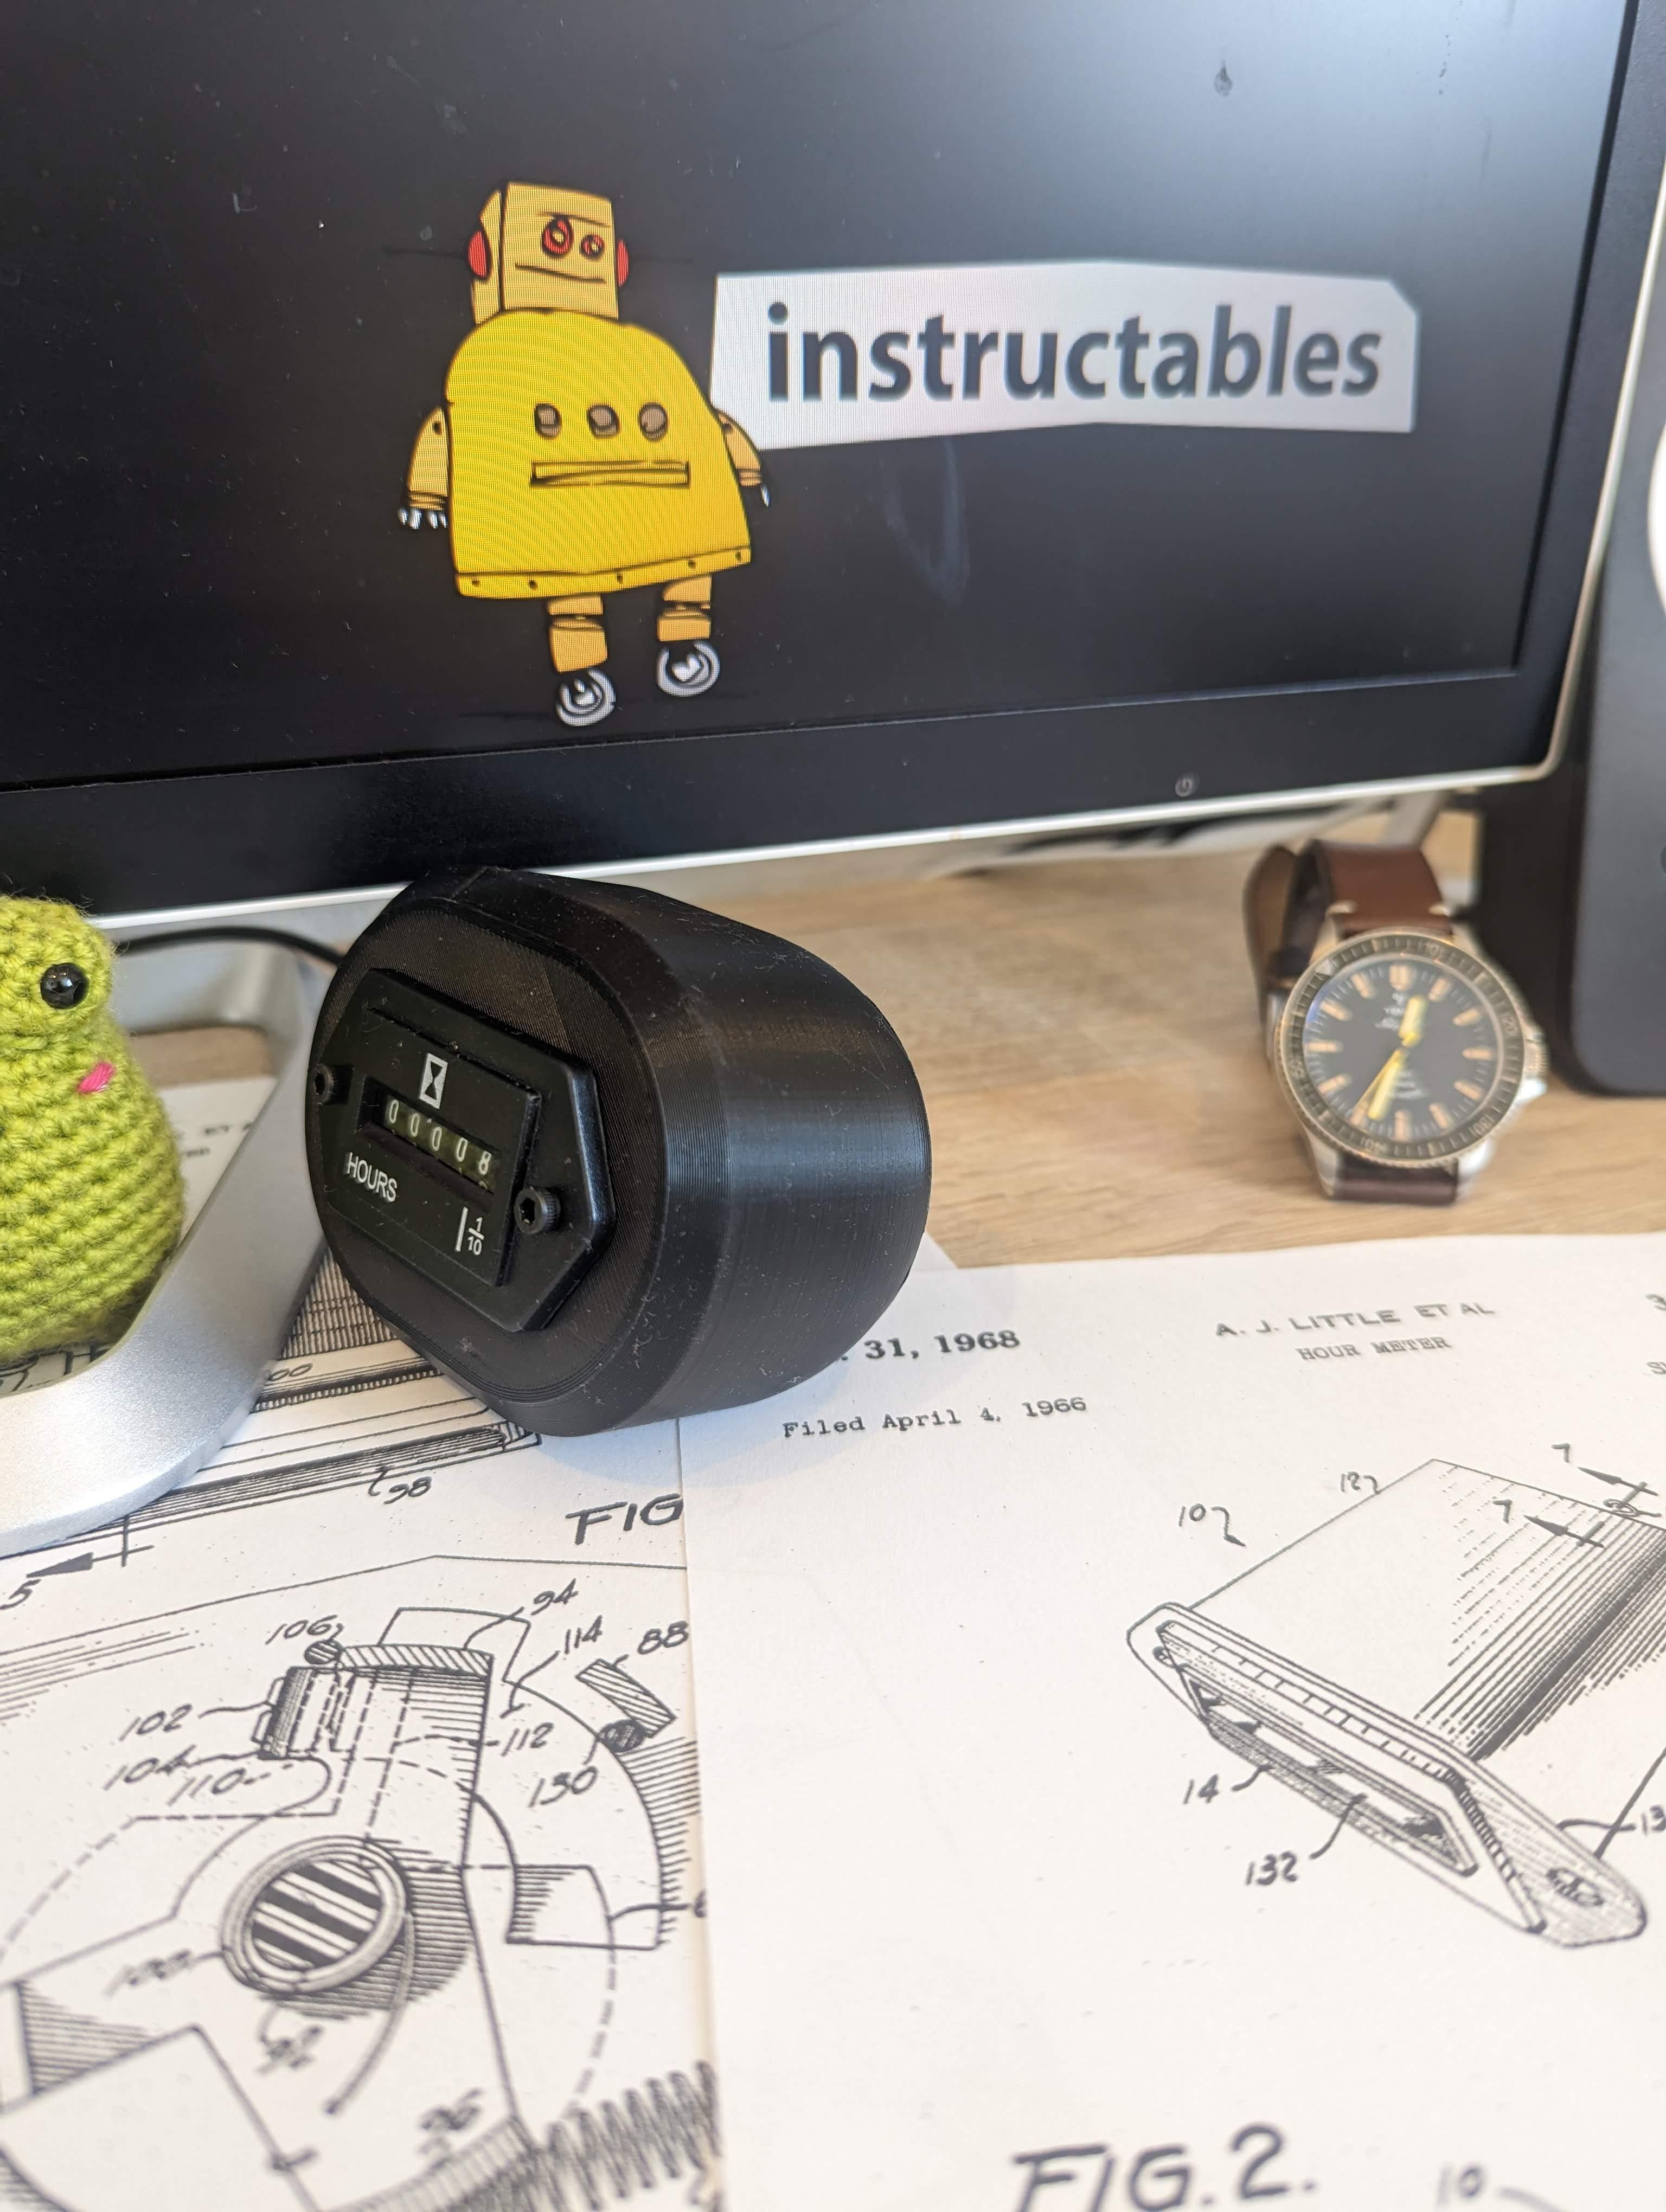
Final Result
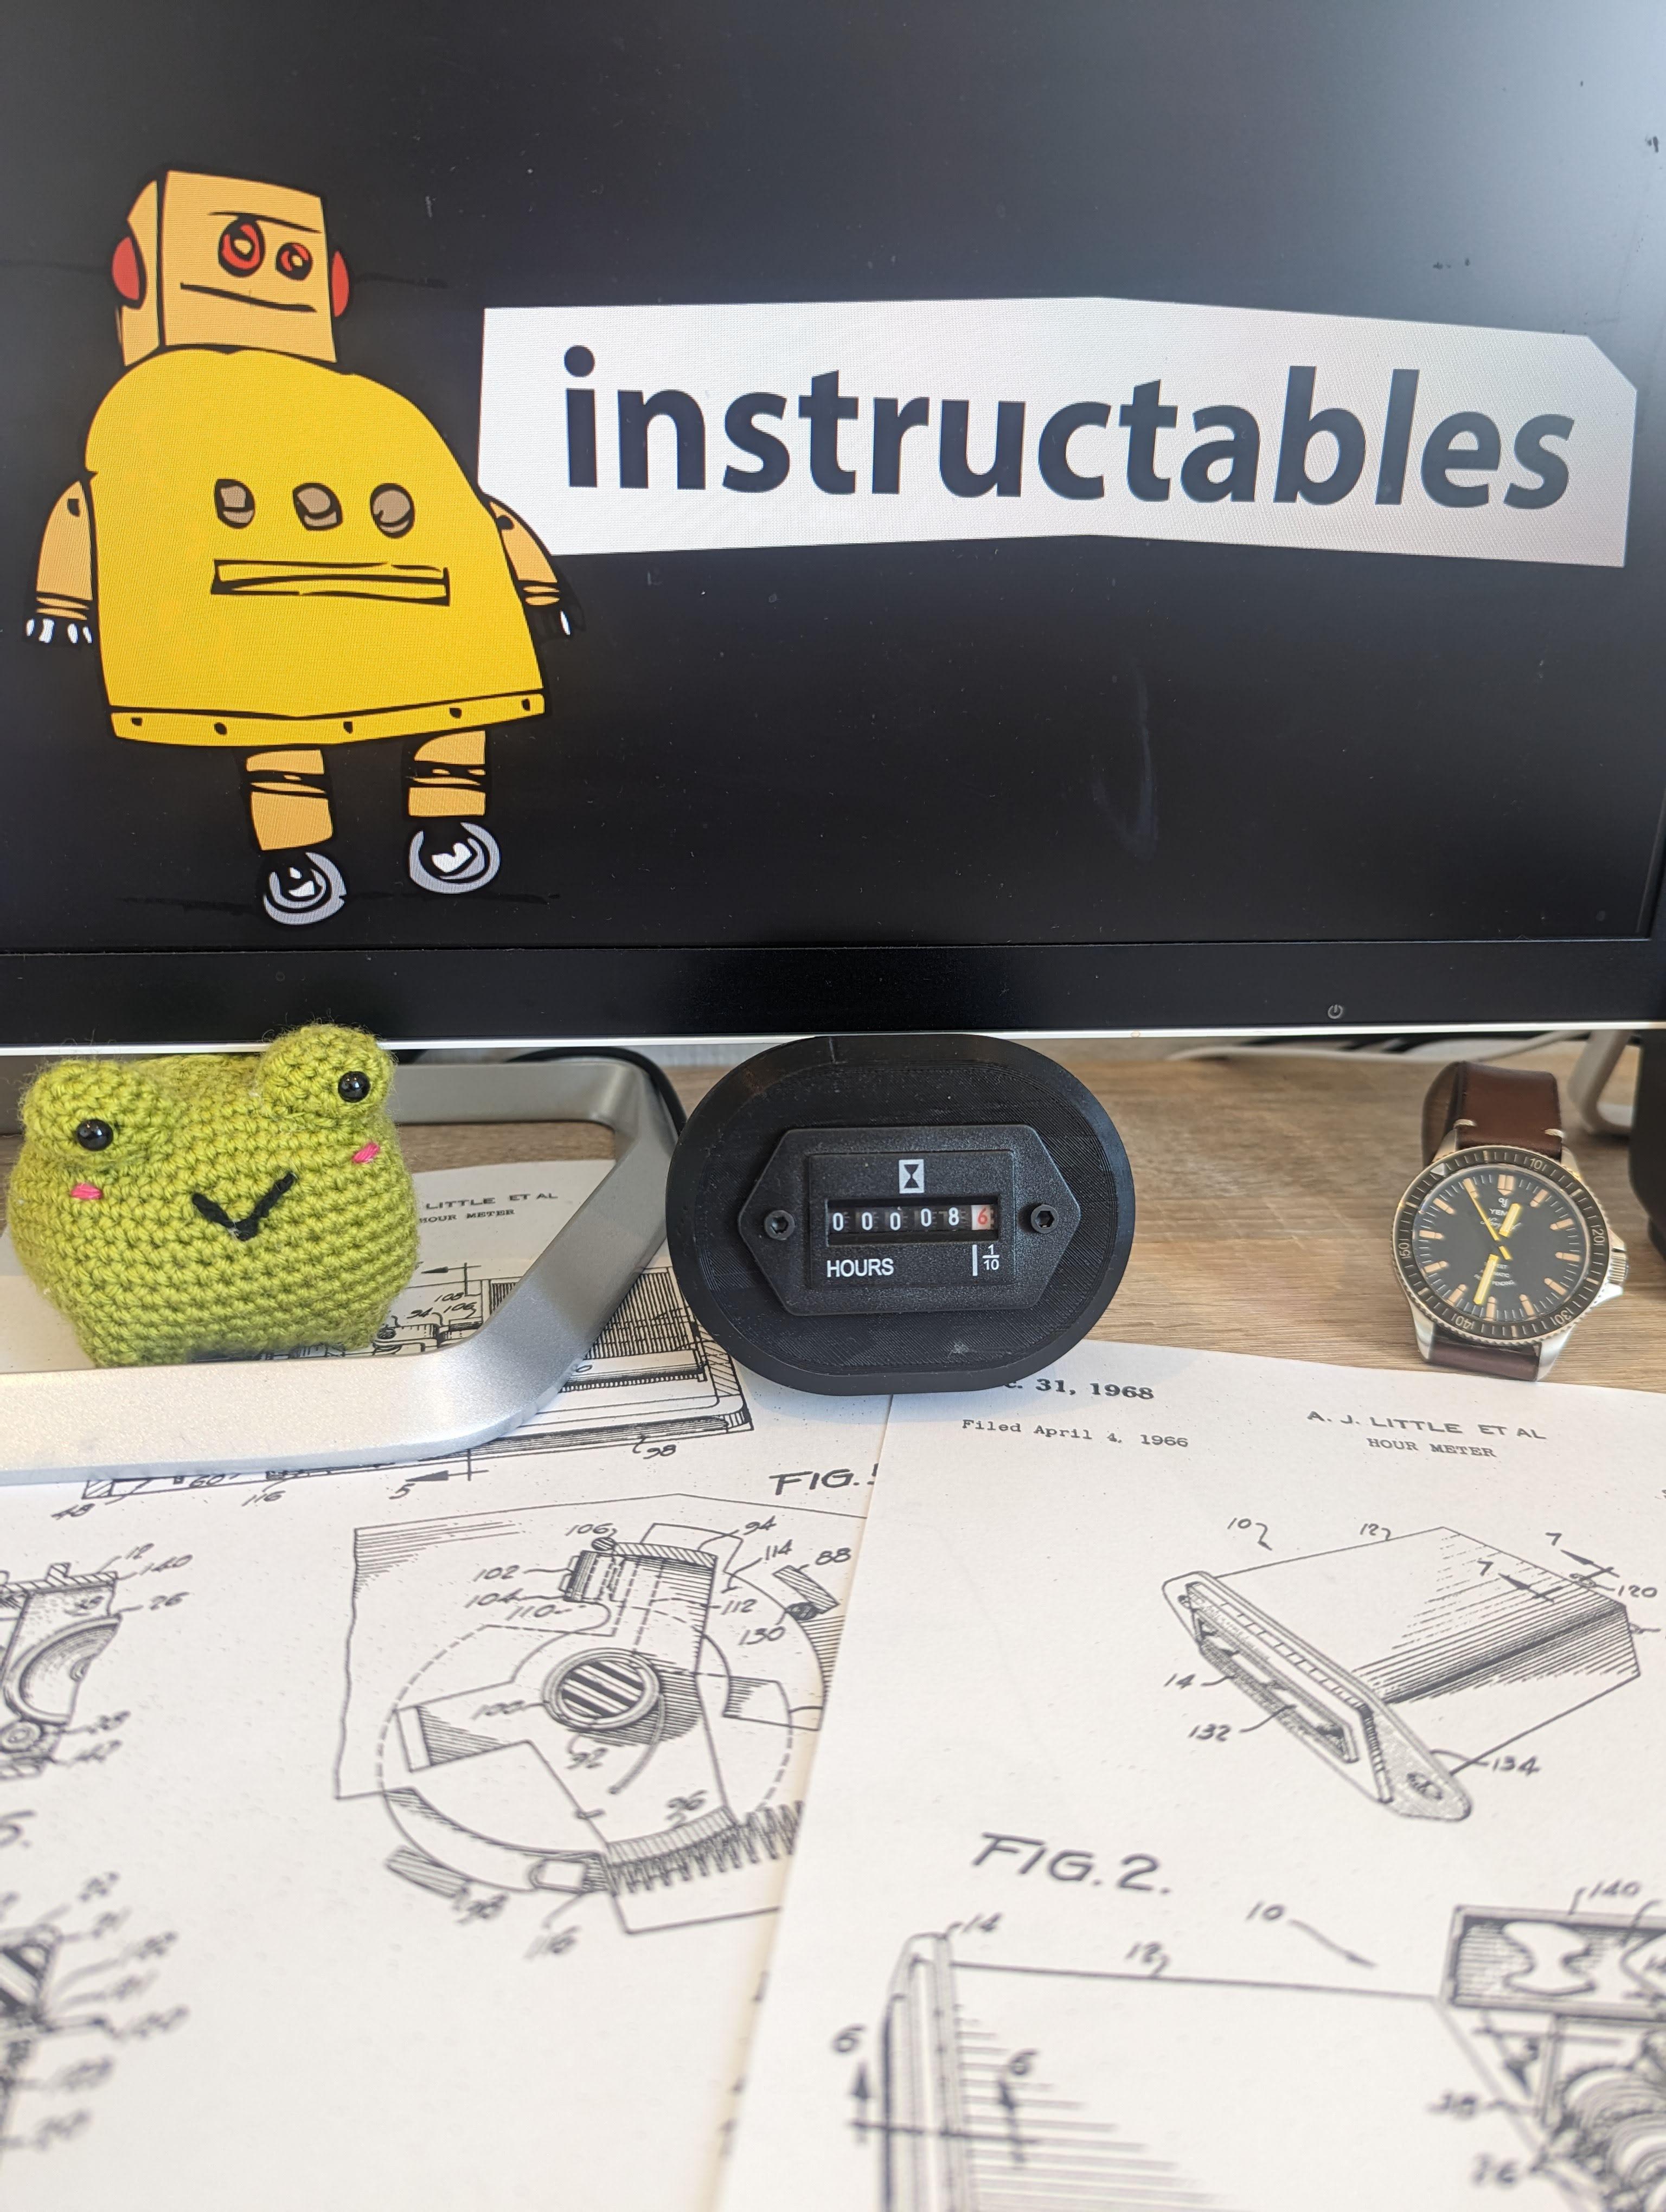
I hope you enjoy follow this Instructables.
I am happy with the final look, I love adding gadgets to my desk !
Have a nice day !