Making Your Custom High Resolution Orthomosaic Map
by sg19point3 in Outside > Camping
9993 Views, 140 Favorites, 0 Comments
Making Your Custom High Resolution Orthomosaic Map
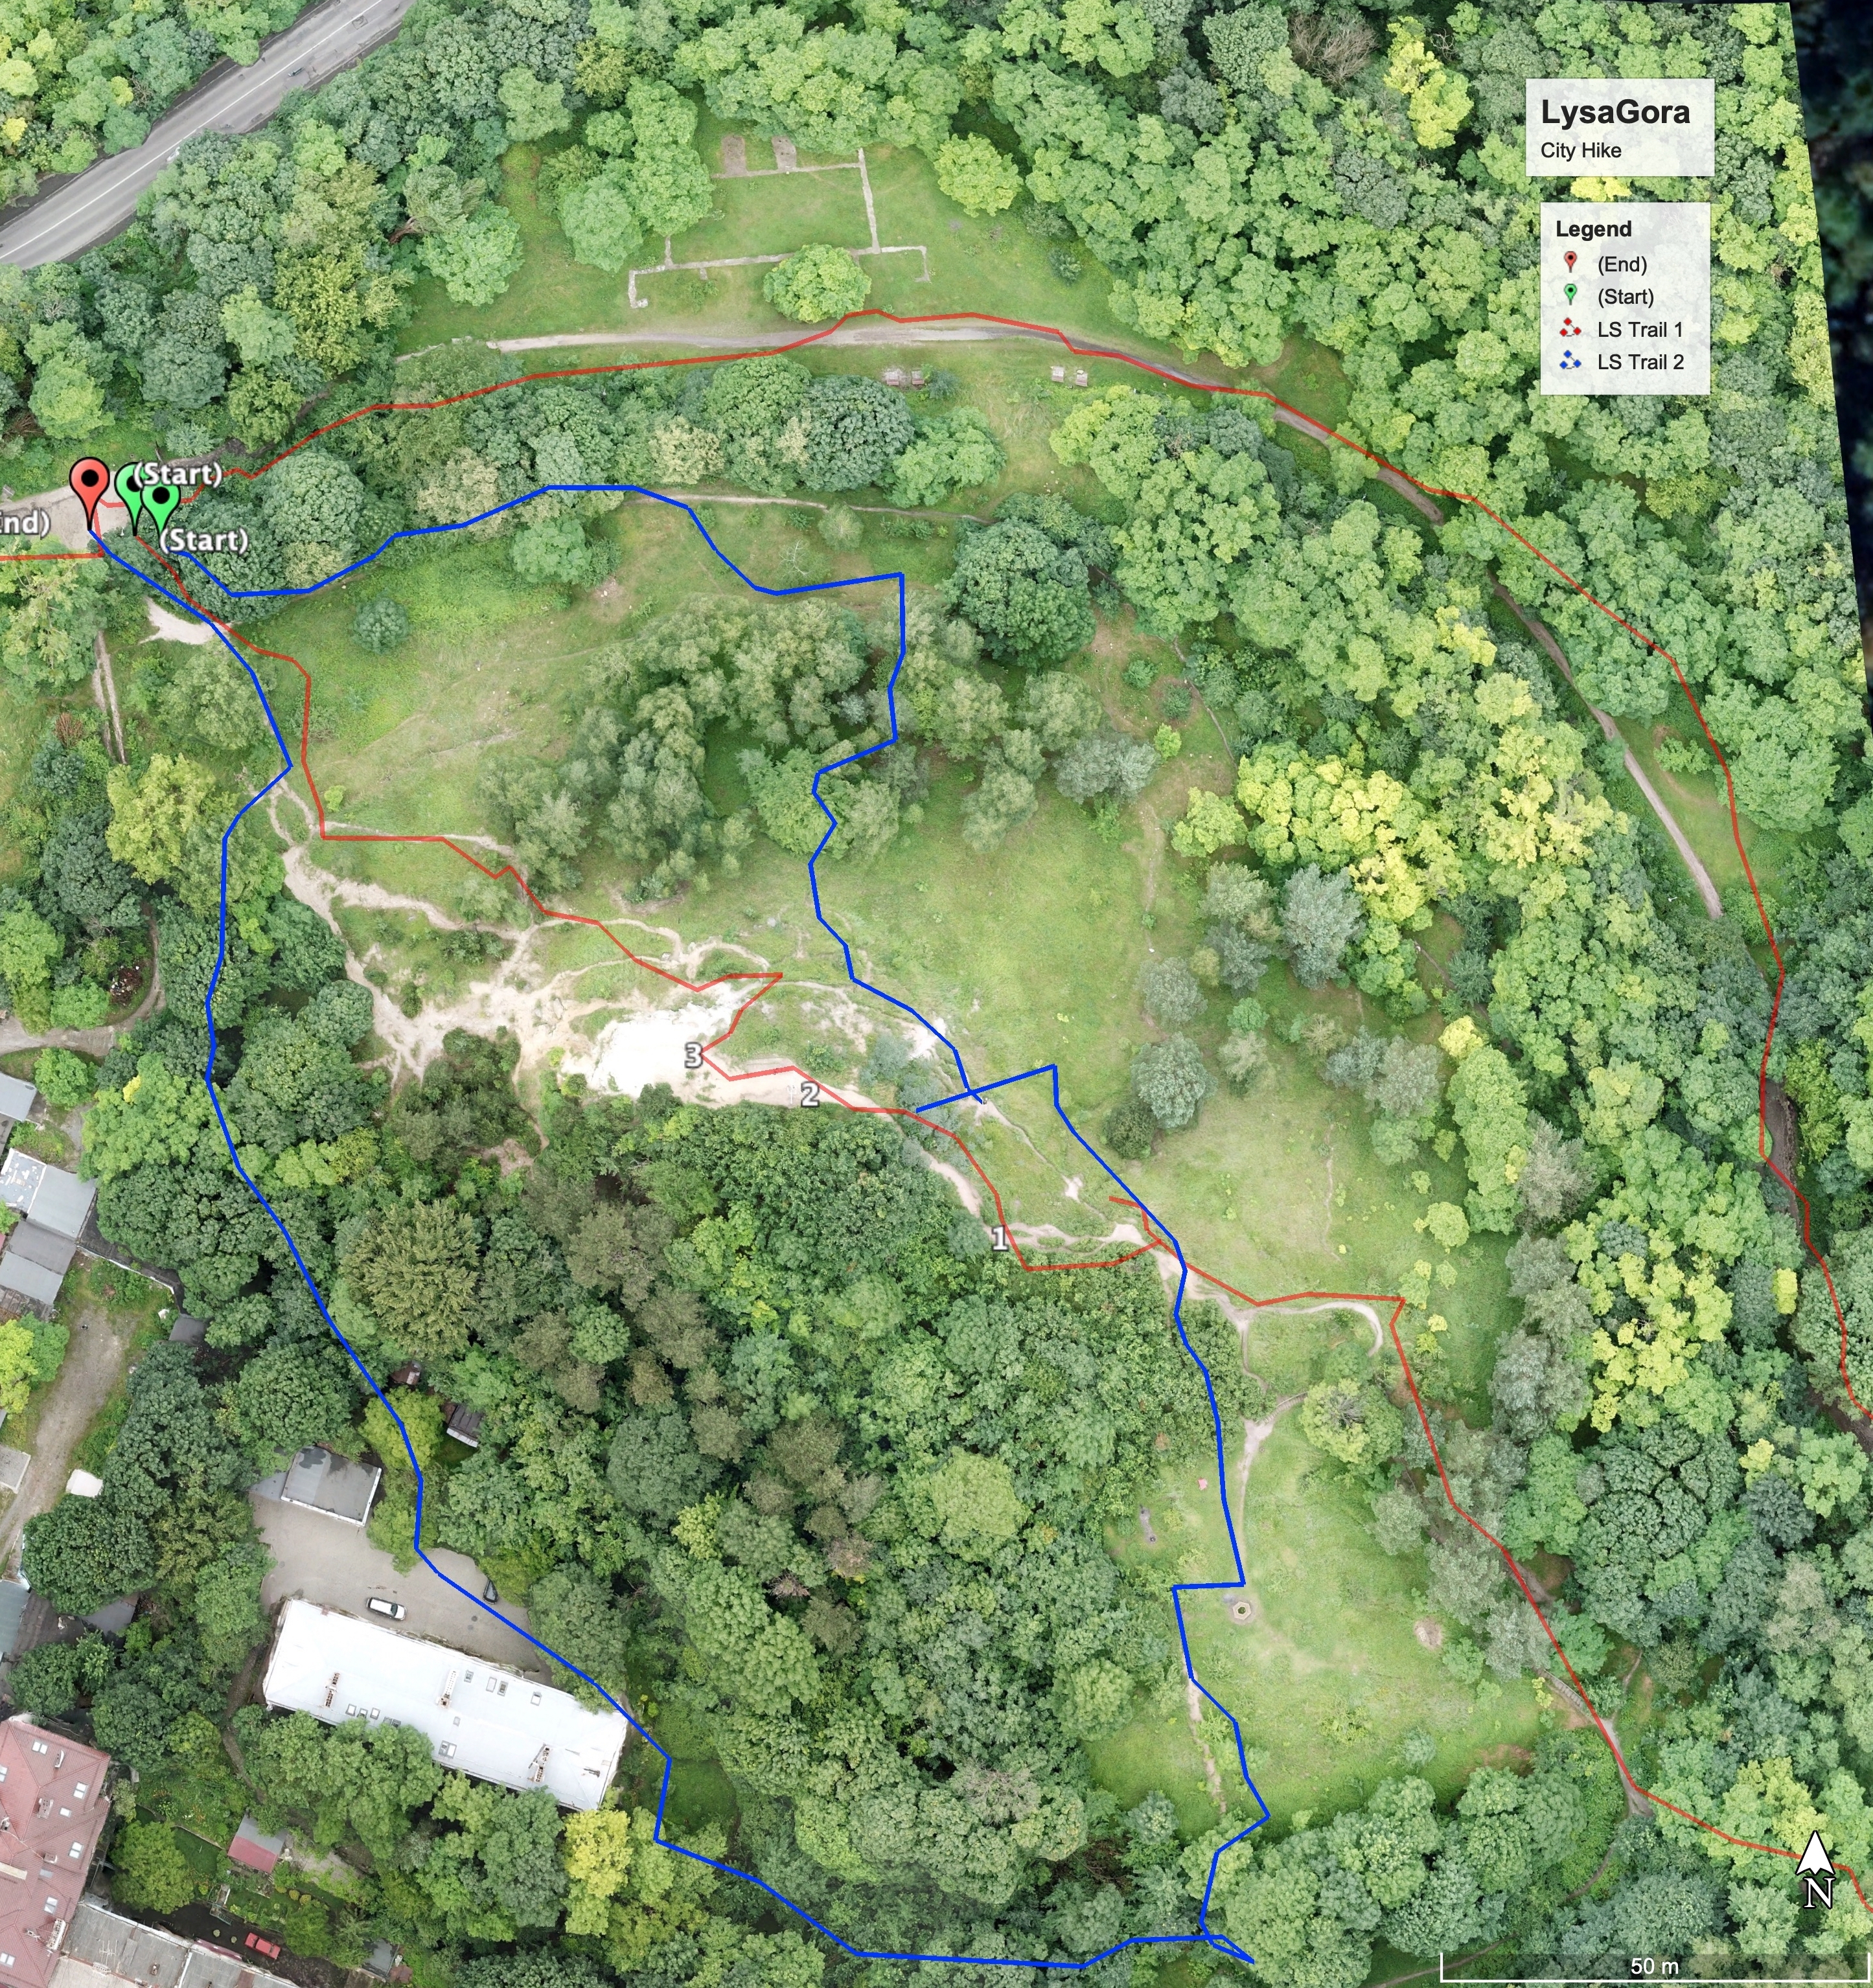
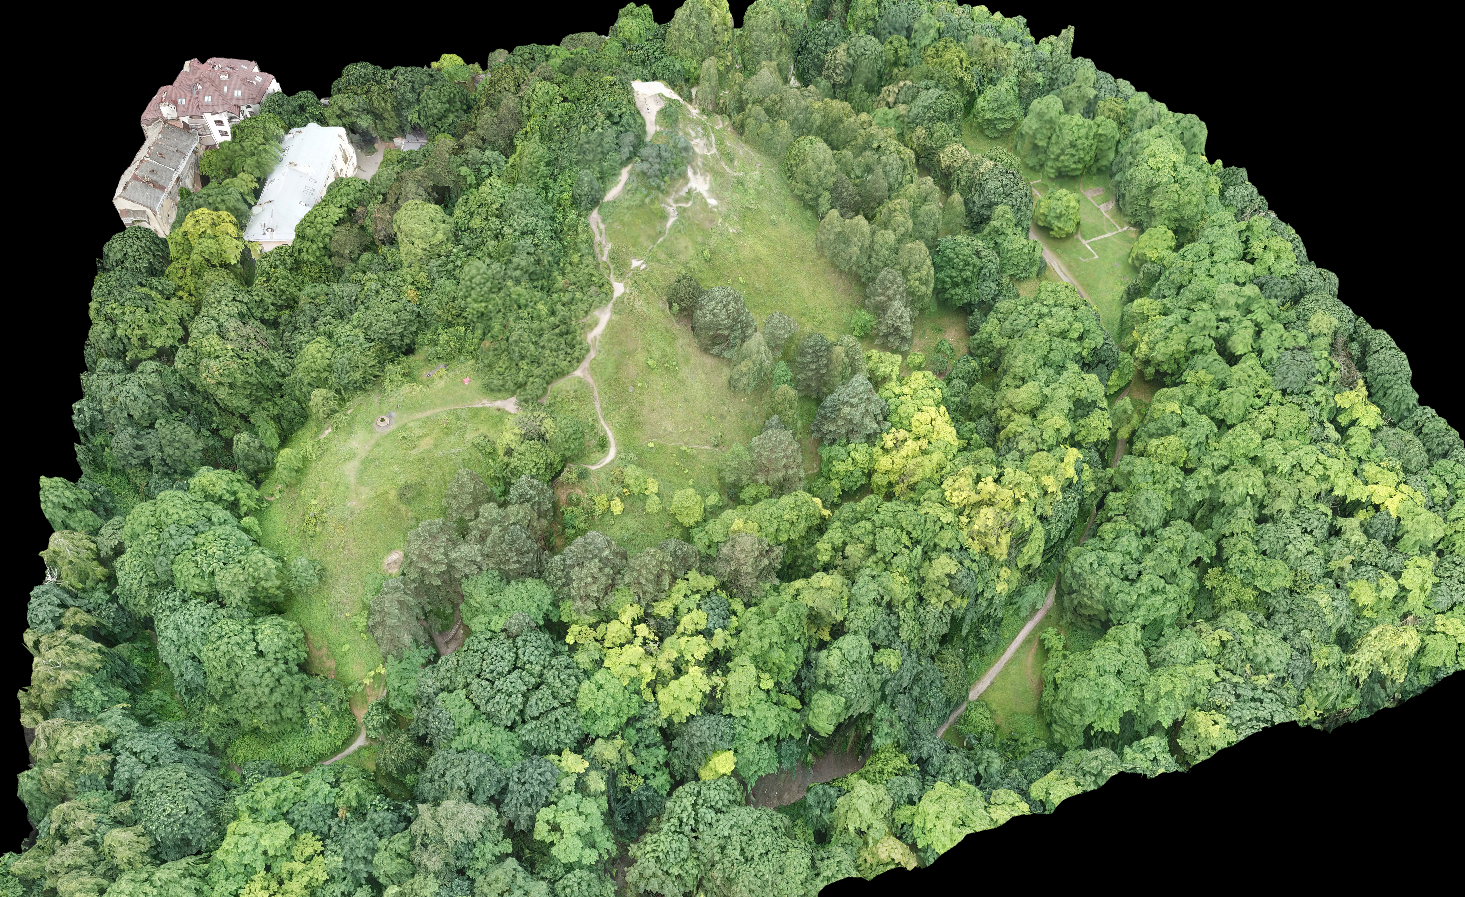
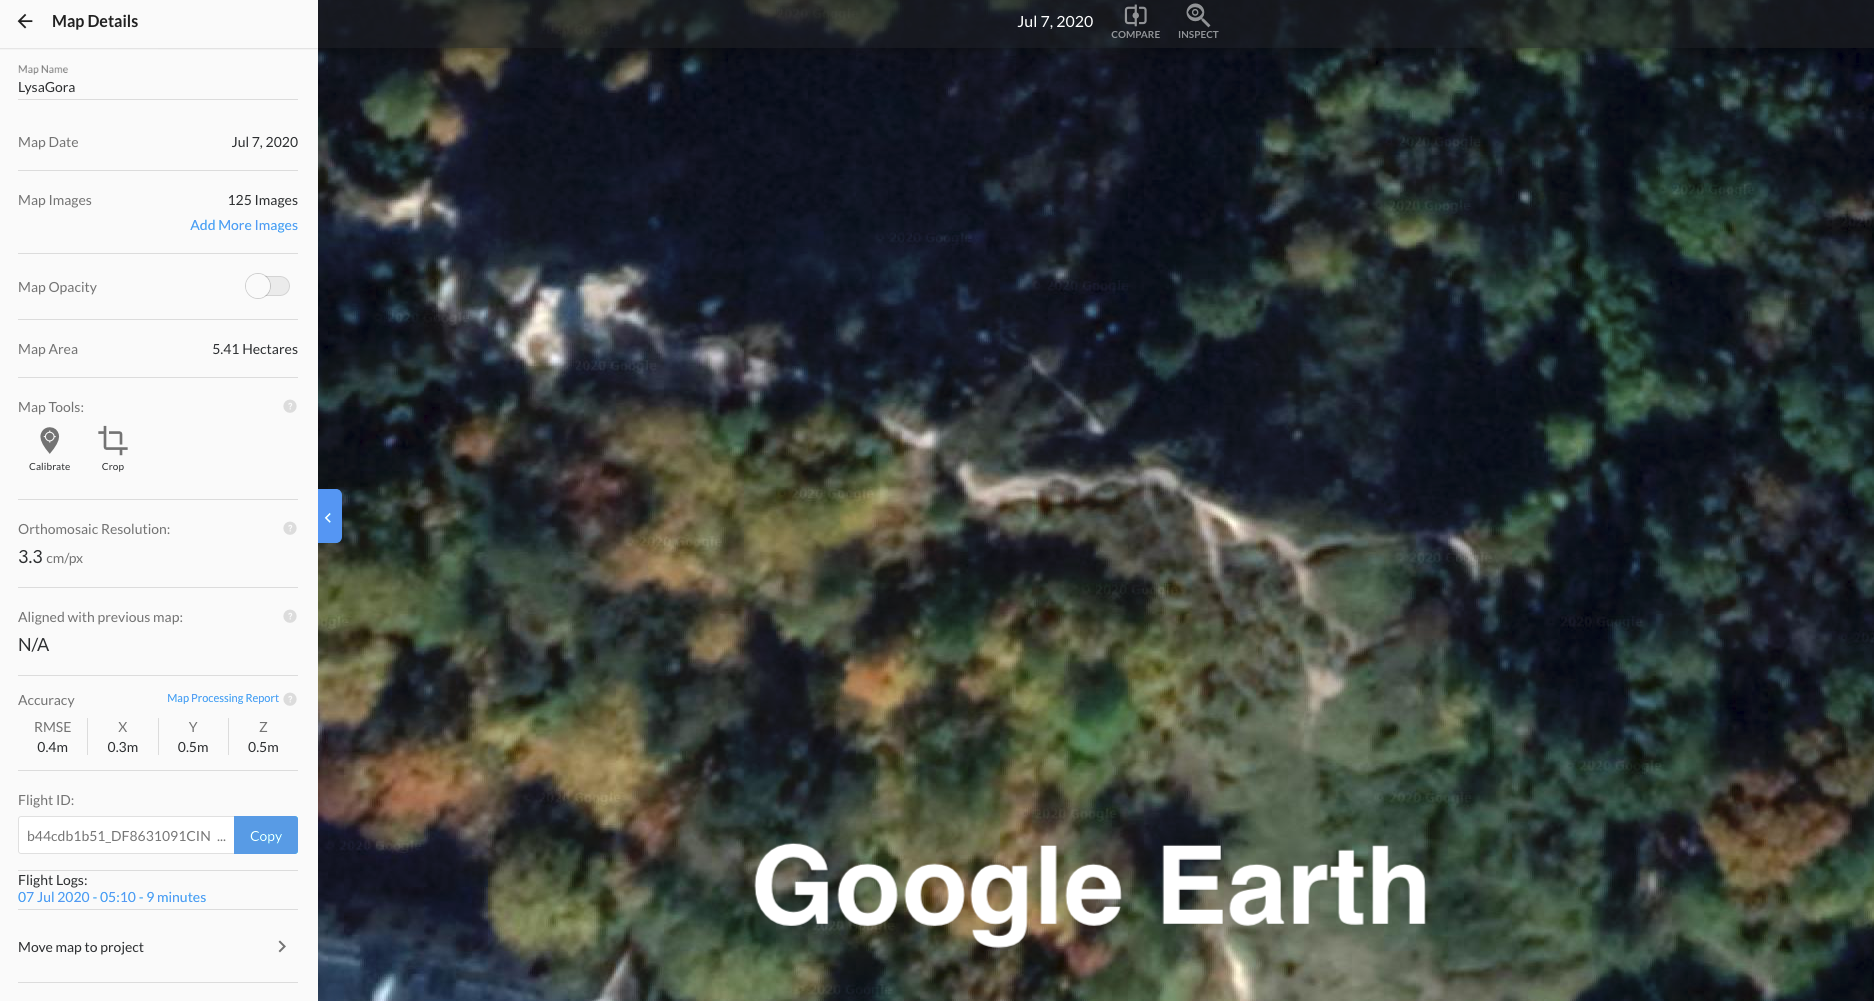
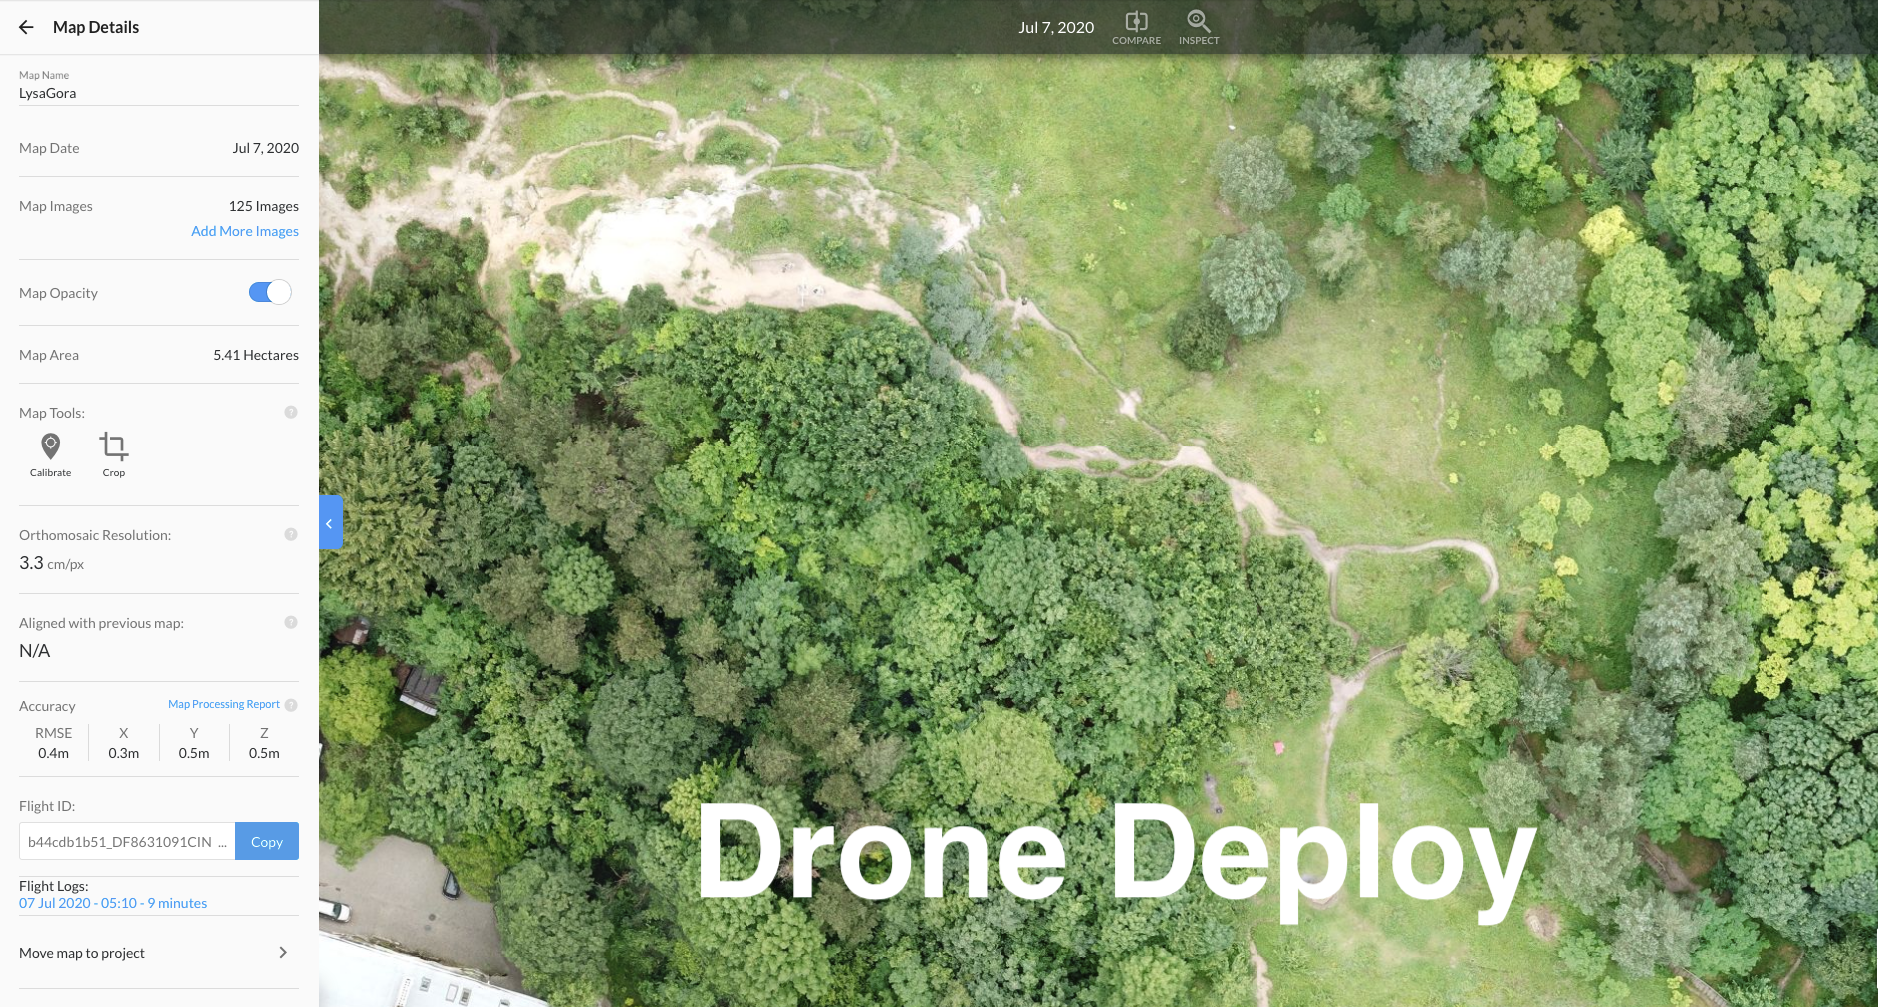
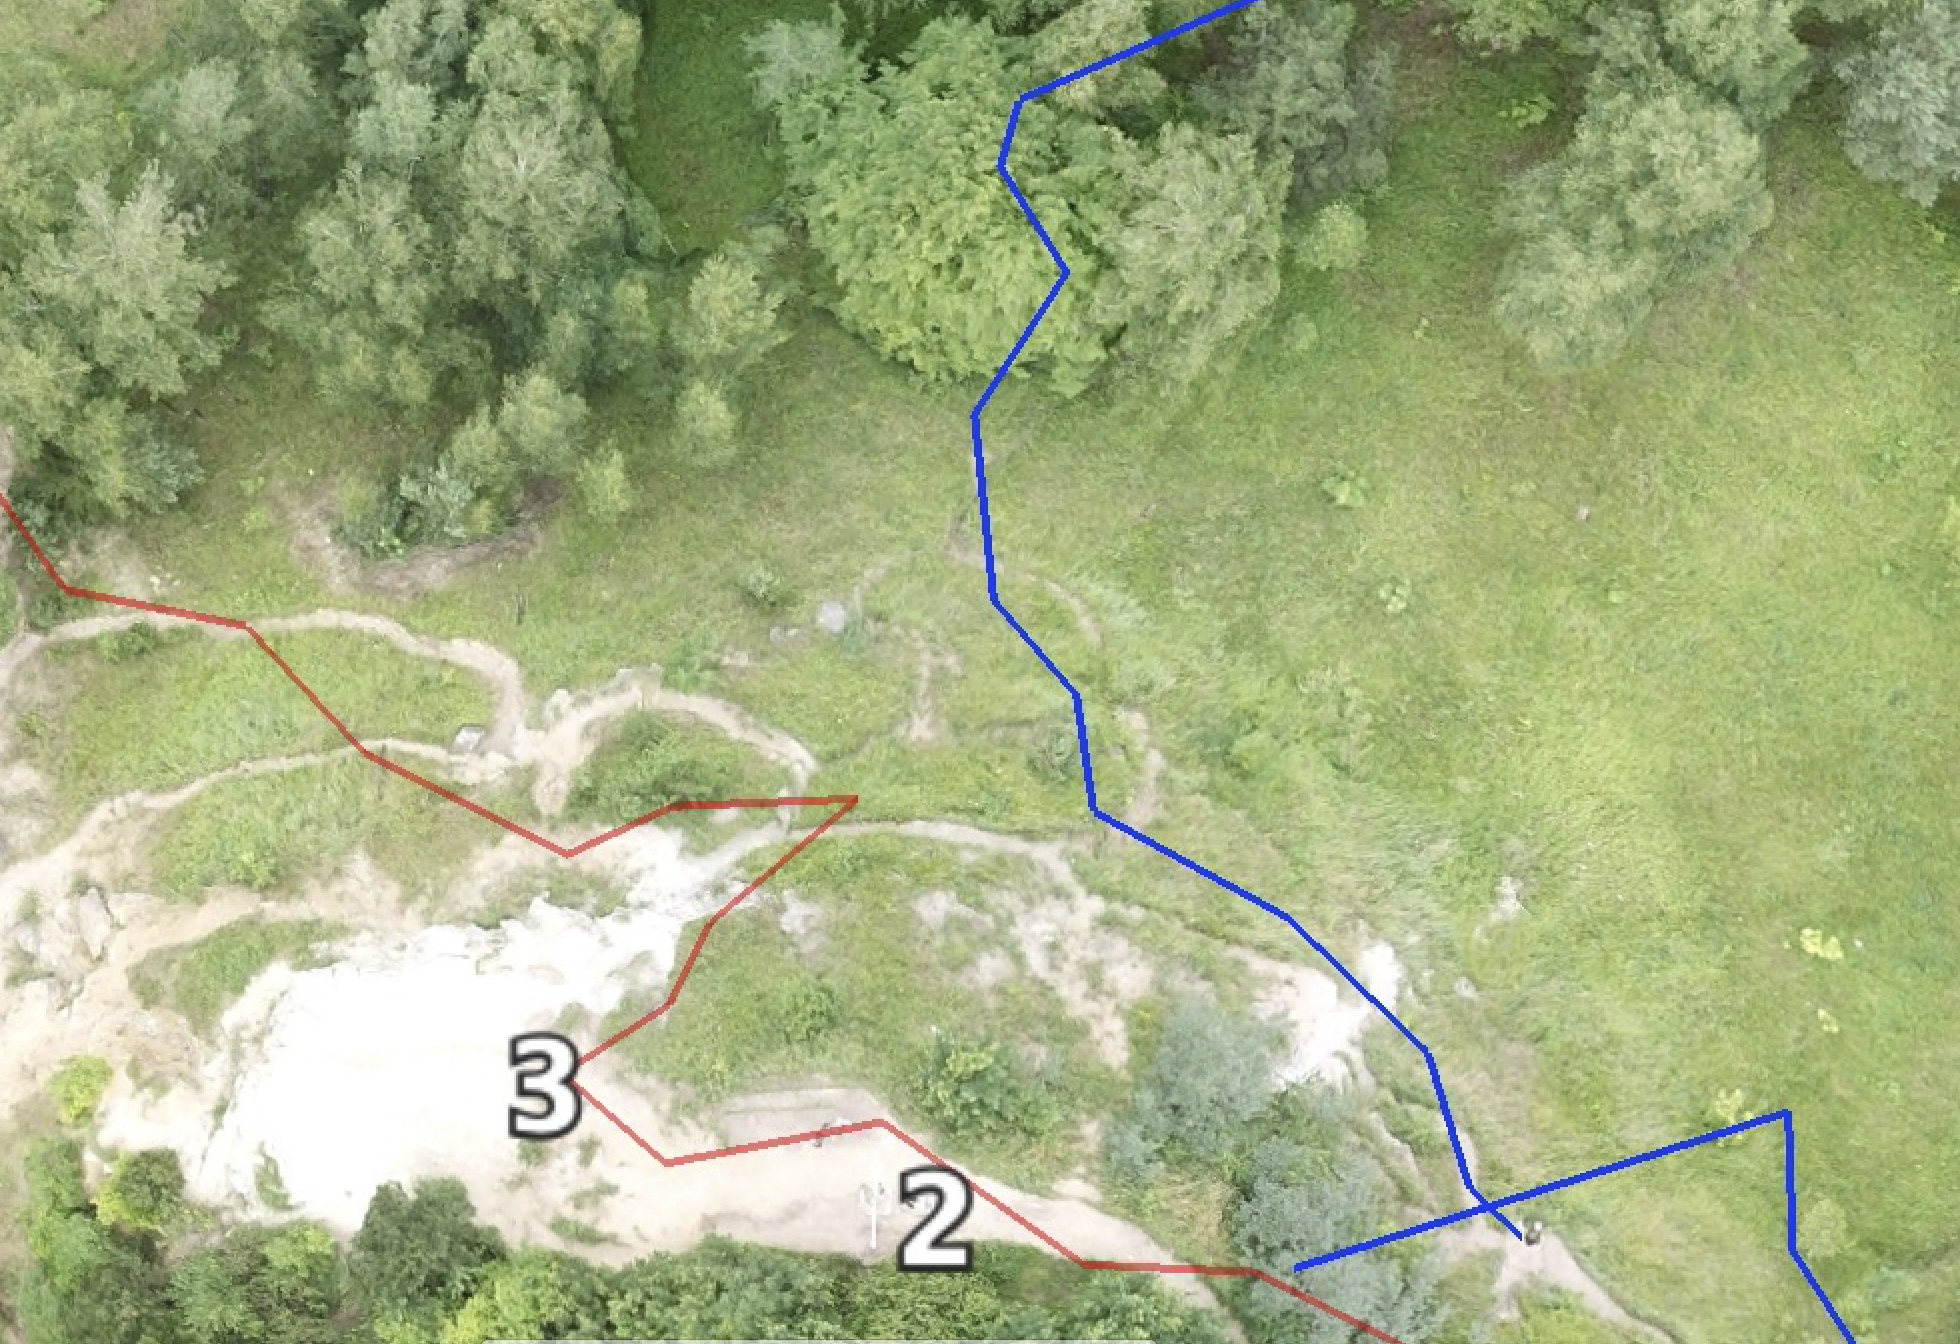
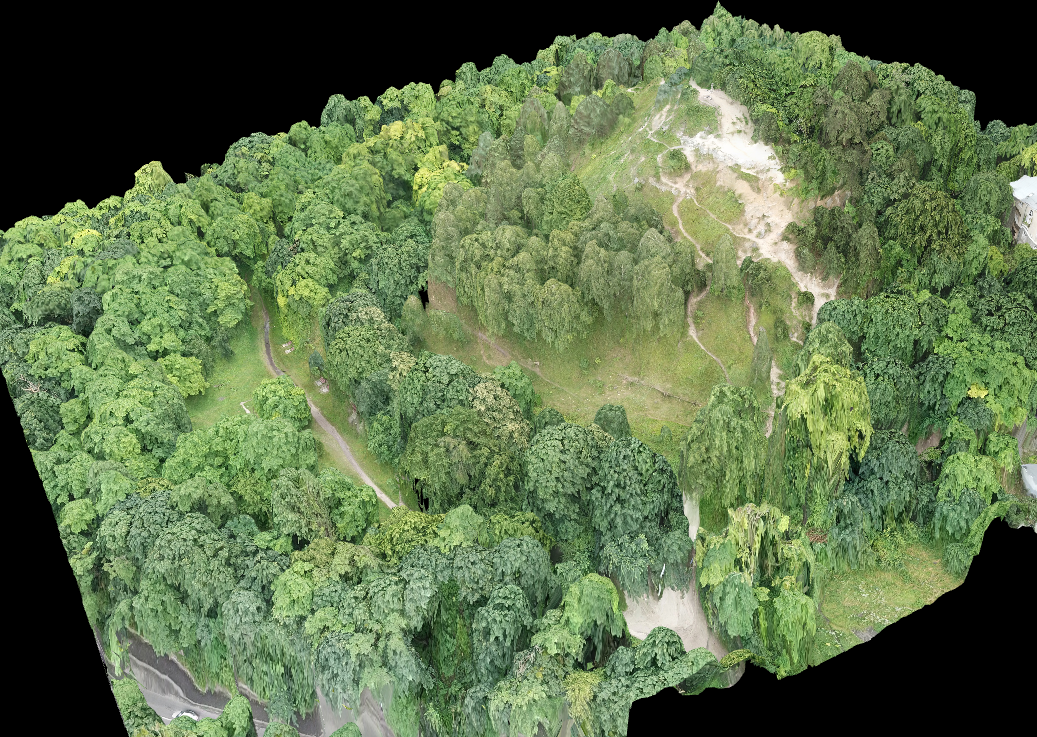
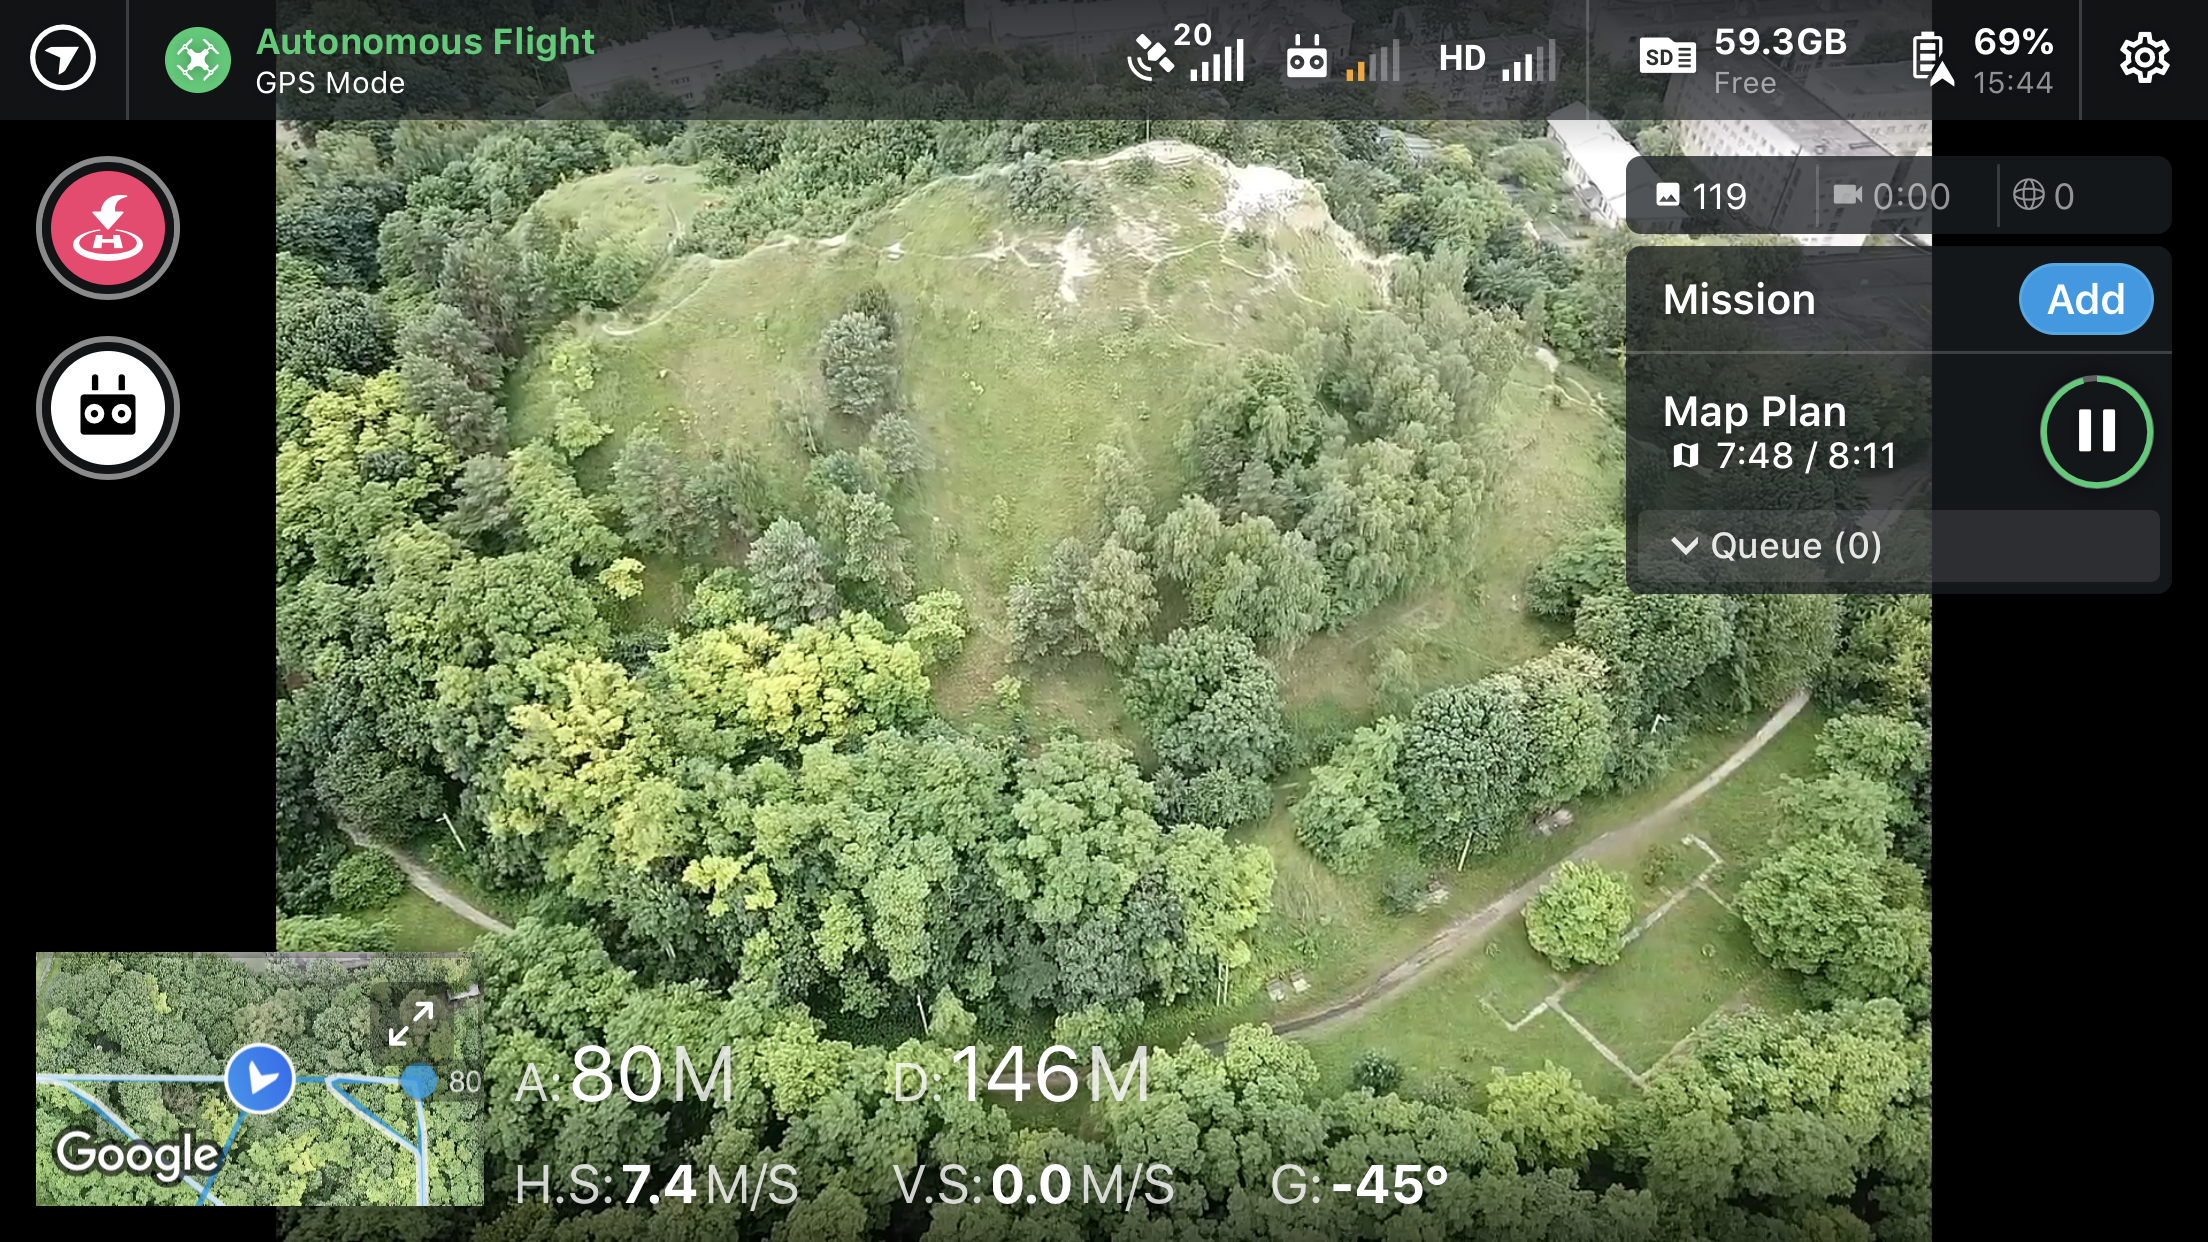
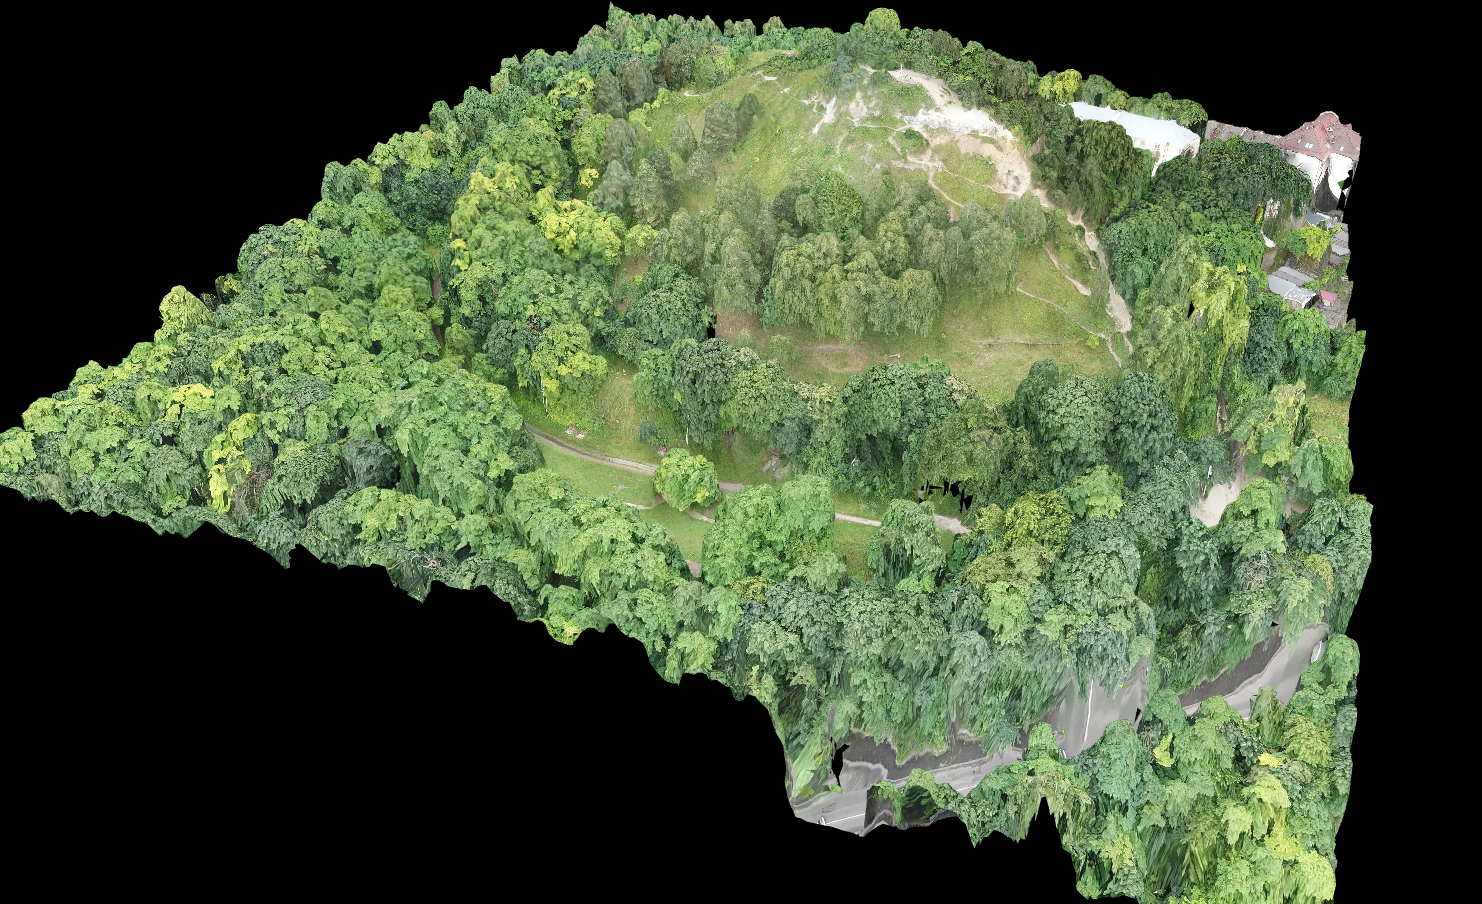
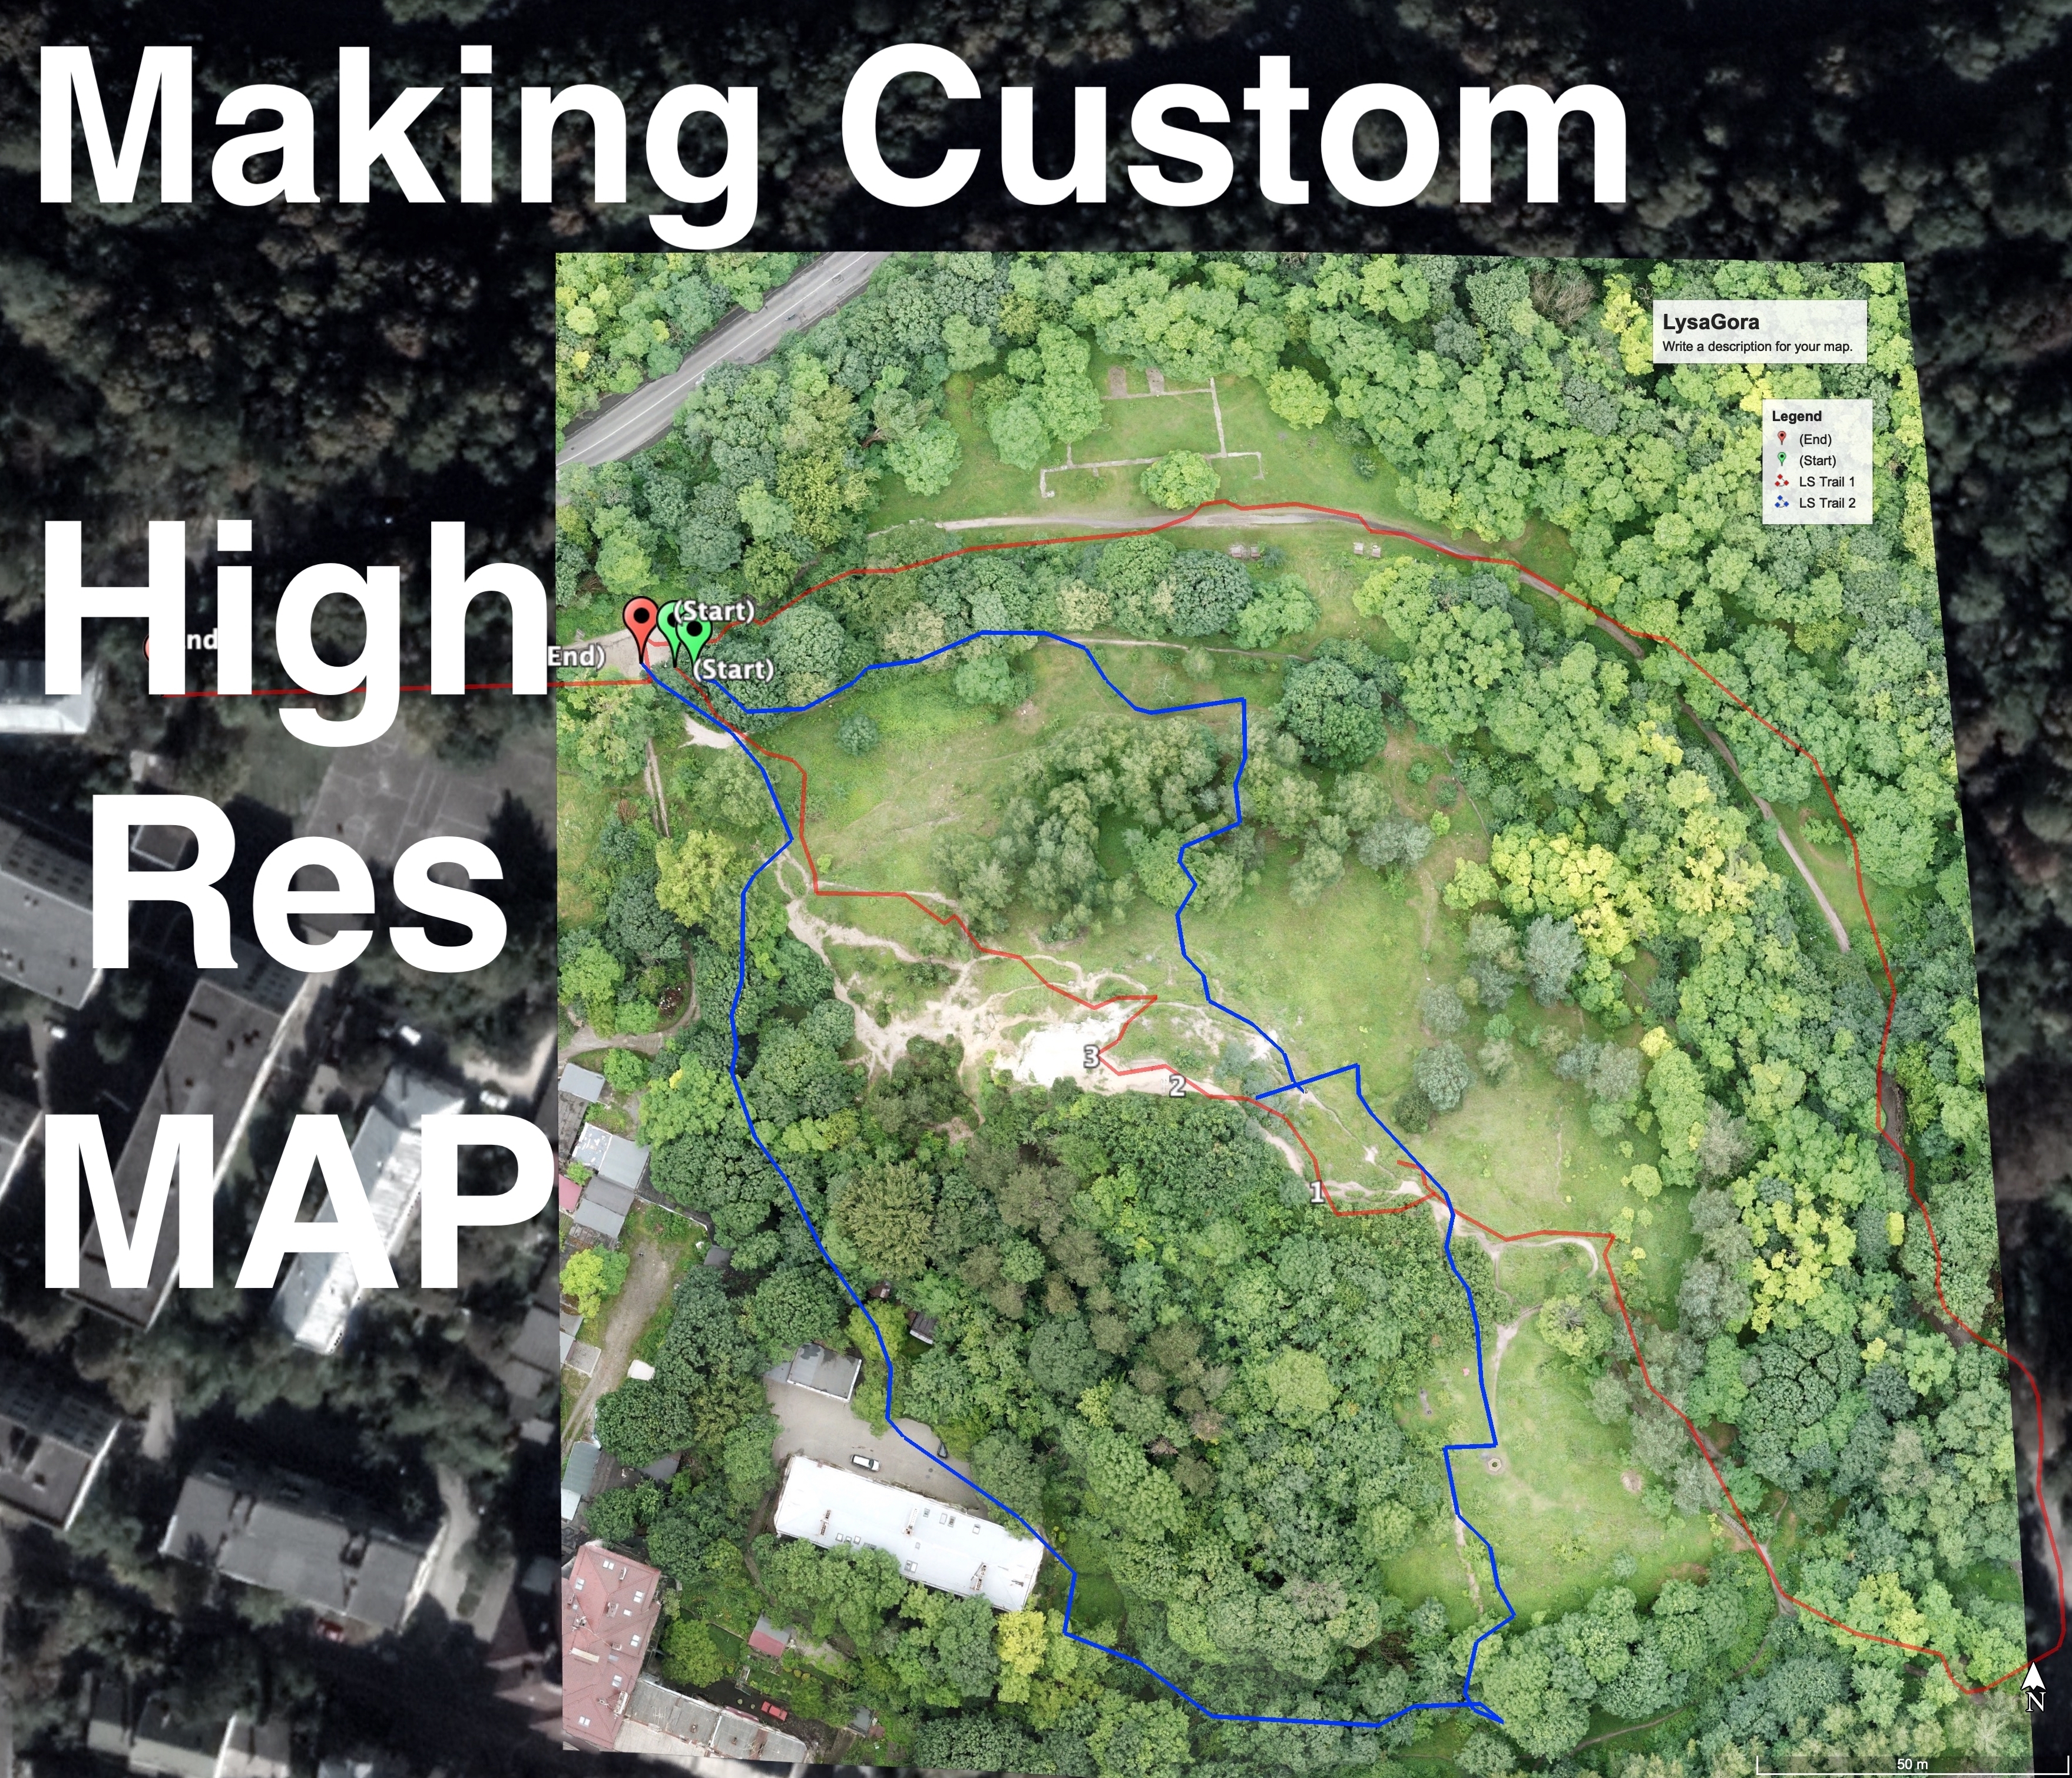
In this tutorial I will show how to create a very high resolution (3.26cm/pixel), orthmosaic geo map (like satelite but with more detail). These maps can be made on a local and larger scale, depending on preferred resolution and drone survey time.
We will use one of more common drones, like DJI, that can be controlled via DroneDeploy map software to collect photos for the high resolution image mosaic, and a common GPS or mobile device to record movement, such as on a hike. After mosaic image is ready and processed we will combine it along with GPS track in Google Earth software and save as a separate map with overlaid tracks.
Supplies
-Drone such as DJI Mavics. Anything that can be controlled by a DroneDeploy app
-DroneDeploy app(iOS or Android)
-Gaia GPS or other mobile mapping app or GPS that is able to export track
-Google Earth Software
Download Software
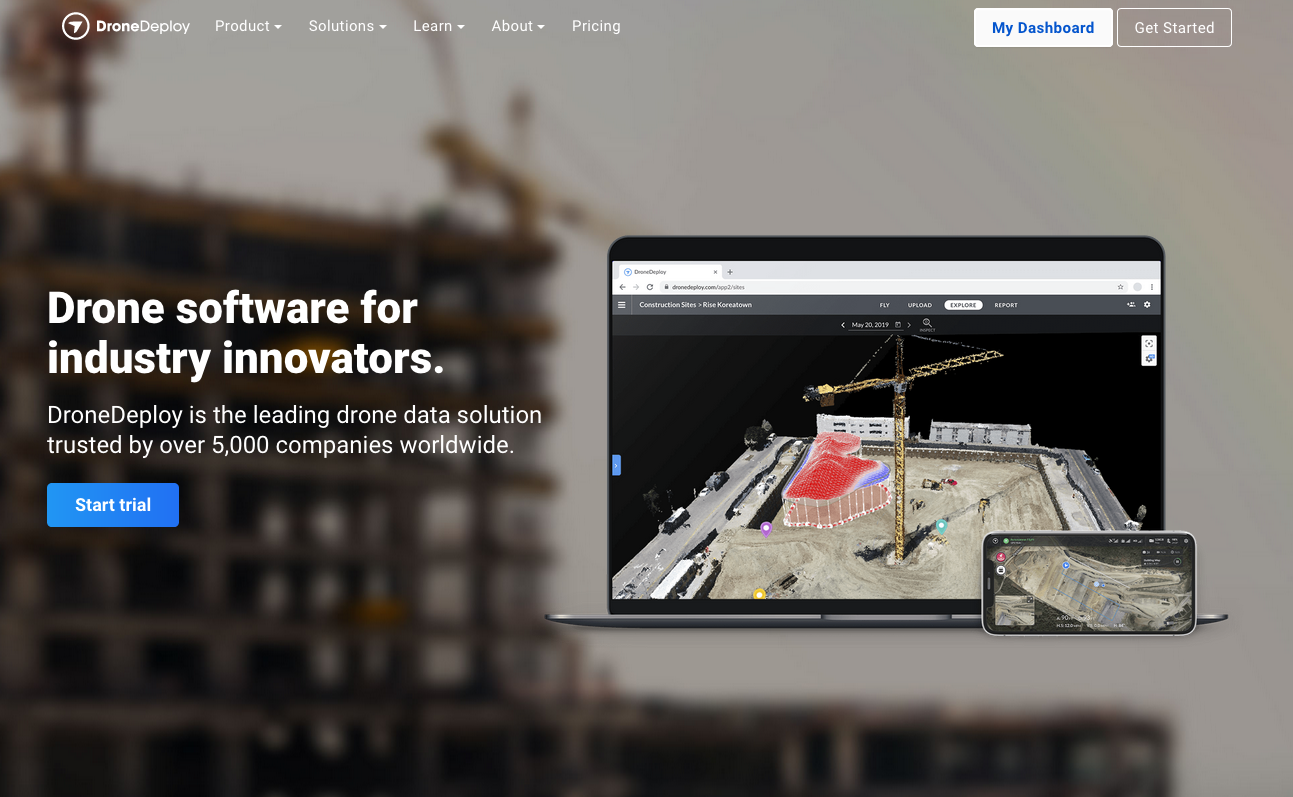
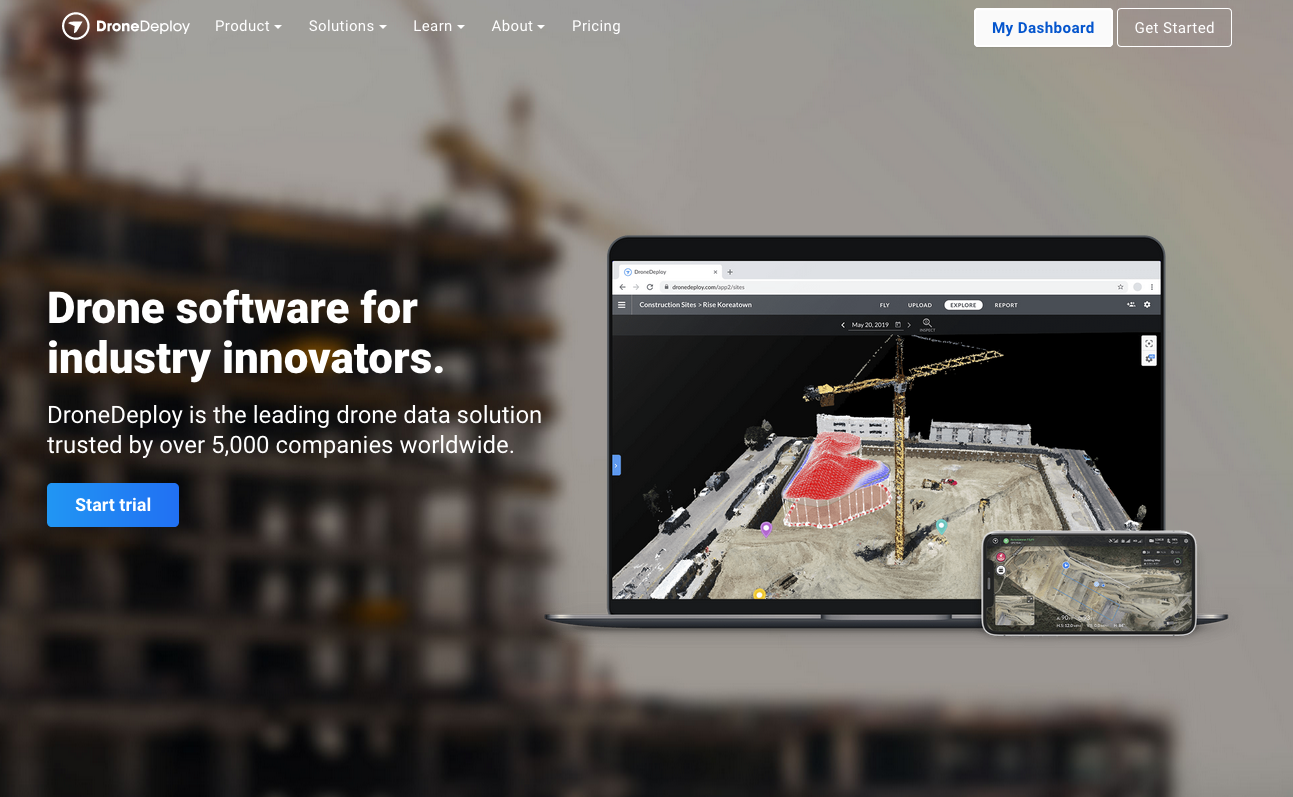
- The first thing is to download software you going to use to collect images for high res mosaic. There are several apps or online software companies but the one I find best and easiest to work is Drone Deploy. They offer a 14 day free trial without much loss of functionality. All you need is an email and registration on their website. The software on your phone allows offline mapping and anything you save in the phone is going to show up online via computer.
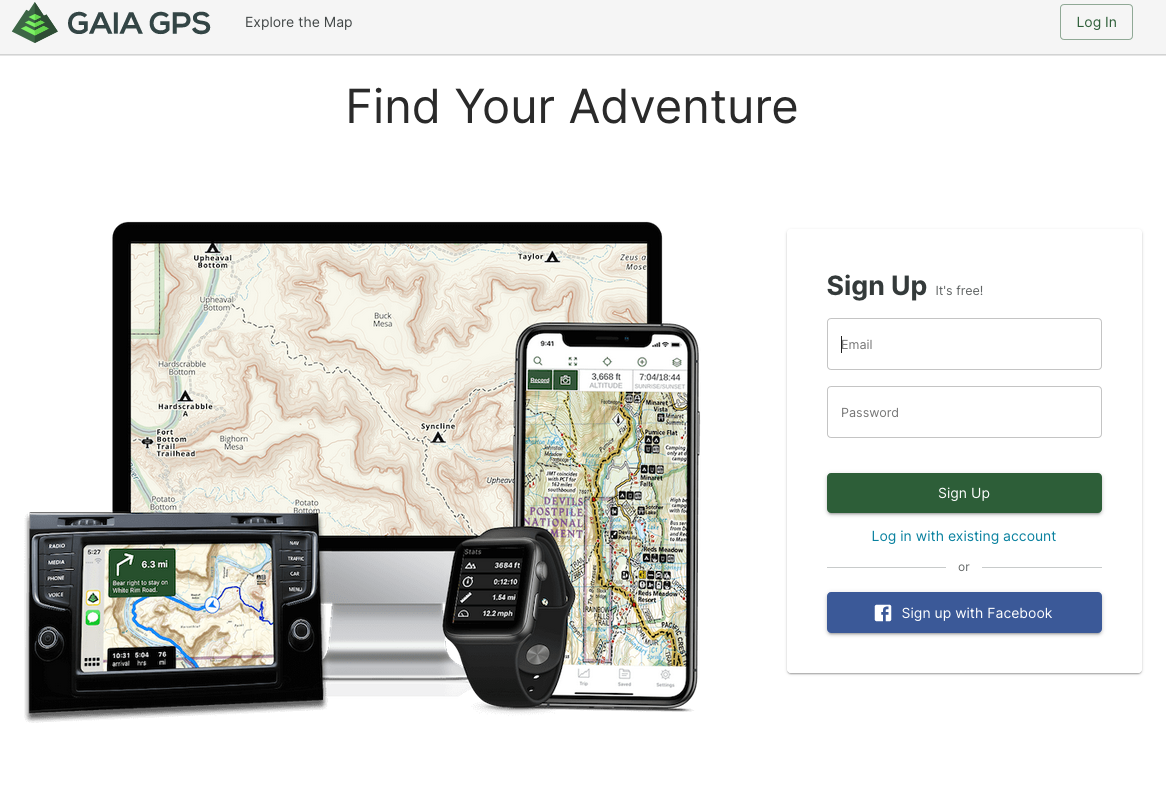
- Download GPS on mobile device app or use handheld GPS. Anything that lets you export gps or track file. I use Gaia GPS as they have many functions where you can record , stop , pause track. Allows export into different formats. There are few on the market and many are free. Your choice
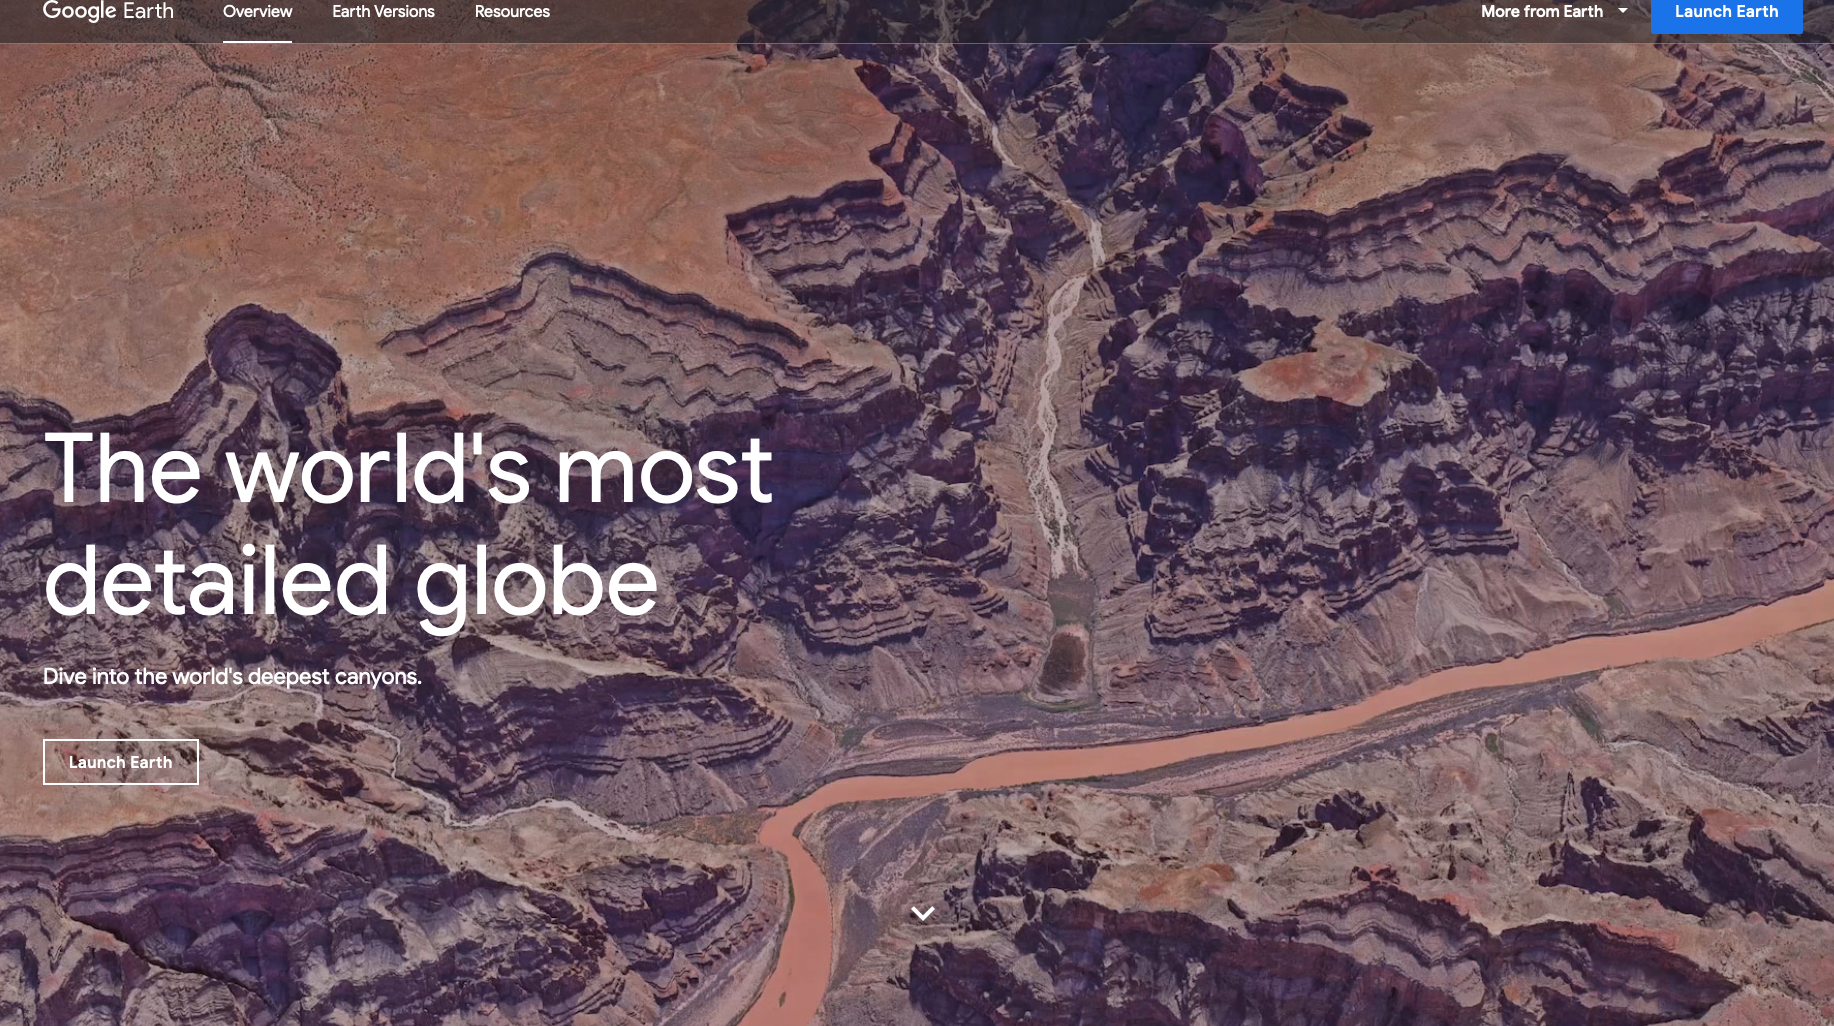
- Install free Google Earth software
Use Drone to Collect Images
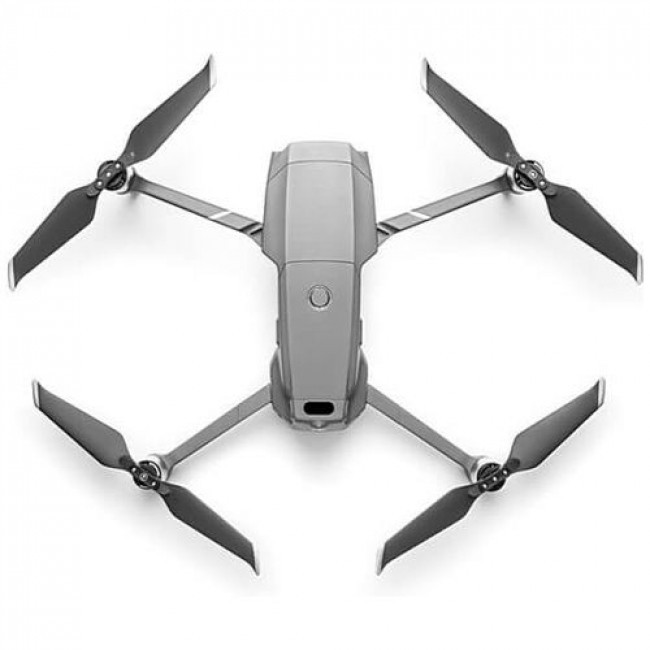
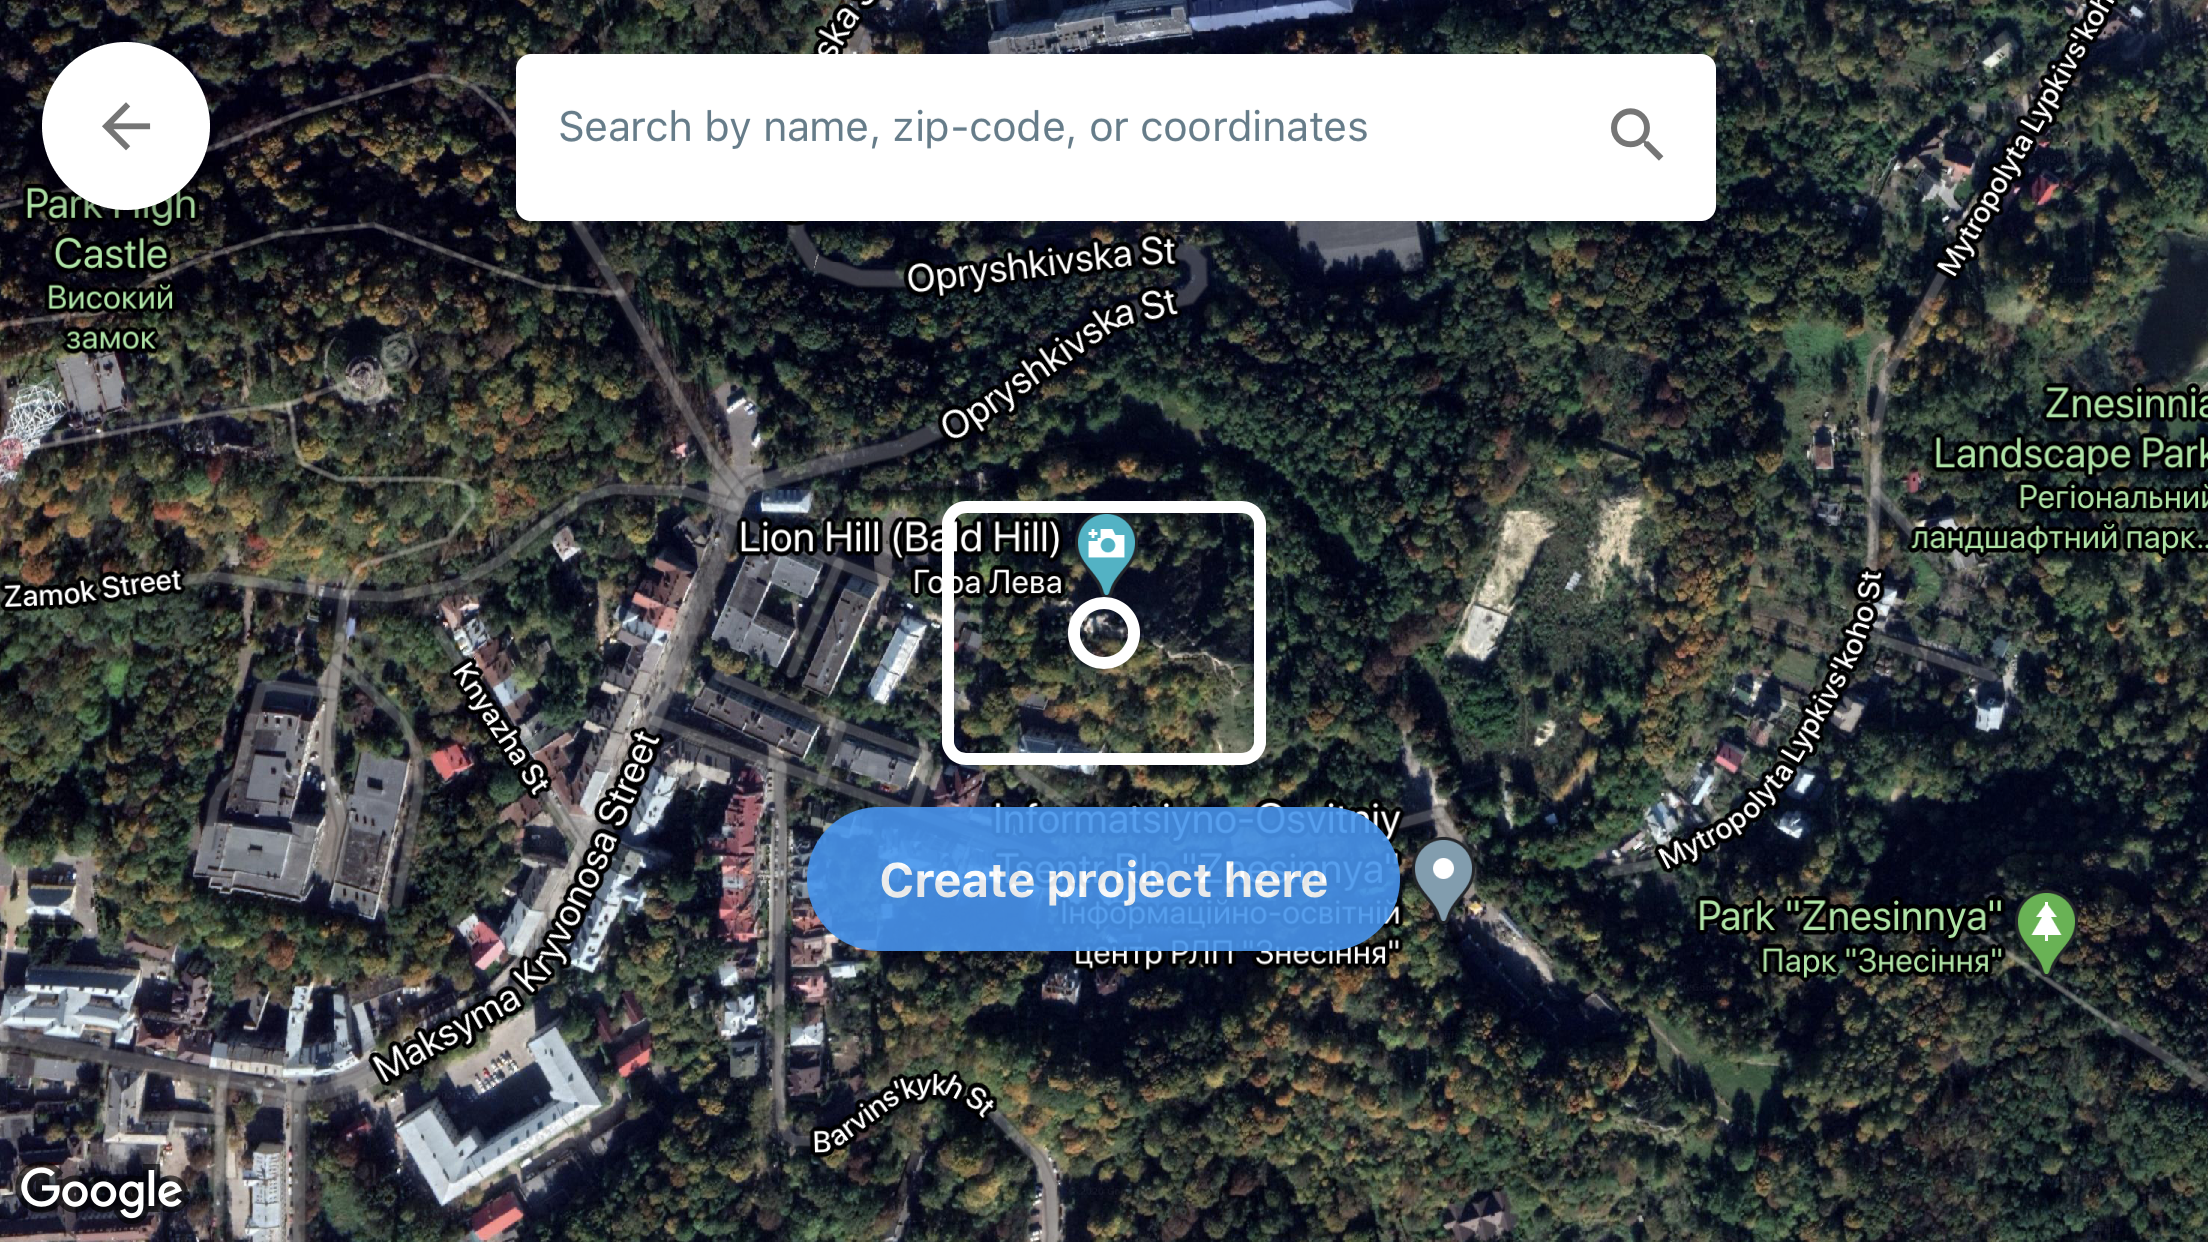
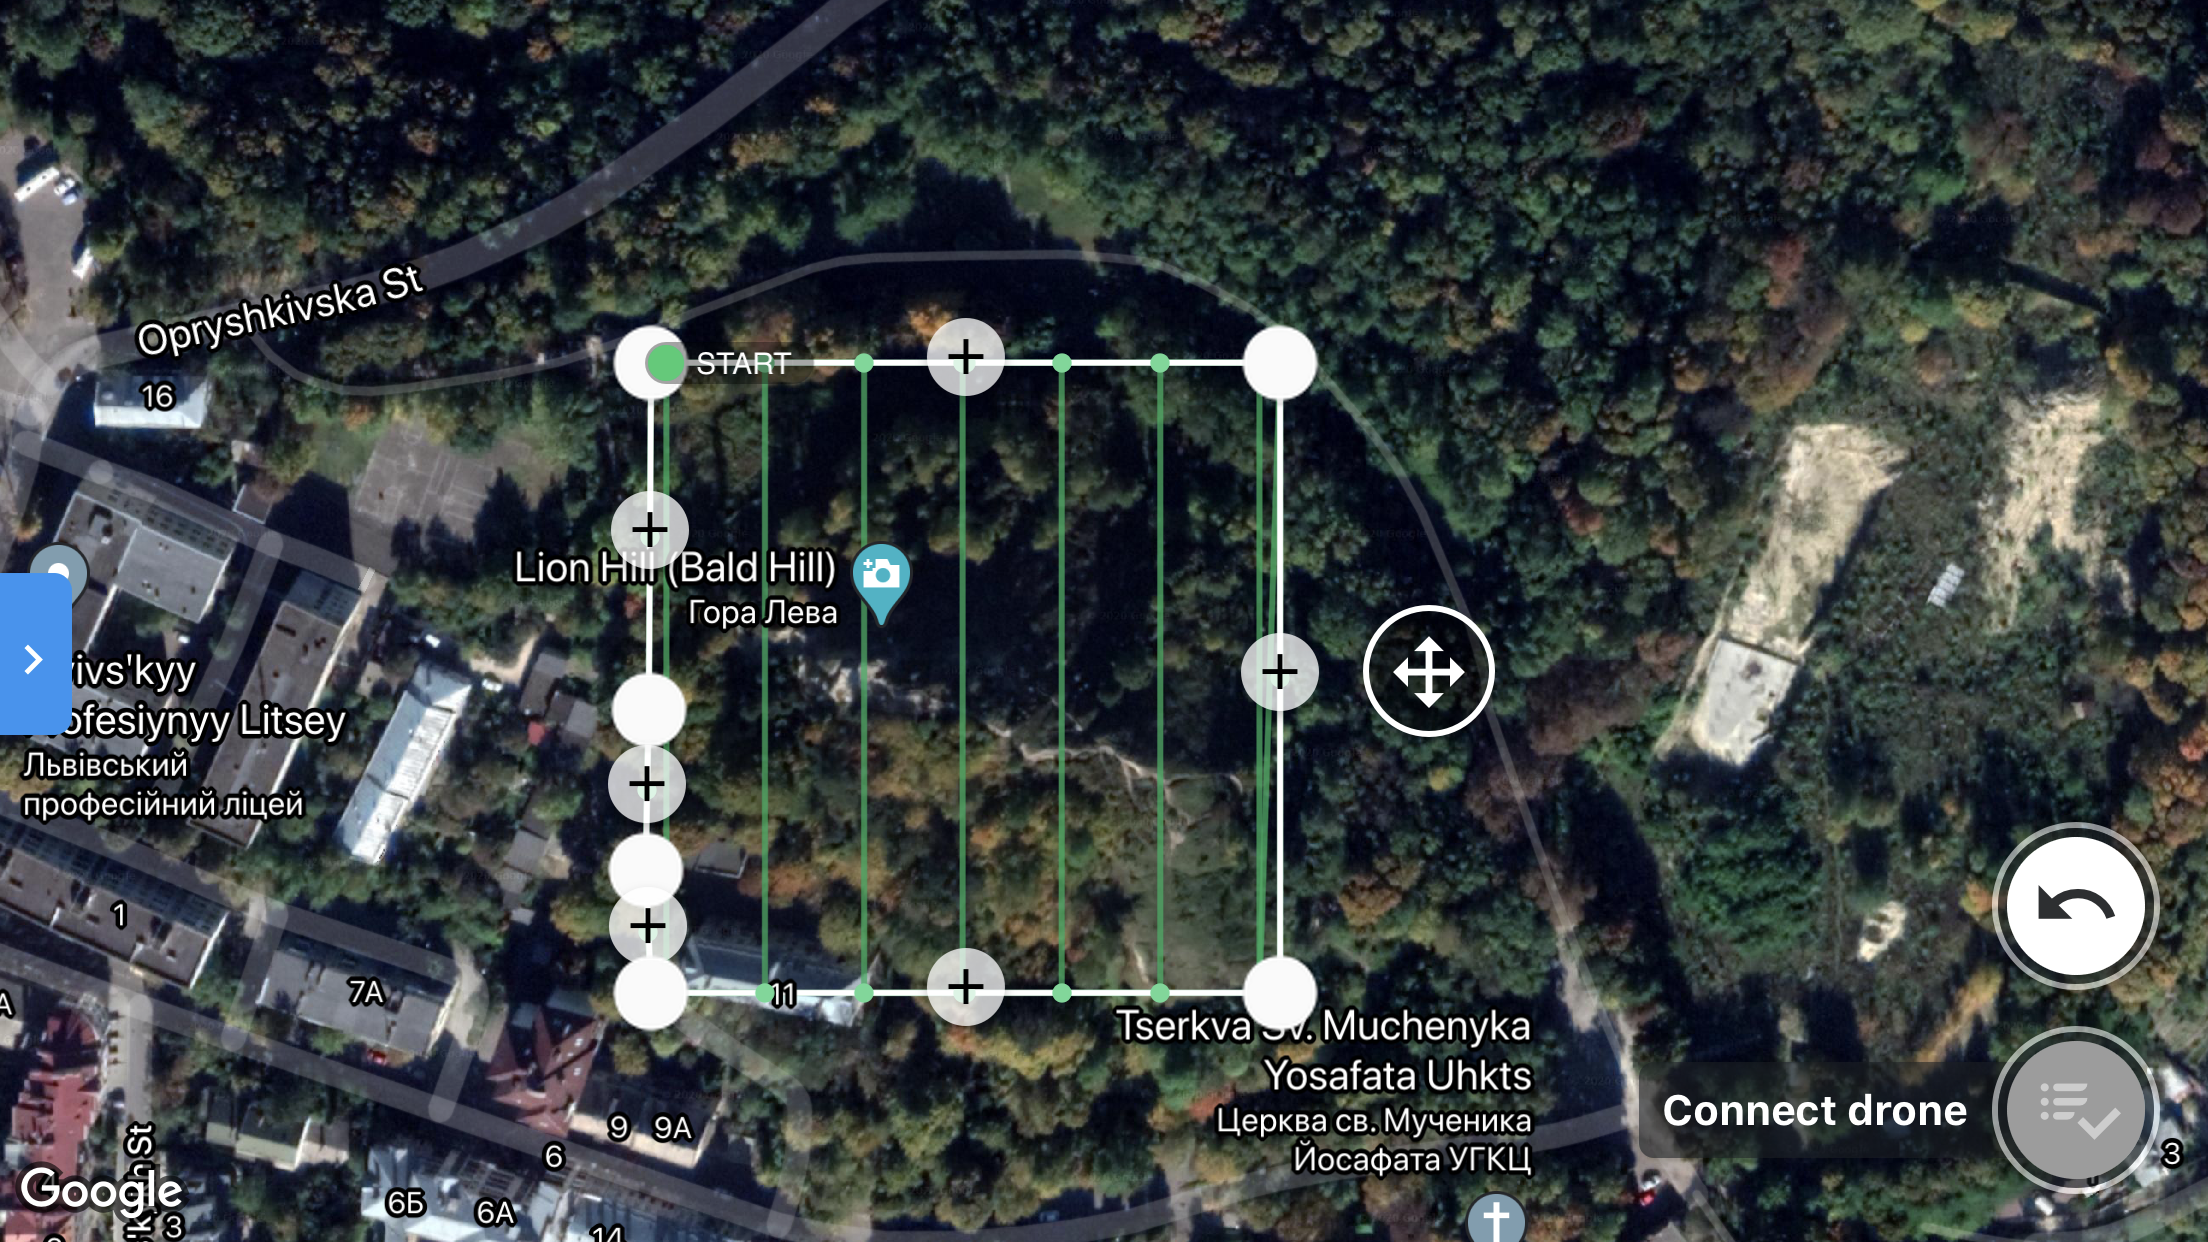
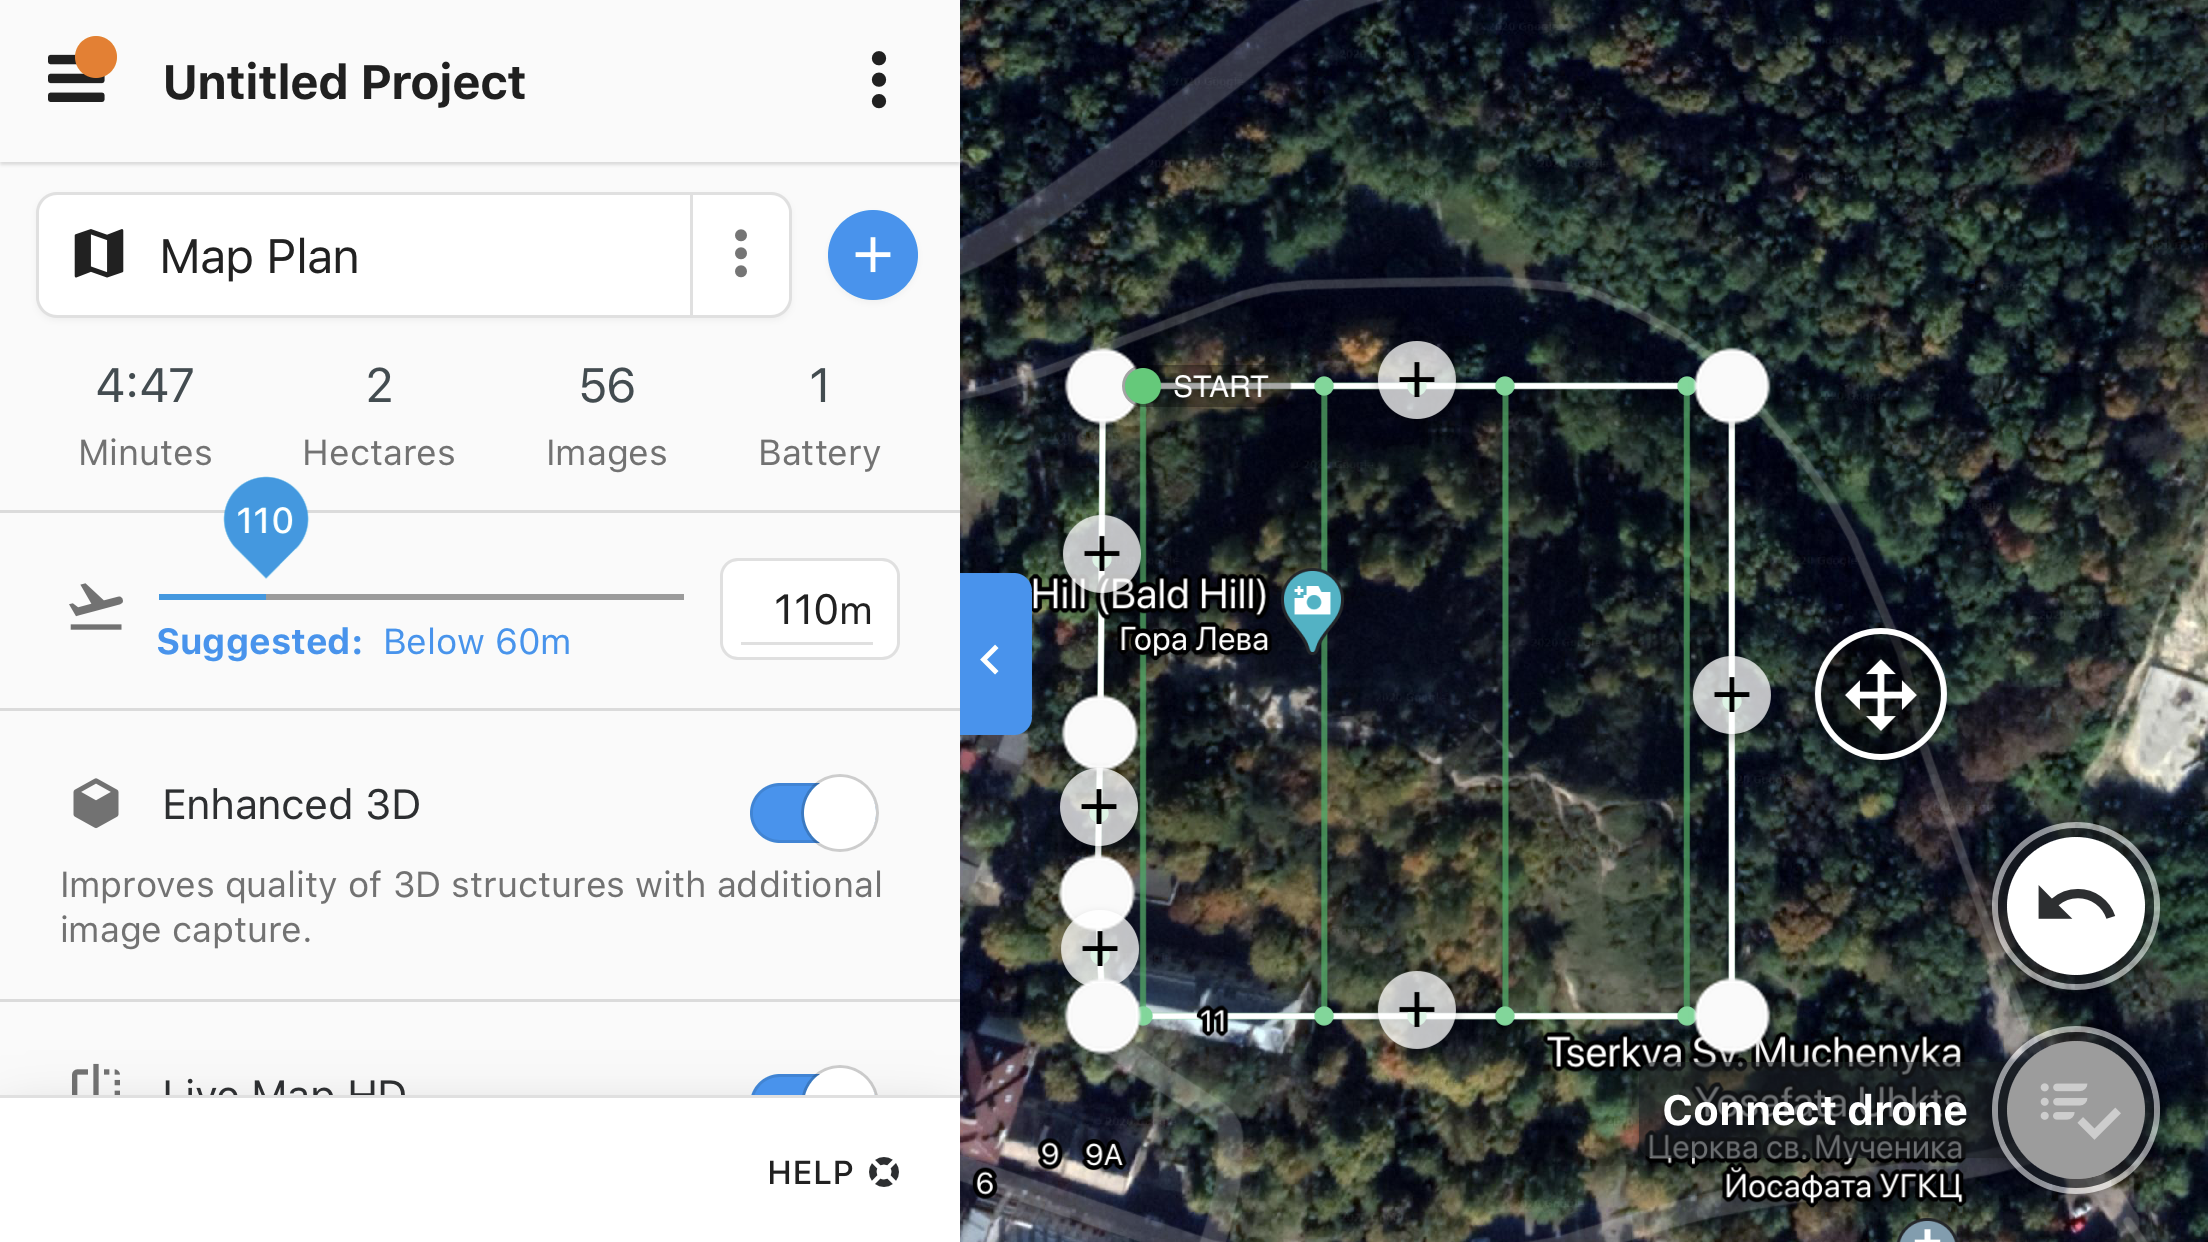
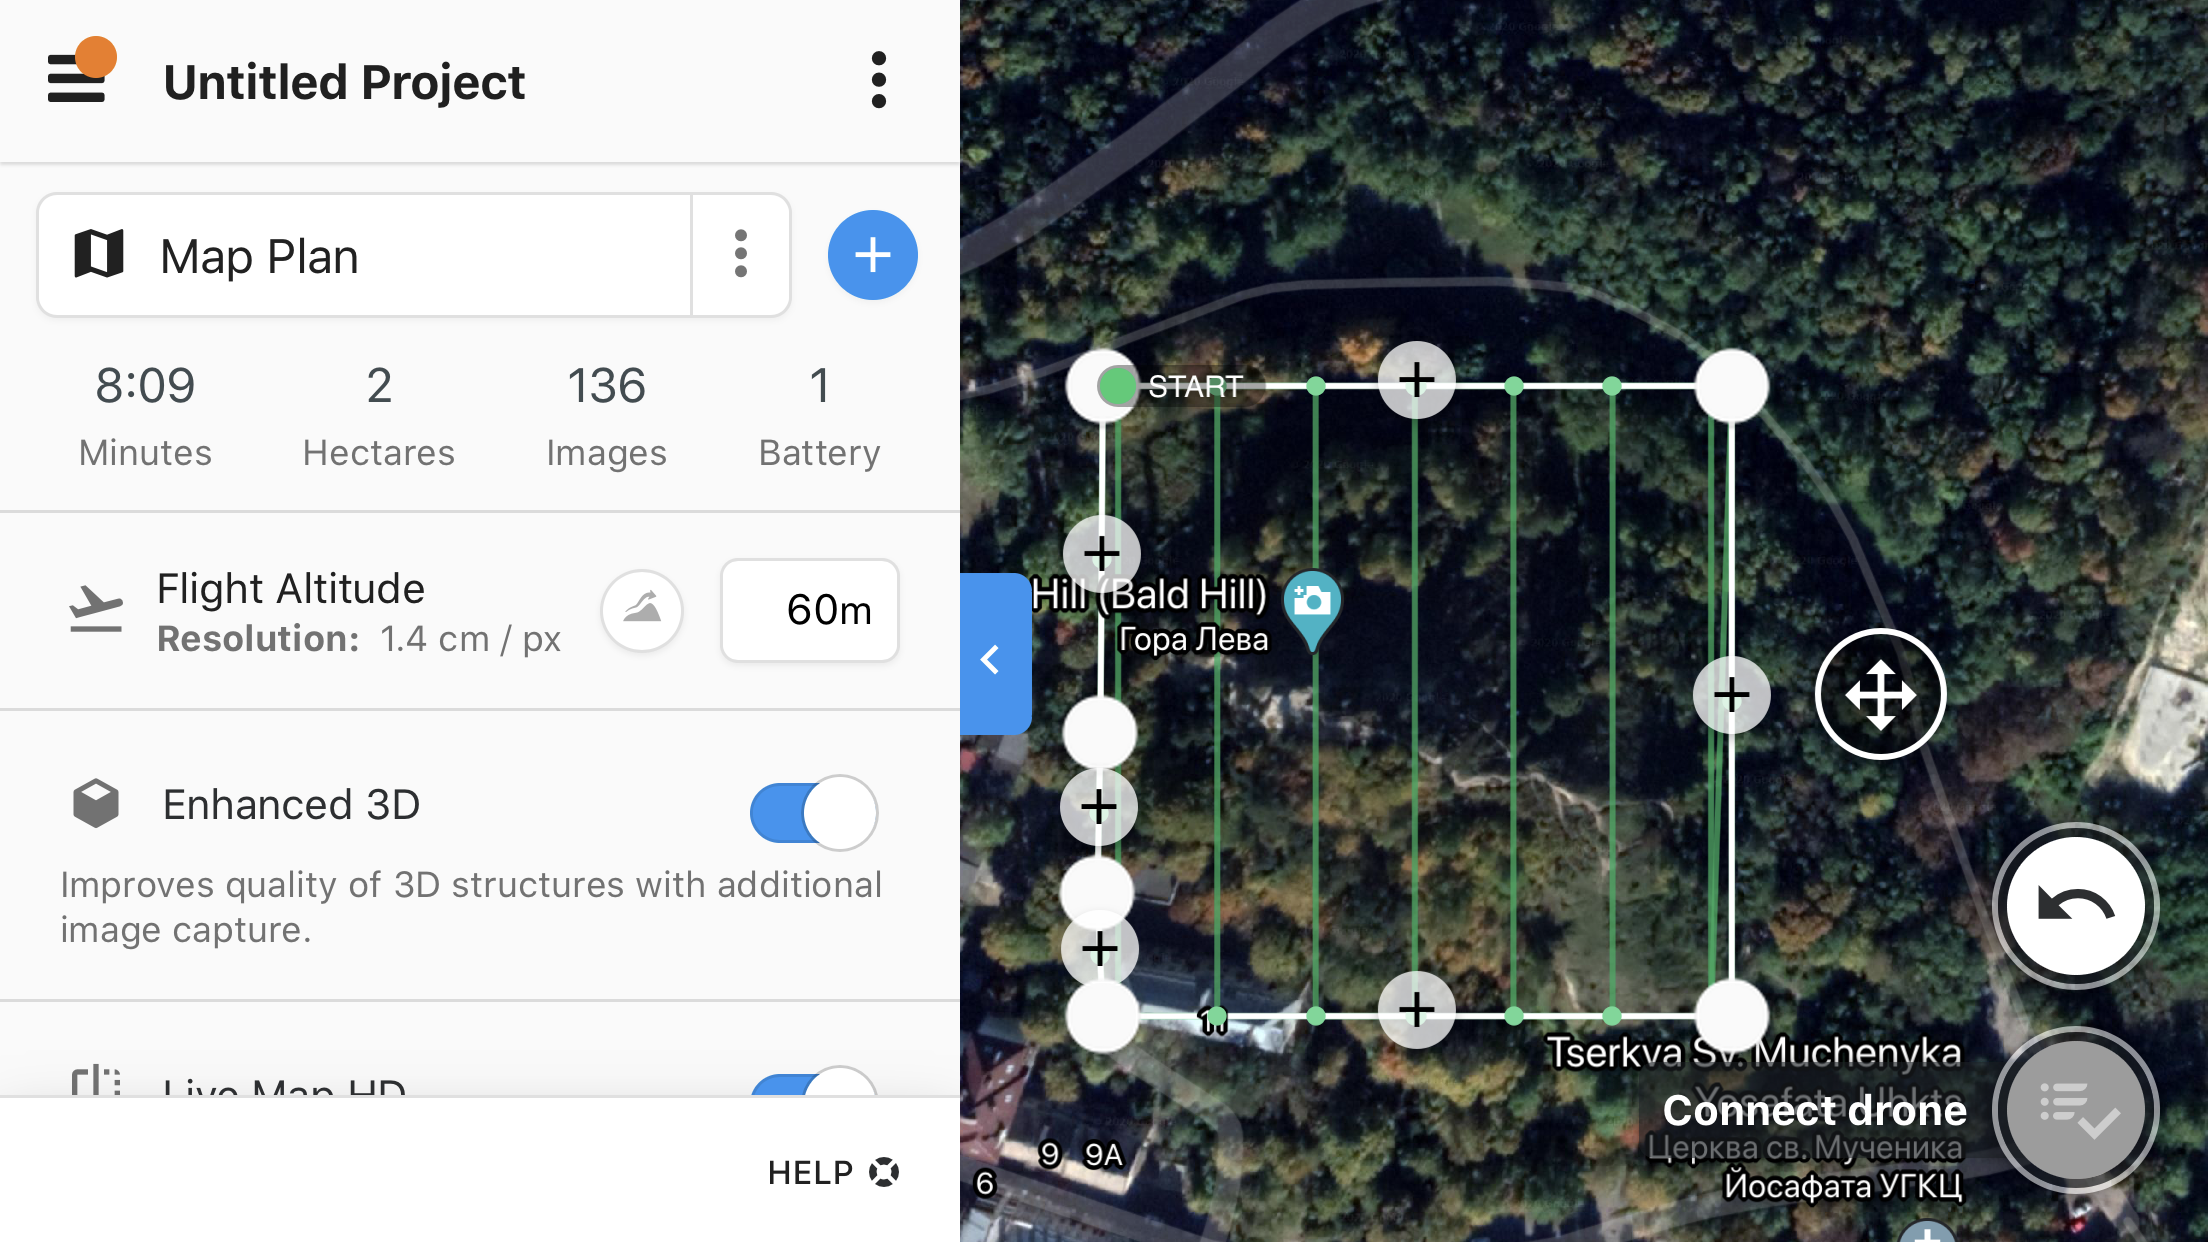
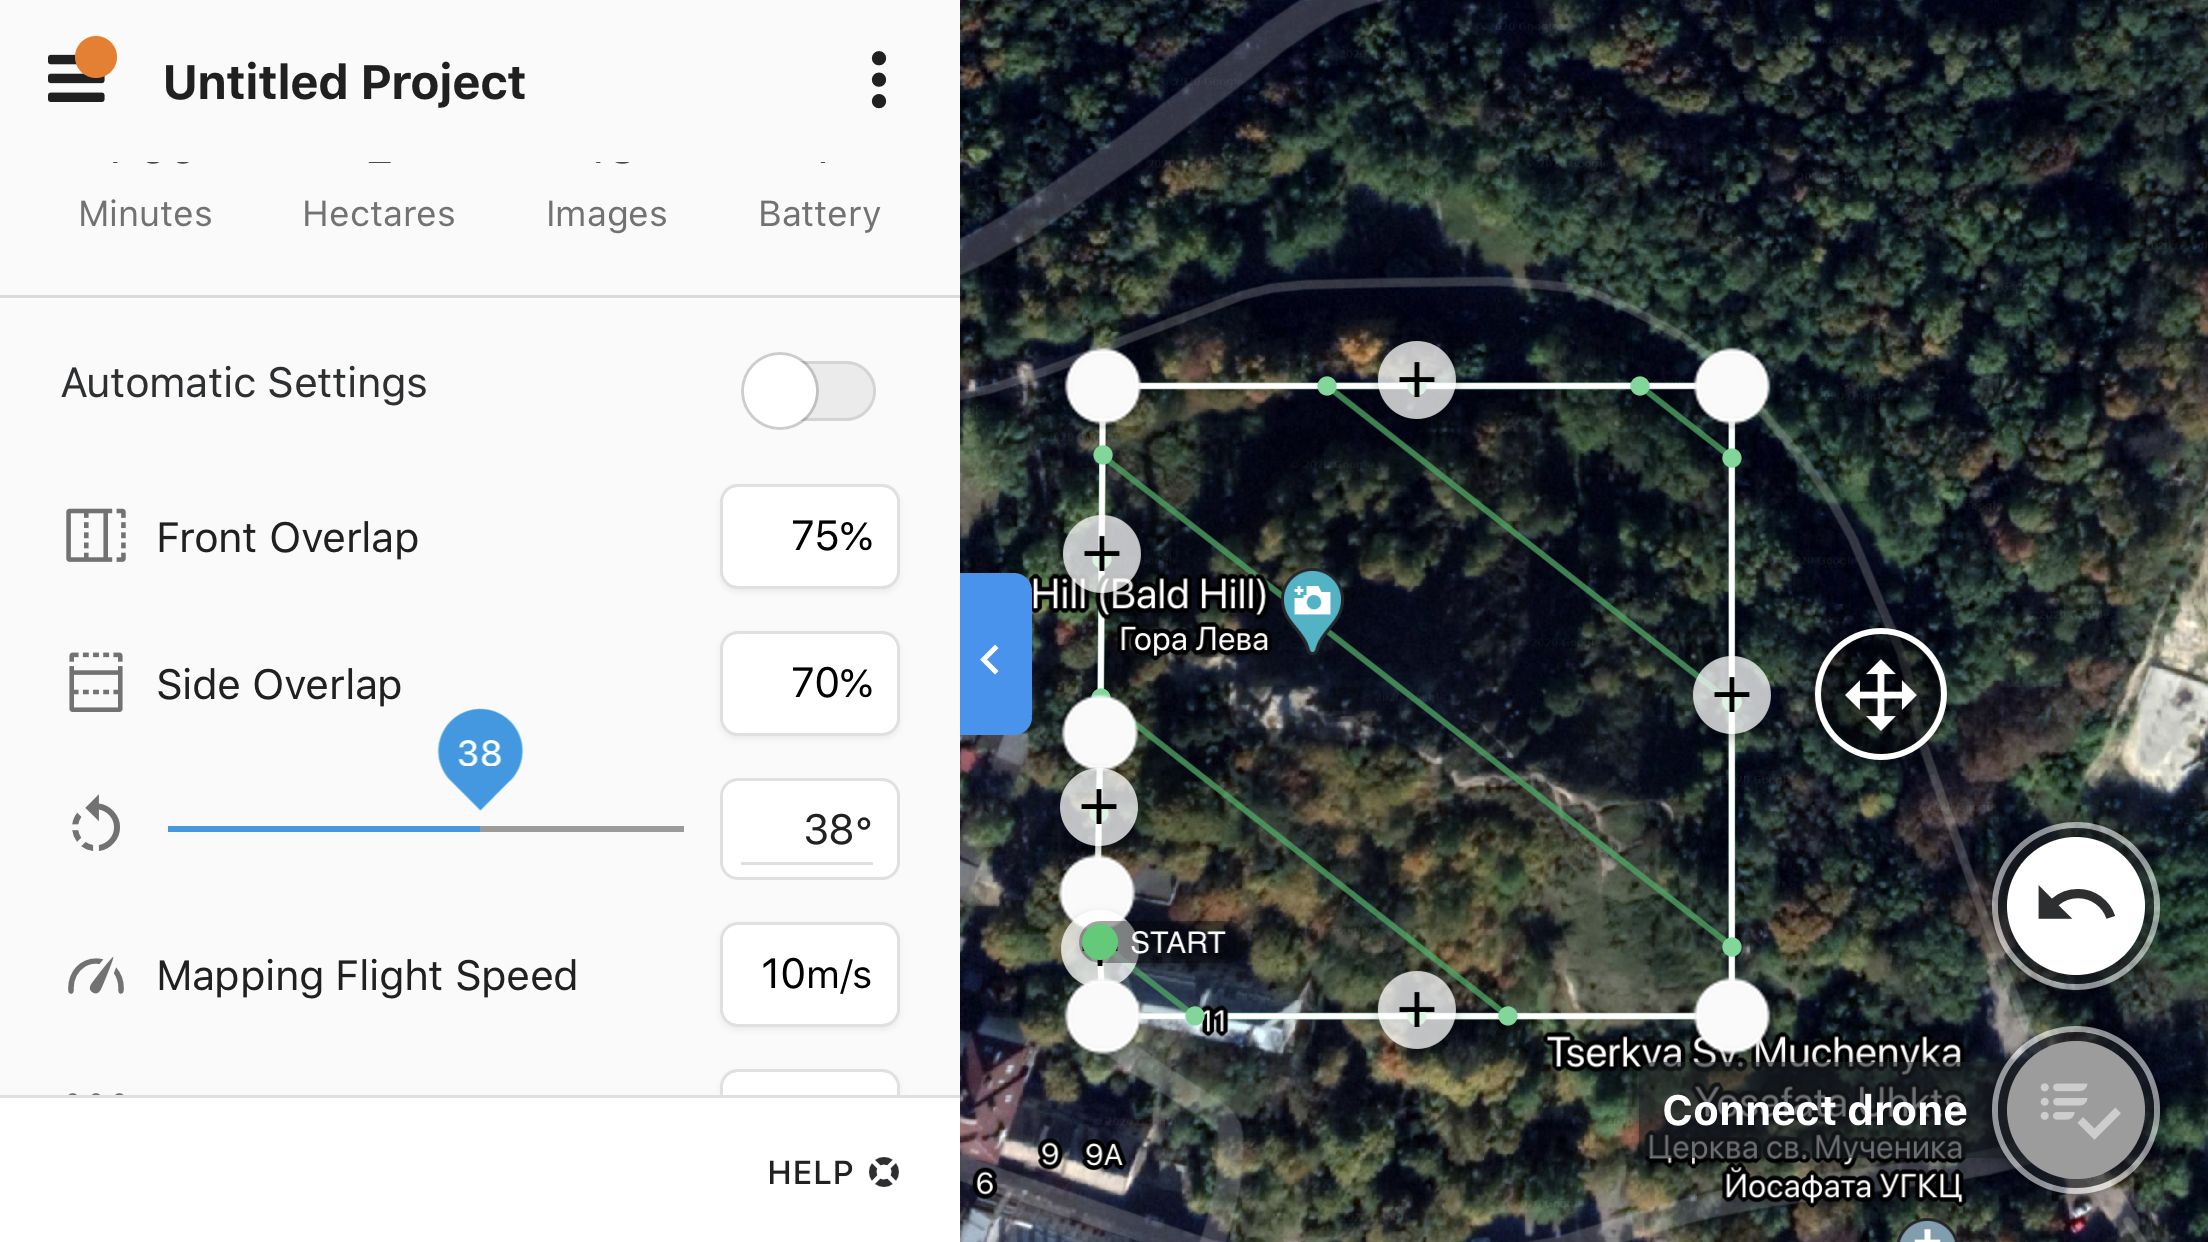
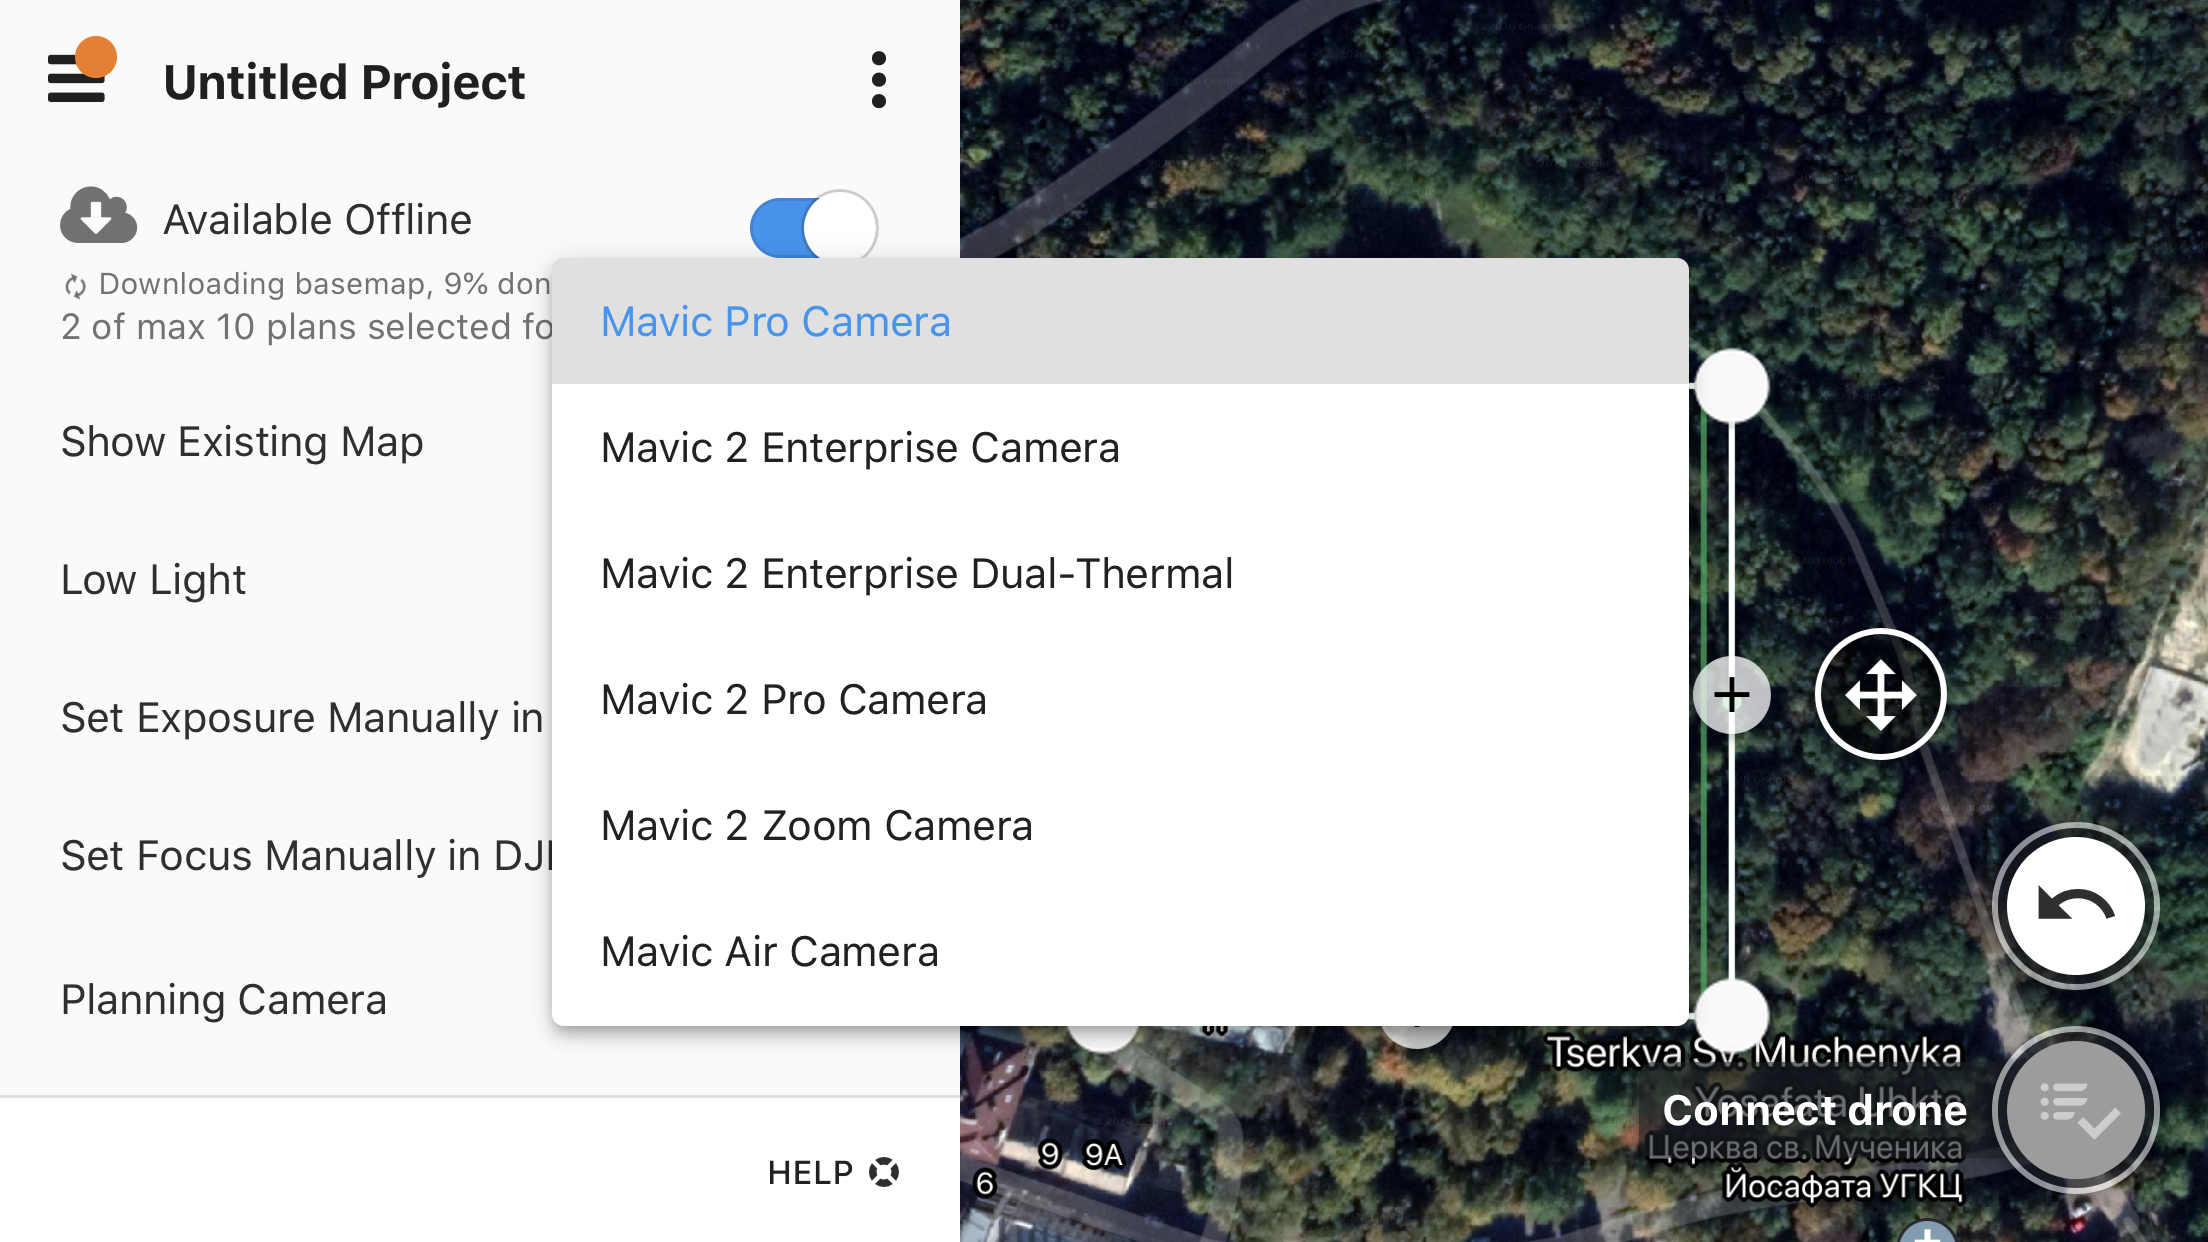
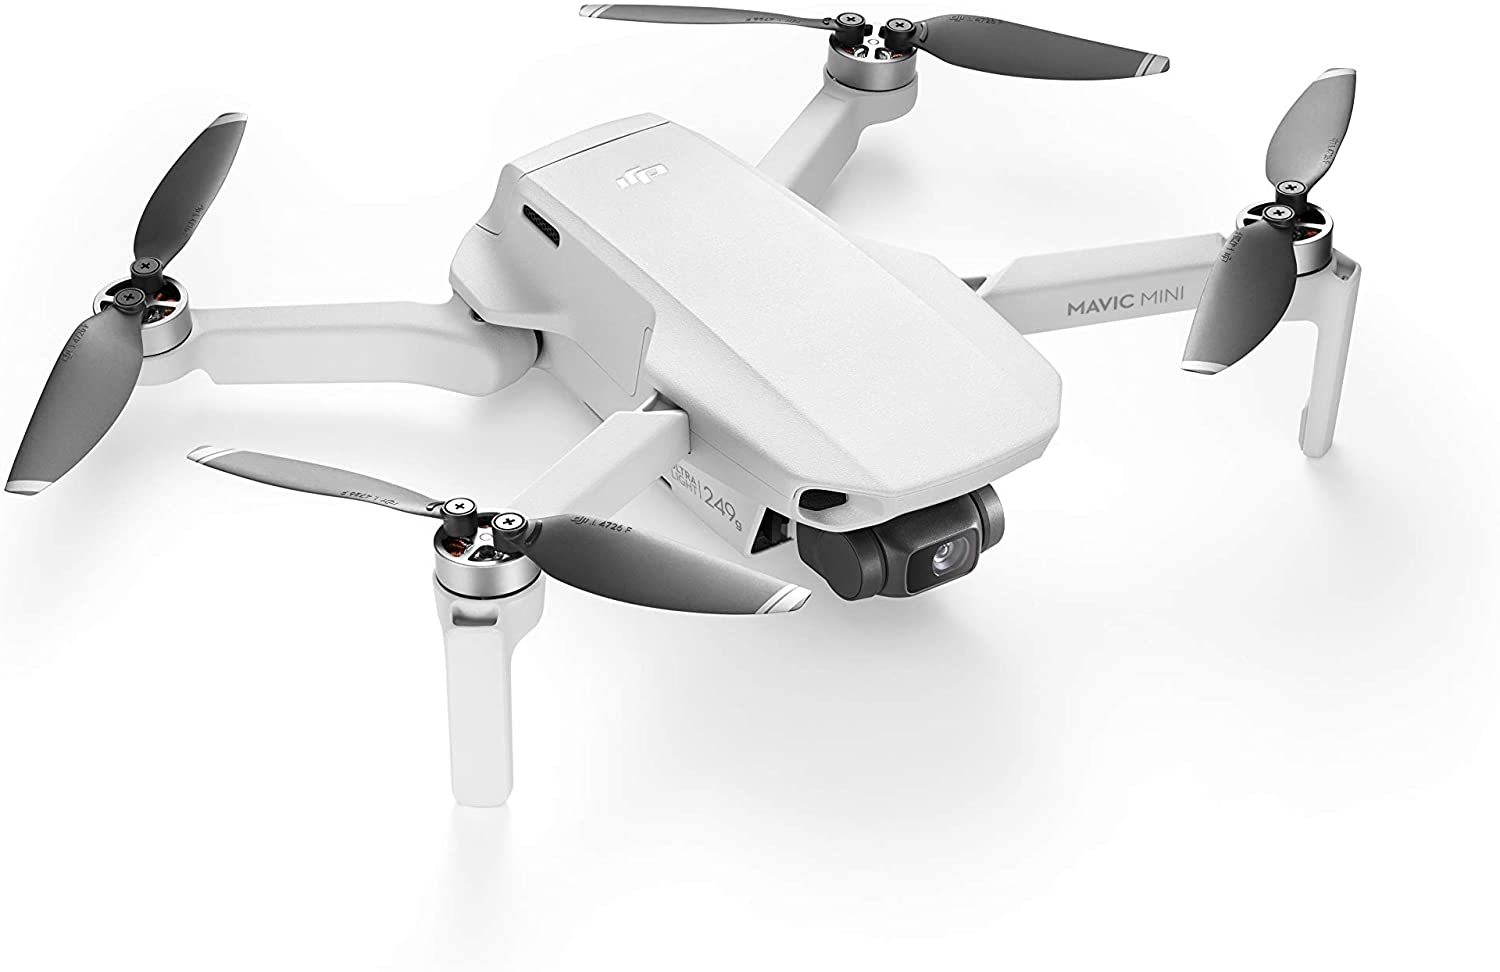
Use drone, yours or borrowed. I use DJI Mavic pro, old but still works wonders
- Install Drone Deploy app on your phone before flight
- Setup account with drone deploy on either phone or web. If you set up your flight plan on Mac or PC it will show up on phone app
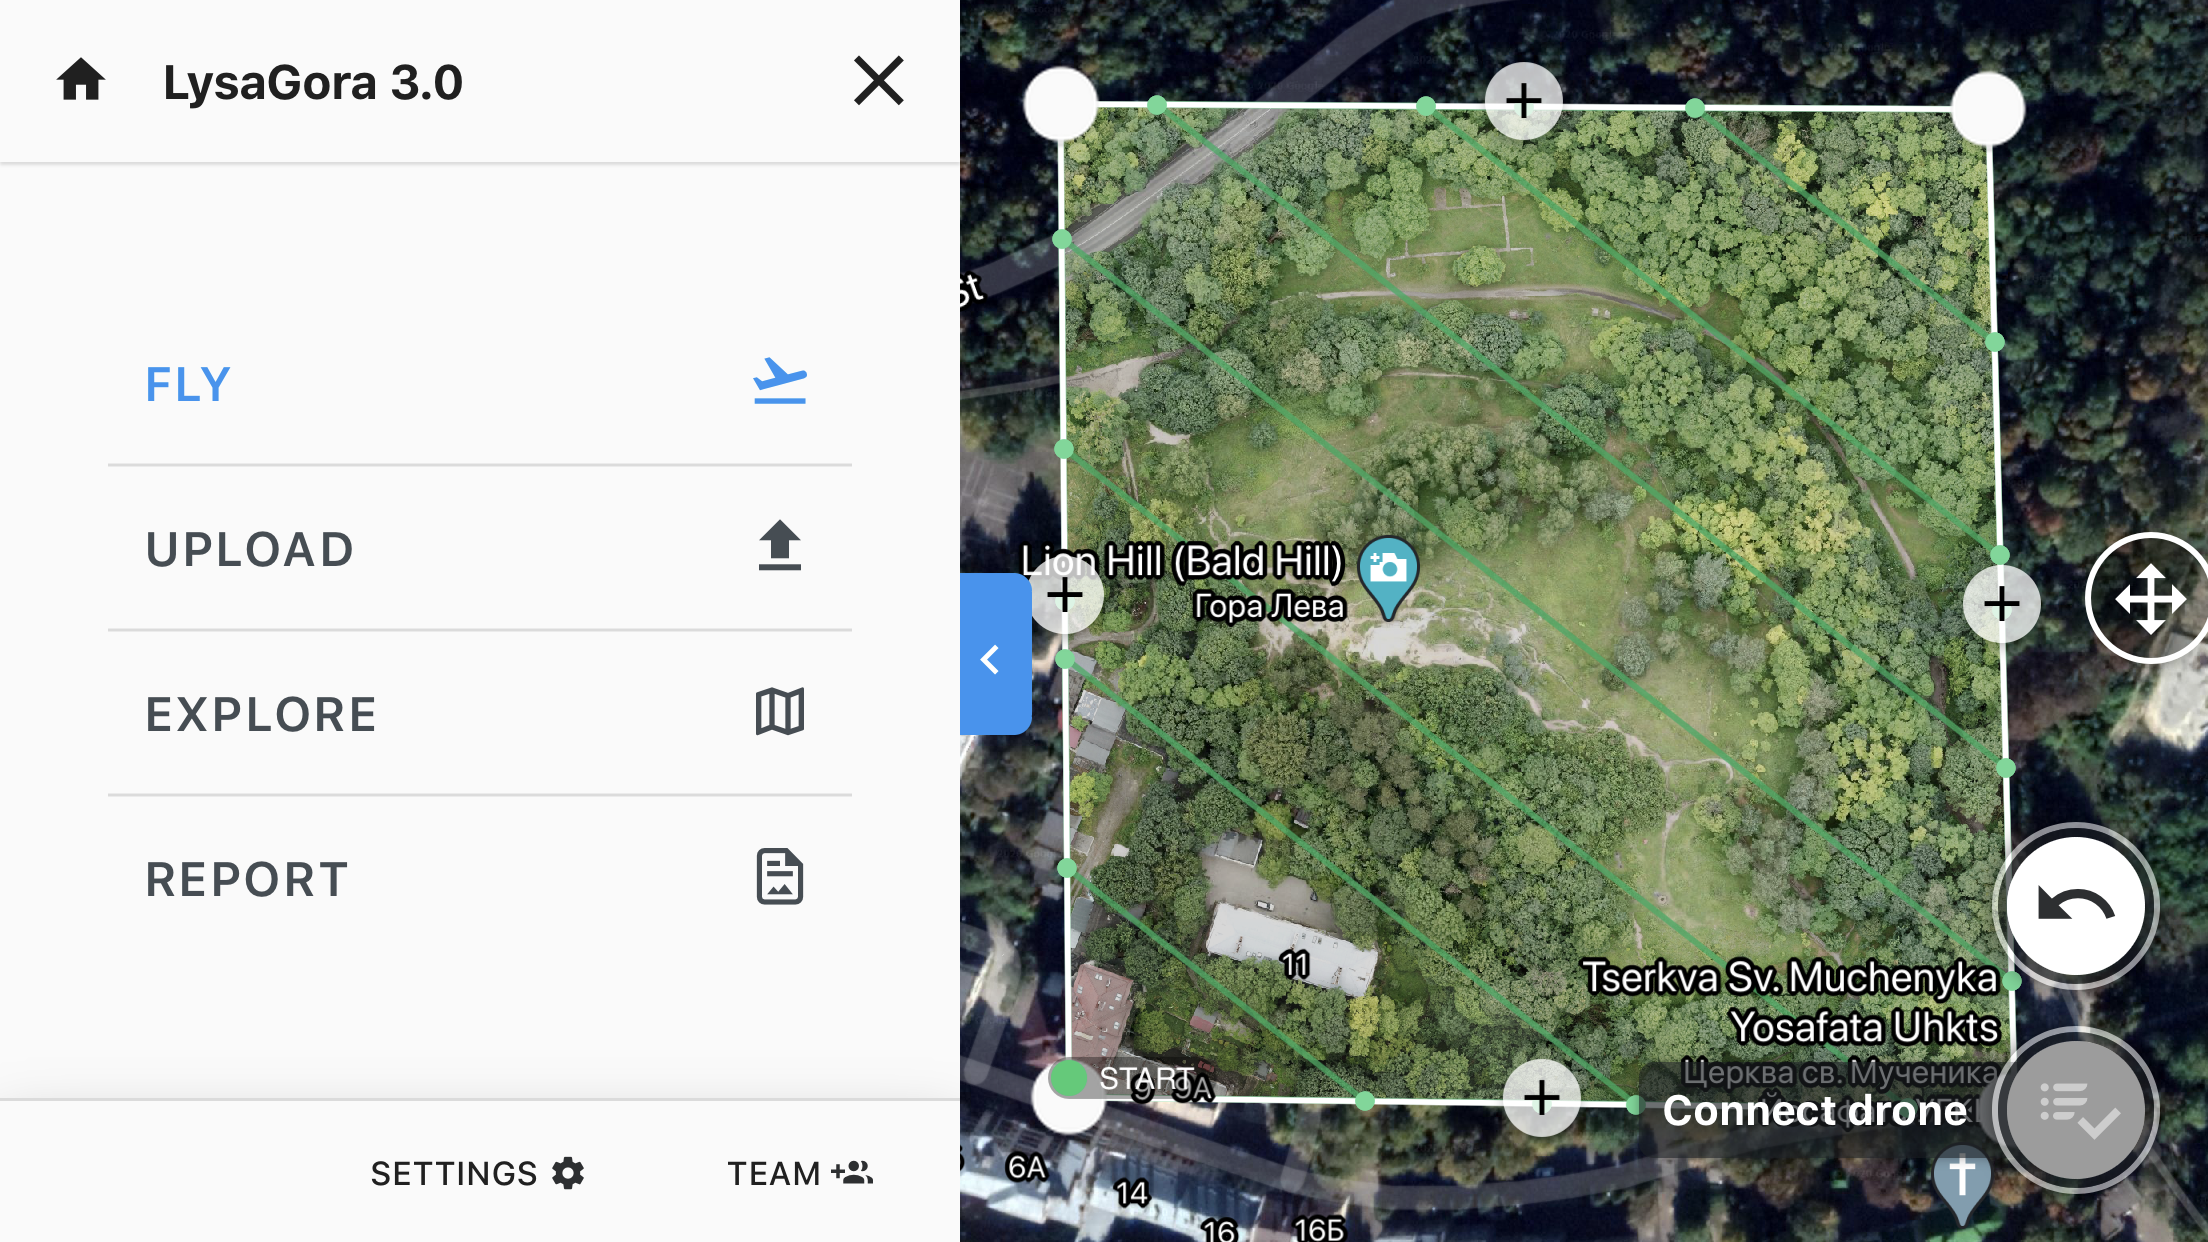
- Search the map for a city or area - tap and name your project, in my case I name " LysaGora "
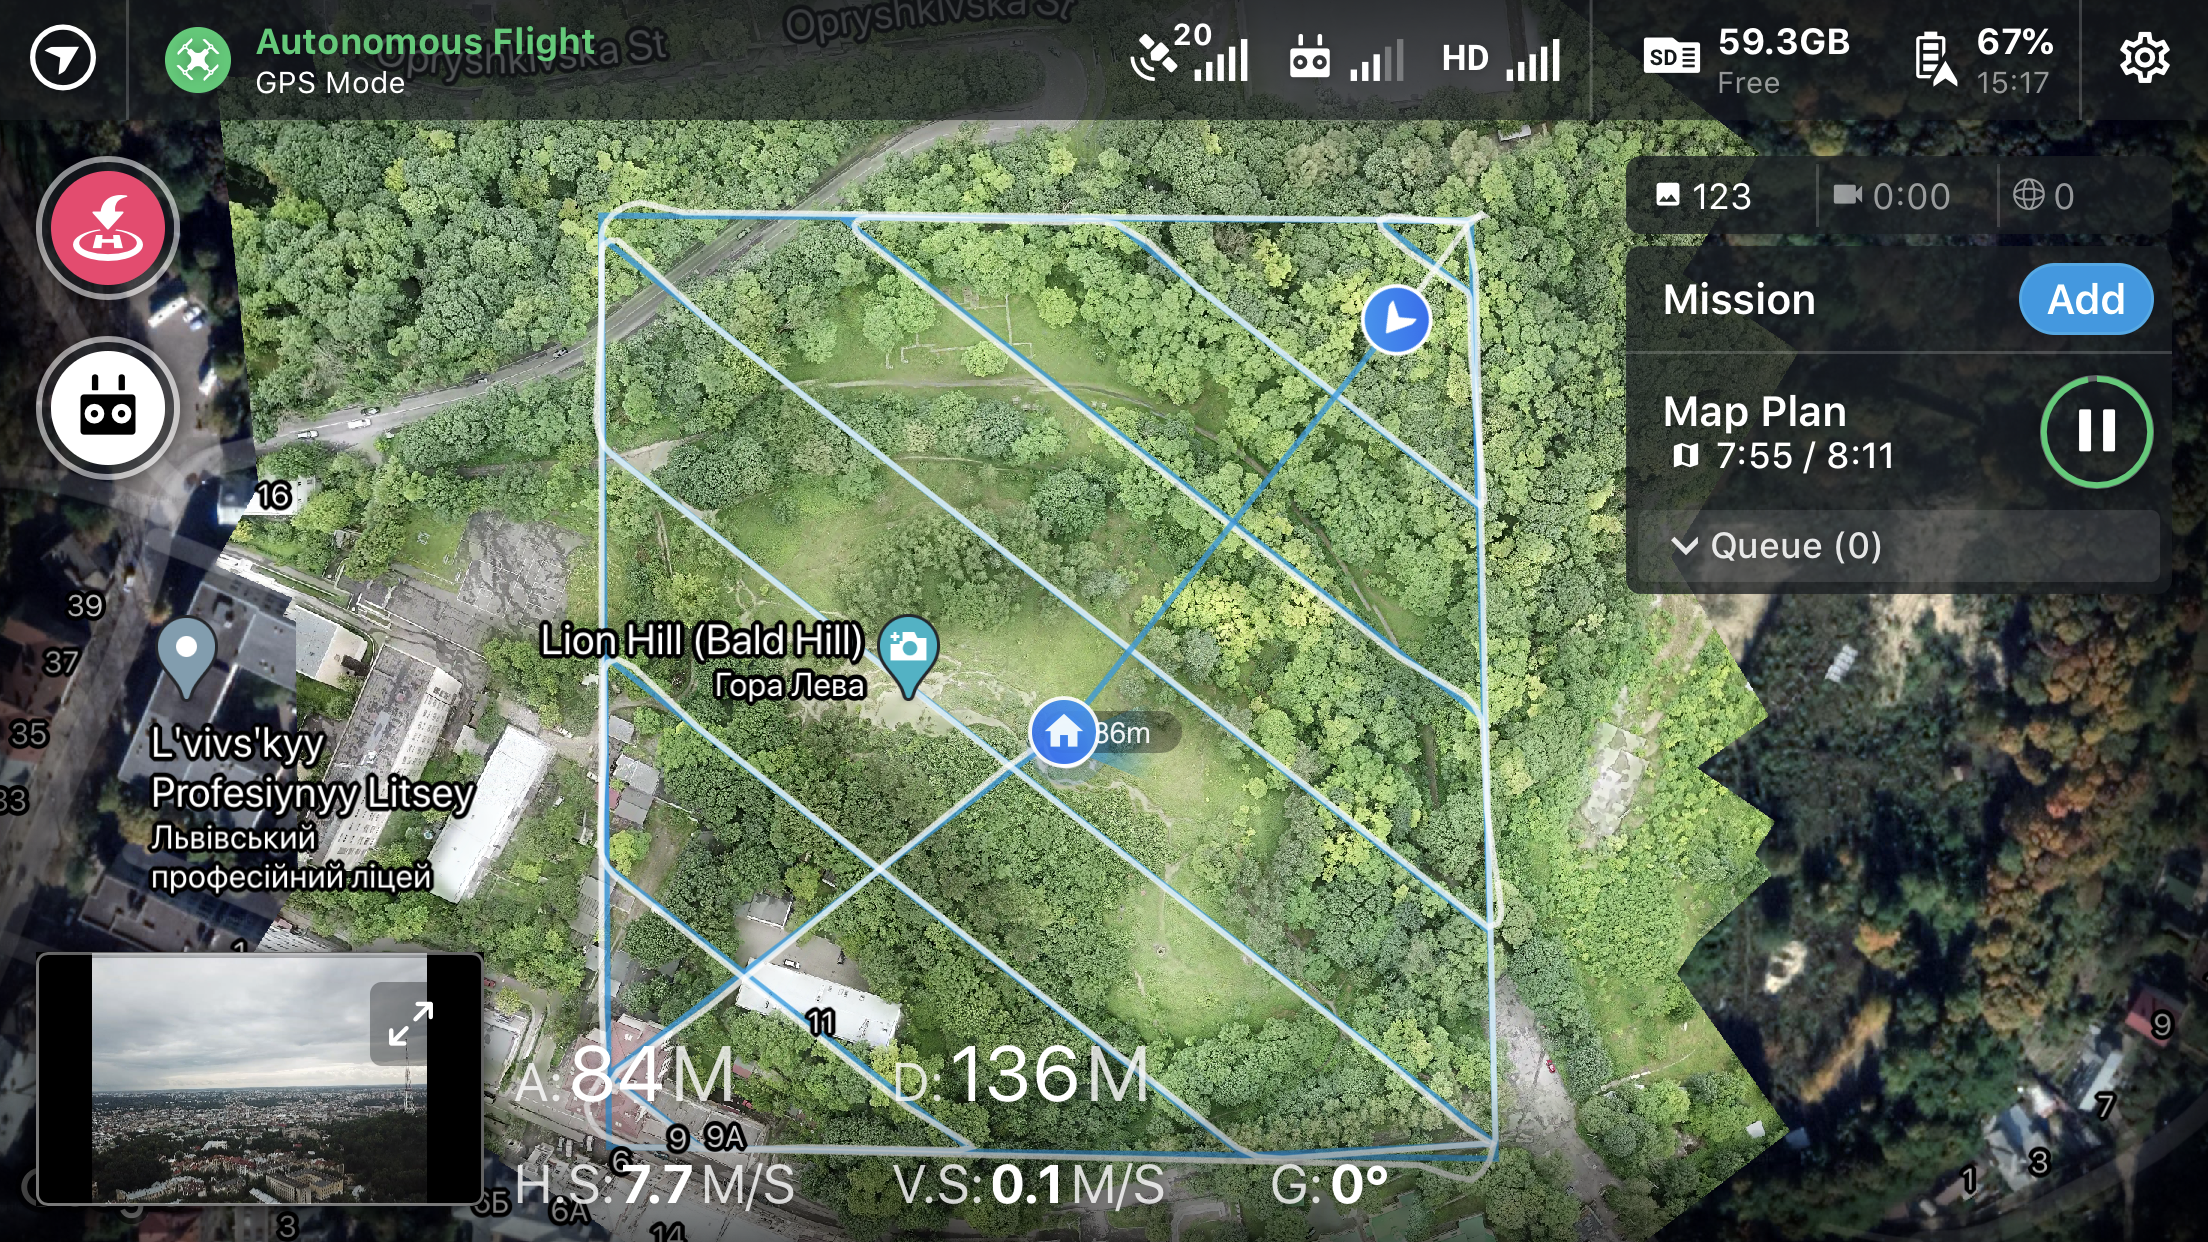
- Set up area to cover including desired resolution and total area.
Resolution depends on altitude your drone takes images and overlapping for these images - Set flight altitude. You can see in the photos that the higher the altitude the lower amount of pictures to be taken and hence shorter time, but at the loss of resolution. At 60m the resolution is going to be better but you might need two batteries etc
- Set image overlap - same principle, better result but longer flight
- set flight directions. I set parallel with hill surface
Do the Hike to Capture Track
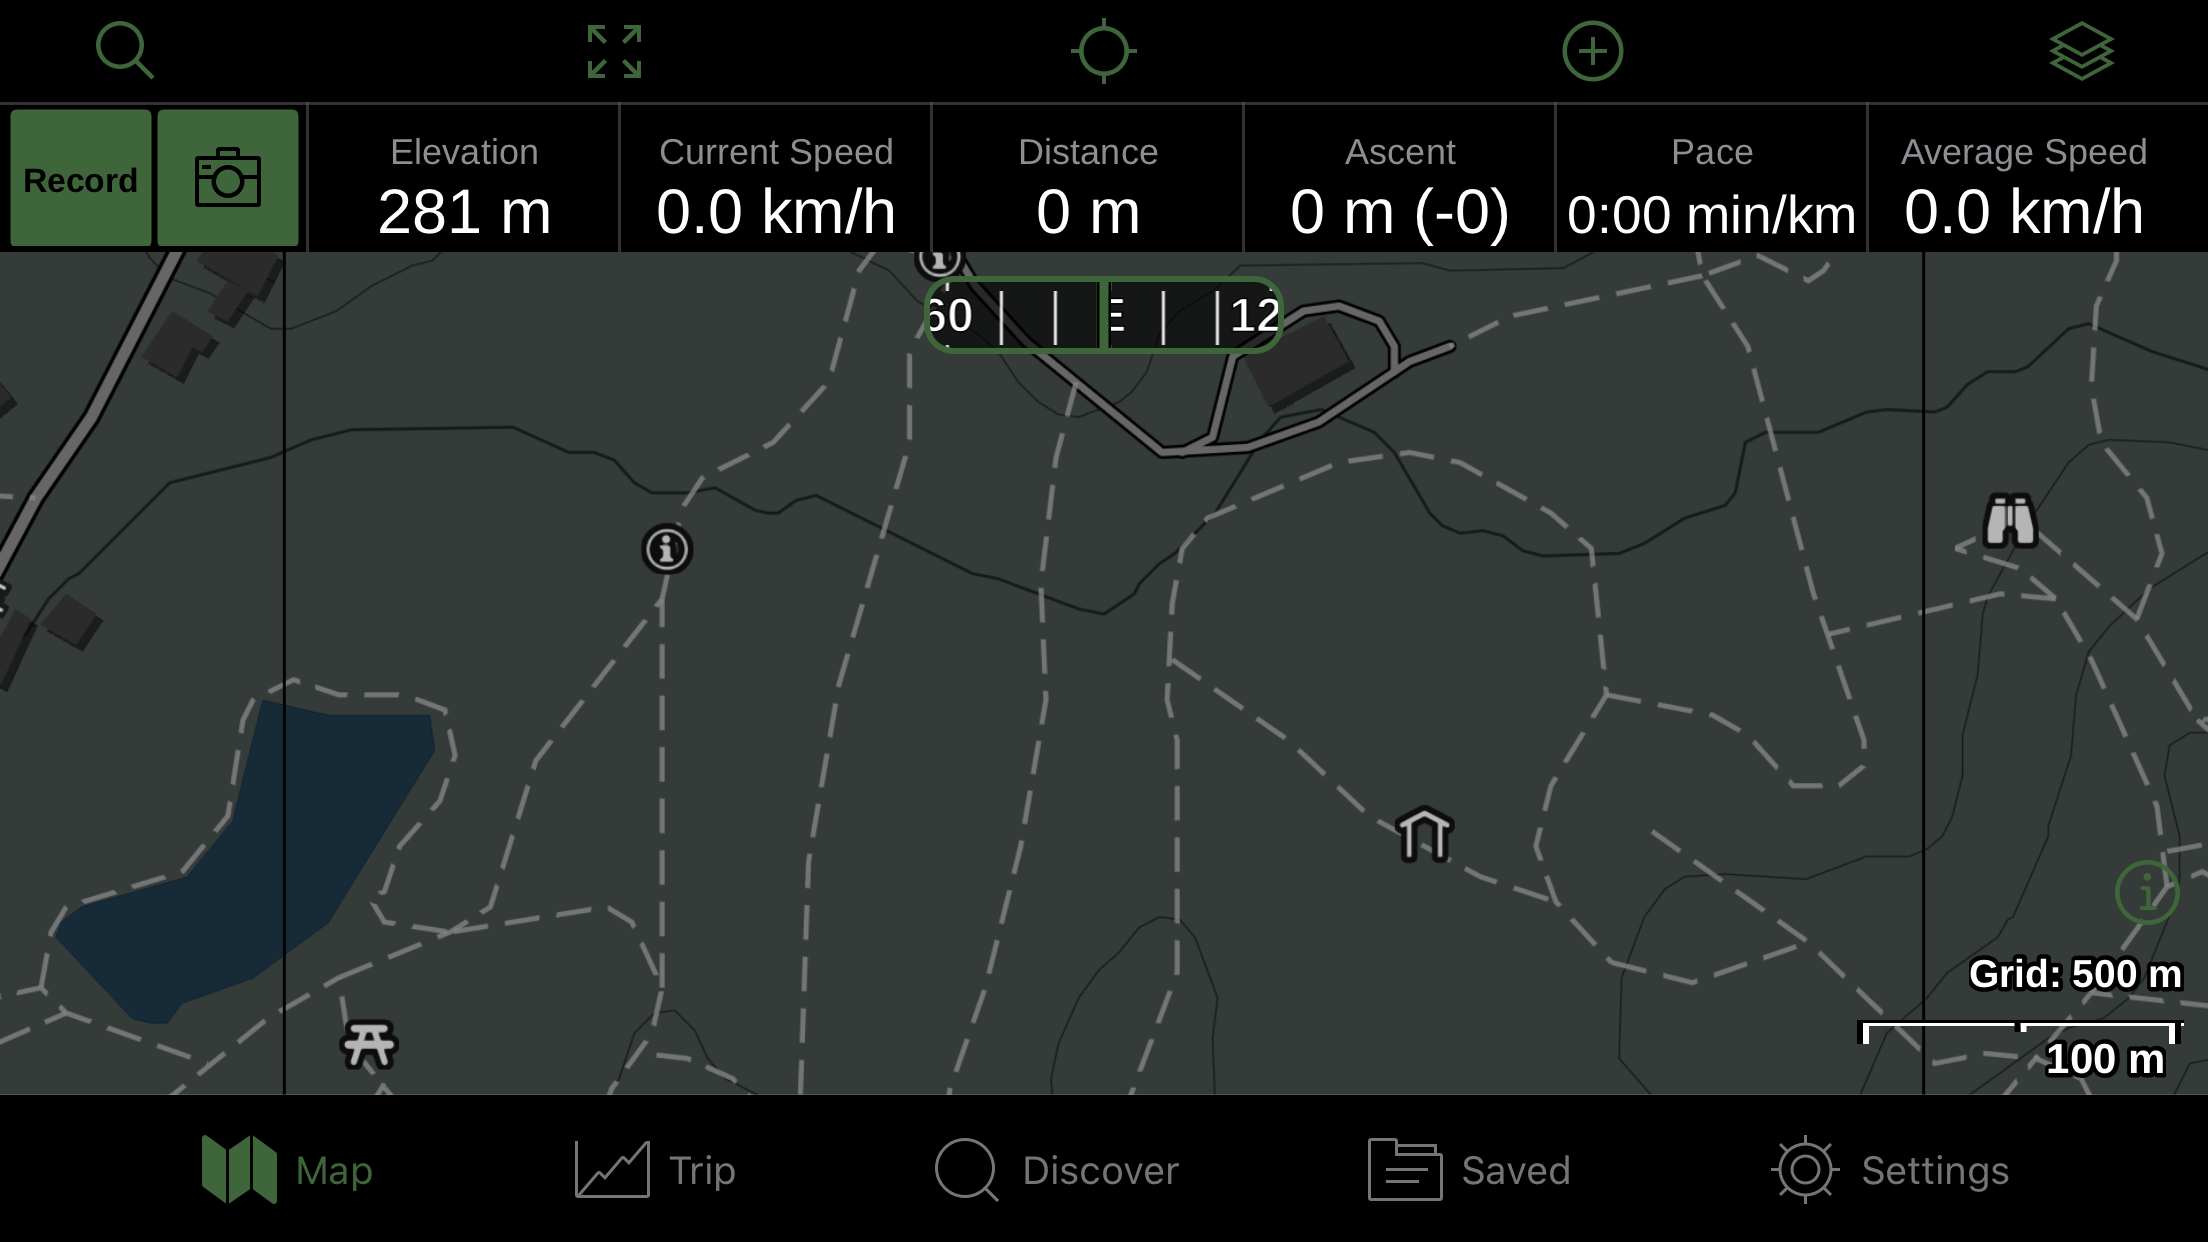
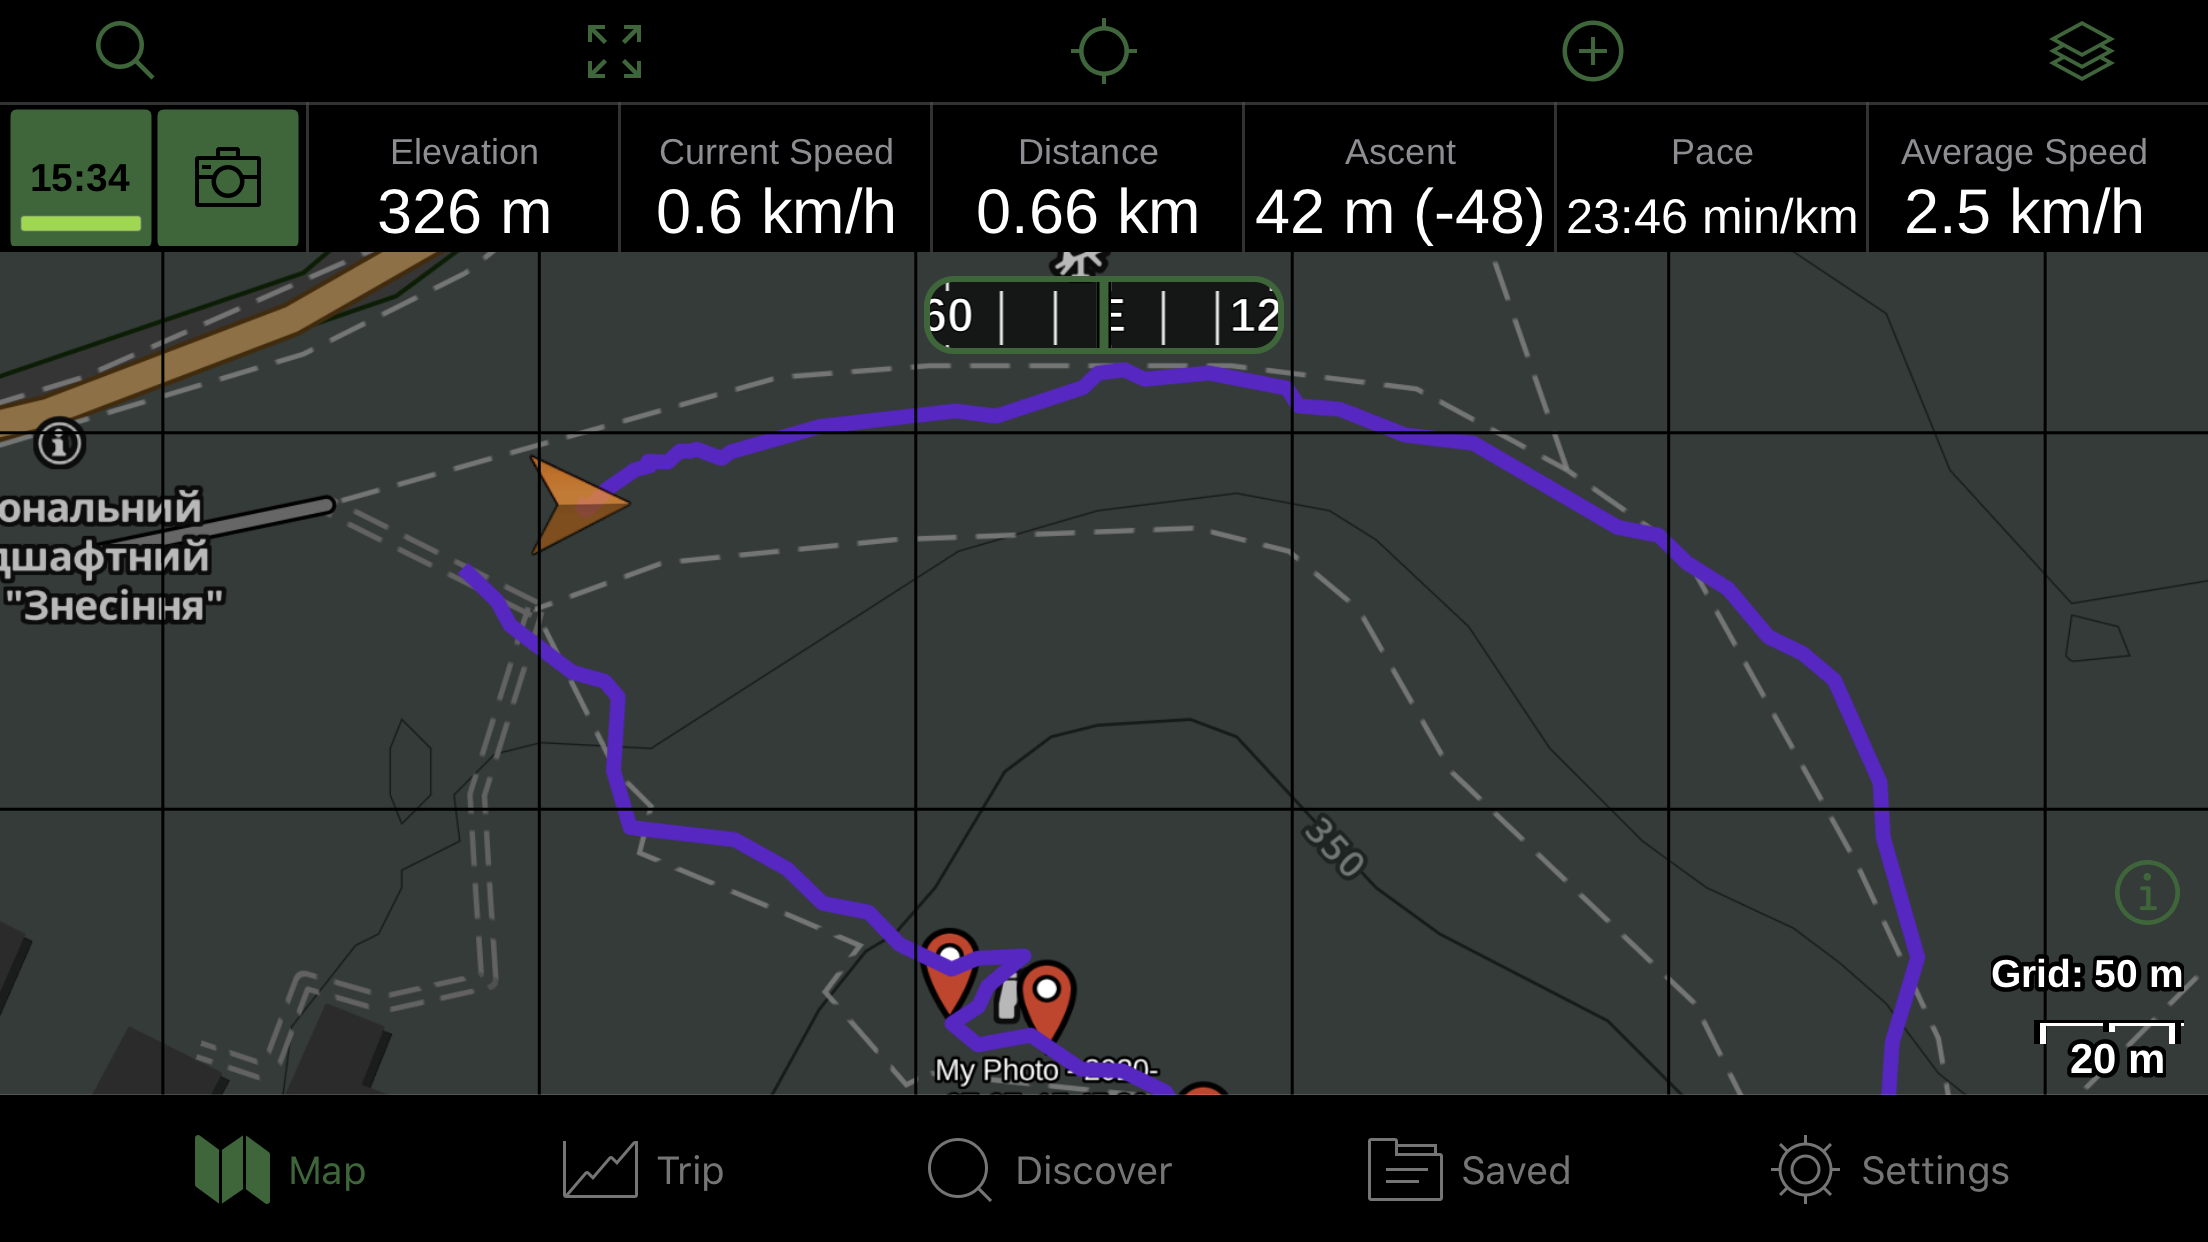
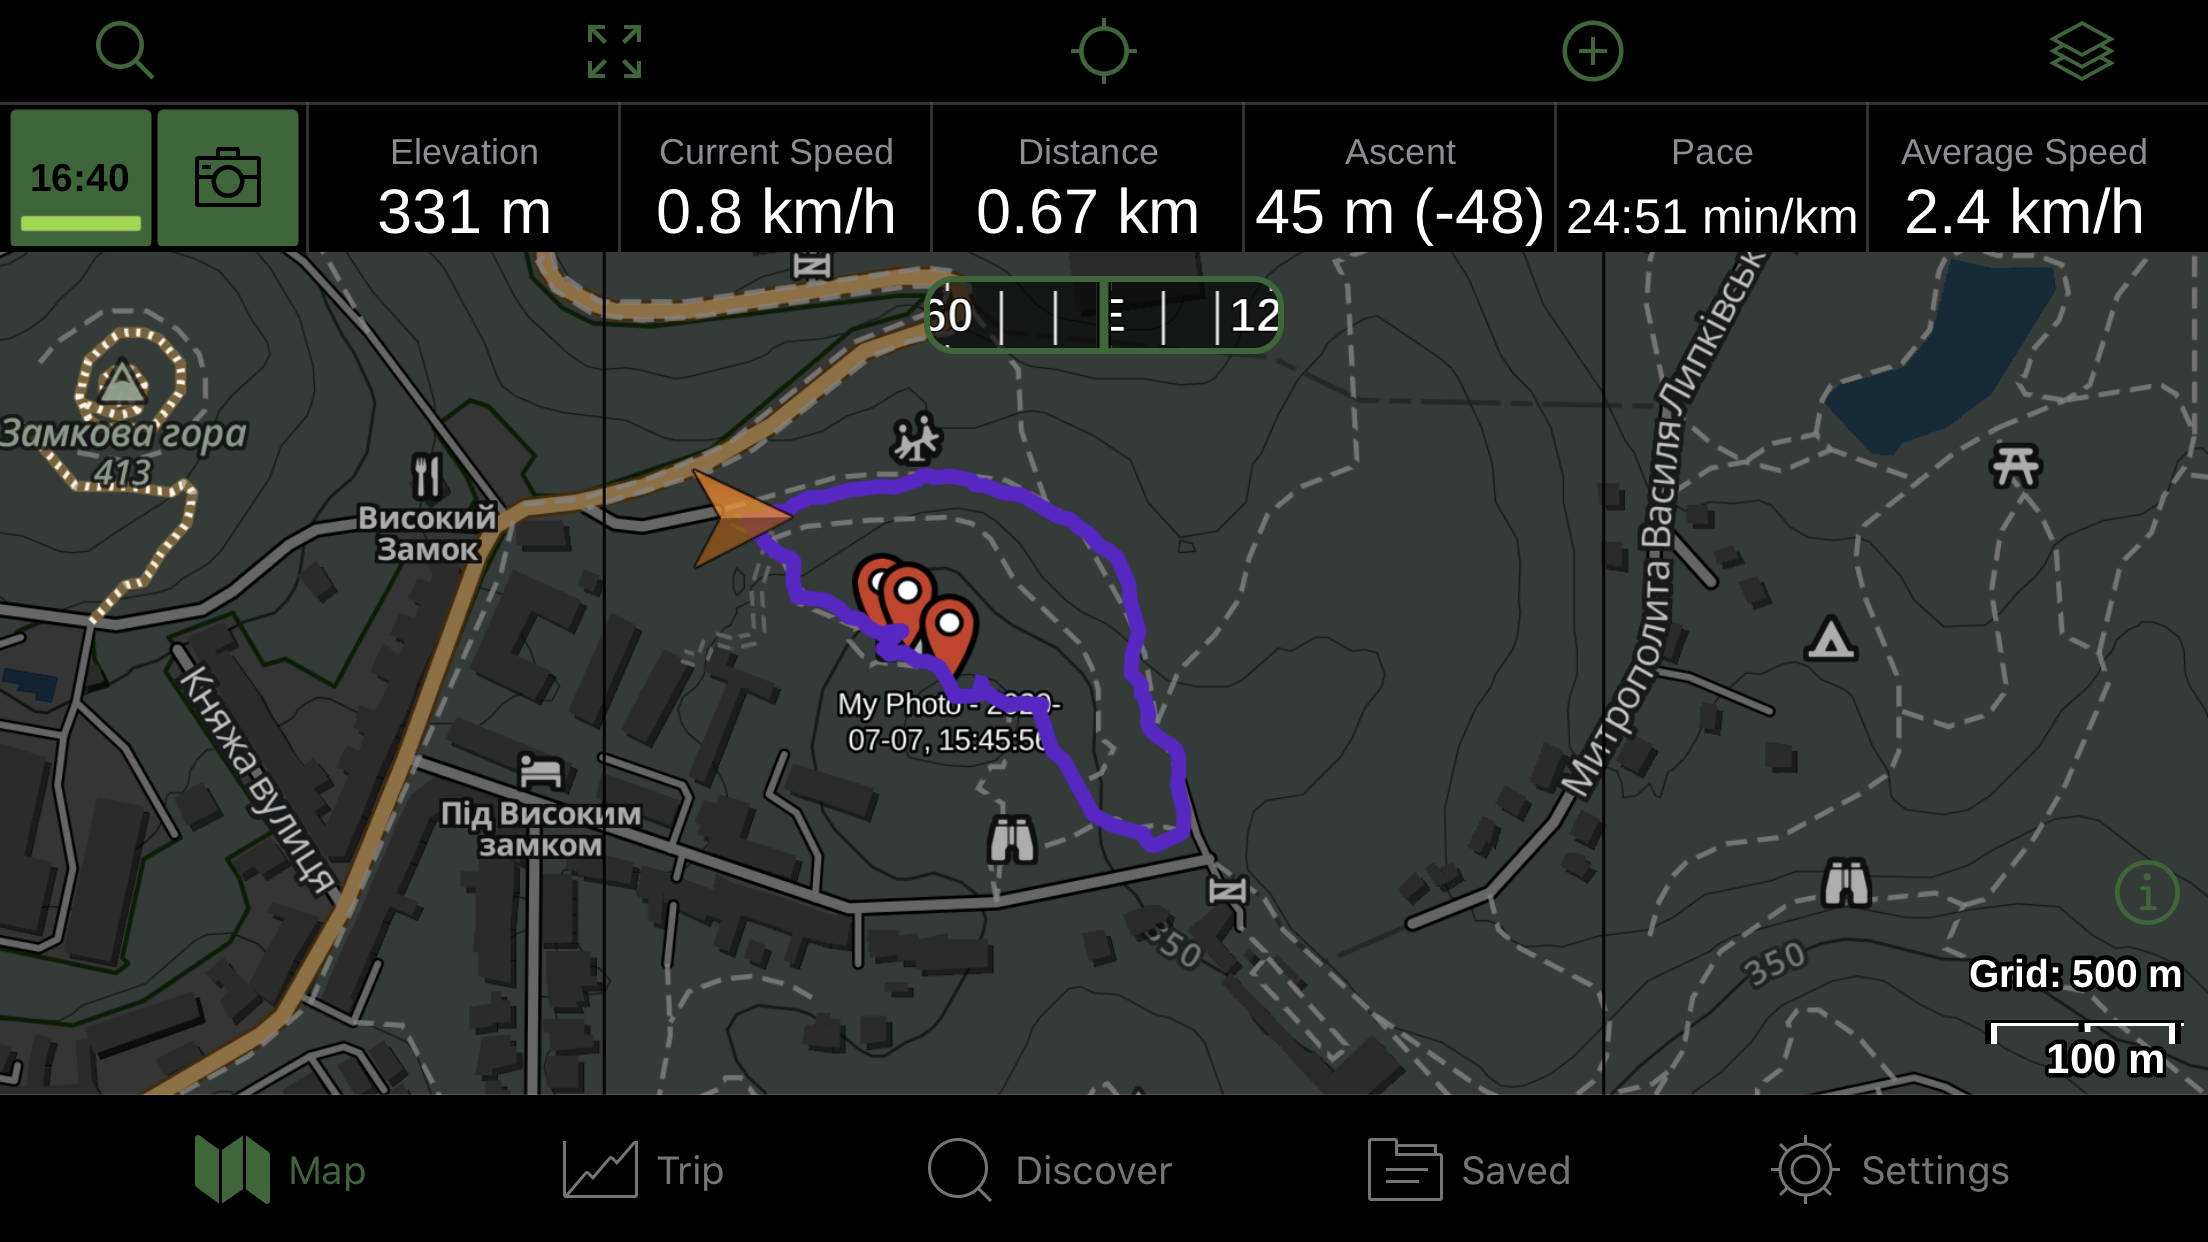
Do your hike or walk in a desired area. Use your handheld GPS or mobile with GPS app on to record your track
- if using Gaia , press record to track your movement
- Walk or hike desired area you want on a map, ie trail
Fly Your Drone
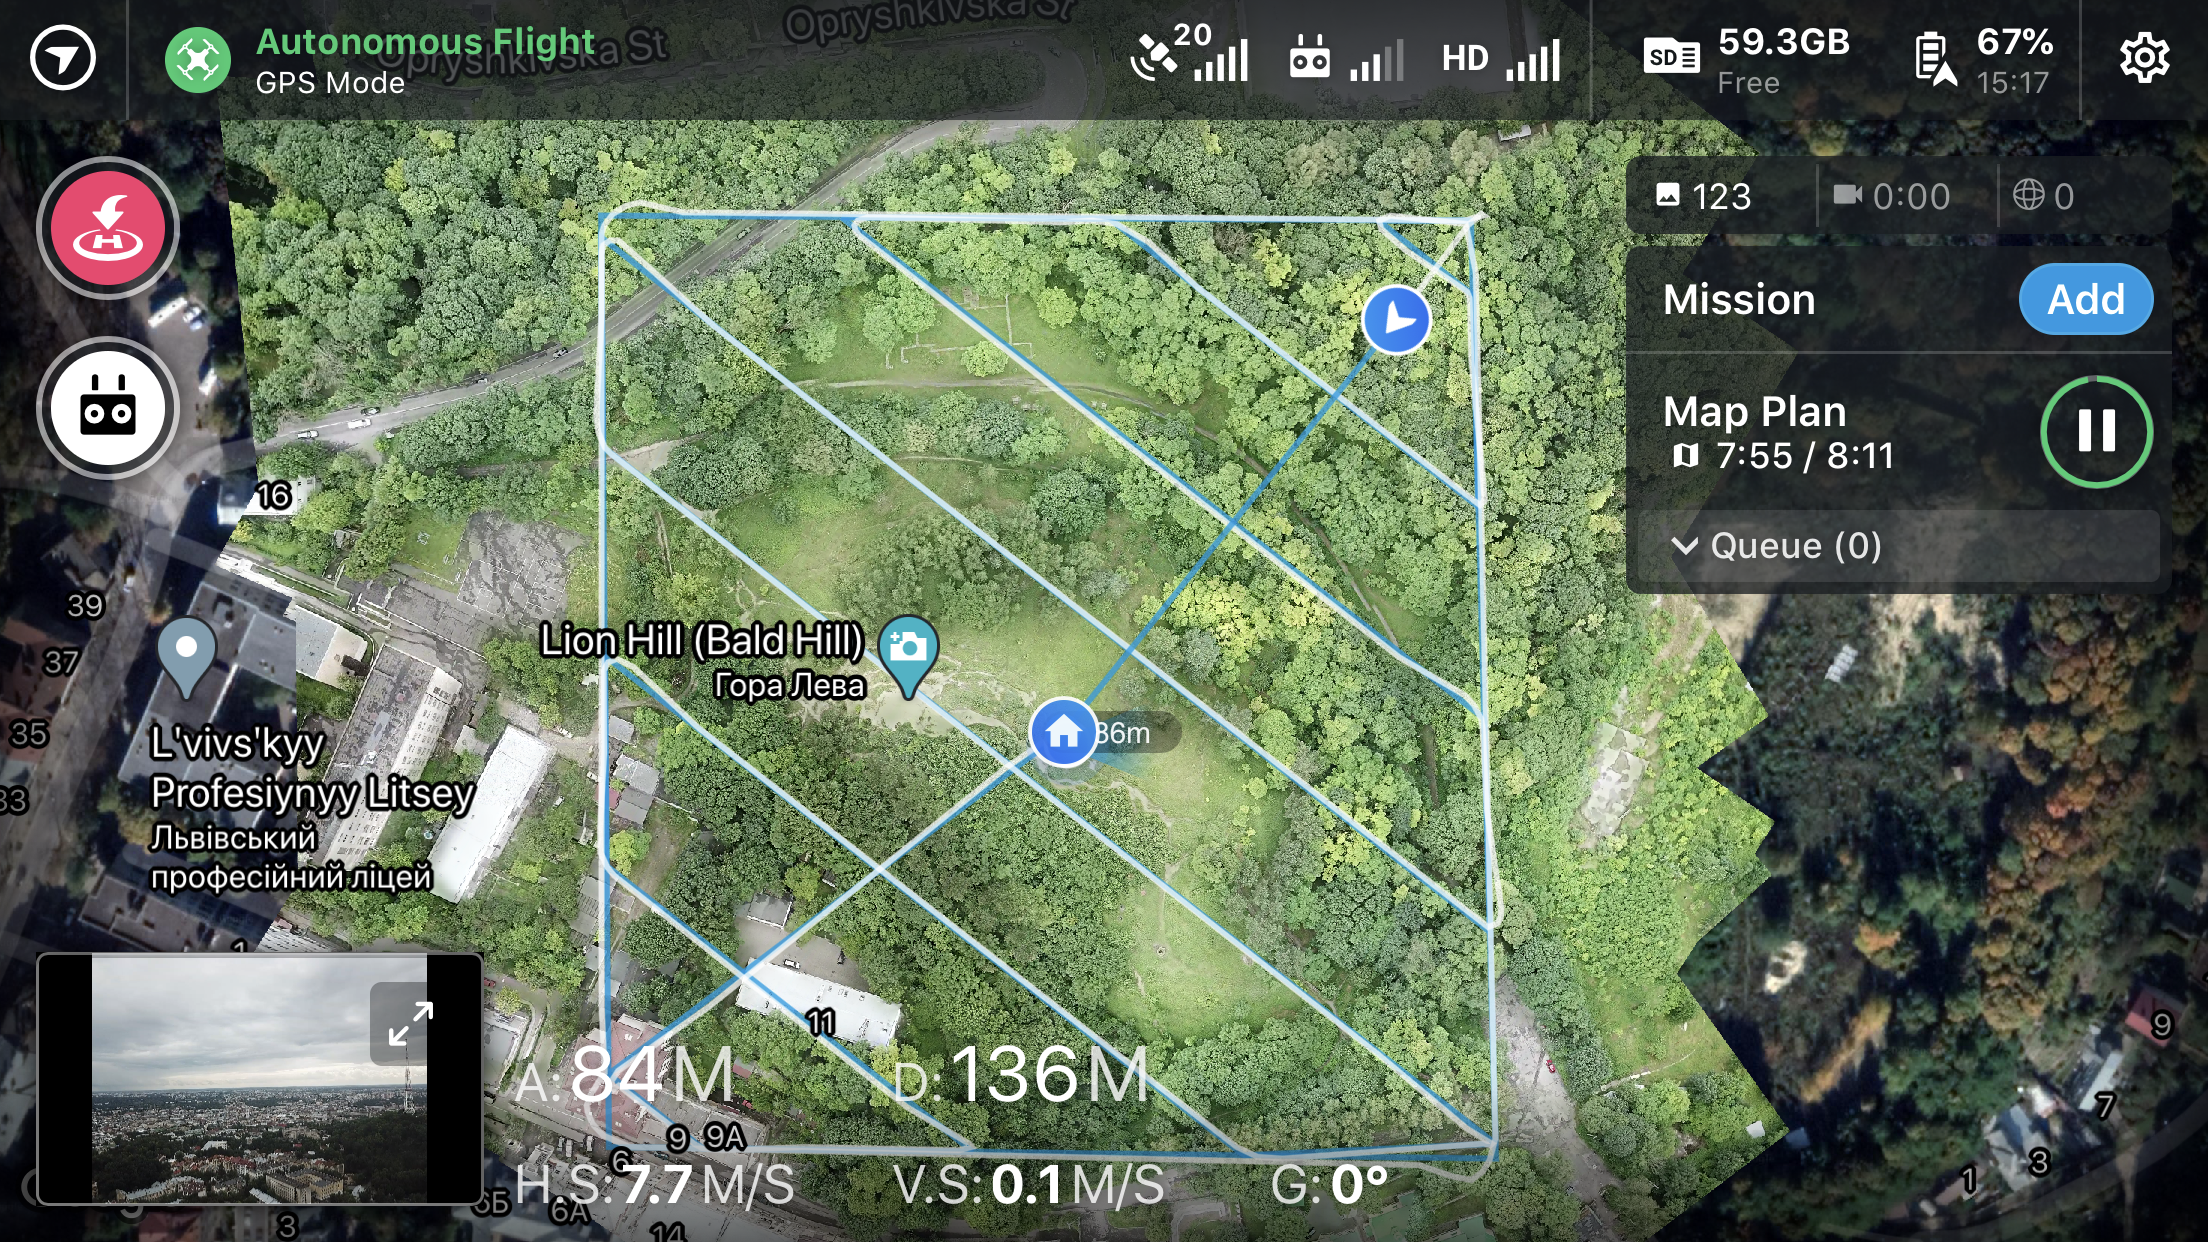
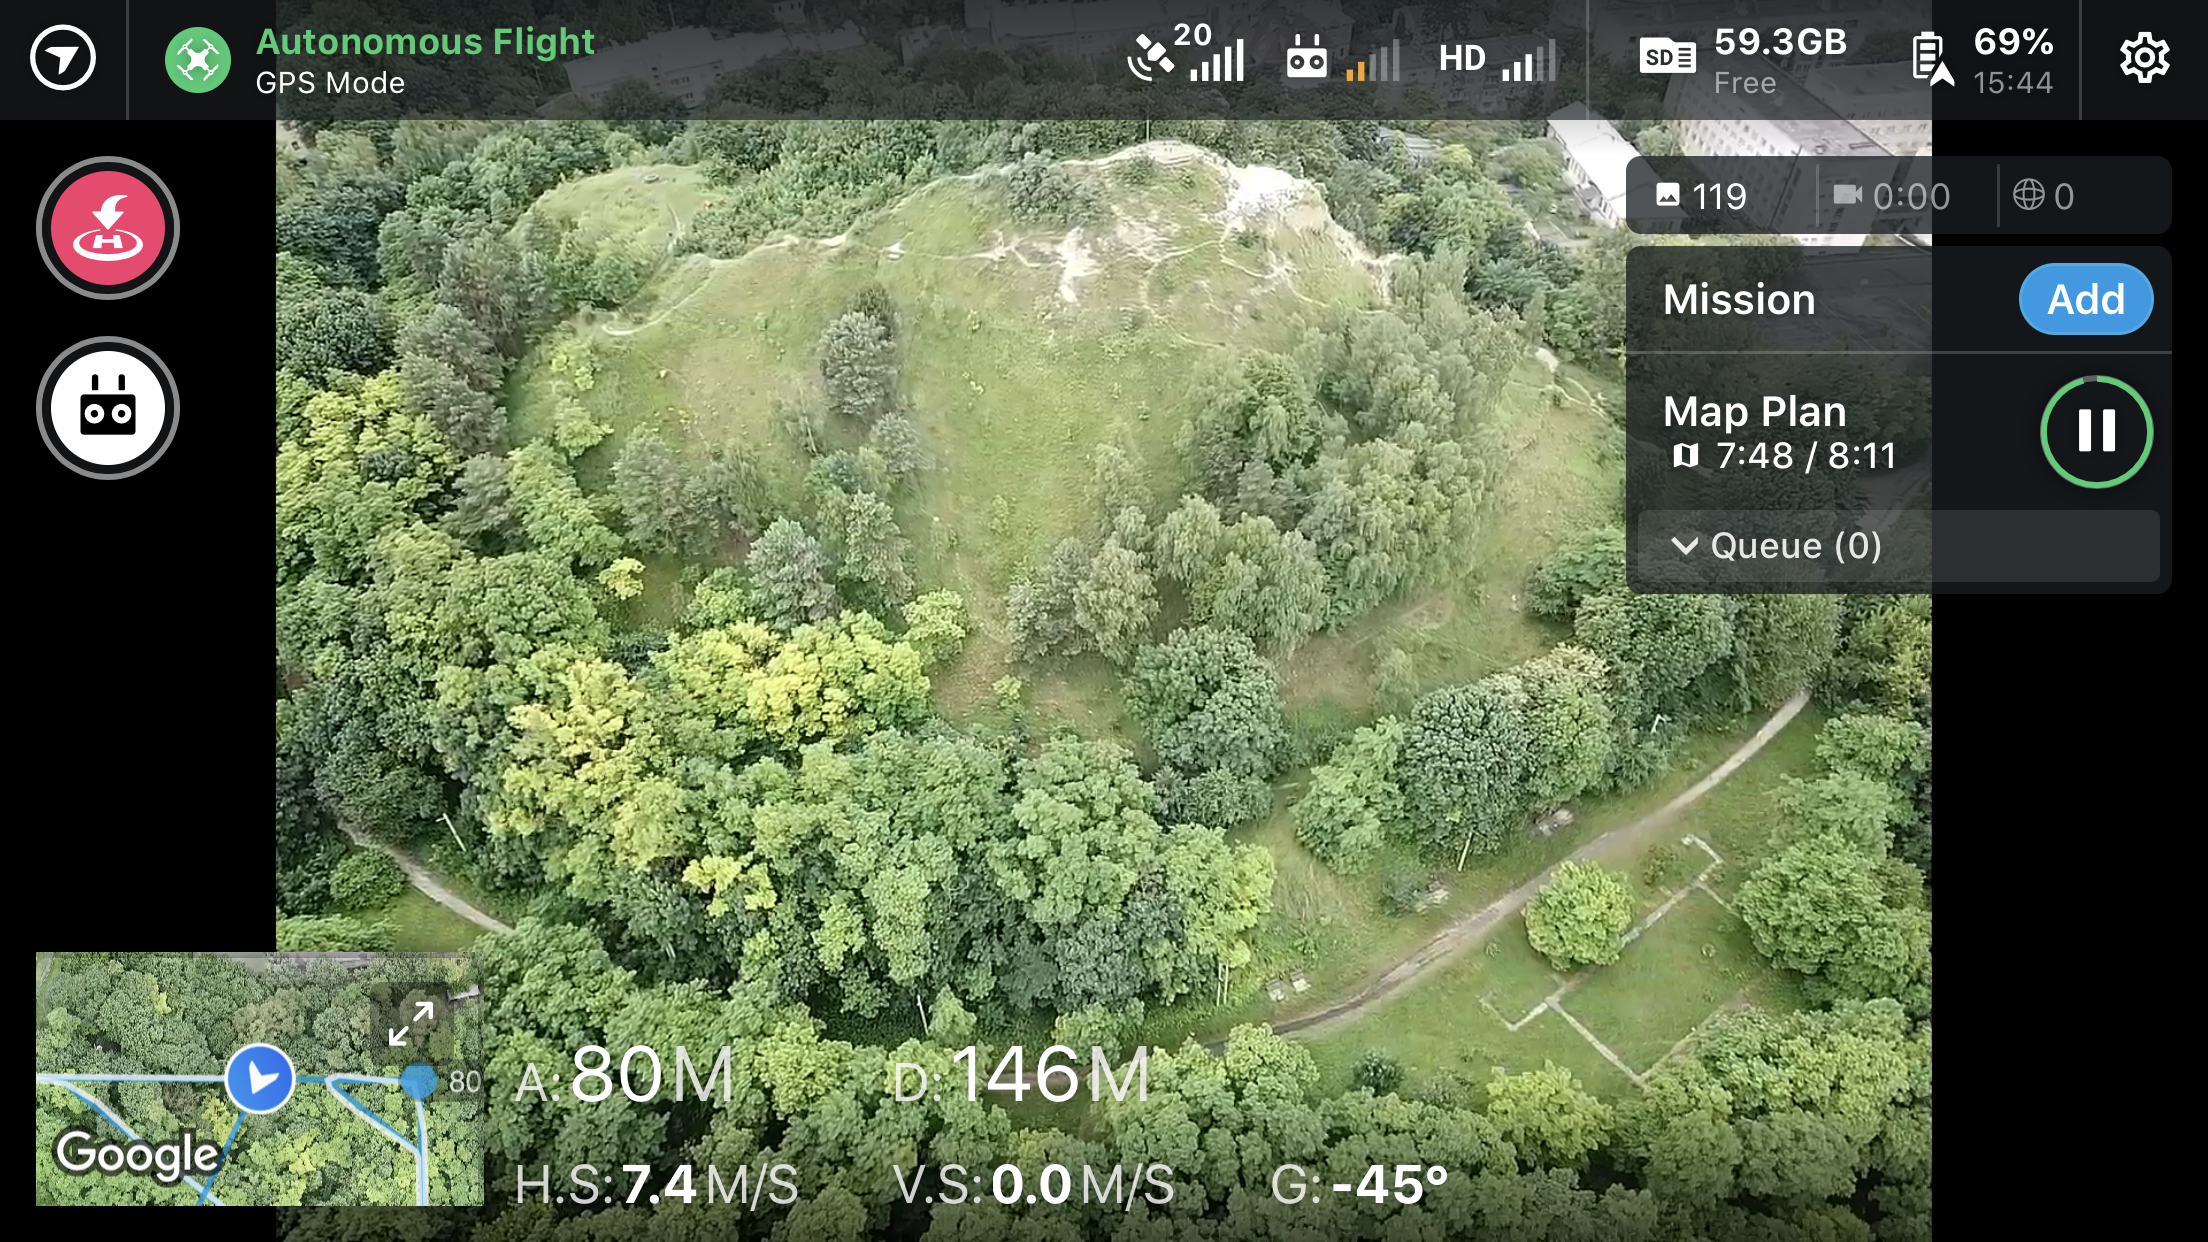
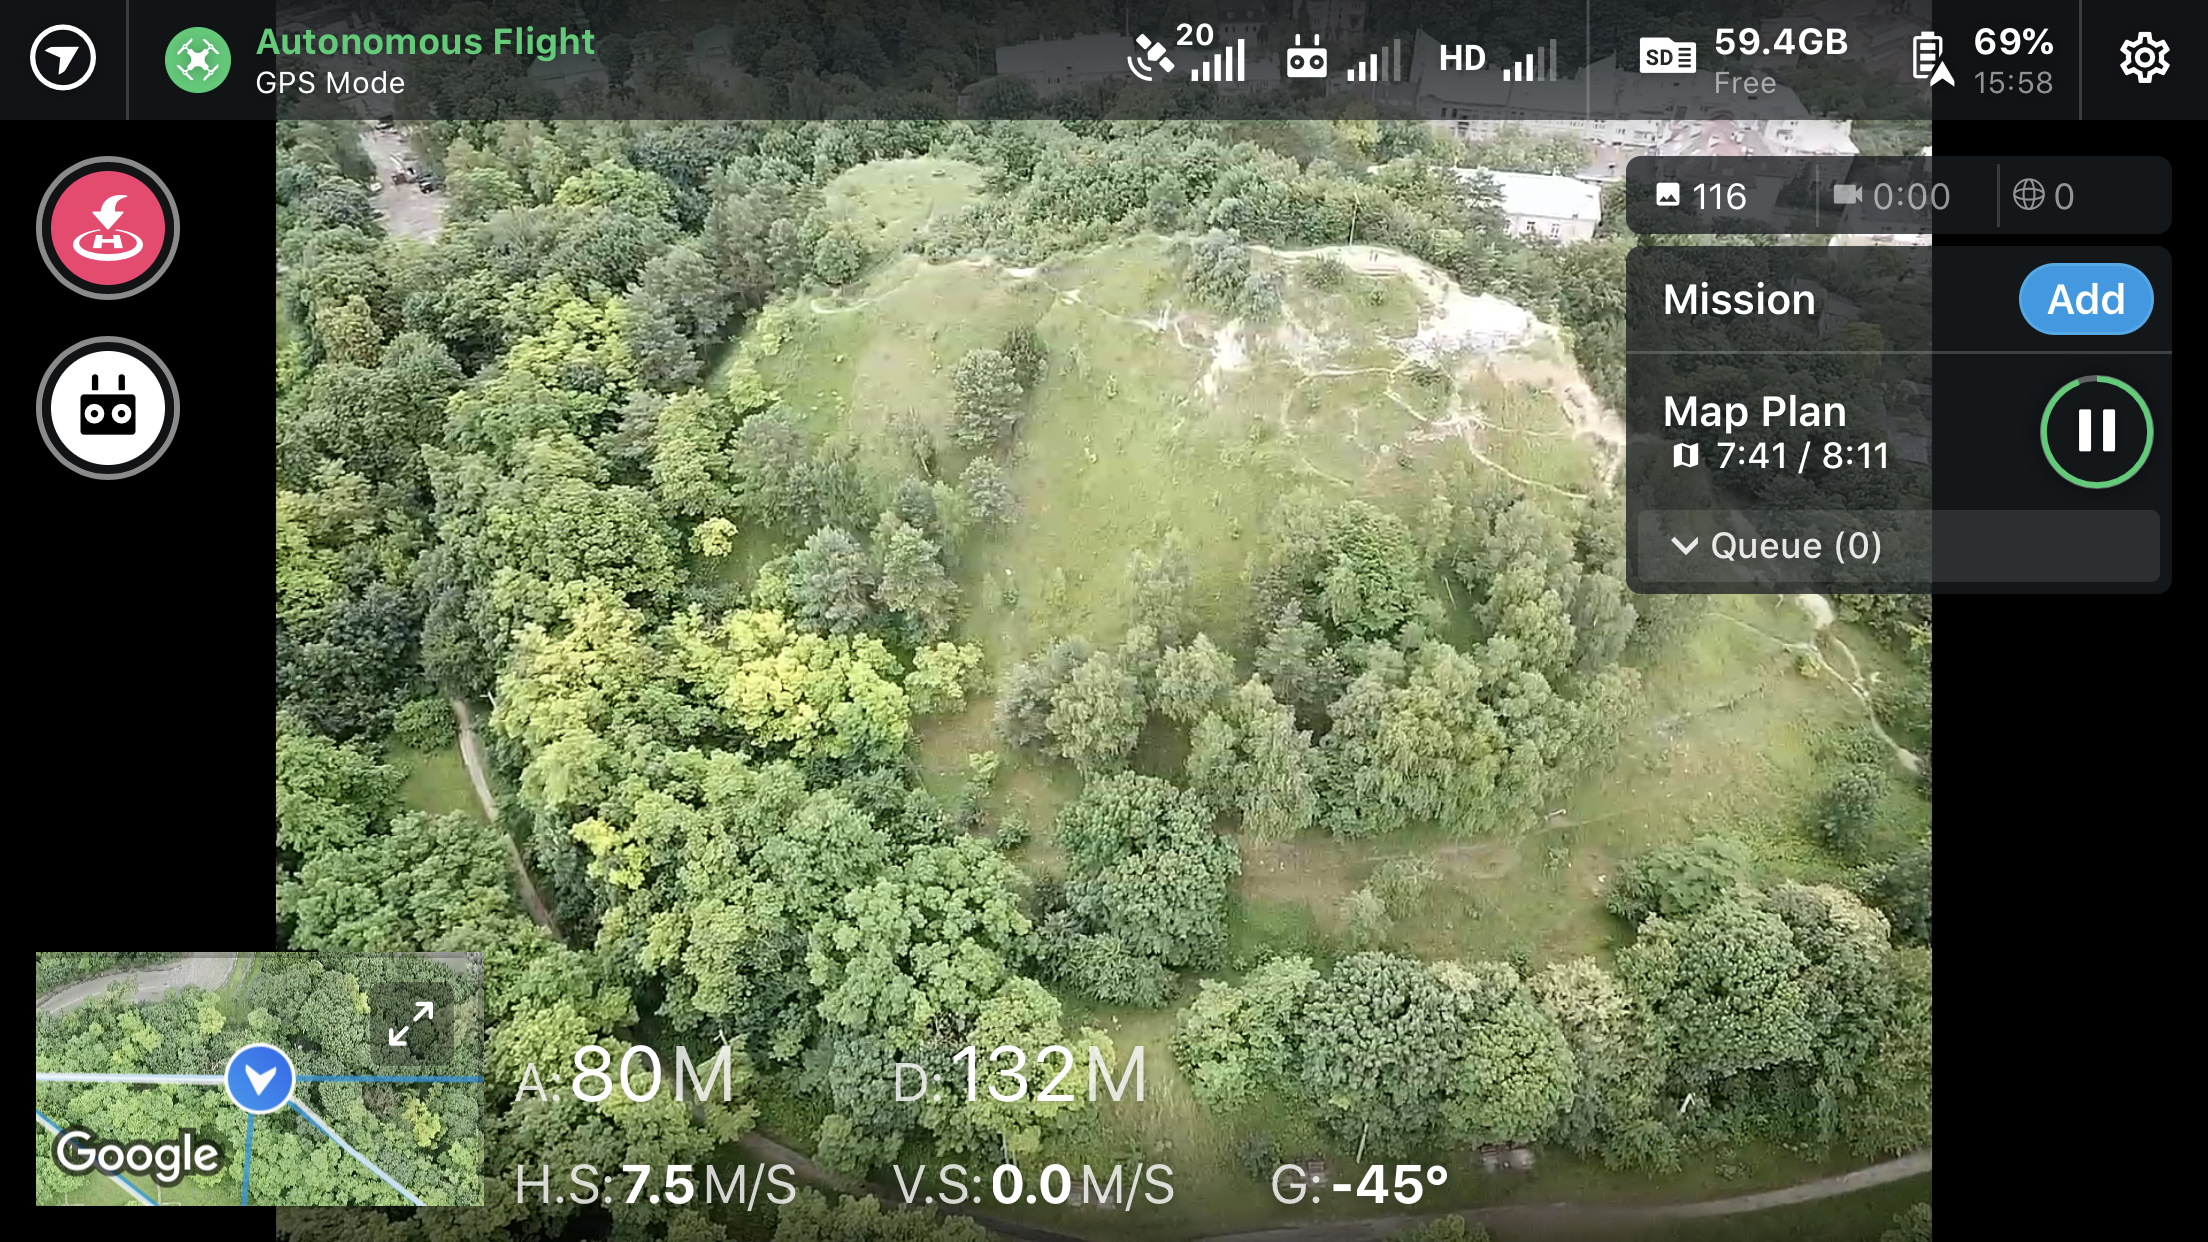
PLEASE FLY RESPONSIBLY AND FOLLOW LOCAL RULES AND REGULATIONS!
This step is easy just make sure you follow your local flight rules. Make sure drone is in line of sight and there are no obstacles like towers or power lines. Also generally not where there are a lot of people. And don't forget about whether, keep an eye for rain and strong winds, you want to make sure your drone has power to come back
If you are using Drone Deploy and your flight plan is set it is pretty easy. You send it out and it collects ALL the images automatically and comes home. If your area is large and you need more then one battery the software will stop the flight and come home to change battery safely. Once a new one installed it will continue to take the rest of the images
Upload and Process Drone Images
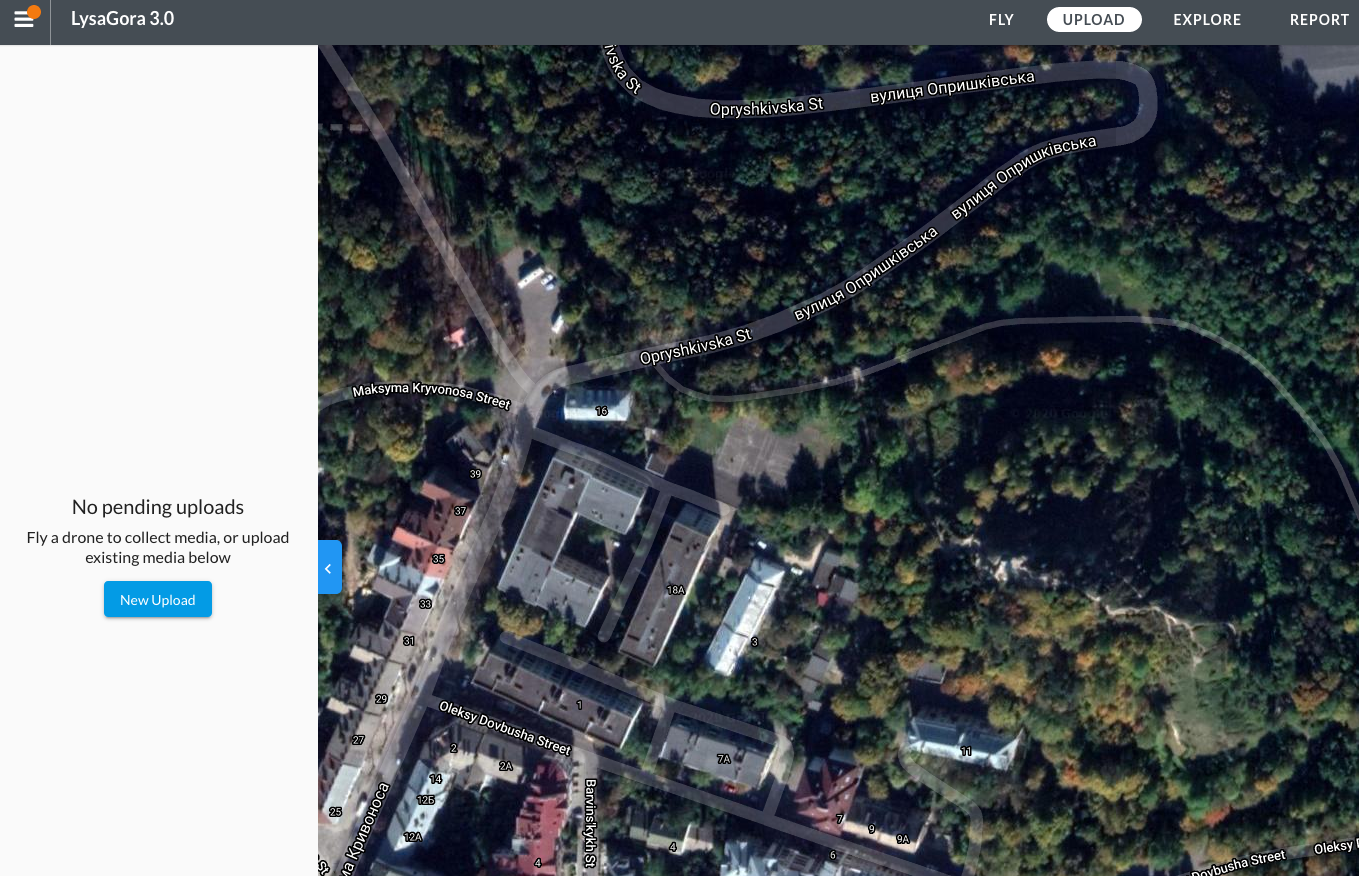
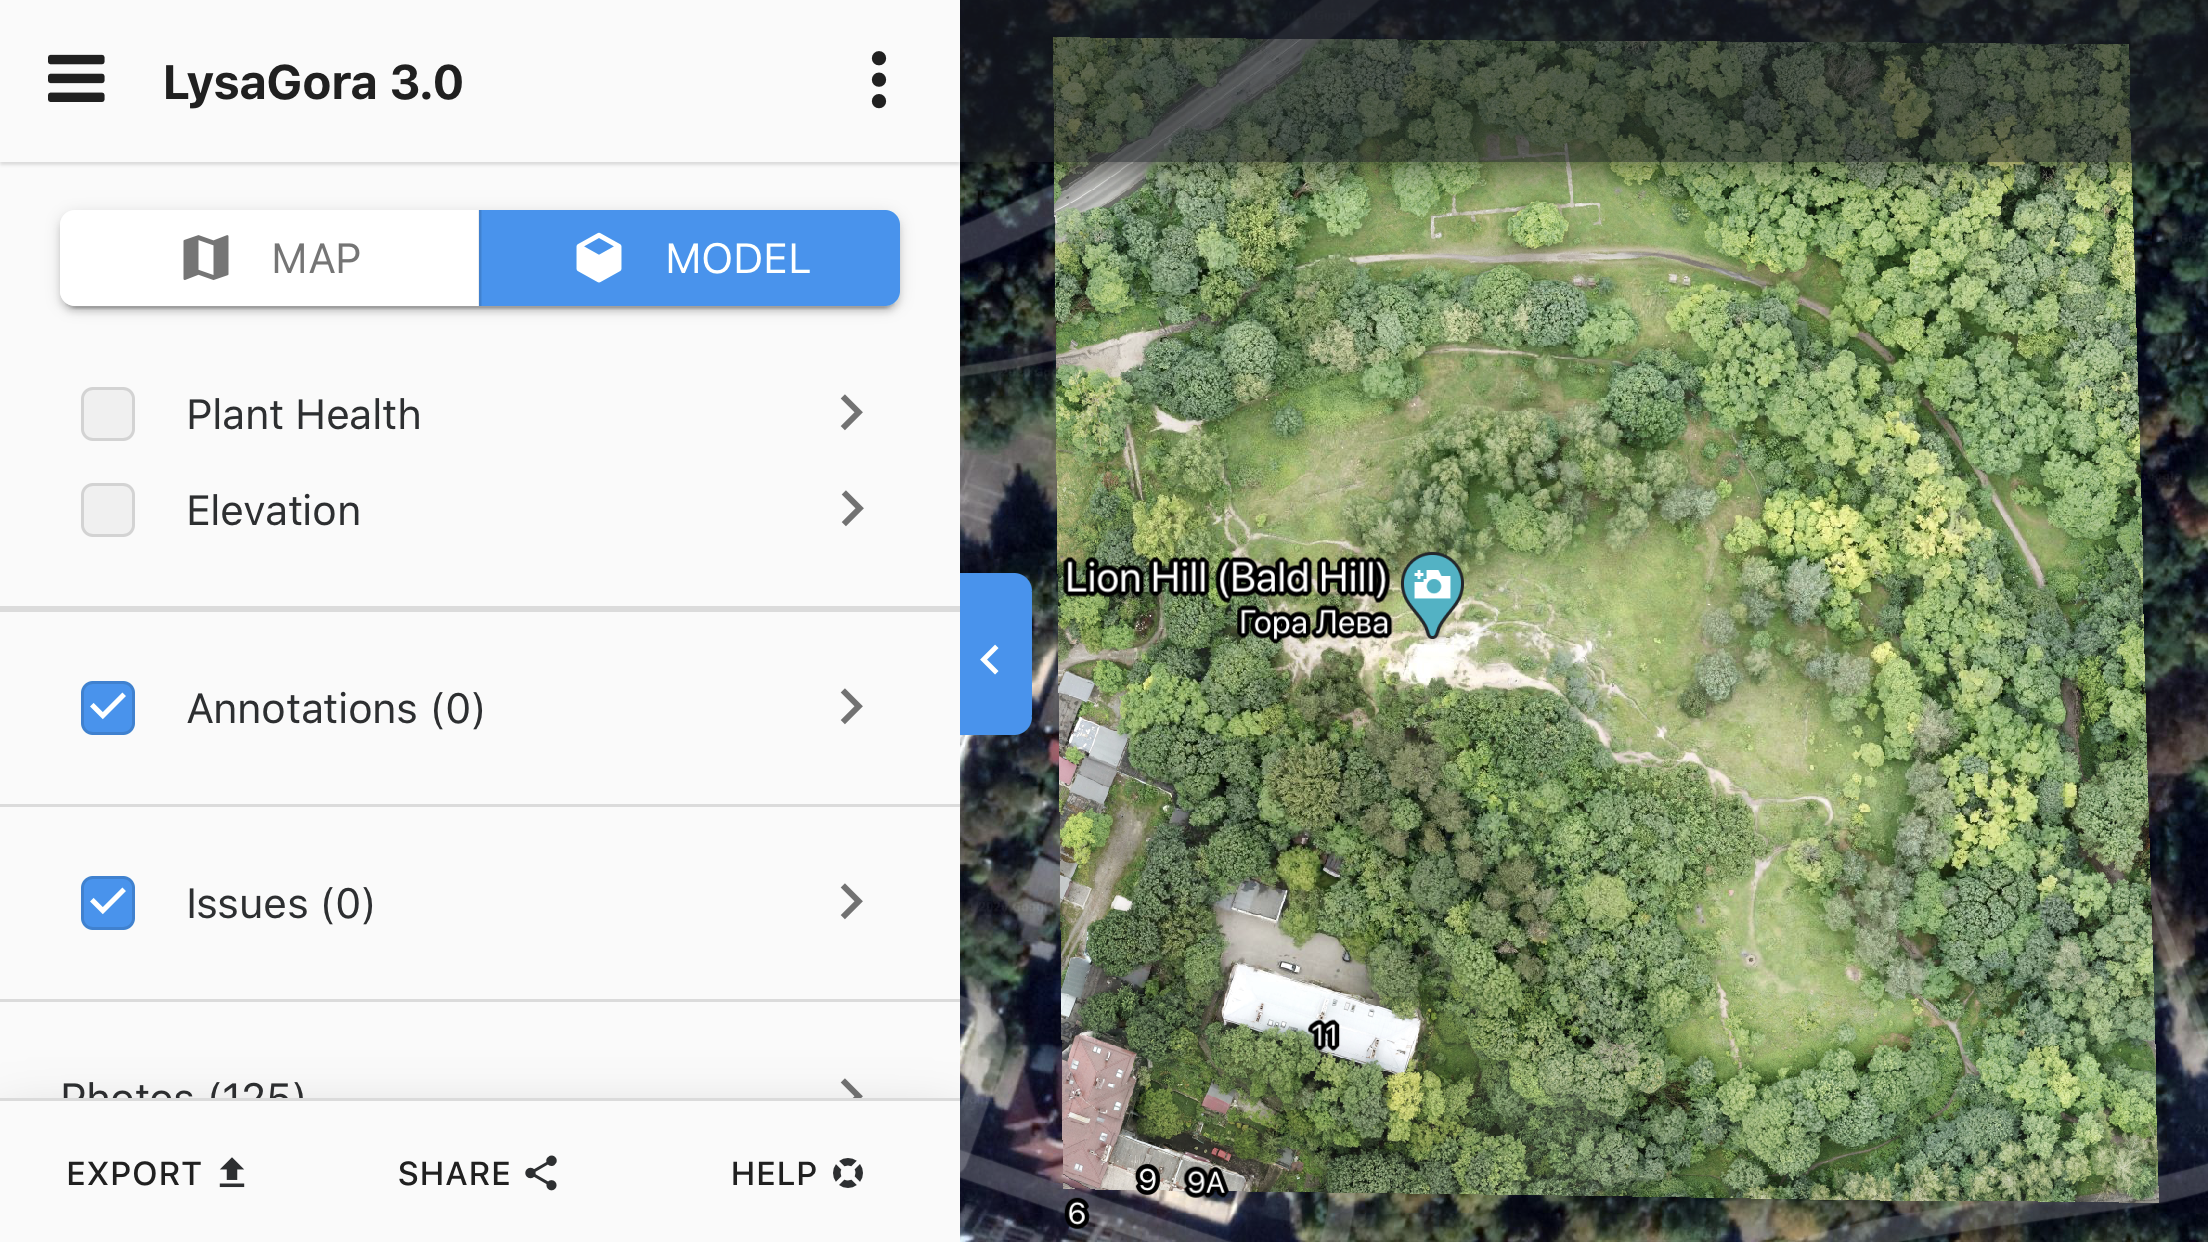
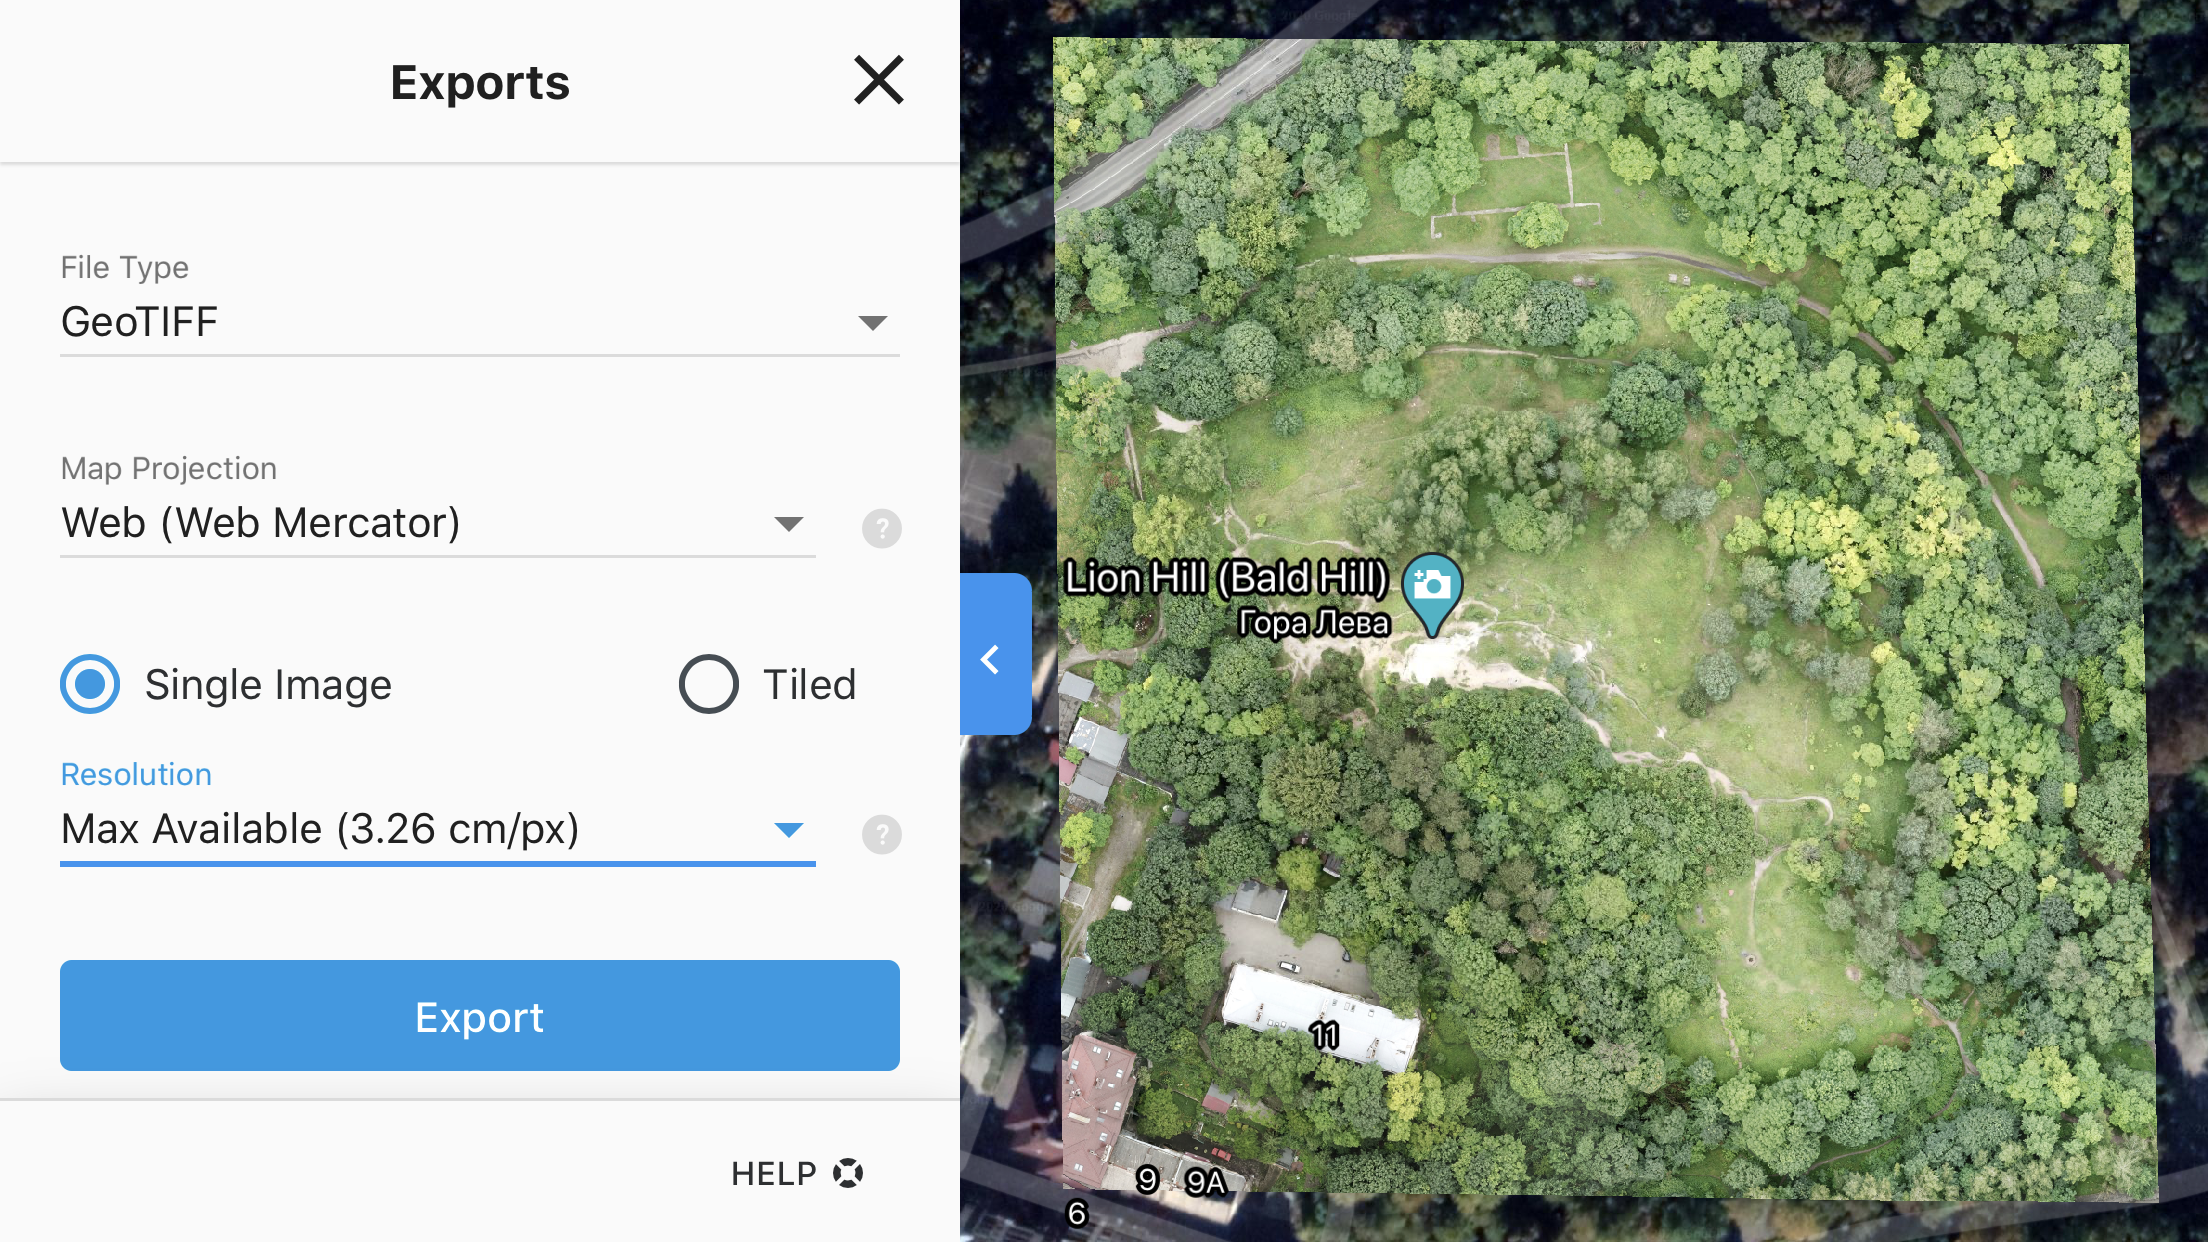
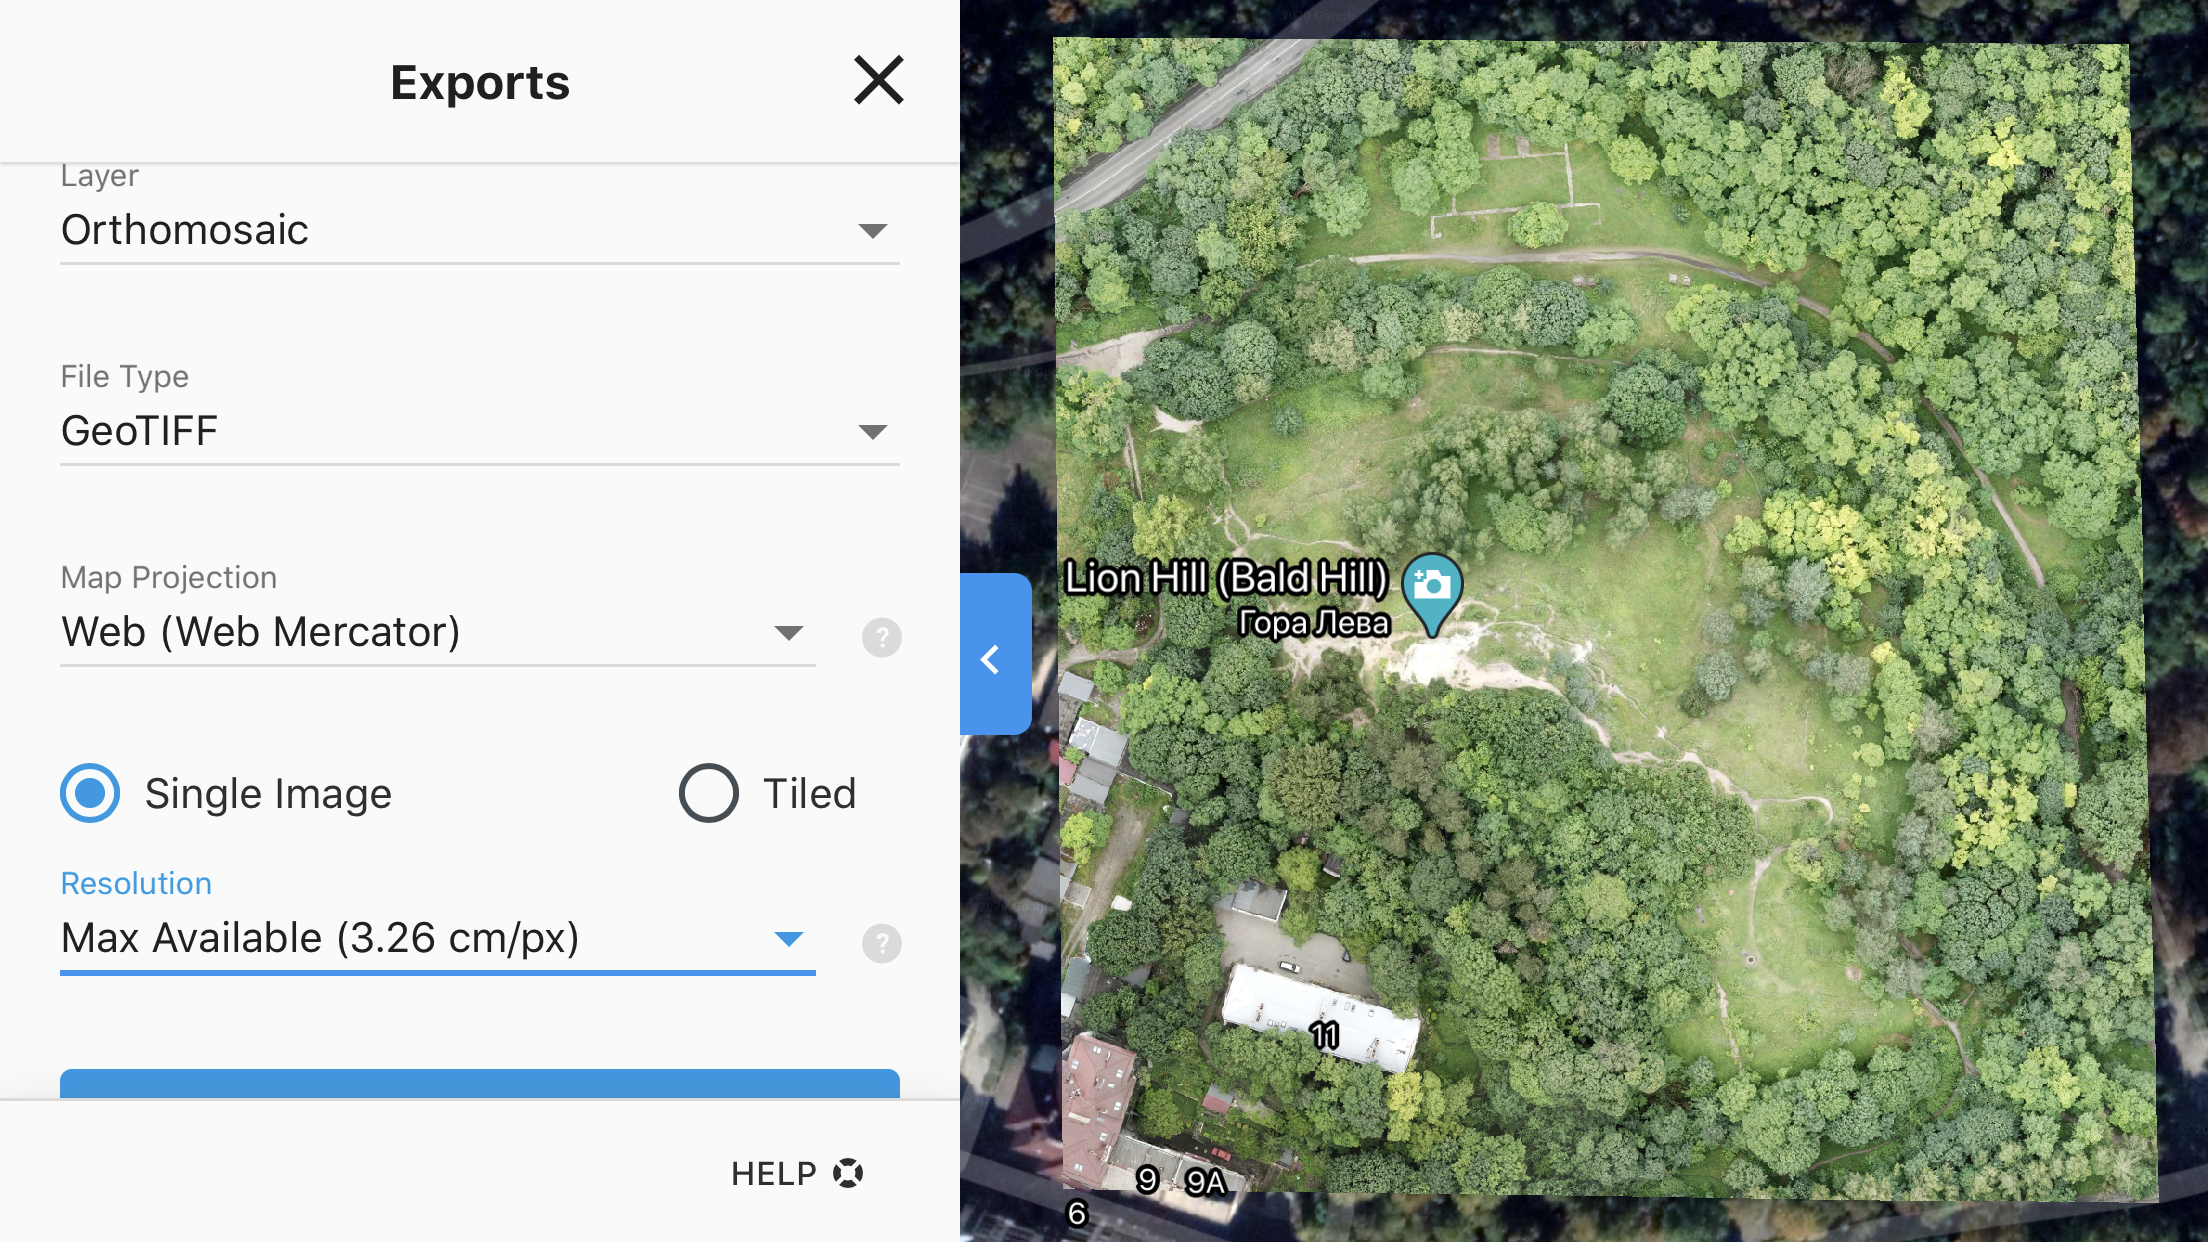
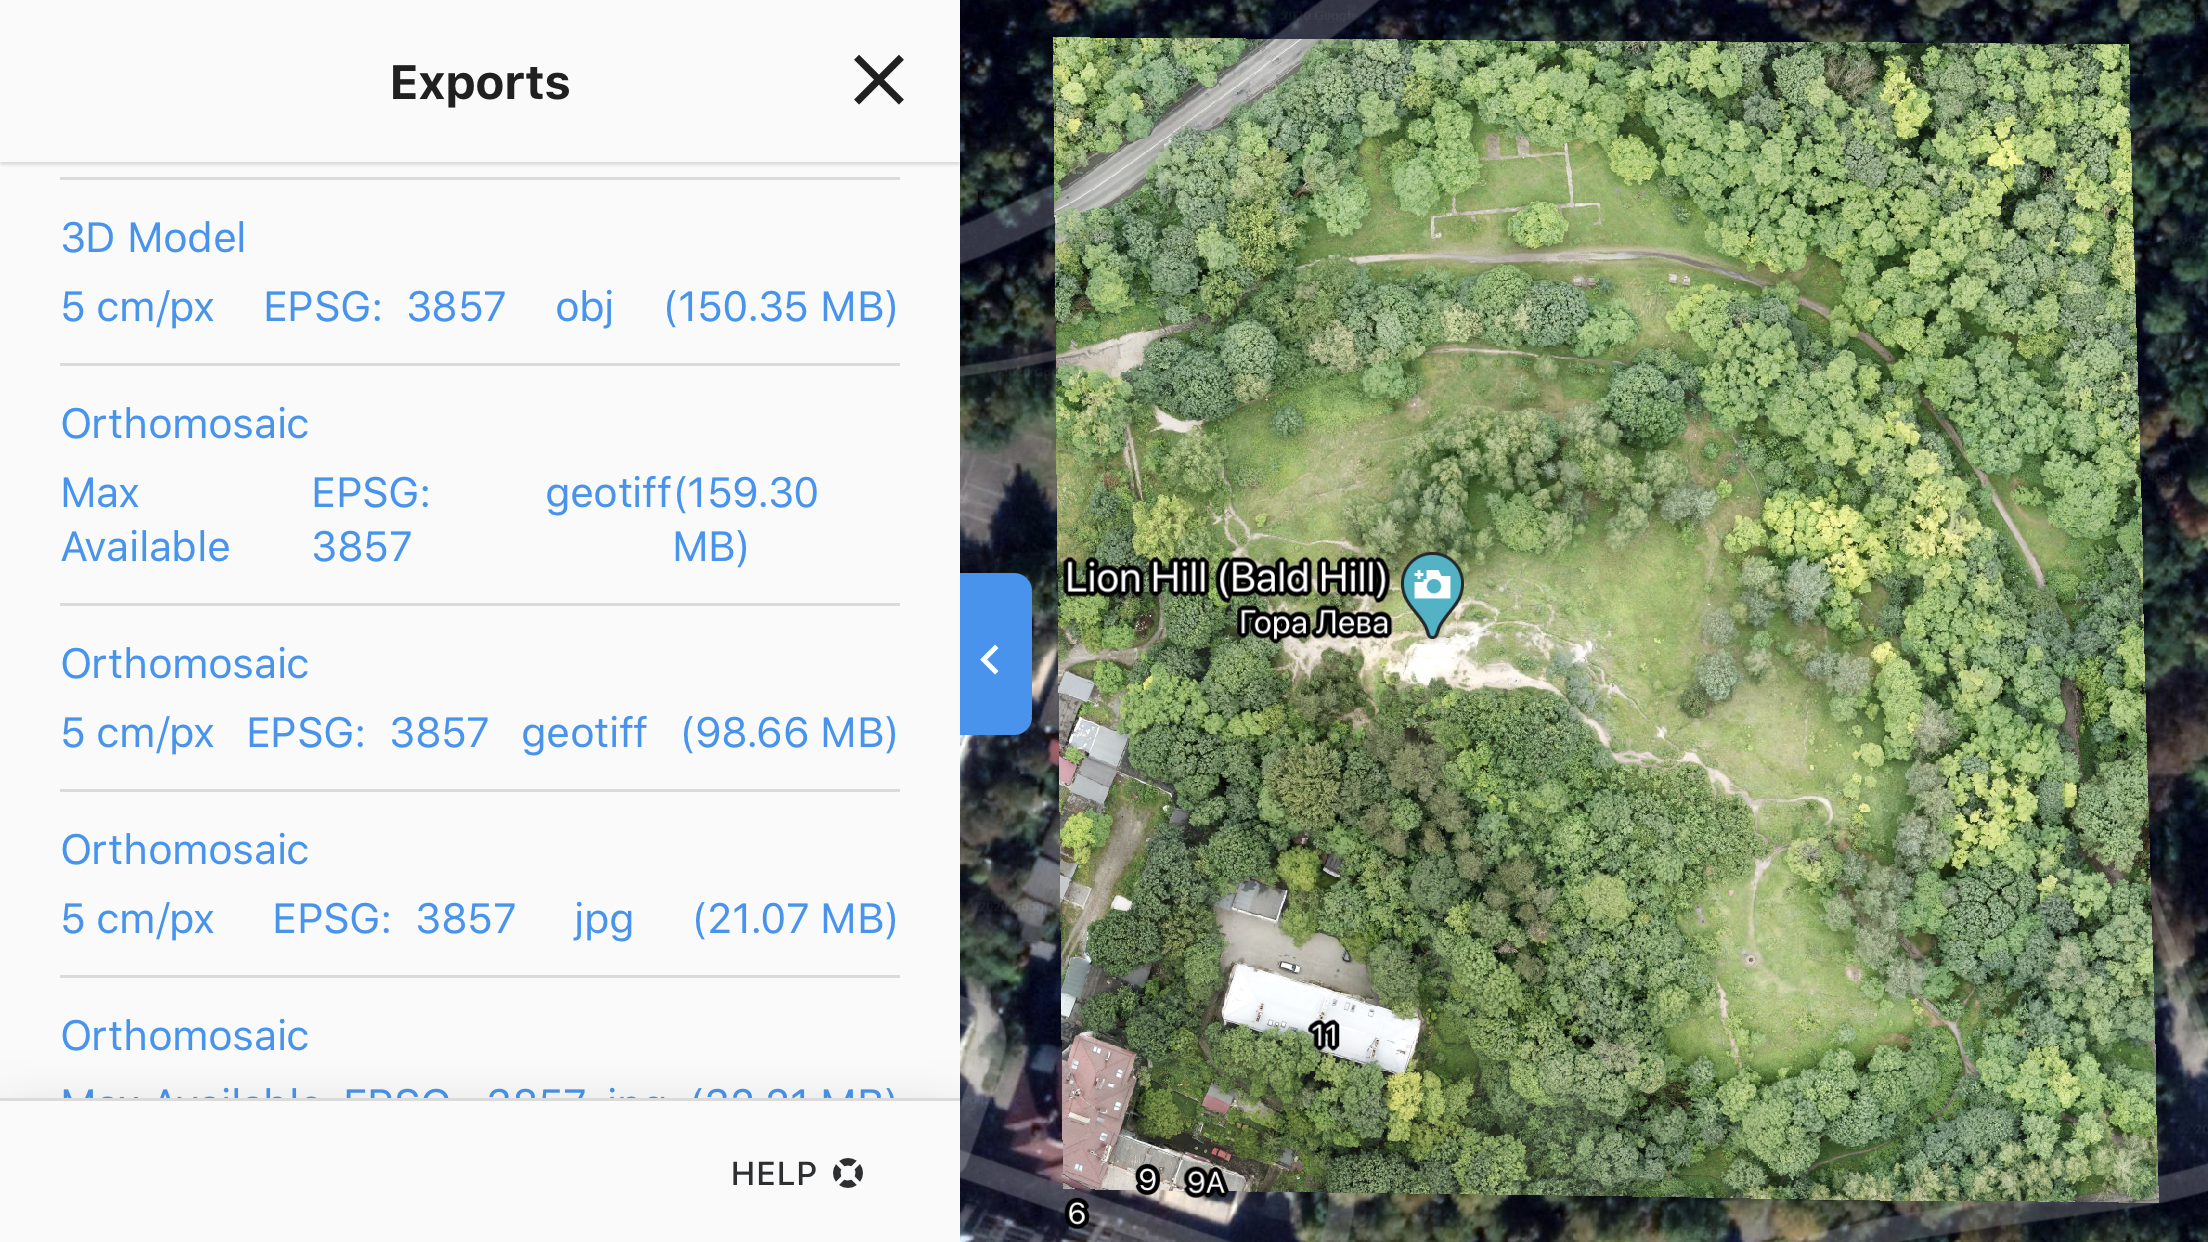
- Transfer drone images to project on drone deploy website. For best resolution use images on sd card. To do this log in and go to your created project. Select UPLOAD and select image files to upload. System will add them to correct spot
- After image processing takes place (0.5-1 hour), export image in geo tiff or jpeg. Tiff would be much larger file. You also can control resolution of the final image. smaller cm / pixel the larger the file is going to be
Transfer Track File From GPS
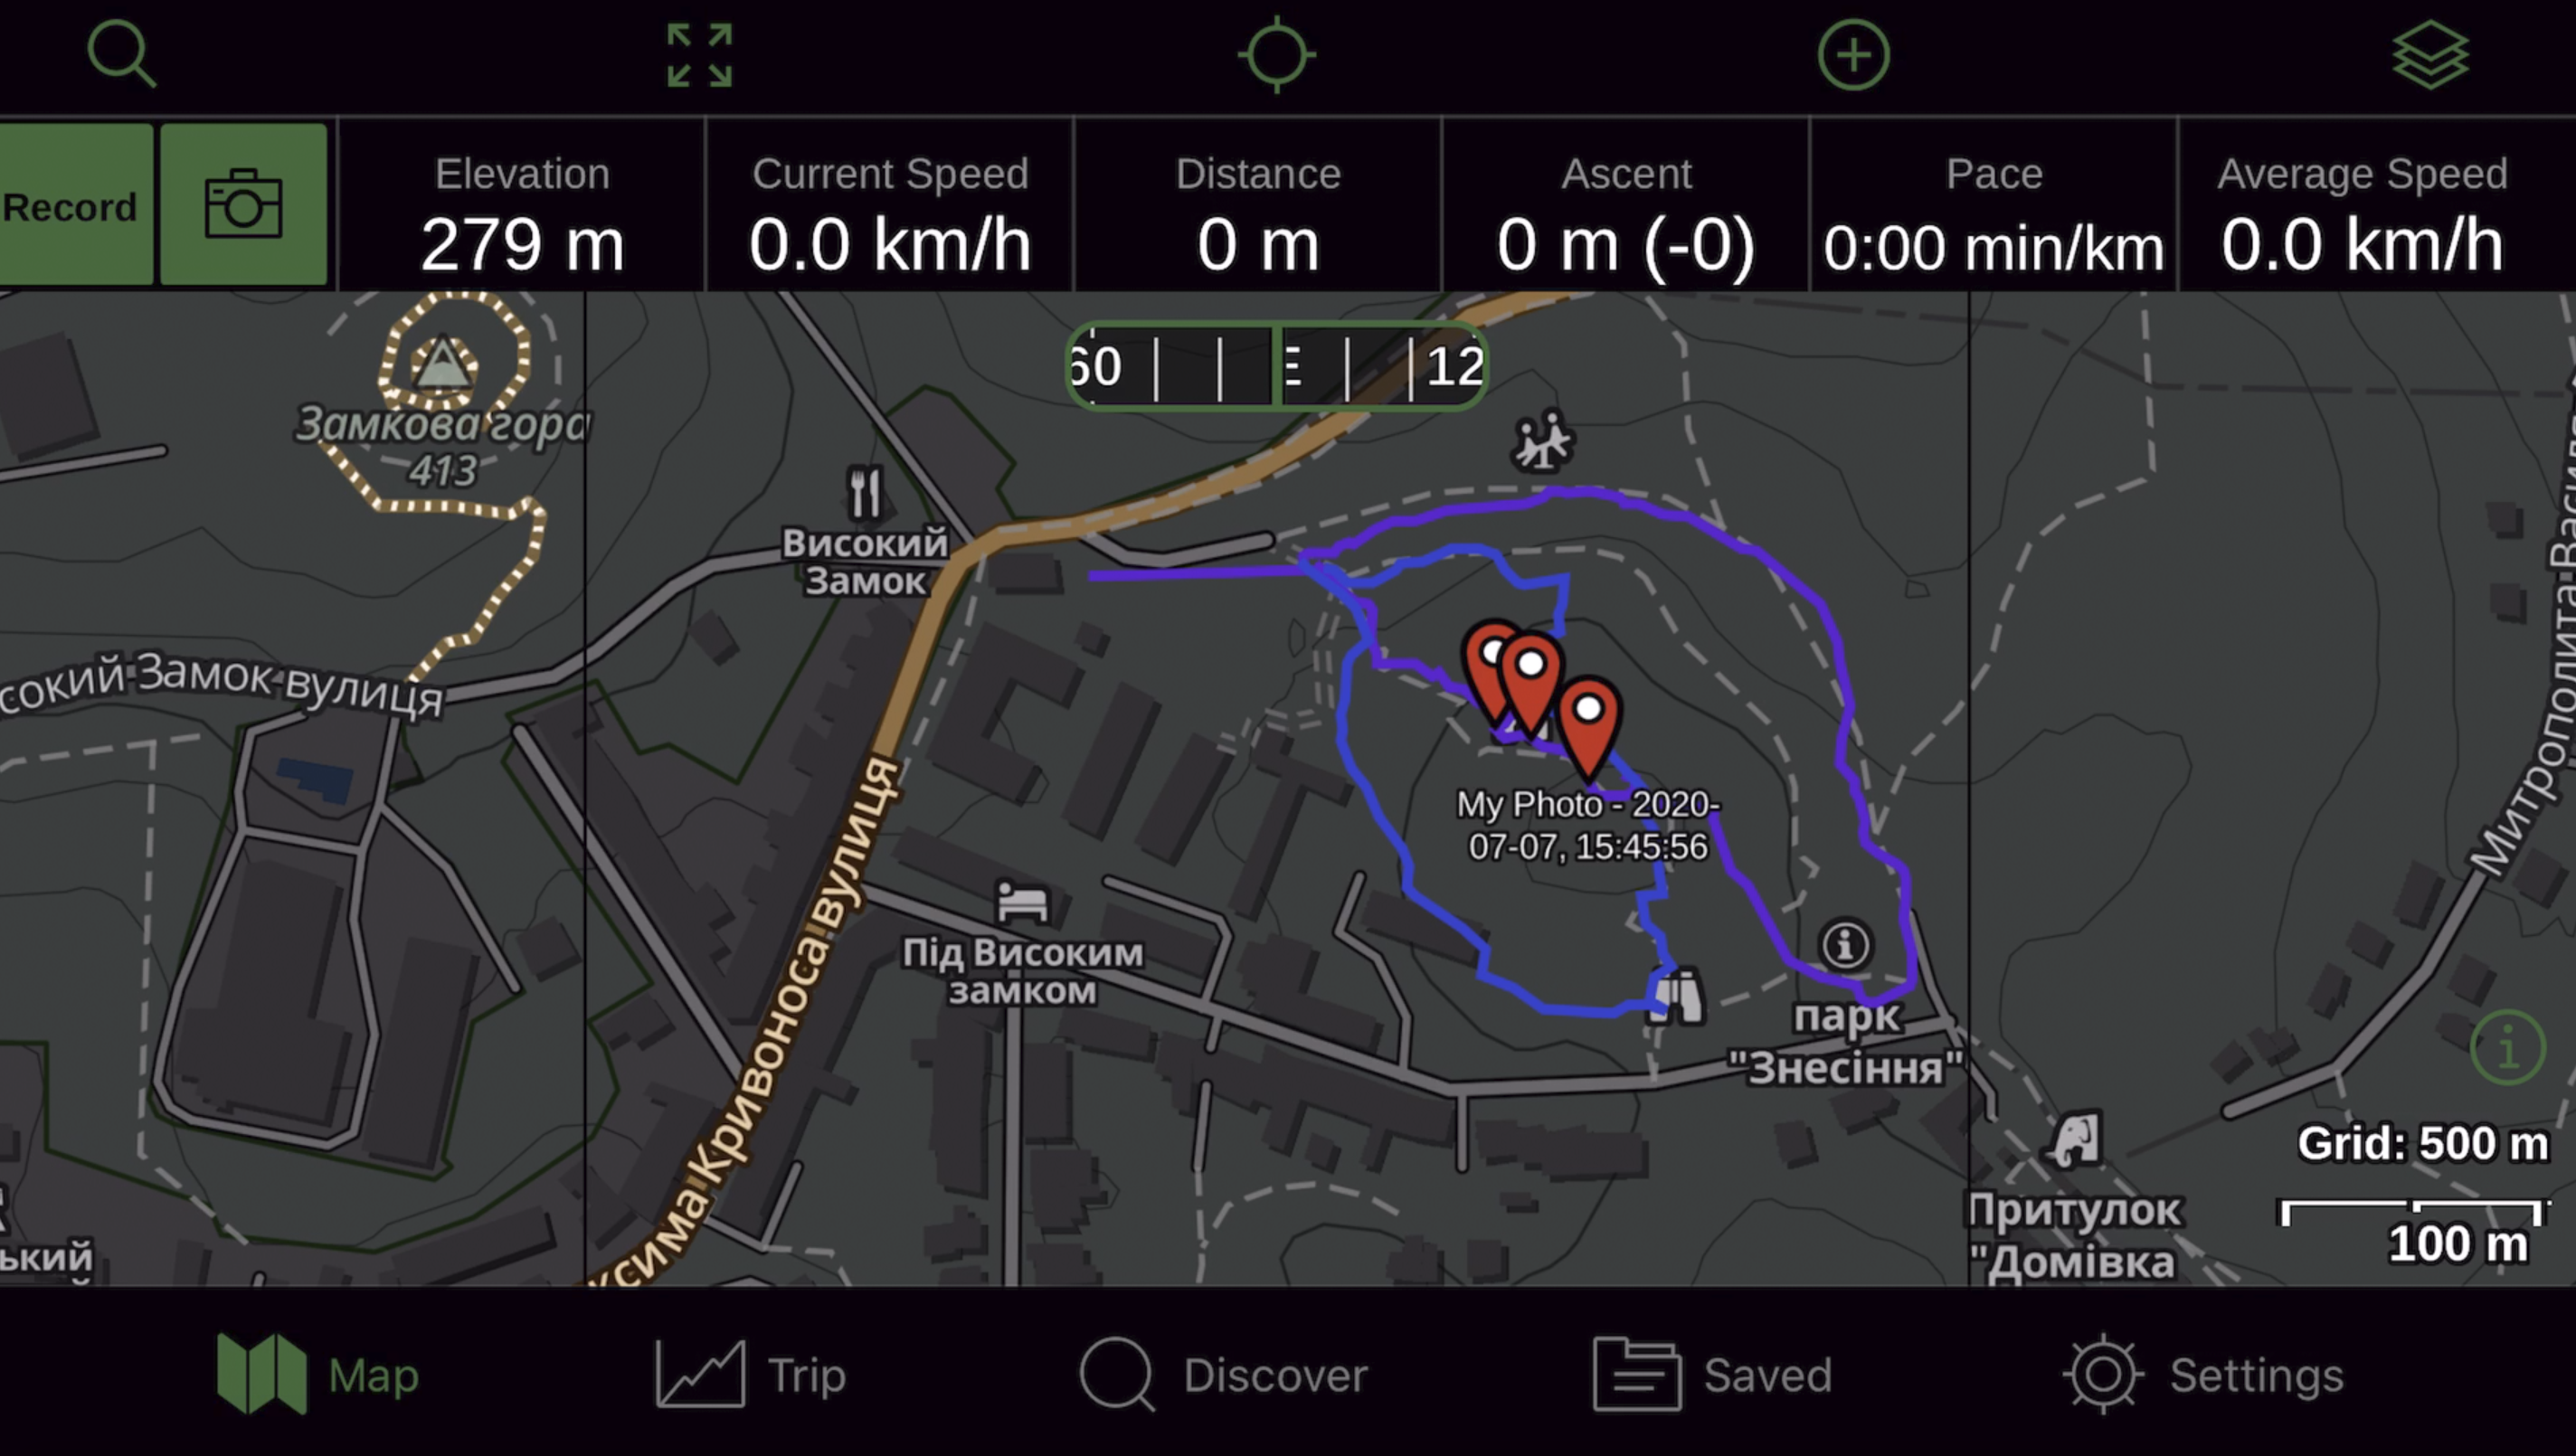
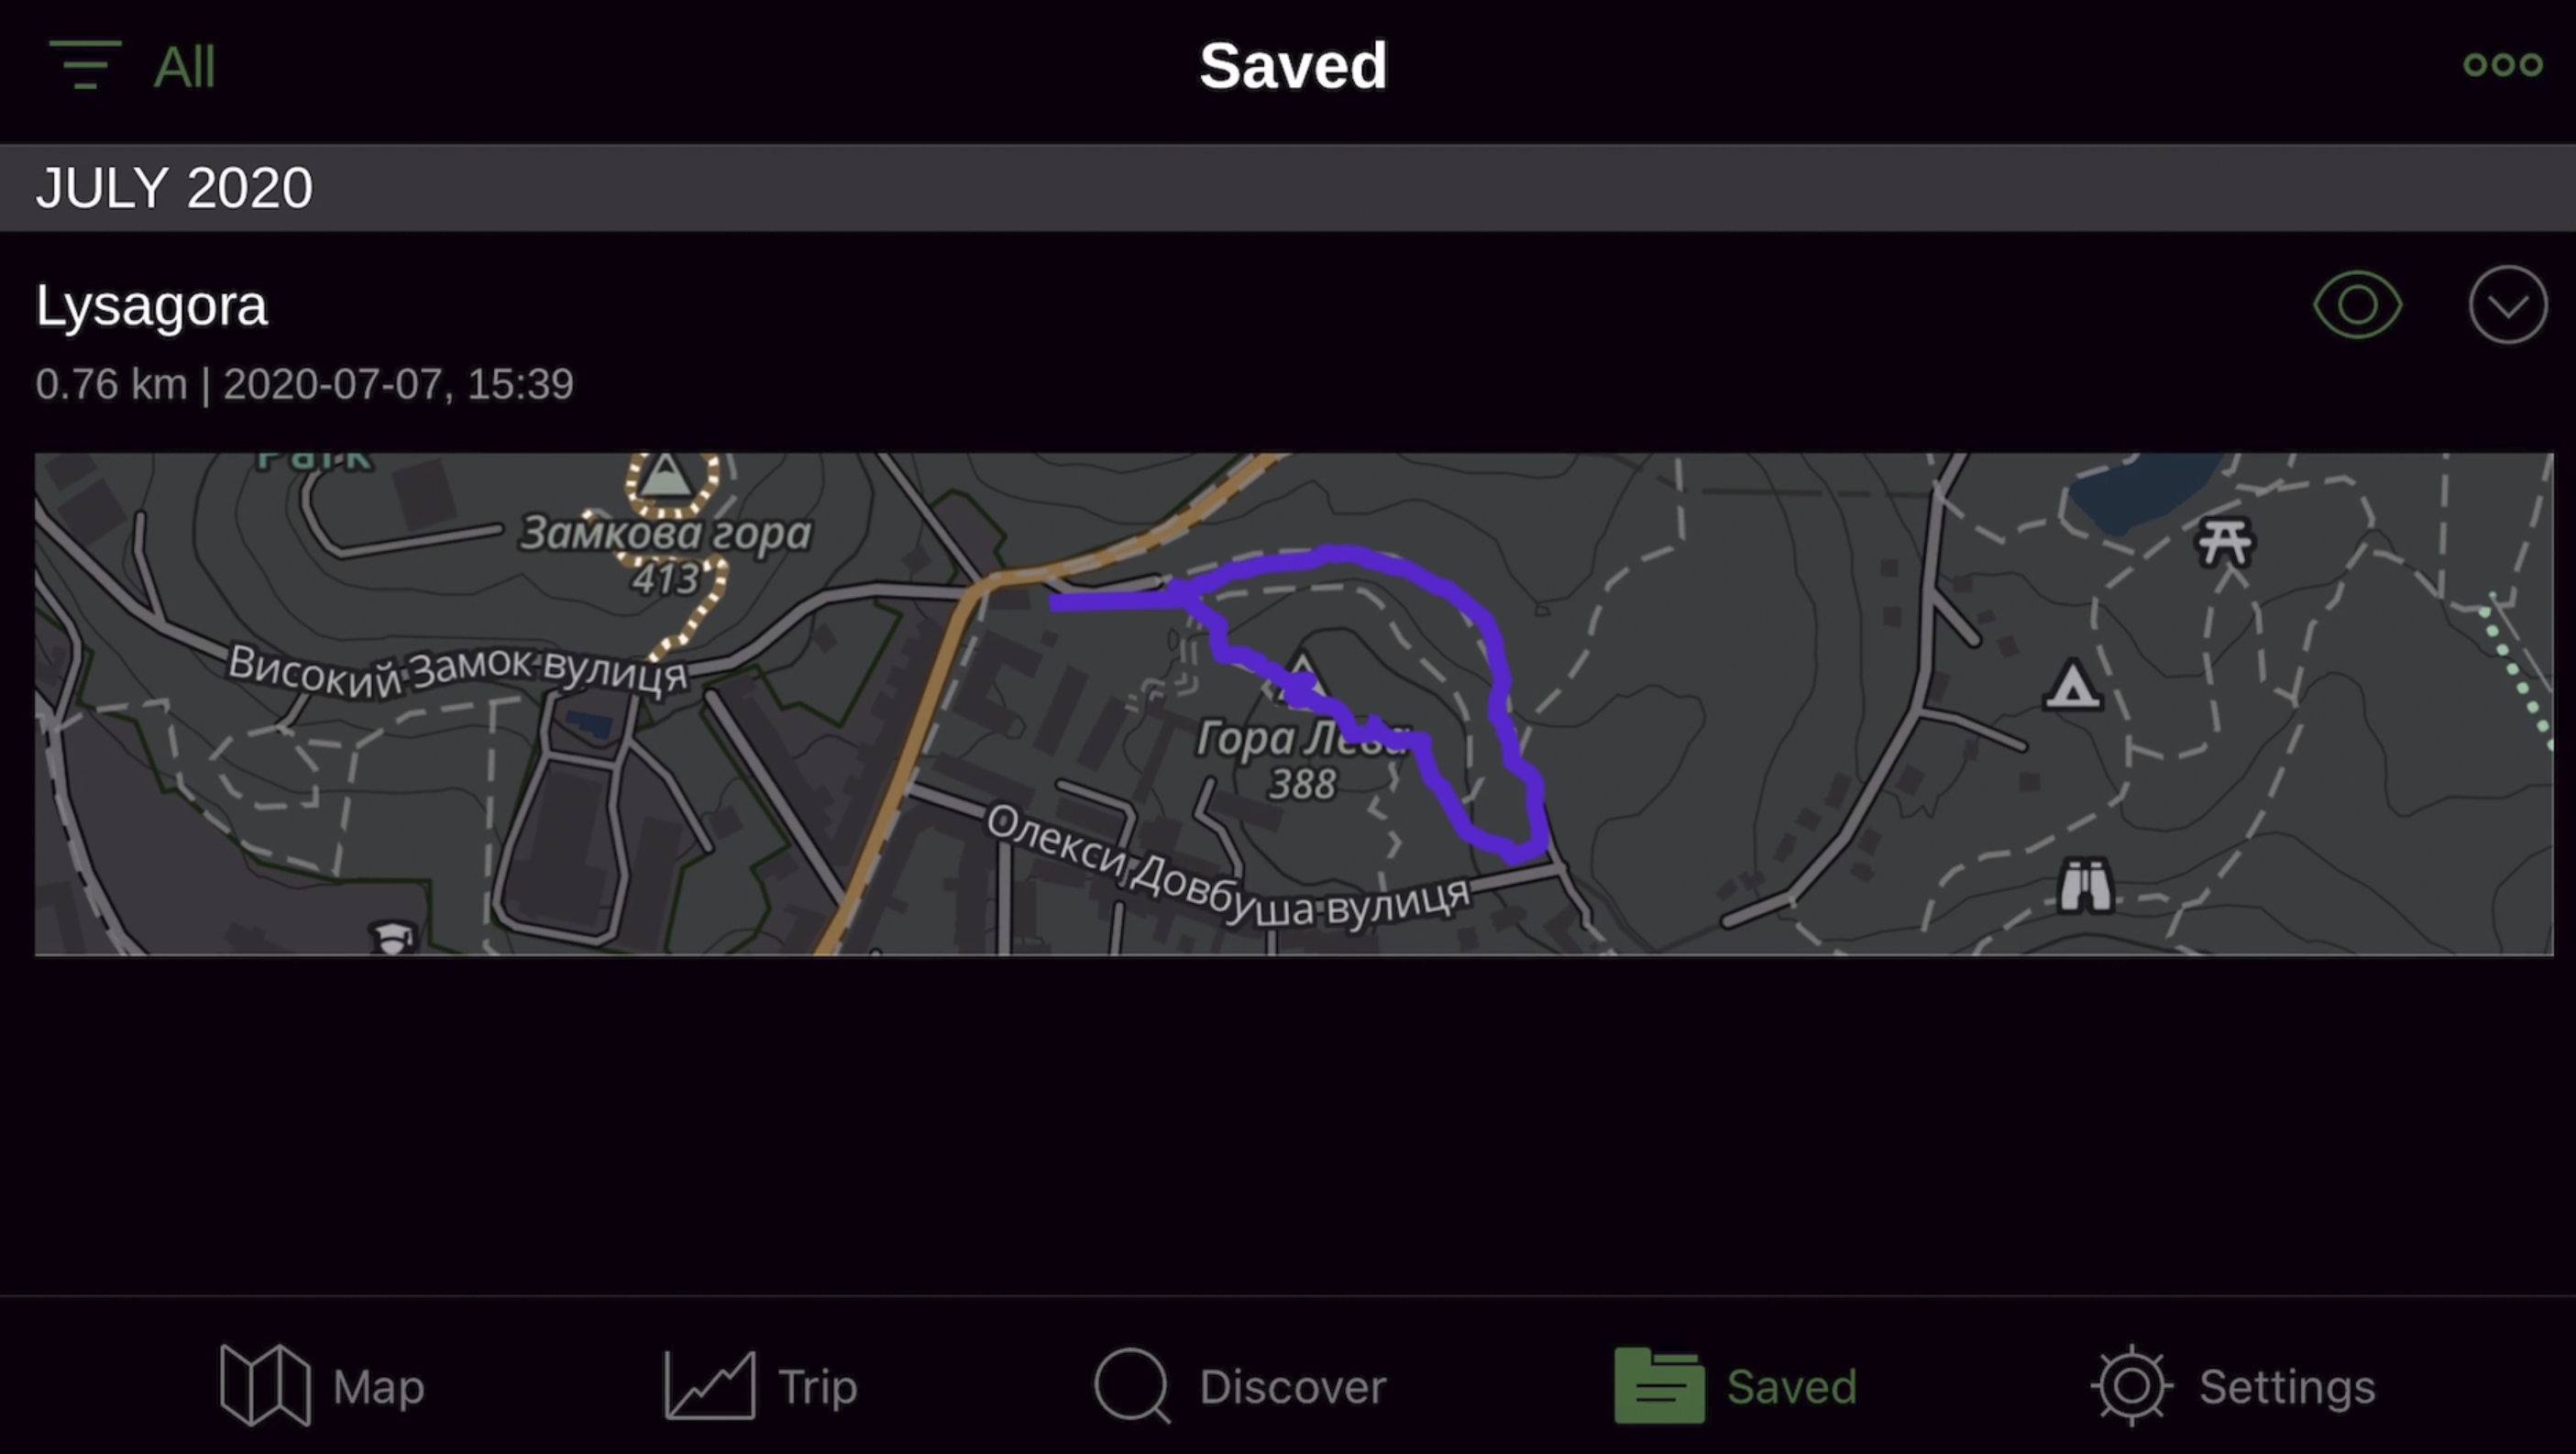
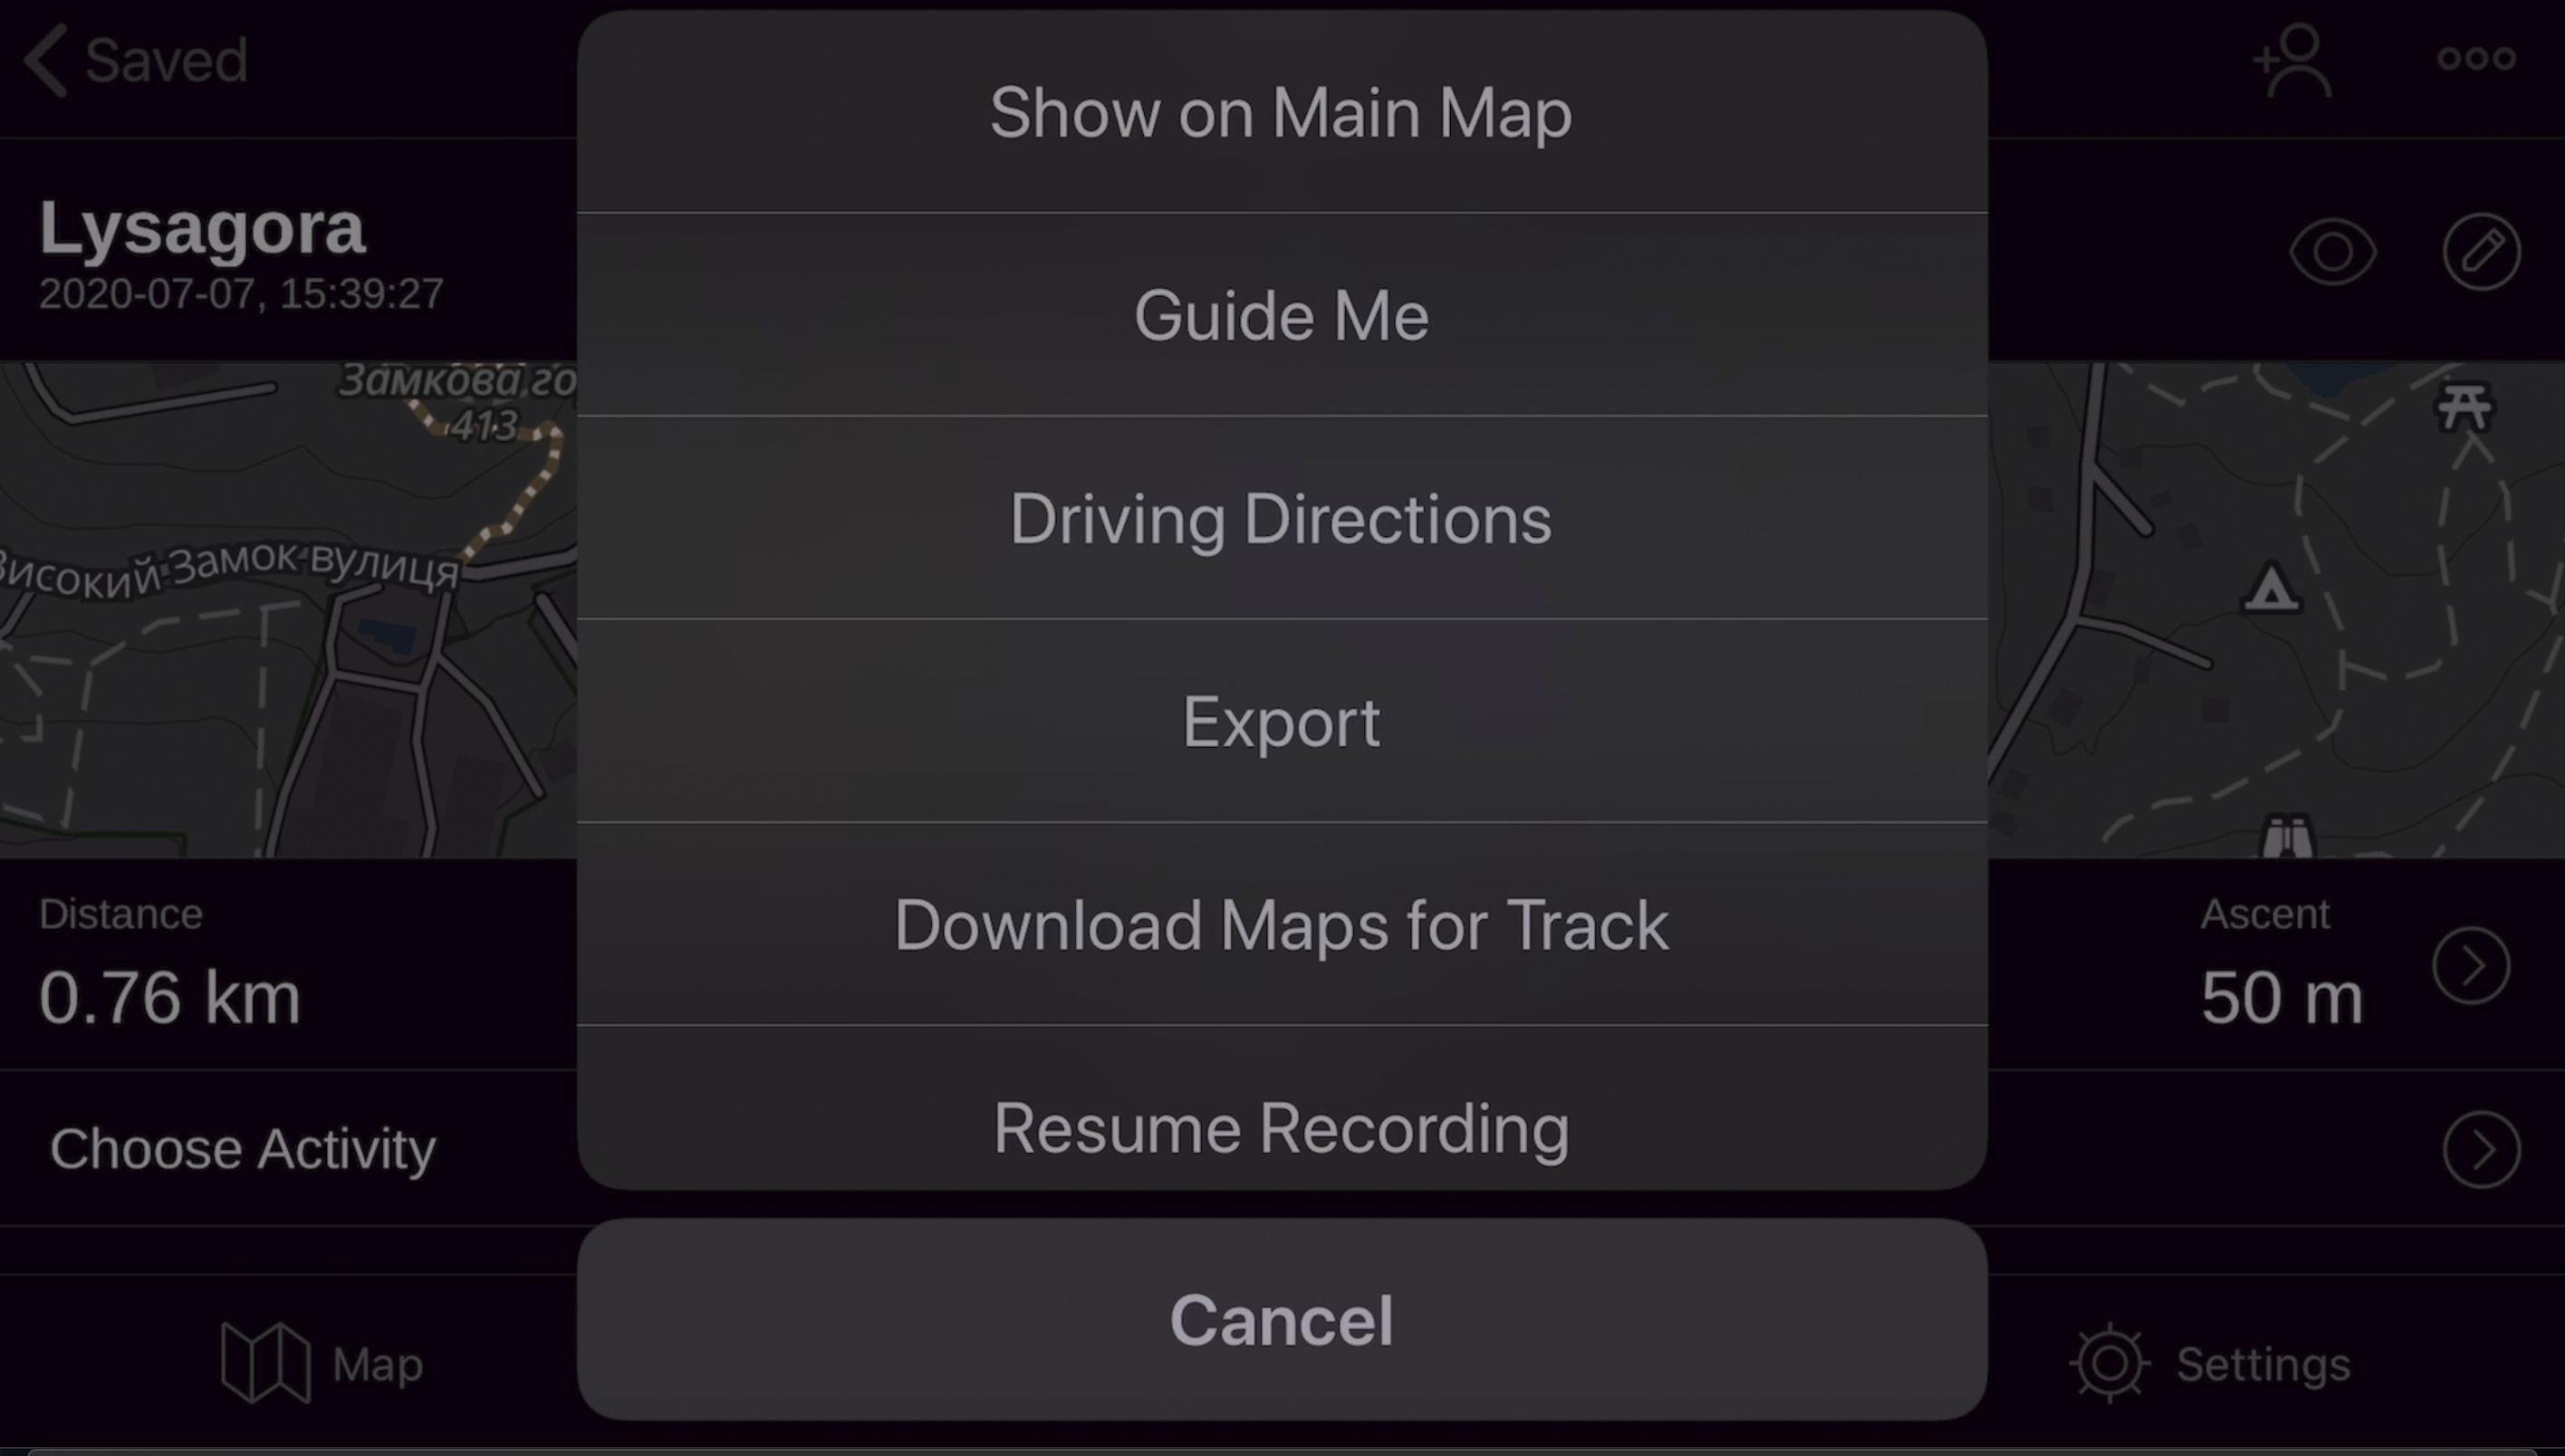
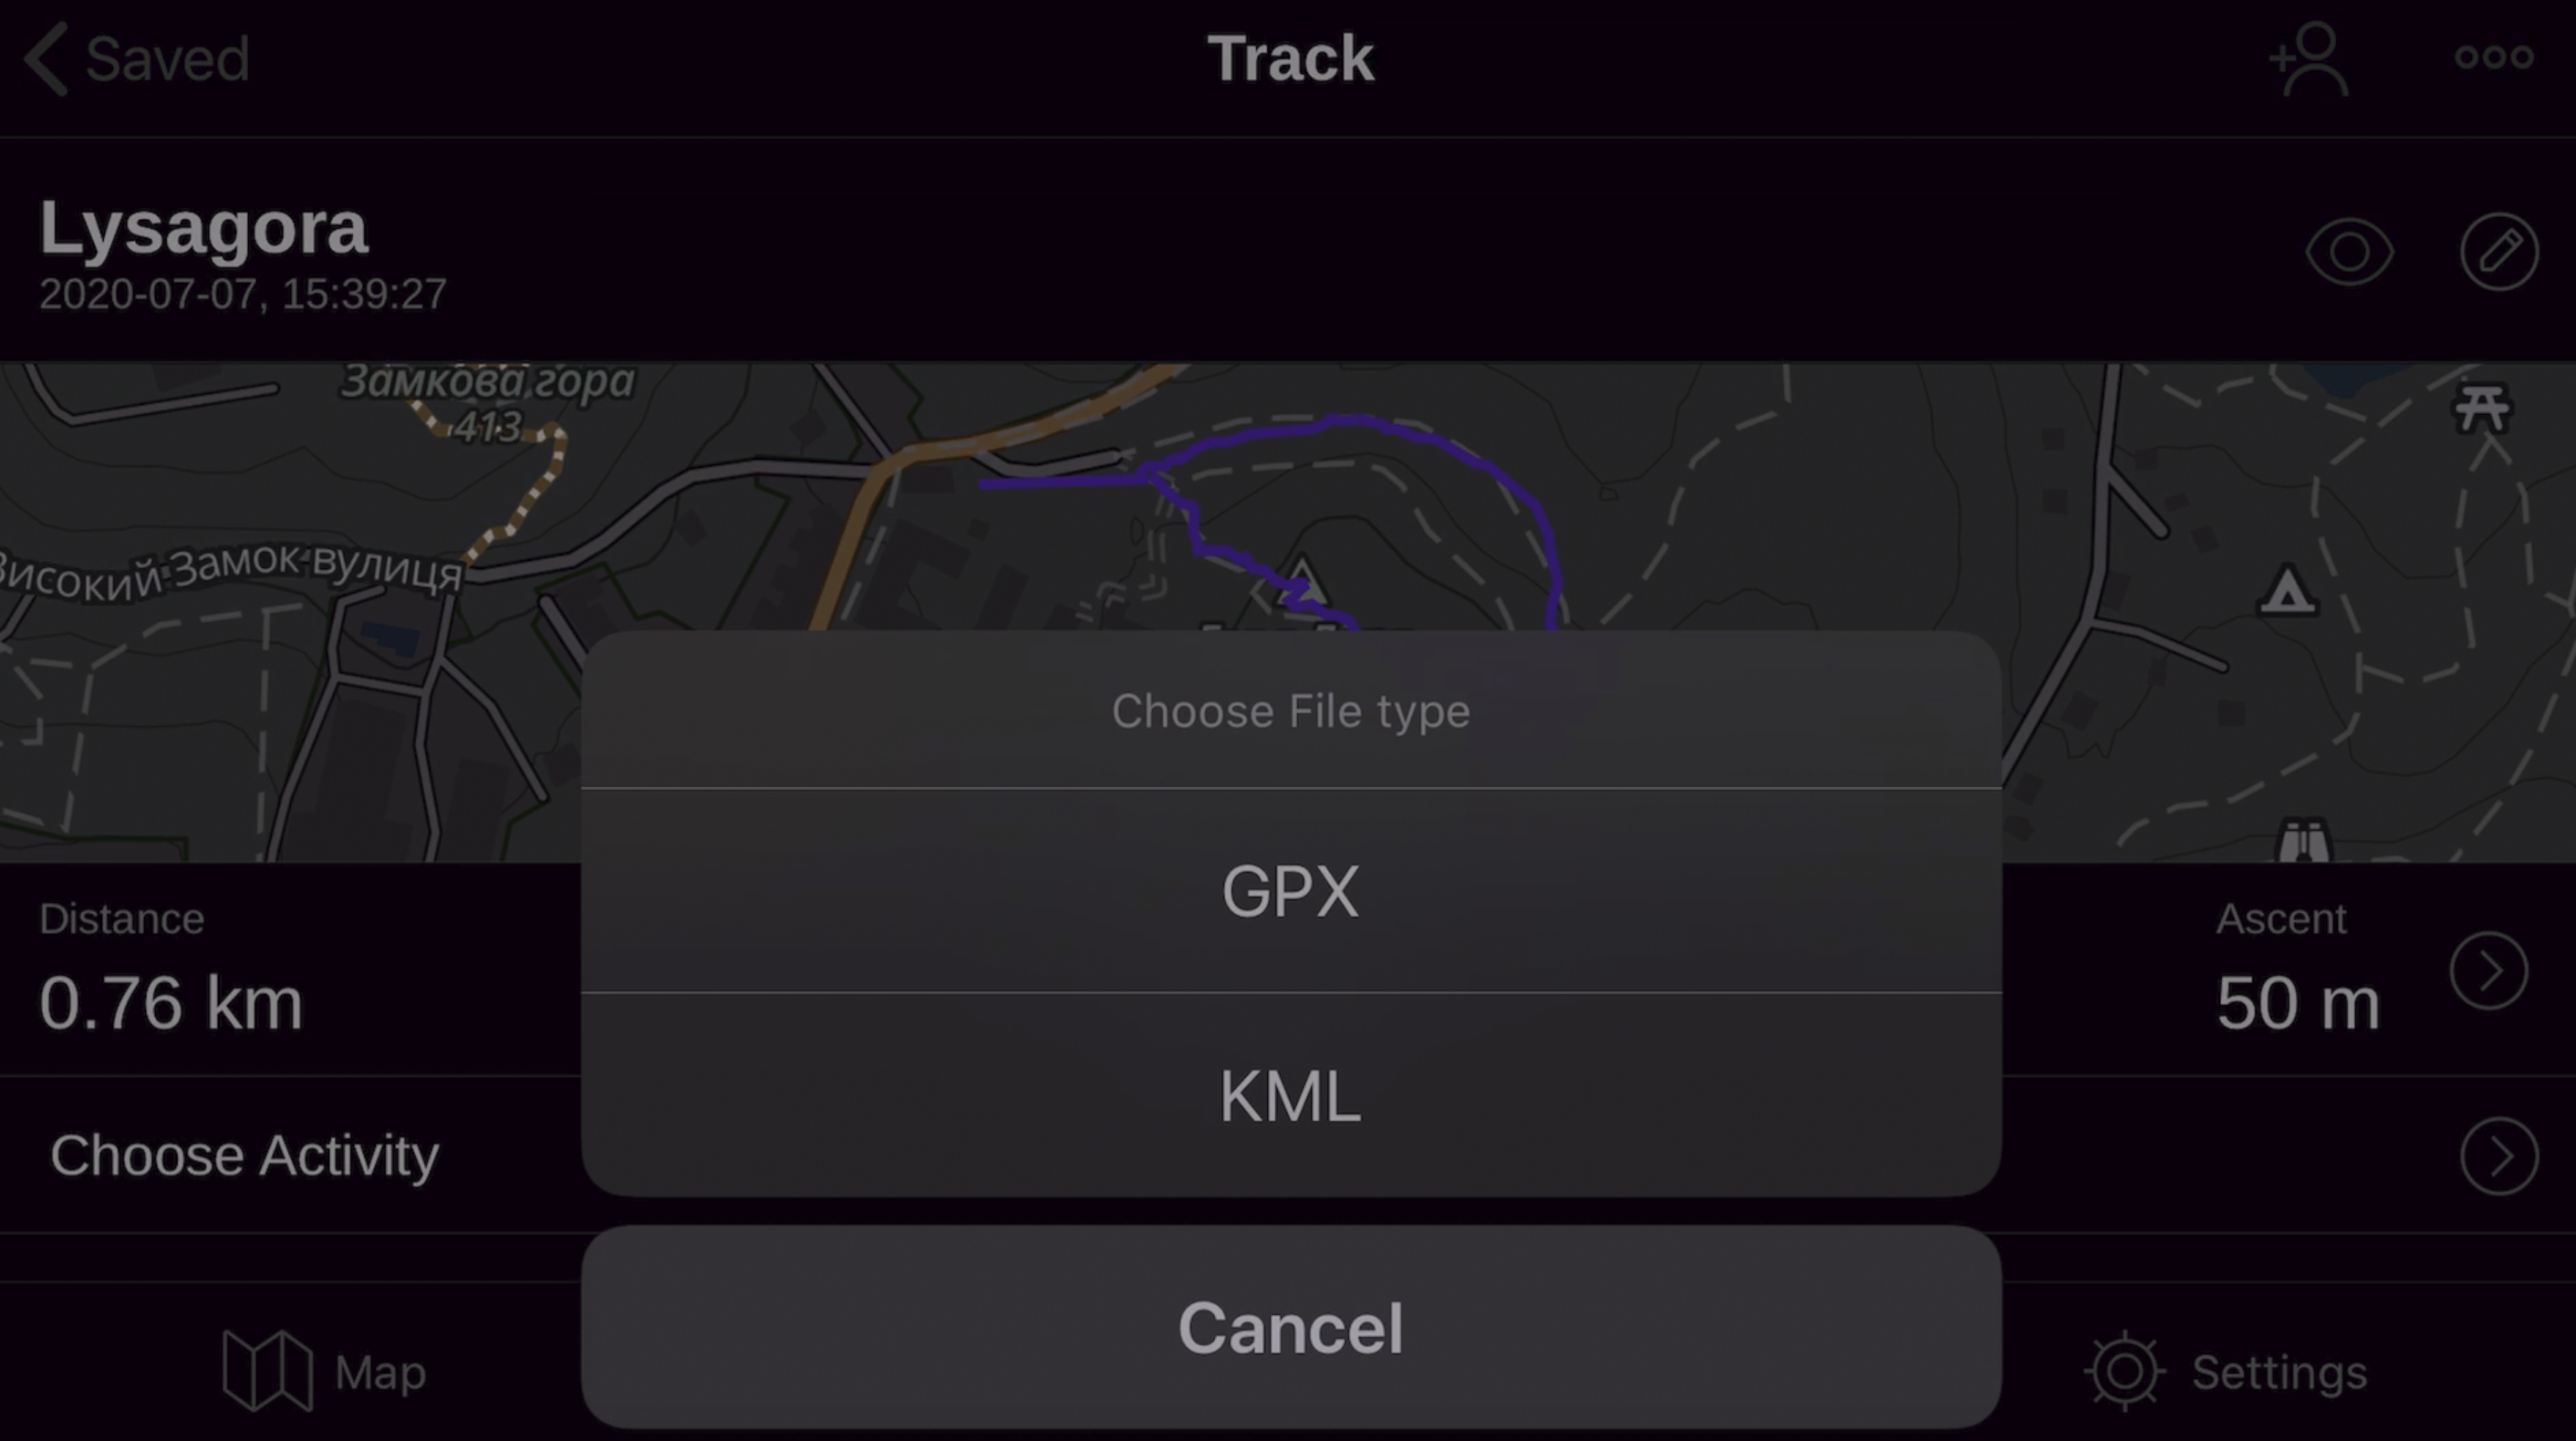
Transfer track file from your mobile or GPS. In my case from Gaia on my mobile/ cell phone.
Make sure you export track as KML file
Import Mosaic Image and Hike Track in Google Earth
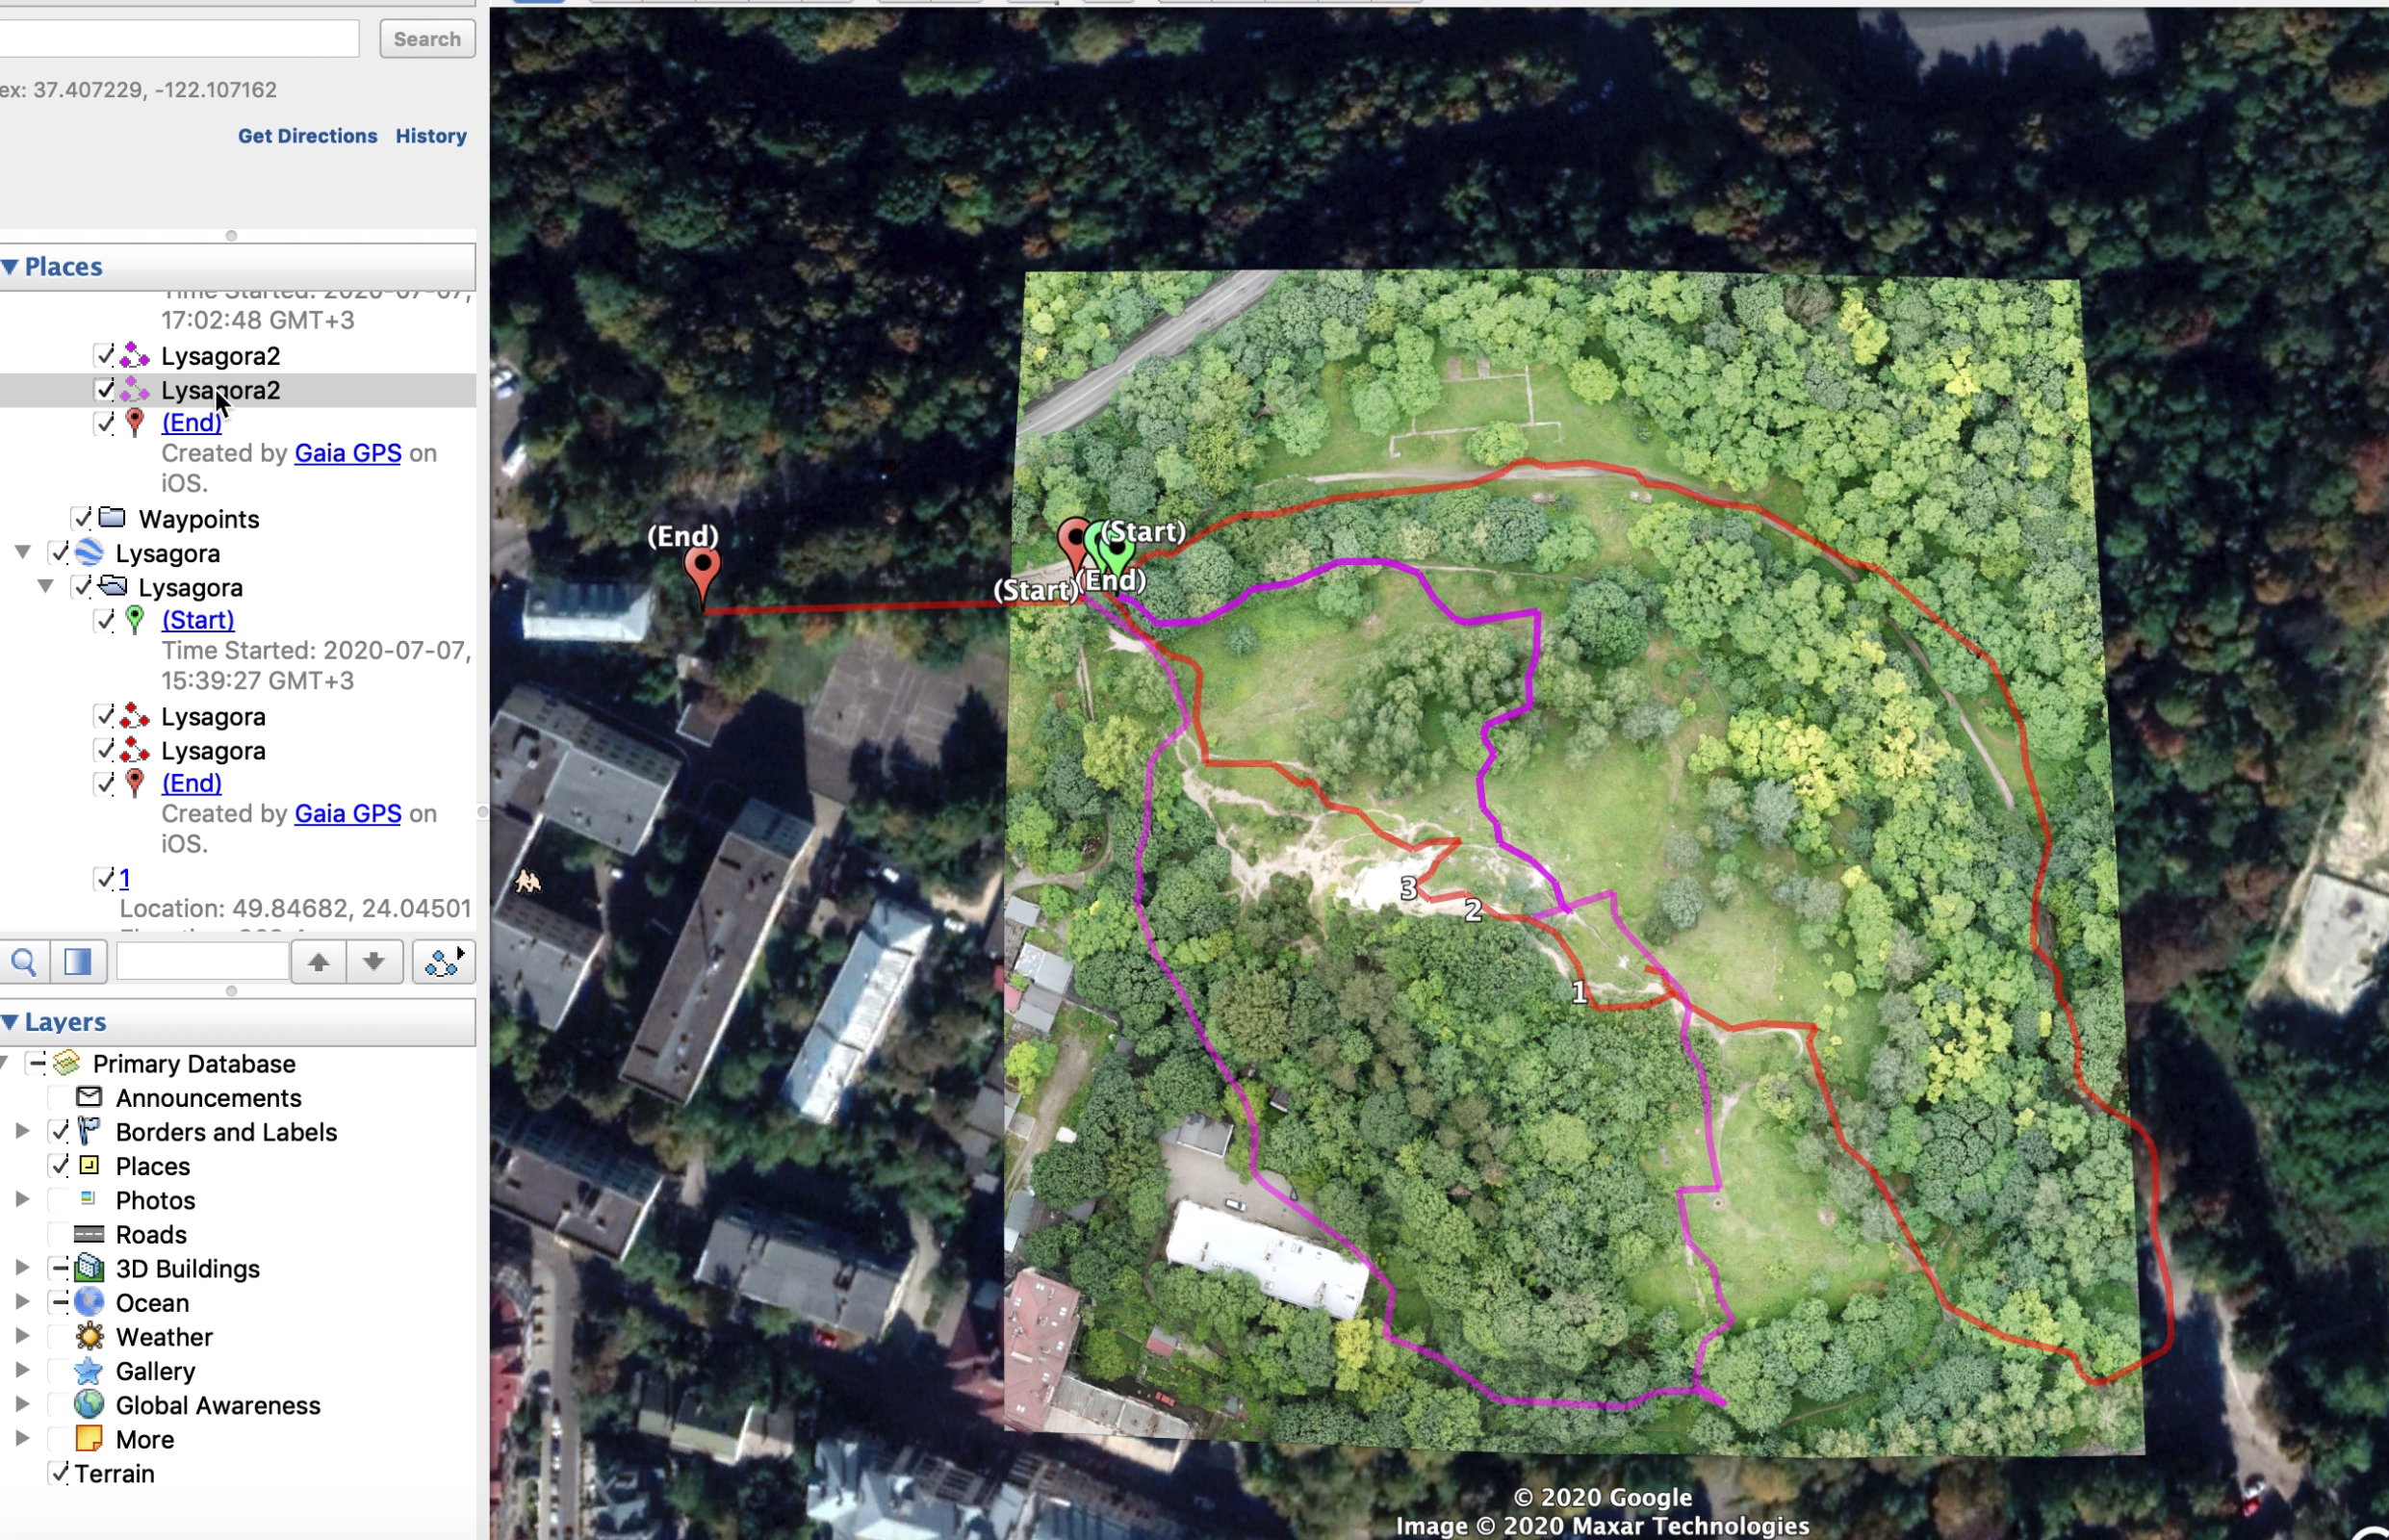
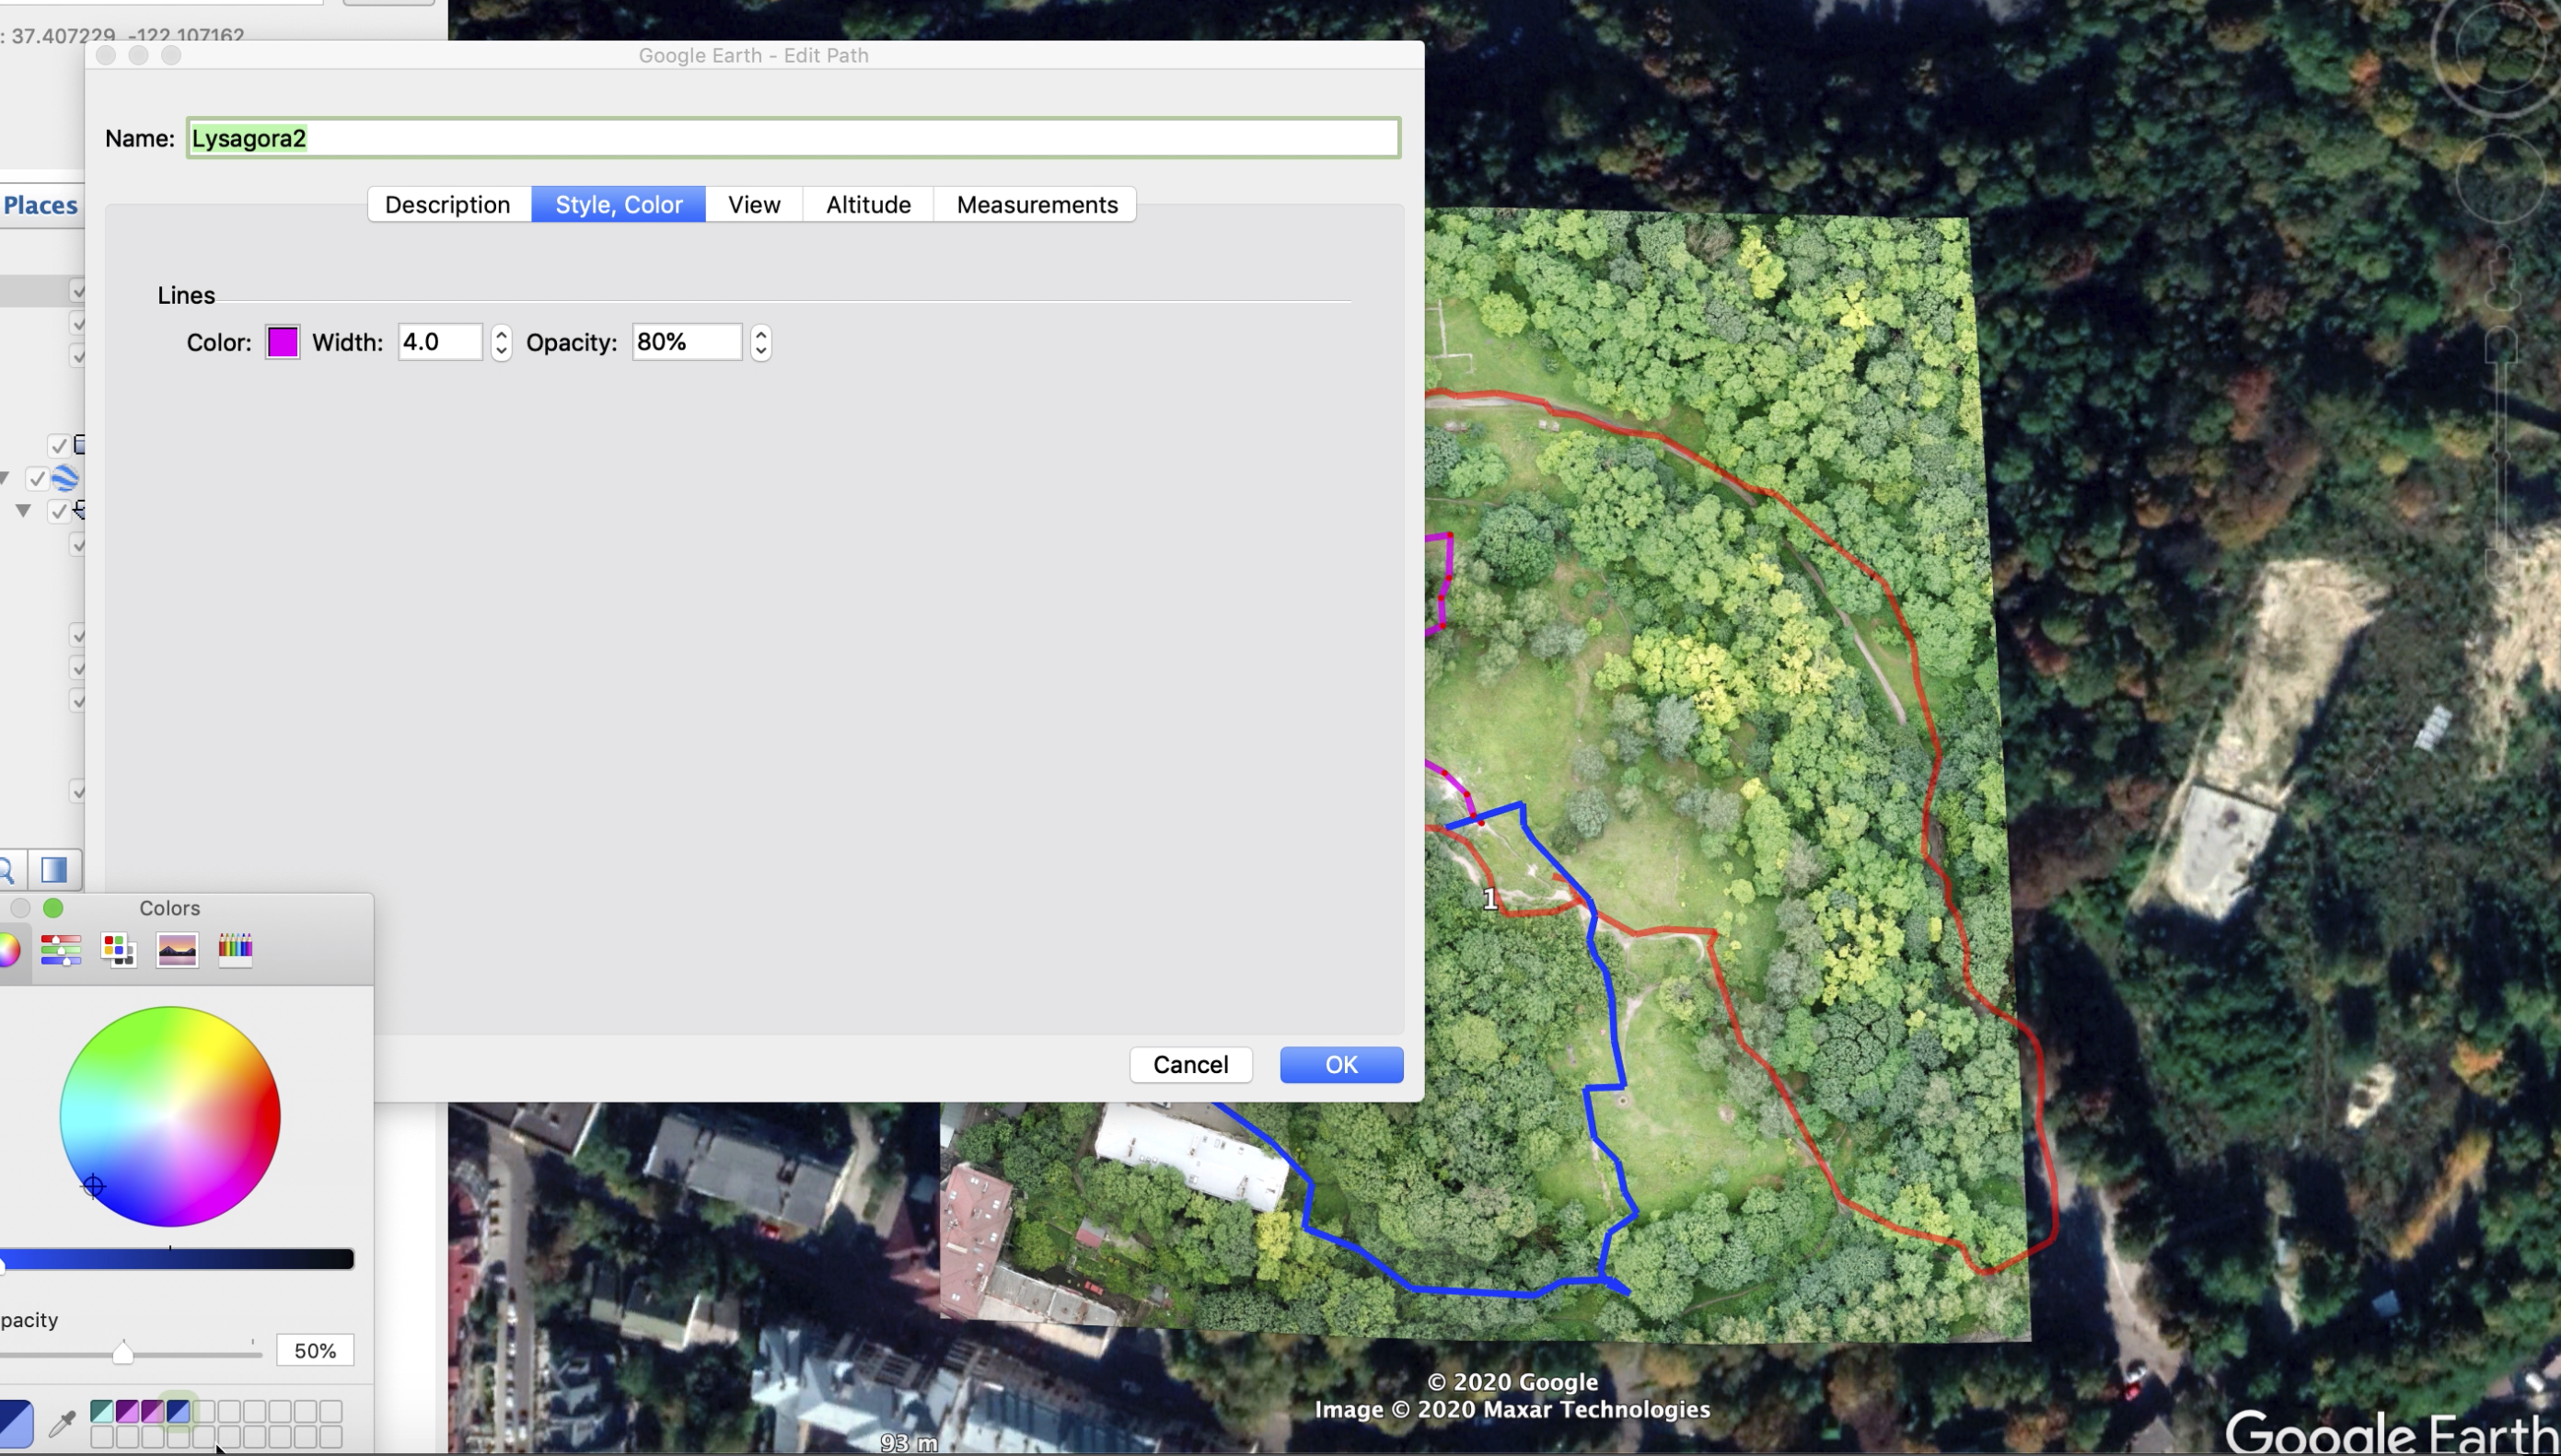
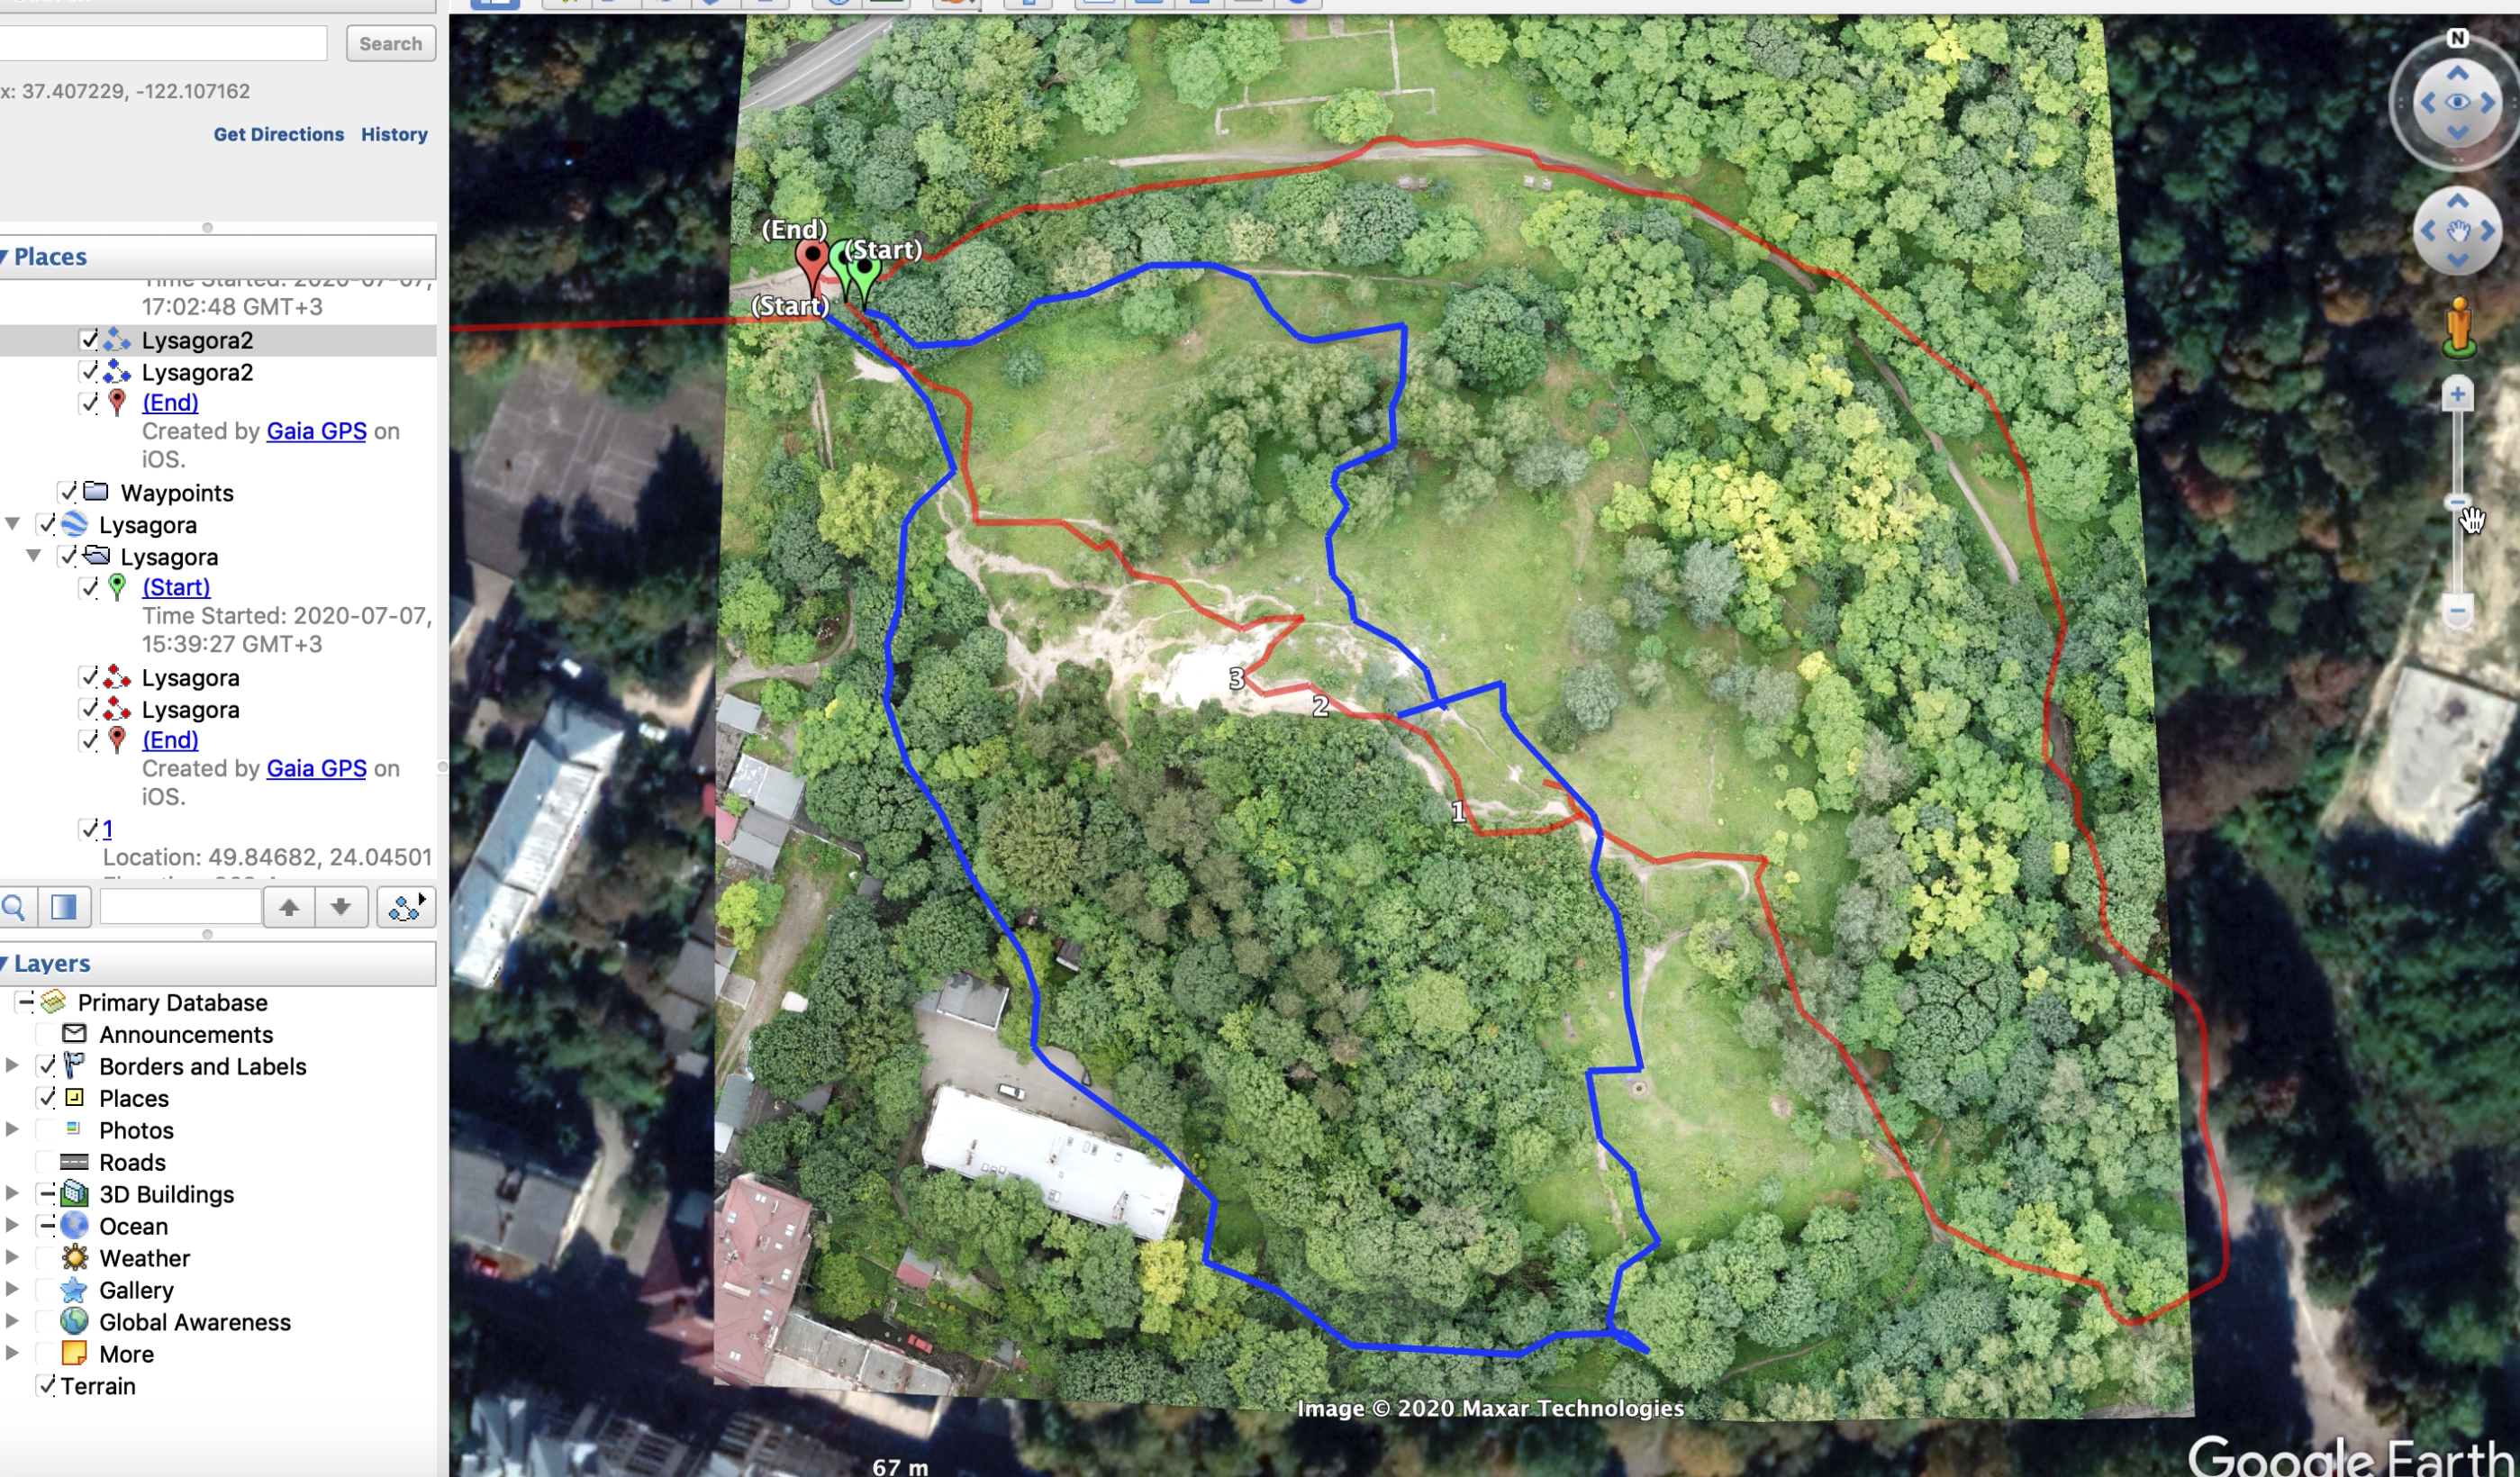
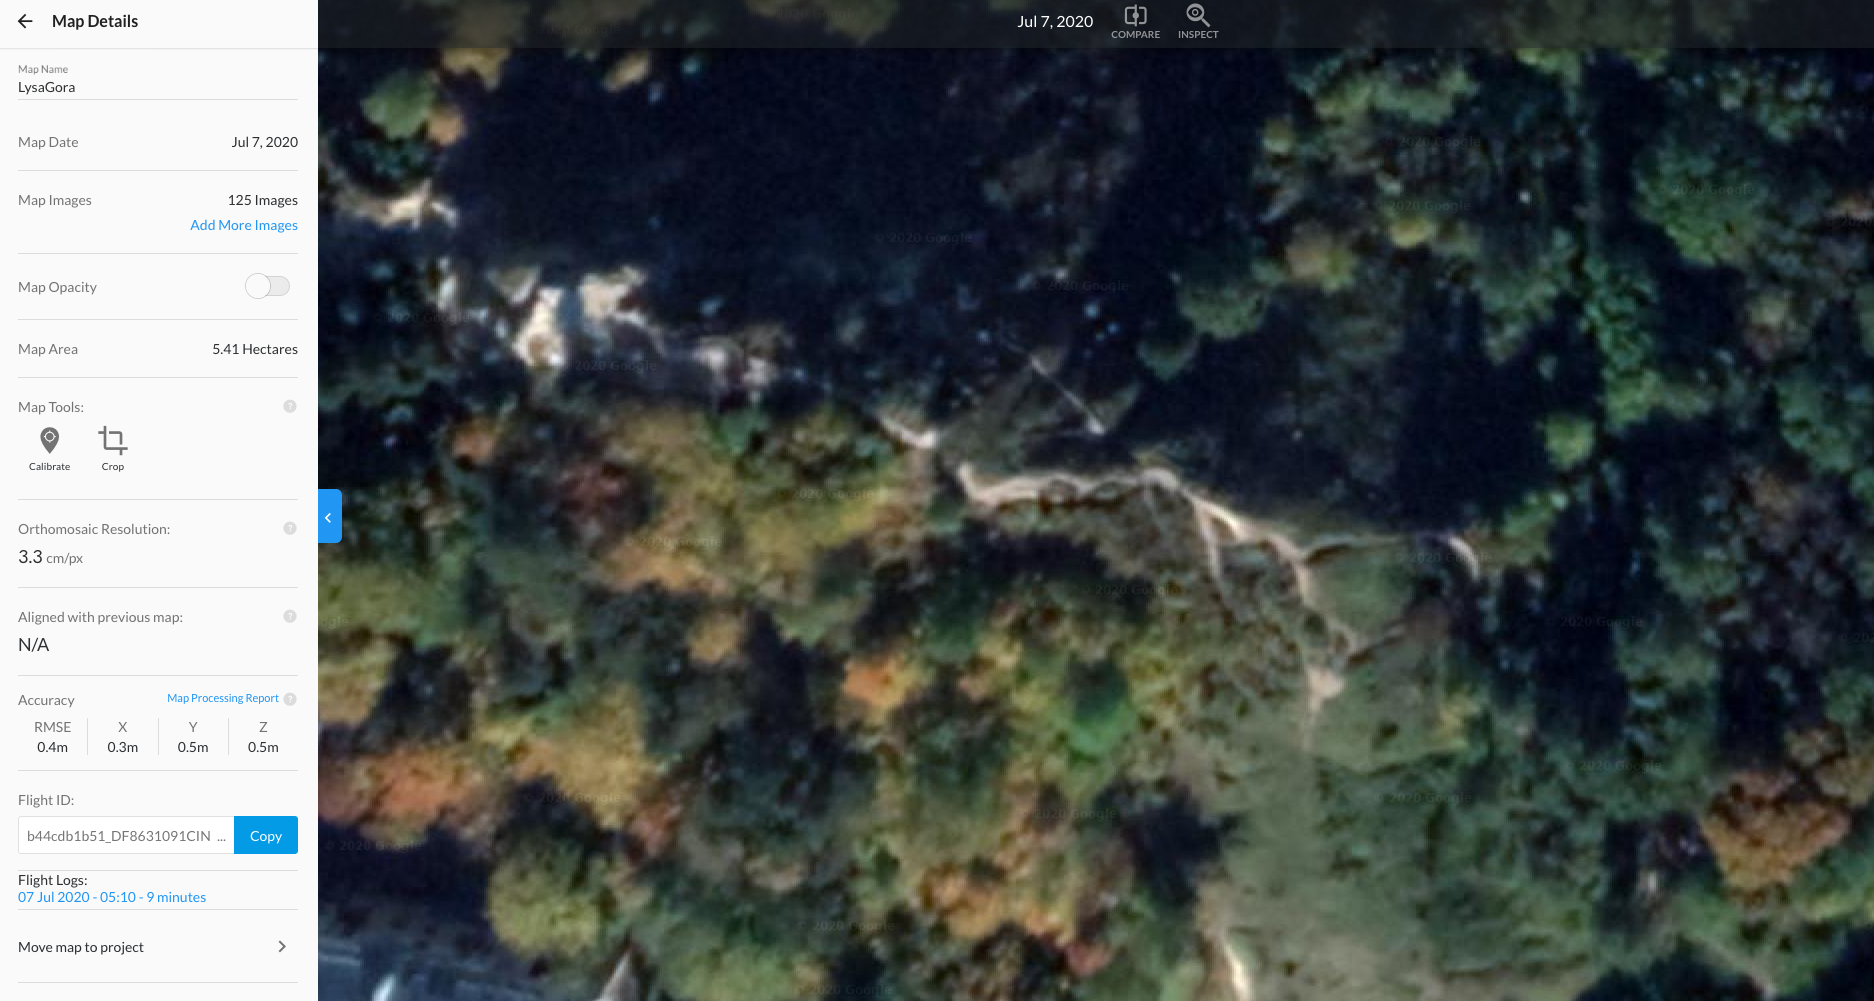
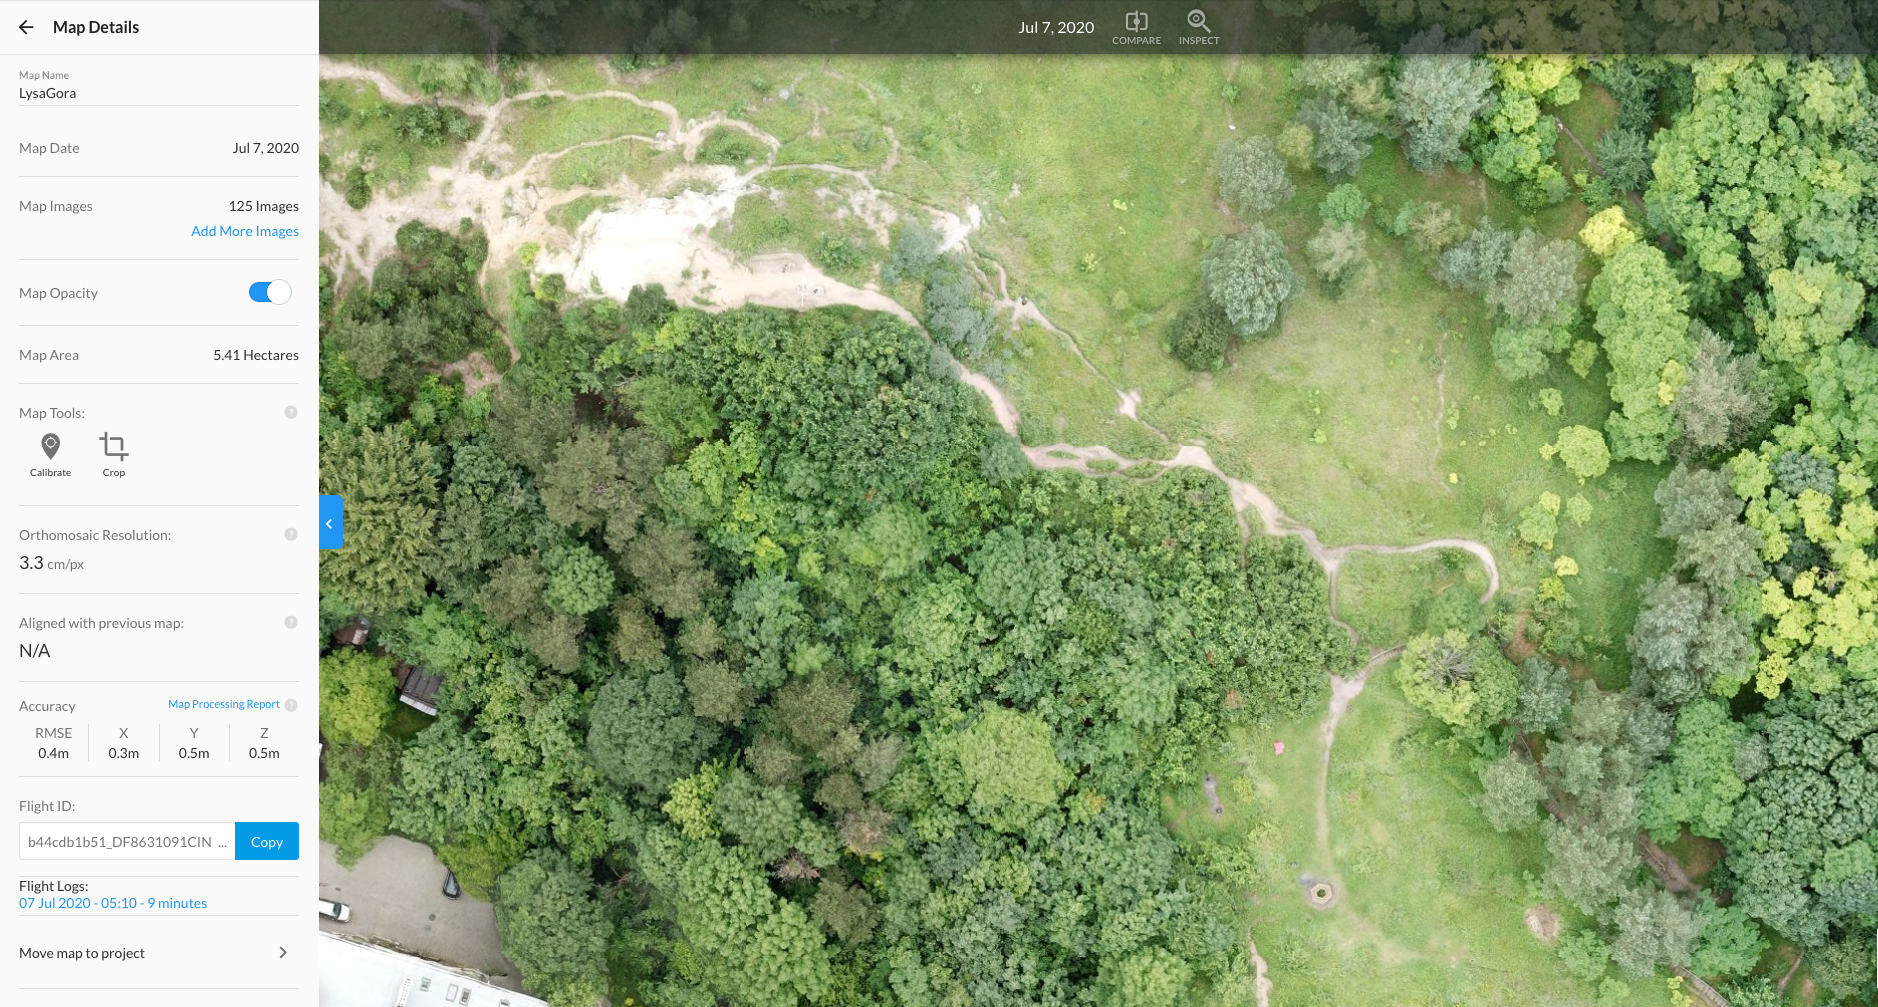
Import both drone mosaic image and track into Google Earth
- Drone mosaic export folder would have an image and KMZ file. Open that KMZ file. It shall automatically import into your Google Earth
- Do the same for the "hike " GPS file. It should have KML extension
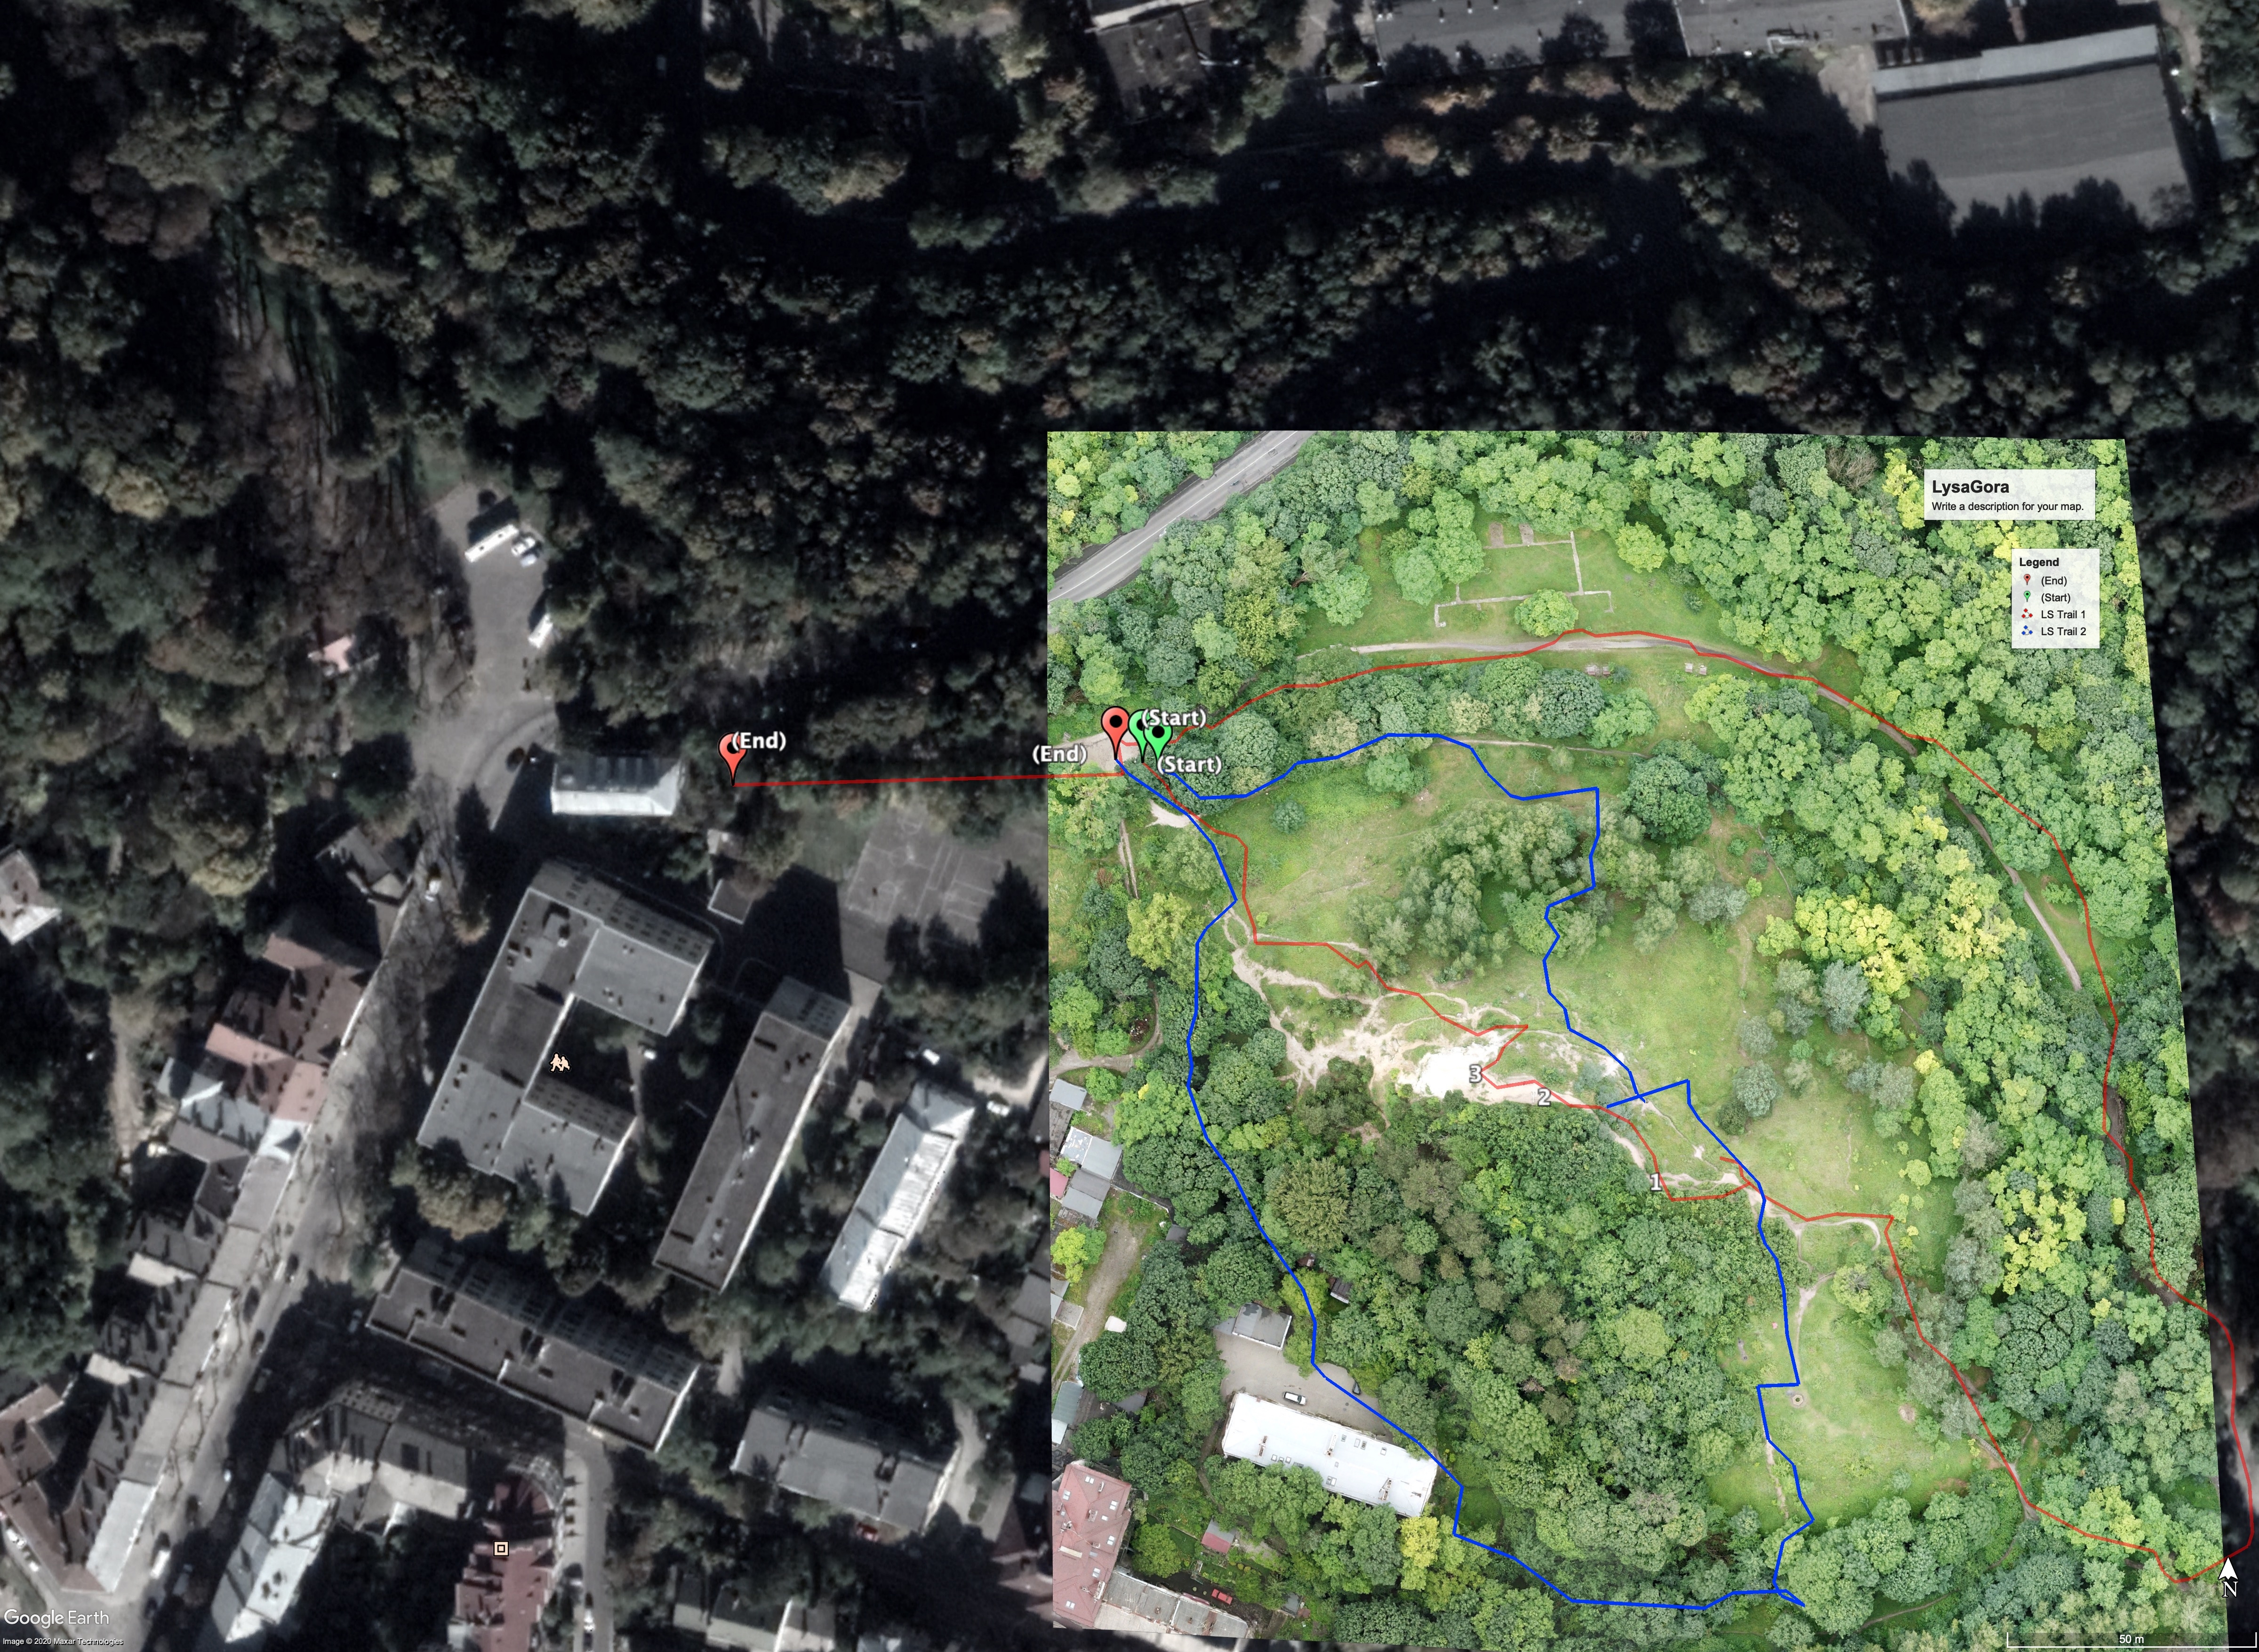
- Both image and track would appear on google earth satelite image. you can see and compare how much better your resolution vs google
Make Map in Google Earth
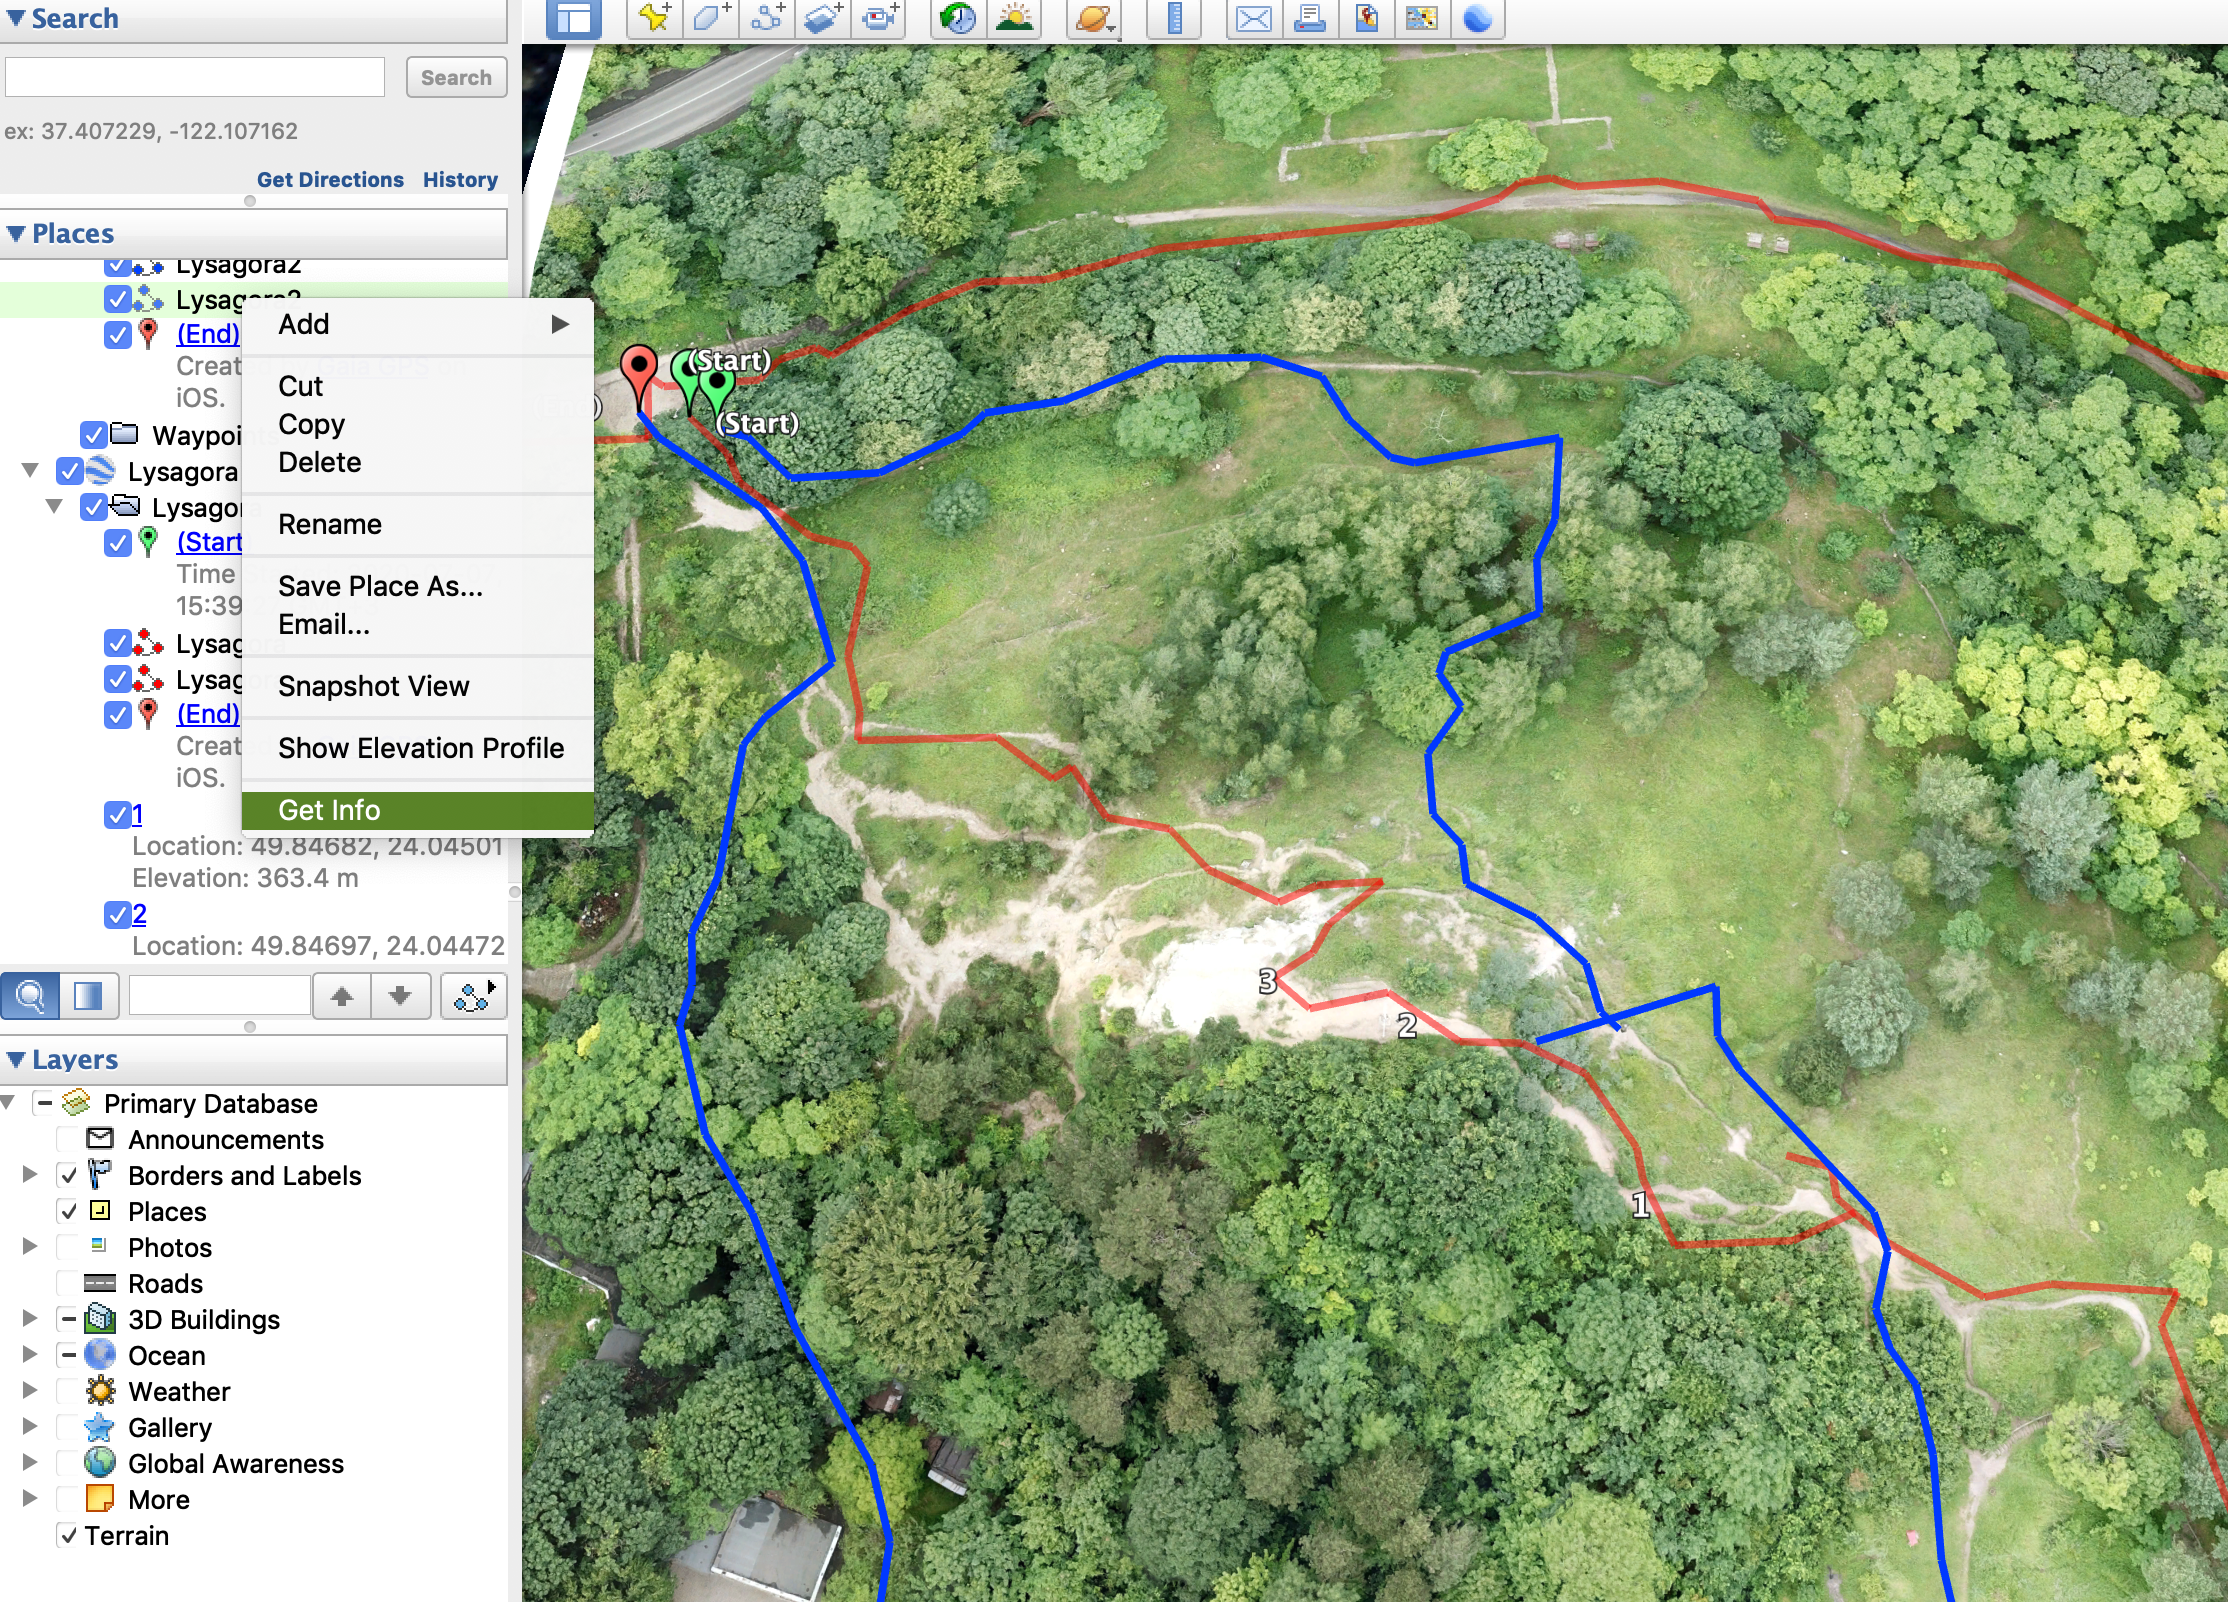
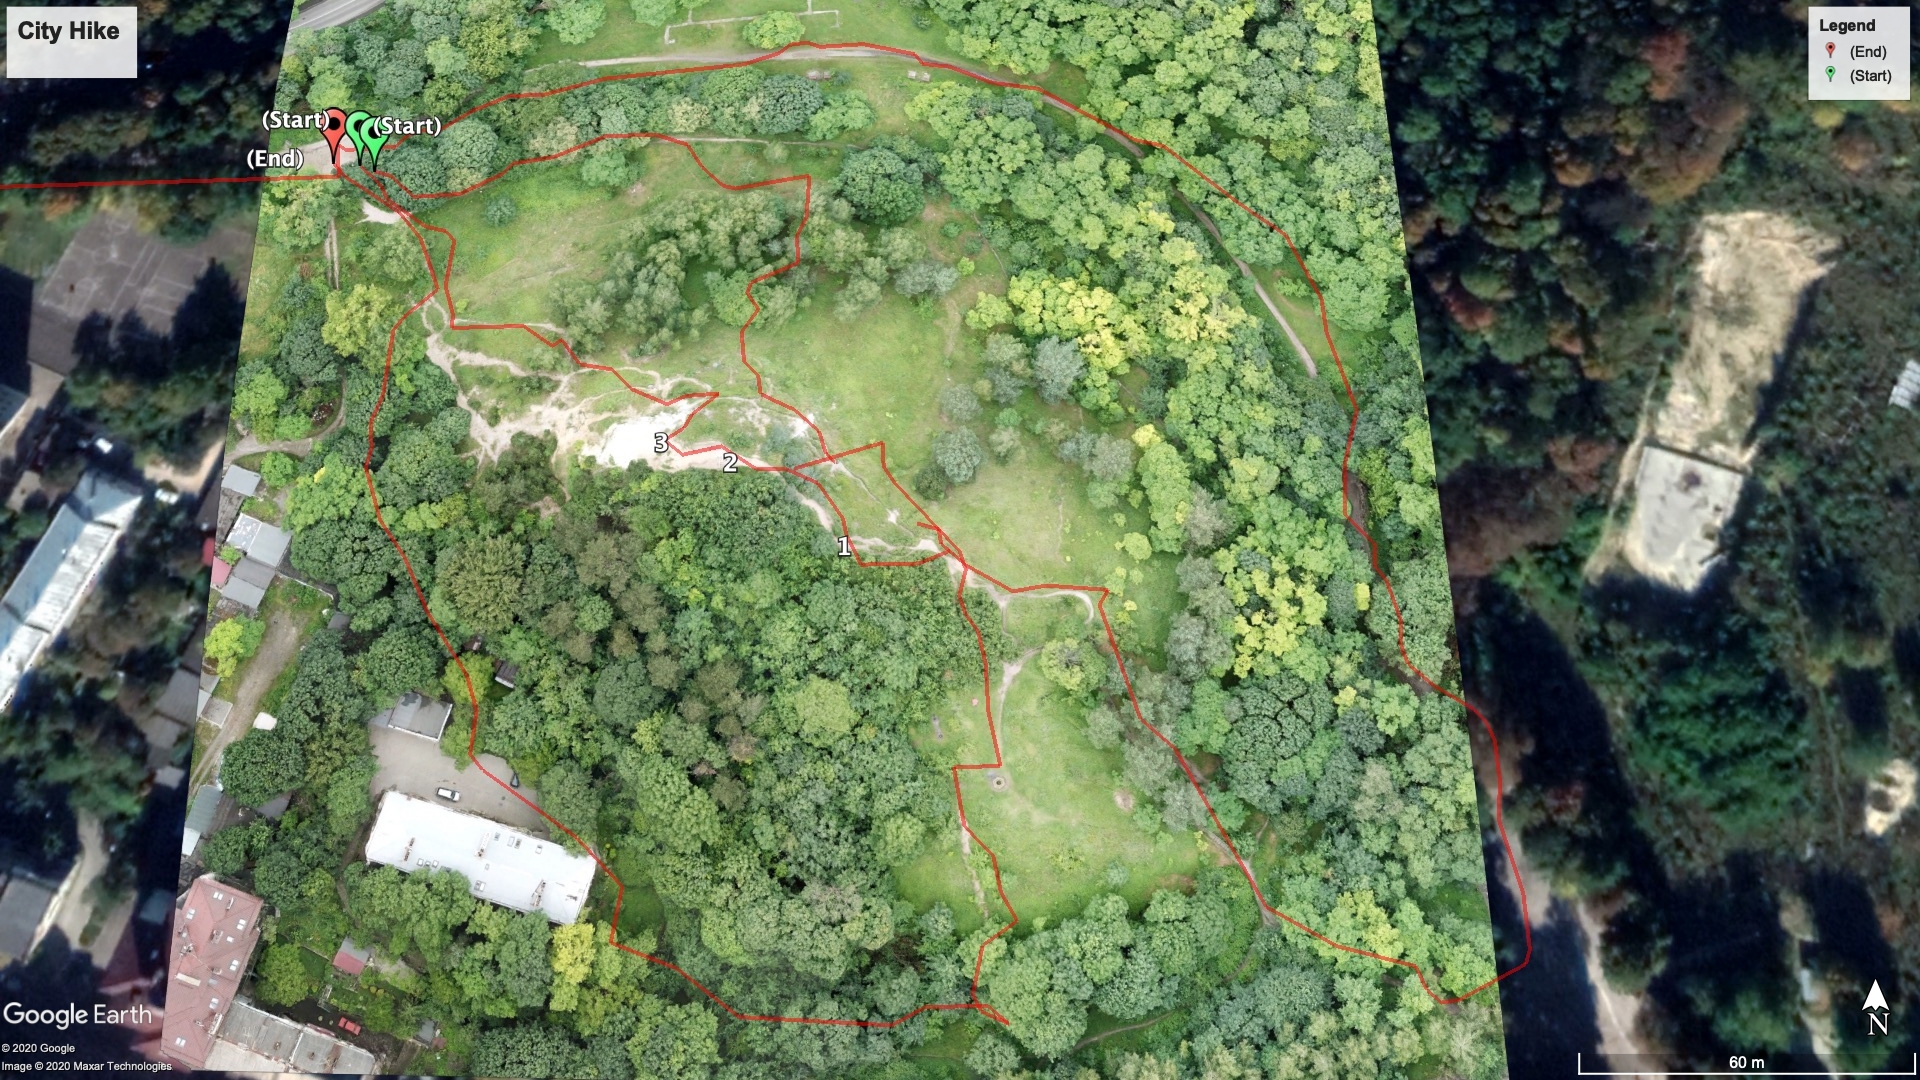
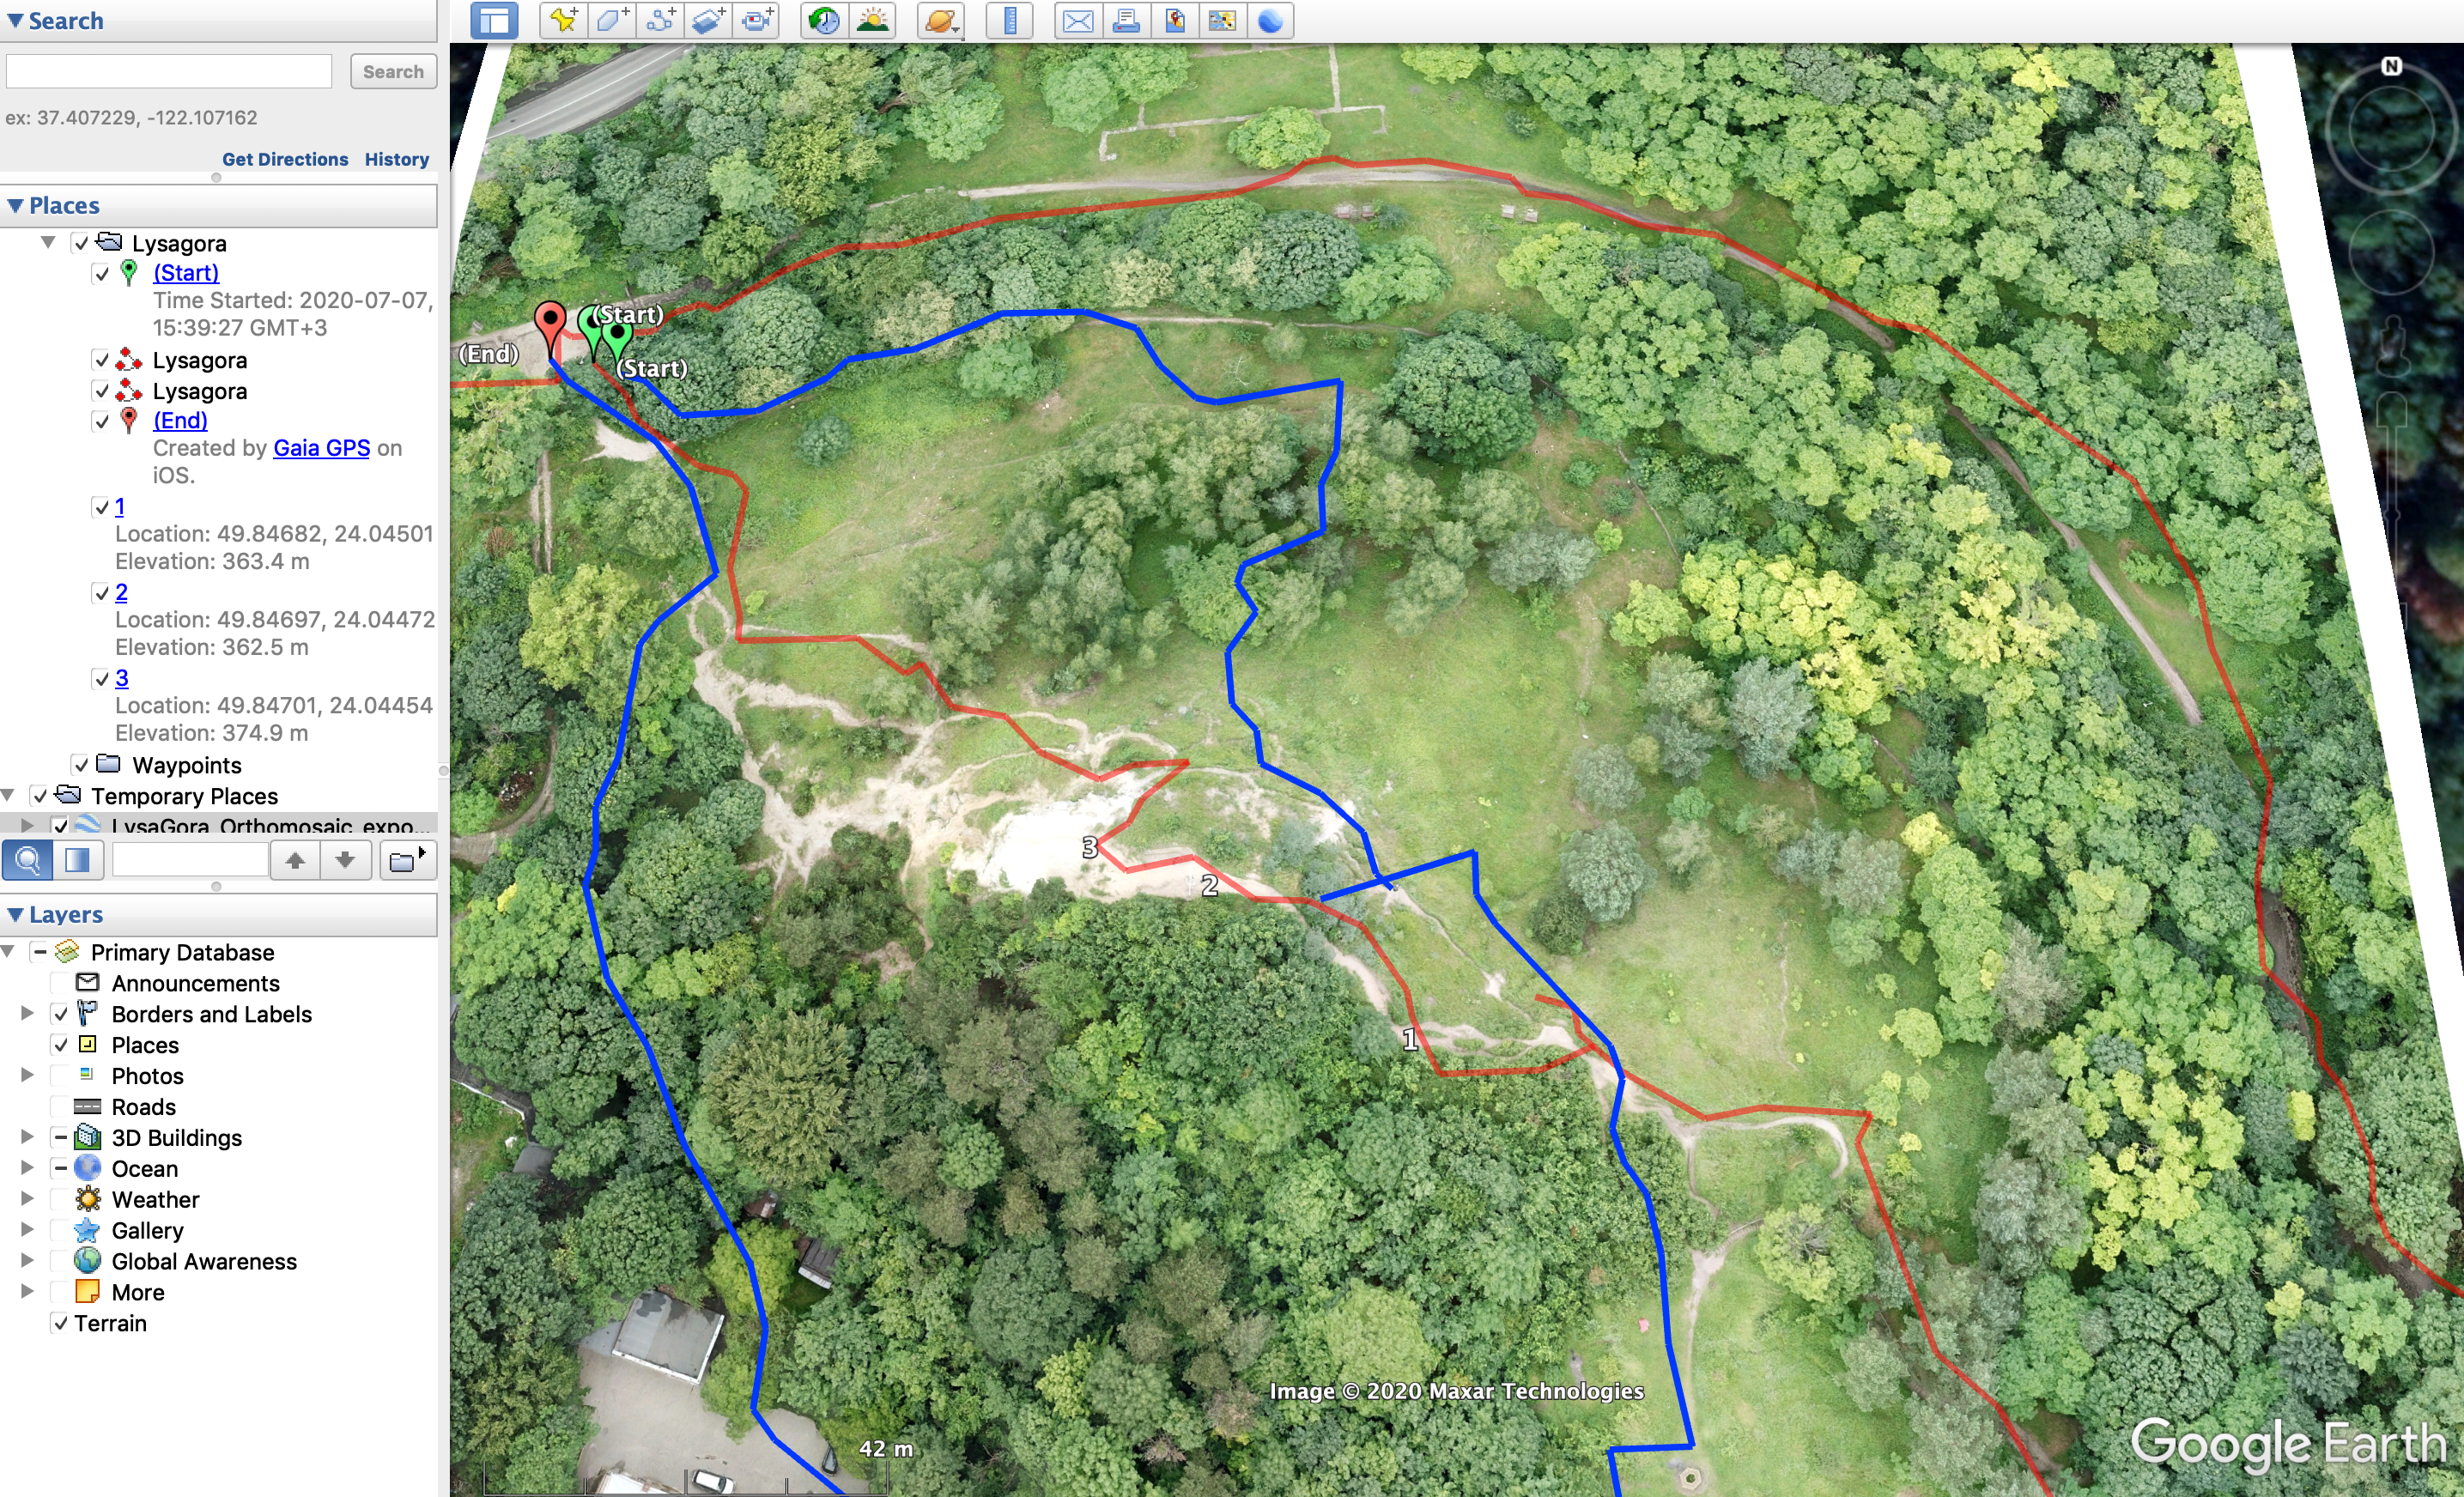
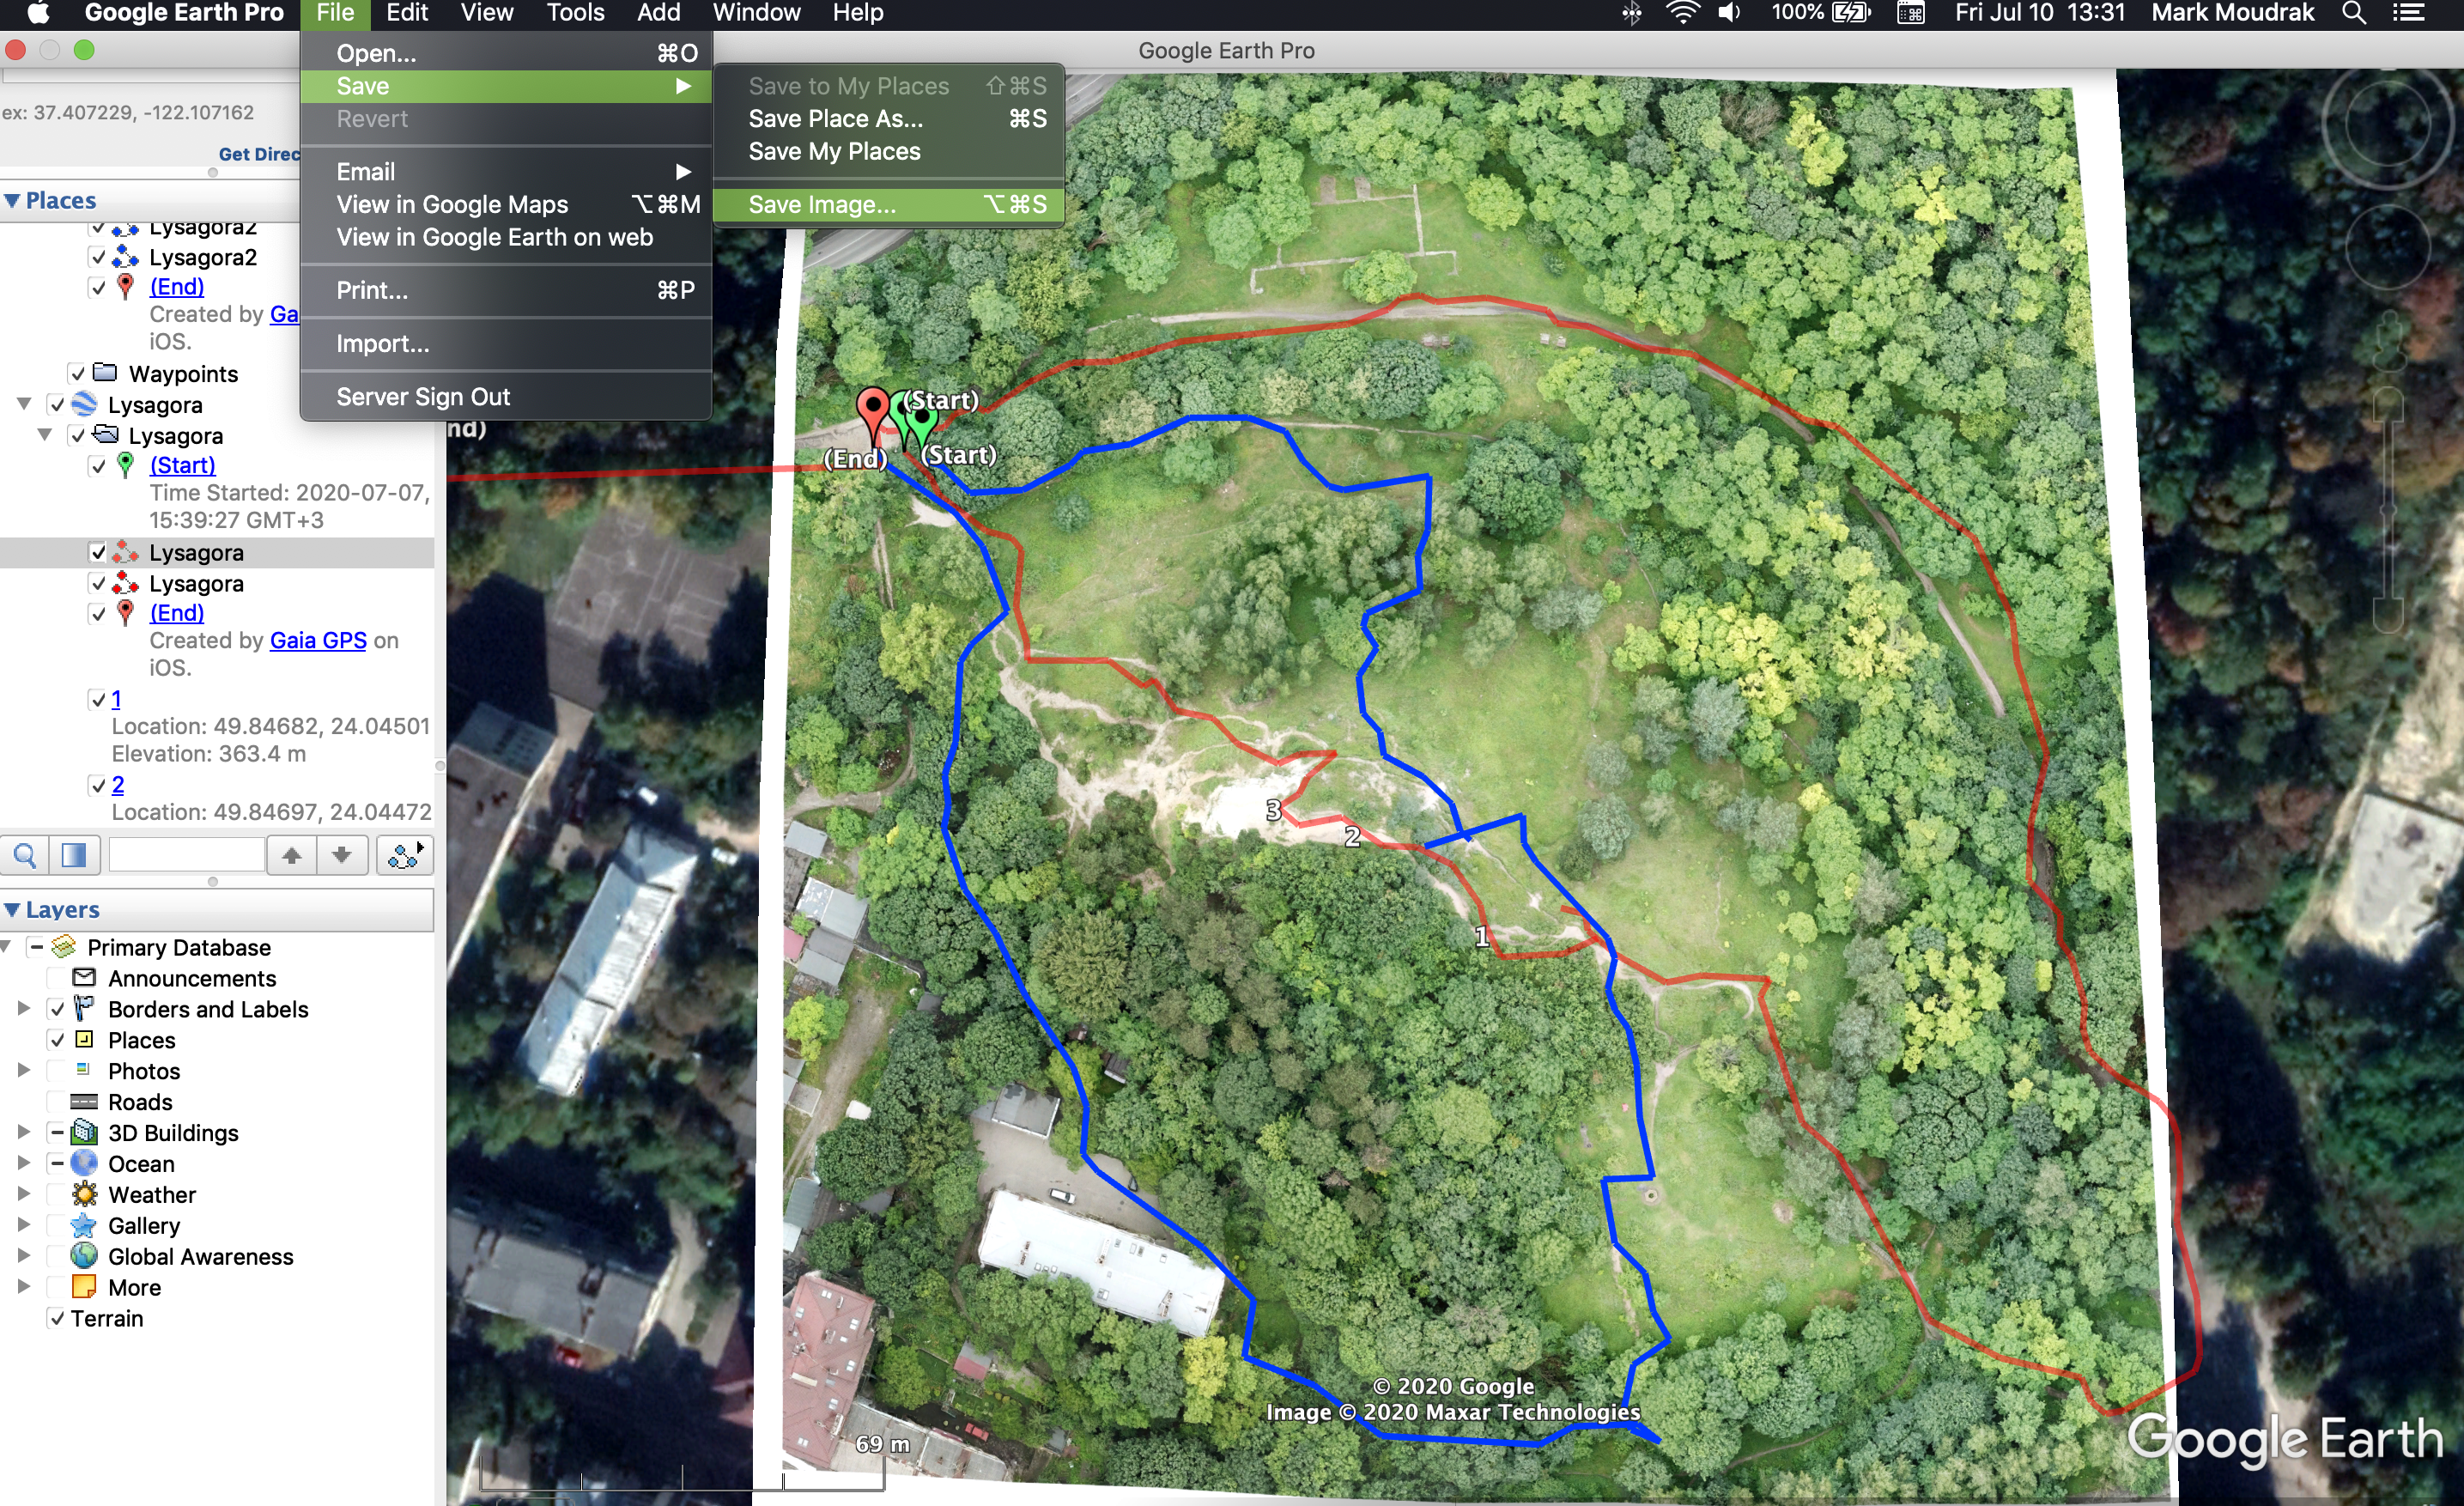
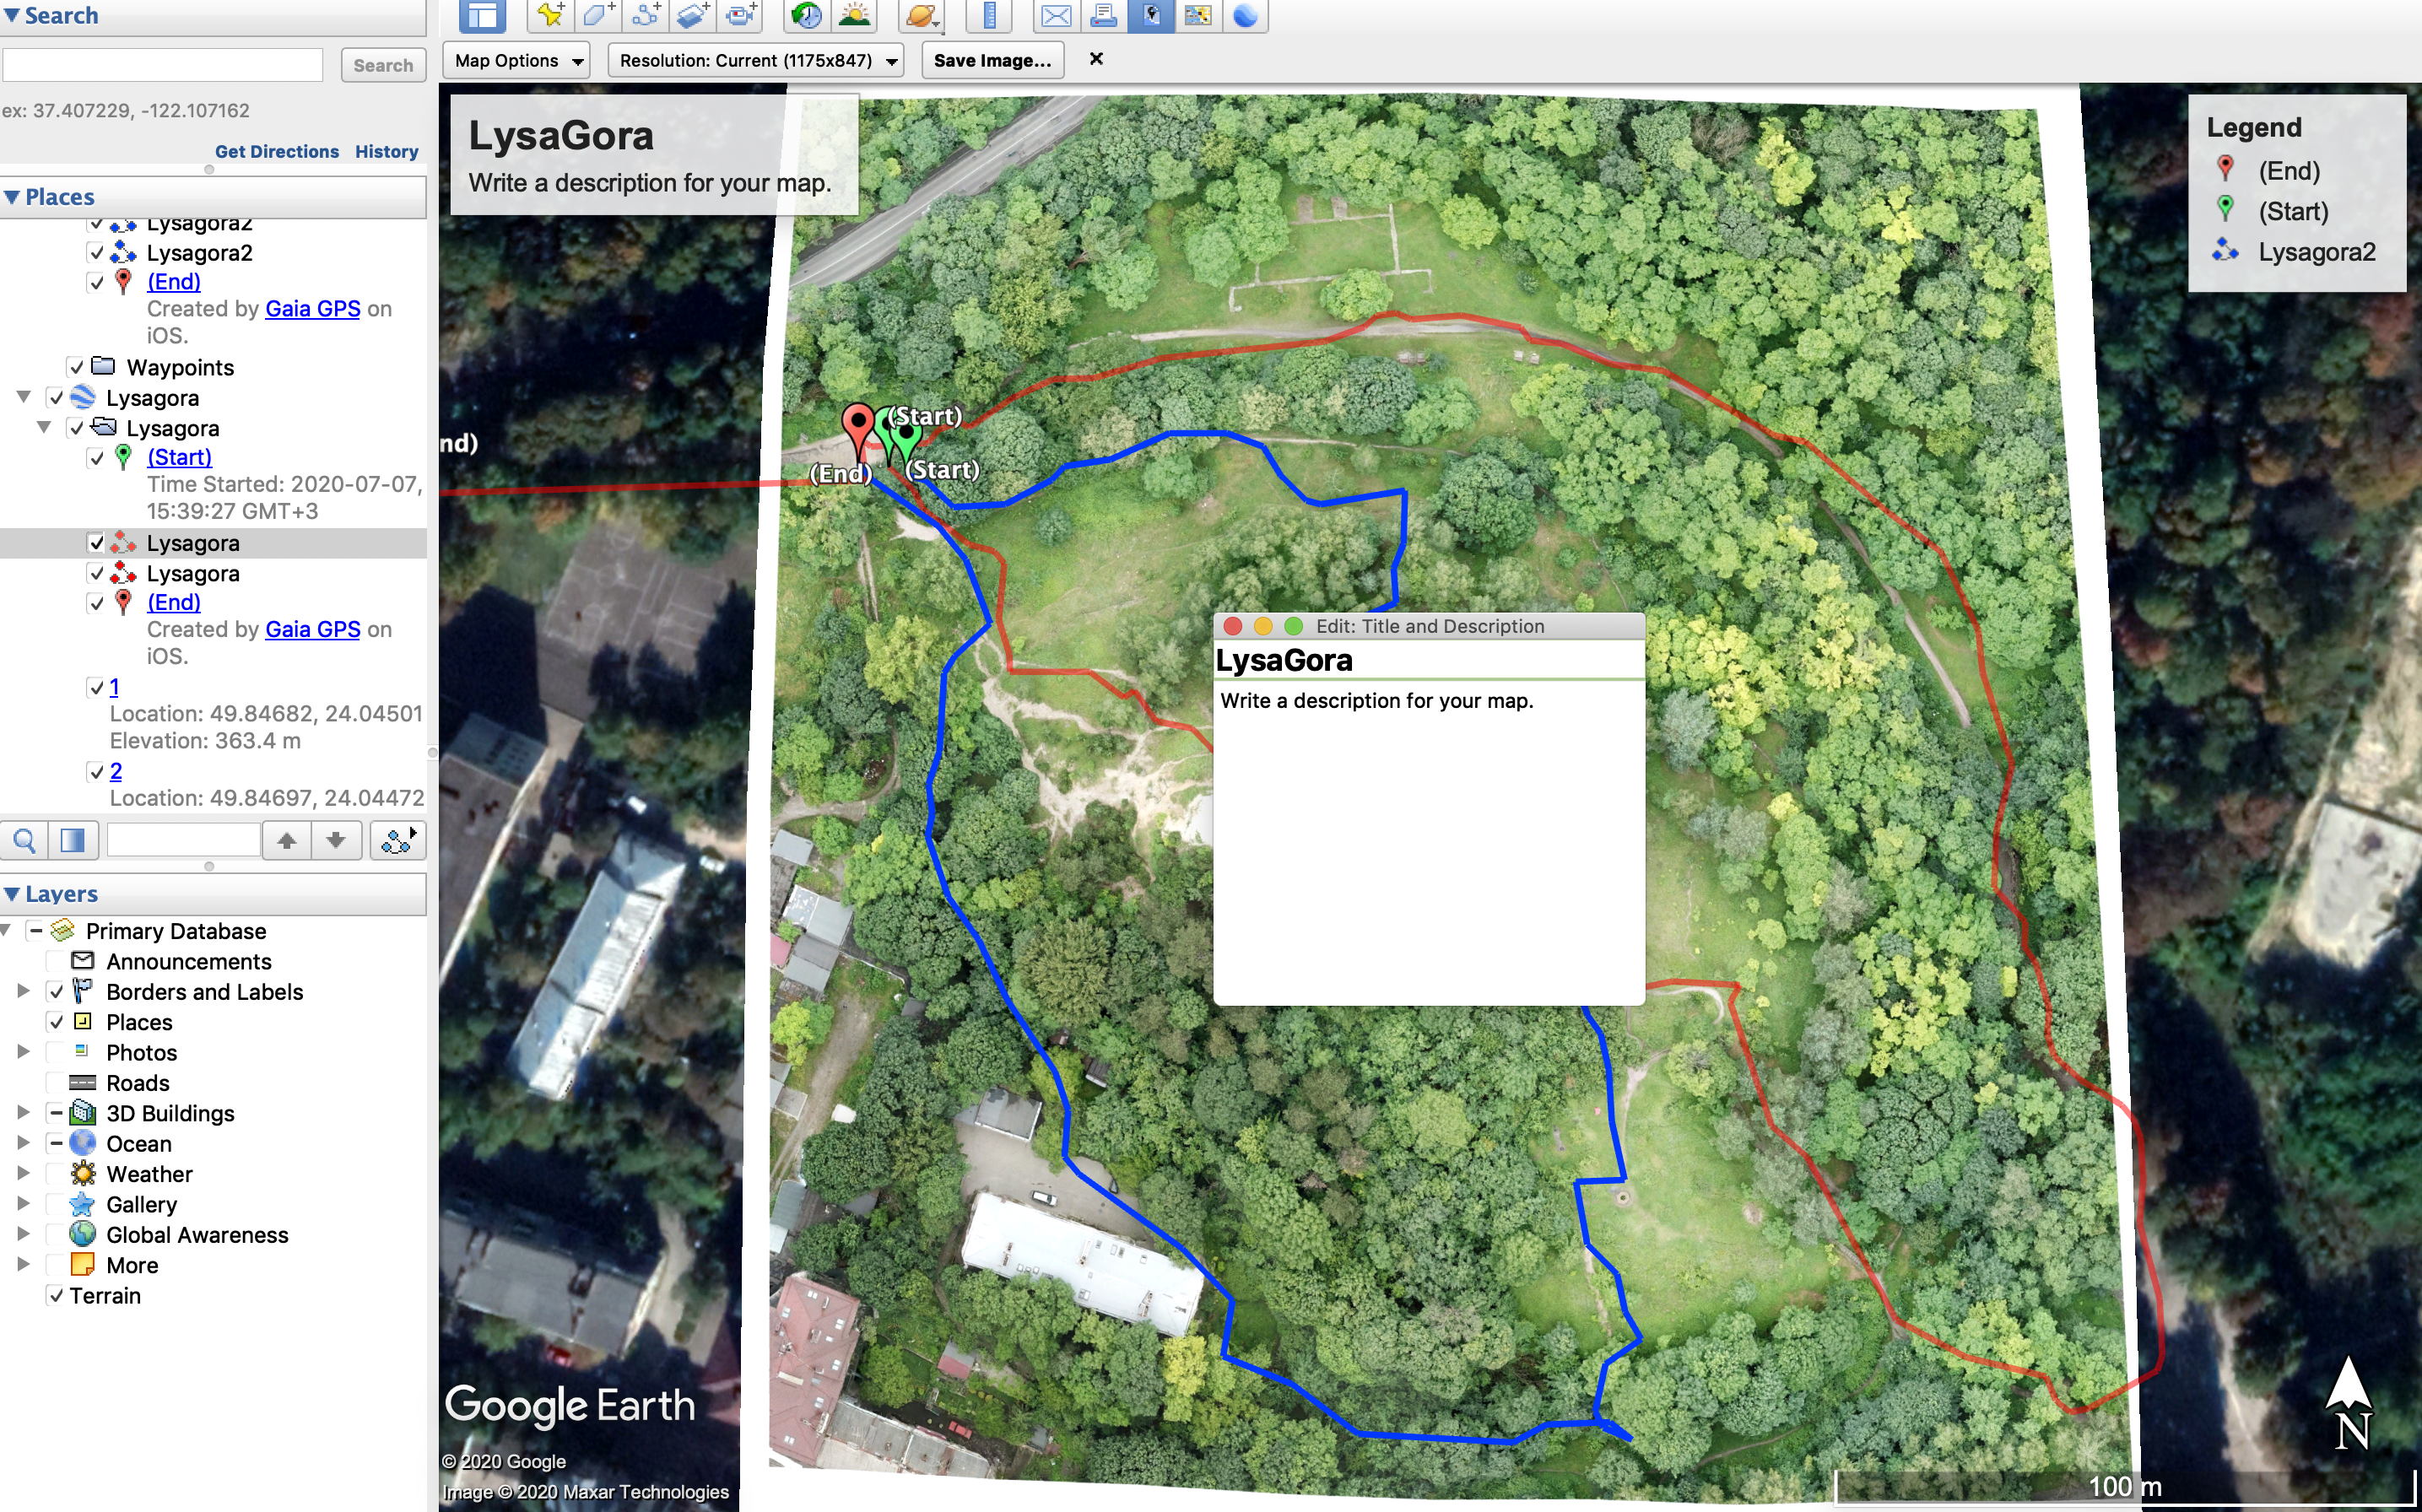
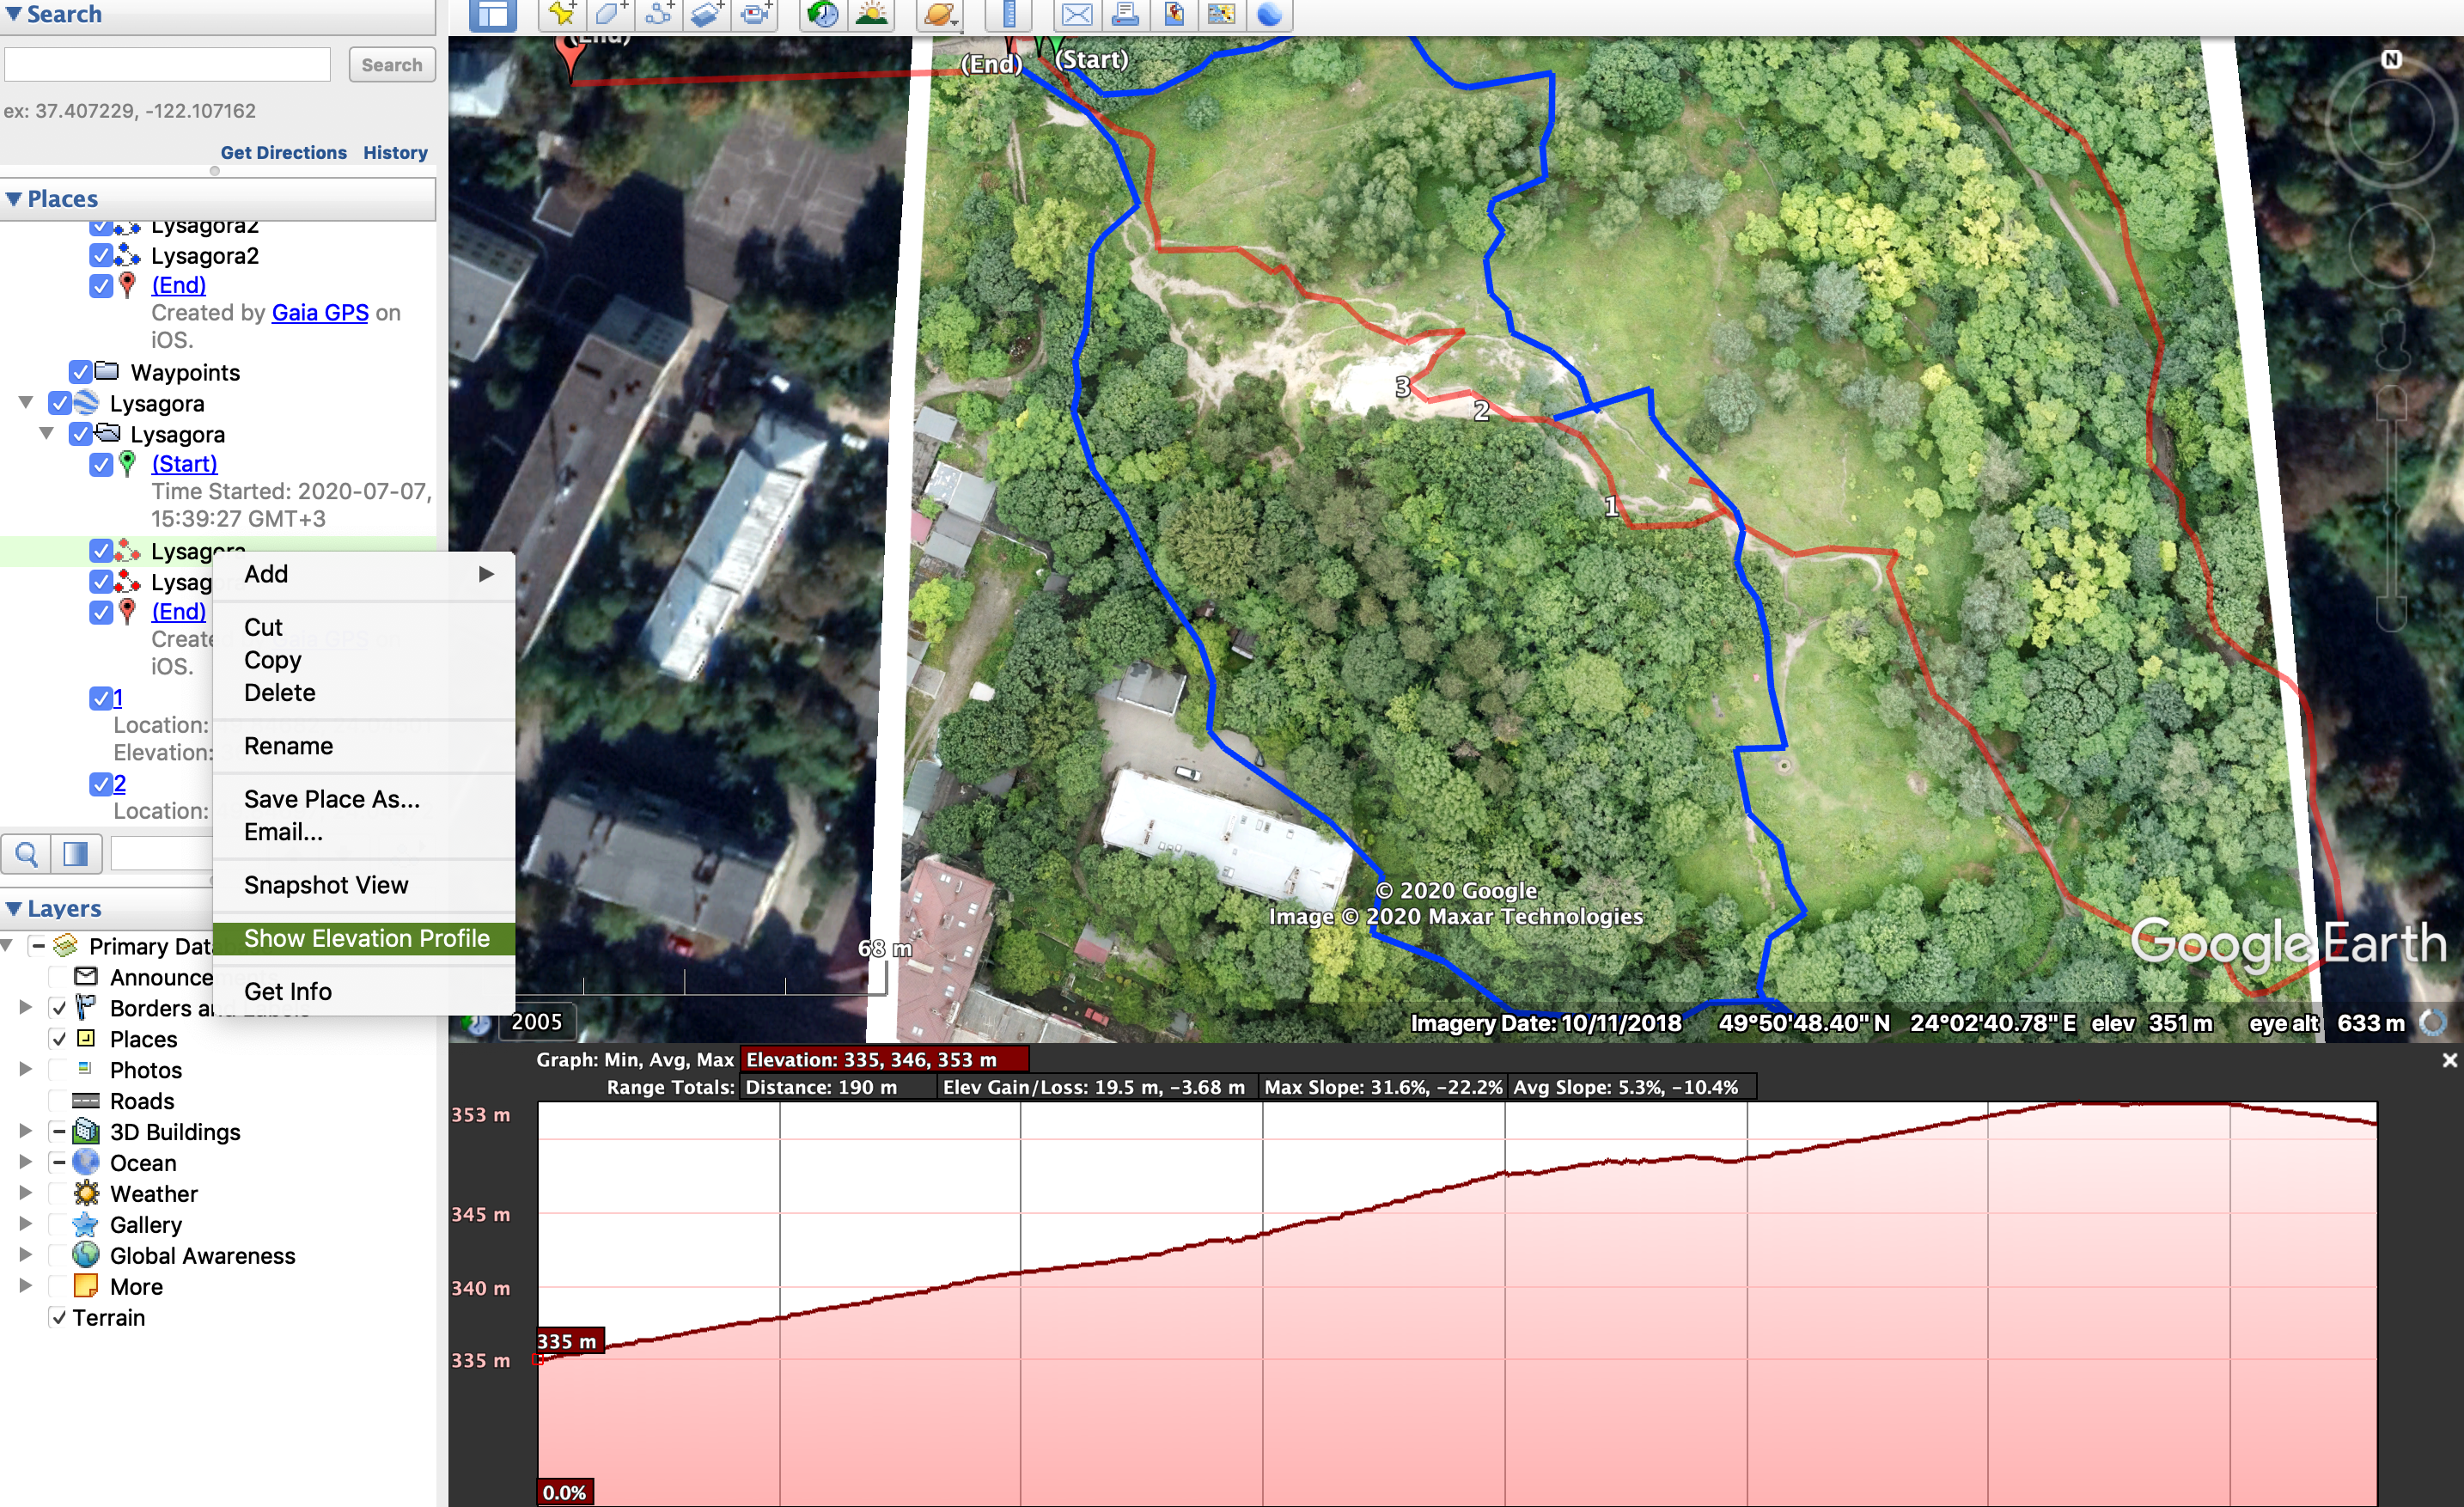
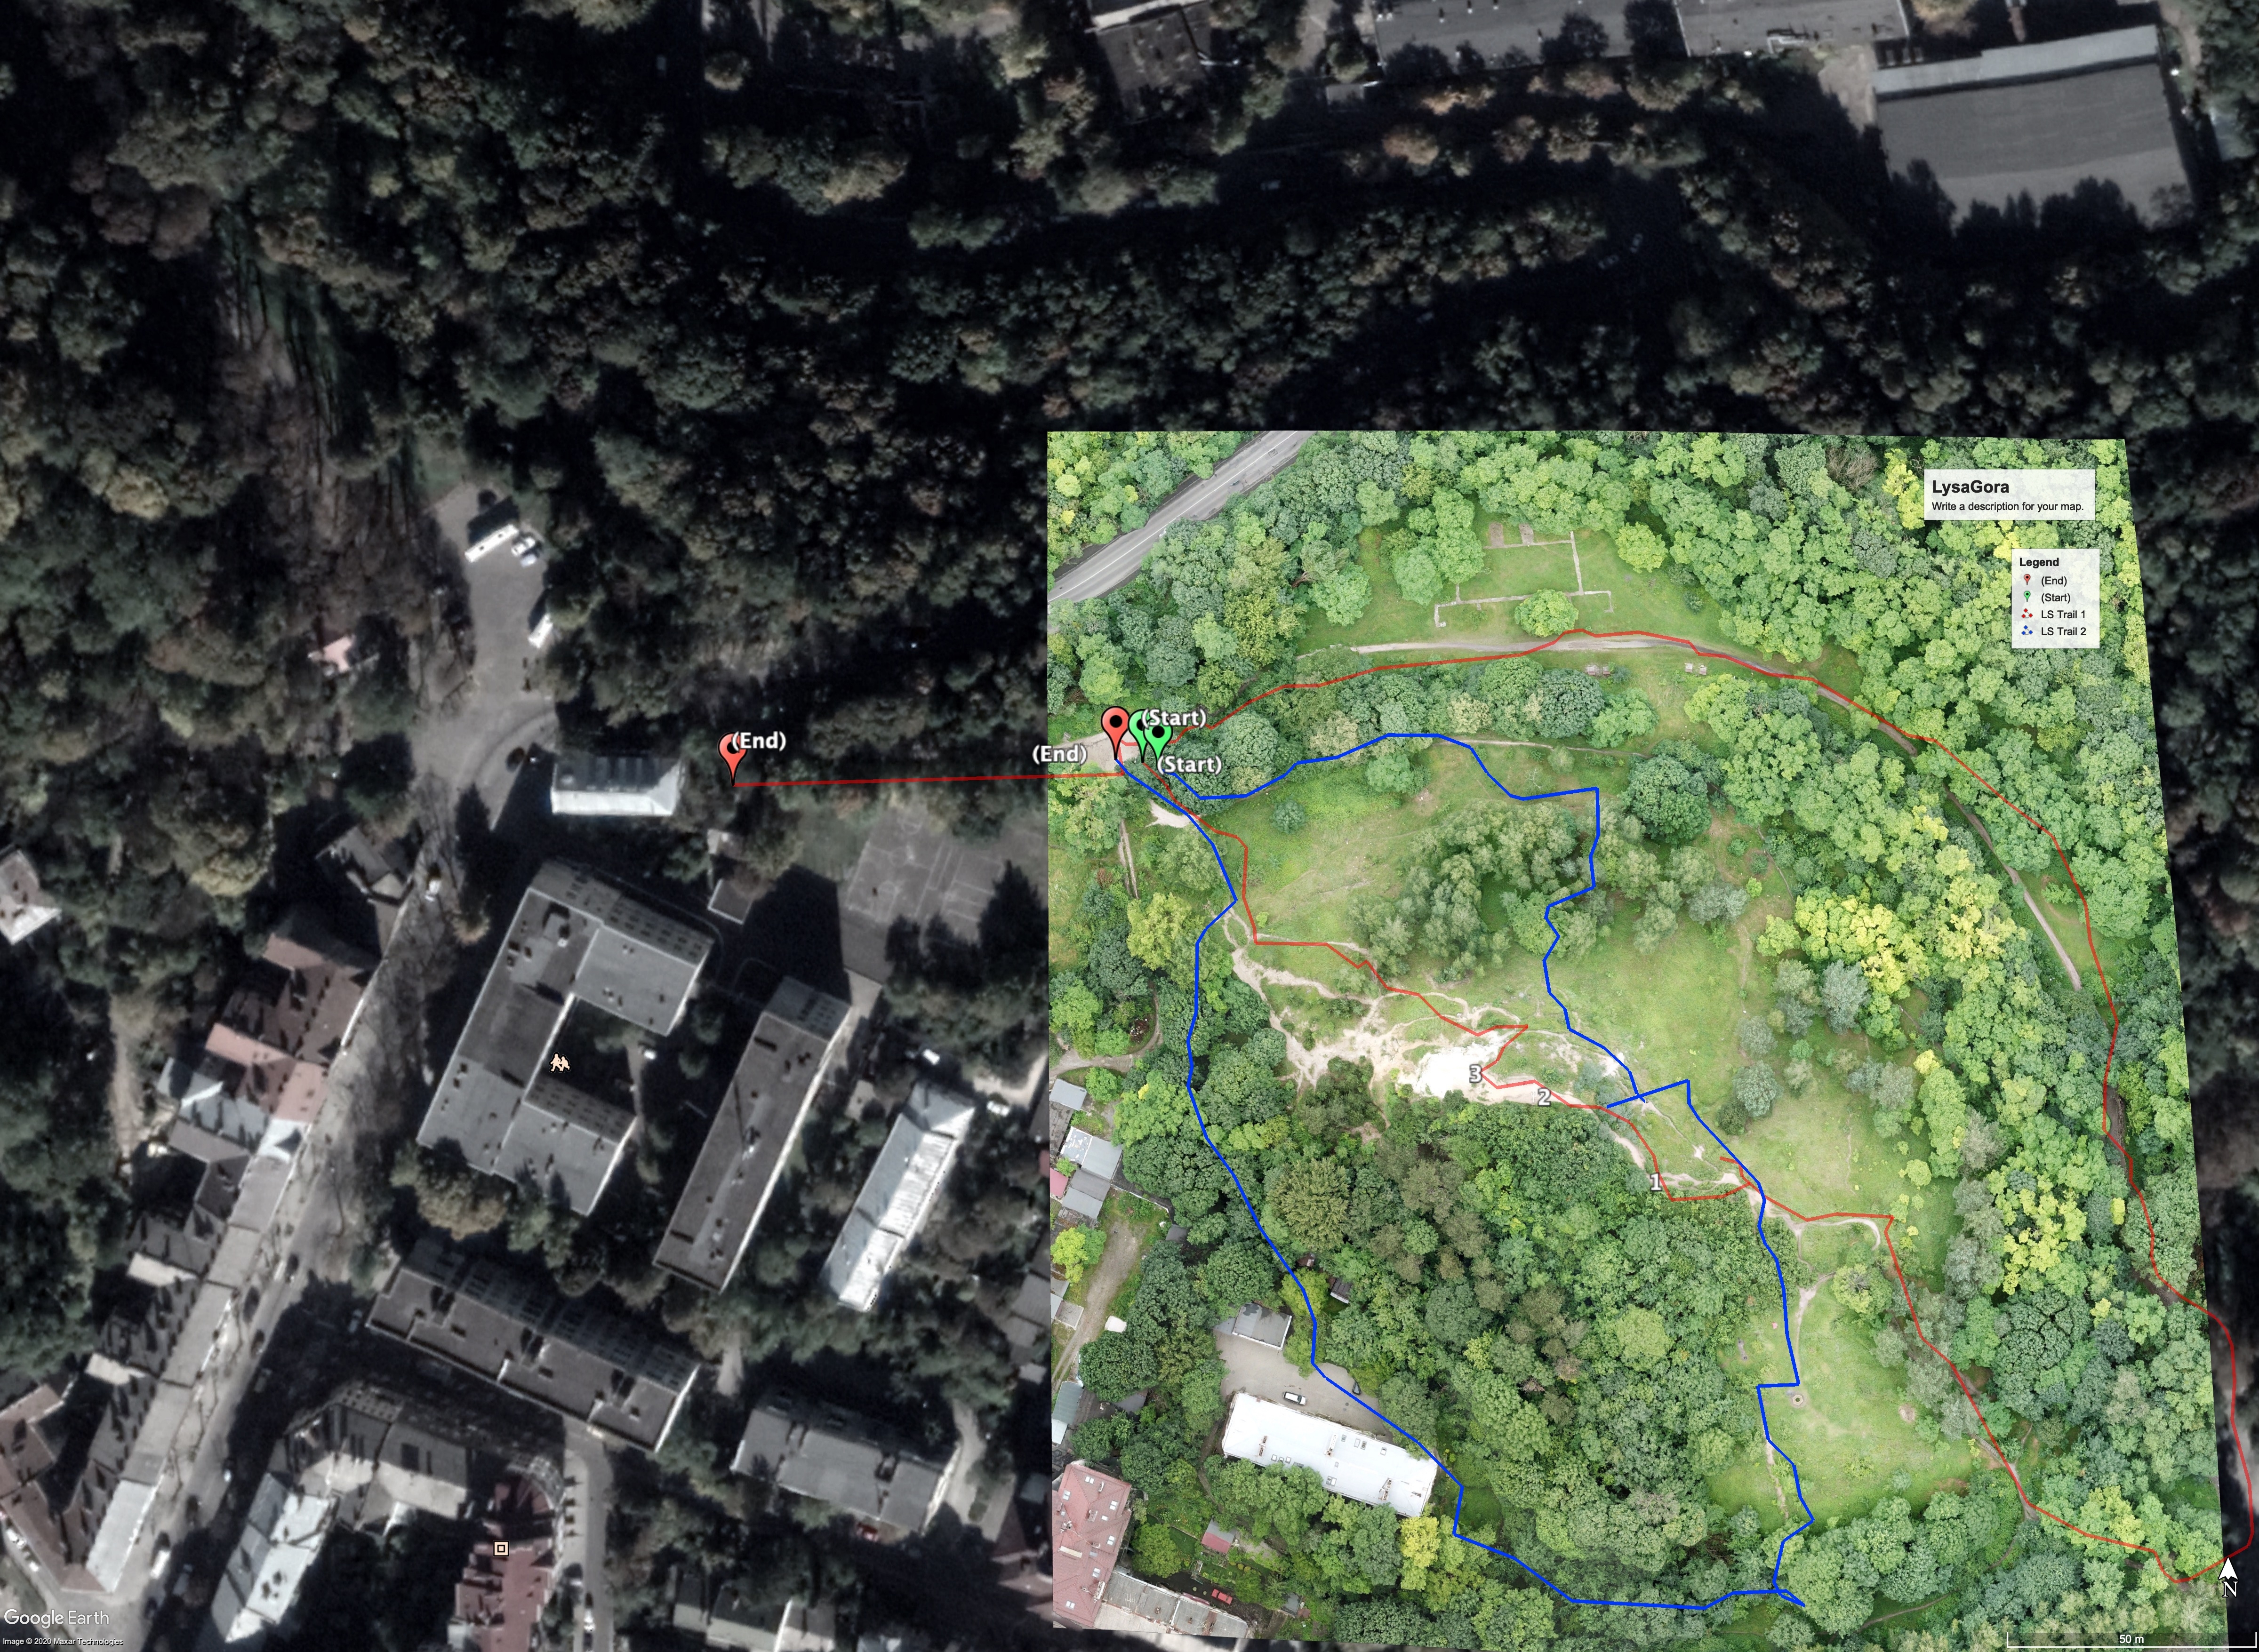
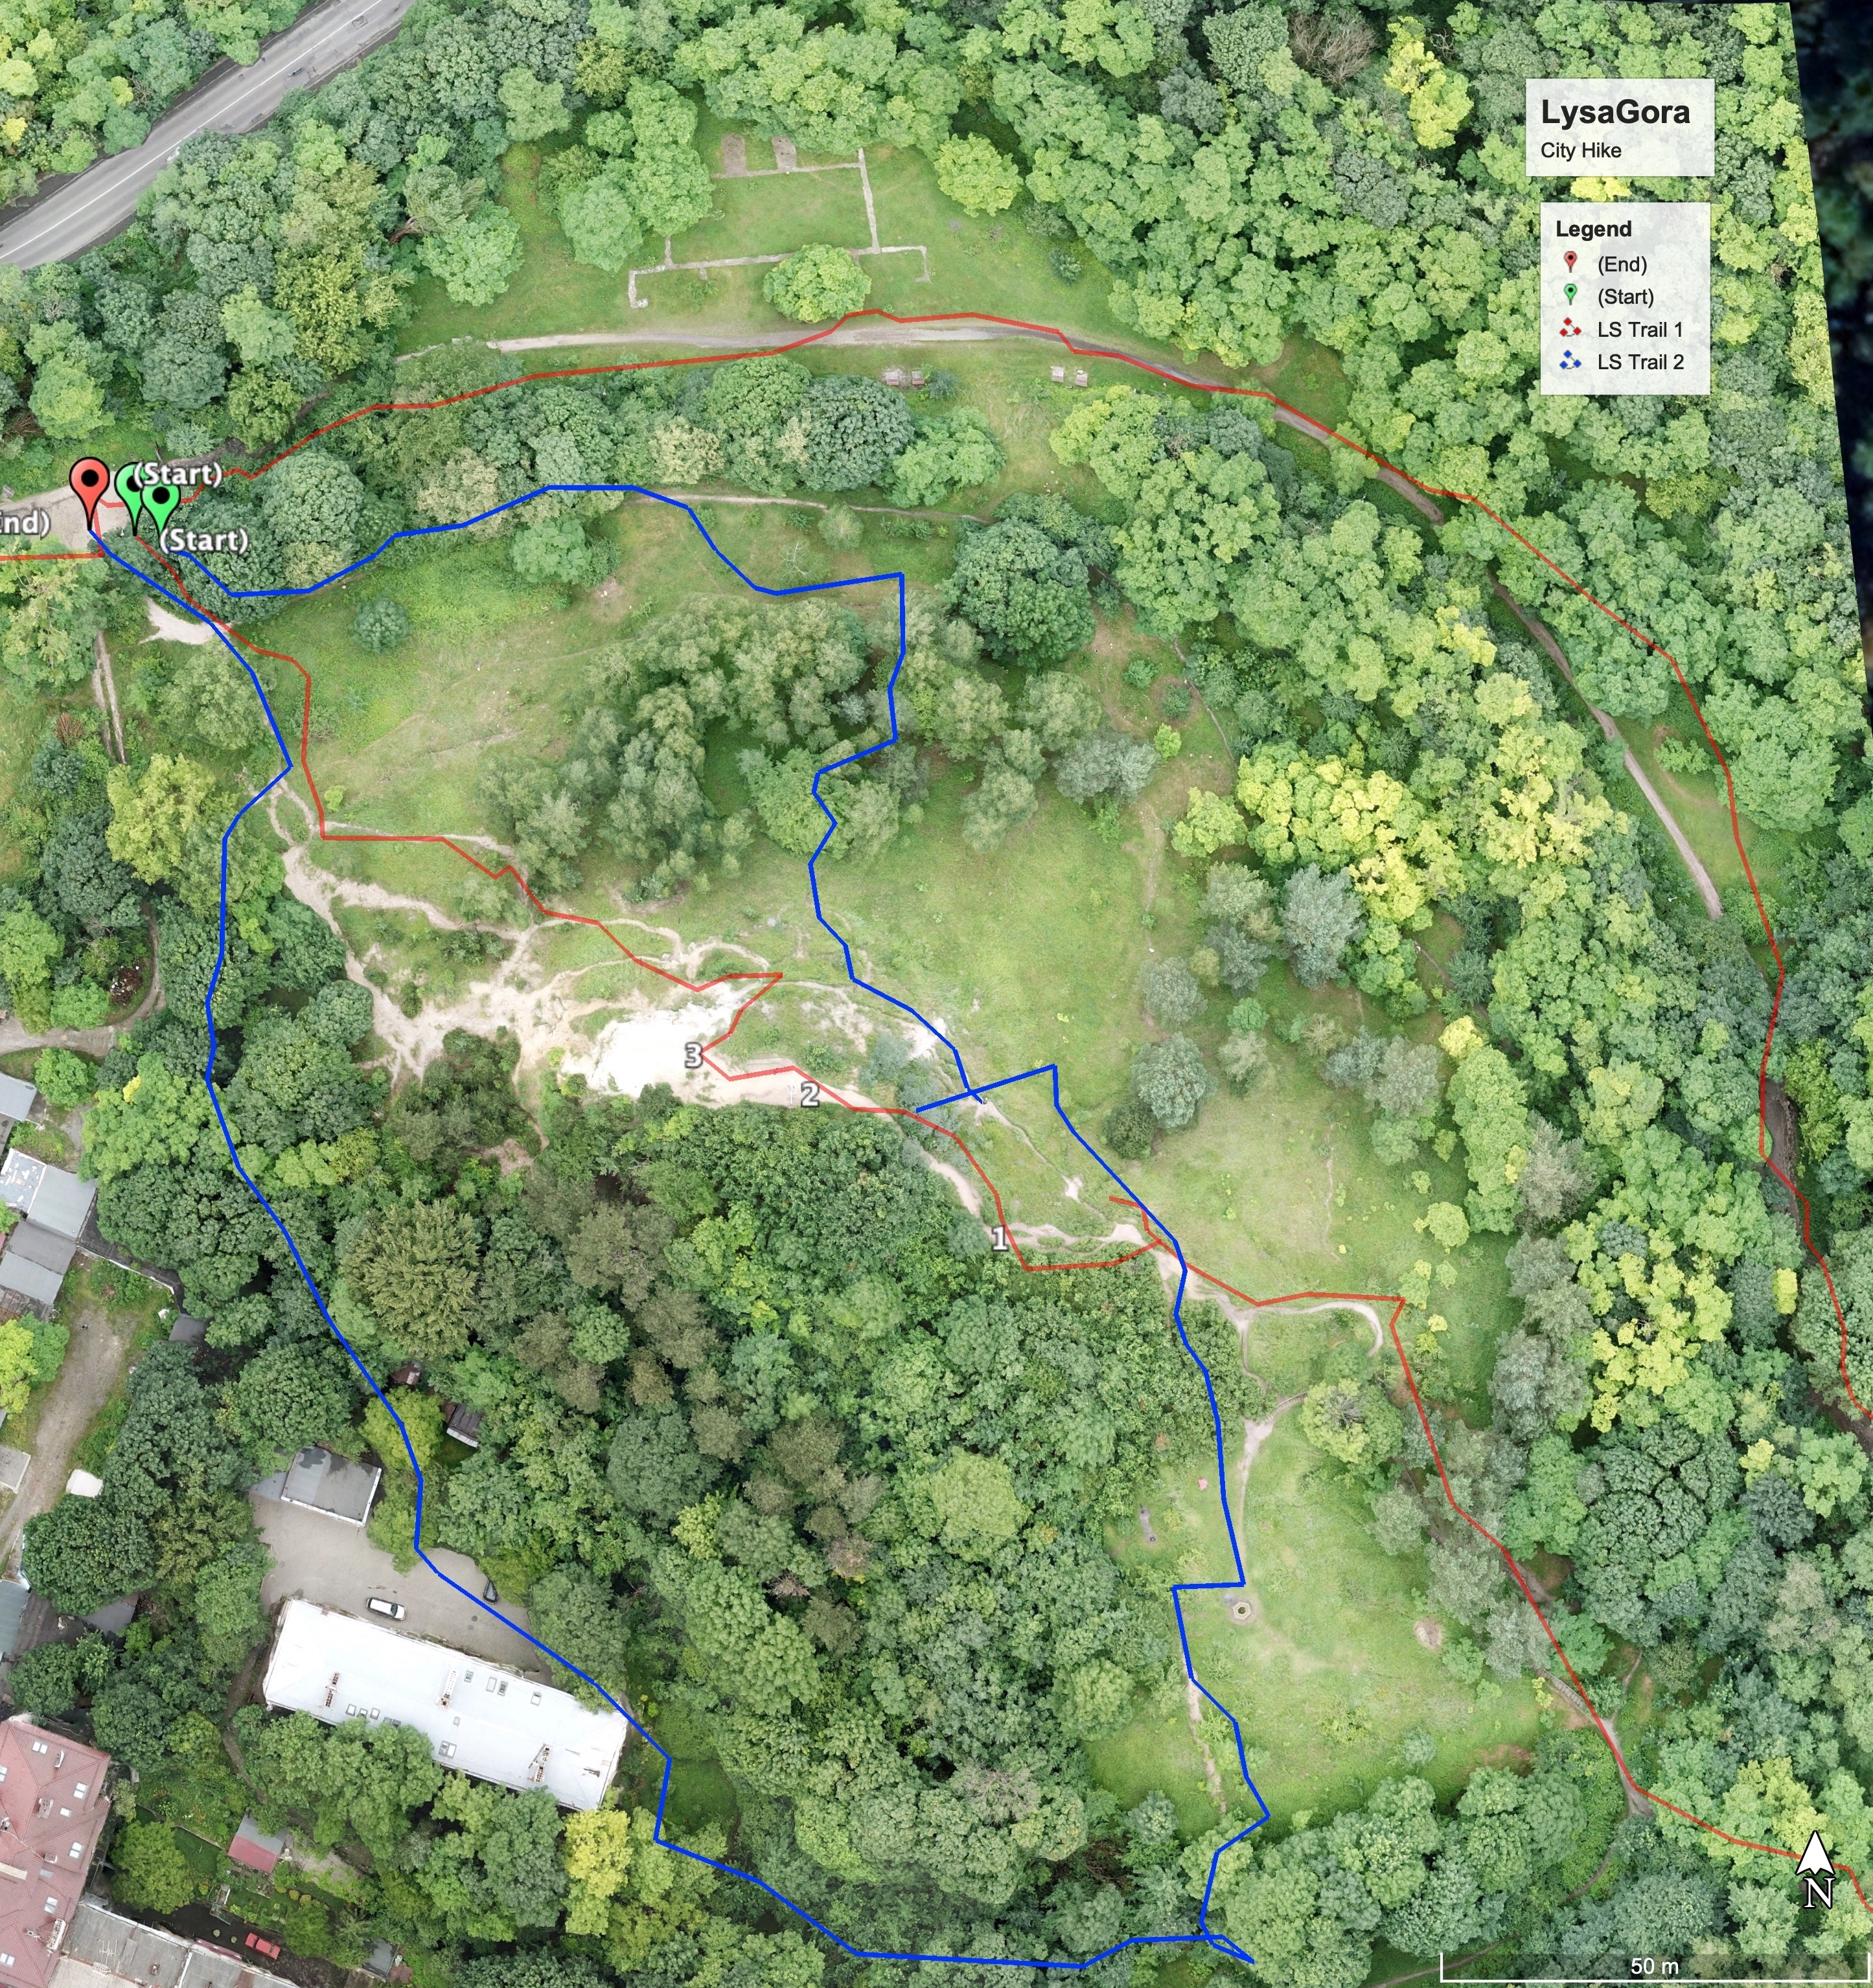
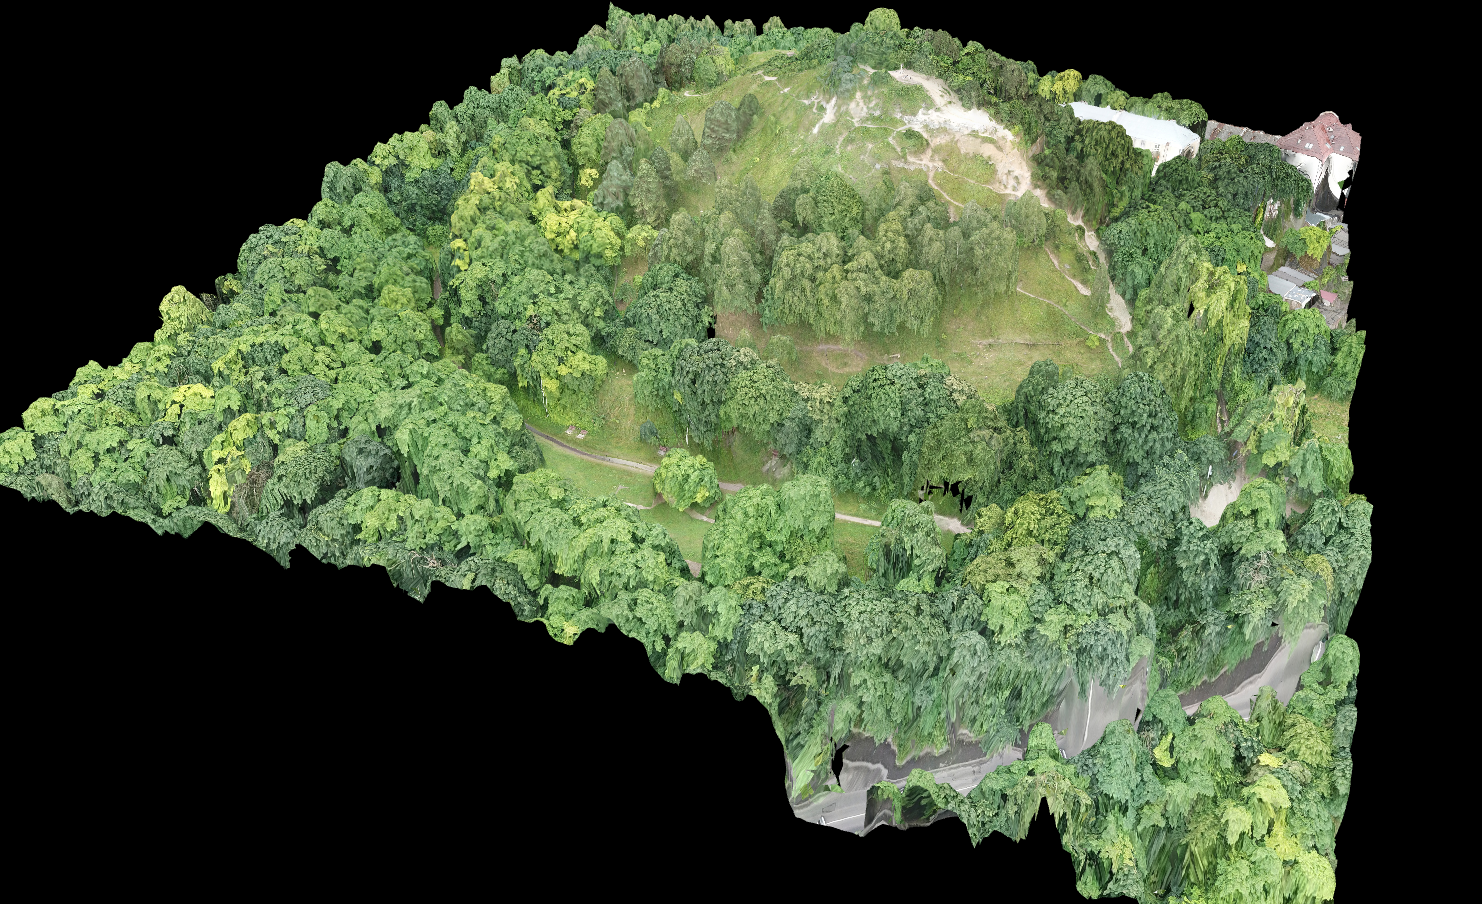
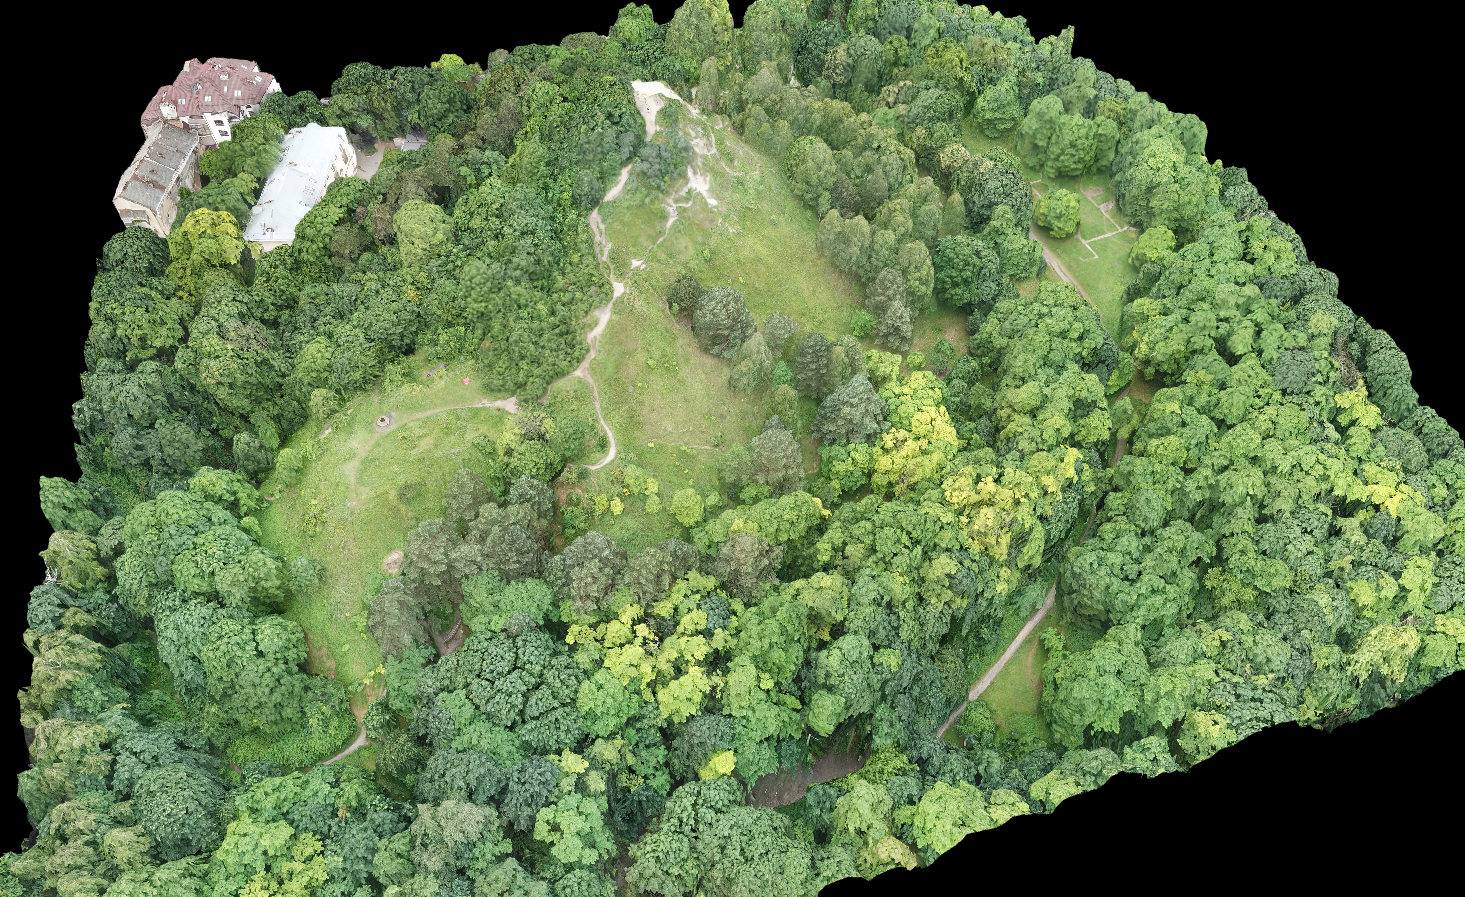
- Once all is imported into Google Earth, you can adjust and rotate direction and zoom to desired map
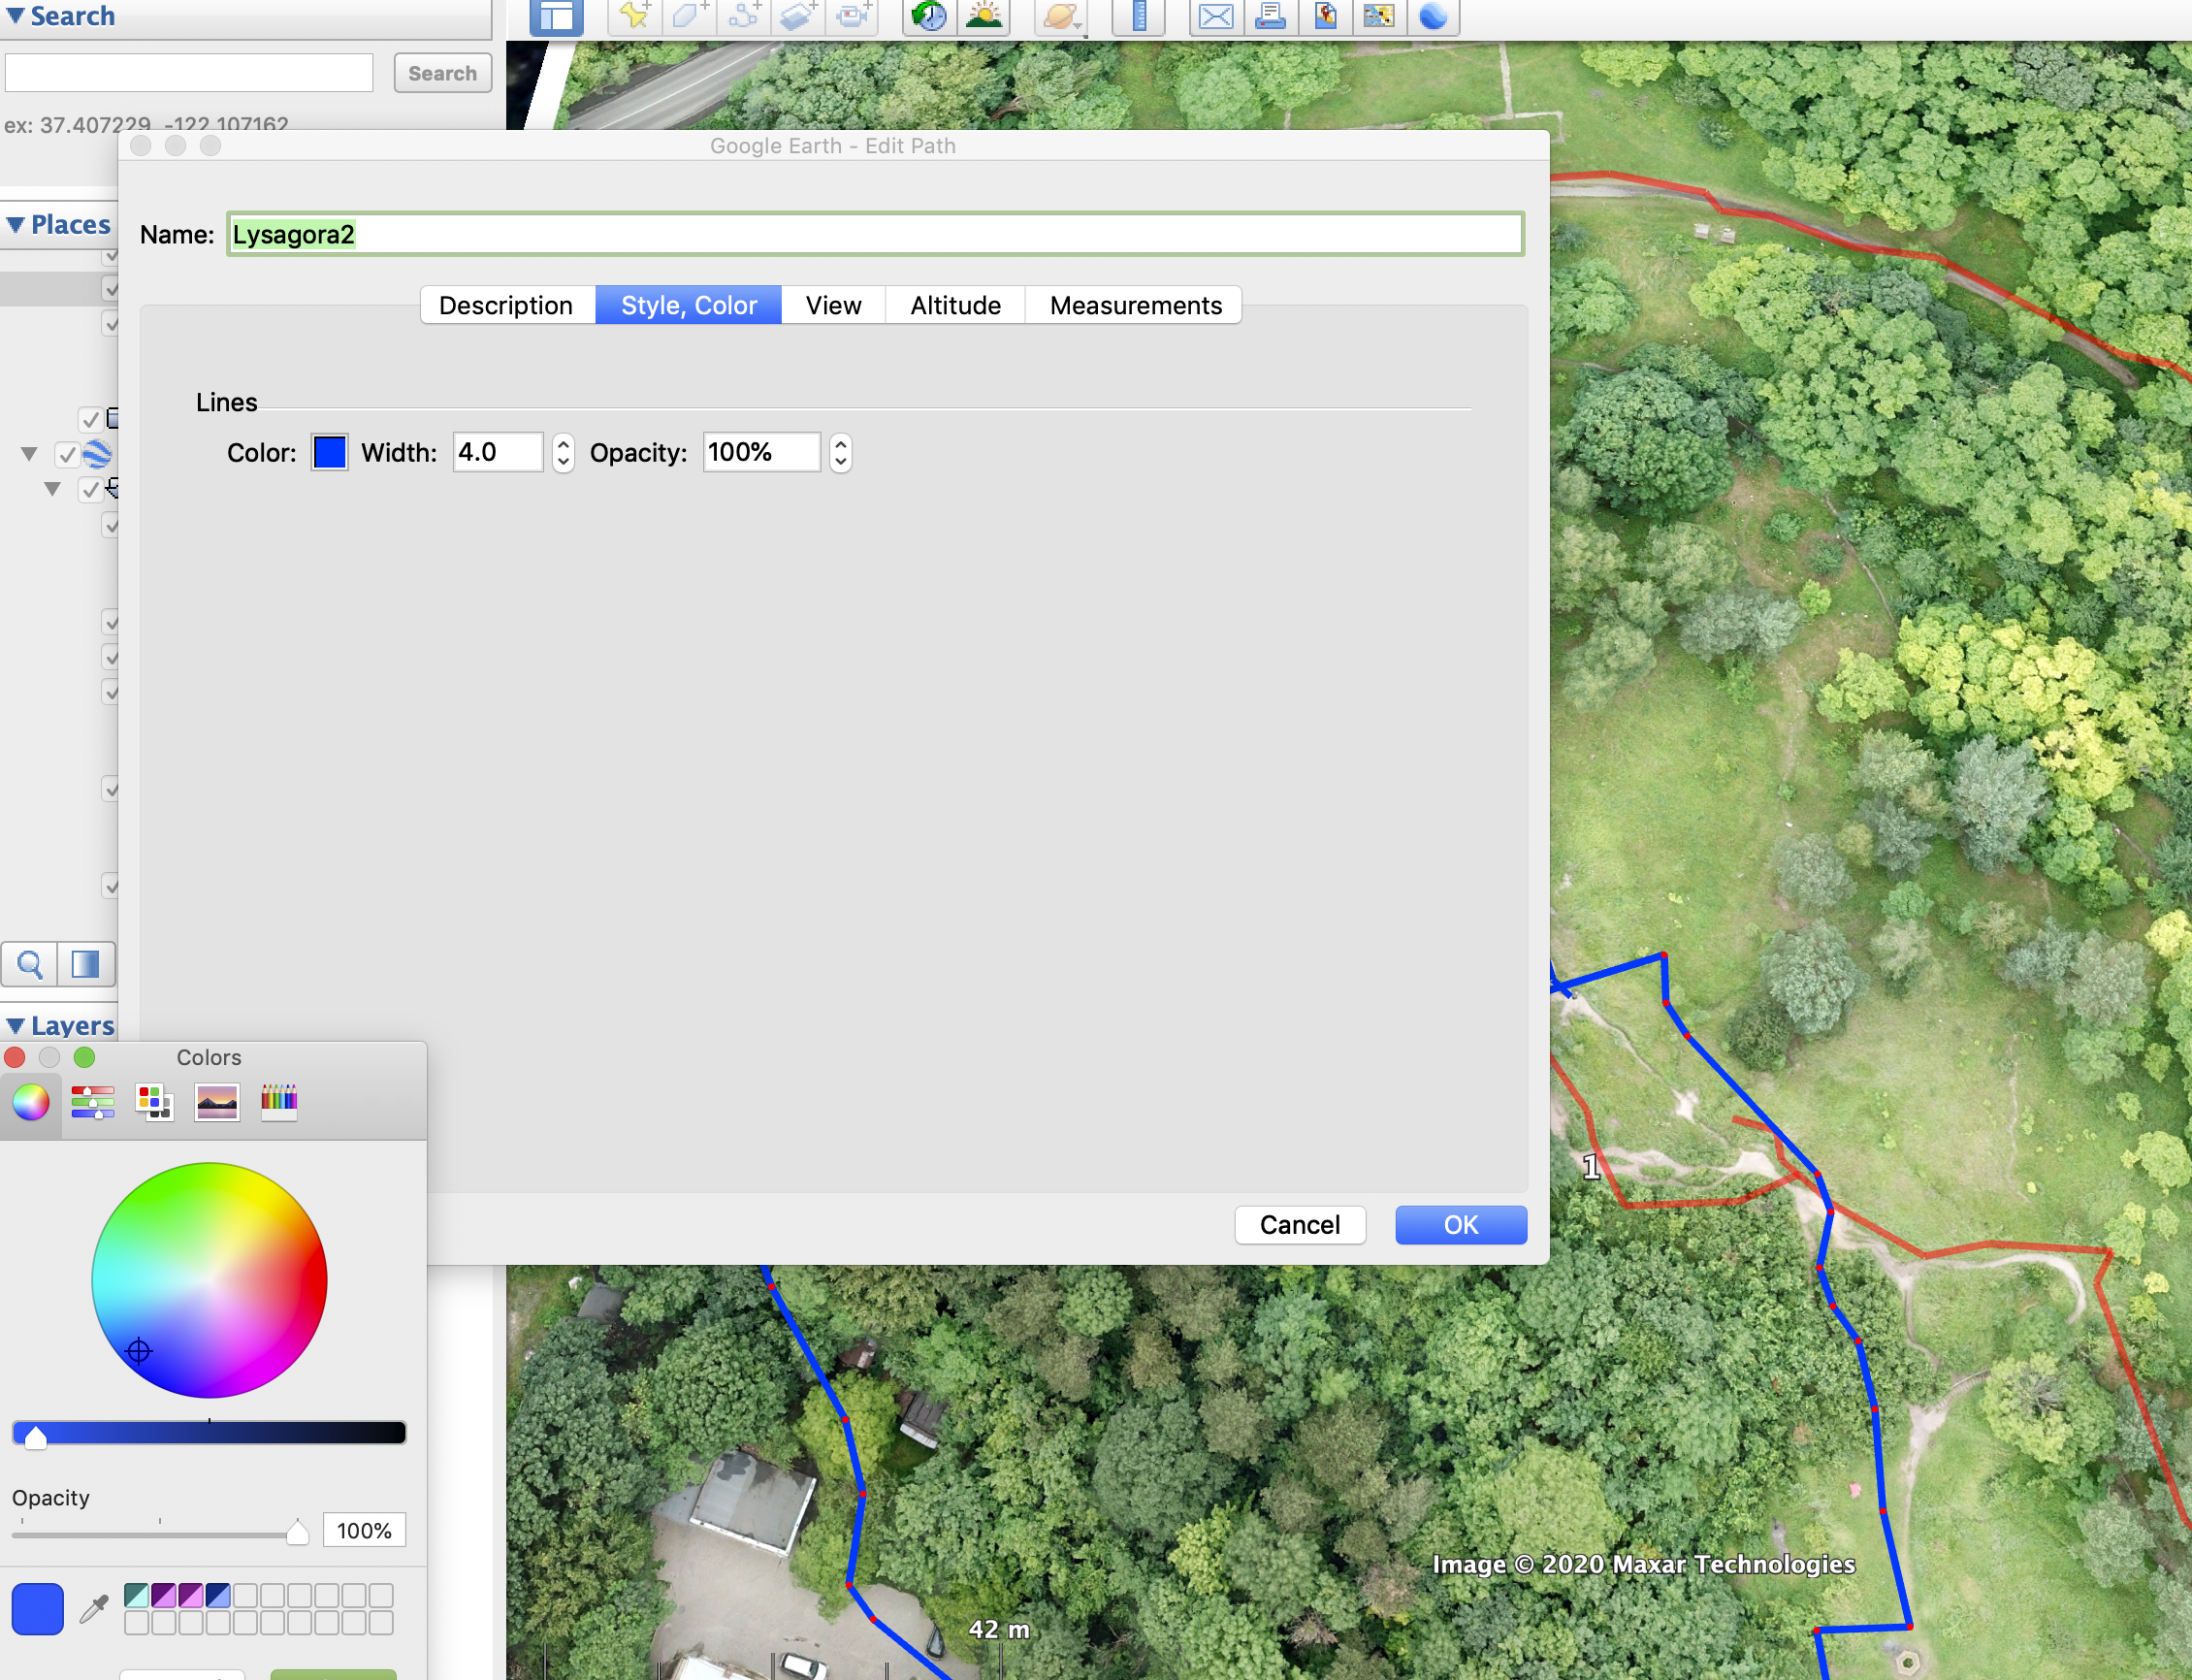
- The tracks can be individually renamed and color adjusted. To adjust color you need to right click onto track in left hand panel and select "get info". There select "color and style" and chose your desired color nad line thickness
- To make your final map go to FILE > SAVE > SAVE IMAGE. Select resolution and map options like title and scale as well as legend. You can click on the box and write directly. In Legend default name in panel is displayed but can be overwritten in the box, just refrain from pressing "refresh", just close box instead. Note you can also display elevation profile here
- Once you reposition and select your scale by zooming just press save above.
- Go to your saved file, and crop image to get rid of areas of the map you not interested in and your map is DONE!