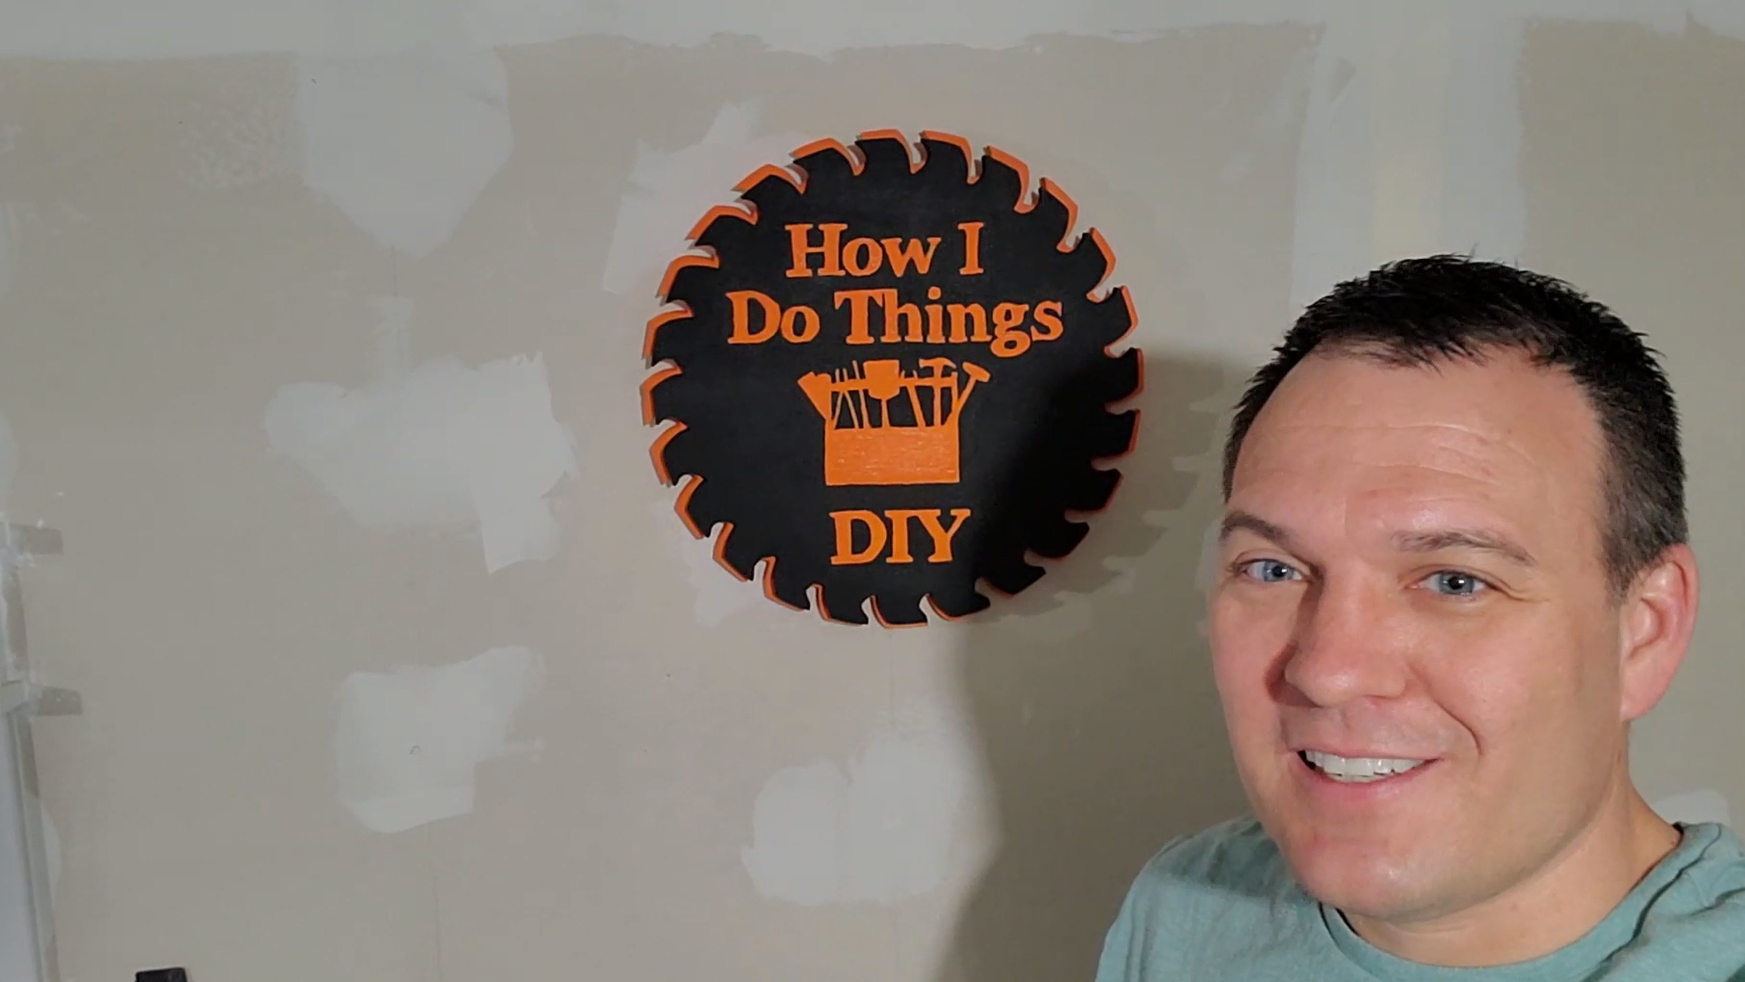
Custom Handmade Wood Sign
by travis.muszynski in Workshop > Woodworking
1042 Views, 11 Favorites, 0 Comments
Custom Handmade Wood Sign

In this video I’ll be showing you how to make a 3D sign for my shop. This is handmade as I do not have a CNC. To make this sign, I printed a stencil on paper using MS paint and then cut it out. I then used spray adhesive to glue it to the board. Then I cut it out using a jigsaw and carved out the lettering using a Dremel with engraving bits. Finally, I painted it and hung it in my workshop.
Pleas SUBSCRIBE to my YouTube channel for more great how-to videos!
Supplies
Wood
Paint of your Choice
Makita Circular Saw
Jigsaw
Dremel Carving Bits
General Spray Adhesive
Sander
Make Stencil
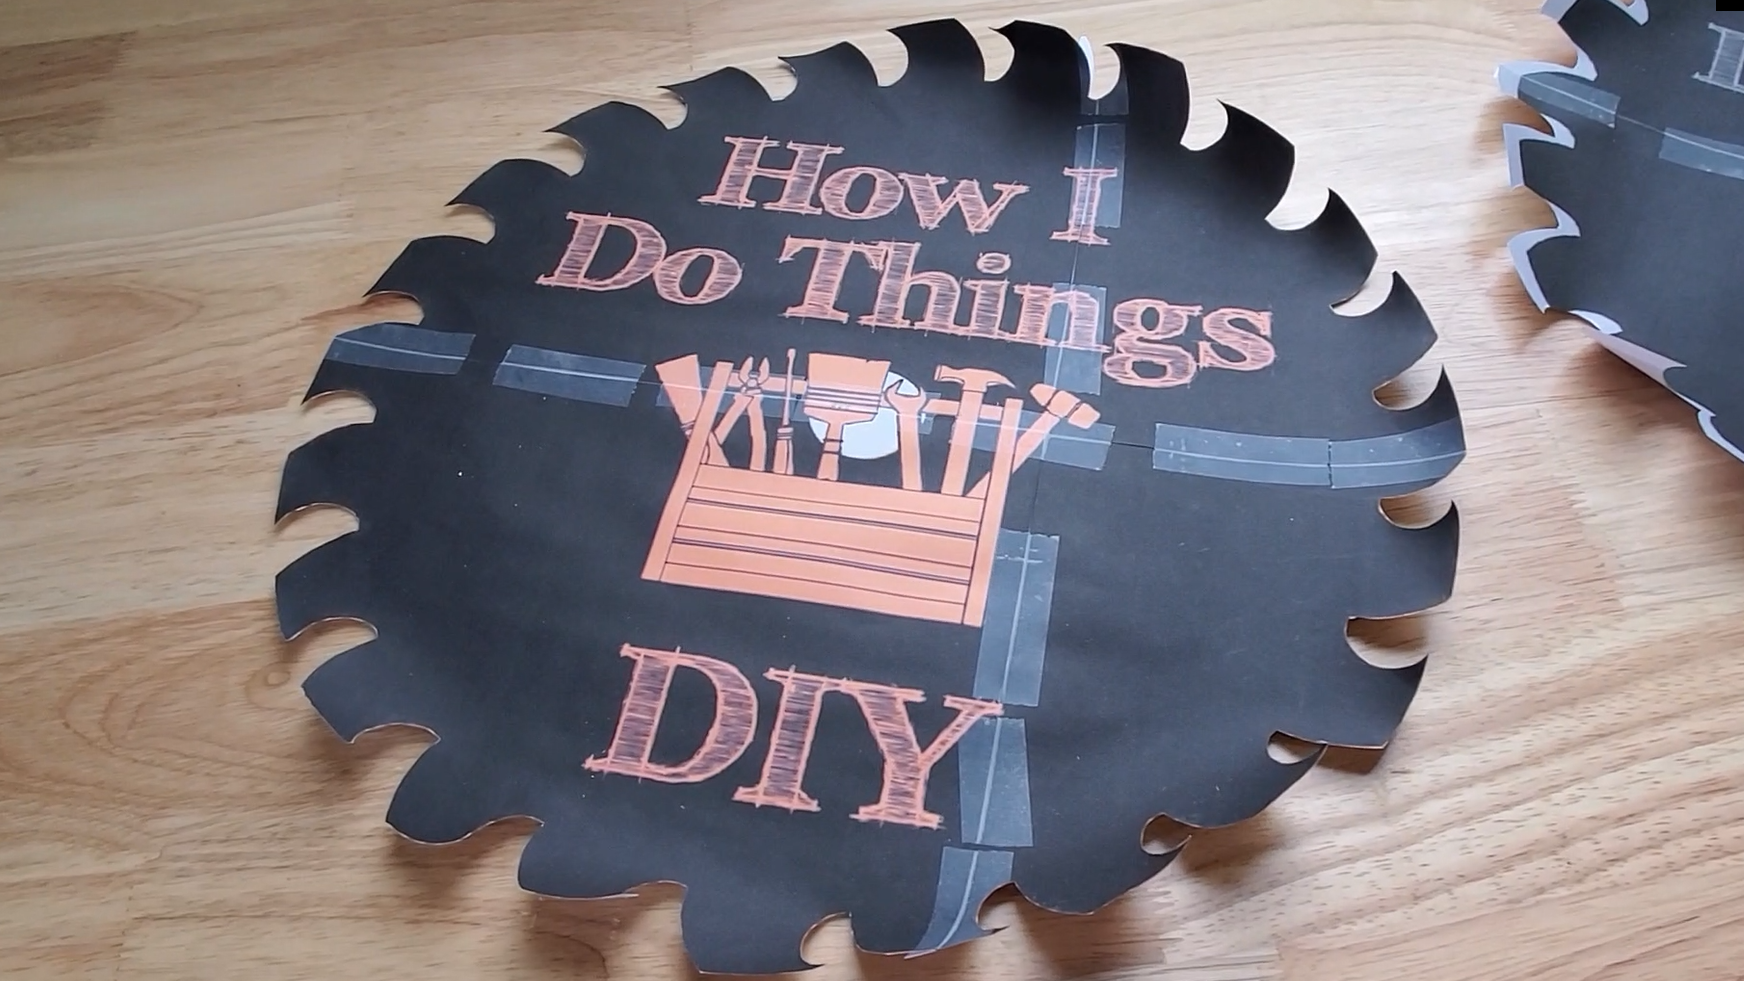
To make the stencil, I used Microsoft paint to resize the logo and printed them on 4 sheets of paper. Then I cut them out with scissors and a razor blade.
Attach Stencil to Wood
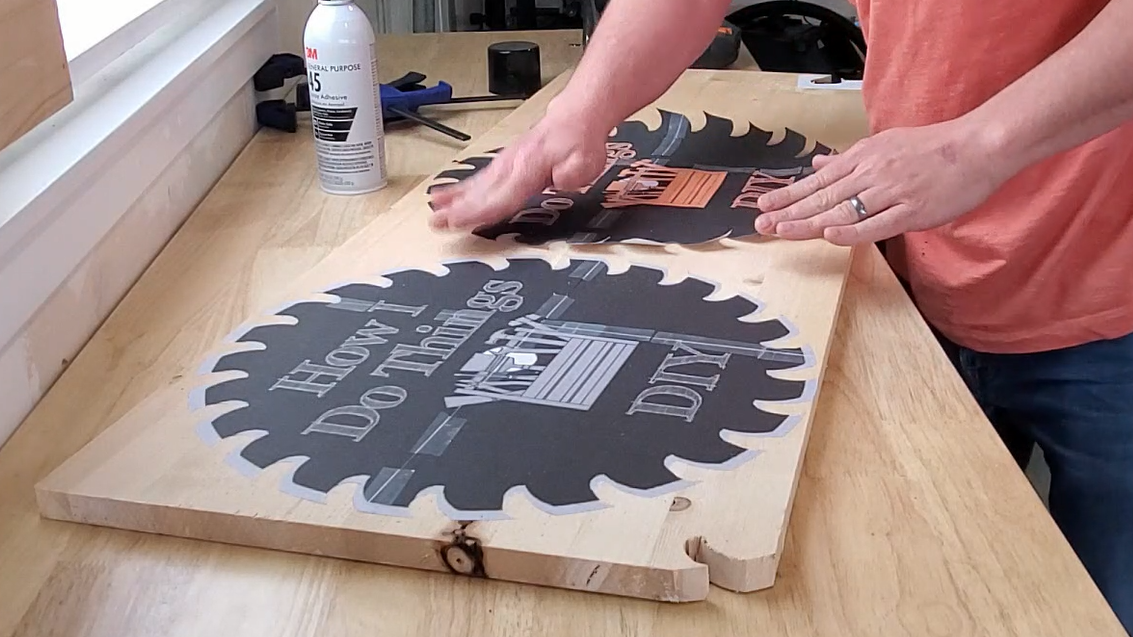
Use general purpose adhesive or tack glue to attach the stencils to the wood.
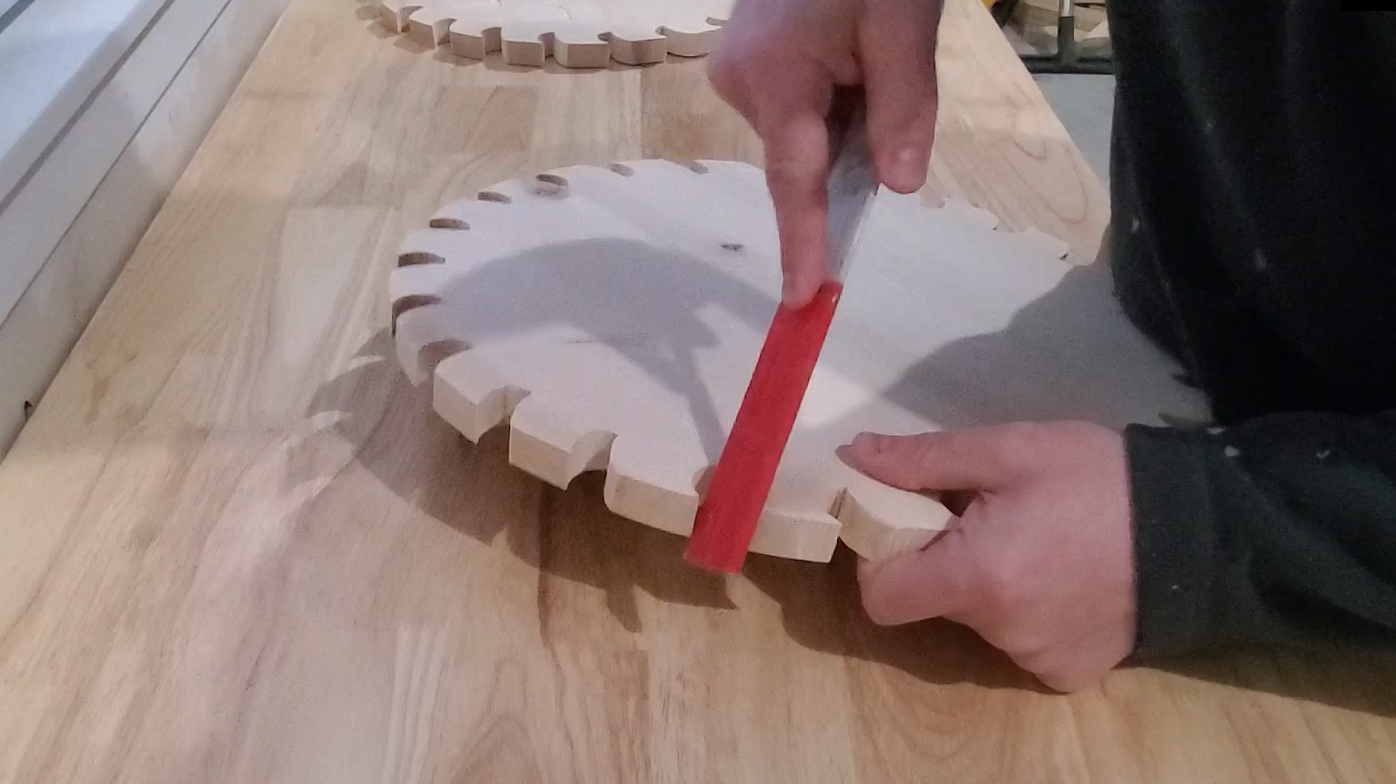
Cut Outside Shape

Using a jig saw and a fine tooth blade, cut out the outside perimeter. This sign has two saw blades slightly offset, so I repeated this step.
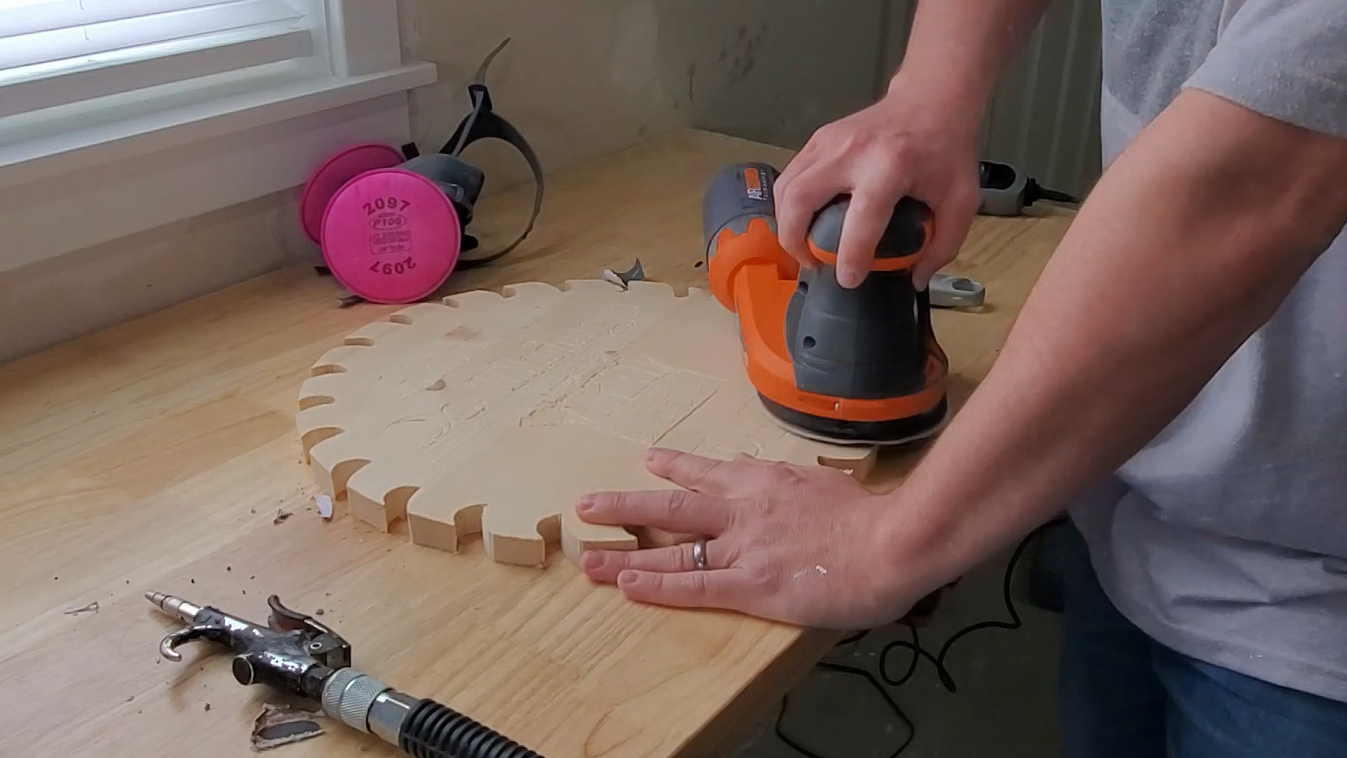
Use Dremel to Engrave Inner Details
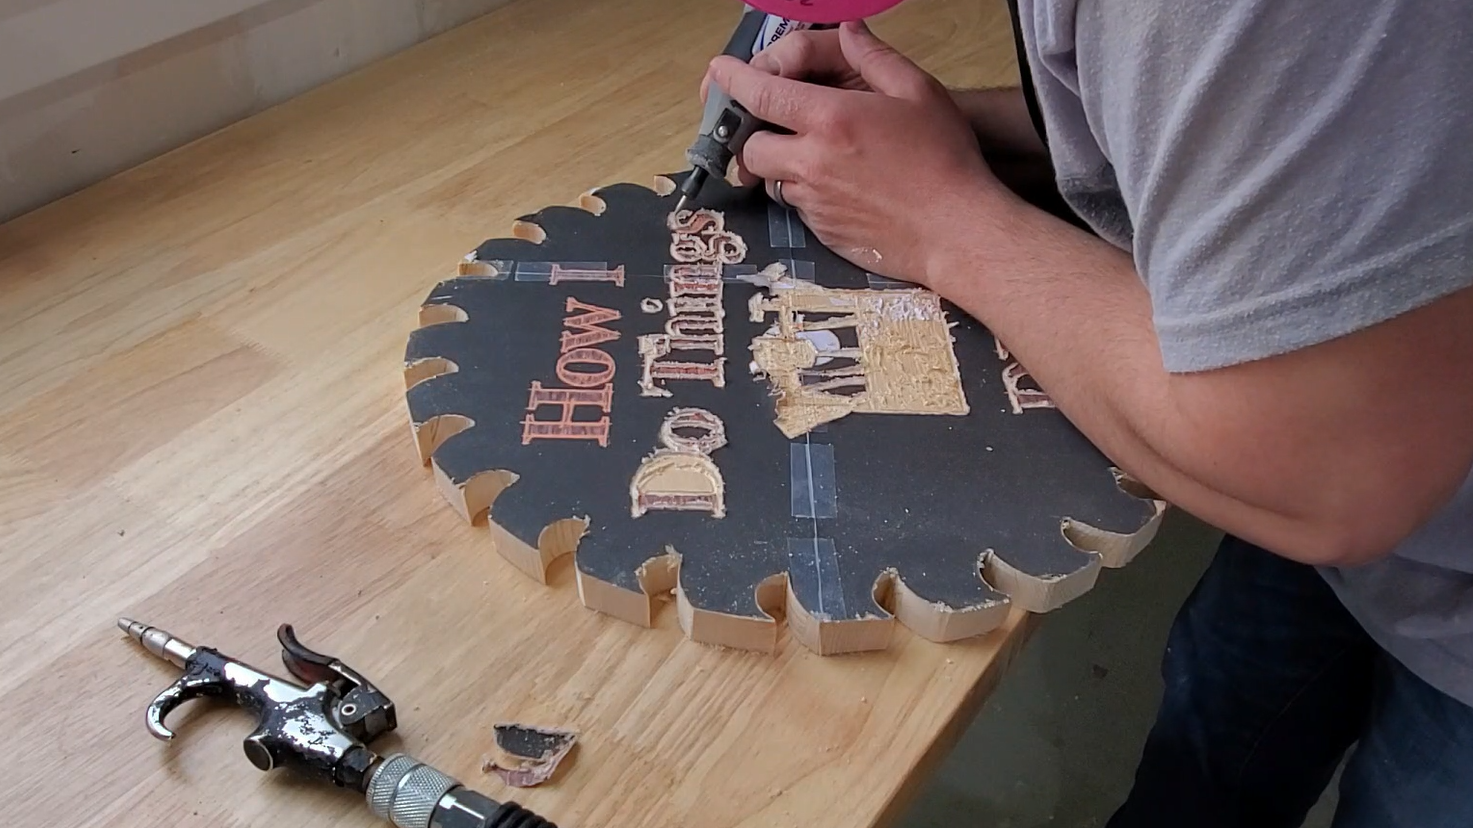
Using a Dremel with a carving bit, carefully engrave the profile of the center details.
Remove Stencil
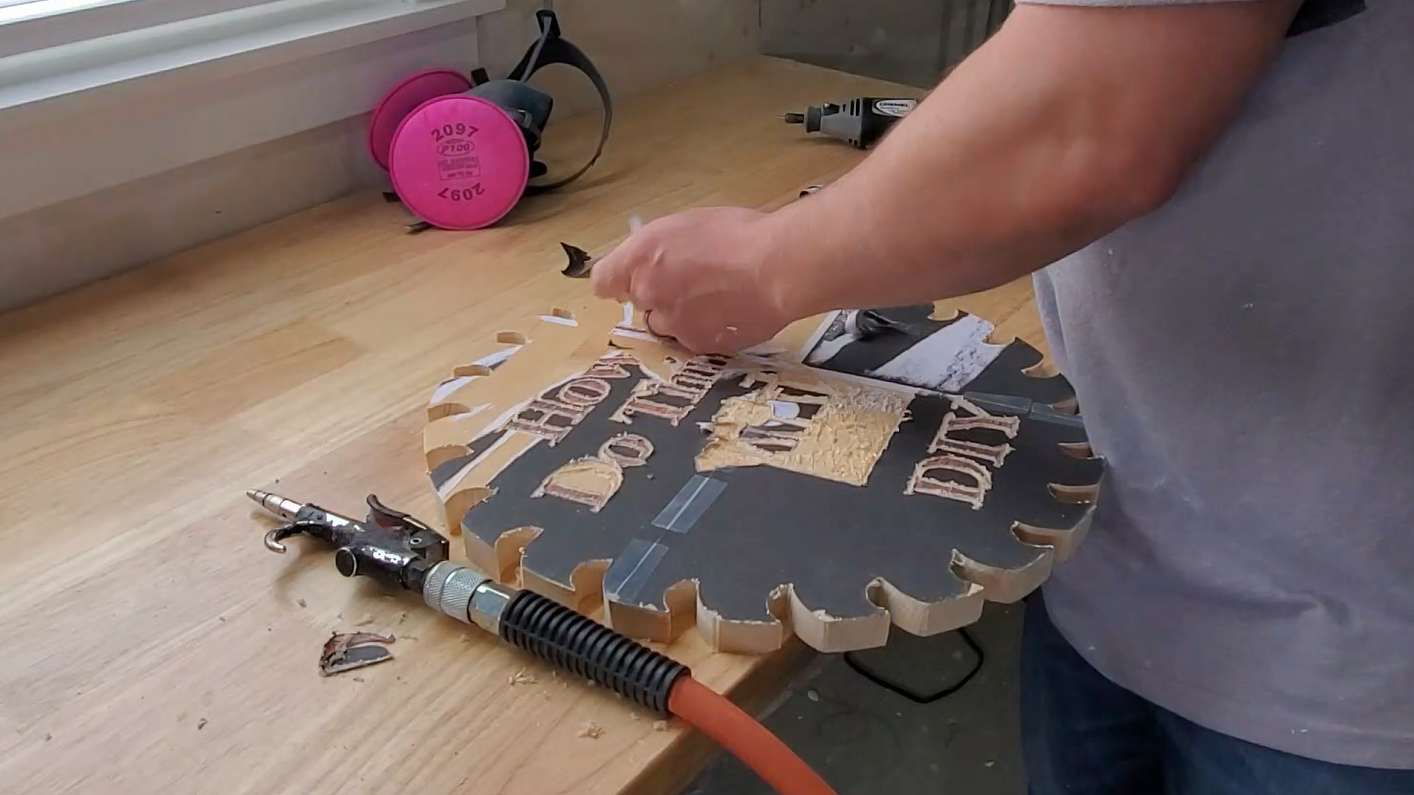
Try to pull the stencil off. If it does not come off easily or cleanly, sand the remaining stencil off with a sander.
Use Dremel to Fill in Detail
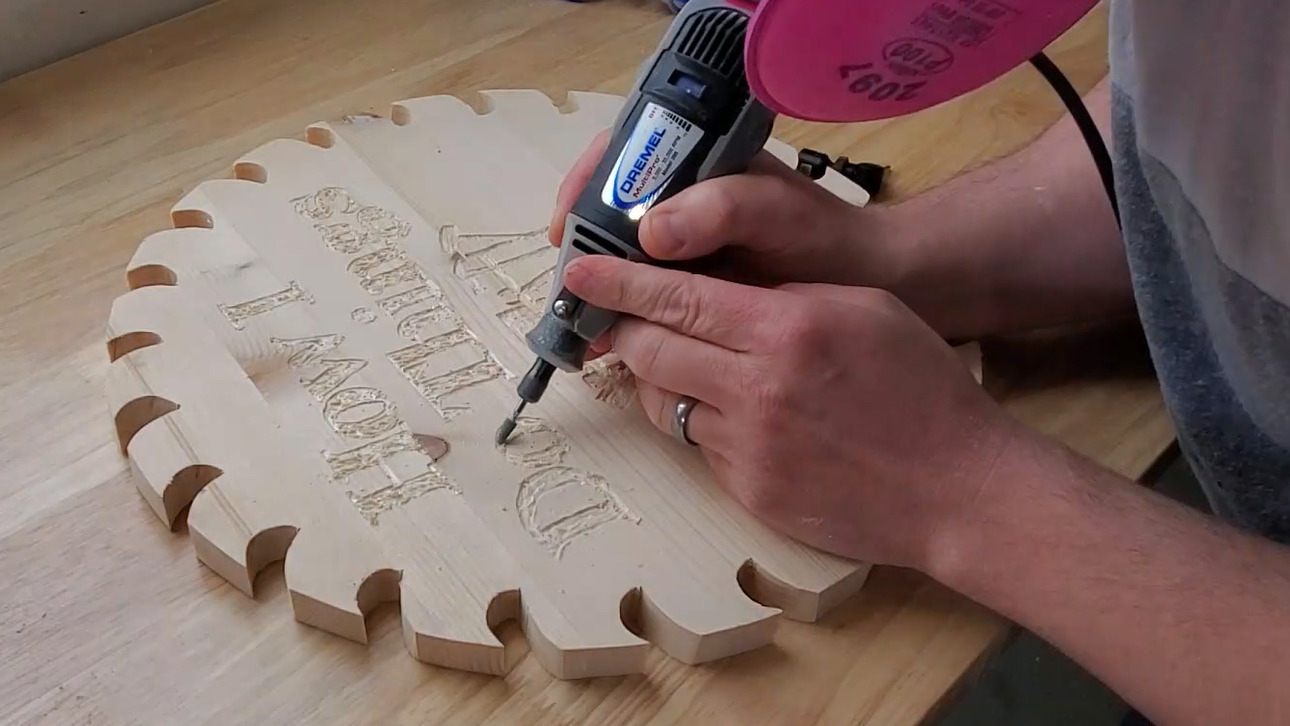
Once the stencil is removed, fill in the details. My logo letters have a hand sketched font, so this process was perfect to replicate it.
Final Sand
Sand the sign with 220 grit sanding paper. Be sure to get all the small detailed areas as well.
Paint
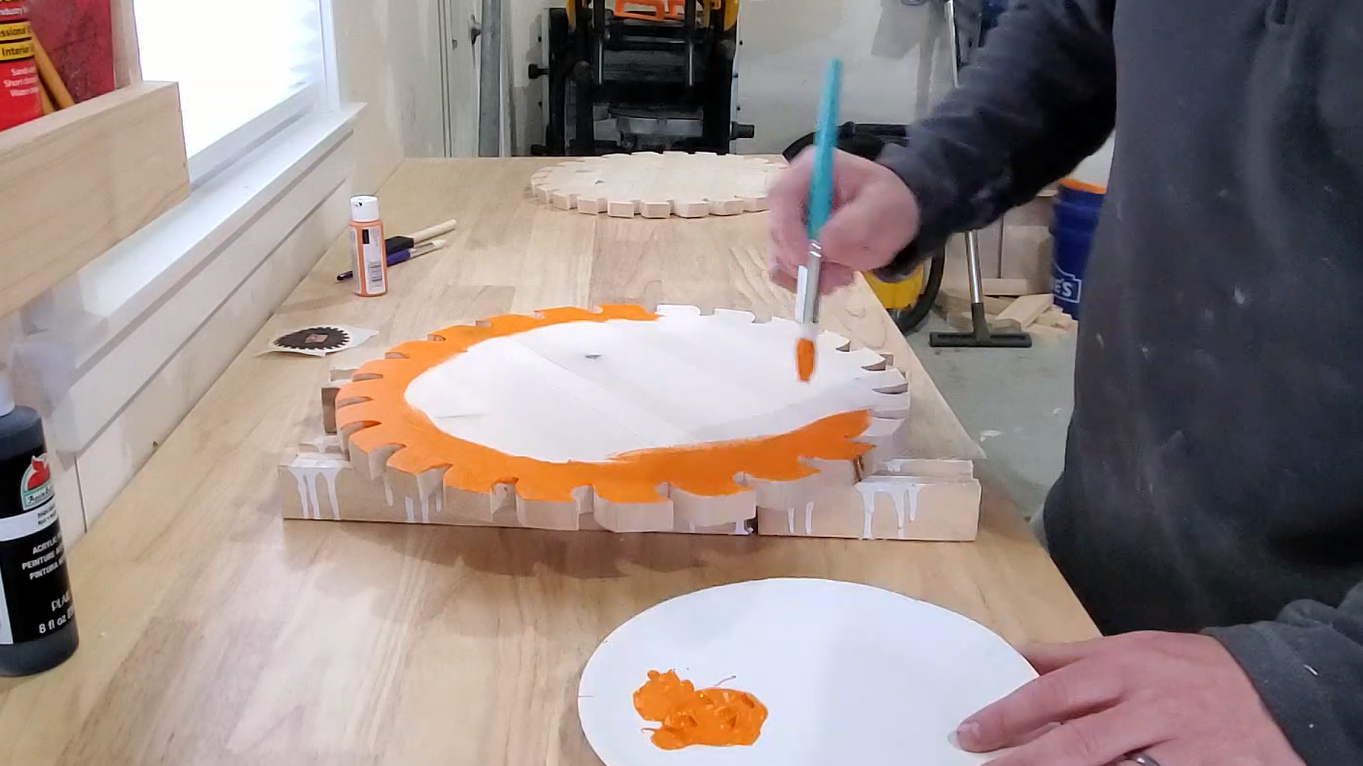
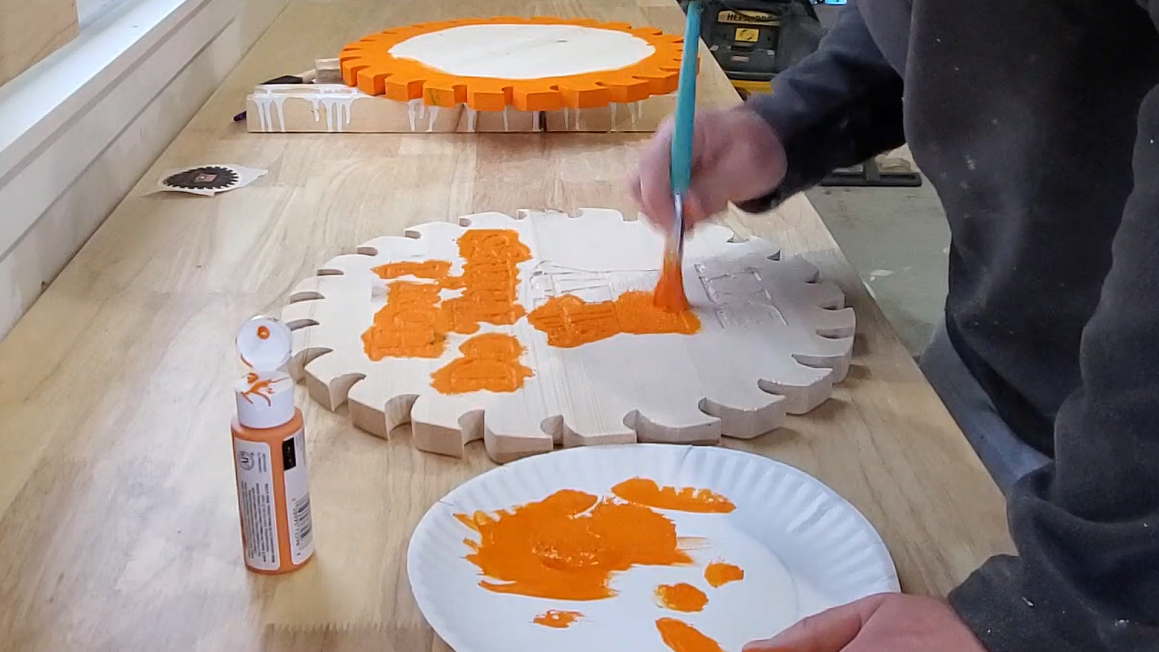
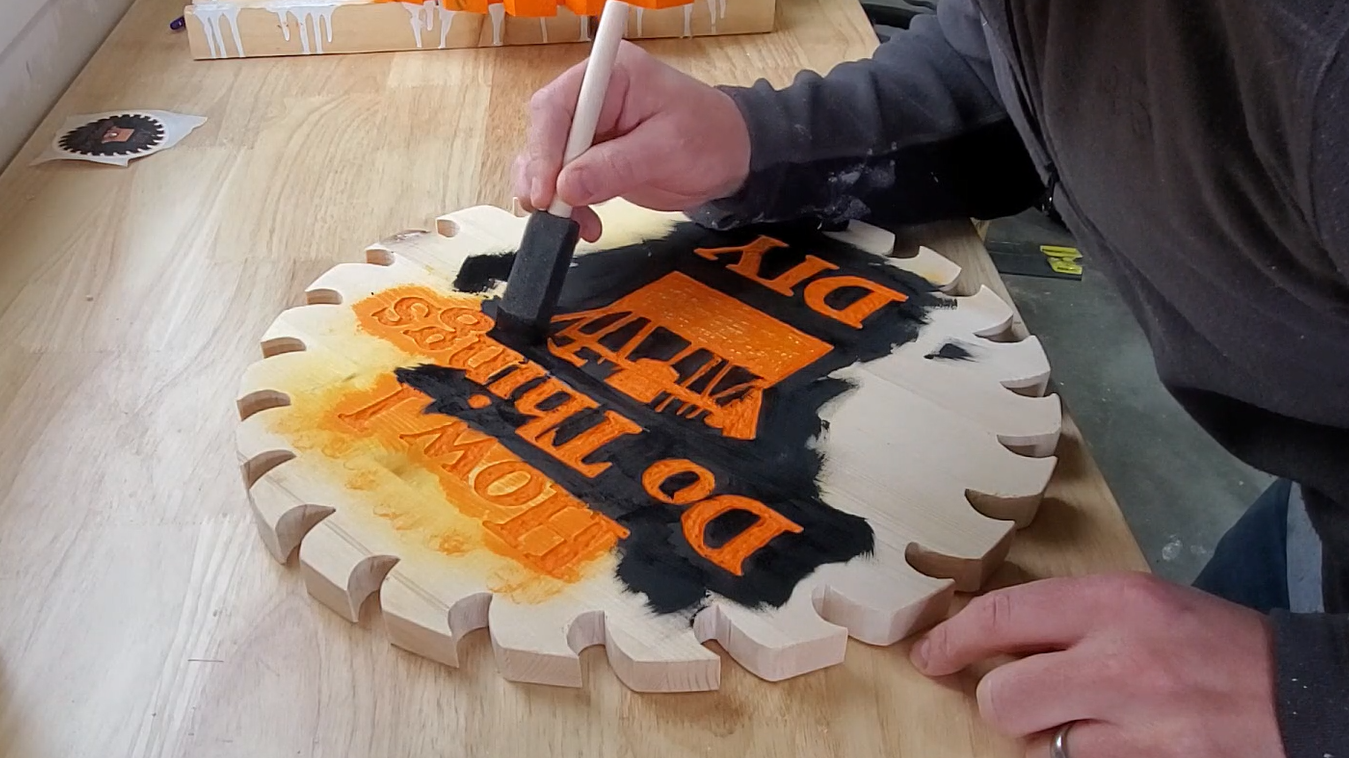
Paint the sign to your liking with the colors you chose.
Final Assembly
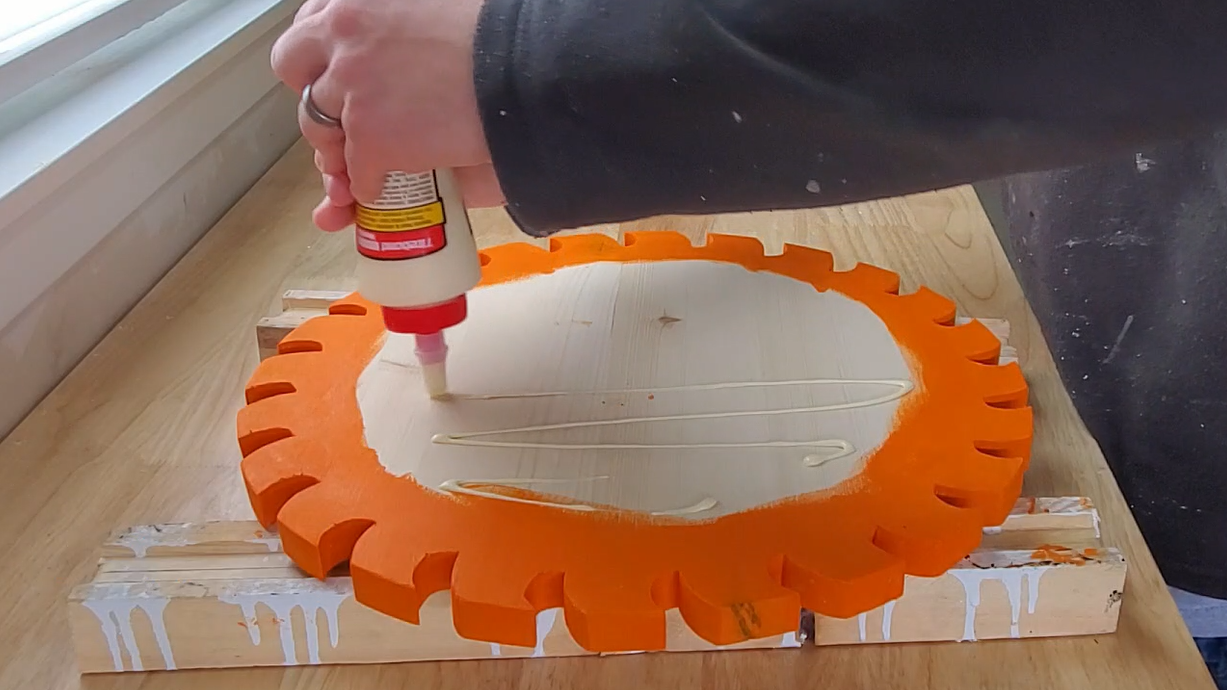
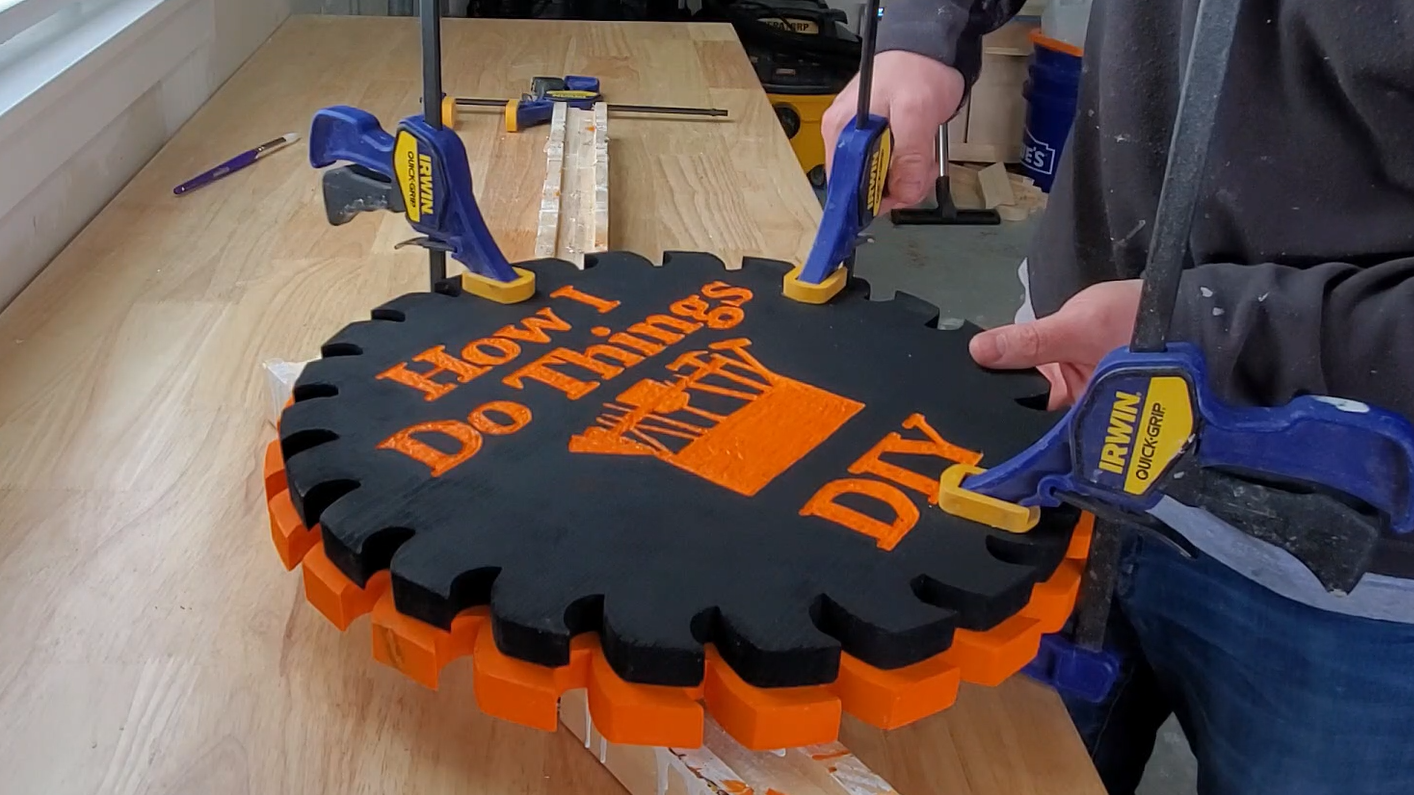
Finally, assemble your sign. In this case, I just used wood glue and clamped the assembly together and let it dry over night.
Hang your sign and enjoy the life it brings to your space!