Custom Gasket (Laser Cut)
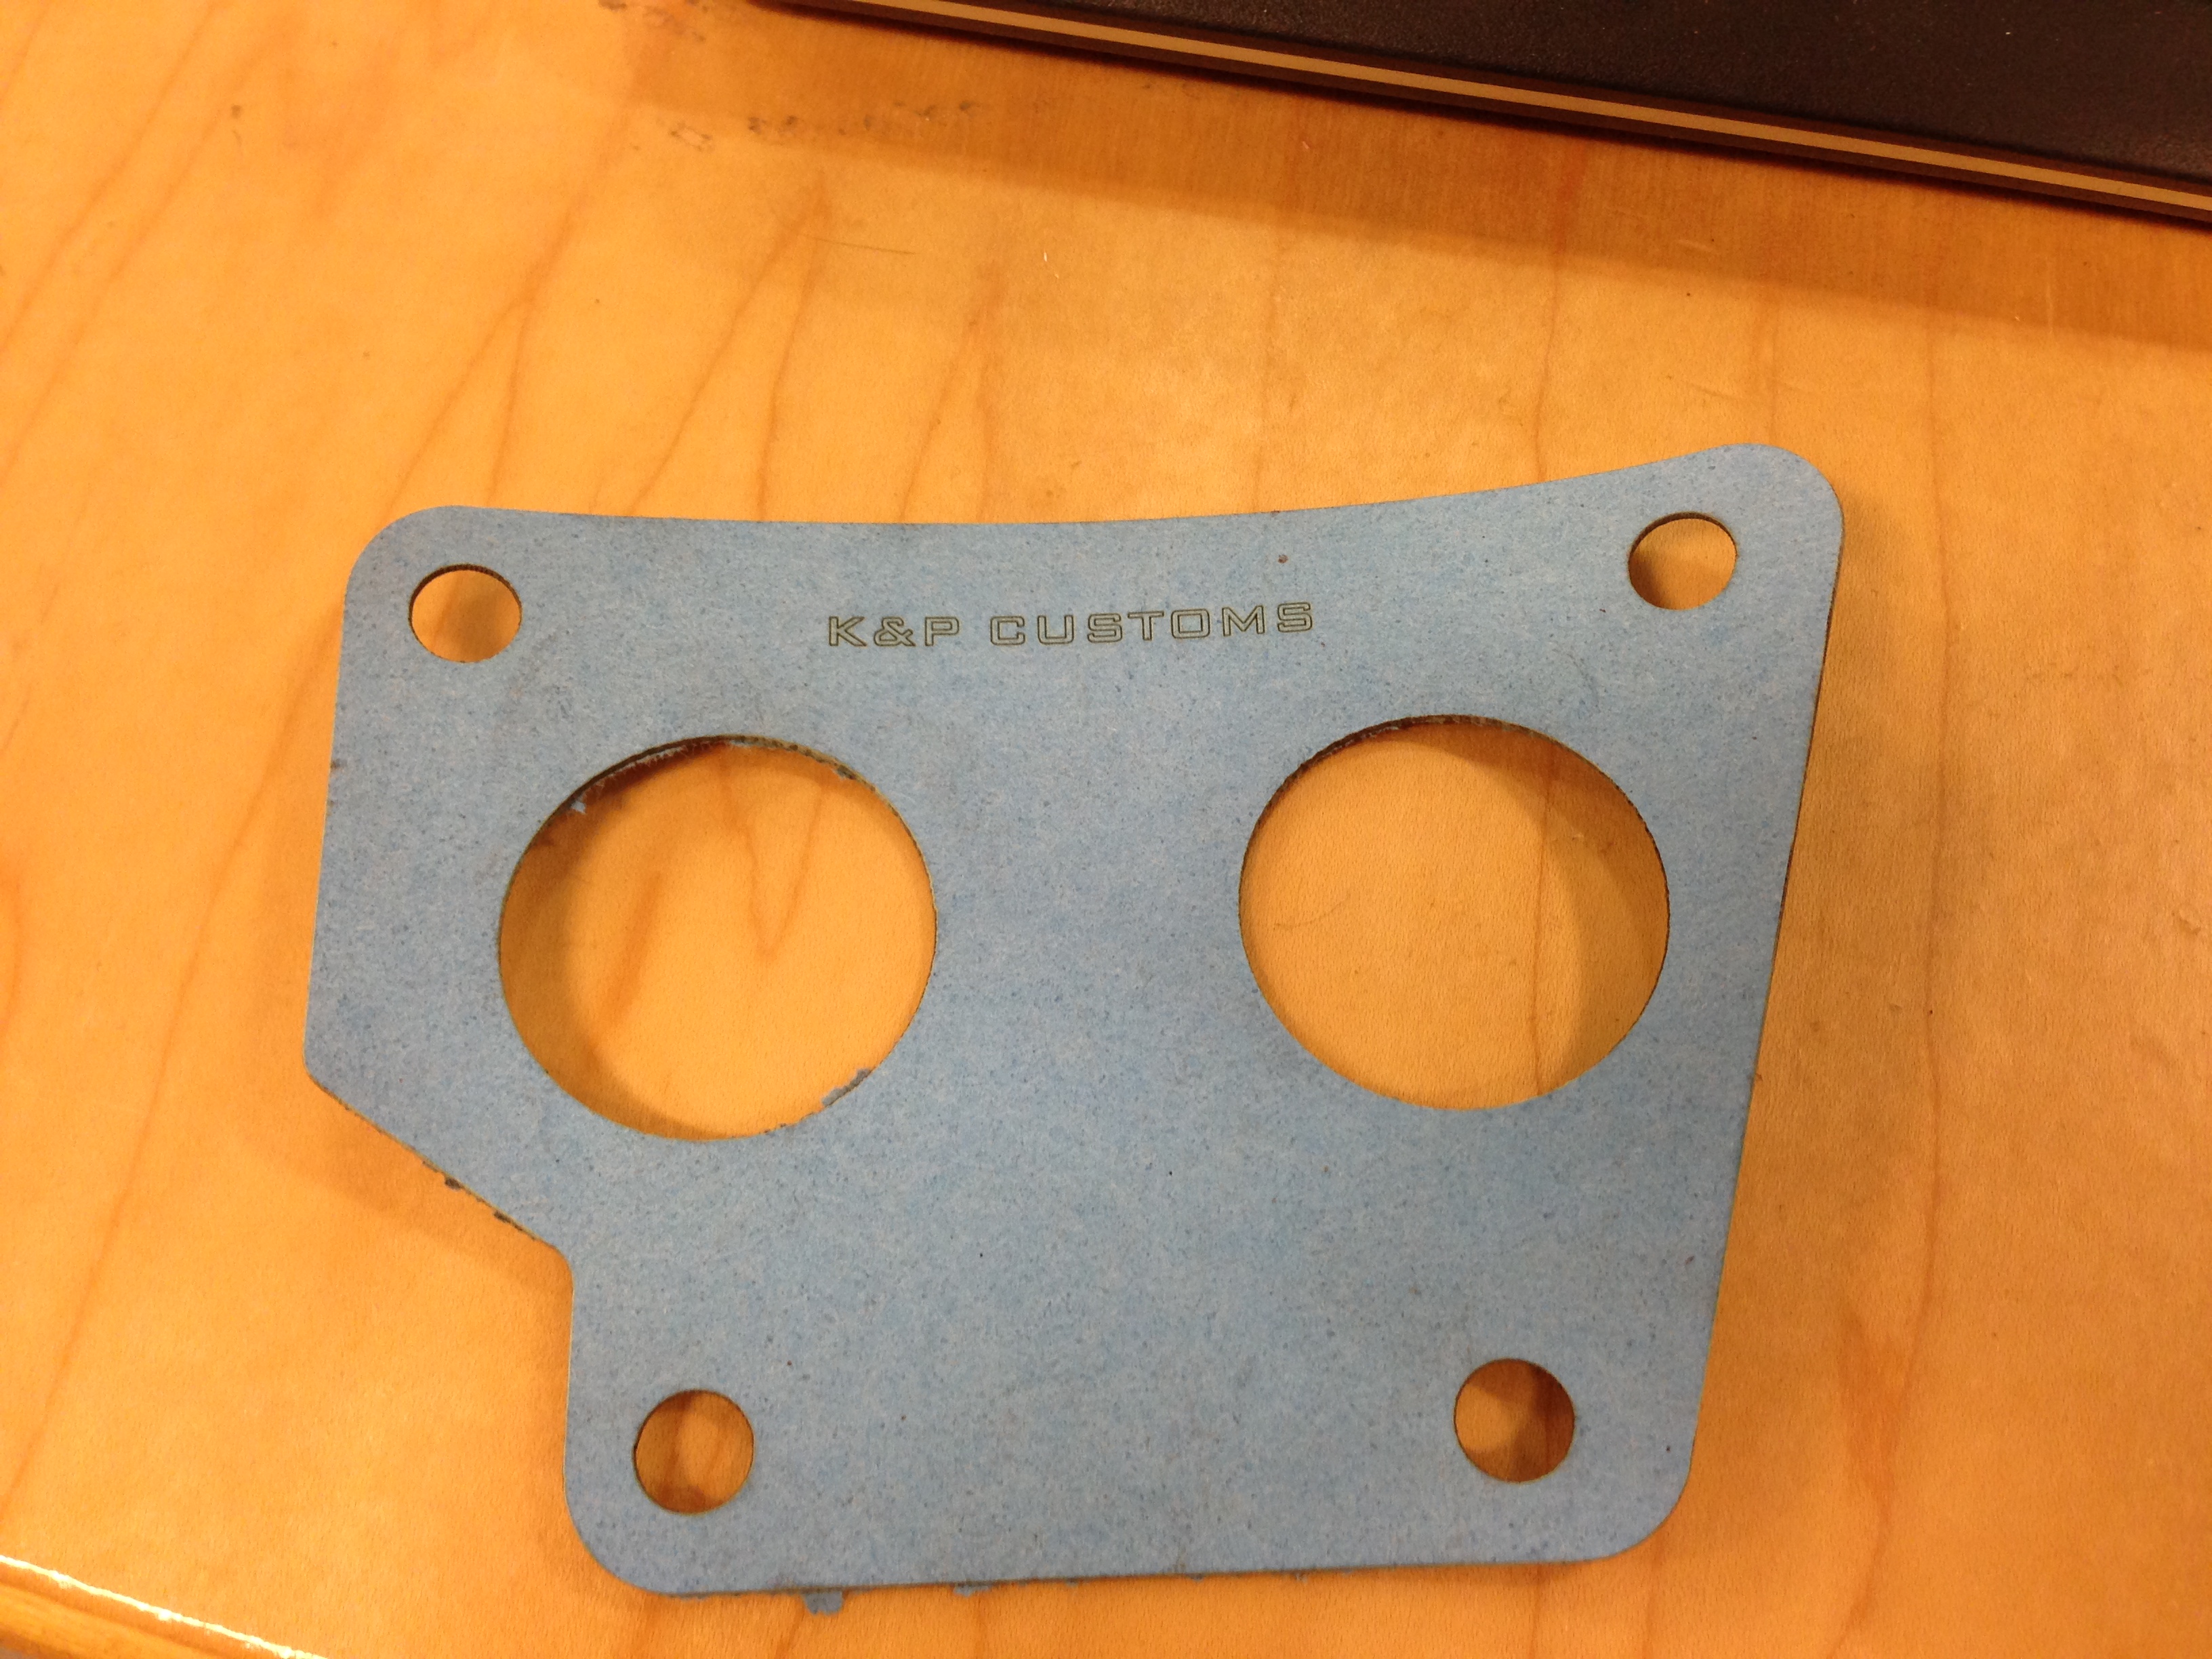
I have been cutting these gaskets out by hand for the past several years. The quantity has been low so printing a template, trace it to the gasket material, and then cutting with a razor was fine.
Now with access to Laser Cutter at TechShop it's been a great project to learn how the use the tool.
I made this at TechShop www.techshop.ws
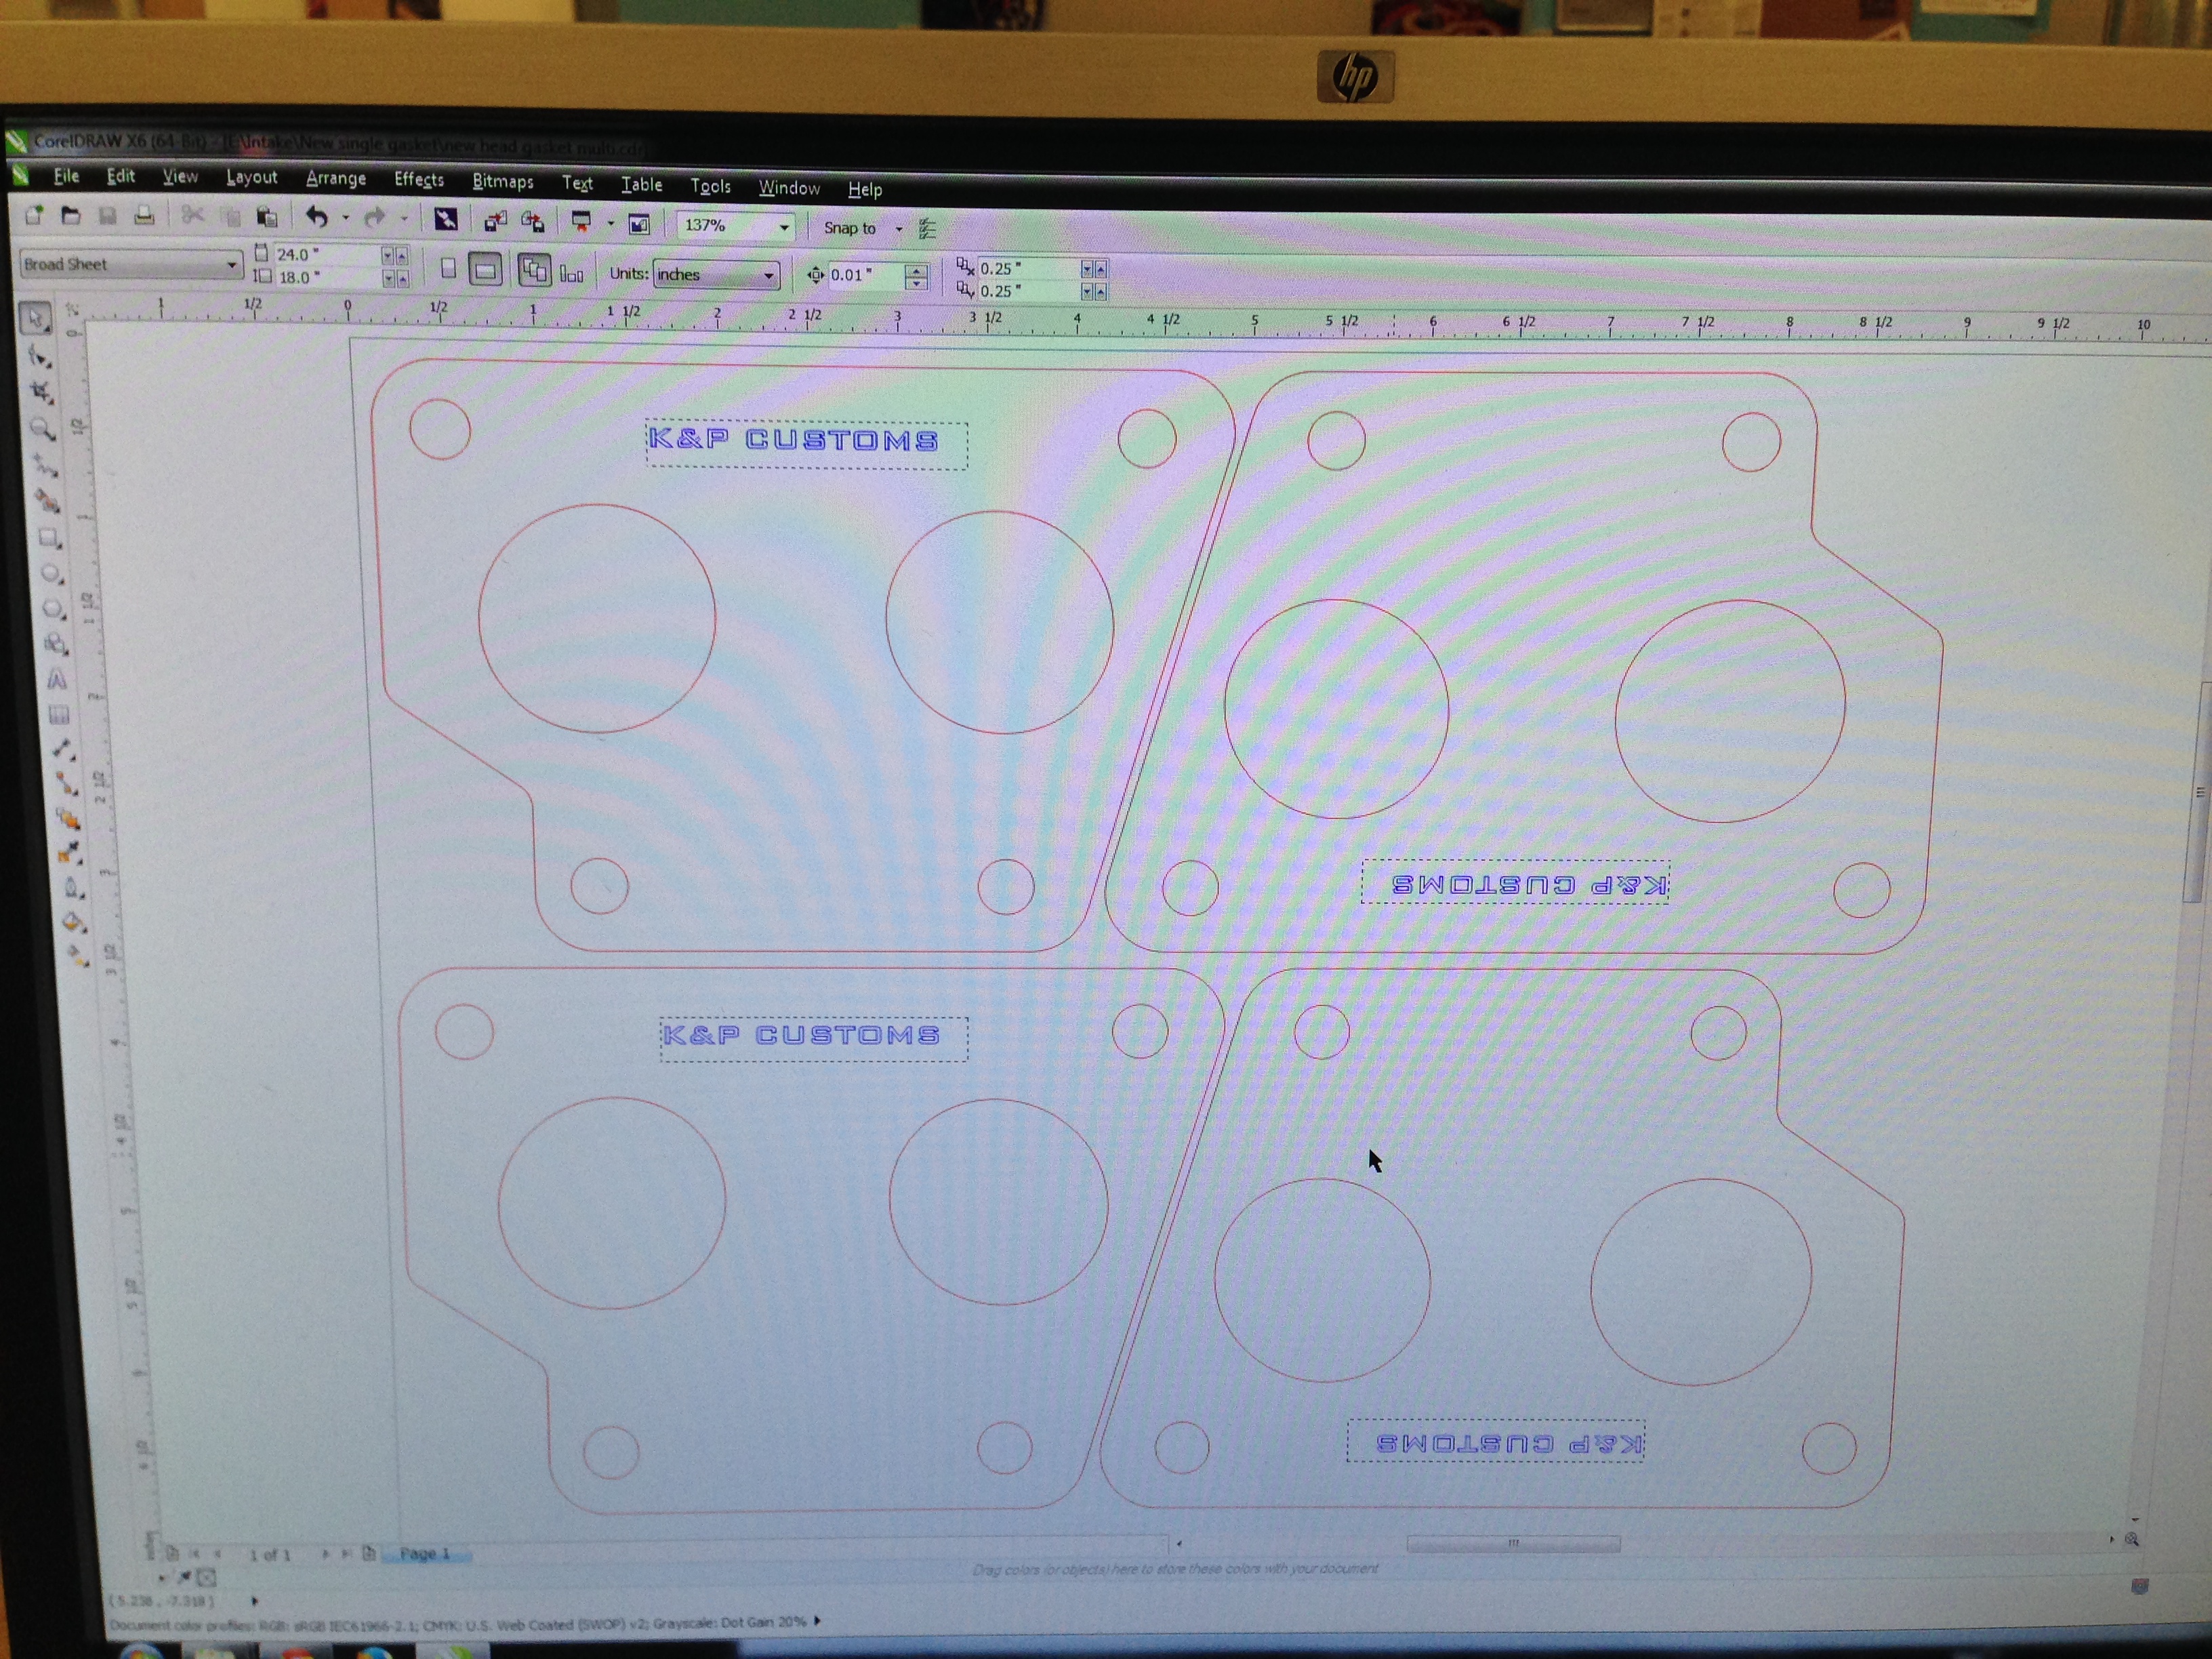
Step 1: Import Your Design
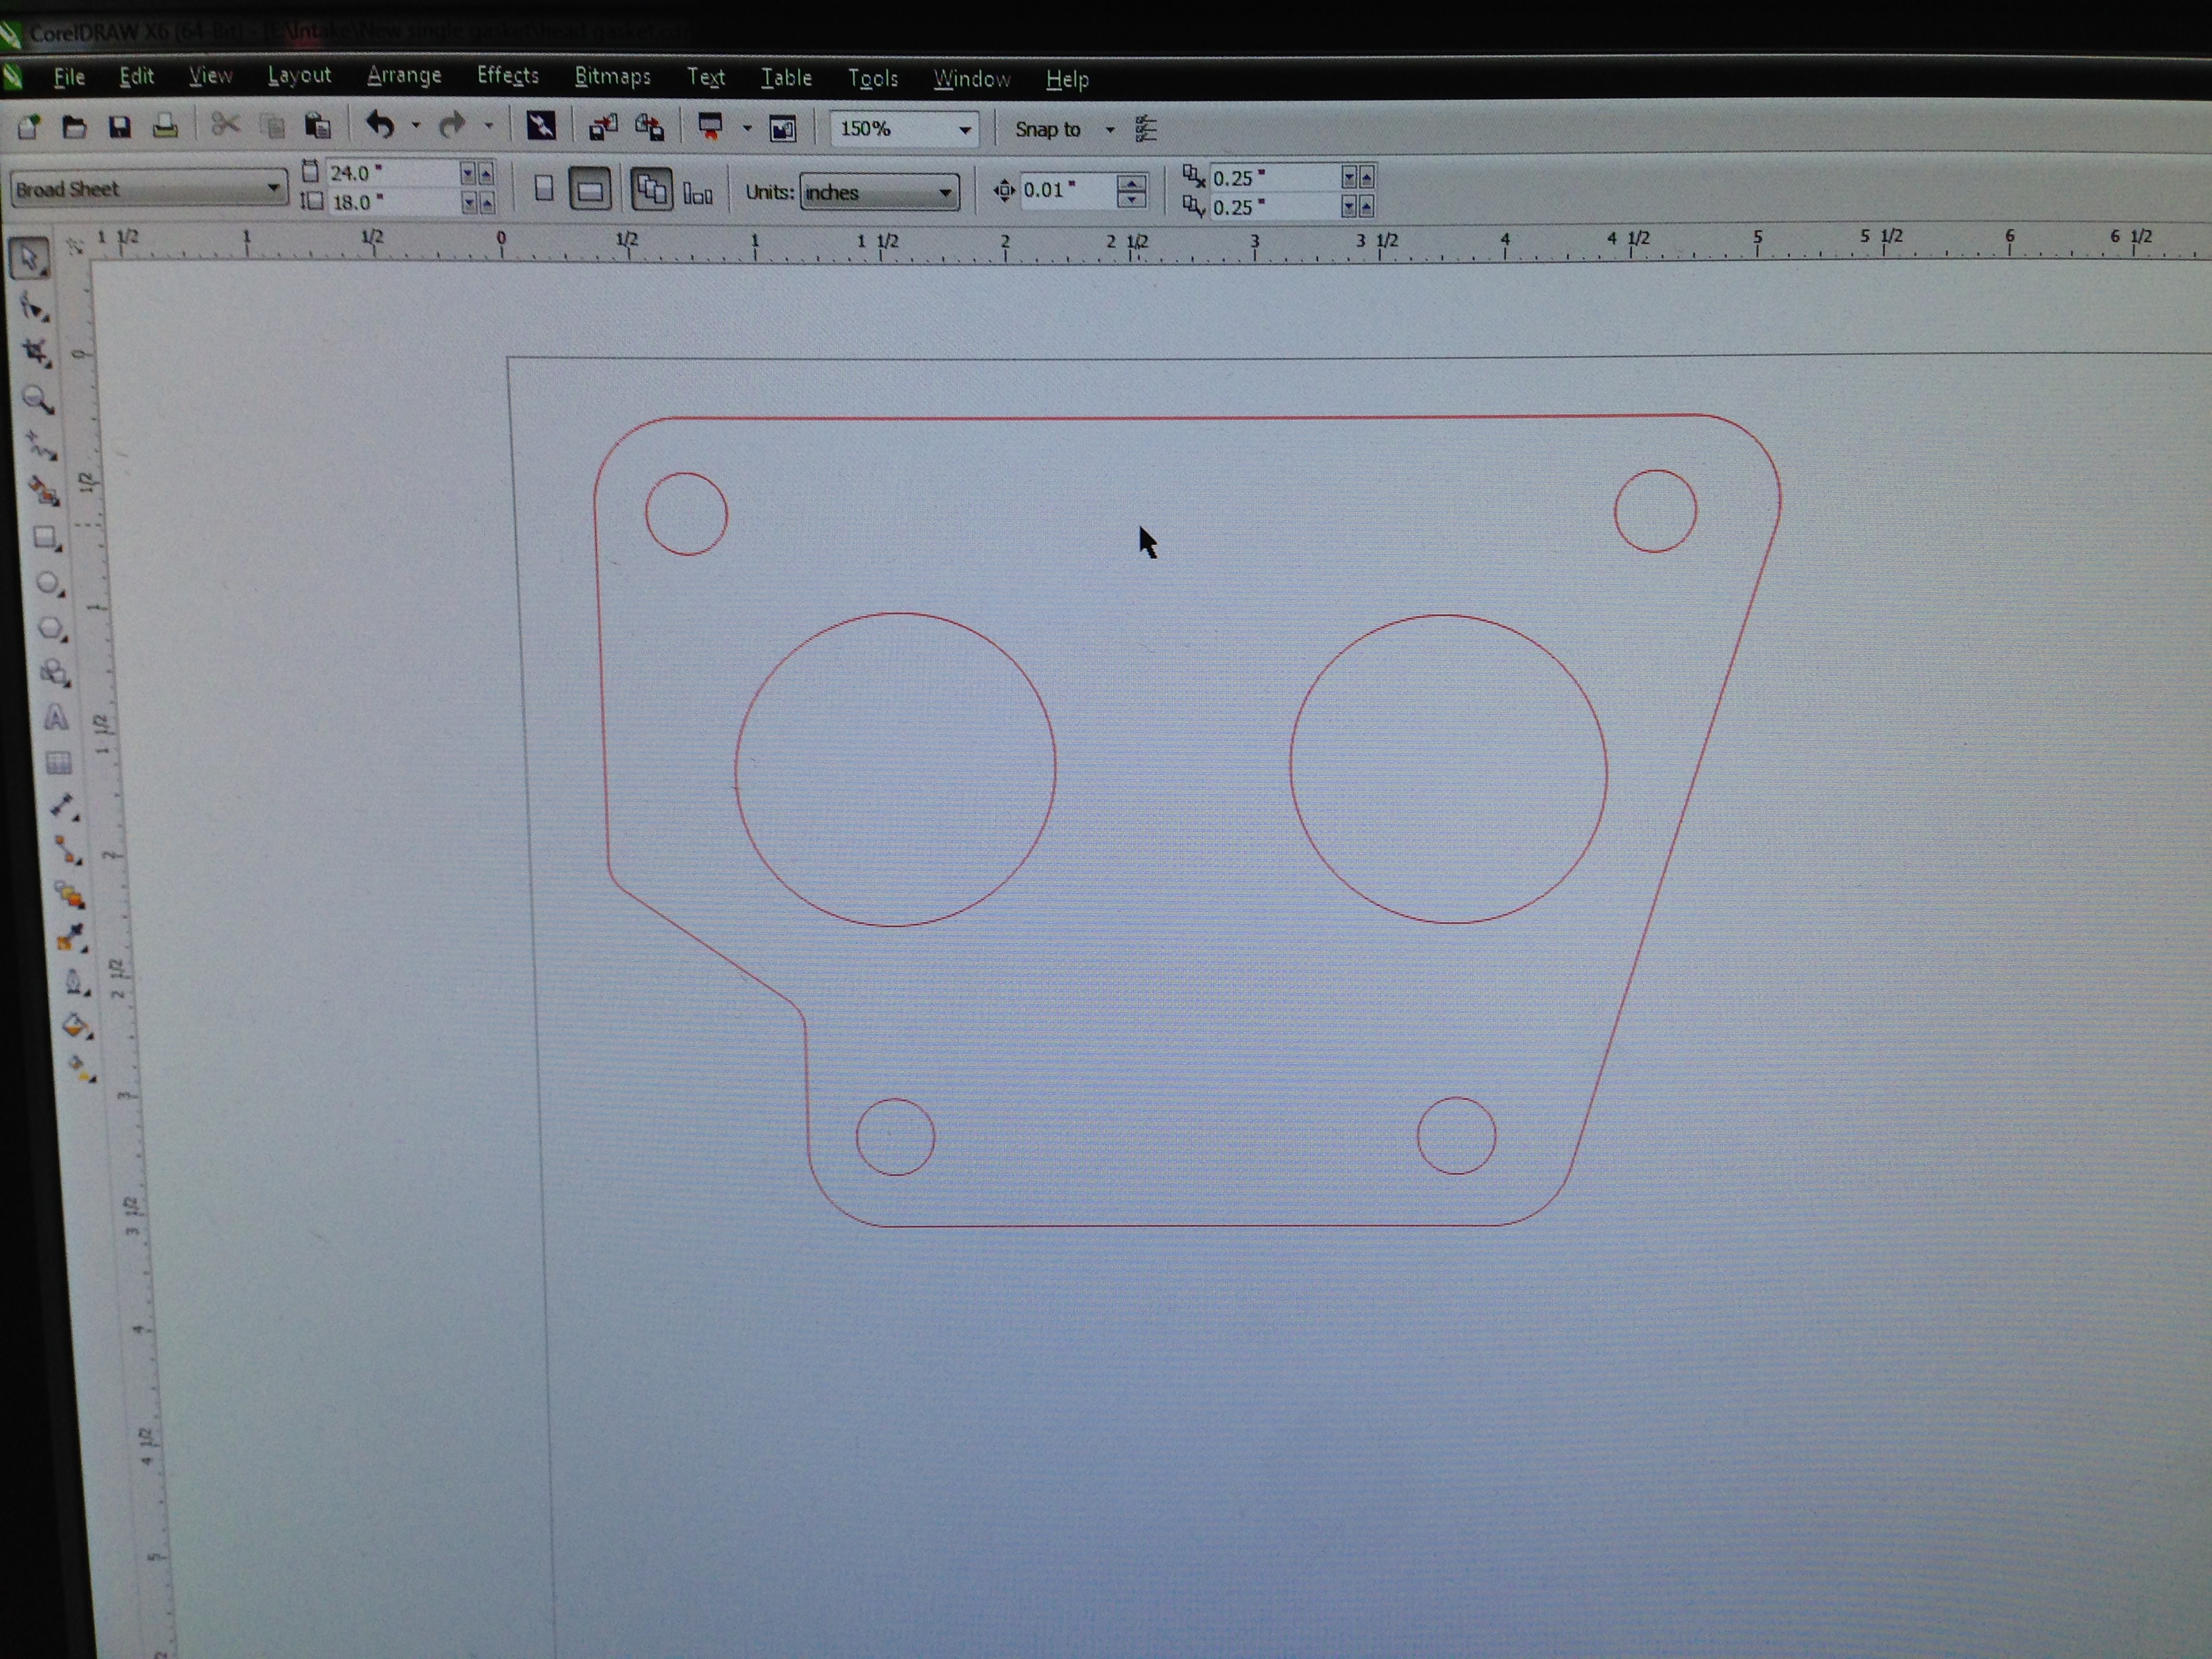
I already had my design in a AutoCAD file format so importing into CorelDraw was easy, I double checked that my vector line color was the right red and that line-weight was hairline. I added some text and placed it where I wanted it and assign the right color blue for Vector etching.
Step 2: Test It
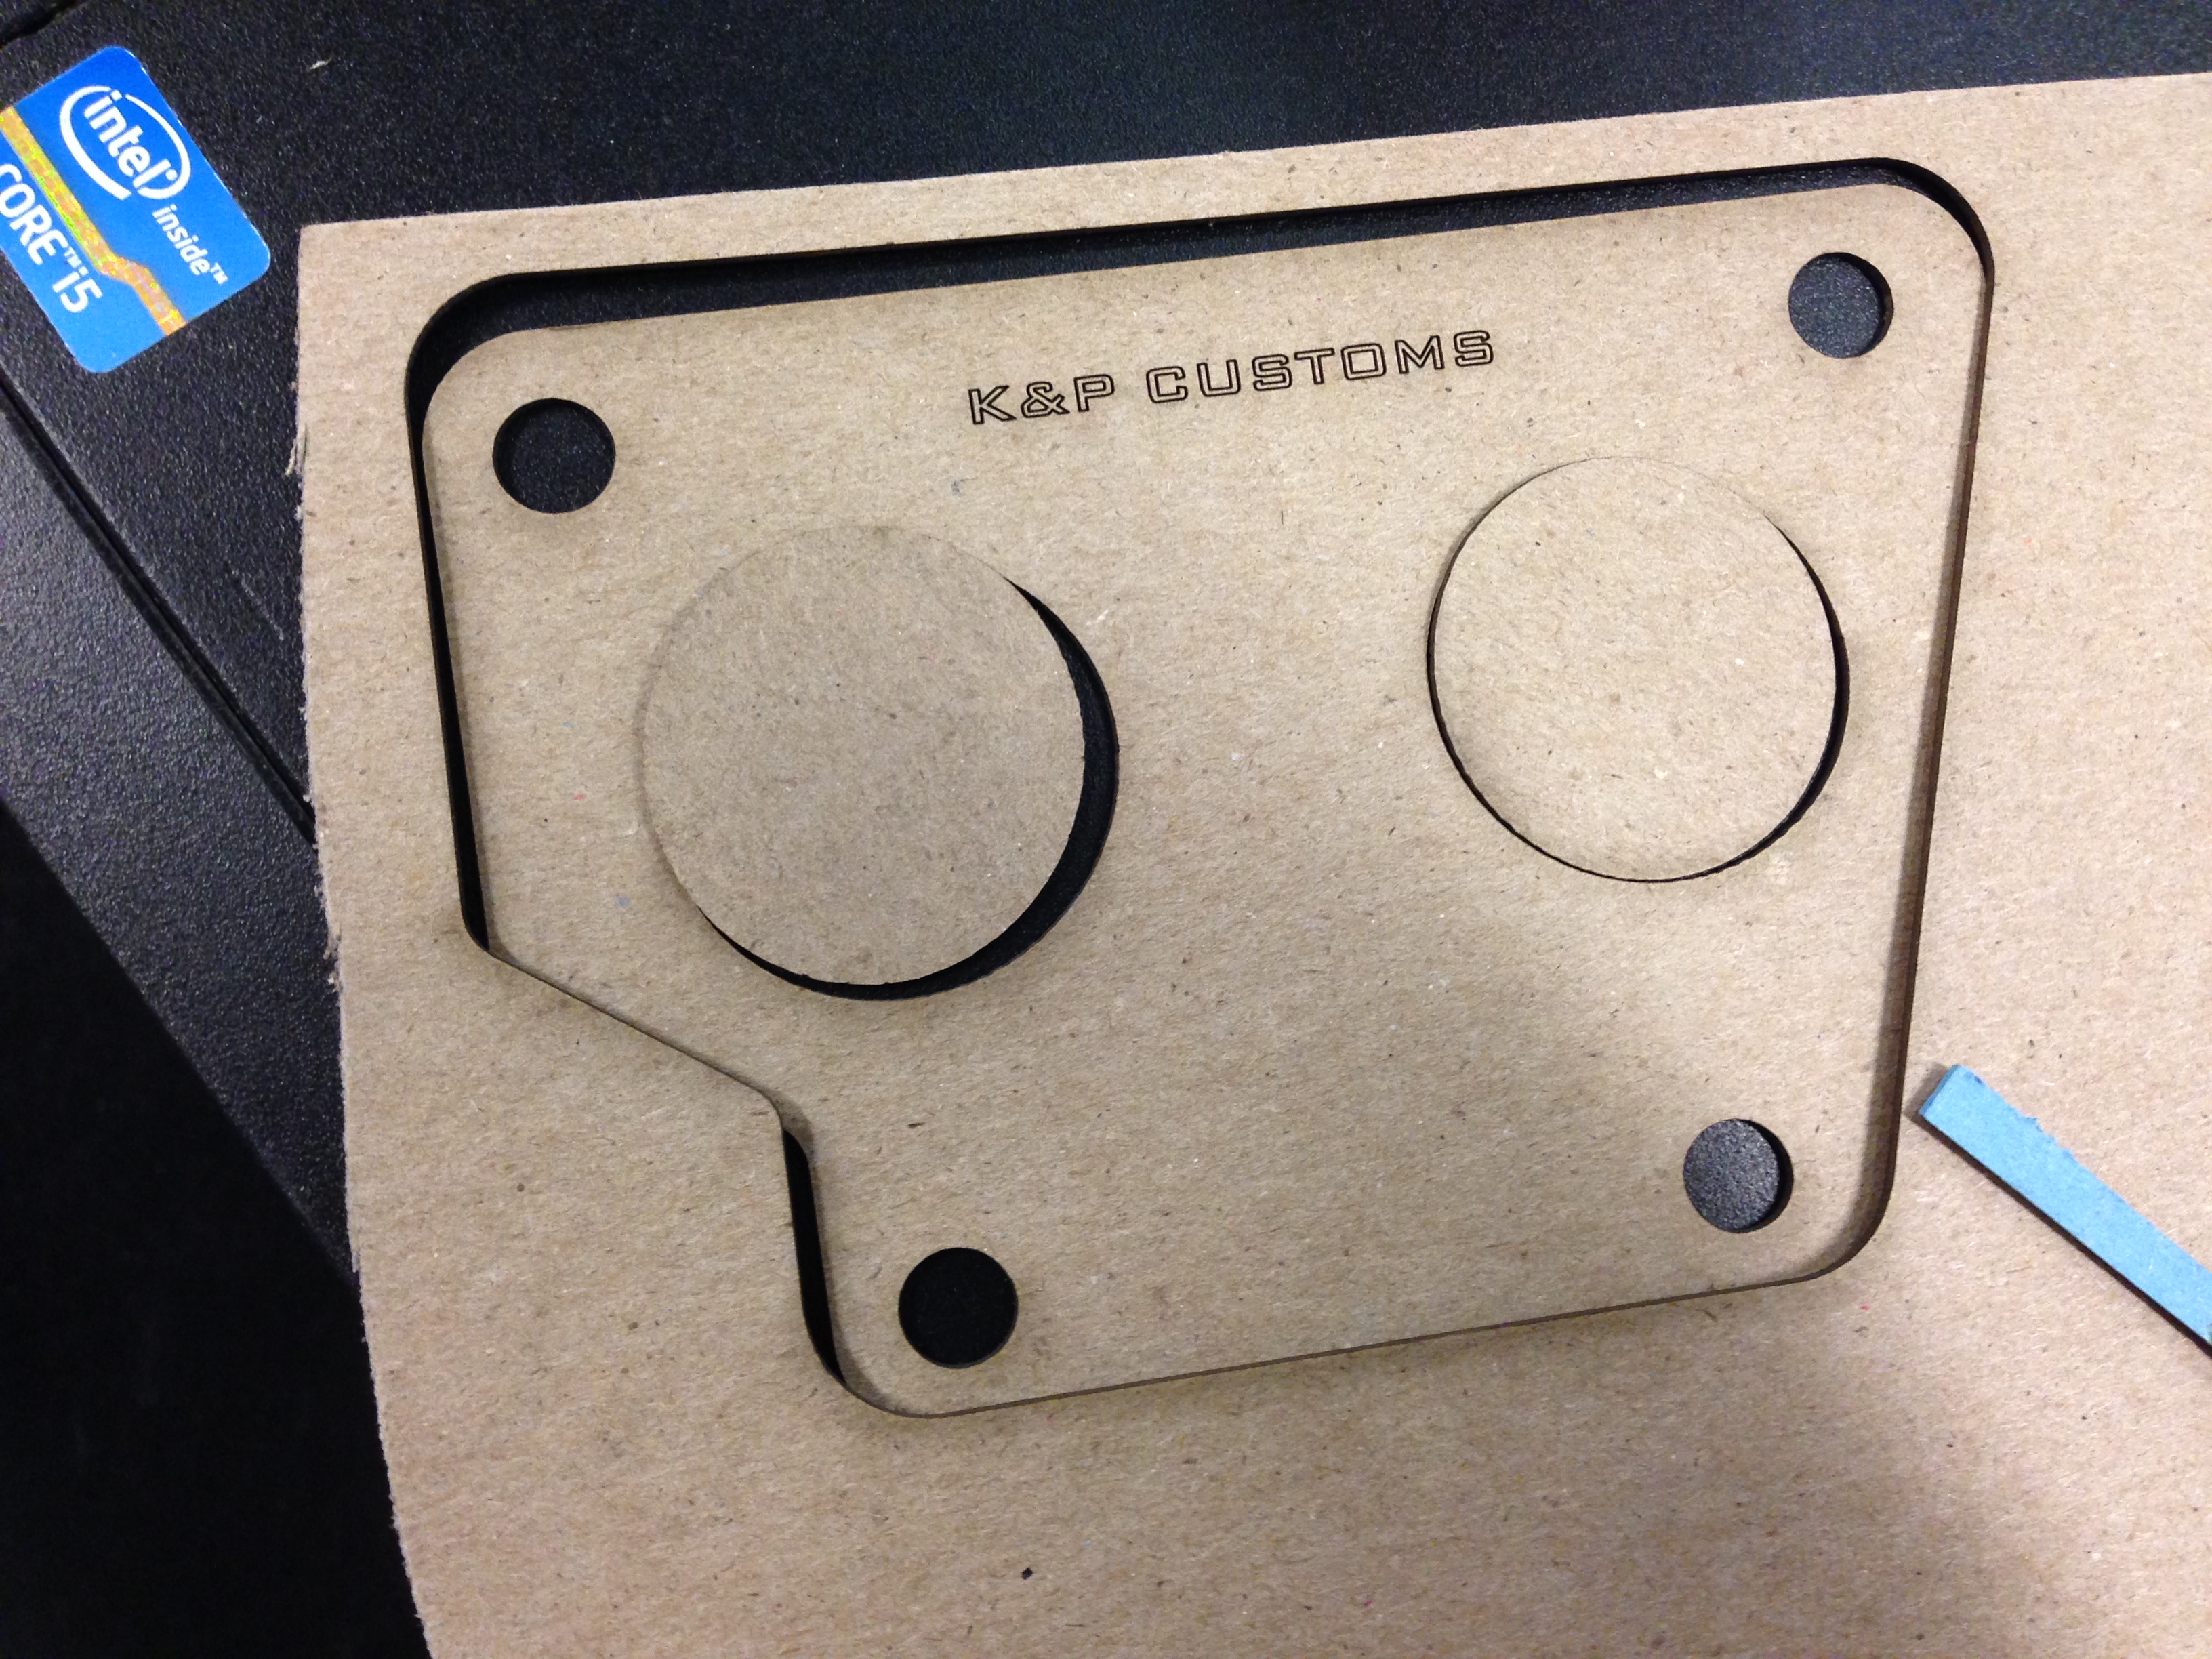
I grabbed some cardboard from scrap bin. Then changed my print preferences for the material and thickness and hit print to send it to the laser cutter. After placing the material in the cutter, checking preference and placement I was ready to see my results.
Step 3: Test Cuts
After checking the size of the test piece to my original, I was ready to move on.
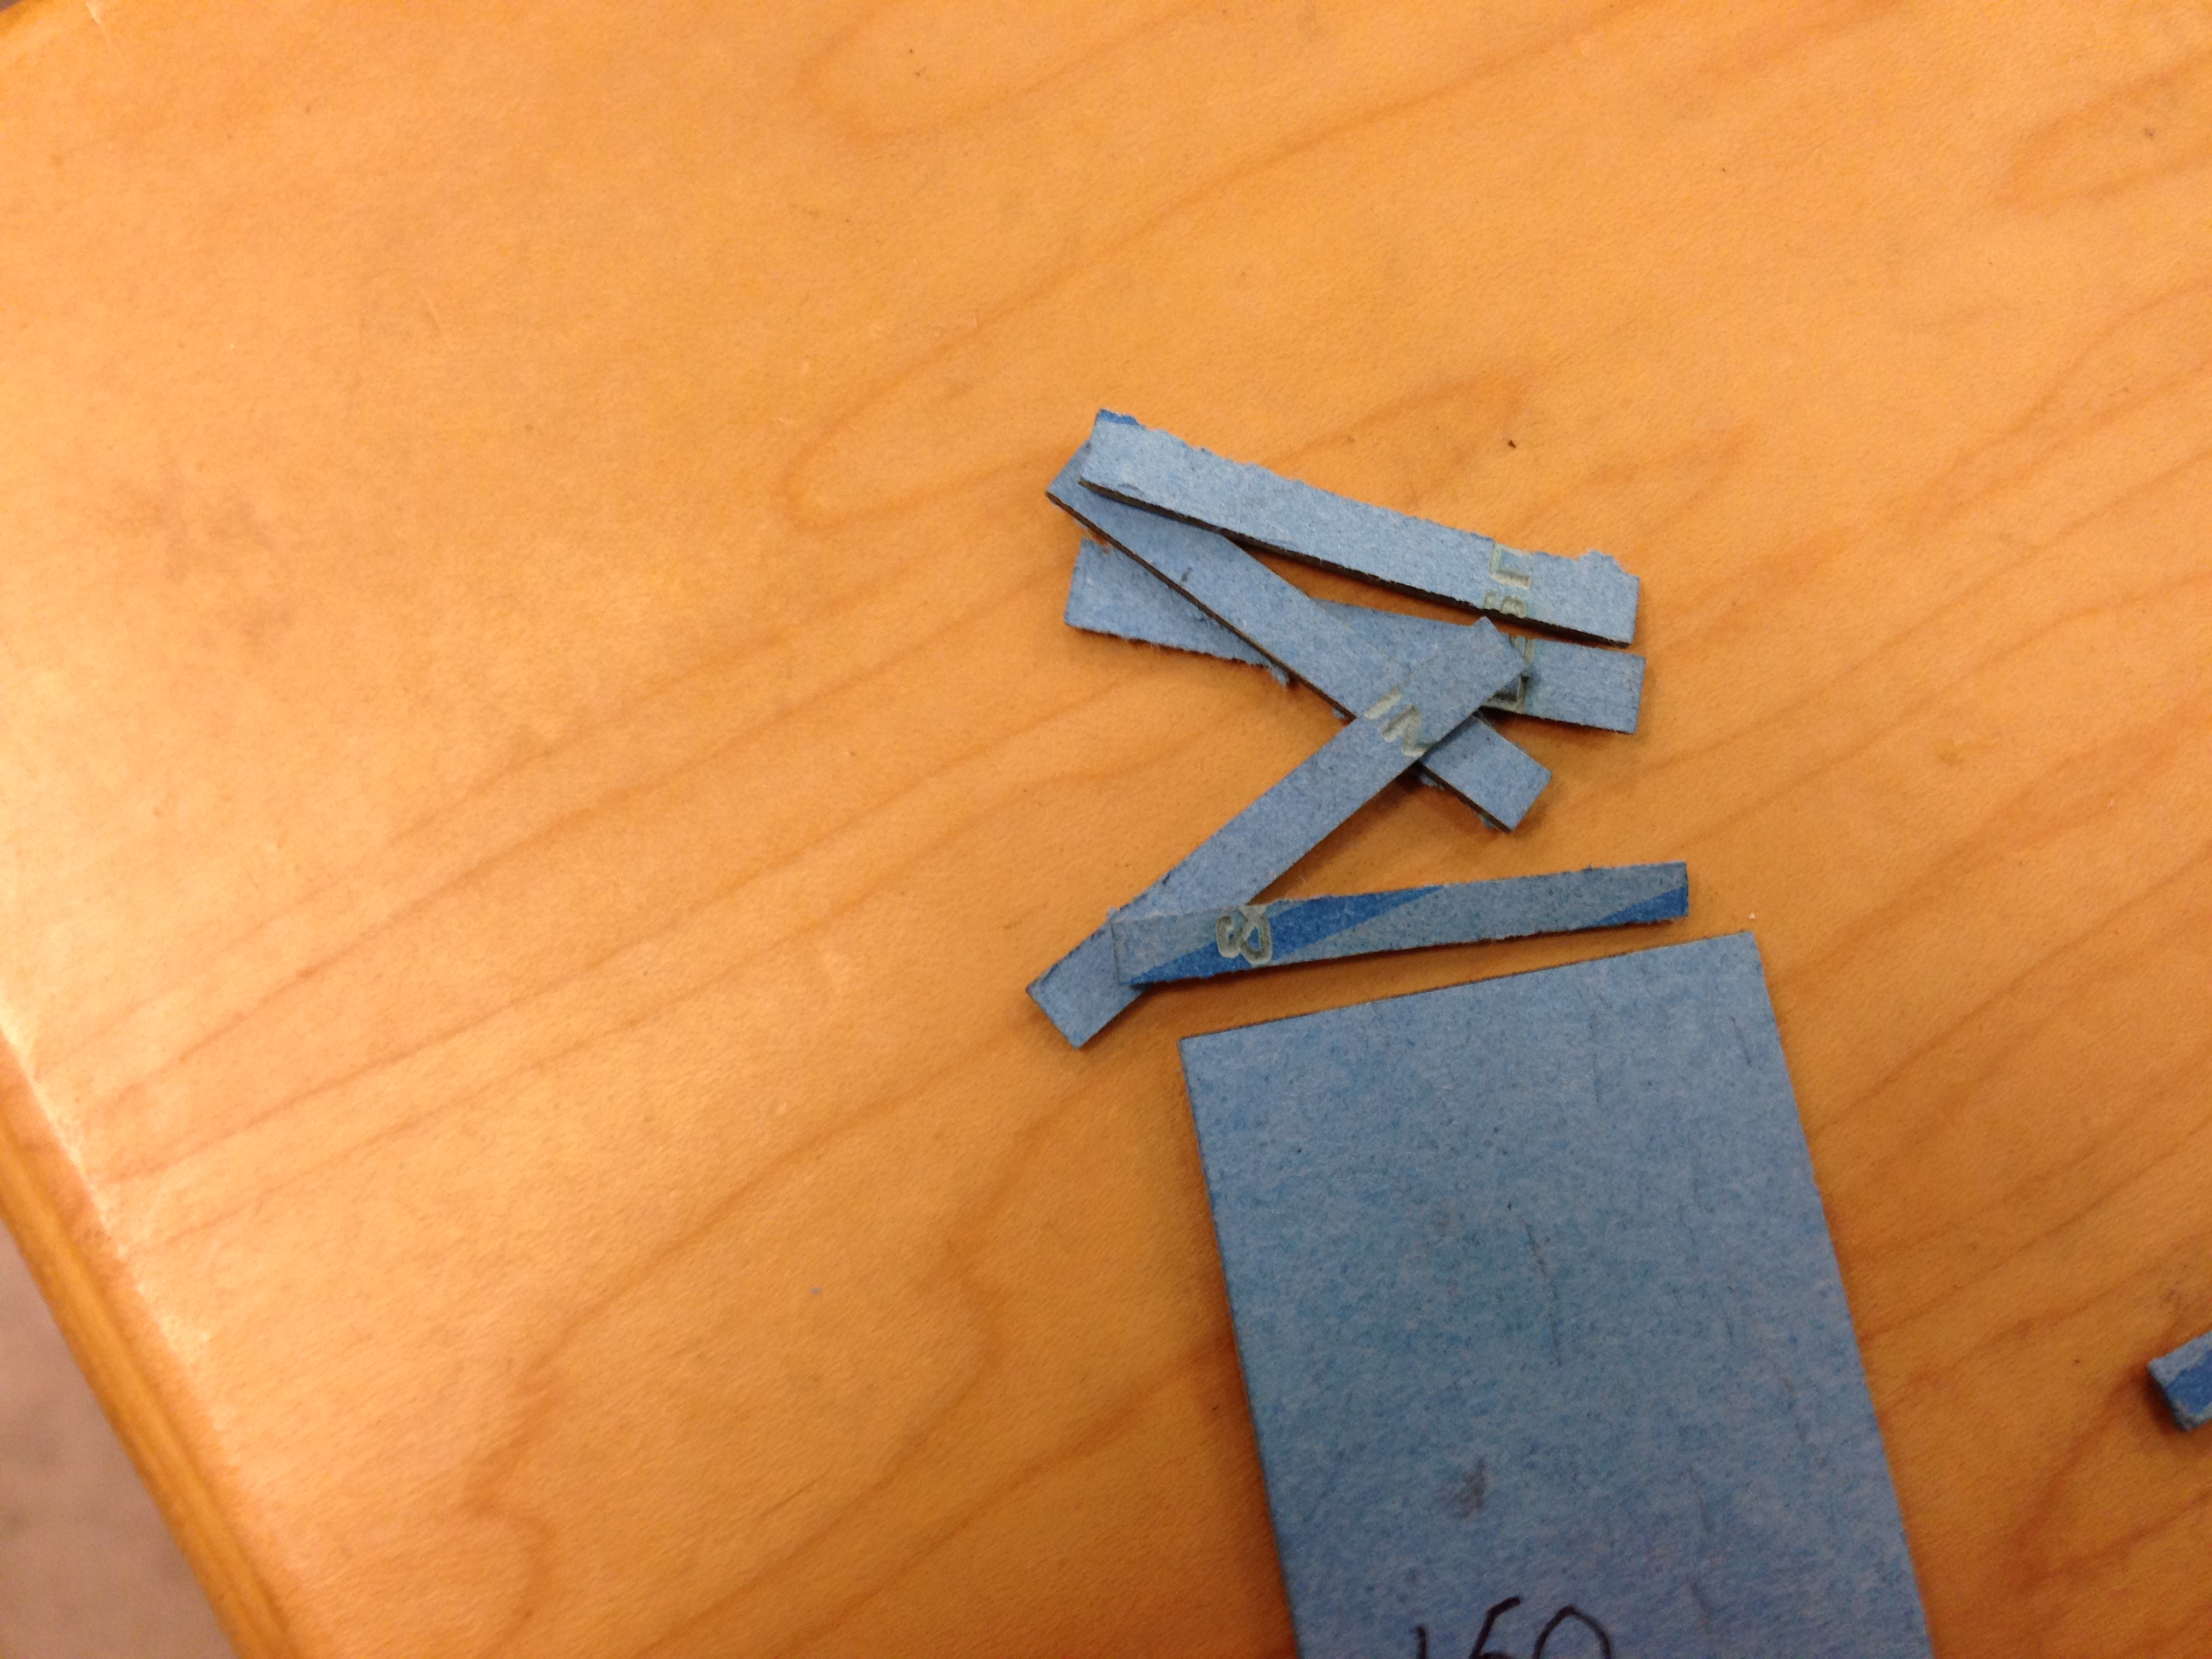
Next up was to make sure I had the preferences for my material and thickness. I’m using 3/64ths Fel-Pro gasket material that you can buy inexpensively from your local auto parts store. The brand and model has the specs I need for my application.
The Cutters preferences do not have my specific material, but I had previously consulted with a instructor at techshop on what material preference option to select. Mat board was a close enough match.
I did a series of test cuts on a scrap of the gasket material. I had to increase the cut intensity until I got it to cut all the way through my test piece.
Step 4: Multiply
Multiply and hit print (Set your cutter preferences as well)
Step 5: Prep the Material
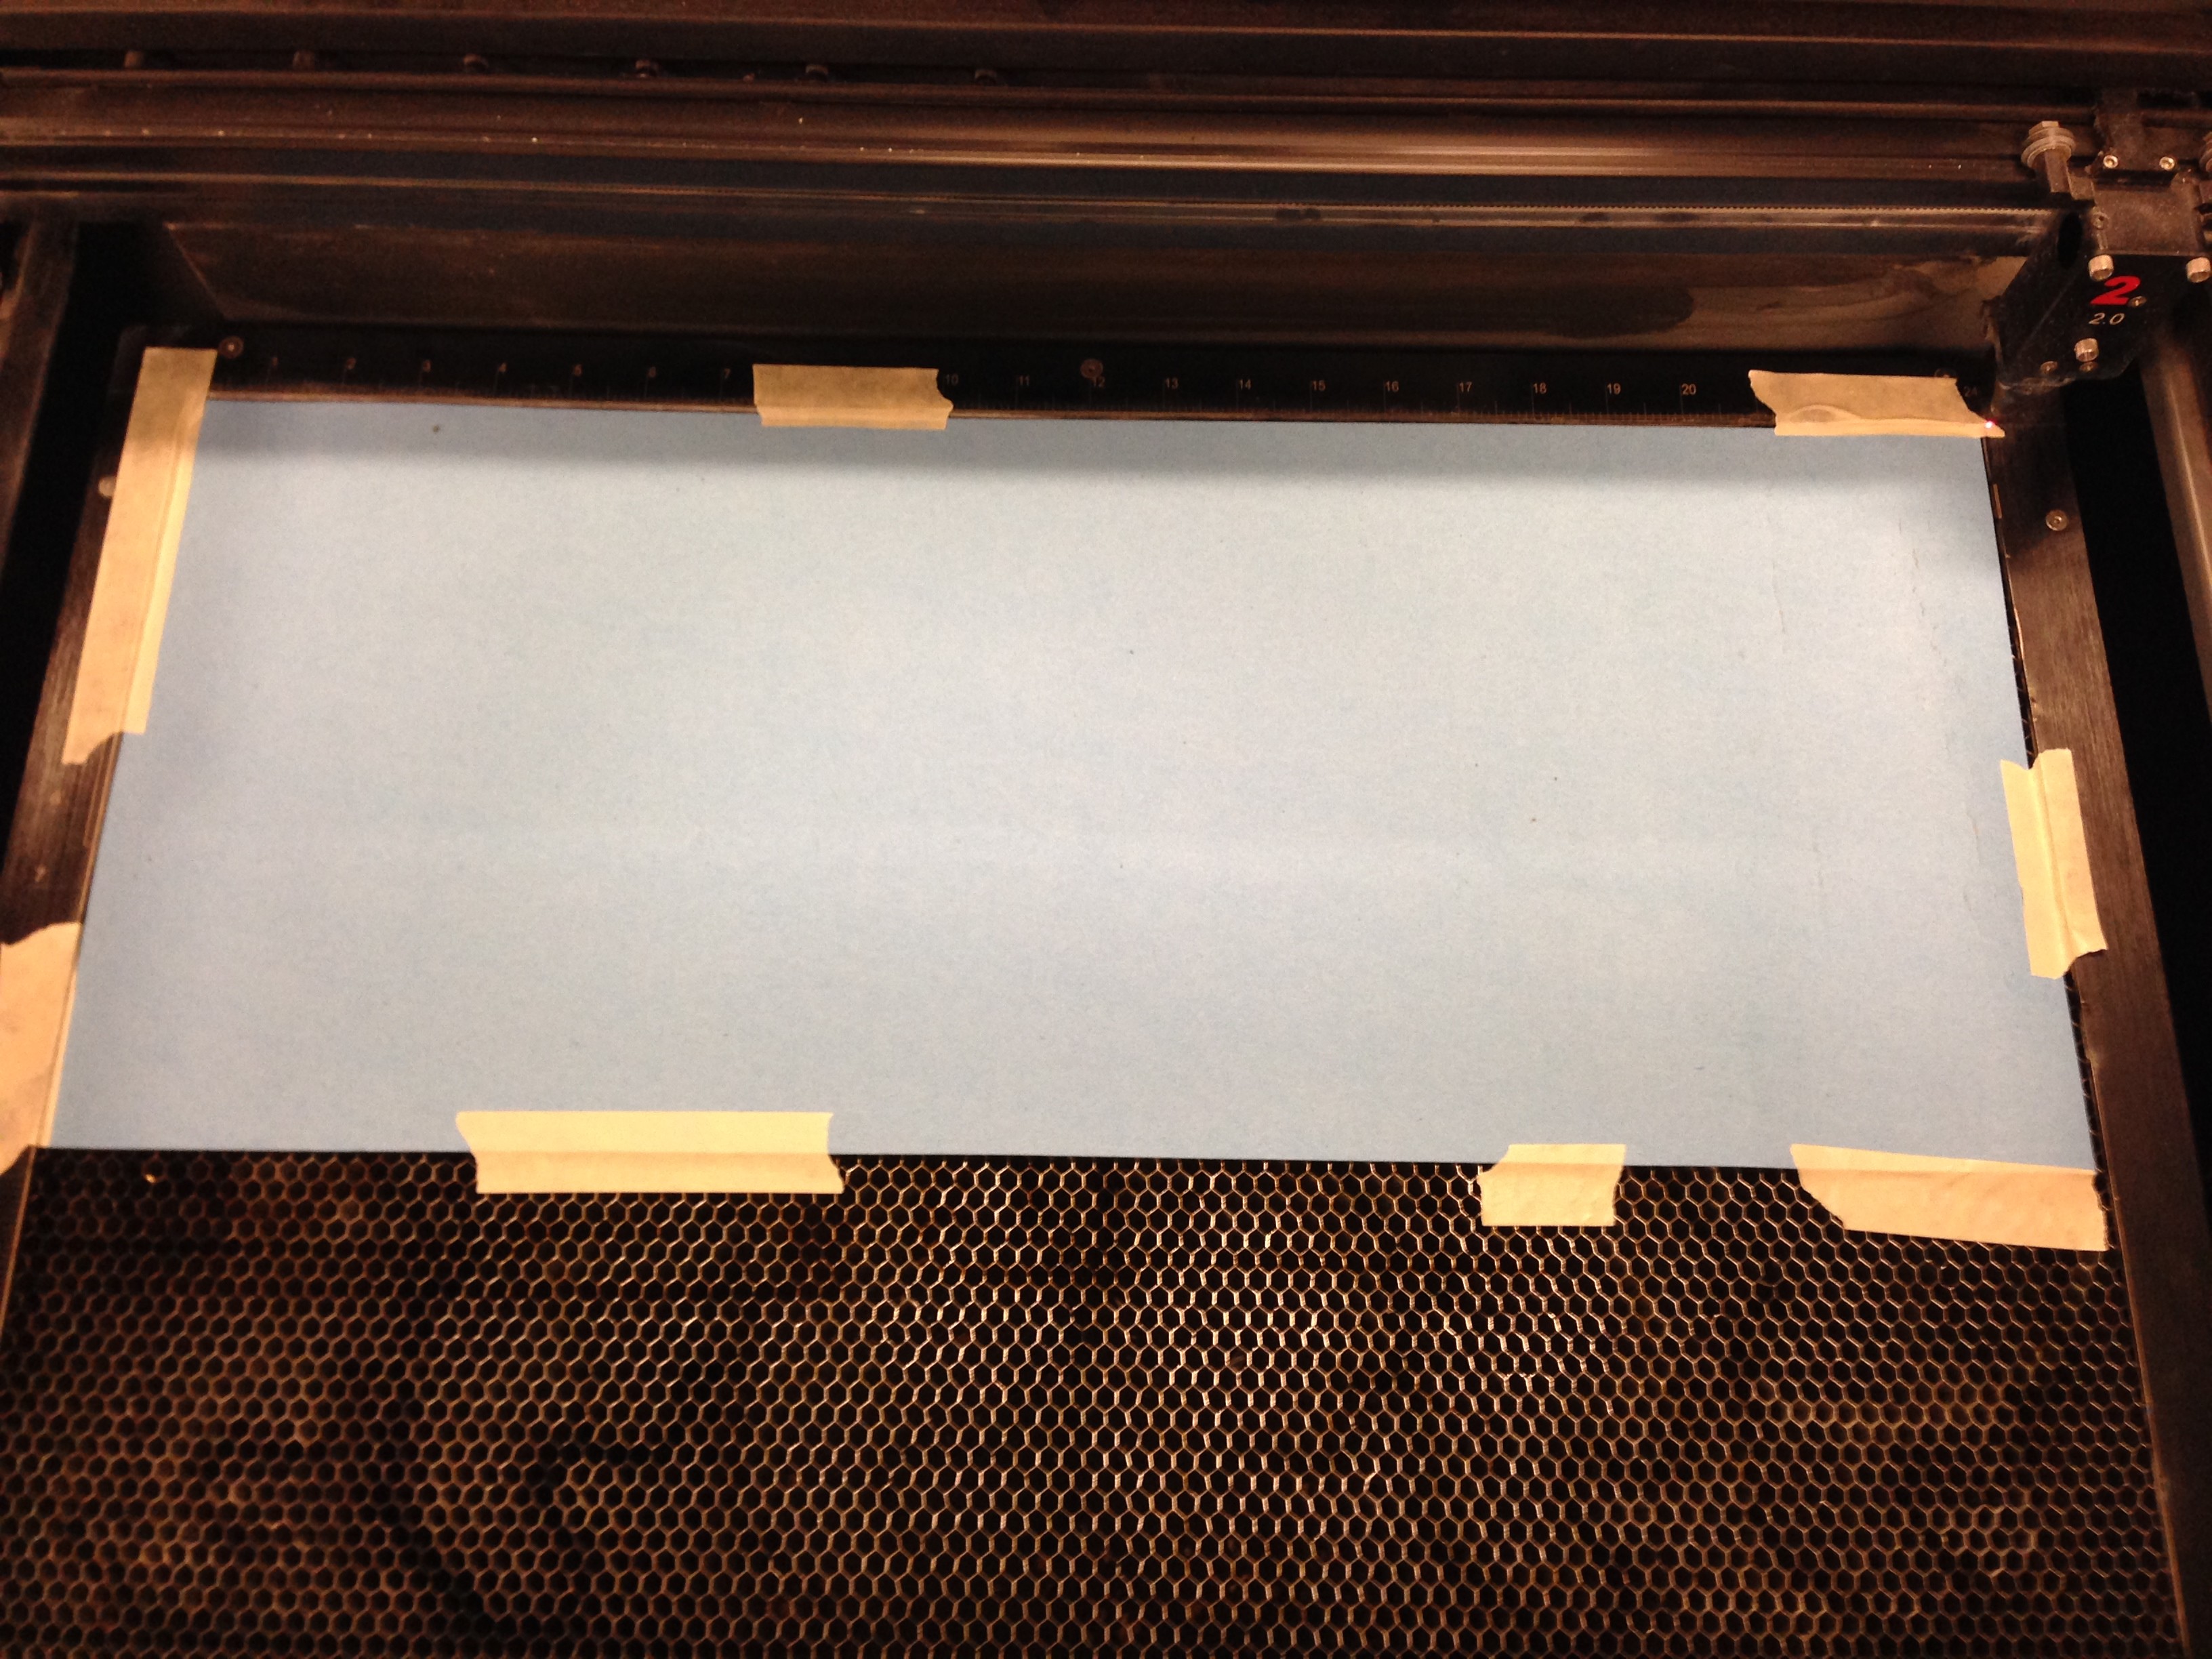
Prep the material in the cutter. The material comes in a rolled up form. So taping it down was required.
Step 6: Double Check Placement
There are tools and options in the Cutters control panel to double check placement. Be sure to double check that your design will fit on your material. You can easily move your design around in the control panel if need.
Step 7: Let the Machine Do the Work
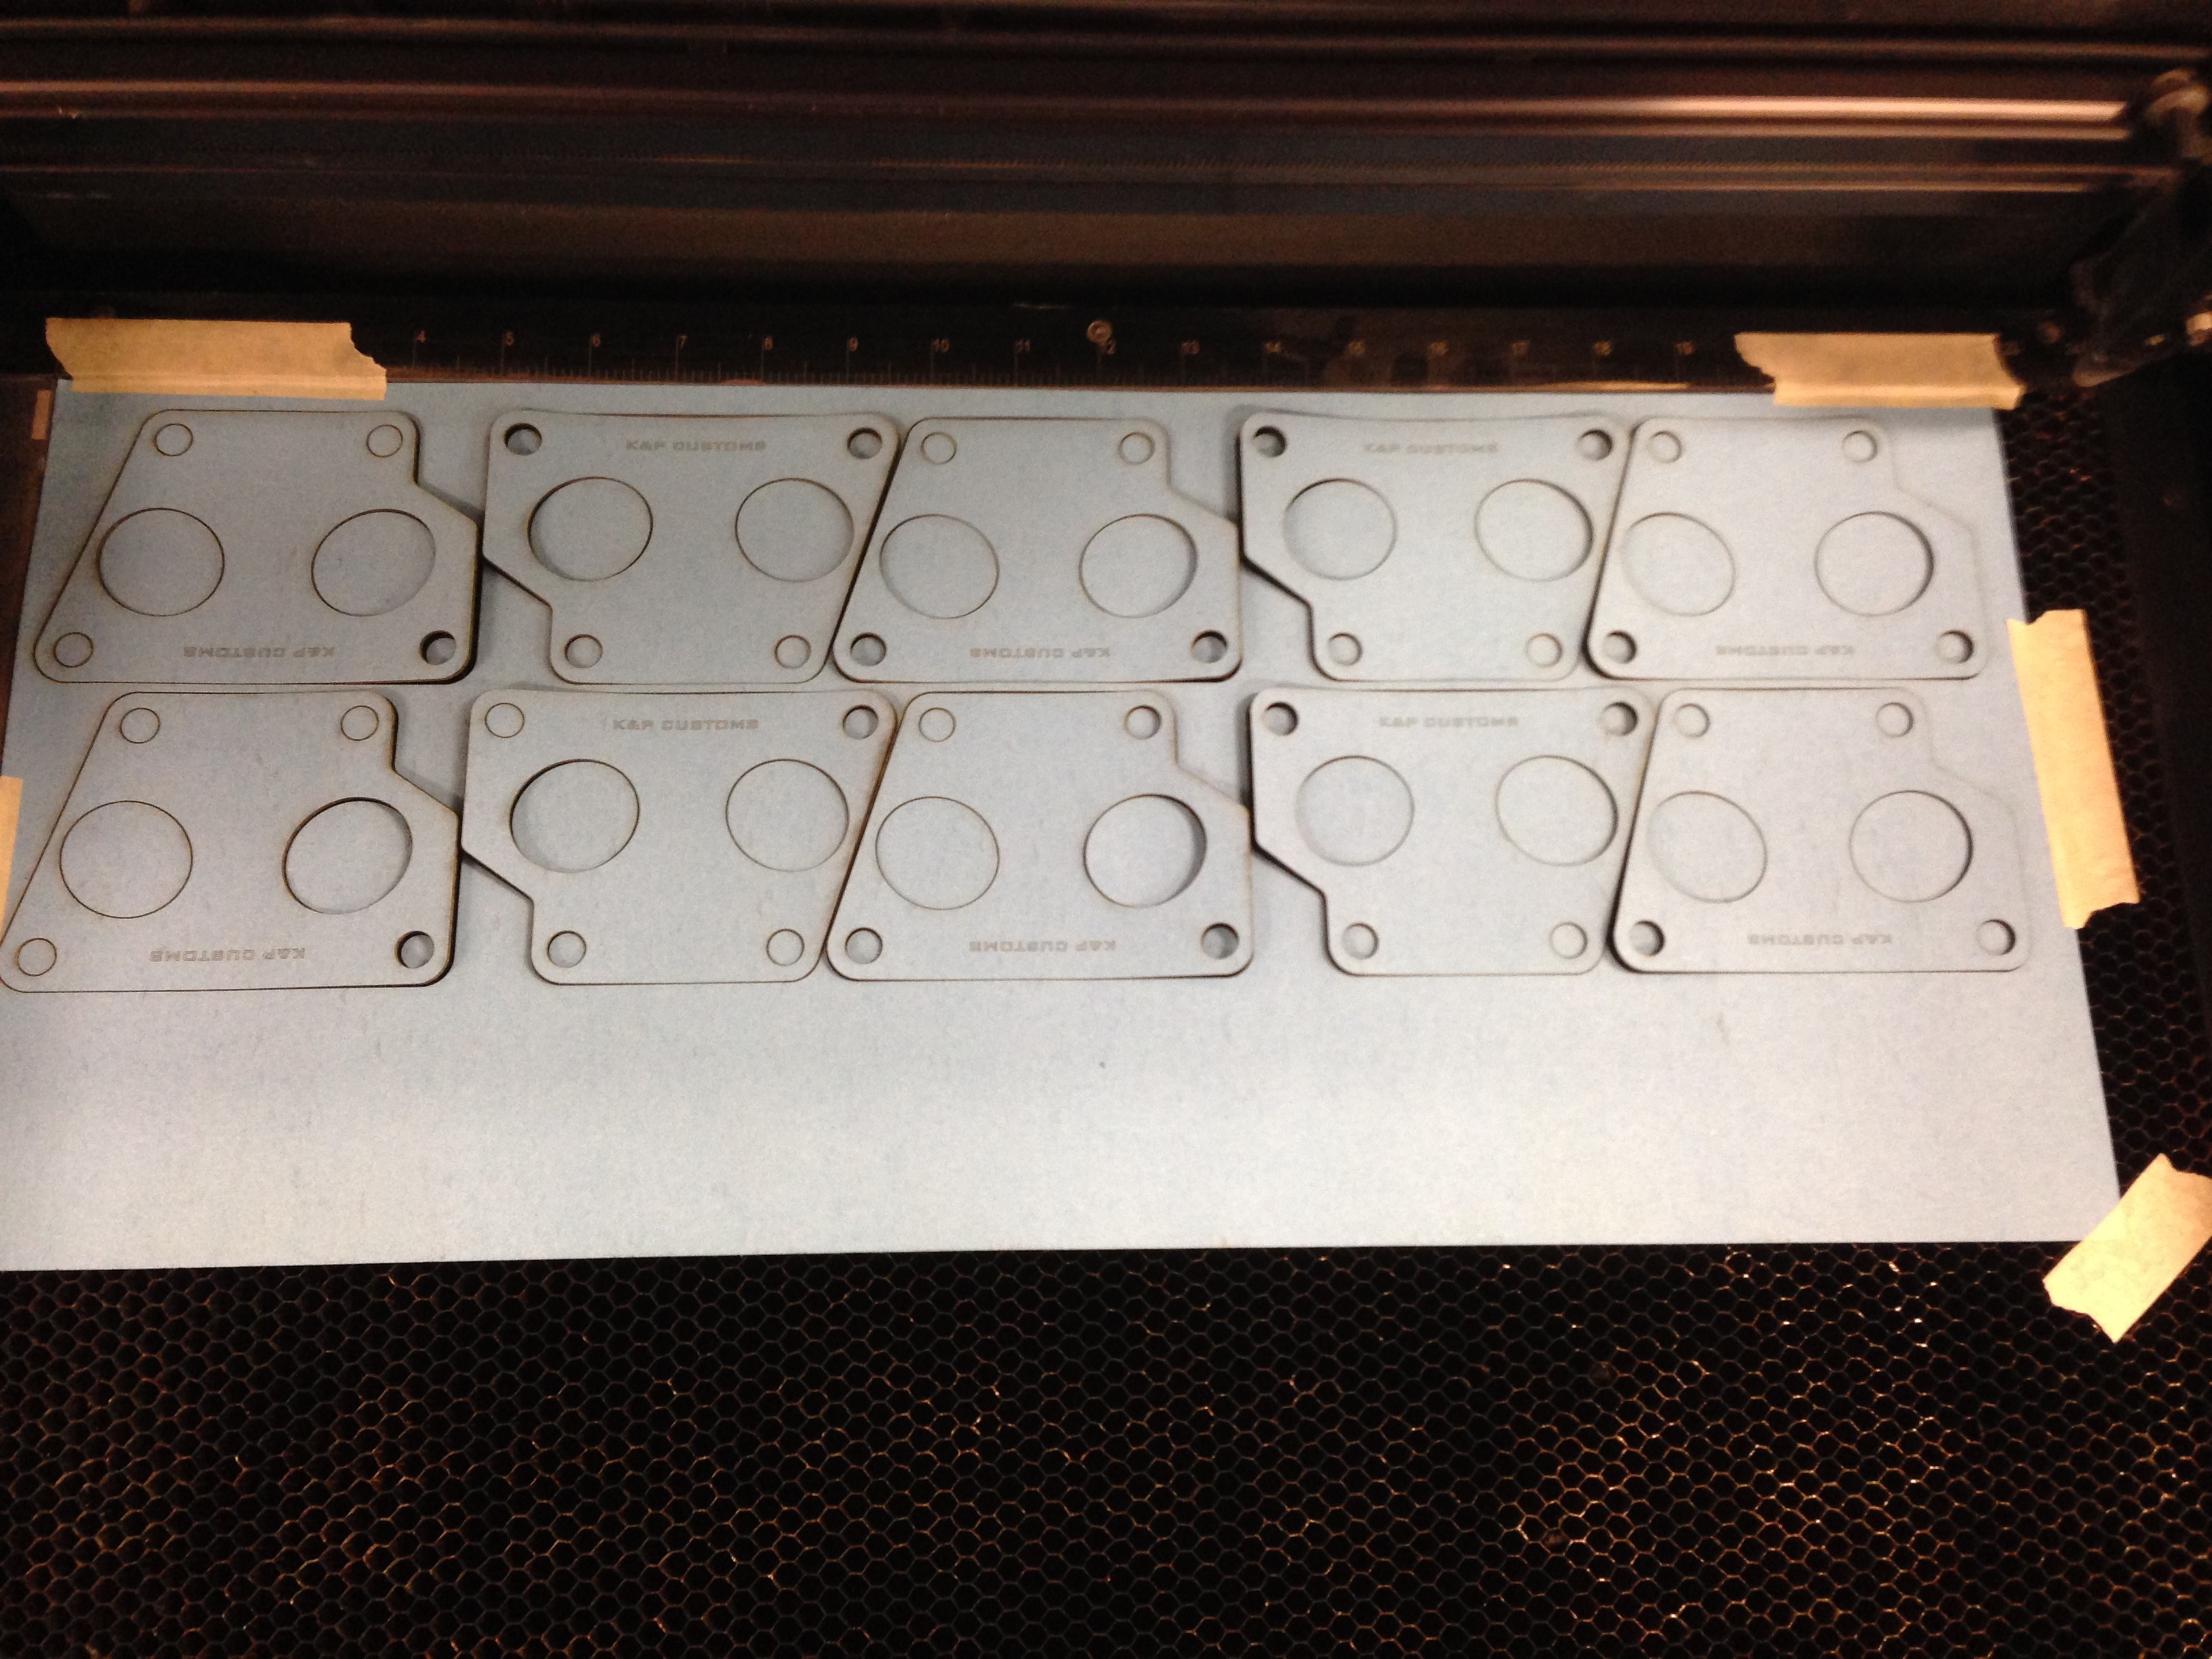
Let the machine do its work and enjoy the end result.