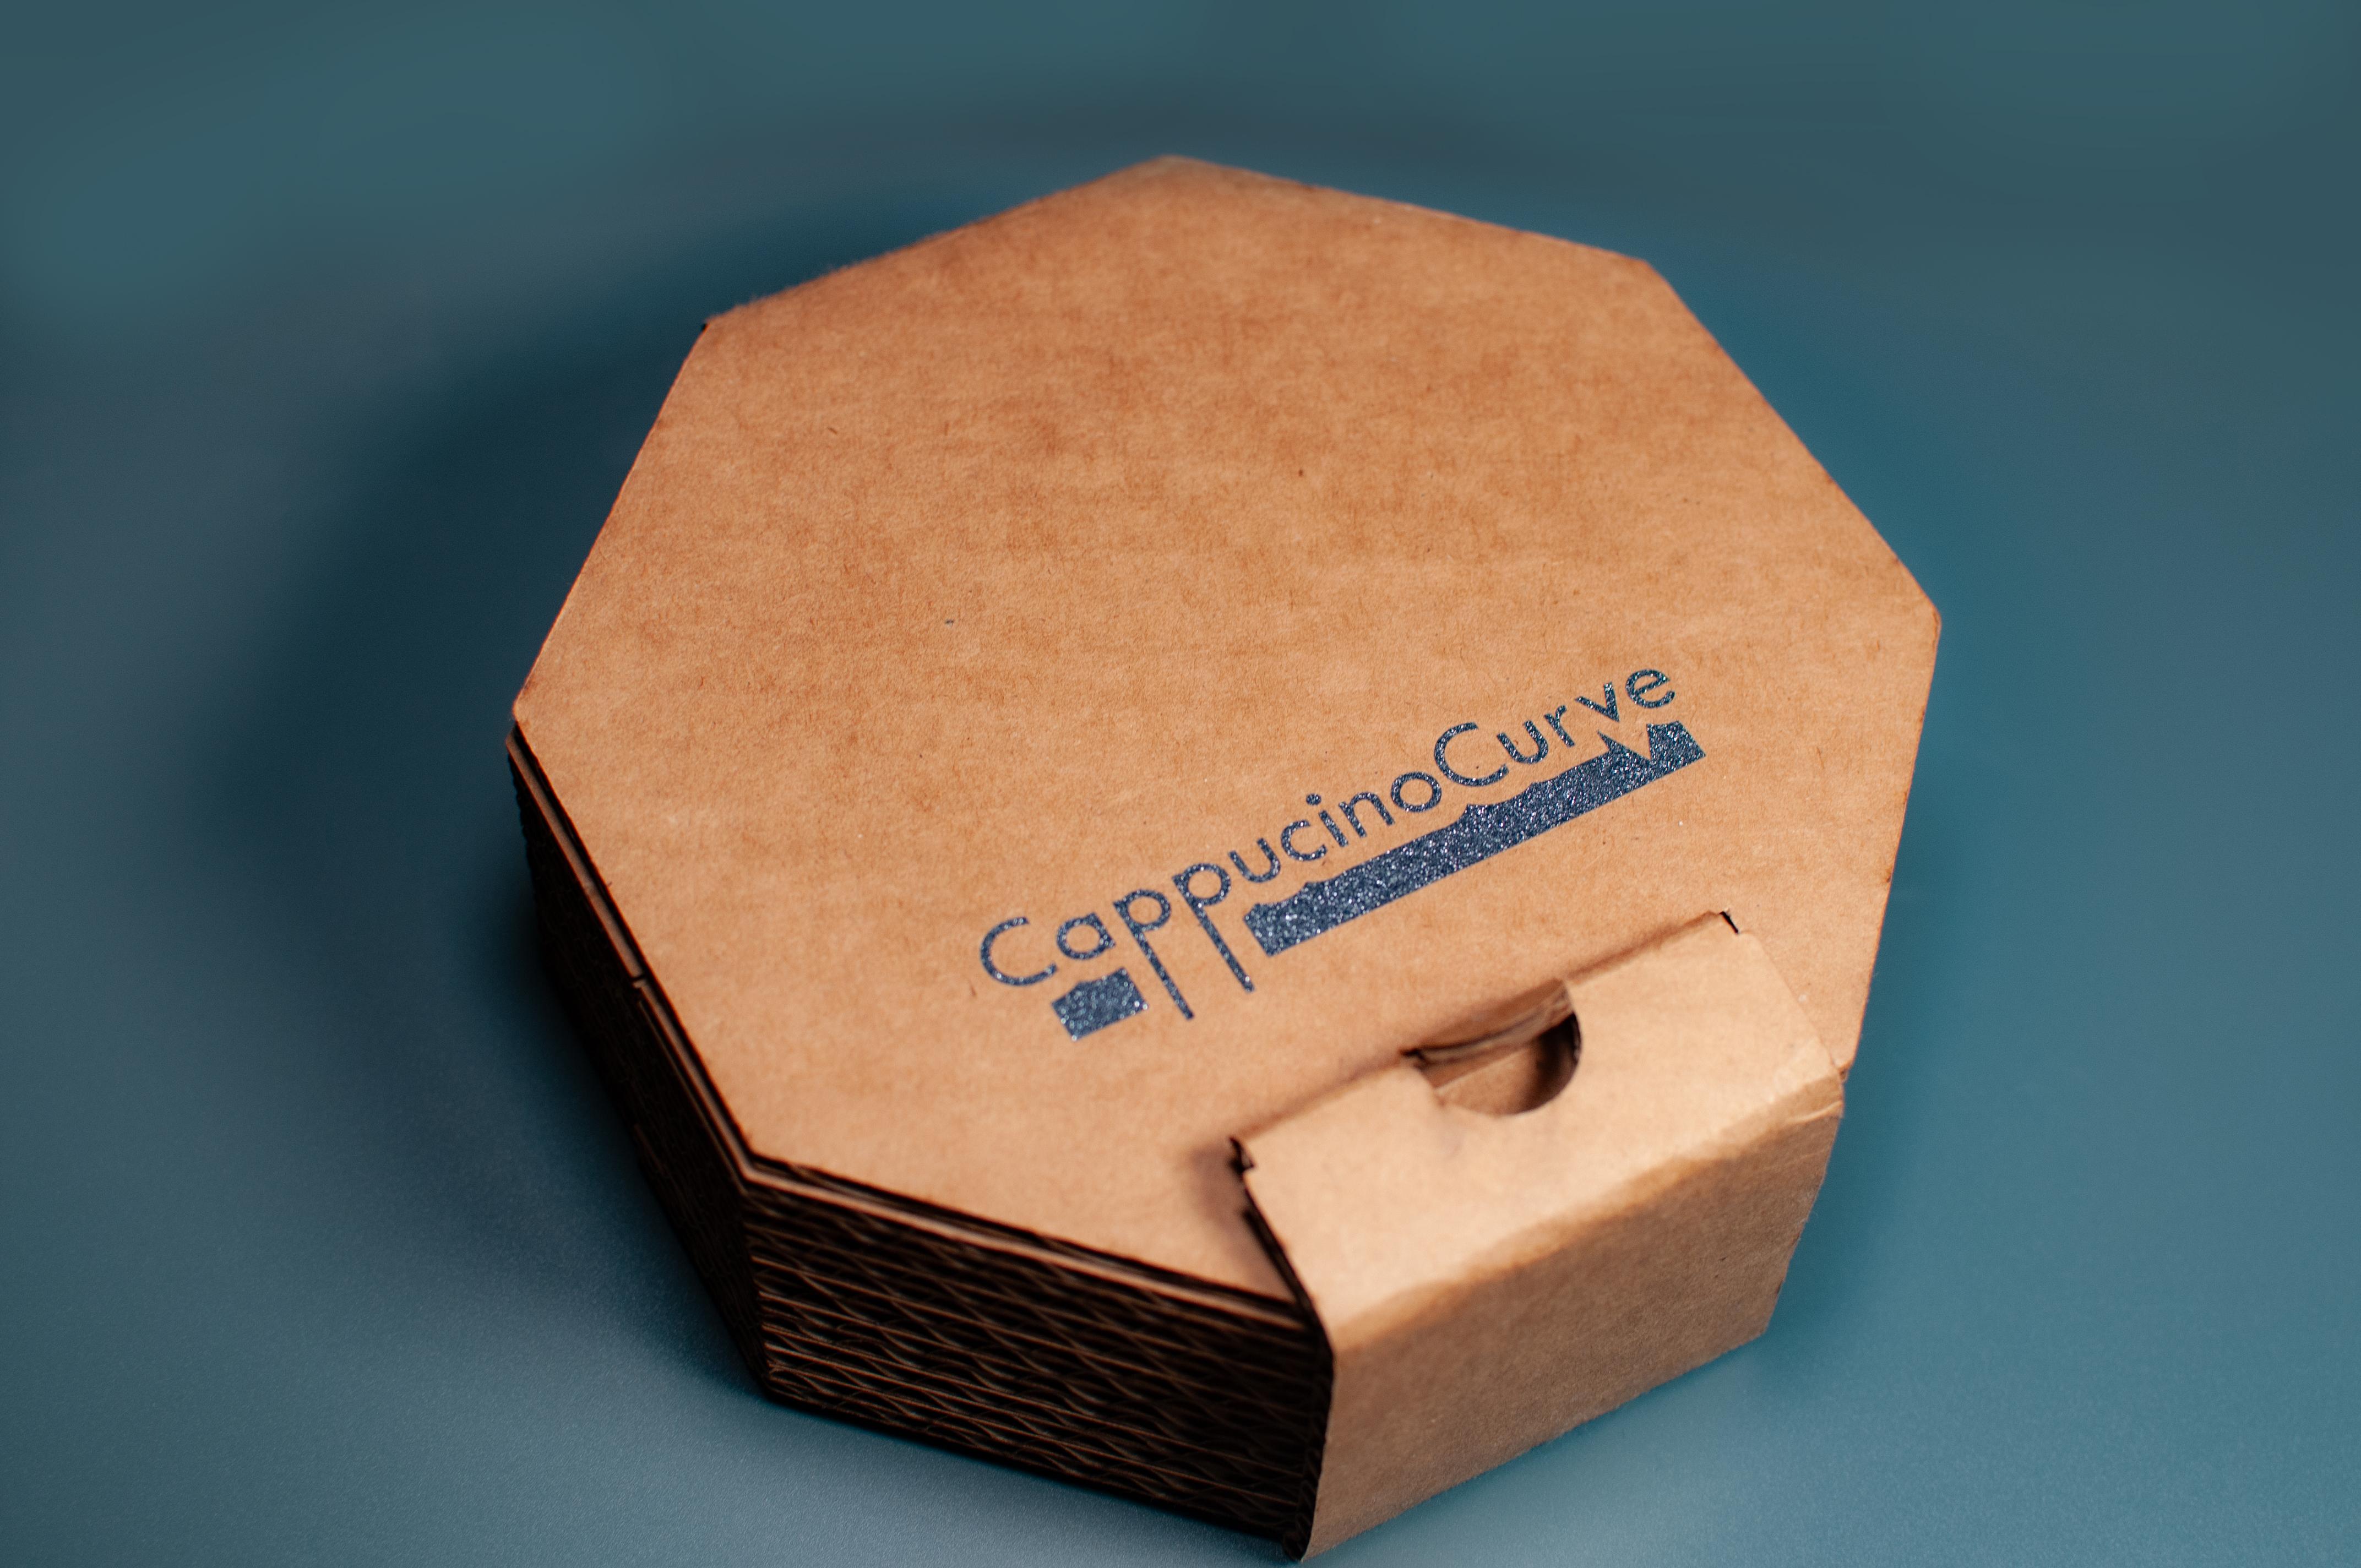
Custom-Fit Contoured Cardboard Gift Box
by carlita87 in Craft > Cardboard
967 Views, 28 Favorites, 0 Comments
Custom-Fit Contoured Cardboard Gift Box

Hey there, I'm Carla, I'm currently Studying Digital Fabrication and Design at Selkirk College. If you're all about getting hands-on and love the idea of turning your hobbies into a profession, check it out.
As makers, we always give handmade gifts and find creative ways to wrap them, ensuring a delightful unboxing experience.
This project was just about being familiar with Autodesk Fusion sheet metal design space but using cardboard.
This Instructable is all about sharing what I've learned from this project. I'll walk you through step-by-step on how I made this custom box with a laser cutter.
Problem Definition:
The objective is to design and fabricate a cardboard box that securely fits an STL model. This involves leveraging the sheet metal bending environment in Autodesk Fusion for the design process, followed by utilizing a laser cutter for precise cutting and assembly.
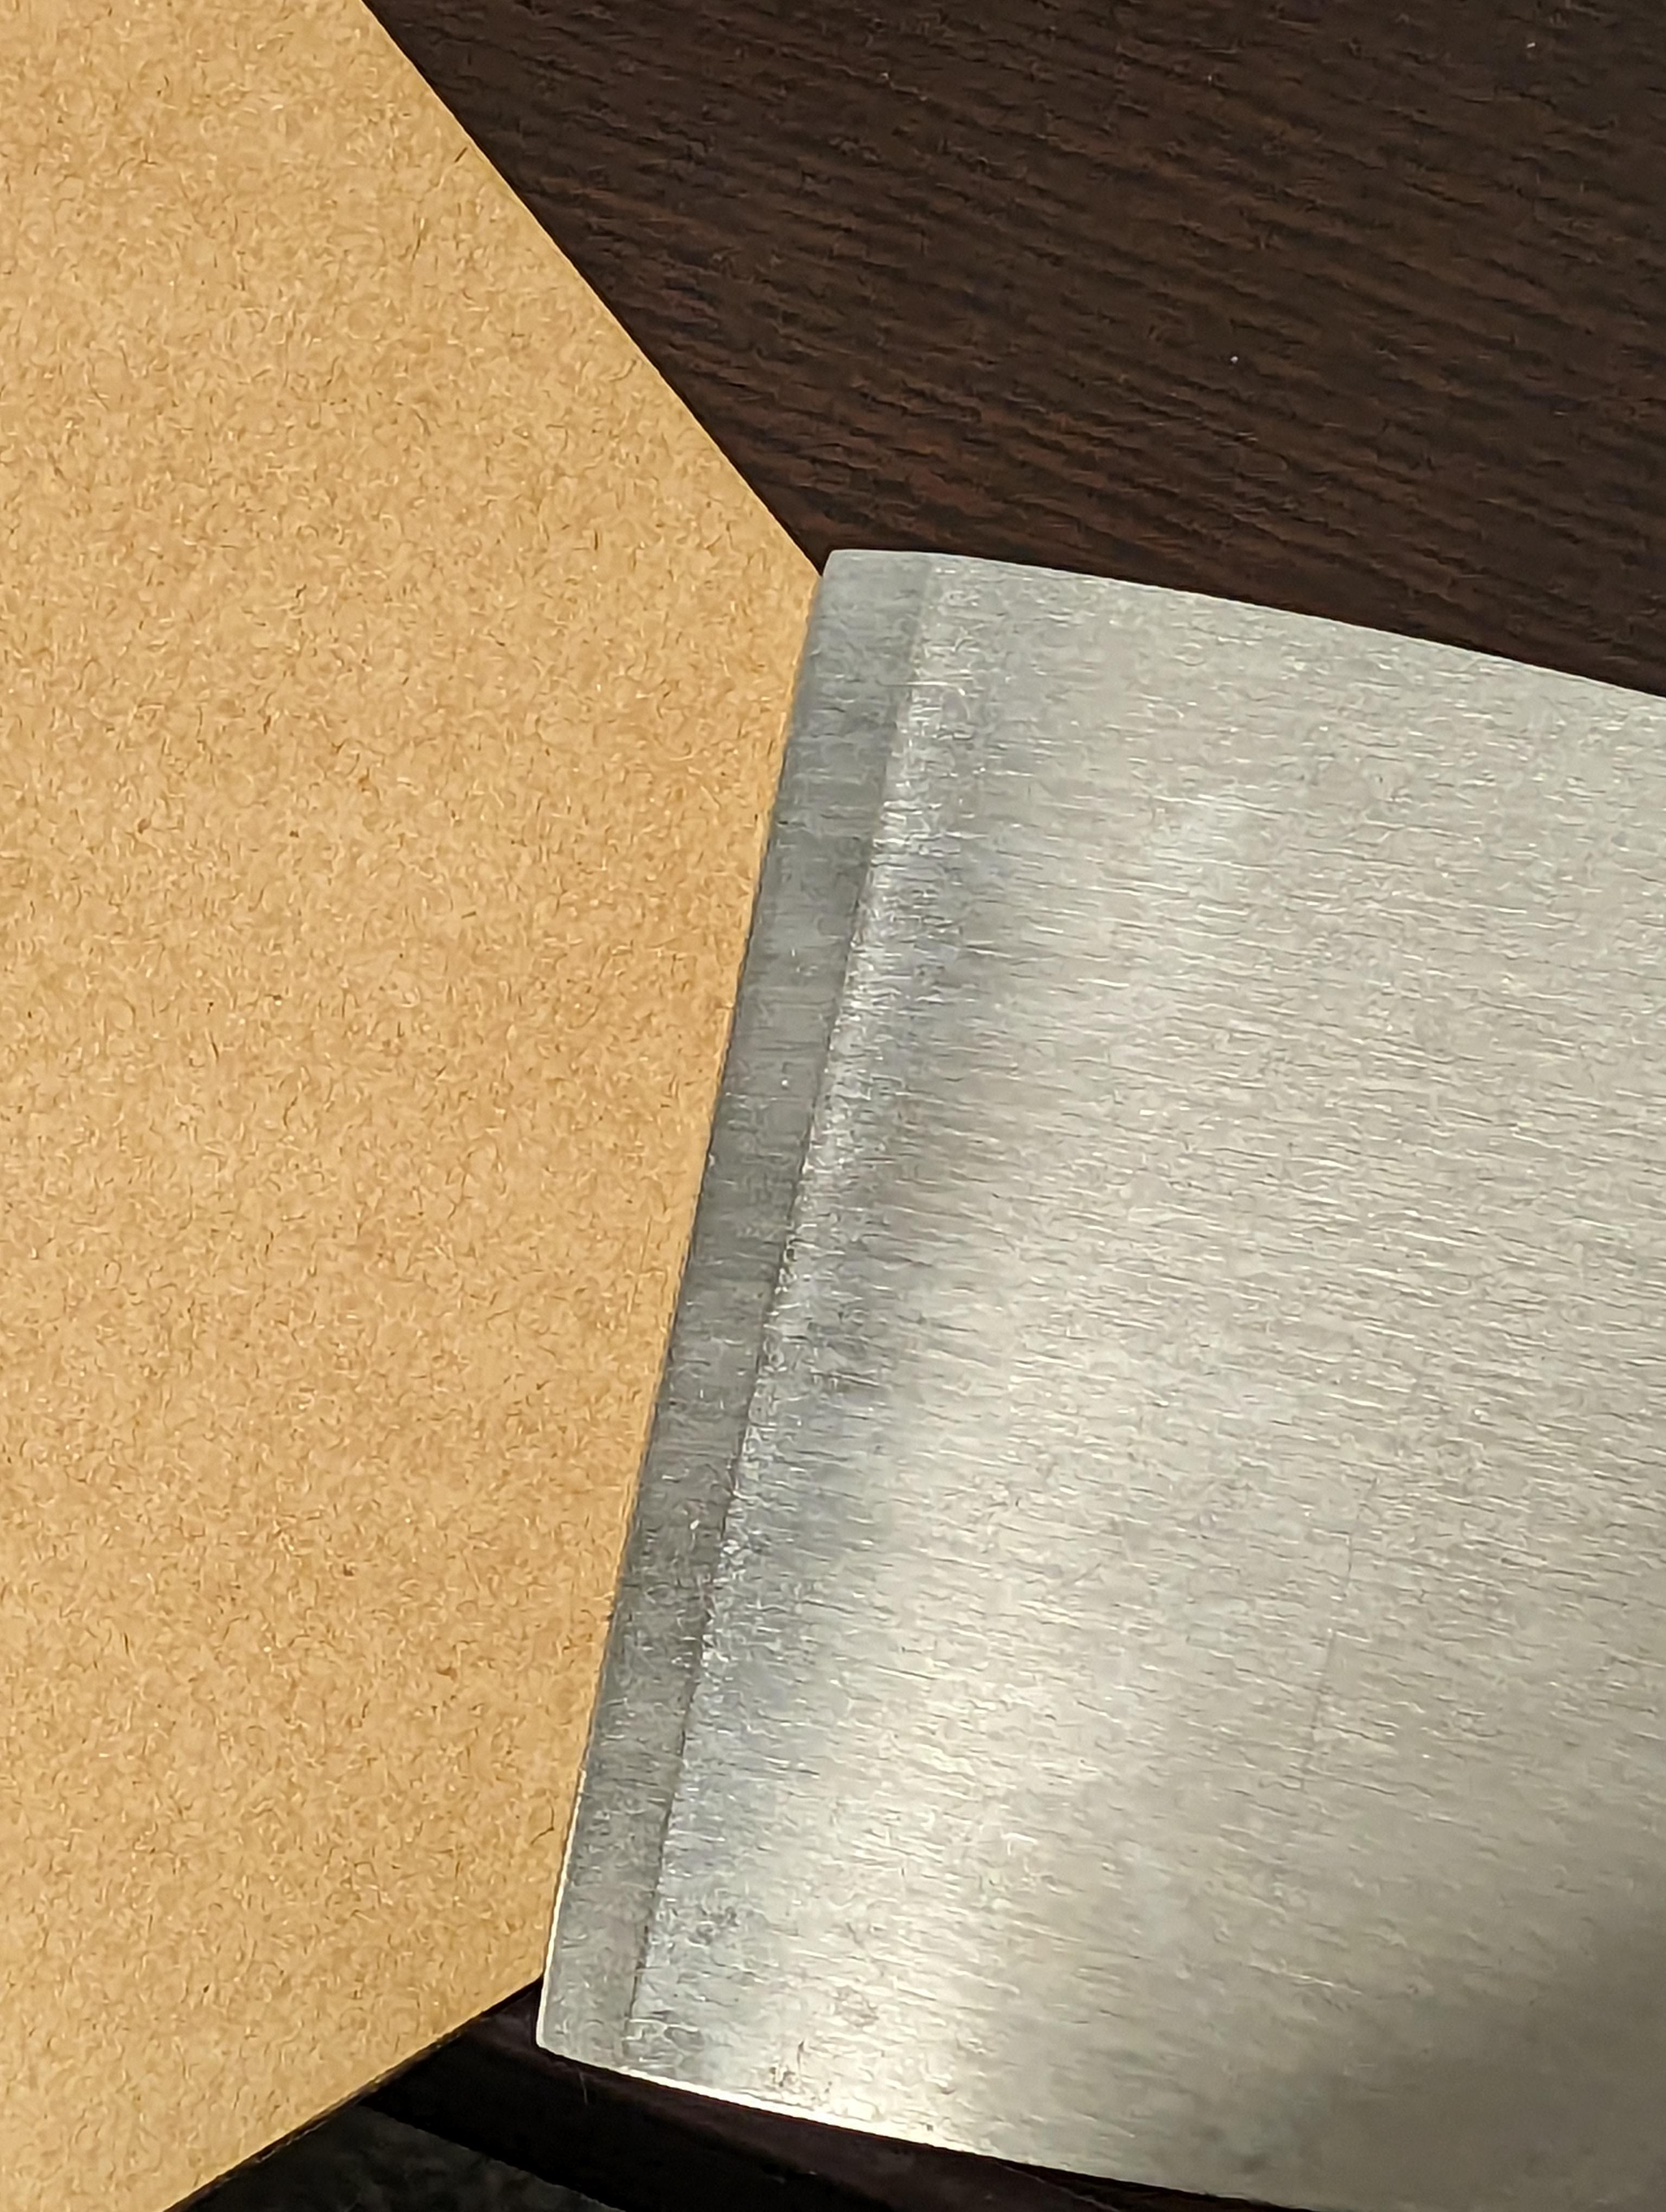
Supplies
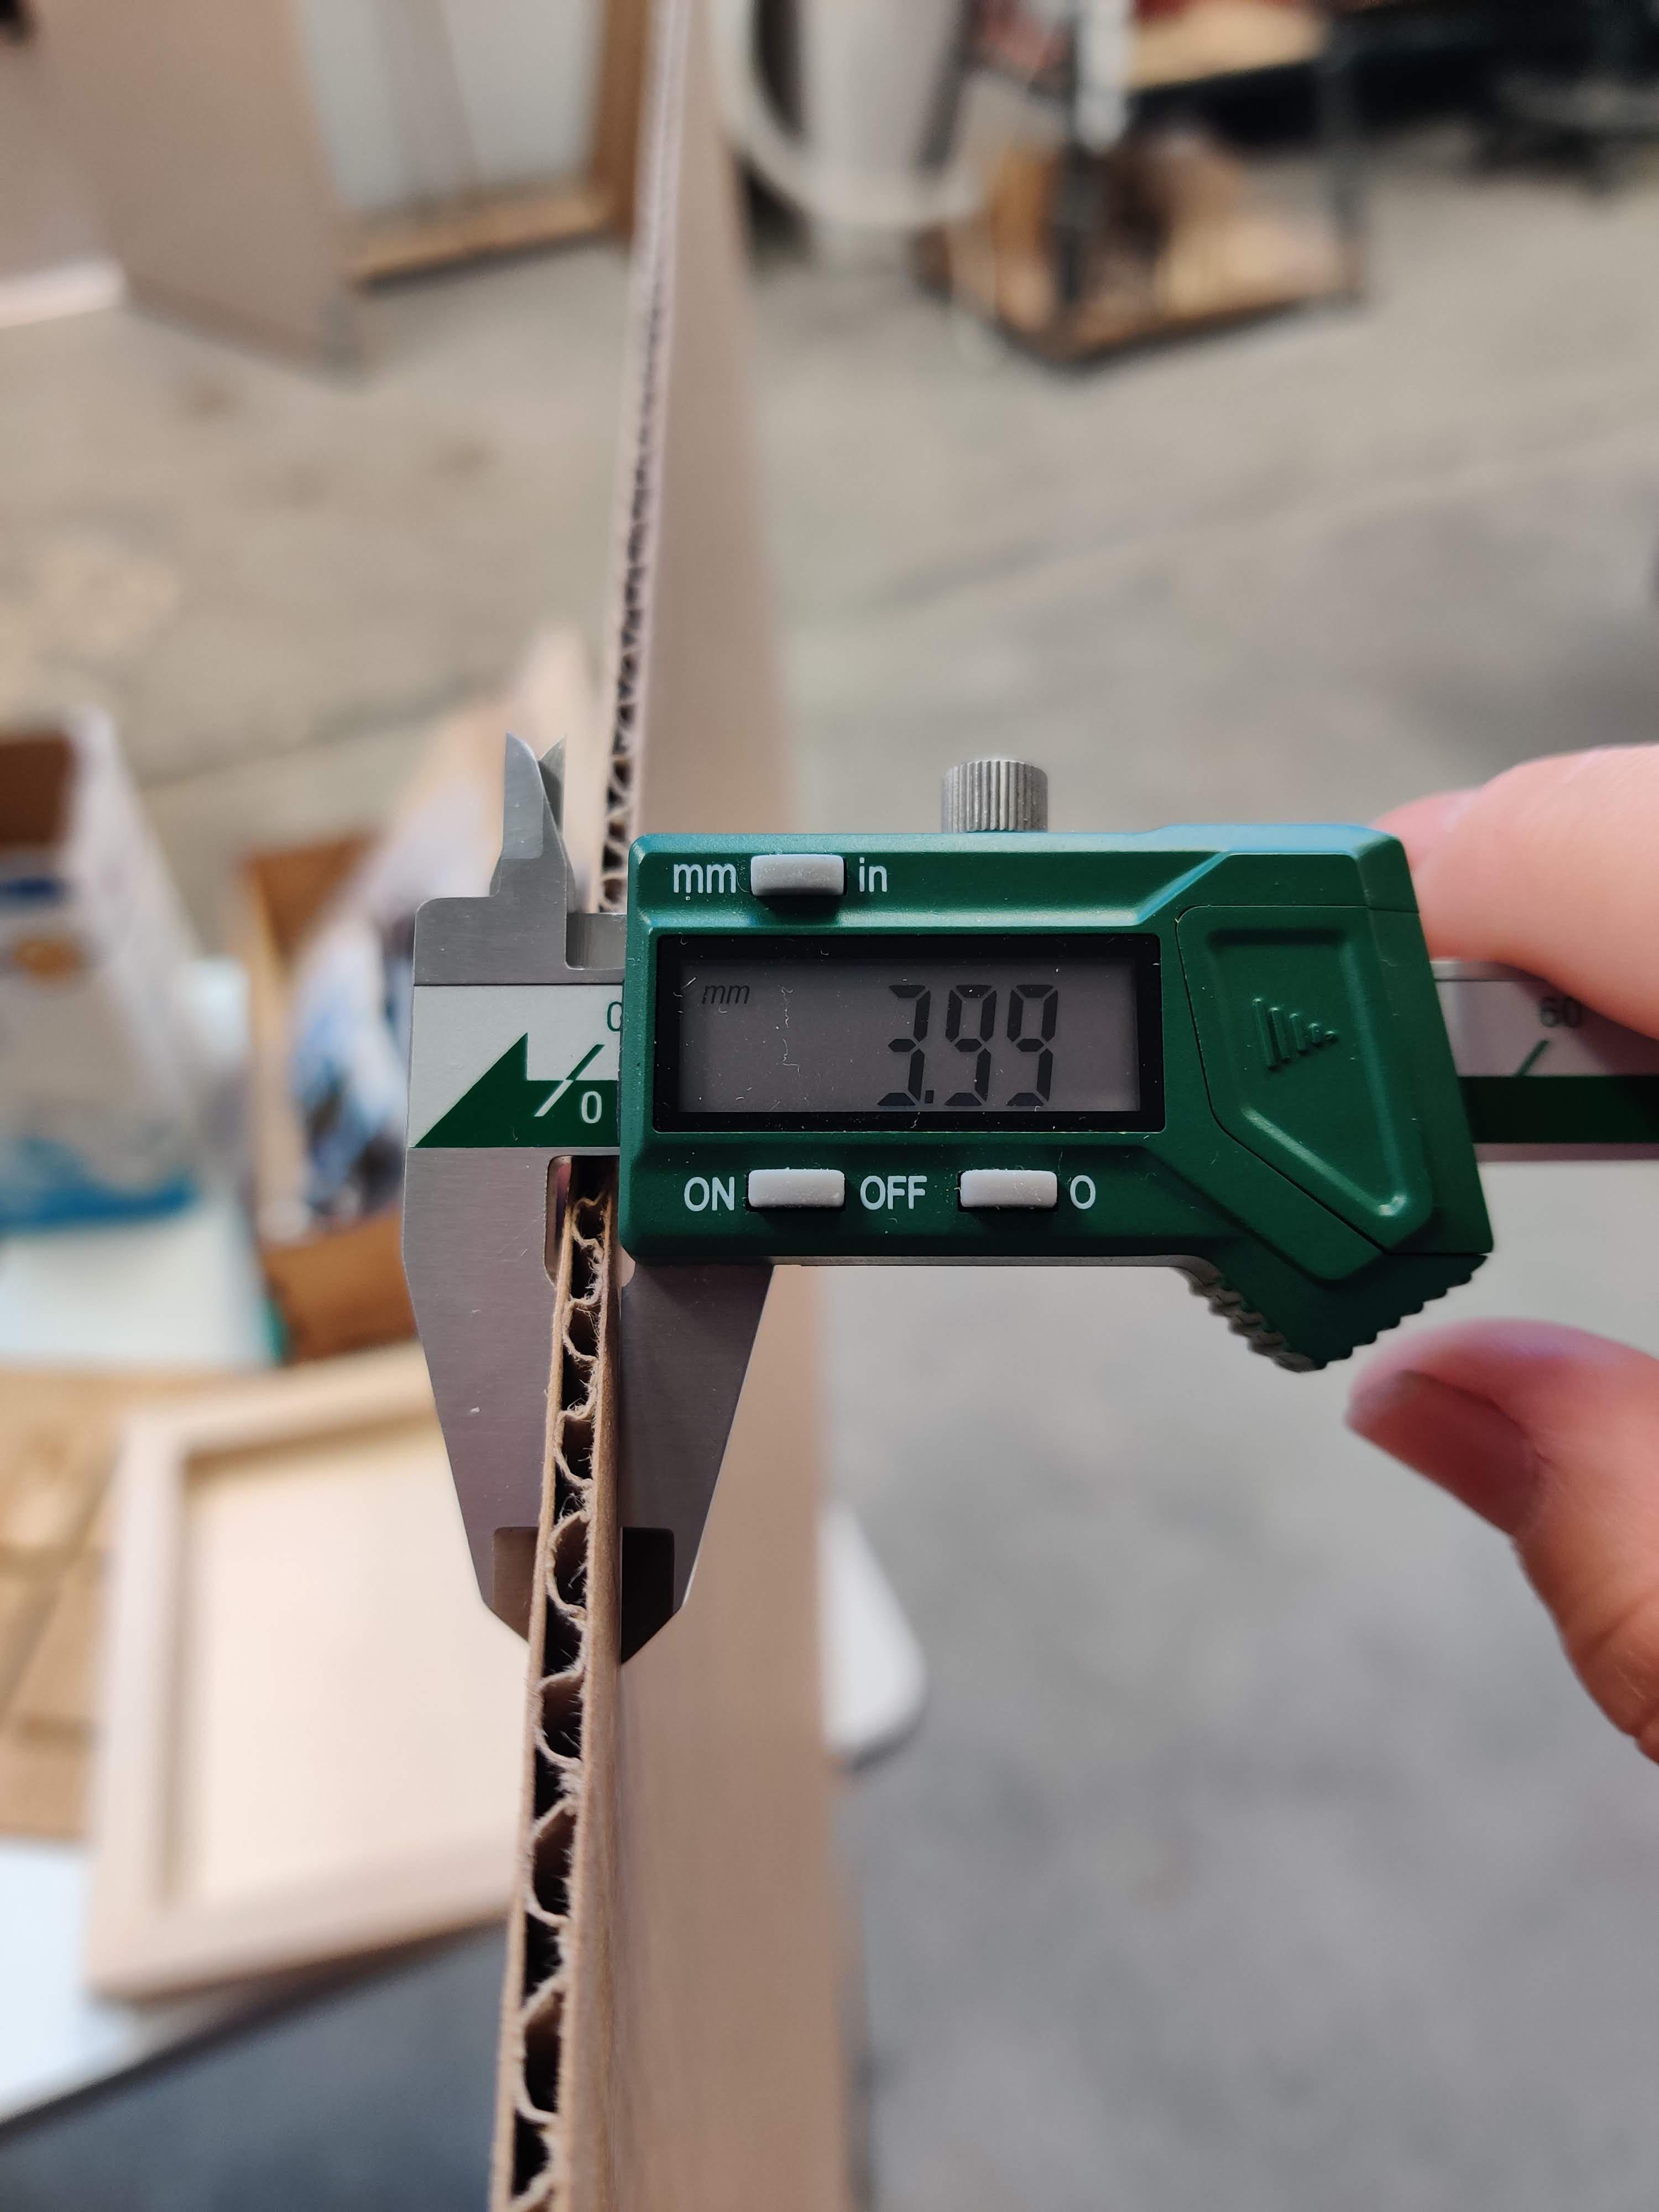
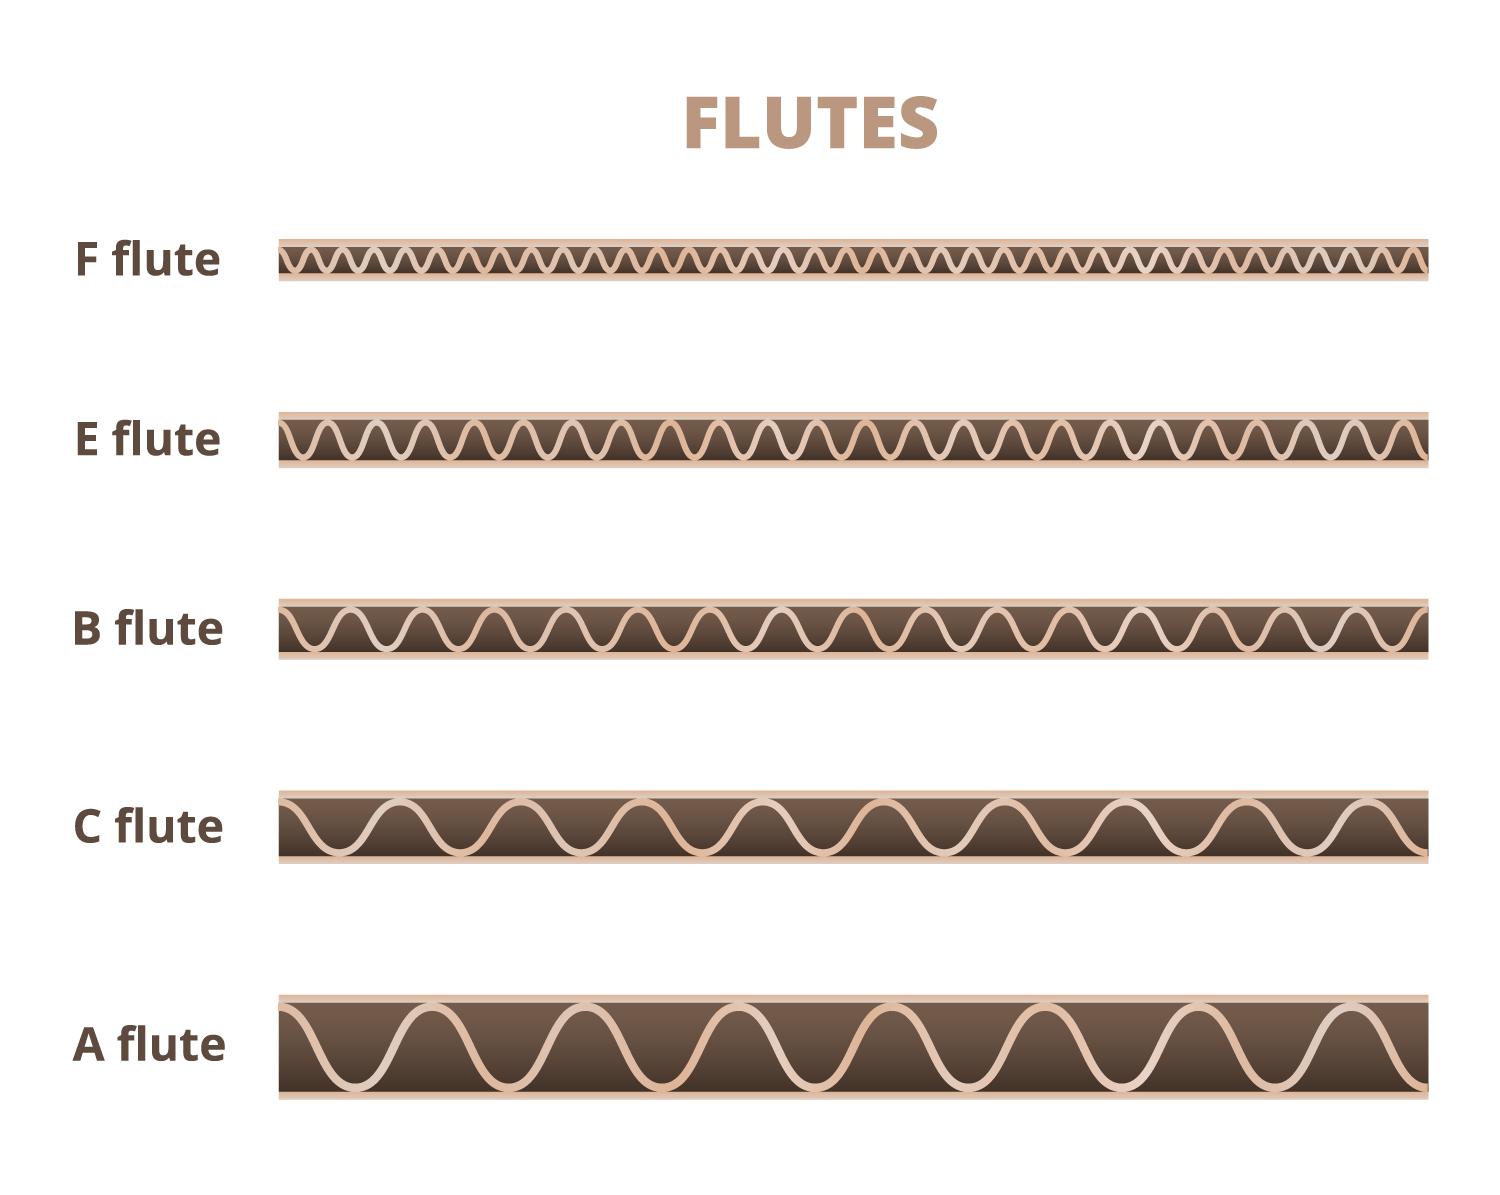
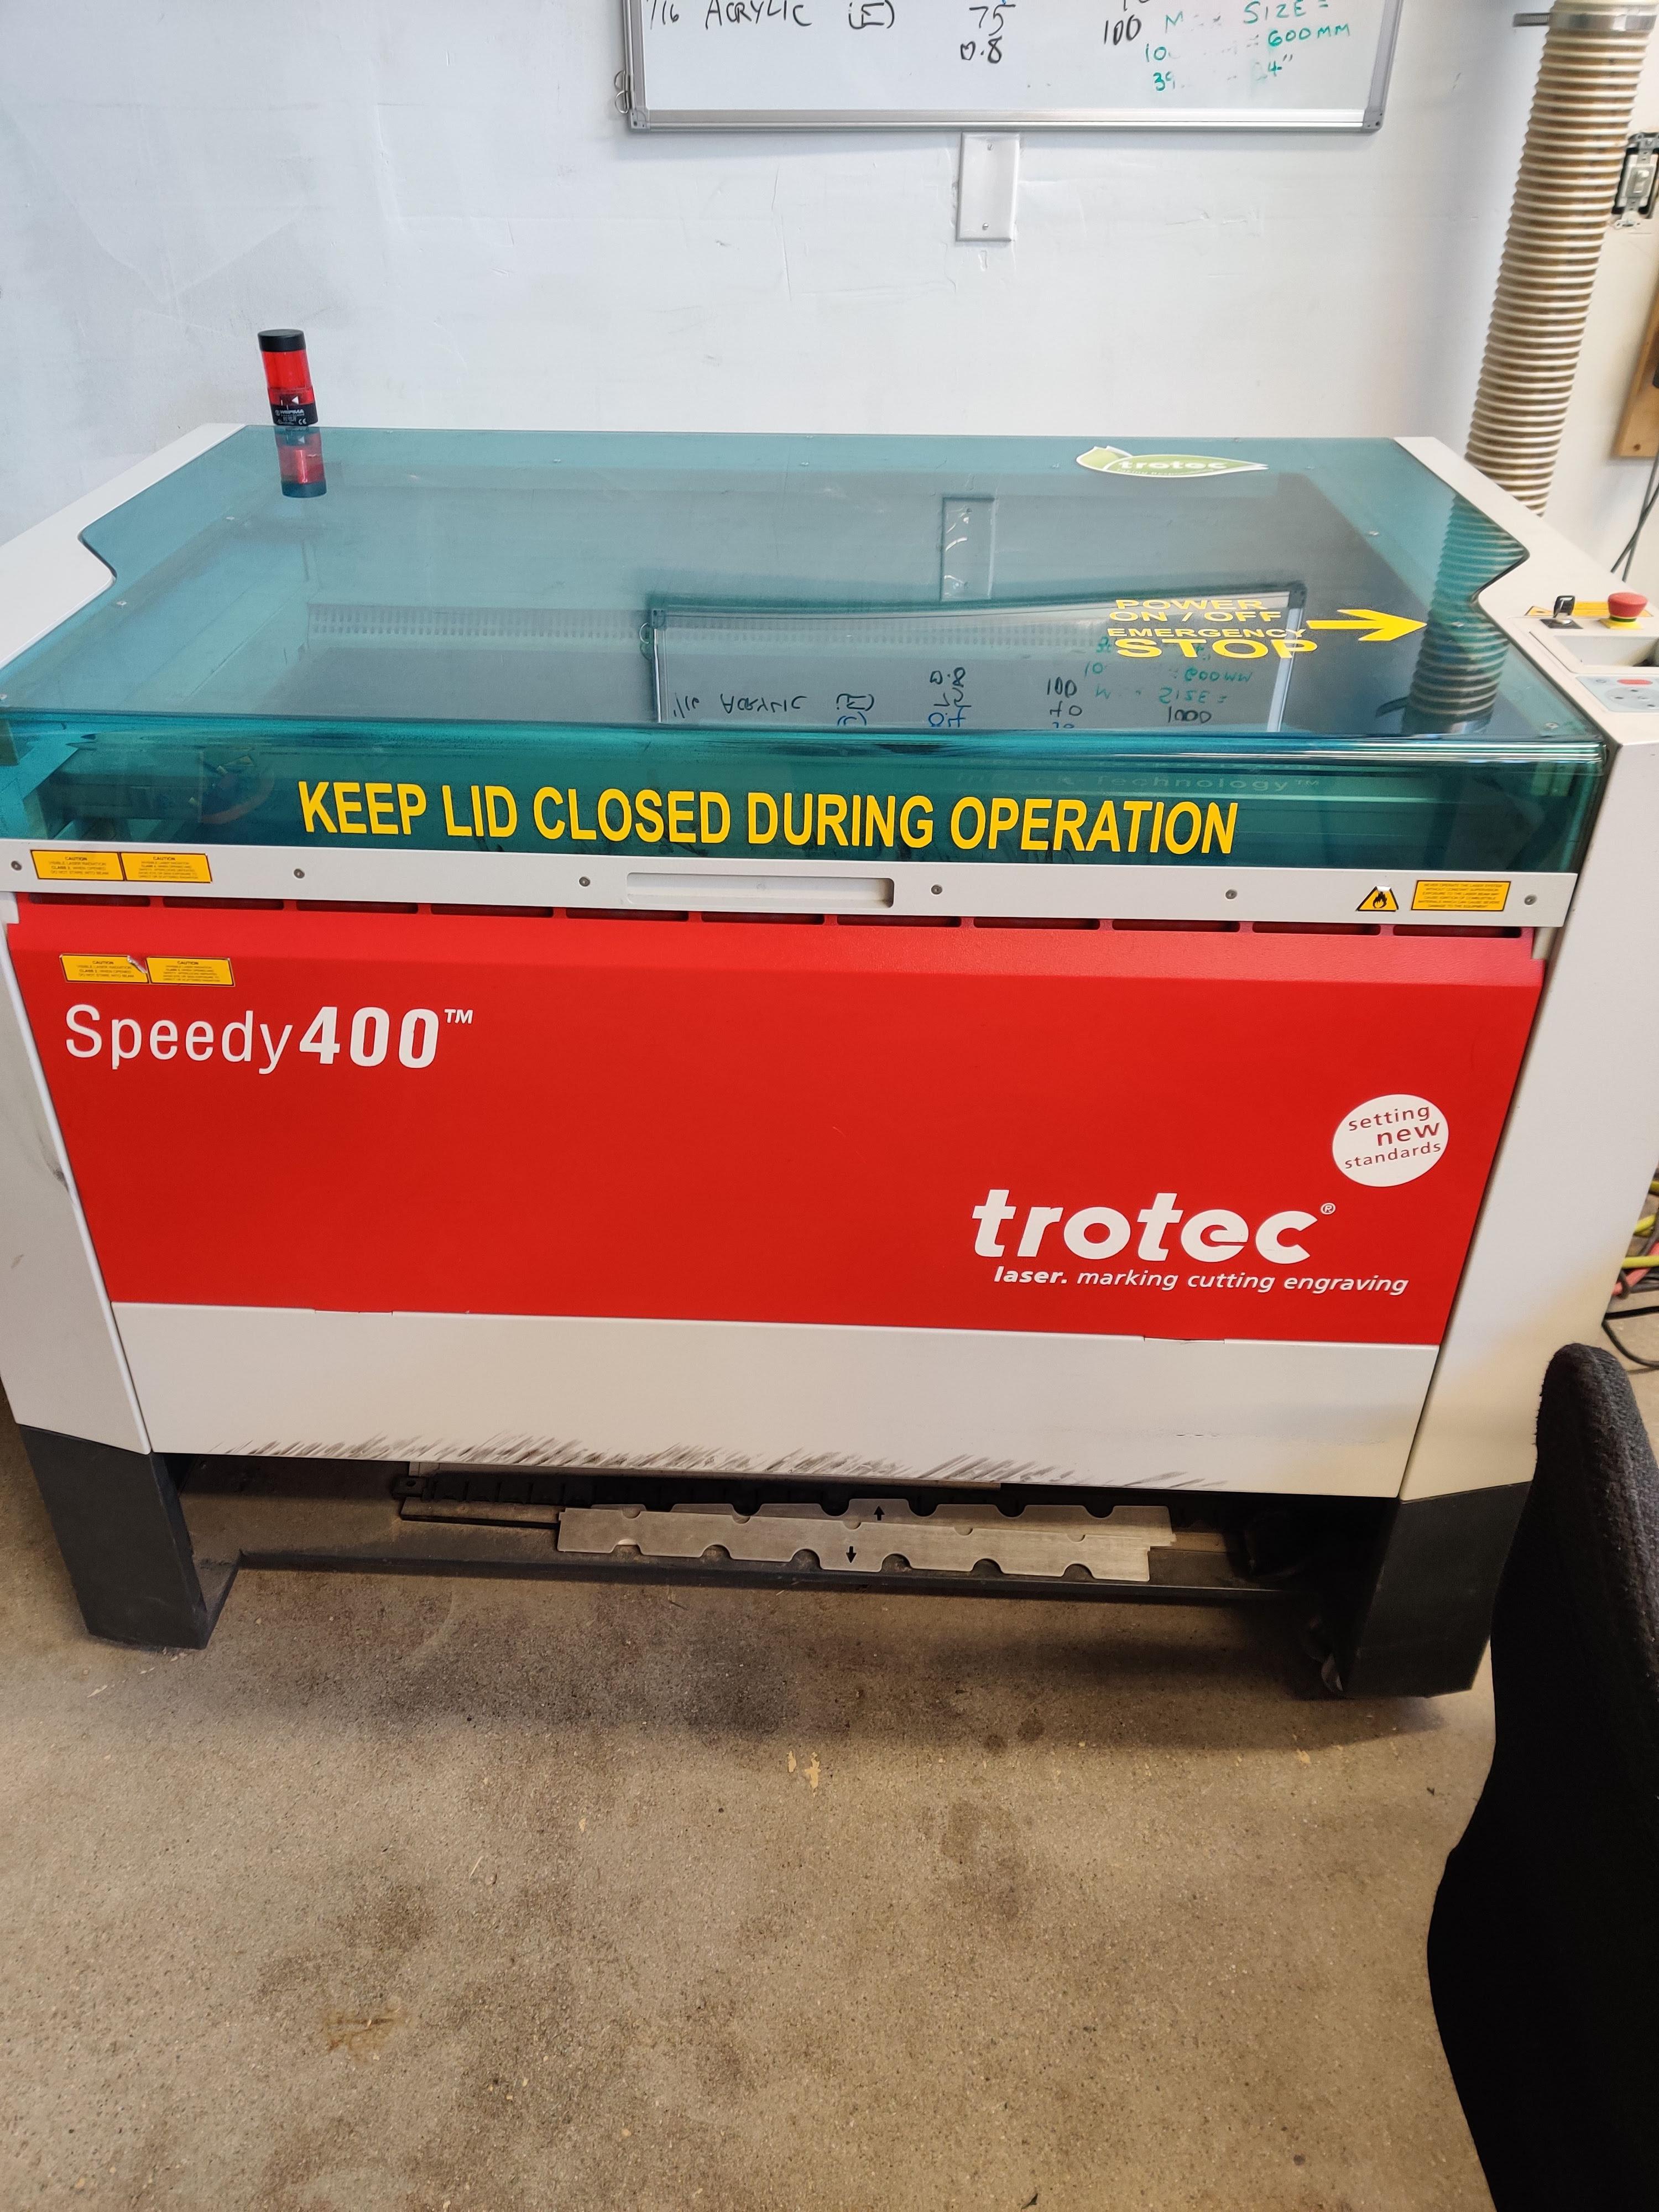
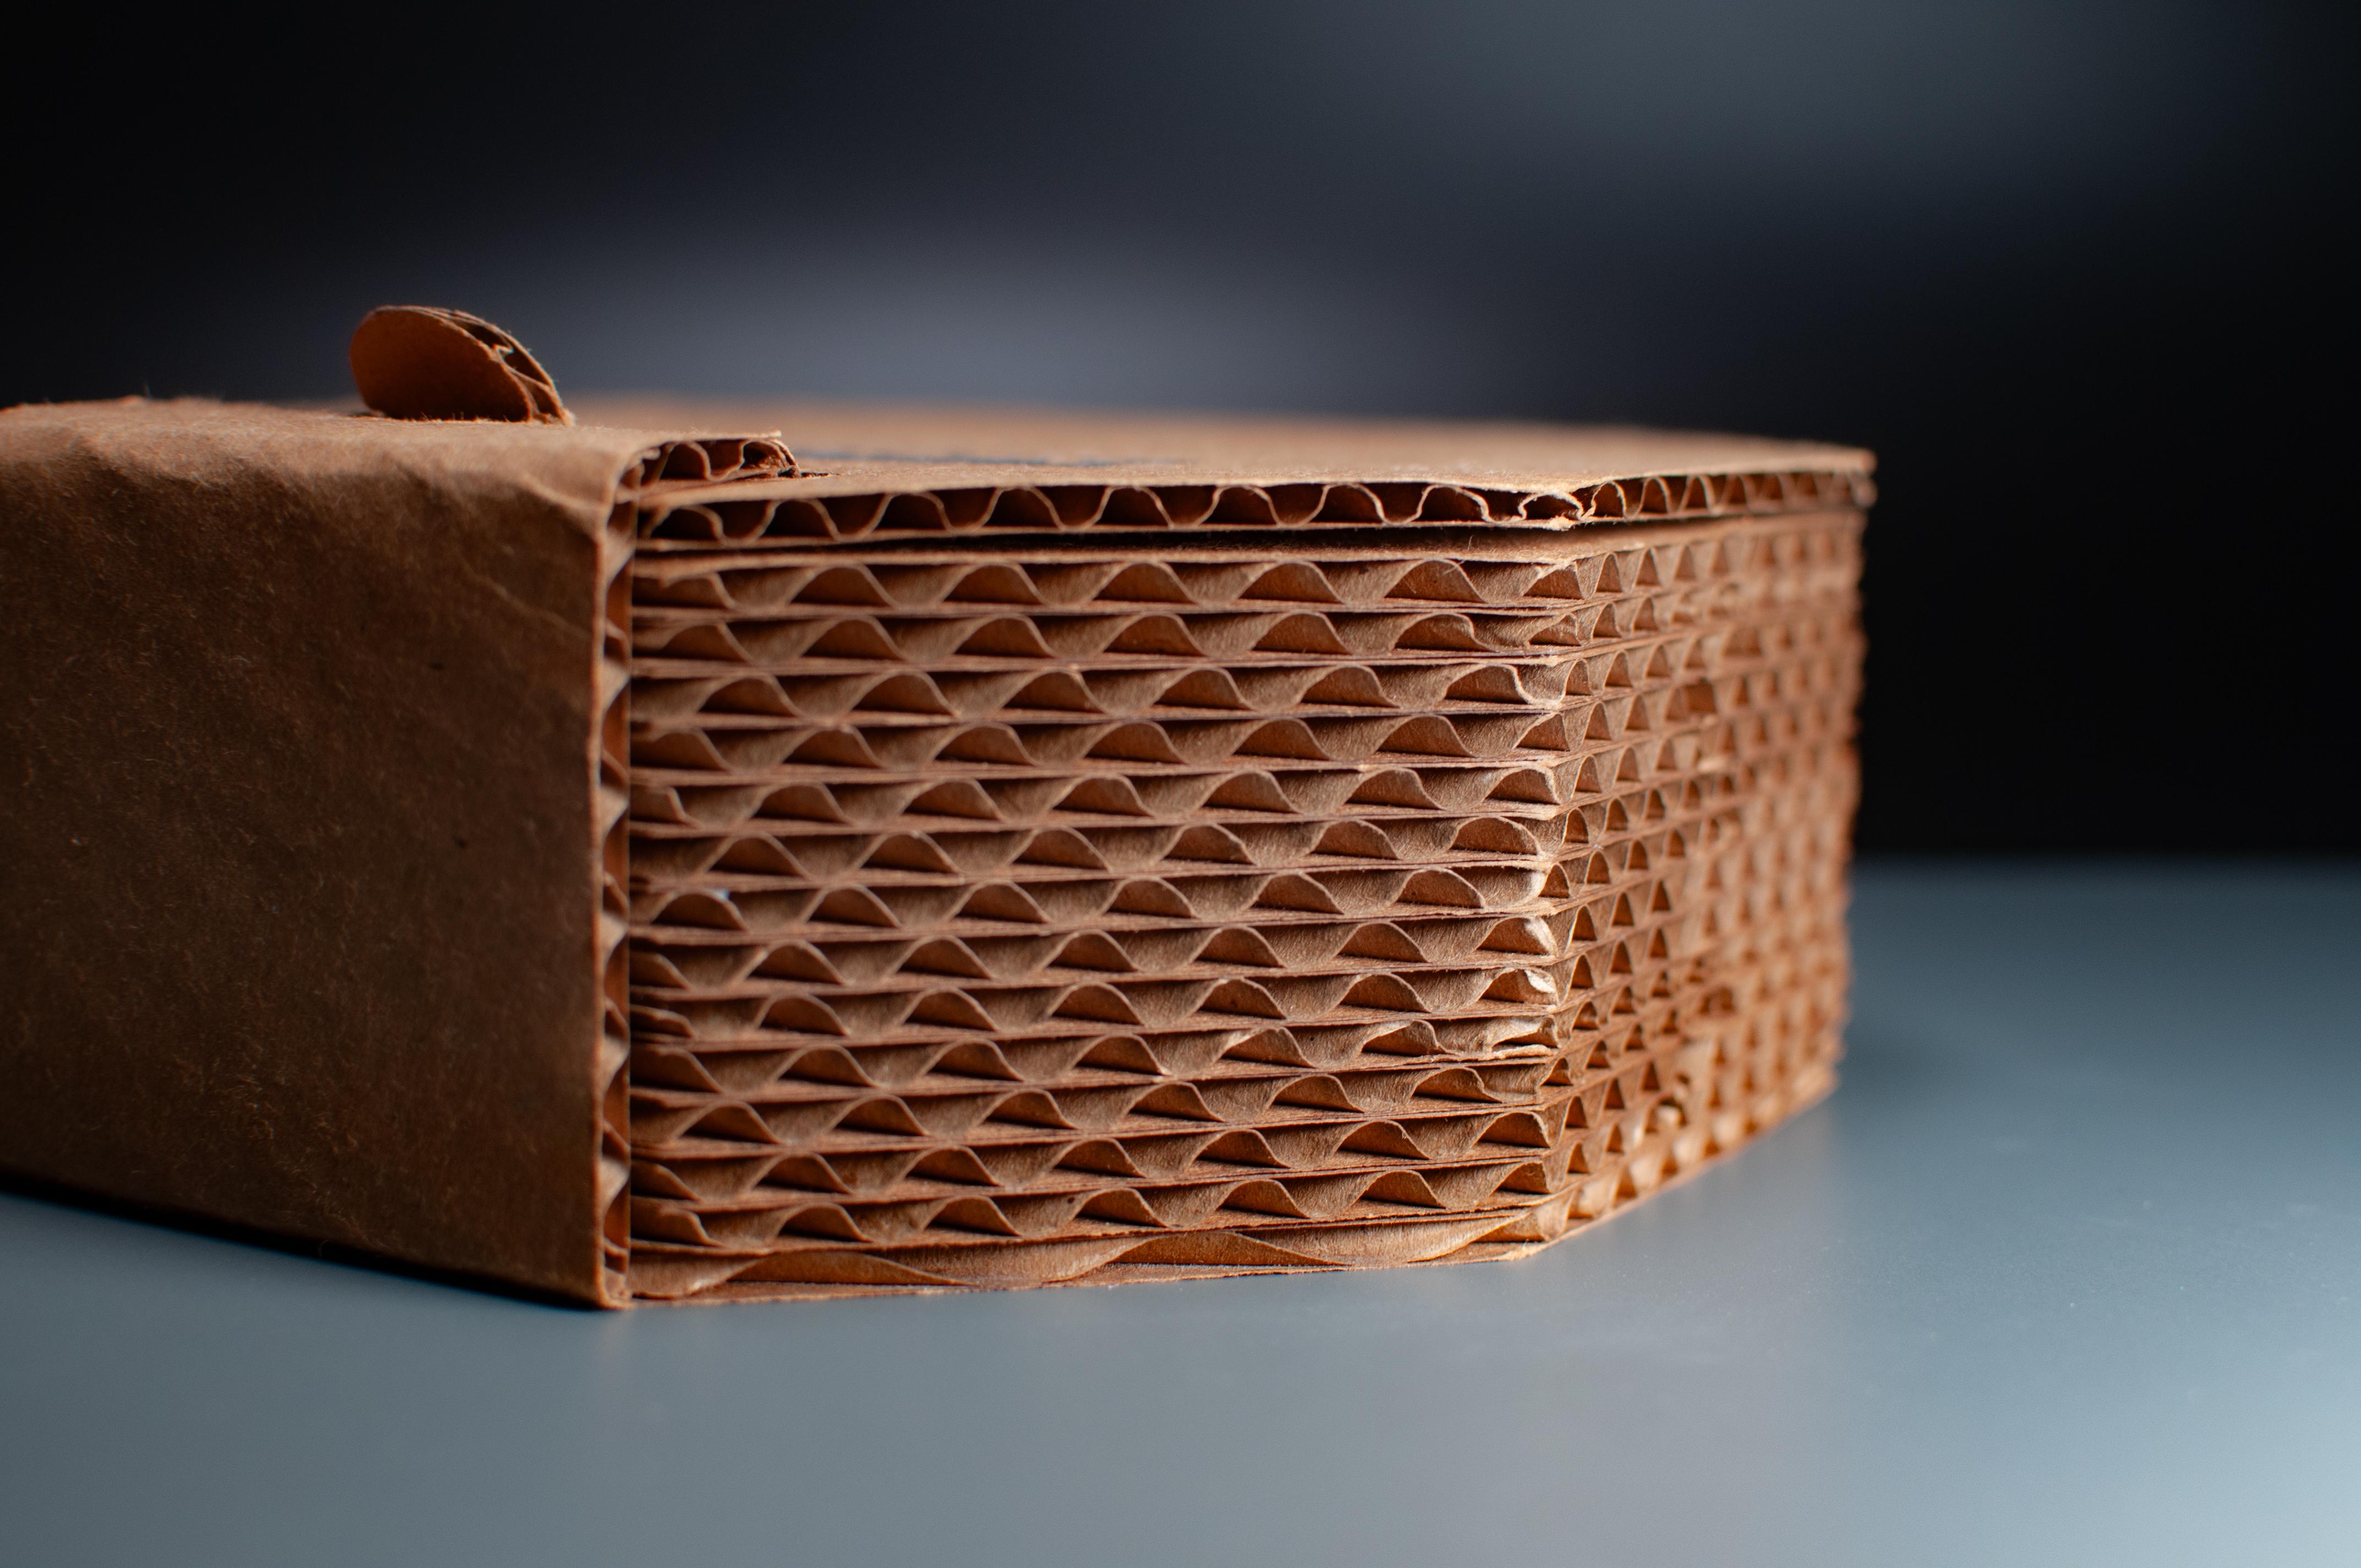
Photo 1: Cardboard
In this project I'm using a 4mm thickness cardboard
Photo 2: Flue Chart
This website is a good resource to understand cardboard flutes.
Photo 3: Laser Cutter
Trotec Speedy 400
Glue preferable plant-based
CAD MODELING With Autodesk Fusion
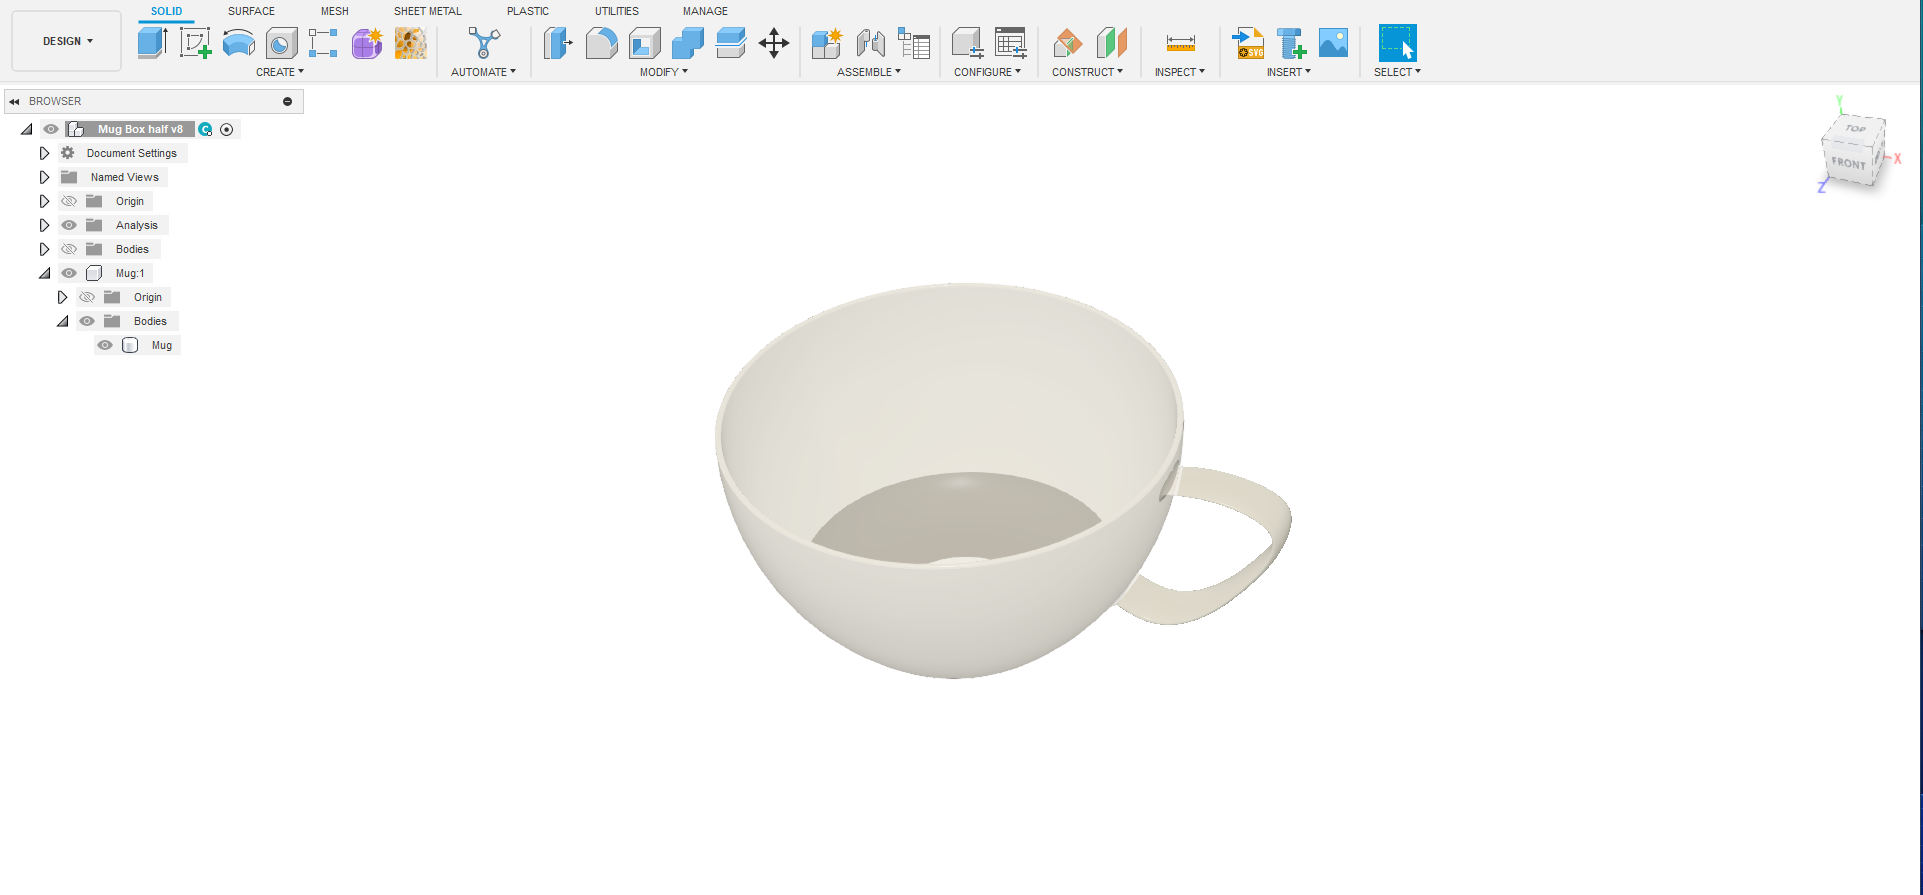
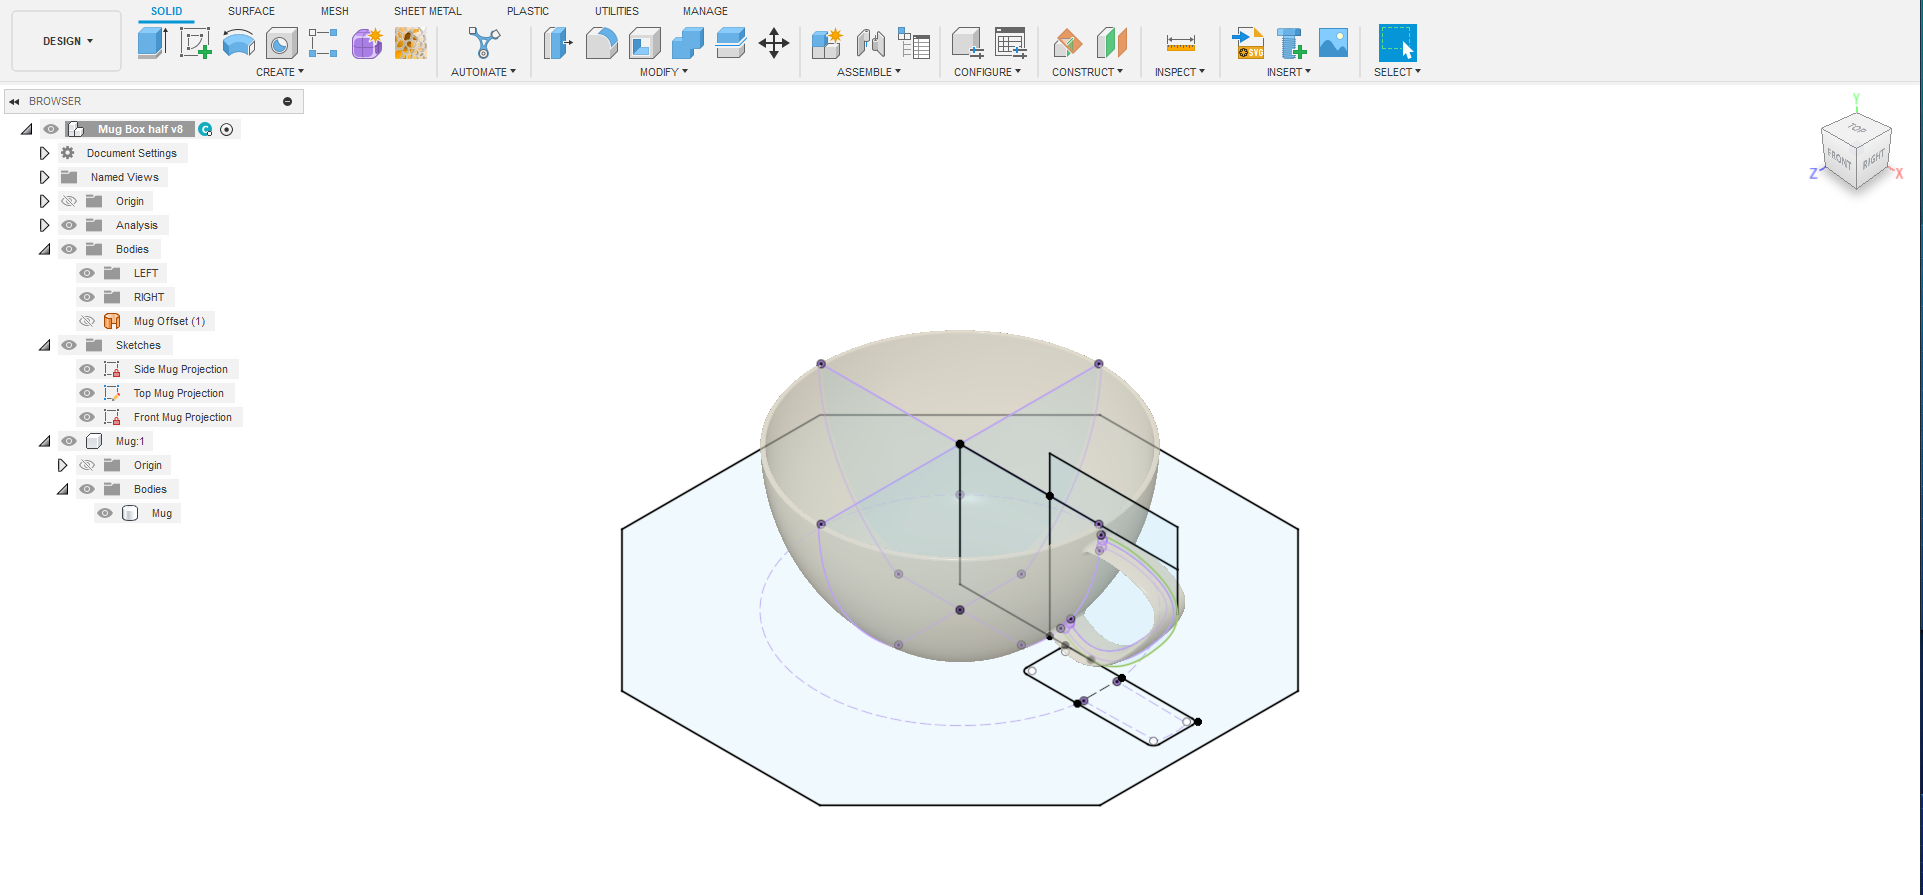
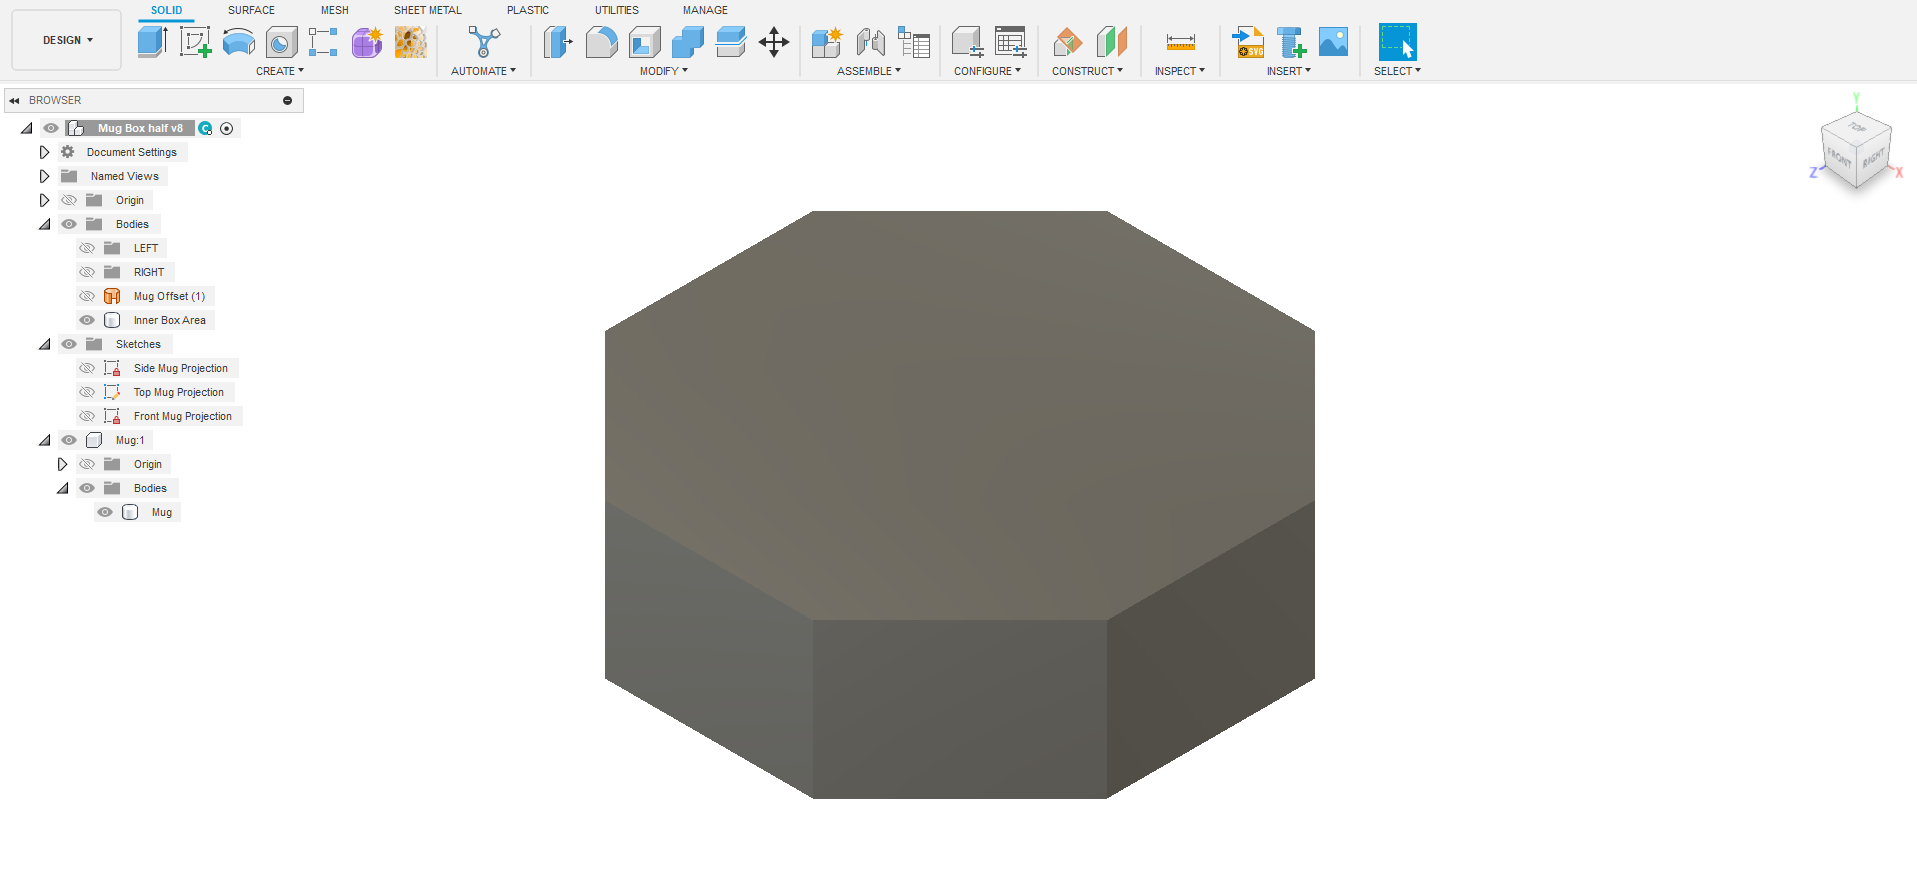
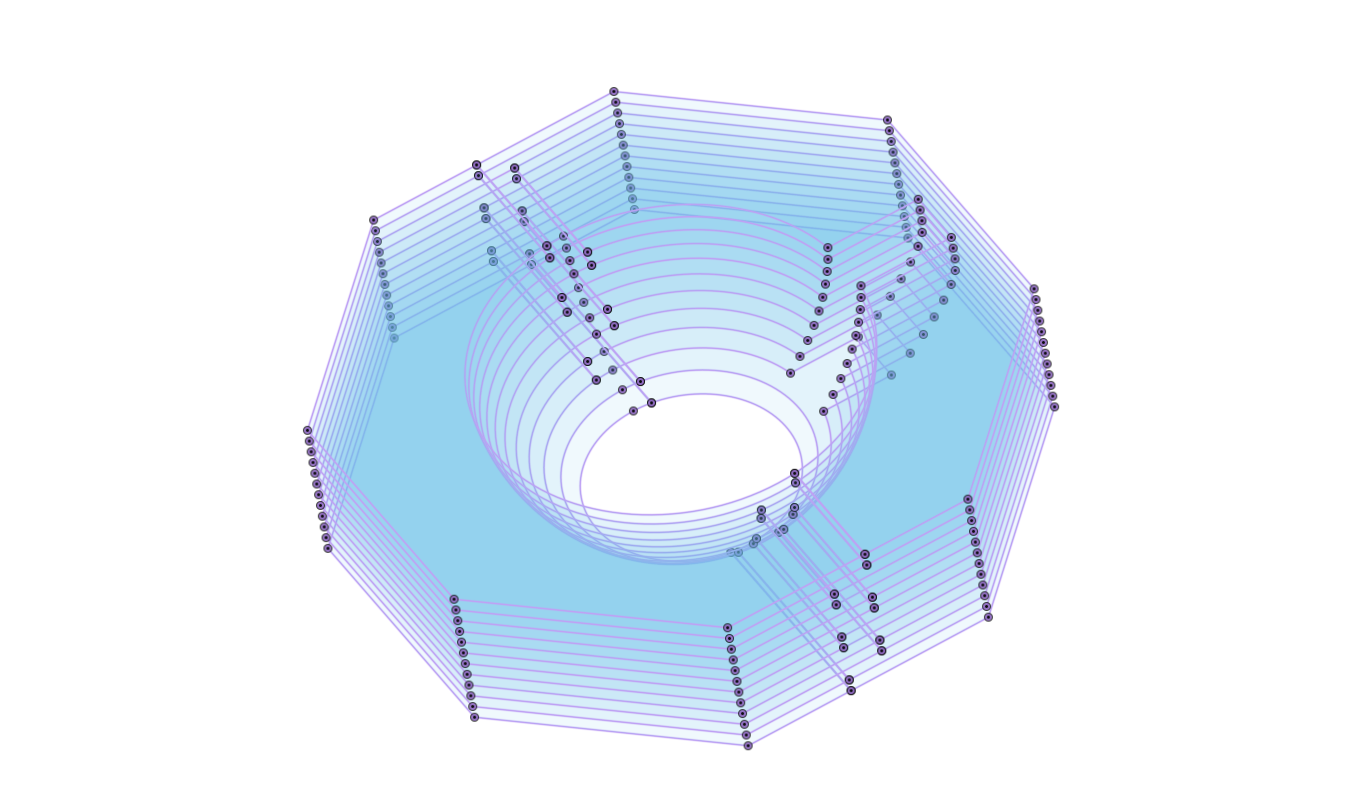
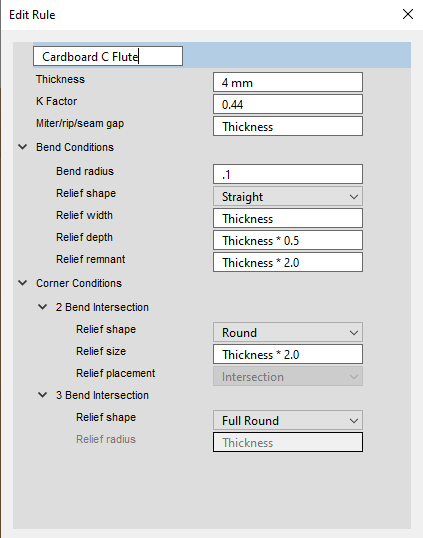
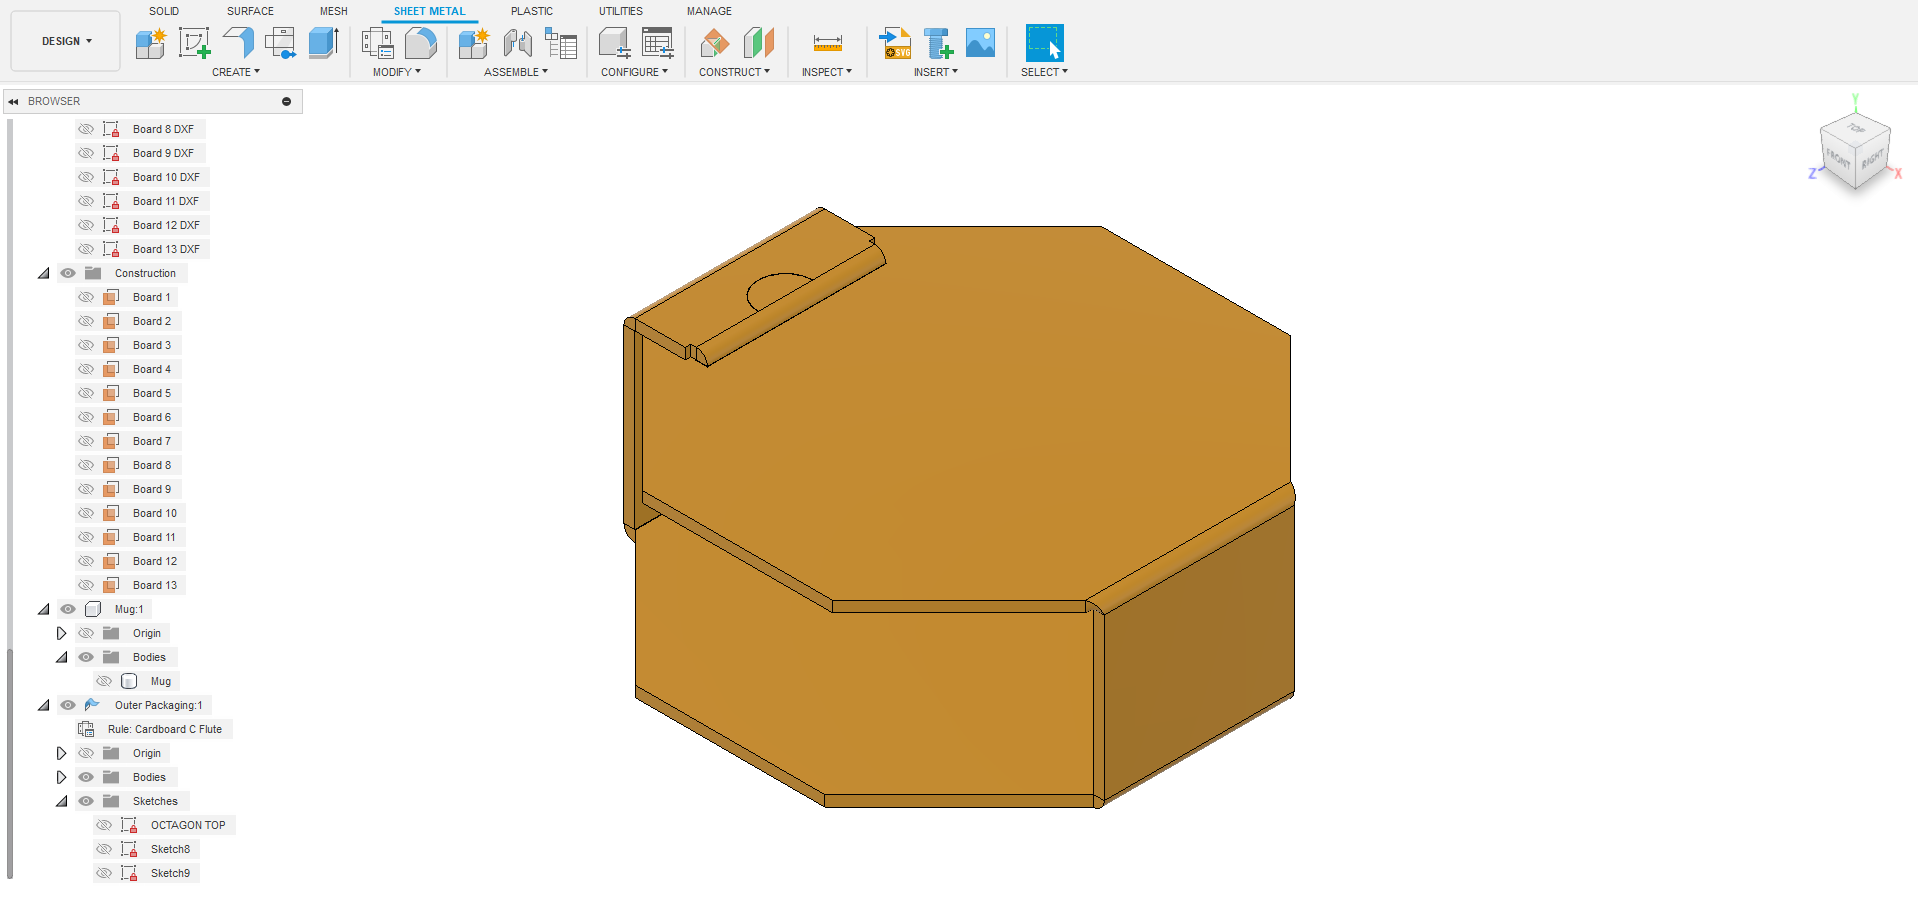
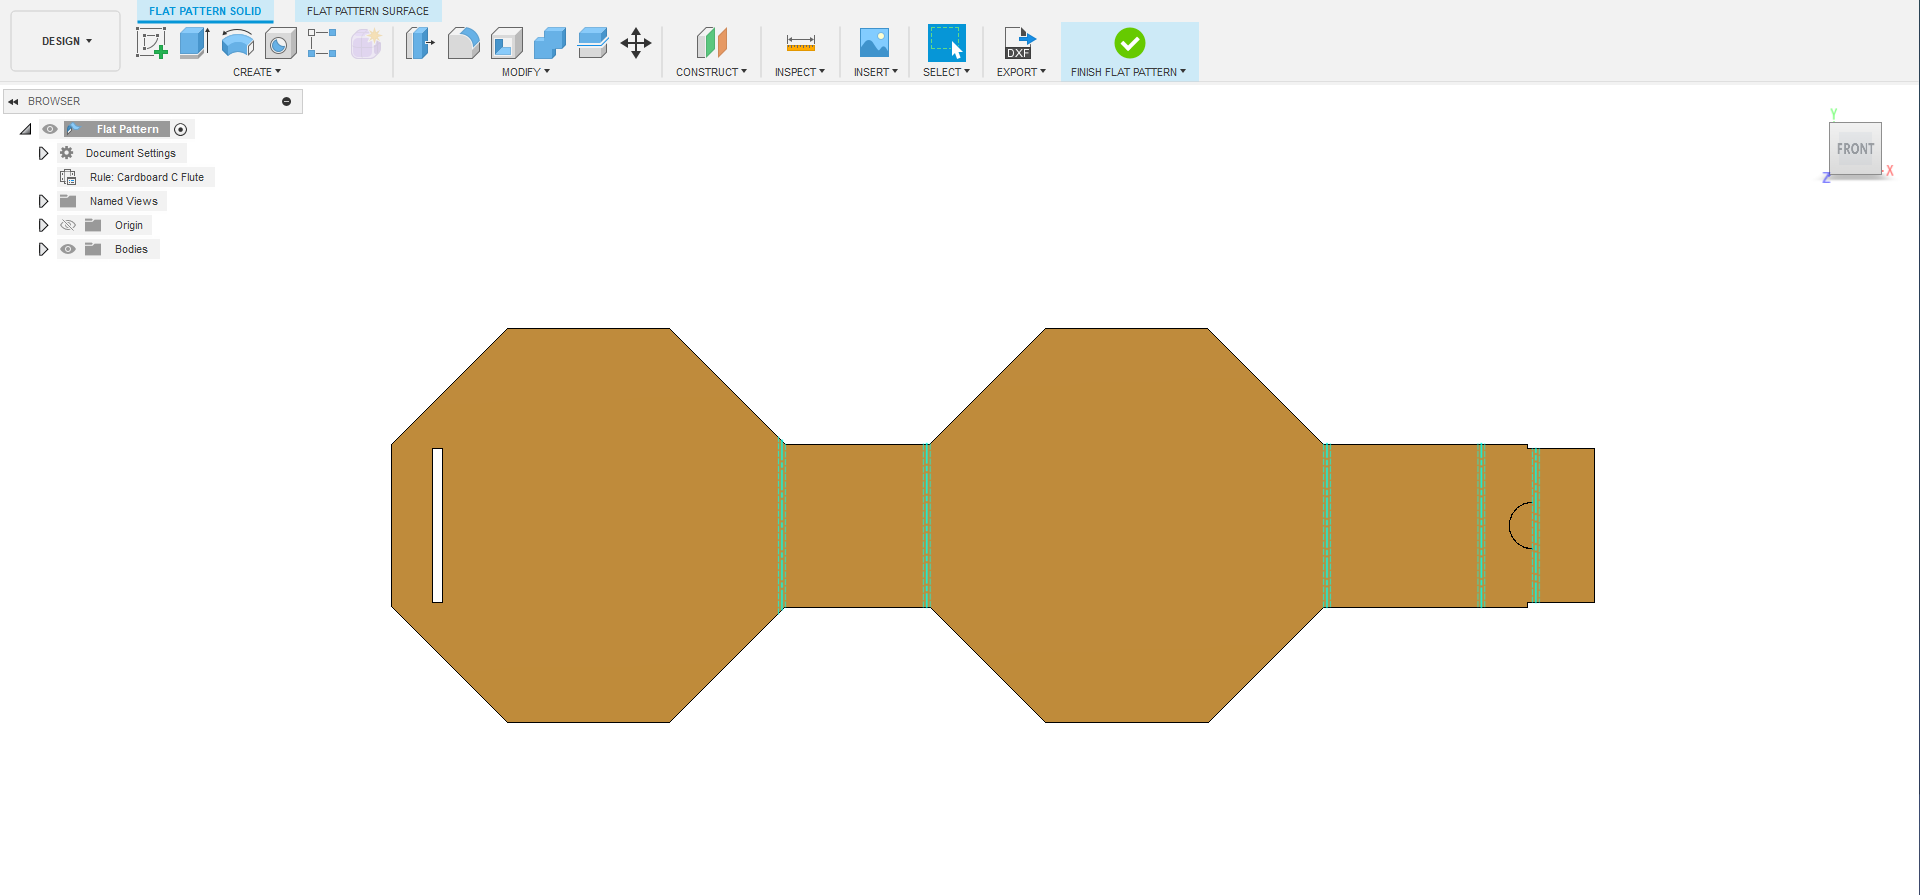
Photo 1:
Import 3D Model or if you designed it in Fusion you can just duplicate your file.
Photo 2:
Make sure you create an offset surface of your model so that the tolerance will not be so tight
Offset value used: 1.5mm
Make your Sketch Projections from the offset surface.
Photo 3:
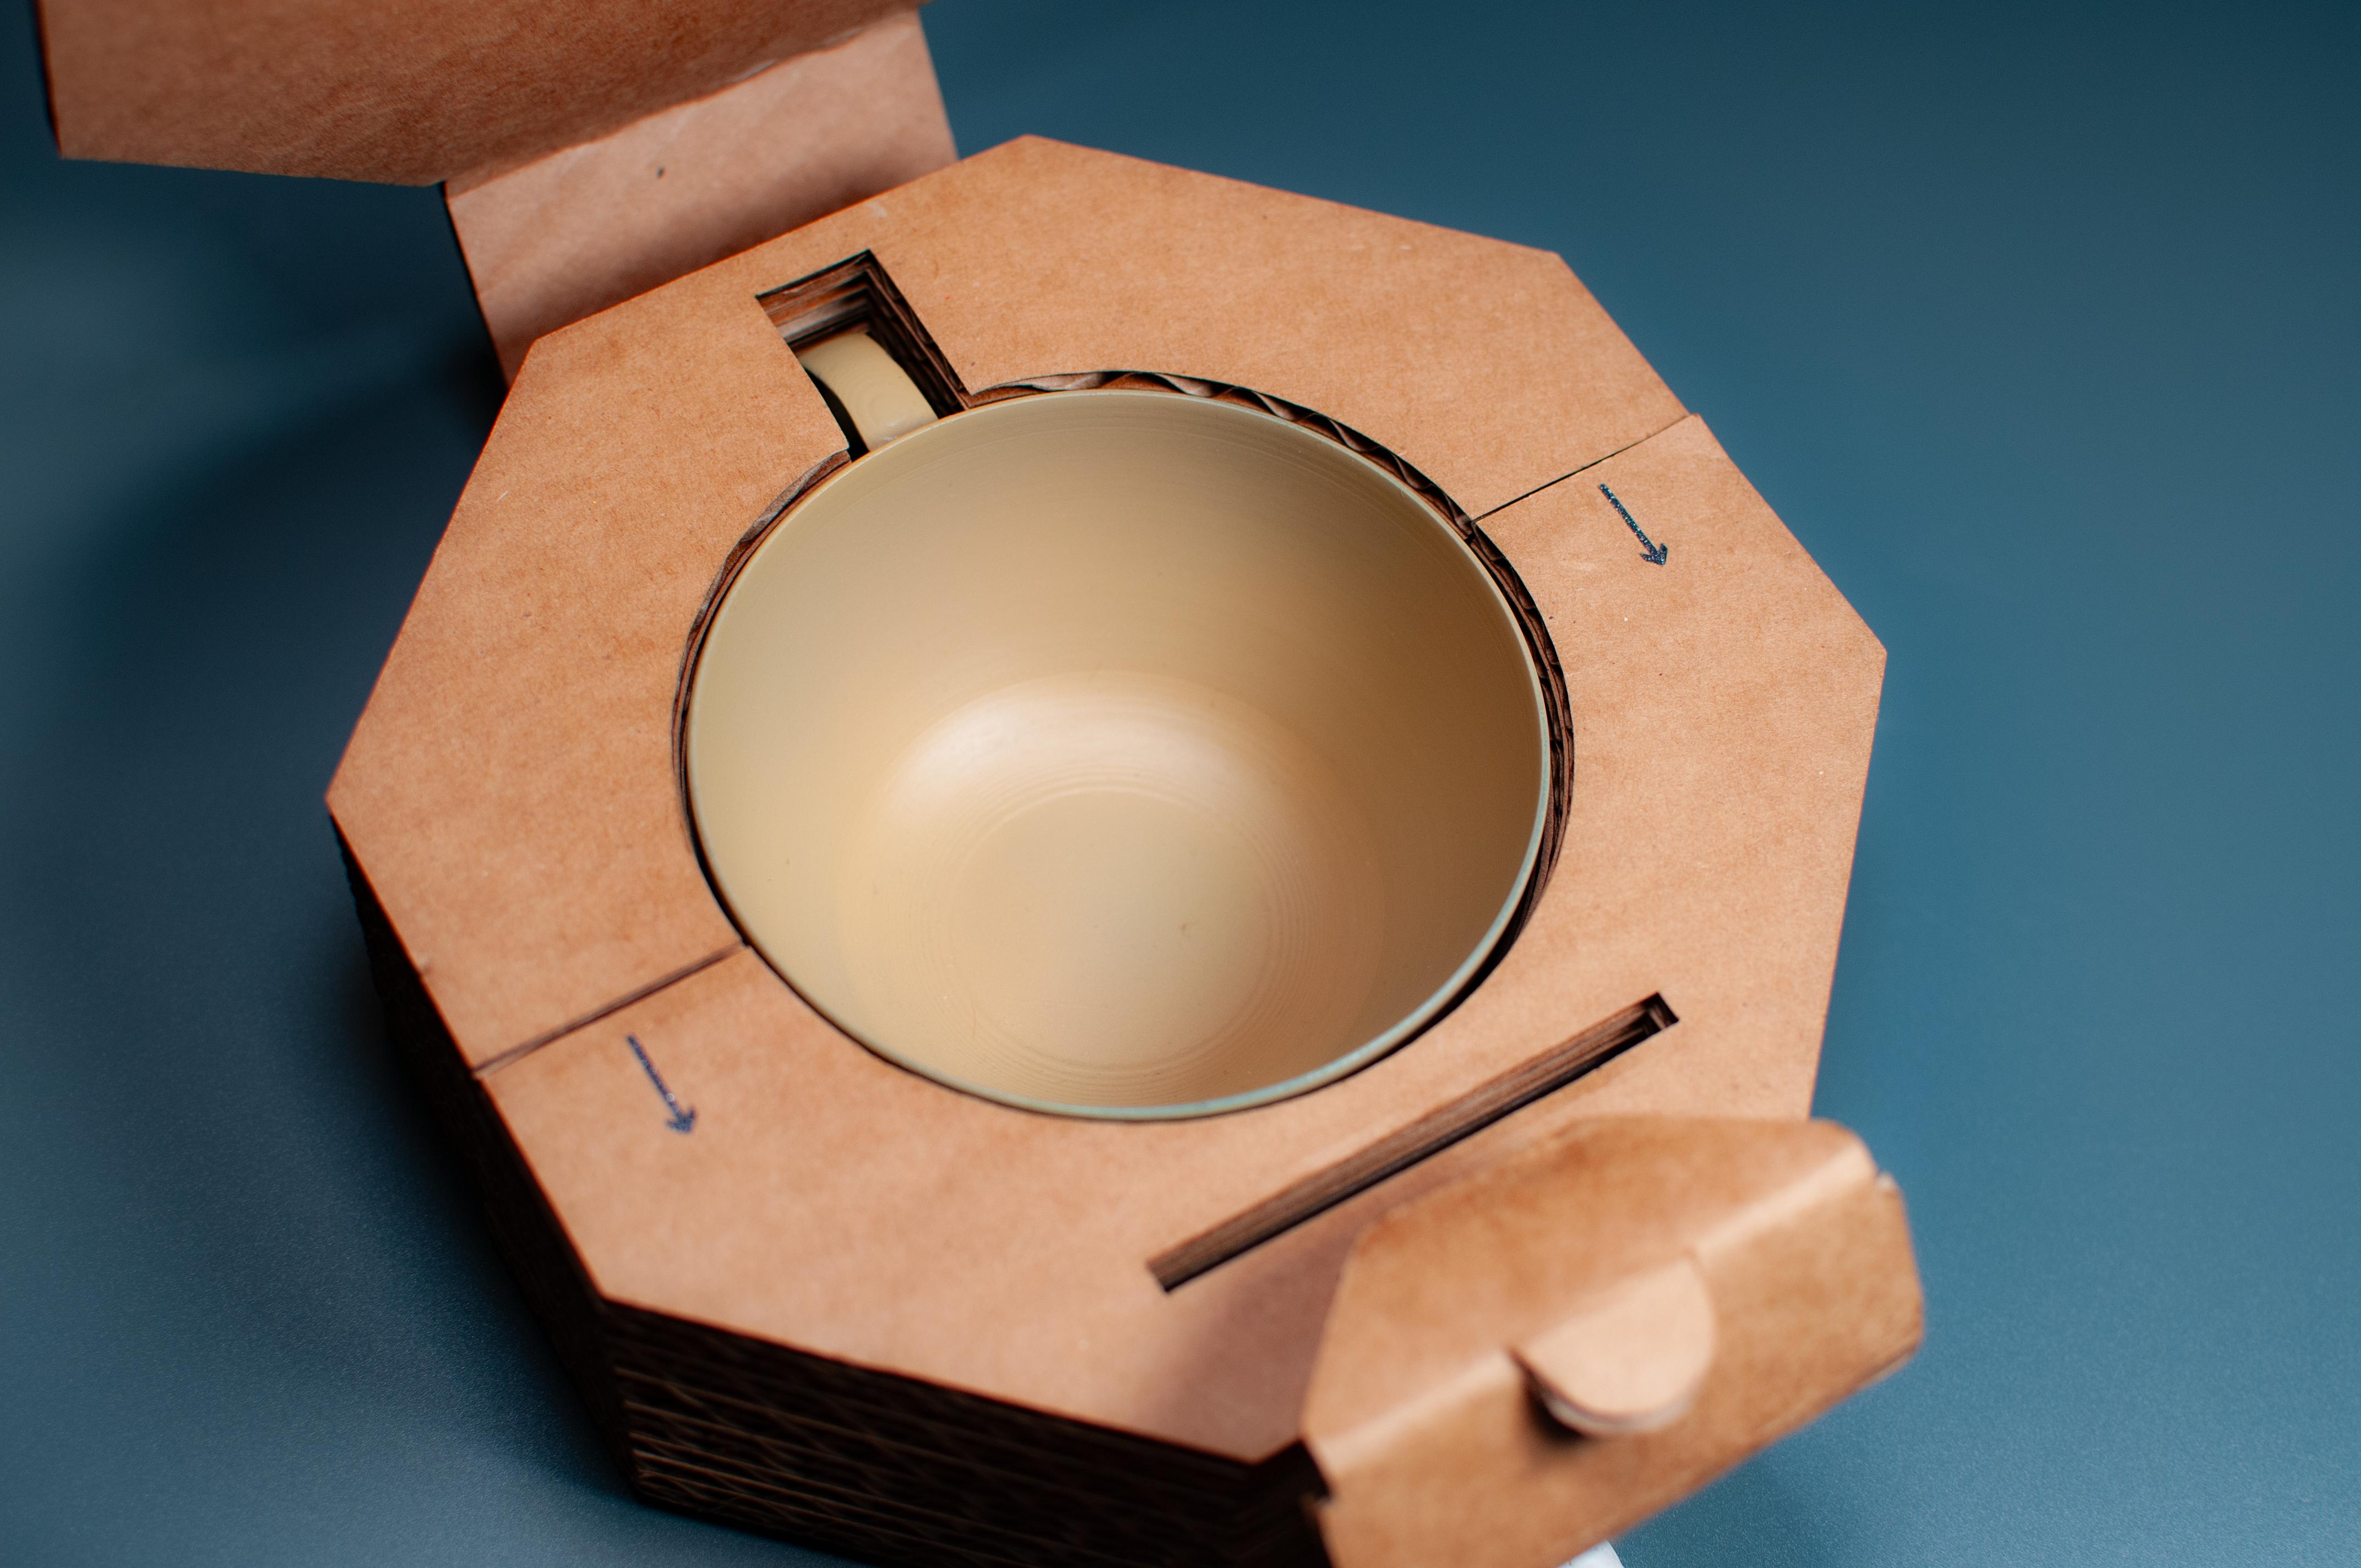
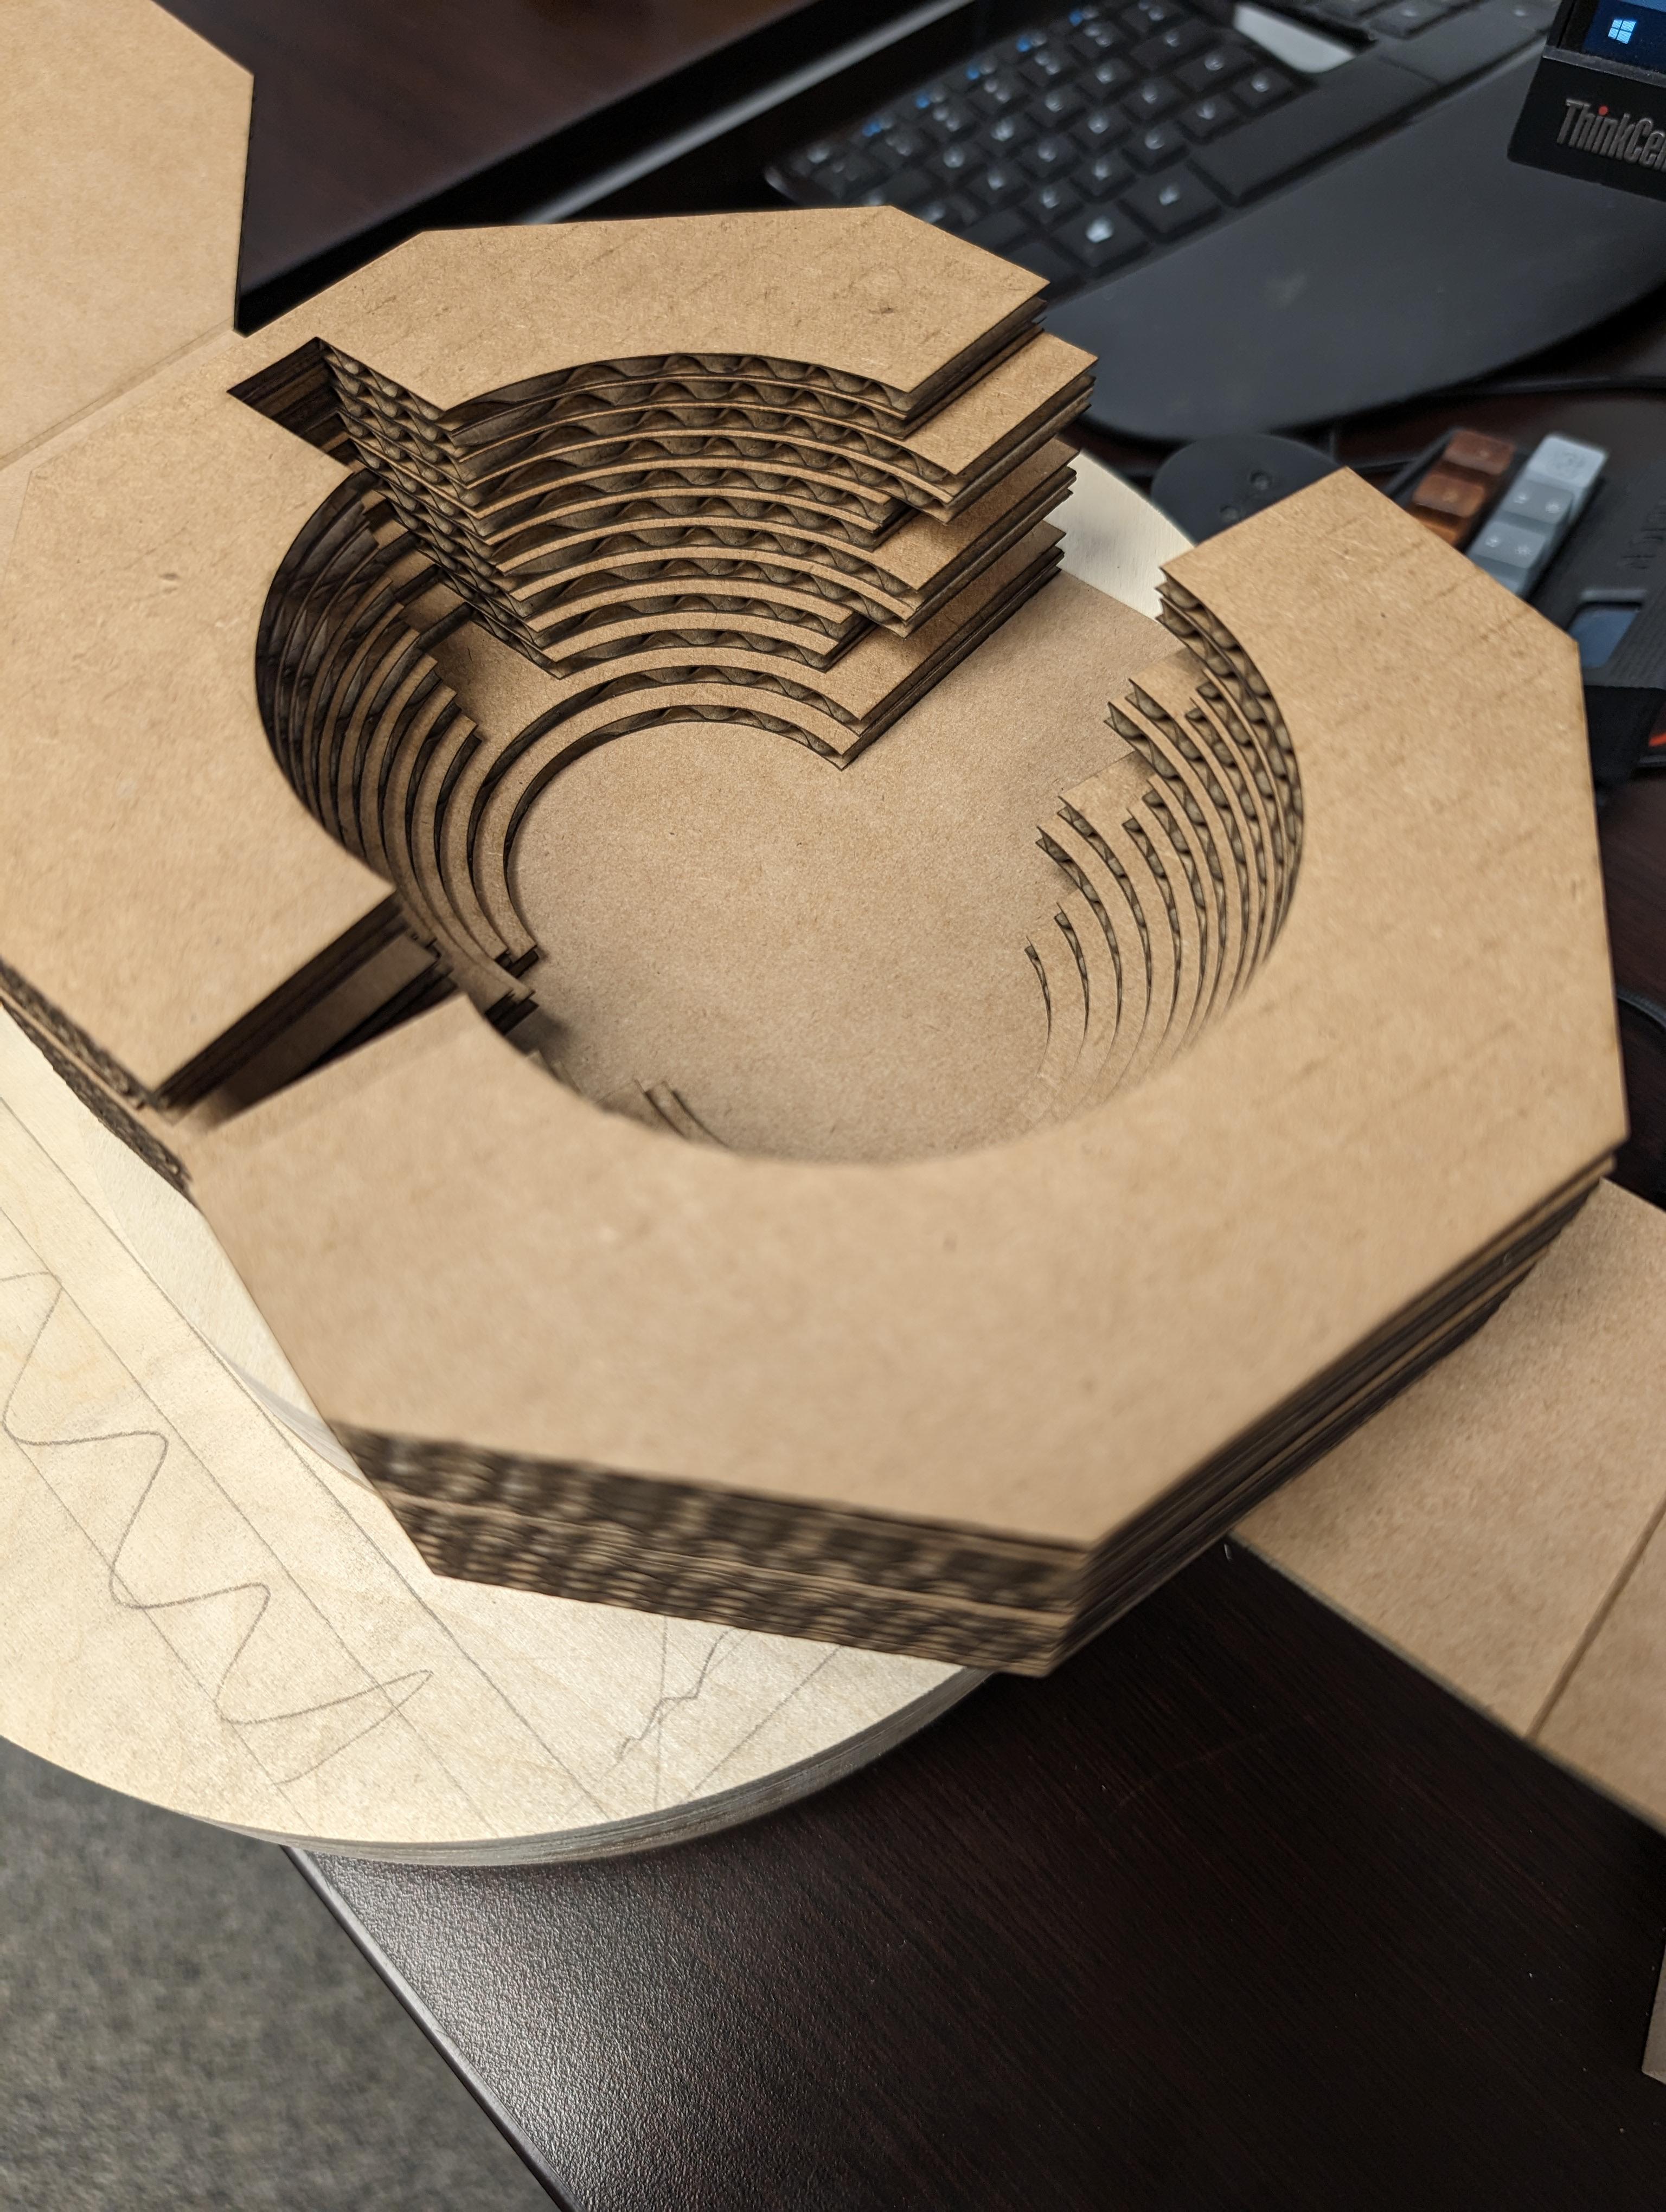
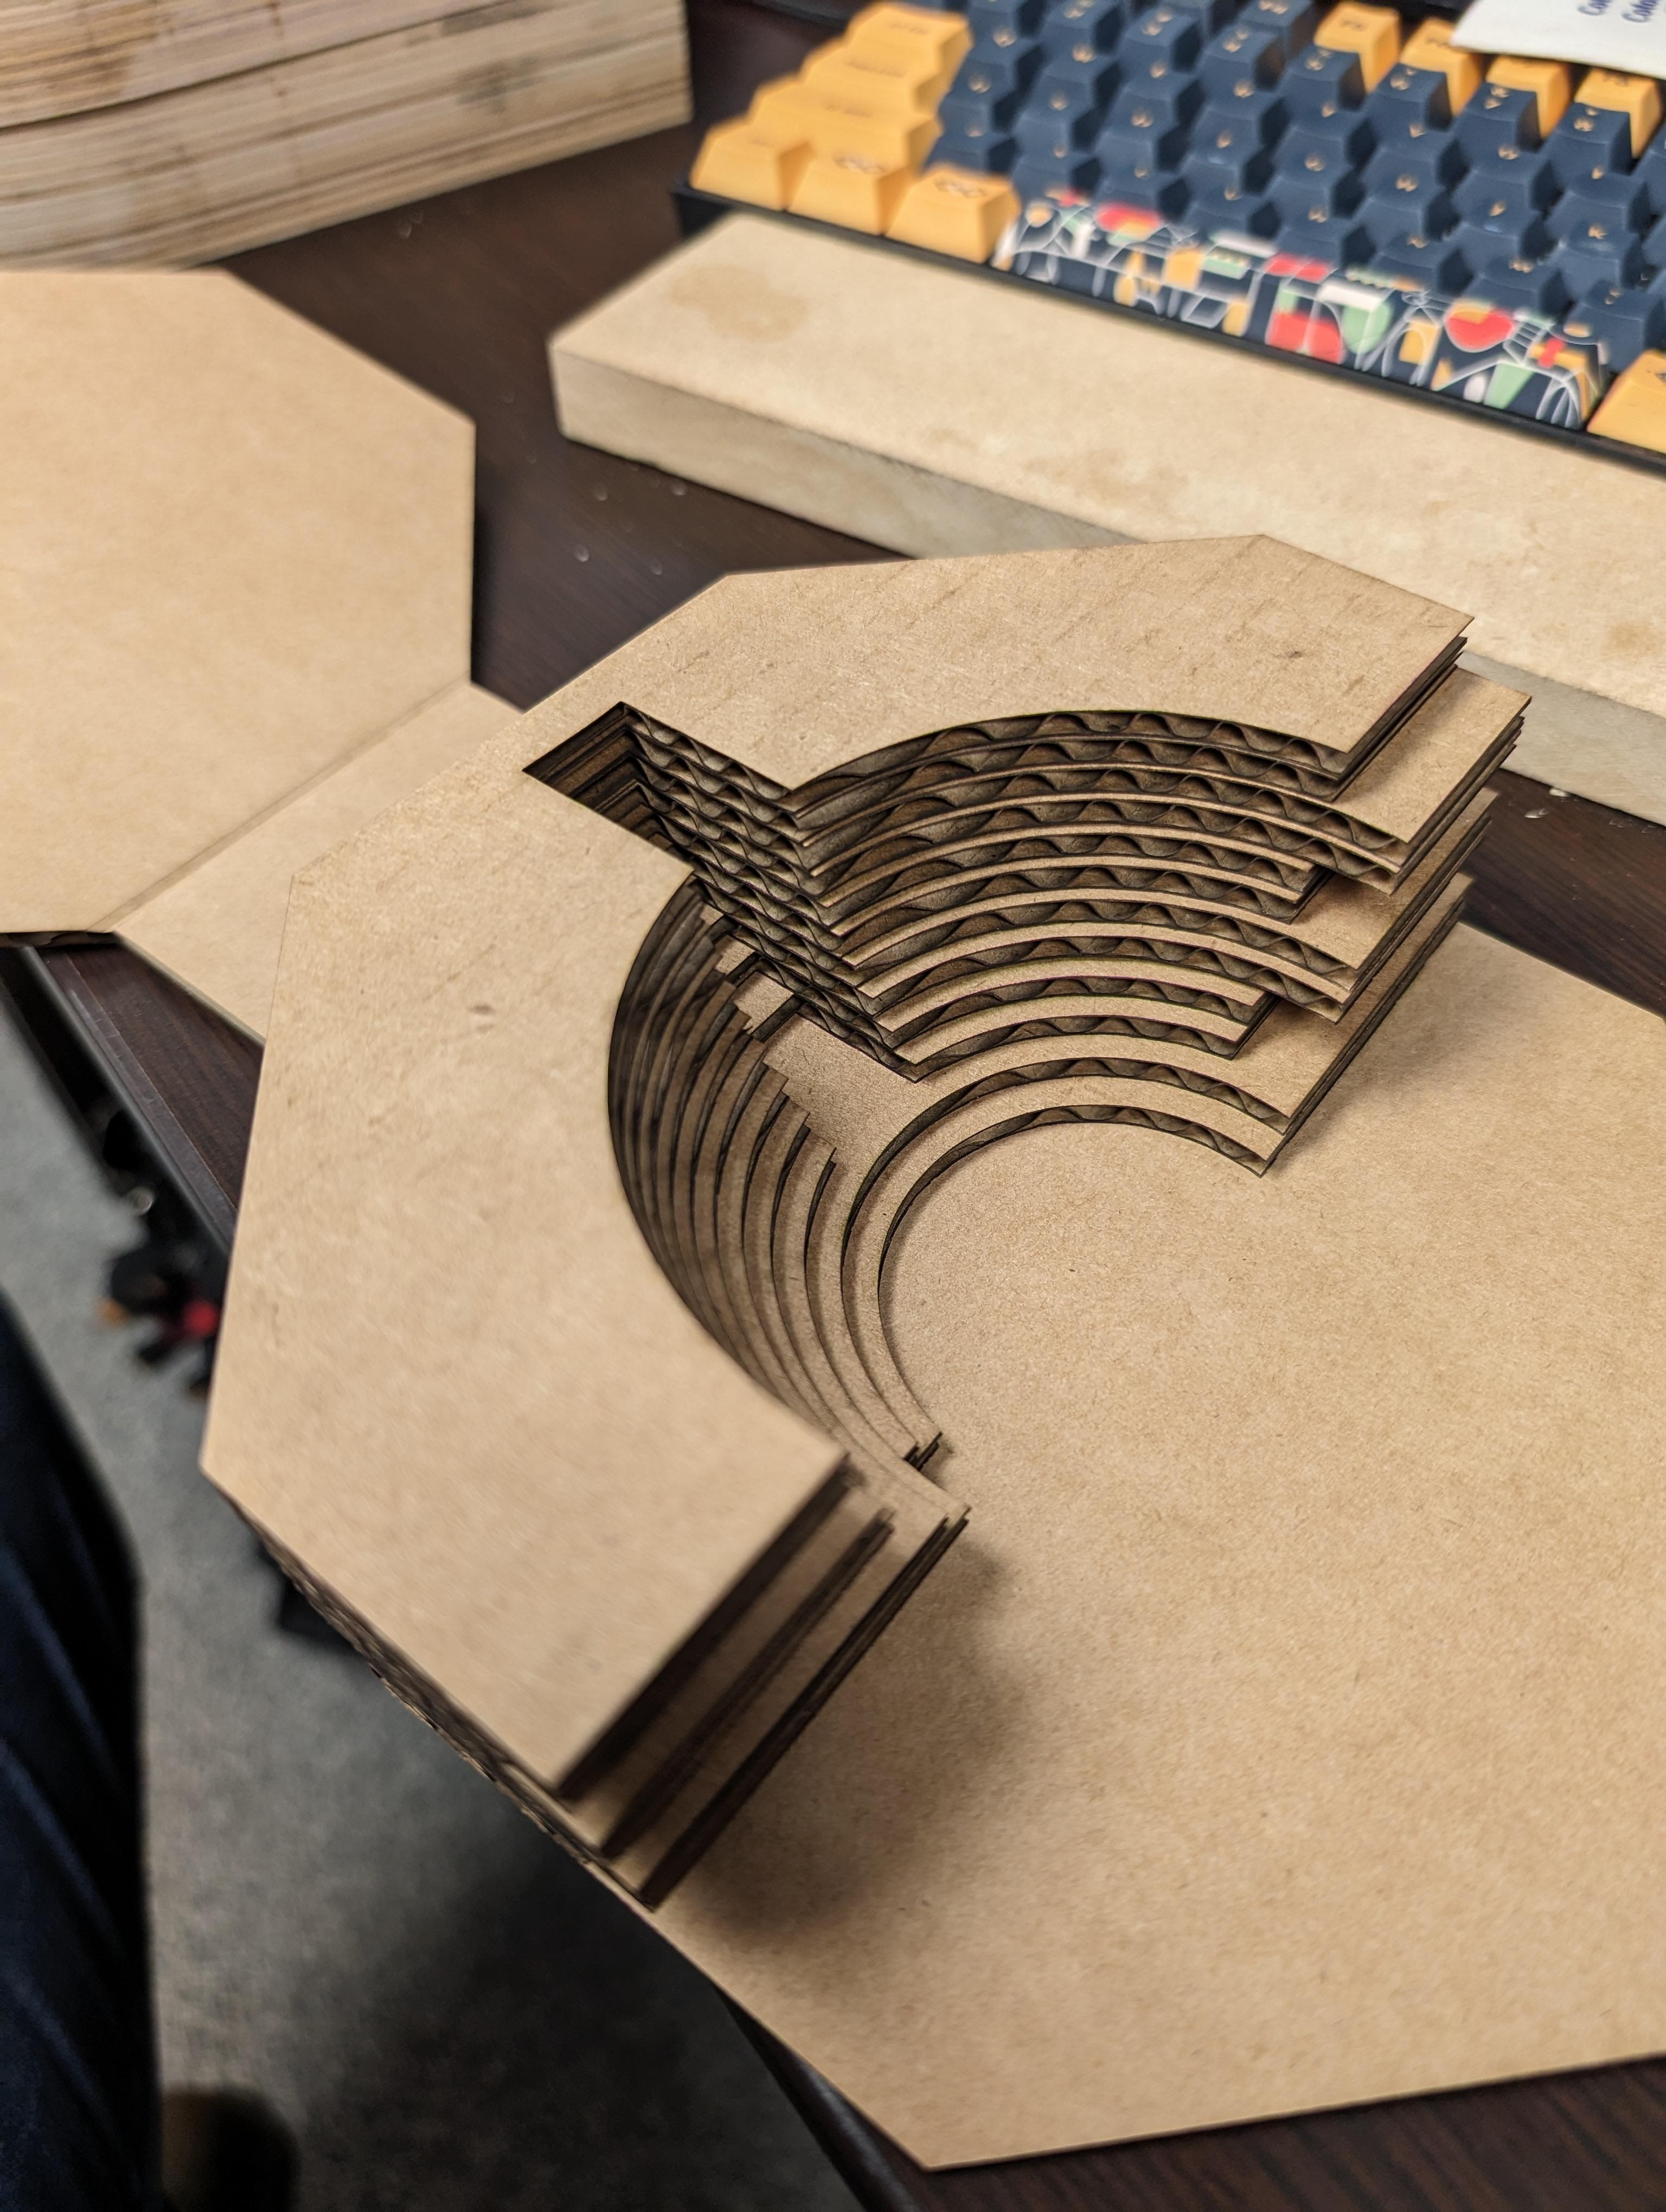
Inner box size divisible by Cardboard thickness.
In this case the mug is 45mm tall so I used 12 Layers multiplied by the cardboard thickness
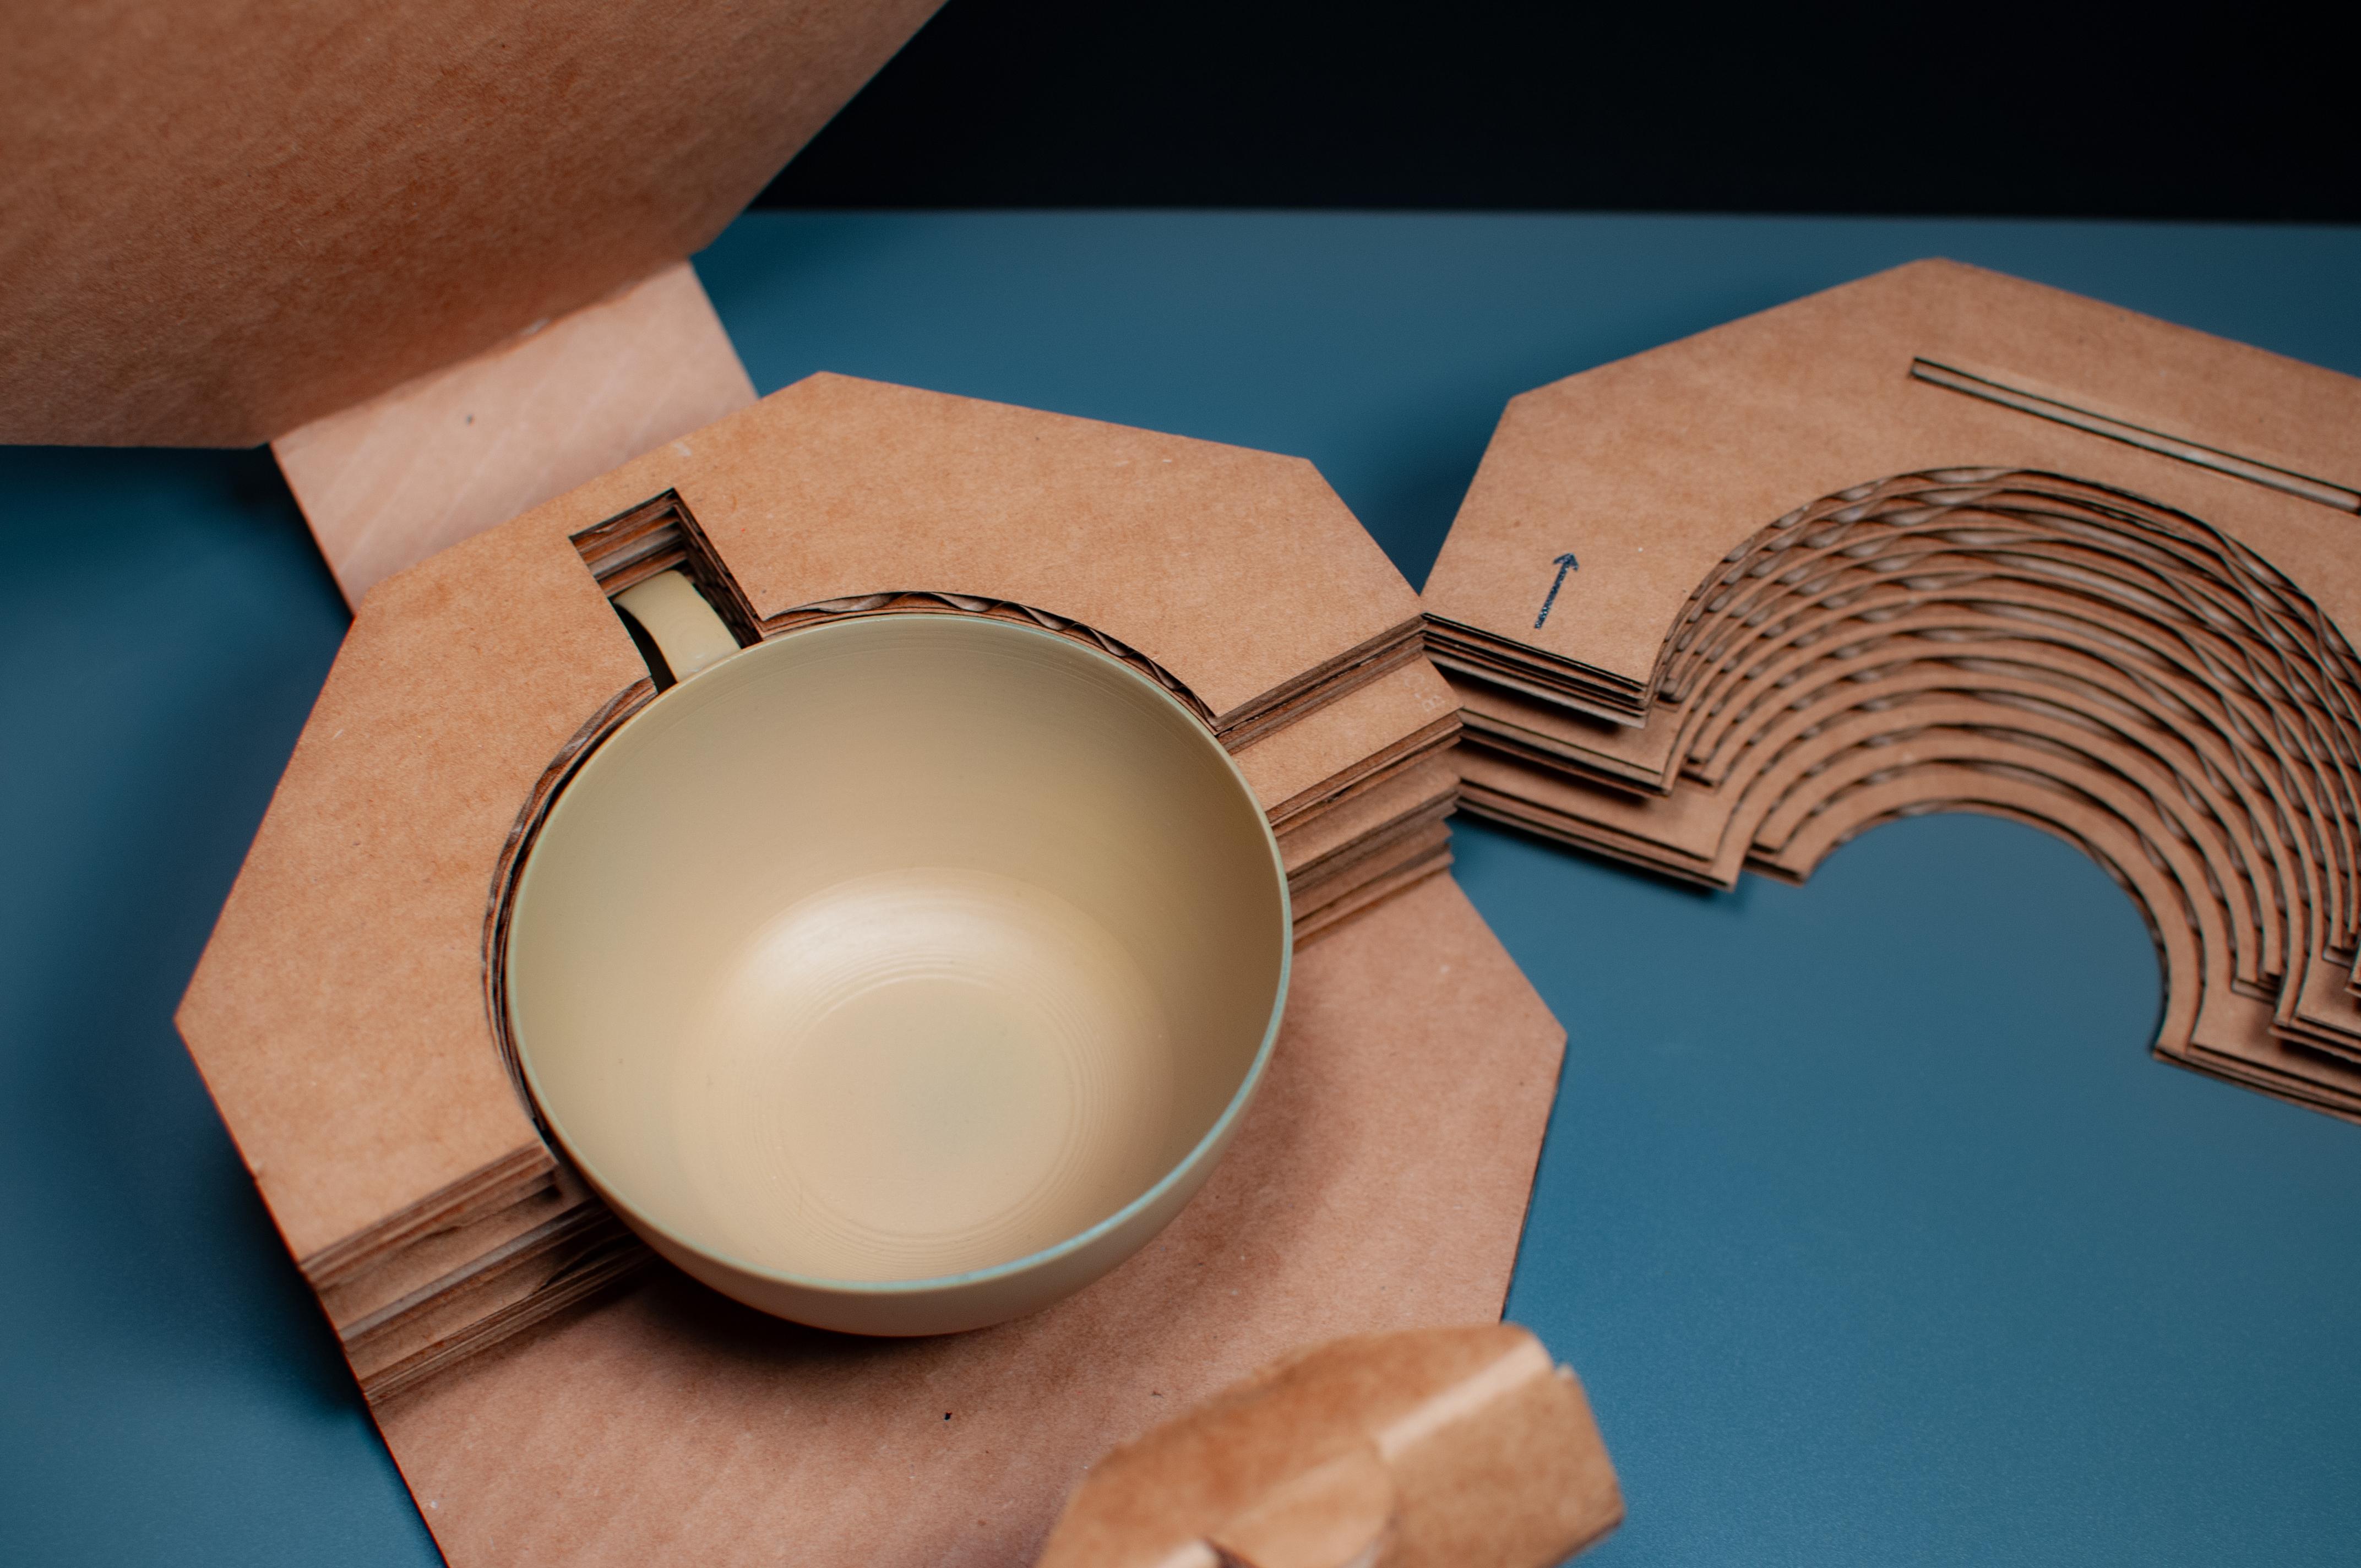
Photo 4:
Preparing all Sketches for inner box to export as DXF
Photo 5:
Cardboard Flute C Sheet Metal Rules in Autodesk Fusion
Photo 5:
Outer Box Design Folded
Photo 6:
Outer box flat pattern to export as DXF
Cutting File Preparation and Laser Cutting
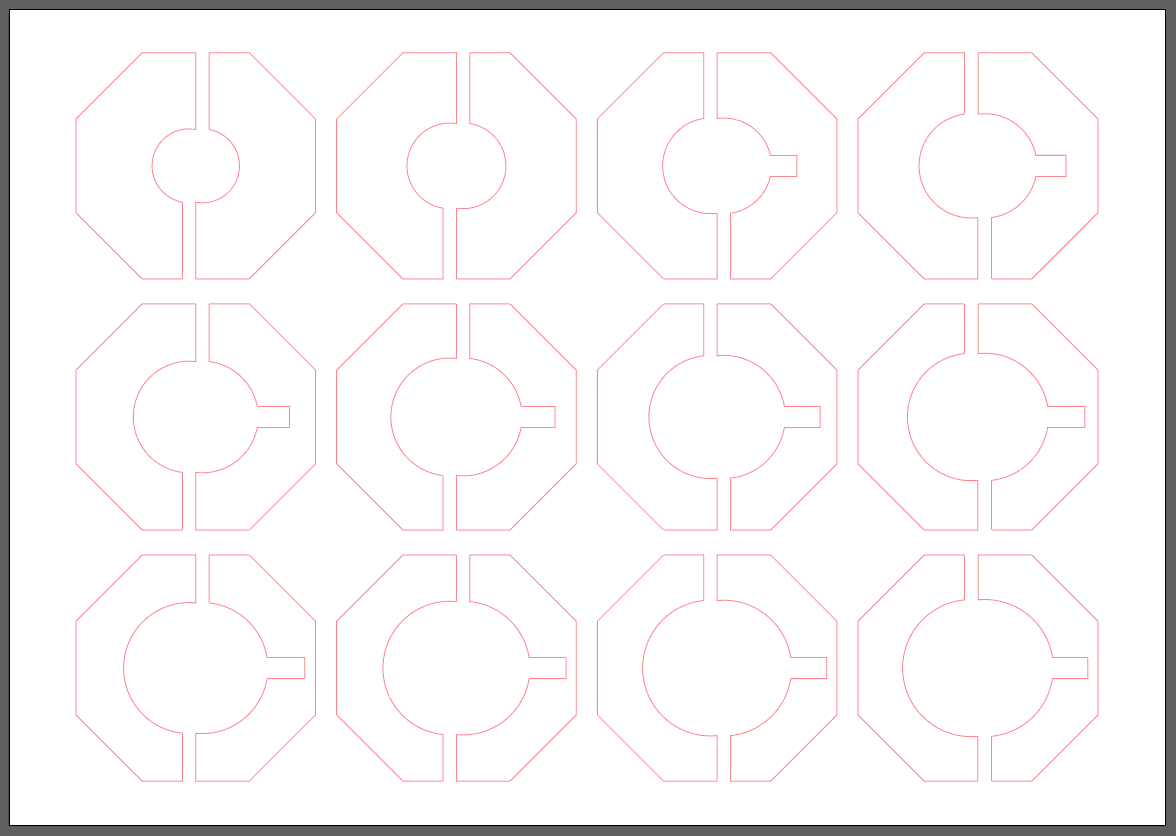
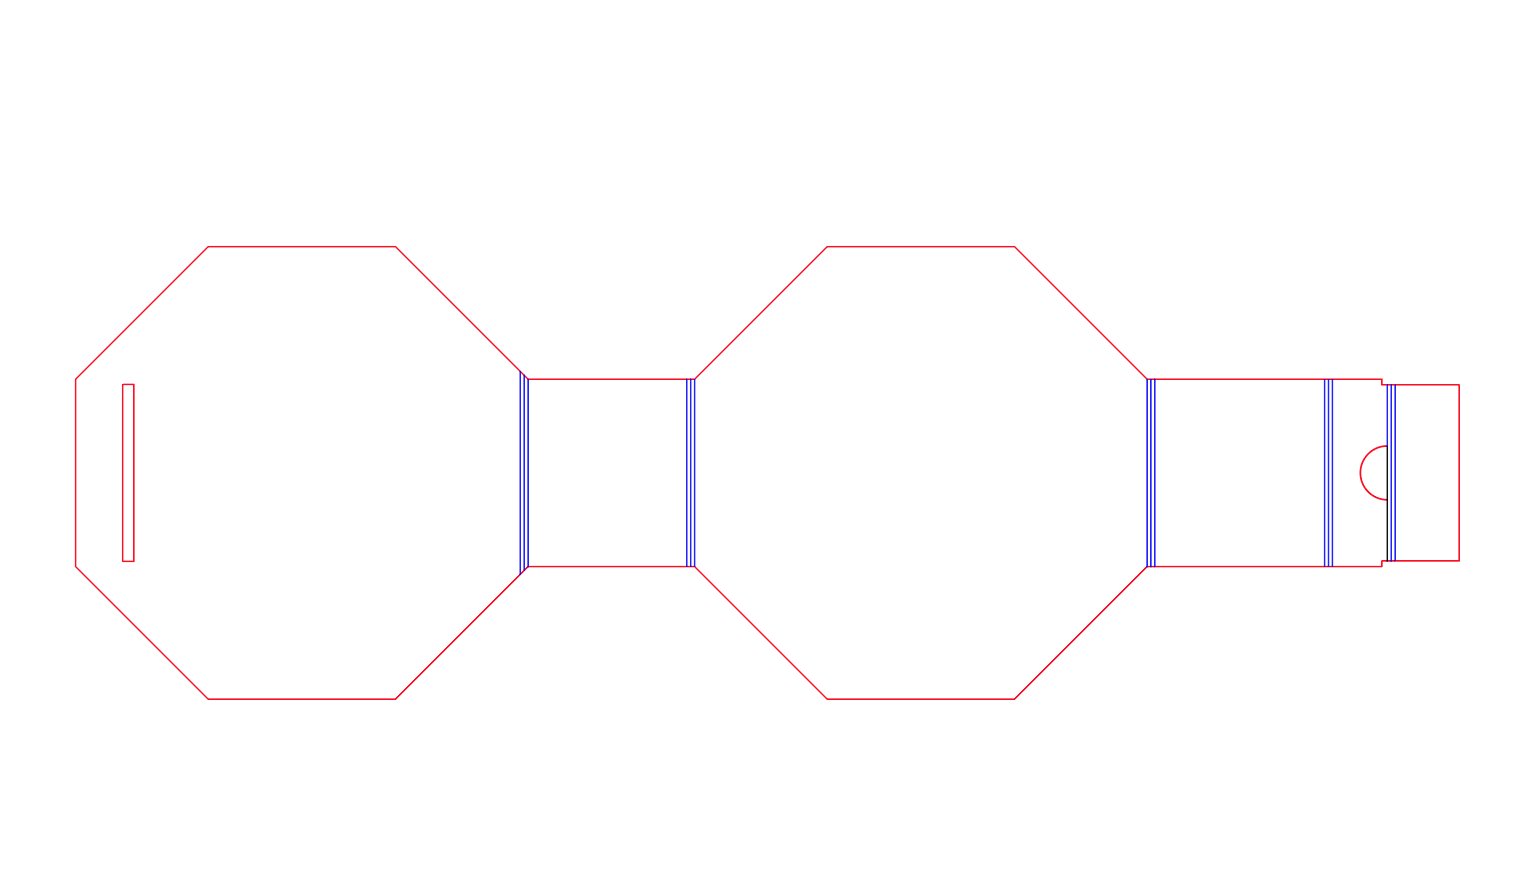
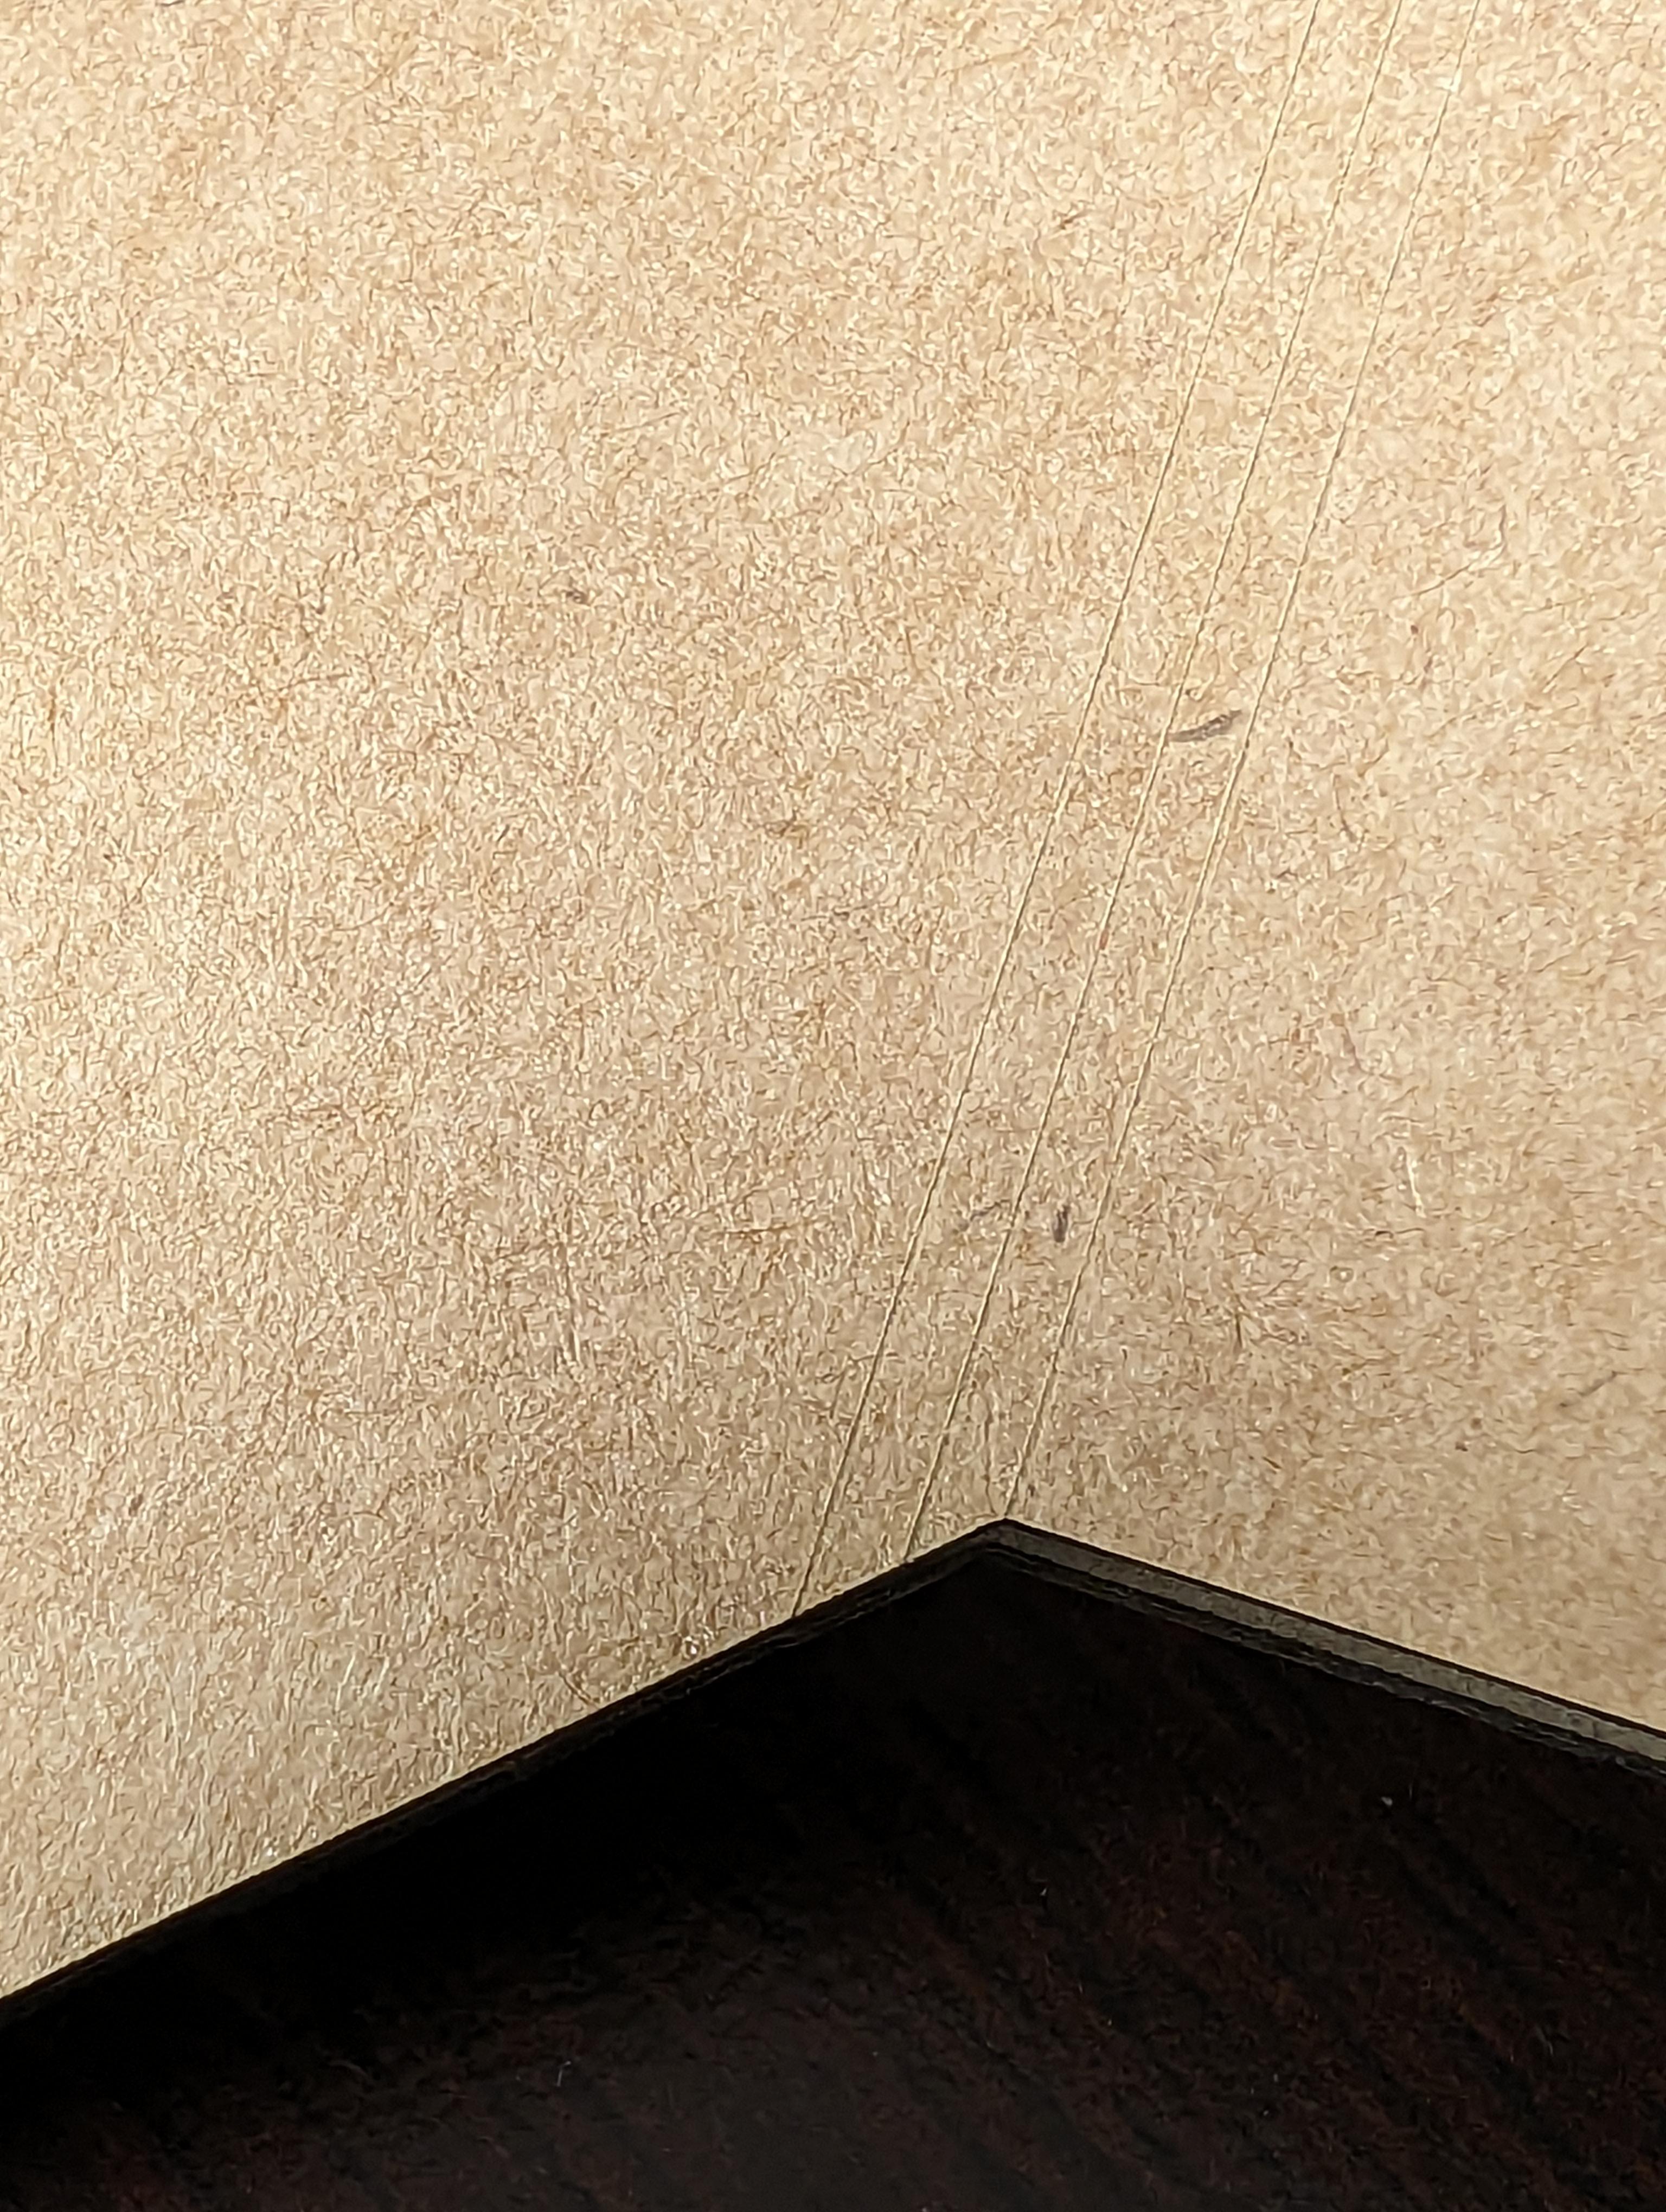
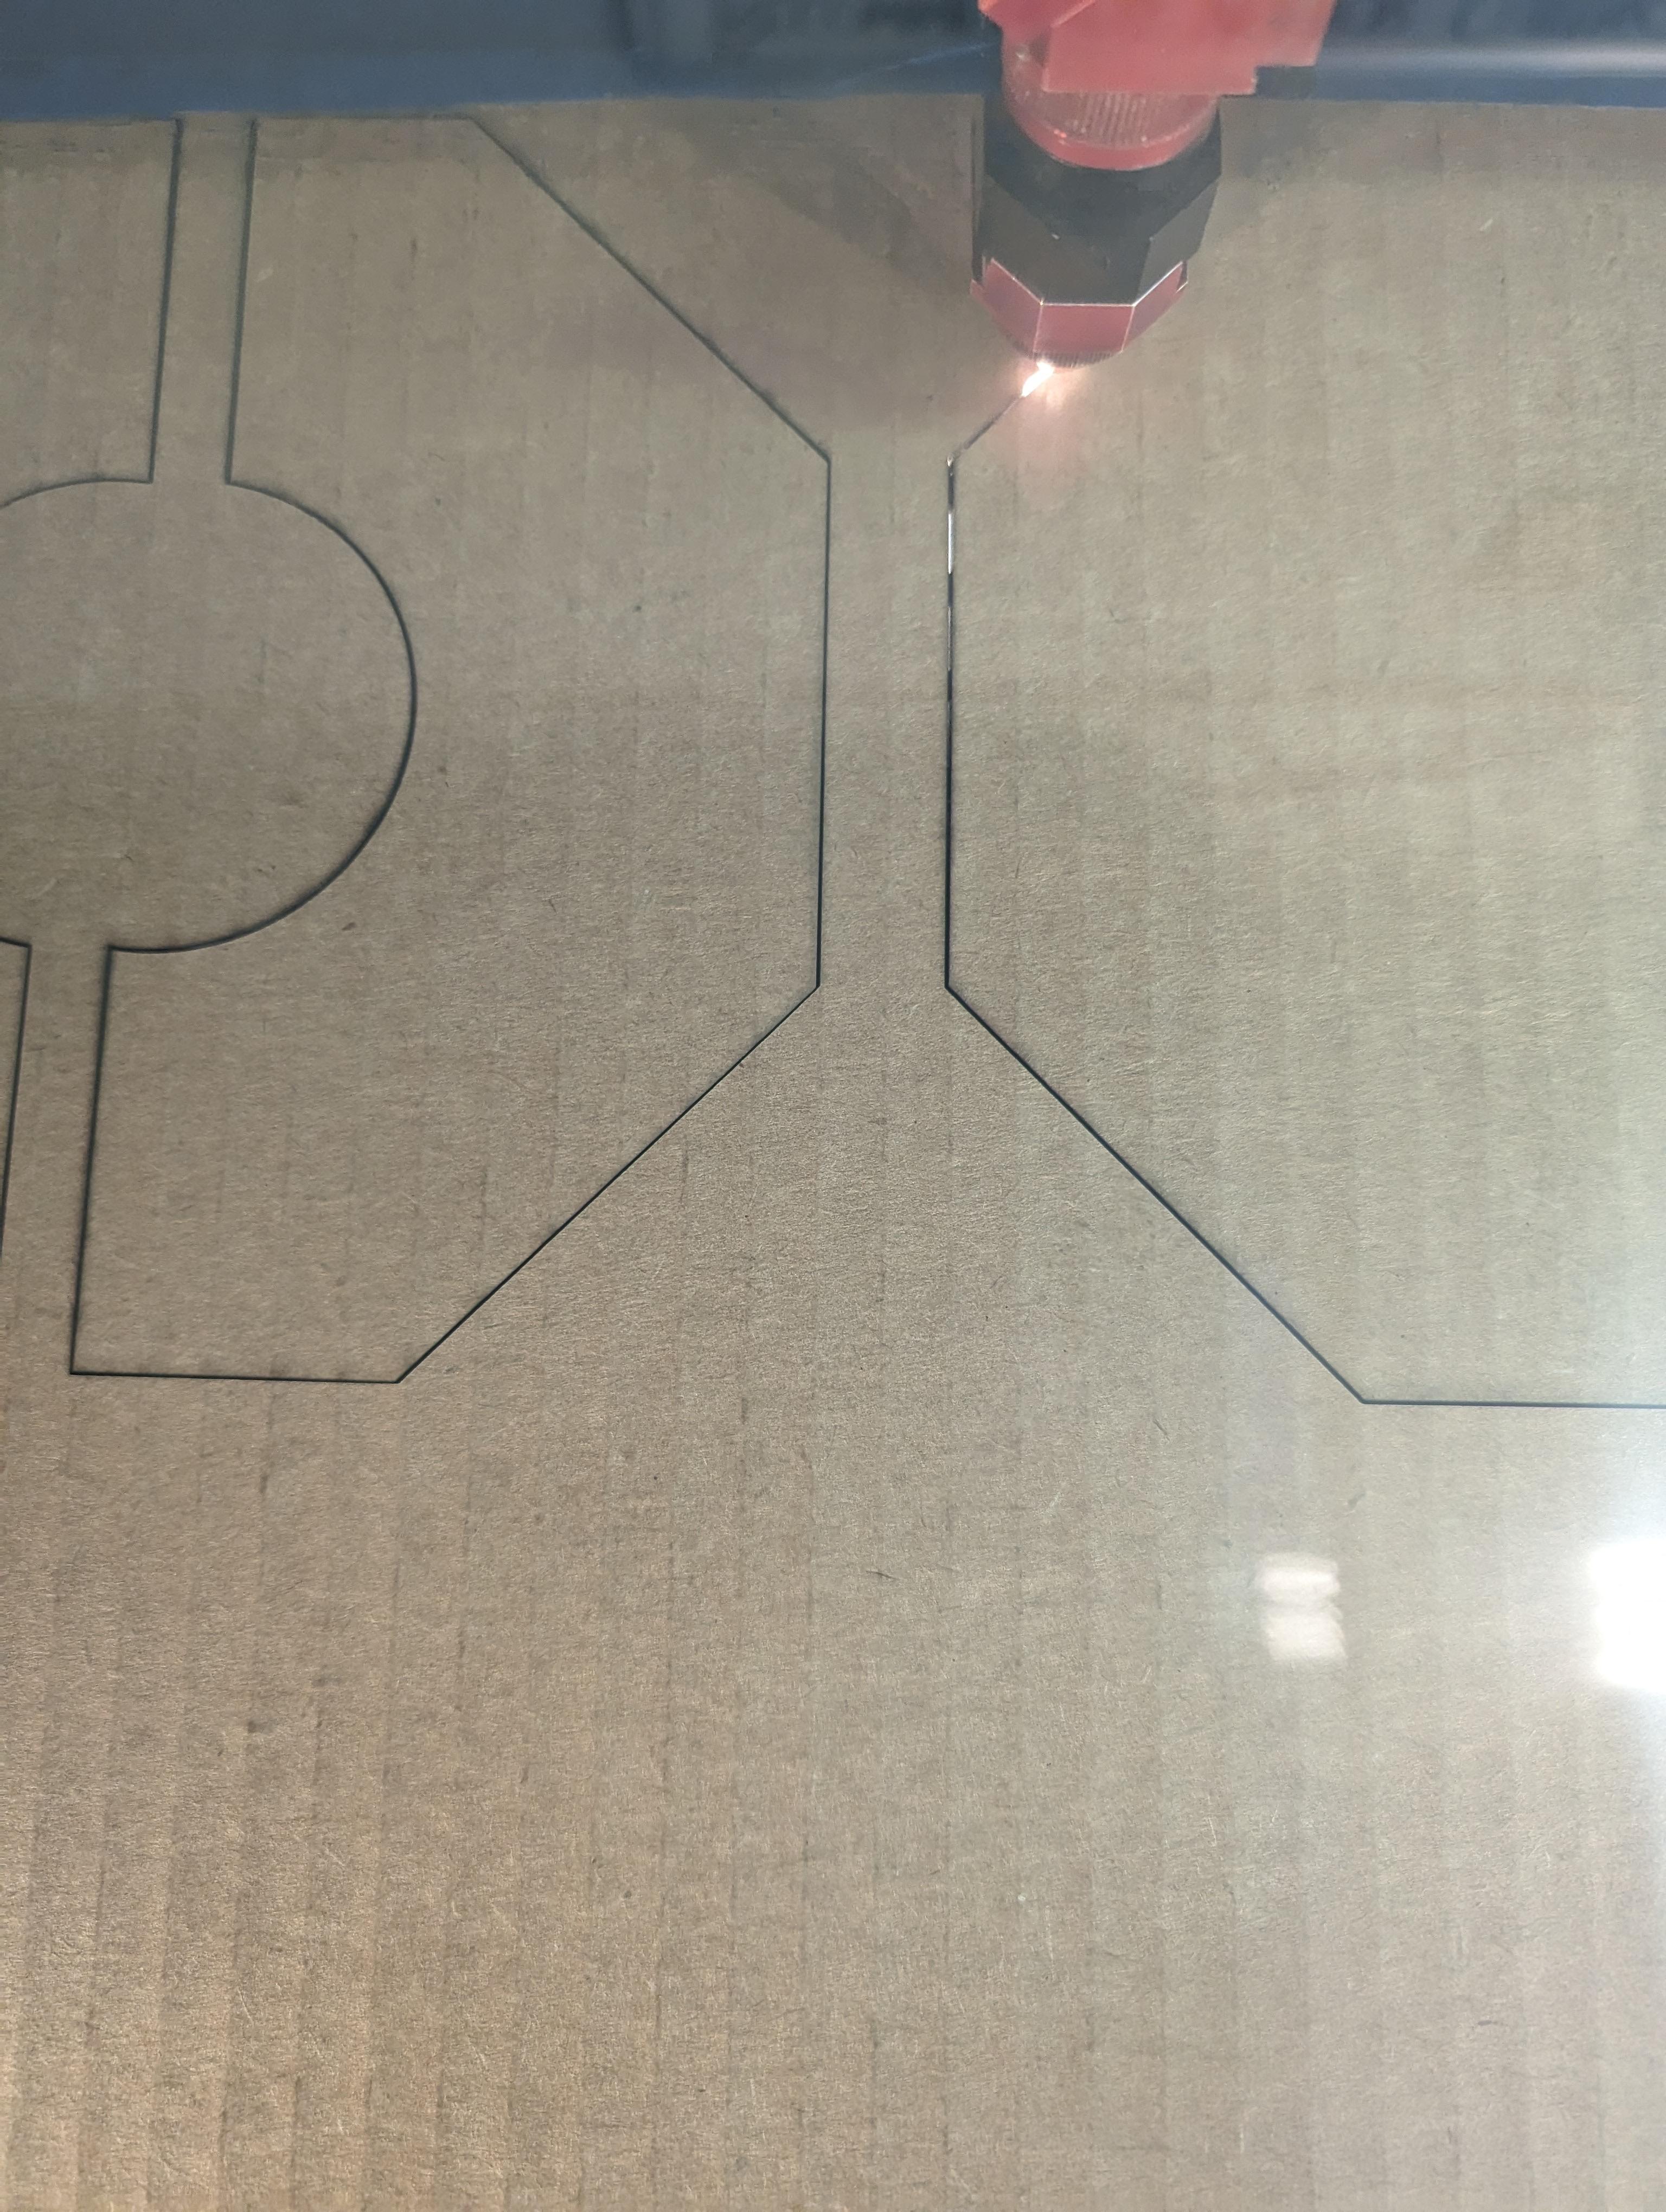
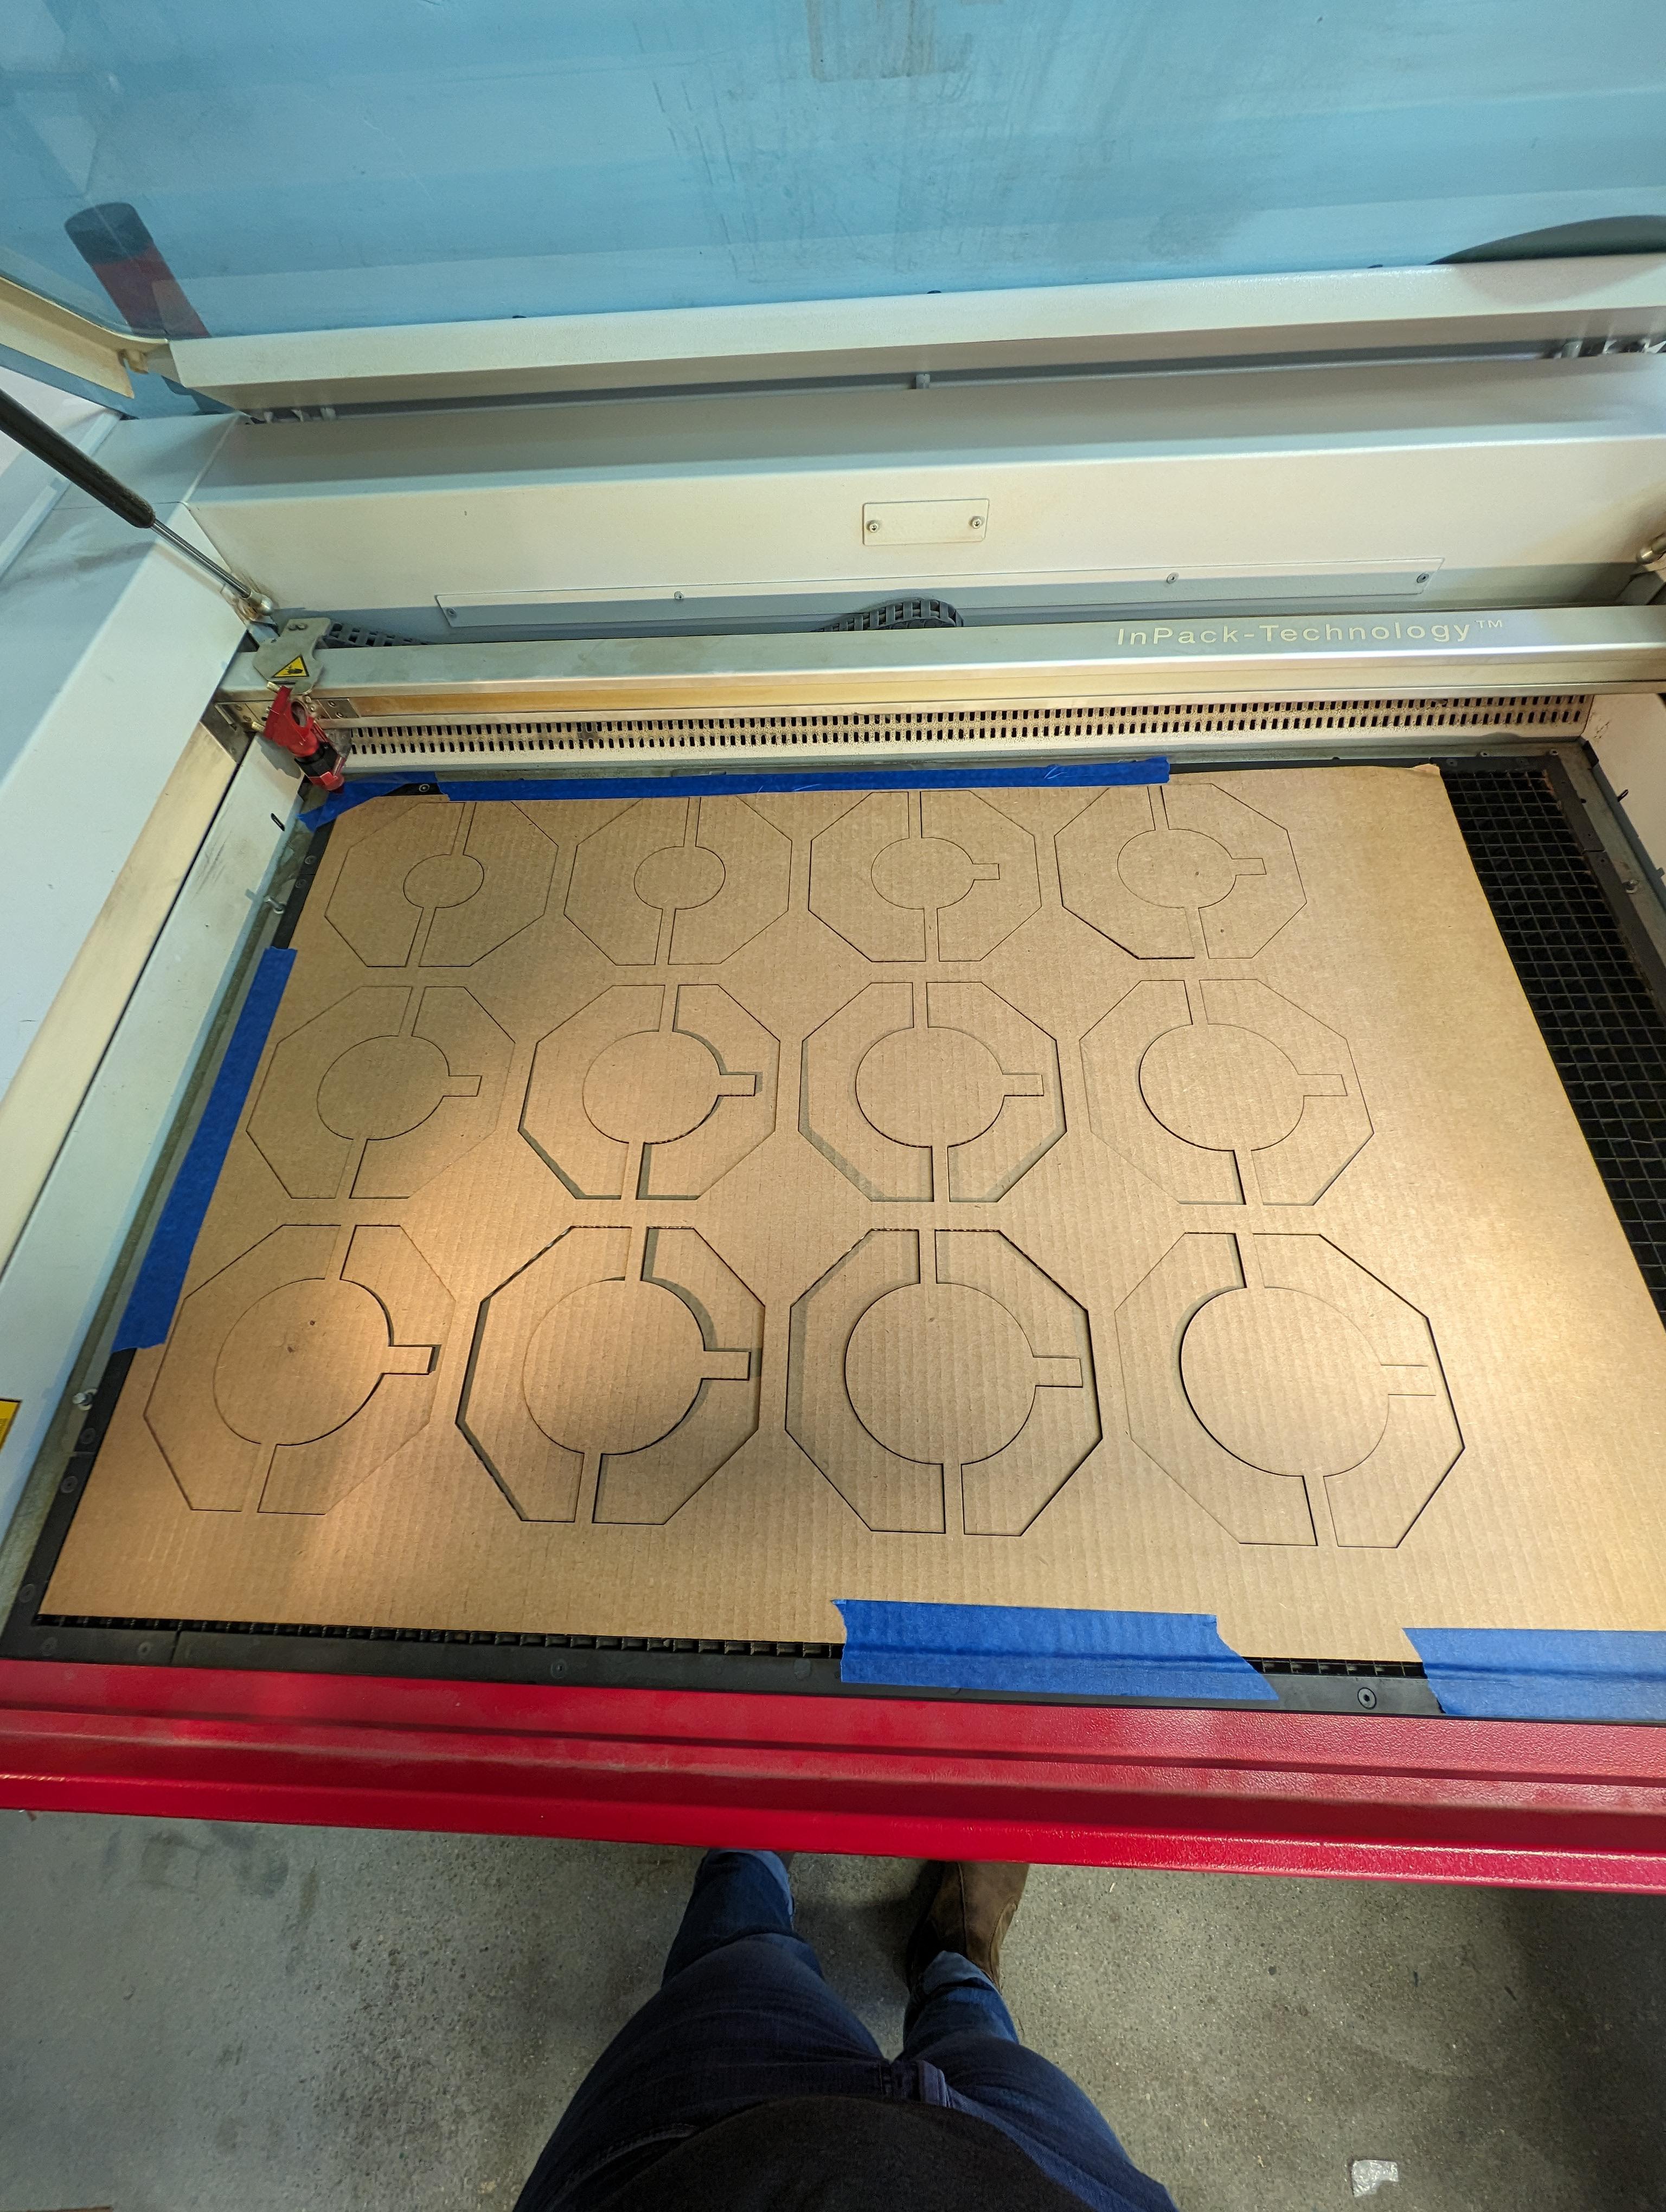
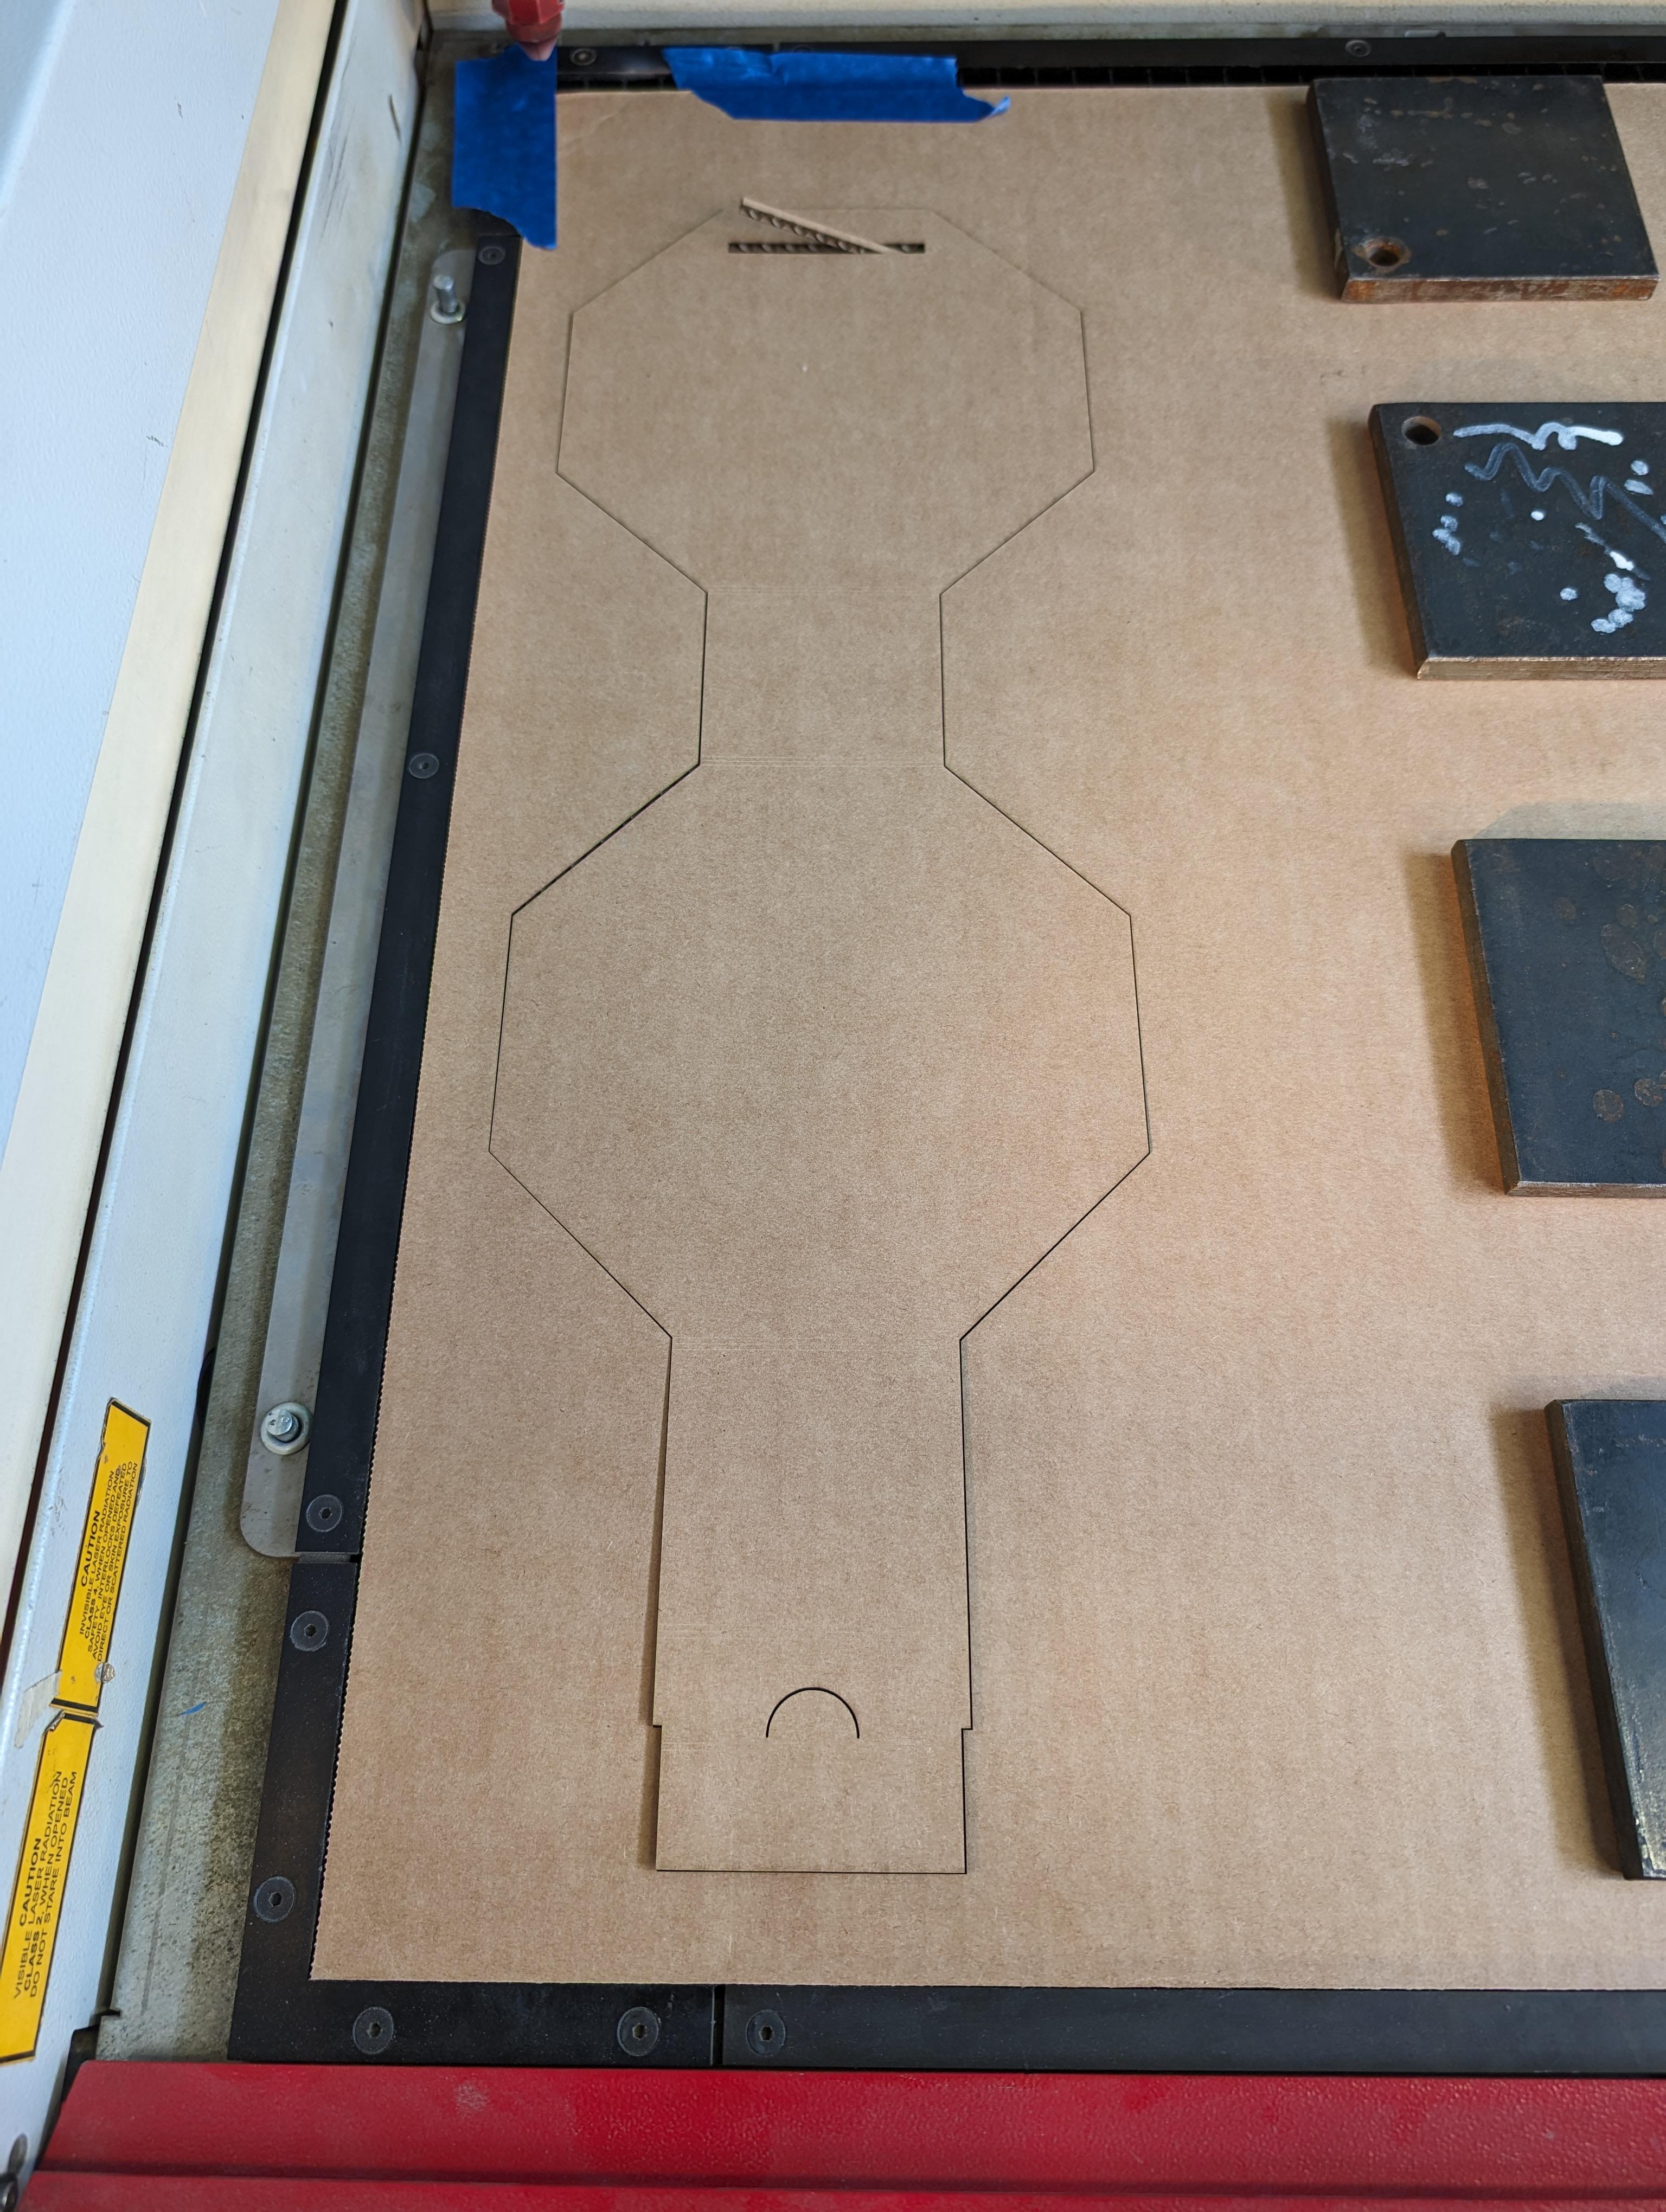
Photo 1:
Nesting inner box DXF files
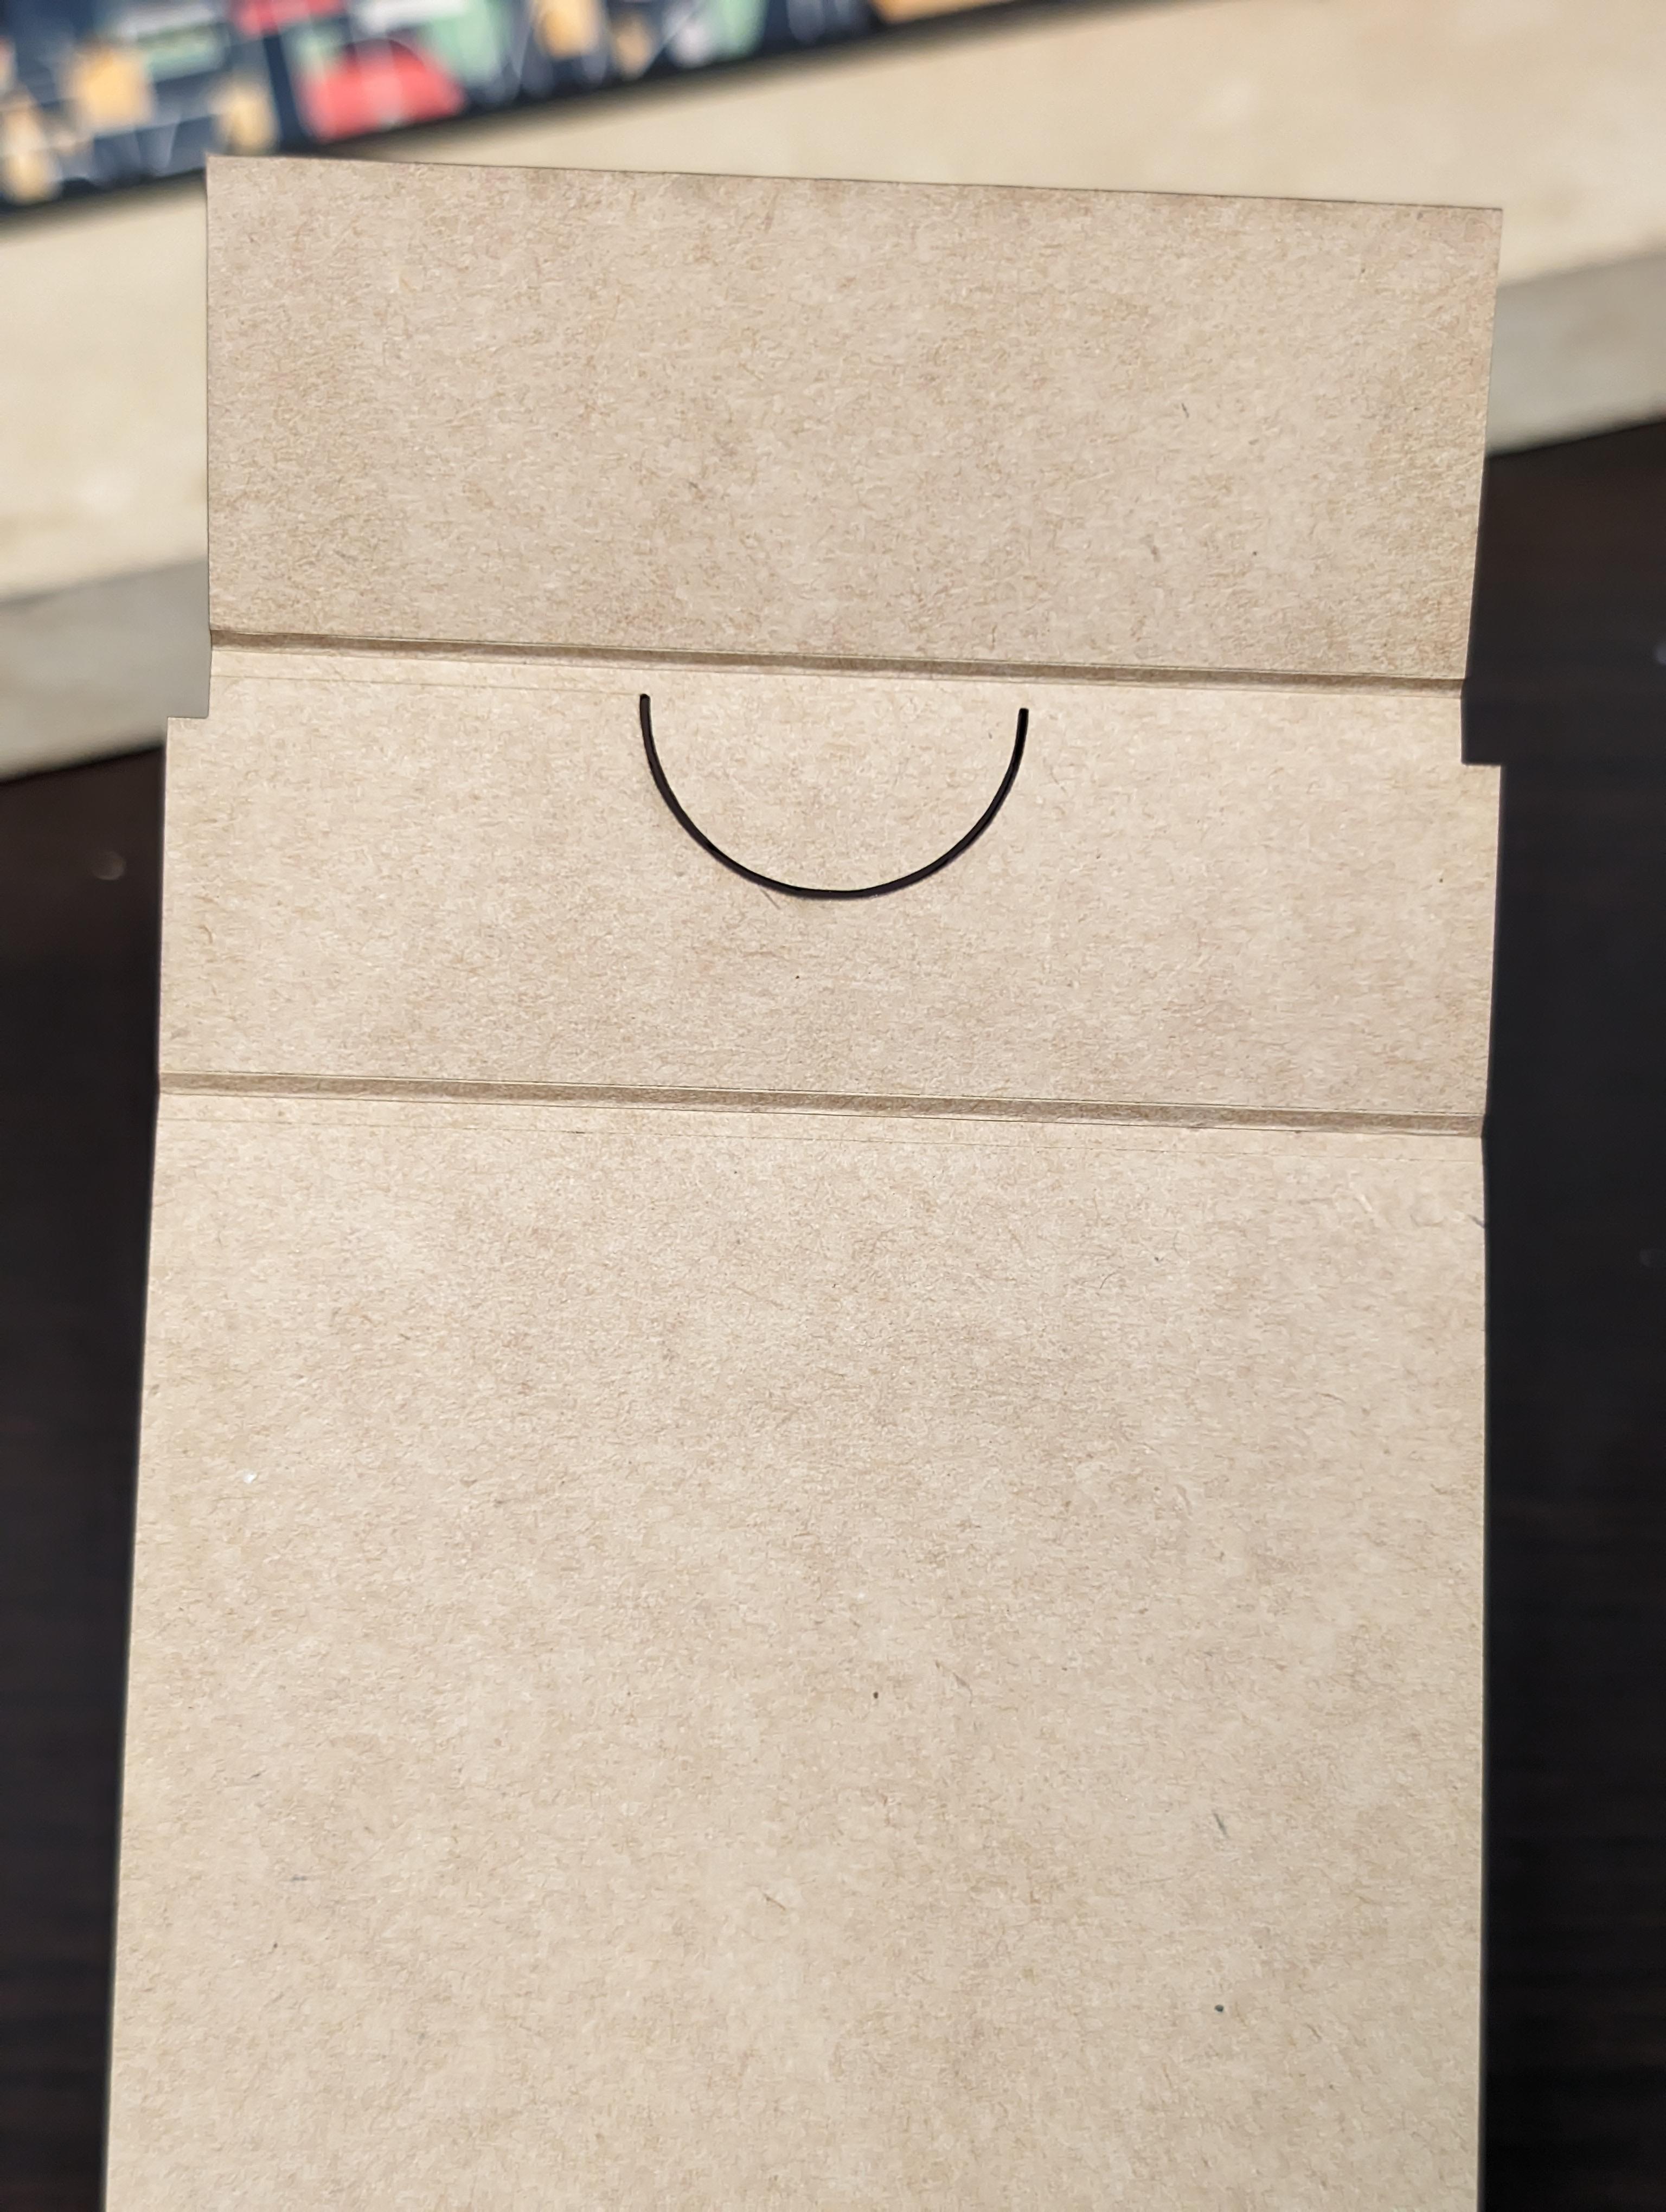
Photo 2-3:
Bend lines and bend extent lines (Blue Lines) for the outer box is set to 2% power so that it will not cut through and just enough to score the cardboard.
Photo 2-5:
Laser cutting
Assembly
.jpg)
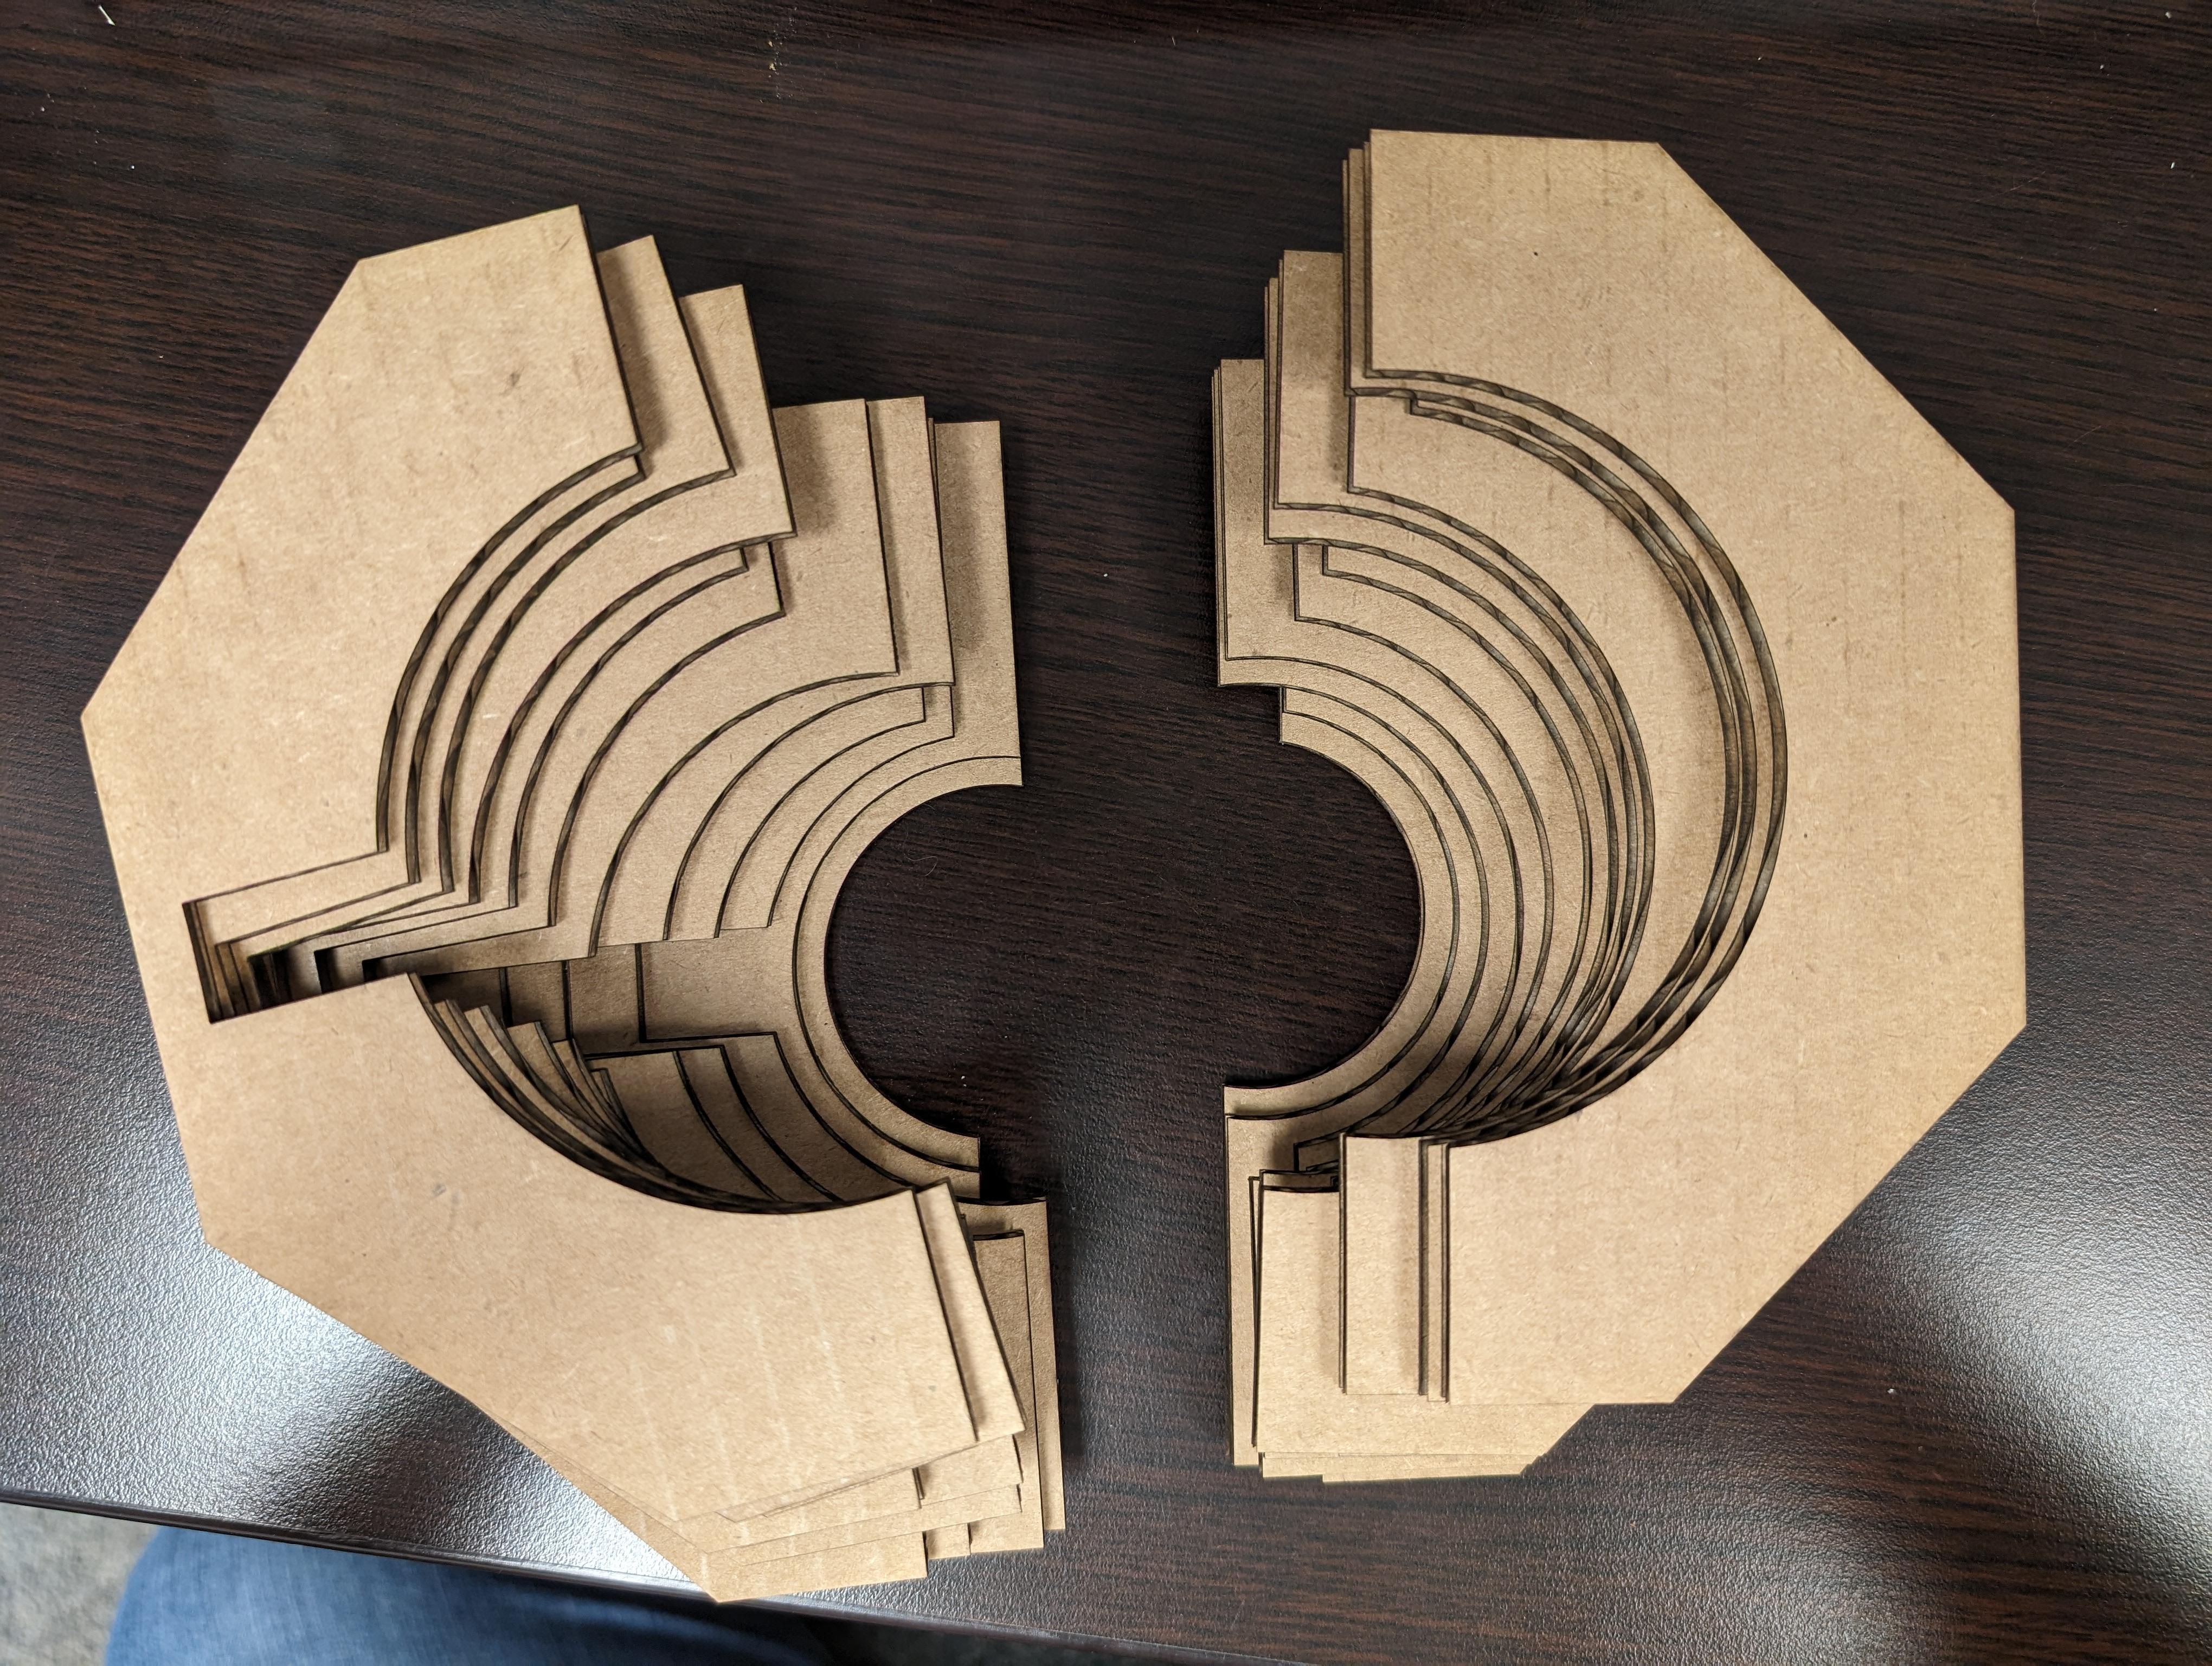
Photo 1-2:
To have a cleaner fold place a straight edge along the bend line.
Photo 2-4:
Arrange your Inner box pieces and glue together.