Custom Door Mat Triggered Door Bell.
by Justin Weiss in Circuits > Arduino
1047 Views, 0 Favorites, 0 Comments
Custom Door Mat Triggered Door Bell.
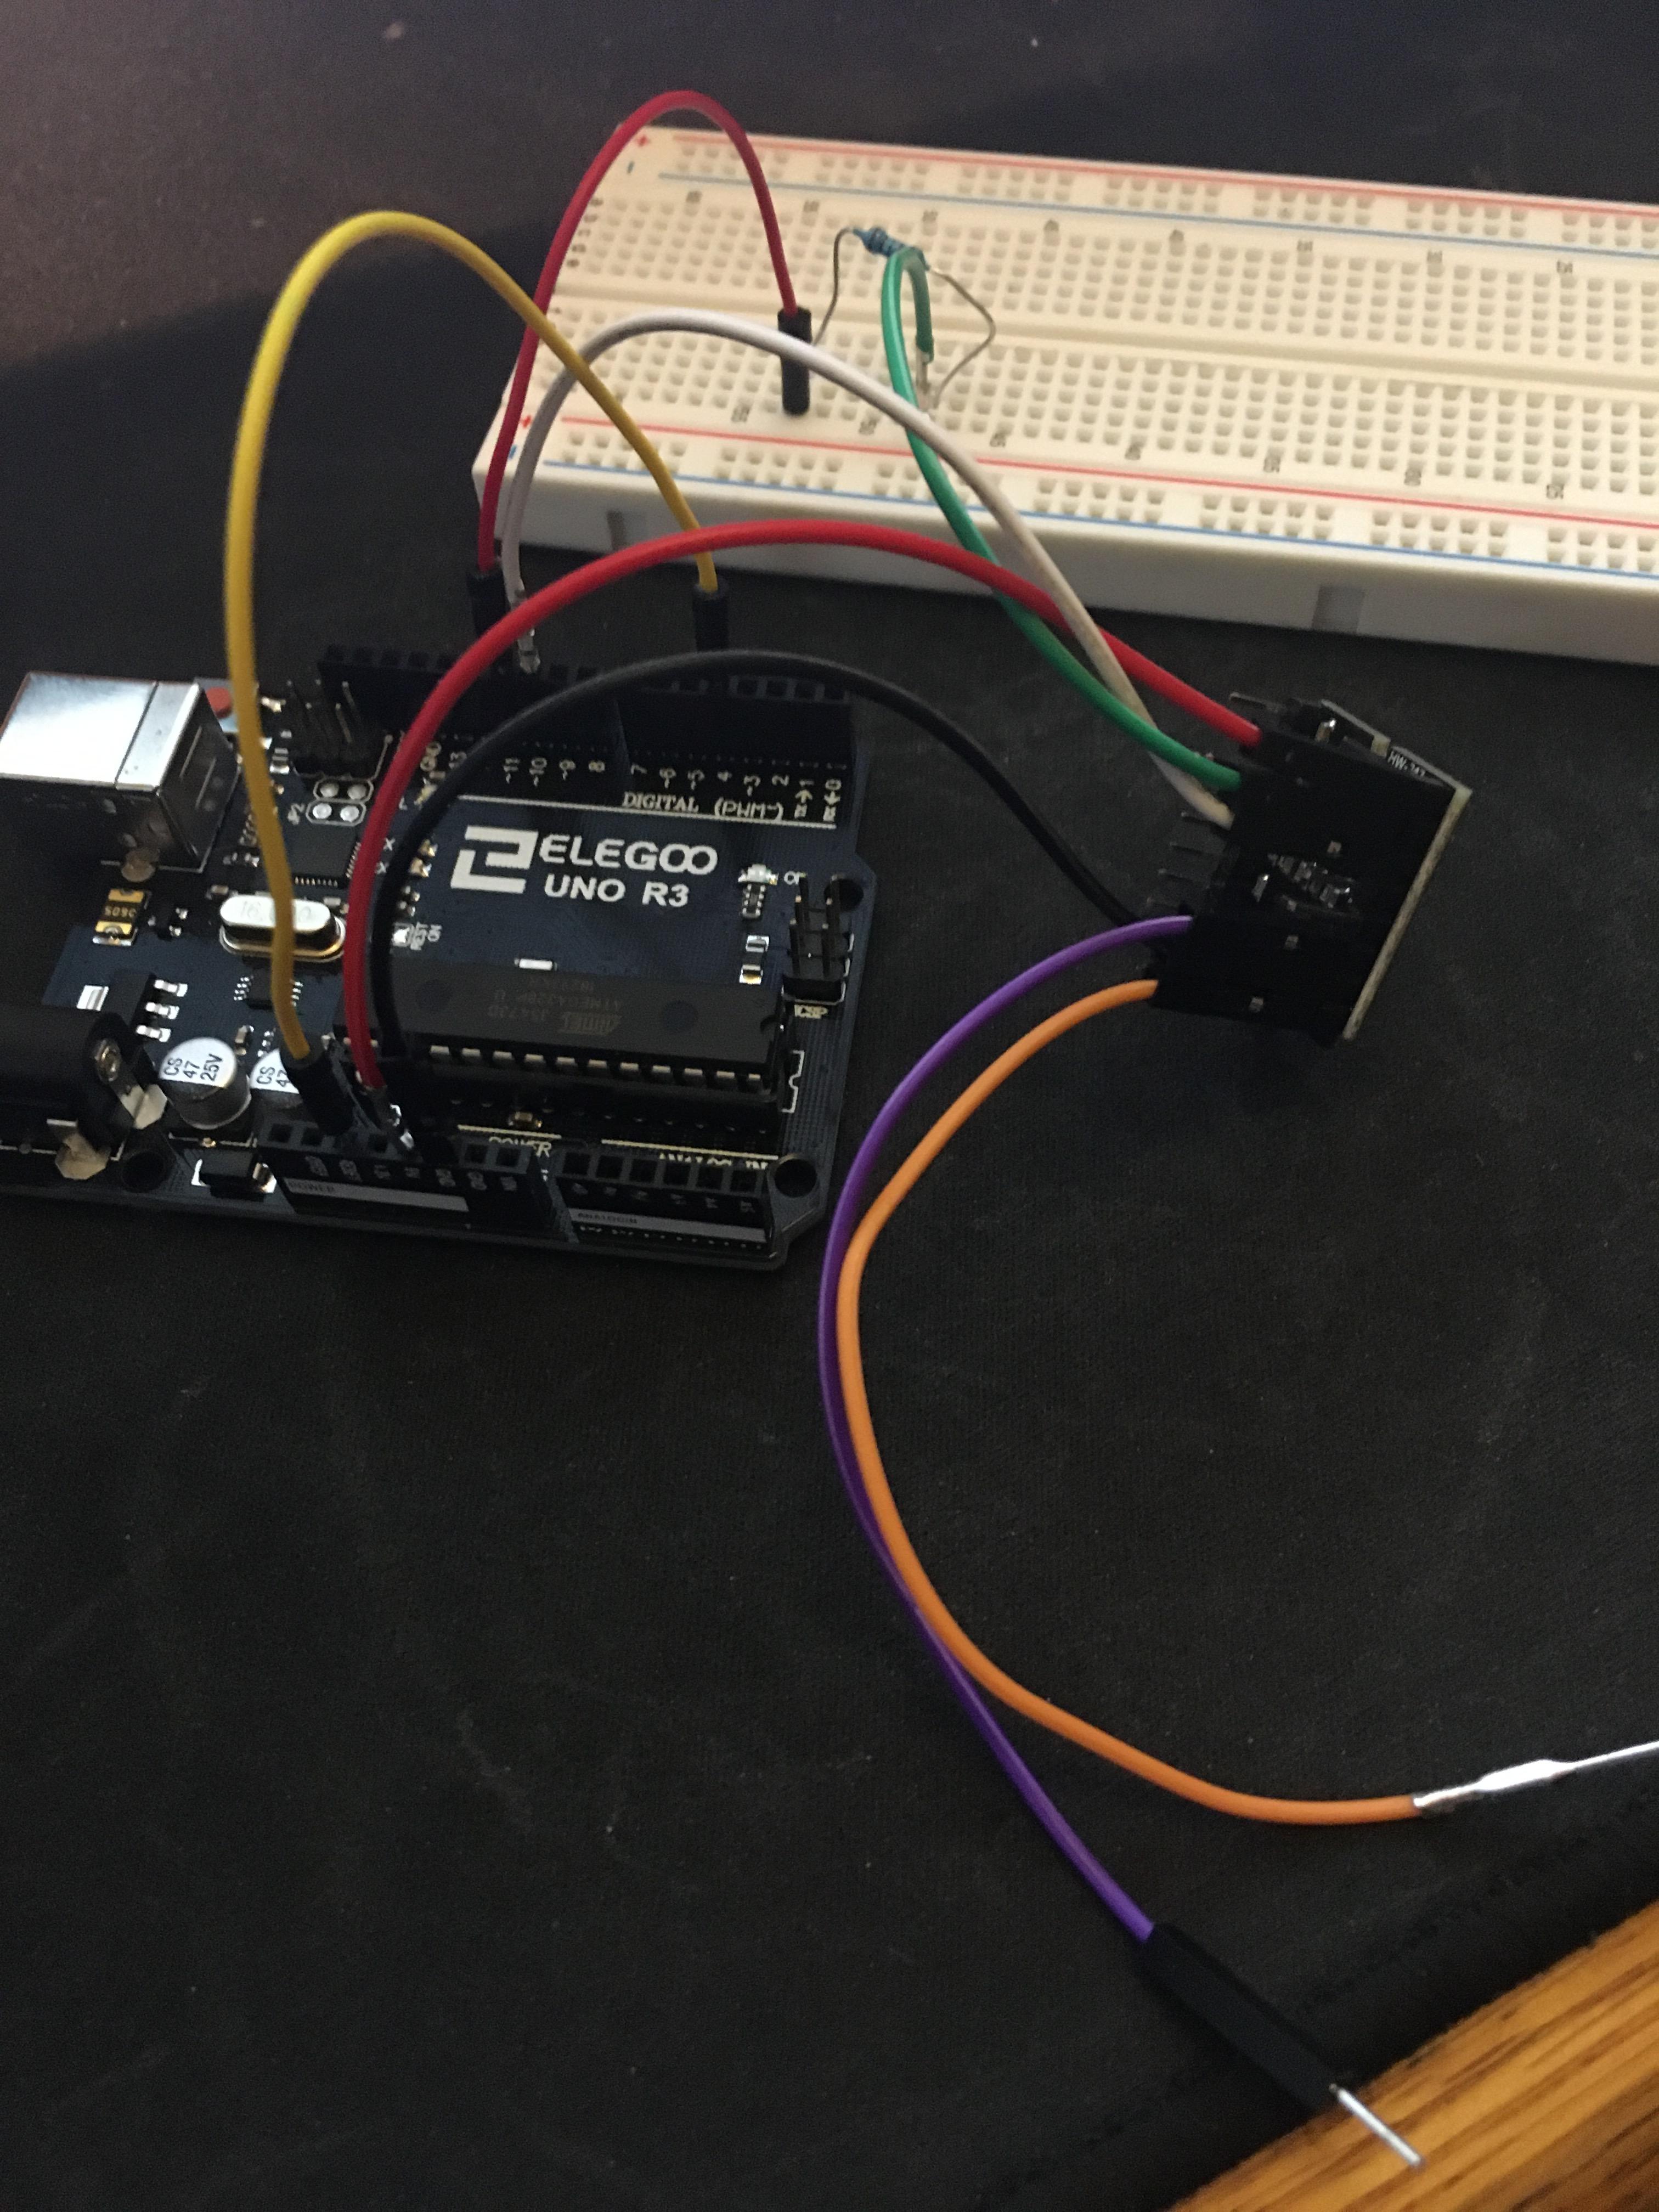
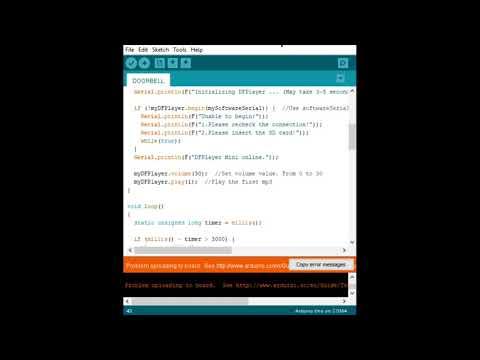
Hello! My name is Justin, I am a Junior in high-school, and this Instructable will show you how to make a doorbell that is triggered when someone steps on your door mat, and can be whatever tune or song you want! Since the door mat triggers the doorbell, there is no use of hands.
Supplies
1. Arduino UNO
2. DFPlayer Mini MP3 Player and KeeYees mini speakers.
3. Micro SD card and SD Adapter.
4. Jumper Wires(2 male-to-male, 6 male-tp-female),
5. 1, 1k Resistor
6. USB to Arduino Cable.
7. 9V battery
8. 9V battery Arduino Adapter
9. Tinfoil
10. Cardboard (this can vary)
11. Tape (Could maybe use glue or something similar)
12. An Arduino breadboard (Optional)
13. And last but not least, a computer than can download the code to the Arduino with Arduino IDE installed.
Arduino Setup
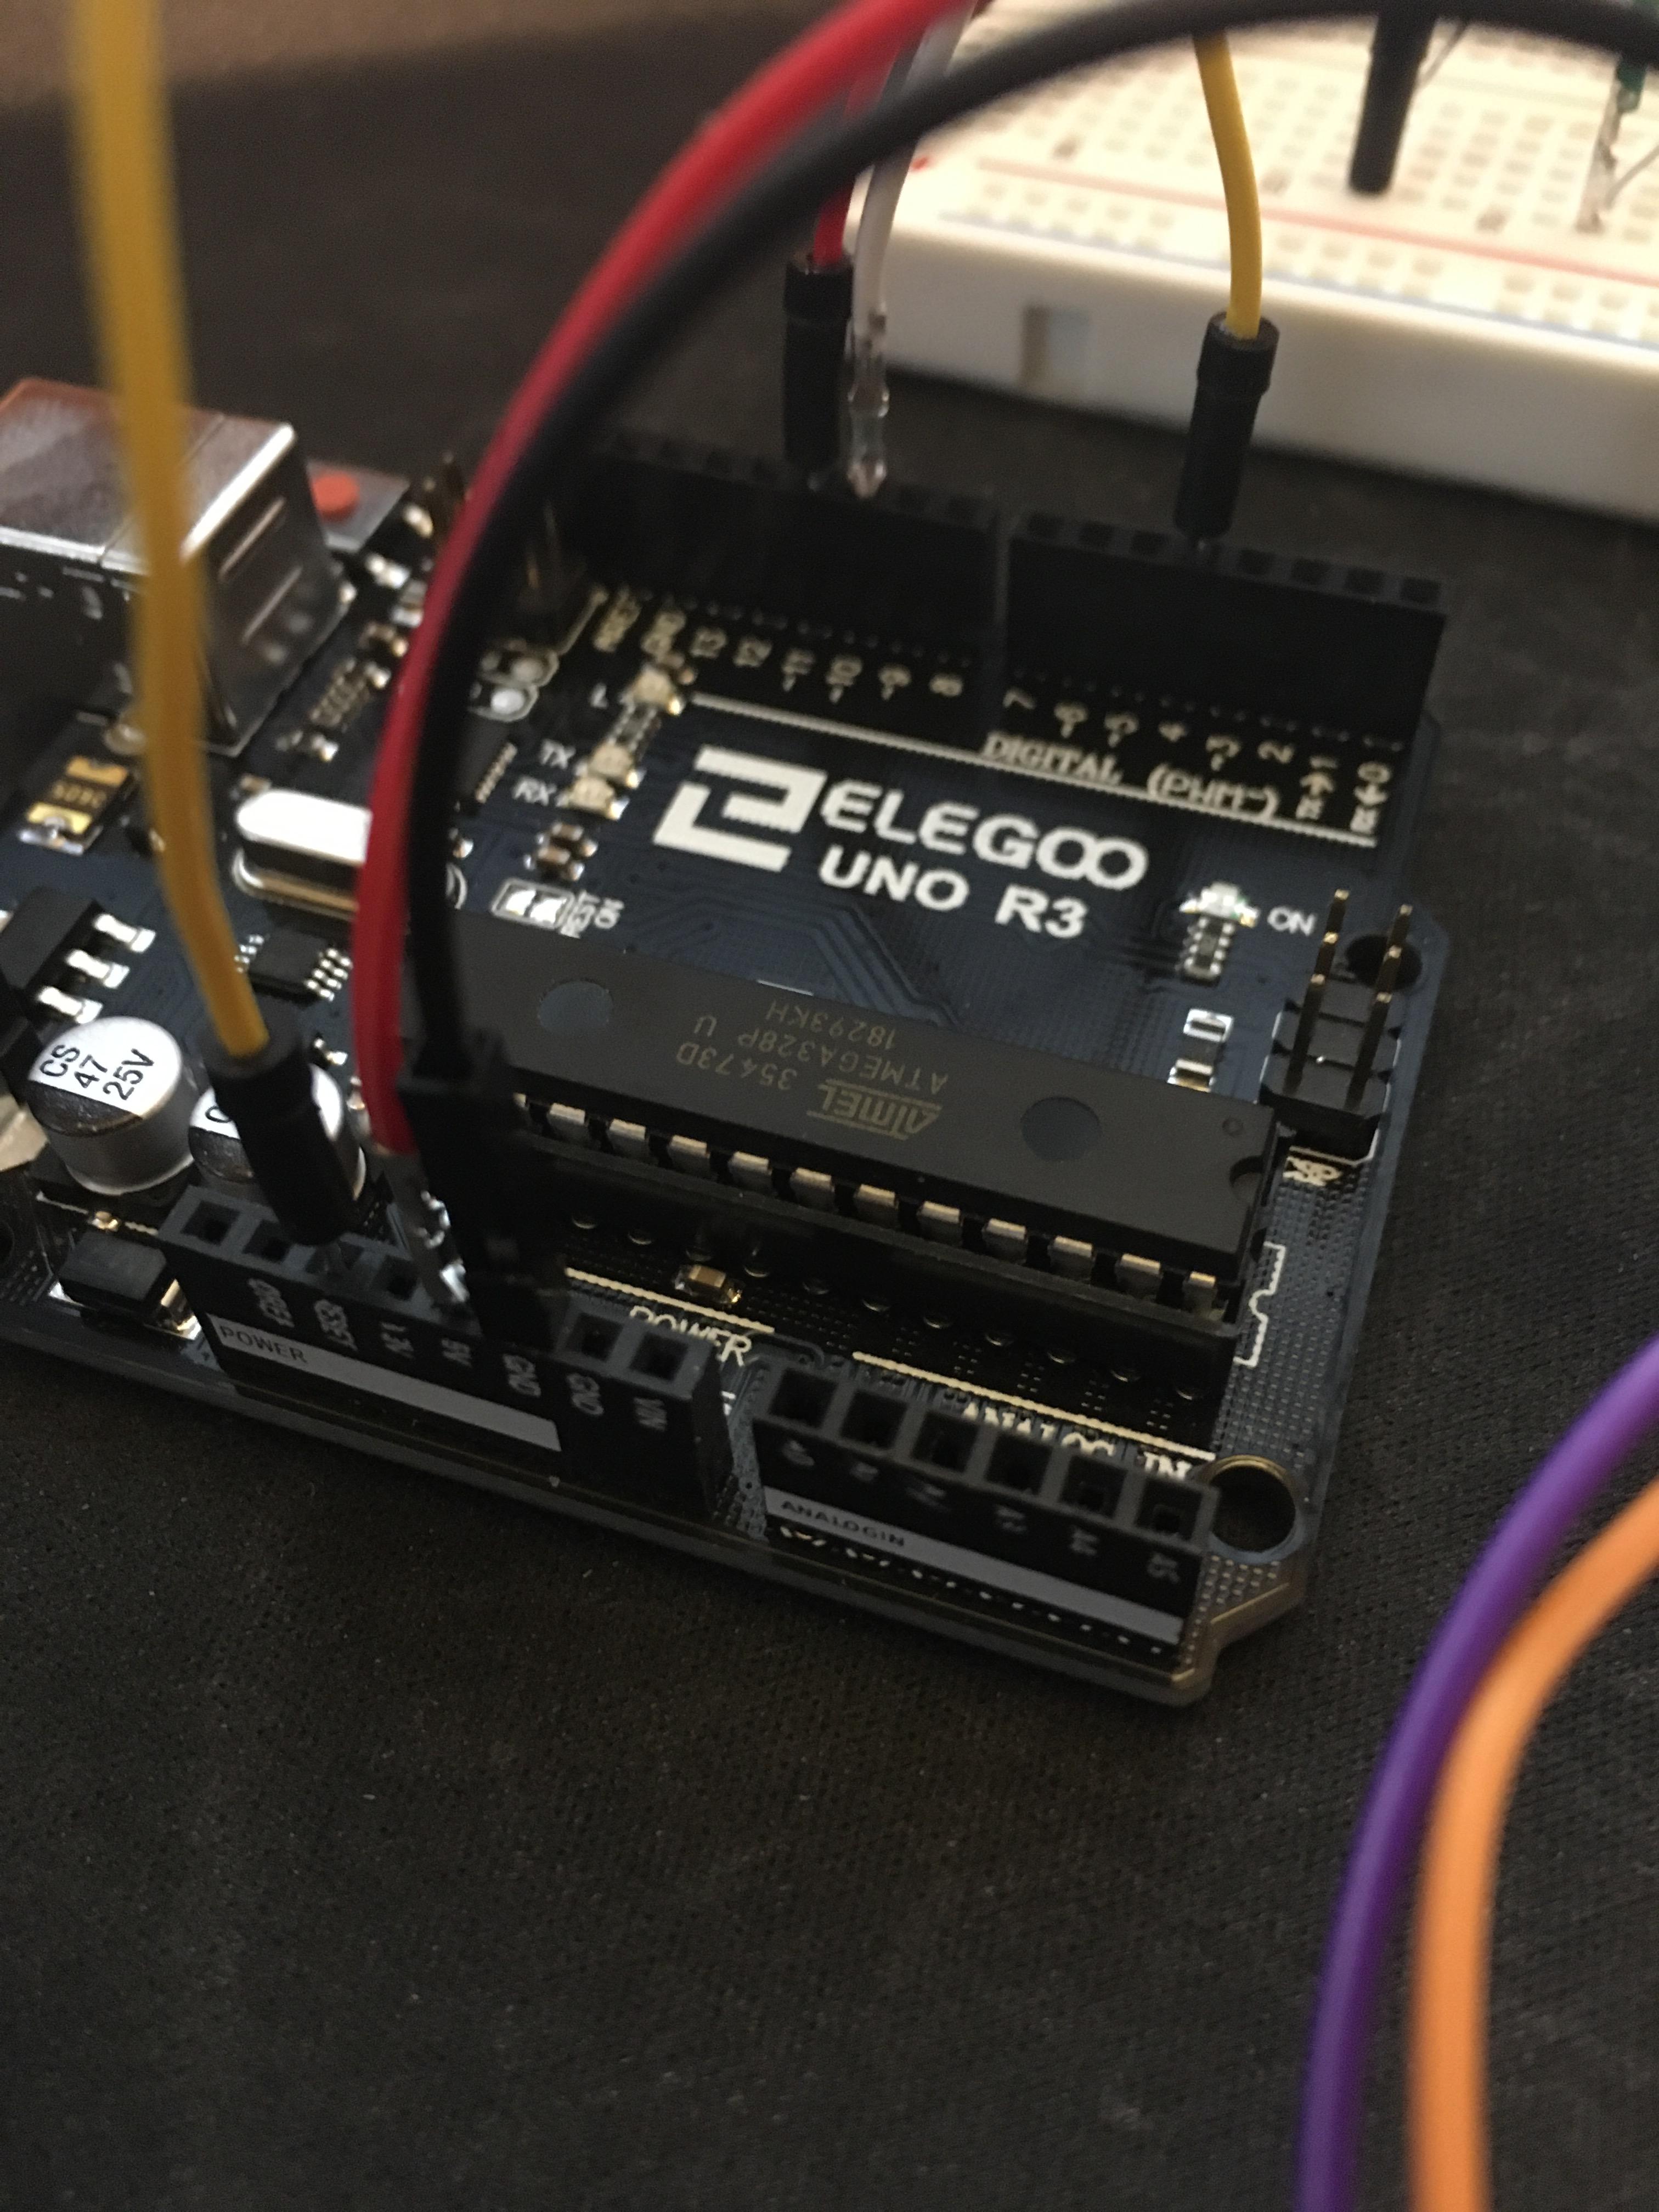
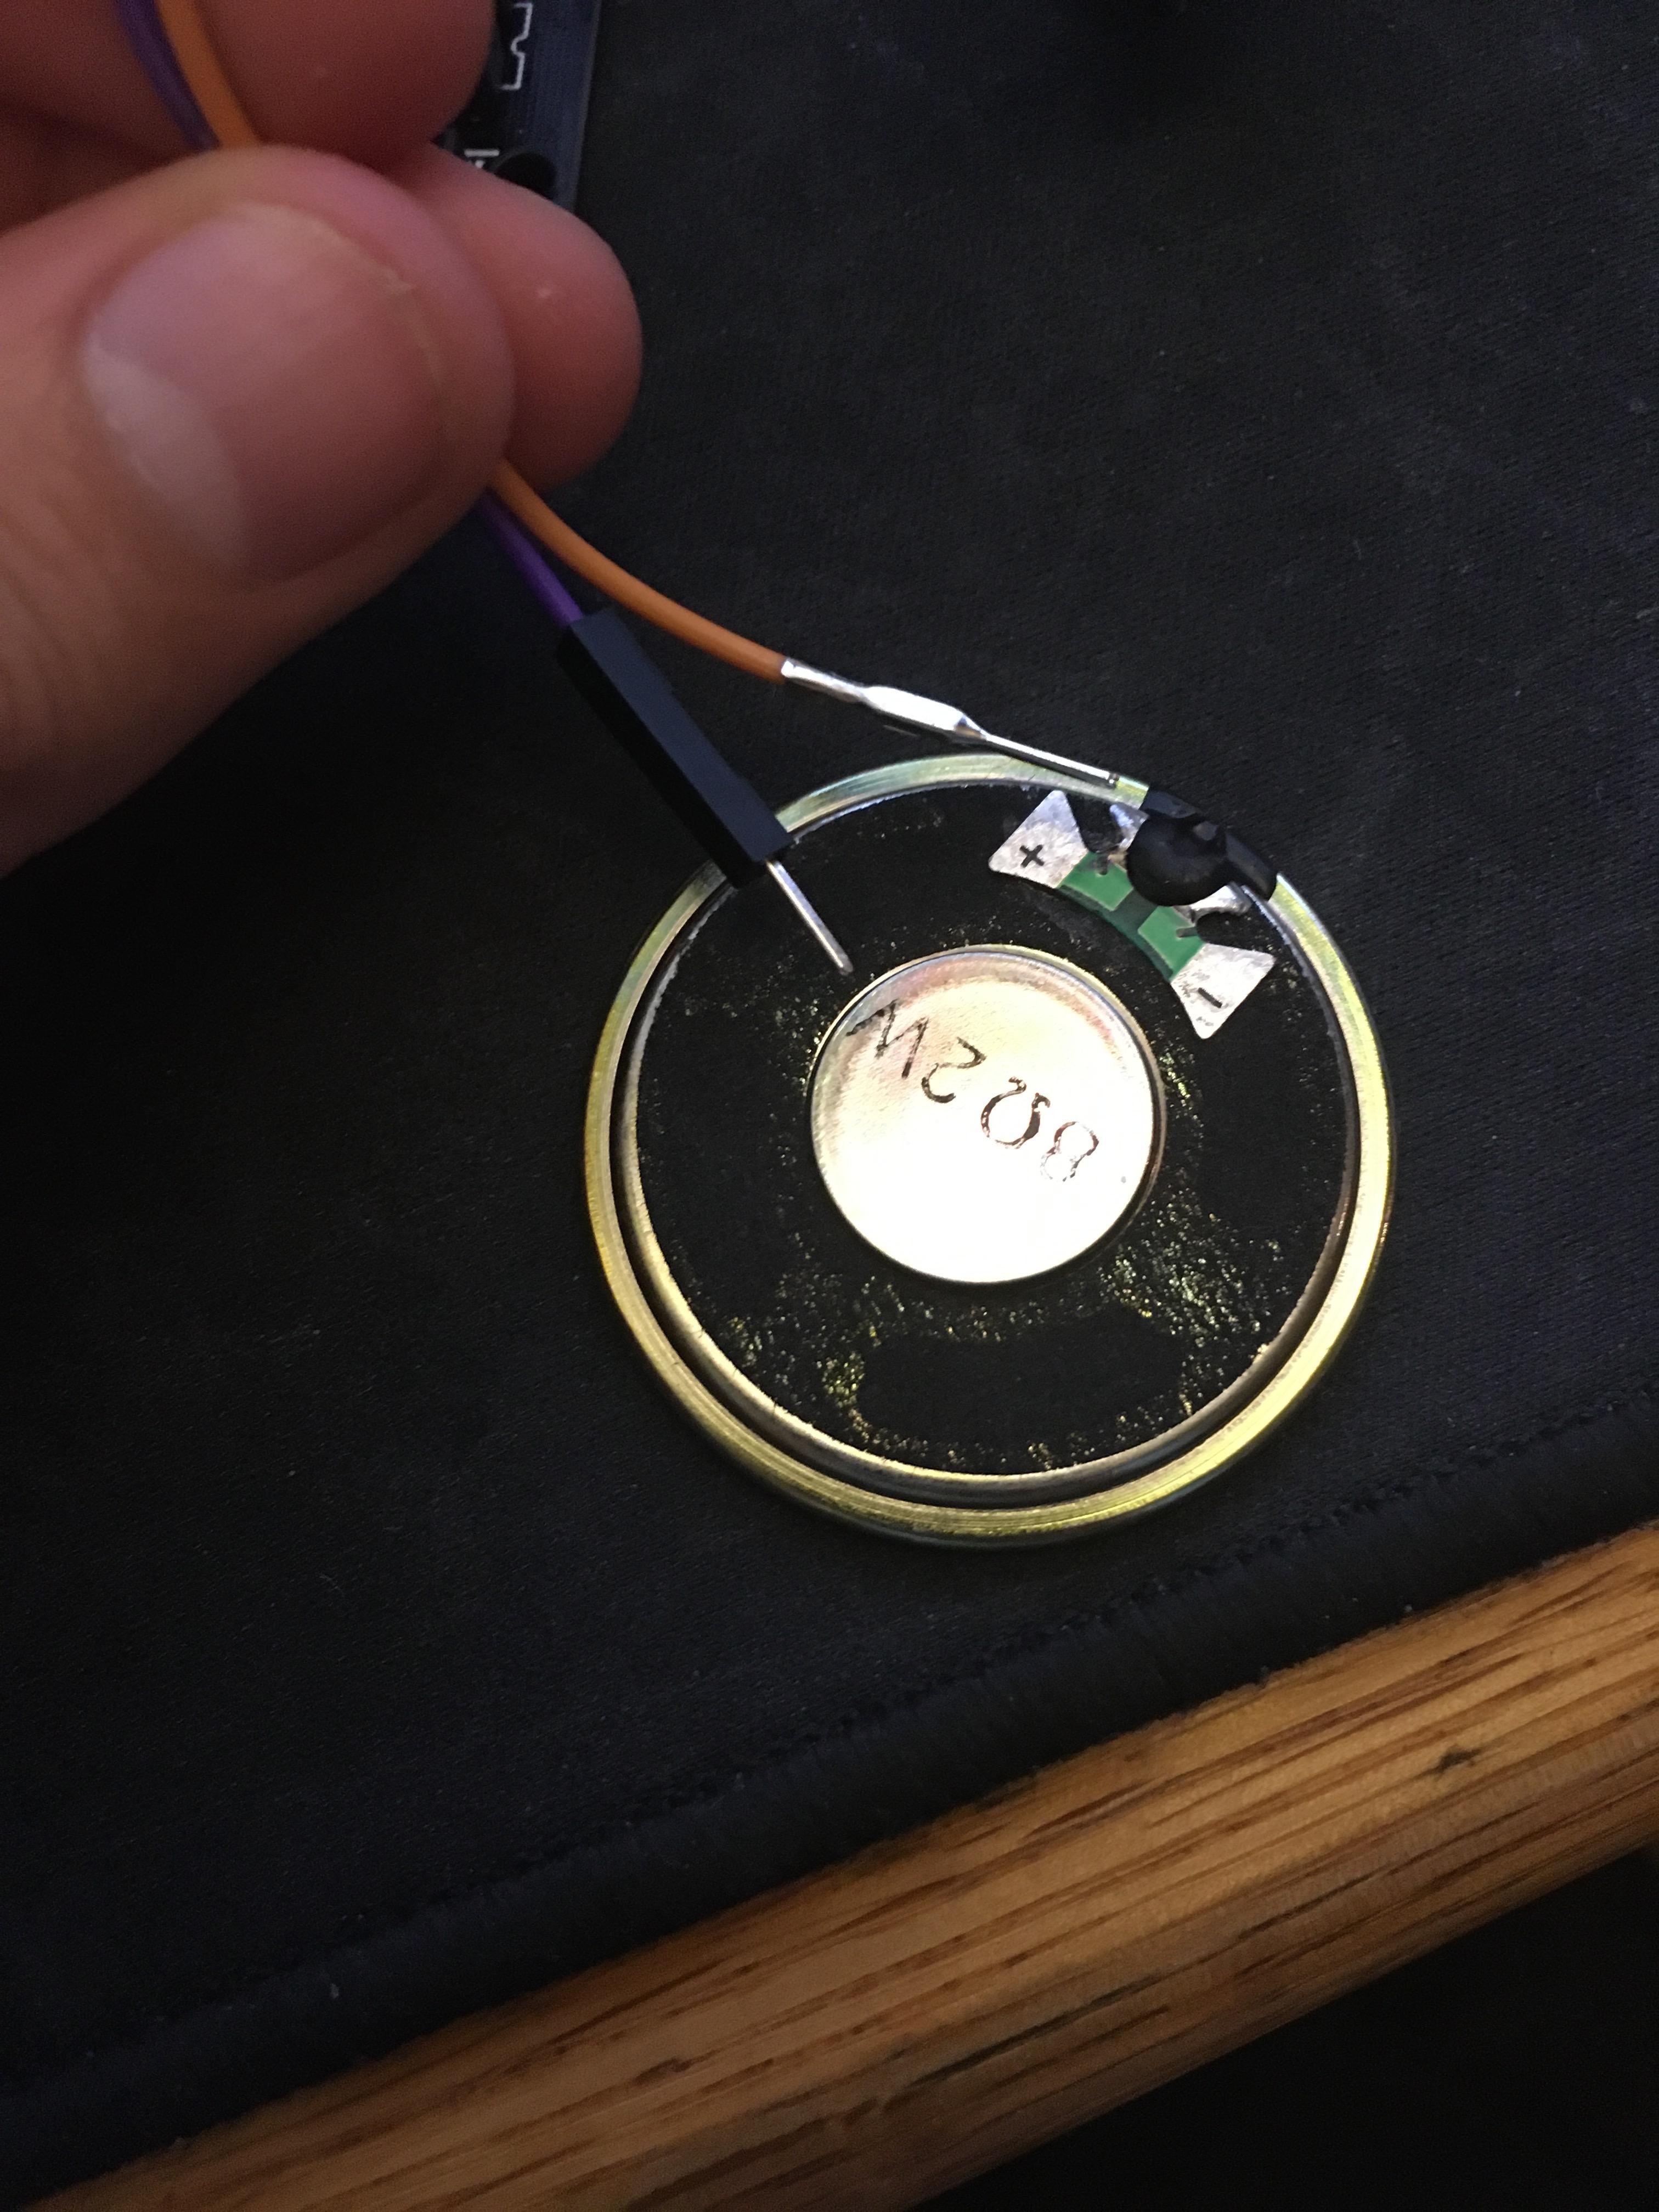
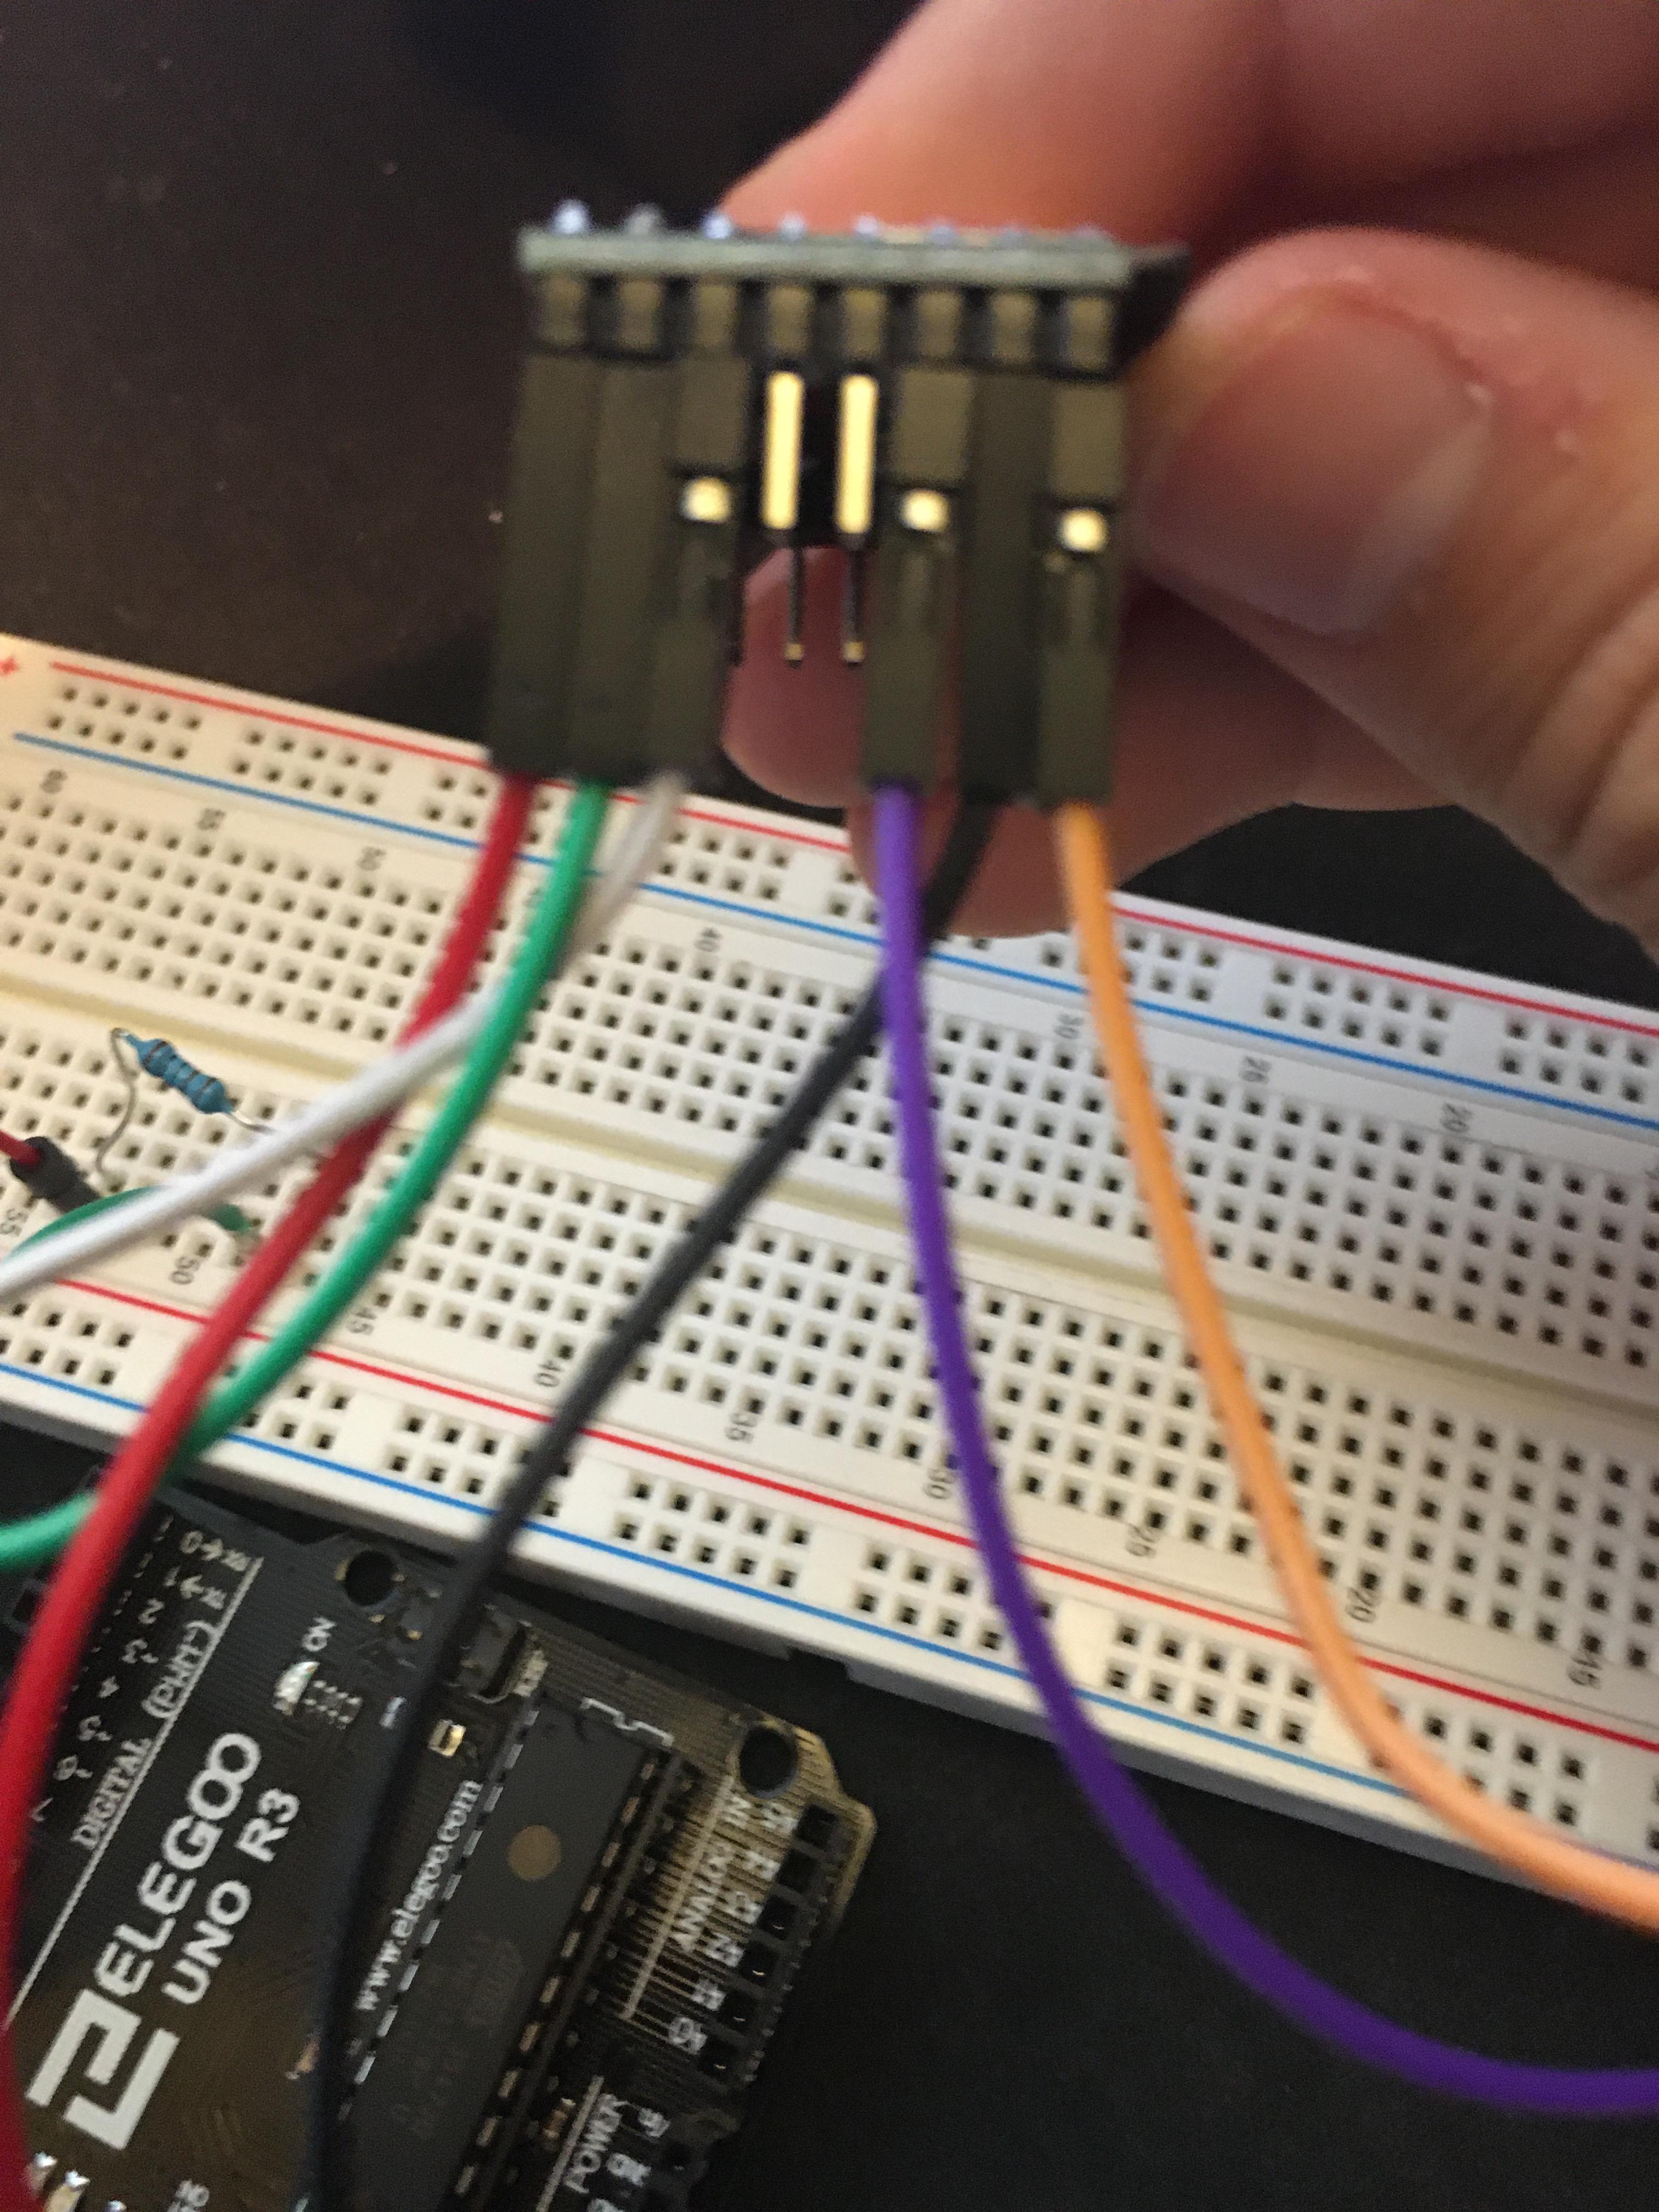
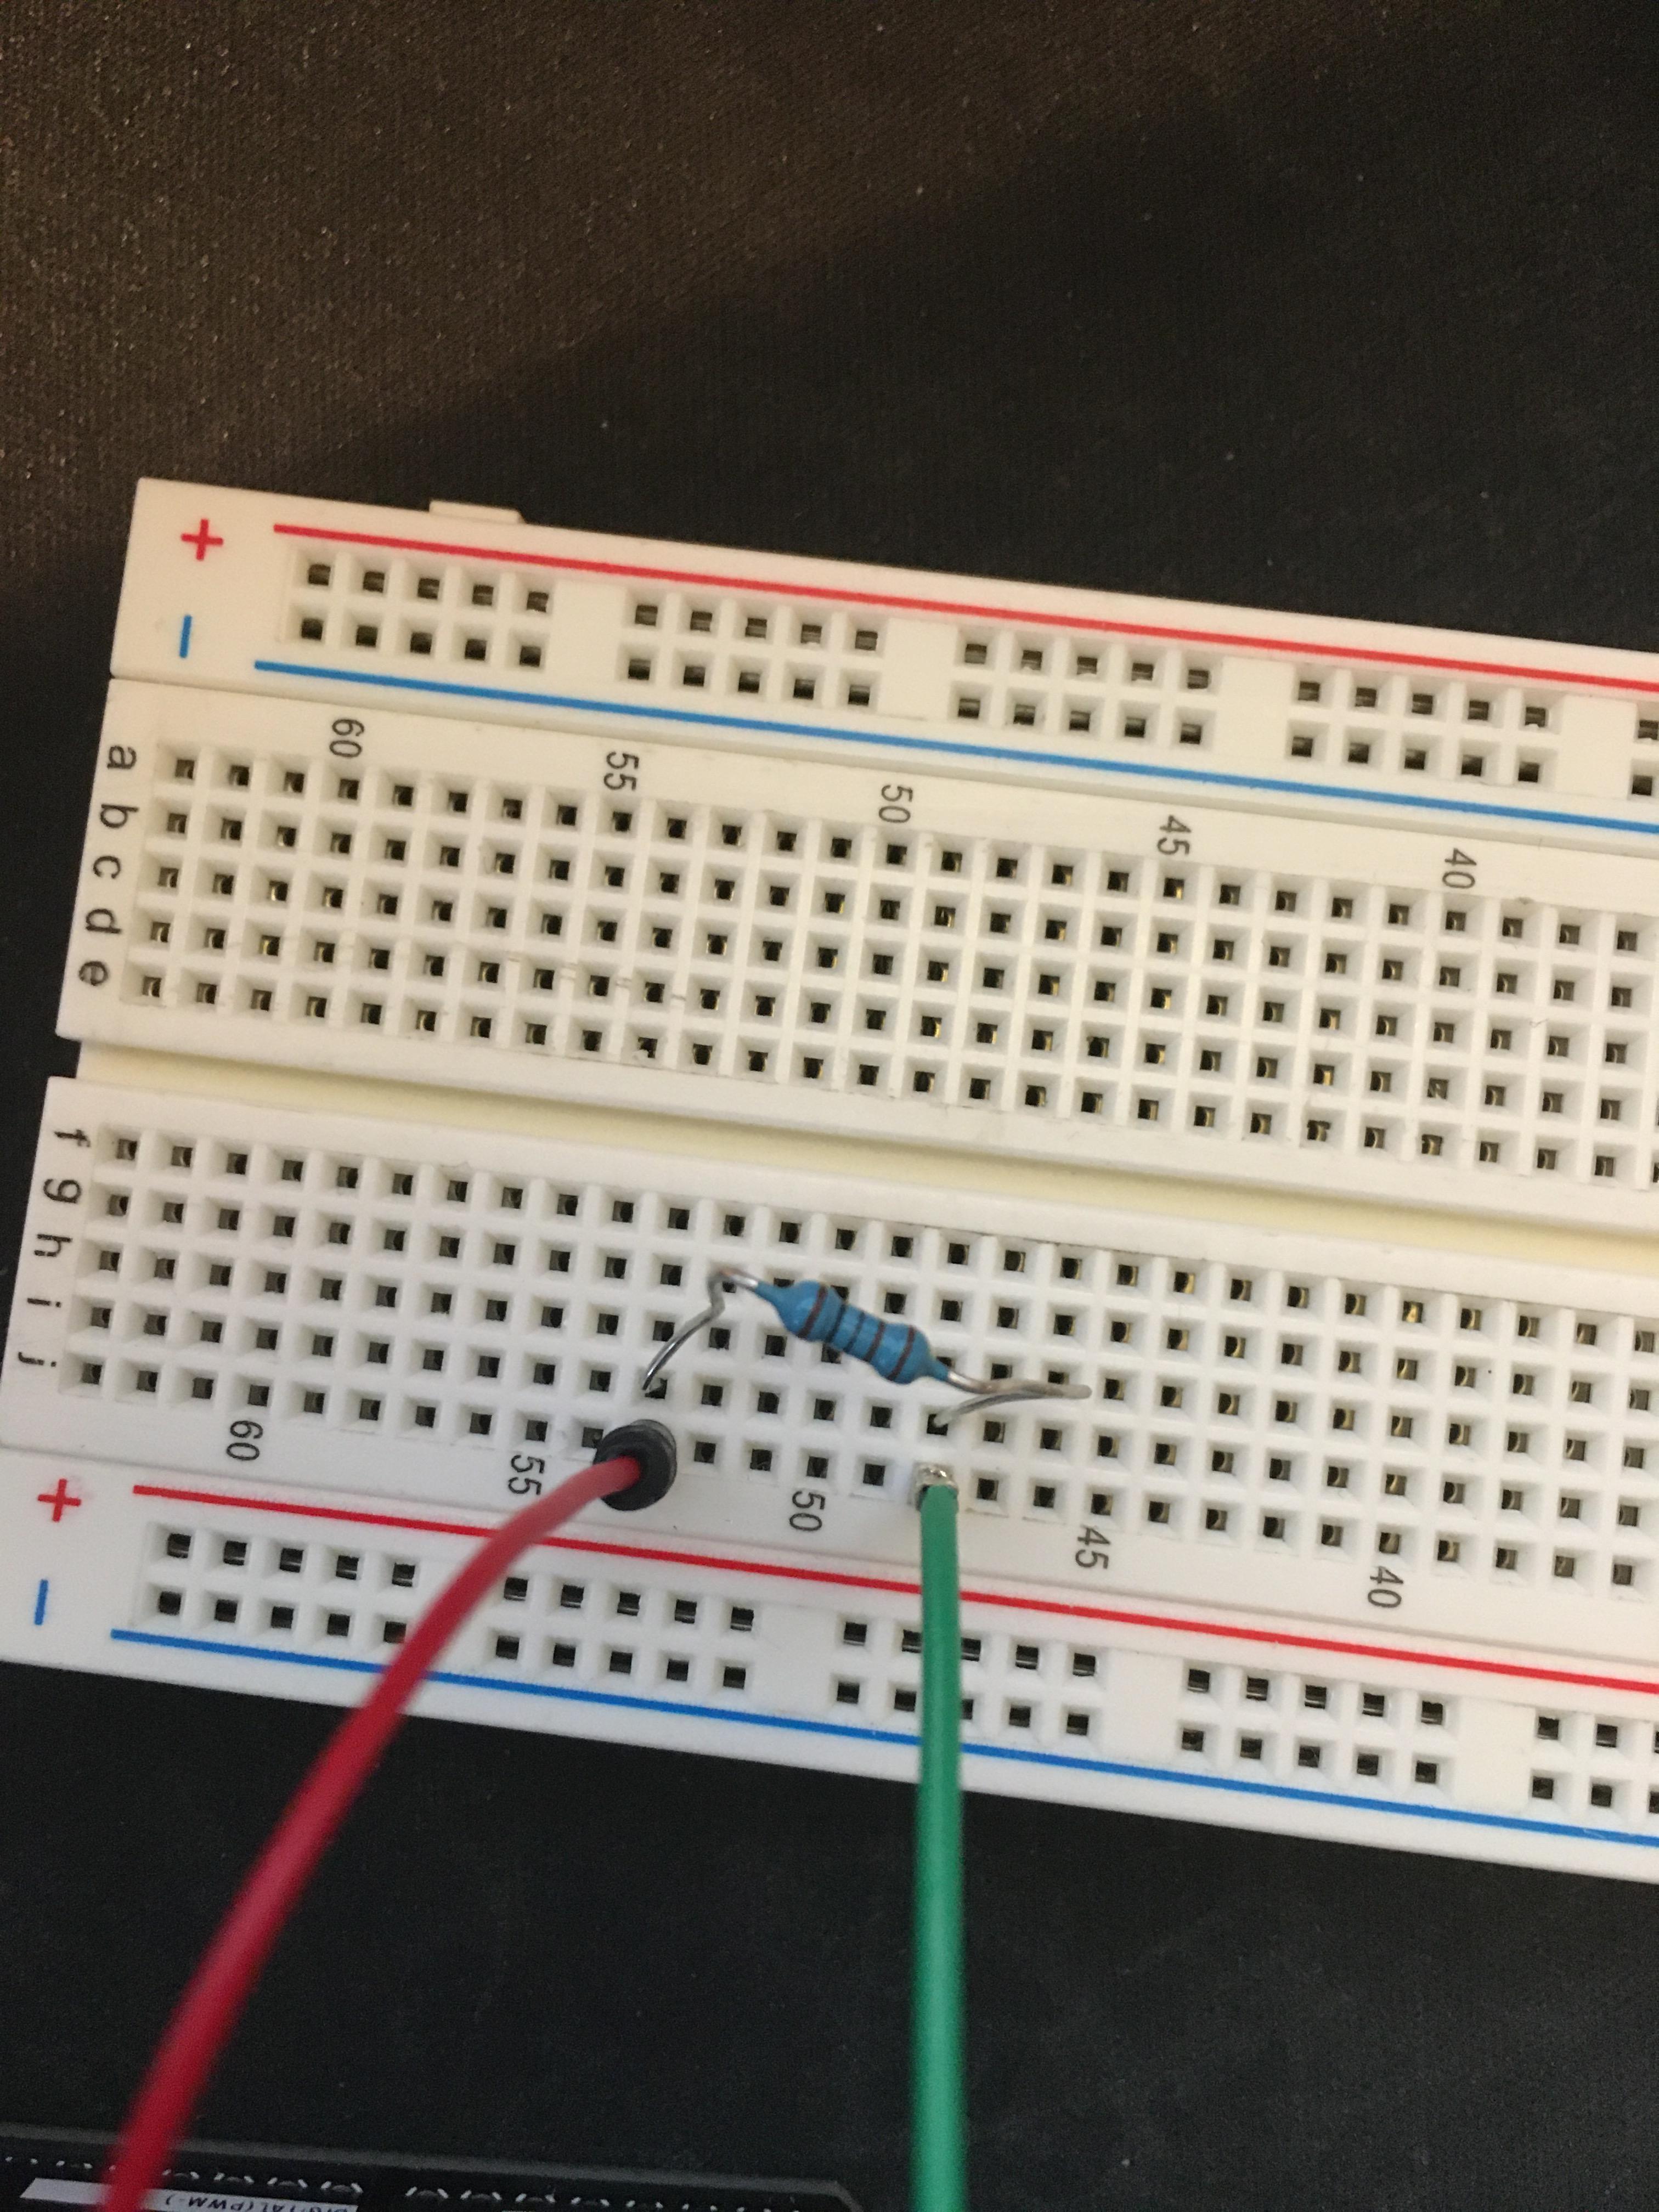
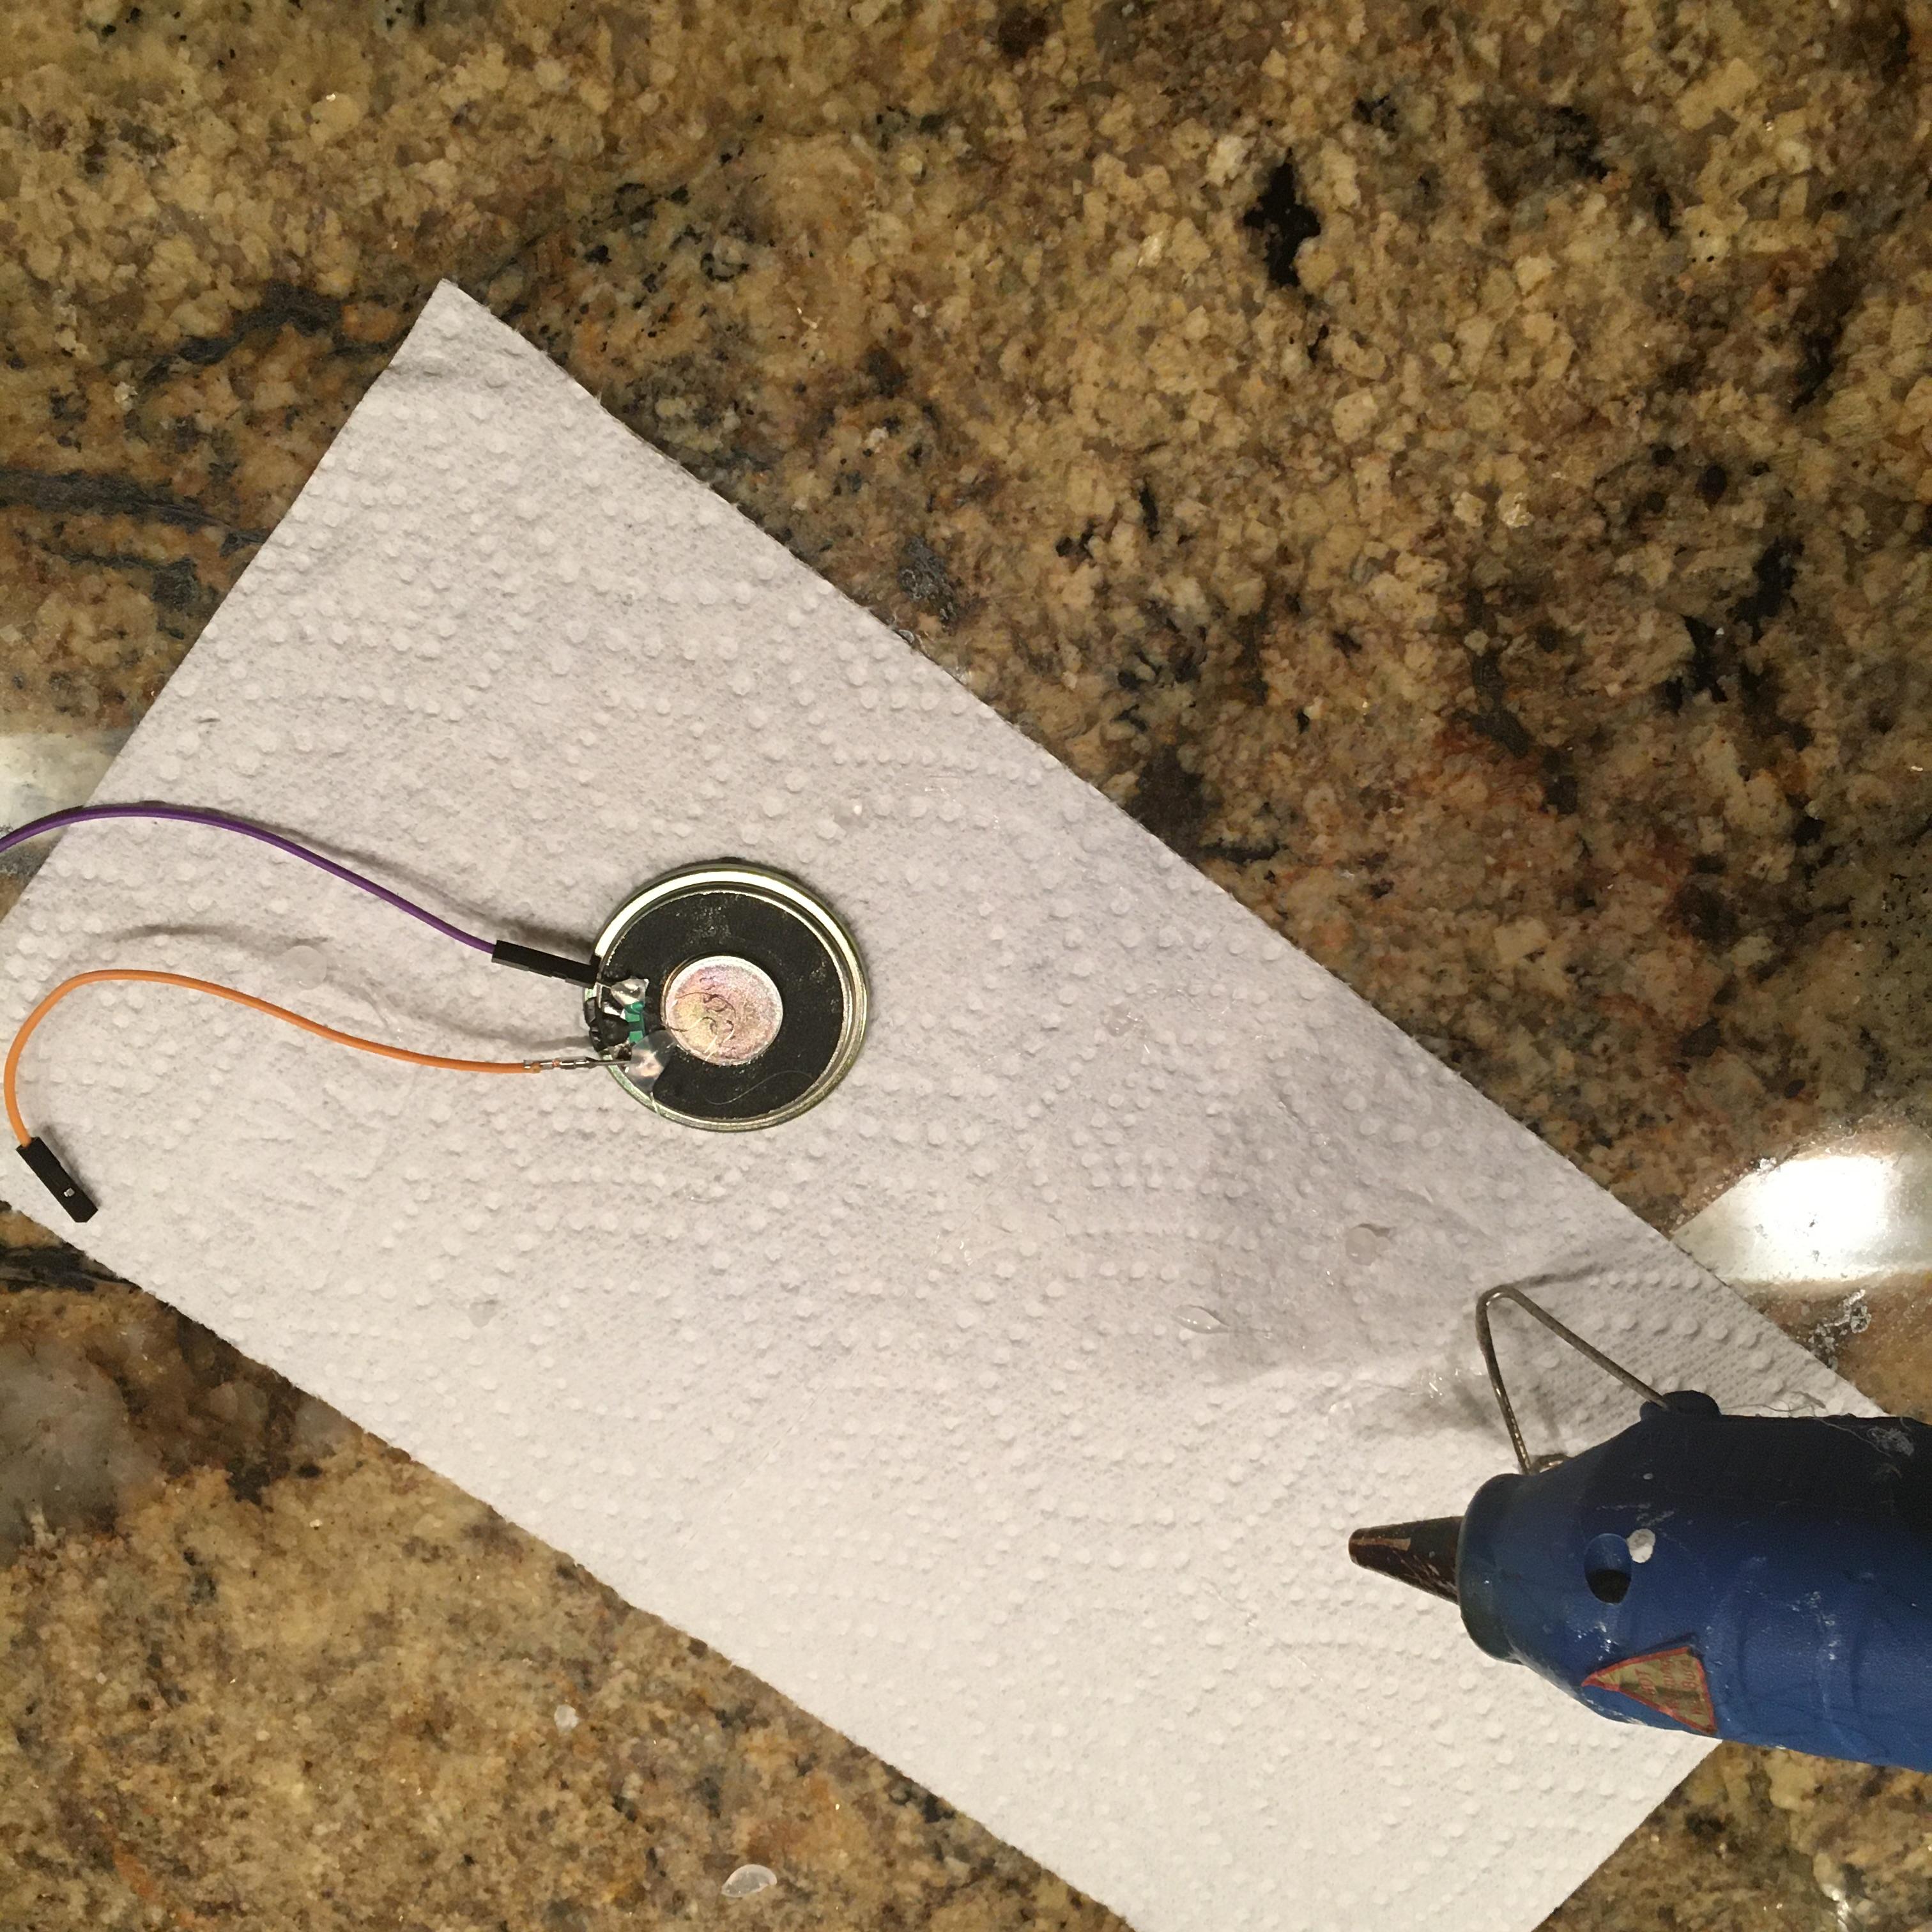
First we need to setup the wiring from the Arduino to the DFPlayer and speaker.
1. Connect a female-to-male wire from the 5v Arduino pin to the far left pin on the DFPlayer. (Red wire)
2. Connect a female-to-male wire from the GND Arduino pin(next to the 5v pin) to the second from the right pin on the DFPlayer (Black wire)
3. Connect two wires to the far right pins on the DFPlayer, on either side of the black wire.(Purple and Orange wires) These wires can be attached to the speaker however you want as long as they touch the metal. I used tape for this.
4. Connect a female-to-male wire from ~10 pin on the Arduino to the third from the left side pin on the DFPlayer.(white wire)
5. Connect a male-to-male wire from the reset Arduino pin to the 4 Arduino pin. (yellow)
6. Connect a female-to-male wire from the second from the left pin on the DFPlayer to the resistor (1k), then connect that resistor to a male-to-male wire that plugs into the ~11 pin on the Arduino.
Now that the wires are connected, we can move on to selecting our doorbell ringtone.
Selecting Your Custom Doorbell
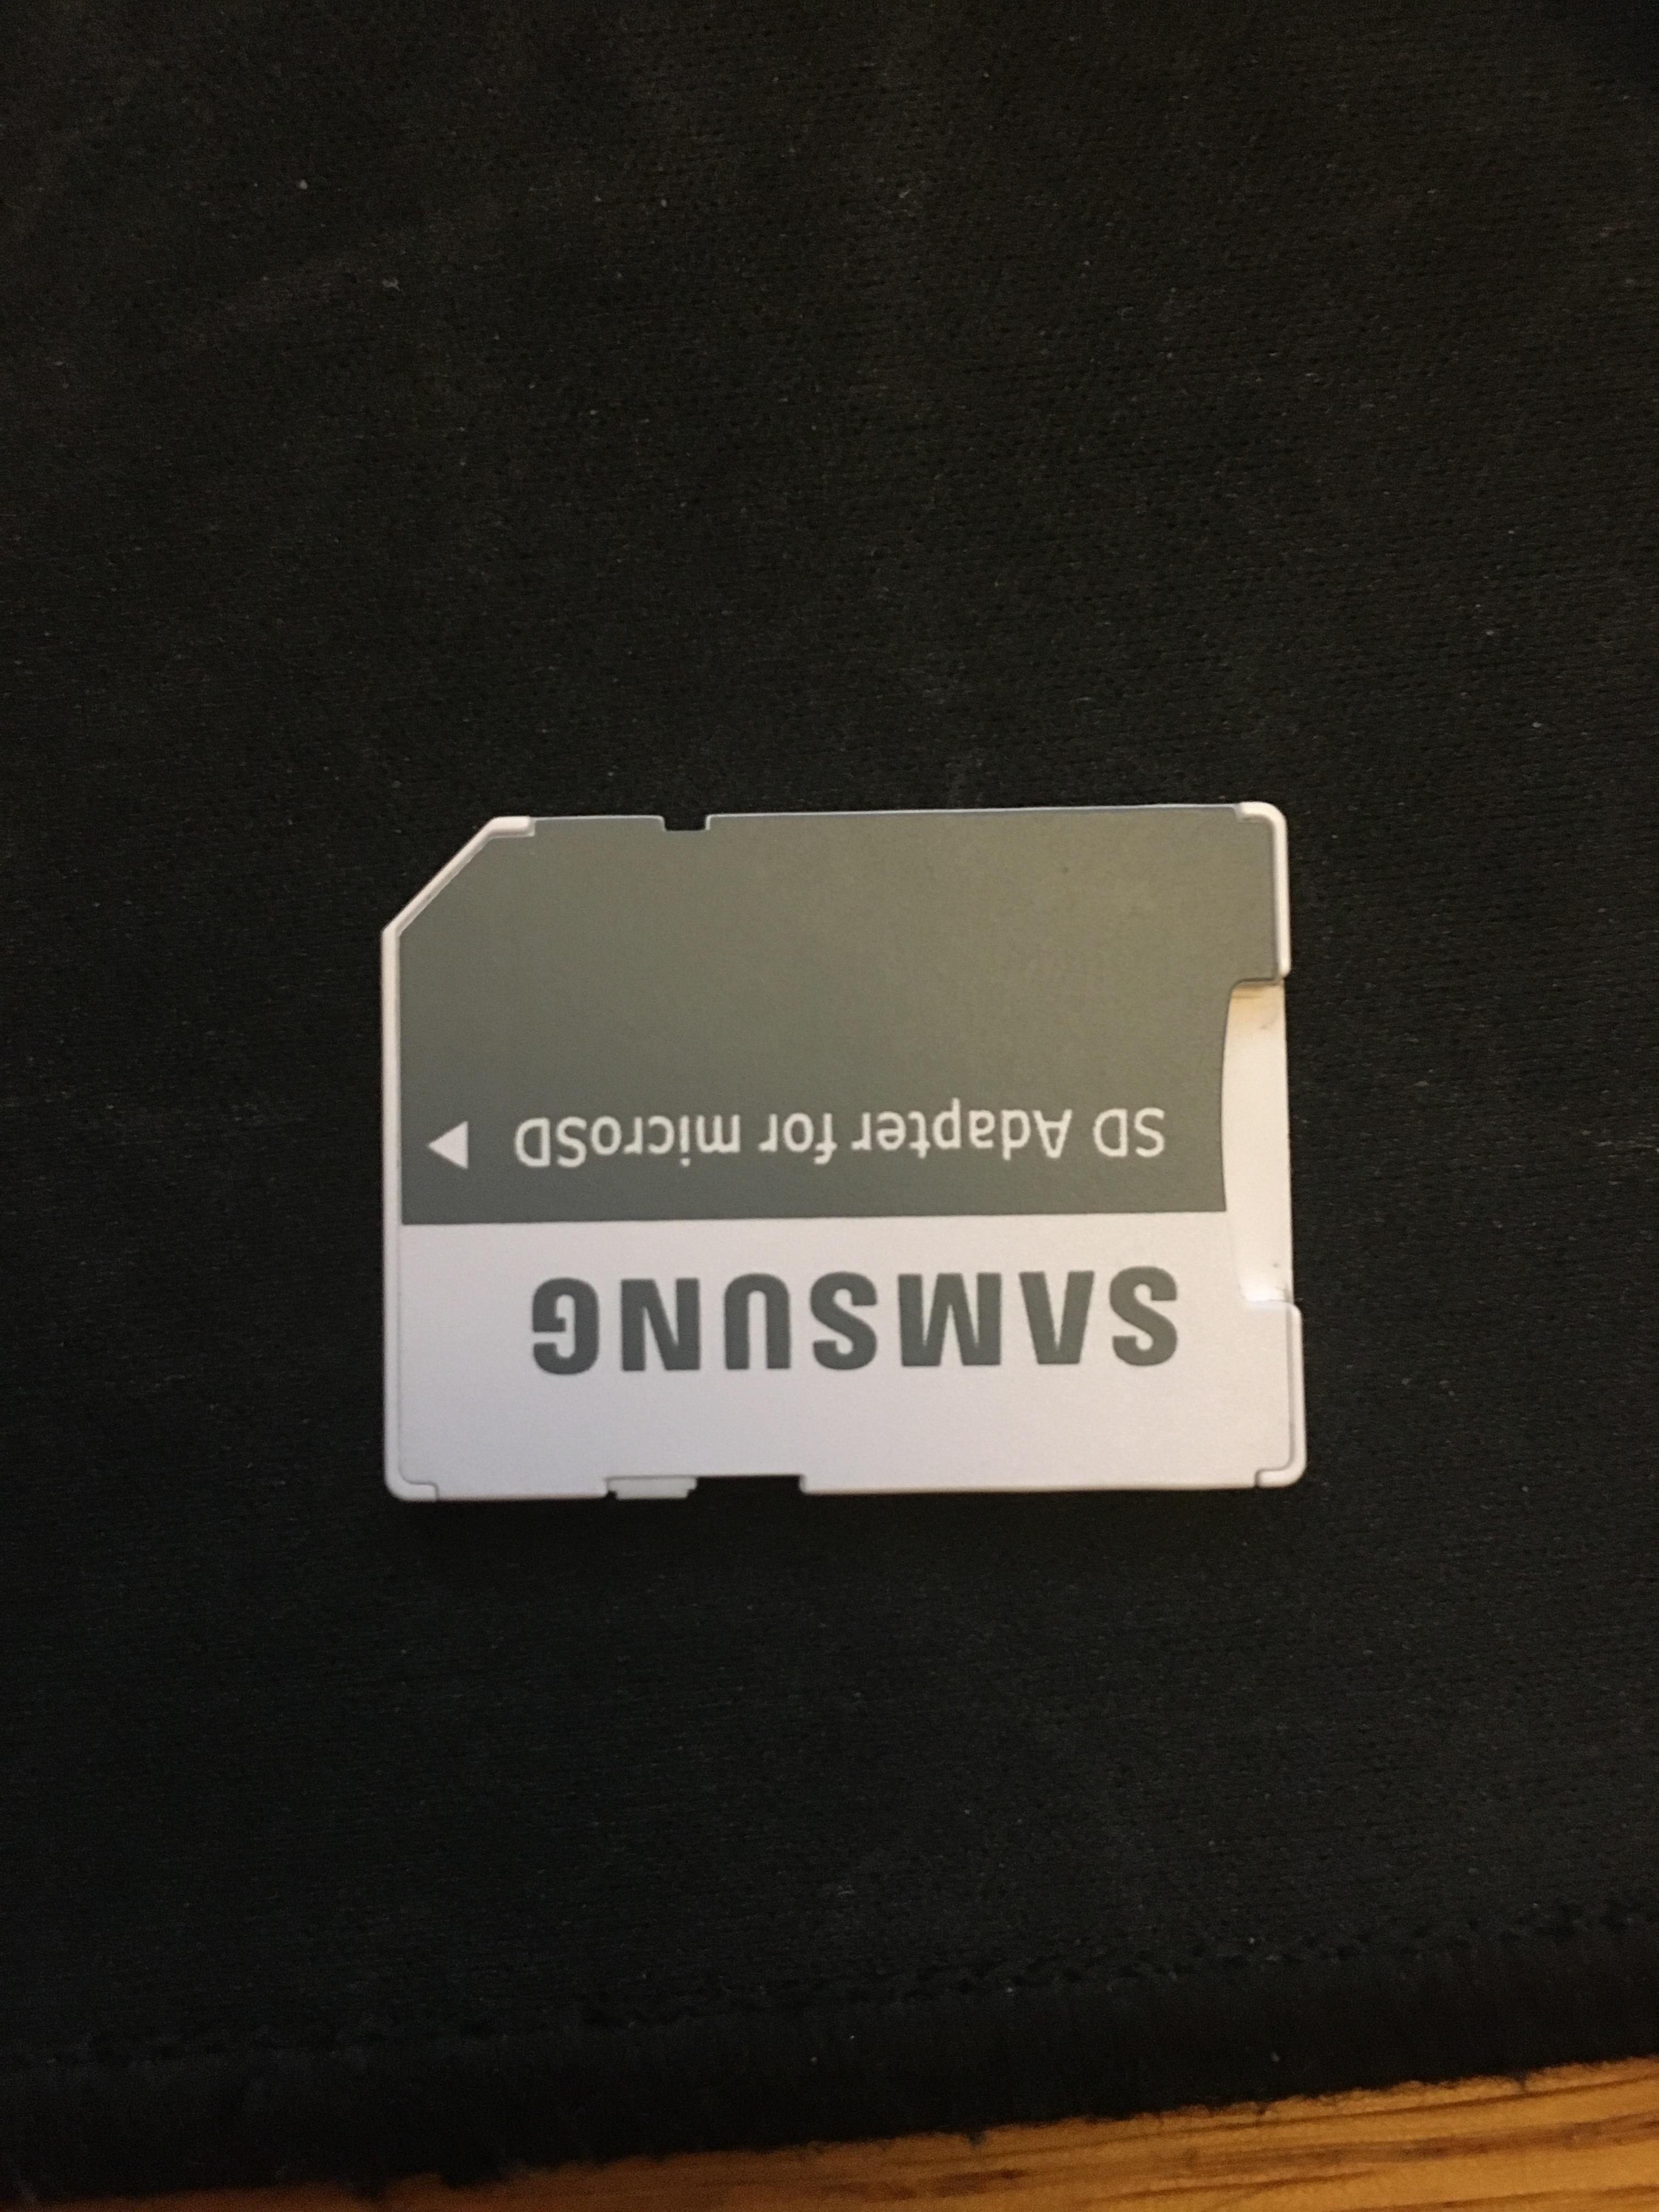
1. With the wires setup, we now need to plug our MicroSD card into our SD adaptor and make sure the small slider is not set on "lock". Now the SD Adaptor needs to be plugged into your computer, through USB adaptor or SD adaptor depending on your computer.
2. The audio file needs to be a MP3 file, I chose my file from YouTube where I used an online YouTube to mp3 converter. (https://ytmp3.cc/en13/)
3. Once the MP3 file has been downloaded, copy the file into your Micro SD card. To ensure it plays properly, it would be best to have an empty Micro SD card and in the root directory name the MP3 file something similar too "0001Hello.MP3", the 4 digits are important, after that you can name it whatever.
4. With the Micro SD card ready, you can now plug it into the DFPlayer.
Coding the Arduino
Next we need to plug the Arduino into the computer.
1. Download and Install Arduino IDE if needed, then start a new sketch.
2. For the code to work, we need to add some libraries to Arduino IDE. Under Sample Code there should be a download link(Here). Once the .ZIP file is downloaded, open Arduino IDE, go to sketch, Include library, Add .ZIP Library, and find that downloaded .ZIP file.
3. Download the DOORBELL.ino Sketch file below. Most of the code can remain unchanged, however there are a few lines you will want to change based on your MP3 file.
"myDFPlayer.volume(30); //Set volume value. From 0 to 30"
this is how you can change the volume, just change the number to anything from 00 to 30.
"if (millis() - timer > 3000) {"
this is how long the clip will play for, 3 seconds, if you clip is 6 seconds change the 3 to a 6, and so on.
In my video I will do my best to explain what the code does and means, but I will keep it shorter here.
Downloads
Running the Code and Testing the Speakers
Now plug your Arduino into your computer, then in Arduino IDE go to tools, board, and select Arduino UNO, then go tools, Port, and select the port with your Arduino. (there will probably only be one option) Then go ahead and hit the upload button. (right arrow on top left) Now you can unplug the Arduino from your computer and plug in the 9V battery and adaptor into the Arduino.
With our current setup, the tune will play immediately, over and over again. To change this we have to make the next part which is the door mat itself.
The Door Mat Trigger
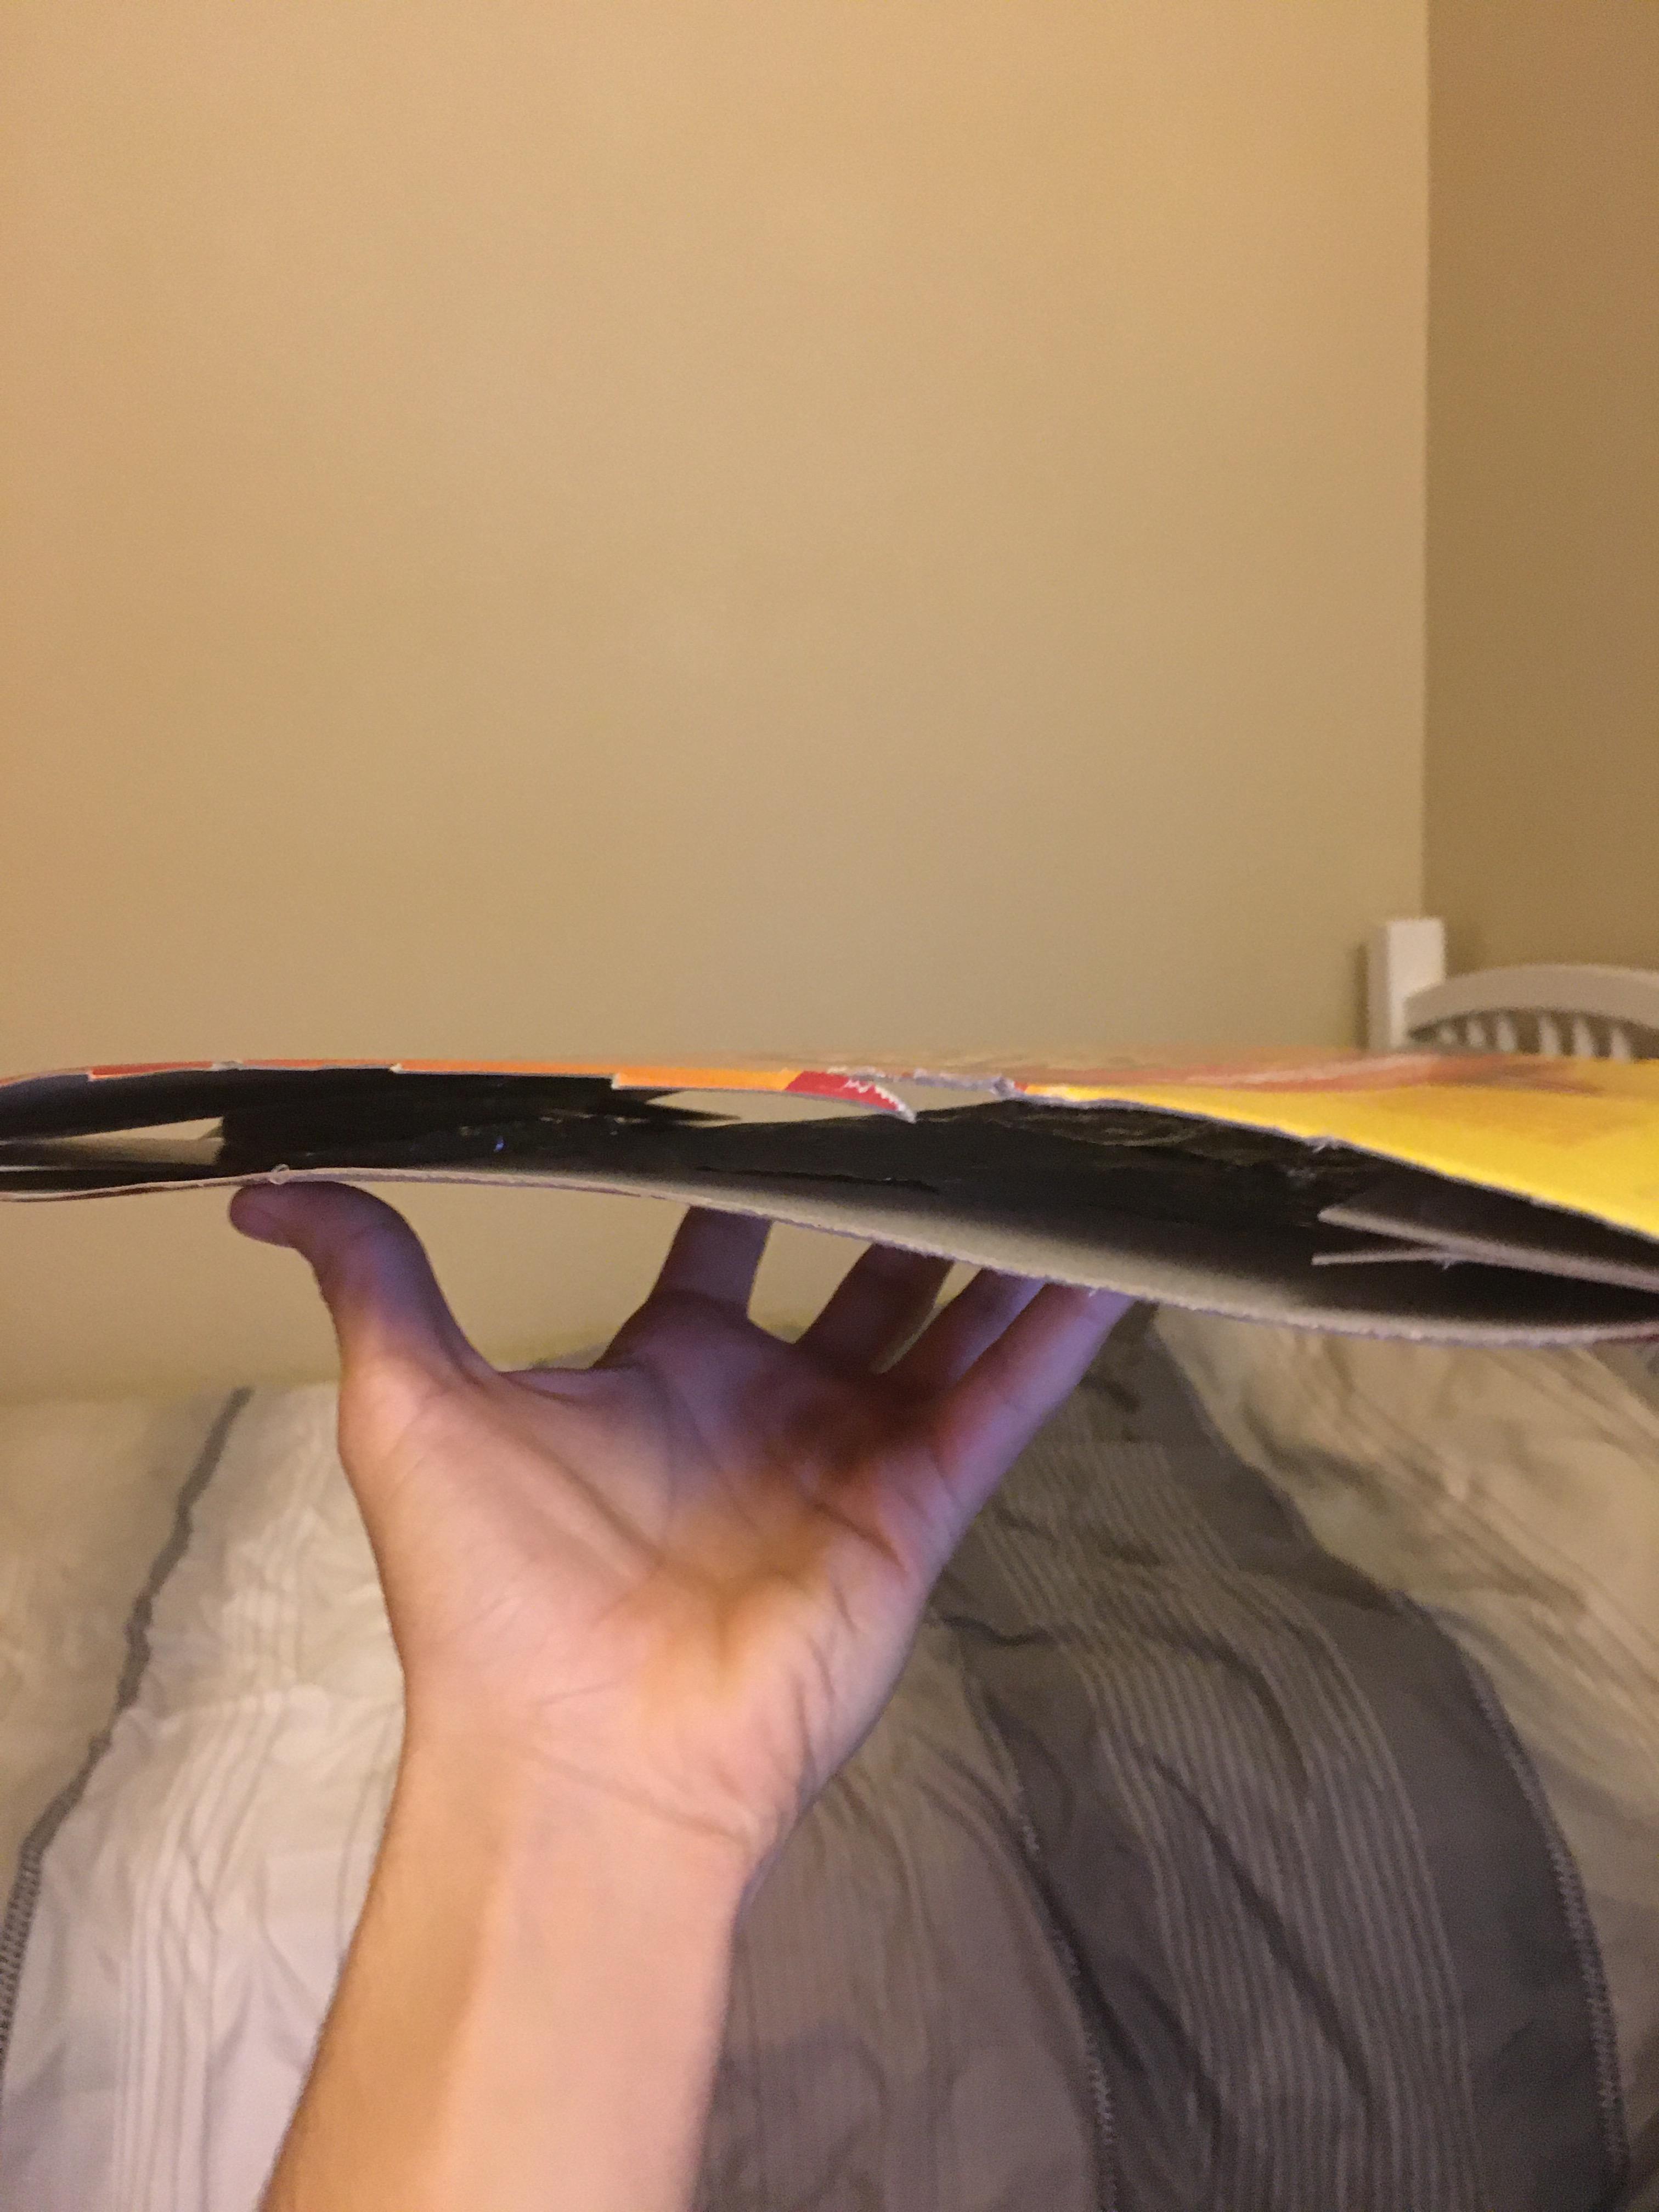
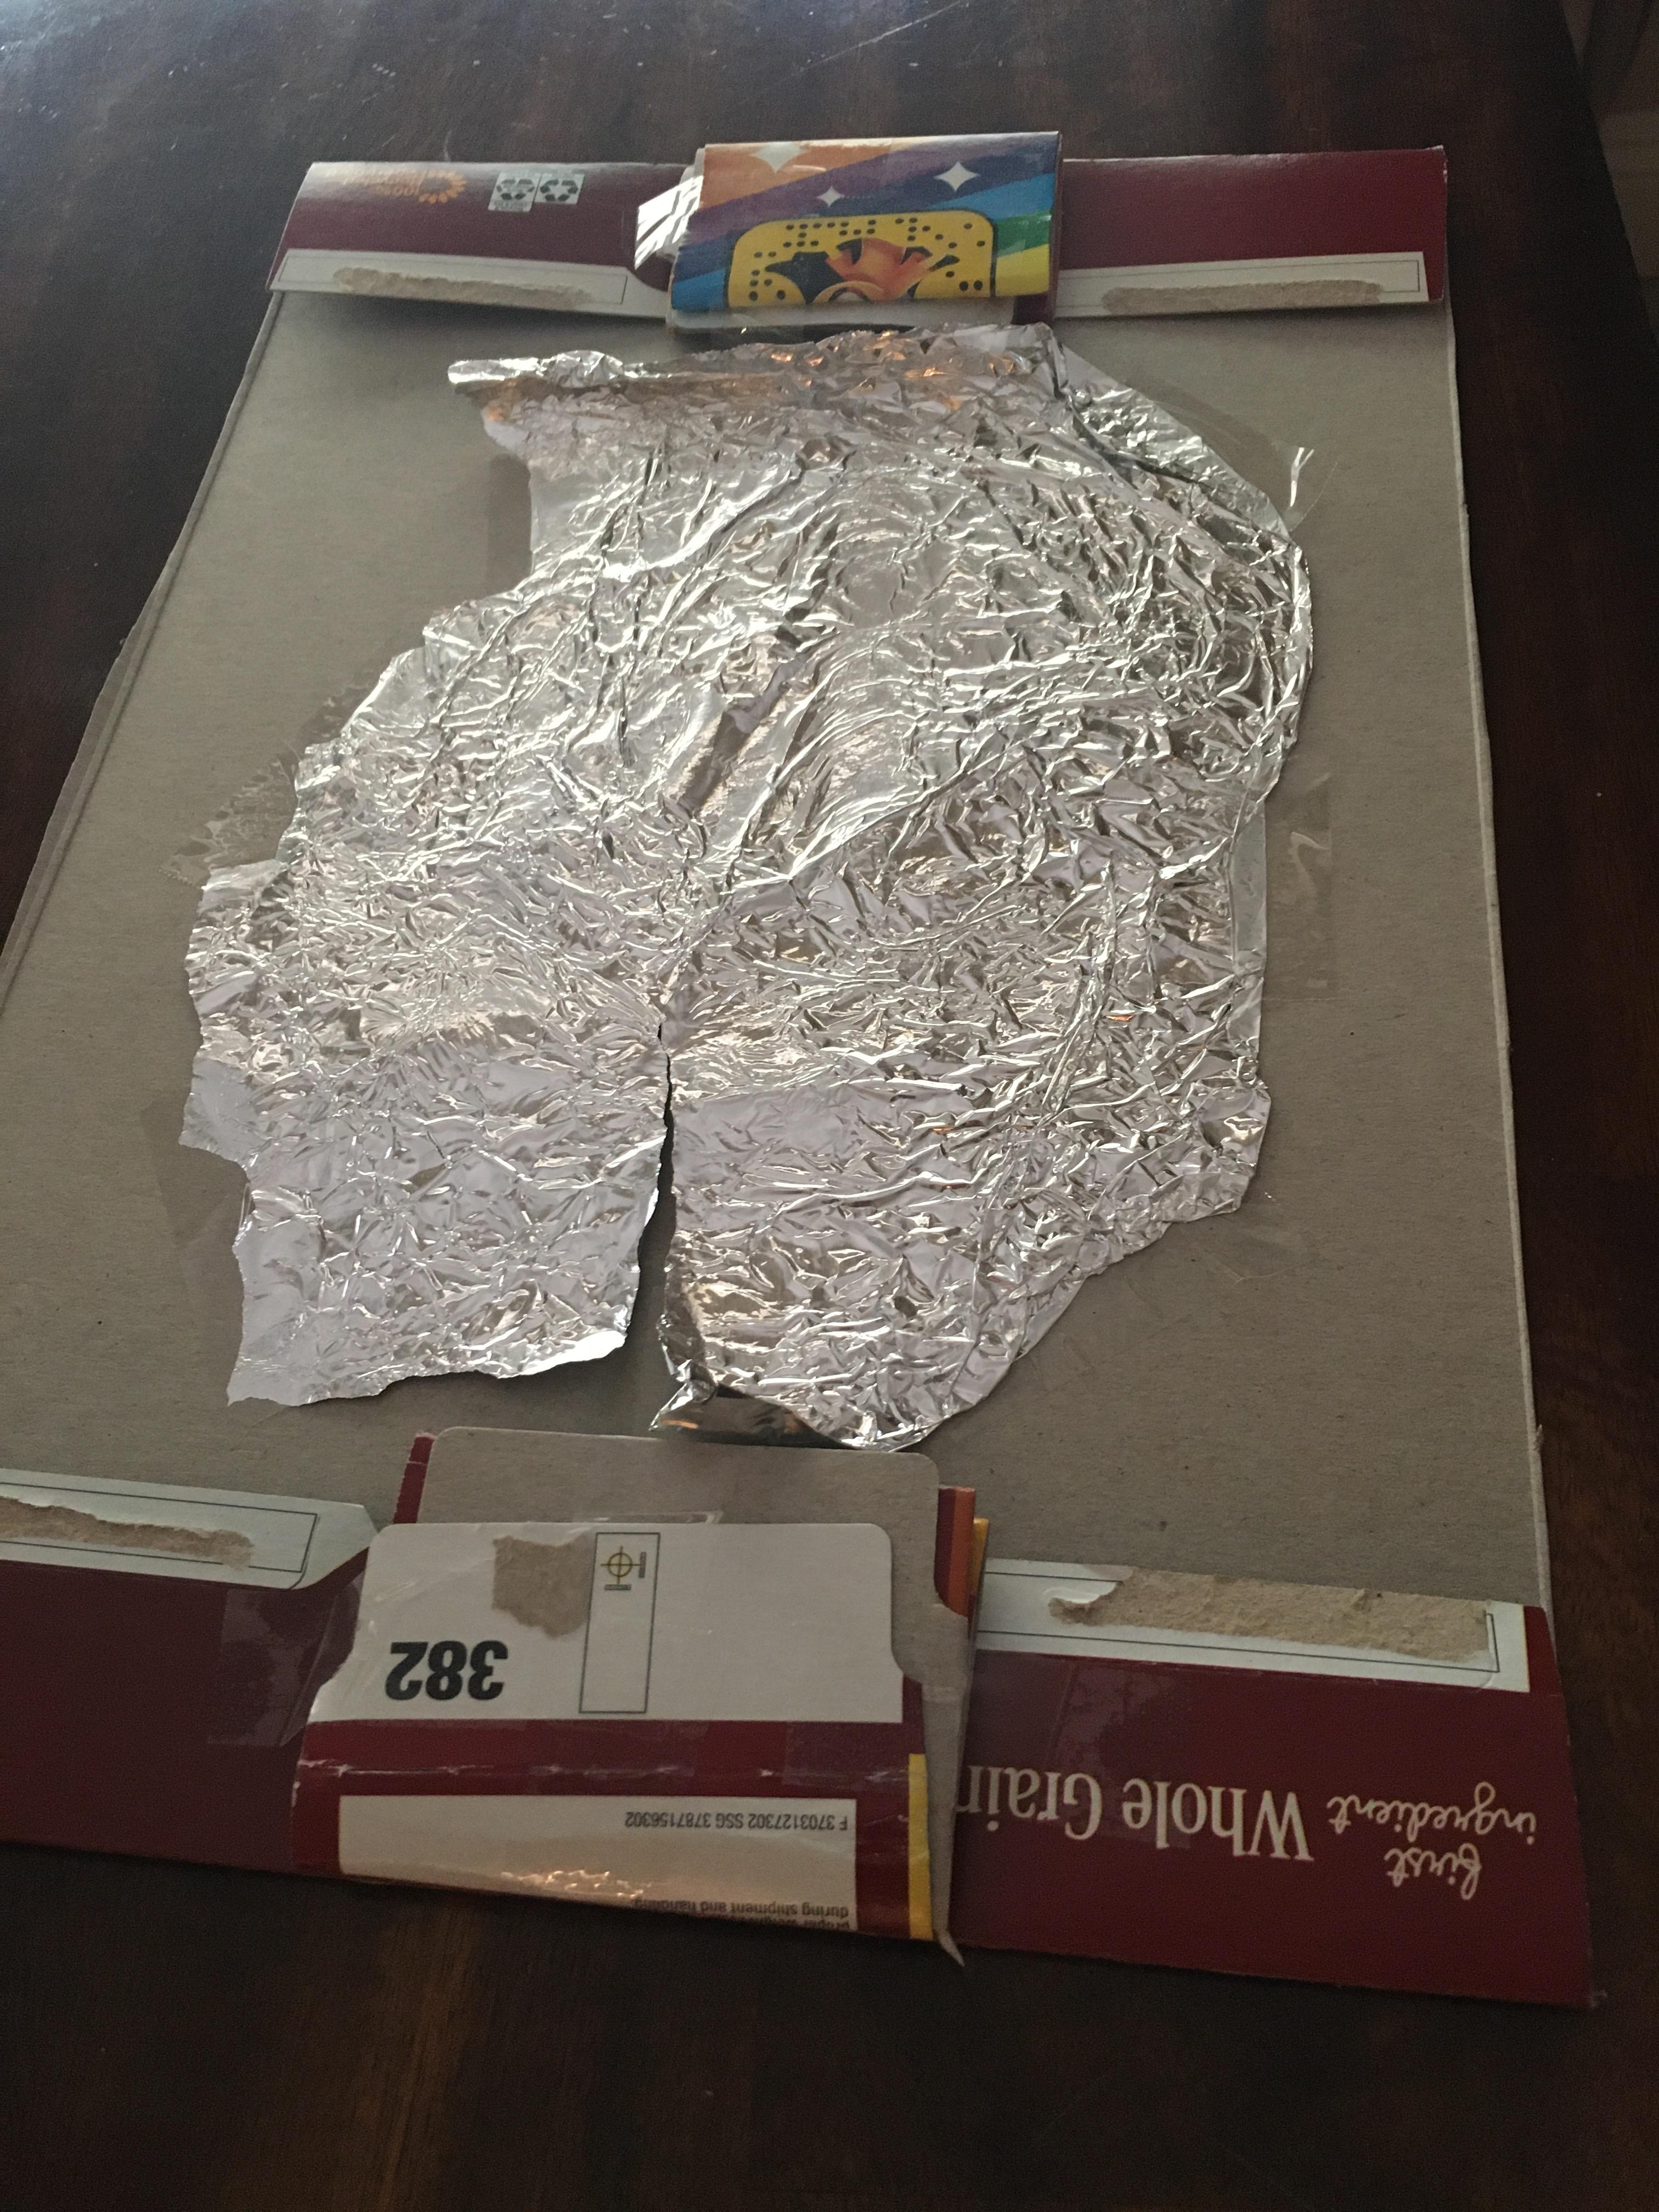
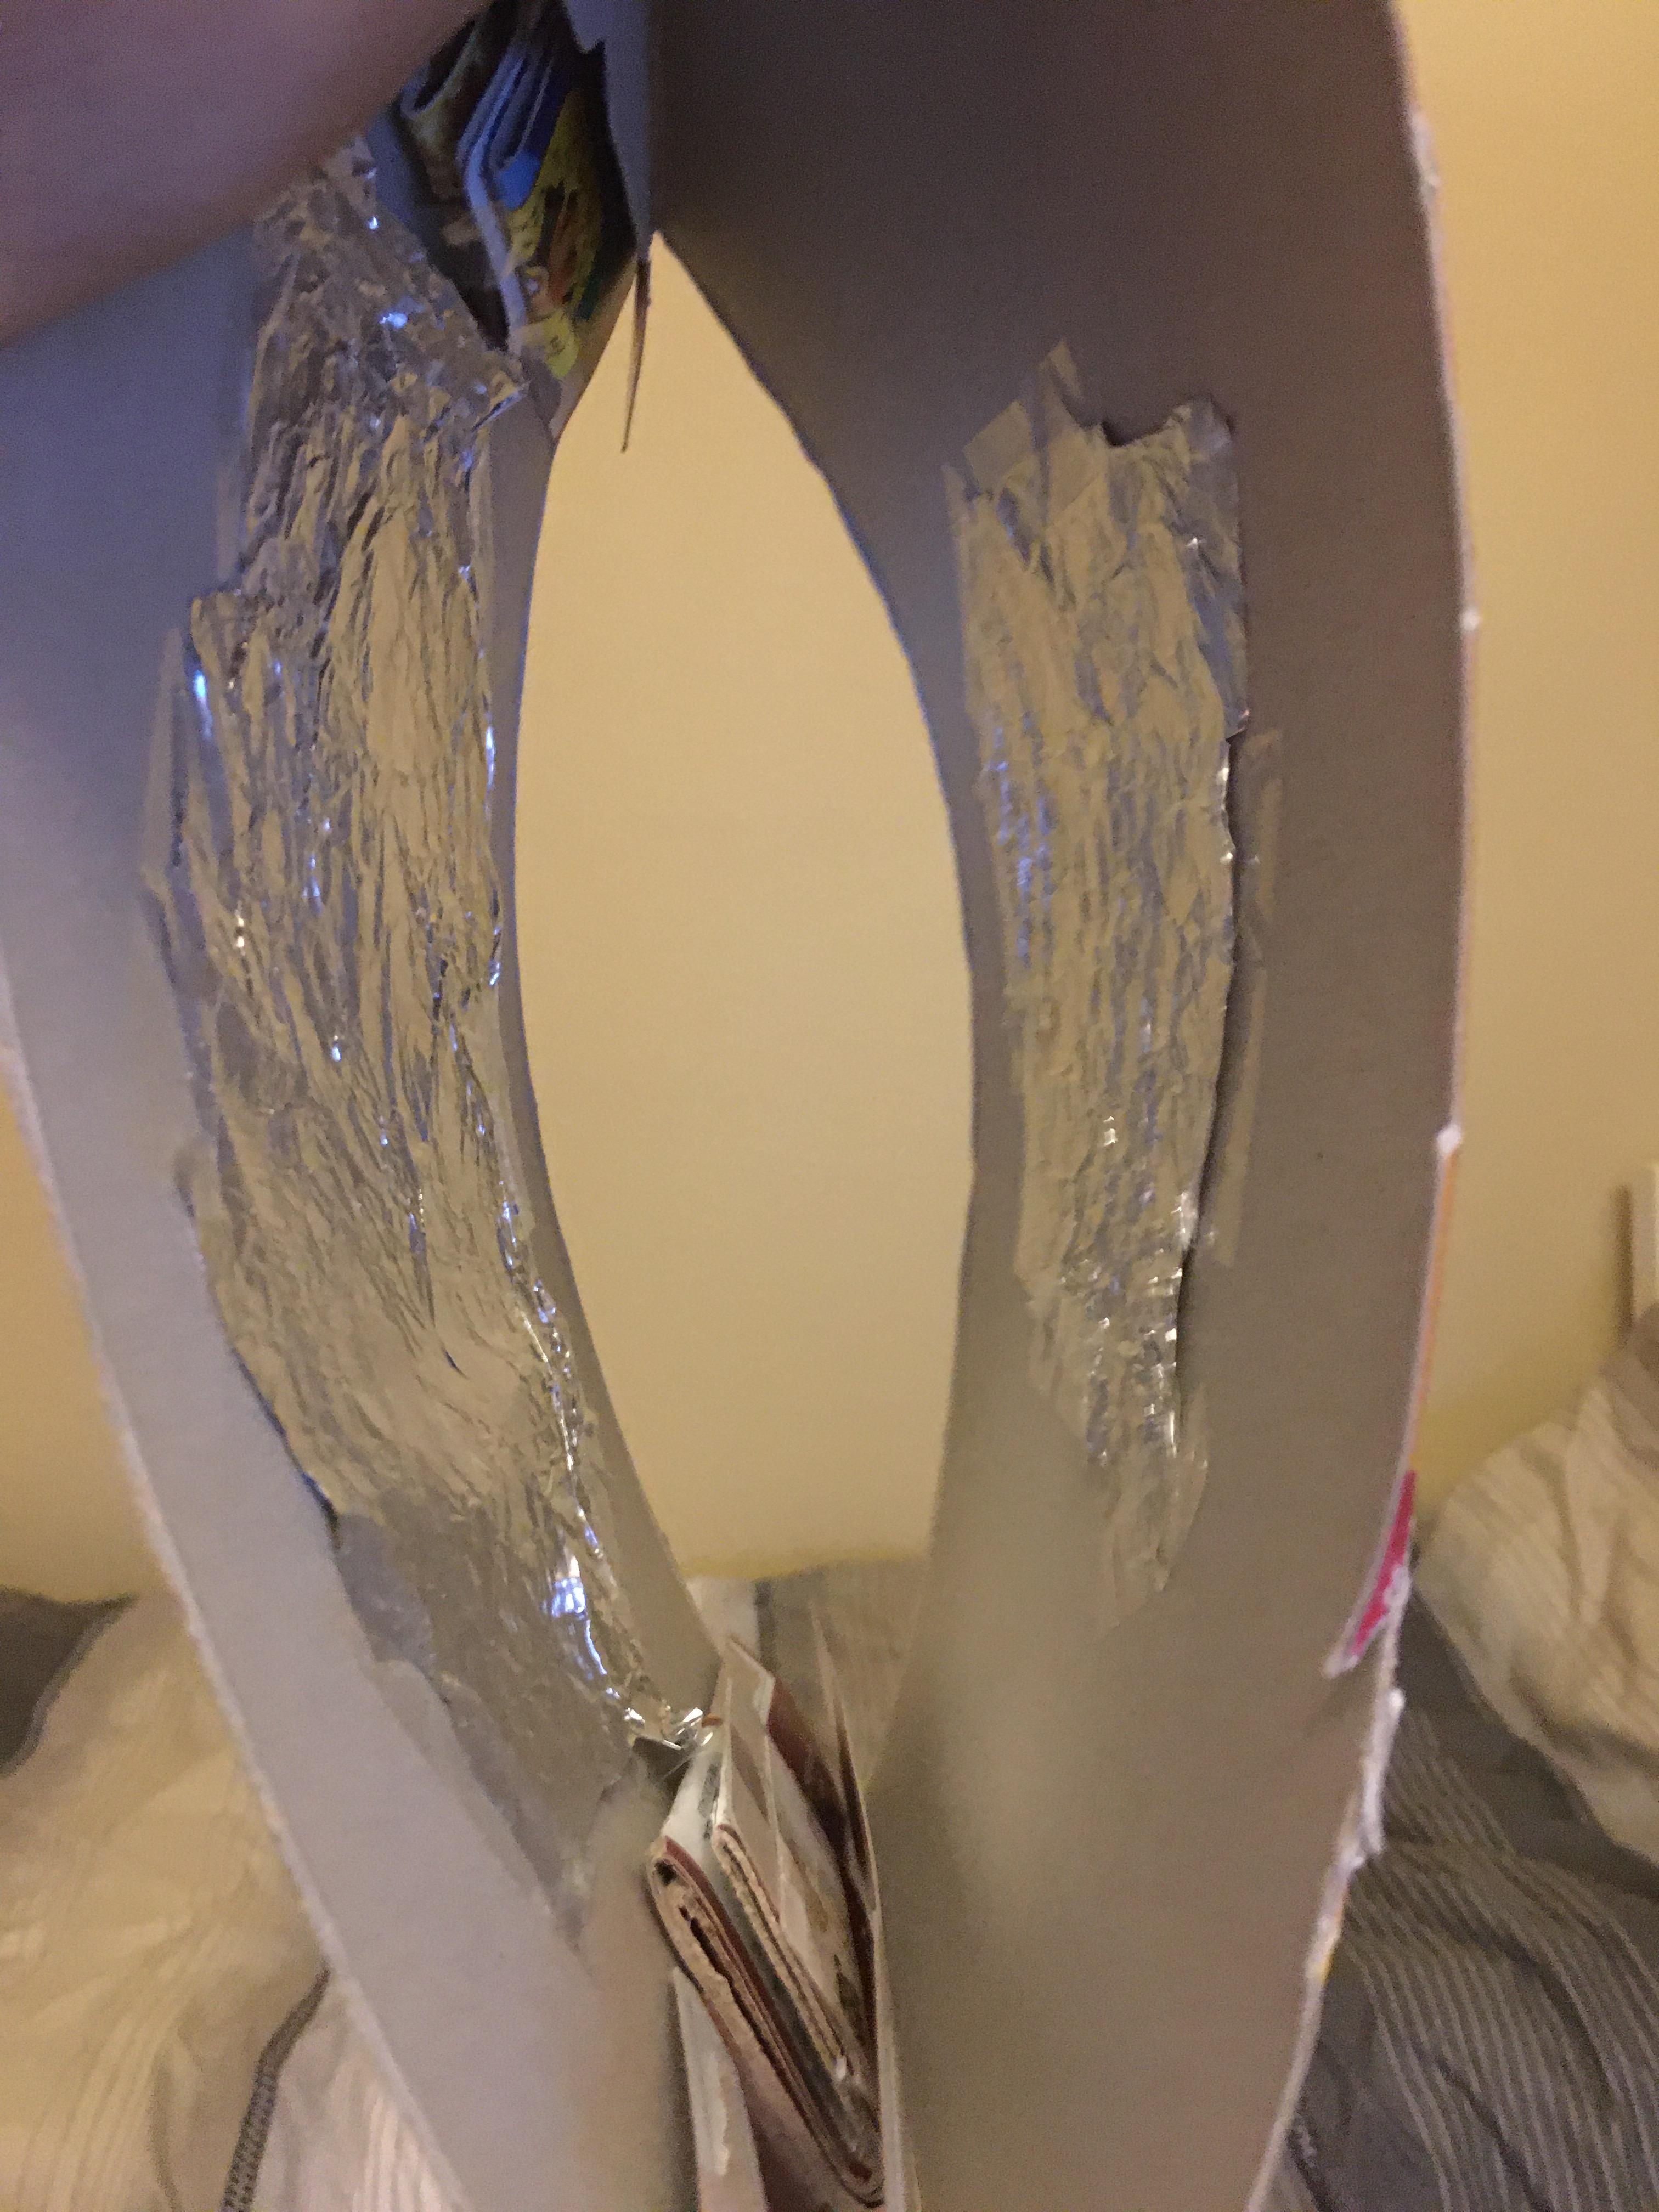
This is where you can get creative depending on the materials you have on hand. The concept is that when someone stands on the door mat, two layers of tinfoil press against each other allowing an electrical signal to pass, which triggers the Arduino reset causing it to begin playing the tune. I used a cardboard cereal box to create two layers that were held apart on the edges and then covered in tinfoil in the middle. Once the mat is created, the yellow wire connecting the reset and "4" on the Arduino needs to be removed. This will stop the flow of replaying the tune. Using longer jumper wires, or connecting multiple small ones, the tinfoil layers need to each be connected to wires, making two long wires coming from the mat. One wire needs to be plugged into the reset pin while the other goes into the 4 pin. When the tinfoil layers touch, the wires will connect, restarting the flow of the doorbell.
The End
Thanks again for watching and or reading my Instructable.