Custom Candle Casting Using Fusion360.
by ishant777 in Workshop > Molds & Casting
1694 Views, 9 Favorites, 0 Comments
Custom Candle Casting Using Fusion360.

In this Instructable we make Custom design Candles using a 3D printed mold.
This project Increases your Skills, knowledge, and Hands-on Experience to make Project.
The project includes Design Process,3D Printing, Casting-moulding.
Let’s start making.
Supplies
.jpg)
.jpg)
.jpg)
.jpg)
.jpg)
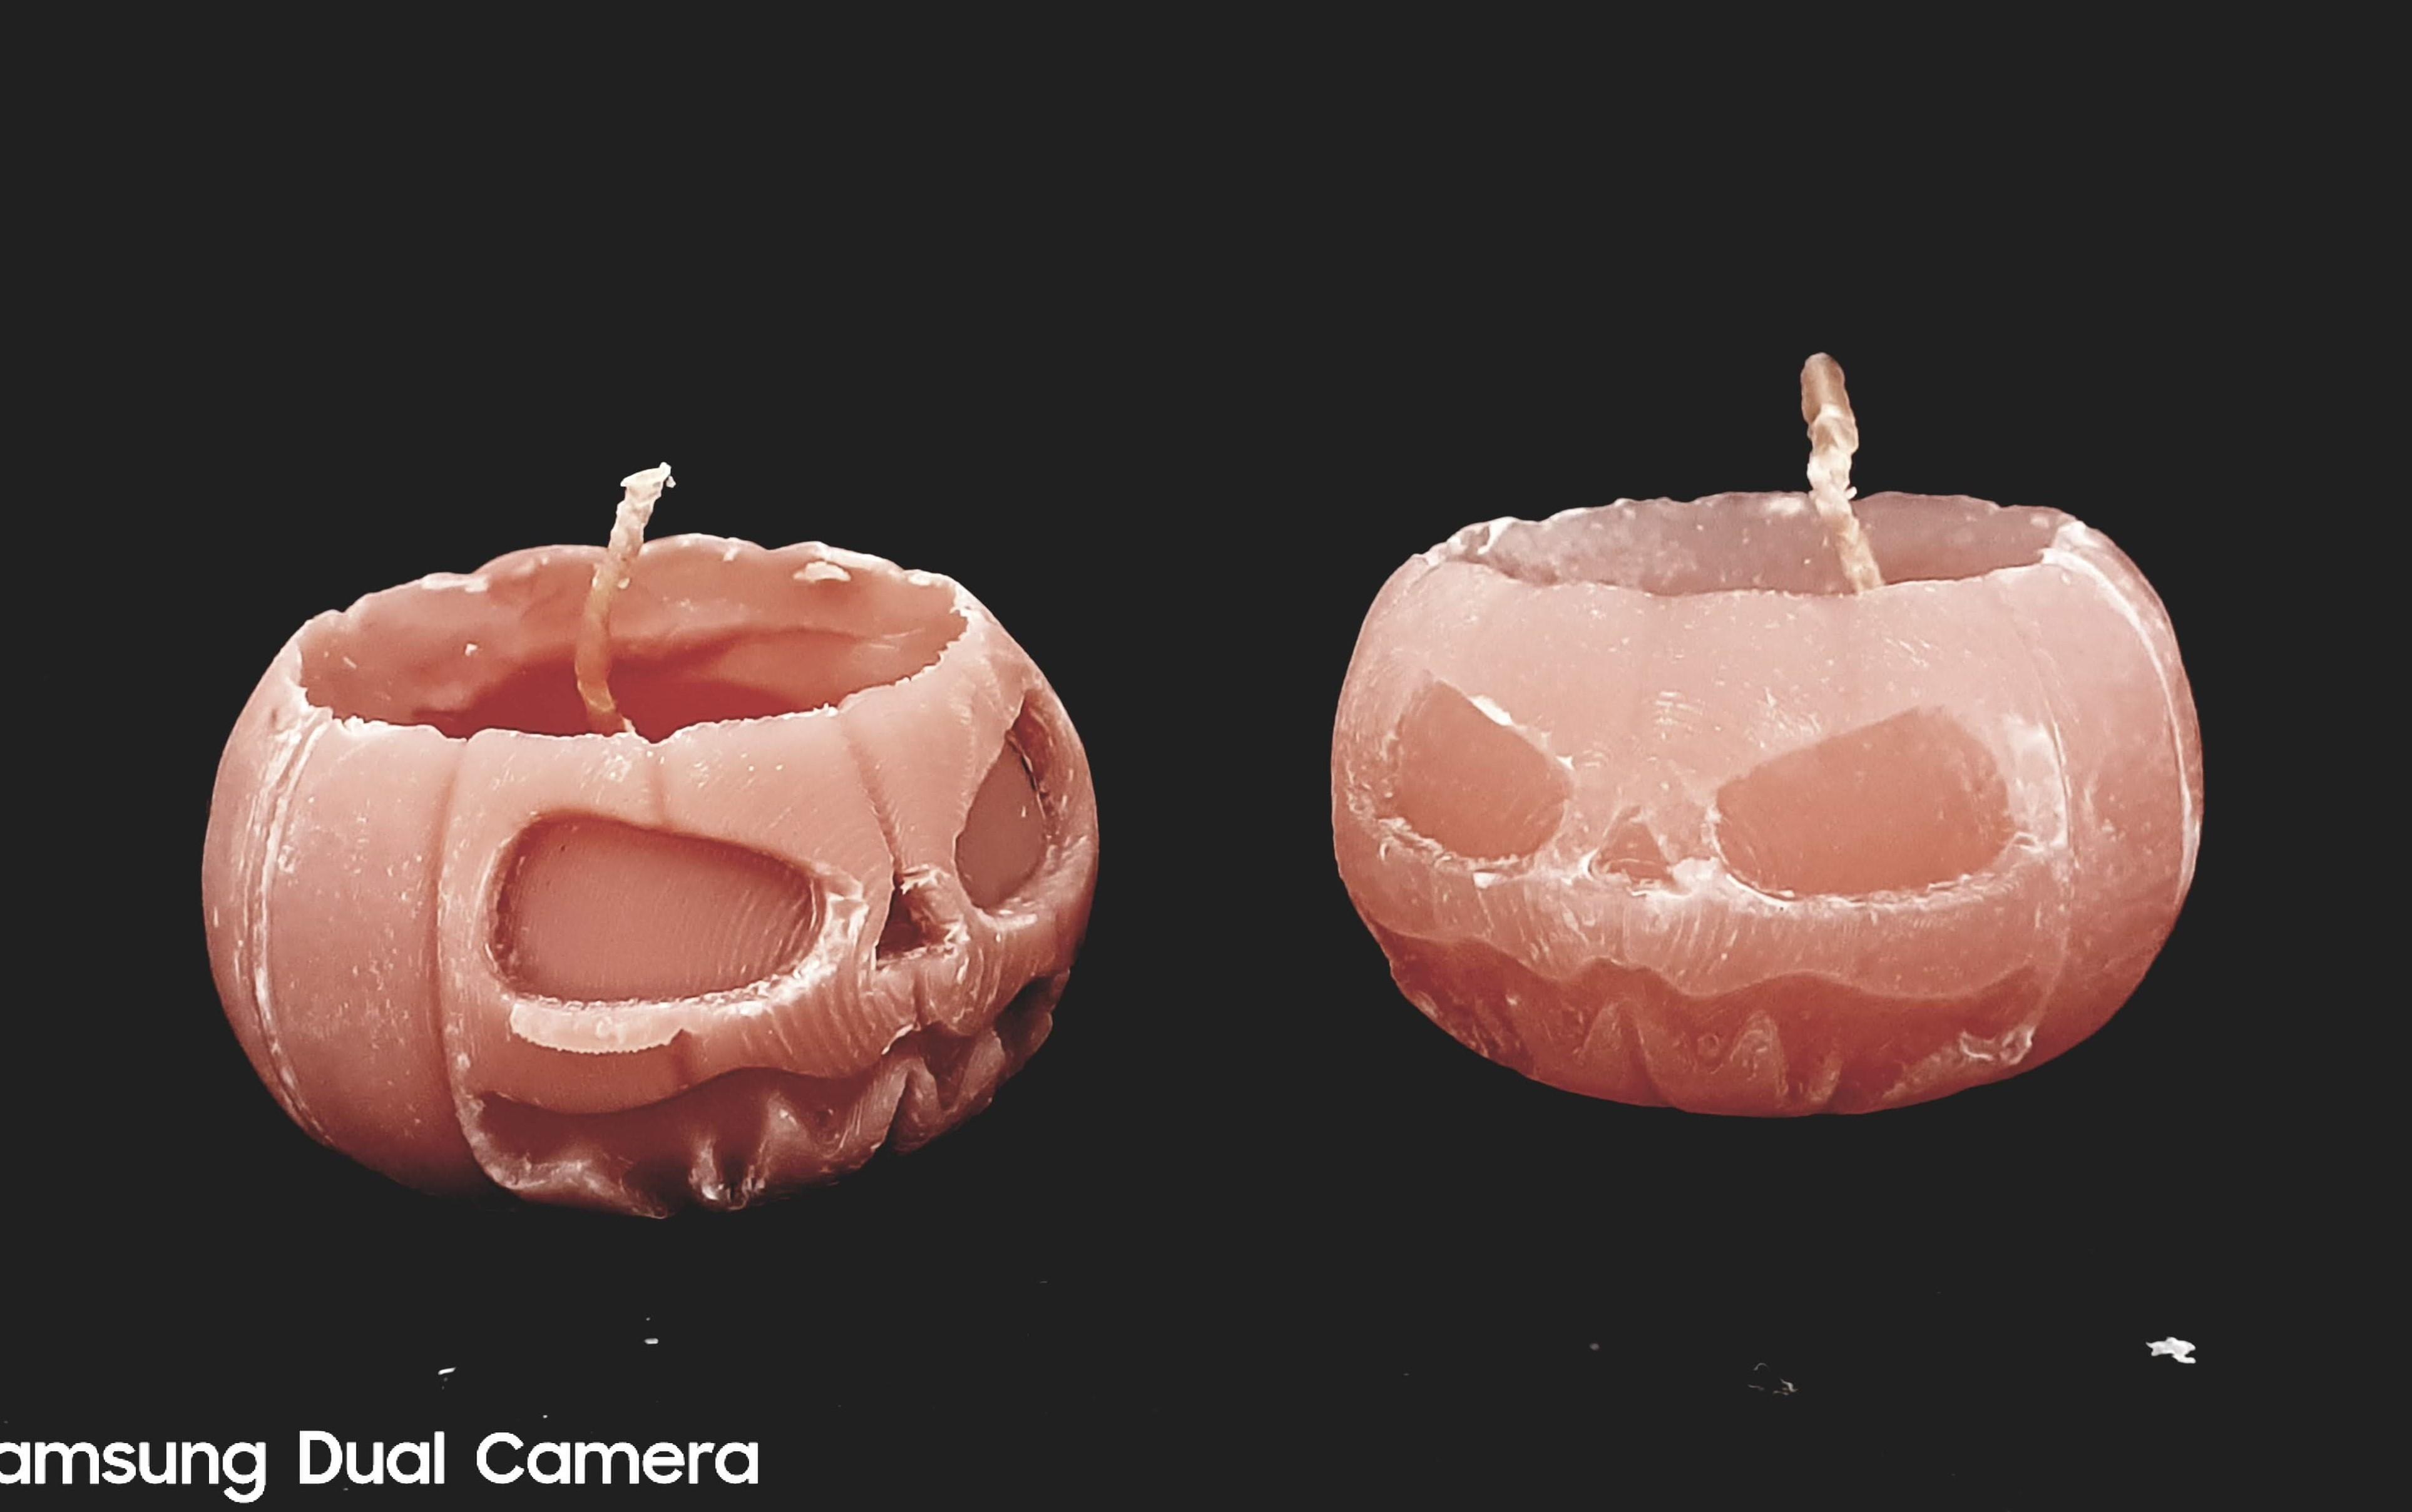
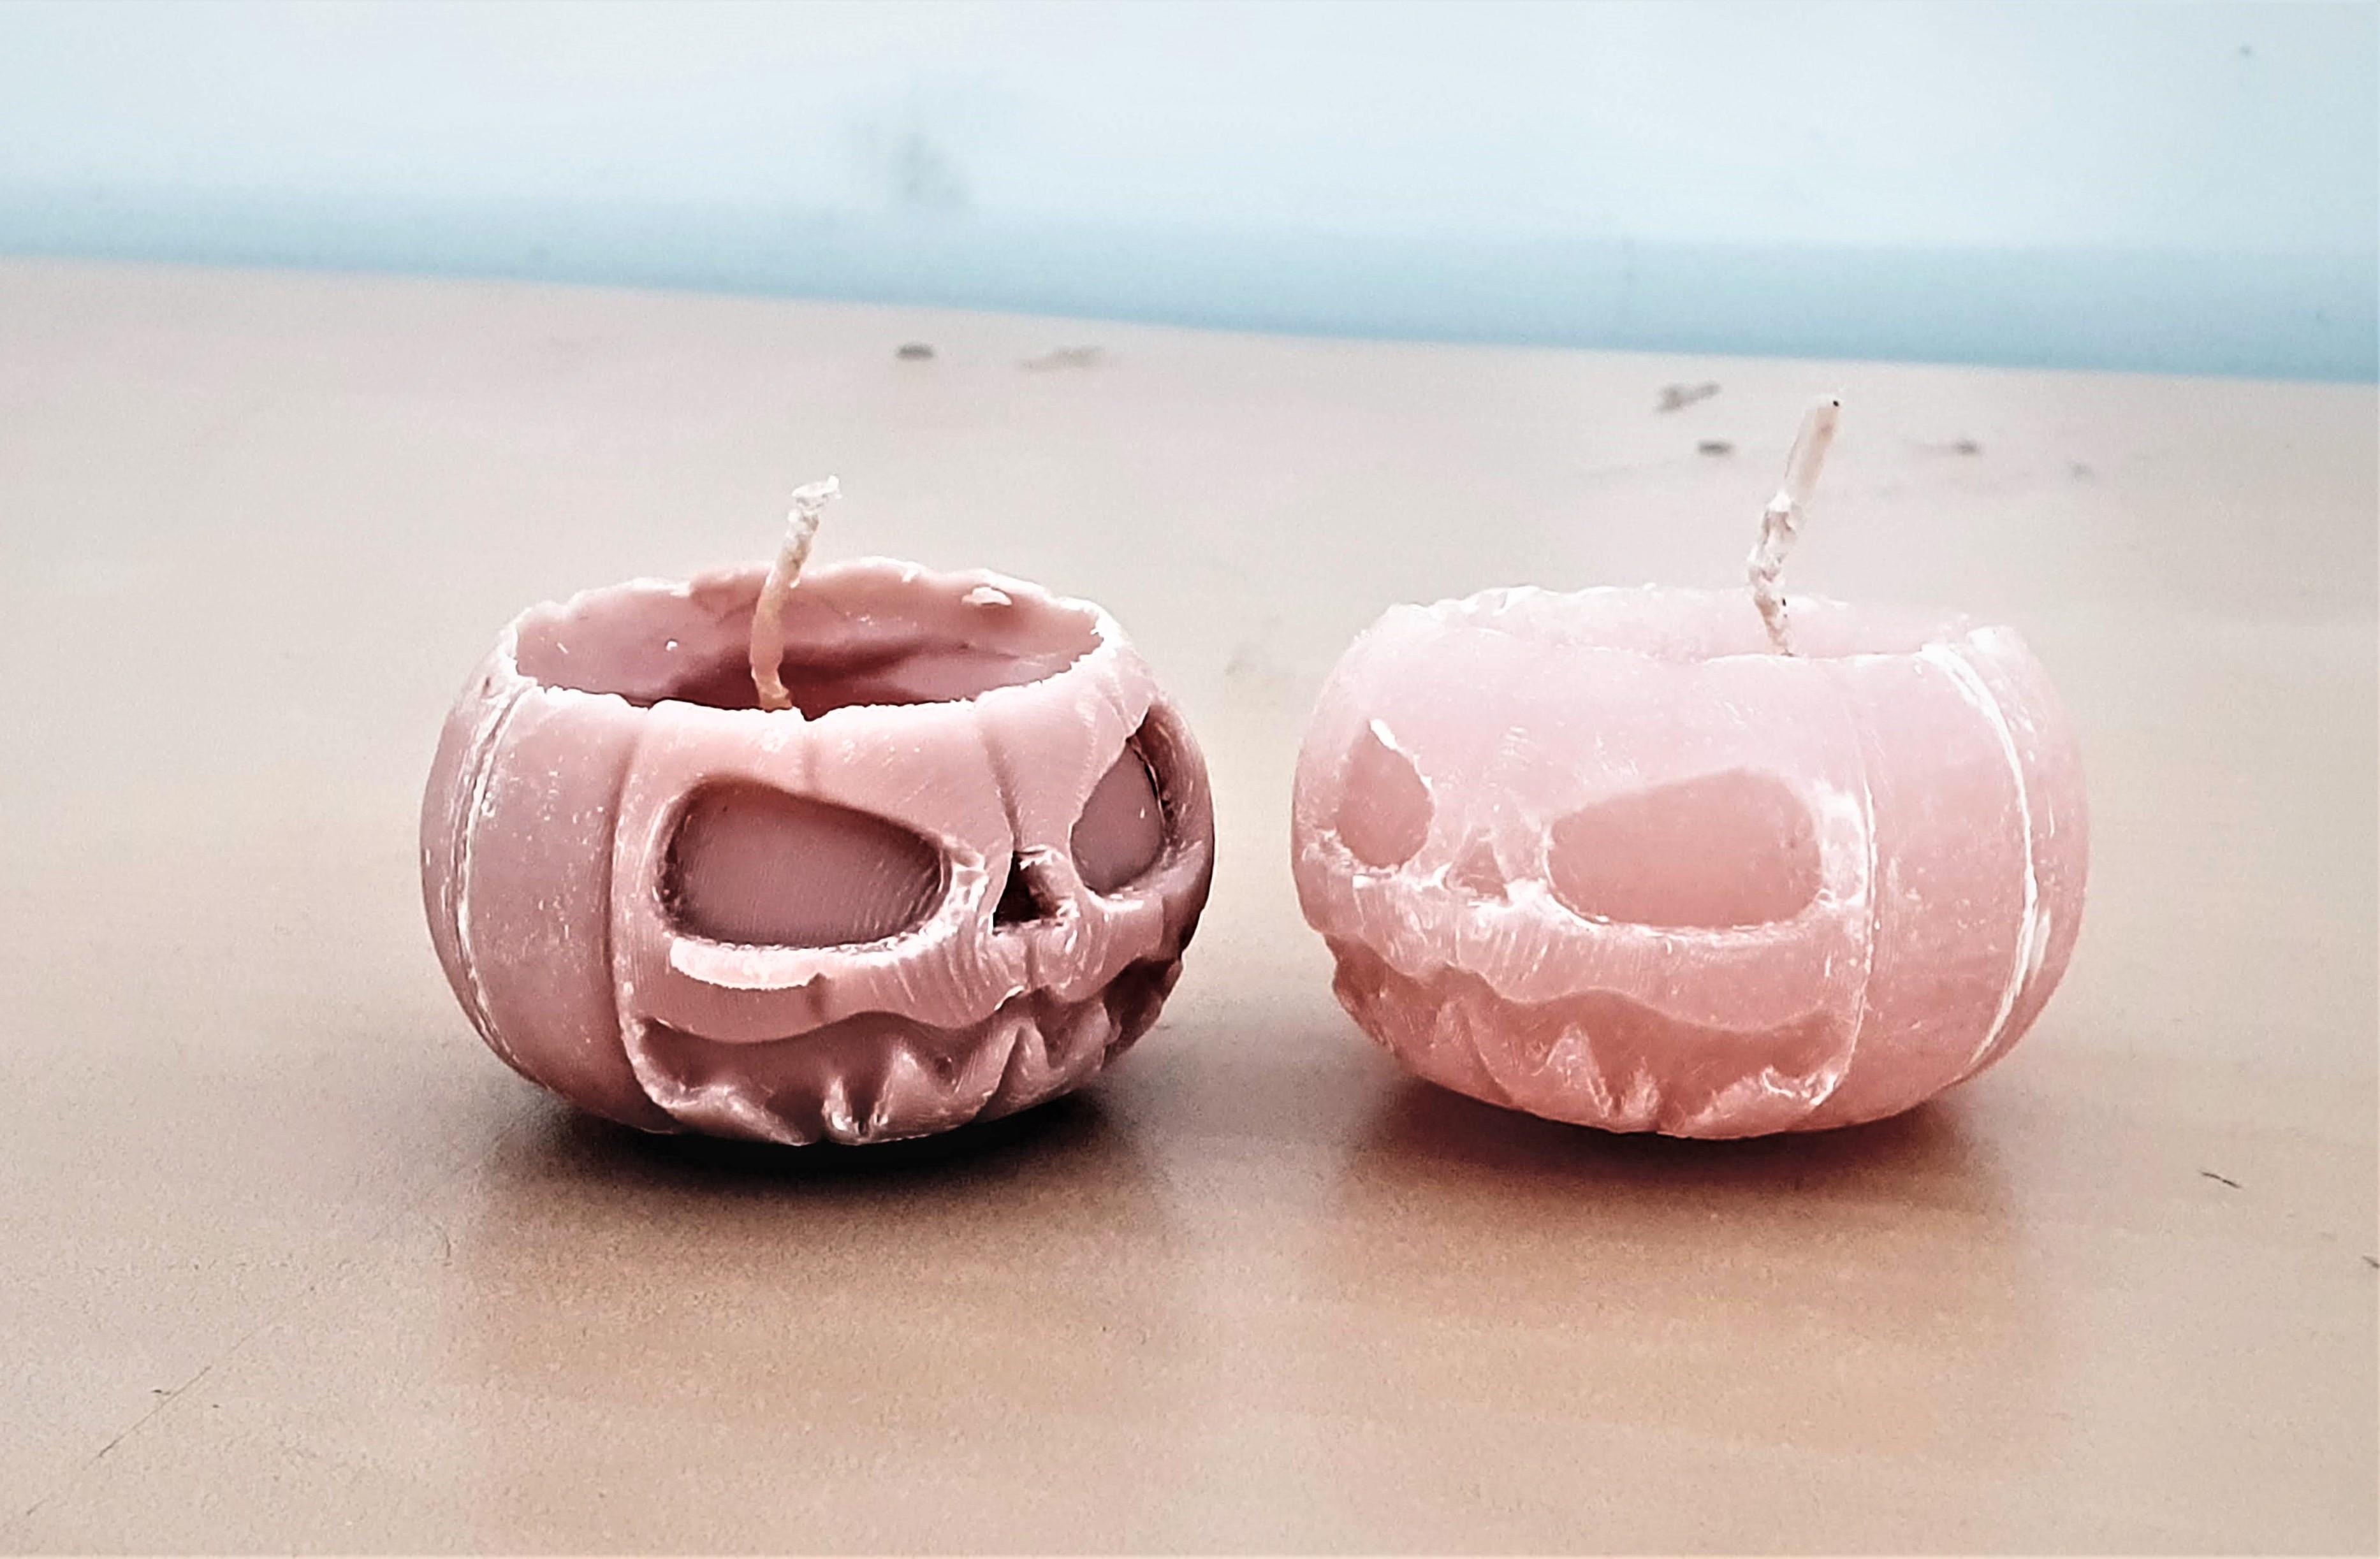
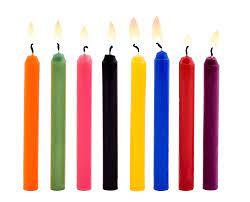
1>Old -New Candles
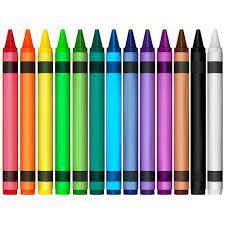
2>Wax Crayons
3>Laptop or computer for mold design
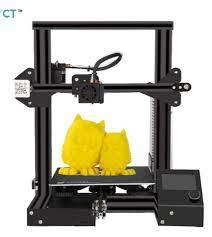
4>3d Printer for print mold
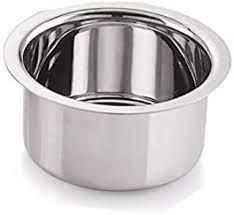
5> Vessel to Melt Candle and Wax
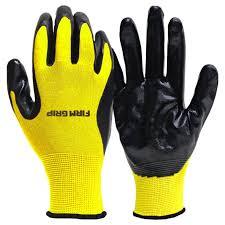
6>Gloves and eyeglass for safety
7> some patience to cooldown wax
8>Stove for Melt Wax
9>few drops of Scent or other extracts for good Smell
Choose Your Model
For making Candles I started searching for some designs on the Internet. i found some free CAD resources to download models.
Select your design model from Thingiverse, Fusion360 gallery, Grabcad, Thangs 3D, and Download model from the below link.
https://gallery.autodesk.com/projects/all
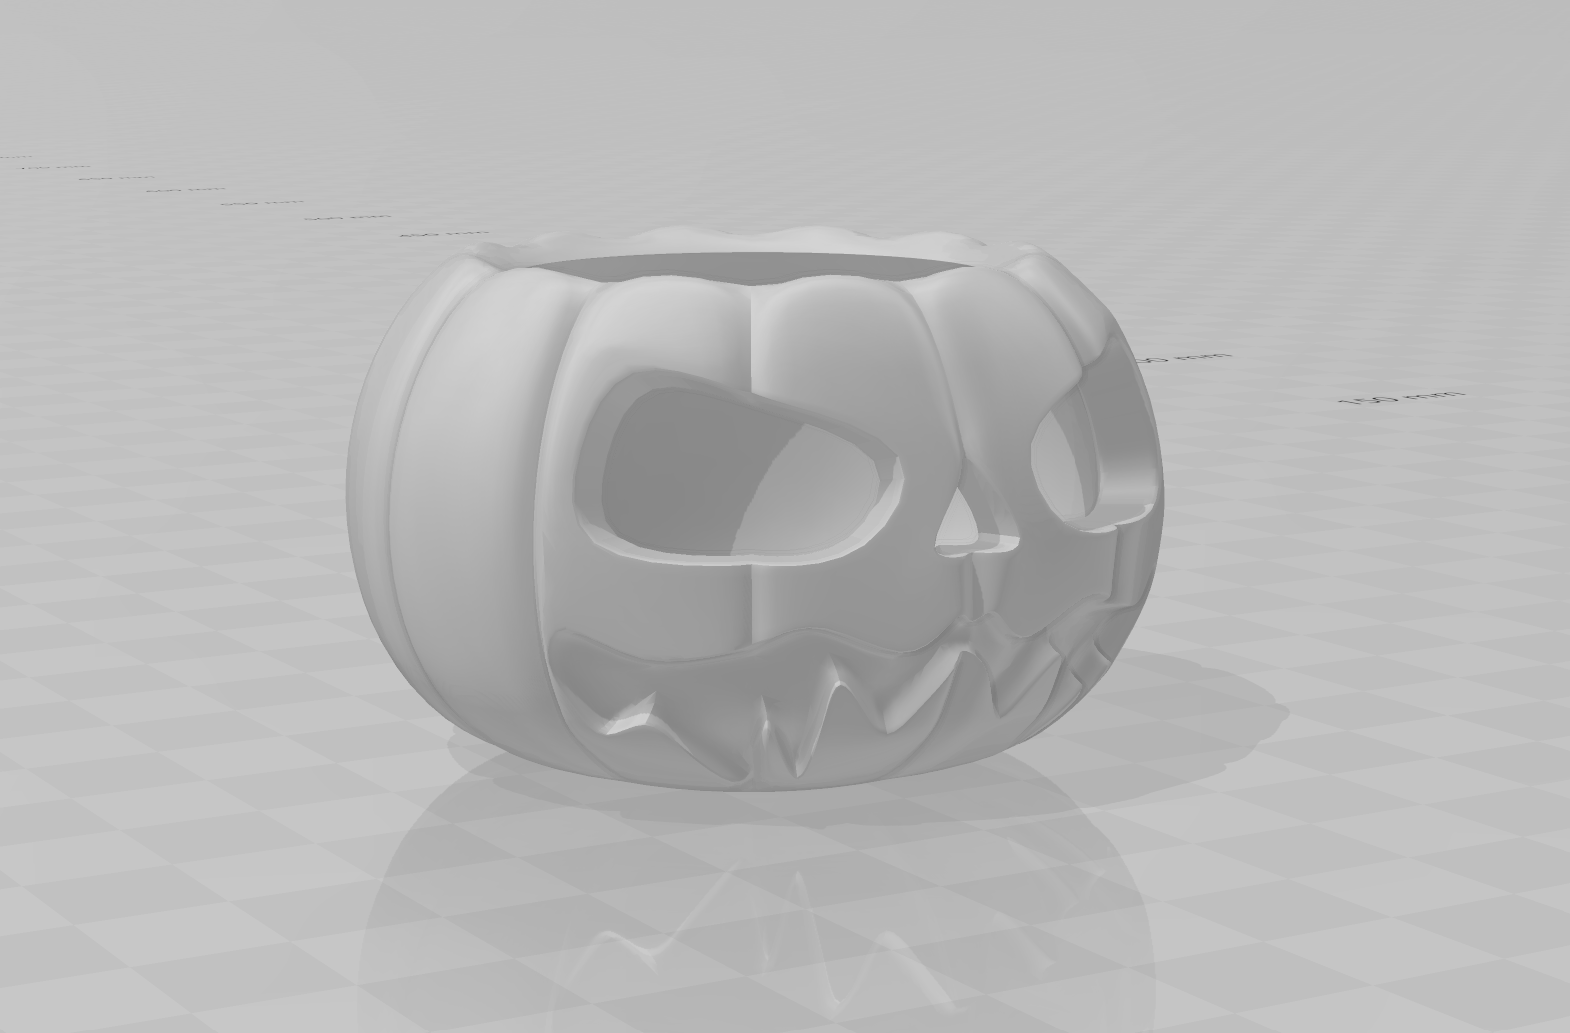
I use the Helloween Pumpkin design model, downloaded from Thingiverse.
Downloads
Prepare Your Design for Mold
.png)
.png)
.png)
.png)
.png)
.png)
- Making molds is Easy using Fusion360.
- Upload your downloaded model into the Fusion360 folder.
- Make a new design and name it Candle mold.
- Import the same download file into this Project.
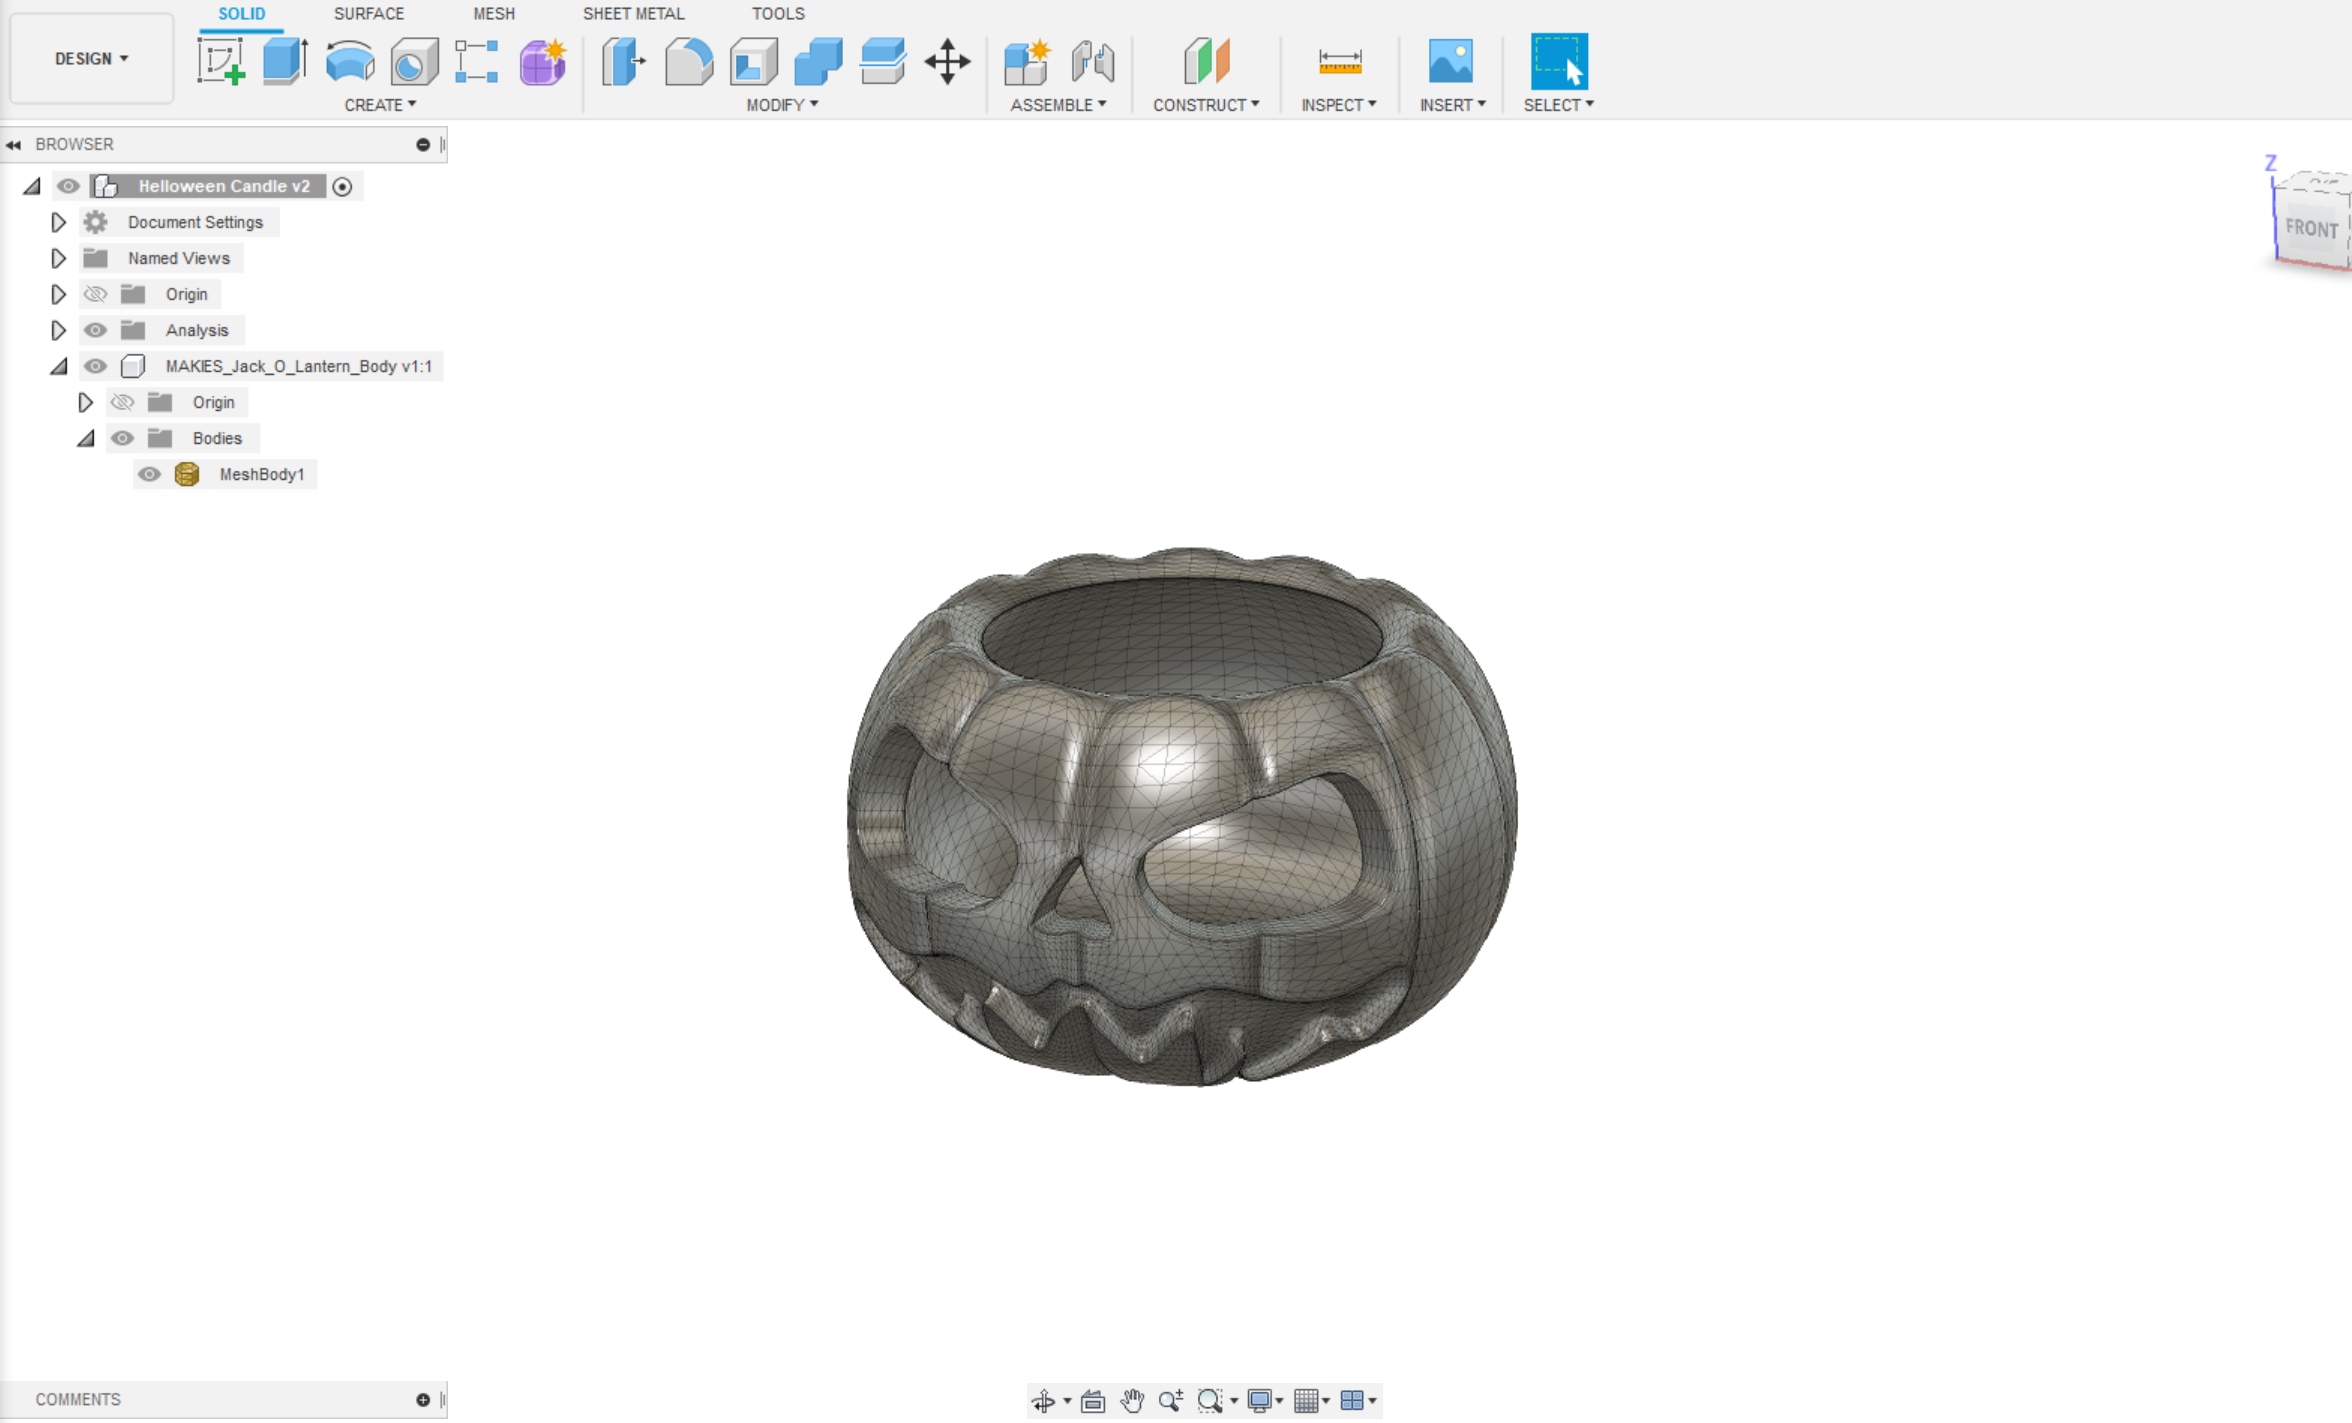
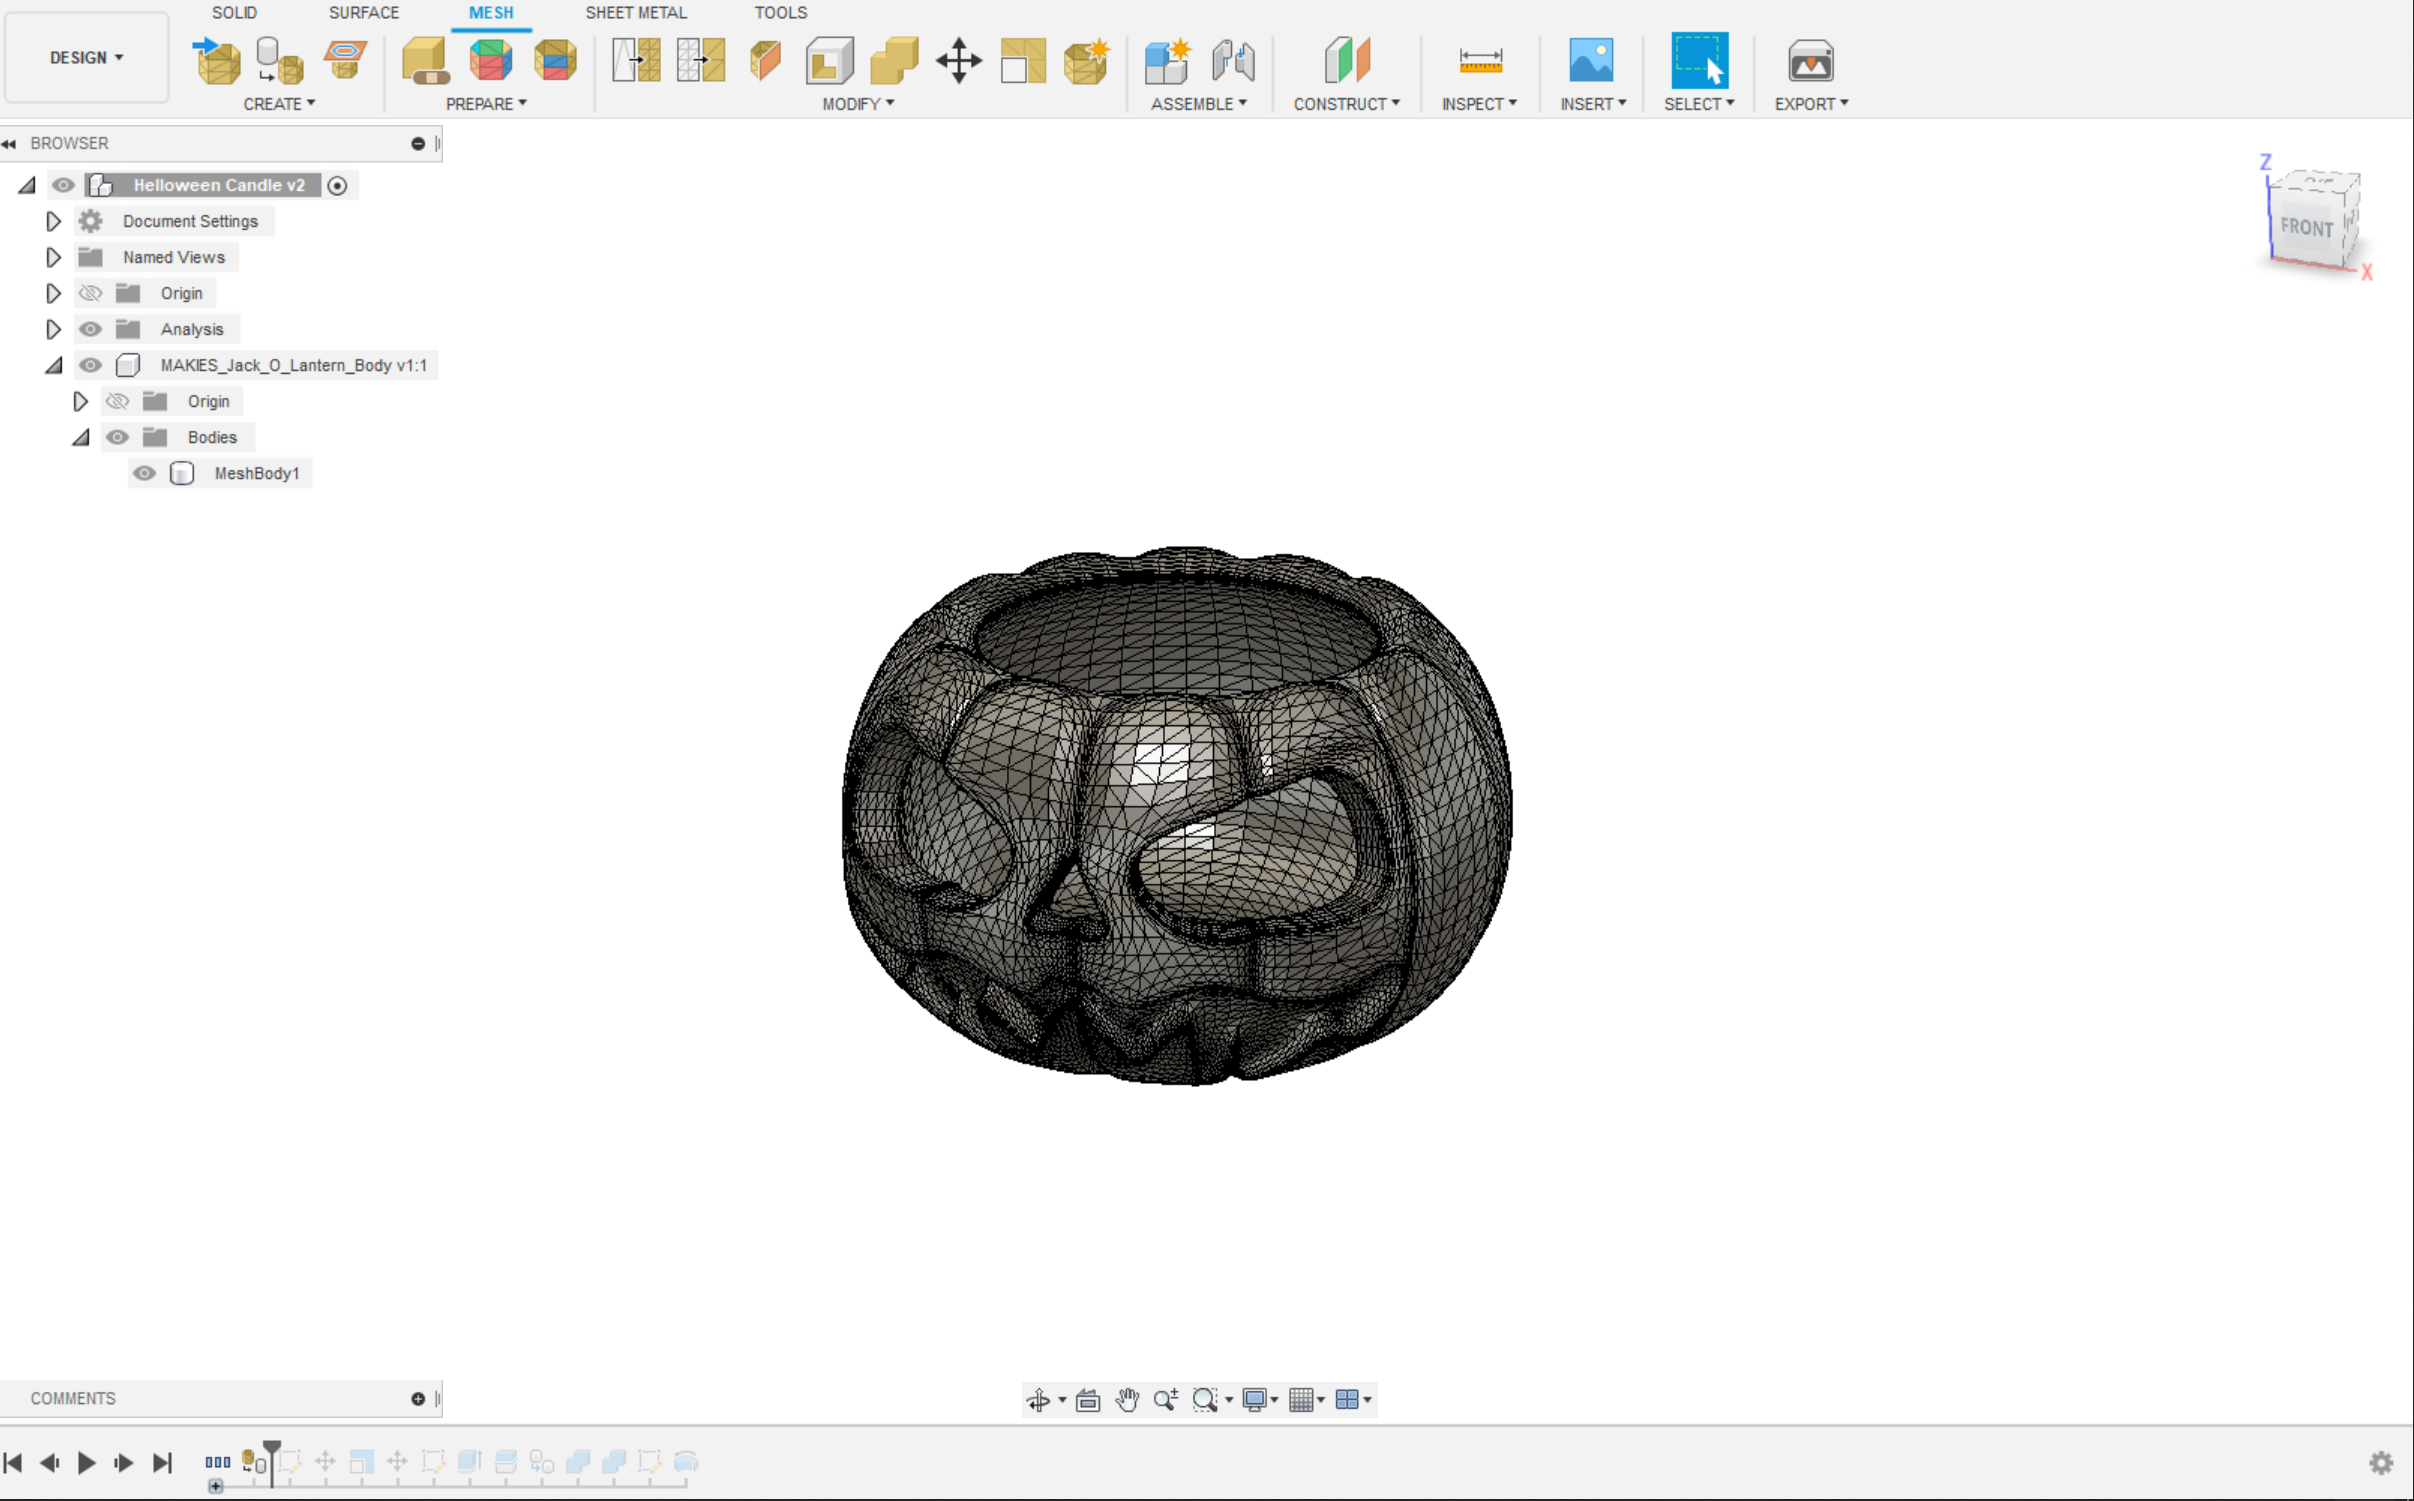
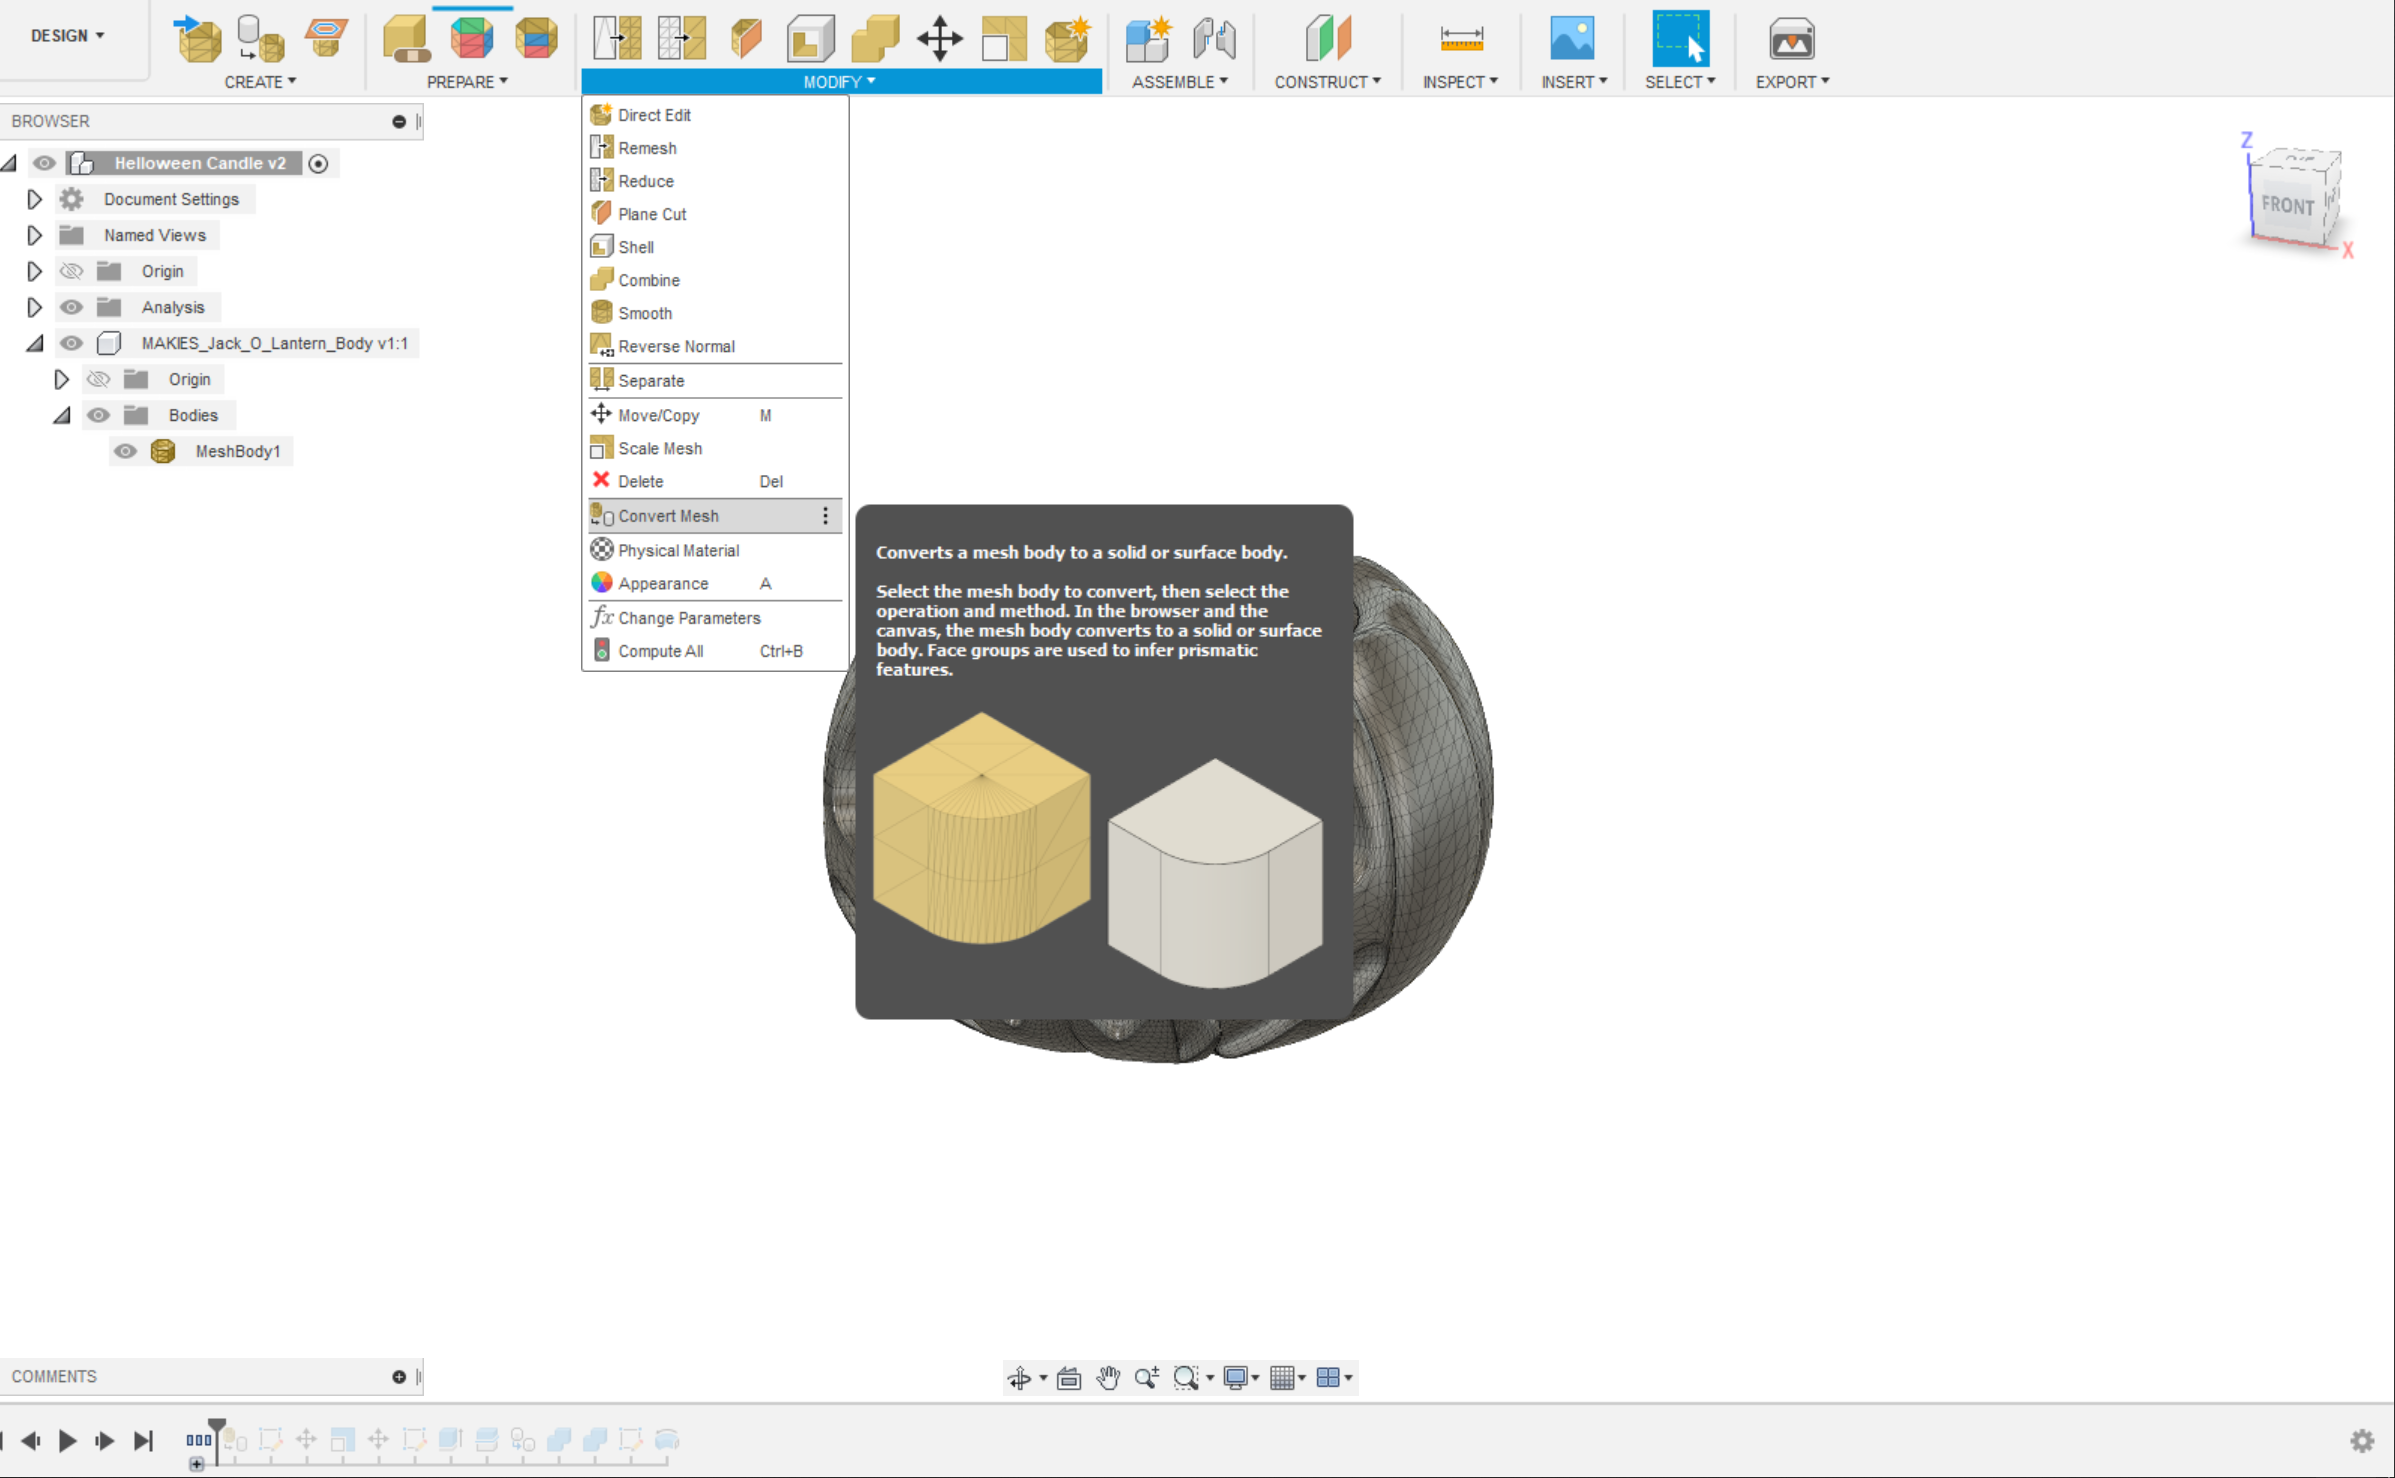
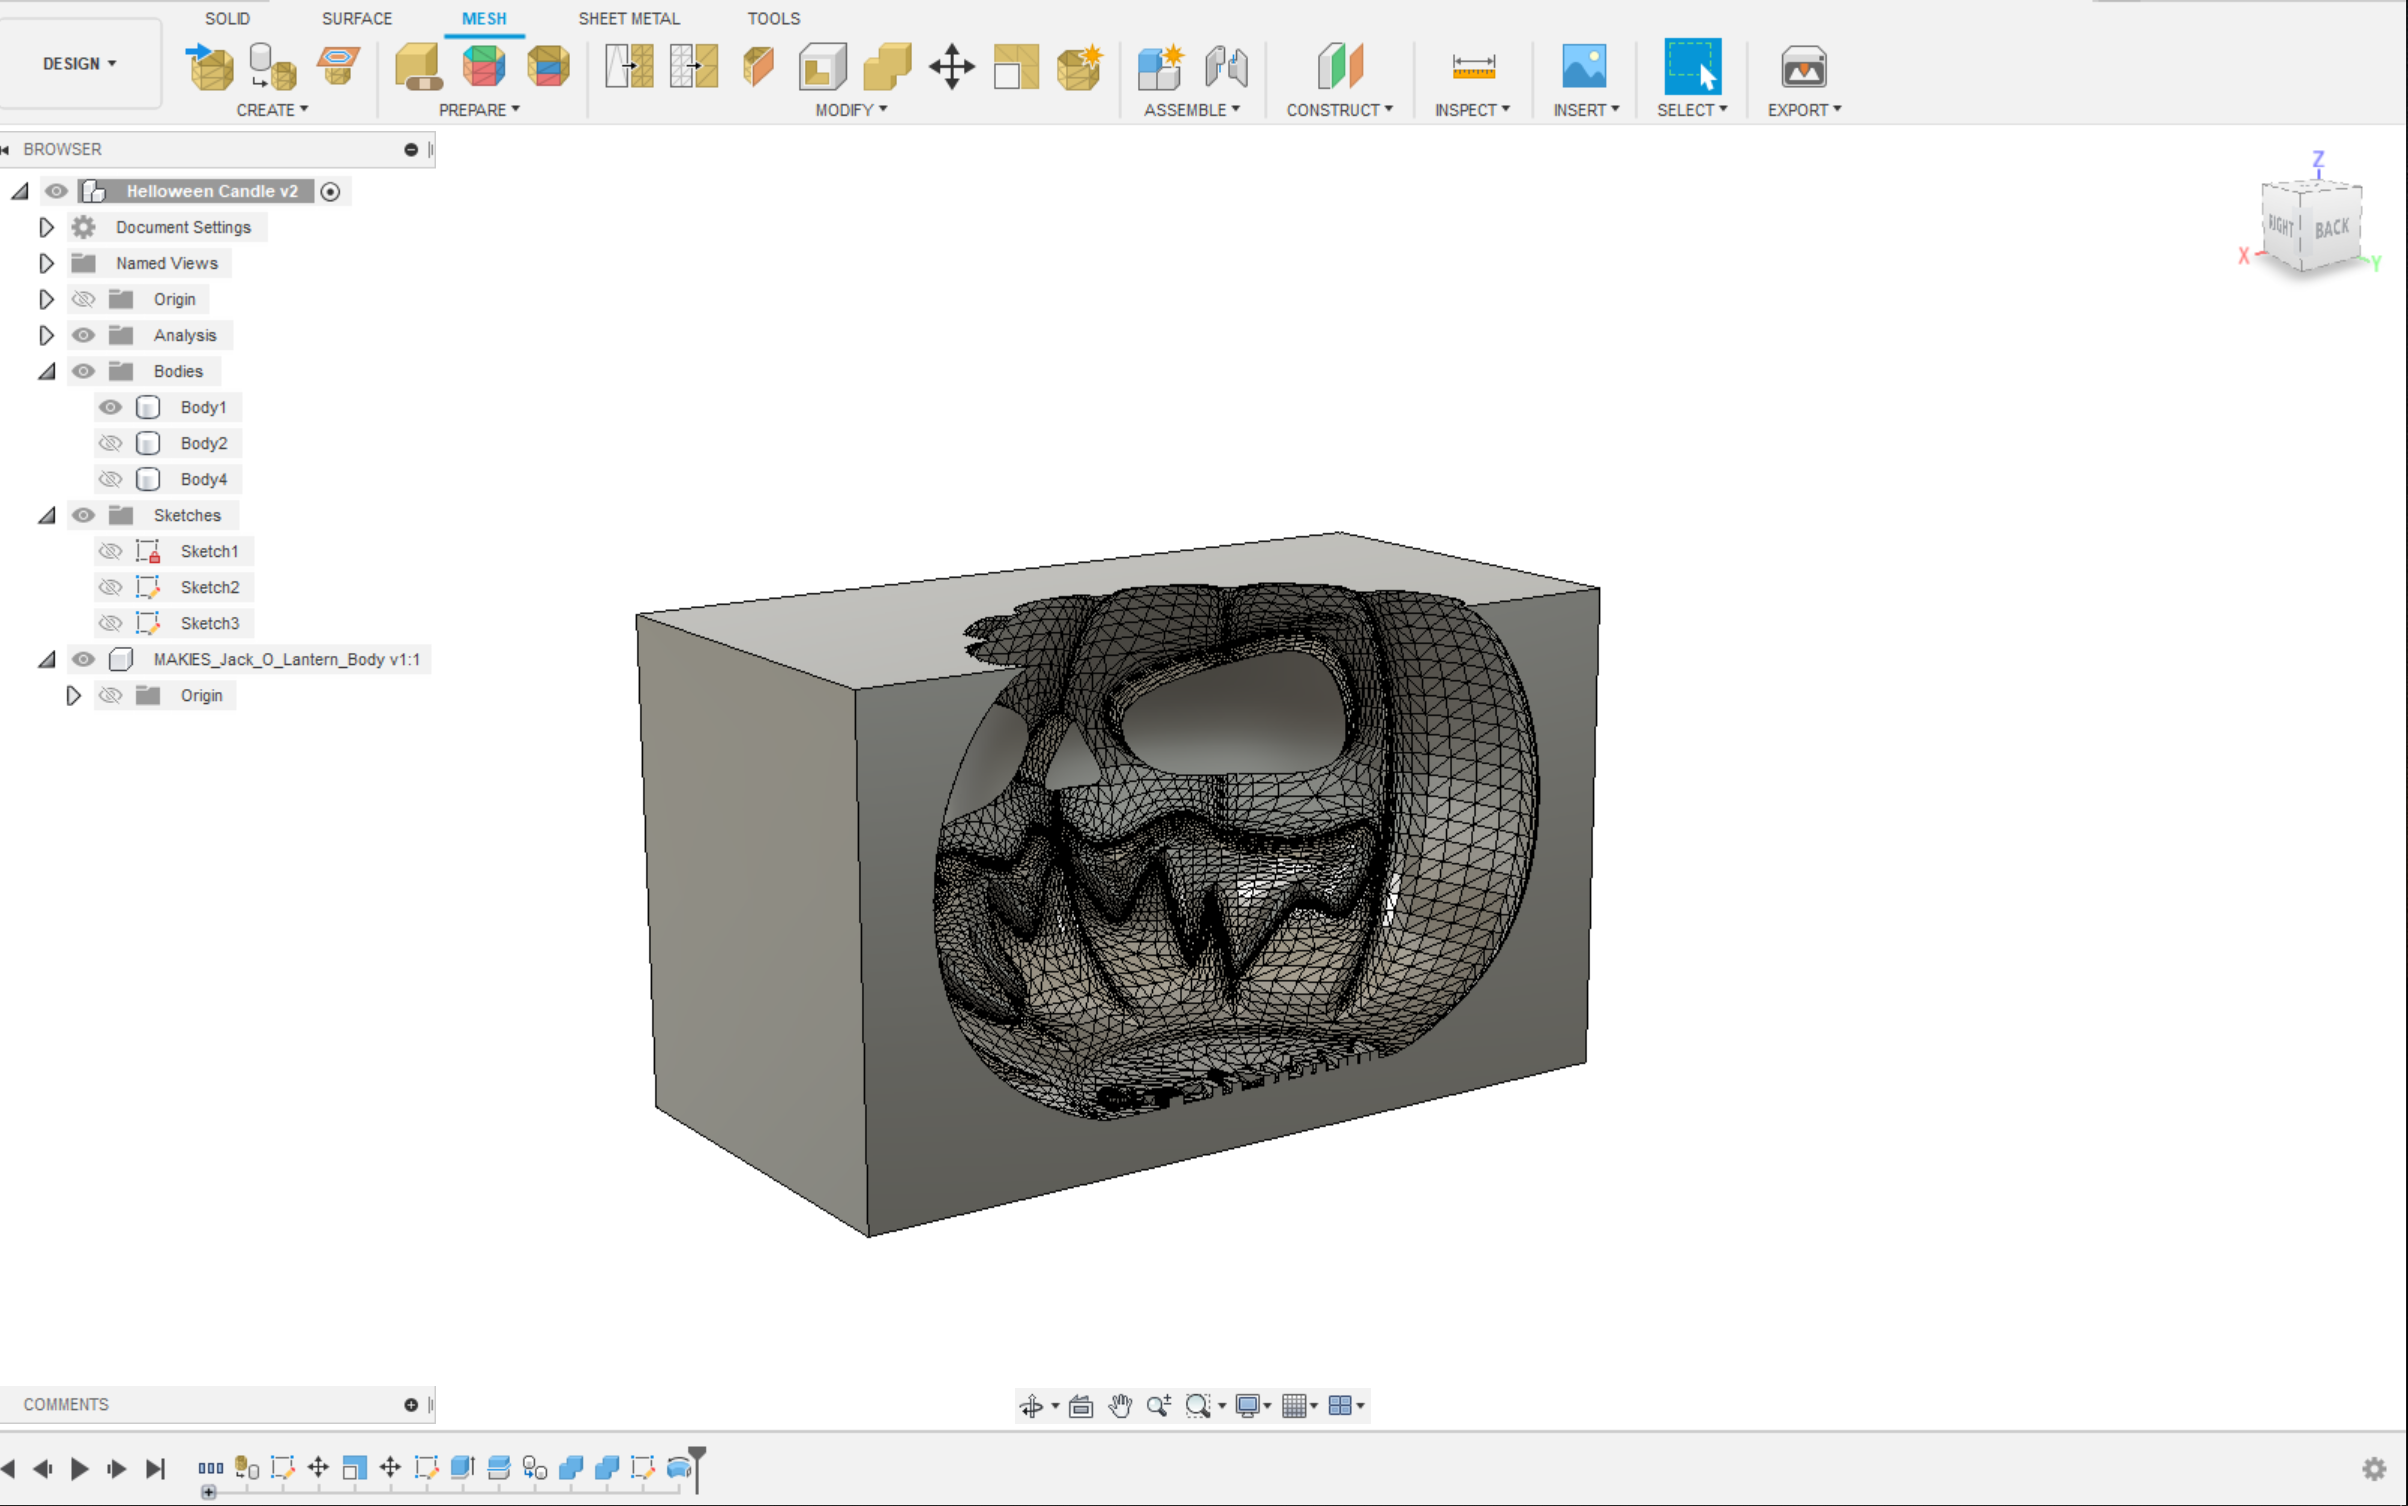
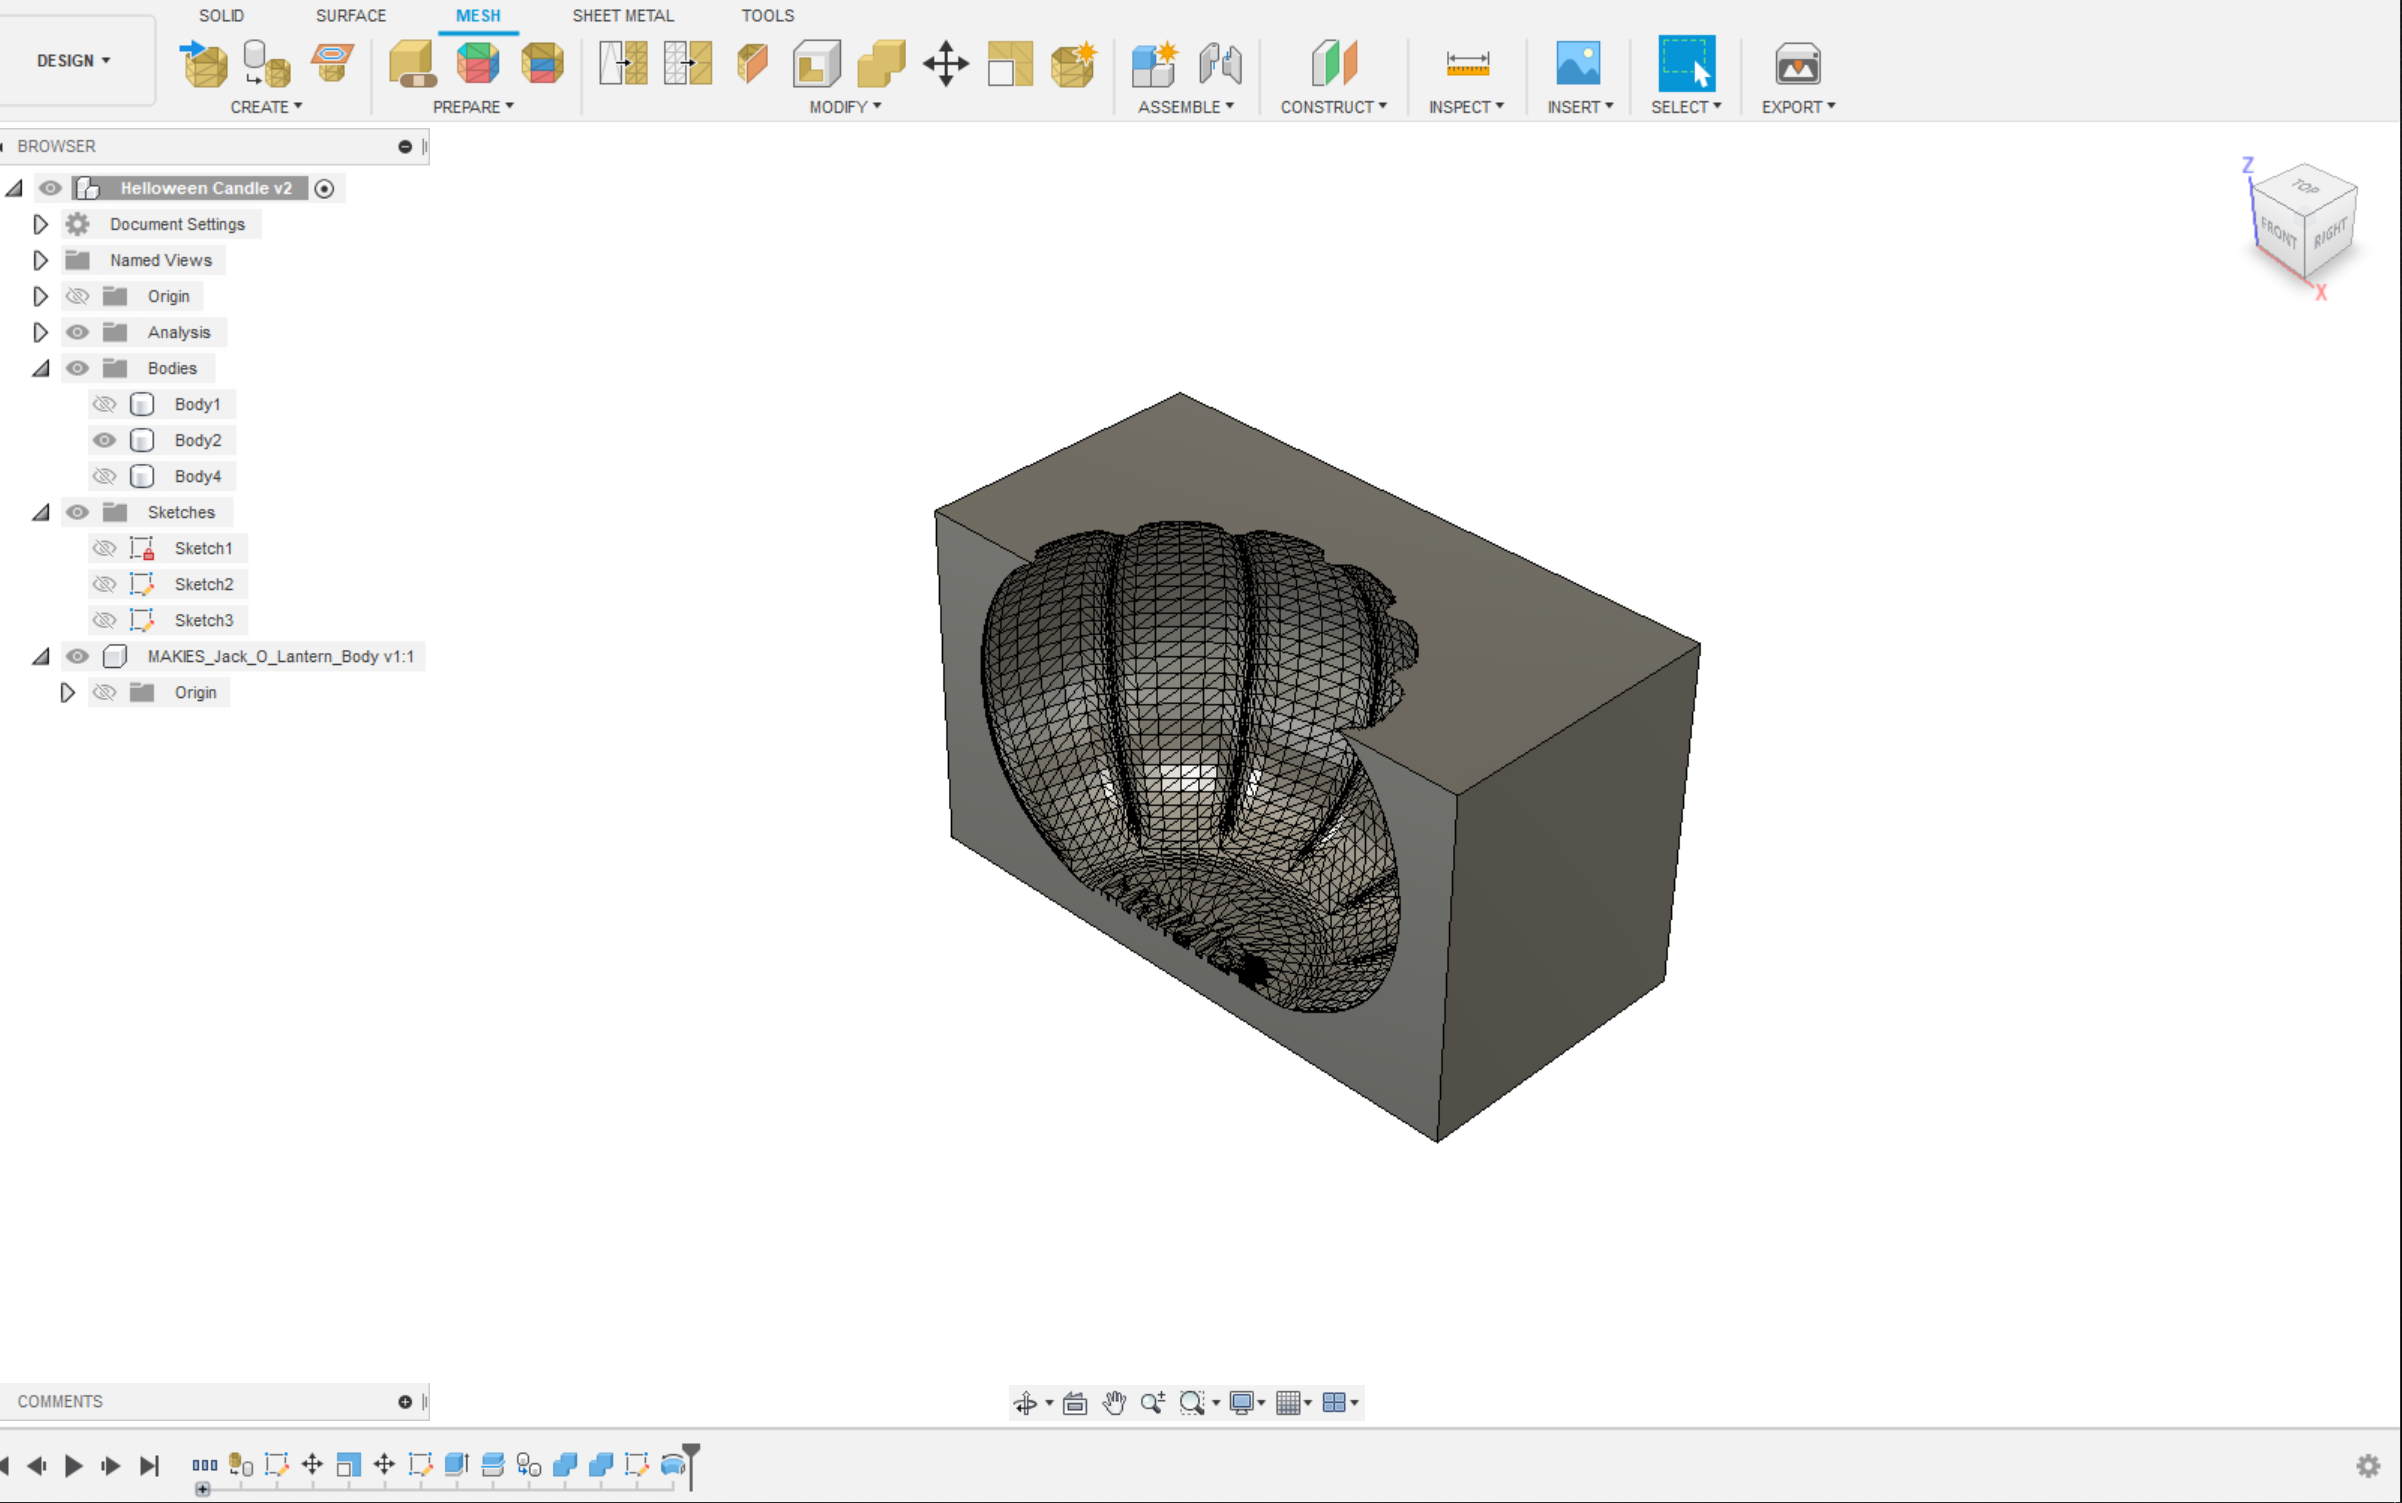
- It shows as triangular mesh. we need to make it solid by conversation from mesh to solid.
- Goto mesh workspace select modify > convert mesh.
- Select model and Press OK.
- Now your mesh model converts into solid.
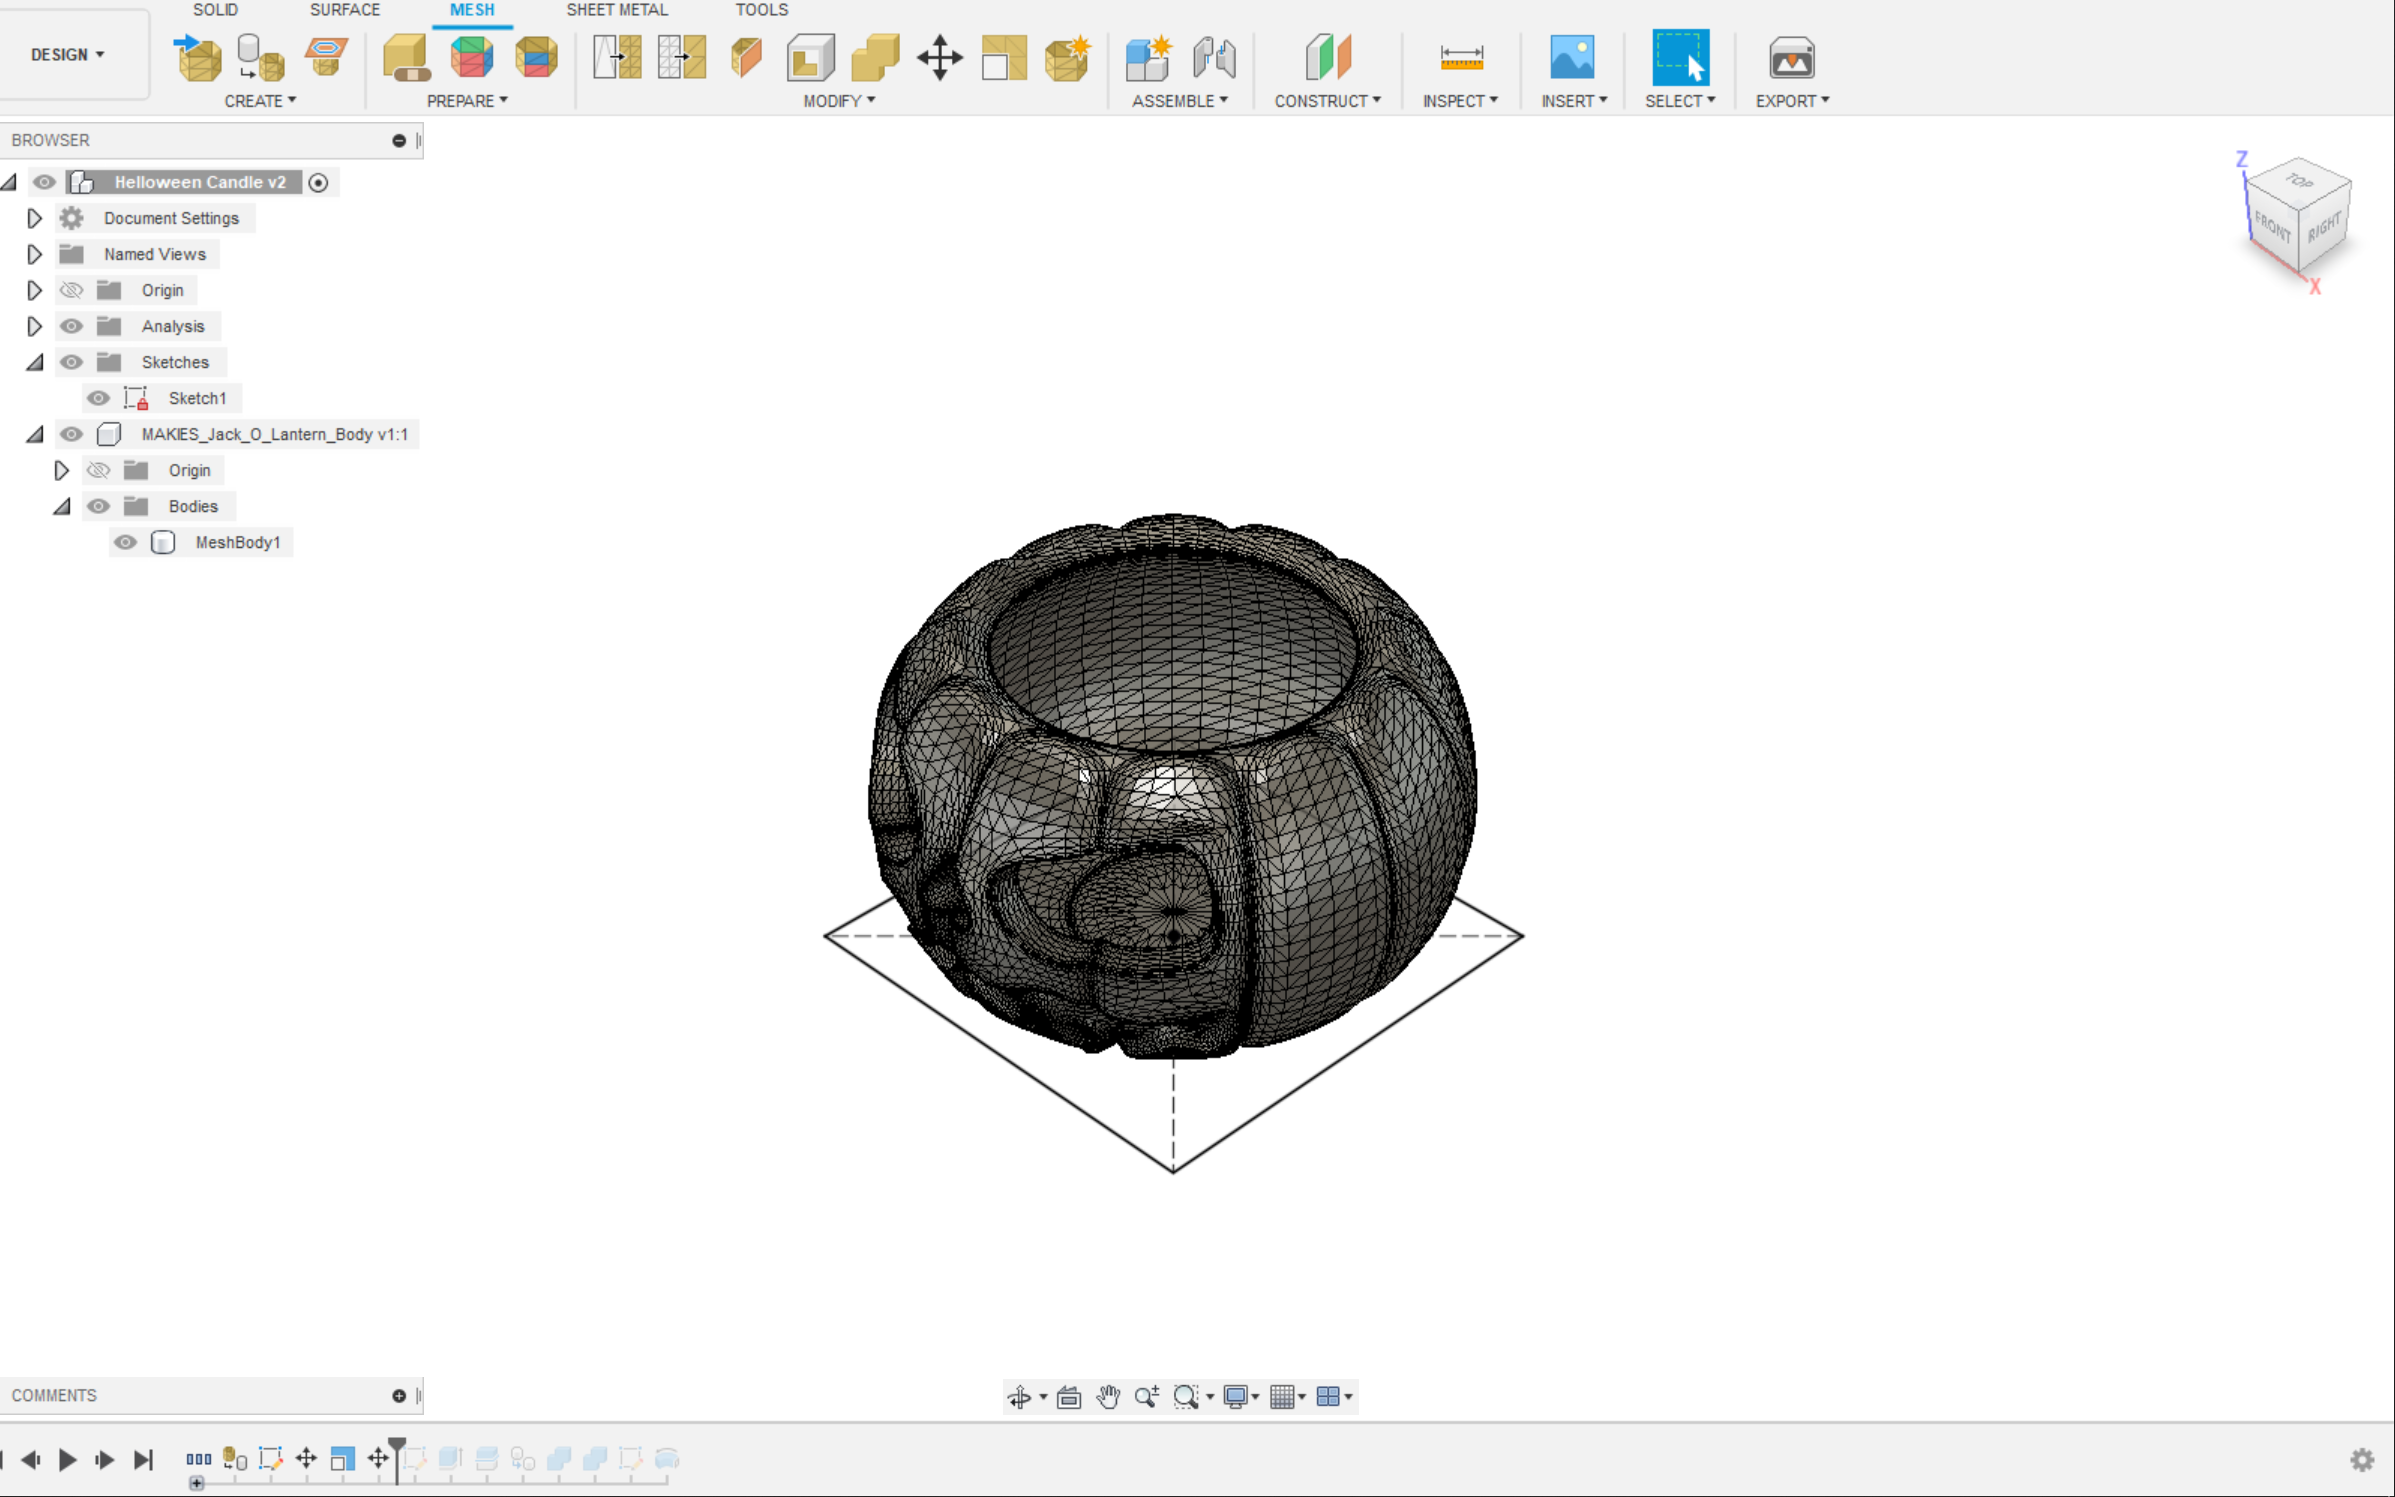
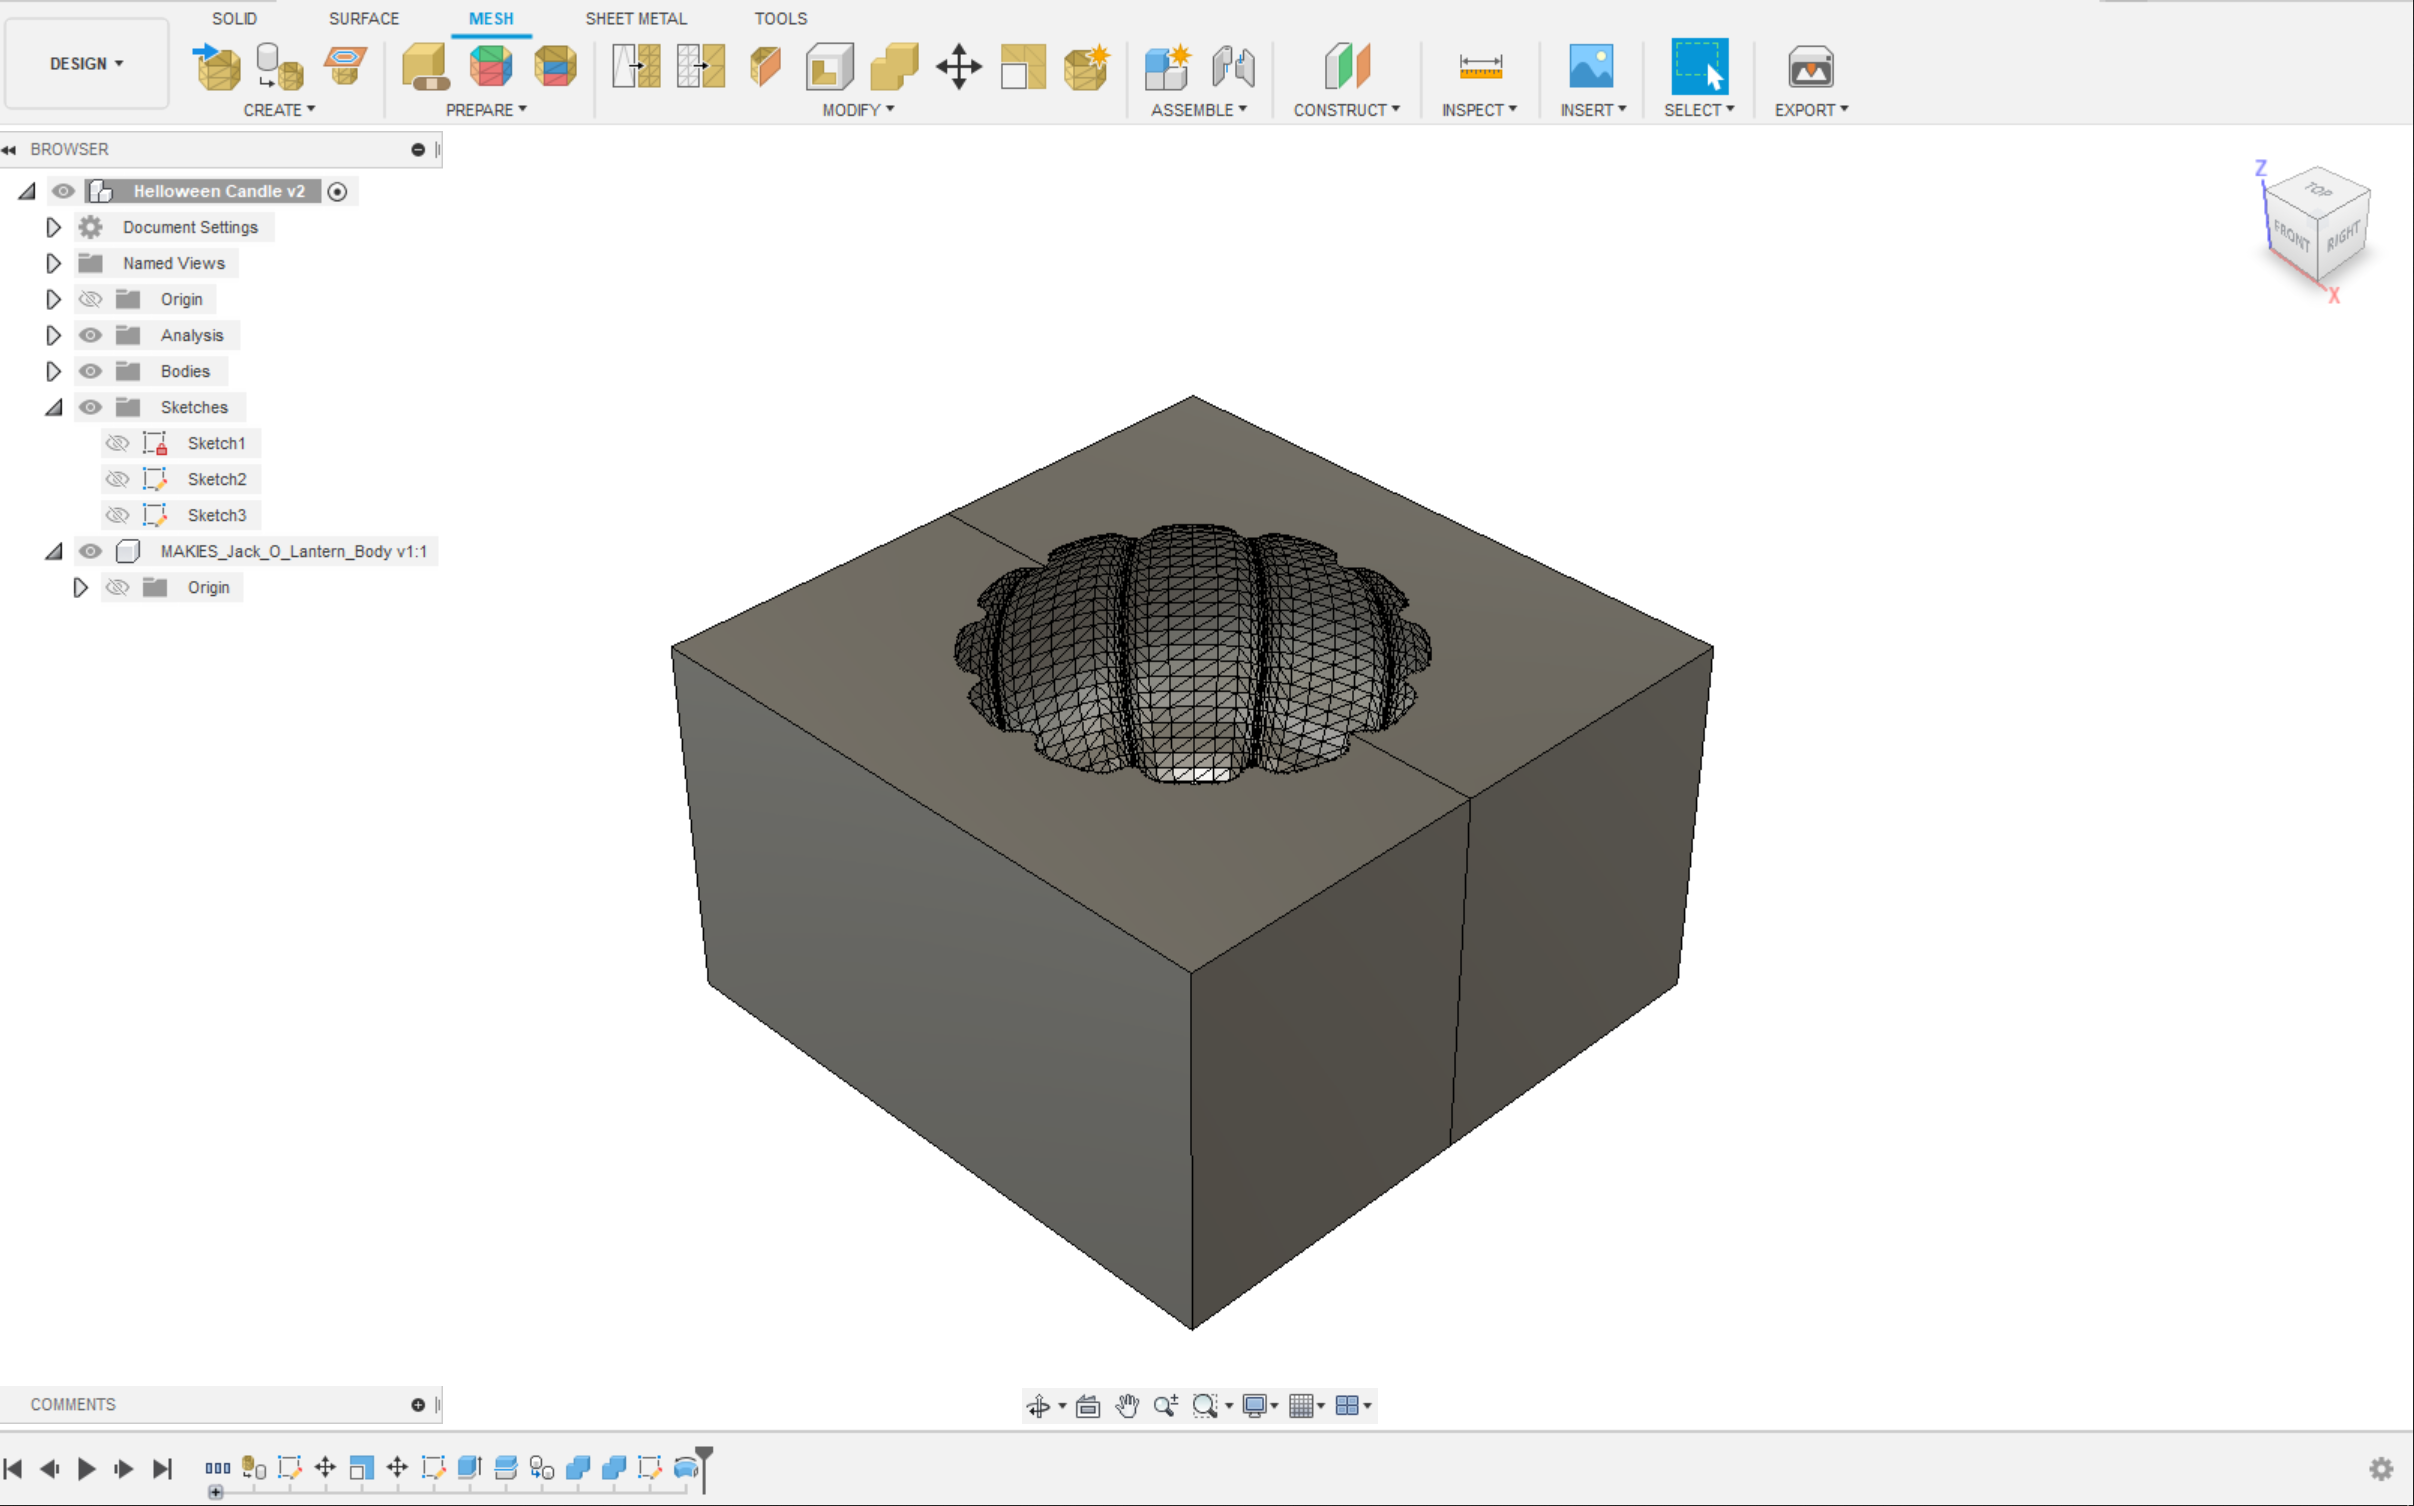
- Scale it down using a scale tool to make it in size what you want.
- I want my candle to be 50x50x50 mm.
- Place the model into the center.
- Draw a square on the center plane of greater the size of your model (Offset approx 4mm).
- Extrude your box slightly greater in size of your model .so, your model fits inside the Cube.
Make Mold in Fusion360
.png)
.png)
.png)
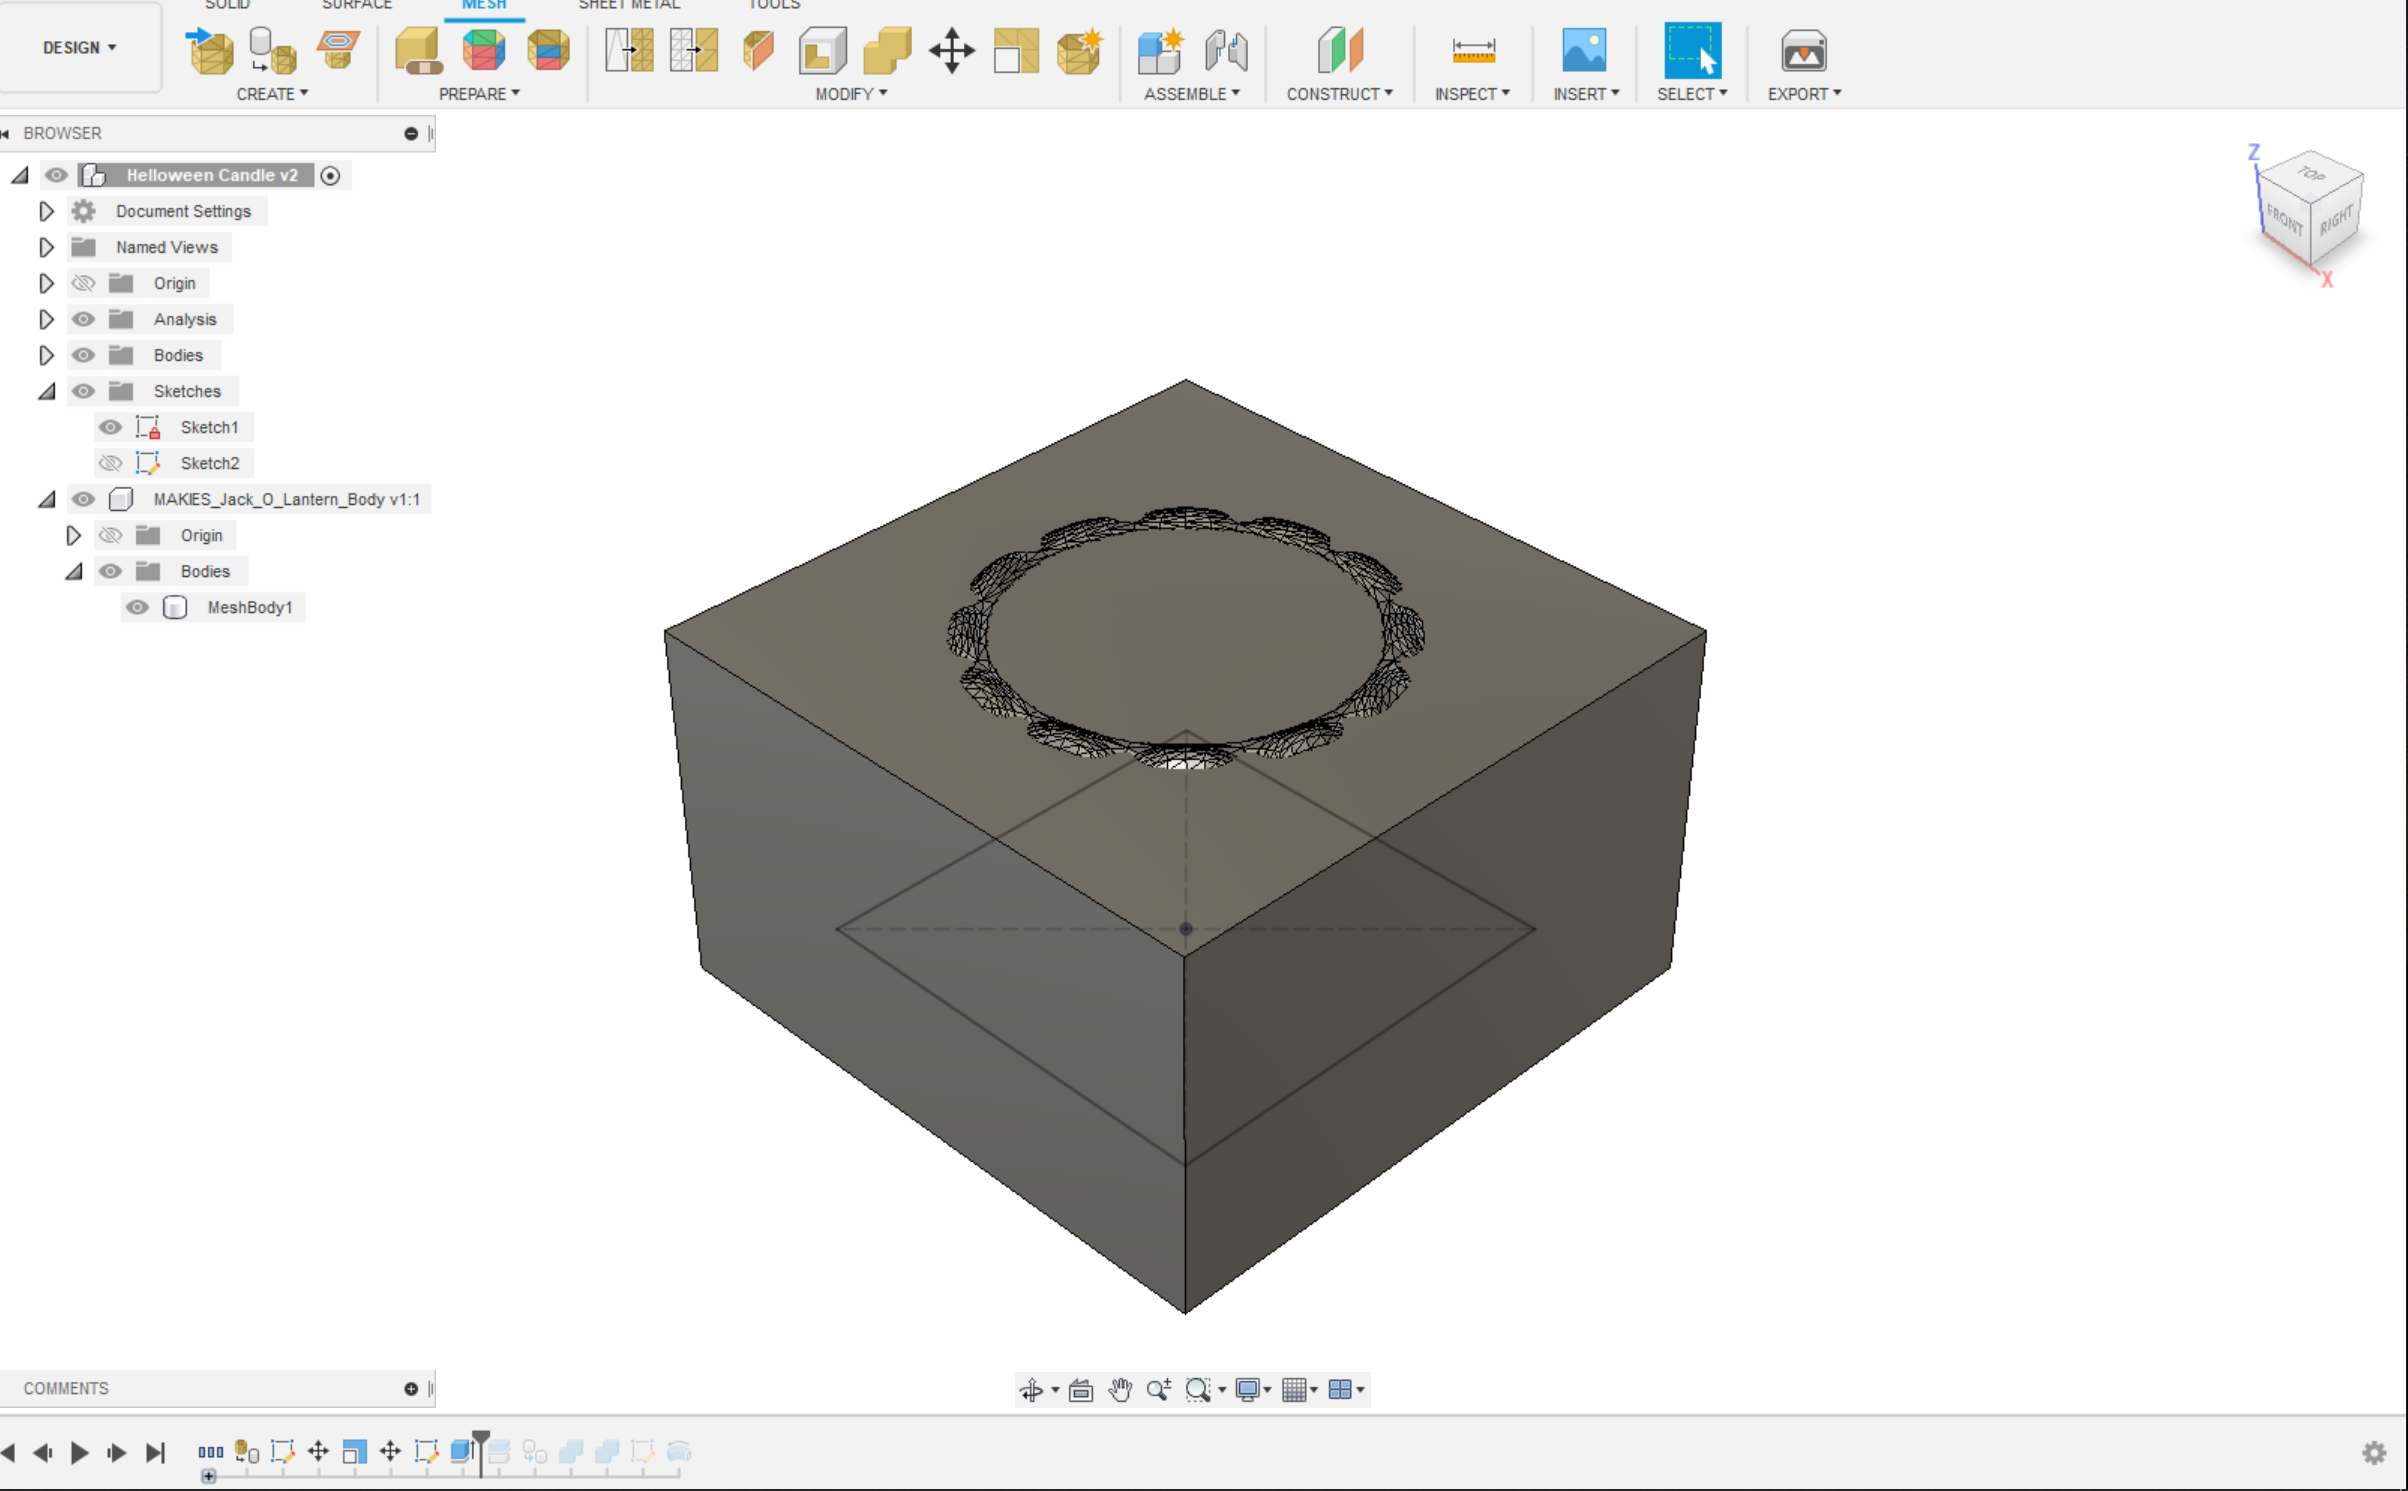
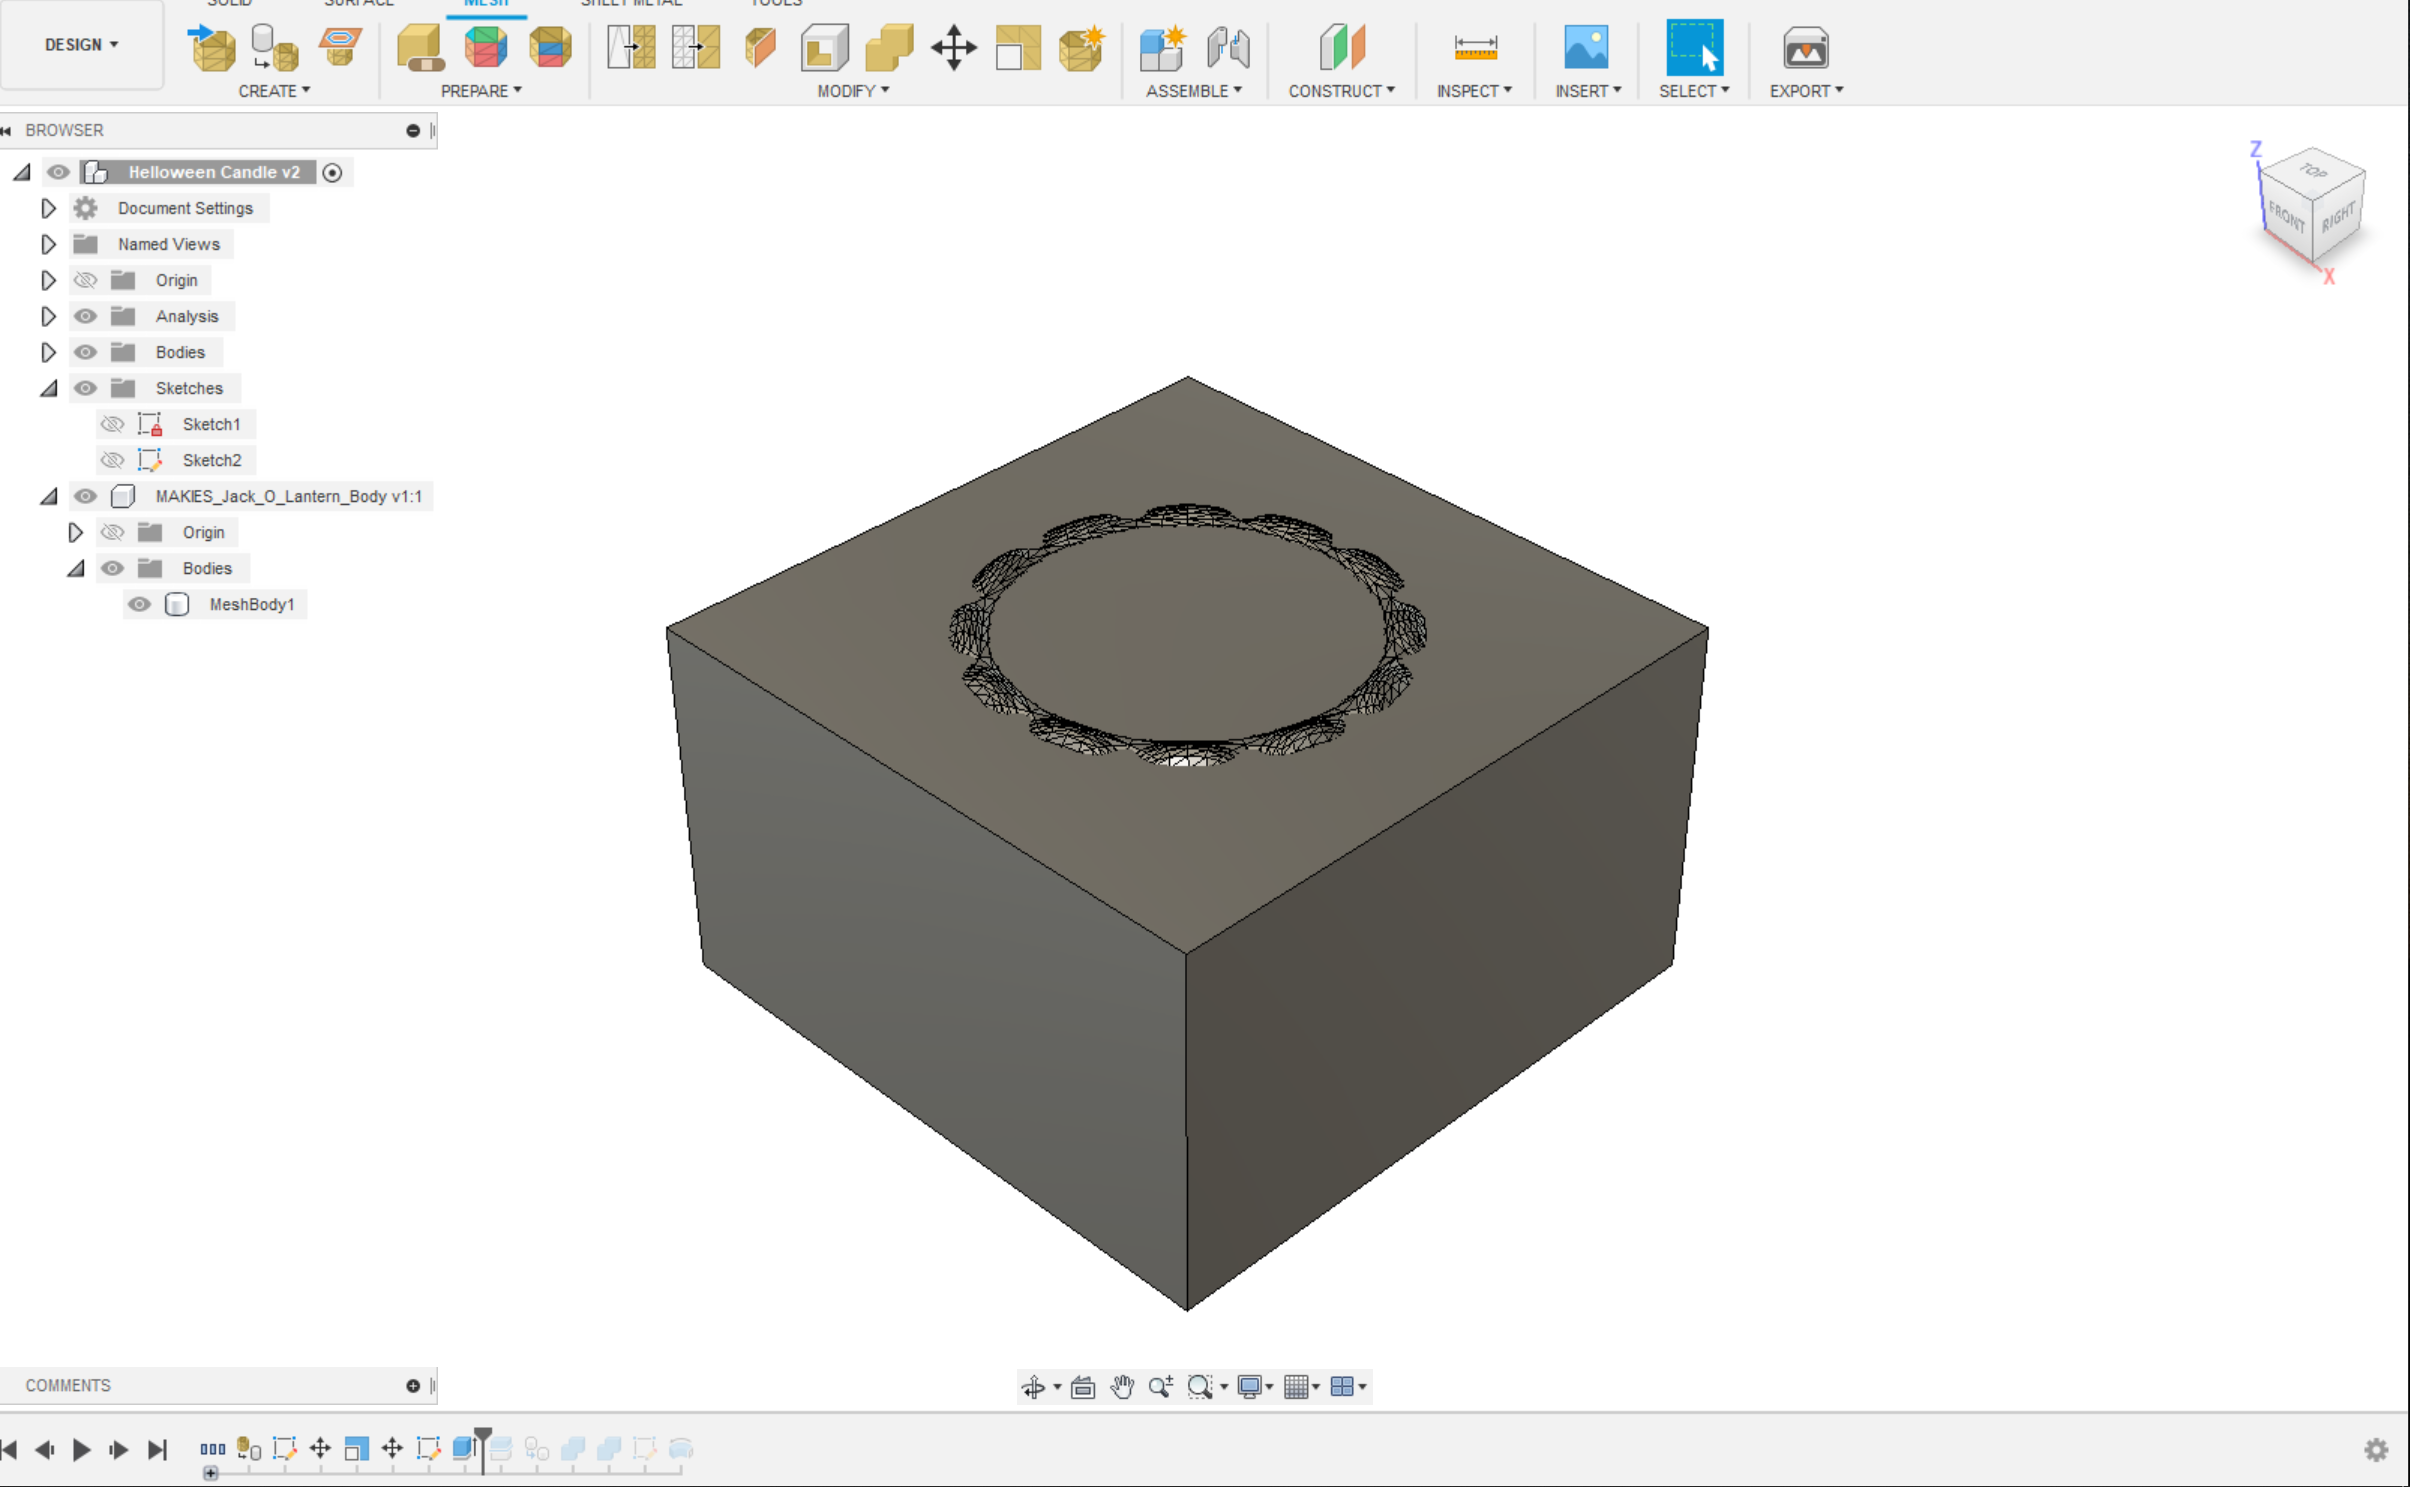
- After making the cube, you have your model inside this cube.
- Select modify > combine tool . Select Cube first and Select model in second.
- Choose the cut command and press ok.
- This will make 2 new bodies and disappear our main model after the cut.
- Now Hide the internal body. we don't need that body in real.
- Now we have a hollow cube with our model impression inside.
- To make a detachable two halve mold we need to Split this cube into two halves.
- Use Modify > split body tool . Select cube and Select center plane from origin to make perfect two halves of the cube.
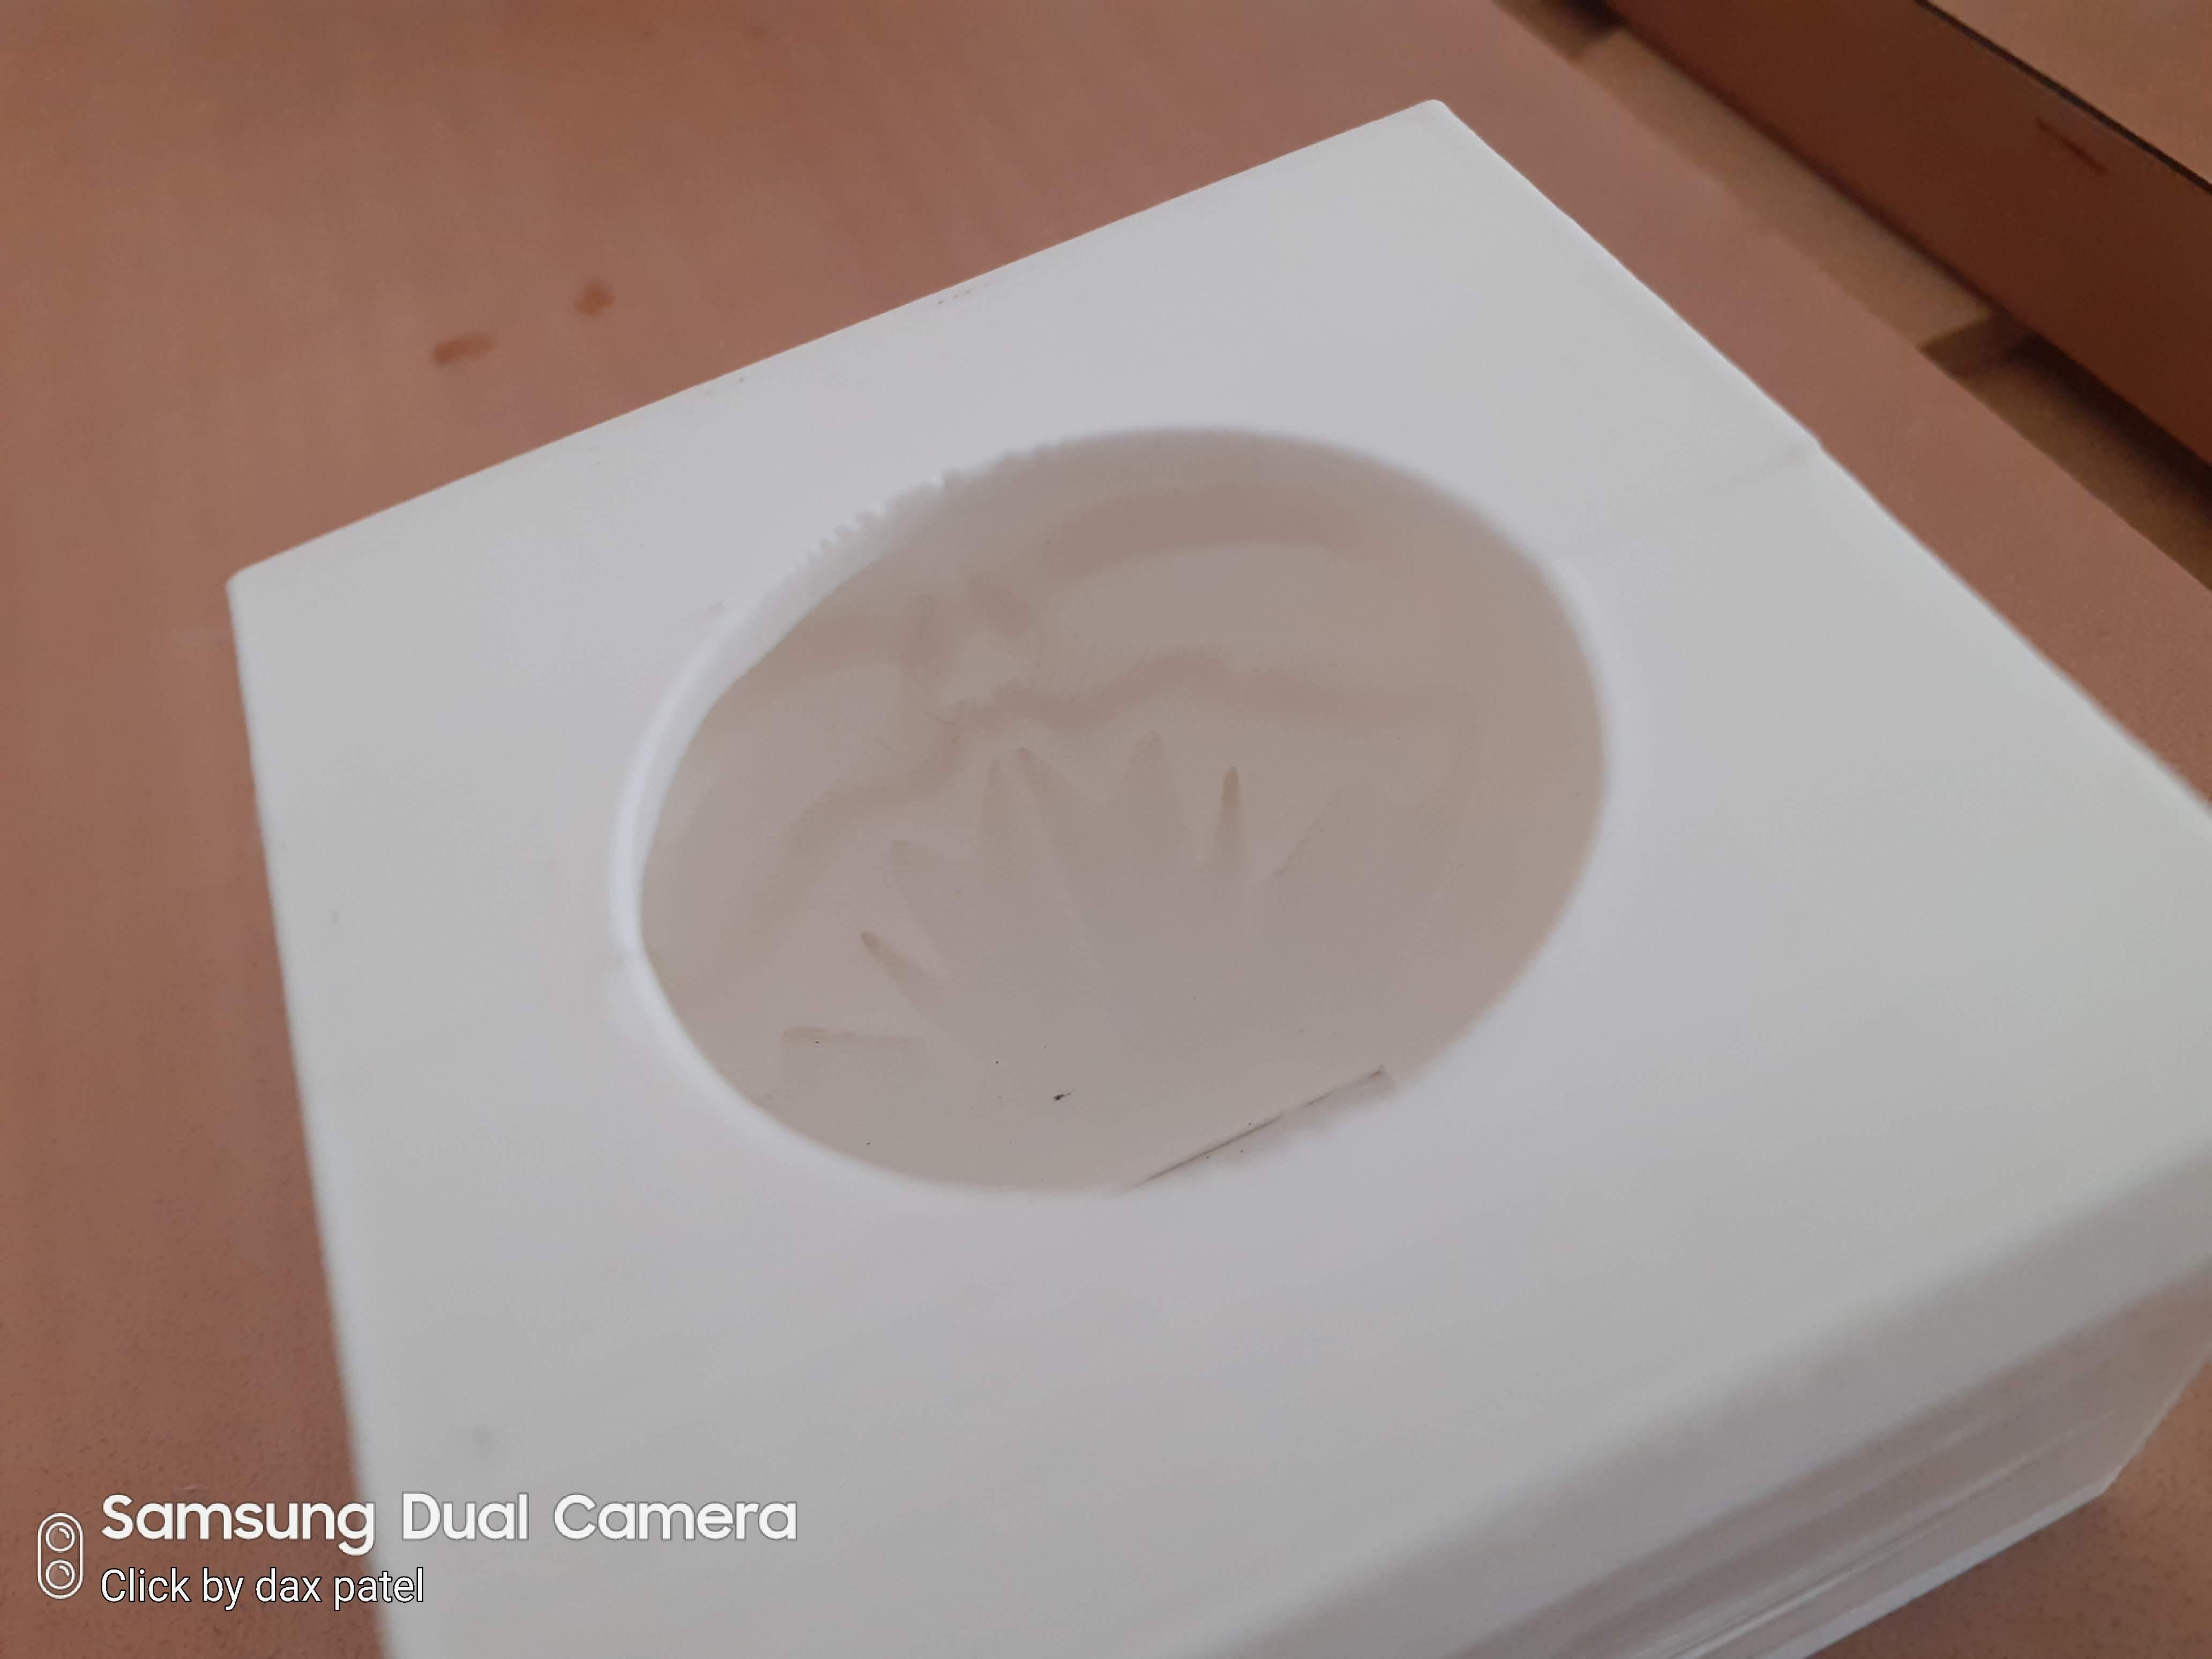
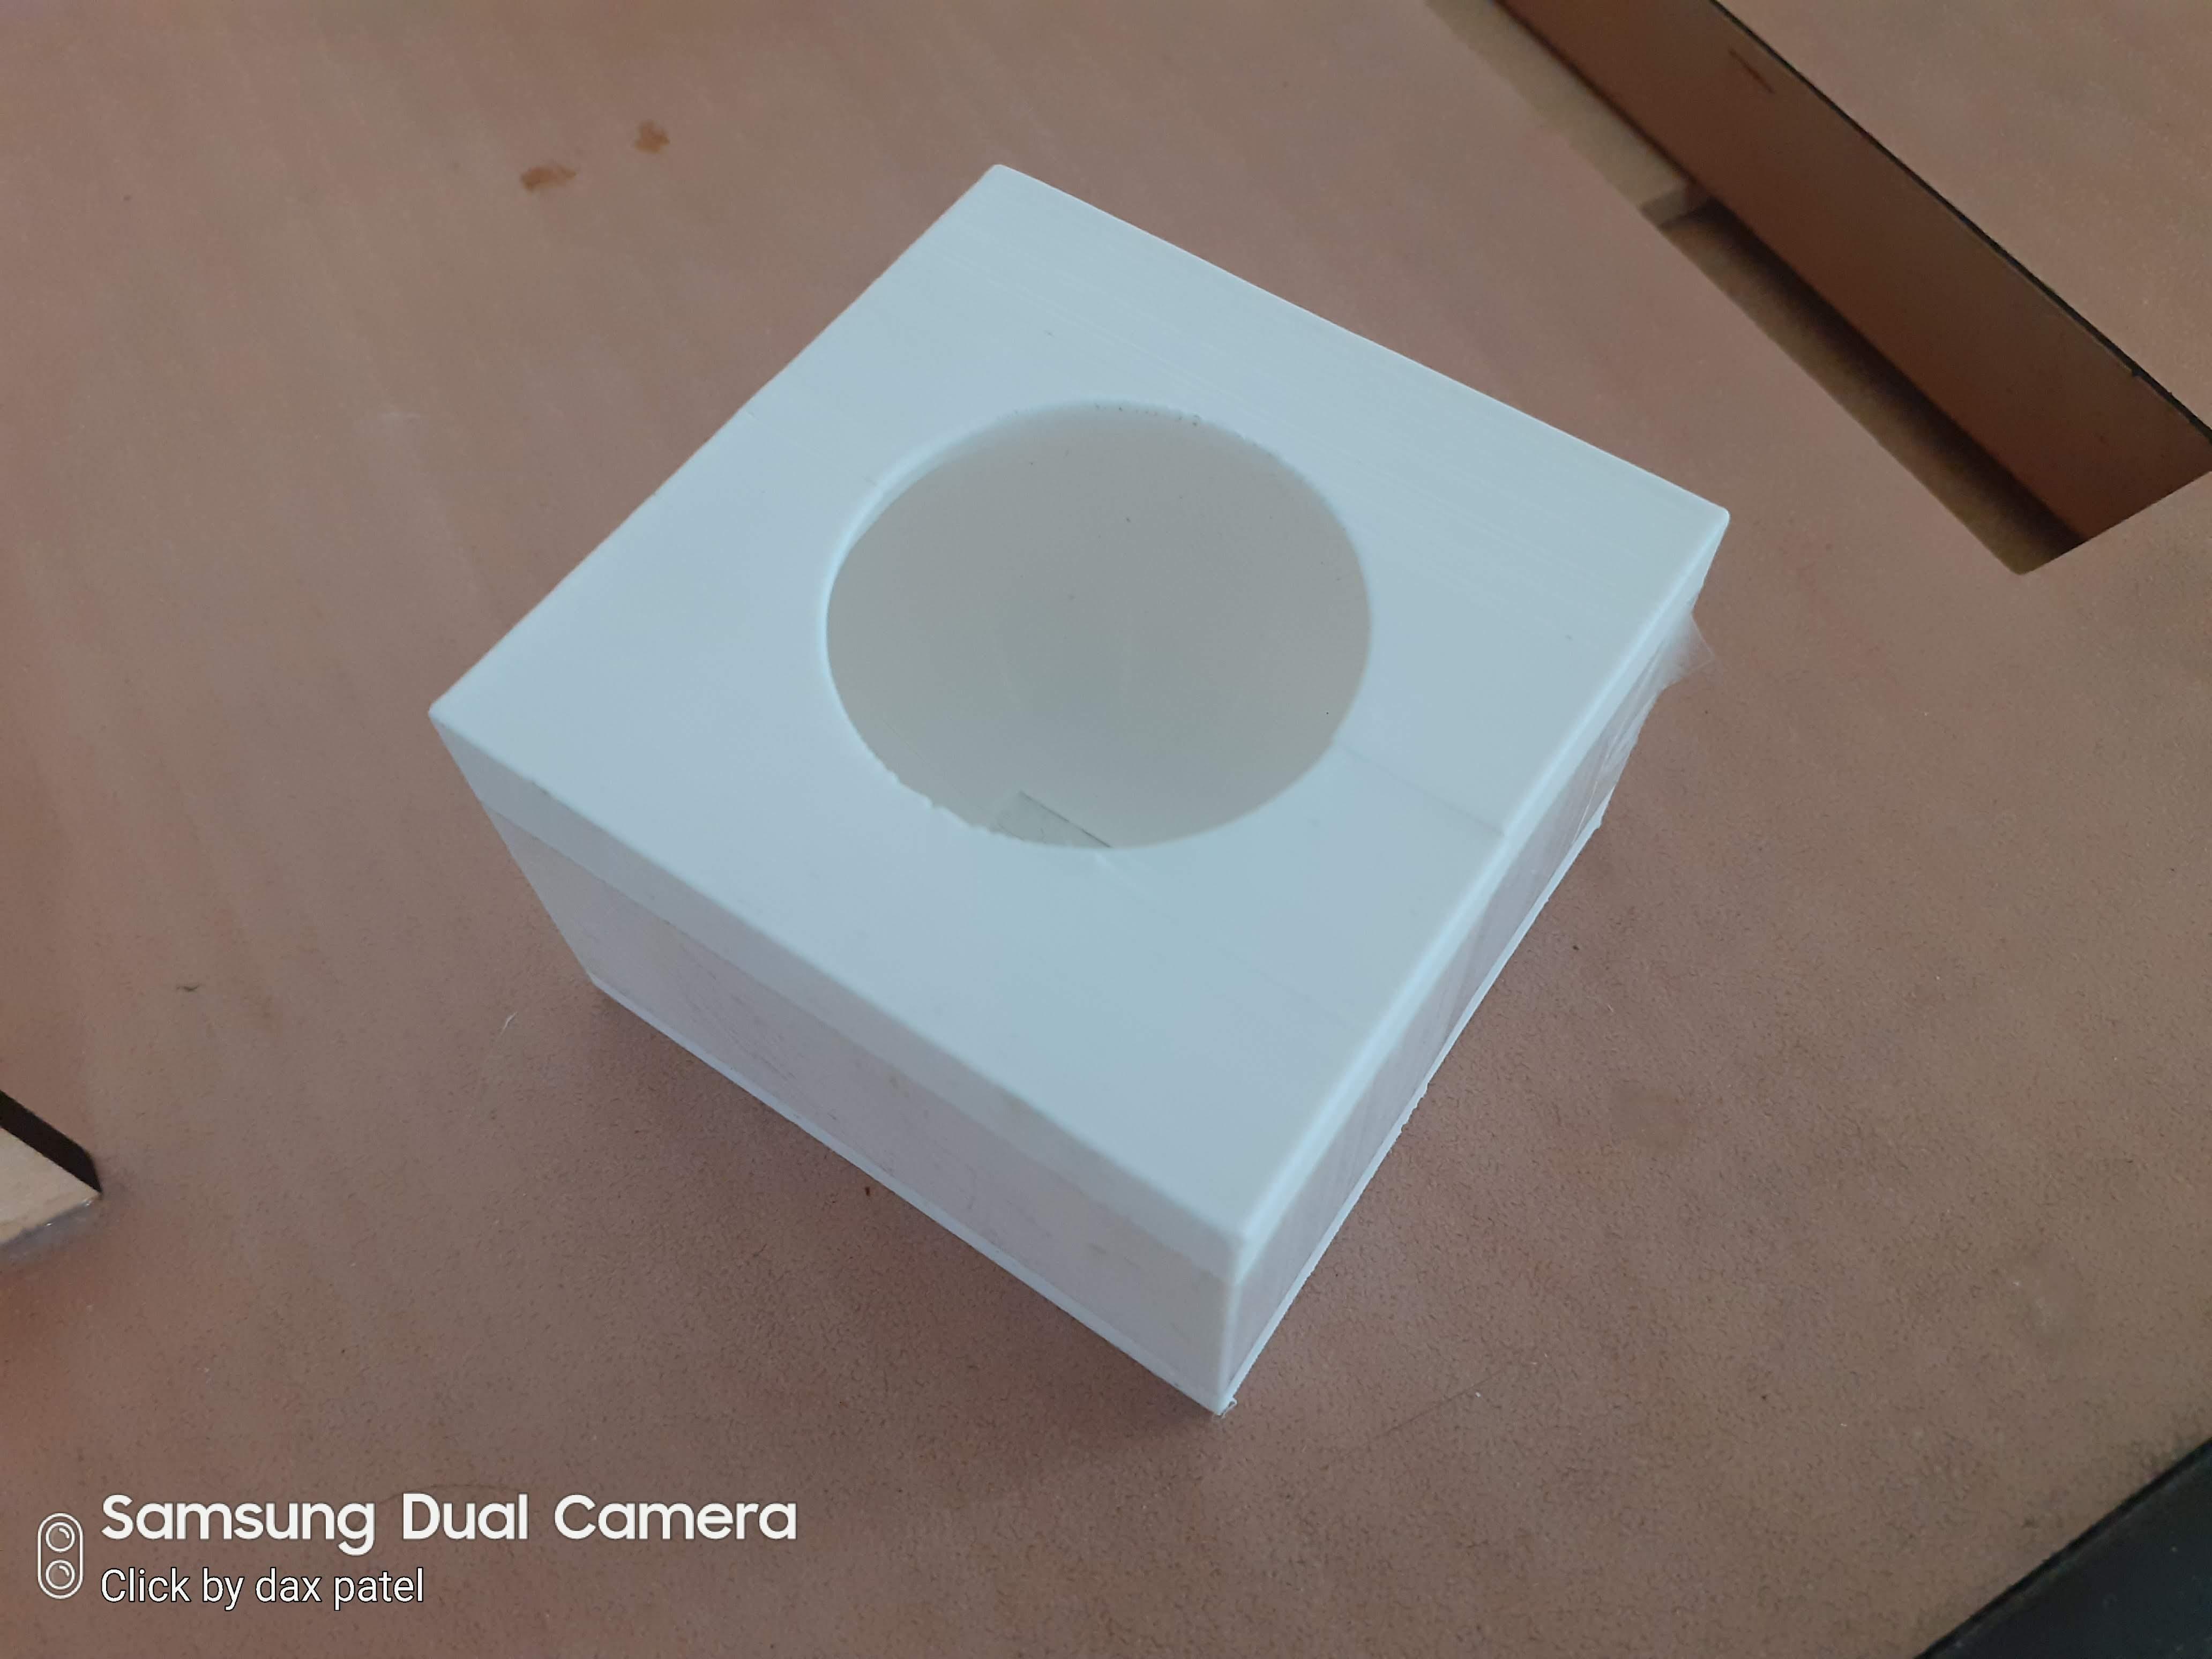
- To pour liquid wax we need to make a hole on the top side of the mold.
- Select the top surface and draw a circle to make a pouring hole.
- Extrude downside to cut pouring hole.
- Now our mold design is ready to print.
Export 3D Print Model
.png)
.png)
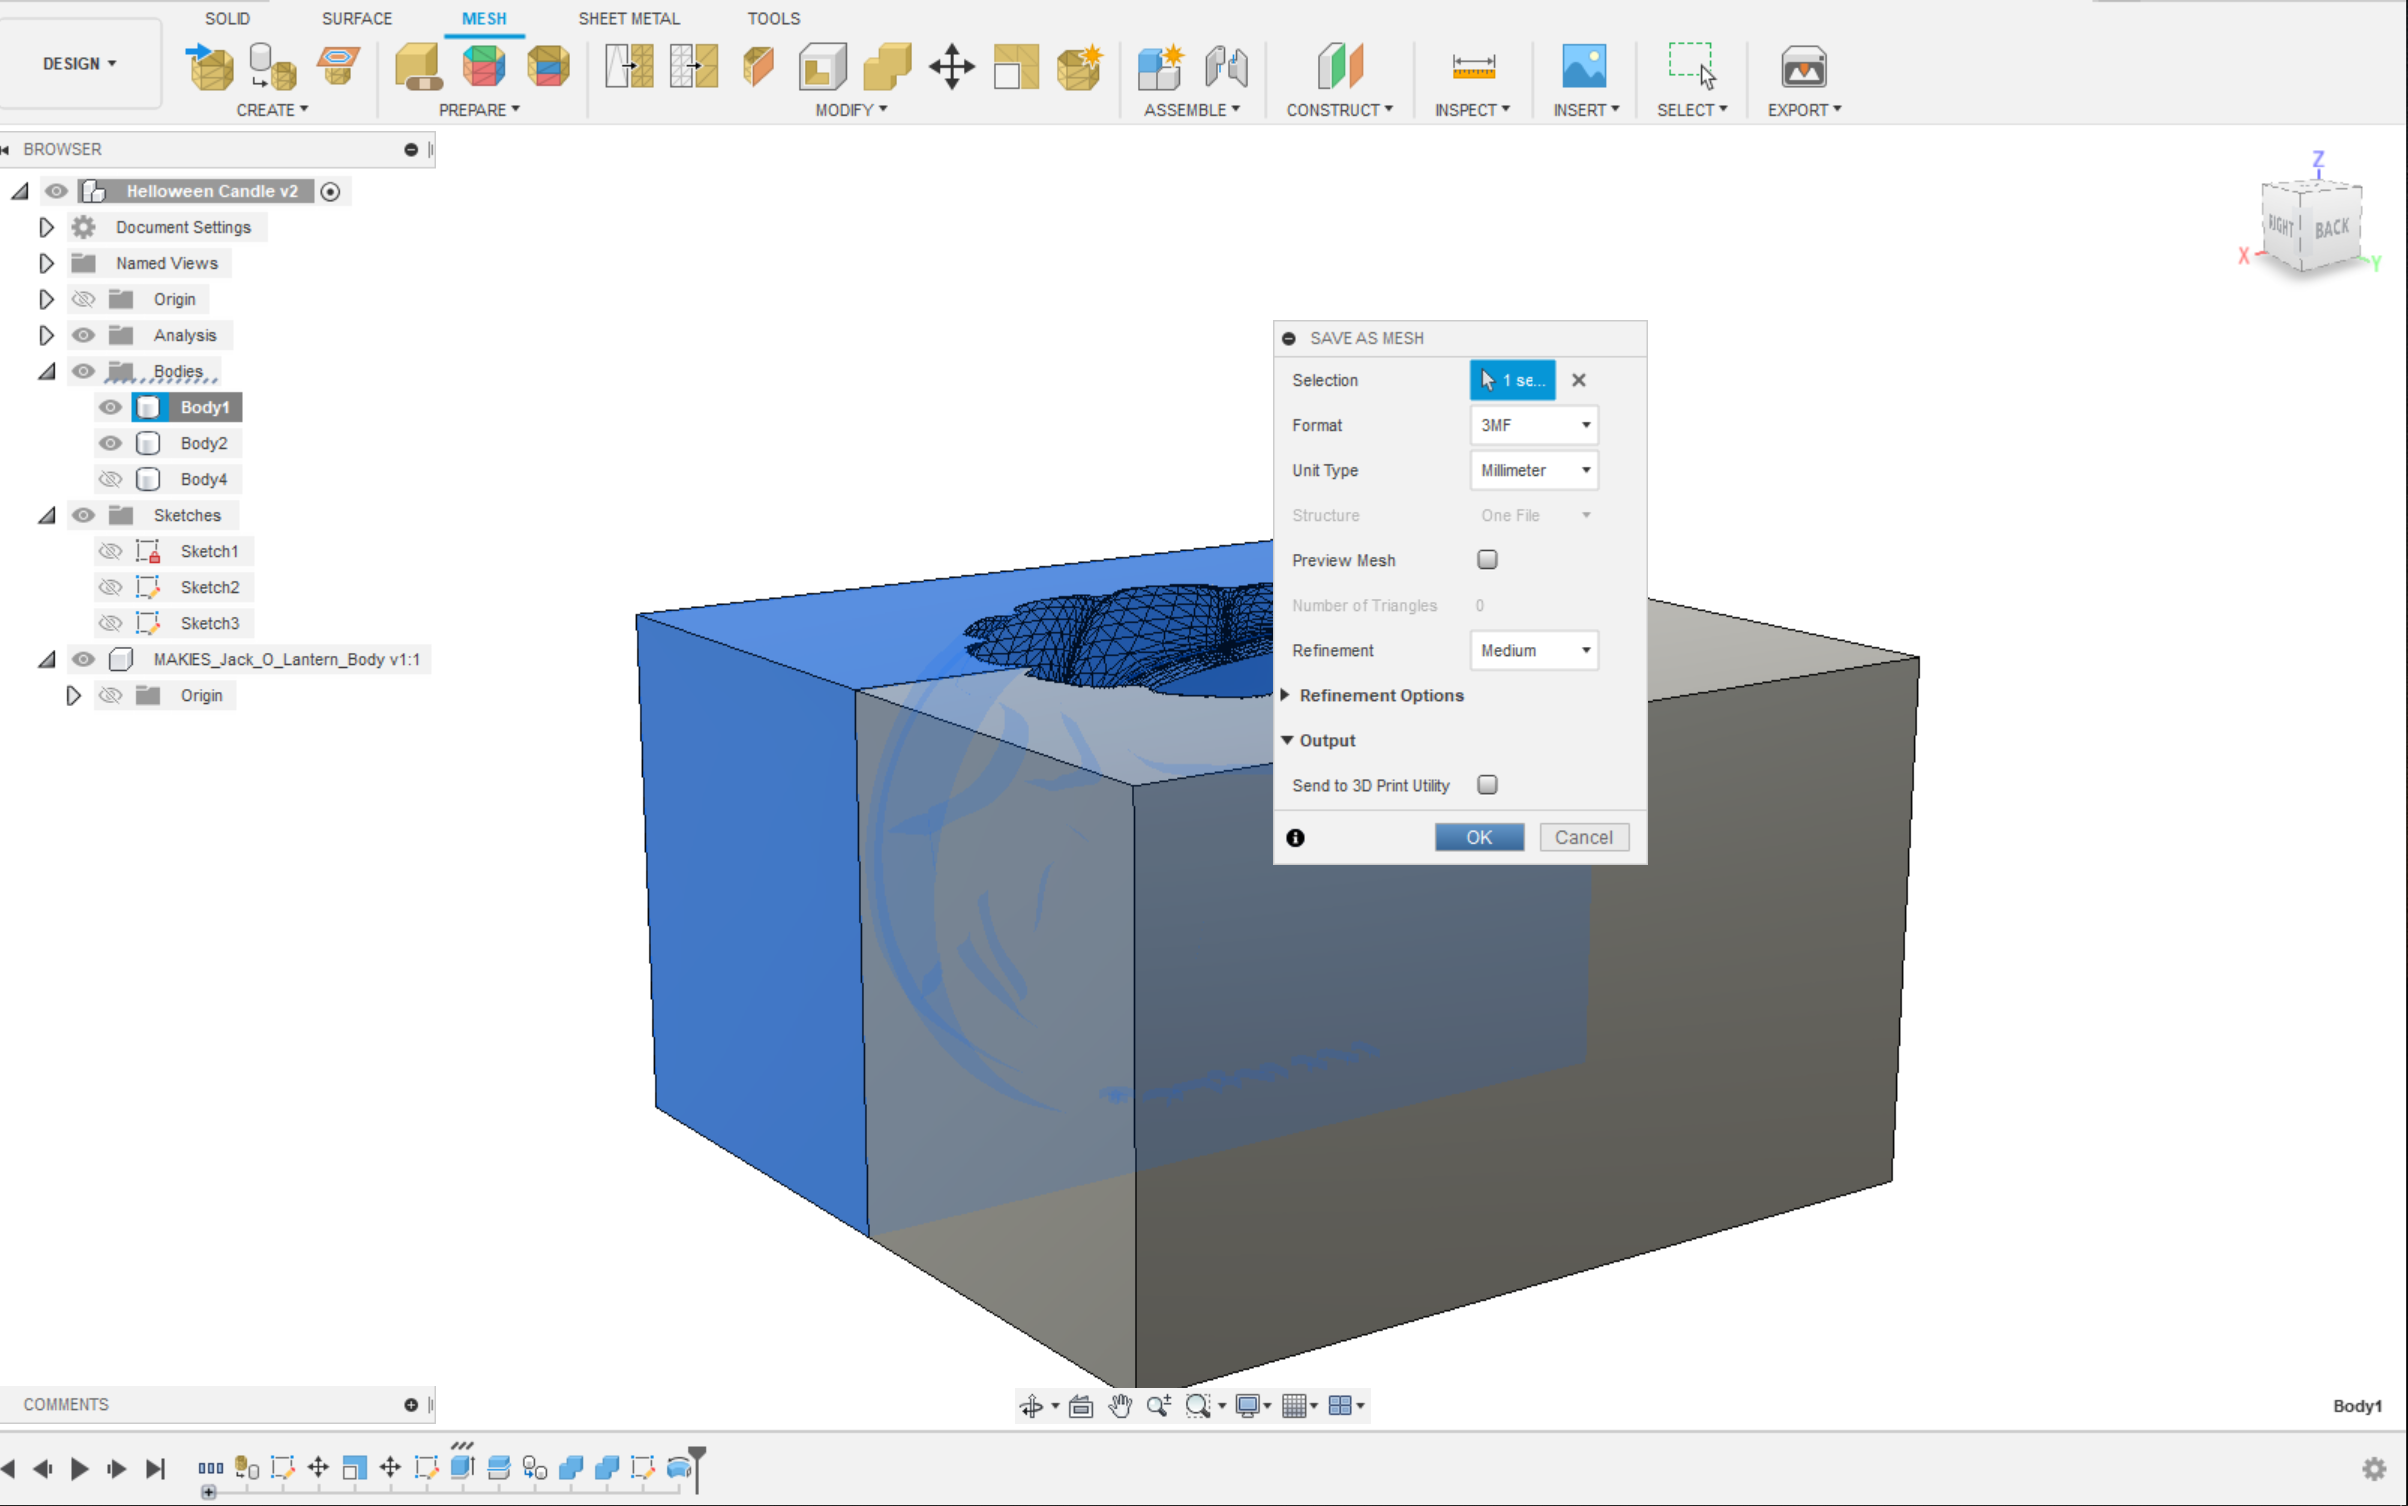
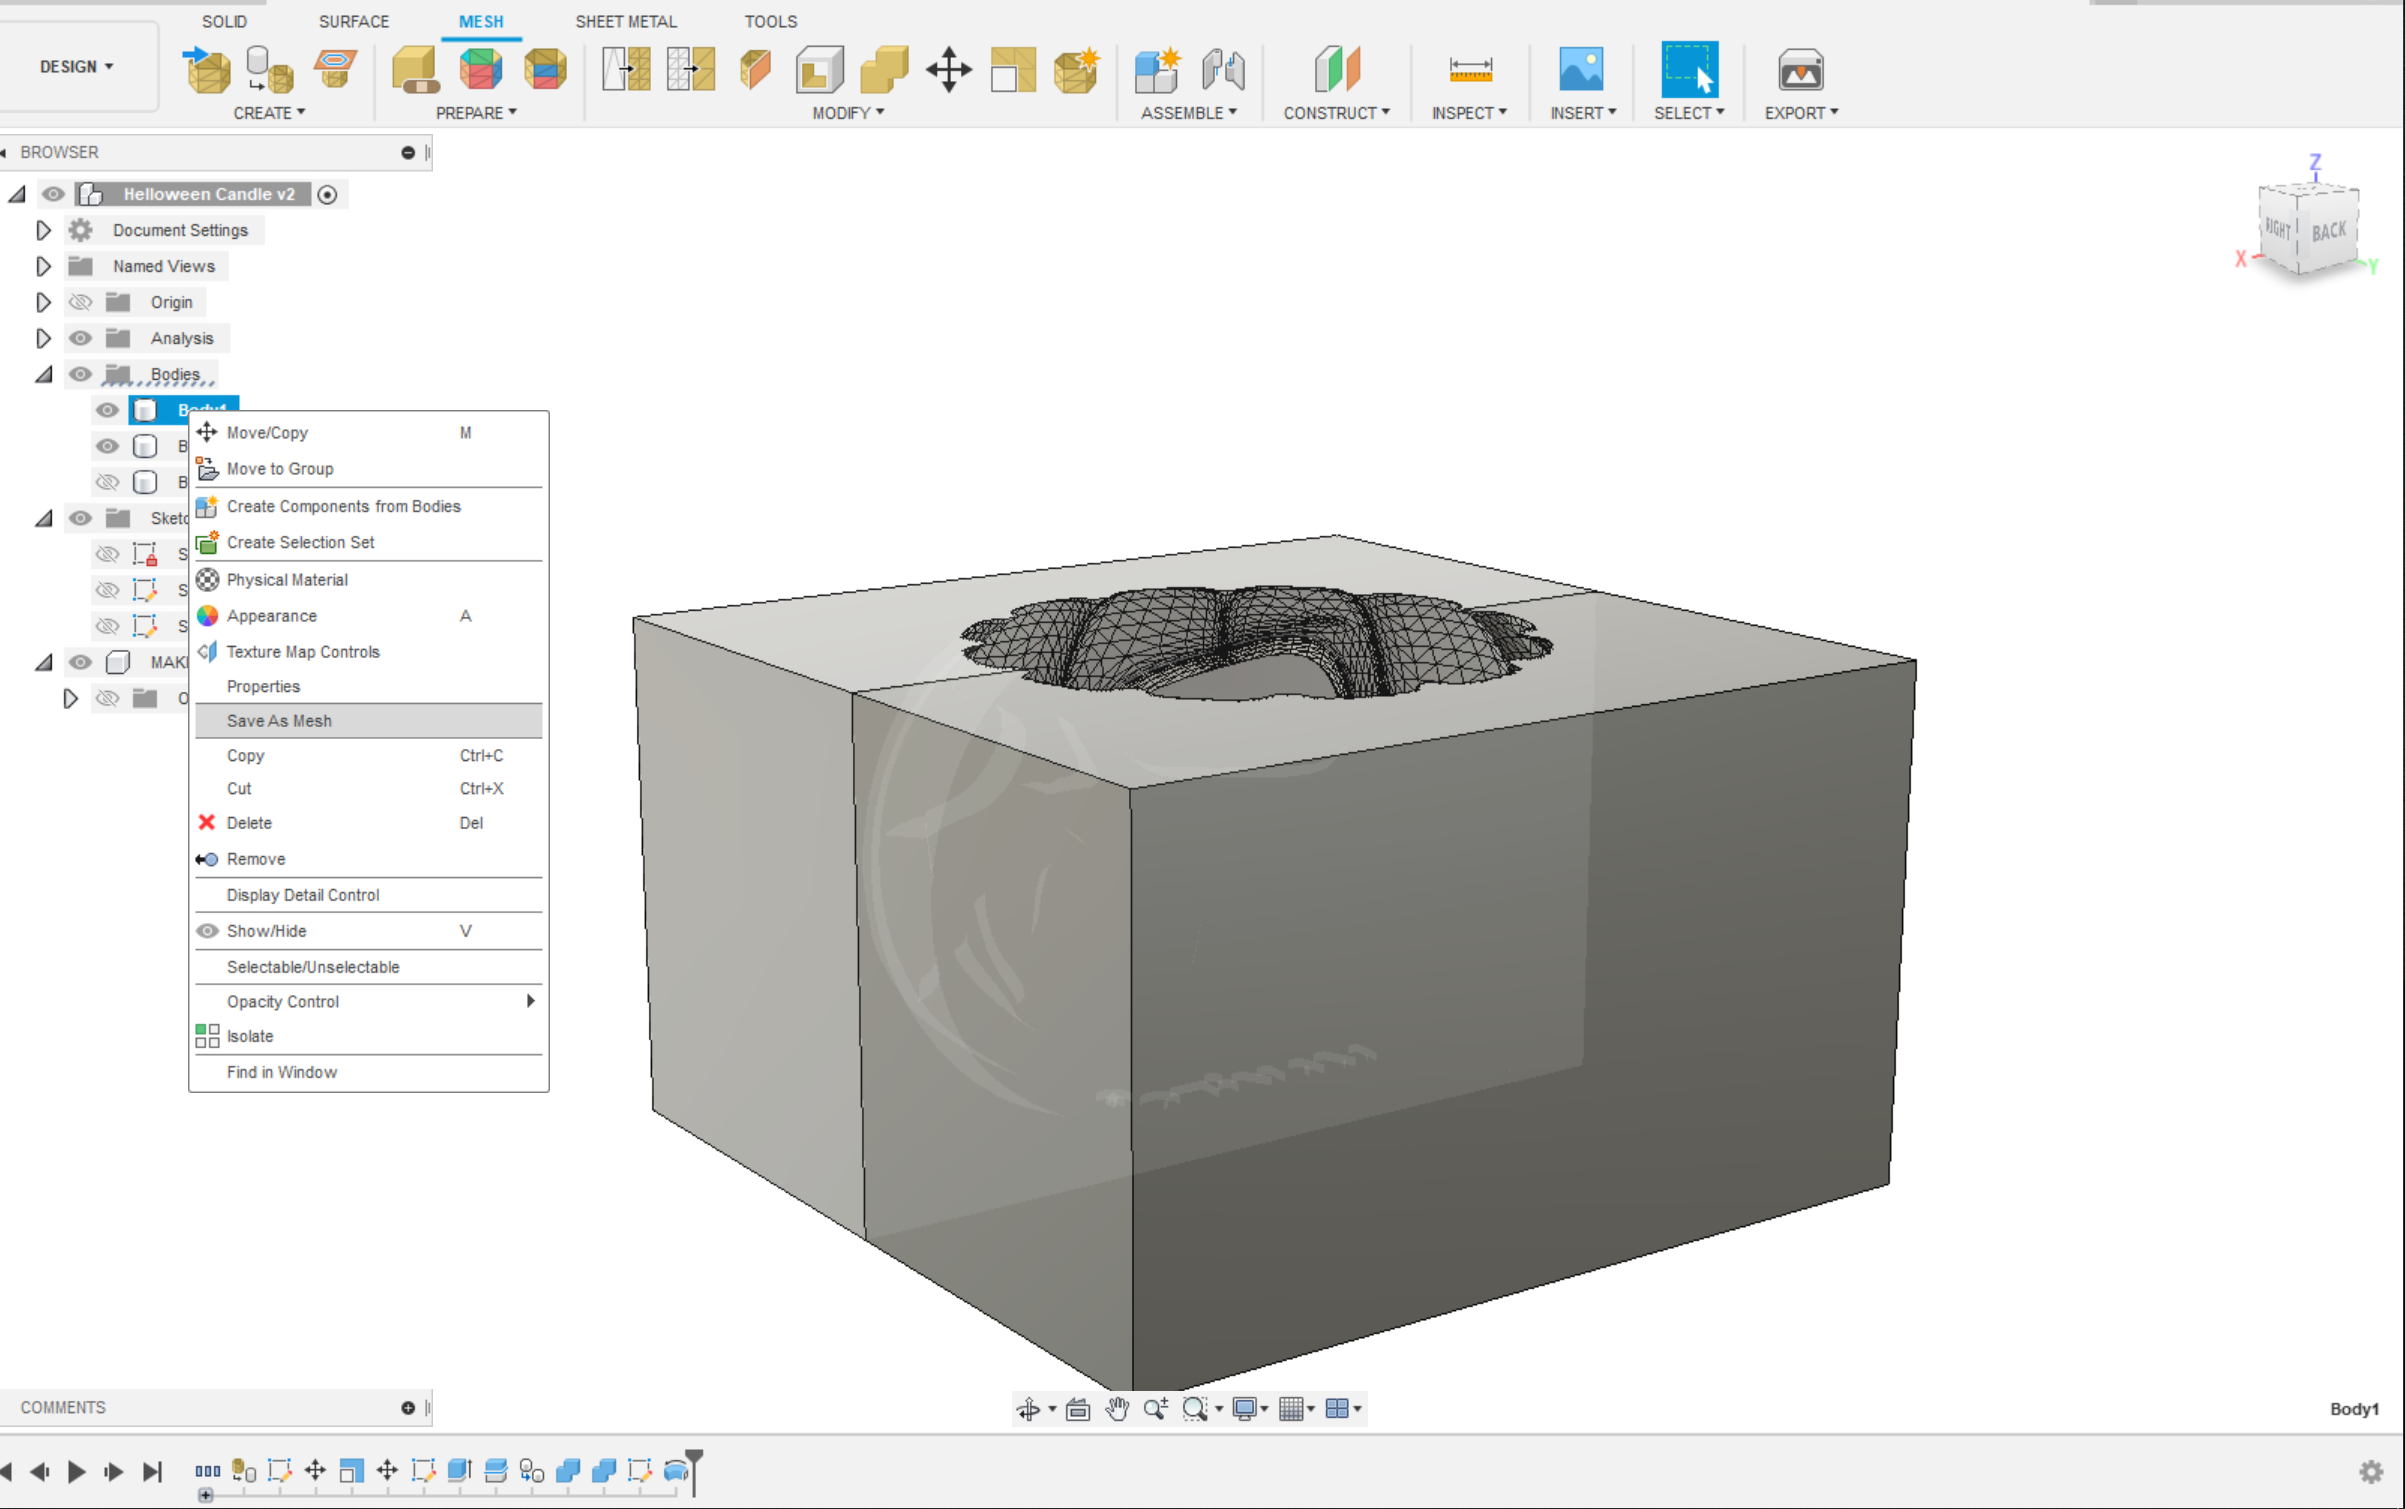
- We need a.STL, .3MF file for 3d printing.
- Select body from Design tree and Right-click and select Exp[ort as mesh.
- Press ok and save your file where you want.
- Repeater for both Halves of mold.
.STL file attached for same design print.
Slicing of Model & 3D Print.
.png)
.png)
.png)
.png)
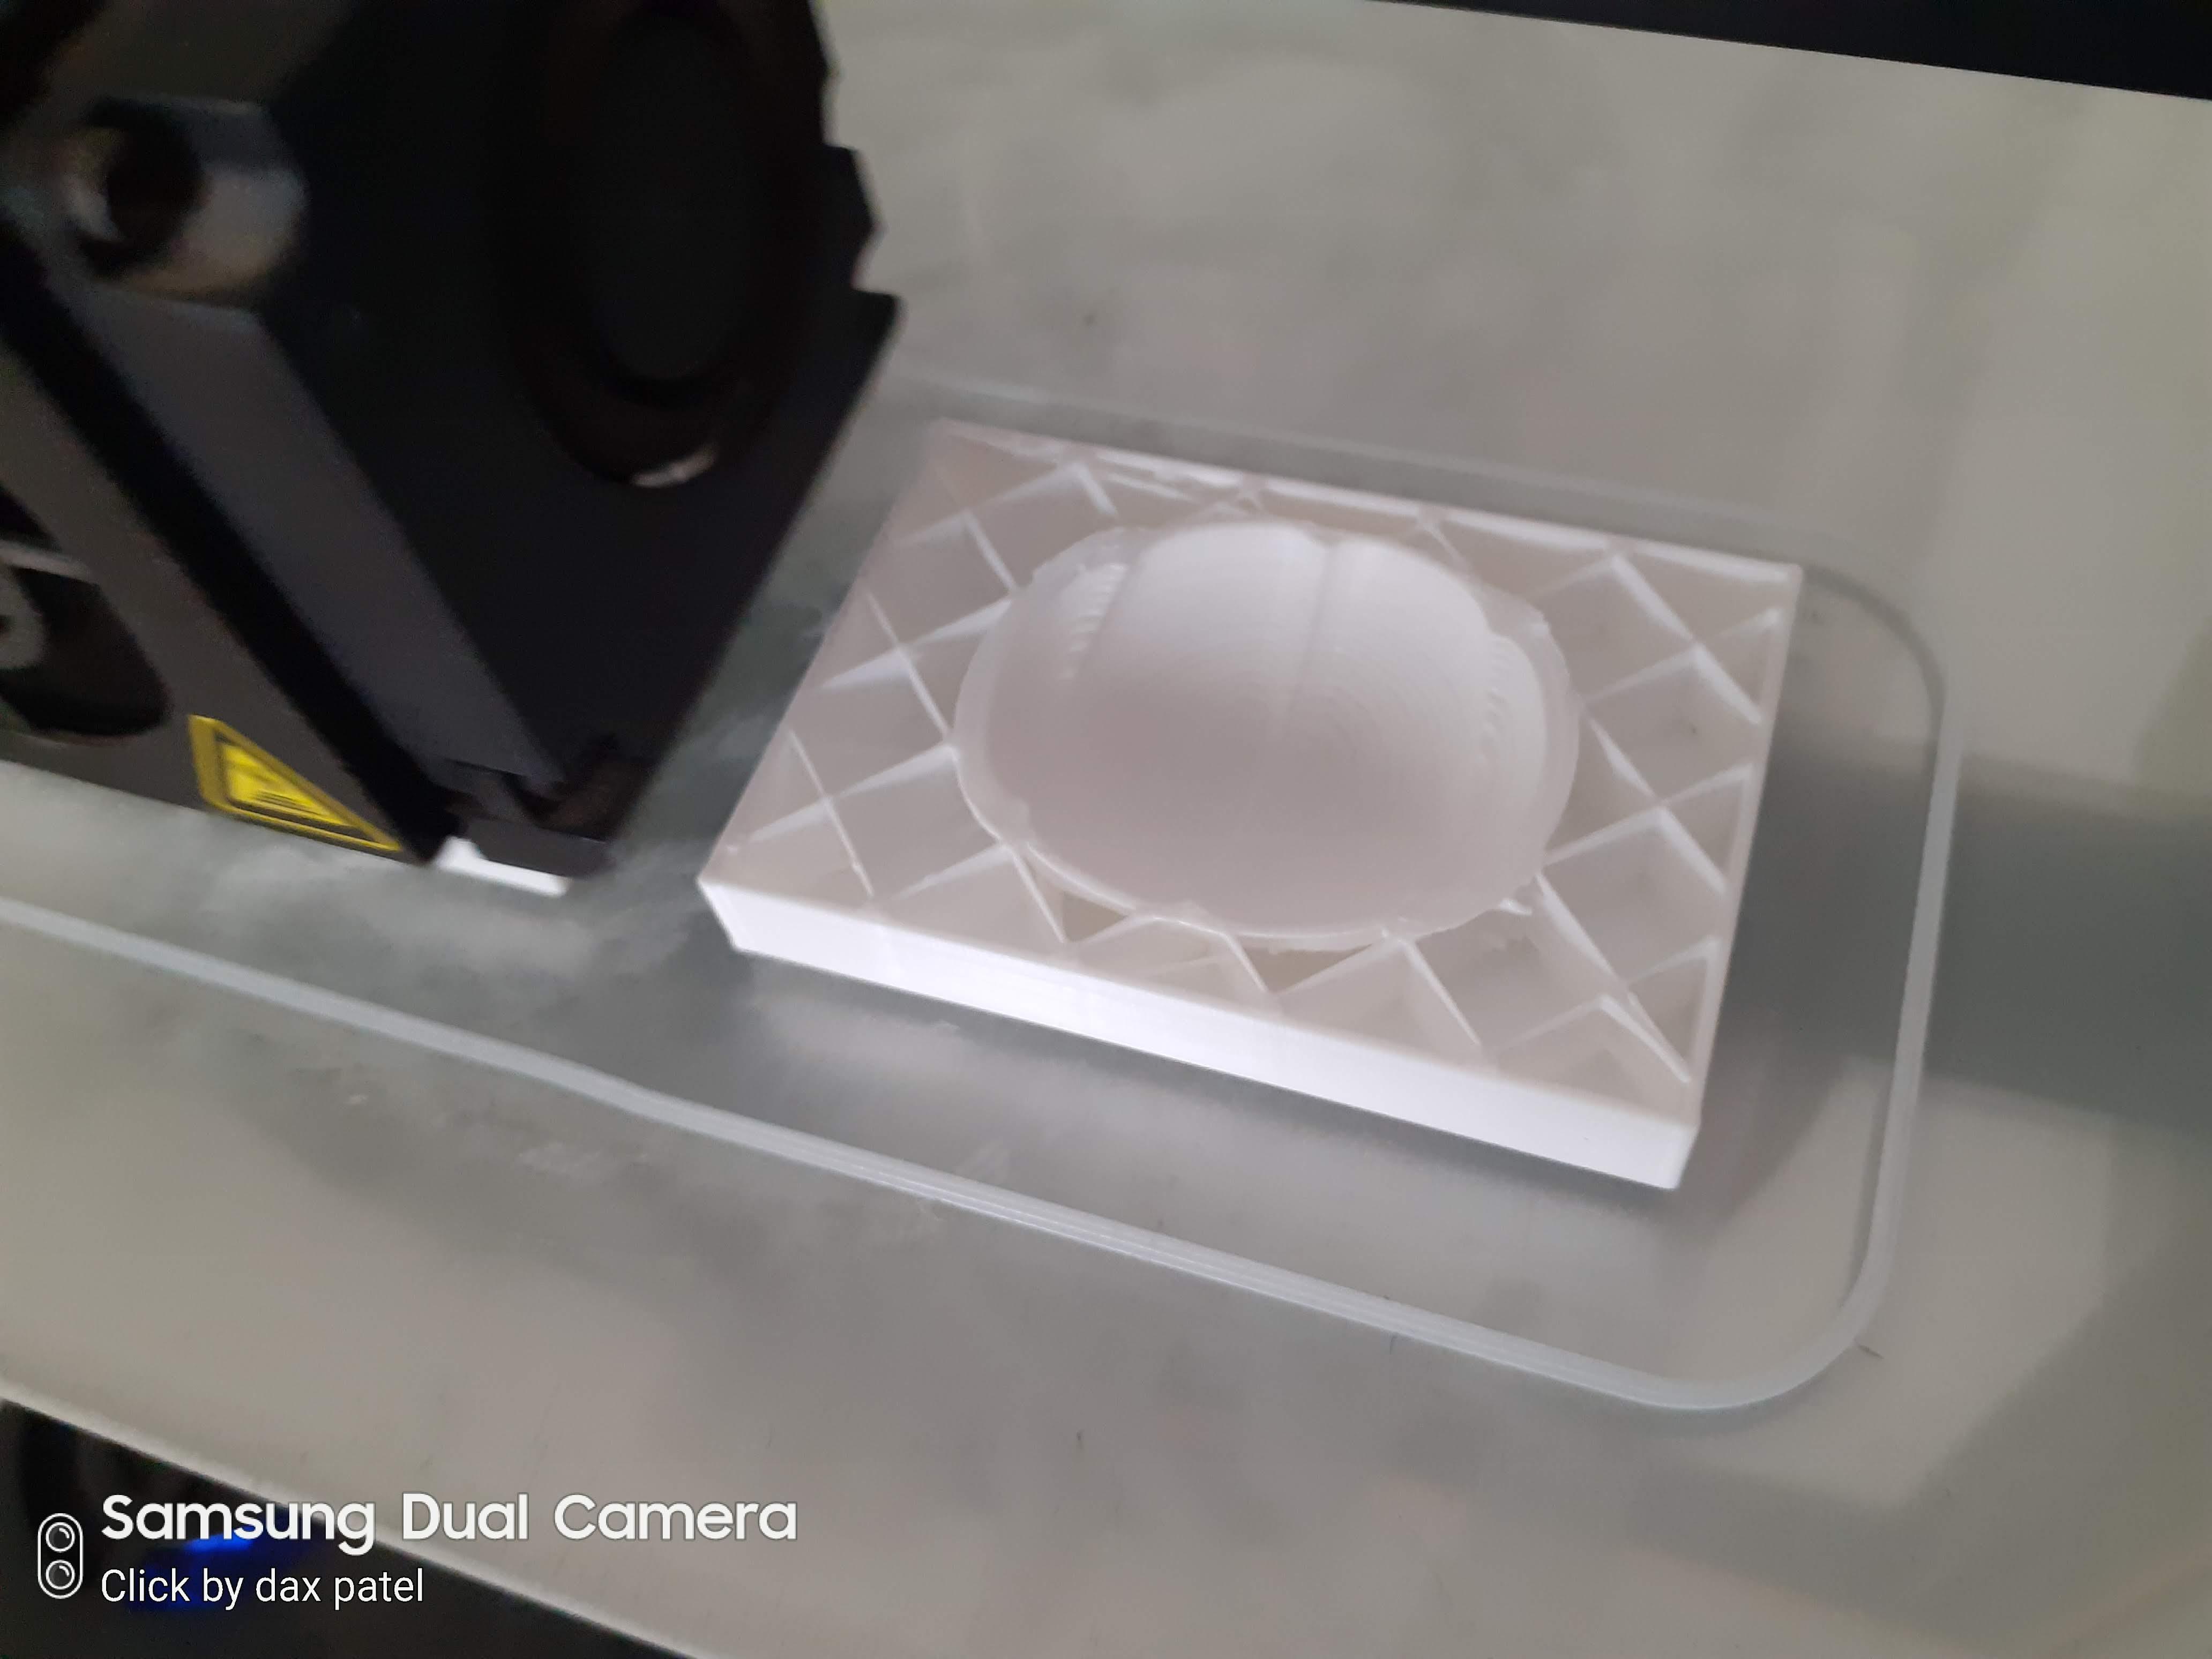
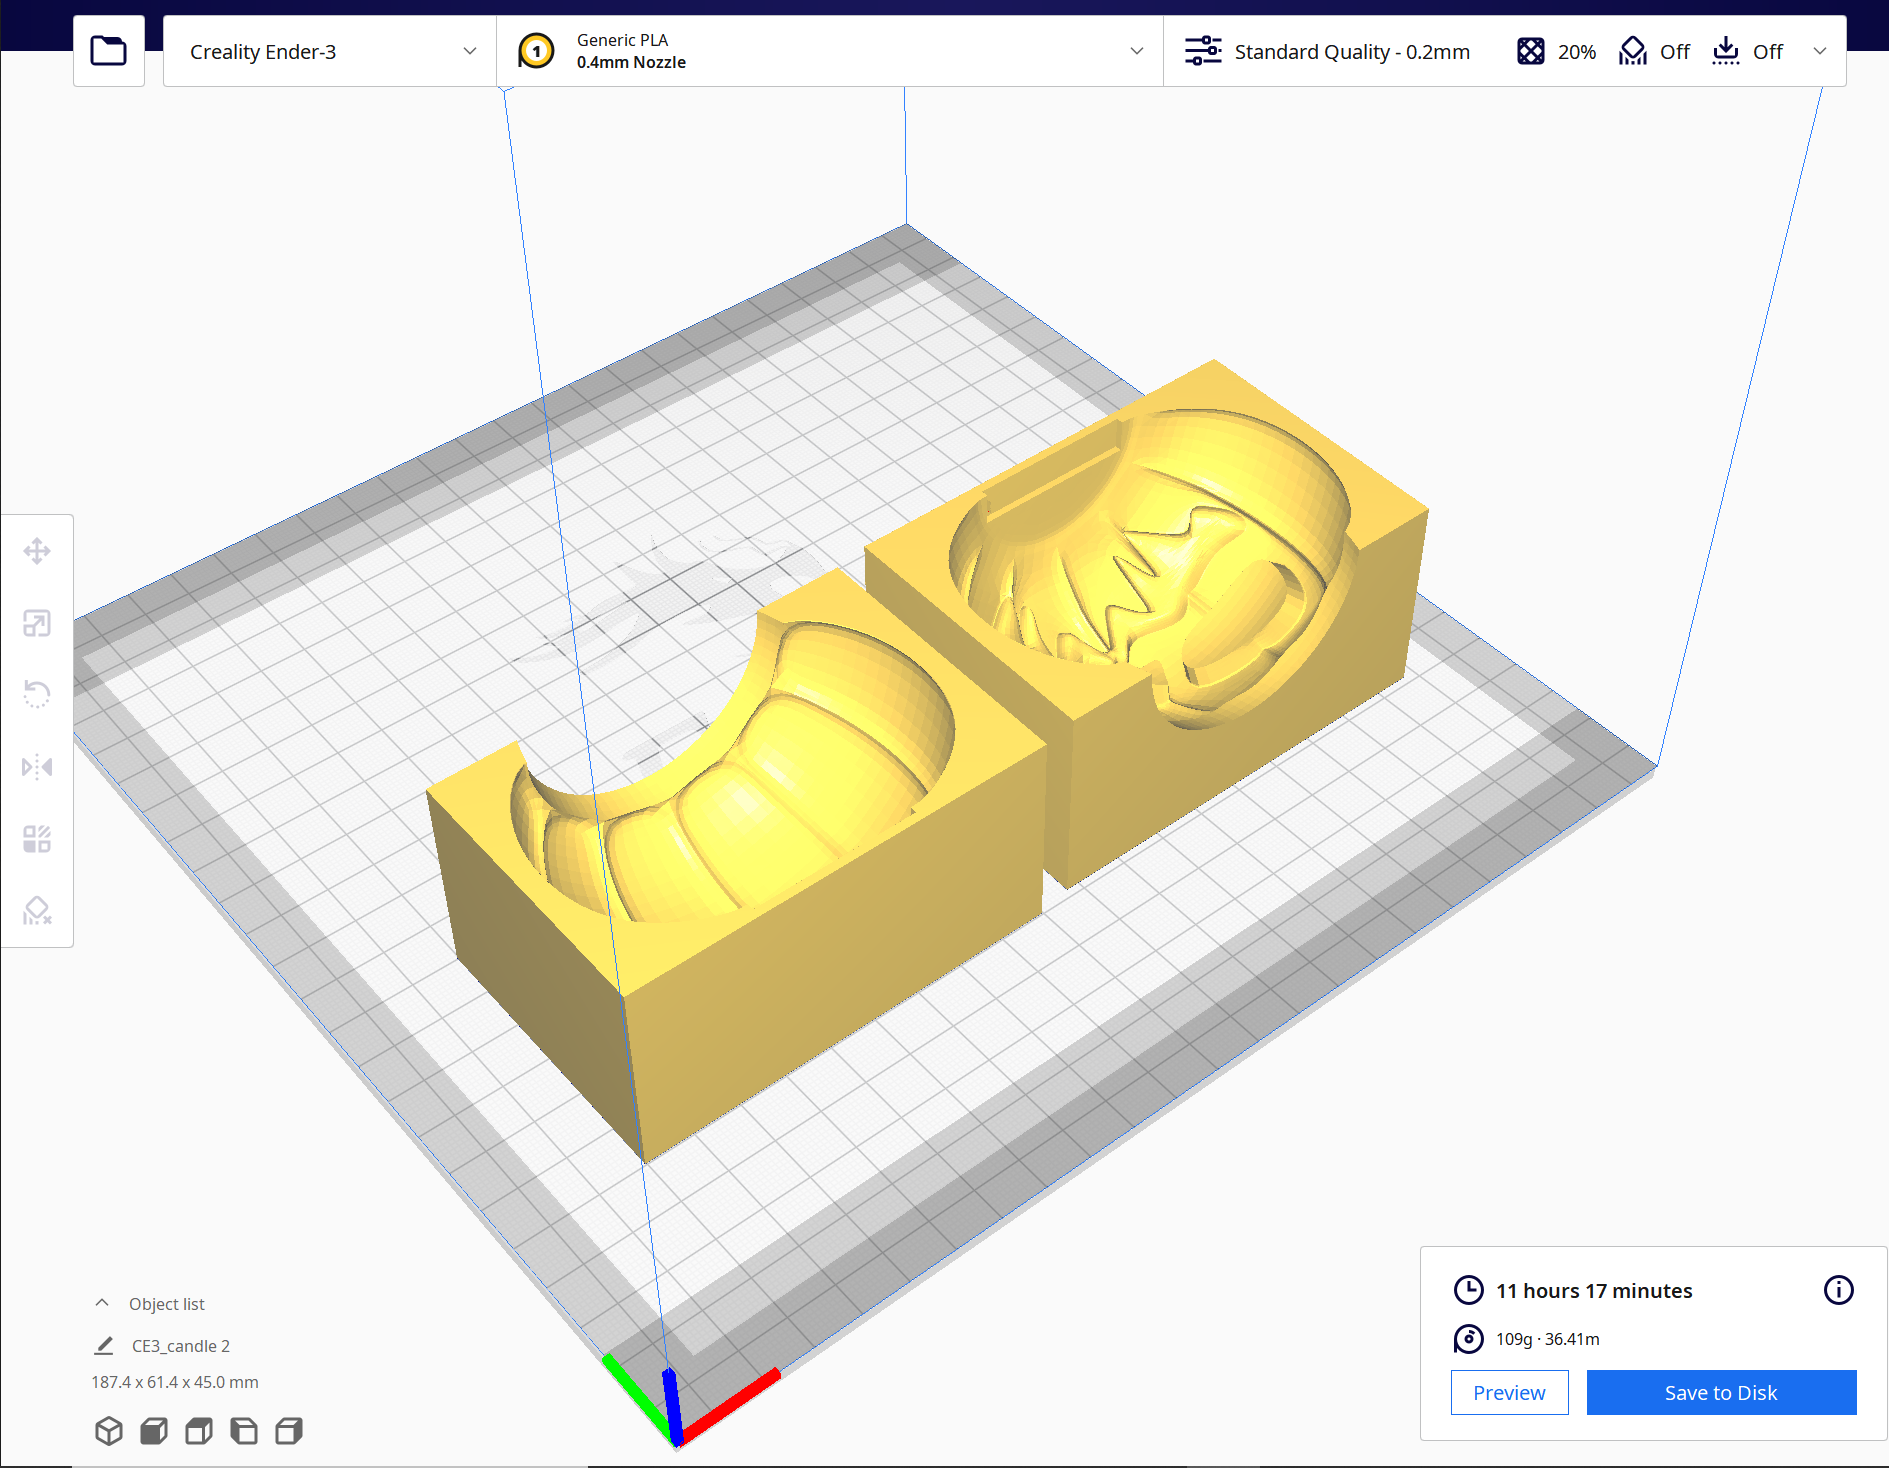
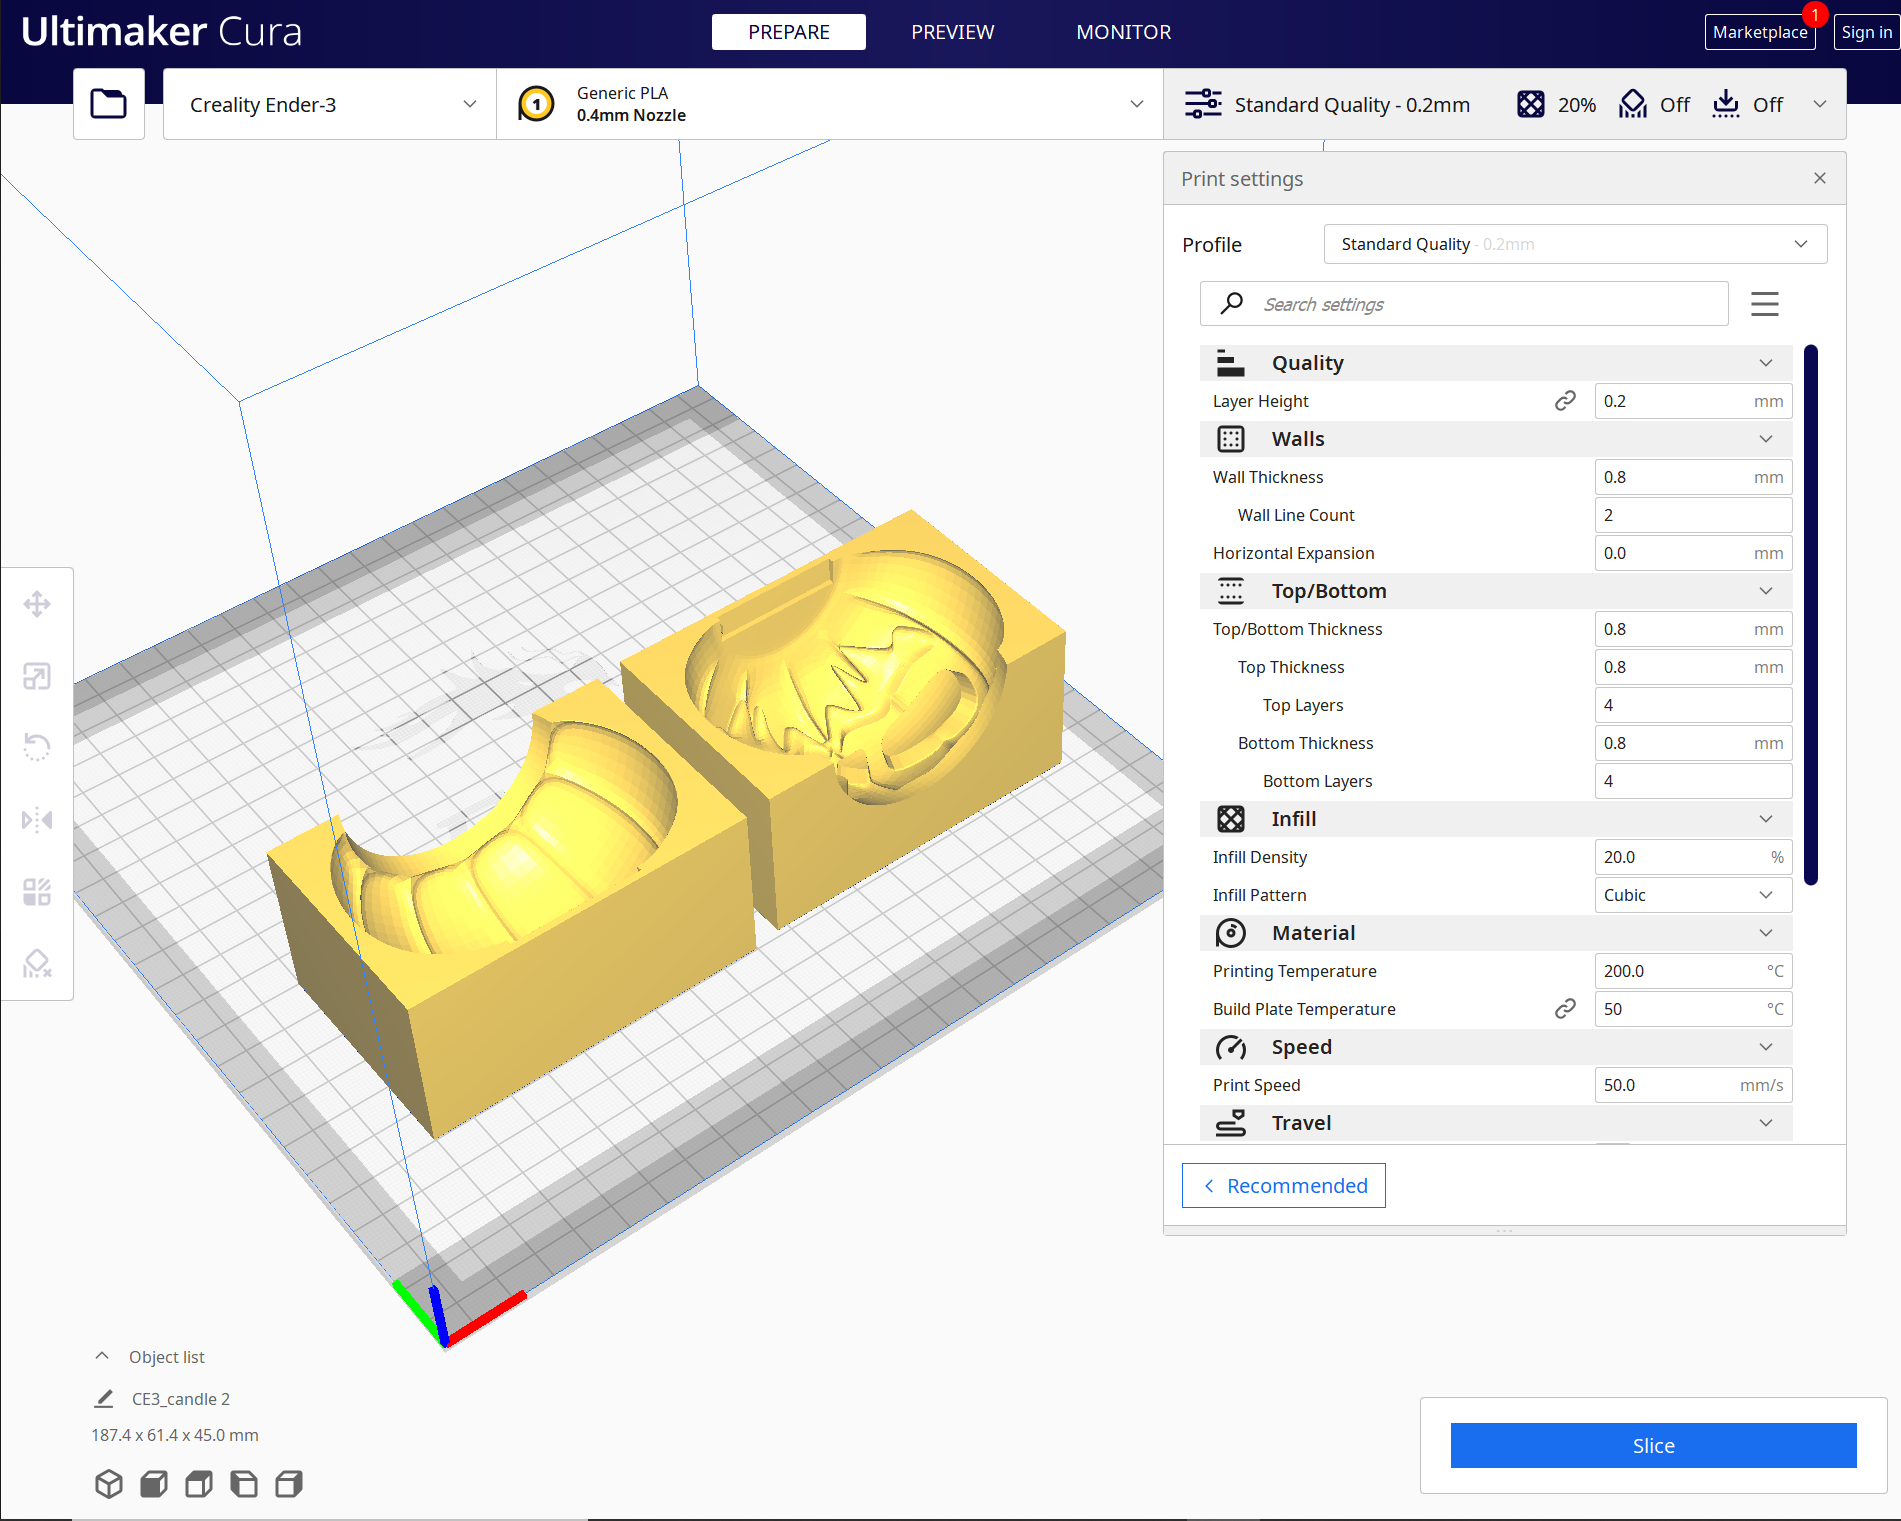
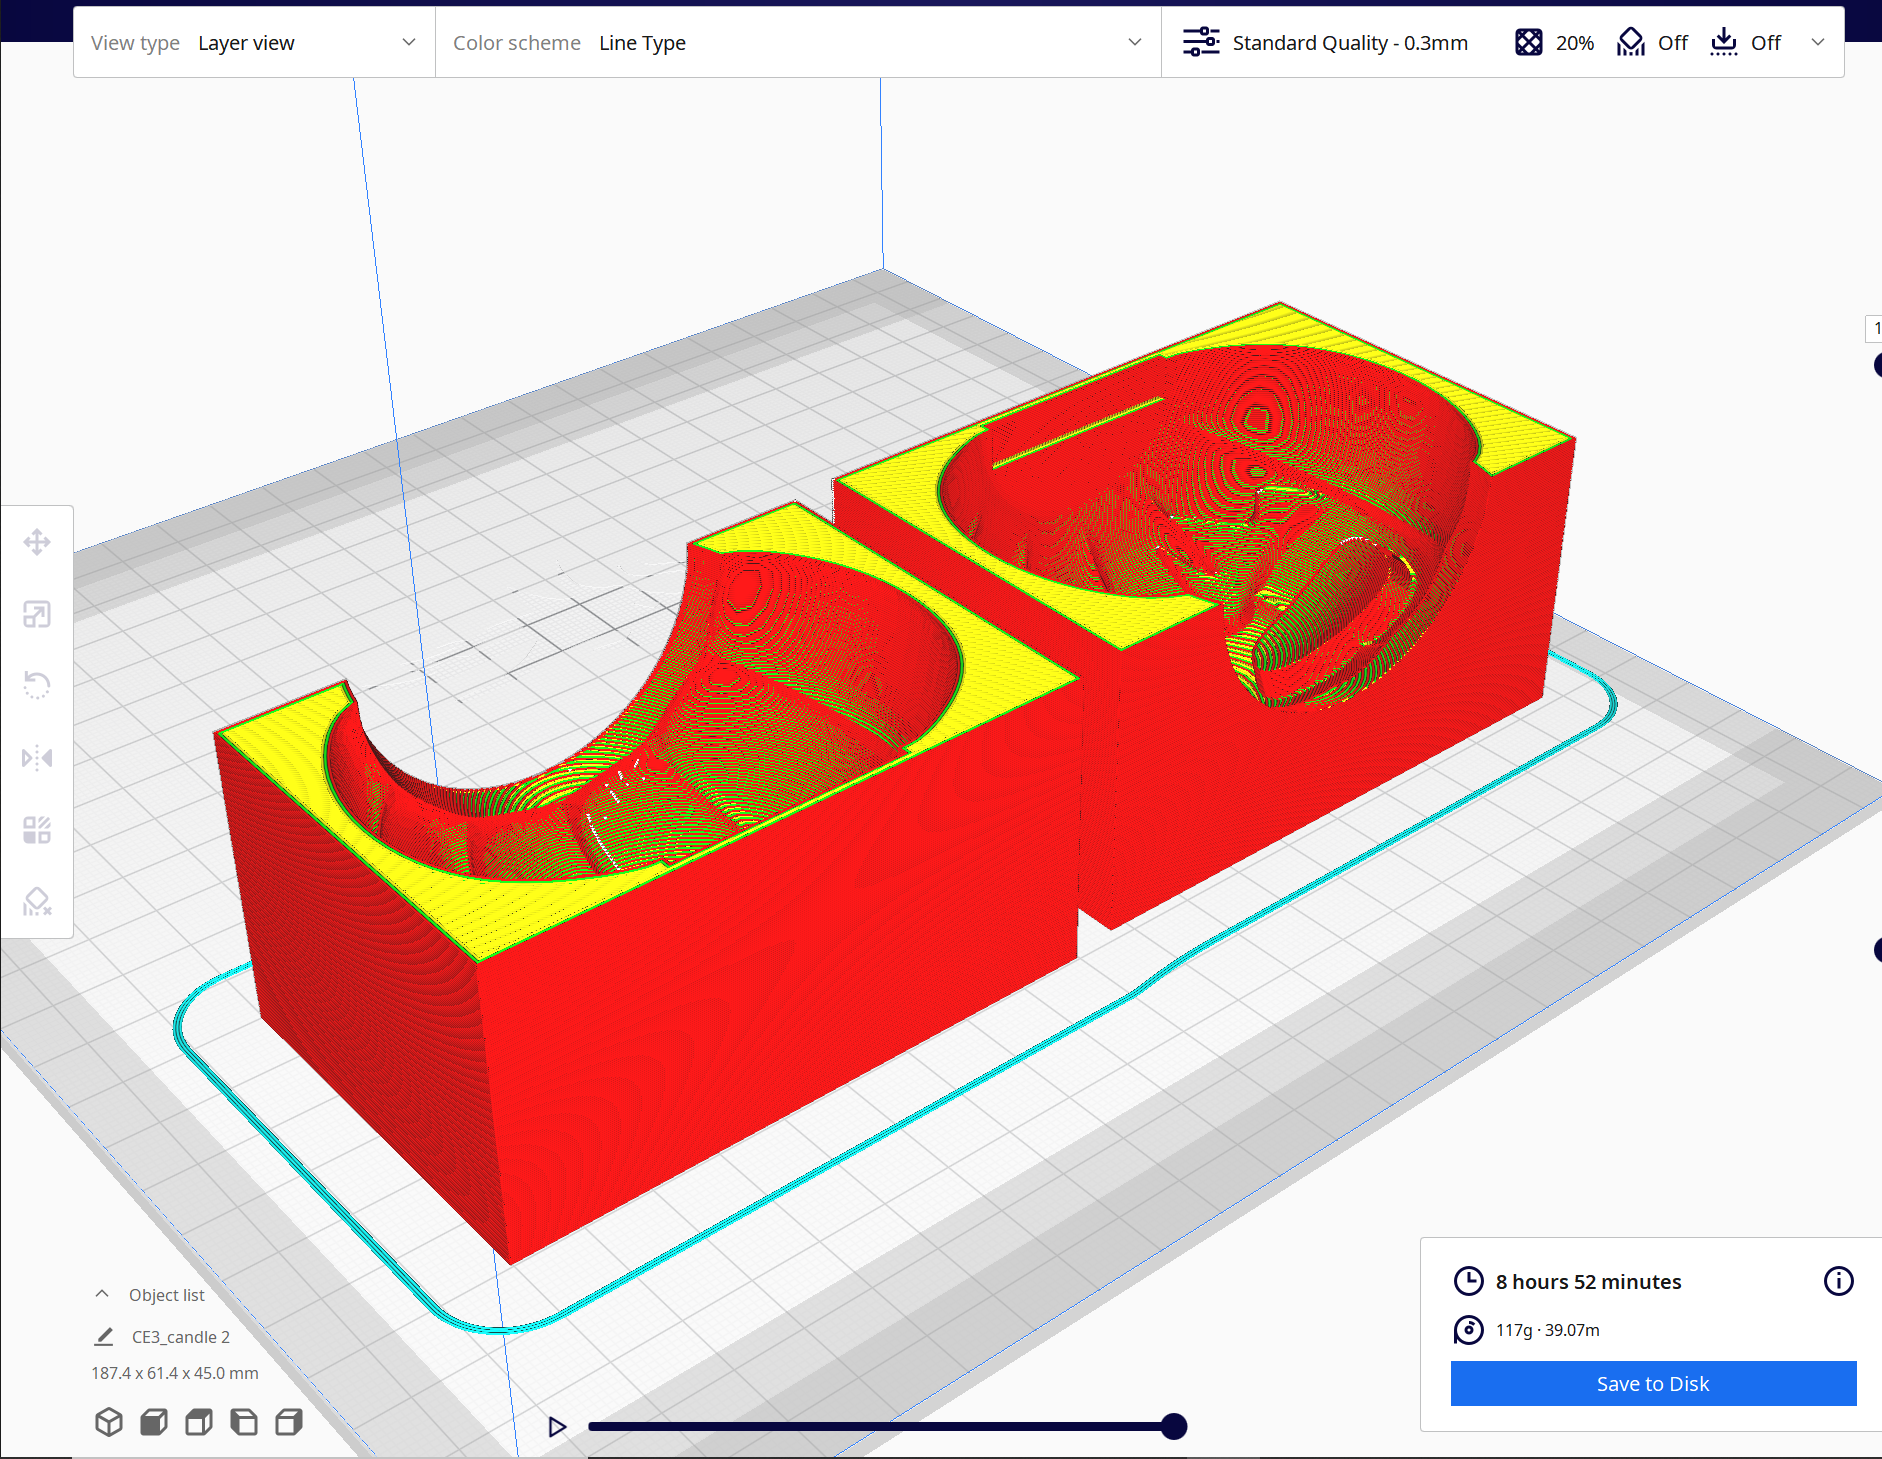
I have an Ender-3 3D printer.I use CURA as slicing software.it's free and open source. import model into CURA and slice it.
Use the below parameter for a good print.
Layer height: 0.2mm
Wall Line count: 3
Top/Bottom thickness: 4
Infill: 20 %
Material: PLA
Speed: 50 mm/s
Support as per need
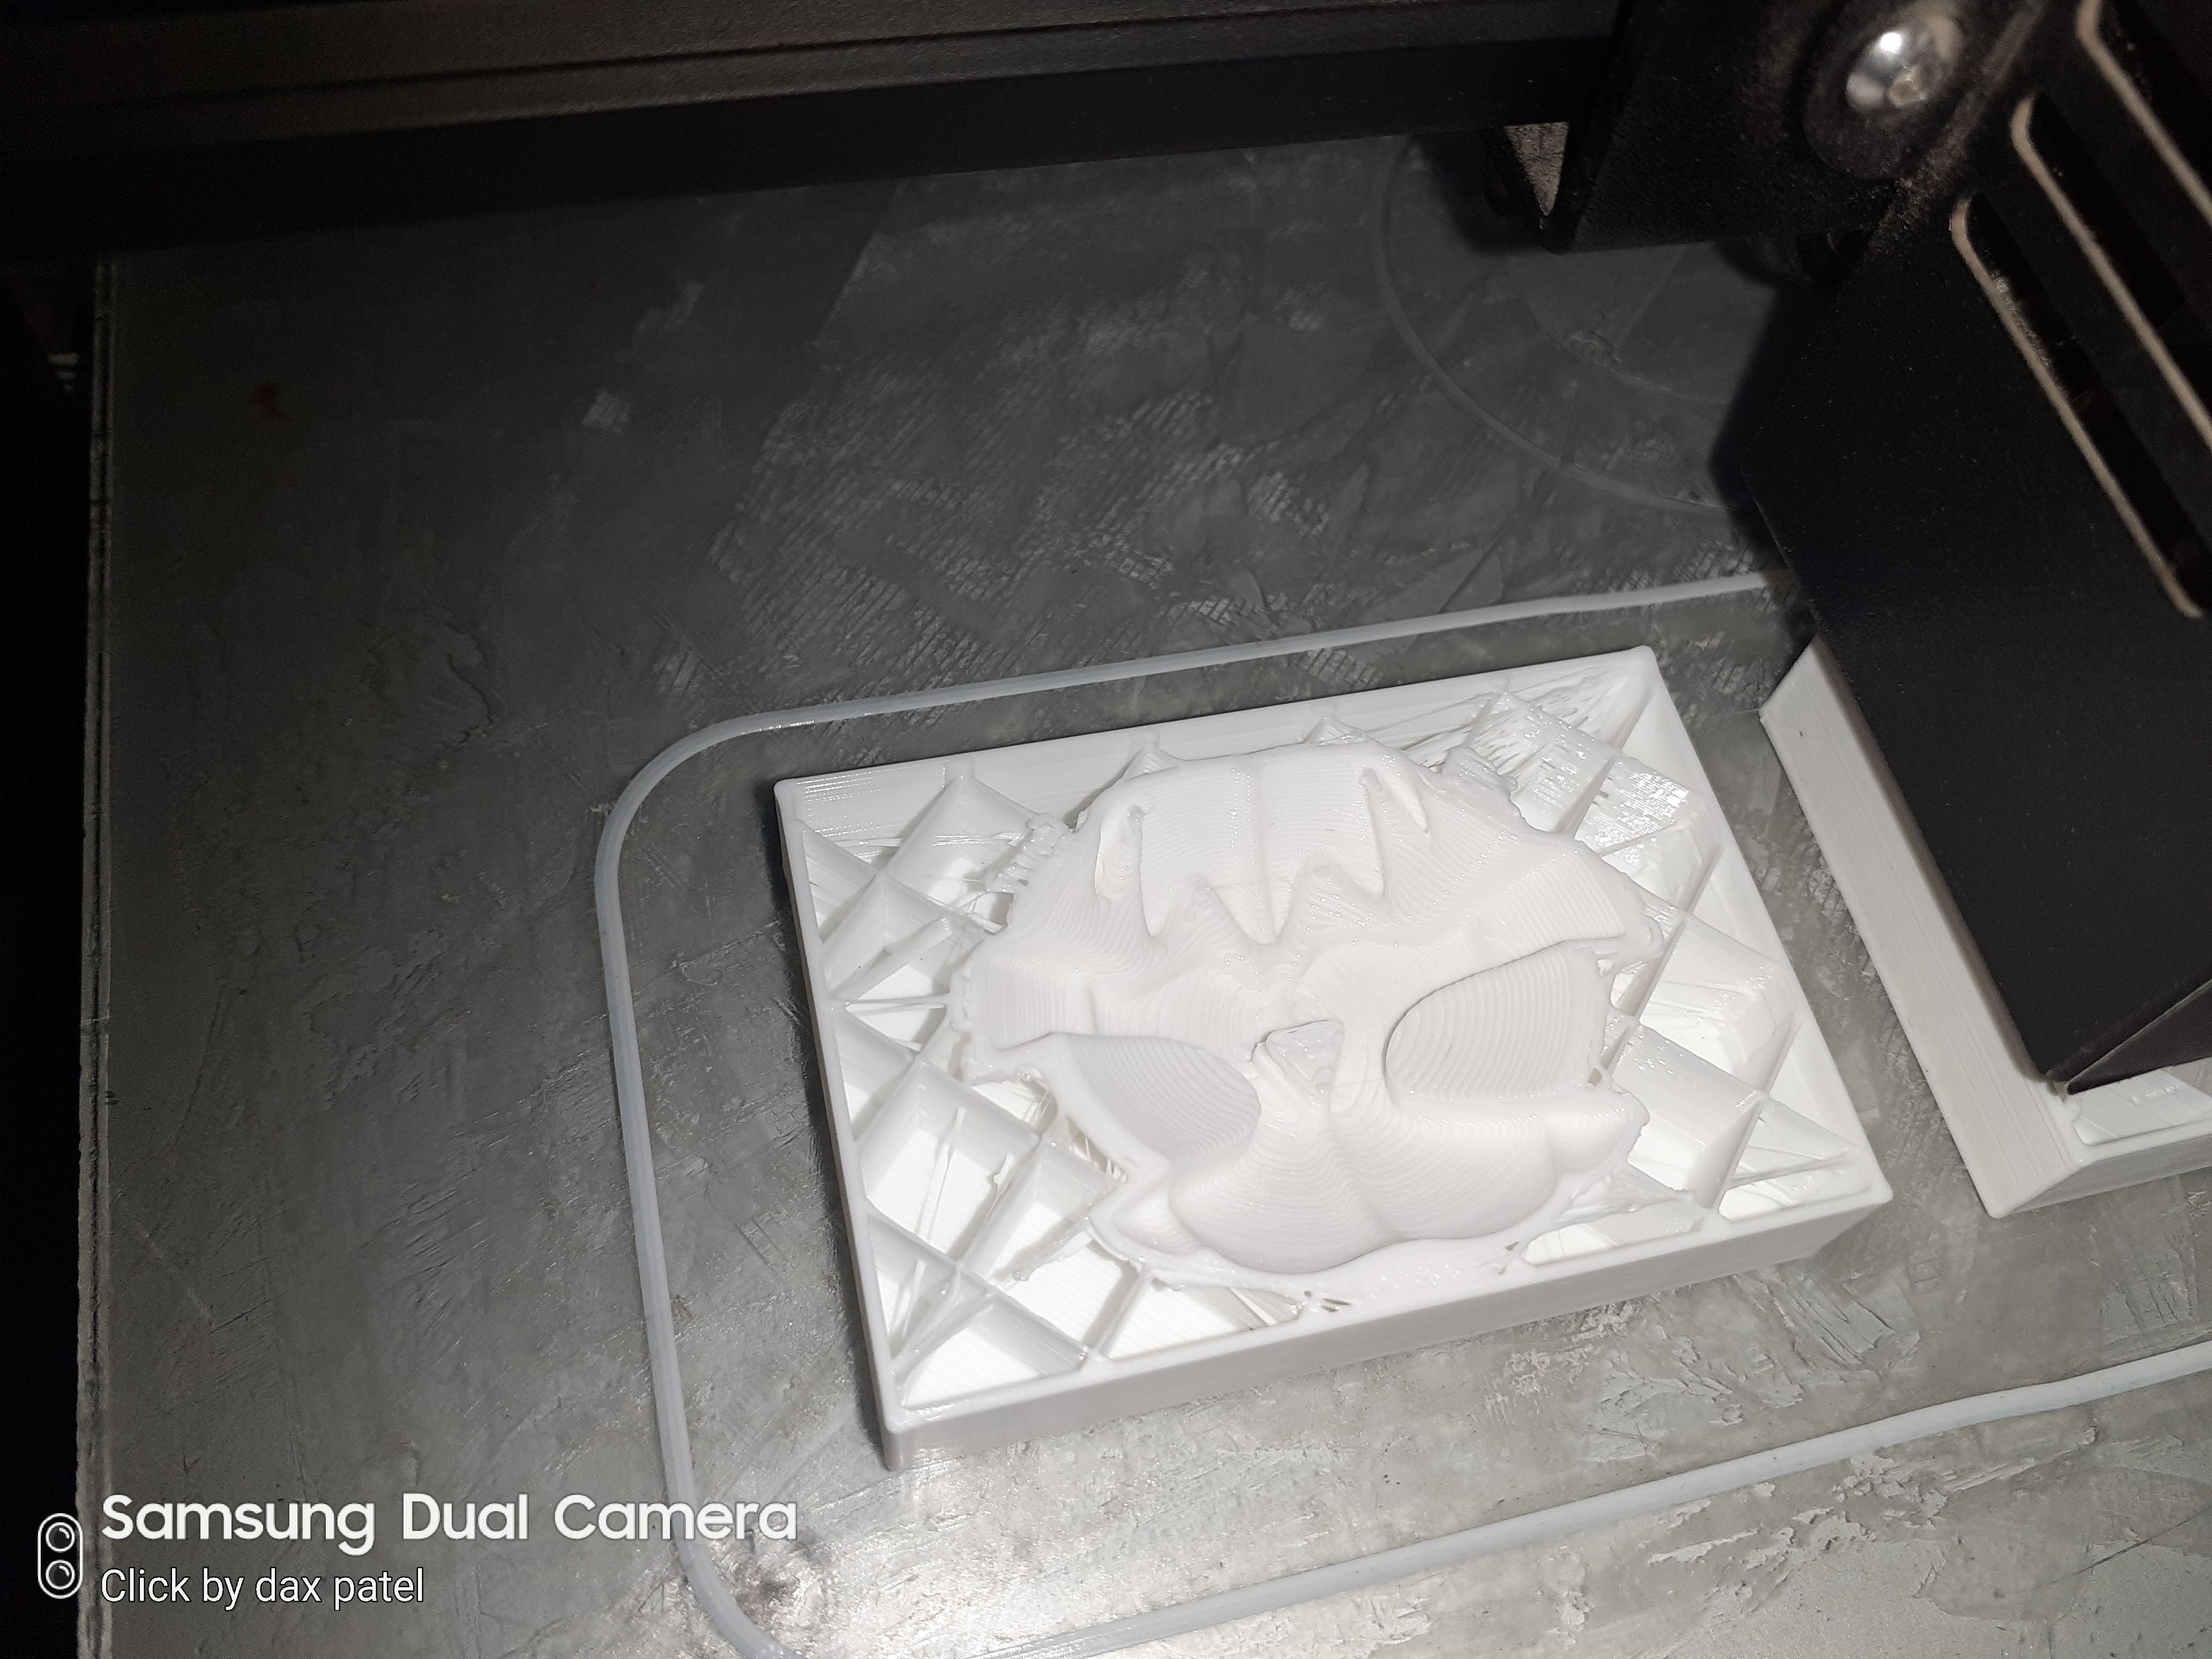
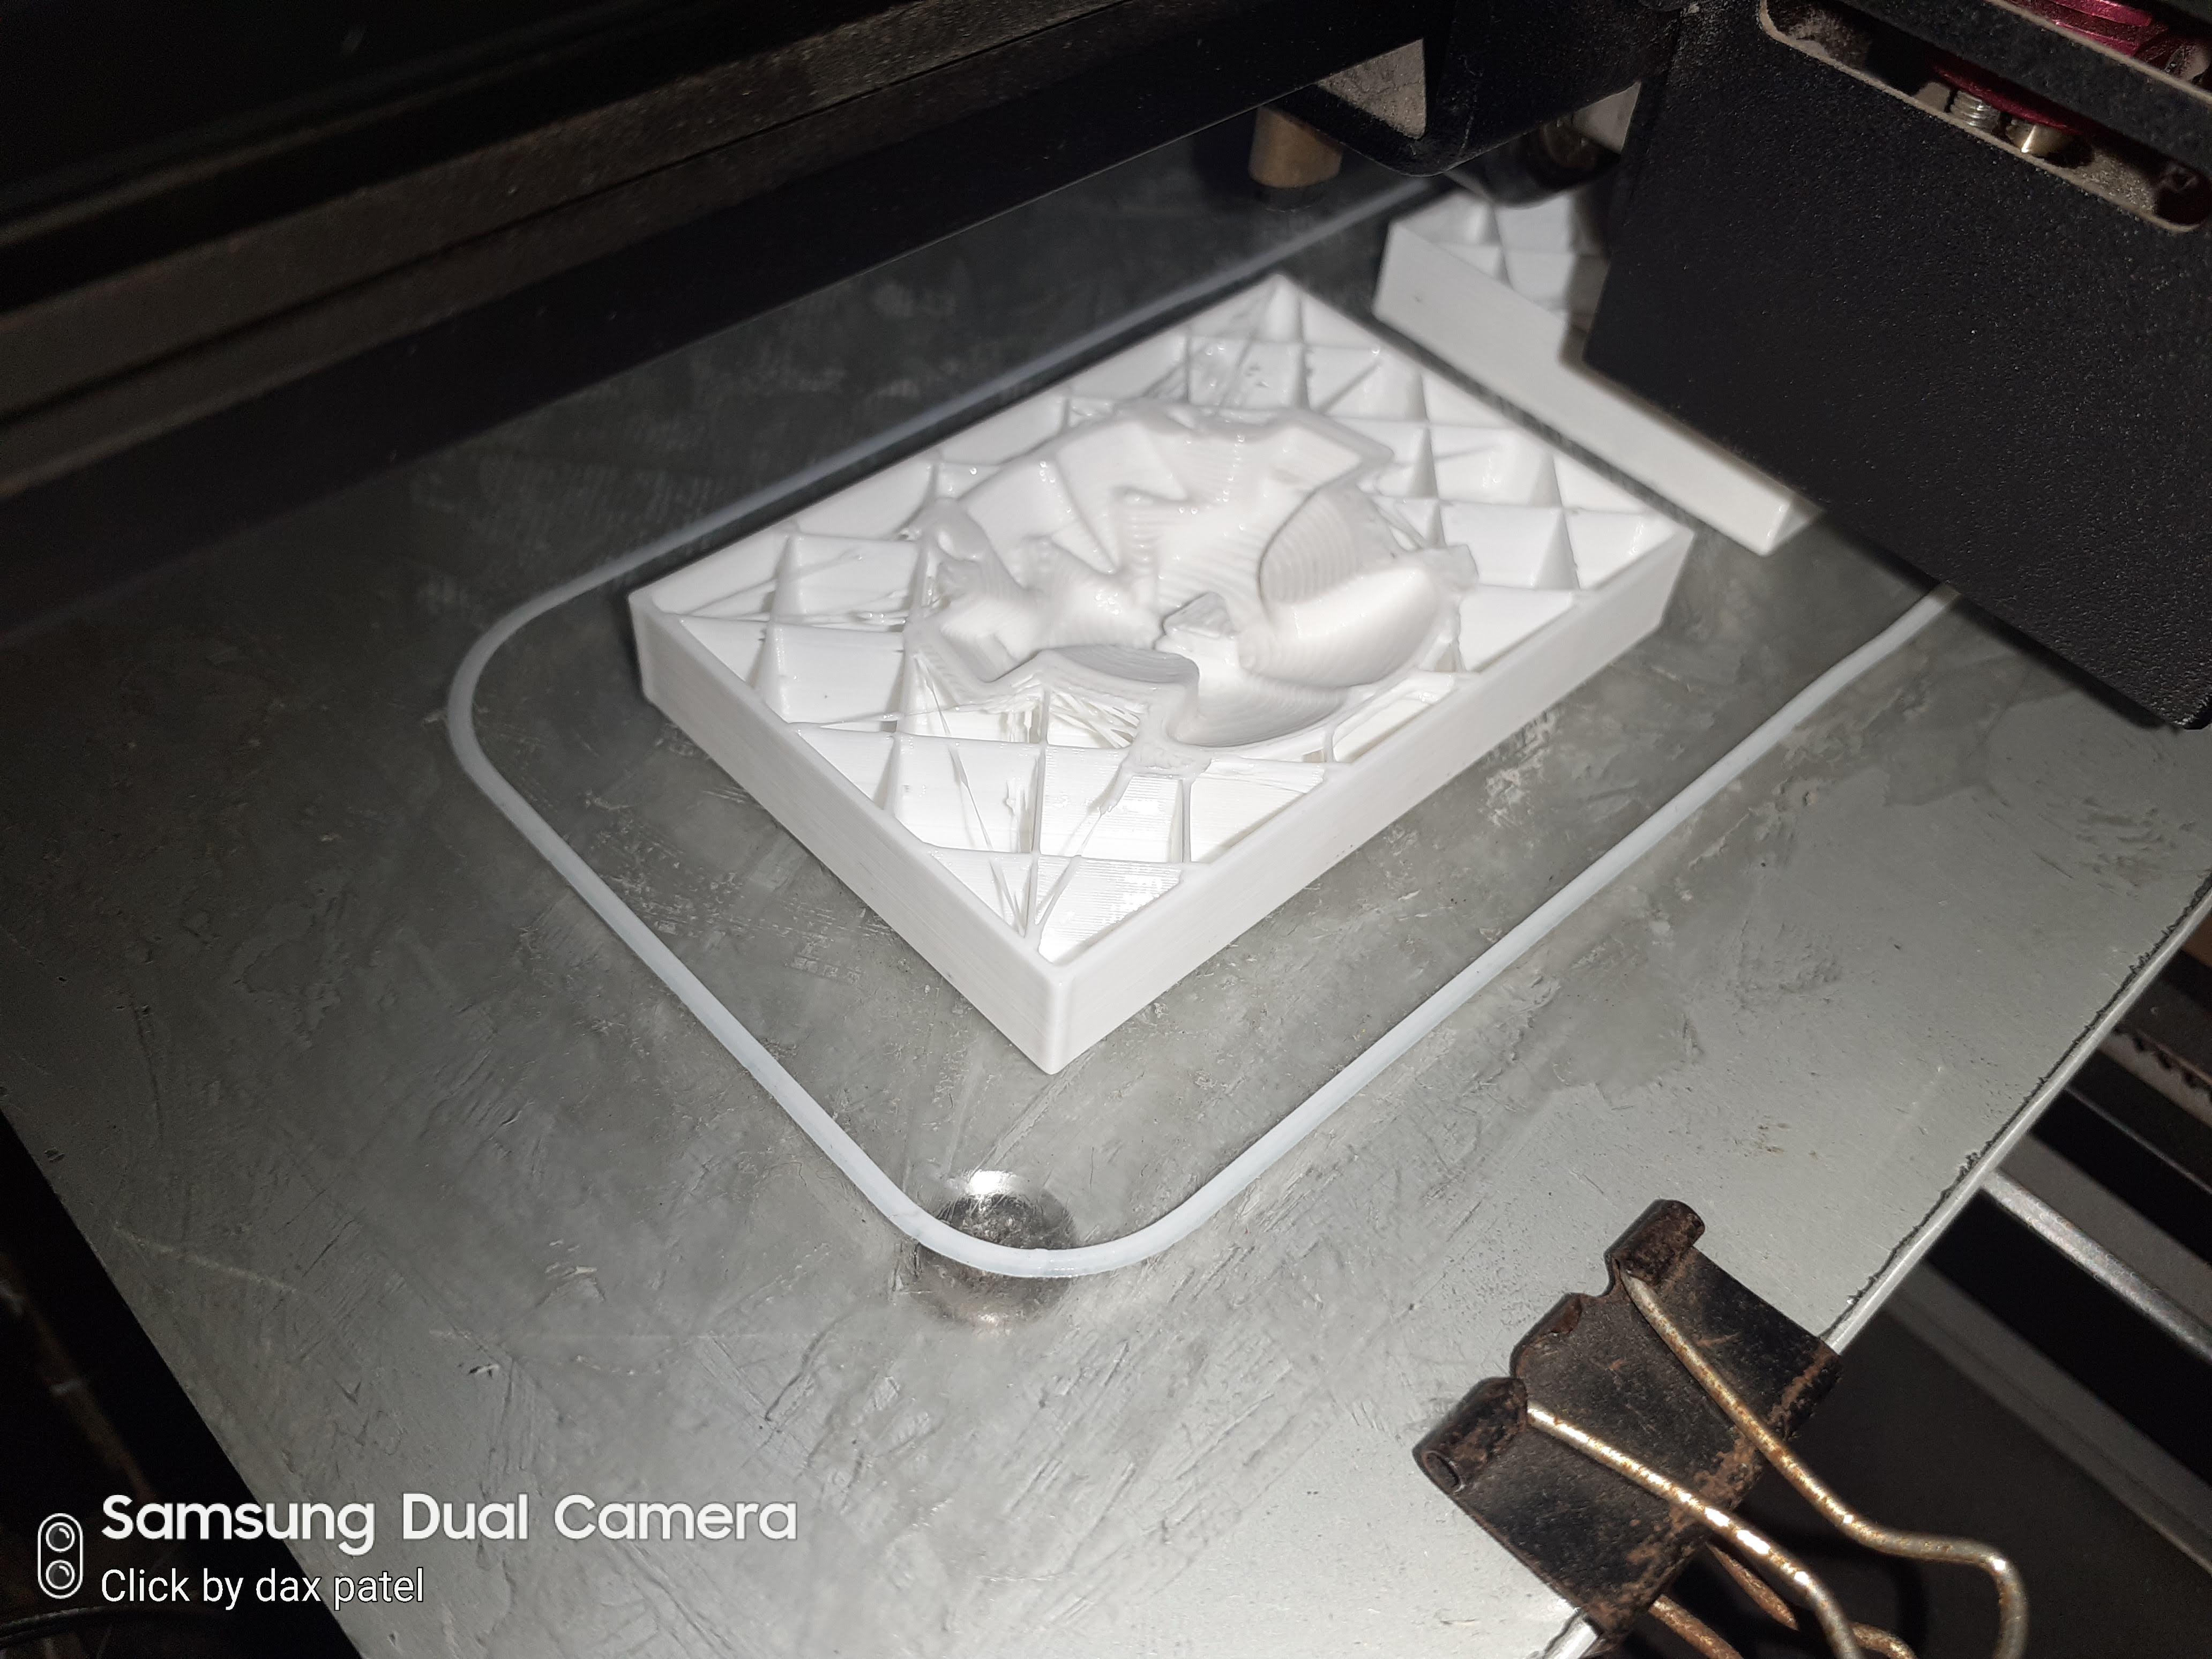
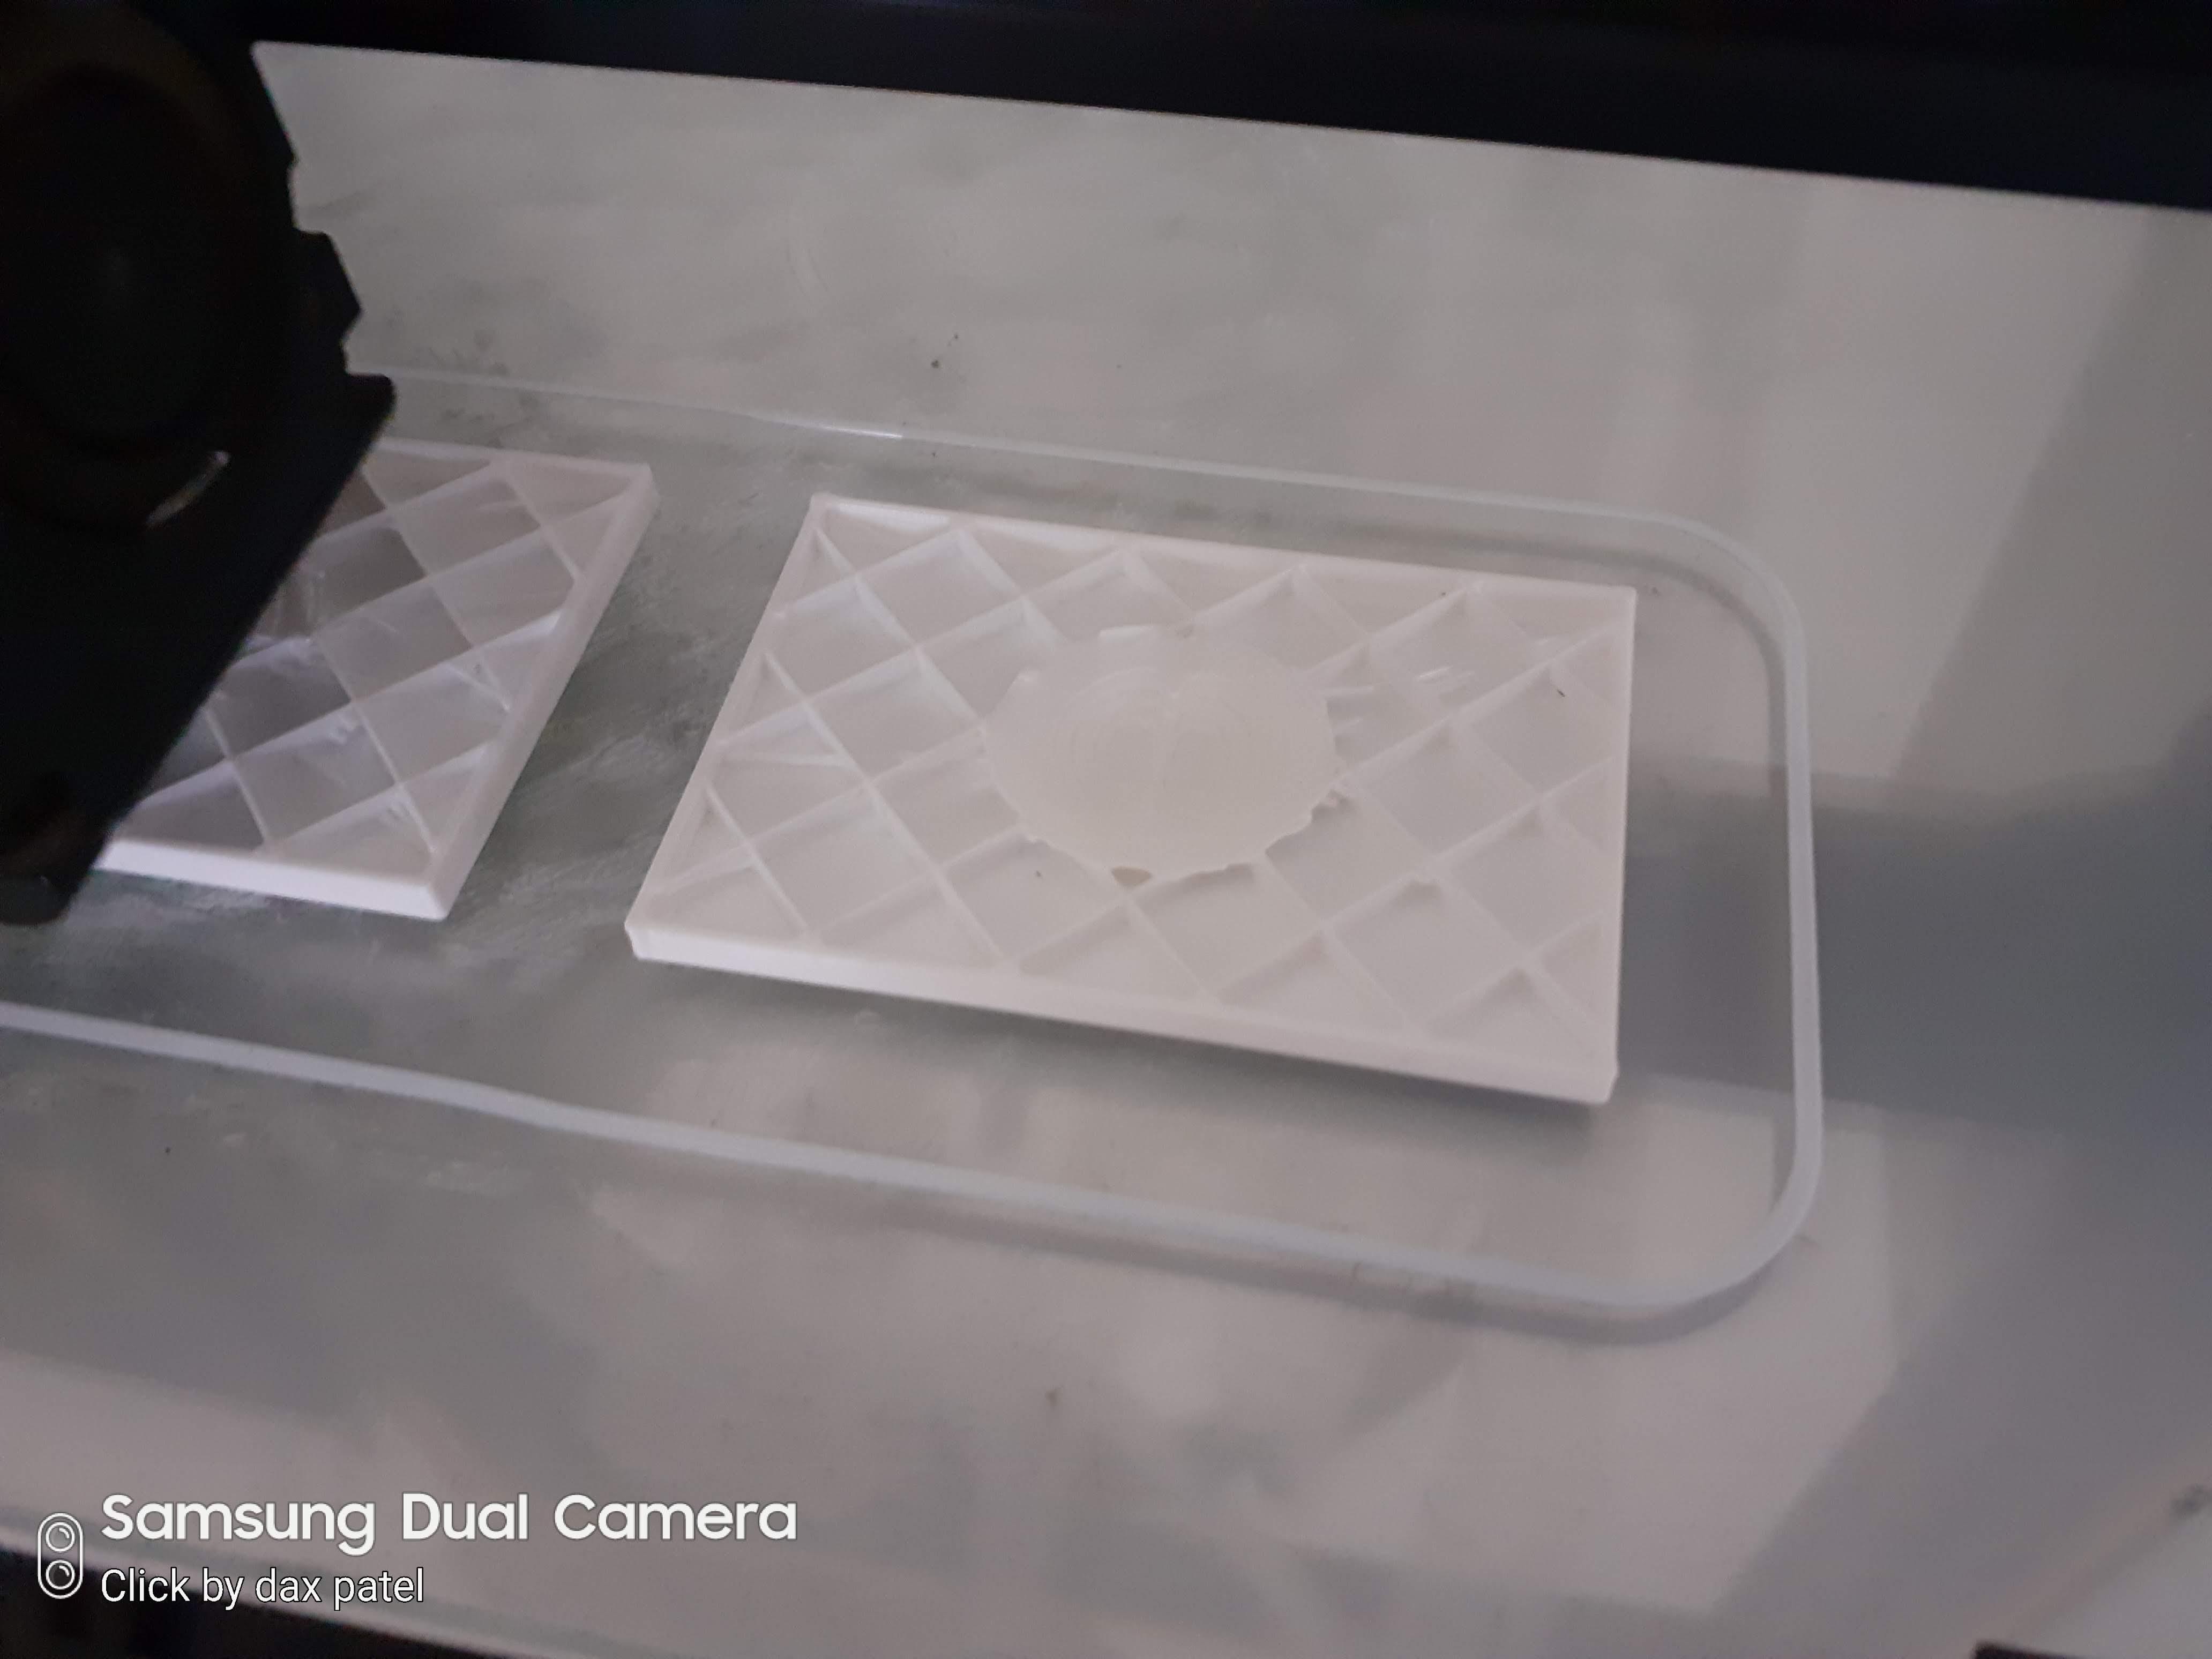
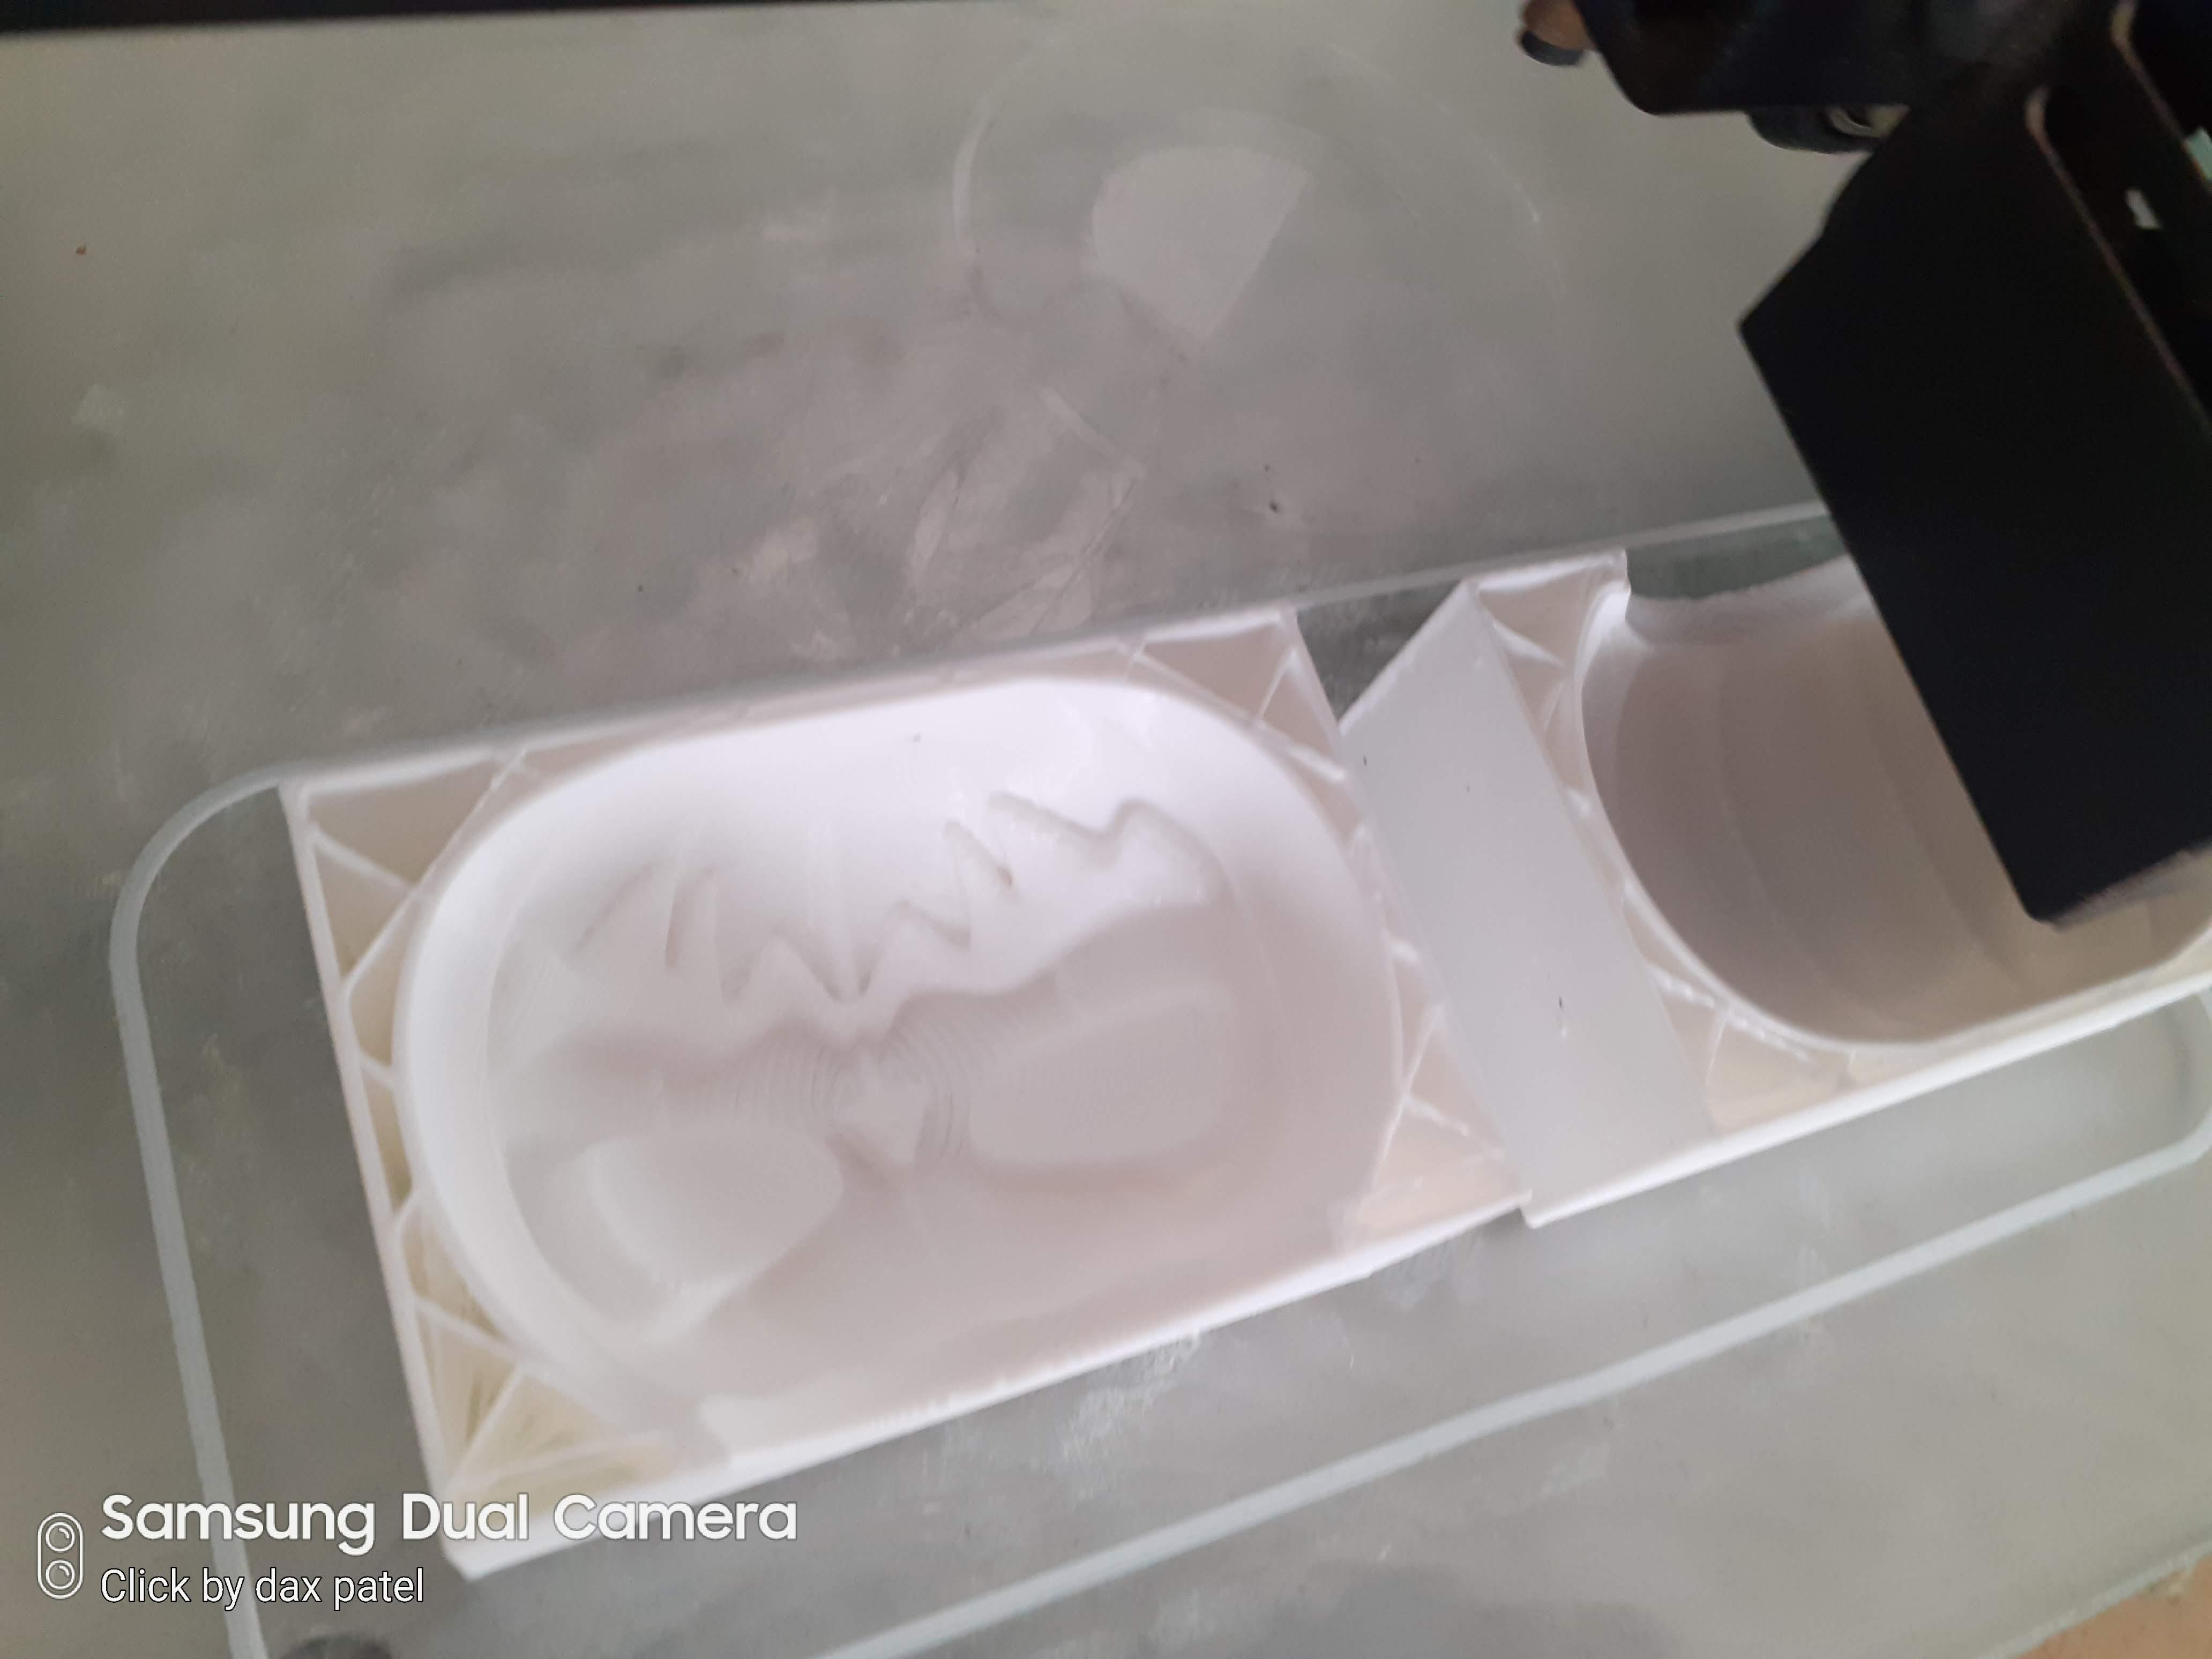
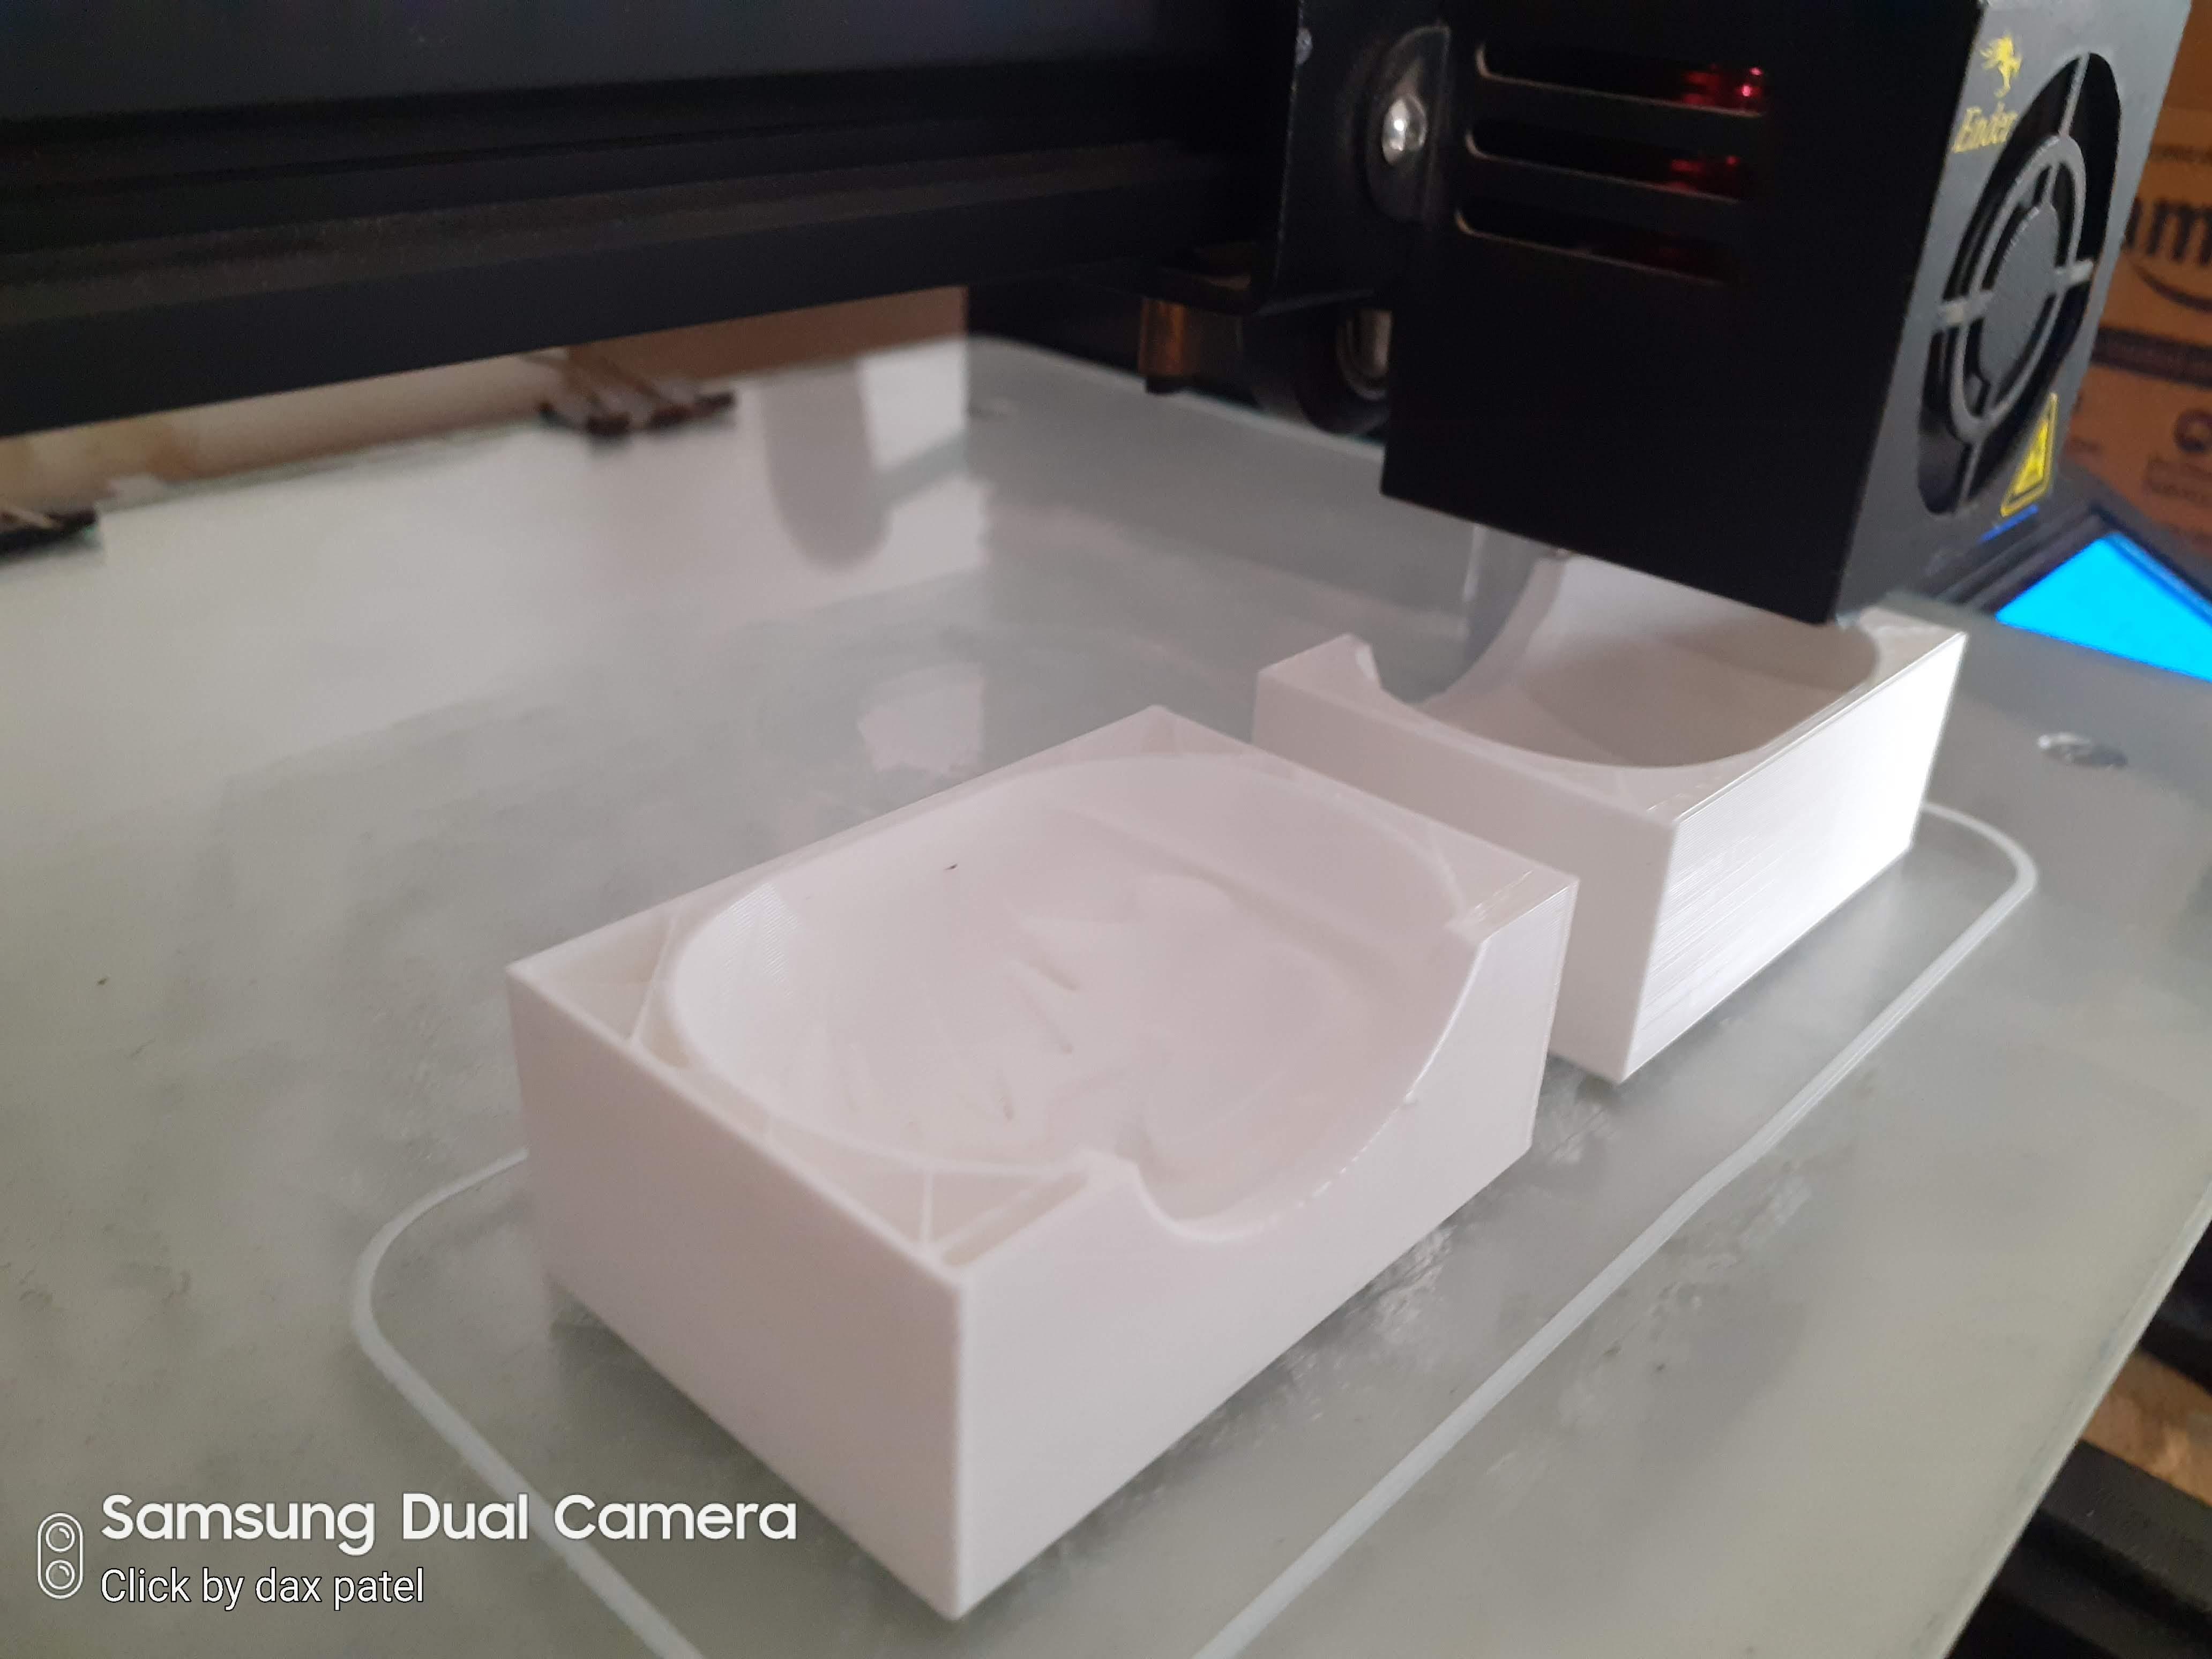
Start Print Your mold in a 3d printer.
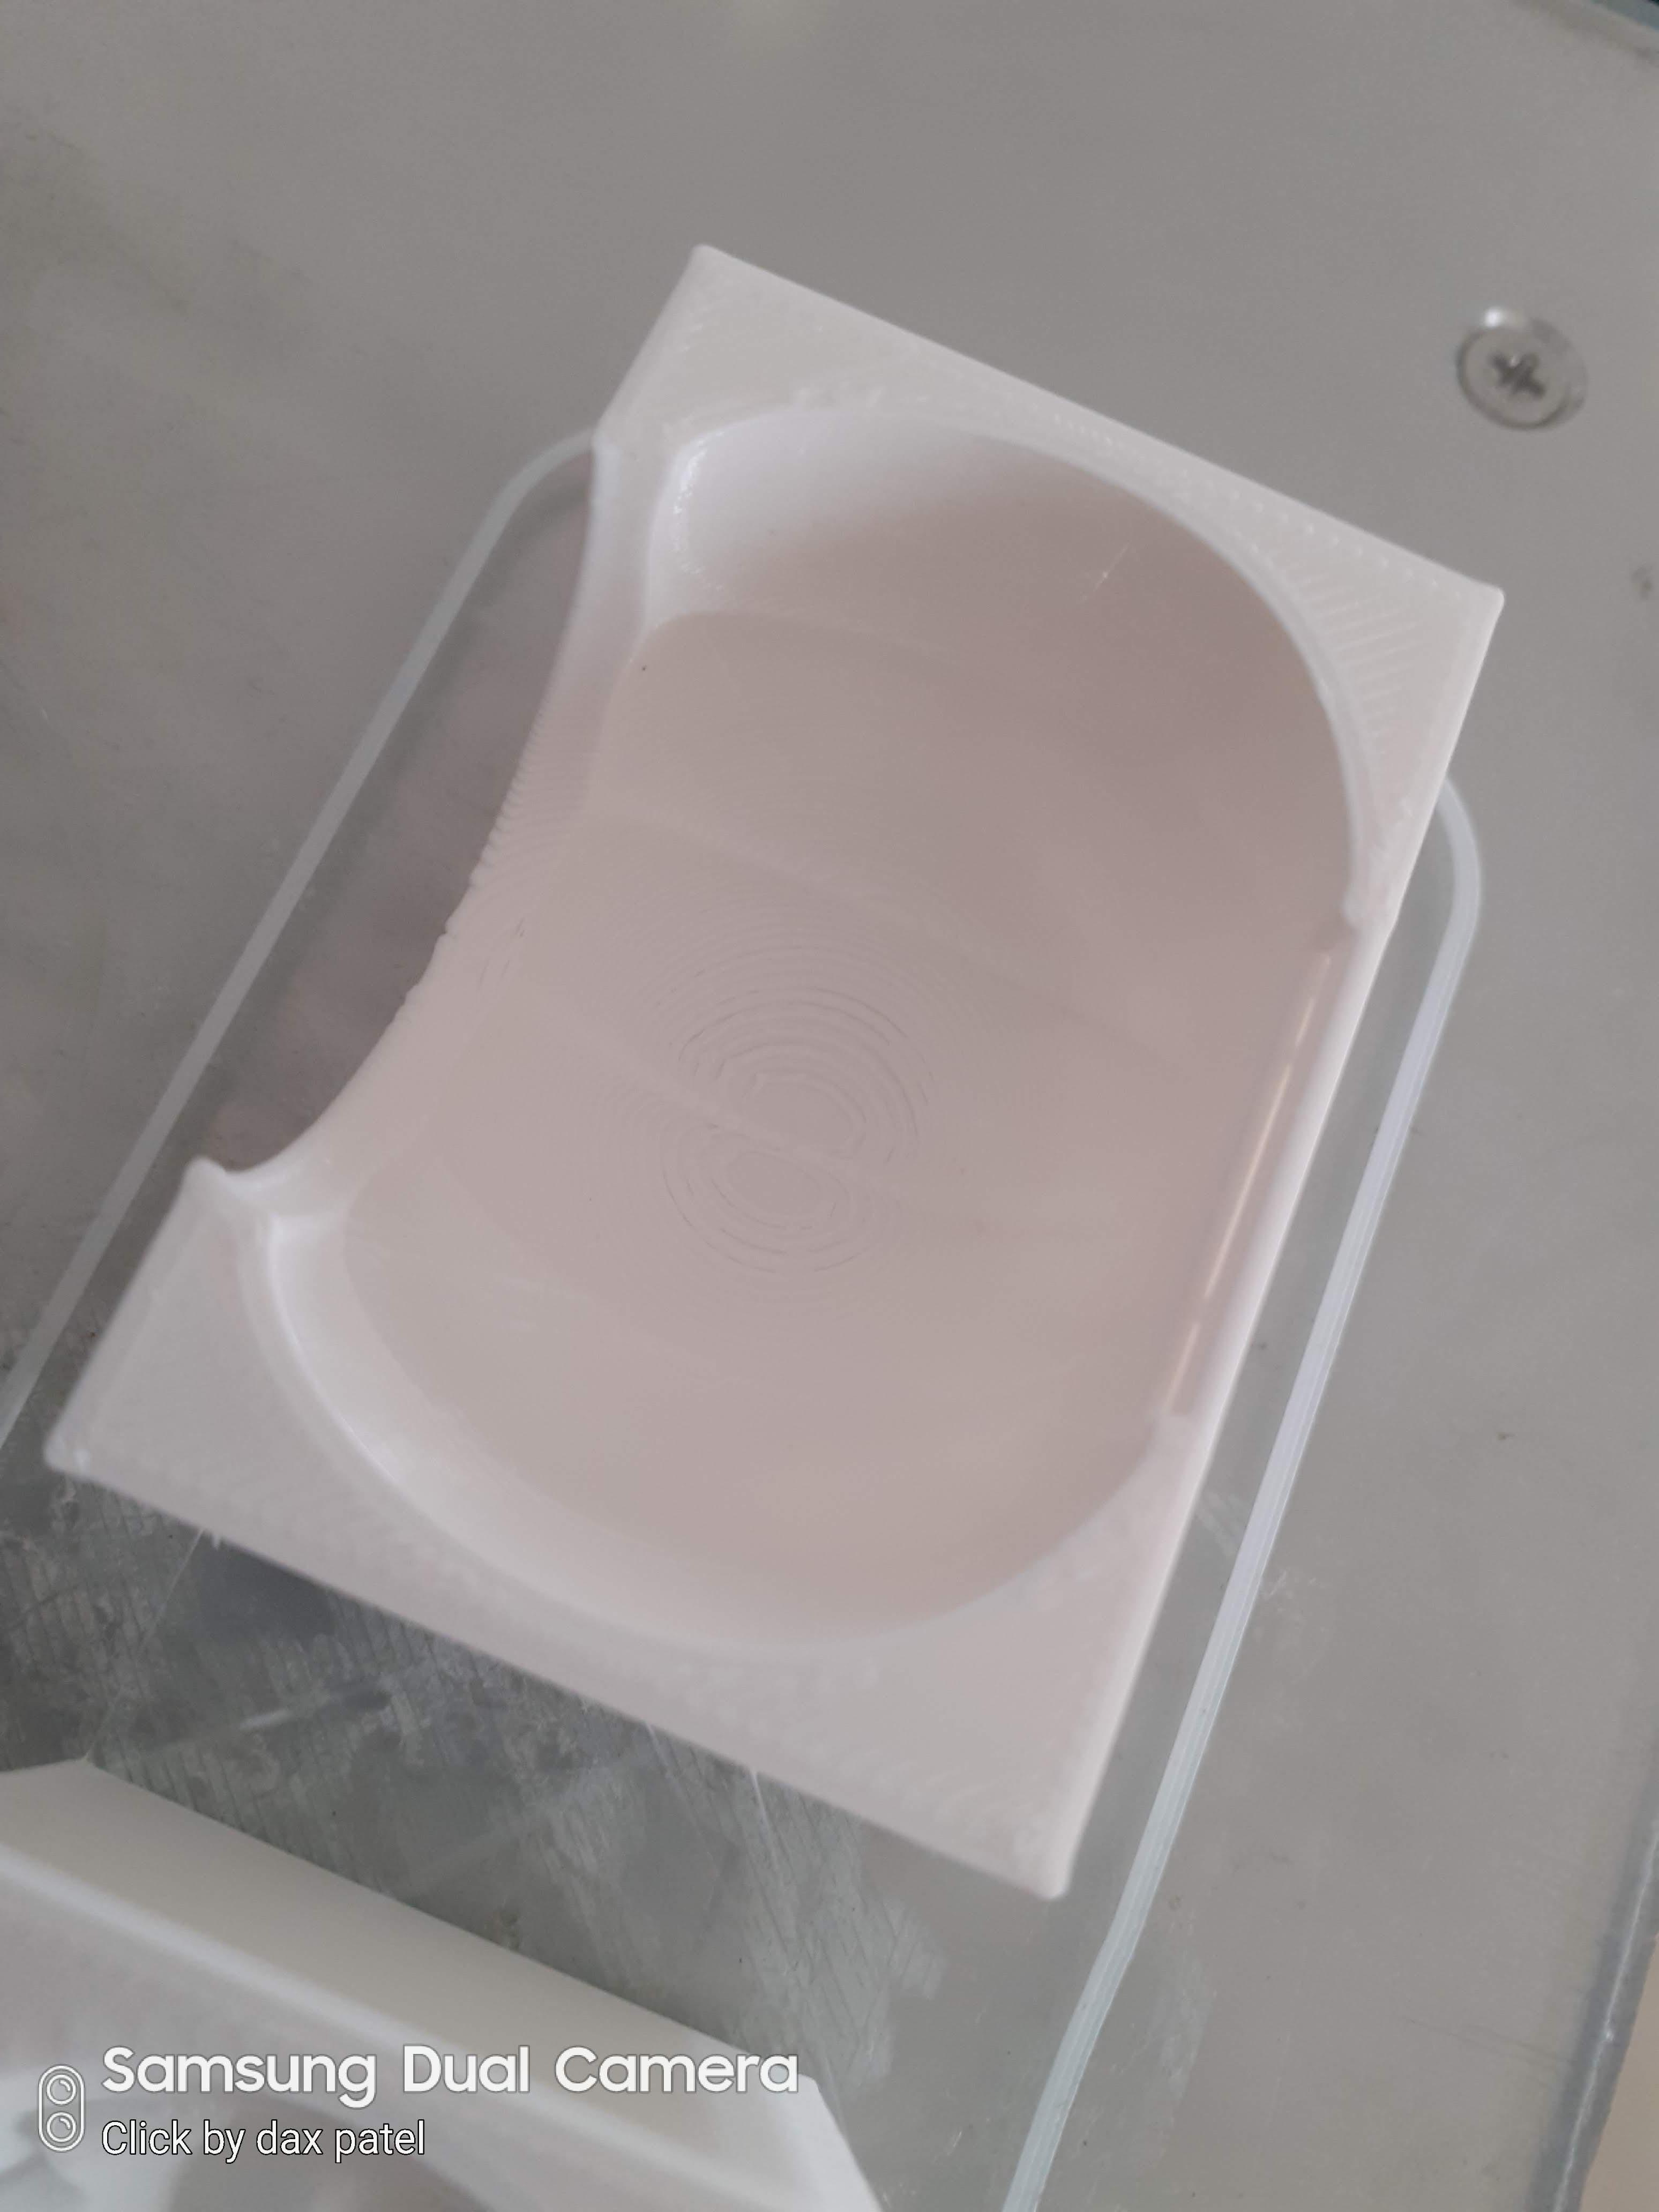
After printing the mold, remove the support if you print it.
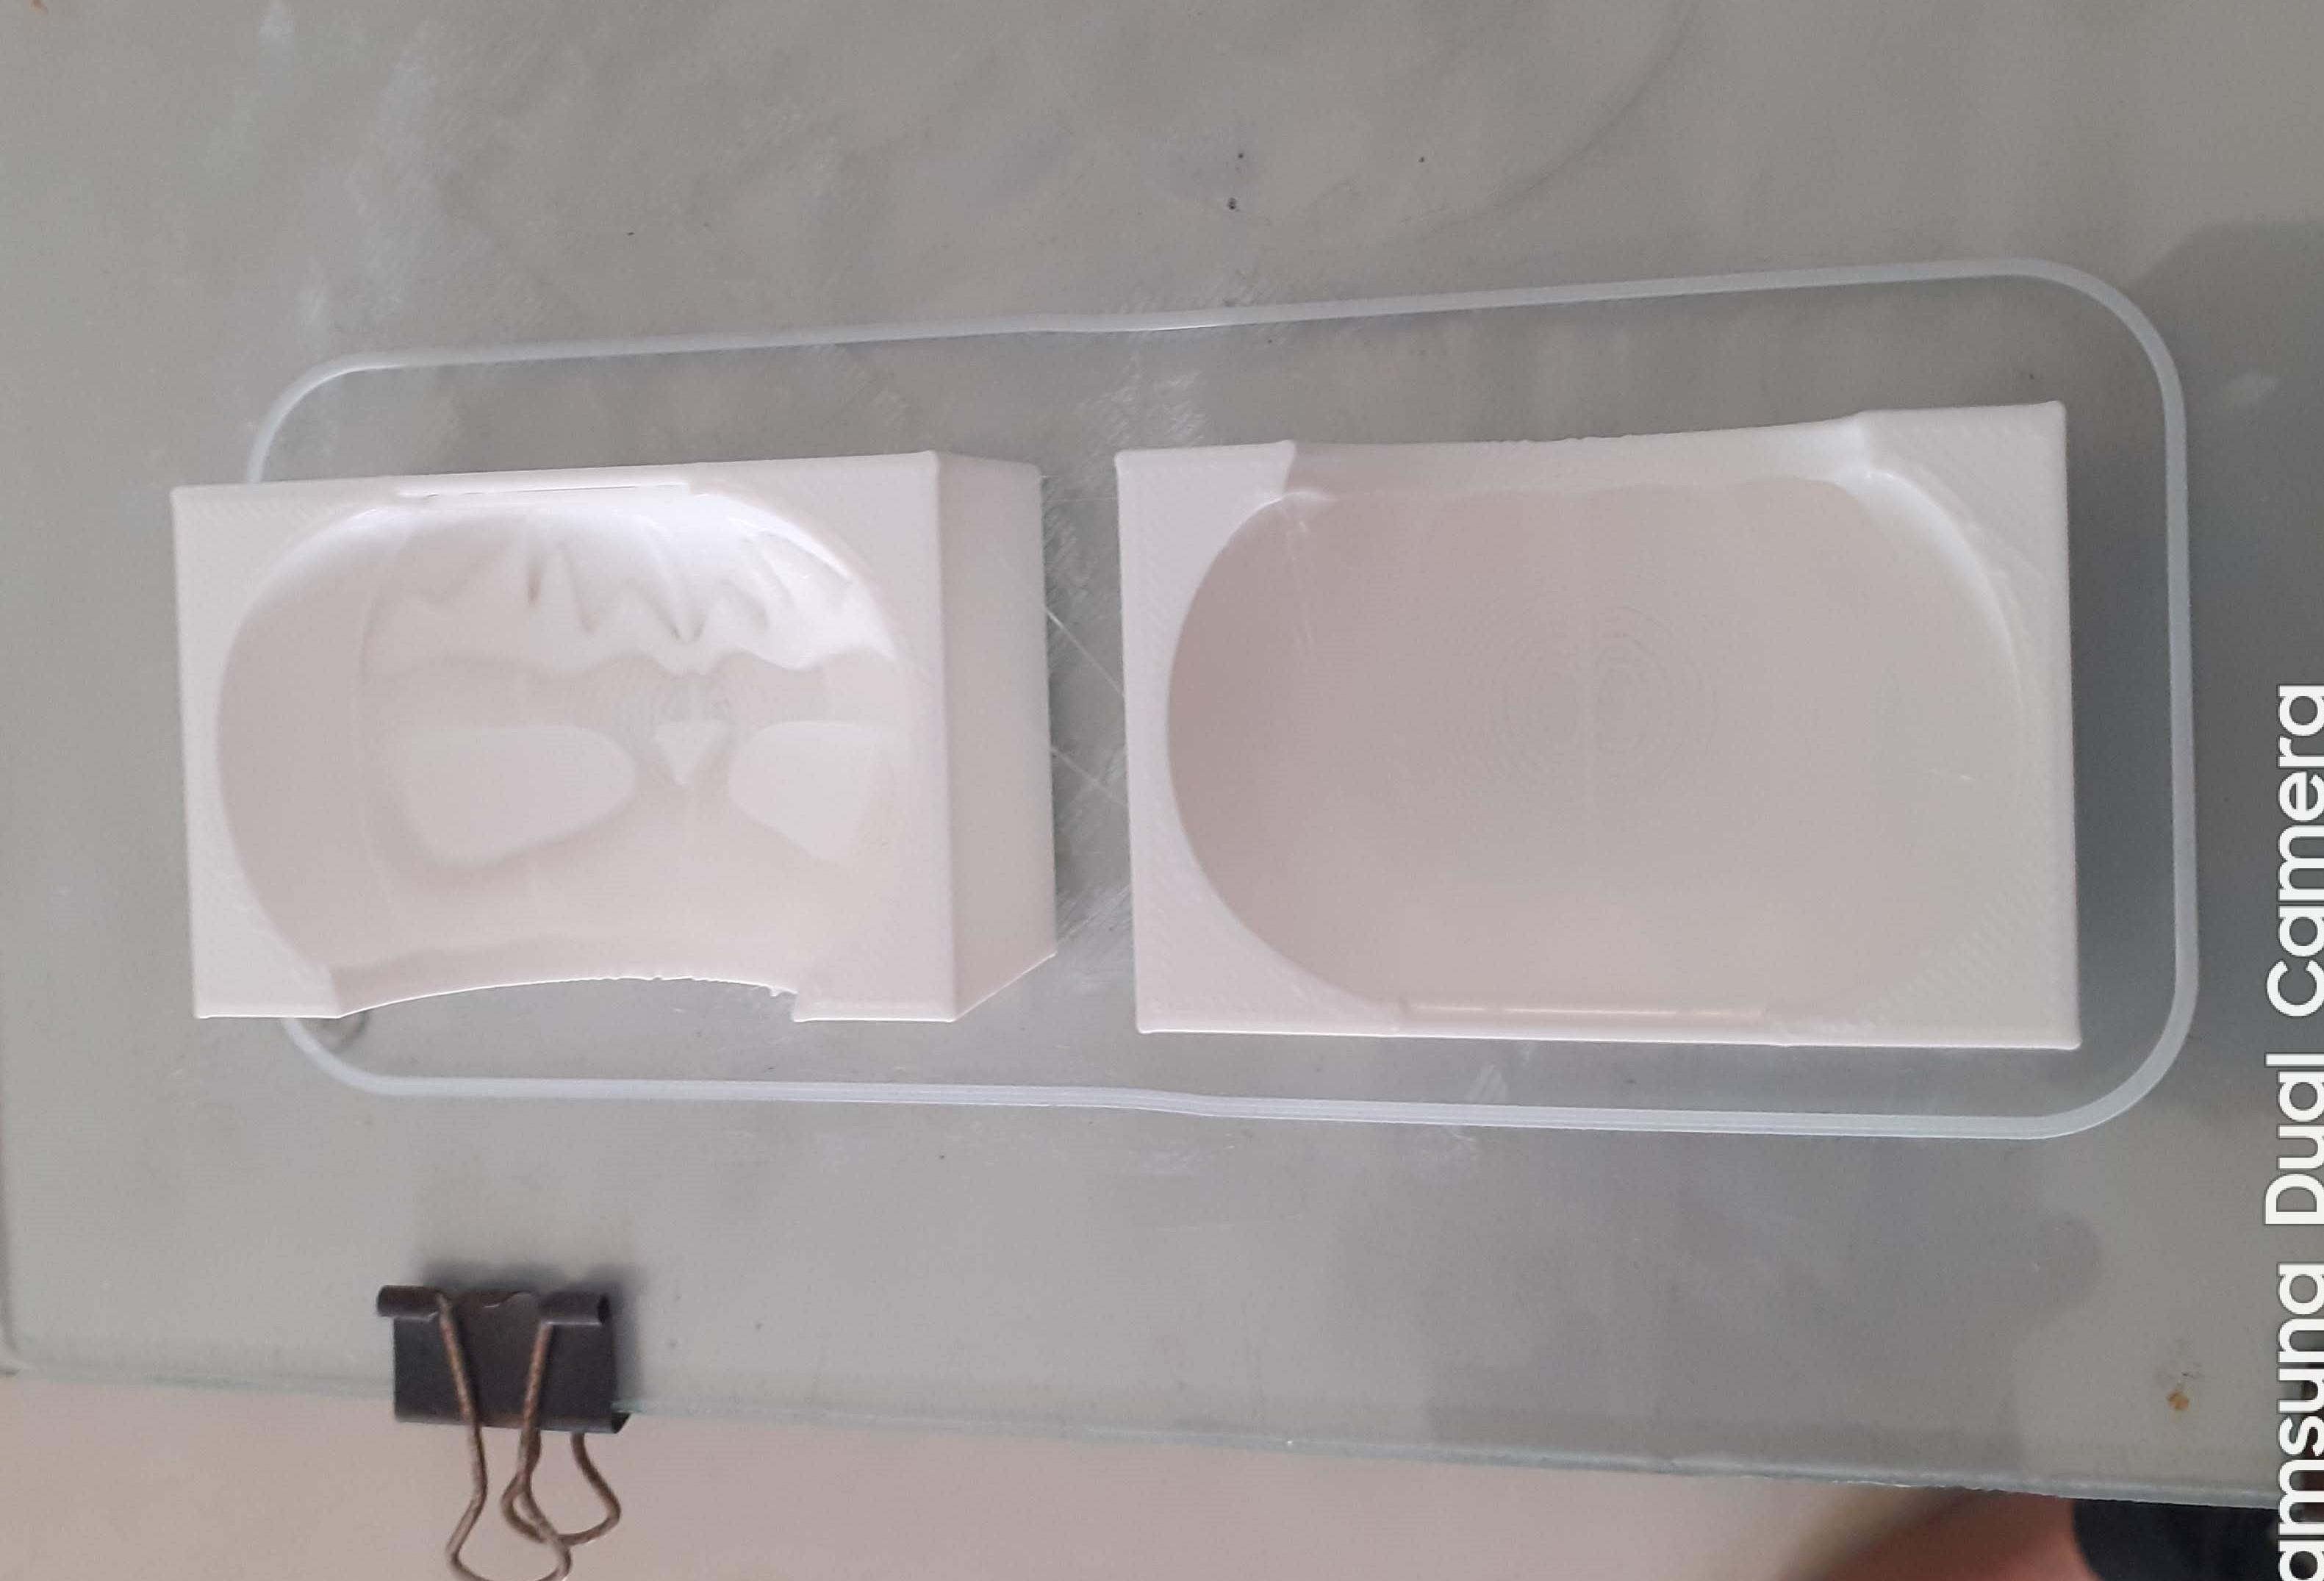
Use Transparent sellotape to combine both halves together.
Melting Wax & Pouring Into Mould


Use a small vessel to melt wax on the stove.
Start the stove and hold the vessel on the stove.
Wait to liquify all wax. Add a few drops of scent for a good smell while burning the candle. Bring mould and Pour Liquid wax Gently inside the mould.
Wait for 30 mint to cool down the wax. You can place the mould into a water container for cooldown.
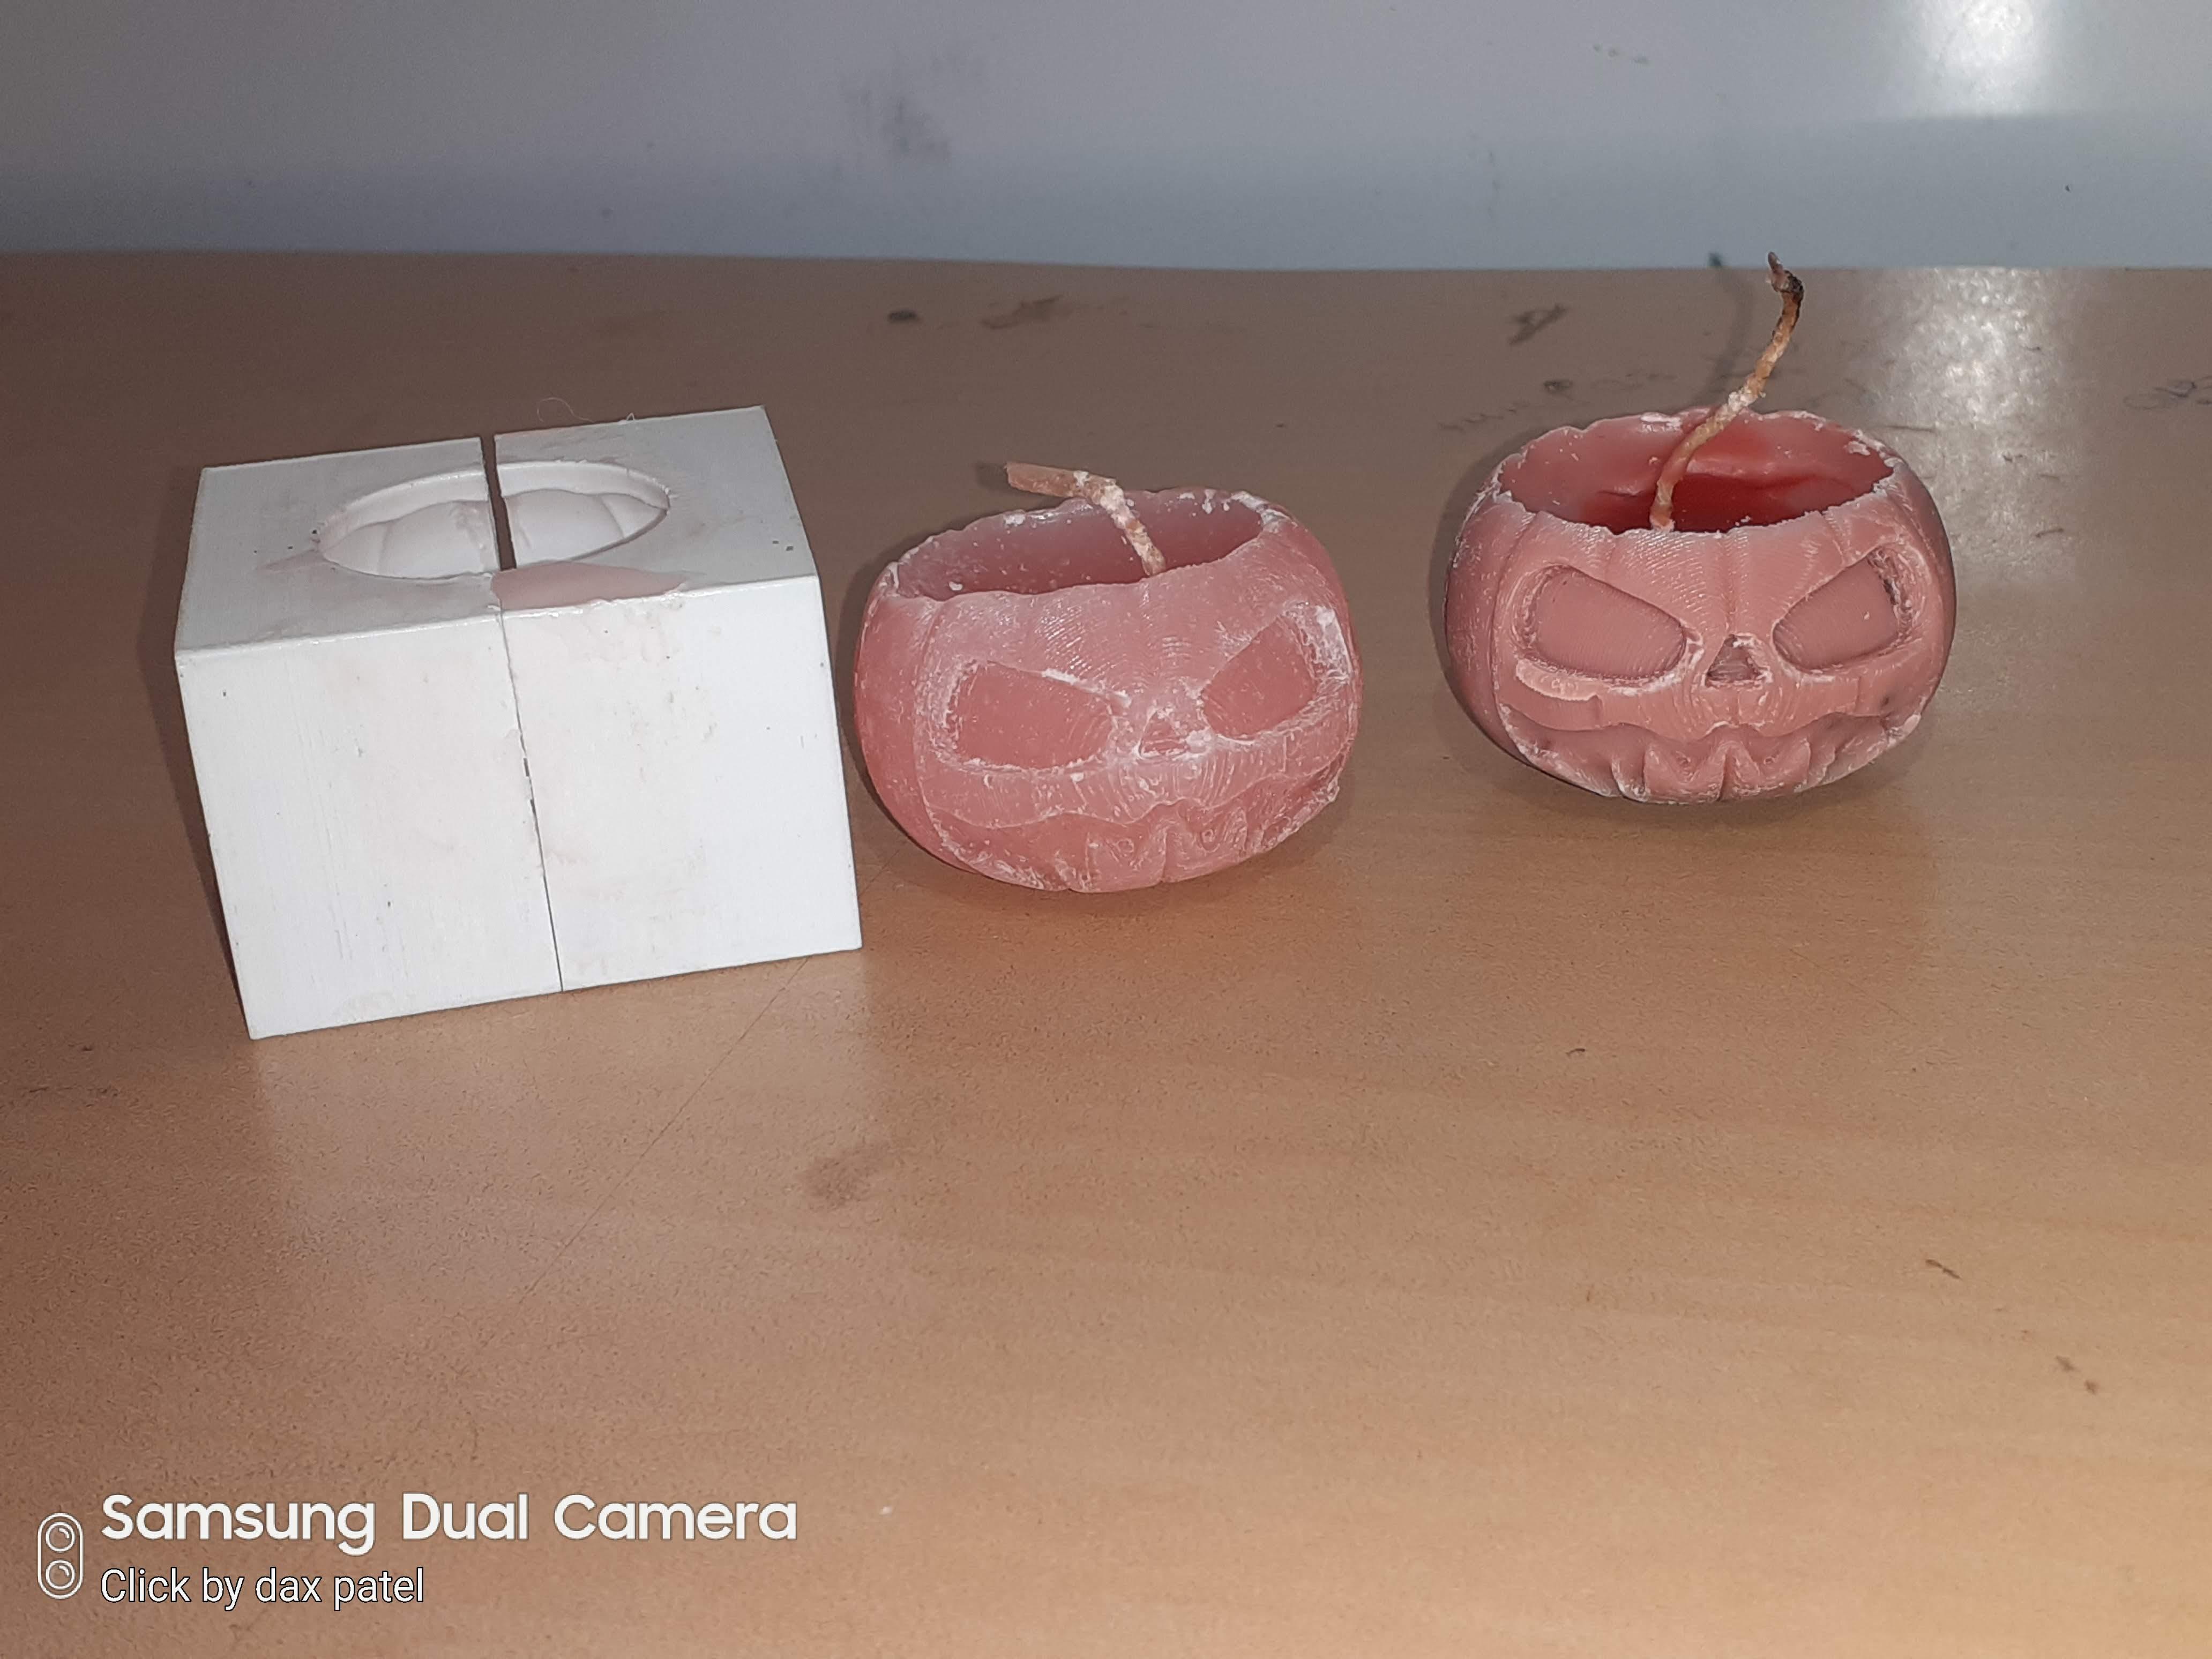
Remove sellotape from mould and gently take apart both halves and remove wax parts.
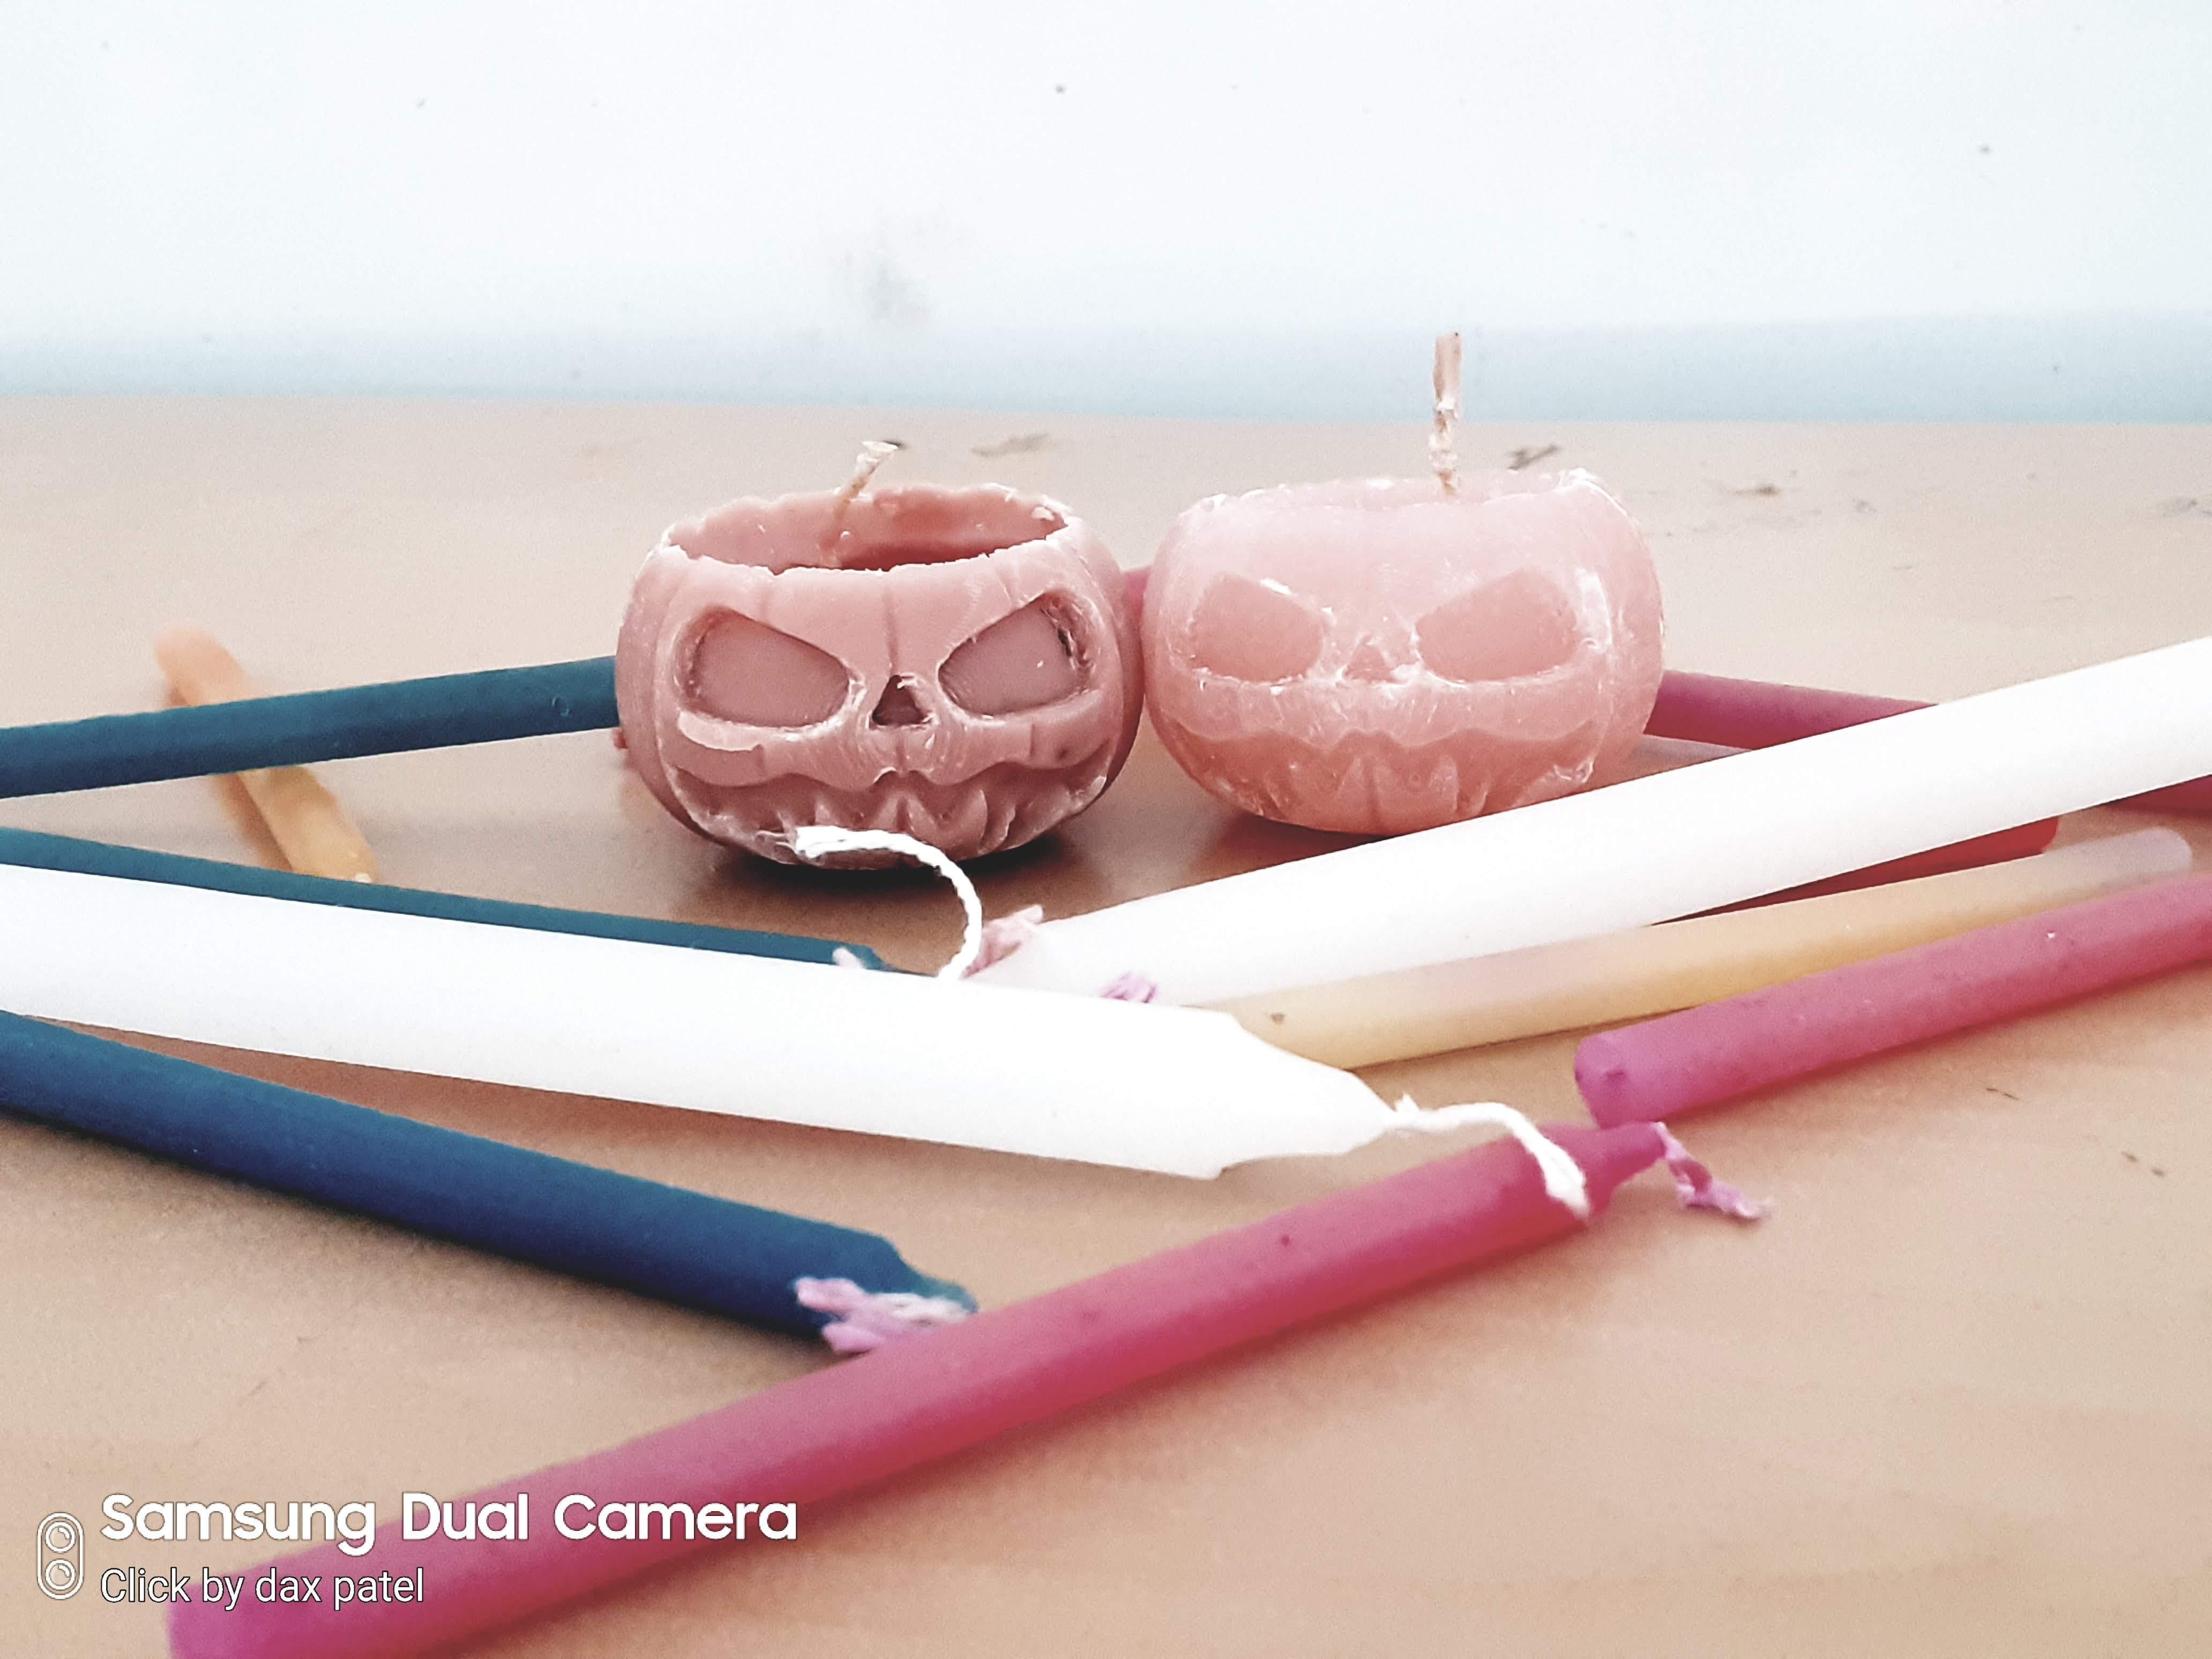
Now you have your Candle ready to burn.
Make your own designer candle using this Instructable.
Testing of Candle
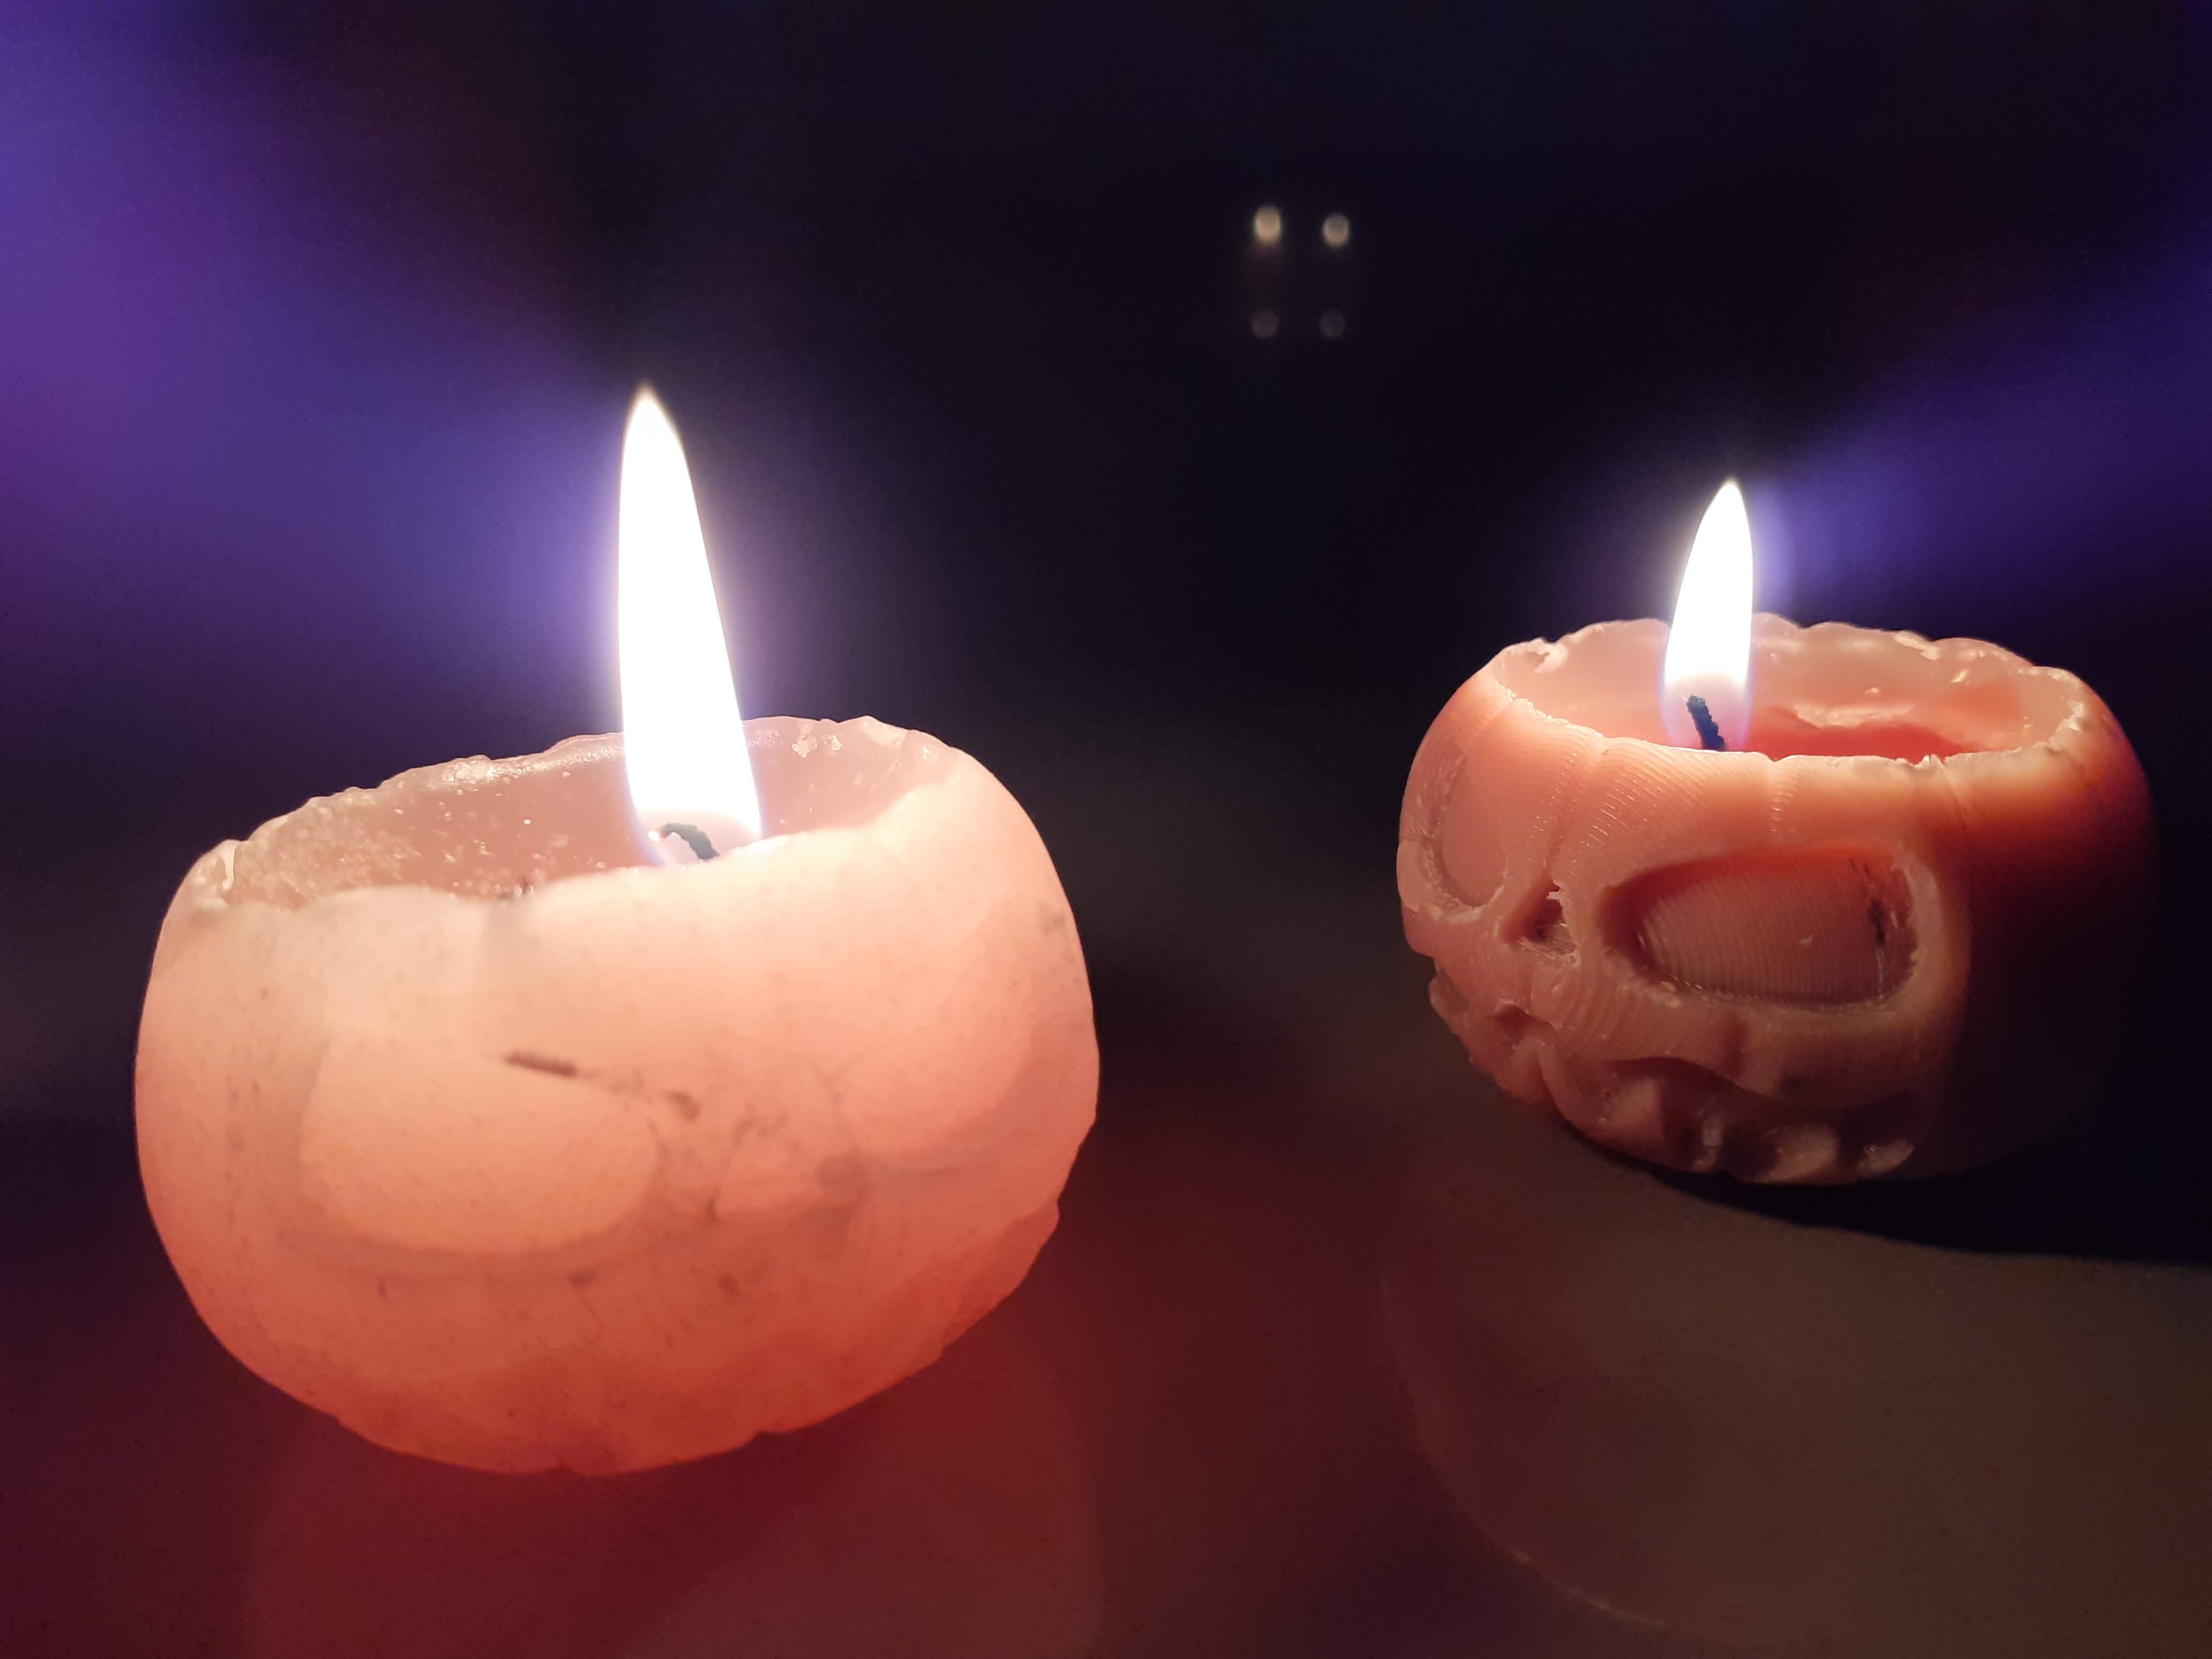

Light it up with a candle using a matchbox, it gives Light and spreads Good small in the environment.
Enjoy custom candle making.