Custom Box-PC1-Benjamin Gamboa Durand
by Benjamin417 in Workshop > Laser Cutting
181 Views, 1 Favorites, 0 Comments
Custom Box-PC1-Benjamin Gamboa Durand
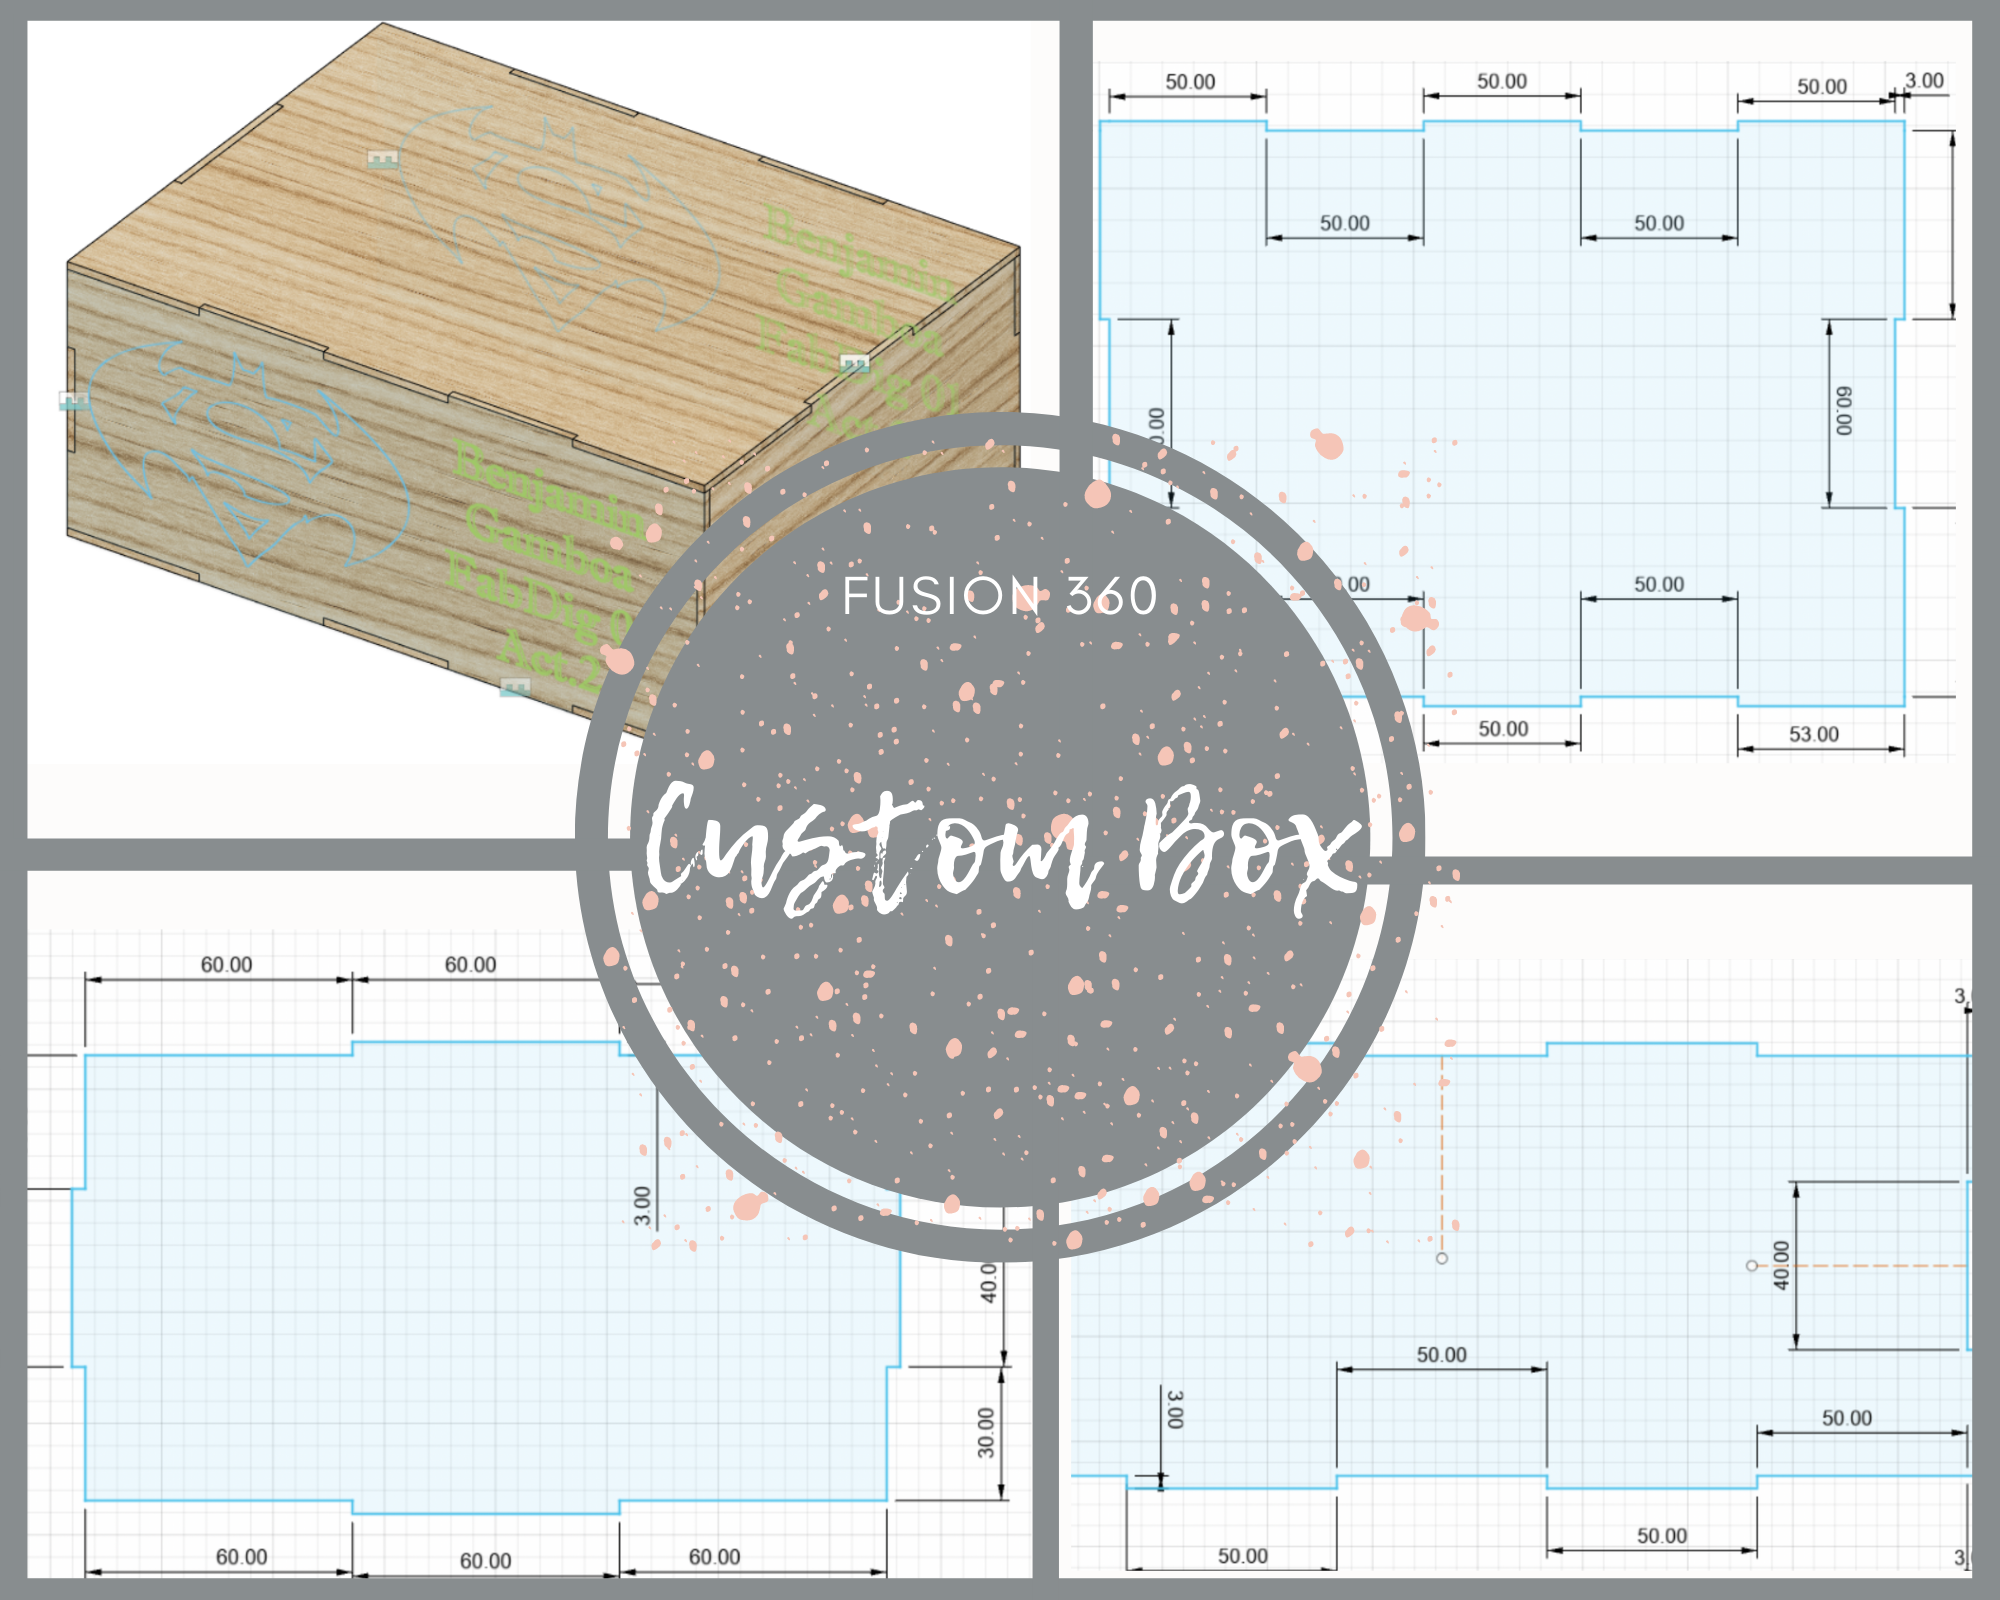
"Hi Guys"
My name is Benjamin but you can call me Benja, well as you saw in the title, we are going to learn through steps how to make a custom Cajita in simple steps, for which we will use the application called "fusion 360" and "RDWorks".
"LET'S GET STARTED"
Materials
- Computer (Windows 10)
- Autodesk Fusión 360 Software
- Peripherals:
- Mause
- Keyboard
- DXF image
- WIFI
- RDWorks
FACE_A
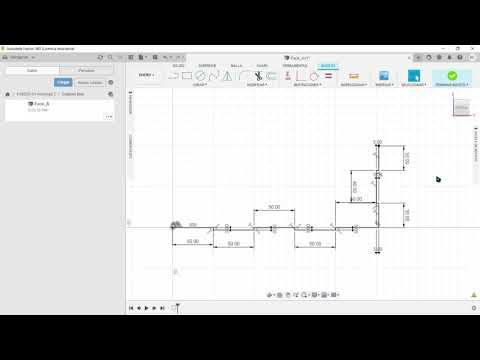
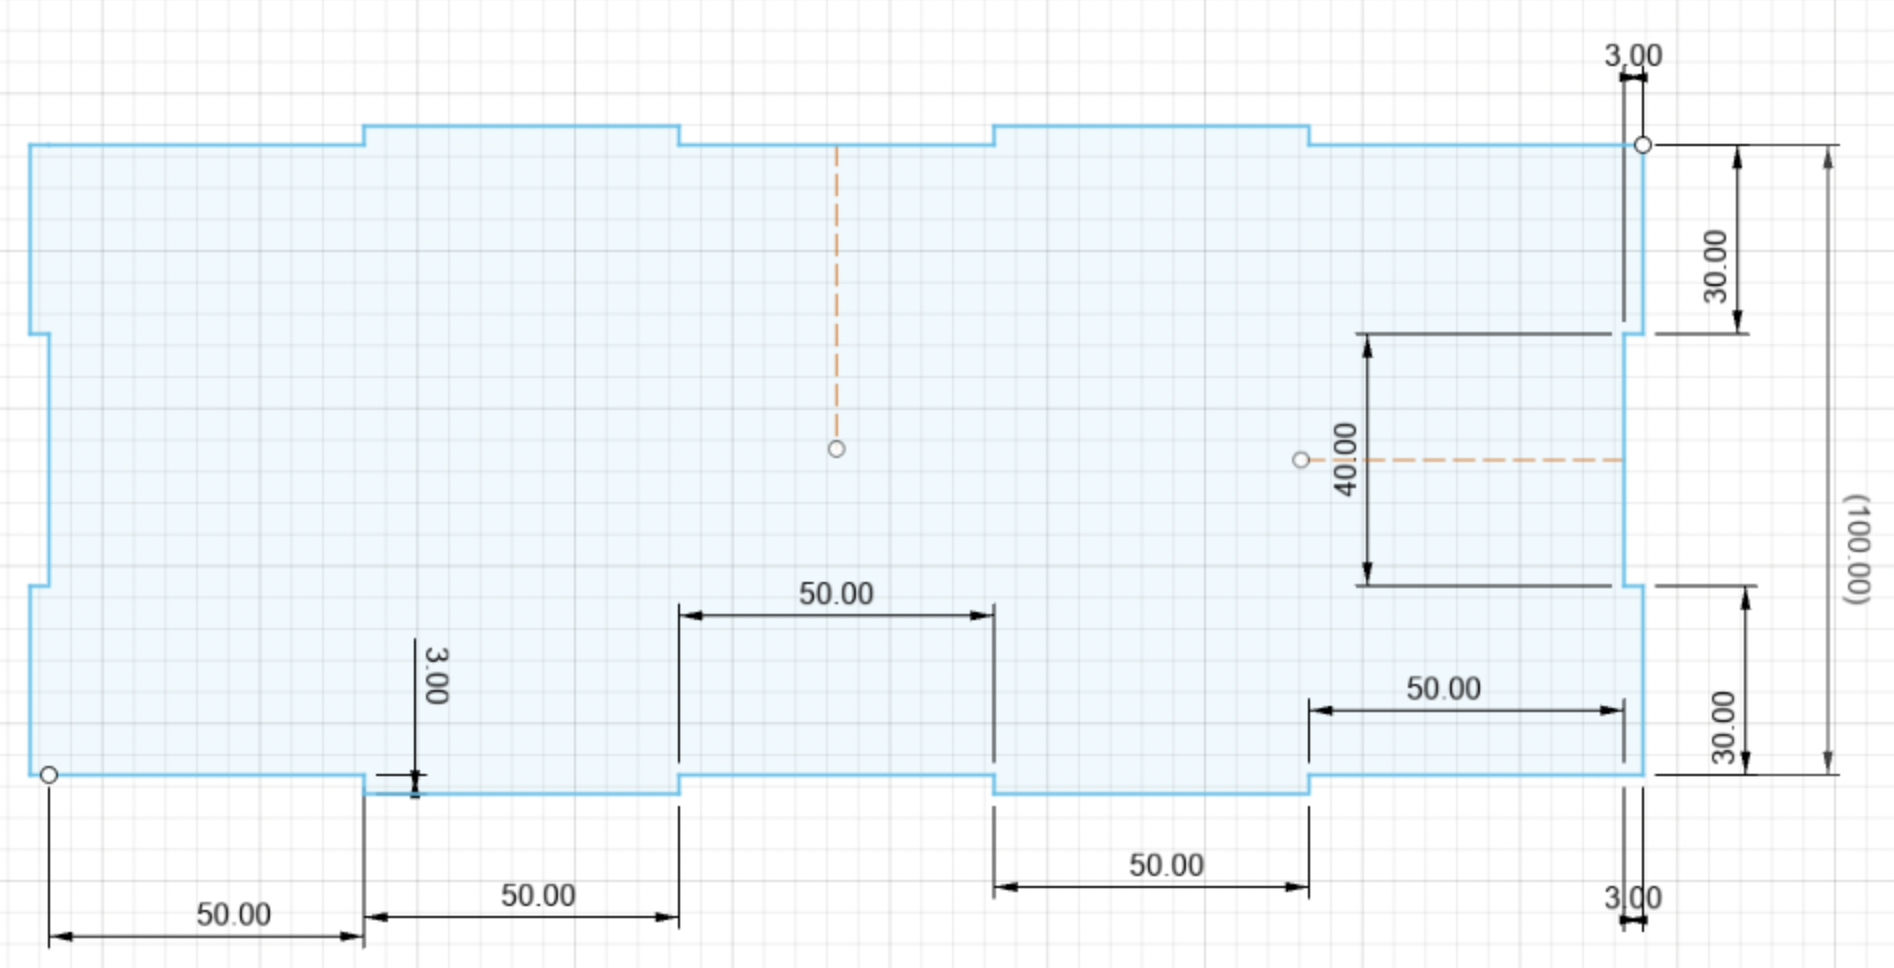
Guys we will start by opening the "FUSION 360" and create a folder to file all our faces and so on, then we will create a new sketch to develop the Face_A and we will place ourselves on the Blue and Red axes, and we will do it following the sequence shown in the video and finally, do not forget to save our Face_A already extruded (the extrusion is 3 mm).
- Do not forget that the tools to use are: LINE-MIRROR-EXTRUDE-APPEARANCE
FACE_B
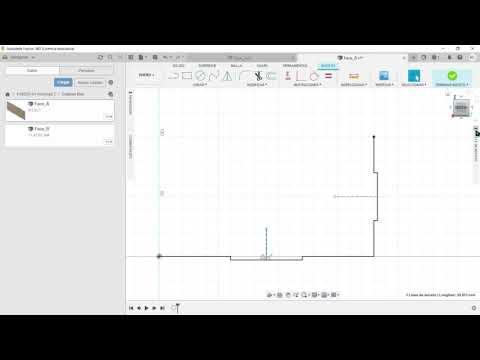
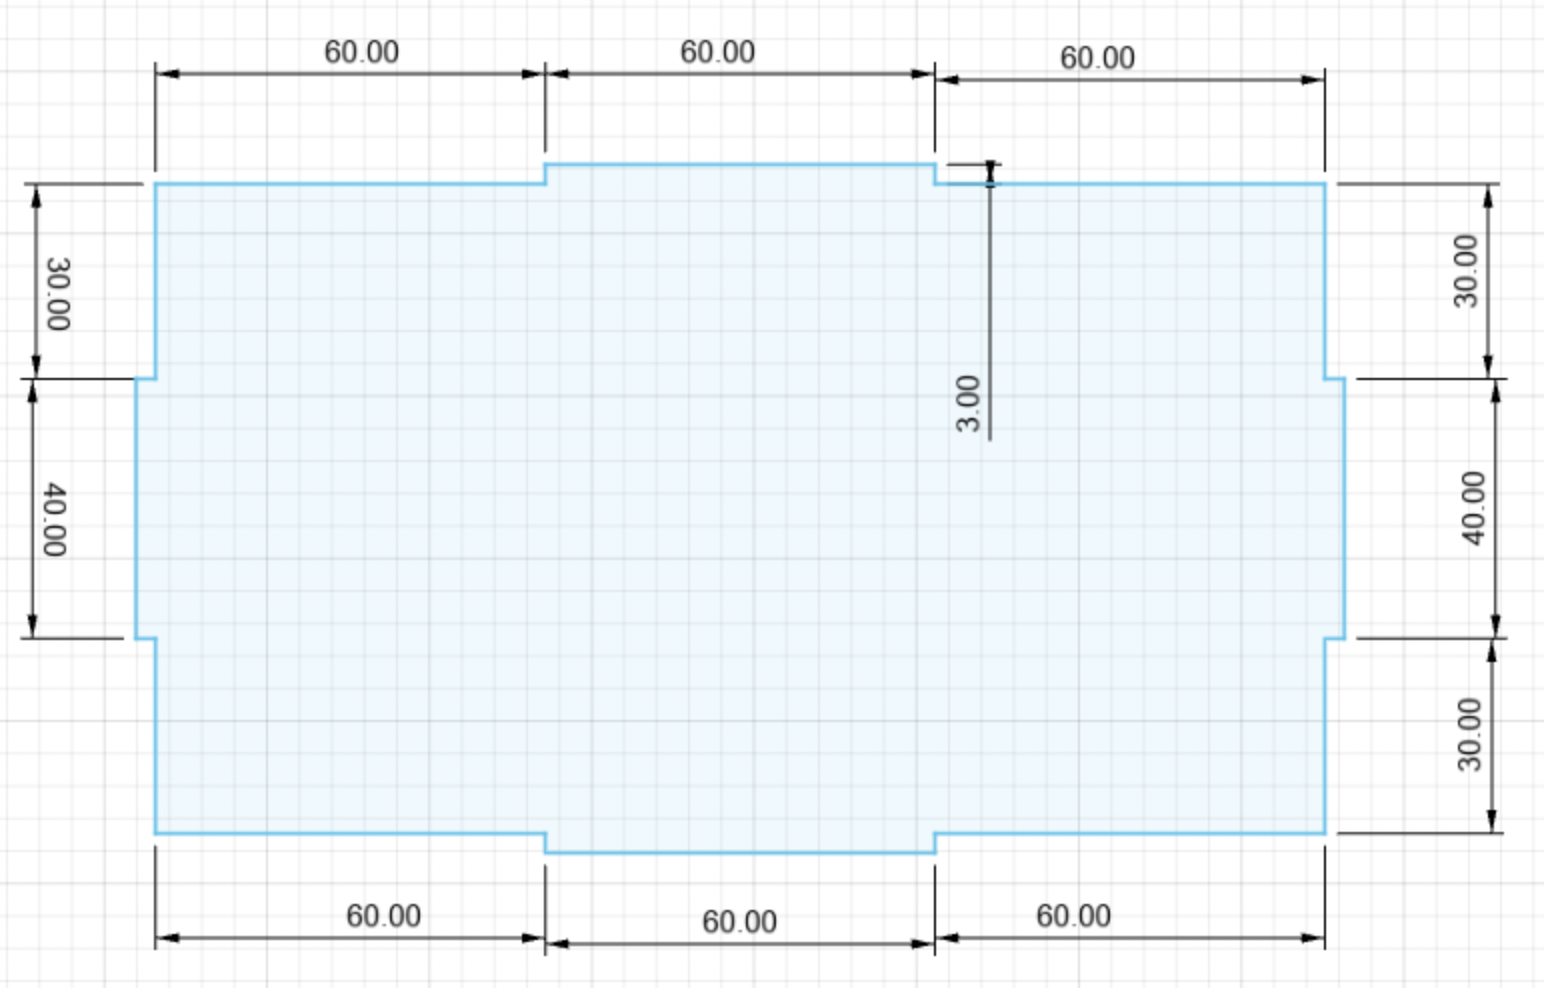
You are doing very well, the next thing for the B side will be to create a new sketch, where the axes will be Blue and Green, we will follow the process that is in the video, I was not sponsored so I will not put the program in which I edit the video; just kidding the program is called filmora, do not forget to save when doing the whole process of the B side.
- Do not forget that the tools to use are: LINE-MIRROR-EXTRUDE-APPEARANCE
FACE_C
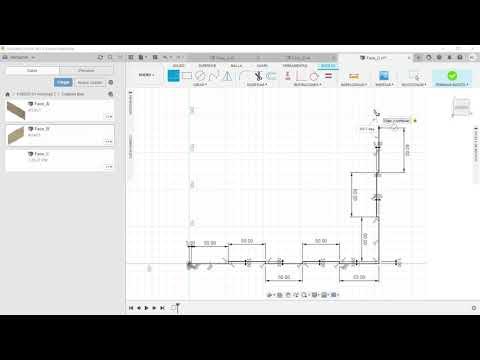
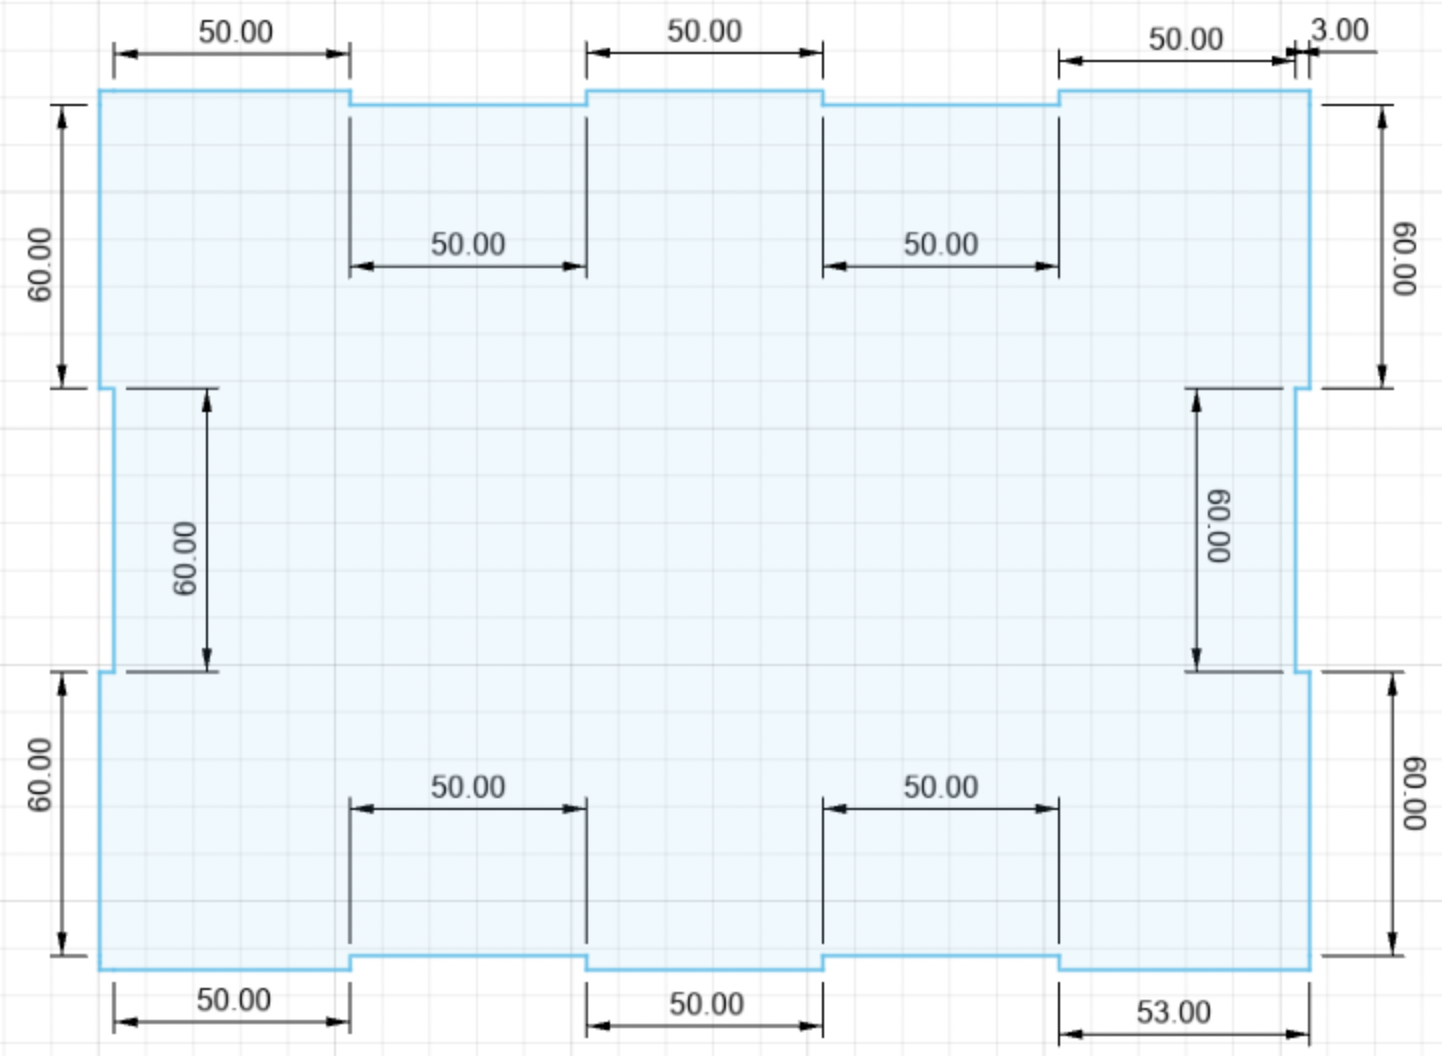
Well we have reached the last face which is the C, but do not get excited that we still need, for this we will create a new sketch in which we will use the axes of Red and Green colour, we will follow the process of the video, do not forget to save after doing the process, in the same way emphasize that the extrude is 3 in all faces.
- Do not forget that the tools to use are: LINE-MIRROR-EXTRUDE-APPEARANCE
ASSEMBLE
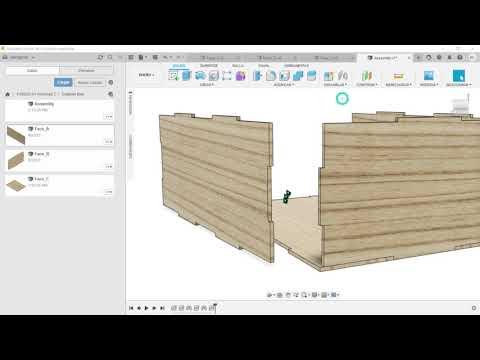
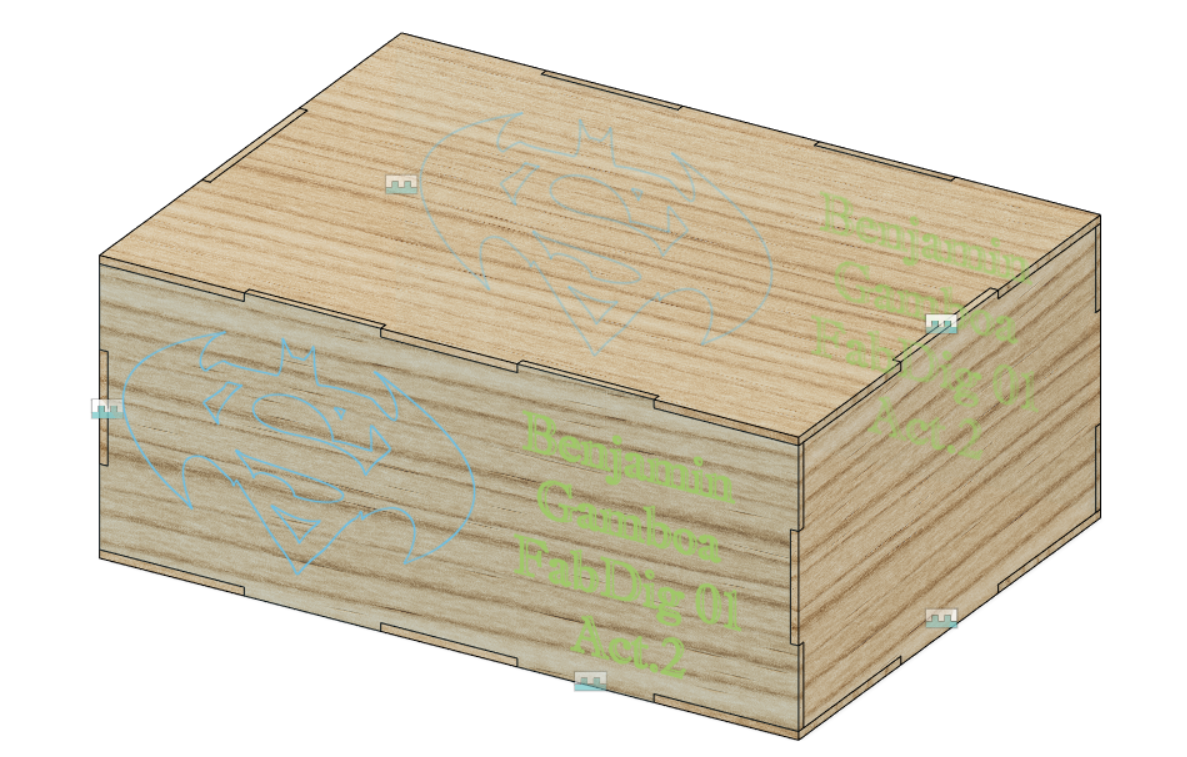
Now coming to our last steps the assembly will be a way to join our faces, we will start by placing the part that will join all the faces, (Face_A) for convenience and then the Faces_B, Face_C at the end, very important to place them in a new file, do not forget to save at the end of the assembly.
- Don't forget that the tools to be used are: joining
PERSONALIZATION
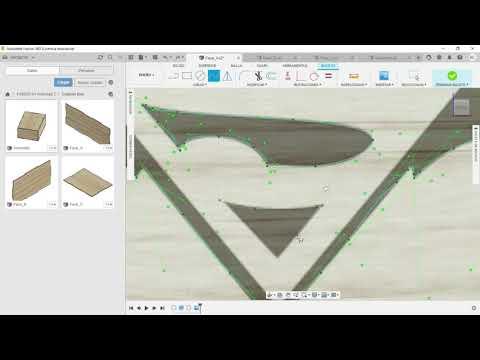
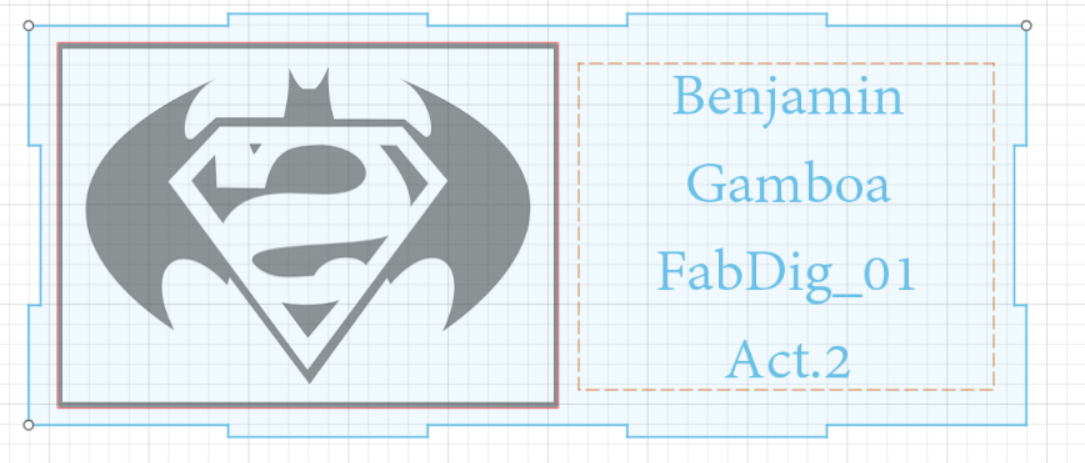
Para la personalización en cualquiera de las caras, preferiblemente Face_A, seleccione y coloque en Insertar - Canvas y elija la imagen de preferencia, luego use la herramienta Spline y seleccione el perímetro de la imagen elegida.
- No olvides poner Sketch - sketch 2- Guardar como DXF para ponerlo en el corte Laser.
- No olvide guardar el archivo al final.
- No olvide que las herramientas a utilizar son: INSERT-SPLINE- SPLINE- ADJUST SPLINE POINT
RDWorks
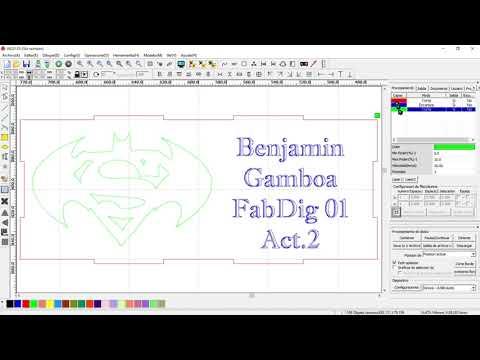
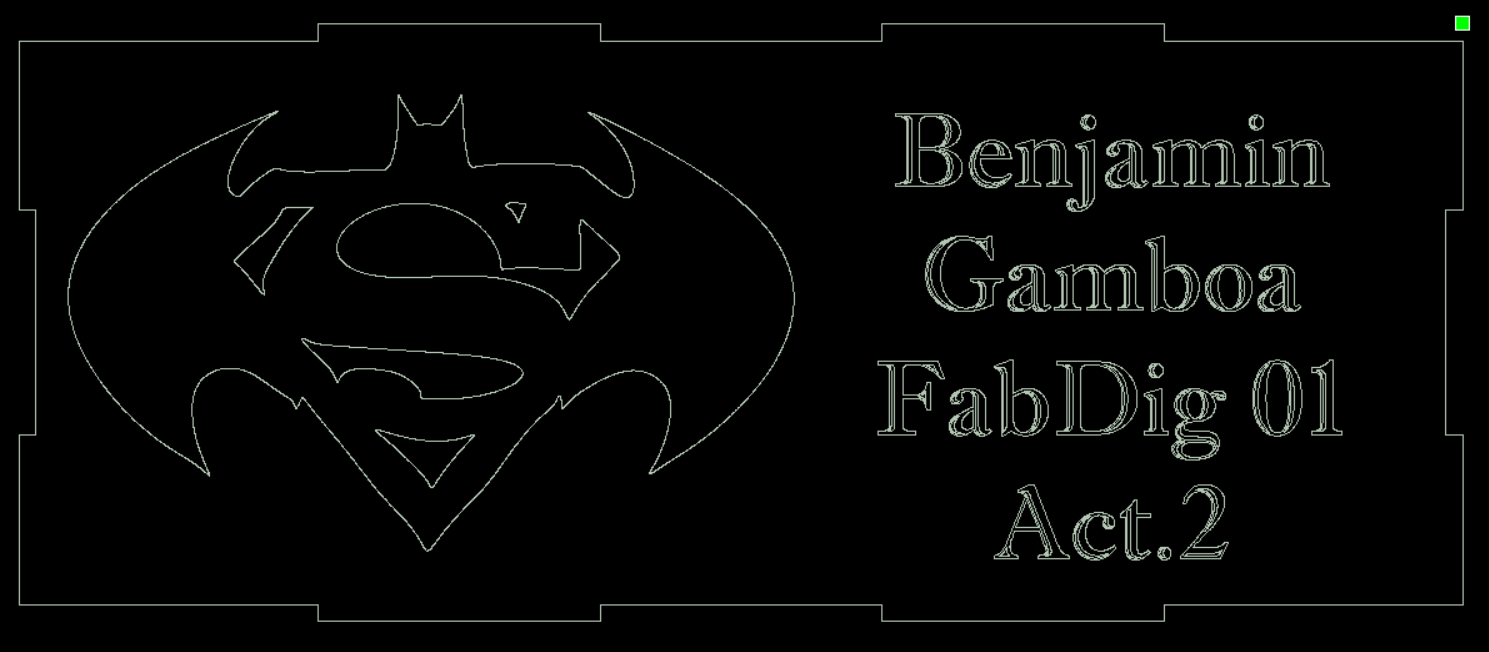
Guys we come to the last step for which we will download the RDWorks that I will be leaving the link of the program for you to download, Well we will go to file choose the DXF format that we developed in the fusion in the customisation section. In the process of the video you can verify that the parameters are made which will be reflected when the simulation is performed which looks very colorful and the two parameters to take into account are the Time and the Distance of the head in the simulation.
- Download Link
- https://megalaser.com.ar/descargas/
THANK YOU
