Custom Bathroom Pass for My Teacher
by maggie marincic in Workshop > 3D Printing
247 Views, 0 Favorites, 0 Comments
Custom Bathroom Pass for My Teacher

I made a custom bathroom pass for my math teacher. The current bathroom pass she had was "boring and red", in her own words, so she needed a nicer one. I decided the best way to make her one would be to 3D print a new bathroom pass, as the detailing and design process would be much easier, and it would come out exactly as I wanted. I would begin my project by interviewing my math teacher to figure out exactly what she wanted and how I could build on her design to make something tailored just to her.
Supplies
I used...
- 3-D printer
- filament (white, green, red)
- 3D modeling website (tinkercad.com)
- printing software (prusaslicer installation)
- painting software (inkscape installation
- computer
- pencil
- cardboard
- ruler
Interview
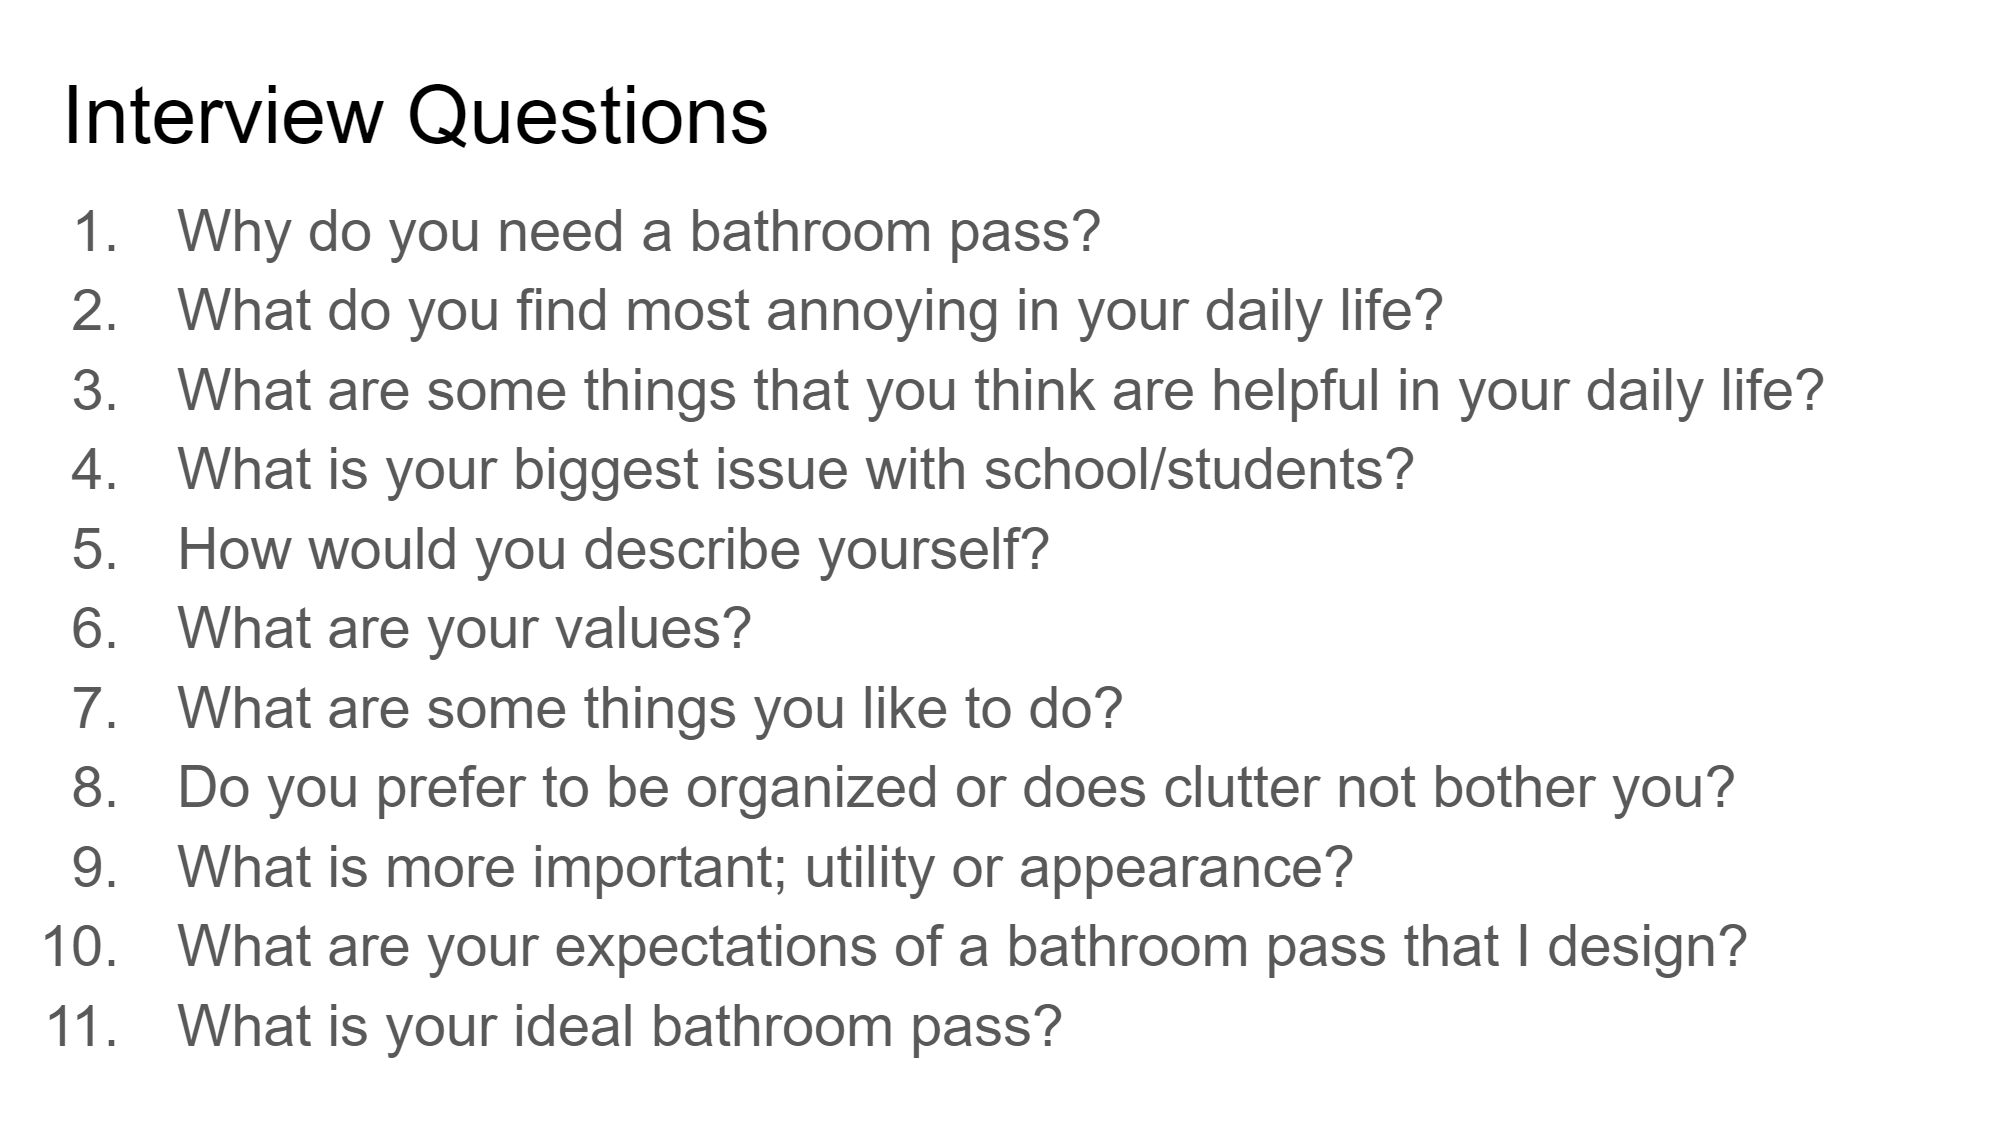
First I needed to understand my math teacher. I created 10 questions to ask her ahead of time, and then scheduled a meeting. Not every single question I asked was related to the bathroom pass, as I also wanted to figure out her personality. This could help me create my design.
Research/planning
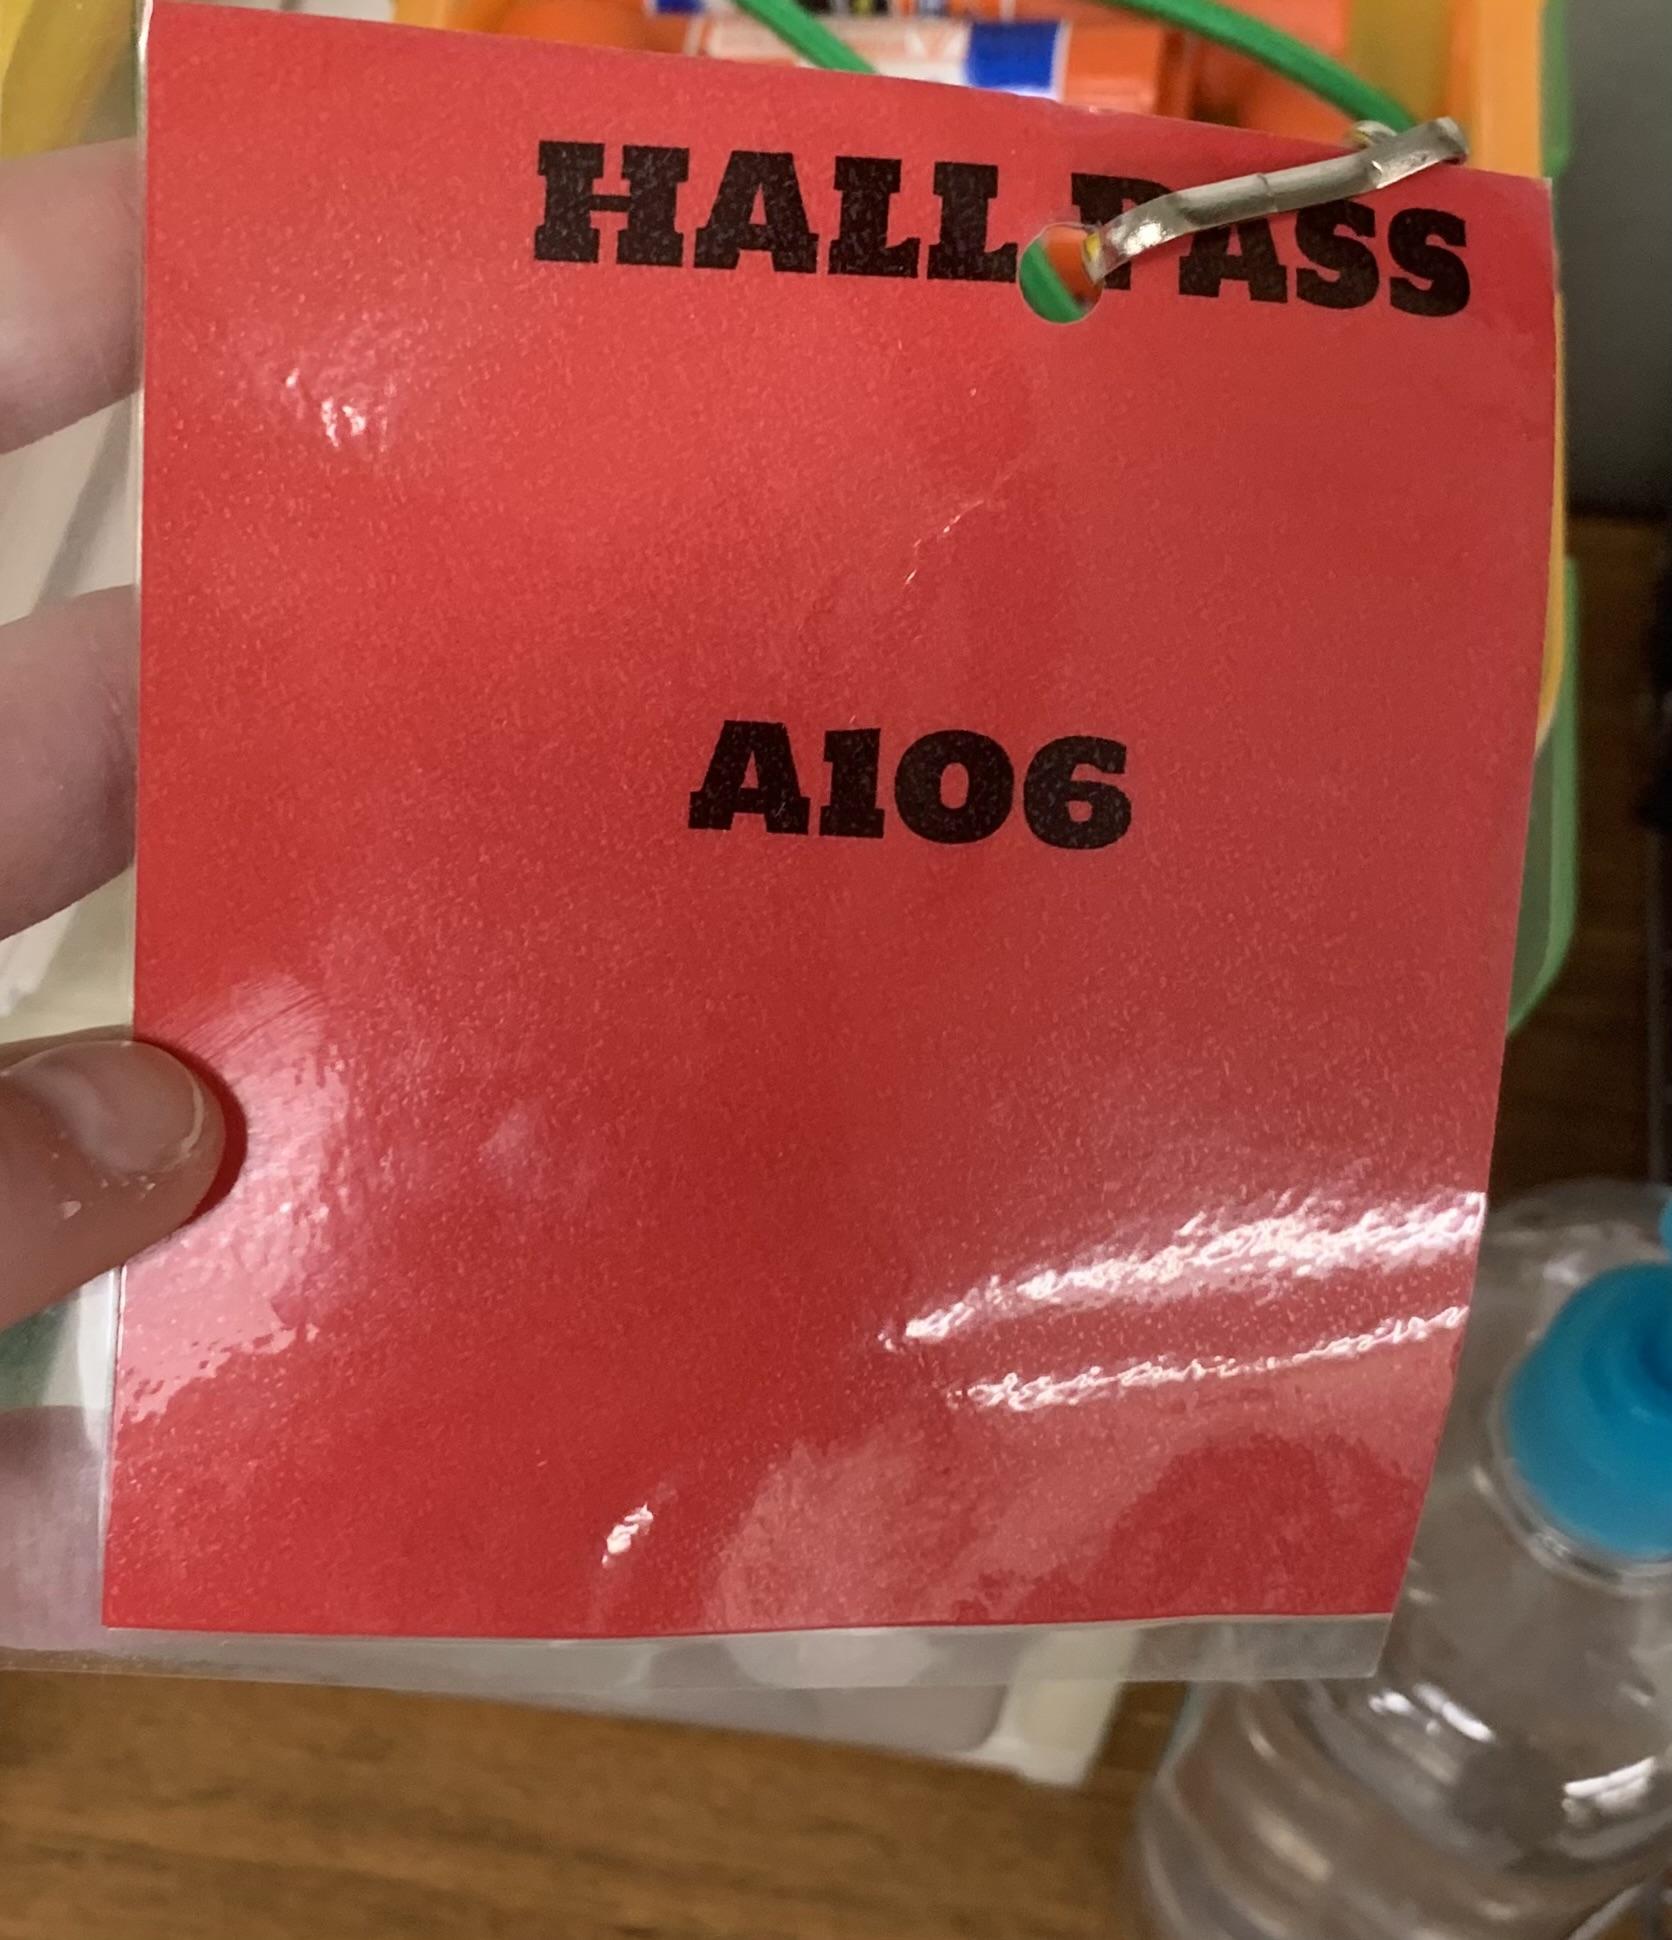
With the information my teacher had given me during the interview in mind, I began researching my project. My teacher informed me that she wanted something simple, but also functional. She also wanted math symbols, and wouldn't mind if an inside joke was included to humor her students. Through the interview I also I learned that she loves gardening, vacationing, and sewing. Her biggest point was she wanted something new, as her current red bathroom pass was "ugly" to her. From this I began planning my design. I started on cardboard with a pencil until I had a rough idea of what I wanted.
Making the First Prototype
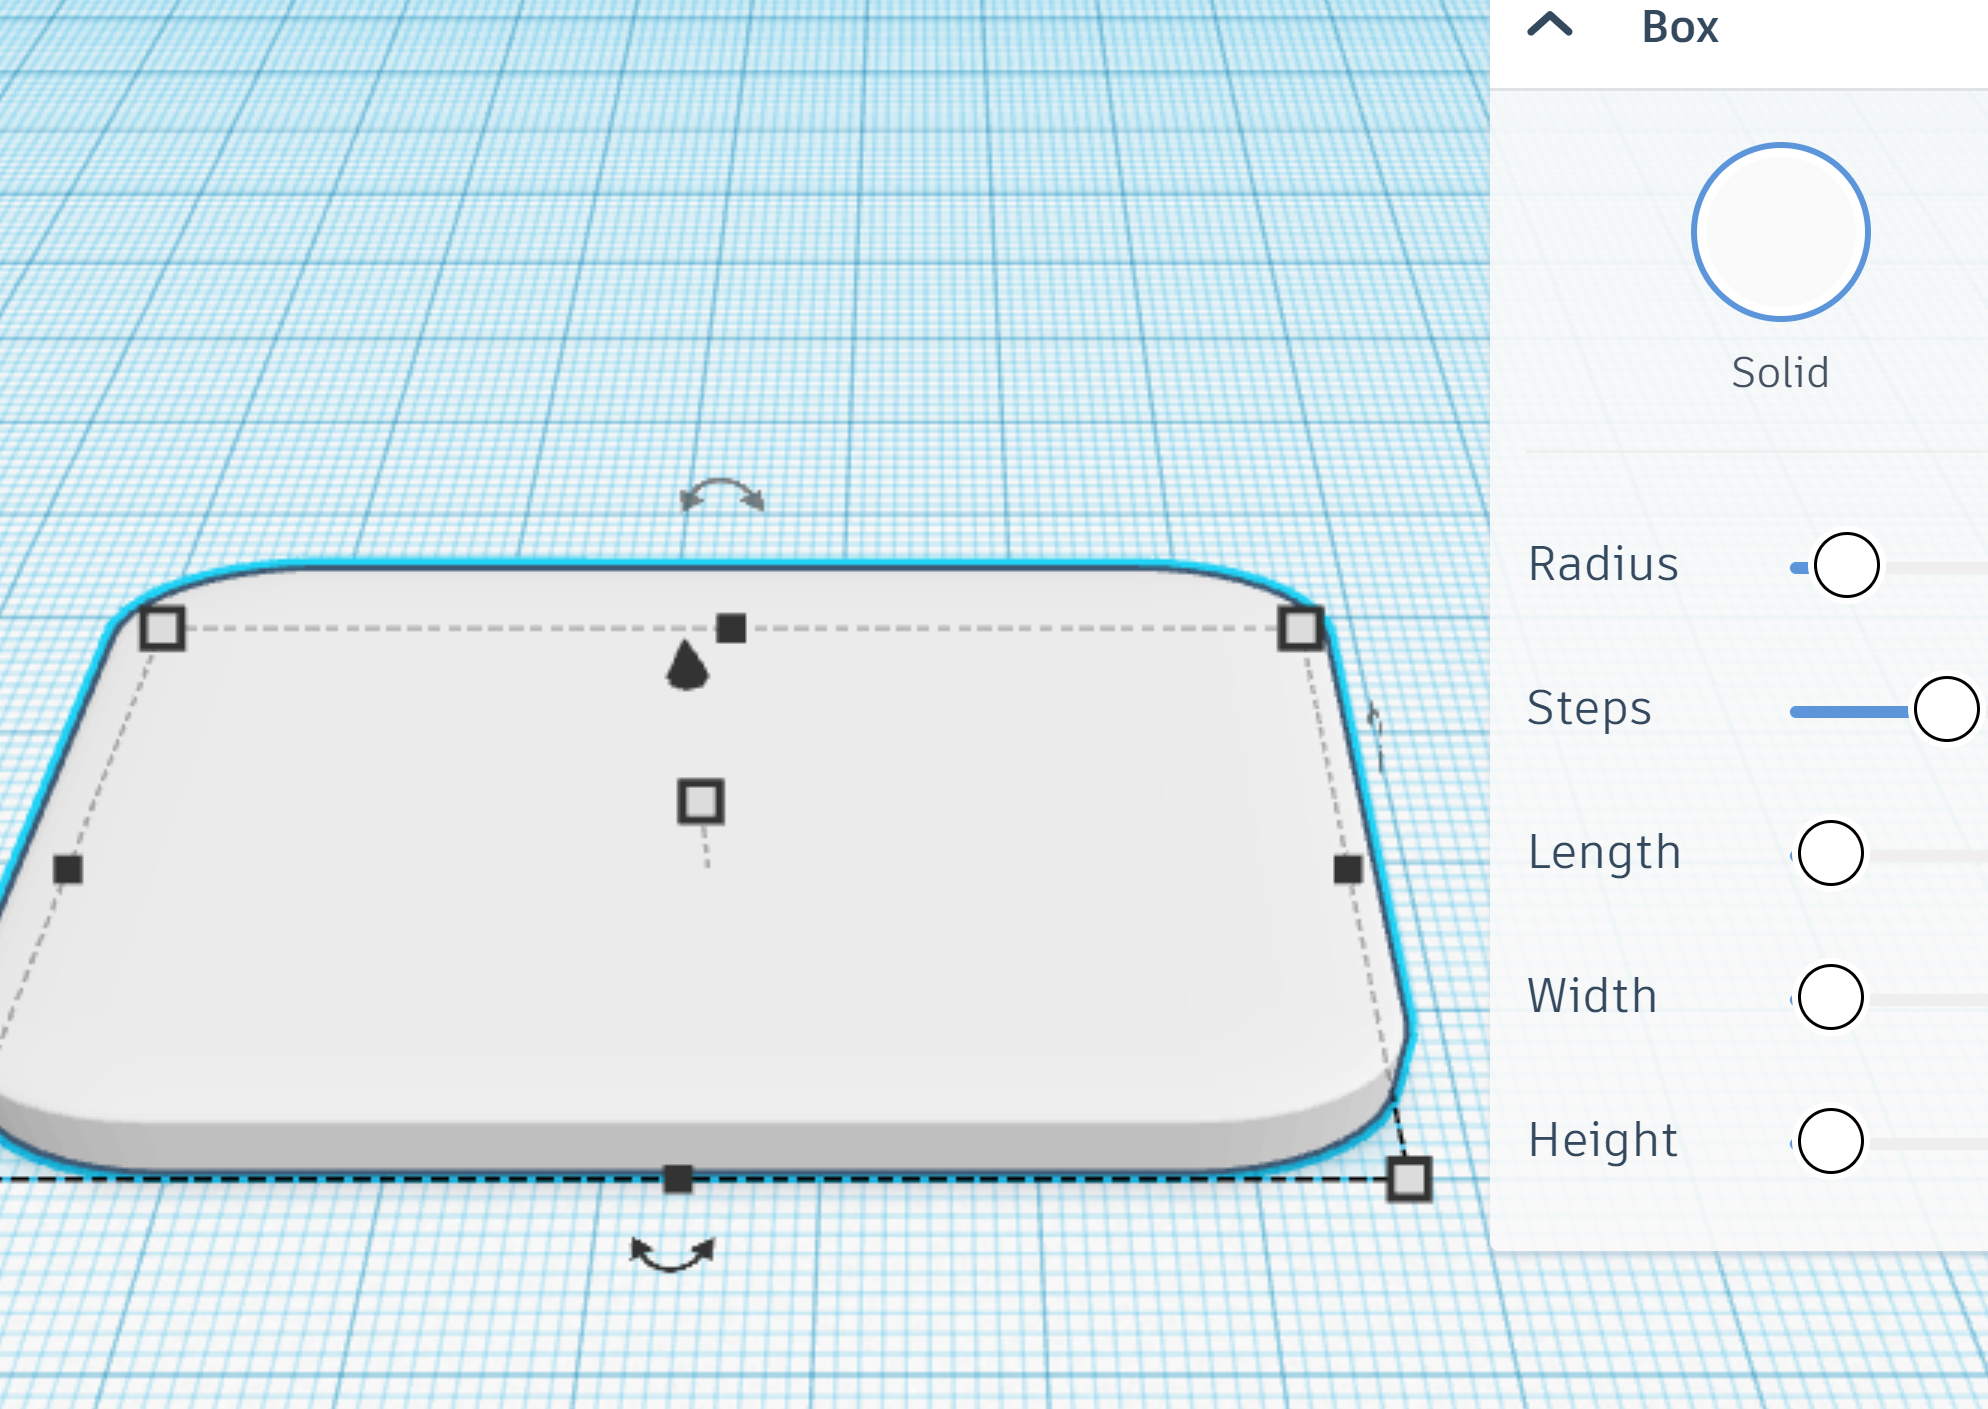
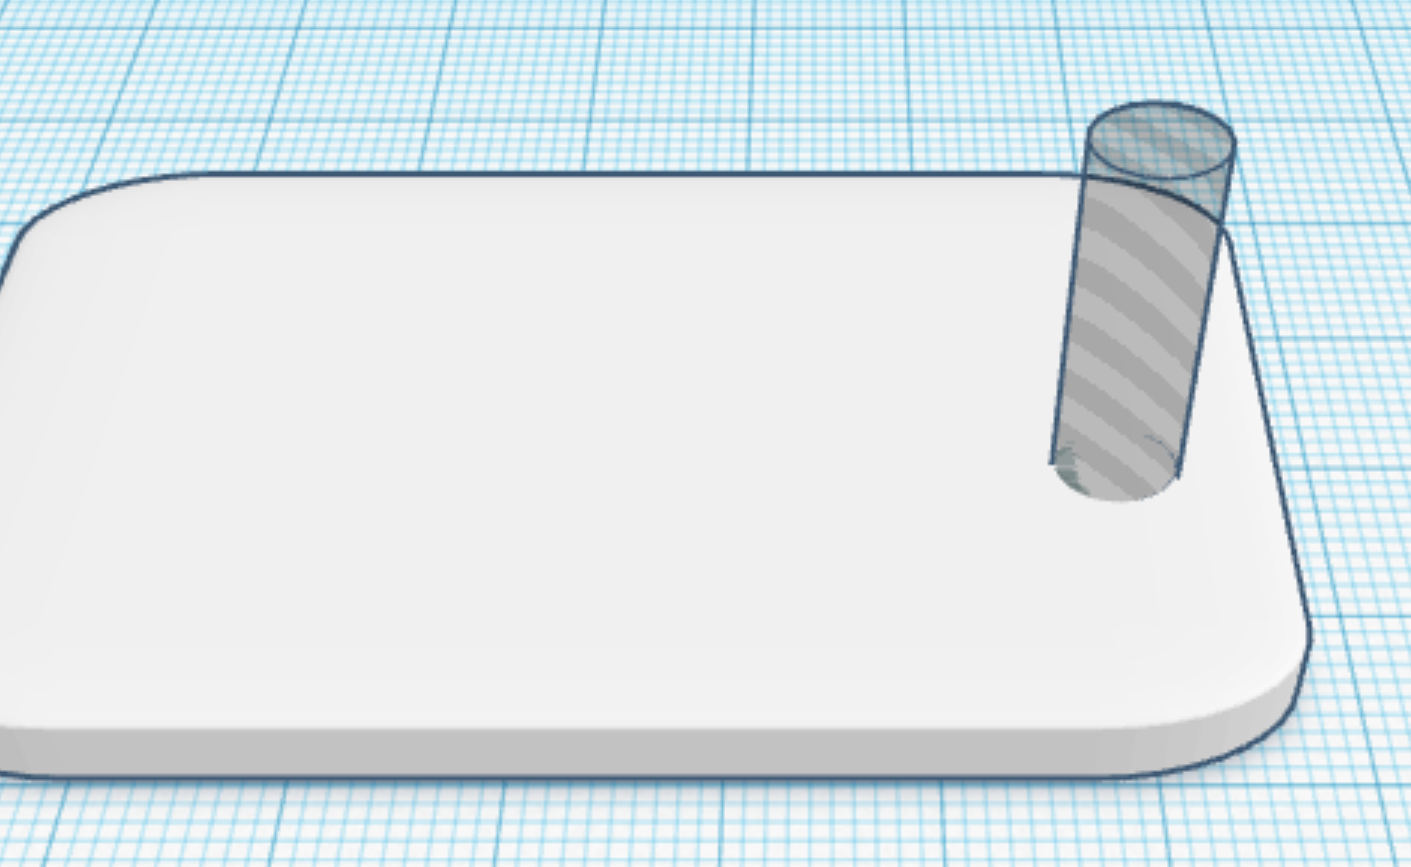

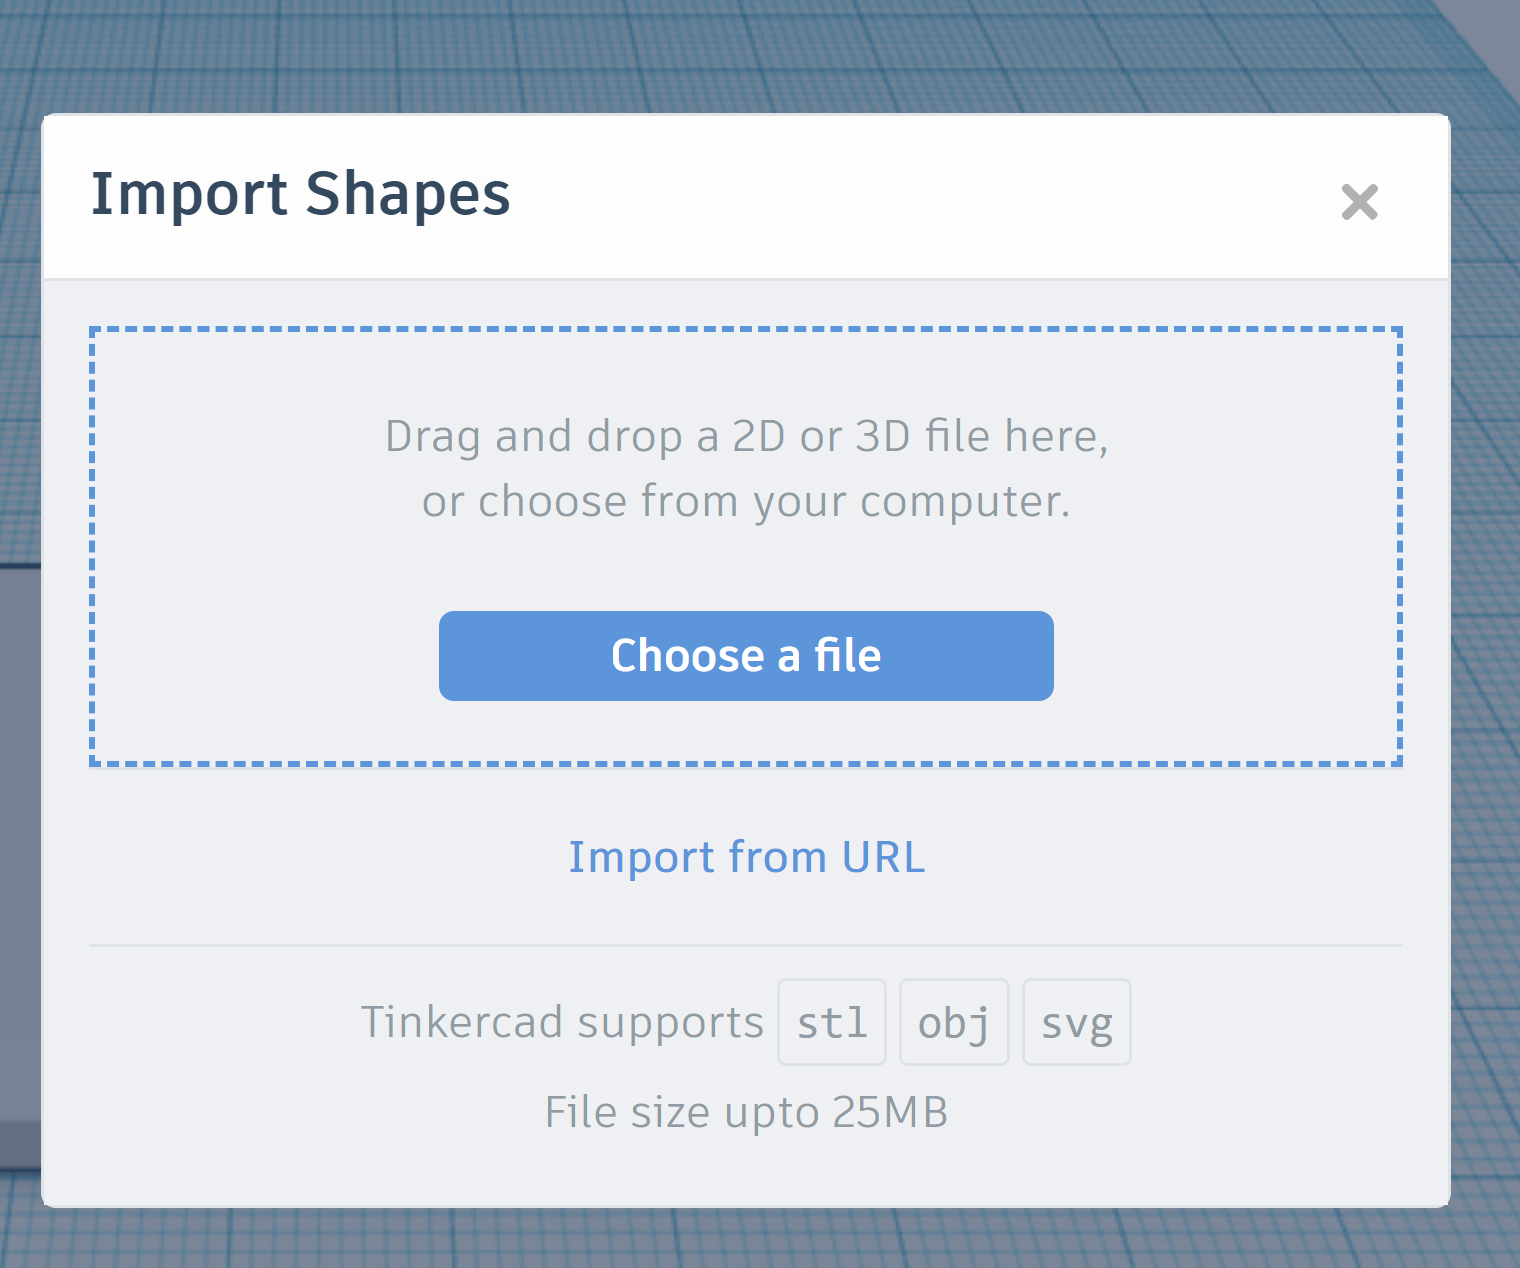
I used tinkercad.com to make my teacher her pass. To do so one has to have an account, but I already had one. I created a flat rectangle, then rounded the corners using the radius button on tinkercad. Then I created a hole for the string to go through. Lastly I added the details on top, only a little above the surface of the rectangle. I added text using the text function, and hand-drew little tulips as decoration using the drawing function.
Feedback
I didn't print out this design, as I knew there would need to be changes. I showed my current model of the bathroom pass to my teacher to collect her feedback. My interview and researching process obviously worked quite well, as my teacher had little feedback. Her two biggest feedback points where to make it bigger and to clean it up a little, or make it look more refined.
Making the Second Prototype

I now began my second prototype using my teachers feedback. The first thing I did was make it bigger. I took measurements of bathroom passes from around the school to figure out the best size. I then used carboard, a pencil, and a ruler to create a proportion of my first prototype size (90 mm x 60 mm), to my second prototype size (127 mm by 95 mm). When I was satisfied, I changed my 3D model to that size. I also made the math symbols look nicer by copying the symbols from google, instead of just using what was on my keyboard. Lastly, I wanted to make the tulip much cleaner. To do this I would need to convert an image to a vector and use that.
Making the Second Prototype- Tulip Design

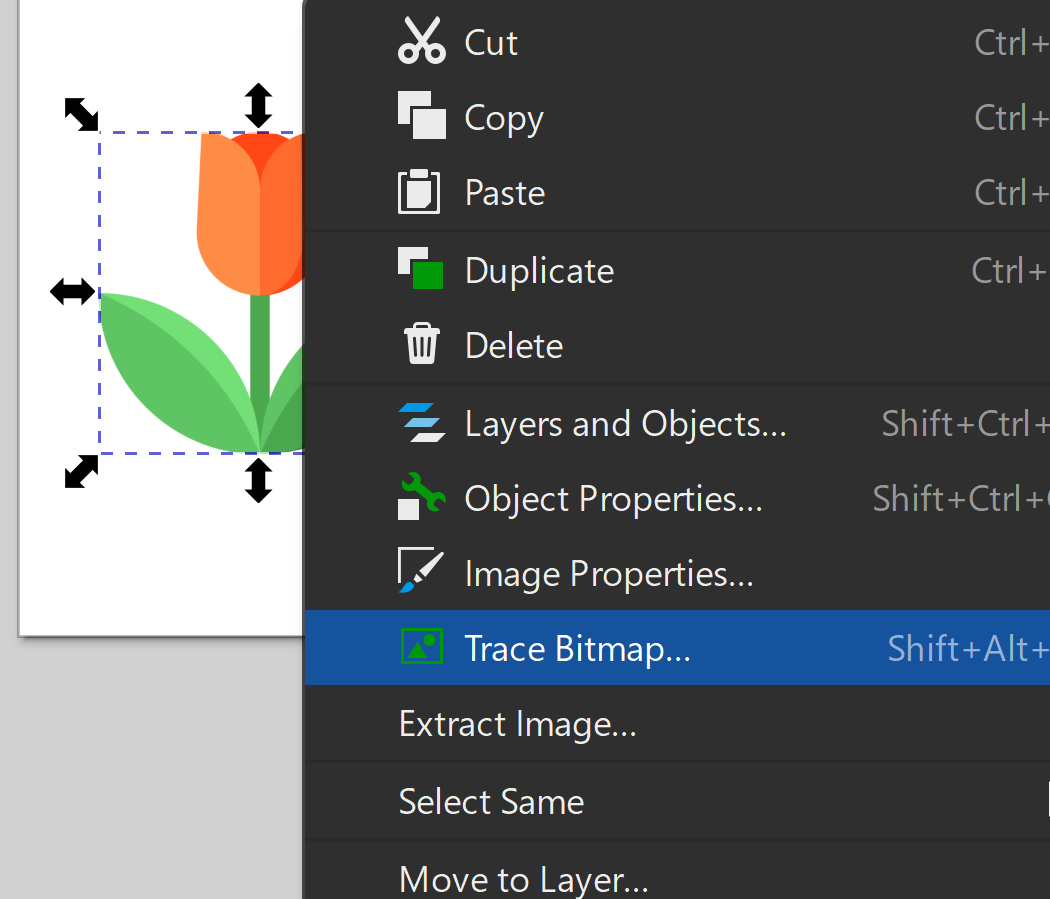
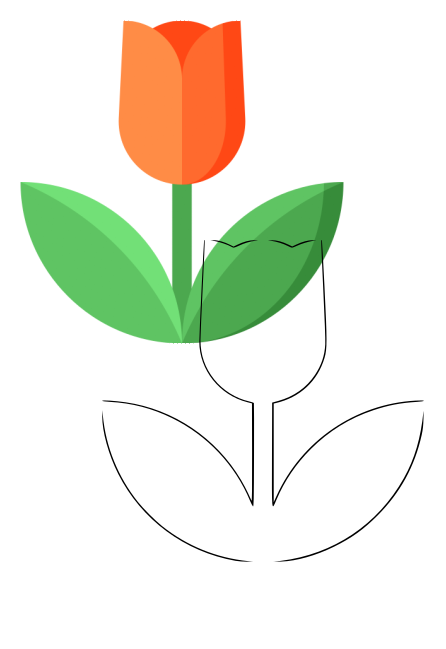
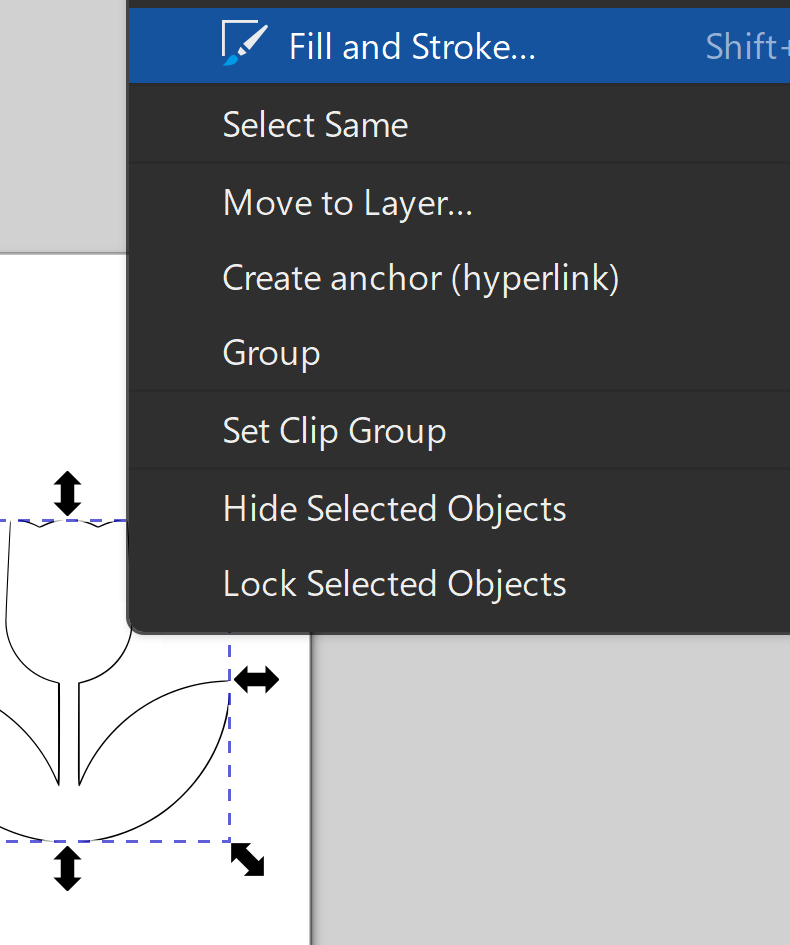
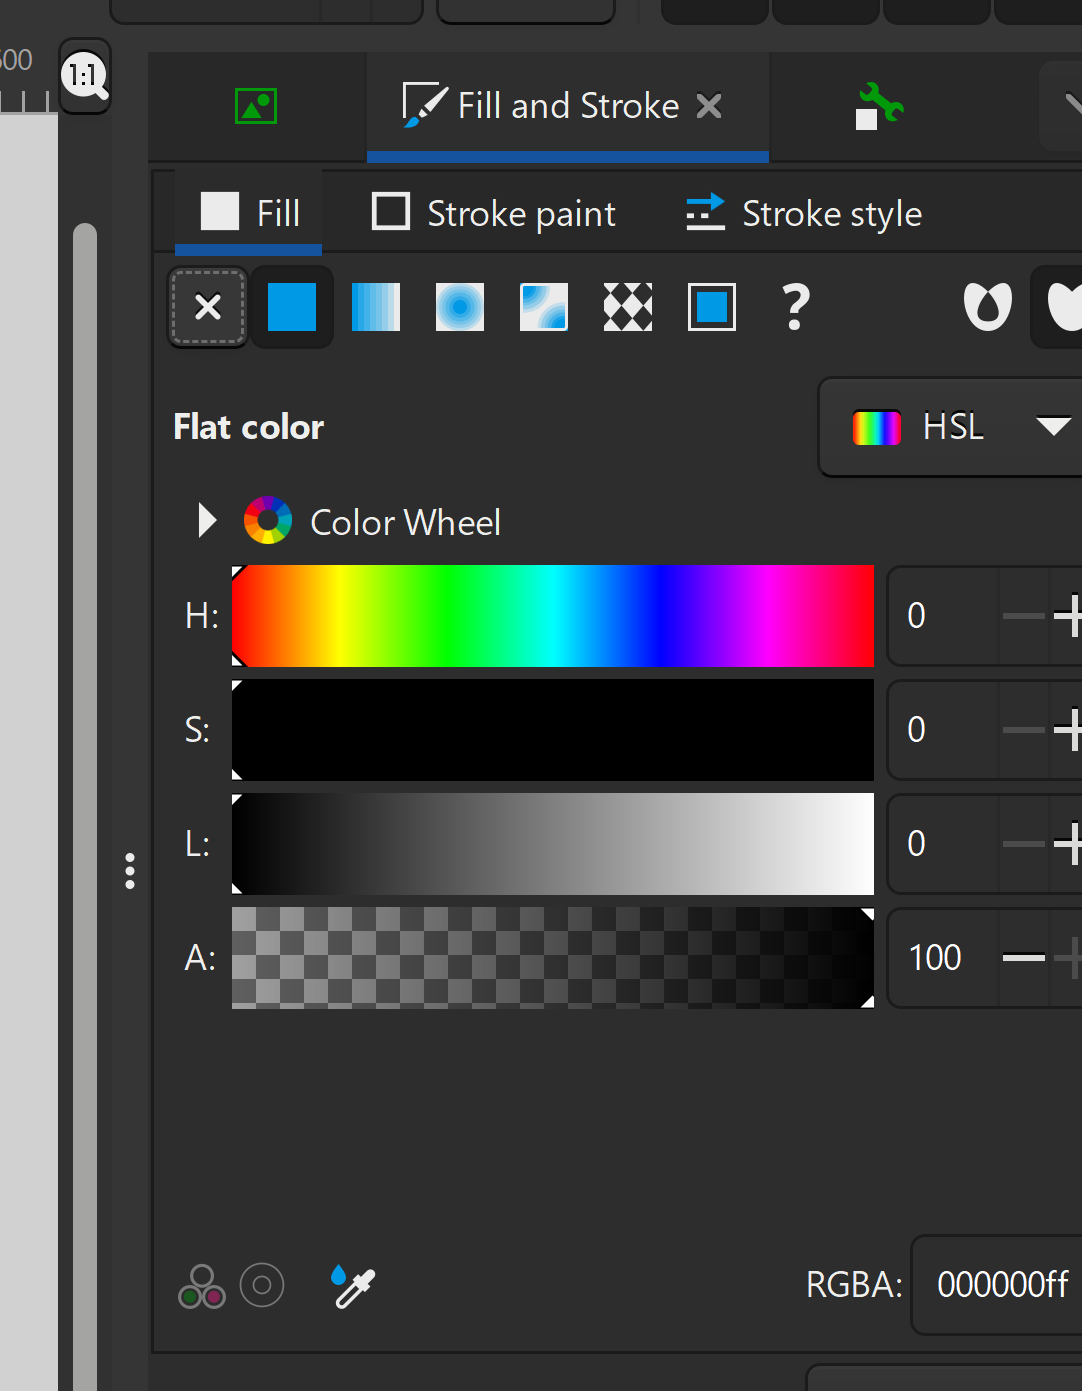
Since there is no tulip shape in tinkercad, and I can't exactly copy the image a tulip into the drawing feature, I needed to create a file that I could import as a shape. To do this I used Inkscape, and I had to download the program. I copied a picture of a tulip and used it as my shape. I started by by left-clicking on the image and selecting trace bitmap, then clicking apply in the menu on the right side of the screen after I was satisfied with the bitmap. I dragged the bitmap away from the original image and deleted the original. Then I left-clicked on the bitmap and selected fill and stroke. I then clicked the x under fill in the menu, and the first square under stroke paint. Finally I saved the document, and then imported it into tinkercad. When I liked my design, I printed it.
Feedback
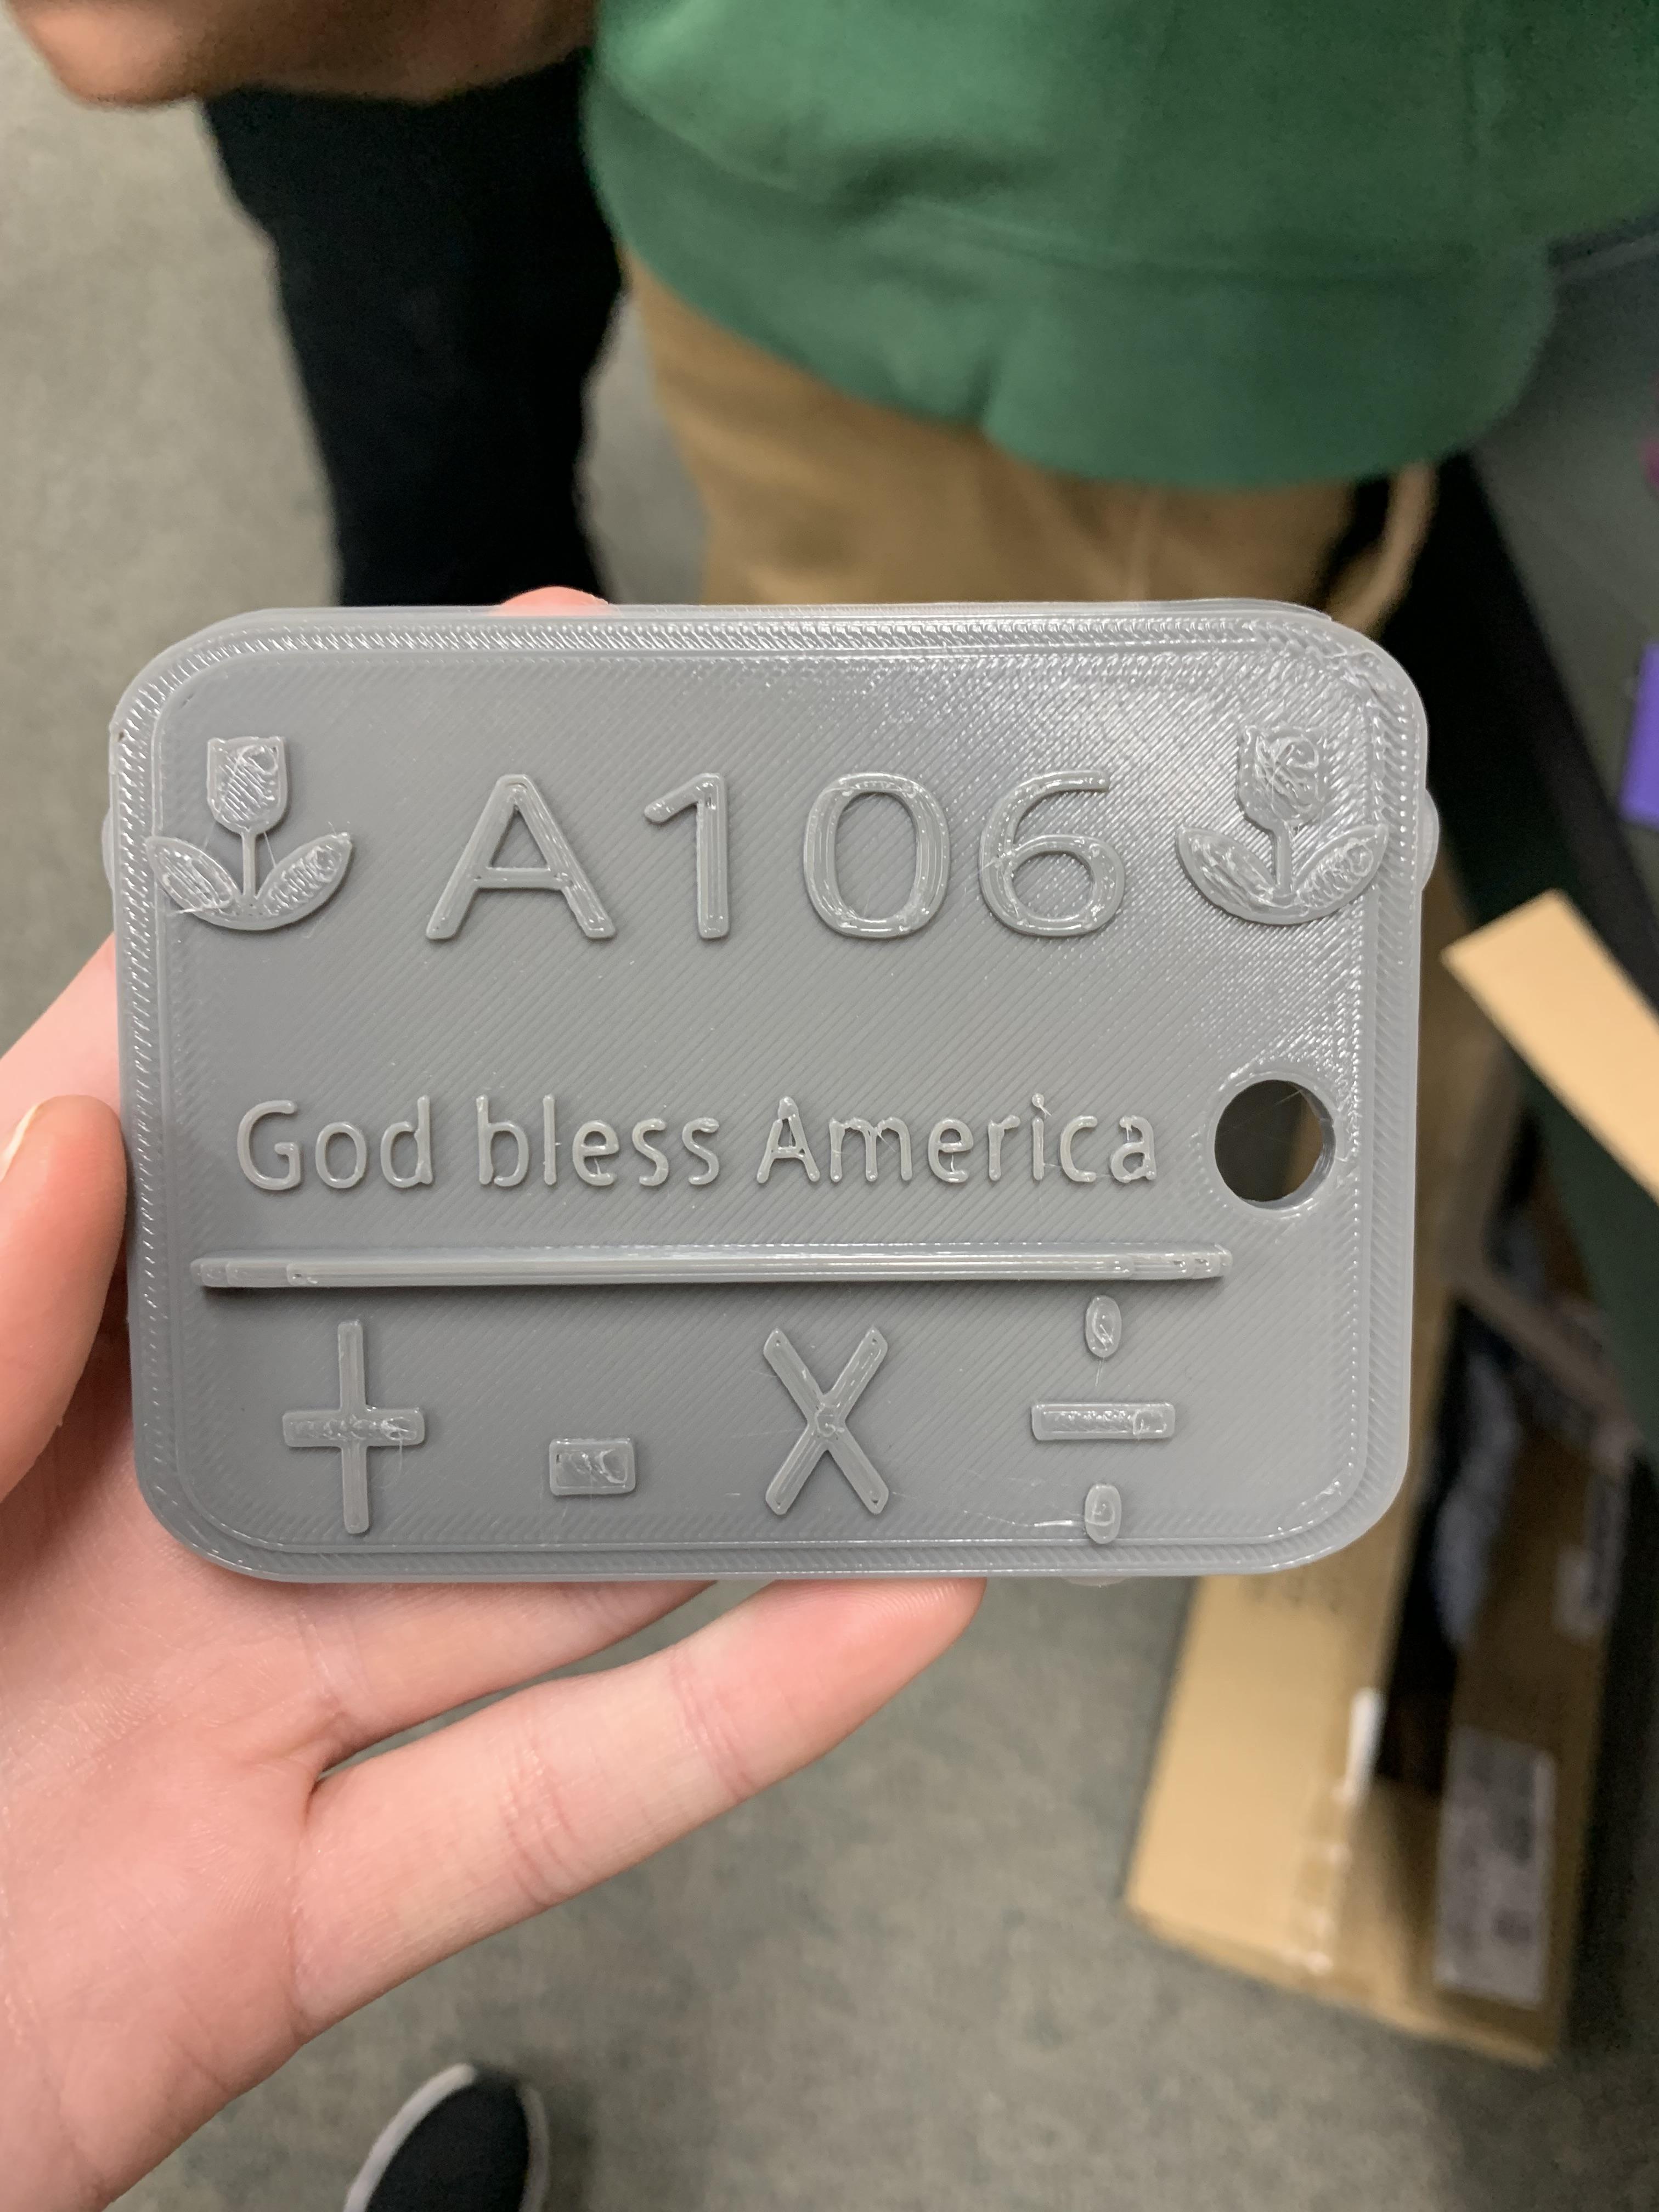
After printing, I showed my design to my teacher and got her feedback. She said that the underline was too thick, and that she wanted the actual pass to be thicker, or more substantial and less breakable. Otherwise she said it was good.
Final Prototype
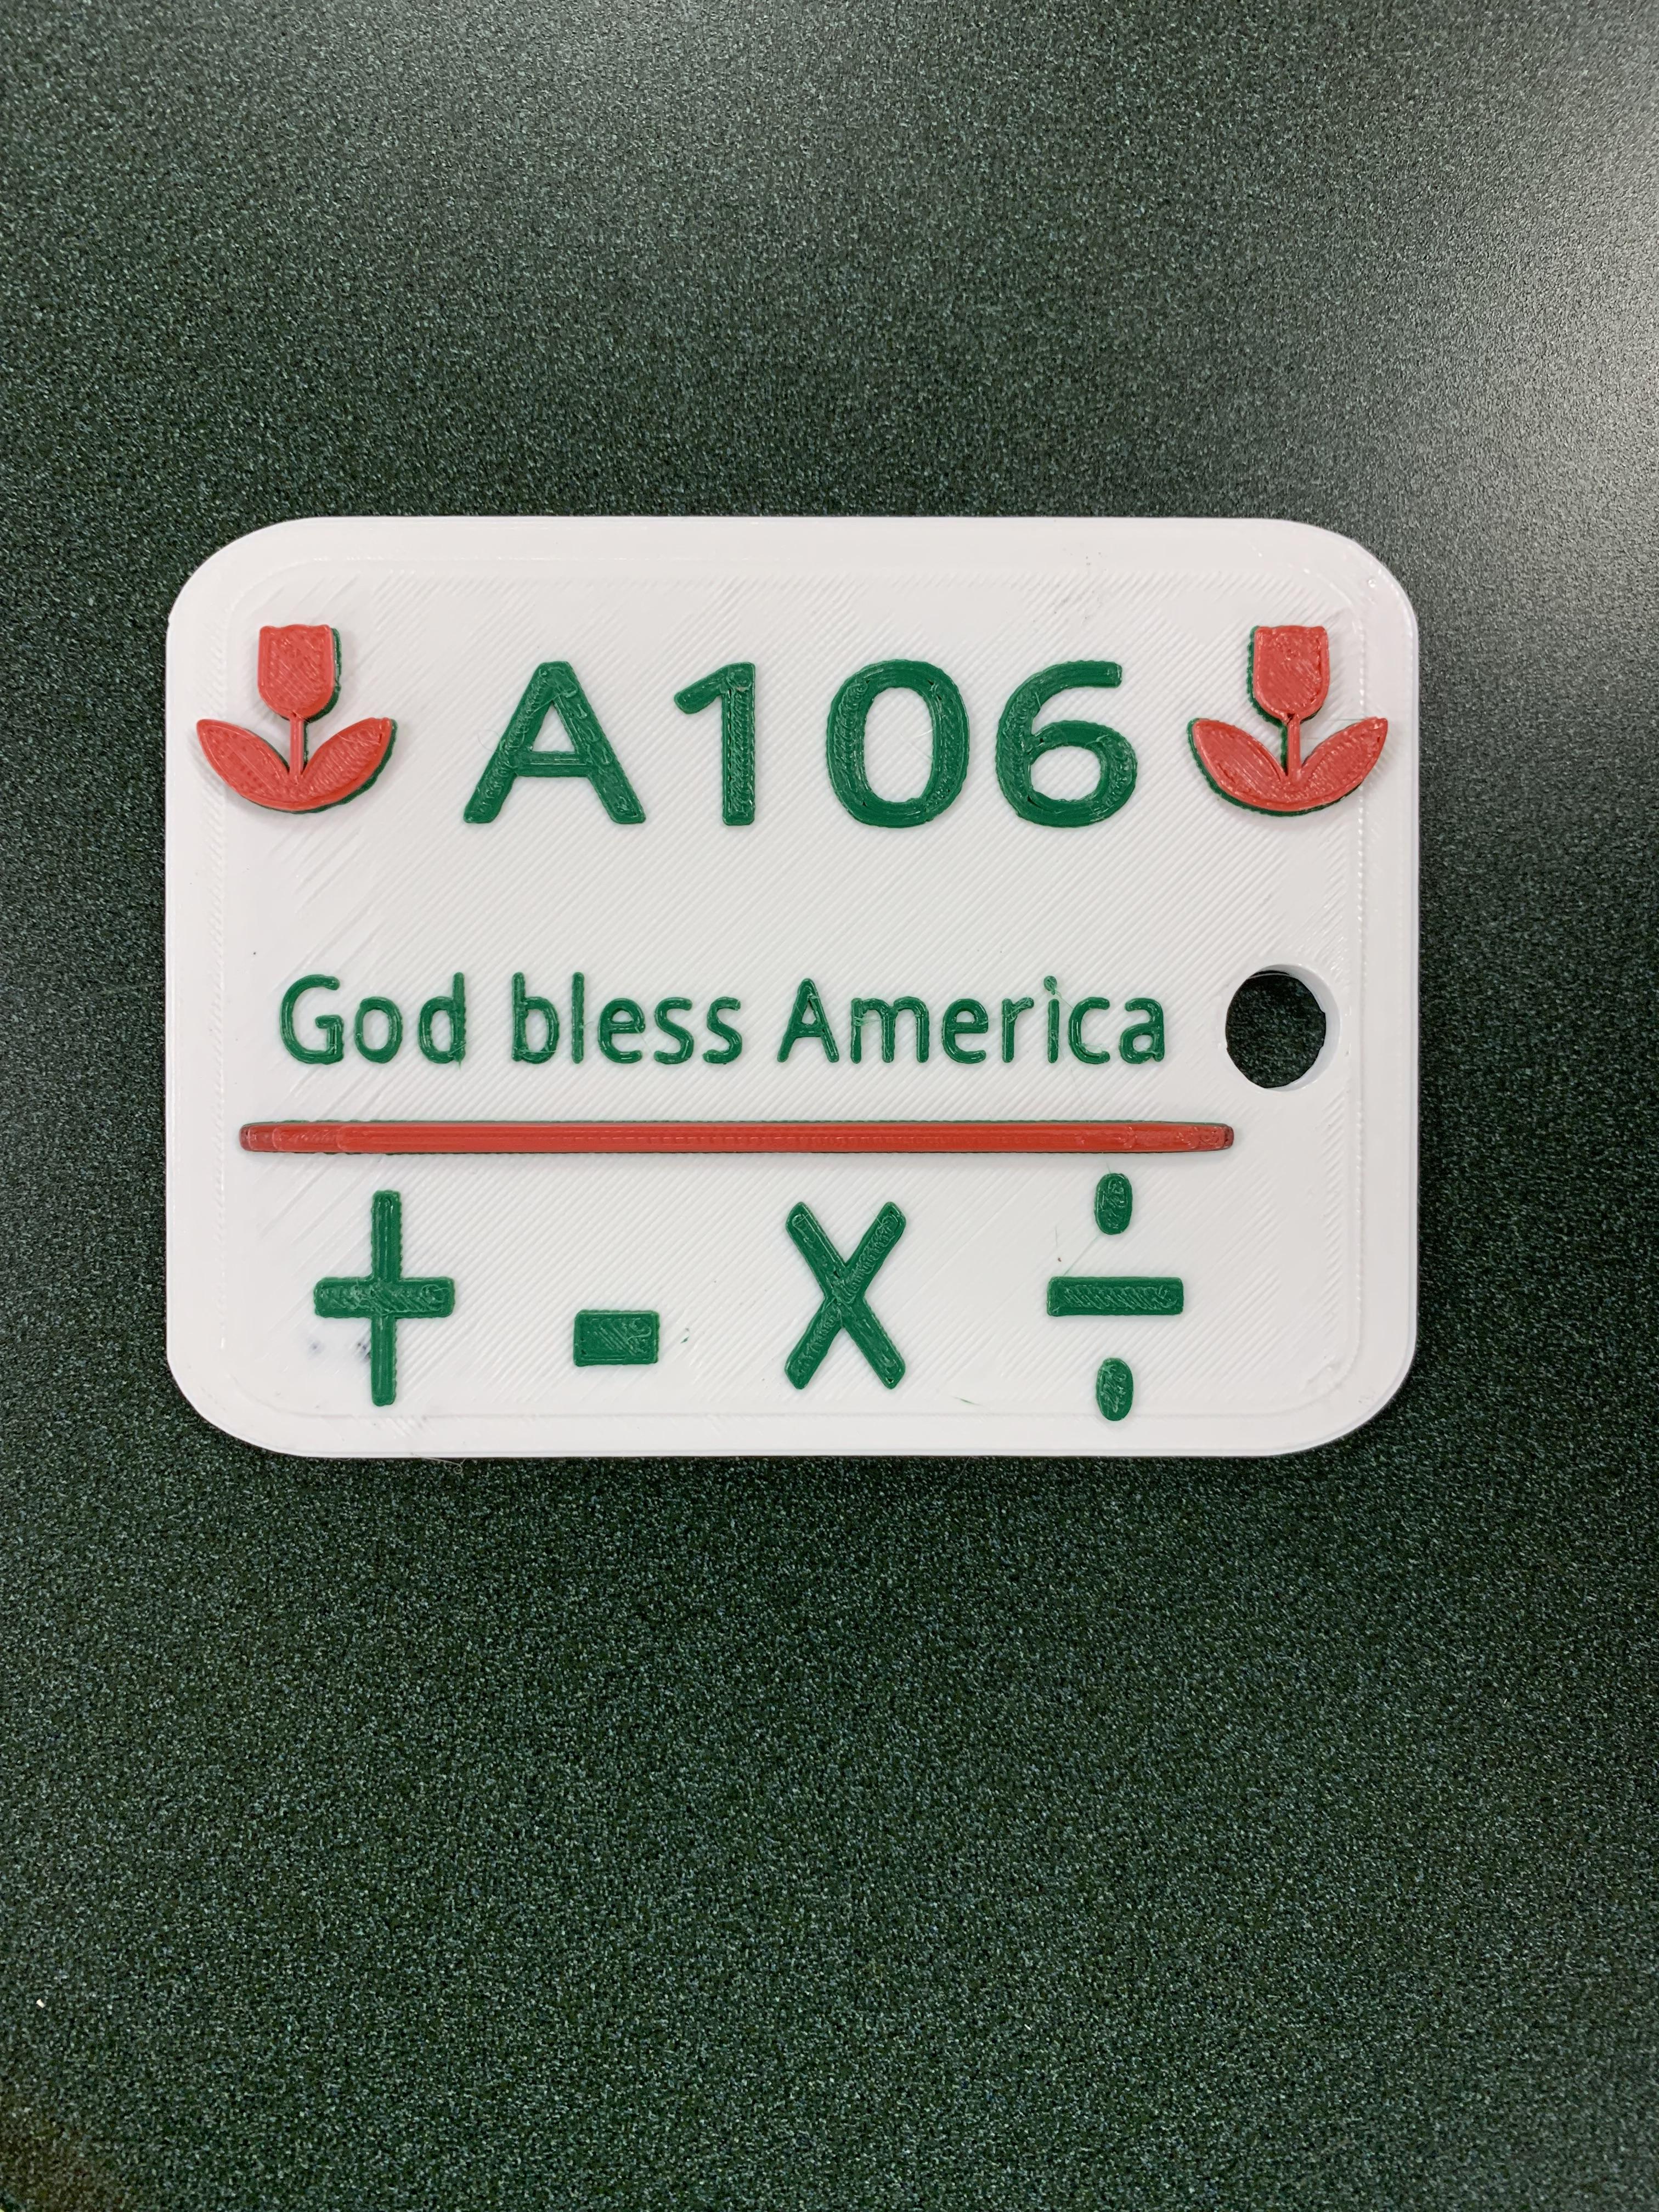
I changed my sizing in tinkercad.com to fit my teacher's feedback. I made any last adjustments, then I printed. To get different colors, I put the red a bit taller than the green, so it could print on a different layer. After attaching a string, I gave it to her.