Custom Aquarium Ornament
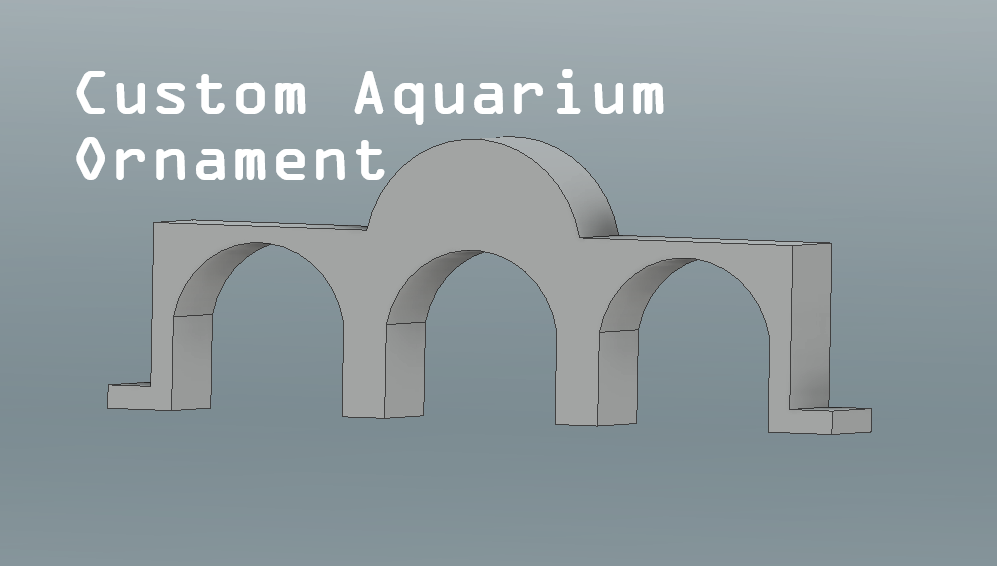
This is a tutorial for a custom aquarium ornament. This will go through how to design your ornament and all the steps from 3d printing your ornament to mounting it in your aquarium. This a very simple process and will give your aquarium more detail. For this project a 3d printer is required. I know many people do not own a printer. There is a solution to this, many libraries have makerspaces where they will allow others to use their printers. The important thing about the printer that you use is what type of filament it uses. Please look at the supplies underneath to see the filament as well as the other supplies you will need for this project.
Supplies
Some items that you may need for this project are:
- Computer running windows 7 or later
- Autodesk Inventor(Any version will work)
- Either a ABS or PETG 3d Printer
- White ABS or PETG filament
- Your current of future aquarium
CAD / Installing Autodesk Inventor
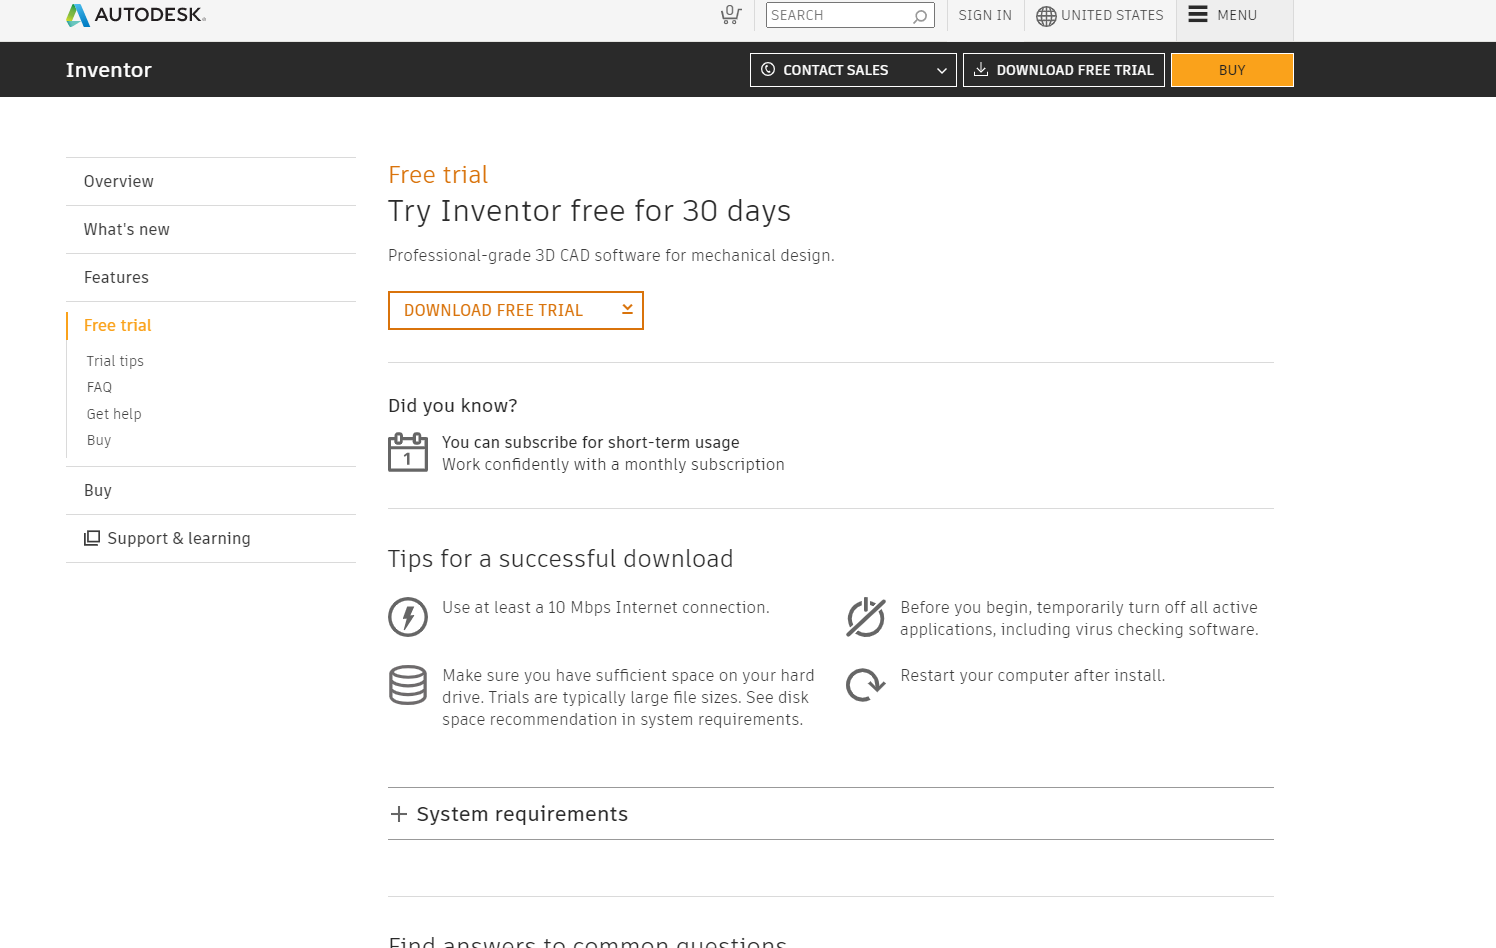
Autodesk Inventor is one of the main products available that allows users to CAD. CAD or Computer-aided Design, is a way of designing 3d objects by starting with 2d sketches and making them into 3d objects. This software may sound like you must be good at art however, CAD not only focuses on the final product but also its dimensions. So as long as you know some things about geometry and measurements this will be very easy to learn. Here's a fun fact, Autodesk Inventor is owned by Autodesk, which also owns Instructables.com
Now lets install Autodesk Inventor
- First go to autodesk.com
- Click Free Trials
- Then scroll down until you see Inventor
- Click Download
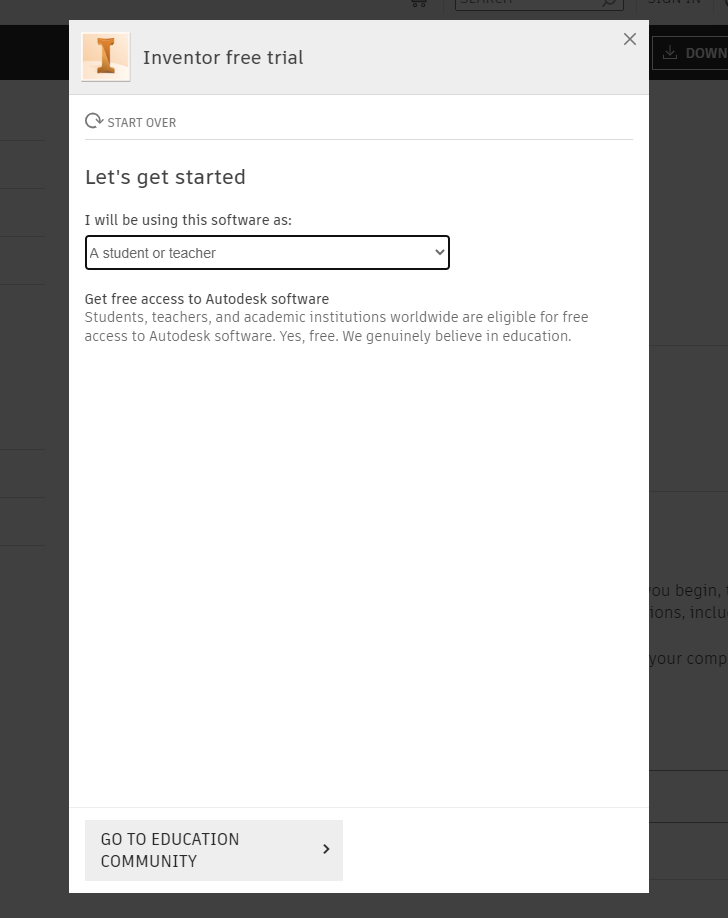
- Click that you are a student/teacher because you will be able to keep the software and not worry about the trial
- Follow the prompted install steps until it is installed
Designing Your Ornament
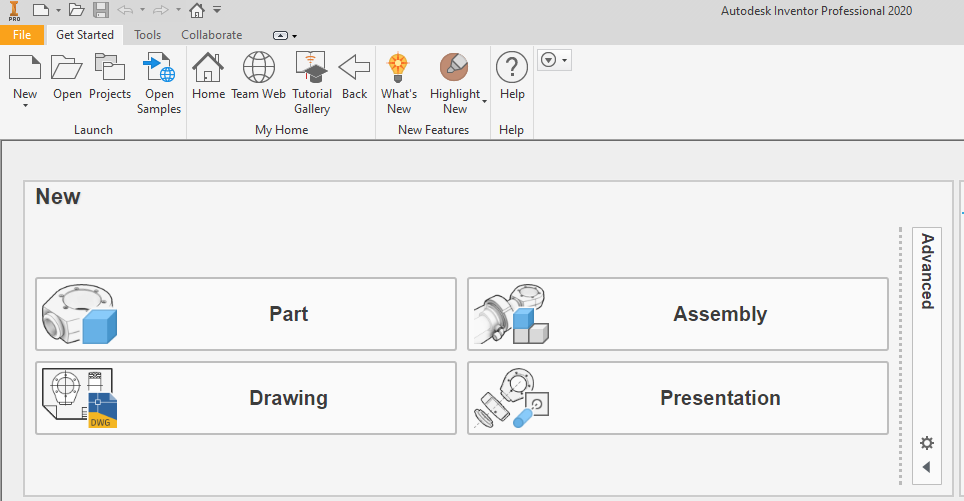
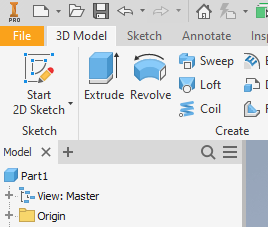
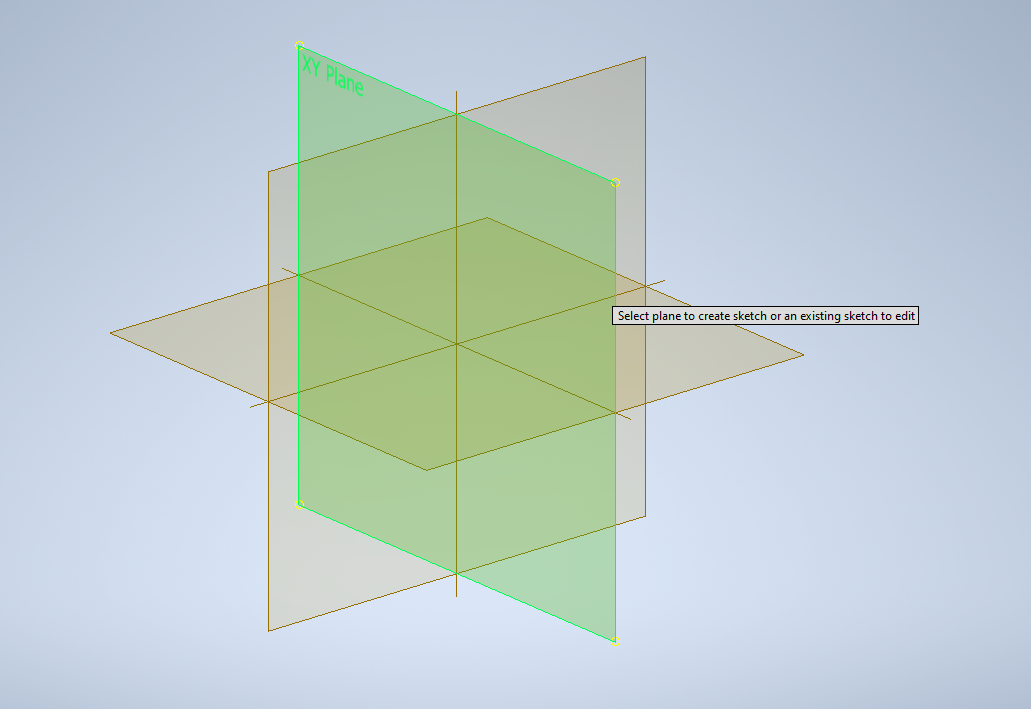
First start by opening Autodesk Inventor. Once Autodesk Inventor is opened you will be greeted by the home screen. Once you are at the home screen, you will click "new part". Please refer to the first attached photo to find where the "new part" button is placed. Once you are at the new screen, you must click start a 2D sketch (located near the upper left corner. Refer to the second photo for help with this step. Once you click start 2D sketch, you will see a large collection of planes show up in the middle of your screen. Please refer to the third photo to see which plane to select. Once you have selected your plane, we will start to design the ornament. First lets talk about the design process with 3d printing. One way of designing parts in CAD software is by thinking how the item will turn out when you 3d print it or fabricate it. So lets image that you are building a sandcastle at the beach, you would have a main structure but cant have anything that goes horizontally because it would fall. That's how you have to think when designing. Most of your parts must be able to 3d print without any complications. There are ways to have complicated designs when 3d printing but we will not discuss that today. So lets get back to designing the ornament there are 2 steps that you have to follow:
- Design your part as a 2d sketch and dimension everything out
- Extrude the part to turn the design from 2D to 3D
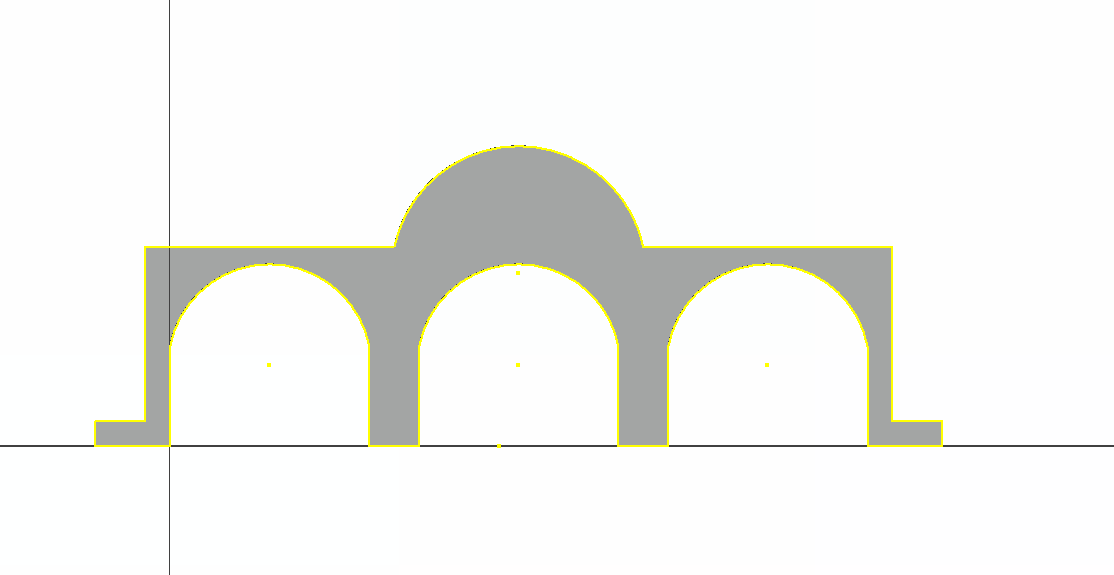
So lets start by designing the ornament. I will show you an example of a ornament that I designed as a 2D sketch. As long as you follow all the rules I mentioned before, you can skip my example and create your own design. My example is the fourth picture. You can see that in my design I also included anchors so that it could be held under gravel. Next you will want to click "3d model" from the tabs. Then click extrude. When you want to extrude, you only need to do 2 things:
- Select all the surfaces that you want to be extruded (they must be closed shapes)
- Enter a distance that you want it extruded.
For my example I only extruded it only 2 inches, so that it would be able to fit in most aquariums. Another thing that you must make sure of is that the sketch has all closed shapes, this will ensure that the sketch will be able to extrude. For my design, I made sure that each arch would be 4 inches wide, this was to ensure that the fish will be able to swim through it easily. If you would like to open my file in inventor, then click this link.
Converting Your Design to a File That the 3D Printer Can Use

This will be the final step to 3d printing your design. First make sure that you have saved your file. Then you will go to the tab that says environments. Then click 3D Print. After you have clicked 3d print, see how the orientation of the part is. If the part is in the wrong orientation, then select "set orientation" to change the orientation. If the part looks good, then select print options. Here's where the instructions may vary on your 3d printer. Check your printer to see which type of measurements it prefers (mm or in). This will avoid the need to fix the scaling if it is in the wrong units. Then select which type of units you want. Also select high resolution, then select close. Then click STL and the file will be ready for your printer. Some things that you may want to know before putting your ornament in your fish tank is to see if the filament is fish safe. I've done research and have read that the filament that I have listed in the materials is best for these types of projects. However, you may want to research this on your own. I'm very sorry that I am not able to show you how to 3D print your design. Factors such as different 3d printers and the fact that I don't have access to a 3d printer because of COVID-19. However this shouldn't stop you from completing your own aquarium ornament. If you have any questions please feel free to contact me through the comments section of this project.